by Steve Laug
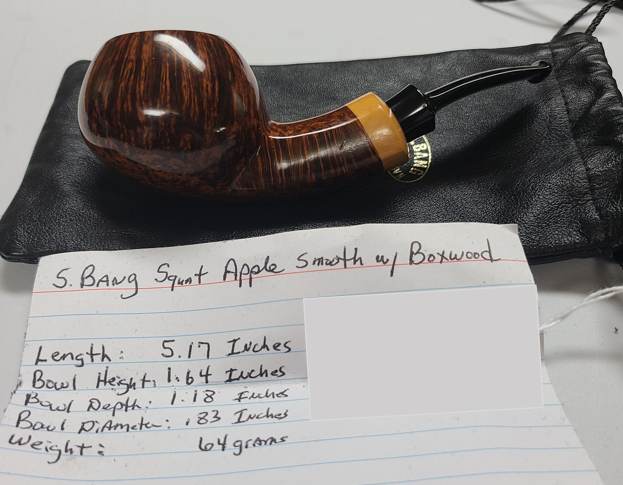
I was recently contacted by a fellow here in Vancouver about some pipes he had. He was referred to me by a local pipe shop. I was unclear if he wanted them cleaned or exactly what. When he came on the weekend he brought six pipes in two pipe boxes for me to have a look at. I spoke with him about the cost of restoring them. It finally became clear to me (I guess I am slow) that he wanted to sell the pipes. He was tasked with the job by his sister in law as the pipes were from her late husband’s collection. As I unpacked them it was clear that they were some nice pipes and some were higher grade. All but one was smoked and had the heavy smell of fruity aromatics to them. Some had cake in the bowl and lava on the rim. Of the six, four of them had significant rim damage – bowls out of round, burn marks, cut marks. The saddest part is that the damage was most significant on the higher end pipes. Most of them had tooth marks in the stems. Obviously, they had been his late brother in laws favourites and he had enjoyed them. He left them with me and I went over them, researched the brands and wrote up an offer for him to present to his sister in law. By the end of the day we had a deal. The six pipes now have a new home and the fruity smell needs to be exorcised!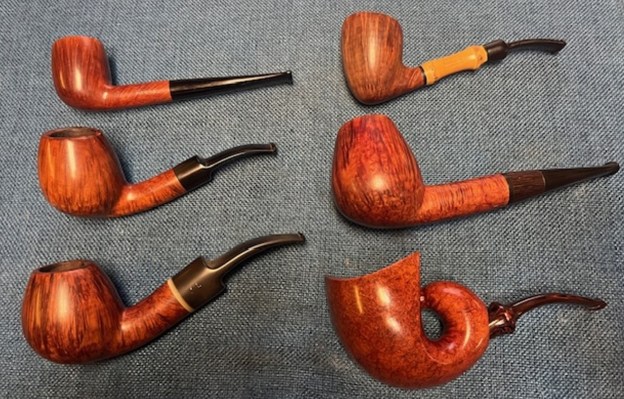 I finished the last of the repairs that I had in my queue yesterday and turned to work on the third of these pipes. It is a beautiful looking but sadly abused S. Bang Bent Brandy that is readily recognizable. It is stamped on the underside of the shank and reads S. Bang [arched over] Copenhagen [reverse arch and over] Handmade [over] in Denmark [over] the Grade Stamp “A”. The bowl had beautiful straight grain around sides. The shape is impeccably done. The finish was dirty but otherwise all was good it appeared. The rim top was clean of cake and lava. The inner edge of the bowl was damaged all the way around with burn damage on the right front edge of the bowl that had been sanded out. It appeared as if someone had given the damaged area a poorly done bevel to clean up that damage. The bowl is out of round. There is a light cake in the bowl. The stem was clean but and had light tooth marks and chatter on both sides of the stem ahead of the button.More damage would come to light soon enough.
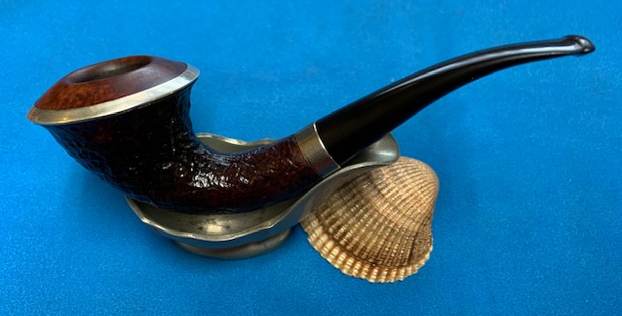
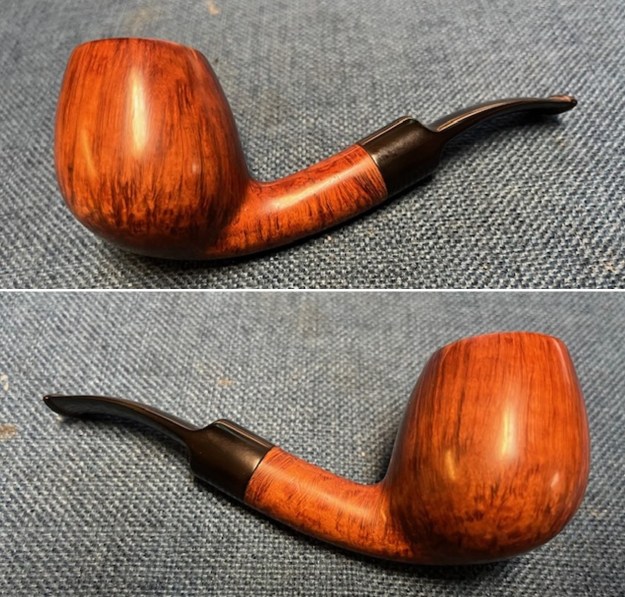
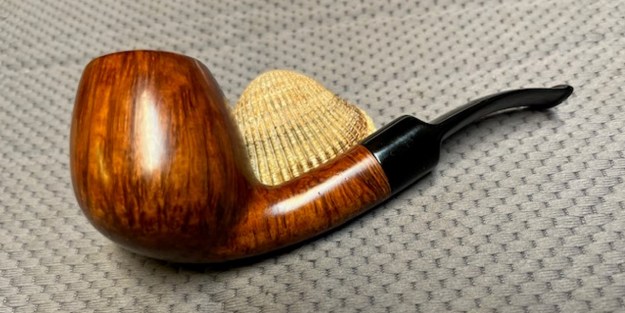
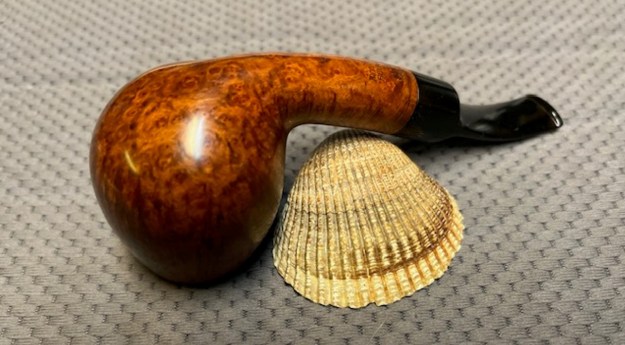
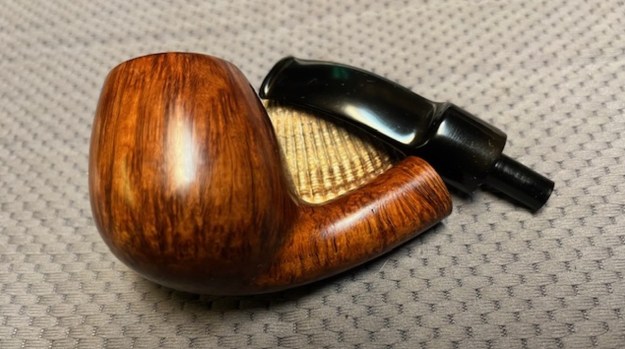
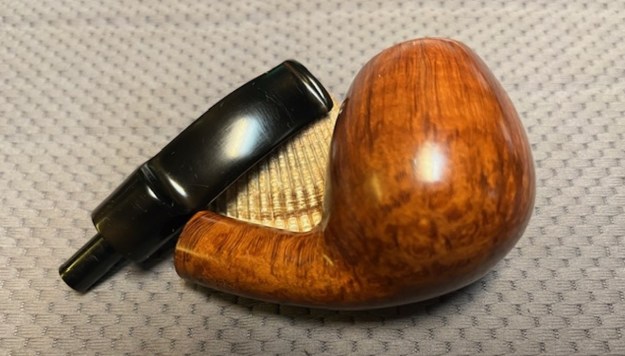
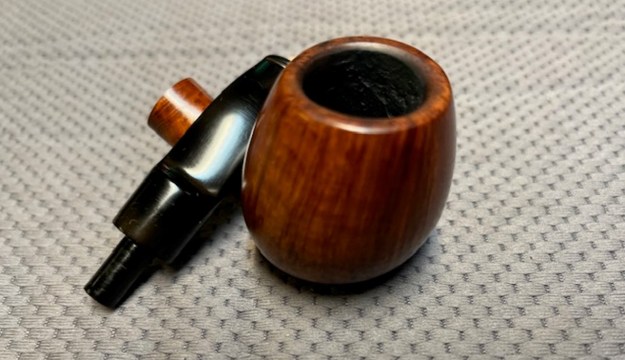
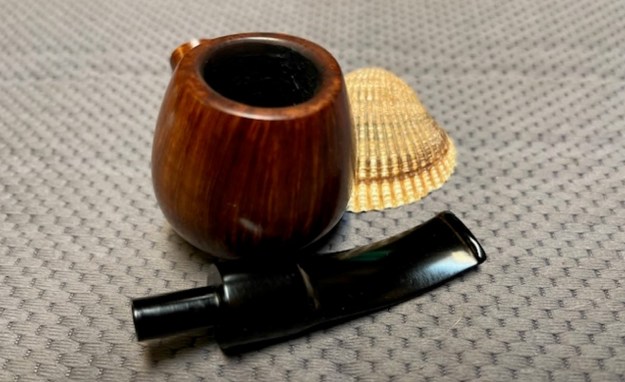
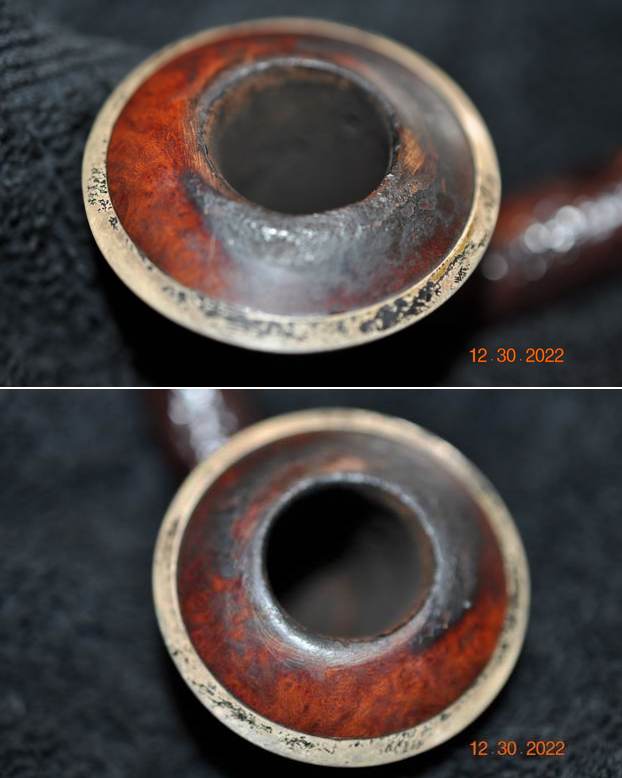
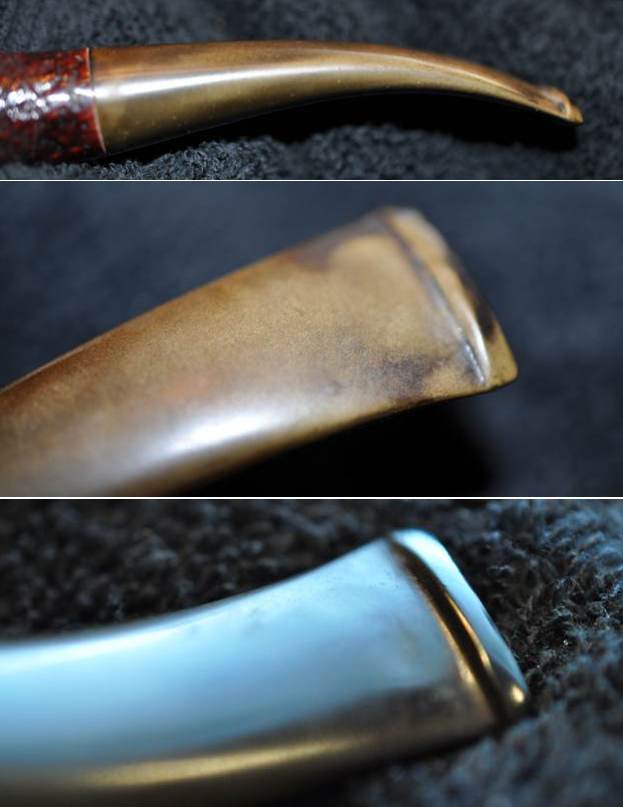
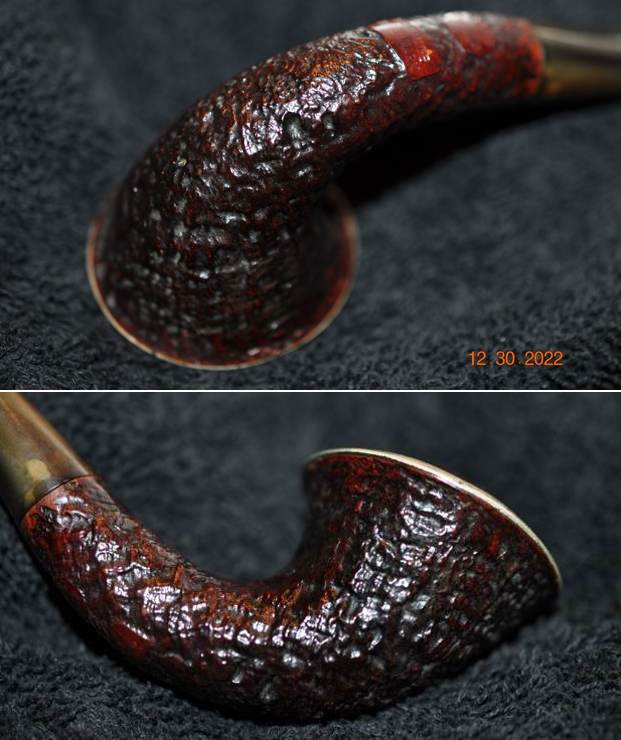
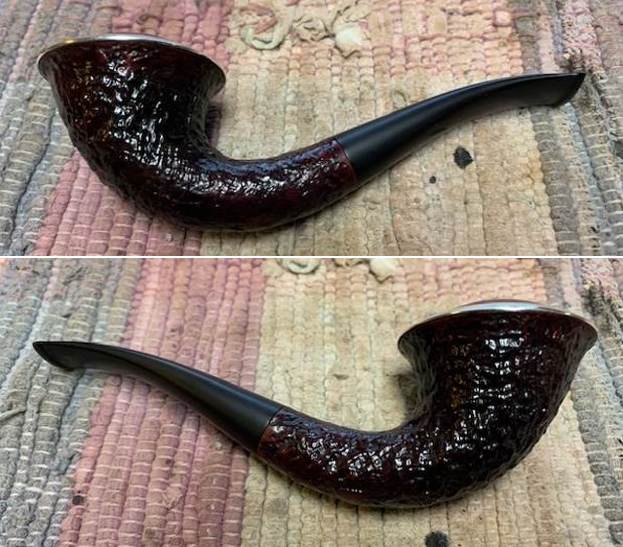
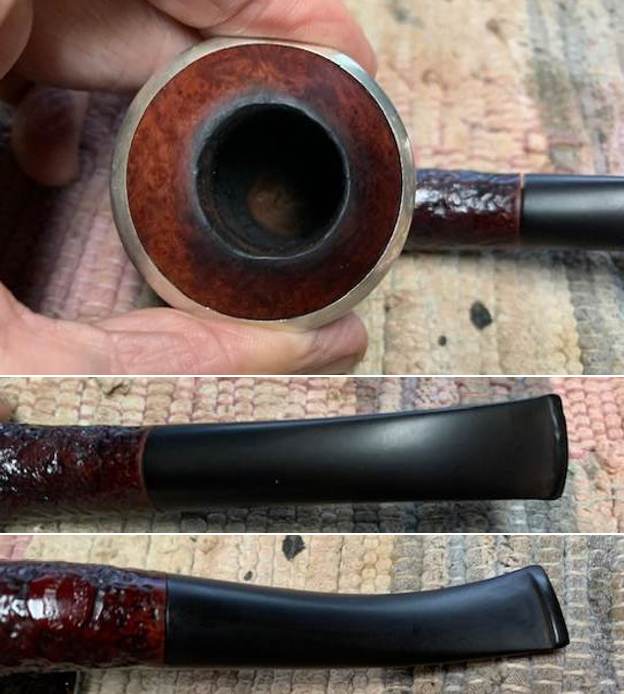
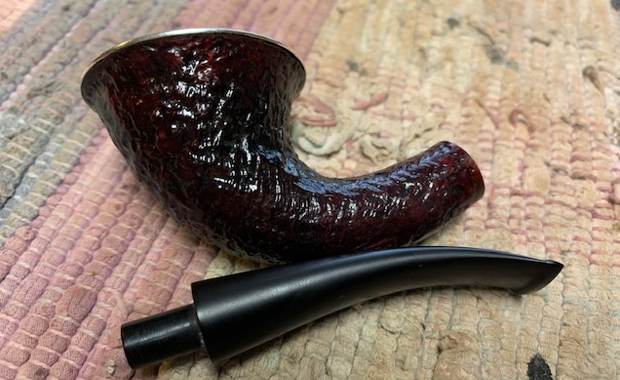
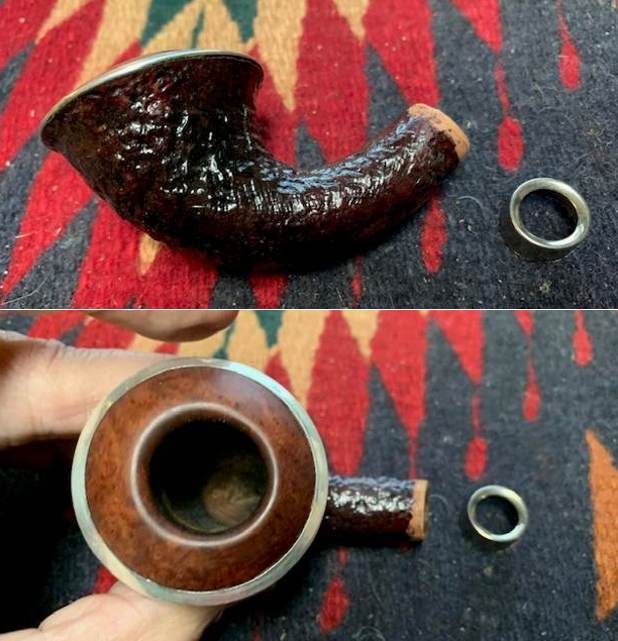
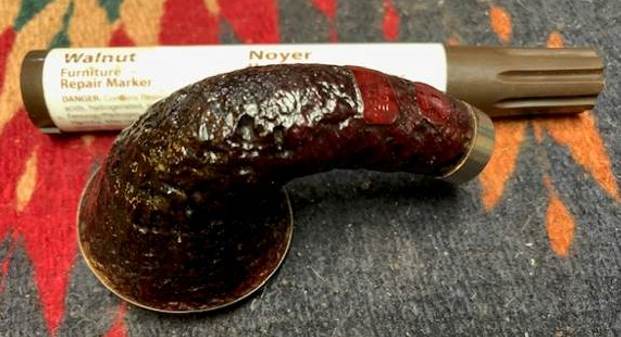
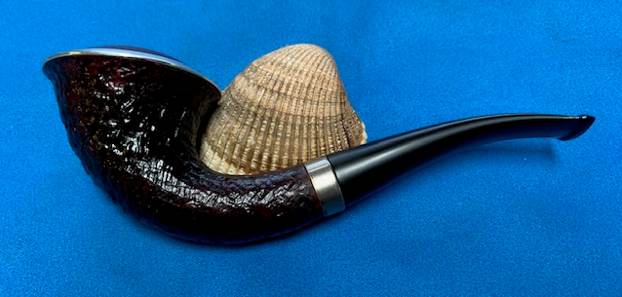
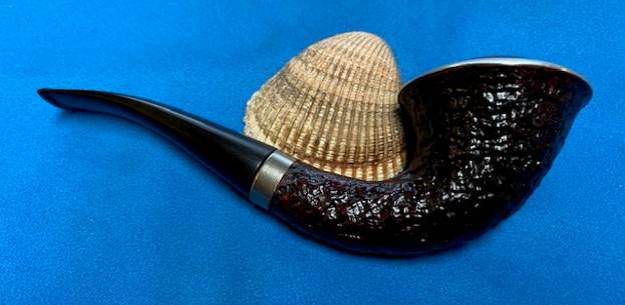
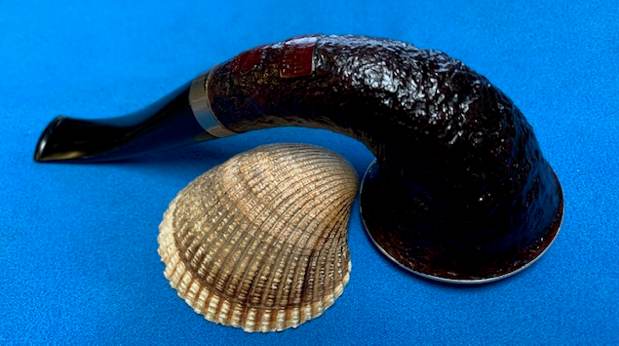
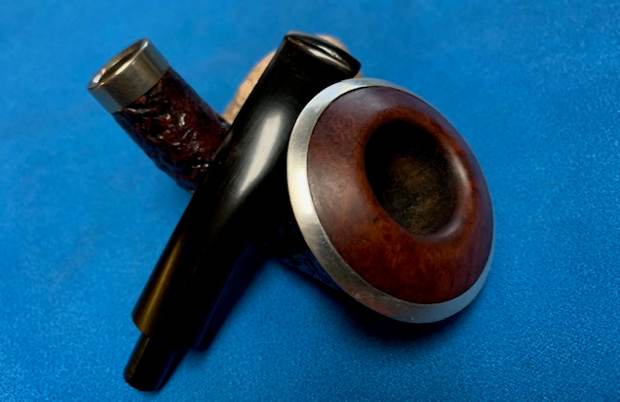
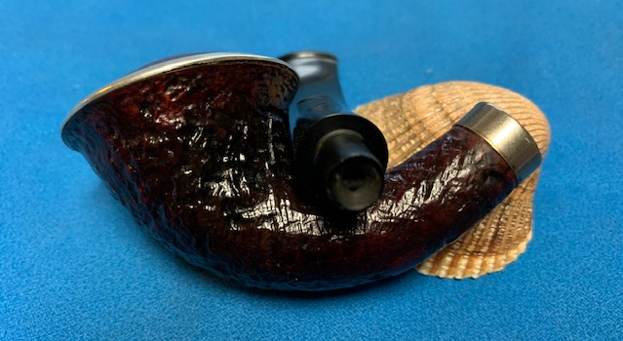
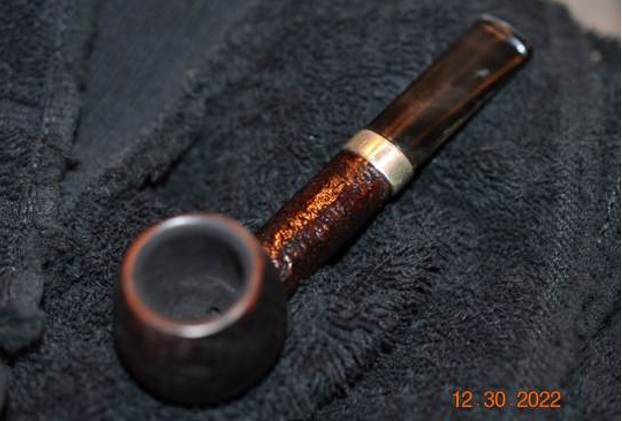
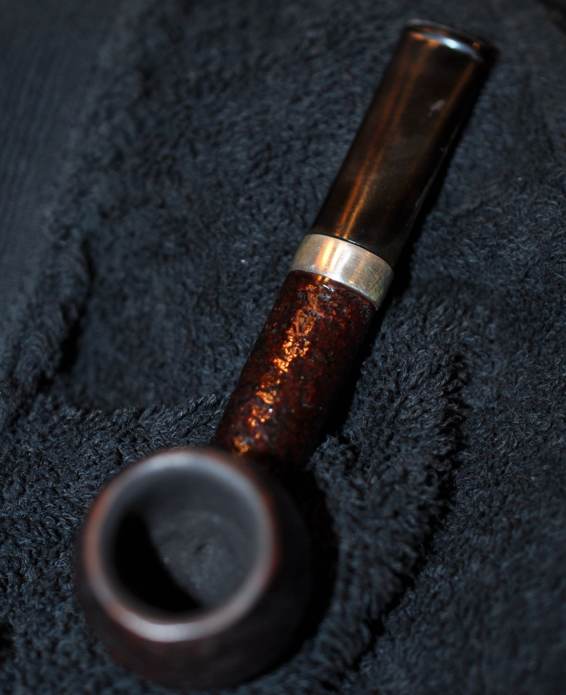
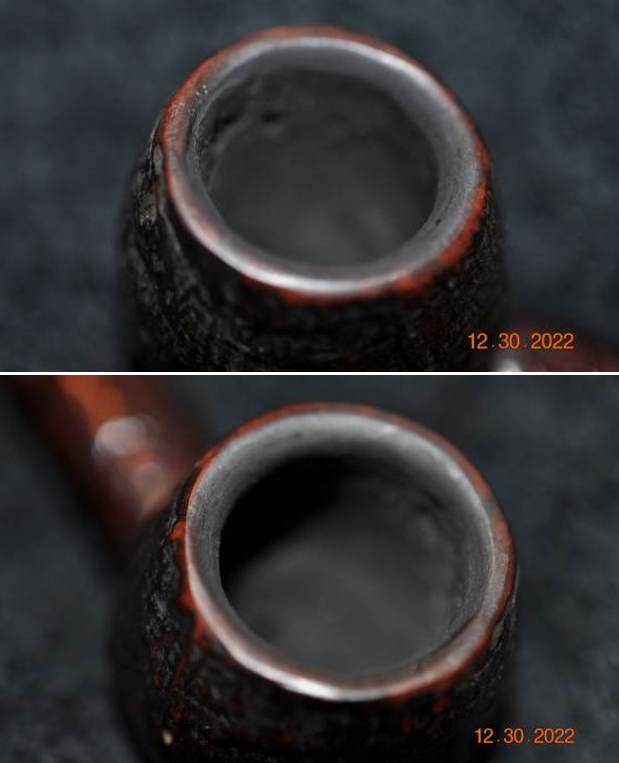
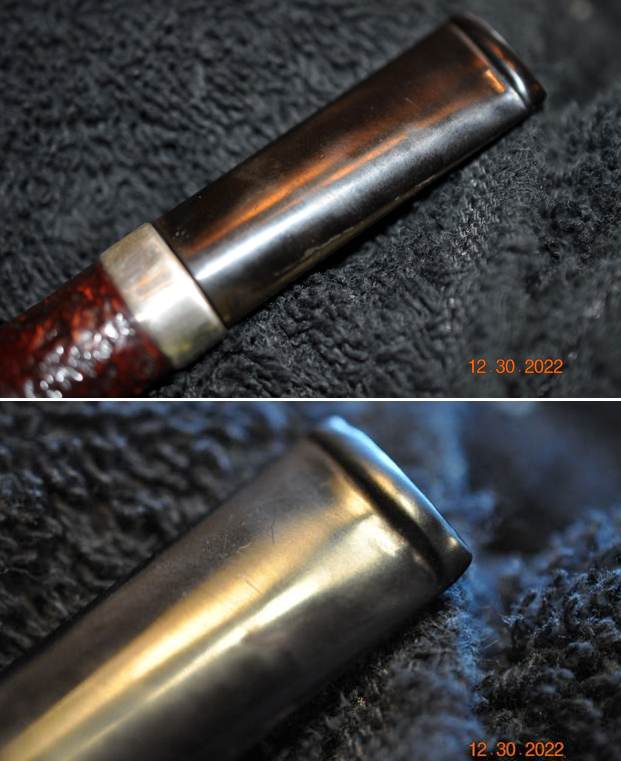
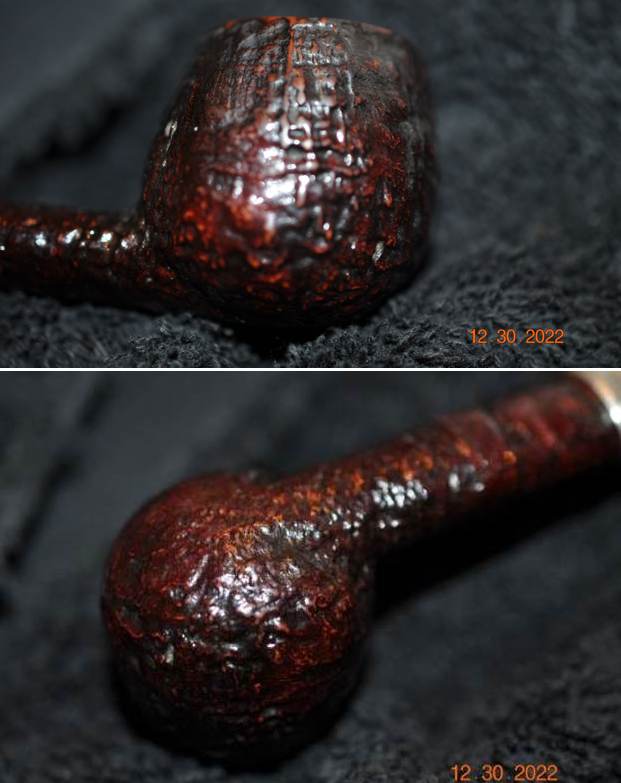
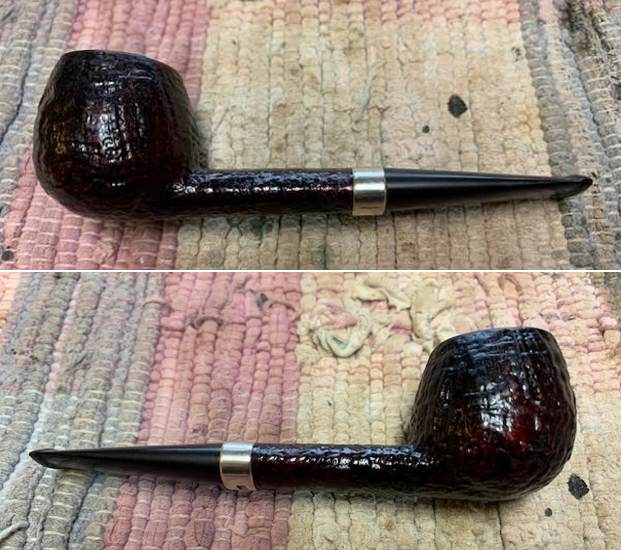
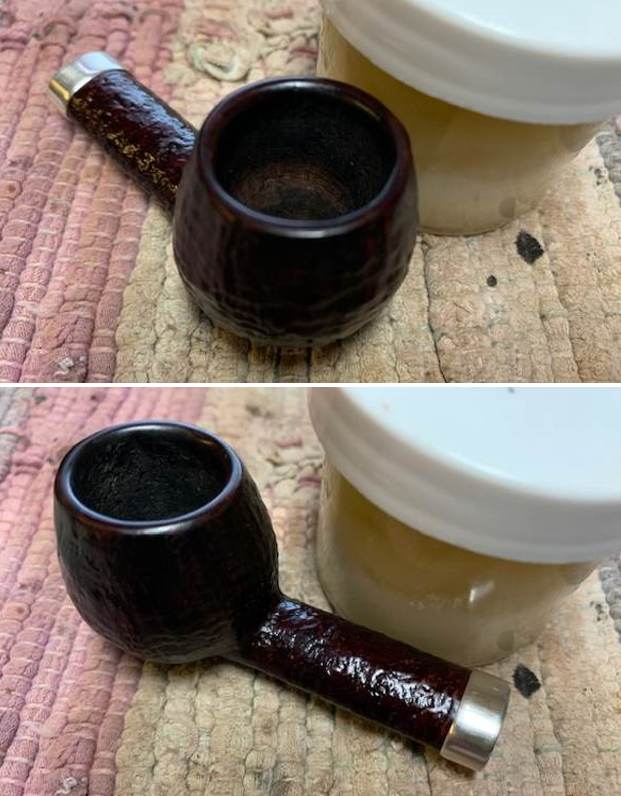
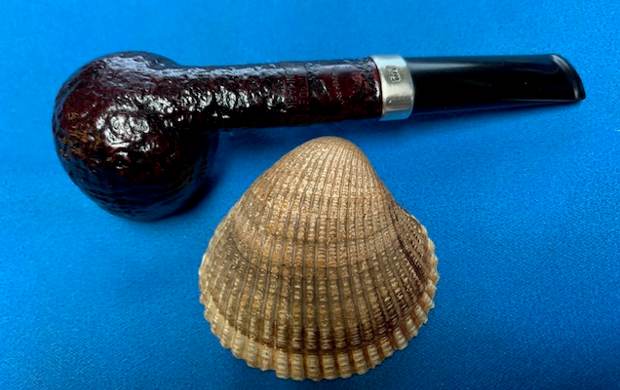
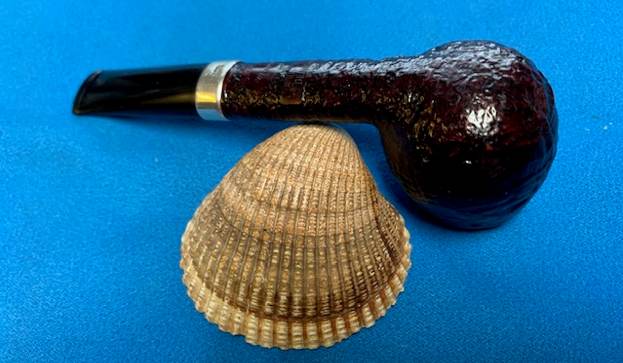
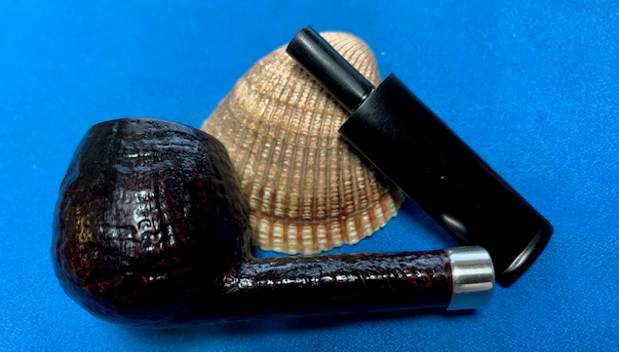
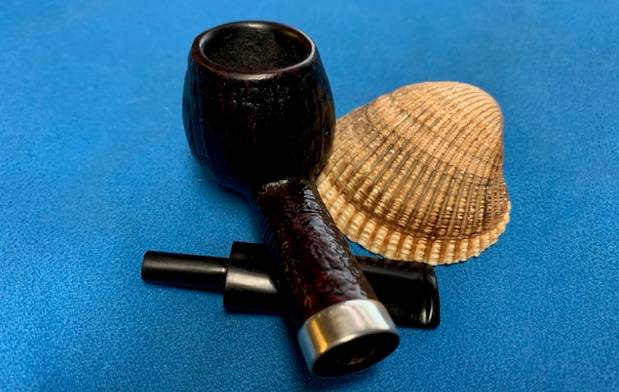
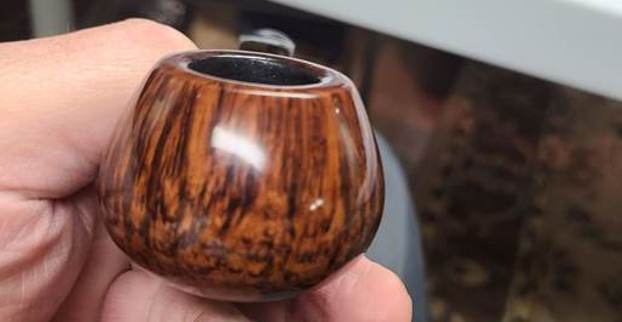
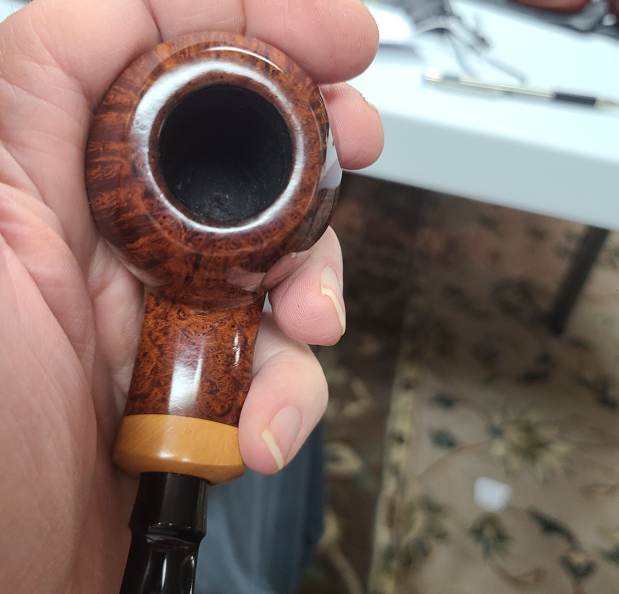
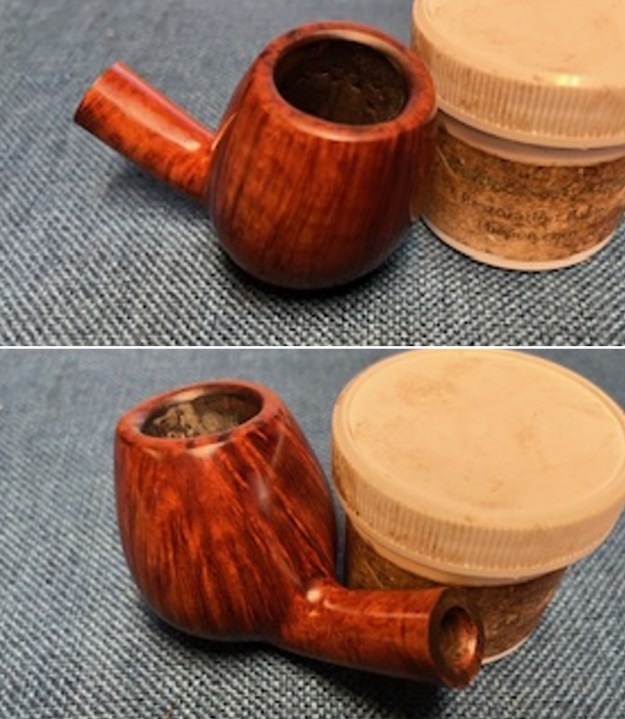
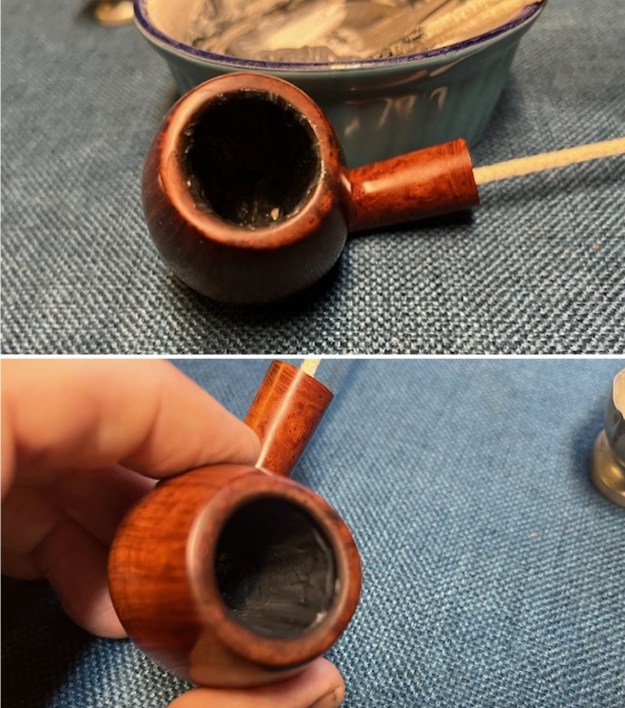
 I took photos of the bowl and rim top to give you an idea of what I see. It is too bad that Word does now allow for the inclusion of smells because this is filling my work area. I have a candle going to mask the smell a bit. You can see the damage to the rim top and inner edge of the bowl. There is a light cake in the bowl. The stem is dirty and has light tooth marks and chatter on both sides ahead of the button.
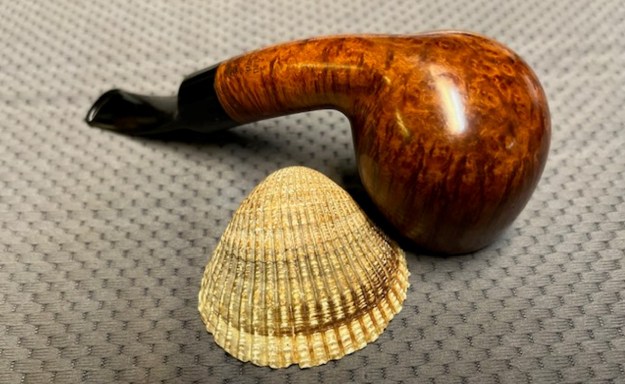
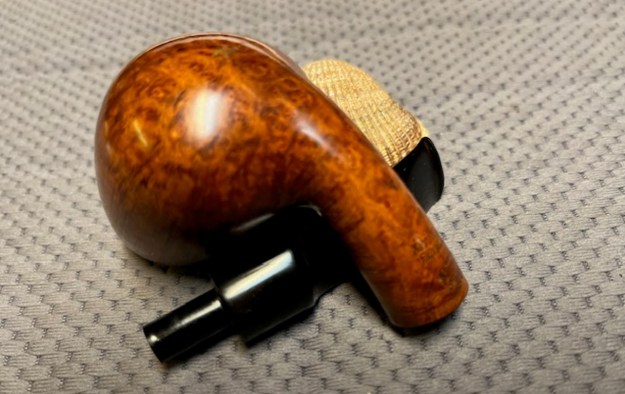
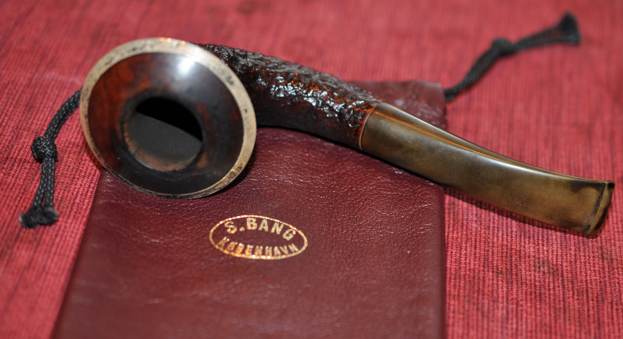
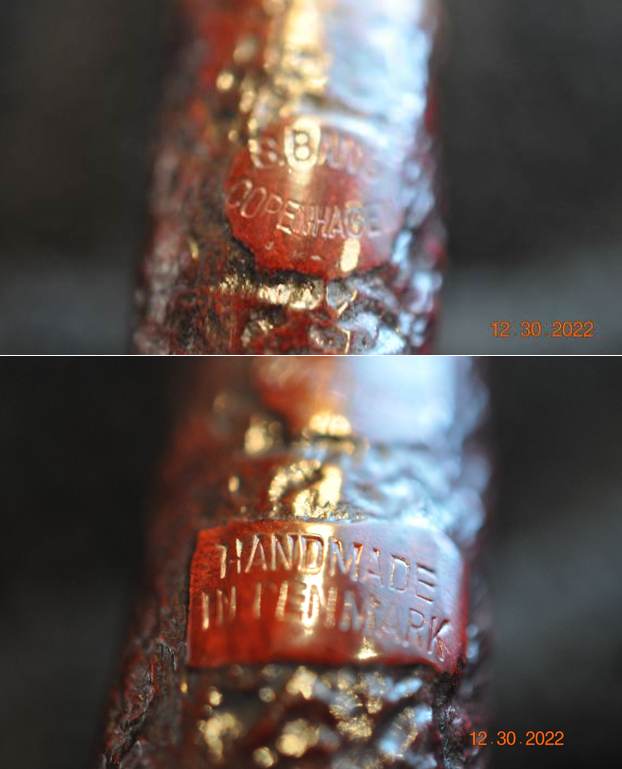
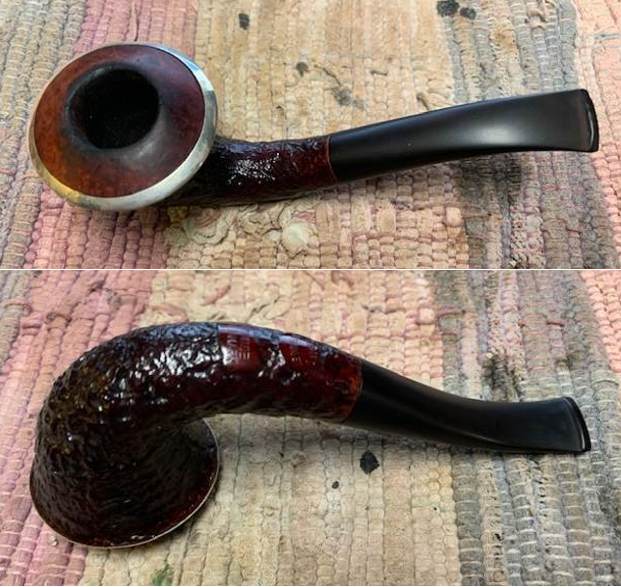
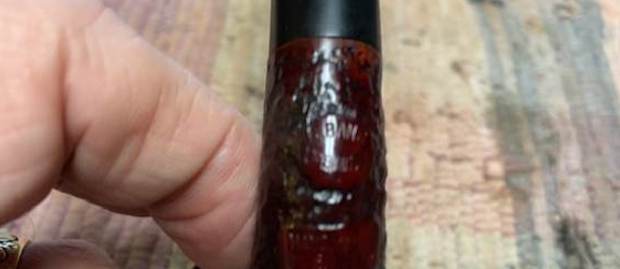
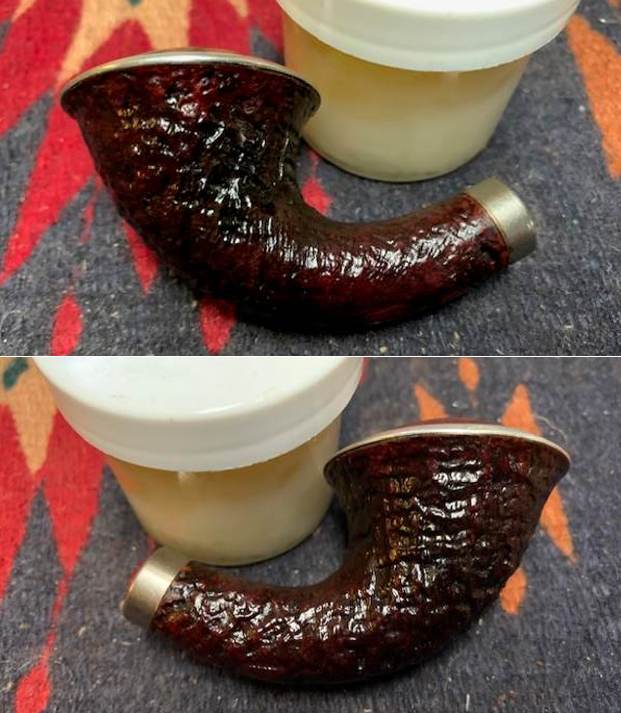
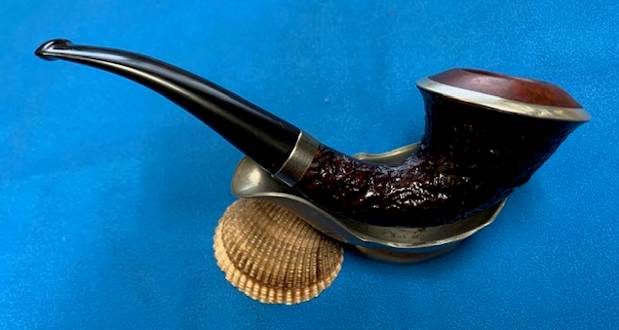
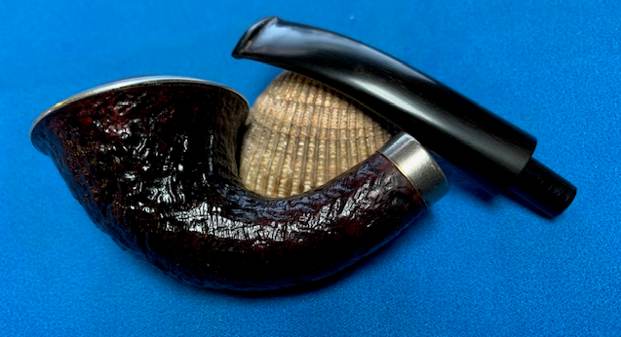
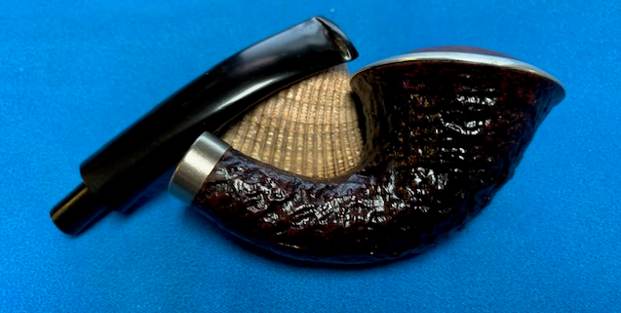
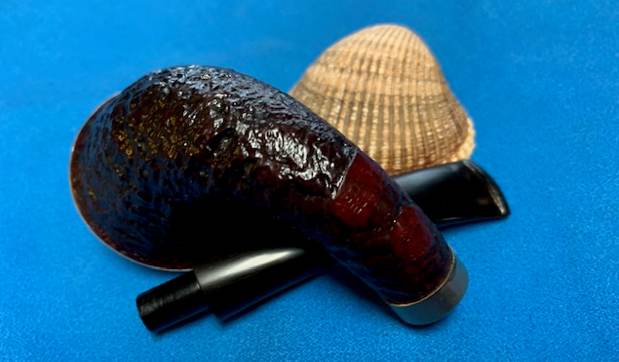
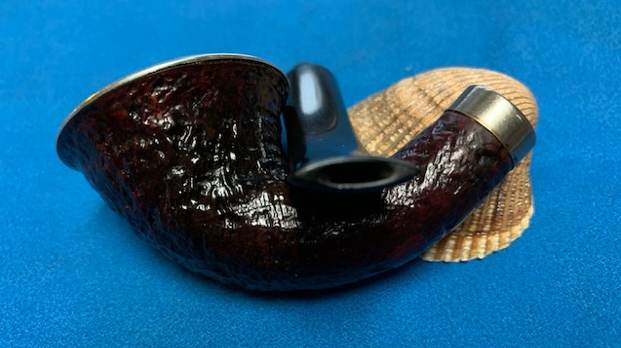
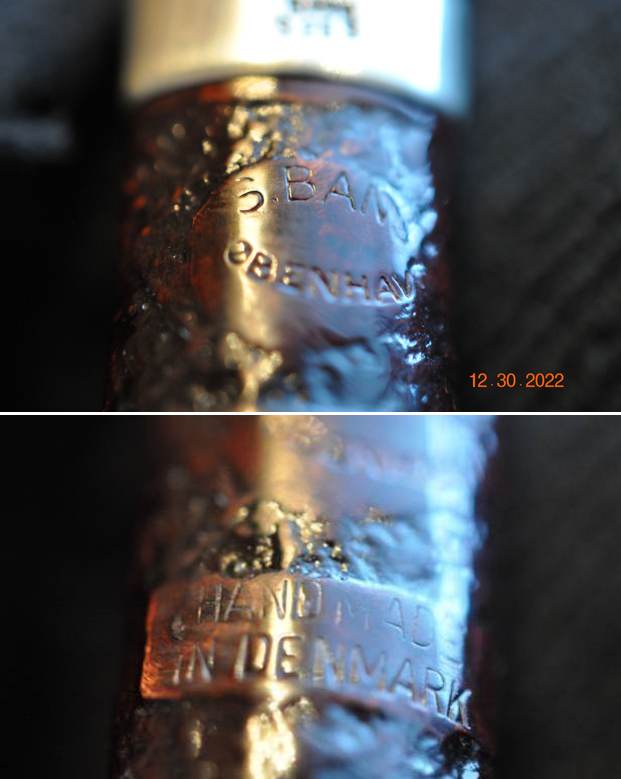
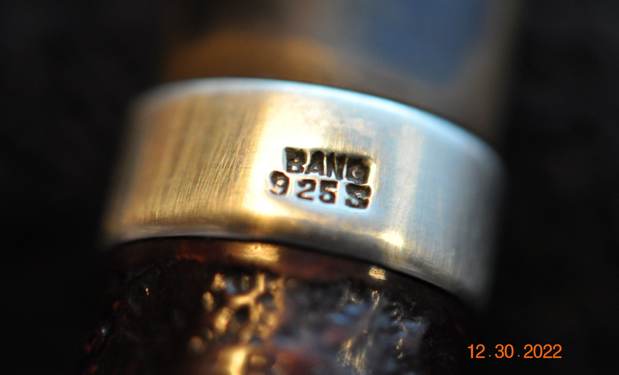
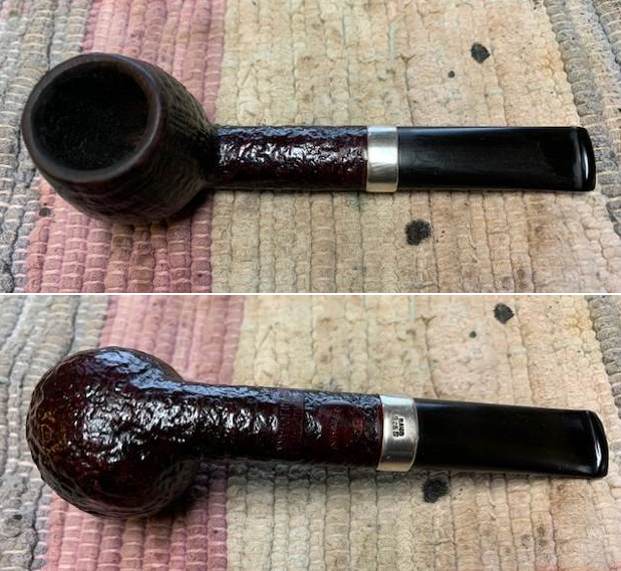
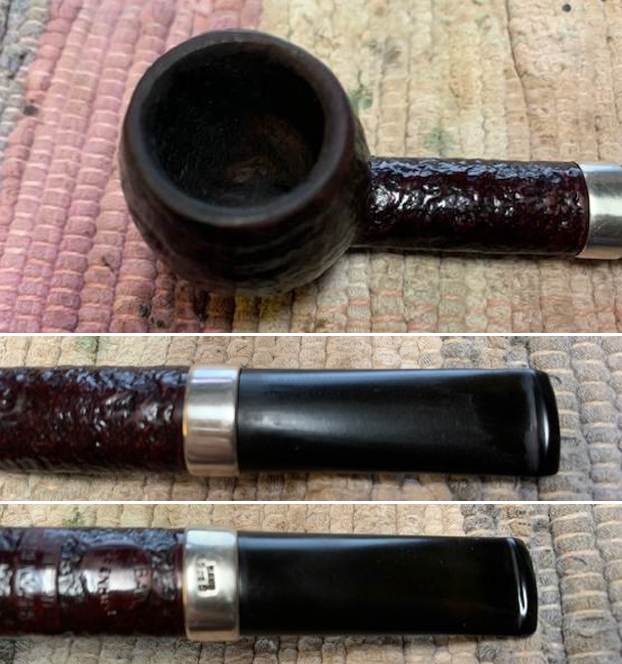
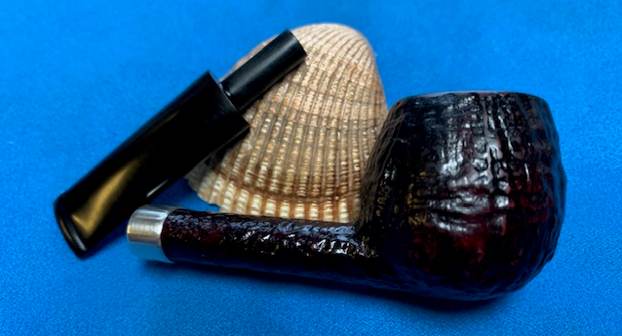
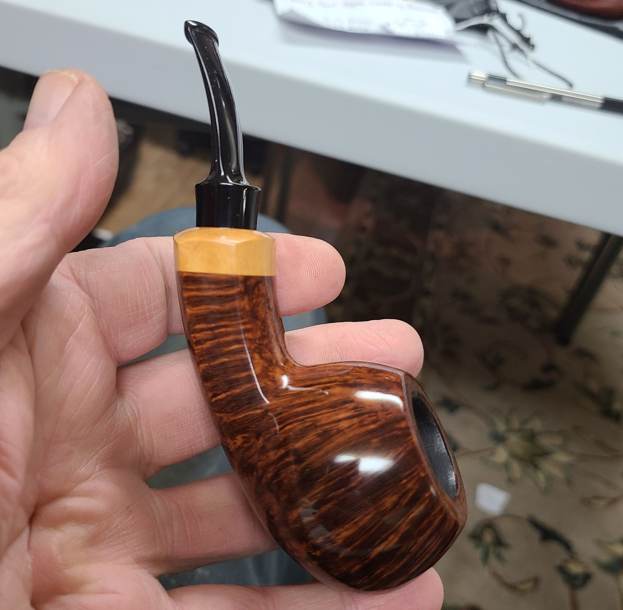
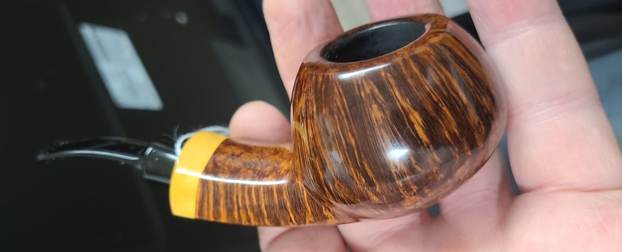
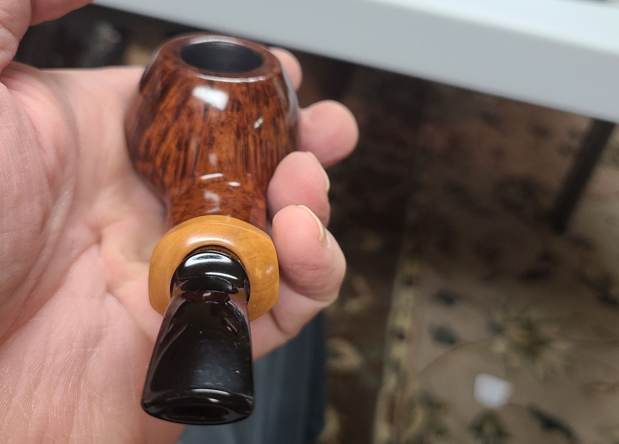
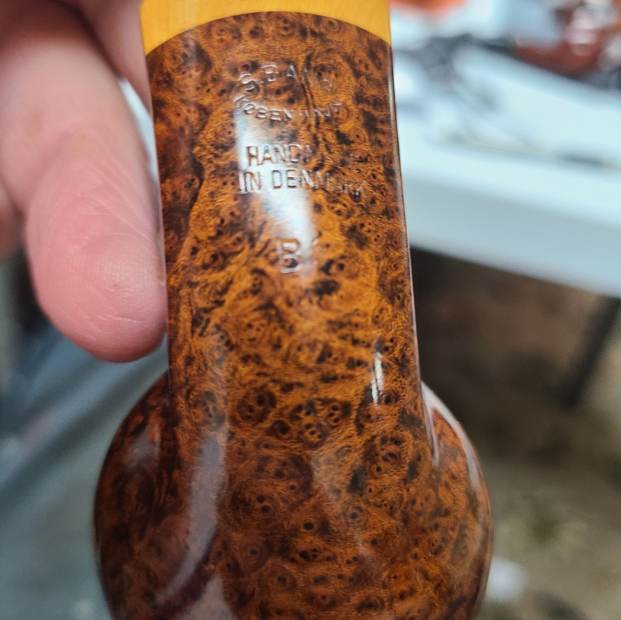
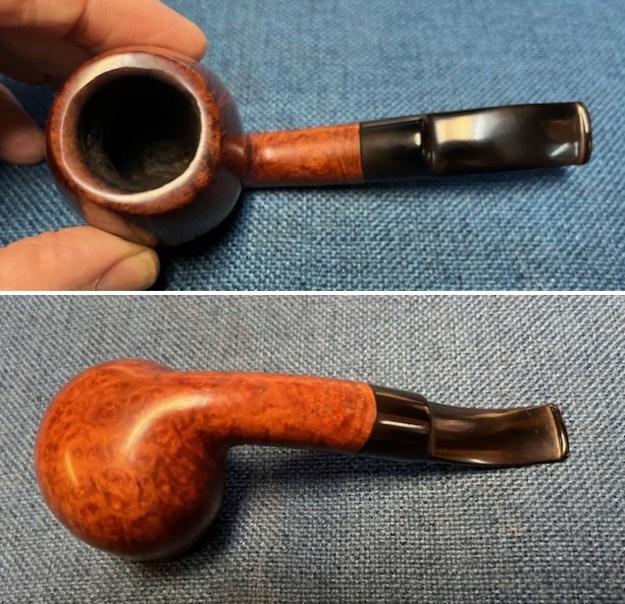
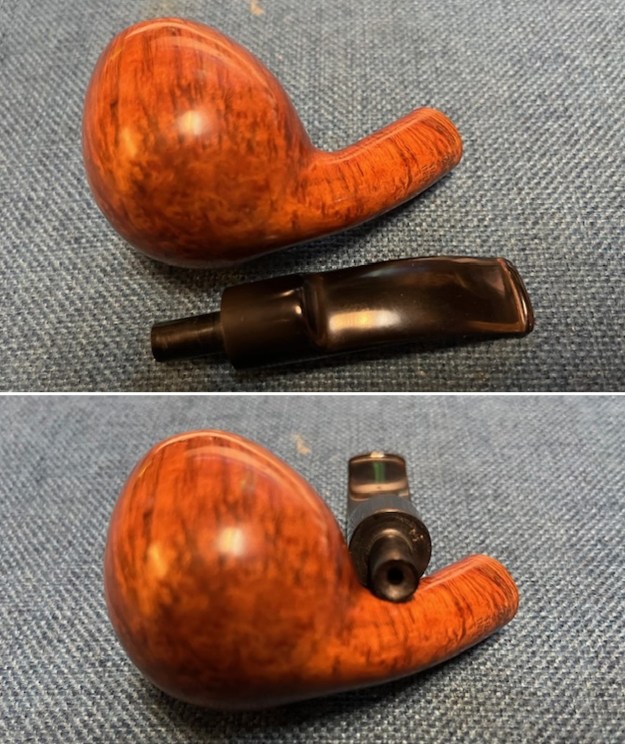
 I took a photo of the stamping on the underside of the shank. It is clear and readable as noted above. I took photos of the bowl with the stem removed to give a sense of the proportion and appearance of the pipe.
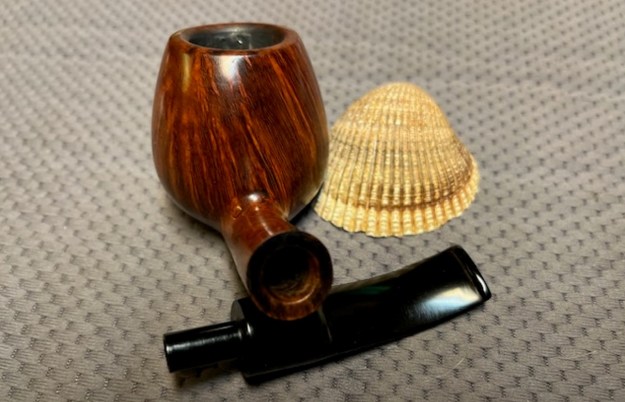
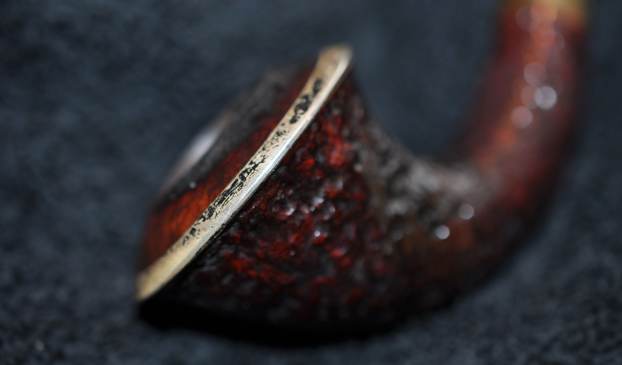
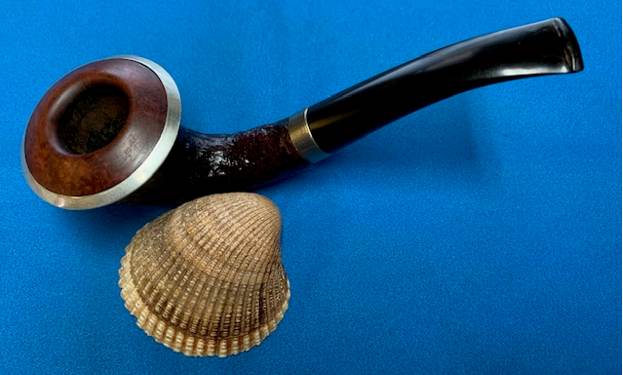
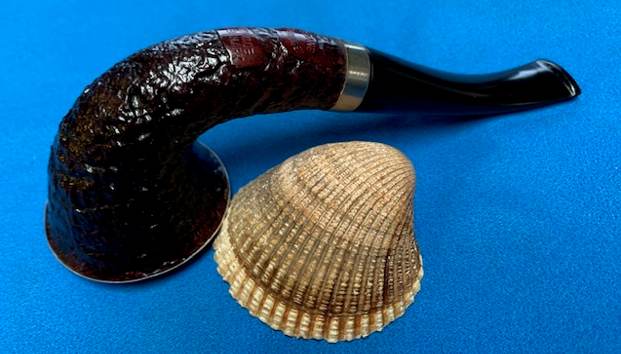
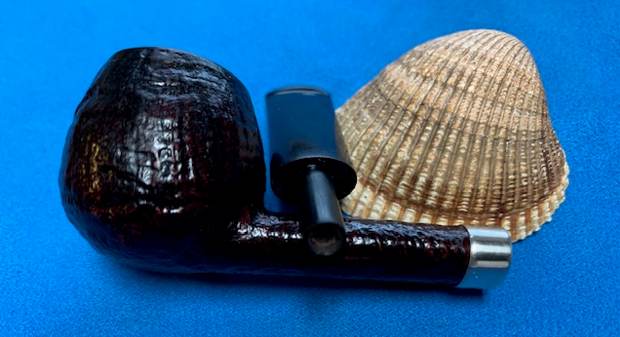
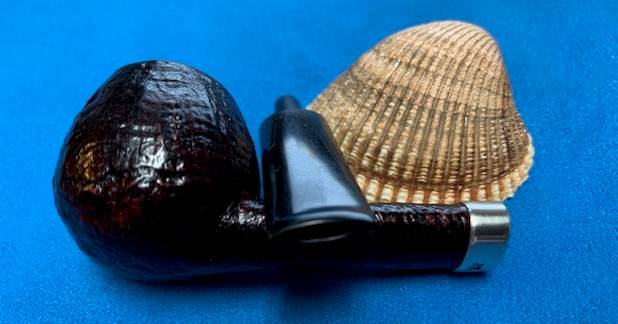
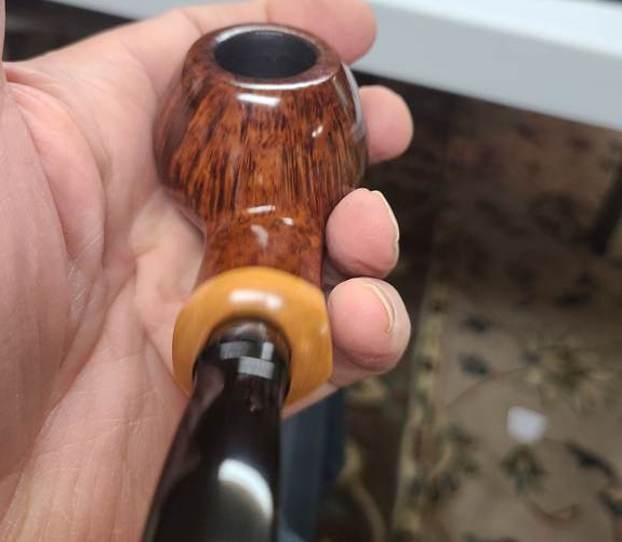
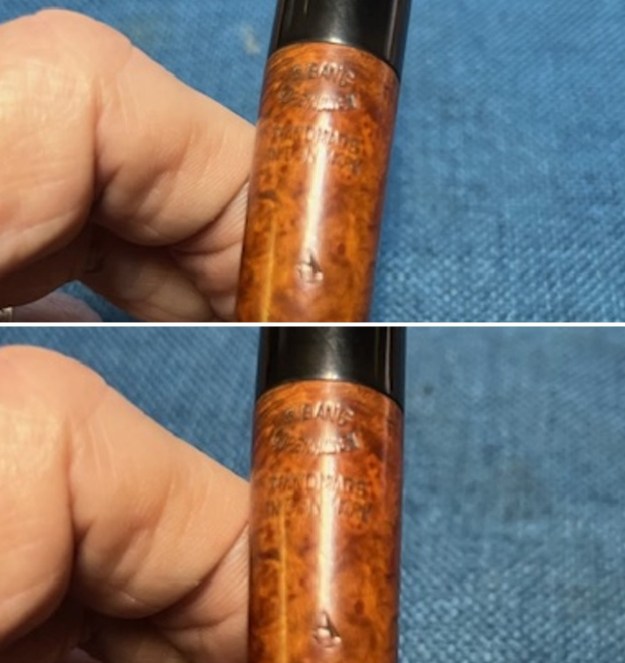
 To help me understand the stamping a bit more I turned to Pipephil’s site and read what it said about S. Bang pipes (http://pipephil.eu/logos/en/logo-s1.html). I have included a screen capture of the section below as well as the side bar information below the capture.
 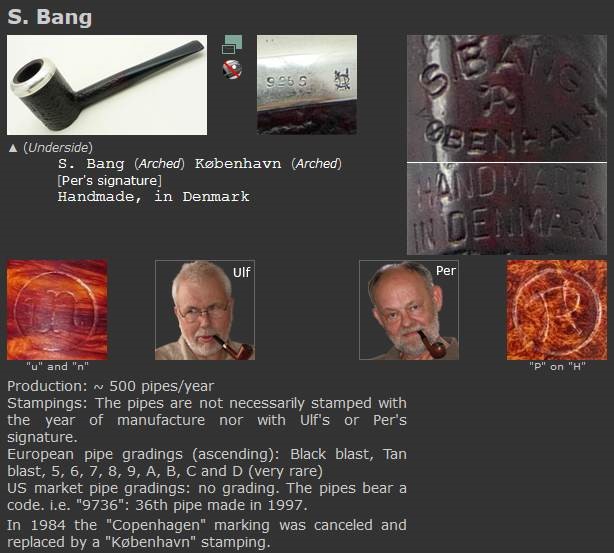 Sven Bang opened his tobacco and pipe shop in 1968 in Copenhagen. He was more a business man than a pipe carver and began to hire pipemakers. About half a dozen succeeded each other in his workshop during the 1970’s (Ivan Holst Nielsen, Jan Wideløv, Phil Vigen…). At least Per Hansen and Ulf Noltensmeier stayed and when Sven retired in 1983 they took over the company (in 1984) keeping its name.
To close my understanding of the pipe I turned to Pipedia (https://pipedia.org/wiki/S._Bang). I quote the section from the article where the company changed hands from S. Bang to Hansen and Noltensmeier in 1984. It is a great read so I have included it below.
Svend Bang retired in 1984. Evidently, he felt a great deal of pride in the product that he initiated throughout his career and retirement and until his death in 1993.
Once Hansen and Noltensmeier took over the company (in 1984) they knew it was best to retain the S. Bang name – the two carvers always shared the same philosophy about that. Noltensmeier and Hansen were determined to maintain top quality at the expense of increased numbers. The only change they made concerns the stamping on the pipes changing from the English version “COPENHAGEN” to the Danish “KOBENHAVN”.
Still, they are two separate carvers, with their own styles and preferences. Each makes his own pipes – there is no “assembly line” construction at S. Bang. They bounce ideas off of each other, of course, and admit that when problems arise in a pipe, it is nice to have a partner to discuss them with.
Though they carve pipes as individuals, there are similarities in their work. All Bang pipes are made with black, hand-cut vulcanite stems.
The same engineering is used by both carvers as well. The shape and size of the tobacco chambers vary according to size and design of the pipe, but each carver follows the same design guidelines for choosing the proper chamber dimensions. The smoke channel is always engineered for optimum performance.
Bang pipes are noted for the high definition and fine contrast in the grain. They undergo a double staining process to achieve that effect. The technique makes the grain leap from the bowl of the pipe, making well-grained wood become extra ordinary. The same colouring, however, will produce different results in different pieces of briar, making each pipe truly individual.
I knew from what I had read the pipe I have was made for the European market and bore an “A” grading which is quite high. I also knew that it was made before 1984 when the stamping Copenhagen was replaced by Kobenhavn. Ulf and Per worked there before they took over in 1984. Now it was time to work on the pipe.
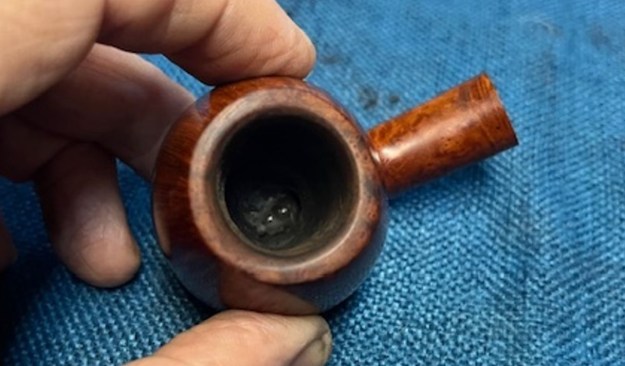
I reamed the bowl with a Savinelli Fitsall Pipe Knife to take back the cake to bare briar. I sanded the walls smooth with some 220 grit sandpaper wrapped around a piece of dowel. This is when all the internal damages were revealed. It was a sad moment. I ran my fingers over the sides of the bowl and felt some nicks and flaws on the walls. The bottom of the bowl also had an odd bump in it. I shone a light in the bowl and it seems that there was repair on the bottom of the bowl. The hard material filling in part of the heel was probably JB Weld. It was rock hard but it appeared that half of the repair was missing. I could see that there was a trough carved in the bottom of the bowl and that the repair had been made to cover that. It would need to be redone. I took a photo of it as best as I could but it is hard to see.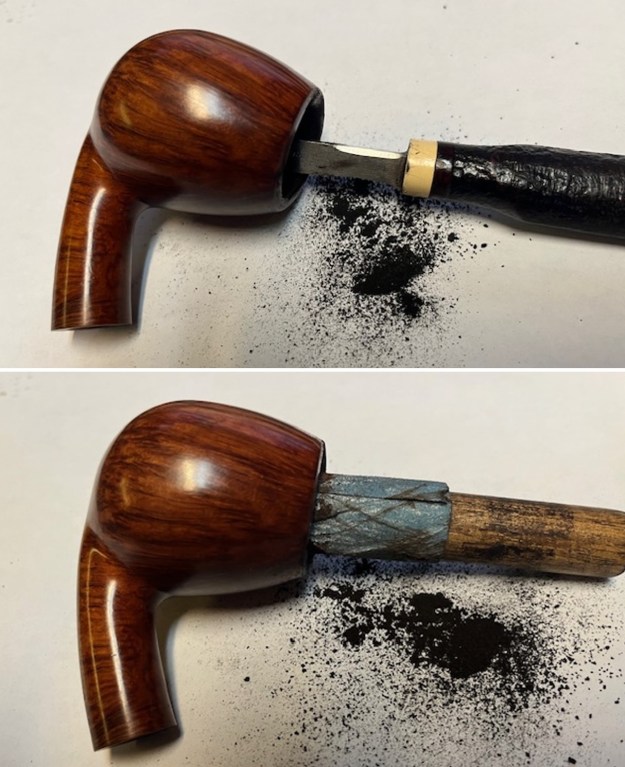
 I cleaned out the stinky, fruity smelling tobacco oils and tars in the shank and the airway in the stem. I used 99% isopropyl alcohol, cotton swabs and pipe cleaners and was able to remove the debris and some of the stench.
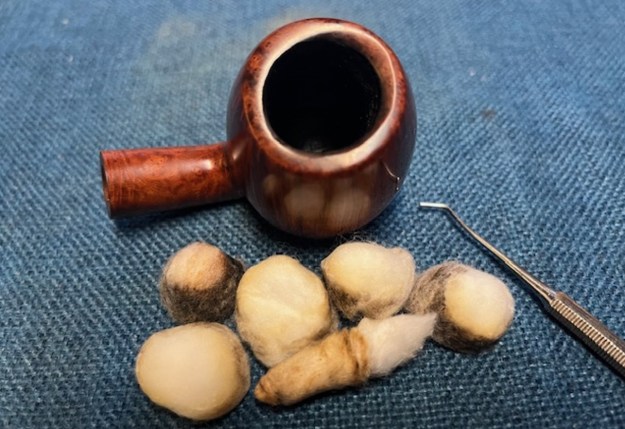
 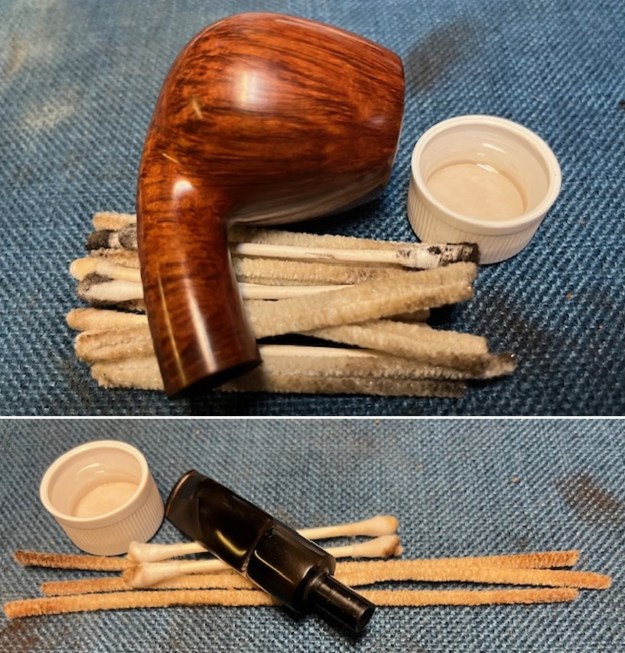 I needed to “deghost” the bowl and try to exorcise the smell. I stuffed bowl with cotton bolls and used an ear syringe to fill it with alcohol. I set it aside to let the alcohol do its work and wick the oils into the cotton. While it sat for the afternoon, I did some other work. When I came back to it the cotton and alcohol had wicked out the oils and tars. The cotton was brown and the bowl smelled much better.
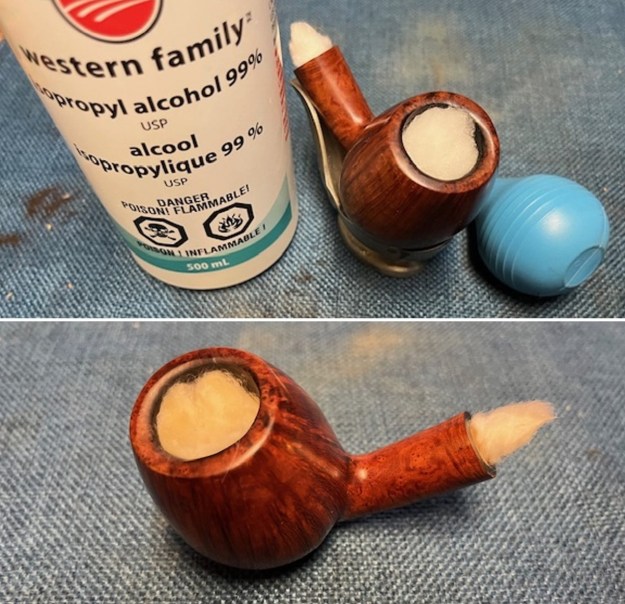
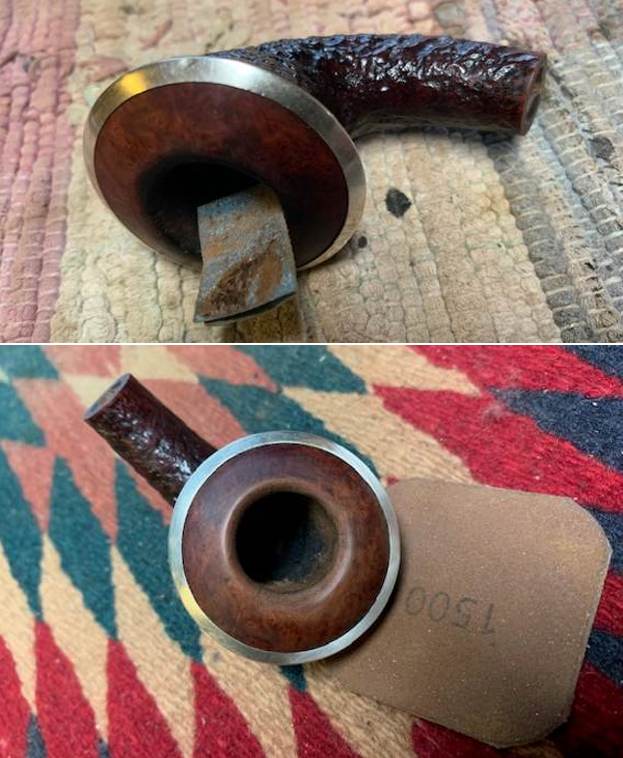
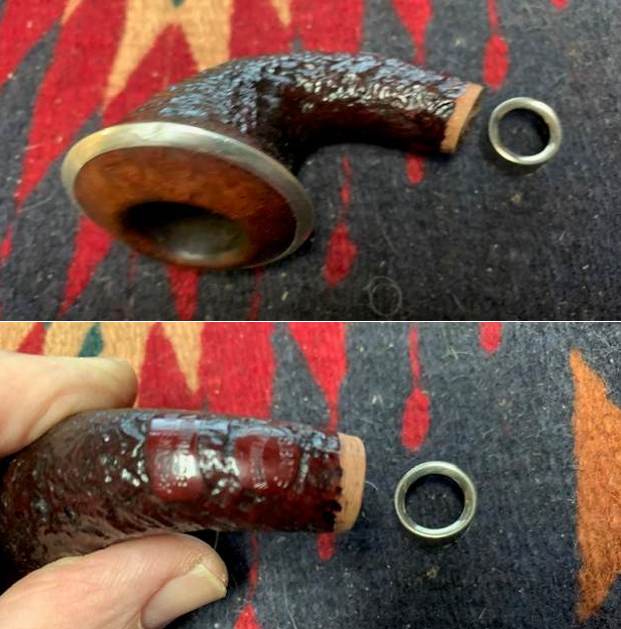
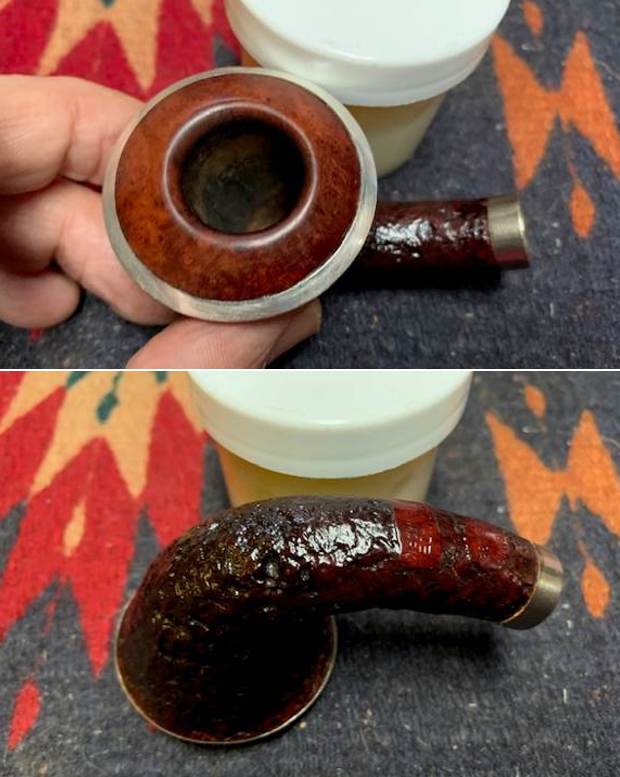
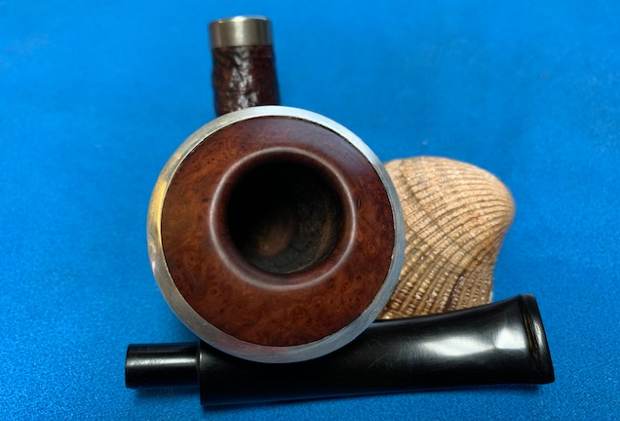
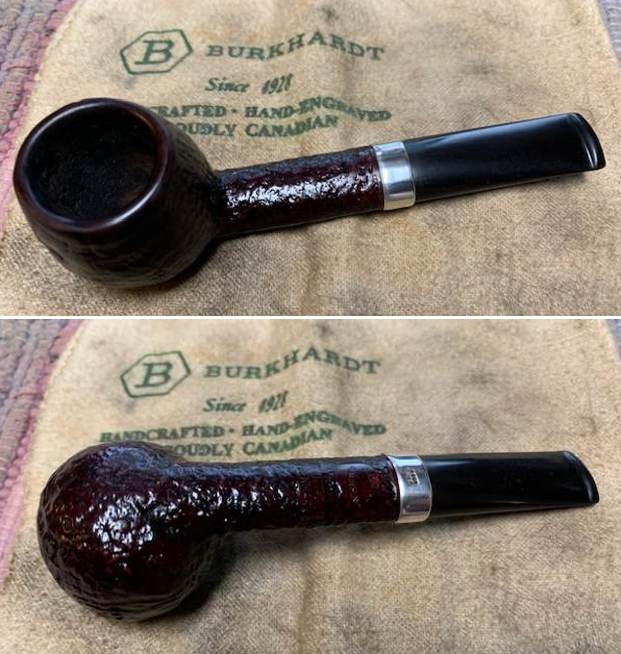
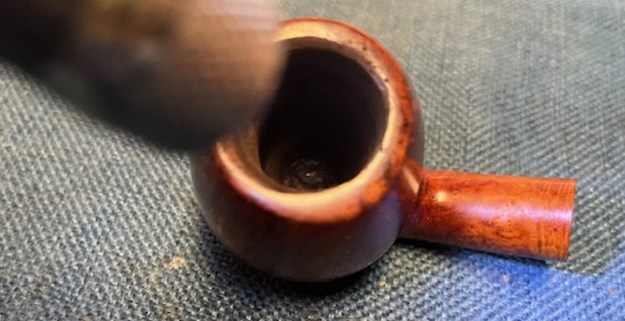
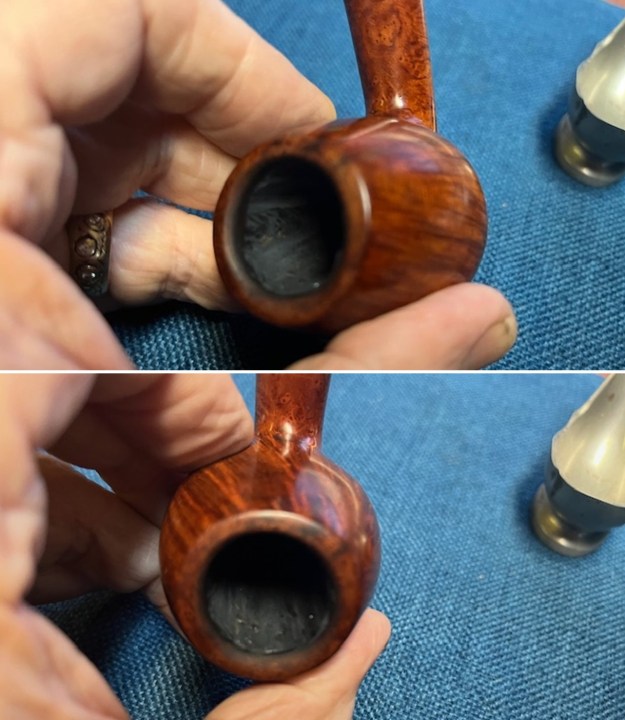
 The damages demanded some restoration and repair. I started with the badly bevelled rim top and inner edge. I used a folded piece of 220 grit sandpaper to minimize the damage on the inner edge of the rim and smooth it a bit. I was careful to not change the profile of the rim top and edges. This pipe will be staying with me so I wanted the rim top cleaned up and smooth. The condition of the bowl and rim top when I received it really took away from the amazing work that always characterizes an S. Bang pipe. (The second photo was taken after I had put the JB Weld in the bottom of the bowl. The point though of the photo is to show the repaired rim.)
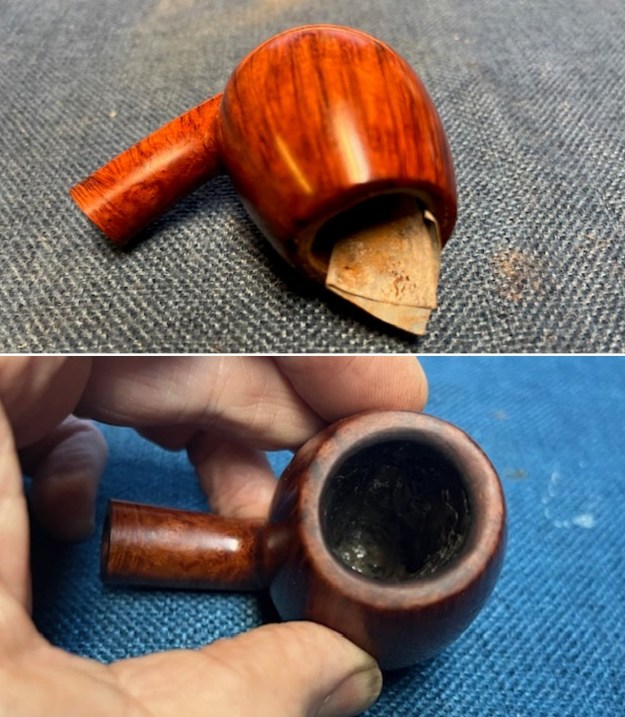 Under the damaged repair to the bowl bottom there is what looks like a pipe cleaner cut trough. It had been repaired but half of the repair fell out of the bowl. There are also a few pits on the inside walls once I removed the cotton pads. This is actually sad when consider the quality of the pipe. It is a high-end pipe that was badly abused. I mixed up a batch of JB Weld and put a pipe cleaner in the shank to keep the airway from plugging. I pressed the mixture into the half of the repair that was missing in the bottom of the bowl with a folded pipe cleaner. I applied it to the gouges in the sides of the bowl to smooth them out and protect the bowl walls from possible burnout. I put the bowl upright in a pipe rest to allow the repairs to cure over night. Once it cured I would need to sand it smooth and clean up the repairs.
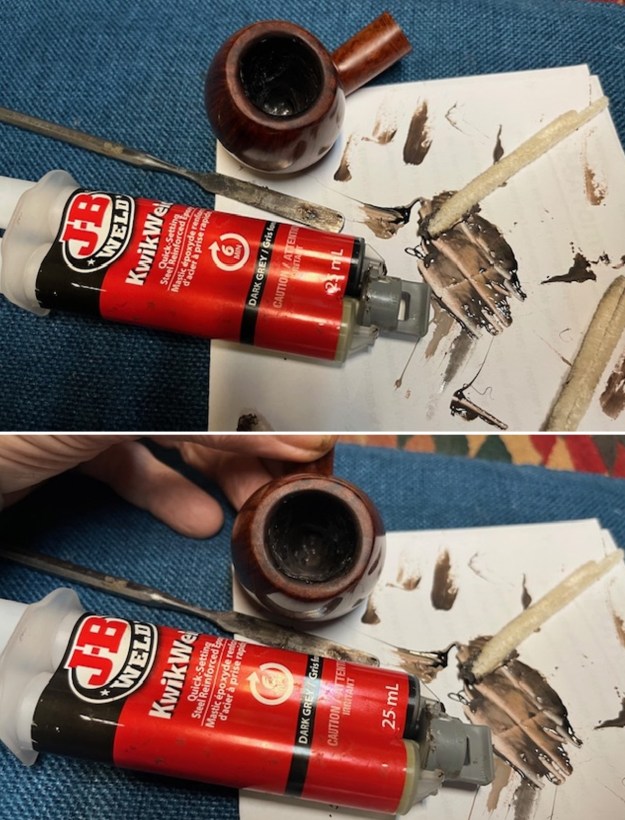 This morning I sanded the bowl walls and bottom with 220 grit sandpaper and small needle files to smooth them out and minimize the amount of JB Weld in the bowl. Once the Weld has hardened it takes some time. Once finished I wiped the bowl down with some isopropyl to remove the debris.
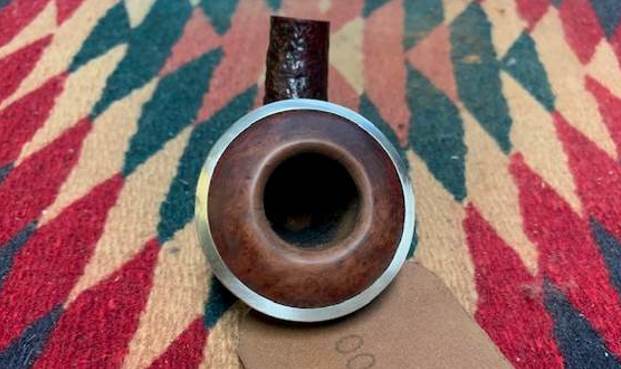
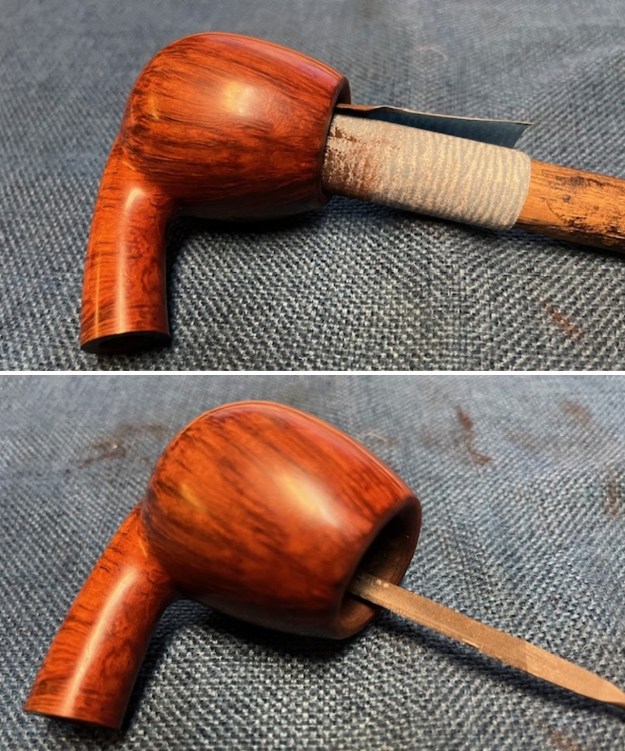
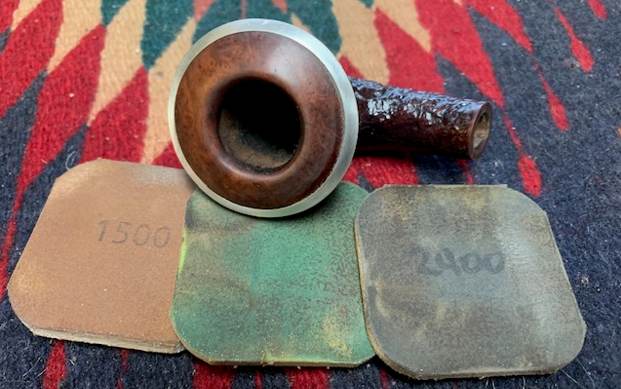
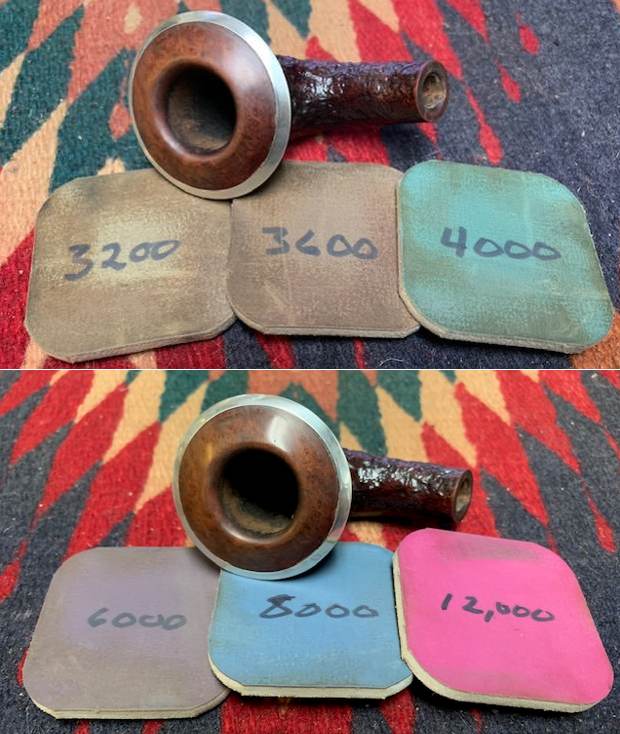
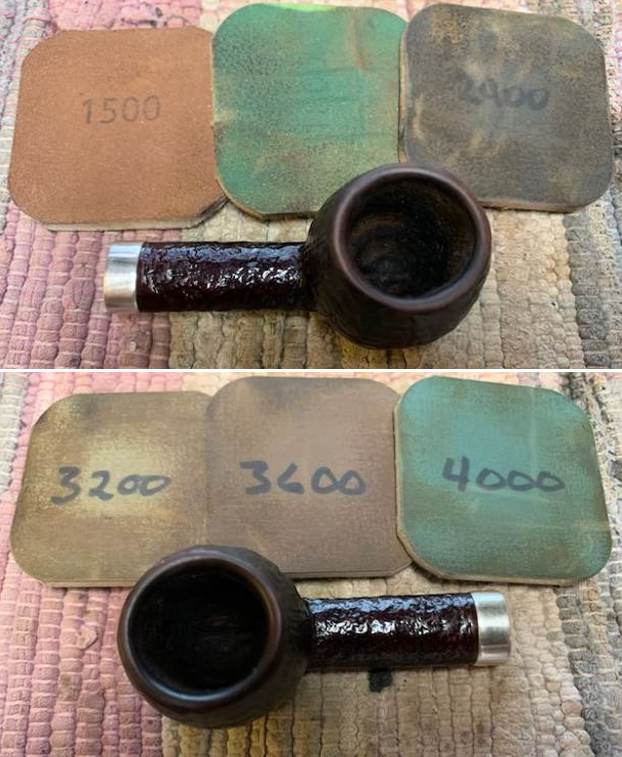
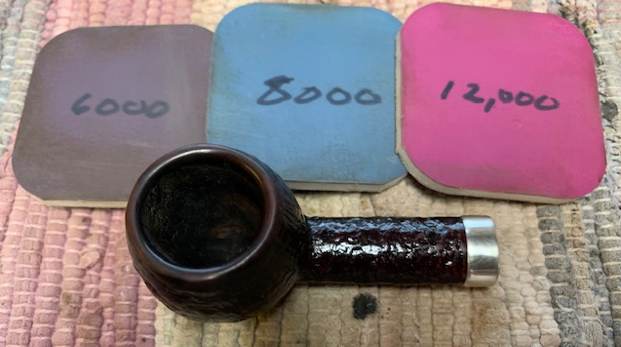
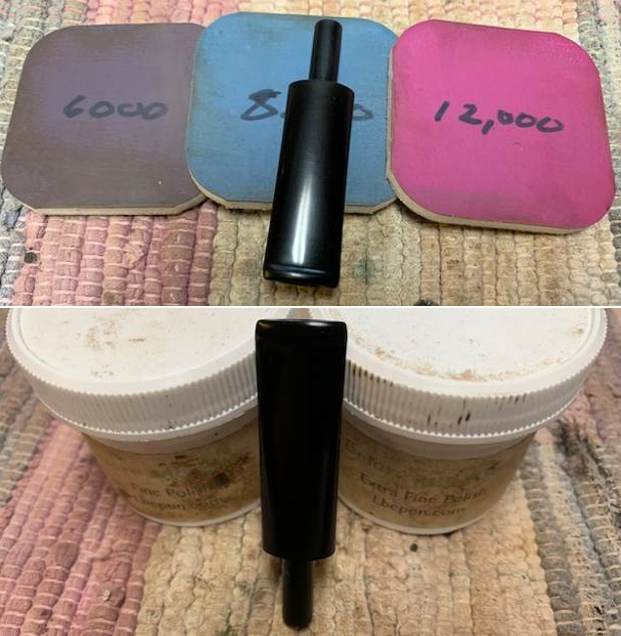
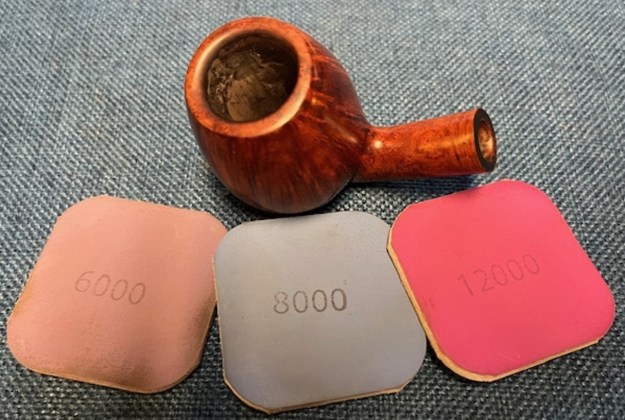
 I polished the repaired rim top with micromesh sanding pads – dry sanding with 1500-12000 grit pads and wiped it down the bowl after each sanding pad.
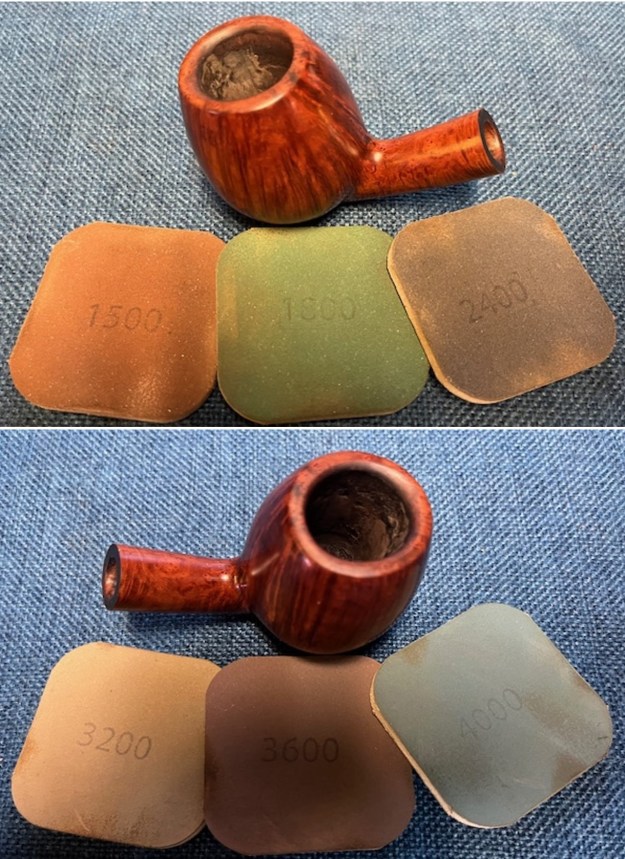
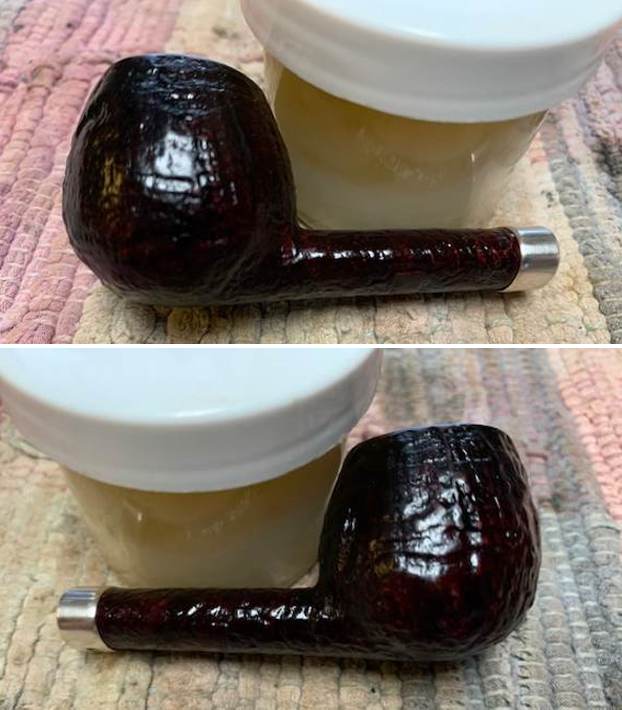
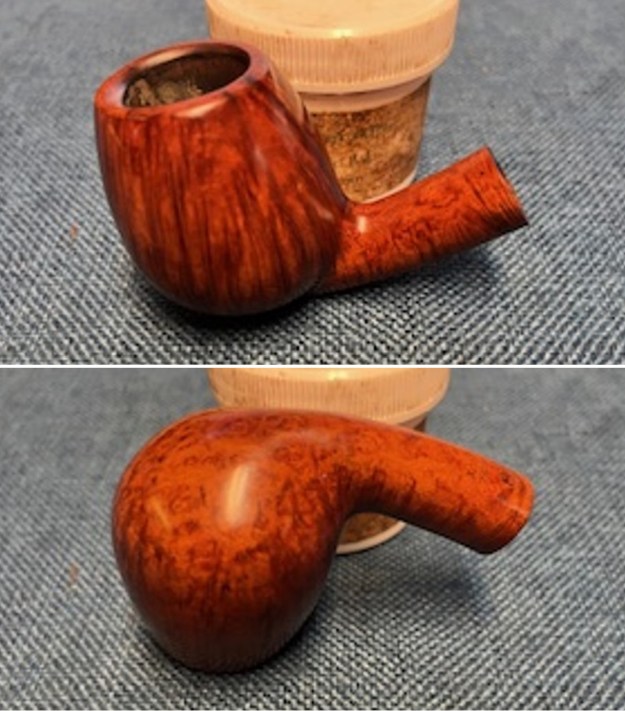
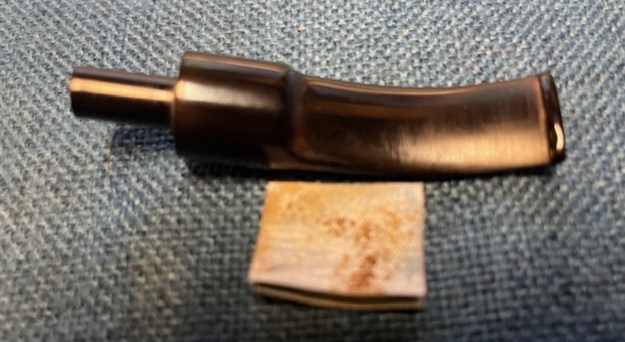
 I rubbed the bowl and shank down with Before & After Restoration Balm. I worked it into the surface of the briar with my fingertips to clean, enliven and protect the briar. I let the balm sit for a little while and then buffed with a cotton cloth to raise the shine. The Balm did its magic and the grain stood out.
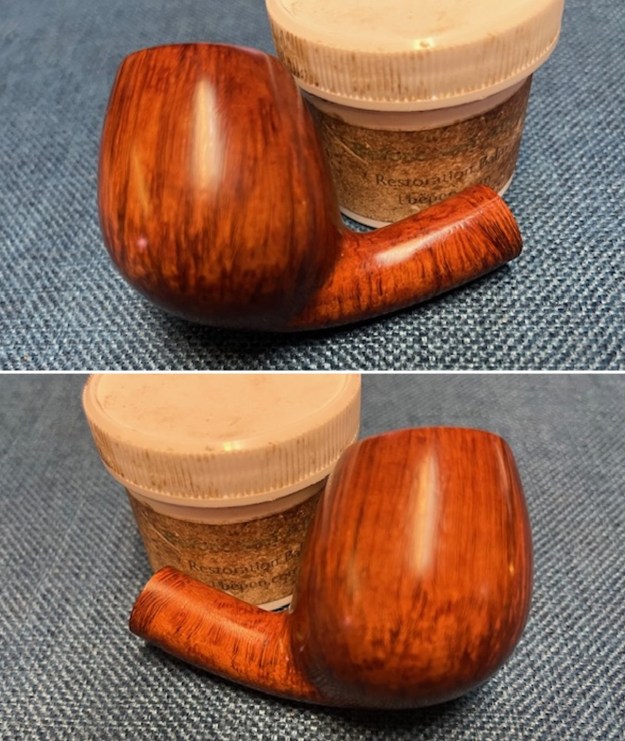
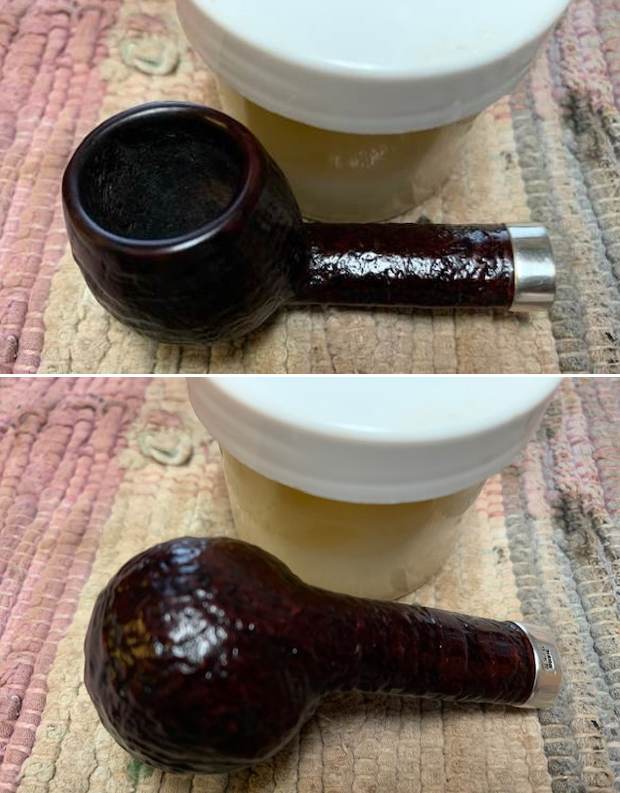
 I mixed up a batch of bowl coating – sour cream and activated charcoal powder to give a top coat and to facilitate the build up of a cake in the bowl. I applied it to the bowl with a folded pipe cleaner and painted it on the bottom and the sides. Once finished I set it aside to cure over night.
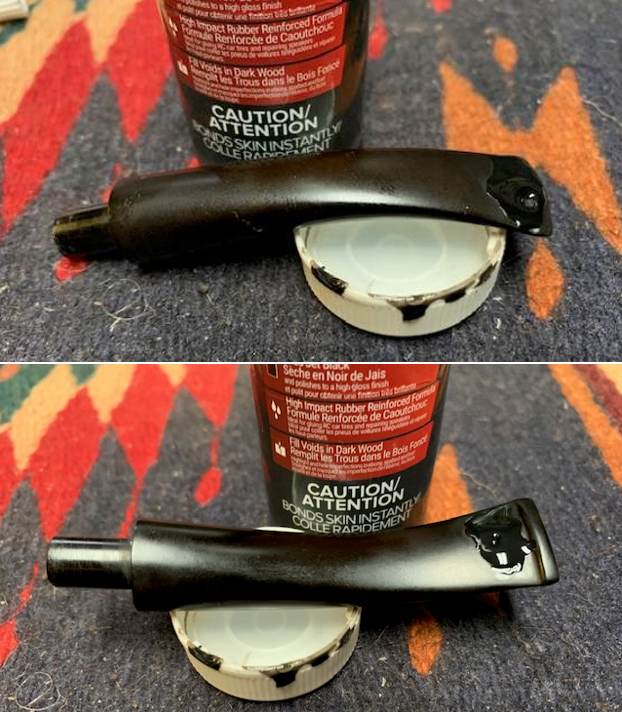
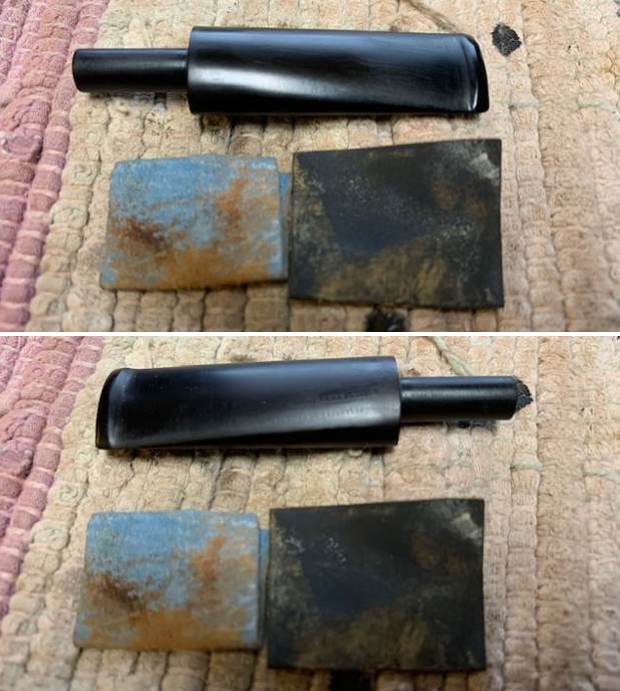
 I set aside the bowl and turned my attention to the damage on the stem. I painted the stem surface with the flame of a lighter to lift the tooth marks. I lifted them some. I filled in what remained of the marks on the top side with black CA glue. I set it aside to cure. Once the repairs cured I flattened them out with 220 grit sandpaper to blend them into the stem surface.
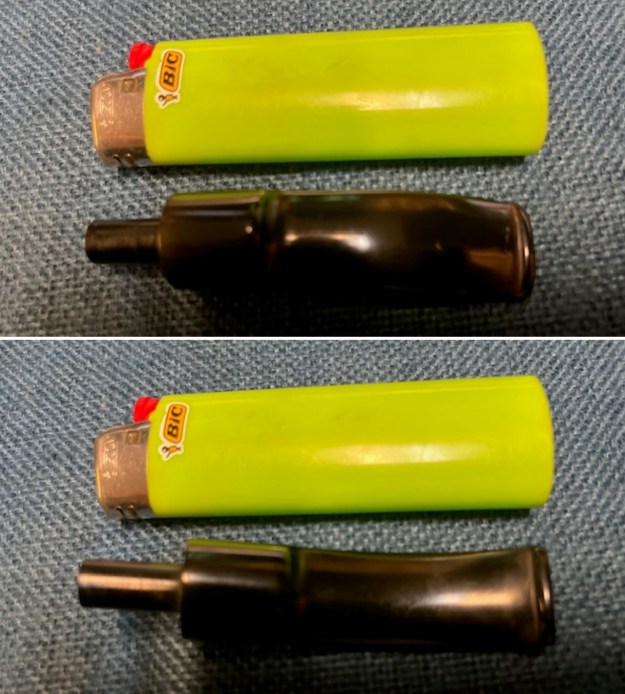
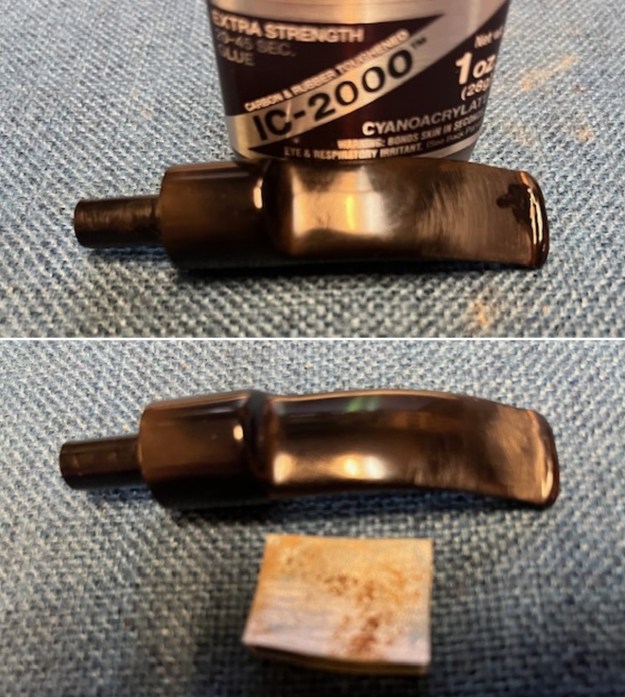
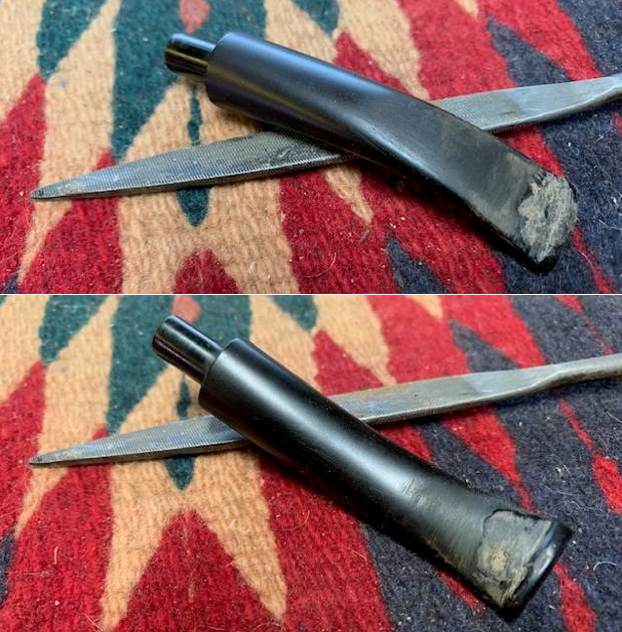
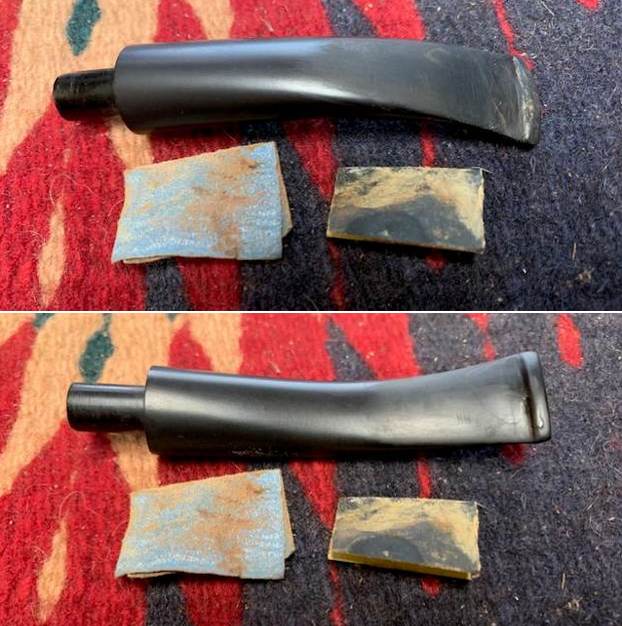
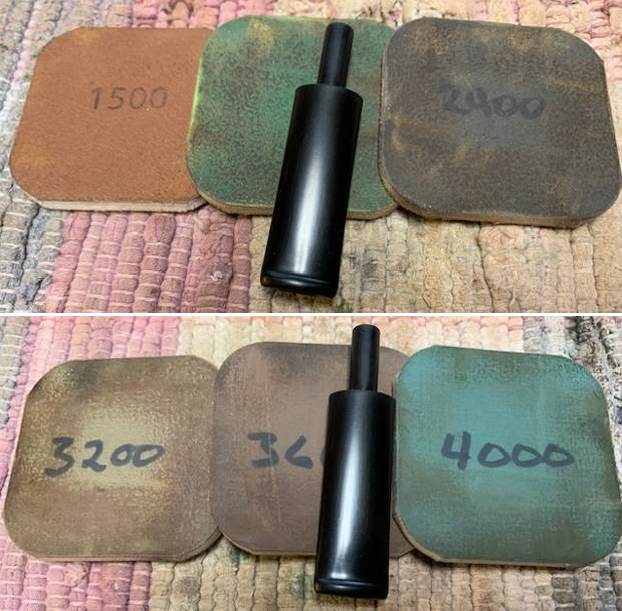
 I was able to polish out the repairs with 320-3500 grit sanding pads. I wiped the stem down after each pad with an Obsidian Oil cloth. It was beginning to look very good.
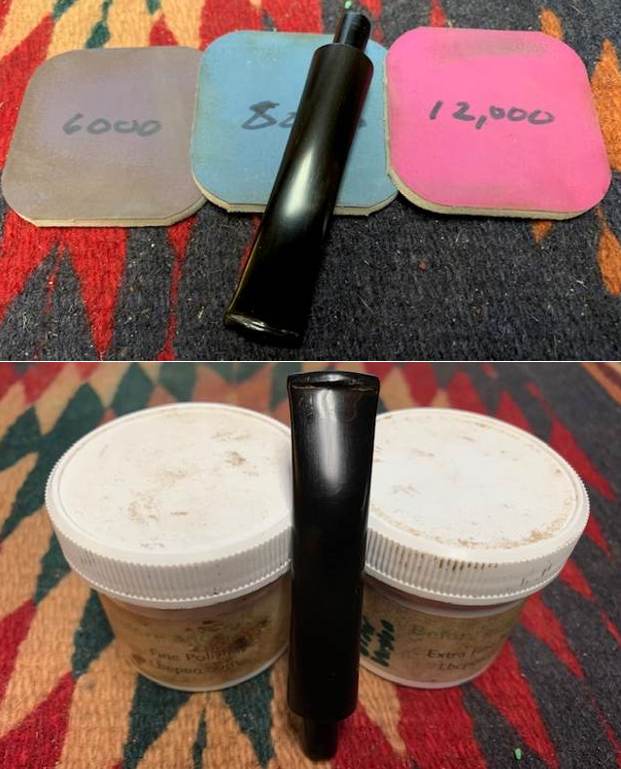
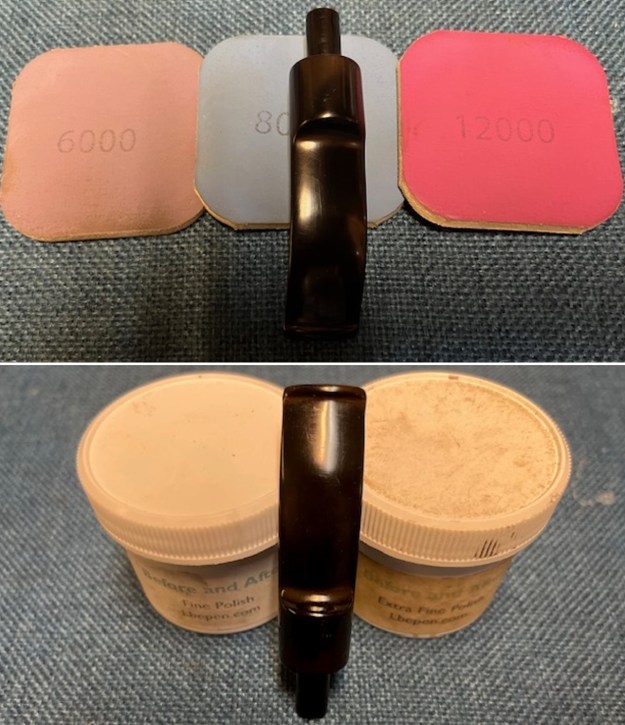
 I polished the stem with micromesh sanding pads – 1500-12000 grit pads. I wiped it down with a damp cloth after each sanding pad. I used Before & After Pipe Polish – both Fine and Extra Fine to further polish the stem.
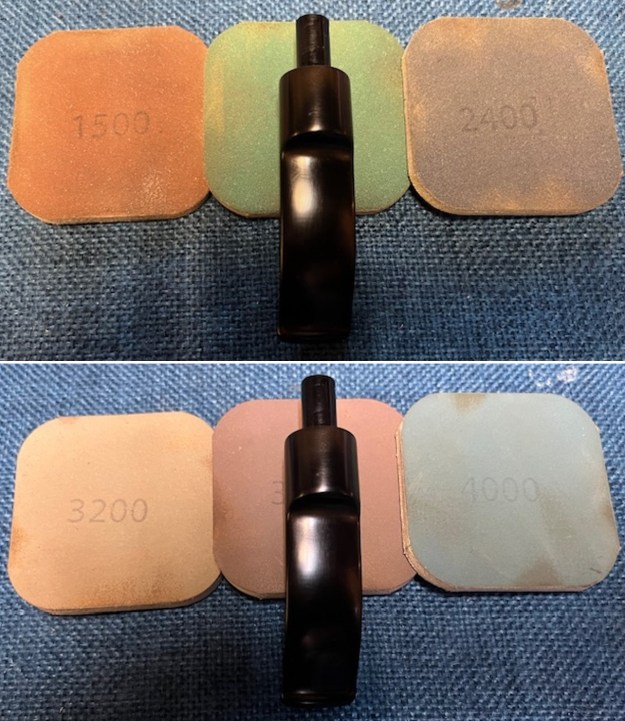
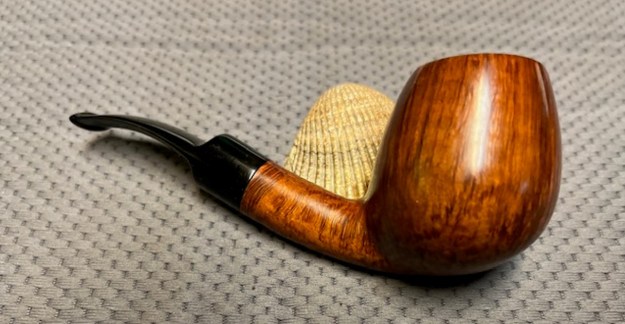
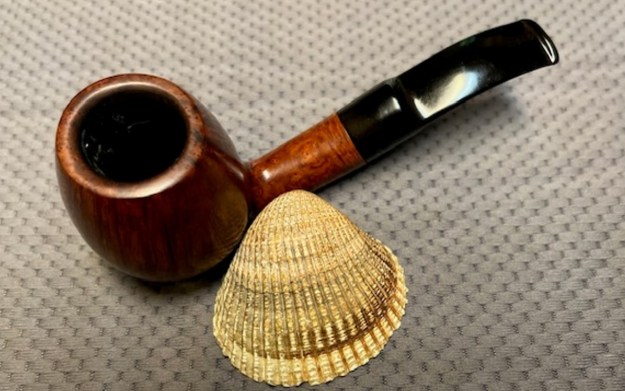
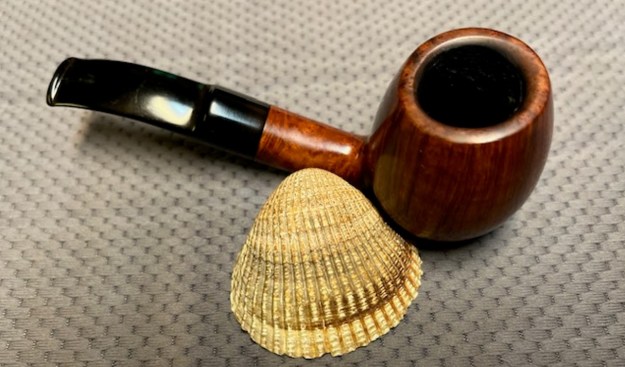
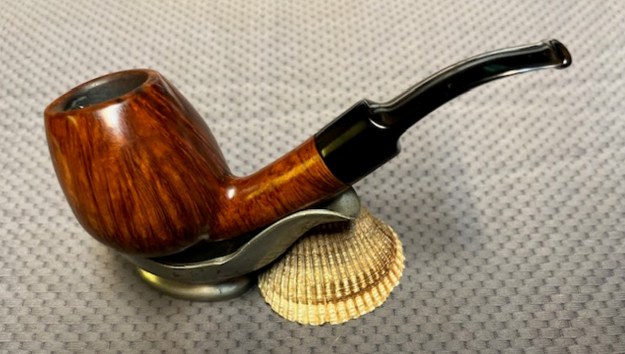
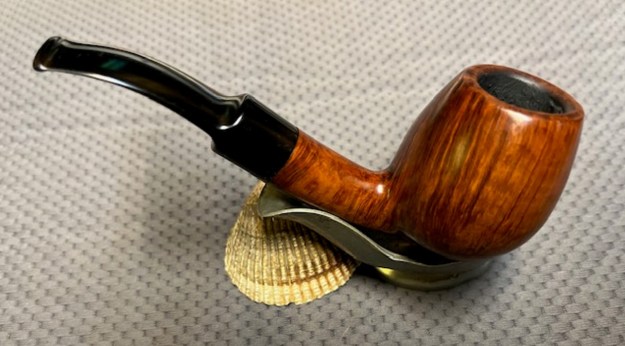
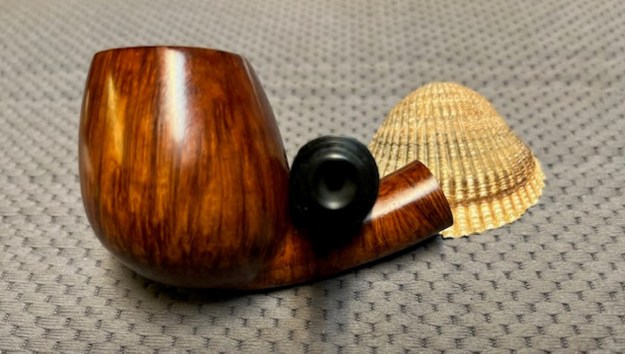
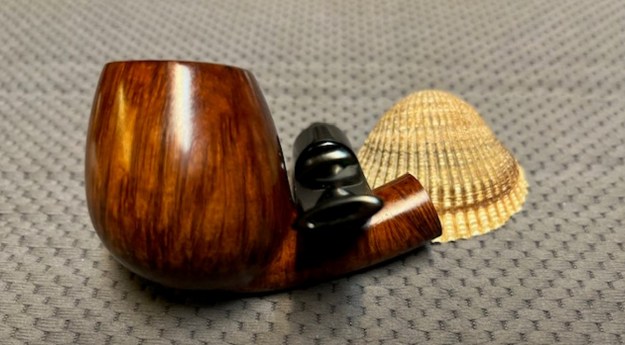
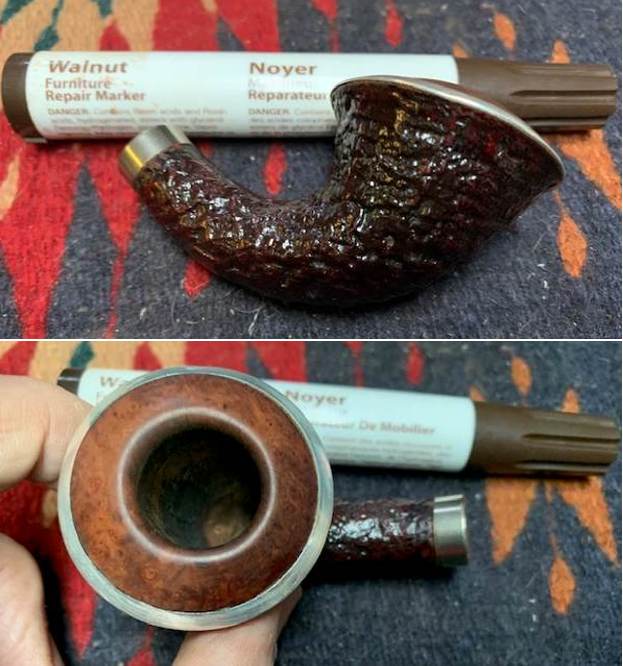
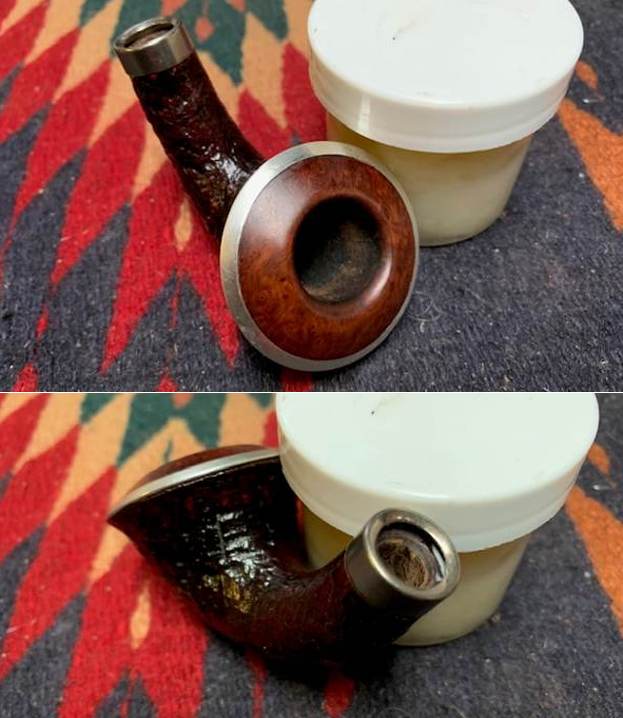
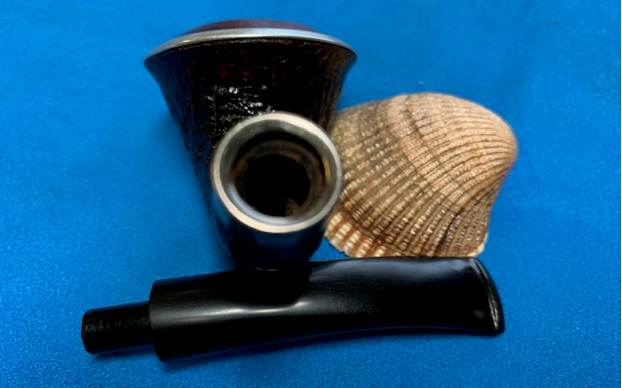
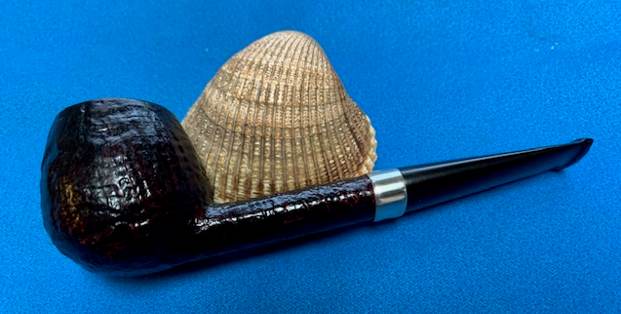
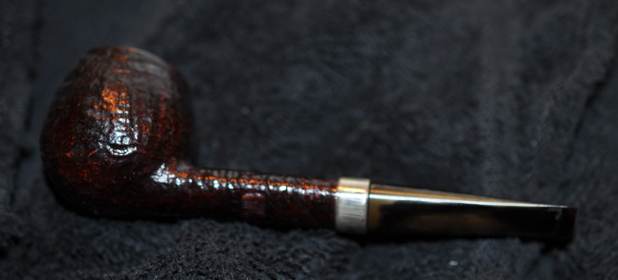
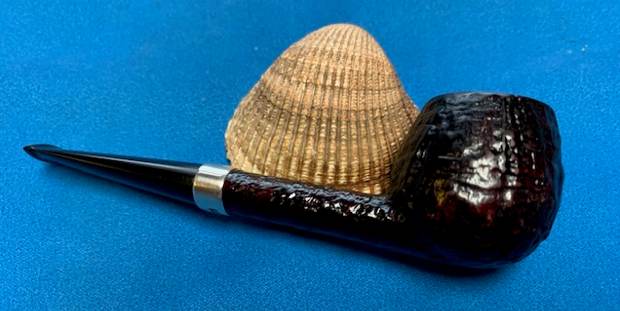
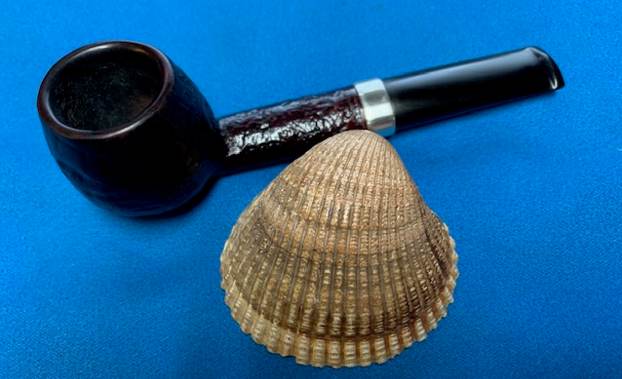
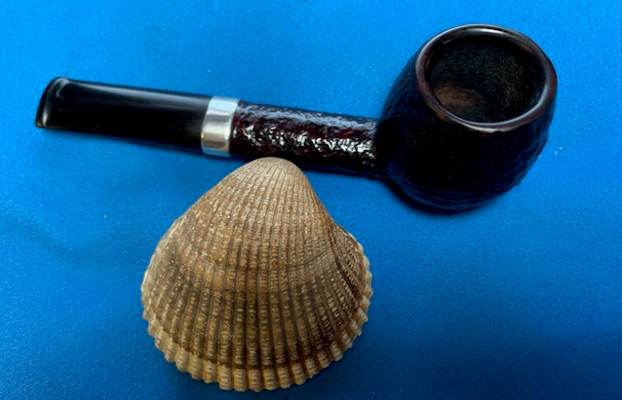
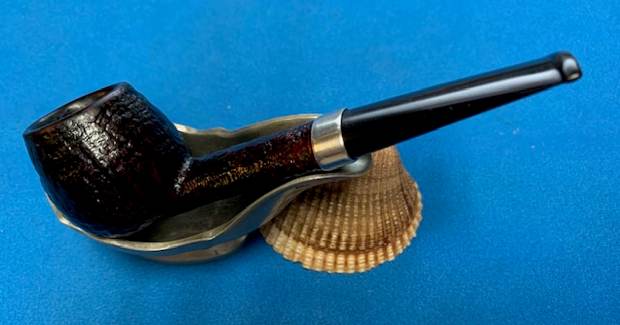
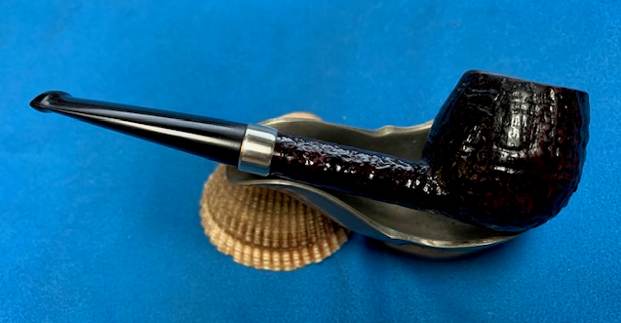
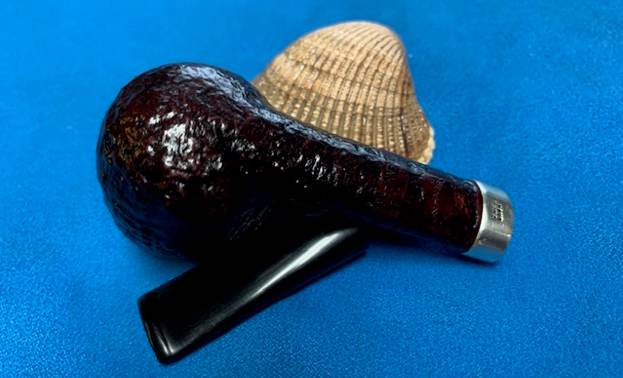
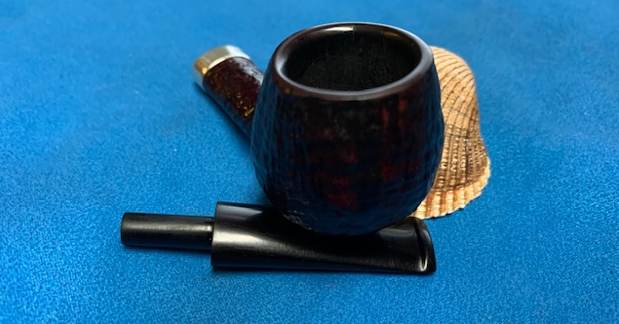
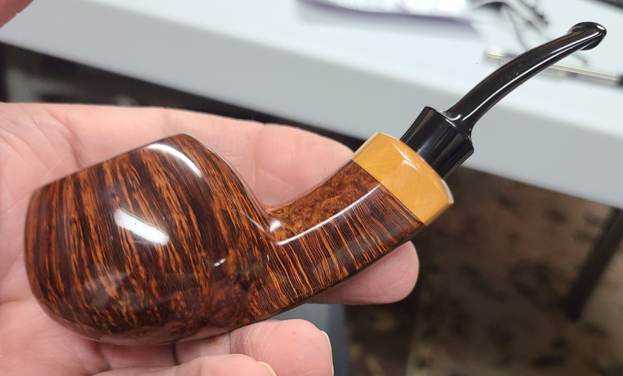
 I put the repaired and reworked S. Bang Copenhagen Grade A Bent Brandy back together and took the pipe to the buffer. I buffed the bowl and stem with Blue Diamond to polish the briar and the vulcanite. Blue Diamond does a great job on the smaller scratches that remain in both. I gave the bowl and the stem several coats of carnauba wax and buffed the pipe with a clean buffing pad to raise the shine. I hand buffed it with a microfiber cloth to deepen the shine. Considering the mess the pipe was in when I started working on it I am amazed at how well it turned out. The finished pipe is shown in the photos below. This is a beautiful S. Bang Grade A Bent Brandy – the vulcanite saddle stem and rim top and smooth finish combine to give the pipe a great look. The polished straight grain briar and the polished black, vulcanite stem looks really good. The rich grain stands out on the bowl and shank. The dimensions of the pipe are Length: 5 inches, Height: 2 inches, Outside diameter of the bowl: 1 ¼ inches, Chamber diameter: 7/8 of an inch. The weight of the pipe is 1.83 ounces/51 grams. This beautiful, restored S. Bang will be staying with me for awhile. Thanks for walking through the restoration with me on this beauty!