Blog by Steve Laug
A month ago I posted the first part of this blog entry and you read through the interaction of Carl and me as we worked on a nice little billiard and brought it back to life. We did this through interacting on Skype and posting on Pipe Smokers Unleashed Forums as we did the work. It was a great experience and one that is worth repeating should anyone want to give this a try.
This is part 2 of that restoration via Skype. It will also be published in Pipe Smokers Unleashed Magazine in the September issue.
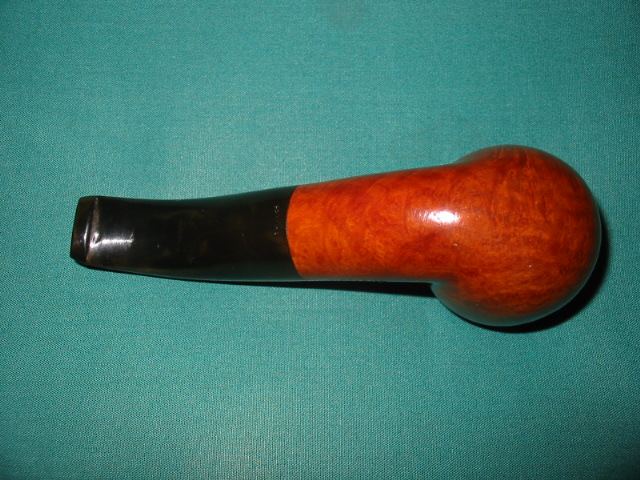
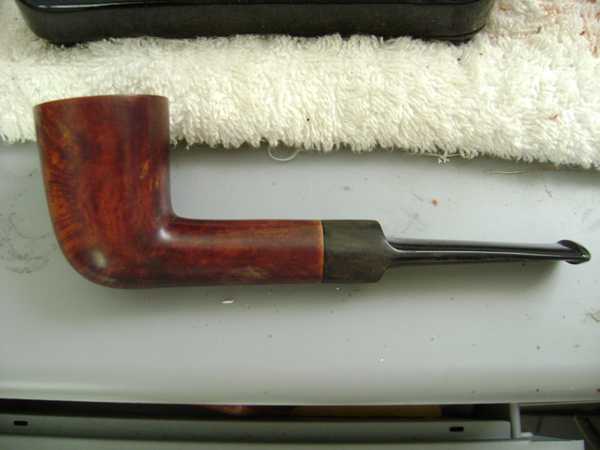
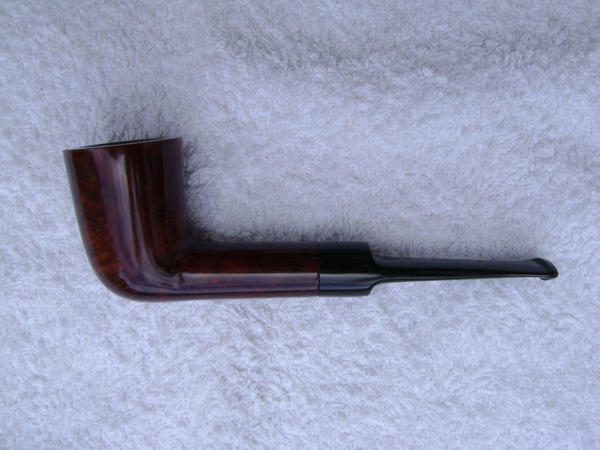
Carl and I ended our evening of work on the billiard with these last few comments.
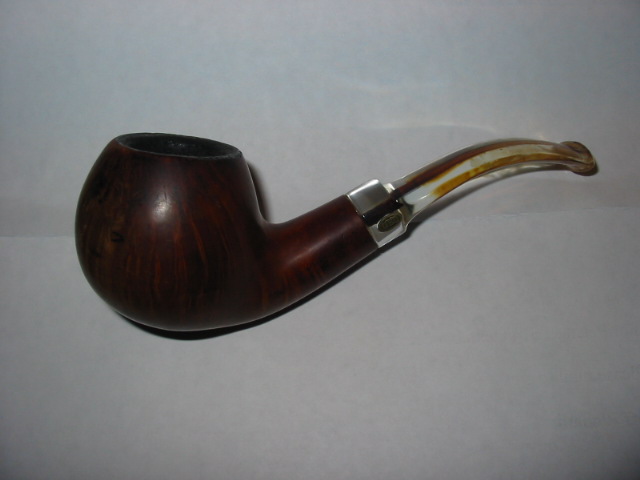
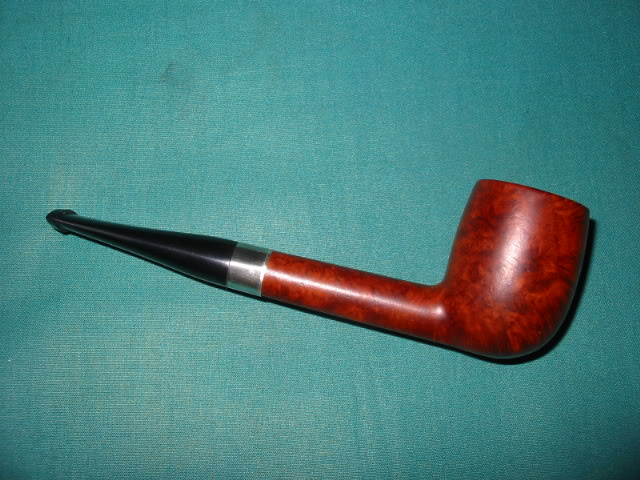
SL – Nicely done. It looks like a “new” pipe. Fire up a good bowl of something and enjoy it. Tomorrow is sanding and staining day for the Dublin. Let’s see if we can get her looking as nice.
CH – Yeh, I’ll let the tea steep overnight so it is really dark.
SL – Do you have superglue there? We will need it on the fills tomorrow. If not we will be creative.
CH – This is the DR mate LOL. Superglue is too technical for these people. I have the wood filler though and the tea LOL.
SL – We will make it work. I will check with you tomorrow when I have a bit of time to walk you through the other one. You can sand it some more if you like. Keep the stem on so you do not change the shape of the shank on it. Enjoy it. Once you have it ready we will look and see what we are dealing with. Enjoy the “new” pipe.
The next morning we reconnected on Skype to work on the Dublin. Carl had posted the following on the forum describing his work in prepping the pipe for the next lesson on staining.
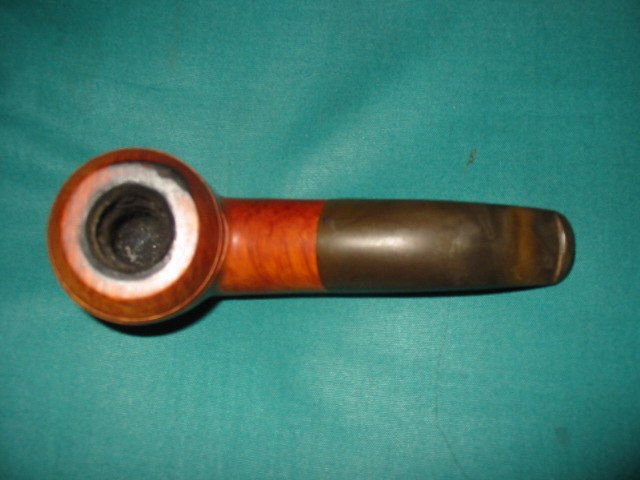
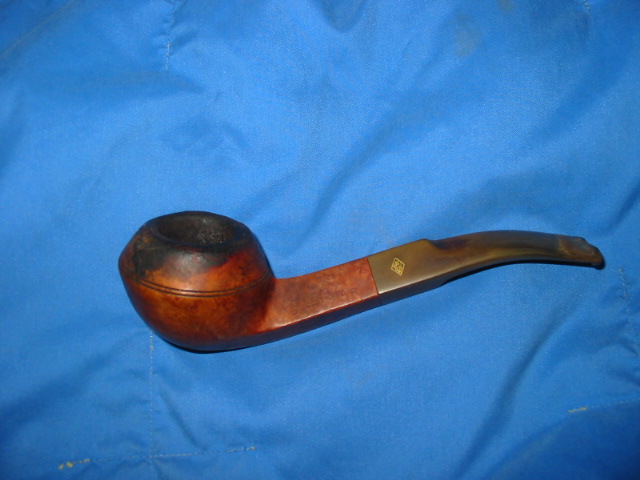
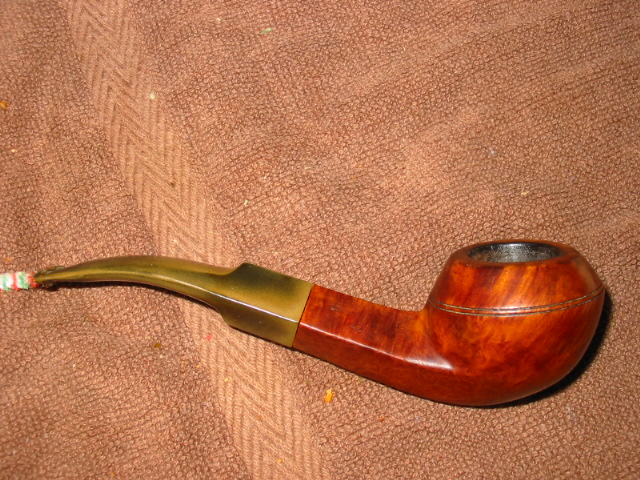
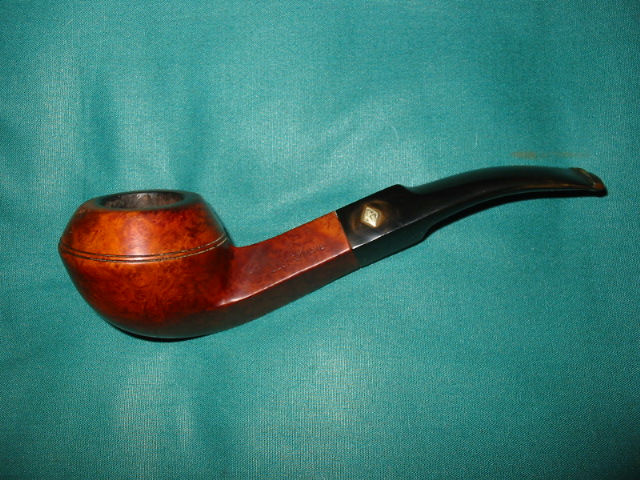
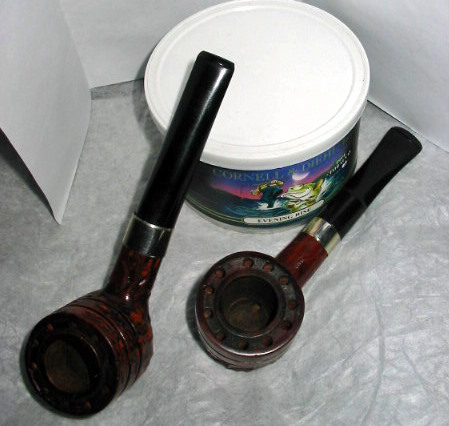
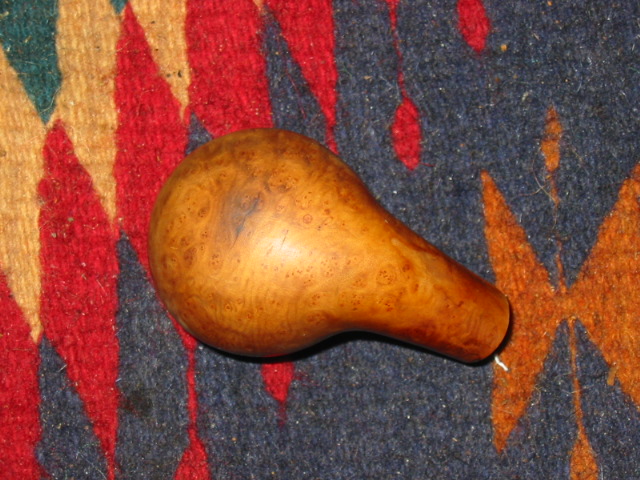
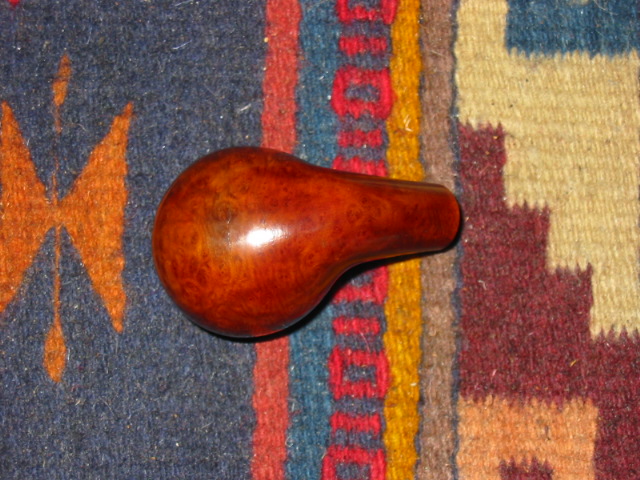
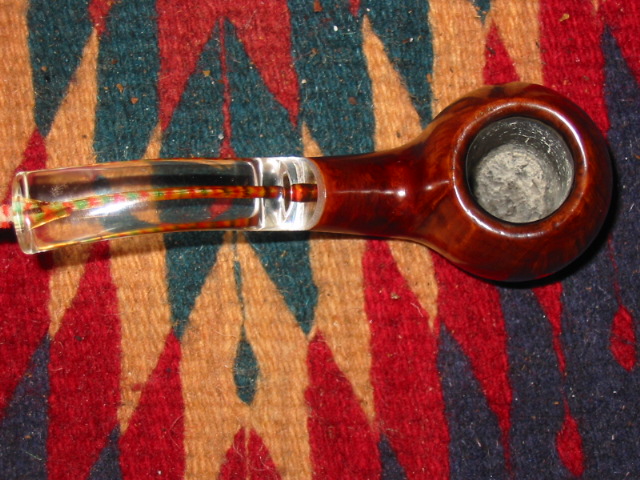
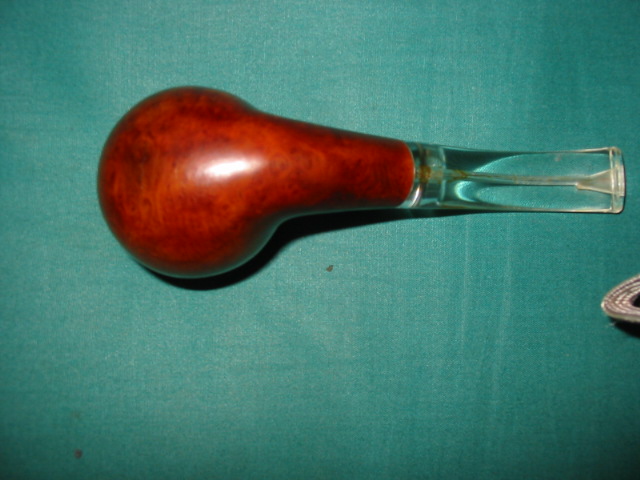
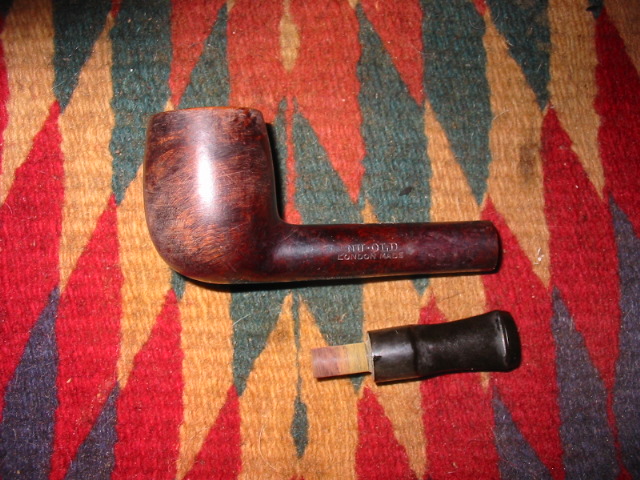
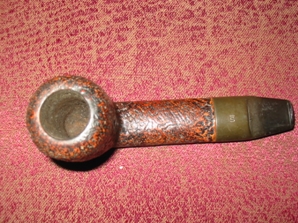
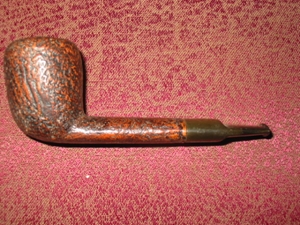
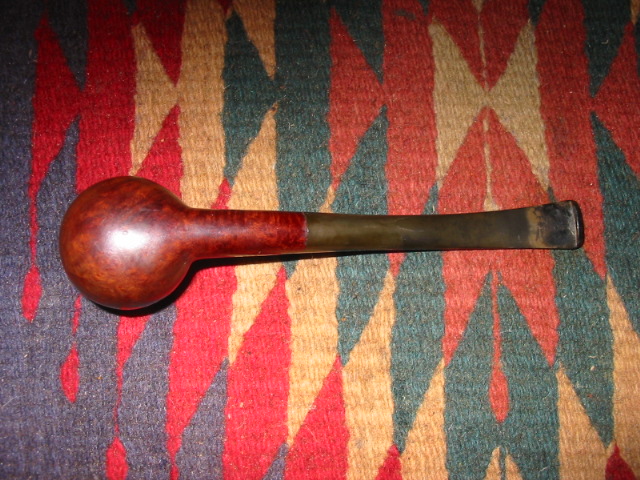
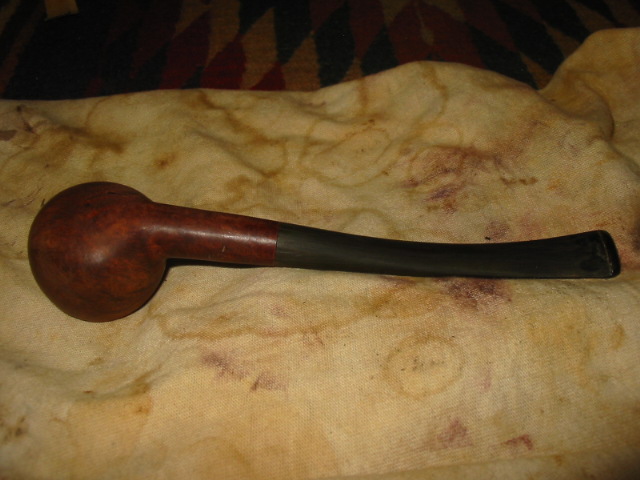
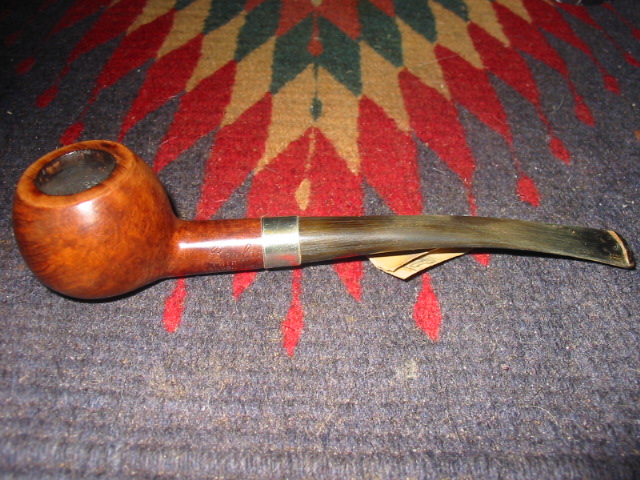
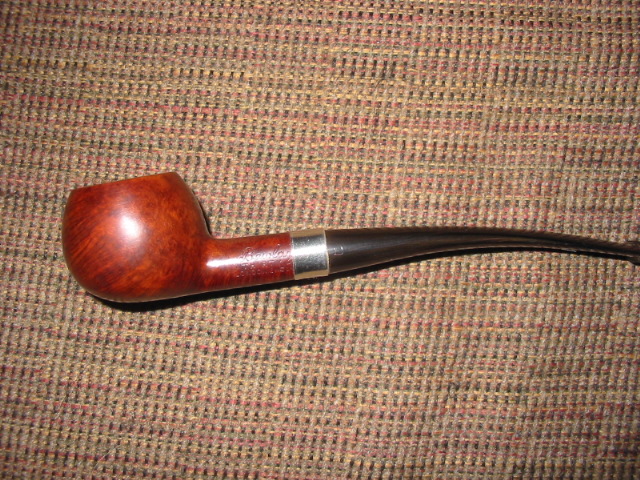
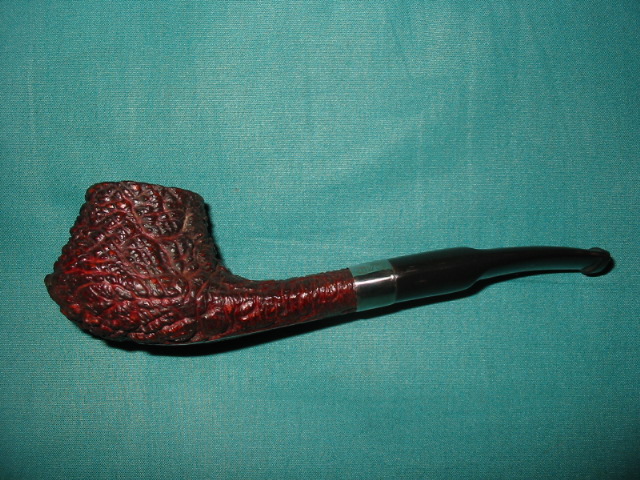
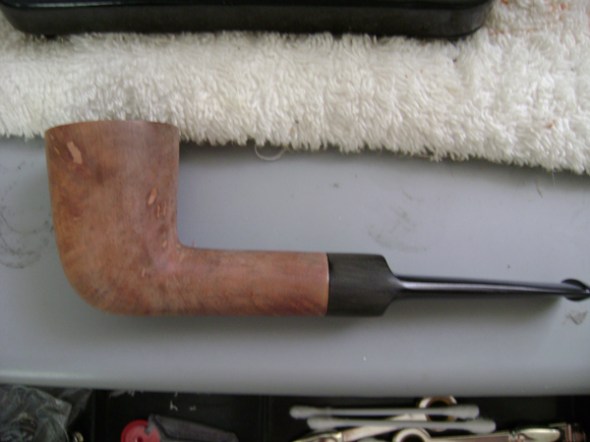
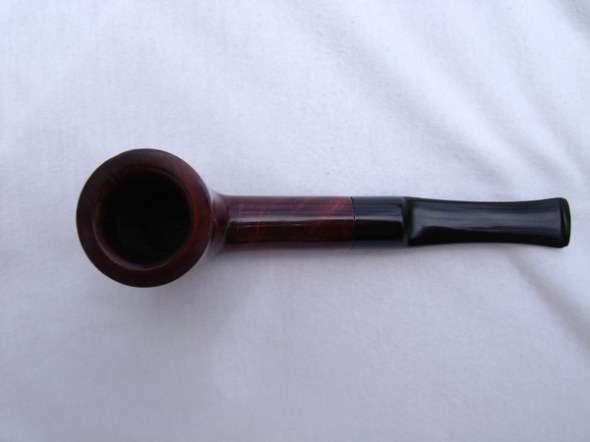
CH – Ok guys, Dublin on the table today to carry on. This pipe requires a bit more in terms of restoration as I really wanted to try a re-stain and do more work on it. Here is a picture of what it looks like right now.
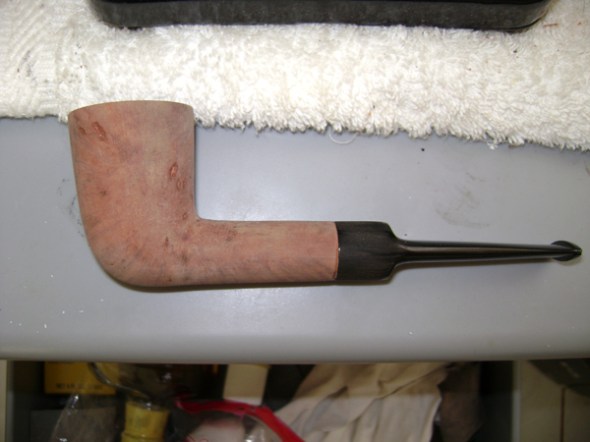
First thing I did this morning was fire up the billiard with a bowl of CH and thought about what I wanted to do. I was intending to try and get a more contemporary look to the pipe with a pale stain but a couple of things are working against that at the moment. The first is the number of fills on the pipe and I only have access to my mahogany wood filler. The second is that when you wipe the bowl down with Isopropyl the briar color is quite dark and will actually make a good match to the filler I have.
Ok work done so far this morning while sipping away at the billiard.
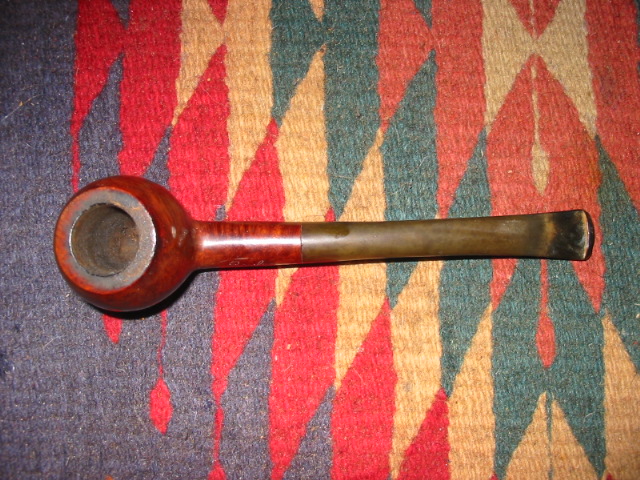
– Sanding of bowl with 220 to remove all traces of previous finish.
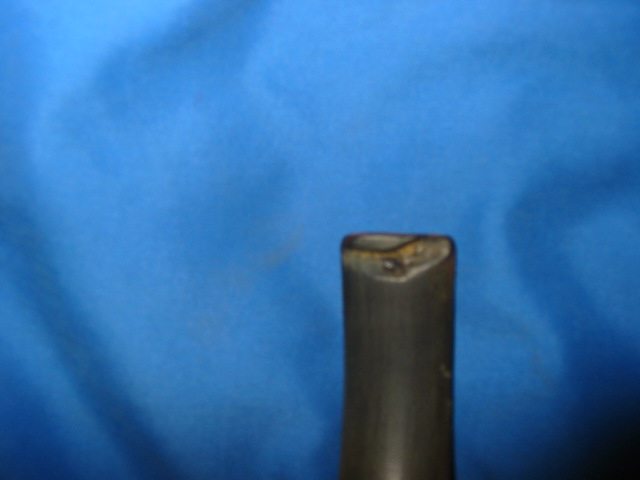
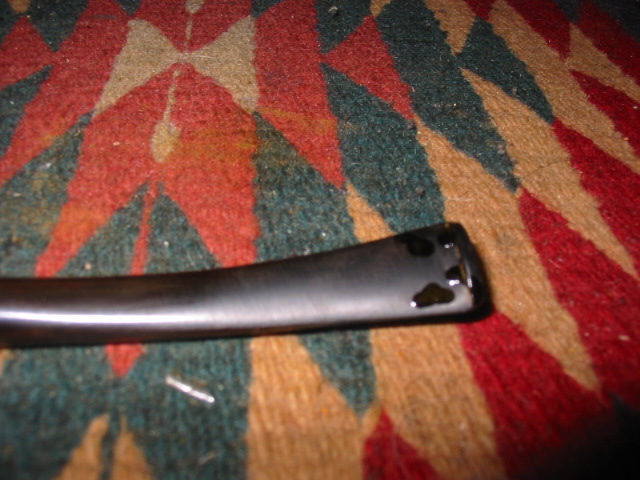
– Next I wanted to remove as much of the chipping on the rim as possible so I took a piece of 220 and laid it on a glass desk that I have and sanded the rim in circular motions, alternating between clockwise and anticlockwise to keep the profile of the bowl intact. I did this for about 20 minutes or so and removed all chips apart from one that has about 1mm left on it and is hardly noticeable. The rim has a nice crisp sharp edge and when we stain I will look again to see if I need to push to remove that last tiny bit.
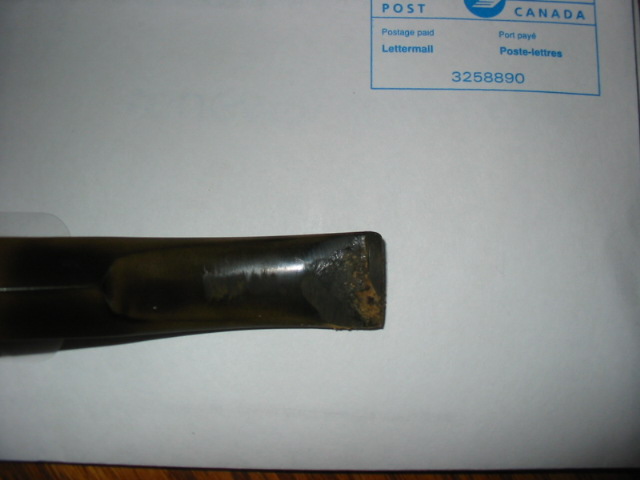
– I then looked at the fills on the pipe and as I am going to refill these I used a small flathead screwdriver take out the old filler.
– All sanding was done with the stem in place to ensure that the profile of shank to stem is not lost.
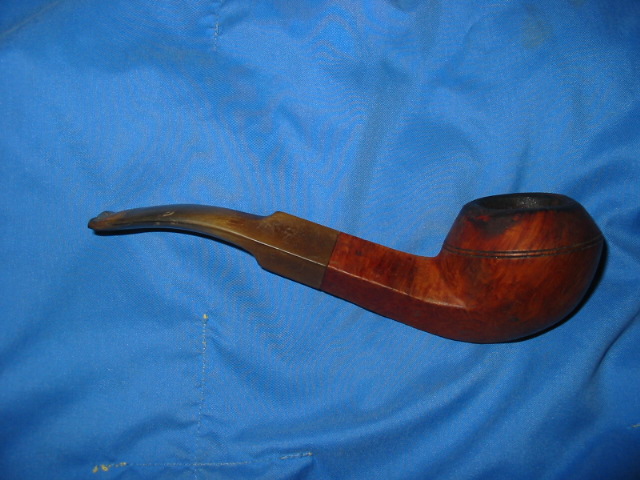
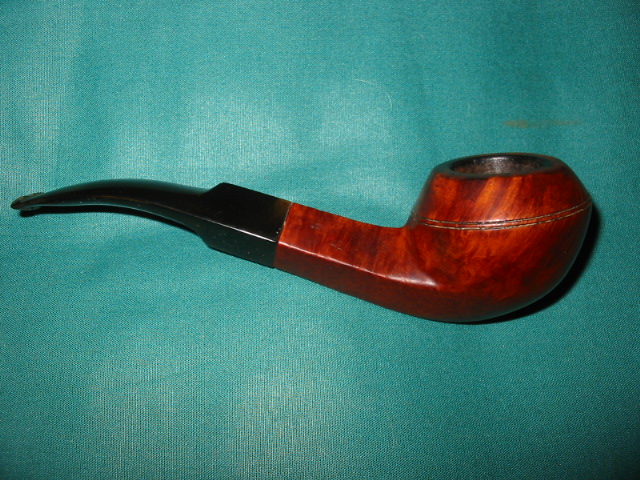
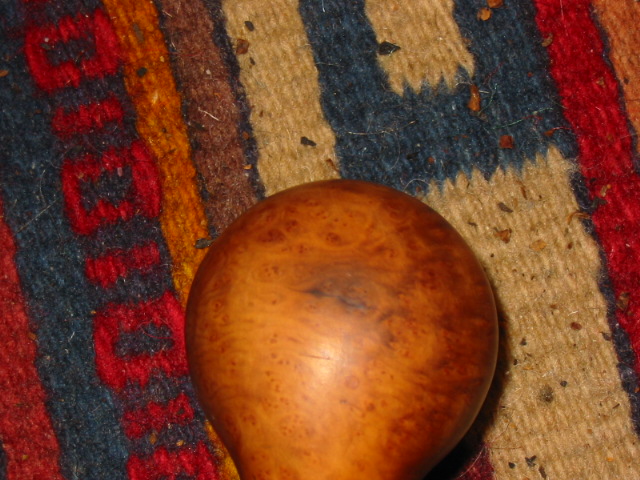
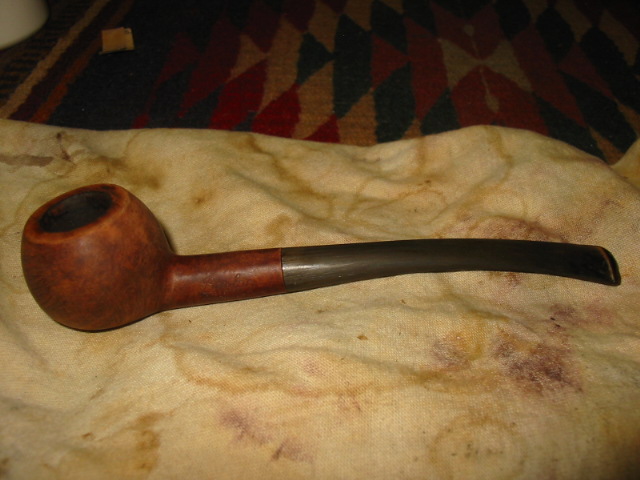
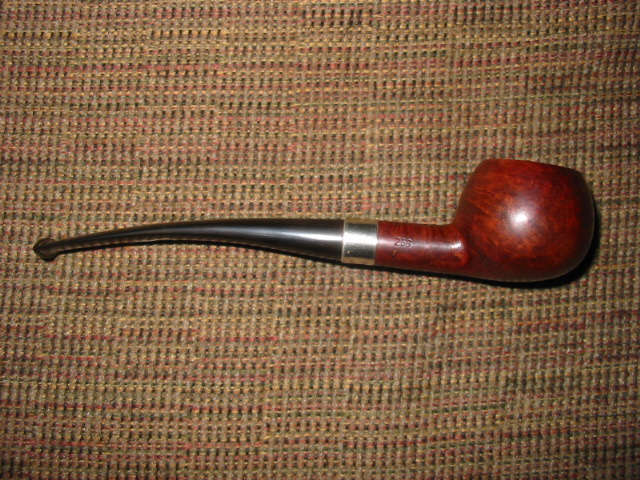
That is the stage where we are at the moment and the image above shows the current status of the Dublin. It looks very good. I will wash the bowl down with Isopropyl alcohol to remove any of the sanding grit and filler grit that may be left. Once that is done I will work on those fills. Then re-sand the bowl to blend in the fills. Glad to see that they match the colour of the wet briar. Hopefully they can disappear a bit into the briar.
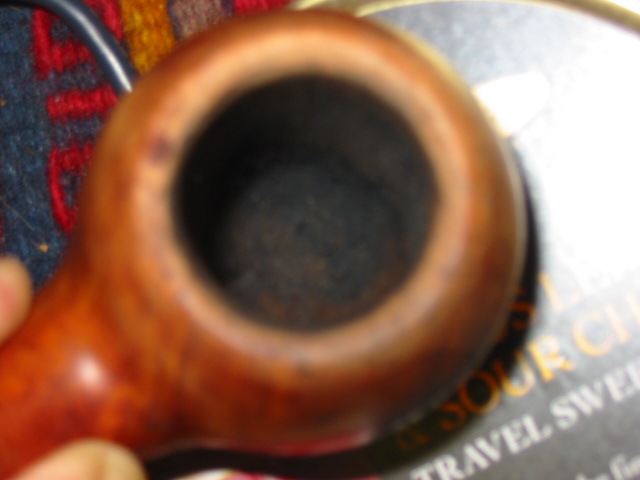
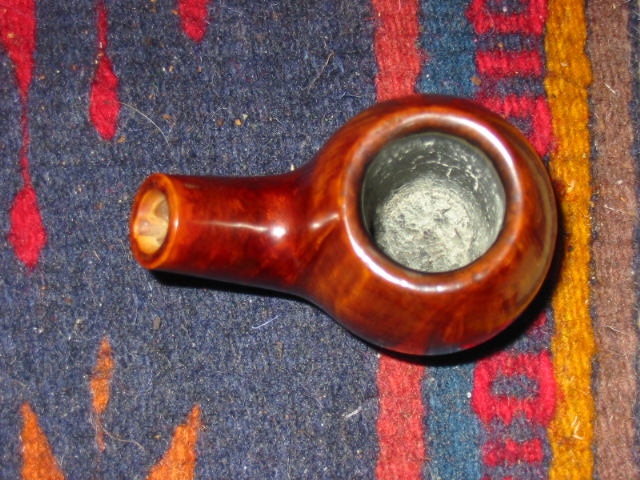
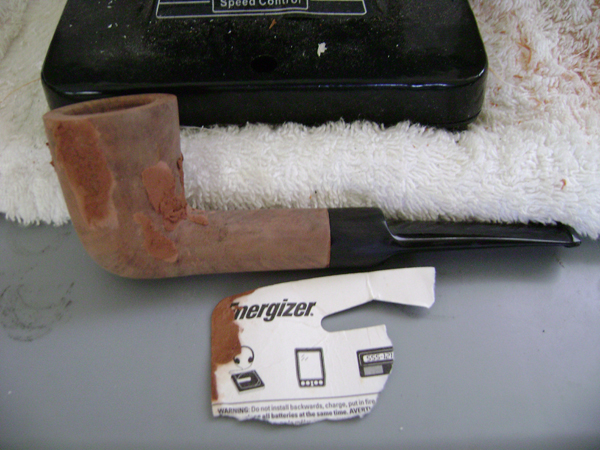
As I didn’t have an old toothbrush (going to have to start saving them) I used an old 9mm pistol brush to clean the bowl with Isopropyl. When I was sure that all traces of the old filler were out and that the bowl was clean I then filled the holes with mahogany wood filler. I used a piece of cardboard from an old battery packaging that was fairly strong but flexible. This allowed me to push the putty right into the holes. I then tamped the putty with the flat edge of a screwdriver to ensure that it was really packed in.
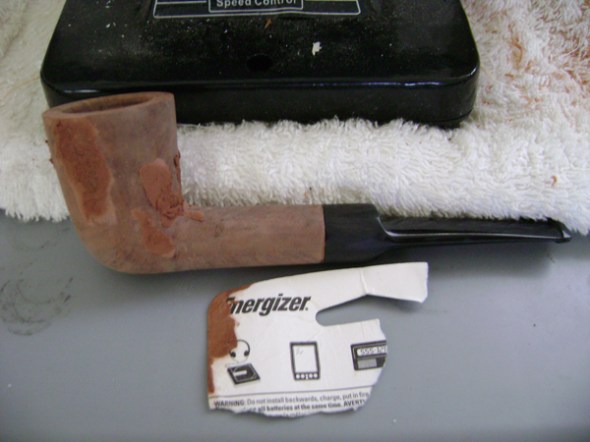
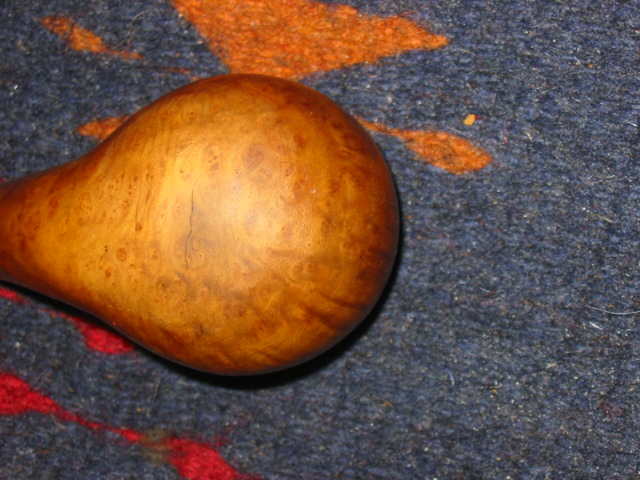
As you can see I really overdid the filler. This will ensure that all gaps are filled and I can sand down to the bowl profile evenly.
SL – Looking really good. Once it is dry sand it down to the bowl surface. I think the putty will dry lighter than the briar but it is better than the pink filler that was there.
CH – Once I have sanded it down we will want to do some work to highlight the beautiful grain that is on that one. I would like to see if we can make it pop a bit. It will also help to hide the fills and make them a bit less obvious.
SL – That is what we are going to want to highlight with our staining. Hopefully we can make it pop. I usually use black stain to do that. But we will make do.
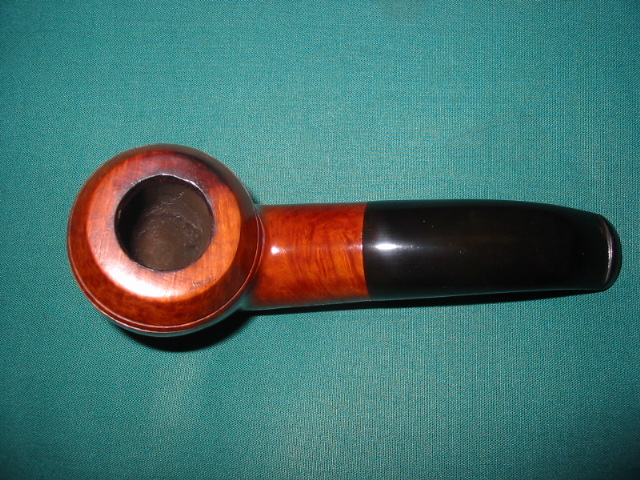
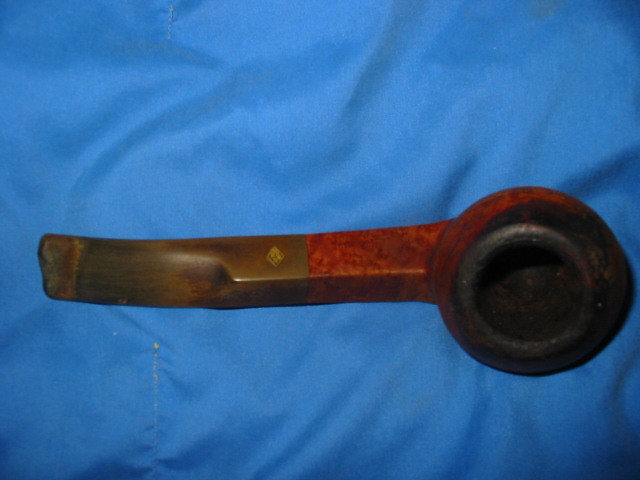
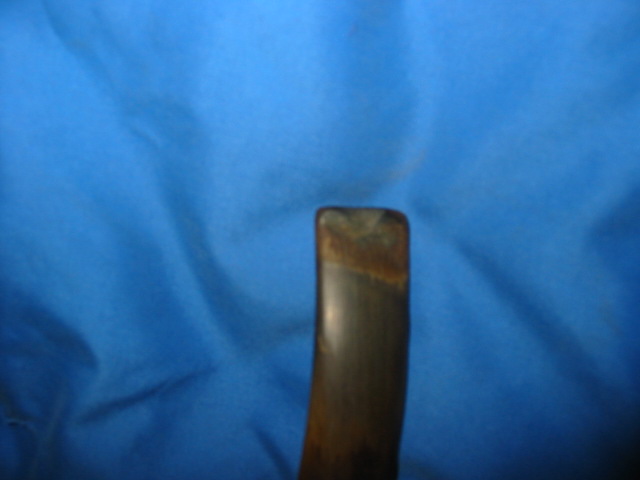
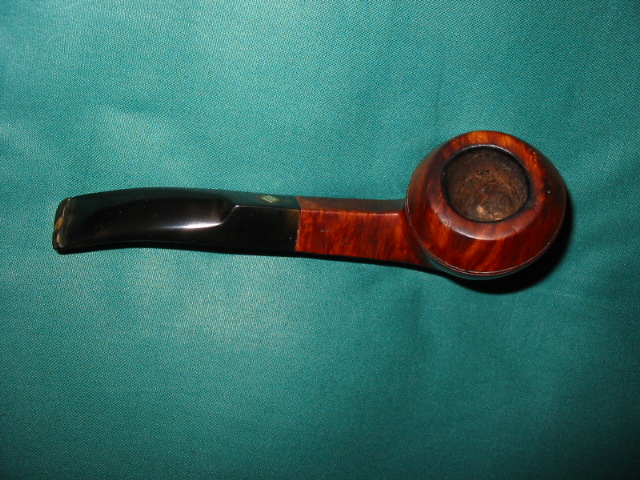
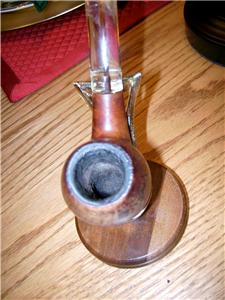
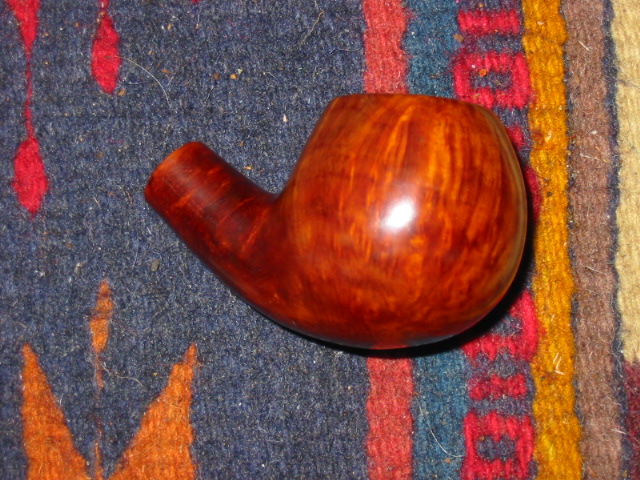
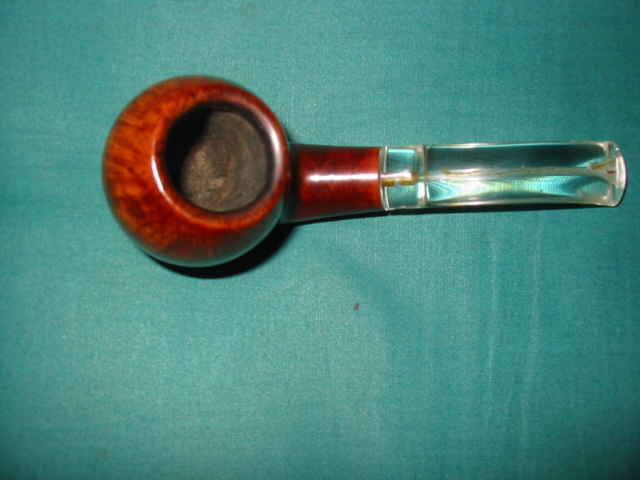
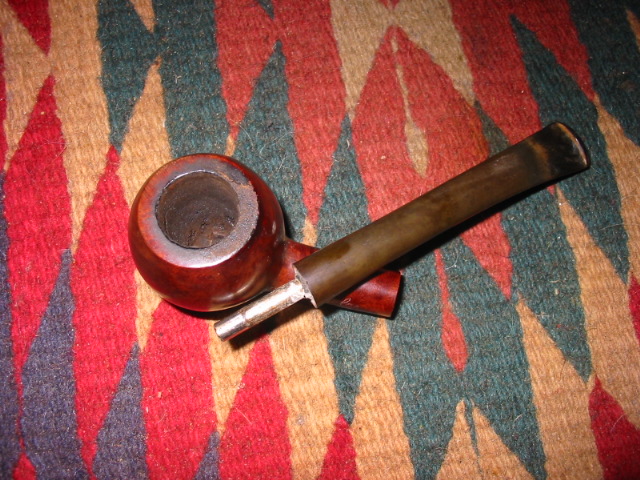
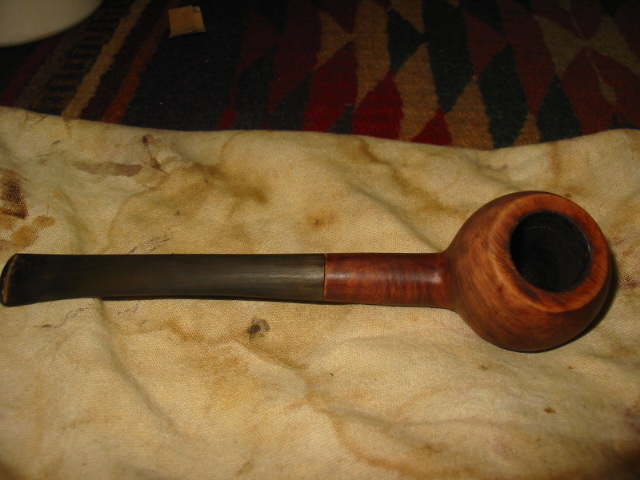
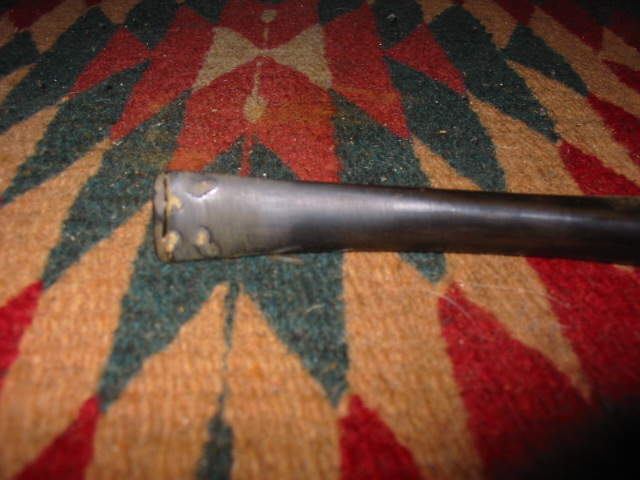
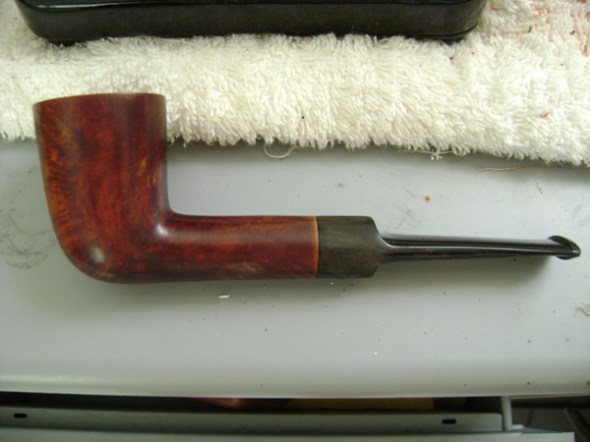
After sanding the filler Carl took these photos to show me the pipe. The fills are very visible as the putty dried much lighter in colour than it was when wet. We will have to do a bit of work to hide the fills under the stain. This will not be a light tan coloured pipe at this rate.
SL – Use the tea to paint the grain lines. Then follow it up with the medium brown stain applied with a brush on the grain lines, flame it and then buff it. When you are done send me a photo to see where we stand.
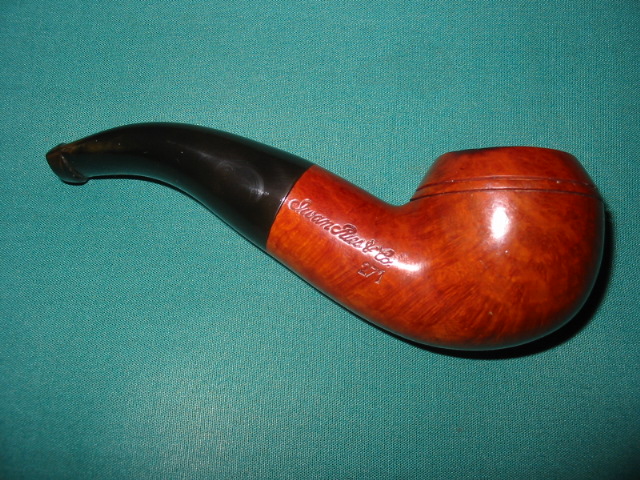
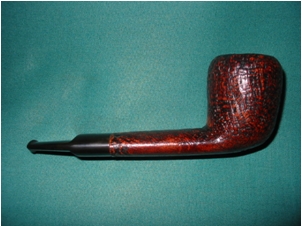
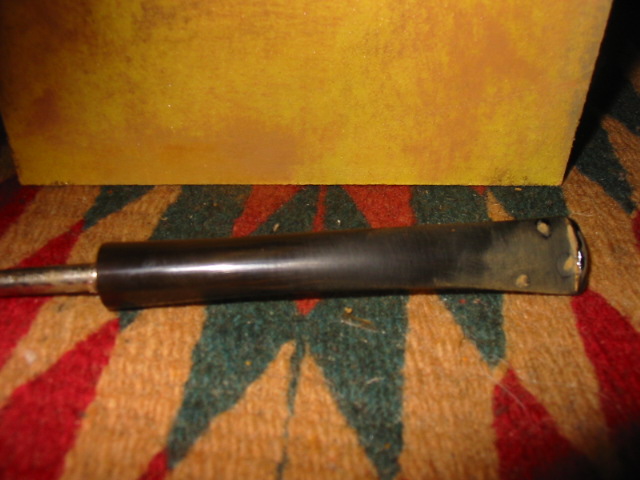
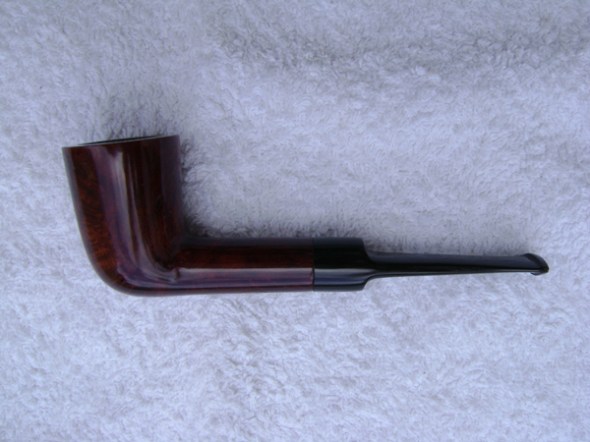
CH – Here is the pipe with the tea and then medium brown stain on one side to test how the filler shows.
SL – It is looking really good. Put some stain on the shank near the stem. We will then use a black permanent marking pen to follow the grain lines through the fills. This will help hide them under the stain. Continue to re-stain the pipe until it is all brown and evenly stained. Then buff with Tripoli then White Diamond and finally carnauba wax.
Carl went on to use the marker on the fills and then re-stained the pipe several times. He flamed it after each stain and then buffed the pipe.
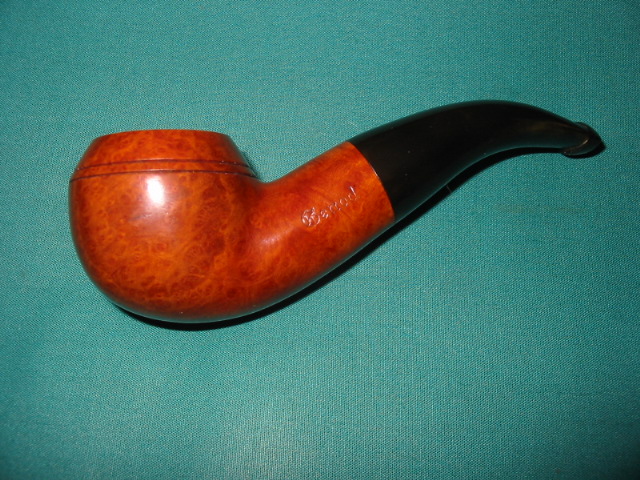
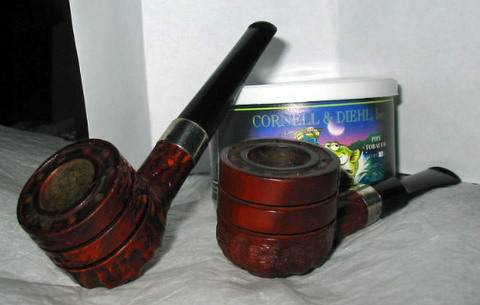
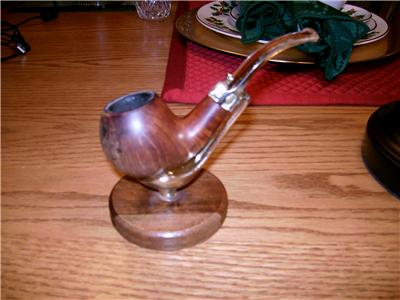
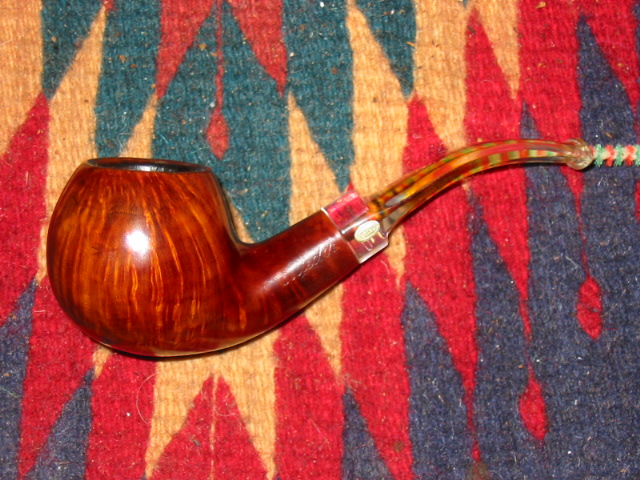
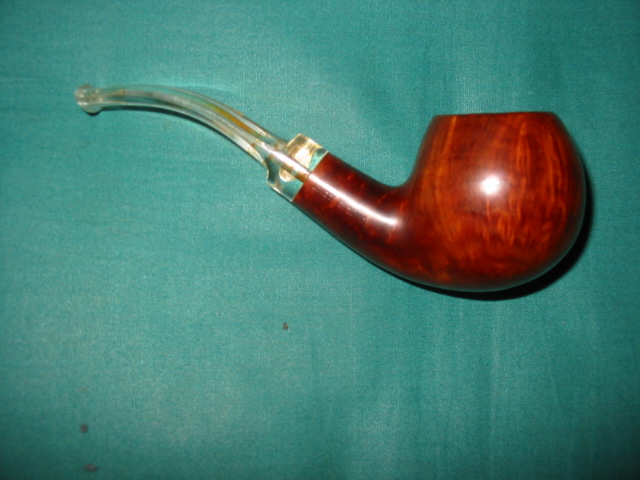
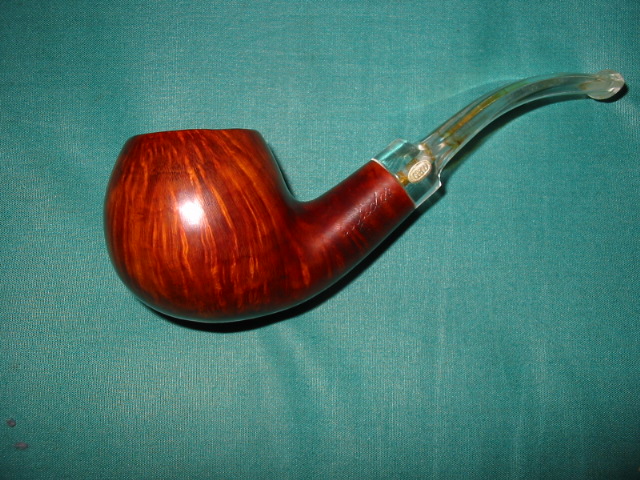
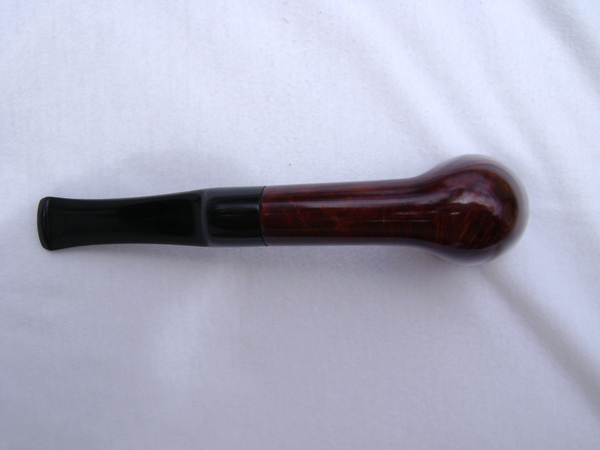
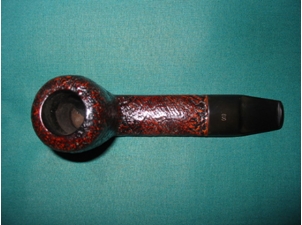
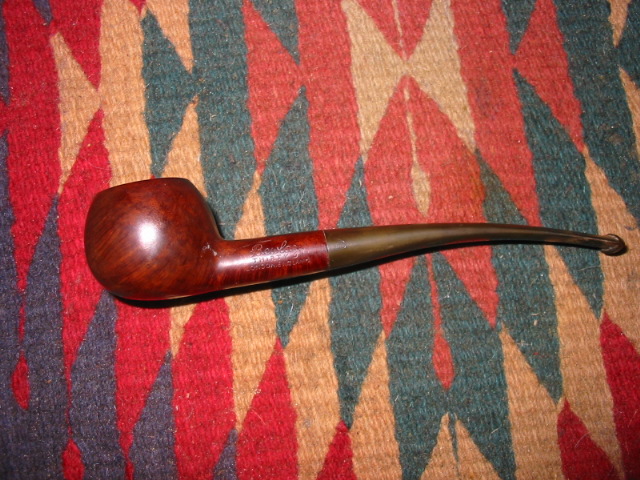
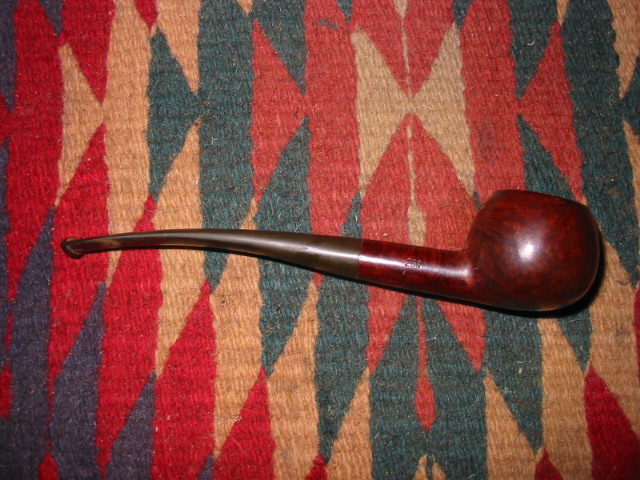
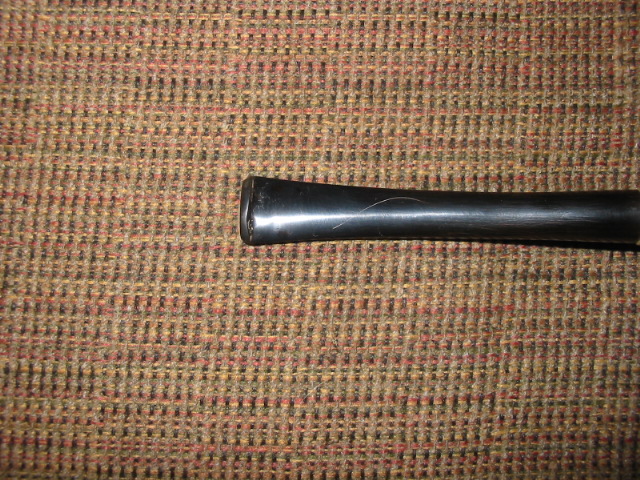
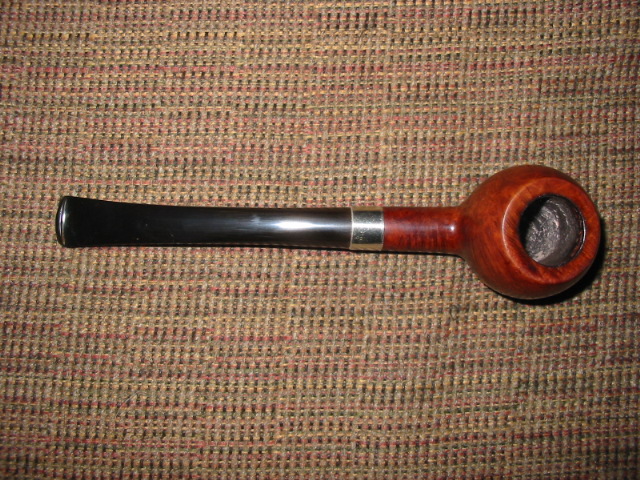
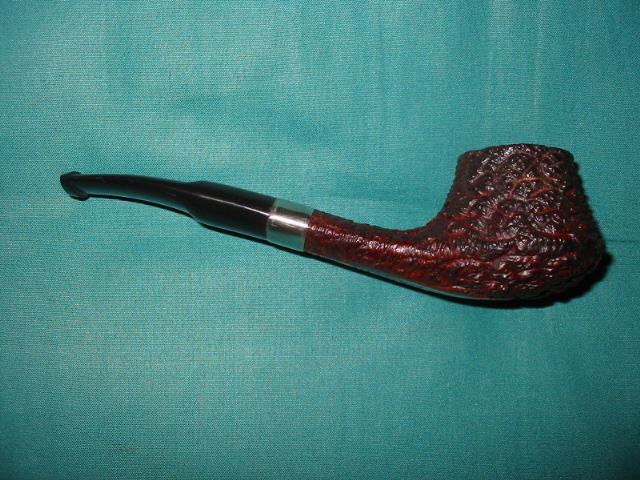
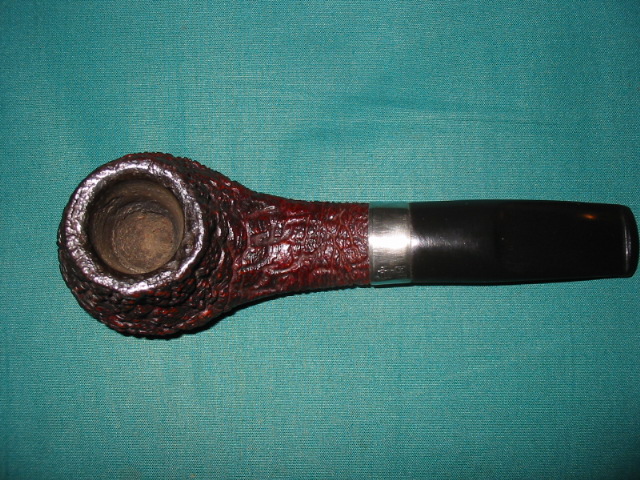
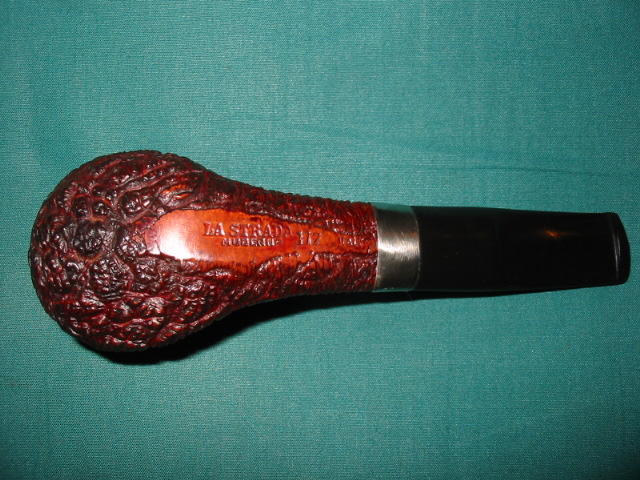
CH – I have done it and here is the final result is not too bad for a beginner I think……
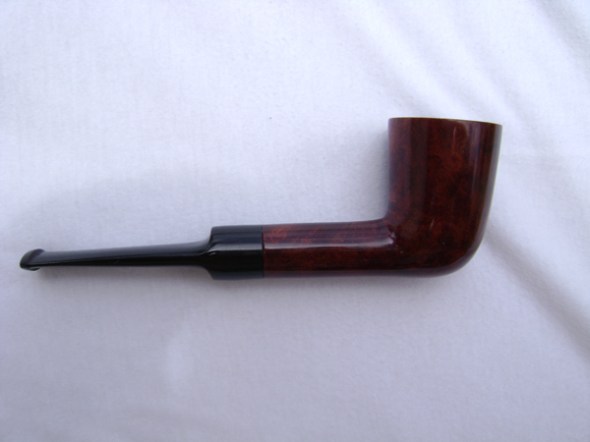
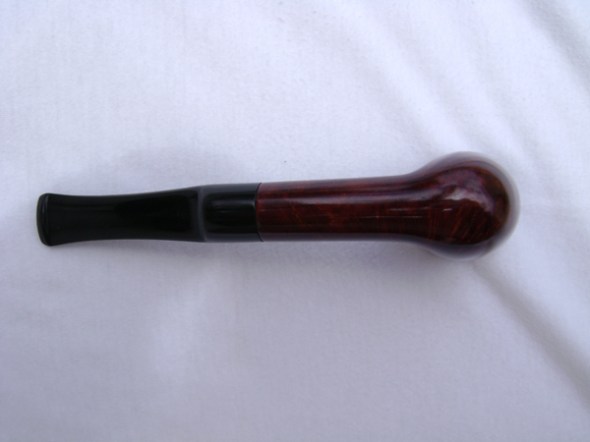
SL – Fills covered pretty well Carl. If I did not know they were there I would not see them. They are hidden quite well. Nicely done for sure. You have two “new” ones you can be proud of. Well done. Got the bug now?
CH – Best fun I’ve had with my clothes on LOL. Now where is that damned lathe and band saw.
If it is as much fun to carve as it is to refurbish then I’m hooked and can’t wait to get back to the UK and make a little workshop.
SL – As the voice guide in the process I have got to say I had a great time as well. The final product tells the story. Working through the process via Skype and reporting it here was very cool. Enjoy your new pipes!