By Kenneth Lieblich
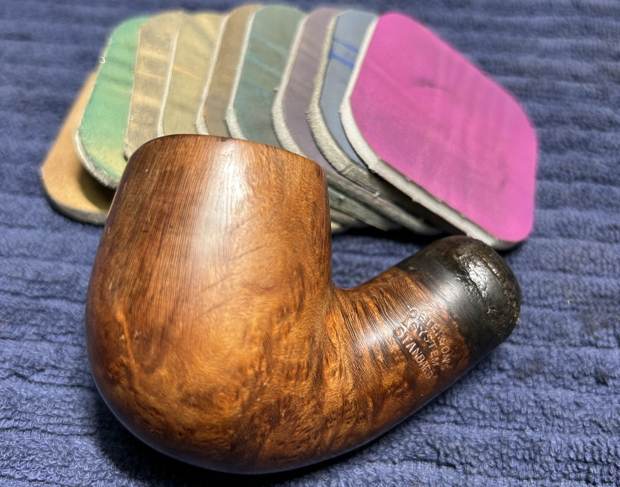
A few weeks ago, I posted a blog about a Peterson Standard System 307. That pipe sold quite quickly and a kind gentlemen contacted me to say that if I came across another, he would be interested. As it happened, I did have another 307 in my pile of pipes, so I was only too happy to get working on that one. The 307 is a good-sized pipe and the look of it gives one a feeling of confidence. It is satisfying and comfortable in the hand. This particular pipe had some serious issues, but I was confident that I could still make it beautiful again. I guess I was trying to make virtues out of vices (or something like that) – hence writing straight with crooked lines.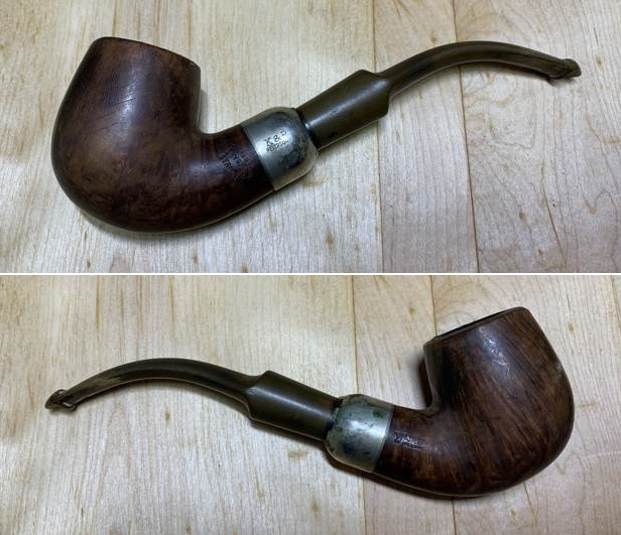 Let’s have a closer look. This Peterson 307 pipe has the classic “System” look: bent shape, nickel mount, and tapered, army-style stem. Of course, it also had the traditional Peterson P-lip stem. The markings on the left side of the shank are Peterson’s [over] System [over] Standard. The right side of the shank showed Made in the [over] Republic [over] of Ireland [over] 307. The nickel mount on the shank had K&P [over] Petersons. There were no markings on the stem.
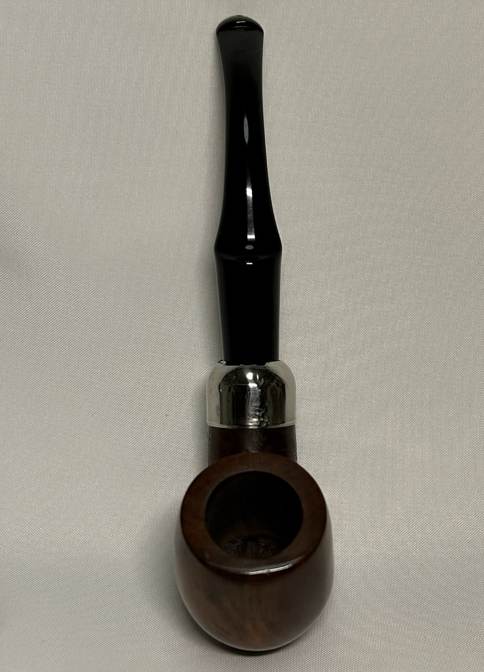
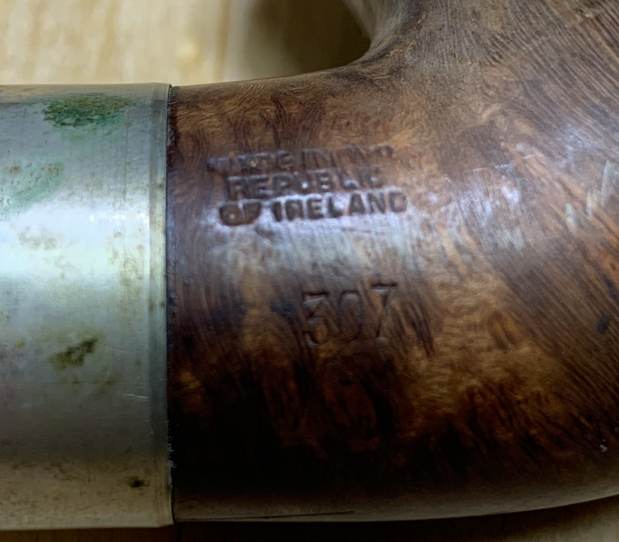
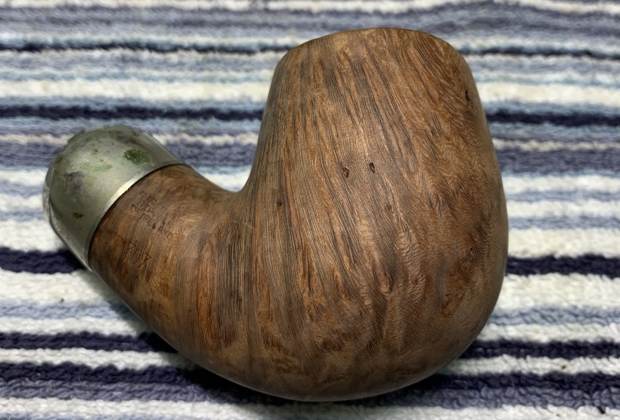
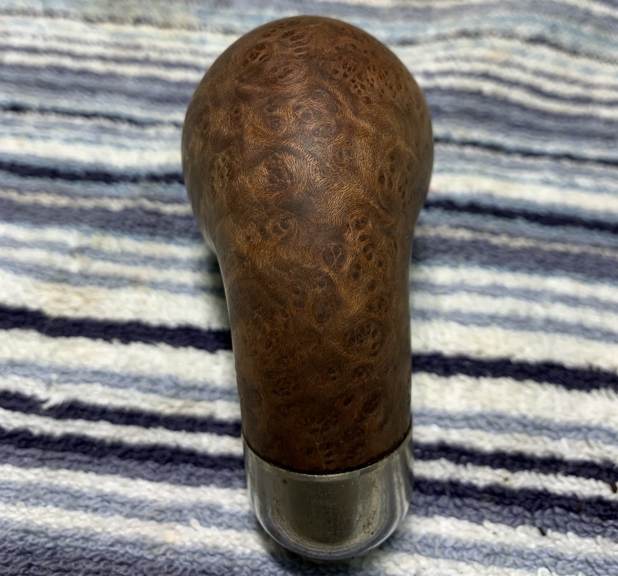
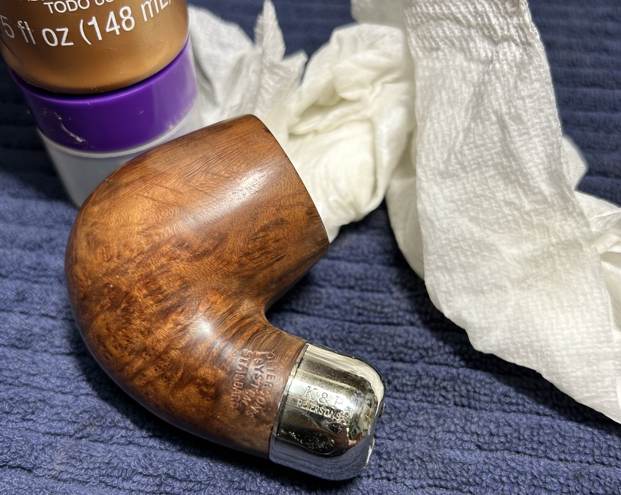
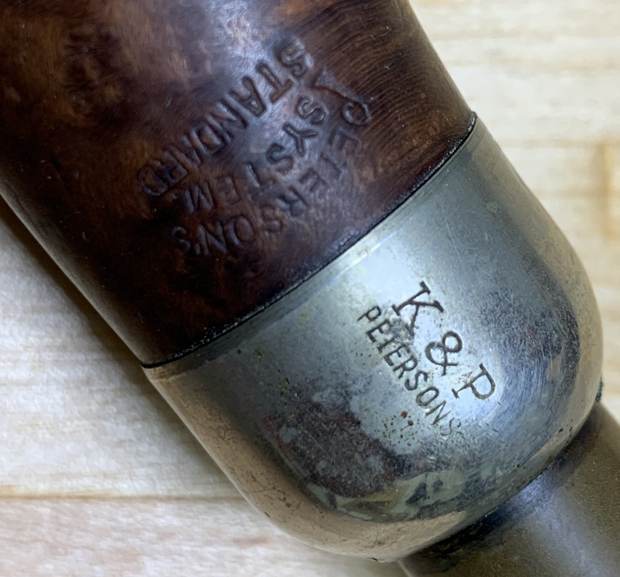
 The Peterson System pipes are well-storied among Peterson collectors/admirers. I took the opportunity to read the article on Pipedia, specifically about the System pipes, by Jim Lilley. There is lots of good information there and I encourage you to read it: https://pipedia.org/wiki/A_closer_look_at_the_famous_Peterson_Standard_System_Pipe
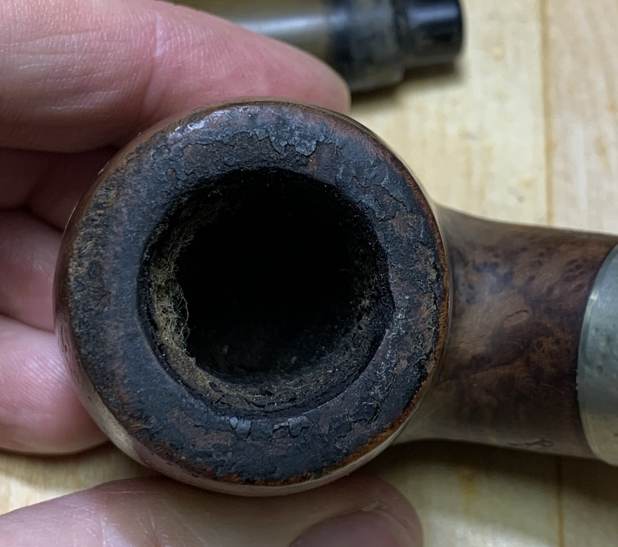
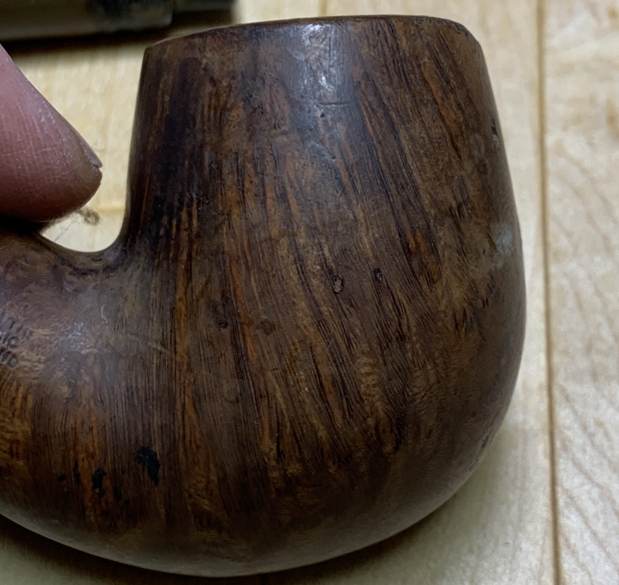
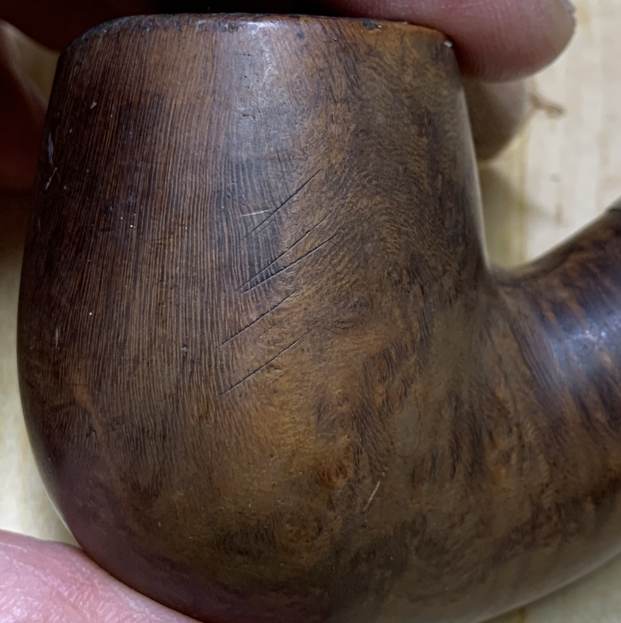
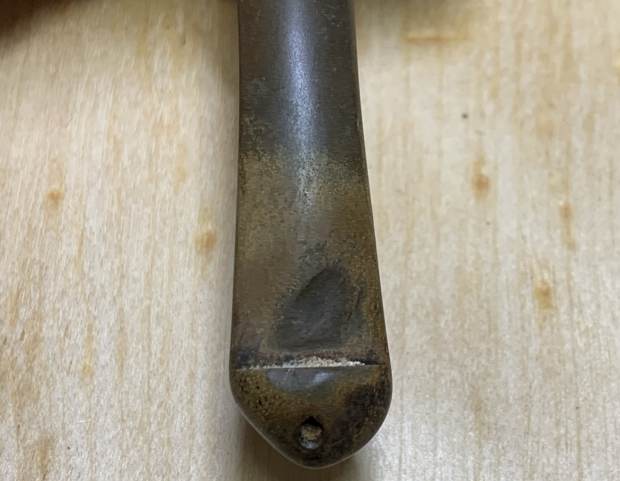
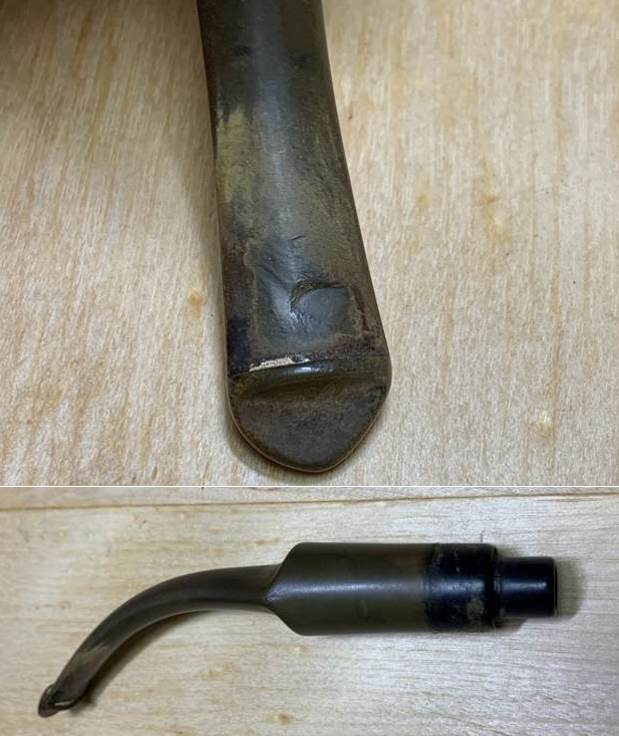
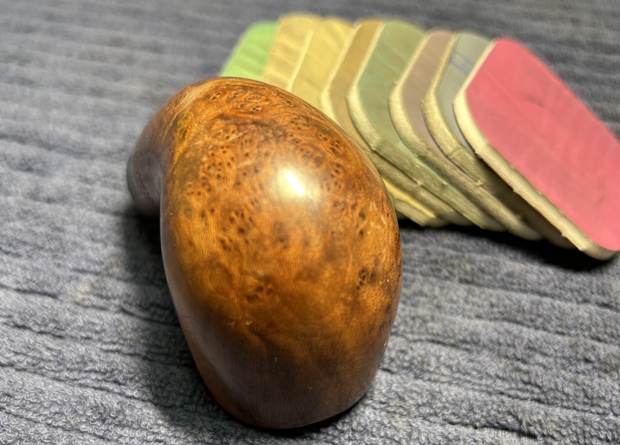
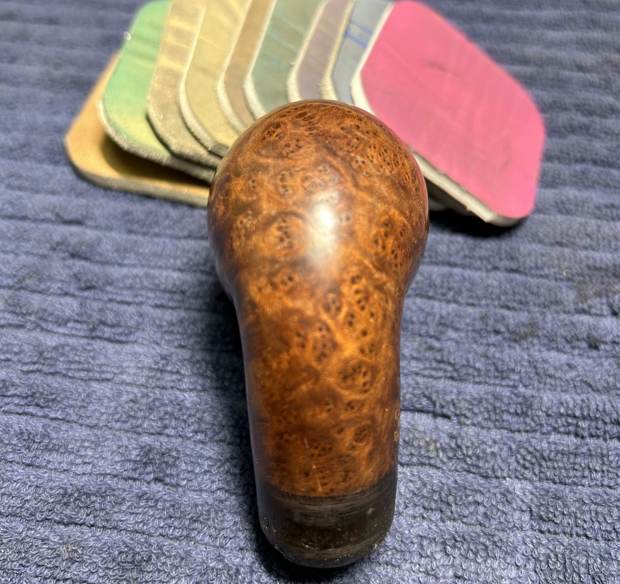
 On to the pipe itself: it was in rough shape – very dirty and harshly treated. The stem was thoroughly calcified and oxidized. It also had some major dents: one on the top and one on the bottom. Most notably, however, there was some significant wear to the side of the P-lip. The bowl was very dirty and had quite a bit of lava and plenty of cake. The front edge of the rim had been heavily bashed in – presumably from banging out dottle etc. The outside of the bowl had some small fills and some very deep scratches – much deeper than the photos convey. The nickel mount was in rough shape – stained, corroded, and heavily chipped along the top edge.
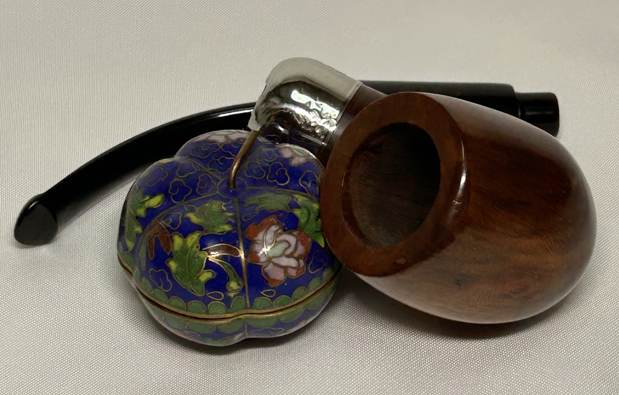
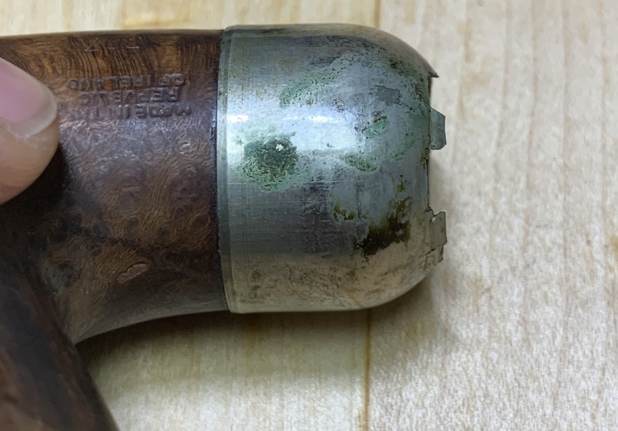
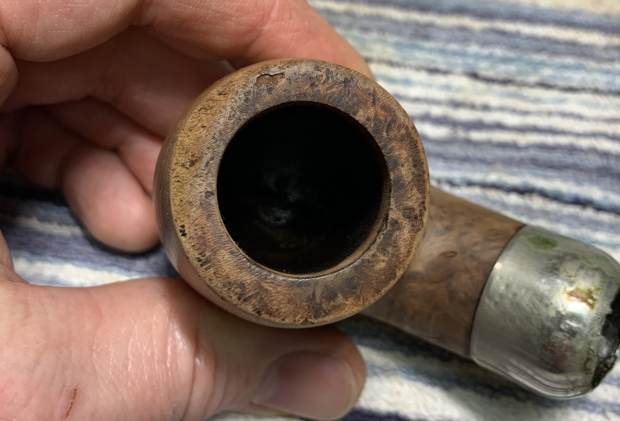
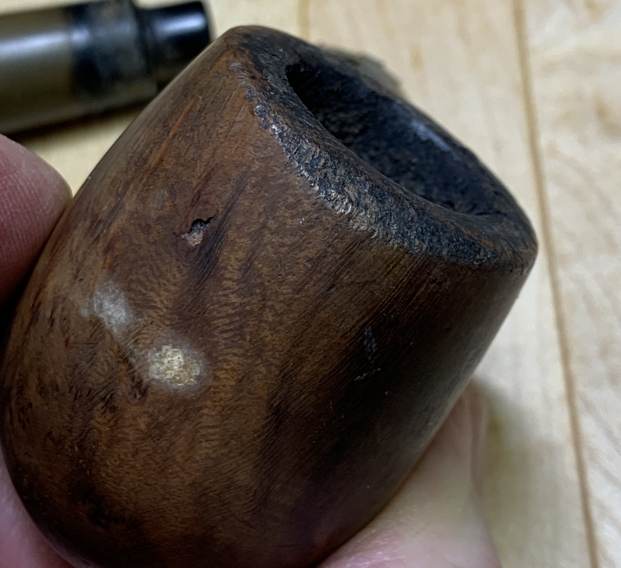
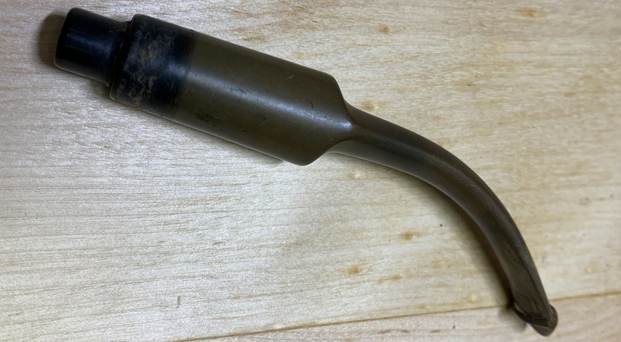
 To work! The stem was first on my list. I wiped the outside down with Murphy’s Oil Soap on some cotton pads. I also took a BIC lighter and ‘painted’ the stem with its flame to lift the bite marks. Sadly, however, this did not do much, as the dents were much too deep. Then I cleaned out the inside with pipe cleaners and isopropyl alcohol.
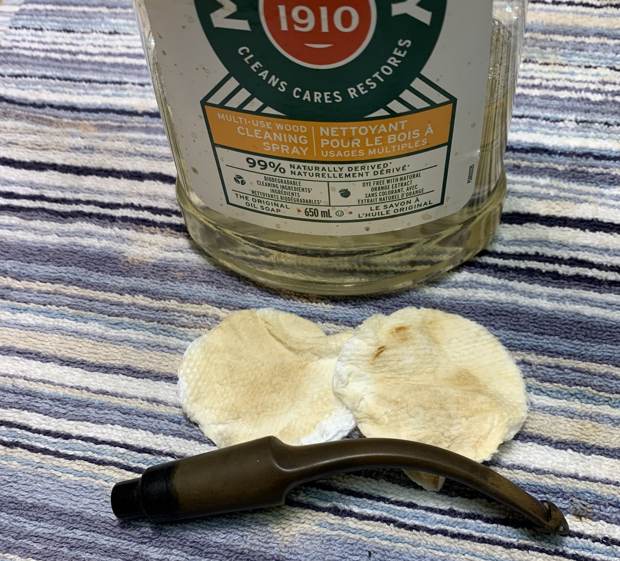
 I used some SoftScrub on the outside of the stem to remove some oxidation. Then, the stem went for an overnight soak in the Pipe Stem Oxidation Remover. The following day, I cleaned the de-oxidizing mess off with alcohol, pipe cleaners, et cetera. The oxidation had migrated to the surface and would be fairly straightforward to remove. I scrubbed again with SoftScrub on some cotton pads to remove the leftover oxidation.
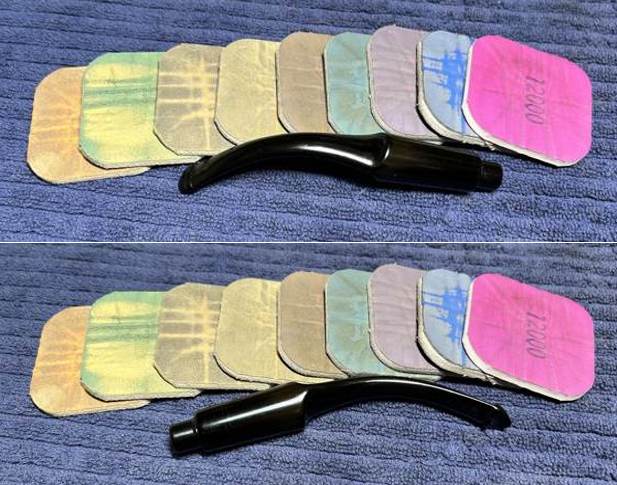
  I built up the dents on the stem with black cyanoacrylate adhesive and let them cure. I then sanded the adhesive down with 220- and 400-grit sandpapers to meld seamlessly into the stem. I then used all nine Micromesh pads (1,500 through 12,000 grit) to polish it and highlight the black lustre on the stem. I also used Obsidian Pipe Stem Oil in between each pad scrubbing.
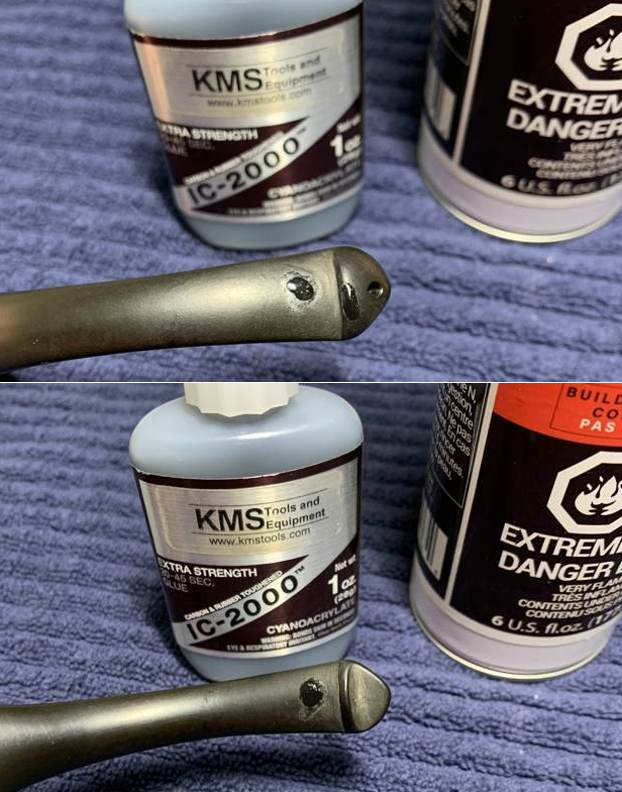
 What about the worn side of the P-lip? I decided to leave that as it was. I did not have a spare Peterson stem to replace this one and I always like to use original parts whenever possible. The stem shows that wear, but it is part of the history of the pipe and so it shall stay.
Moving on to the stummel, I first decided to ream out the bowl. I used both the PipNet Reamer and the KleenReem to remove the built-up cake and followed that with 220-grit sandpaper taped to a dowel to eliminate as much as possible. I took the chamber down to bare briar to ensure there were no hidden flaws in the wall. Fortunately, there were none. I proceeded to clean out the insides of the shank with Q-tips, pipe cleaners, and lemon-infused isopropyl alcohol. There was quite a bit of filth inside this stummel, and it took a fair amount of cotton to get it clean. I followed that up by cleaning the insides with some dish soap and tube brushes.
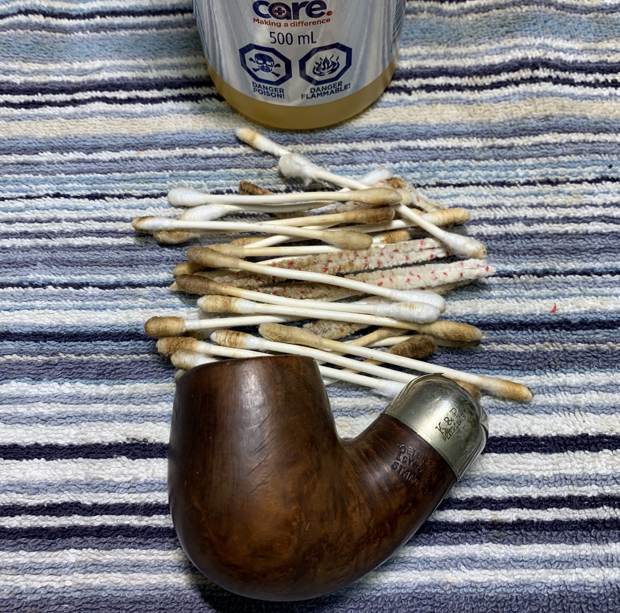 I then used cotton rounds and some Murphy’s Oil Soap to scrub the outside of the stummel and a toothbrush with Murphy’s for the lava on the pipe’s rim.
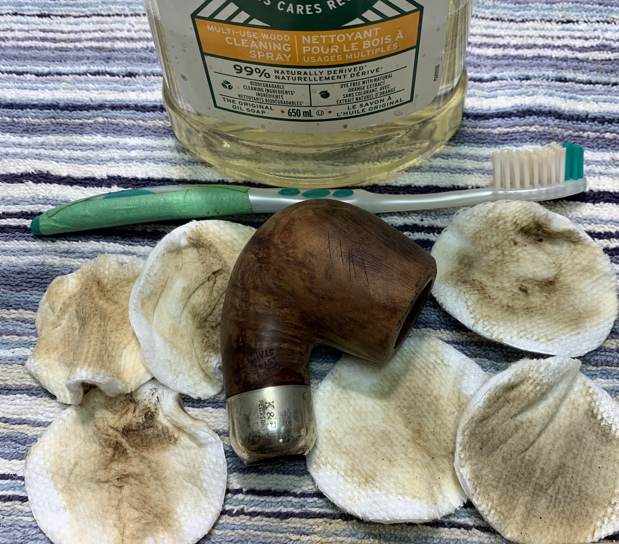

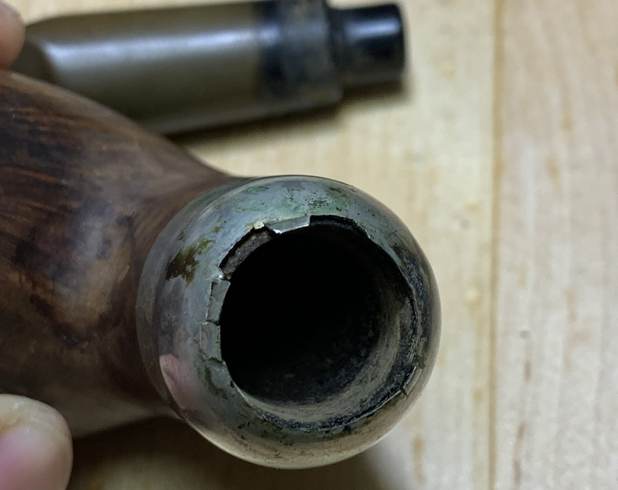
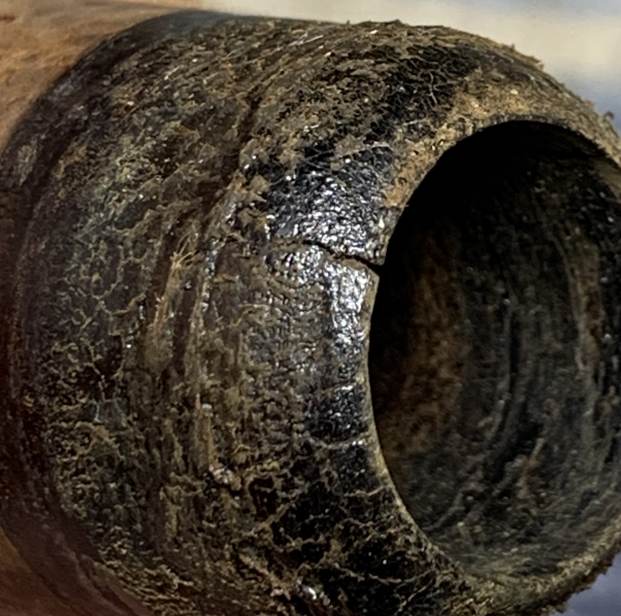
 At this point, I opted to remove the nickel mount before moving on. It wasn’t well attached to the stummel anyway. It would need some special work, as there was a crack in the edge of the shank – hidden by the mount.
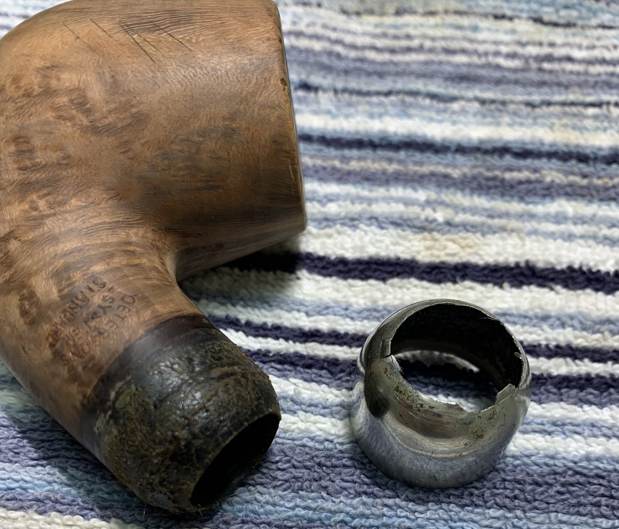
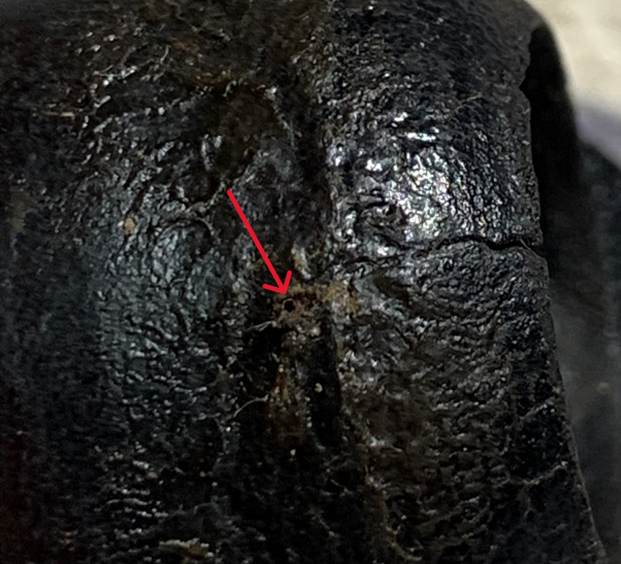
 The first step in dealing with this was to ensure that the crack would not continue to creep after I had repaired it. To that end, I took a micro-drill bit, inserted it in my Dremel, and very carefully drilled a hole right through the wall of the shank, into the mortise. I then needed to apply cyanoacrylate adhesive in order to seal and repair it. I carefully applied a tiny bead of adhesive to the hole and the length of the crack. Finally, I clamped it shut and let it cure. This was a great success and the mount would hide the repair going forward.
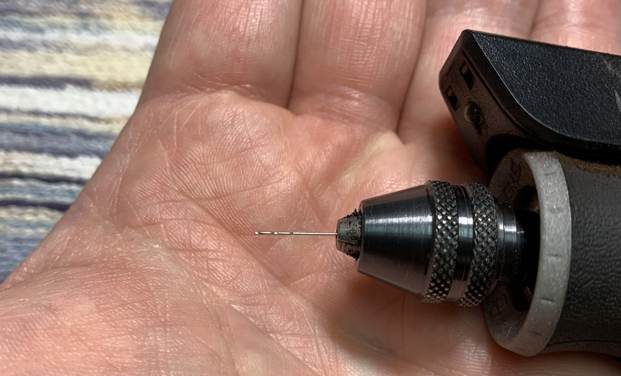
 I decided to de-ghost the pipe in order to remove any lingering smells of the past. I thrust cotton balls into the bowl and the shank and saturated them with 99% isopropyl alcohol. I let the stummel sit overnight. This caused any remaining oils, tars and smells to leach out into the cotton. The bowl was nice and clean after this.
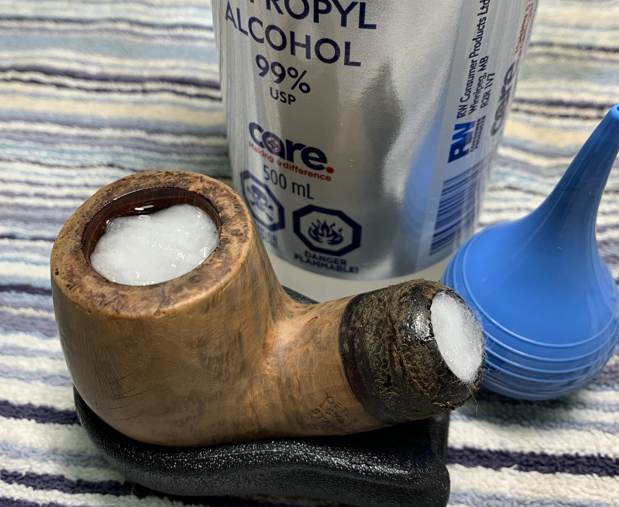
 Now I could address the roughness on the rim. I “topped” the pipe – that is, I gently and evenly sanded the rim on a piece of 220-grit sandpaper. This effectively removed the damage without altering the look of the pipe.
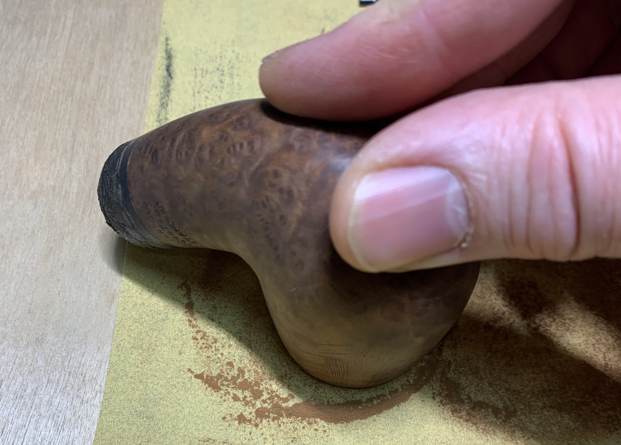 Then I was able to address the small nicks on the rim and the bowl. I dug out my iron and a damp cloth to try to raise the nicks. The hot and moist steam can often cause the wood to swell slightly and return to shape. This worked very well and many of the scratches were corrected with this method.
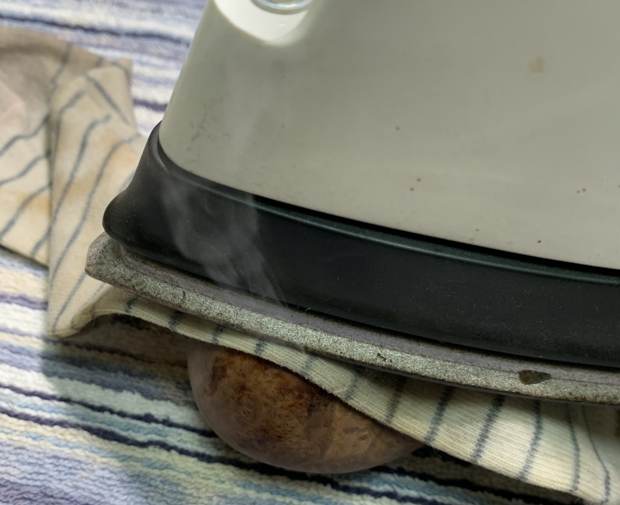 Now it was time to address the remaining fills on the bowl. I repaired them with a mixture of briar dust and cyanoacrylate adhesive. This ensures a strong repair and one that looks similar to the surrounding wood. I sanded the repairs down with 200- and 400-grit sandpaper until they were level with the surrounding briar.
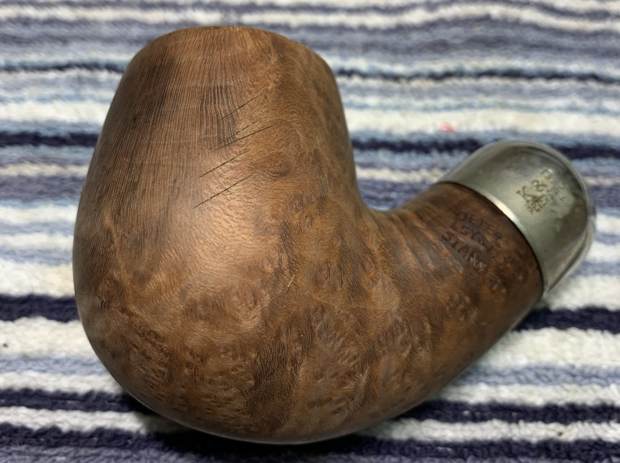
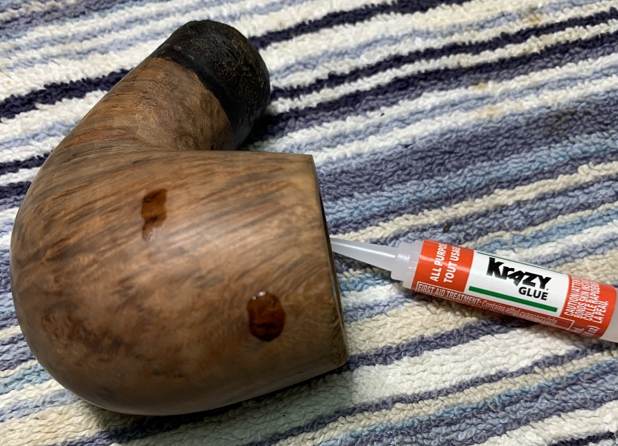 Then, I used all nine Micromesh pads (1,500 through 12,000 grit) on the stummel to finish it off. I opted to turn the bashed-in front edge of the rim into a rounded front edge. This was possibly an odd choice, but I am very pleased how it turned out in the end. However, the deep, parallel scratches on the side of the stummel were not going anywhere. Unfortunately, they were too deep to be sanded out and too narrow to be filled with briar and glue. The scratches were sanded with the Micromesh pads, and looked much improved.
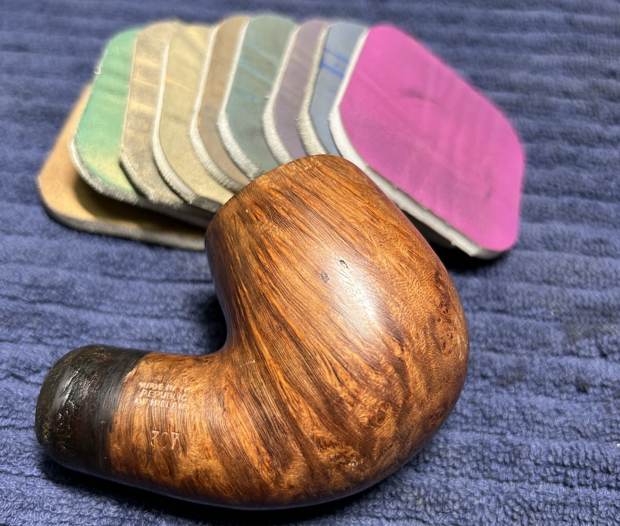
 The nickel mount also needed serious help. I wanted to keep as much of the metal as possible, but didn’t want to leave a purely jagged edge. I sanded this edge to ensure a proper balance between keeping the maximum amount of metal and taking away a possible hazard. Then, I used some SoftScrub on cotton rounds to clean the metal and remove some corrosion. I used some of my MicroMesh pads (only 3,600-12,000) to eliminate some of the minor scratches on the metal. It also gave a nice shine. I used a jewelry cloth to give the final polish to the nickel. This mount would always retain some small dents etc. from its hard life, but it looks much improved. I used some white glue to reattach it to the stummel.
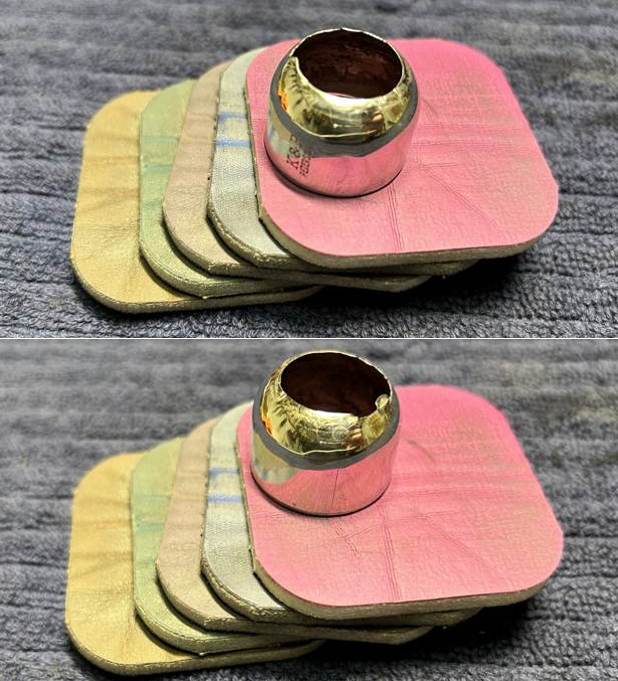
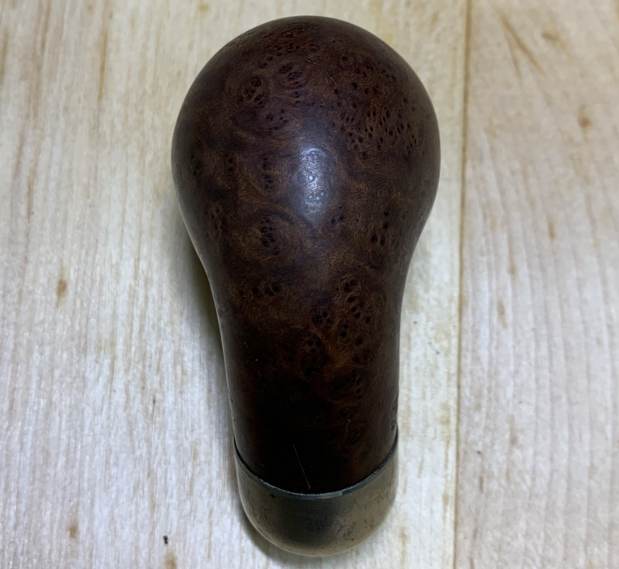
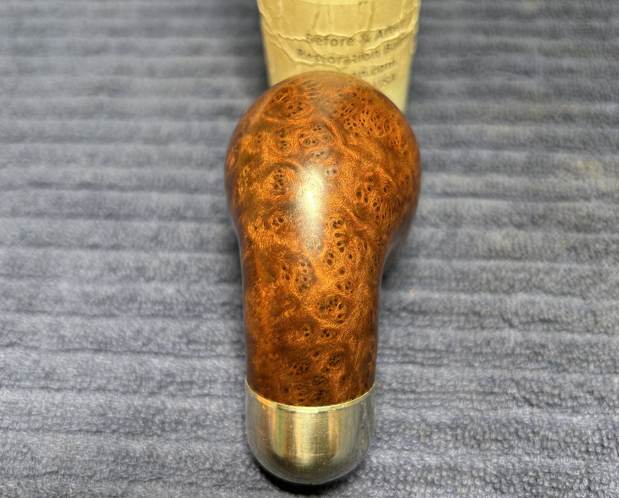
 At this point, I rubbed some Before & After Restoration Balm into the briar and left it to sit for 15 minutes or so. I brushed it with a microfibre cloth. The B&ARB does wonderful things to the wood, and I really like the natural colour of the briar.
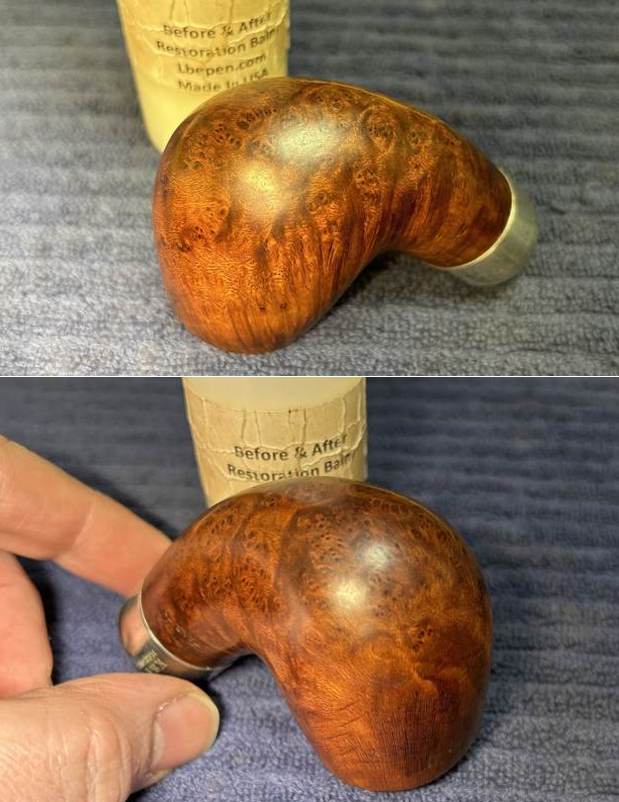

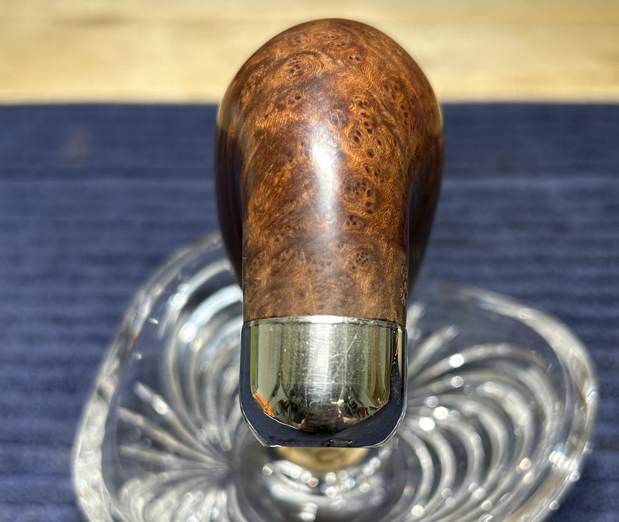
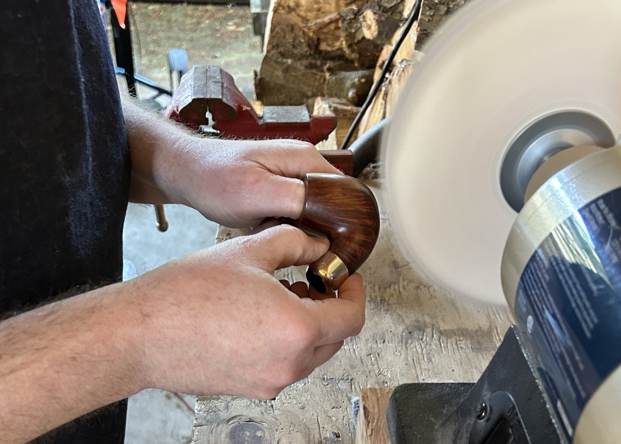
 Off to the bench polisher to put the final touches on this pipe. I first gave it a thorough going-over with White Diamond compound. Following that, several coats of carnauba wax created a beautiful, glossy seal on the pipe.
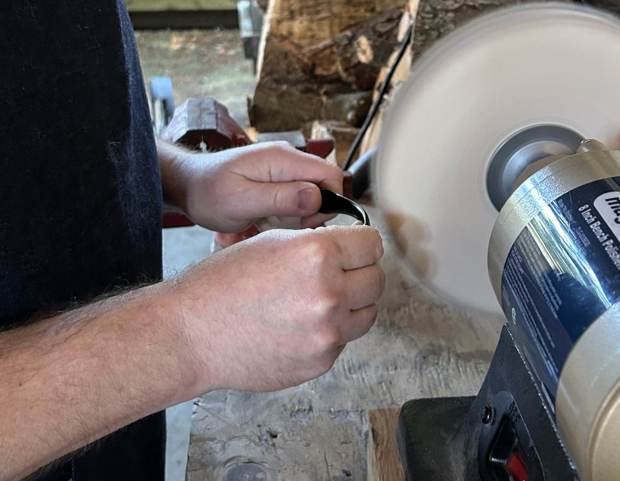
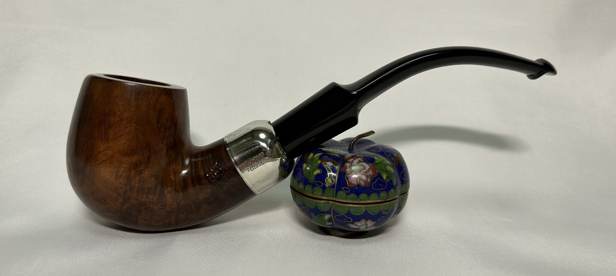
 This Peterson Standard System 307 looks fantastic again and I know that the new owner will enjoy smoking it for many years to come. The approximate dimensions of the pipe are as follows: length 6¼ in. (158 mm); height 2 in. (51 mm); bowl diameter 1⅝ in. (41 mm); chamber diameter ¾ in. (20 mm). The weight of the pipe is 2¼ oz. (66 g). I hope you enjoyed reading the story of this pipe as much I as I did restoring it. If you are interested in more of my work, please follow me here on Steve’s website or email me directly at kenneth@knightsofthepipe.com. Thank you very much for reading and, as always, I welcome and encourage your comments.