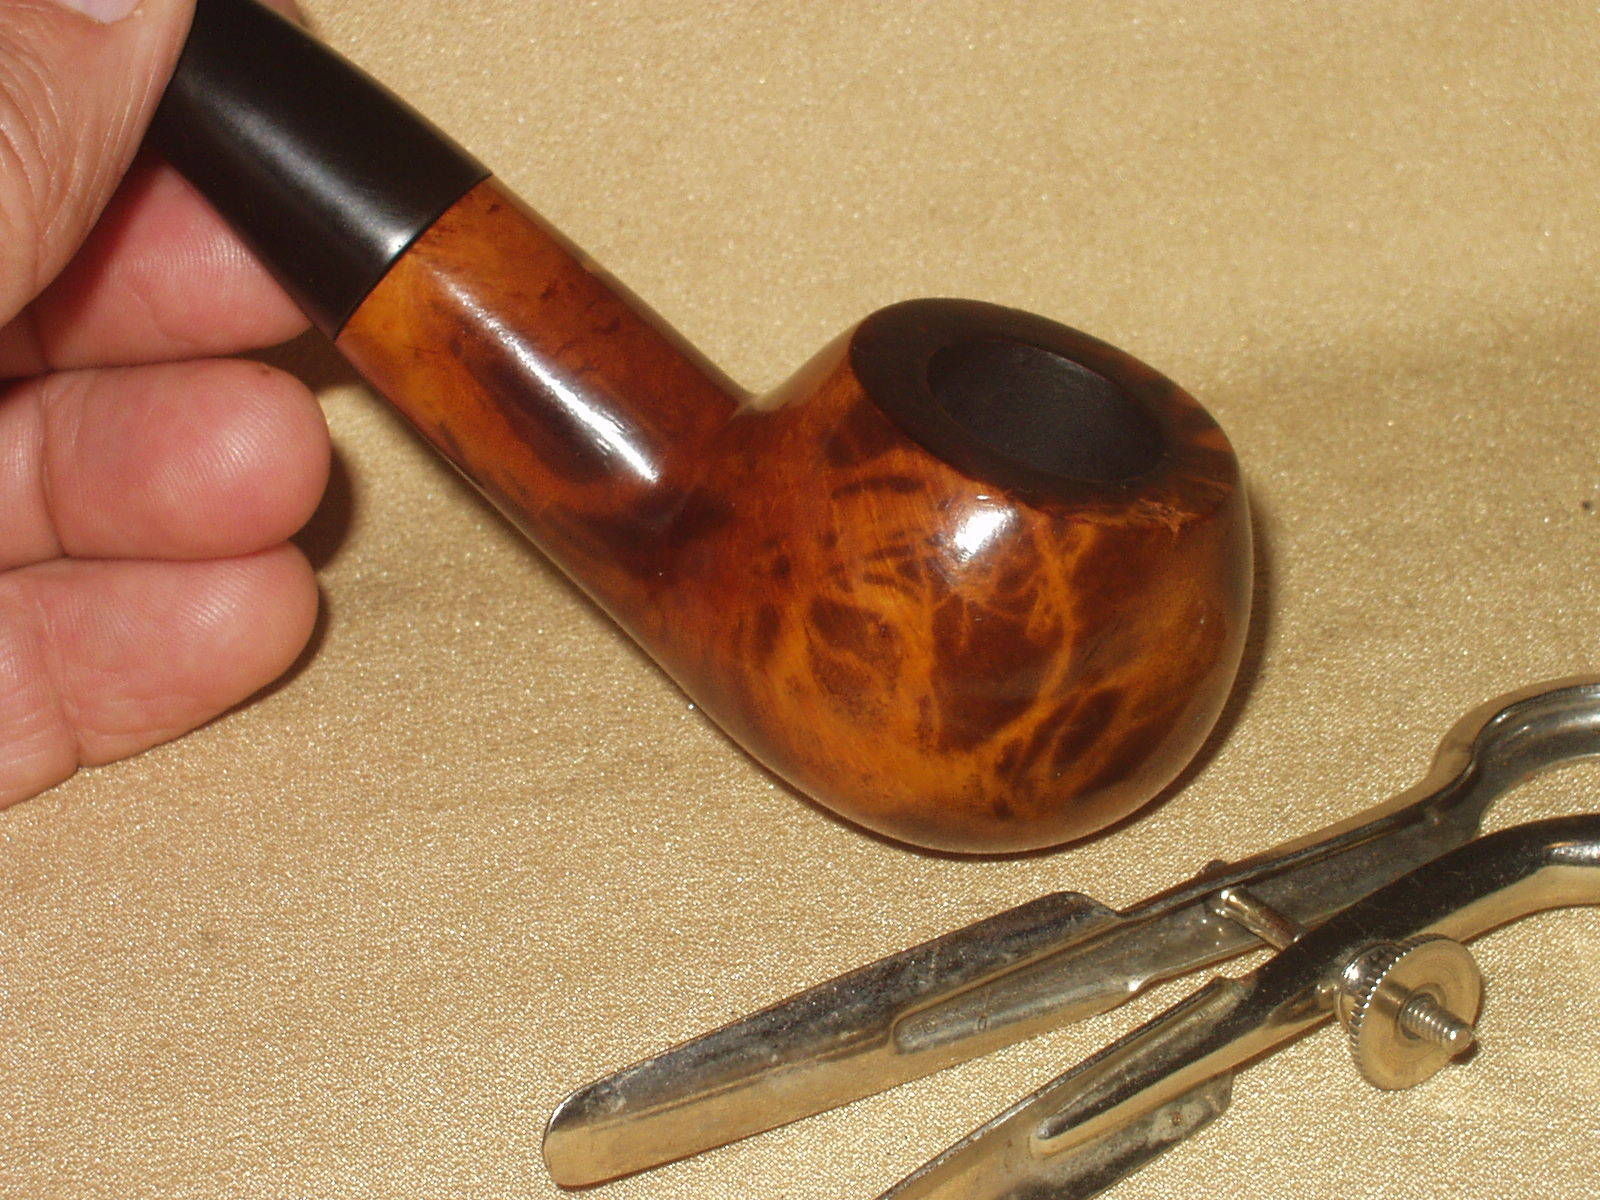
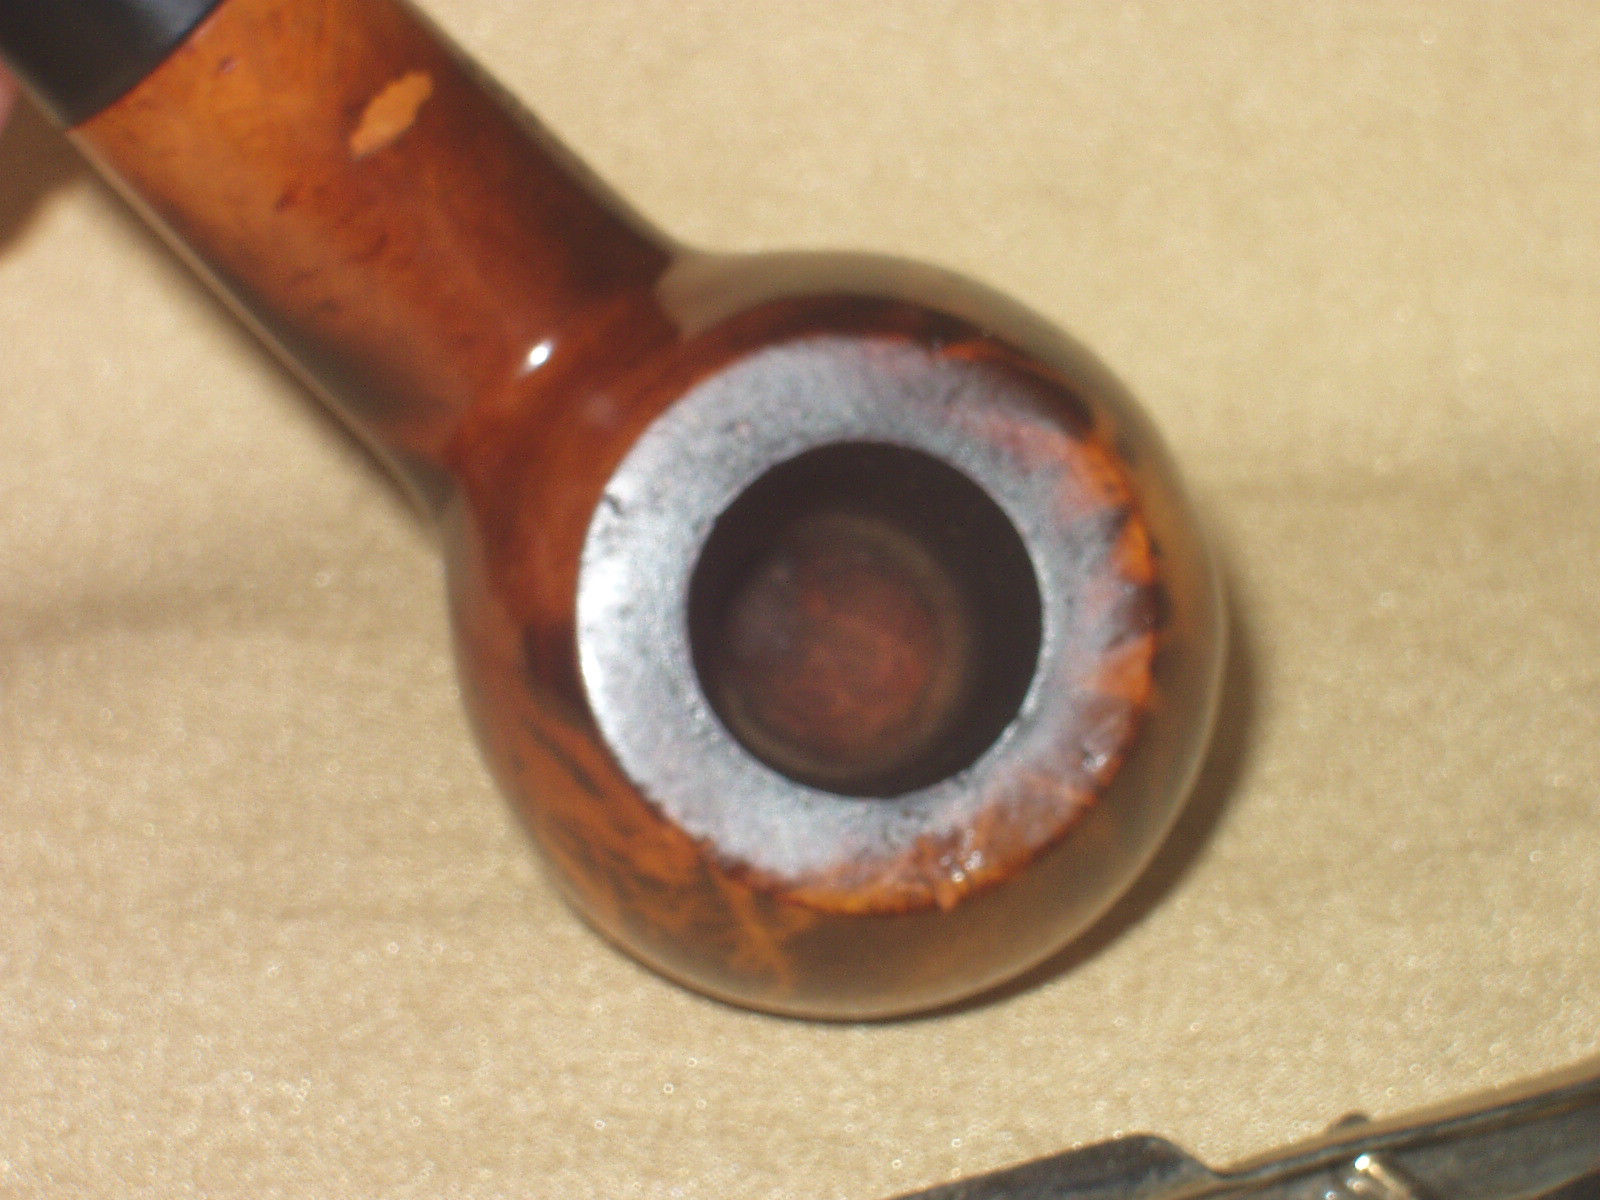
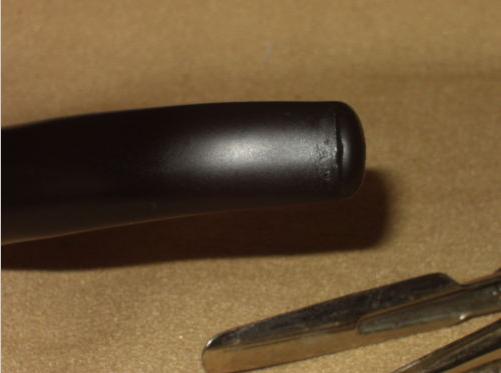
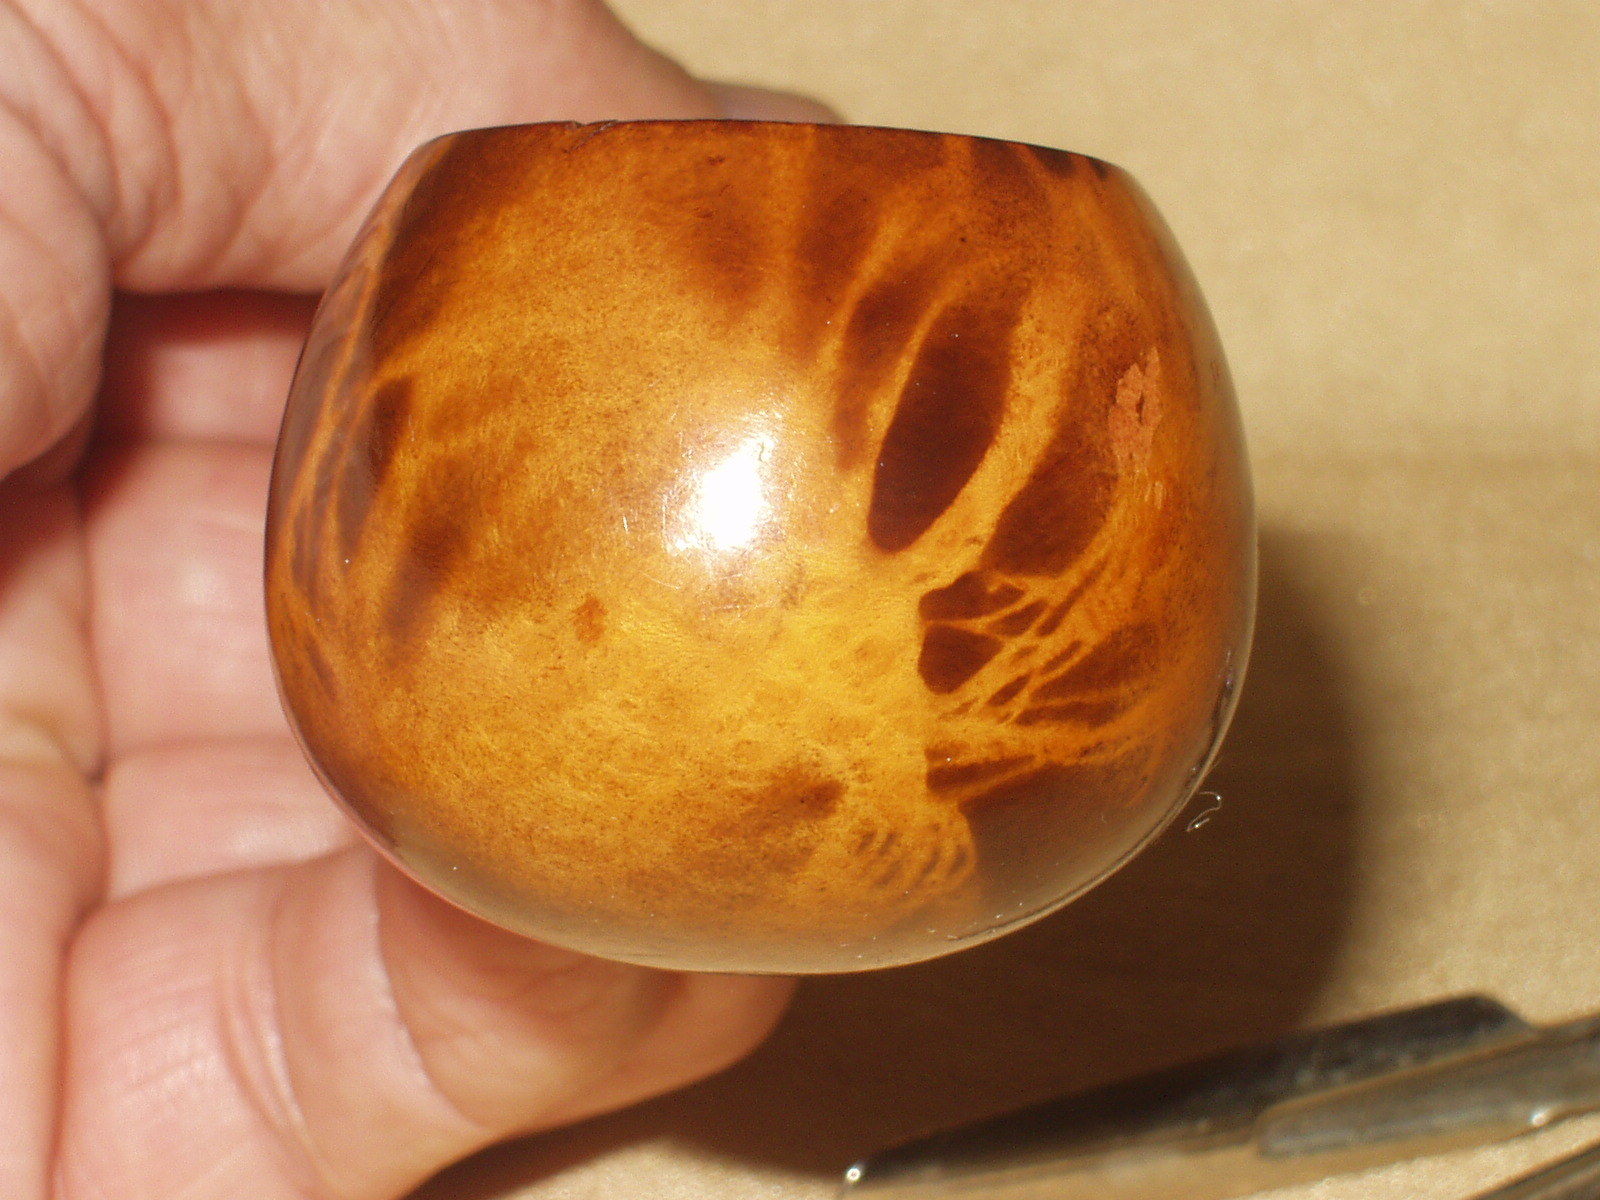
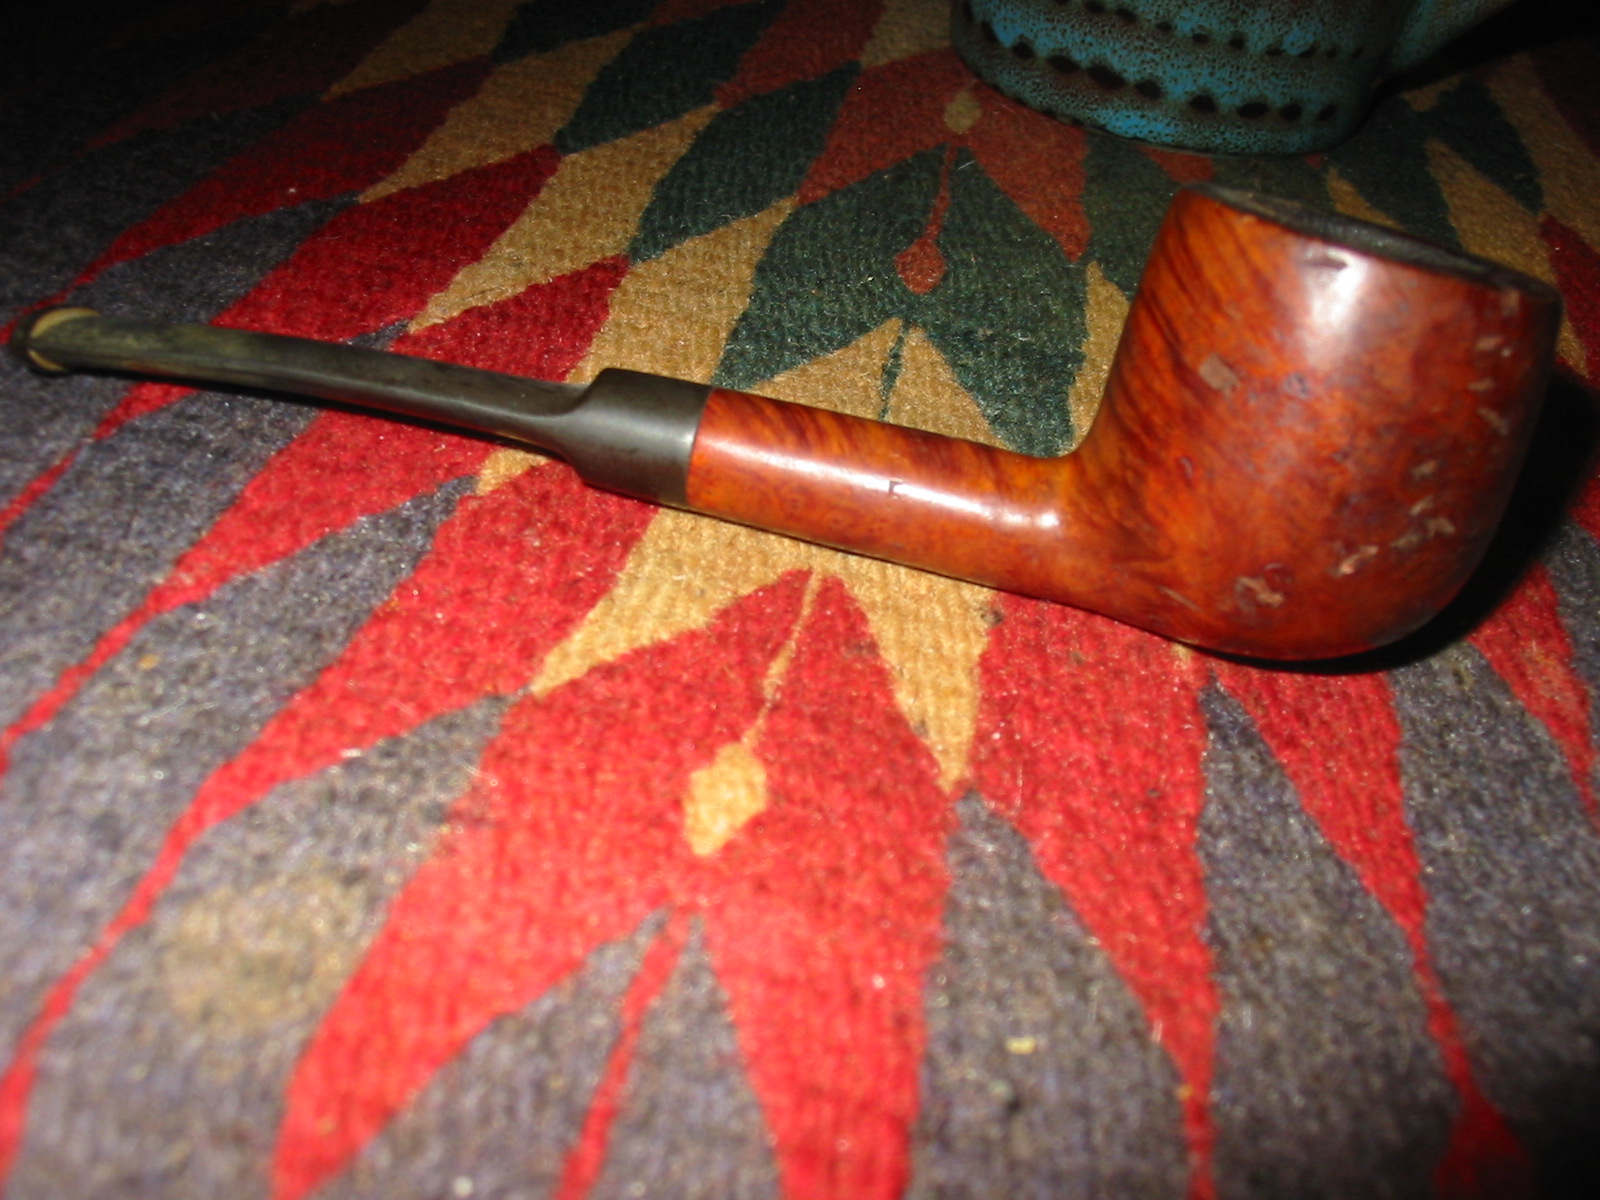
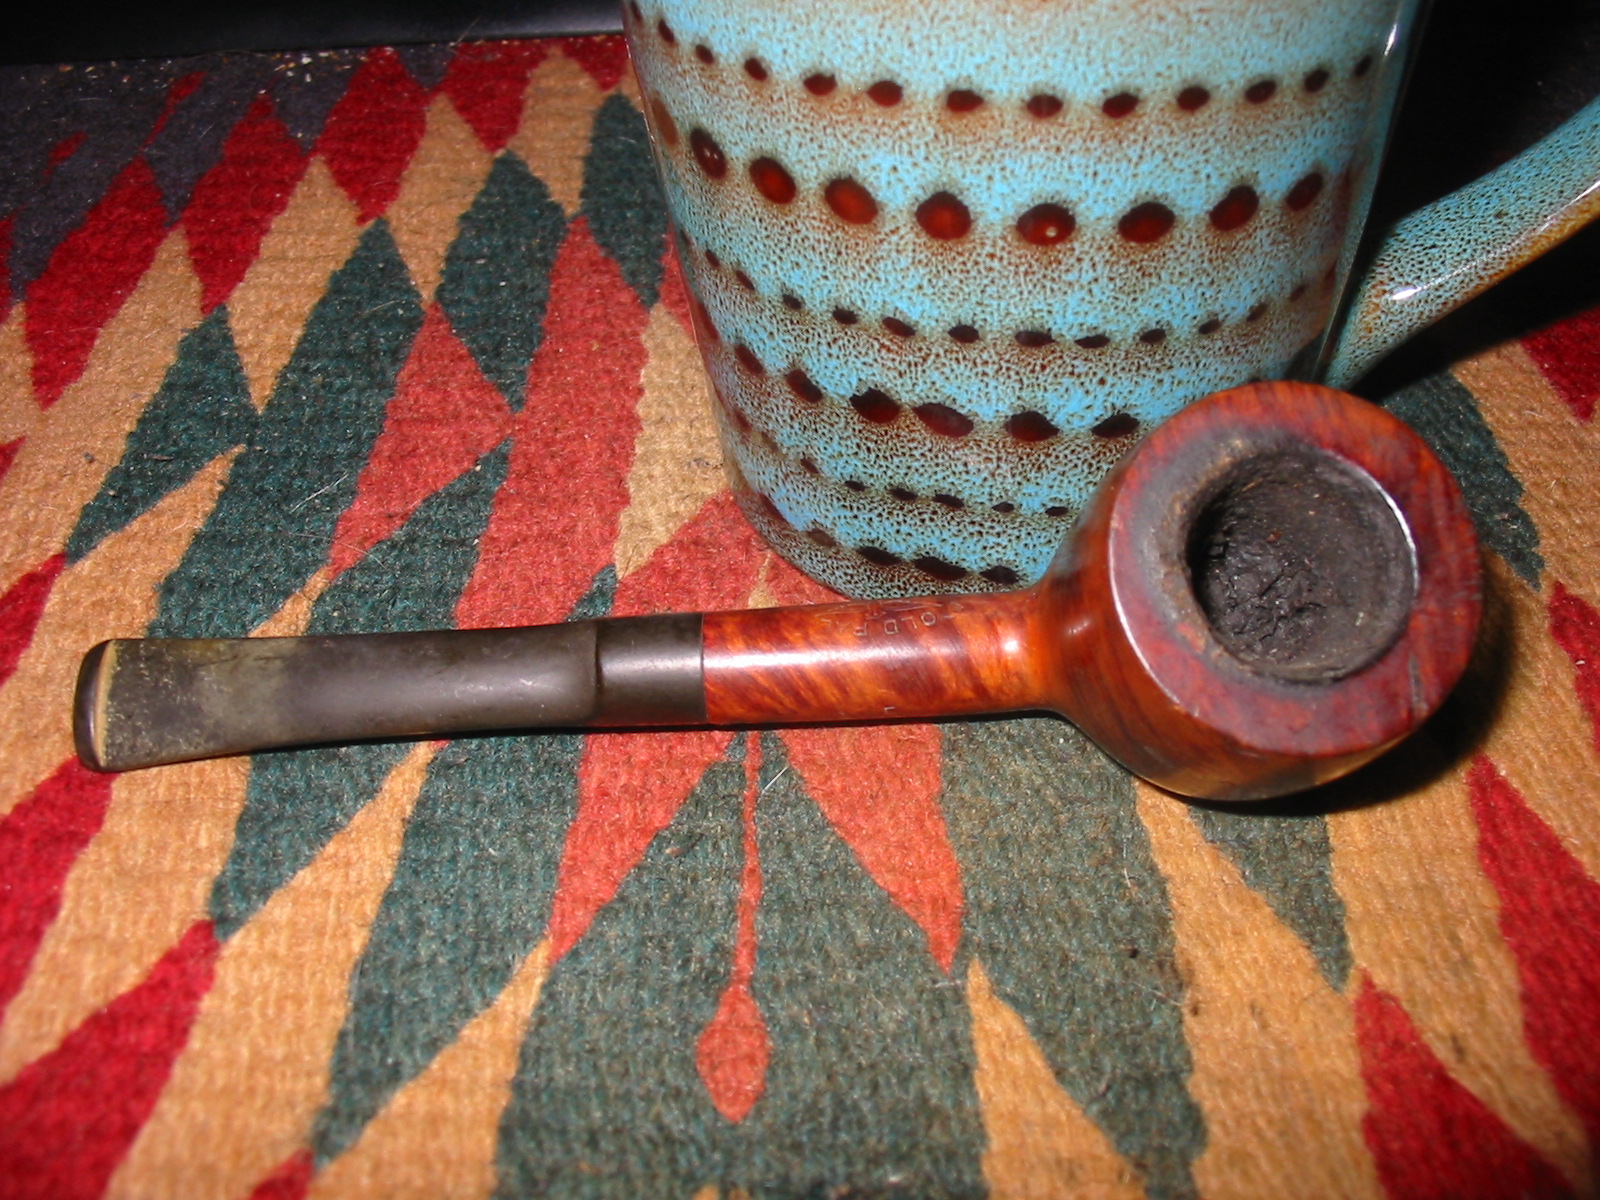
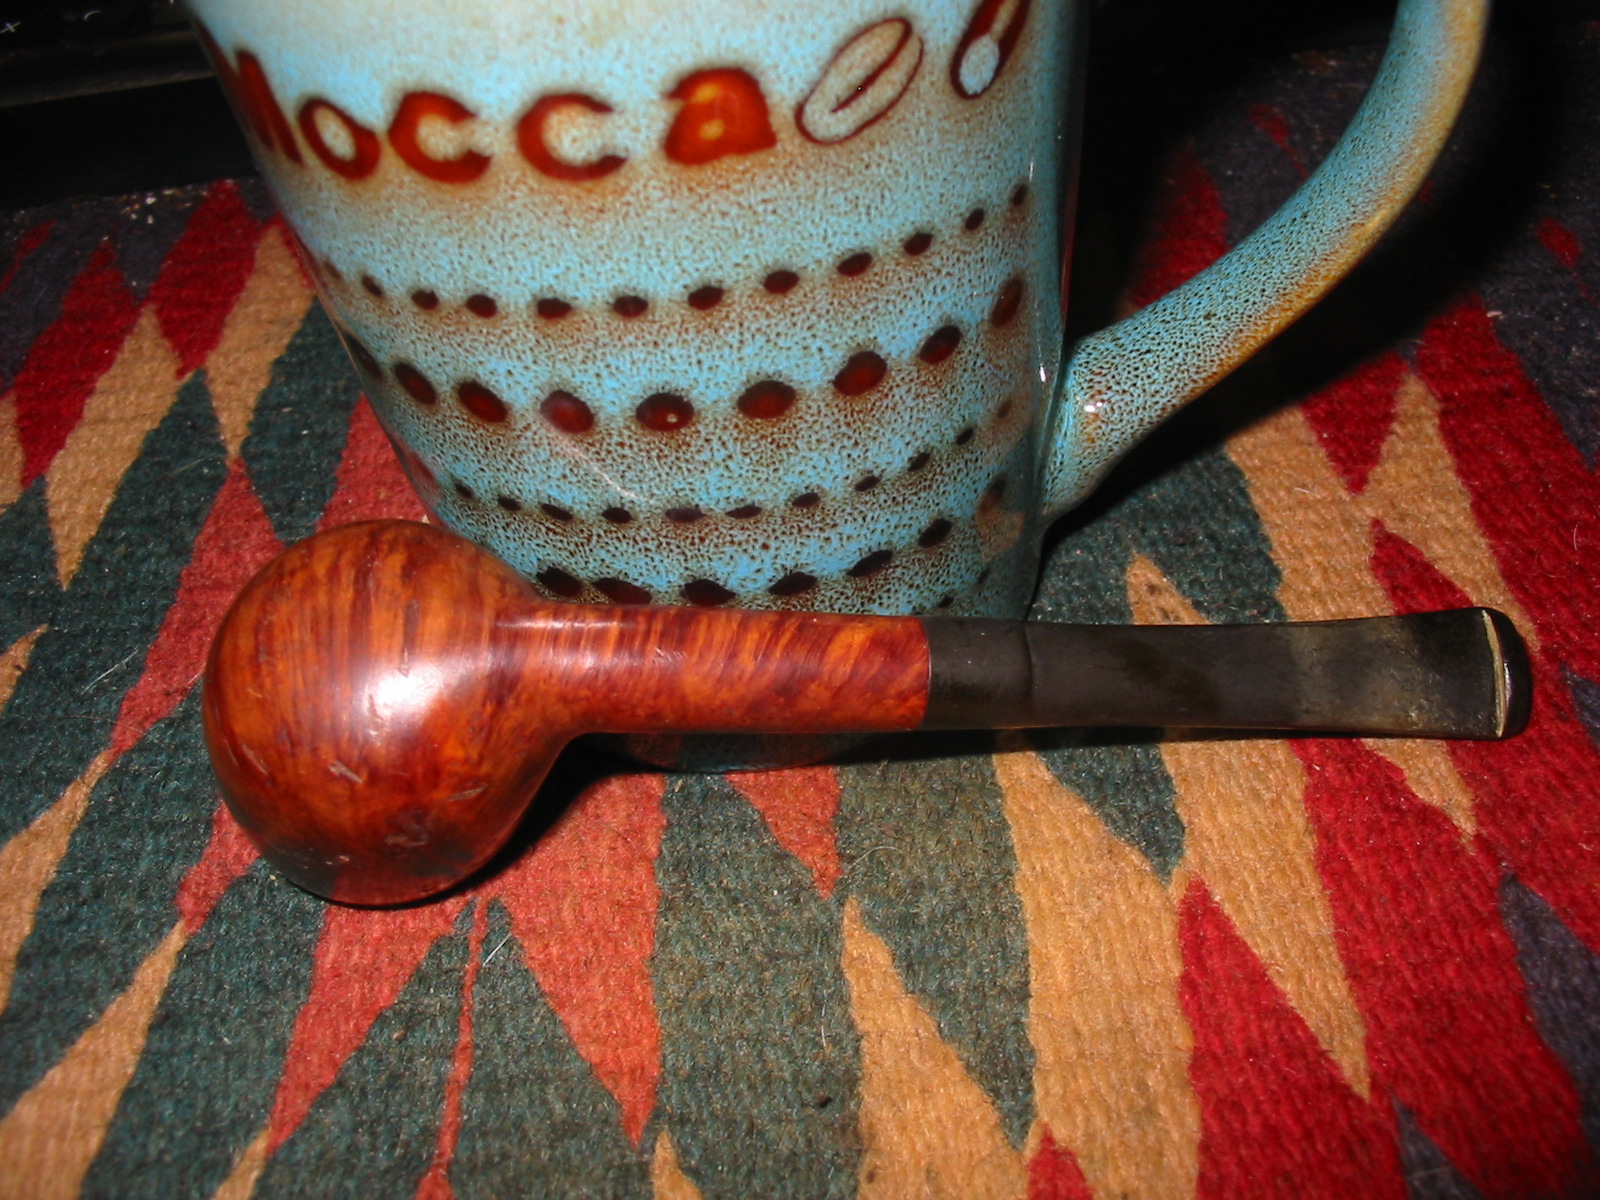
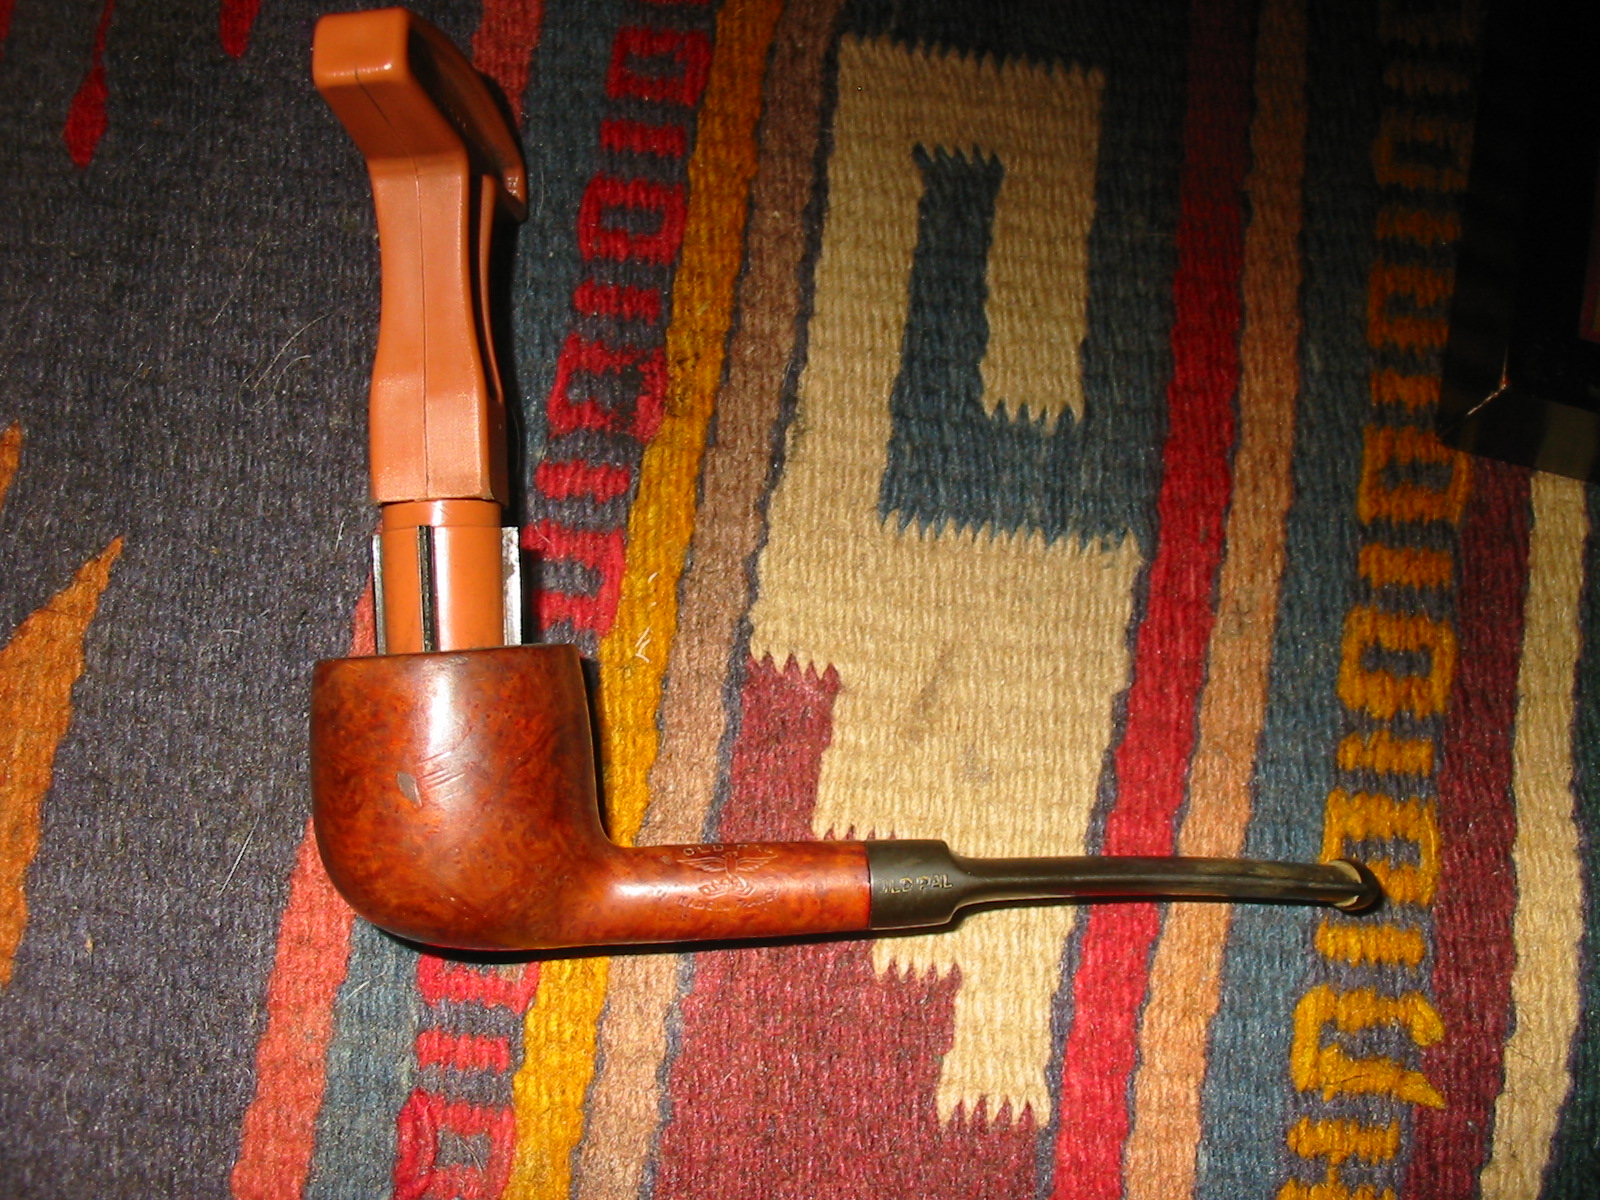
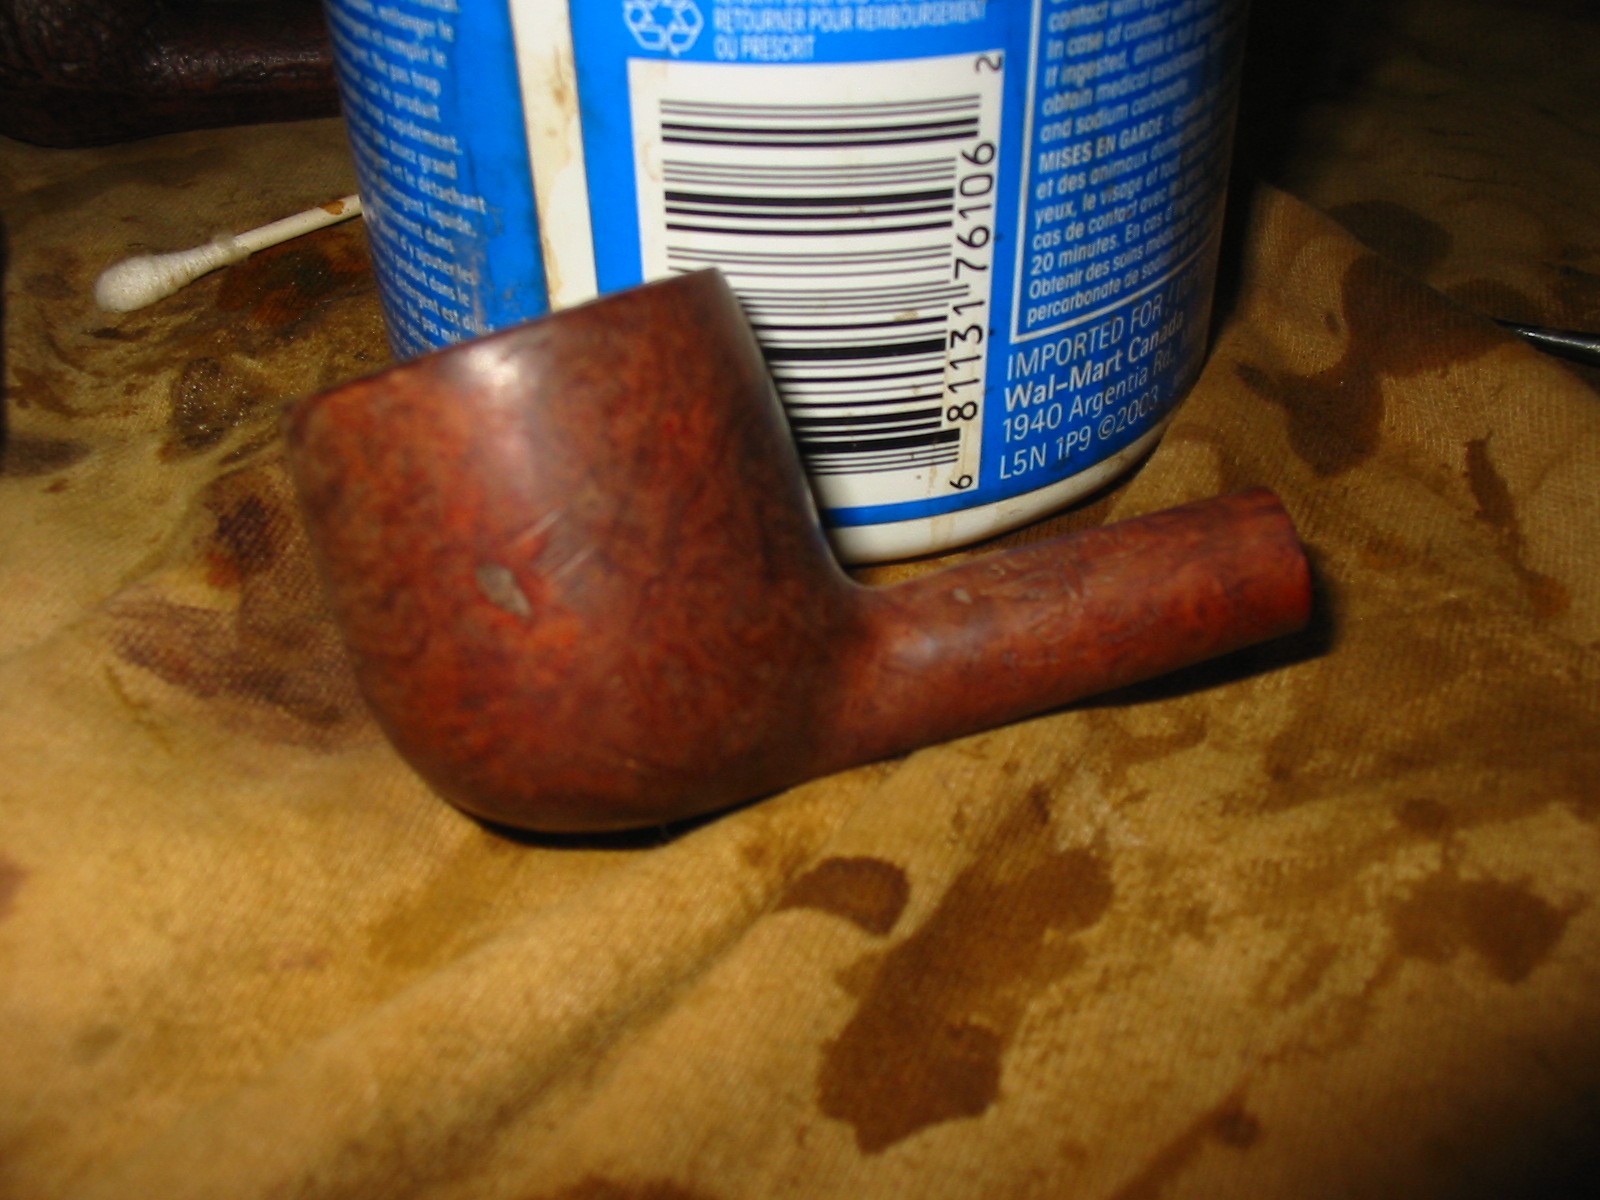
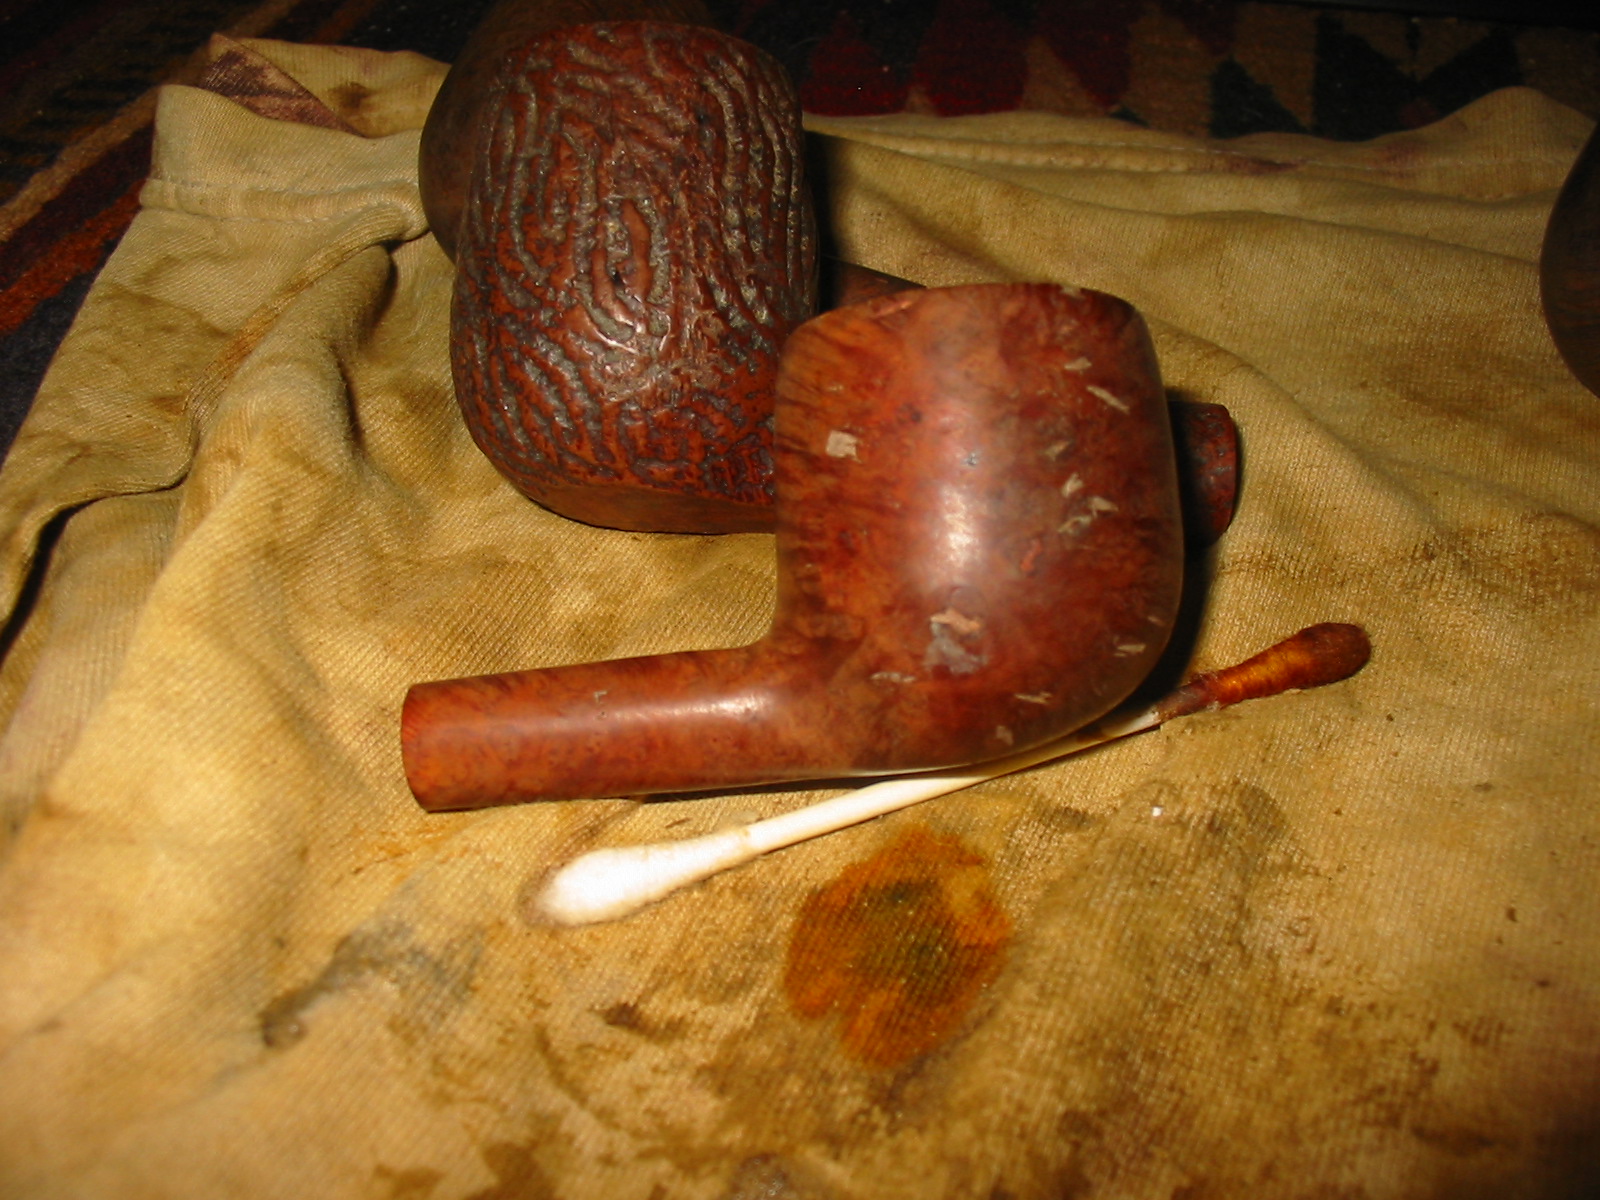
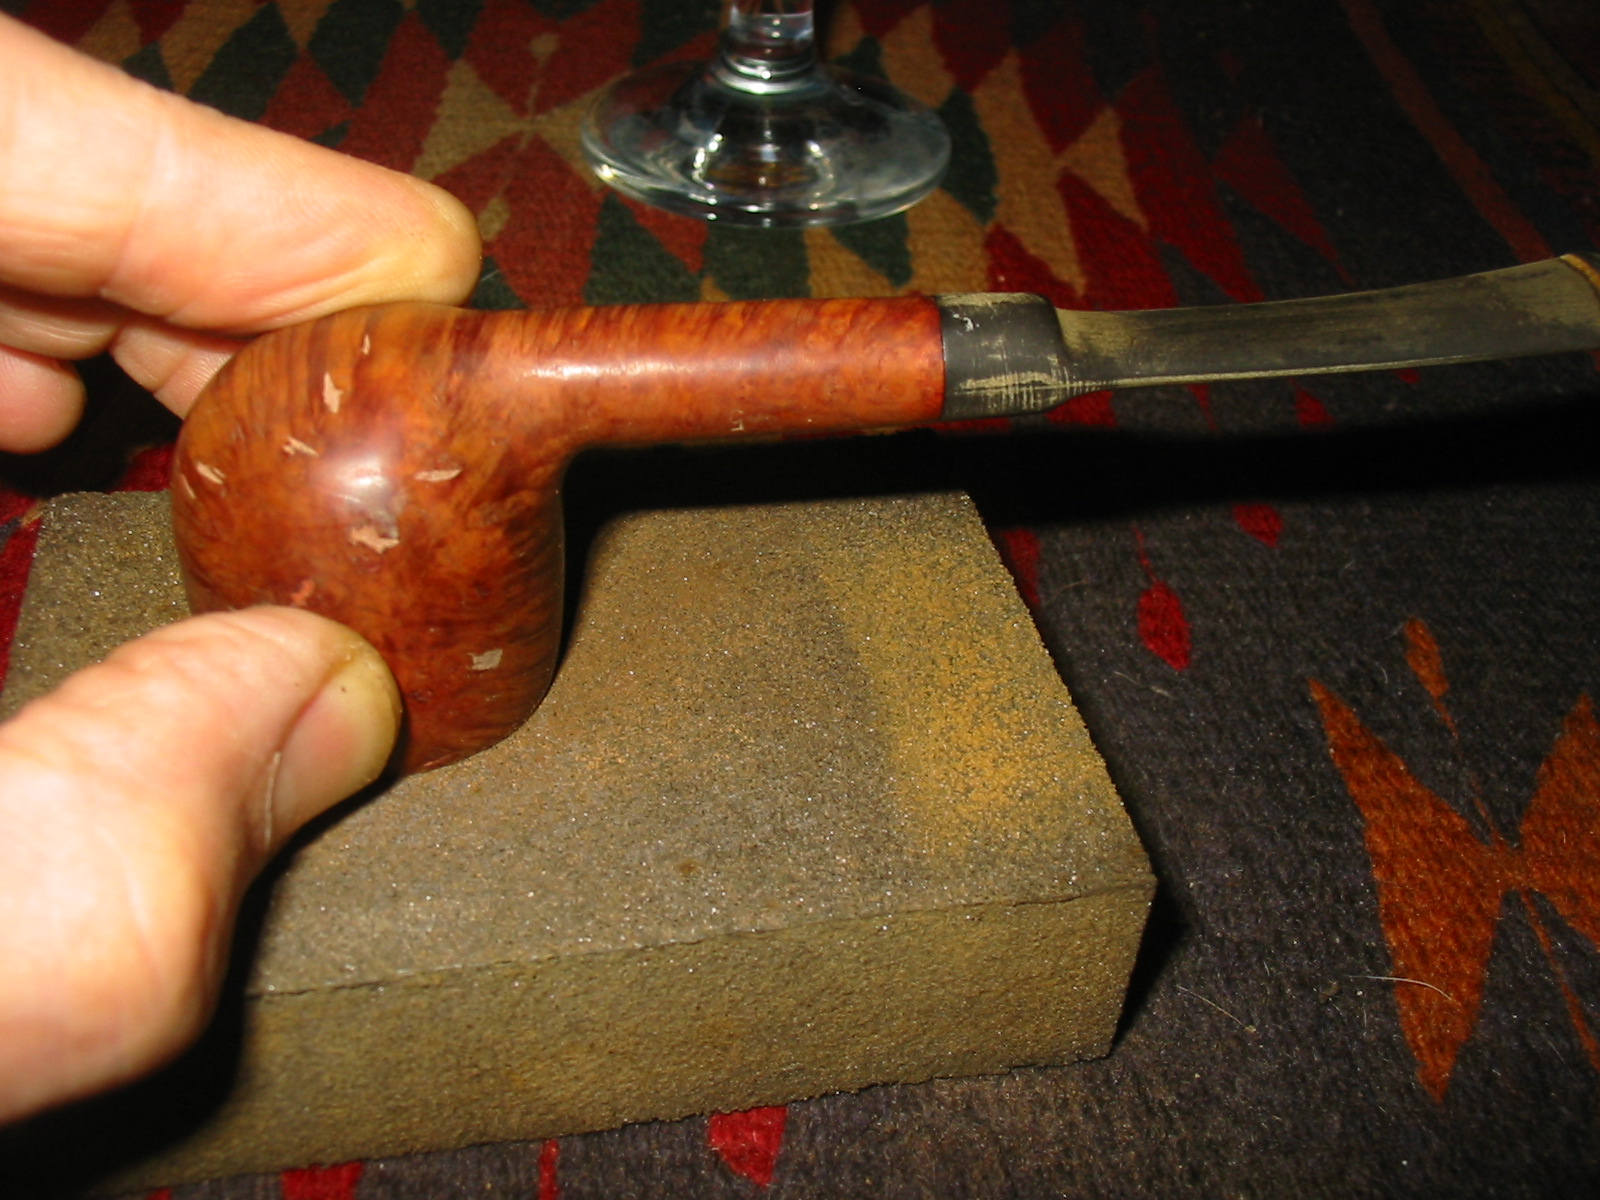
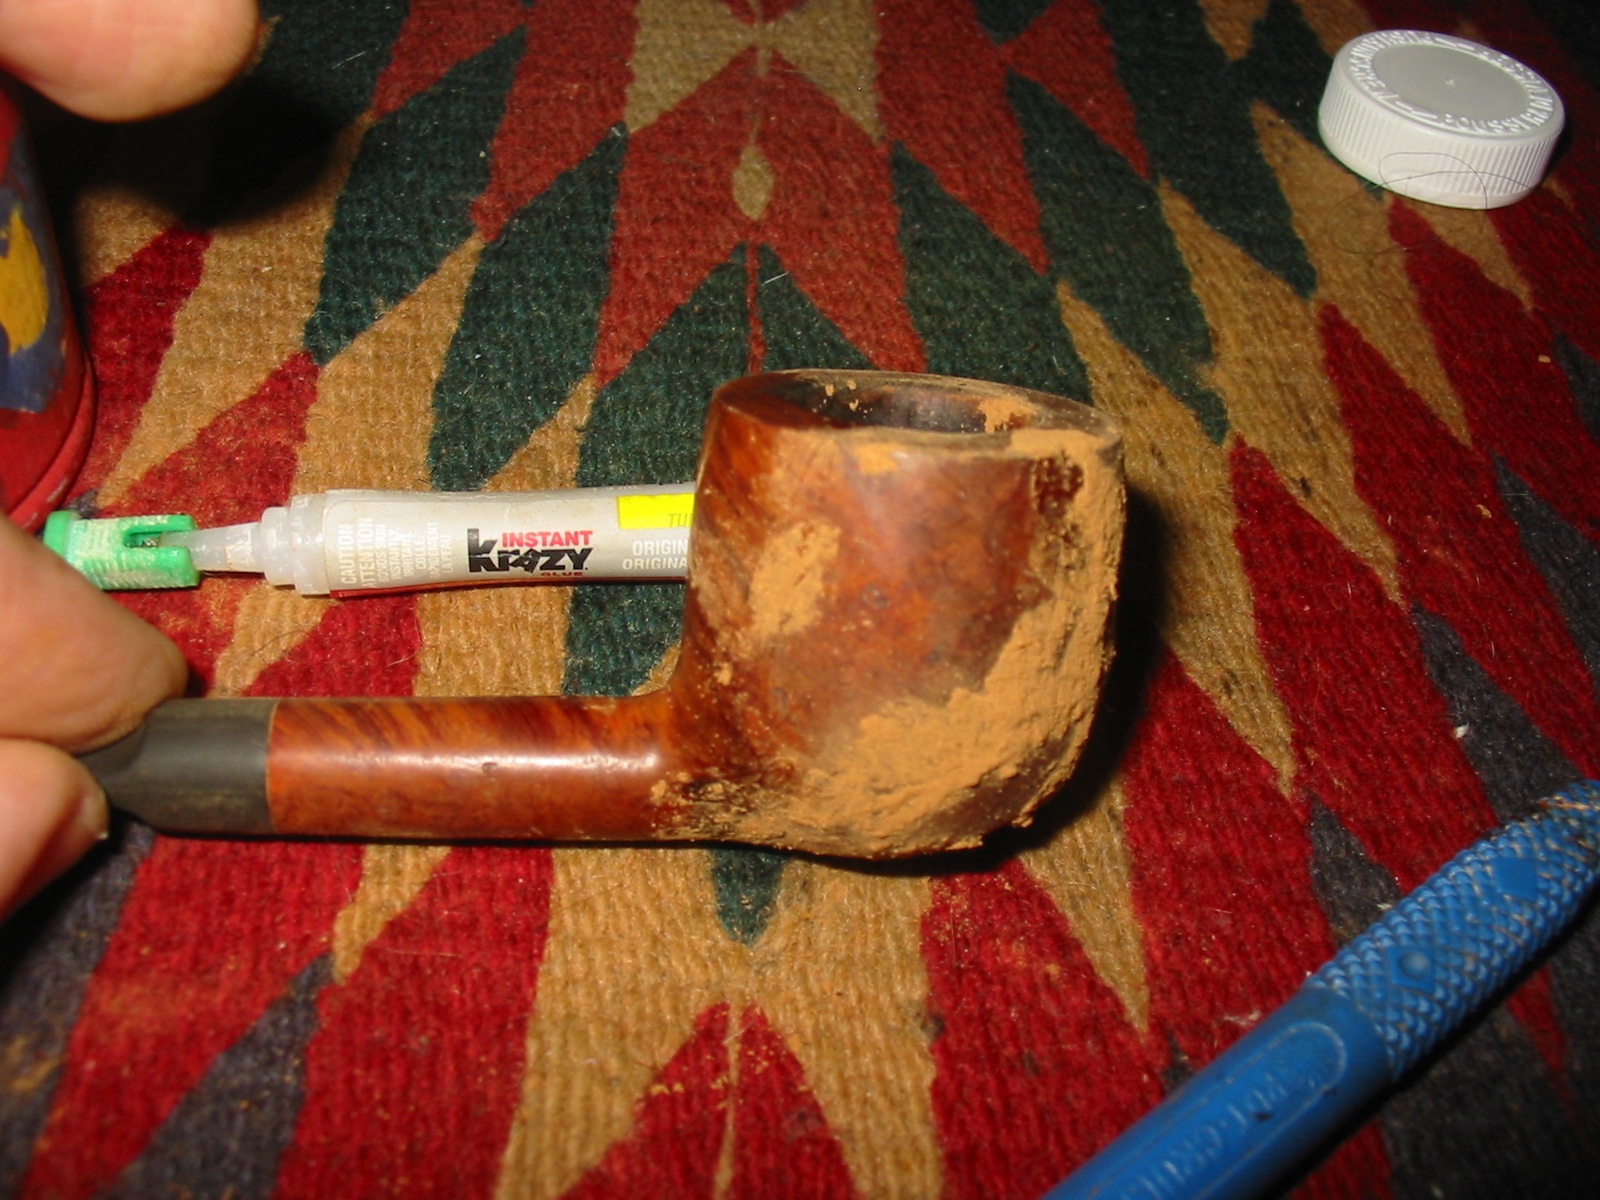
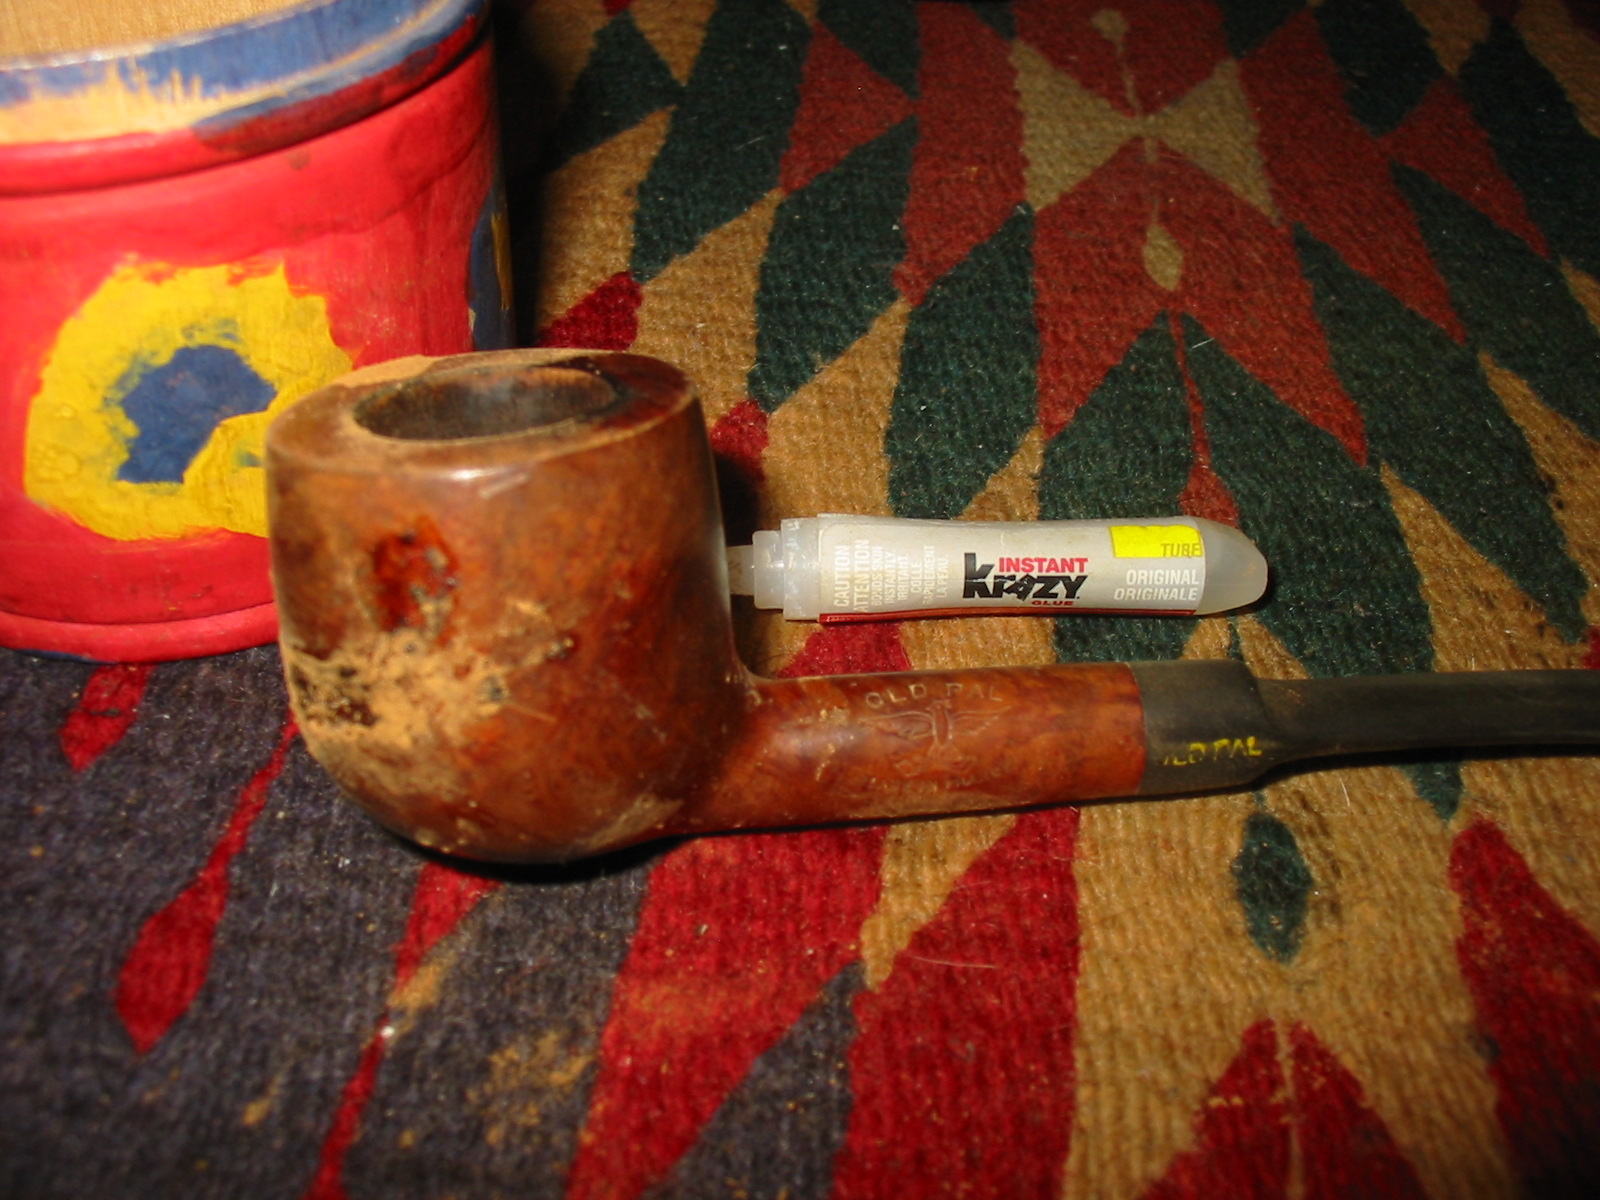
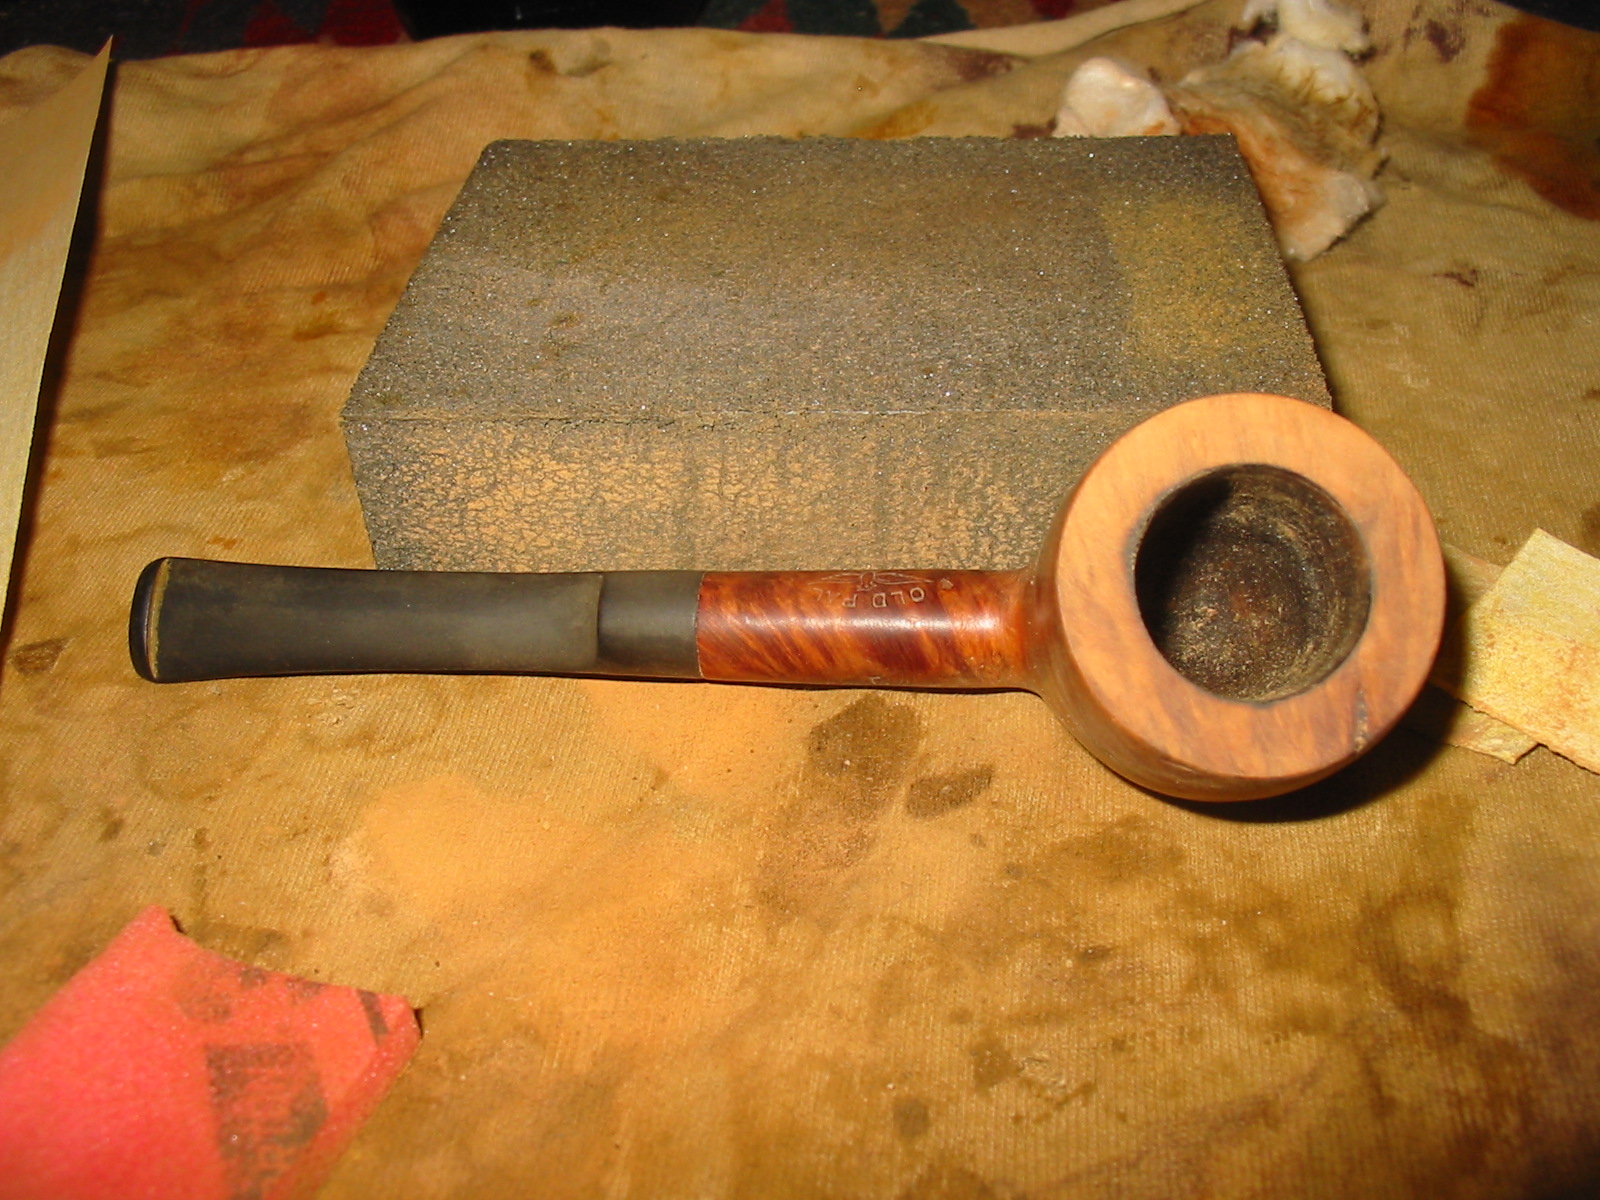
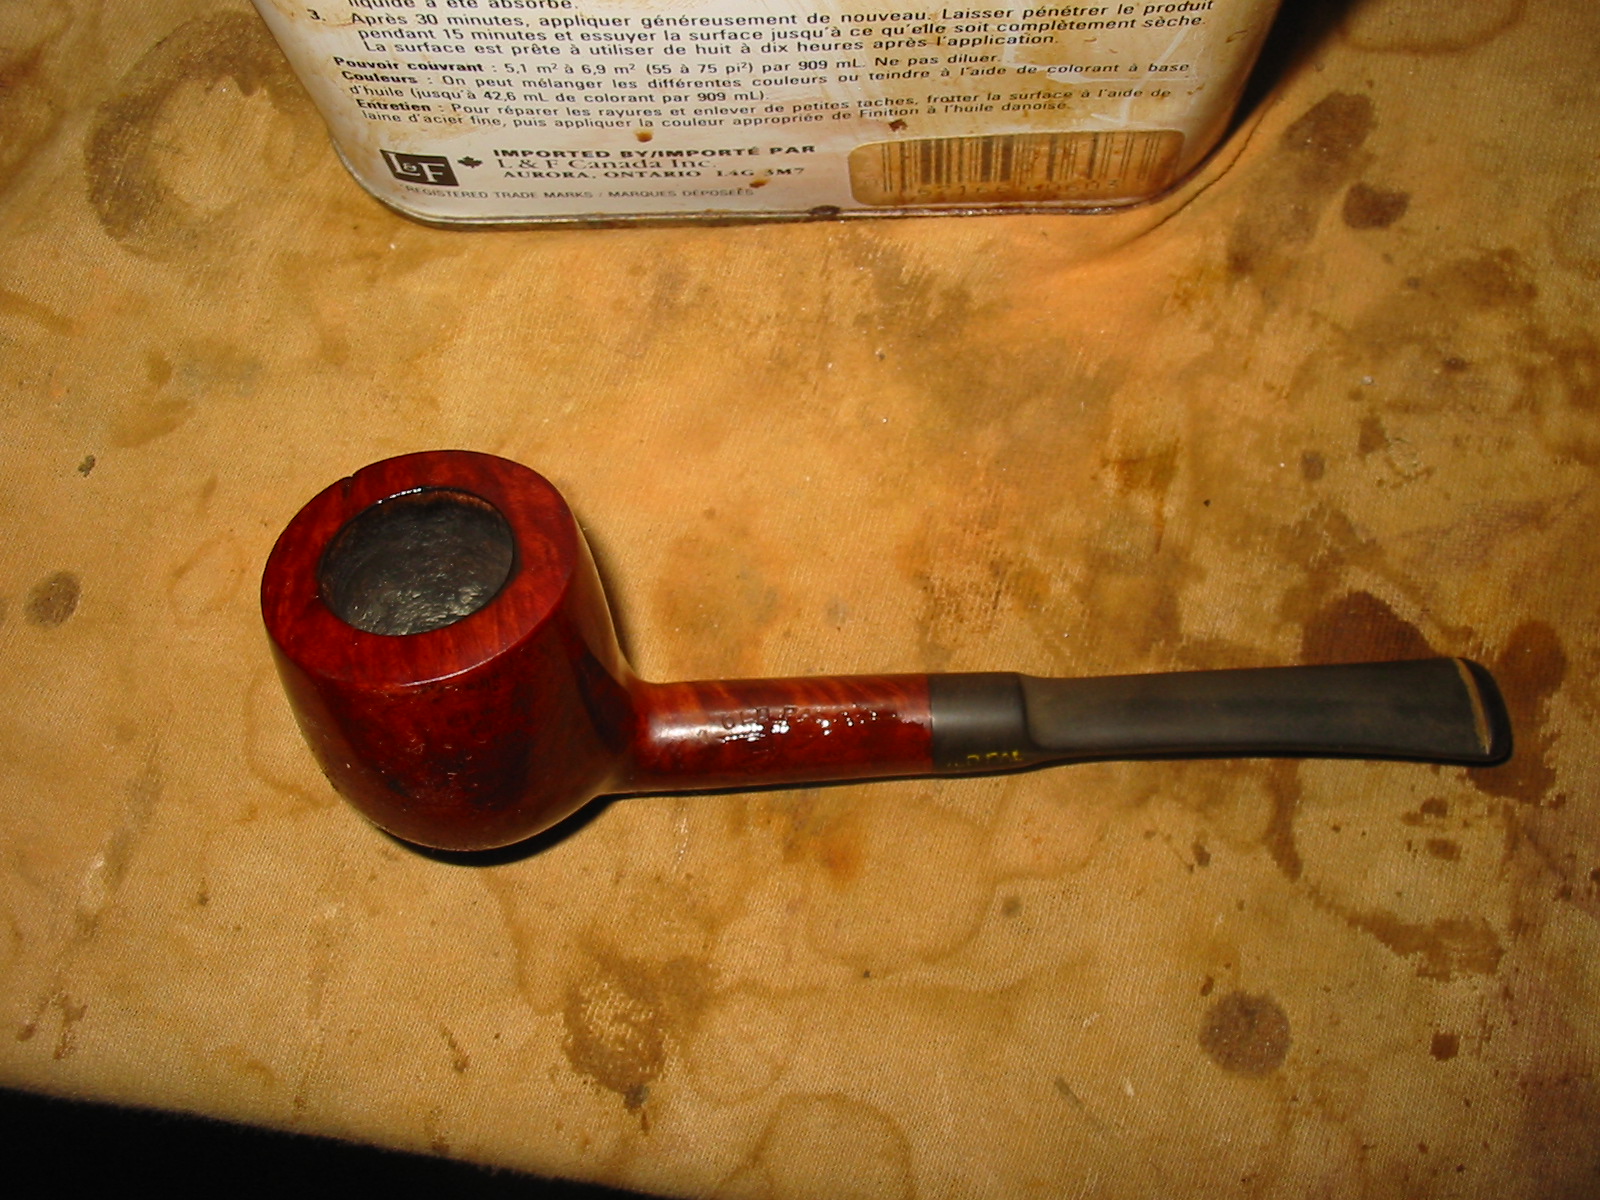
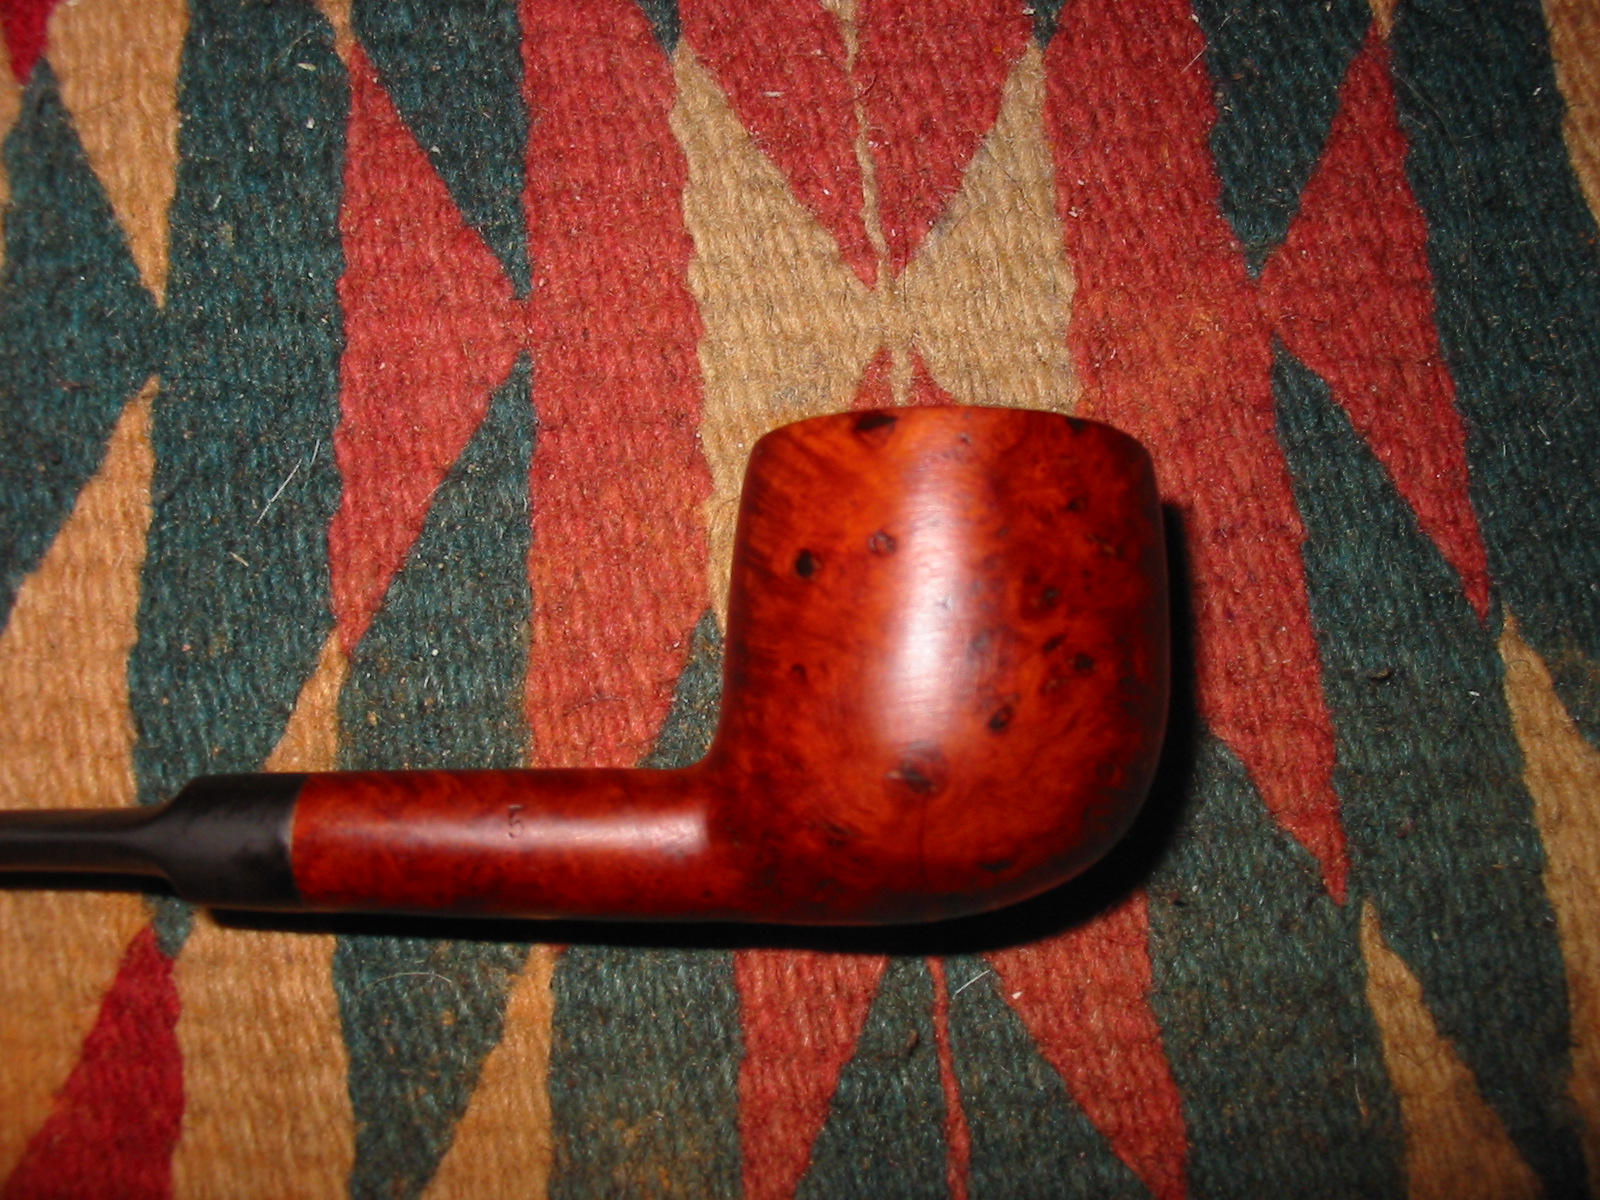
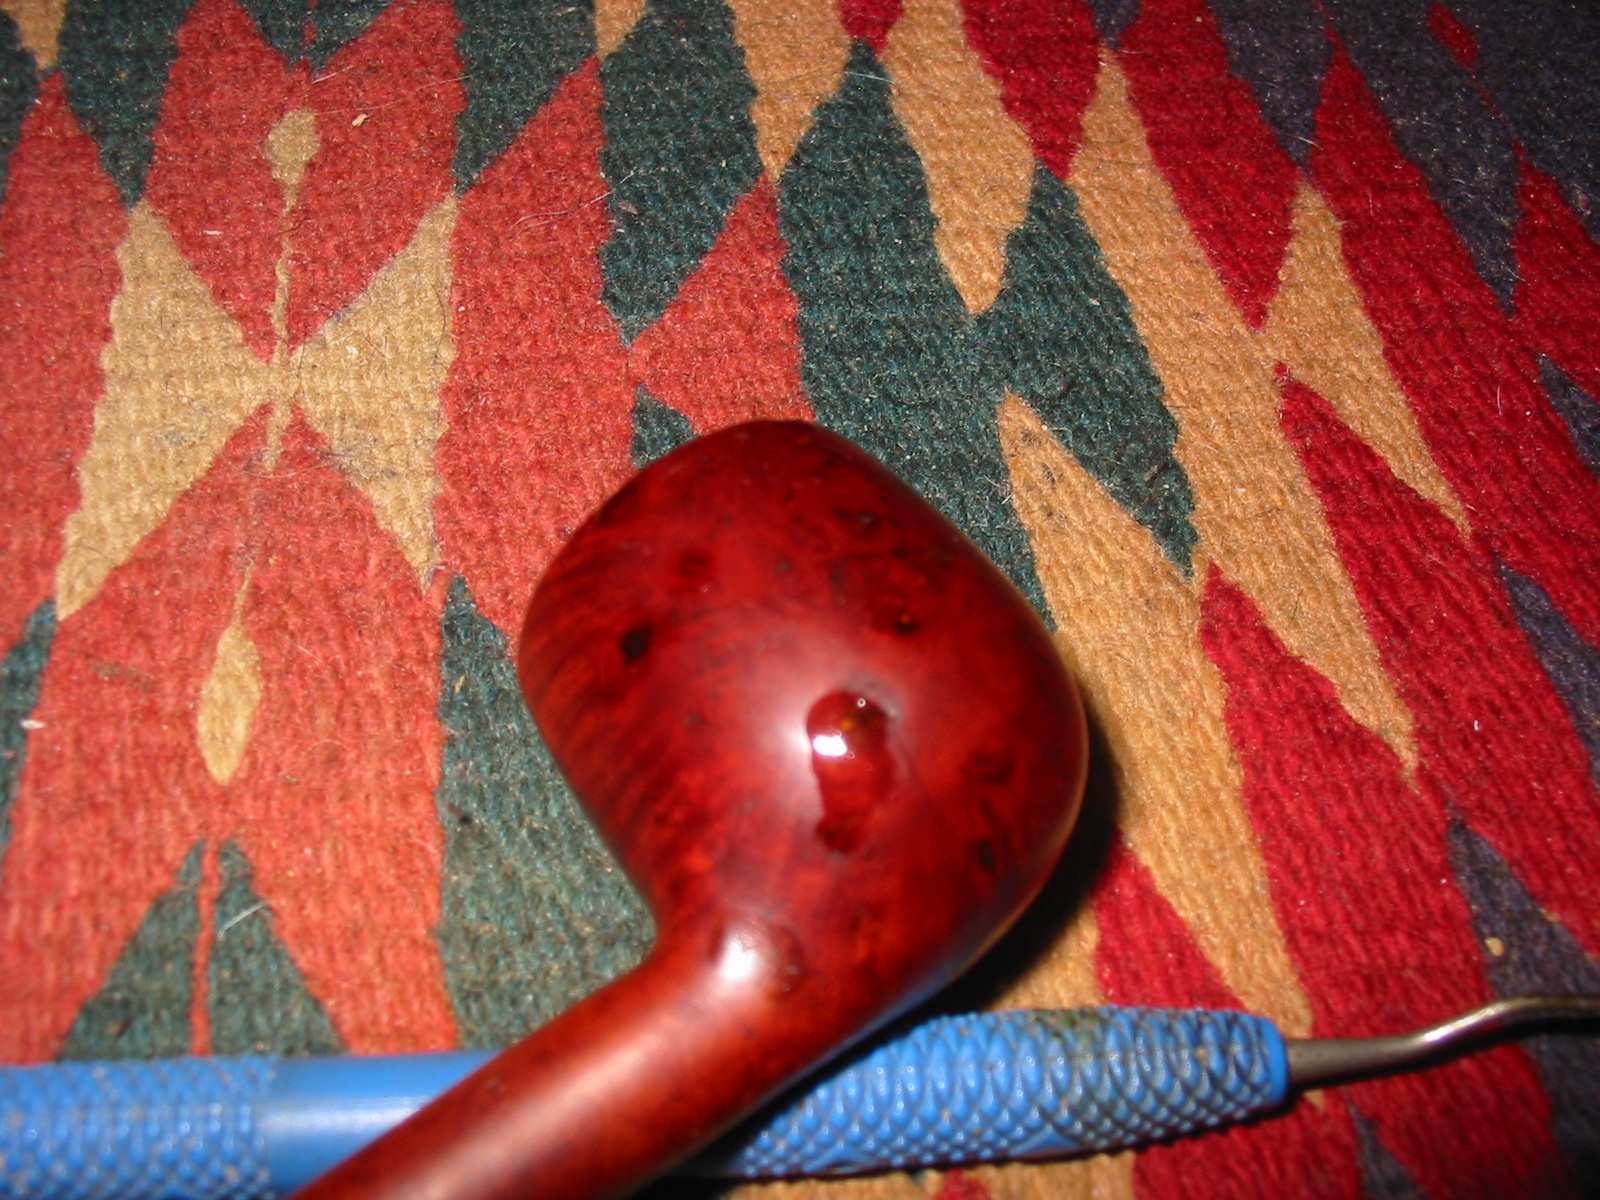
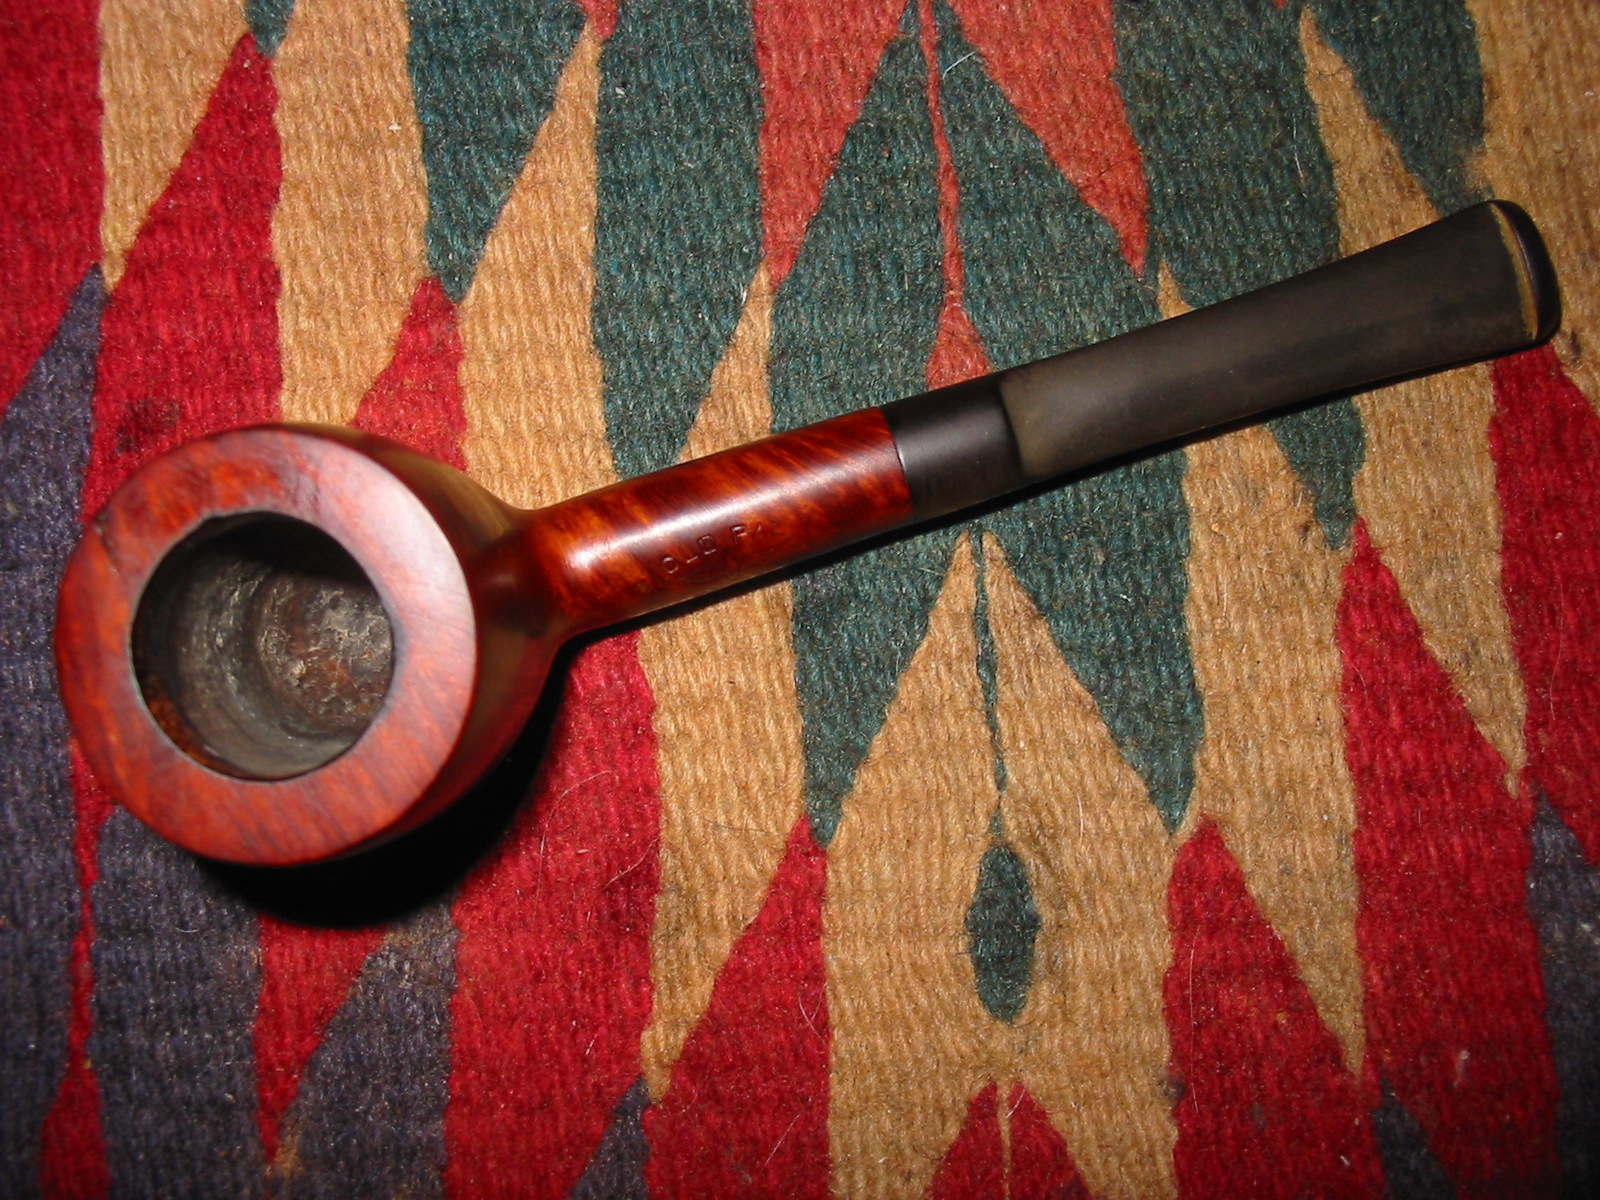
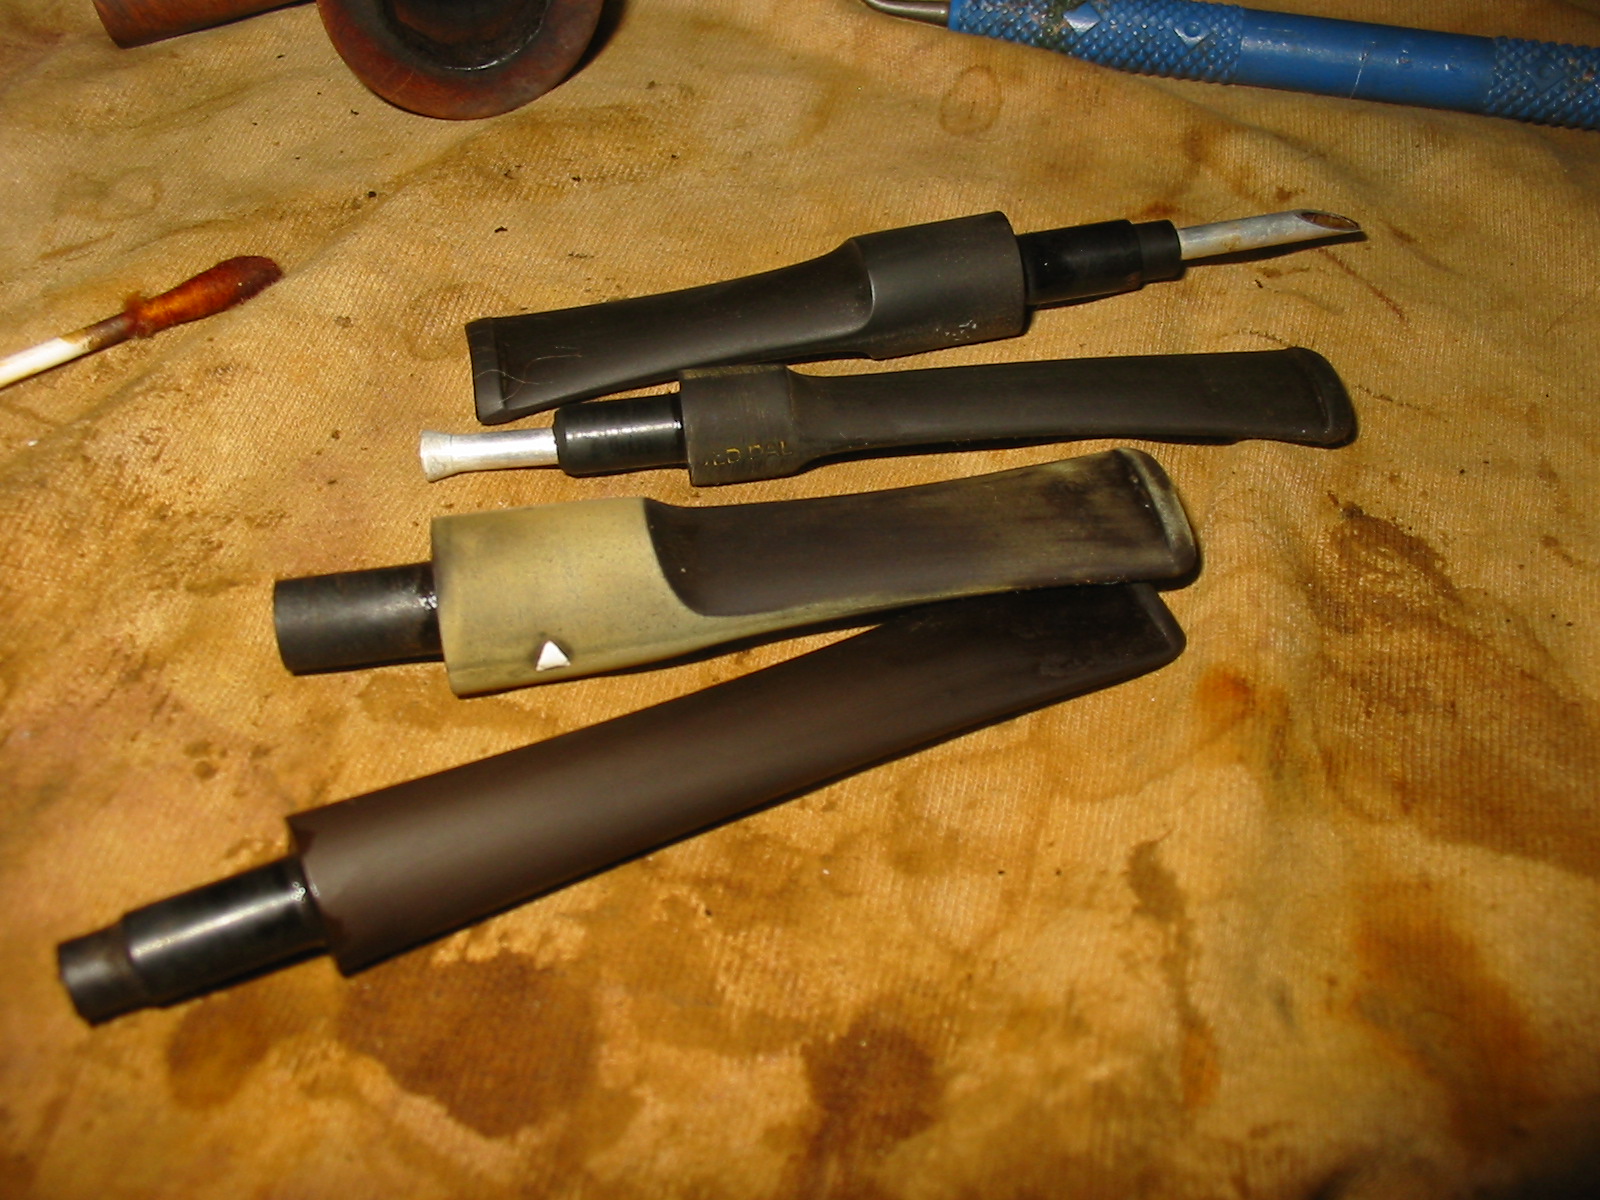
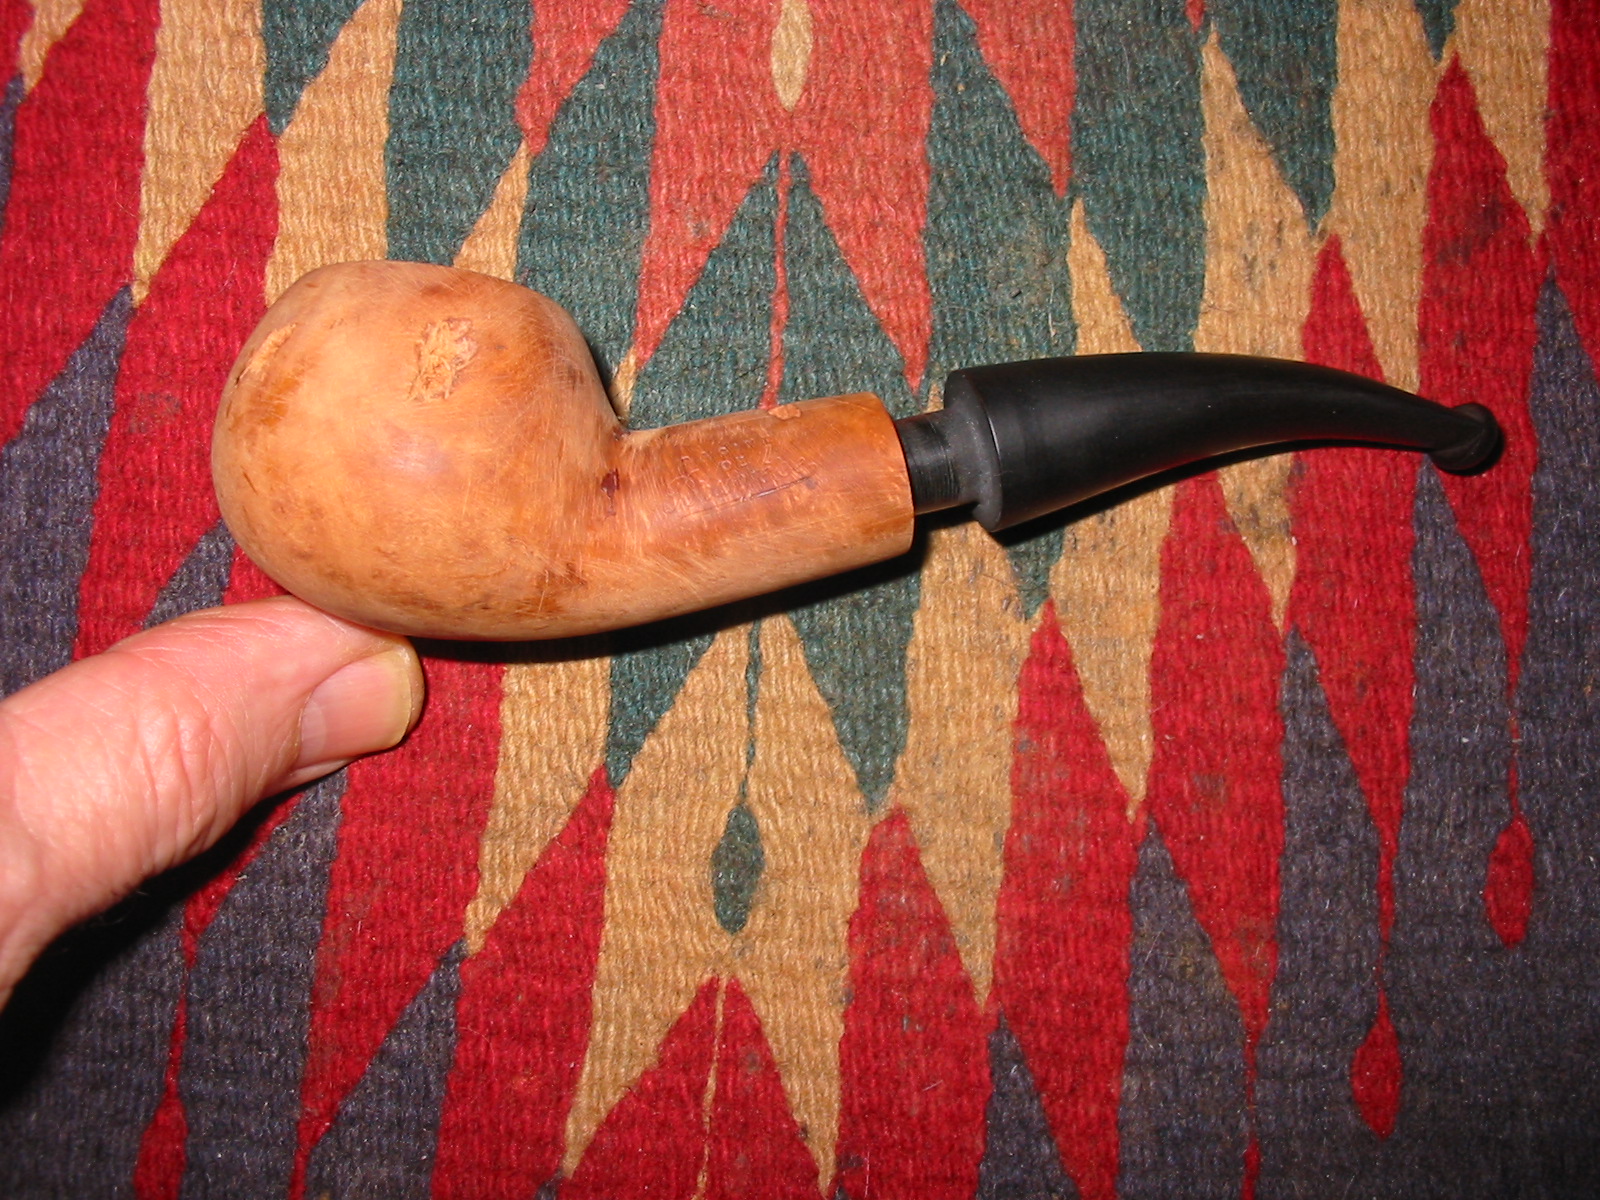
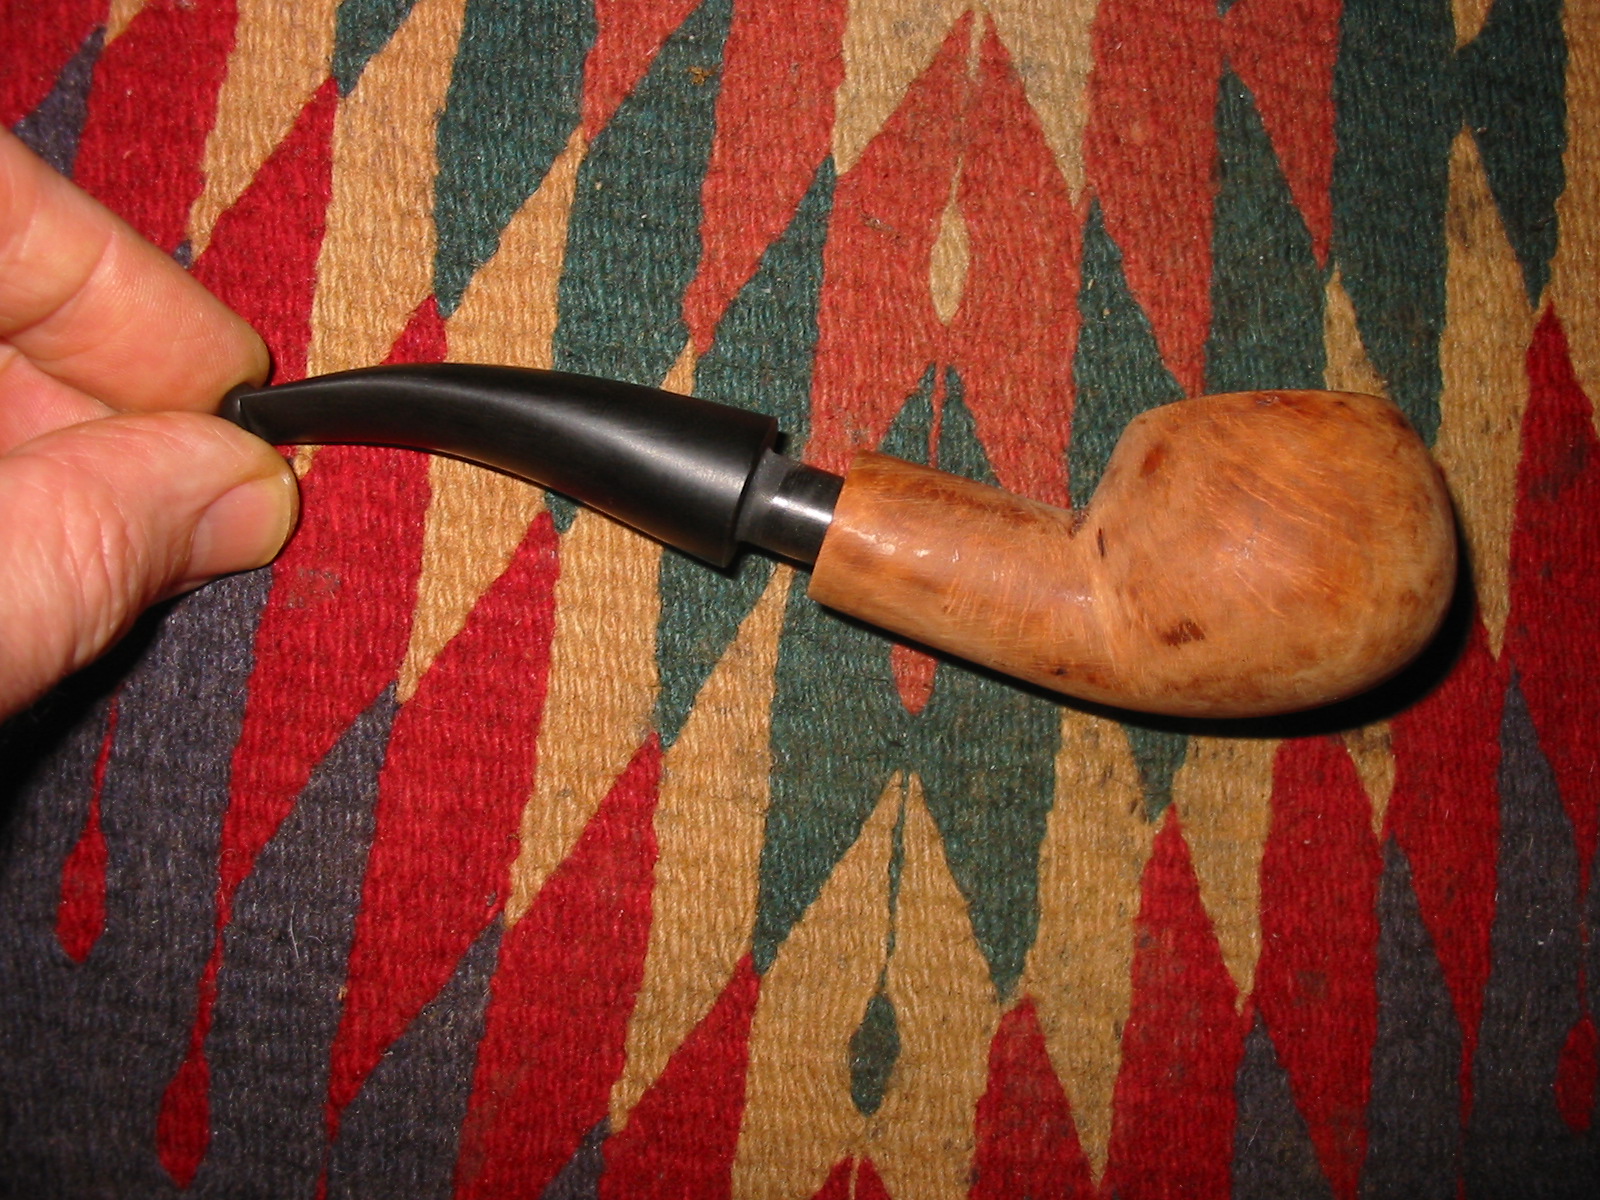
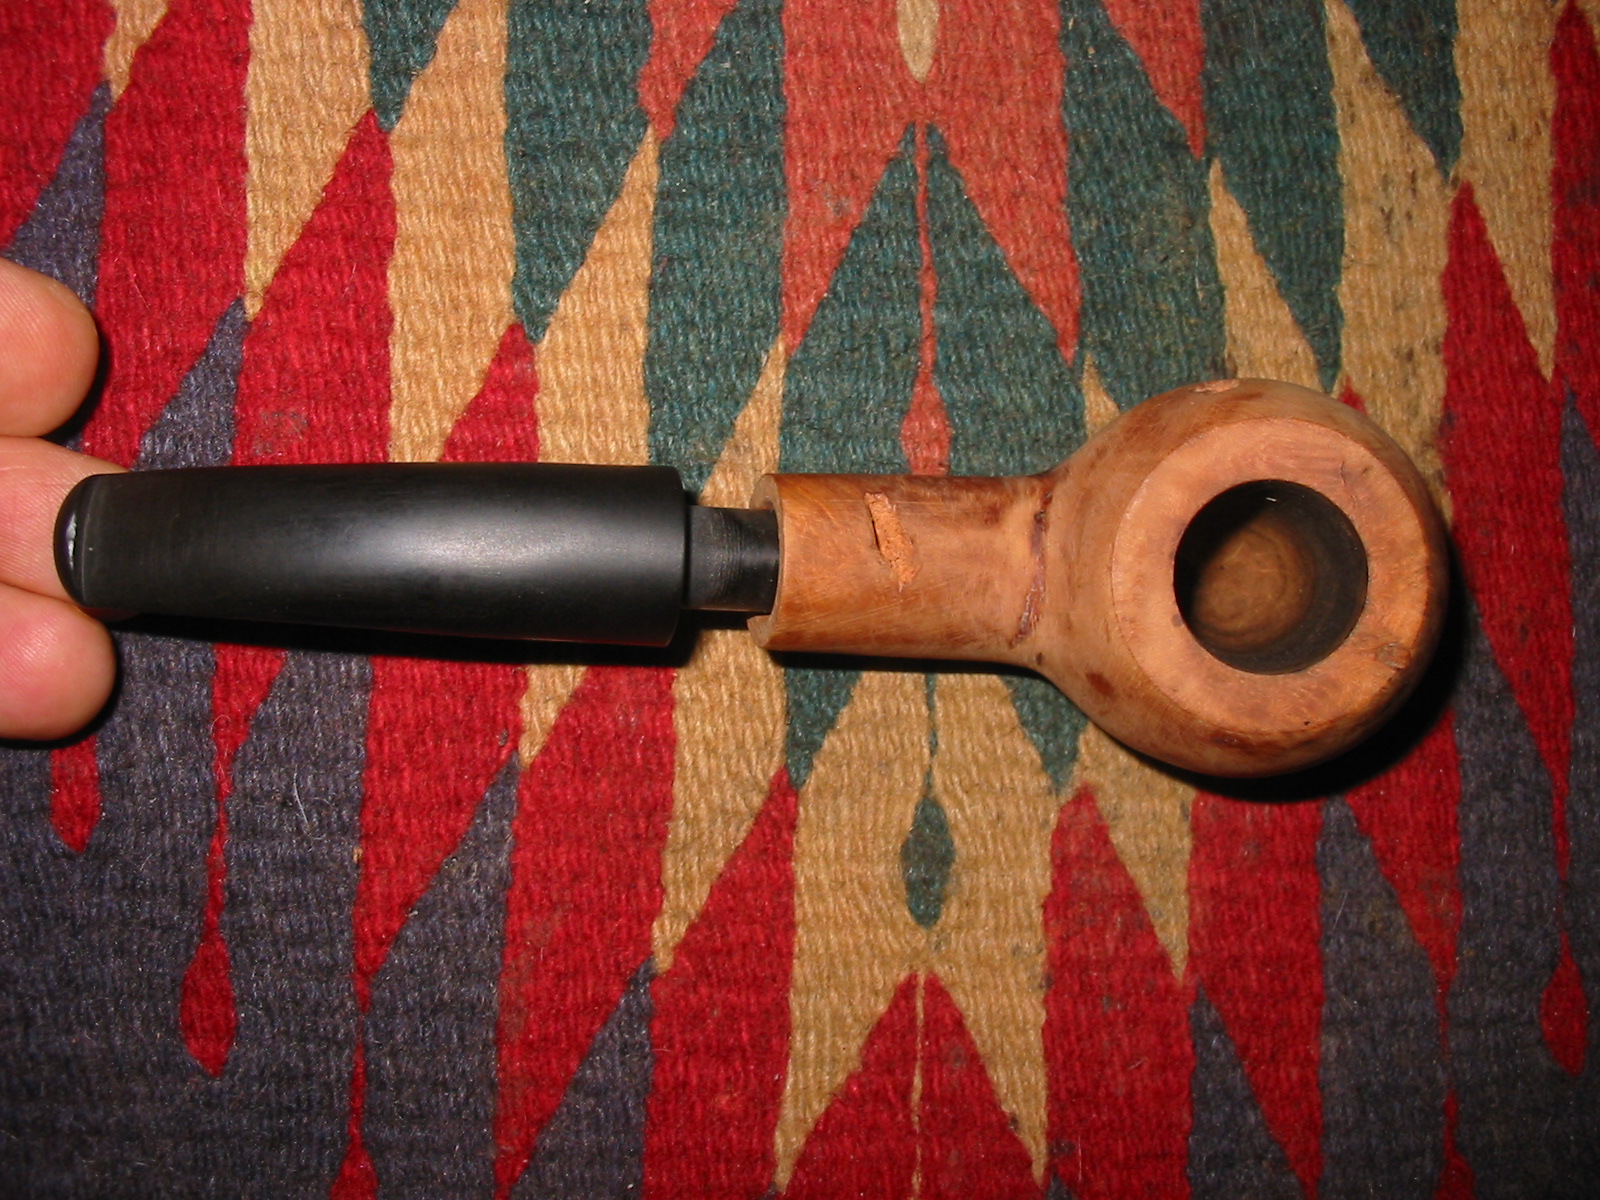
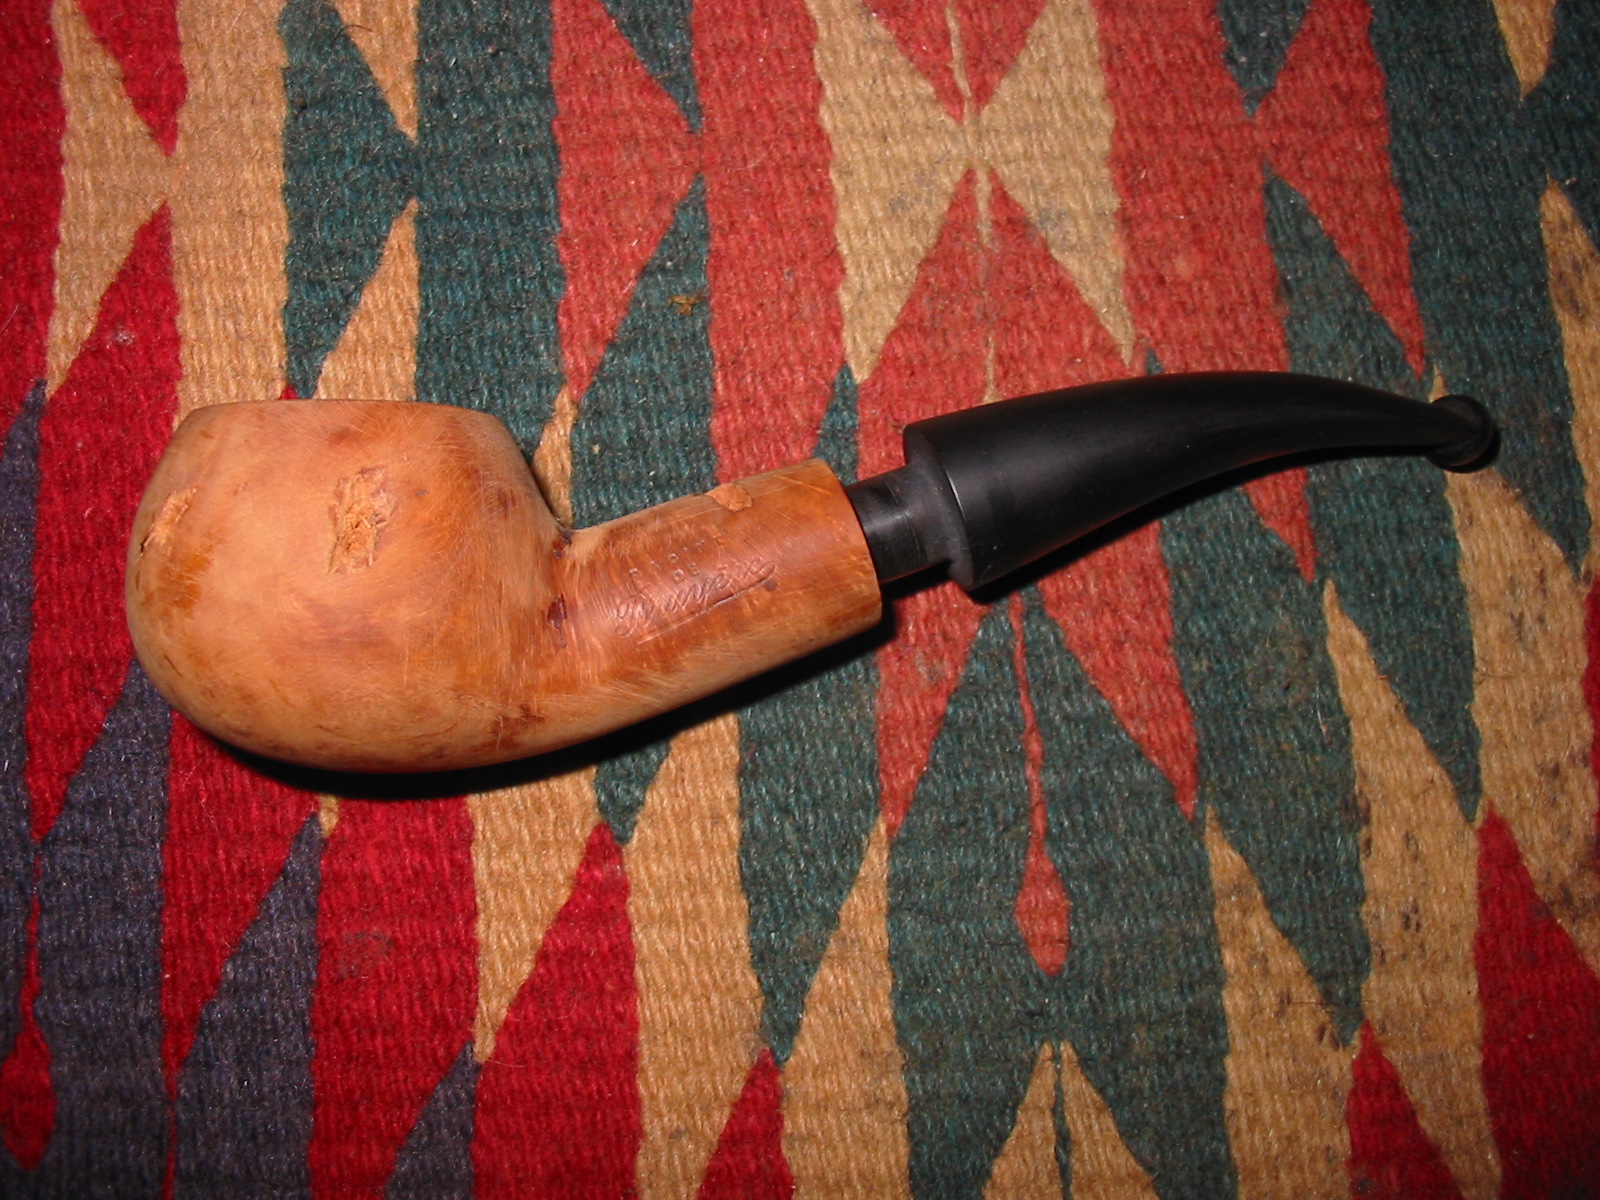
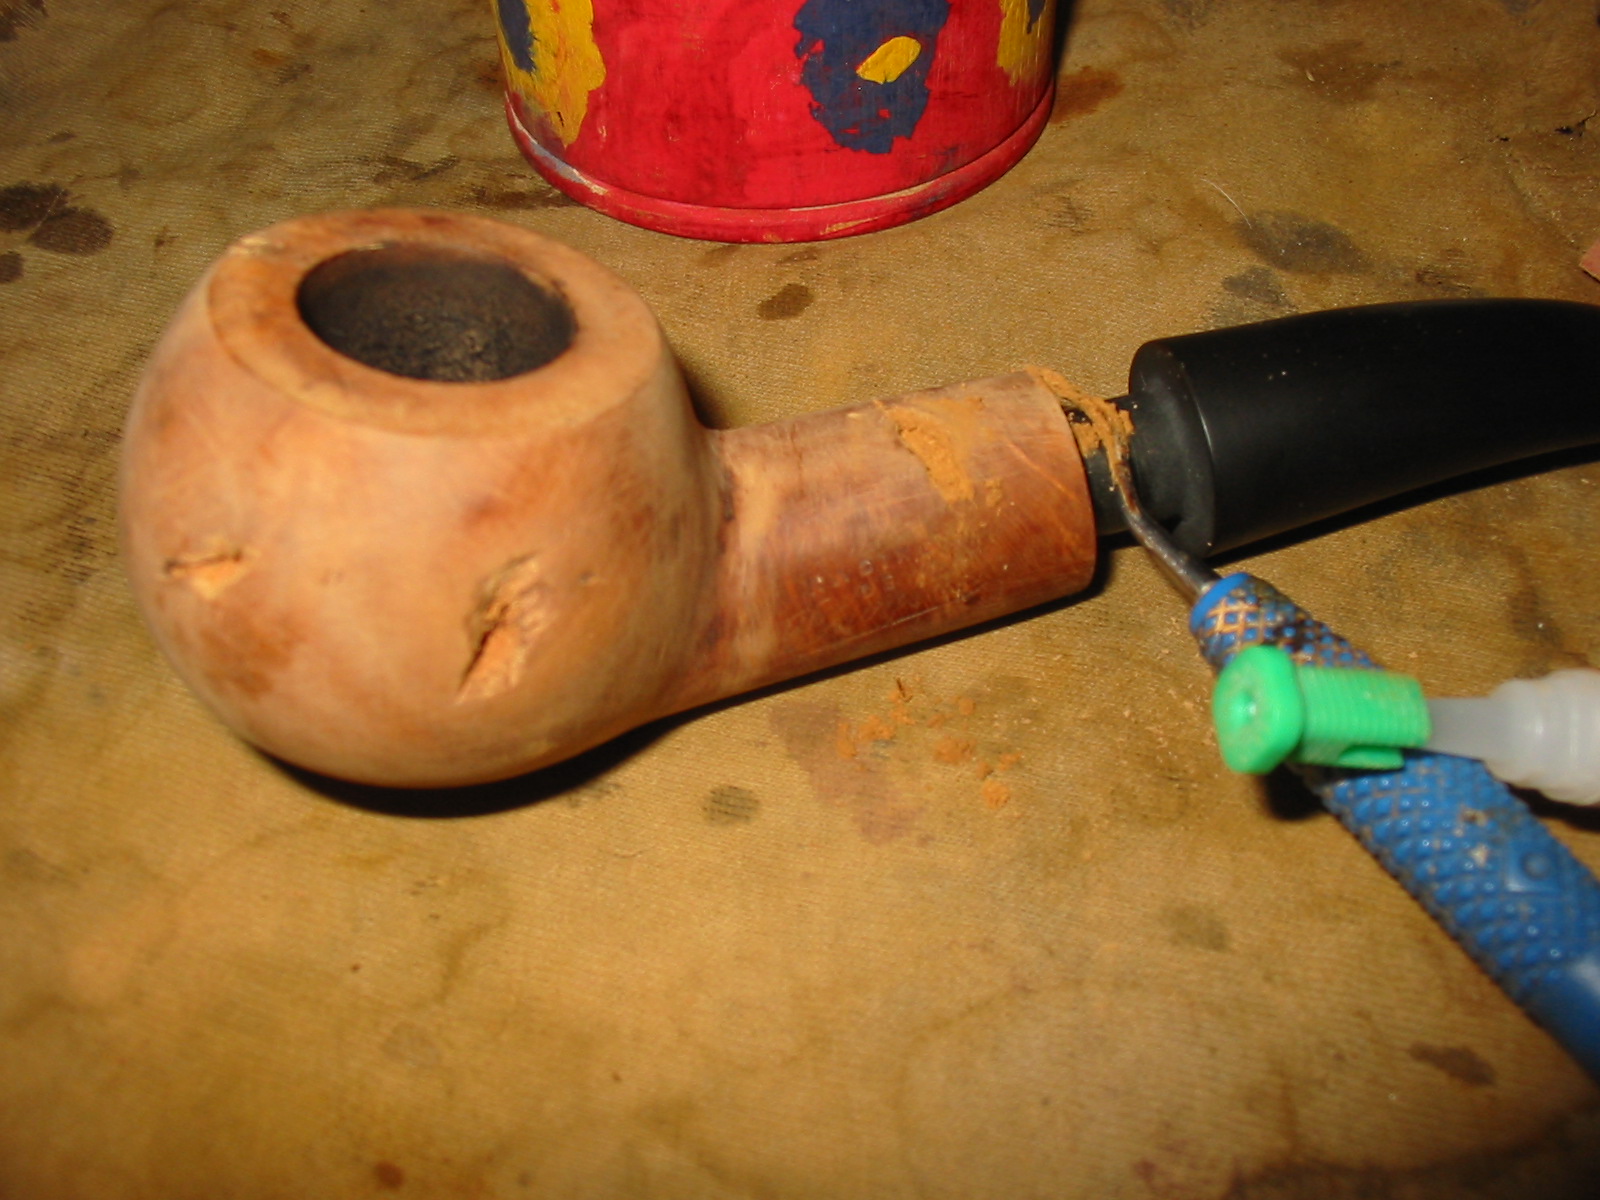
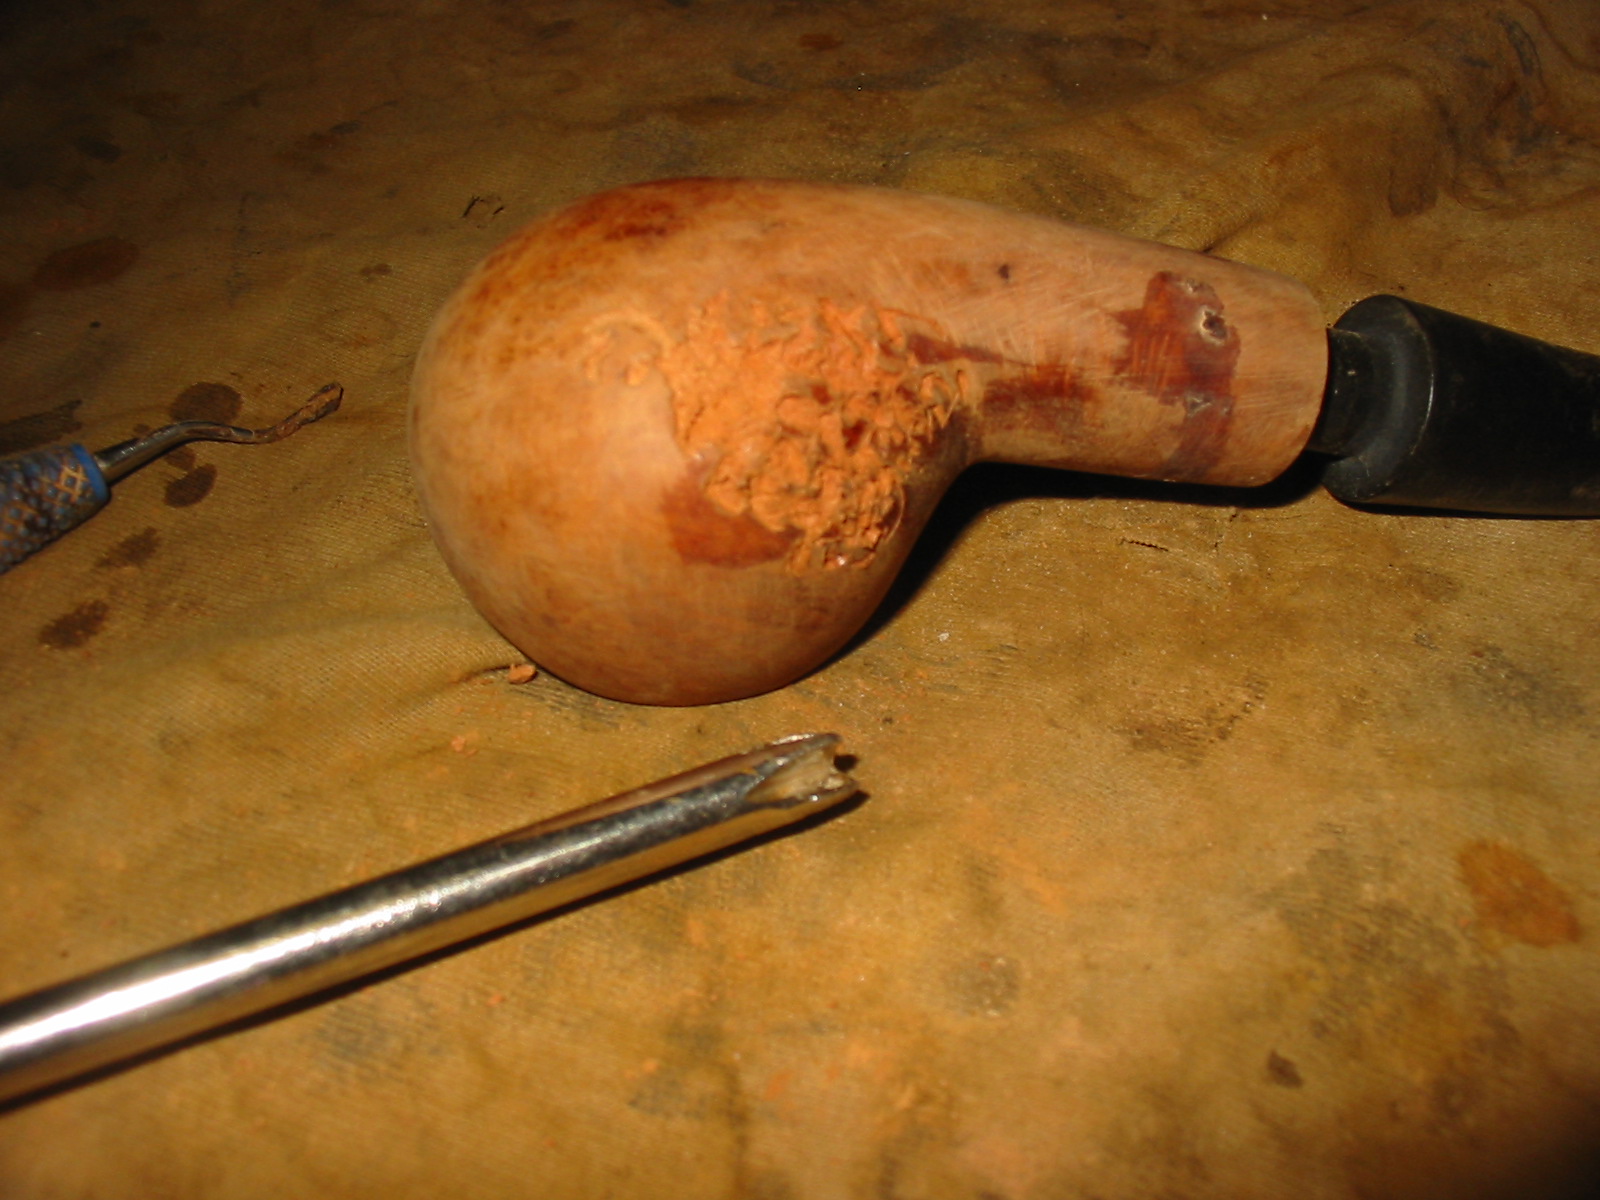
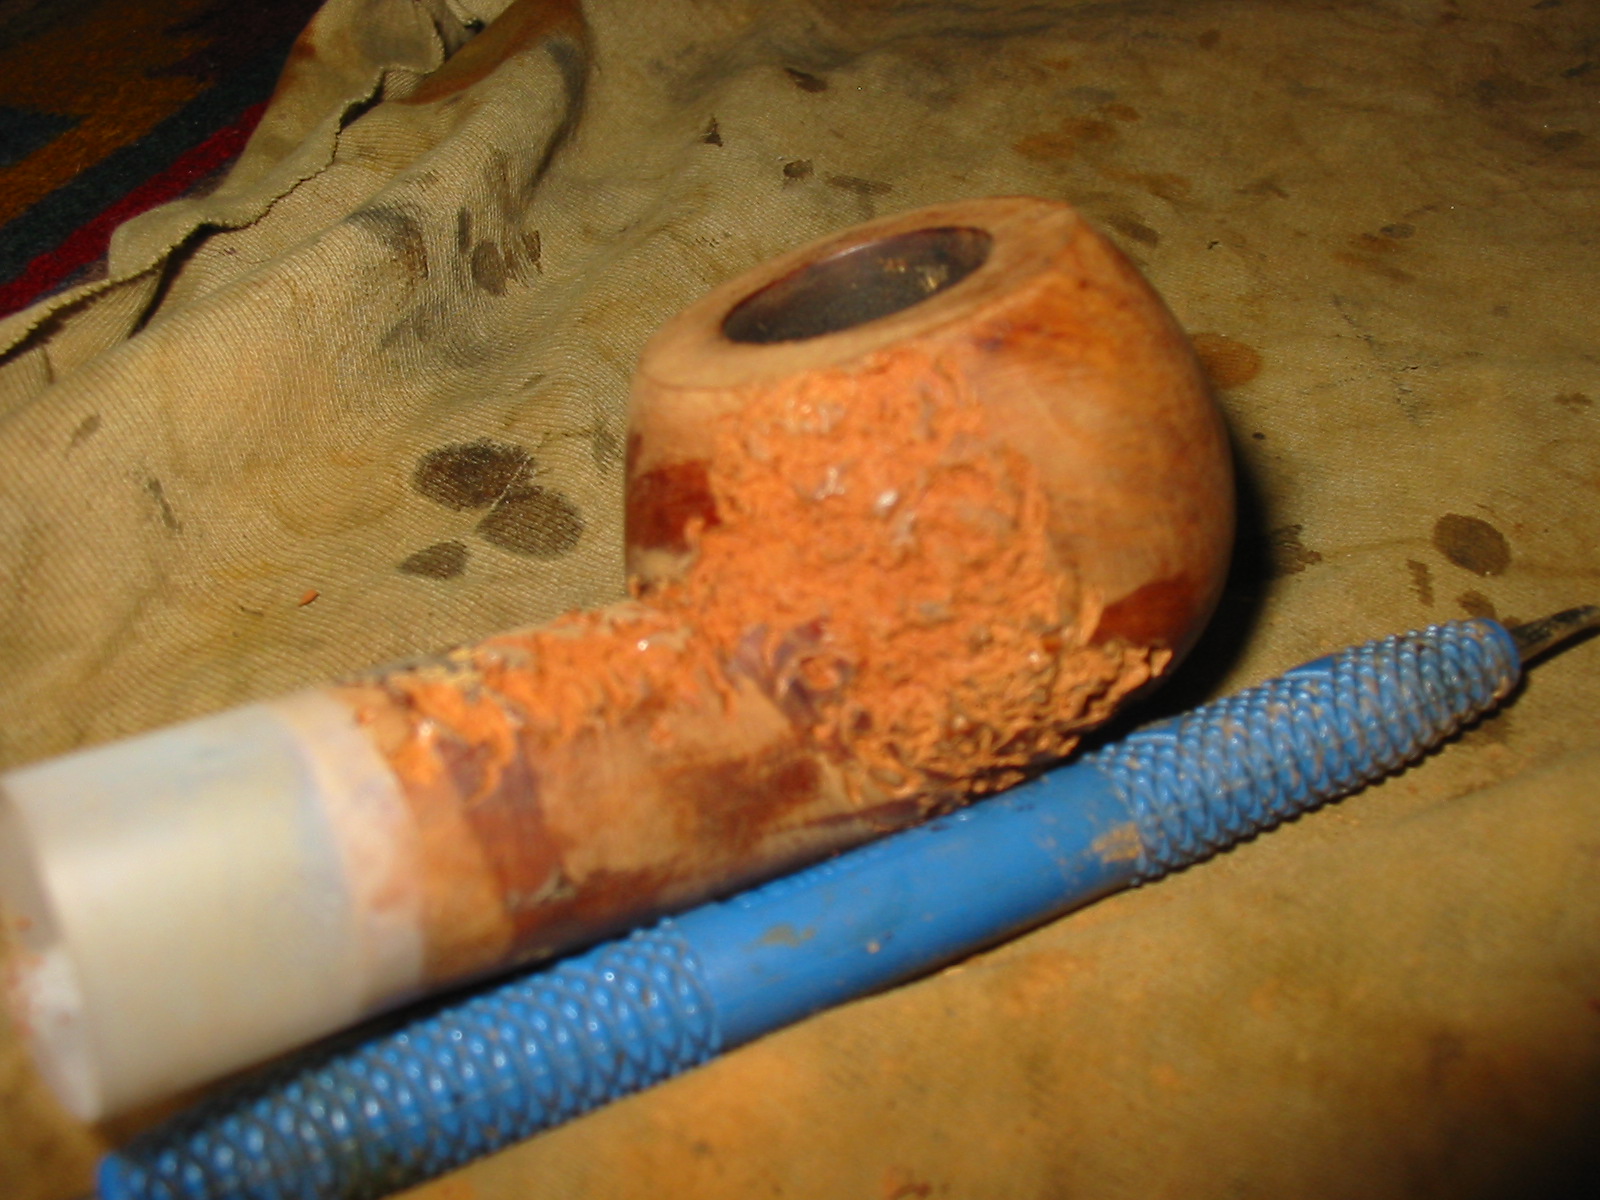
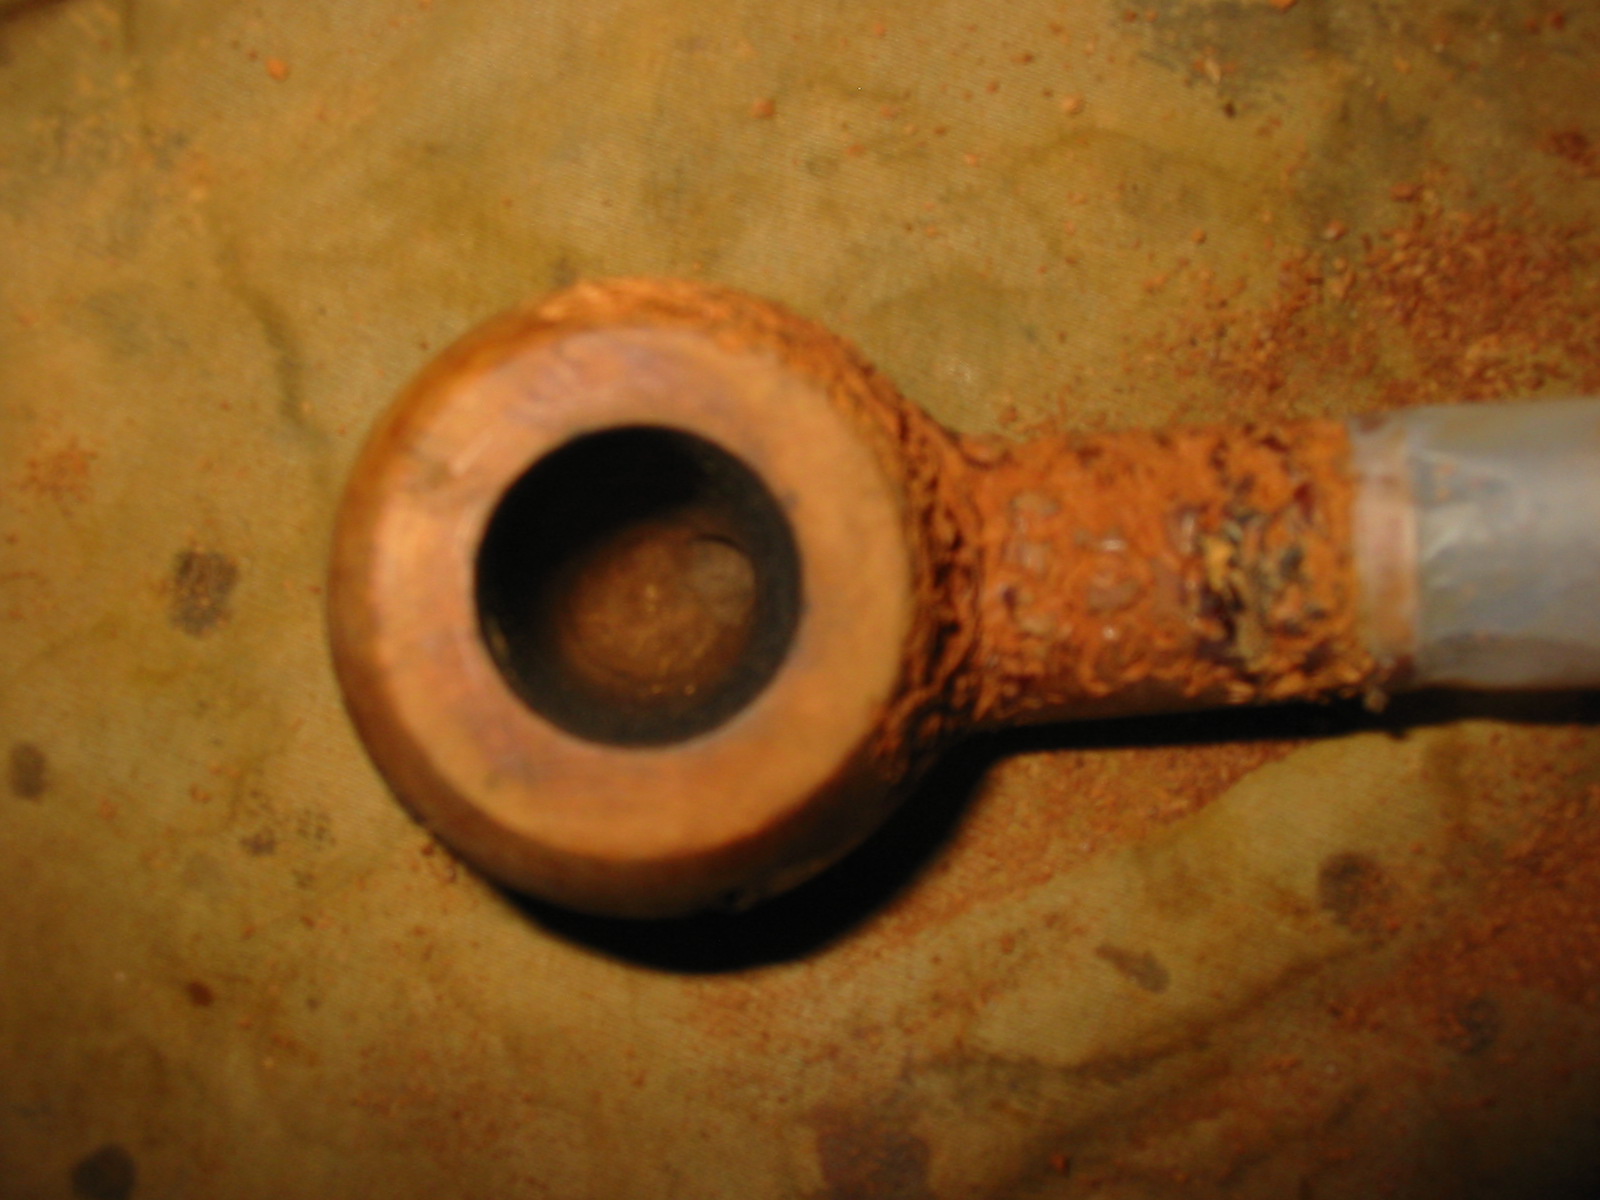
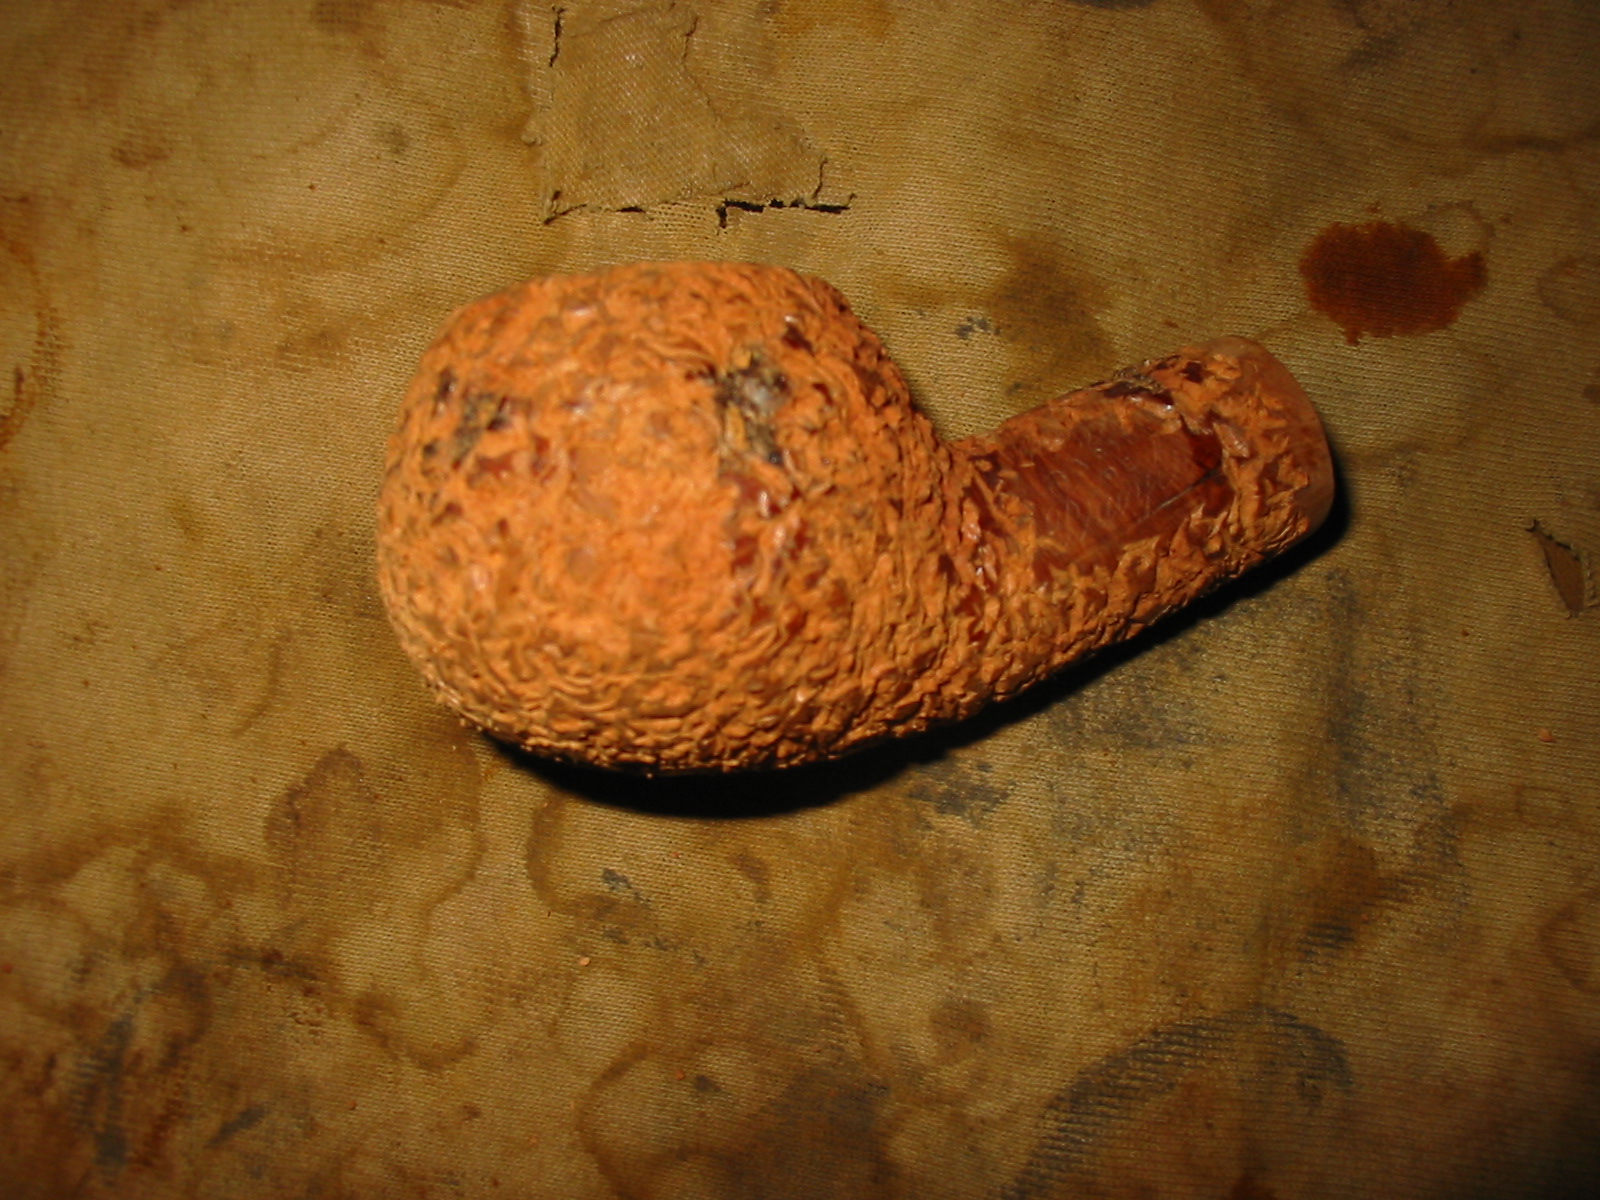
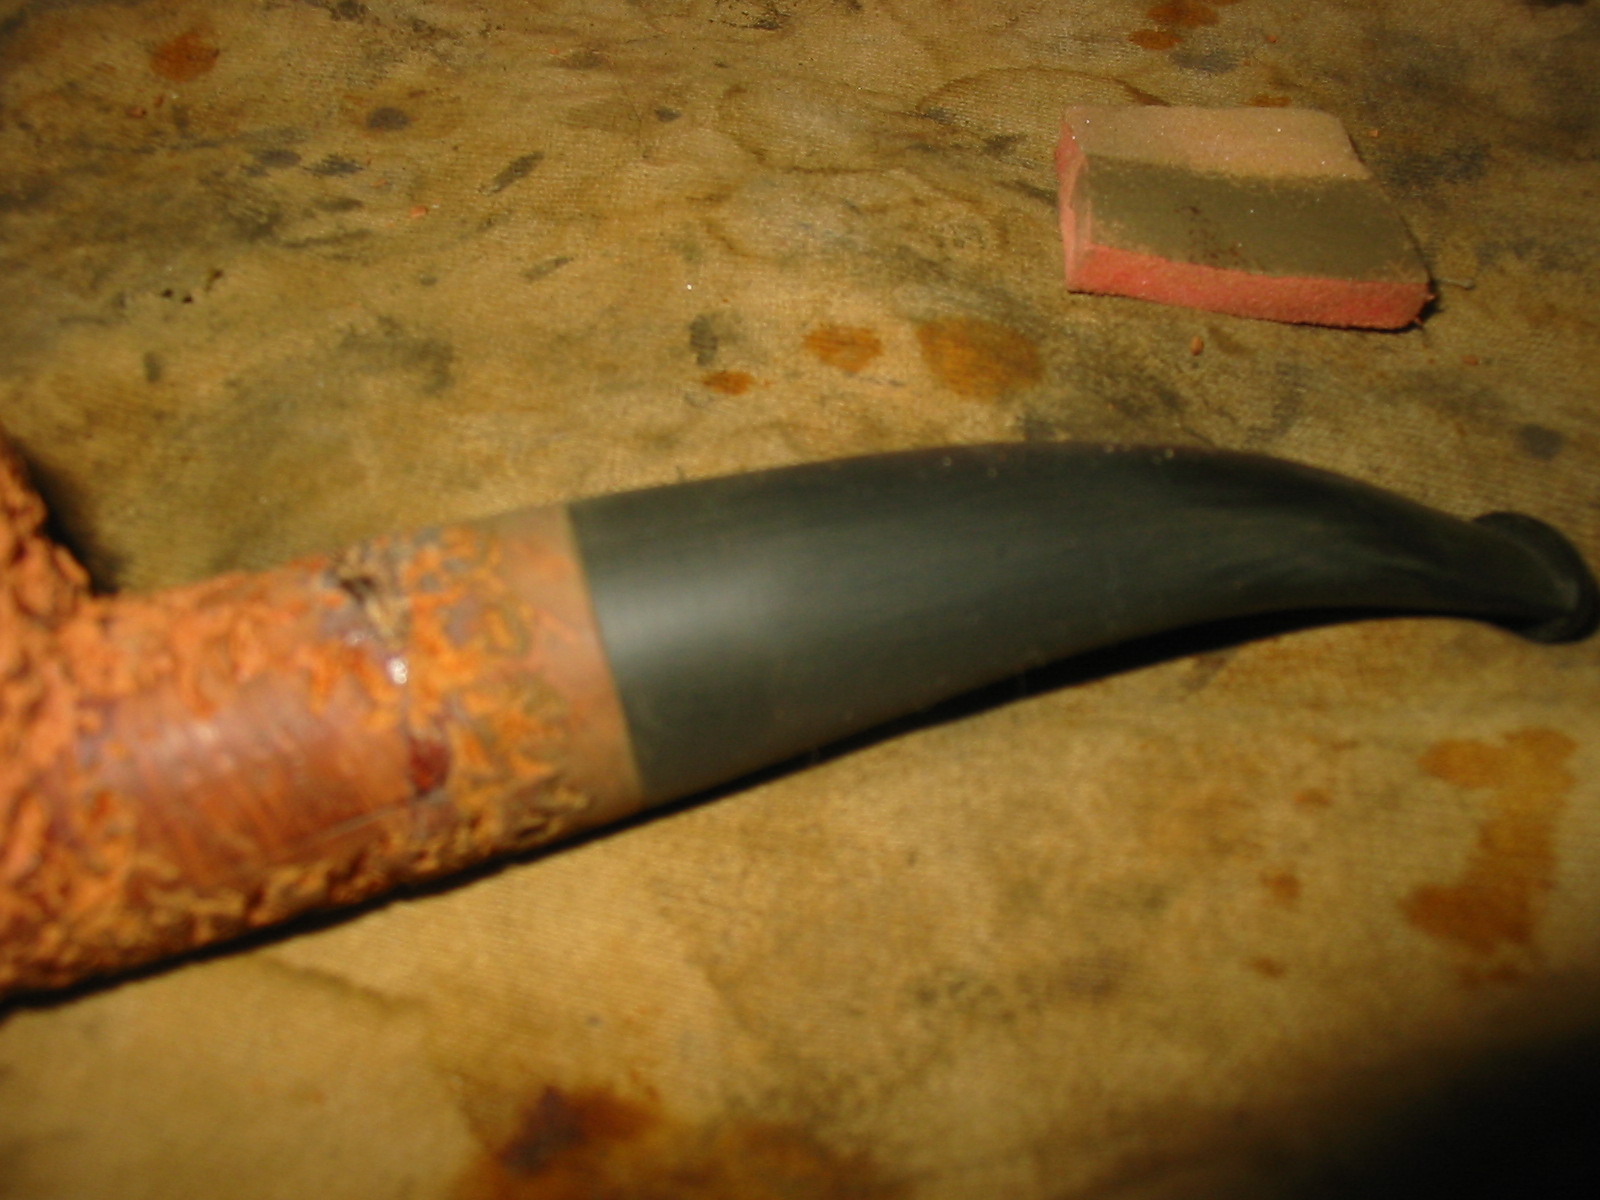
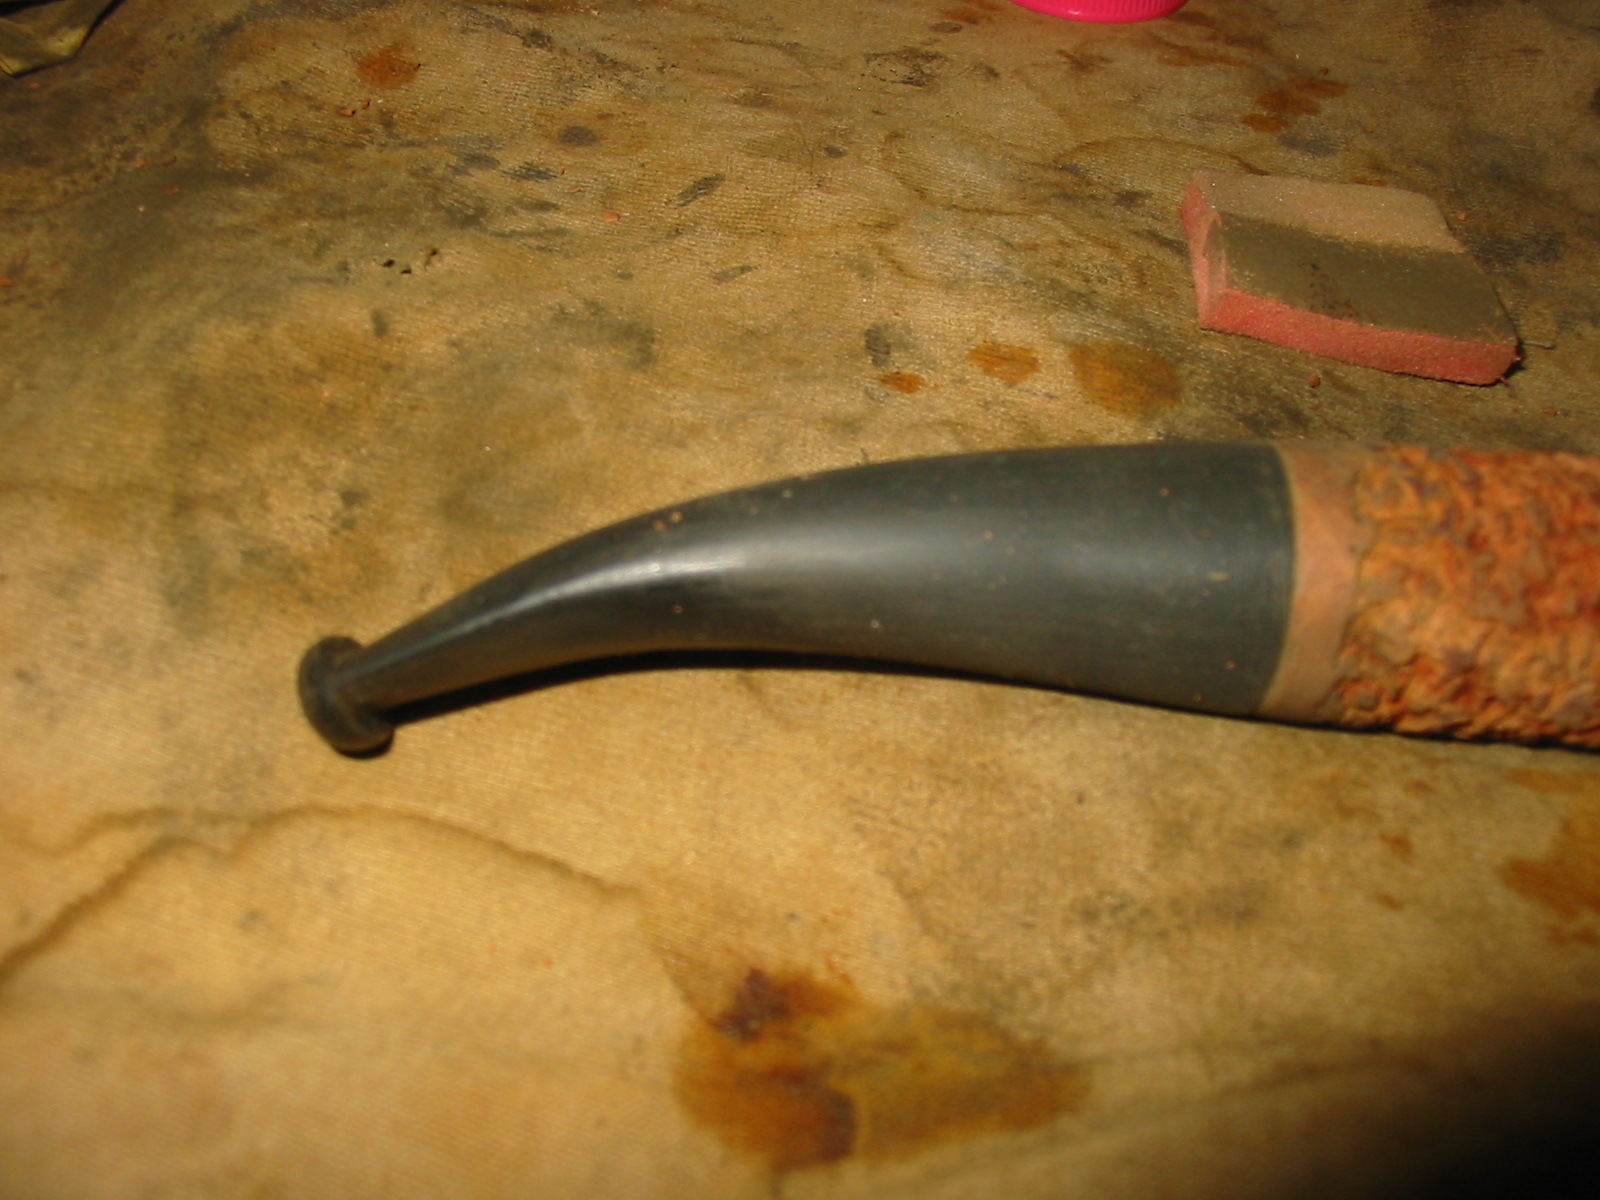
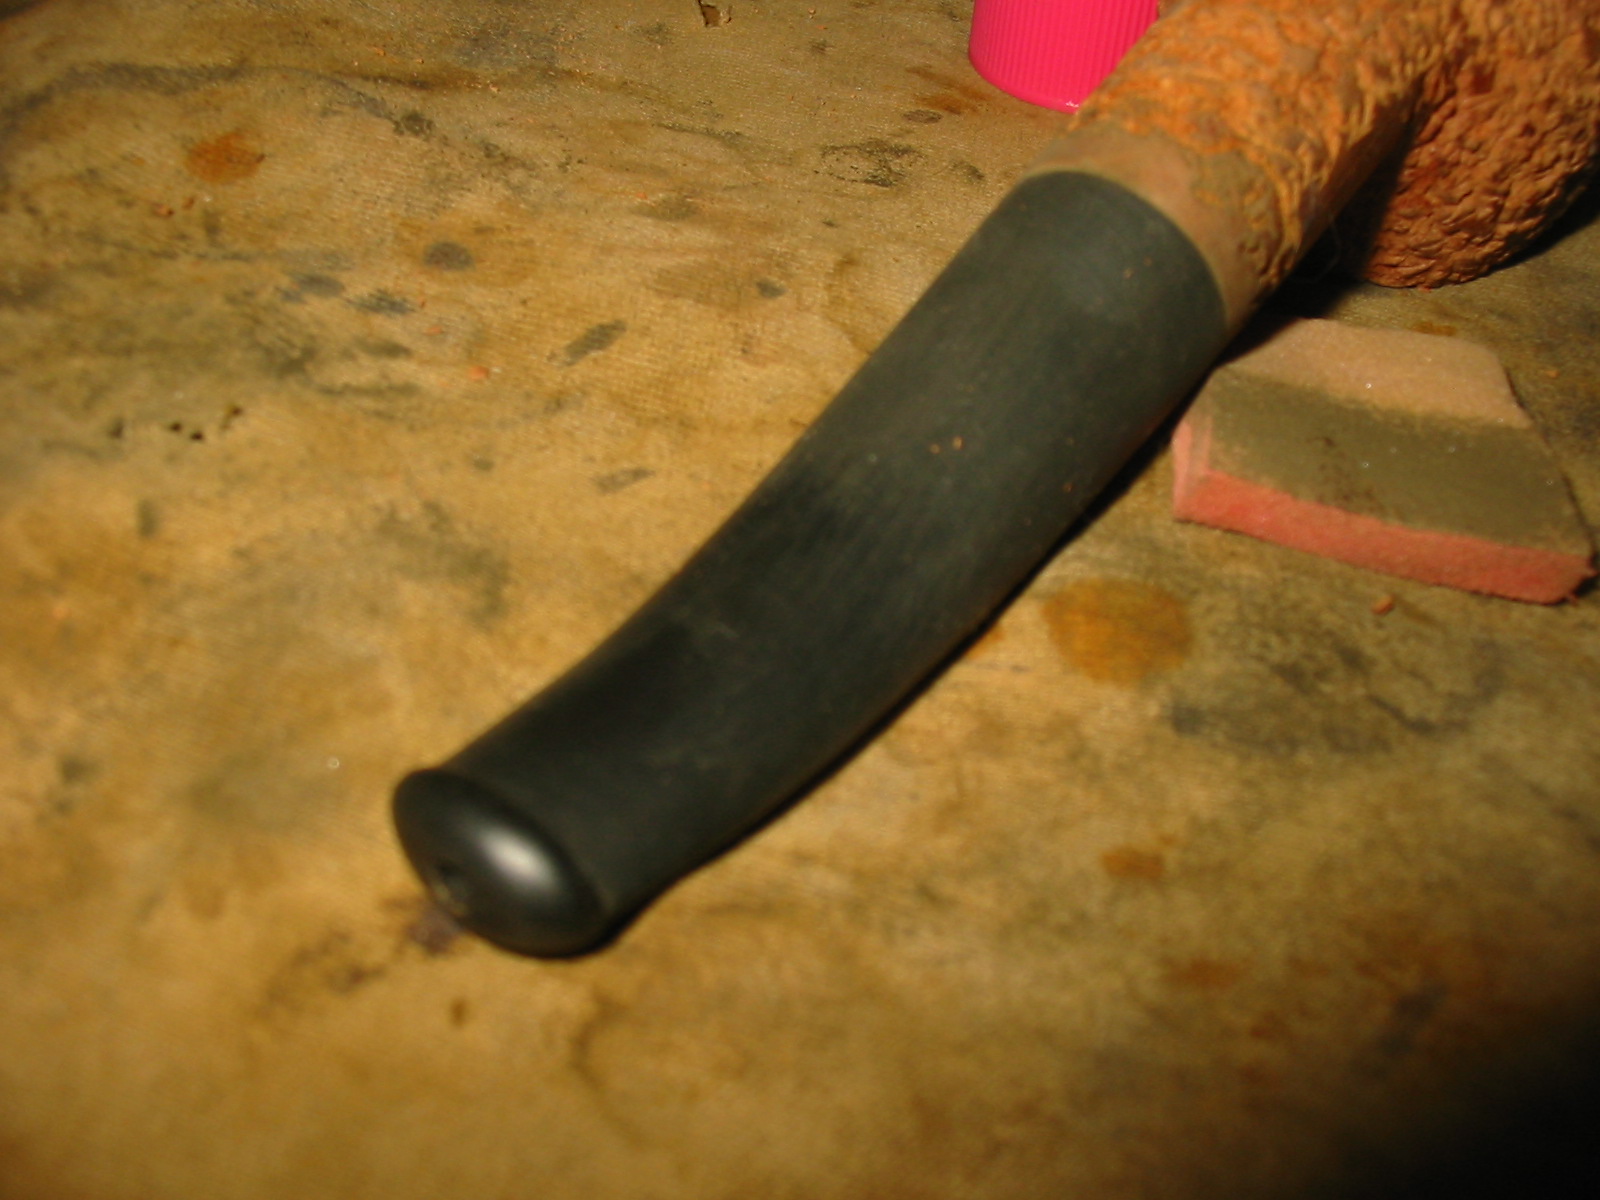
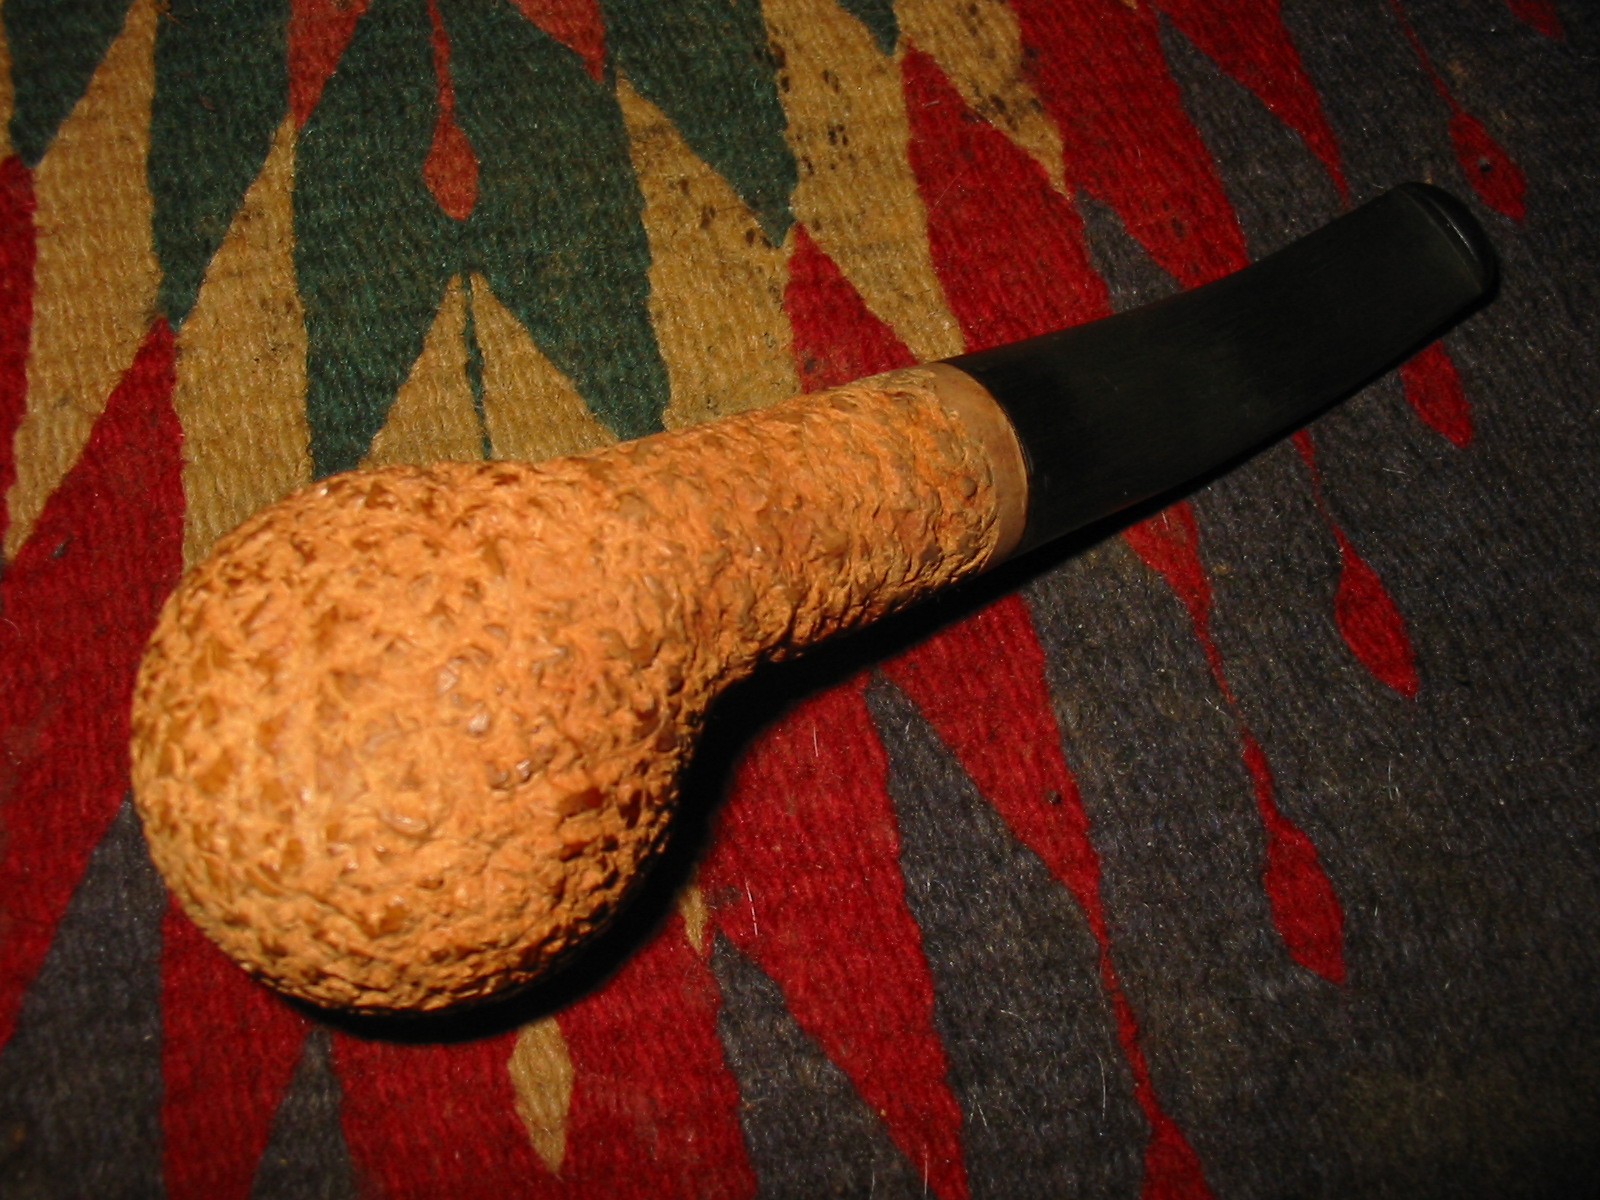
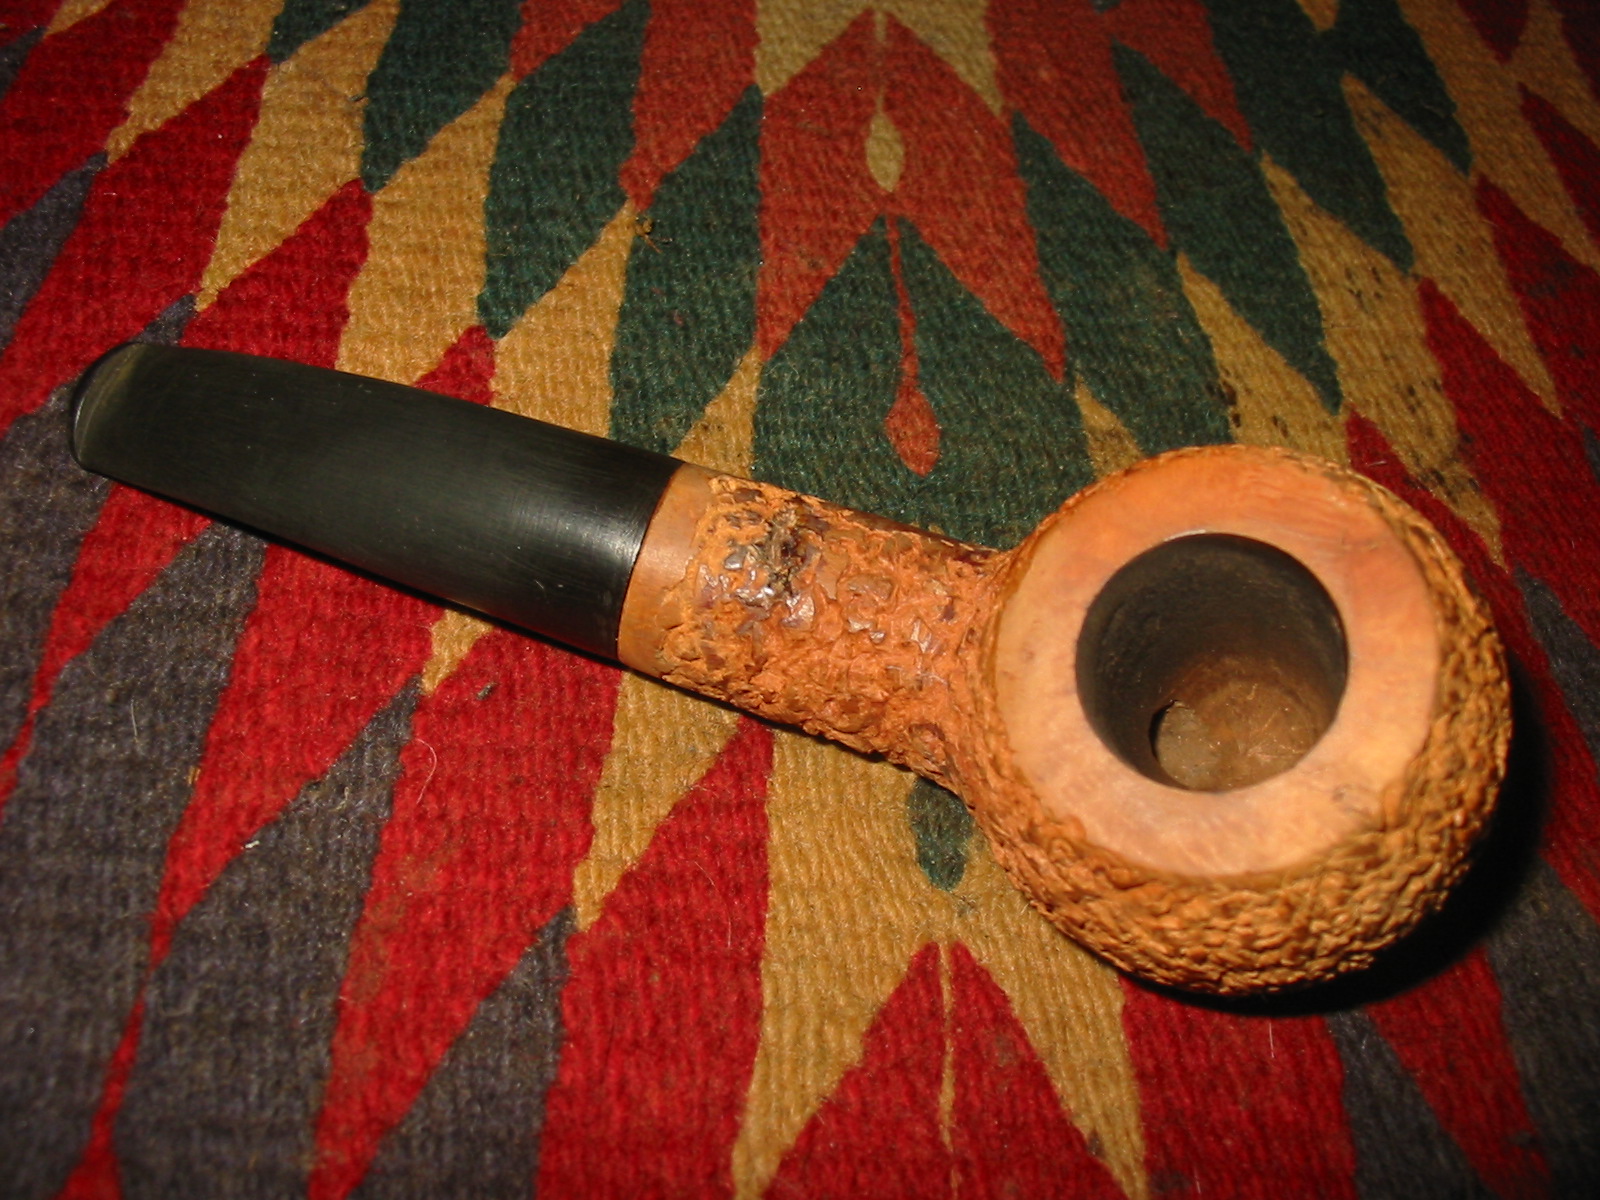
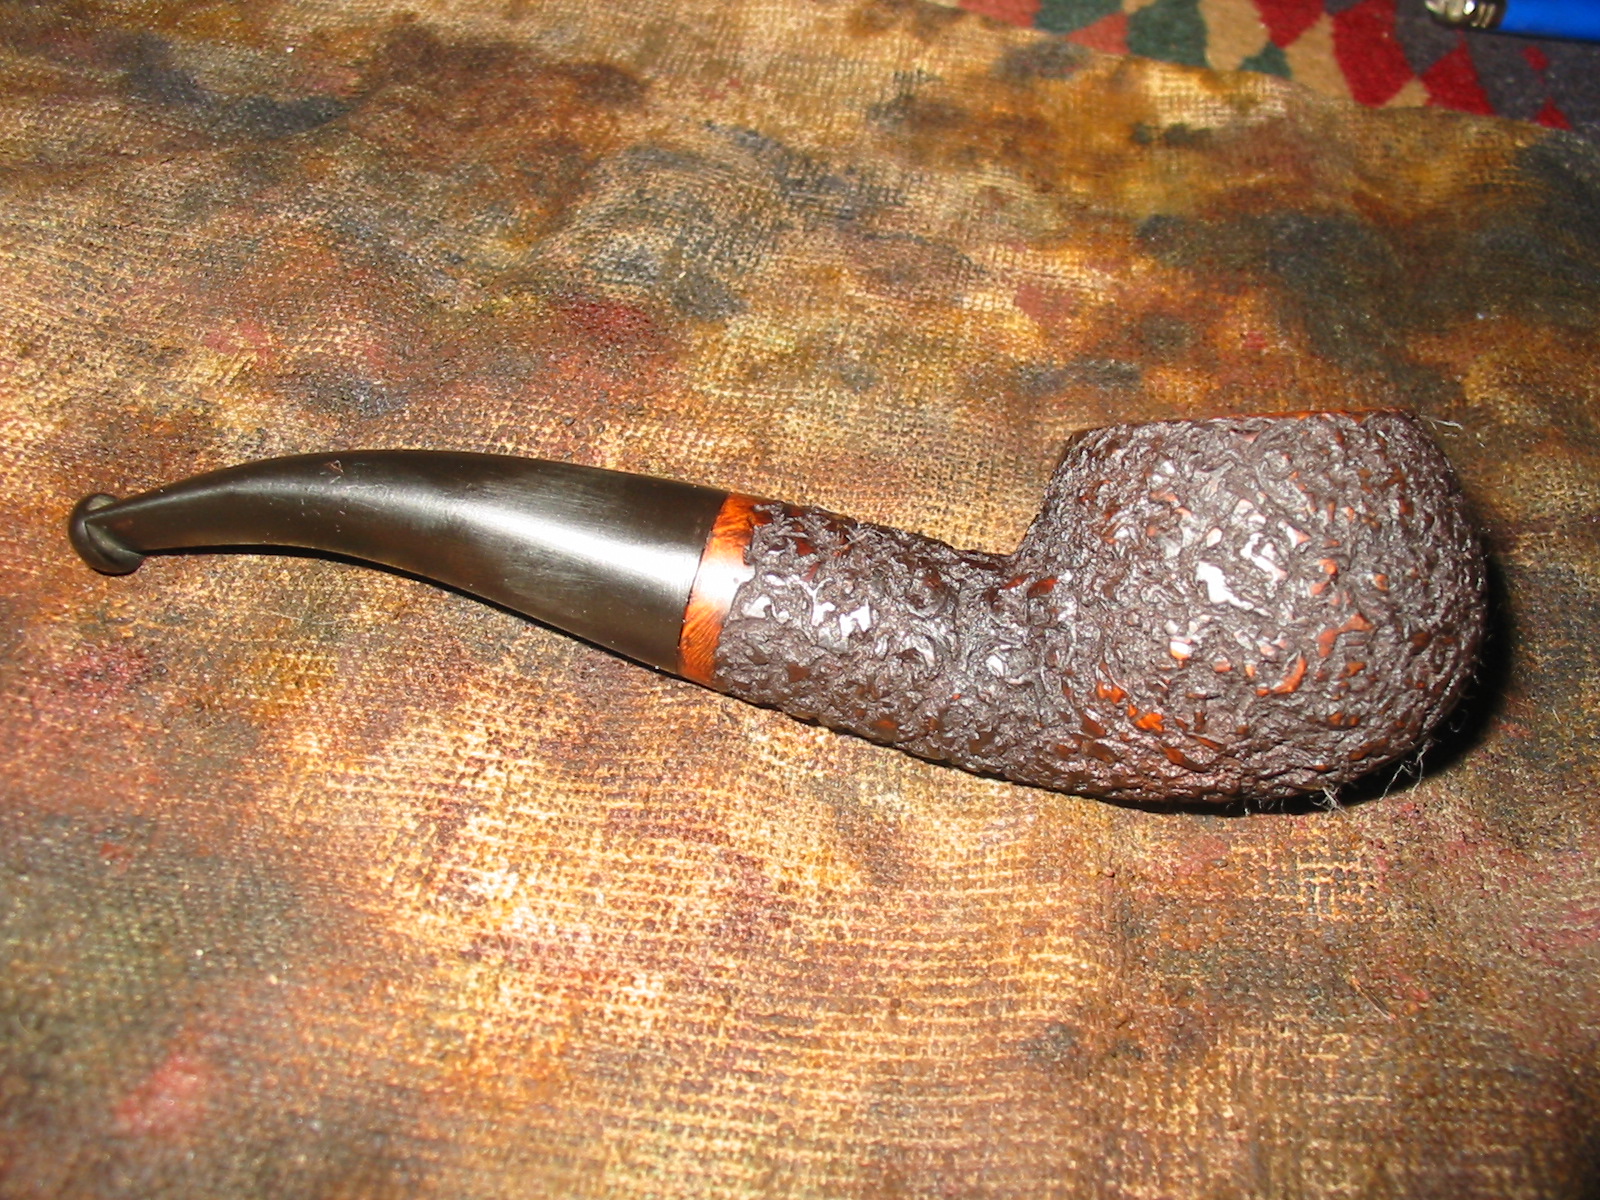
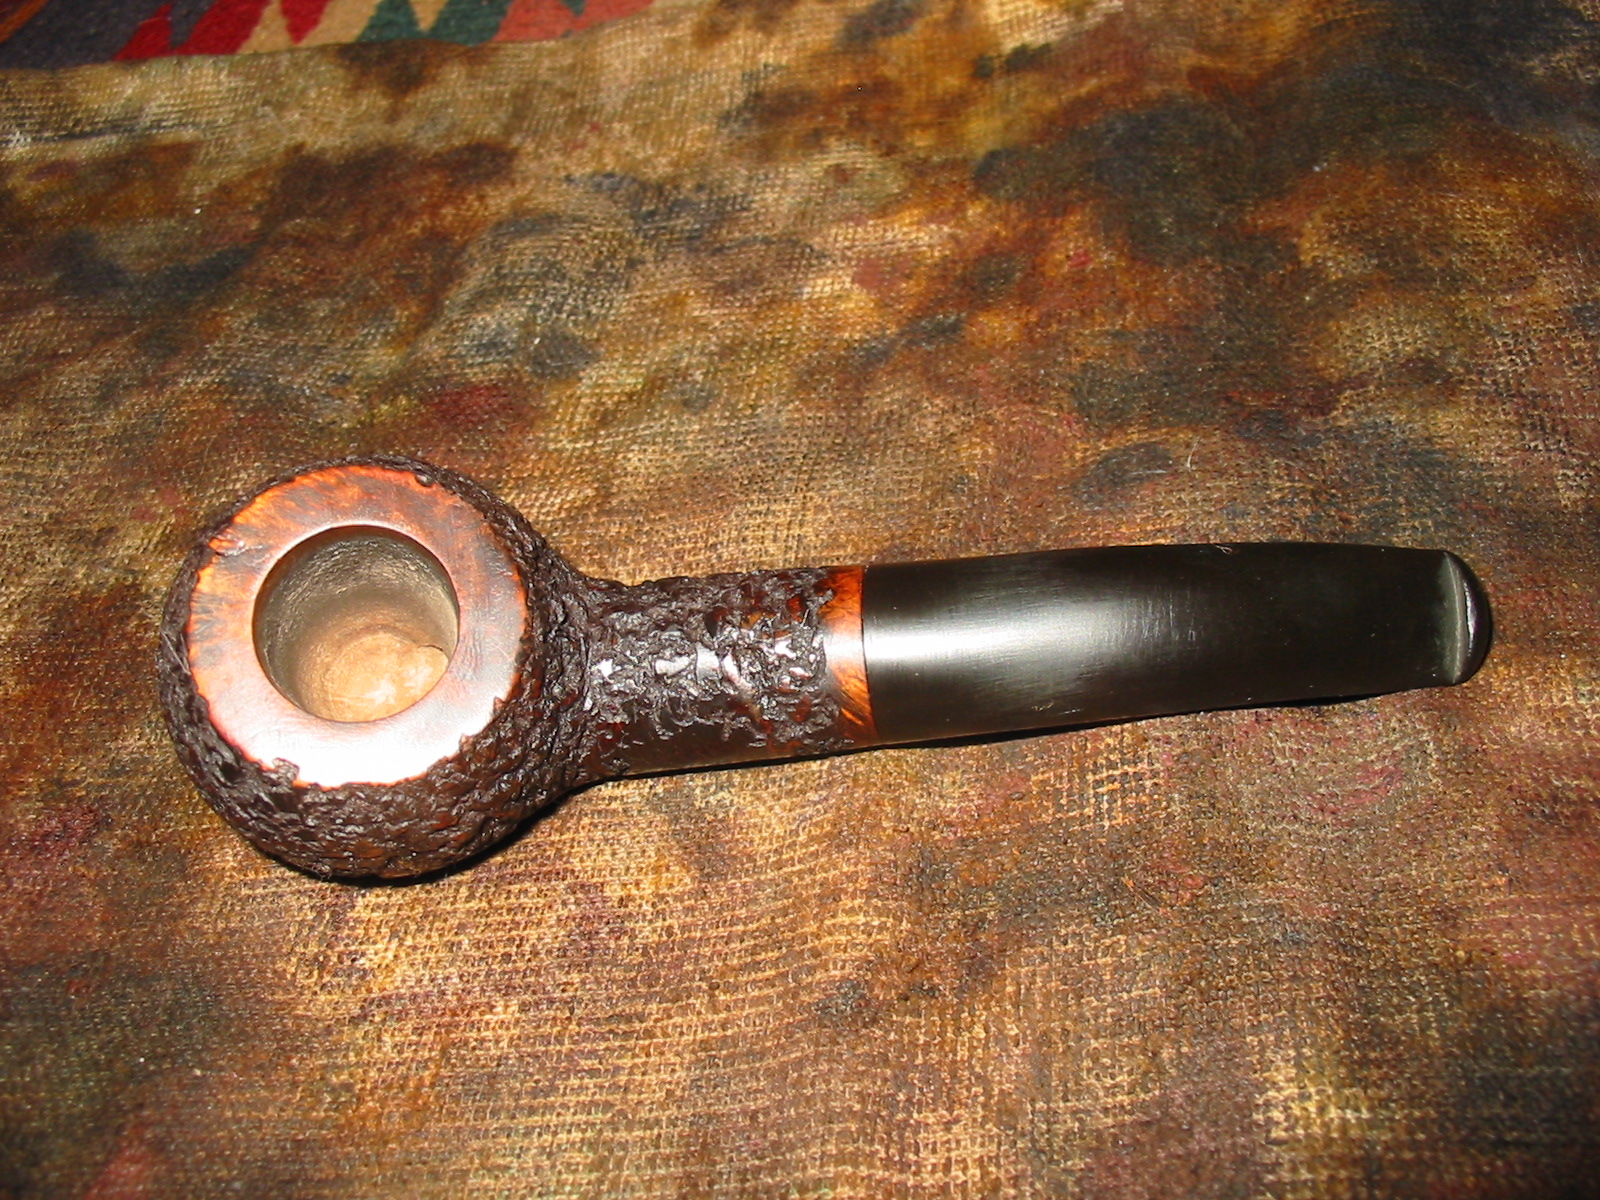
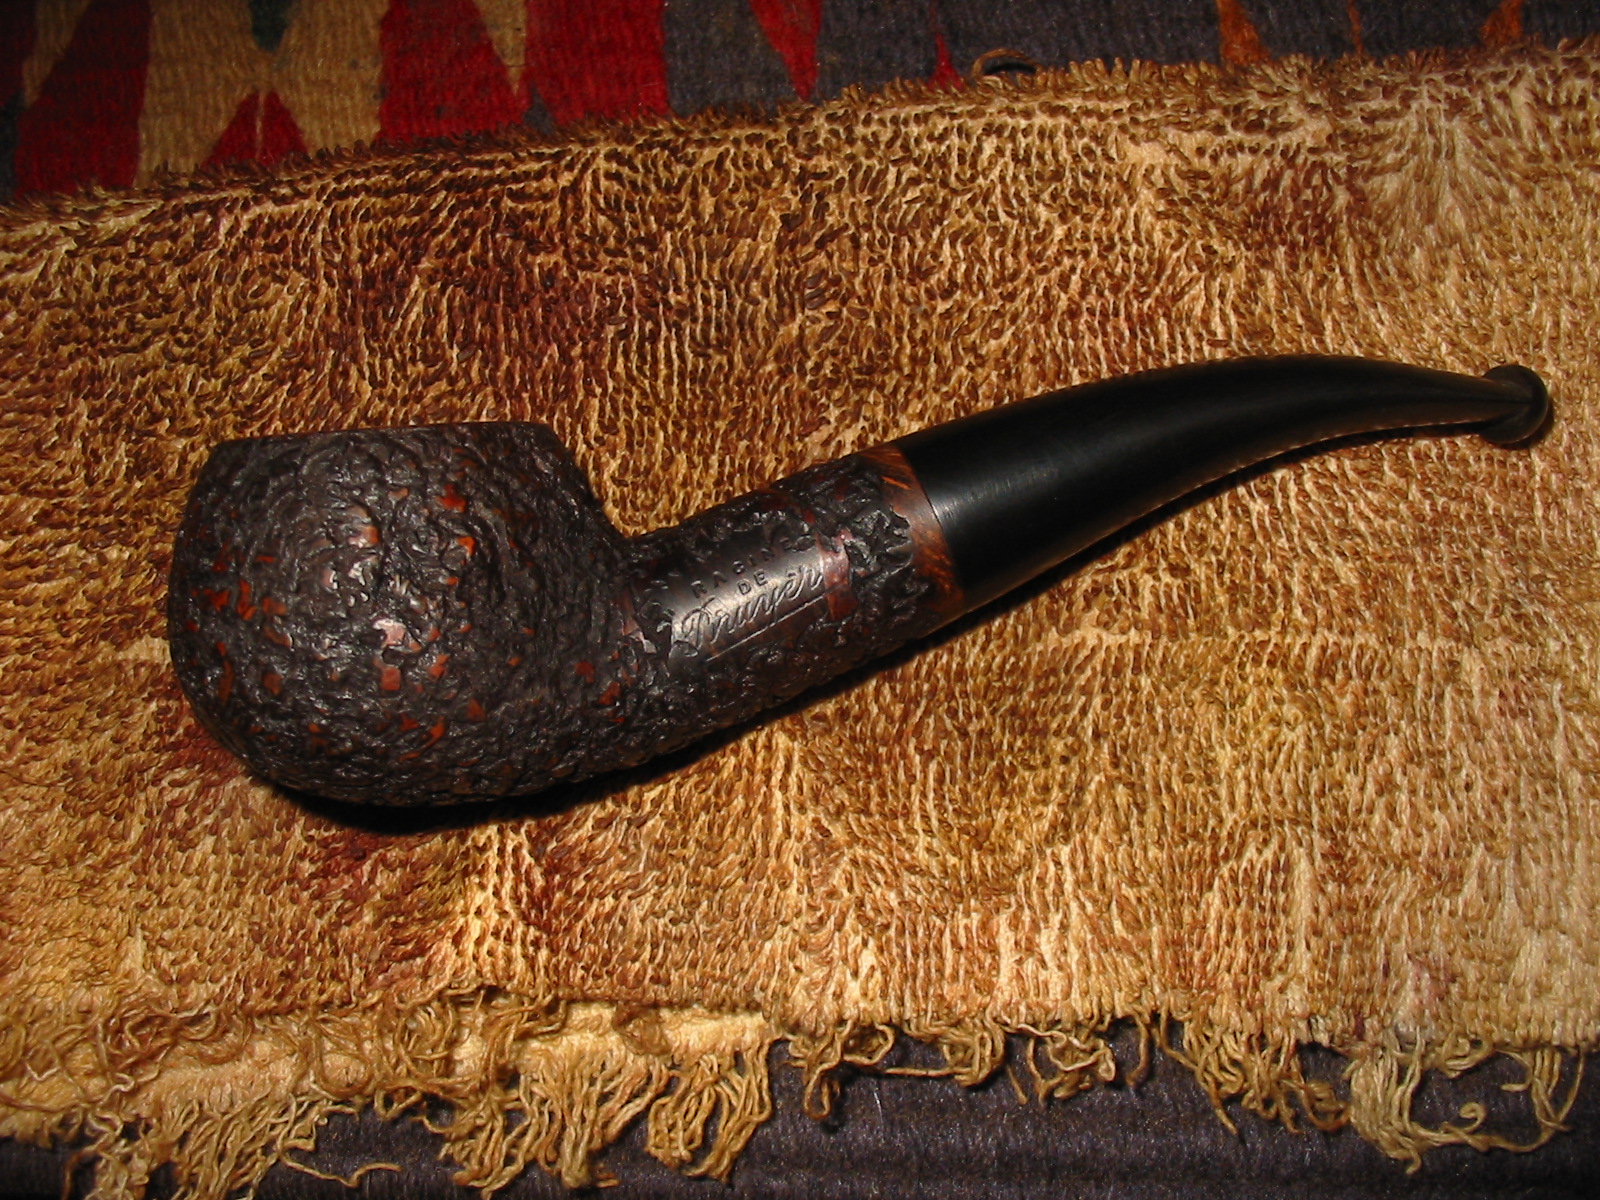
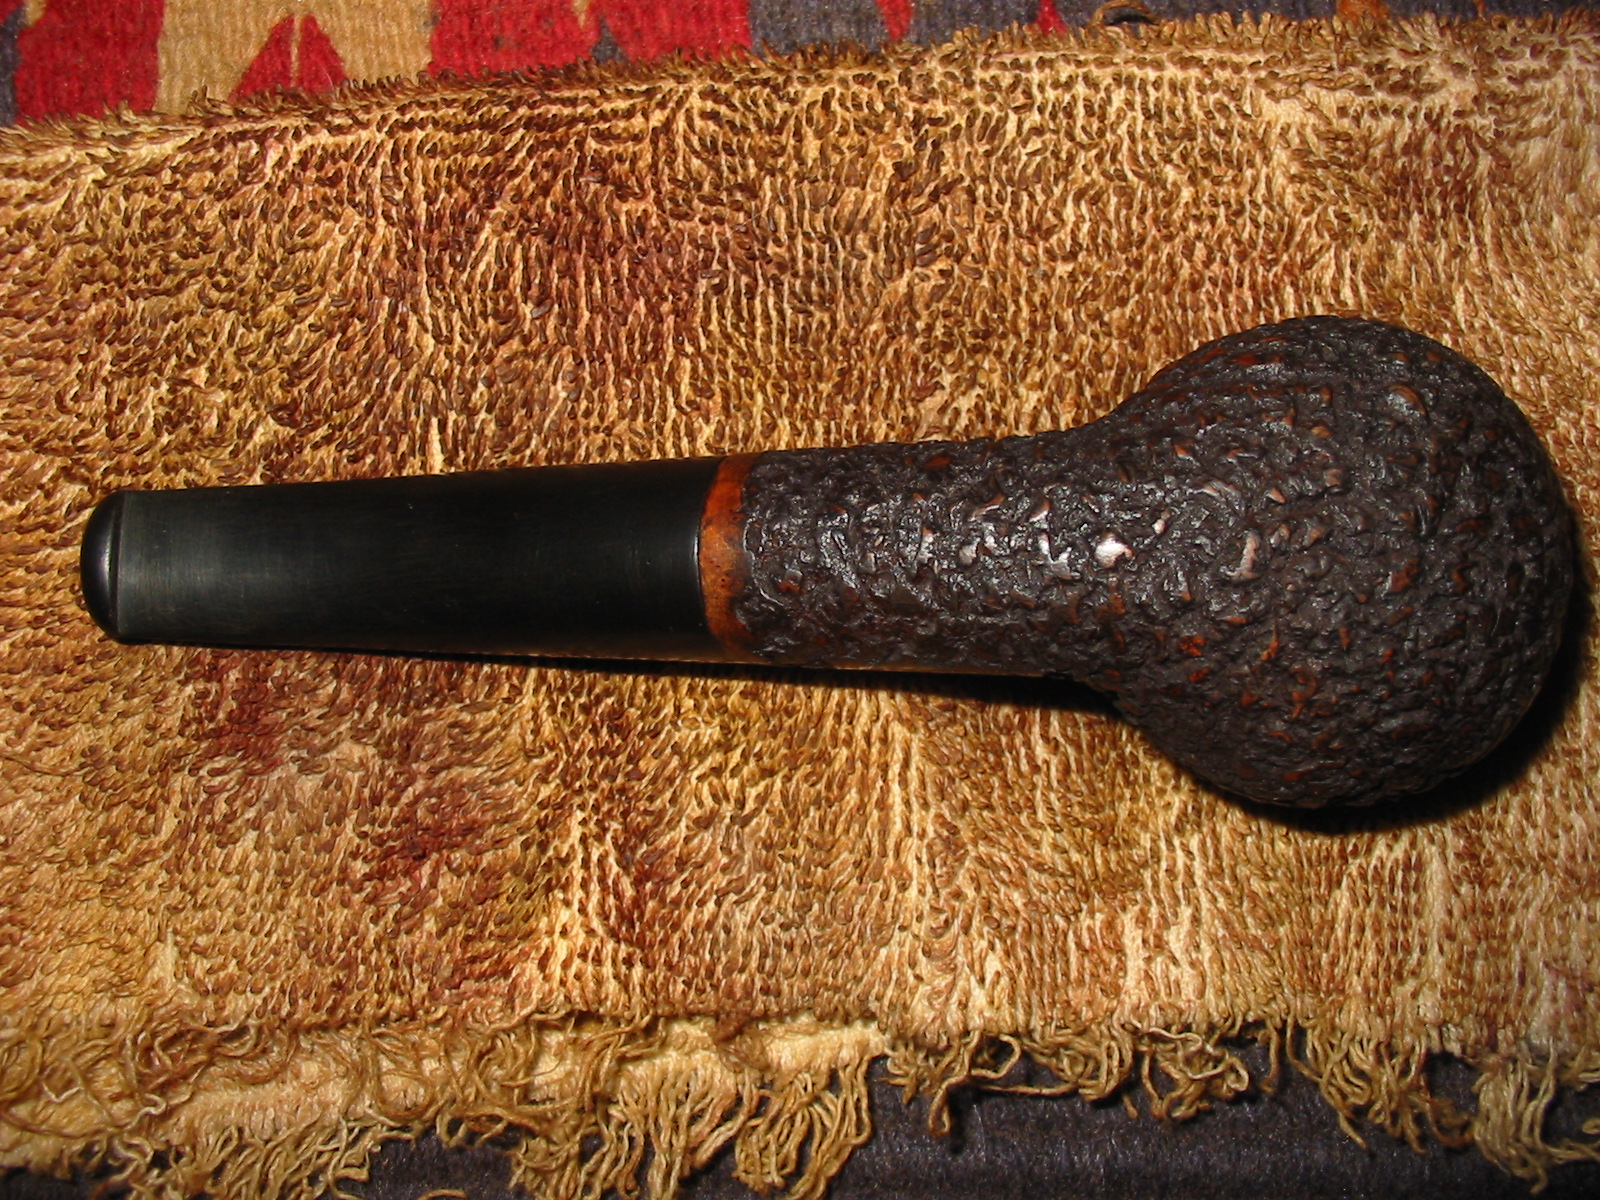
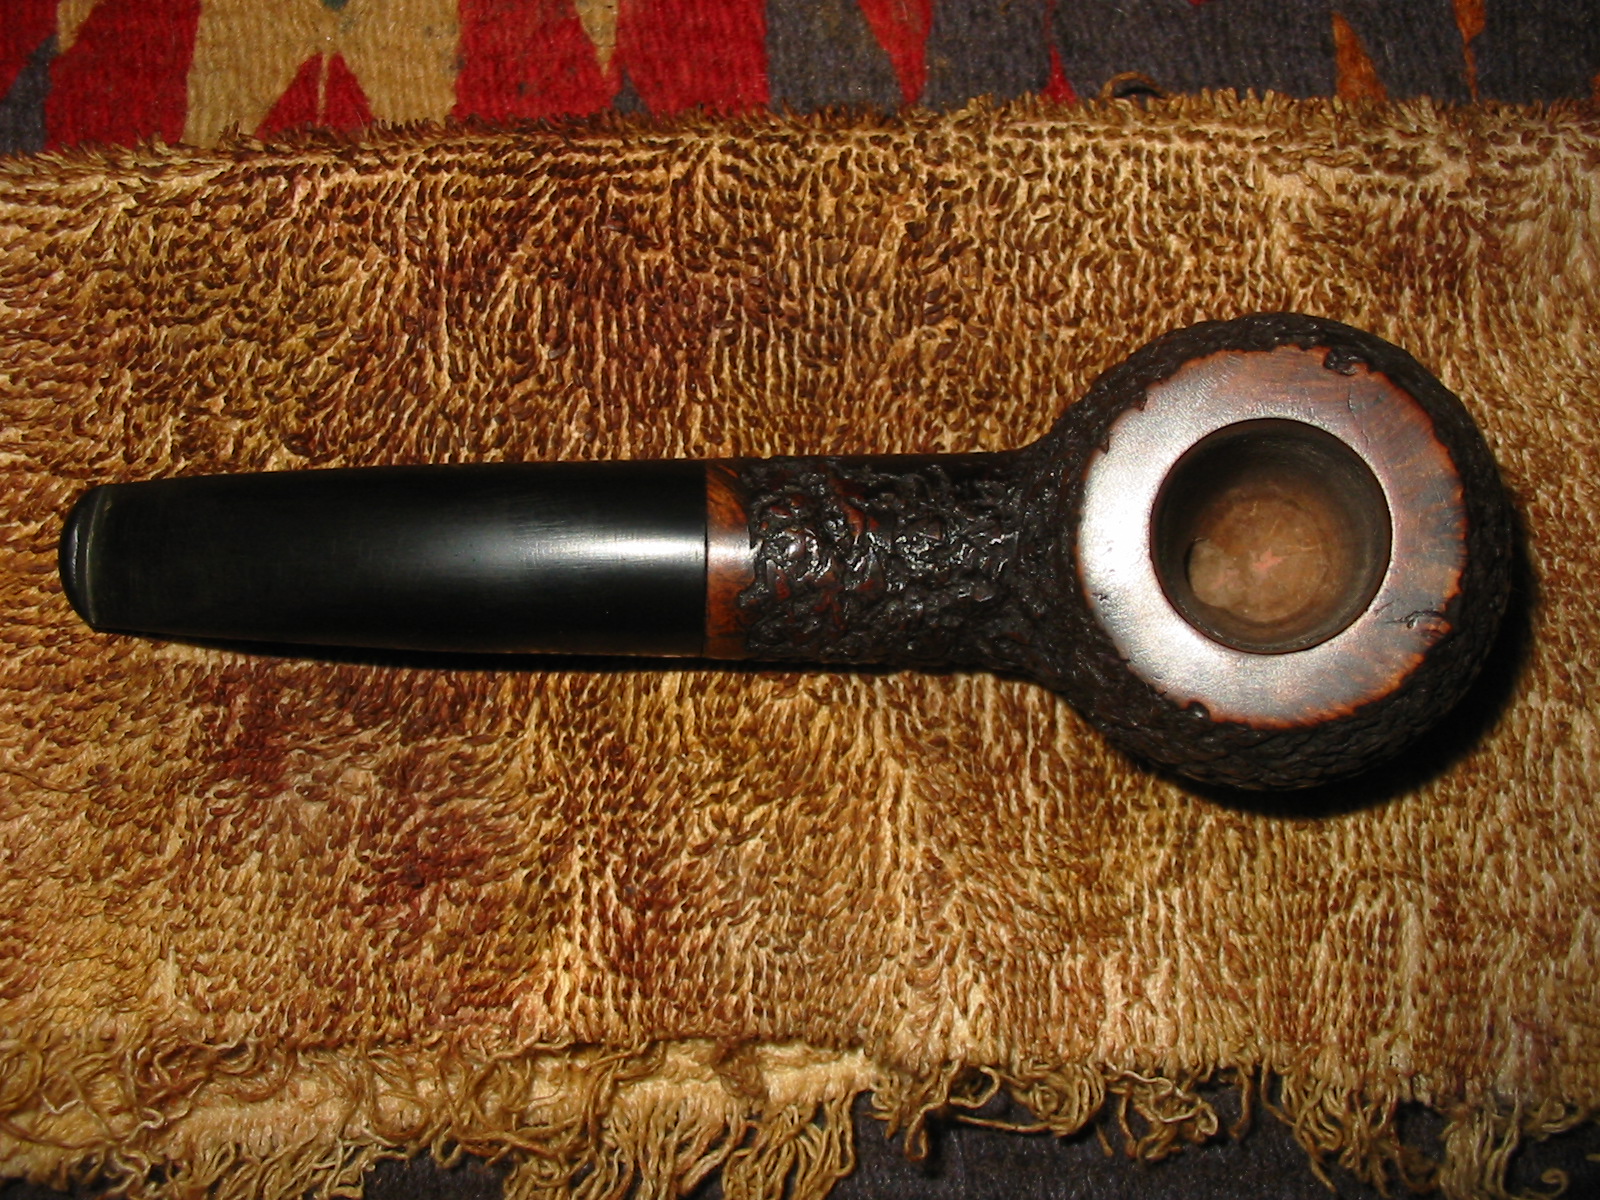
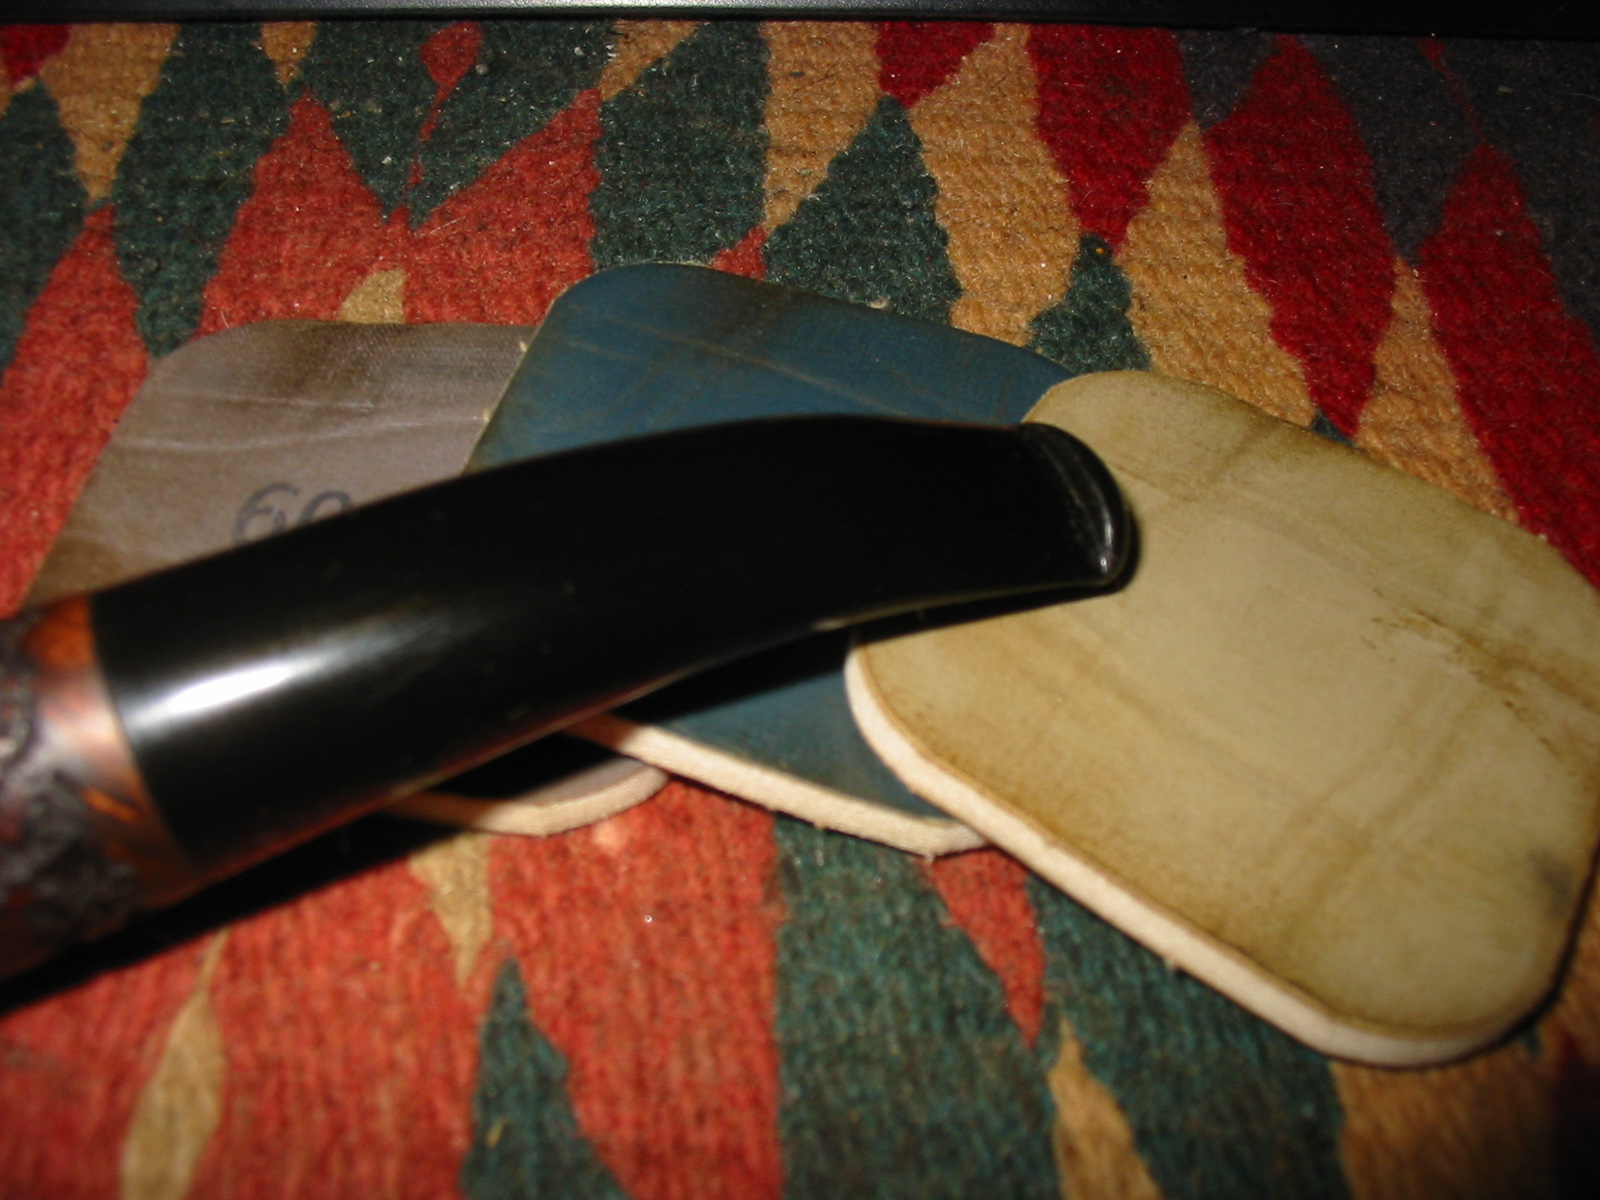
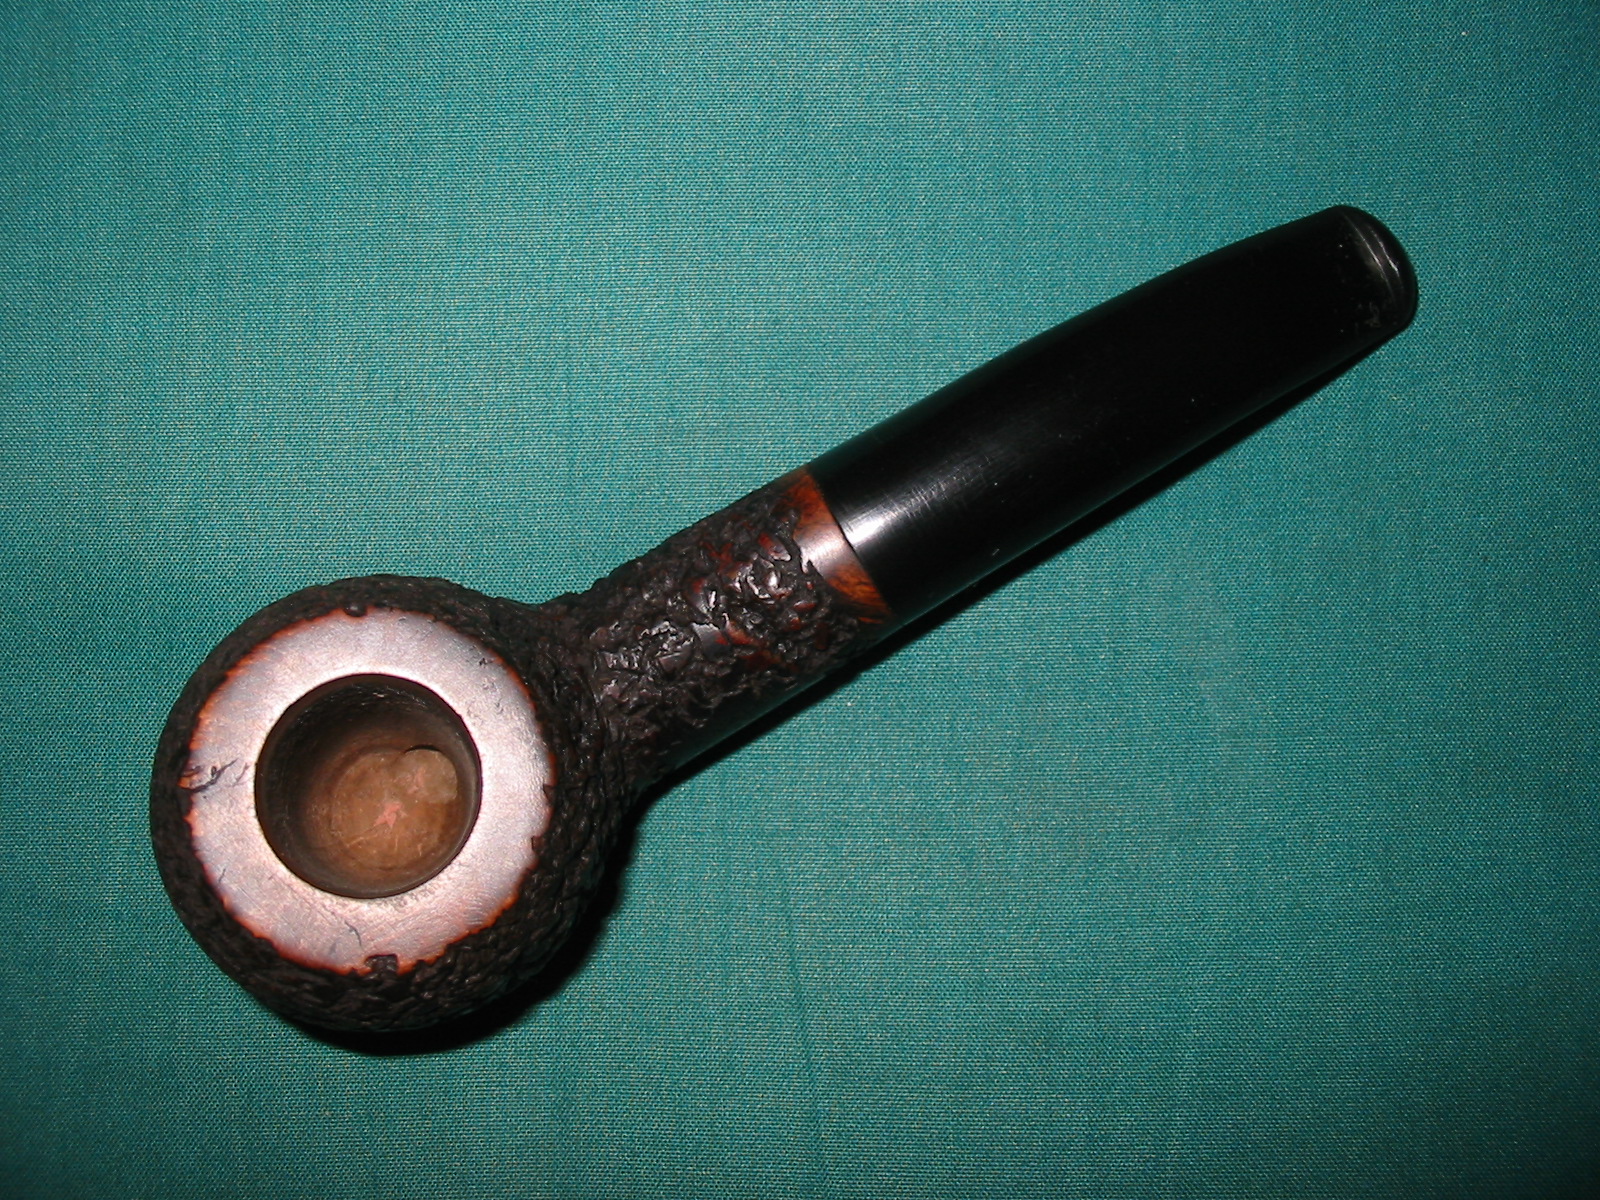
Another pipe that Mark included in the trade was stamped Racine de Bruyere. I have no idea about the maker or the time period of the pipe. The stem is an older style orific button (round hole in an end cap style button). Ron had stripped the finish off of the bowl and also had picked out the fills. The flaws in the briar that remained behind sans fills were deep crevices. The stem was stuck in the shank and would not insert the whole way. The stem itself was in great shape – good, hard older vulcanite. There was minor tooth chatter at the button on the top and the bottom of the stem. Once I had removed the stem the tenon was in great shape with a Dunhill style inner tube that extended all the way from the tenon into the airhole in the bowl. The photos below show the extent of the damage to the bowl in terms of the serious flaws in the briar. On top of the shank, on the left side and on the front of the bowl there were deep holes. There were also minor holes in other areas around the bowl. The shape is actually one of my favourite shapes so it would of course be worked on and brought back to life.


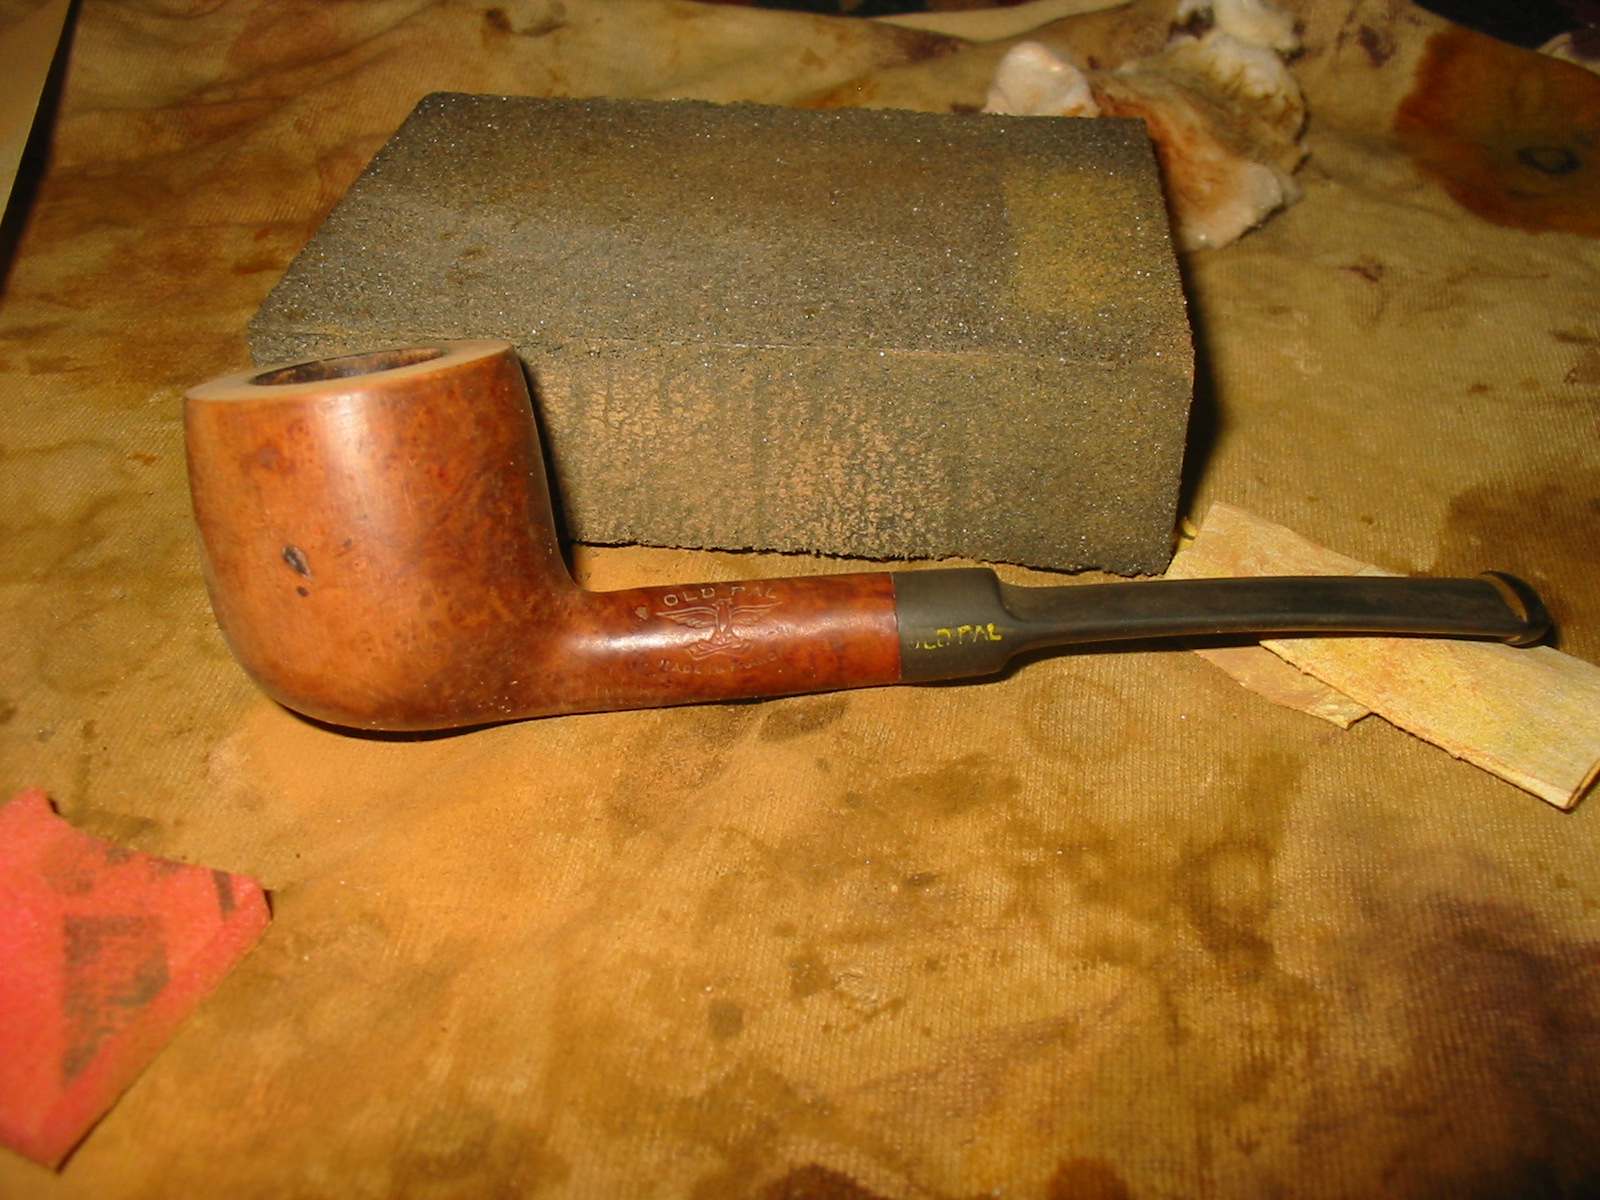
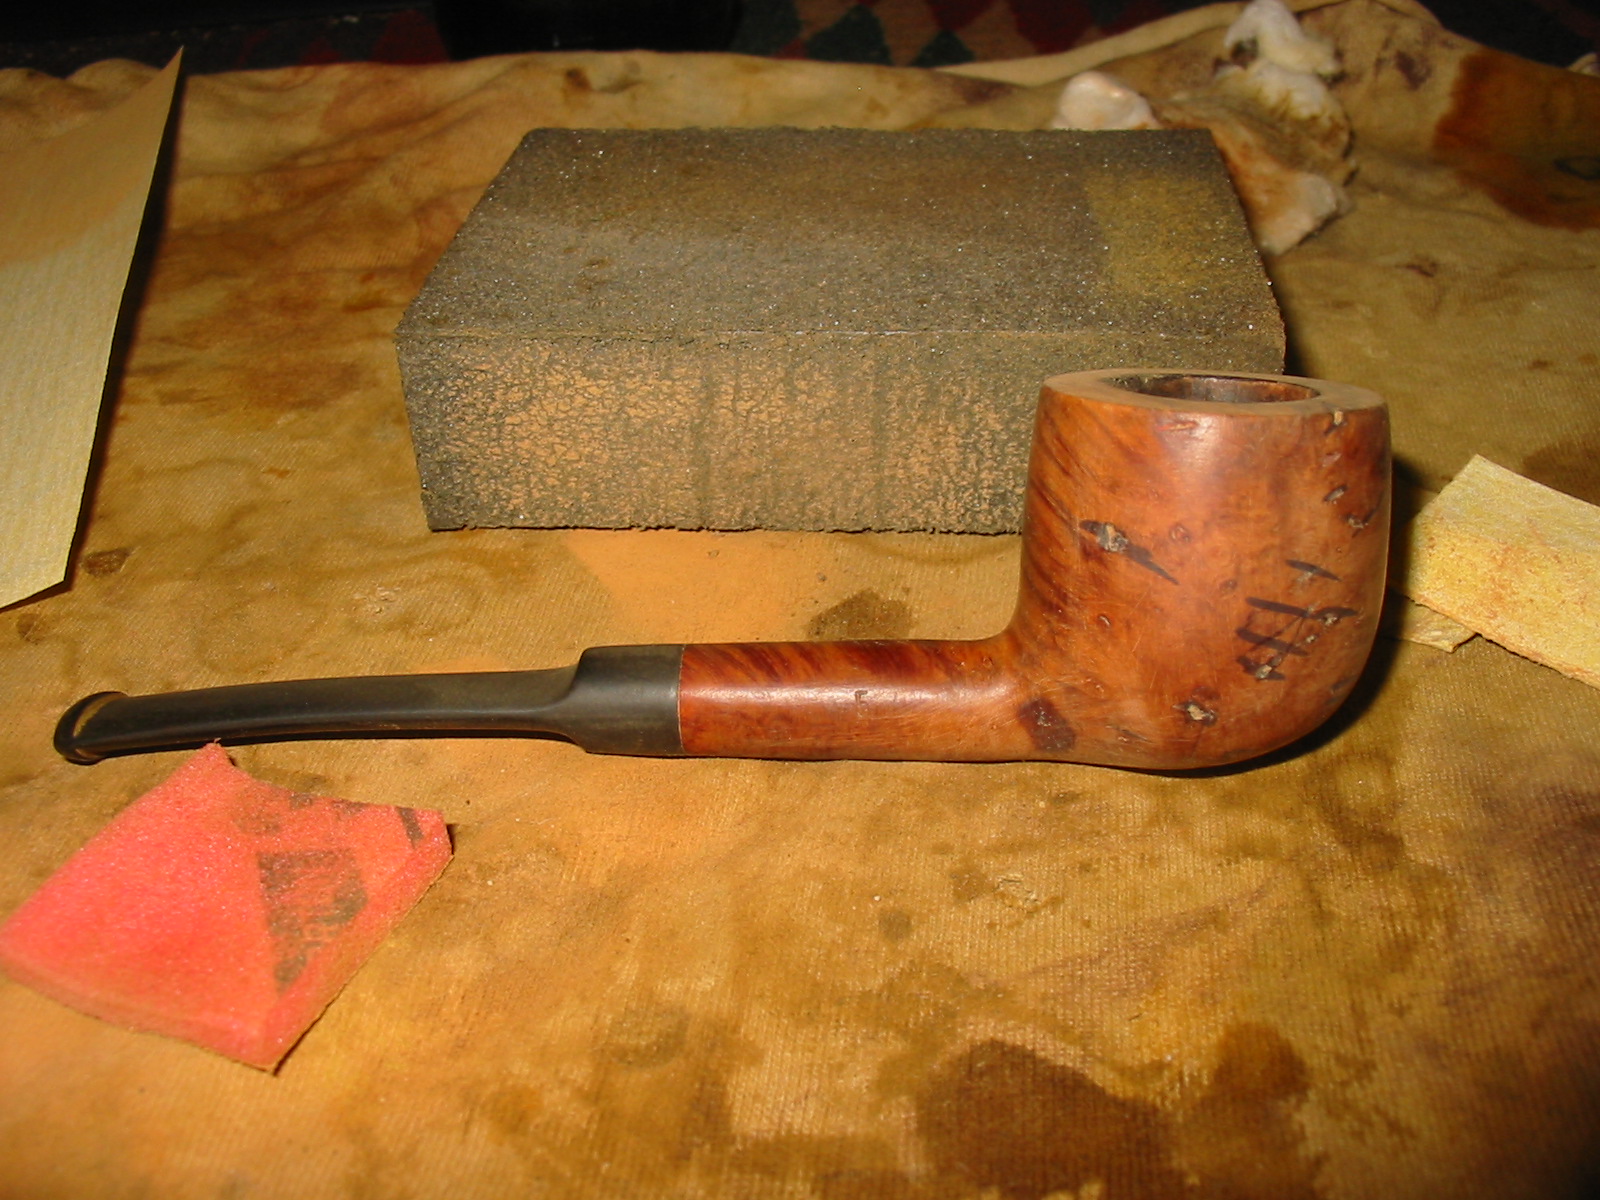
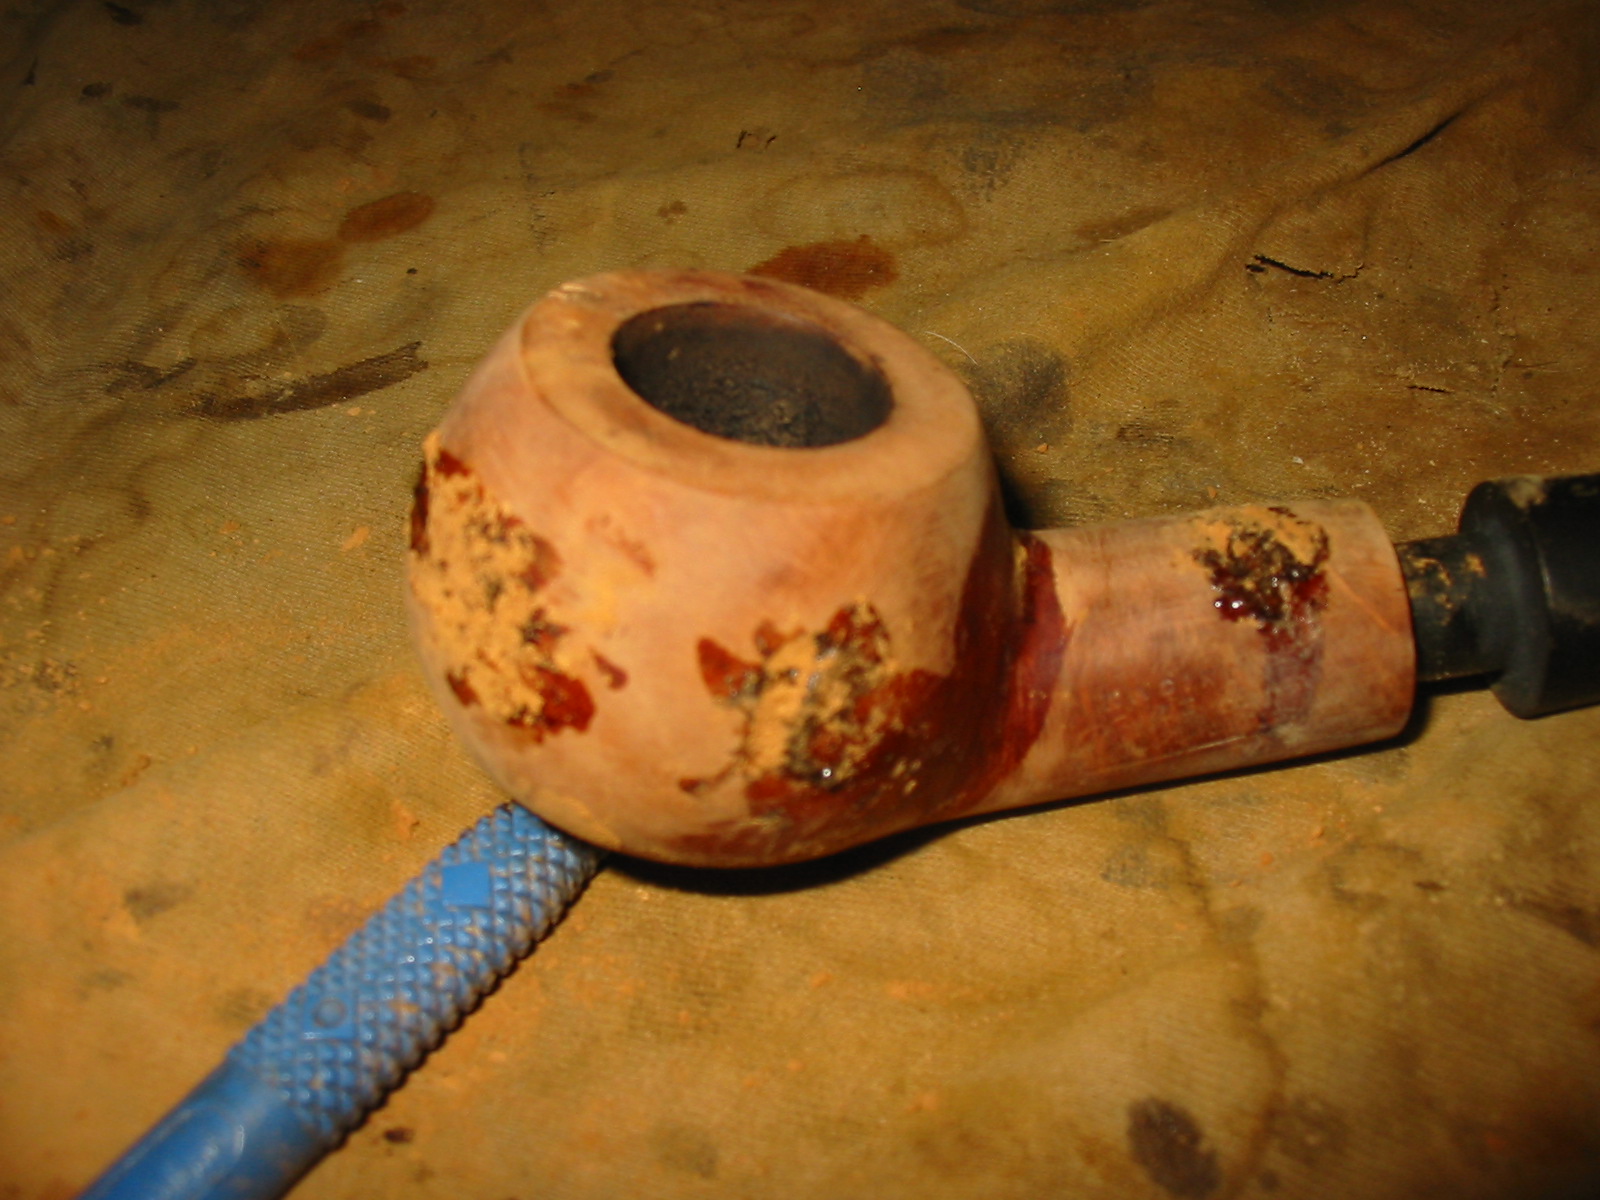
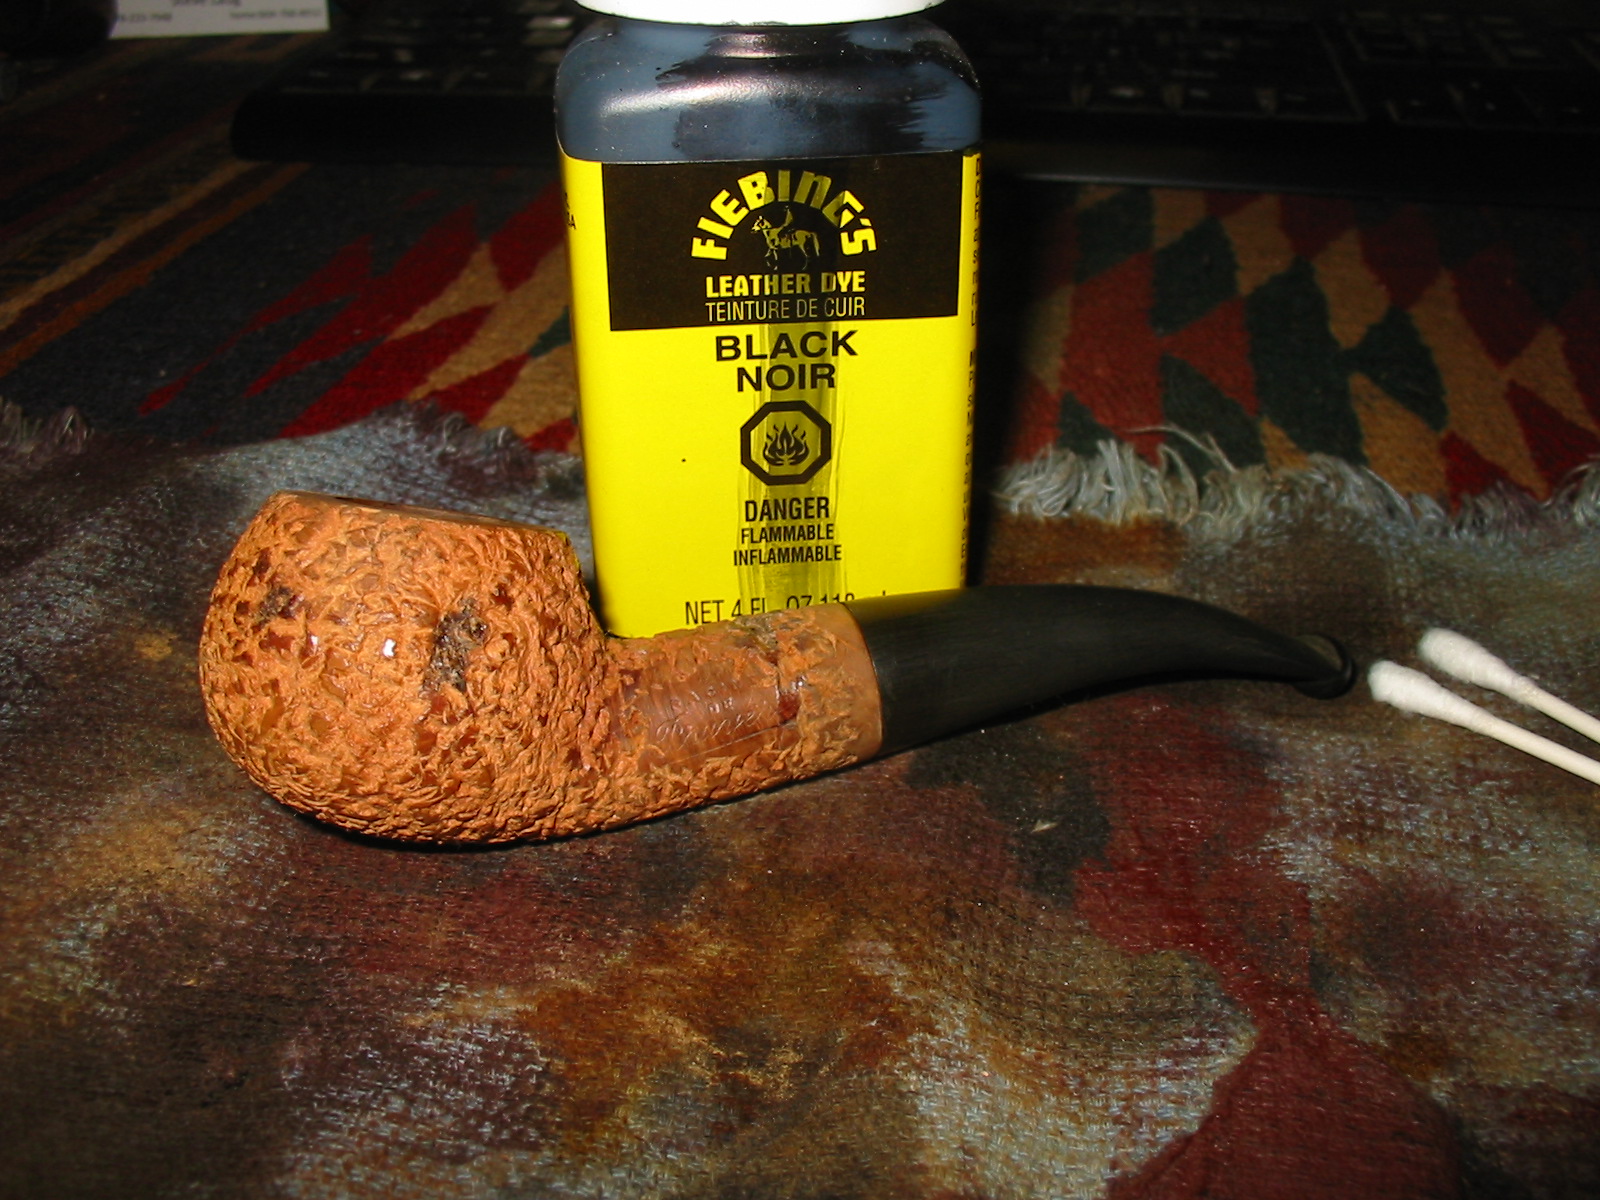
I used a dental pick to scrape away the debris in the pits. There were loose bits of briar and dust build up. I wiped the bowl down with acetone on a cotton pad to remove surface grit. I packed briar dust in layers alternating with superglue into the pits. Once they were filled to the top I tamped them down and then dripped superglue into the briar dust. I added more briar dust and also more superglue.
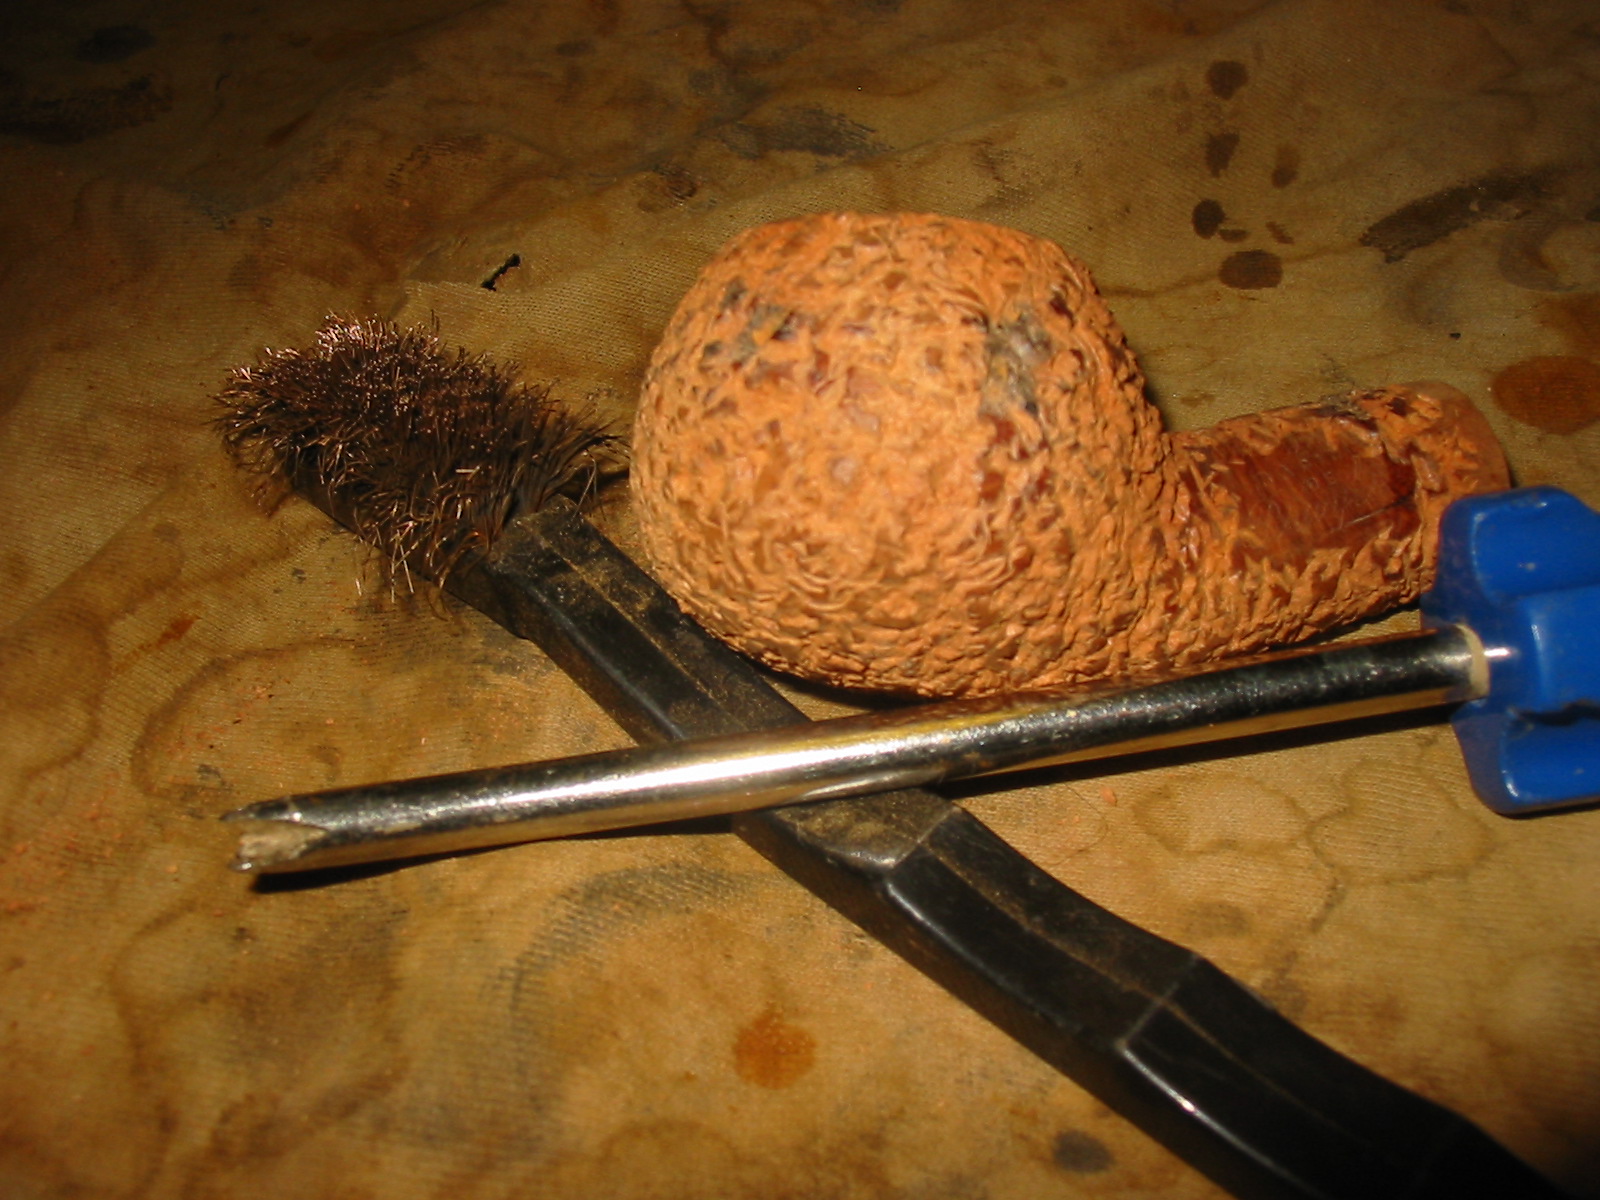
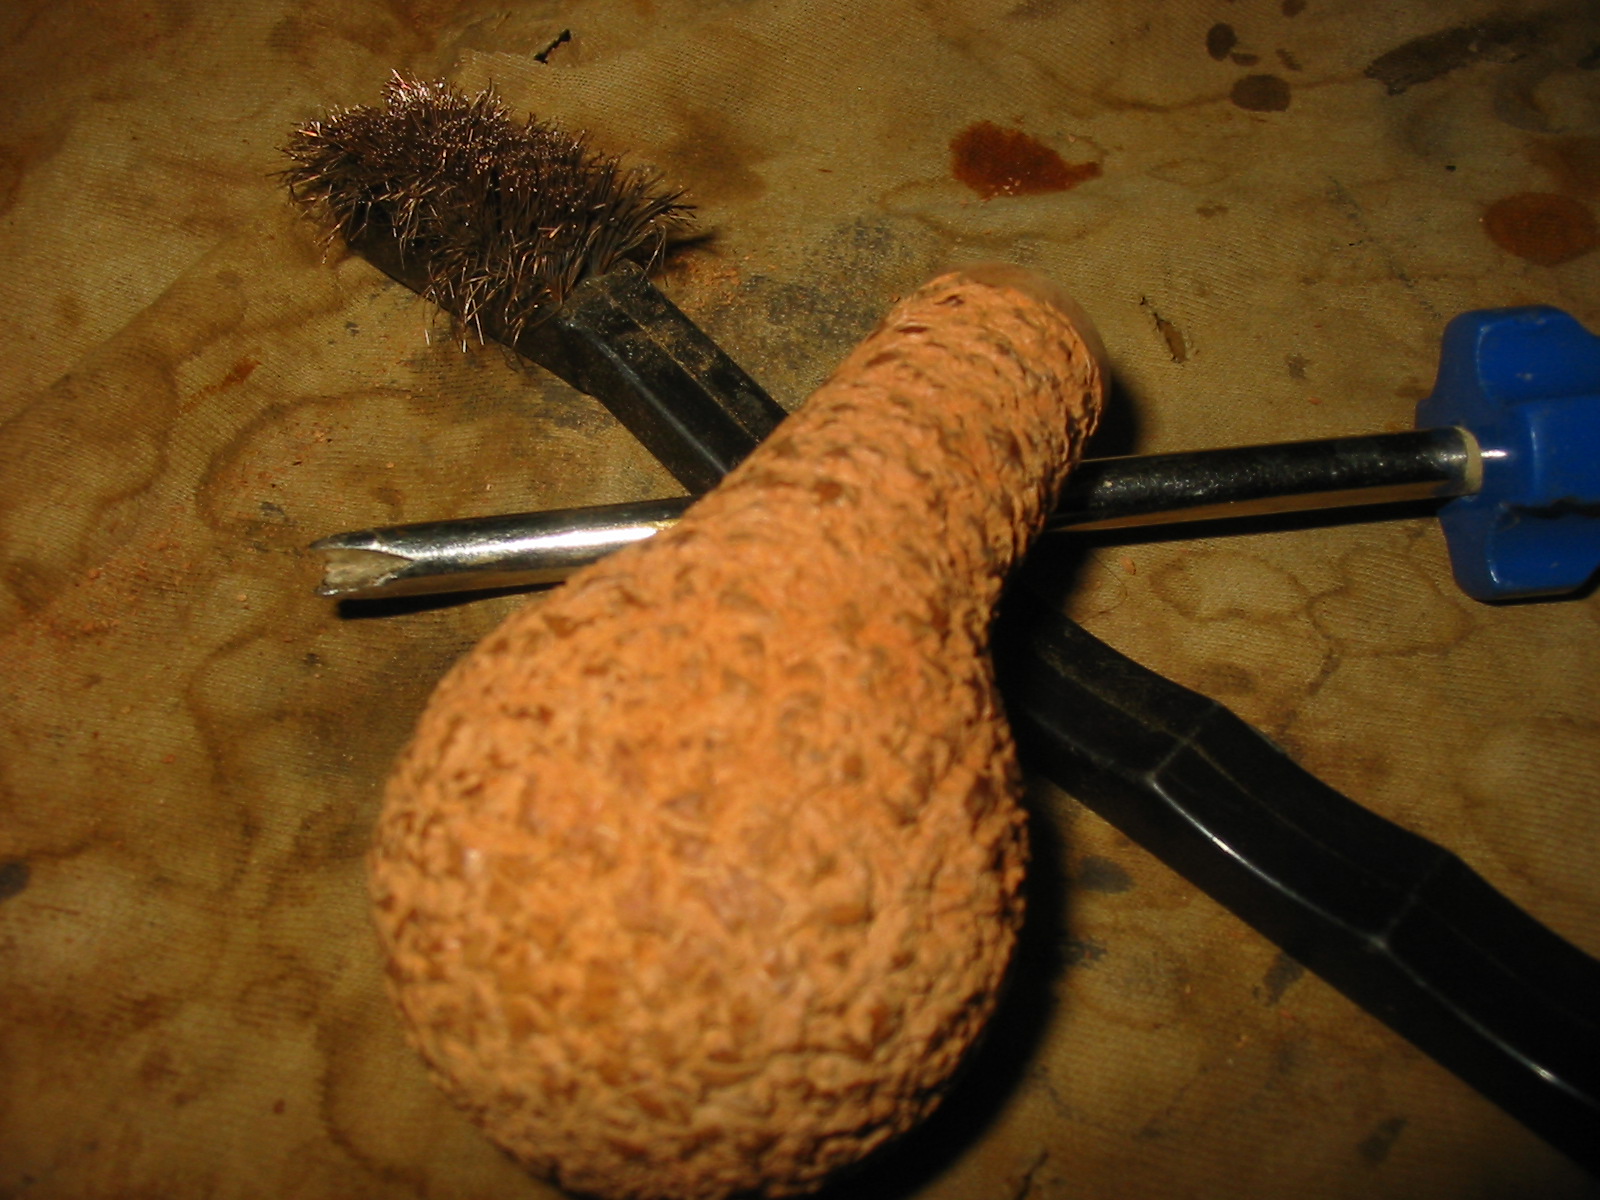
The sandpits, even with the fills, were large and there were many other small pits around the bowl. It made it an easy decision to rusticate the bowl. I used the modified Philips screwdriver to rusticate the bowl. I wrapped several layers of tape around the end of the shank so that I could leave a smooth band there making a stem fit more simple. I also put a piece of tape over the stamping on the left side of the shank. The next series of thirteen photos shows the progressive rustication of the bowl. I decided to do a deep rustication so I worked the tool deep into the wood of the bowl.

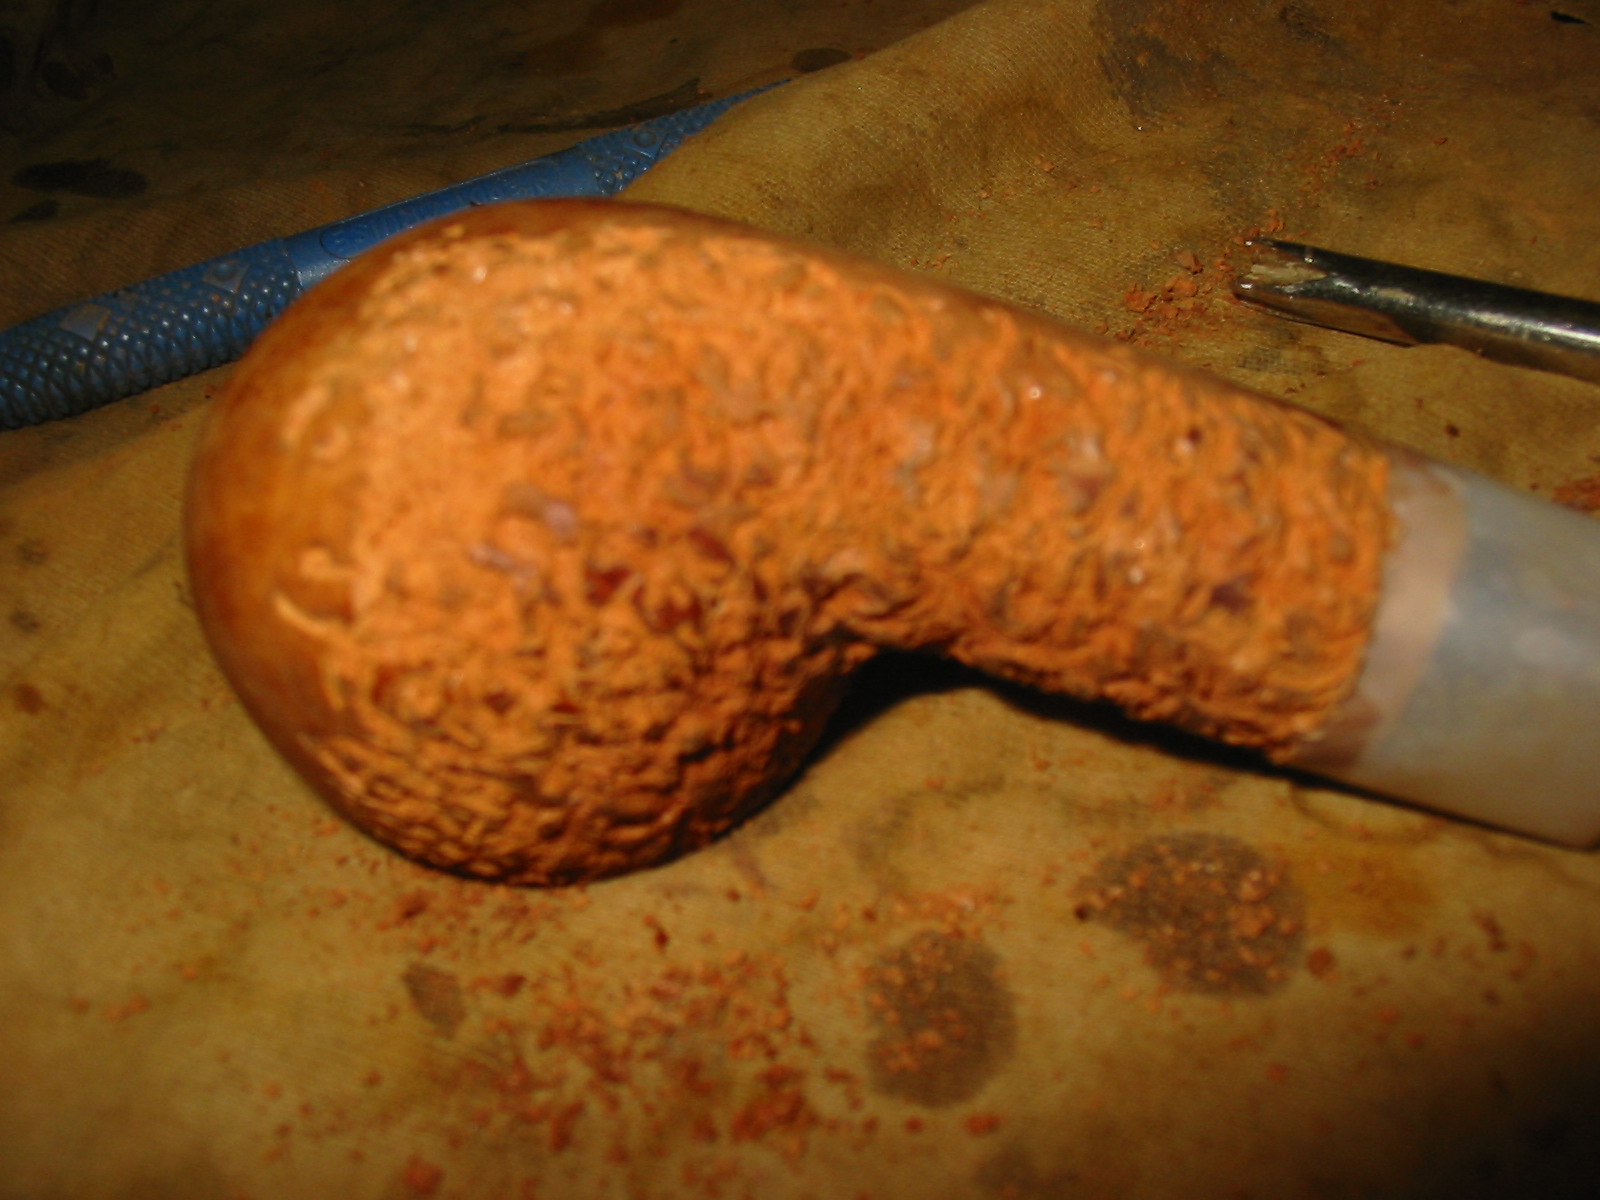
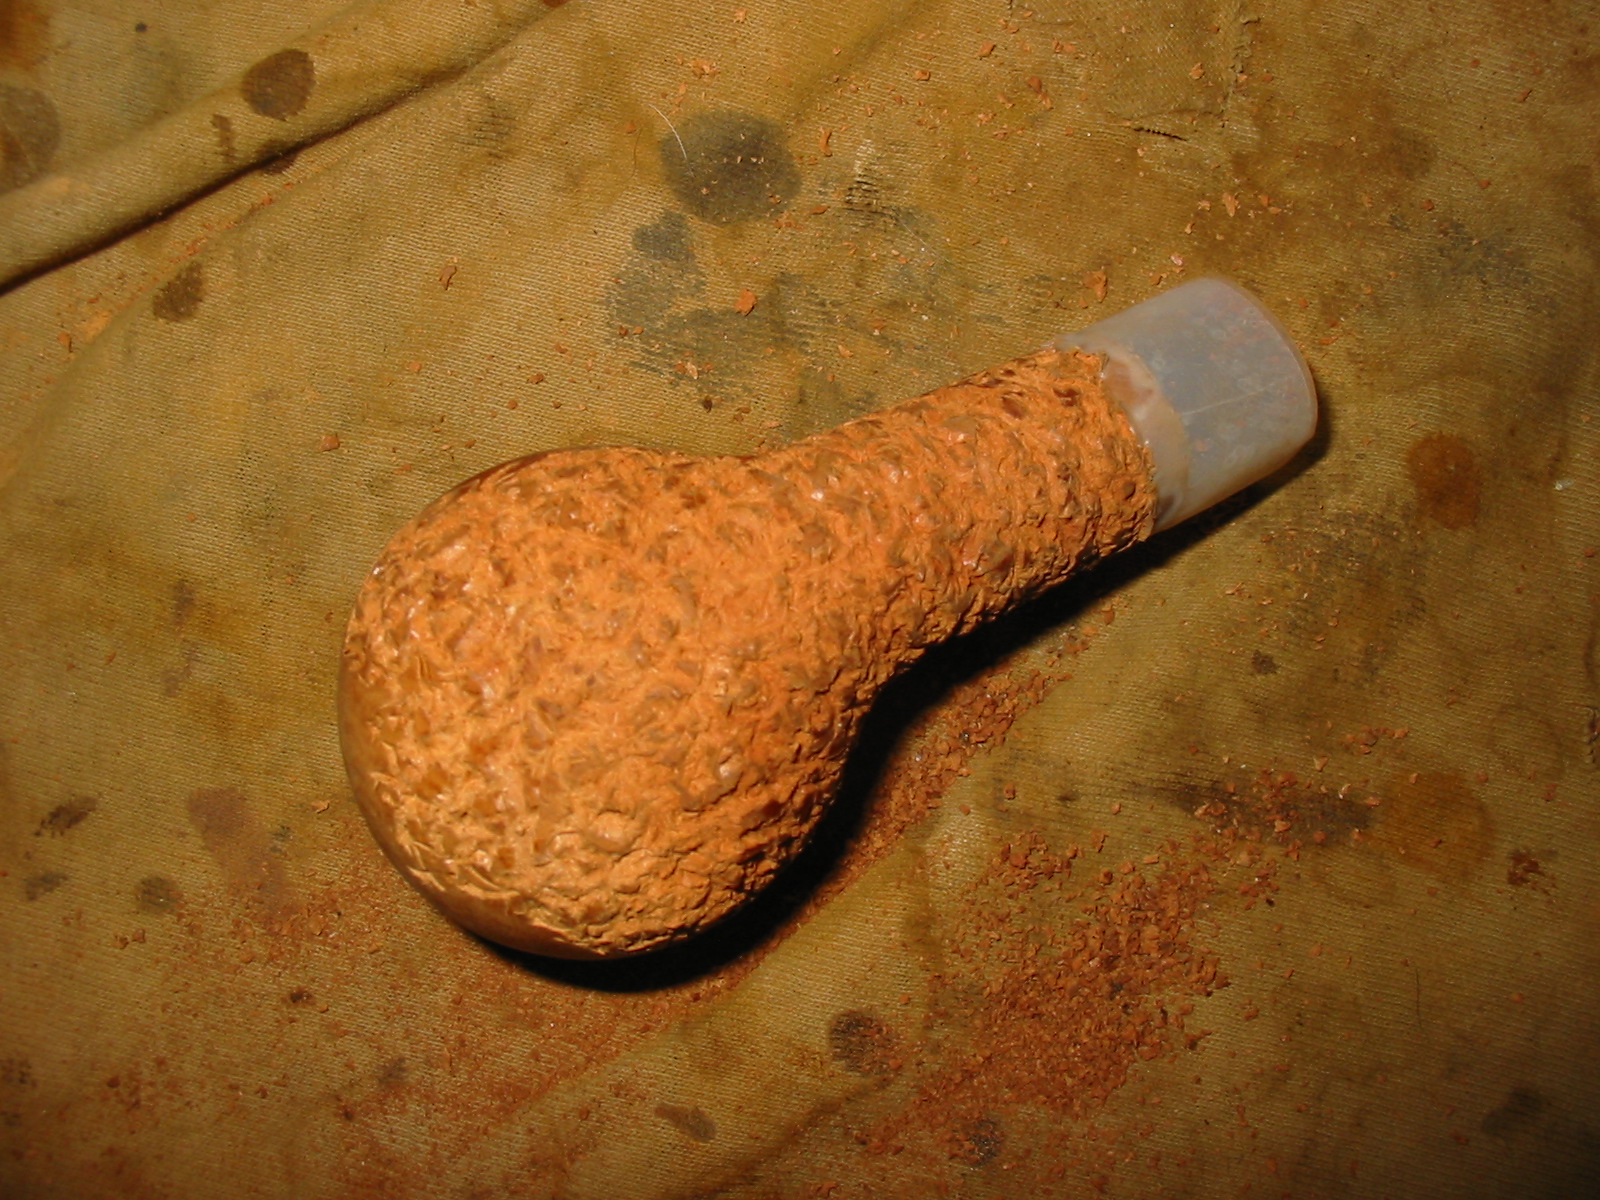


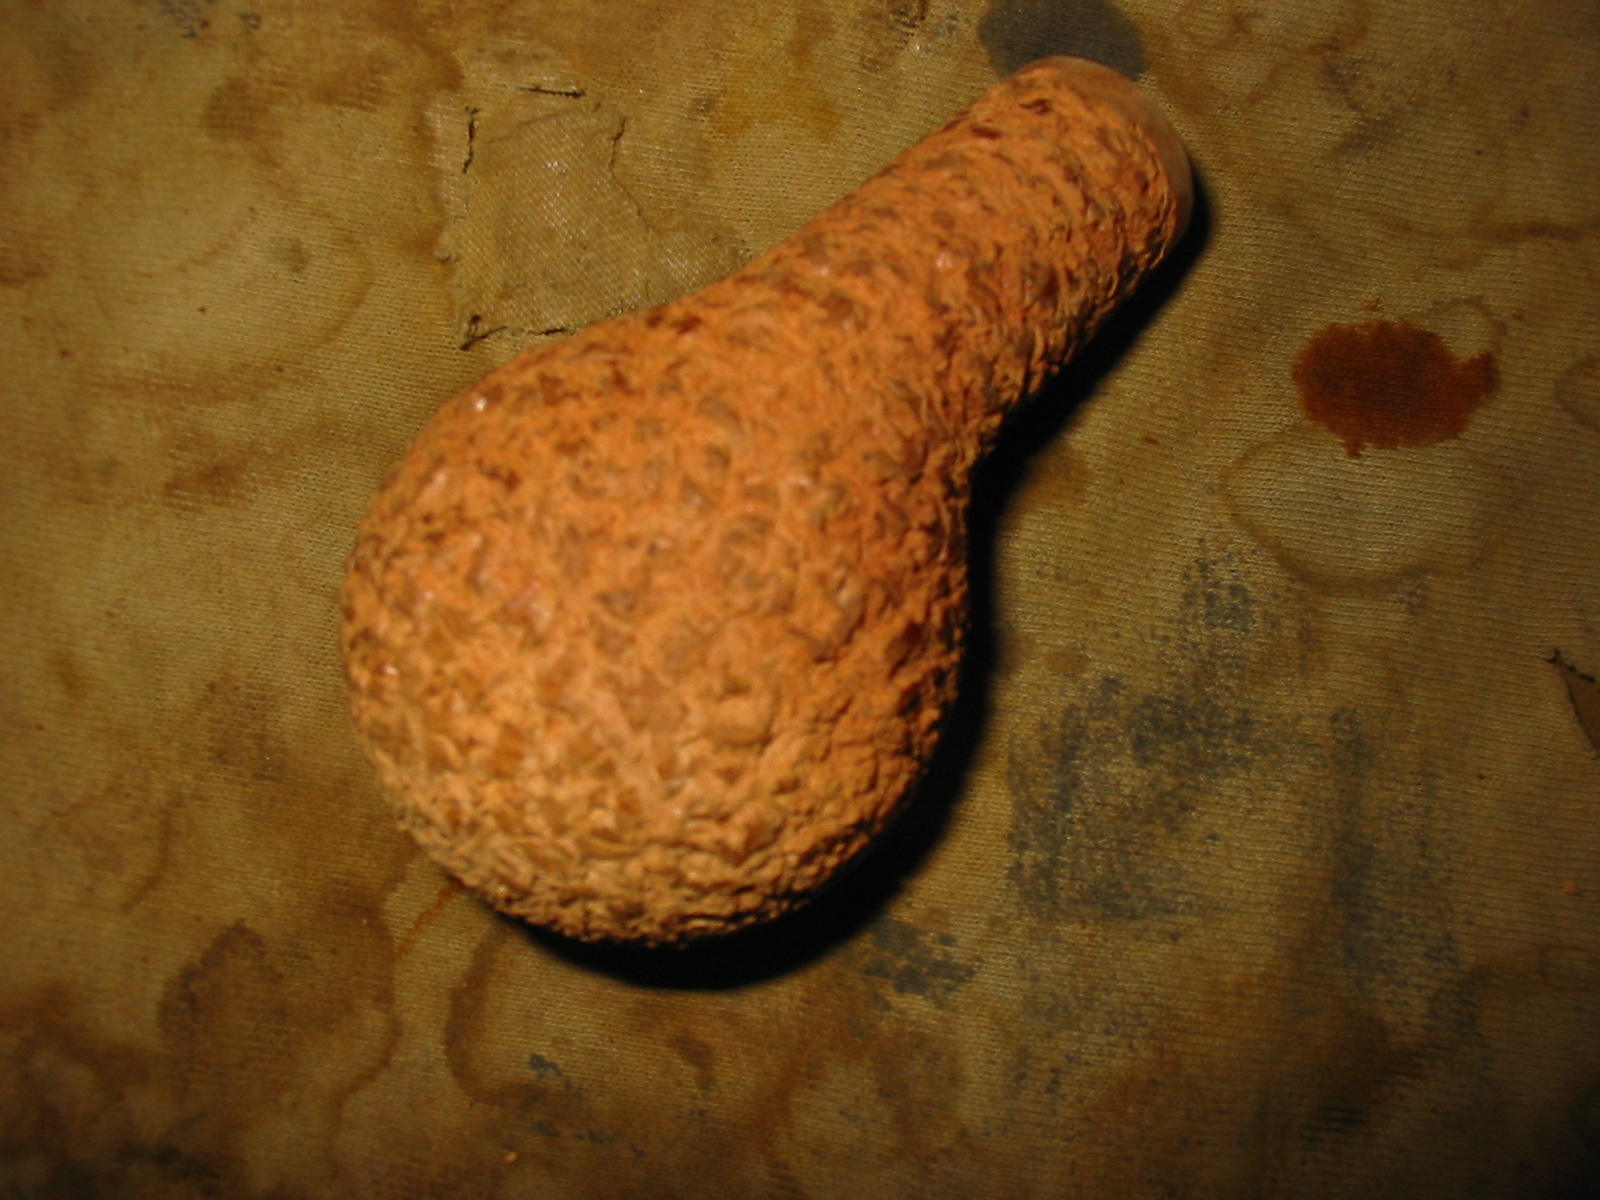


When the rustication was complete I used a brass tire brush on the surface of the briar to knock off the sharp points and loose pieces of debris from the work of the tool. My aim was to leave behind some smooth spots that would end up have a contrast stain on them when I was finished.

In order to get the stem to seat properly in the shank I used a knife and beveled/chamfered the inside edge of the mortise so that the stem would sit well. I also found in measuring the tenon that it was slightly too long for the mortise and the original manufacturer had left the end slightly at an angle so that it did not seat well in the mortise. I used a file to reseat the tenon and then put the stem in place. The fit was good, but the diameter of the stem was slightly more than the diameter of the smooth band on the shank so I sanded the band and the stem with 220 grit sandpaper. I was able to remove the excess diameter and bring the stem into line with the shank. I finished sanding it with a medium and fine grit sanding sponge to remove scratches.

With the sanding finished the fit was tight and the transition was smooth. I scrubbed down the shank and the stem with some Everclear on a cotton pad to get rid of the sanding dust from the stem. With that done the pipe was ready to stain.

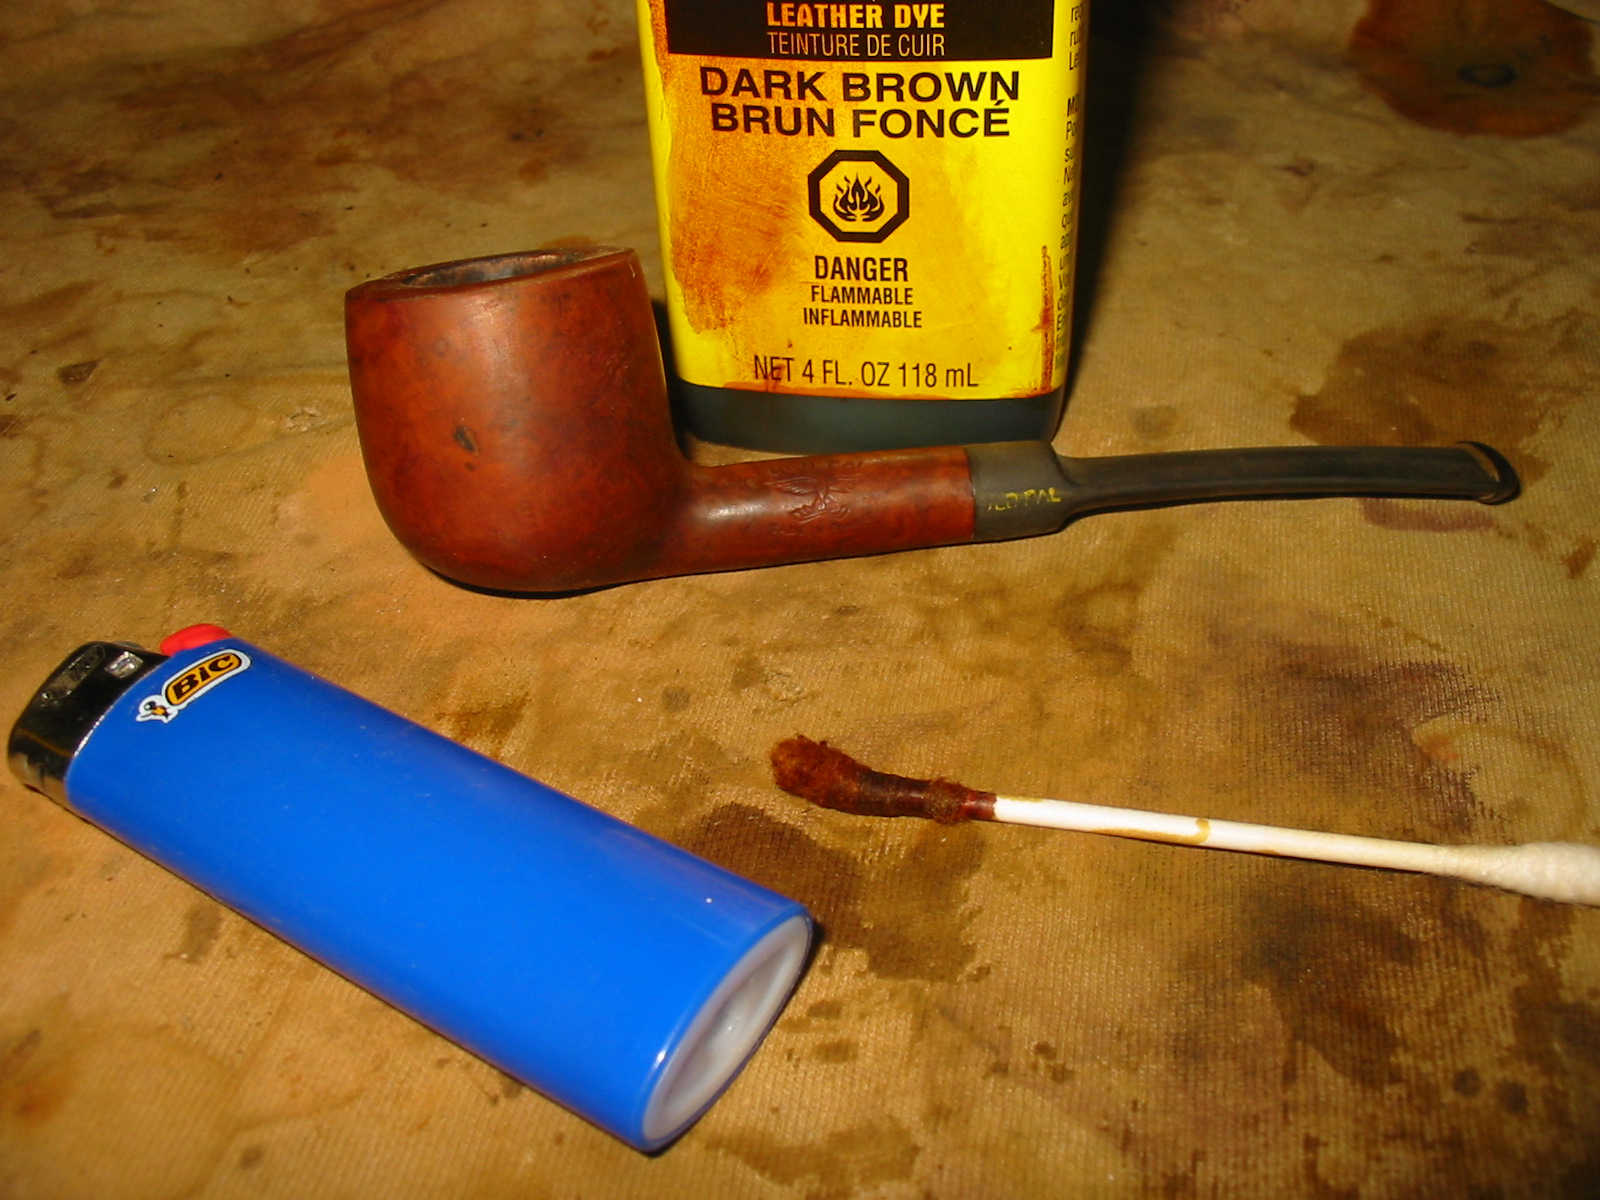
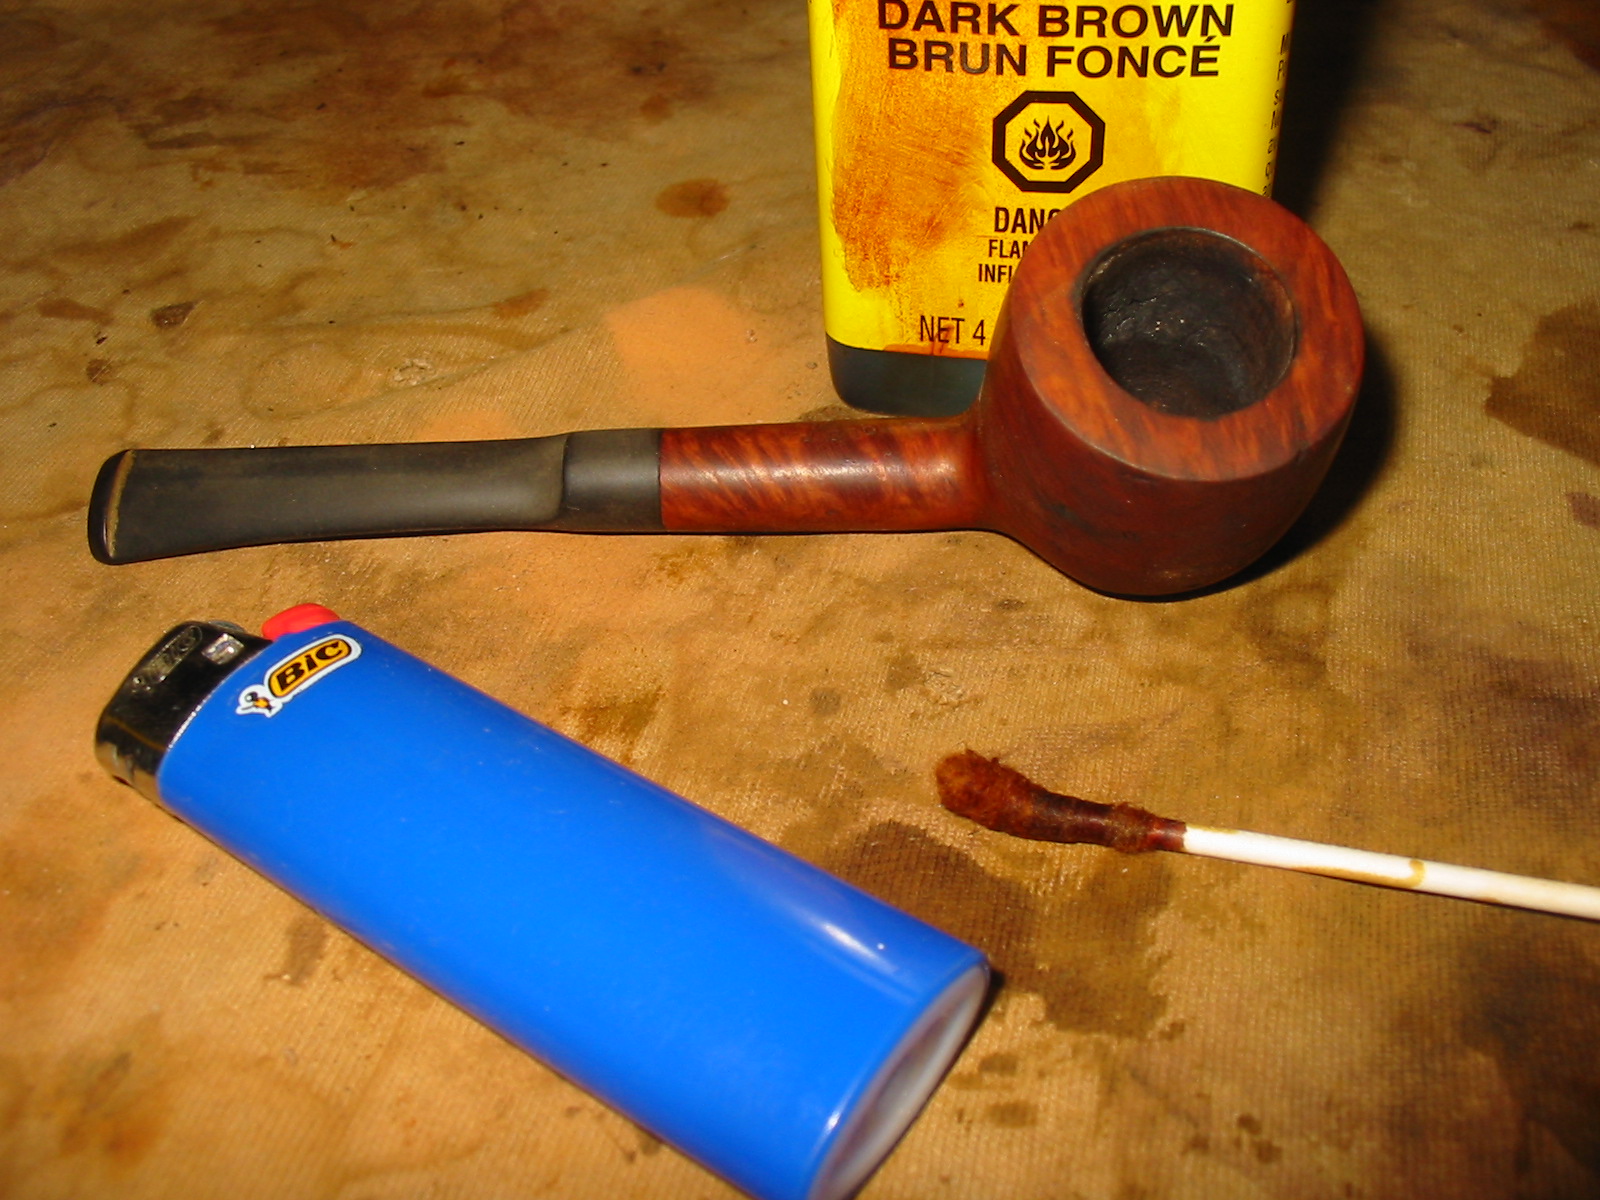
I decided to use a black aniline stain as the undercoat of the pipe. The stain would hide the repaired flaws well as they were also dark. I applied the stain with a cotton swab and made sure that it went into all the nooks and crannies of the briar.
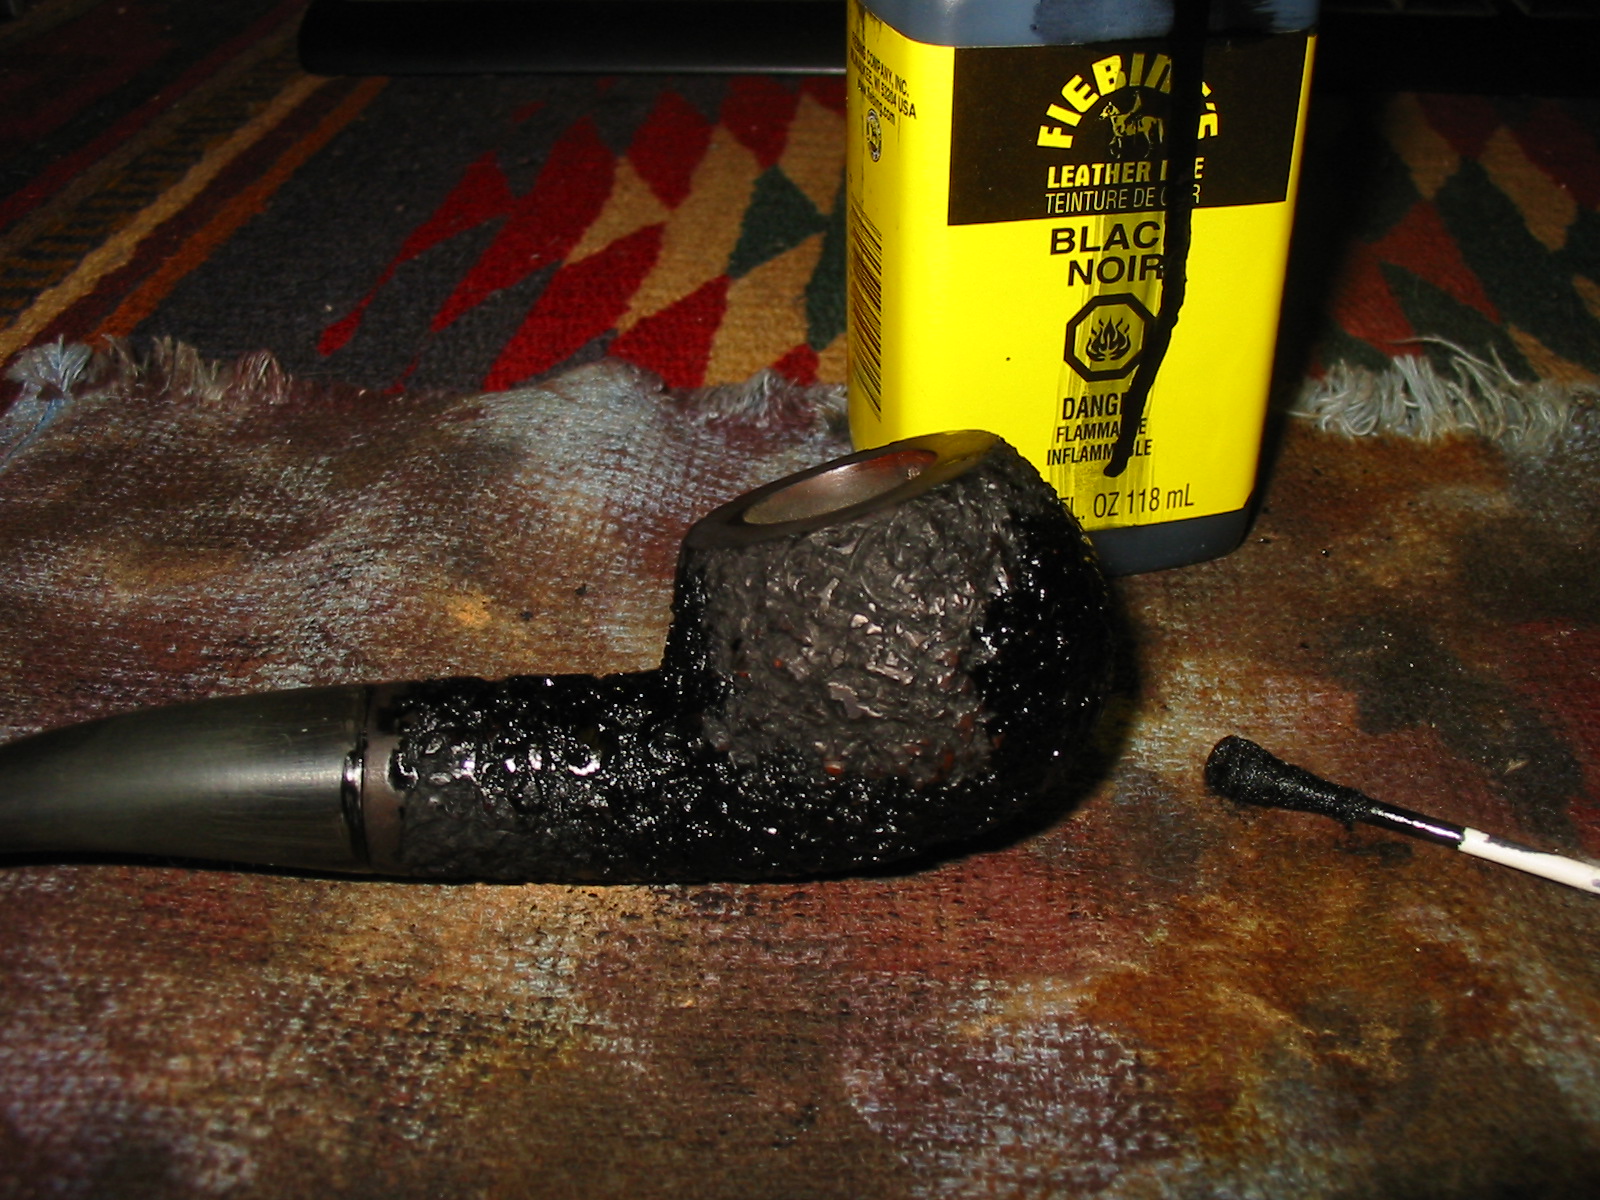


Once the stain was applied I flamed it with a lighter to set the stain and then took it to the buffer to see if I could buff away the stain on the higher parts of the rustication. I used red Tripoli to do the buffing. I kept a pretty light touch as I did not want the Tripoli to build up in the rustication. With that done, the finish was closer to what I was aiming for. I still wanted a few more of the high spots showing.
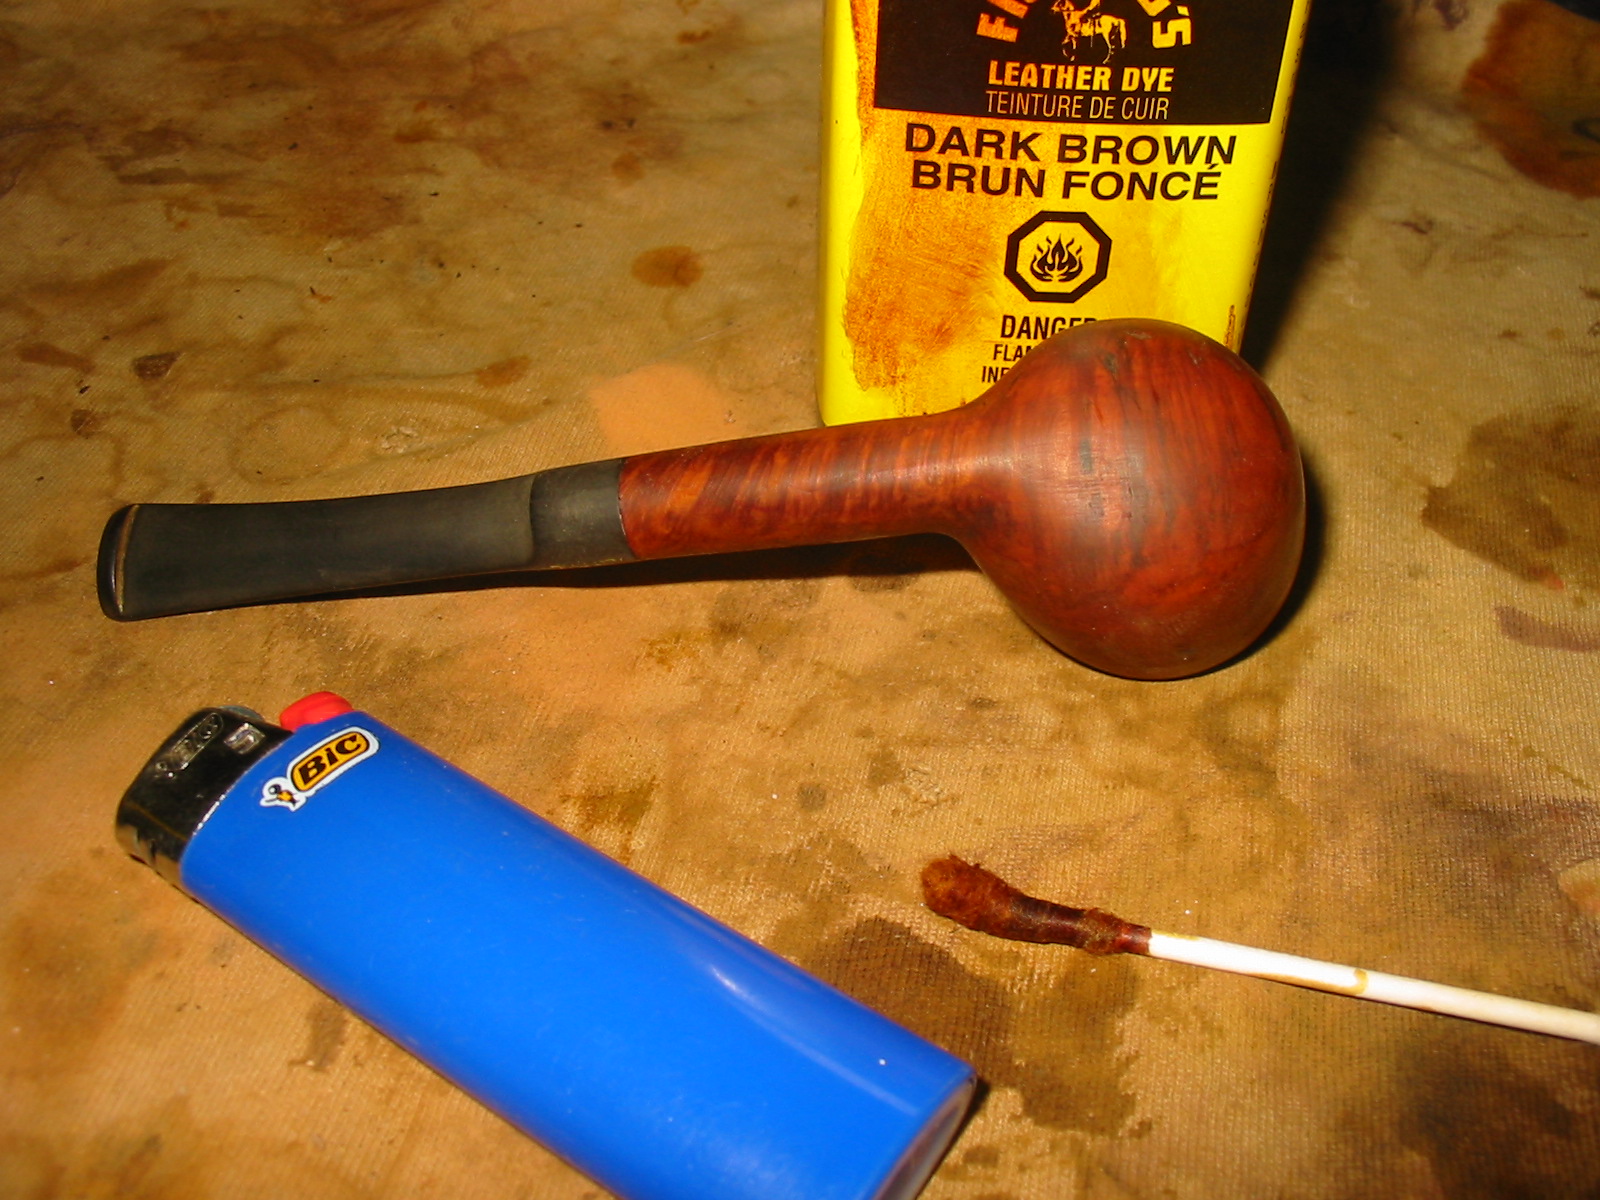
I wiped the bowl down with Everclear on a soft cloth to remove some more of the black and then buffed it with White Diamond. I then gave it a top coat of oxblood stain to bring out the contrast and highlight the high portions of the rustication. I buffed it again with White Diamond.

To remove the tooth chatter and the scratches from fitting the stem to the shank I used my usual array of micromesh sanding pads. I wet sanded with 1500-2400 grit pads and dry sanded with the 3200-12,000 grit pads. I rubbed the stem down with Obsidian Oil and let it dry.

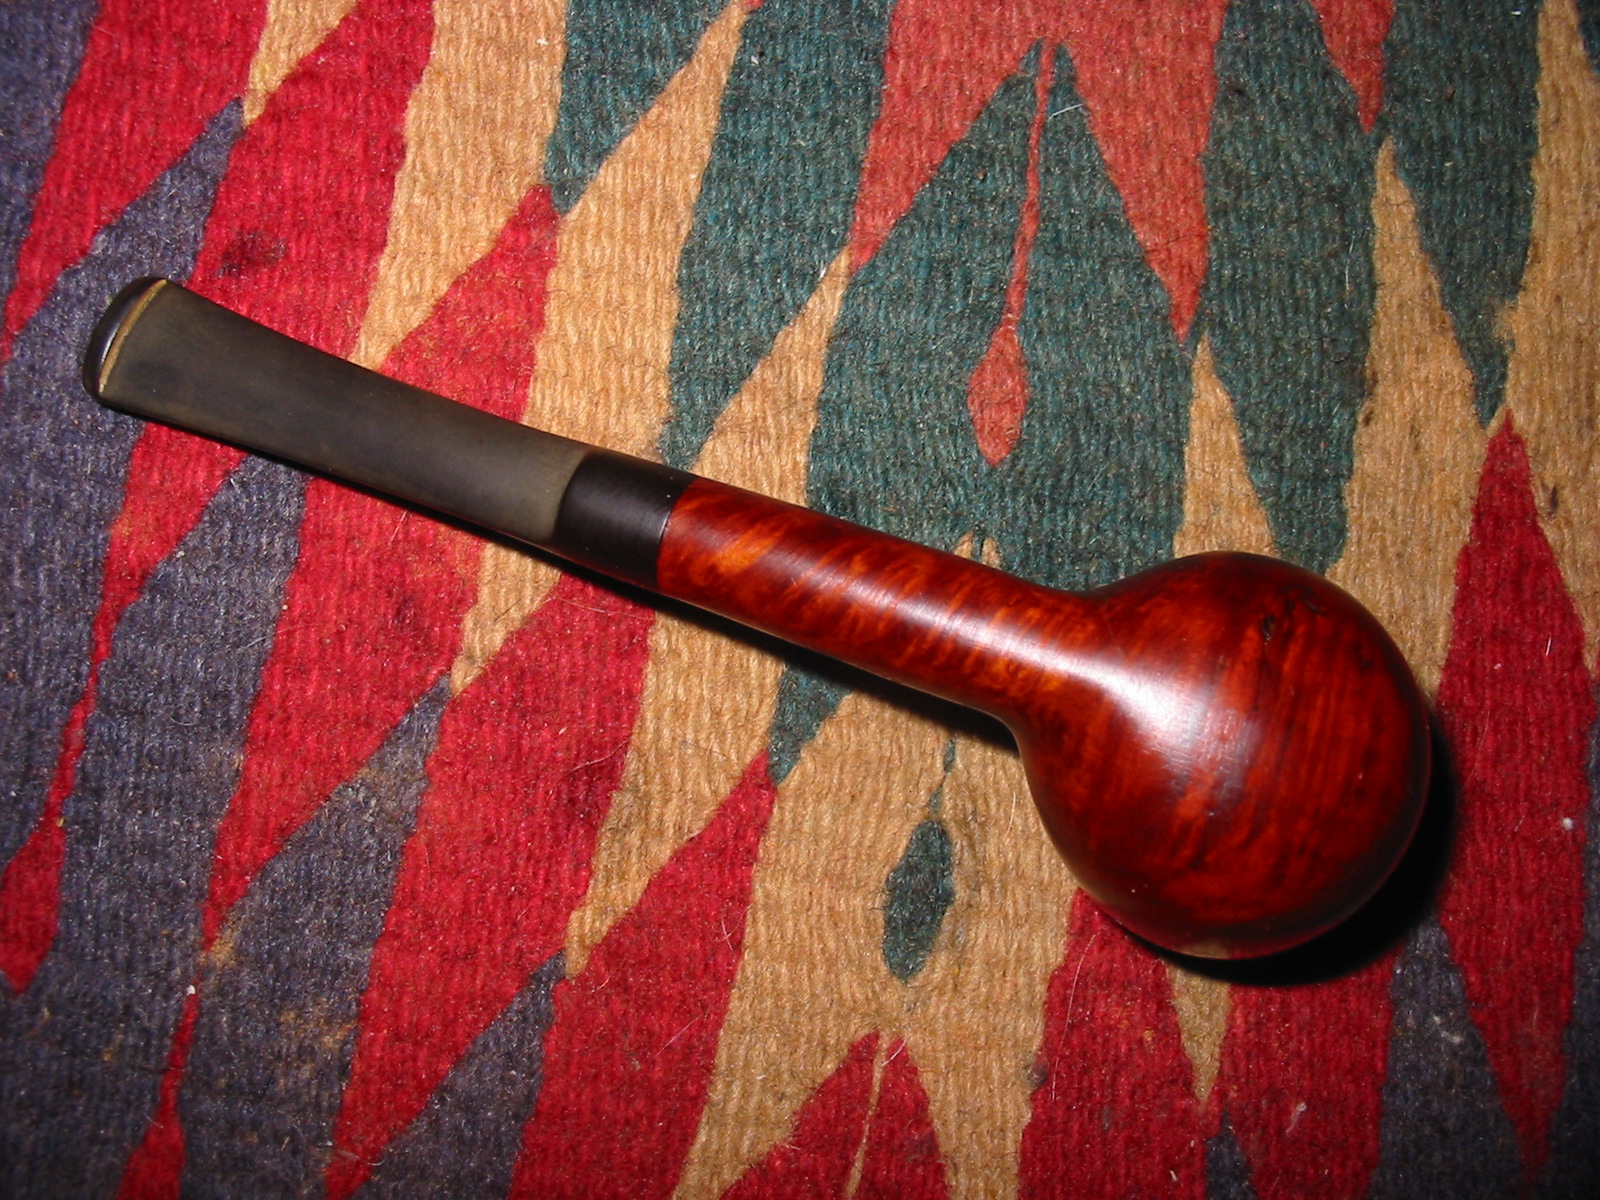
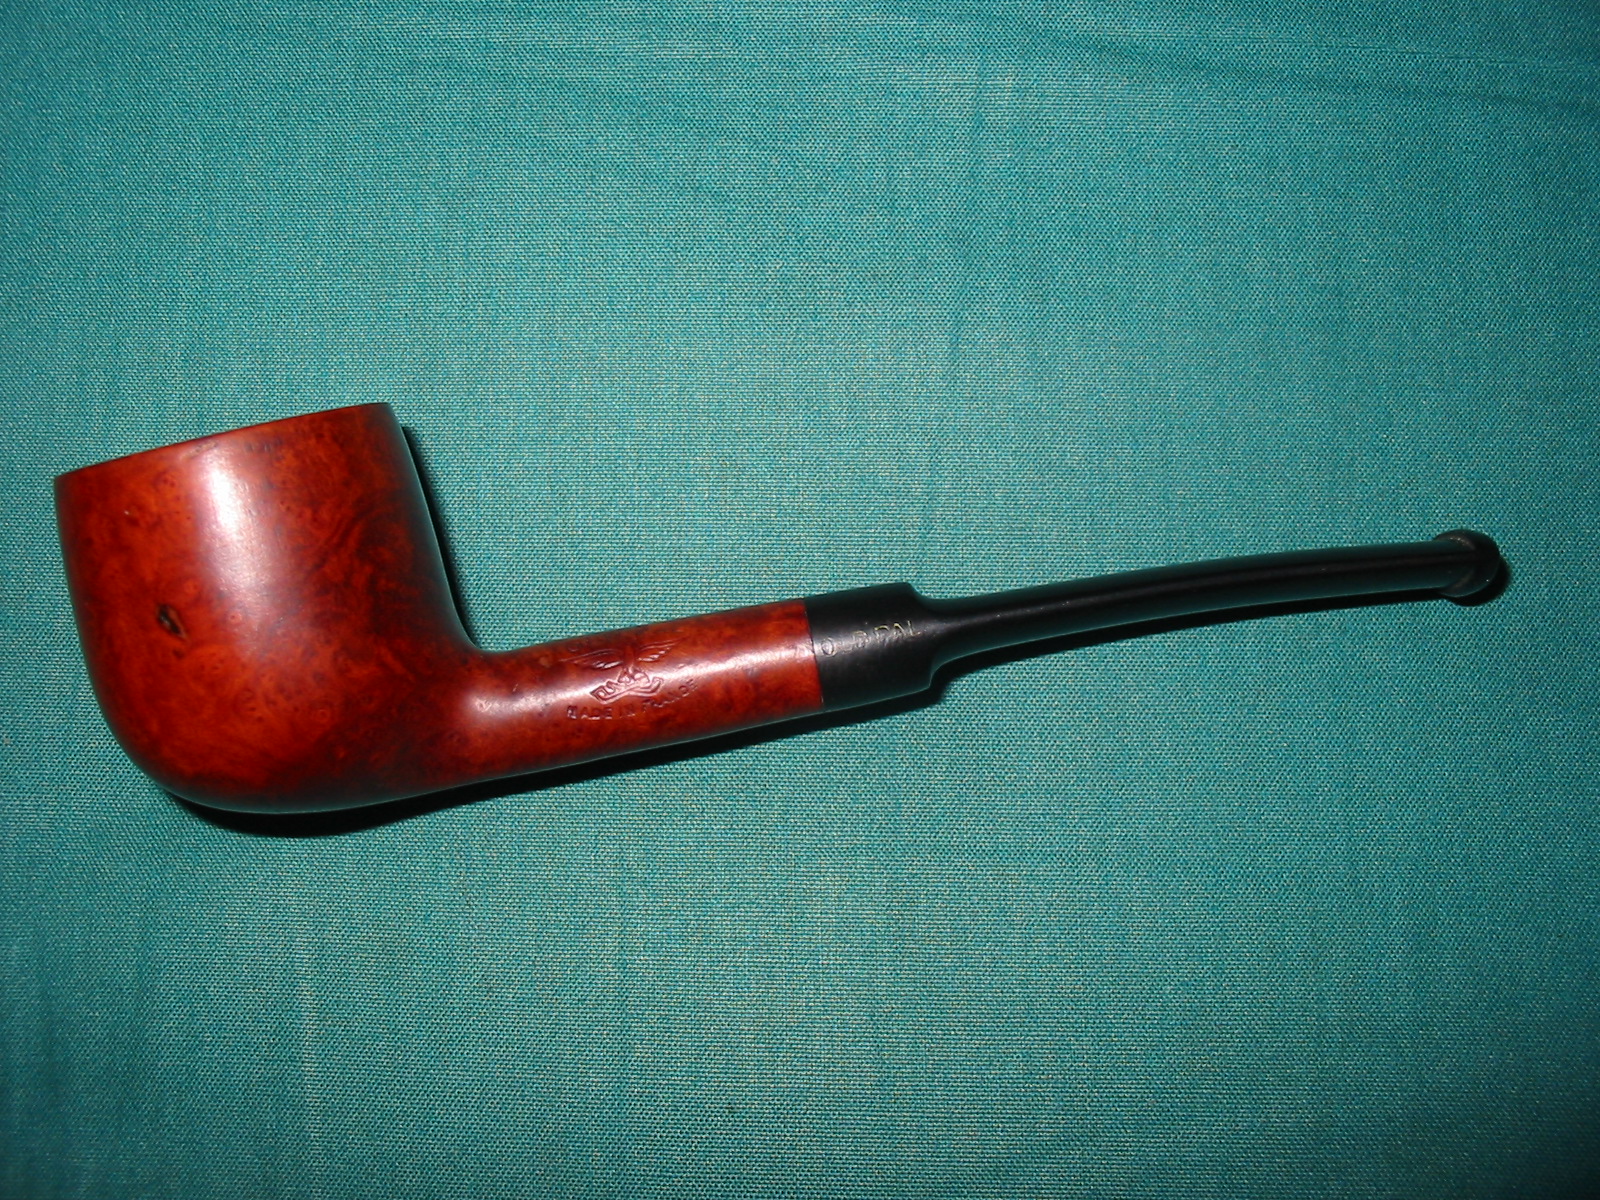
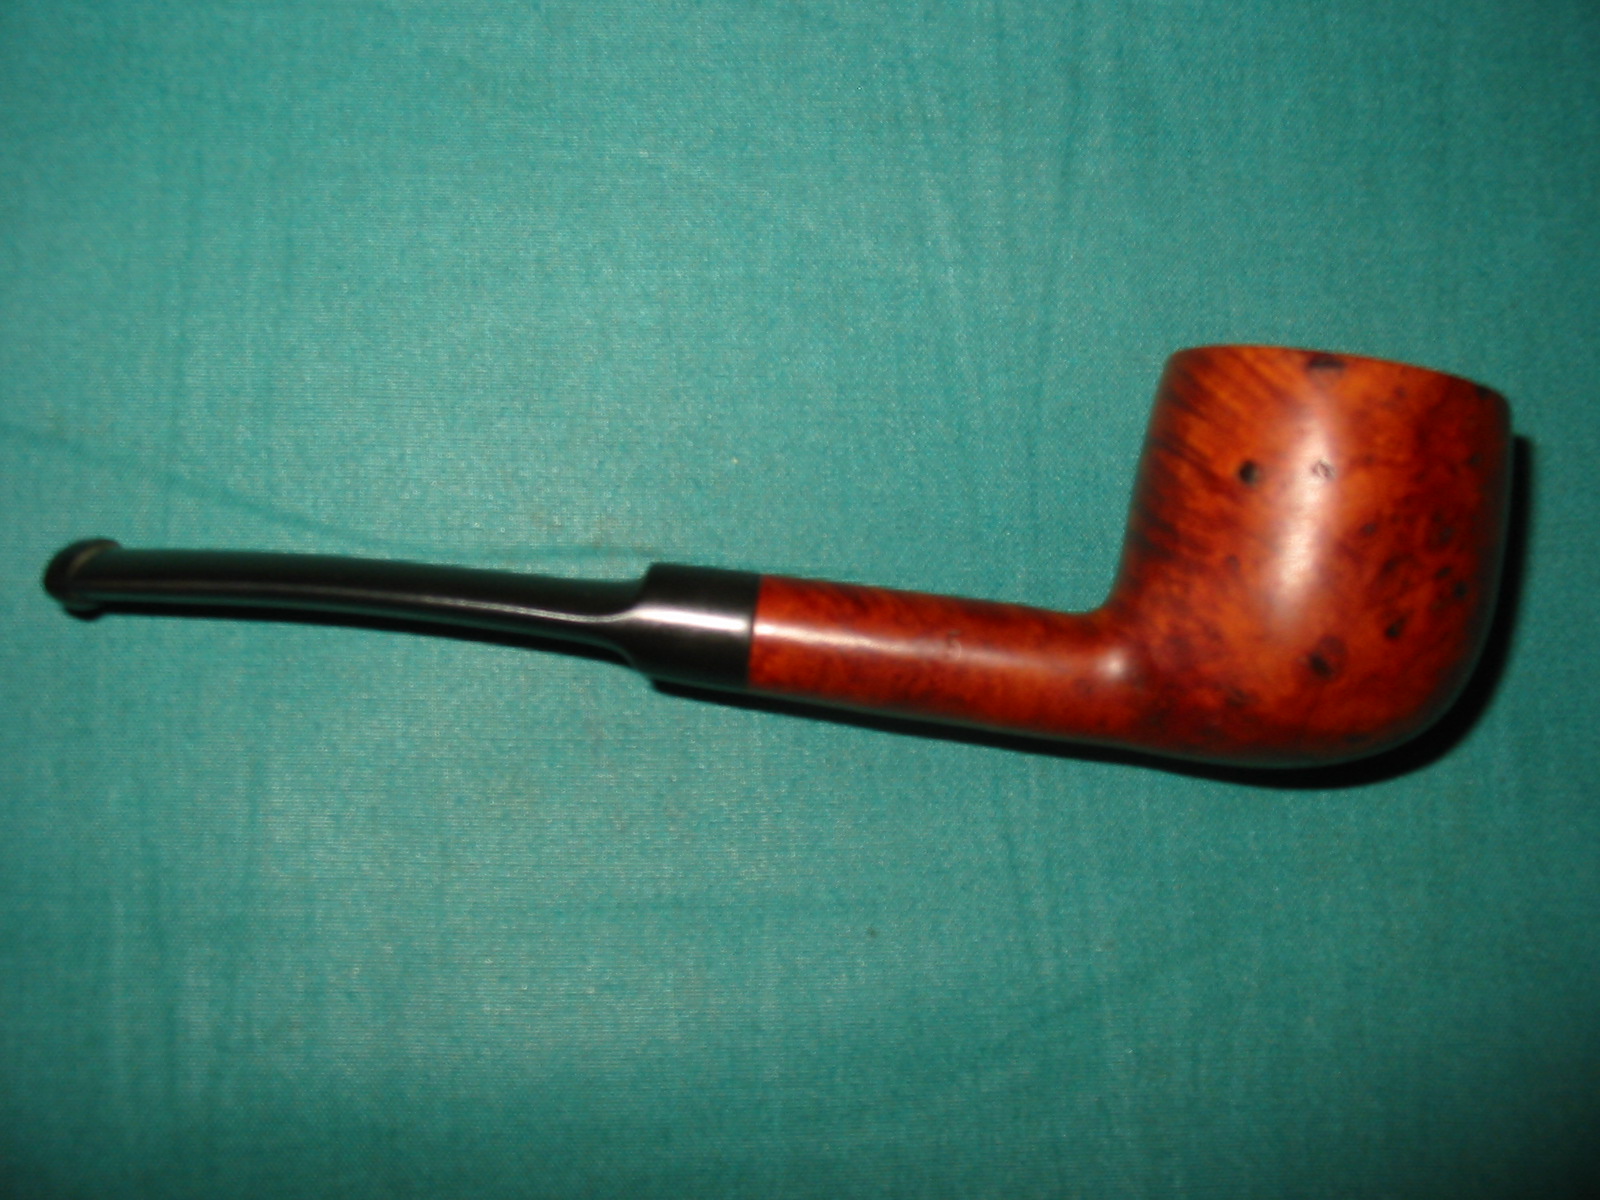
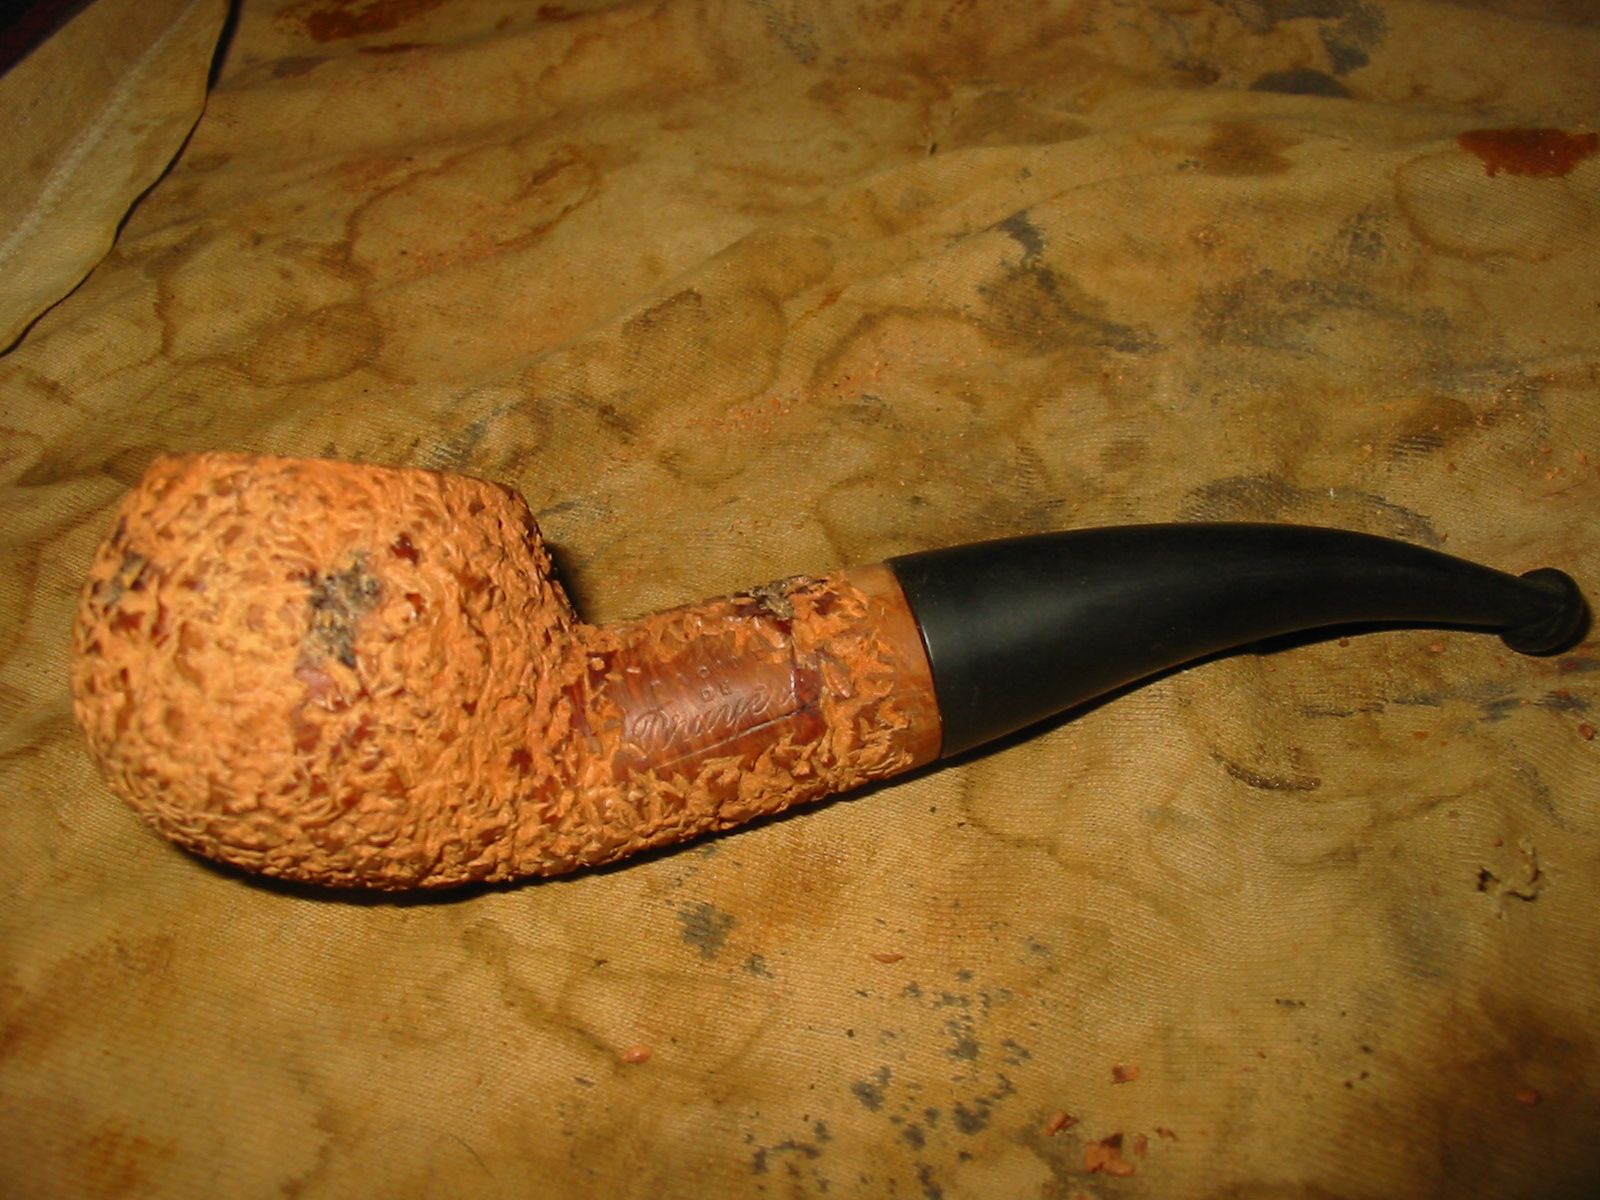
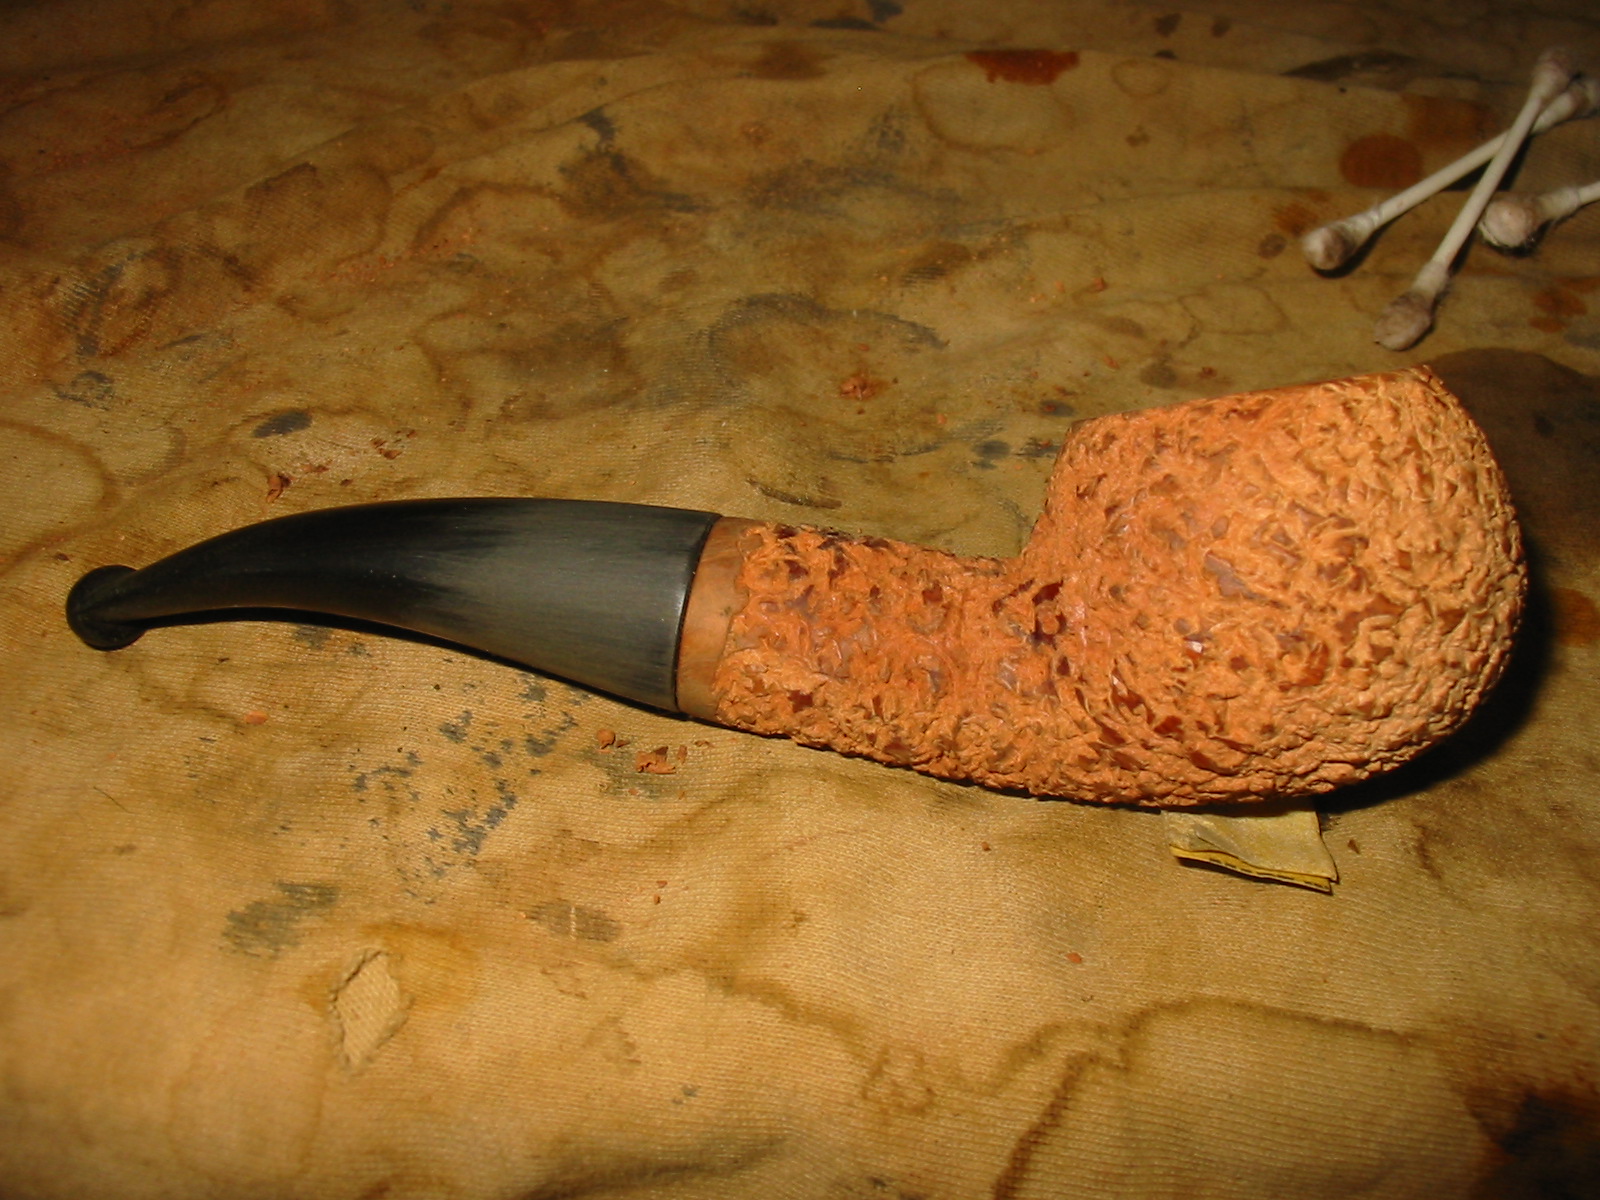
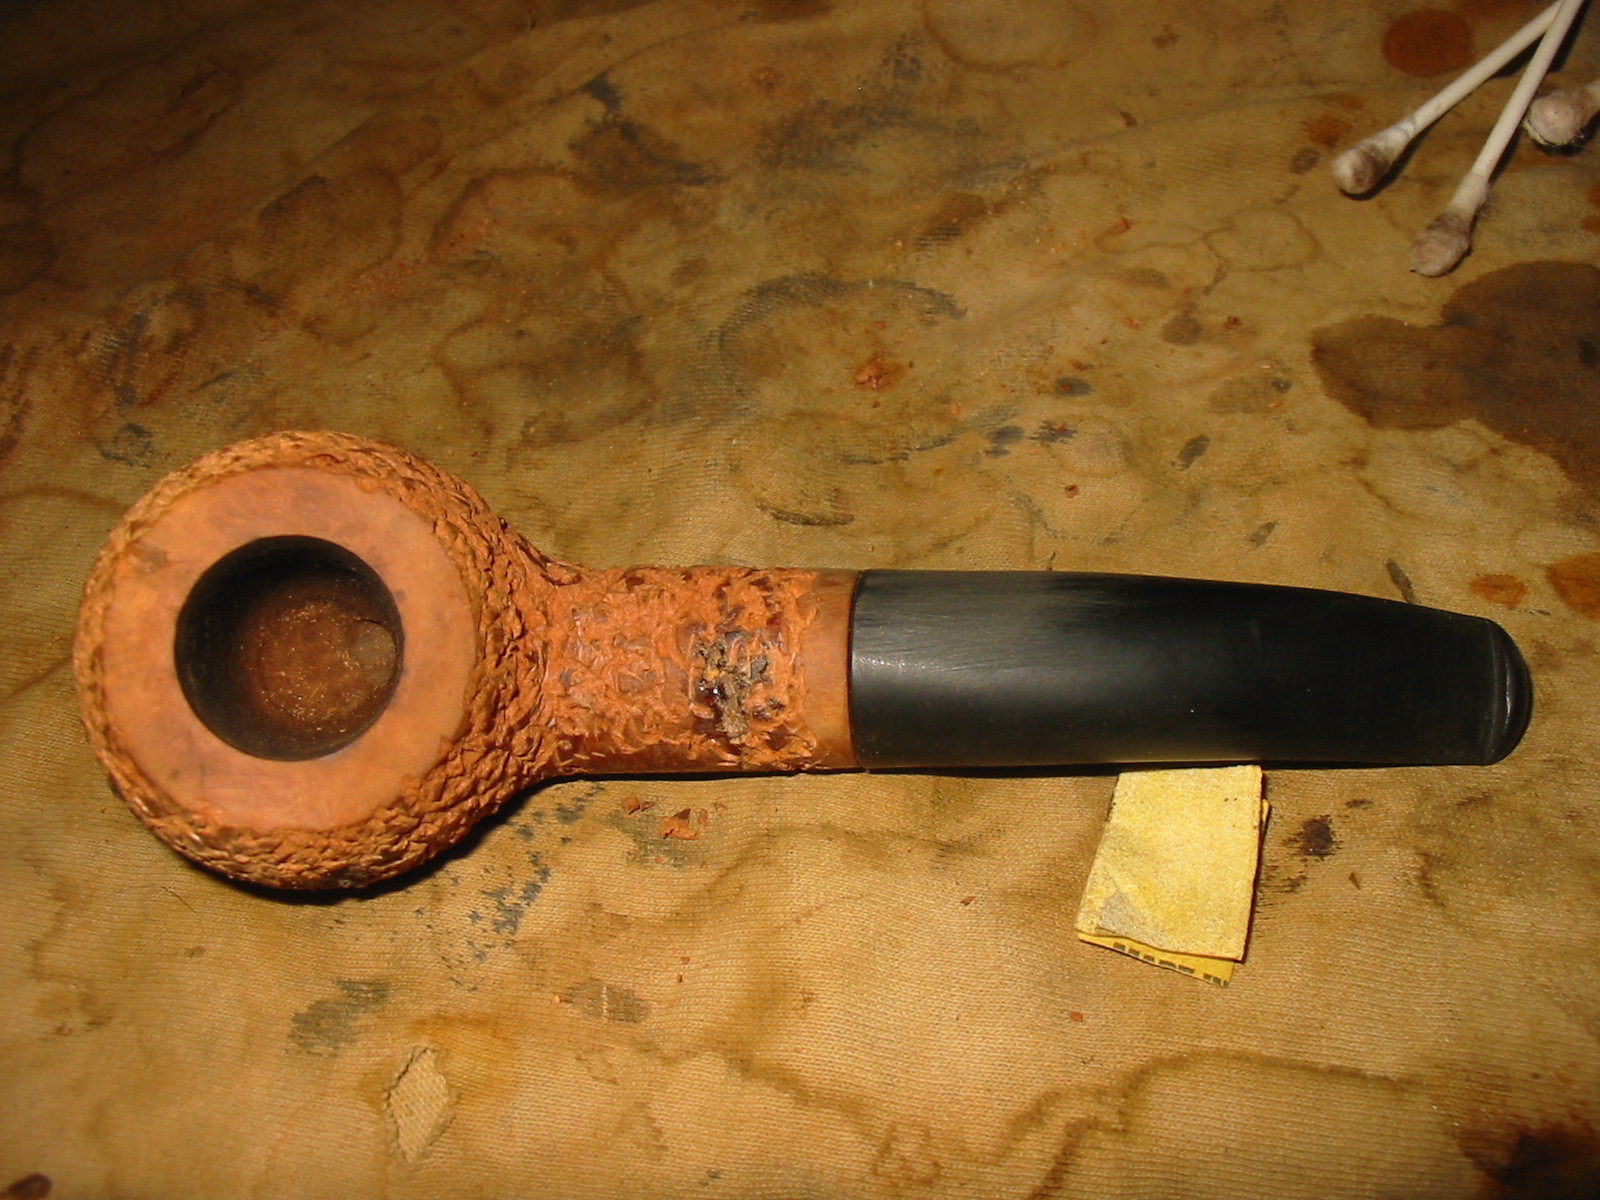
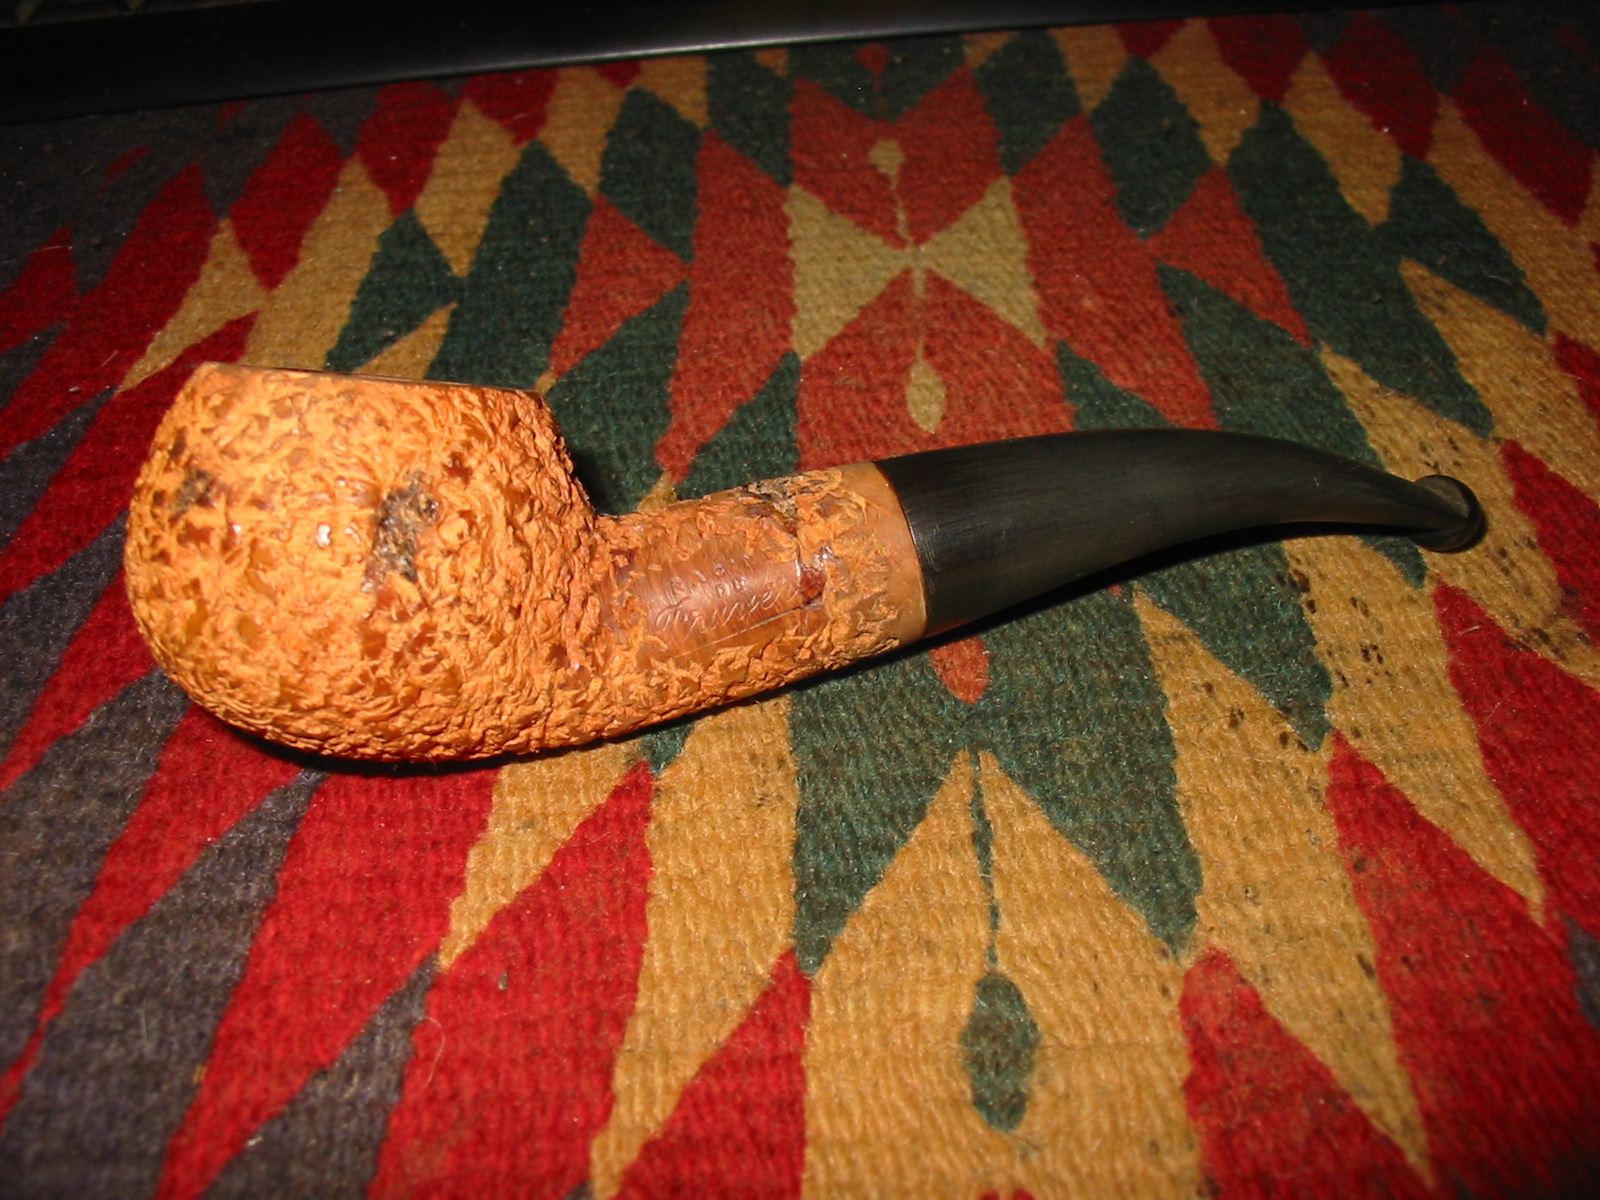
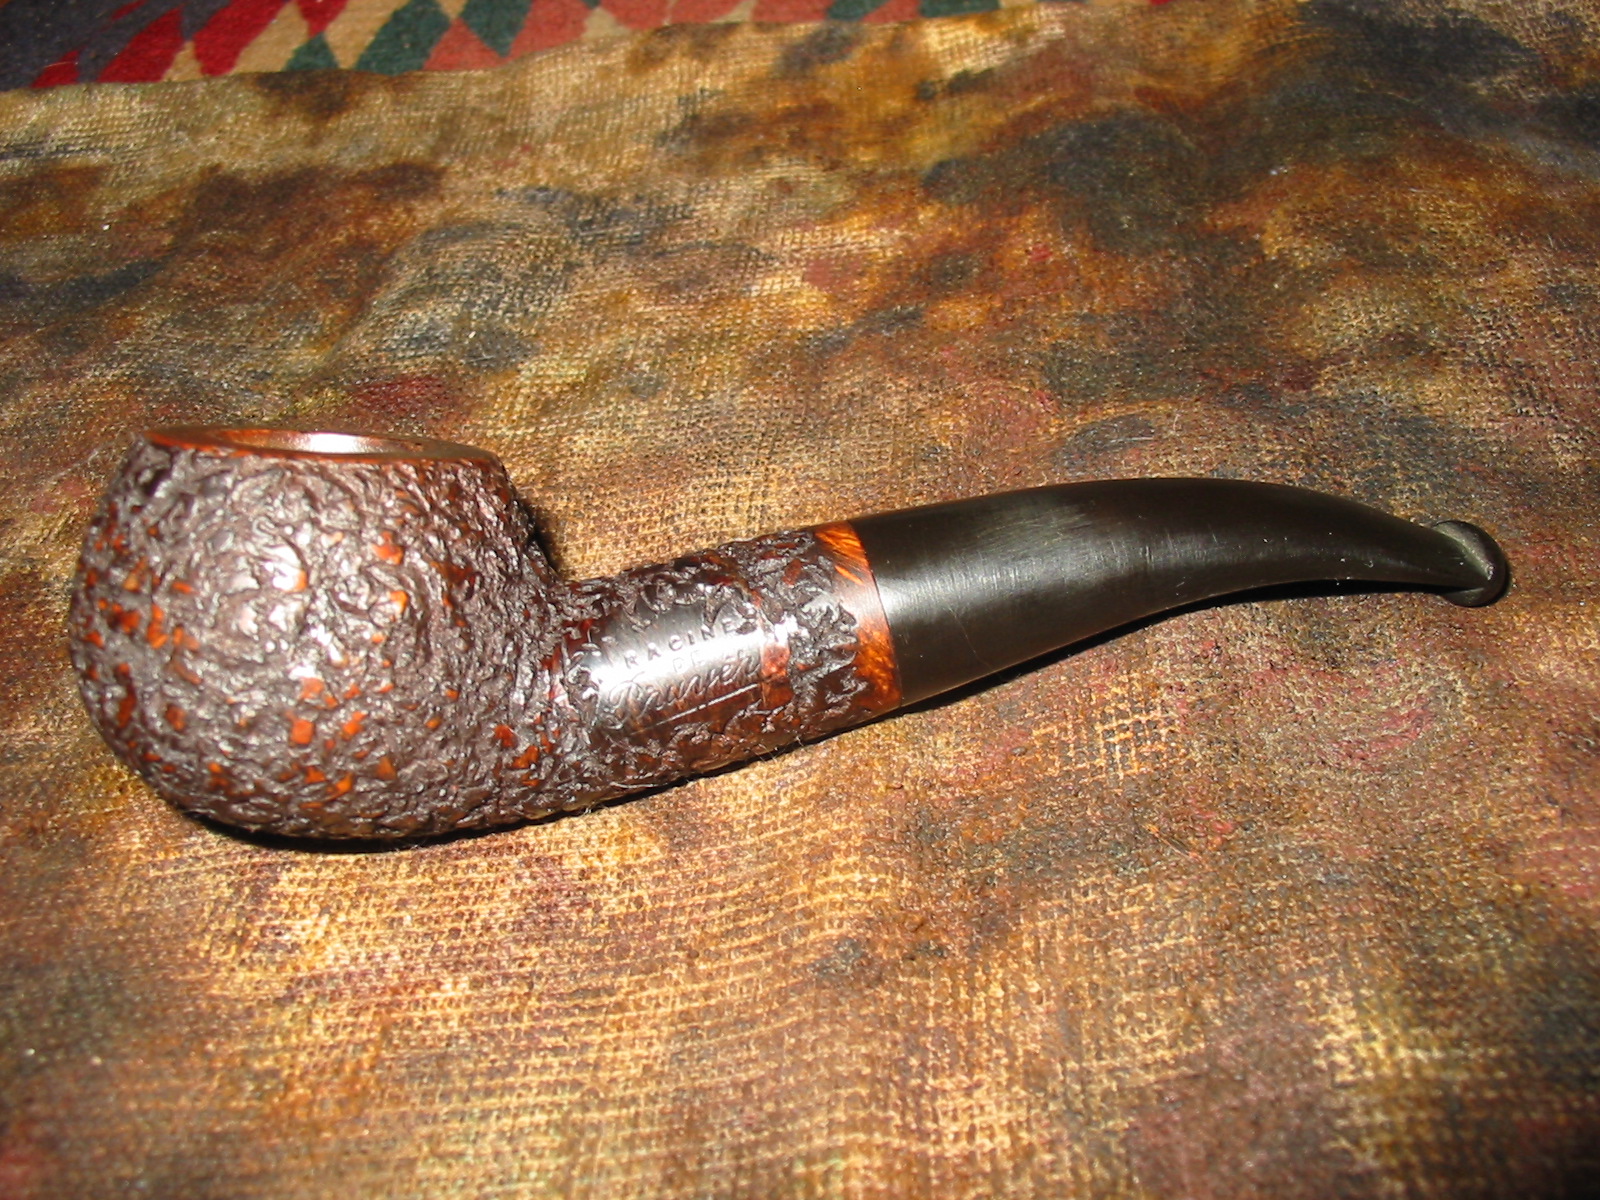
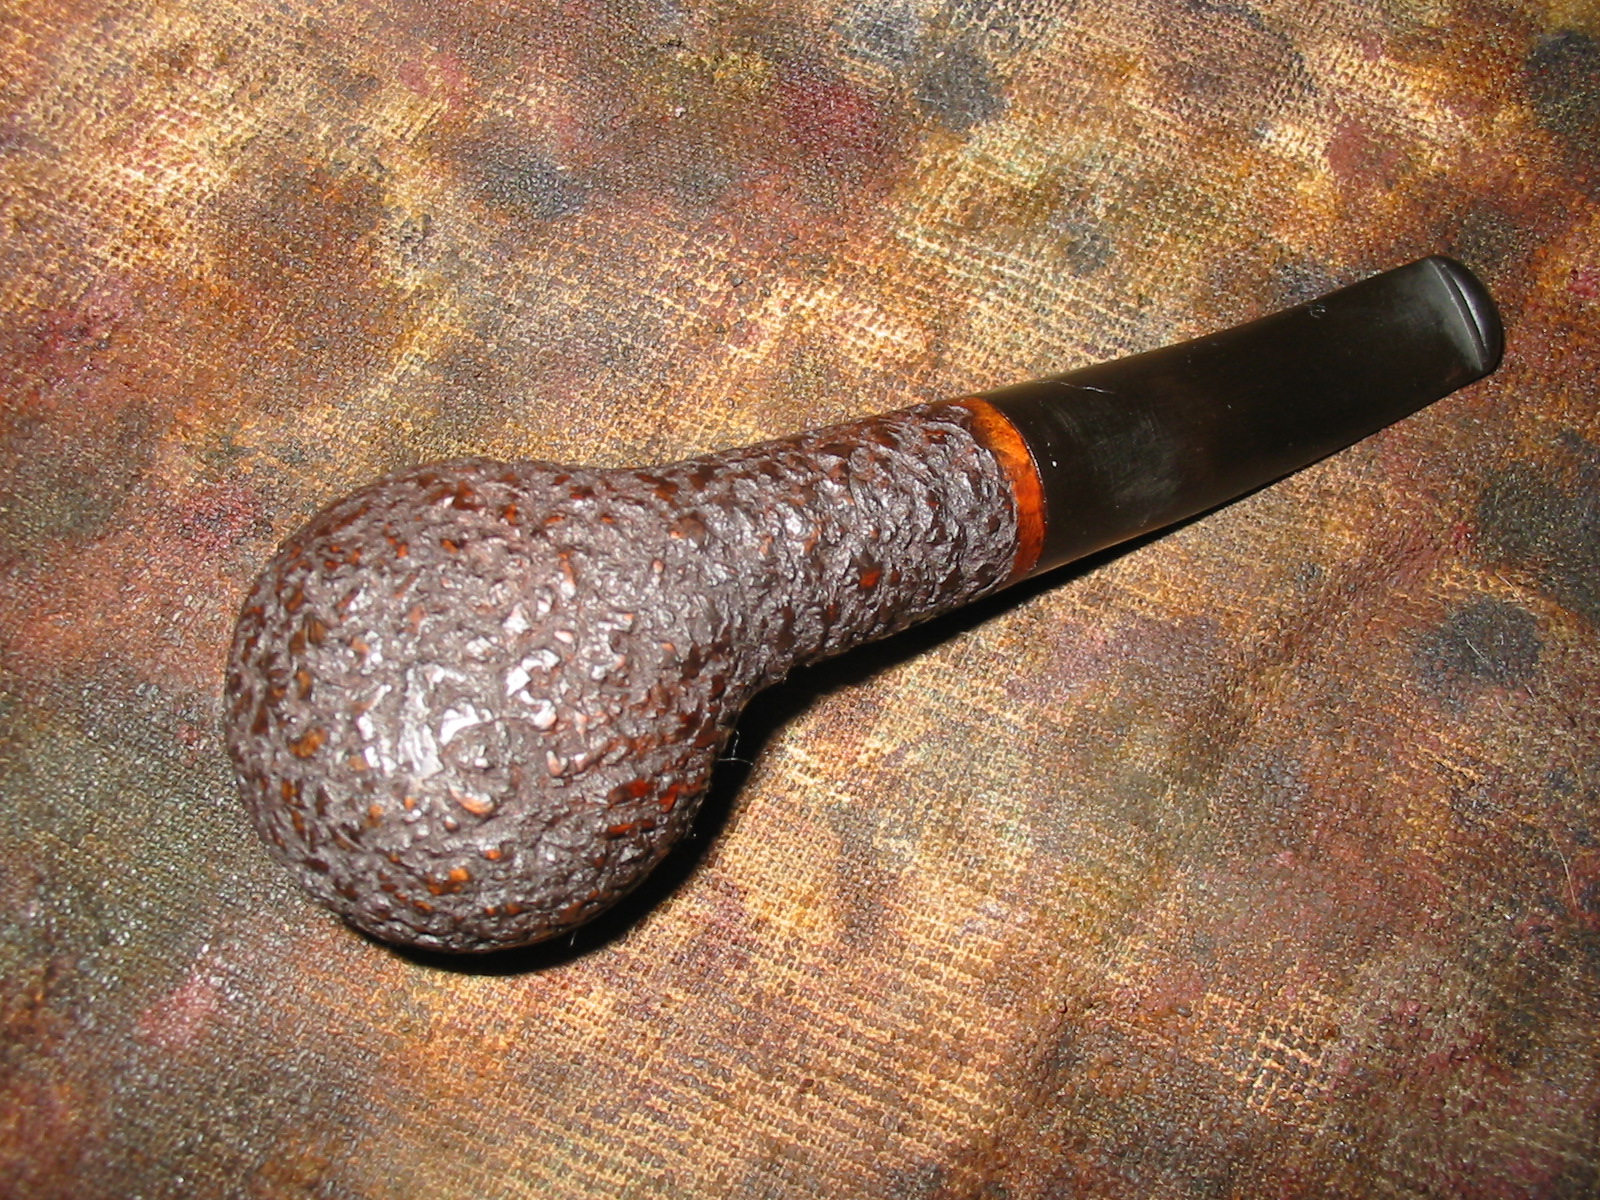
Once the stem was done I used 2400 grit micromesh sanding pads and dry sanded the high spots on the rustication on the bowl and the shank to further accentuate the contrast. I buffed the bowl lightly with White Diamond and then buffed the pipe as a whole with White Diamond yet again. Once it was done, I gave the stem multiple coats of carnauba wax. I also gave the bowl a very light buff with the carnauba wheel – too heavy a touch and the wax fills in the crevices of the rustication. I then hand buffed it with a shoe brush to finish the shine. The completed makeover is shown in the photos below. The pipe is ready to enter into a new chapter of its life.
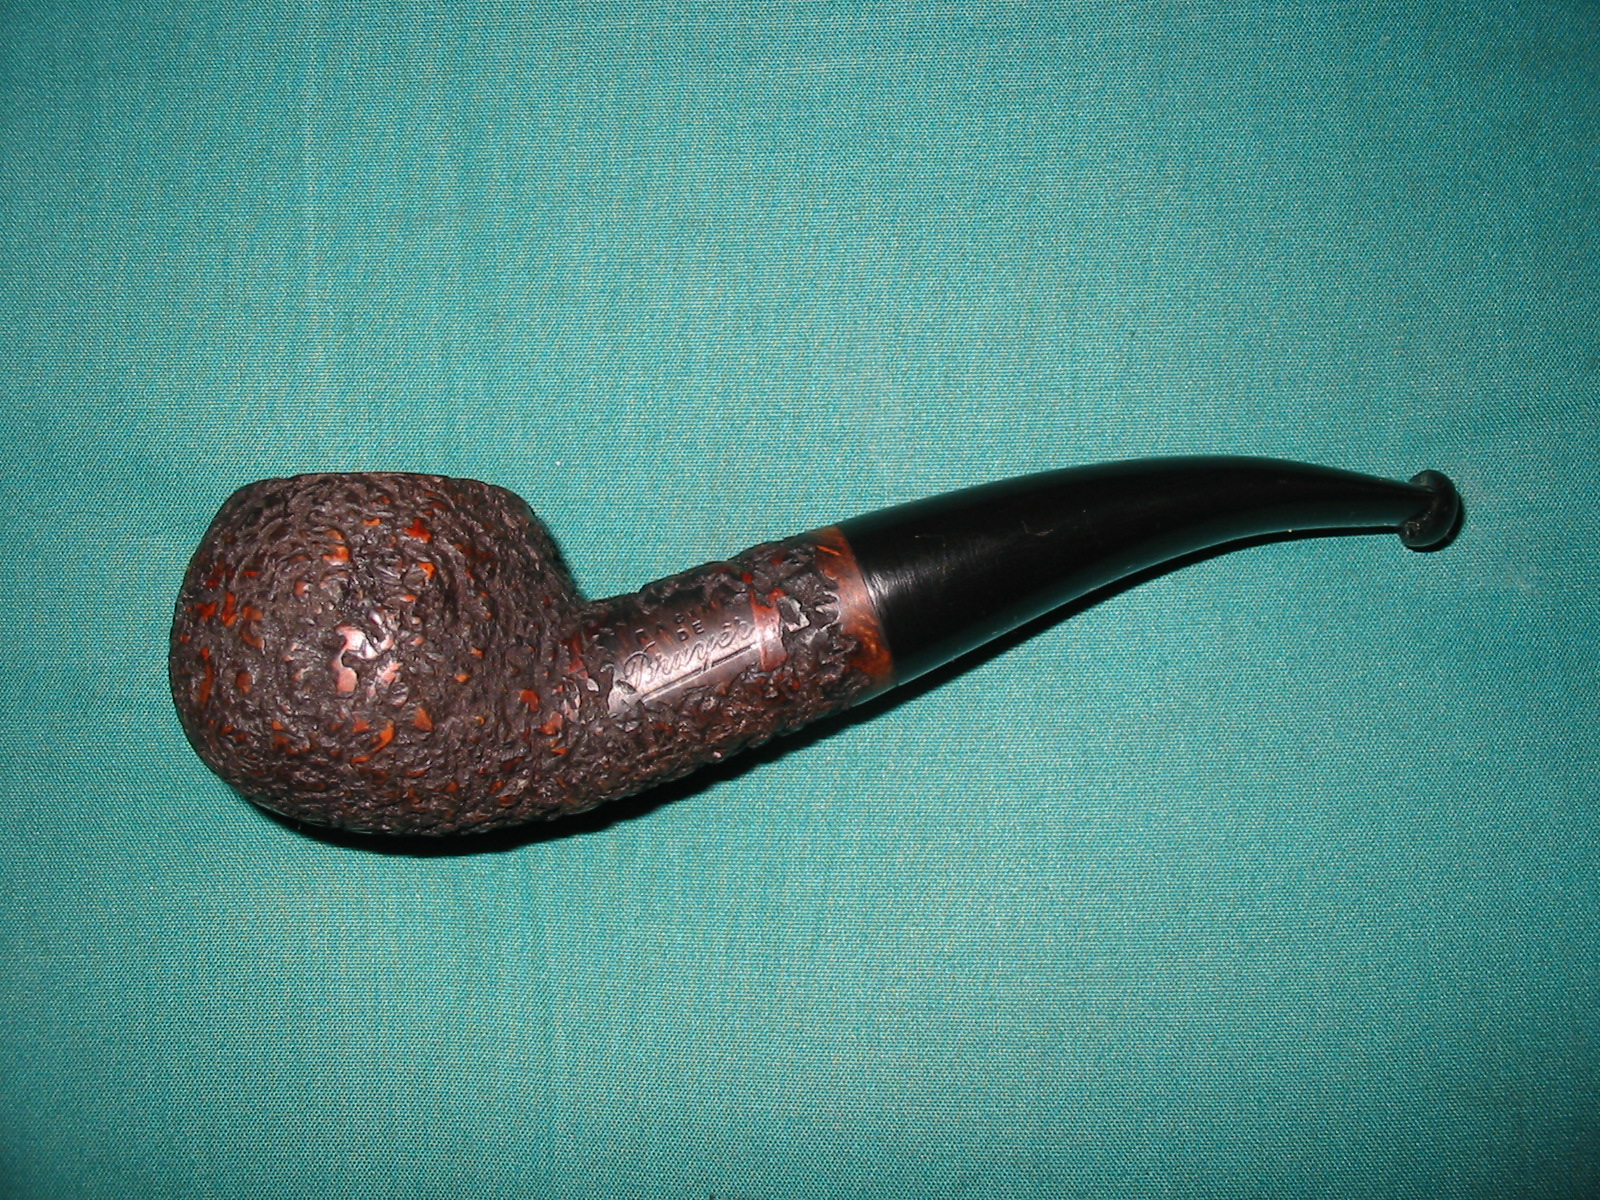
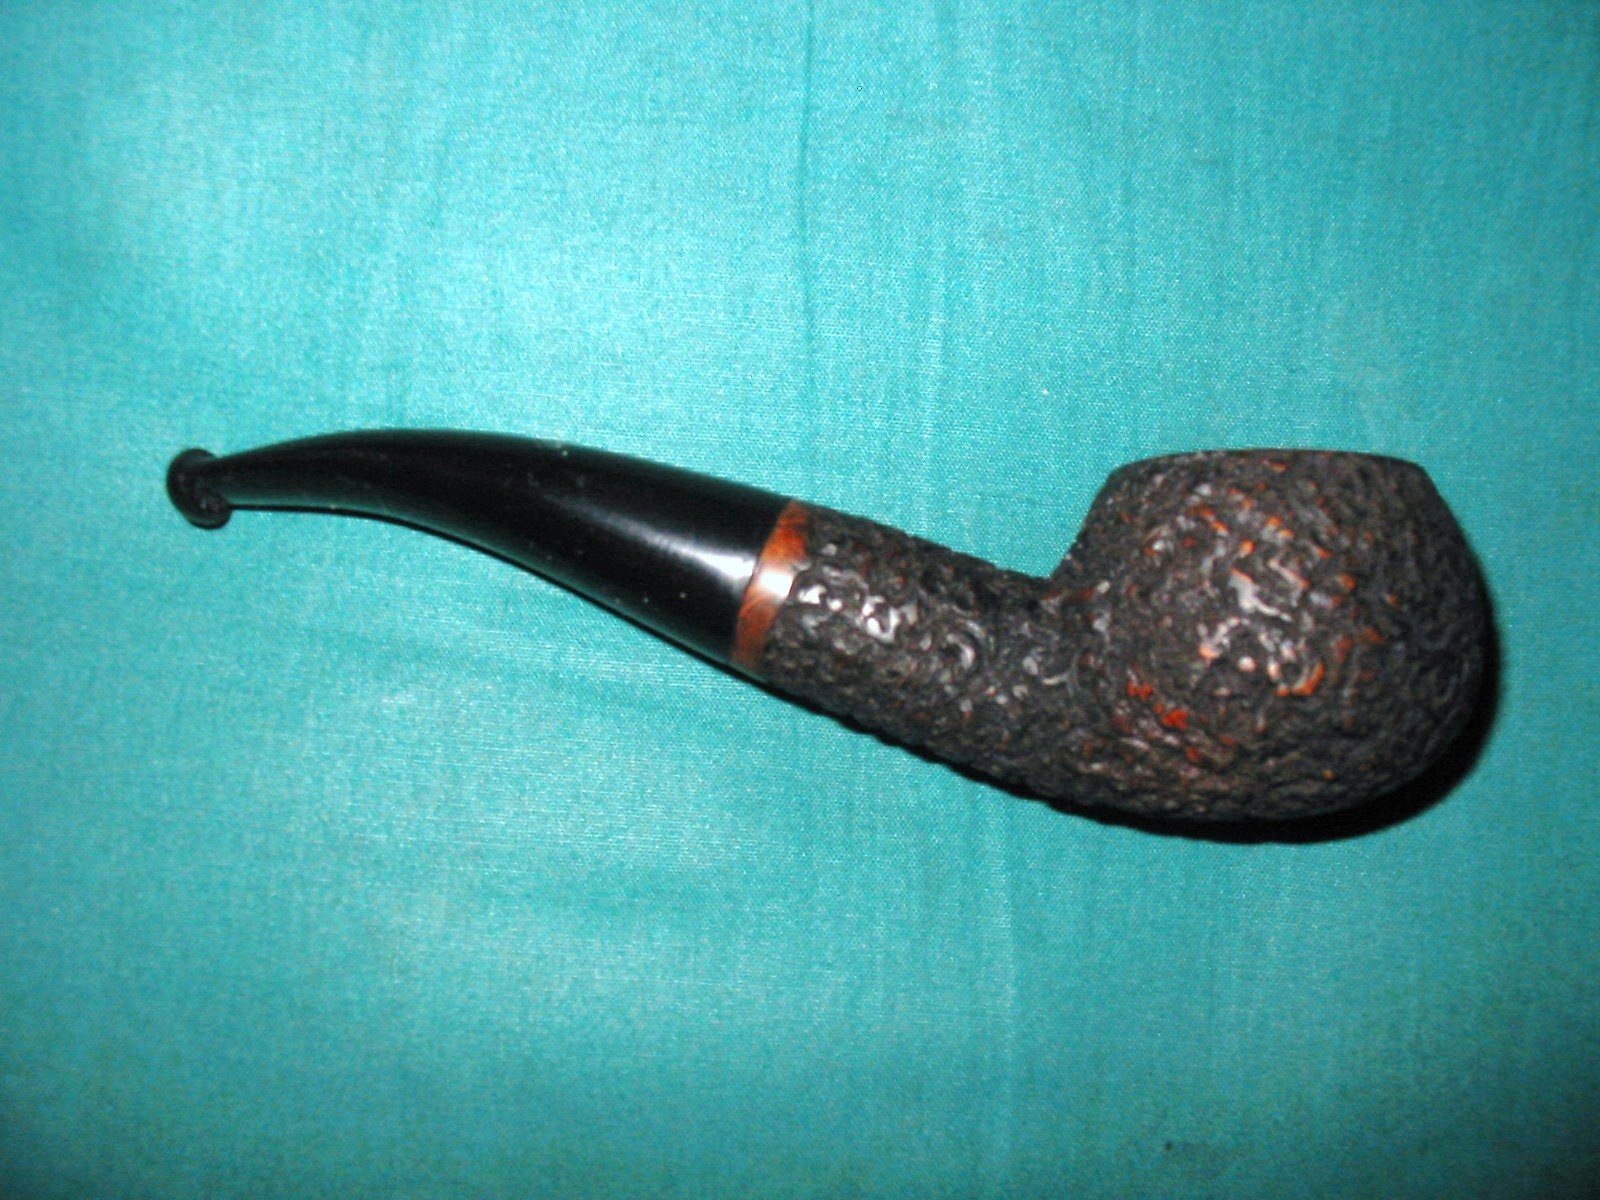
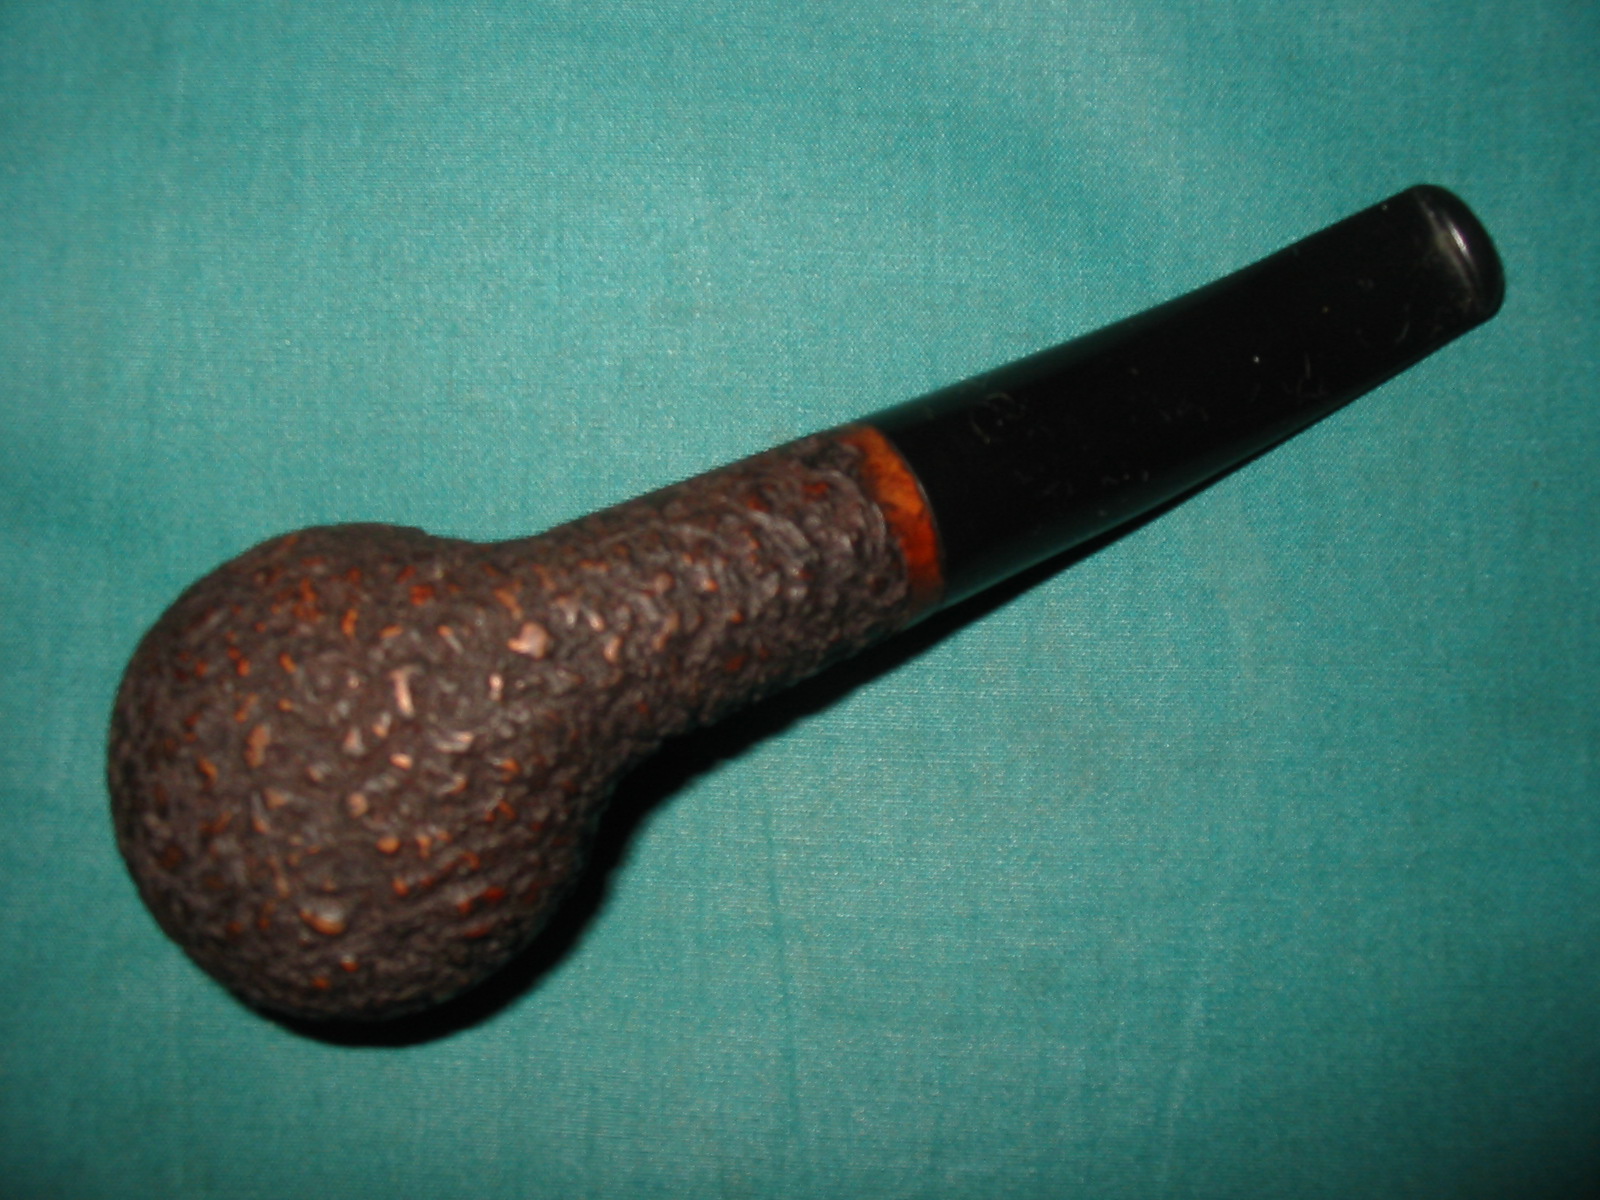
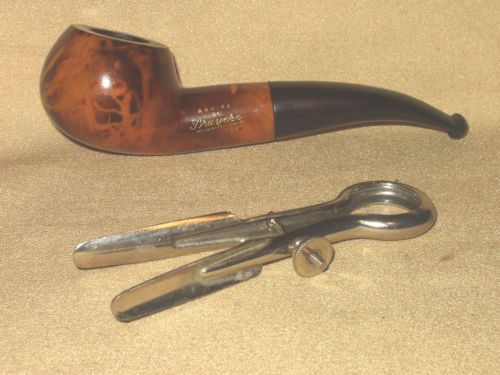
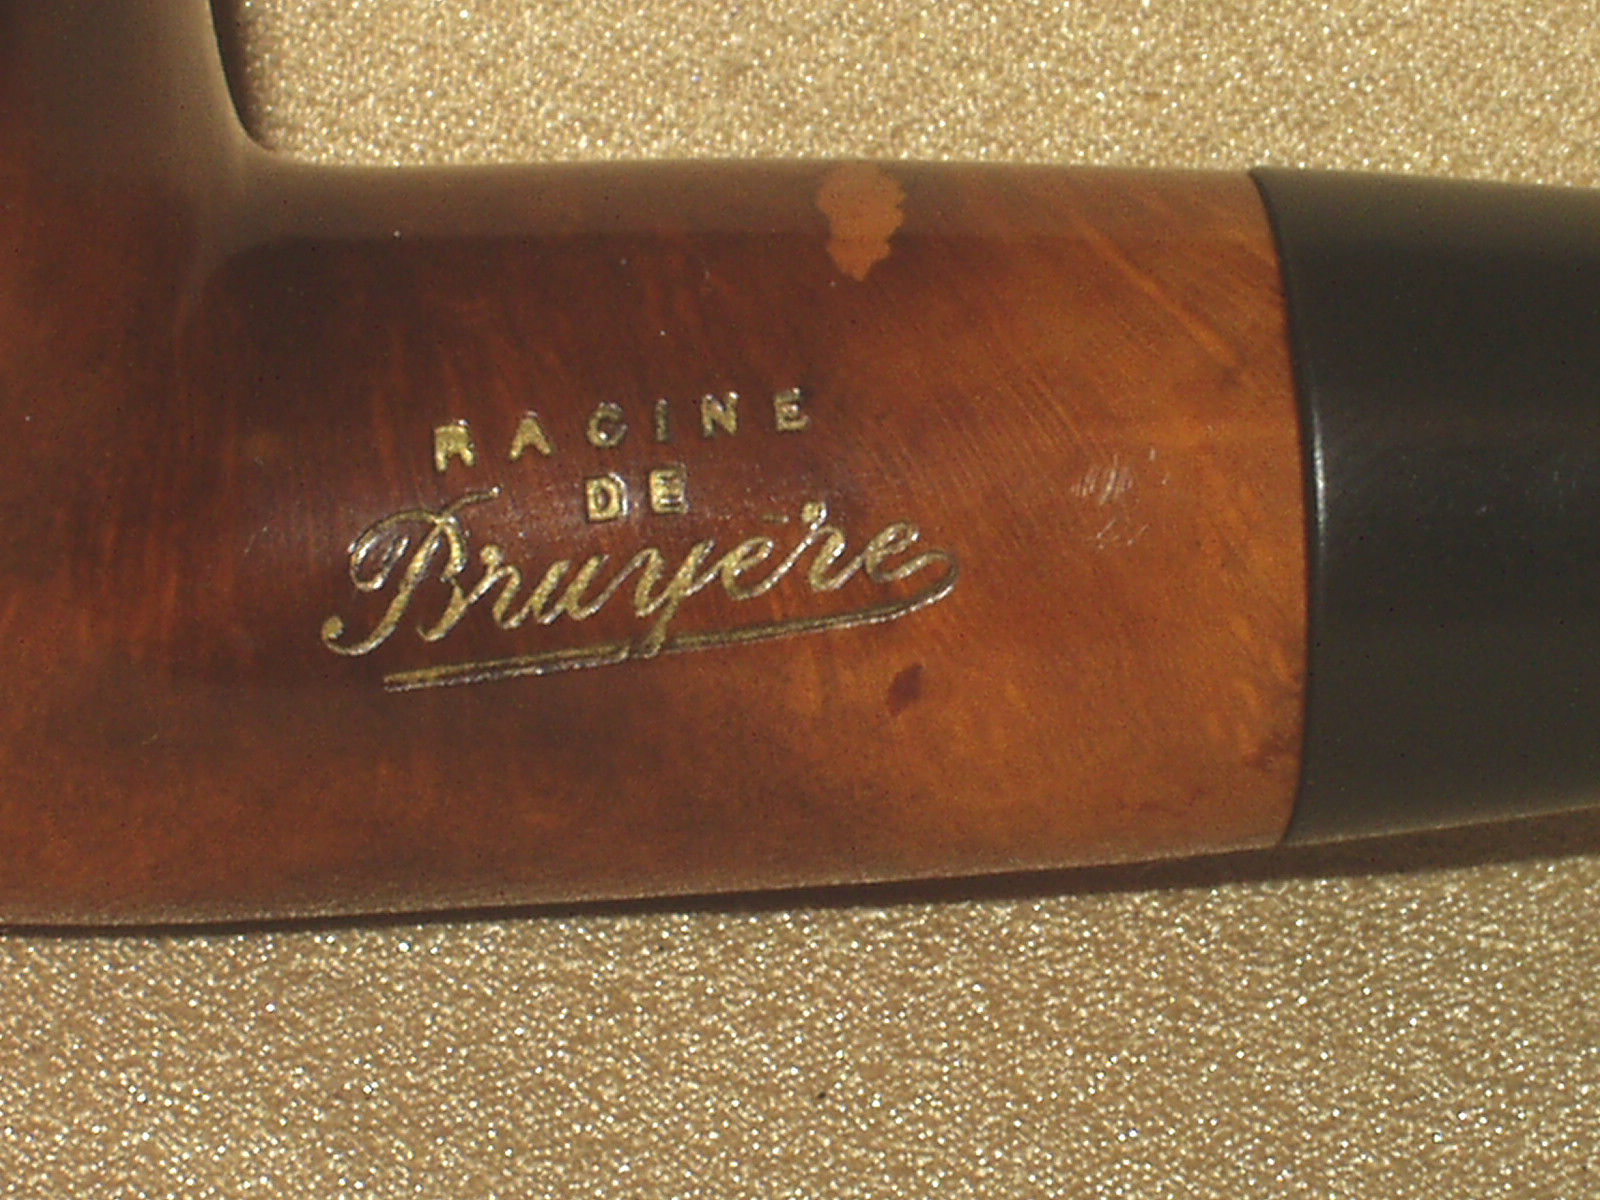
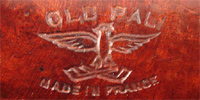
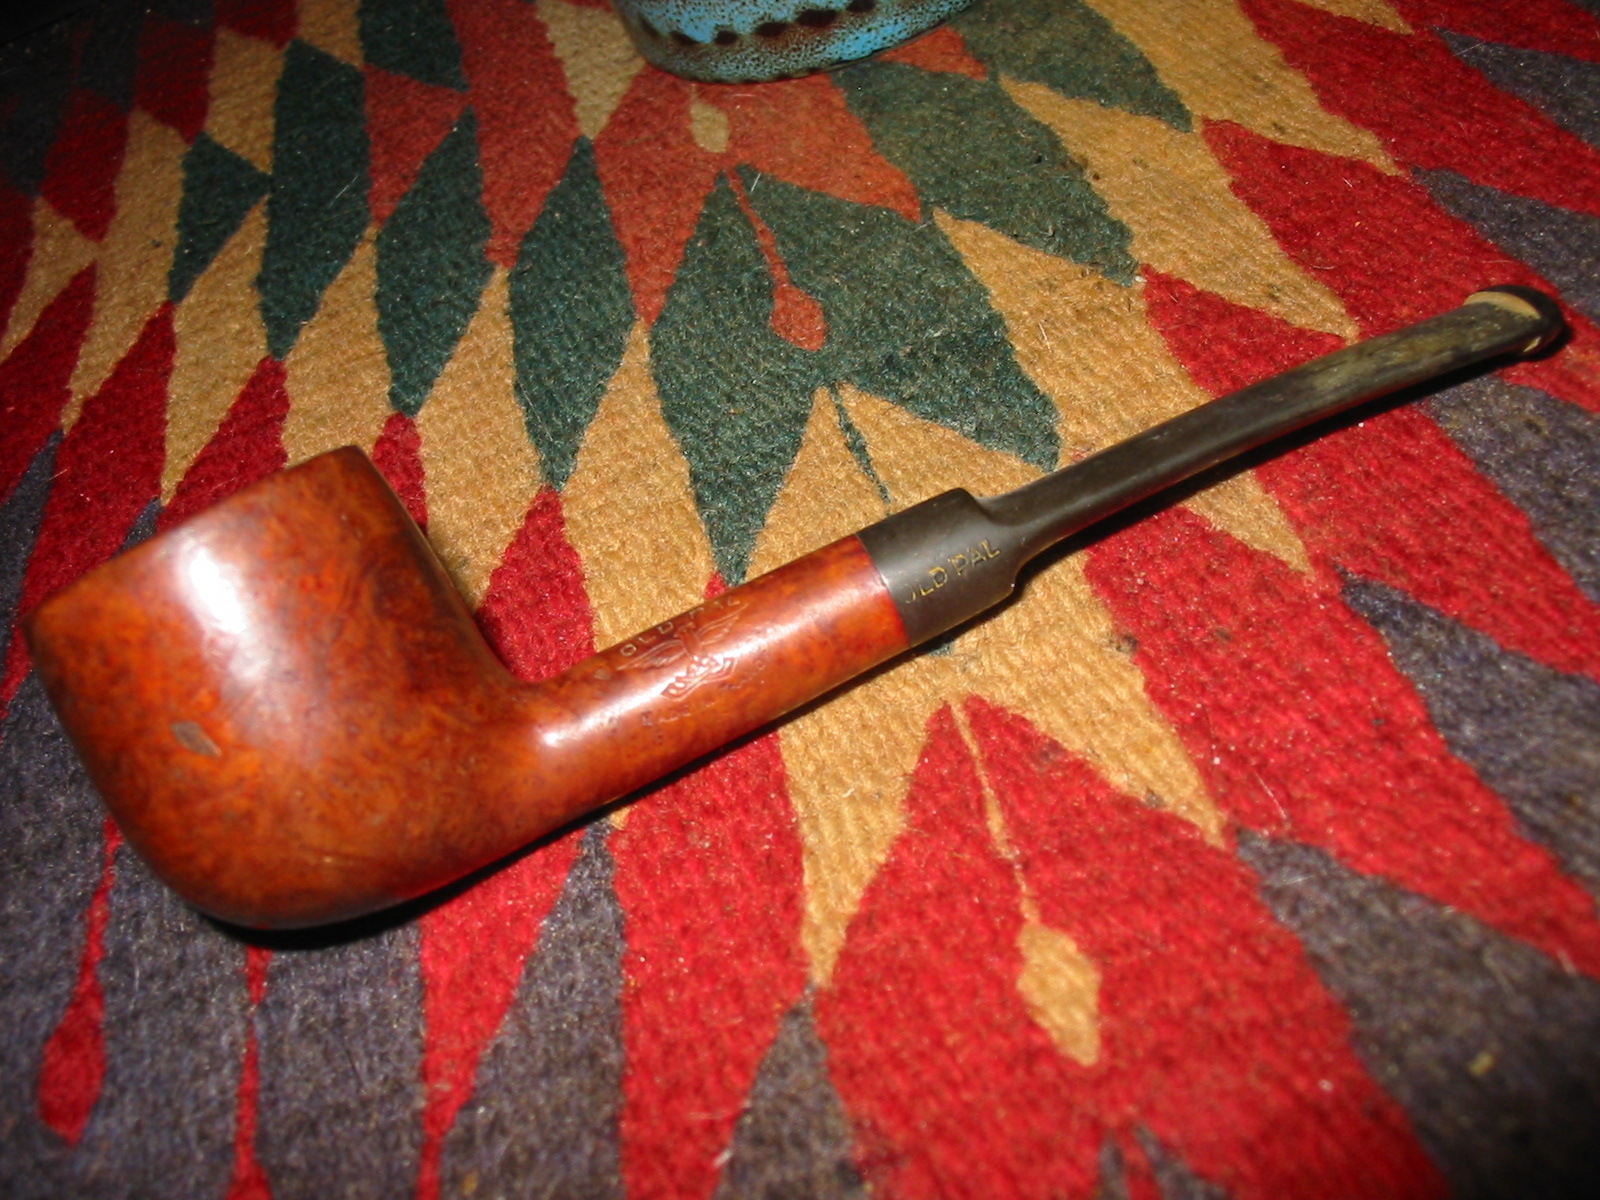
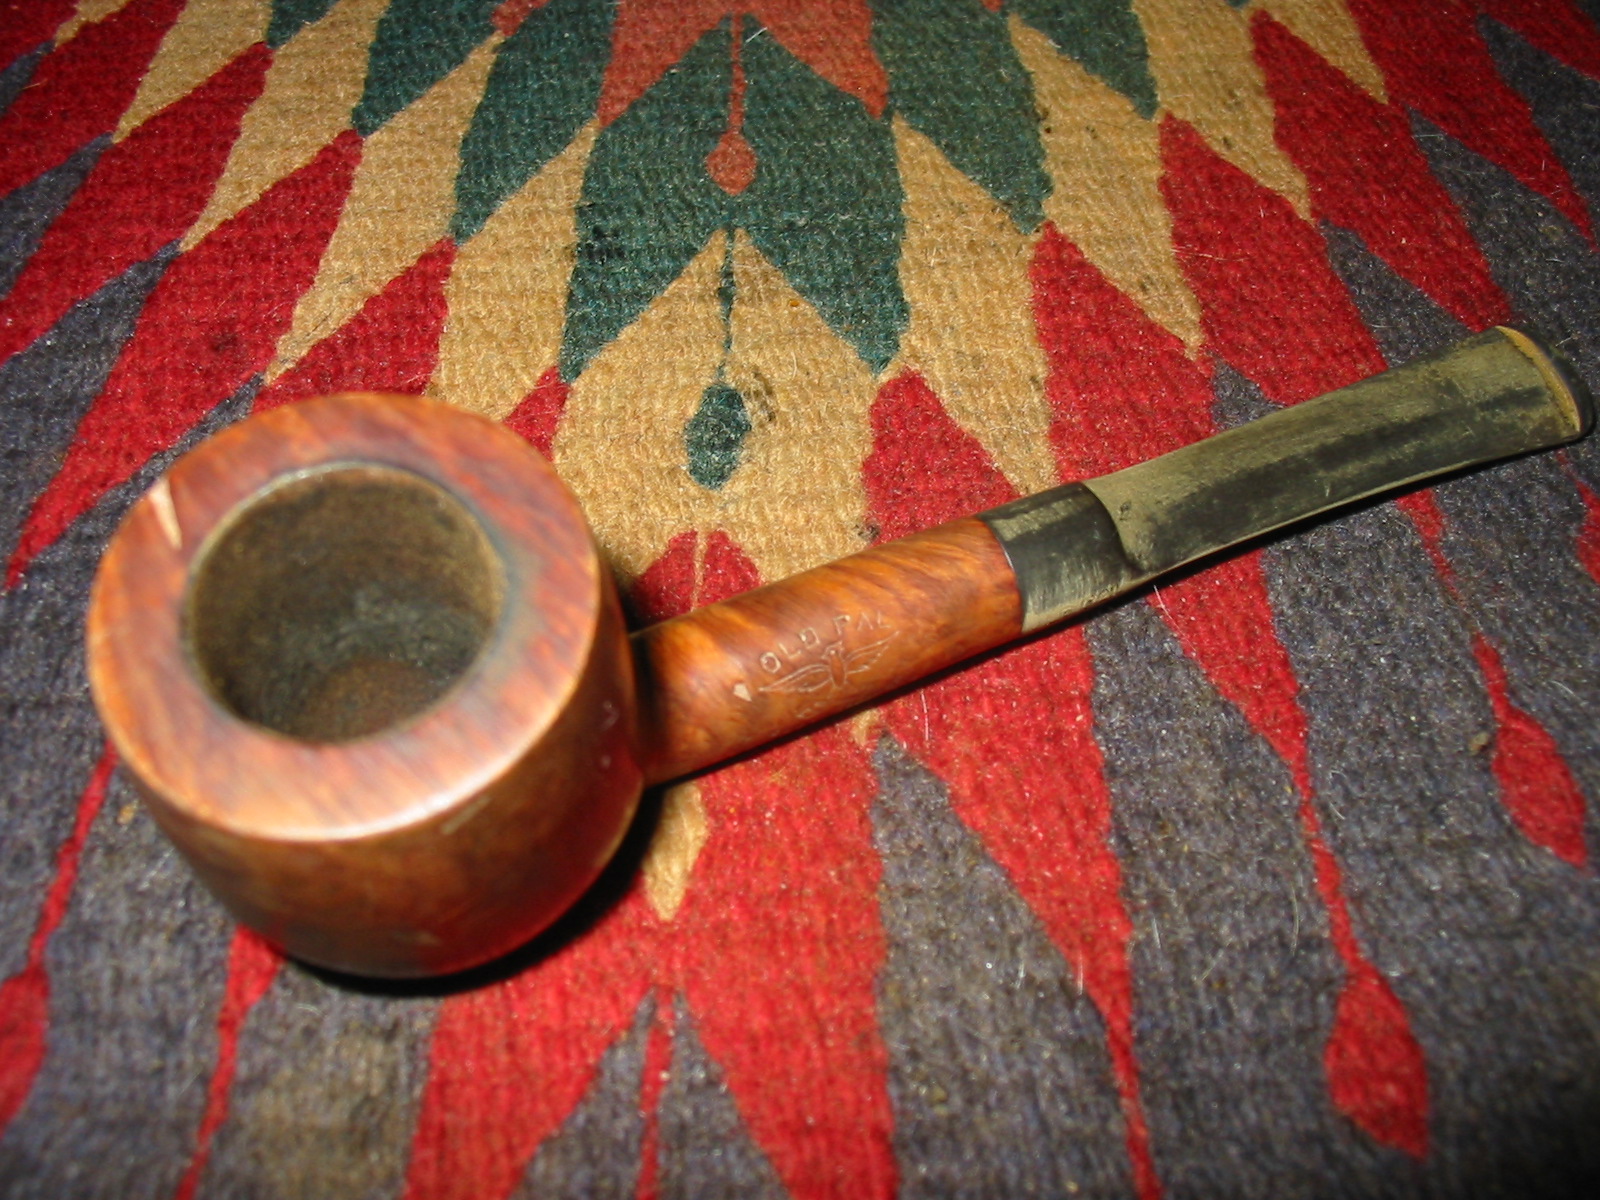
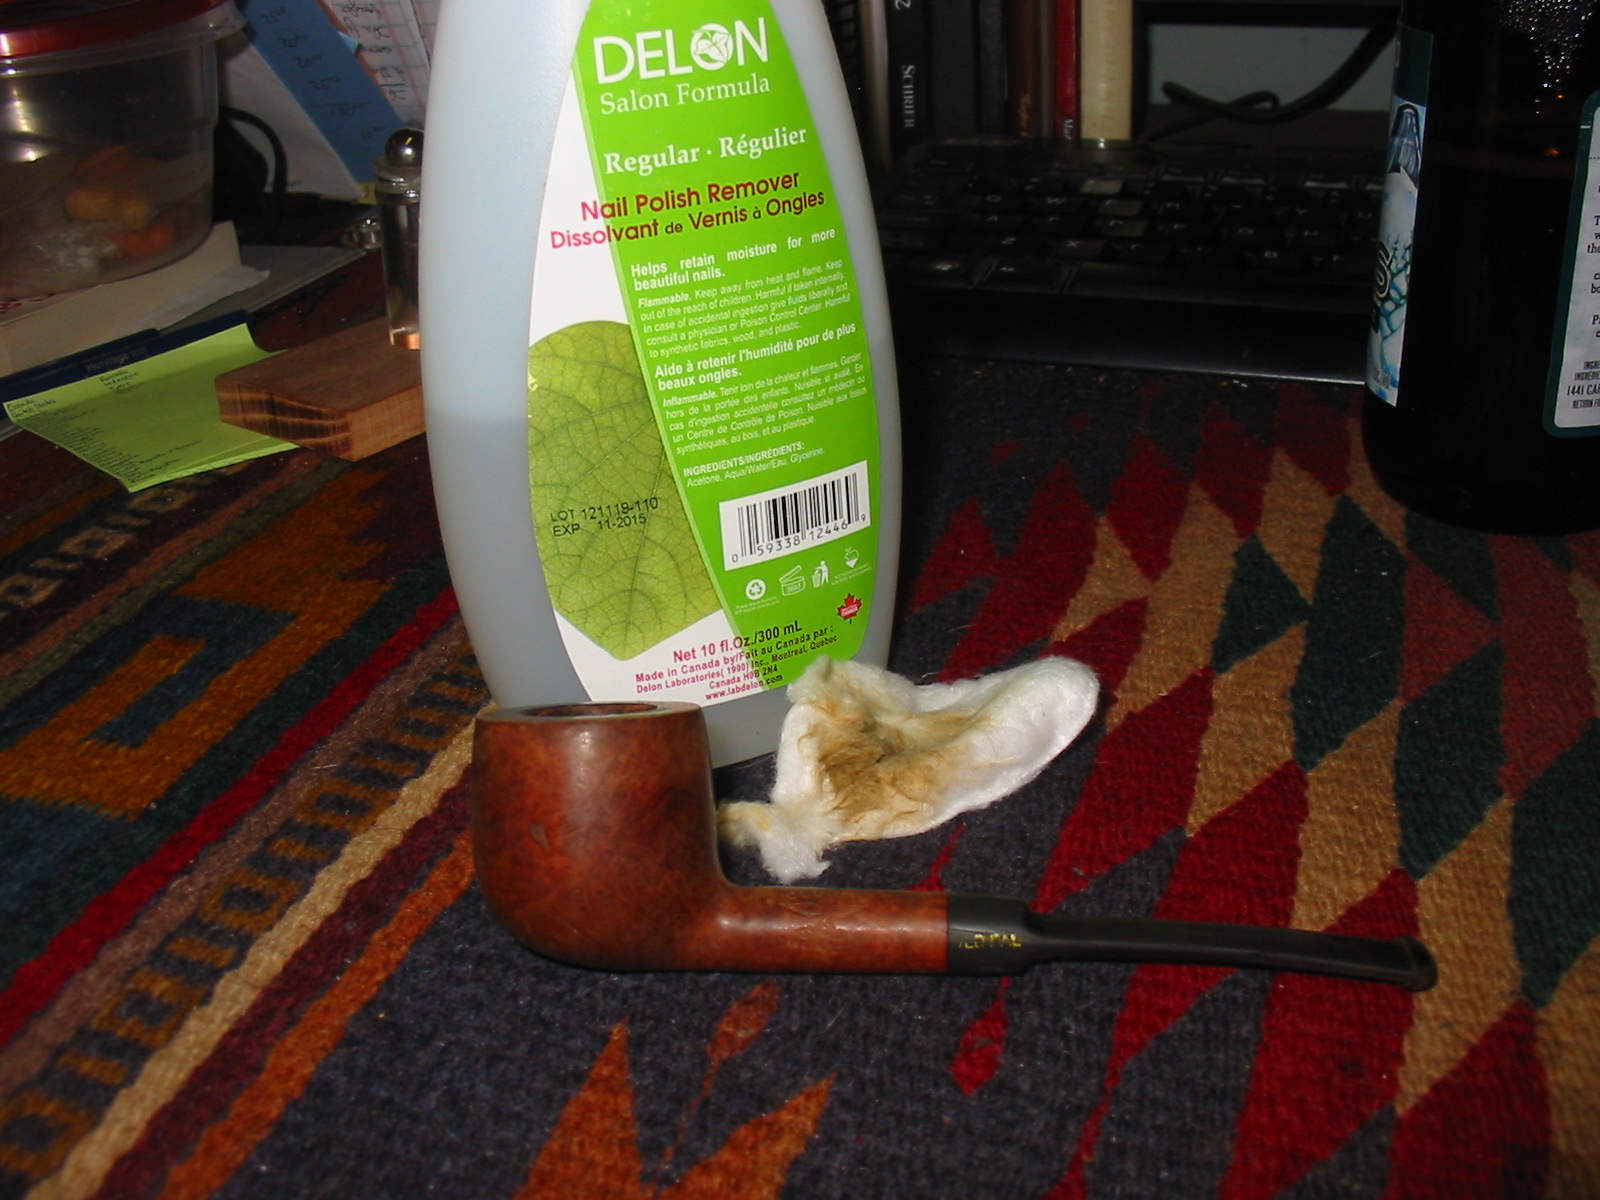
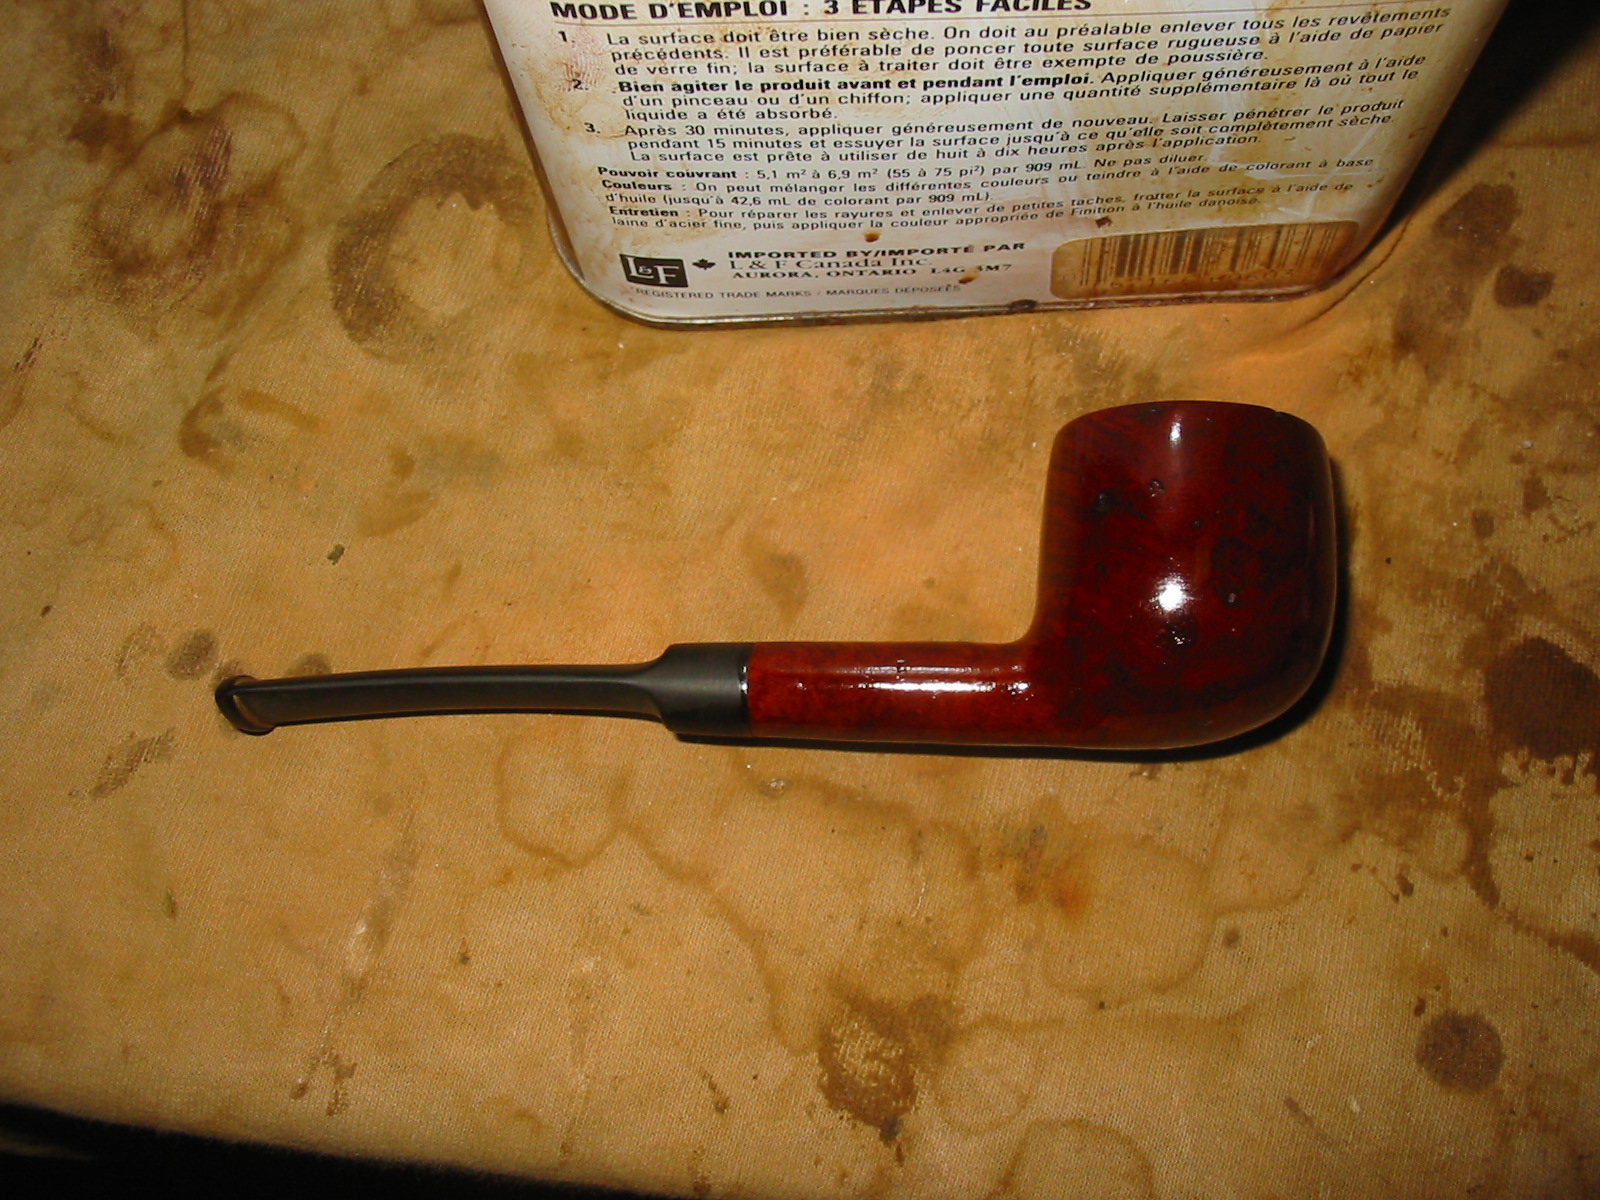
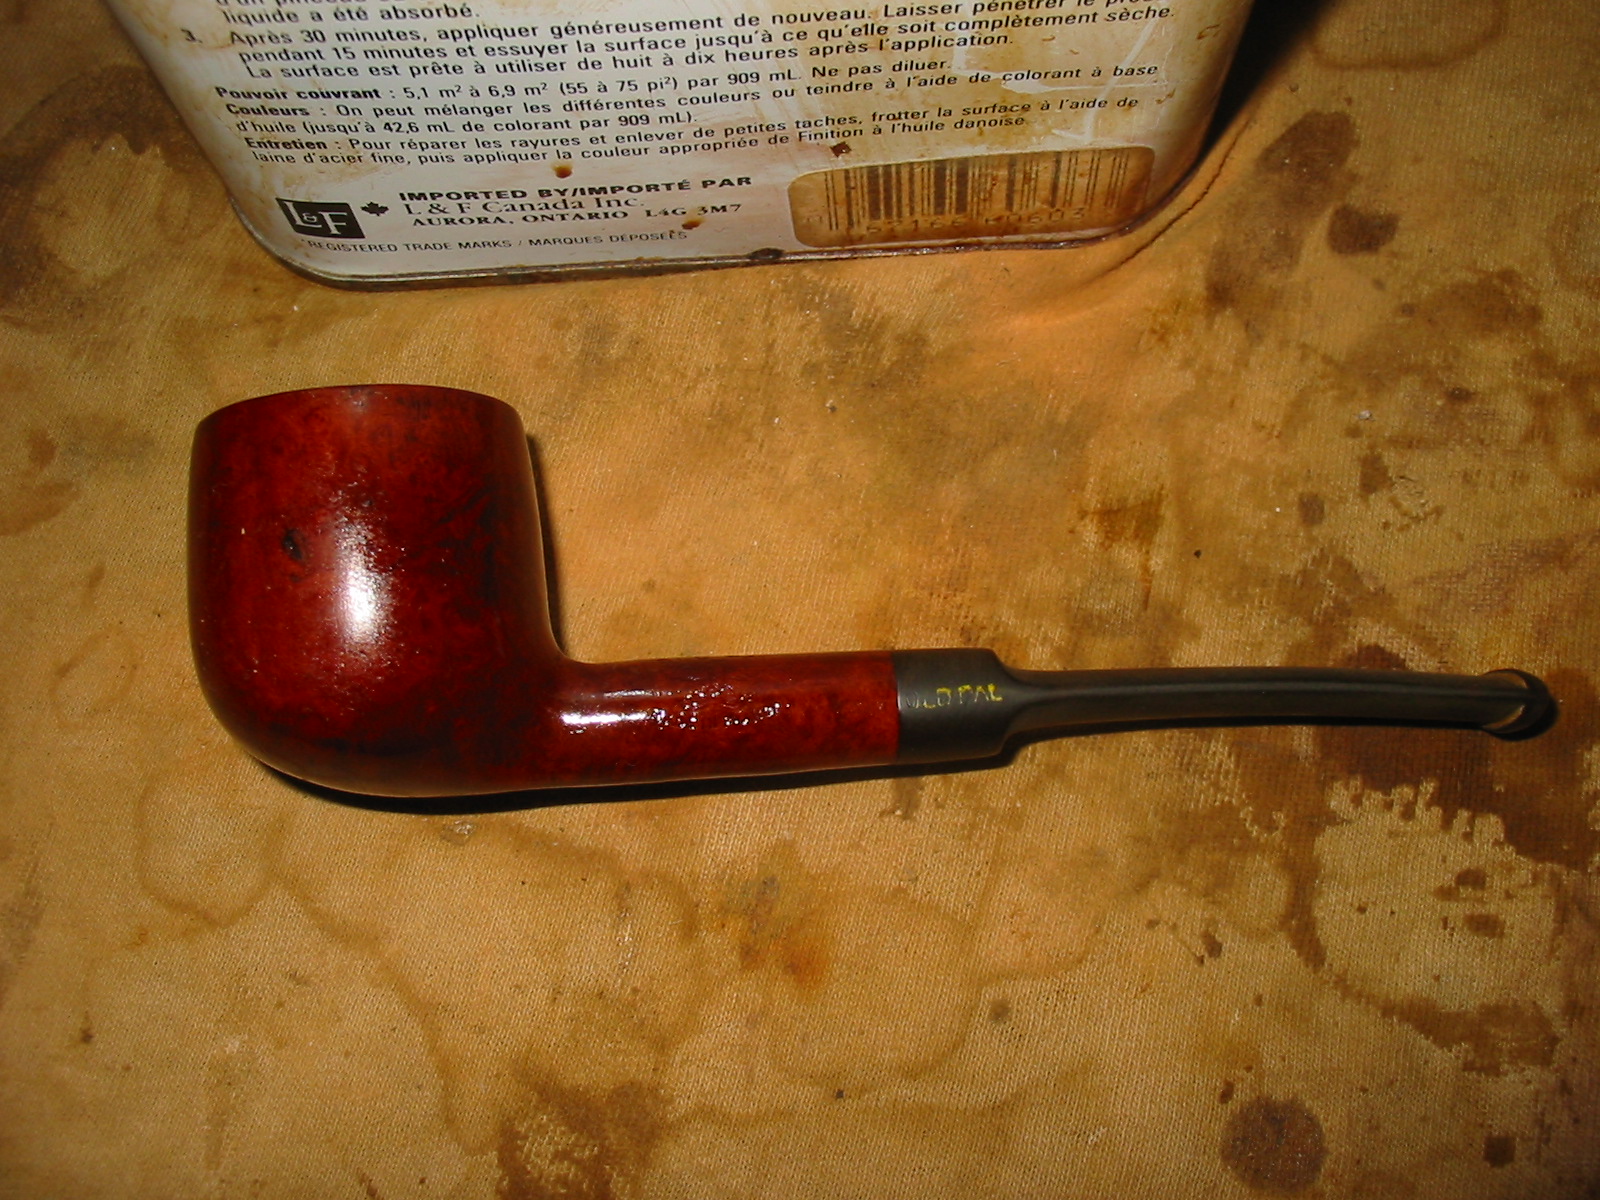
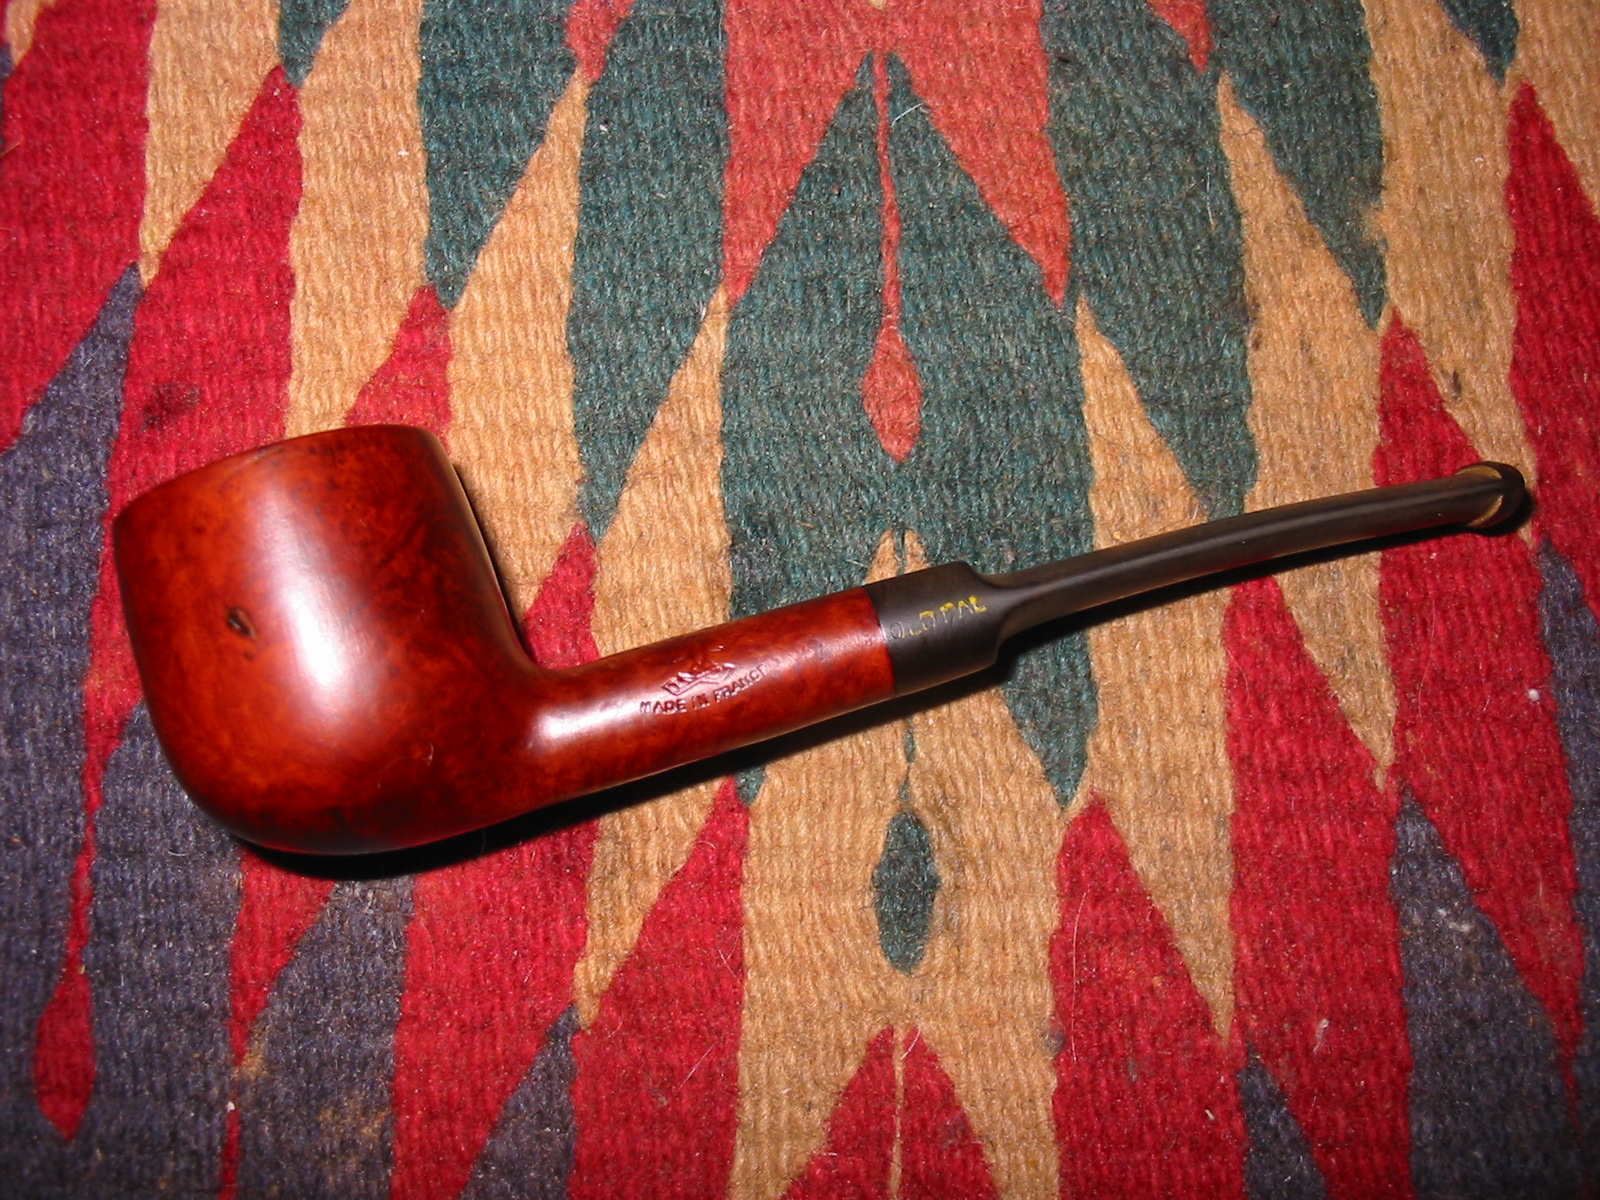
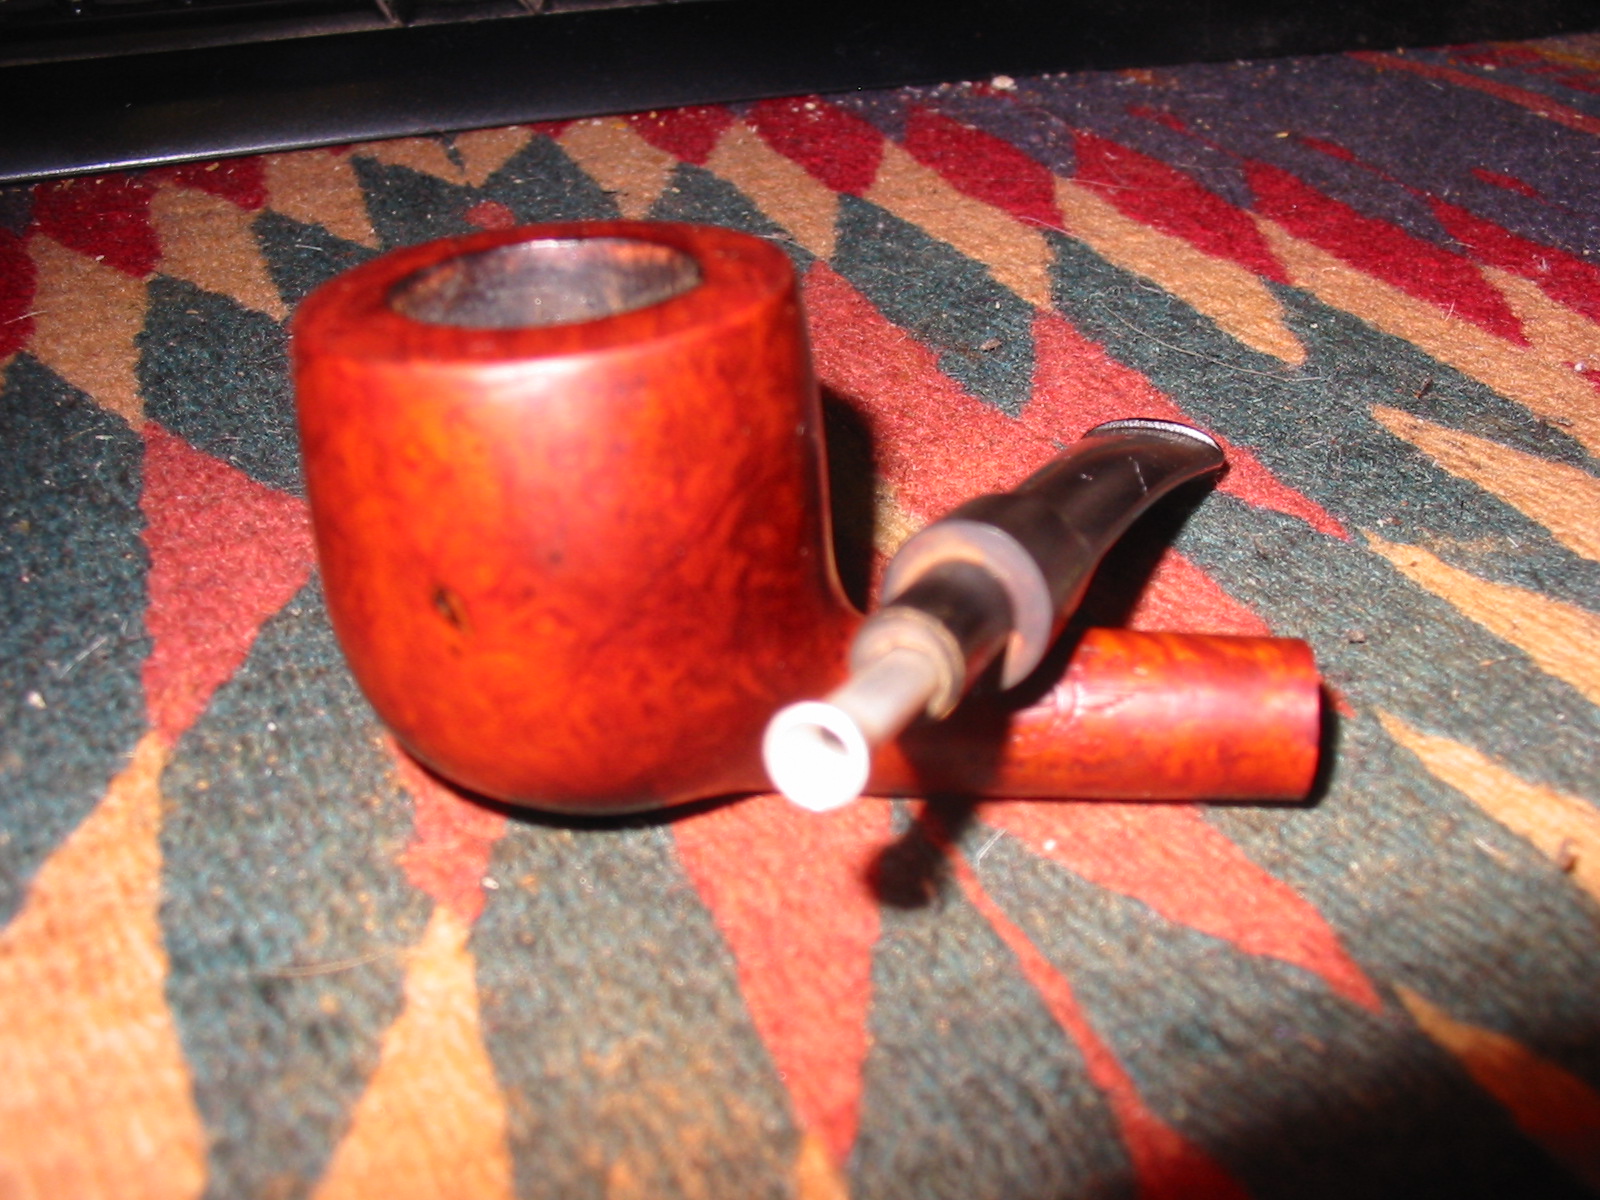
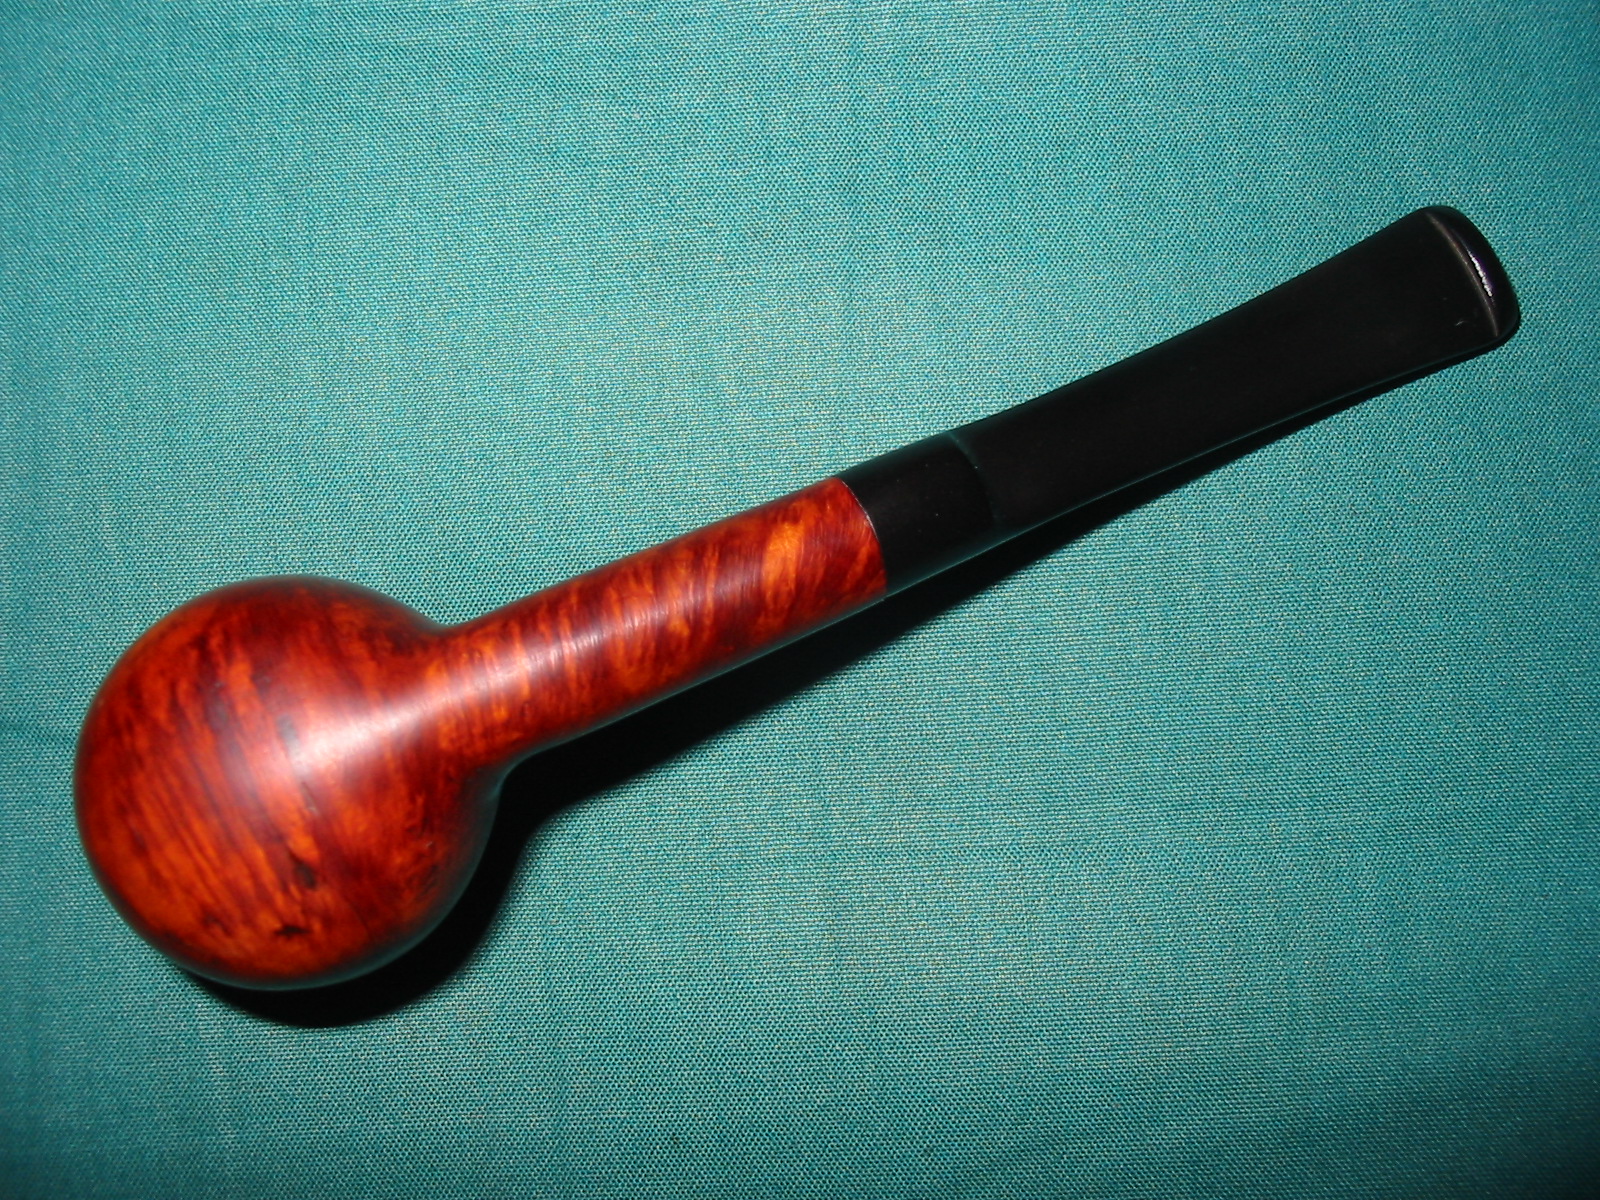
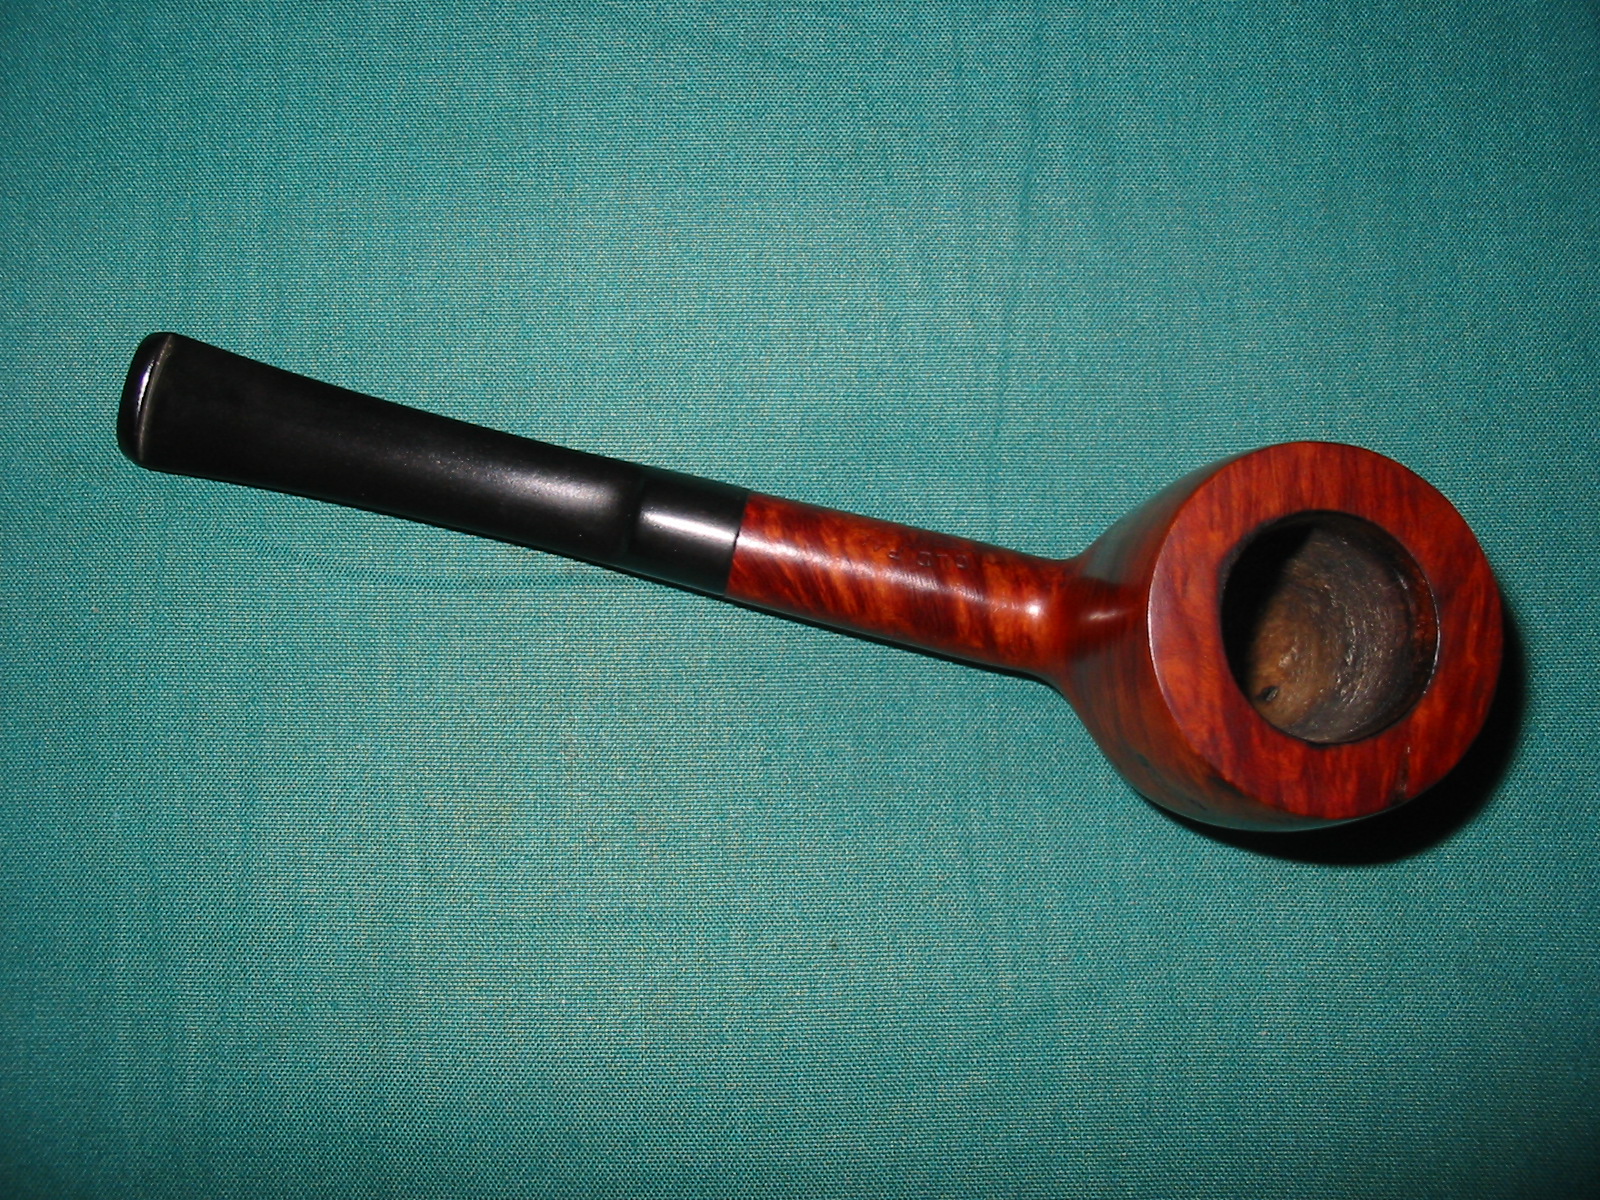
Since posting this I have found out some information about the stamping. Racine de Bruyere means Genuine Briar. It was stamped on pipes coming out of St. Claude. The stamping does not define the maker but the region. The pipe was probably made in late 20’s to early 30’s. I found the original eBay sale description that showed the pipe as it was when Mark received it. I have included those pictures below. Note the gold leaf/paint in the stamping.