Blog by Steve Laug
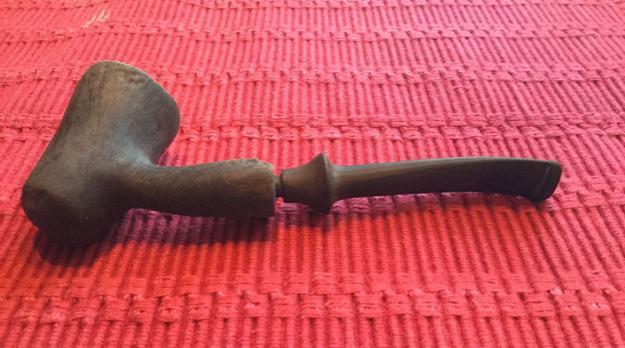
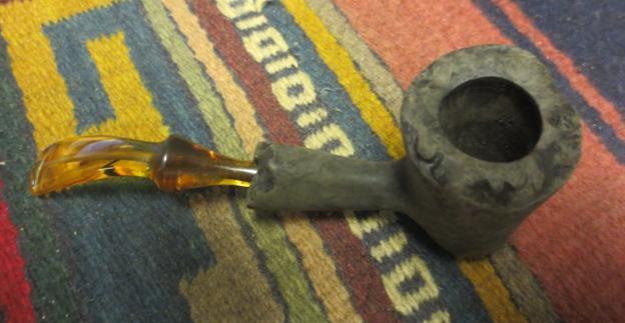
Earlier this week I received a call from a fellow who had been referred to me by a local pipe and cigar shop. He had a pipe that he had broken the stem on and wanted to know if I would replace the stem for him. He was visiting Vancouver and thought he could get a stem while he was here. I told him to drop it by my office and I would have a look and see what I could do with it. I was not clear at this point if the stem had broken at the tenon or somewhere else. I also wondered if the tenon was still in the shank. I wanted to see for myself before I committed to repairing it. He brought it by the office and he showed it to me and I was hooked. It was a beautiful Randy Wiley Pipe stamped Wiley over an R. Wiley signature. Under that it was stamped Handmade USA over 99. Andy C. posted a comment below that the number 99 is a grade number and that this is one of Randy’s higher grade pipes. Thanks Andy for the information.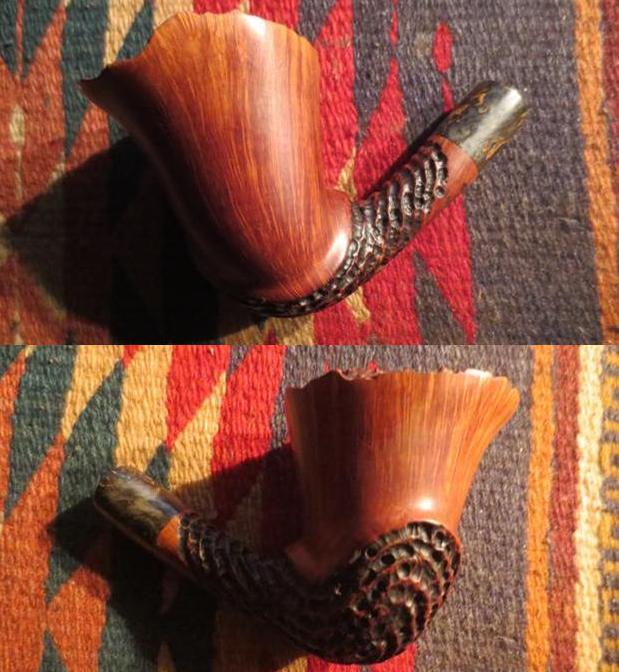
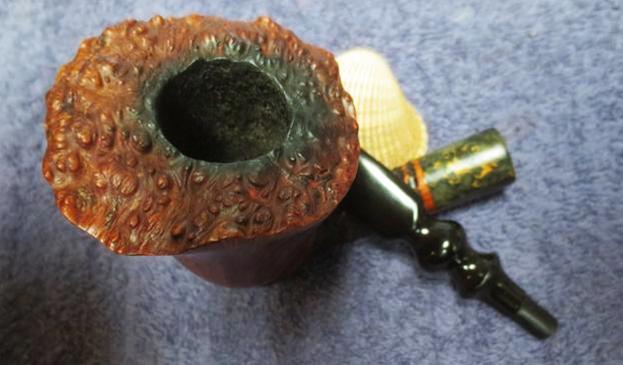
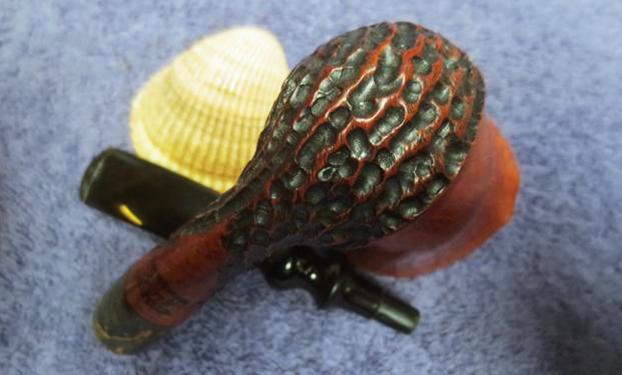
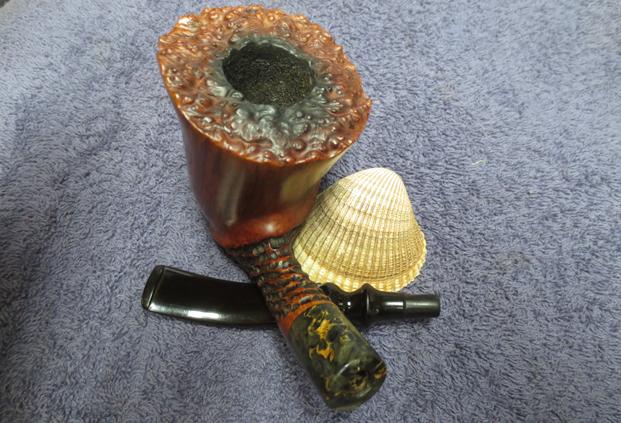
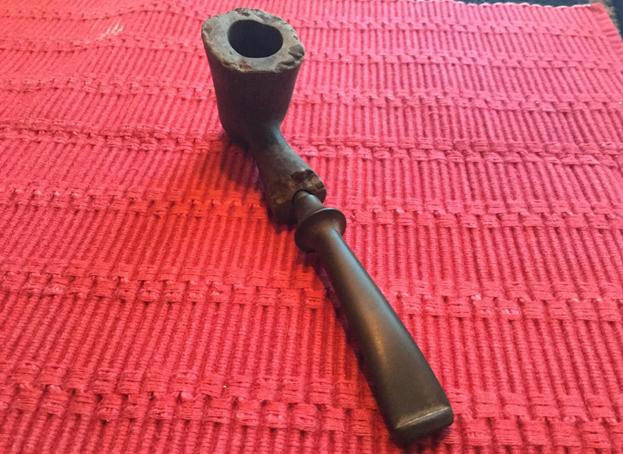
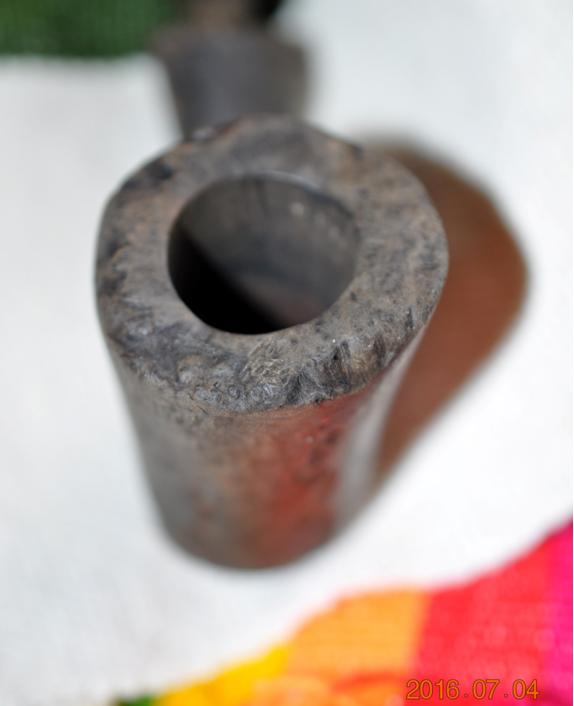
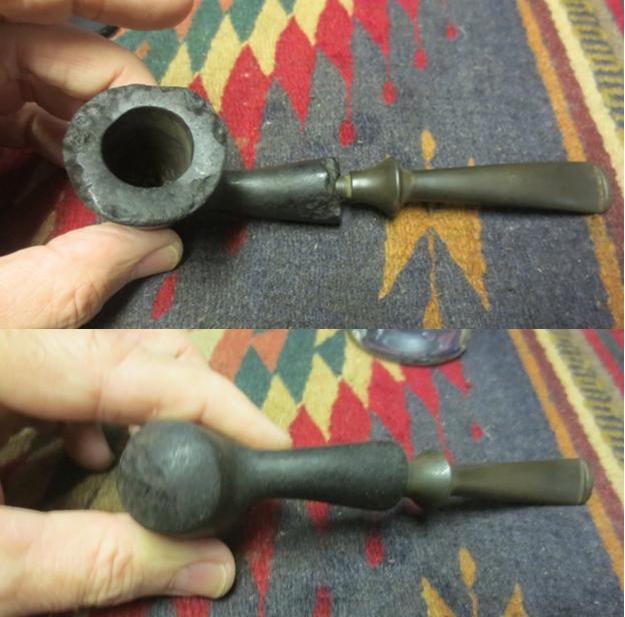
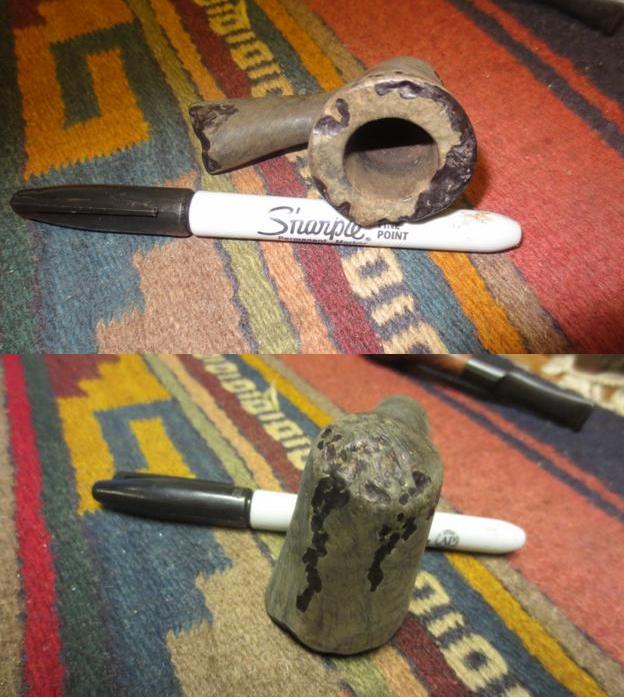
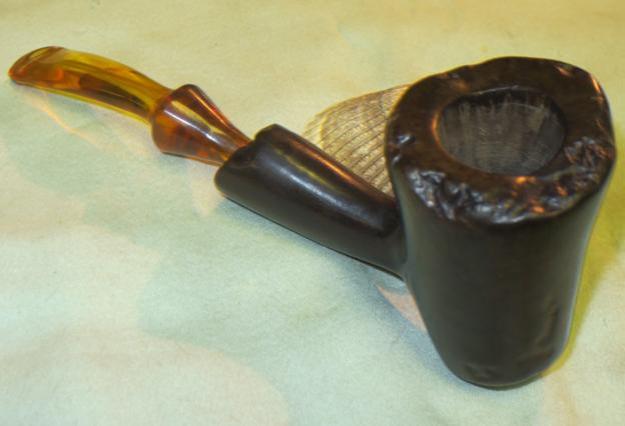
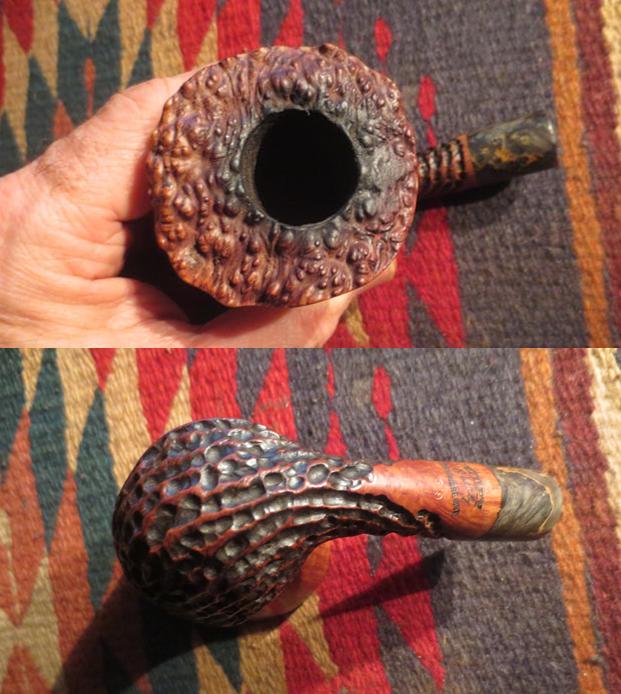 He told me that pipe was a gift from a partner and he really wanted it repaired. The briar was beautiful grained on the smooth part and faded into a swirled and dotted rustication pattern. The rim top was plateau briar and had been left natural. There was a shank extension that was marbled green, golds, yellows and blacks and really worked well with the patterns on the briar. I looked down the shank of the pipe and could see a lot of debris that was built up in the mortise and airway. It appeared to be tars and pieces of debris from the broken stem. The bowl still had some remnants of tobacco inside. It had a rich tobacco smell that was intriguing. I asked him what tobacco he smoked and he said that he primarily smoked a dark natural tobacco from the Amazon called Mapacho.
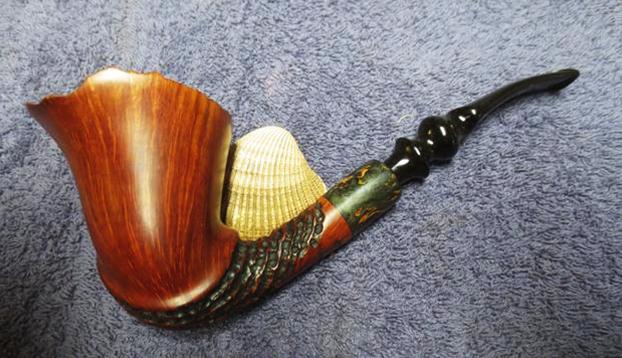
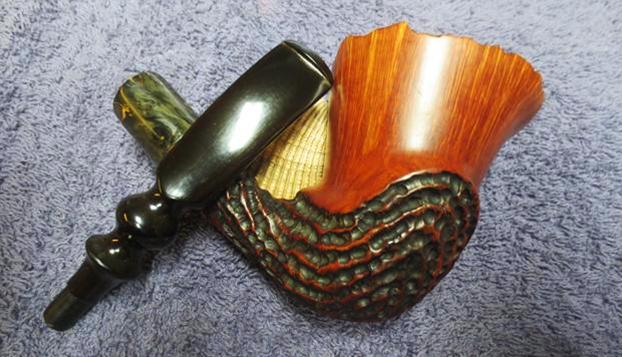
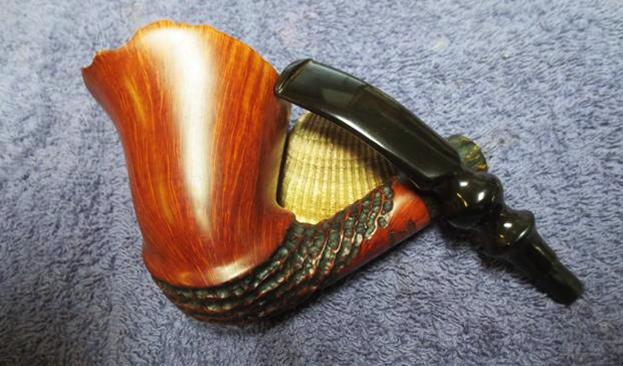
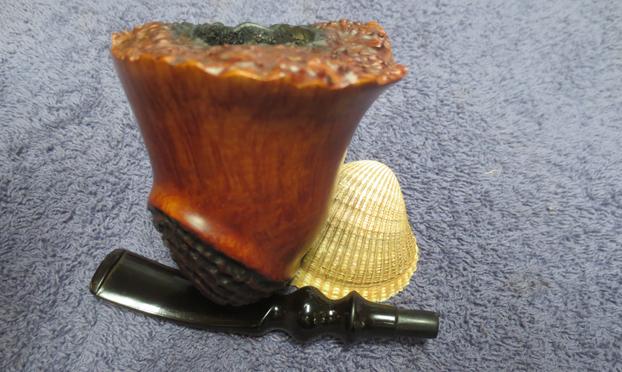
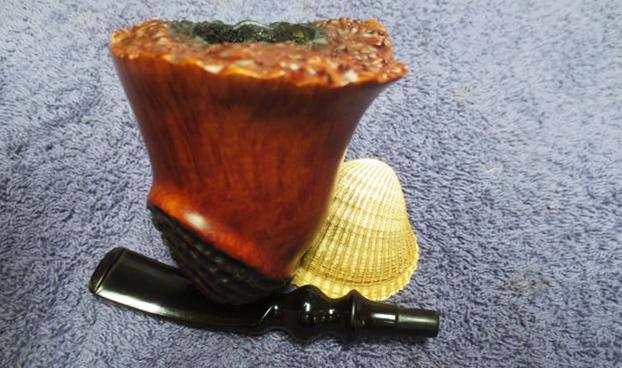
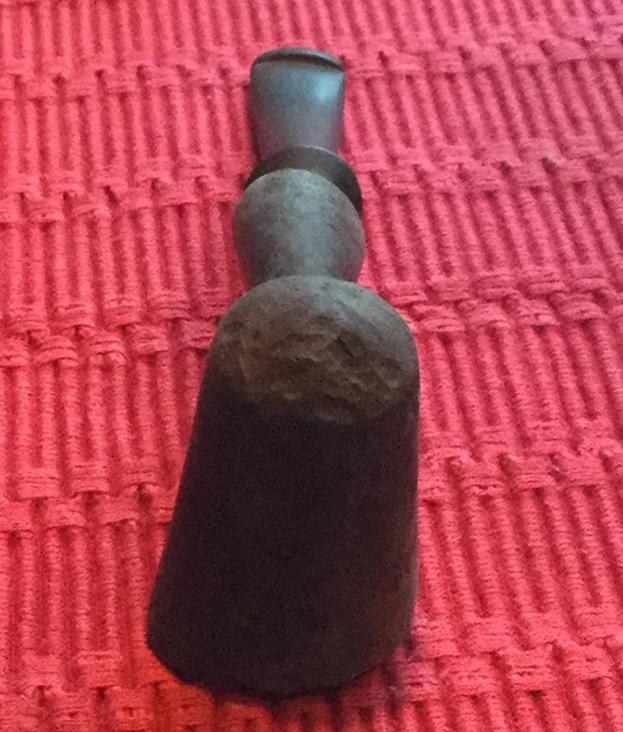
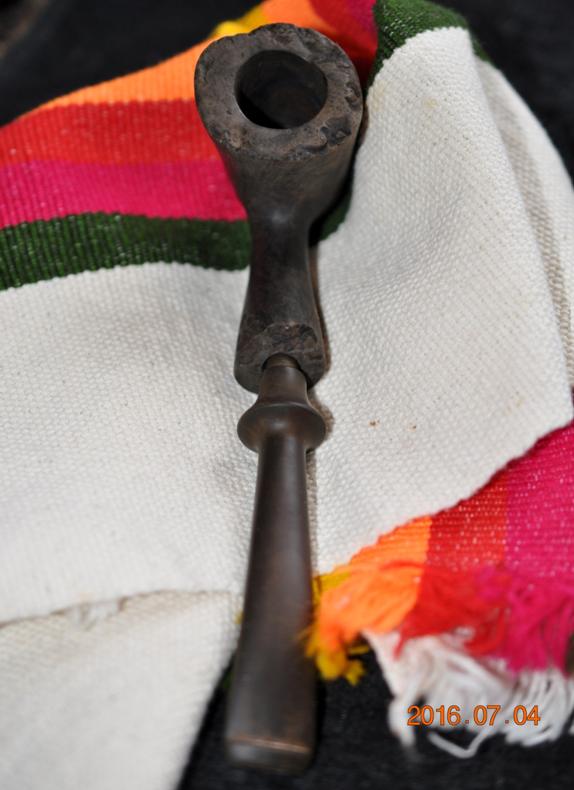
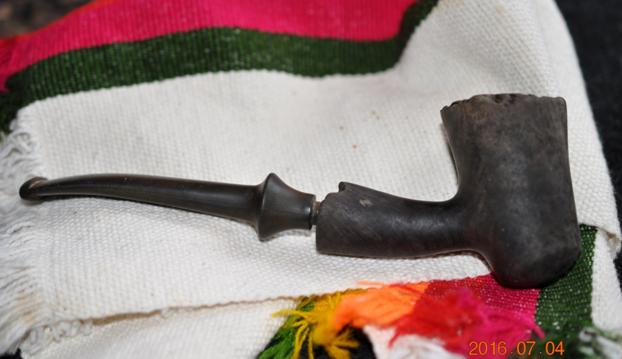
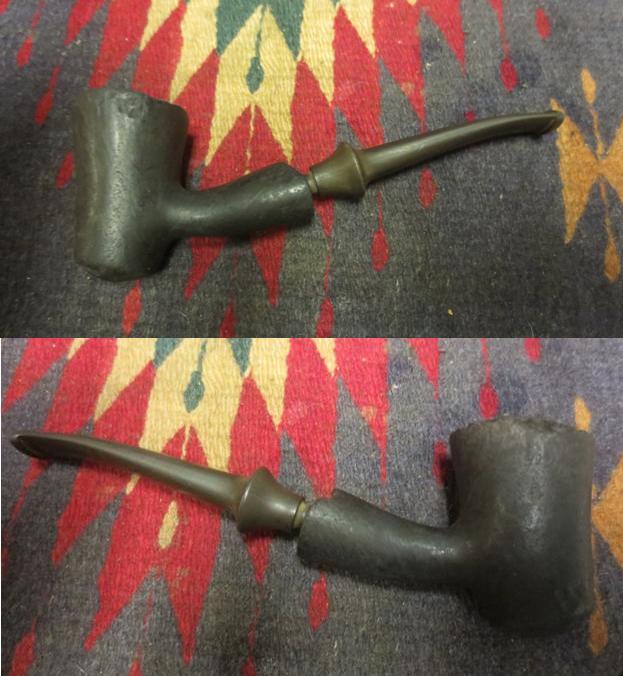
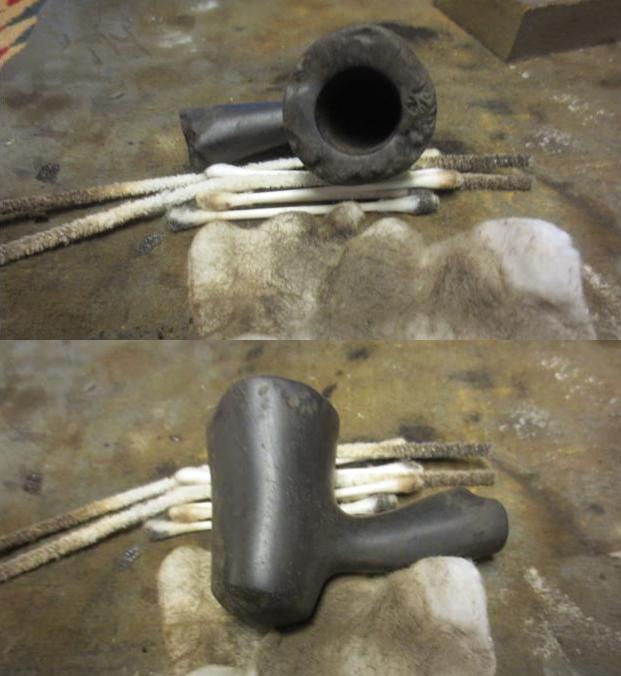
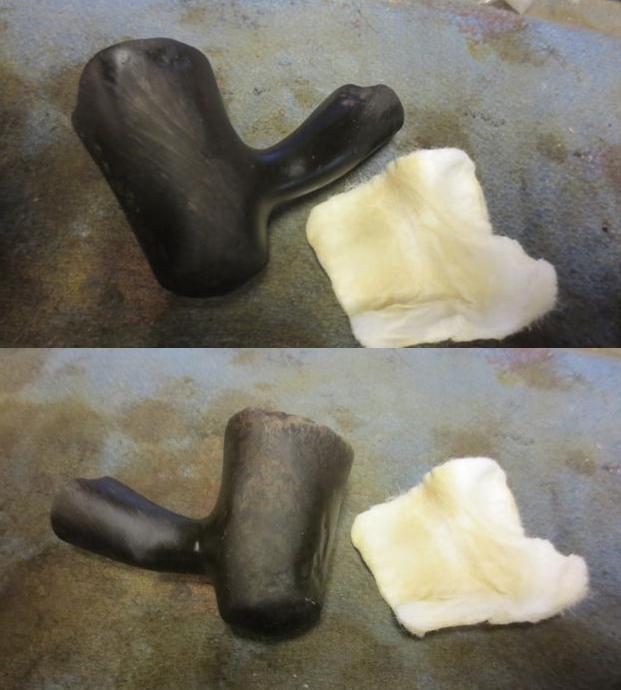
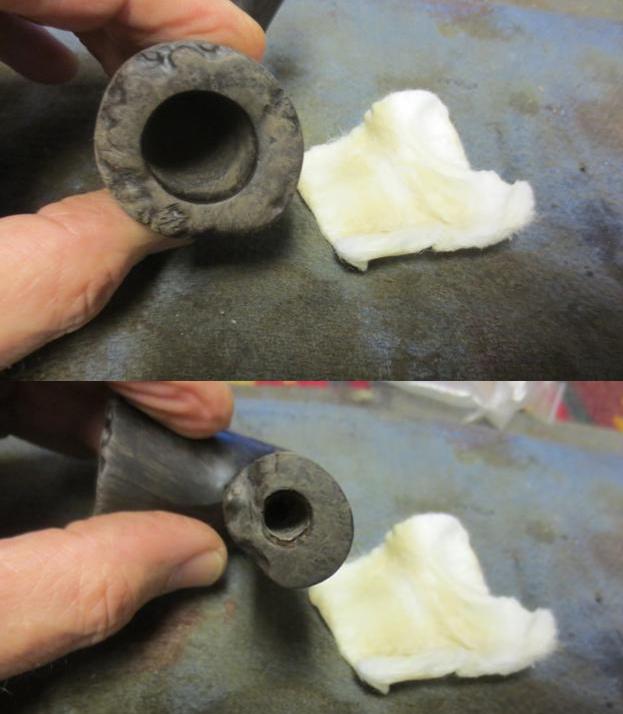
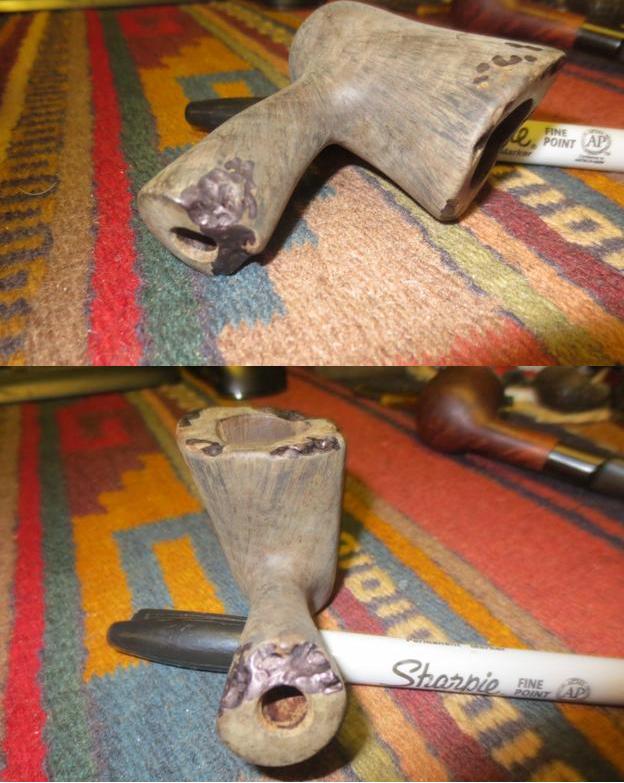
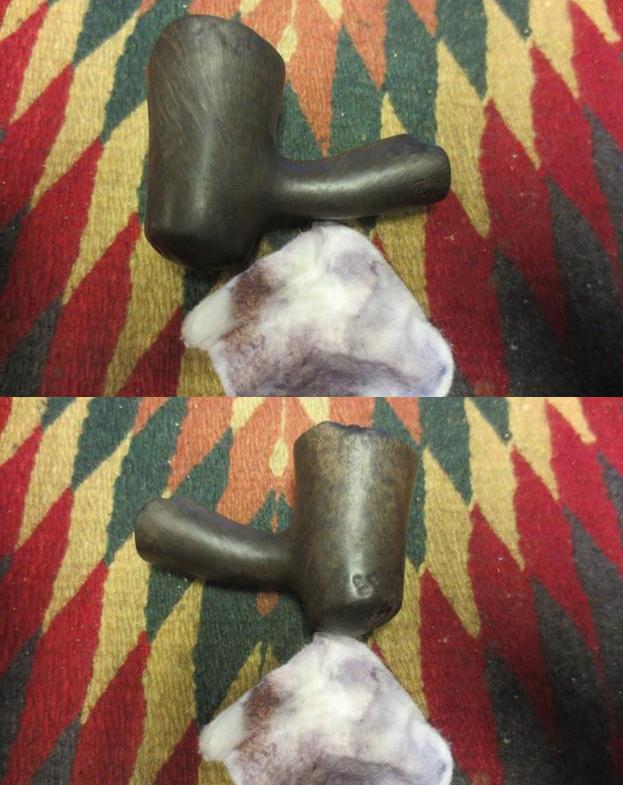
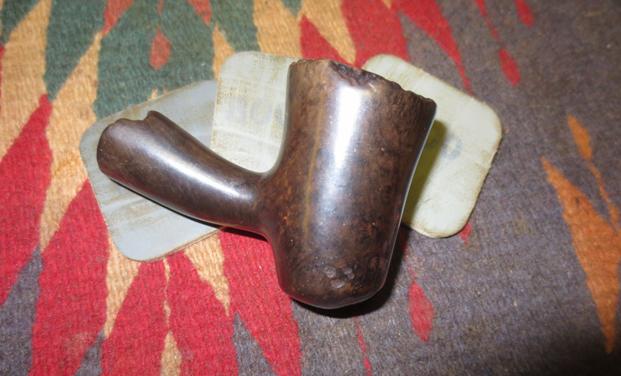
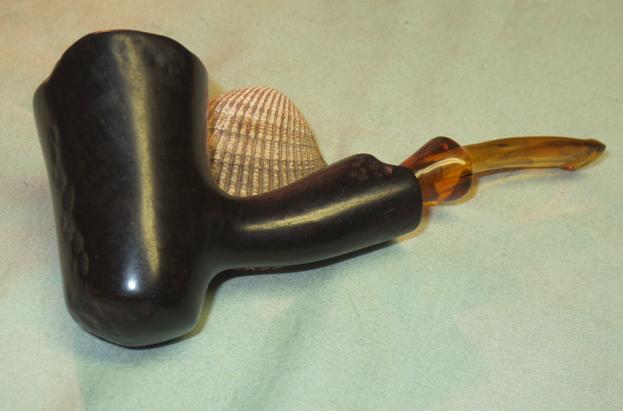
I knew nothing of Mapacho so I looked it up on the internet. I found that Mapacho was Nicotiana rustica and is a rainforest plant in the Solanaceae family. It is a very potent variety of tobacco. It contains up to nine times more nicotine than common species of Nicotiana such as Nicotiana tabacum (common tobacco). I have included a picture because it is an intriguing looking tobacco. I asked him if he wanted me to clean up the bowl, ream and polish the pipe while I made a stem. He did not think it was necessary as it did not have a thick cake and he had taken good care of it. So I brought it home to fit a new stem. I checked out the inside of the mortise and shank with pipe cleaners, cotton swabs and alcohol to make sure that I could get a snug fit with the new stem. I pushed a pipe cleaner through the airway and cleaned out the debris. I waxed the bowl with Conservator’s Wax and buffed it with a clean buffing pad to raise the shine. I took pictures of the polished pipe. It really is a beauty and the contrast of finishes with the marbled shank extension of the really work well together.
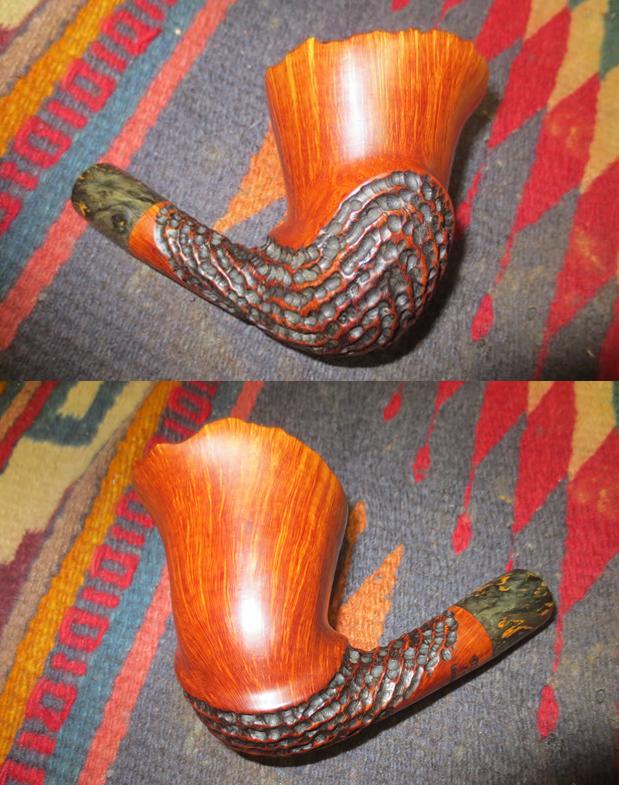
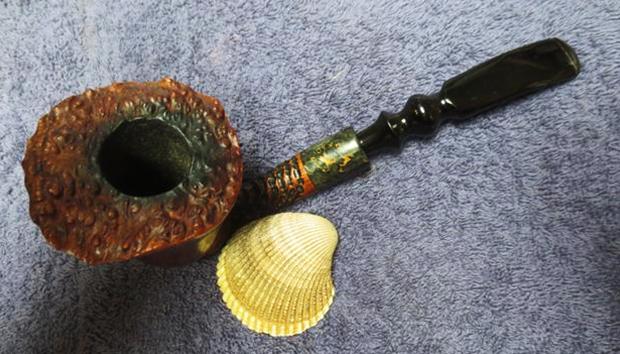
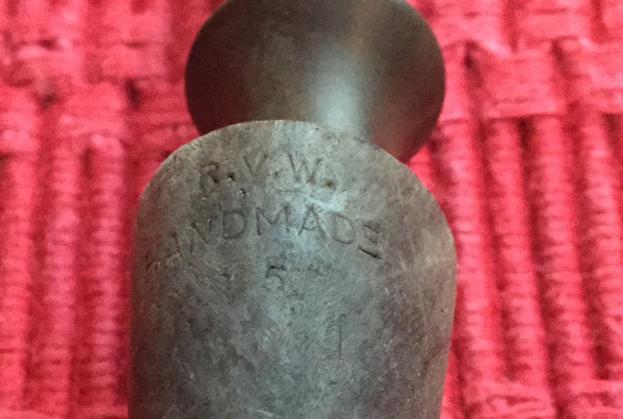
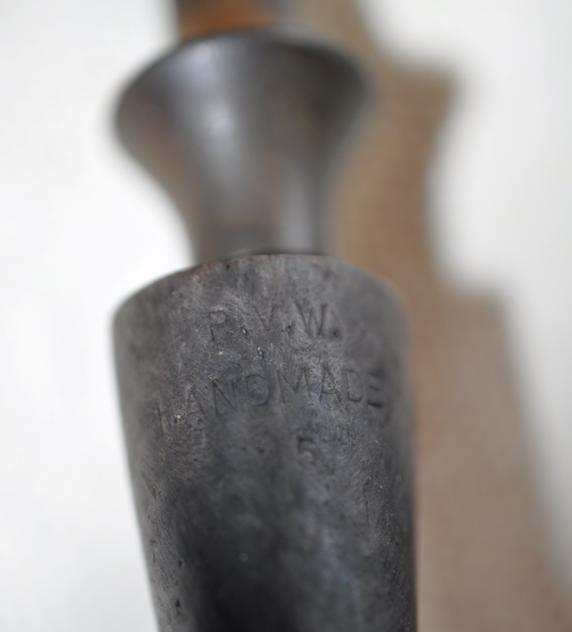
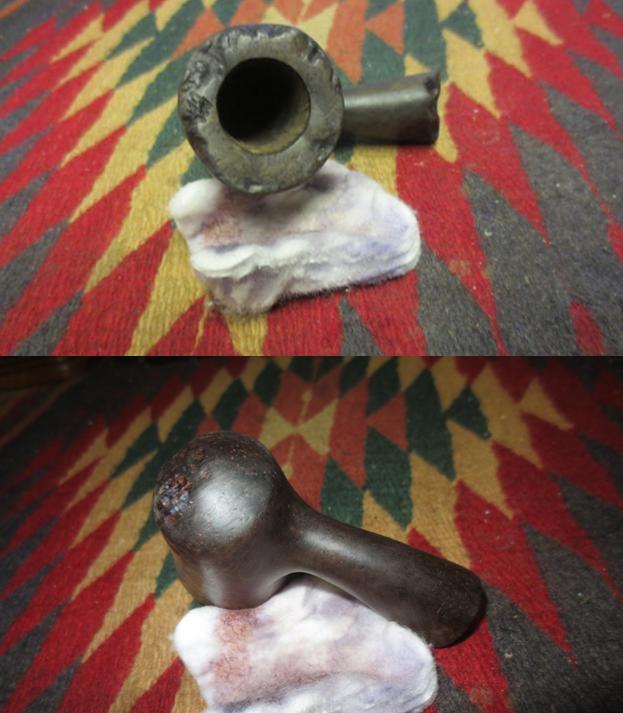
 The next photo shows the stamping on the underside of the shank. The stamping is very clear and readable.
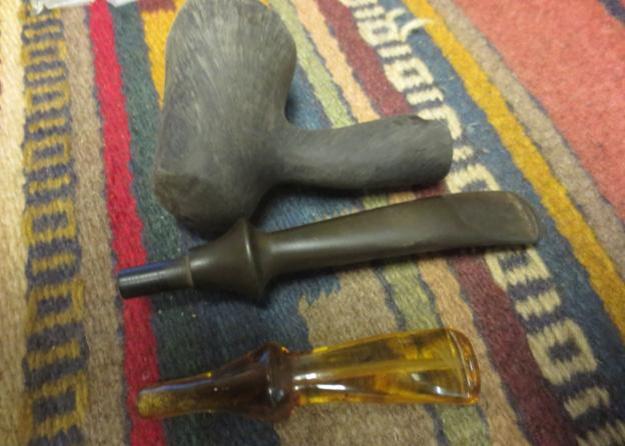
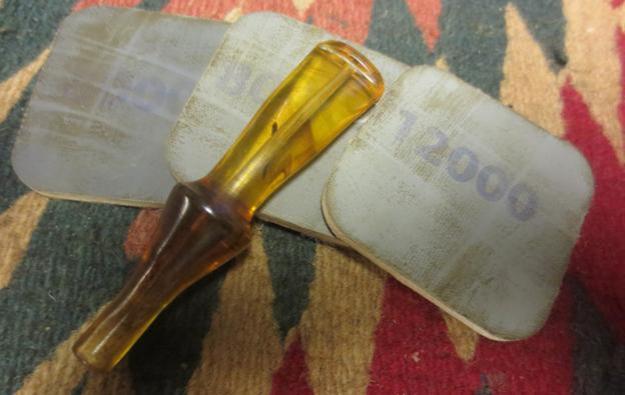
 With the bowl finished I used a preformed stem that I had in my stem can that I thought would work well with the style of this pipe. It was in excellent condition – unused and undamaged. It had slight oxidation that would be quite easy to deal with on the buffer. I turned the stem end on my PIMO tenon turning tool to reduce the end to fit in the shank. I cut it back to slightly larger than I needed and then sanded and filed it by hand until it fit in the mortise.
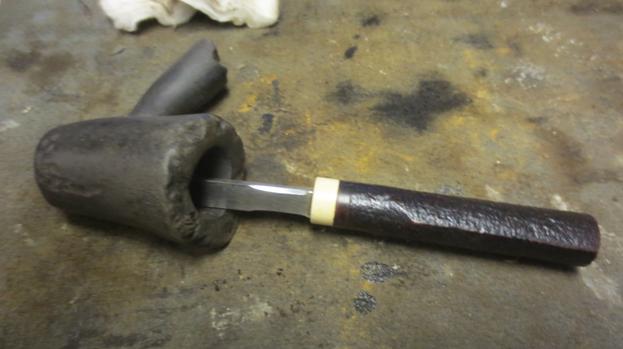
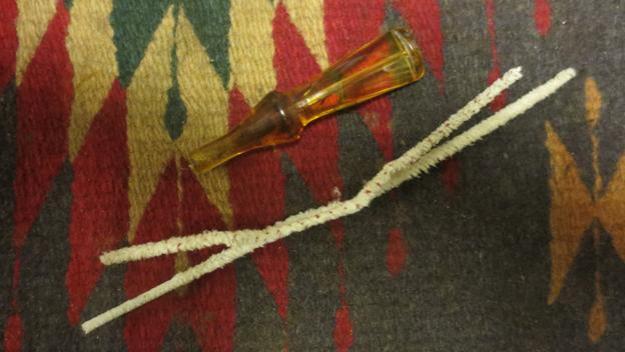
 I funneled the end of the tenon to facilitate the flow of air from the bowl to the end of the button. I used a sharp pen knife to shape the funnel and sanded the inside to remove all sharp edges.
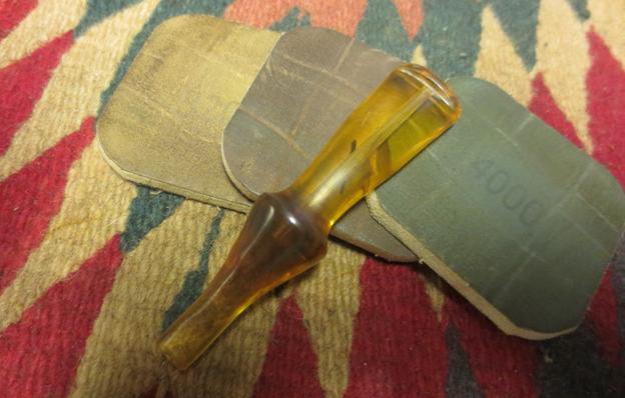
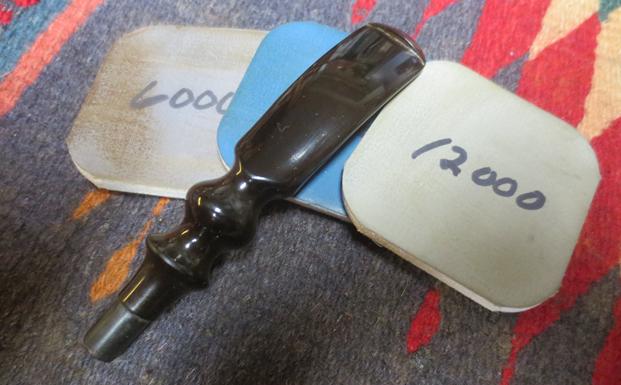
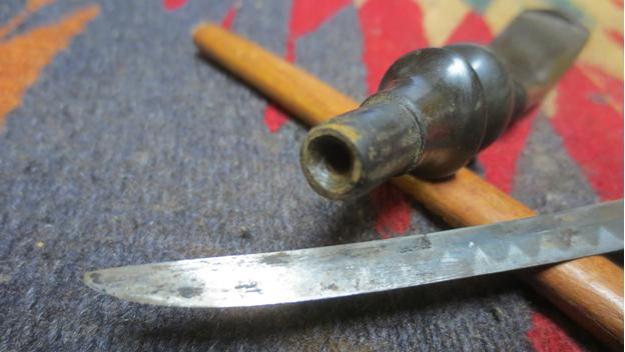 I sanded the stem surfaces with 220 grit sandpaper to remove the light oxidation and scratches on both sides of the stem. I sanded the end of the button and the sides of the stem to remove the casting marks on the stem. I worked on it until it was black and there was no remnant of oxidation or the casting marks left on it. I polished the stem with micromesh sanding pads – wet sanding it with 1500-2400 grit pads and buffed it with red Tripoli to remove the oxidation that showed up in the first photo below. I dry sanded it with 3200-12000 grit pads. I rubbed the stem down with Obsidian Oil after each pad to give traction to the next pad and also bring a little life to the vulcanite stem. After the final pad I gave it a last coat of the oil and set it aside to dry. I buffed the stem with Blue Diamond and gave it multiple coats of carnauba wax. I buffed it with a clean buffing pad to raise the shine. The next series of photos show the development of the shine on the rubber stem.
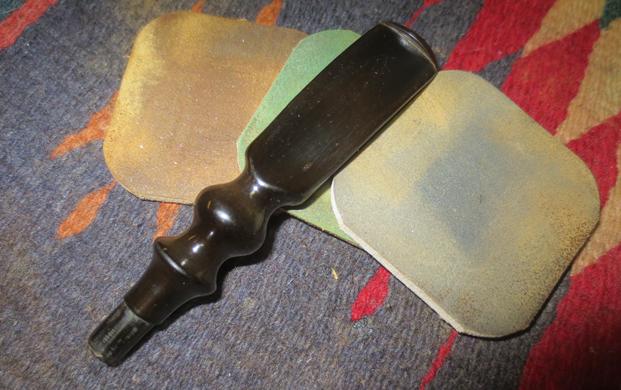

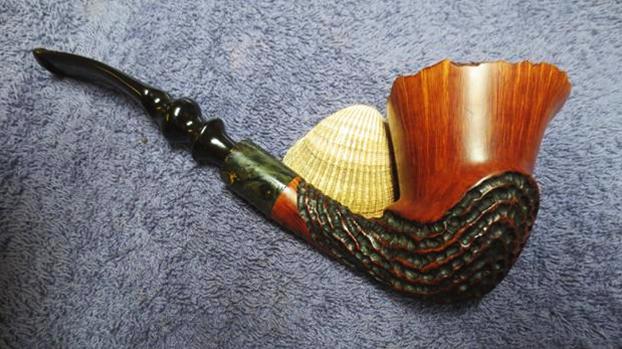
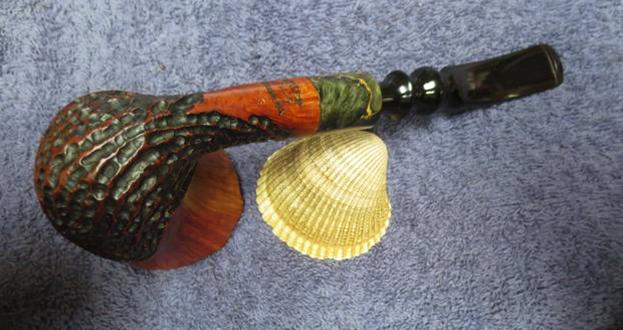
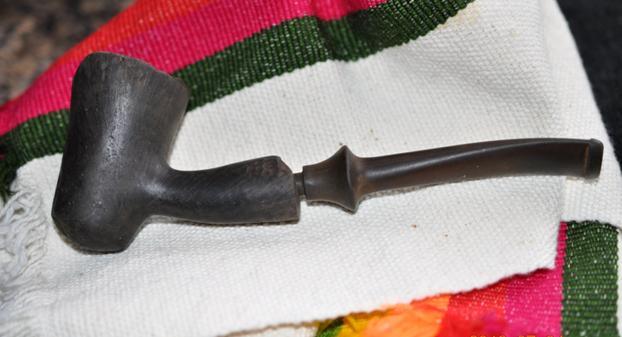
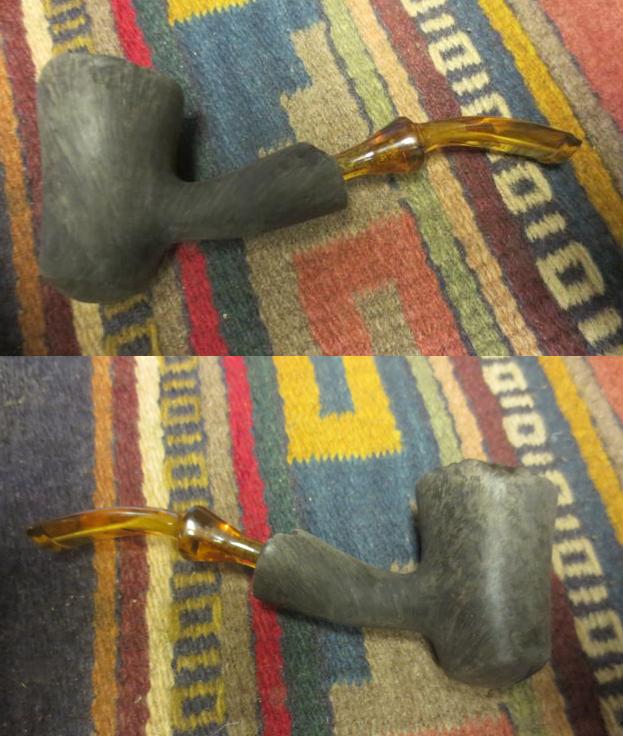
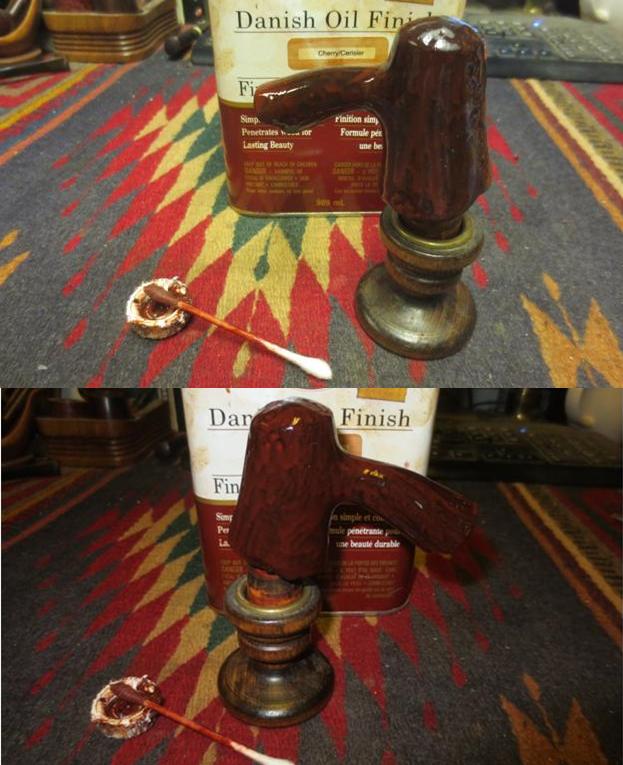
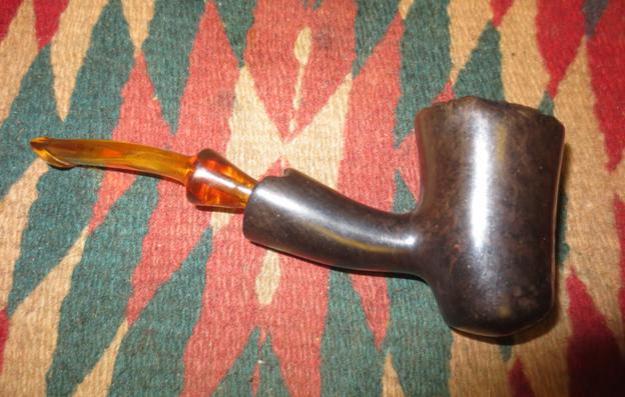
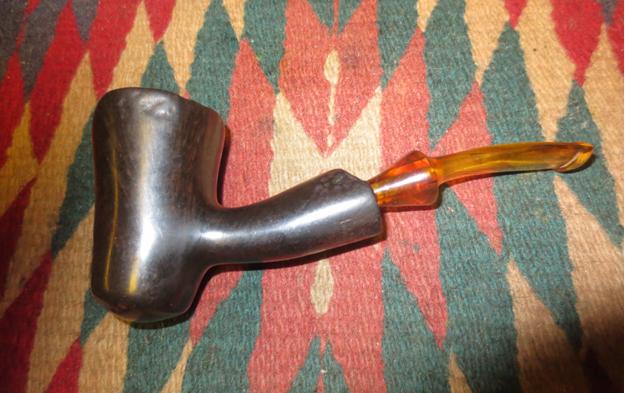
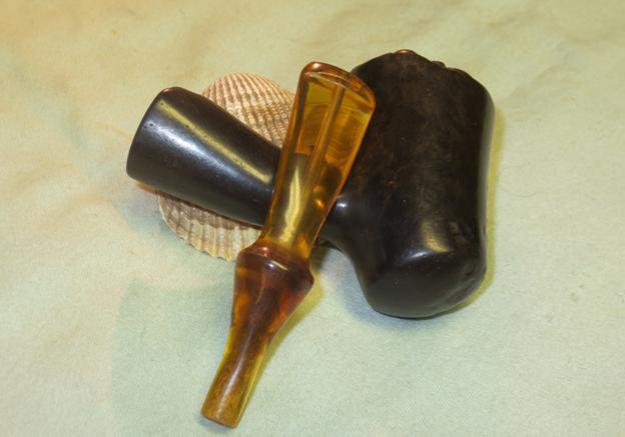
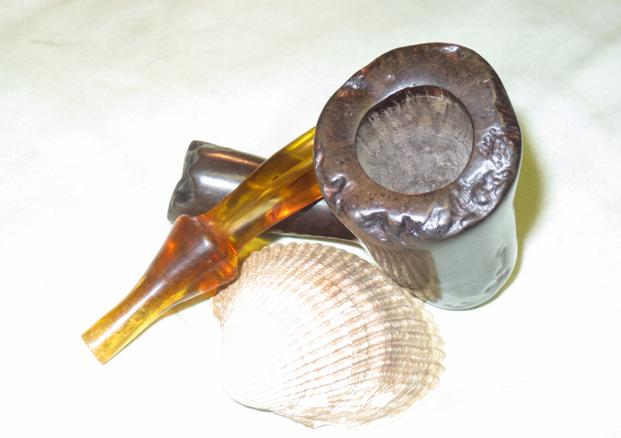
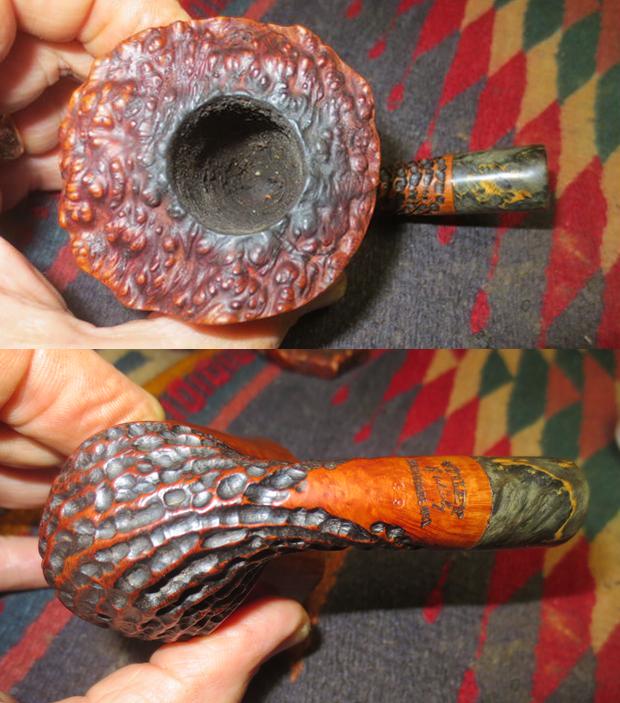
 I gave the pipe multiple coats of carnauba wax and buffed it with a clean buffing pad to raise a shine. I hand buffed it with a microfiber cloth to deepen the shine. The new black stem of polished vulcanite and the polished briar work well together to present a beautiful pipe. The pipe looks fresh and new. Tomorrow it will go out in the afternoon post to its original owner. I think he will enjoy the look and feel of his new stem. The finished pipe is shown in the photos below. Thanks for walking with me through this restemming job and through a bit of education for me on Mapacho tobacco. Thanks for looking.