Blog by Steve Laug
I have worked on at least two other pipes that I wrote about that bore the Manhattan stamp on the shank in the past few years. One of them was a cased, bent Bakelite Bulldog with a Lockrite Stem. It had a Bakelite Manhattan stamp on the left side of the shank. When I wrote that blog I could find no information on the brand. The second one was a cased Manhattan Bakelite Billiard. The shank and the case on this one both had the same identifying information. The inside cover of the case read Manhattan over French Briar over Bakelite. The shank read Manhattan De Luxe stamped on the left side. In researching the blog on that pipe, I found that a company in the US called the Manhattan Pipe Company made the pipe. There was no other information that I could find at that time.
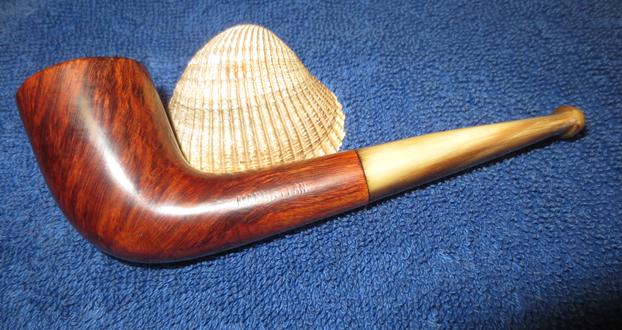
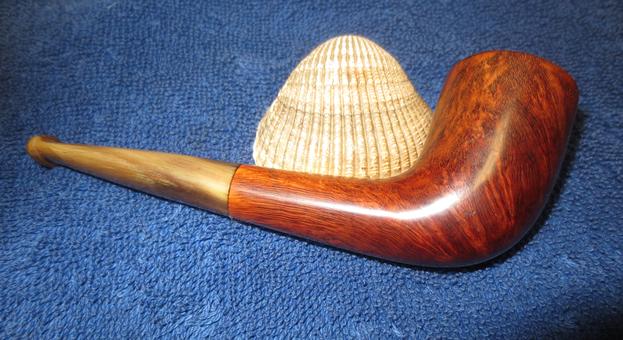
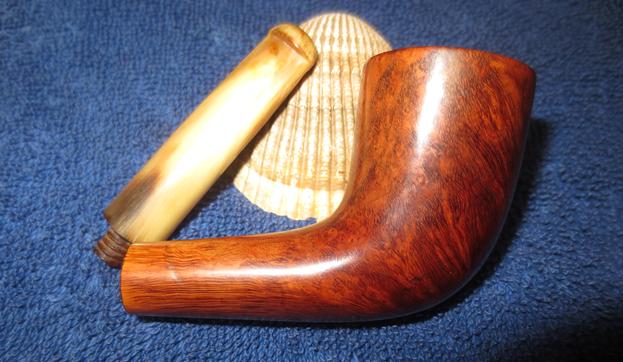
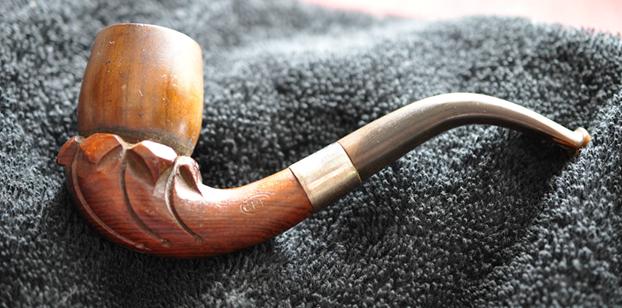
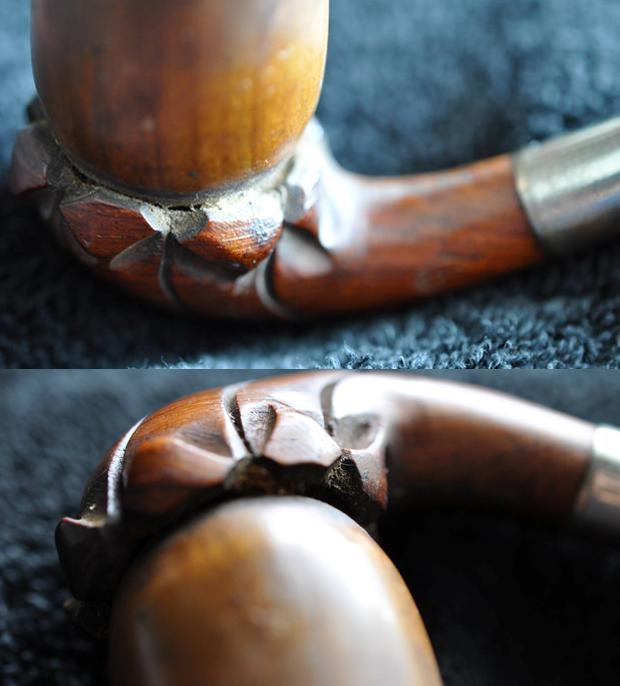
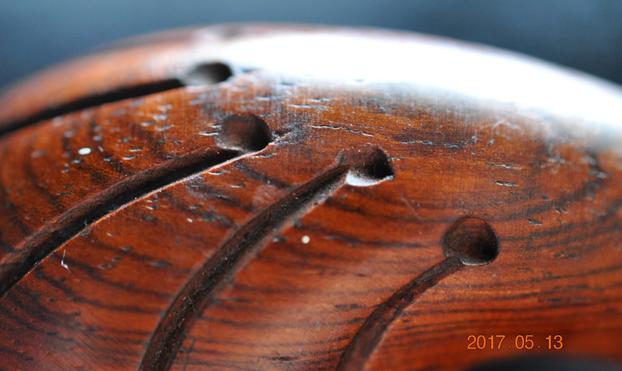
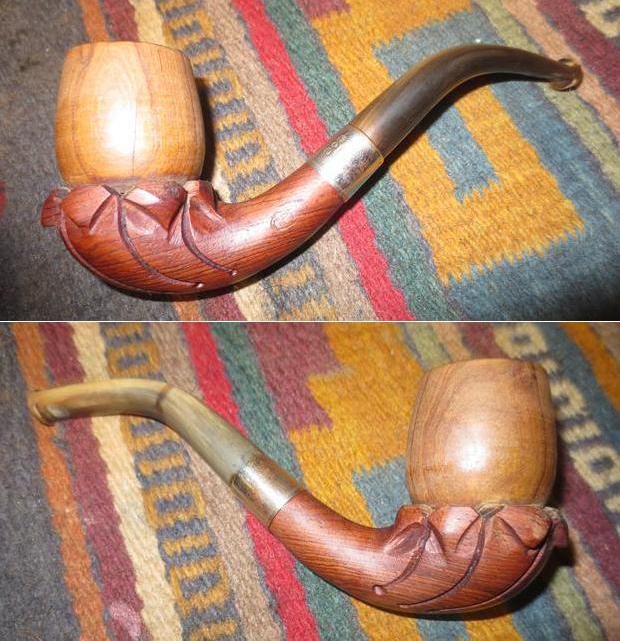
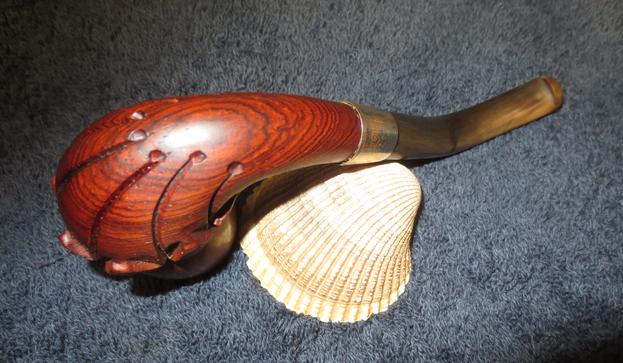
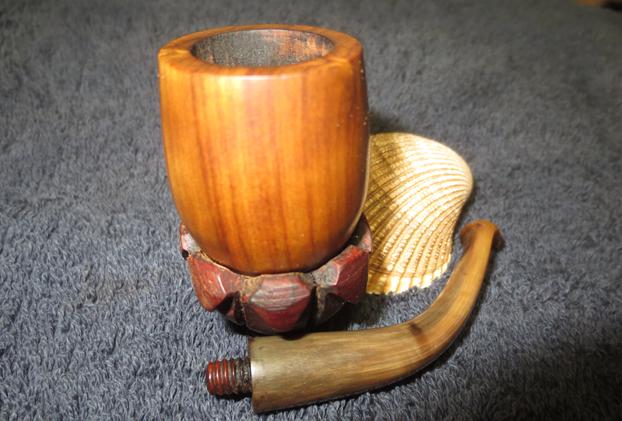
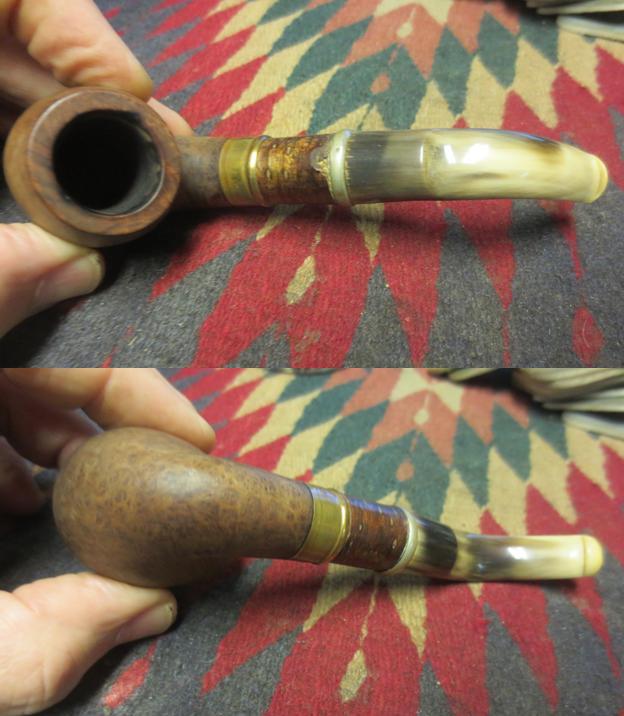
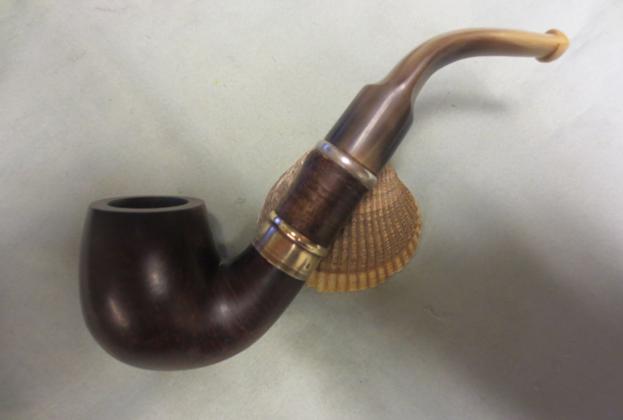
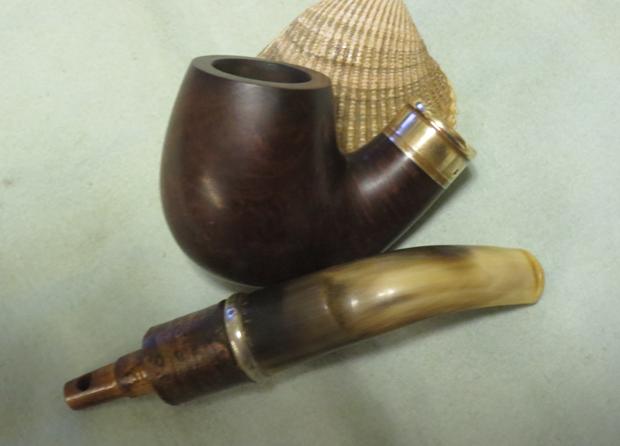
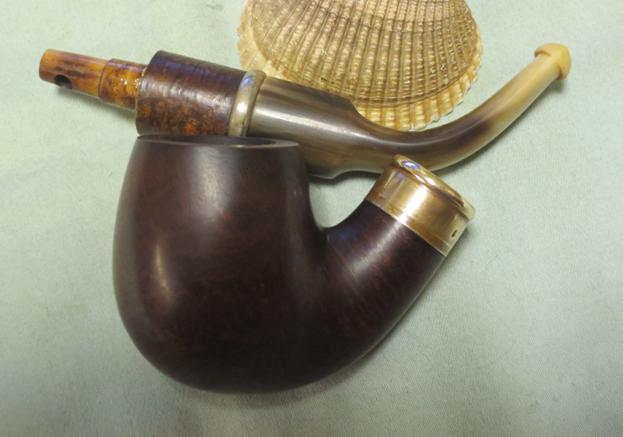
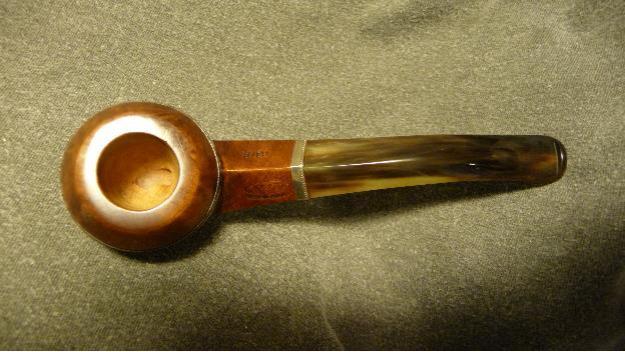
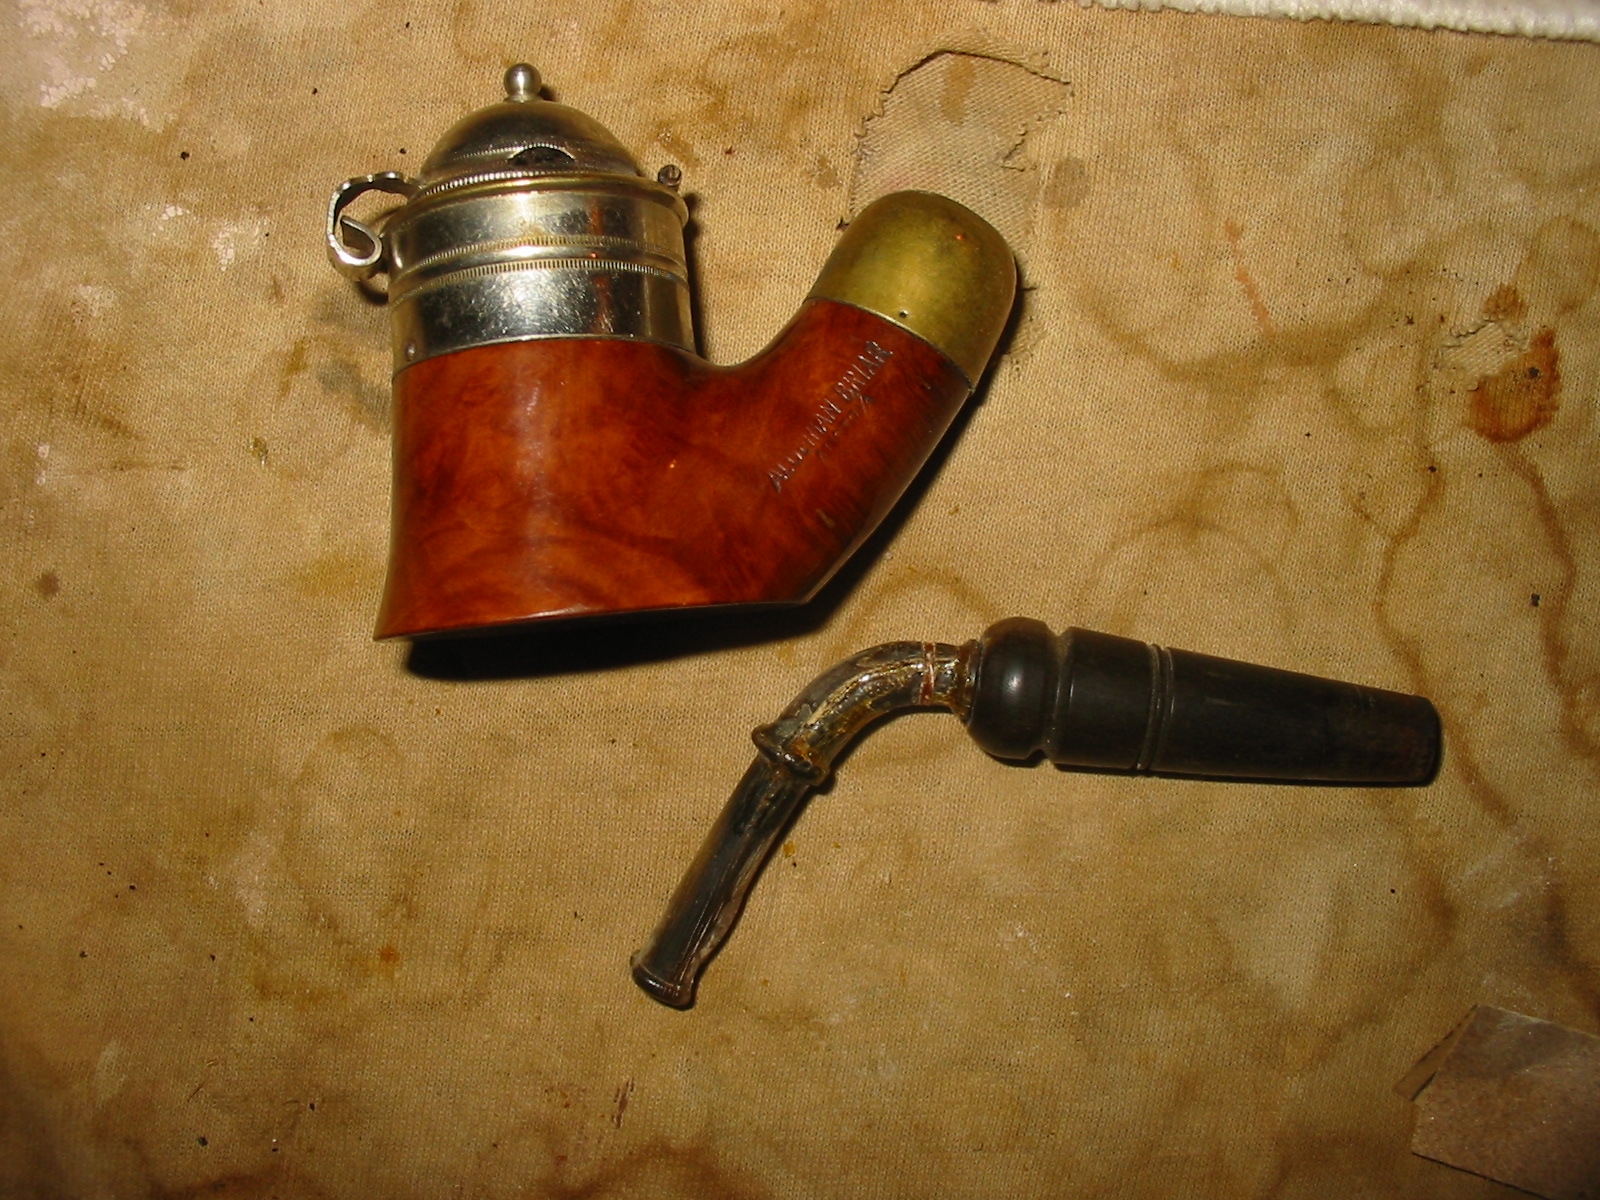
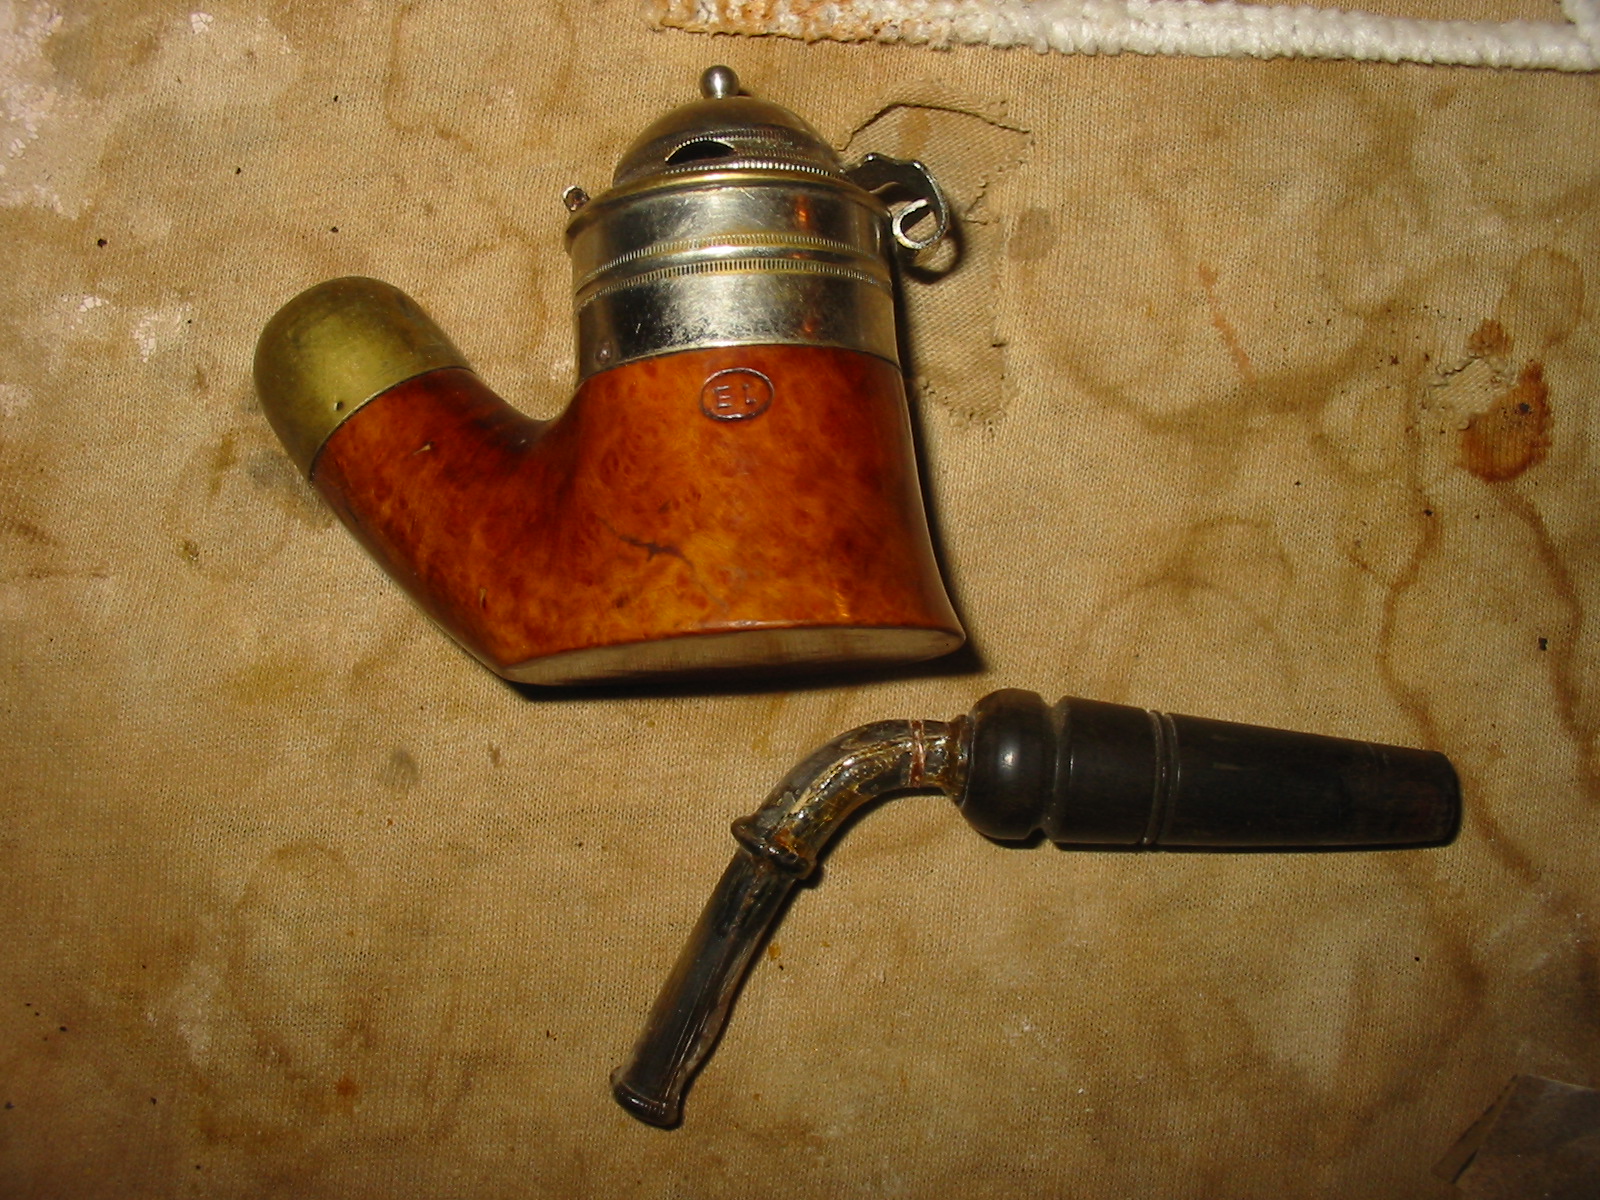
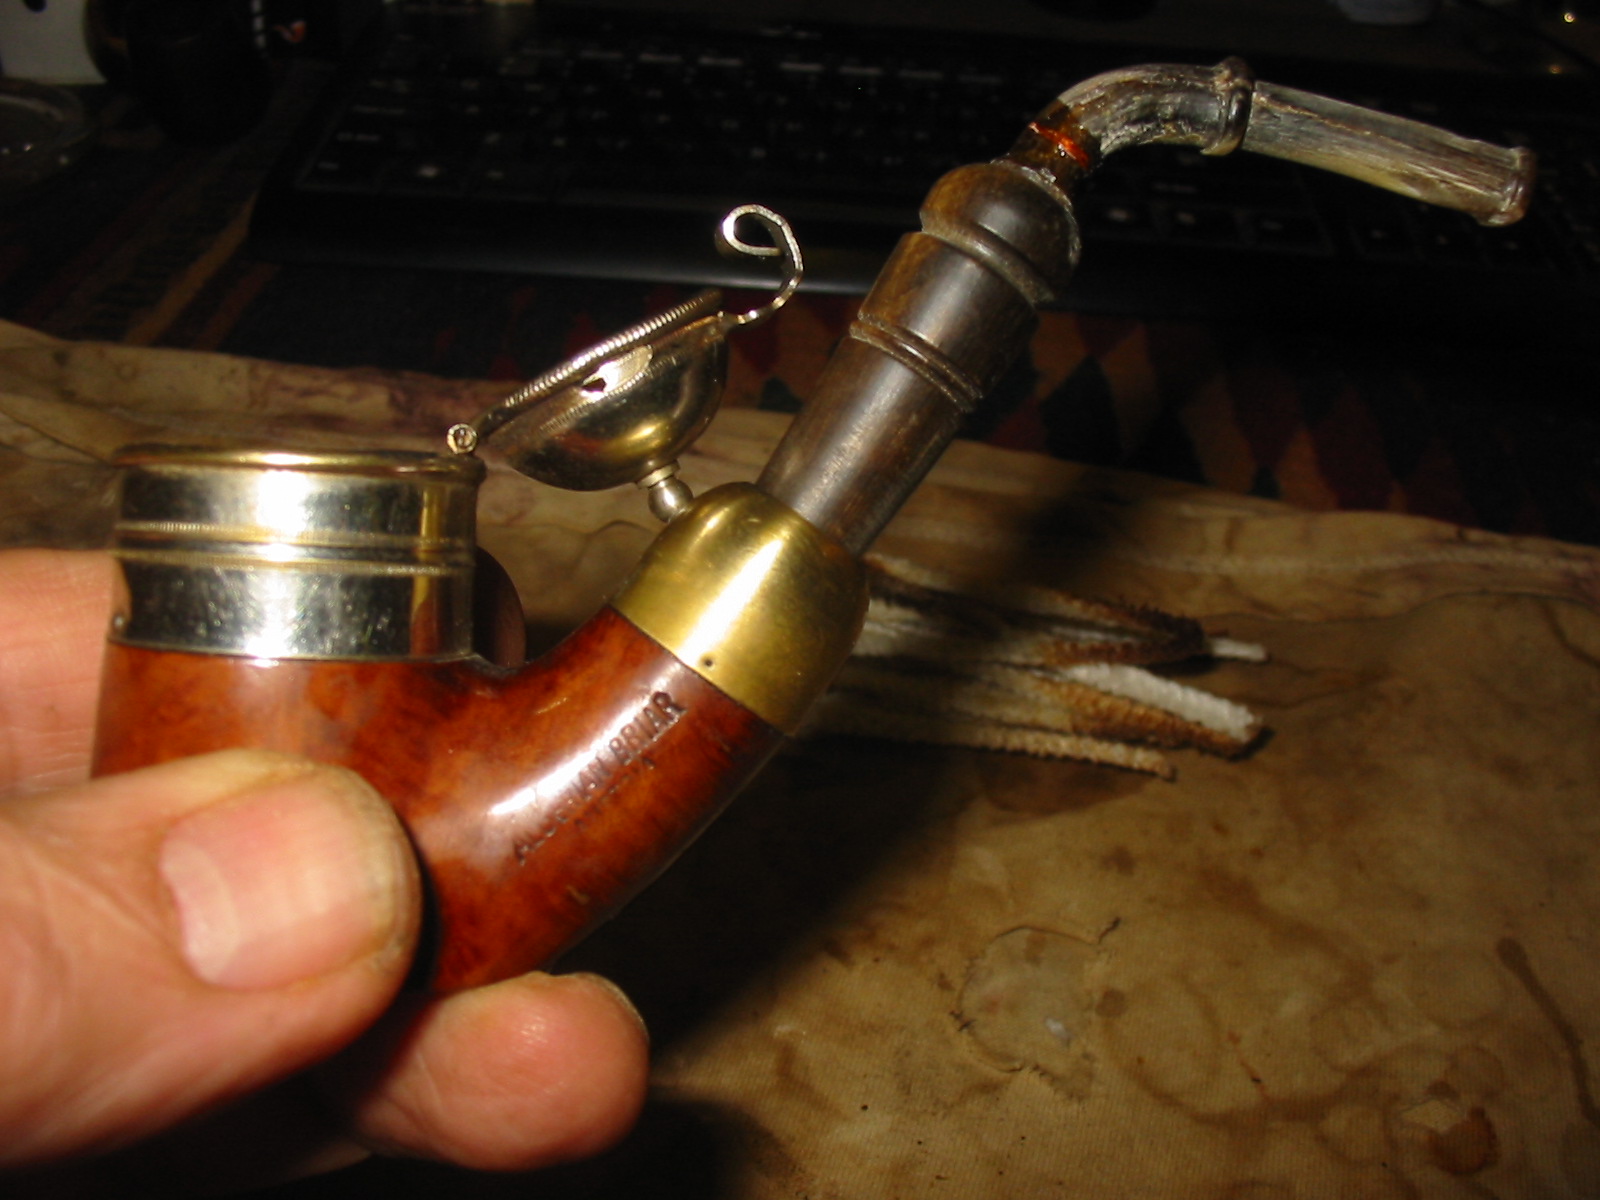
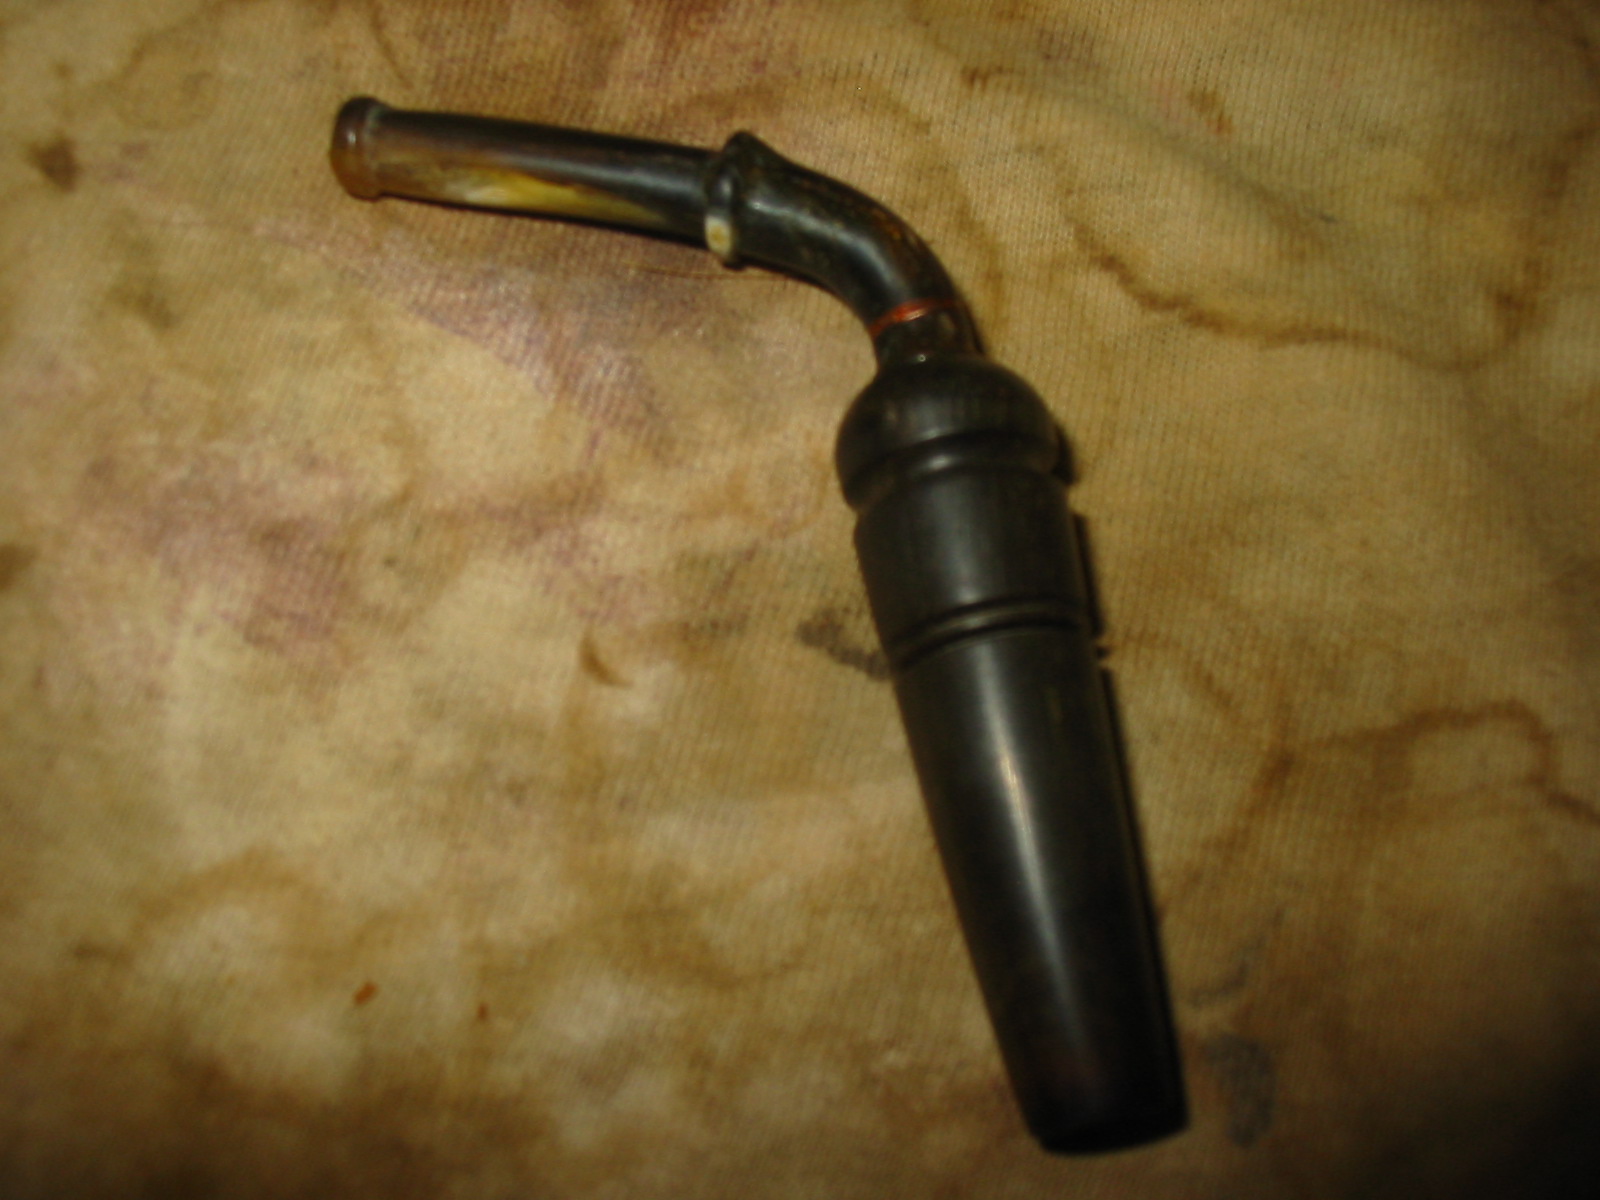
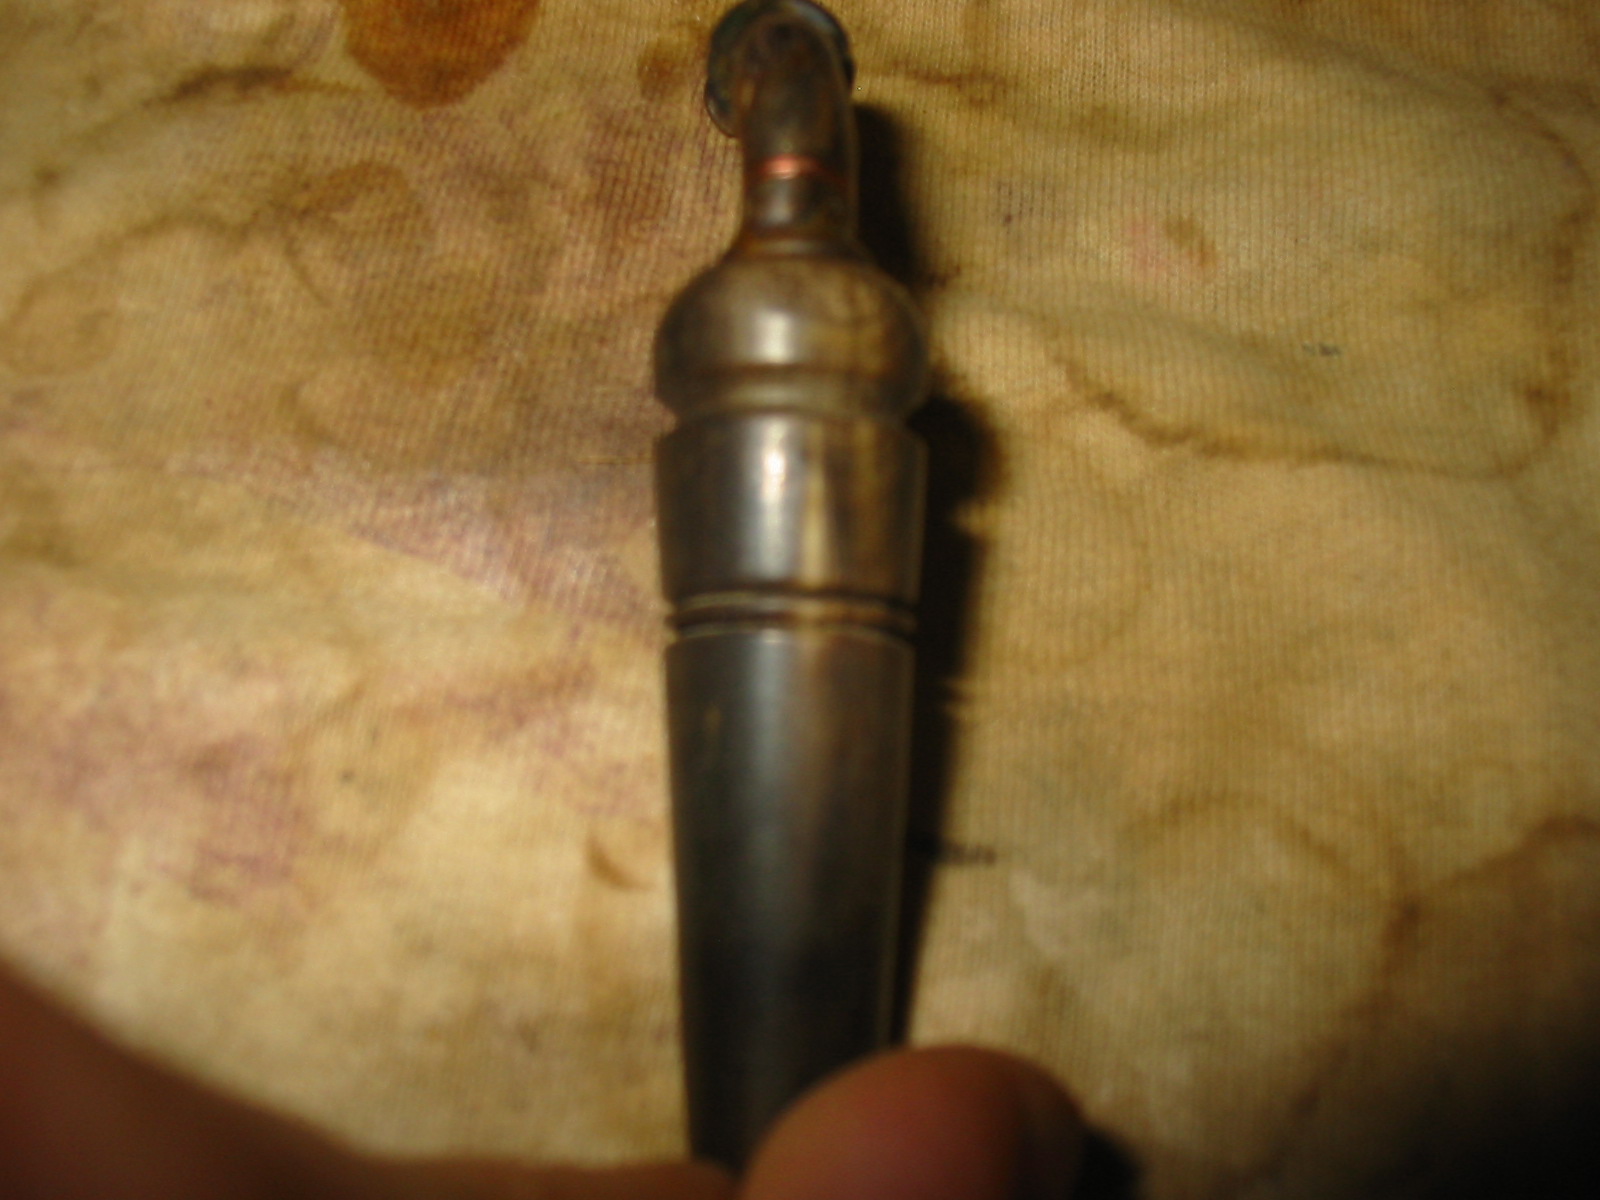
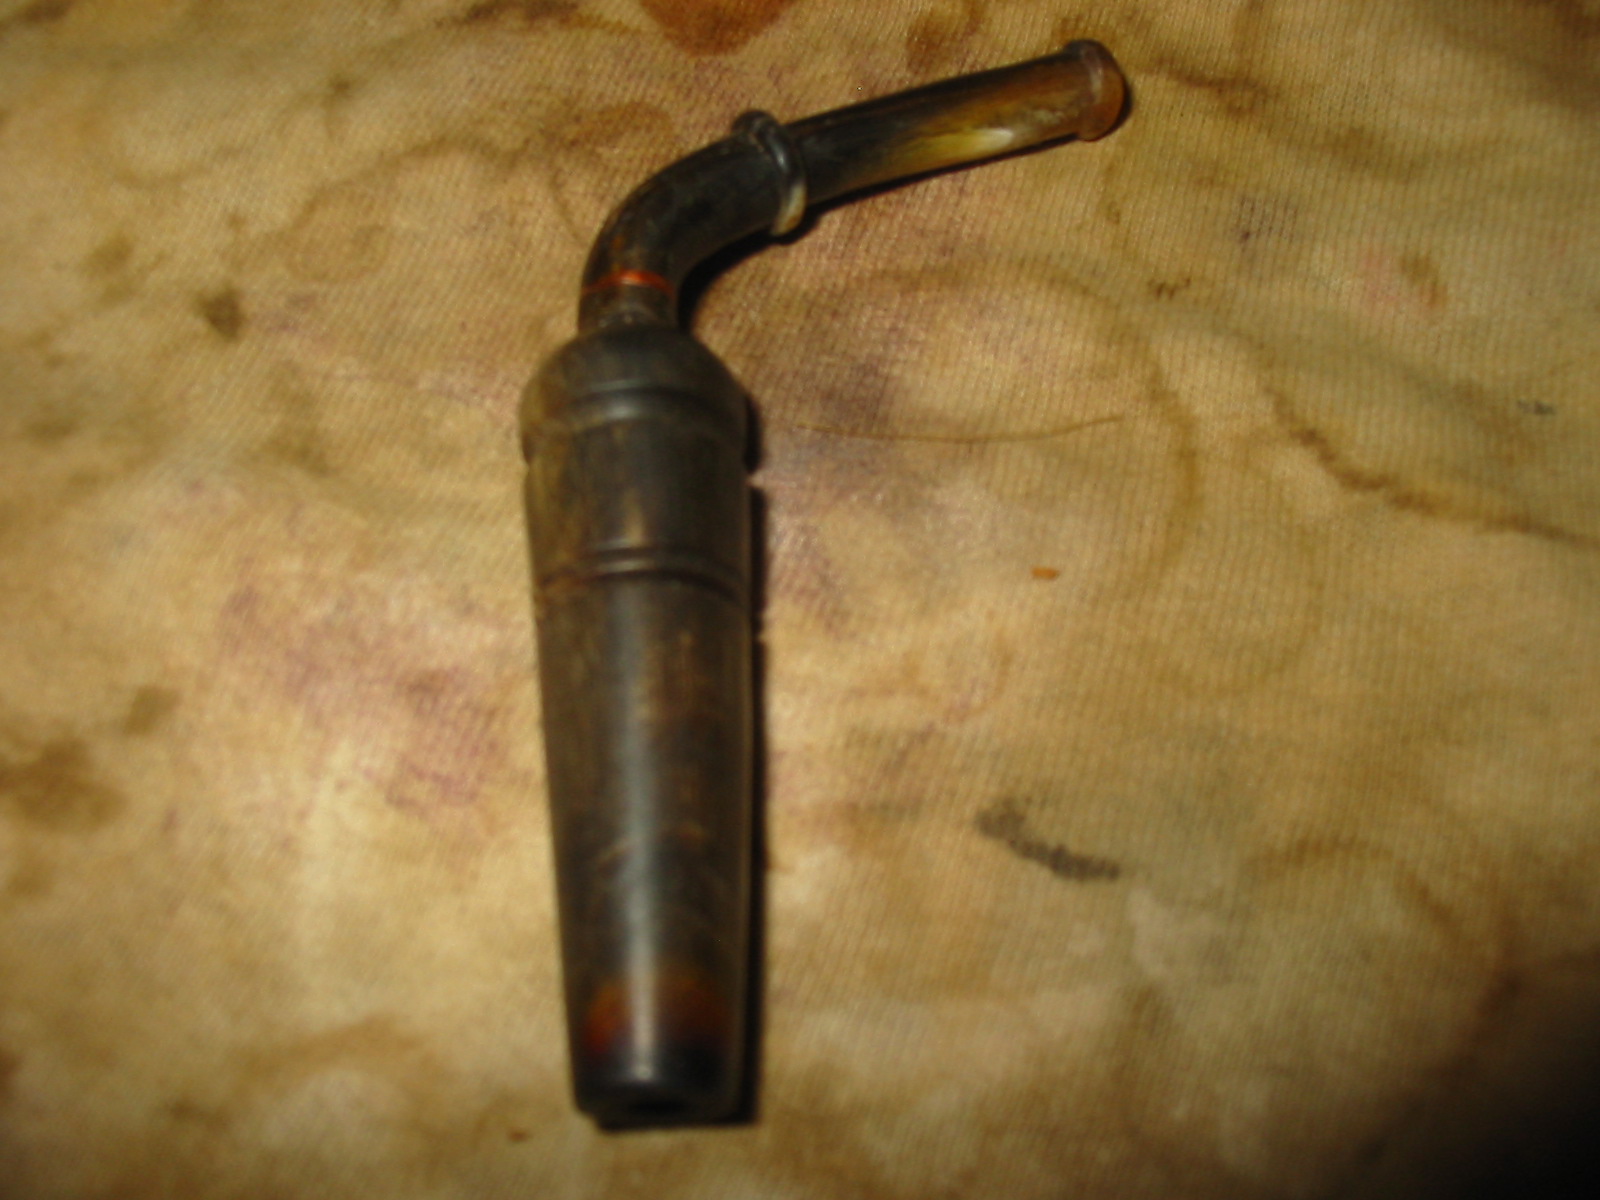
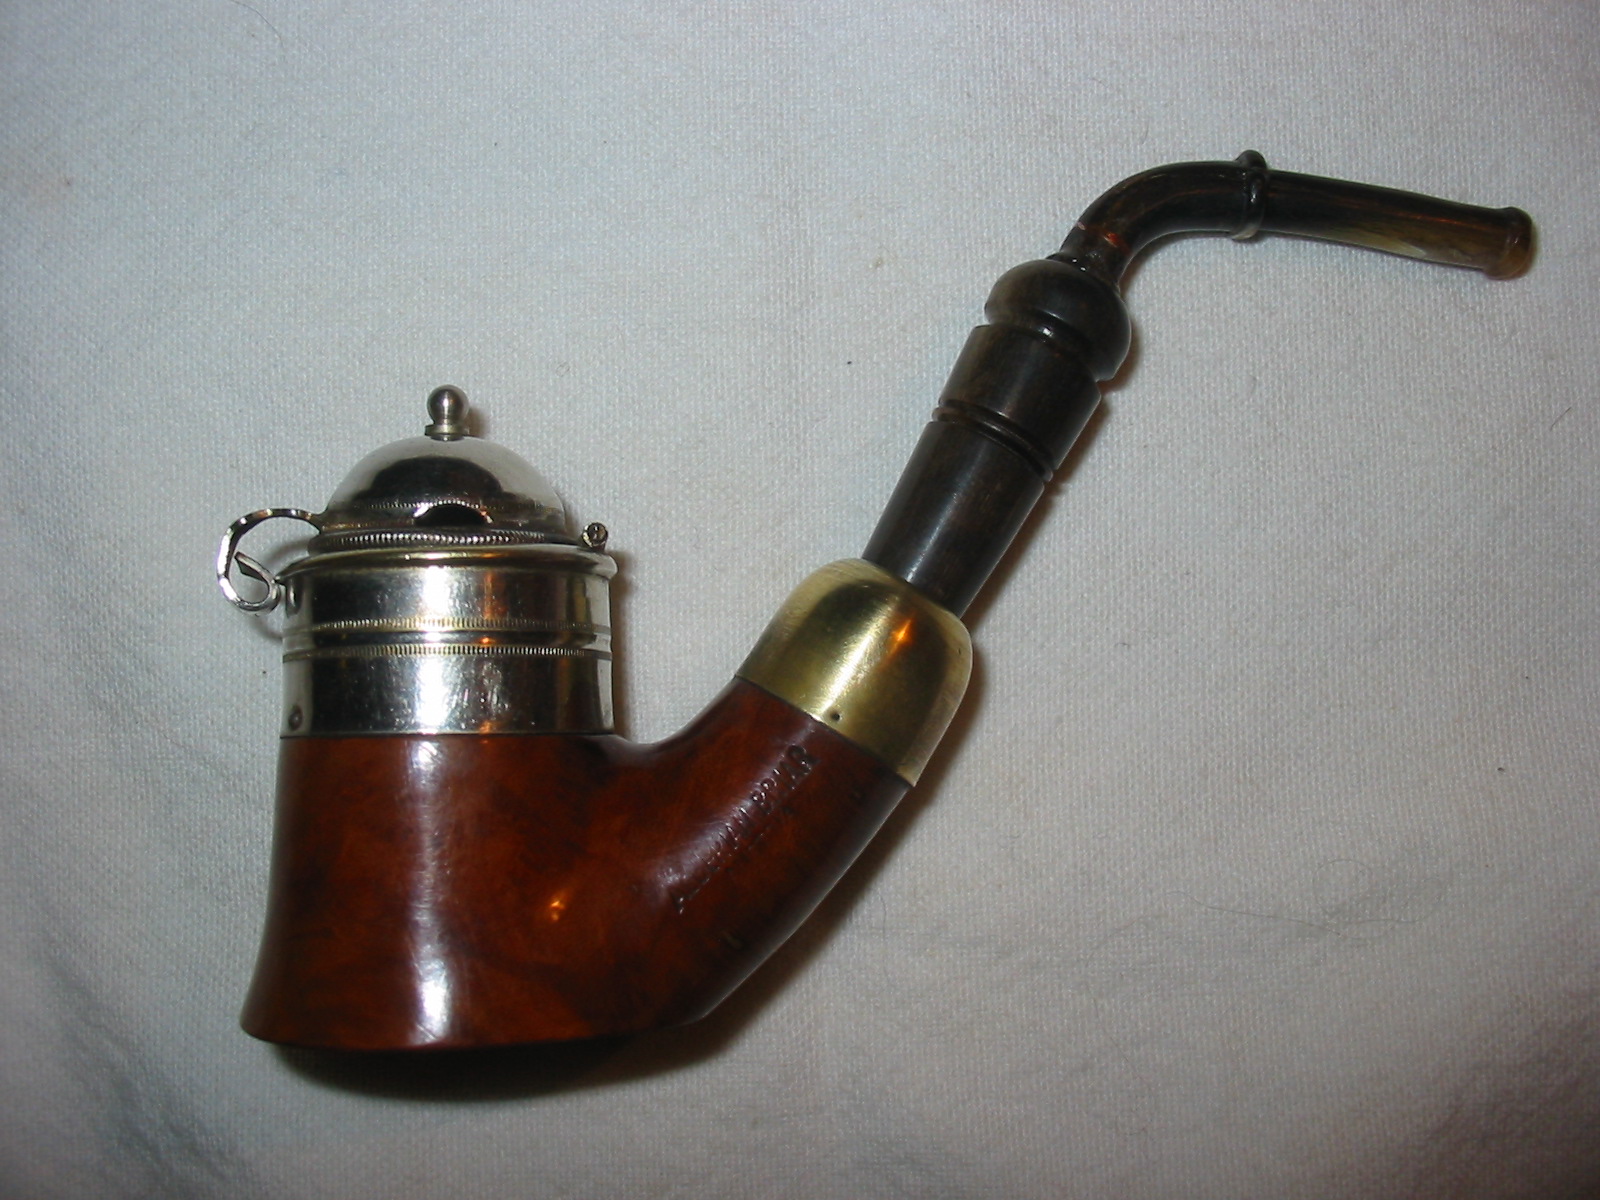
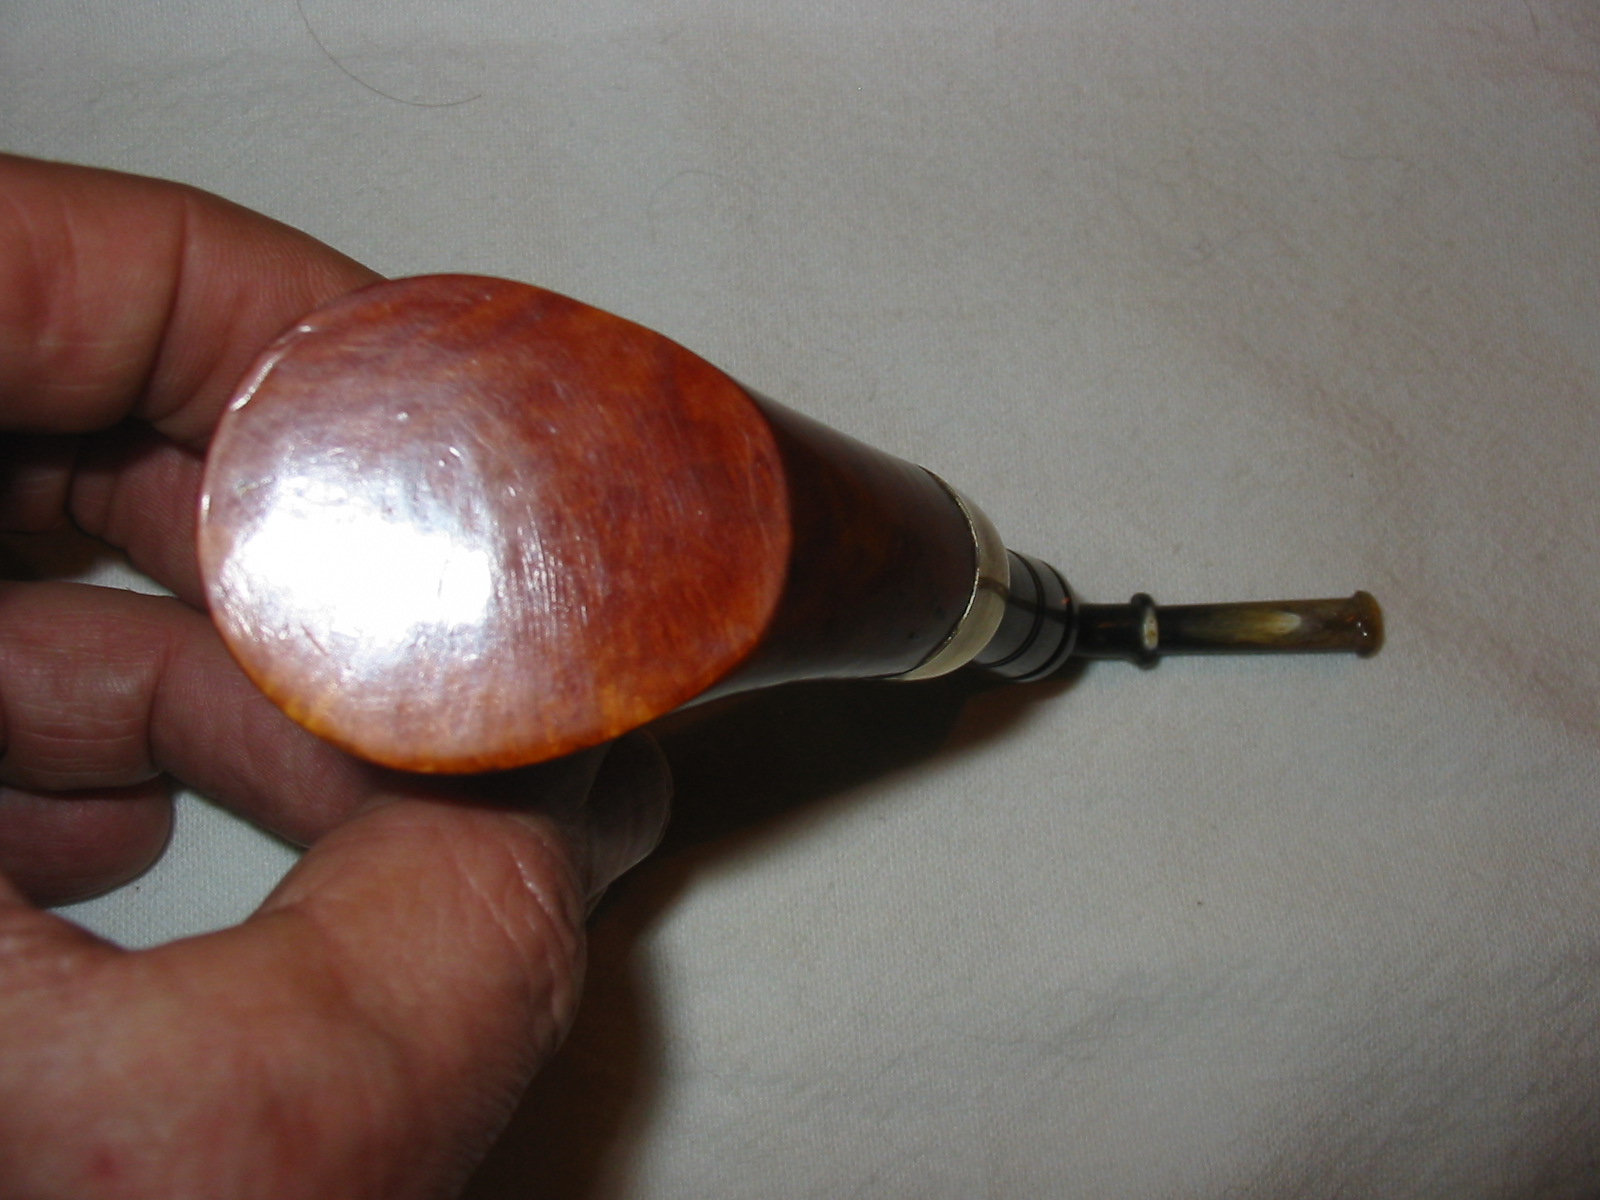
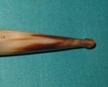
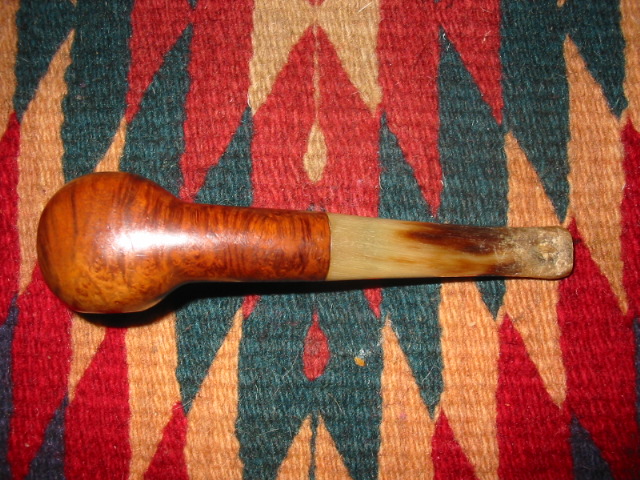
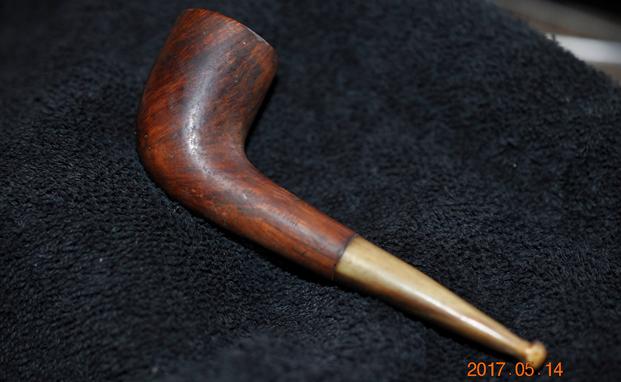
We found the next Manhattan on the virtual pipe hunt that my brother and I did in Montana. It was an older pipe than the others I had worked on. It also had a horn stem. I would call it a canted Dublin shape (others may differ on that). It is a very lightweight pipe and was in fair condition. The finish was worn and peeling but the briar had very interesting straight/flame grain that flowed on an angle on both sides of the bowl and horizontally along the shank. The back and front of the bowl had a mix of birdseye and flame grain. I have included the photos that Jeff took of the pipe before he worked his magic on it. 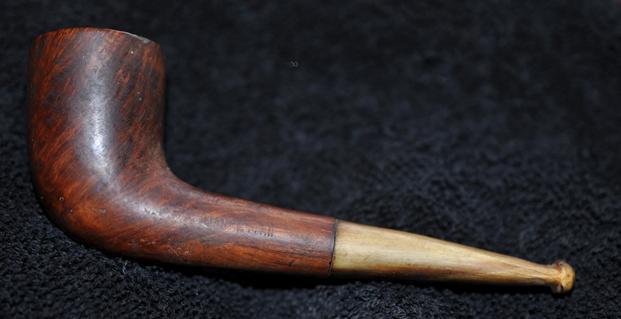
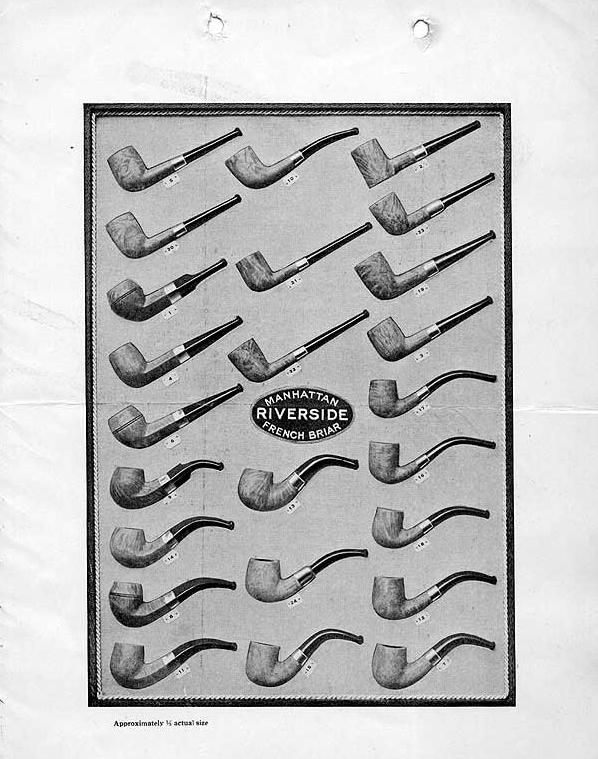
 I thought it would be interesting to see if there was any new information online regarding the brand. Of course, I checked on the Pipes, Logos and Stampings – PipePhil’s site. There was a listing for Manhattan pipes but there was not any new information and what was there was inconclusive. I turned to Pipedia to see if there was a new article. I was surprised to find that there was one, I do not know if it was new or not, but I do not recall seeing it before. The article was called The Manhattan Briar Pipe Company. It is an interesting read so I have included the article in its entirety as well as the advertisement from 1913 that showed a Manhattan pipe. The interesting thing for me is that the pipe is the same shape and style as the one I have in hand. The difference of course is that mine does not have a silver band and there is a horn stem rather than a vulcanite stem.

1913 Manhattan Advertisement
The Manhattan Briar Pipe Co. was organized in October, 1902 by the American Tobacco Company, under an agreement with the owners of the Brunswick Briar Pipe Company, as a New York corporation. Its initial address was 111 5th Avenue, New York City, and the value of its stock in 1902 was $350,000.00. American Tobacco Company had itself been founded in 1890 by J. B. Duke through a merger between a number of U.S. tobacco companies, and was one of the original twelve members of the Dow Jones Industrial Average in 1896. It was commonly called the “Tobacco Trust”.
The majority of the stock in Manhattan Briar Pipe Company was immediately acquired by the American Tobacco Company after the company was organized, but the prior owners retained a controlling minority interest for some years. In October, 1906, however, the American Tobacco Company acquired the remaining shares of stock, and from that point on Manhattan Briar was the pipe making branch of American Tobacco. By 1911, however, American Tobacco had been dissolved in anti-trust litigation, and Manhattan Briar Pipe Co. became a separate concern.
Manhattan Briar Pipe Co. had started operations in 1905 in Jersey City, New Jersey, having taken on a lease for a ten year period in 1905, and maintained a factory at Marion, New Jersey, where the pipes were made. By 1913, former American Tobacco pipe department chair John Glossinger was the president of Manhattan Briar Pipe Company, and began a significant advertising push for high grade pipes, using the slogan “Don’t spoil good tobacco by using a poor pipe”. It appears from cases having appeared on the estate market that Manhattan also sold meerschaum pipes, most likely rebranded articles originally made by European craftsmen.
After the expiration of the Jersey City lease the Manhattan Briar Pipe Company maintained offices and a factory at 415-425 Greenpoint Avenue, Brooklyn, New York beginning in 1915, evidently under the direction of W. C. Bastian, who had been granted a patent for a chambered pipe stem otherwise seemingly identical to a Peterson P-Lip in 1910. An employee of the company, one J. Gianninoto, was granted a patent for a device meant to permit the emptying of a cuspidor without the mess in early 1918, and the company continues to be listed in local directories through 1921. In 1922 Manhattan Briar was purchased by S.M. Frank and merged into that company. https://pipedia.org/wiki/Manhattan_Briar_Pipe_Co.
Further digging led me to a link on the S.M. Frank Co. & Inc. history page. Reading through the history of the company I found that S.M. Frank not only purchased the Manhattan Briar Pipe Company but also purchased WDC or William DeMuth & Company – two of the older brands that I enjoy working on. Here is the relevant section from the link: In the year 1900 Sam Frank Sr. started his own business, selling pipes and other tobacco items. His original office was located at 20 W. 17th Street, NYC. He was also closely associated with the sales staff of Wm. DeMuth & Co., selling their line of pipes. It was at this time that Mr. Frank first met Ferdinand Feuerbach and formed what would be a lifelong friendship. Mr. Feuerbach started working for the DeMuth Company in 1897 and by 1903 had become the production manager. In 1919, when Mr. Frank needed an experienced pipe man to run his pipe factory, located at 168 Southern Blvd., in the Bronx, he persuaded his old friend Ferdinand to join him. Mr. Feuerbach is credited with developing DeMuth’s popular Royal DeMuth and Hesson Guard Milano pipelines. In 1922, when S. M. Frank purchased the Manhattan Briar Pipe Co. the company incorporated. http://www.smfrankcoinc.com/home/?page_id=2
That link led me to me to some further information including an advertisement and a shape chart on Chris Keene’s Pipe Pages http://pipepages.com/mbpc2.htm. I have included them here with acknowledgement to Chris Keene. I always enjoy reading the old copy of these advertisements as they take me back to place where the pipe was an acceptable part of the life.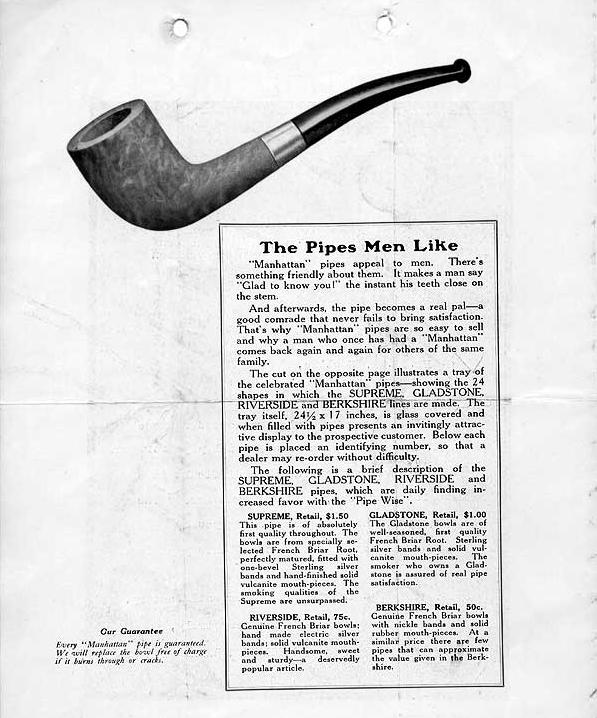
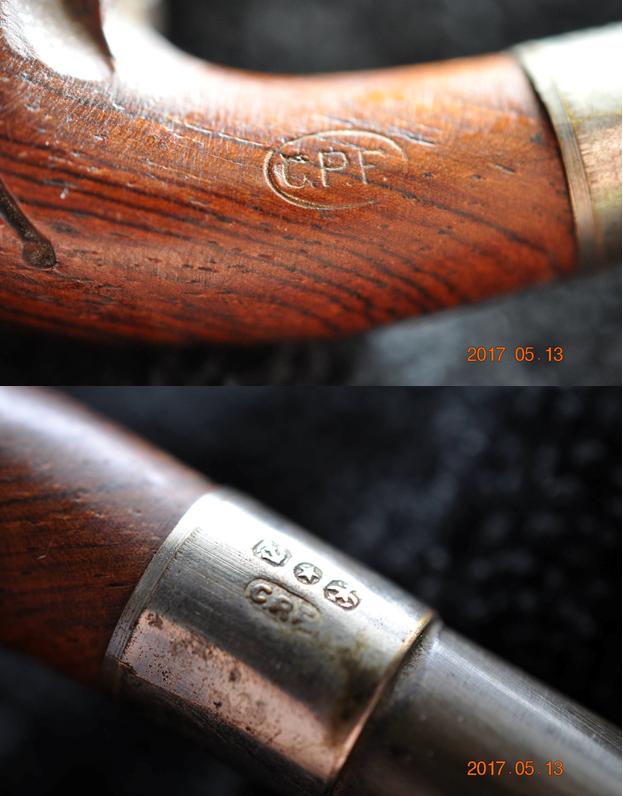
 Of course, this influx of information makes me wonder what I was looking for the last time I did a search for this brand. It seems some days you put in the right search parameters and hit the jackpot and other days the wrong ones leave you with nothing. I now knew more about the brand than I ever imagined when I began the hunt. I am pretty sure that my pipe was made in the era between 1900-1910. It is roughly from the same time period as the C.P.F. pipes that were in that lot.
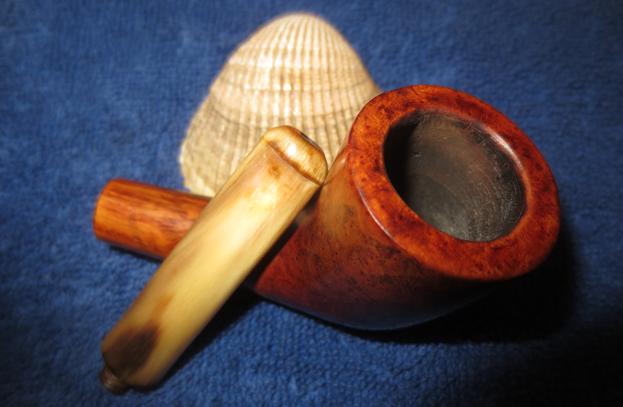
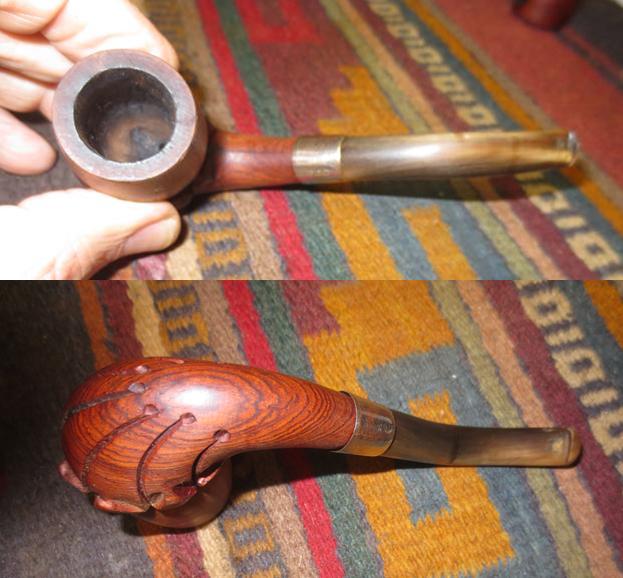
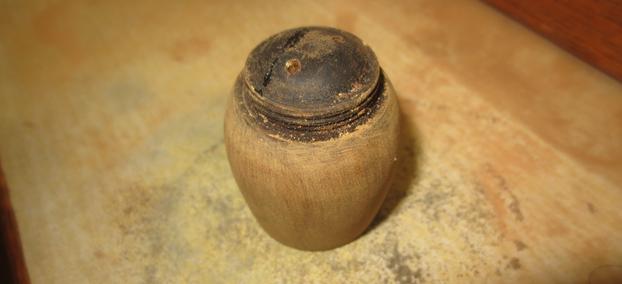
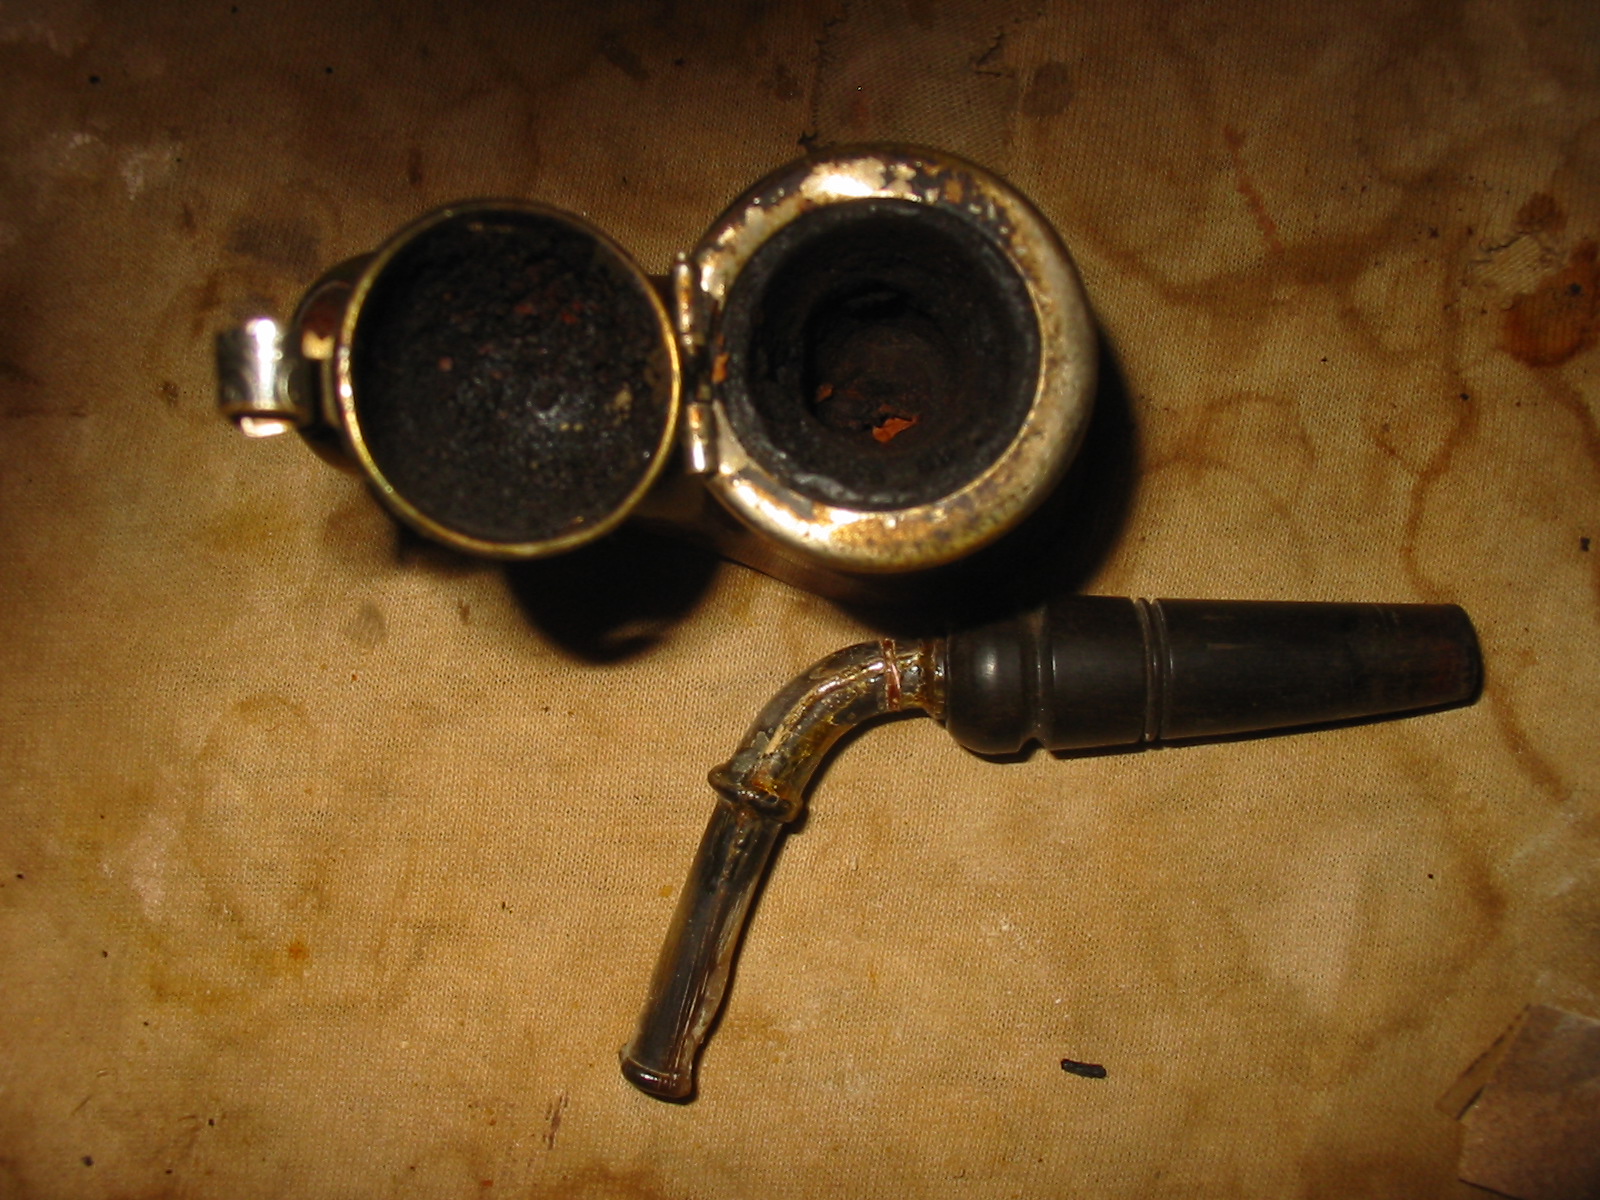
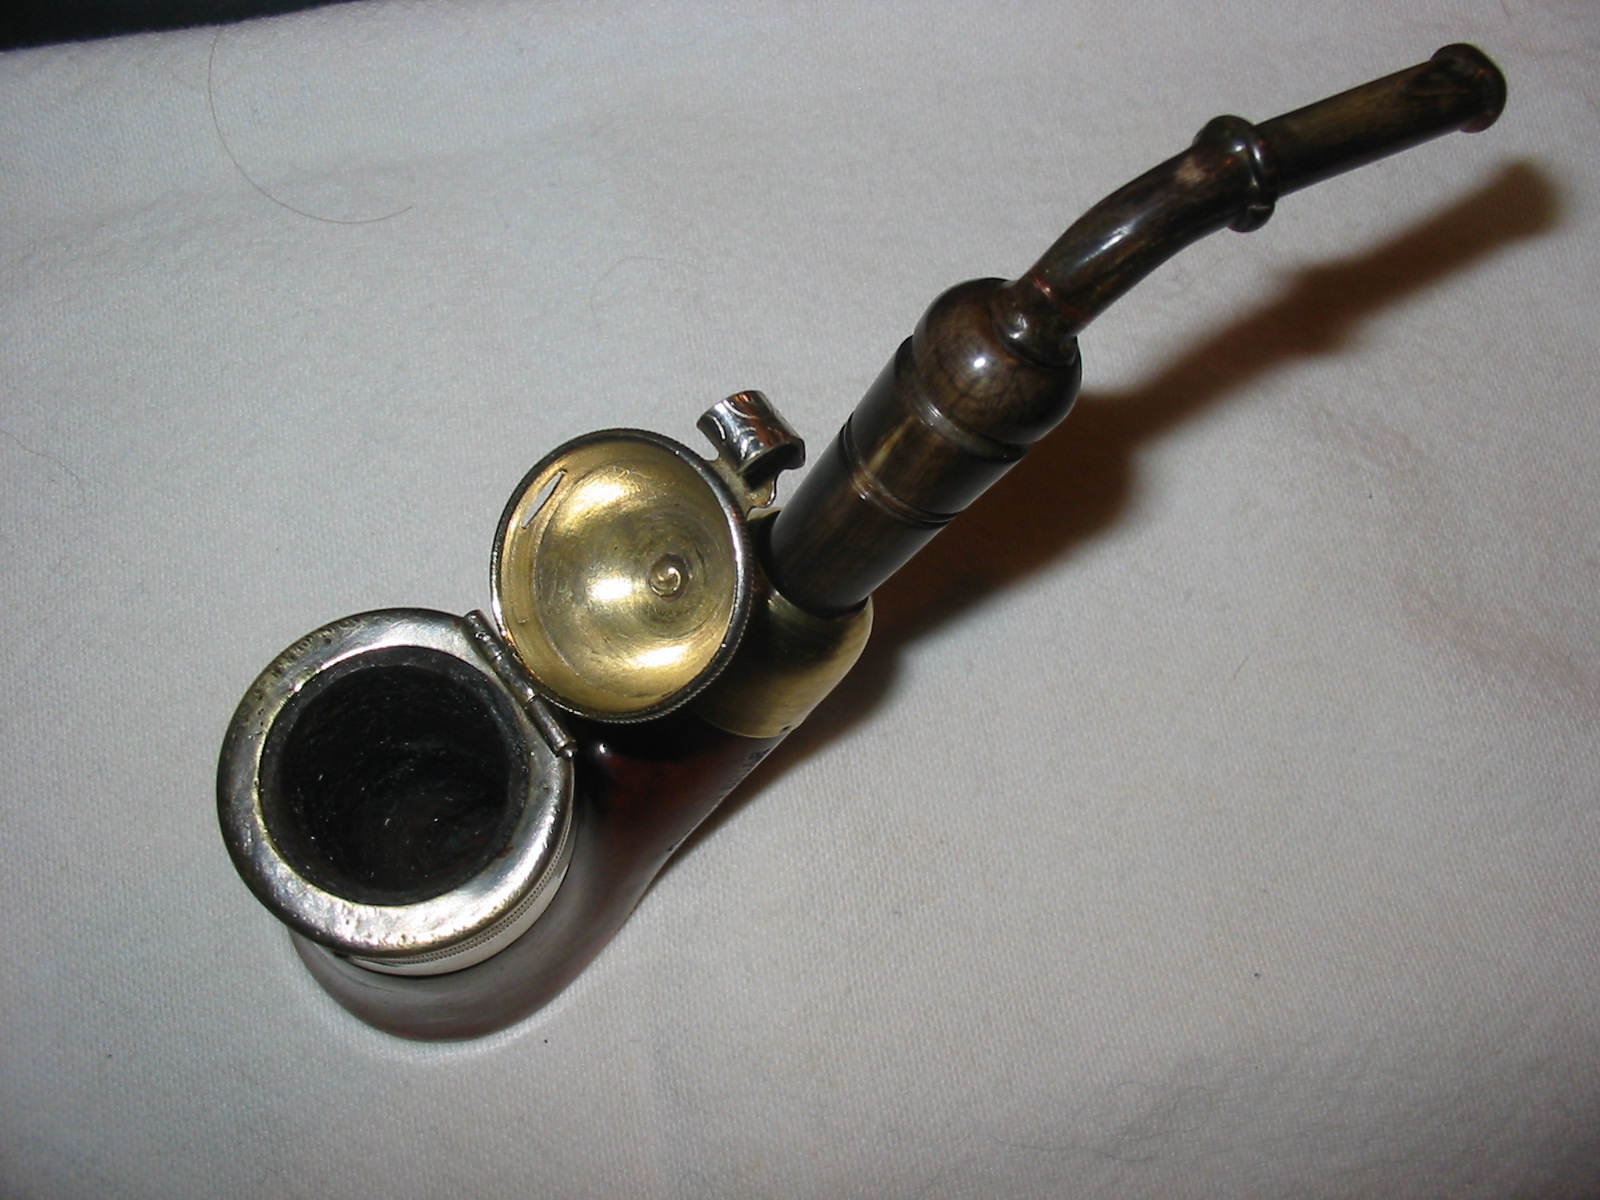
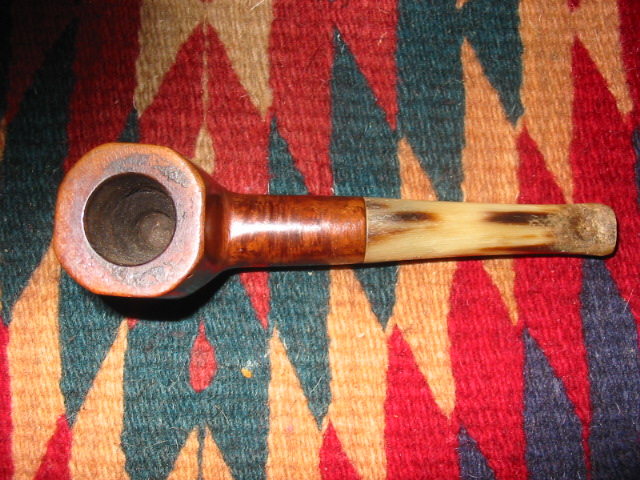
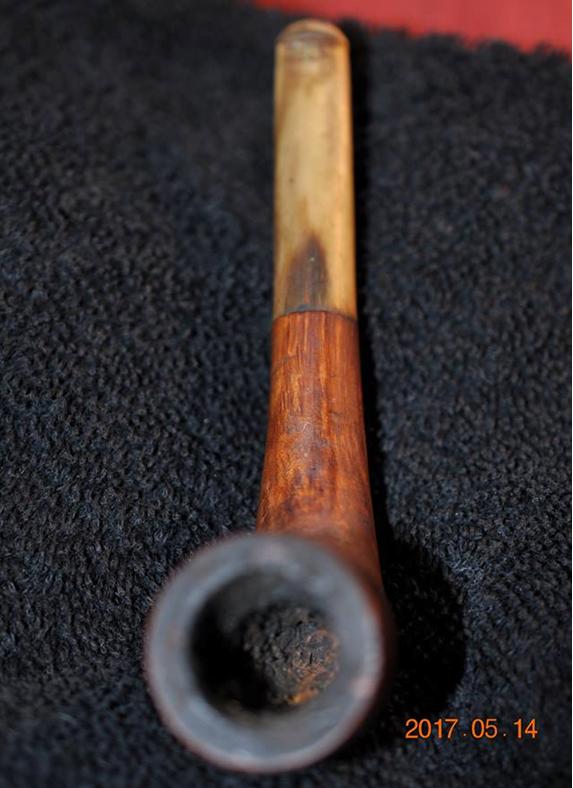 The bowl had a thick cake that had flowed out of the bowl and on the rim top. The inner edge of the rim appeared to be damaged but I would know more once I had it in hand.
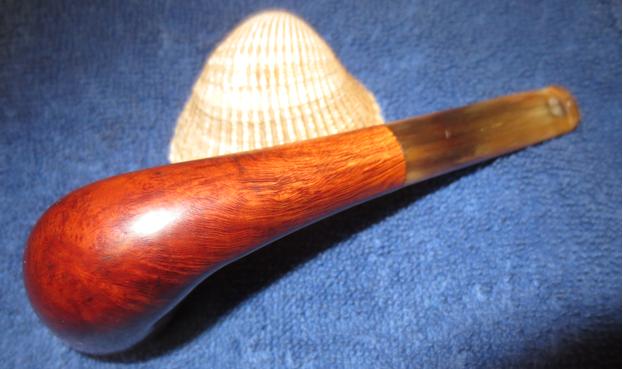
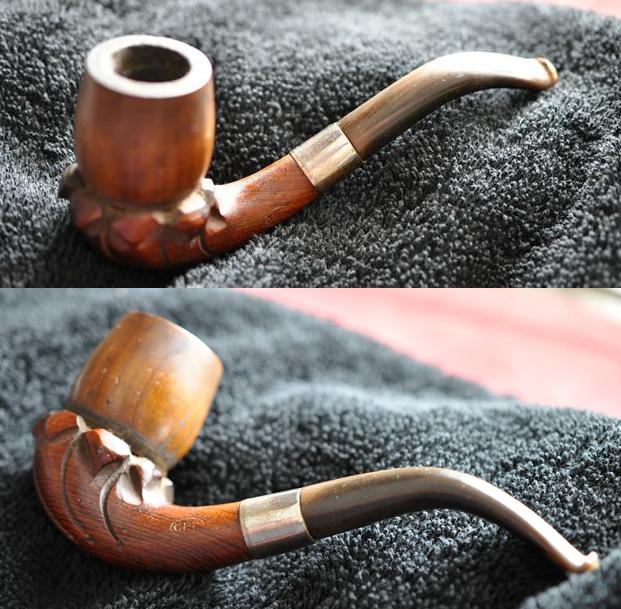
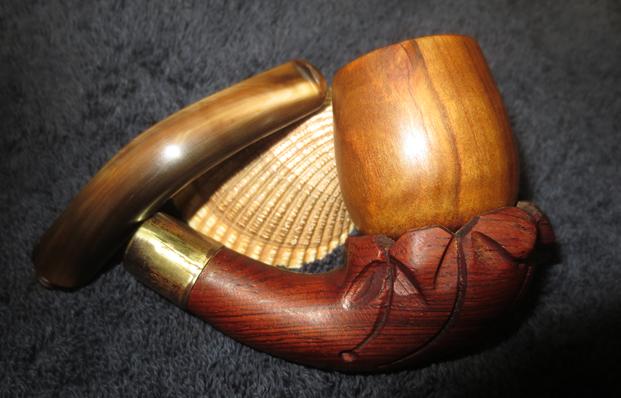
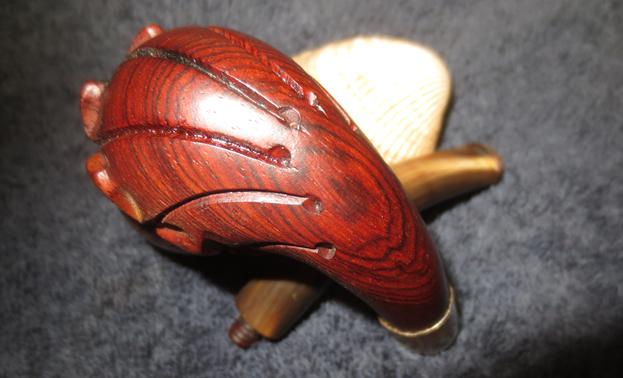
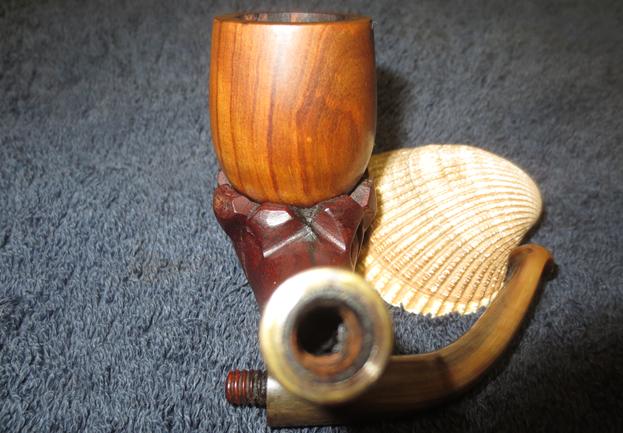
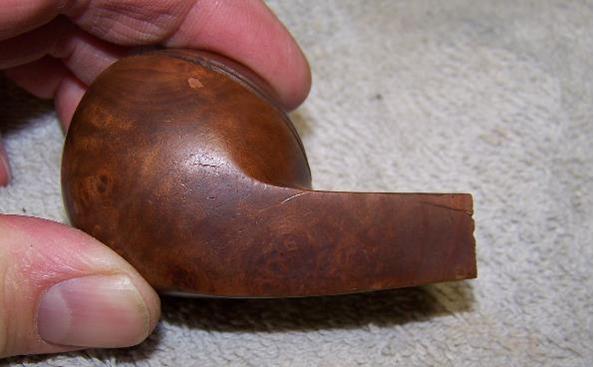
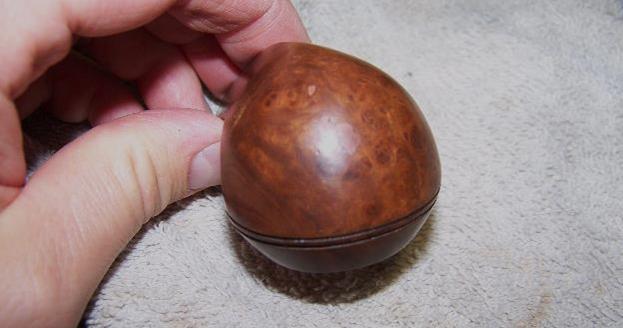
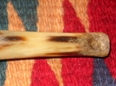
  The next series of photos show the bowl from a variety of angles to show the condition of the finish and the grain around the bowl sides and bottom.
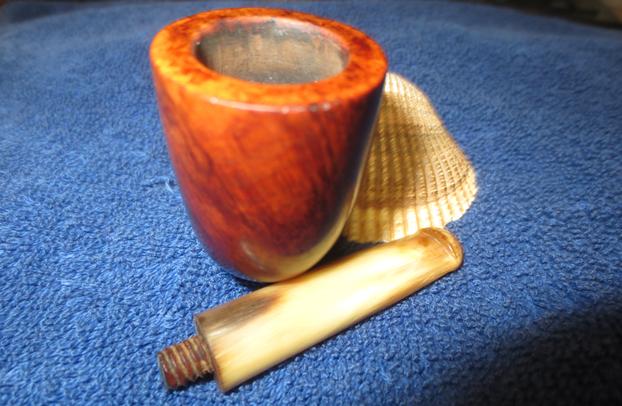
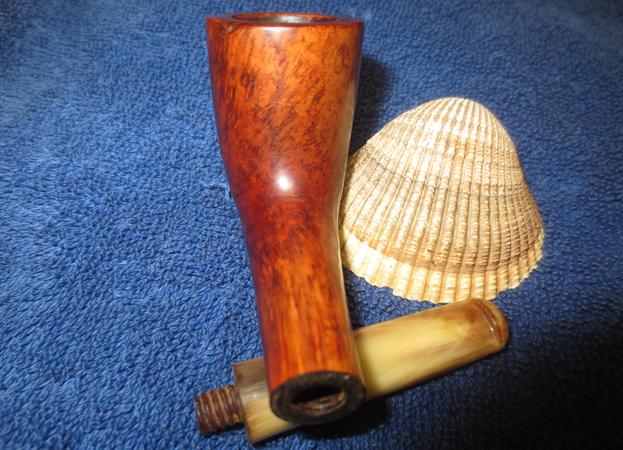
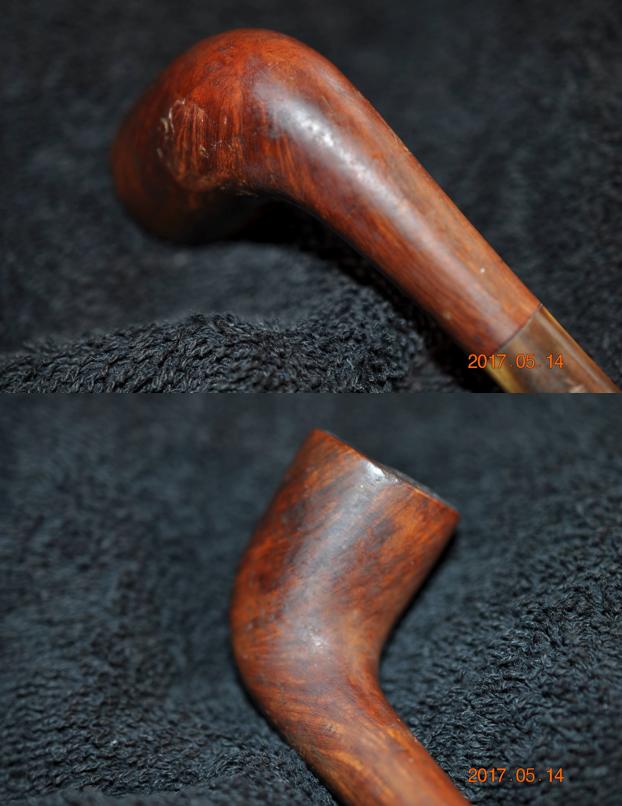
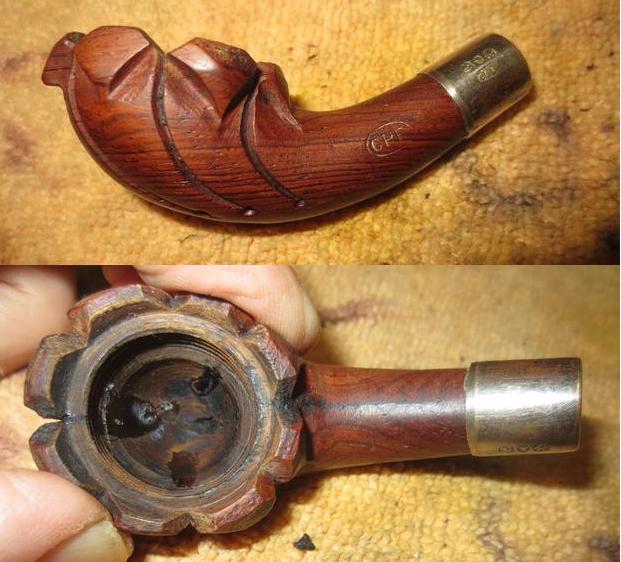
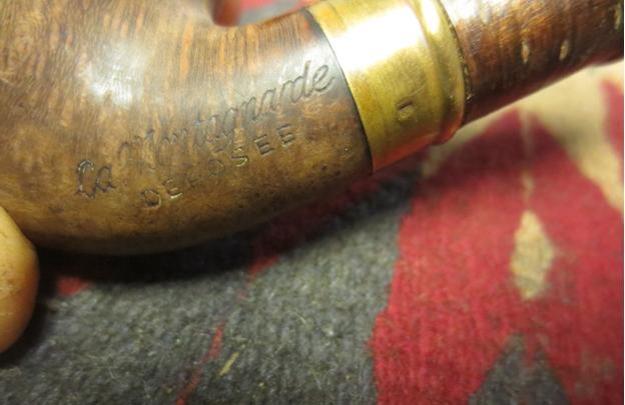
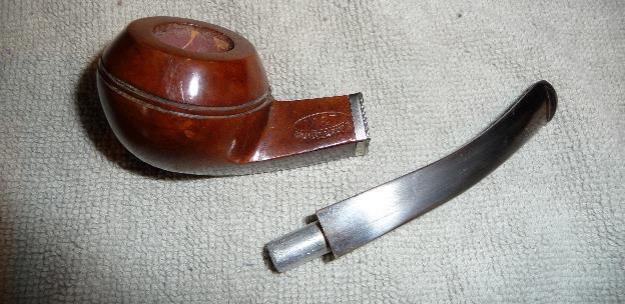
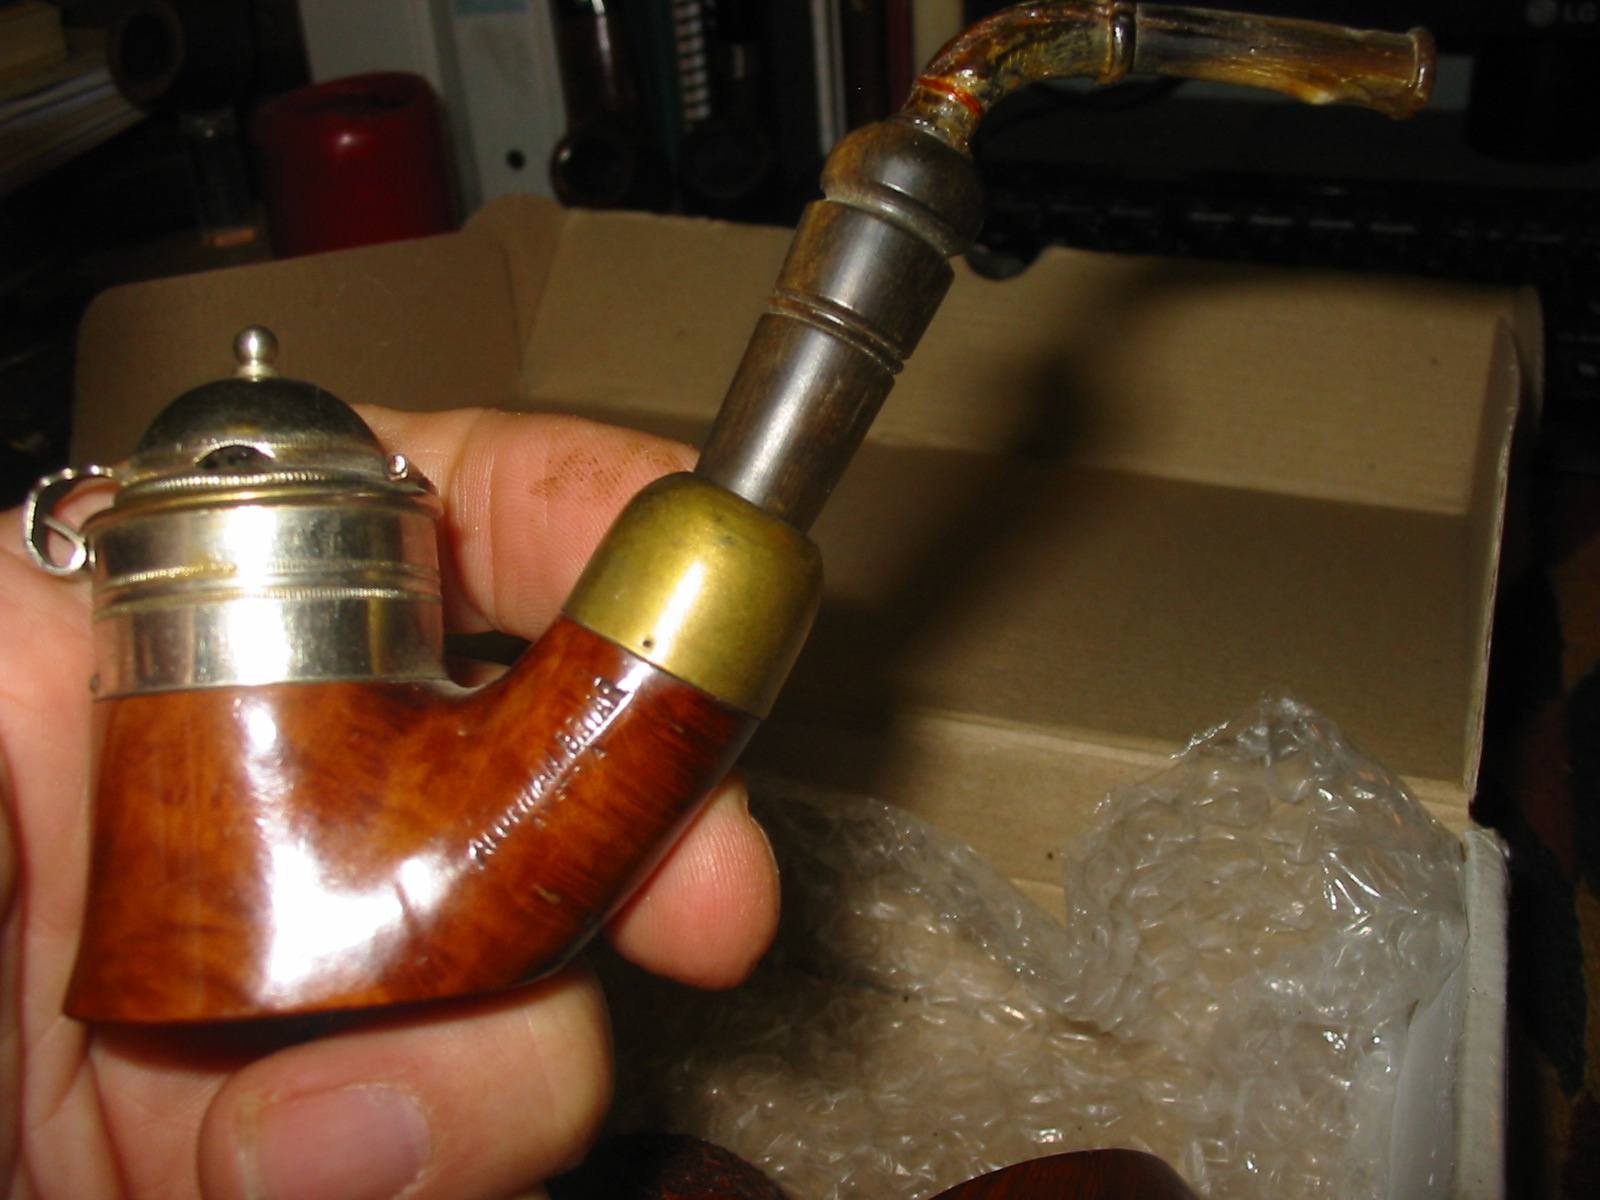
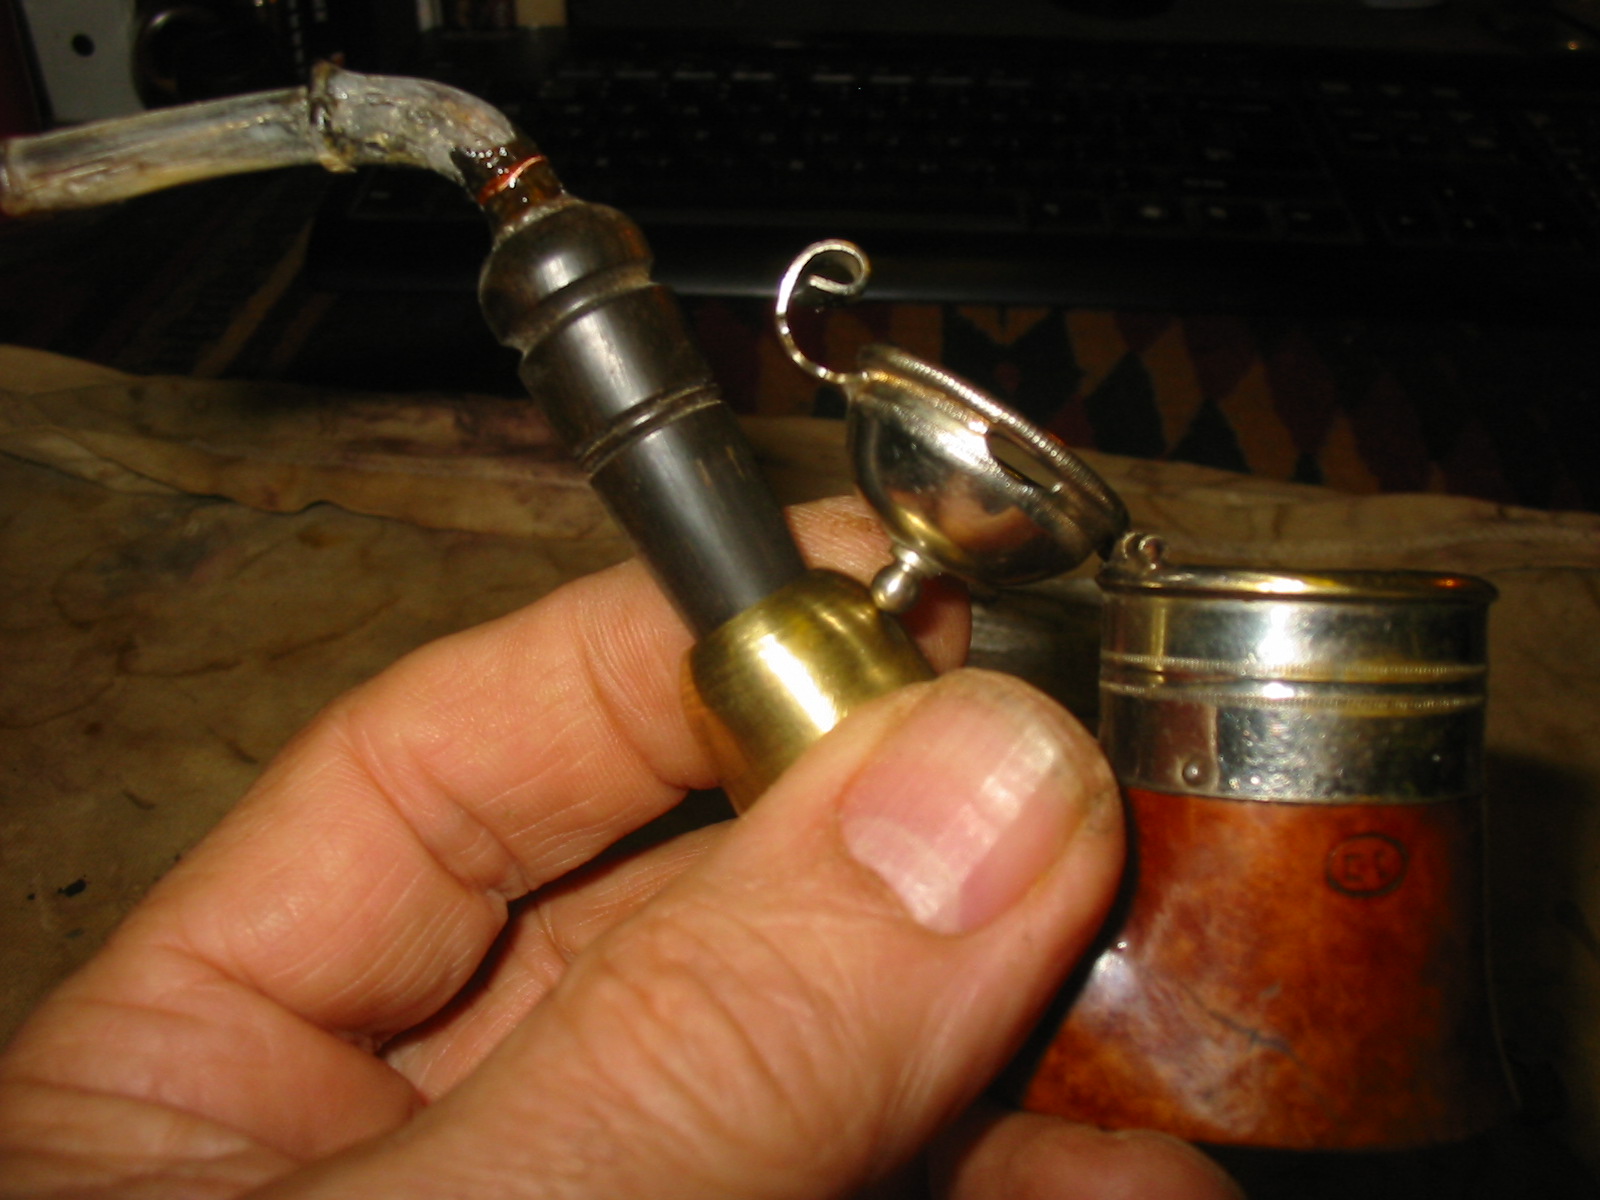
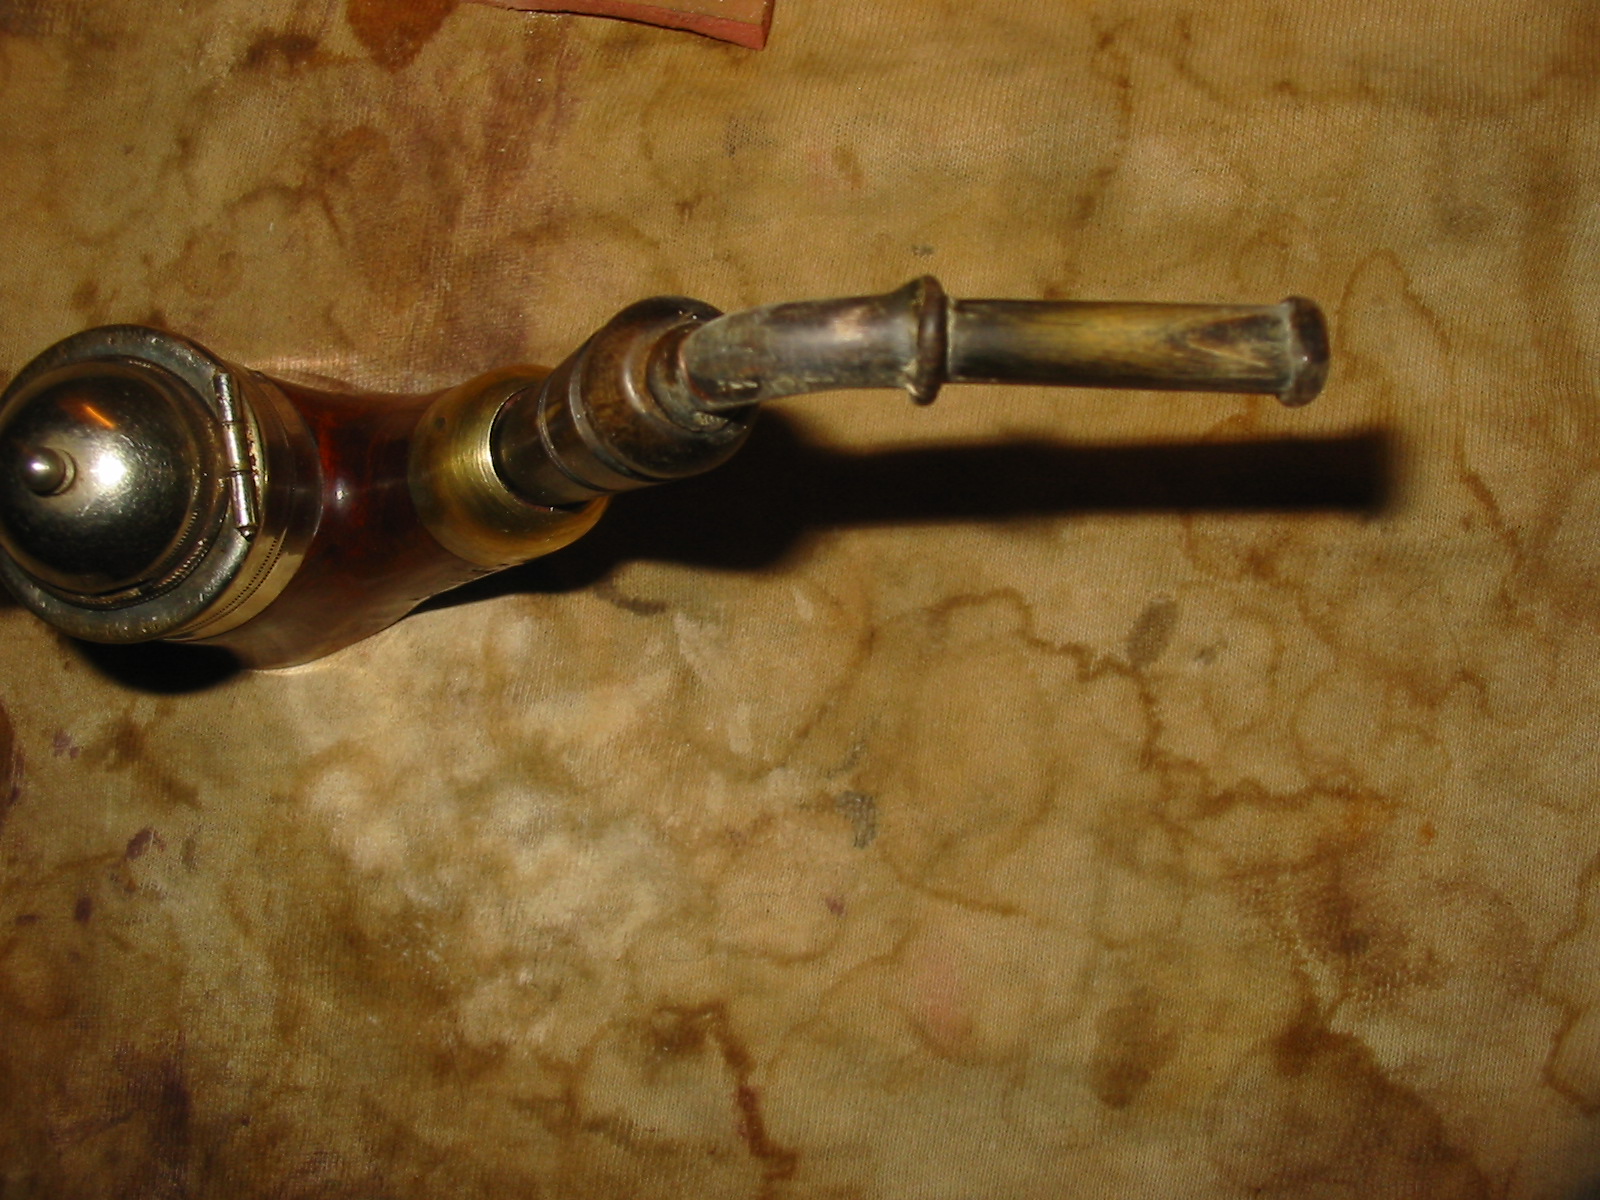
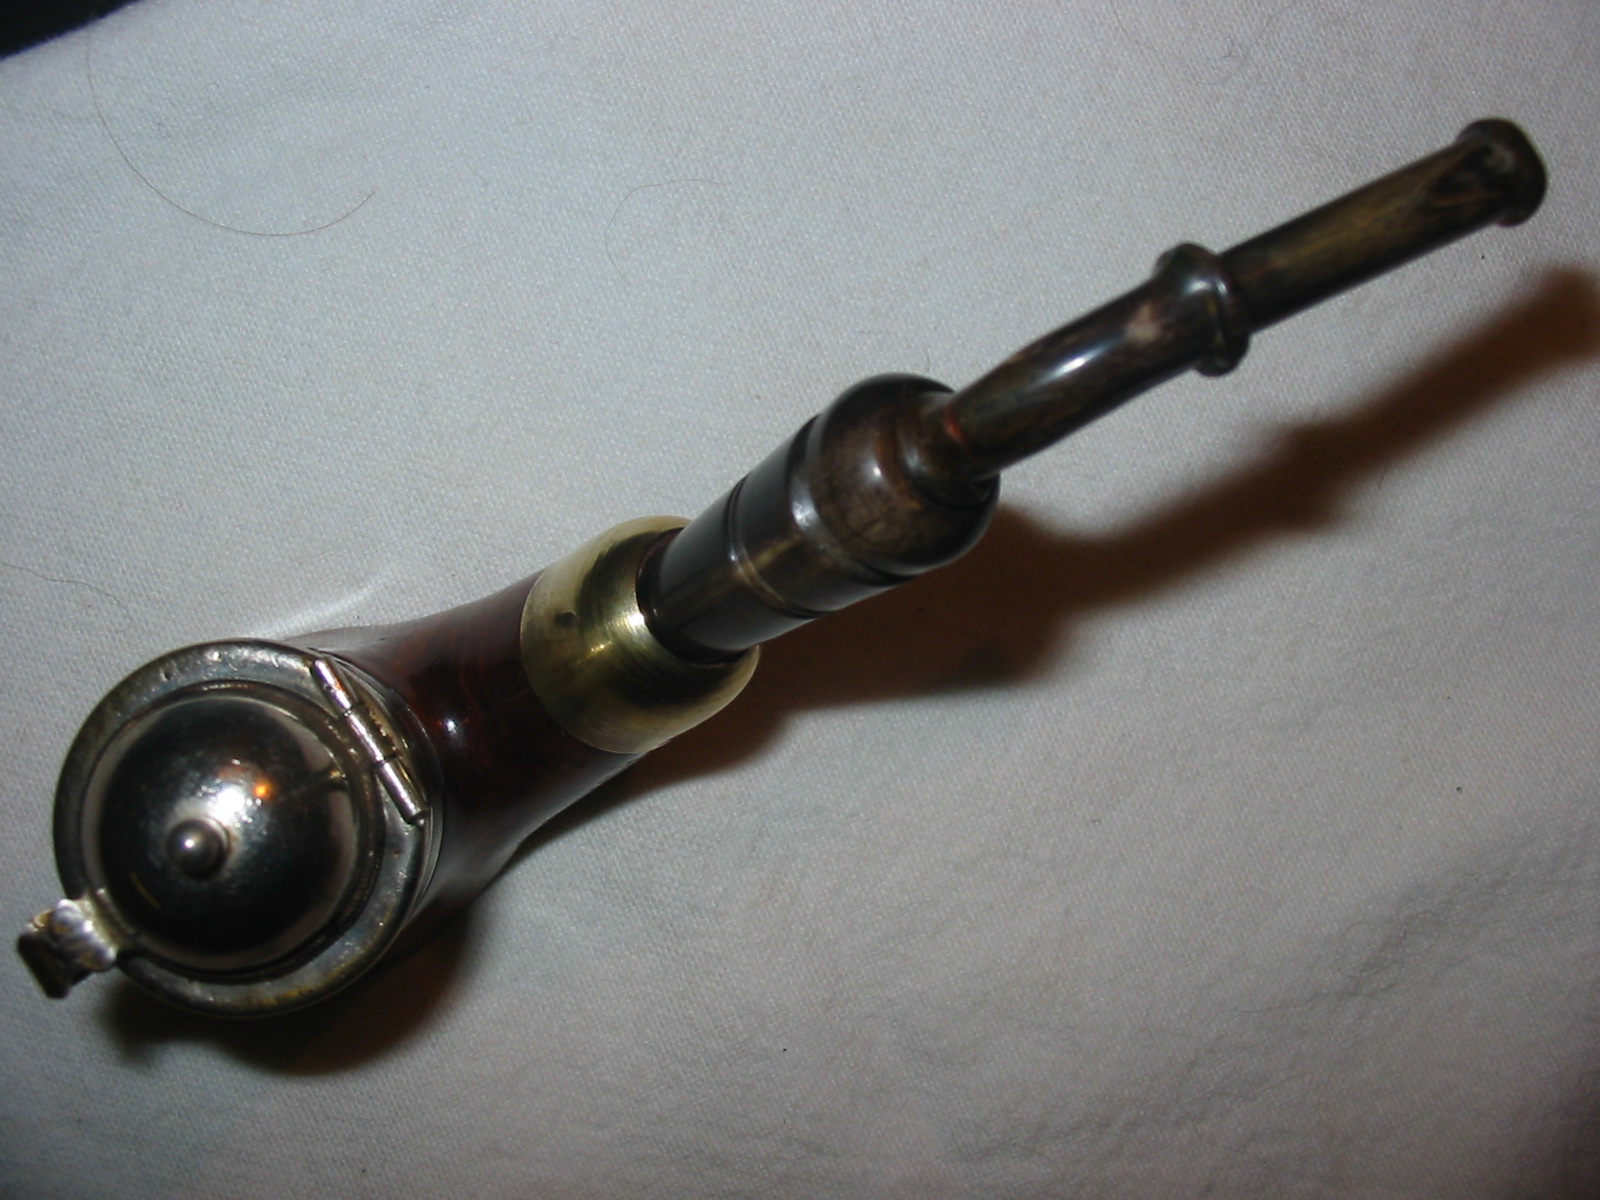
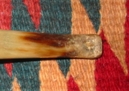
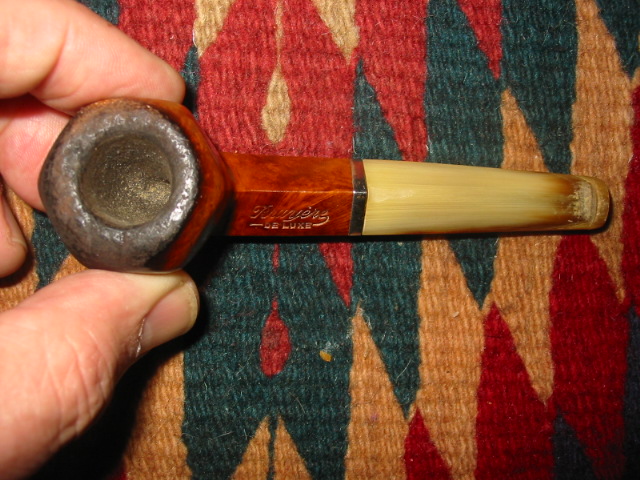
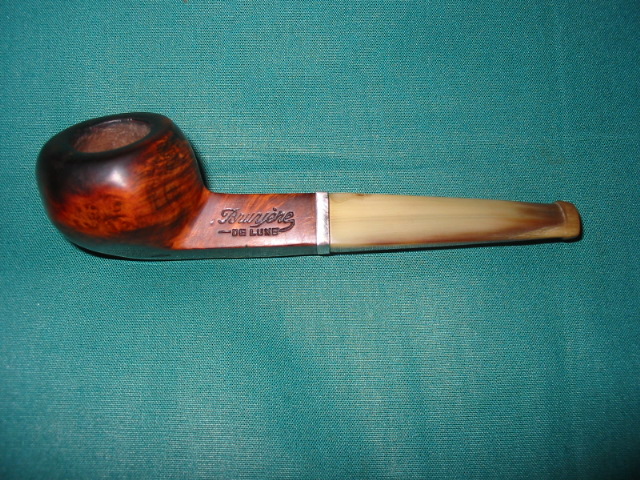
 The pipe was stamped on the left side of the shank MANHATTAN and there was no other stamping on the pipe.
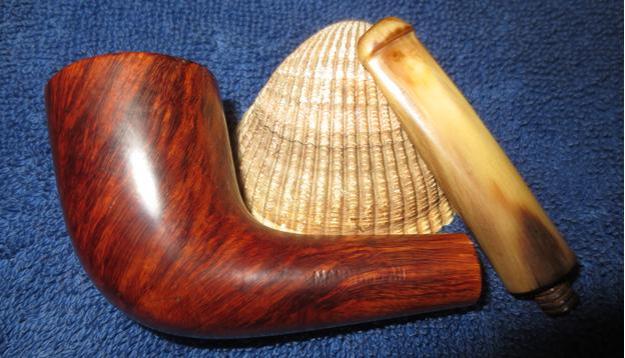
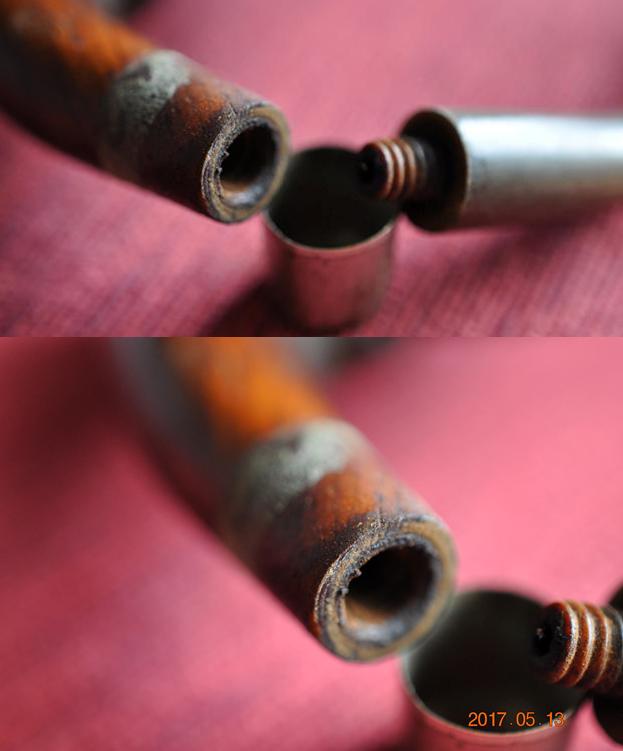
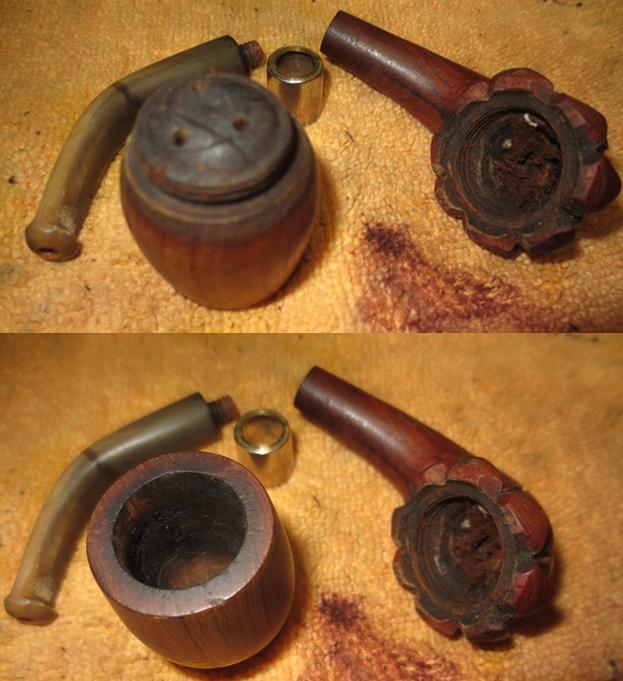
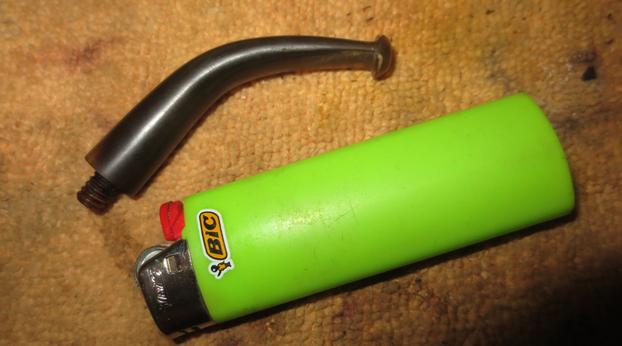
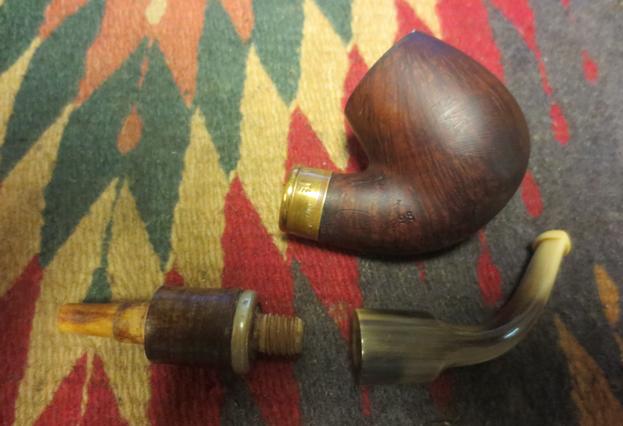
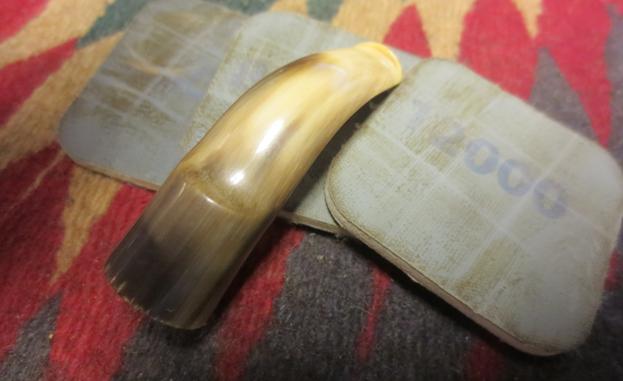
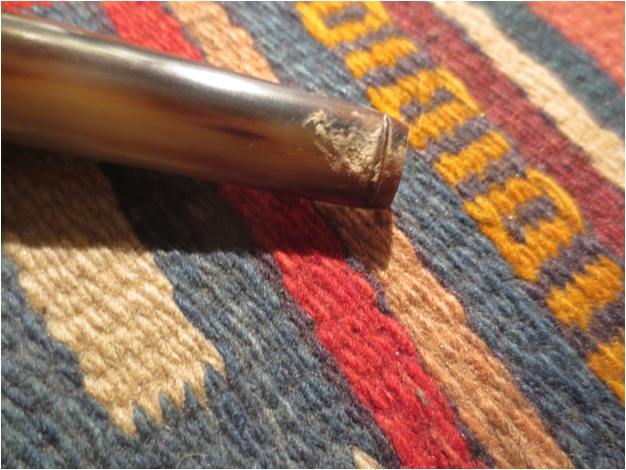
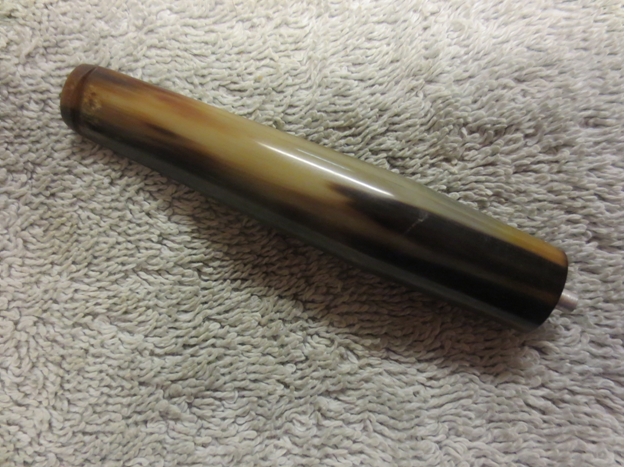
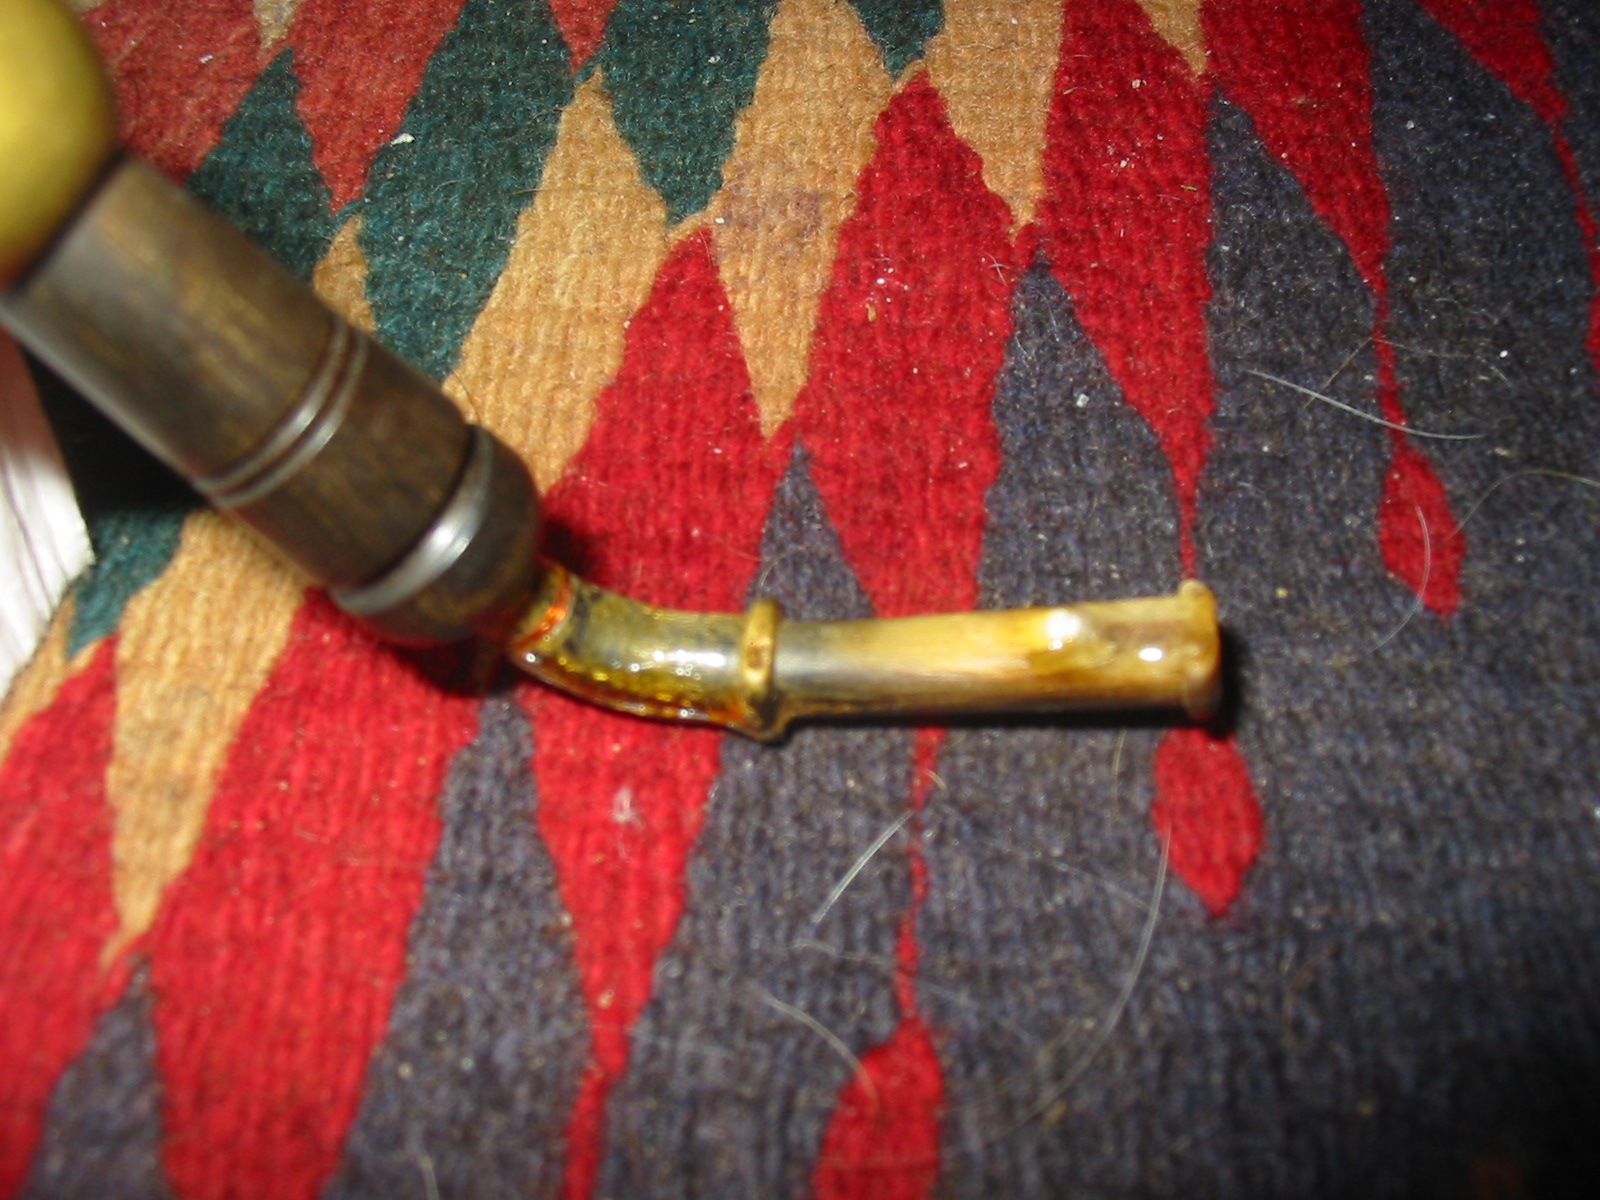
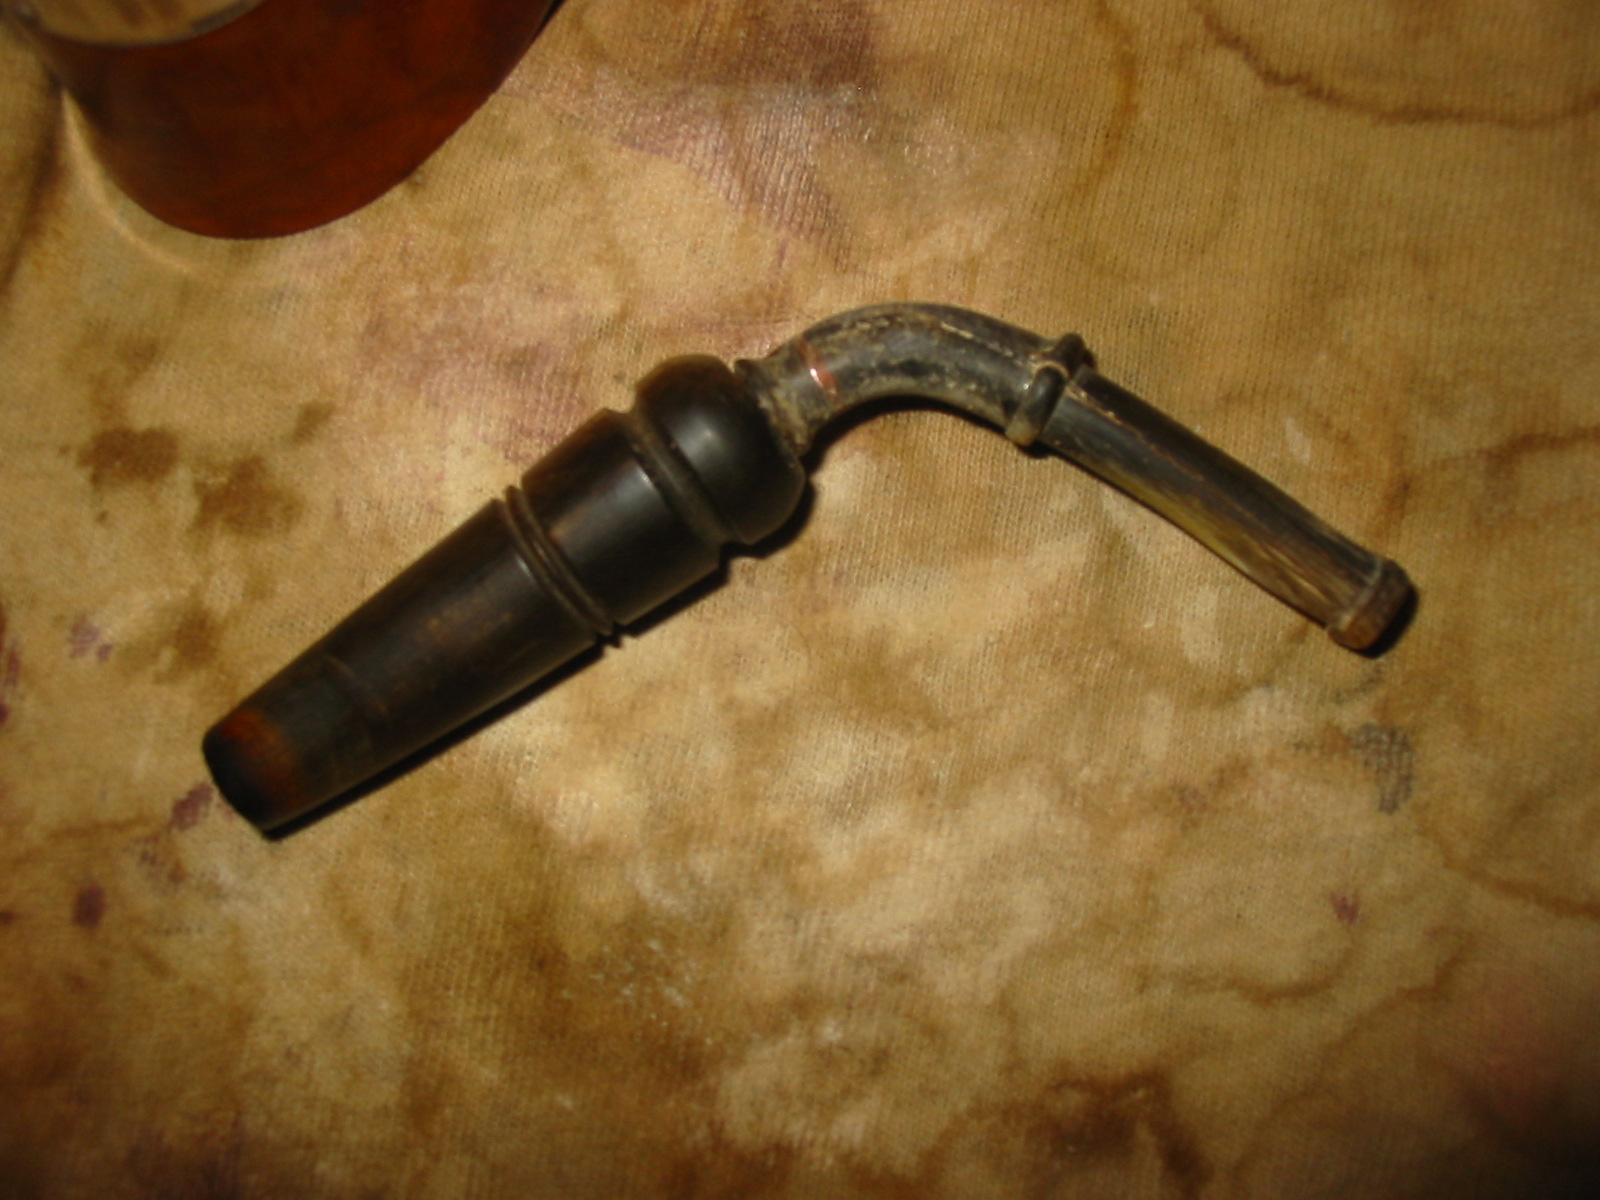
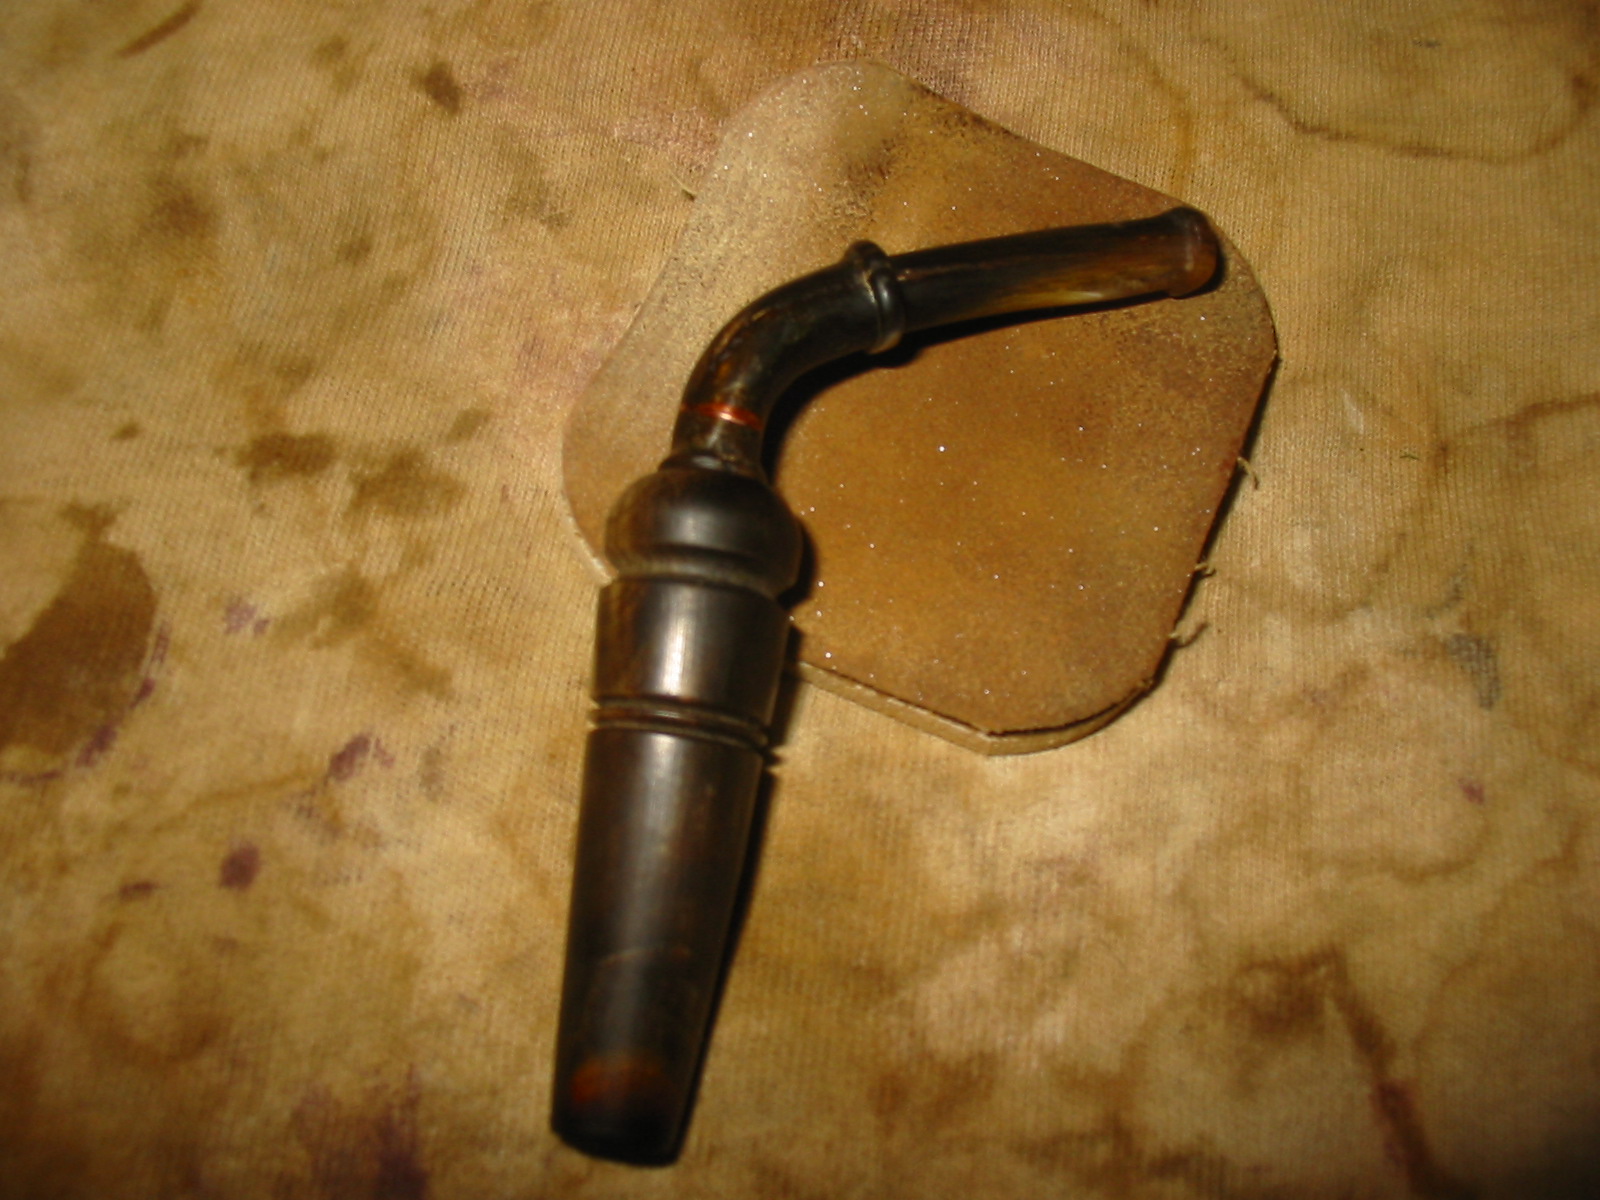
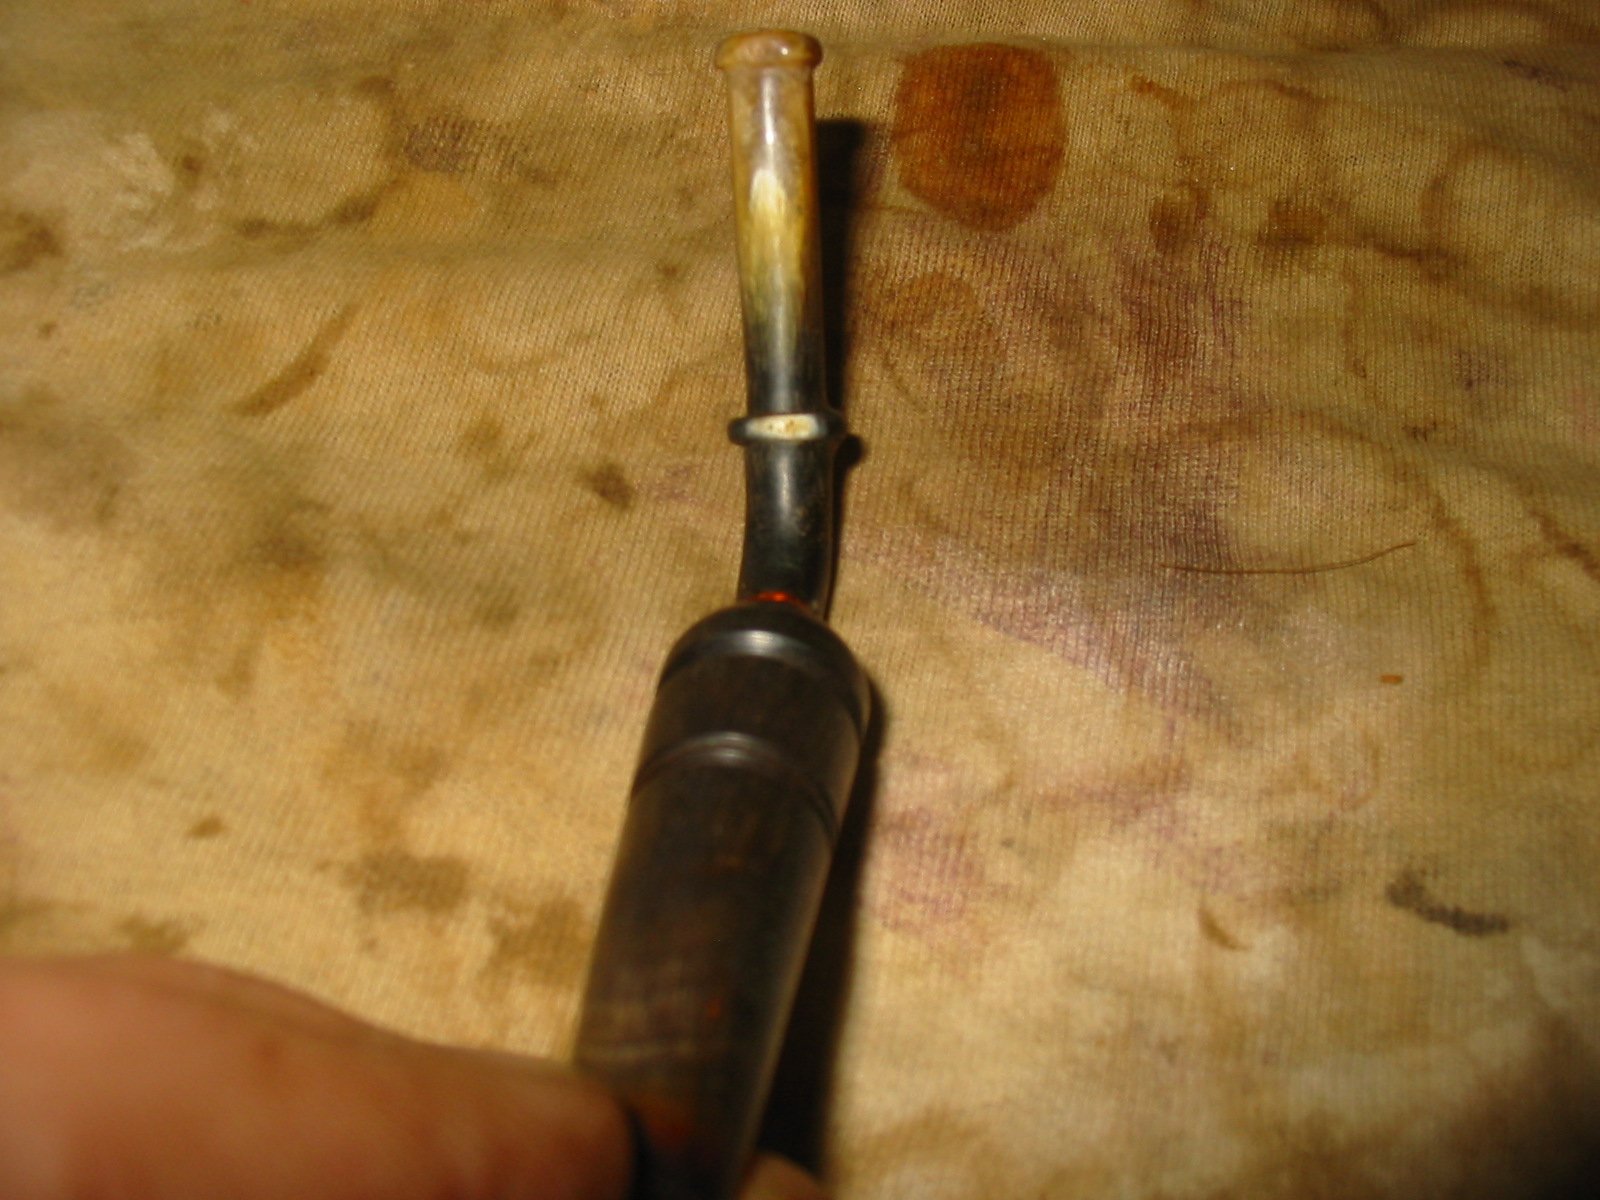
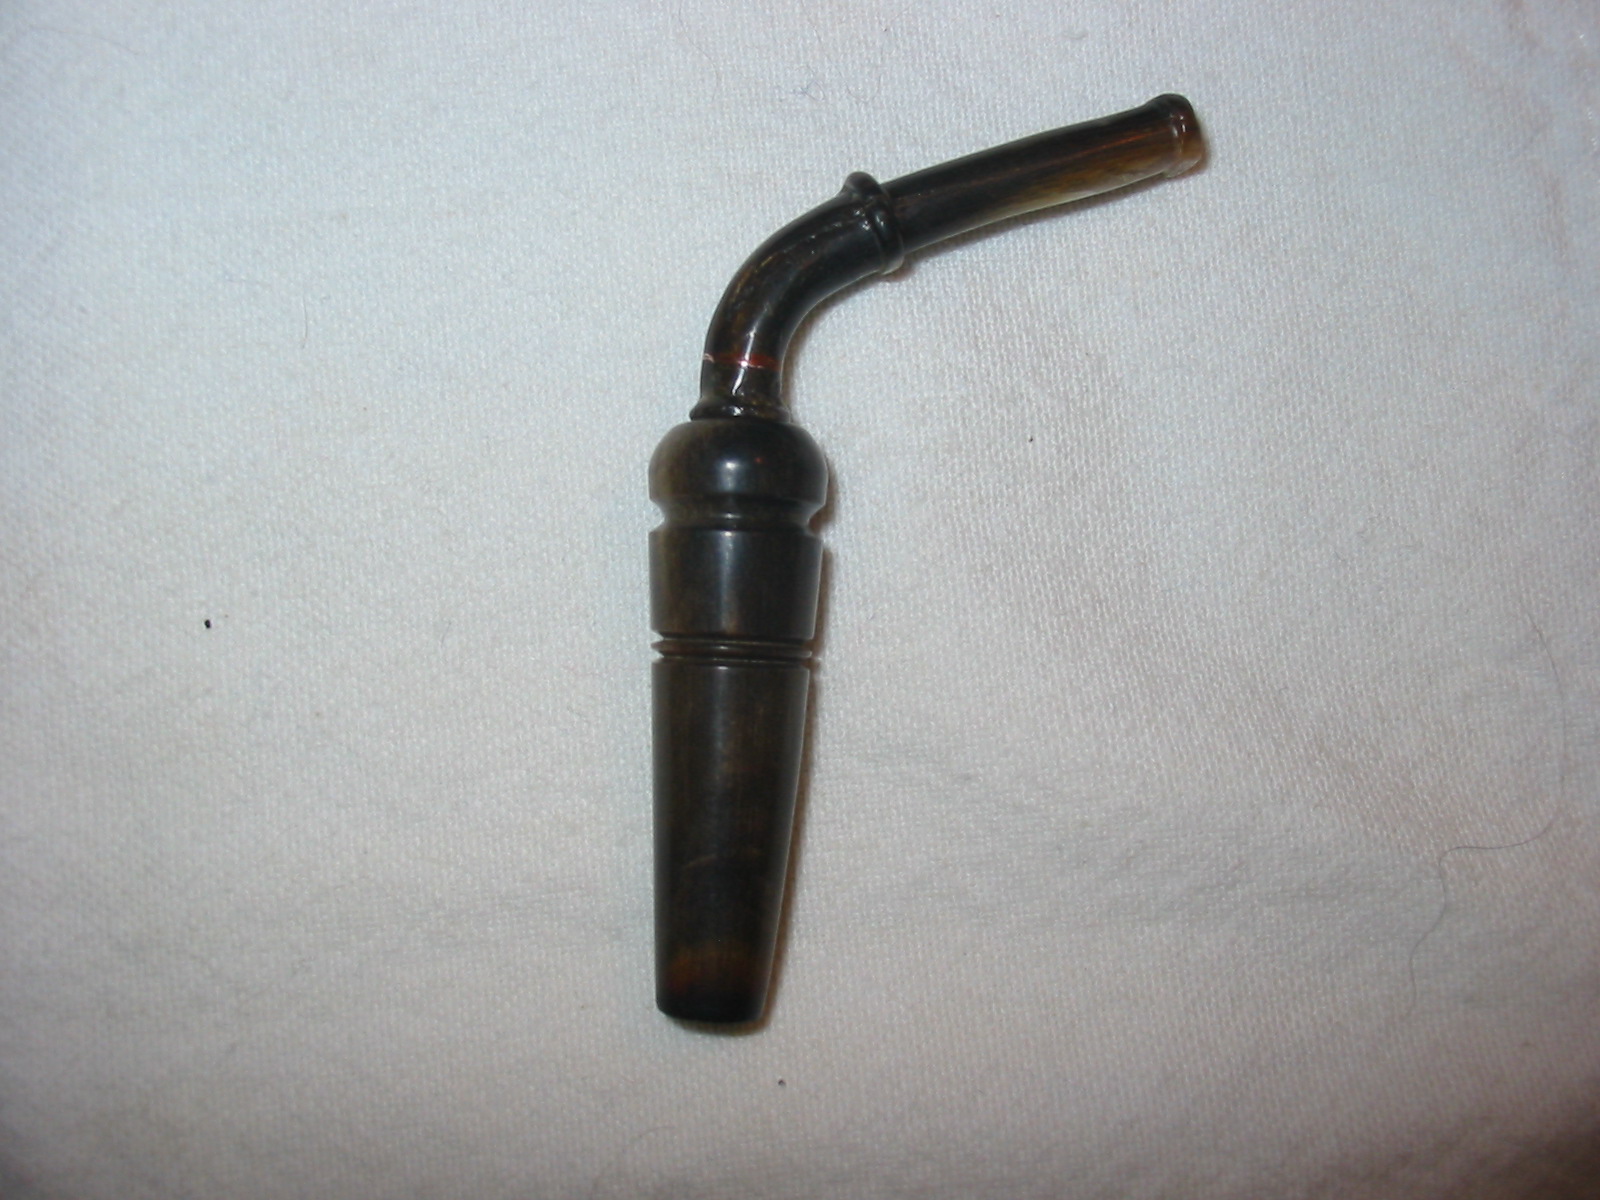
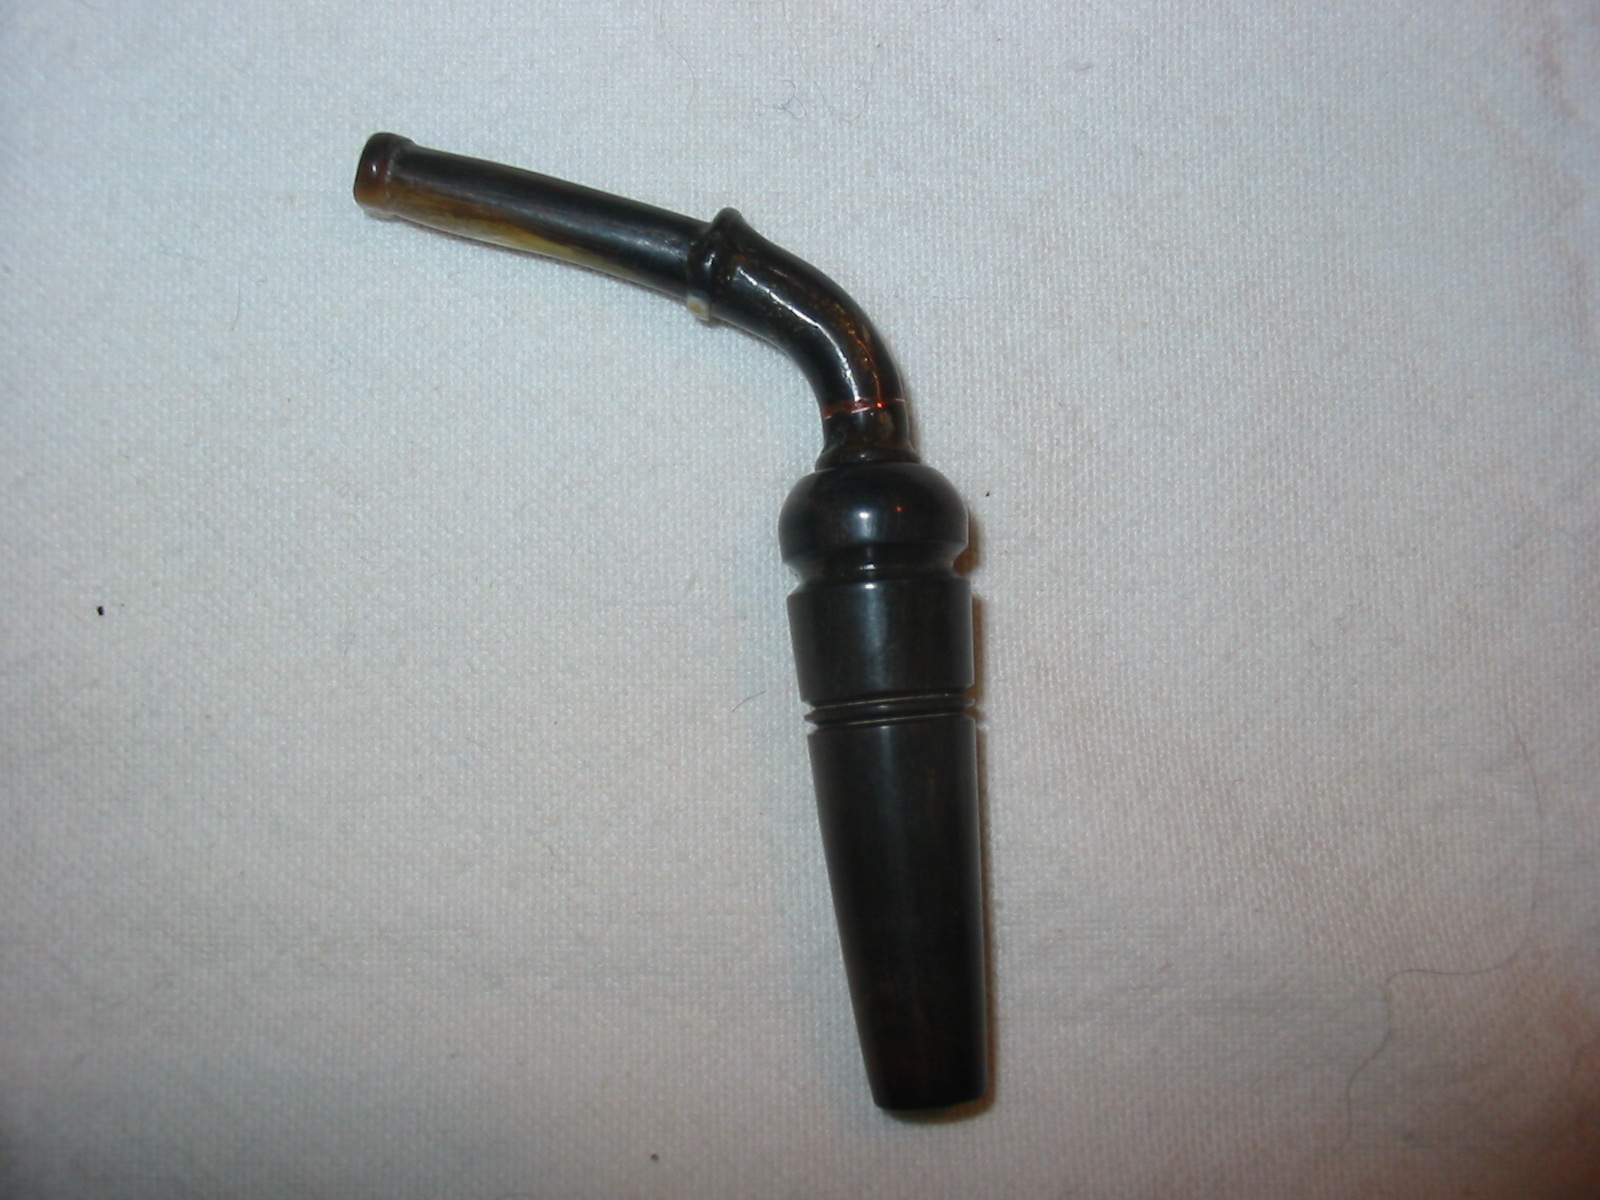
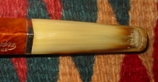
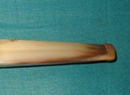
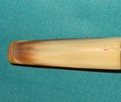
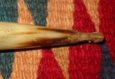
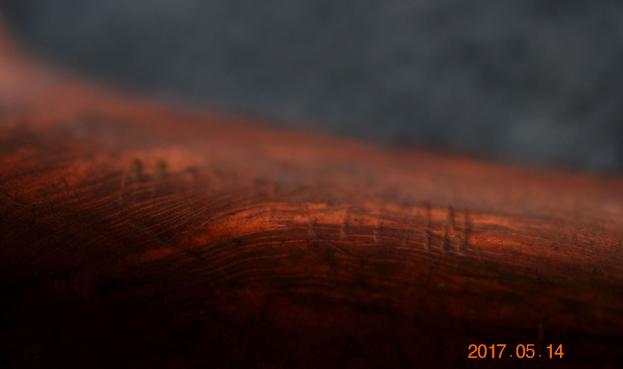 The horn stem was in decent condition with tooth chatter and marks on the top and underside near the button. There was also a small hole that was on the underside of the stem – it did not go all the way through the stem into the airway but it was present. The bone tenon was in good condition and the alignment of the stem to the shank was perfect.
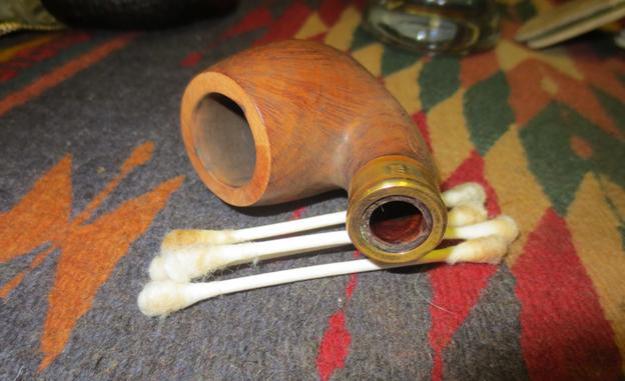
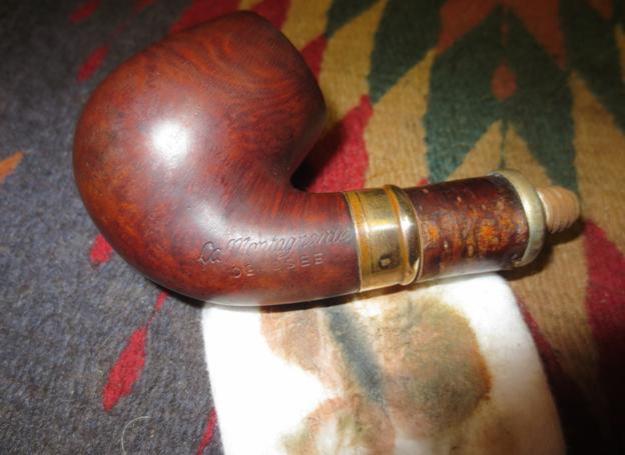
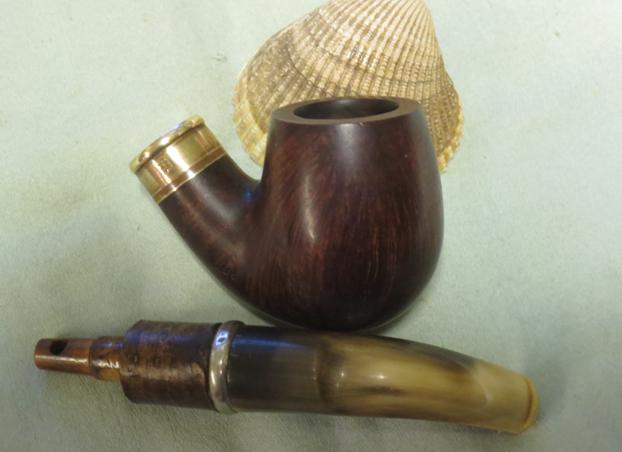
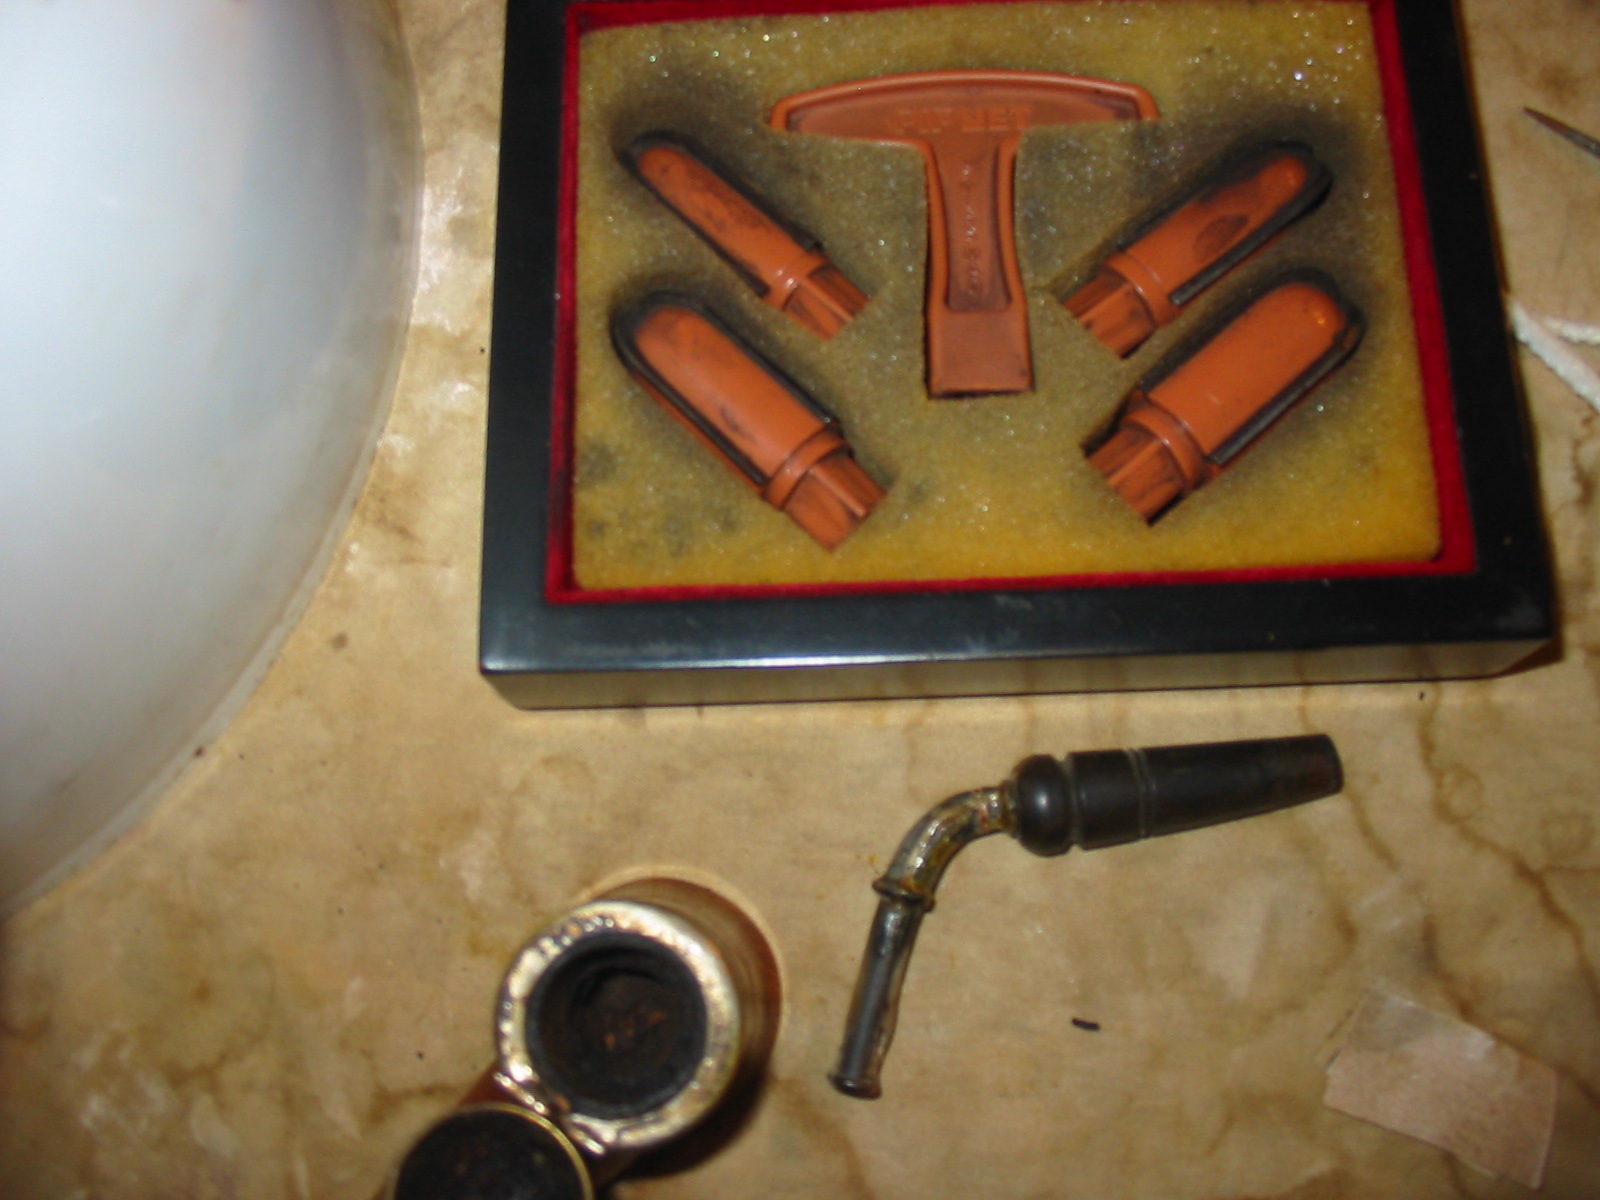
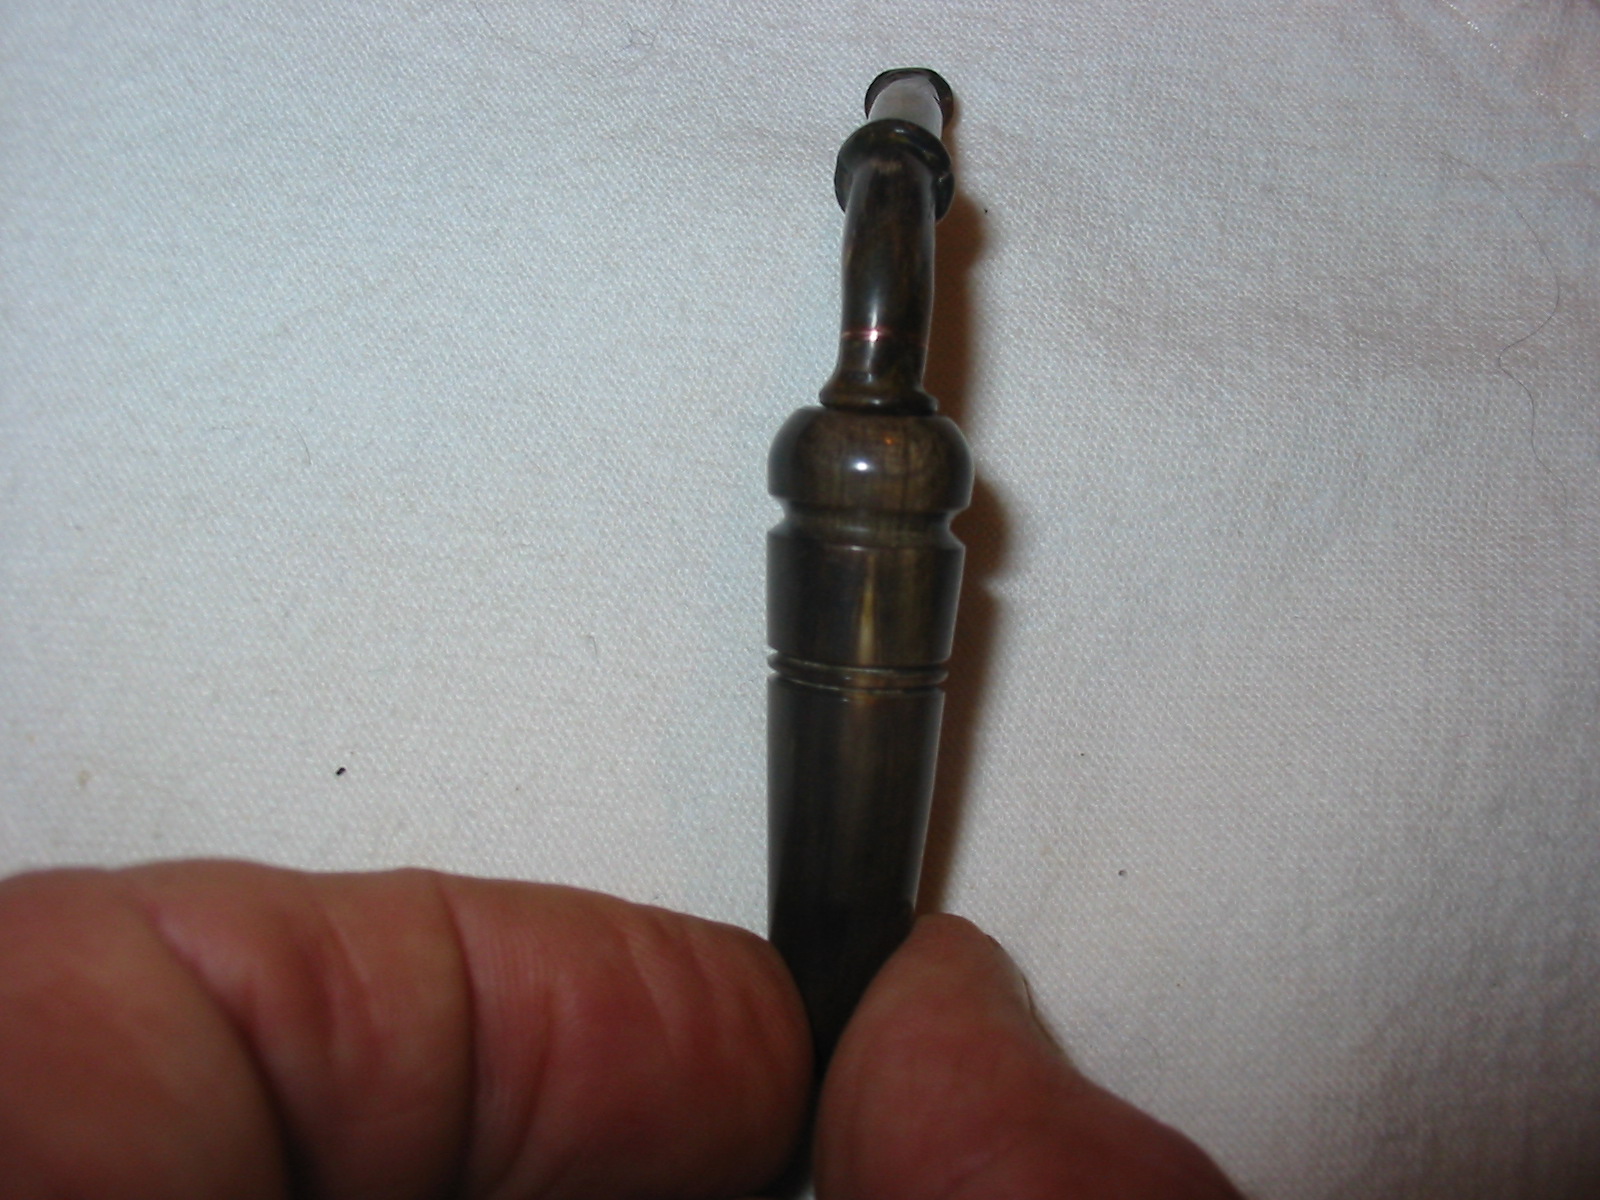
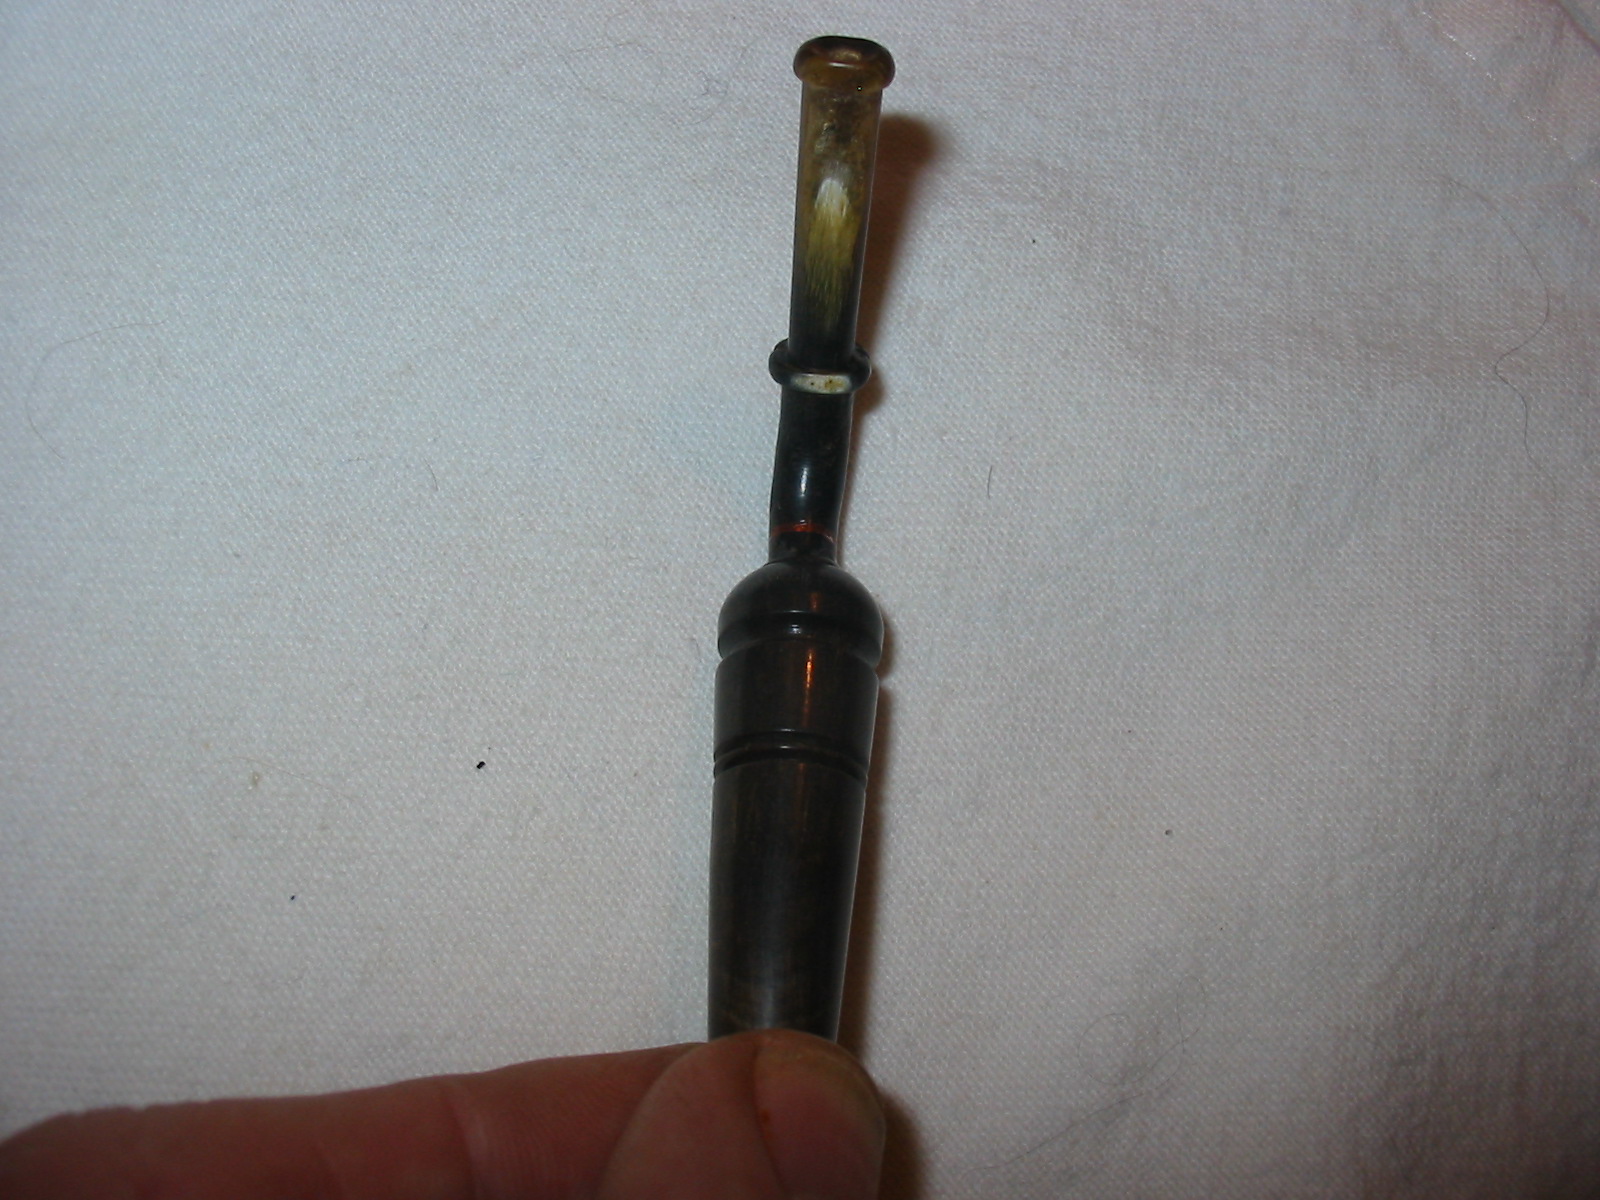
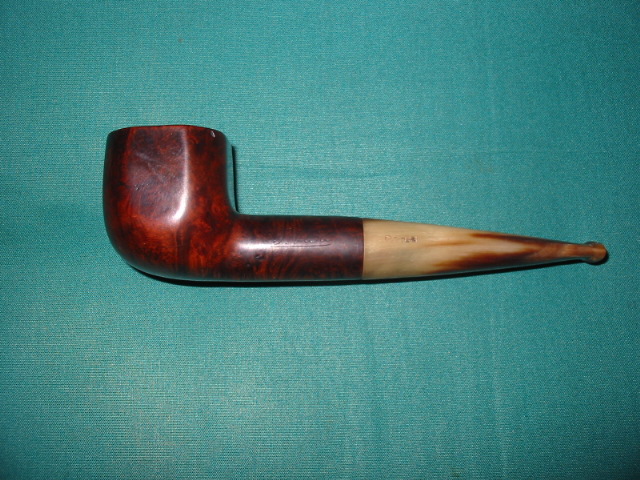
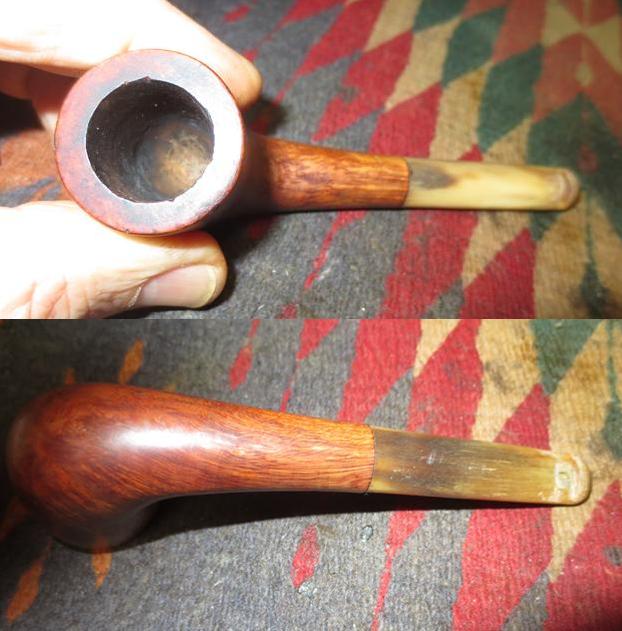
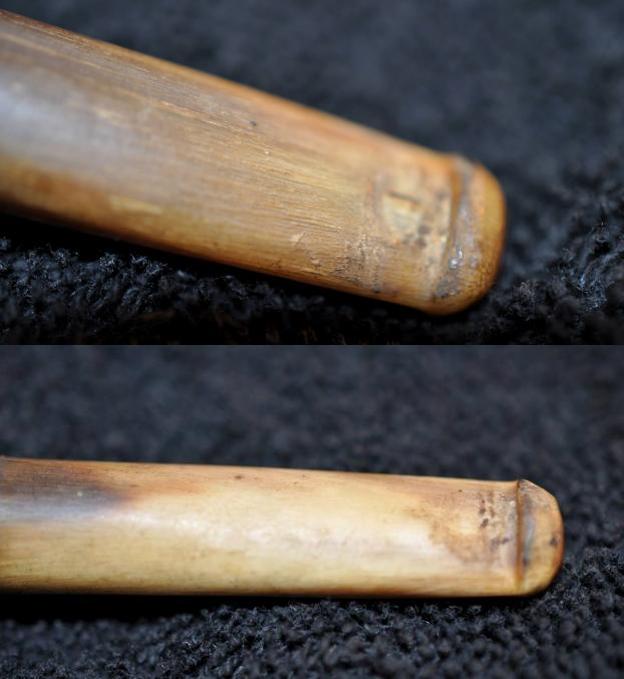 My brother Jeff has established his own process of thoroughly cleaning the pipes that he works on for me. This one was no exception, it was cleaned thoroughly. He reamed the bowl with a PipNet reamer and tidied it up with a Savinelli Fitsall Pipe Knife. He scrubbed out the mortise and the airway in the shank and the stem with pipe cleaners, cotton swabs and alcohol and cleaned the exterior of the threaded bone tenon with a cotton swab and alcohol. He scrubbed the exterior of the pipe with Murphy’s Oil Soap to remove the grime and grit on the bowl. He scrubbed the rim top with a tooth brush and the oil soap and was able to clean off the lava overflow. I took photos of the pipe to show the condition it was in when it arrived in Vancouver. The grain really was quite stunning. While the MANHATTAN stamp is legible on the left side of the shank it is quite faint.
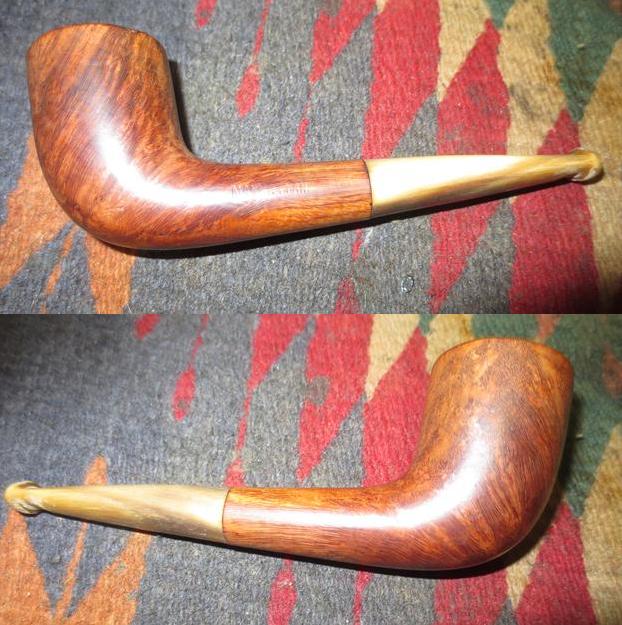
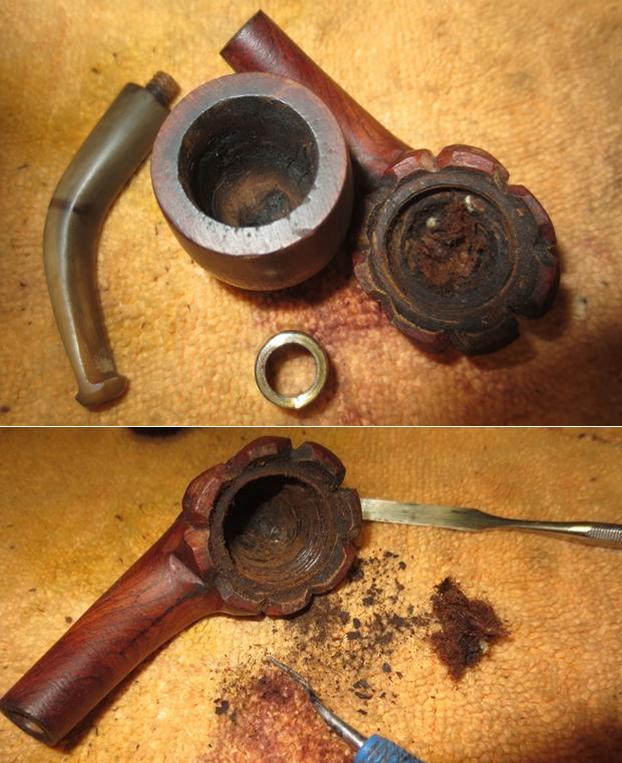
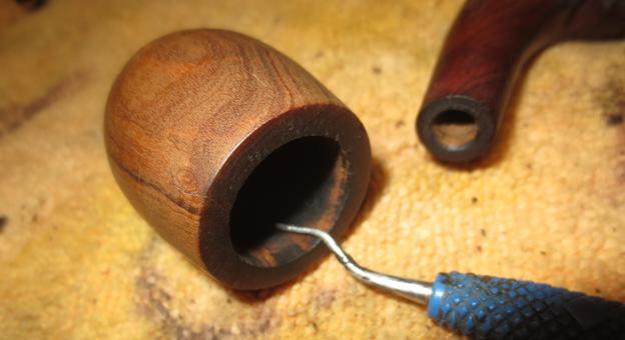
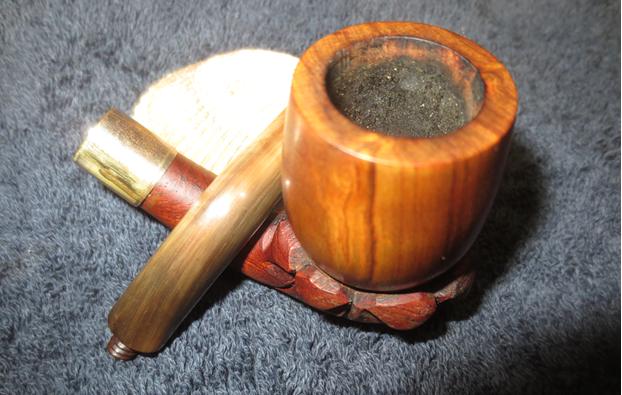
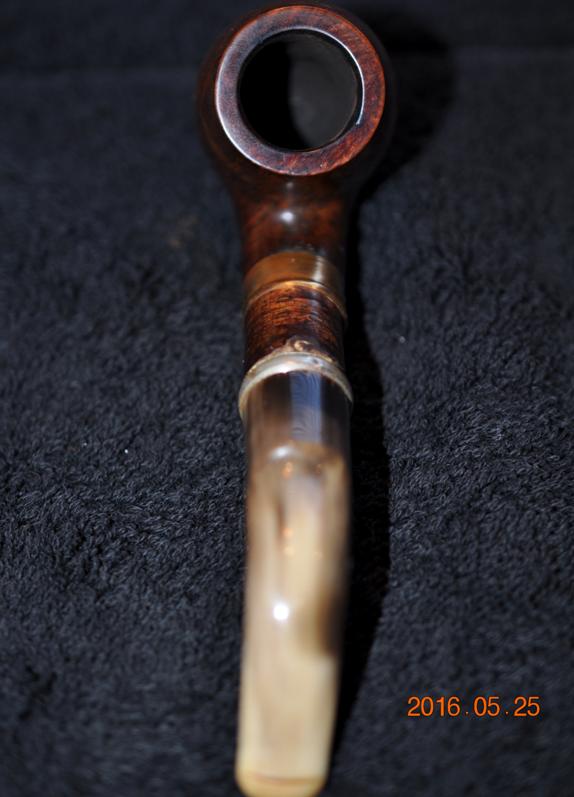
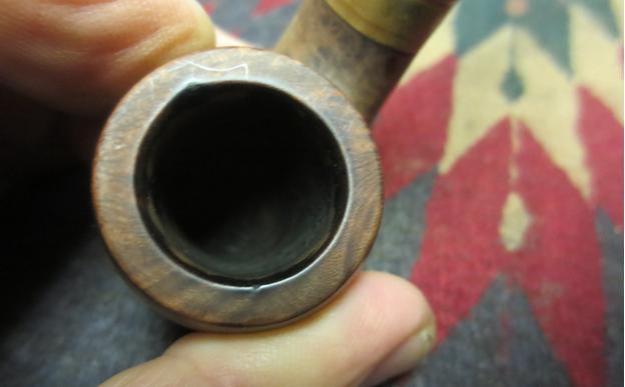
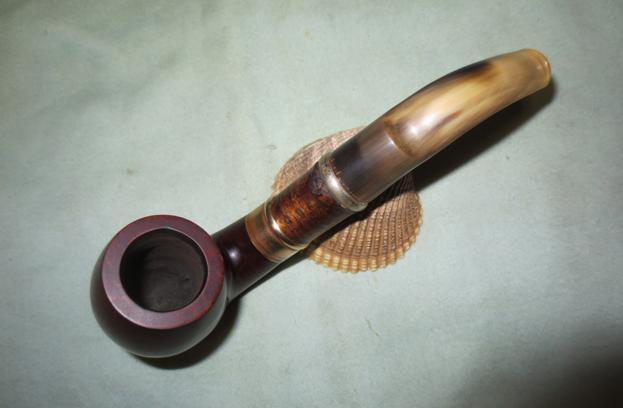
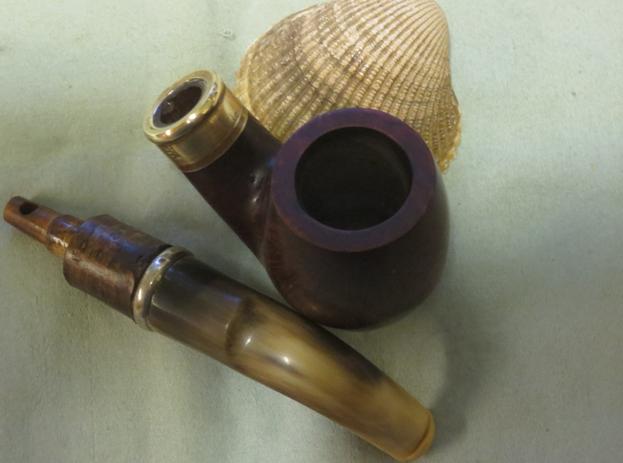
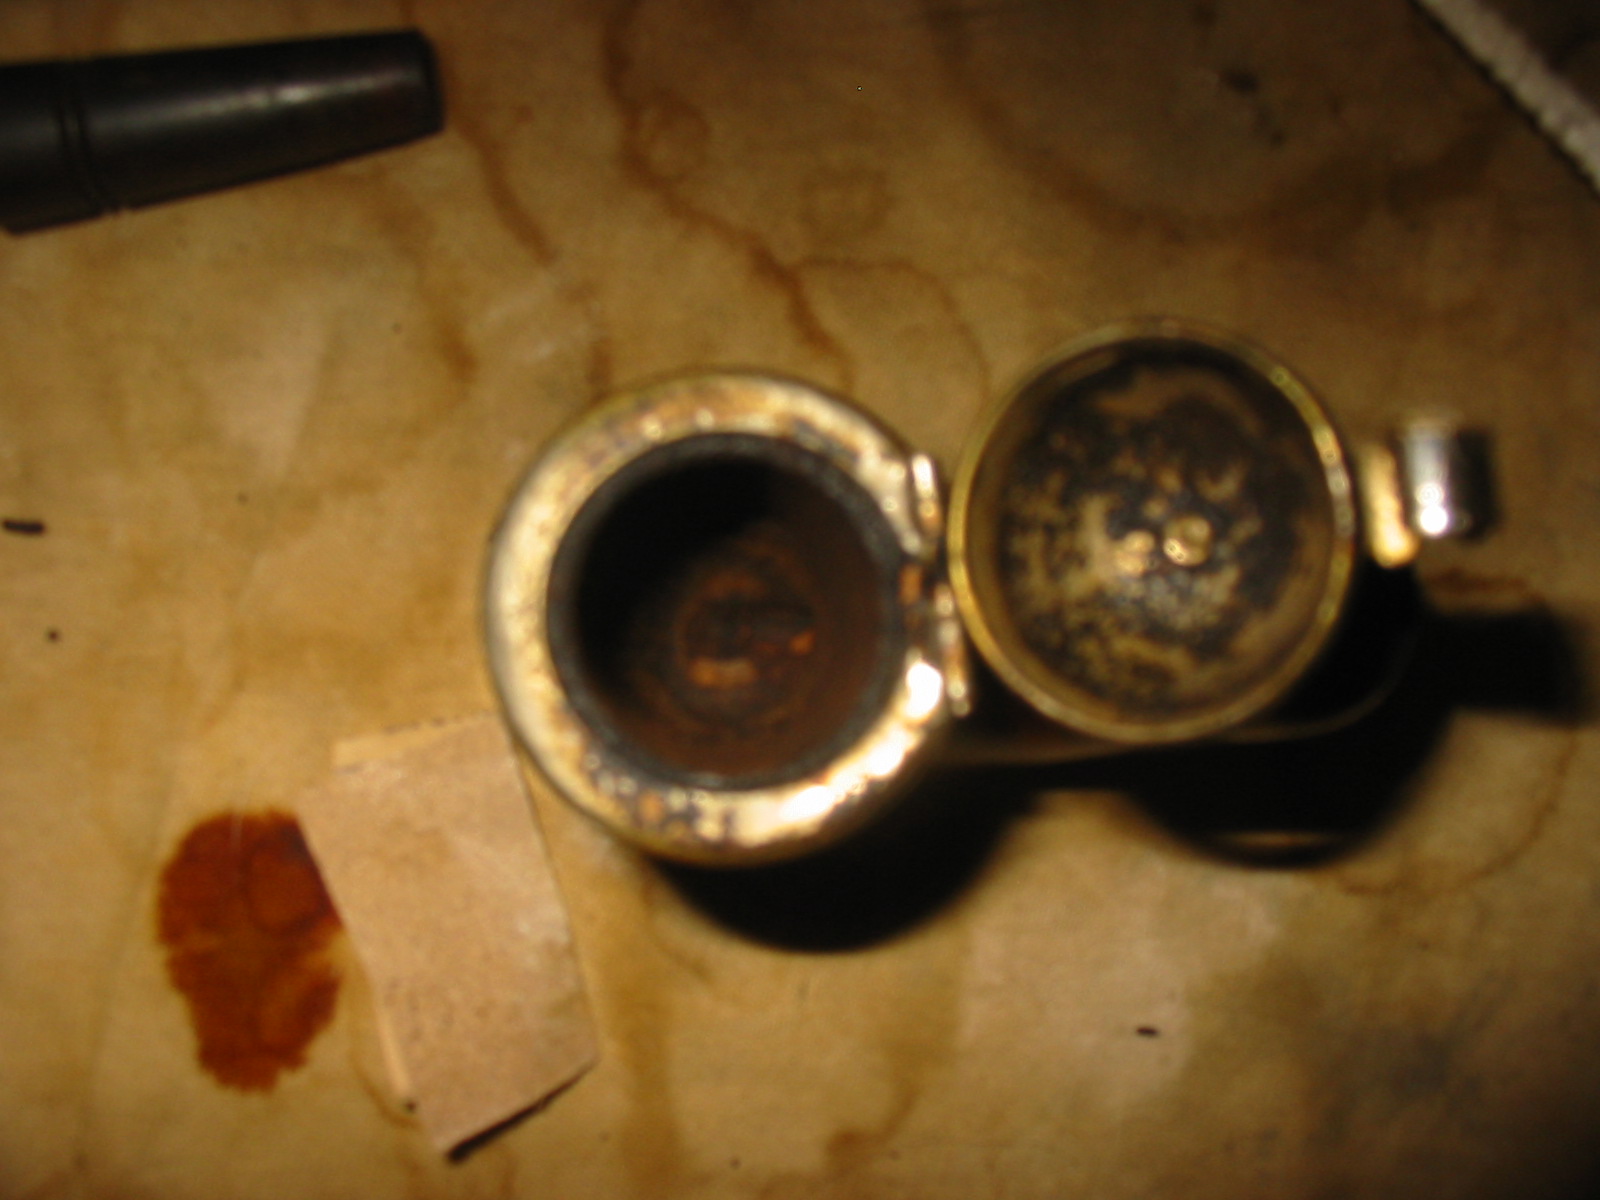
 I took a close up photo of the bowl and rim top after my brother had clean it up. The rim top was in good condition, the bowl was clean but the inner edge of the bowl showed a lot of damage and looked like the same knife that had been used to ream the other pipes in this lot had done its work here as well.
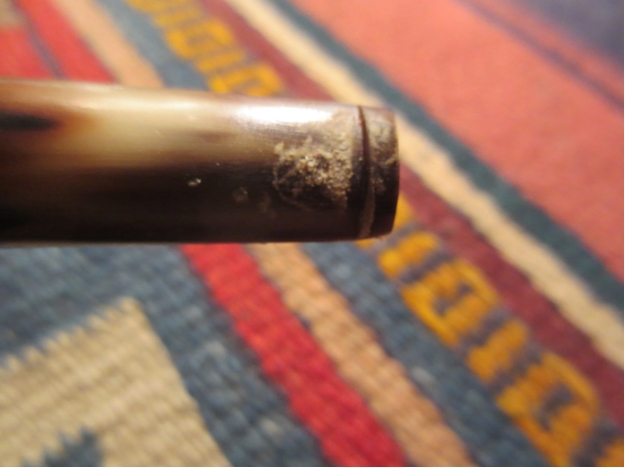
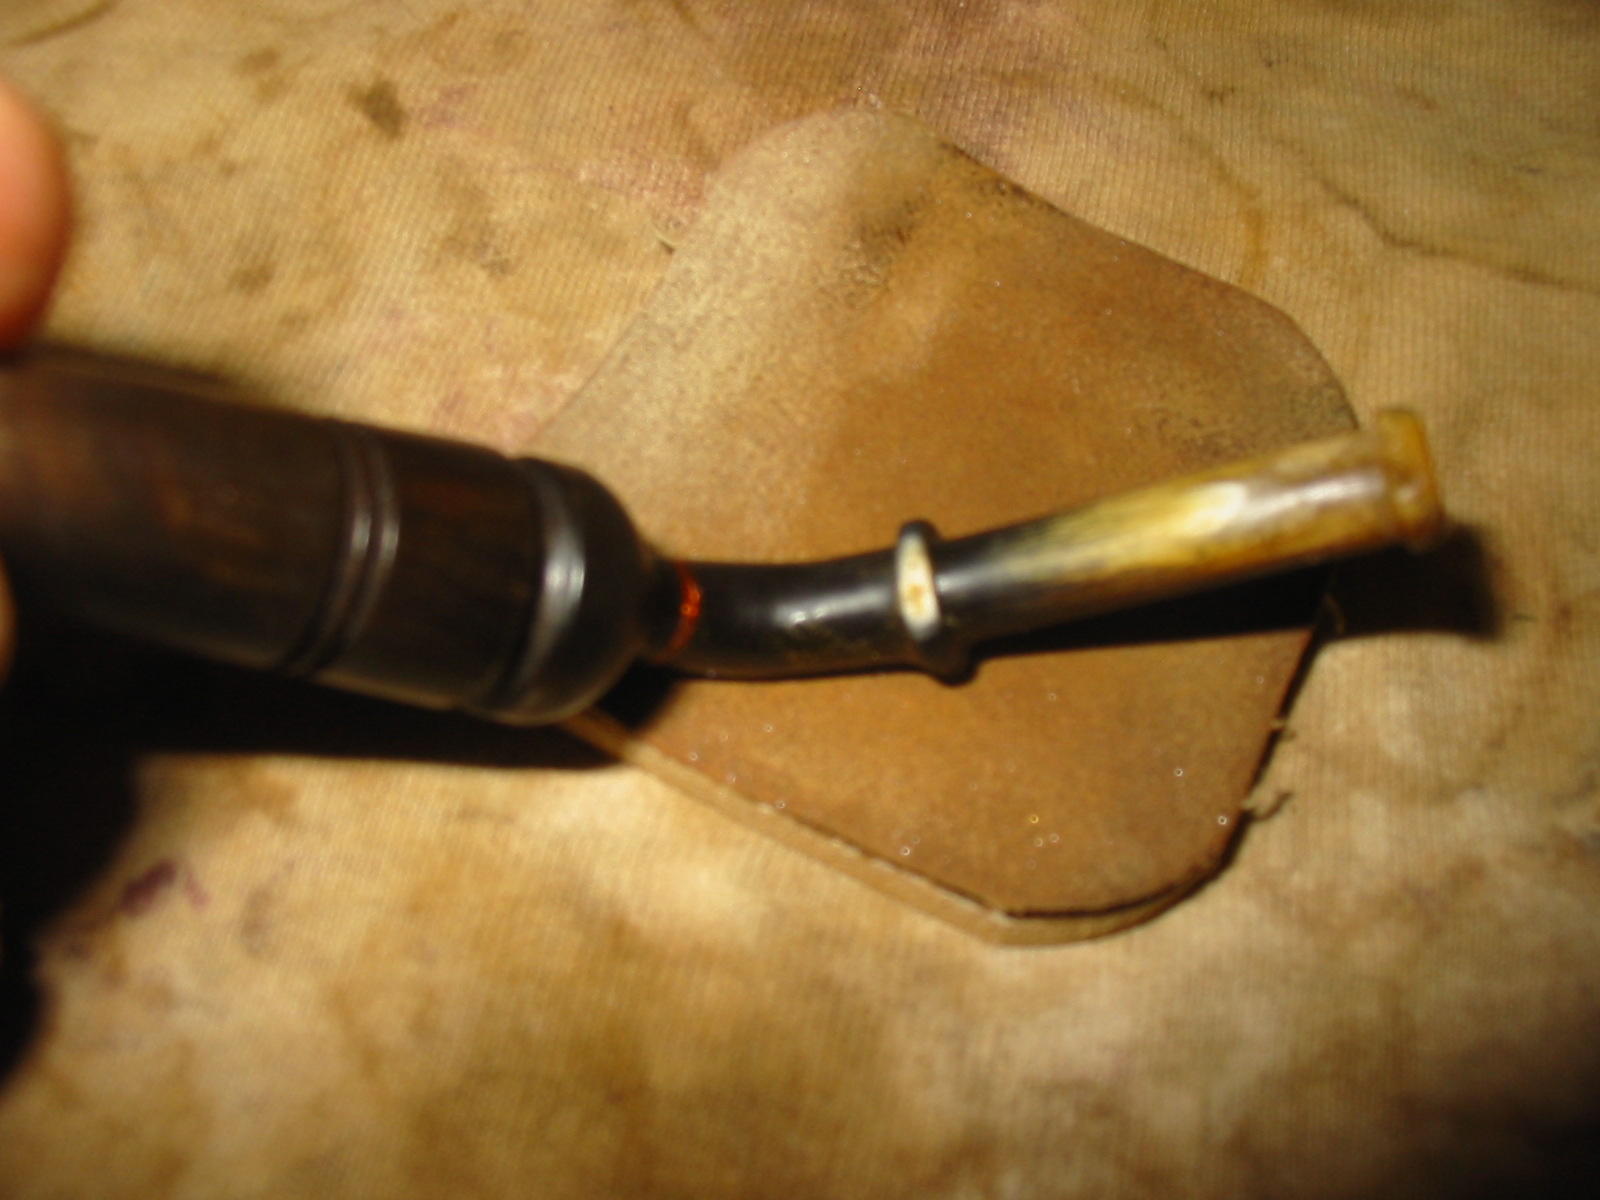
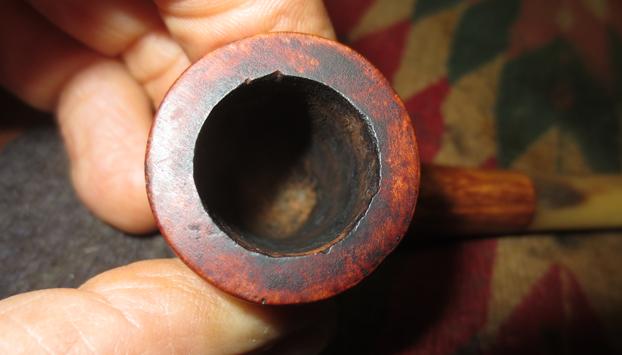 His clean up on the horn stem had revealed that the small hole I had noted on the photos above was indeed present and was a small separation between the fibres of the horn. Fortunately this is a simple repair but the repair always shows.
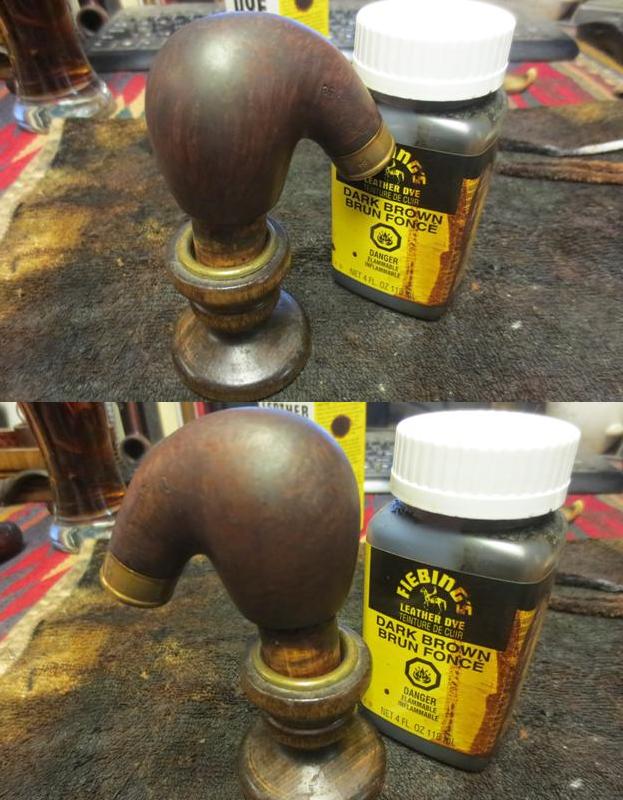
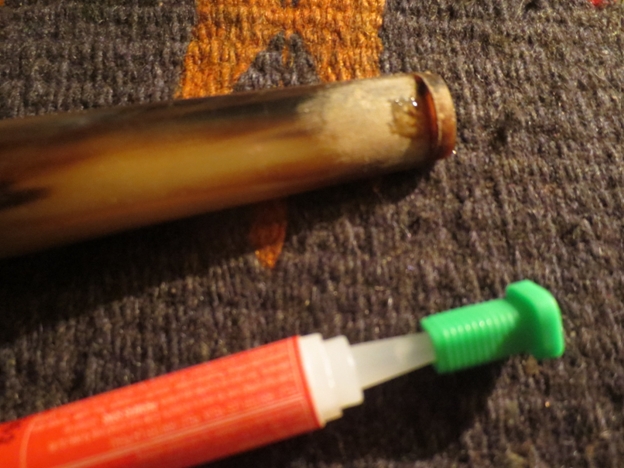
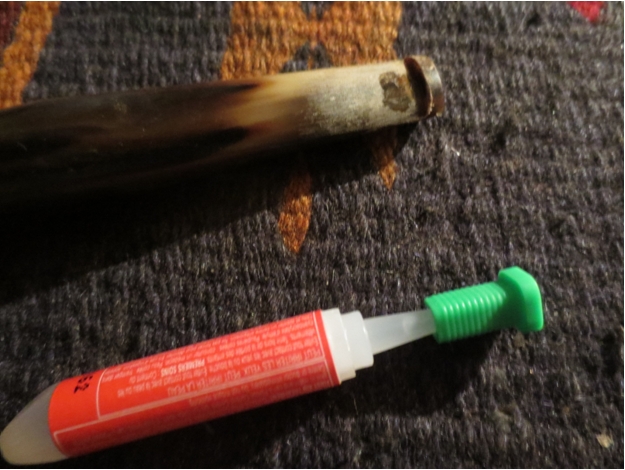
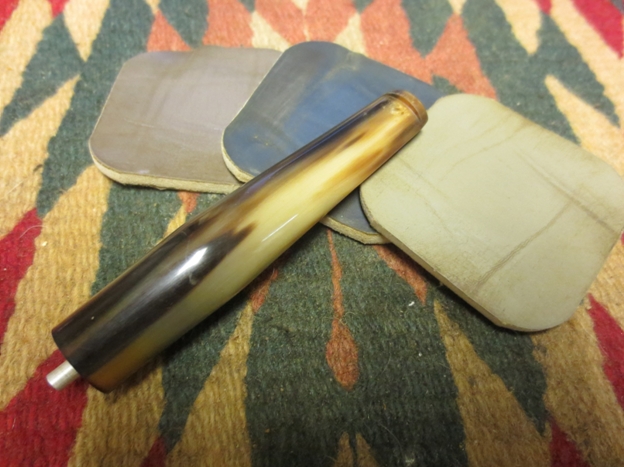
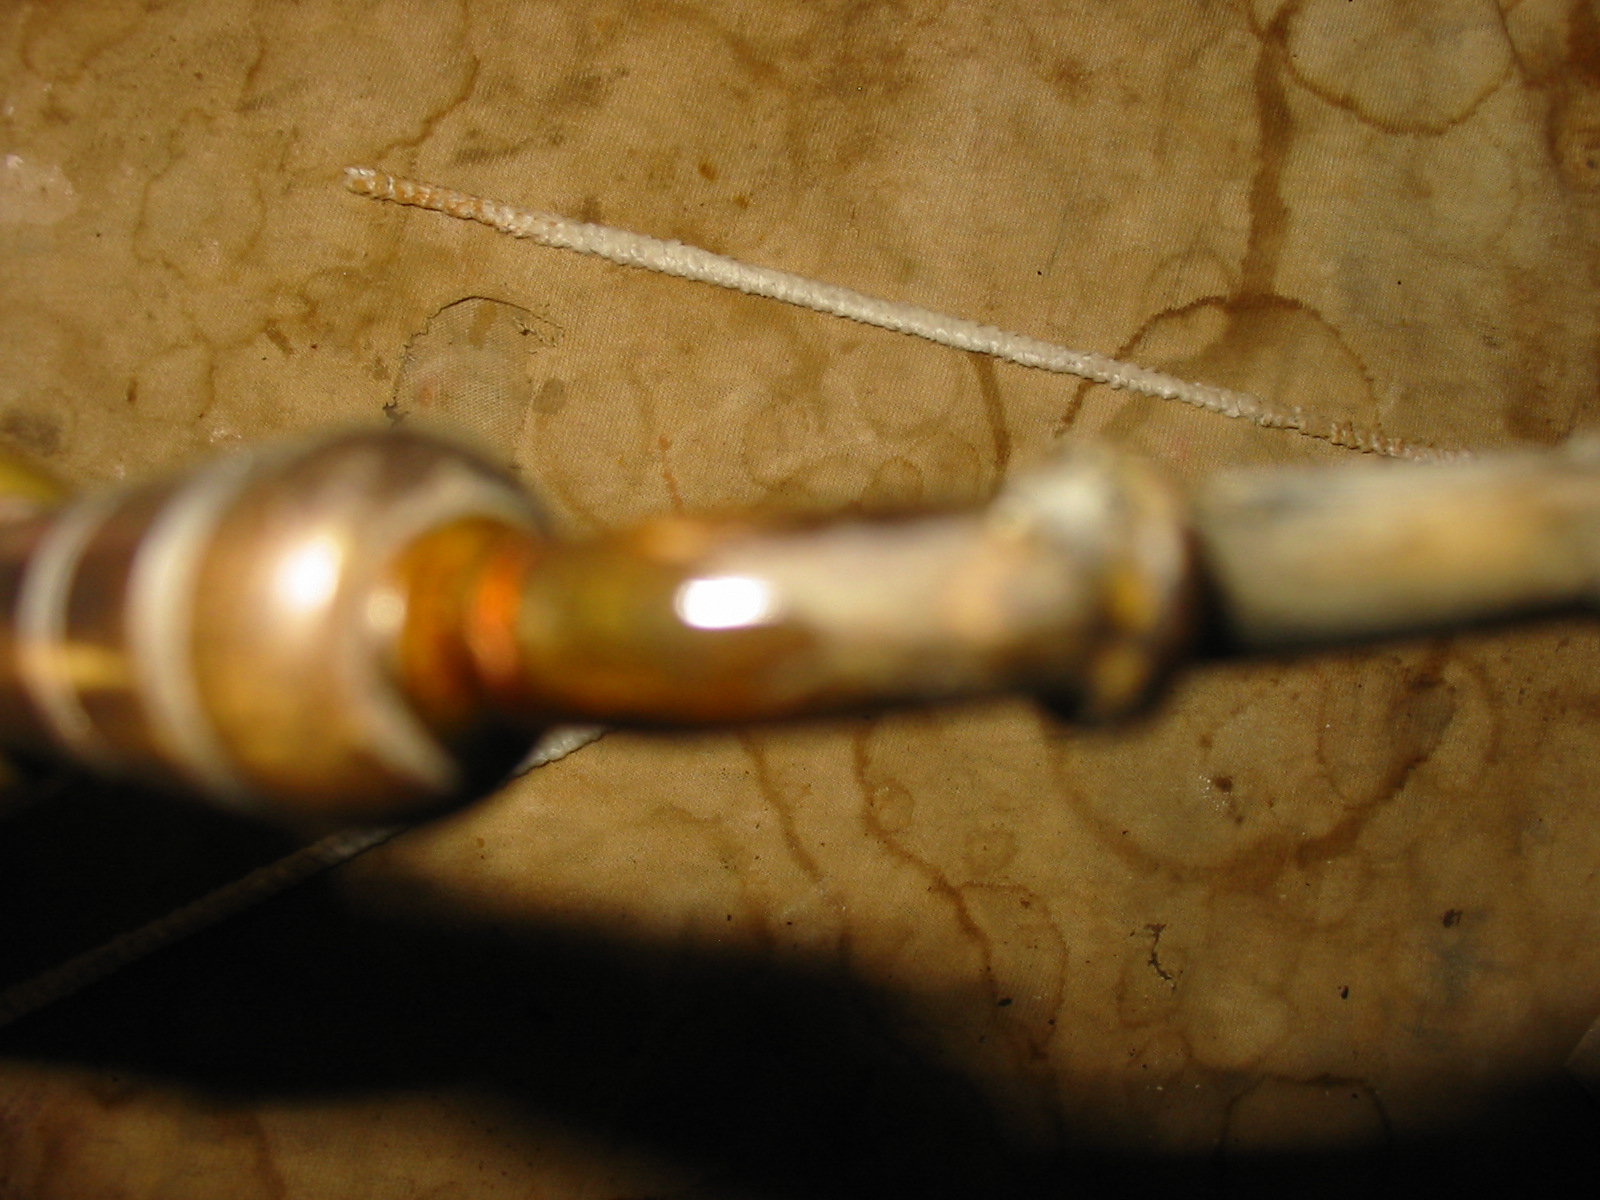
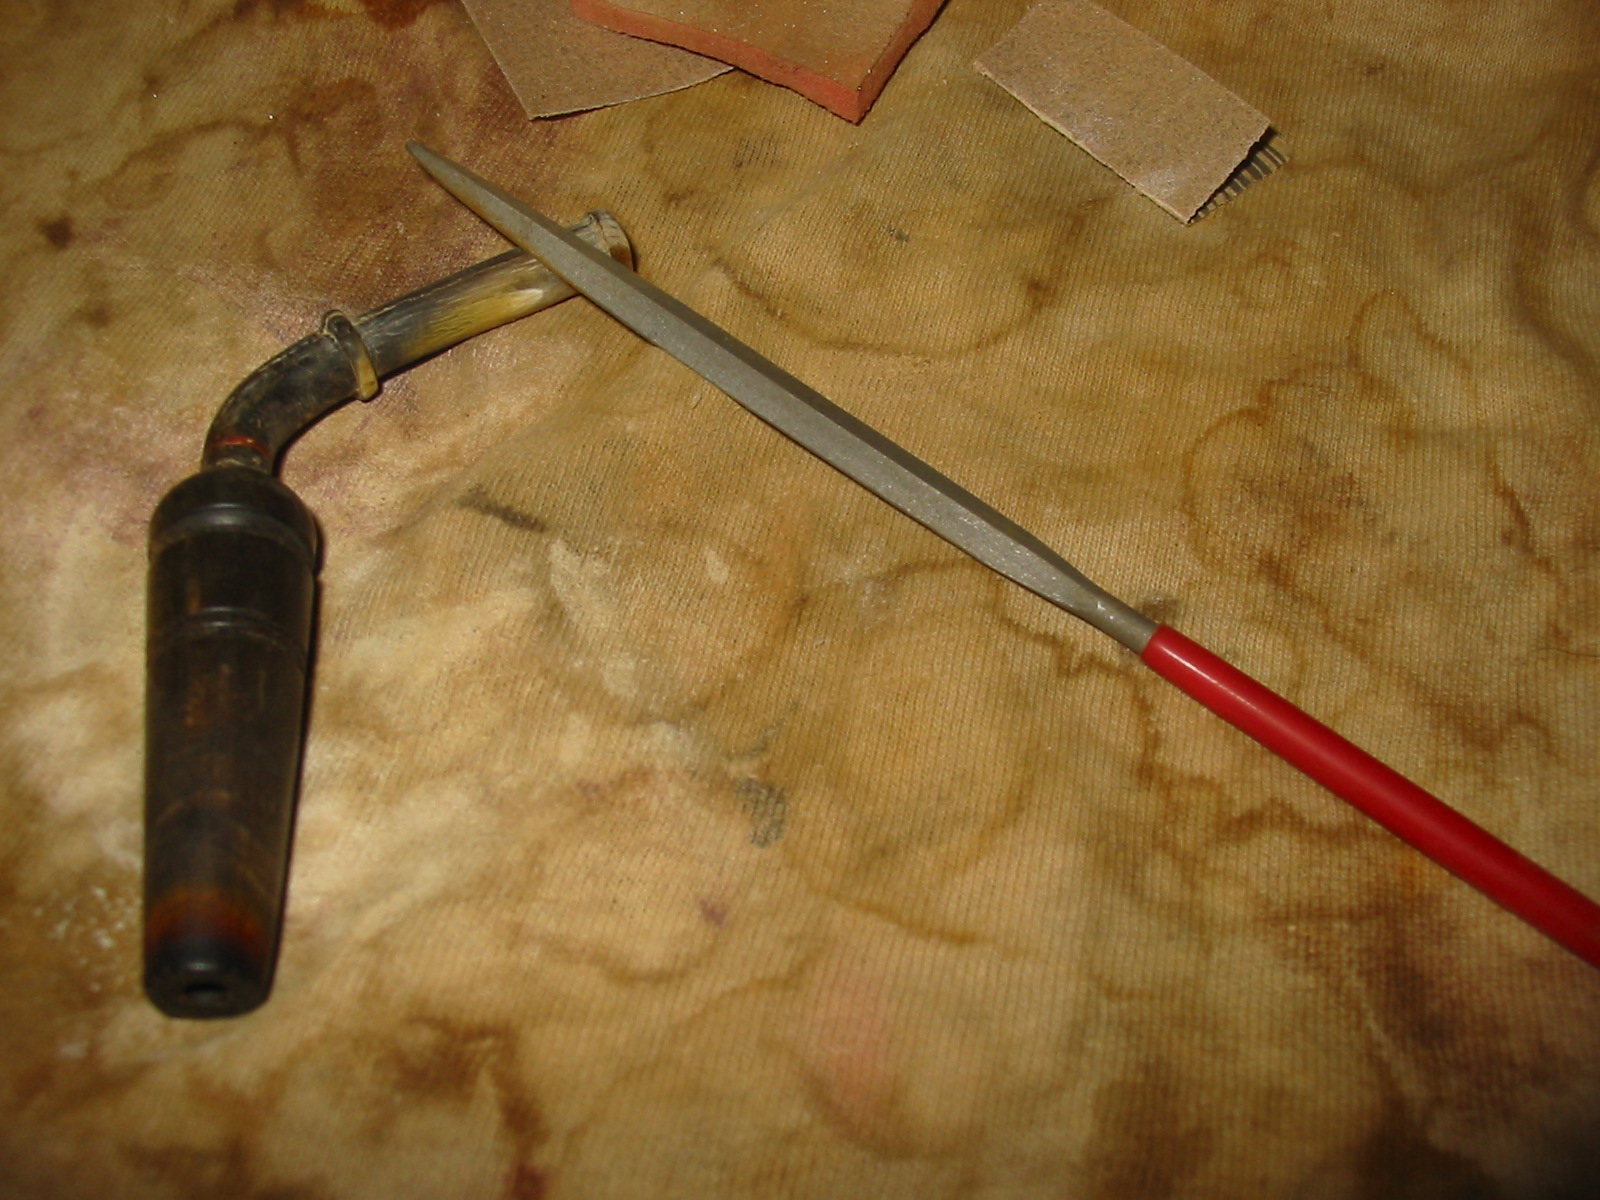
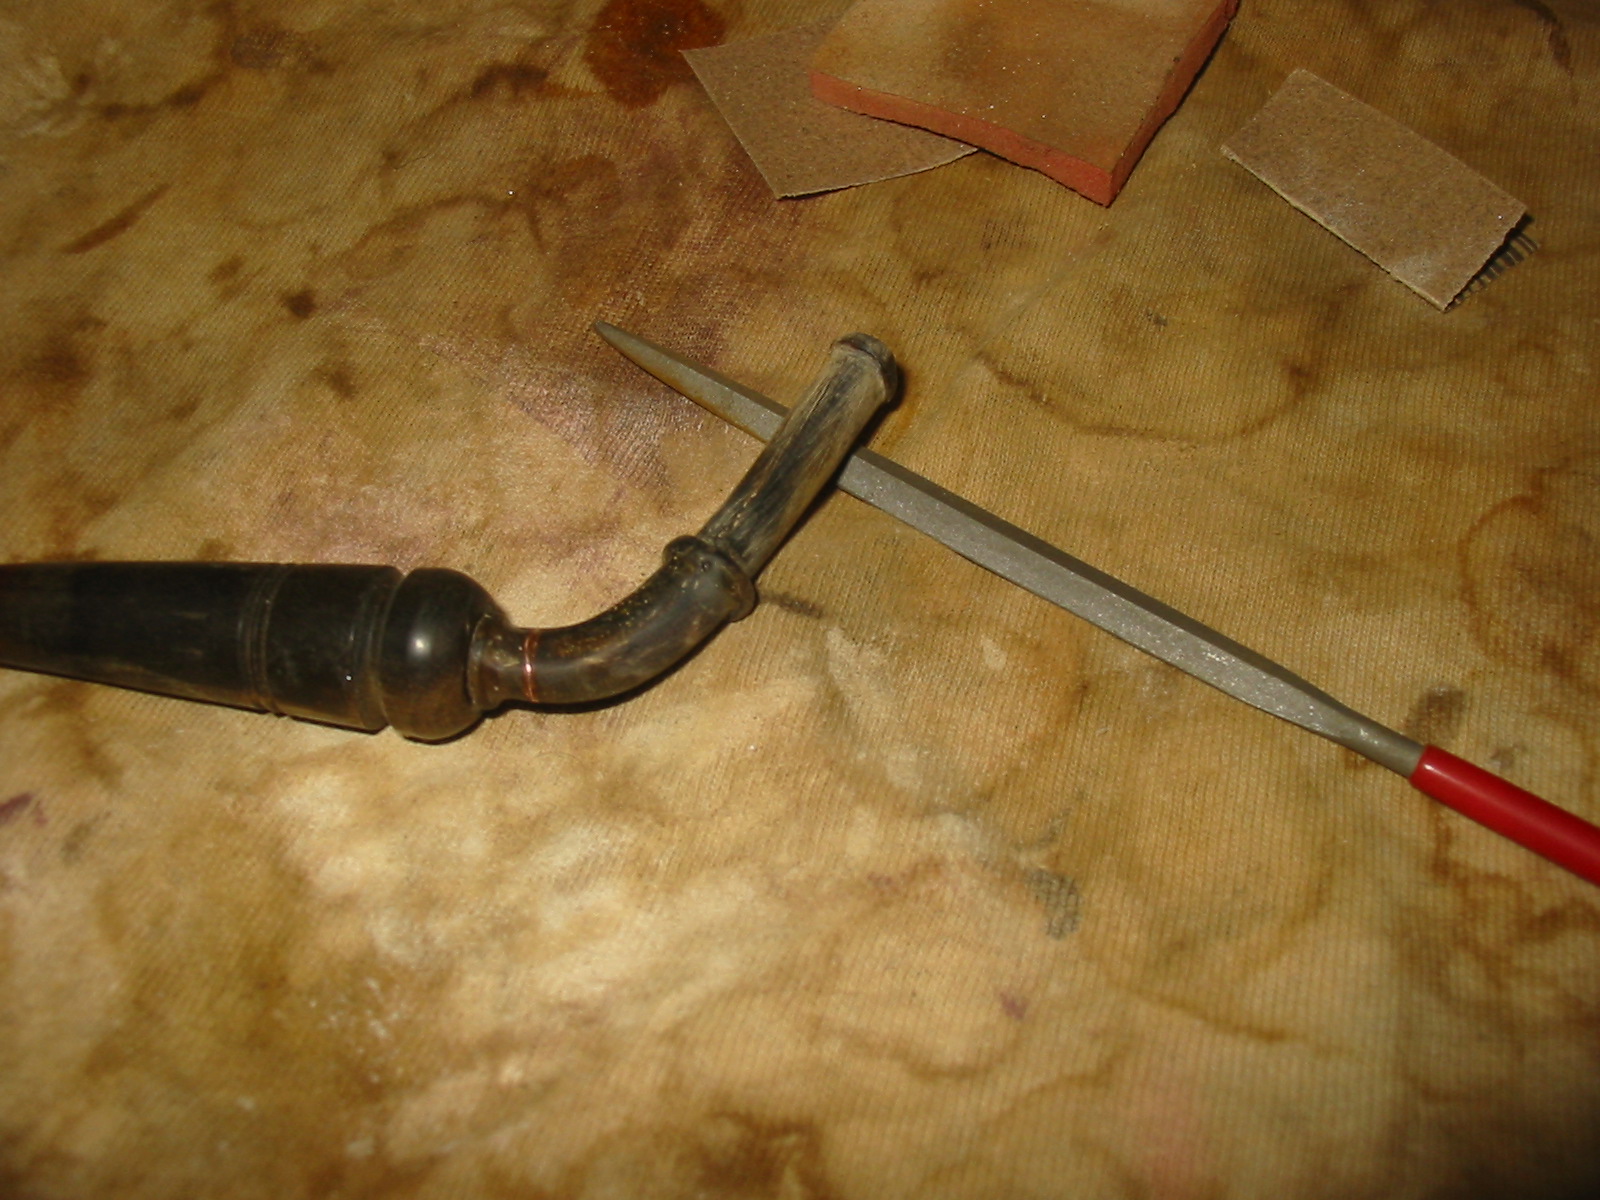
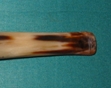
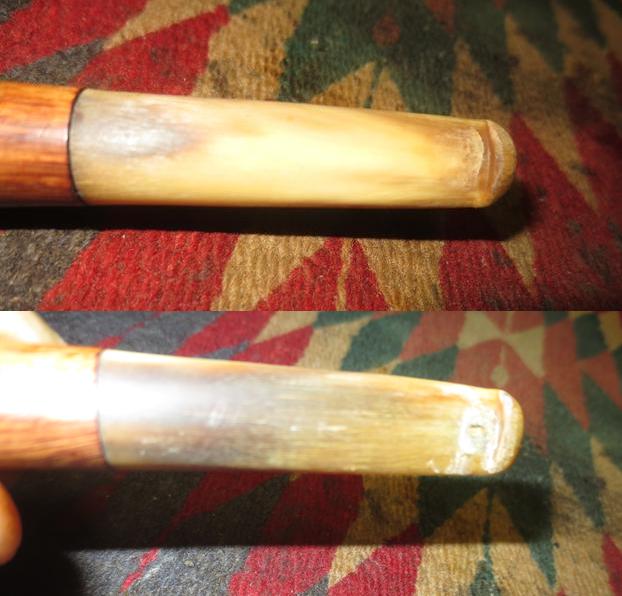 Since the stem was clean, the repair was simple. I filled in the tooth dent on the top side of the stem near the button with clear super glue. I sprayed the repair with accelerator so that I could repair the split on the other side. I filled that split in with the same clear super glue, sprayed it with accelerator and took the following photos.
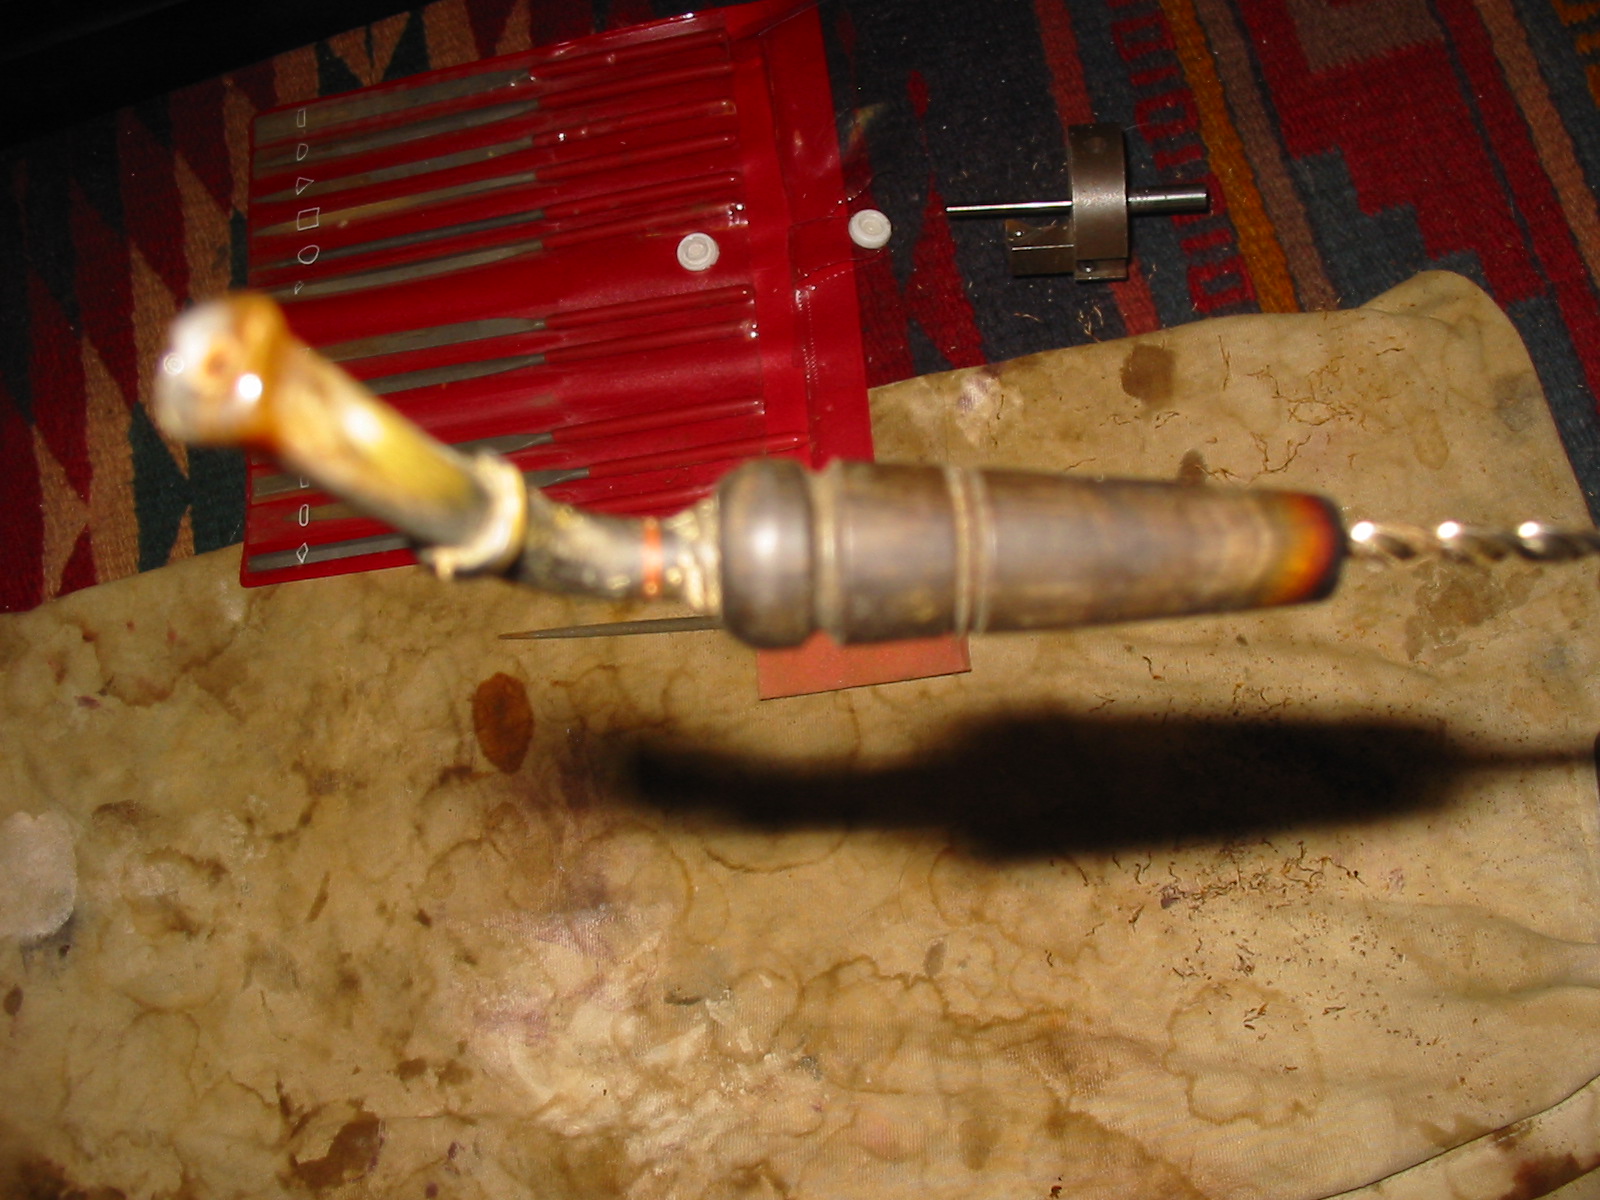
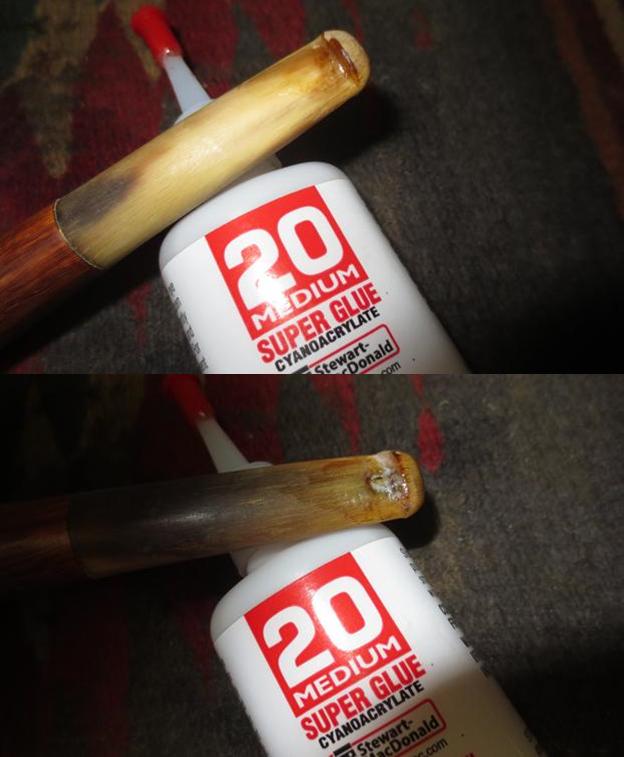 I sanded the repaired areas with 220 grit sandpaper to smooth out the excess and blend it into the surface of the horn. I worked over the entire stem at the same time to smooth it out and remove some of the nicks and marks on the surface of the horn.
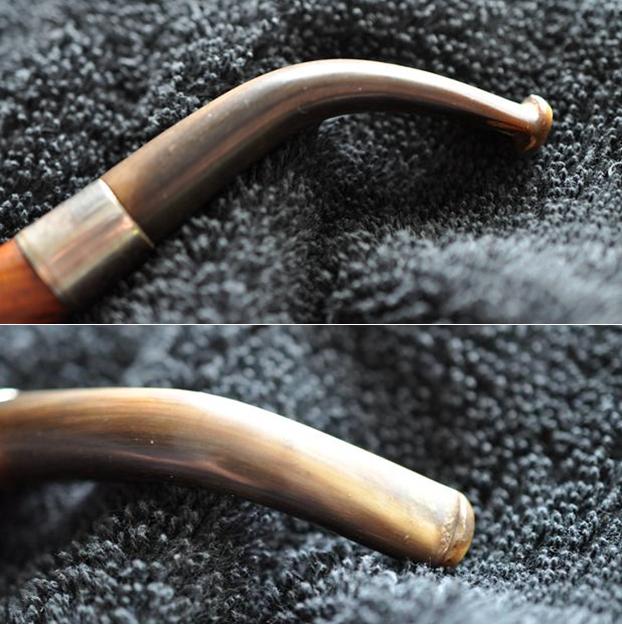
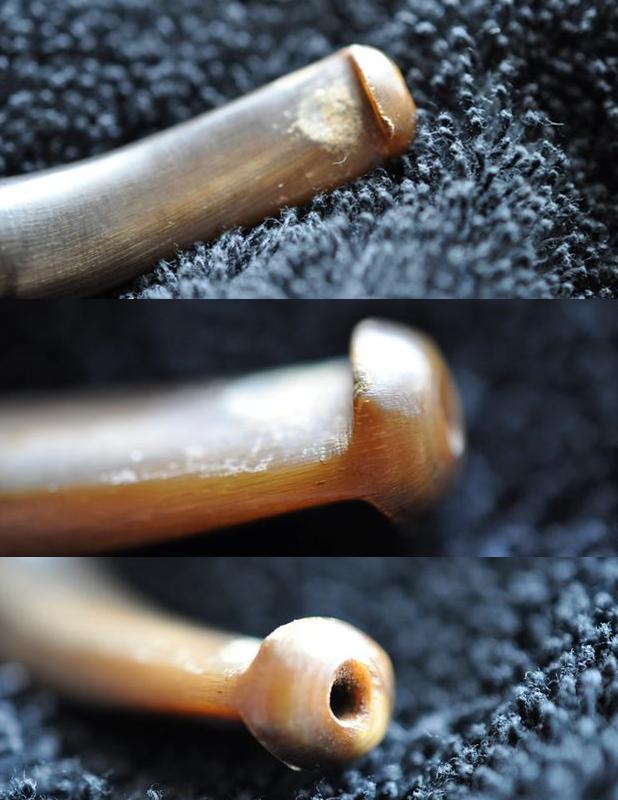
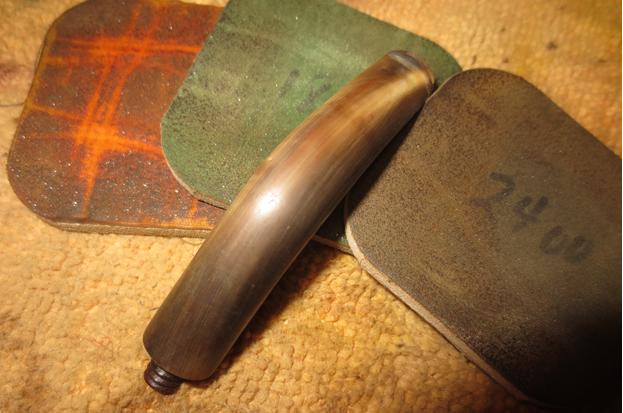
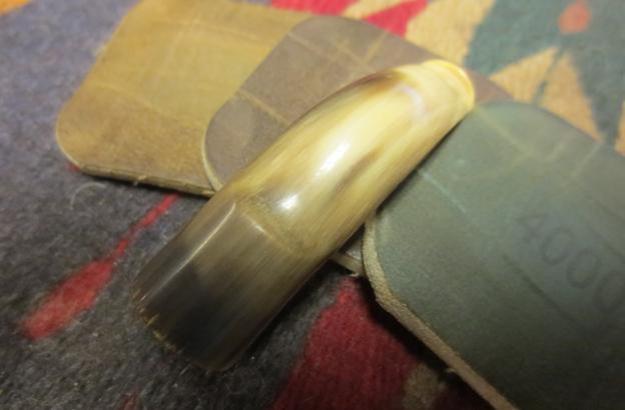
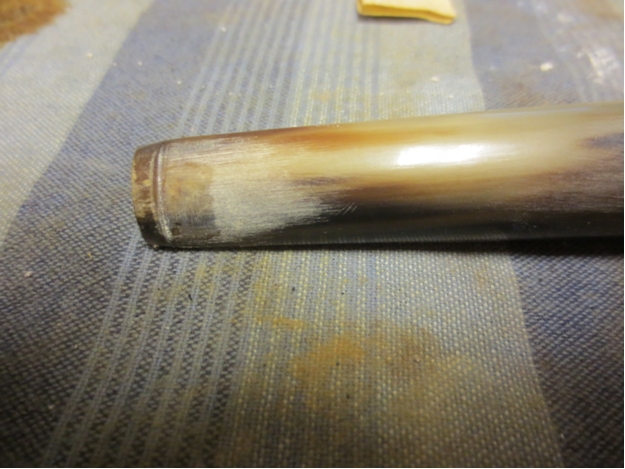
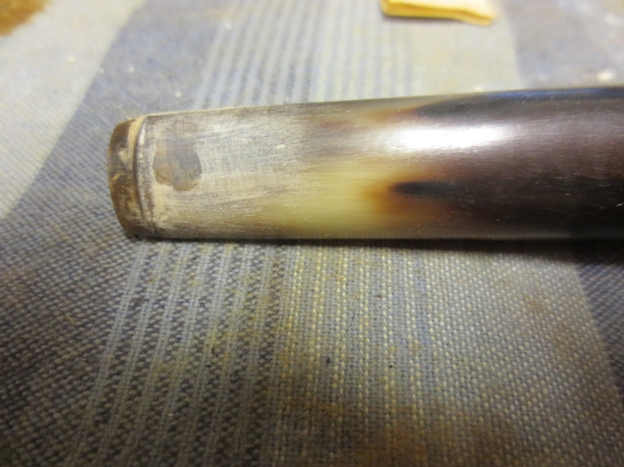
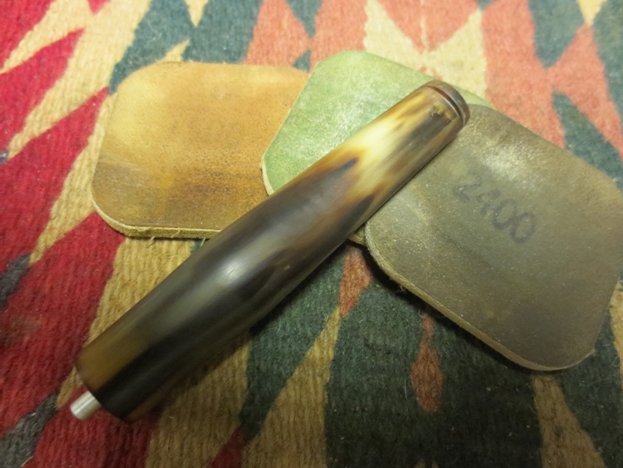
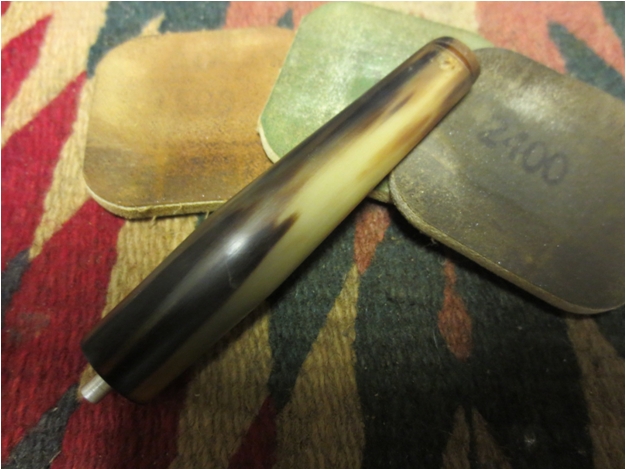
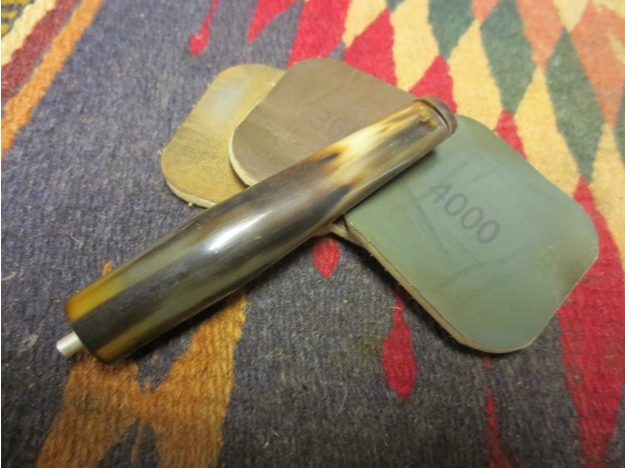
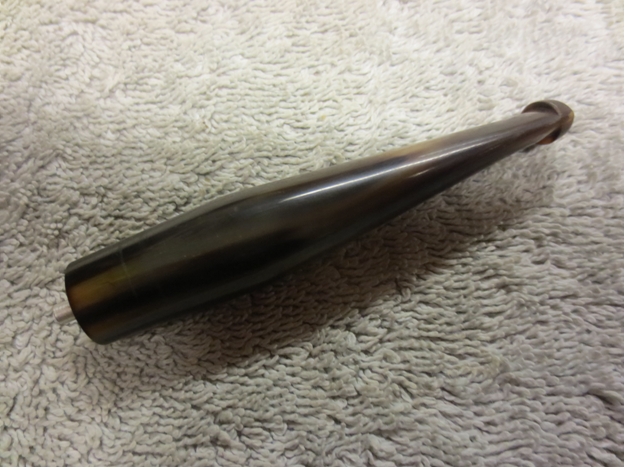
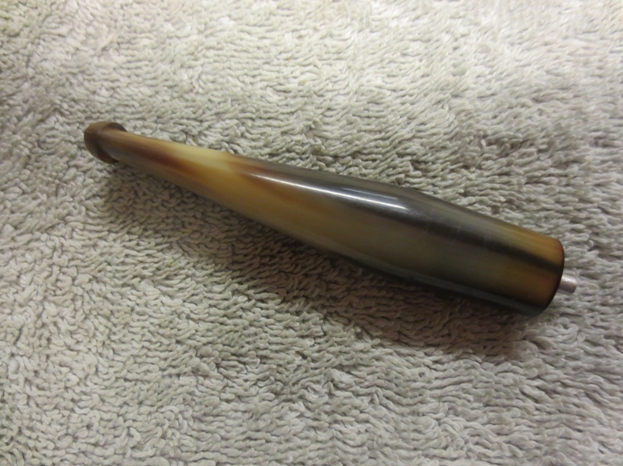
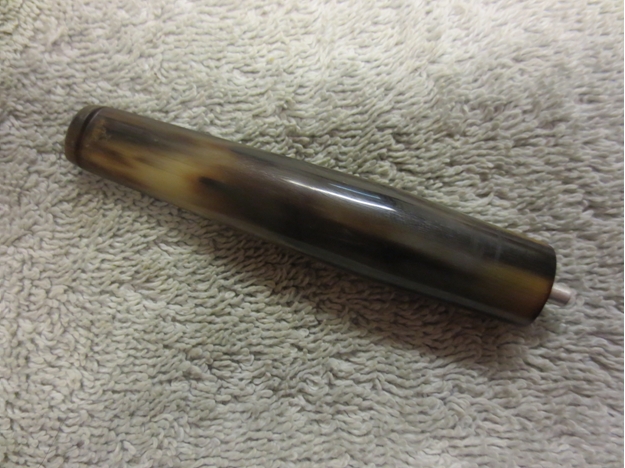
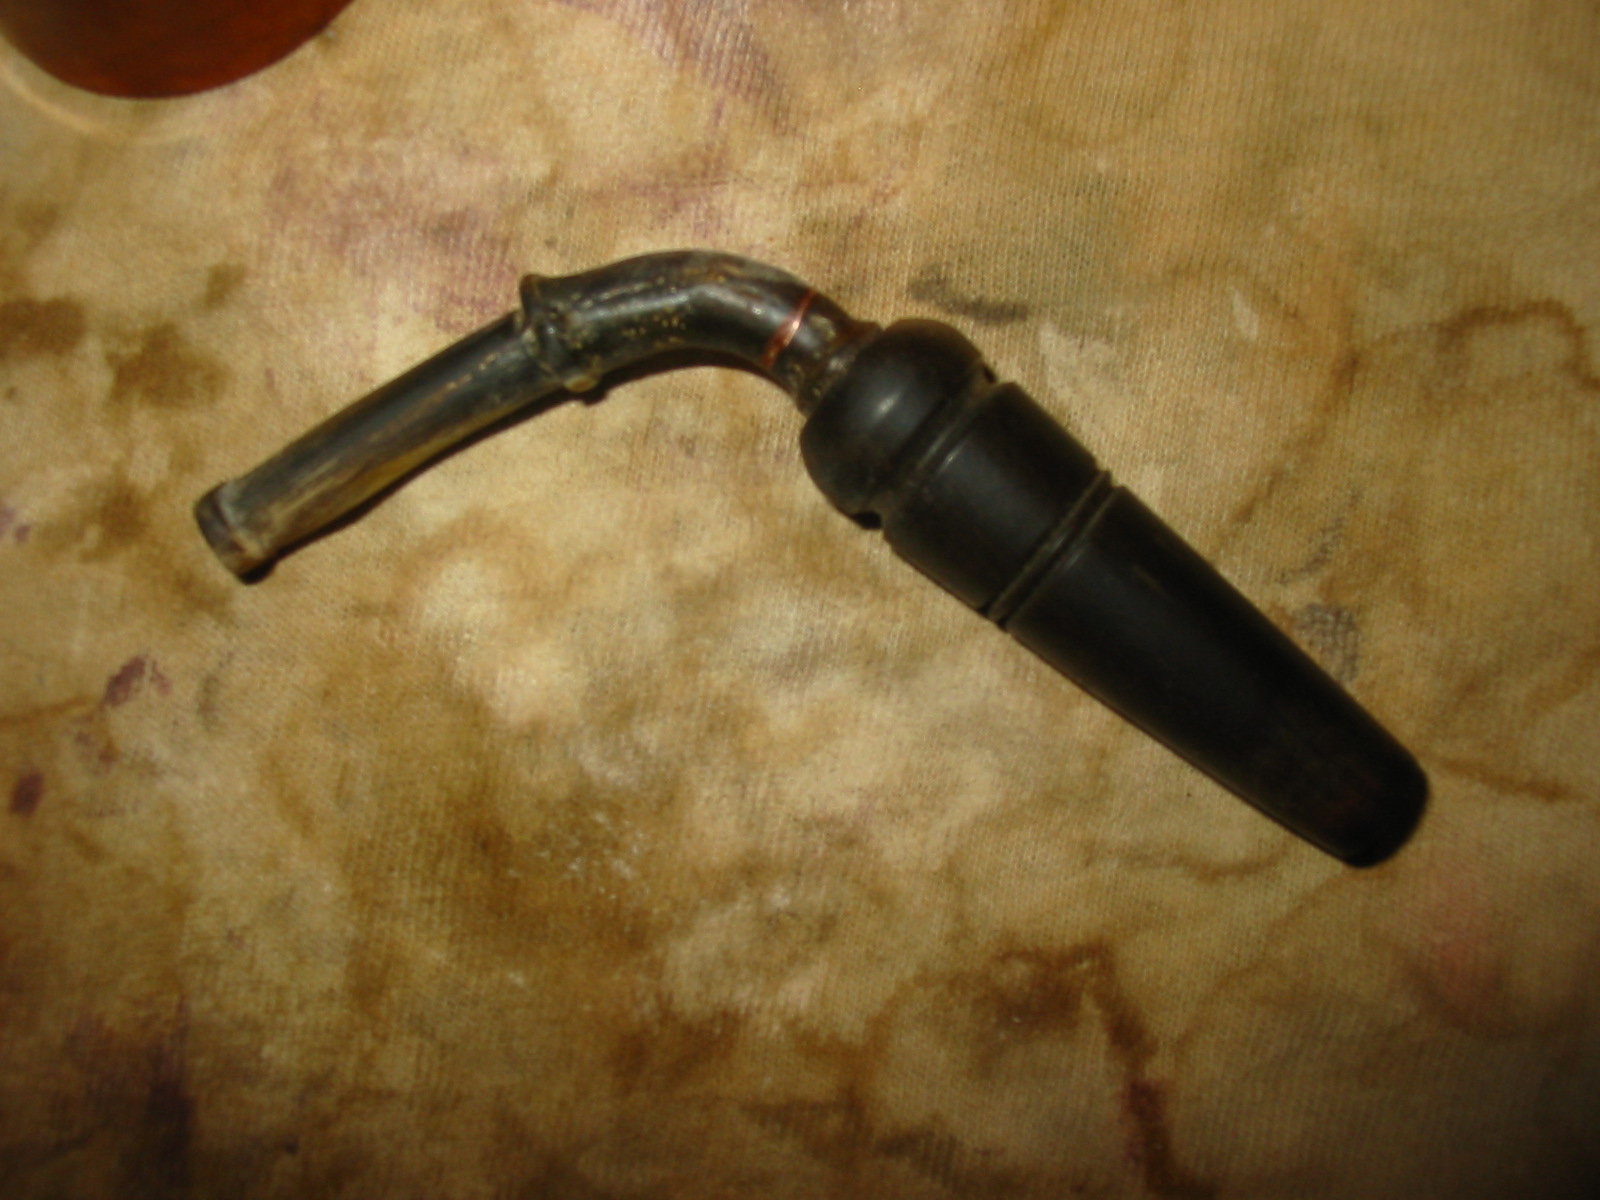
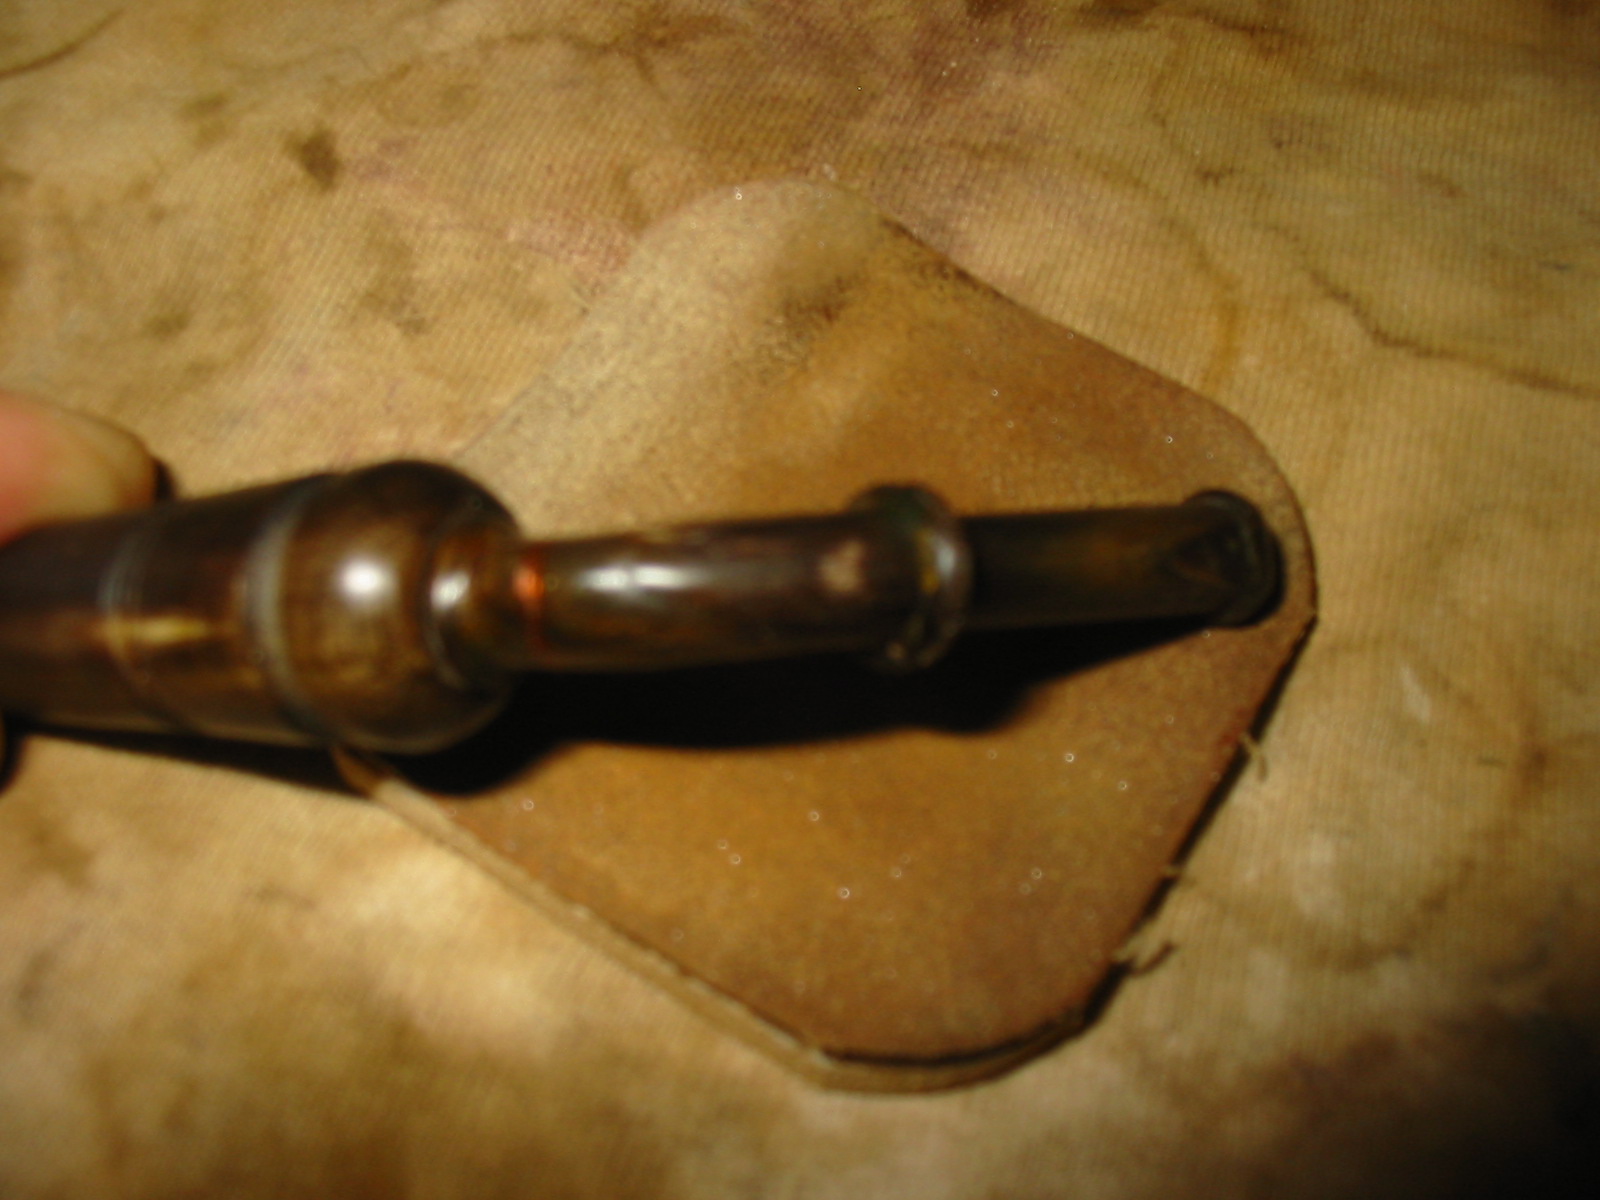
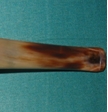
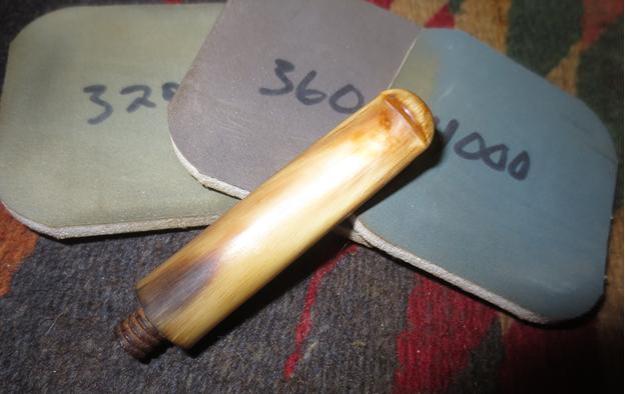
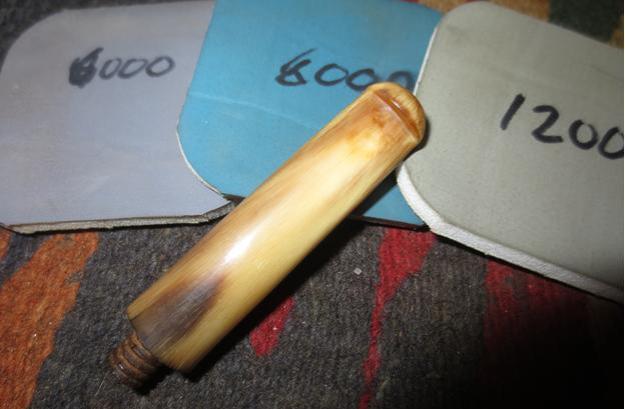
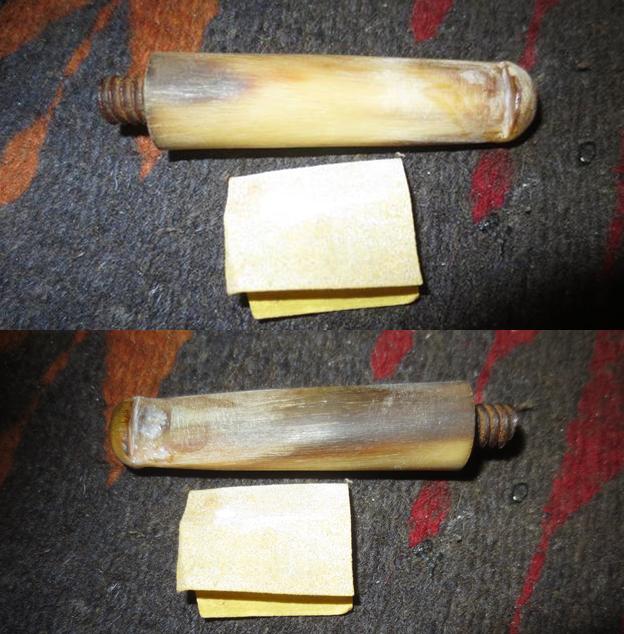 Since I was already working on it, I decided to continue and polish the stem before moving on to the bowl. I polished it with micromesh sanding pads – wet sanding with 1500-2400 grit pads and dry sanding with 3200-12000 grit pads. I rubbed the stem down with Obsidian Oil after each pad to give more life to the horn. I gave it a final coat of oil after the last pad and set it aside to dry. The repair on the top of the stem disappeared into the horn while the larger split on the backside was smooth but more visible.
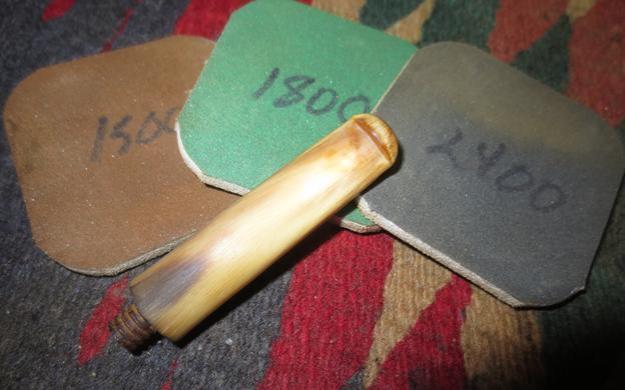
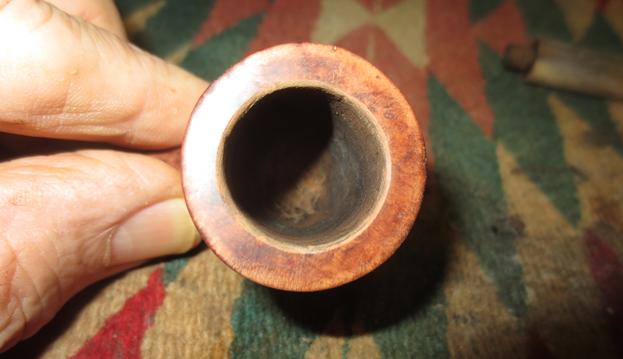
 I set the stem aside for its final polish on the buffing wheel once I finished the work on the bowl. I began by polishing the rim of the bowl with a 1500 grit micromesh pad. My purpose was to see if I could remove some of the darkening or if I would need to top the bowl. I was happy to see that the pad cleaned it up and no topping was necessary. I used a folded piece of 180 and 220 grit sandpaper to work over the inner edge of the rim and smooth out the rough spots. It did not take too much sanding to even things out and bring the bowl back into round. The next three photos show the process of the rim repair.
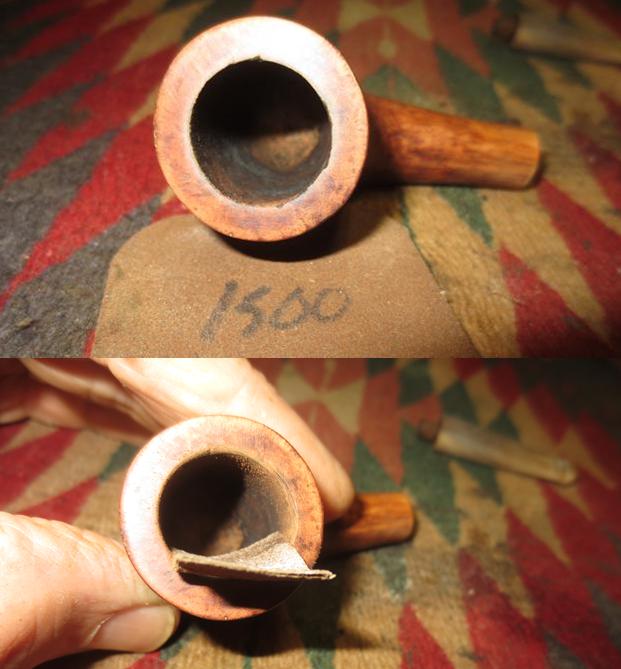
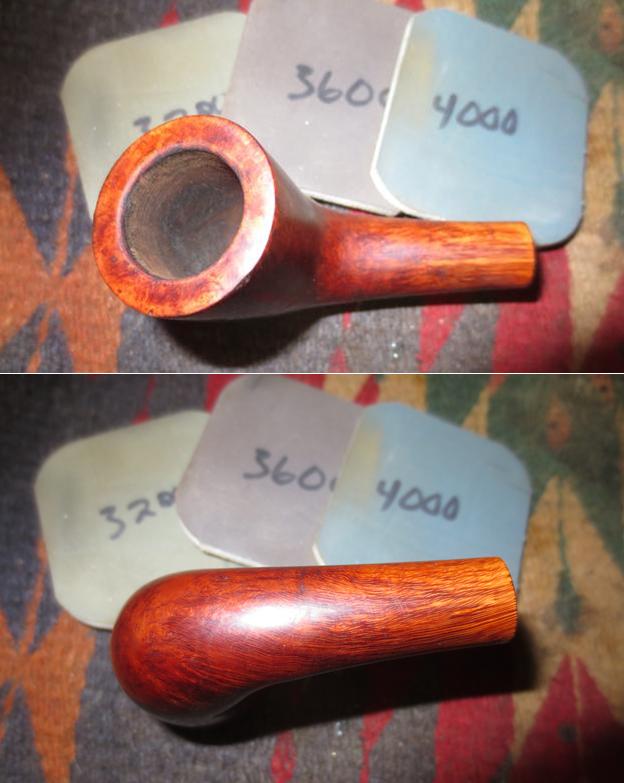
 I decided not to stain this pipe because the briar was so nice in its original form. I chose instead to polish the rim and bowl with micromesh sanding pads – wet sanding with 1500-2400 grit sanding pads and dry sanding with 3200-12000 grit pads. I wiped the bowl down with a damp cloth after each sanding pad to remove the sanding dust. The briar really began to shine as each successive grit of sanding pad was used.
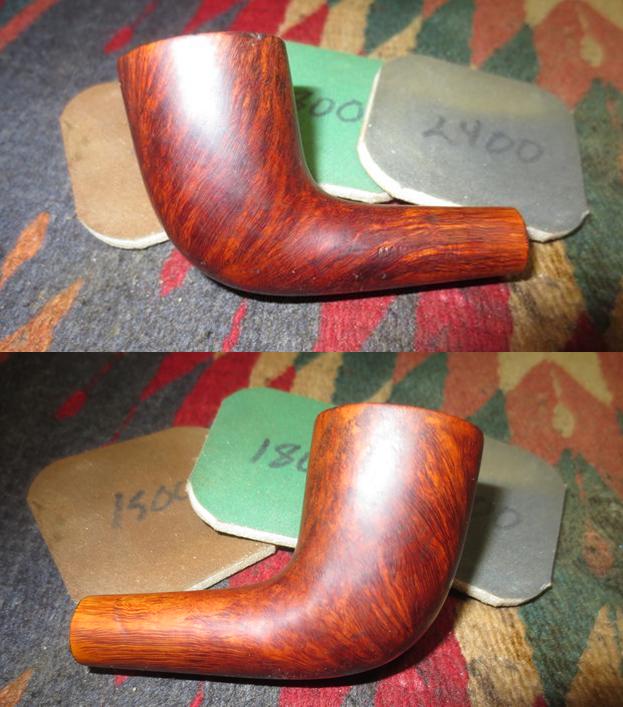


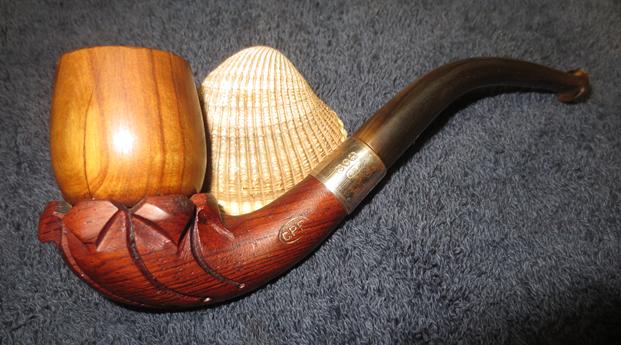
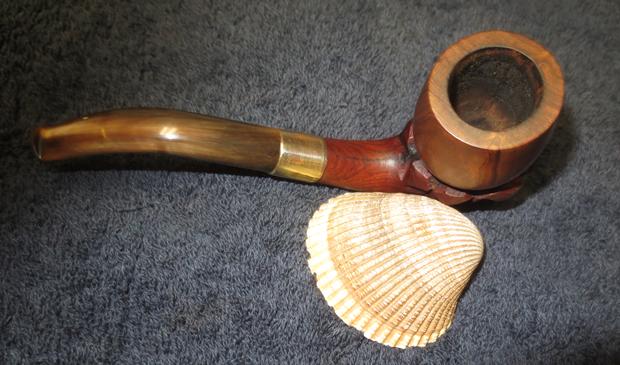
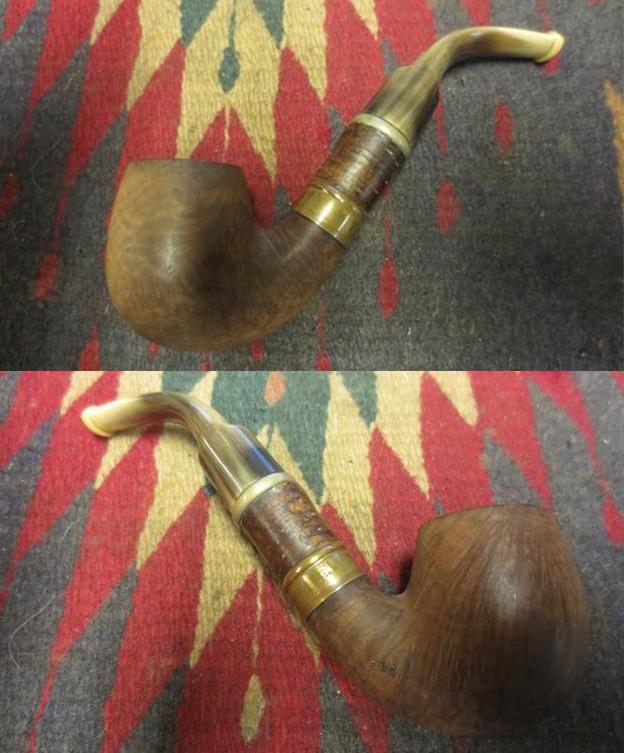
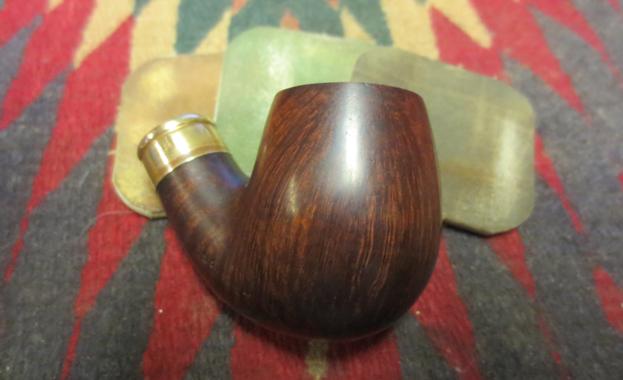
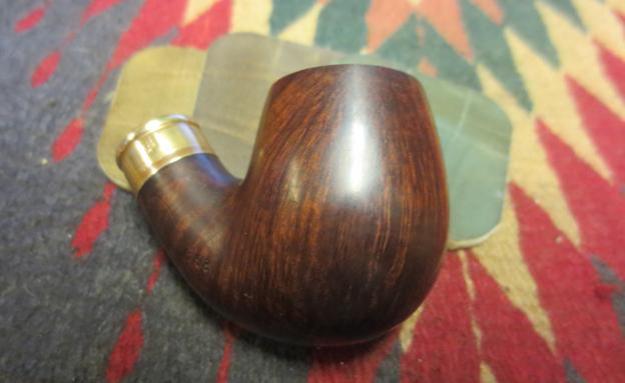
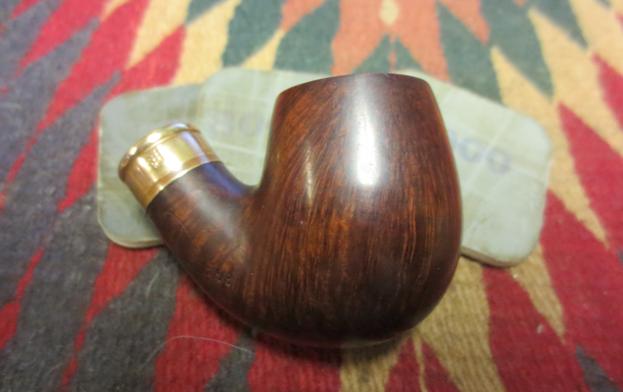
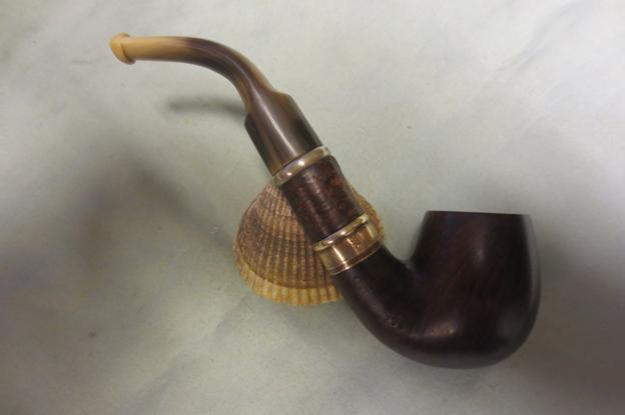
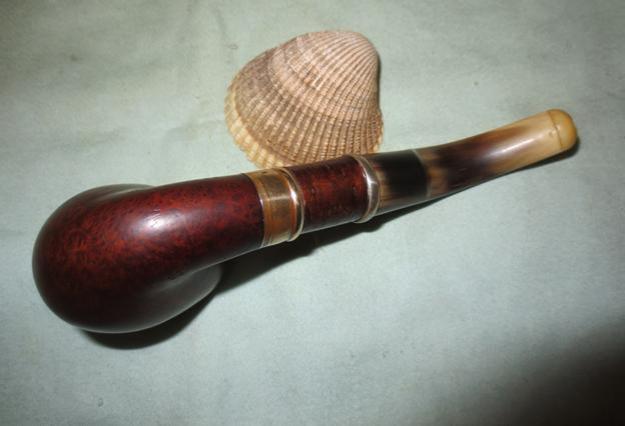
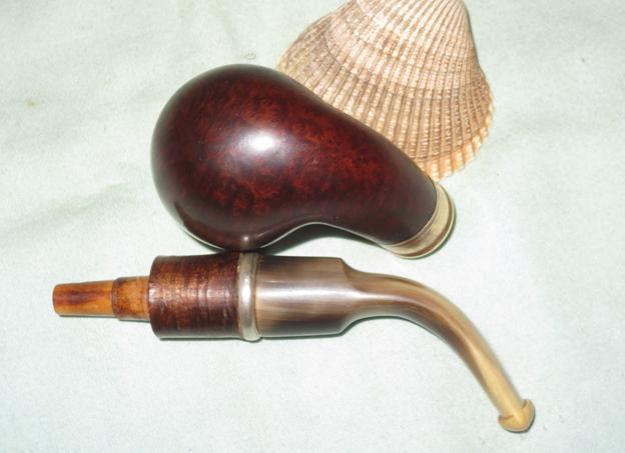
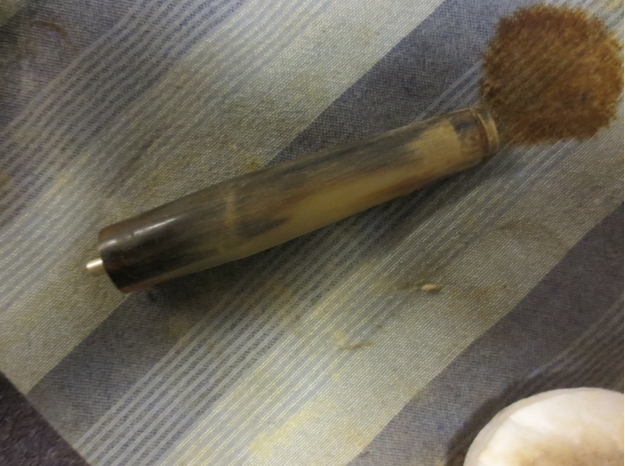
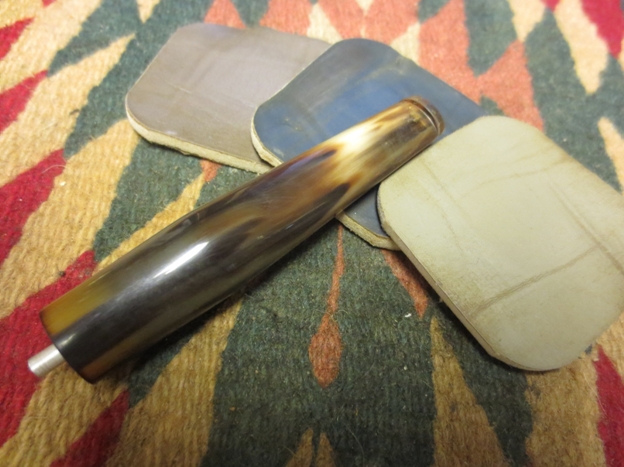
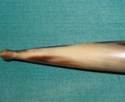
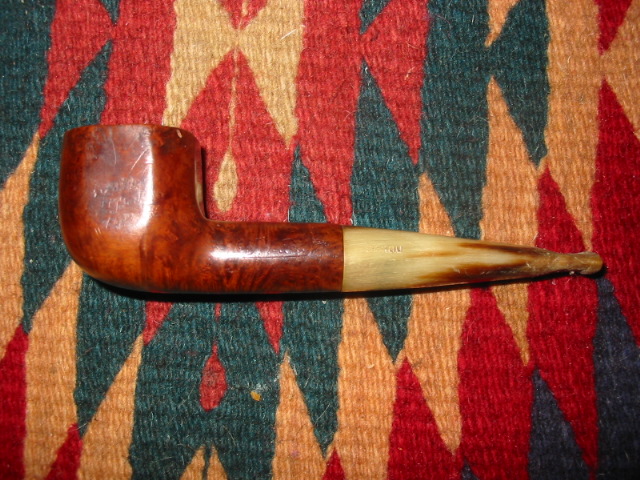
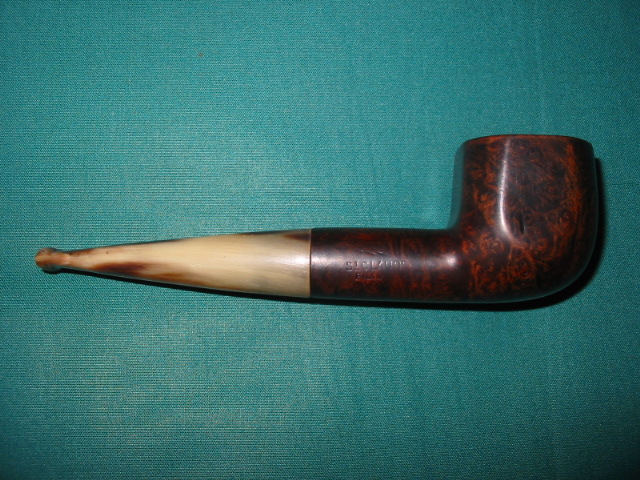
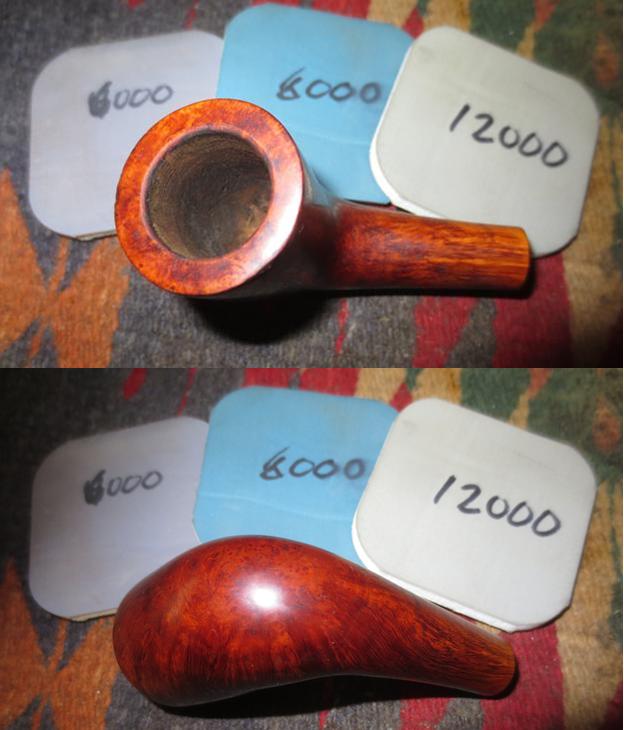 With the bowl finished, I put the pipe back together and took it to the buffing wheel. I buffed the bowl and stem with Blue Diamond, being careful not to damage the already faint stamping on the left side of the shank. I gave the pipe multiple coats of carnauba wax and buffed it with a clean buffing pad to raise a shine. I hand buffed it with a microfibre cloth to deepen the shine and give depth to the finish. The completed pipe is shown in the photos below. I love the way the rich striations of the stem play against the red of the buffed and polished briar. This is a beautiful pipe. Thanks for walking with me through the process.