Tag Archives: pipe restemming

Reworking and Reshaping an Old French Briar (CPF?) Billiard


Blog by Steve Laug

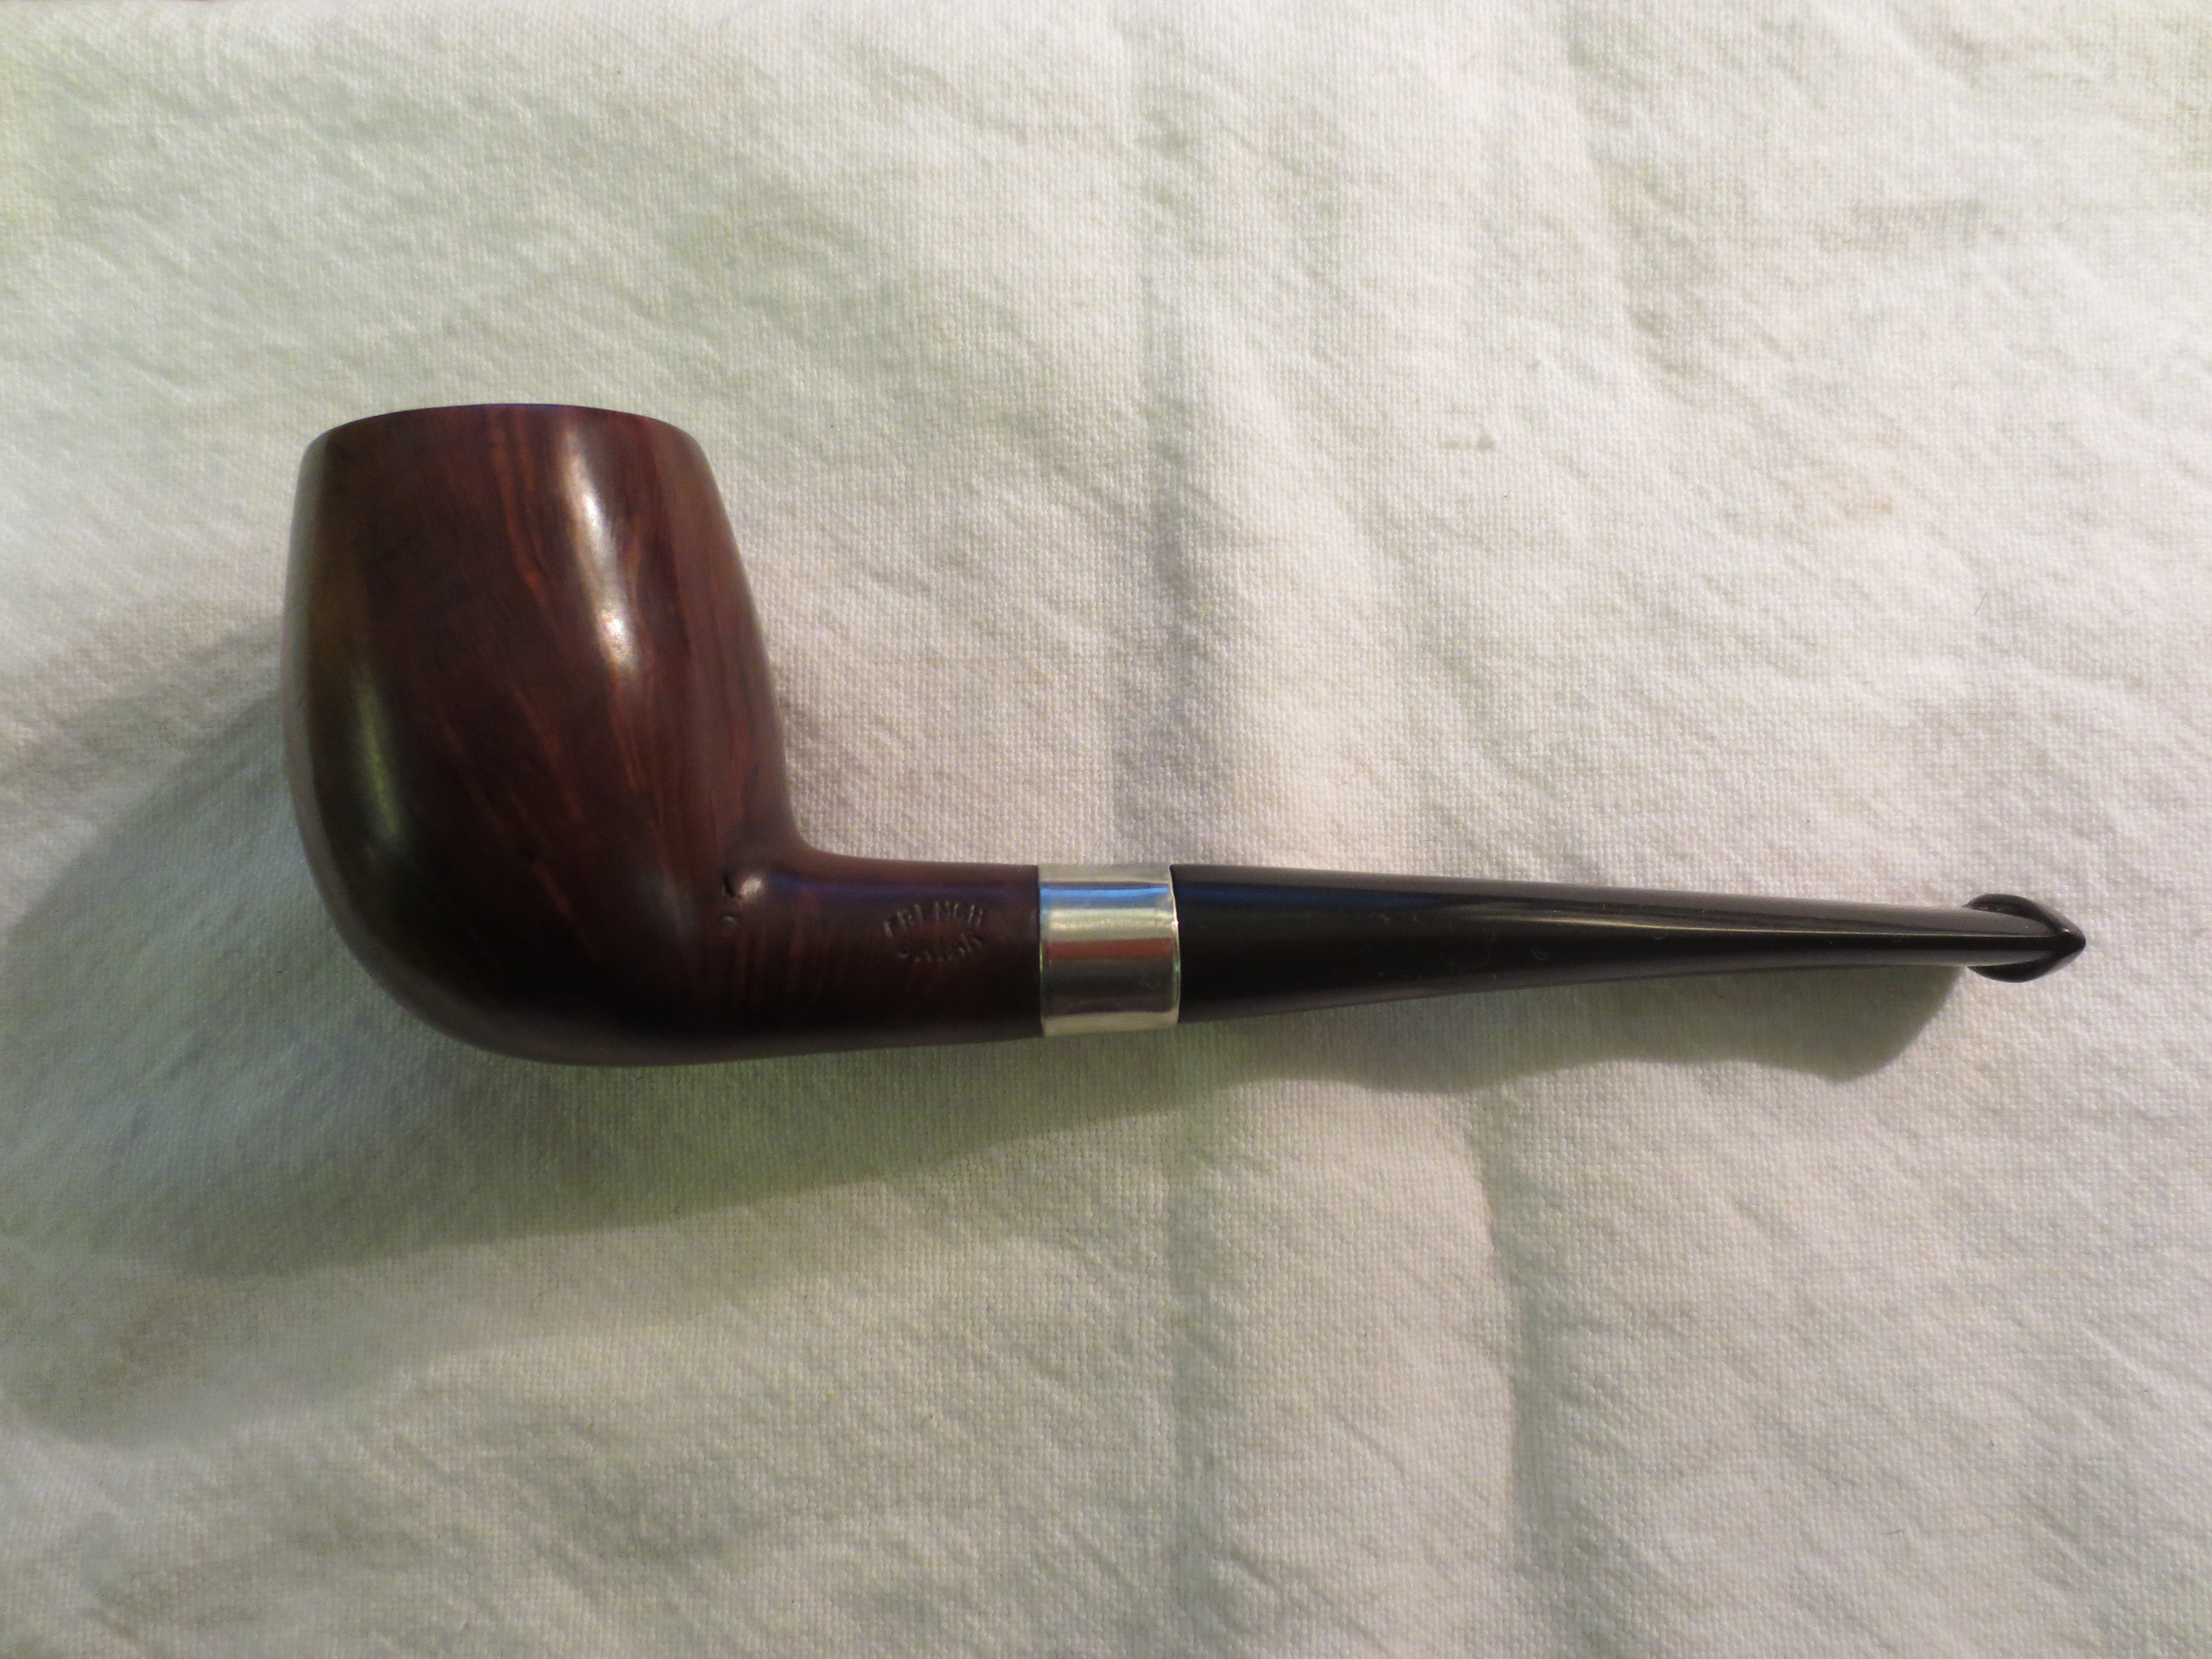
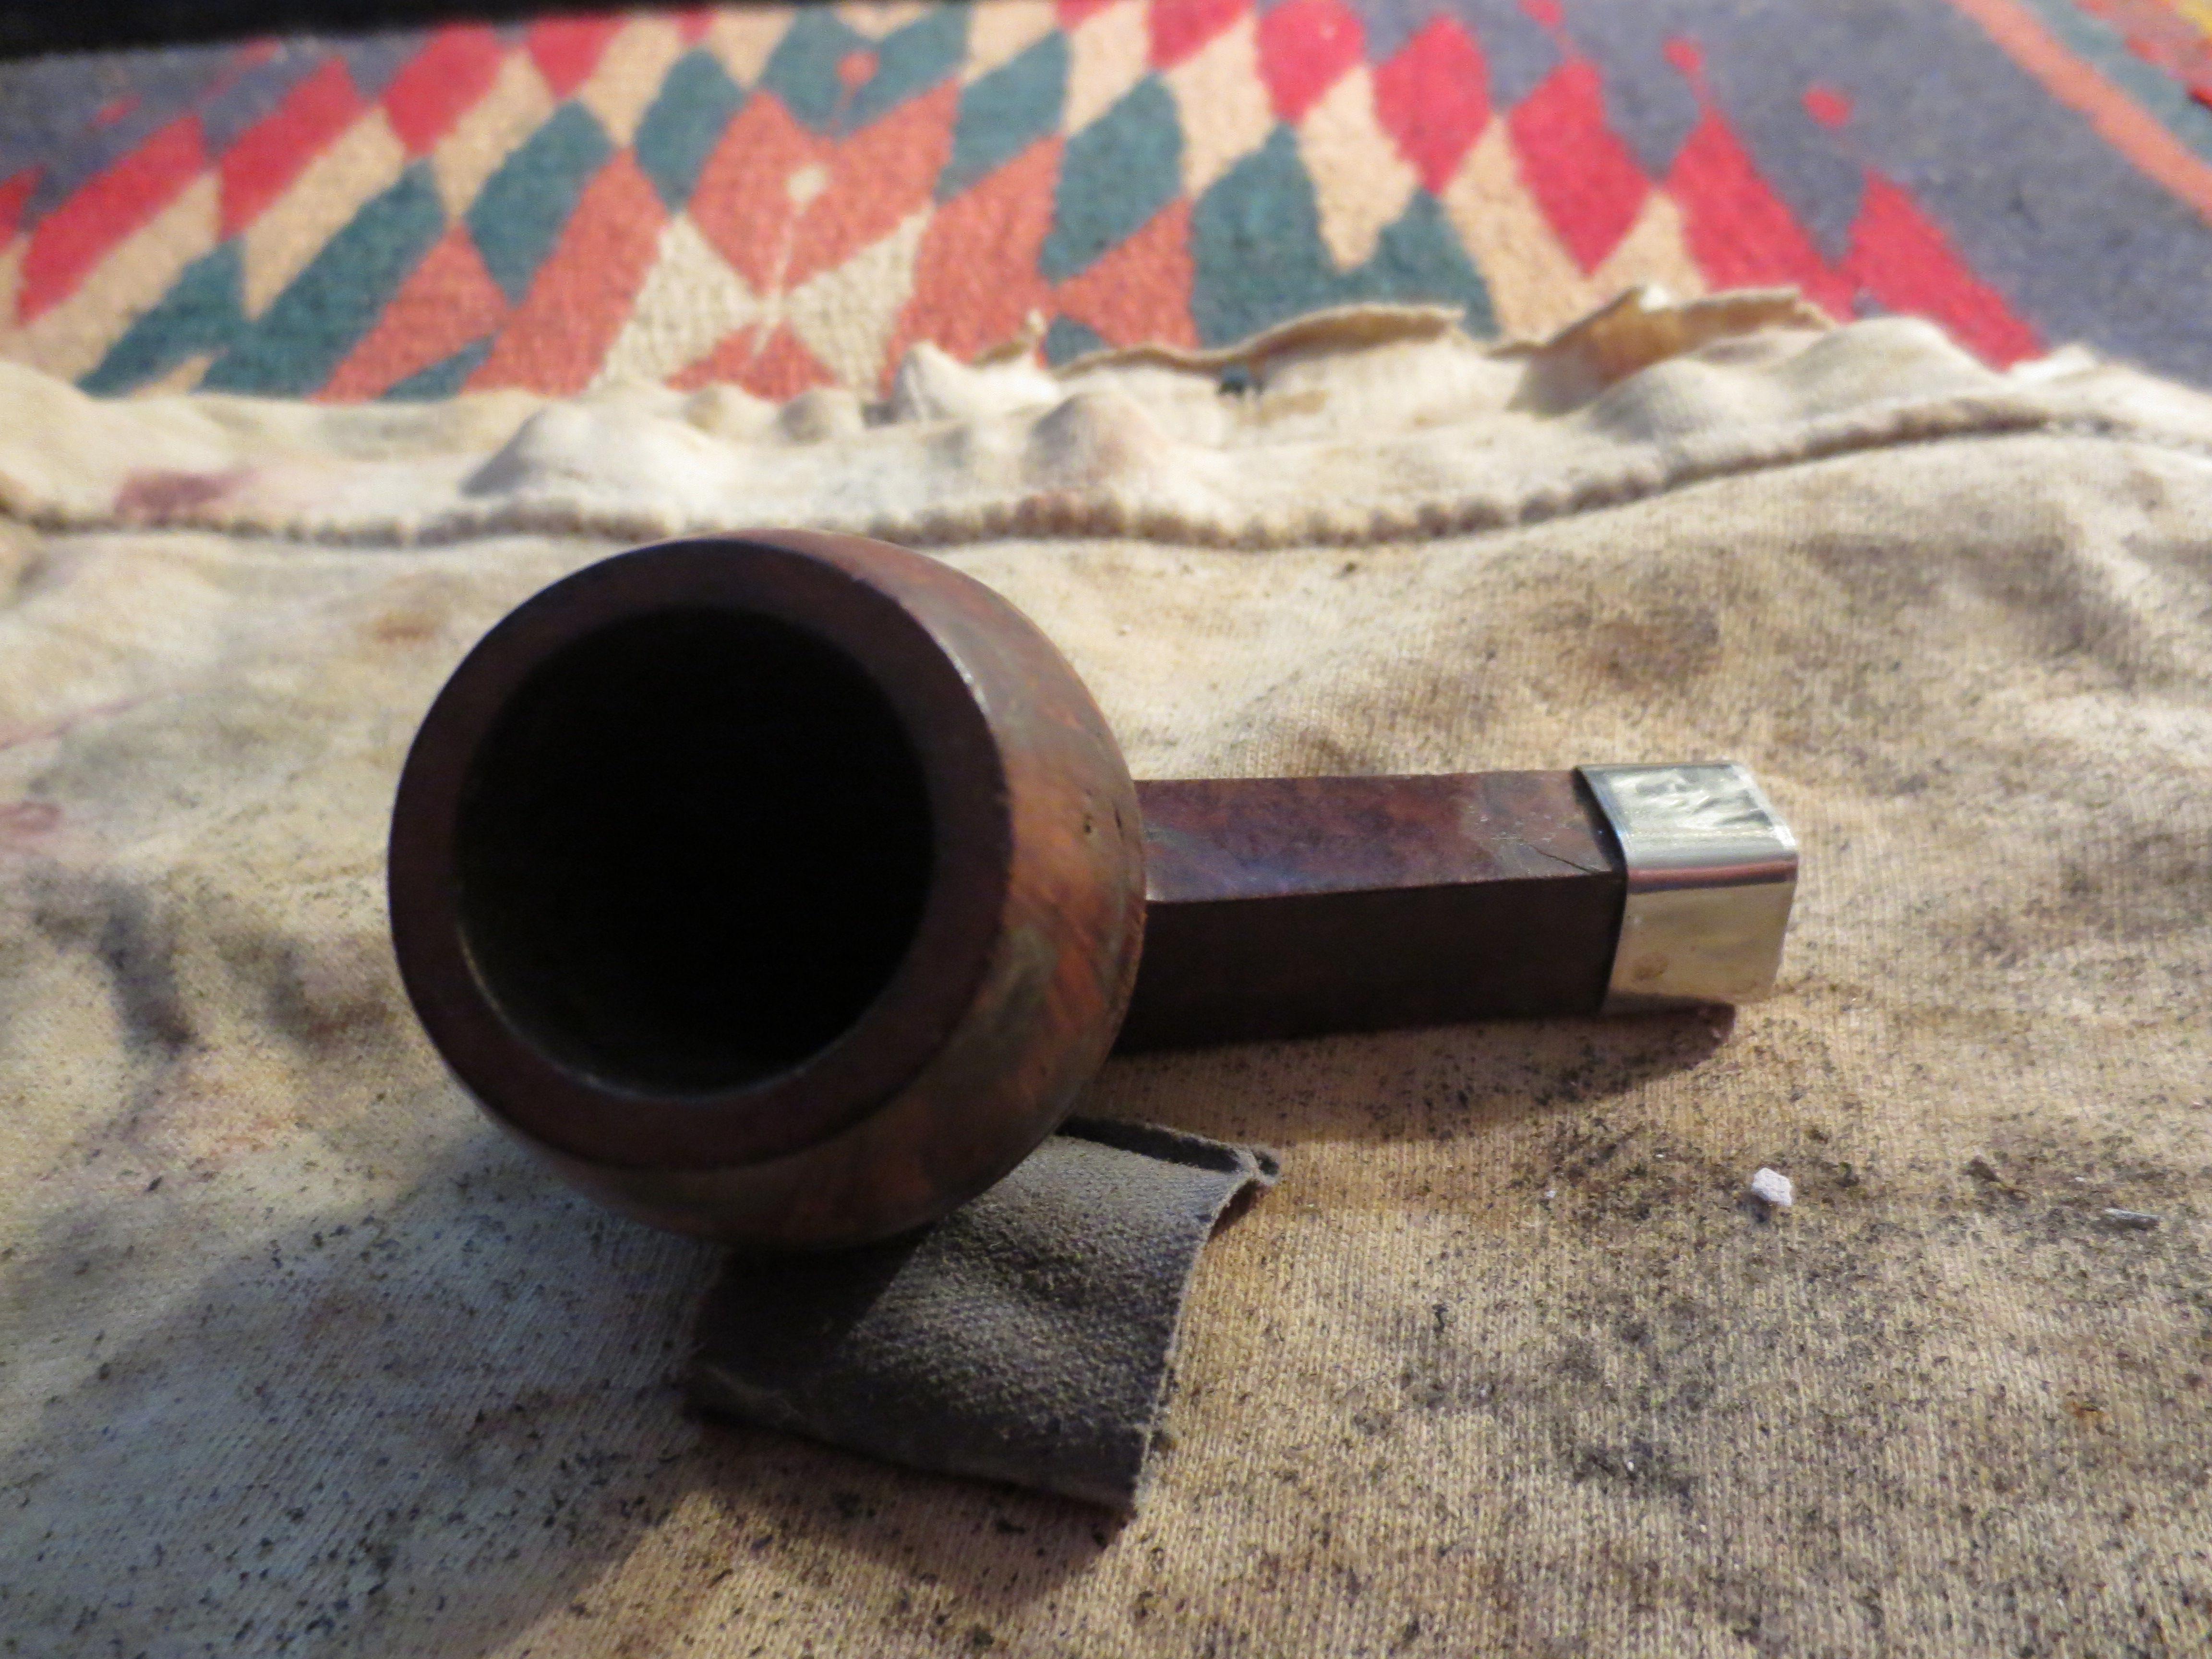
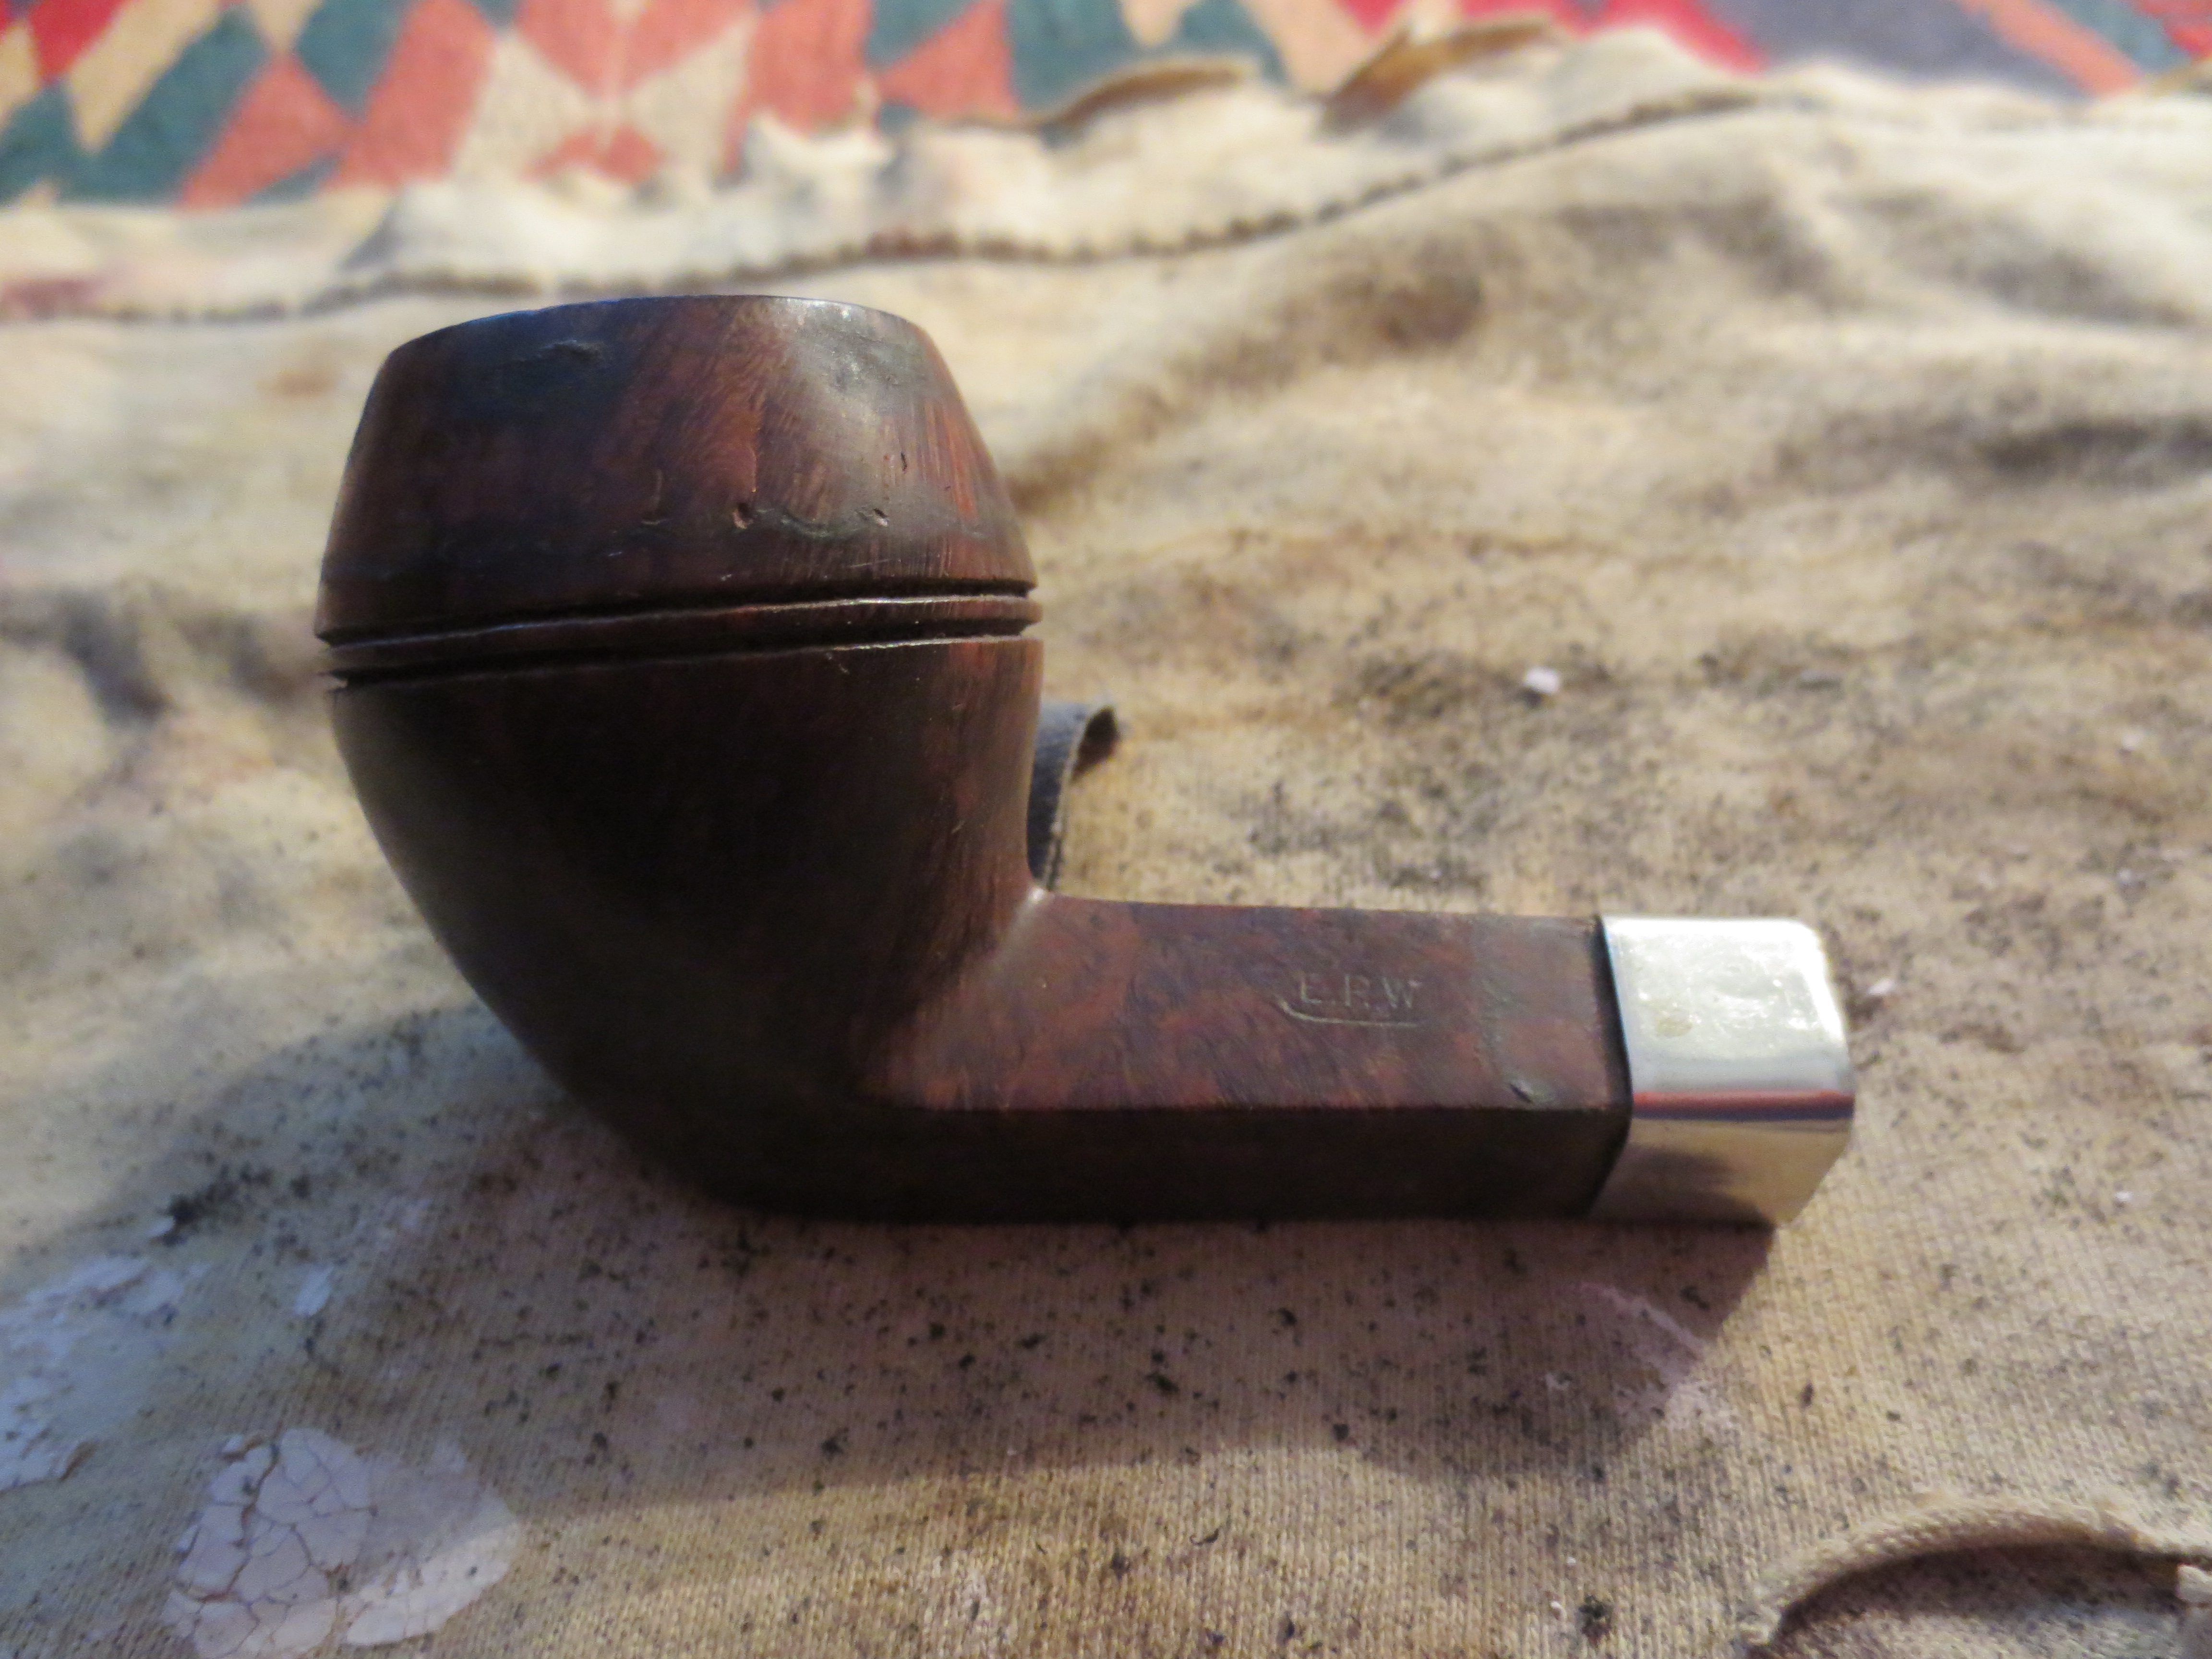
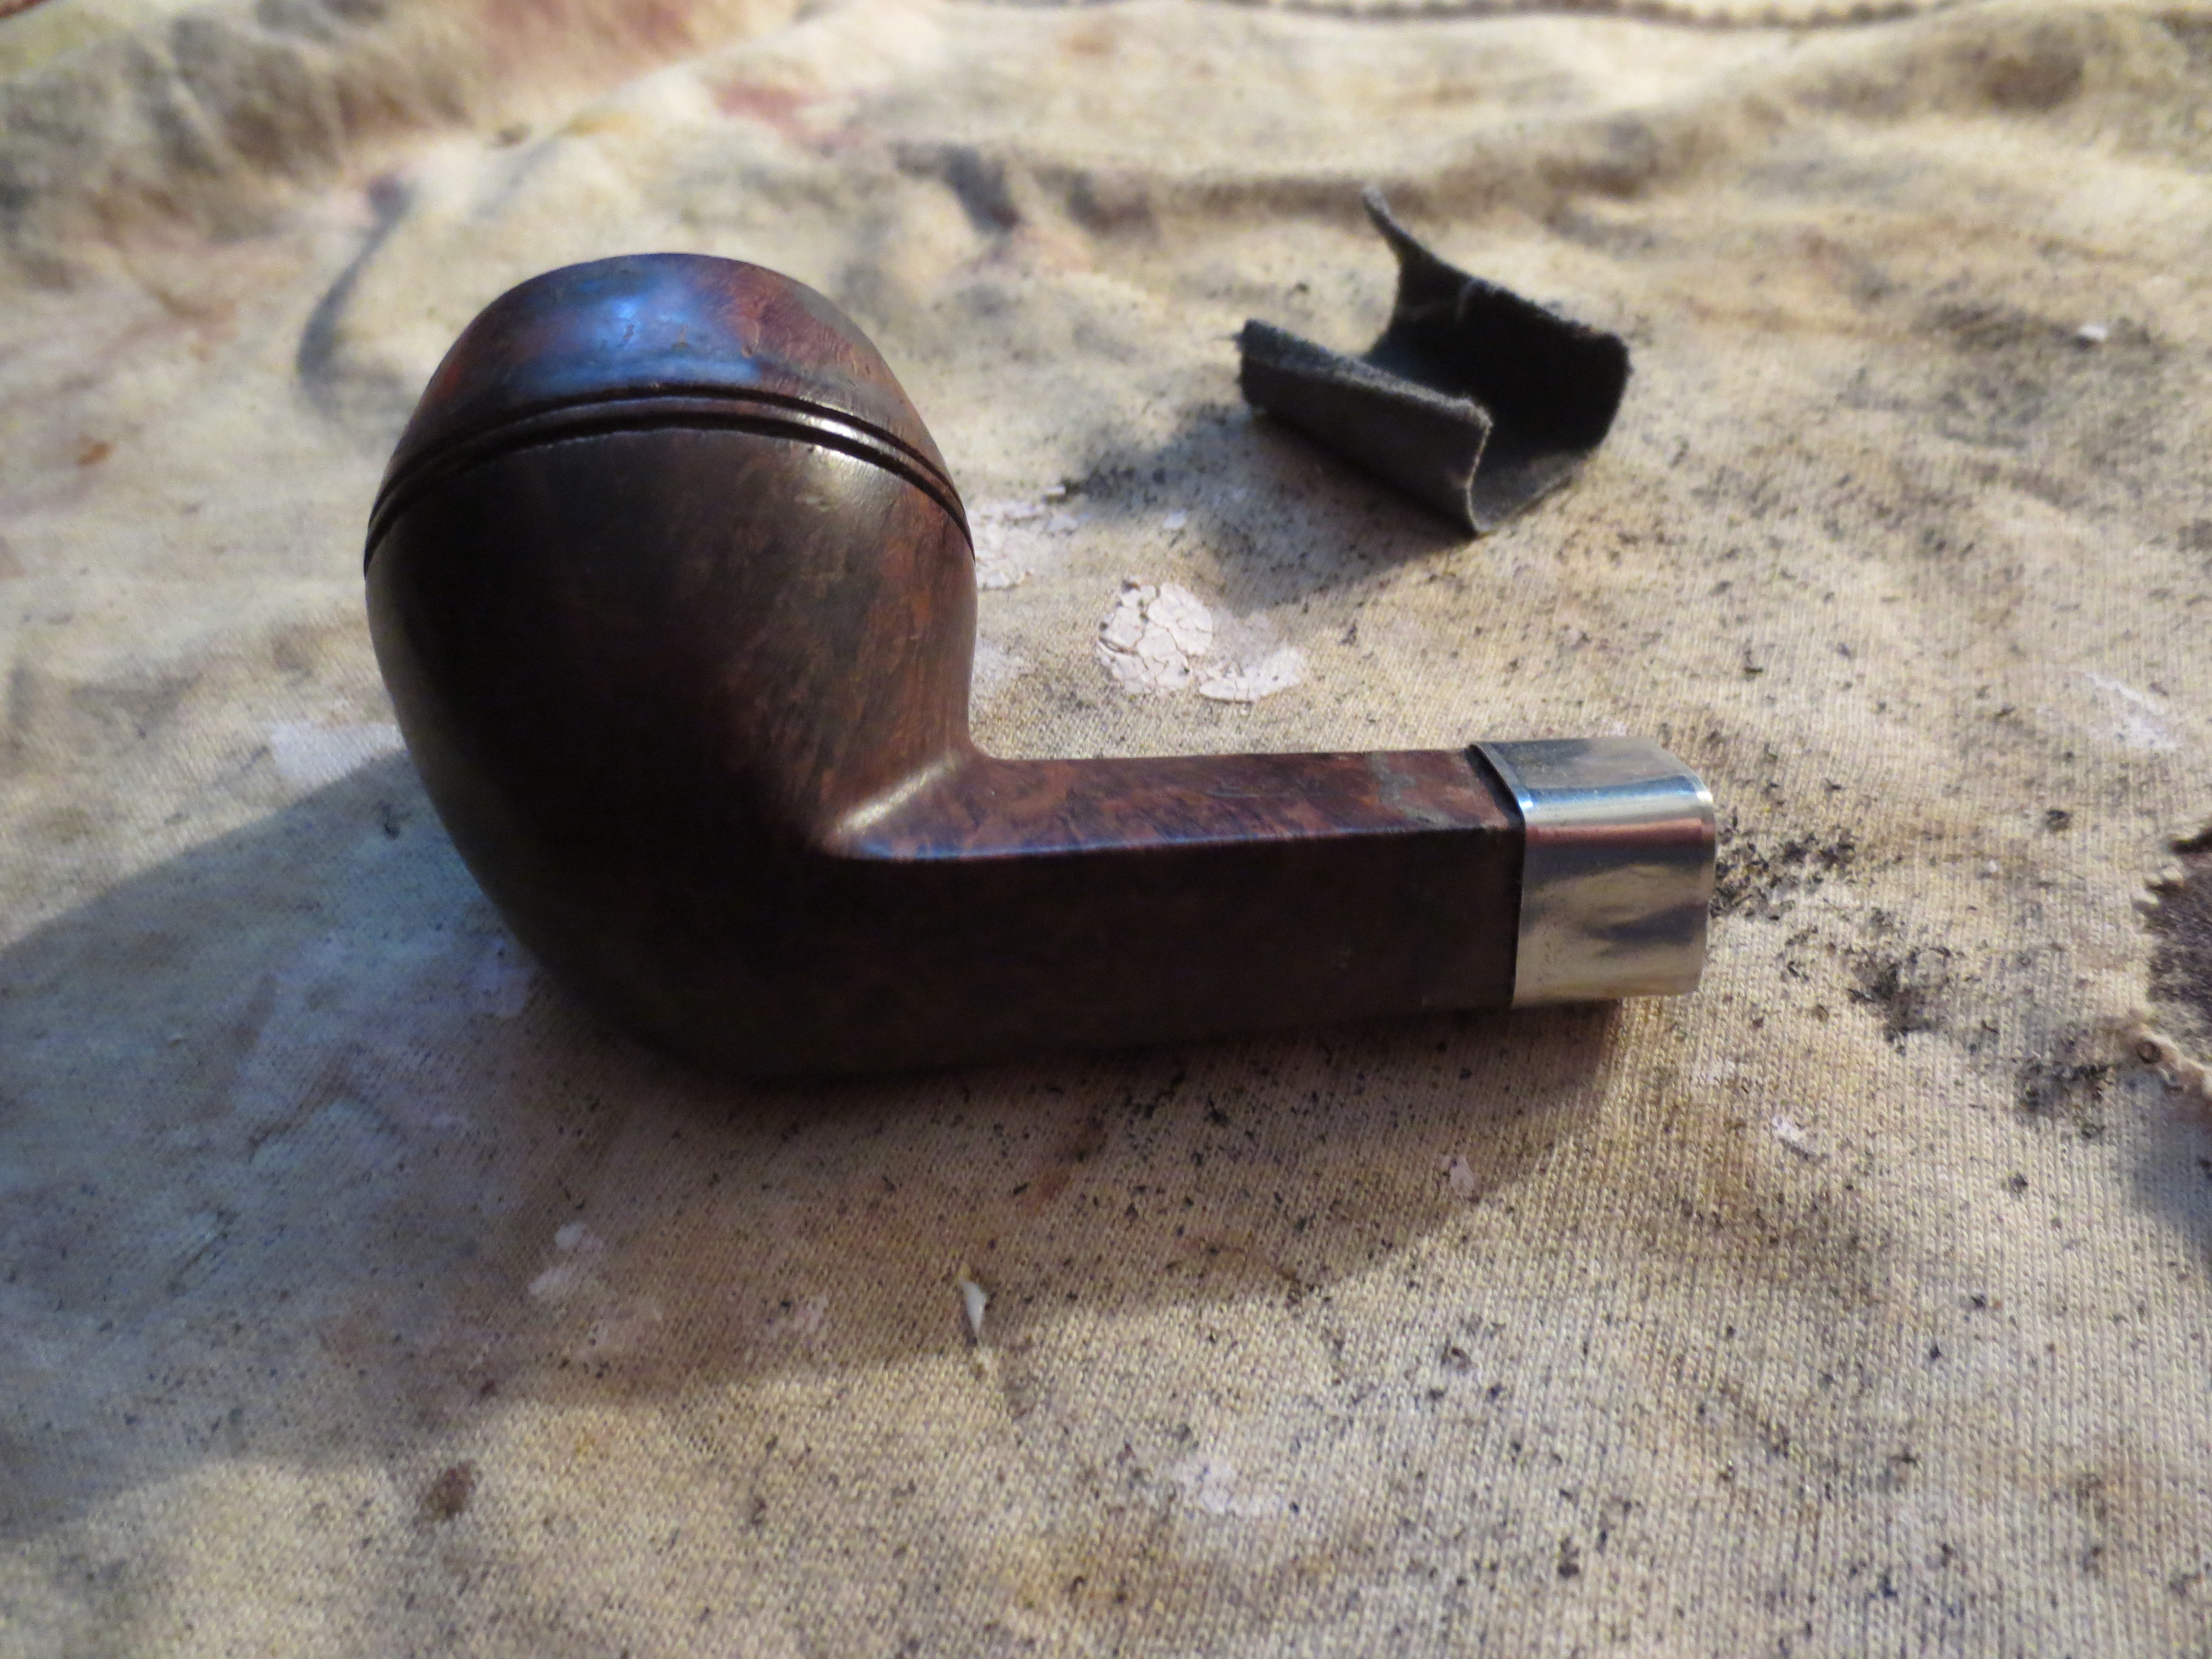
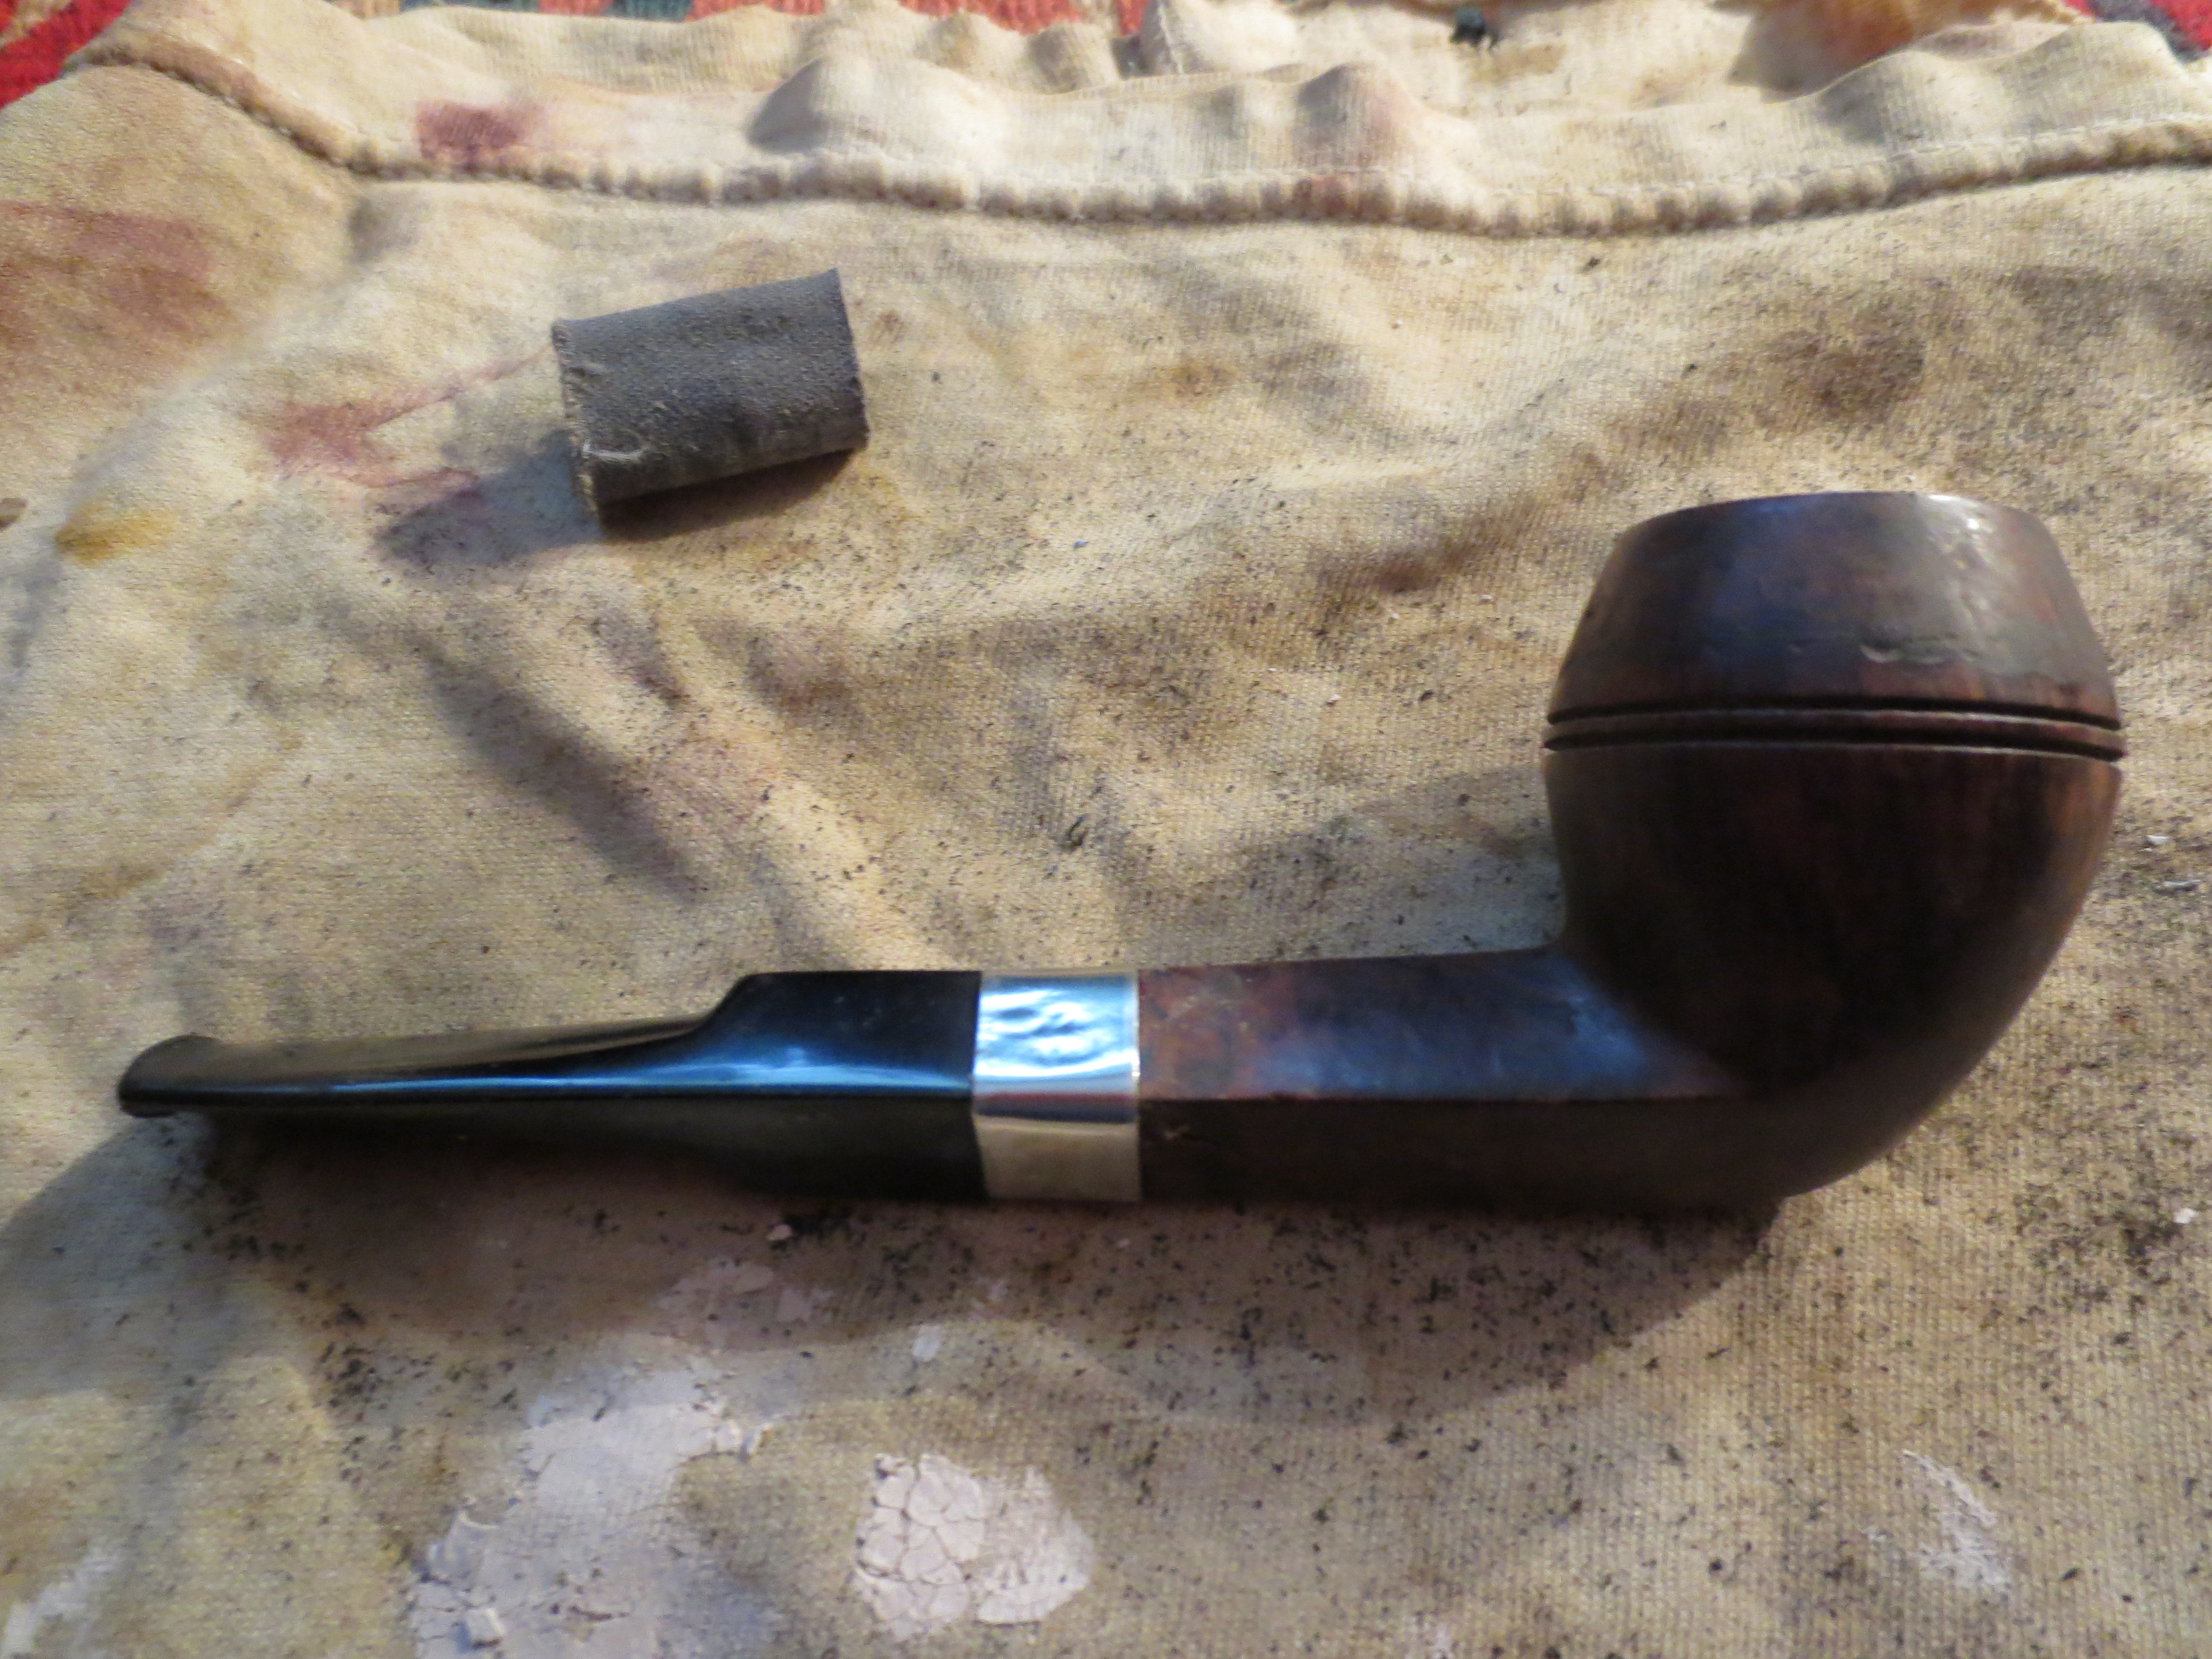
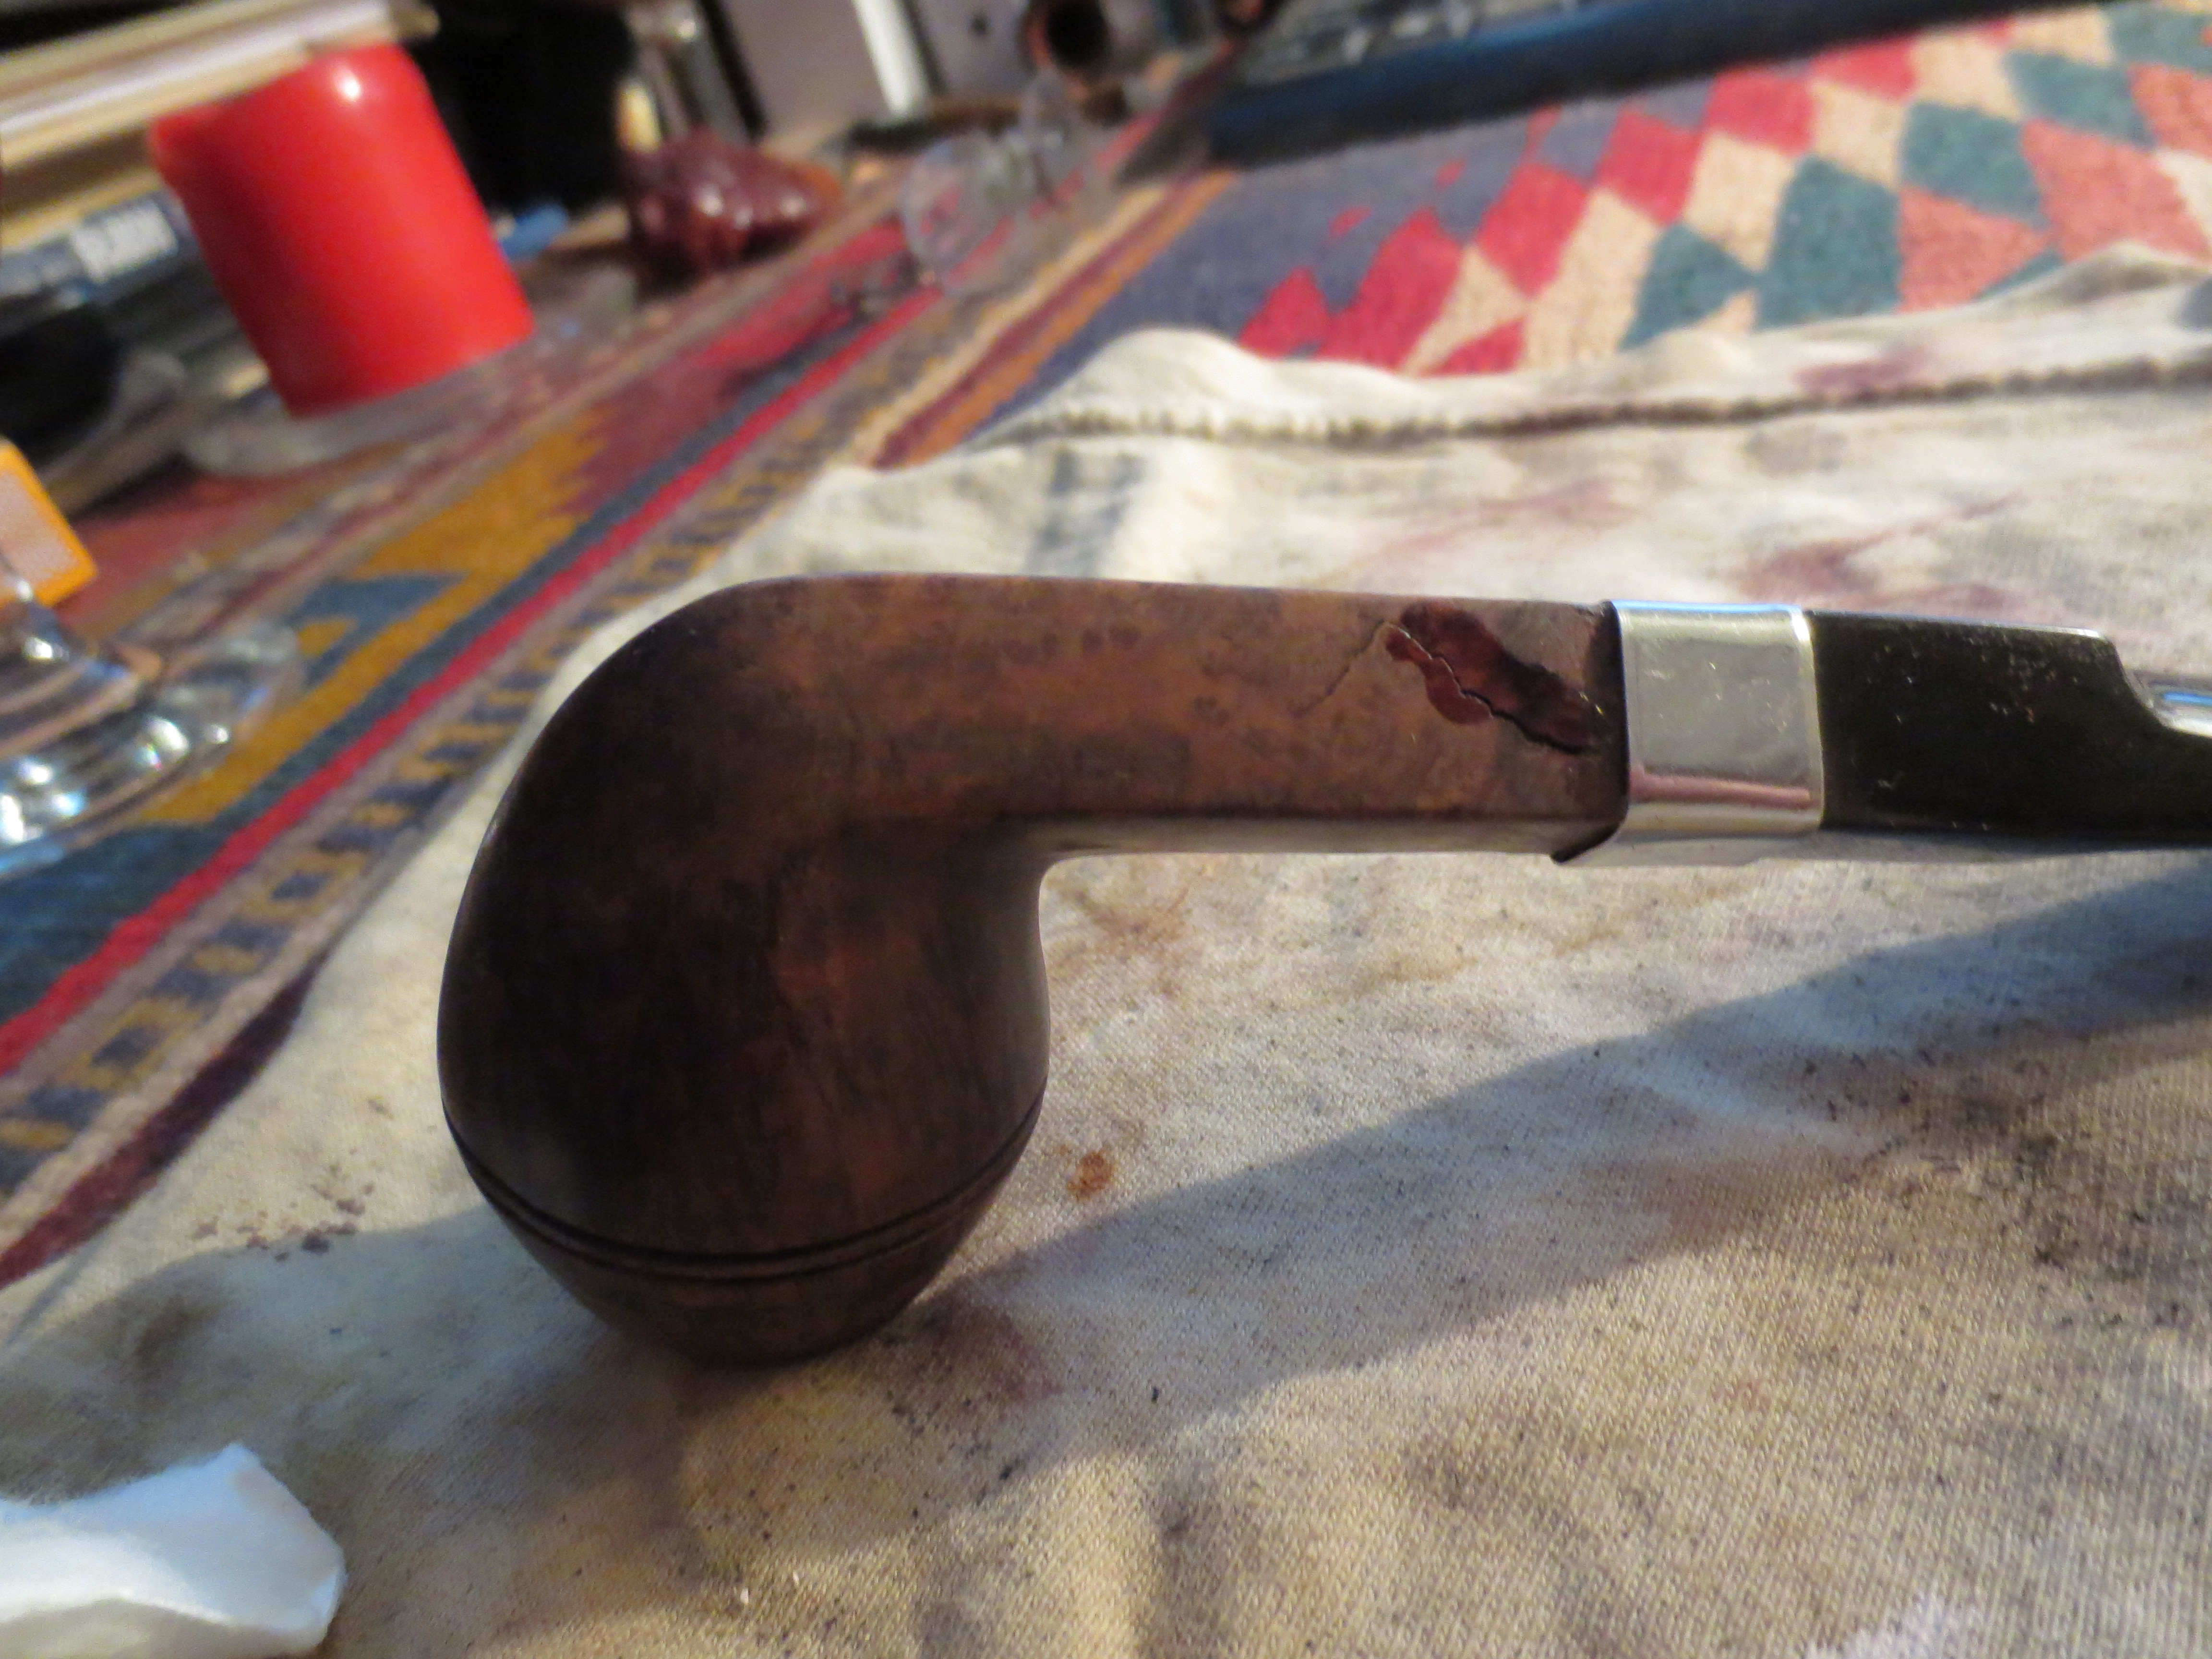
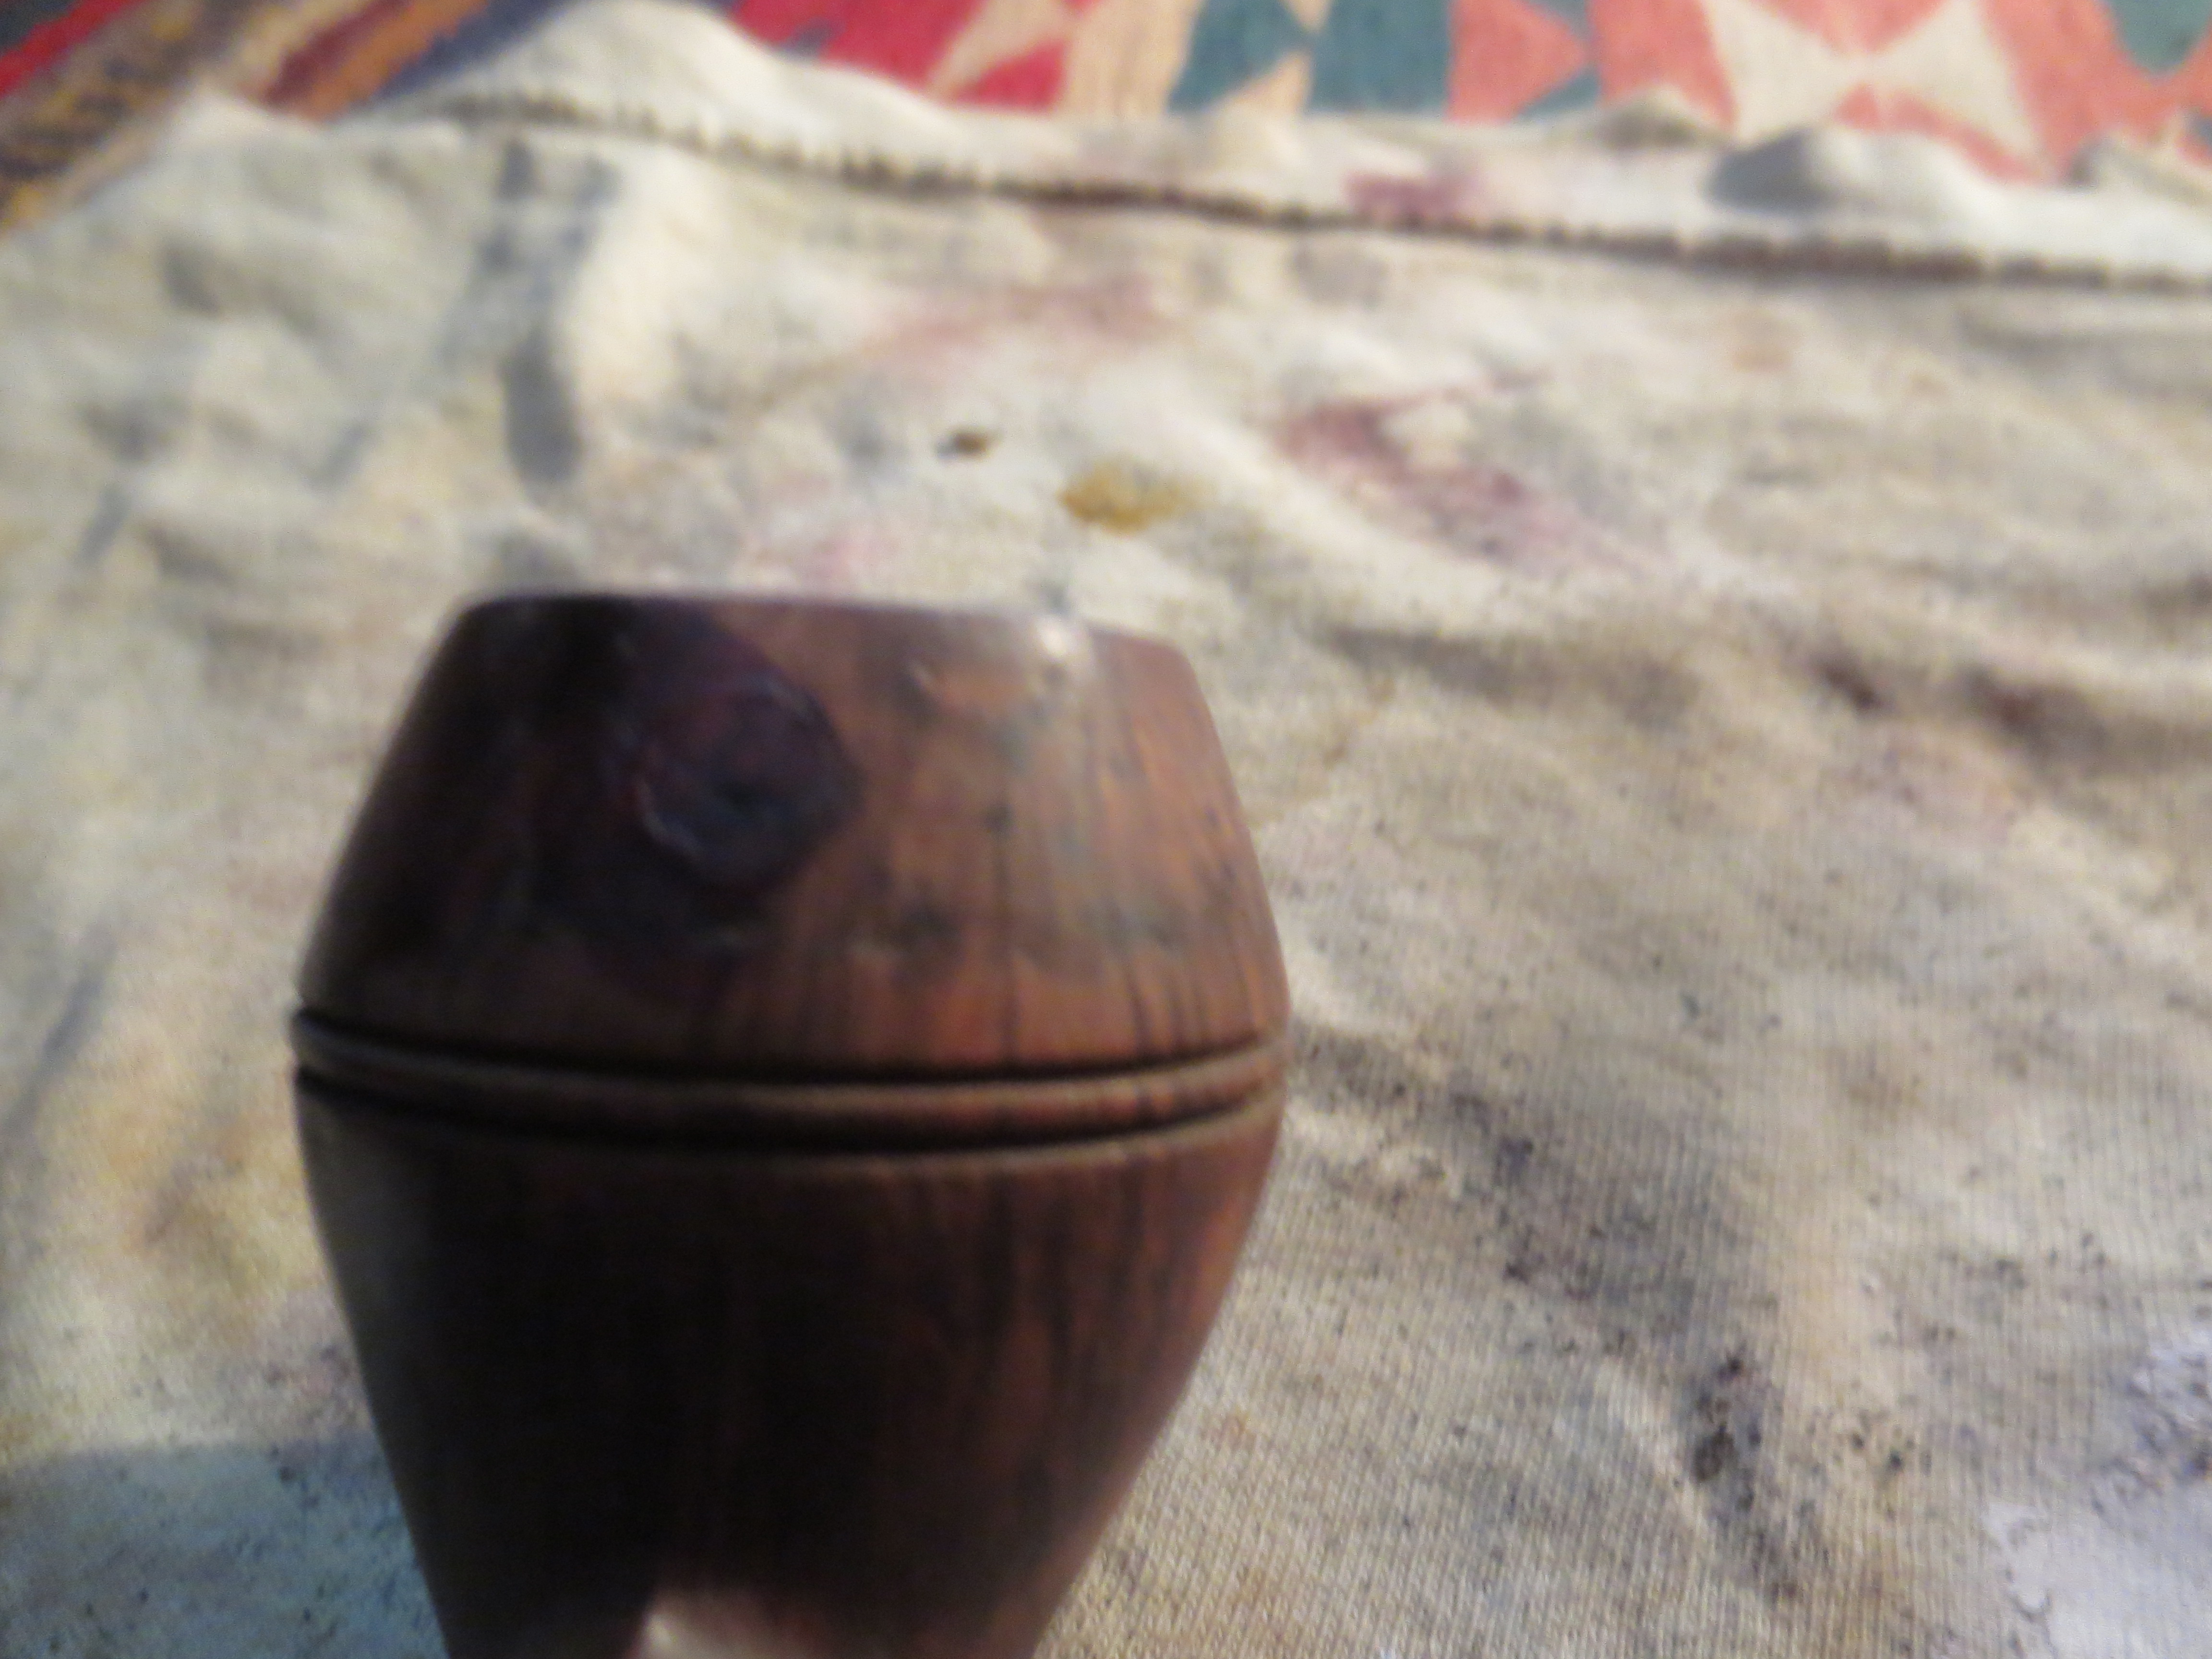
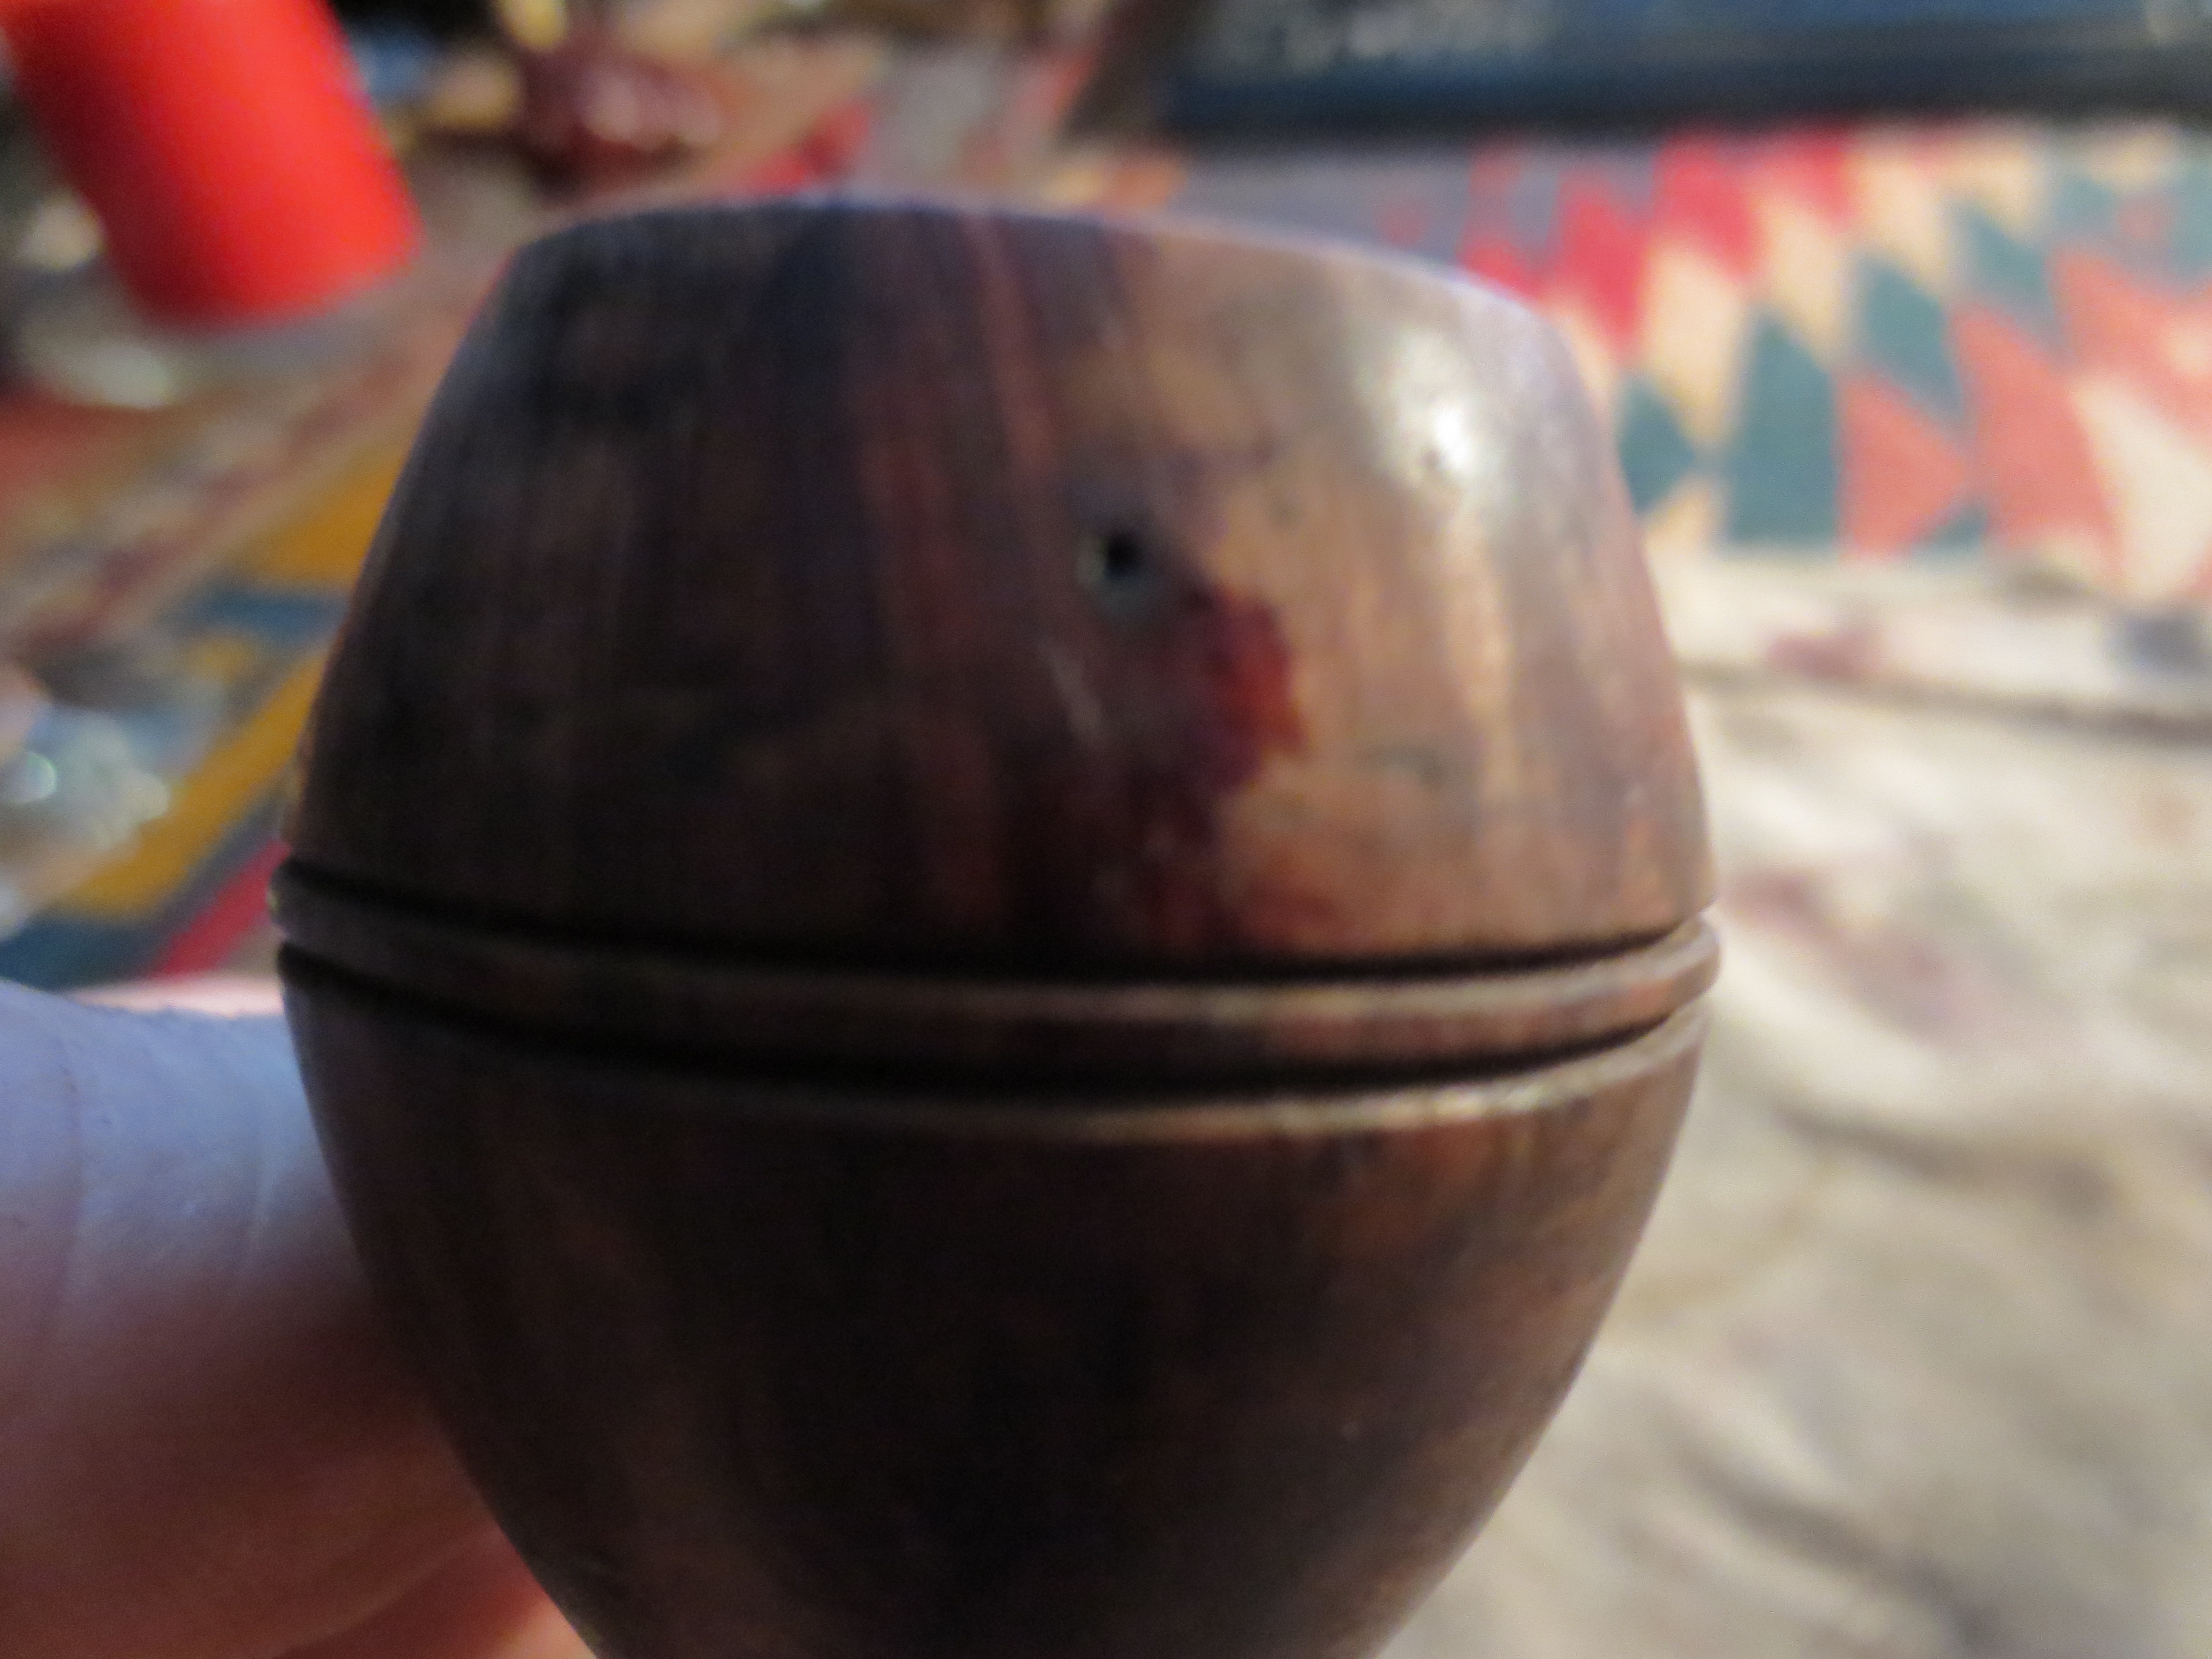
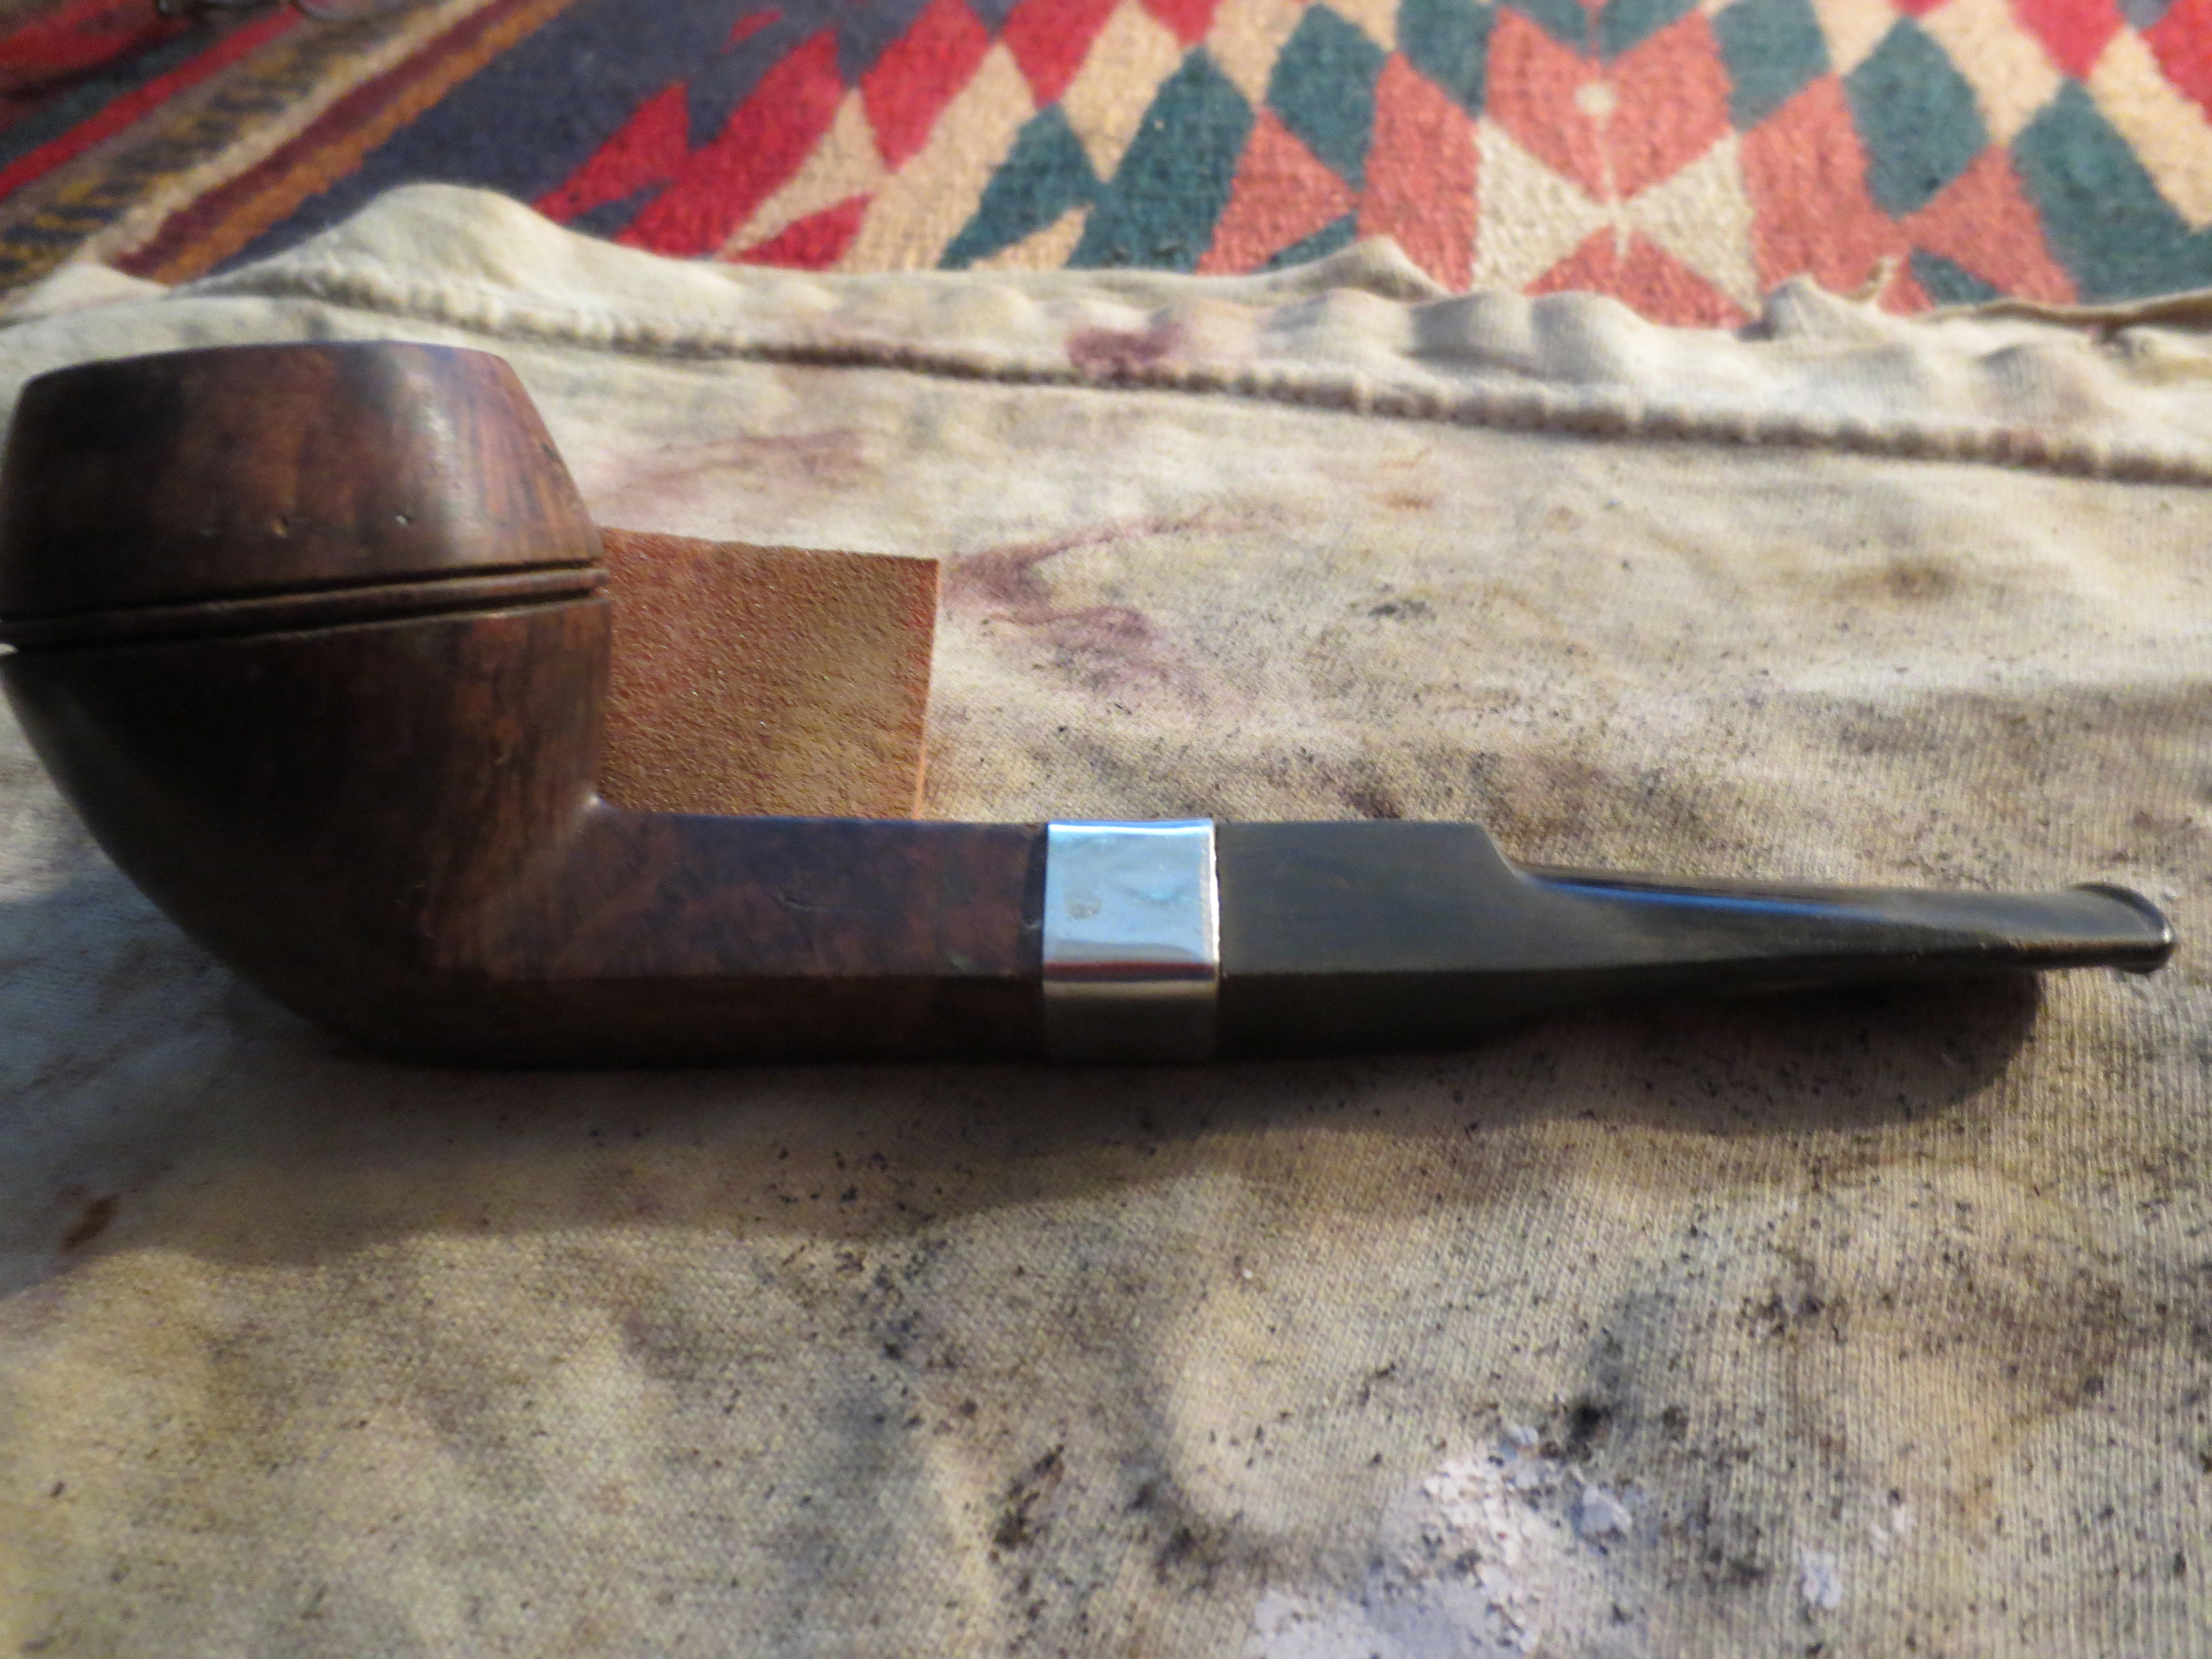
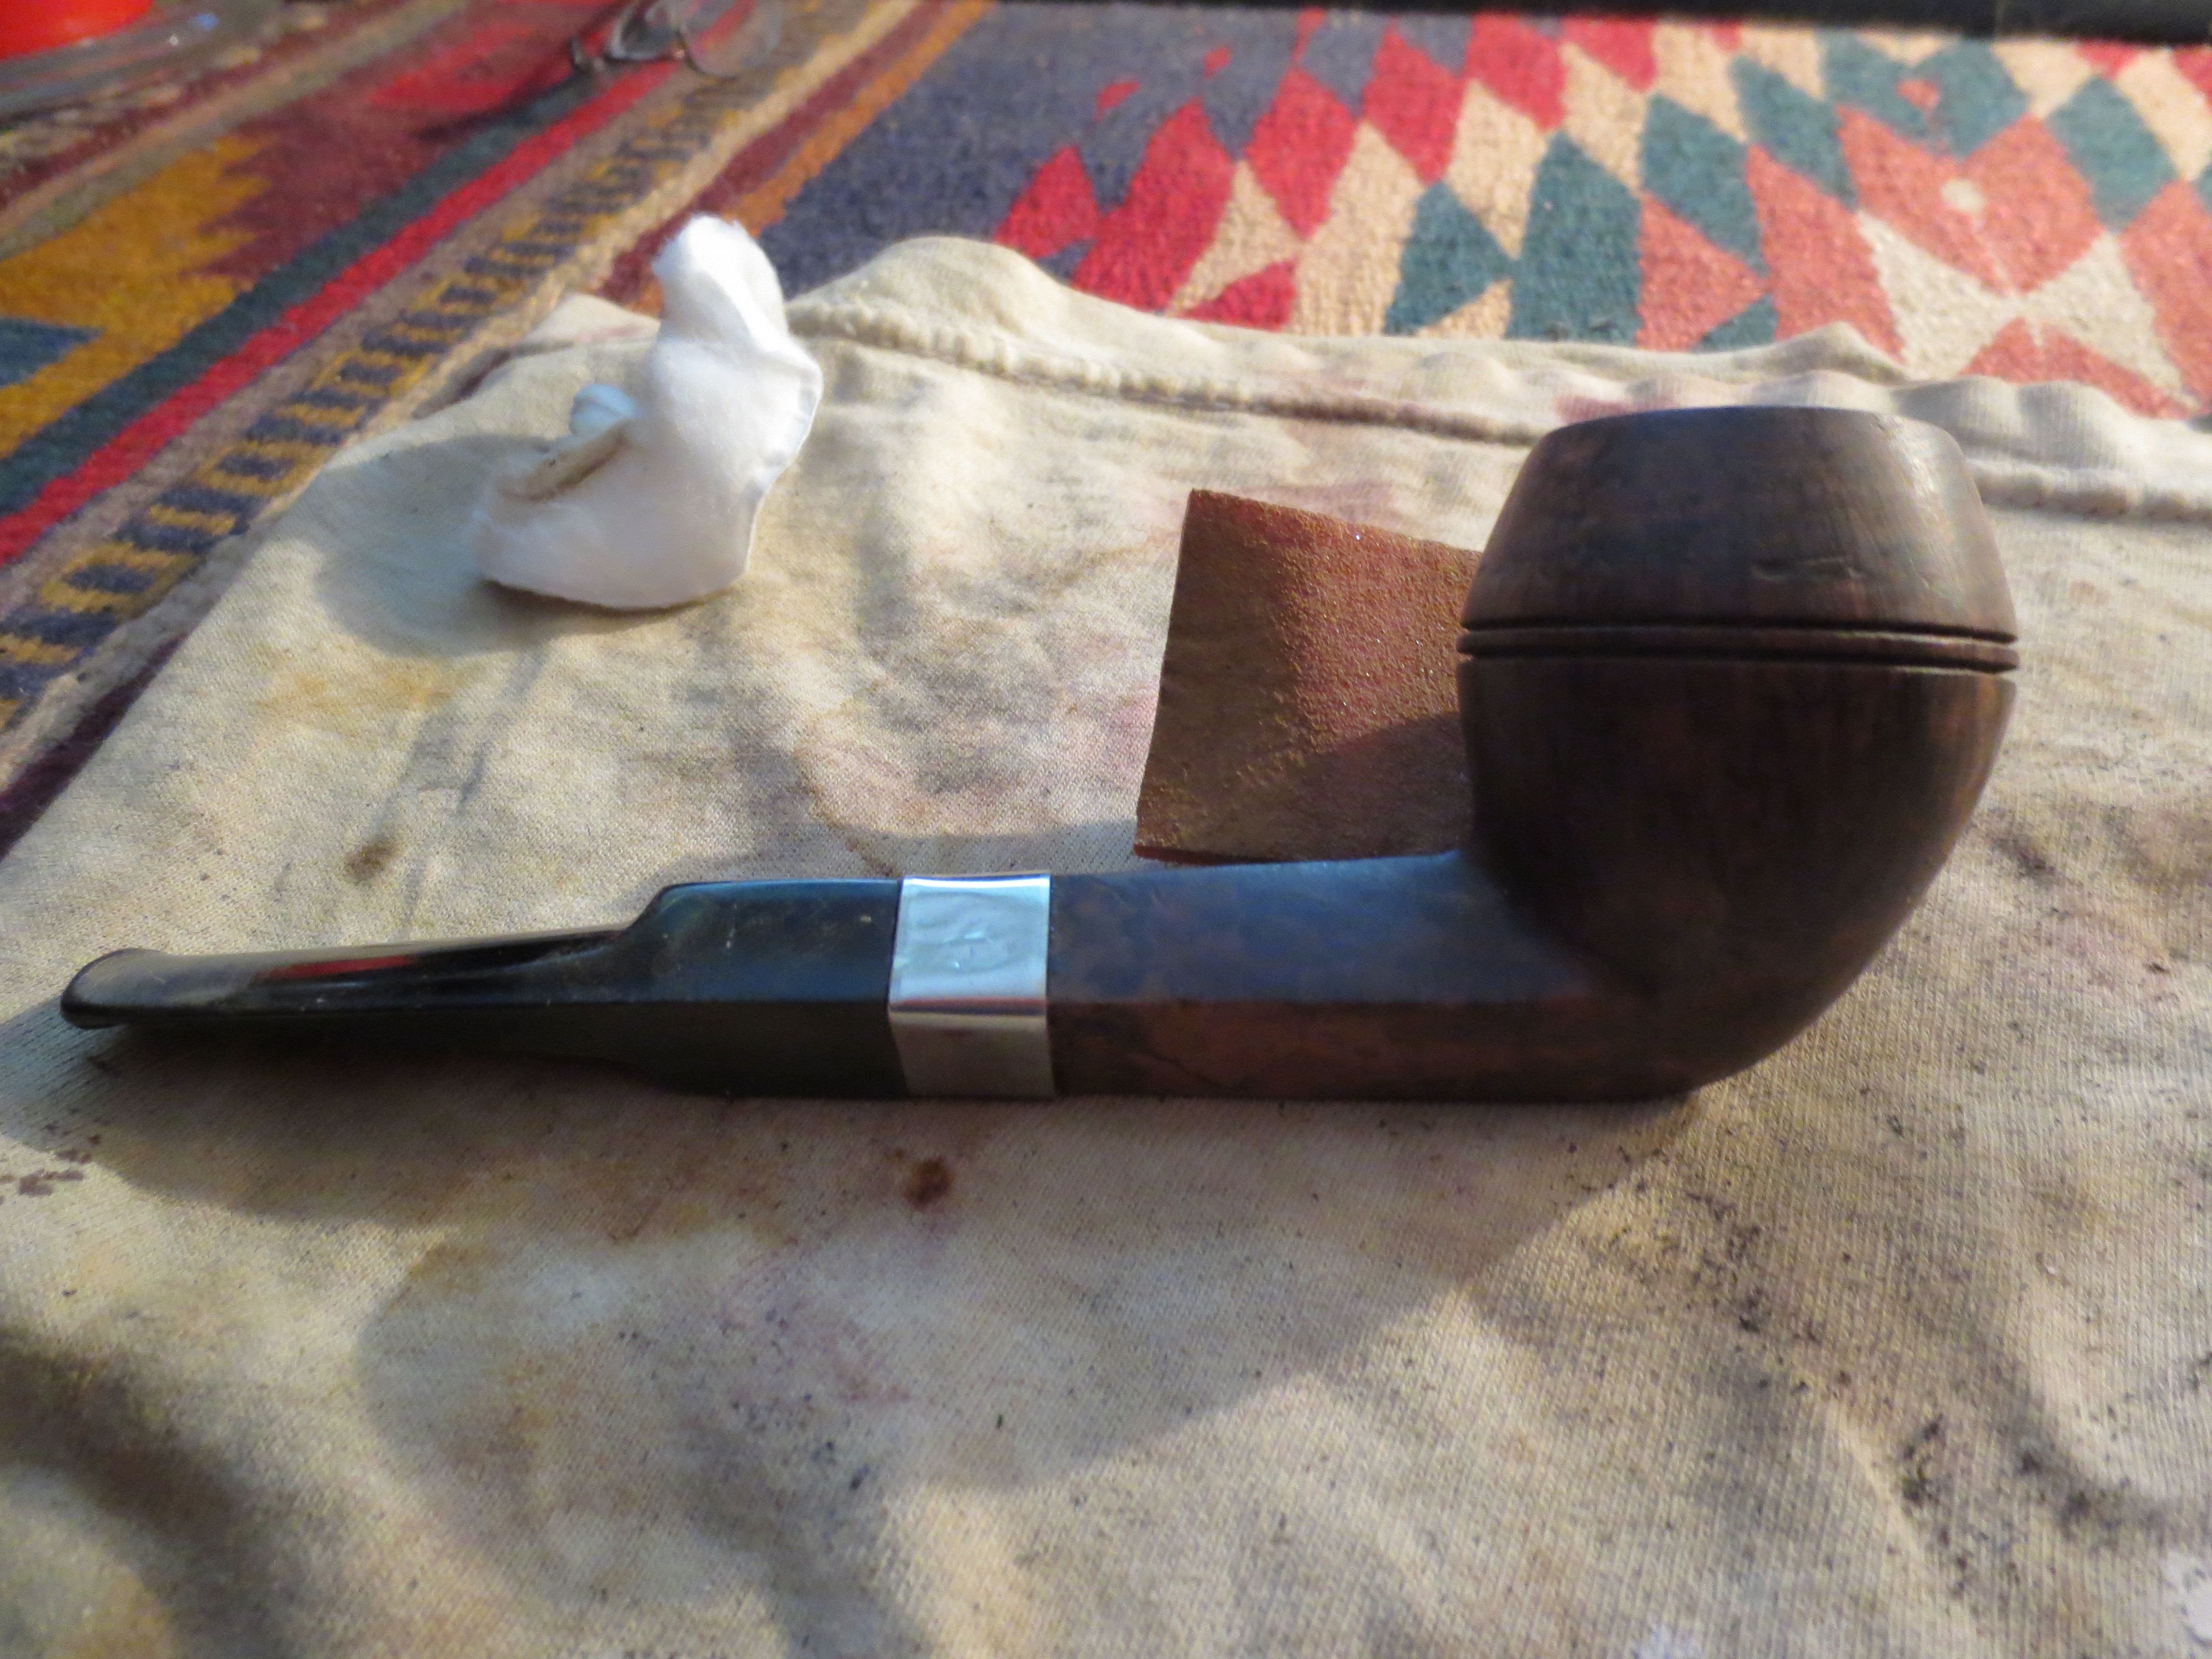
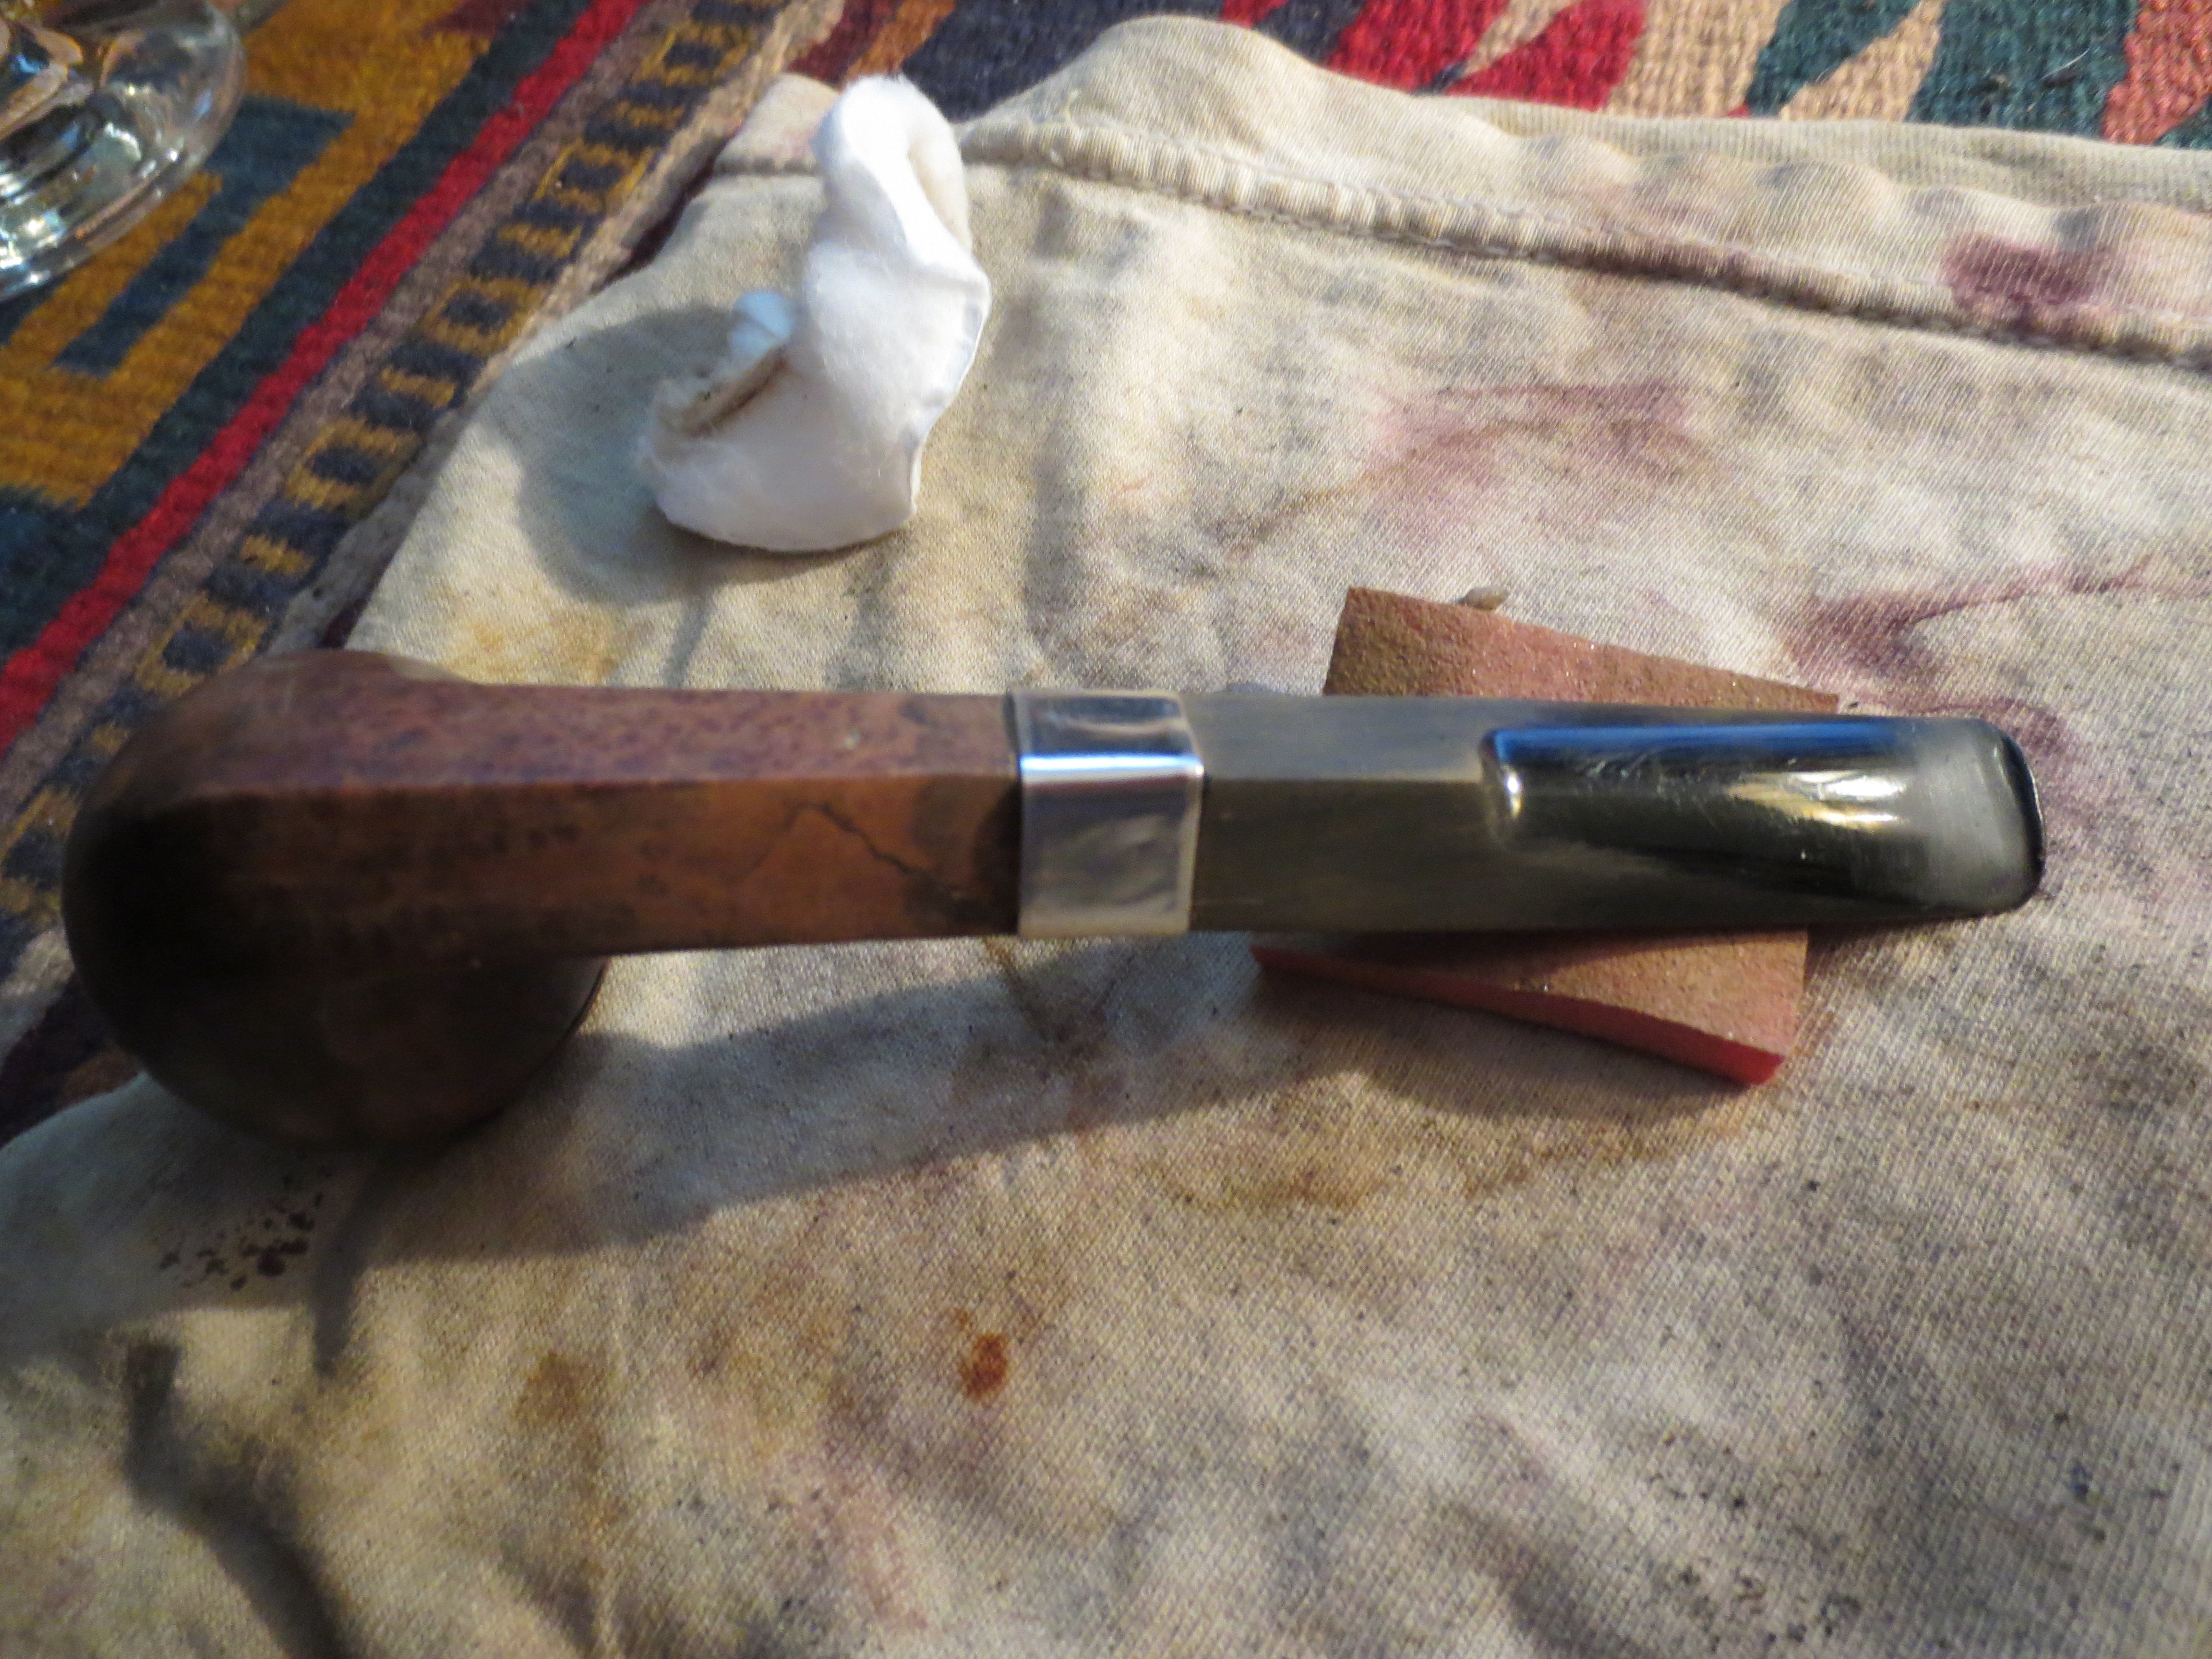
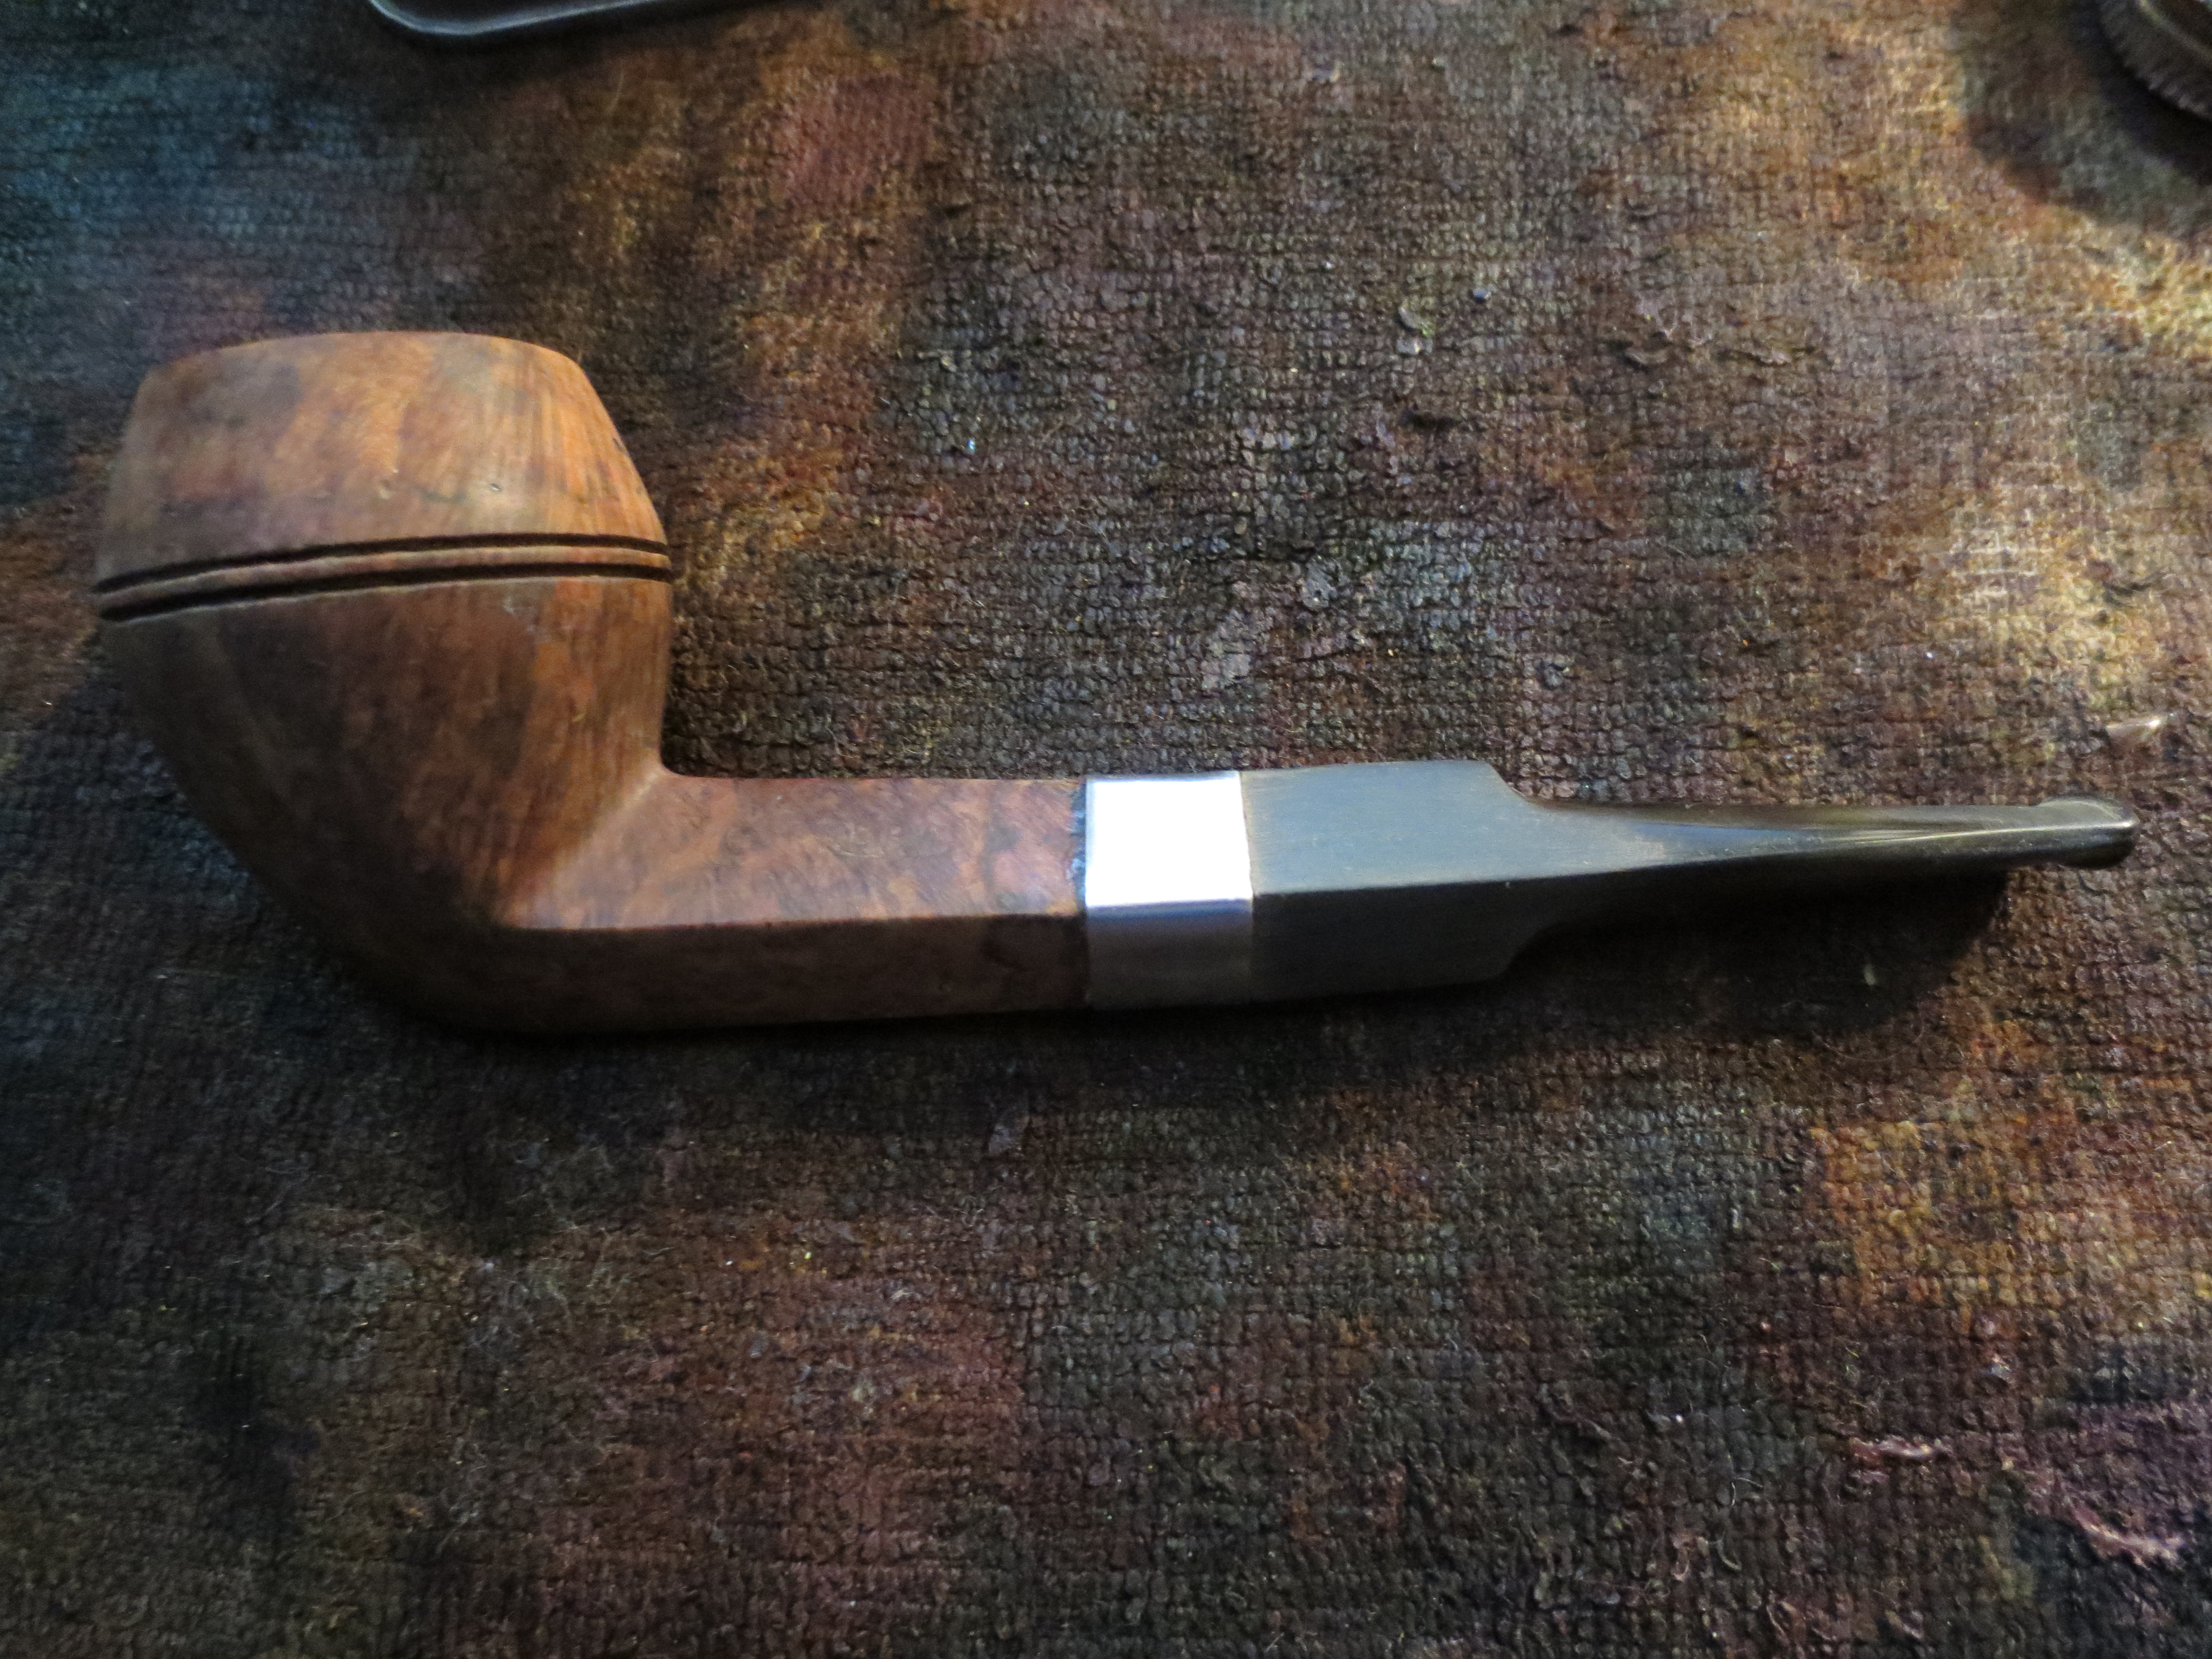
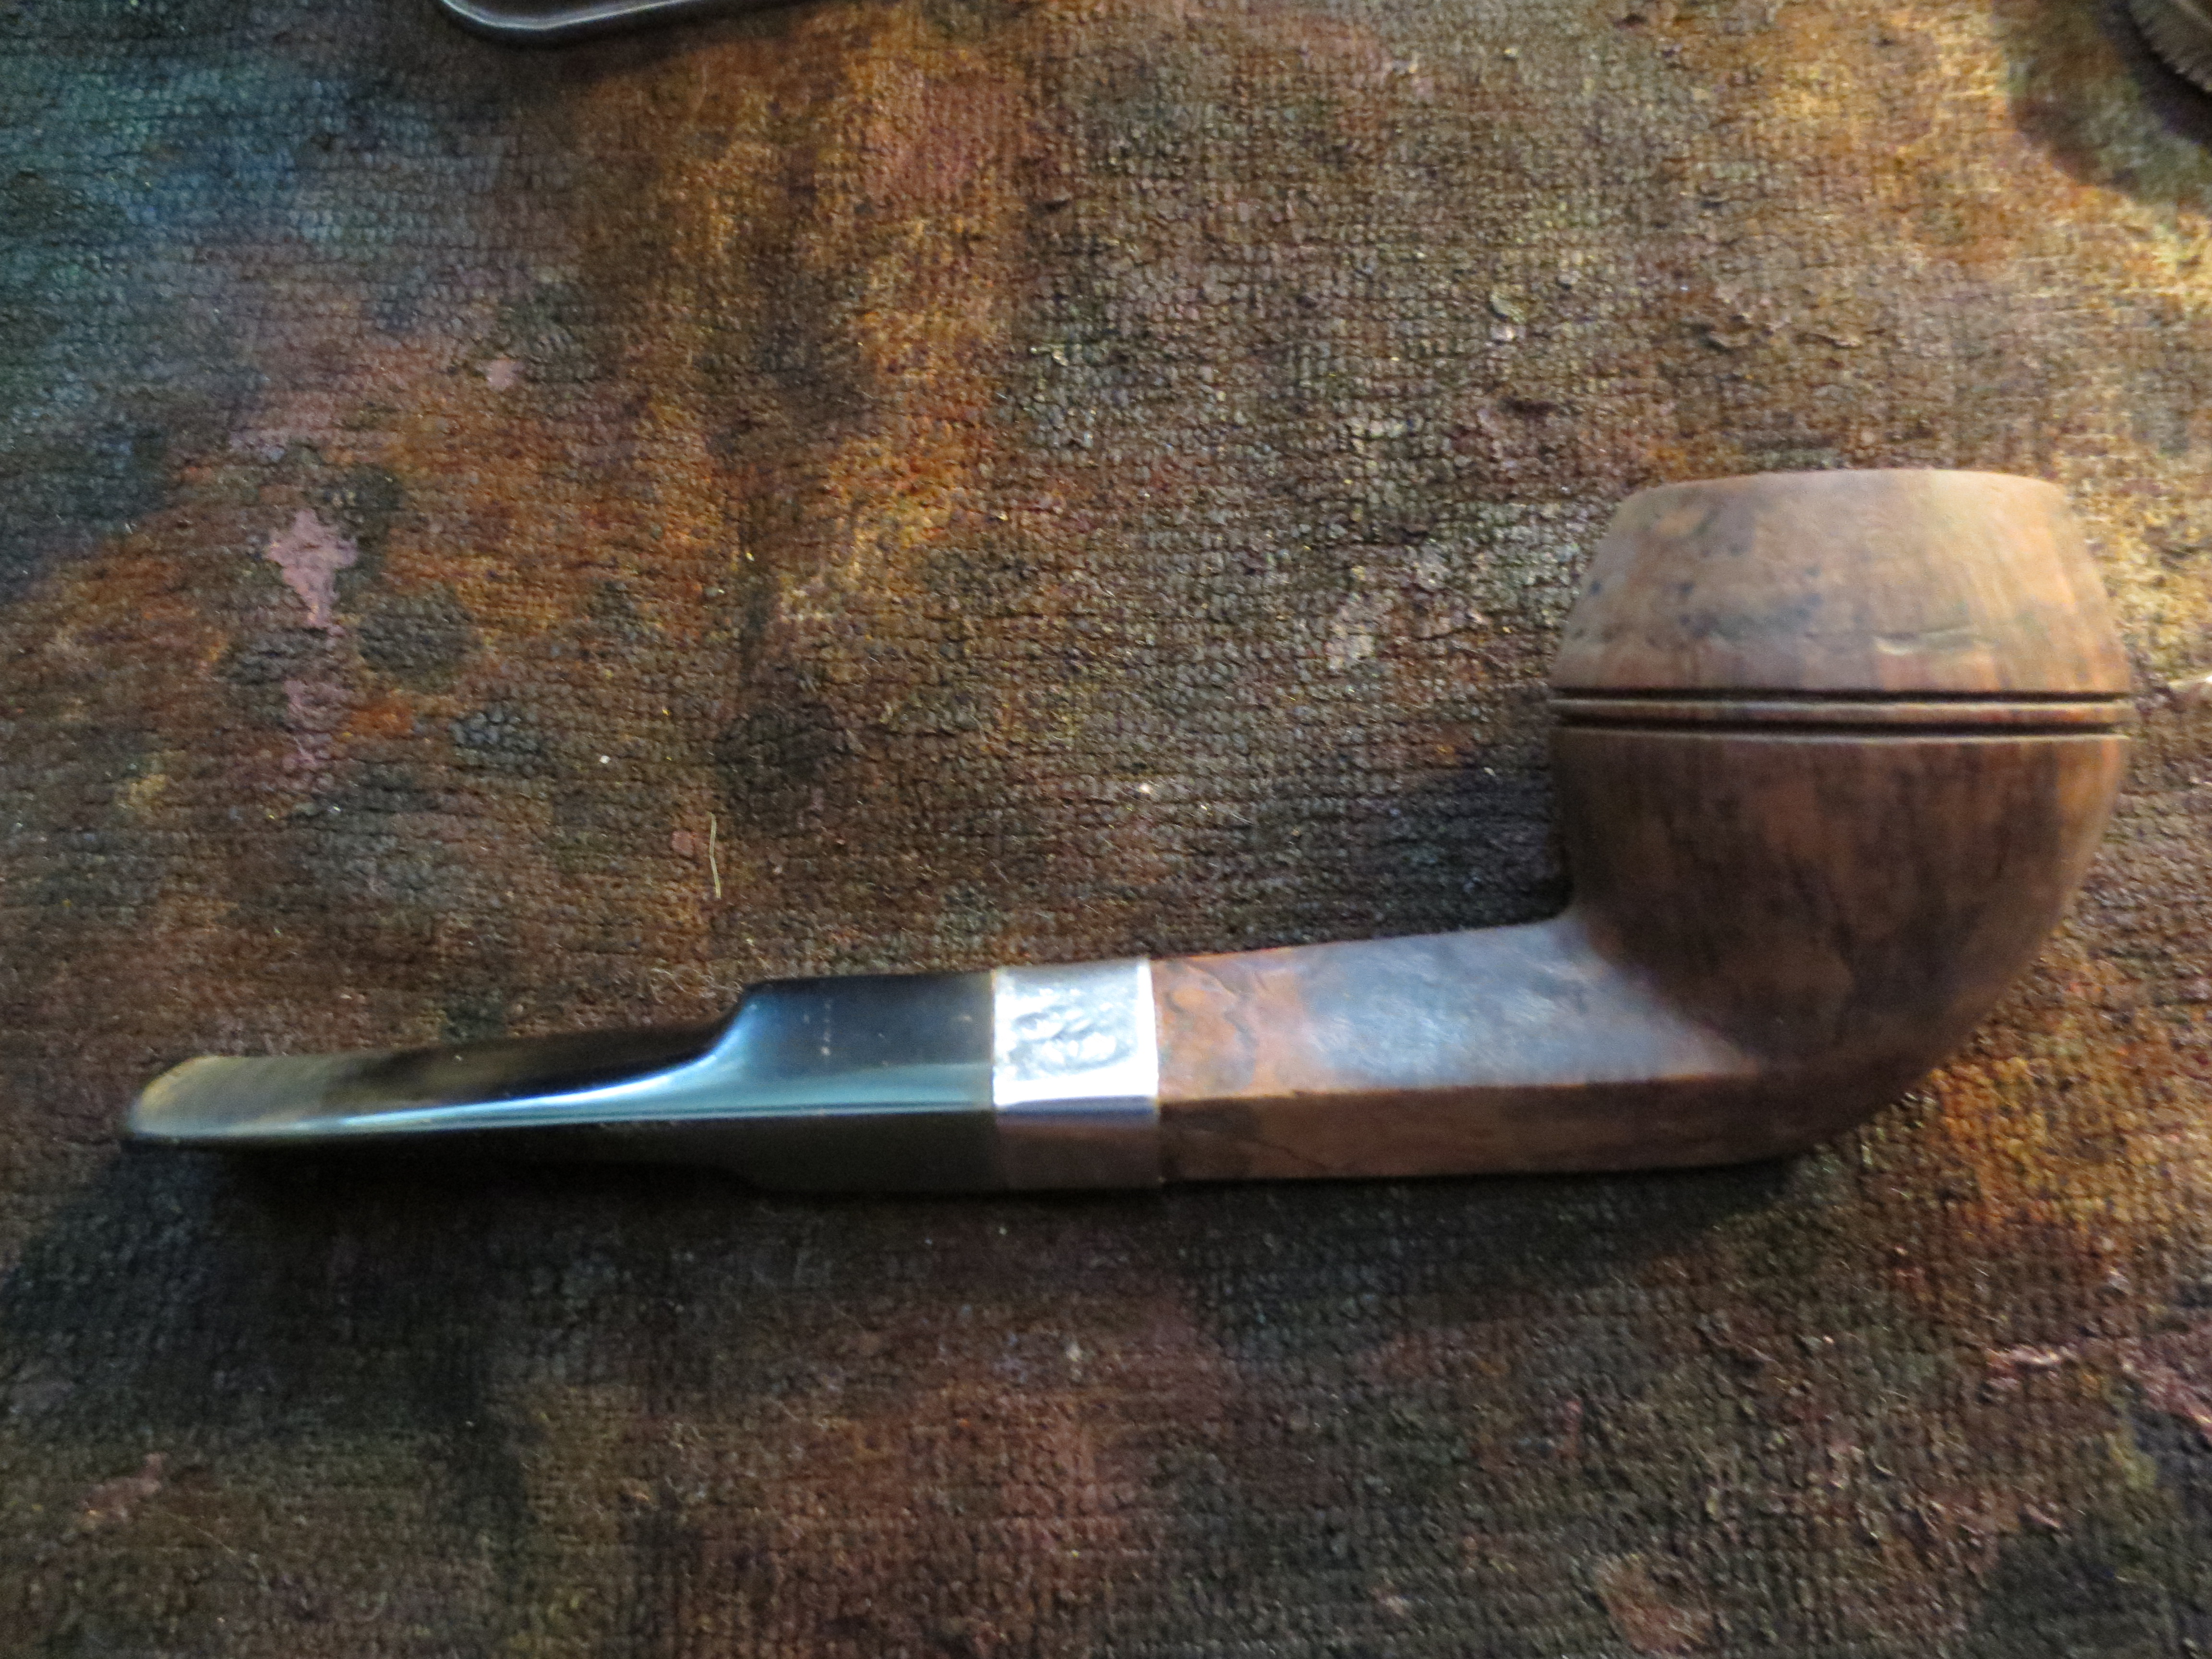
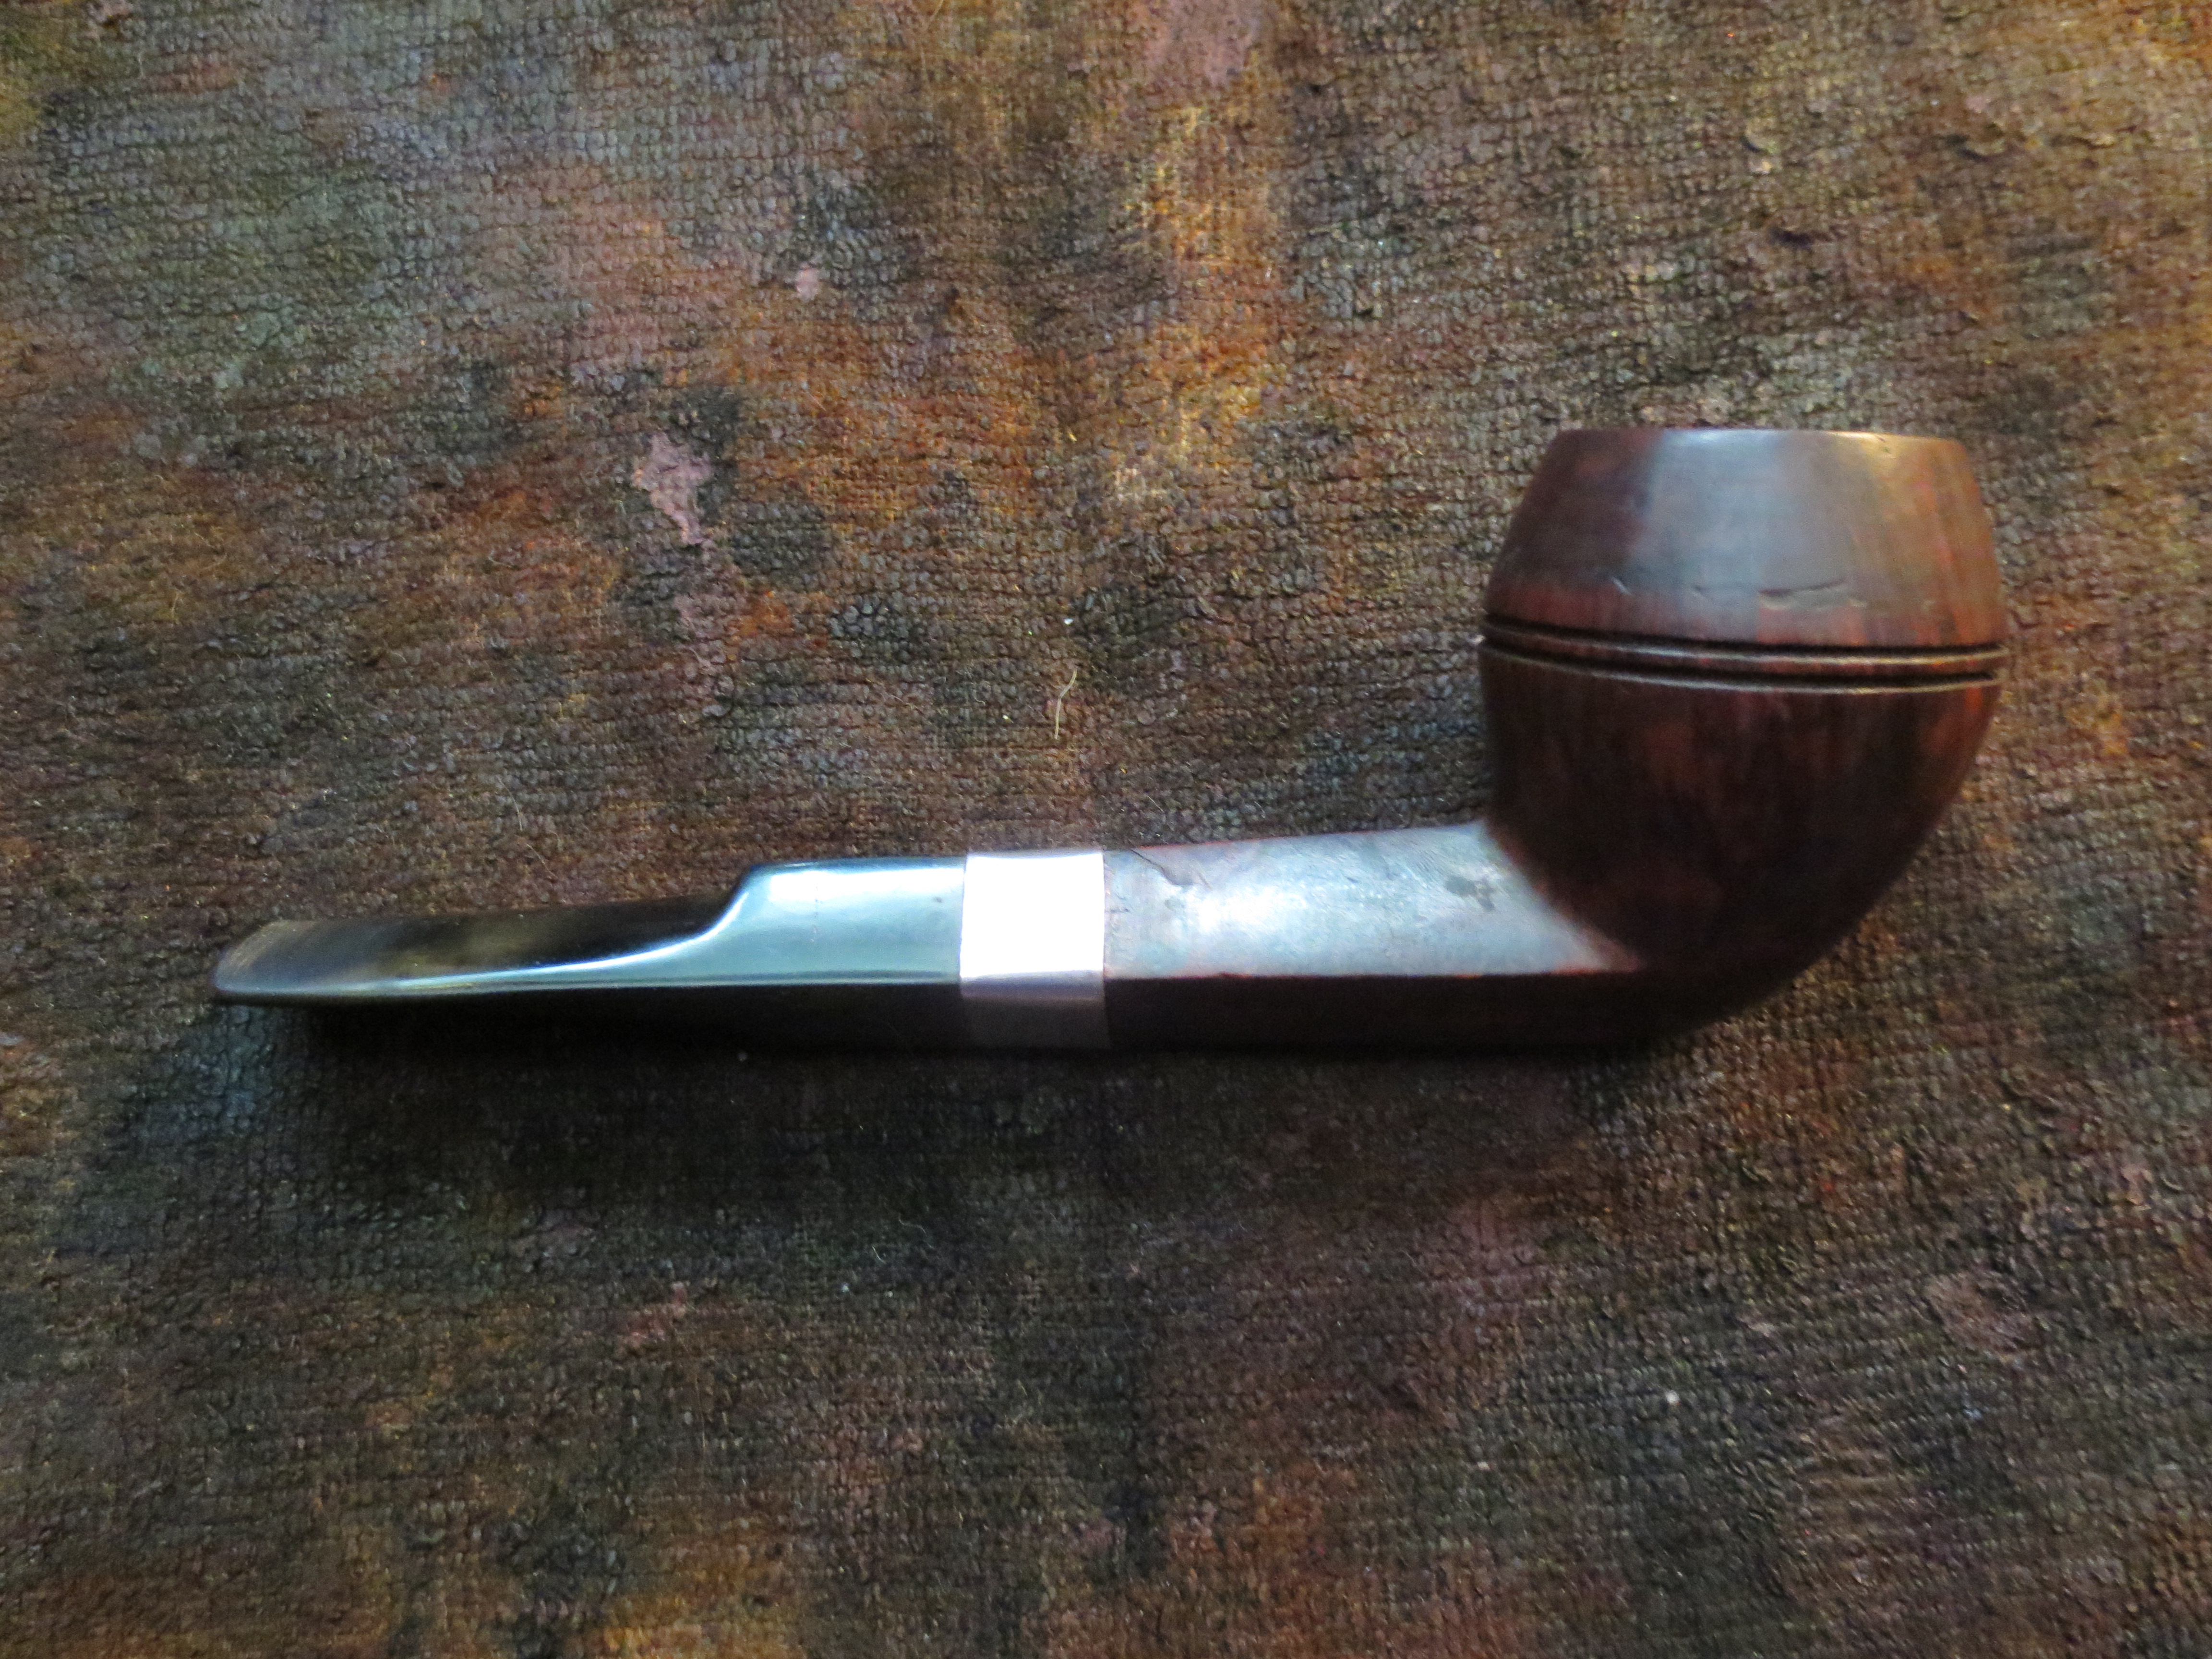
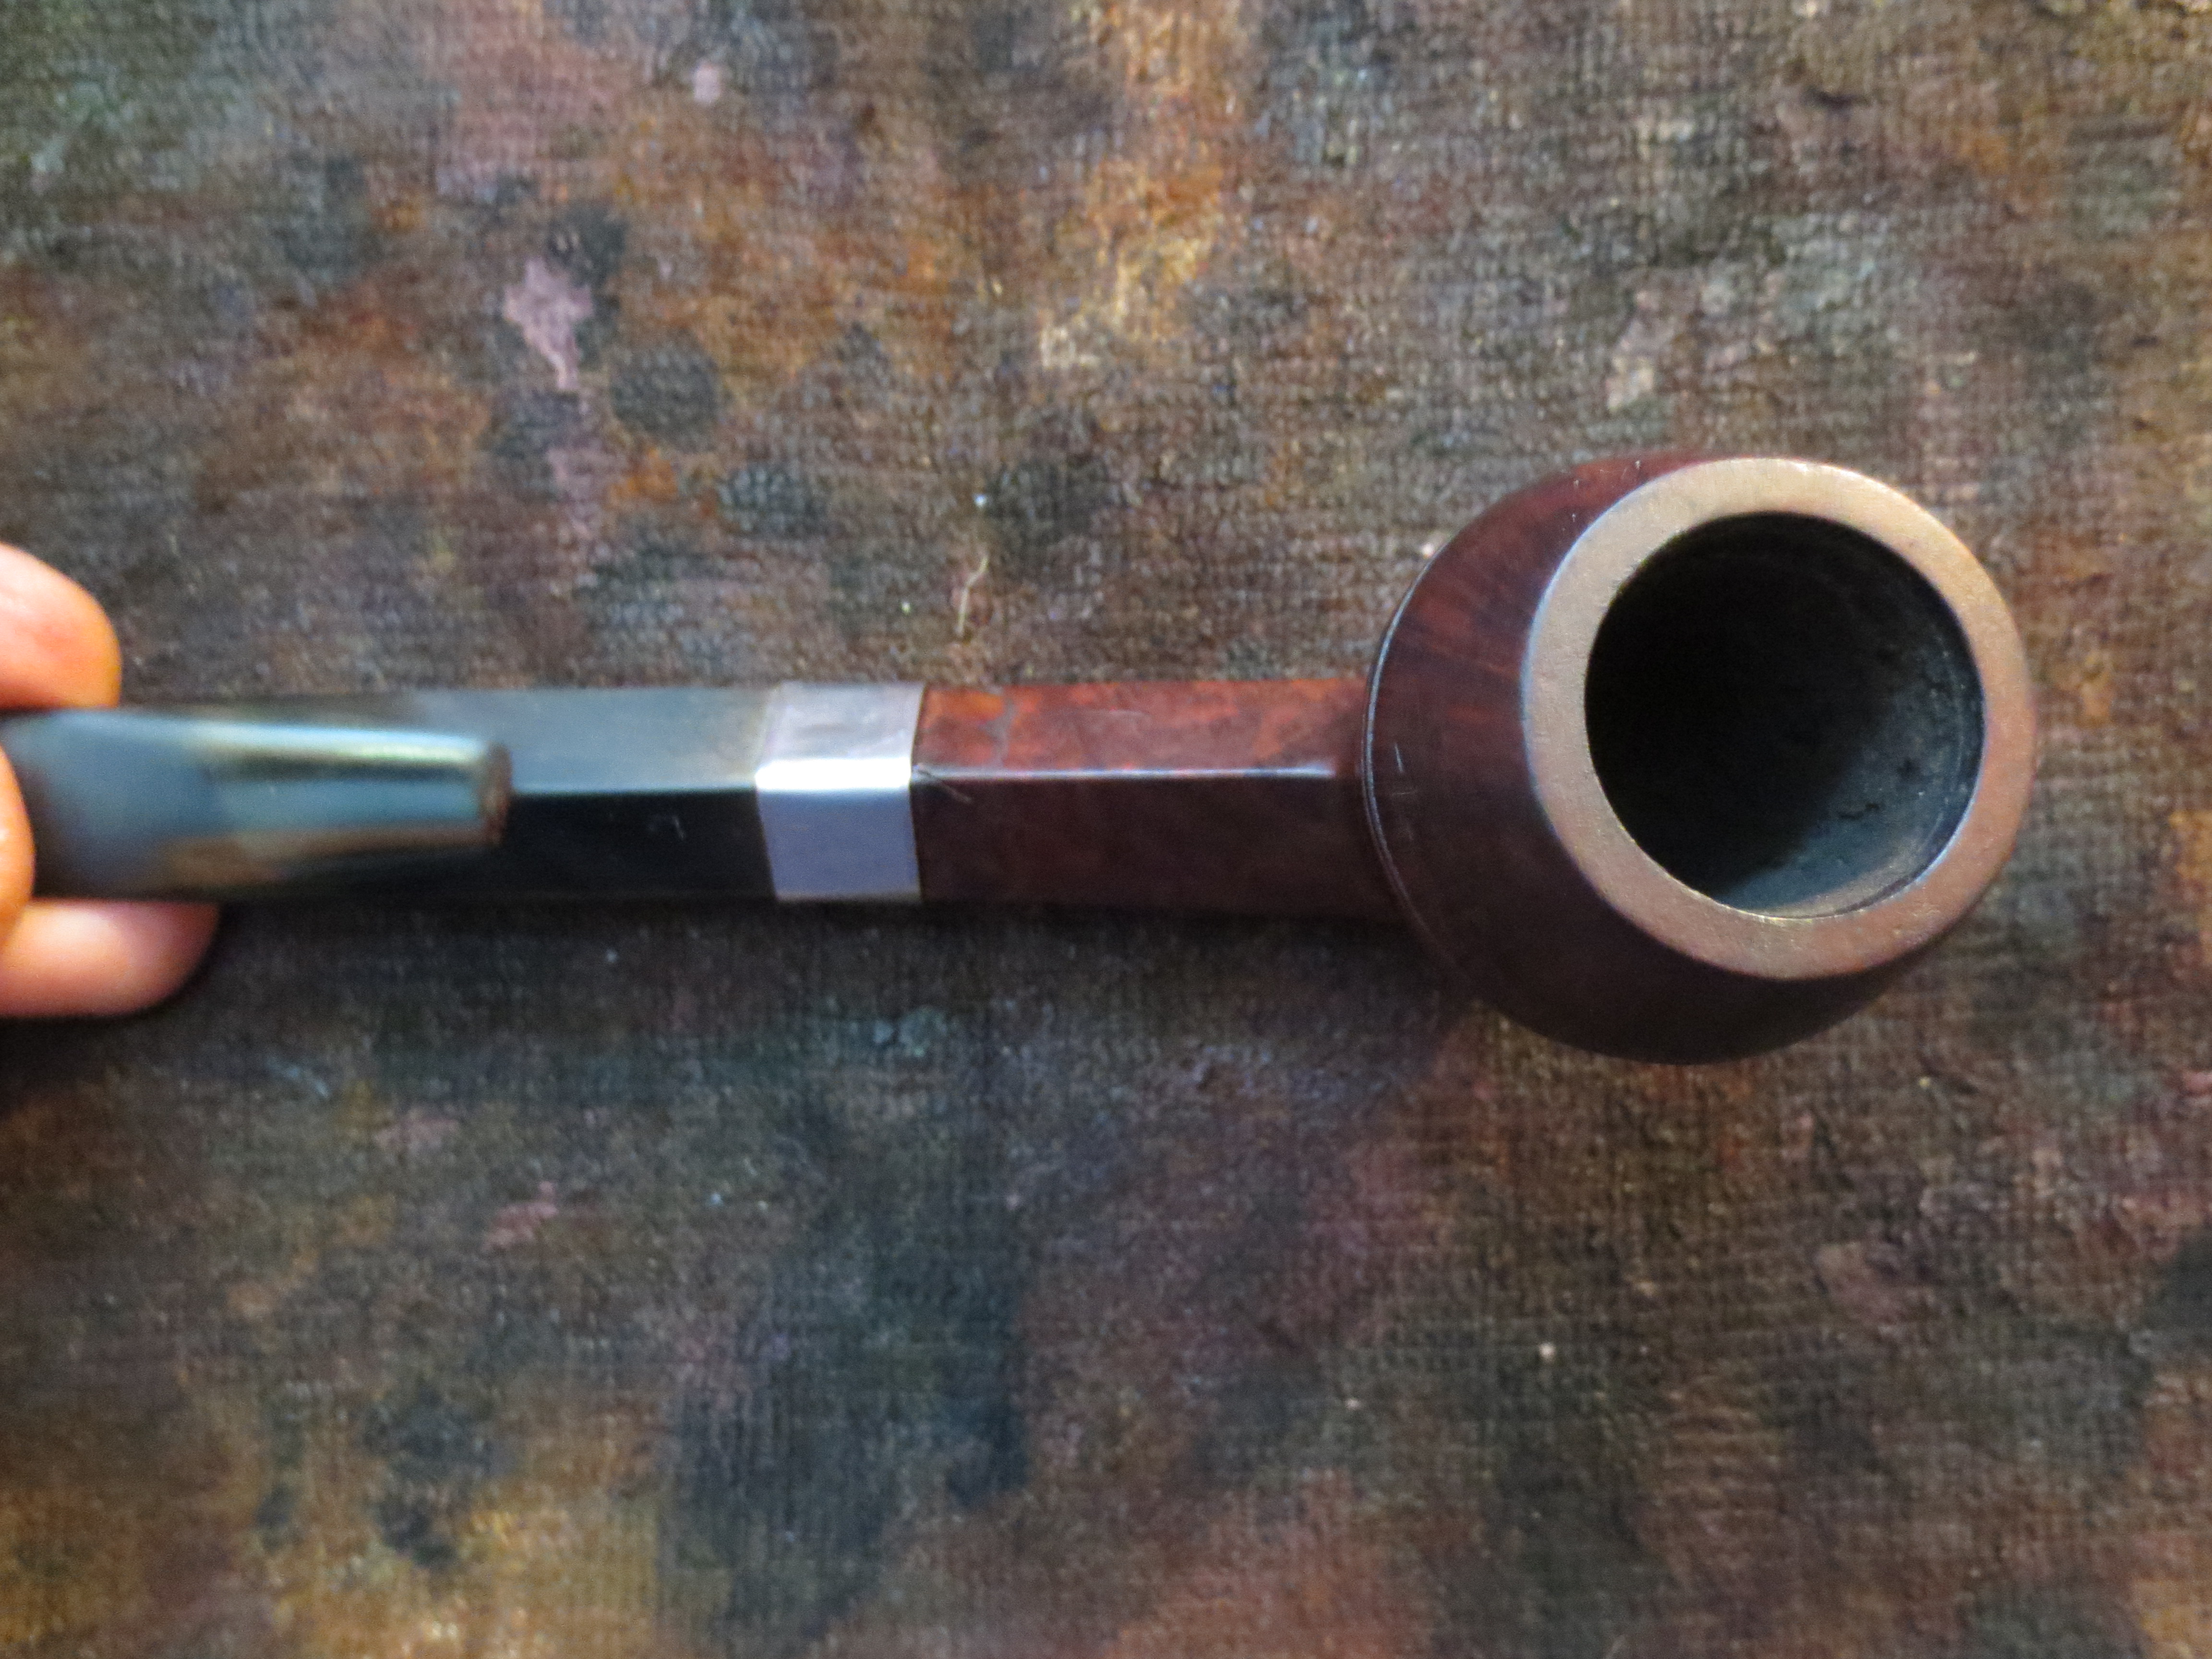
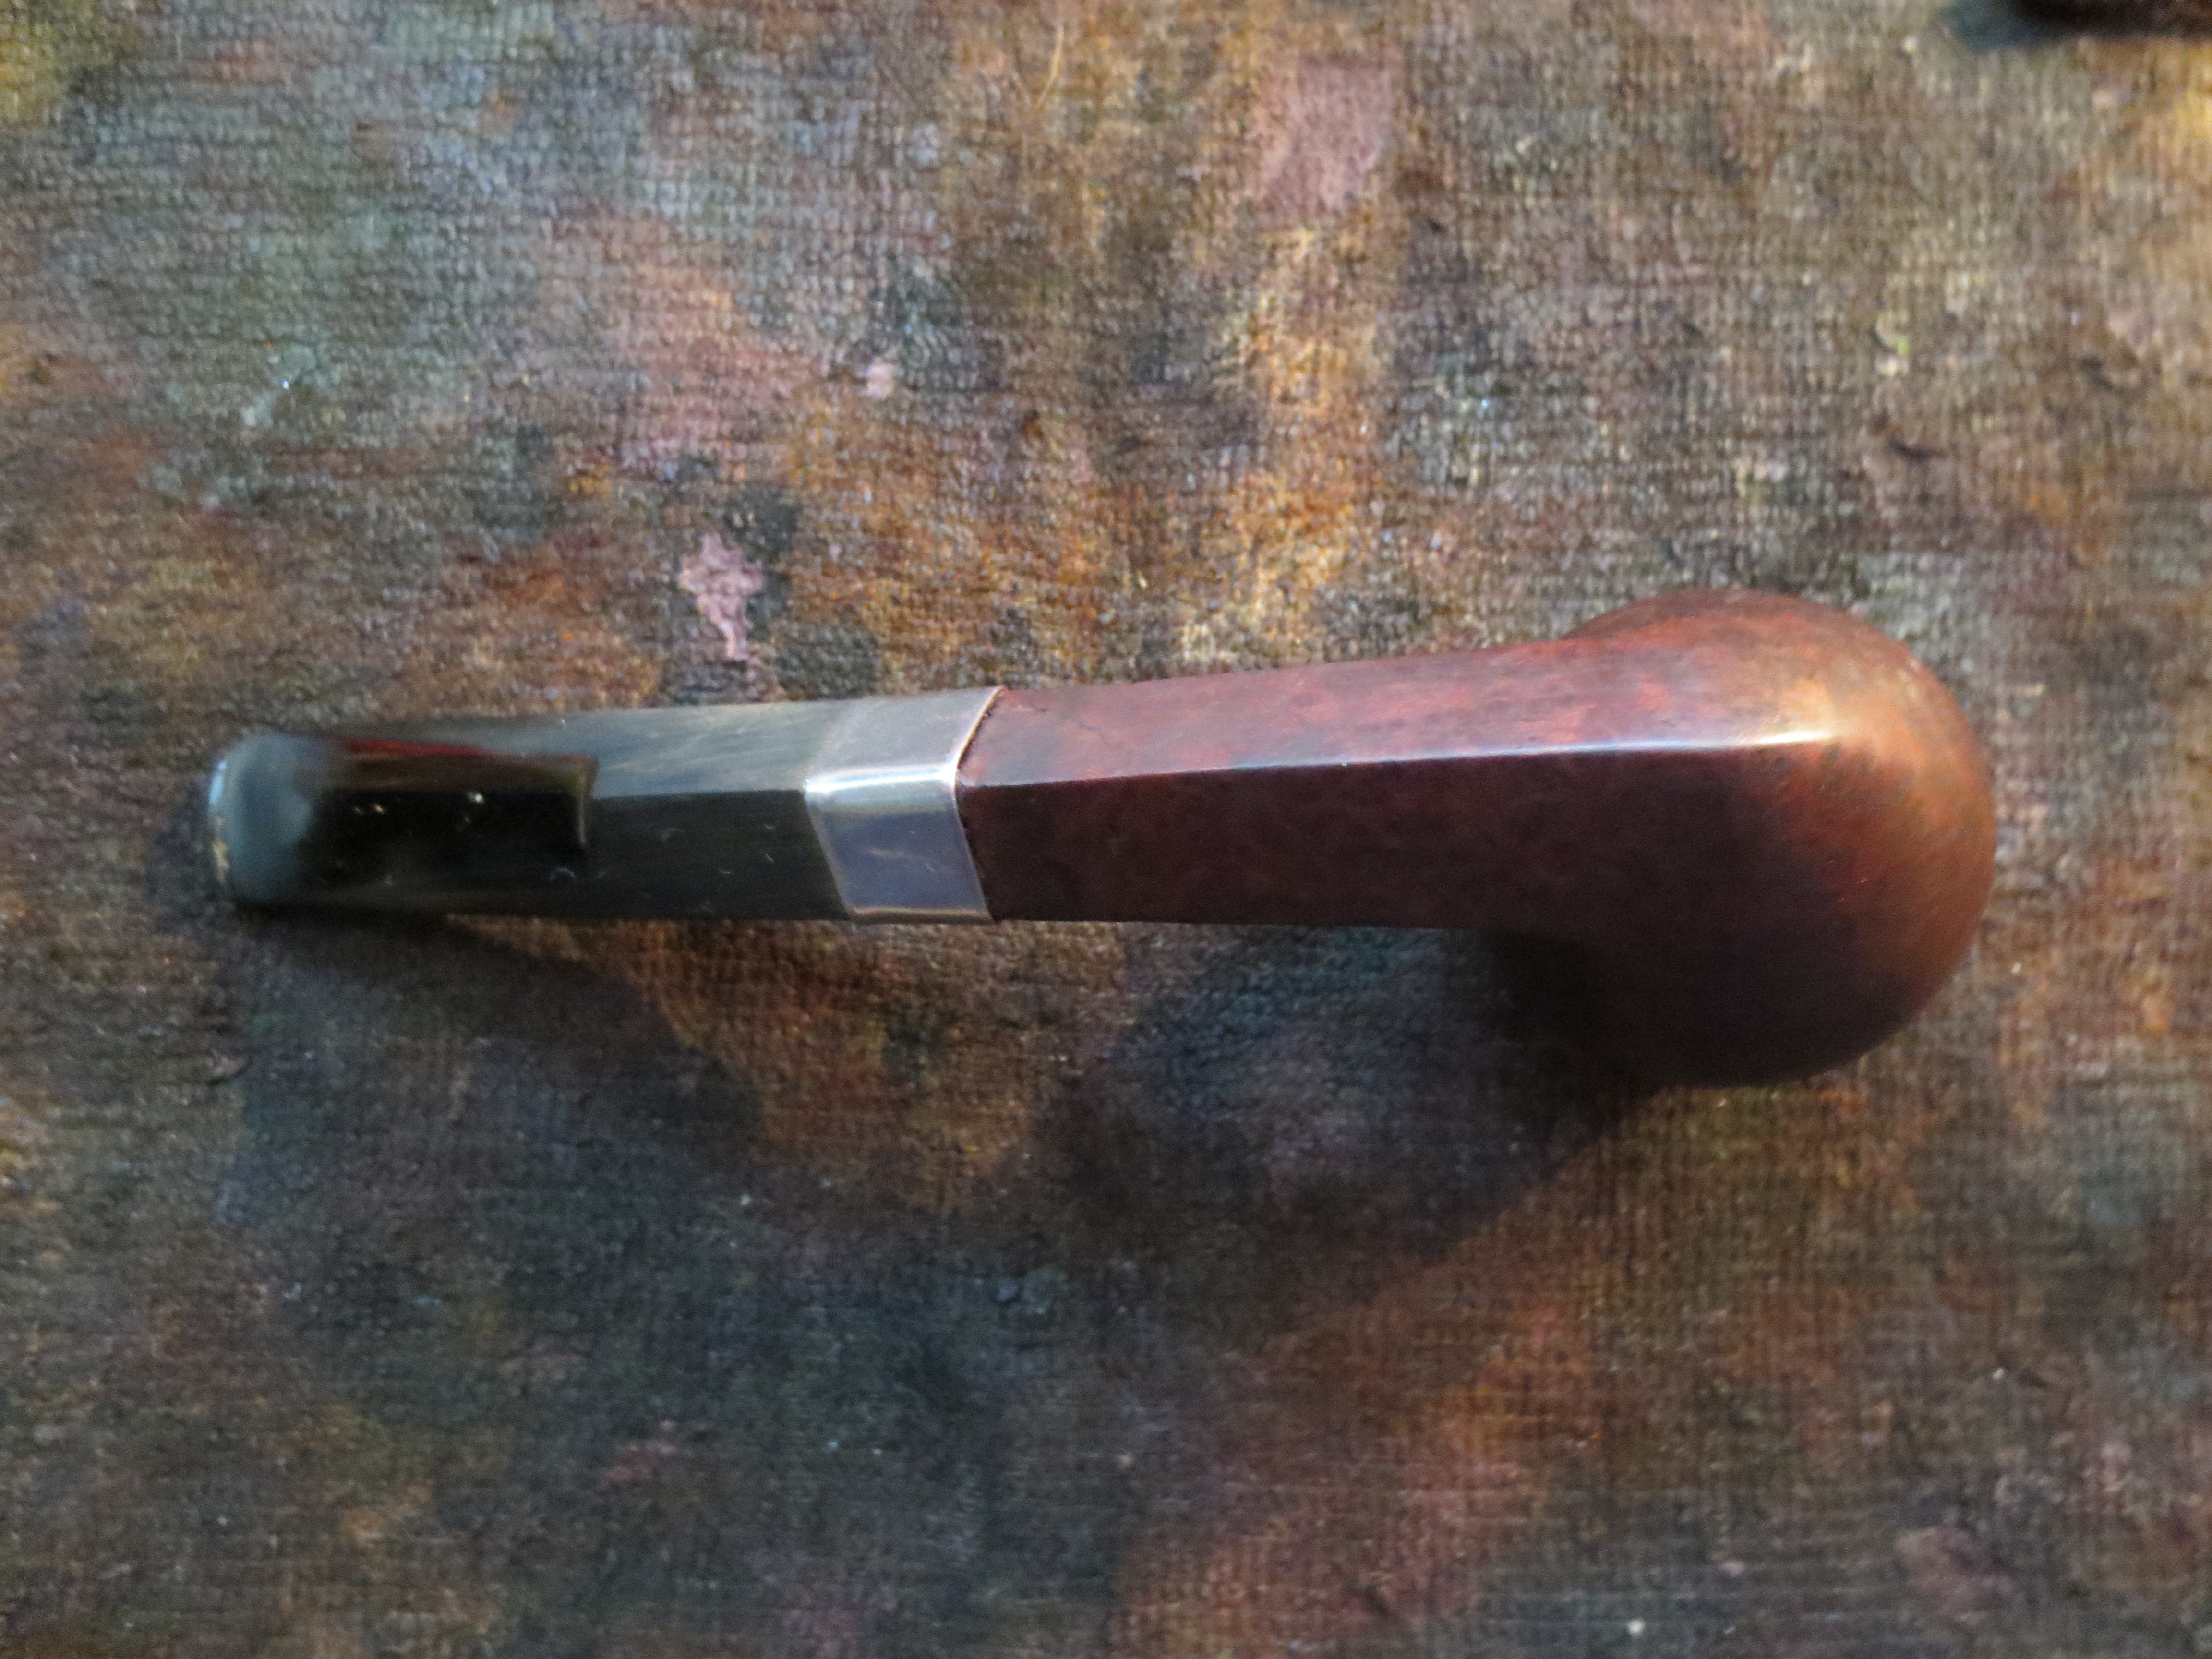
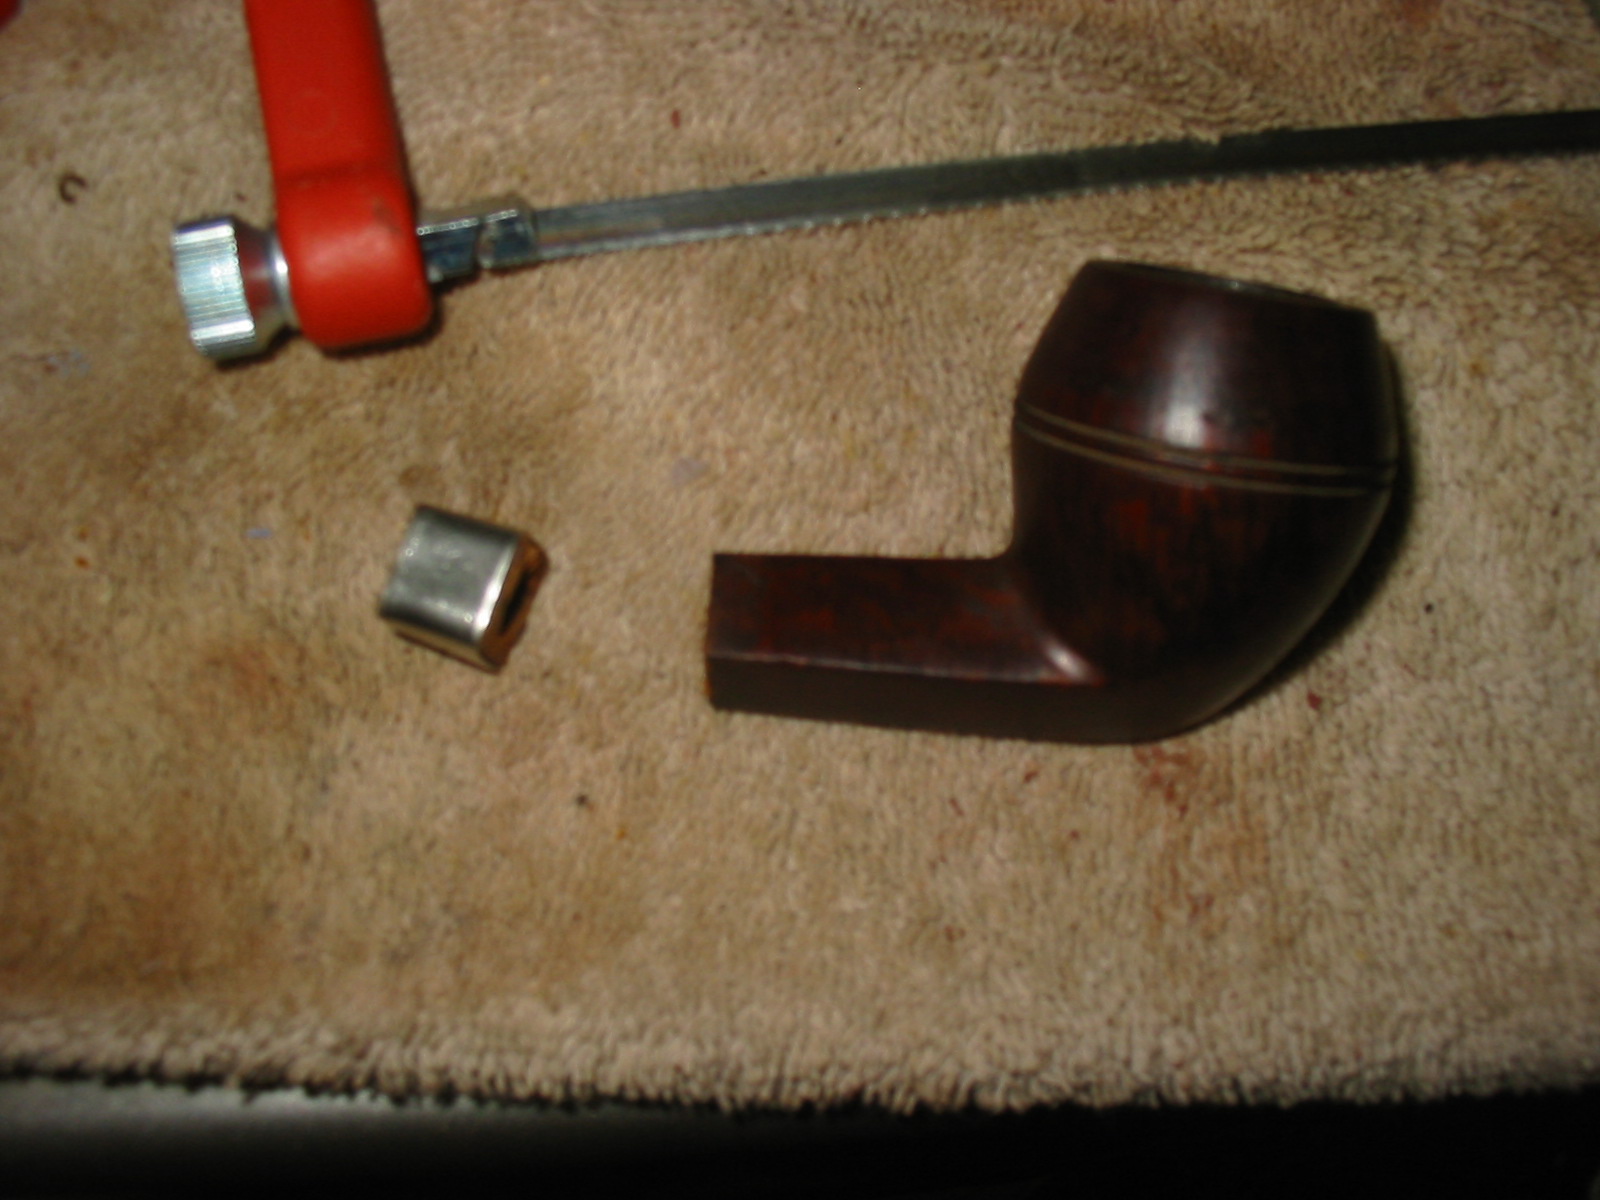
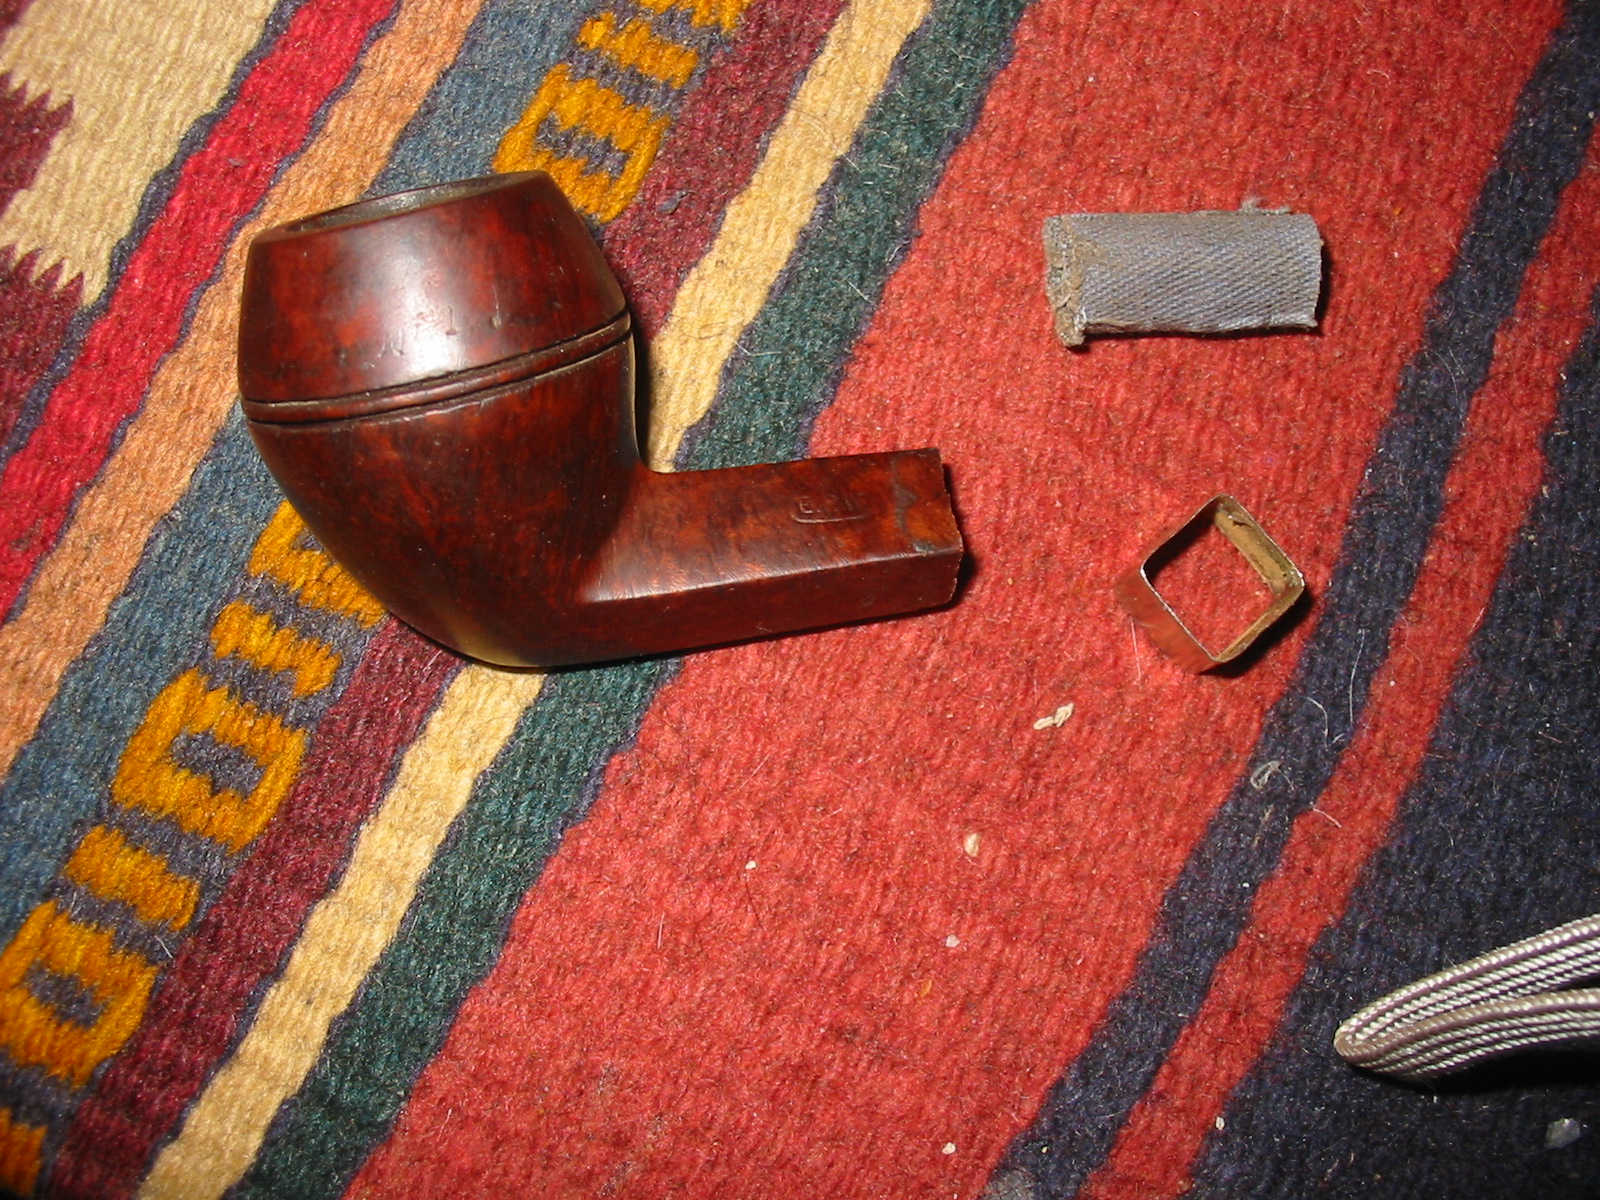
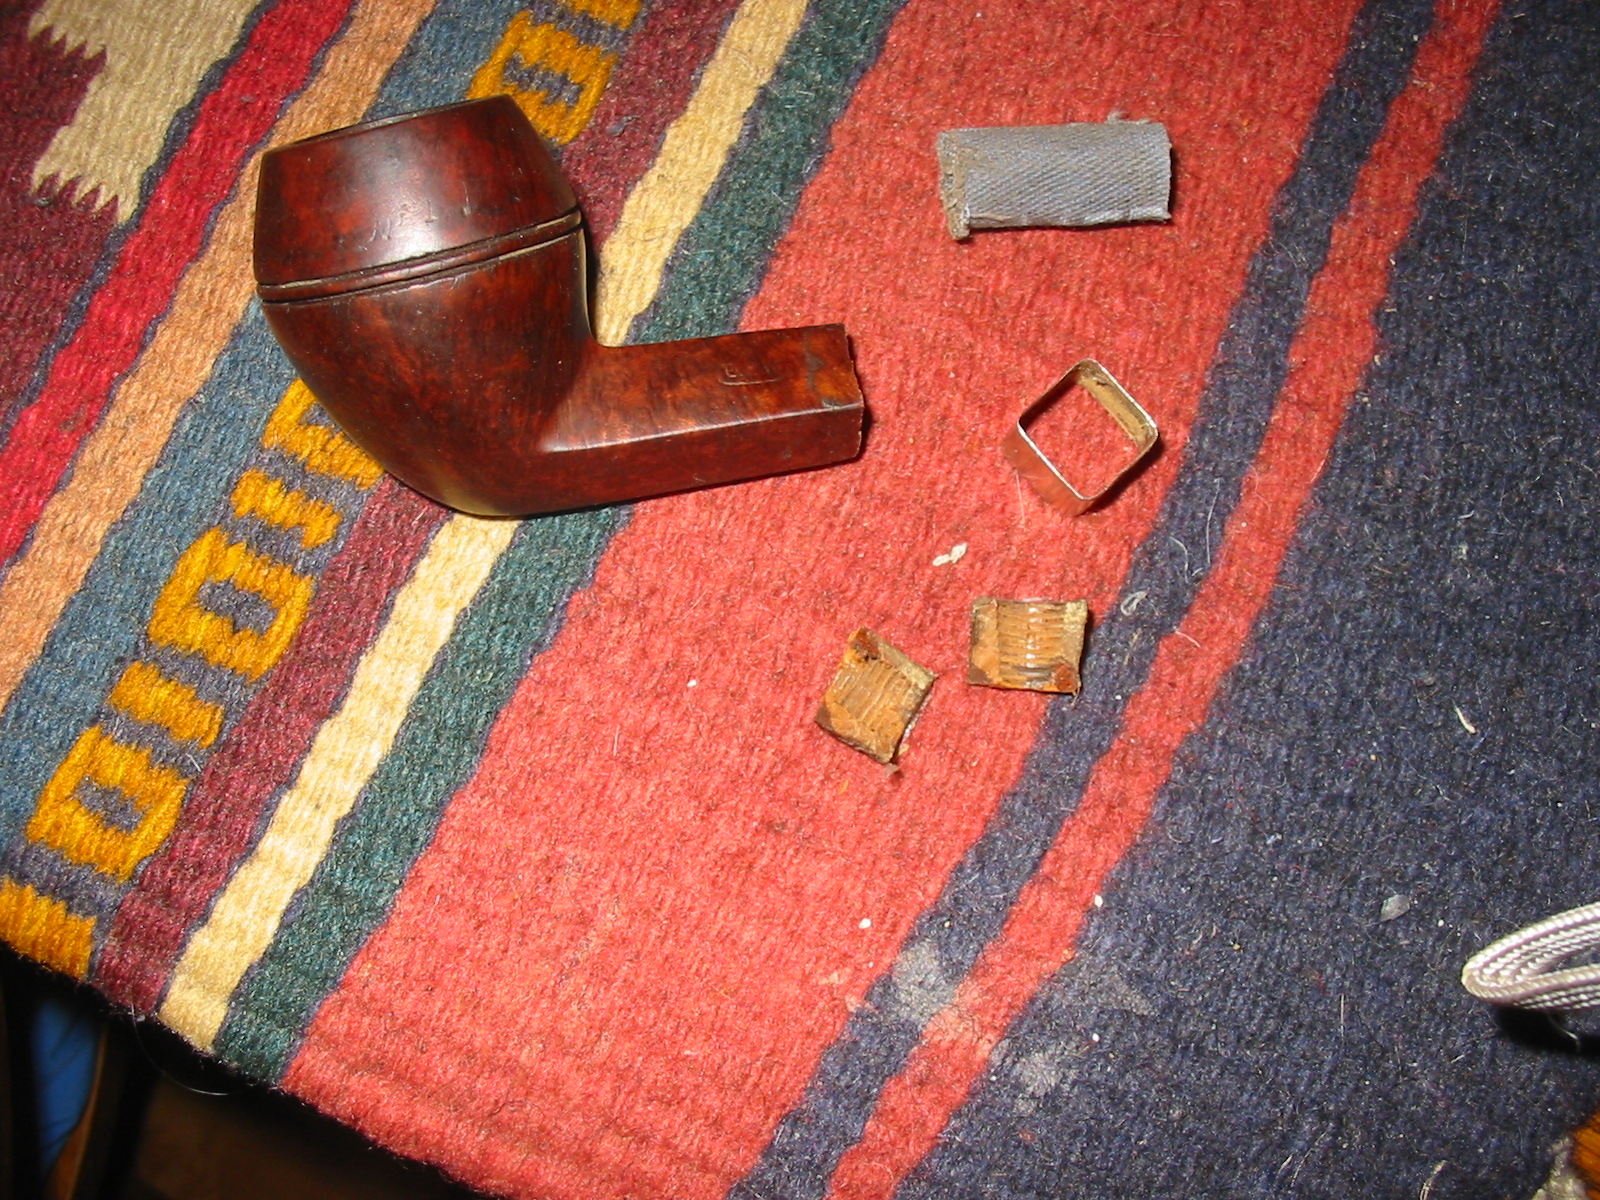
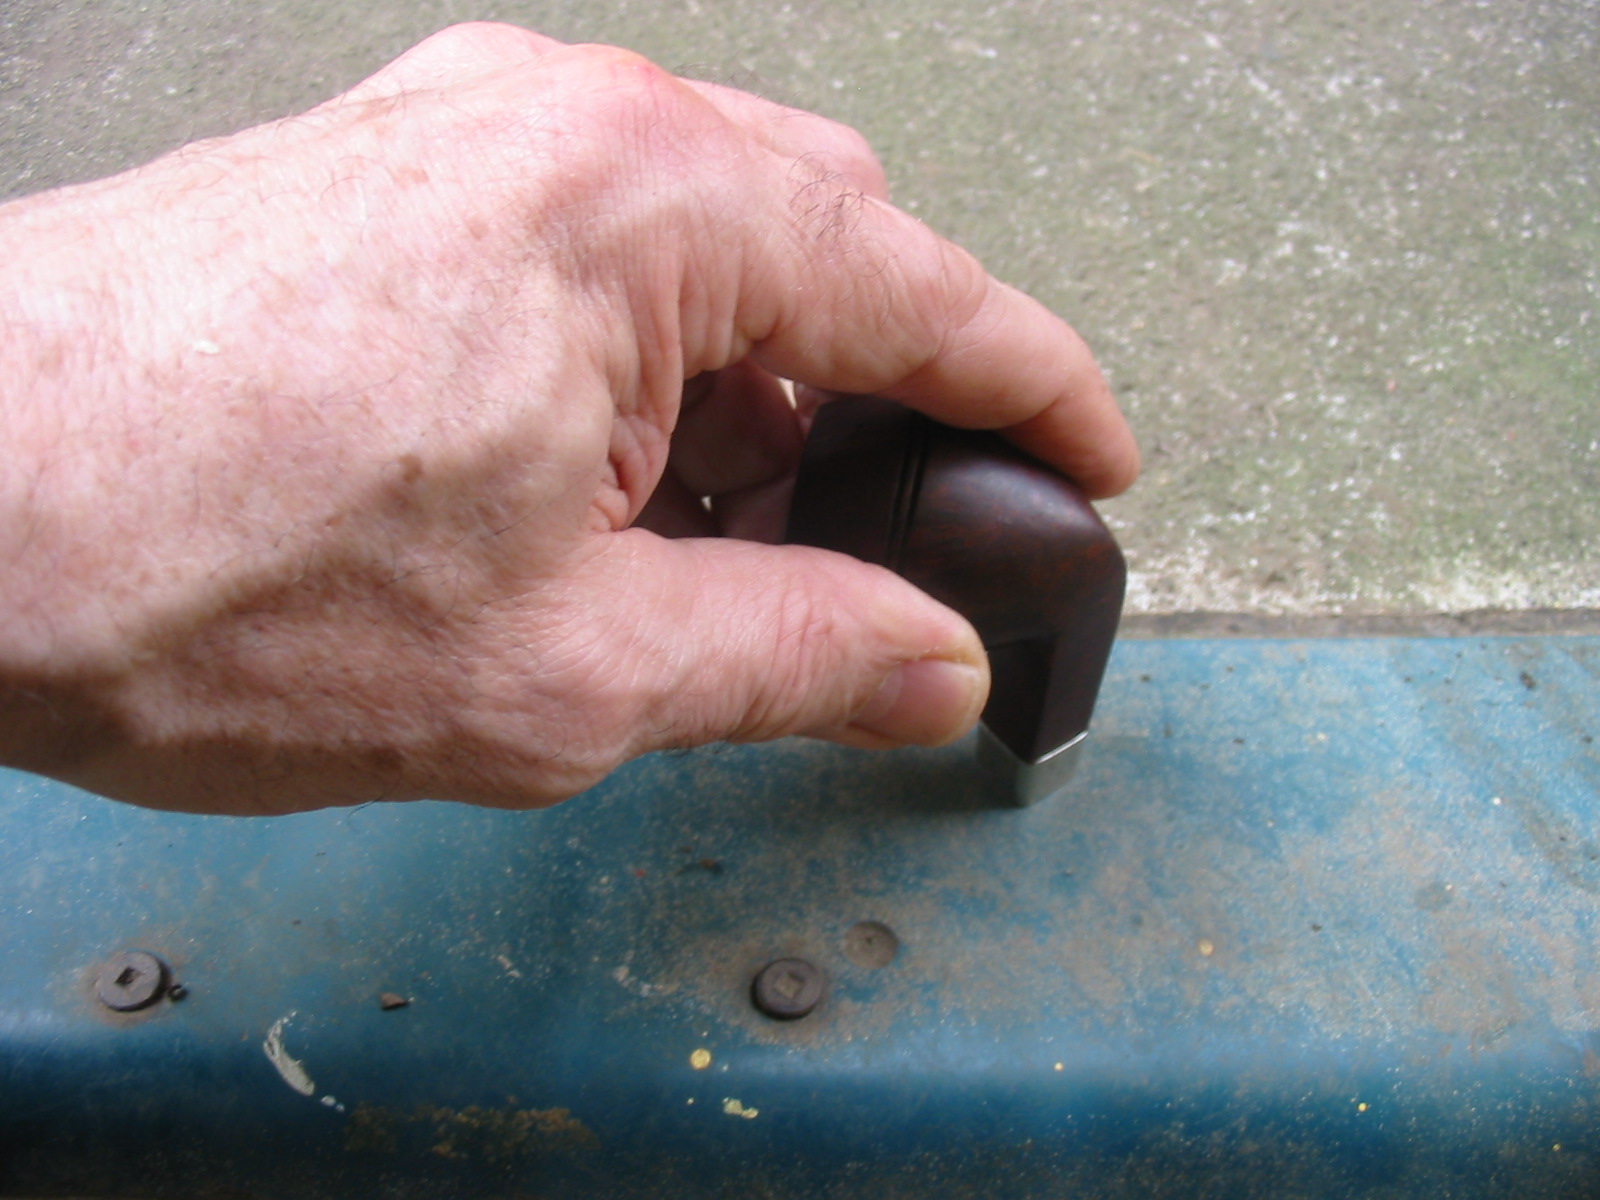
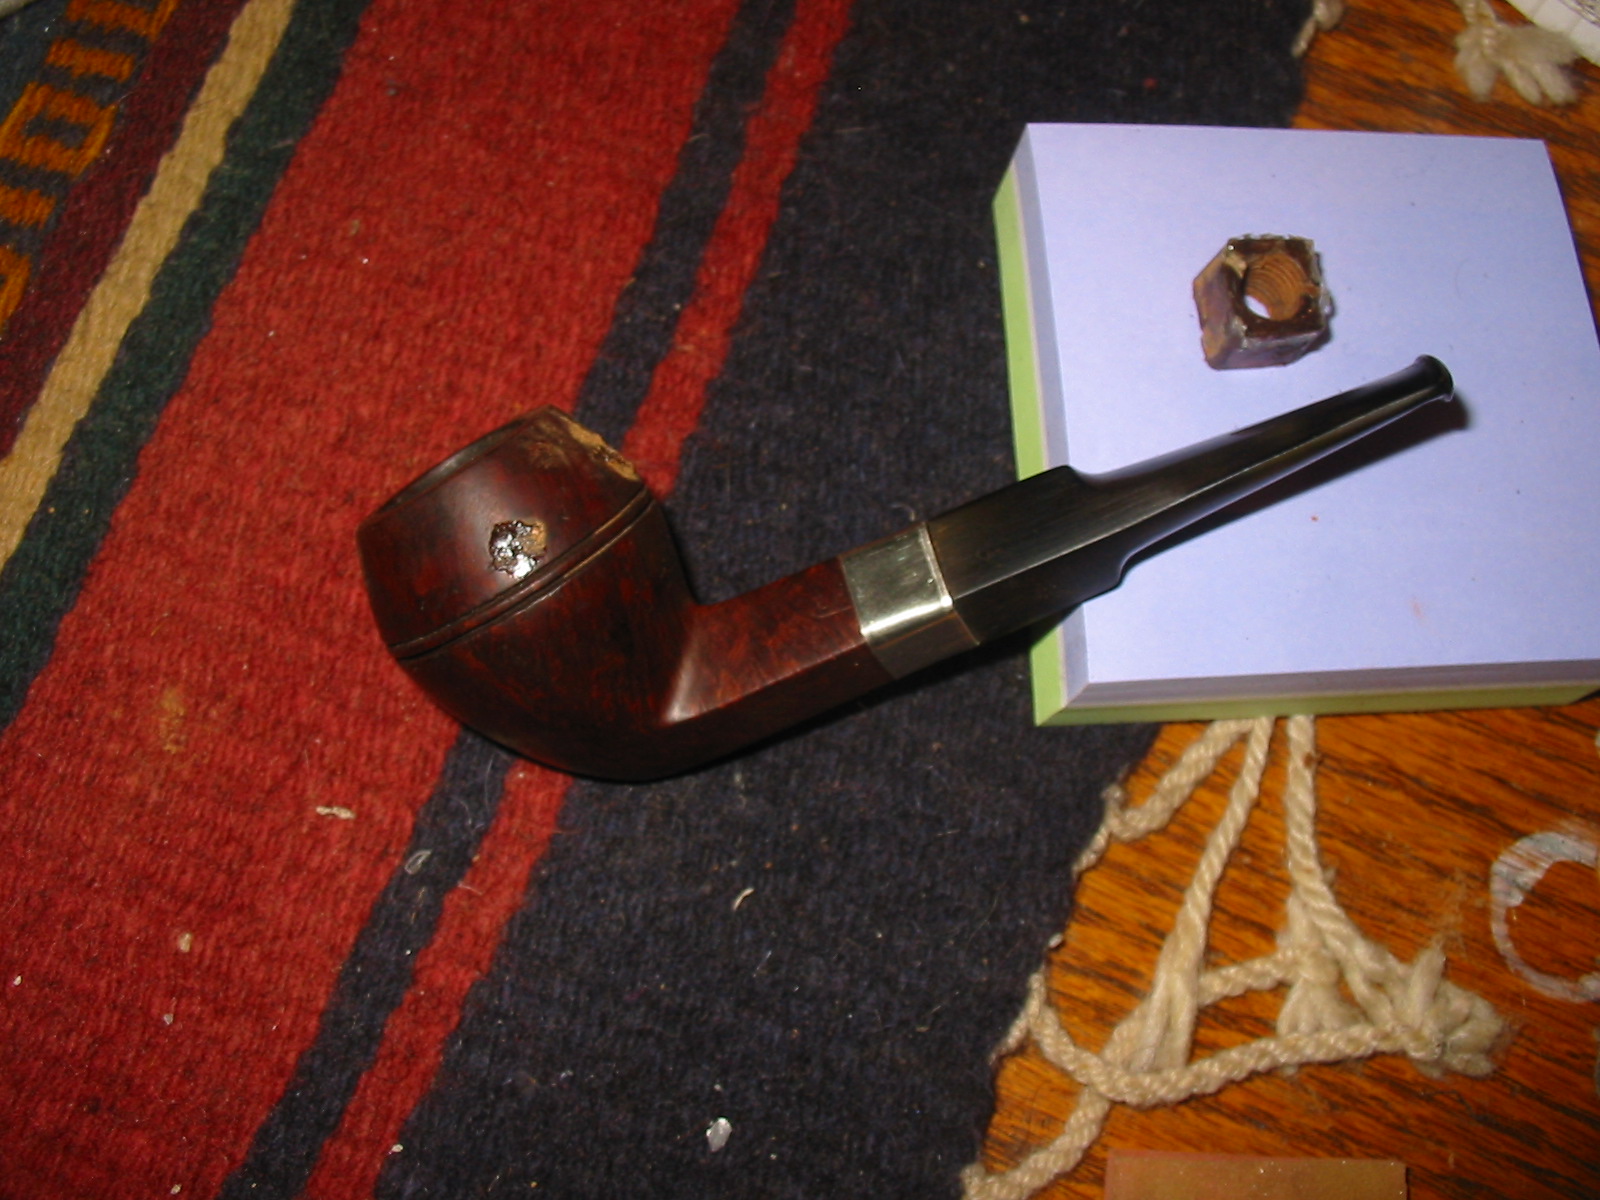
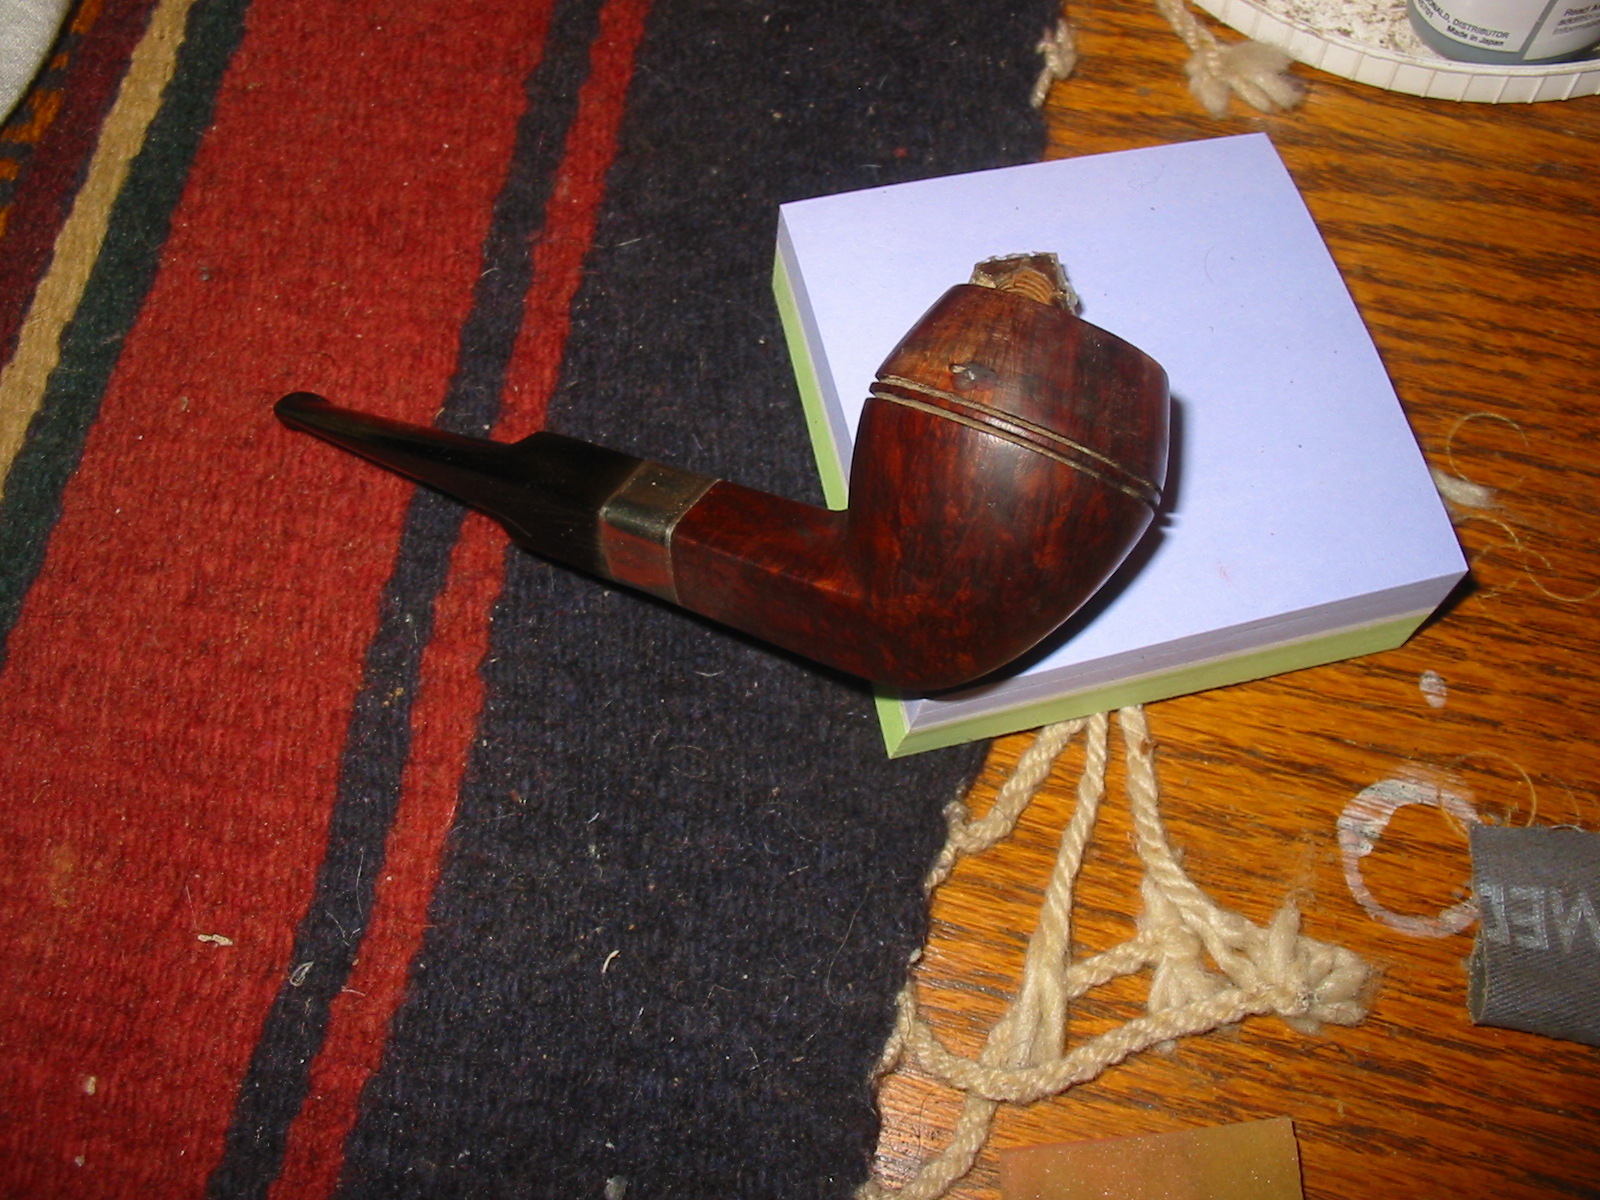
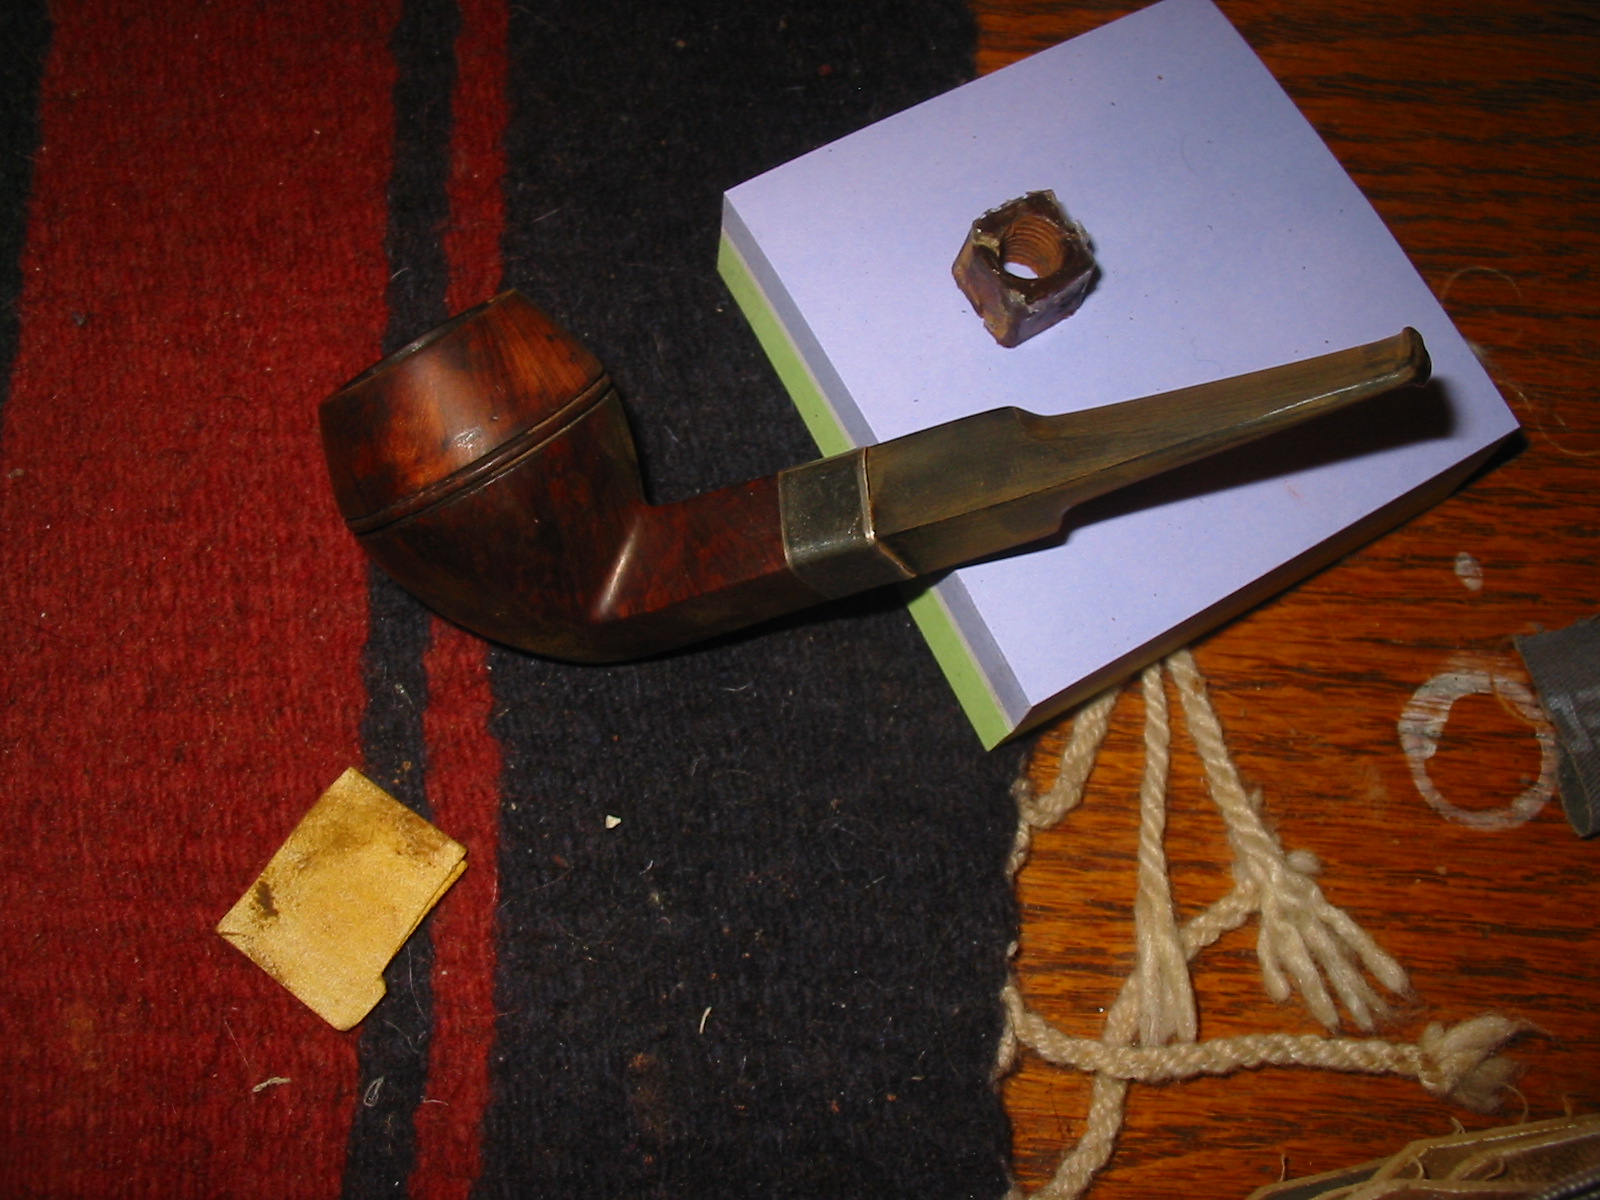
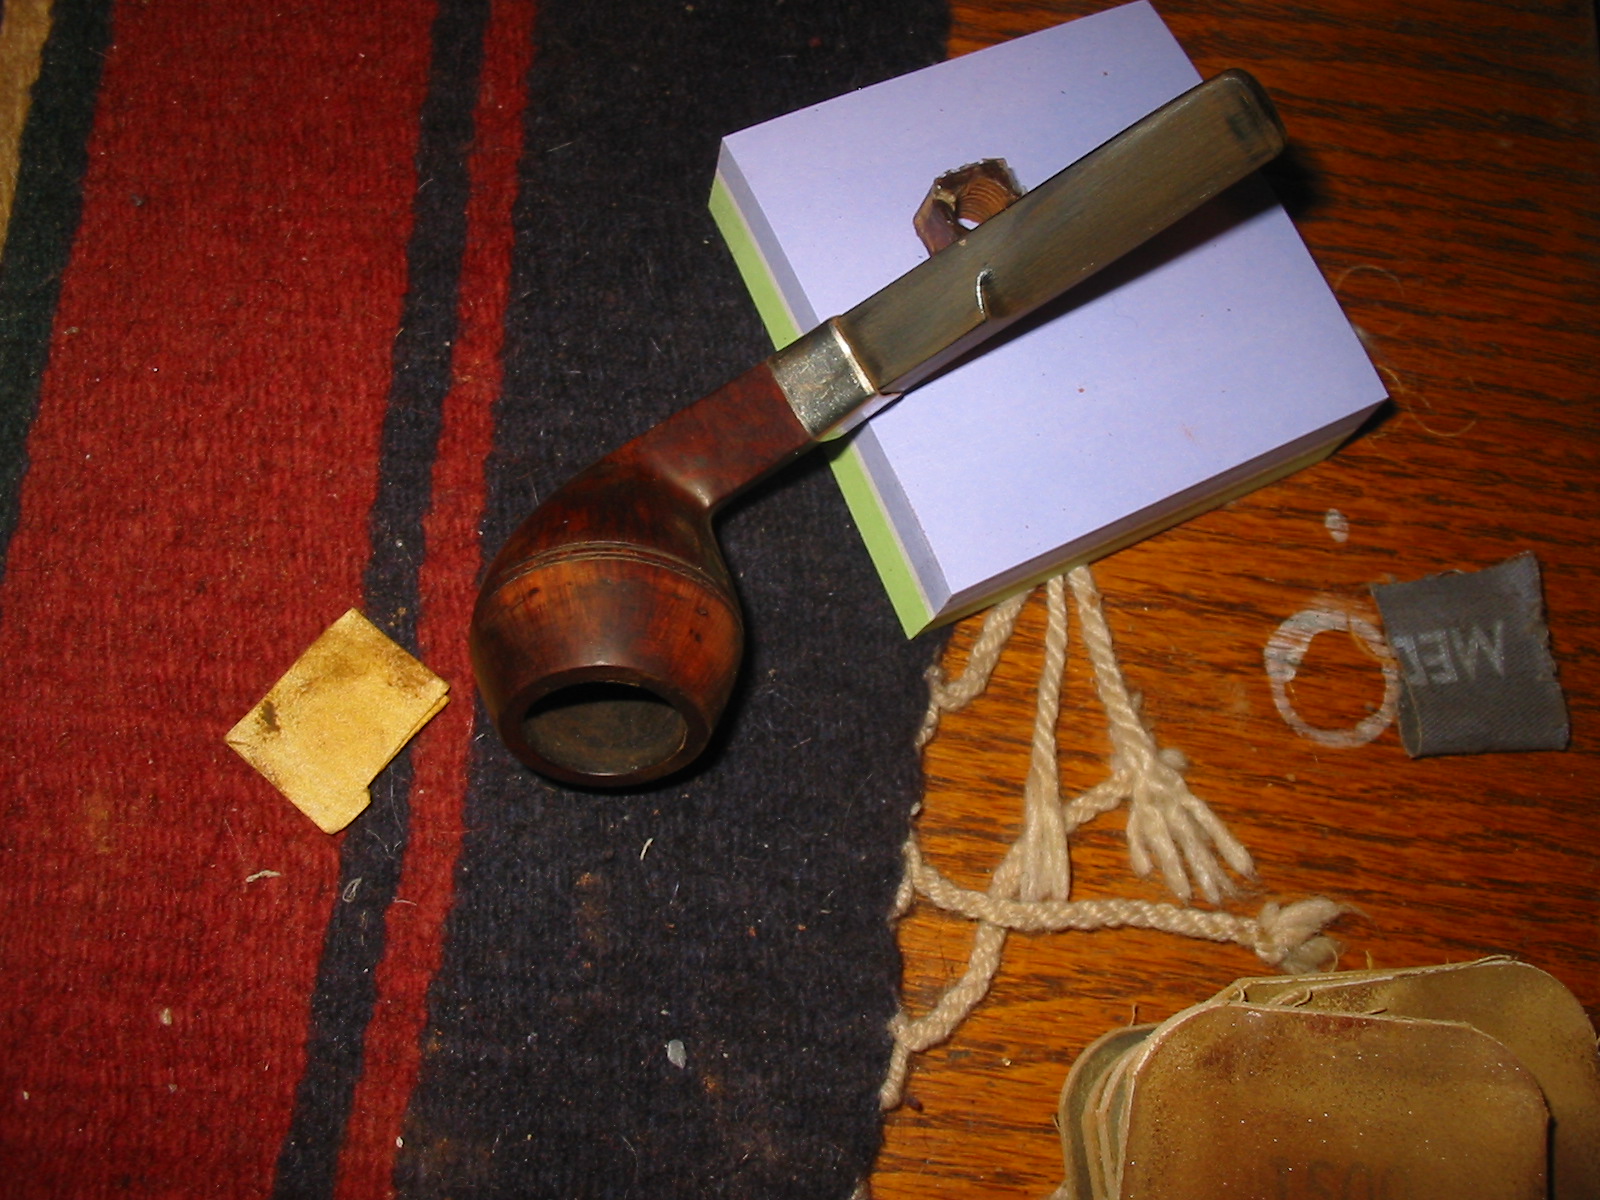
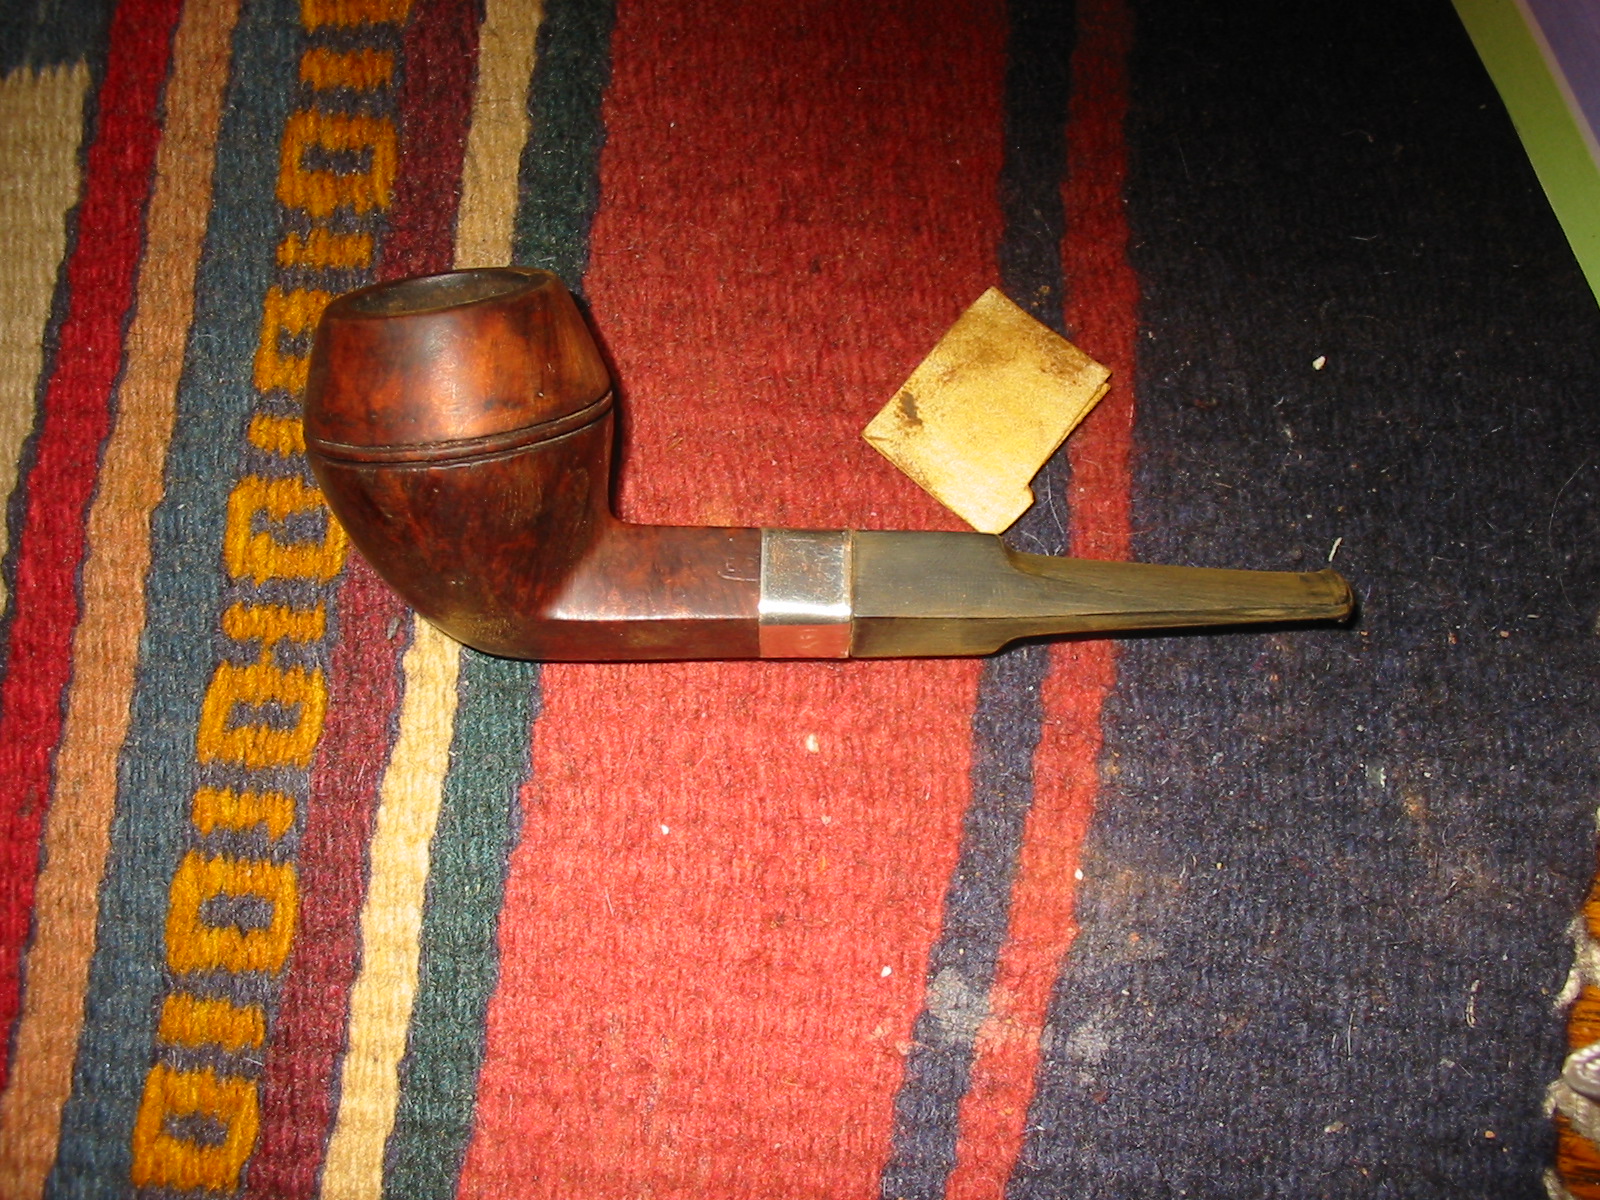
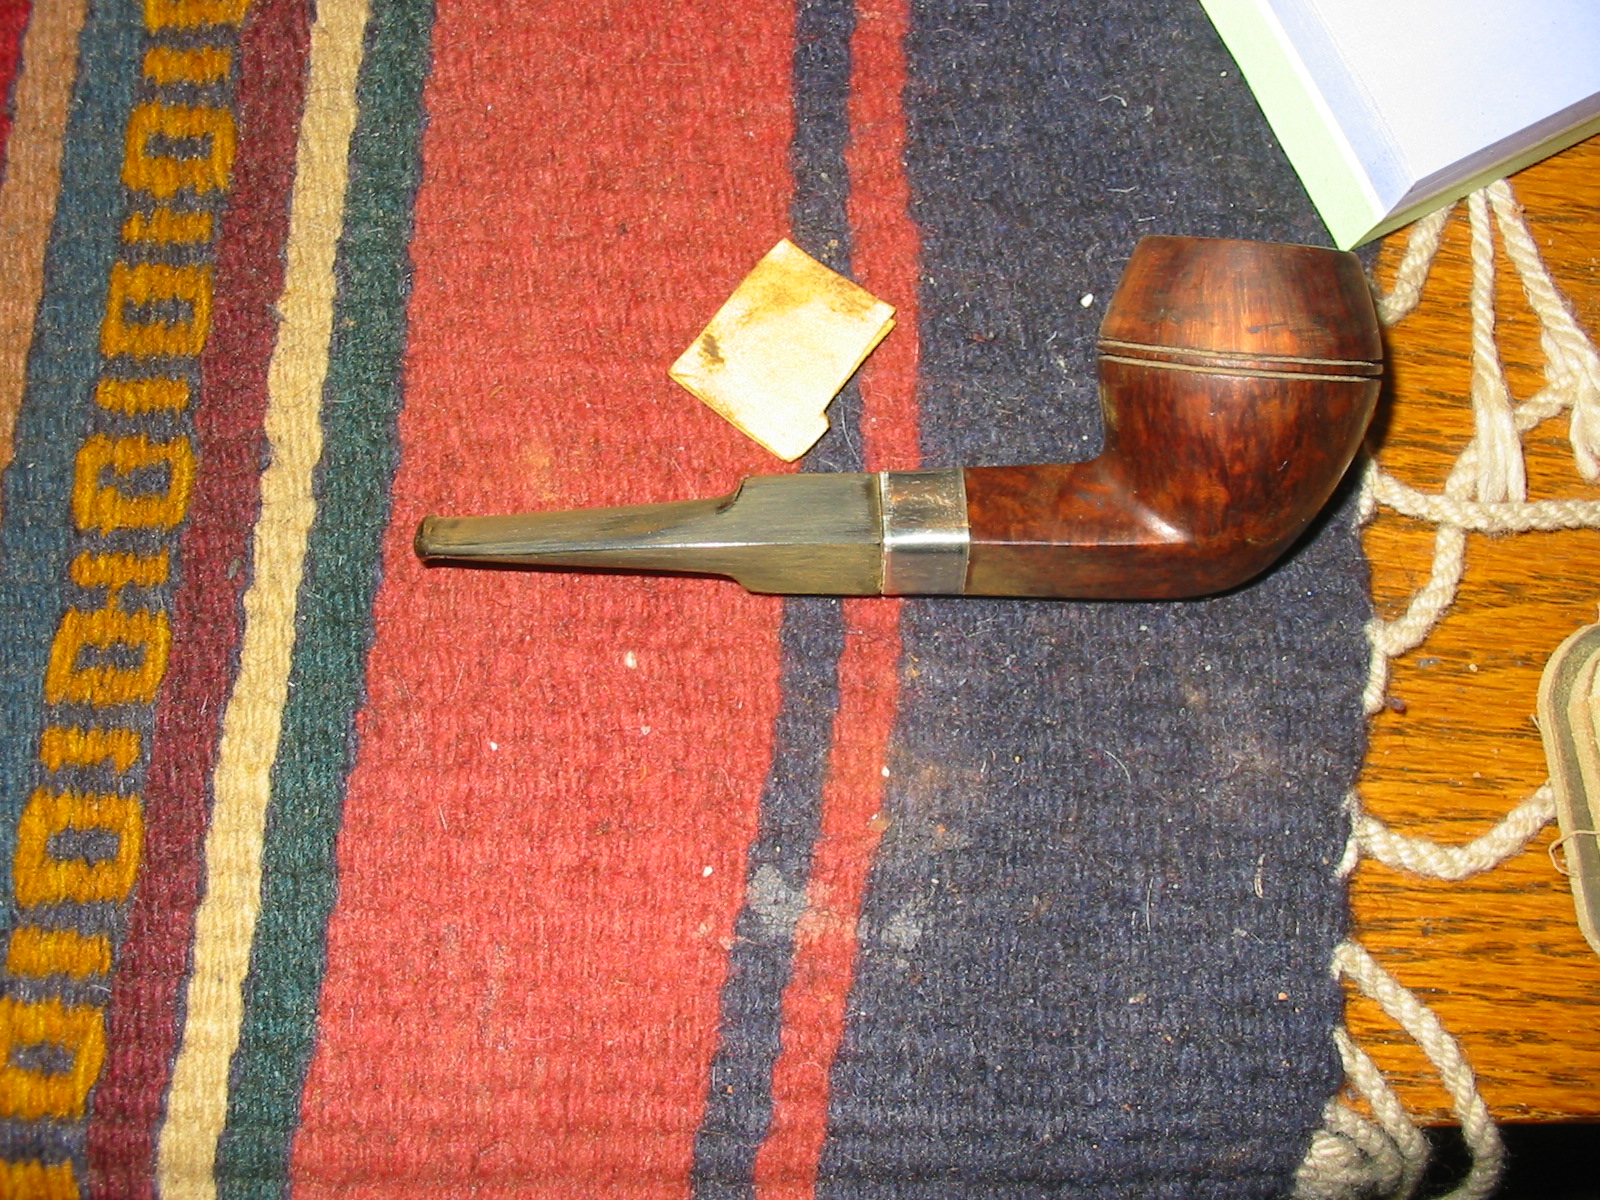
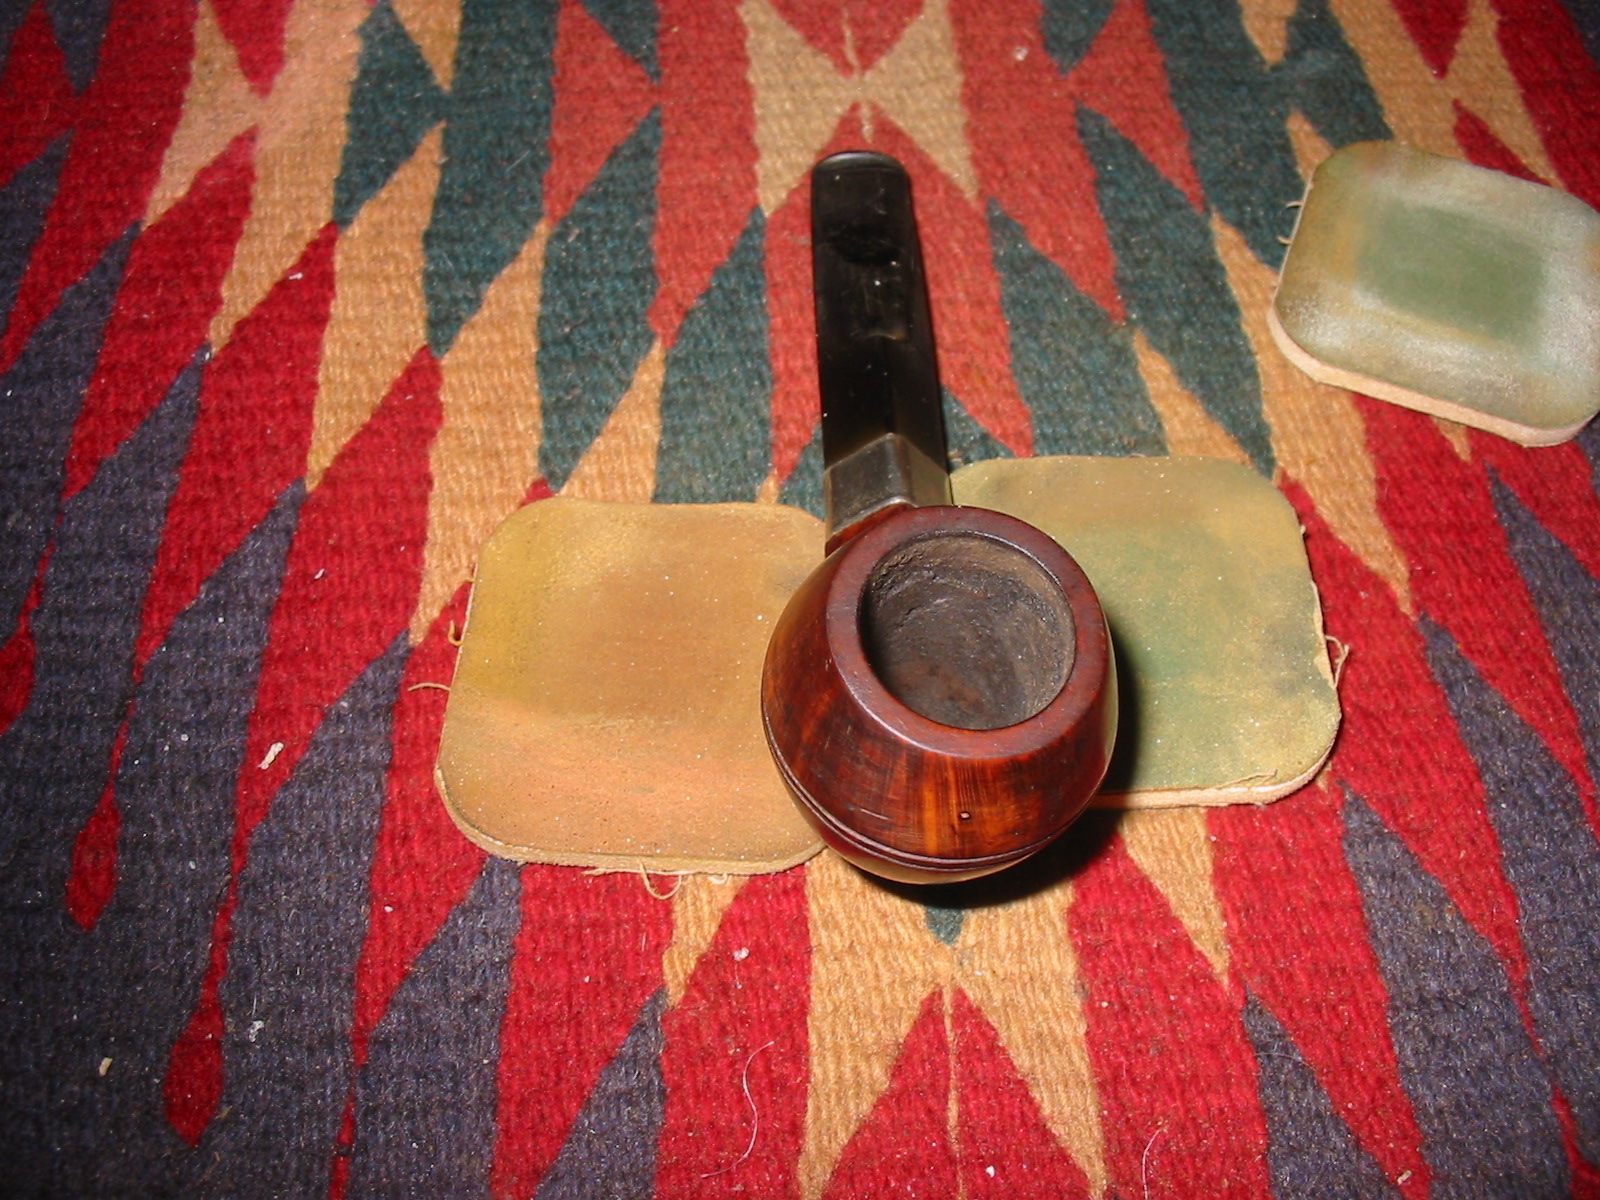
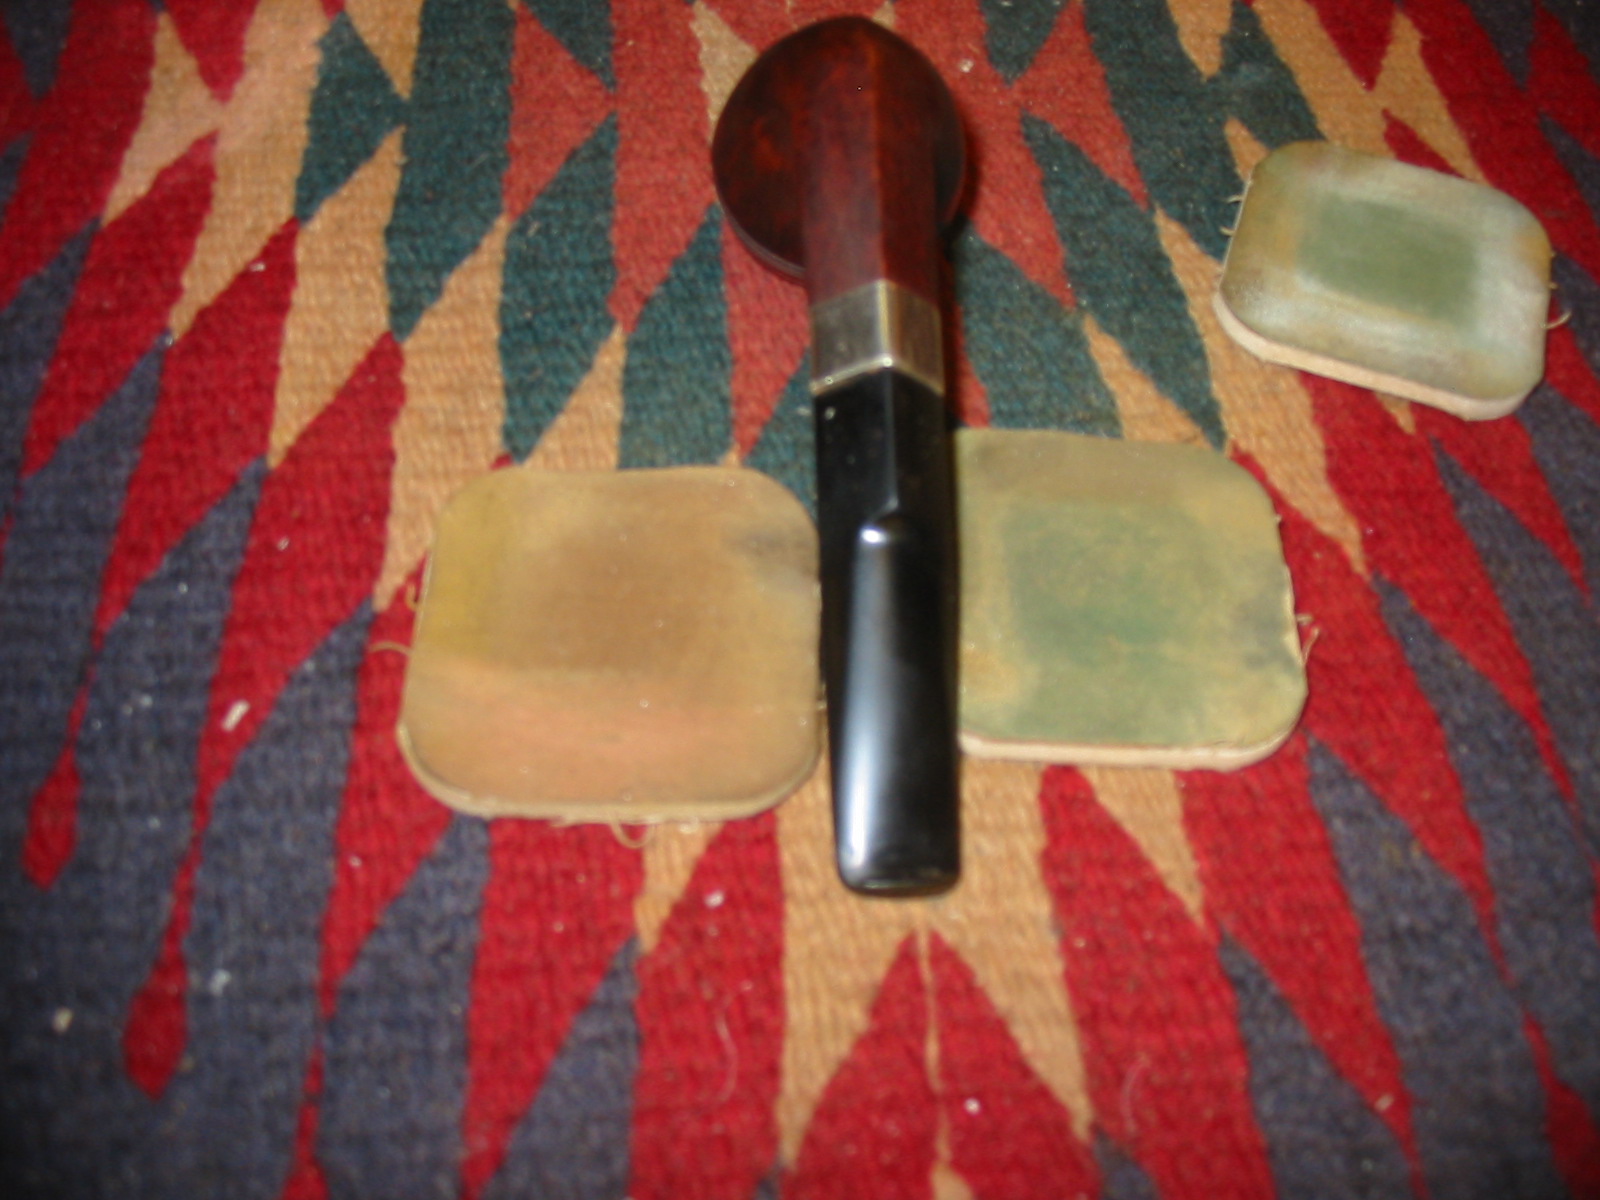
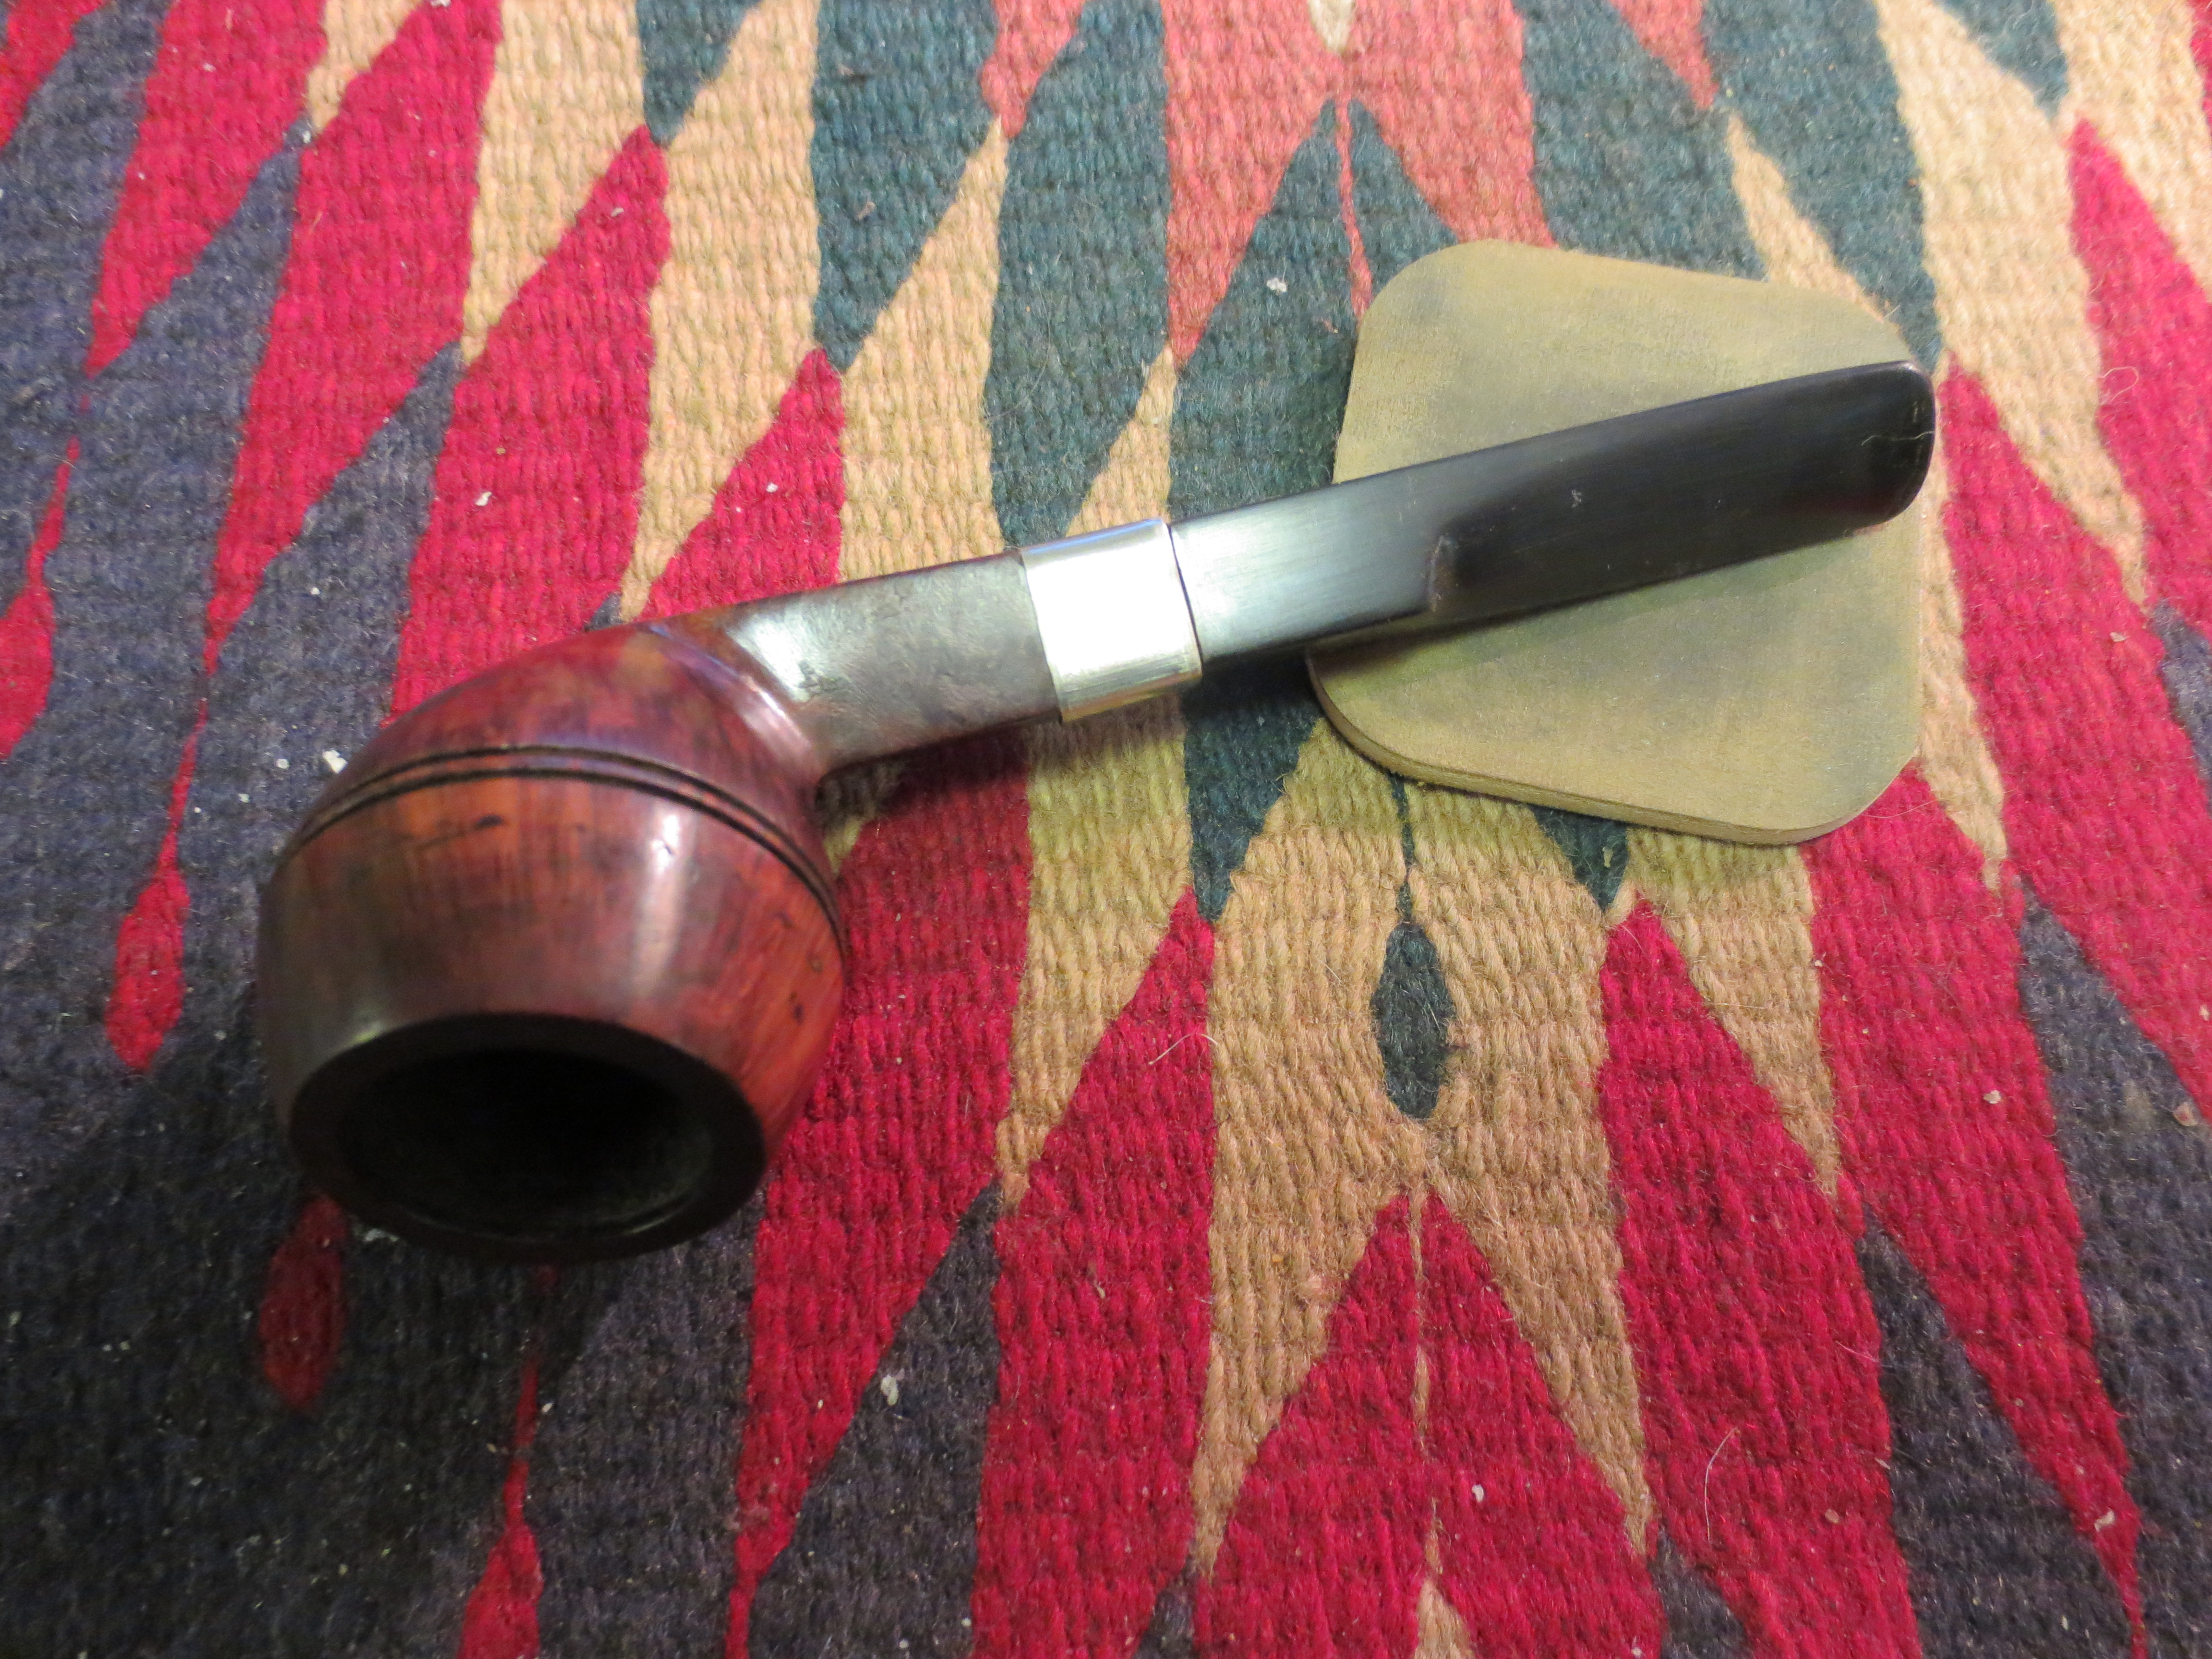
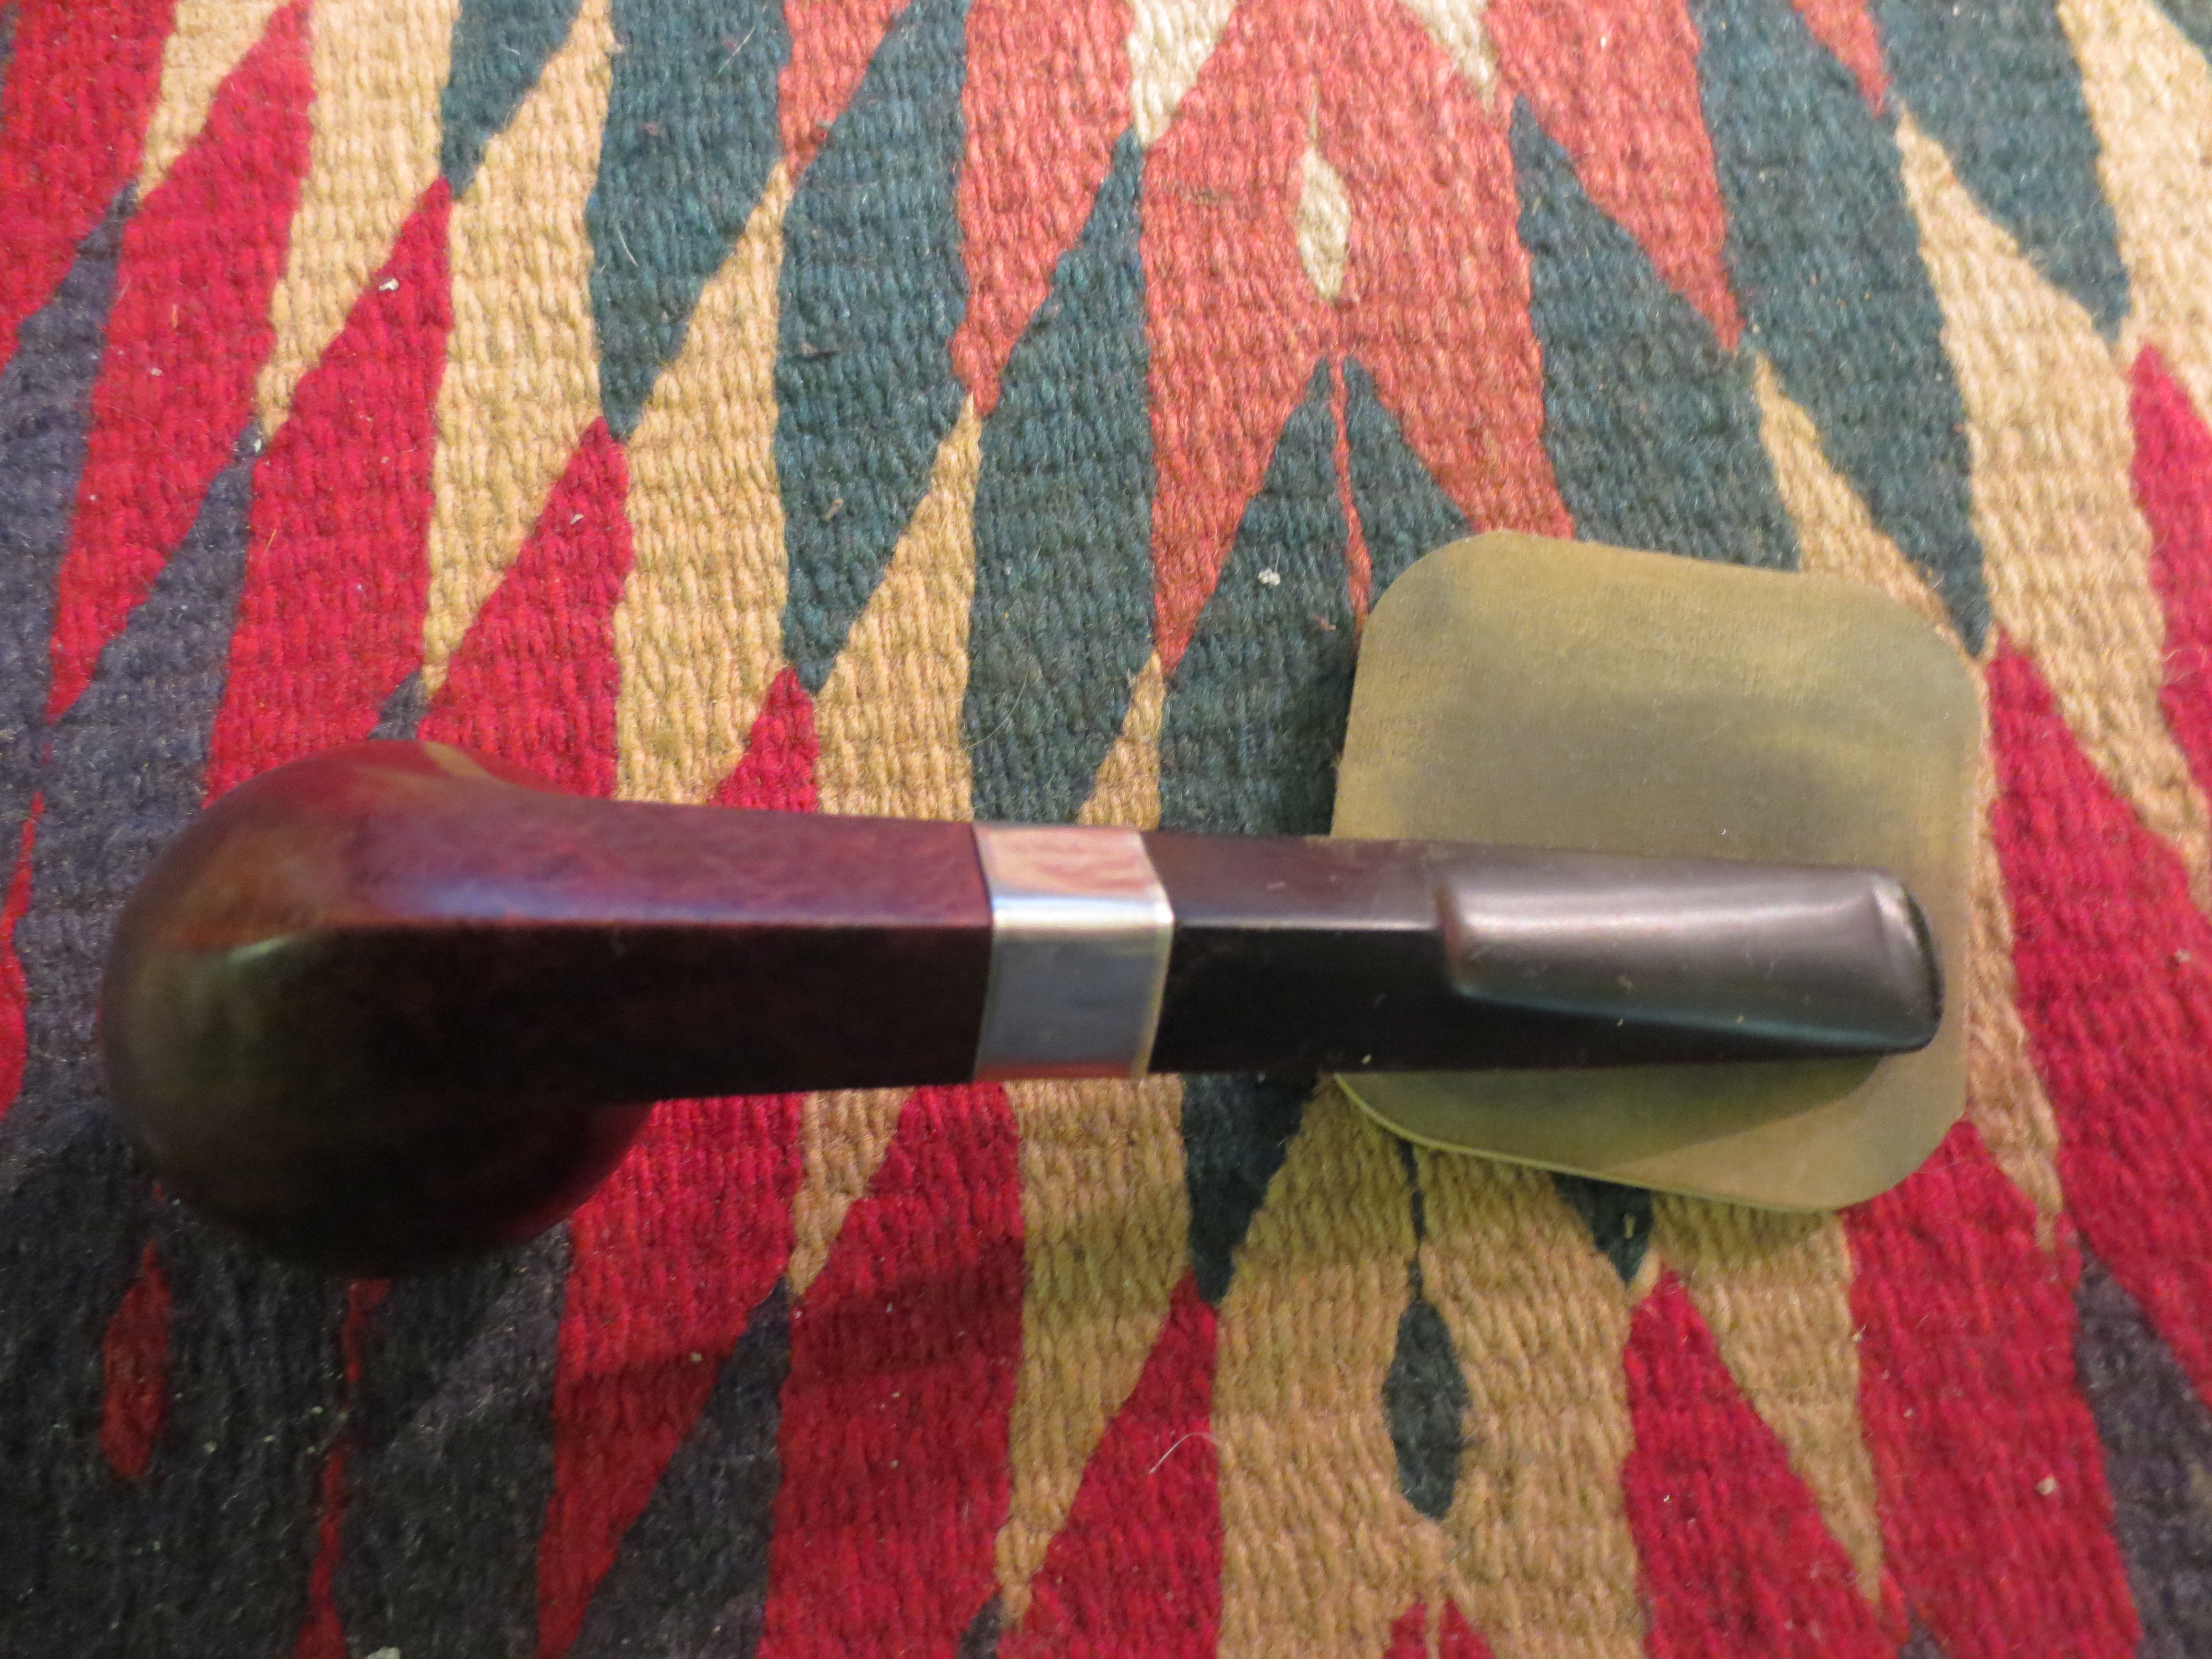
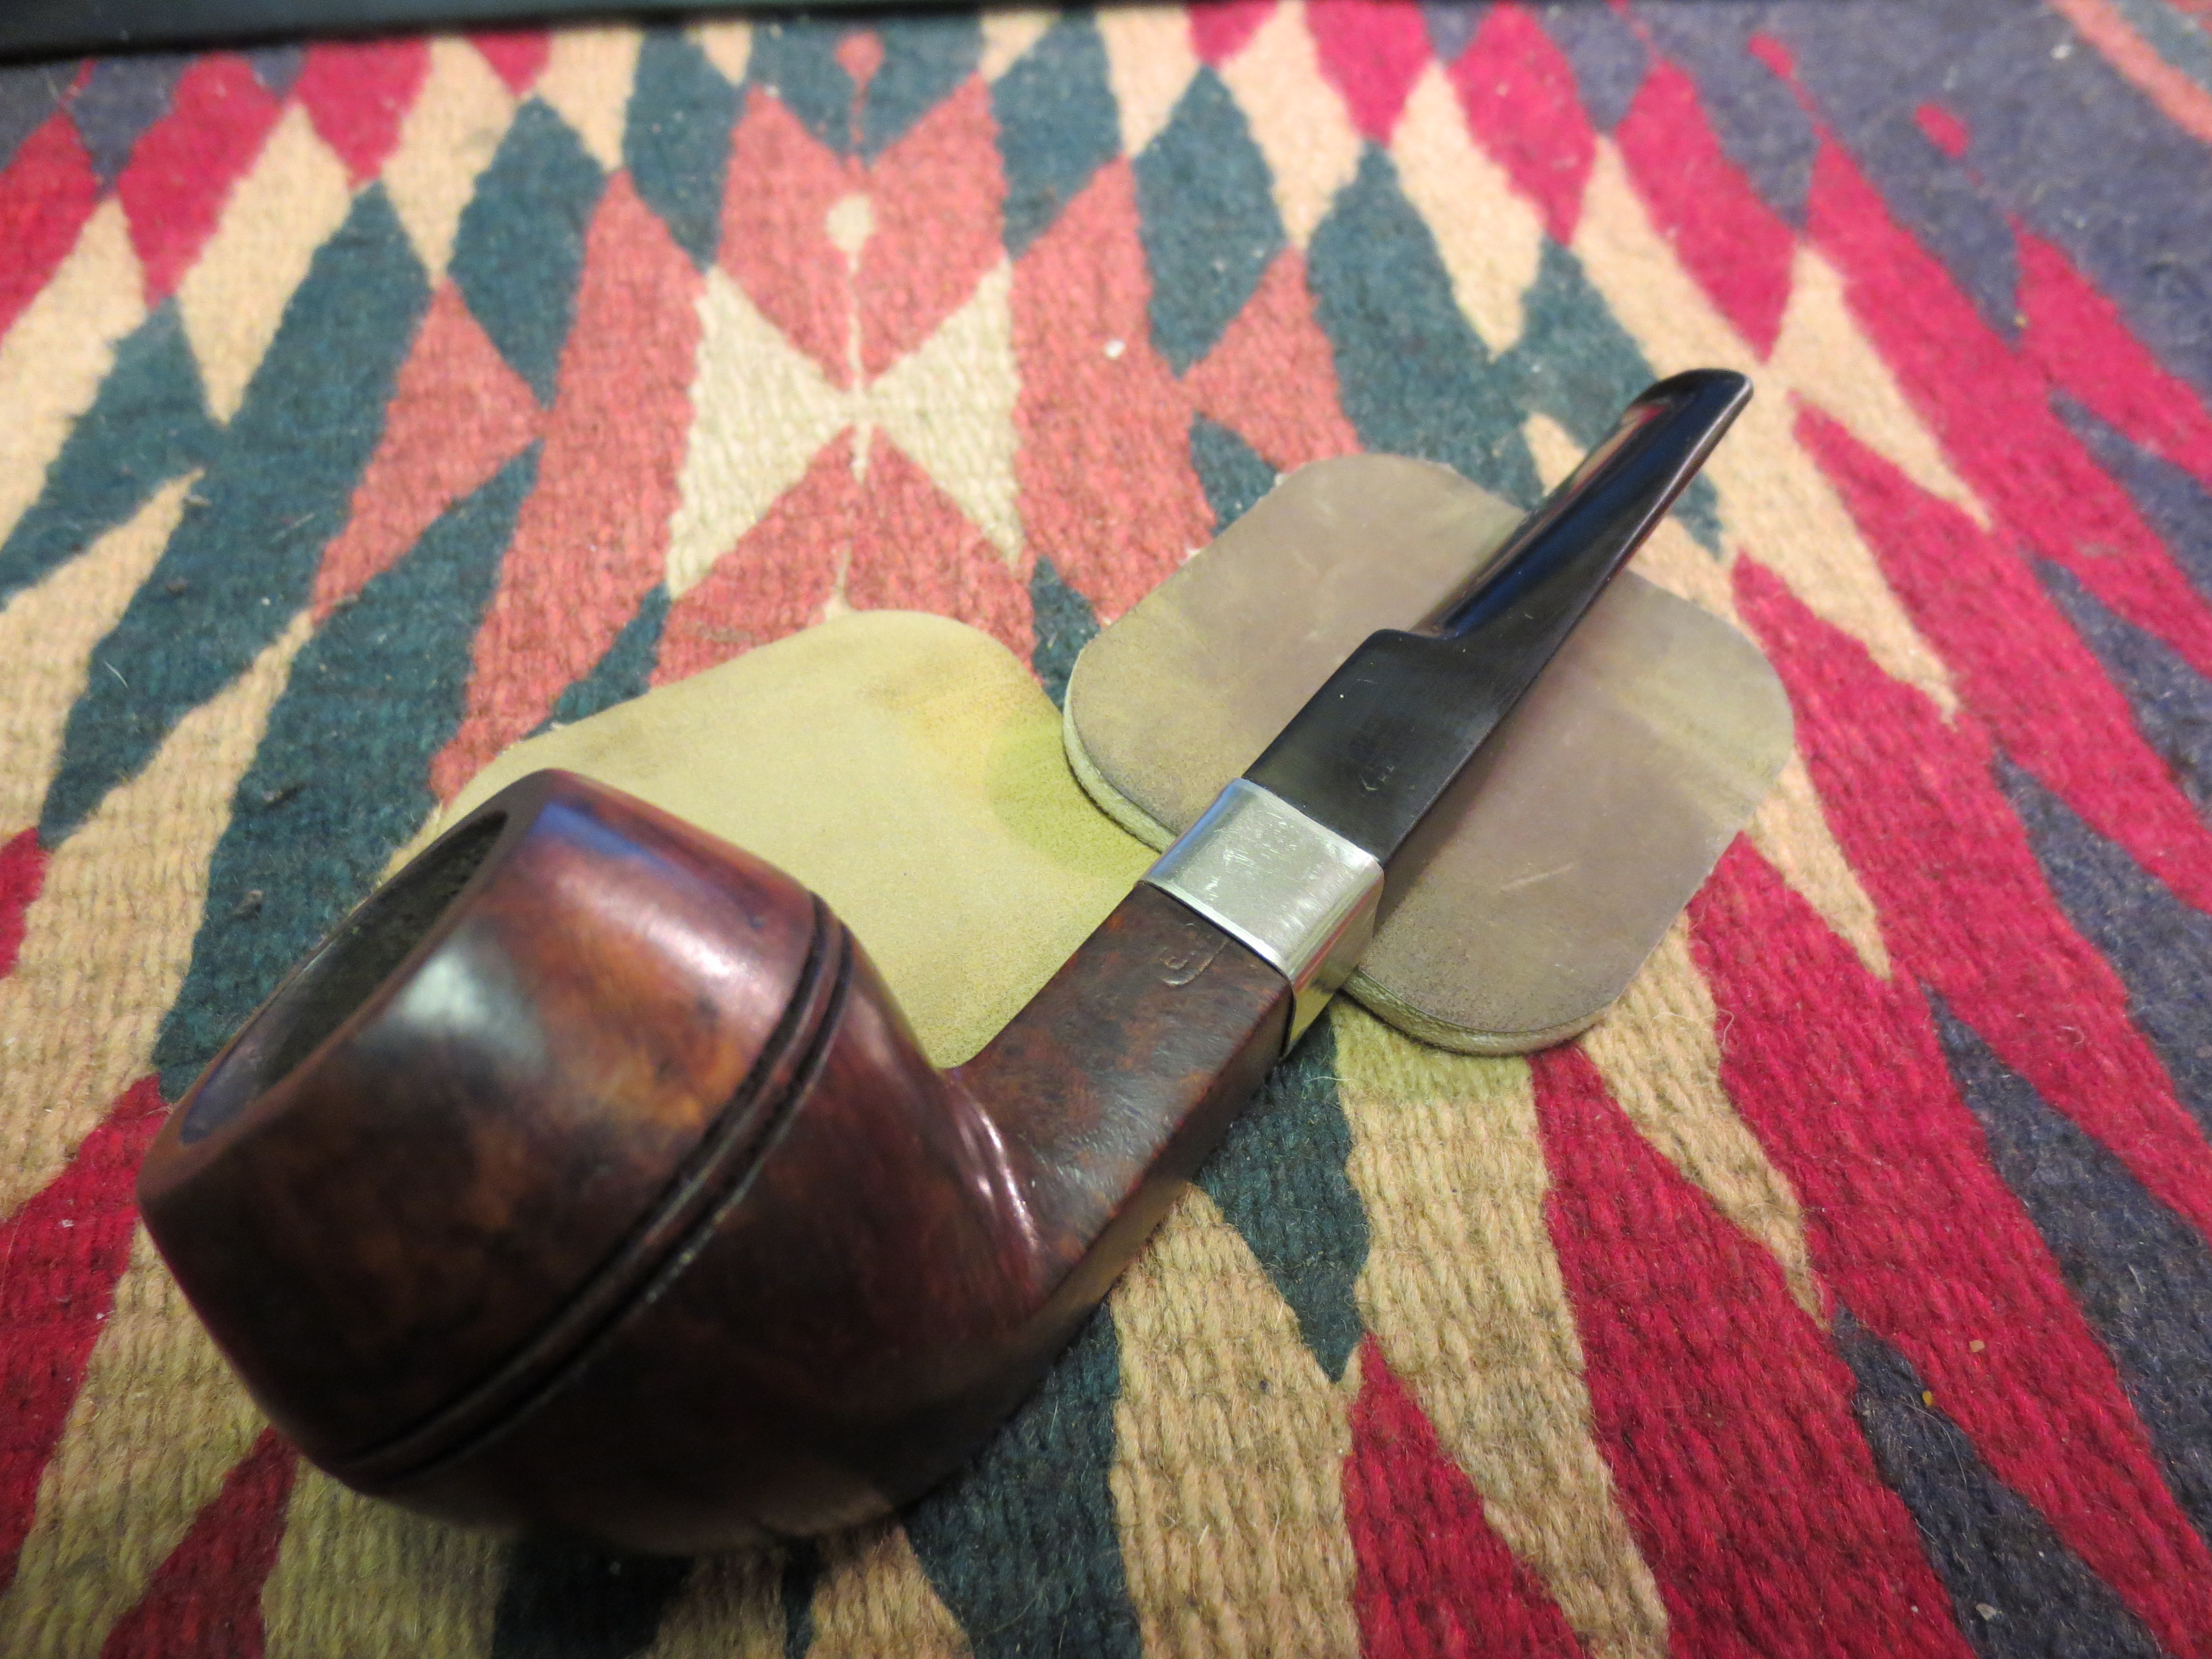
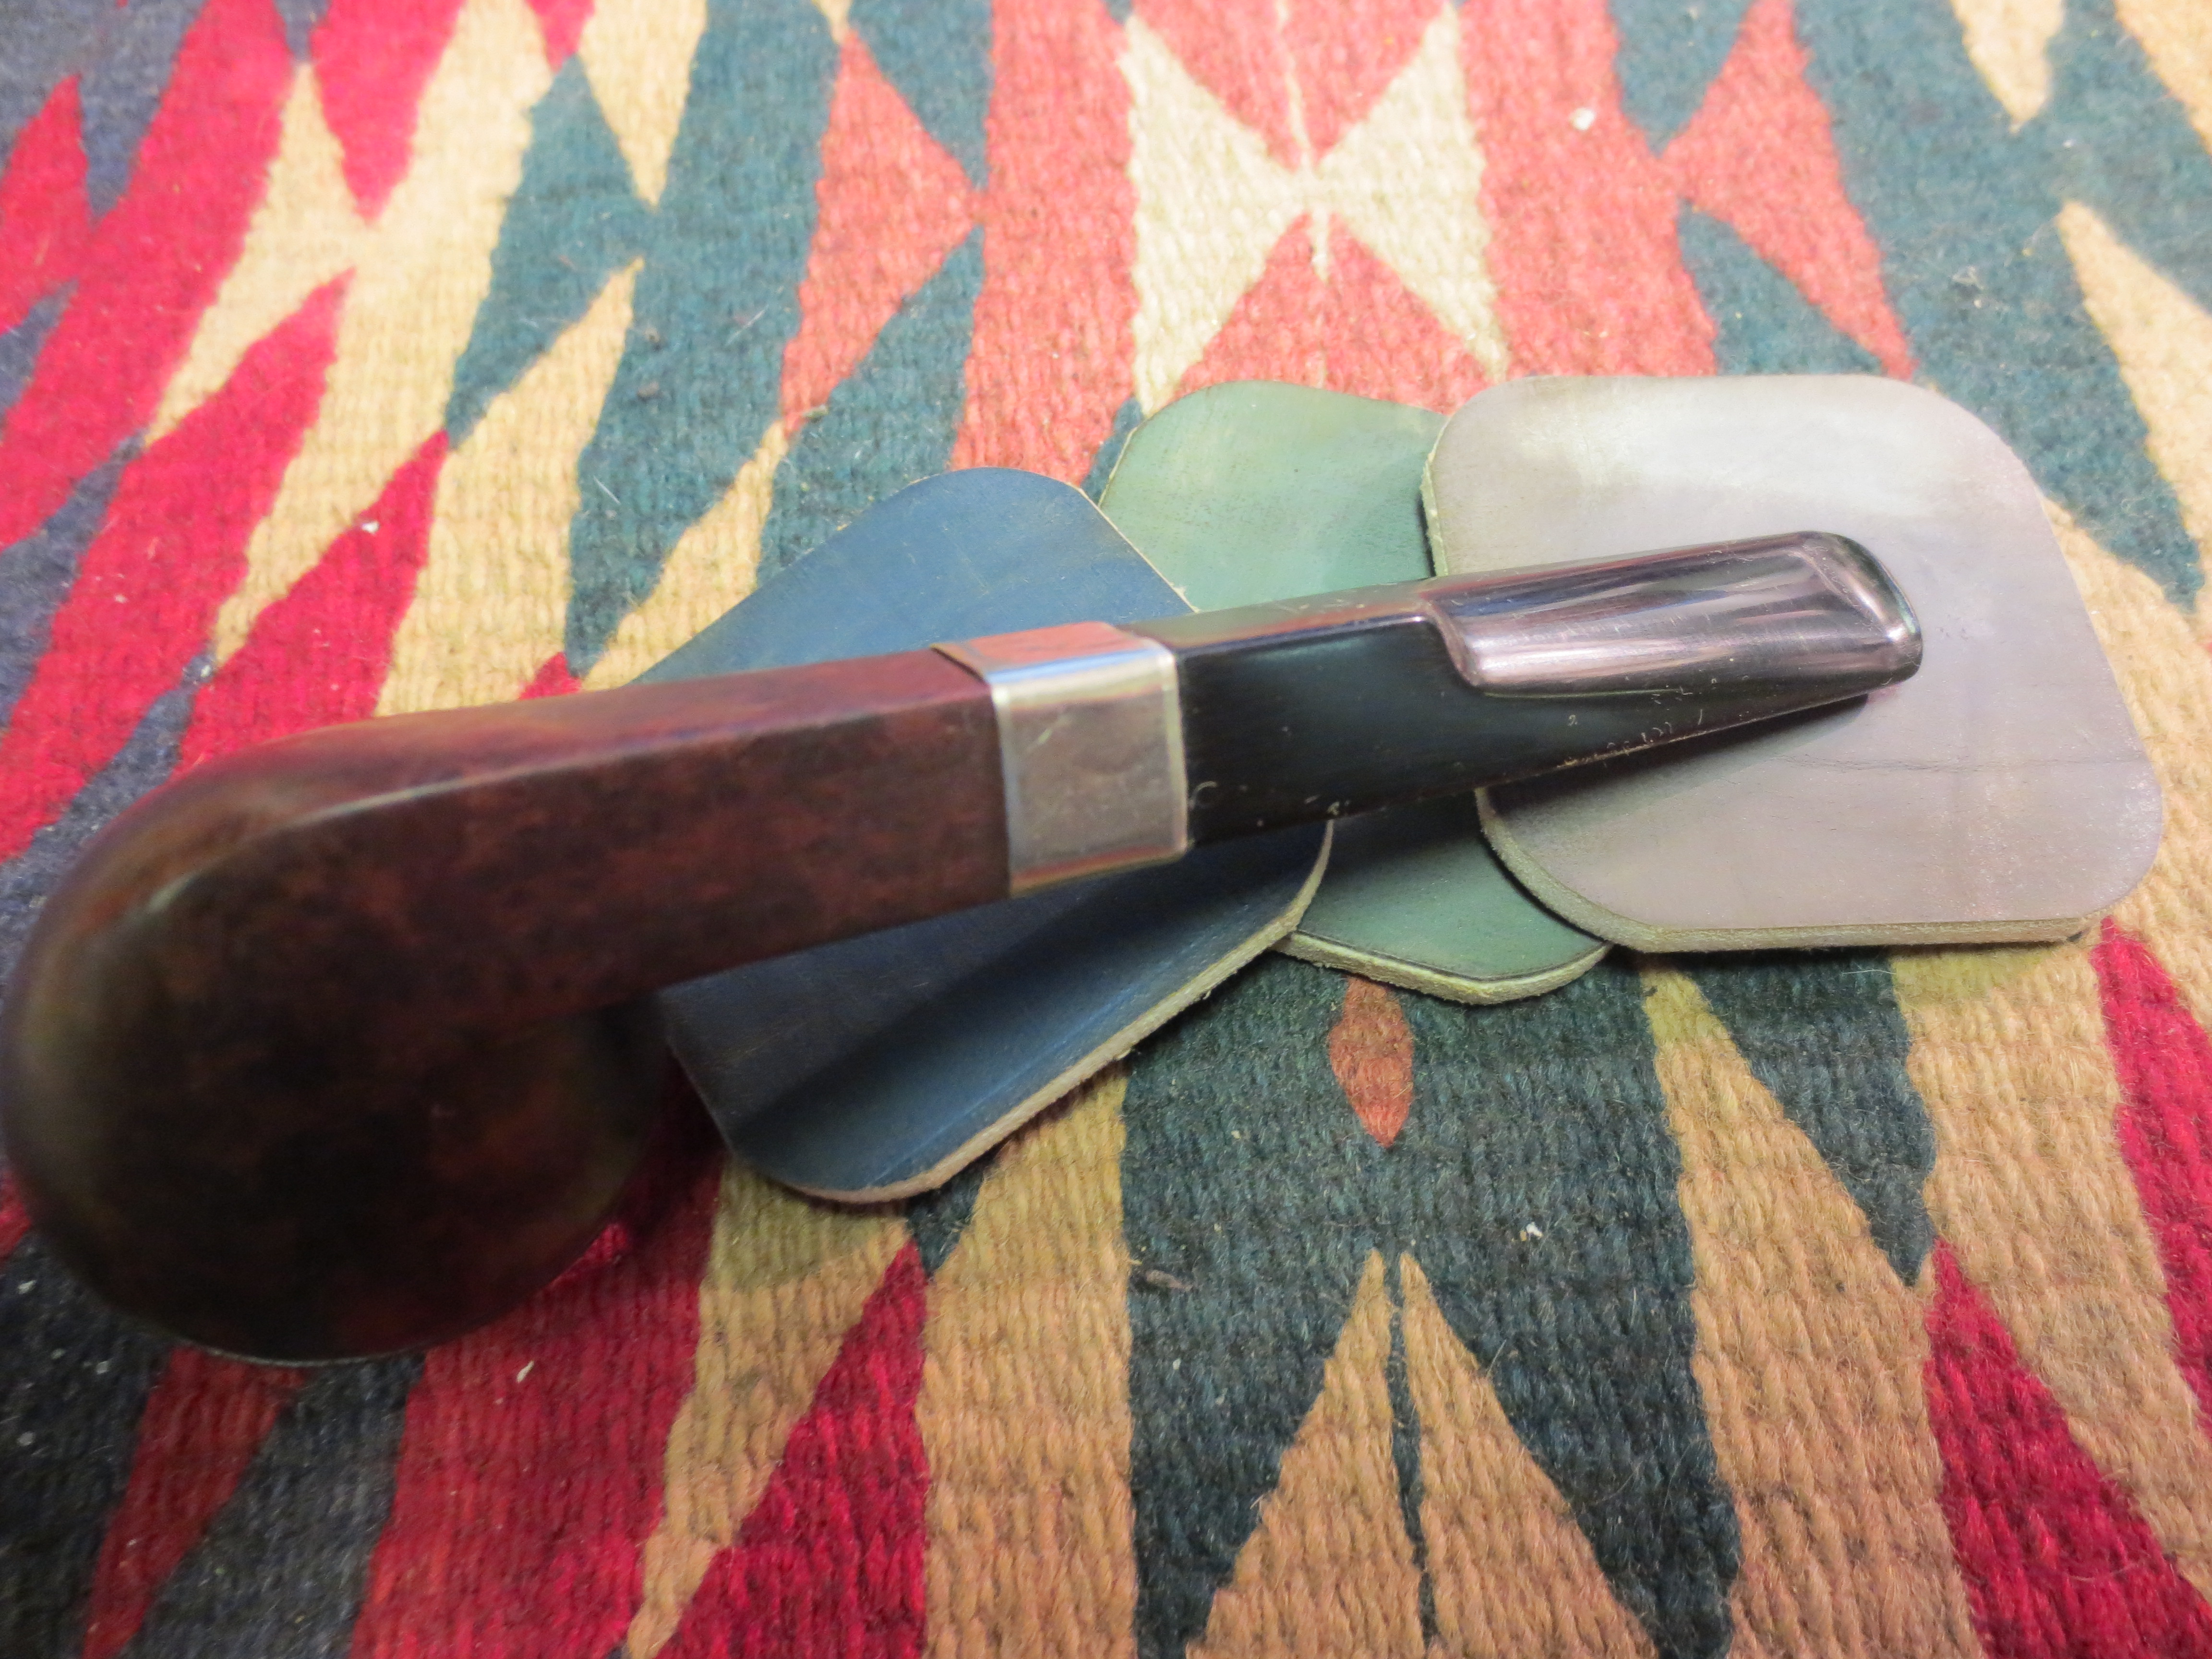
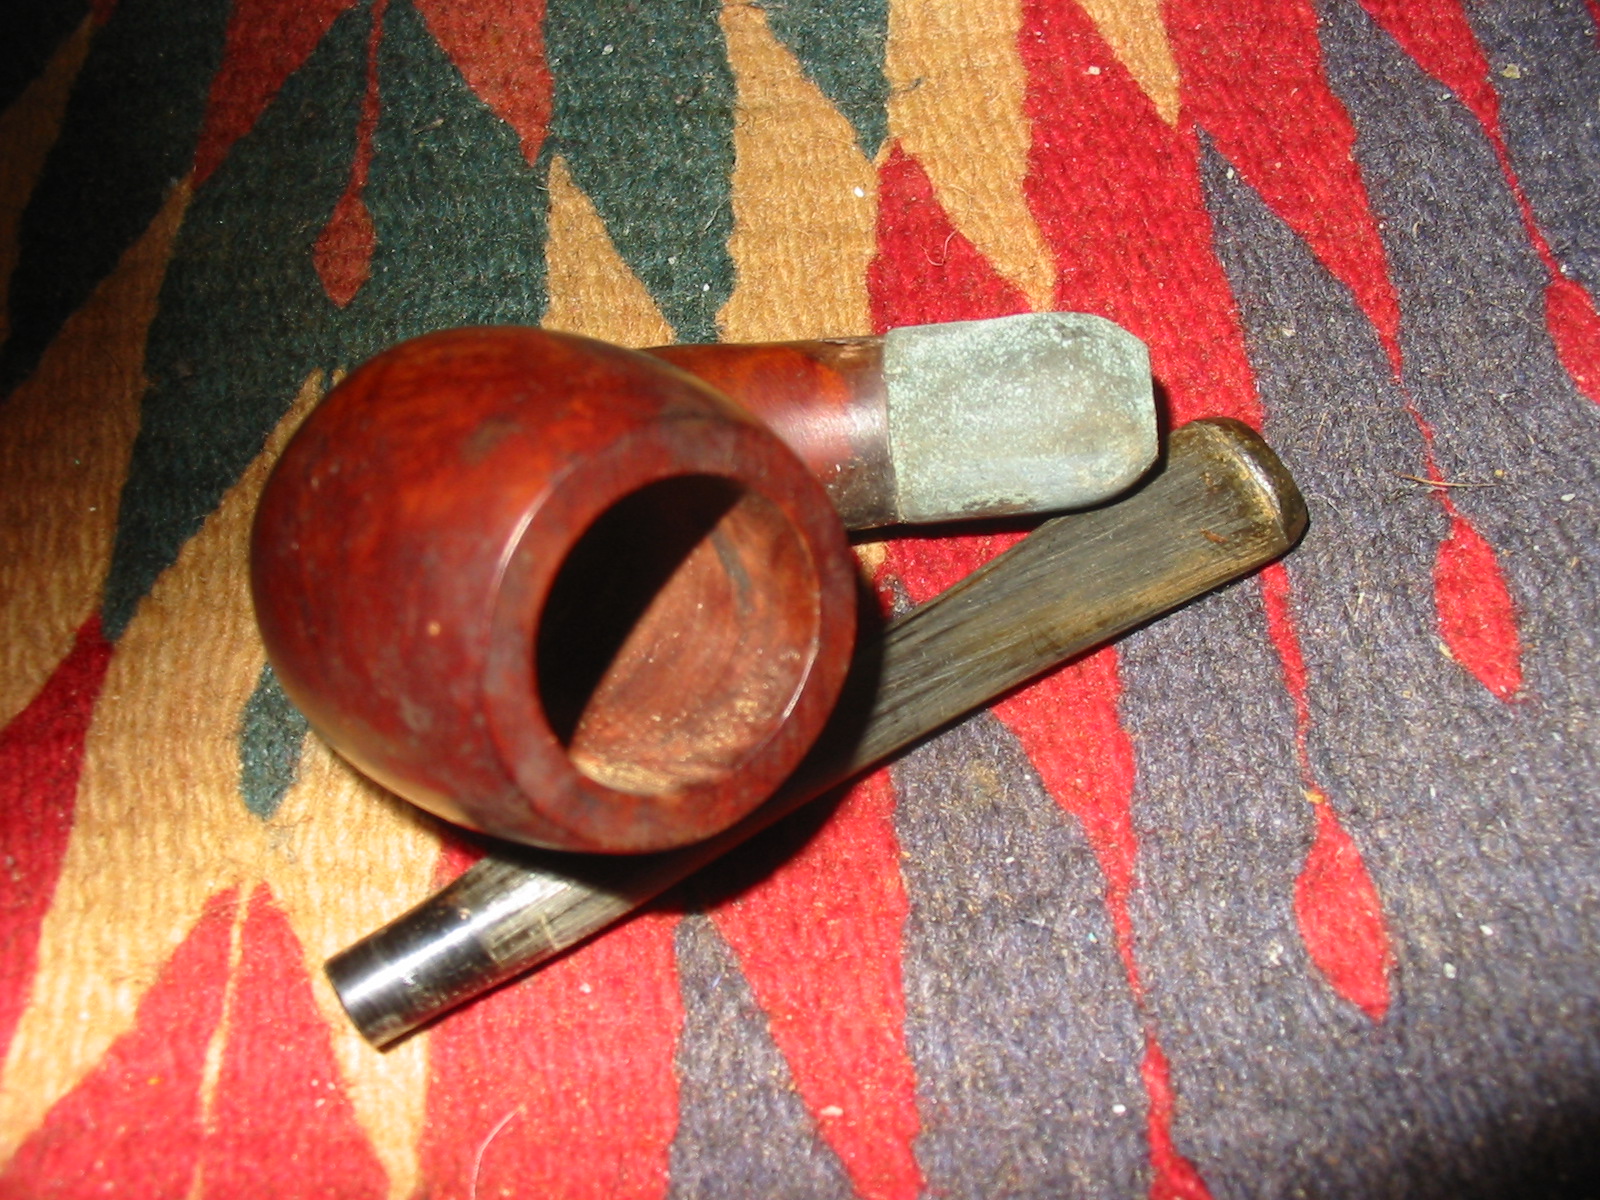
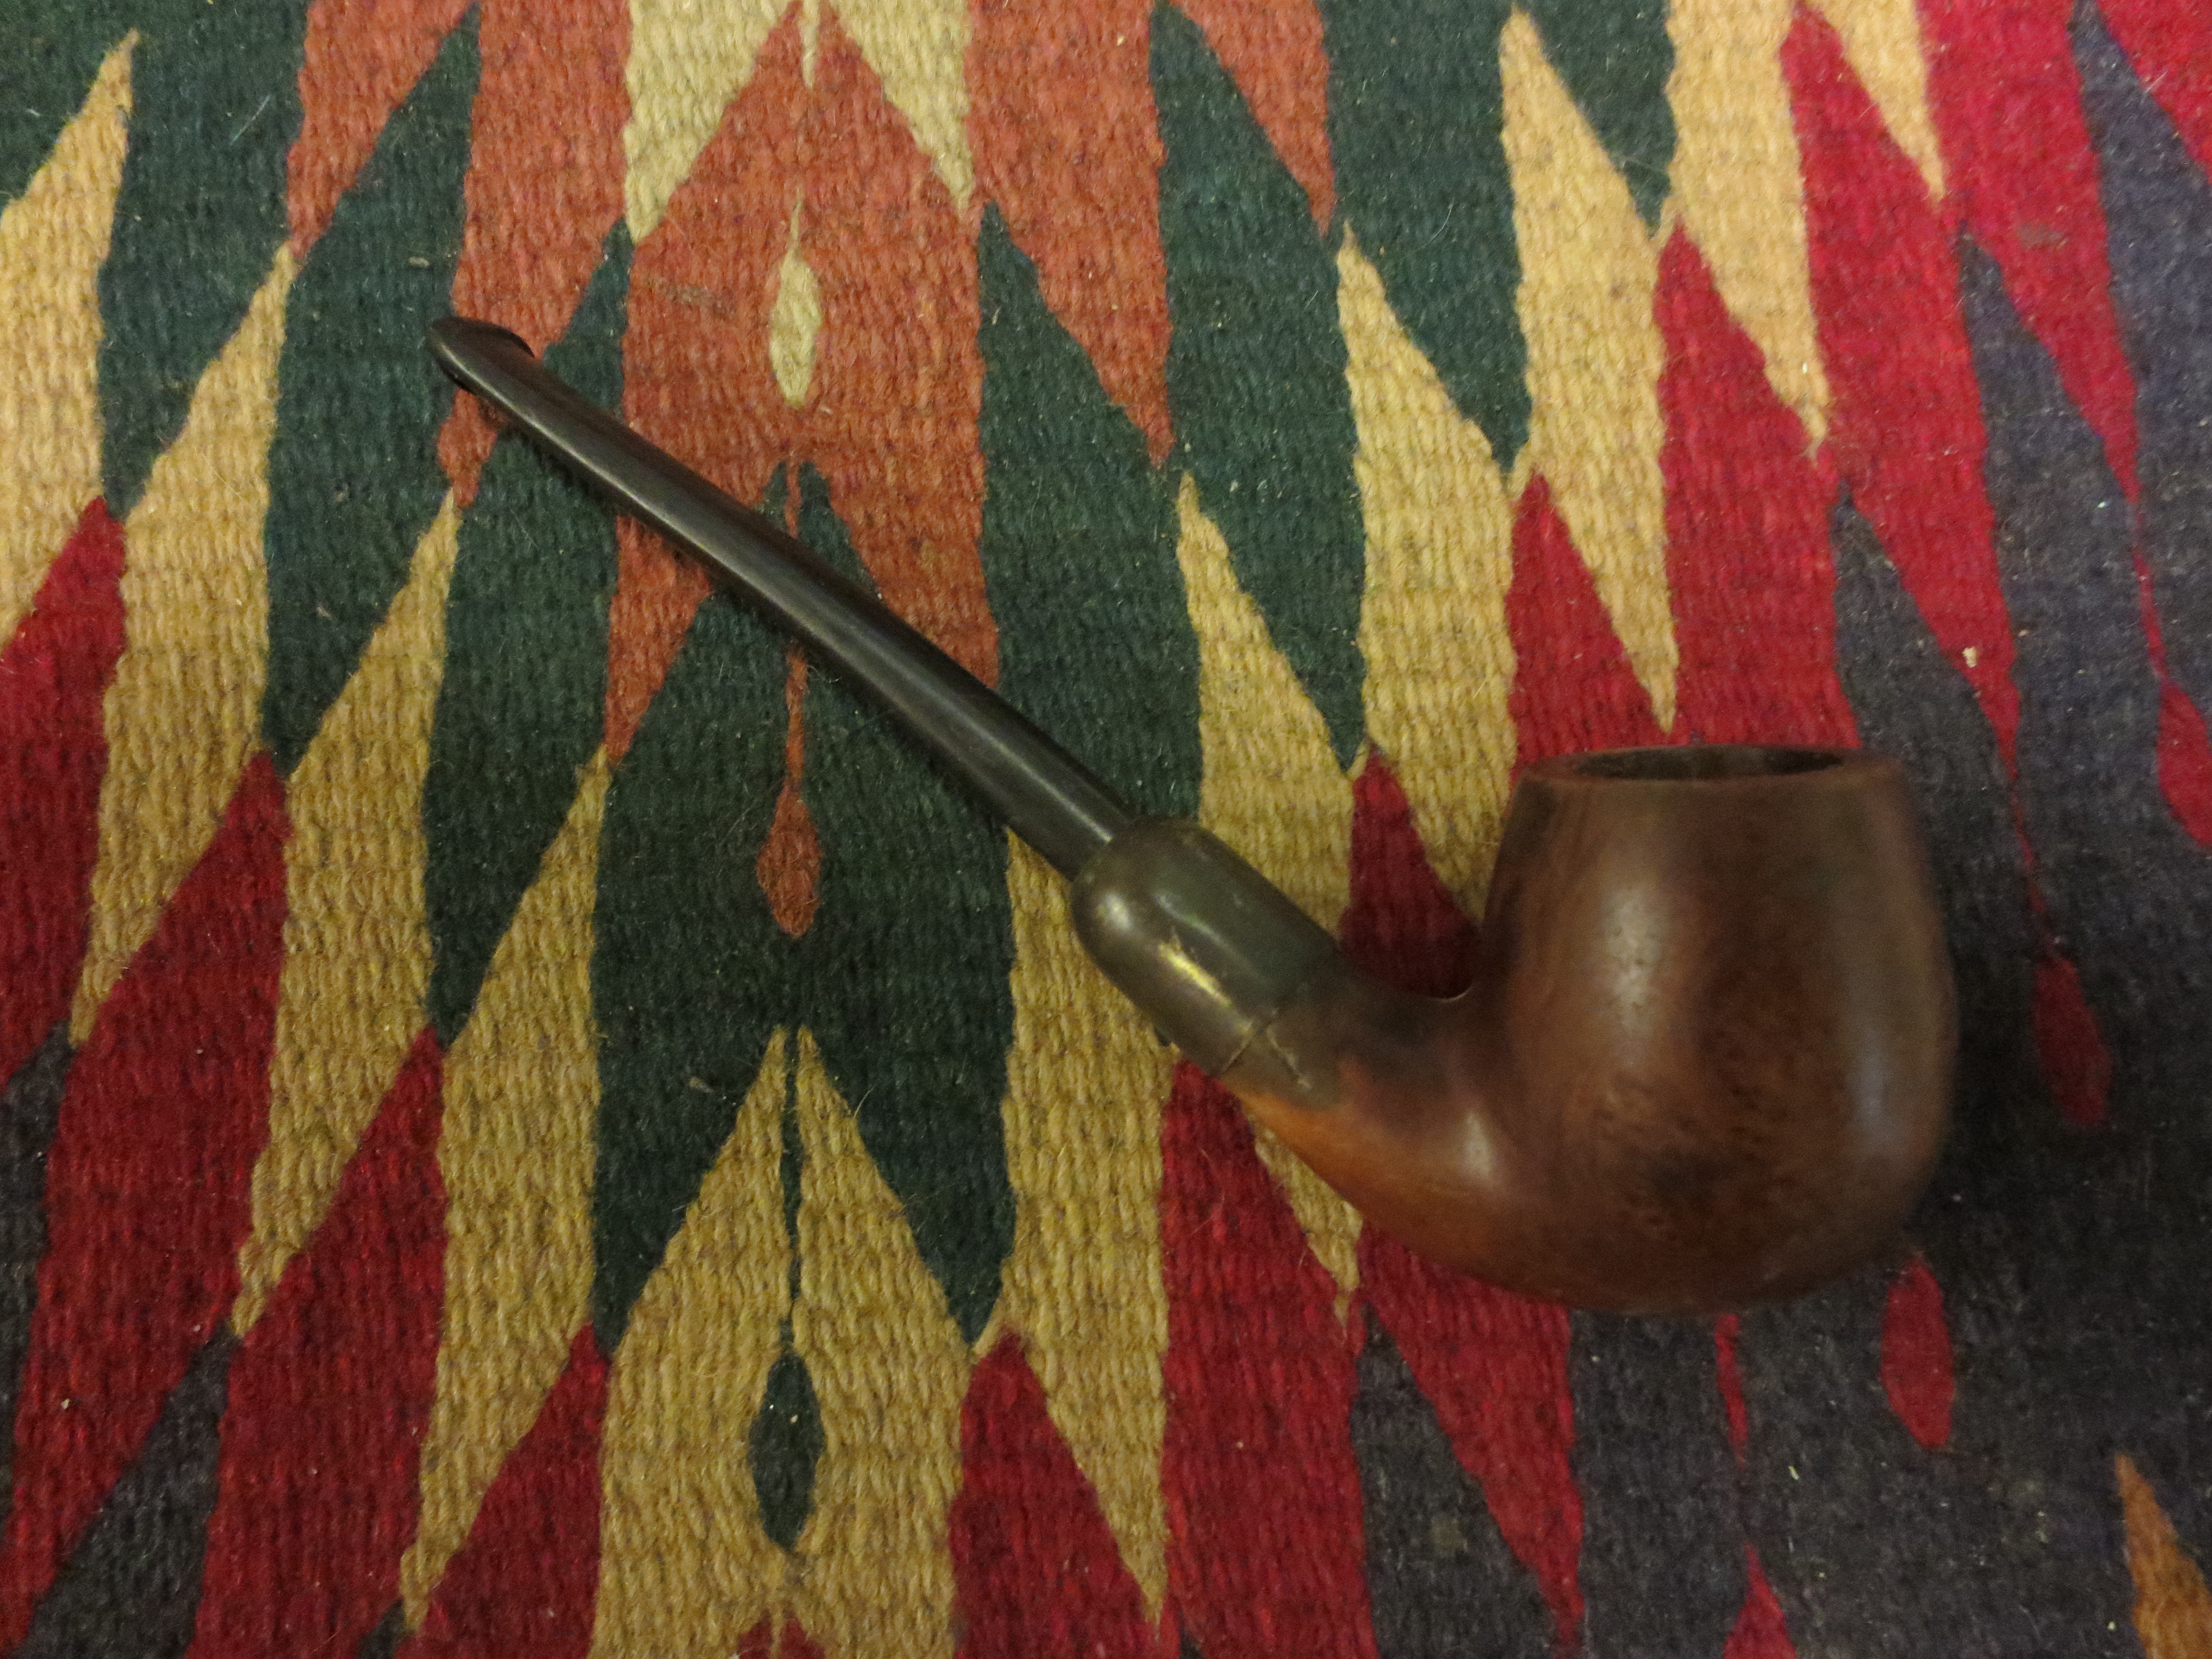
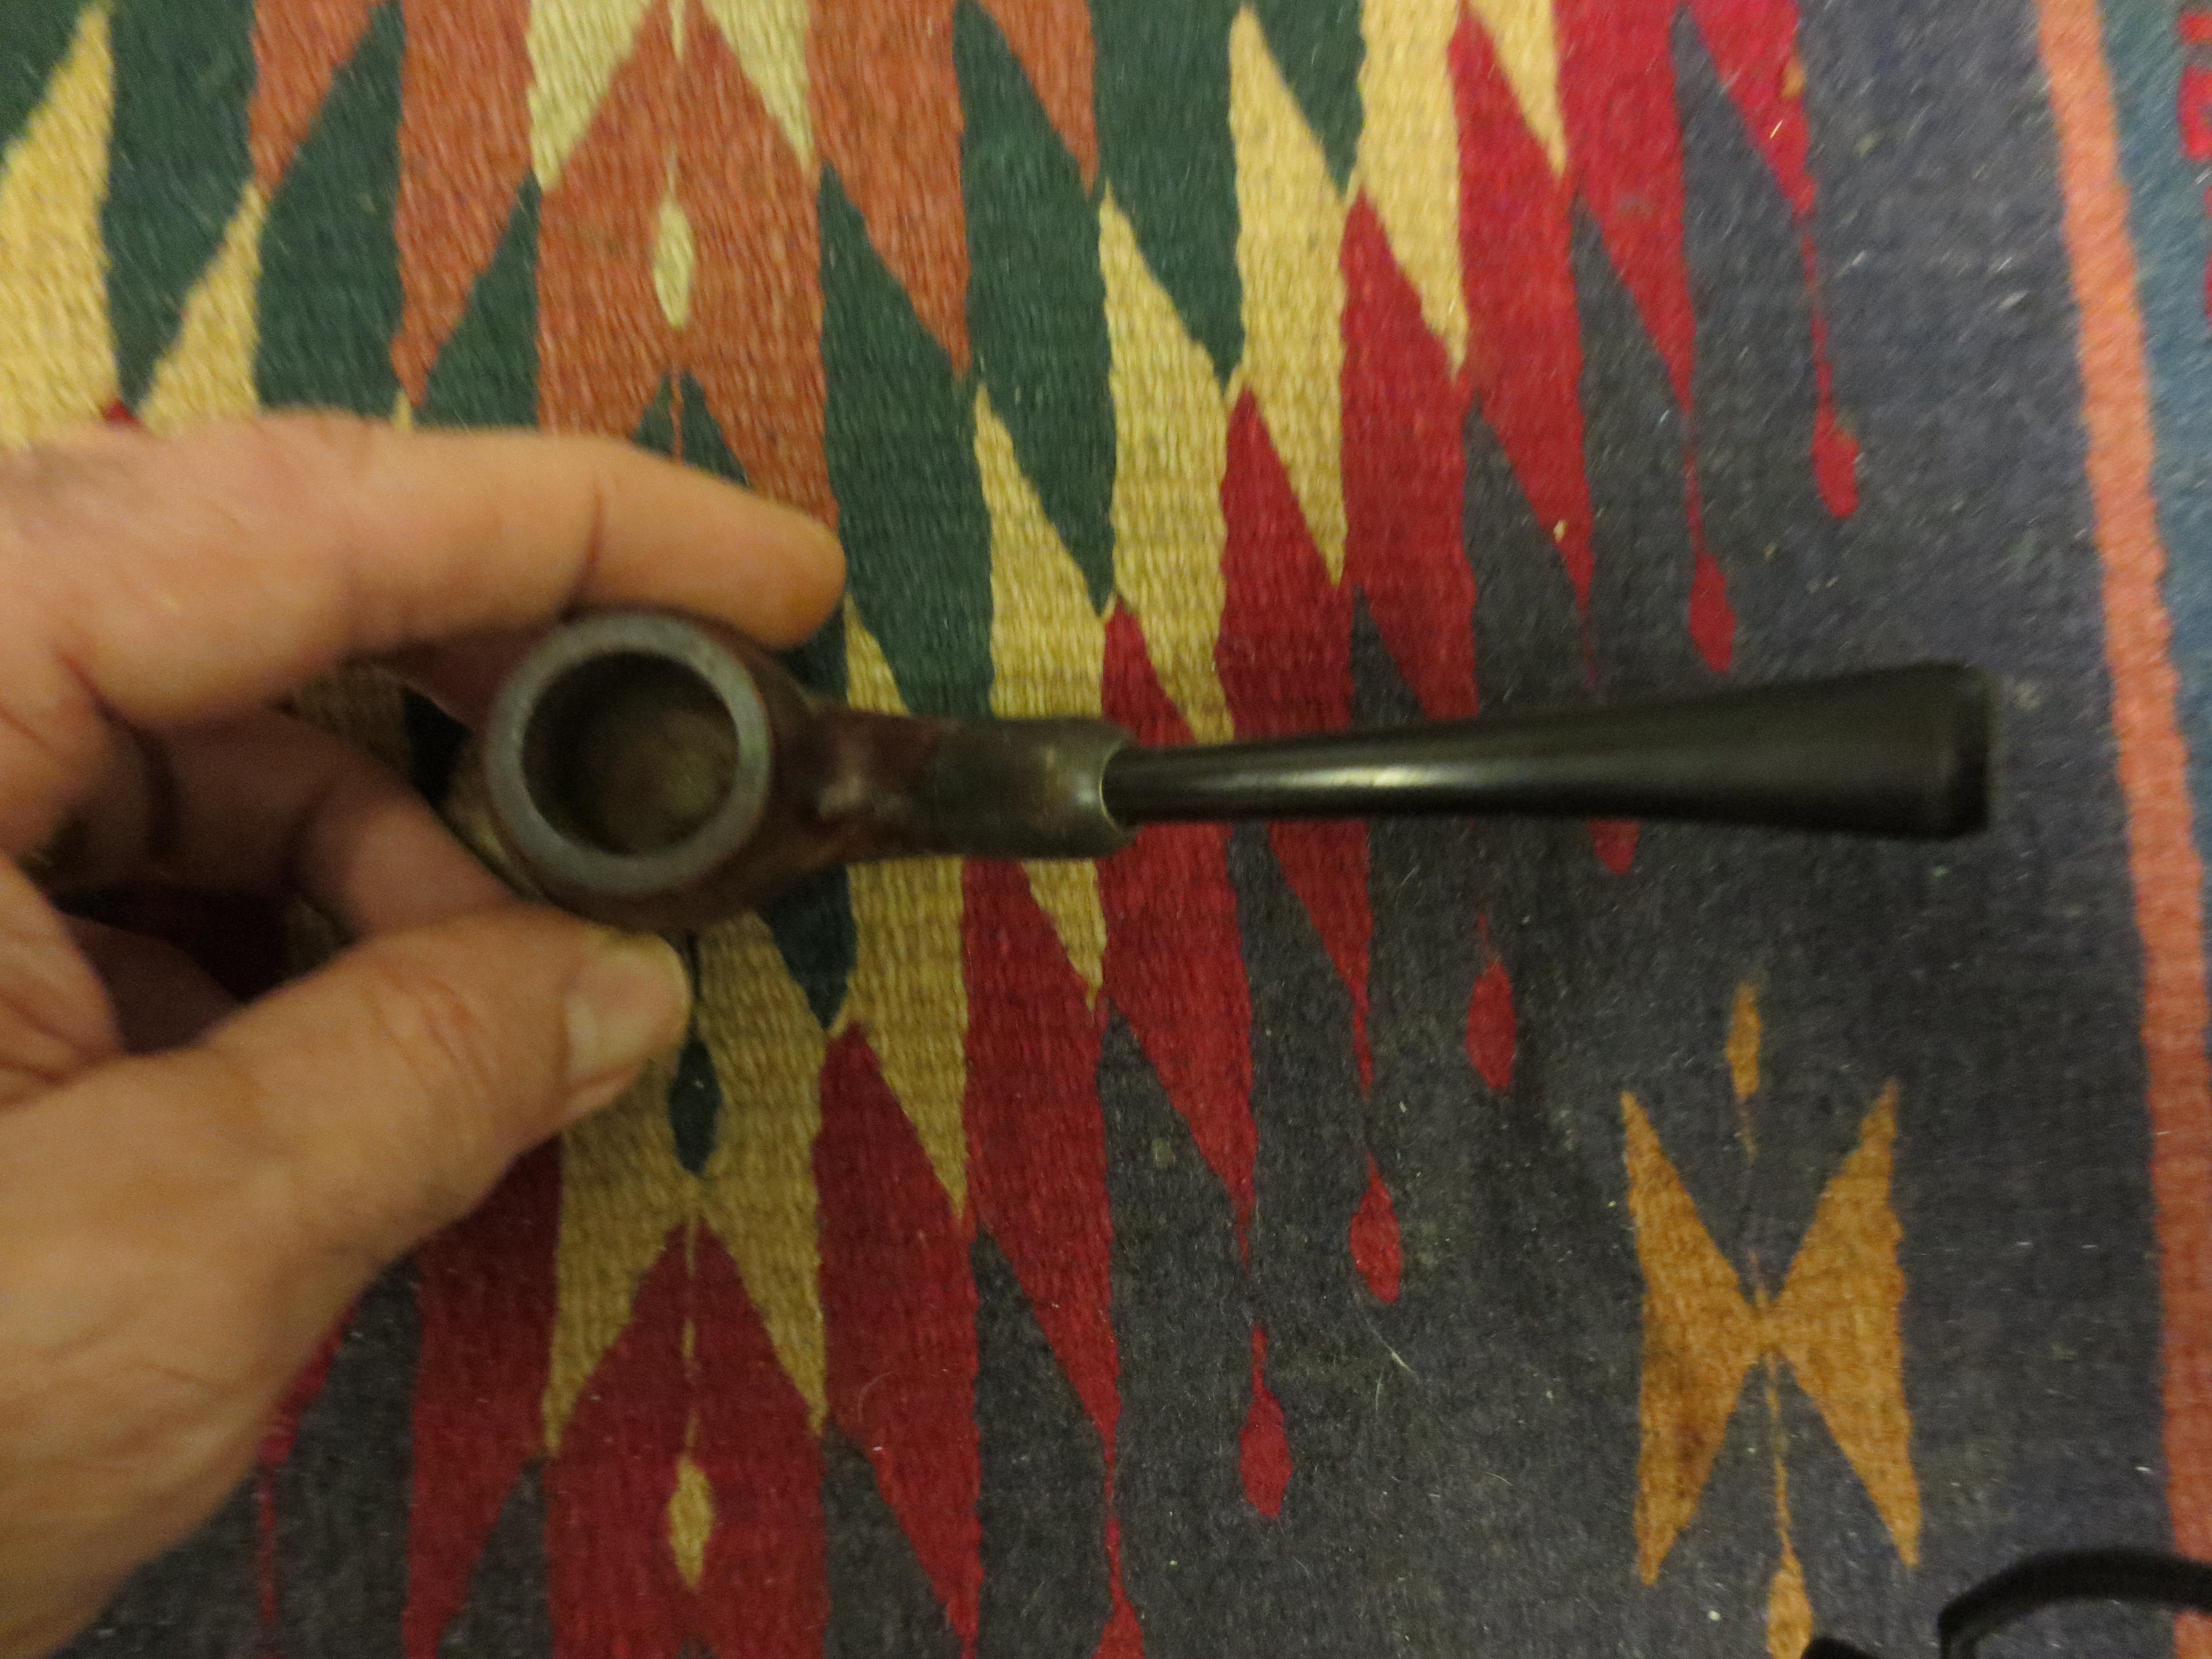
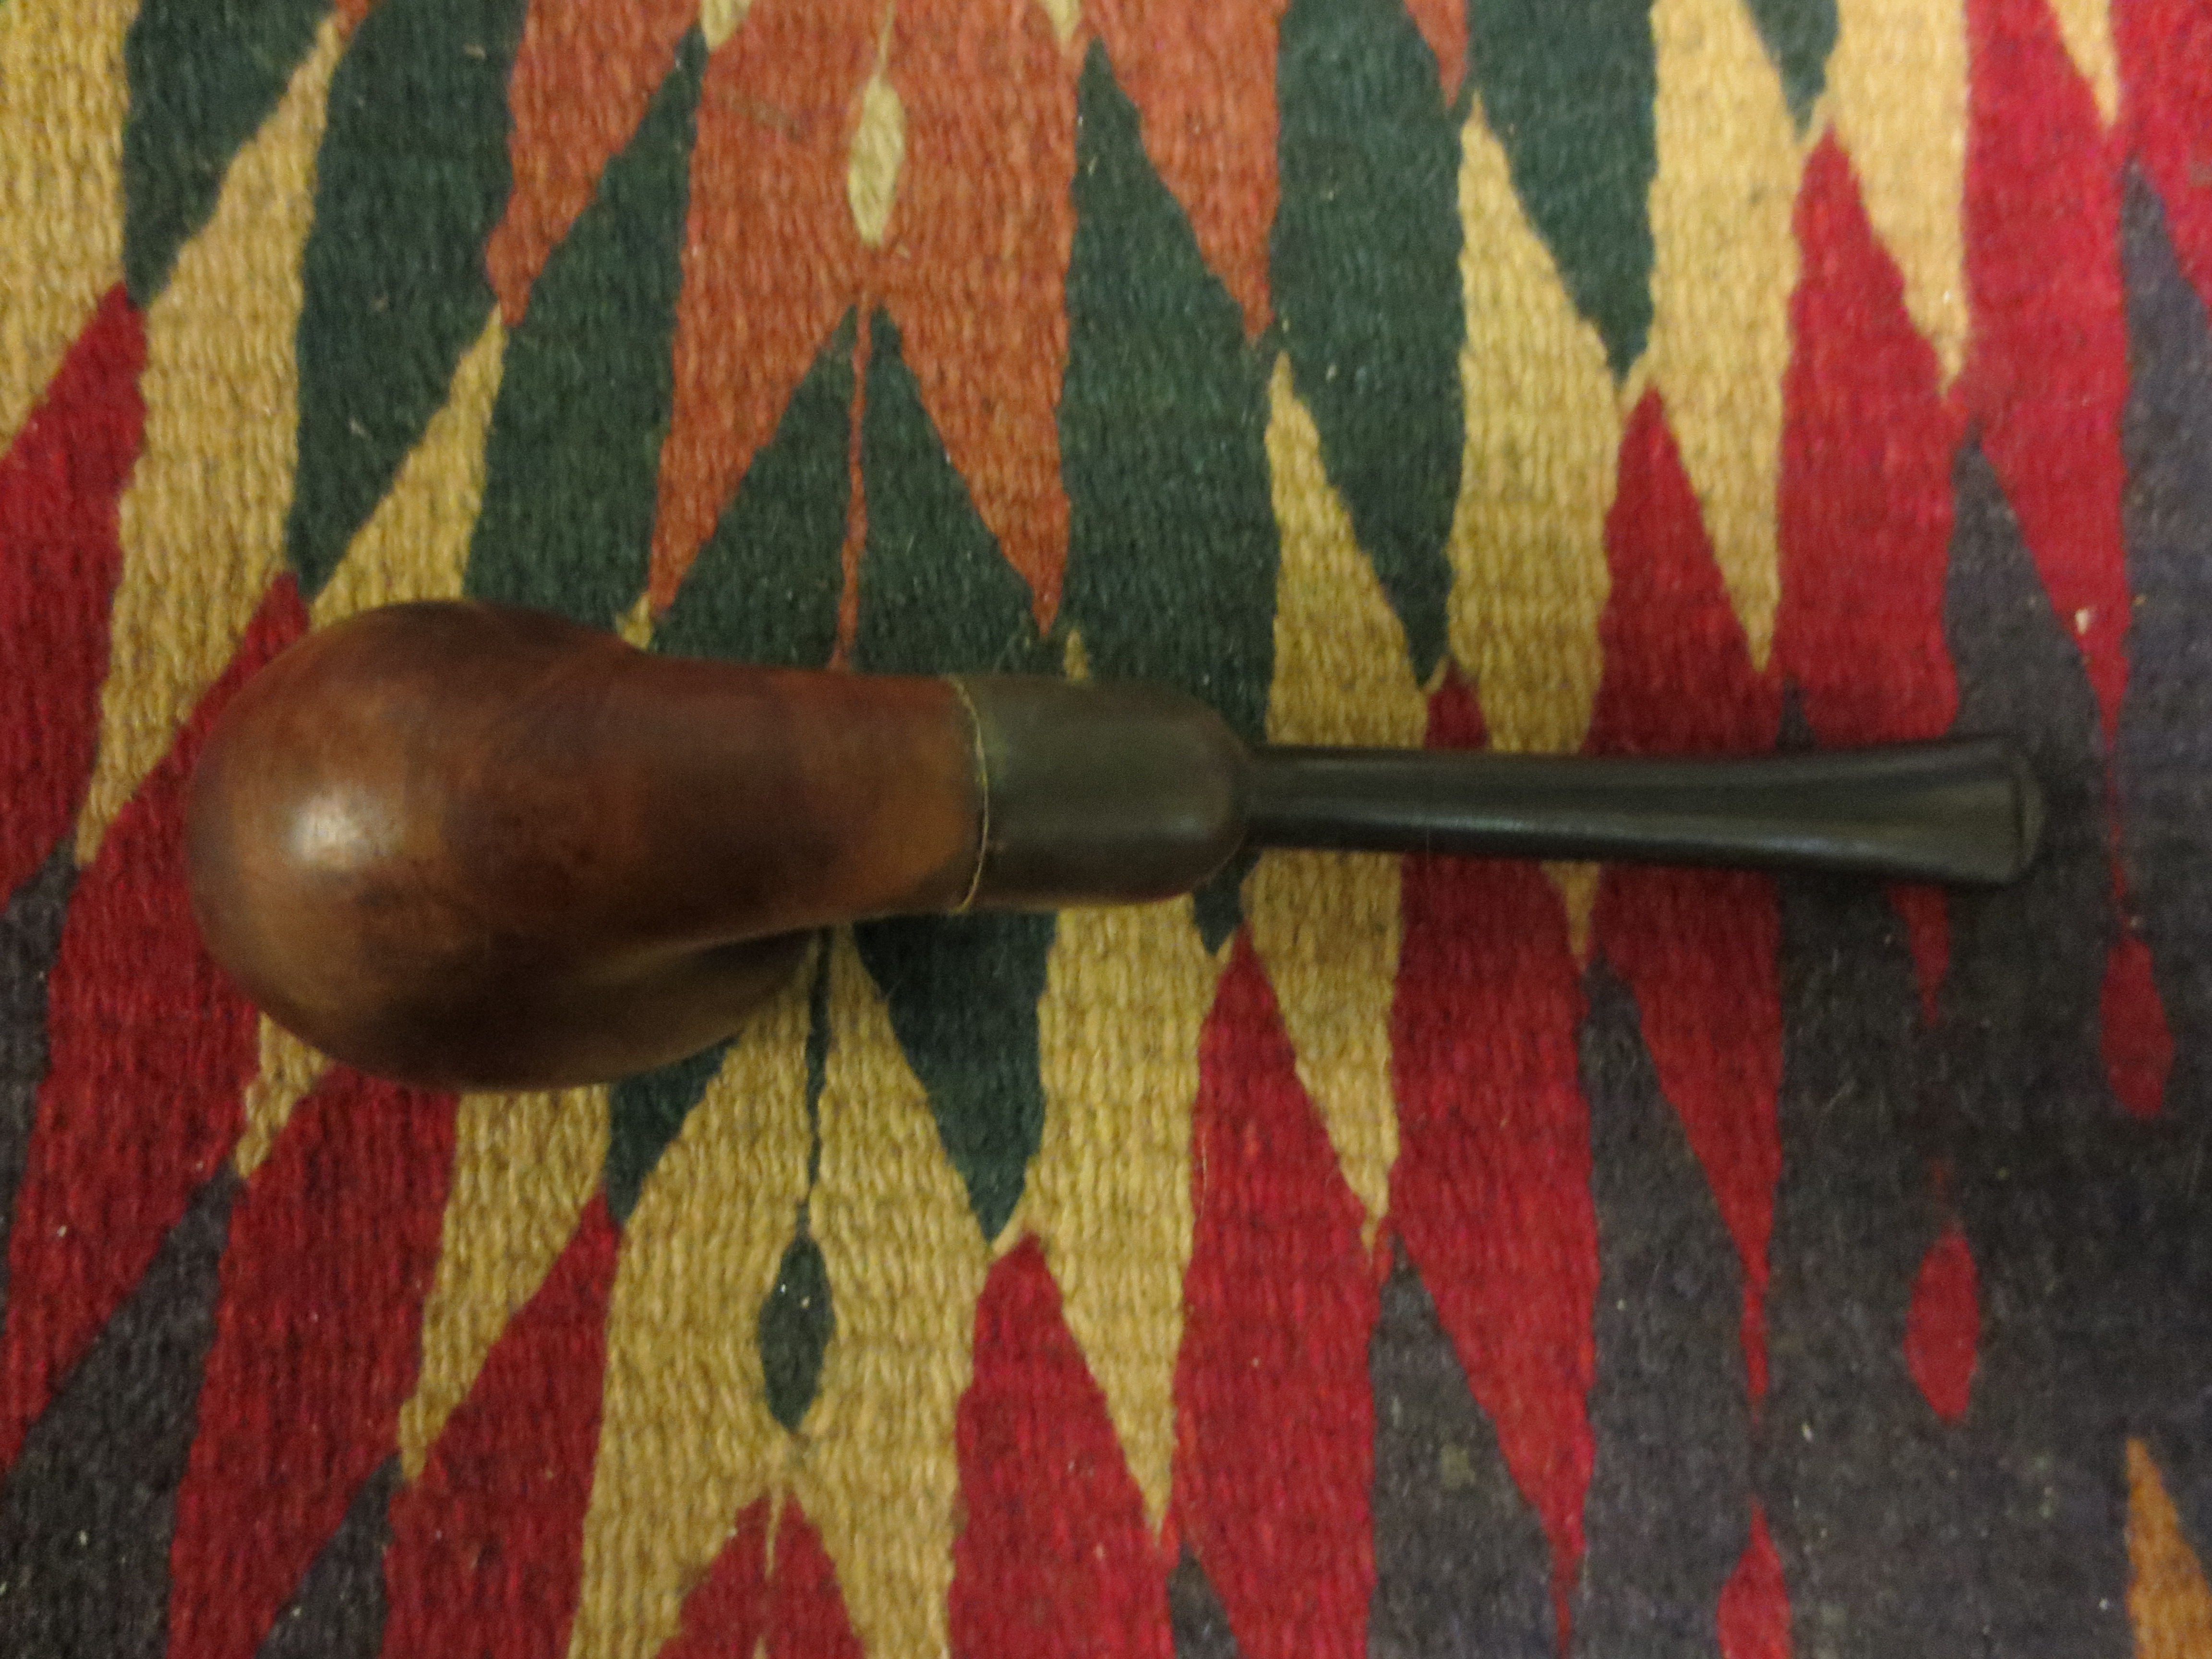
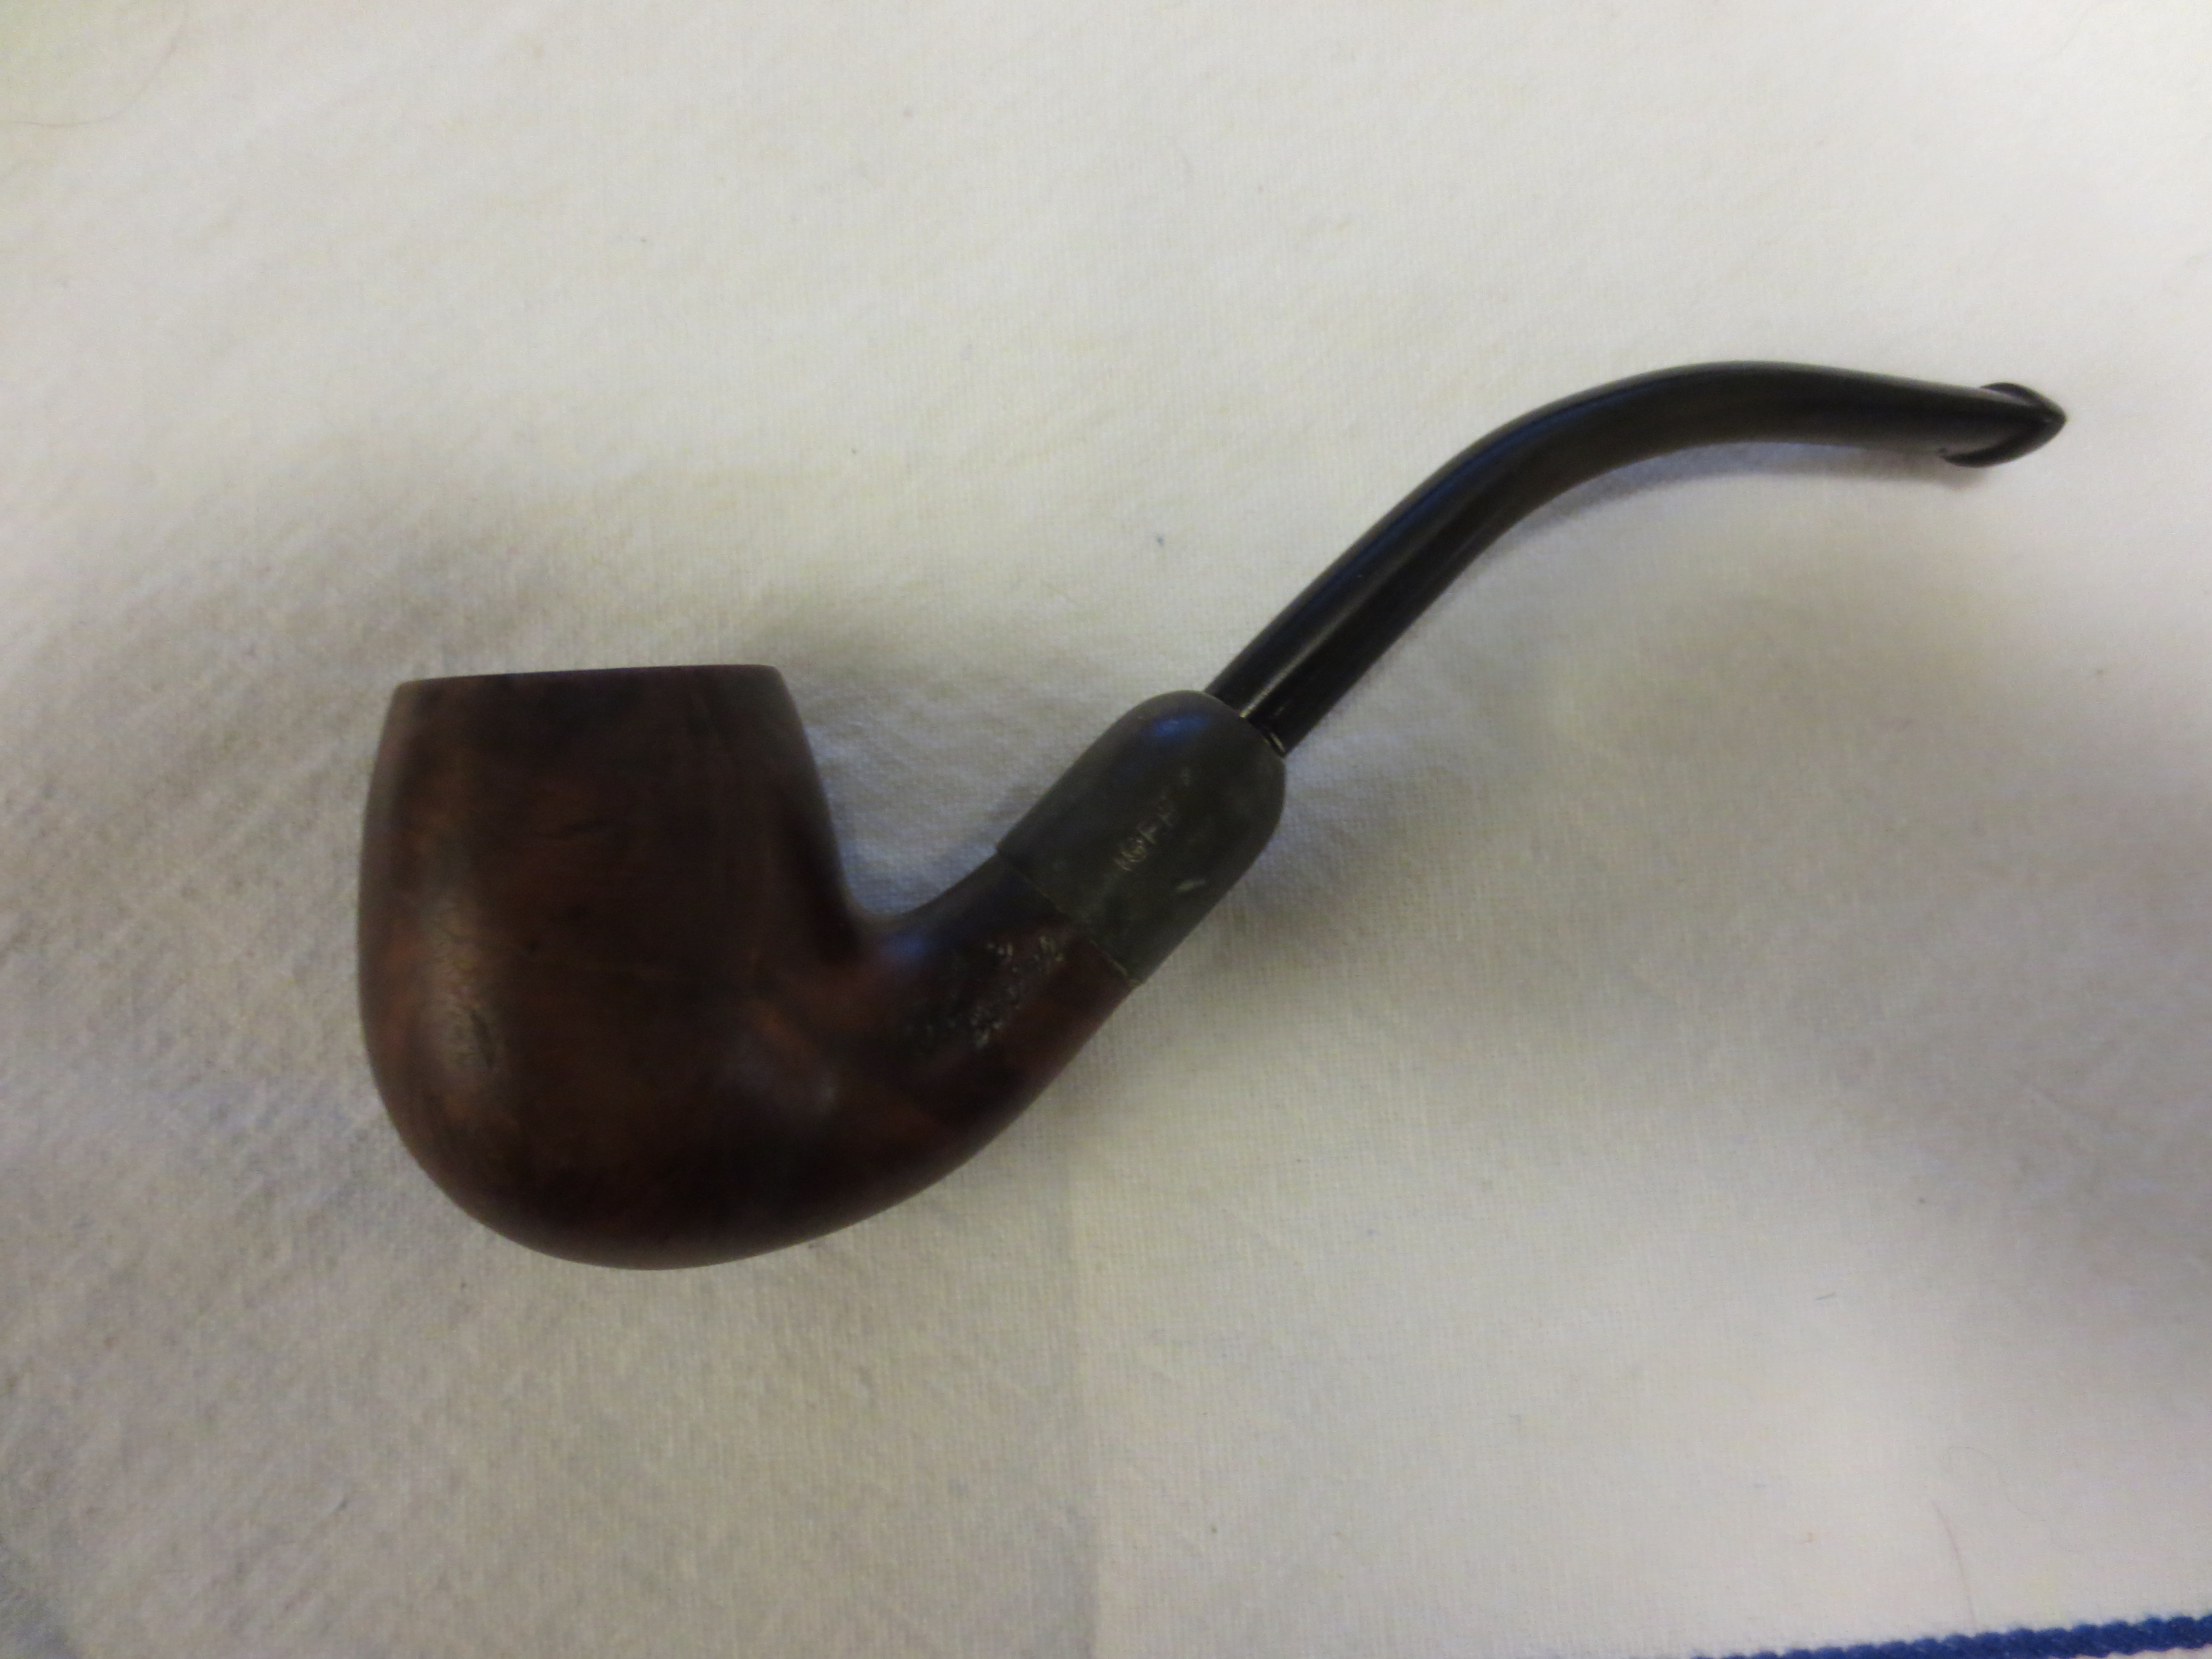
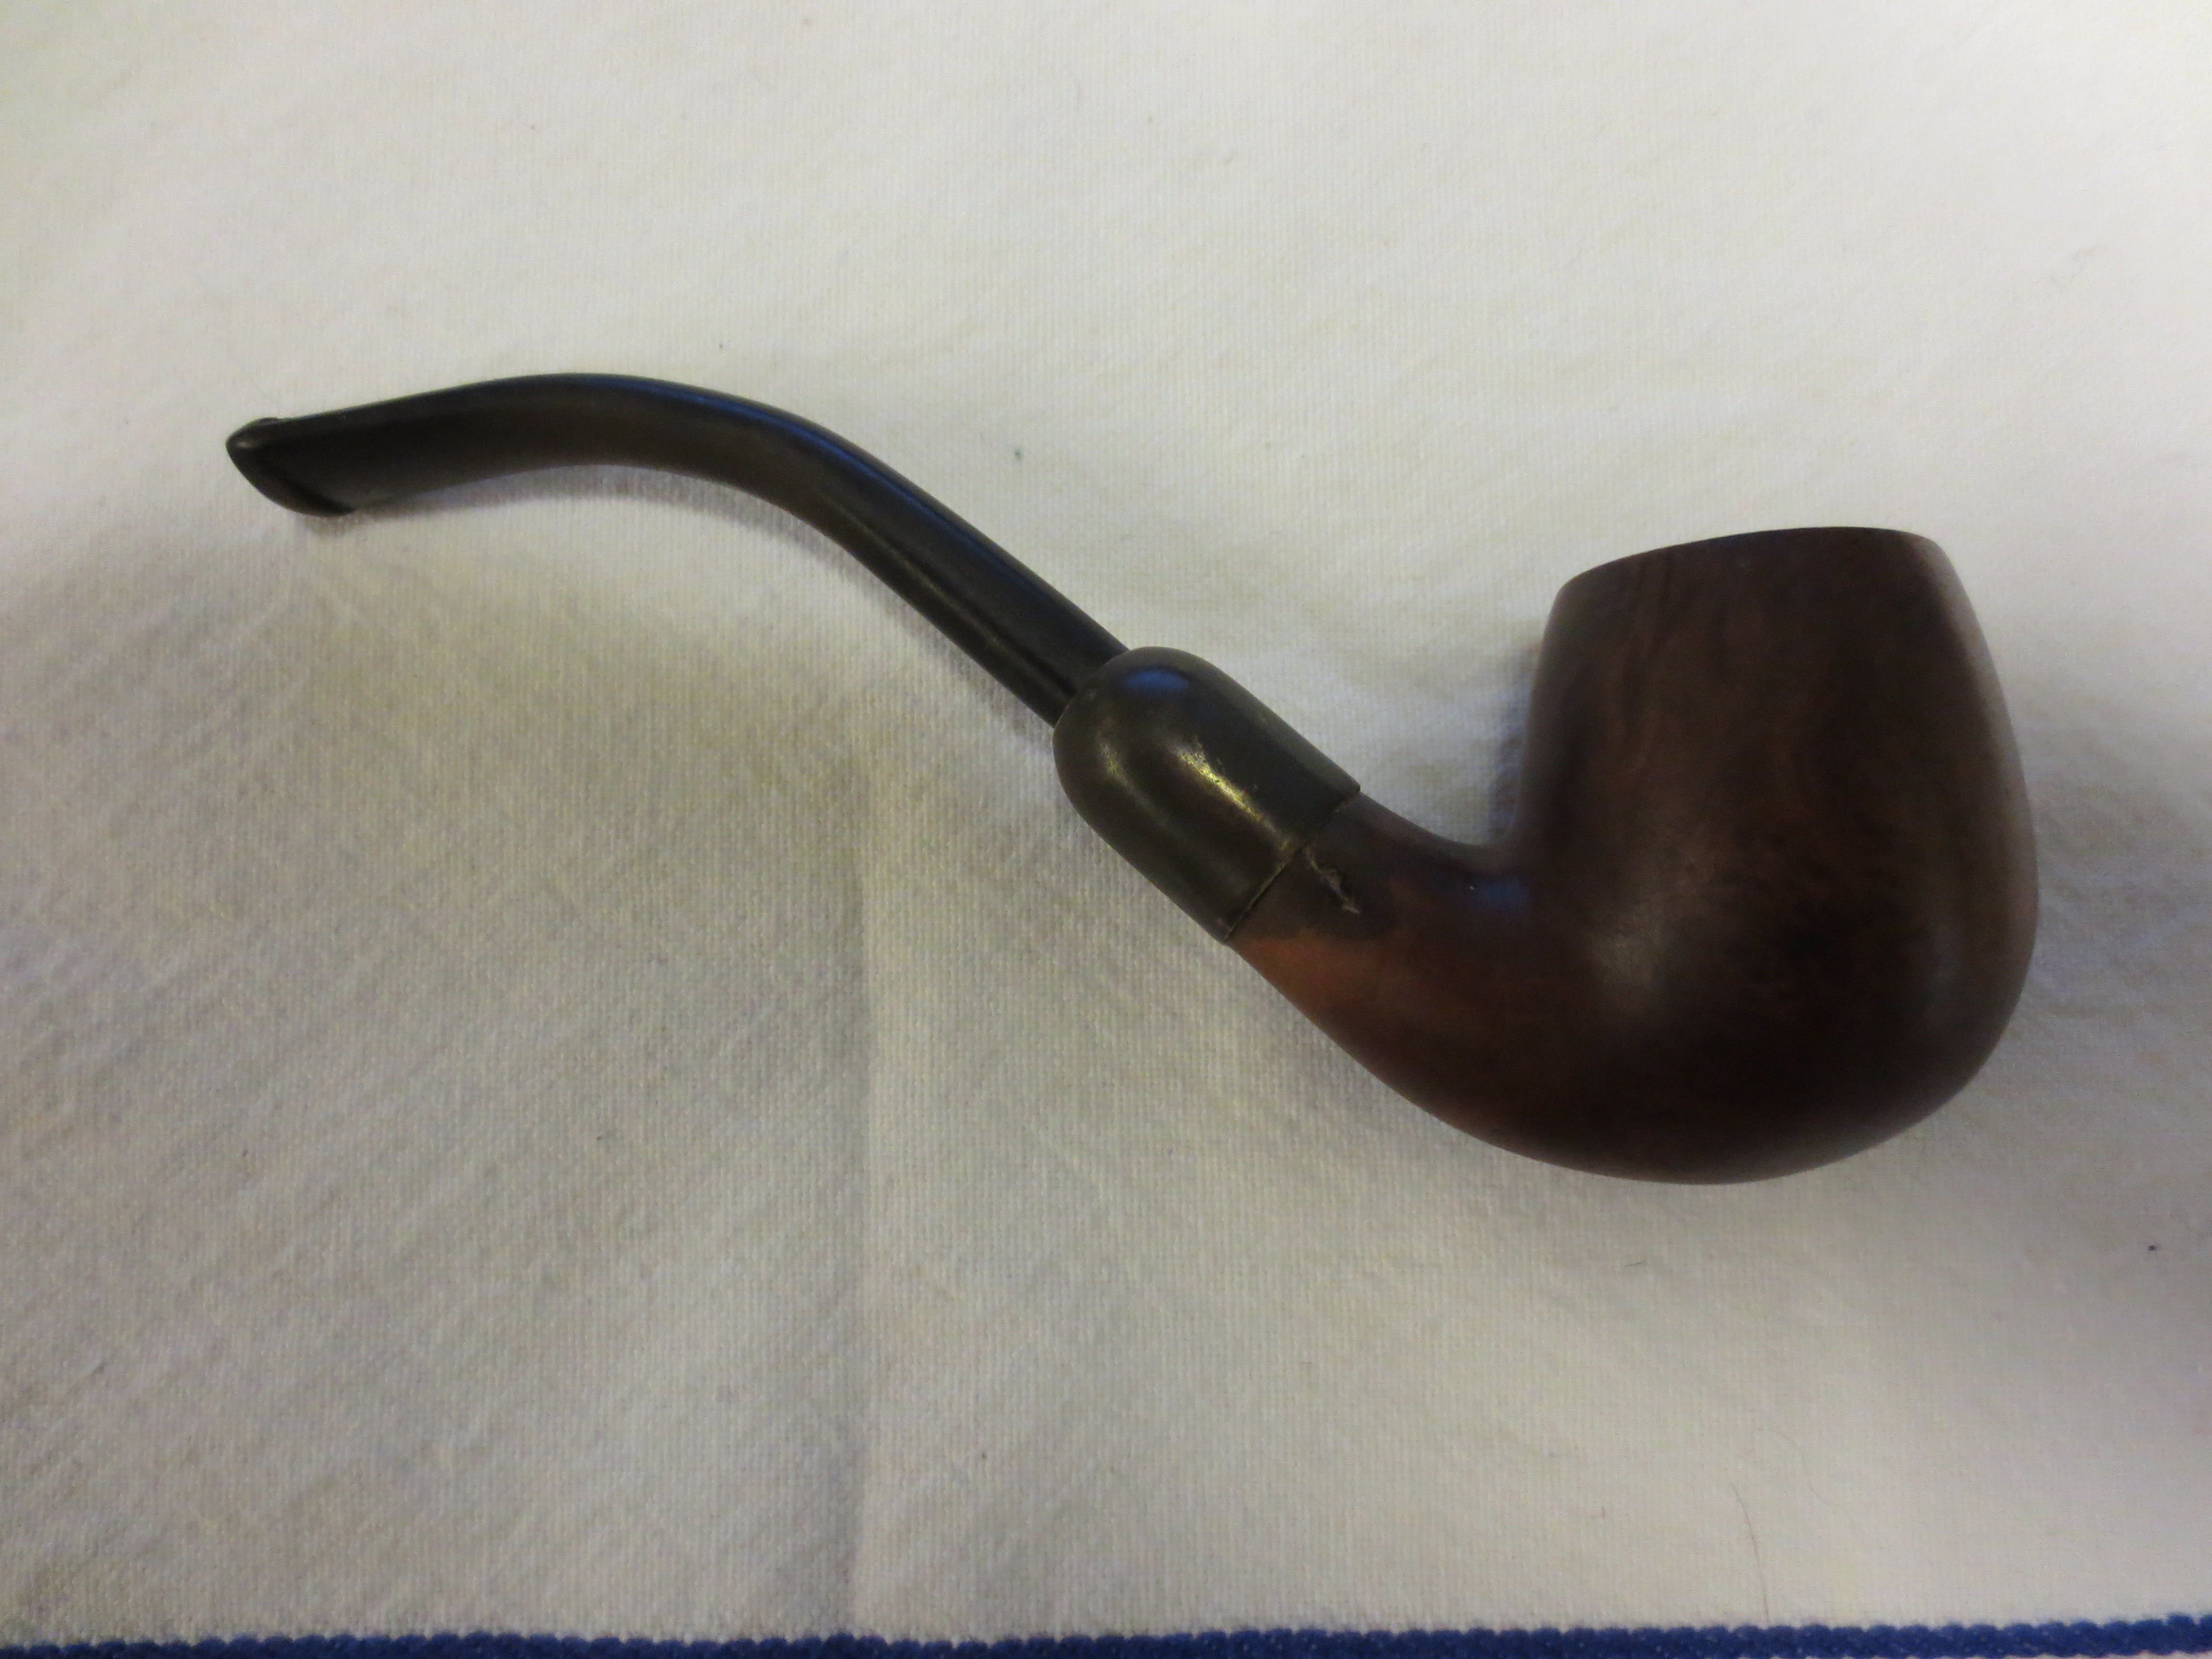
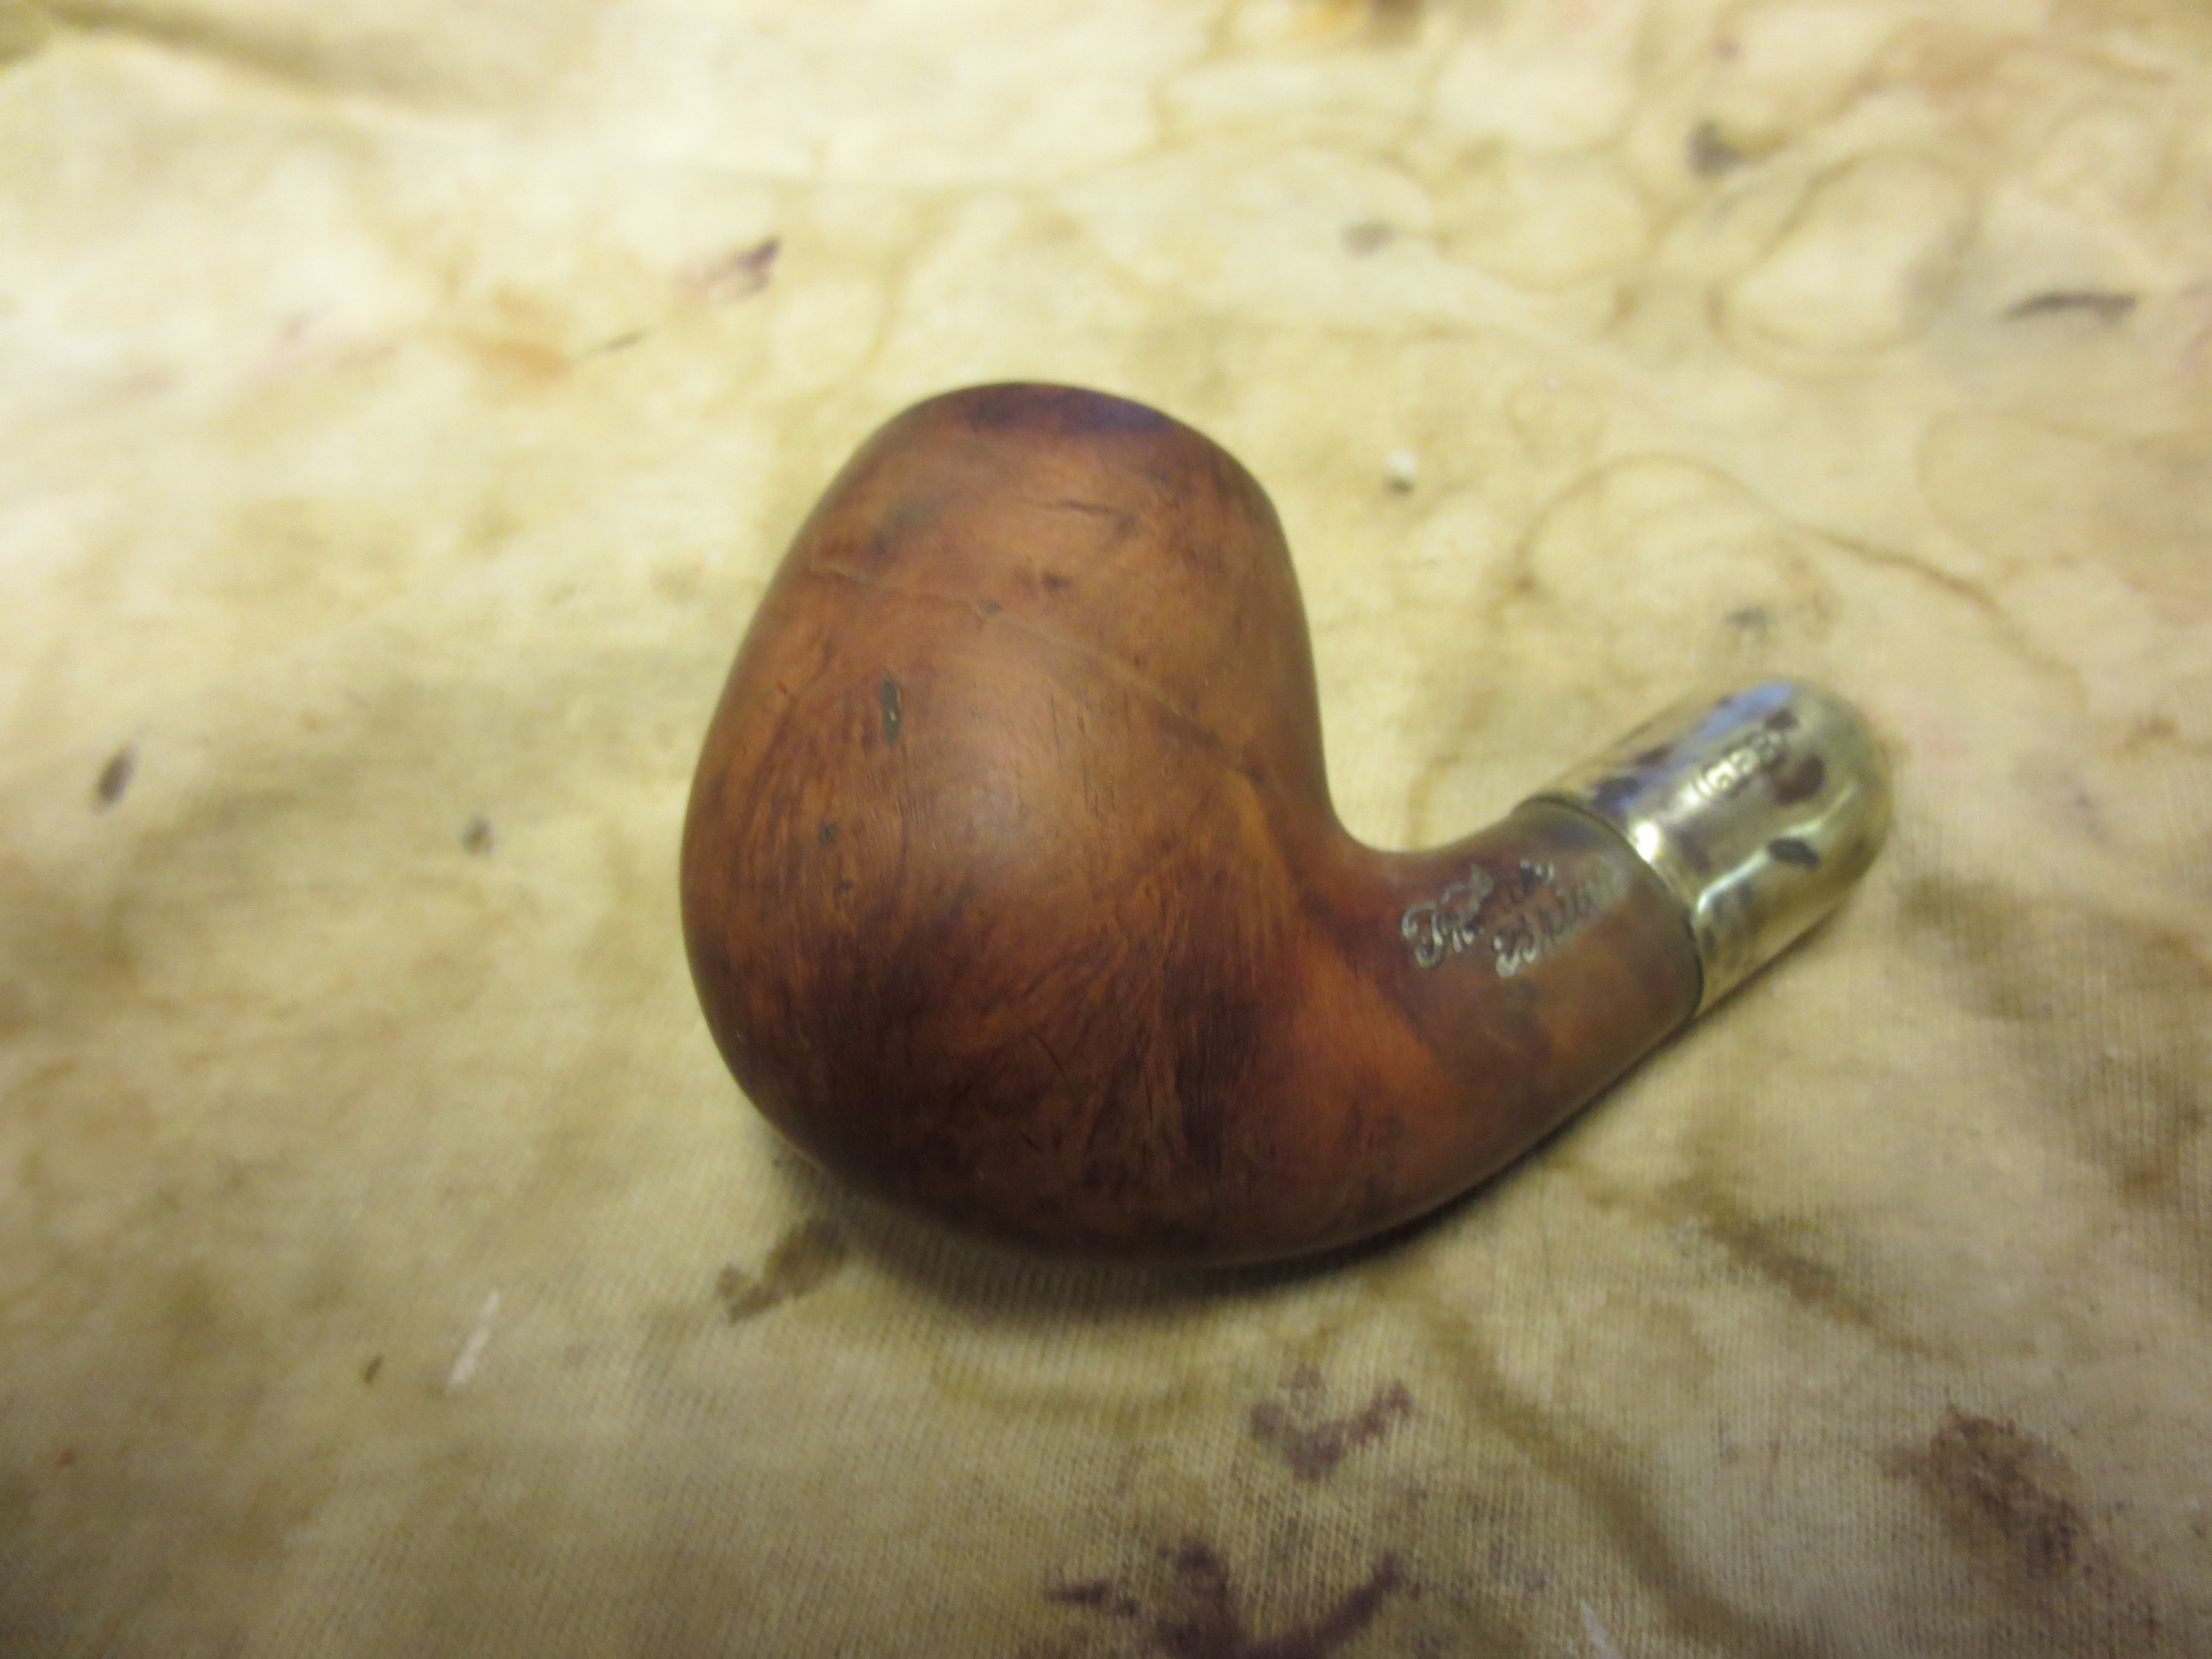
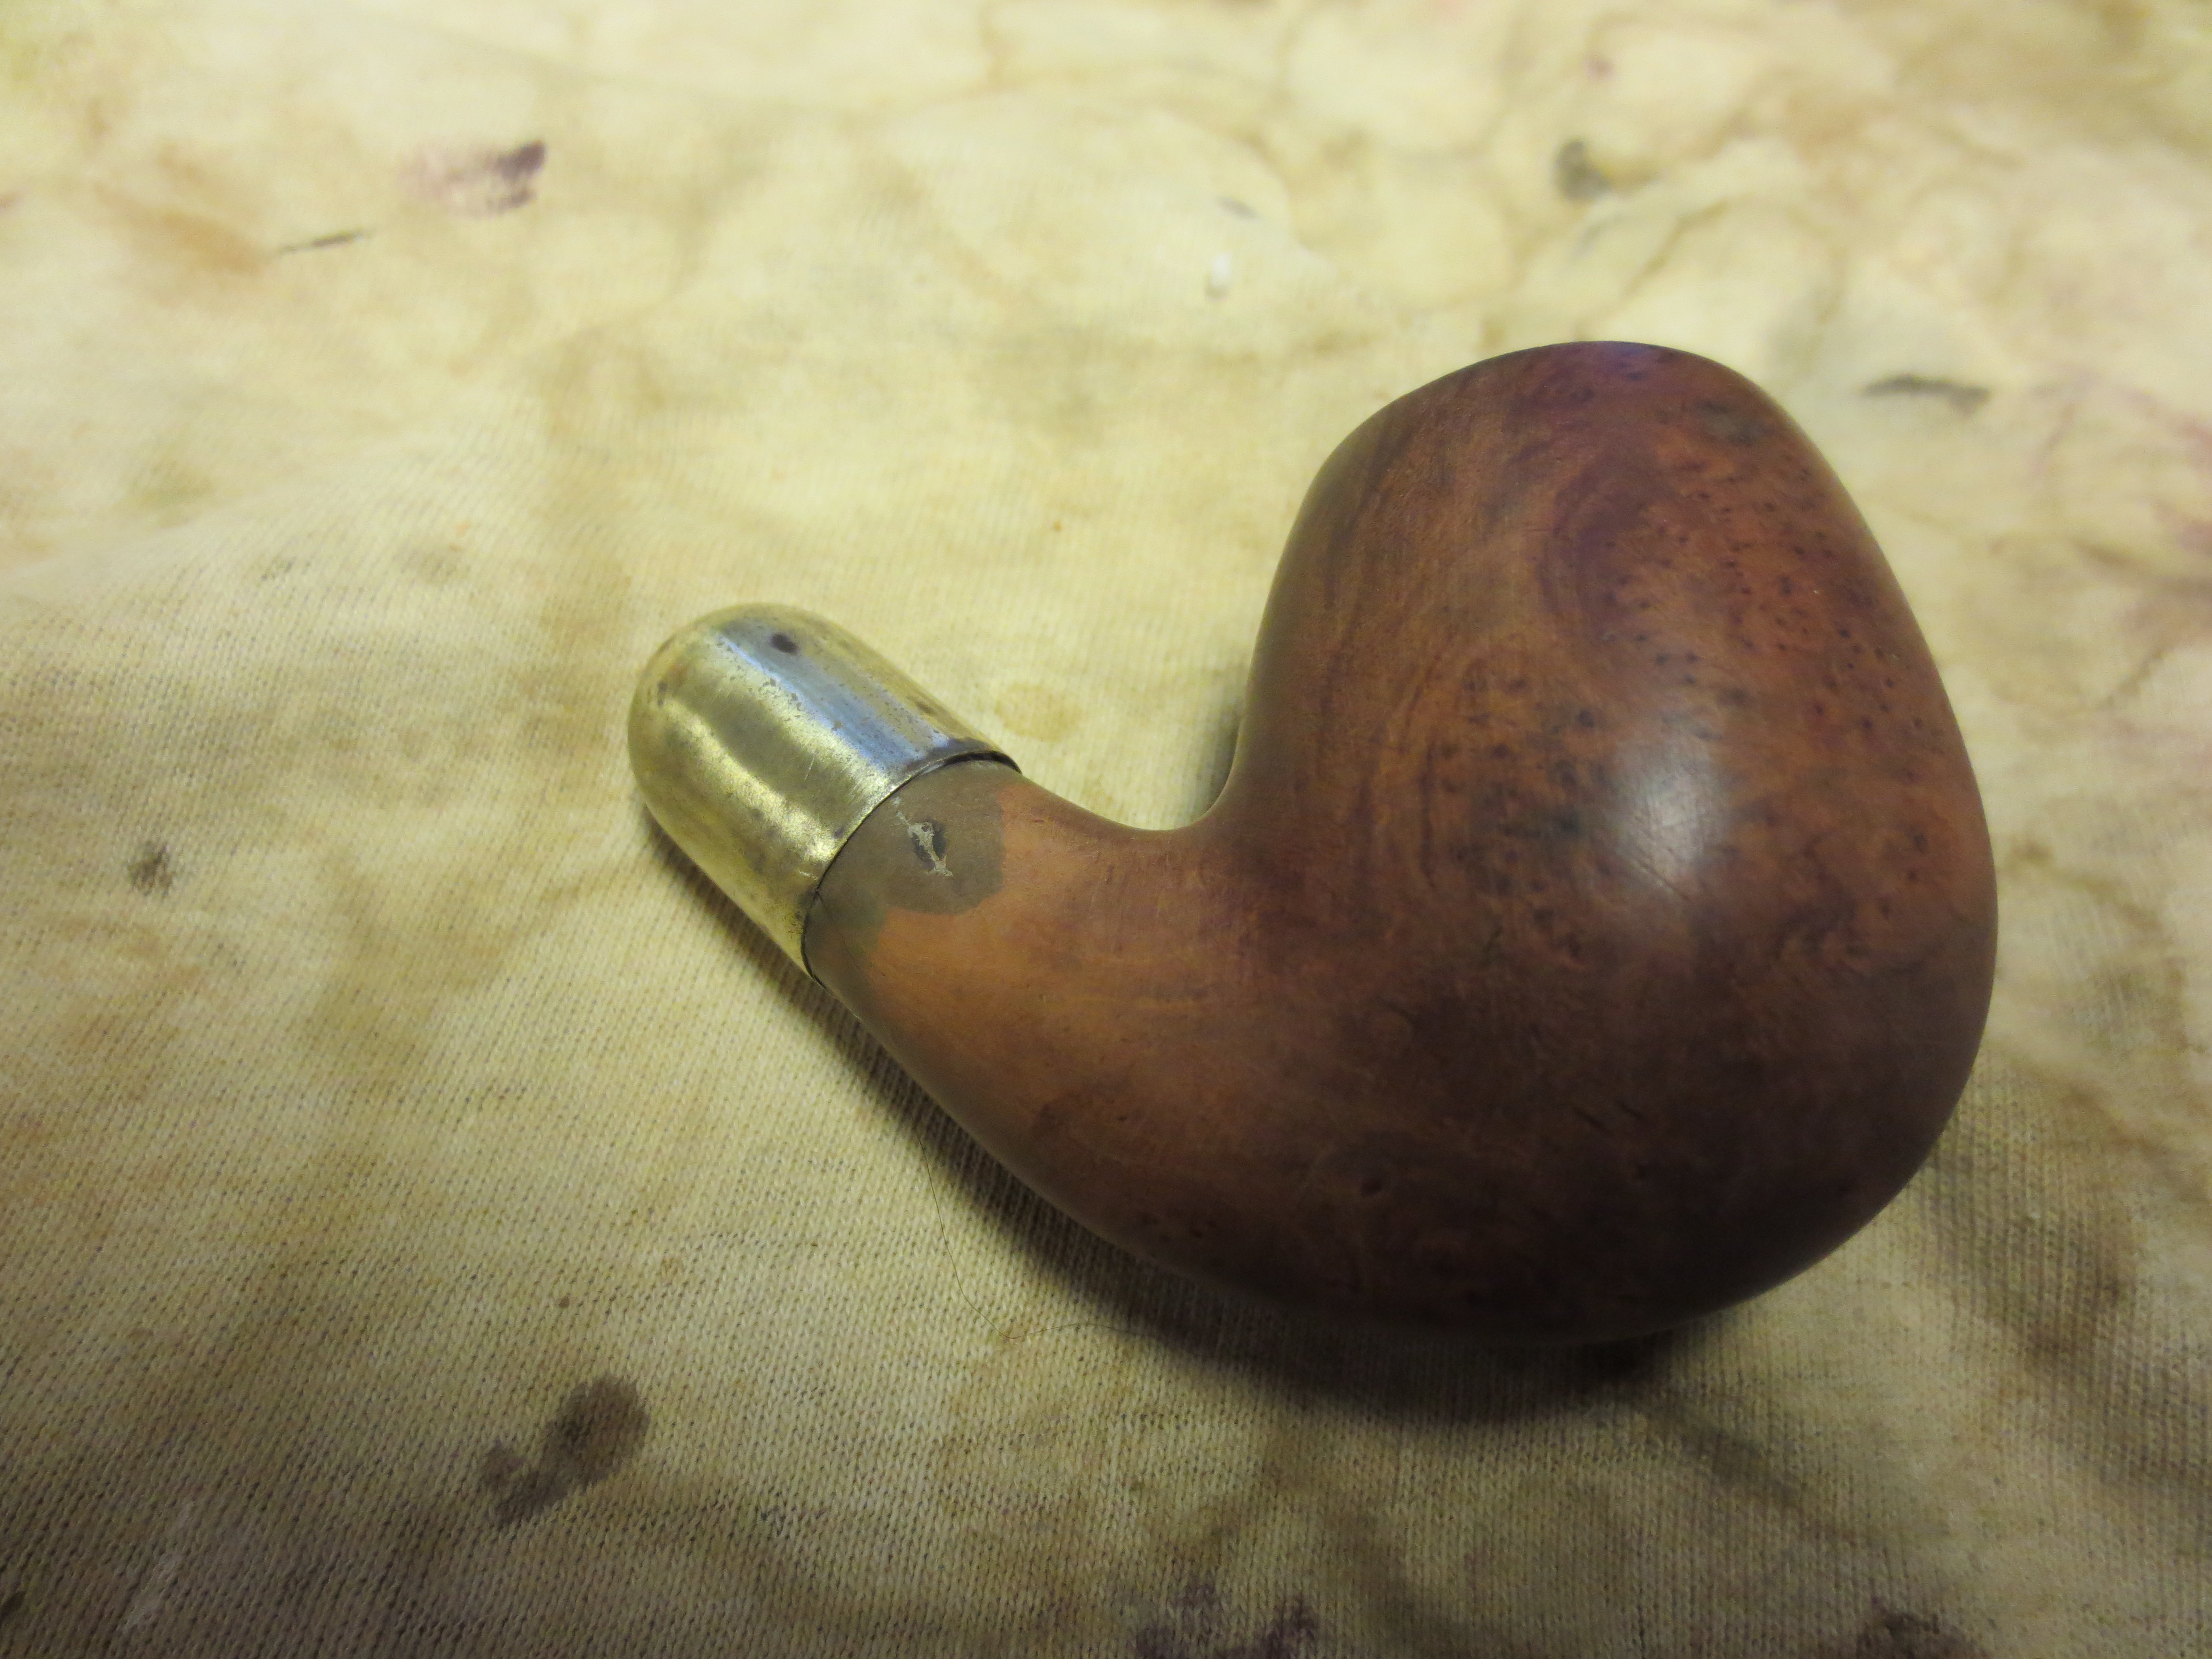
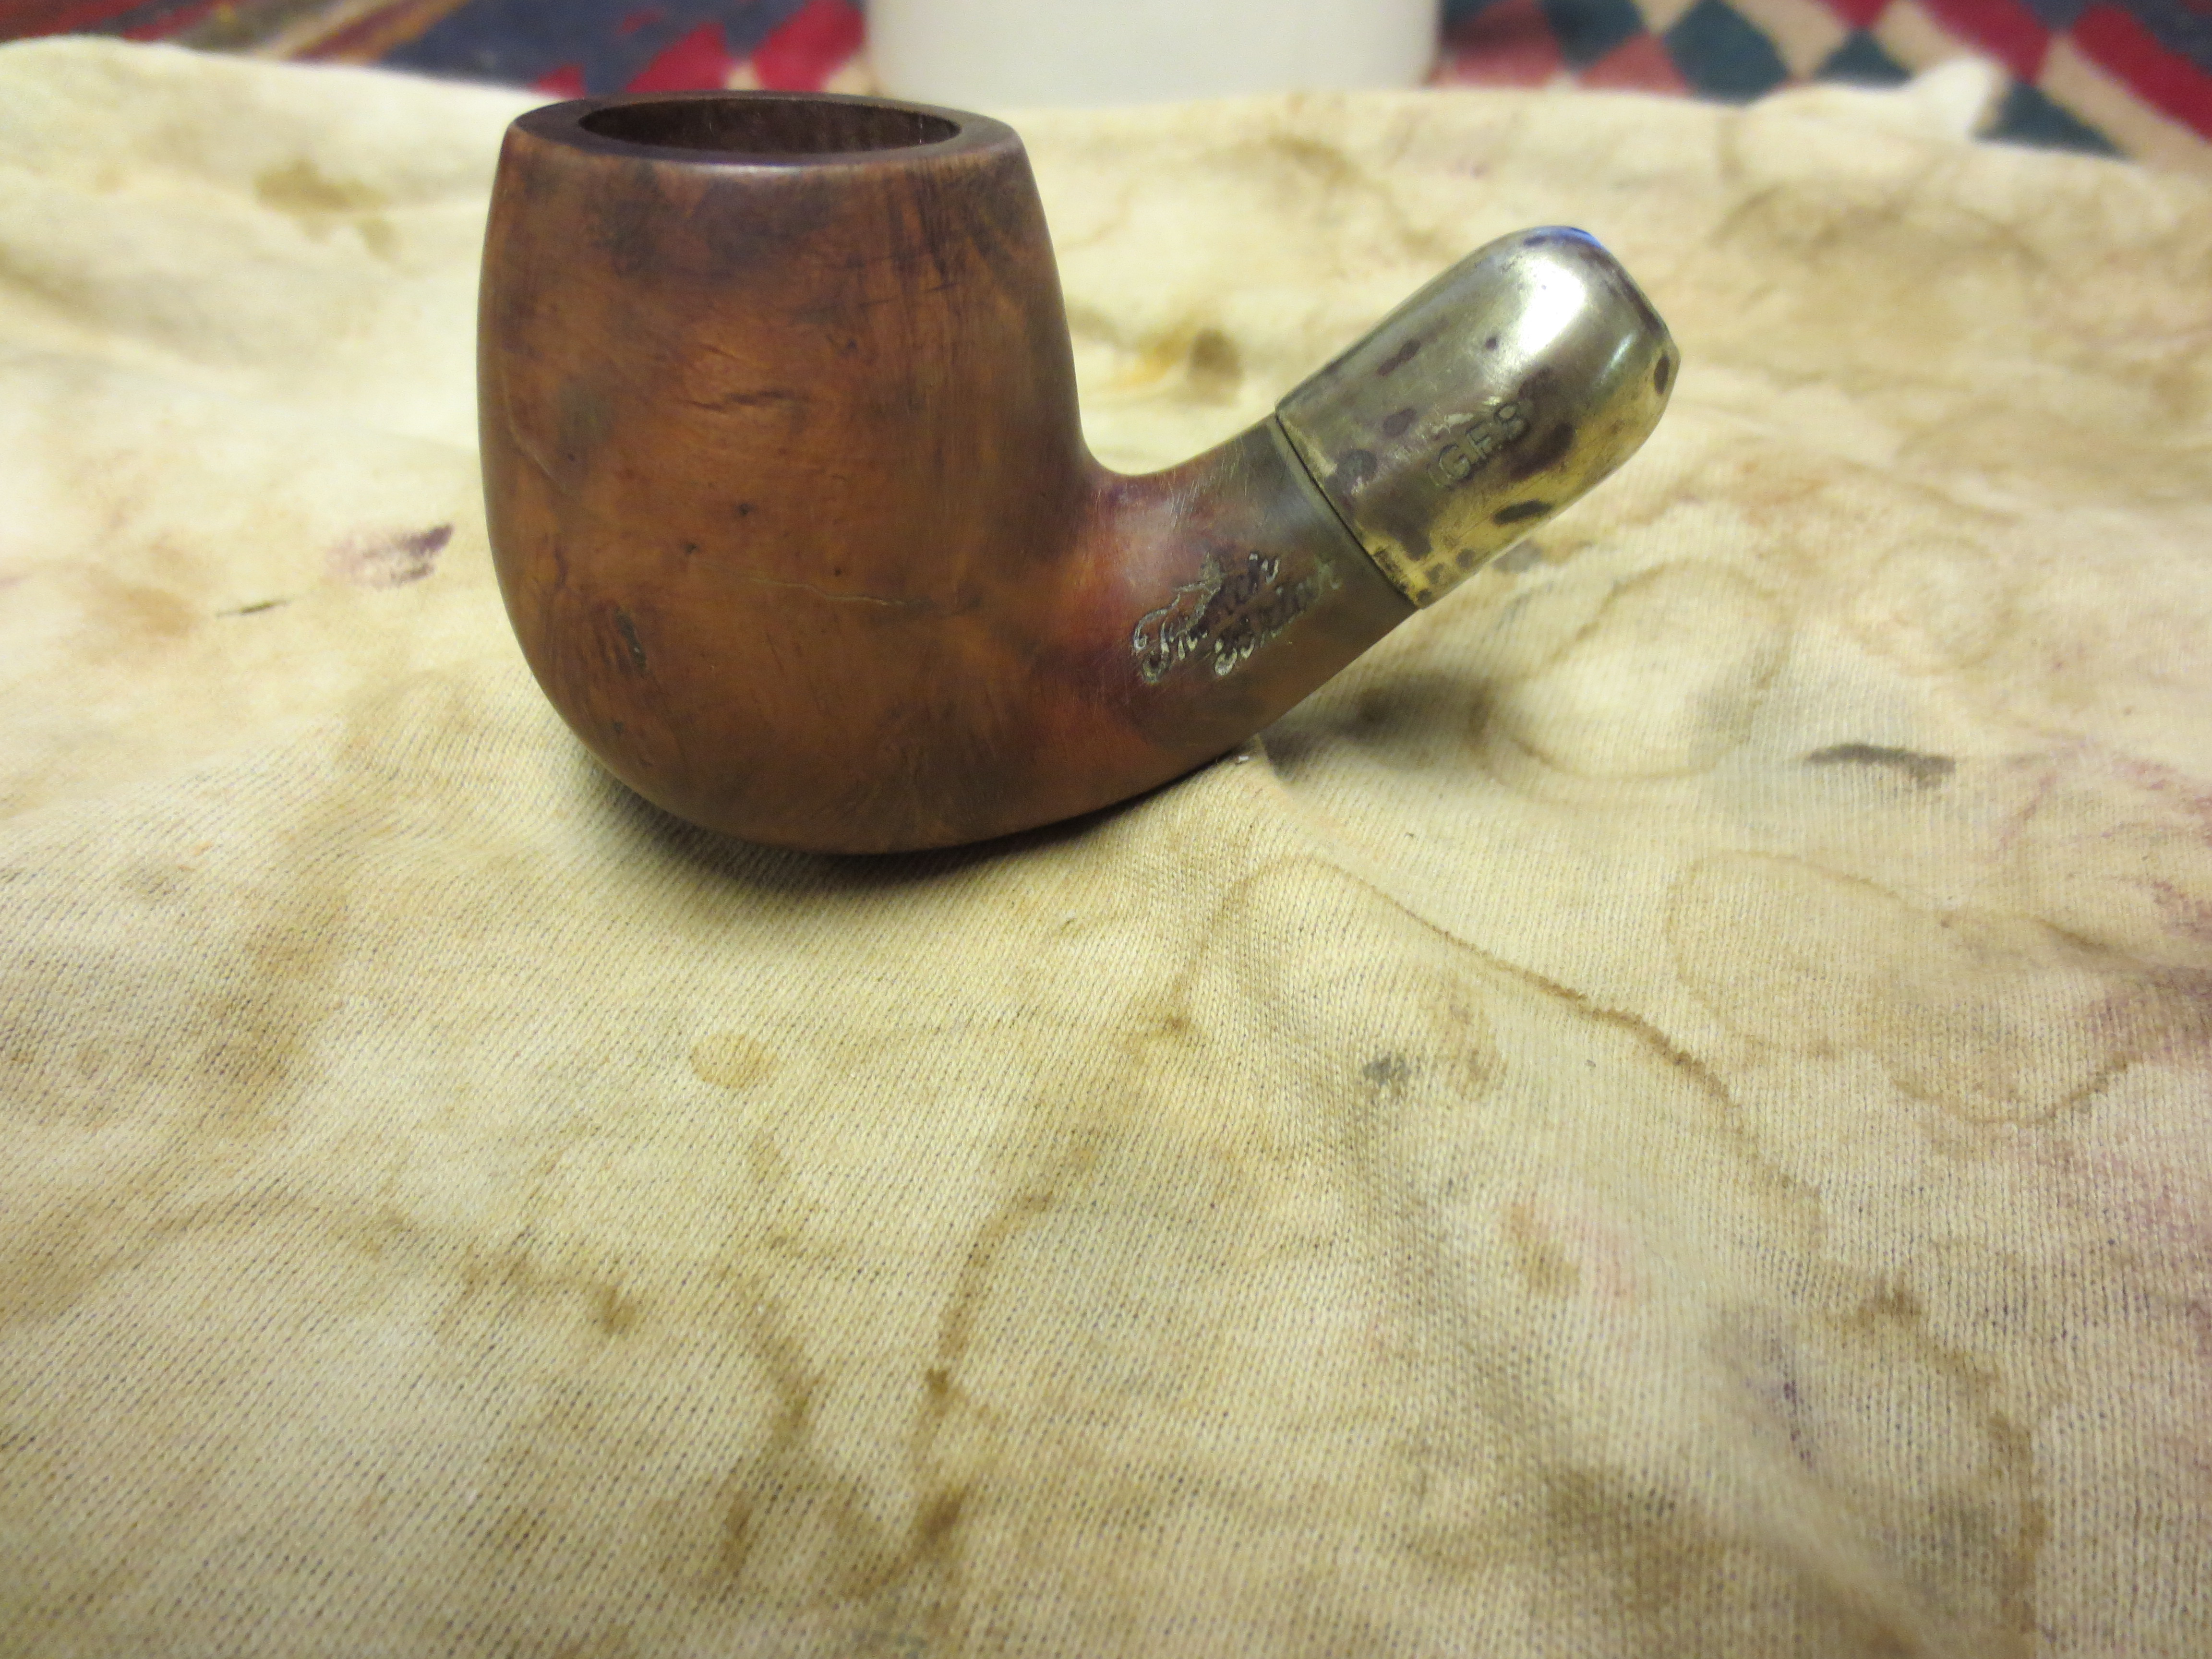
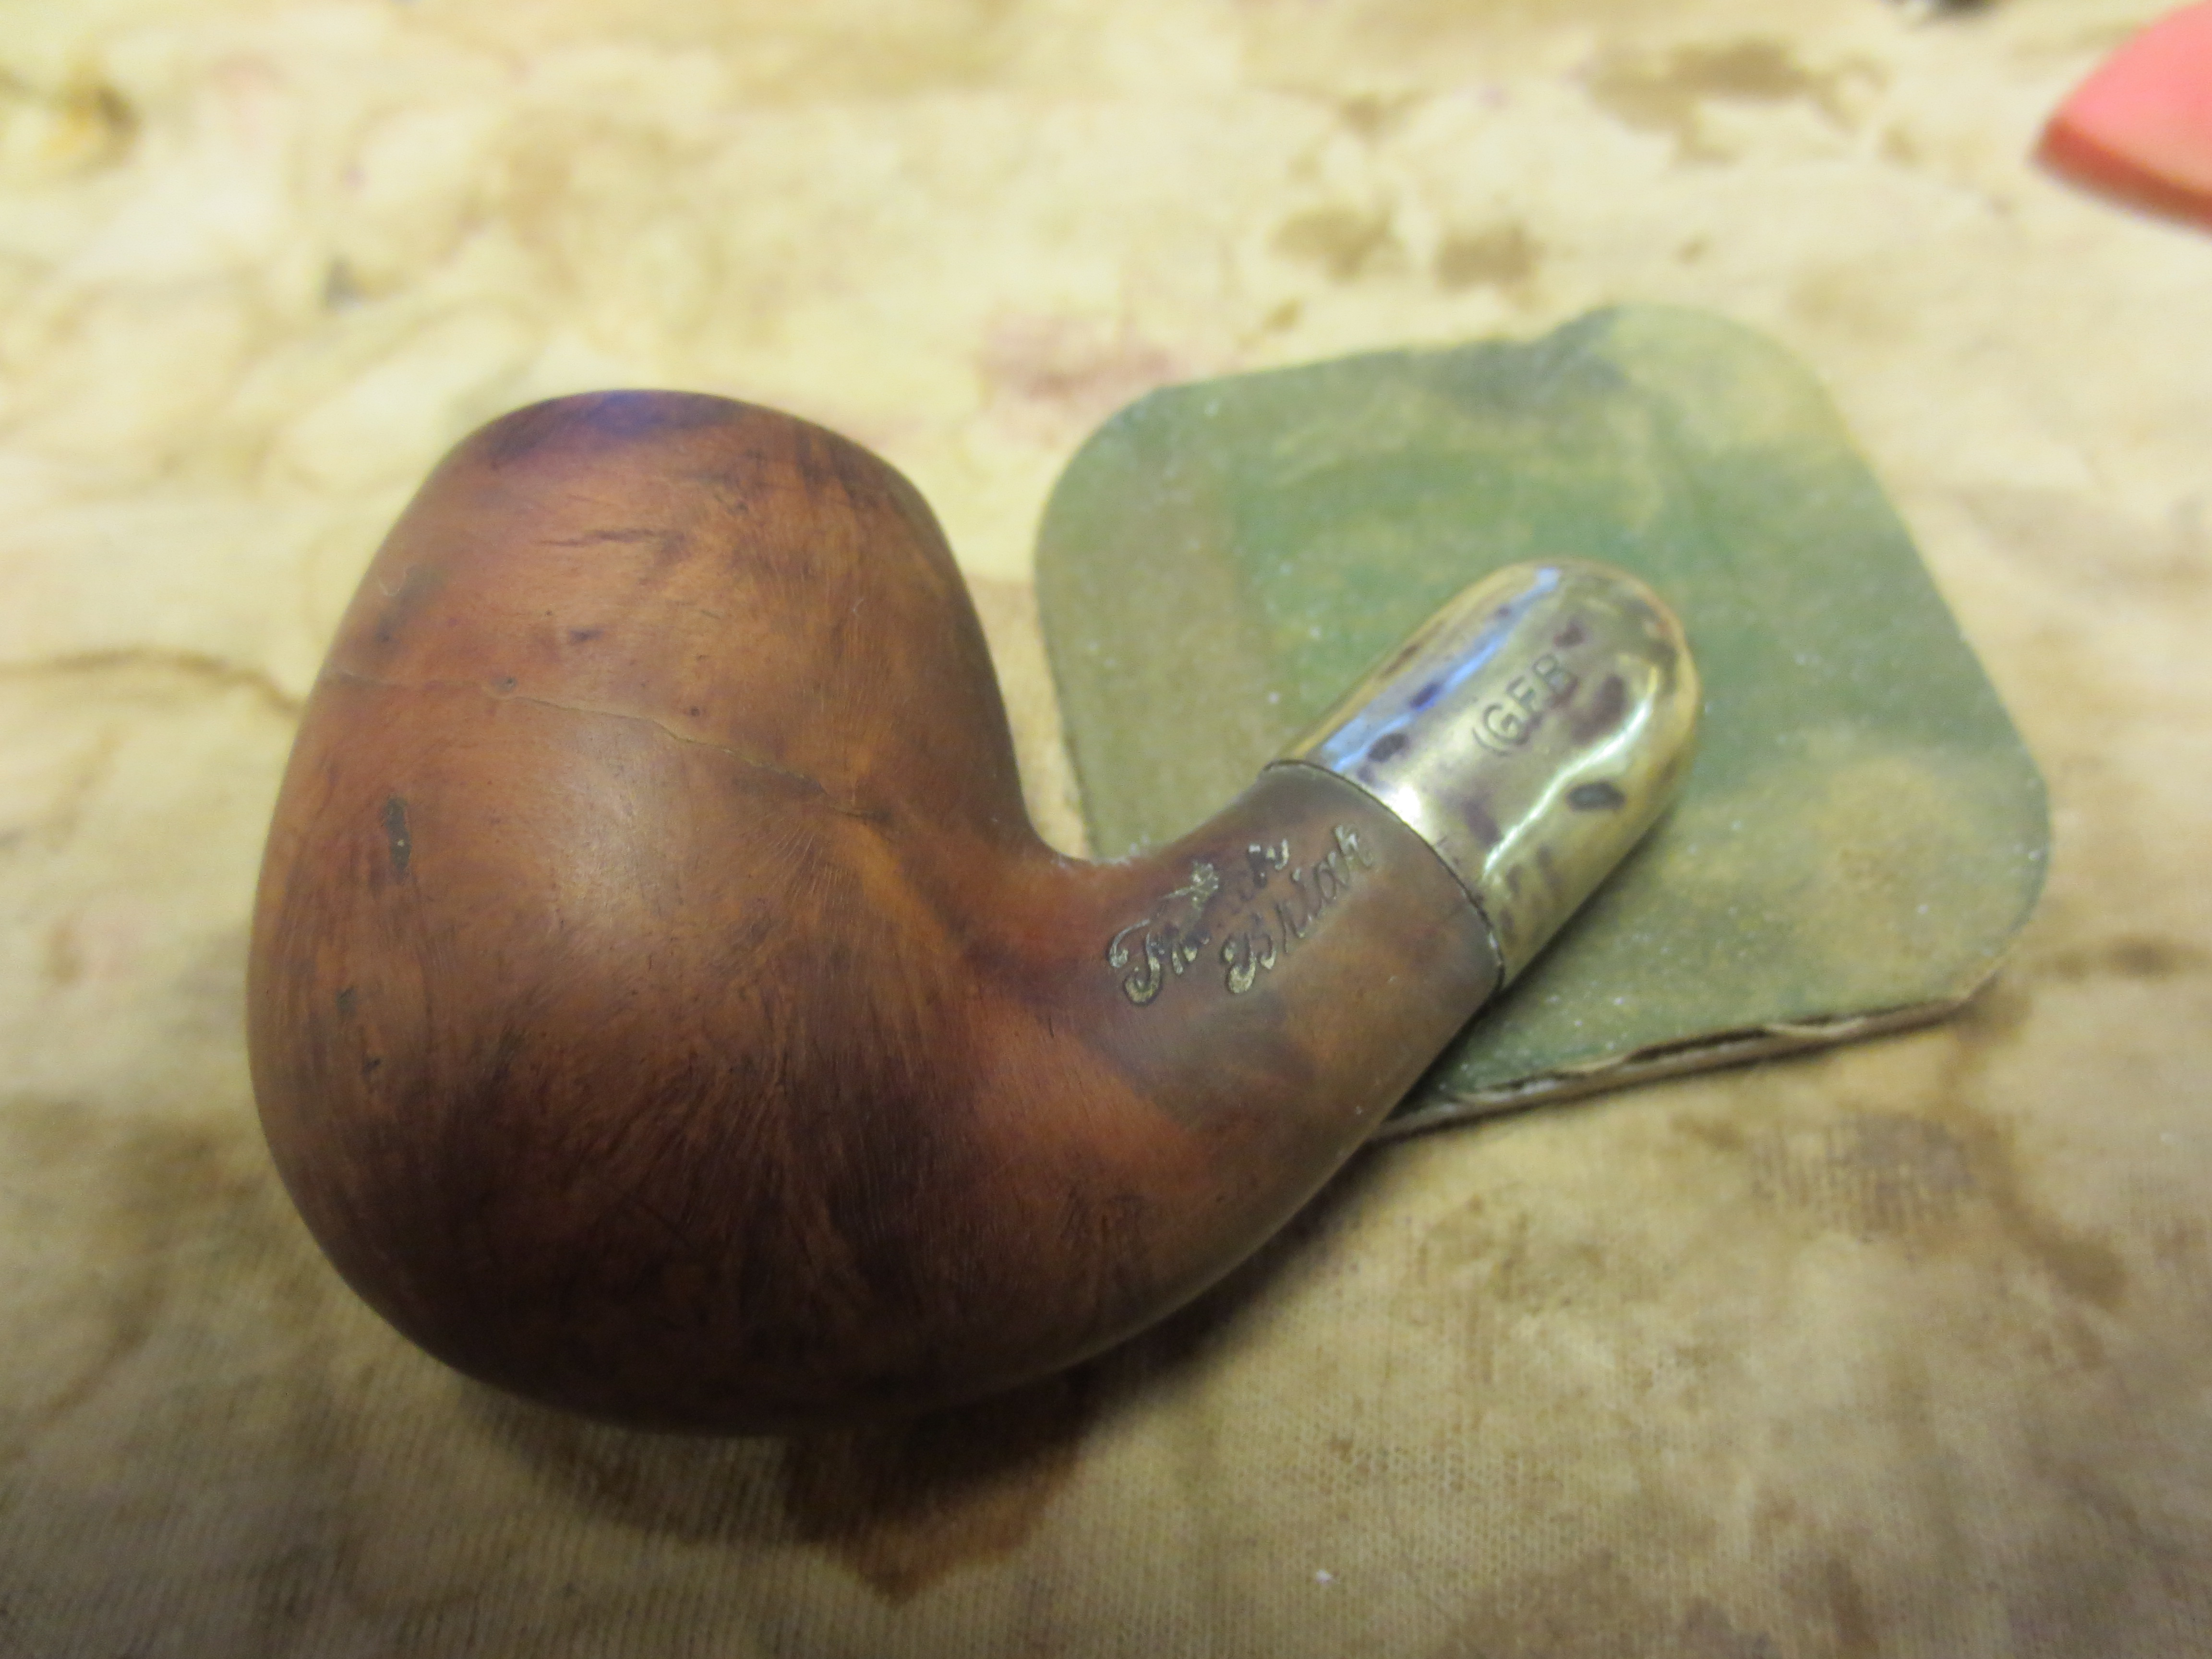
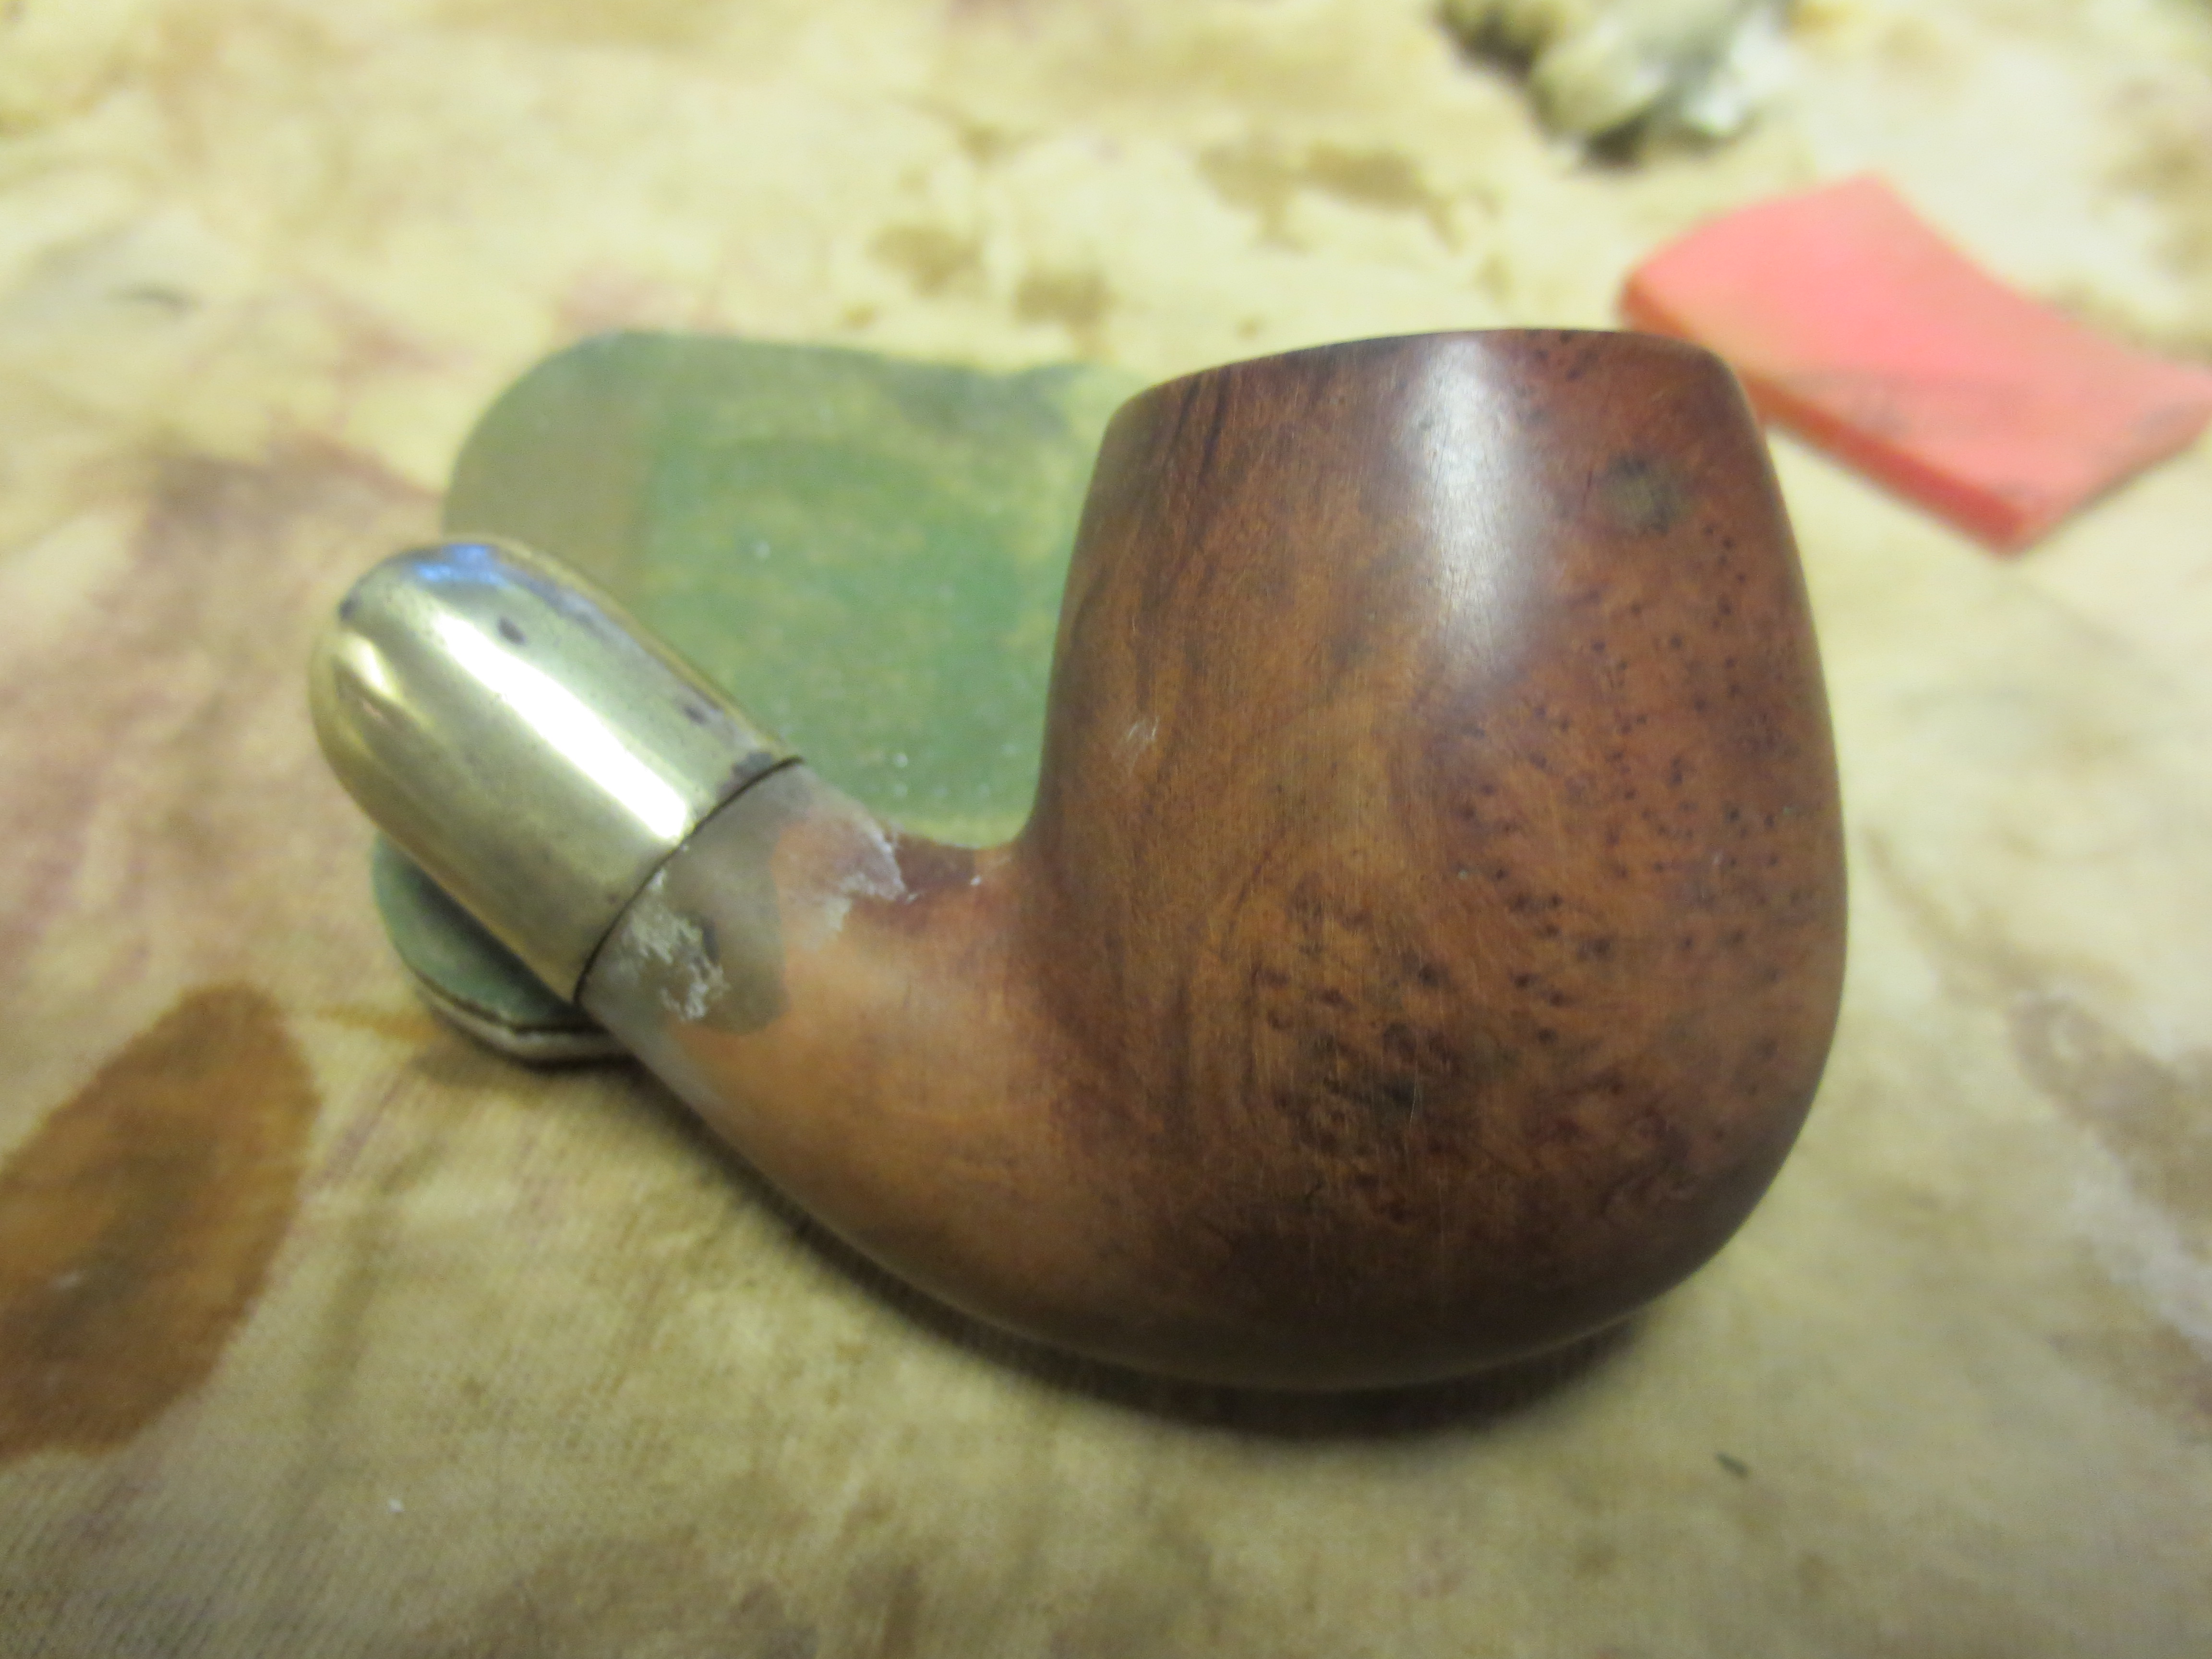
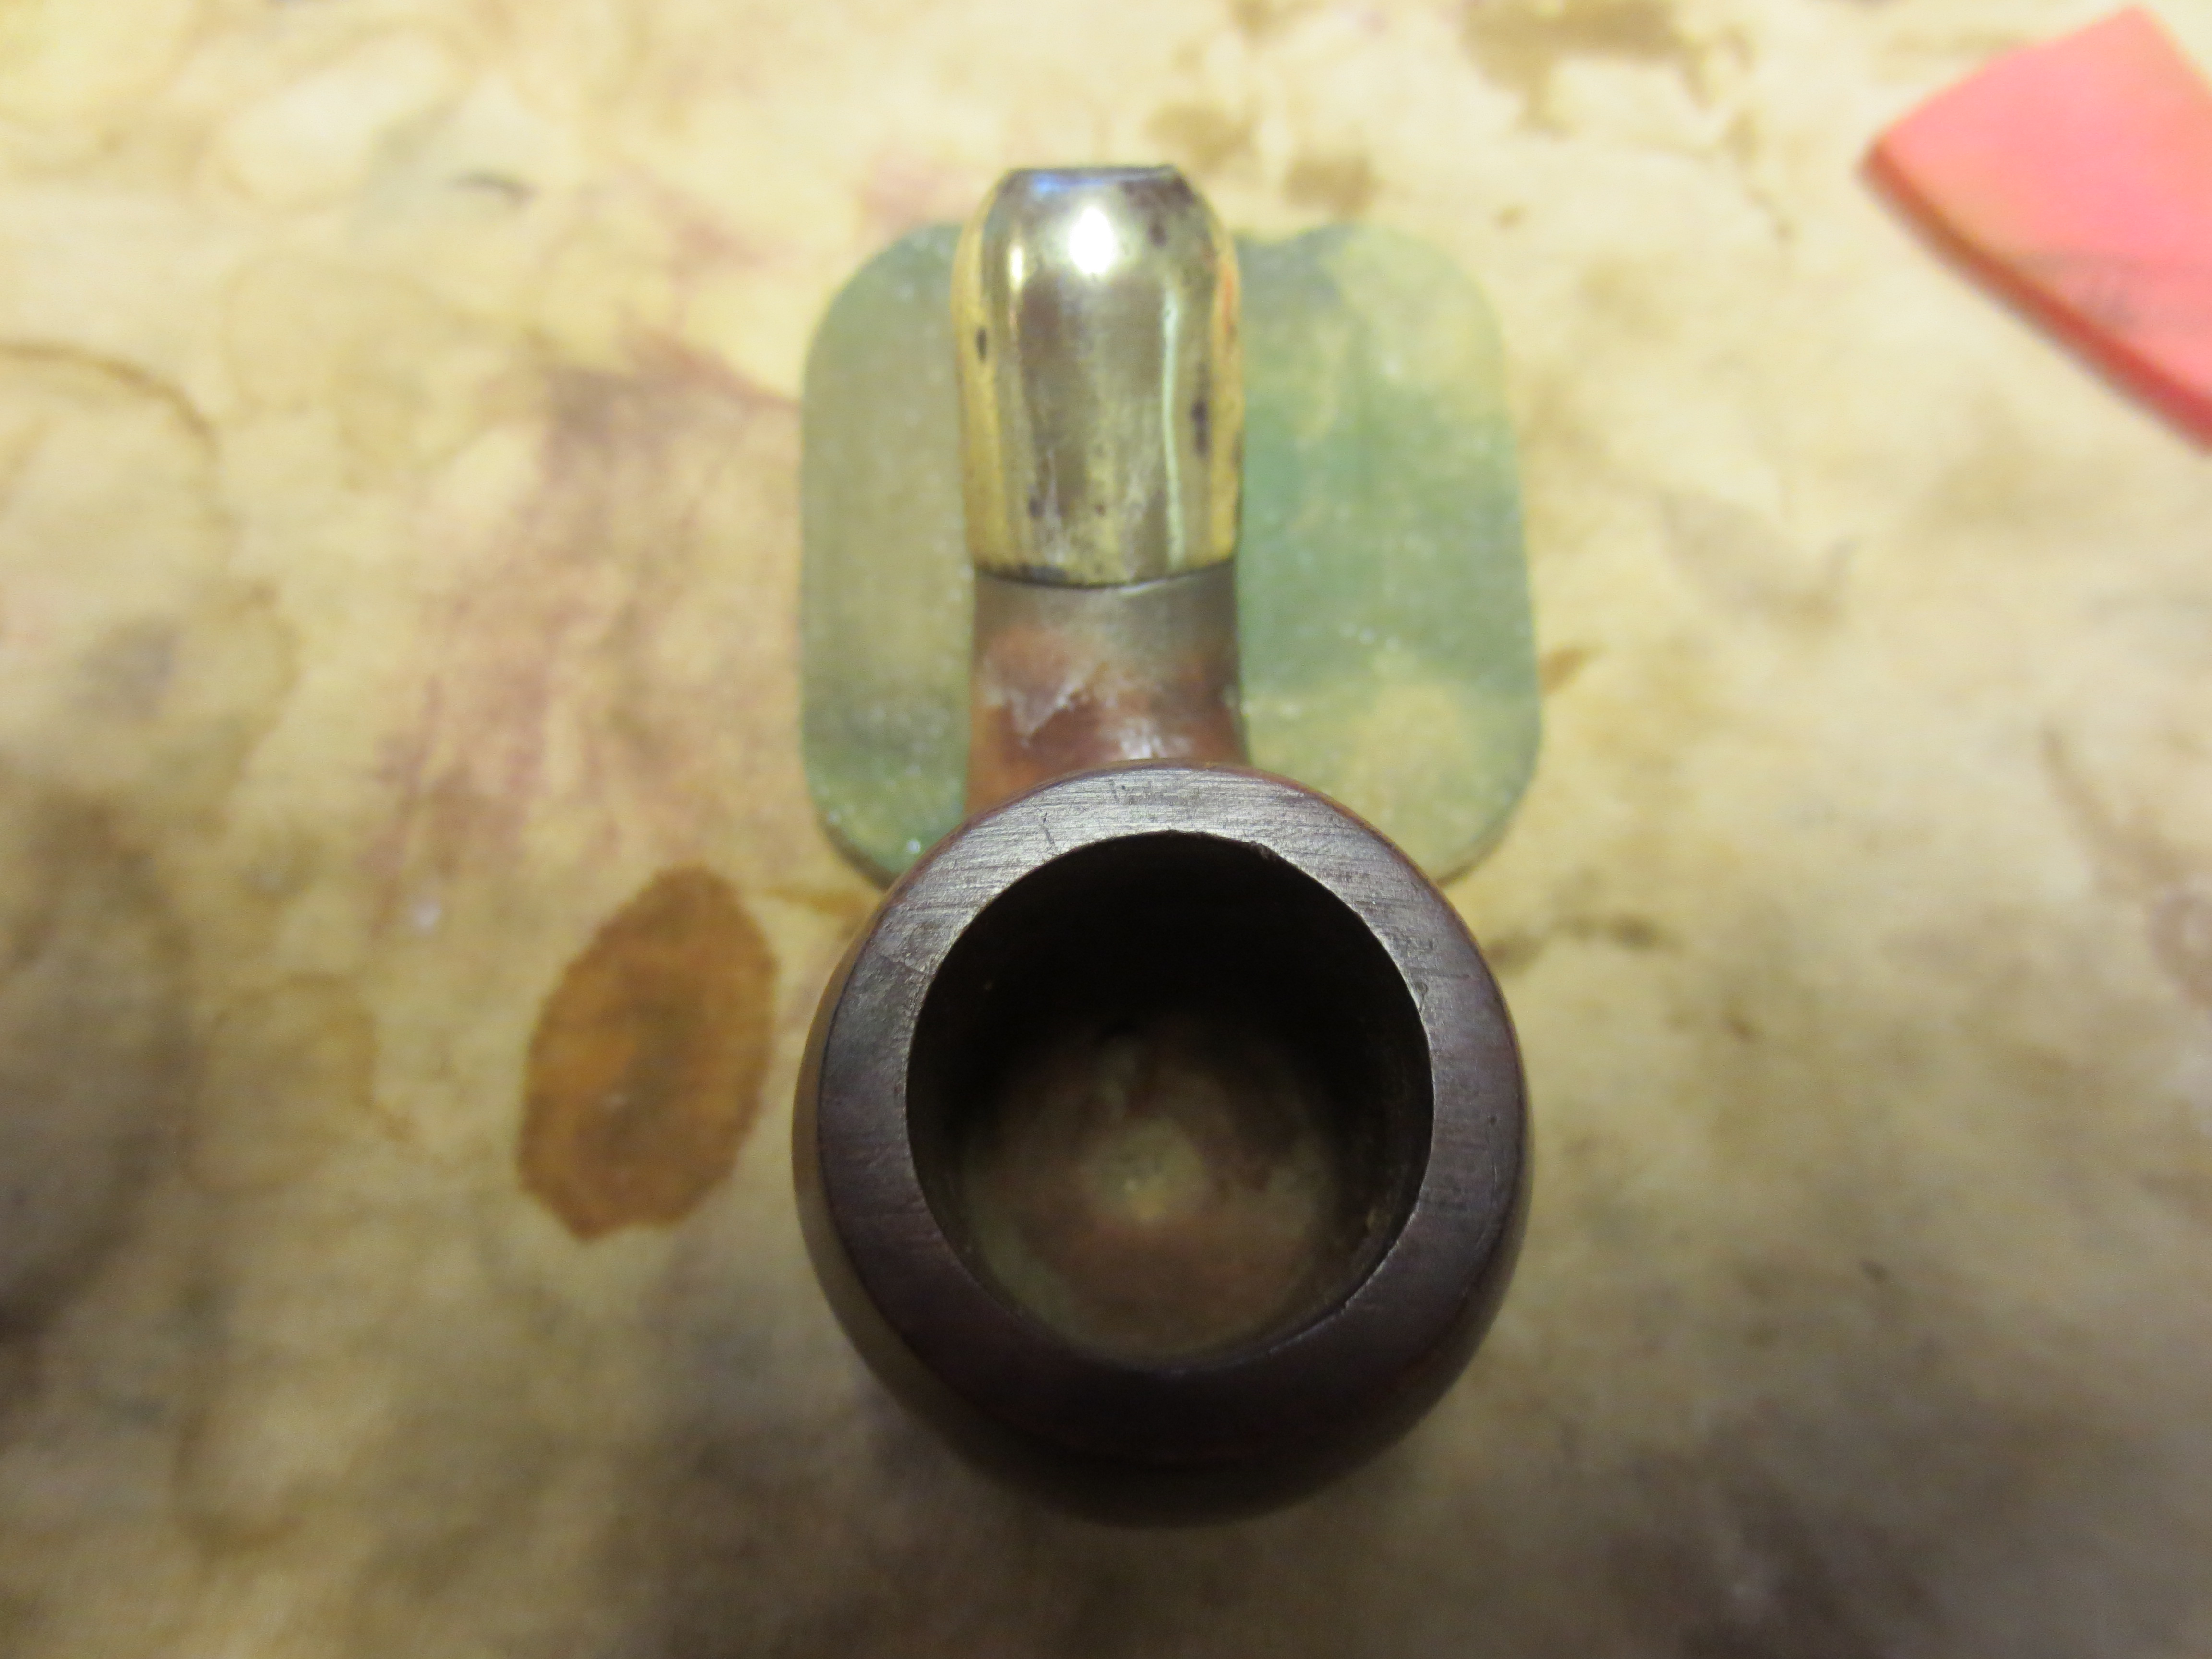
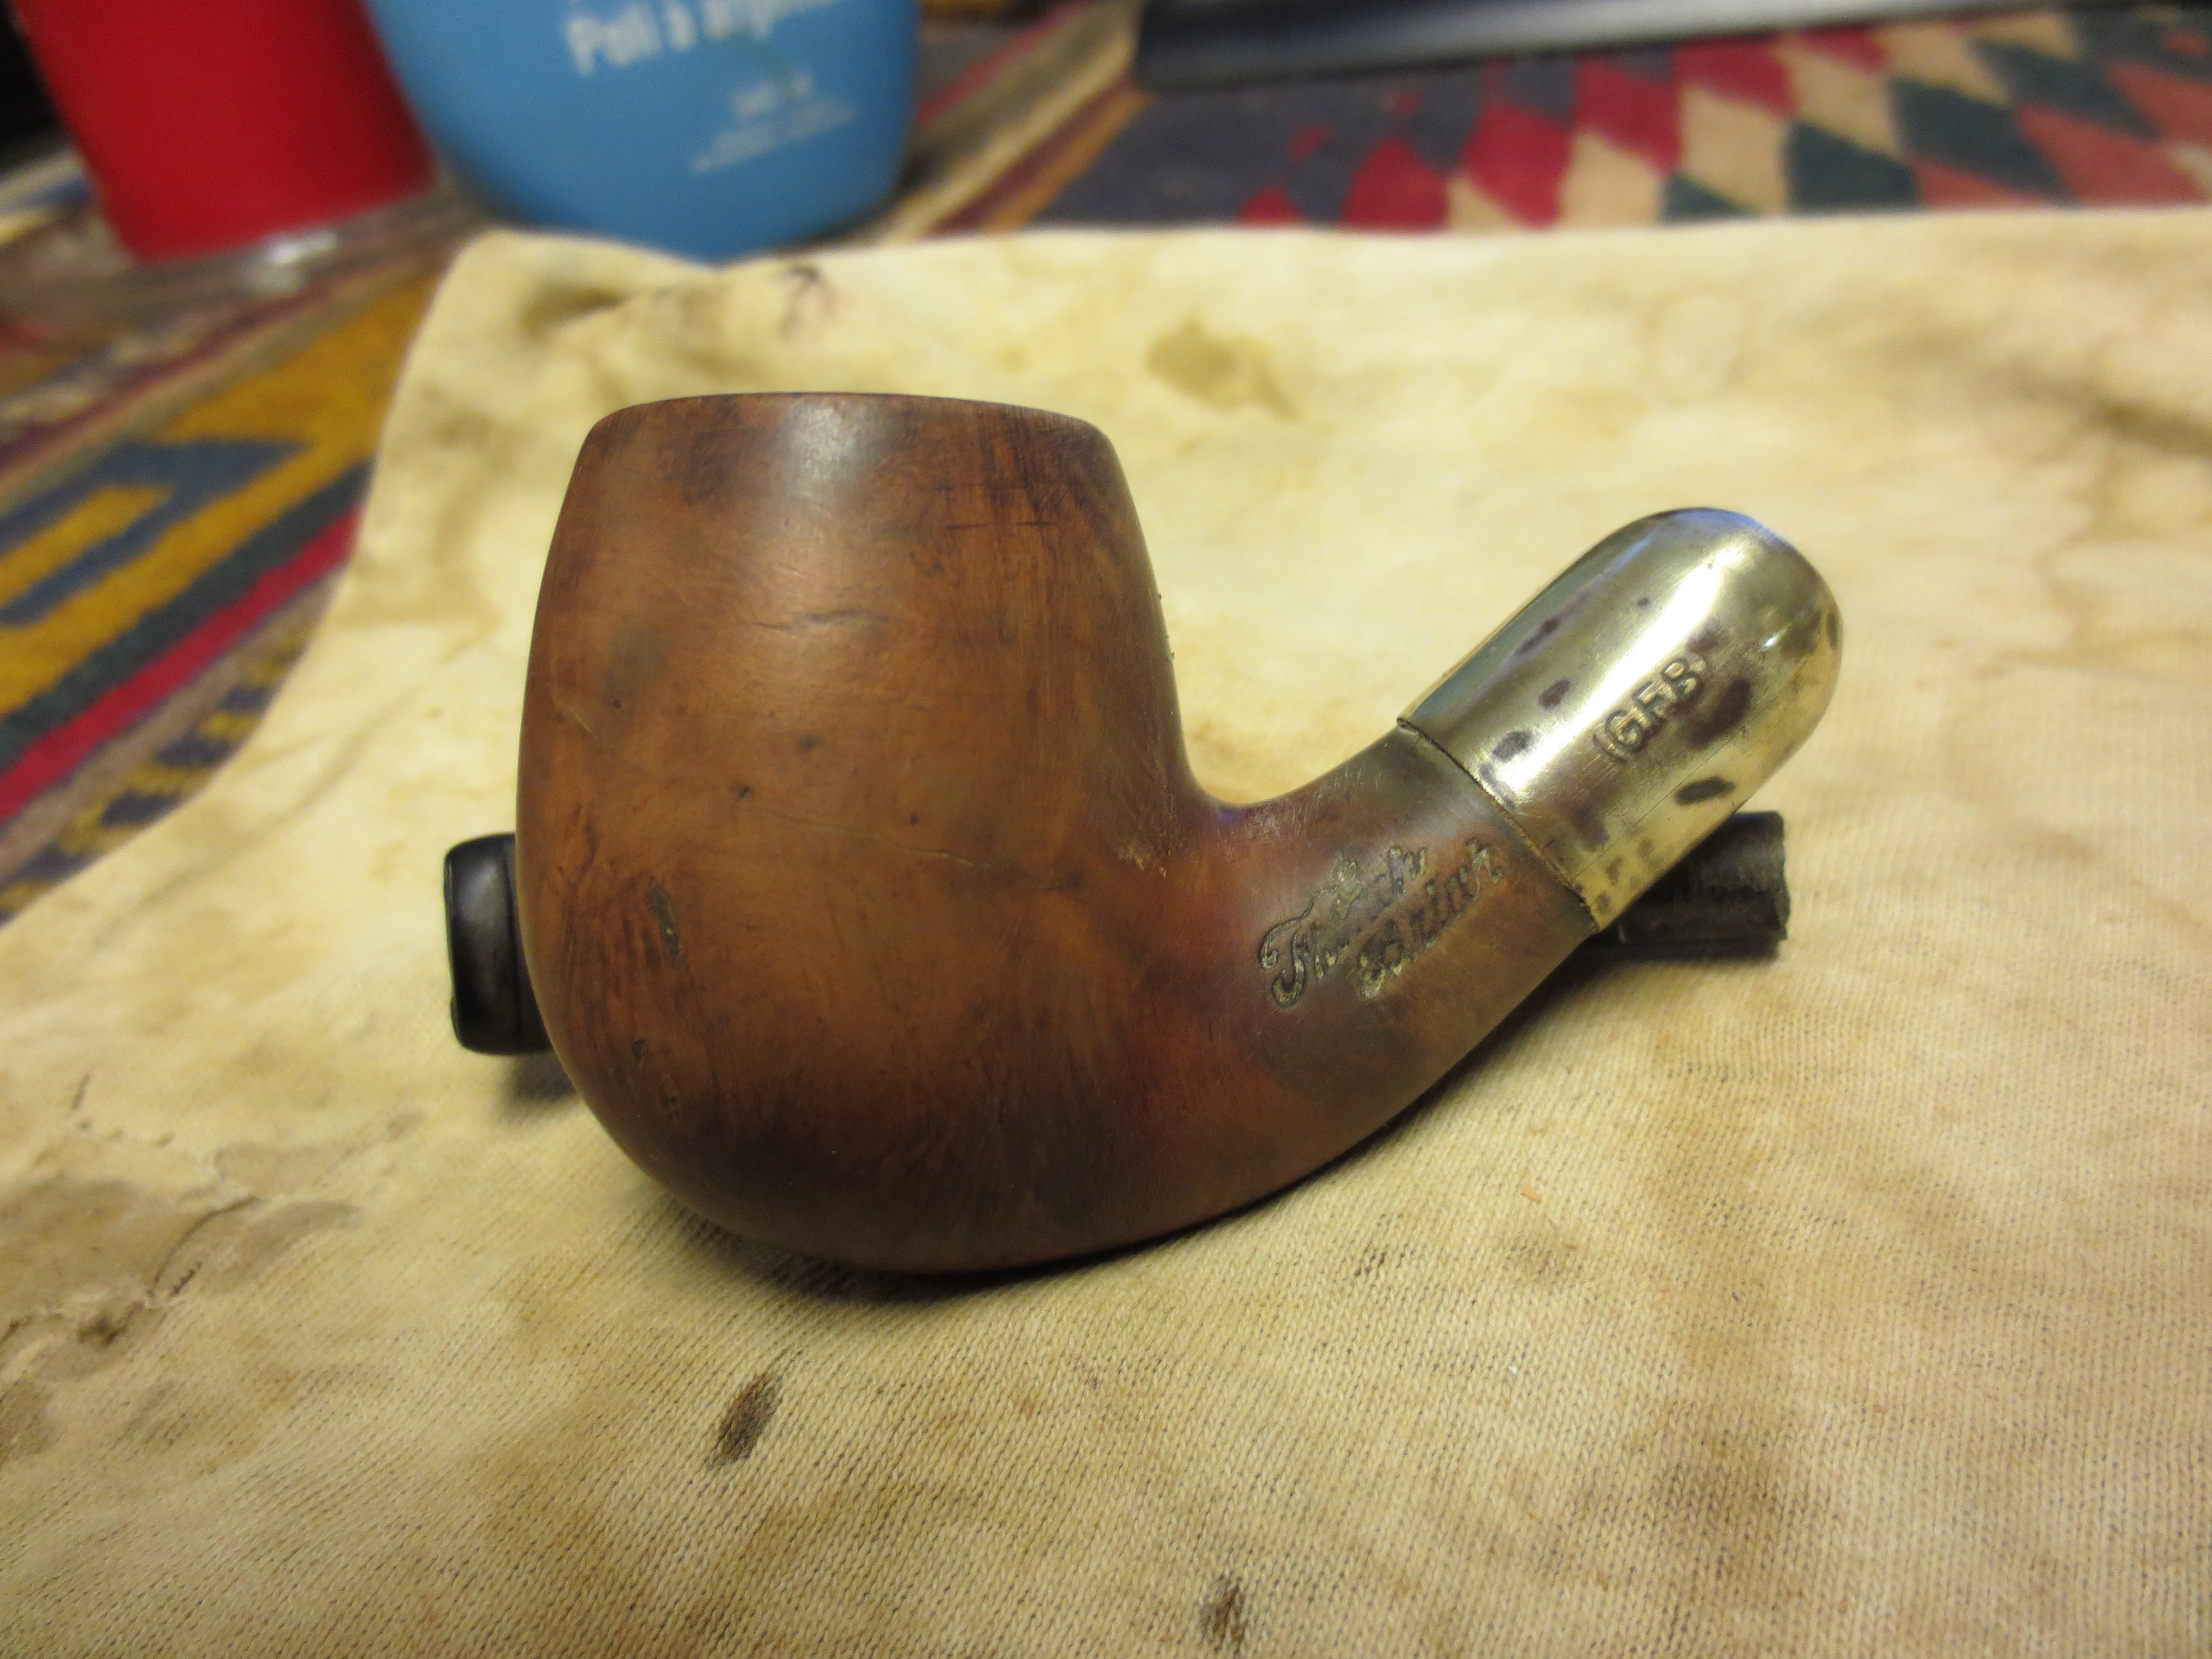
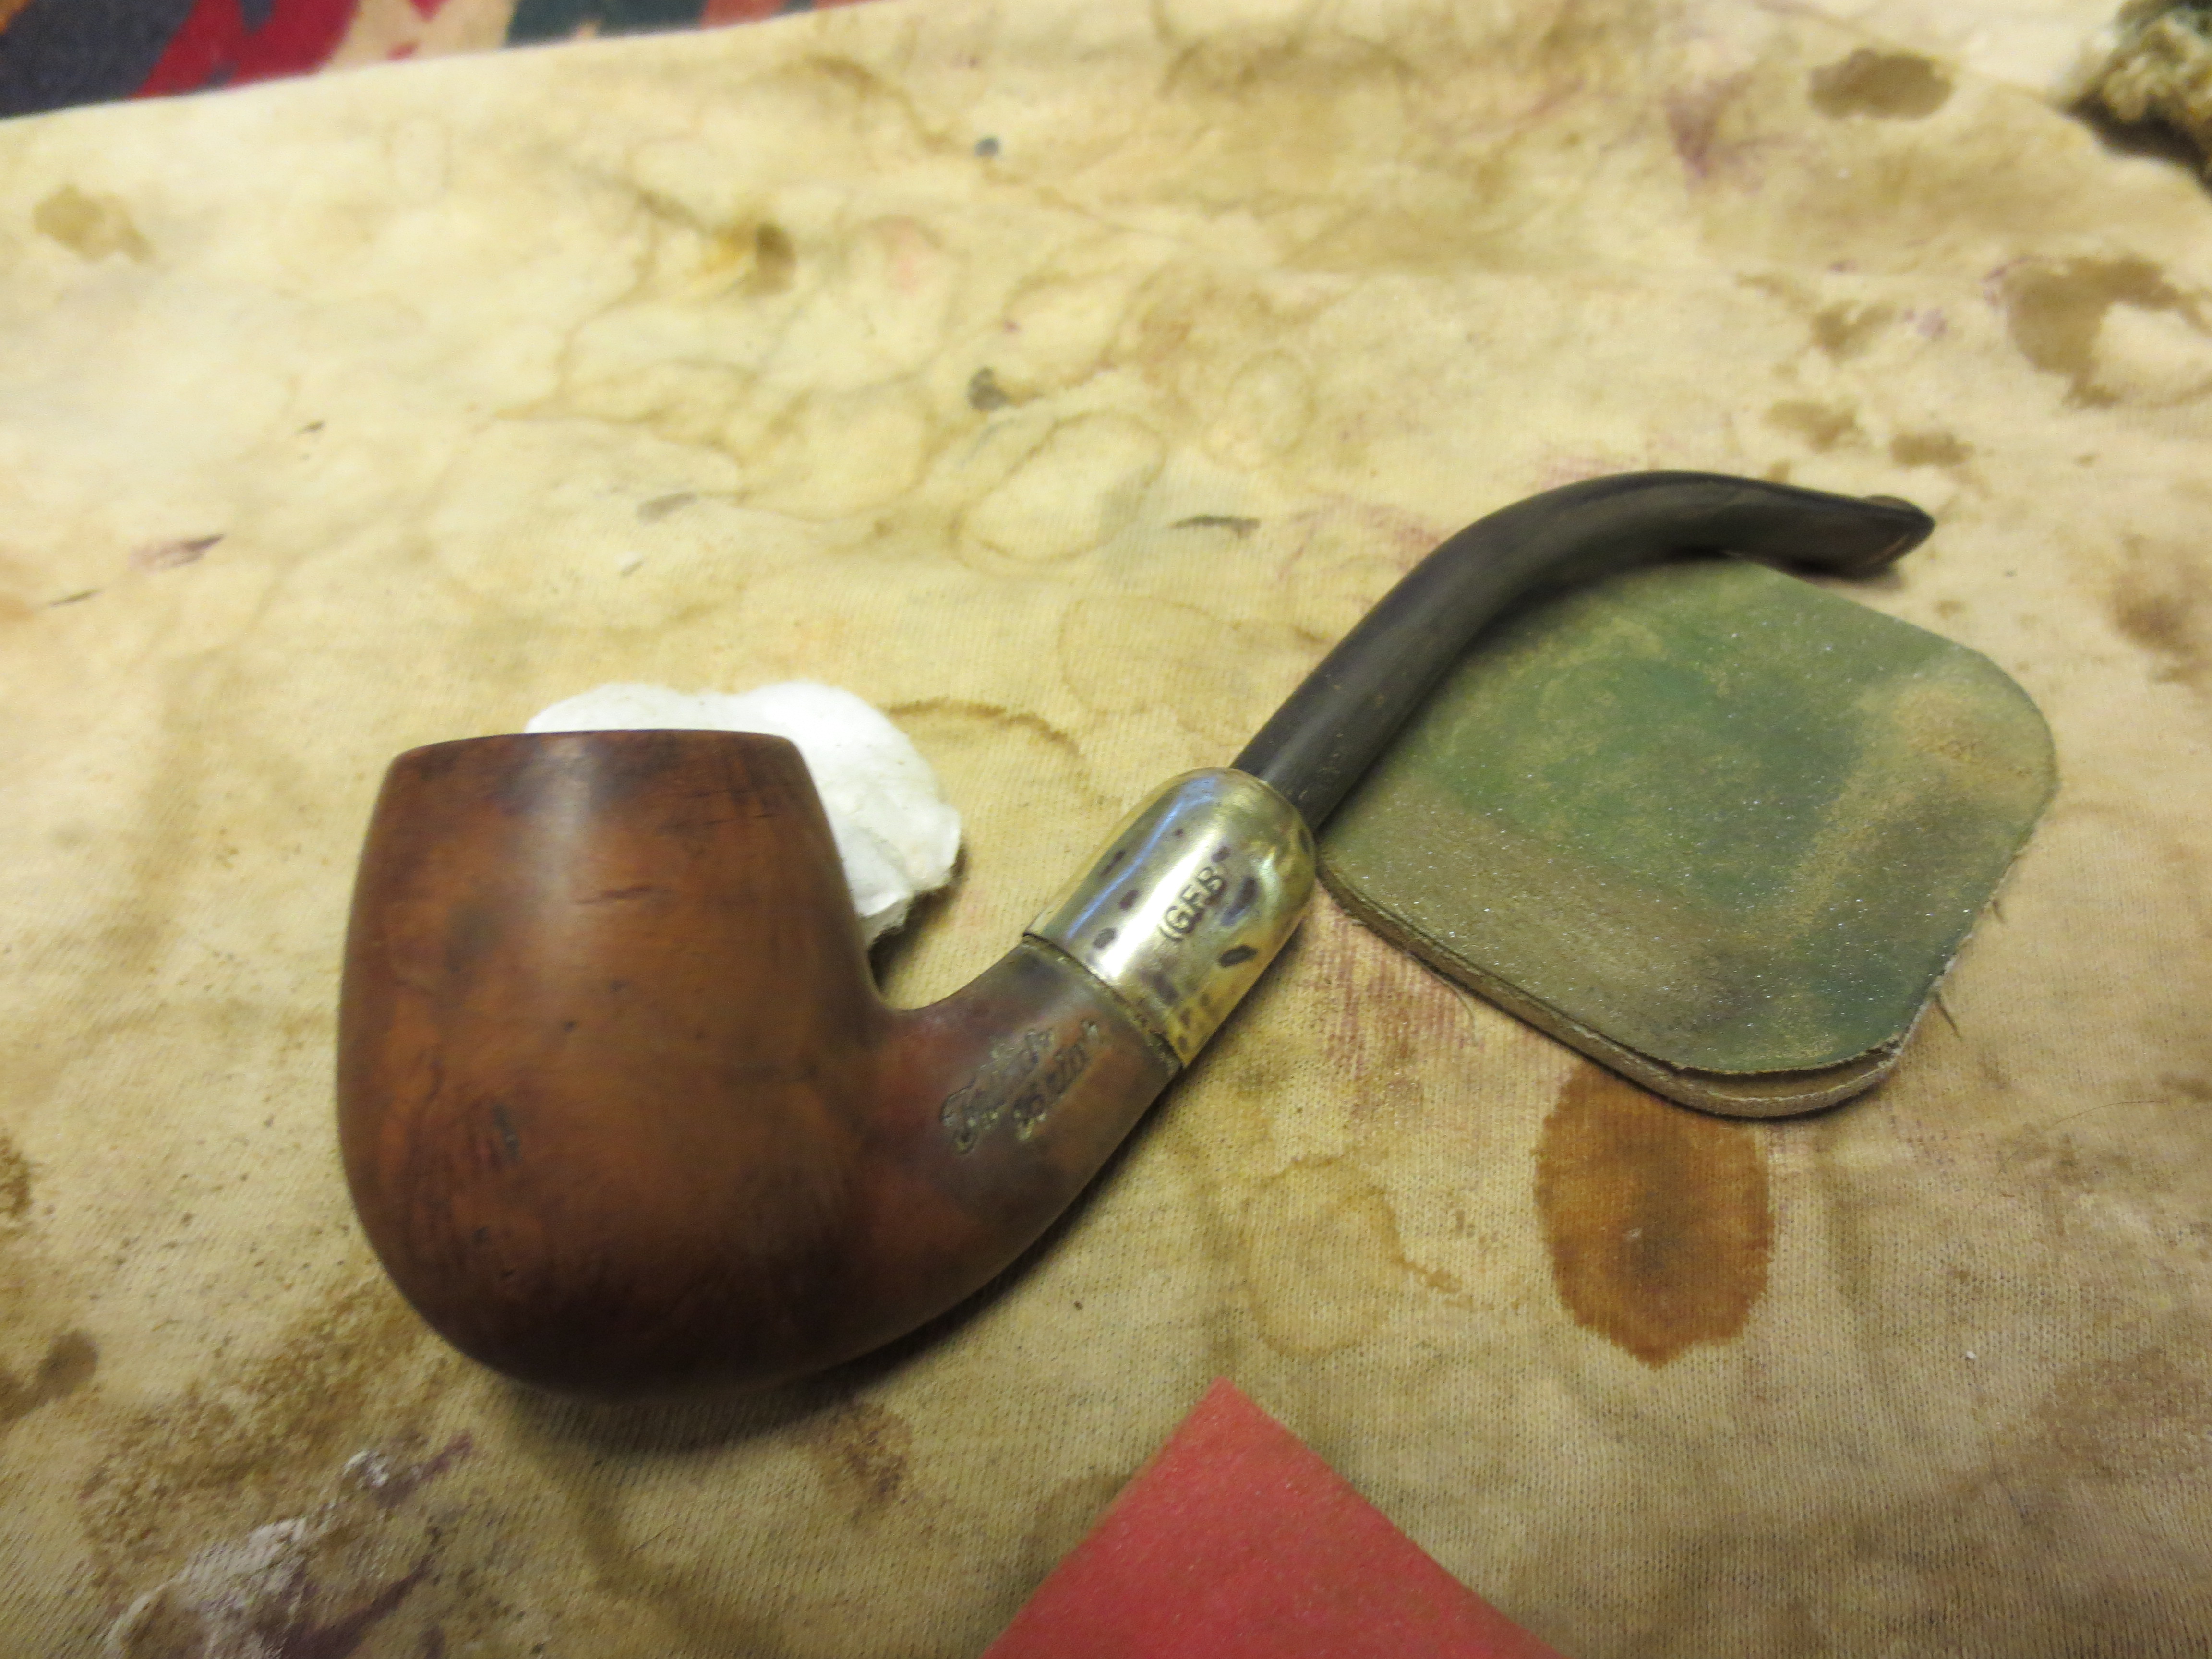
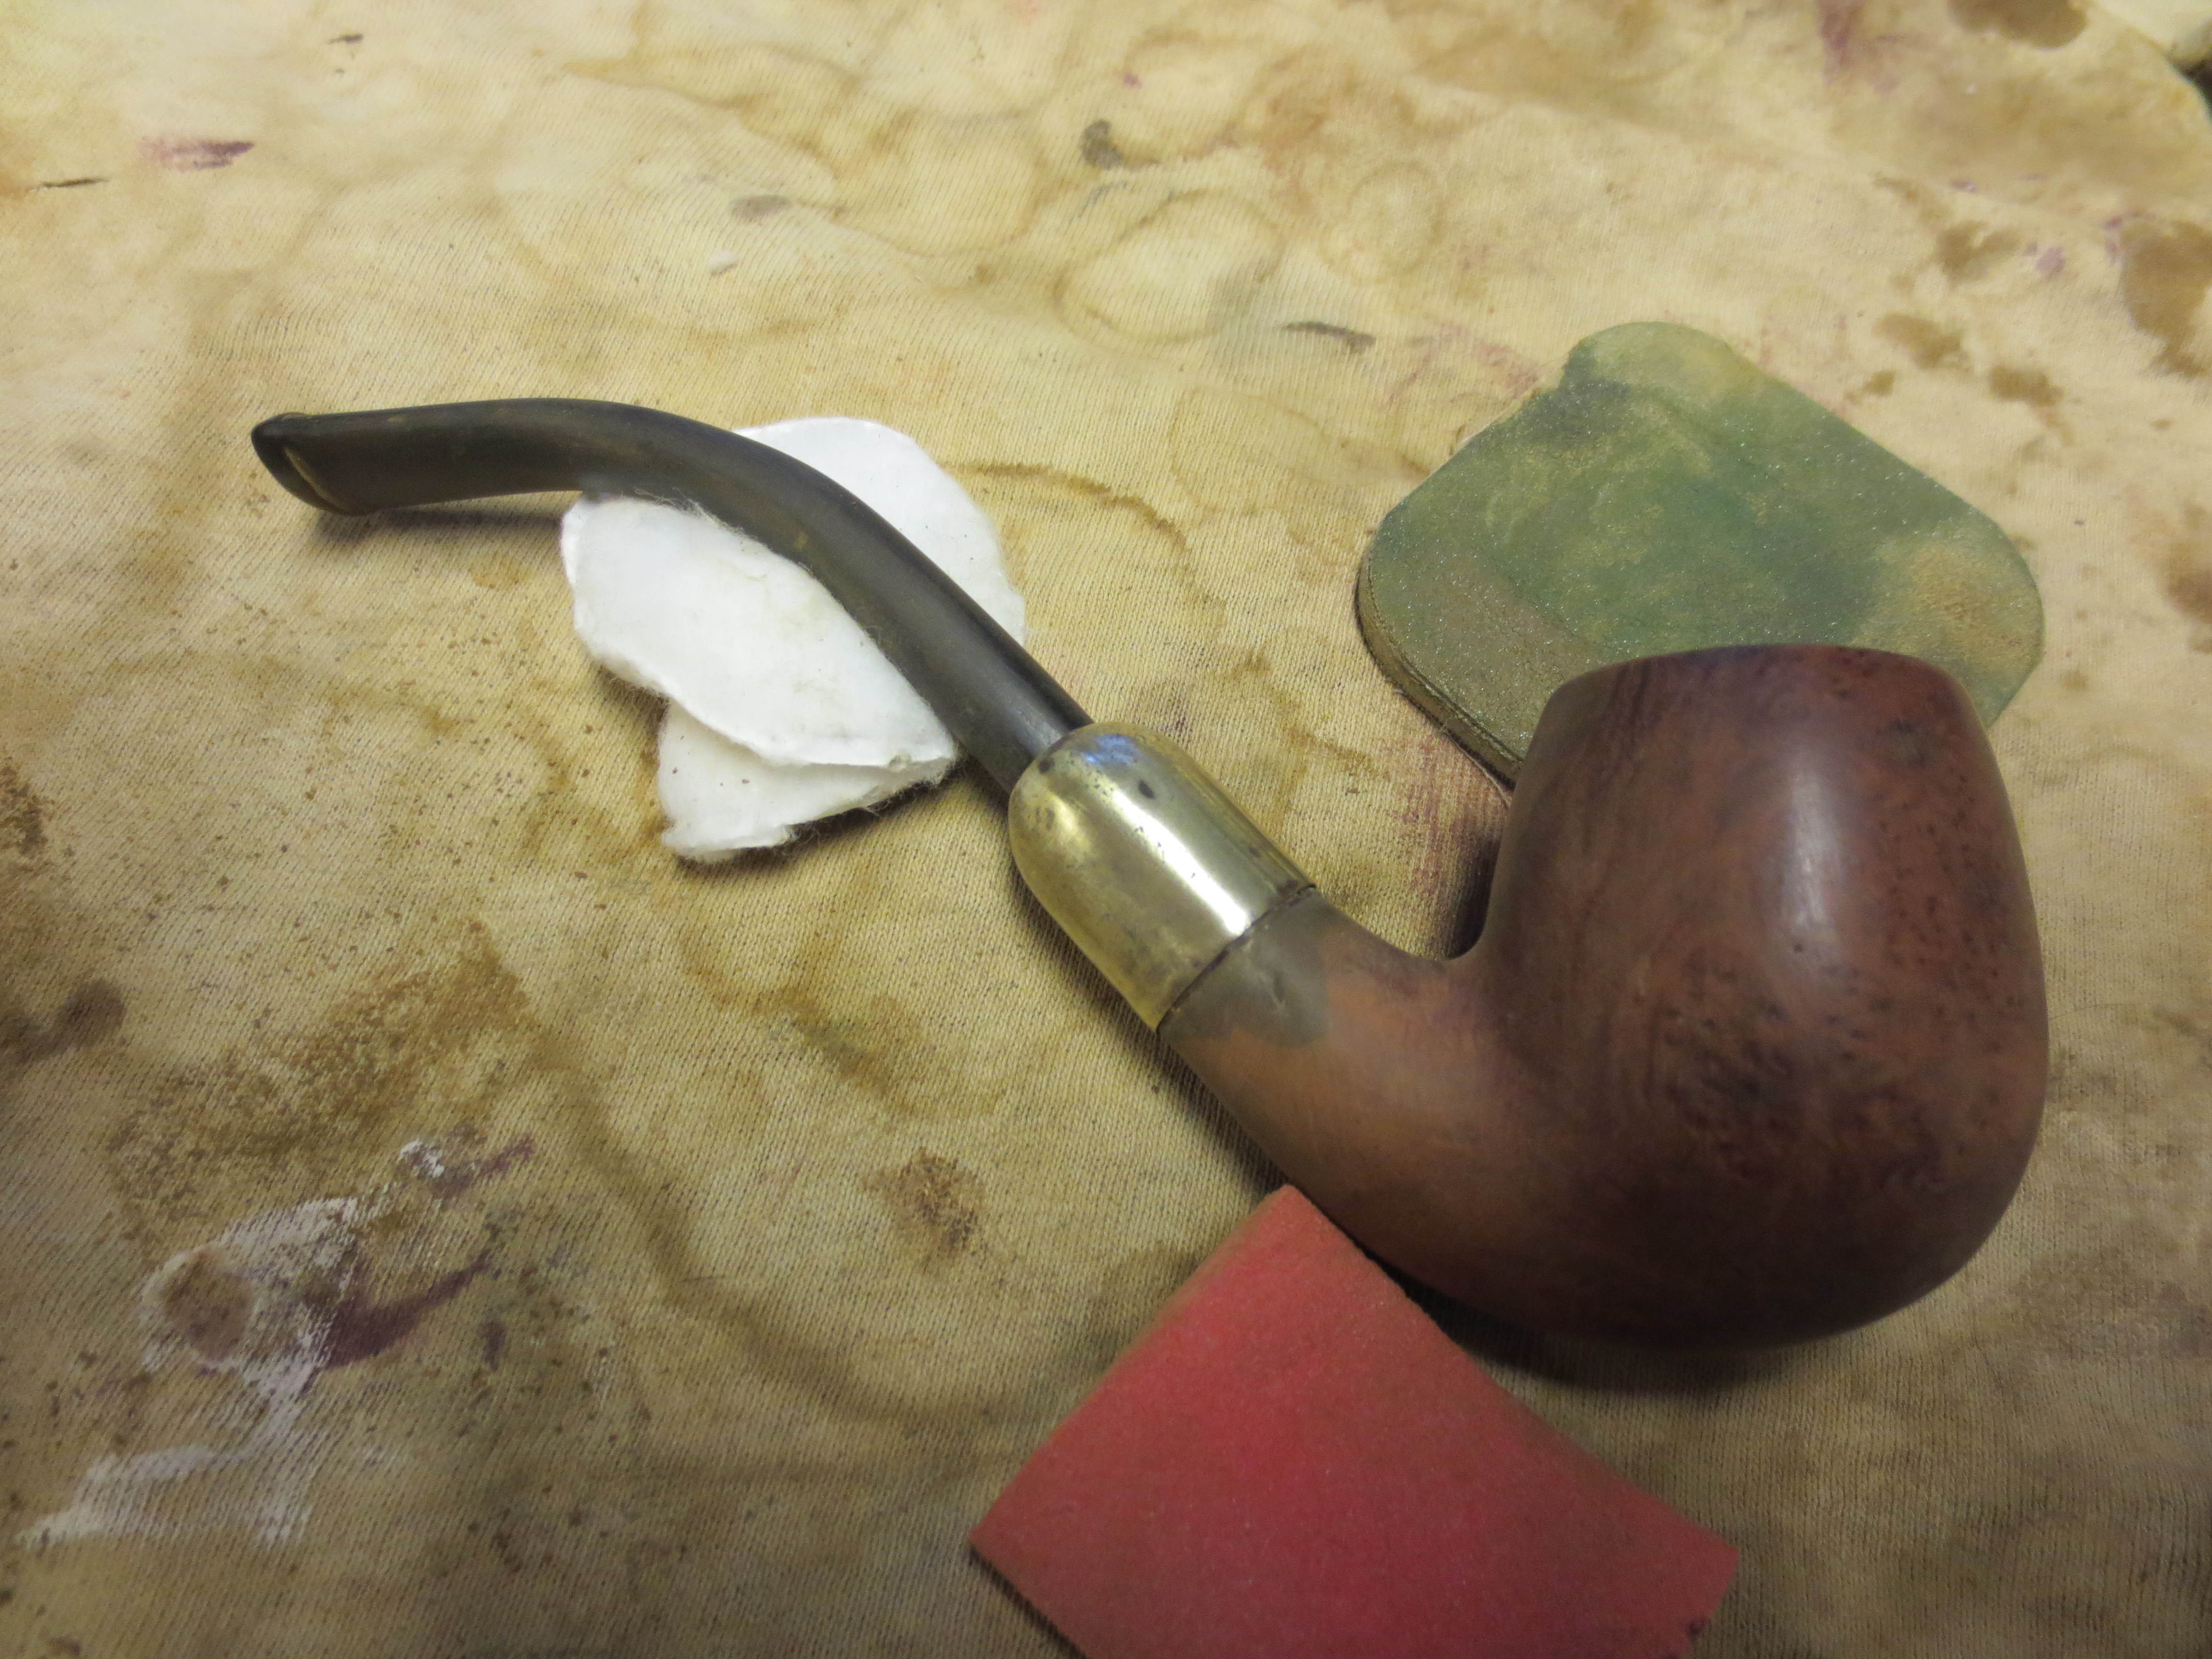
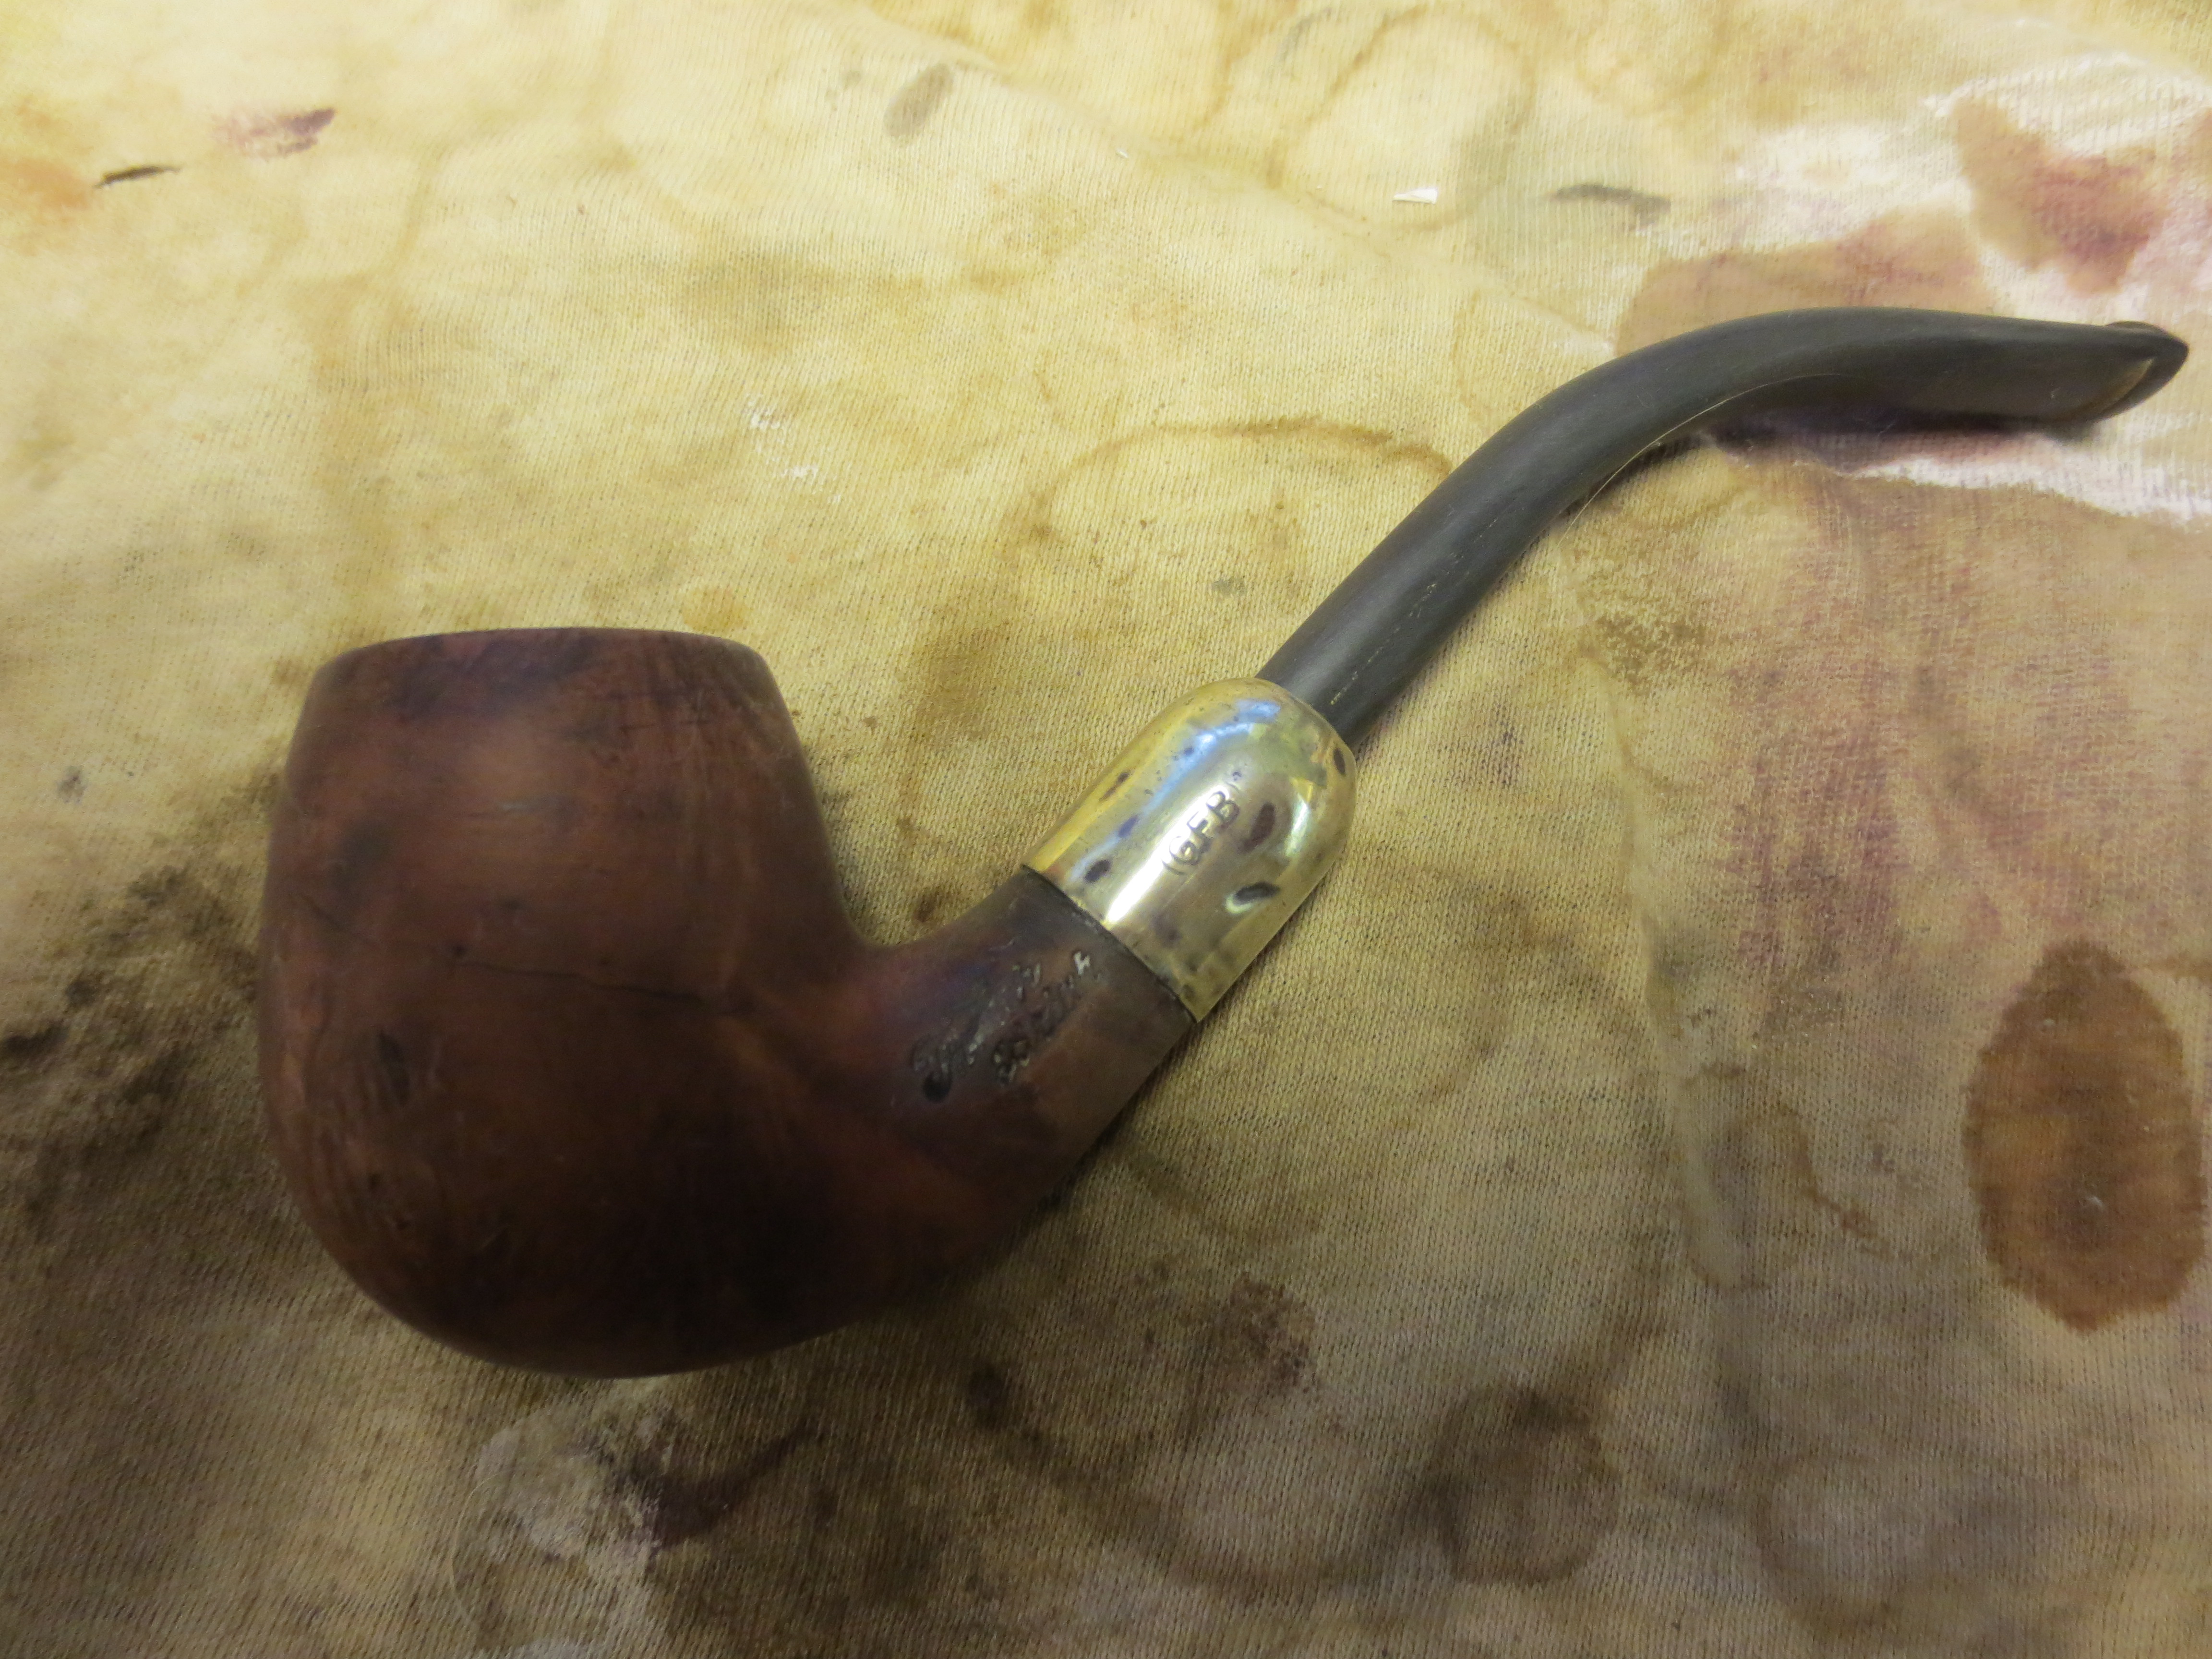
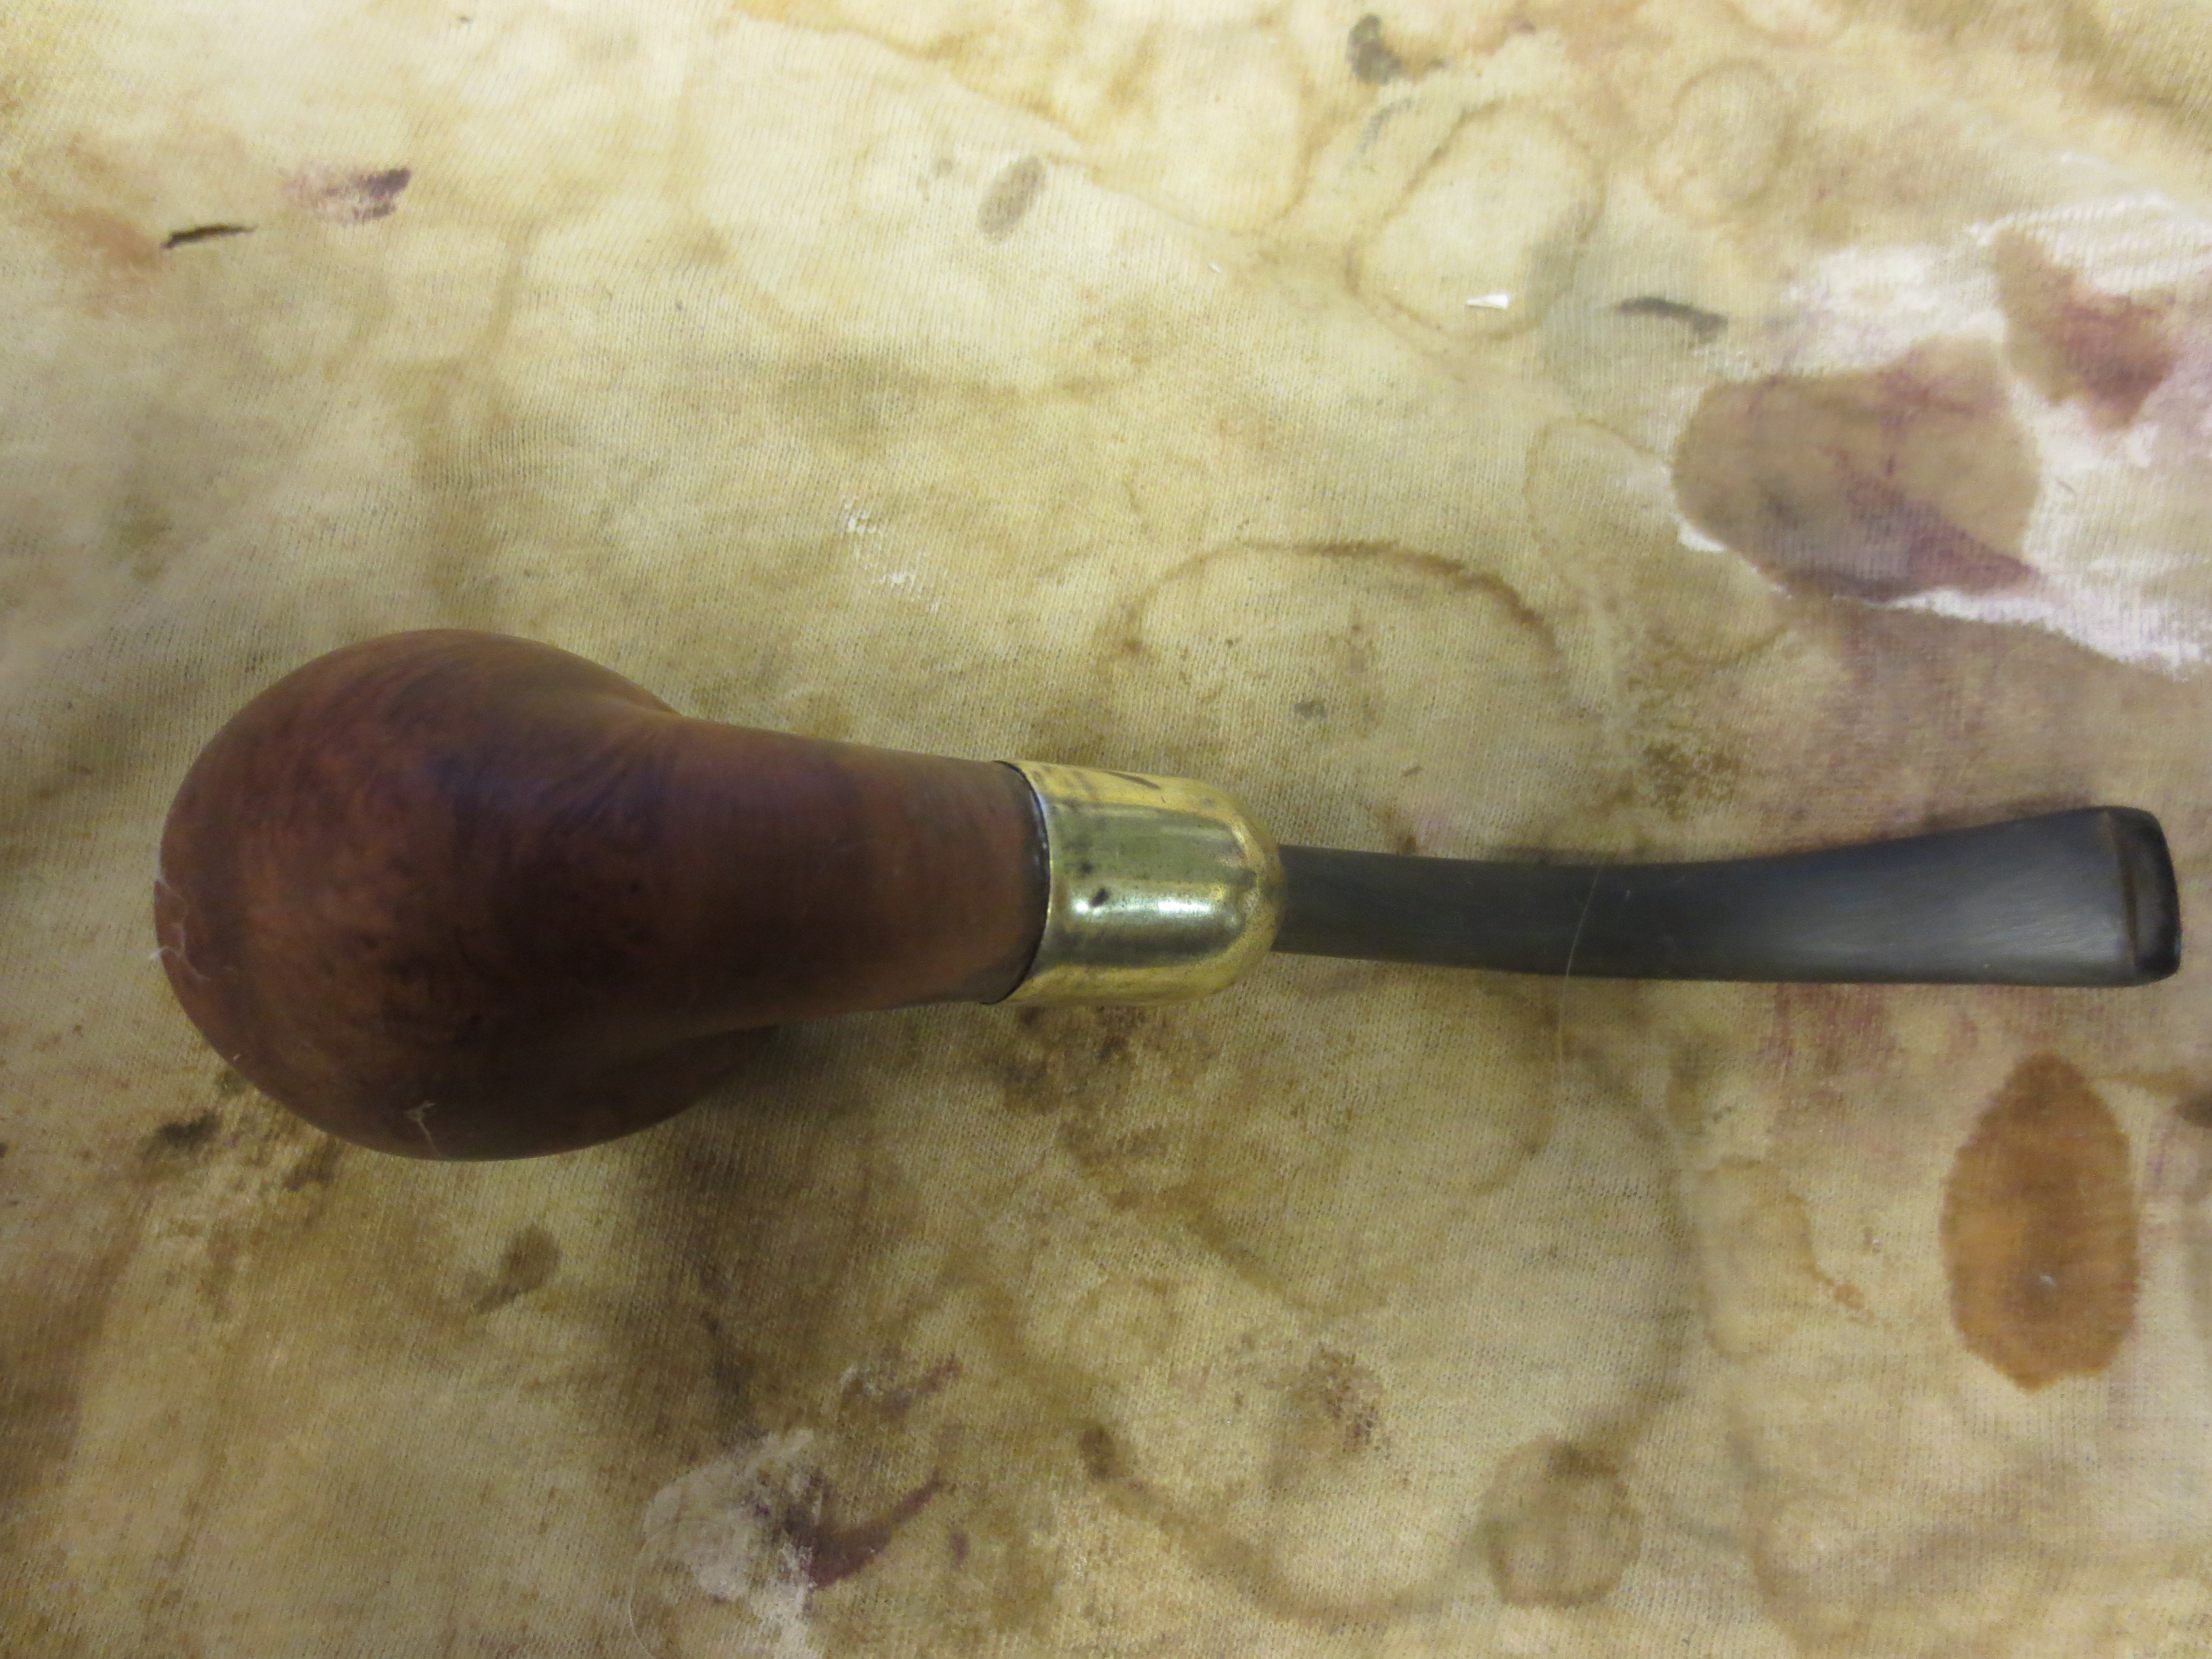
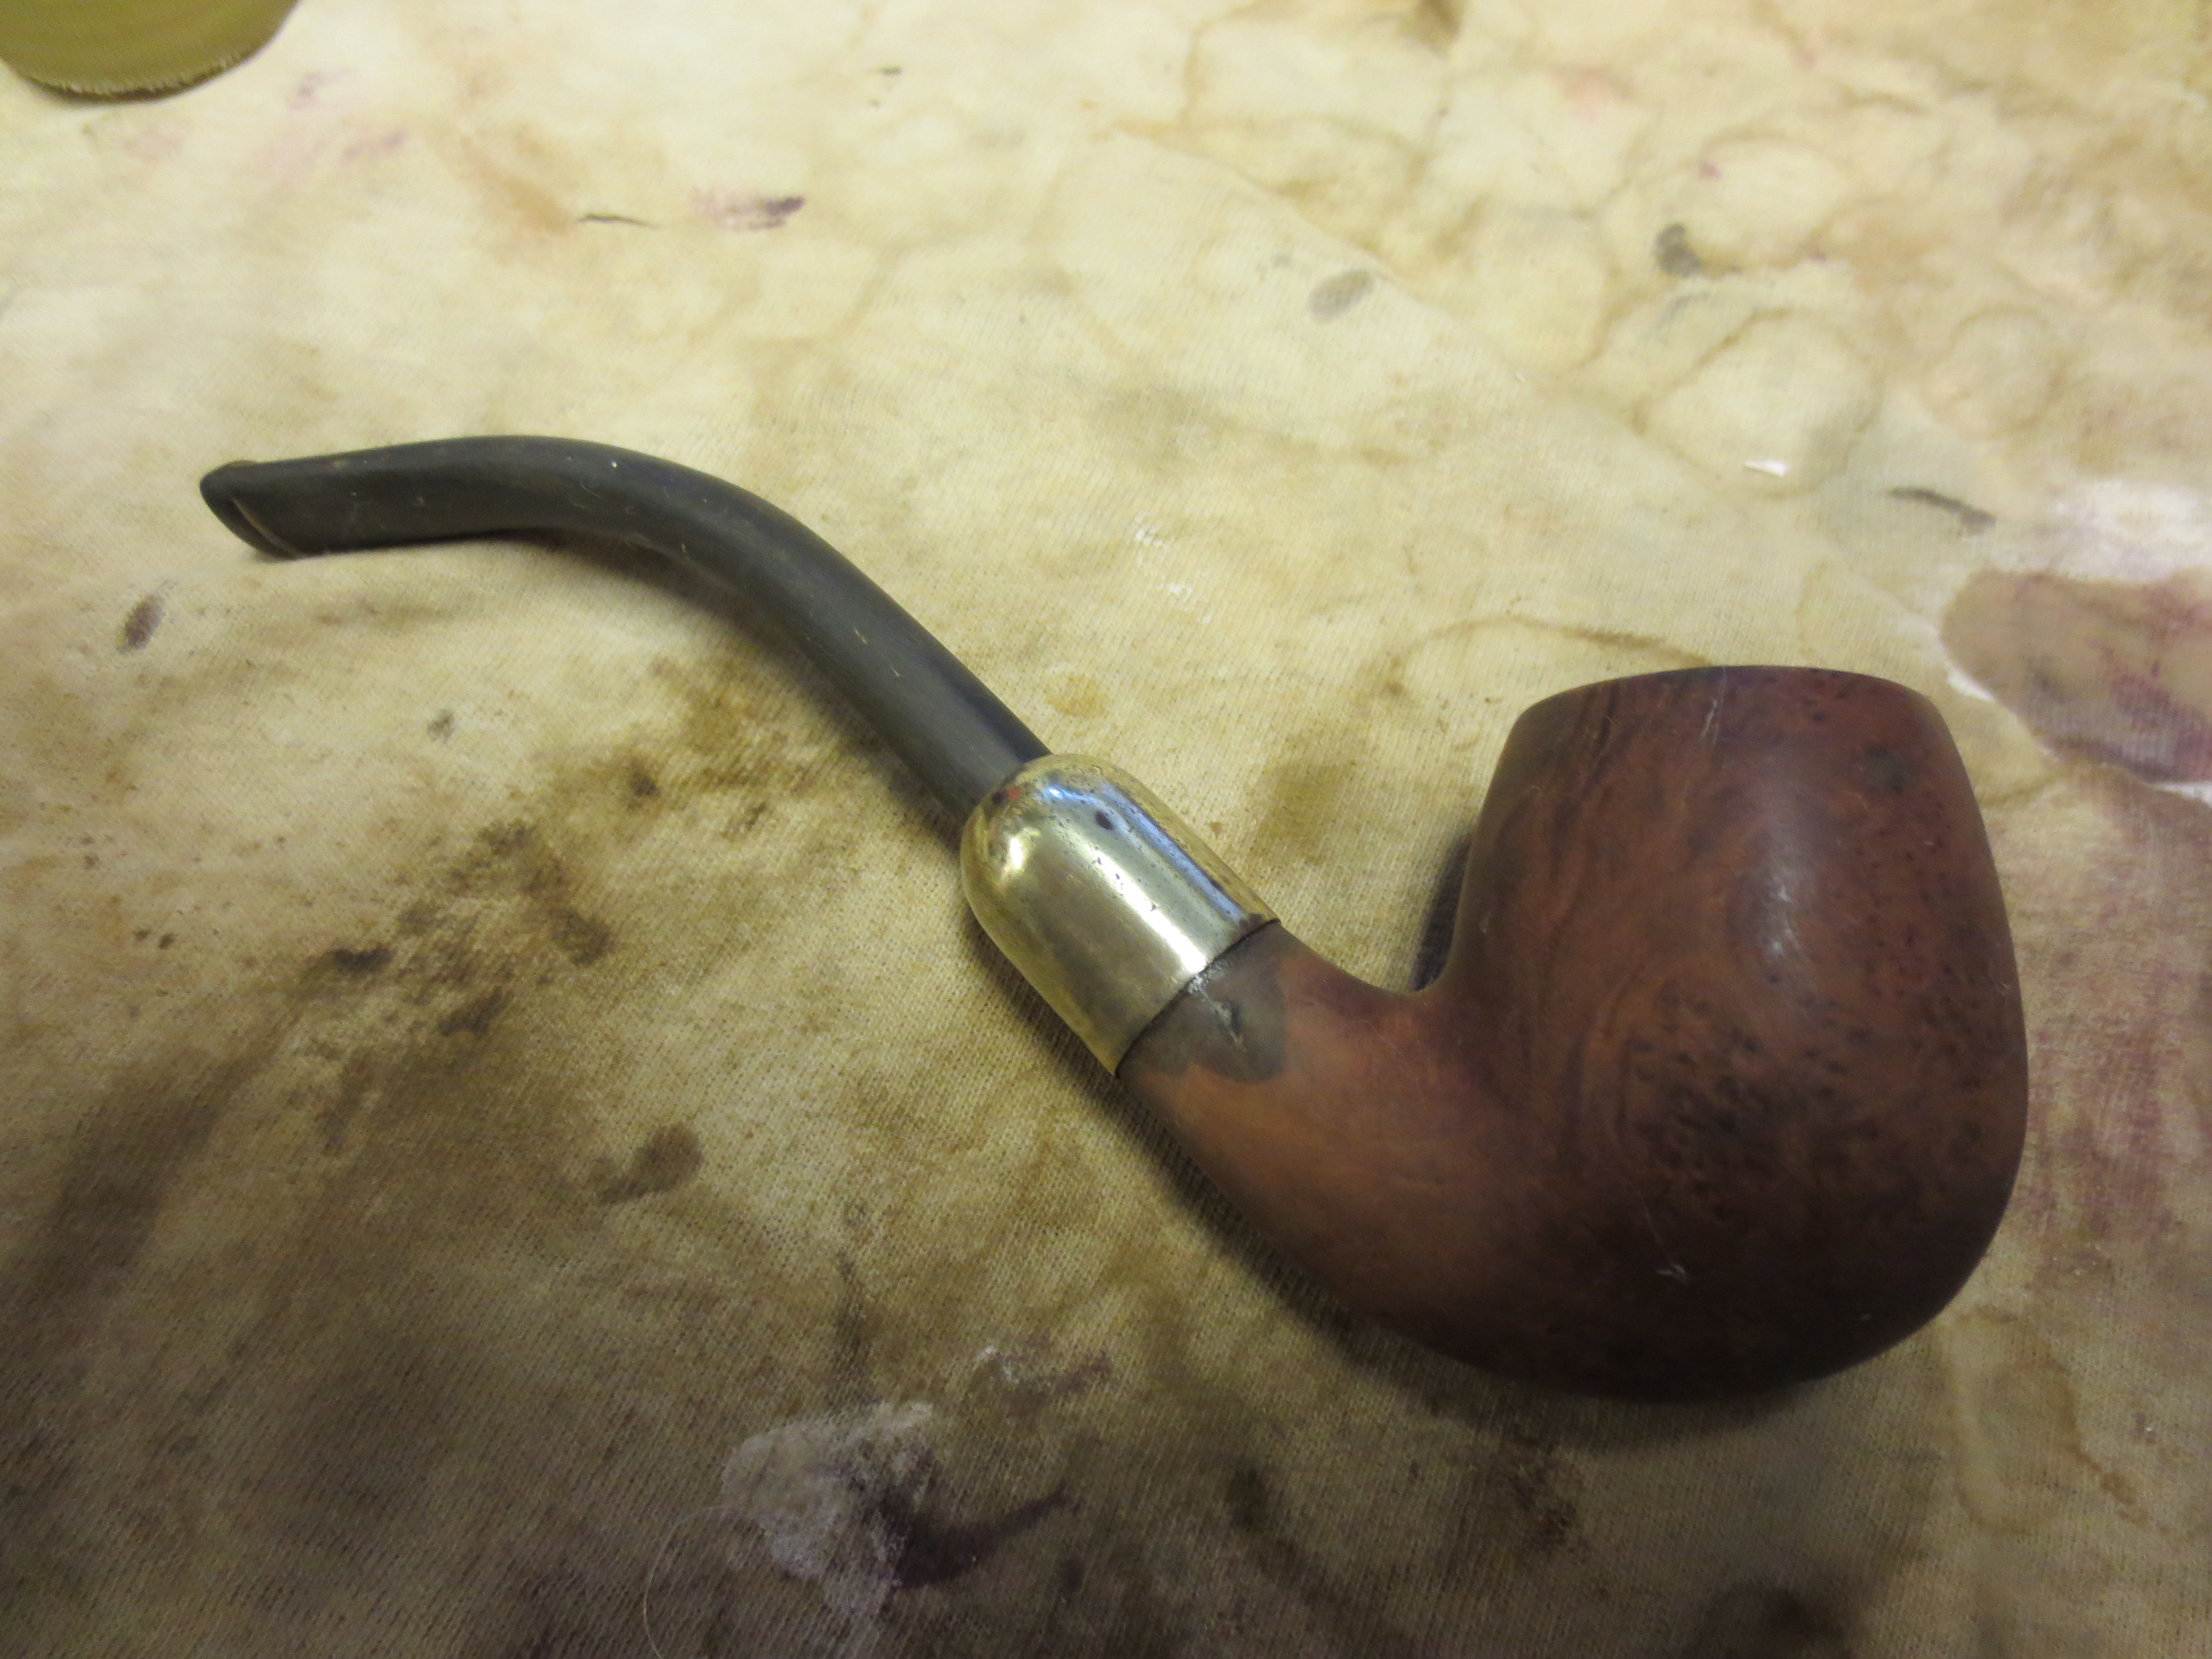
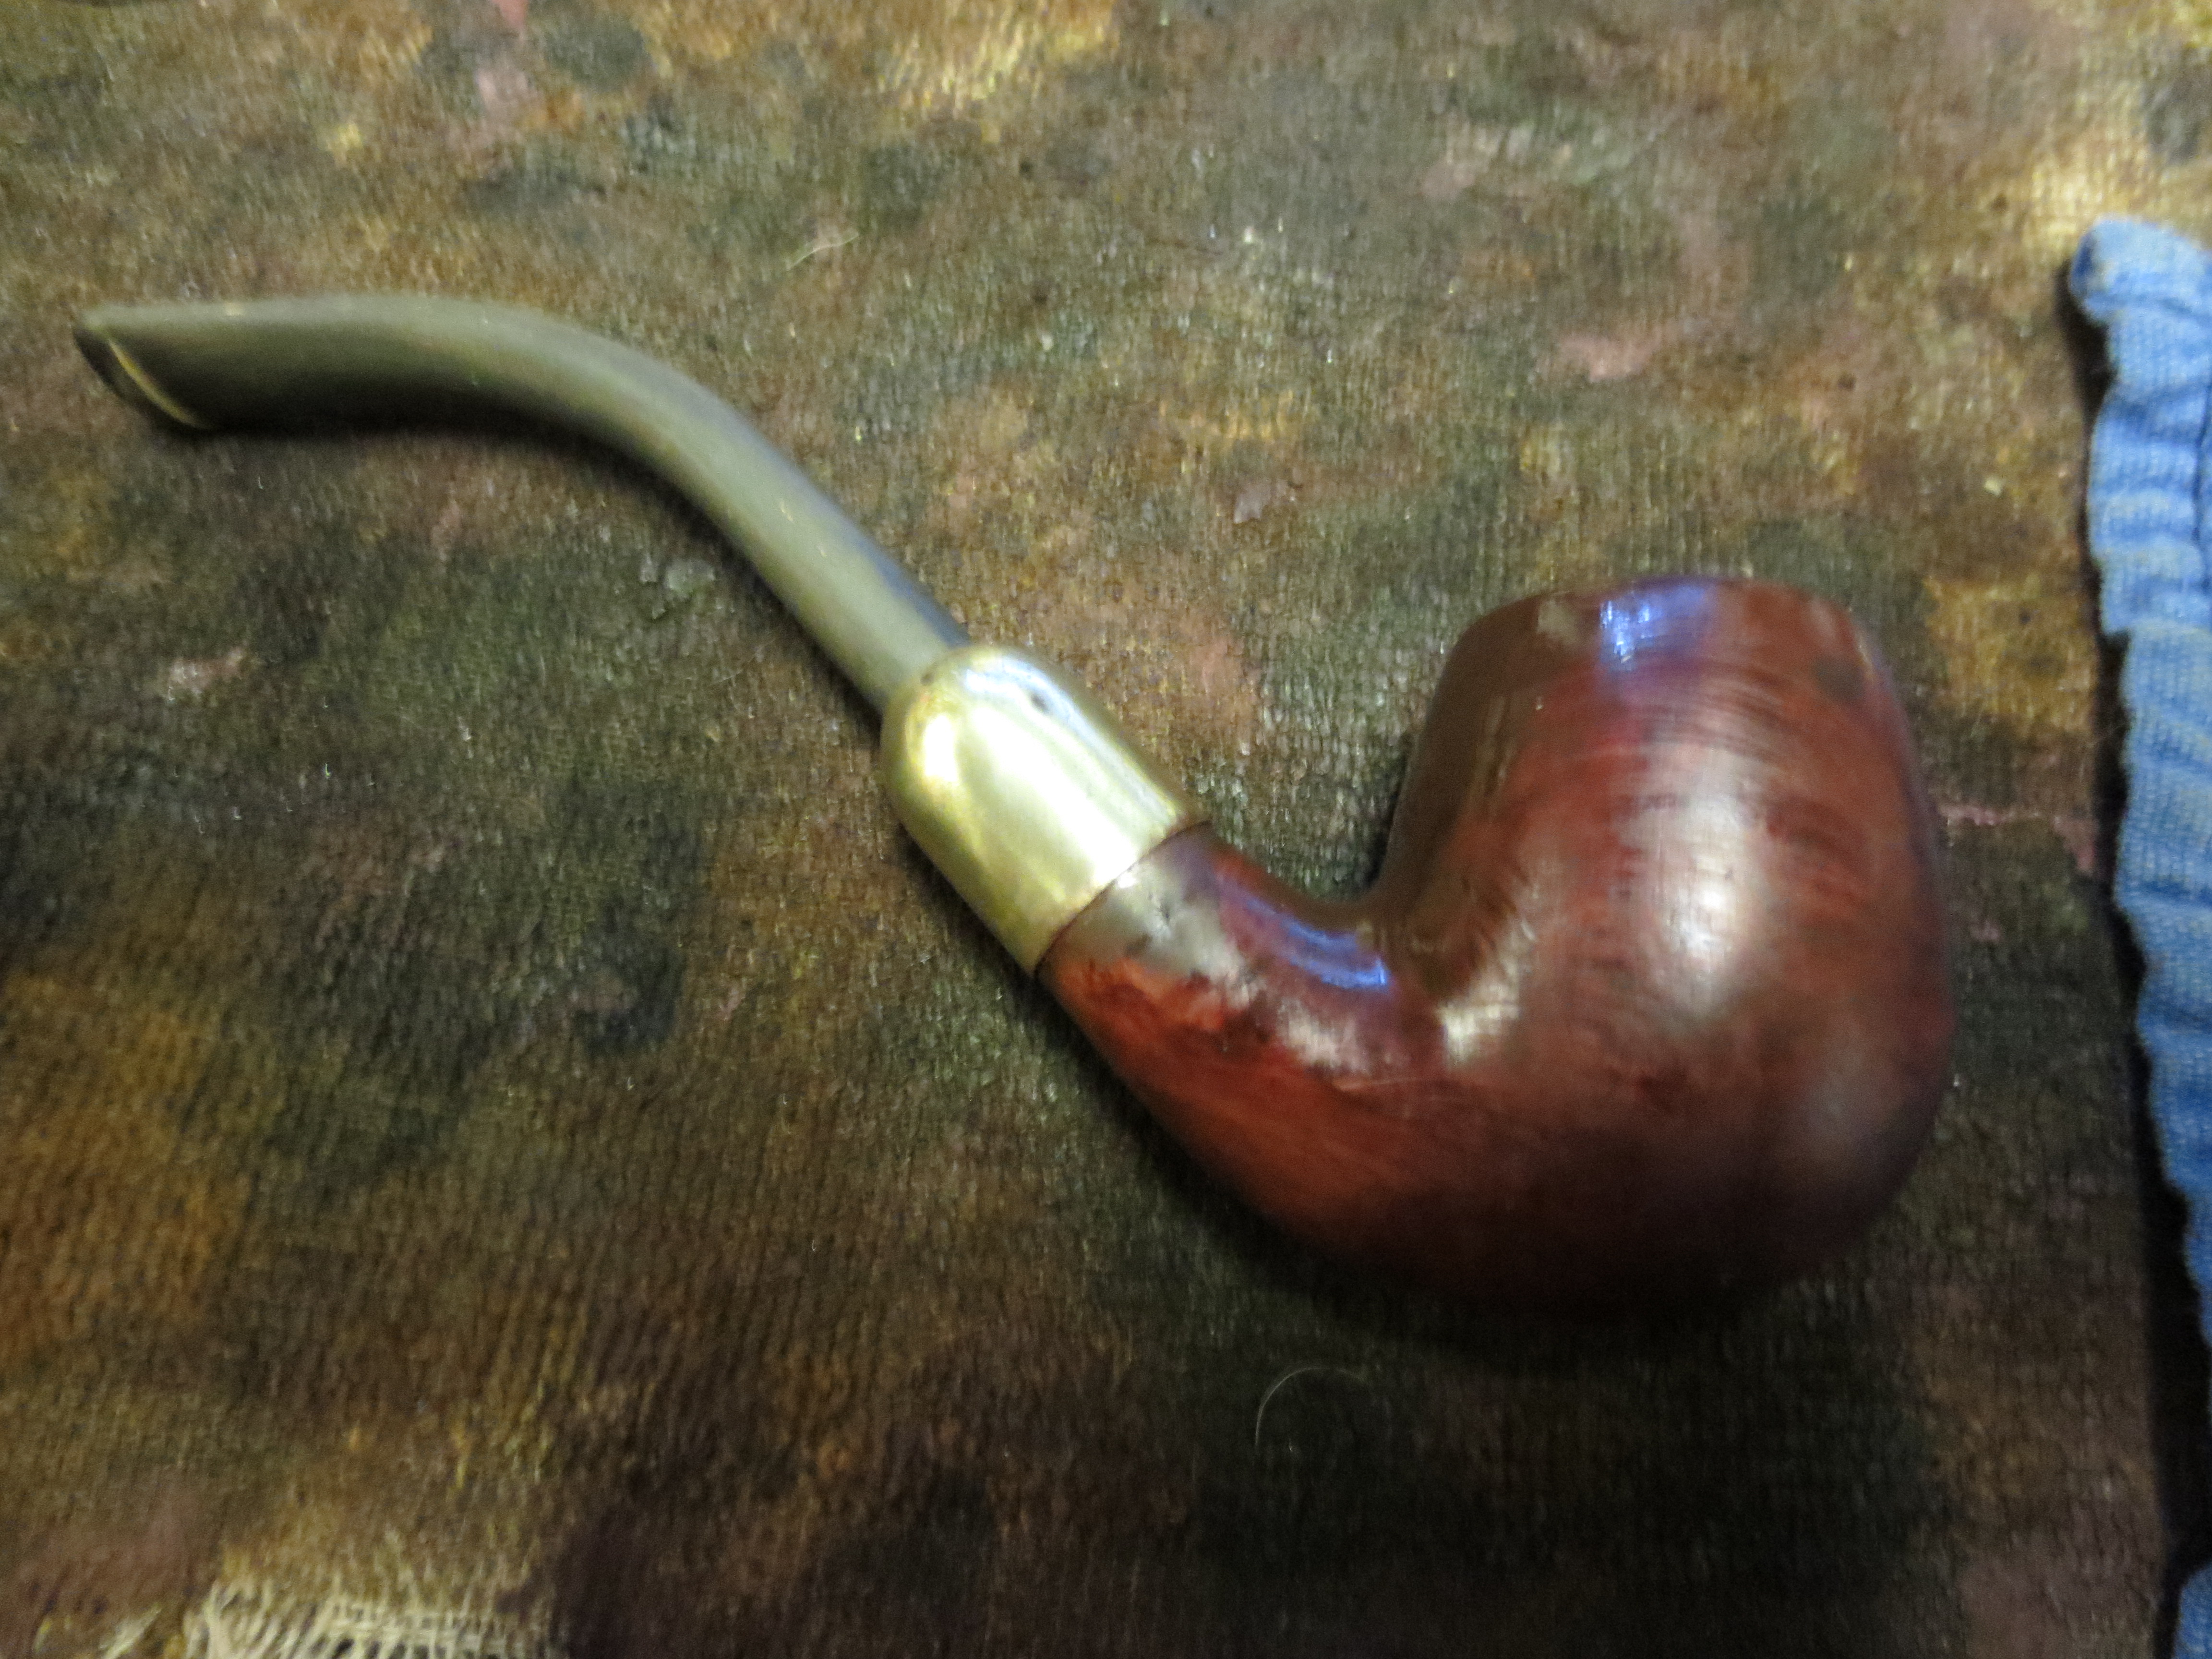
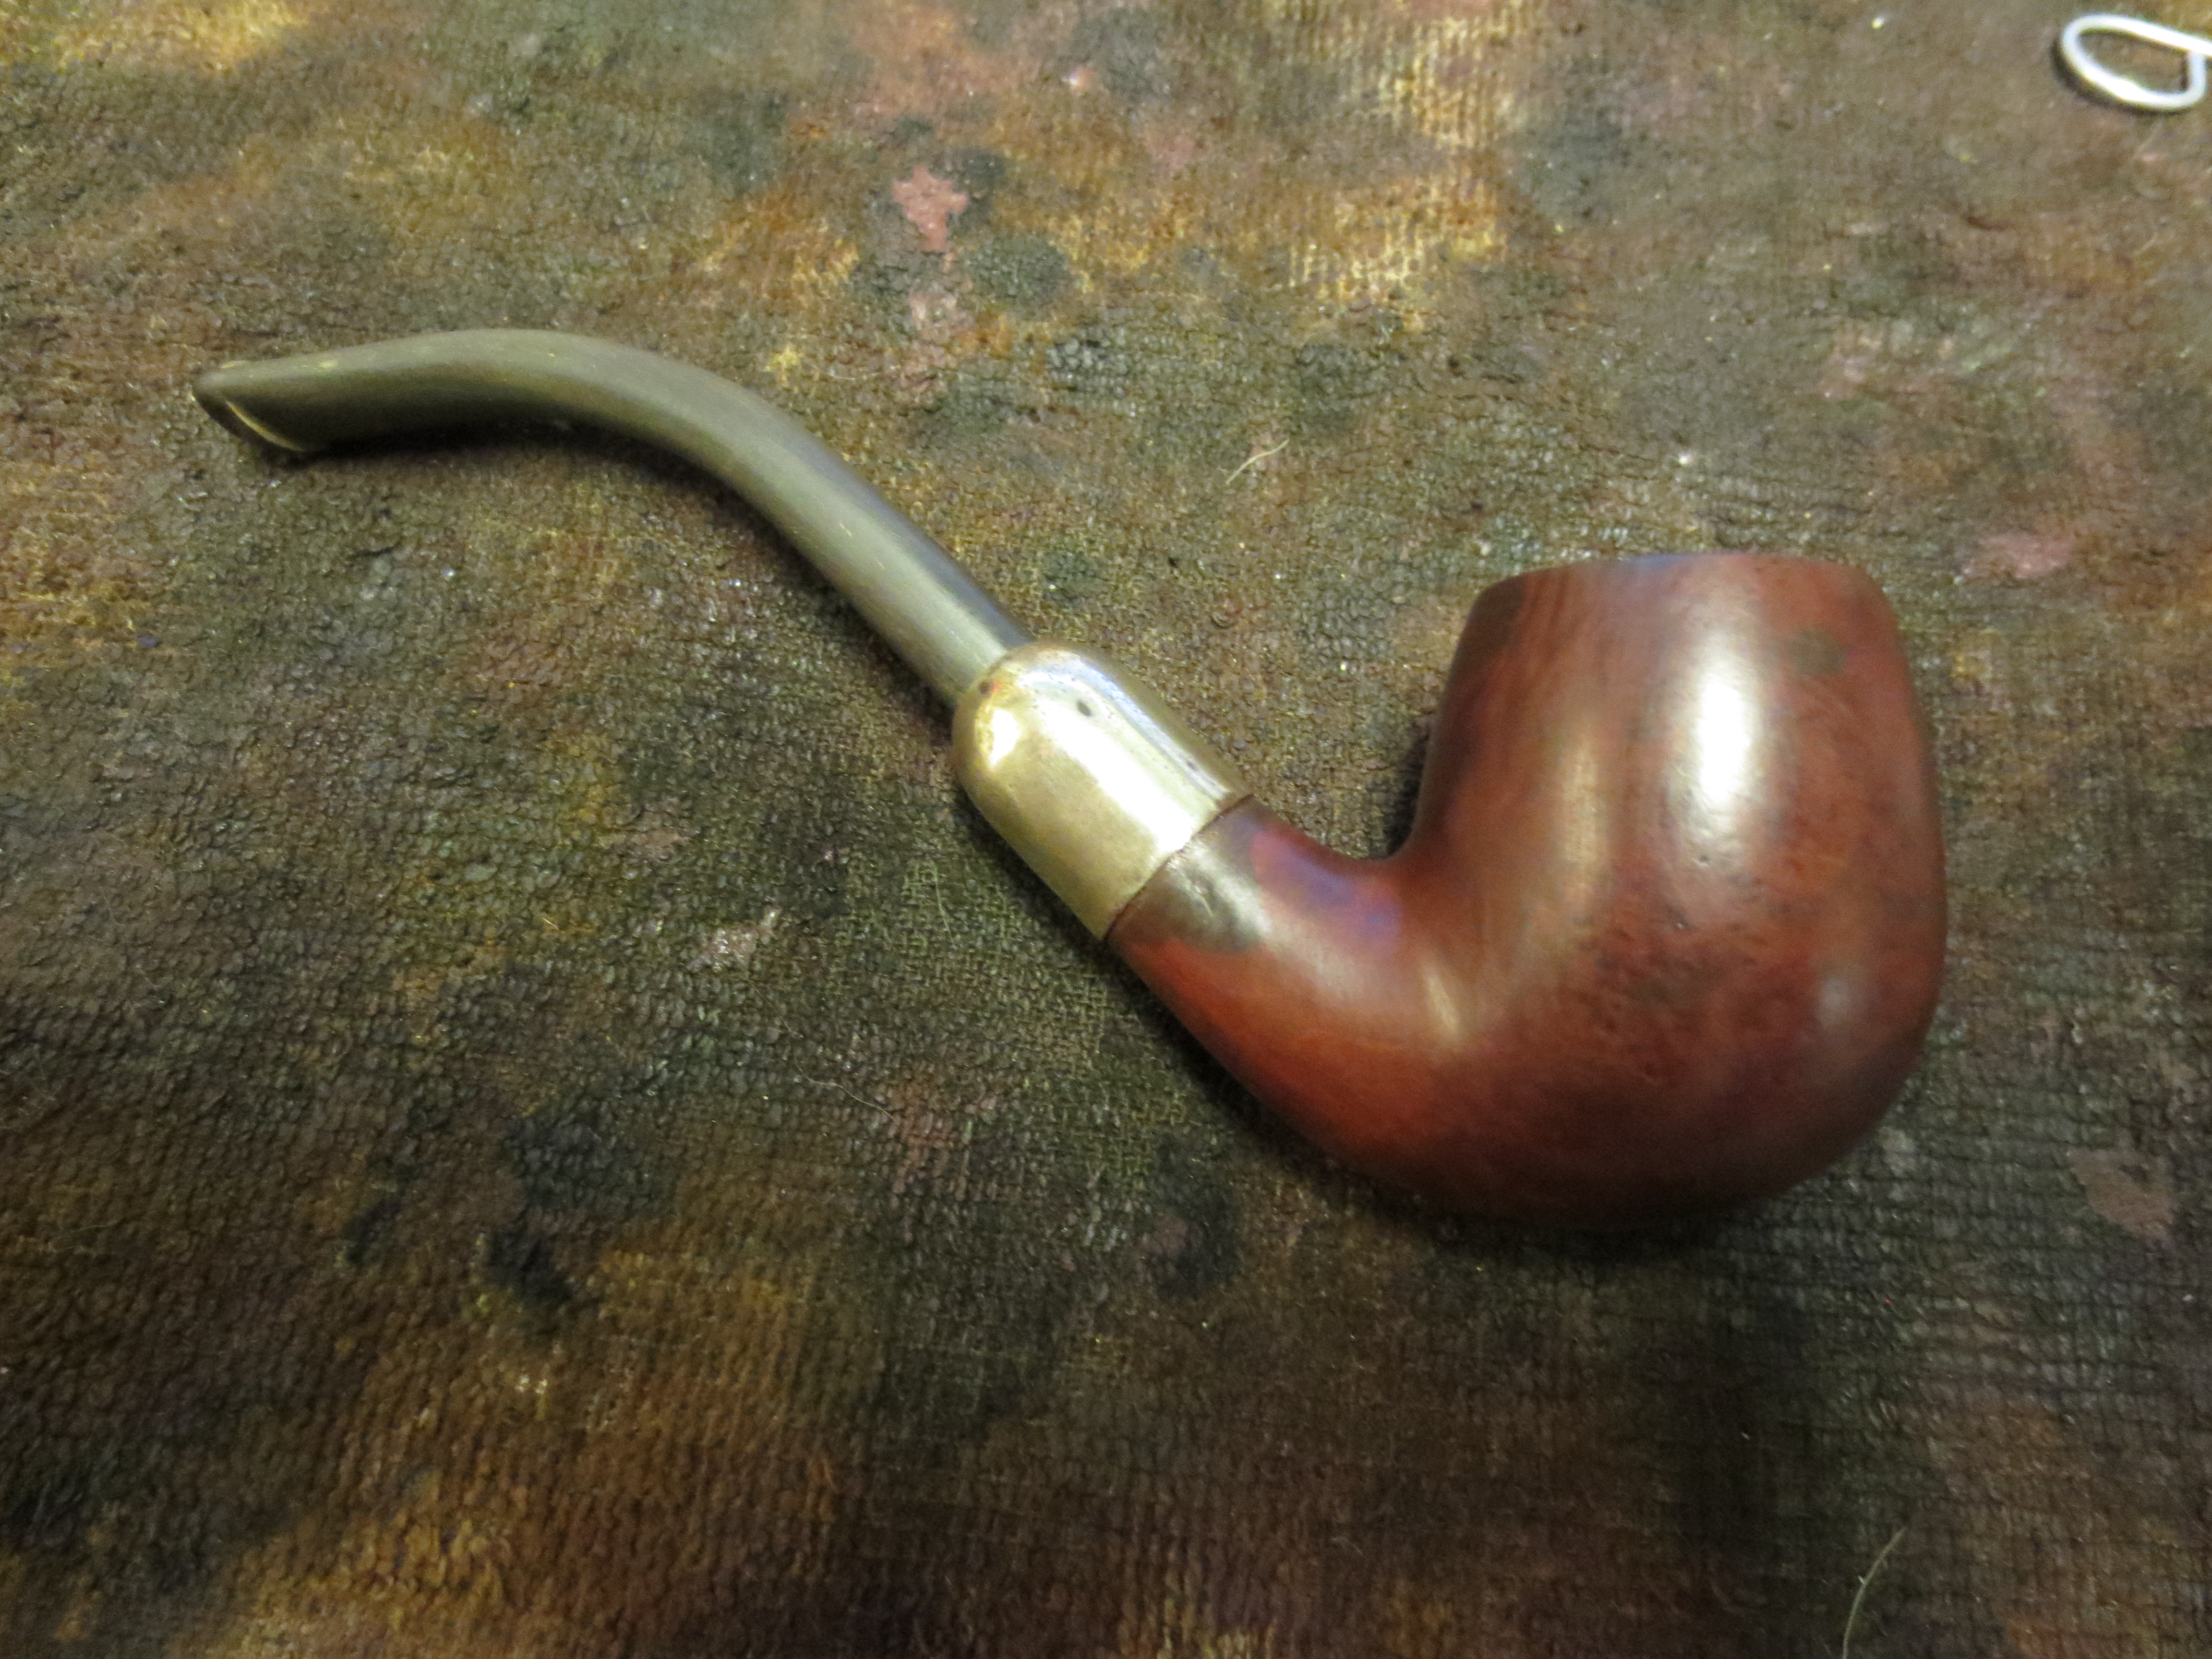
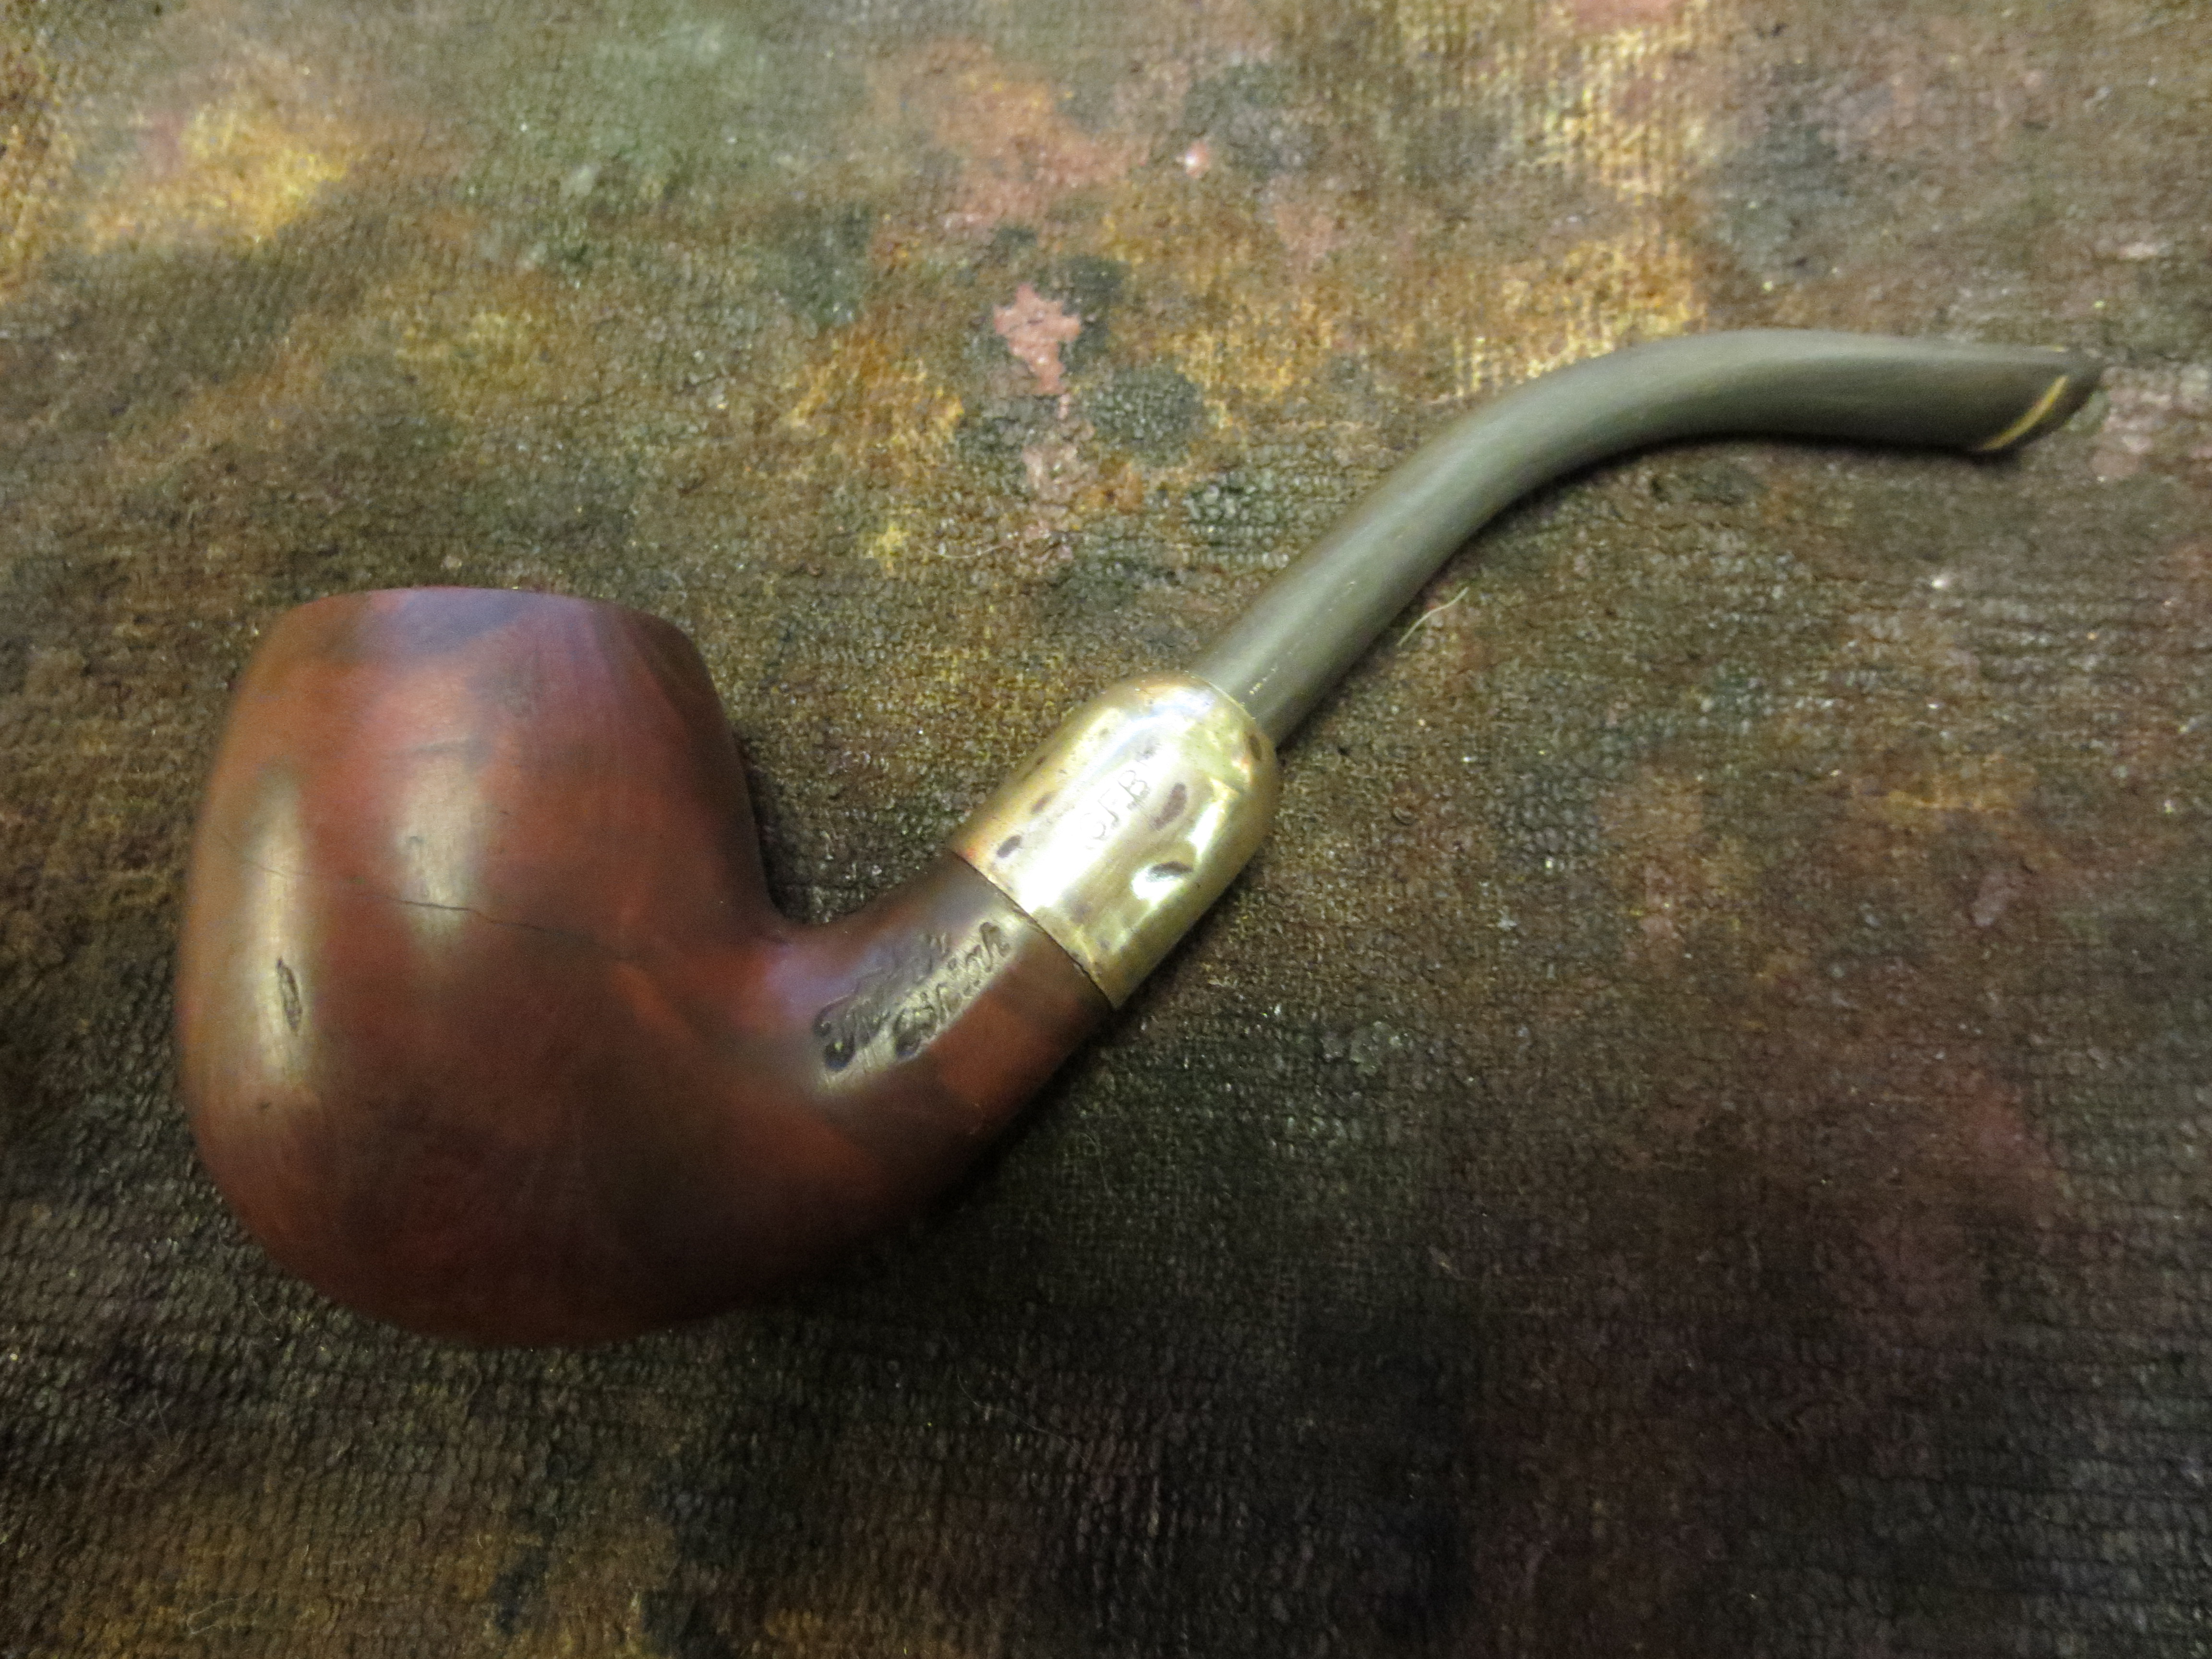
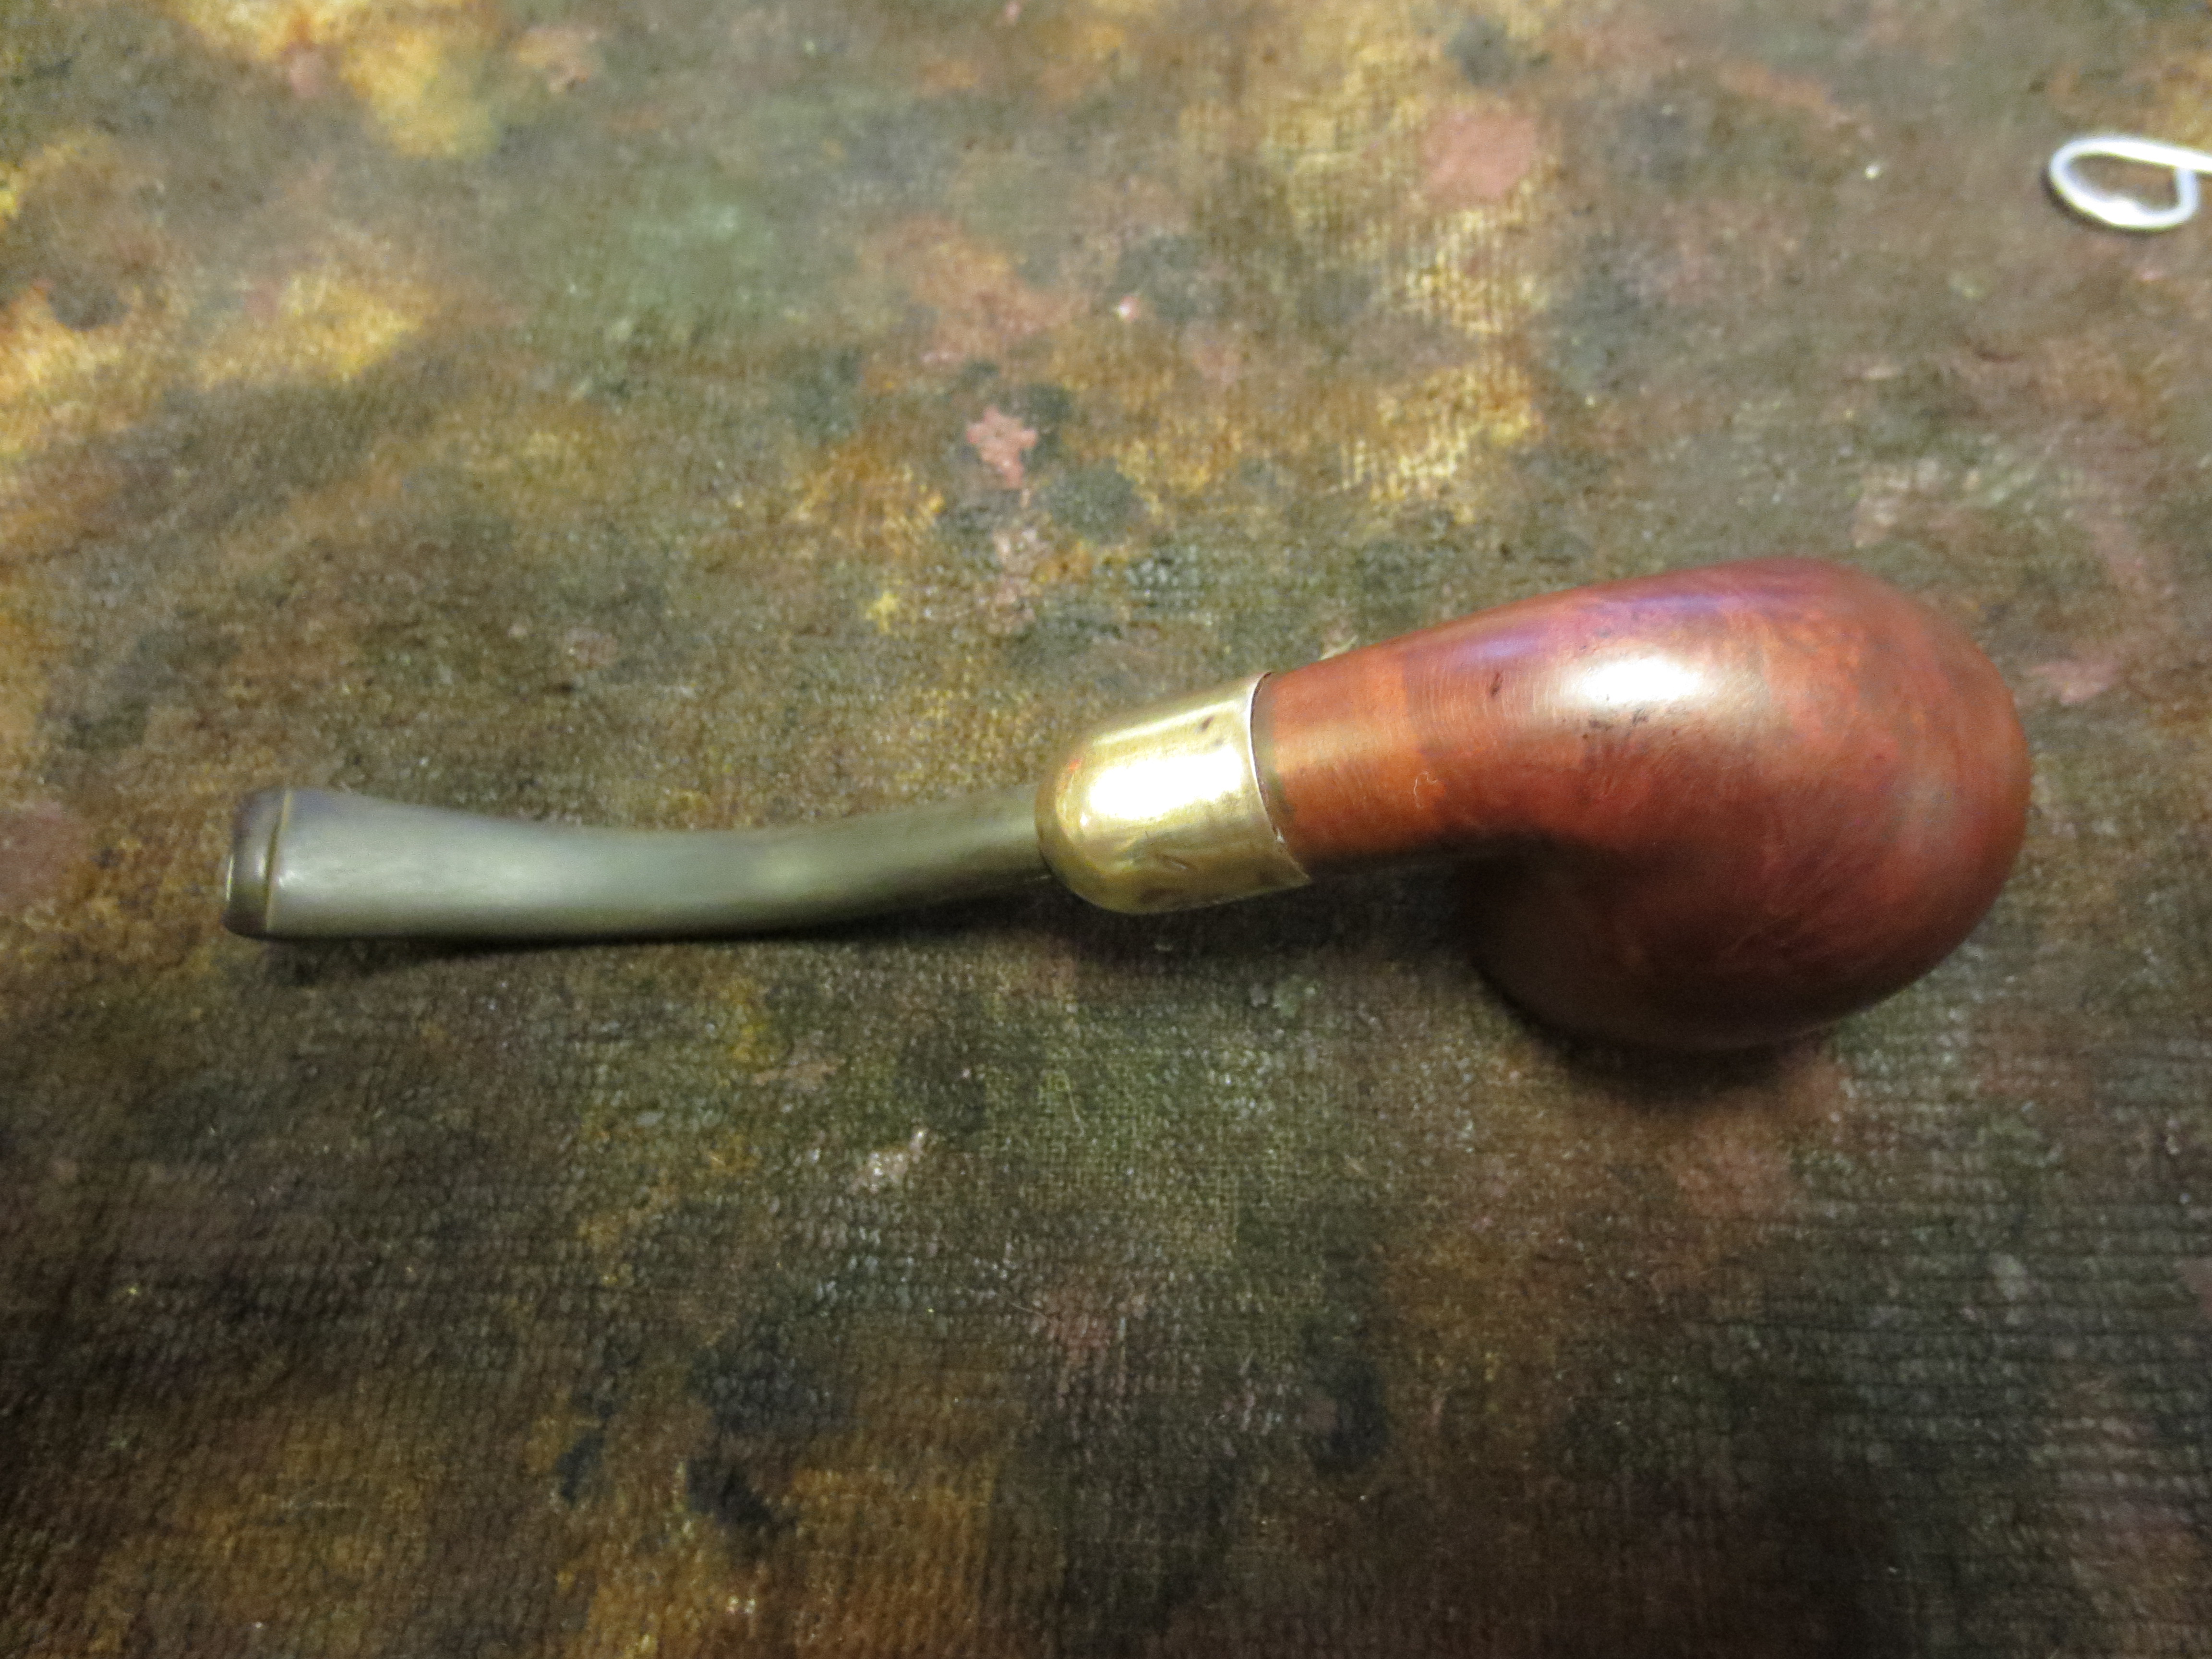
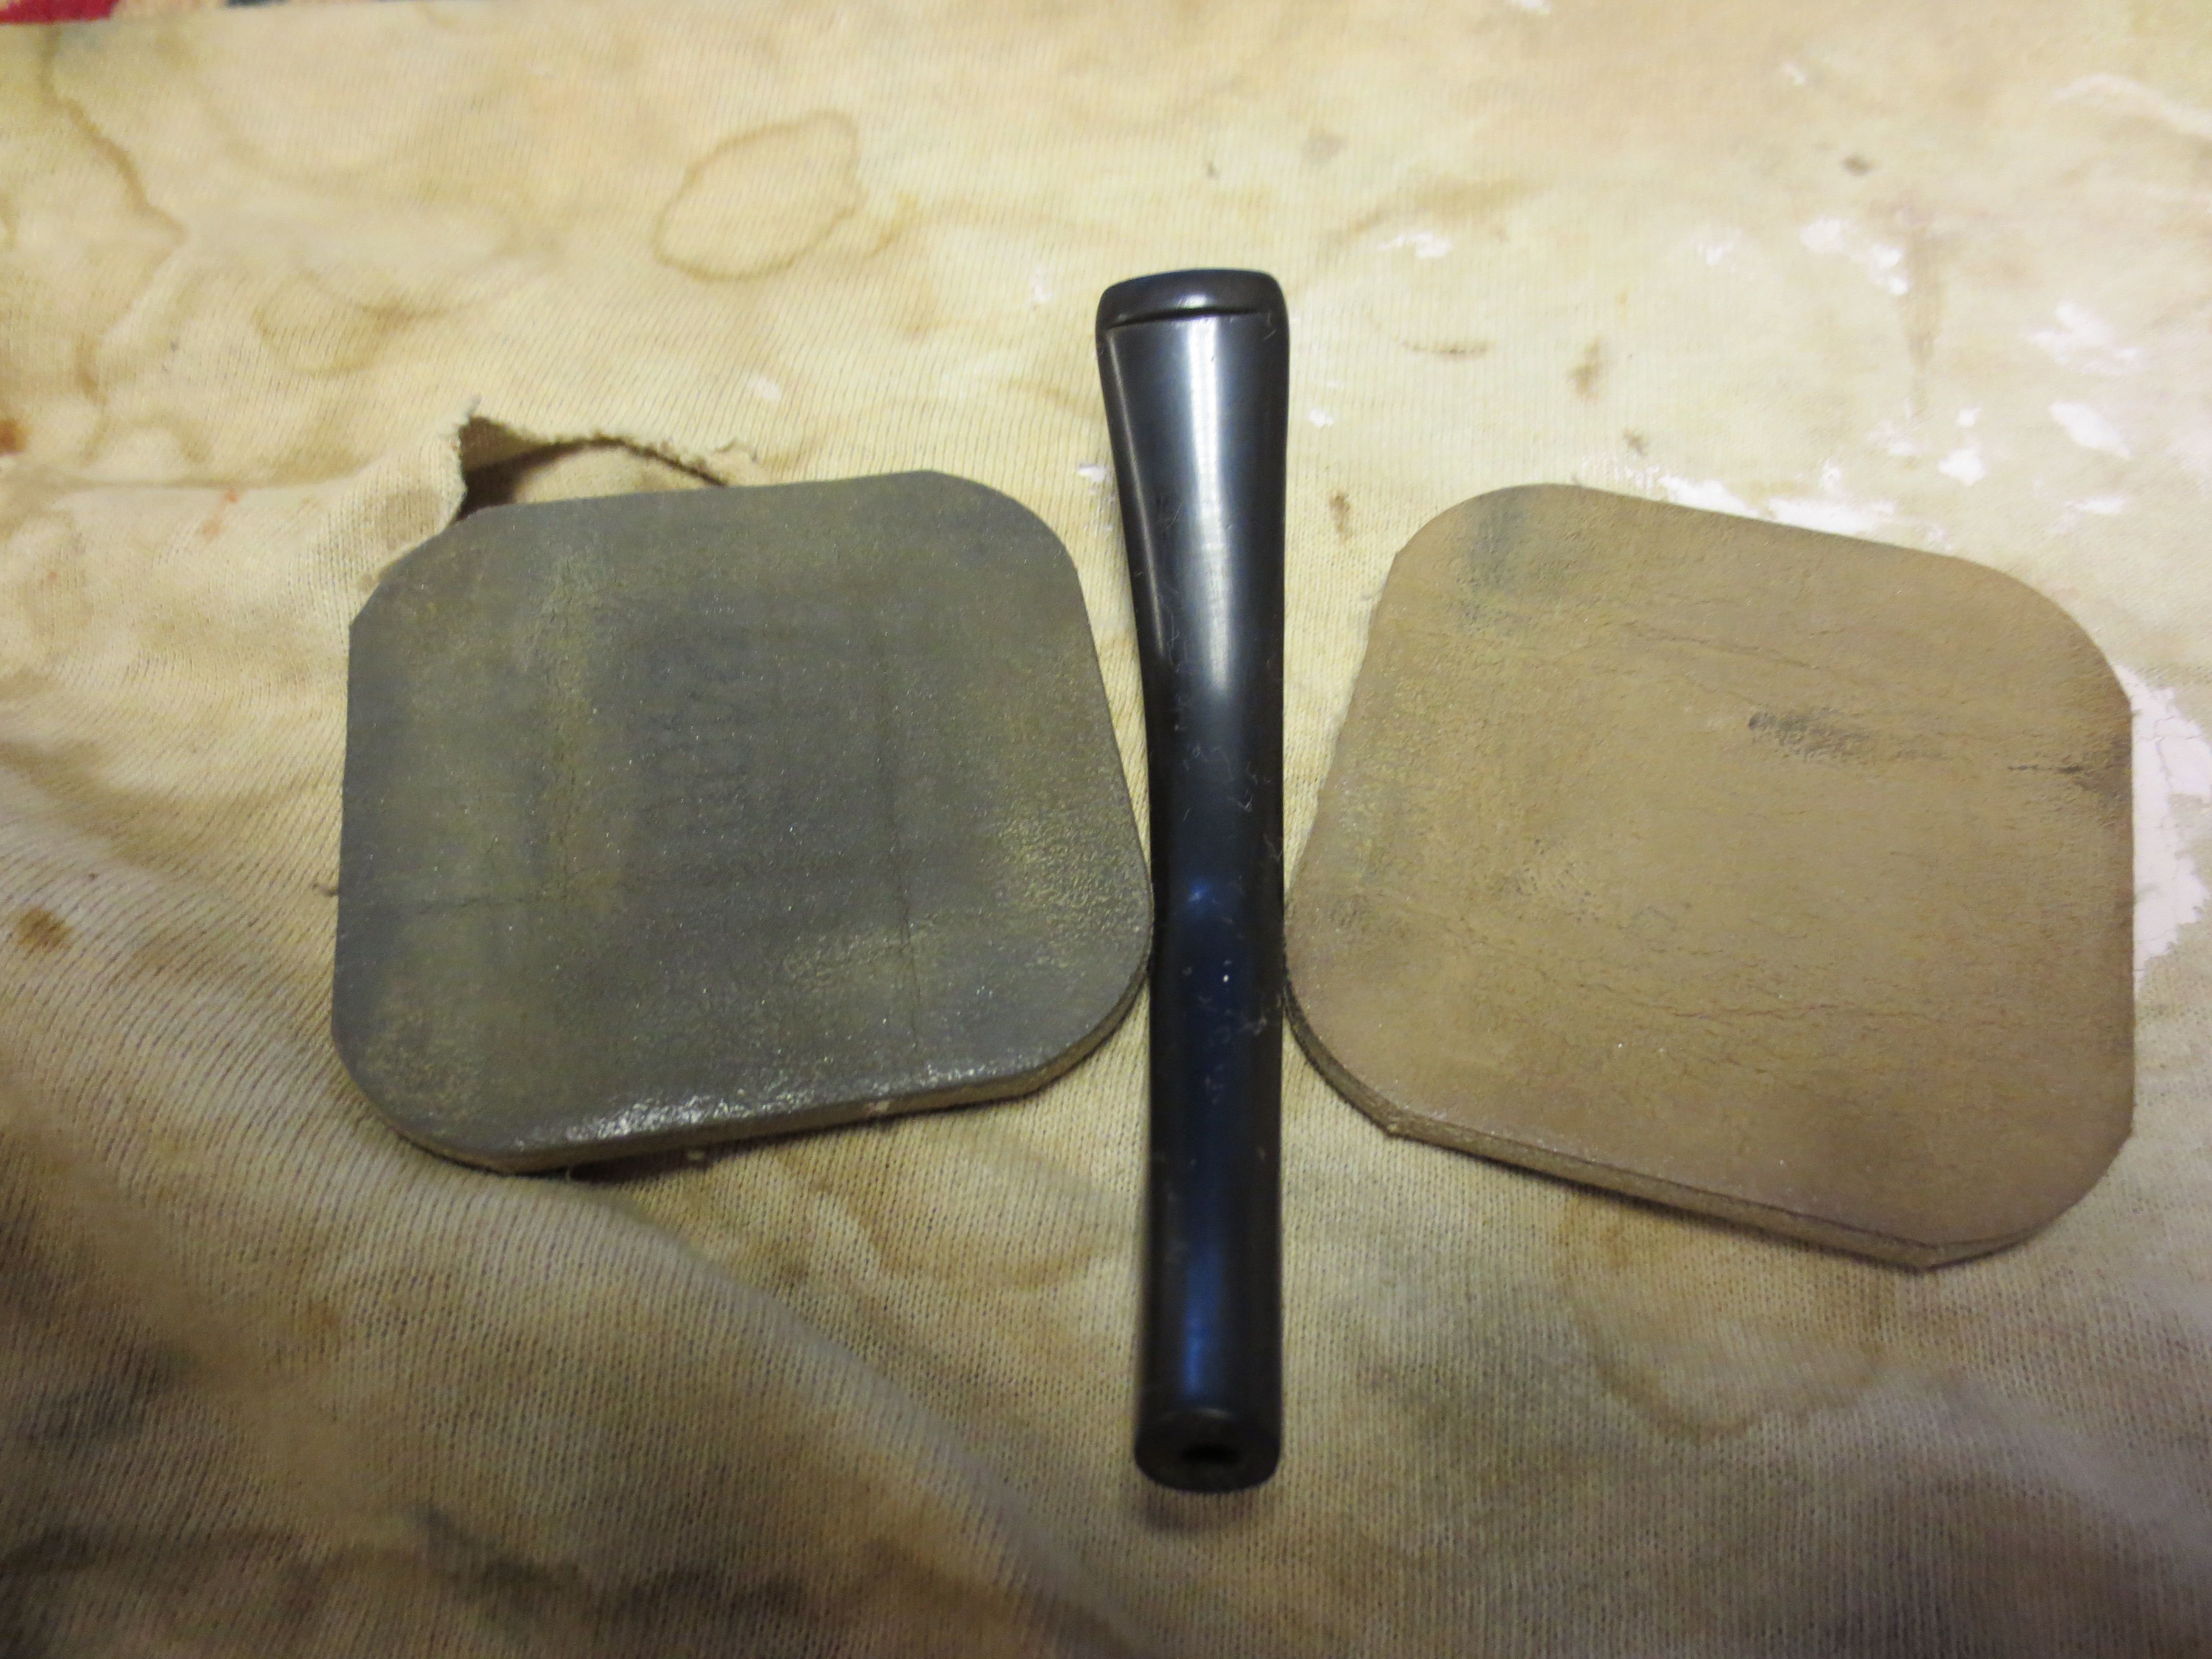
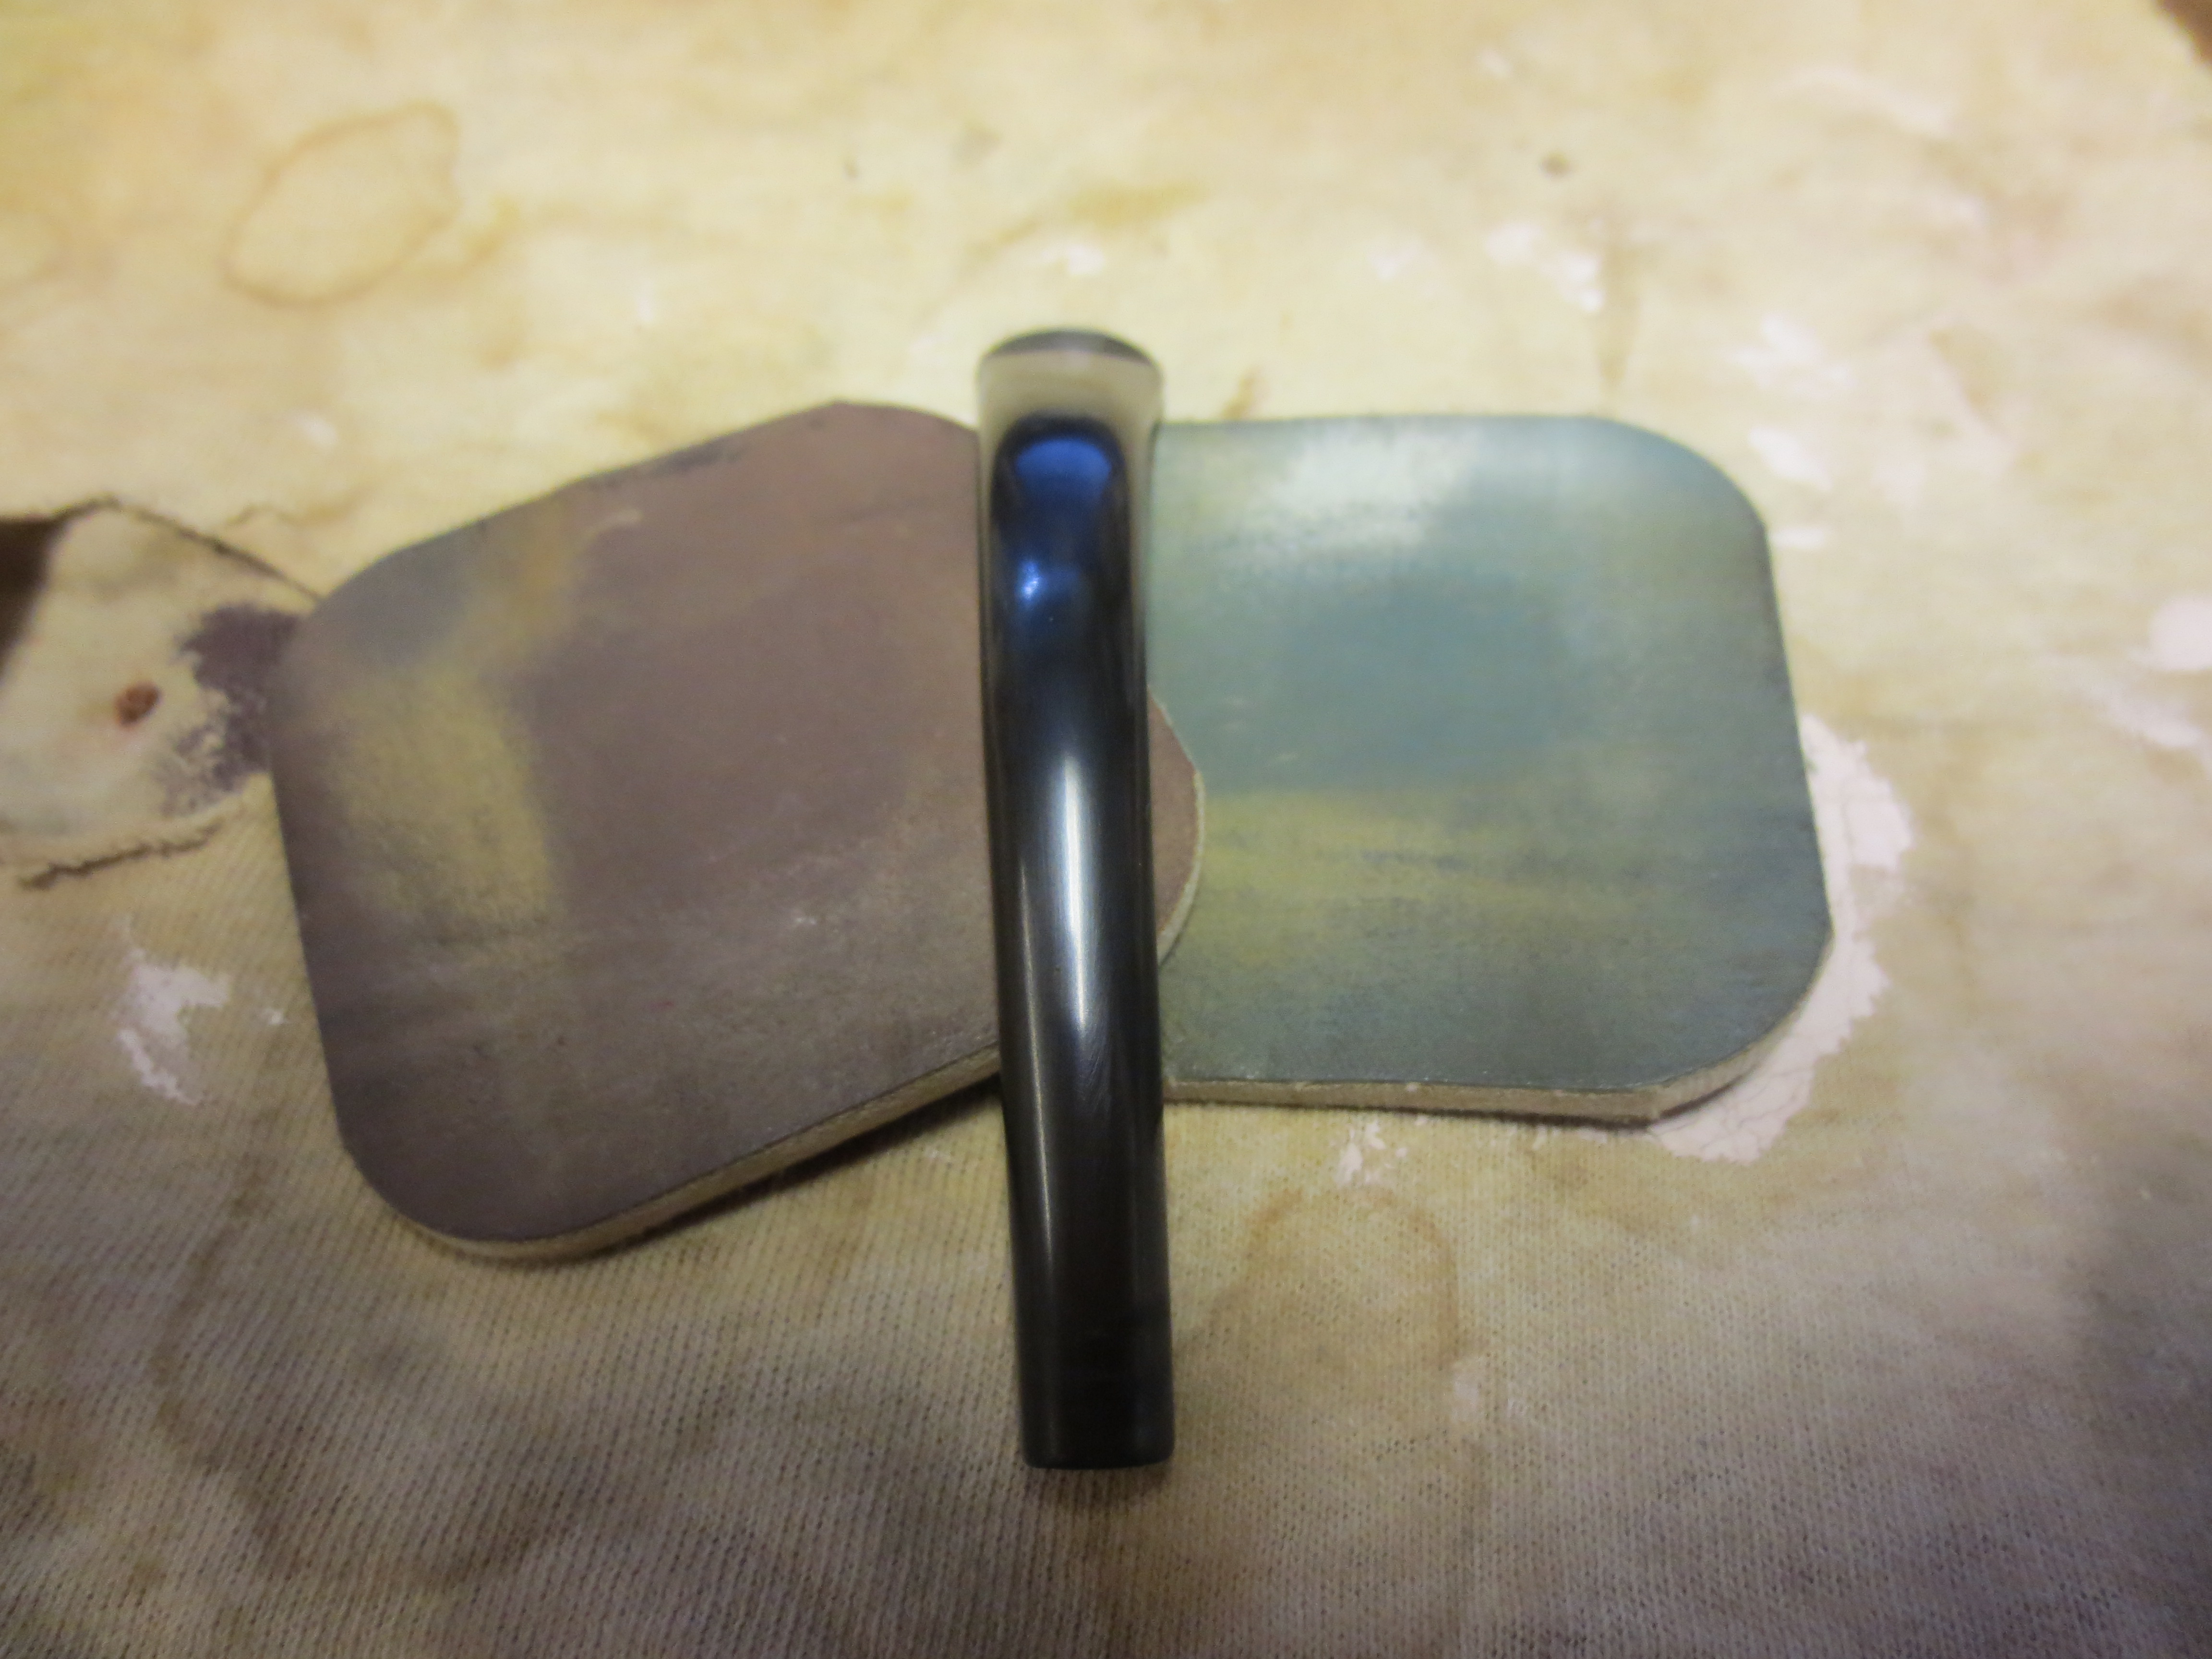
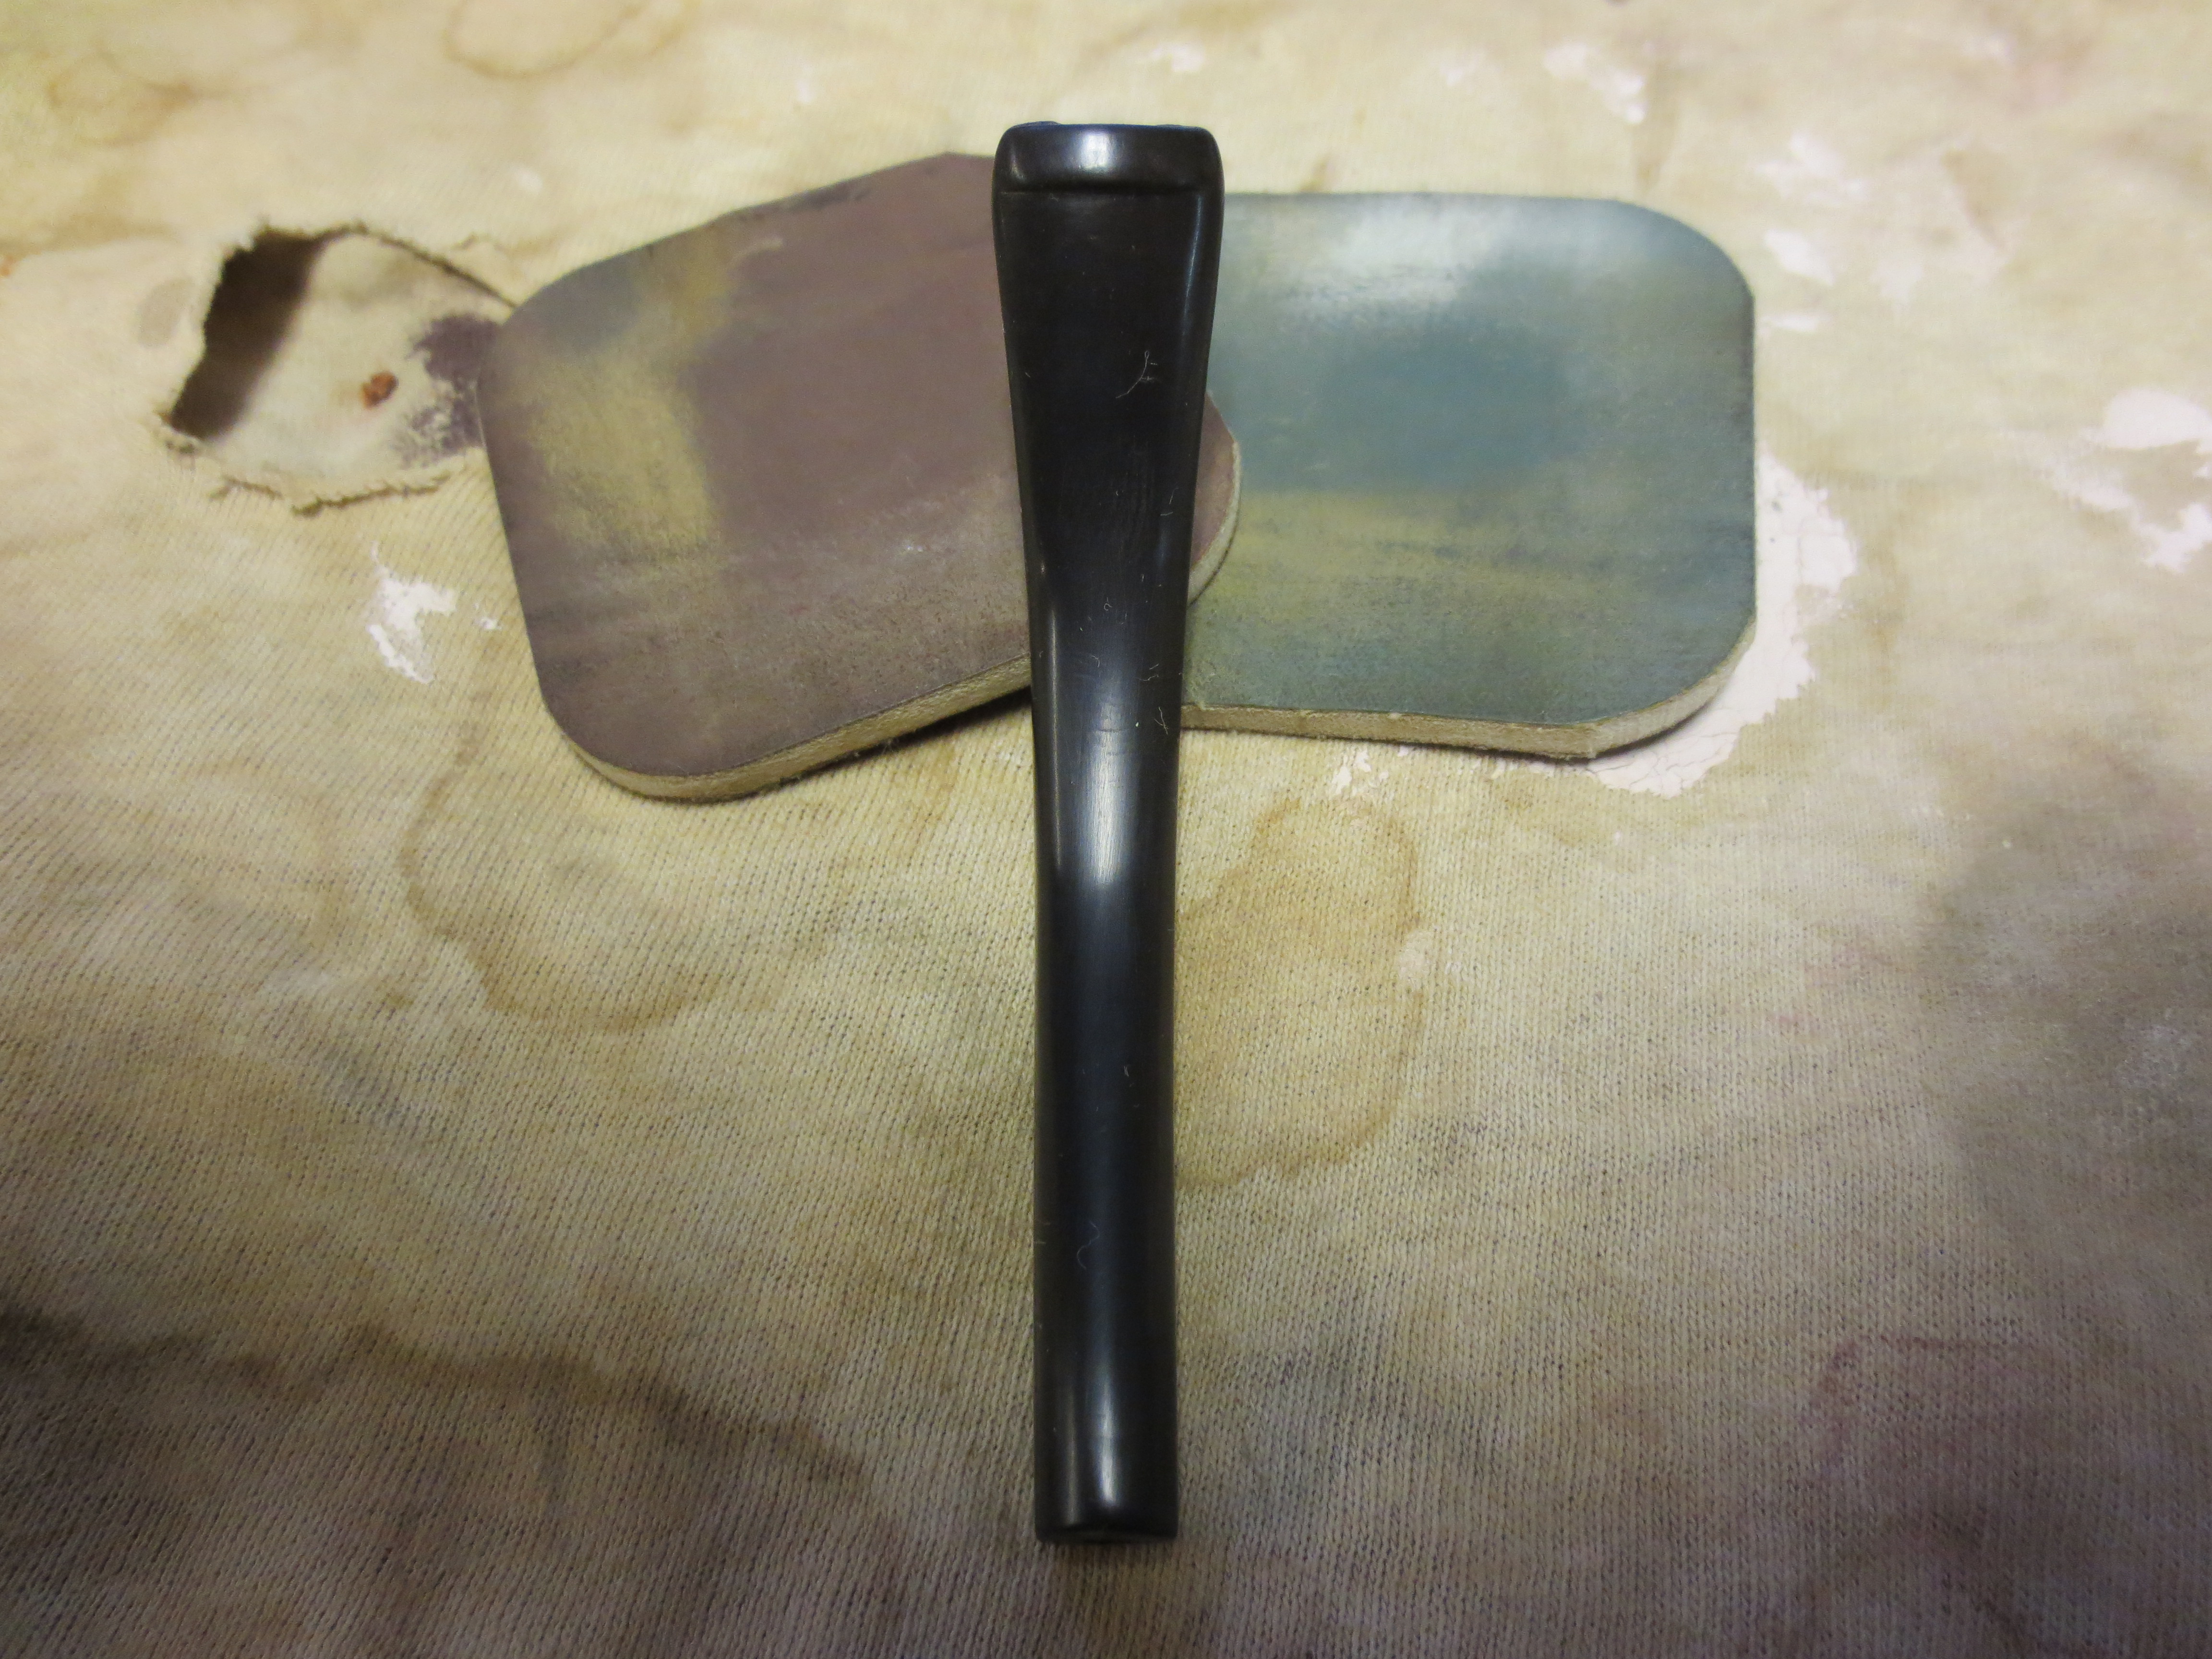
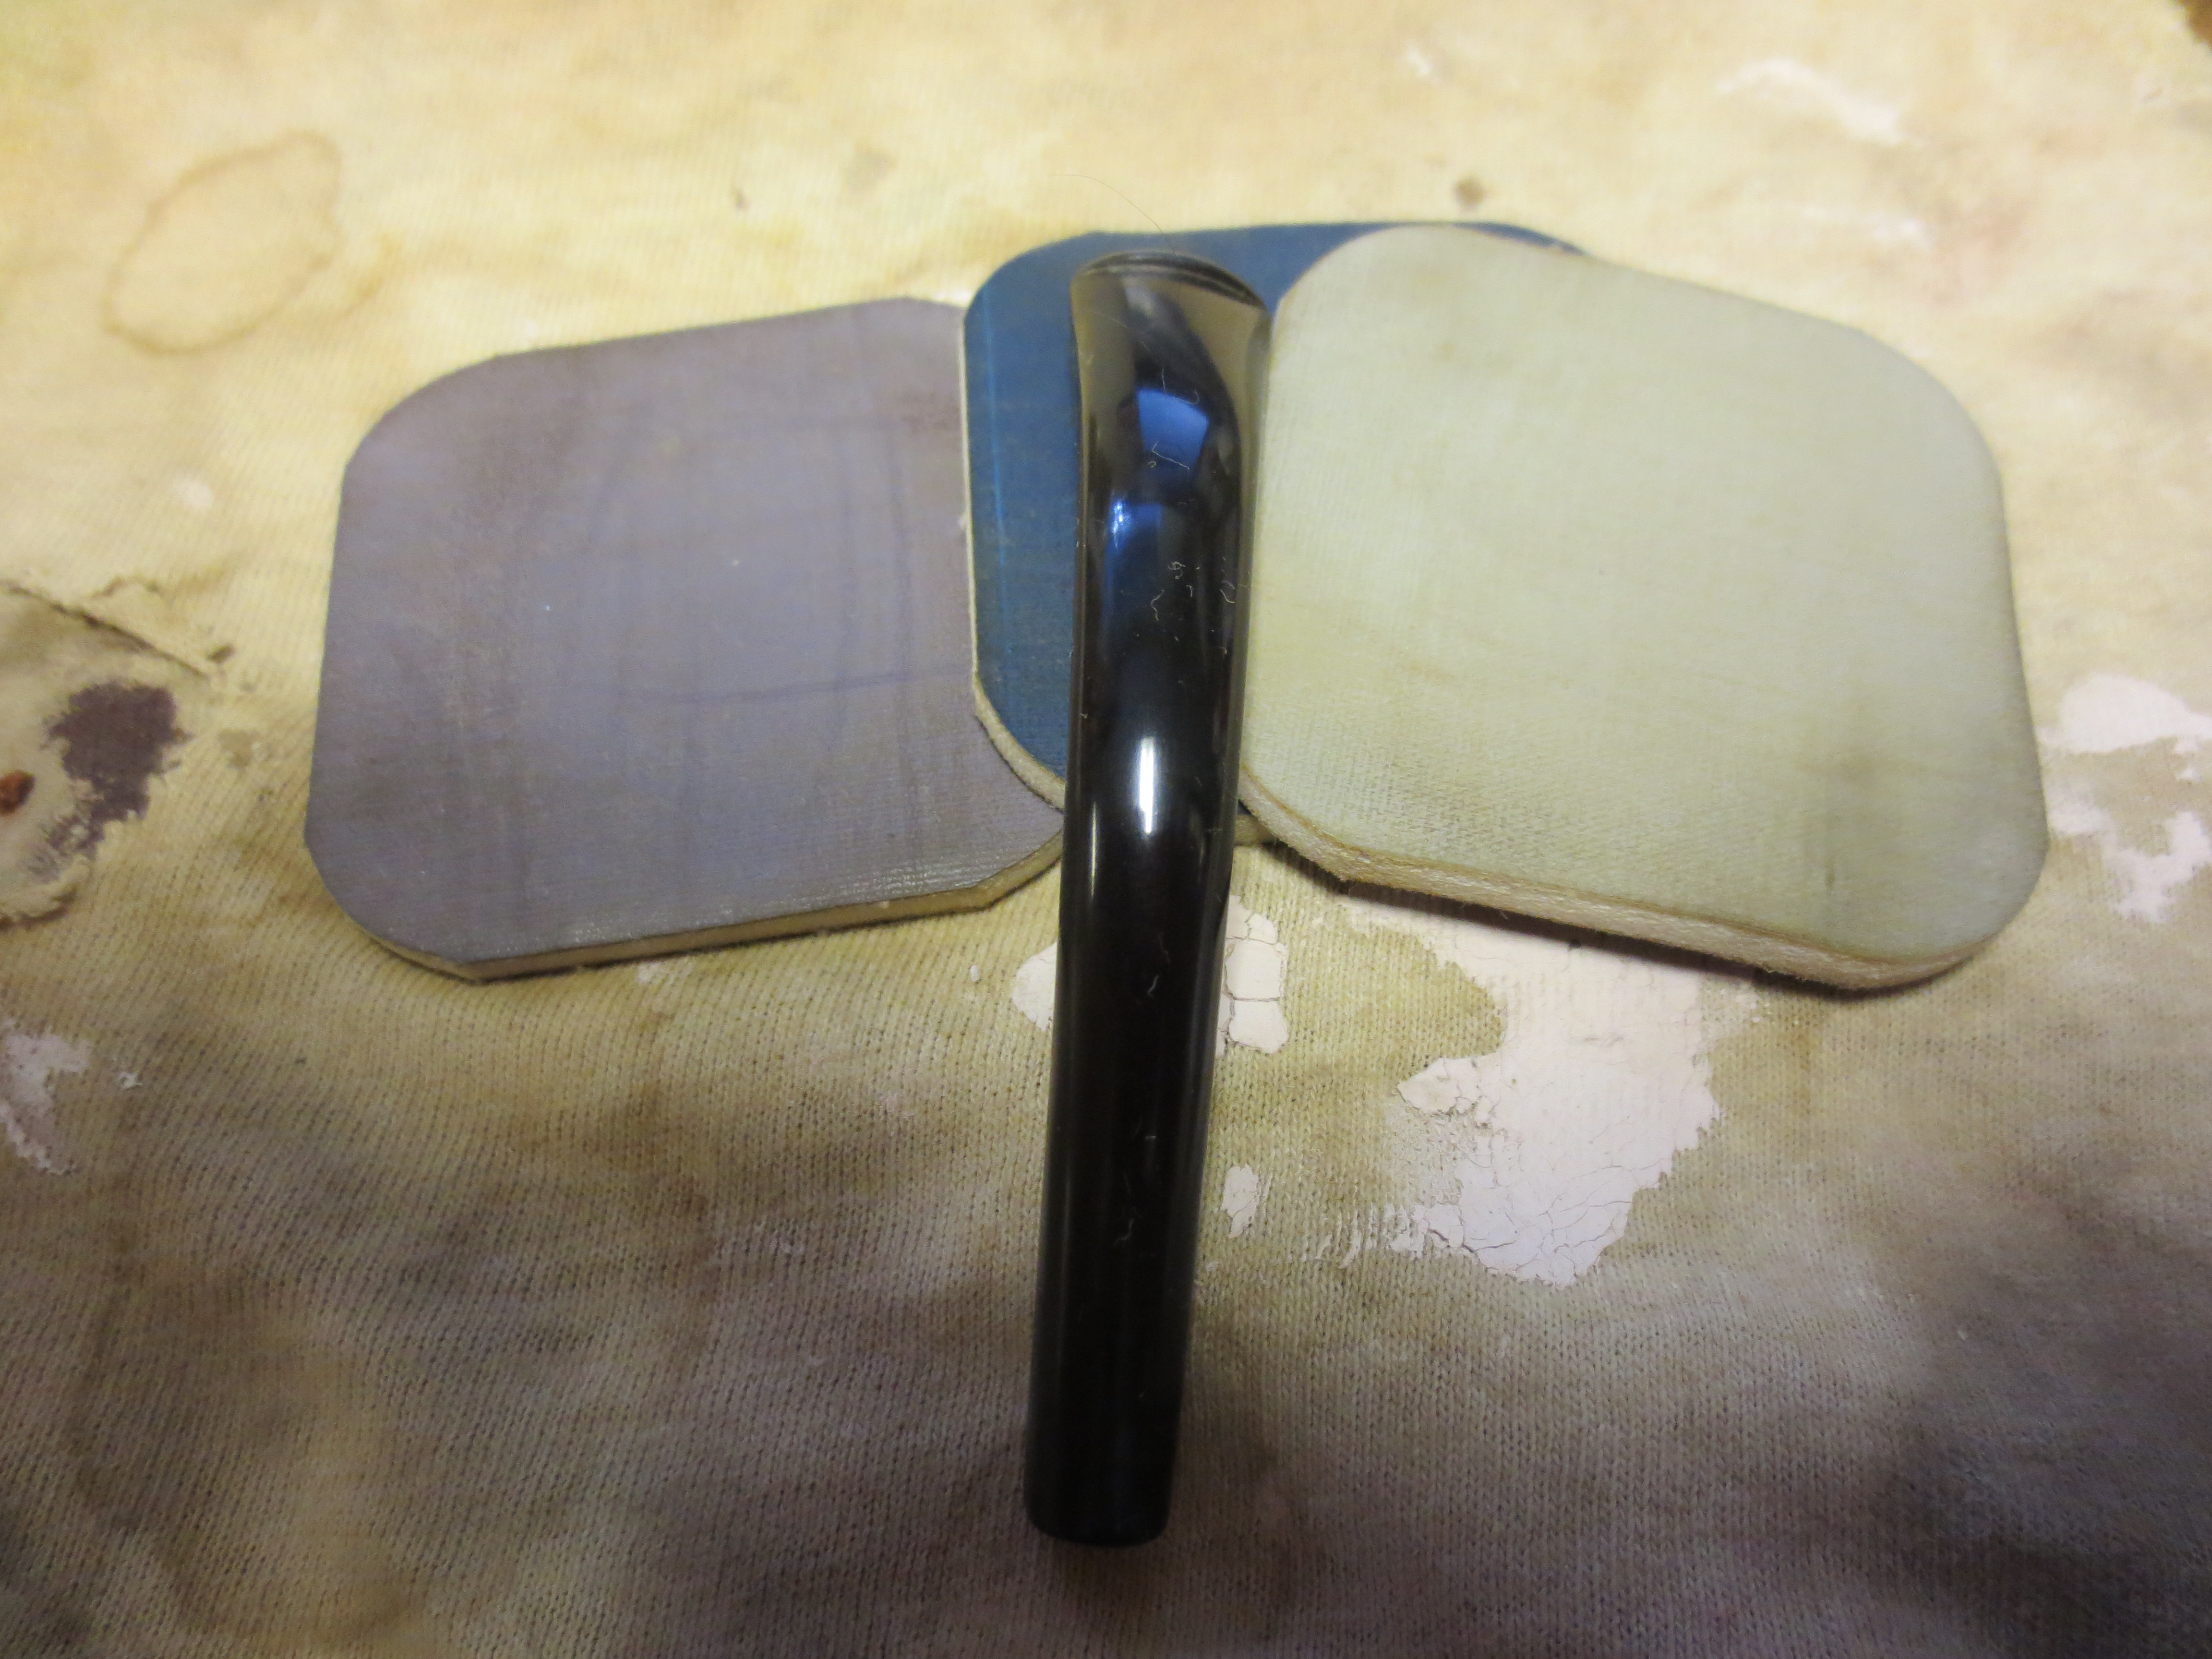
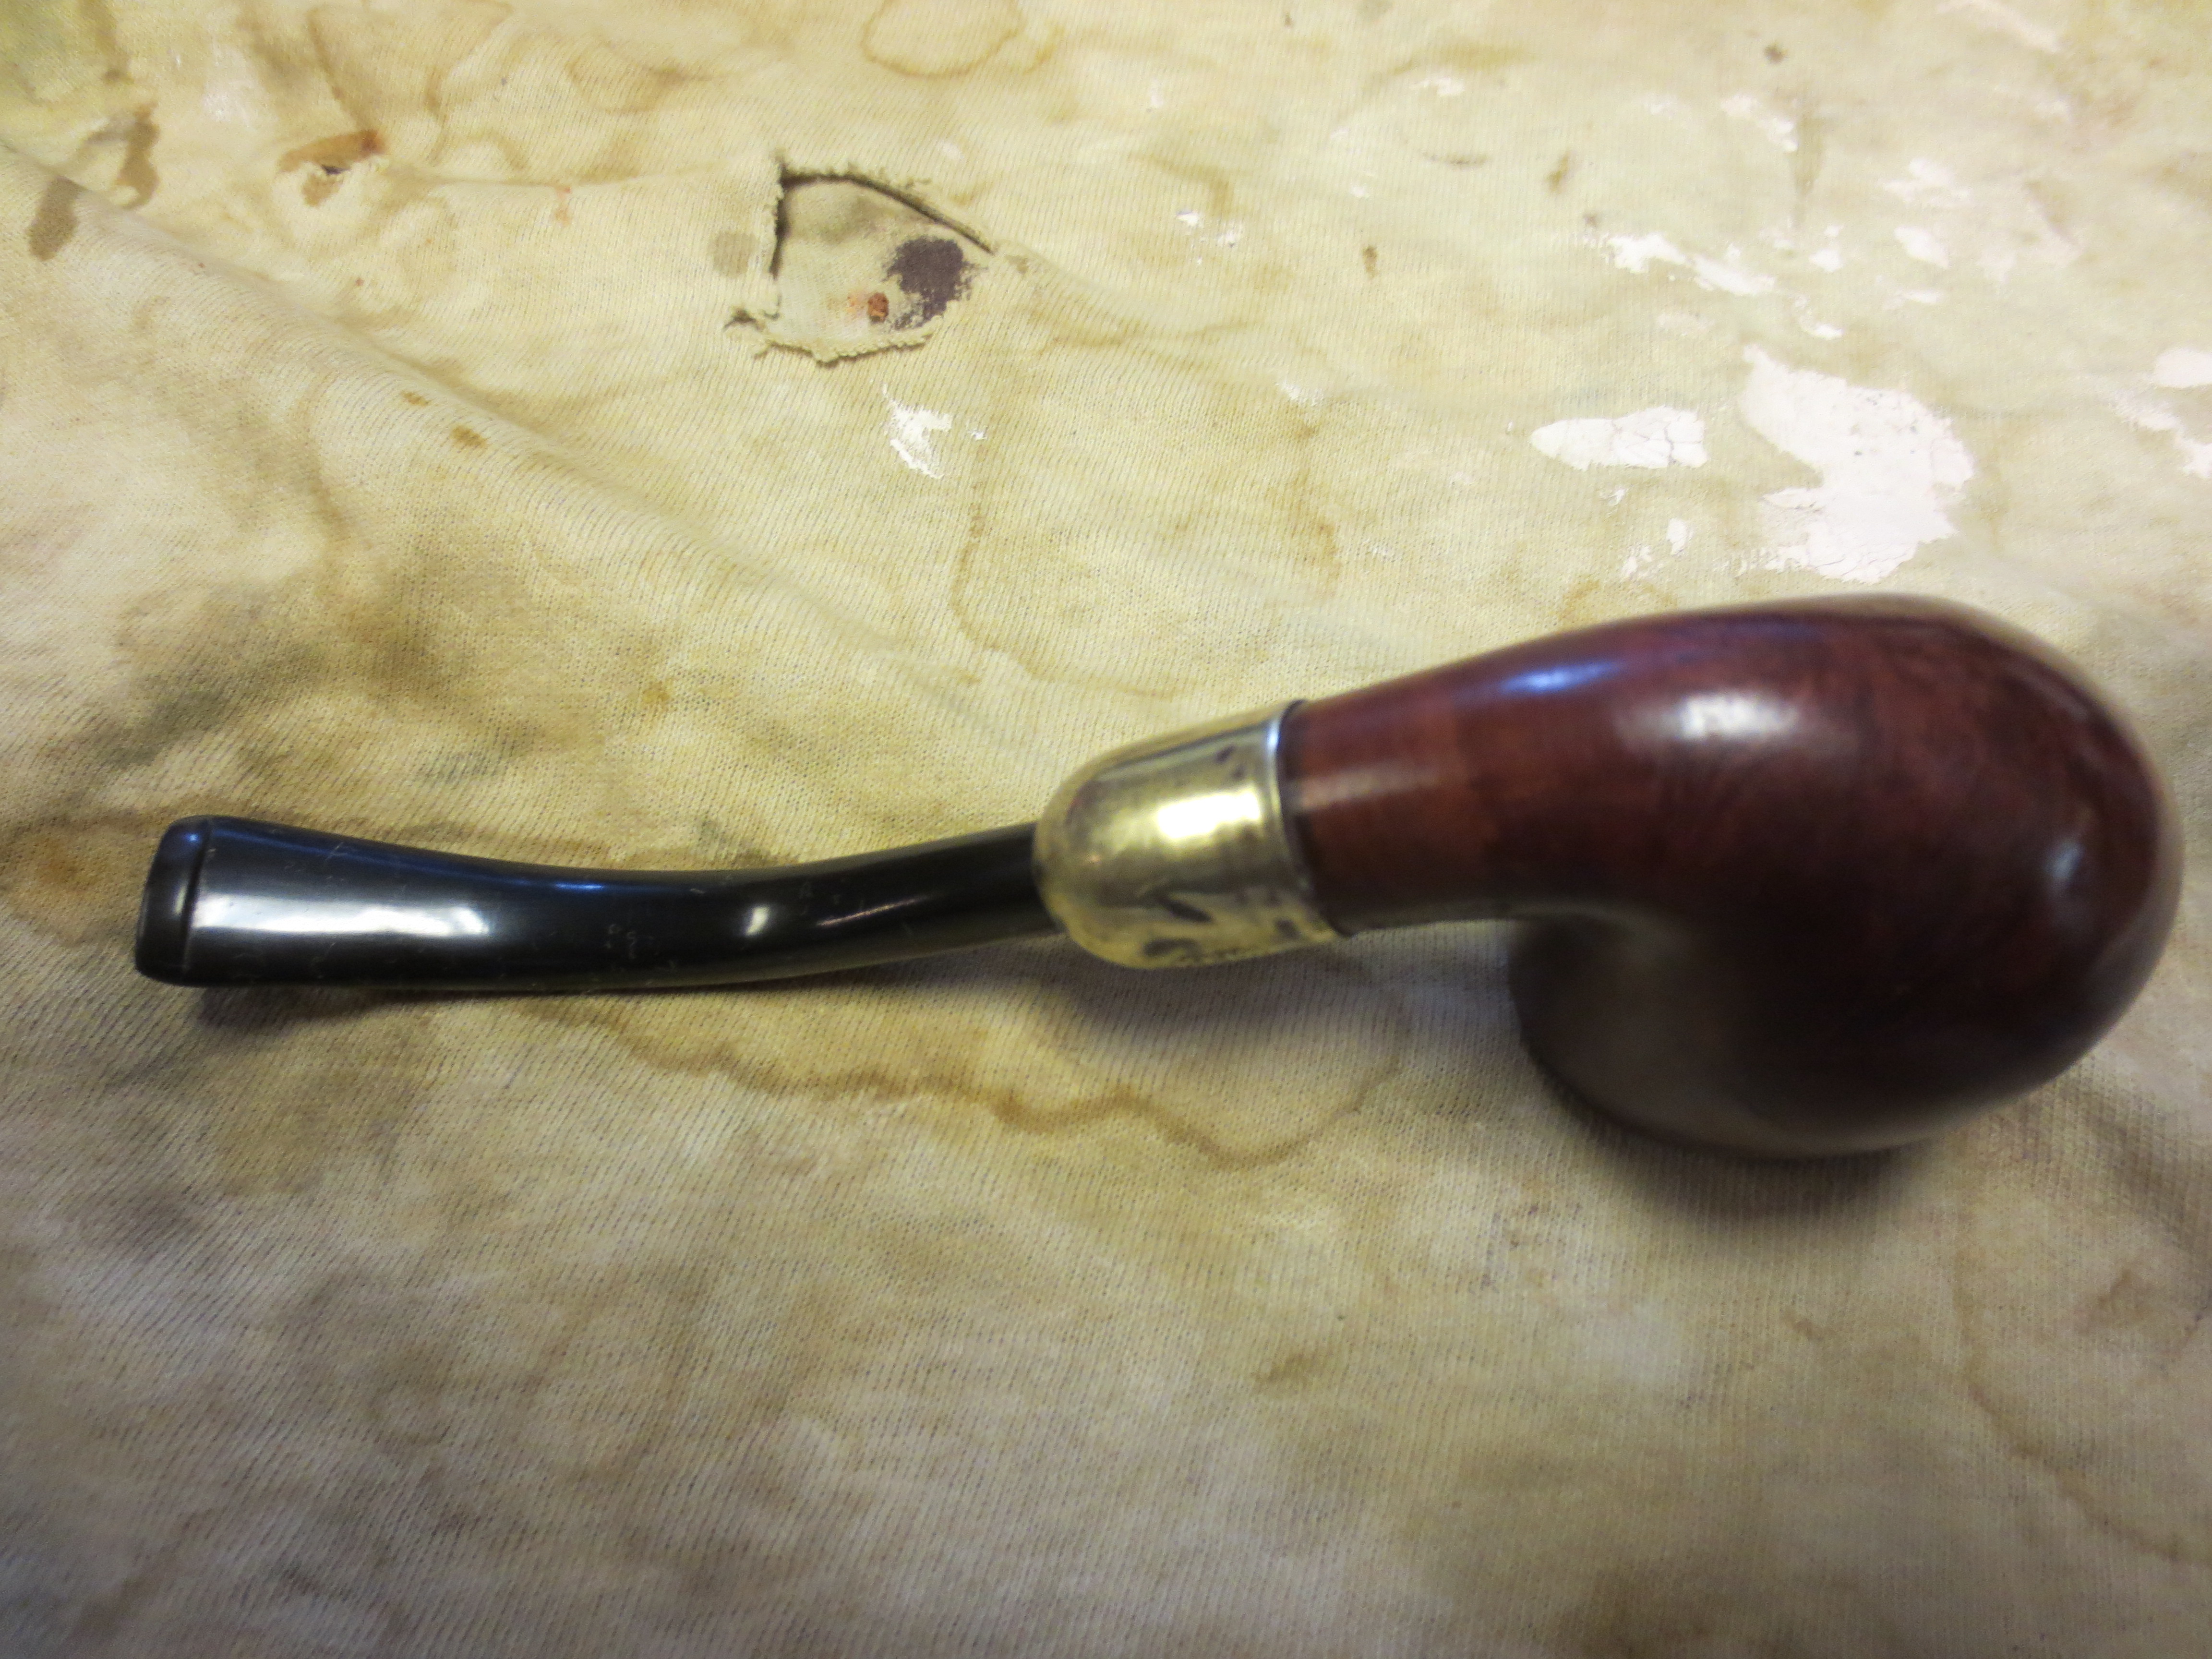
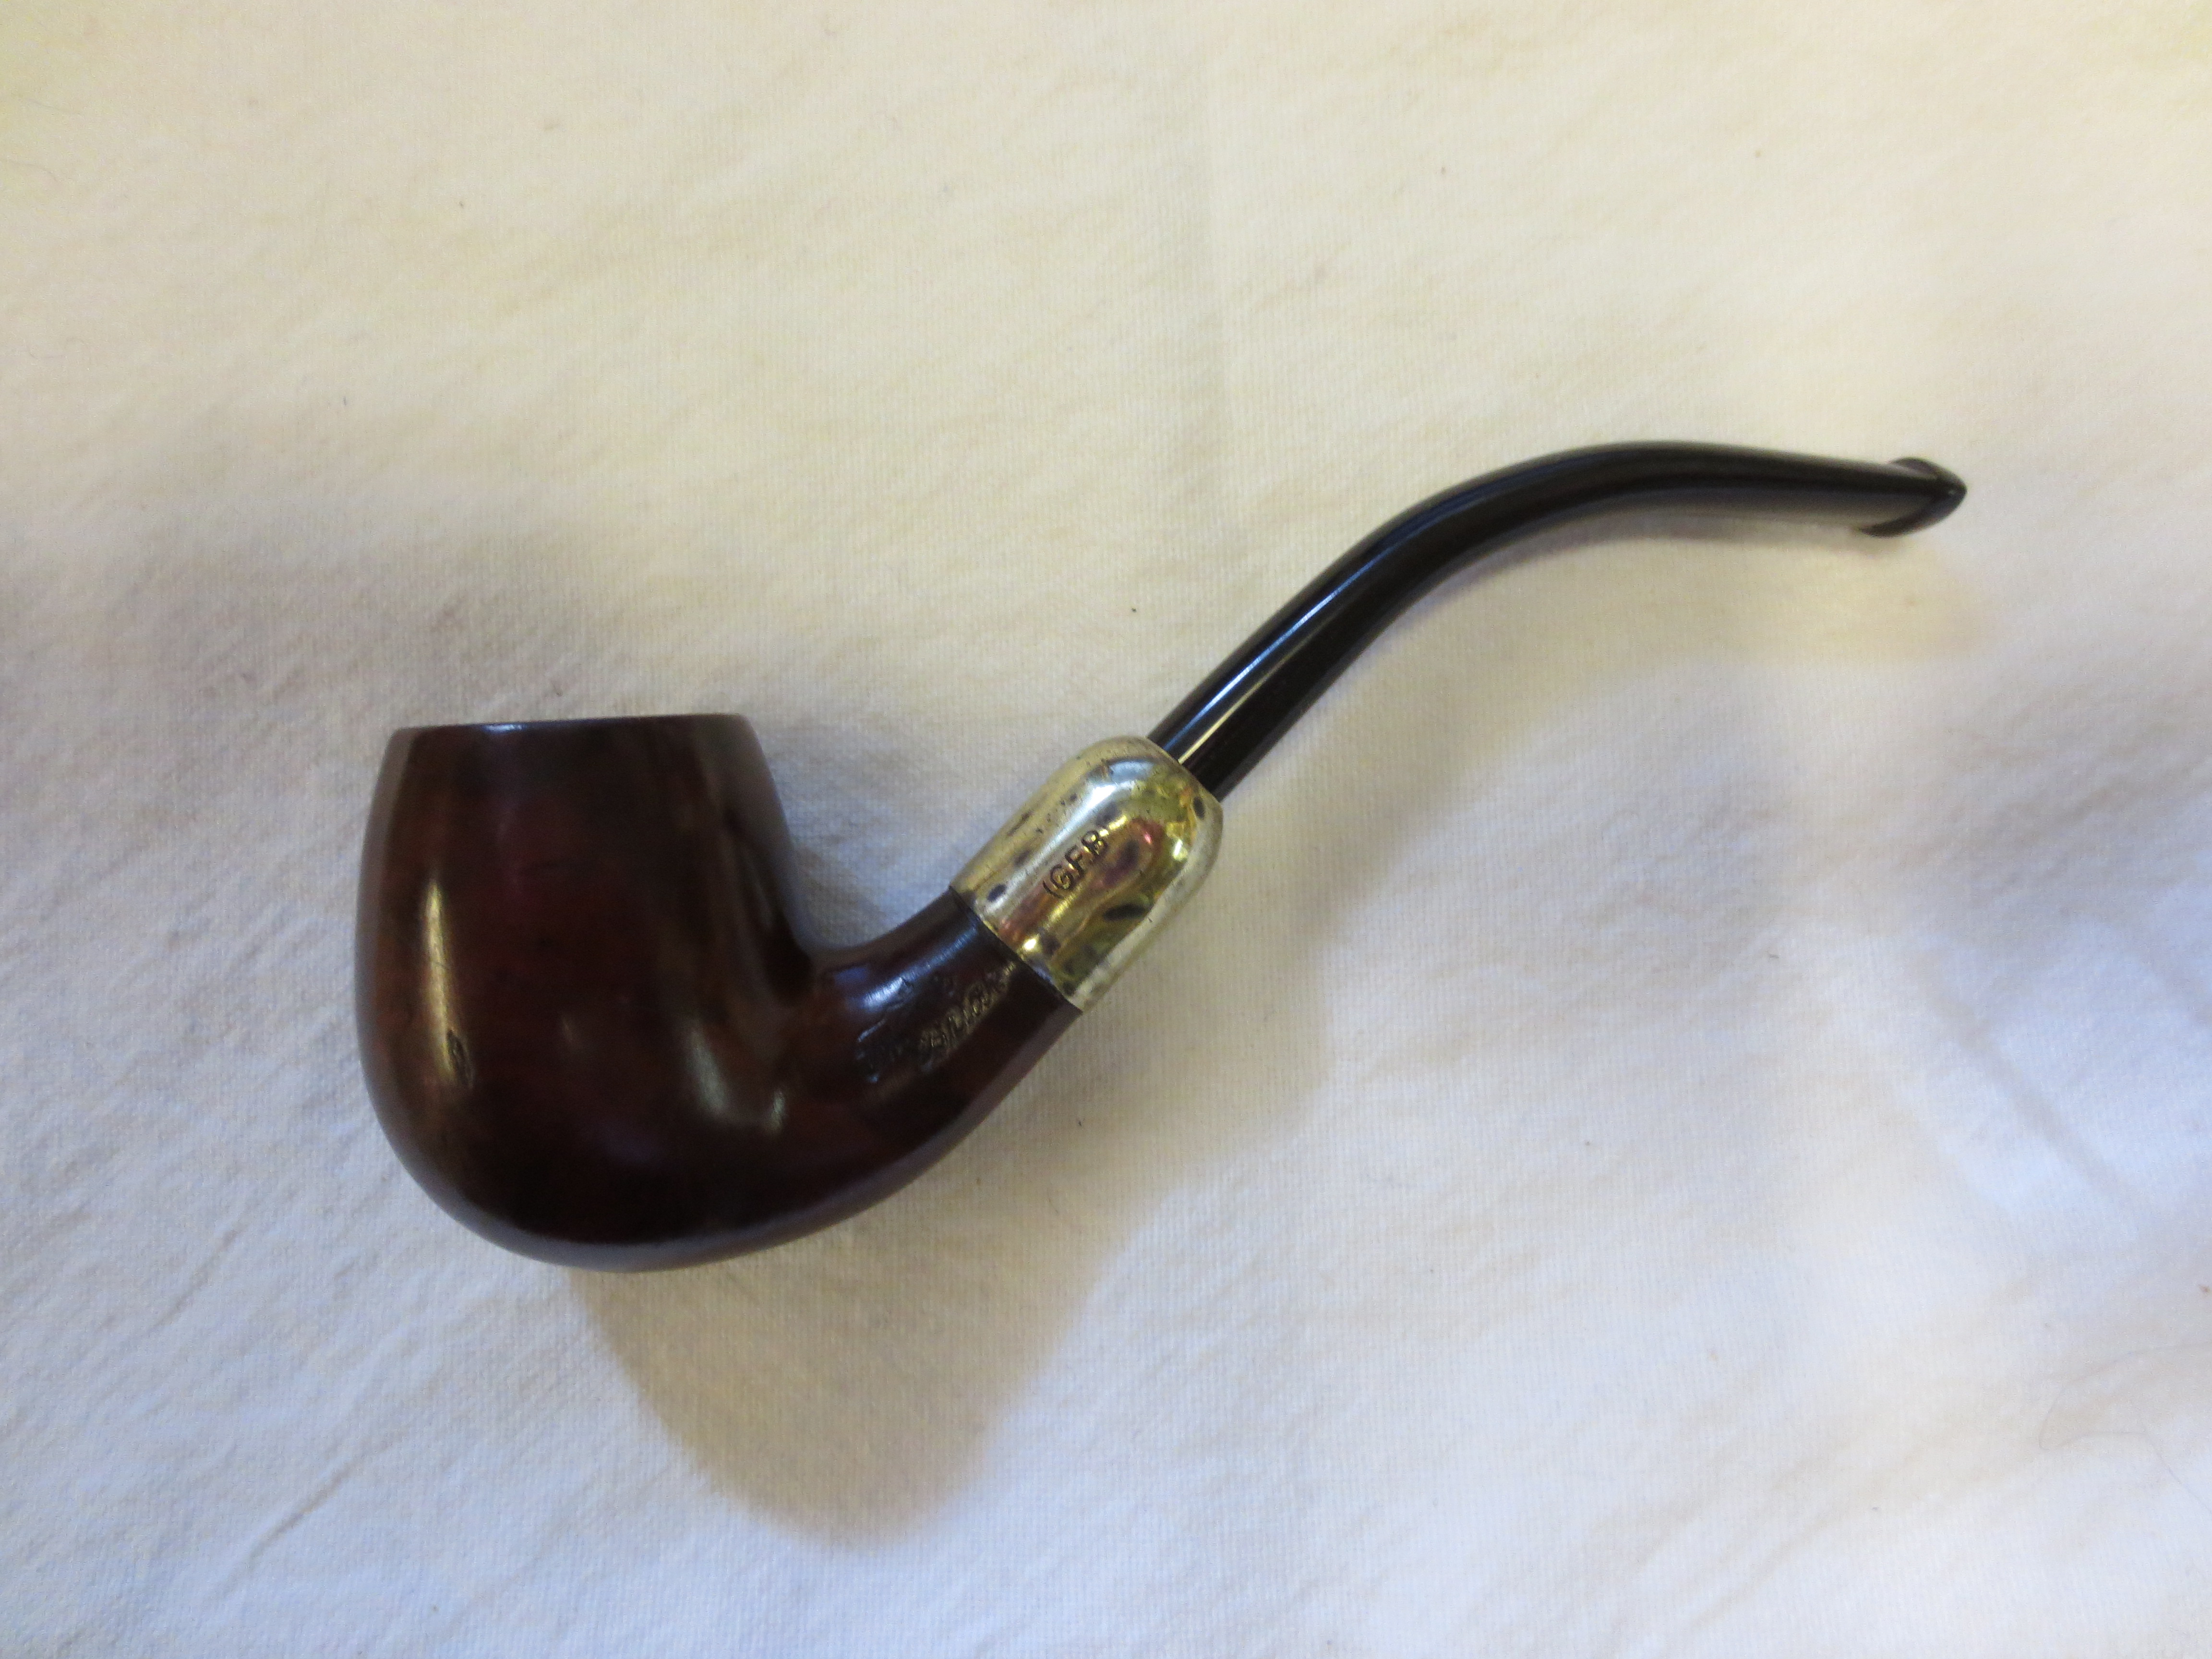
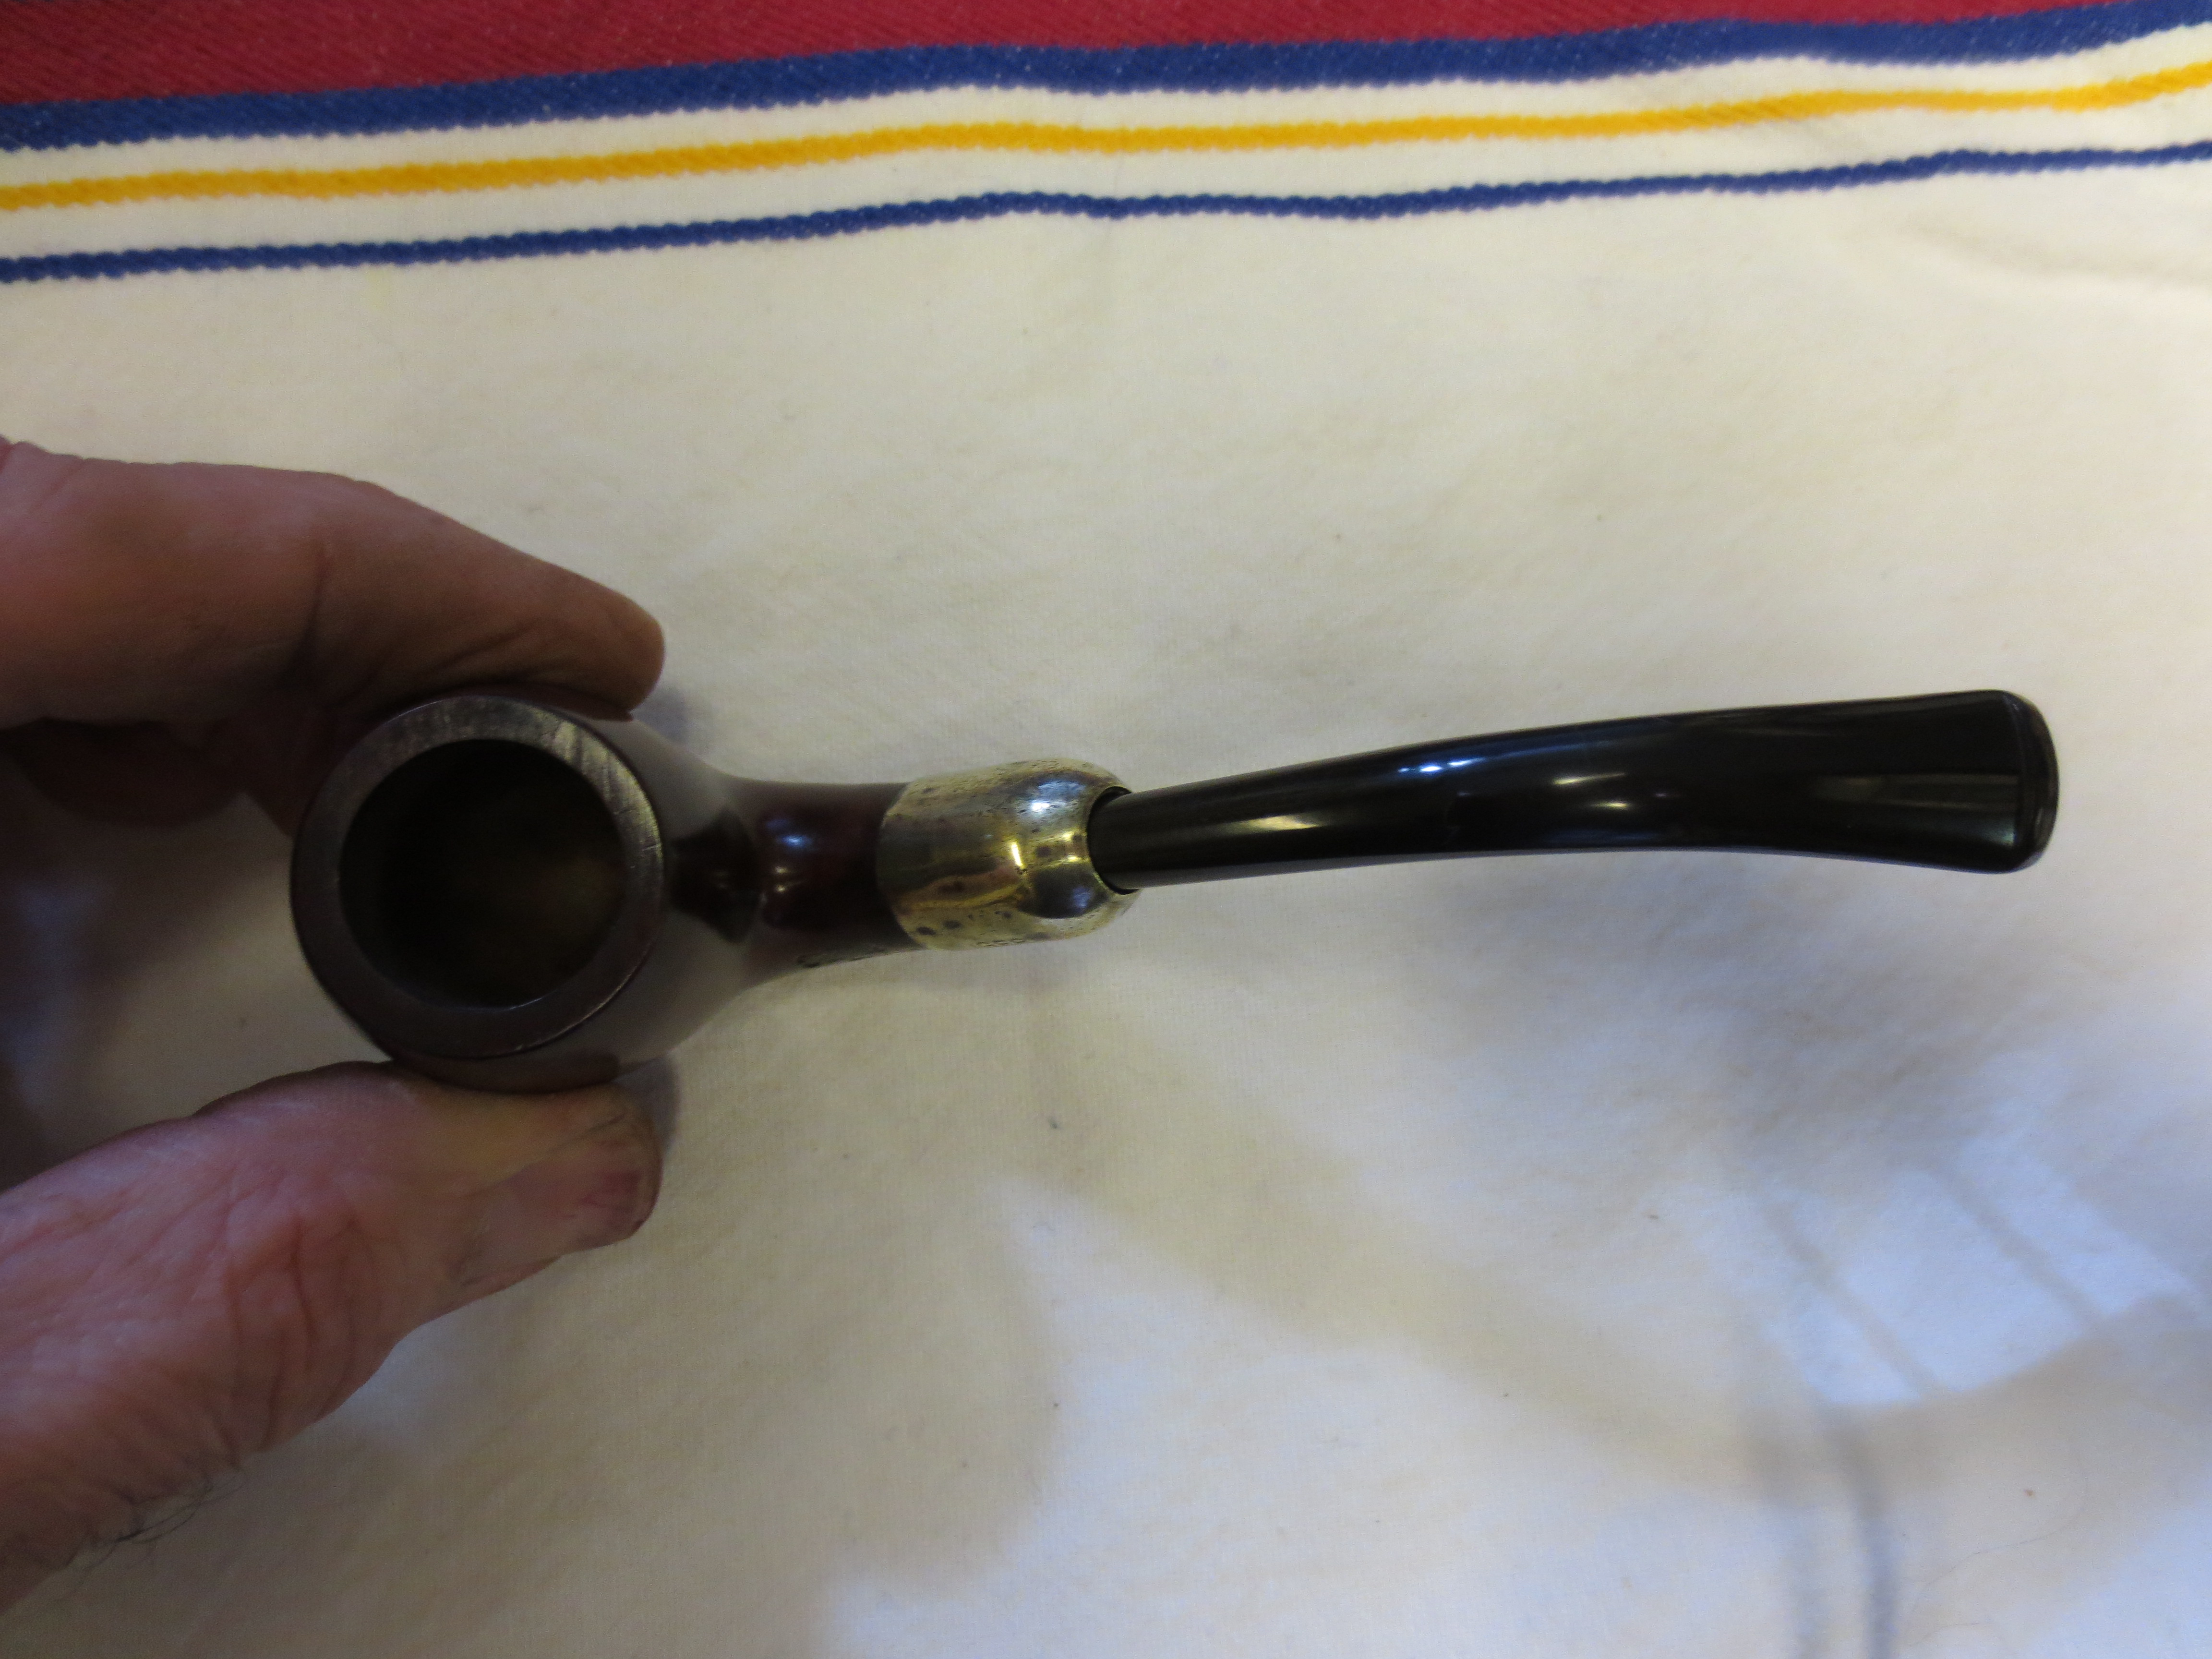
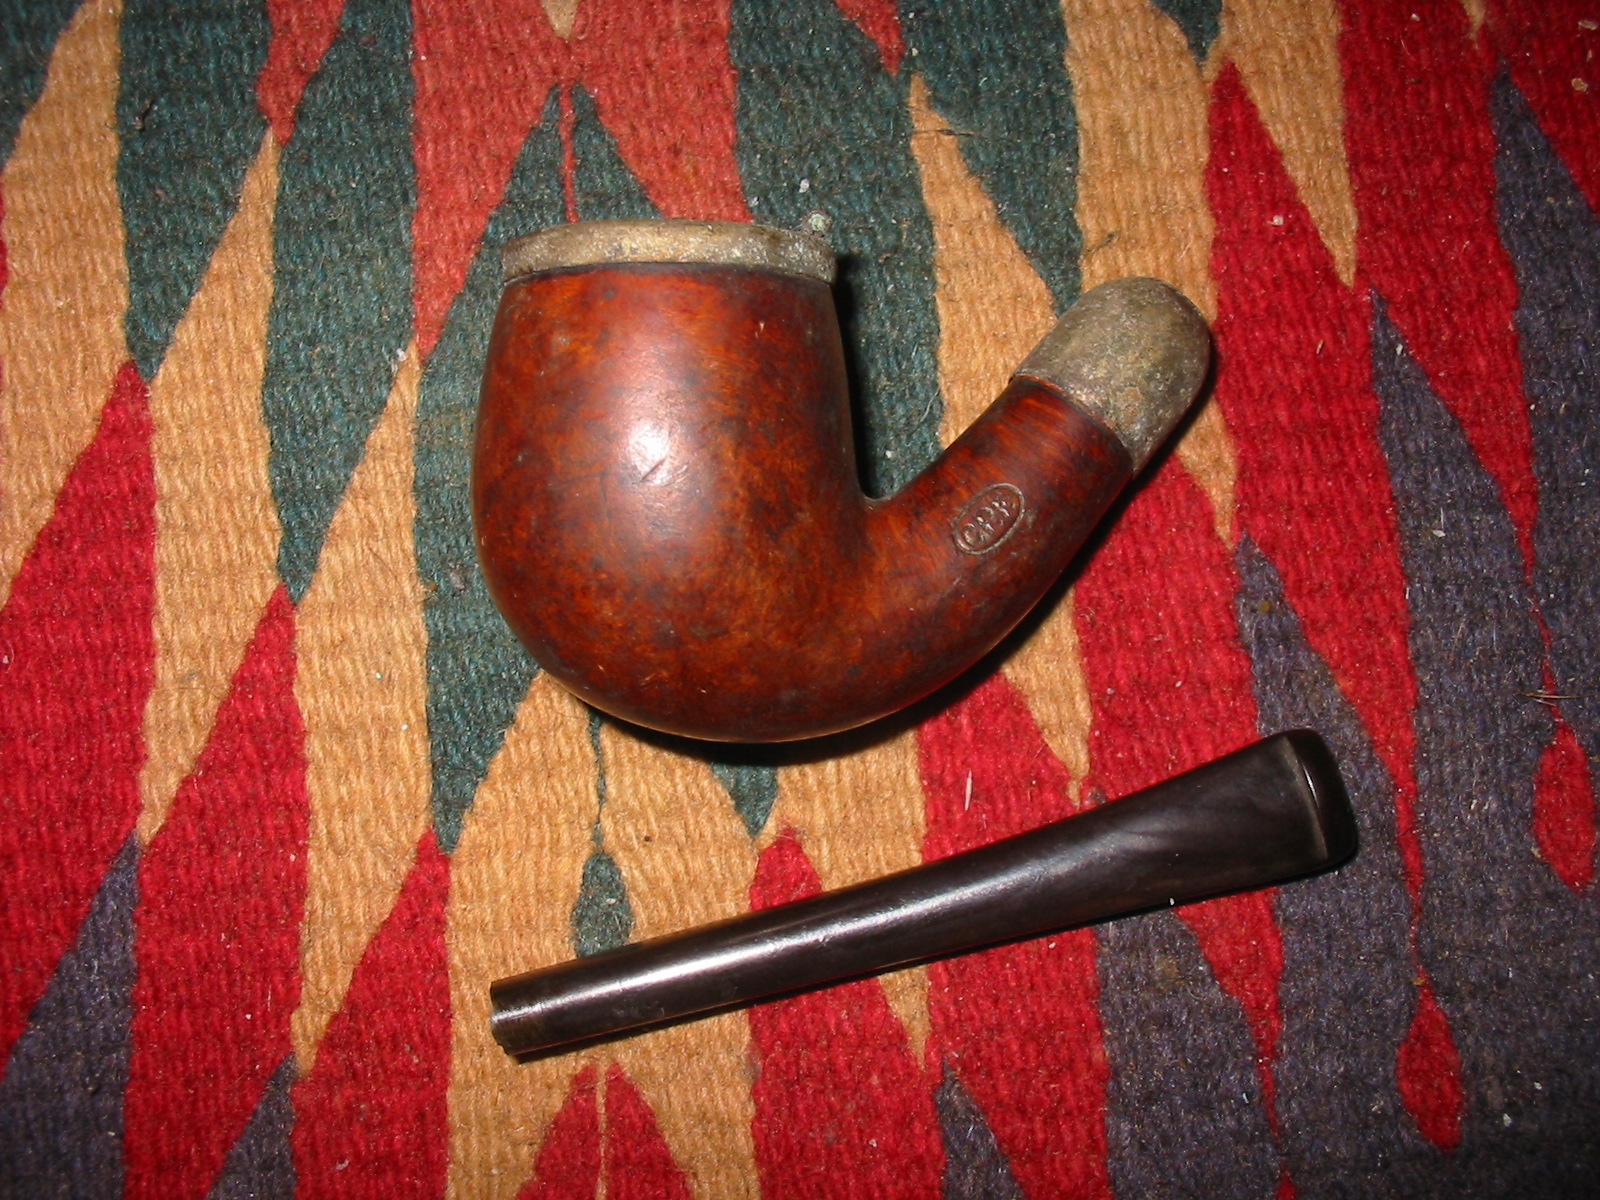
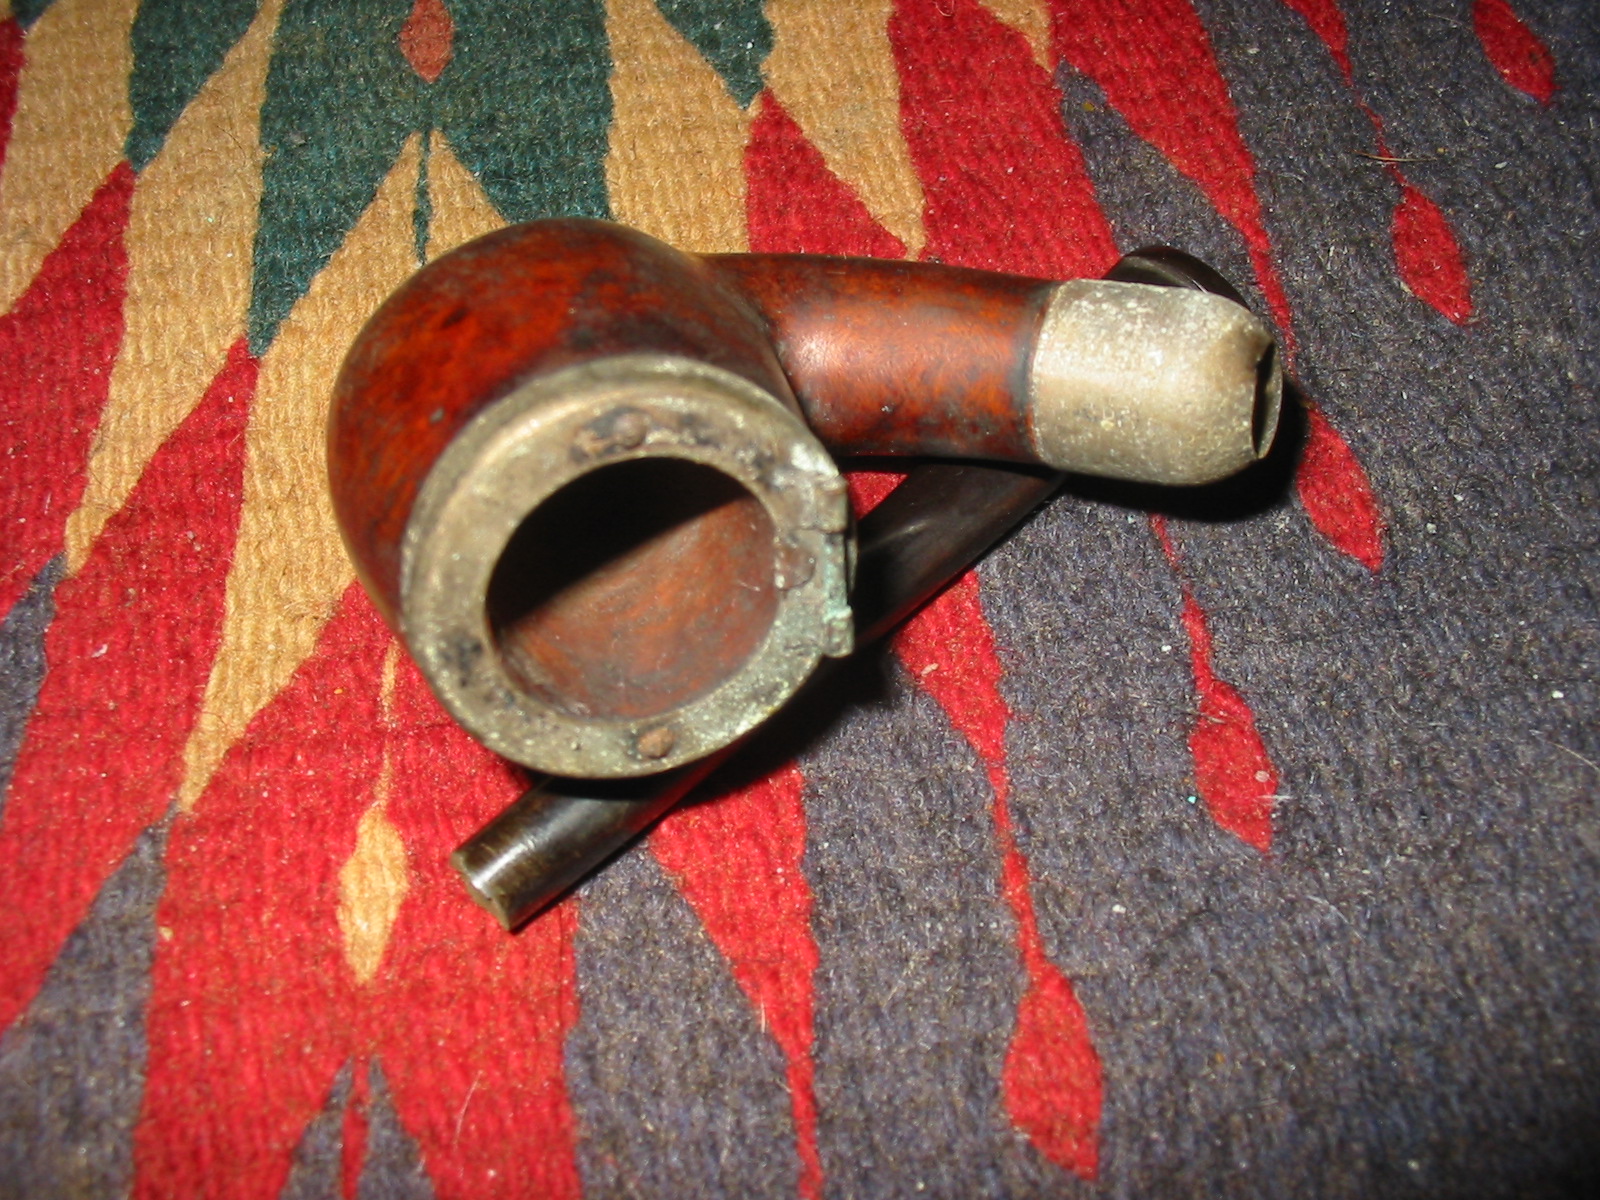
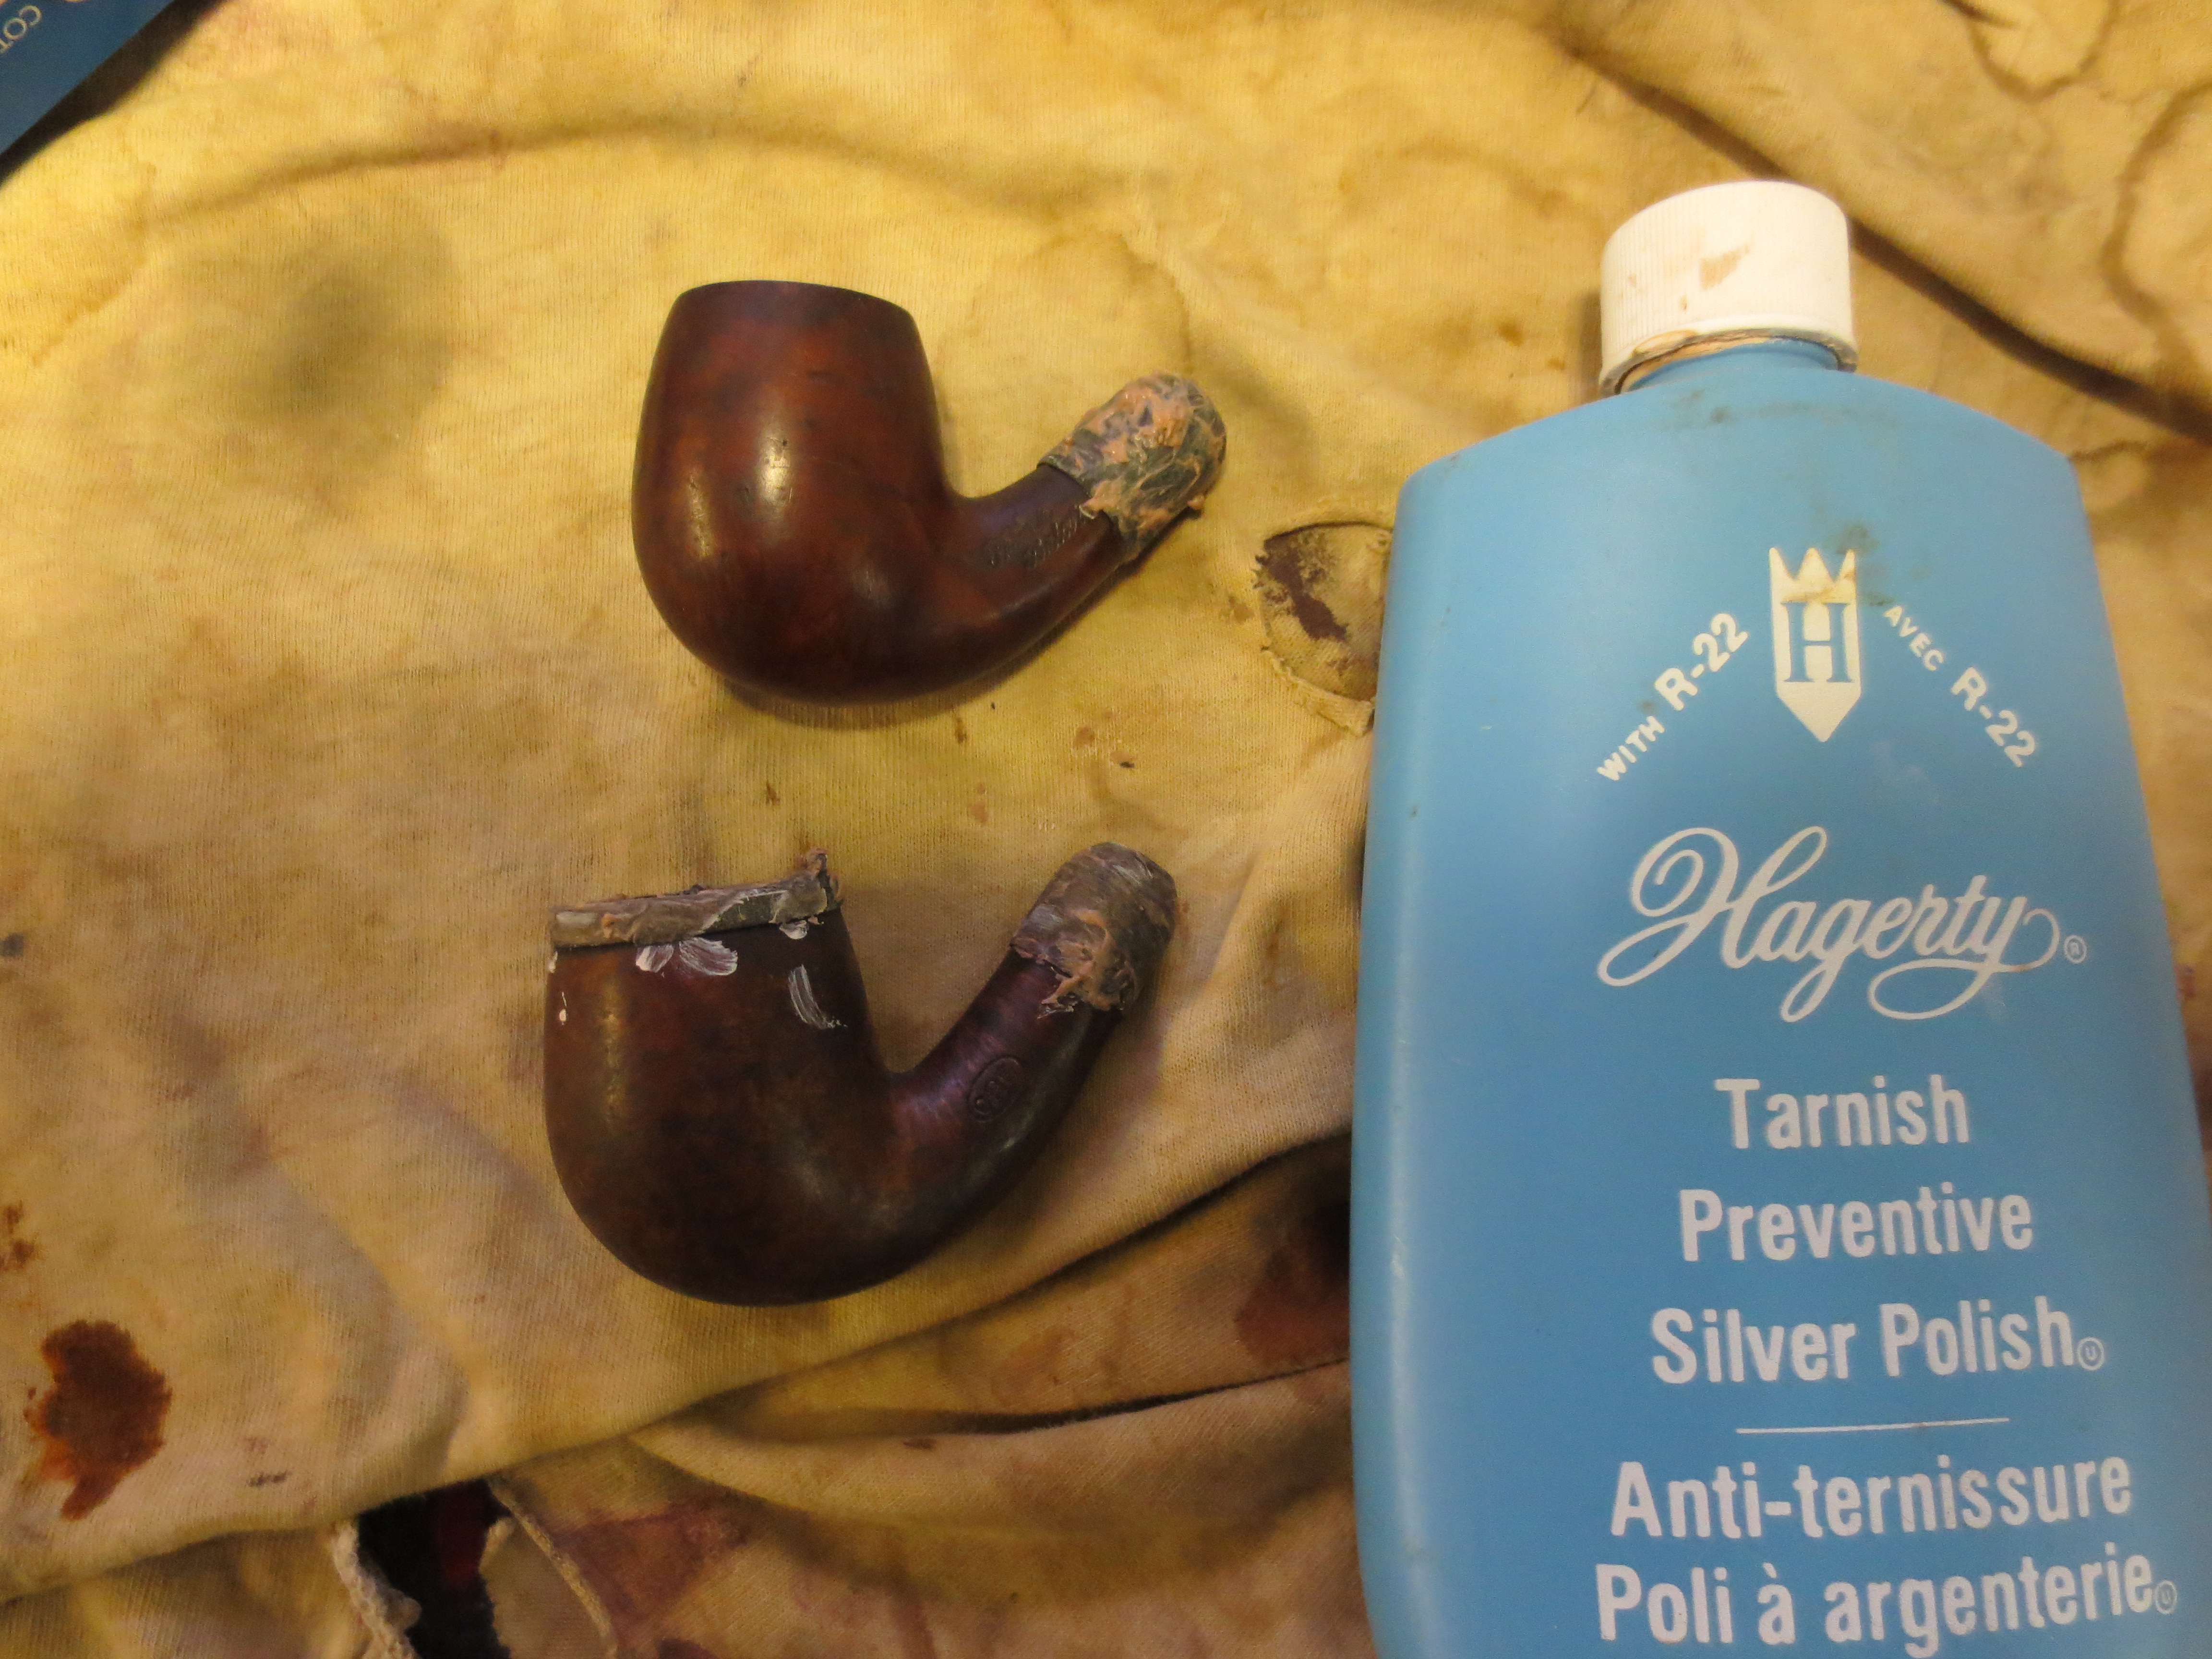
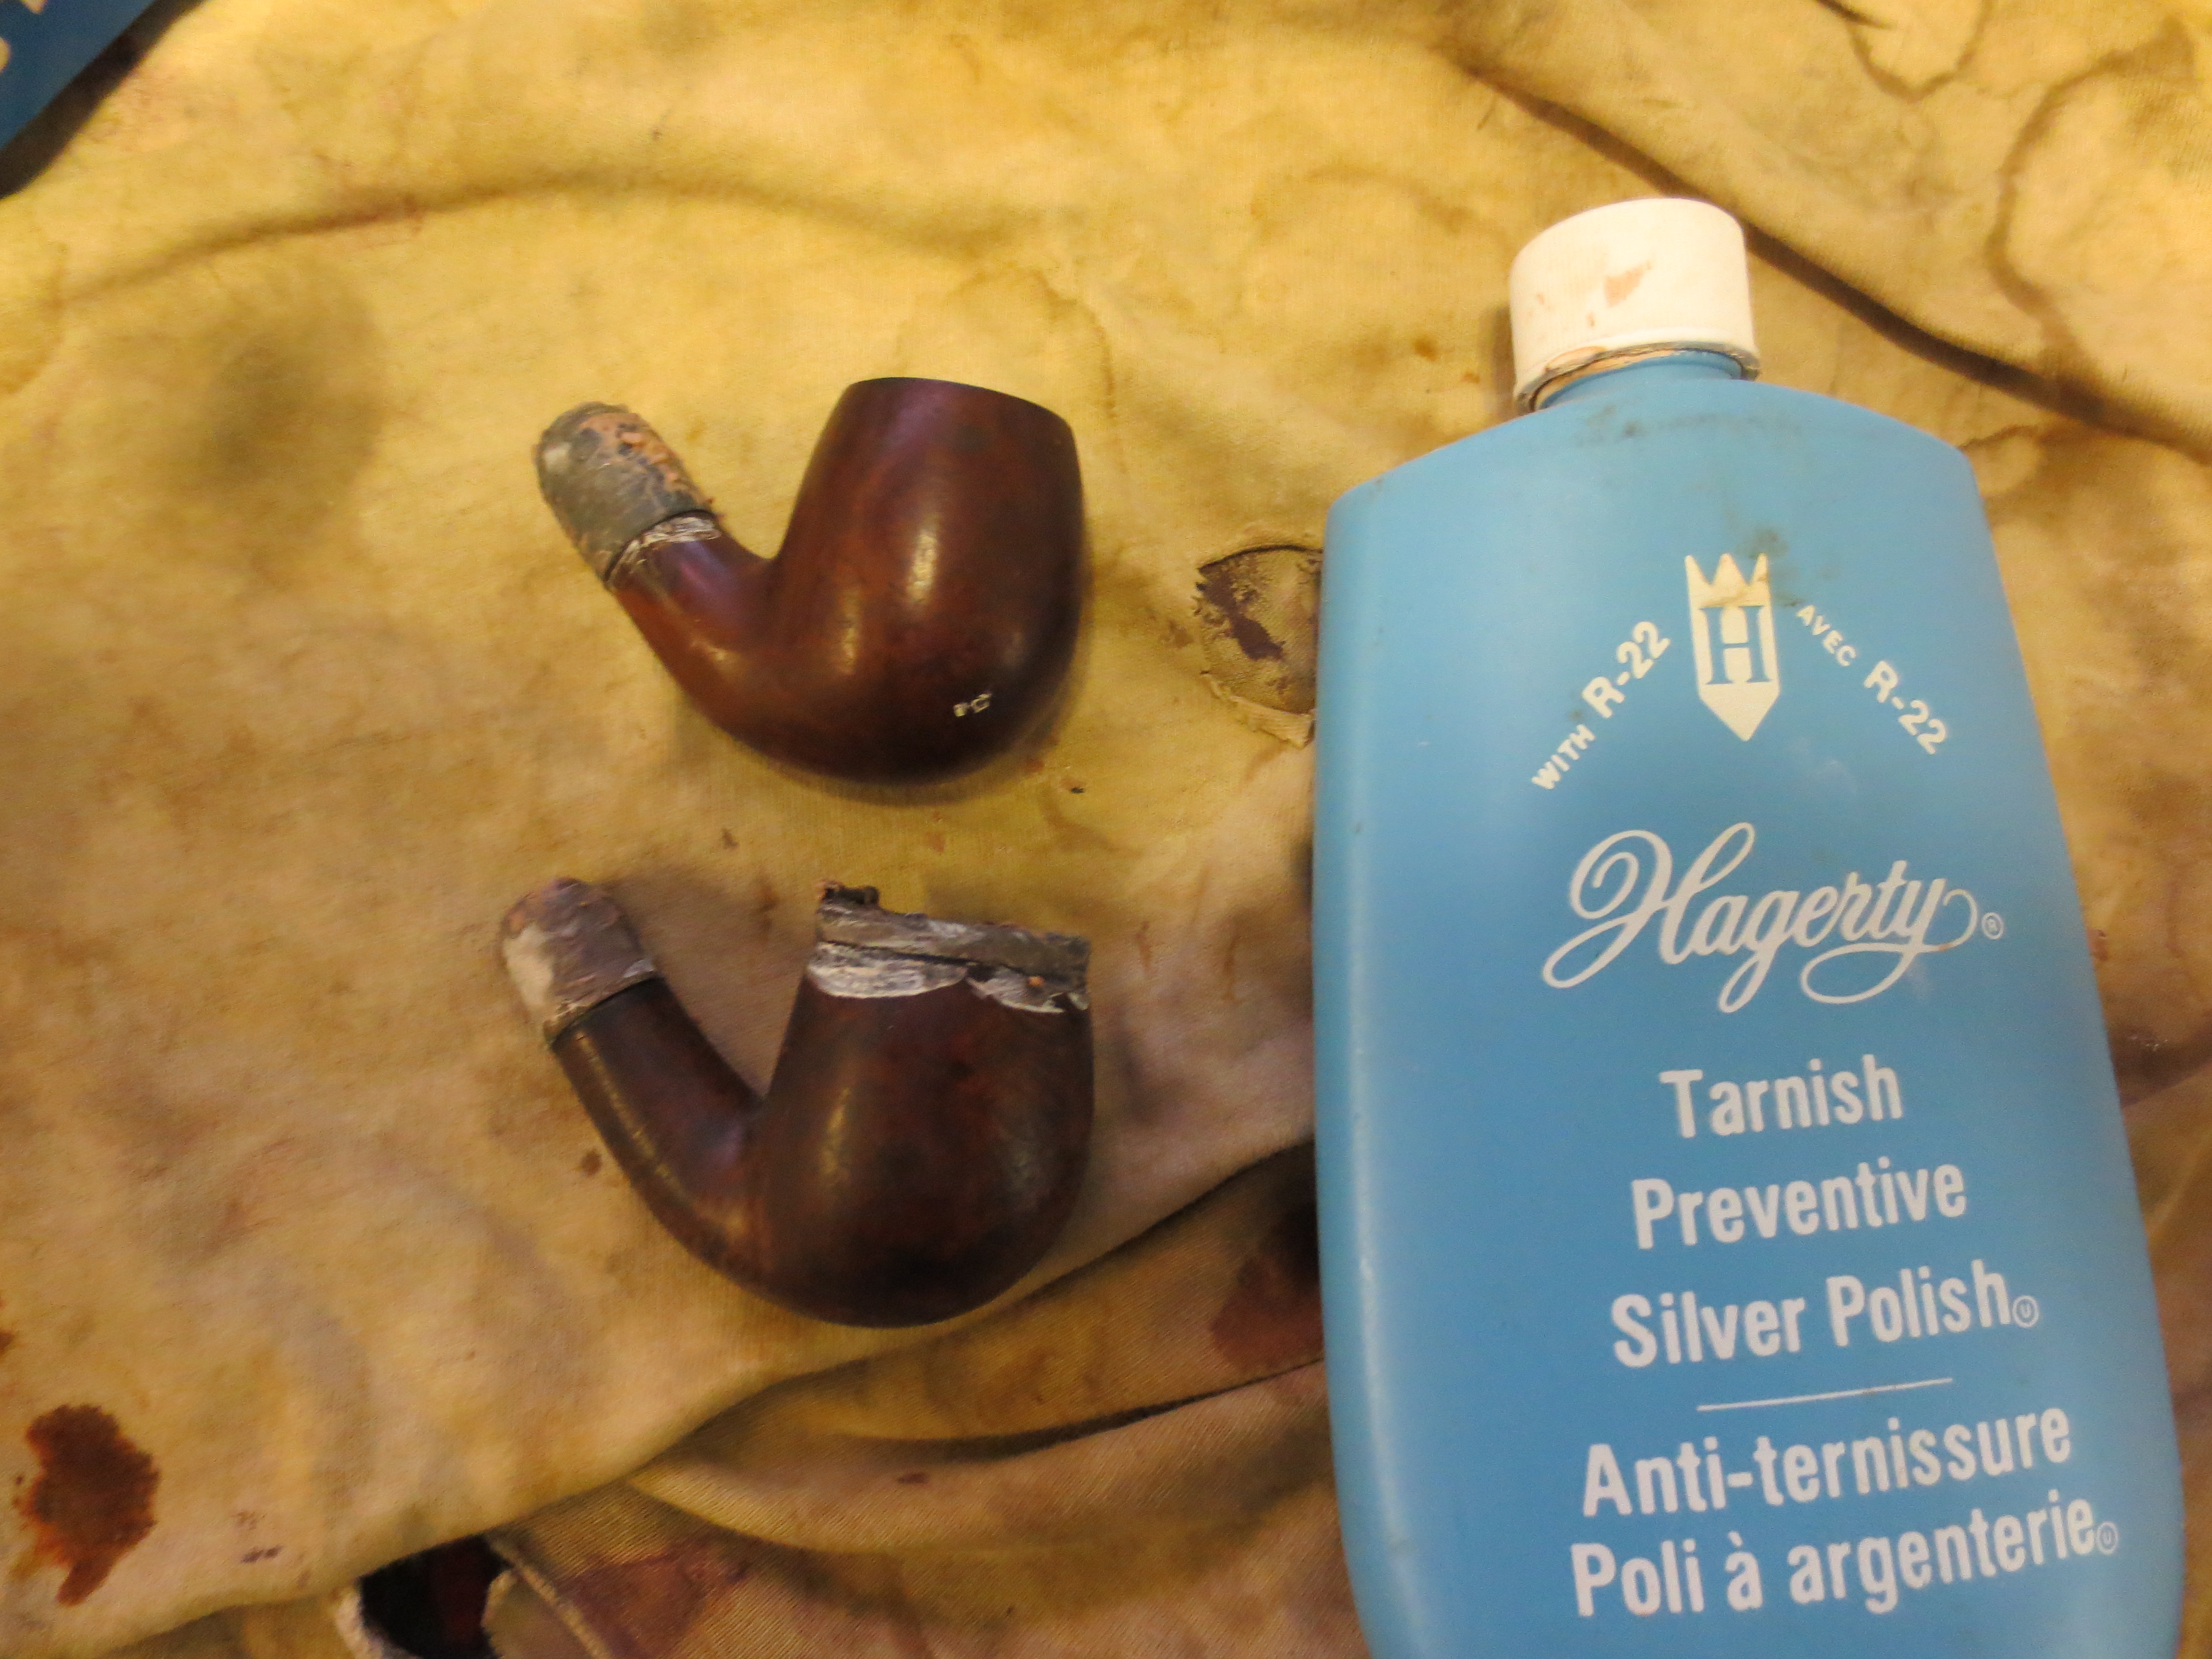
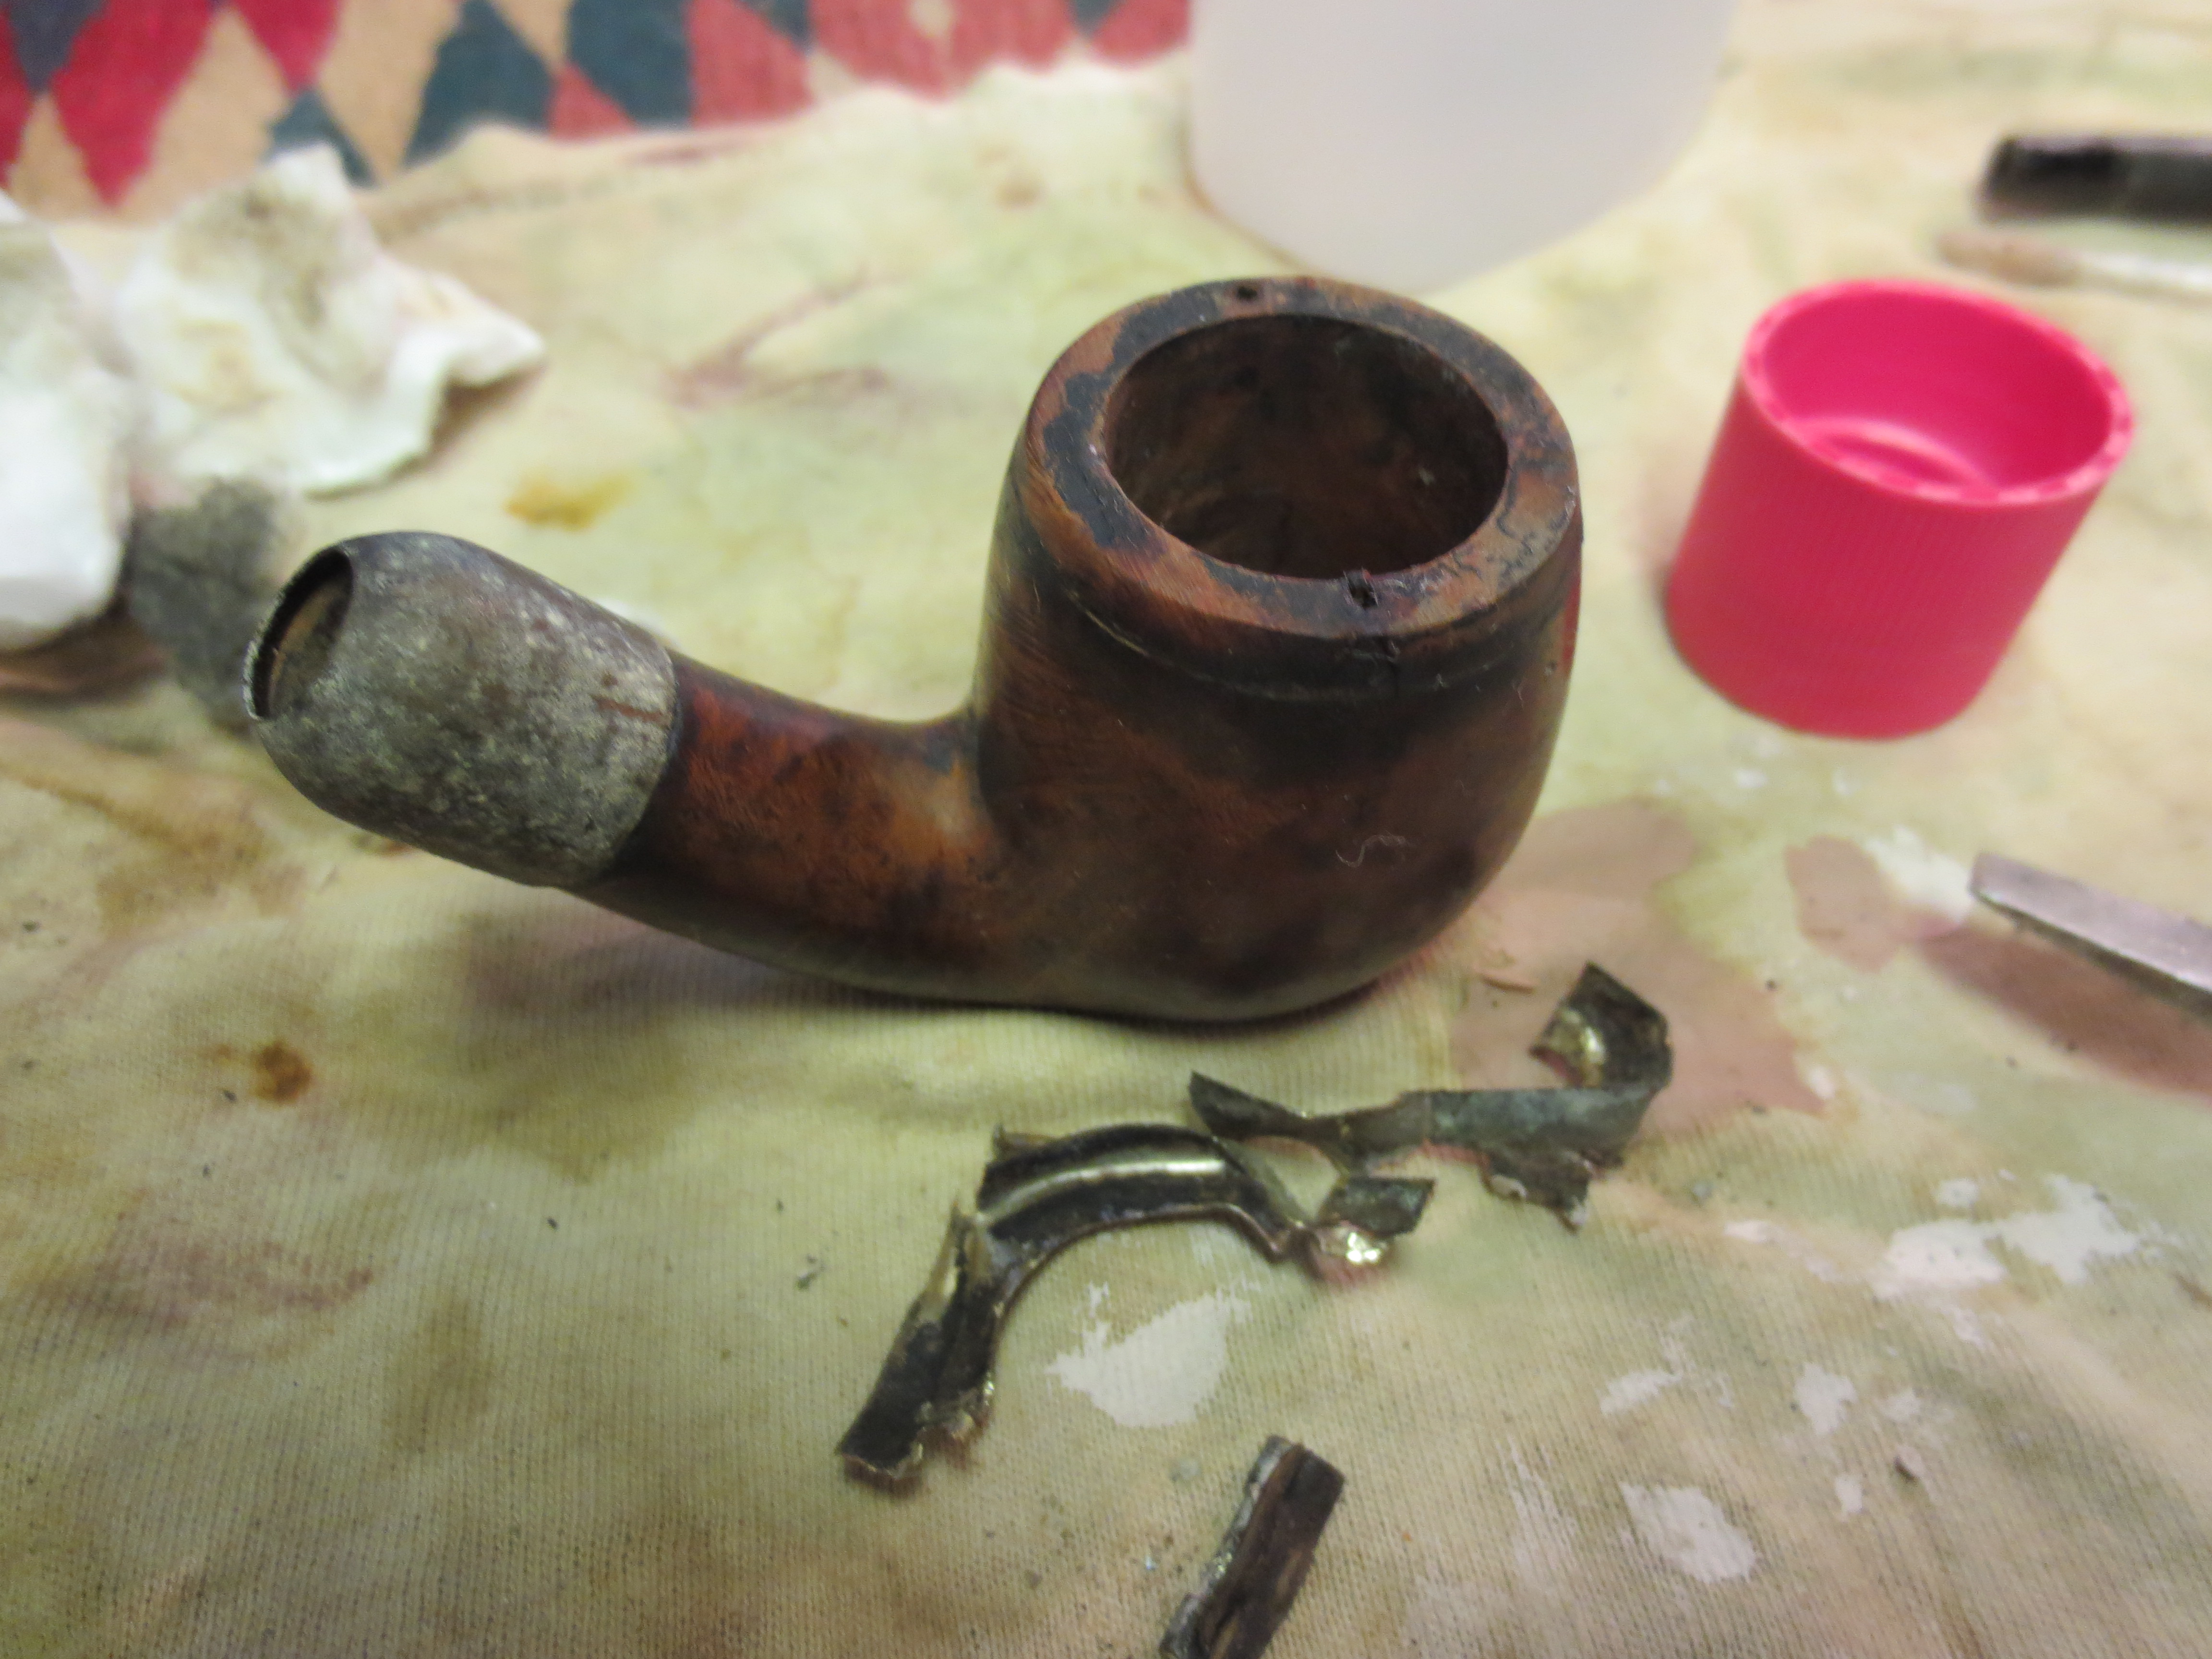
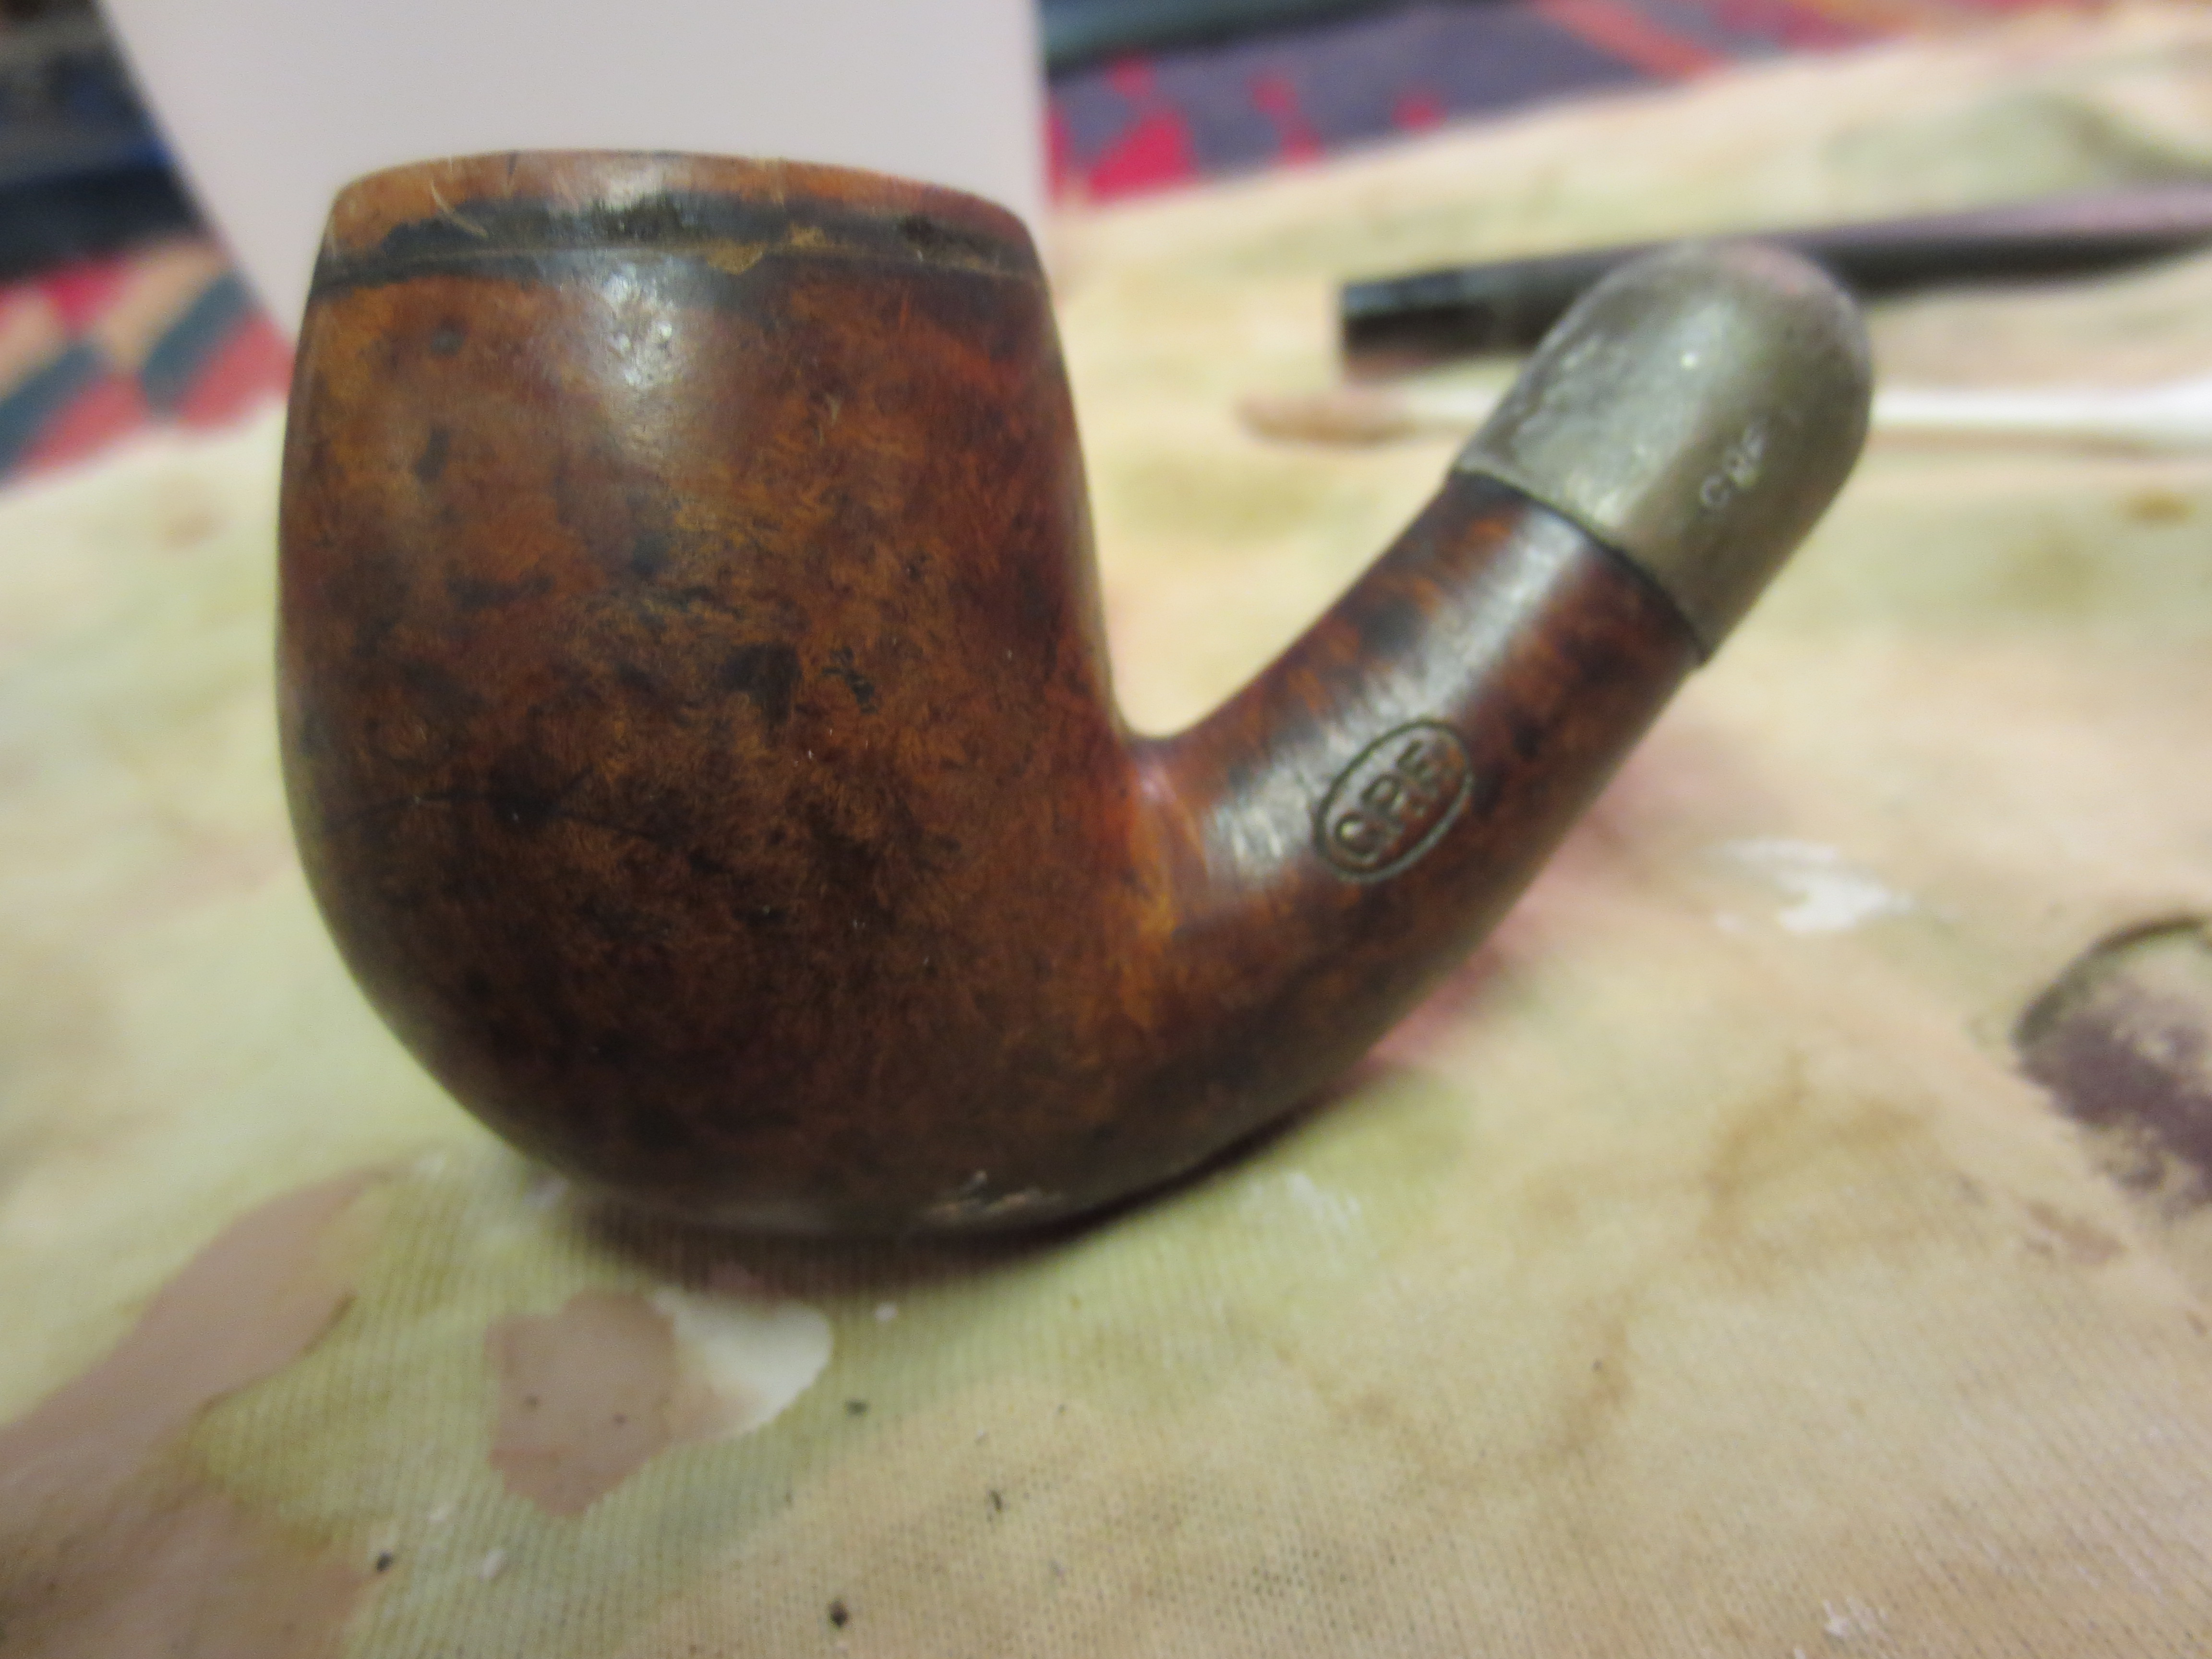
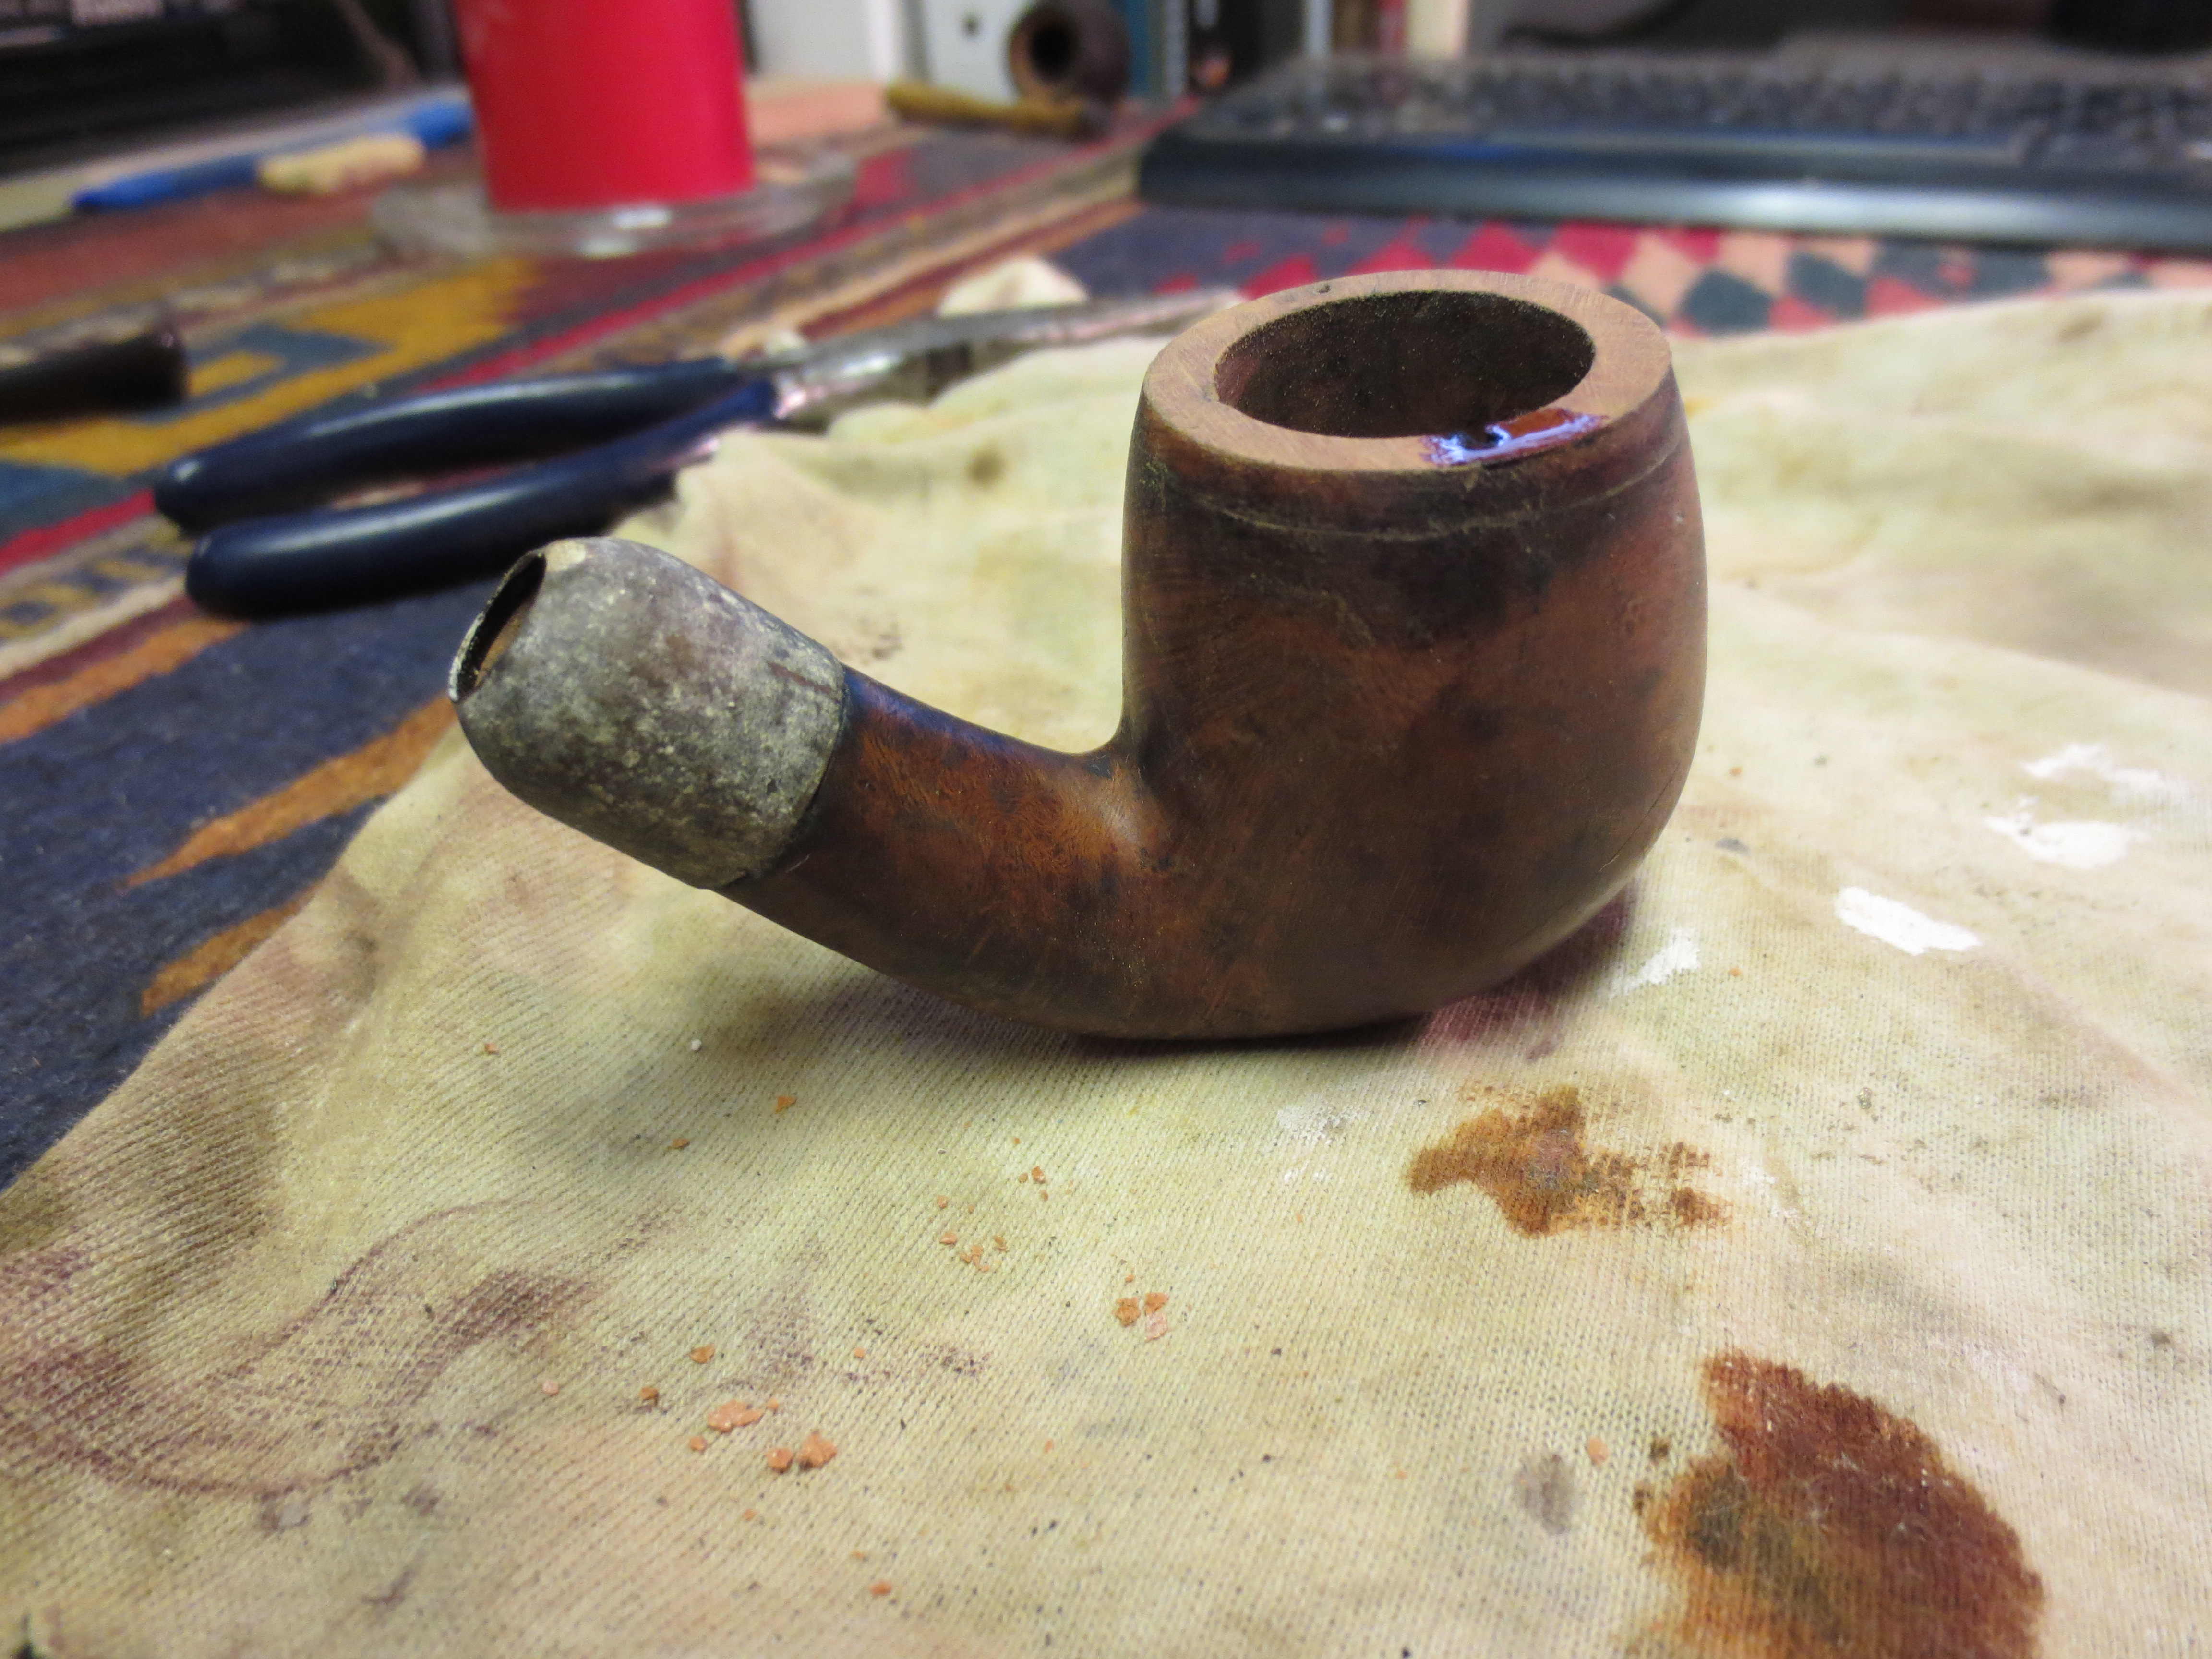
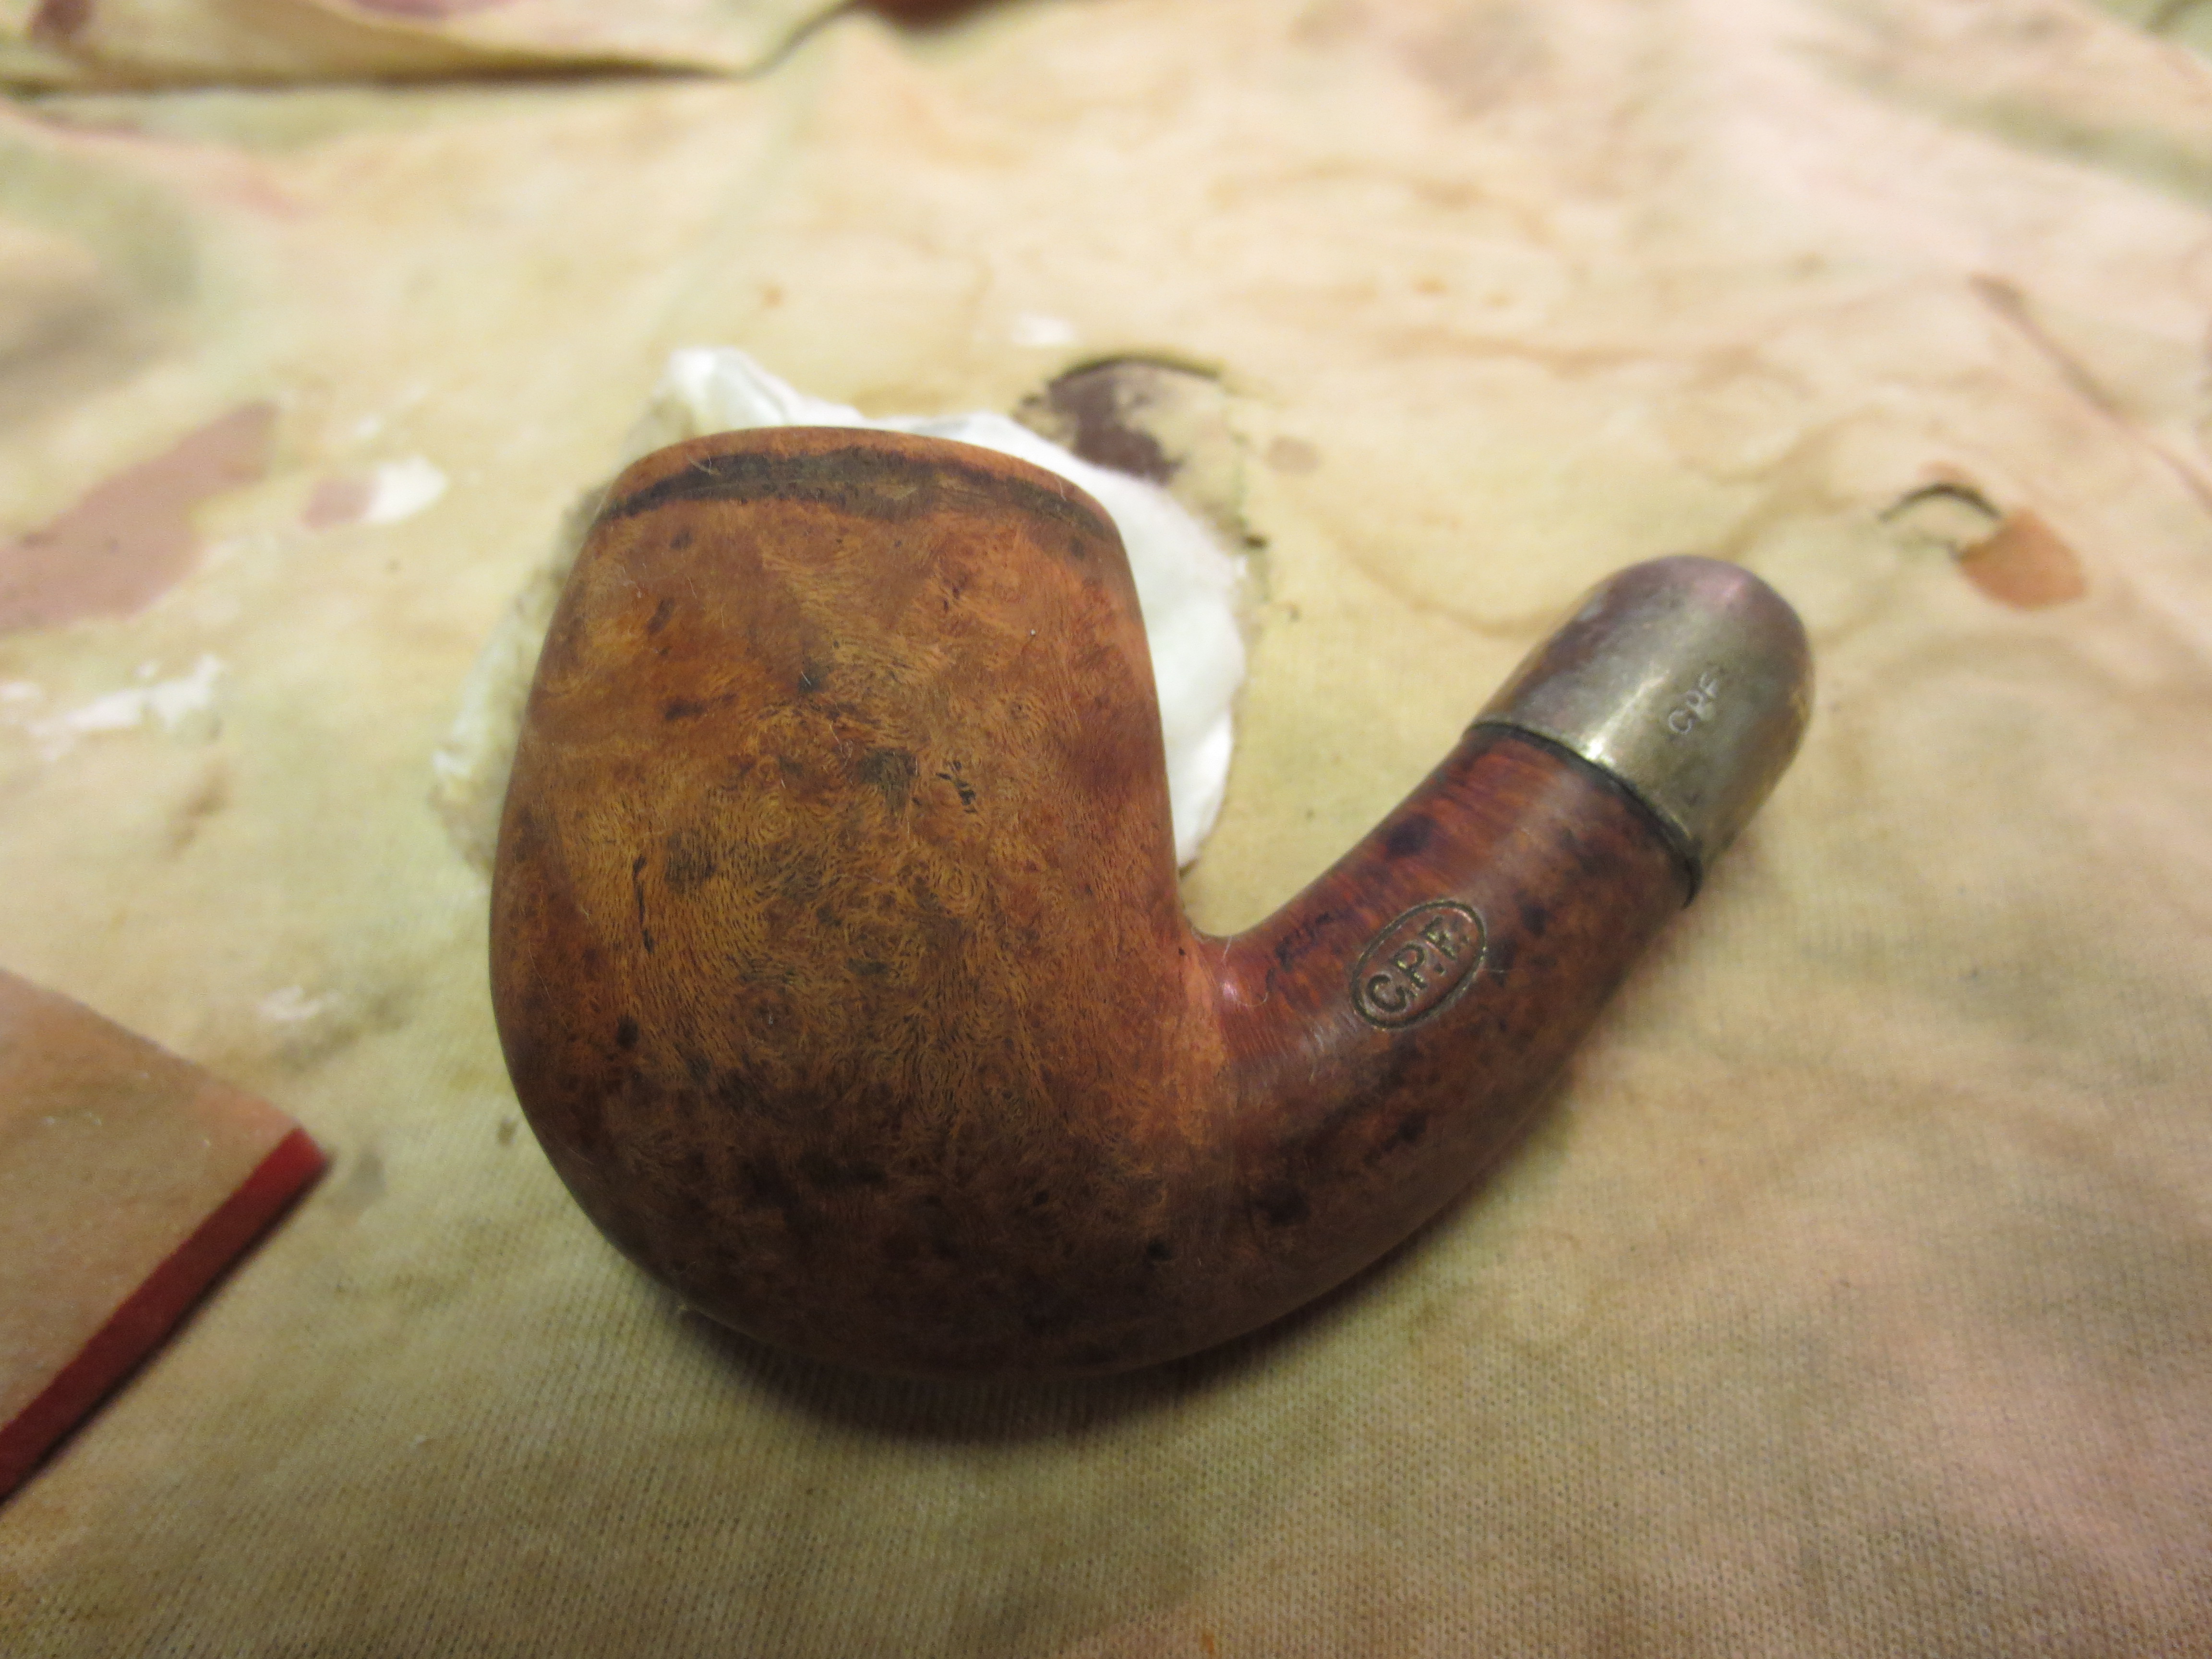
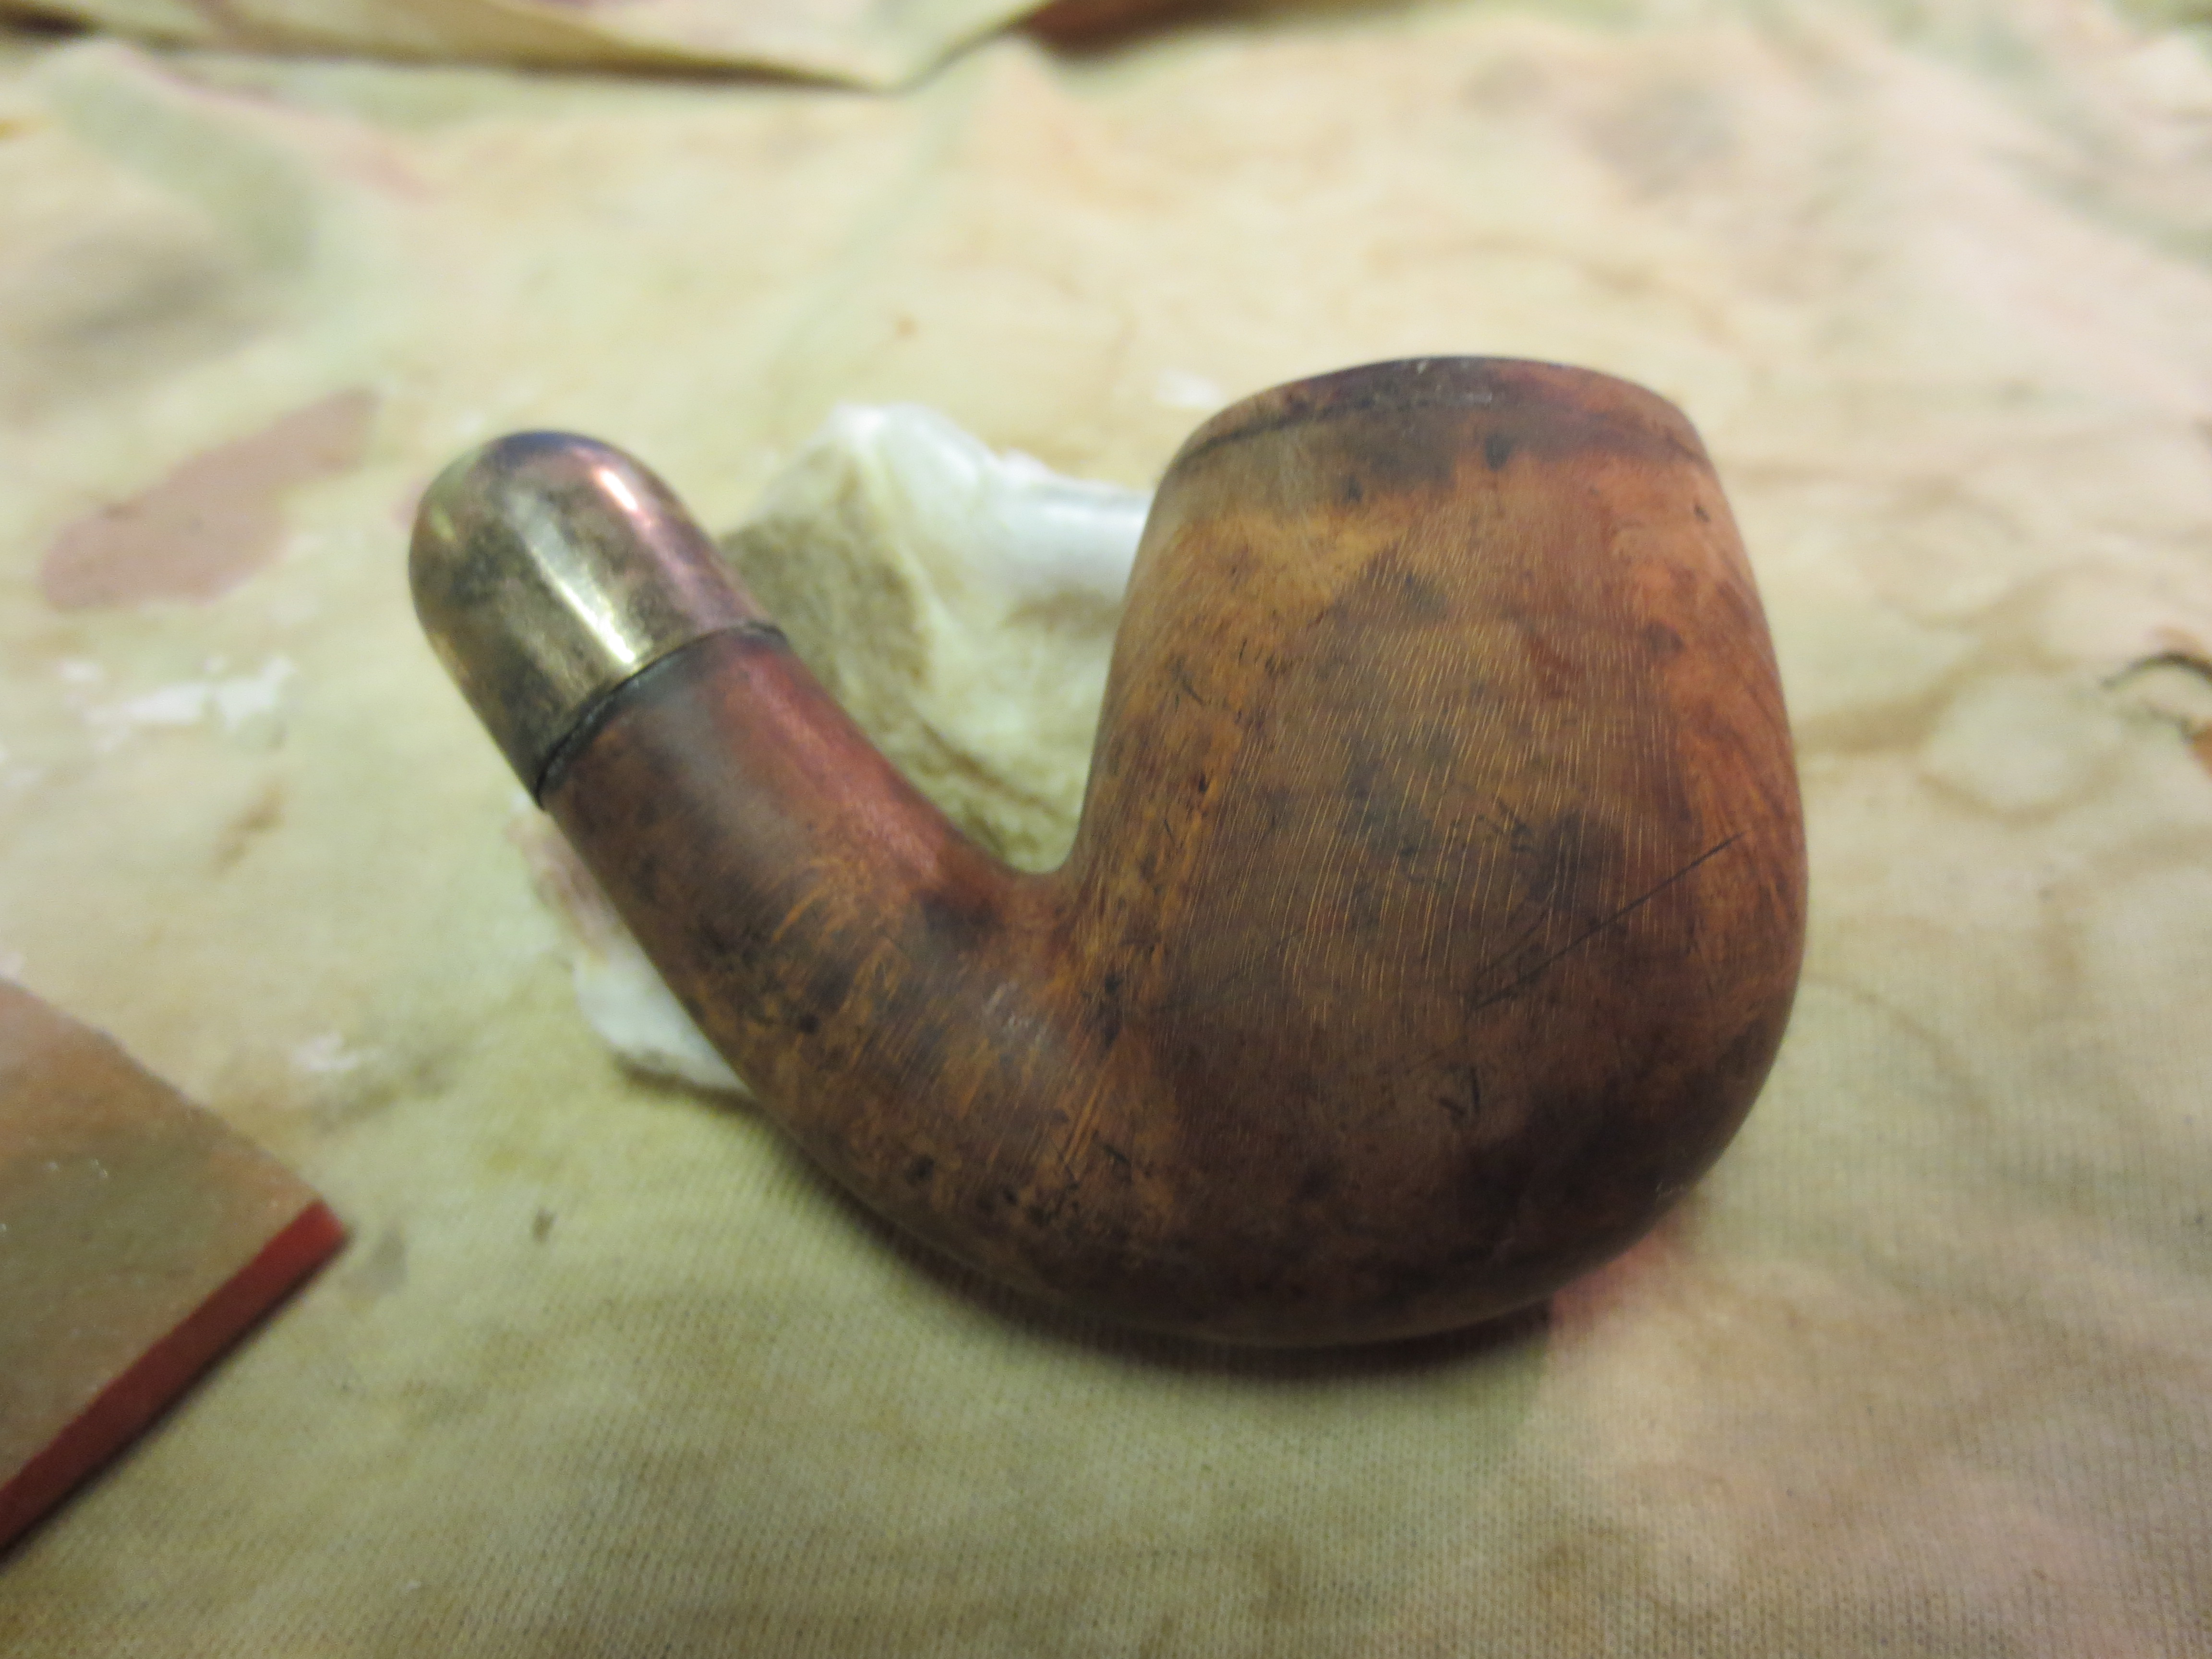
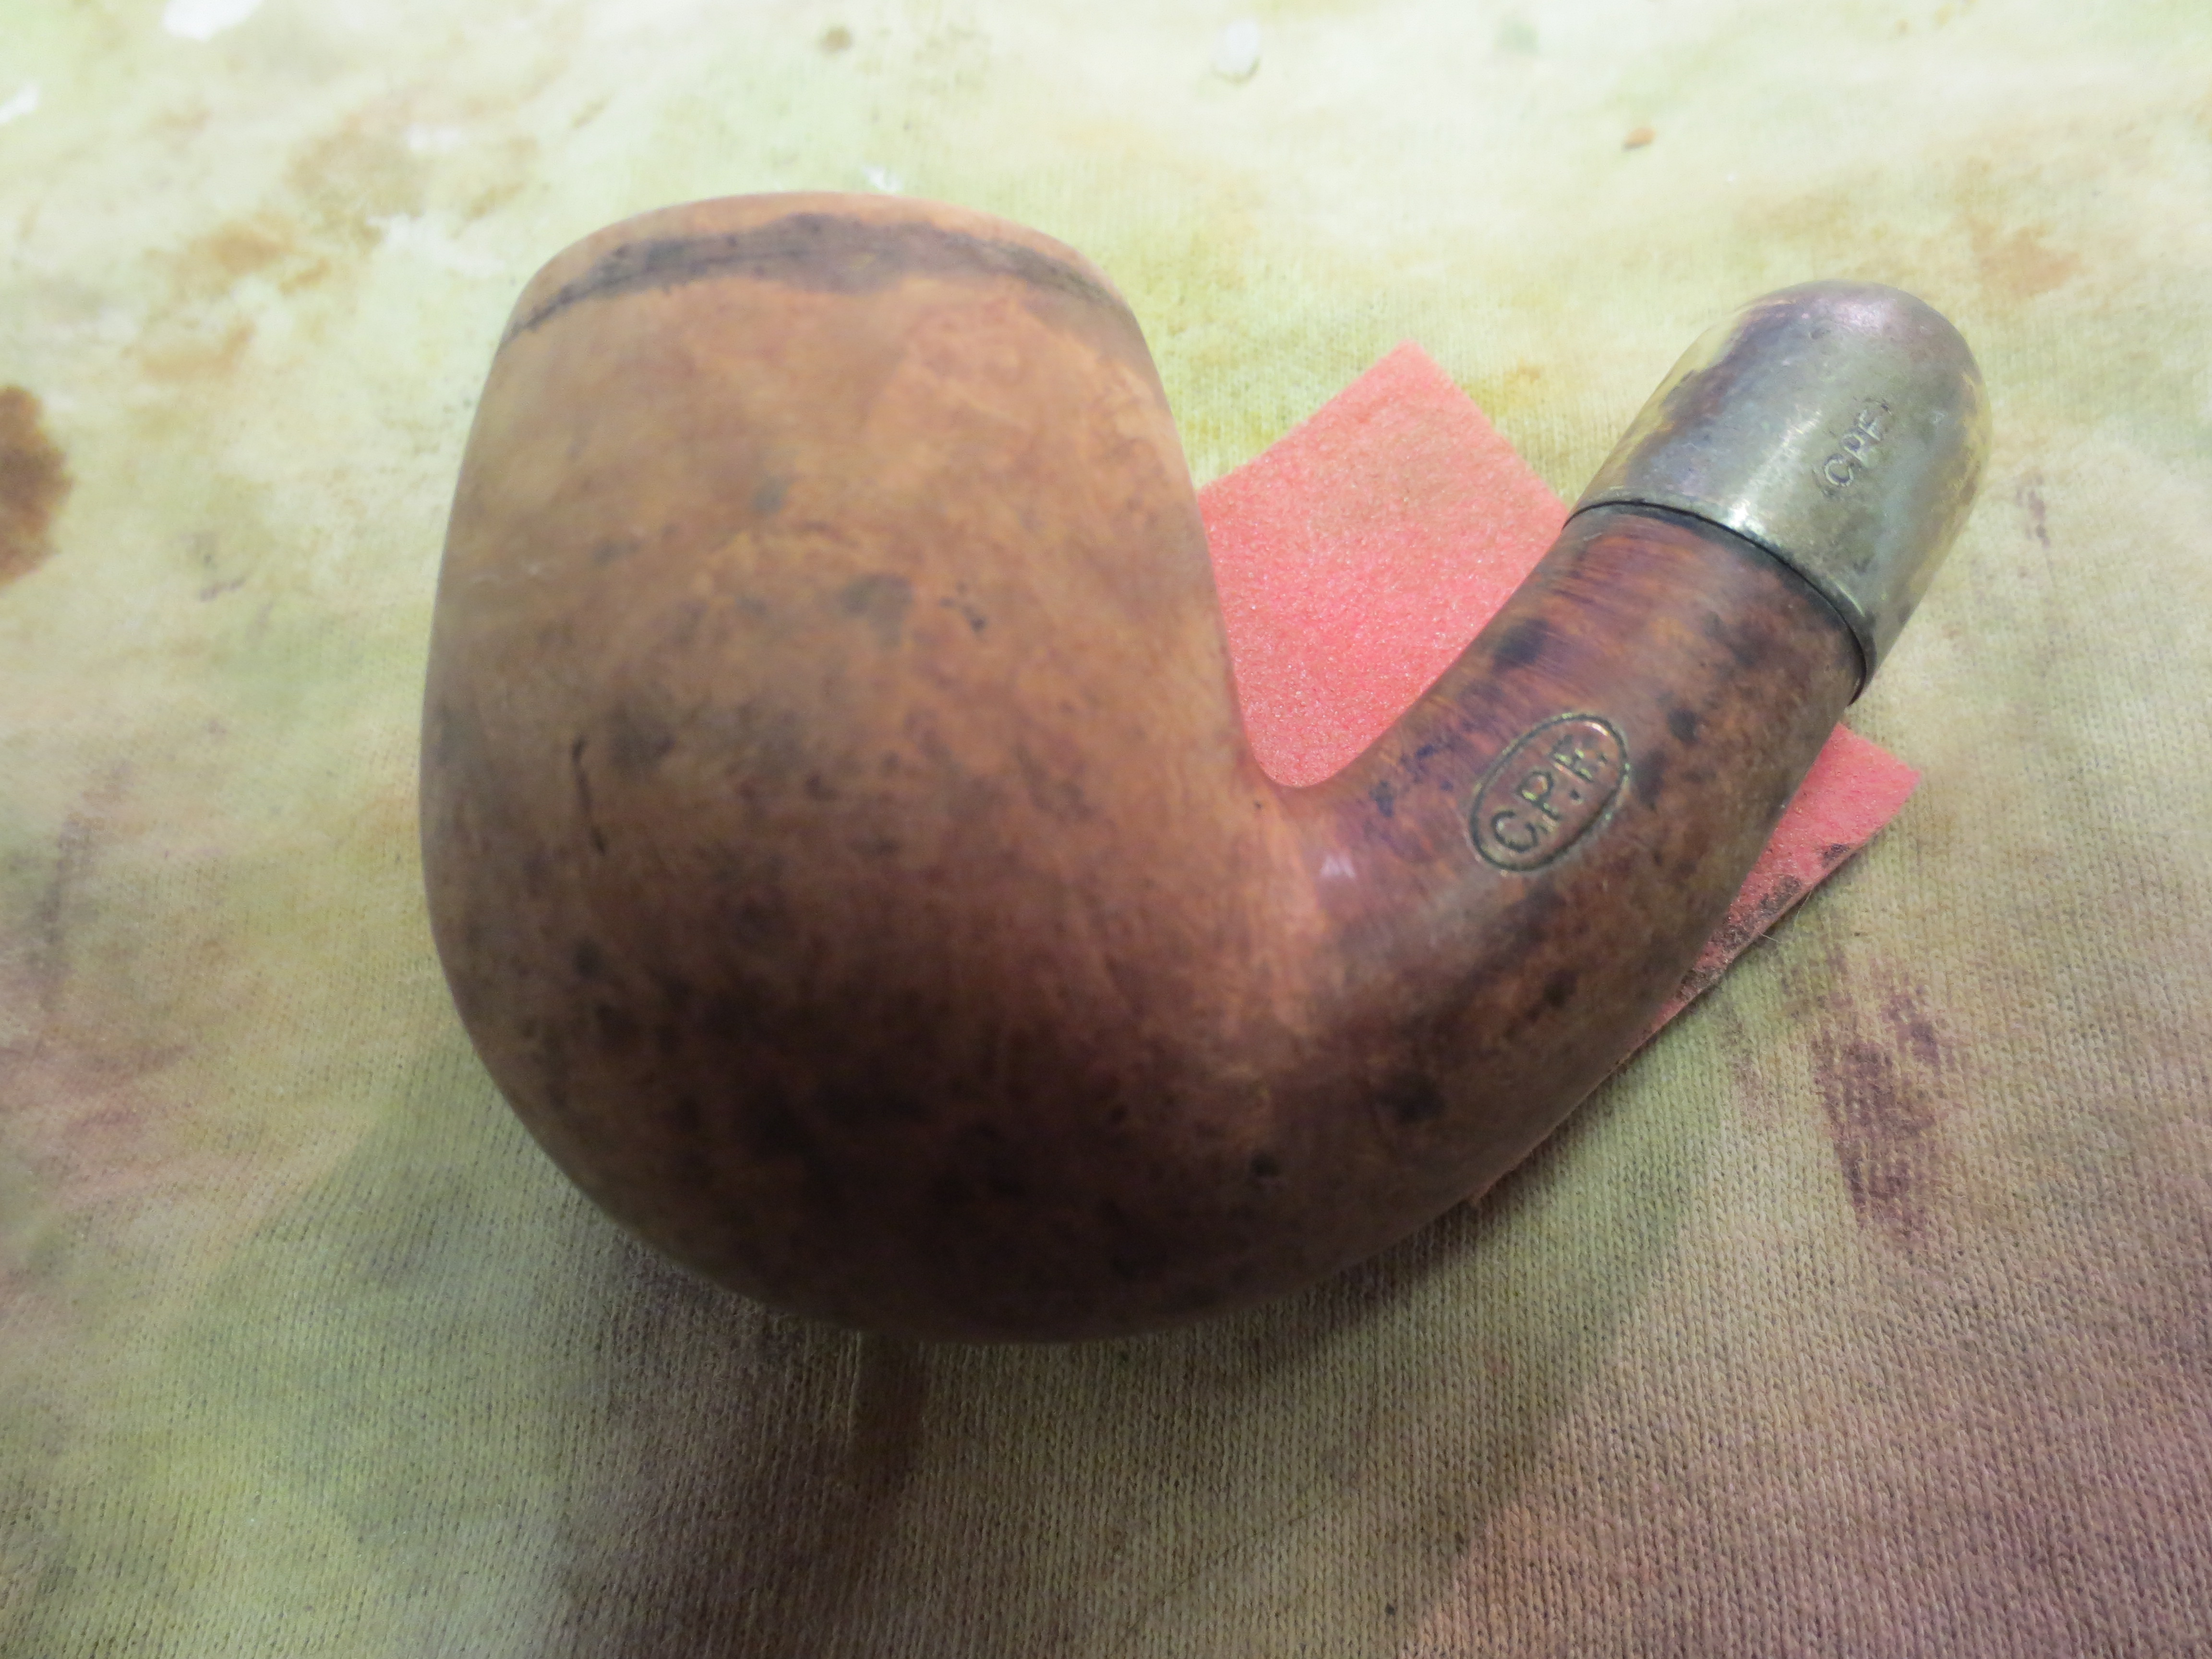
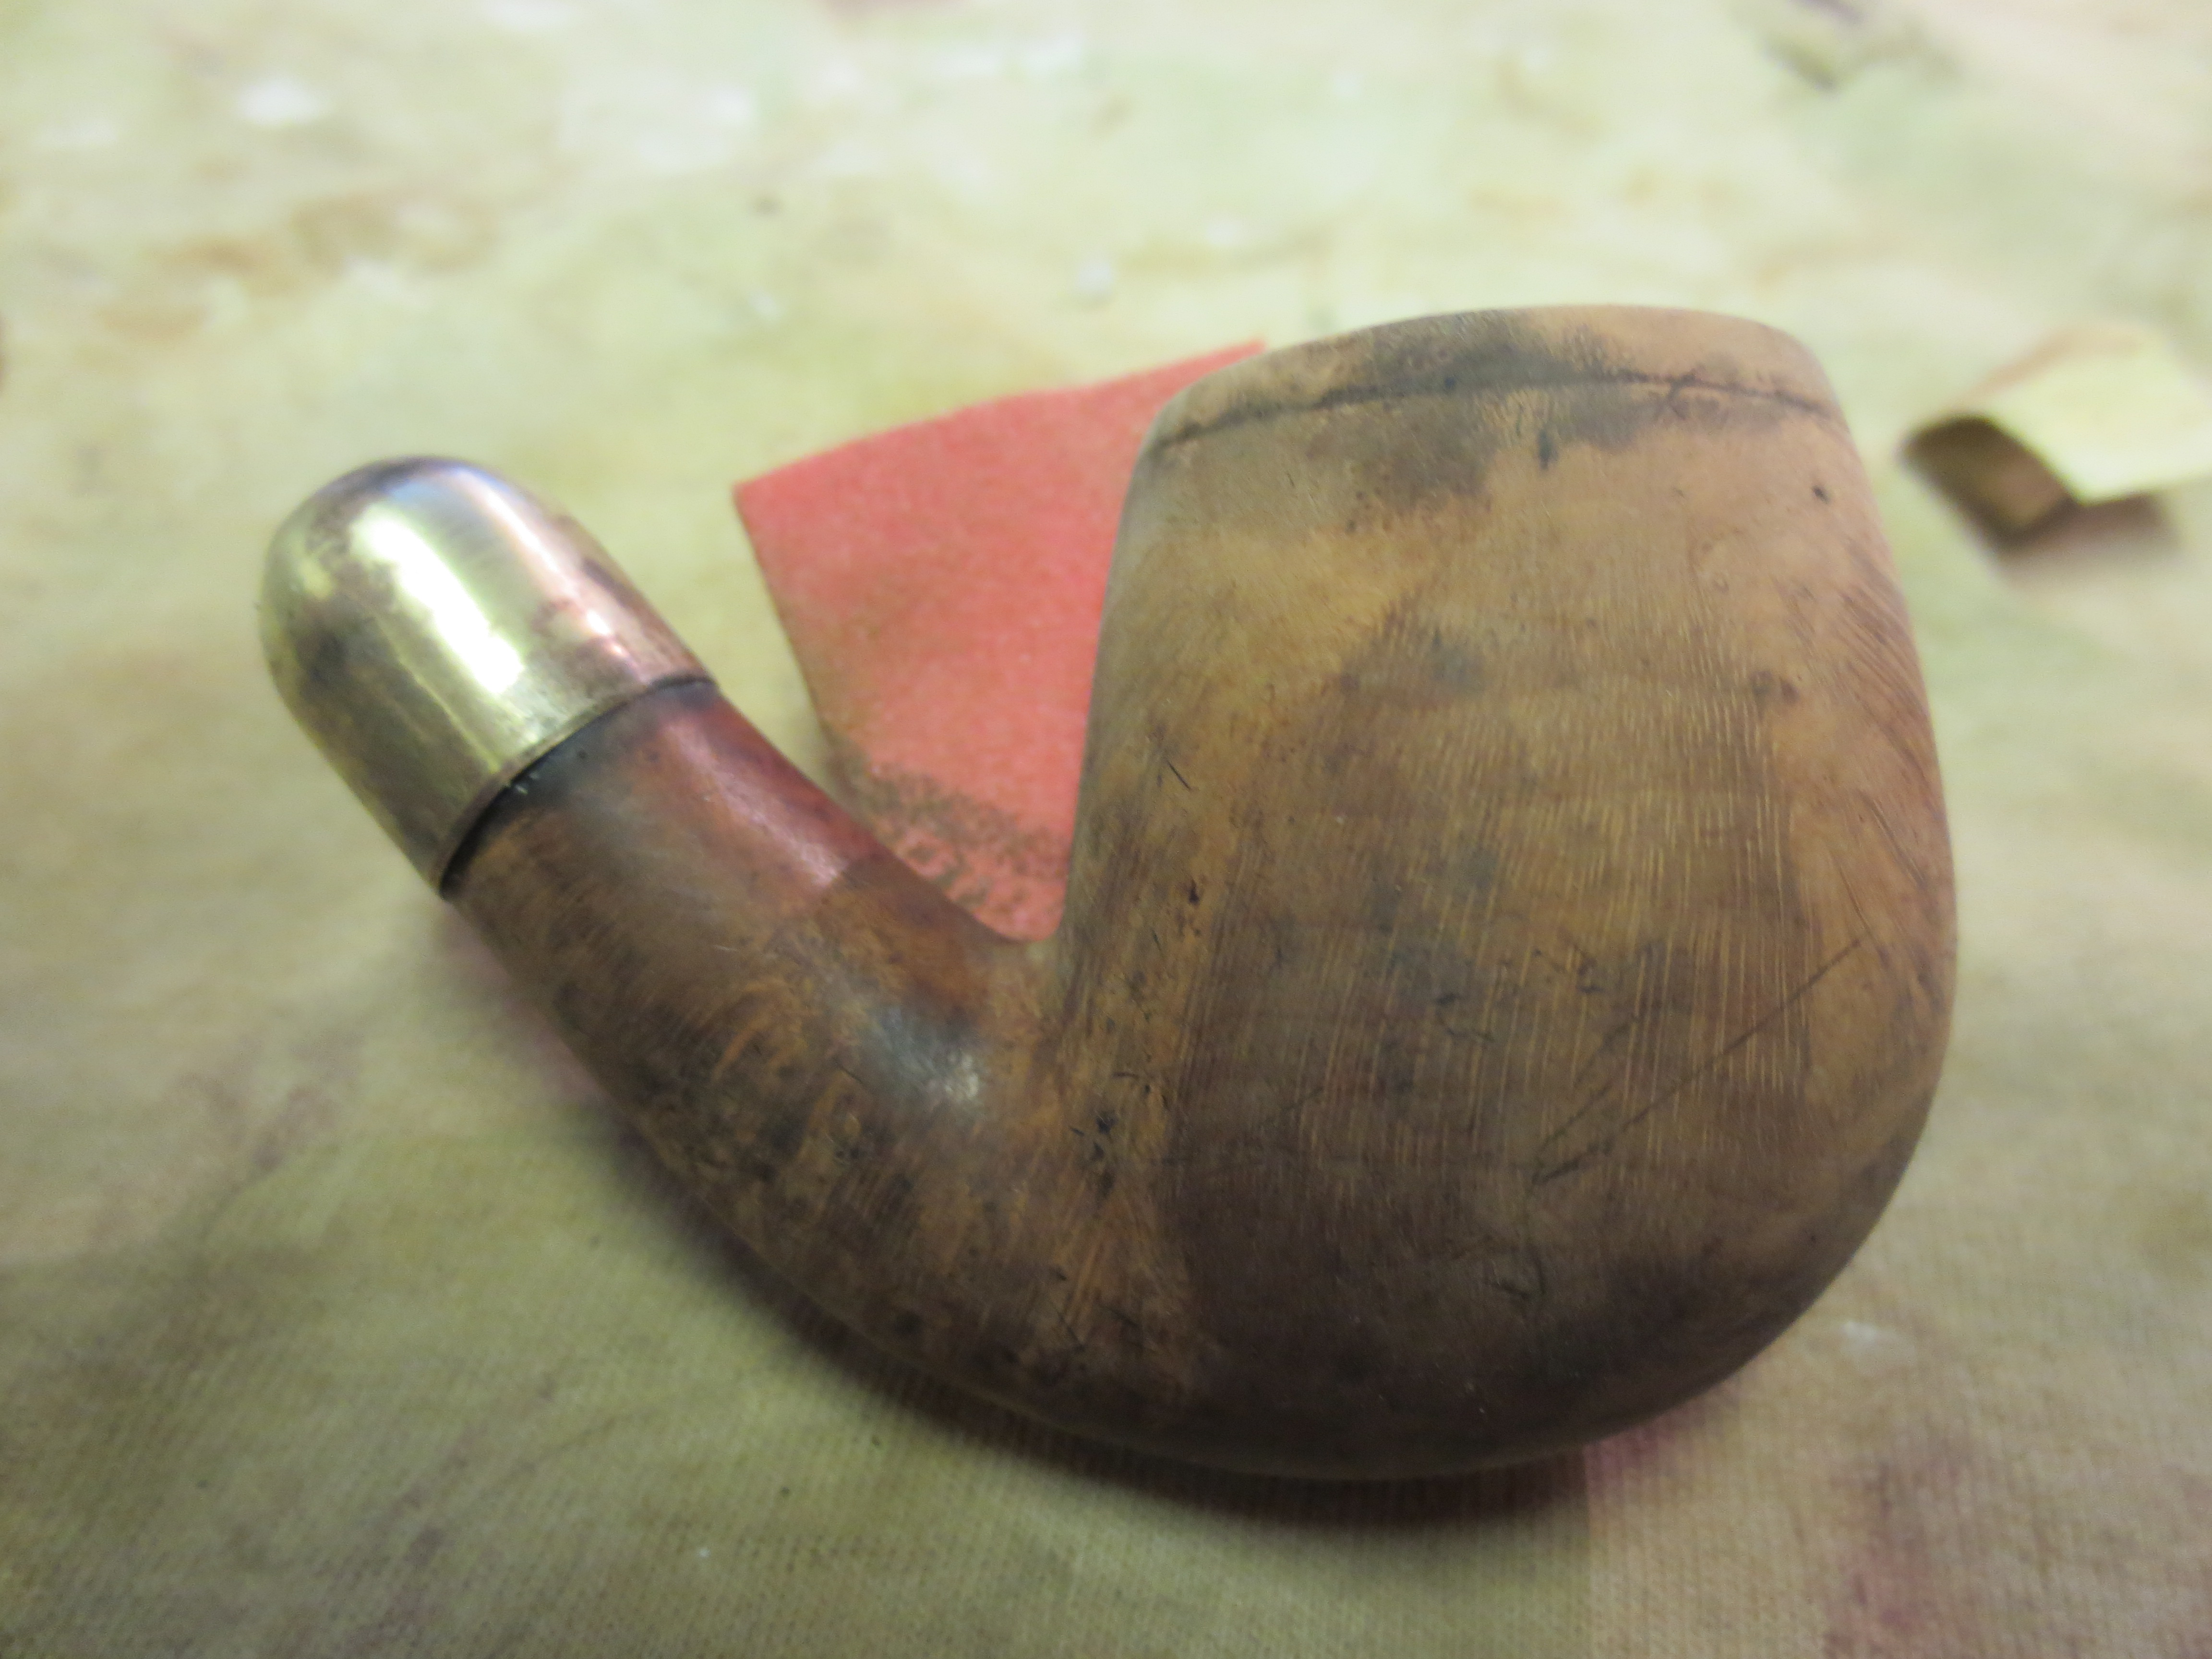
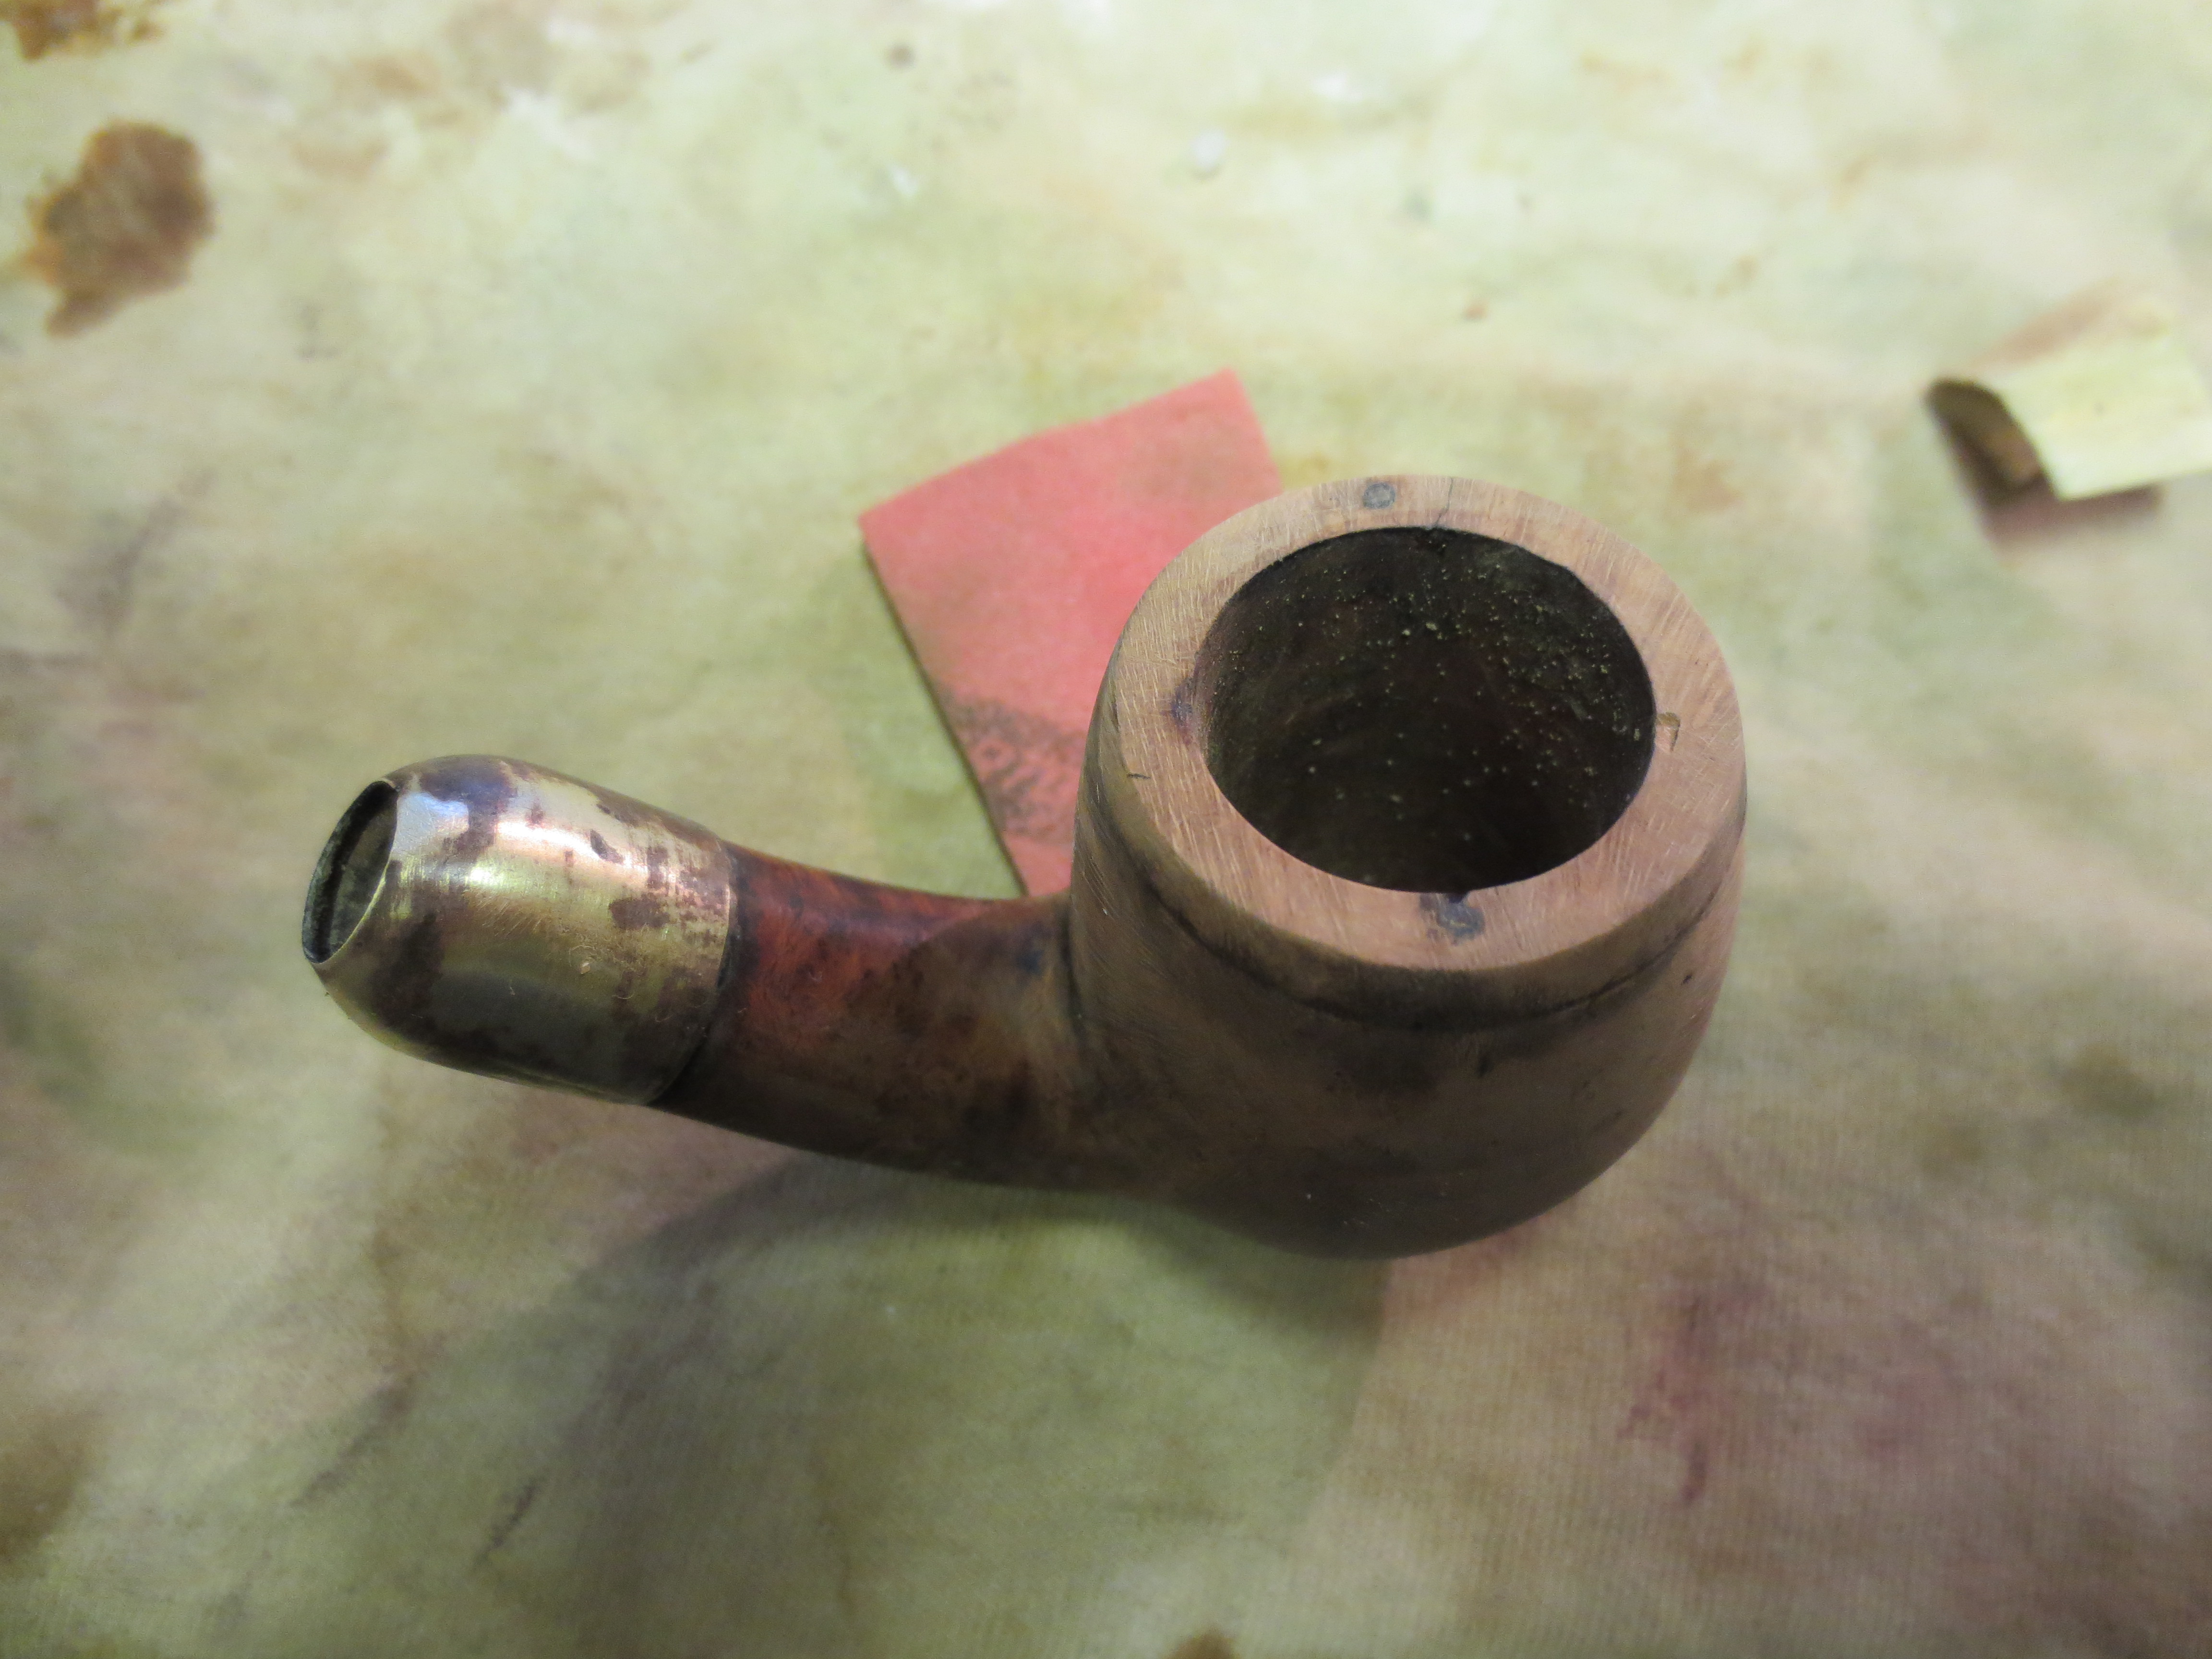
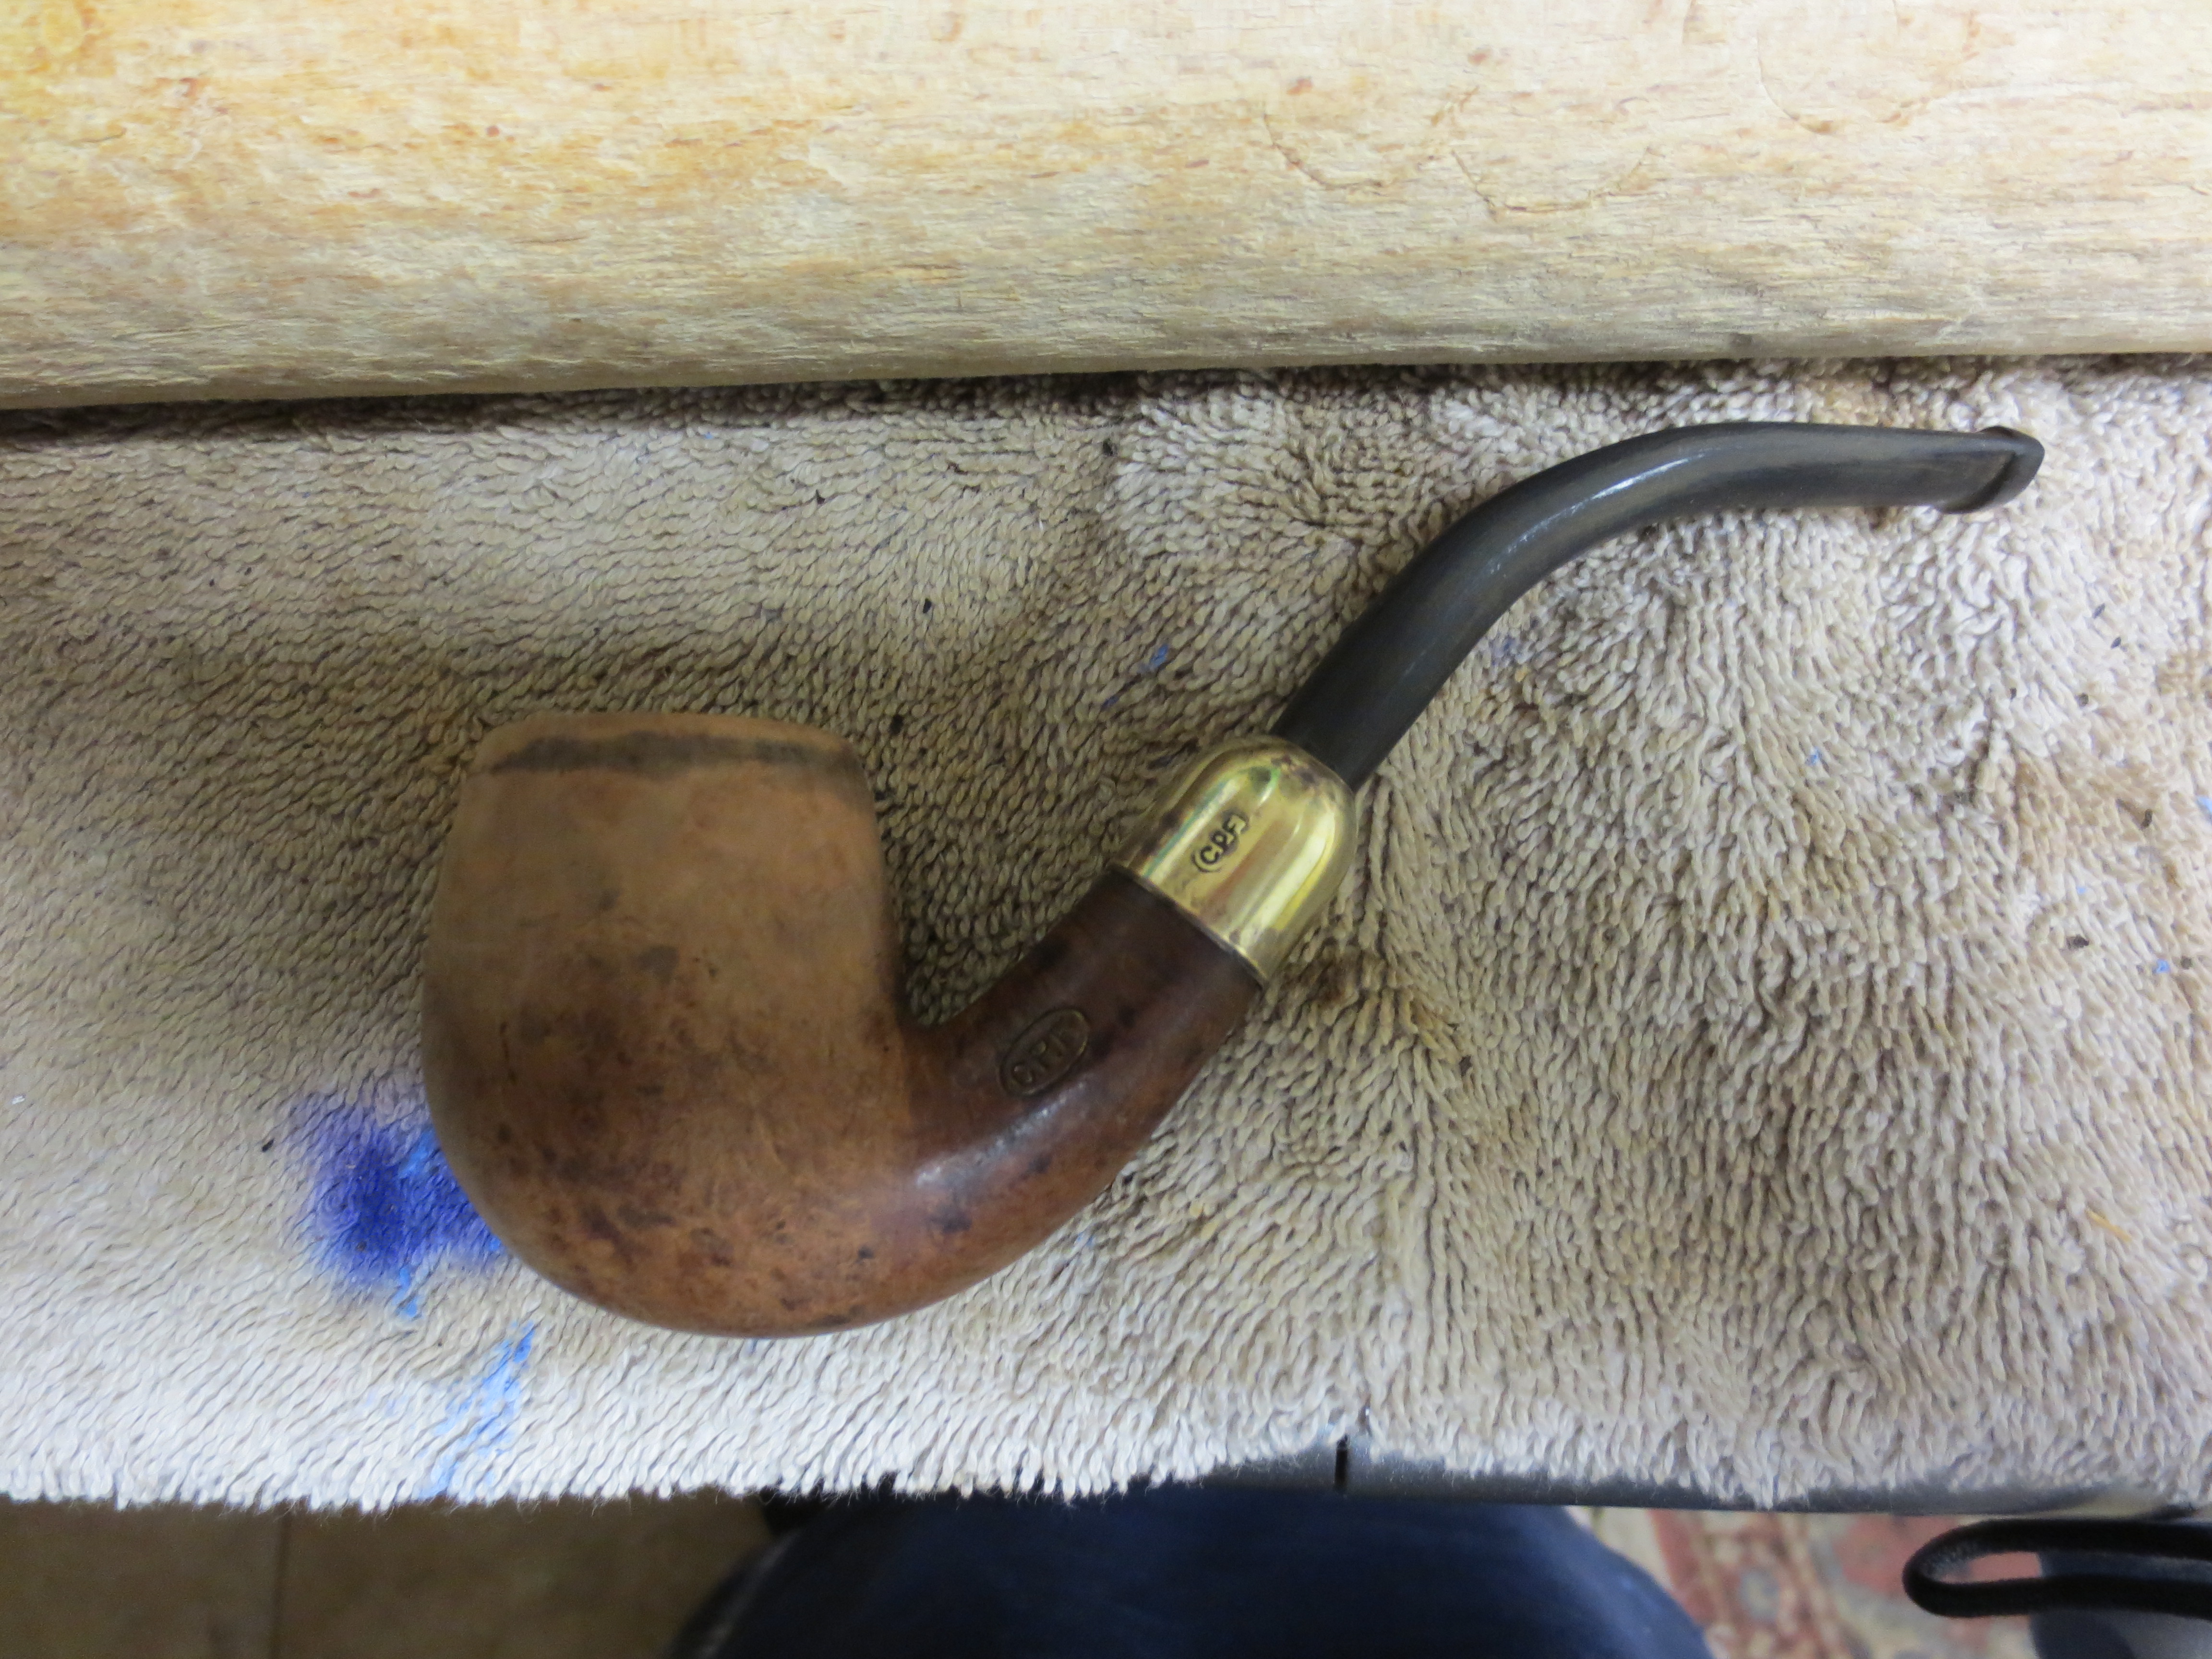
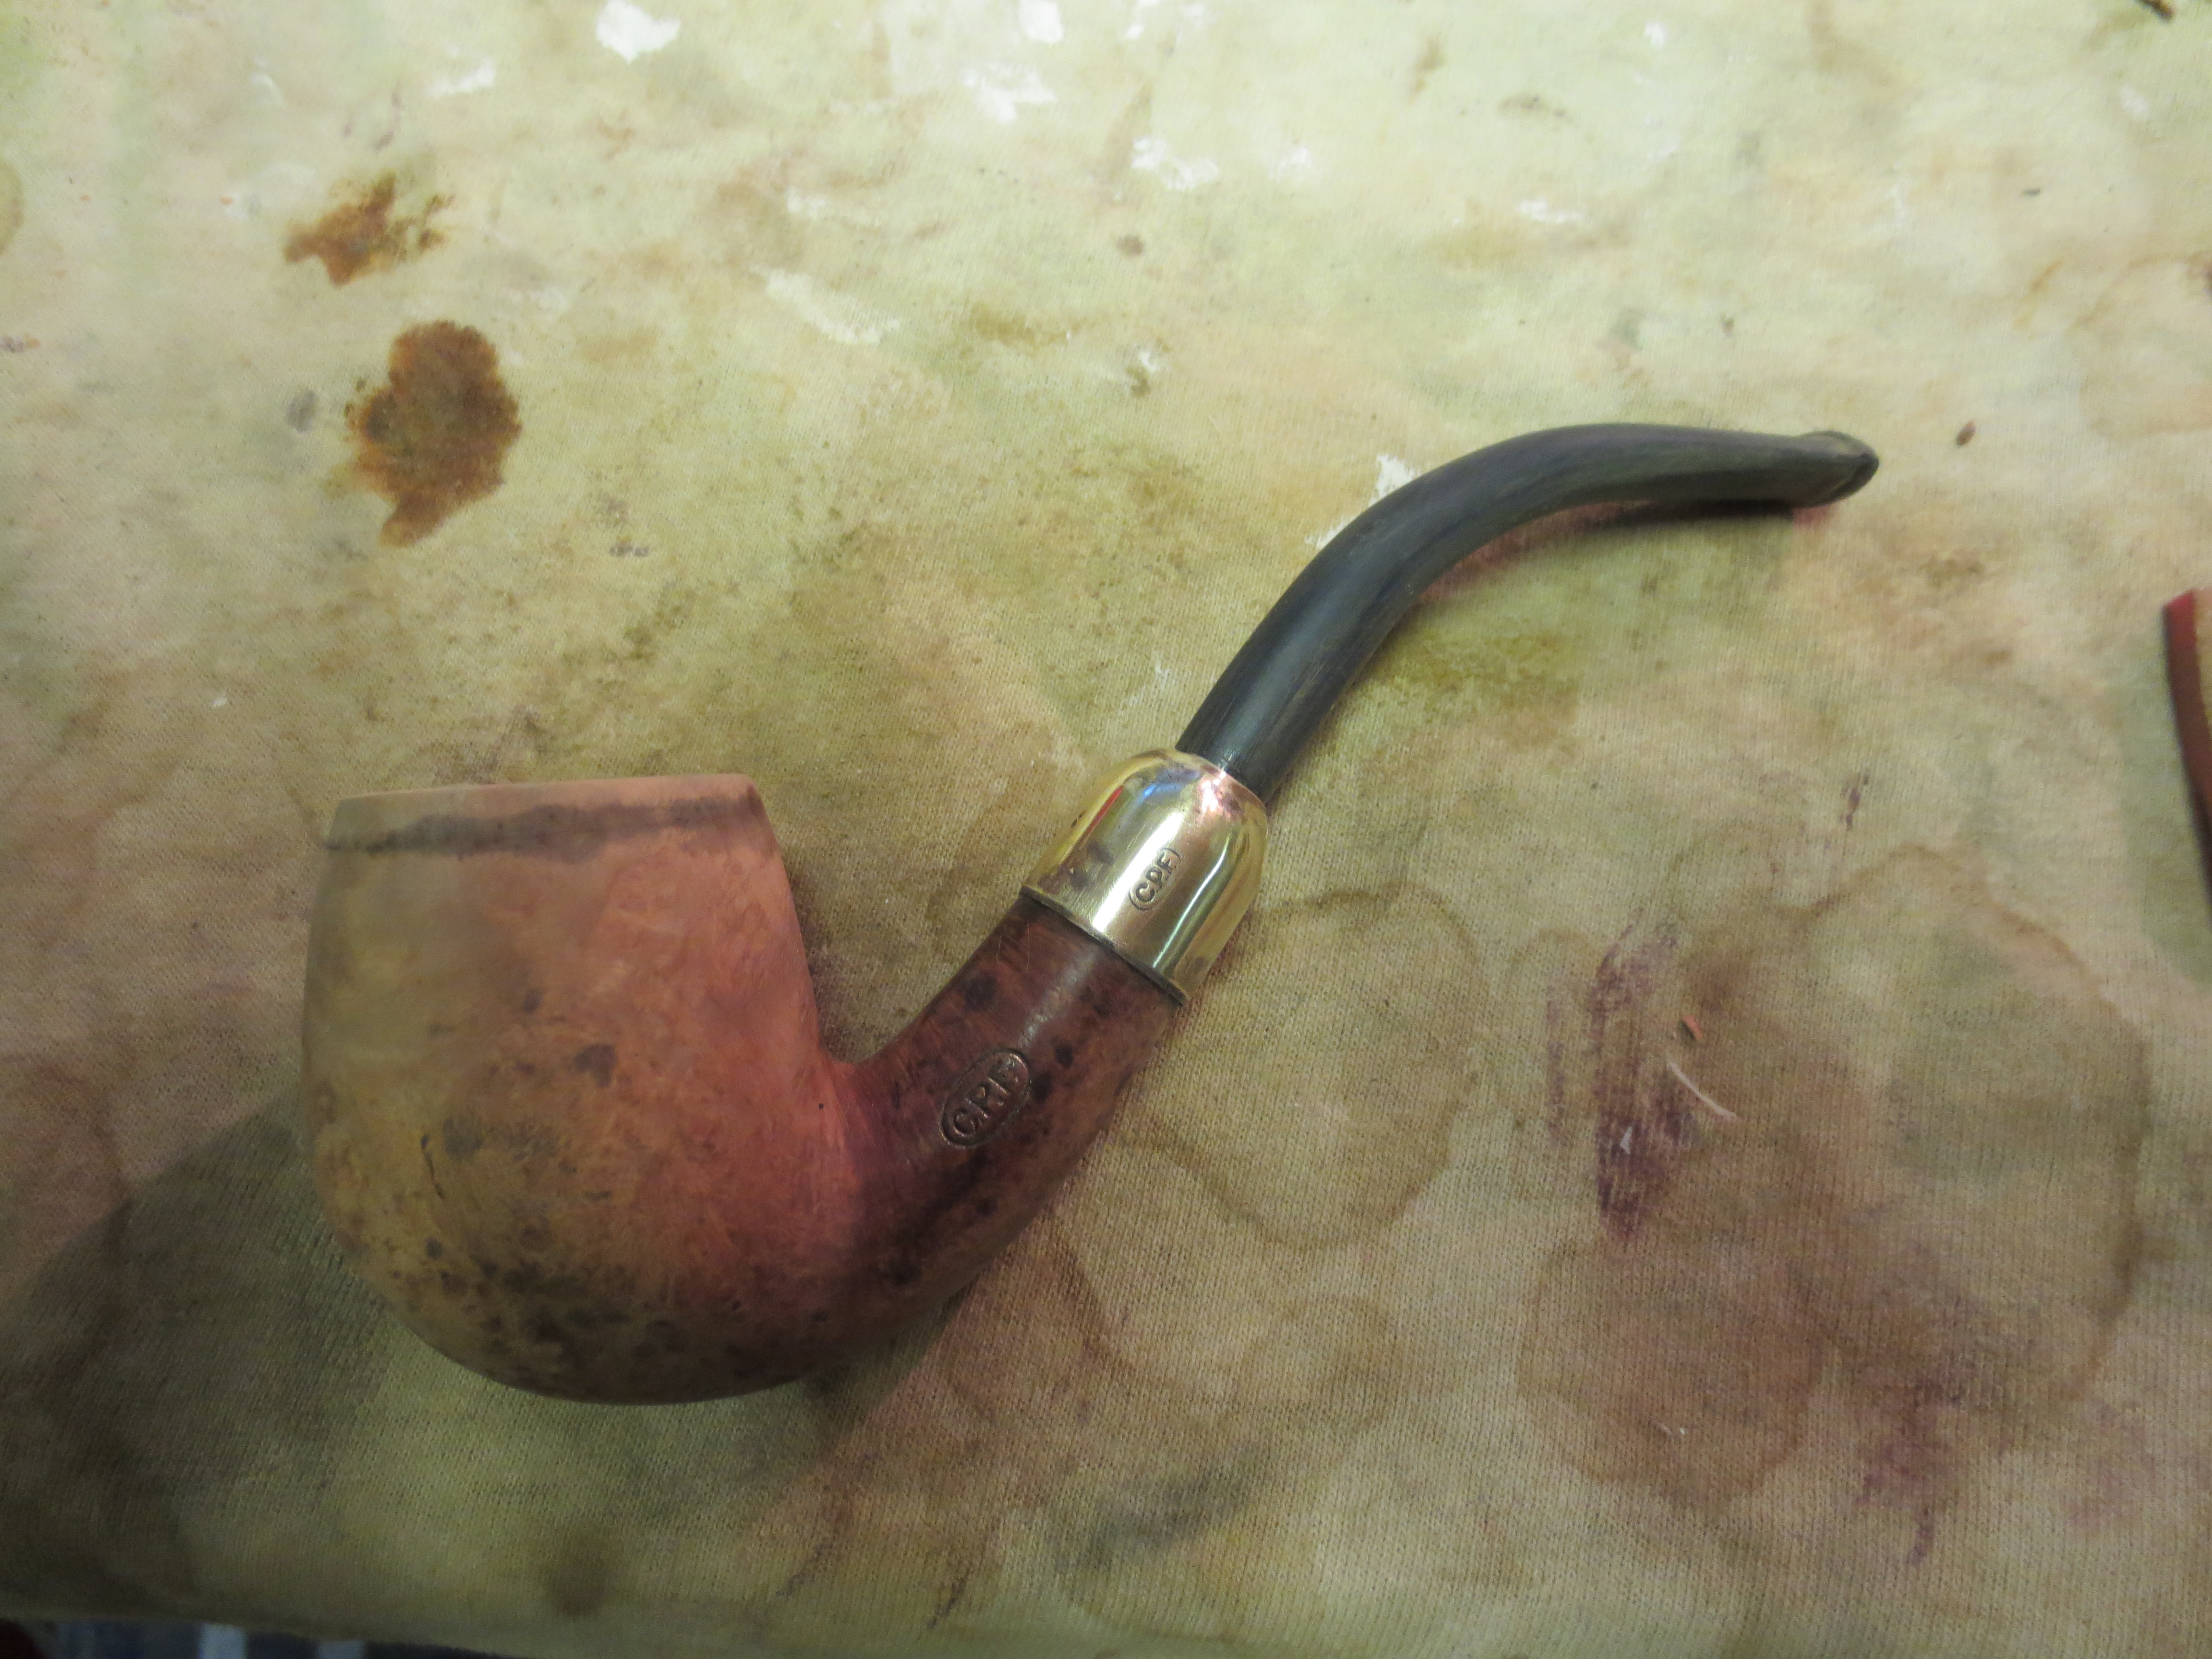
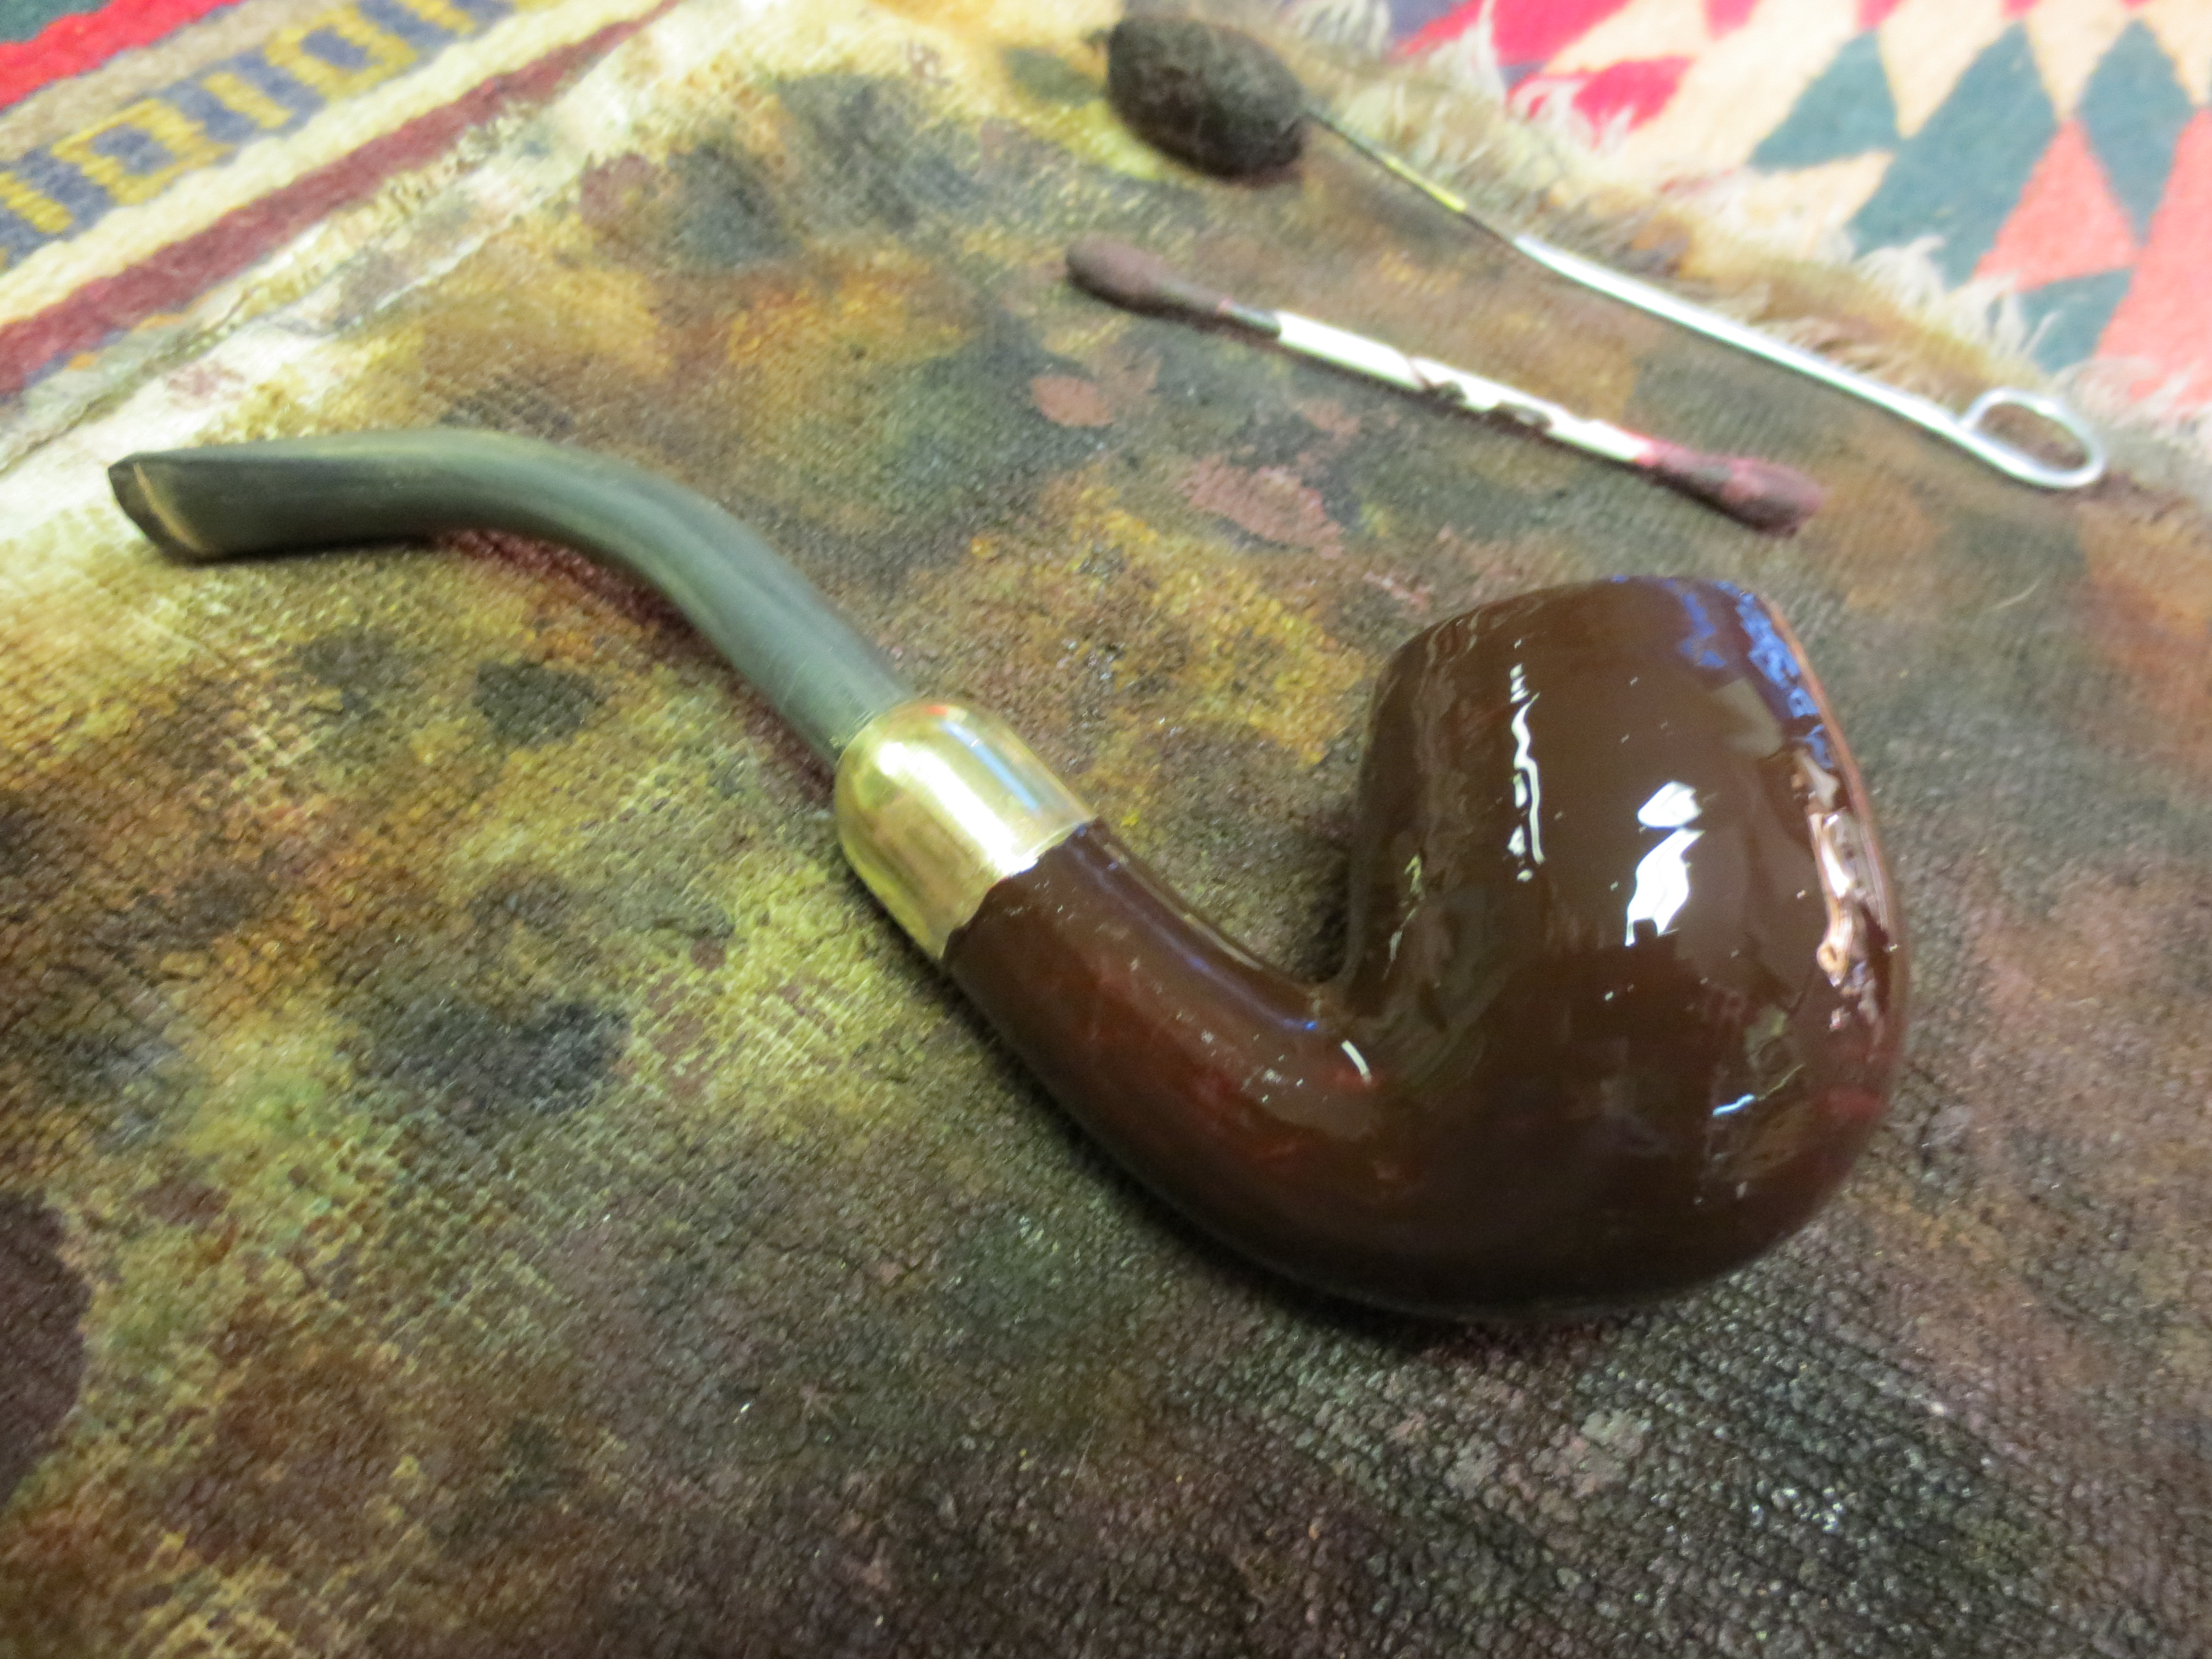
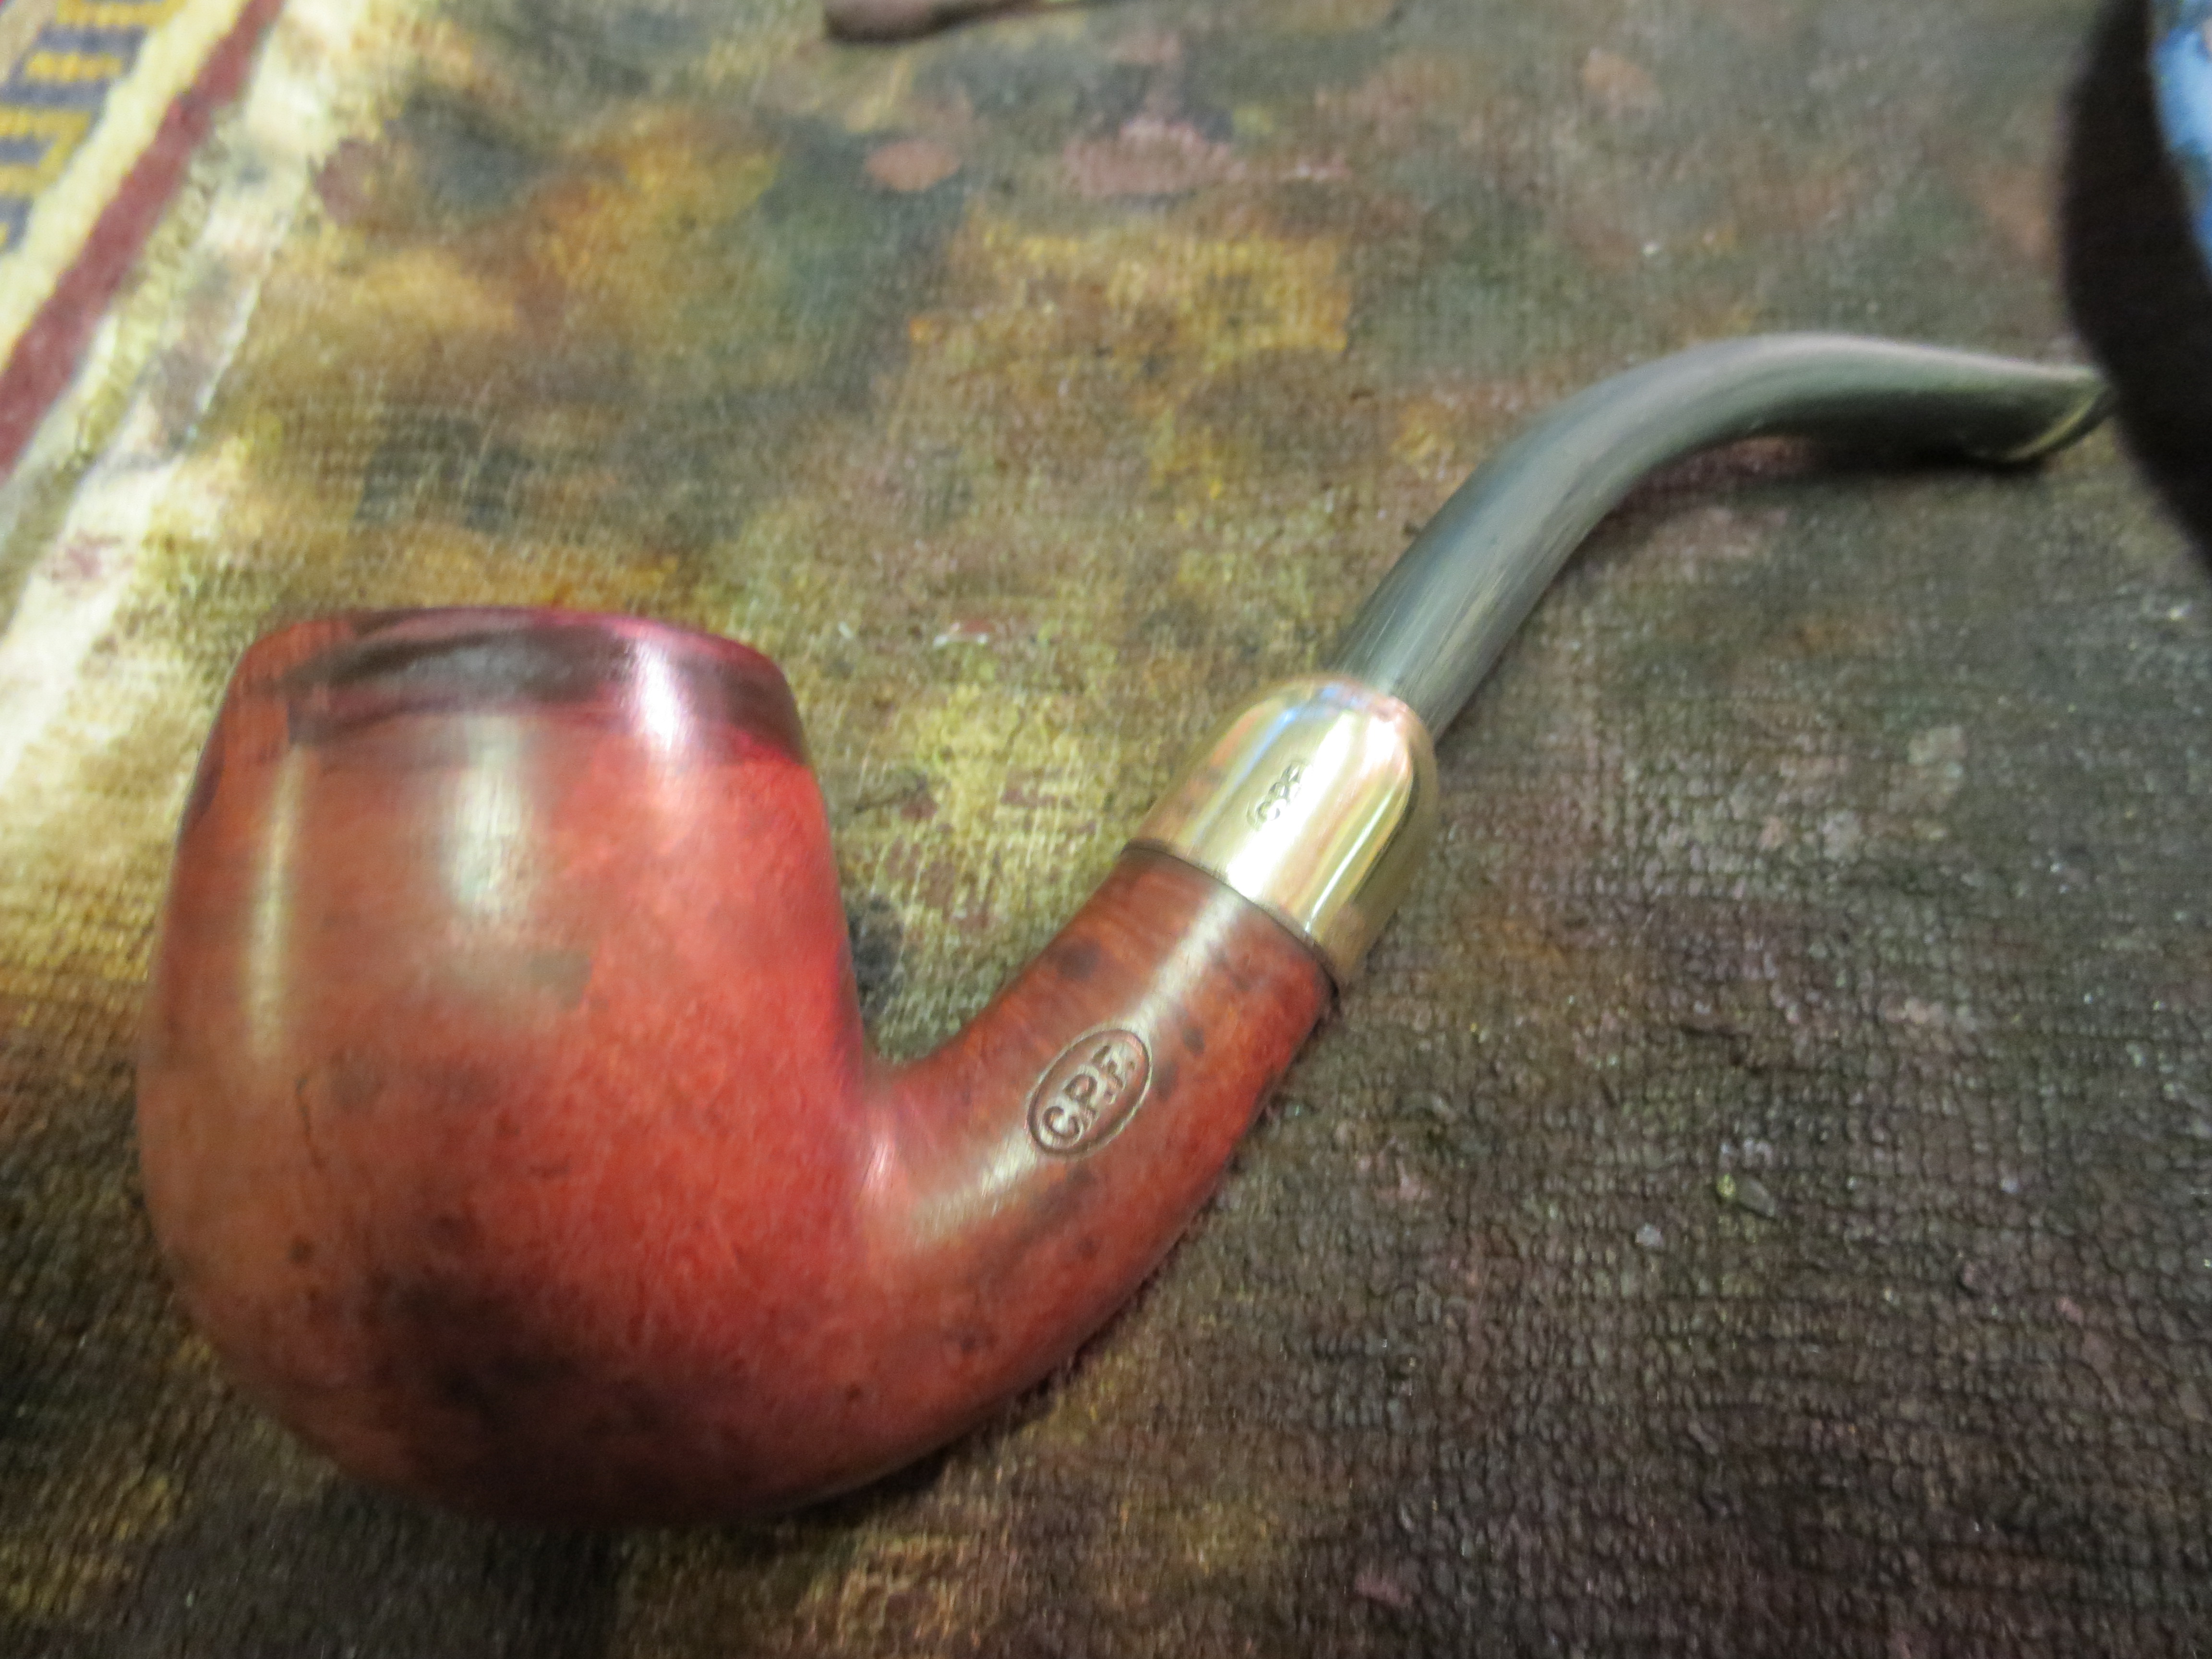
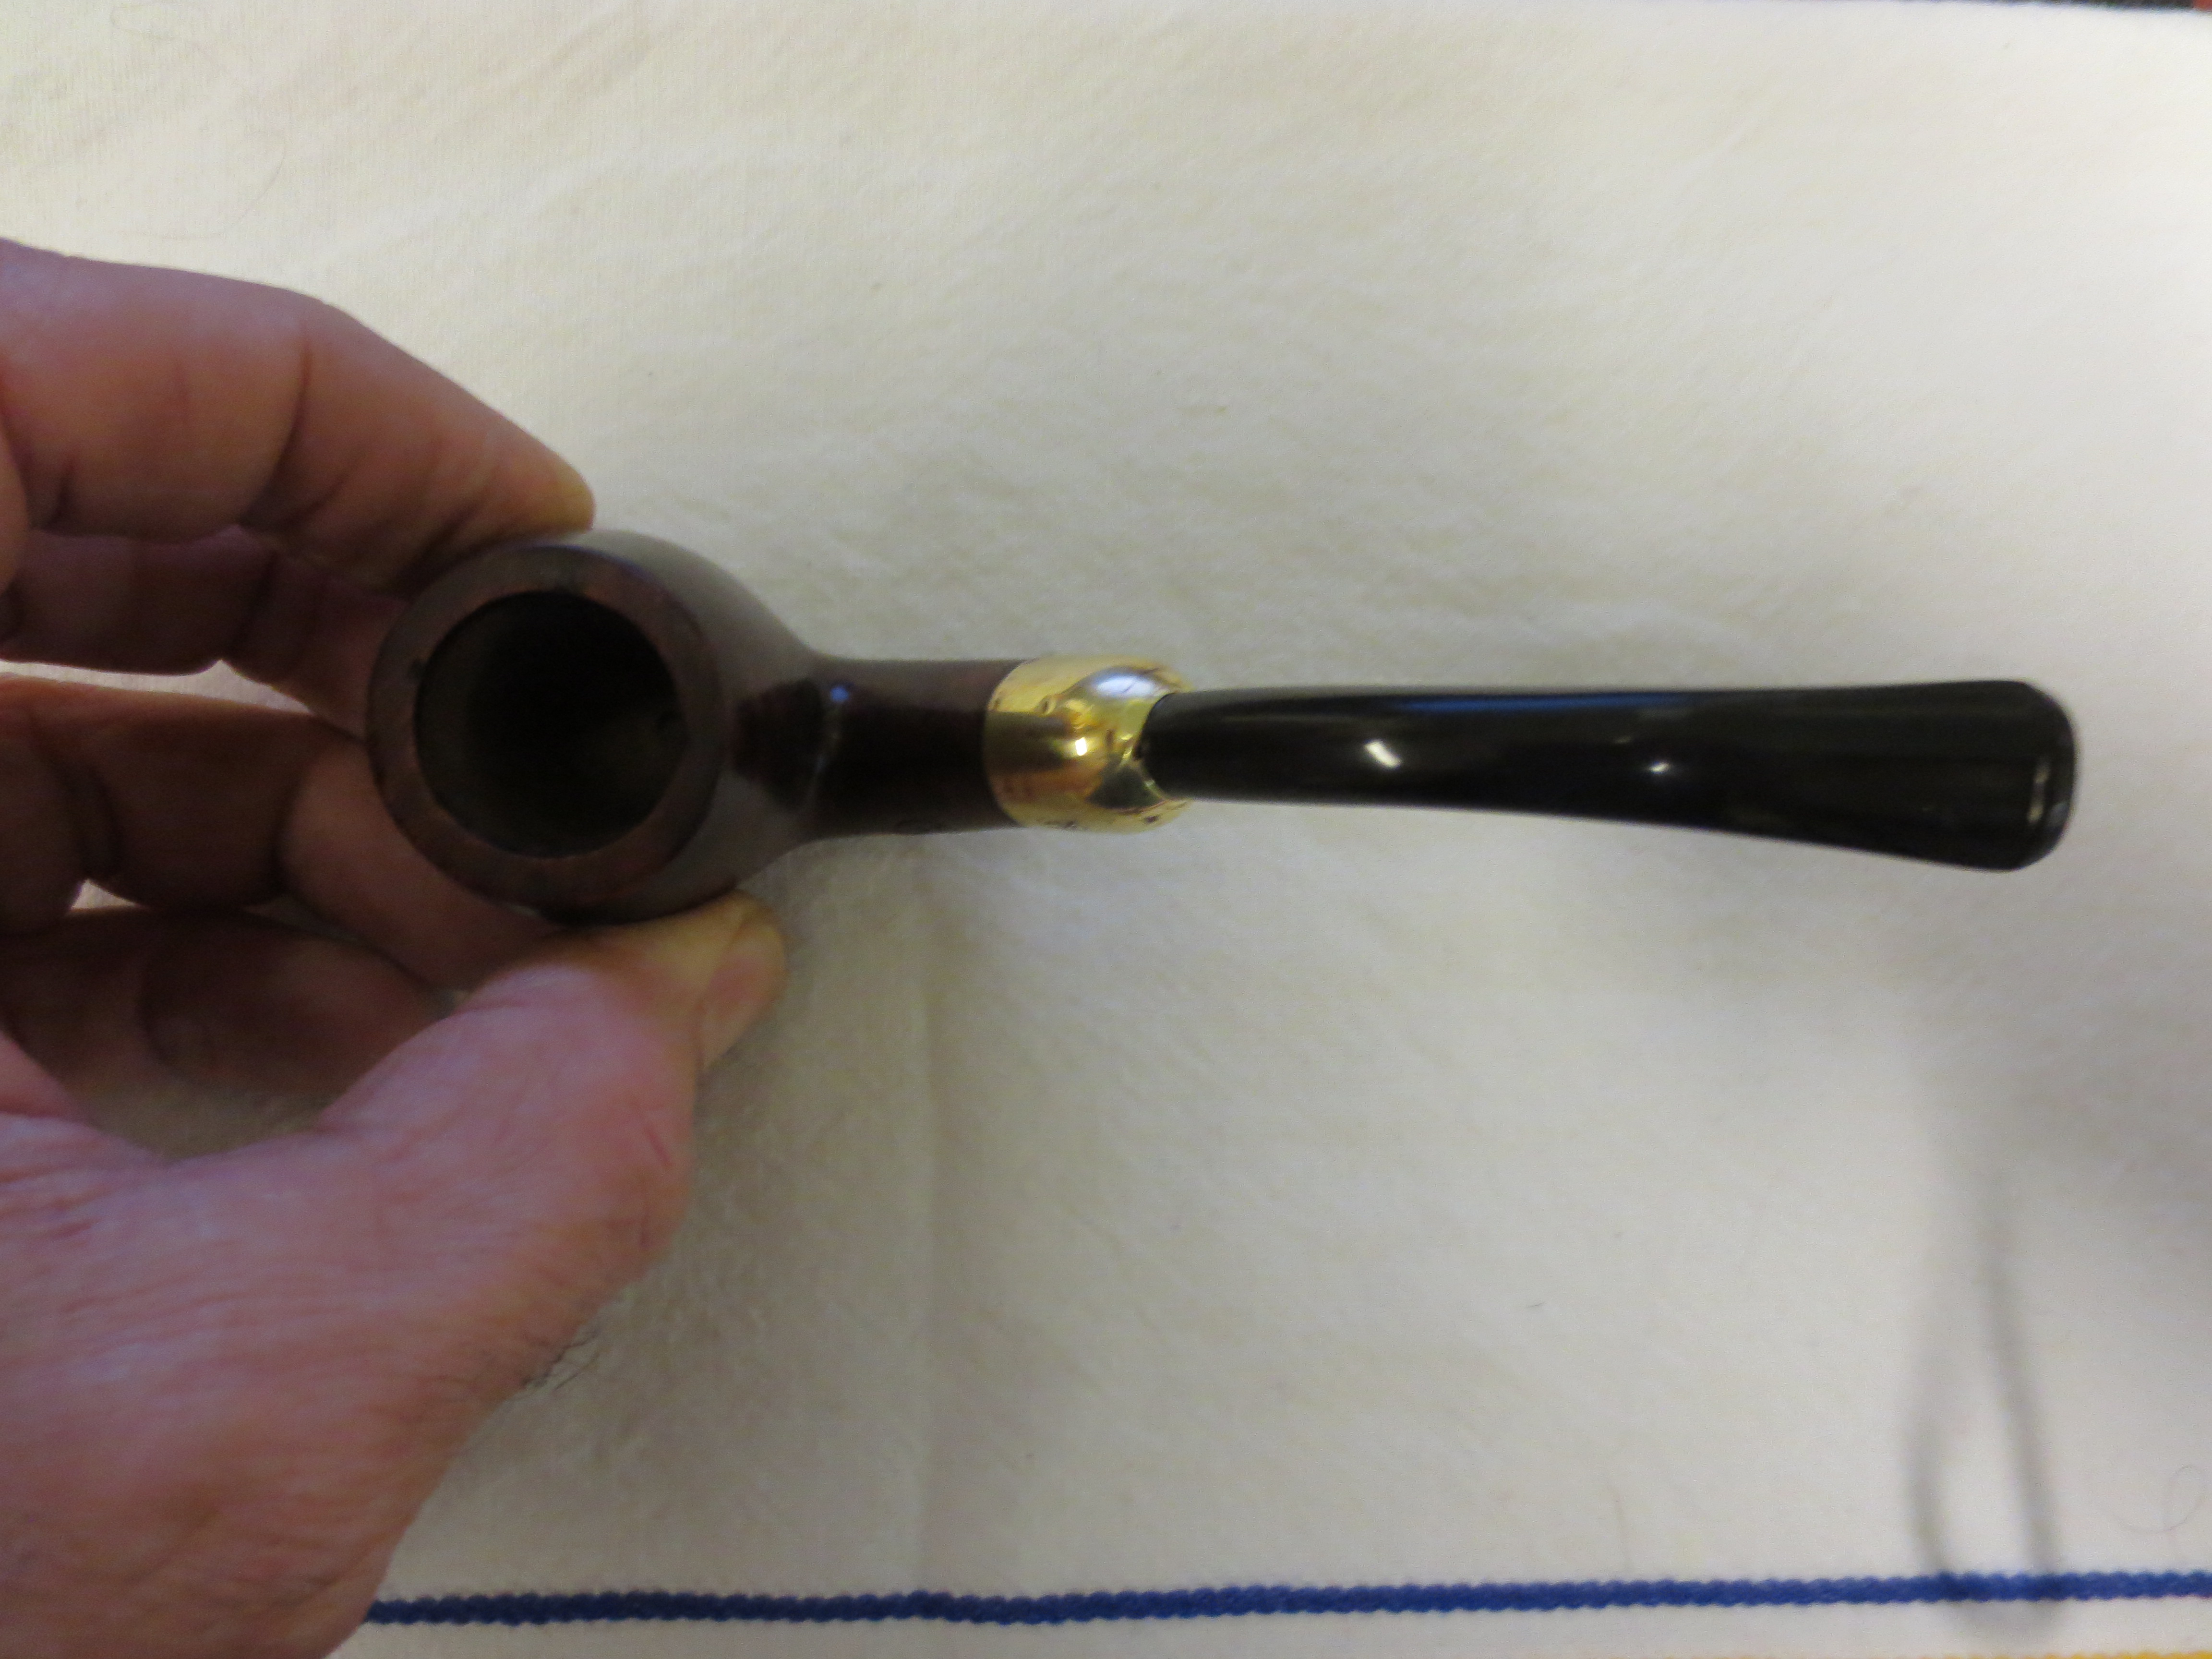
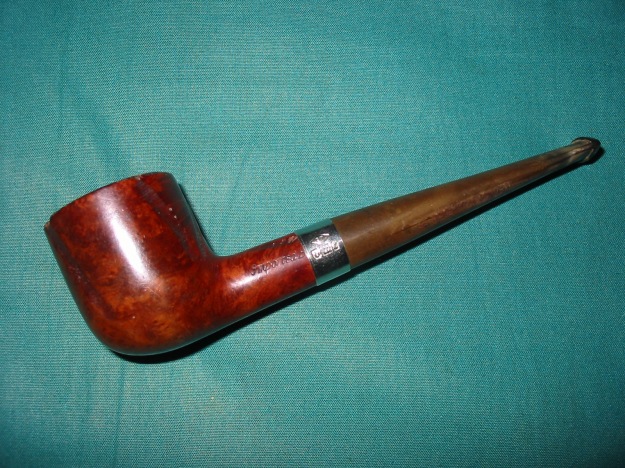
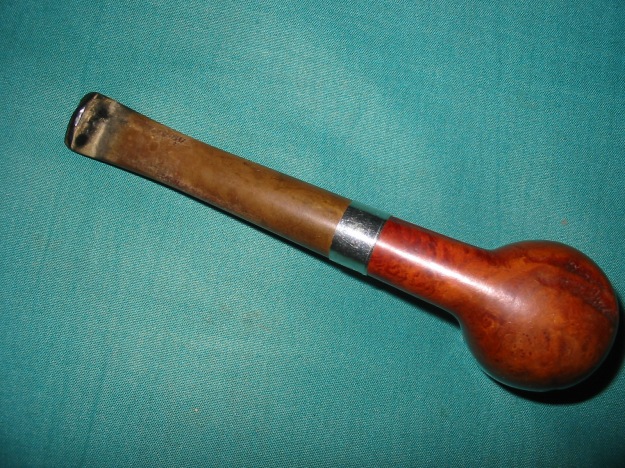
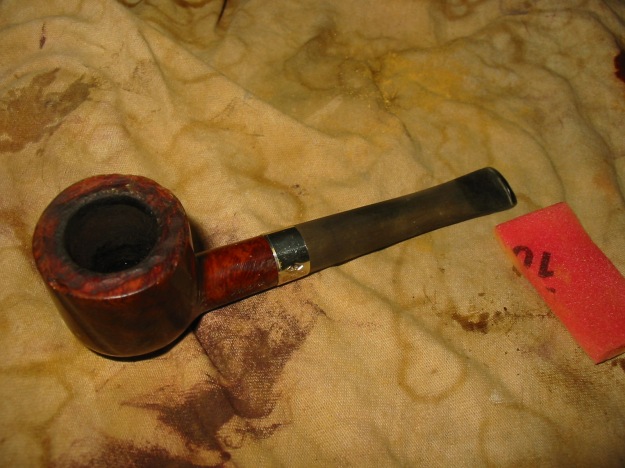
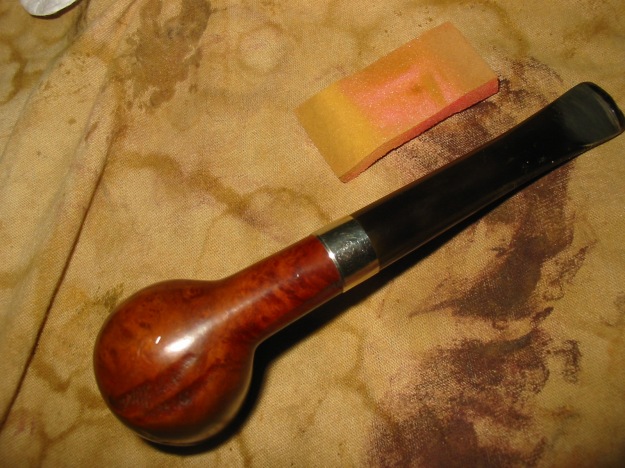
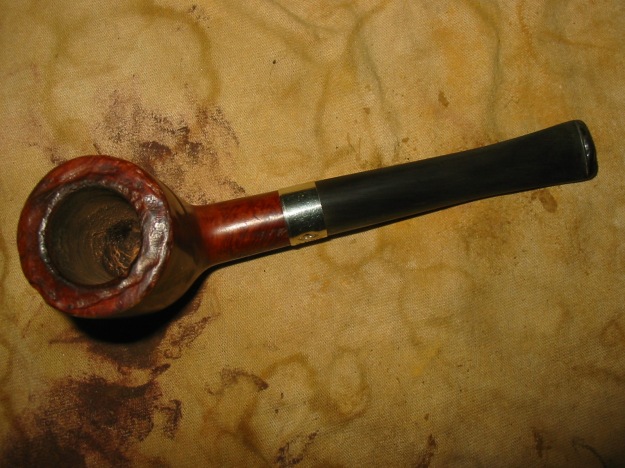
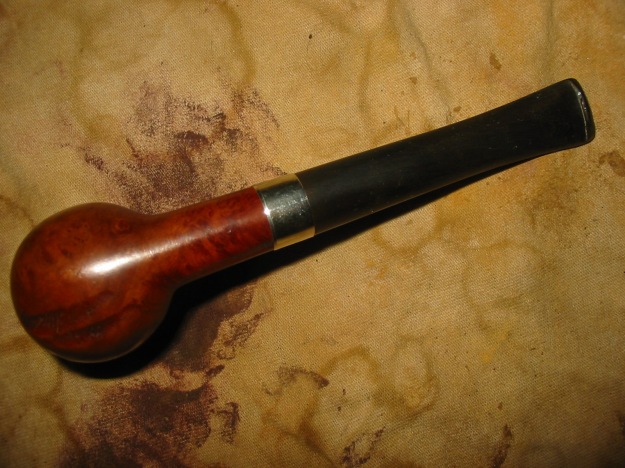
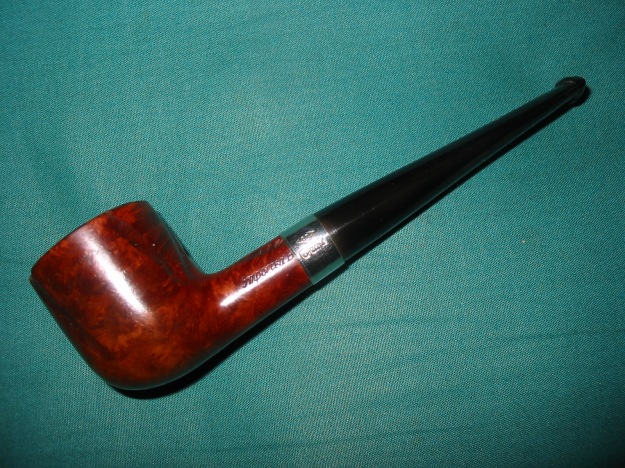
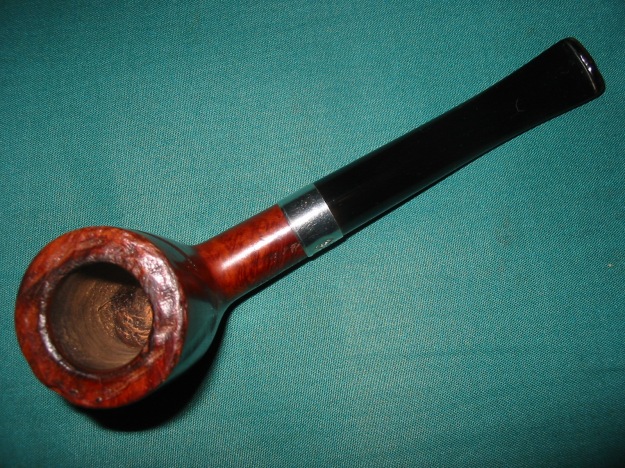
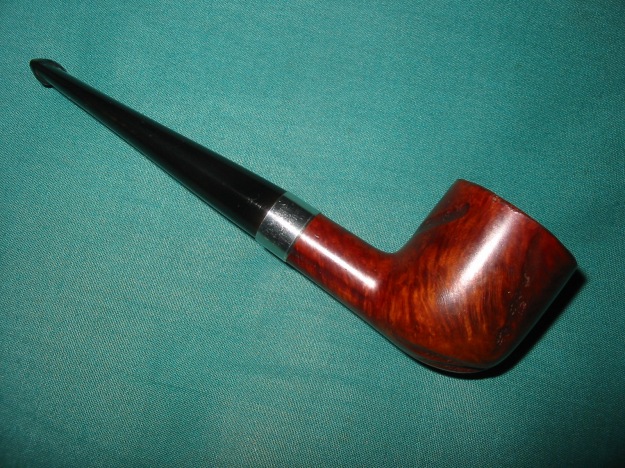
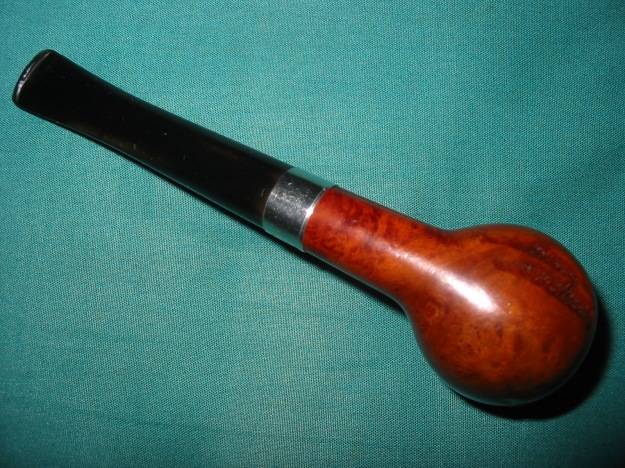
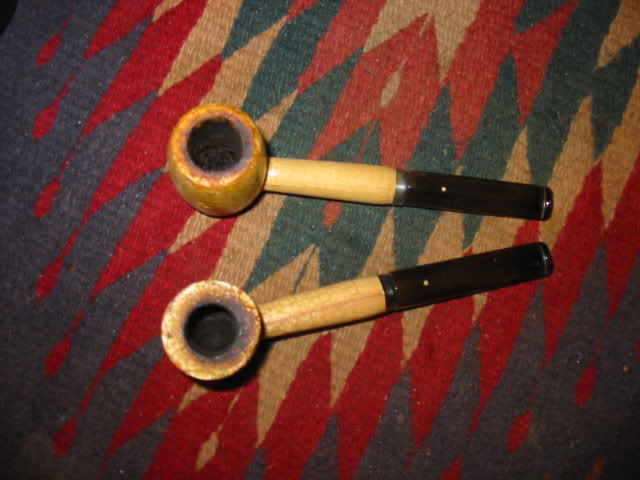
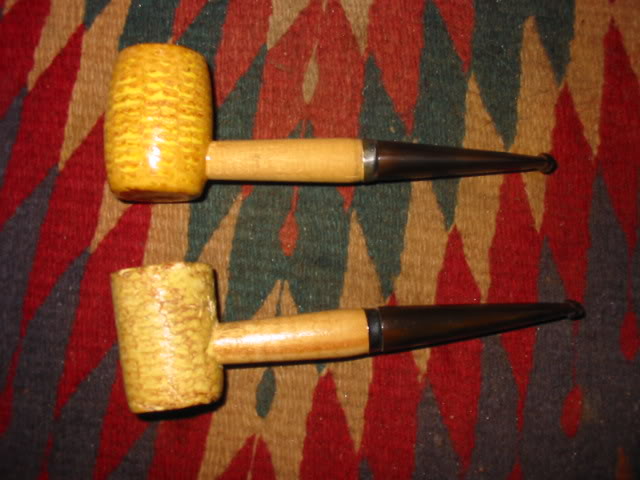
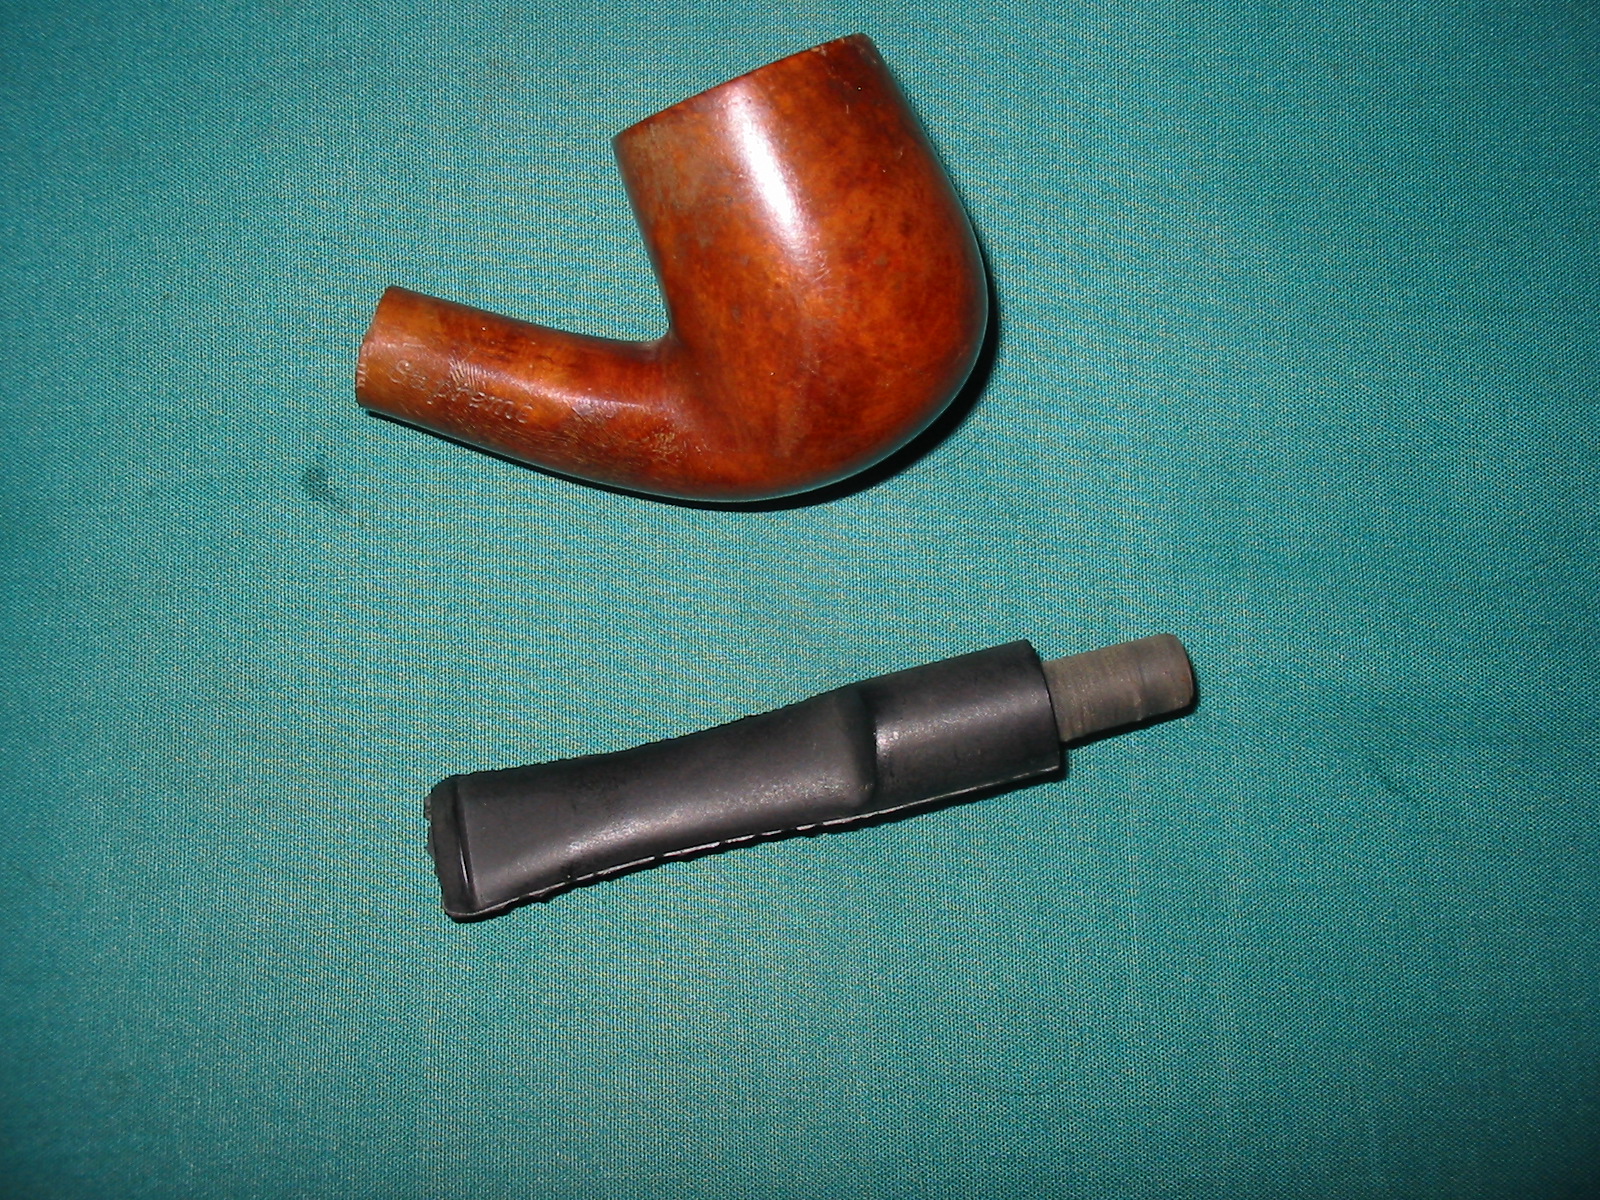
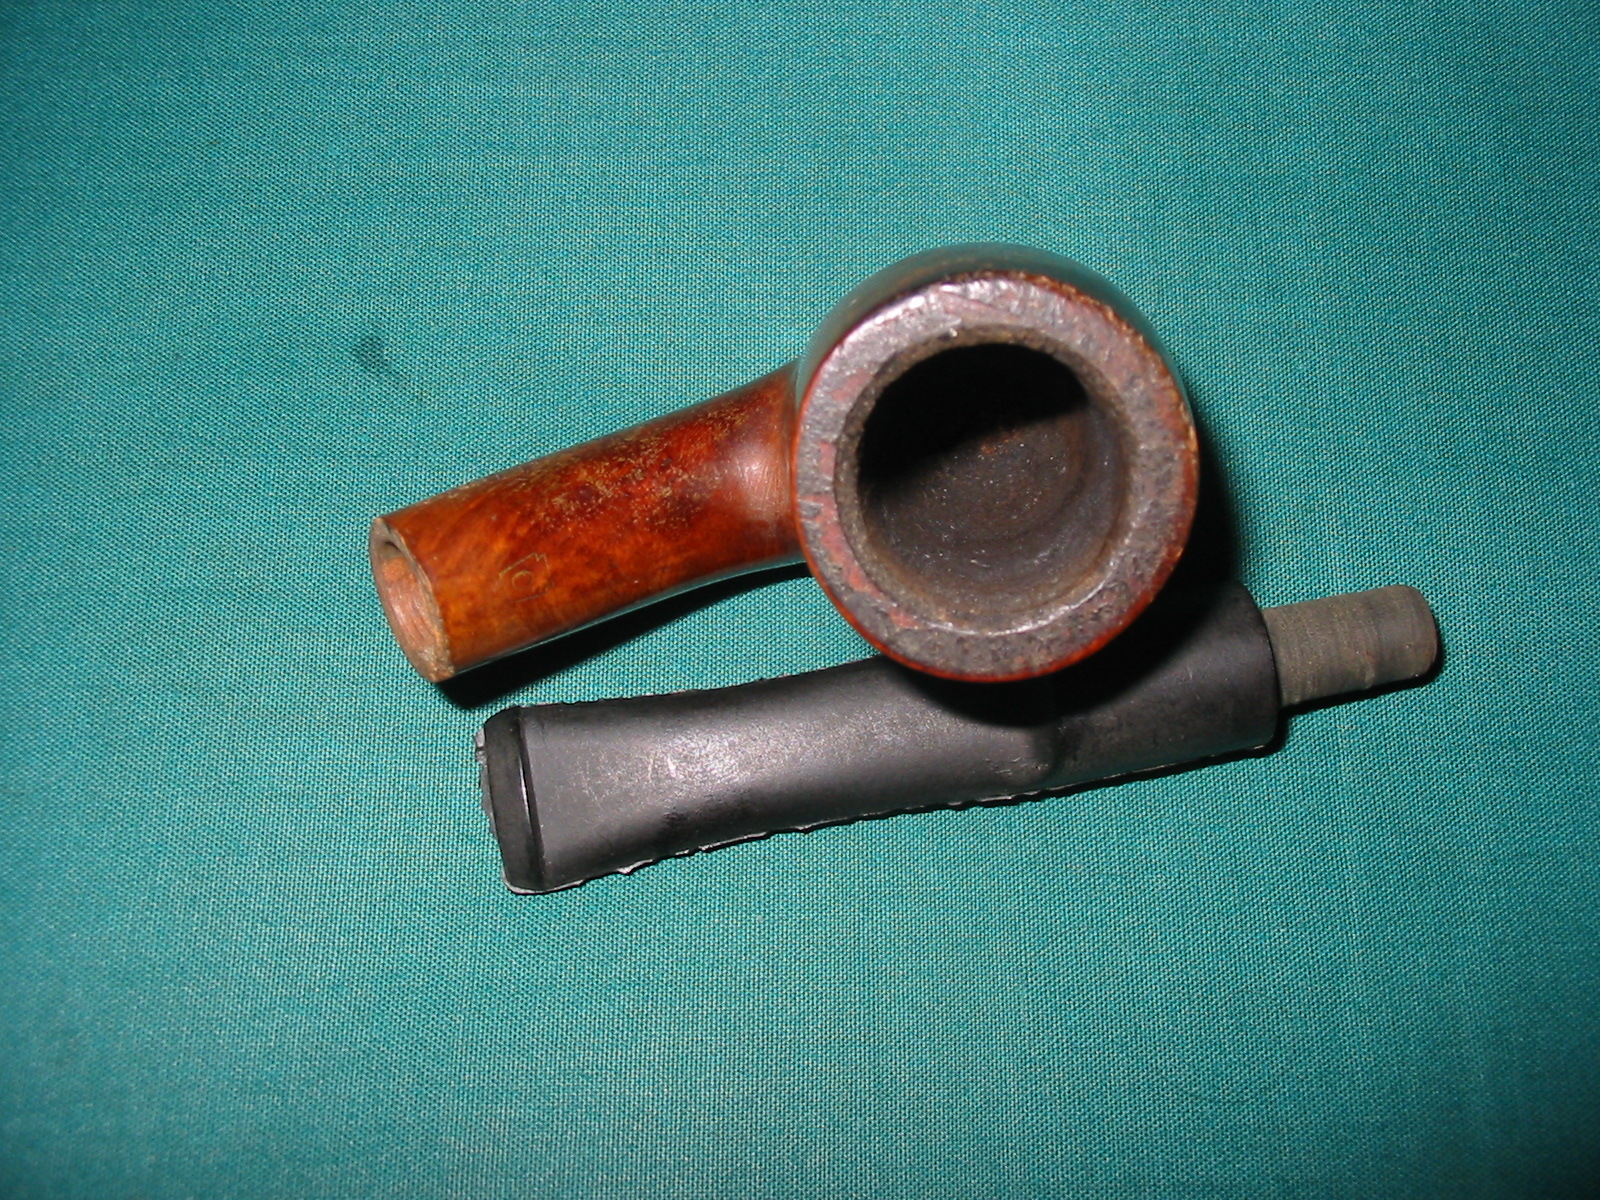
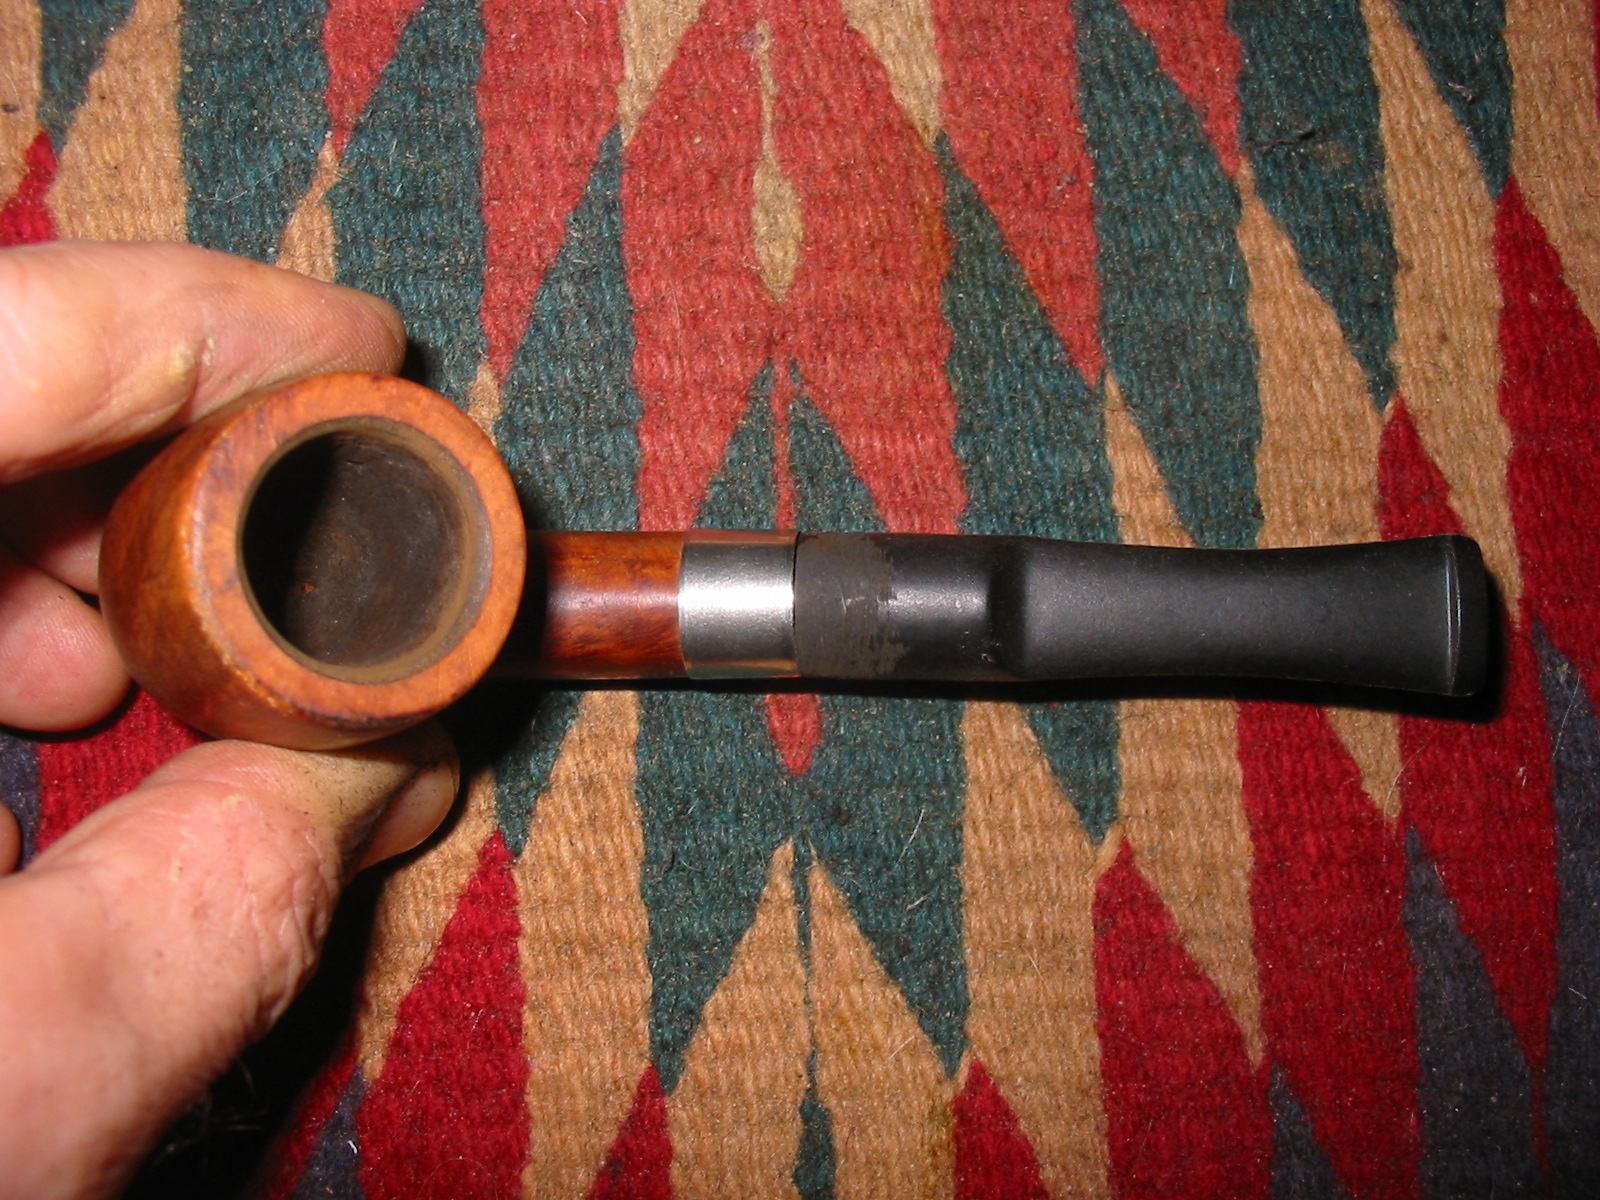
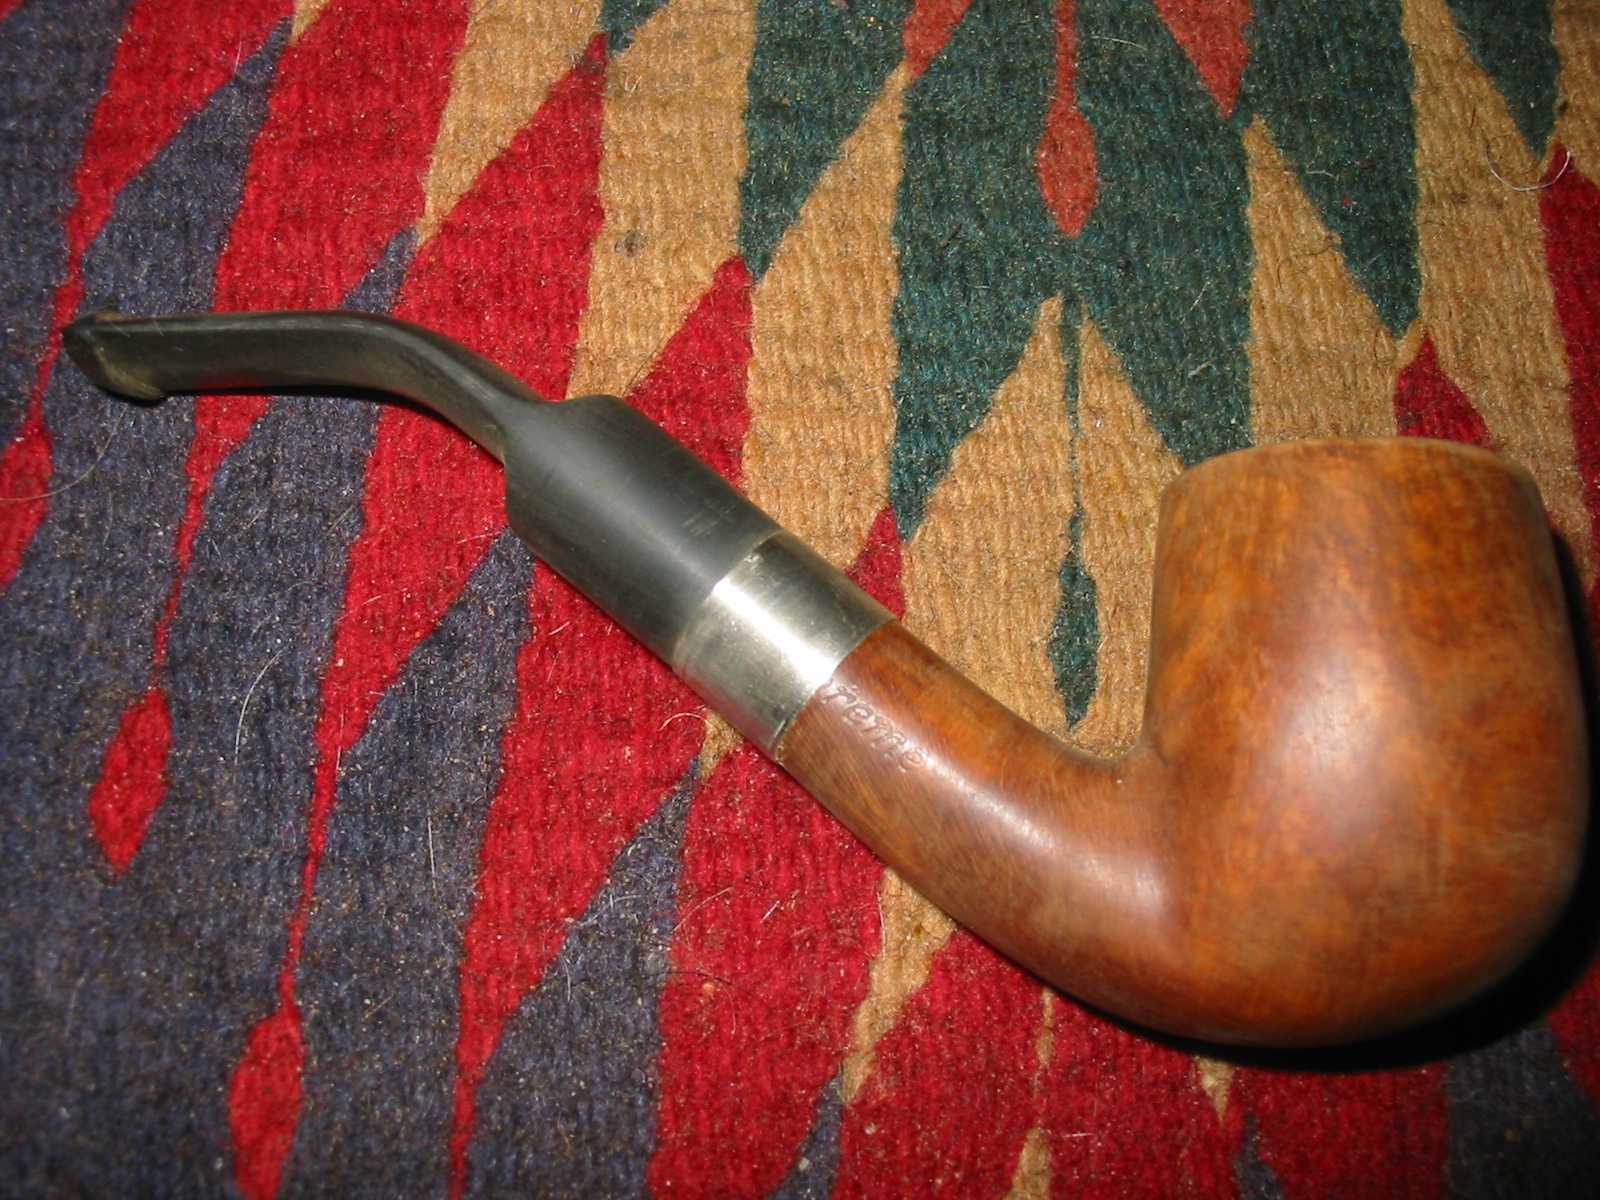
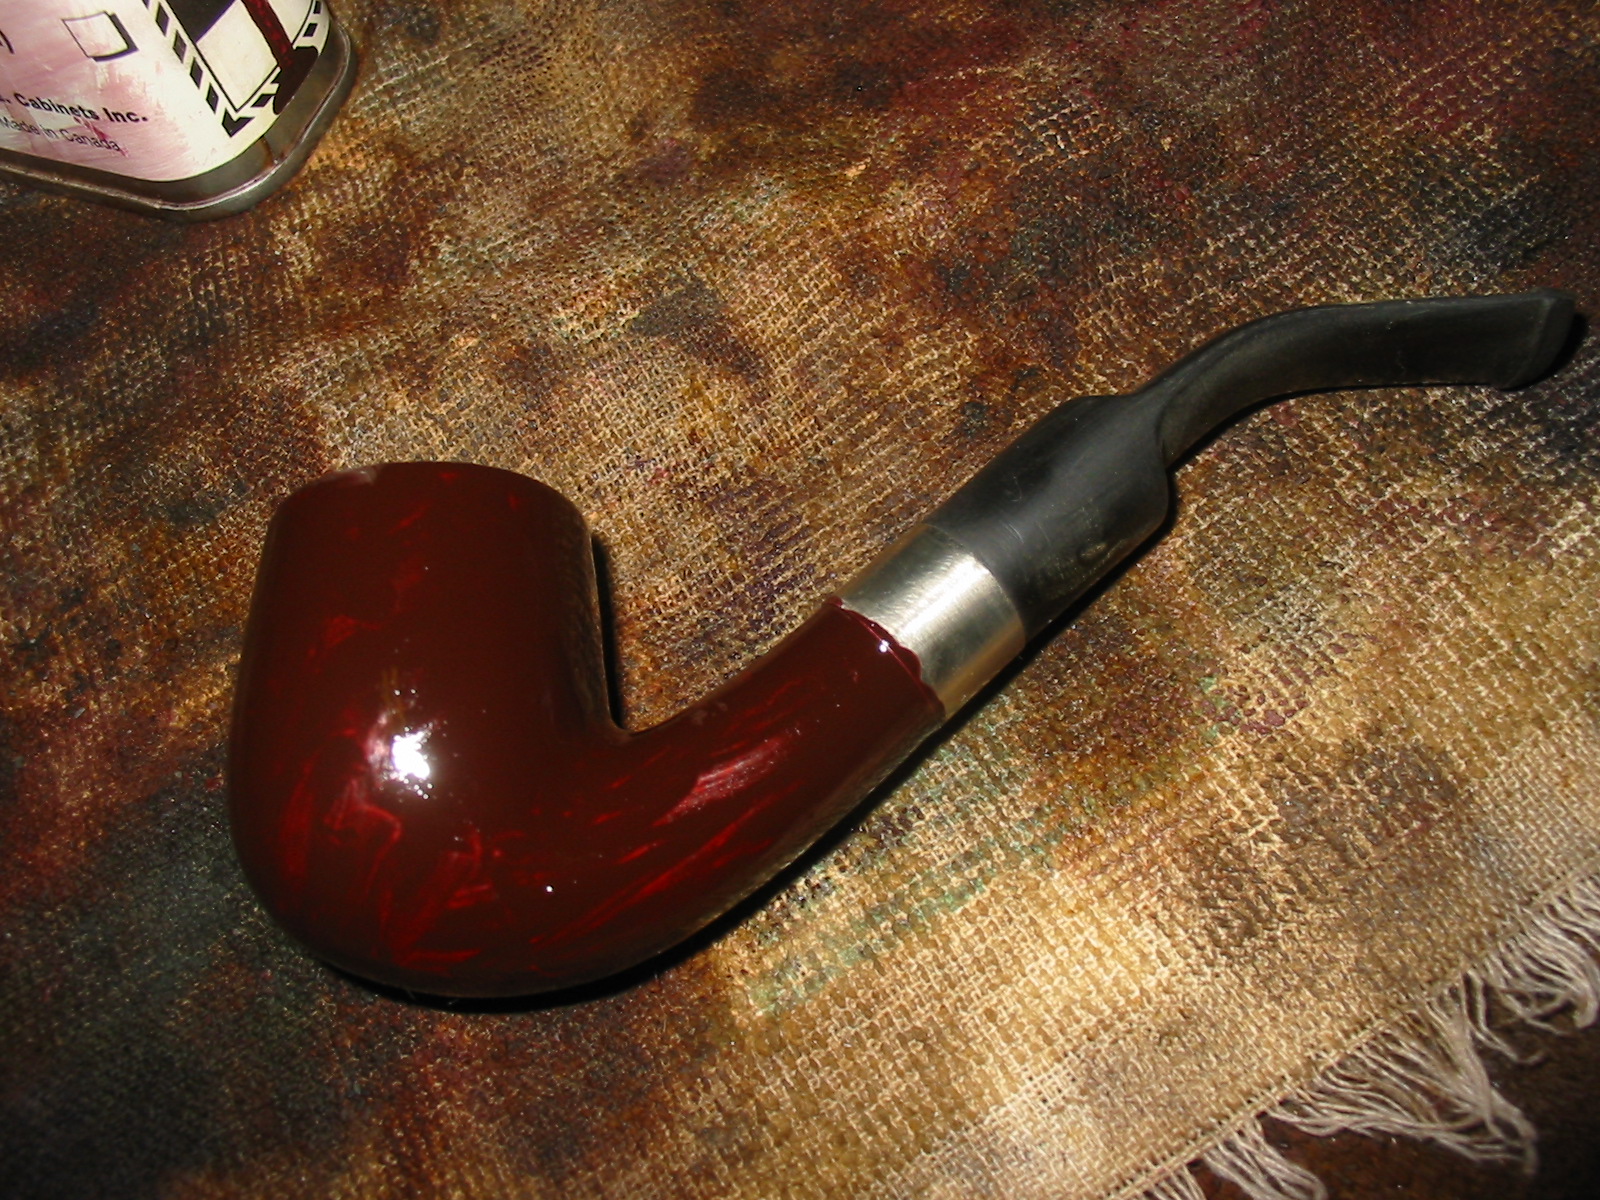
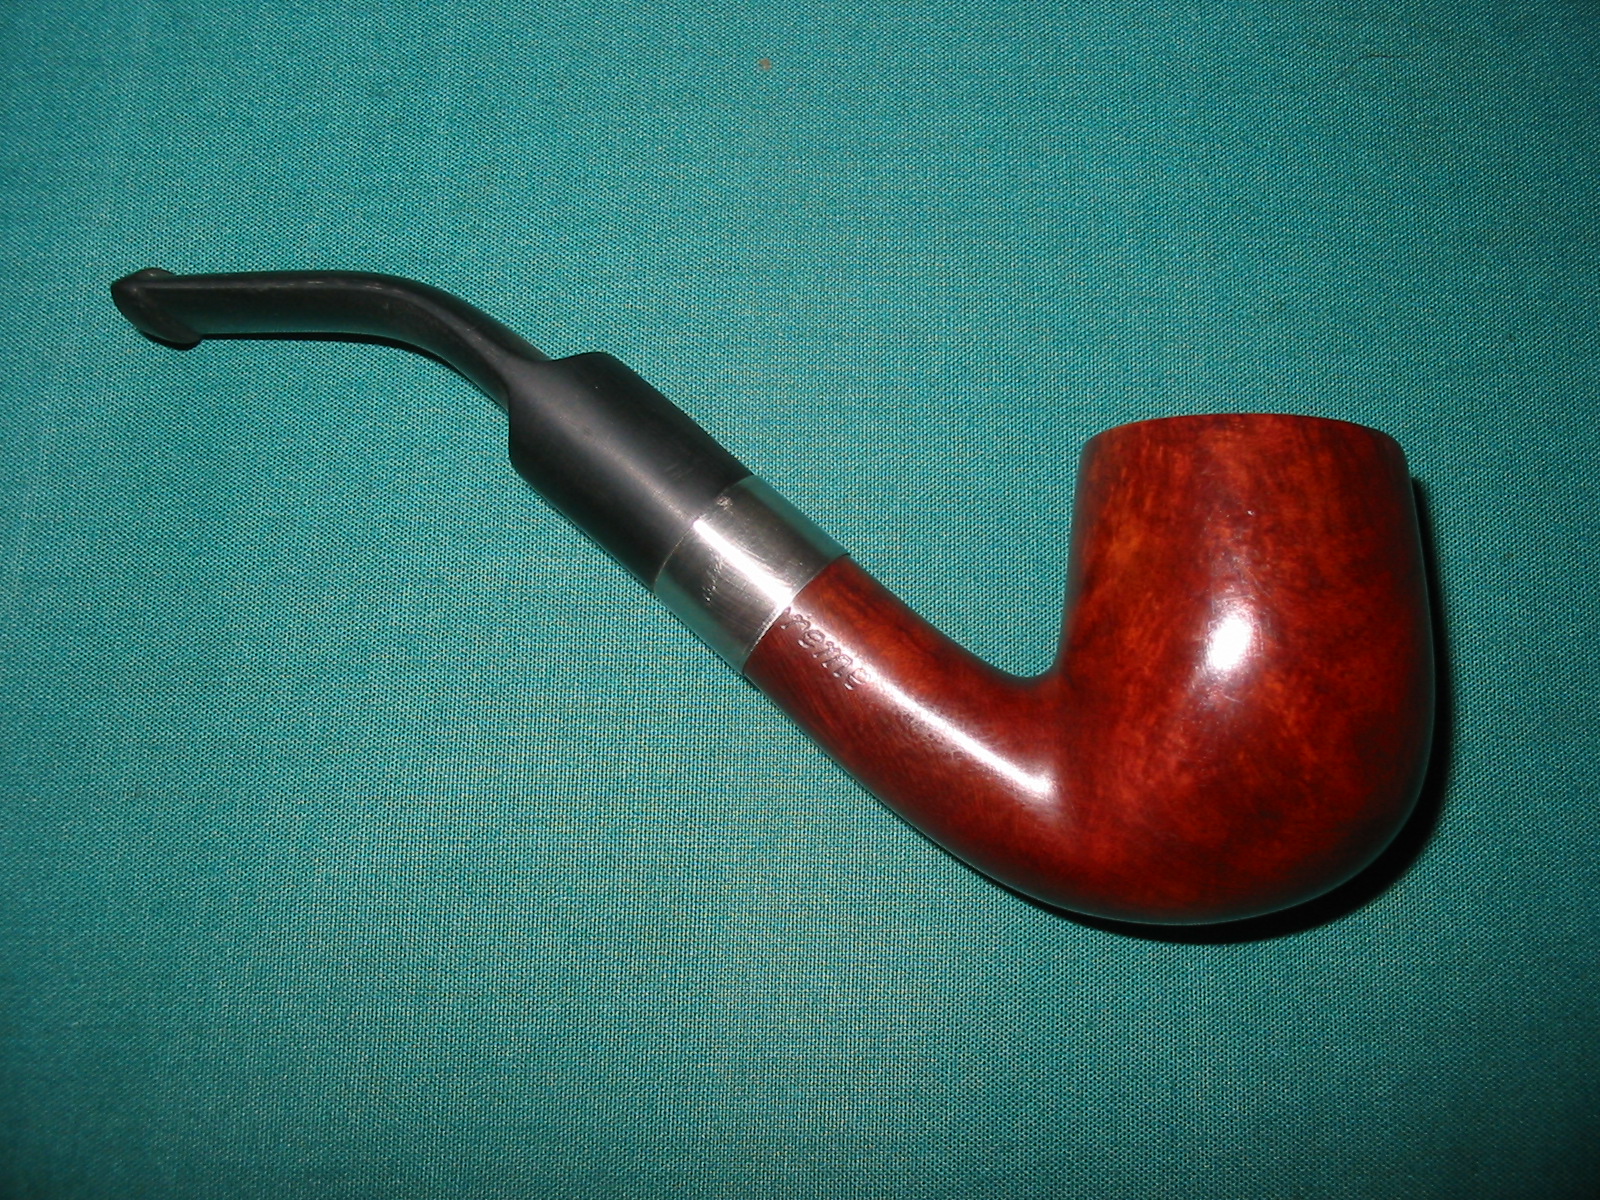
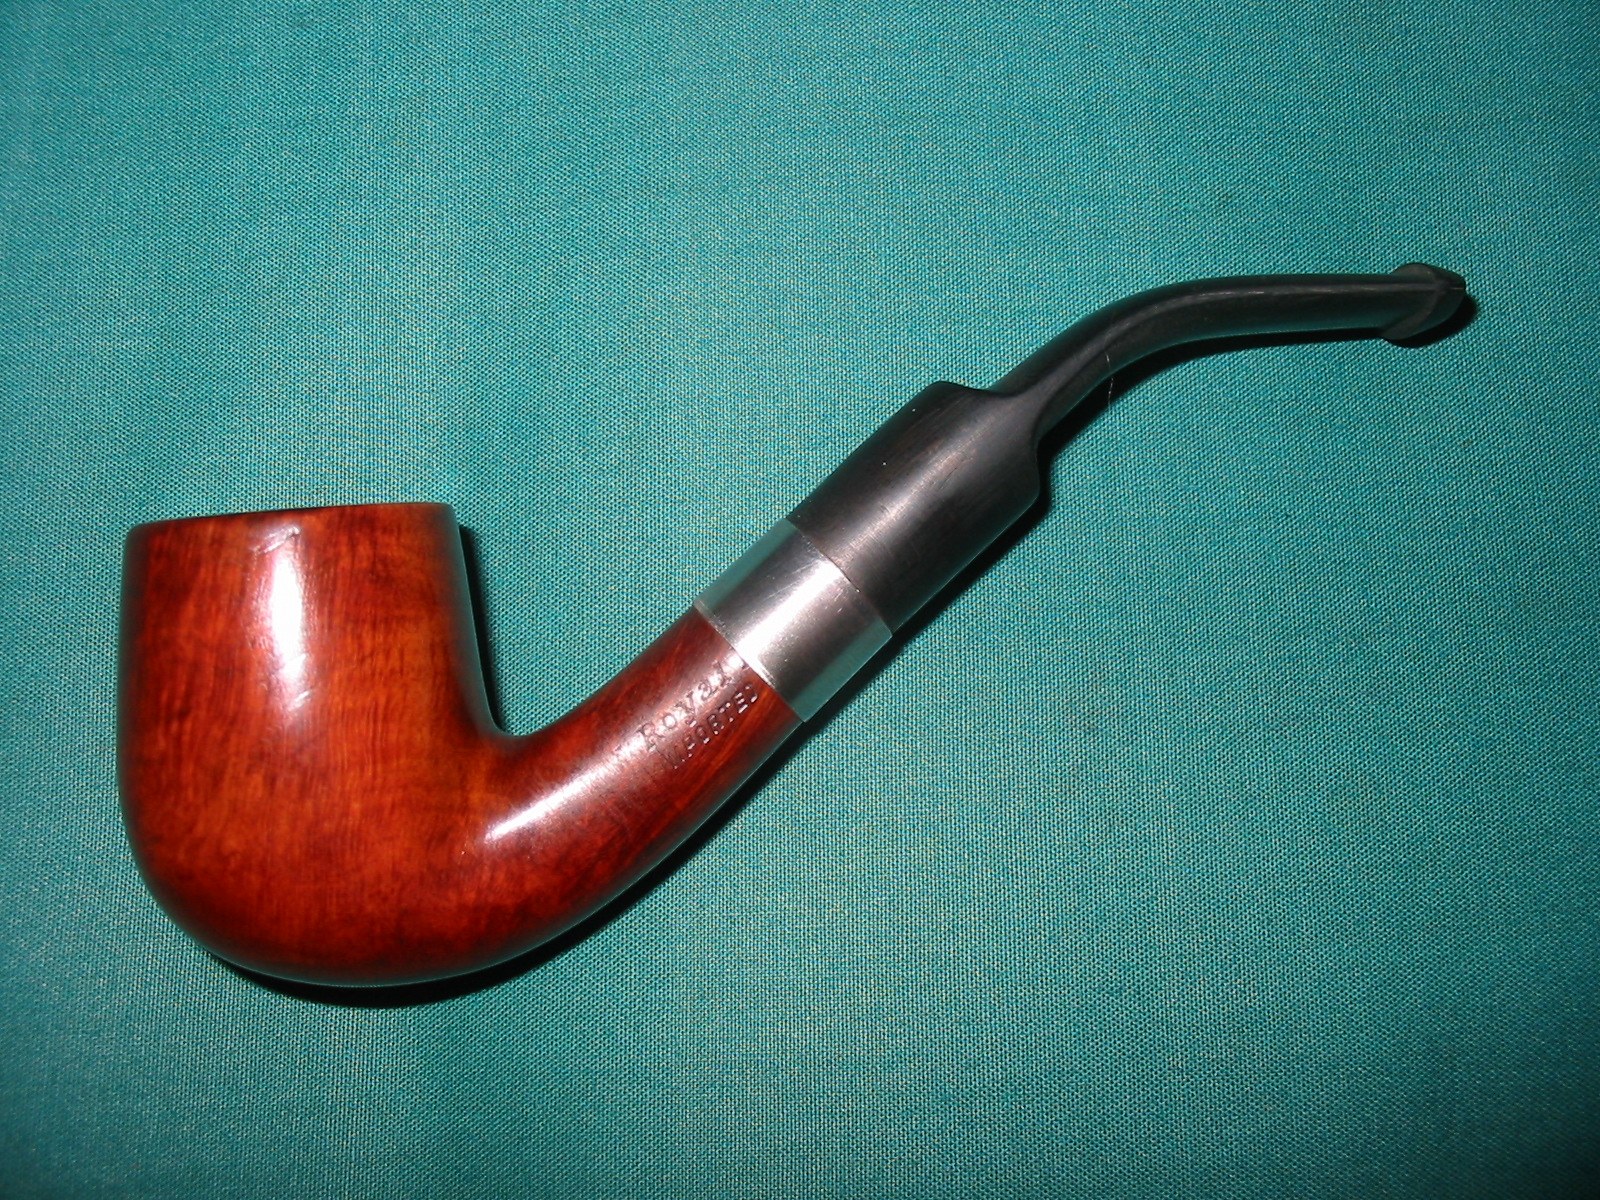
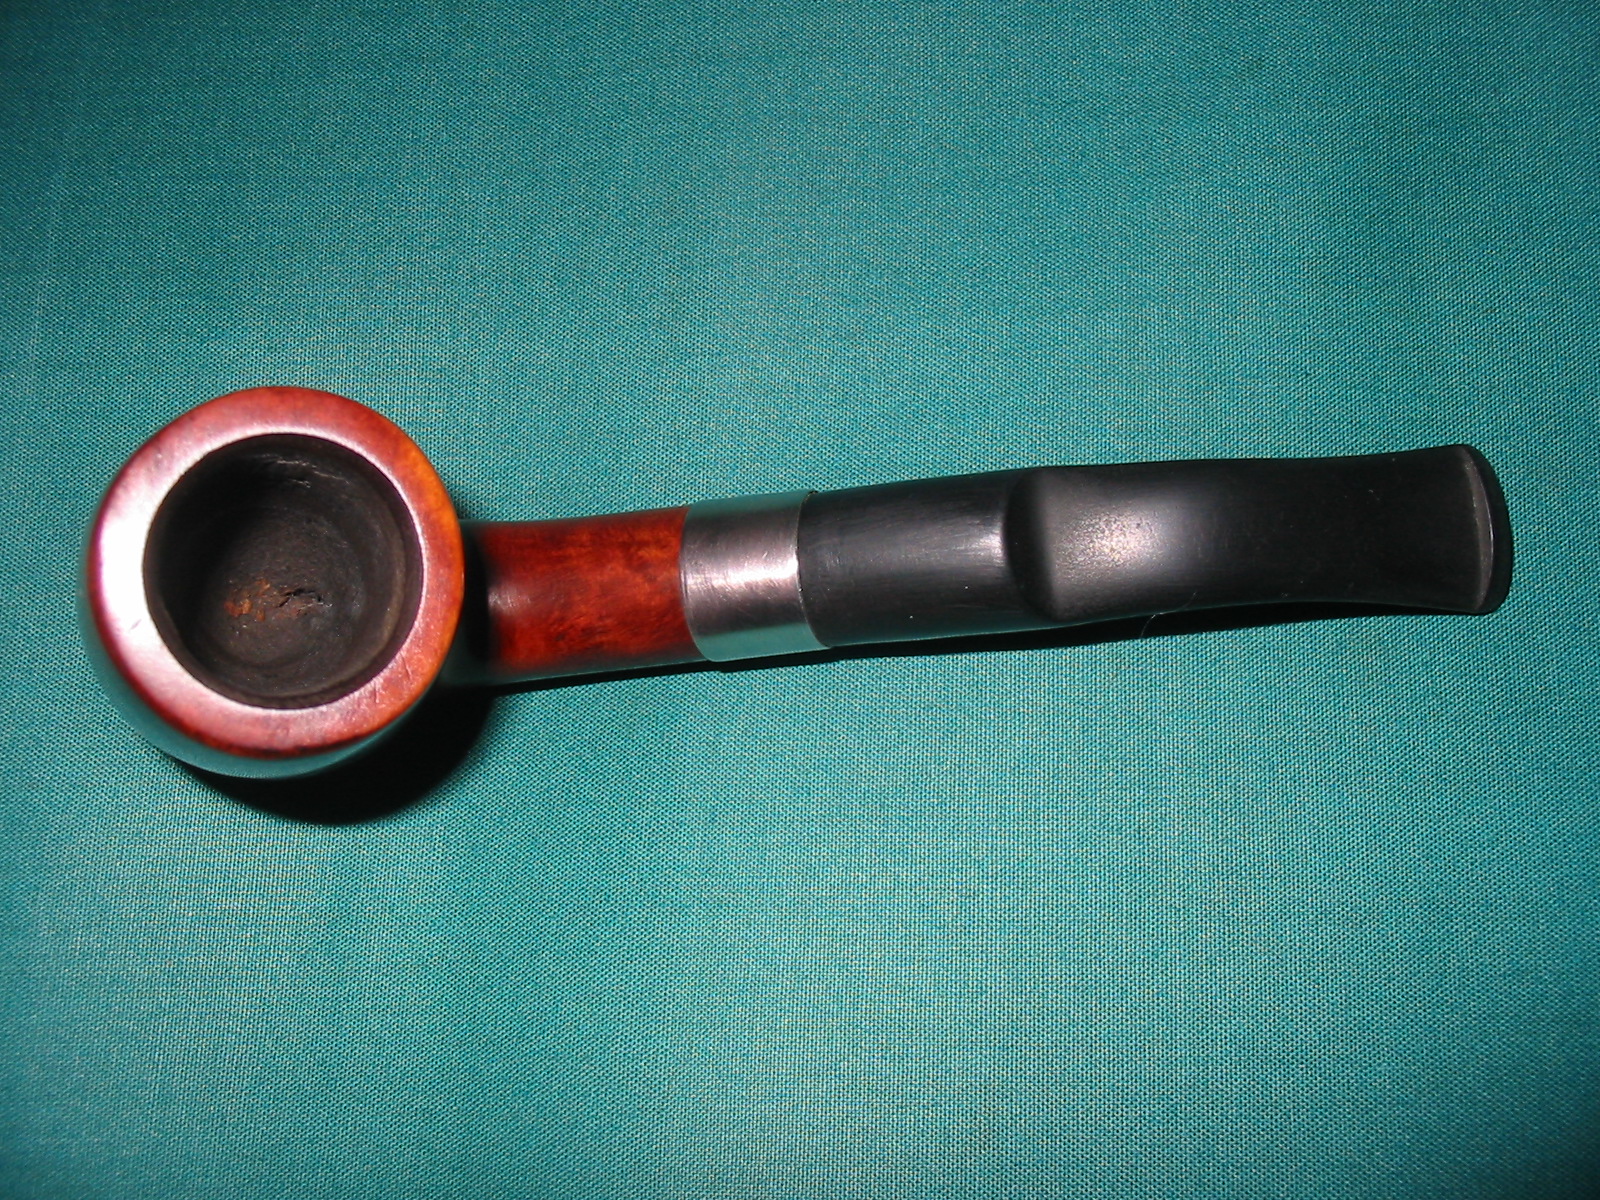
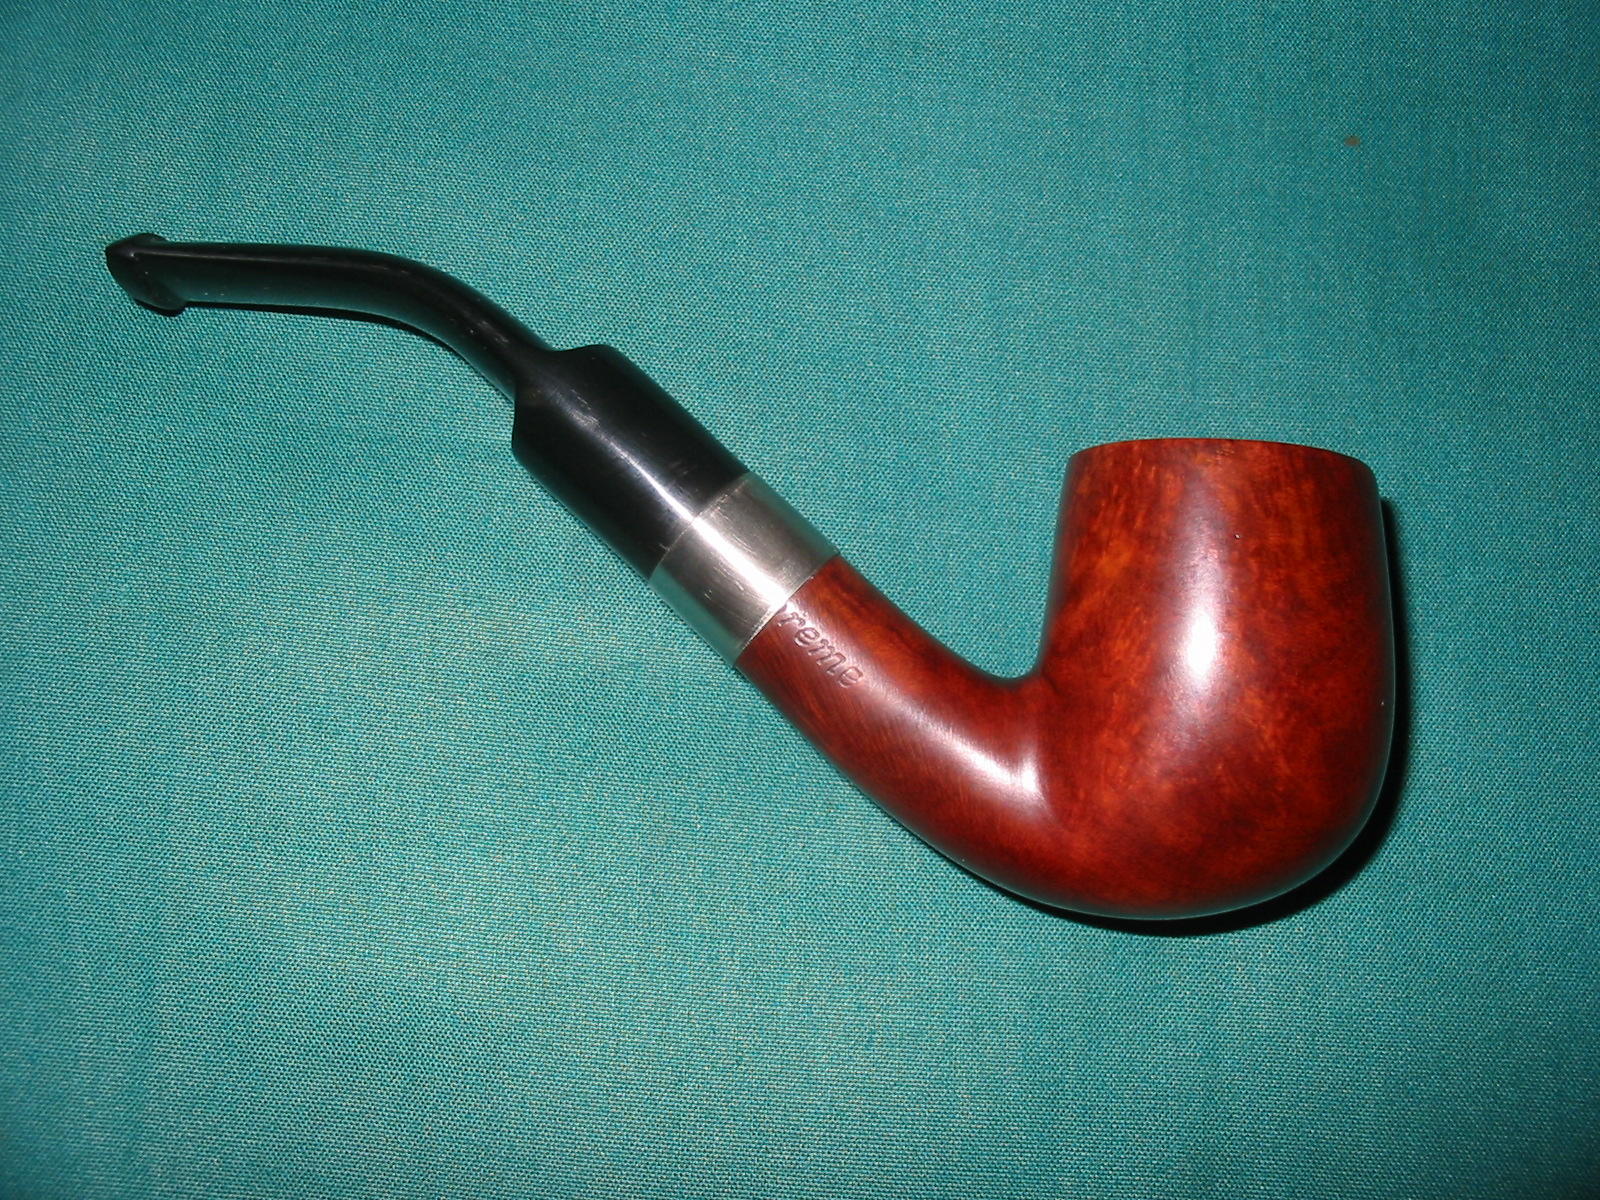
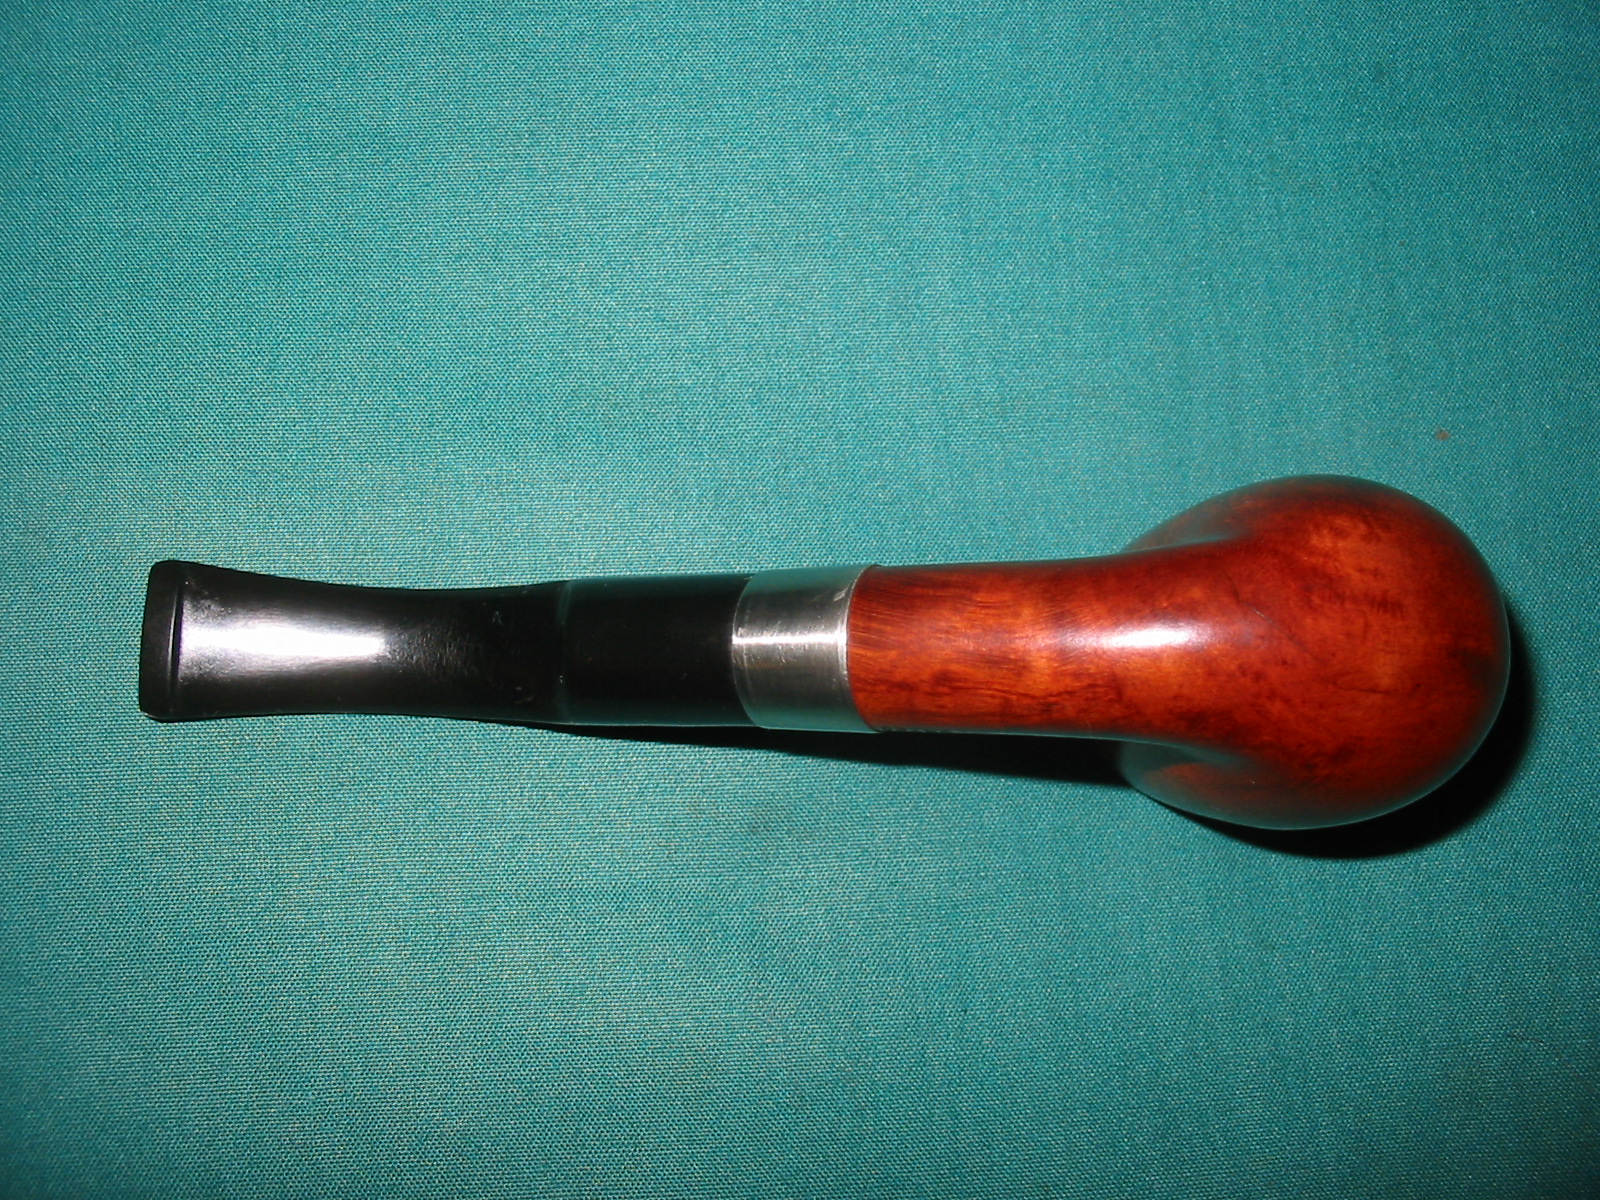
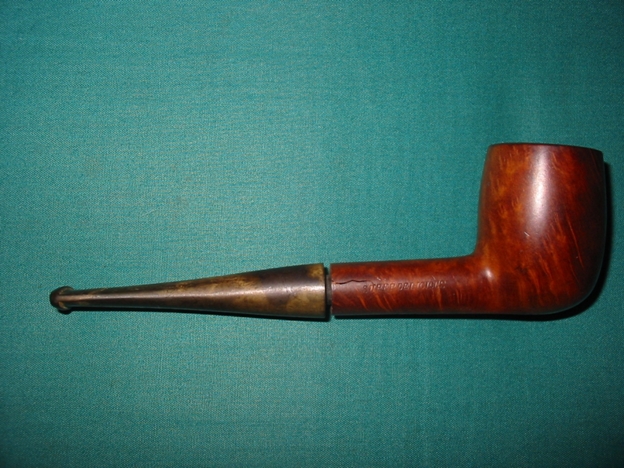
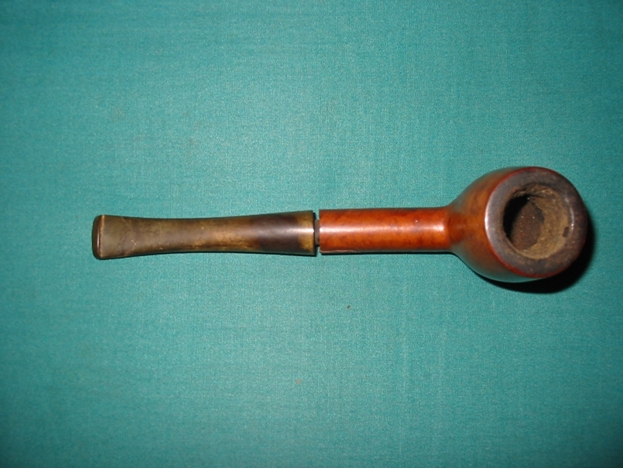
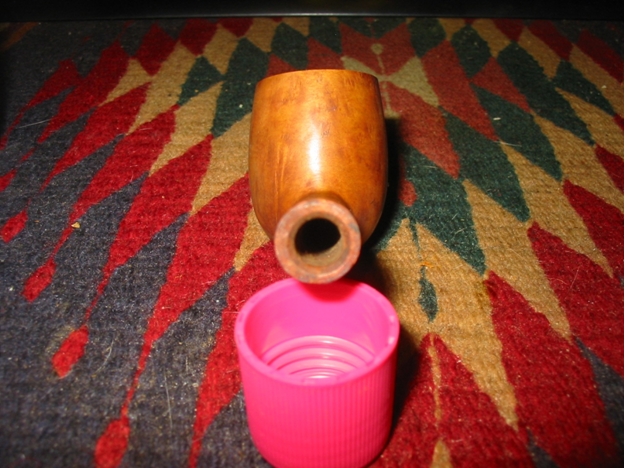
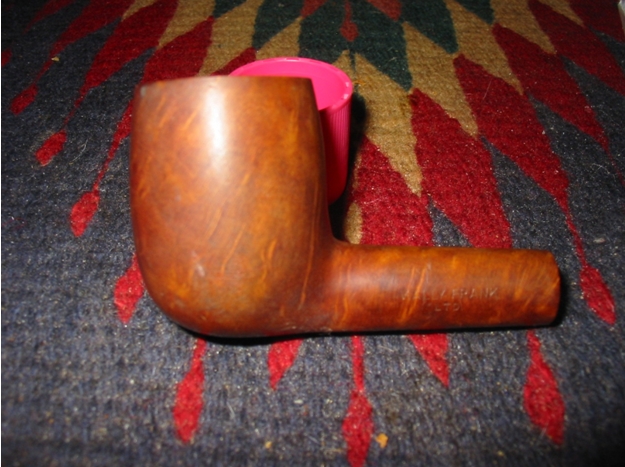
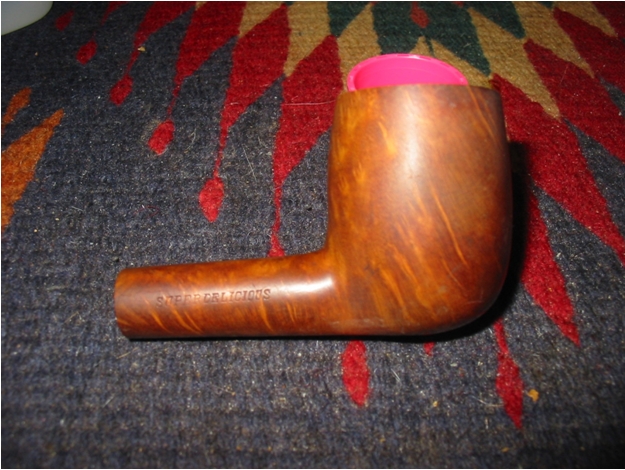
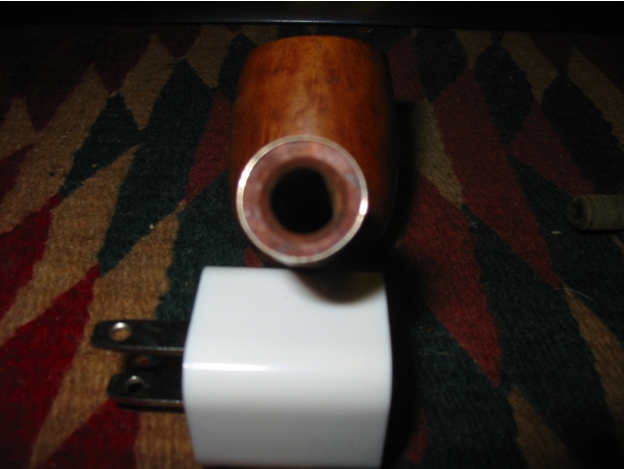
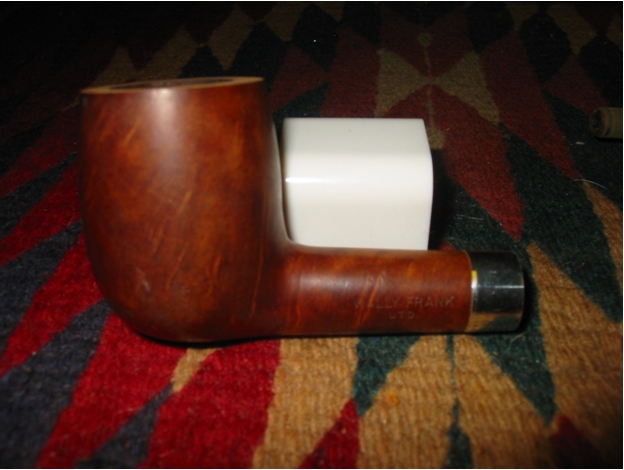
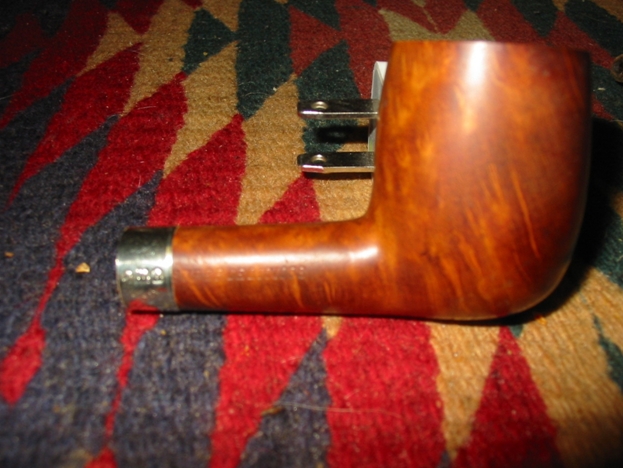
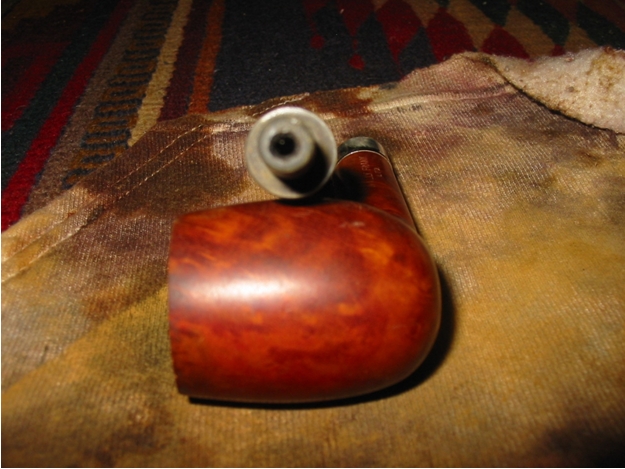
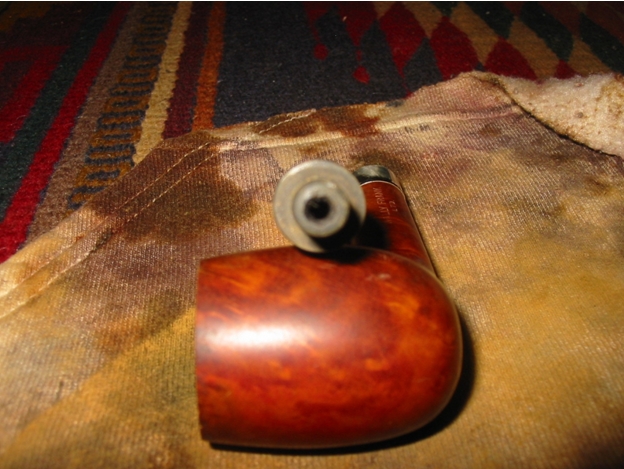
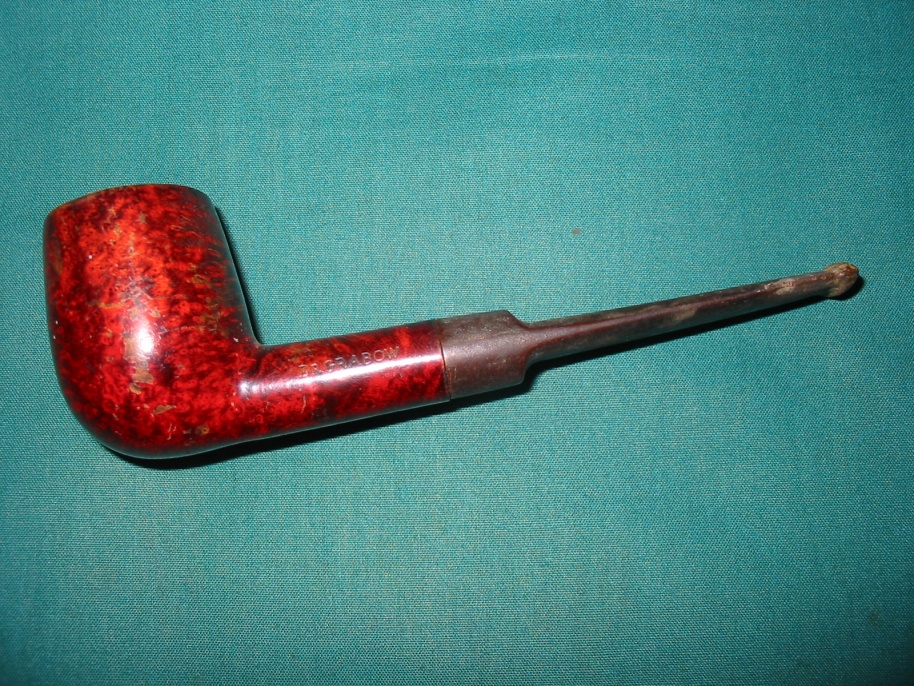
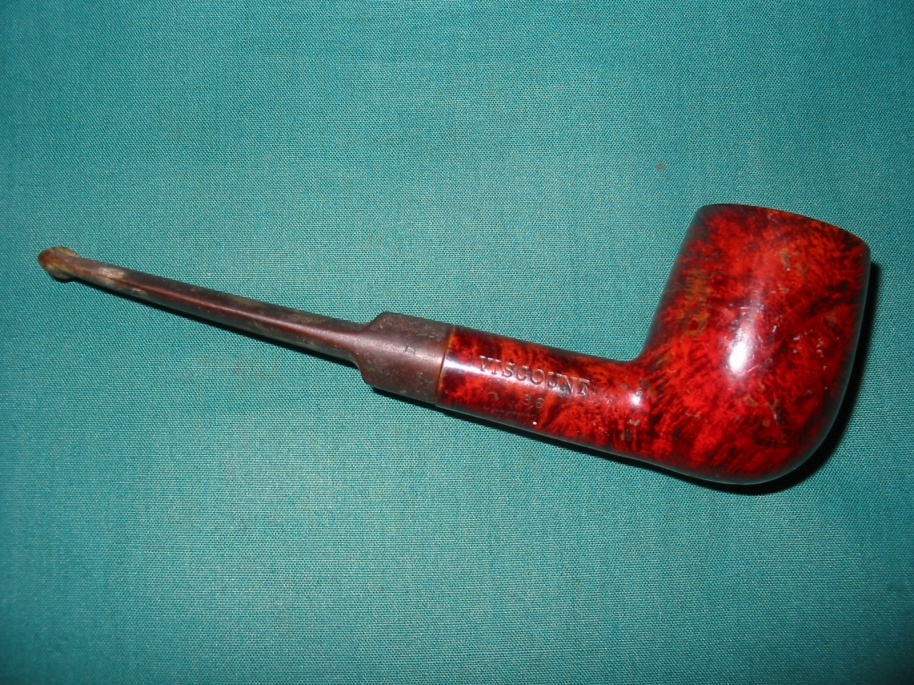
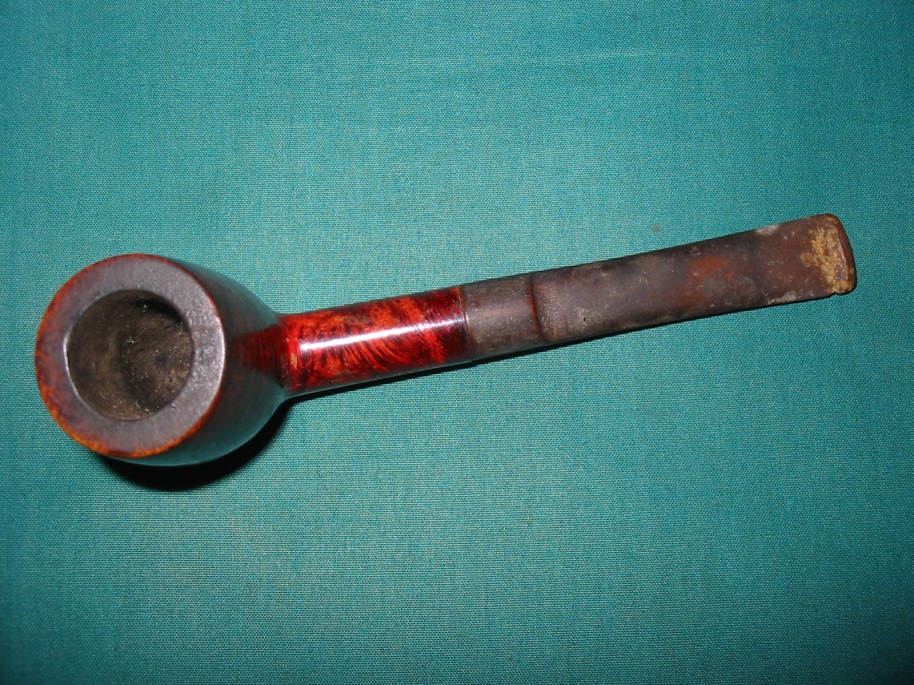
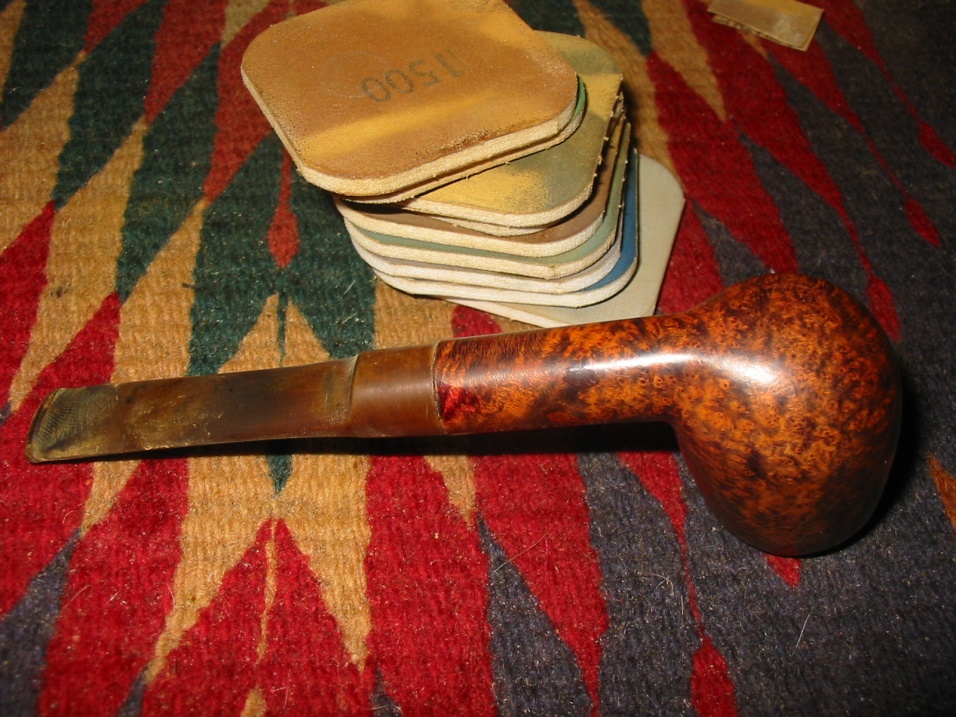
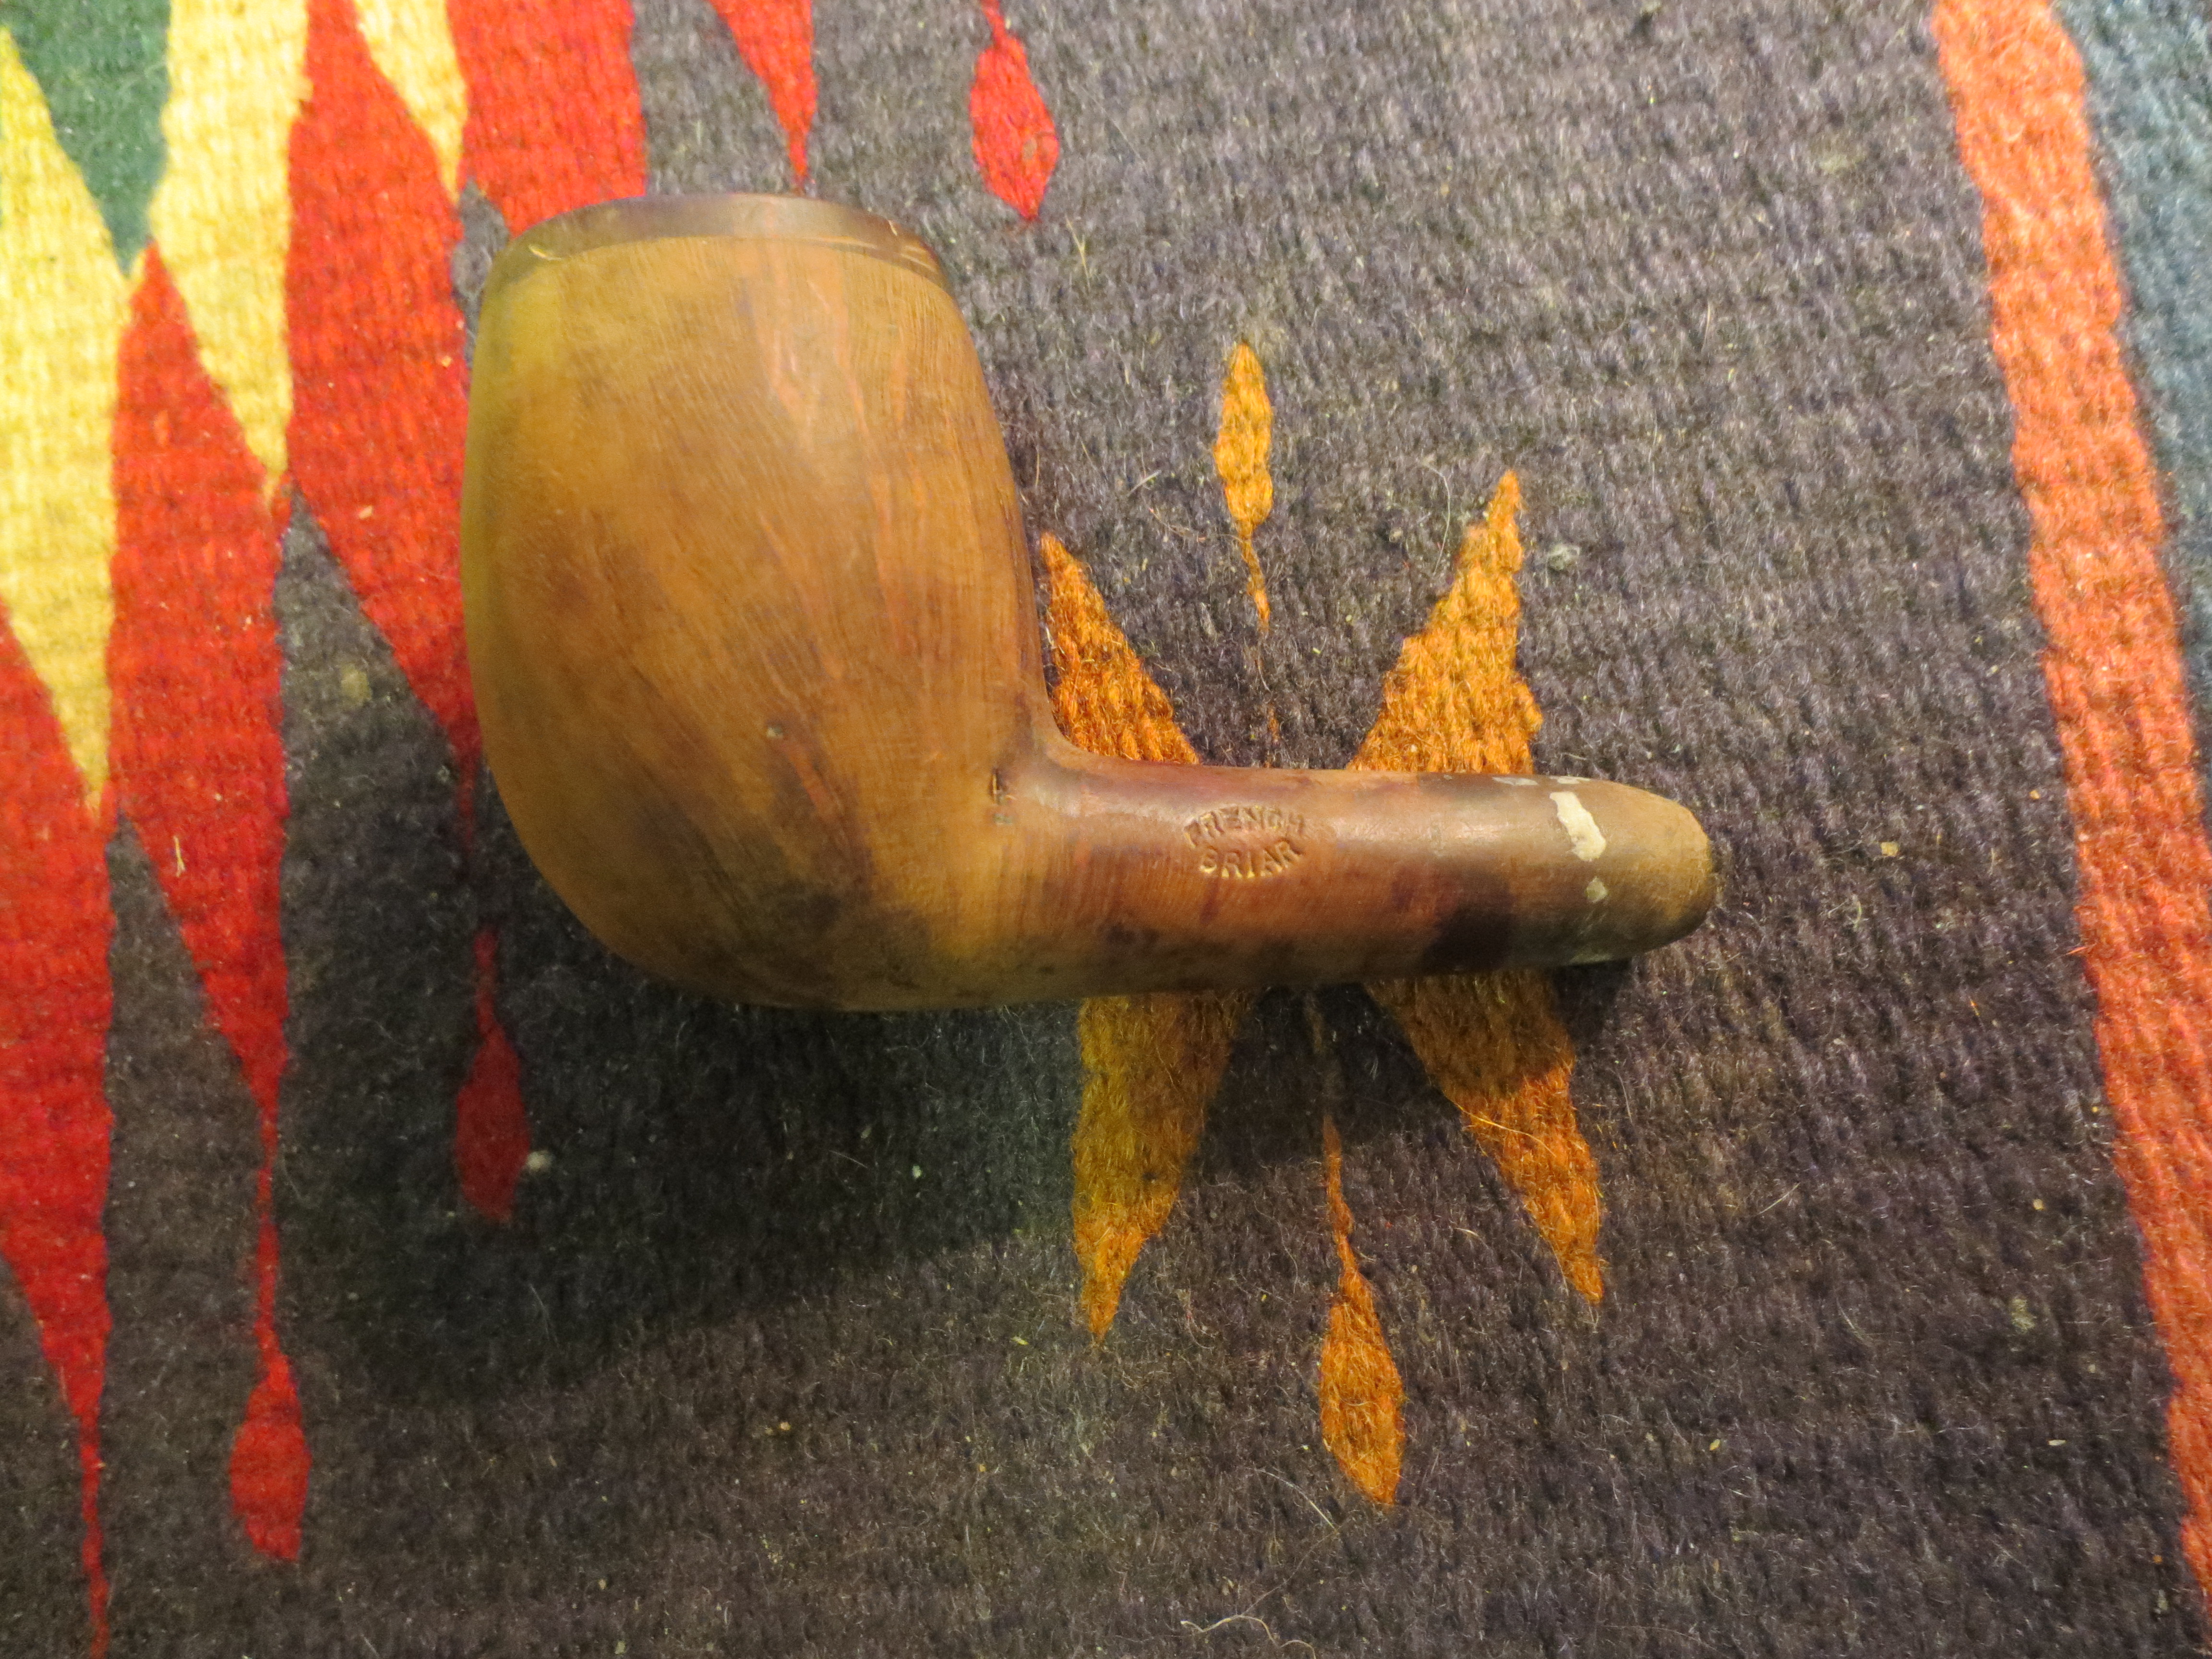
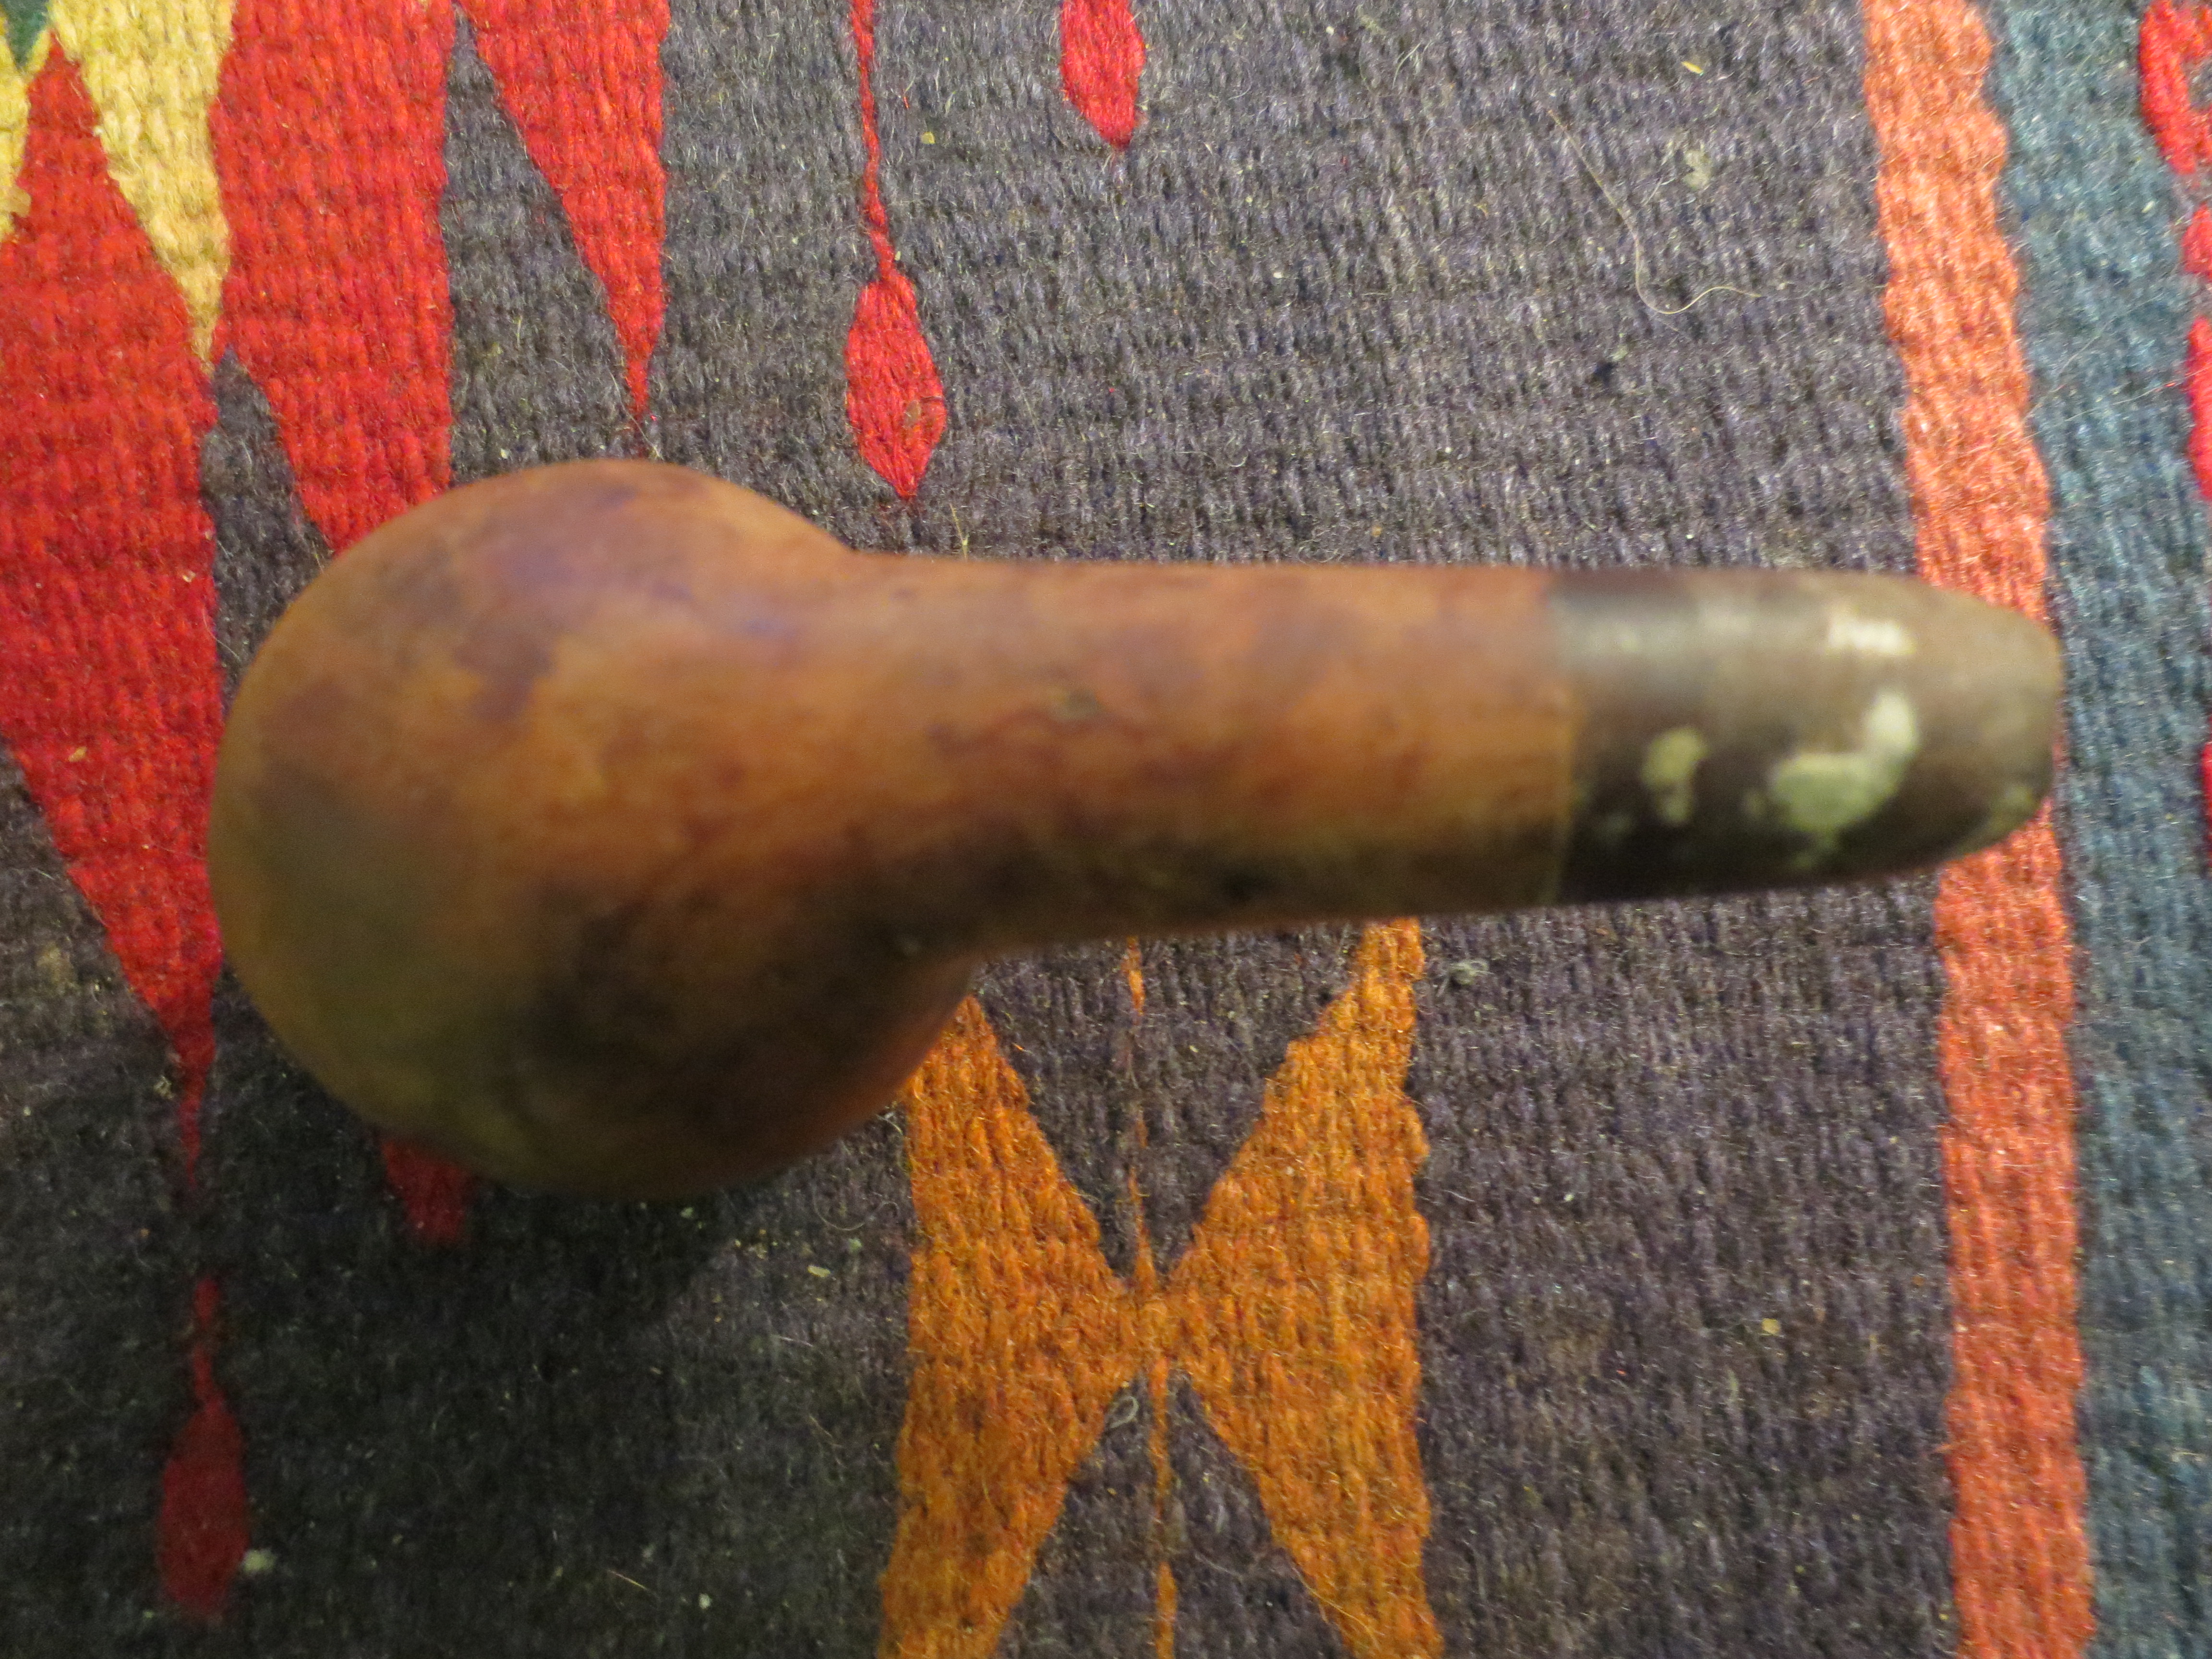
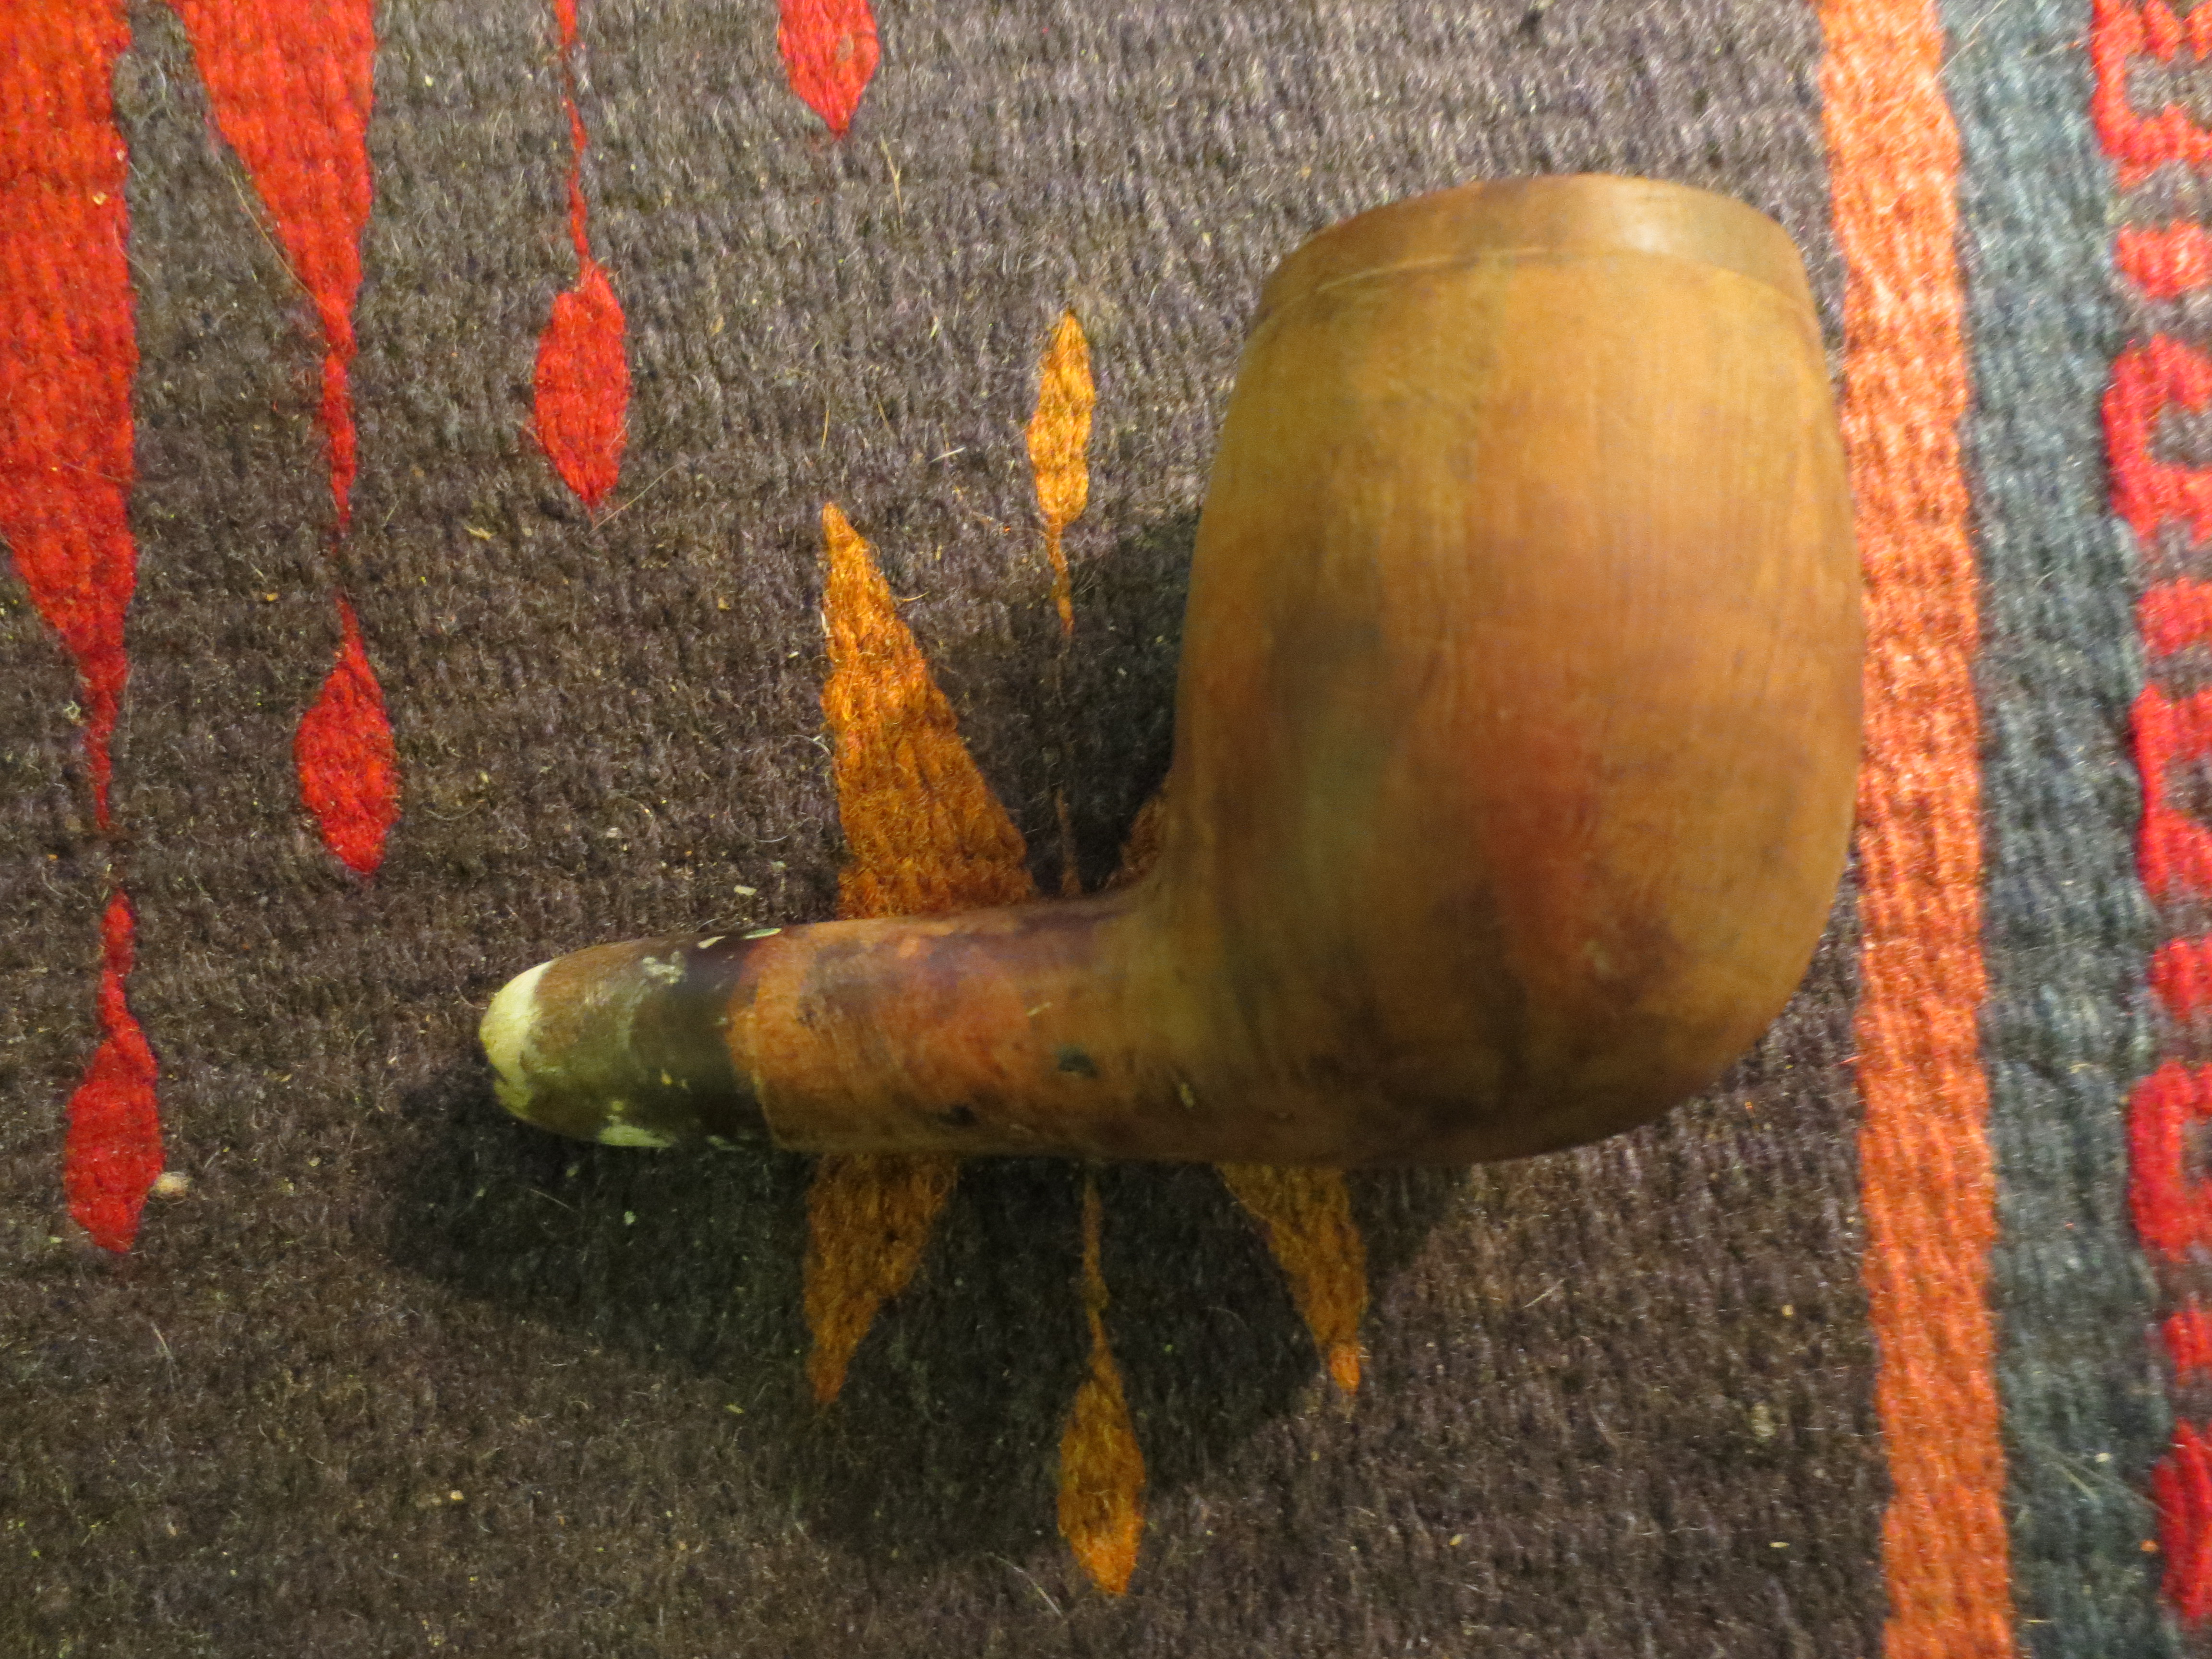
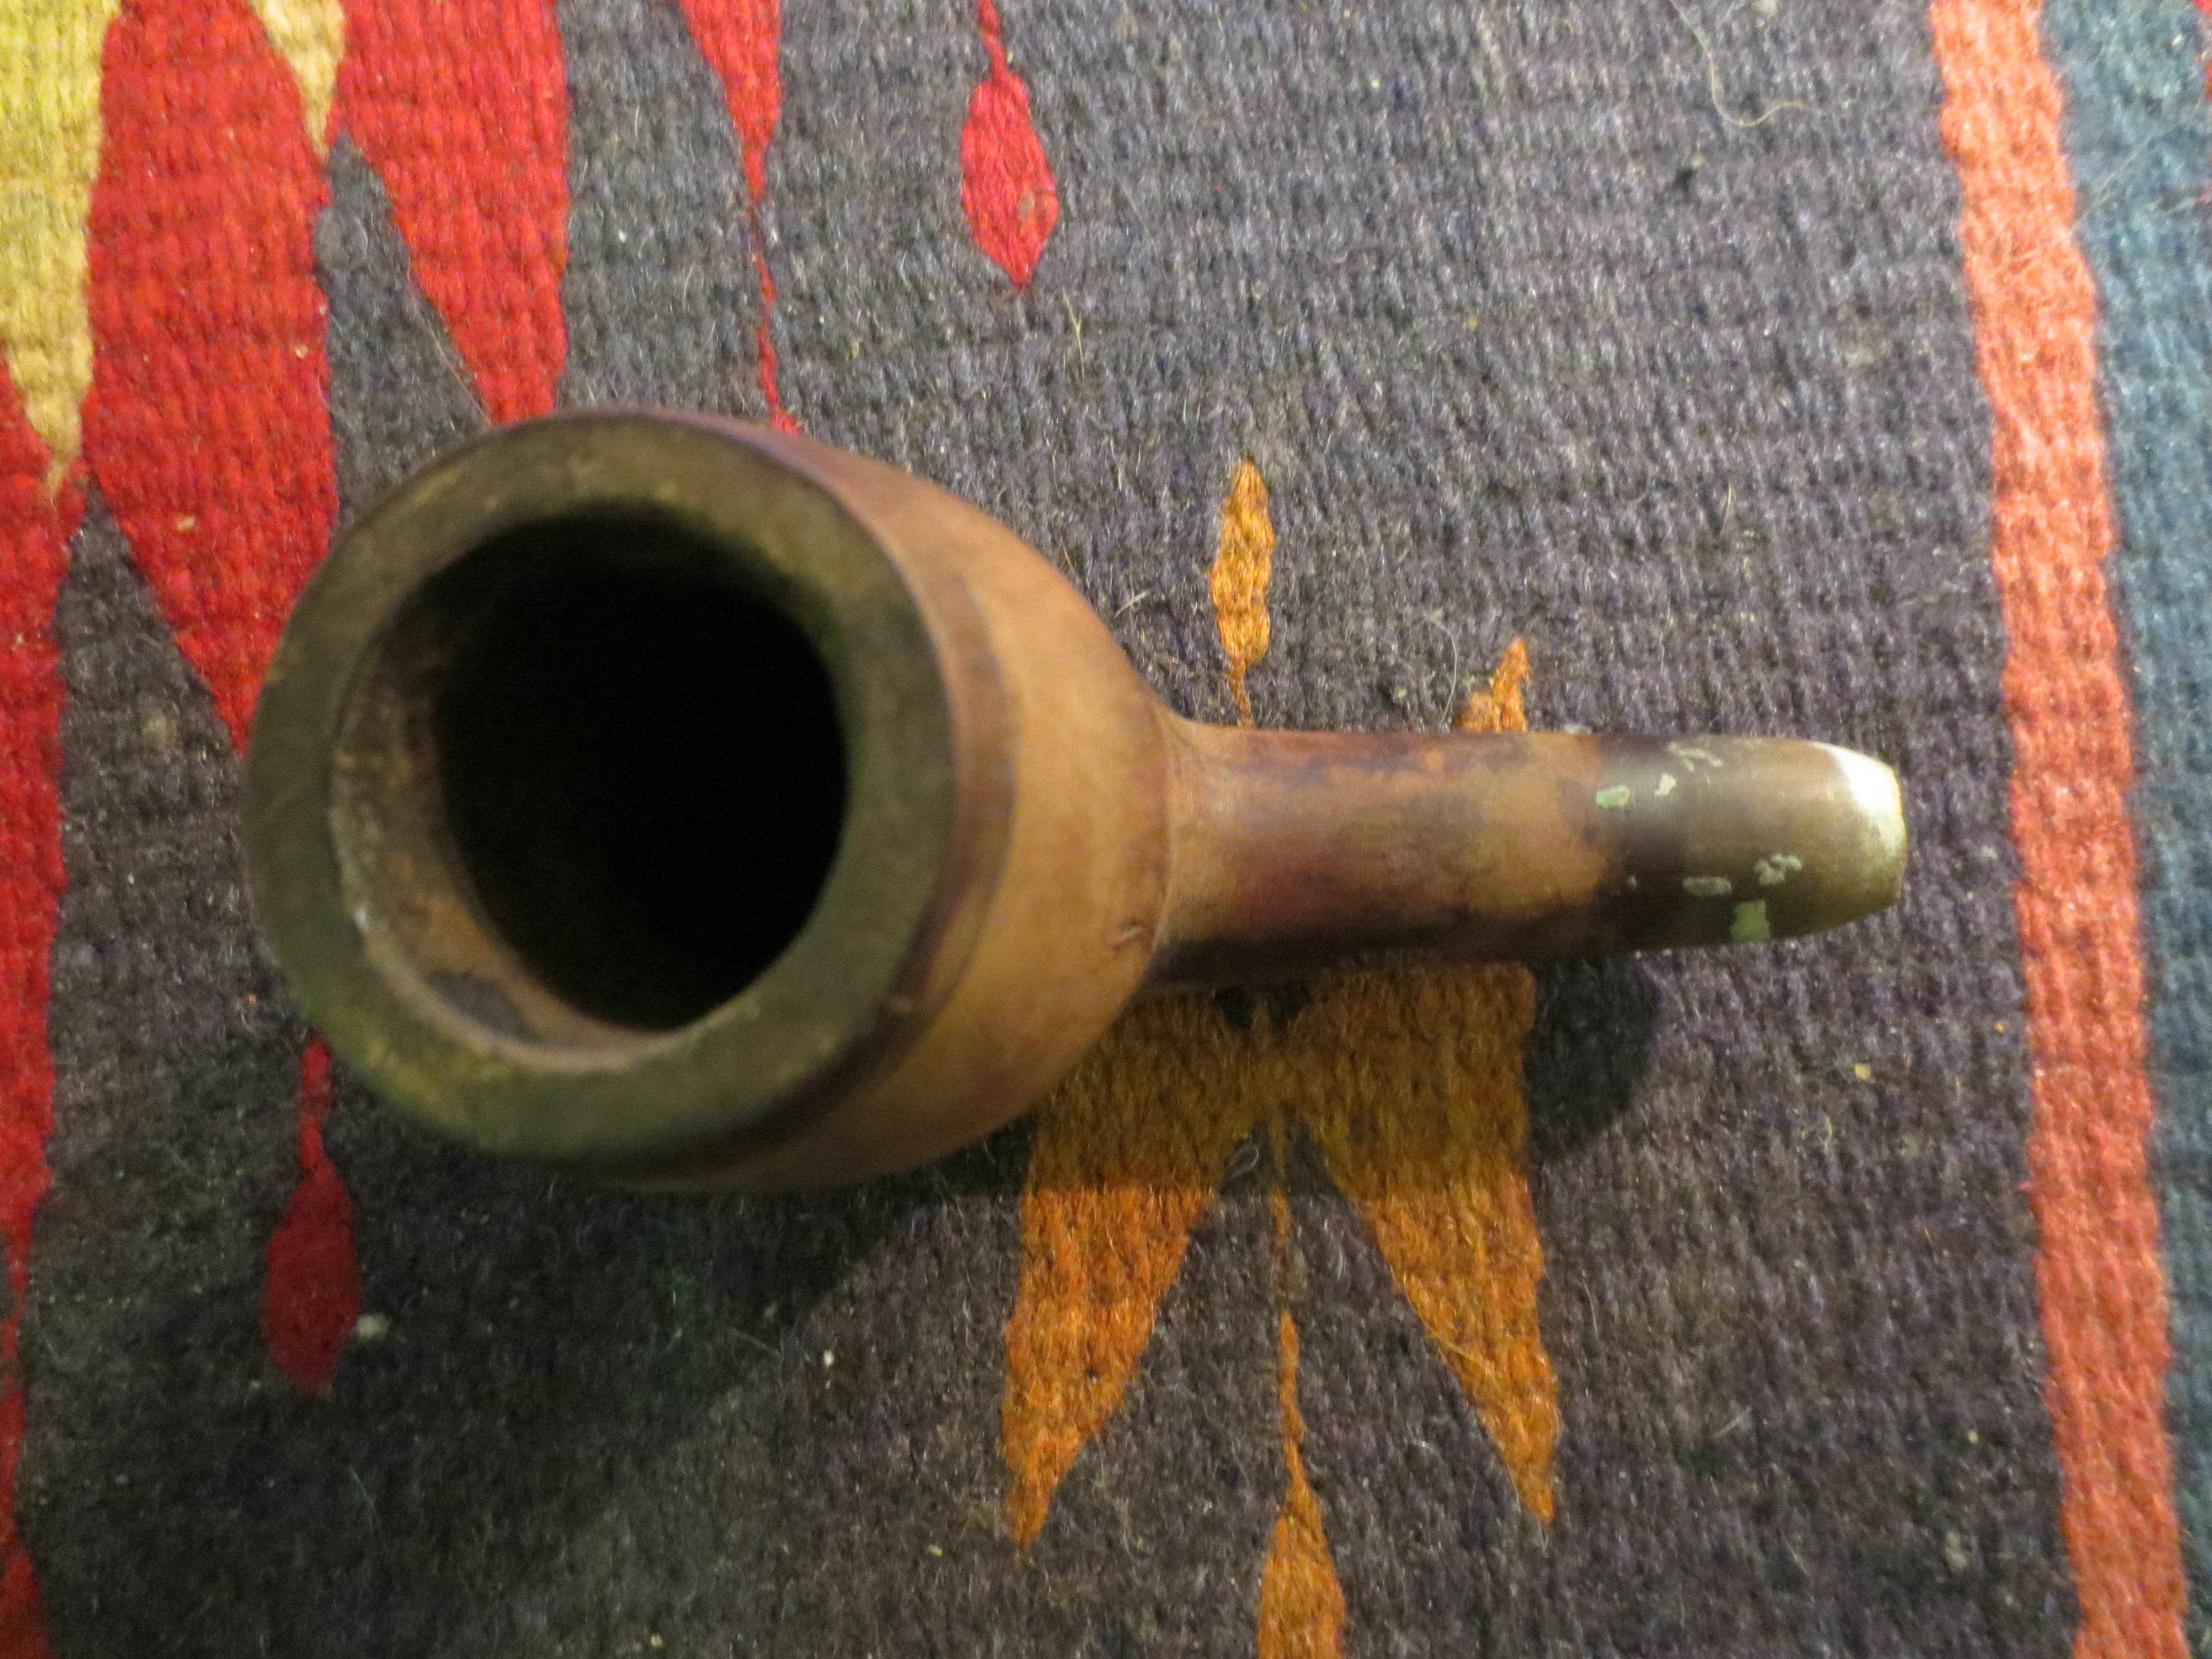
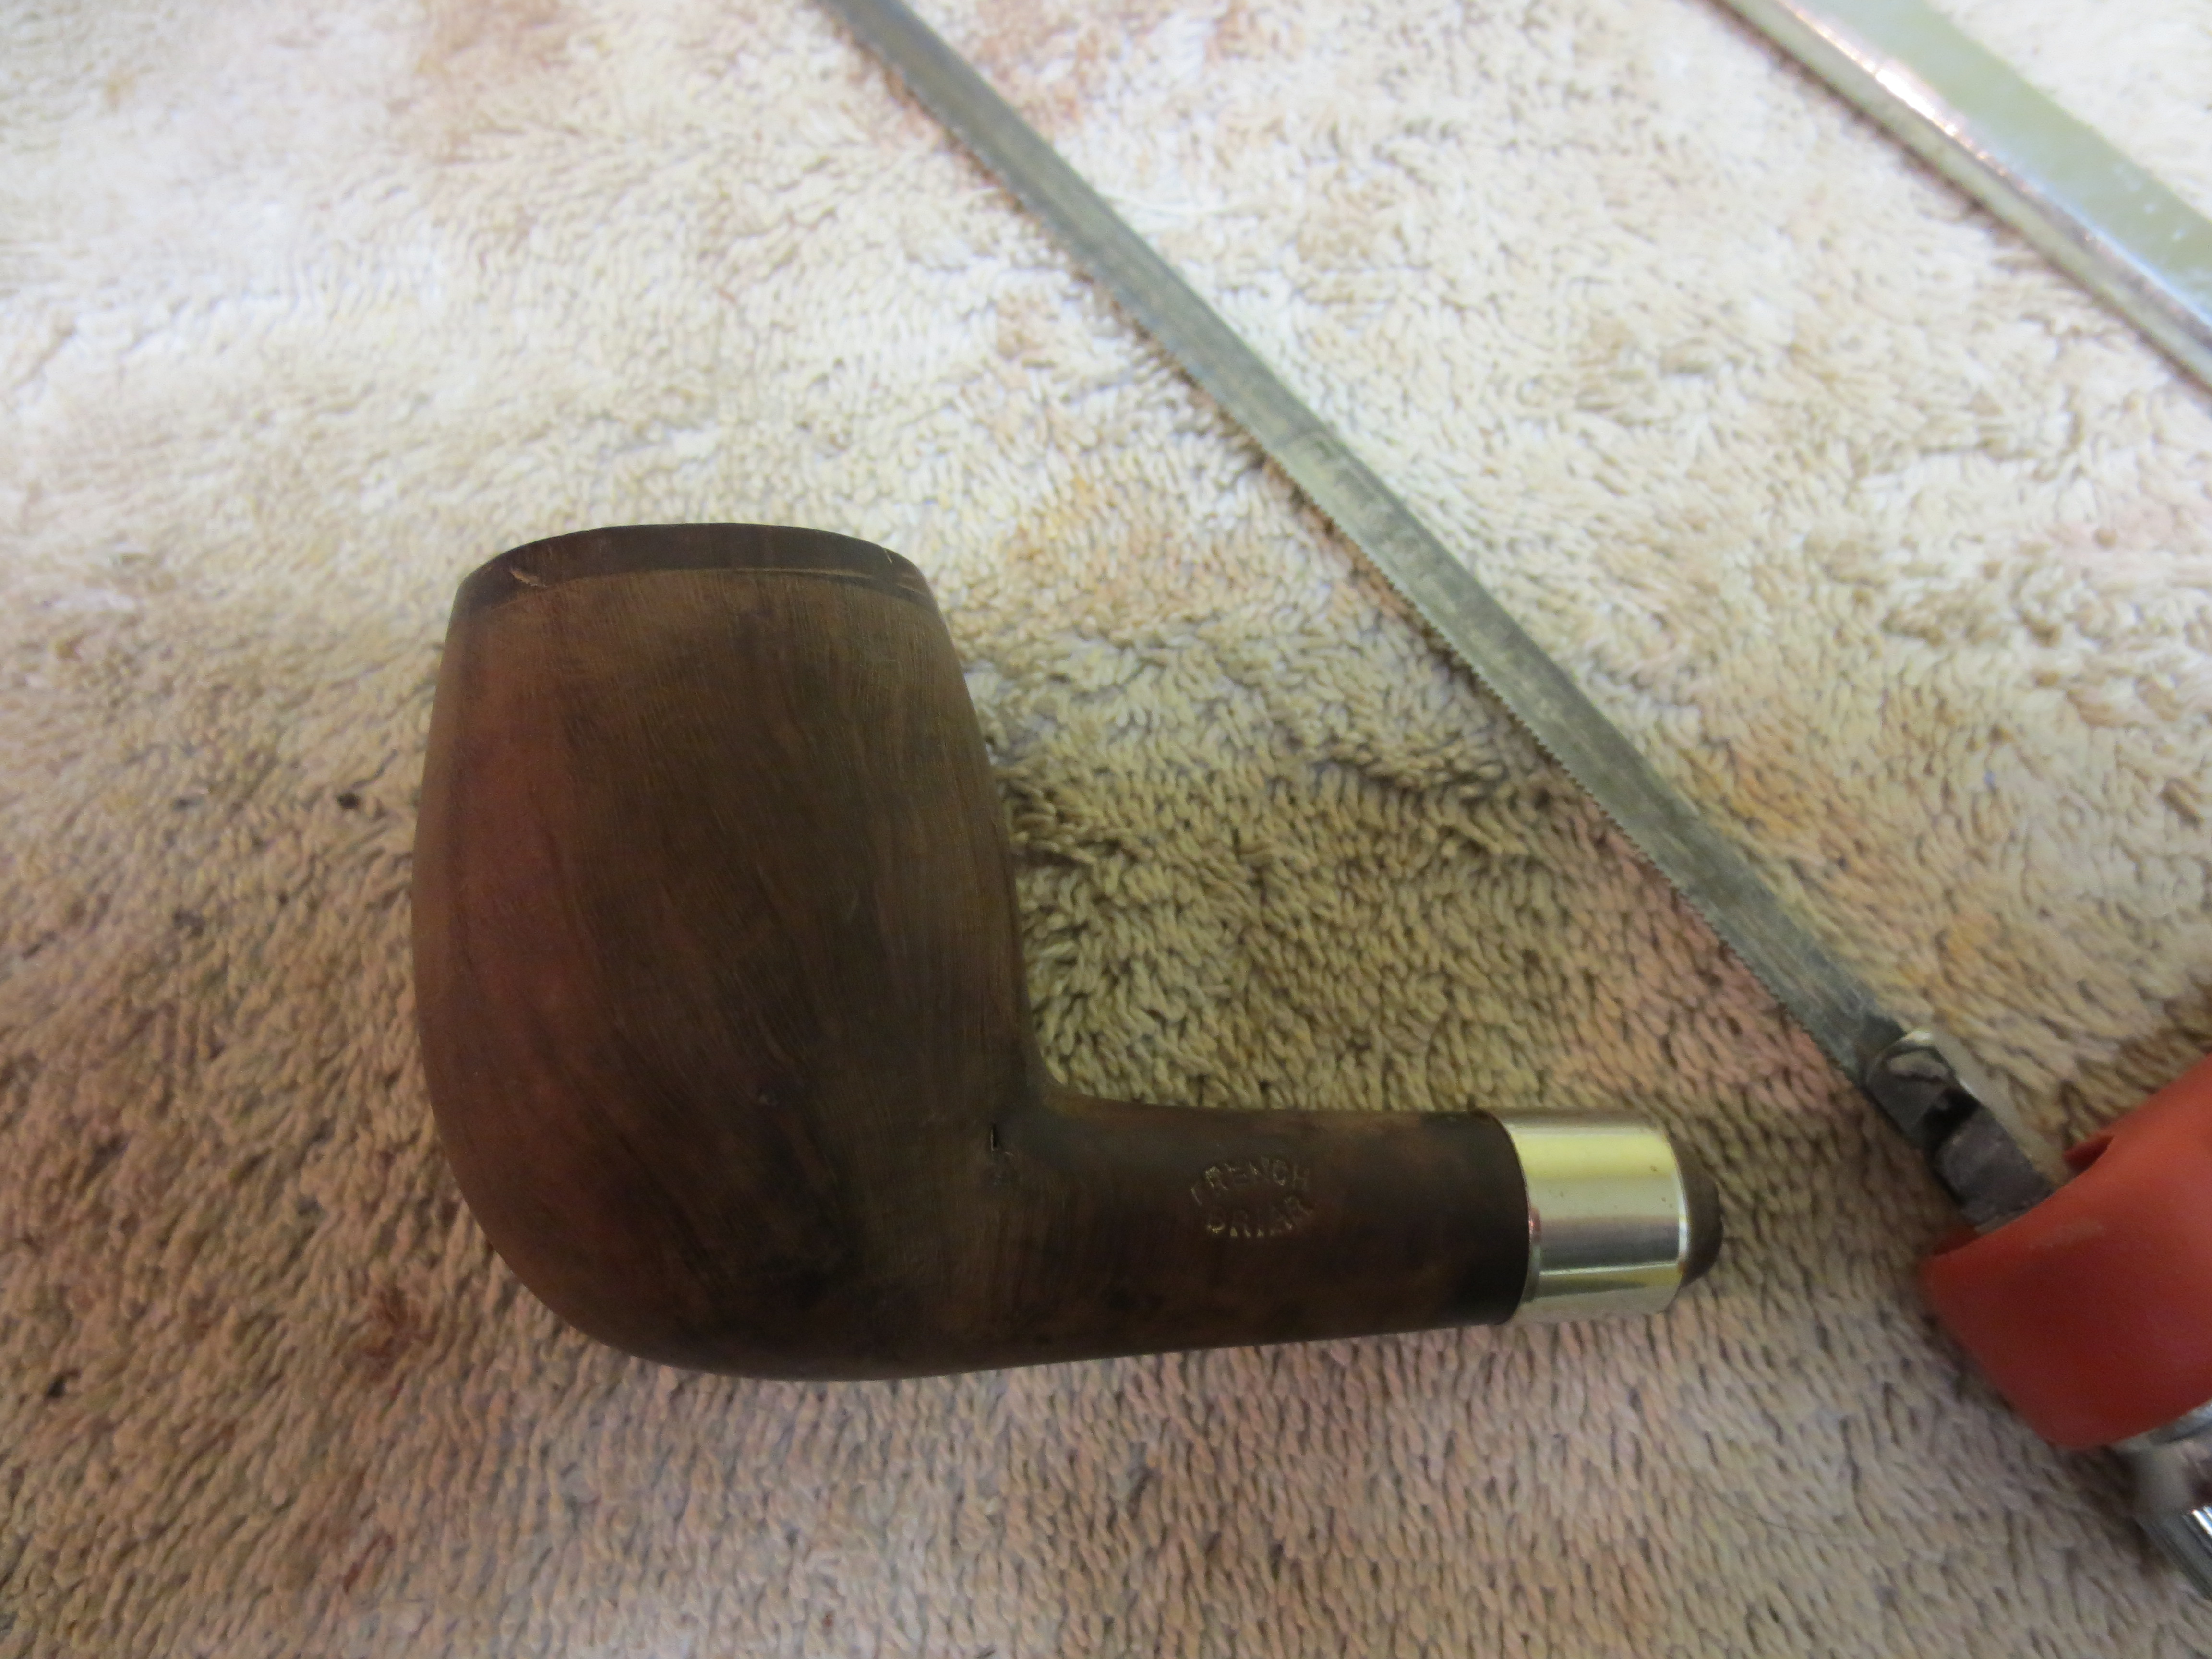
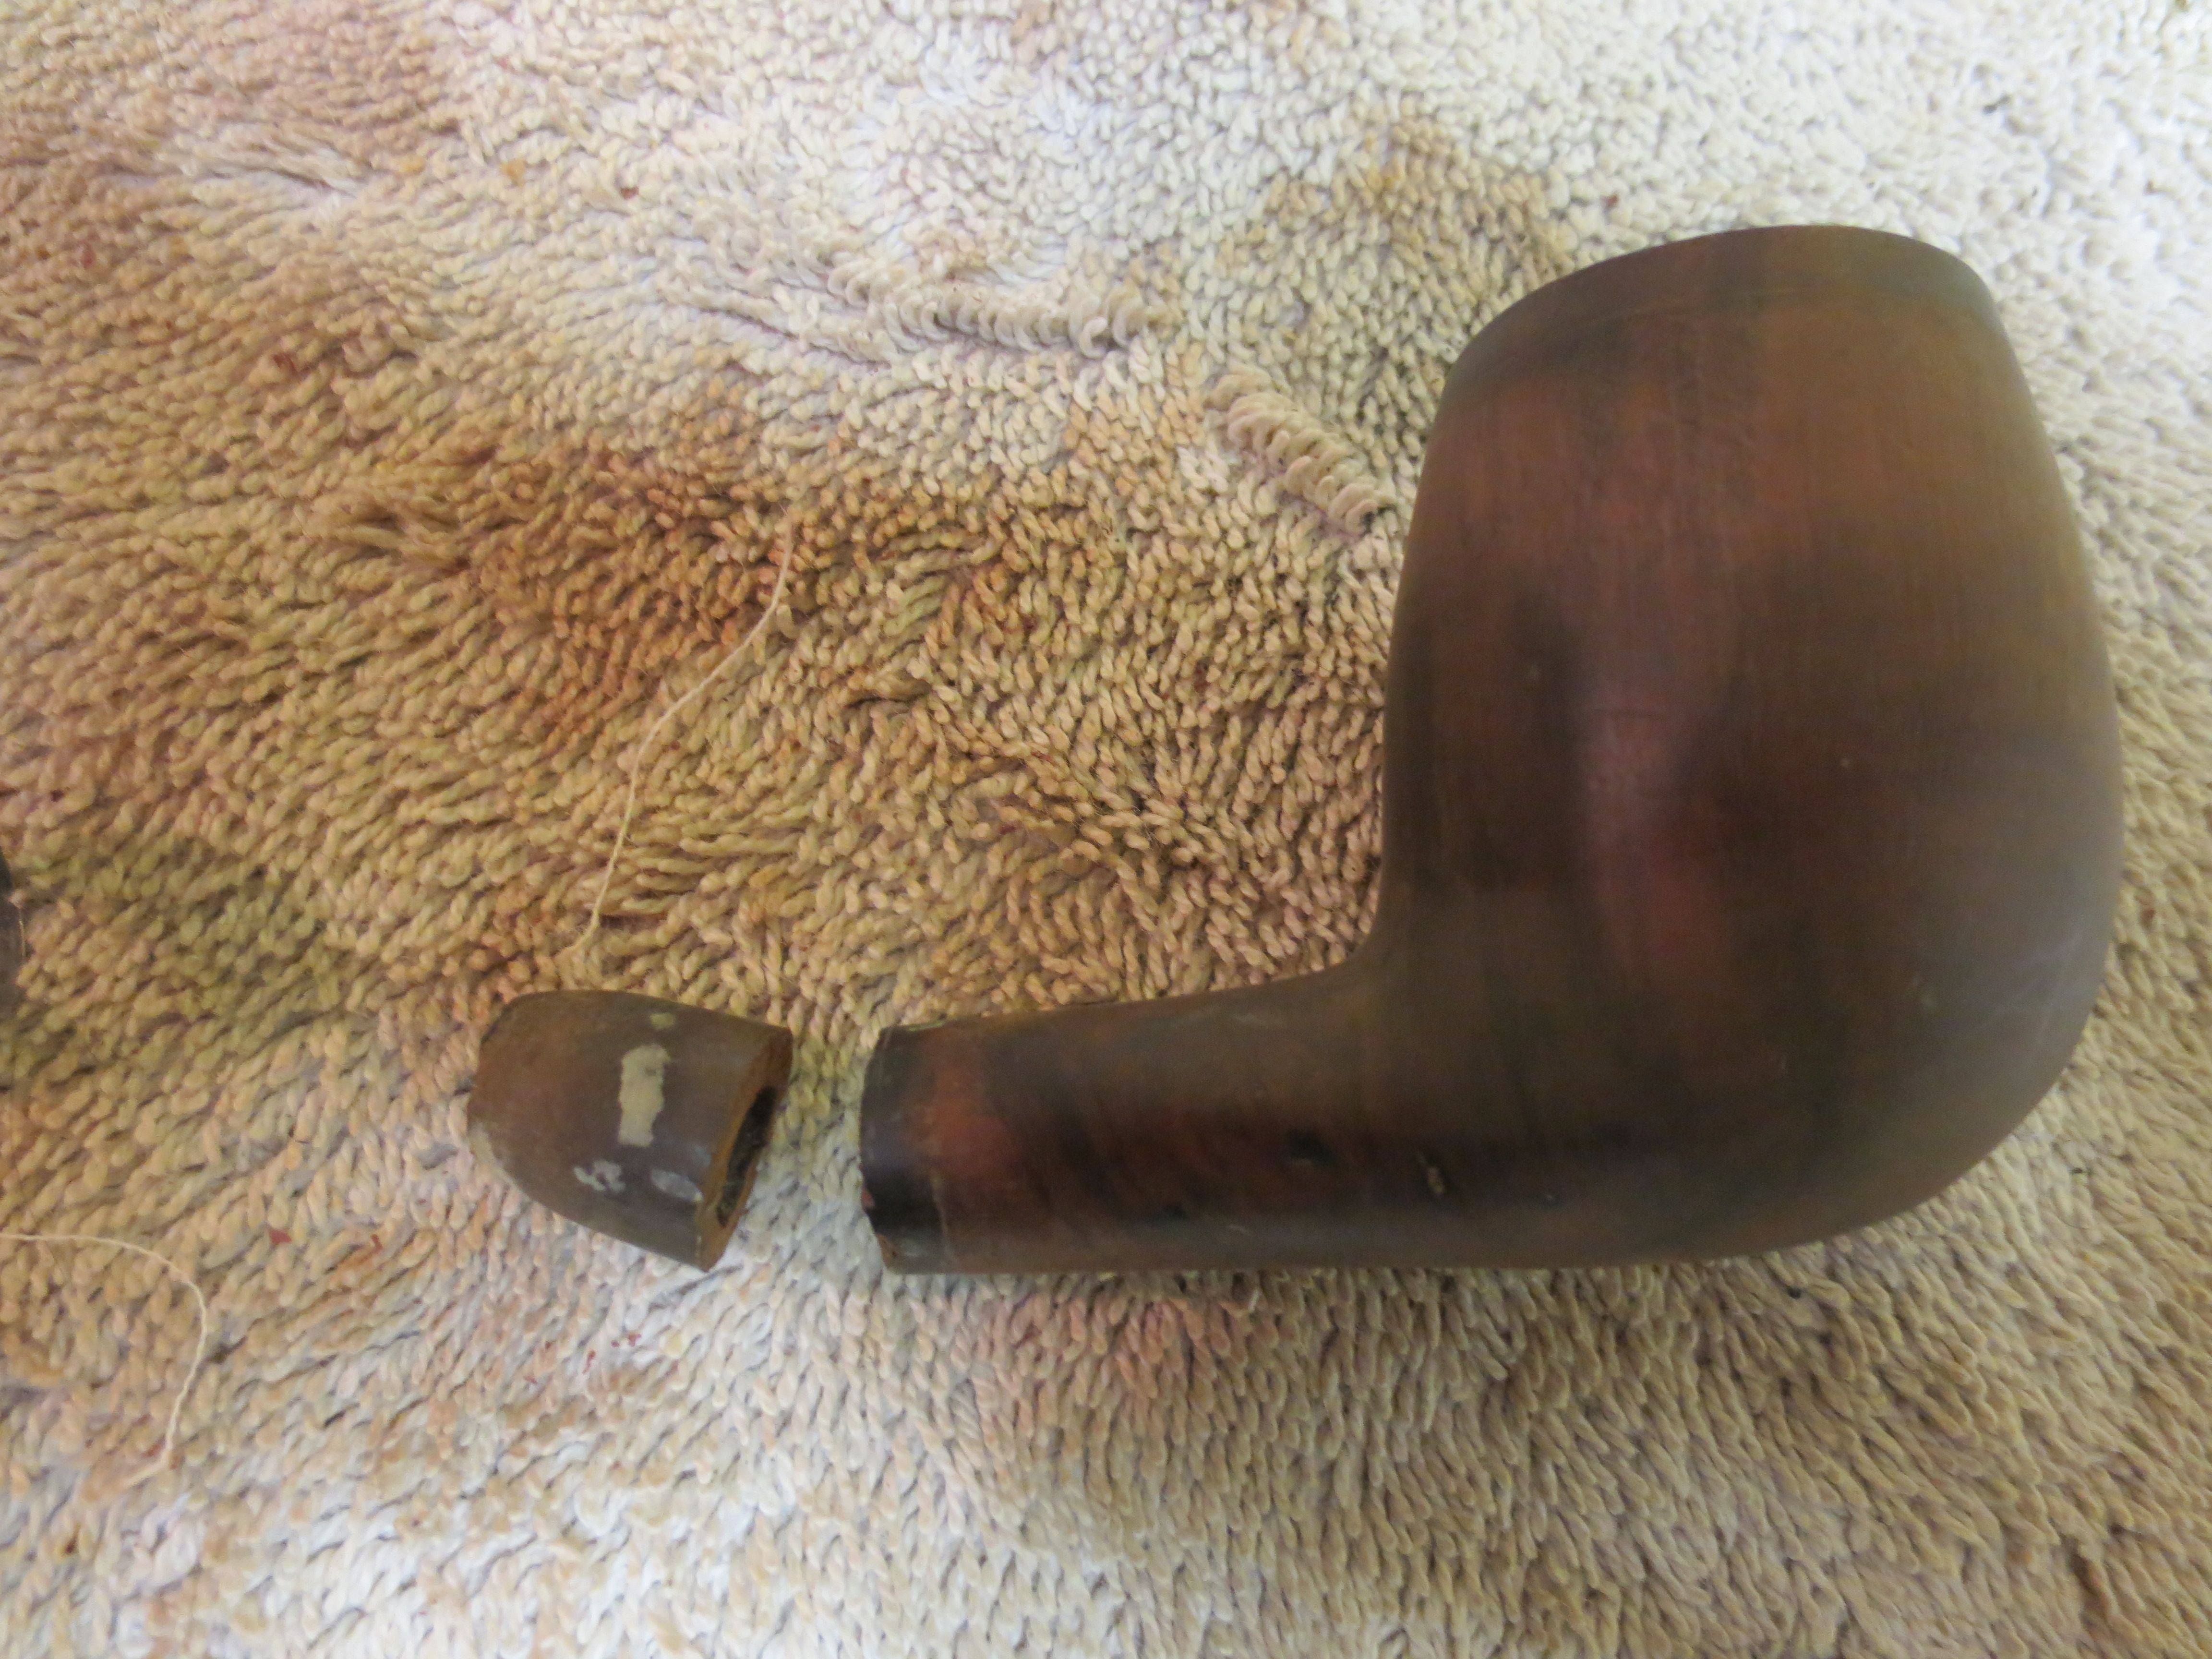
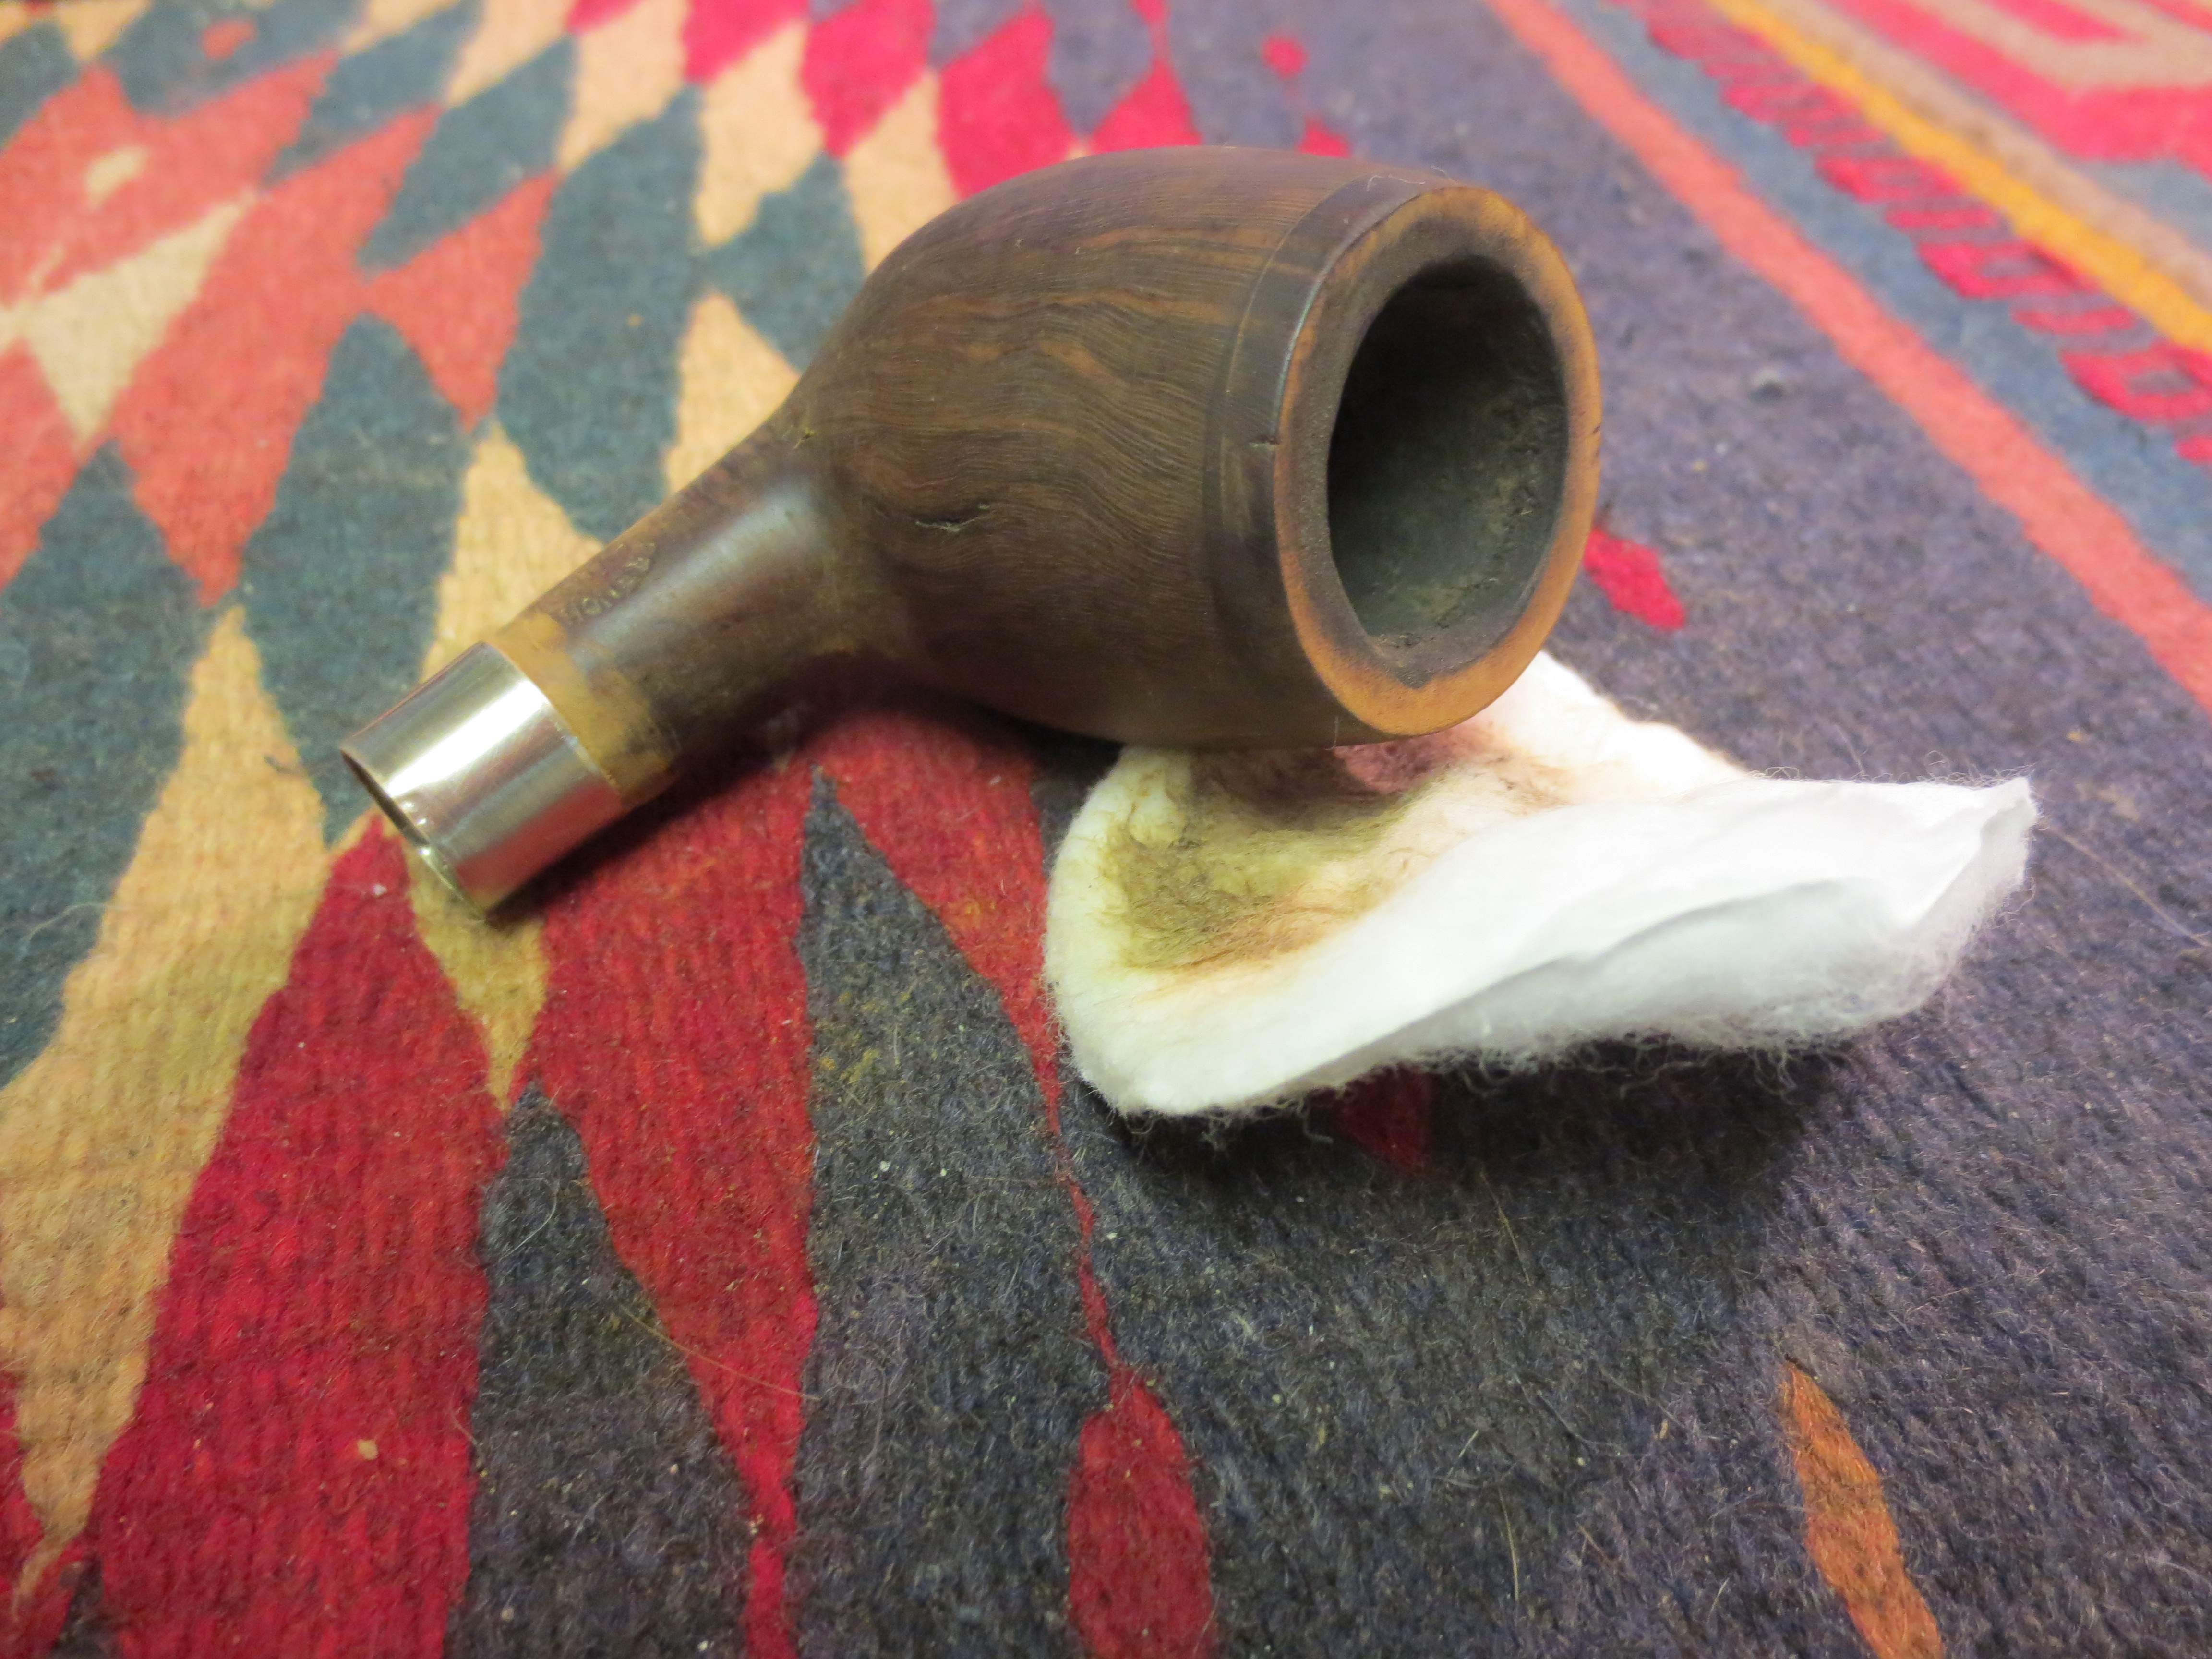
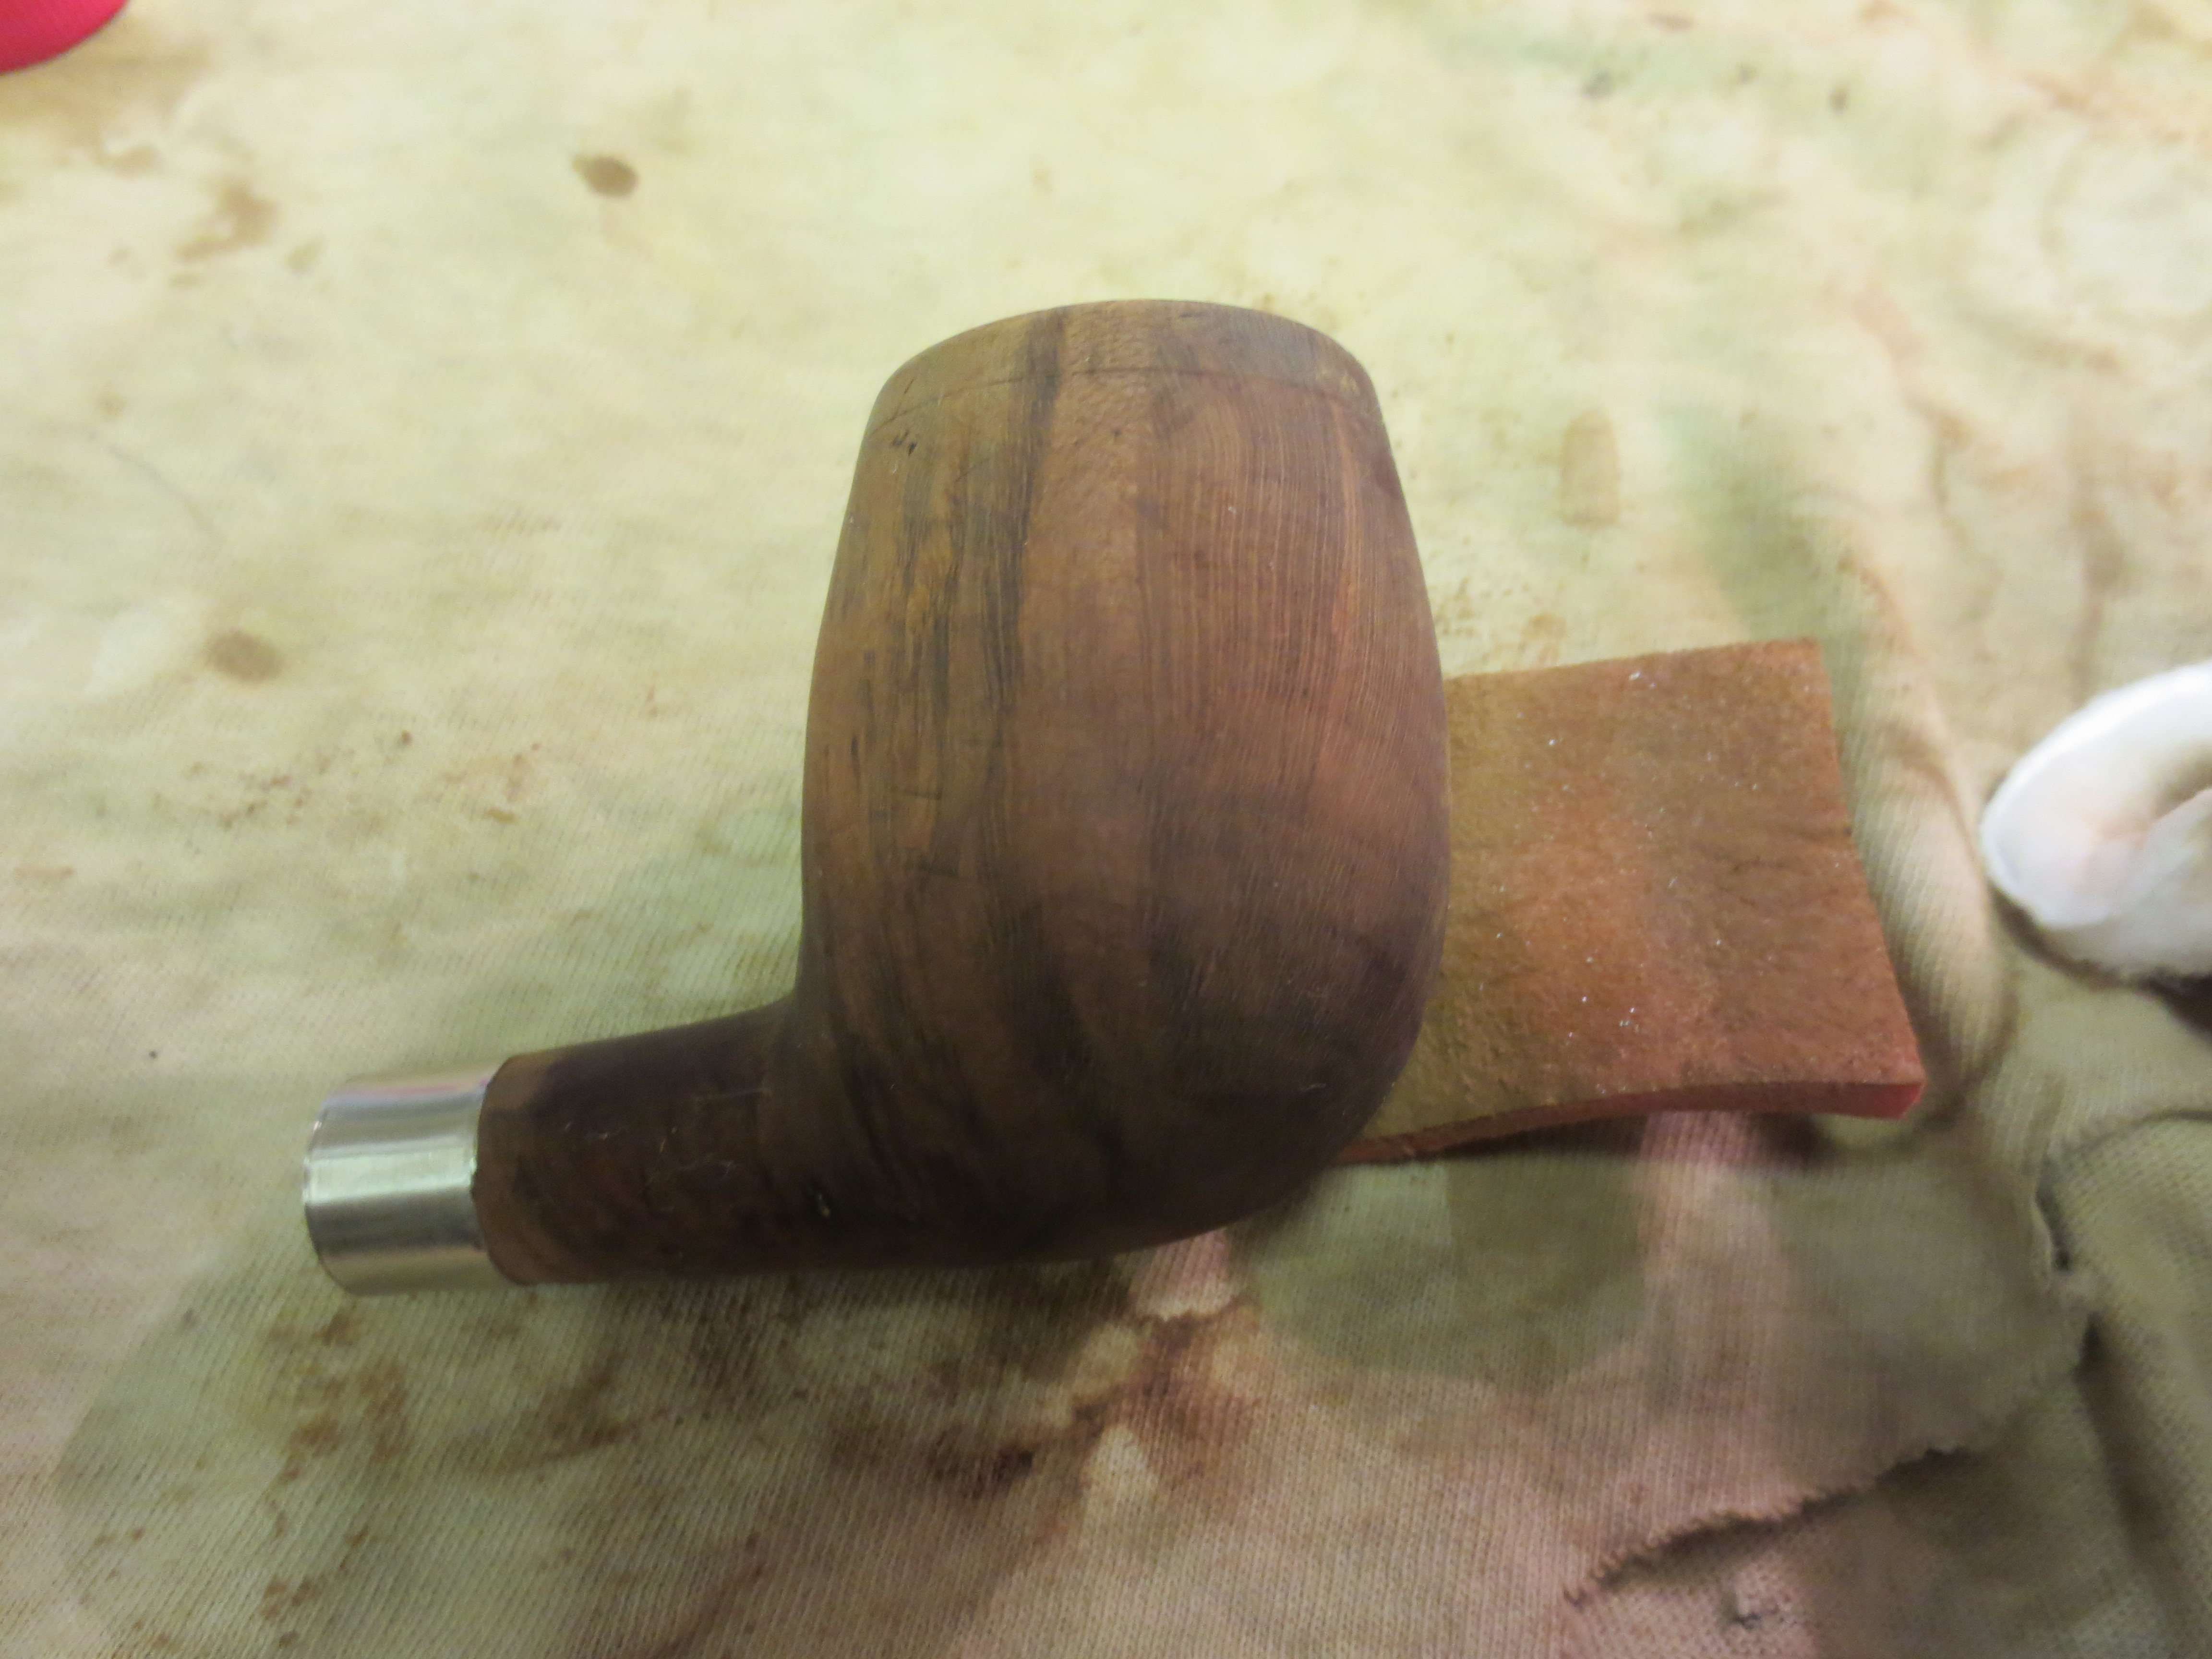
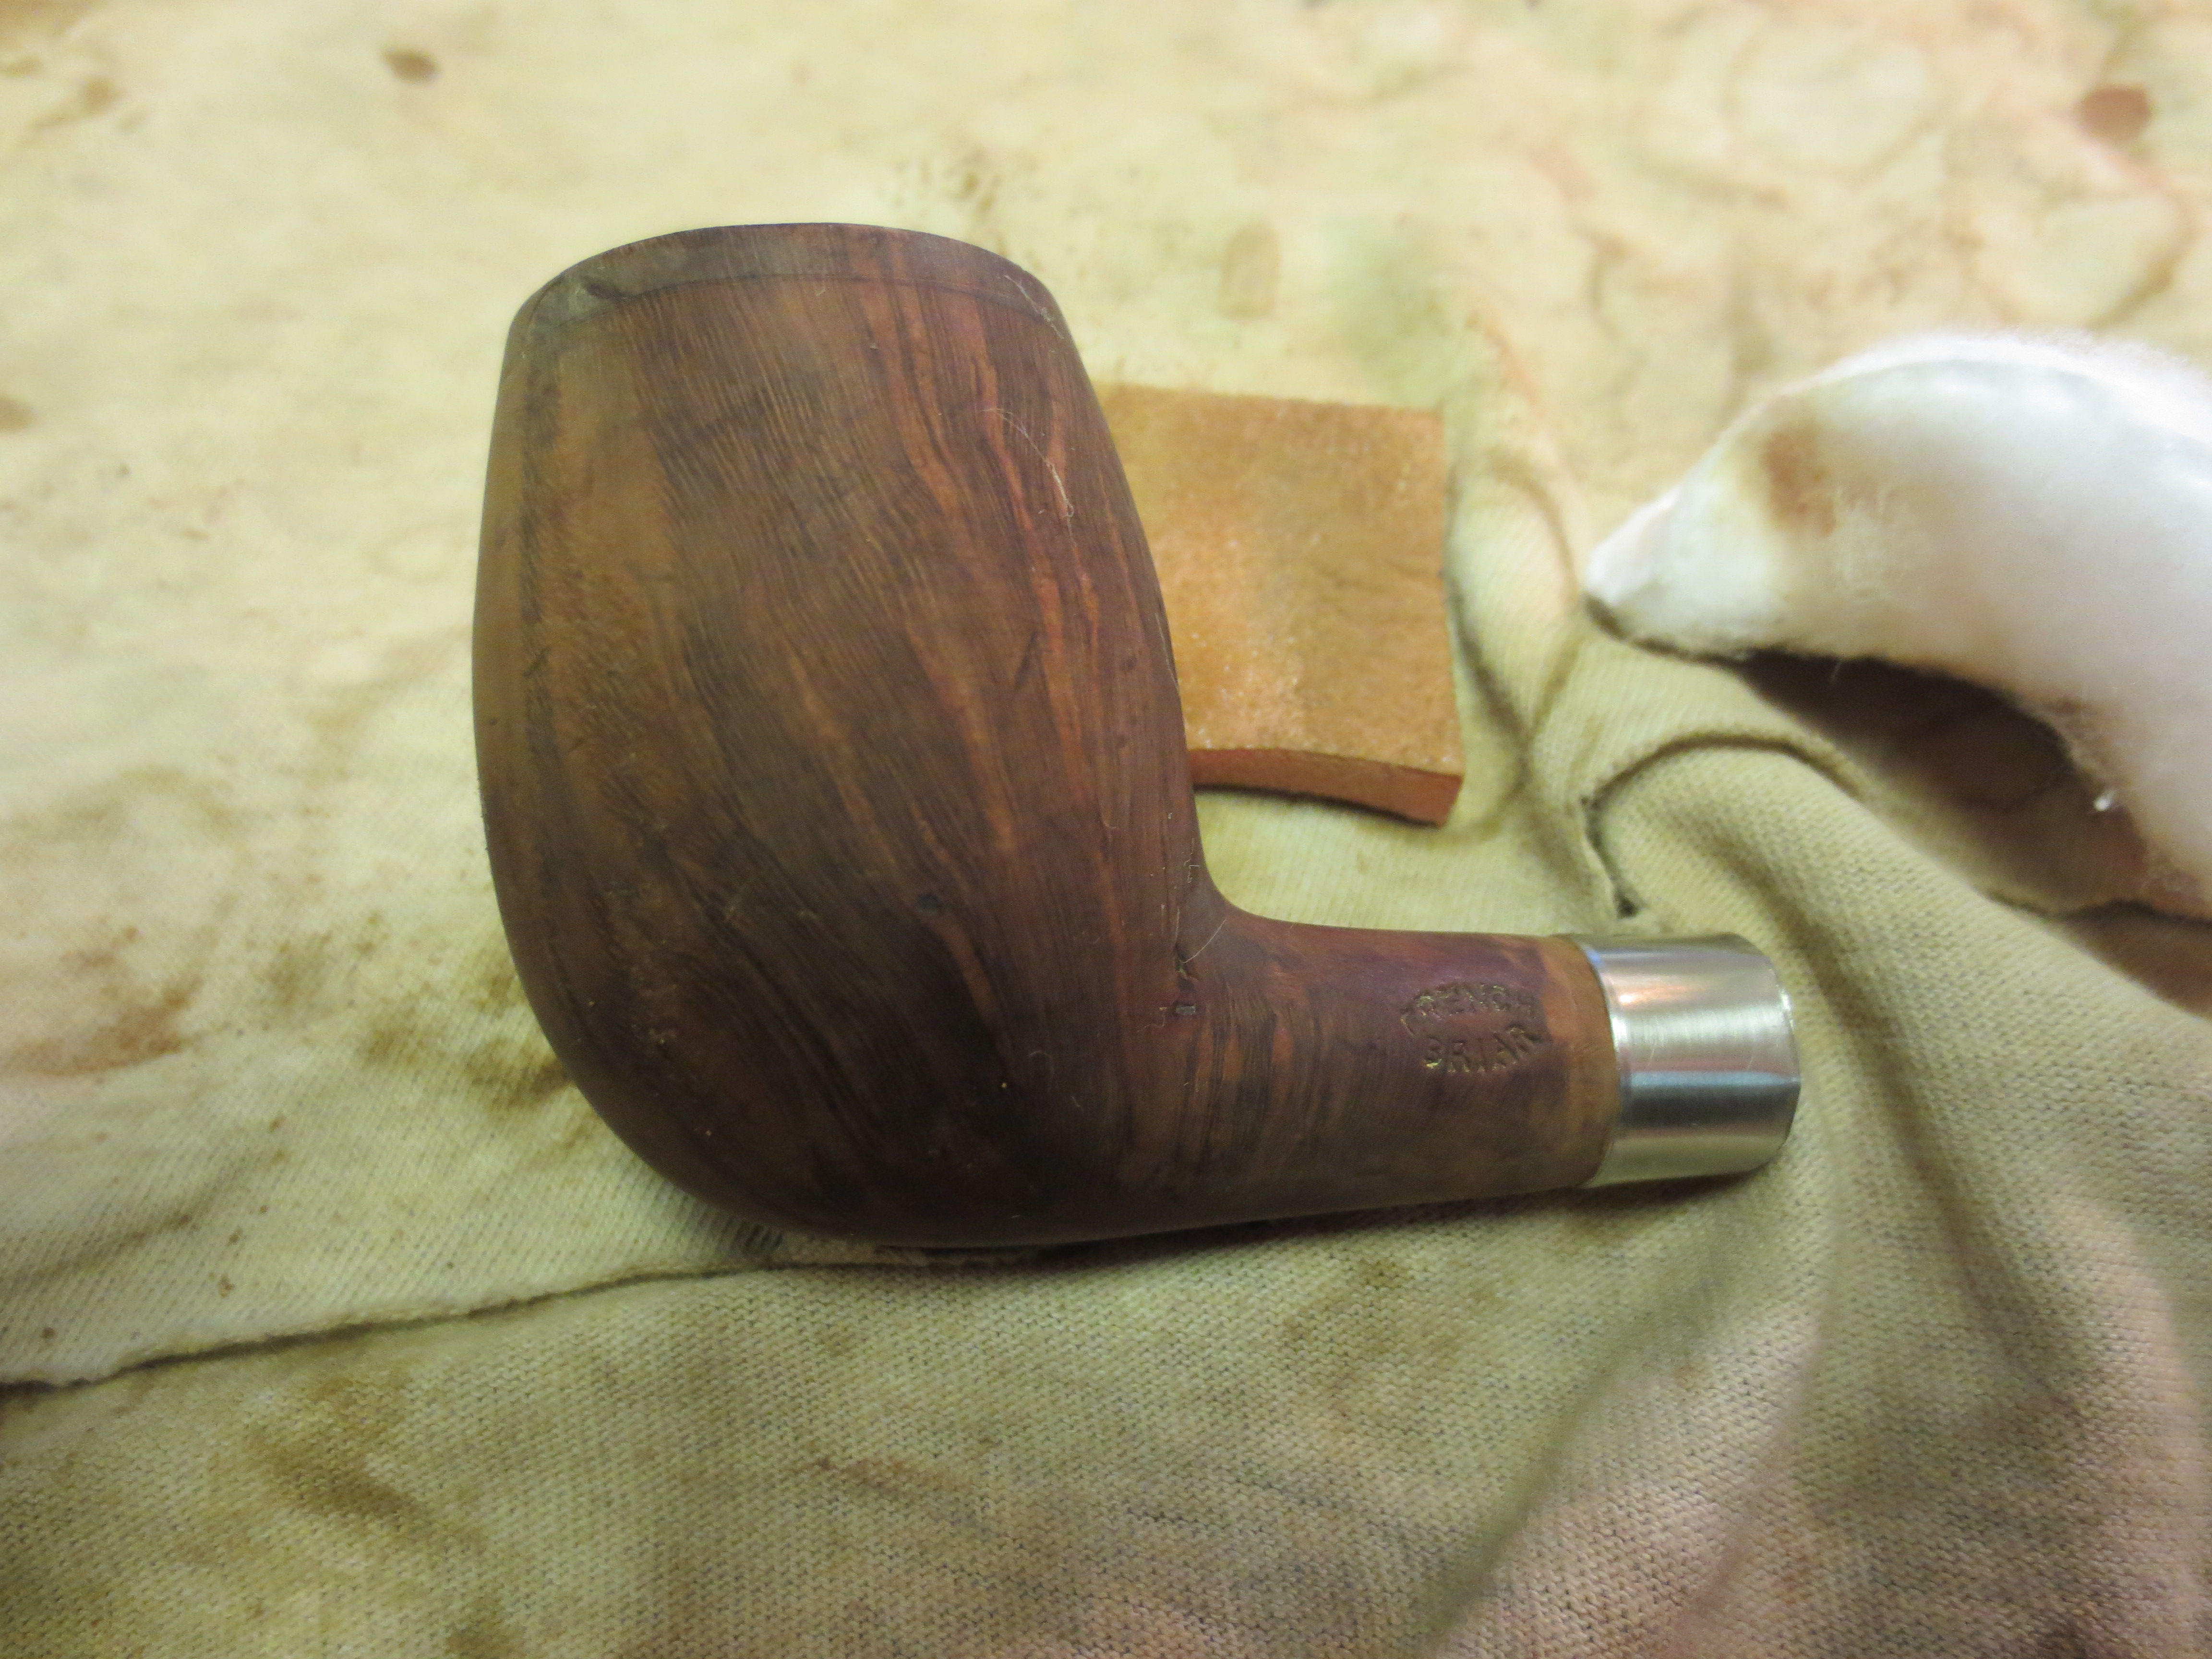
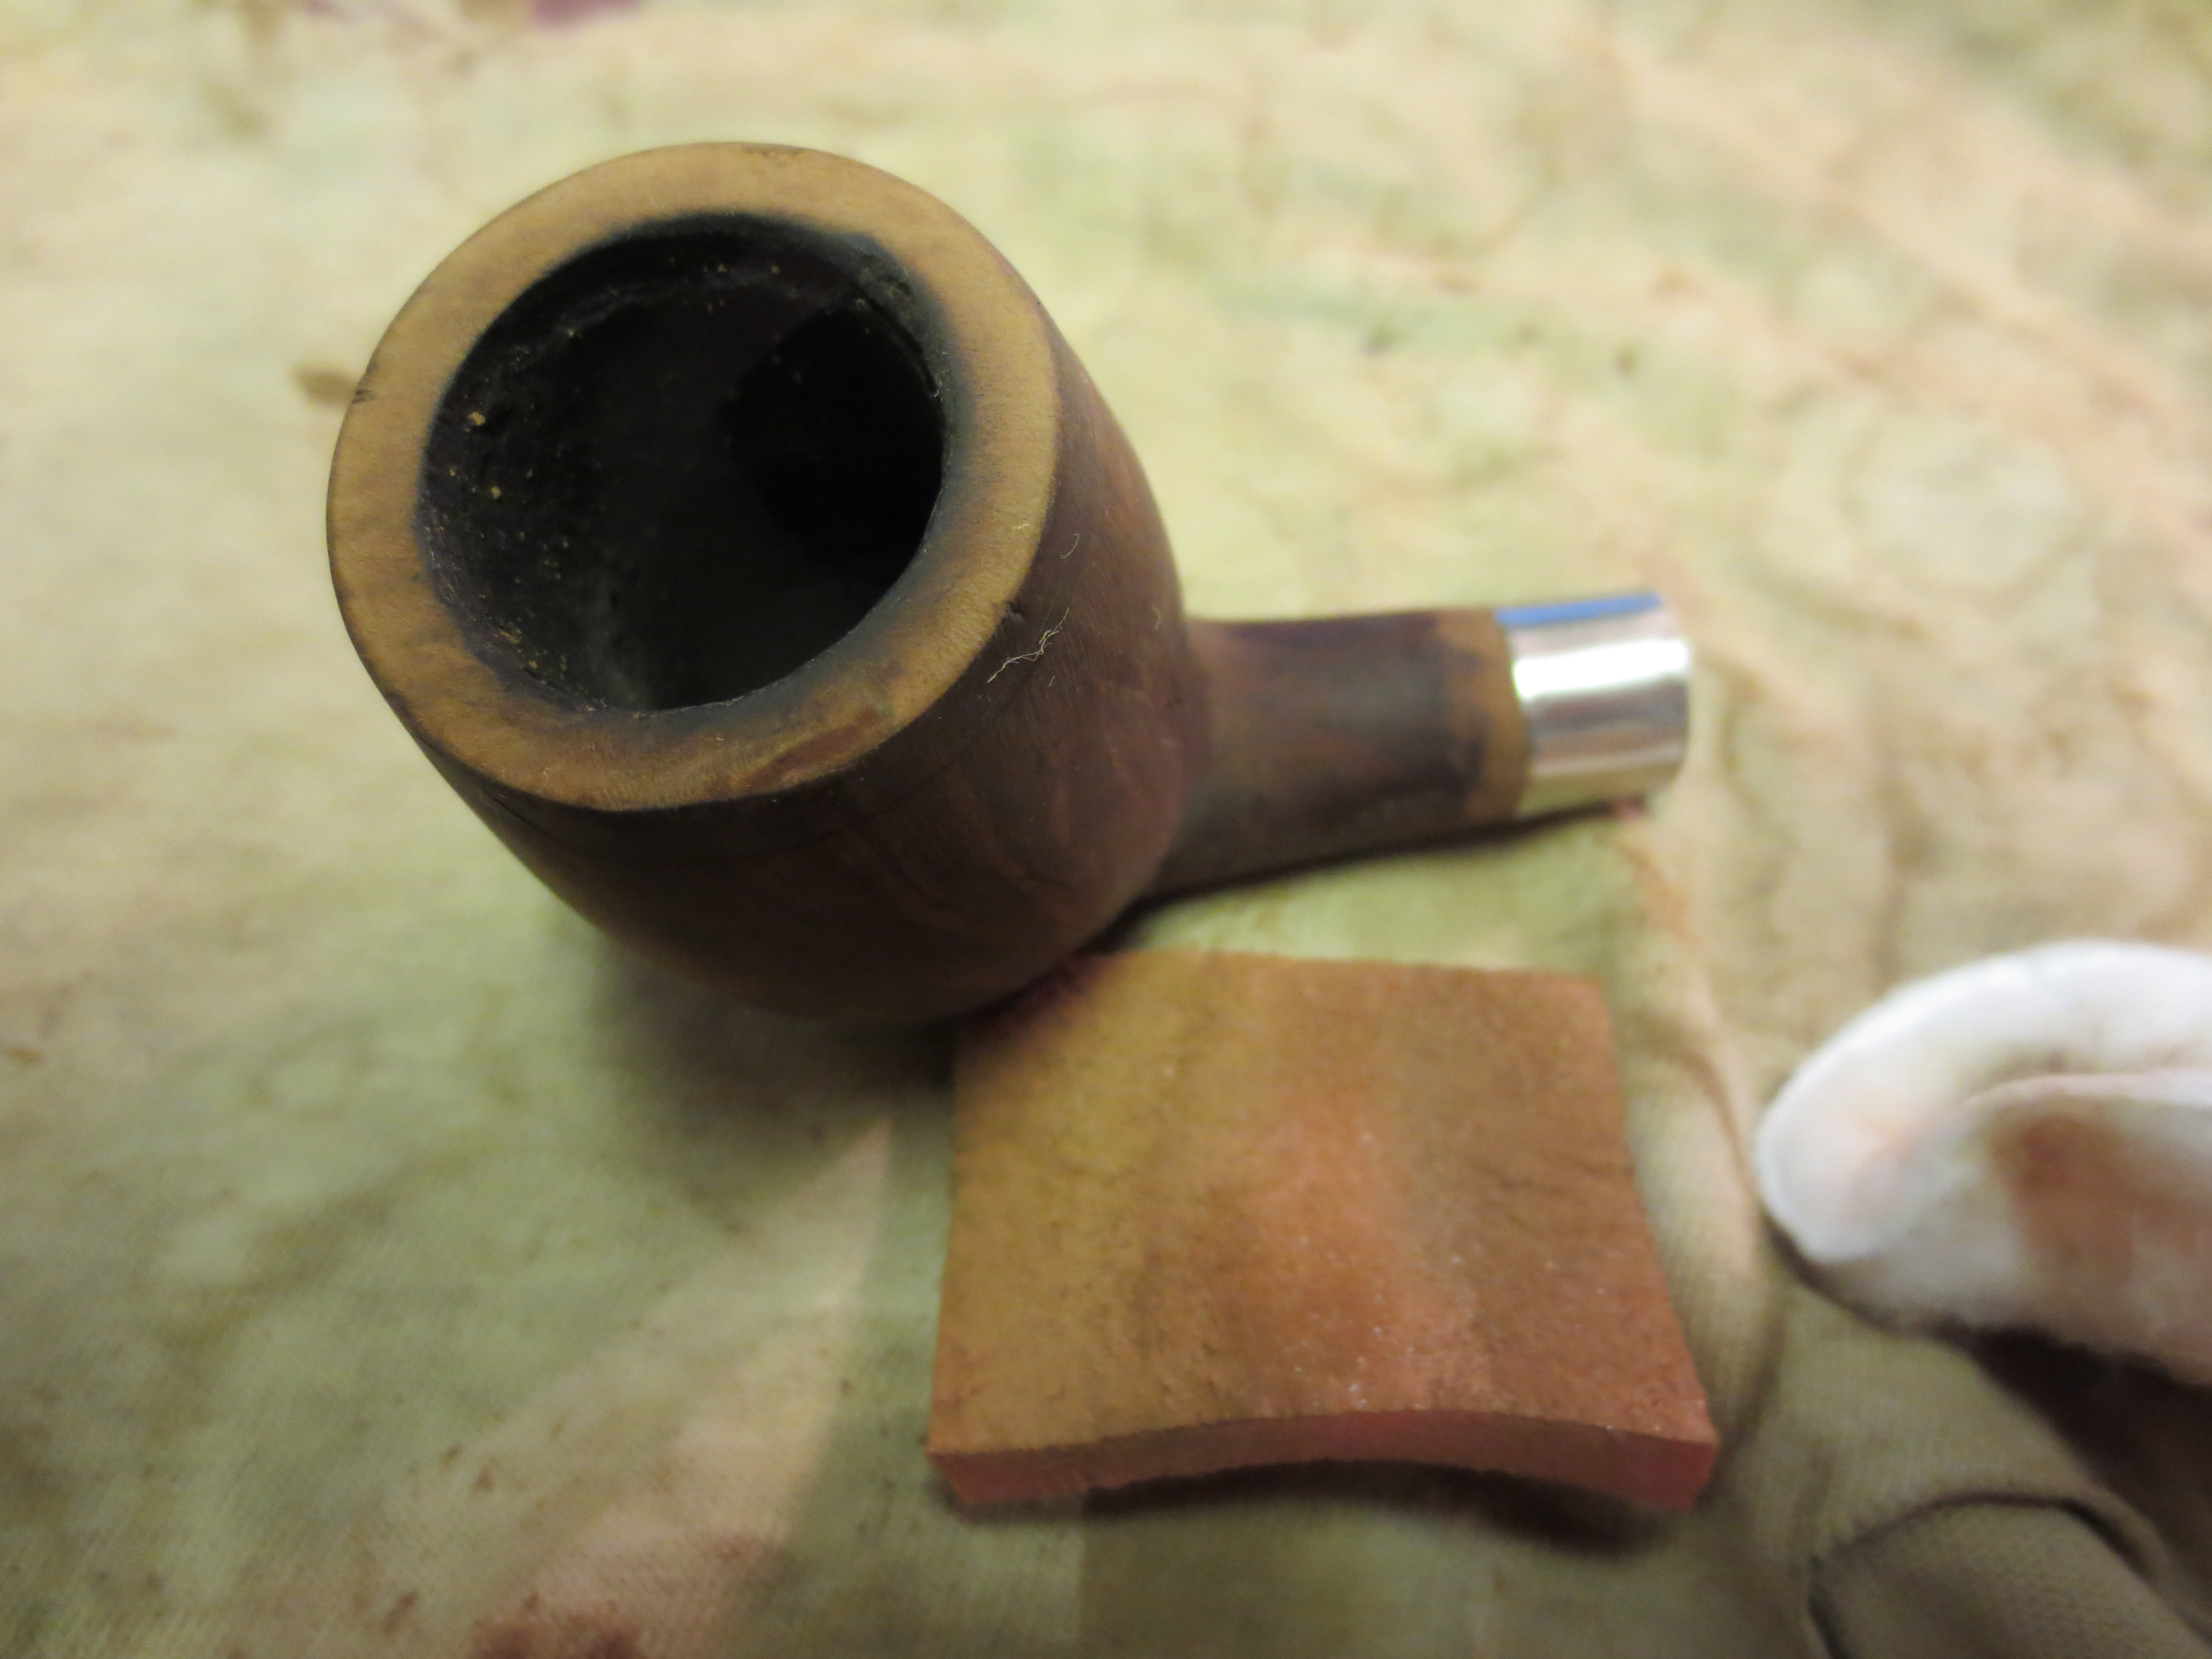
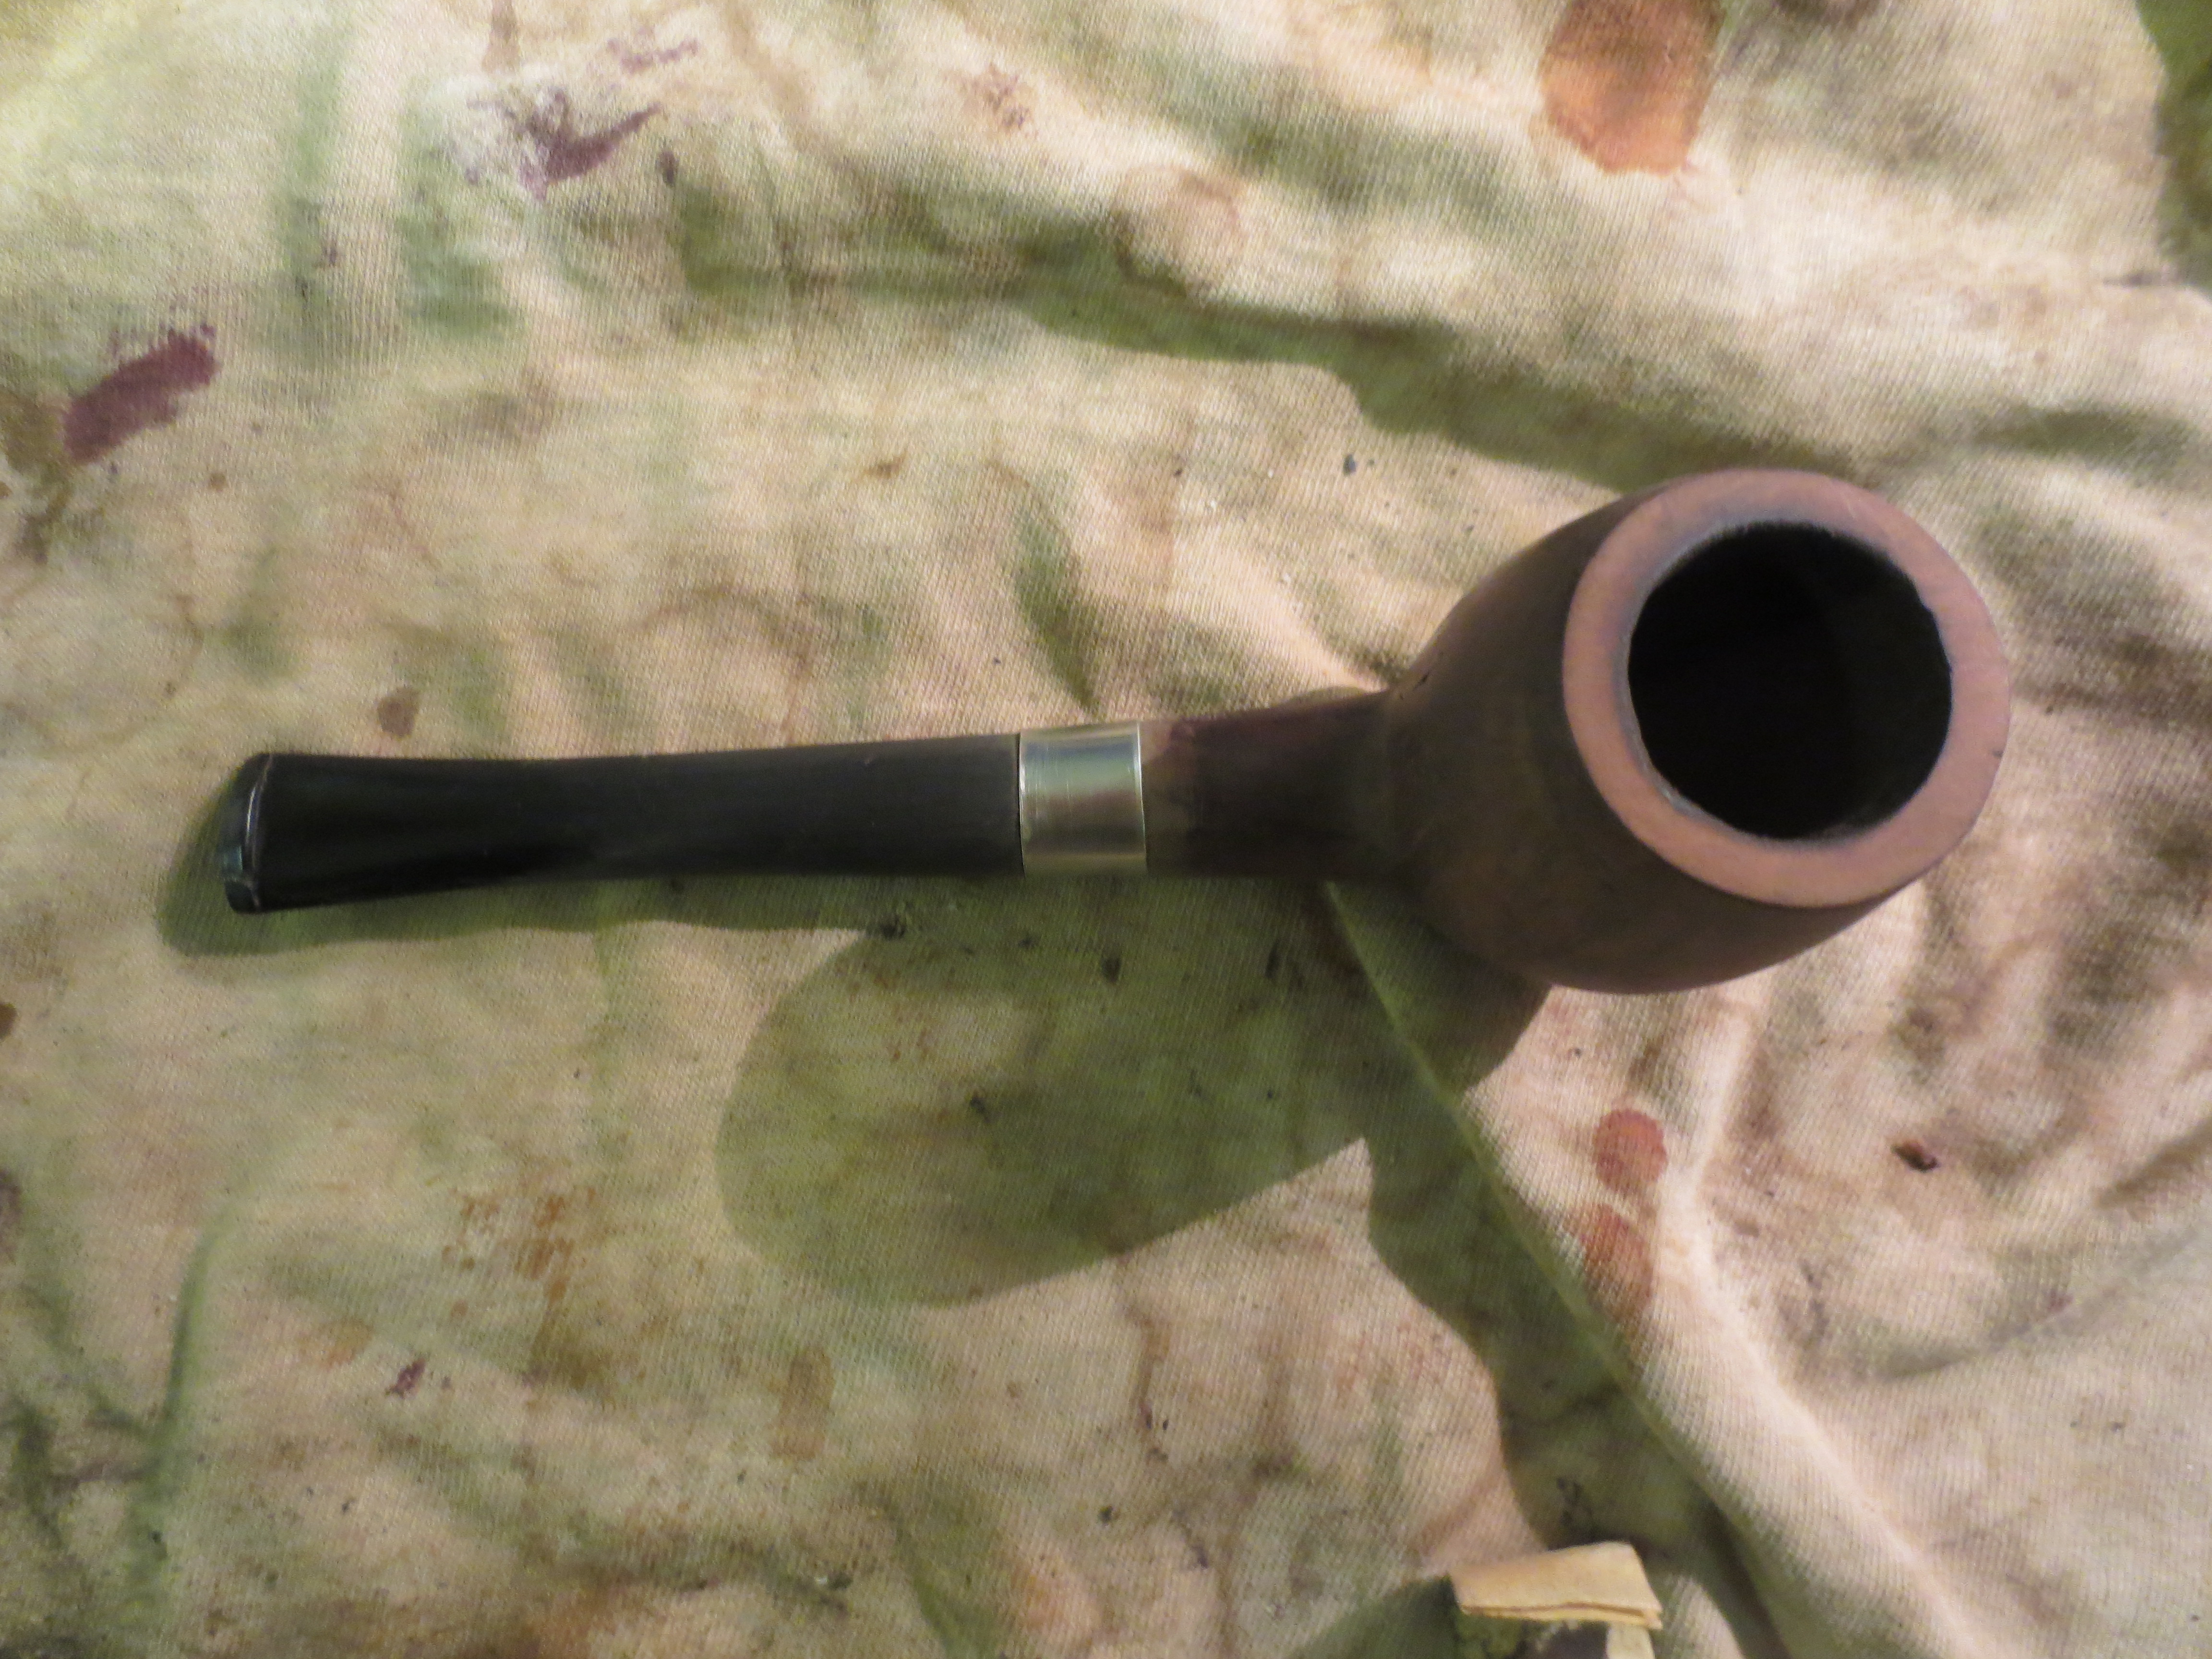
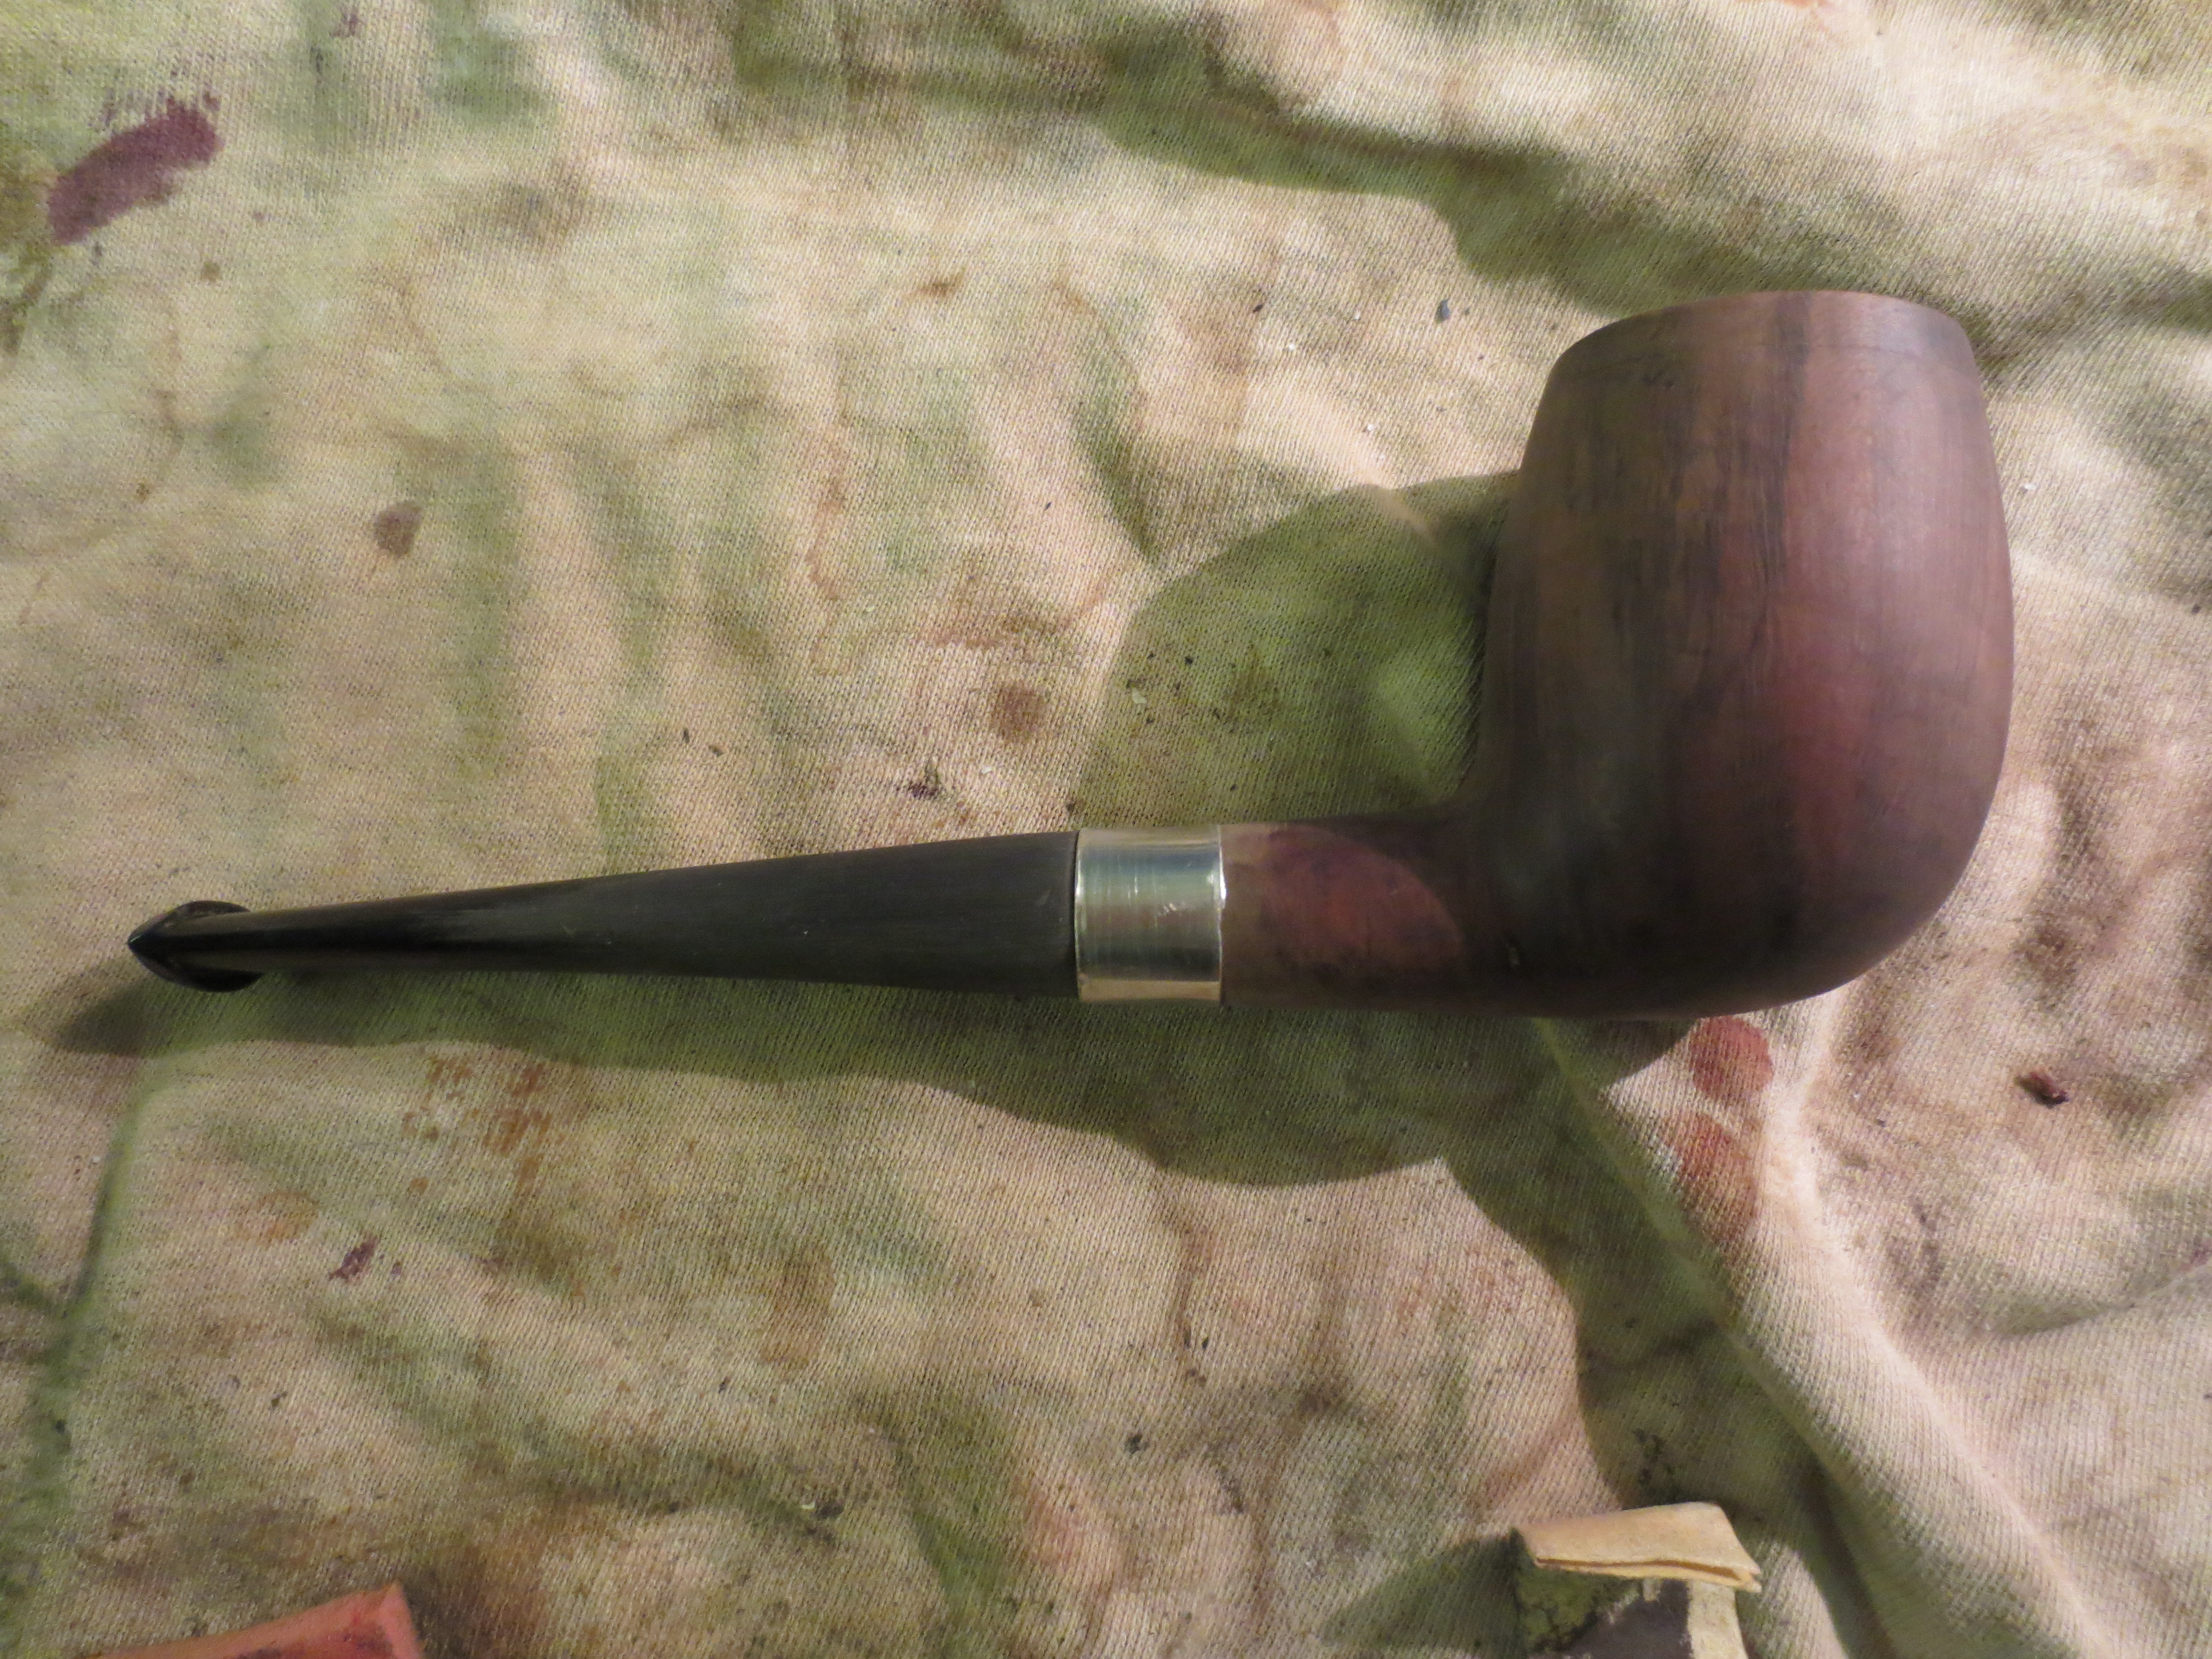
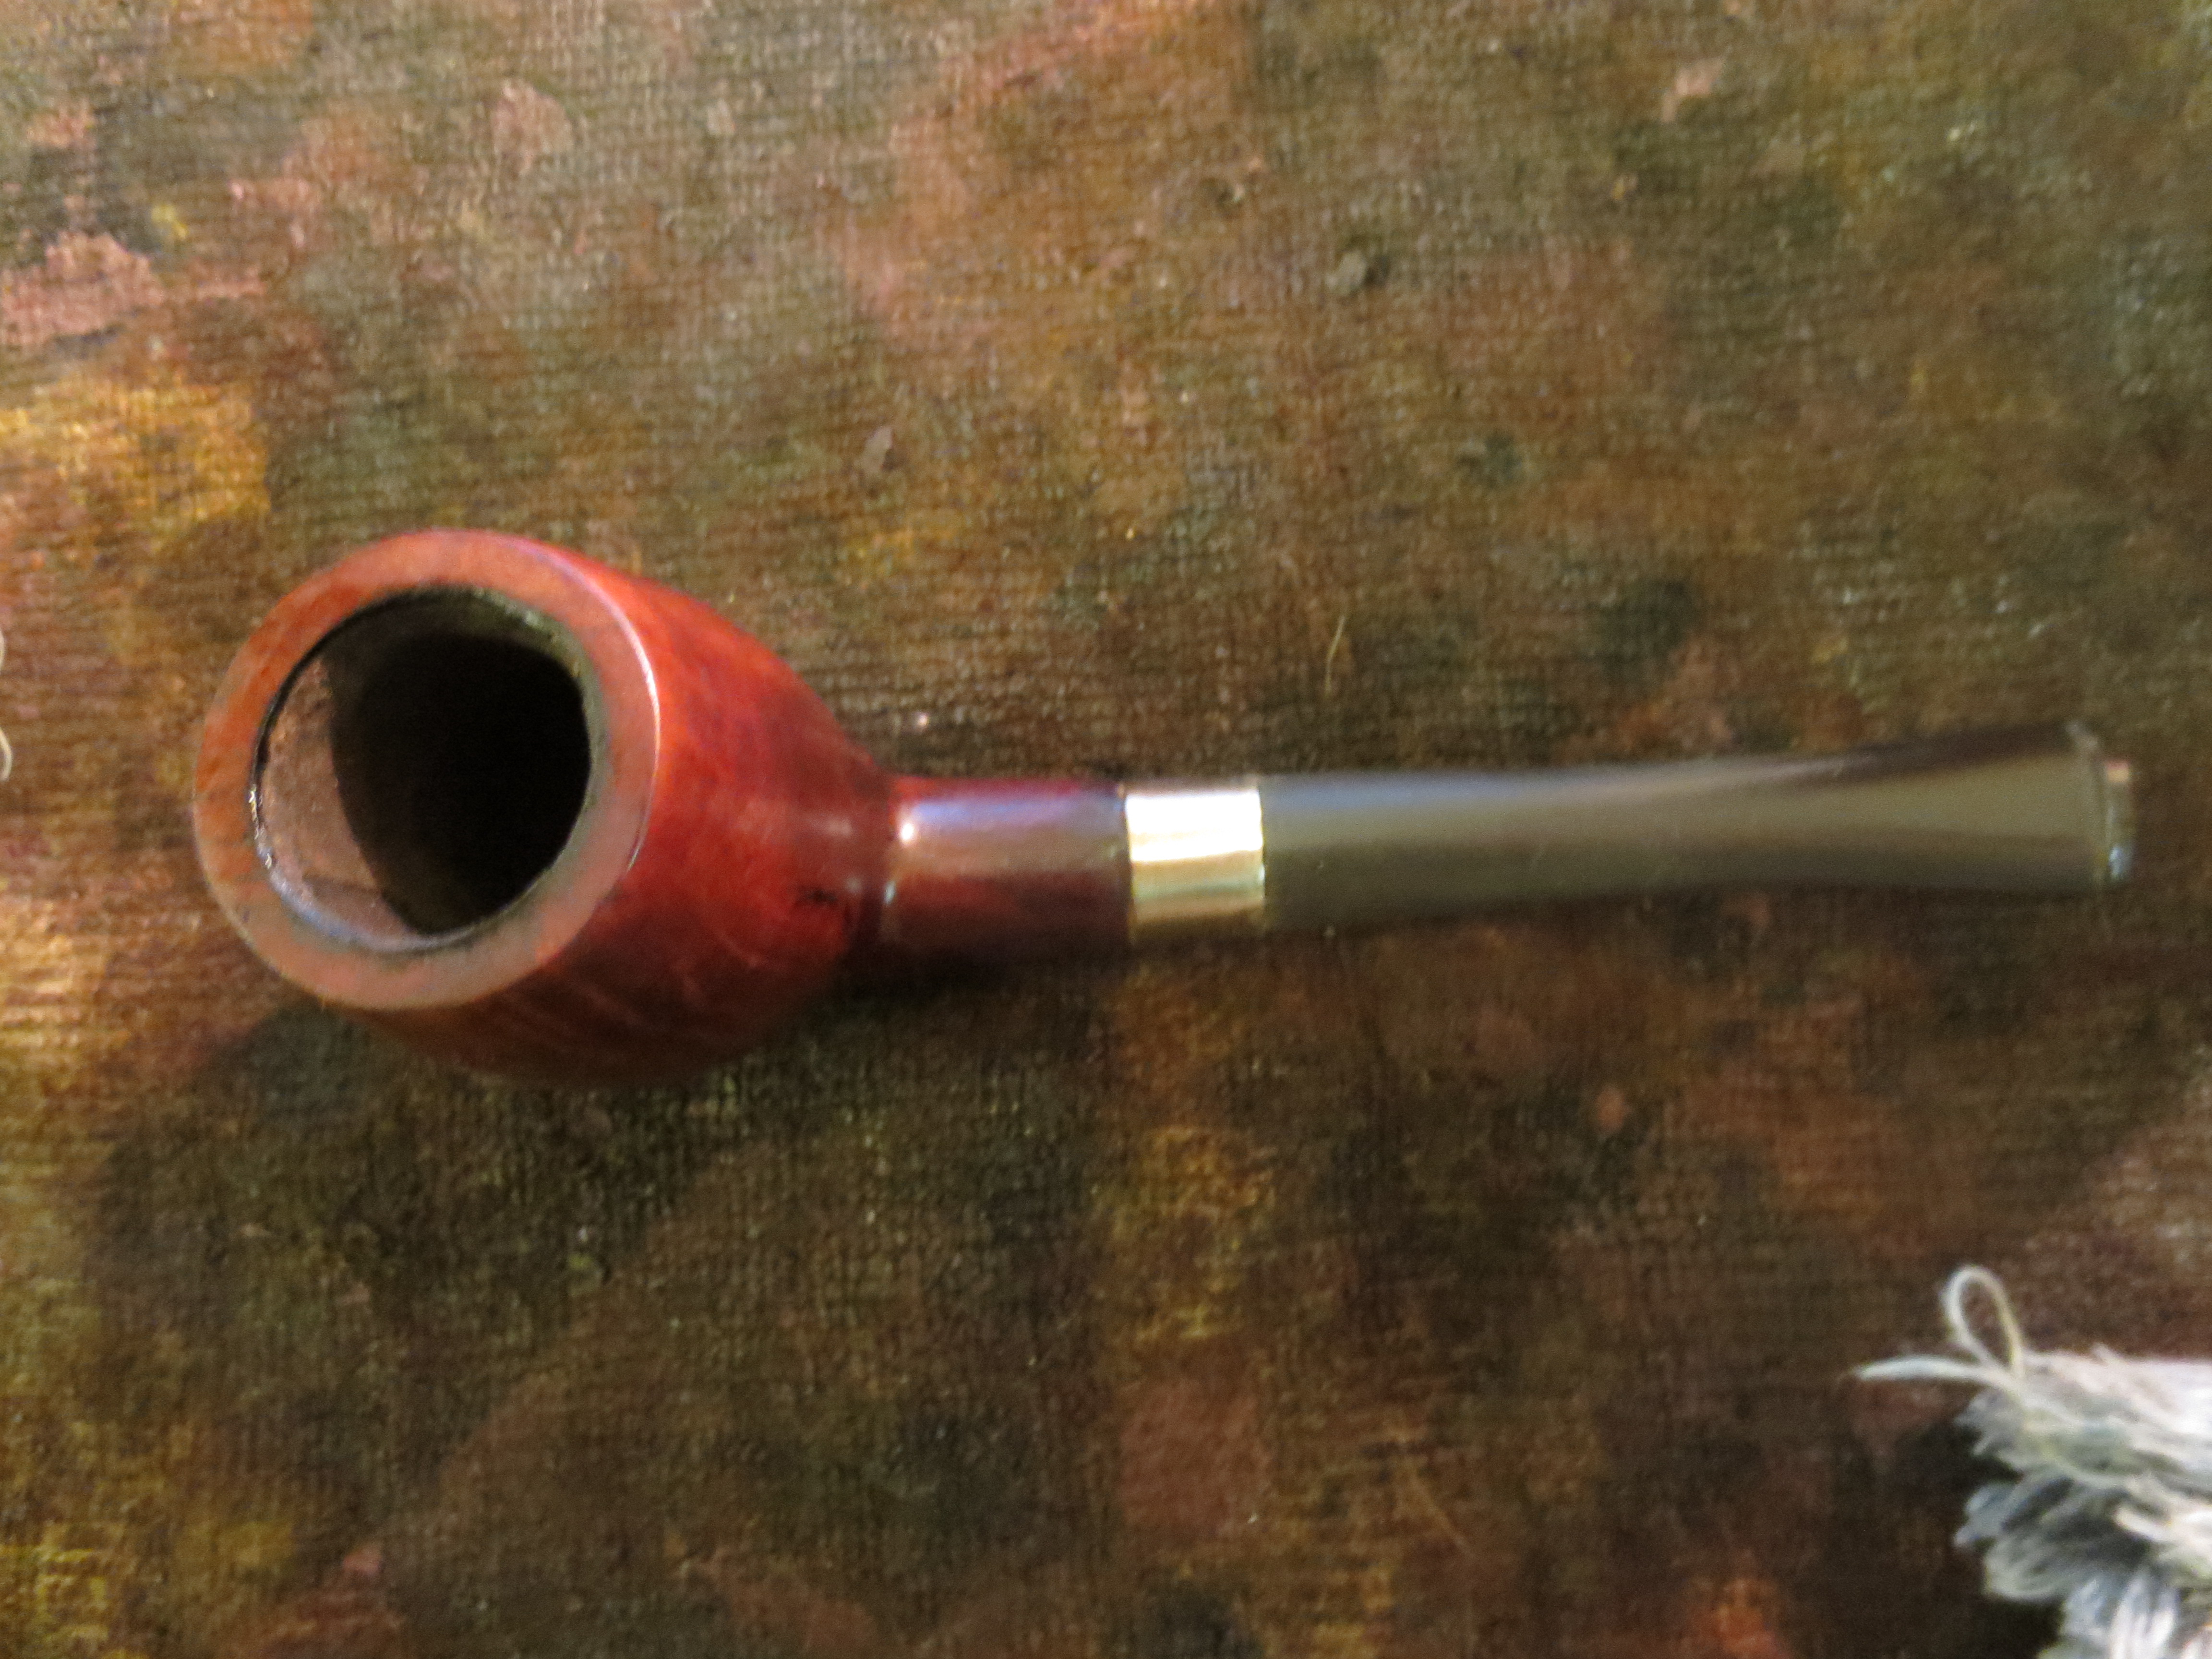
This old timer was one of the pipe bowls that I picked up in that EBay lot that had others with the French Briar stamping. The others had the same stamping but also had been stamped CPF on the shank or on the end cap. This one was missing the end cap so it remains a bit of a mystery as to its maker. It was also stemless. From the photos below you can see that at one point in its life it also had a rim cap that was also missing. What was left was the line around the top of the bowl and a darkened rim where the silver cap had covered it. The end of the shank was in pretty good shape but the likelihood of finding another end cap that fit or in making one was pretty low for me. The four photos below show the general state of the pipe when it came to my desk top. The finish was gone. There were several visible fills that stood out. It was one that I had to give a little thought about how I was going to tackle it. I knew that I would have to modify the shank and rework the bowl. I would also have to redrill the mortise way and fit a stem for the newly formed pipe. Ah well… let’s begin the work.
IMG_0789

IMG_0792

IMG_0791

IMG_0790
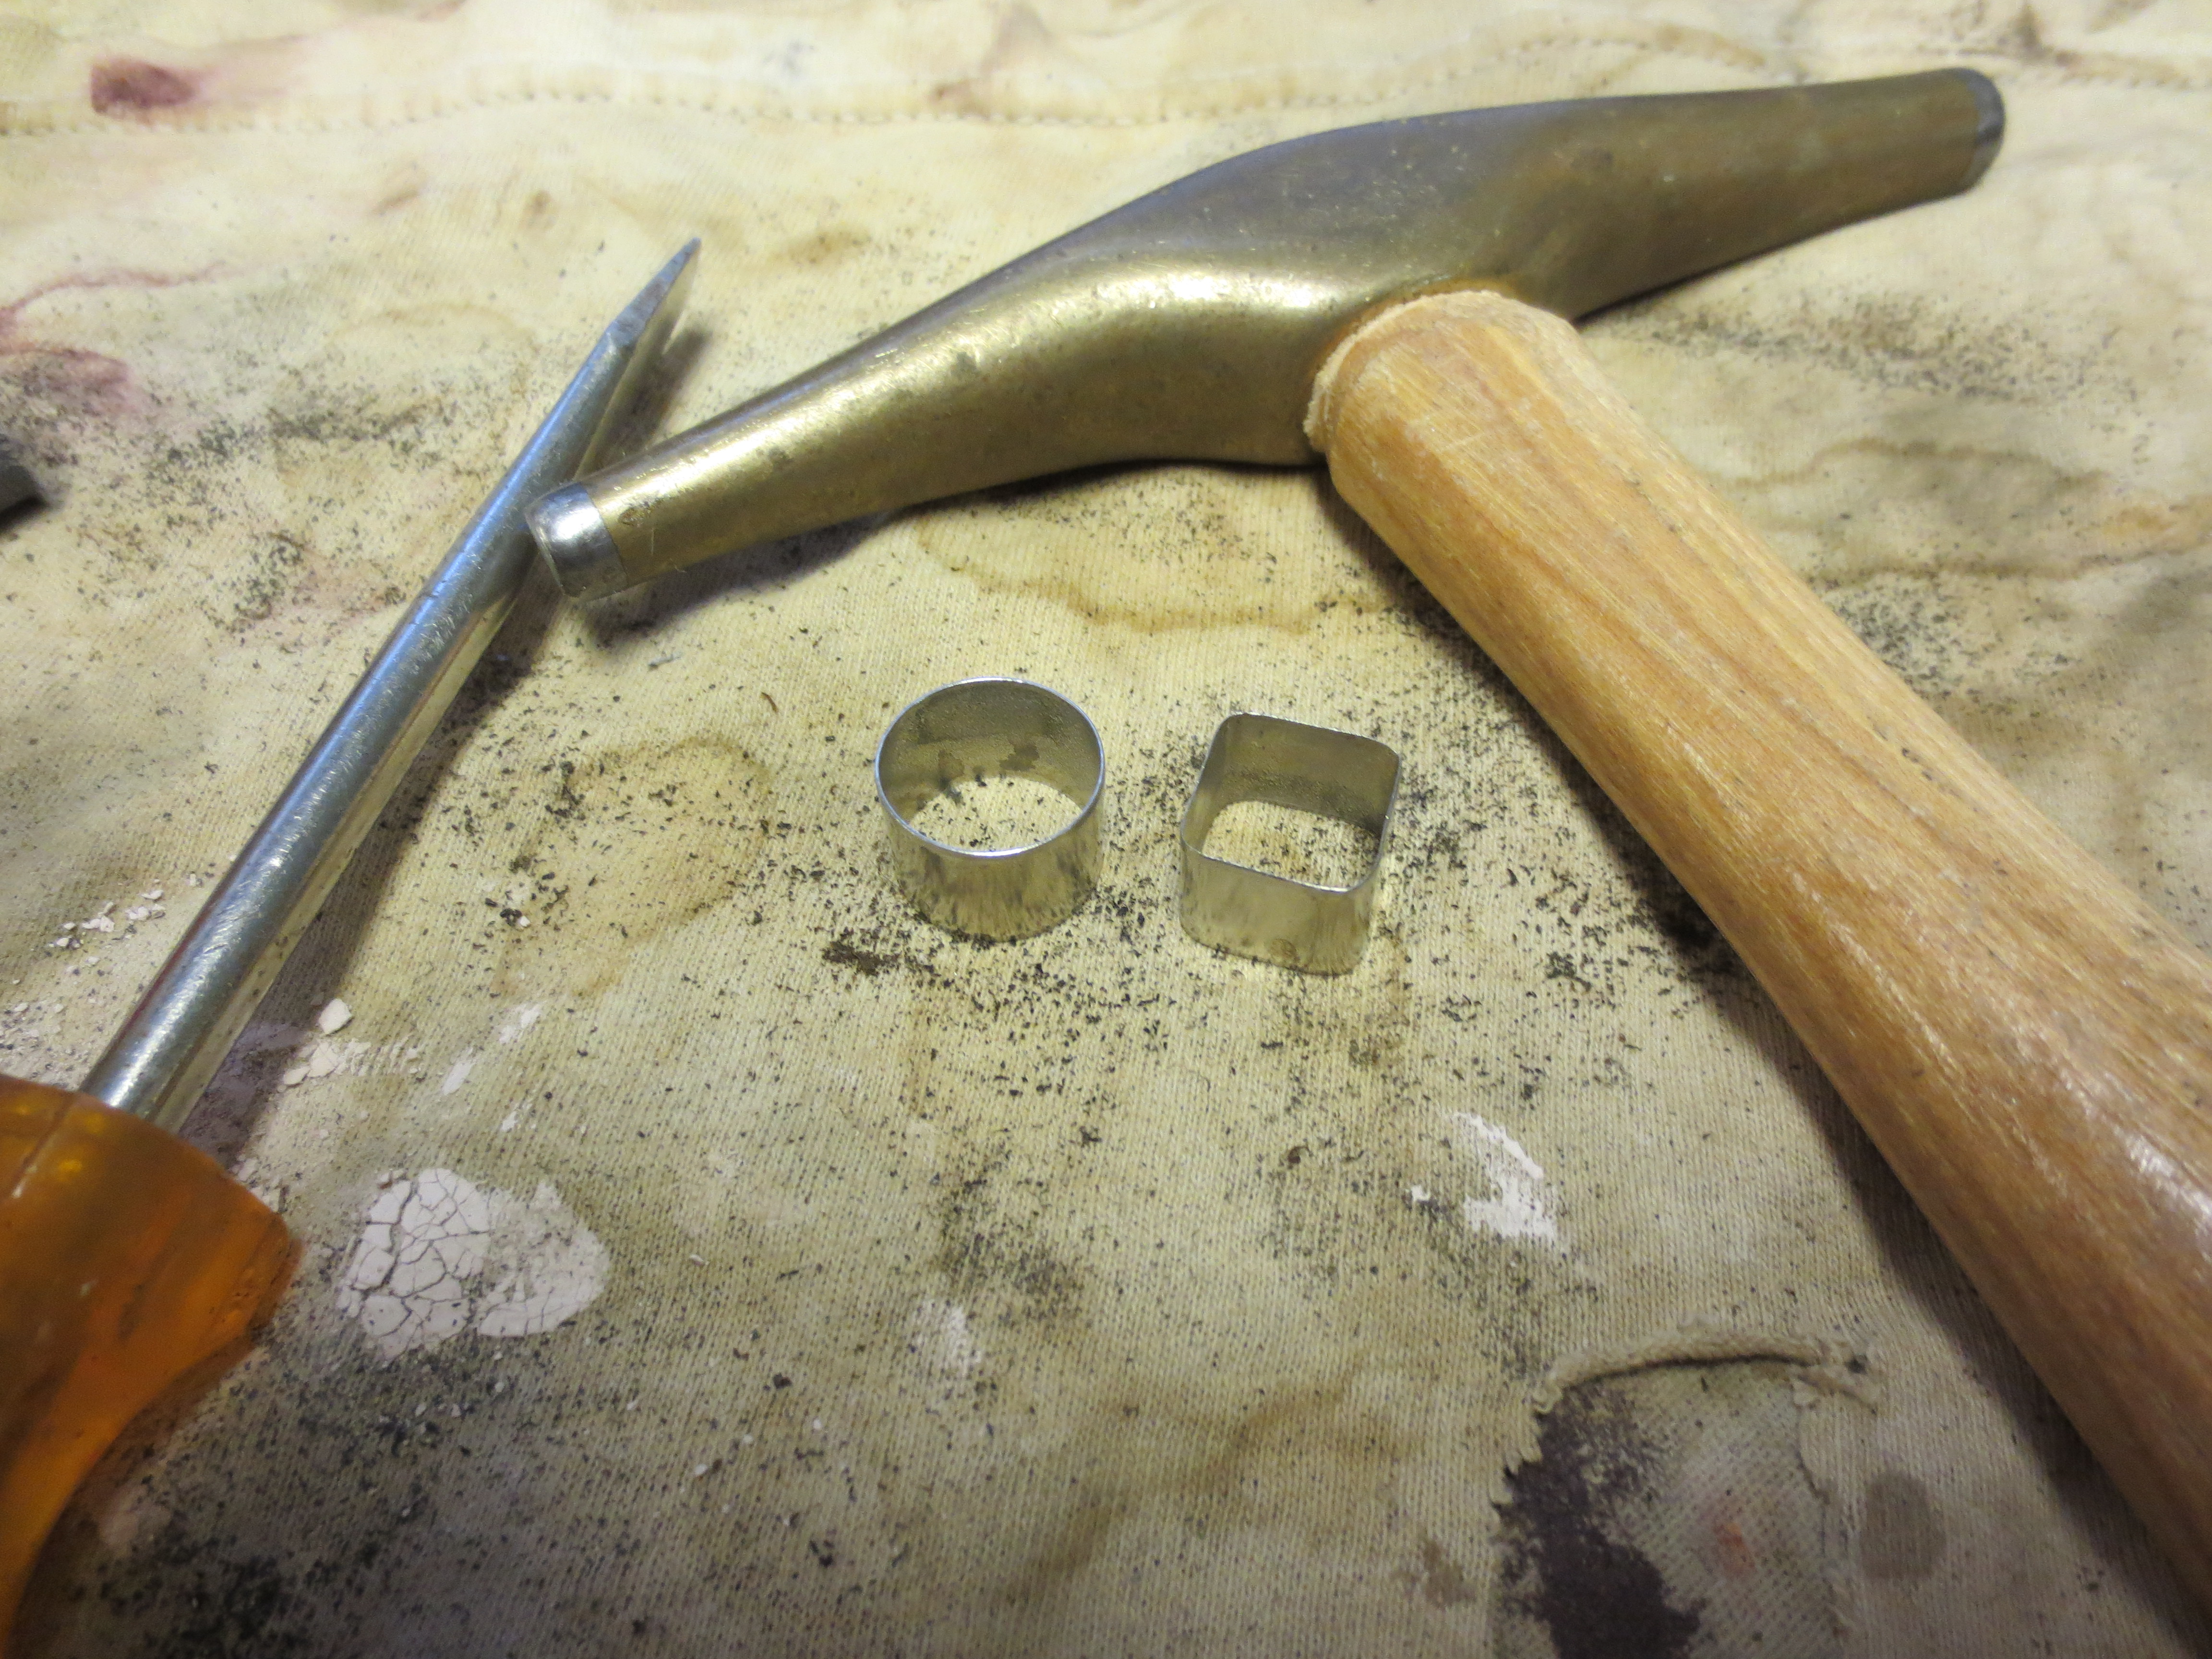
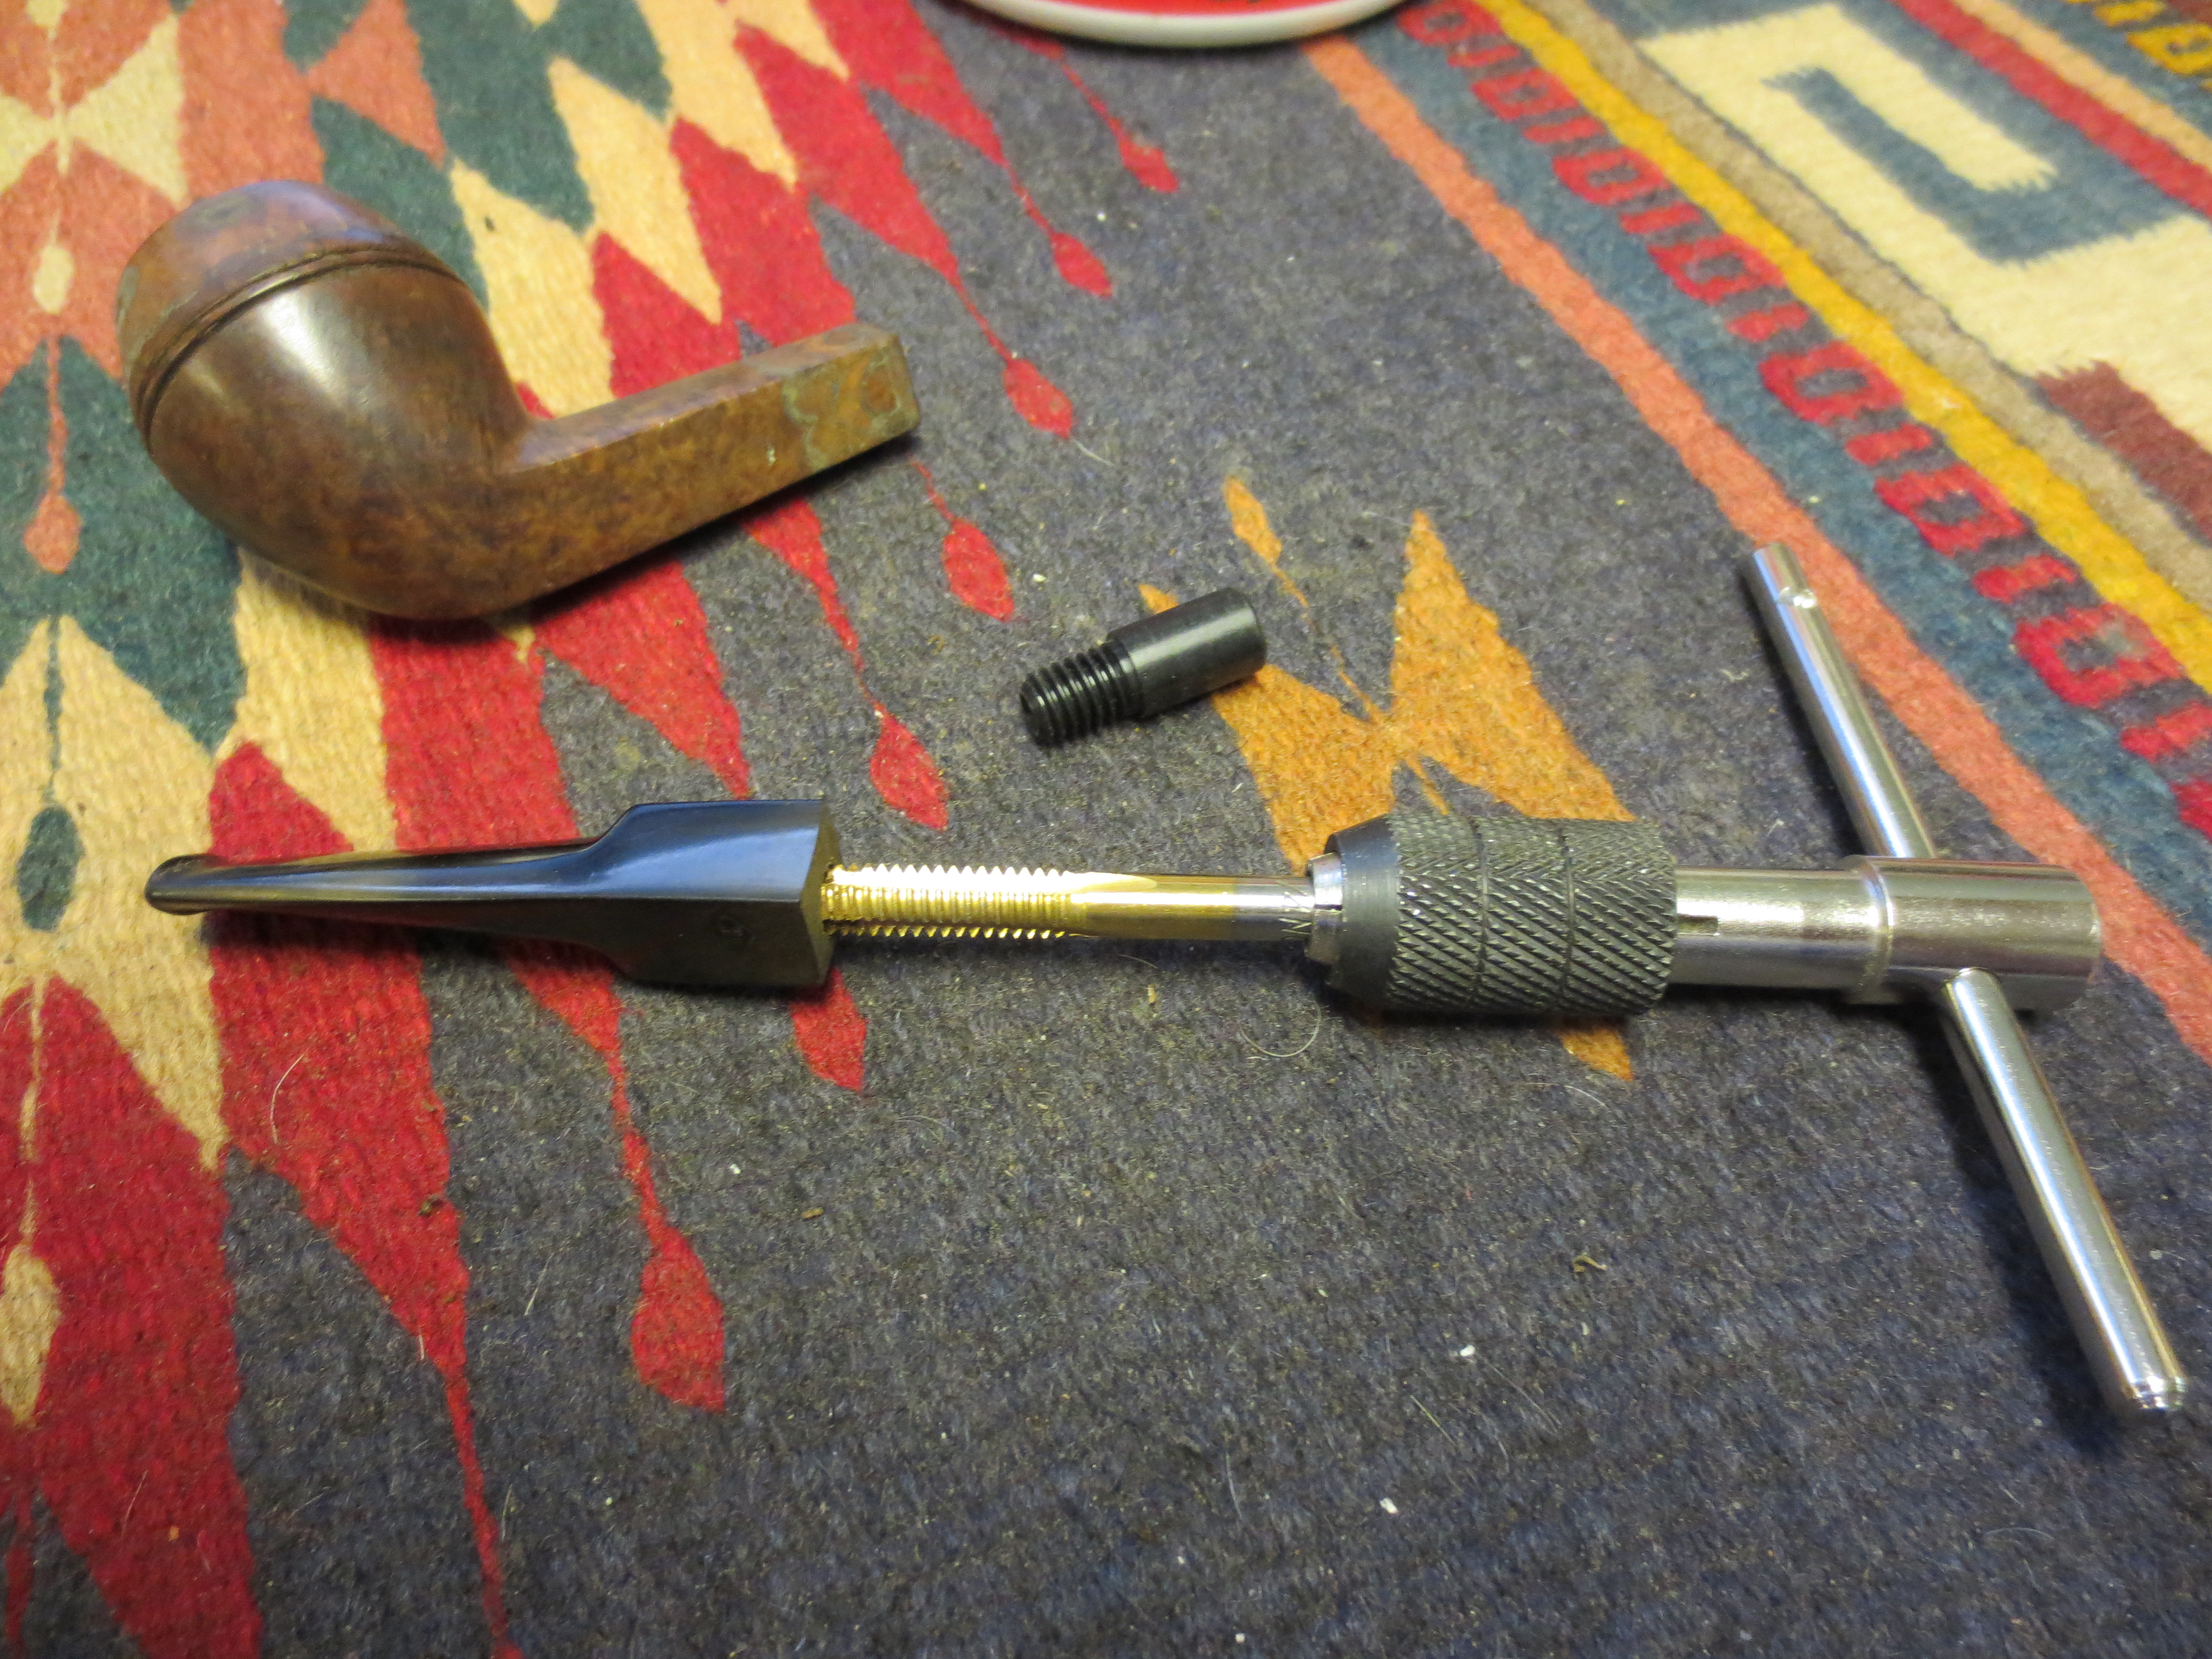
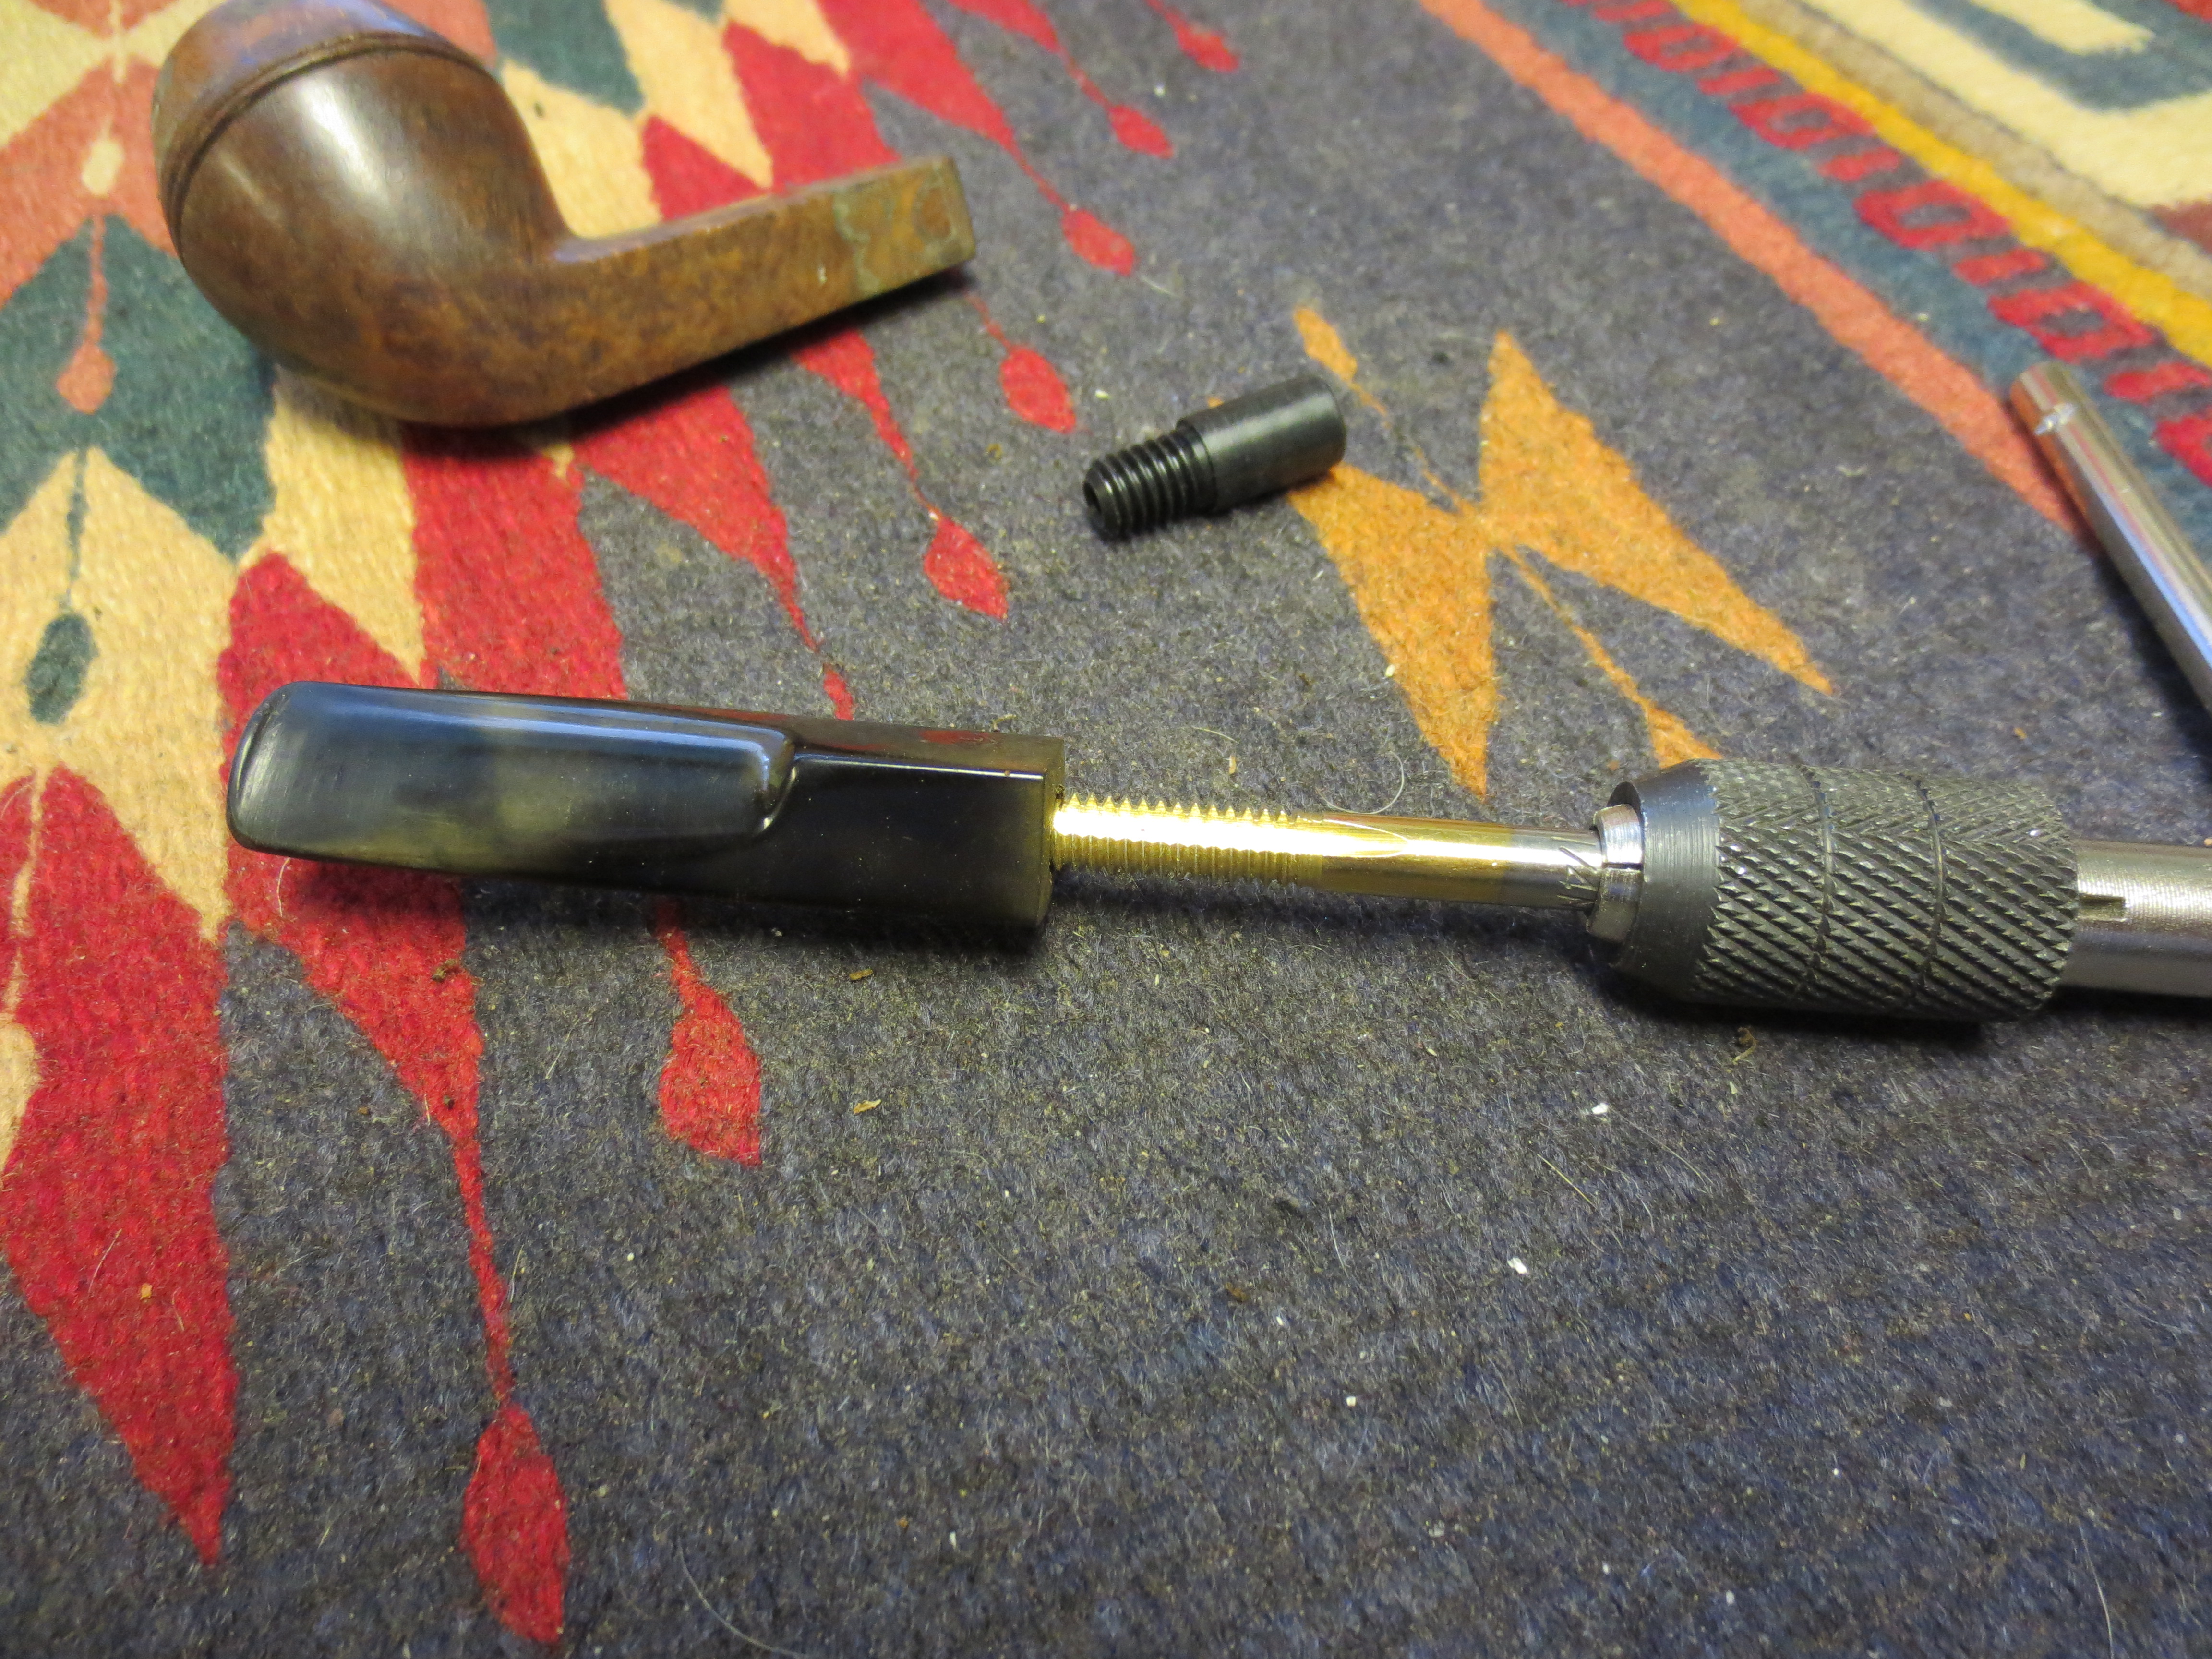
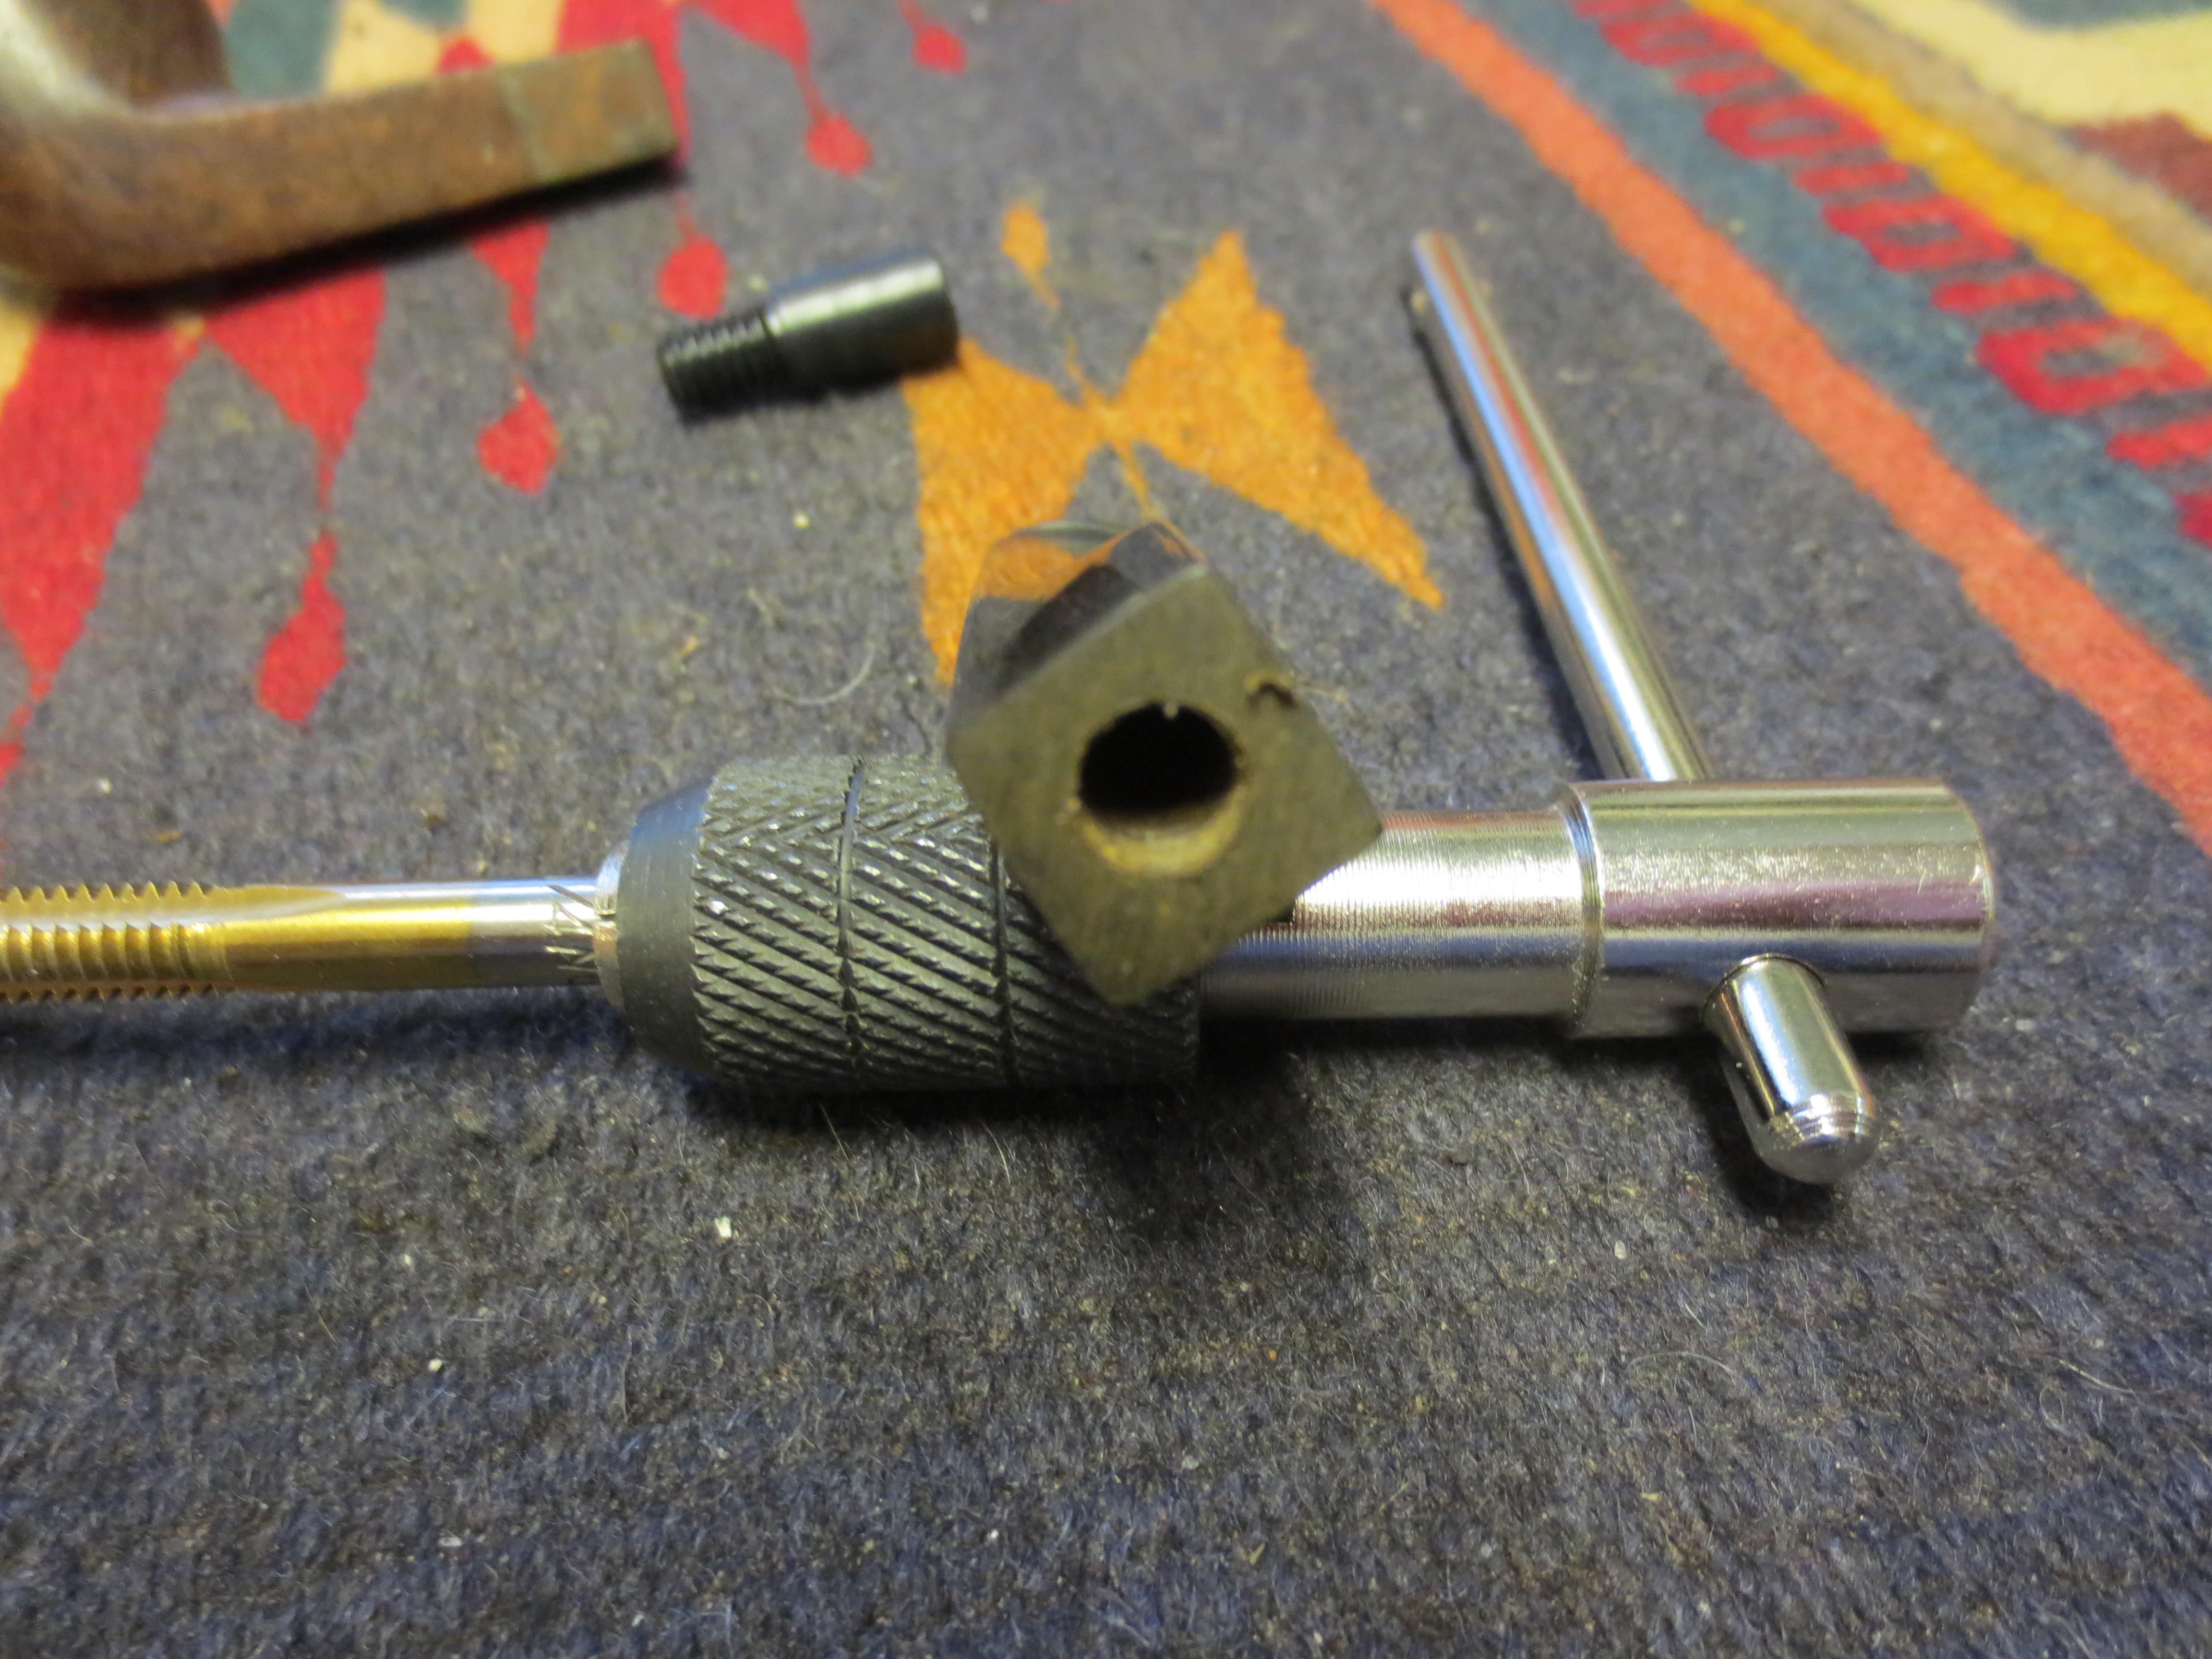
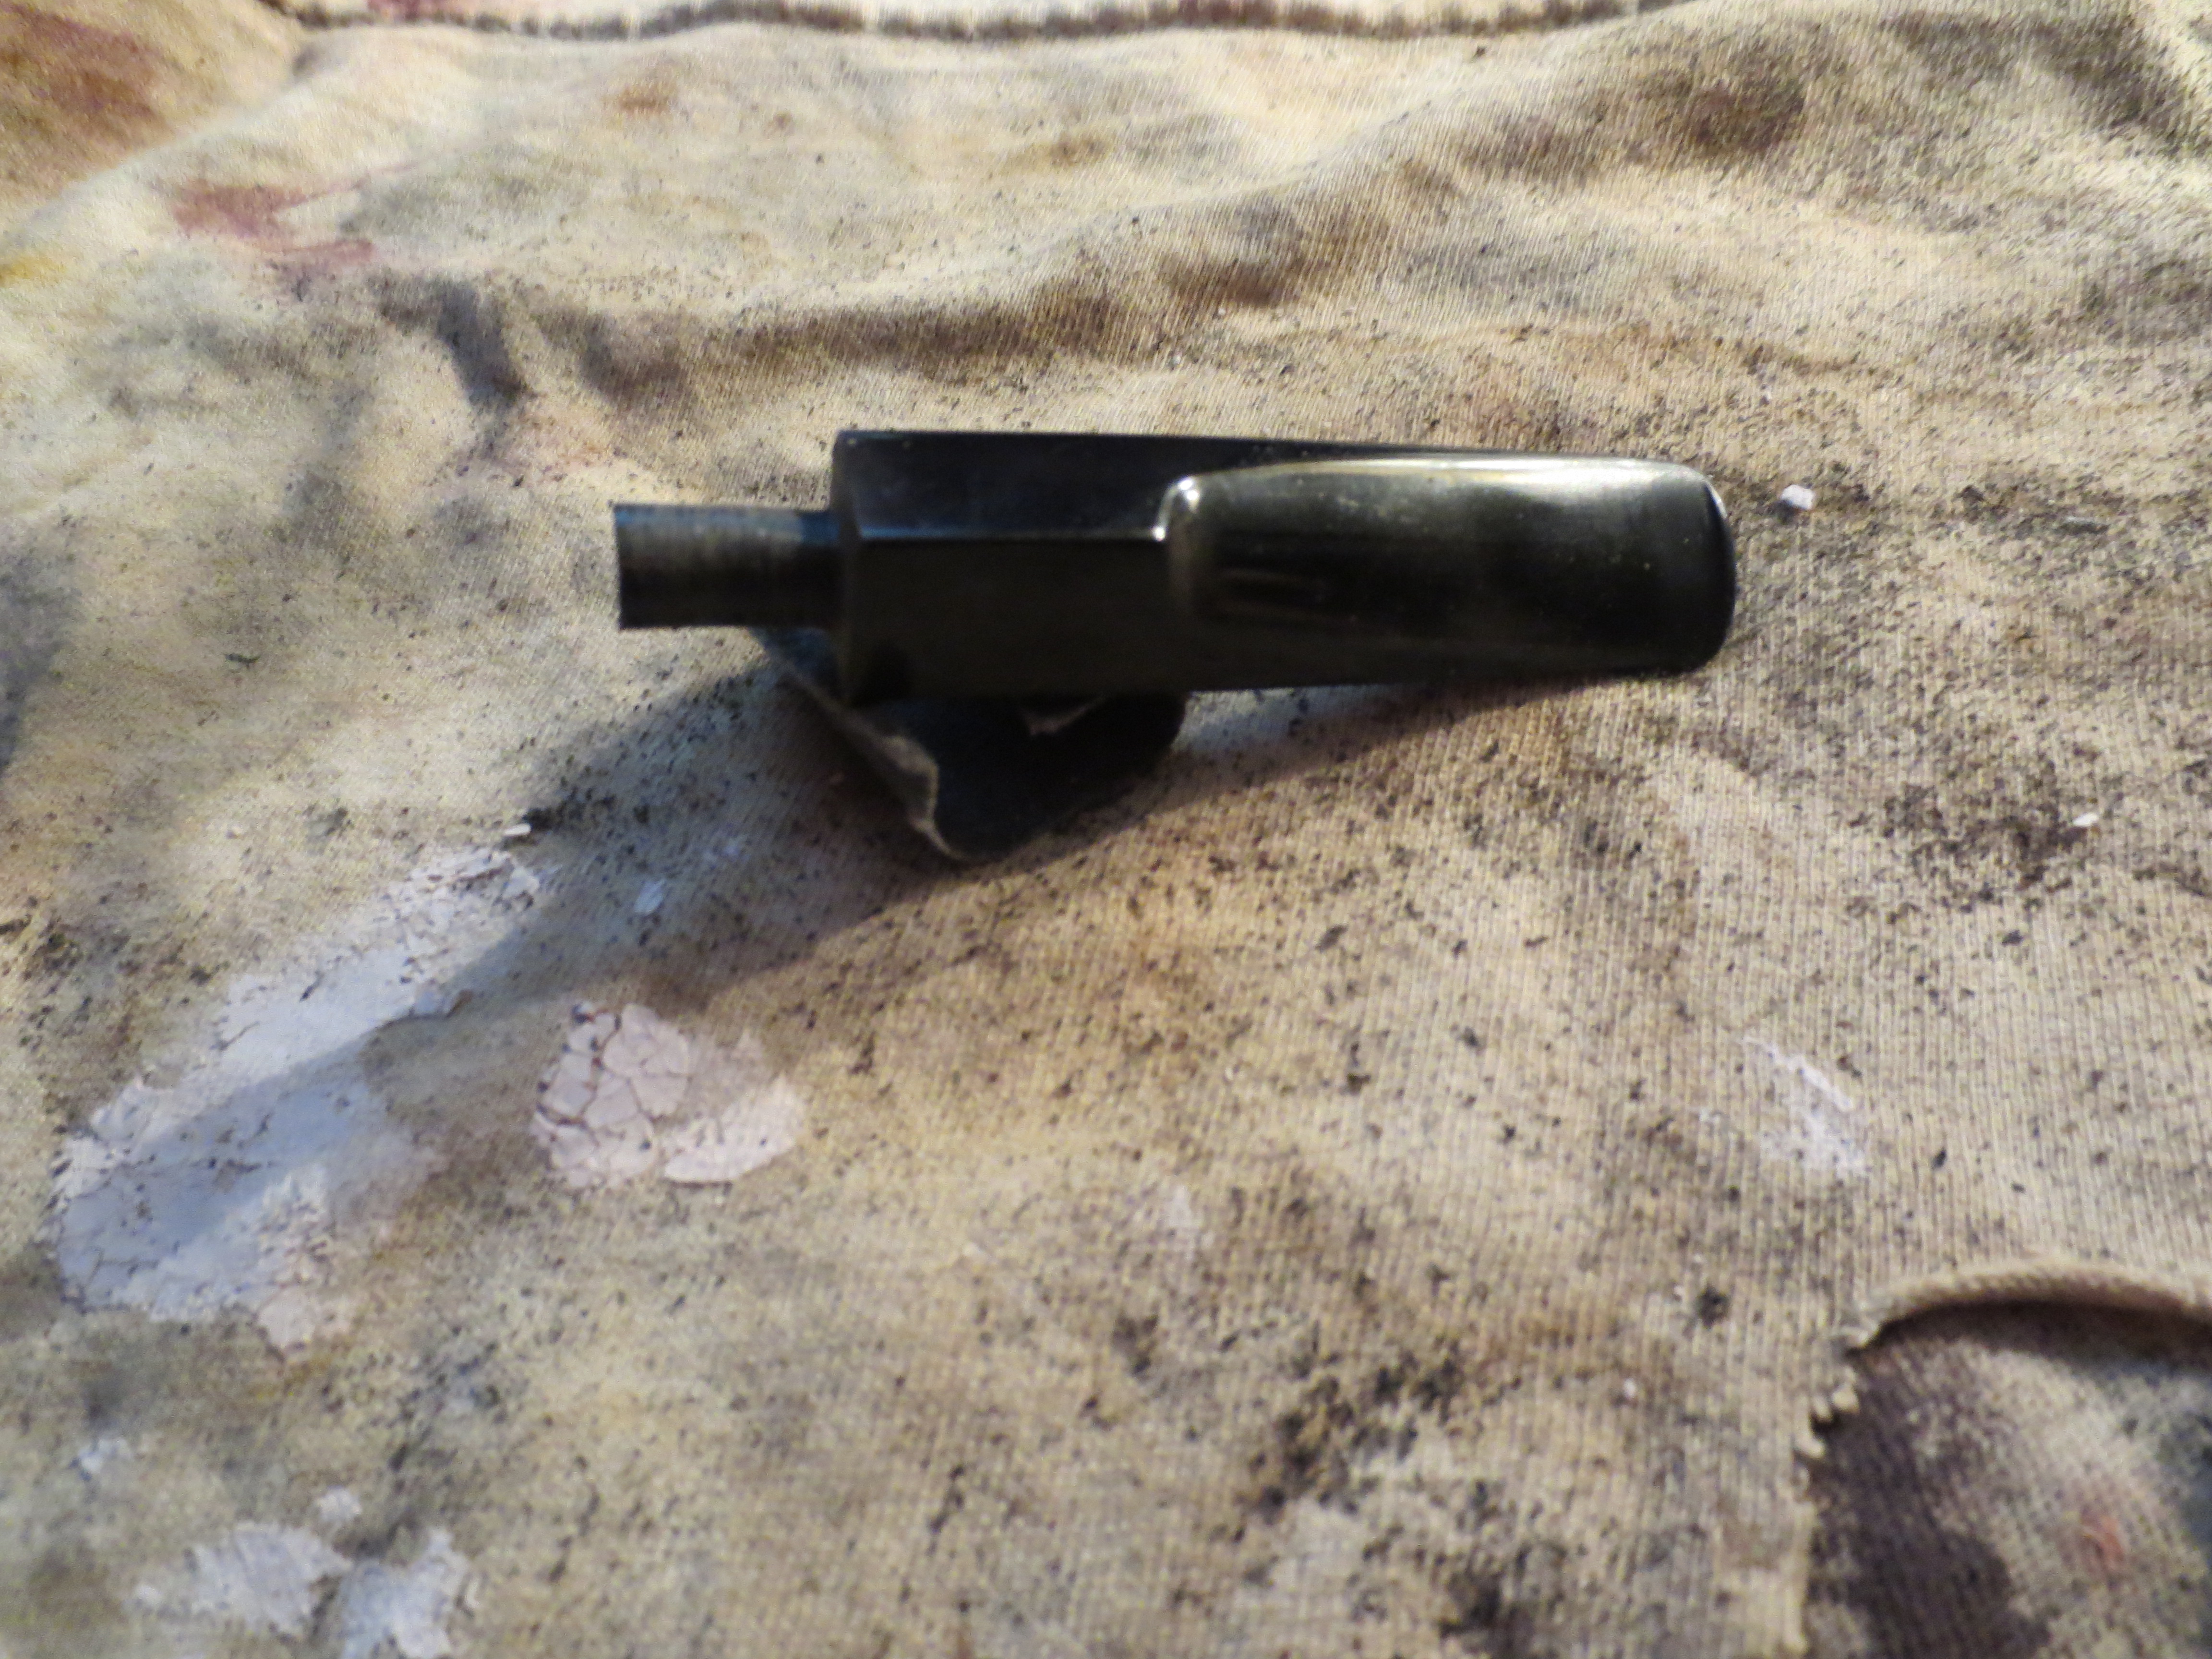
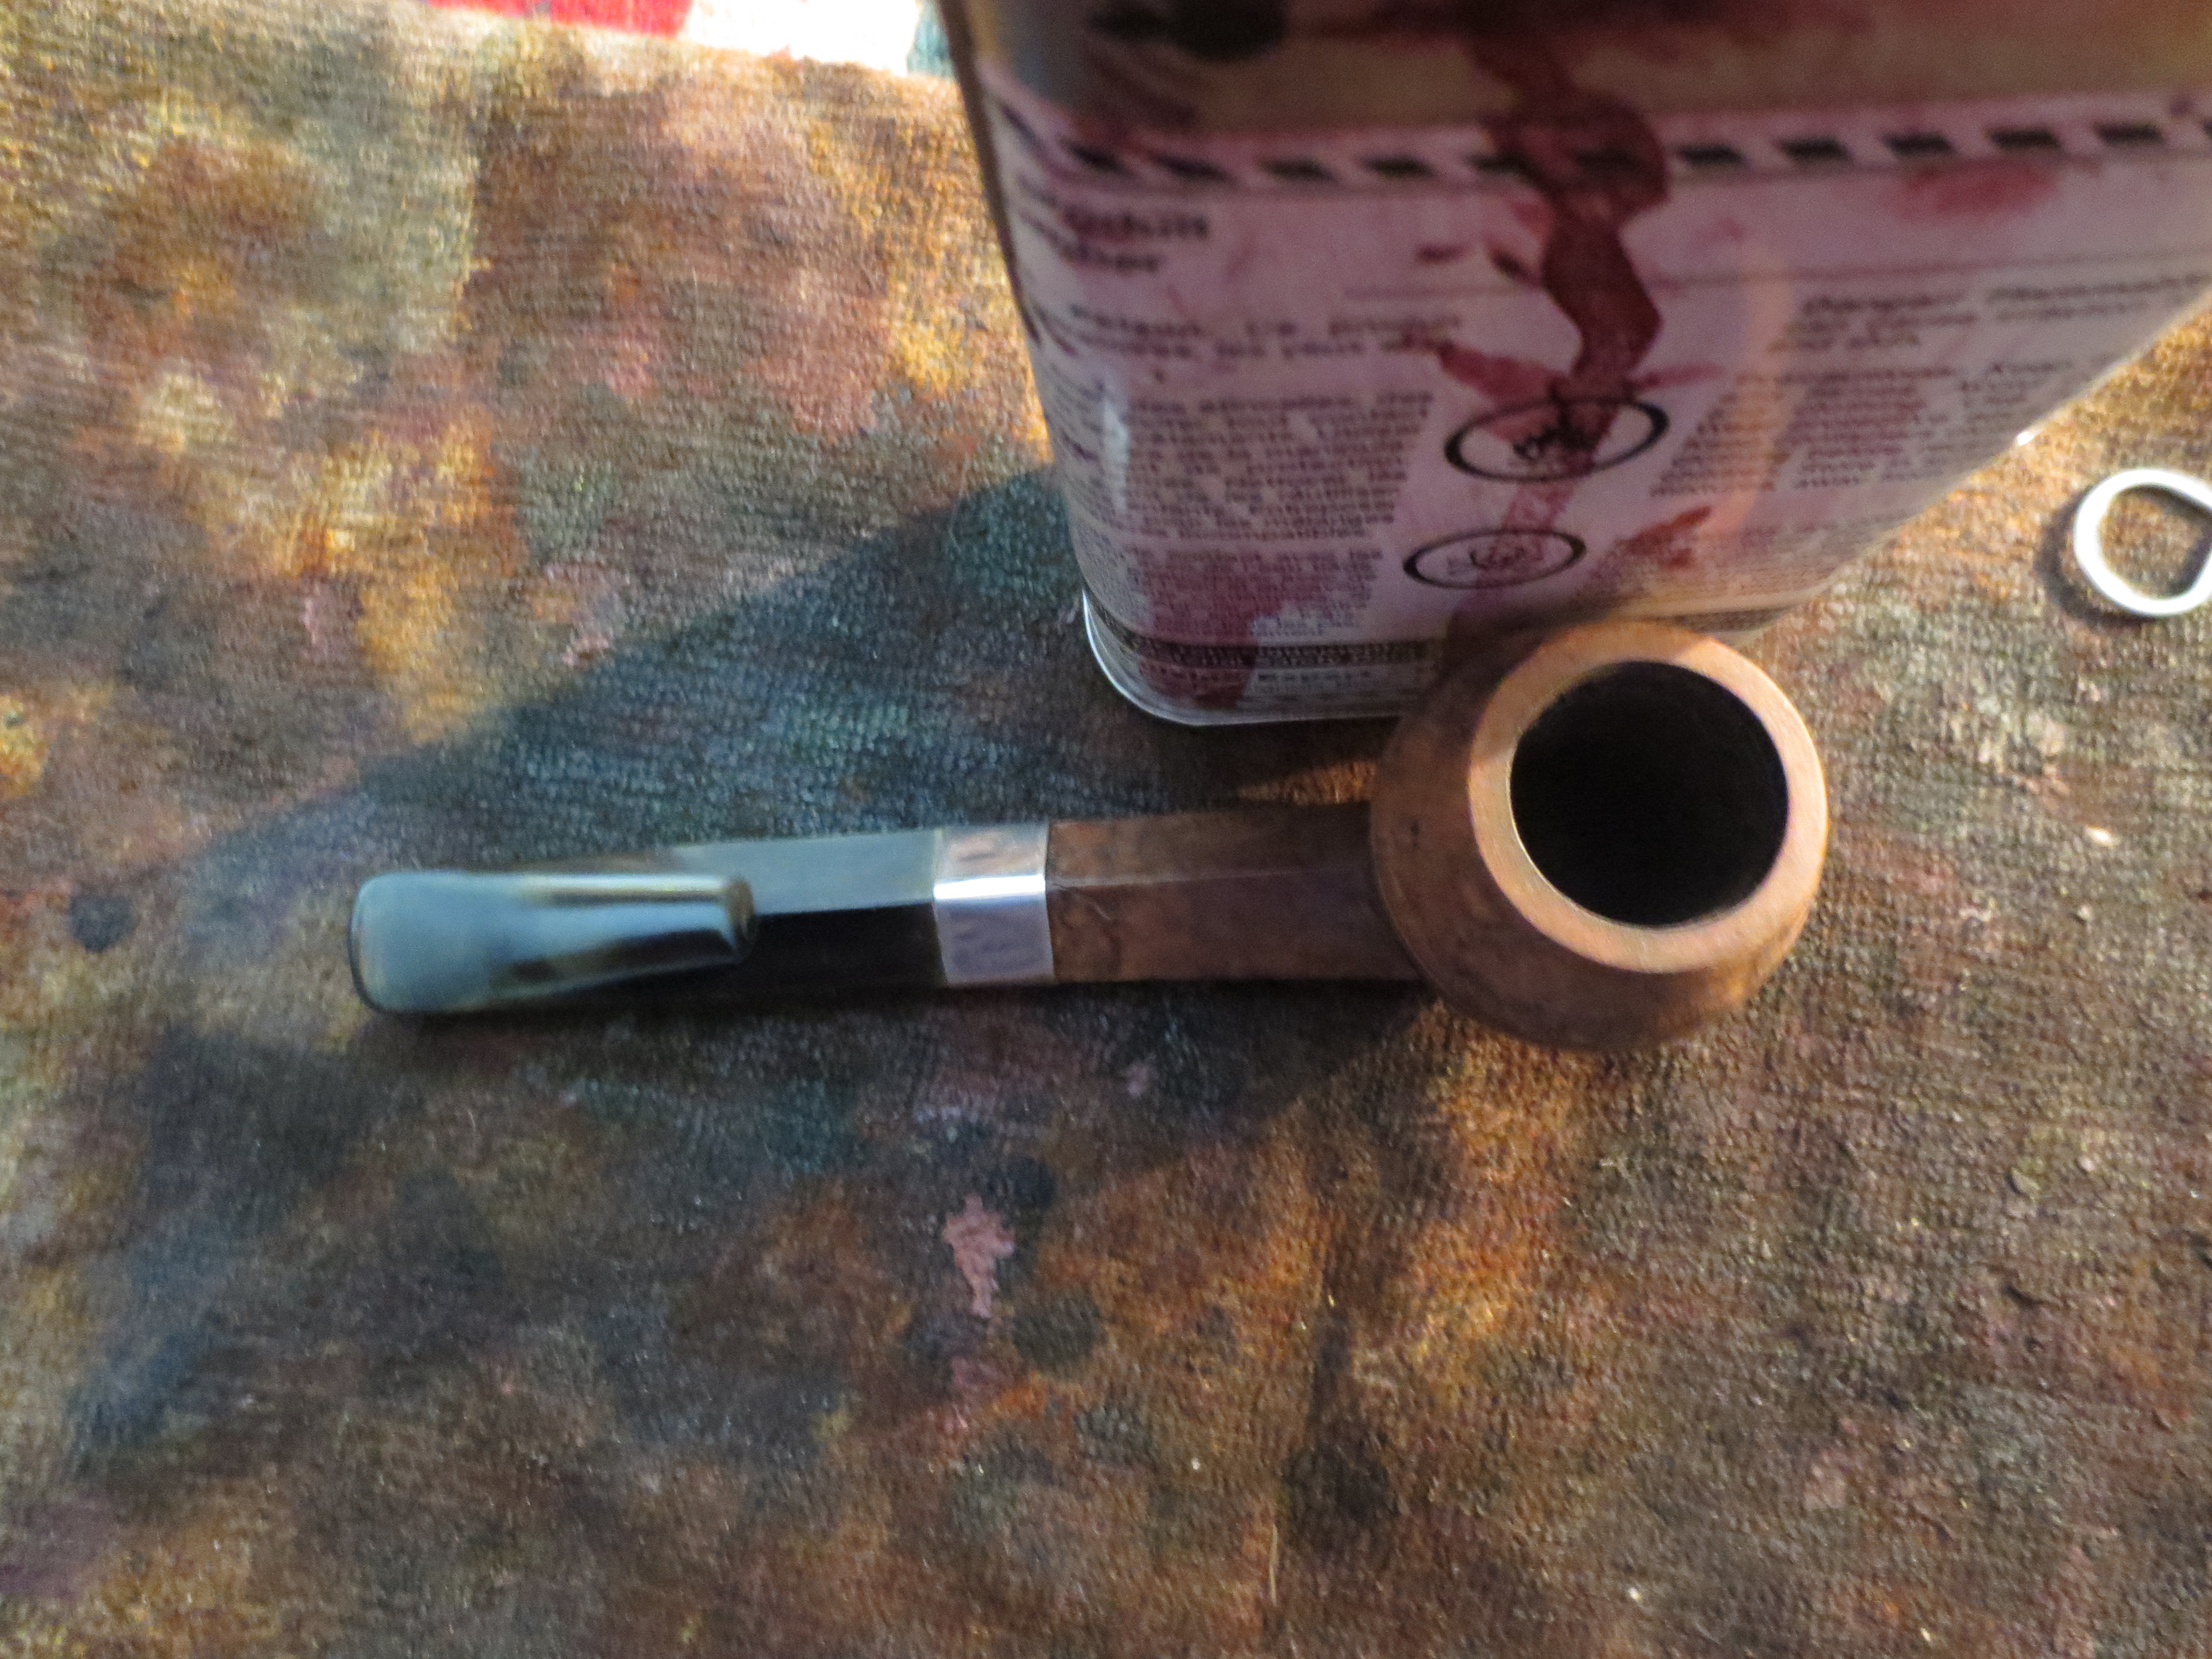
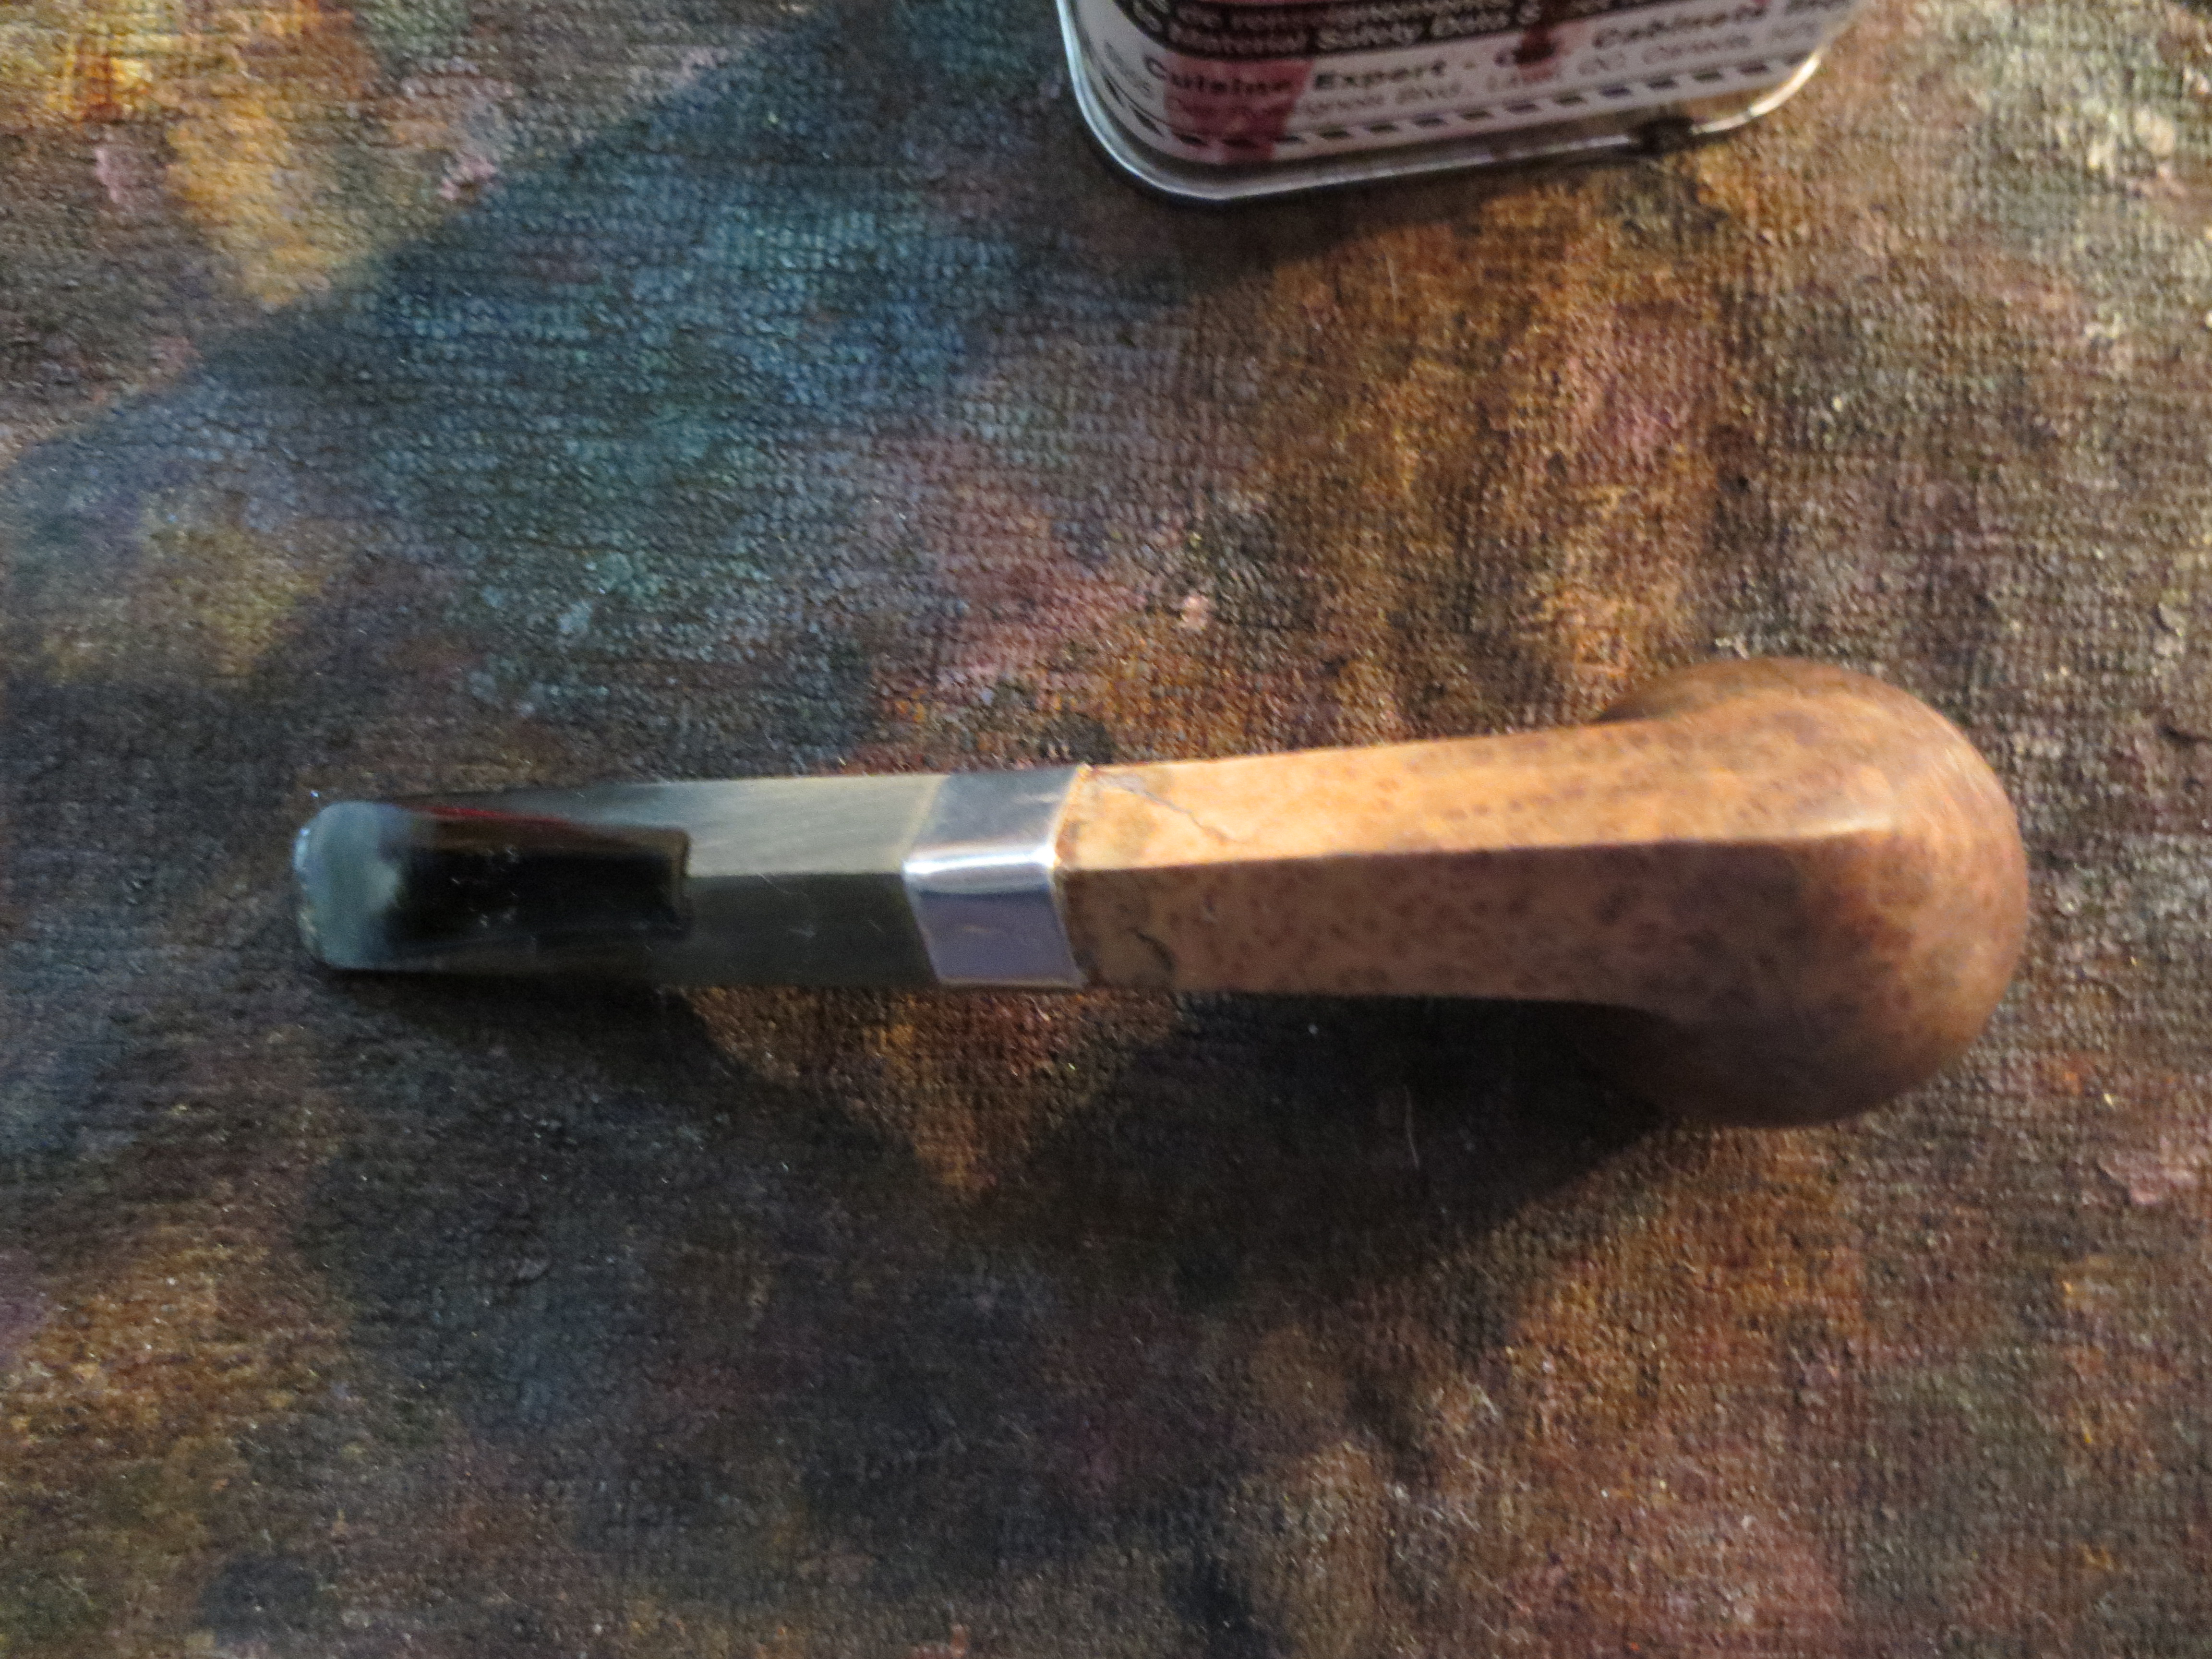
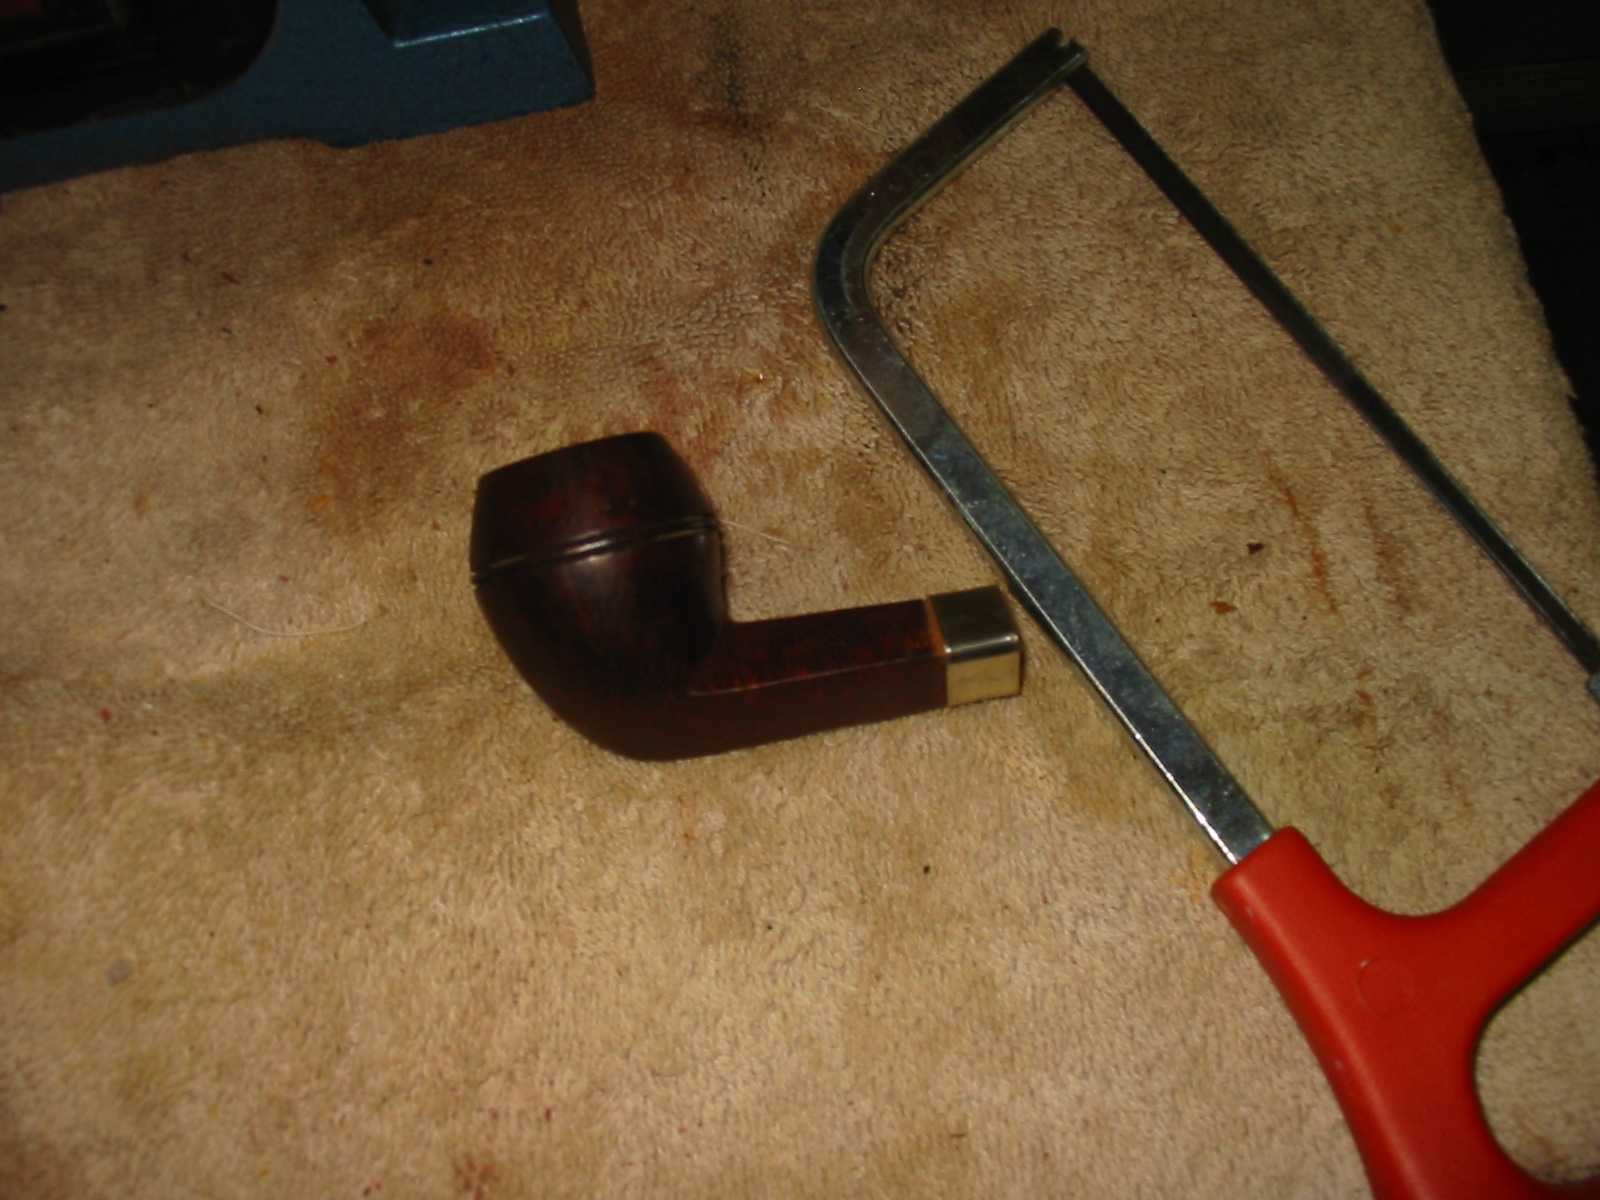
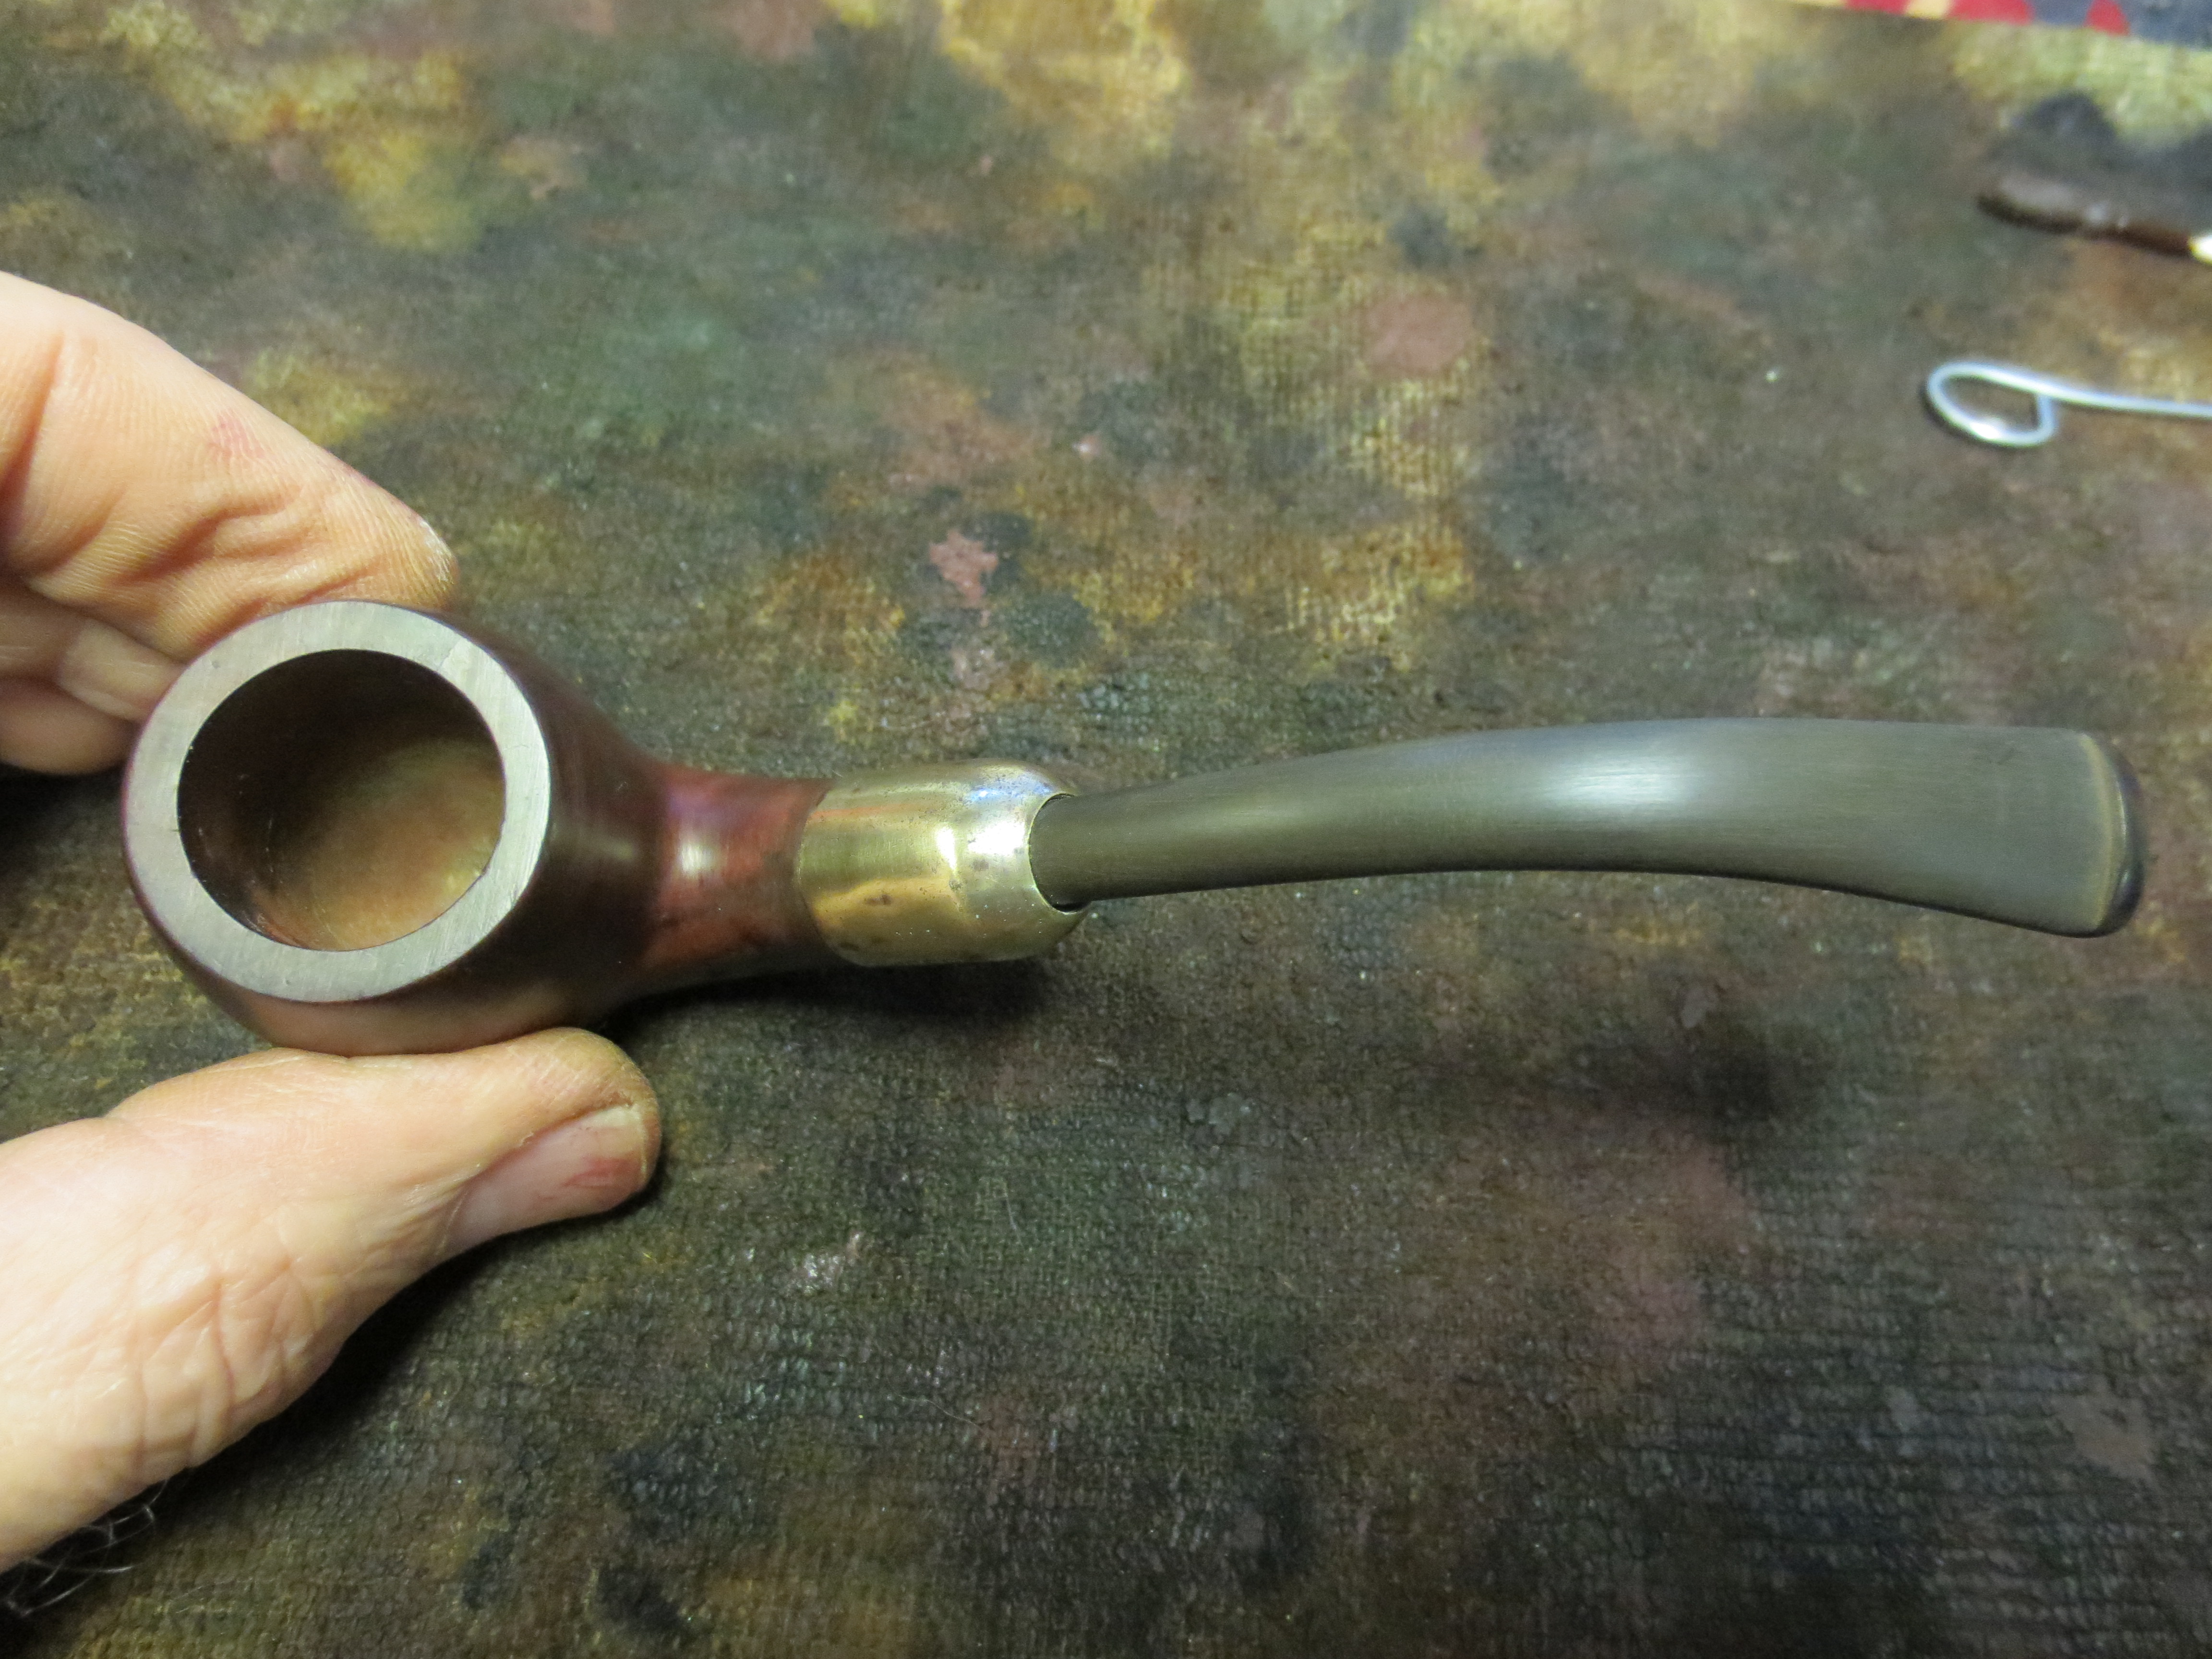
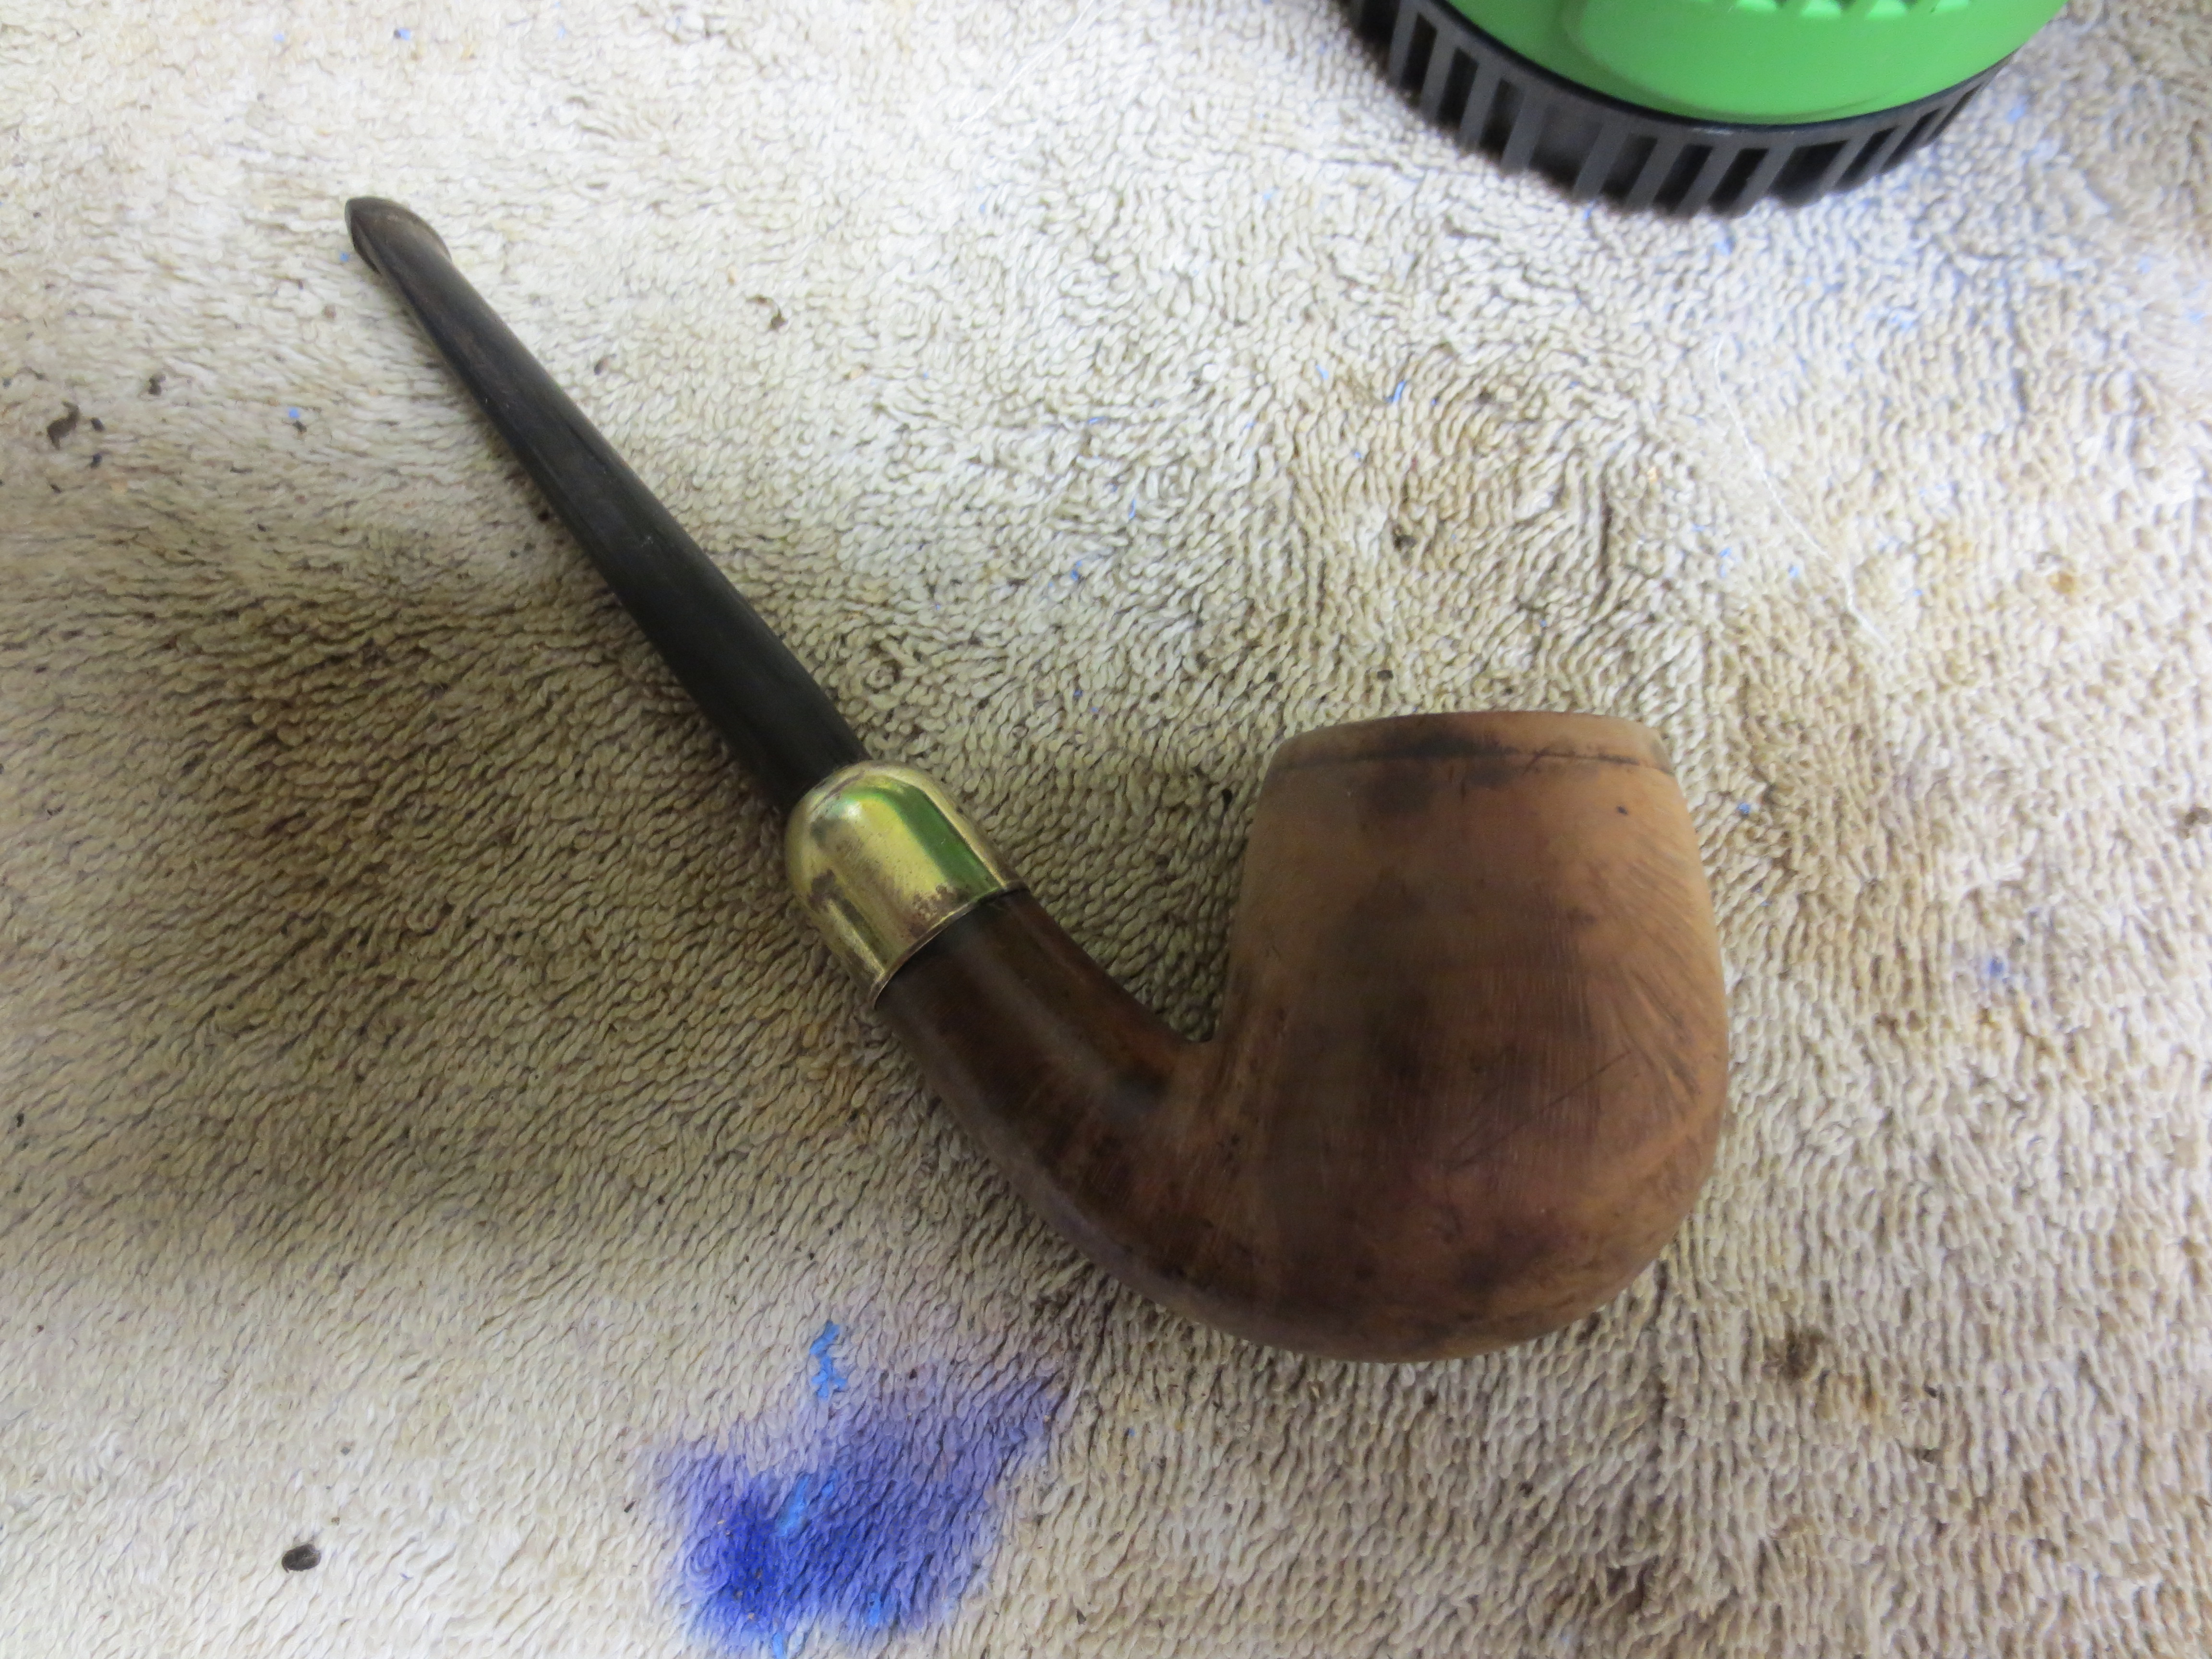
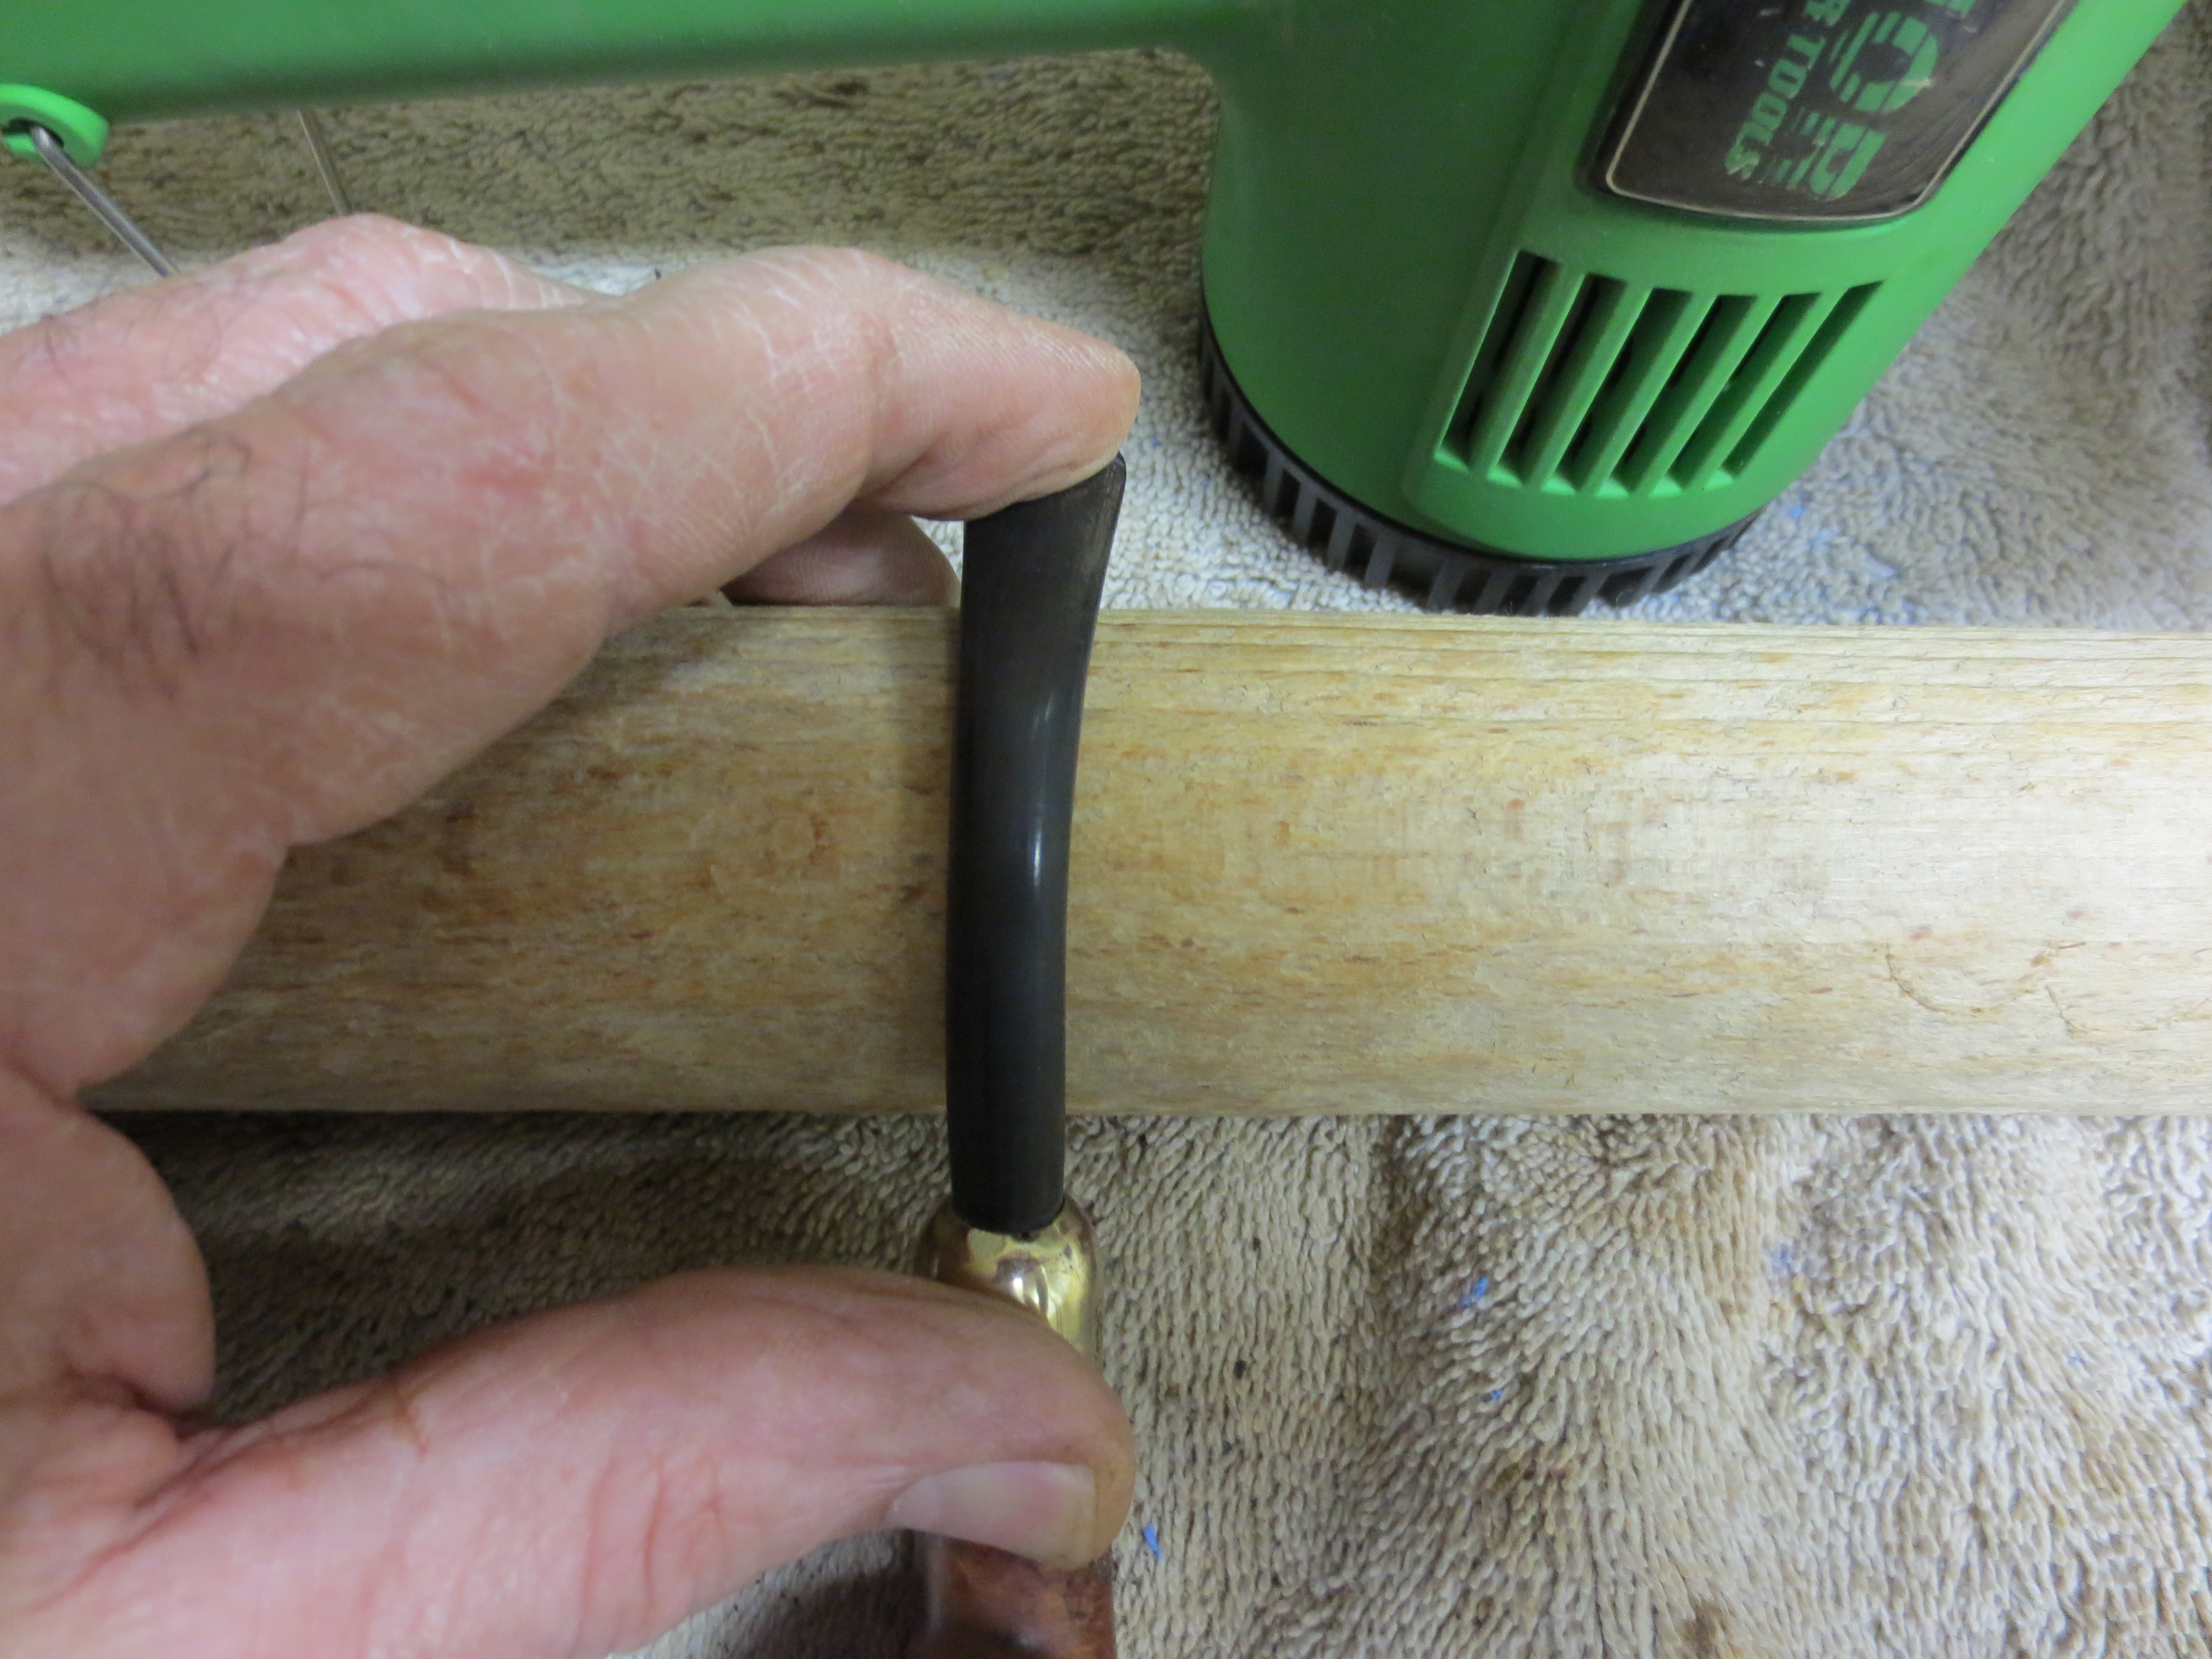
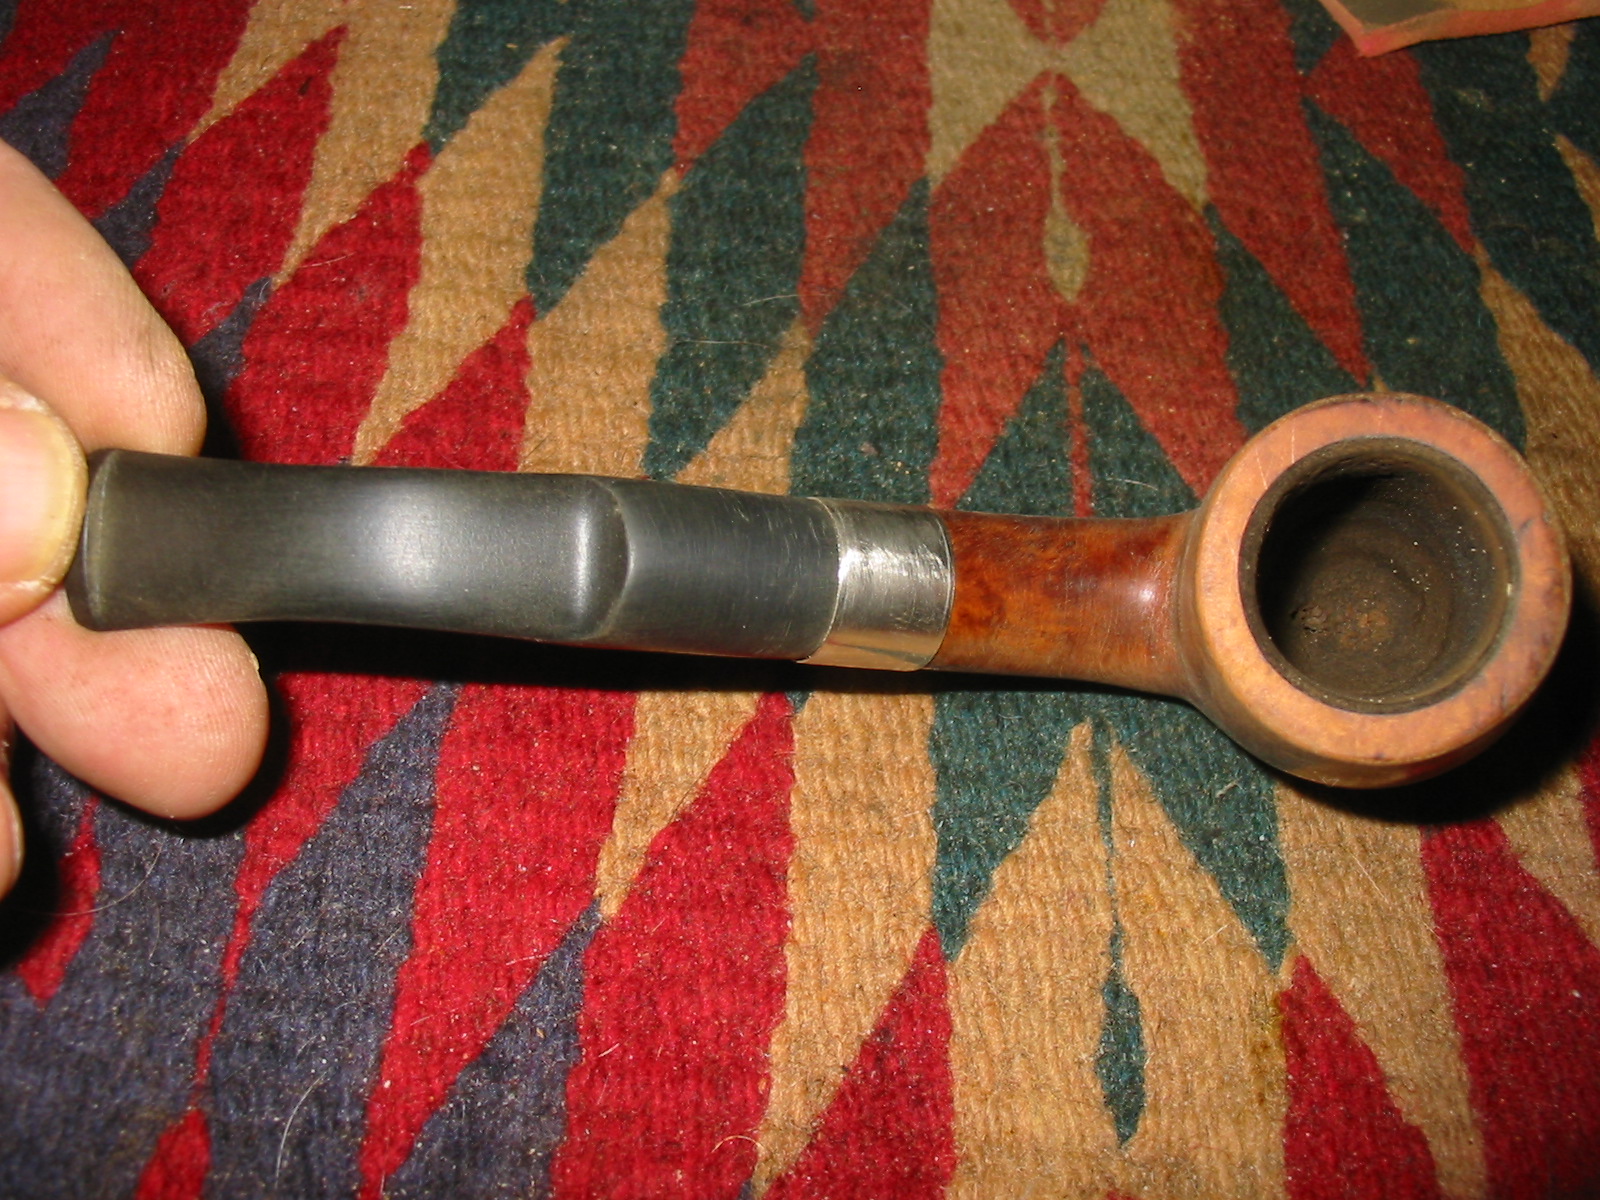
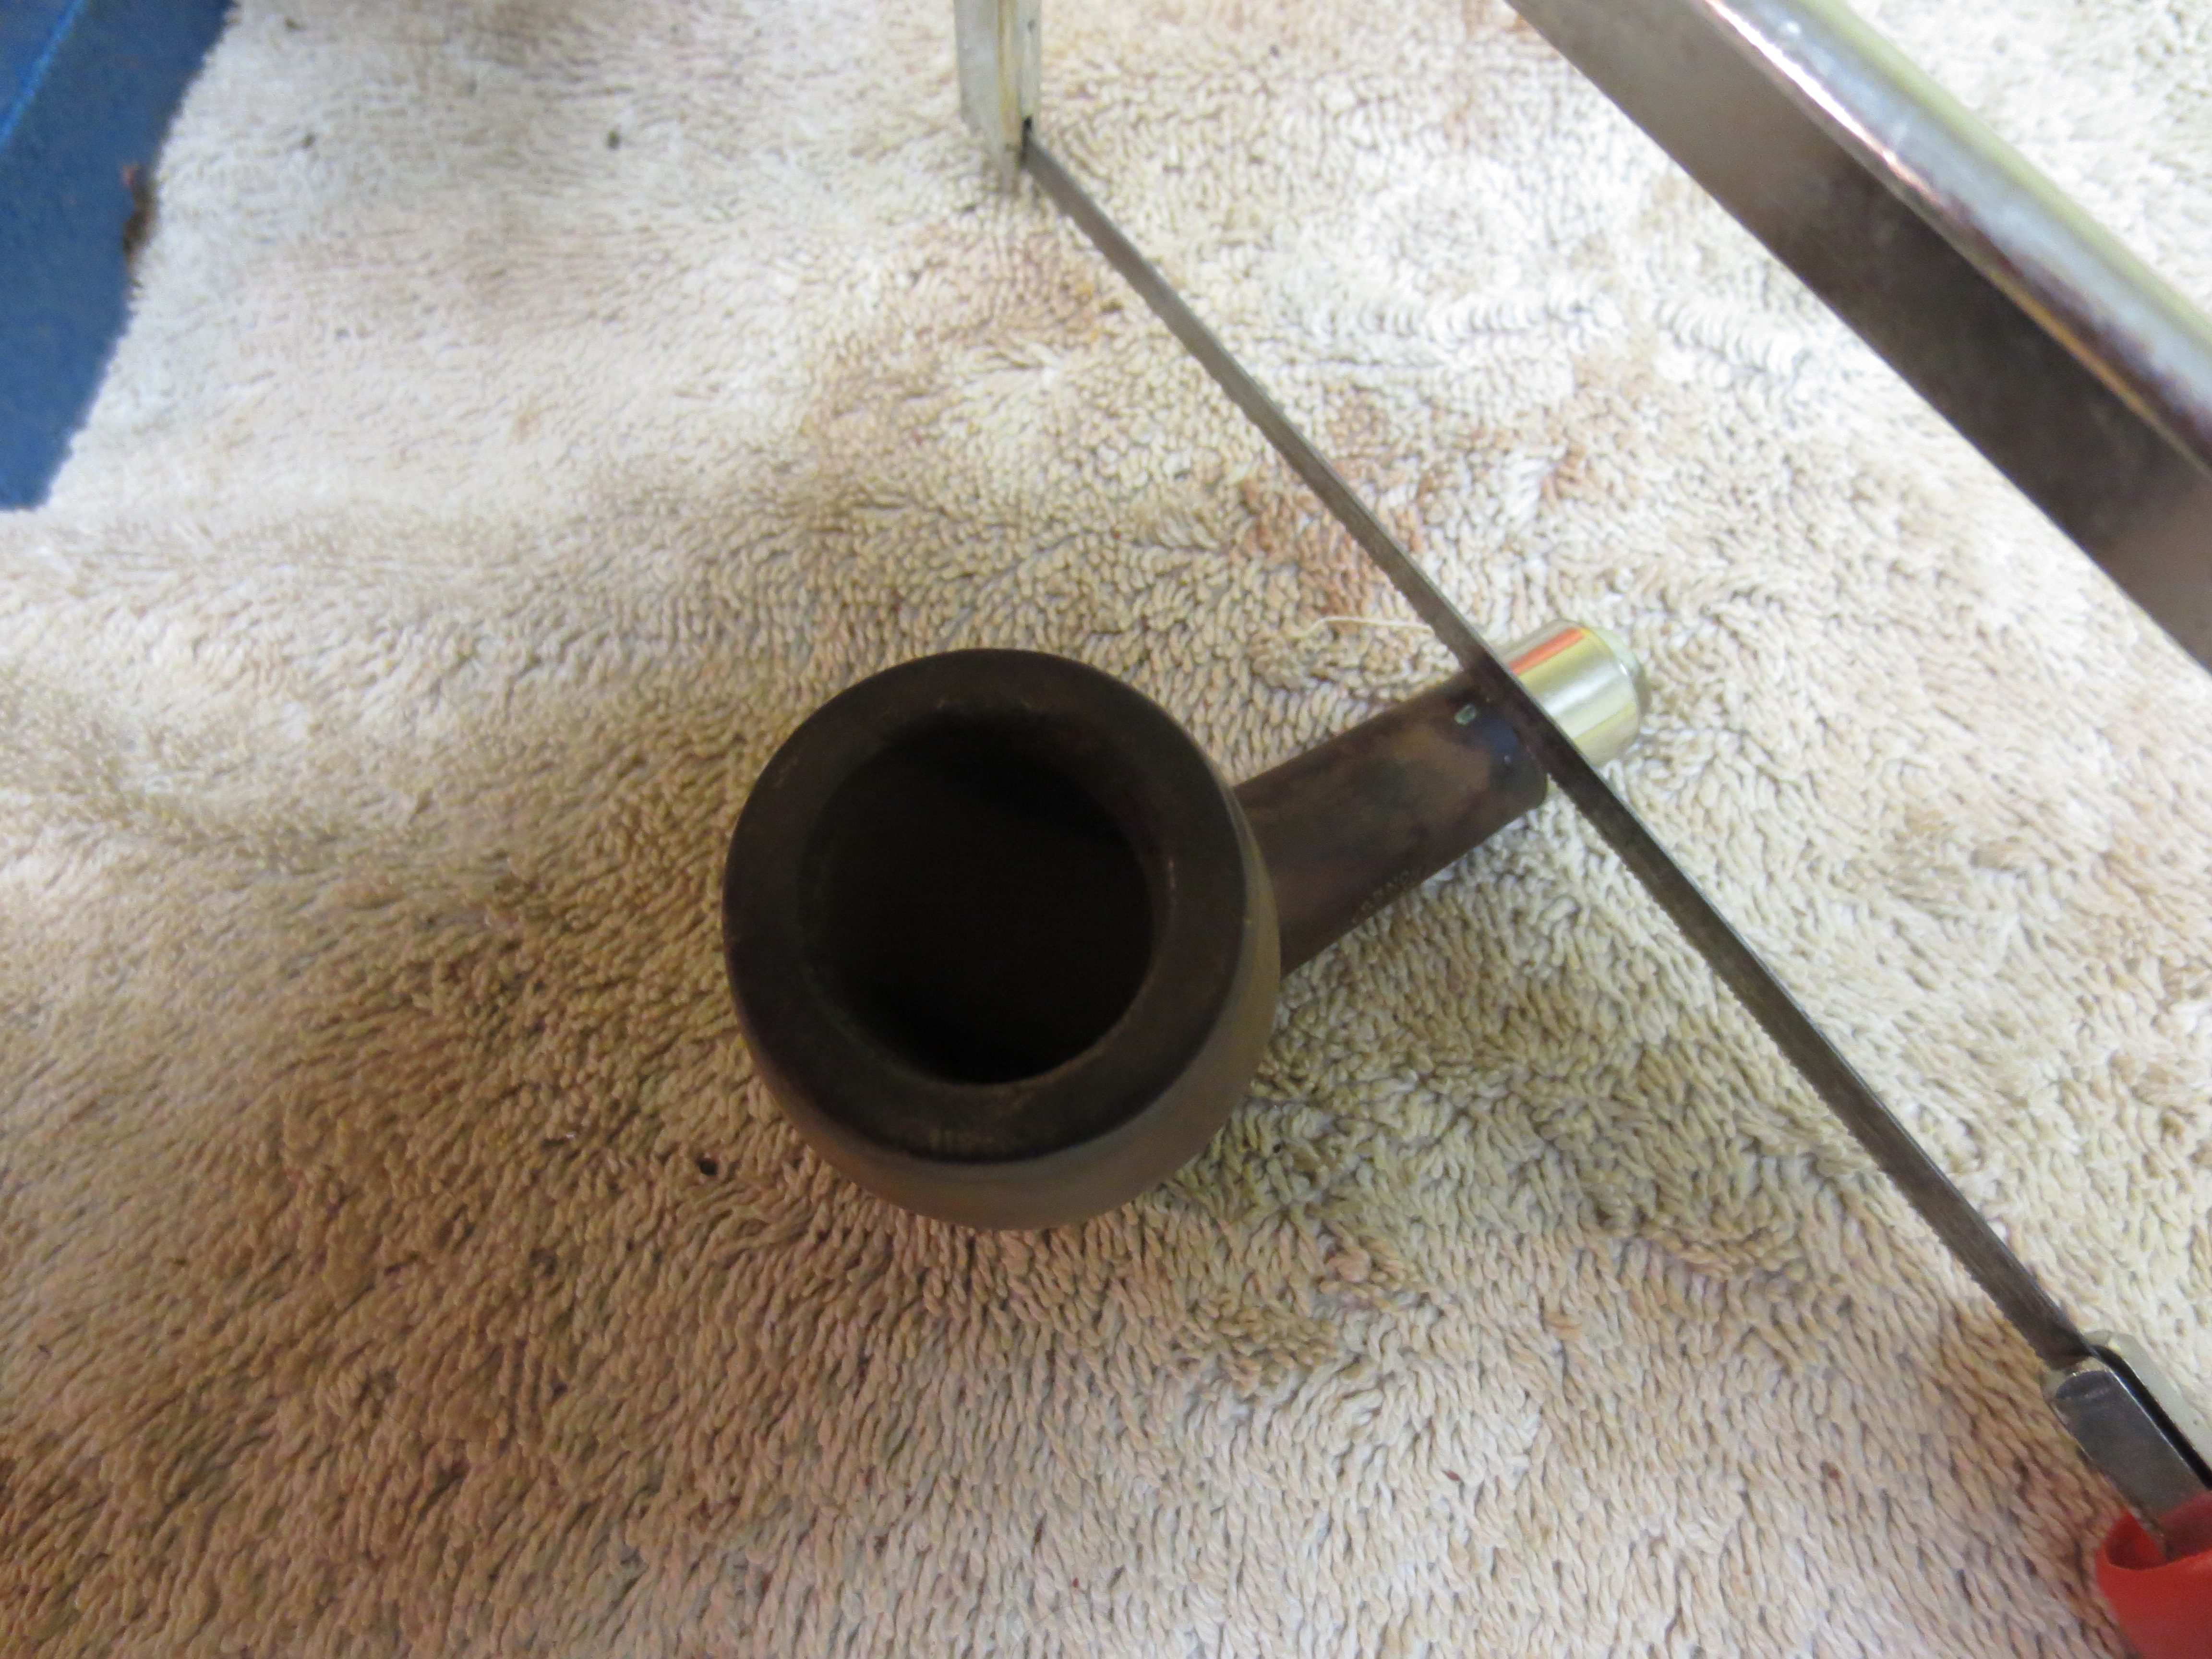
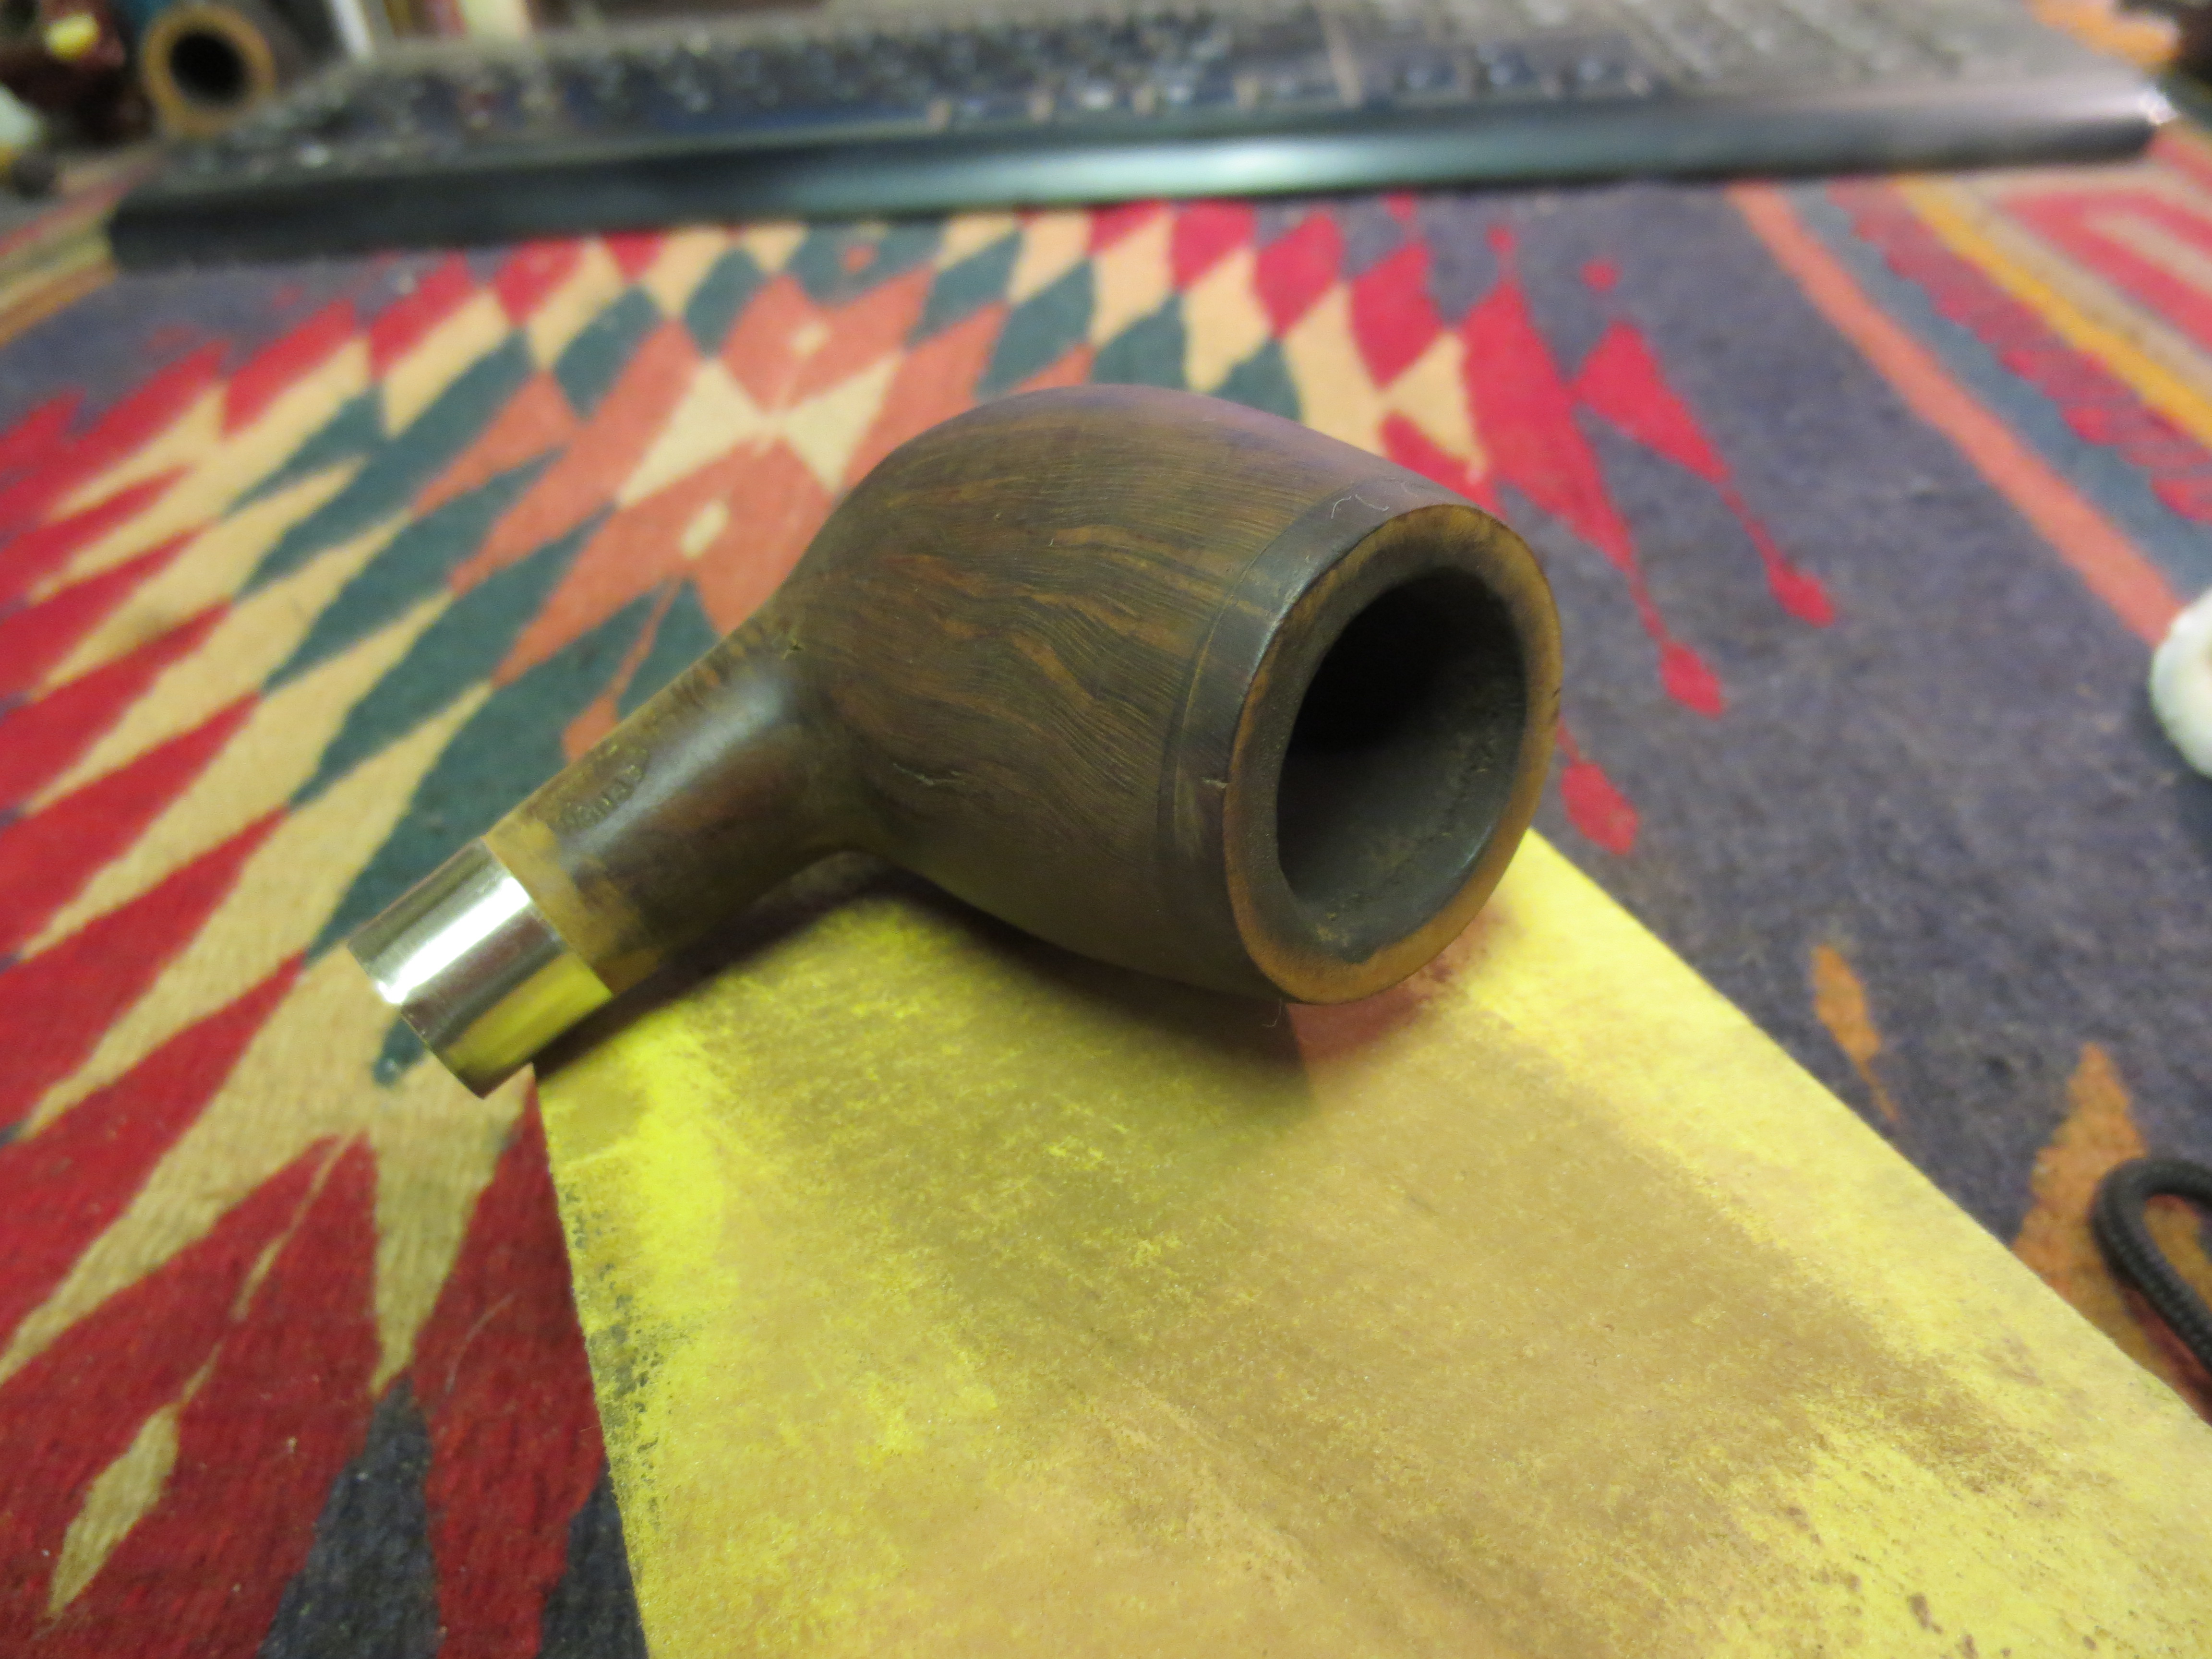
After many failed attempts over the years to get a good straight cut on the shank and end up with a smooth and even mortise I finally figured out a way with my limited tools to accomplish that. I slip a nickel band on the shank to the place that I want to cut it off. I use the band as a guide for my hacksaw to follow. So far this method has worked for me and left me with some nice evenly cut shanks. The next three photos show the process from start to finish.
IMG_0793

IMG_0795

IMG_0794
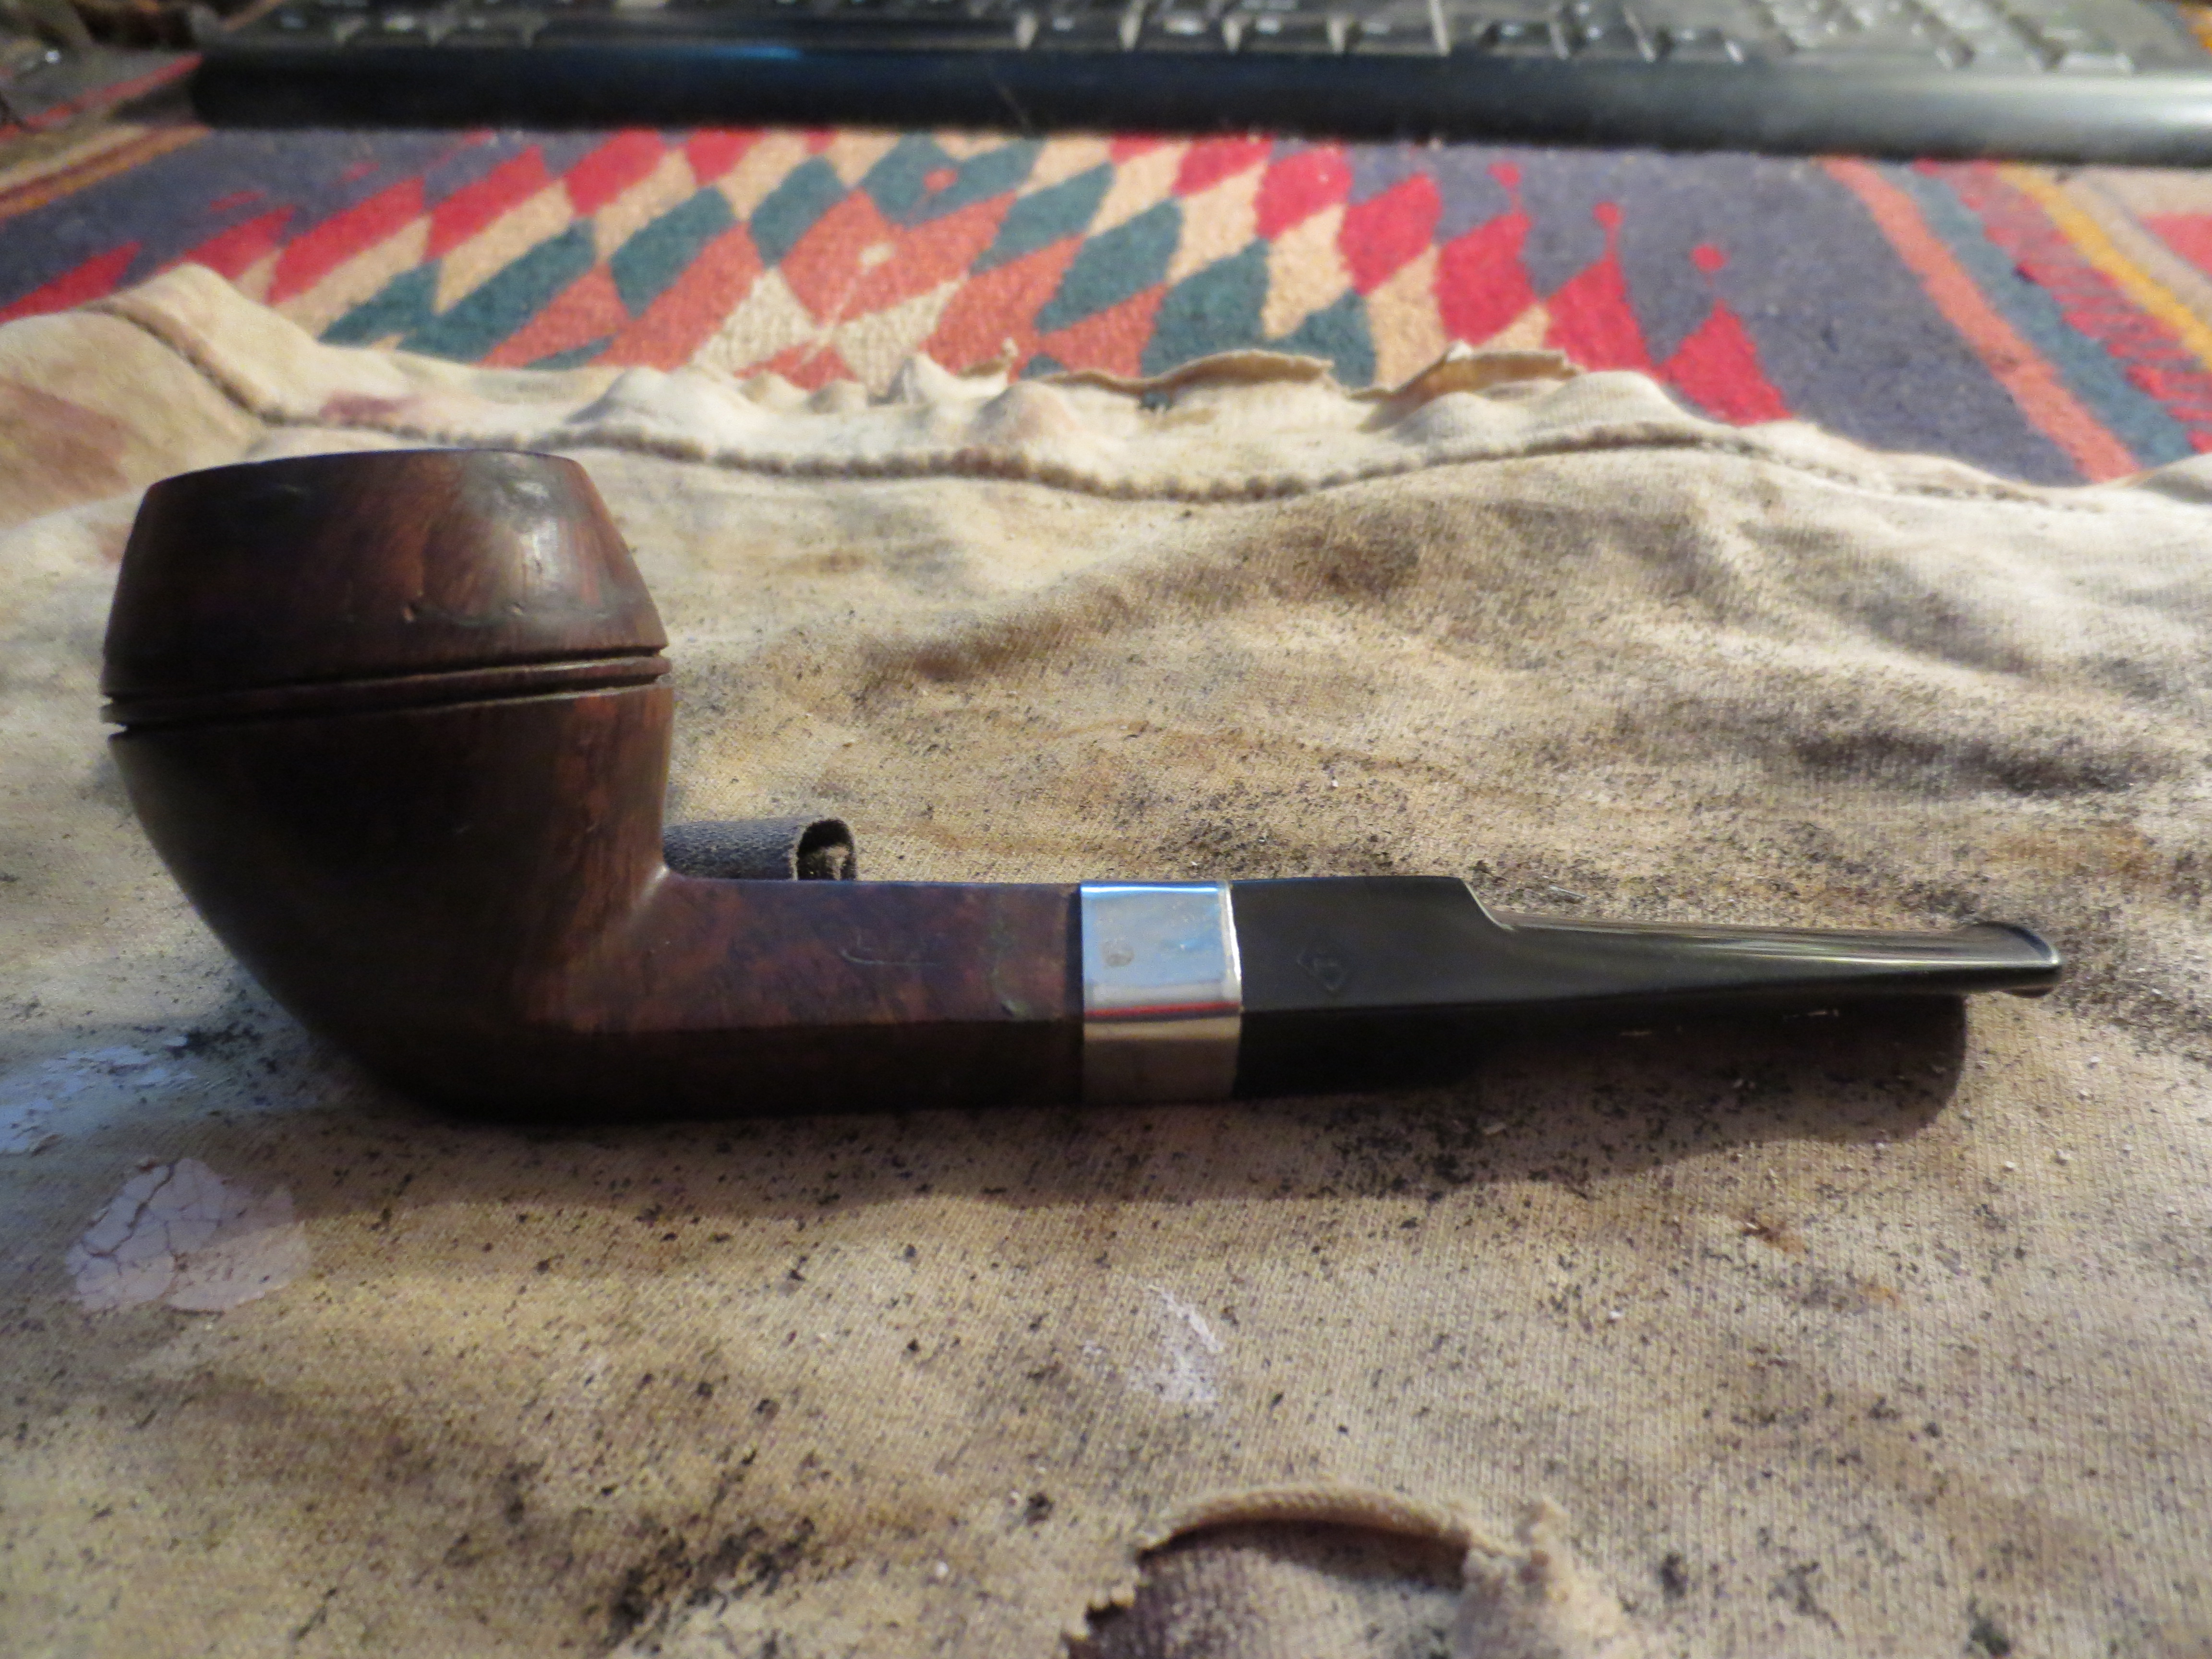
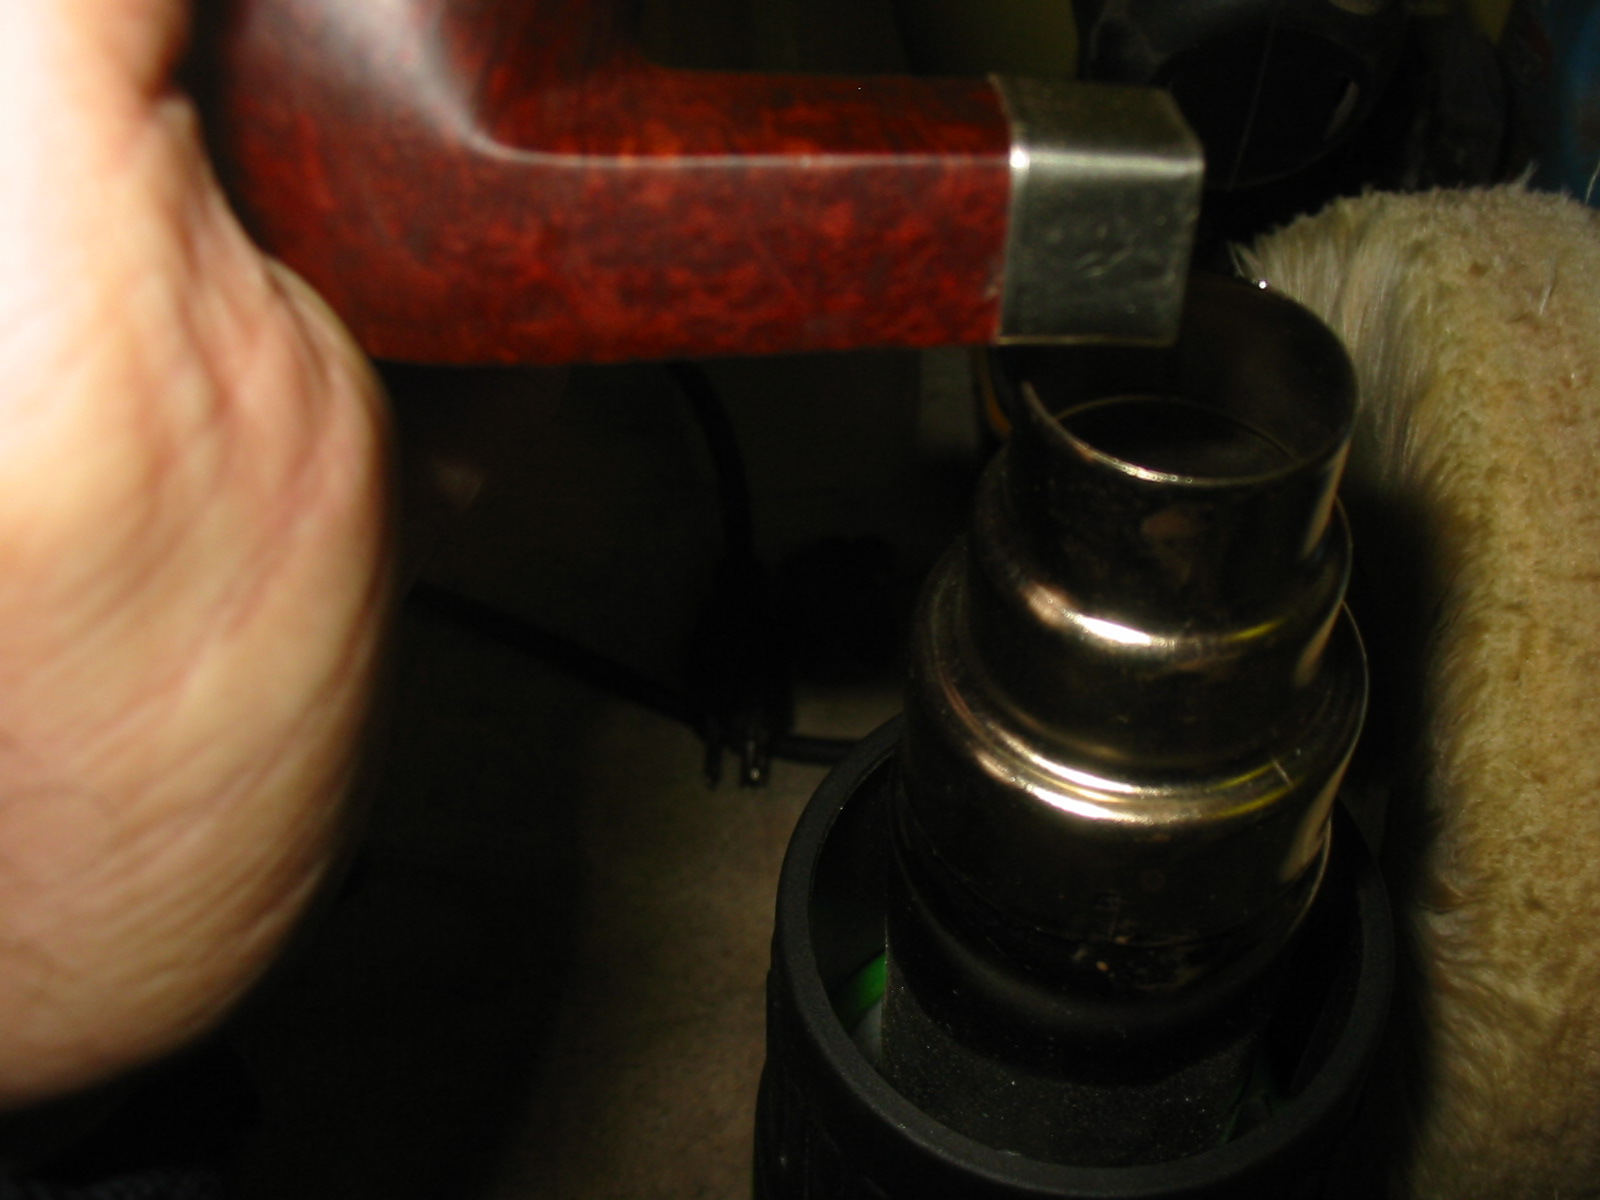
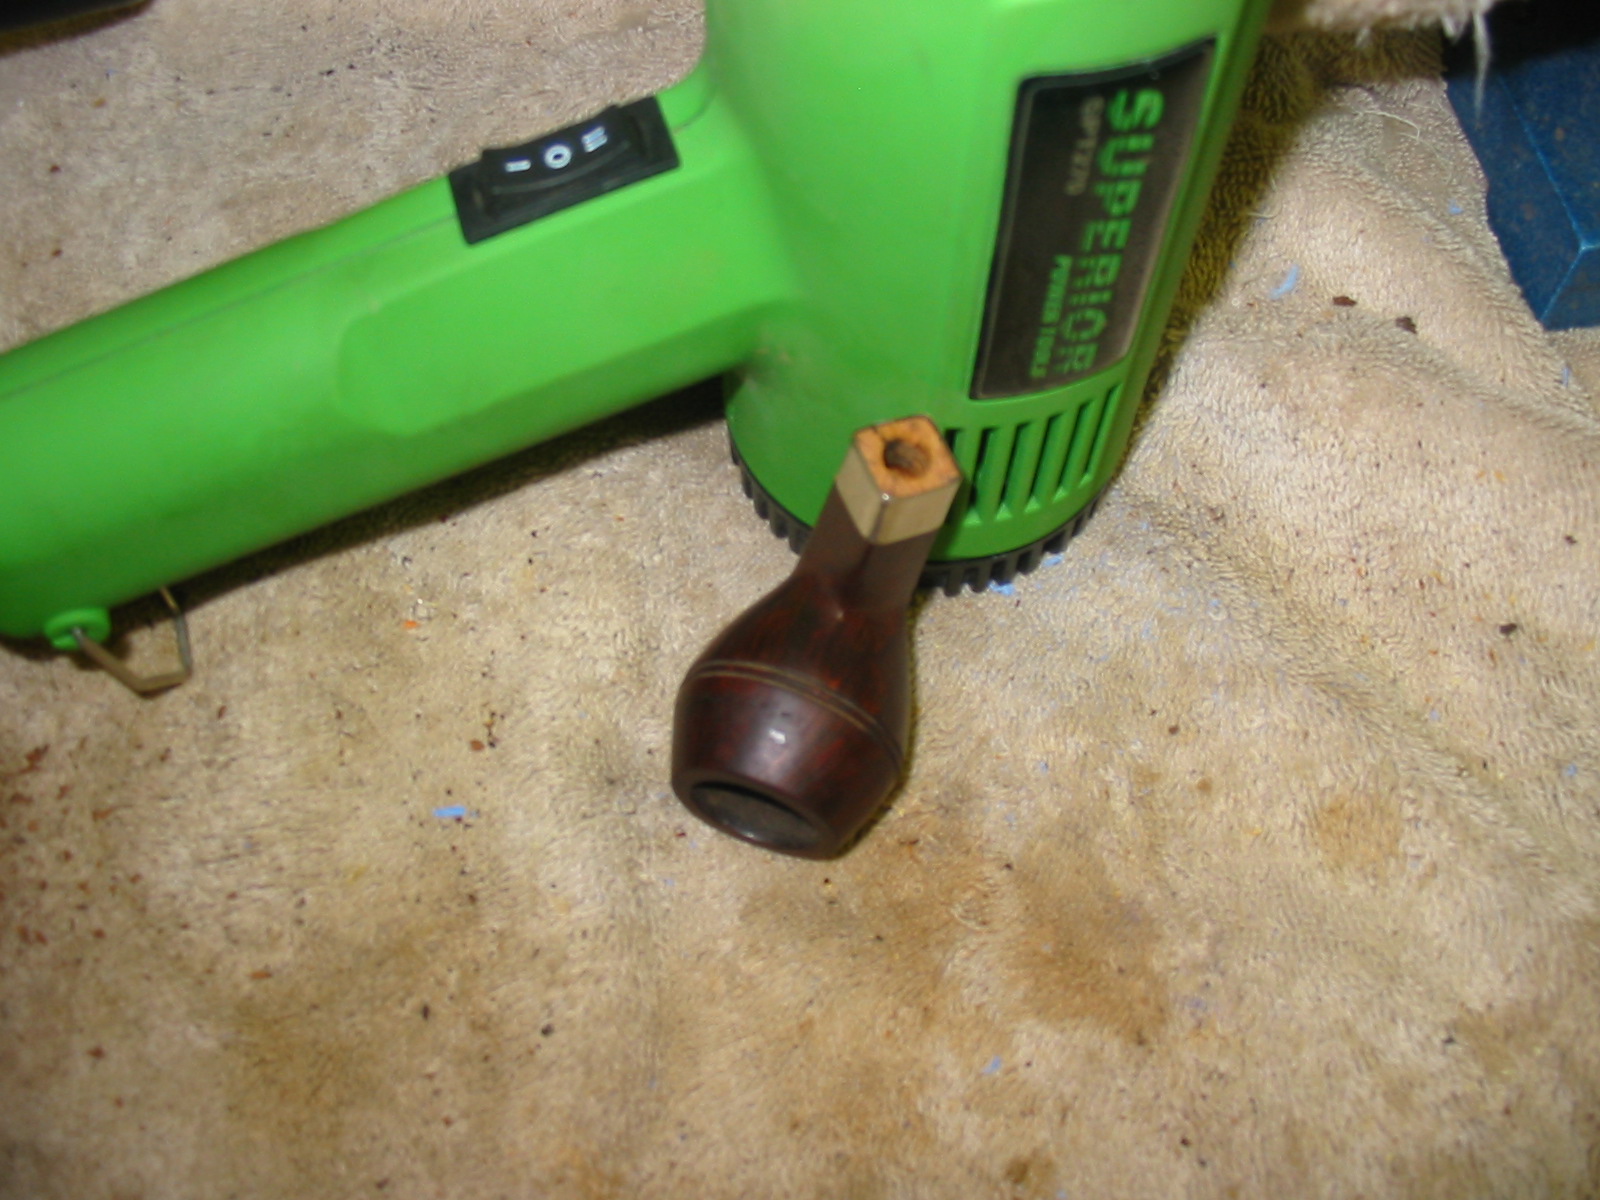
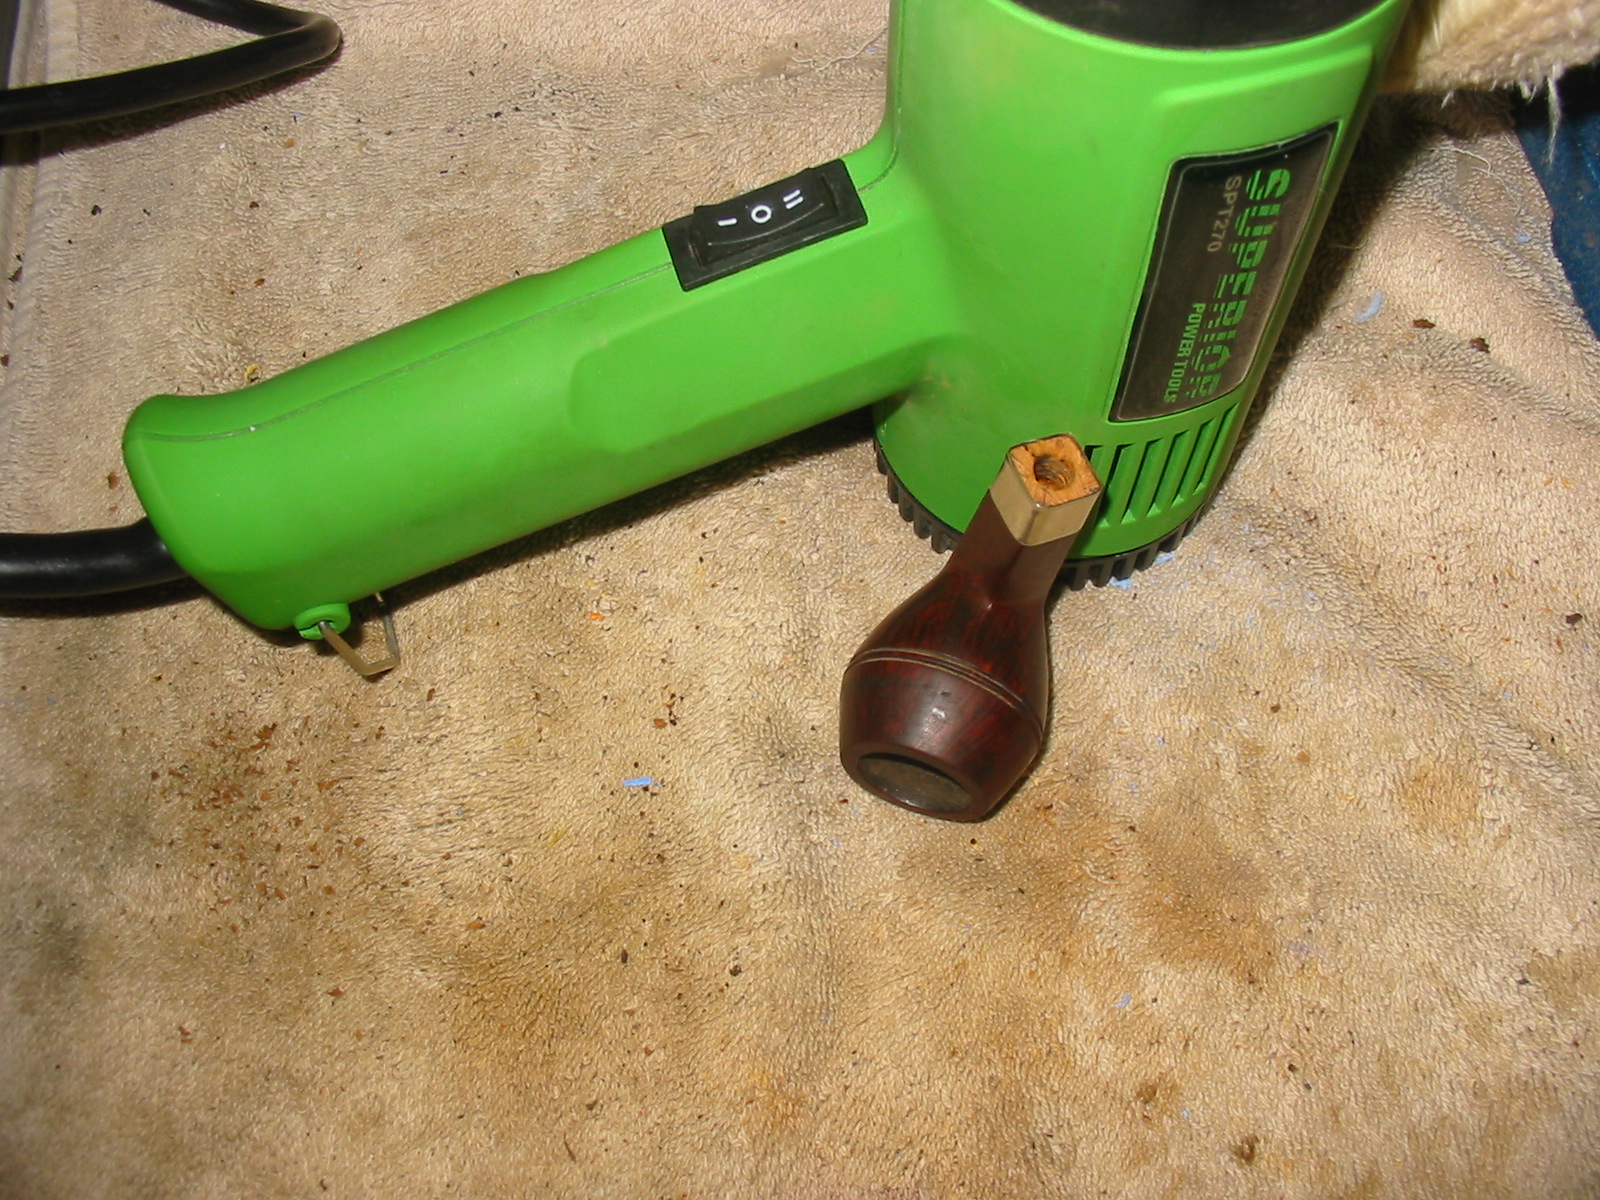
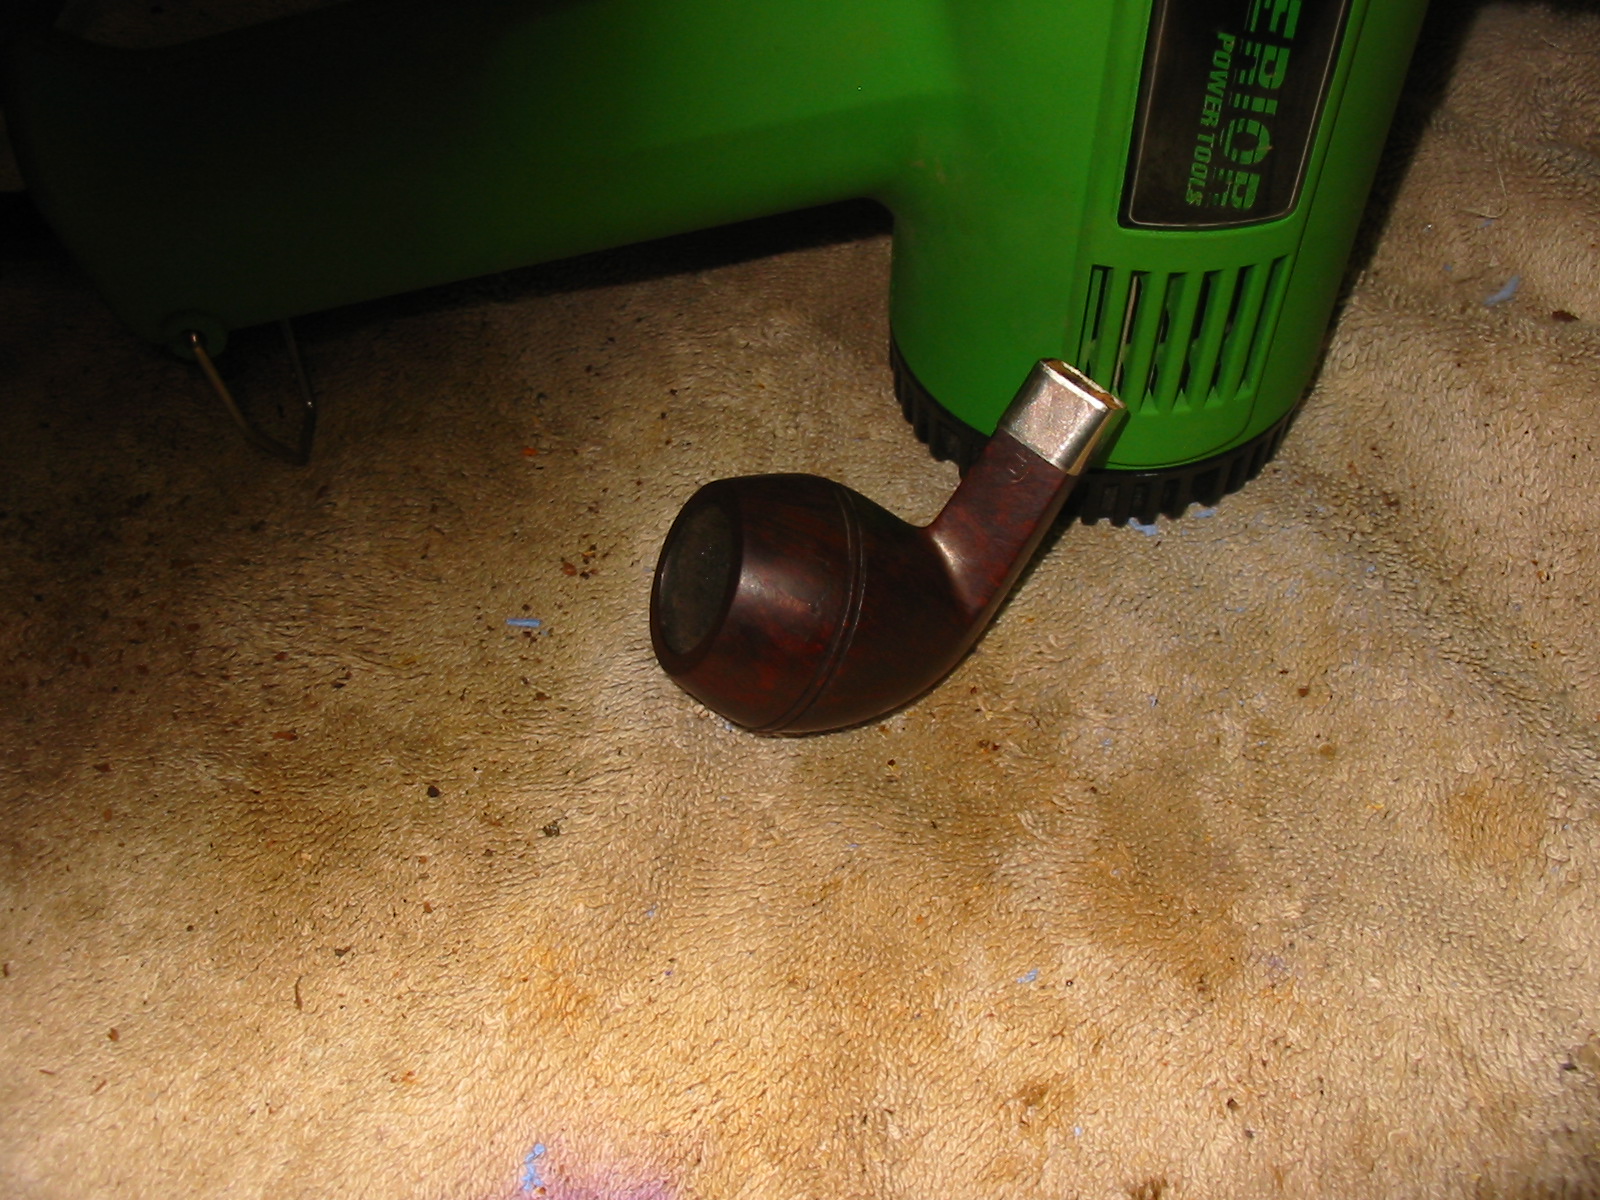
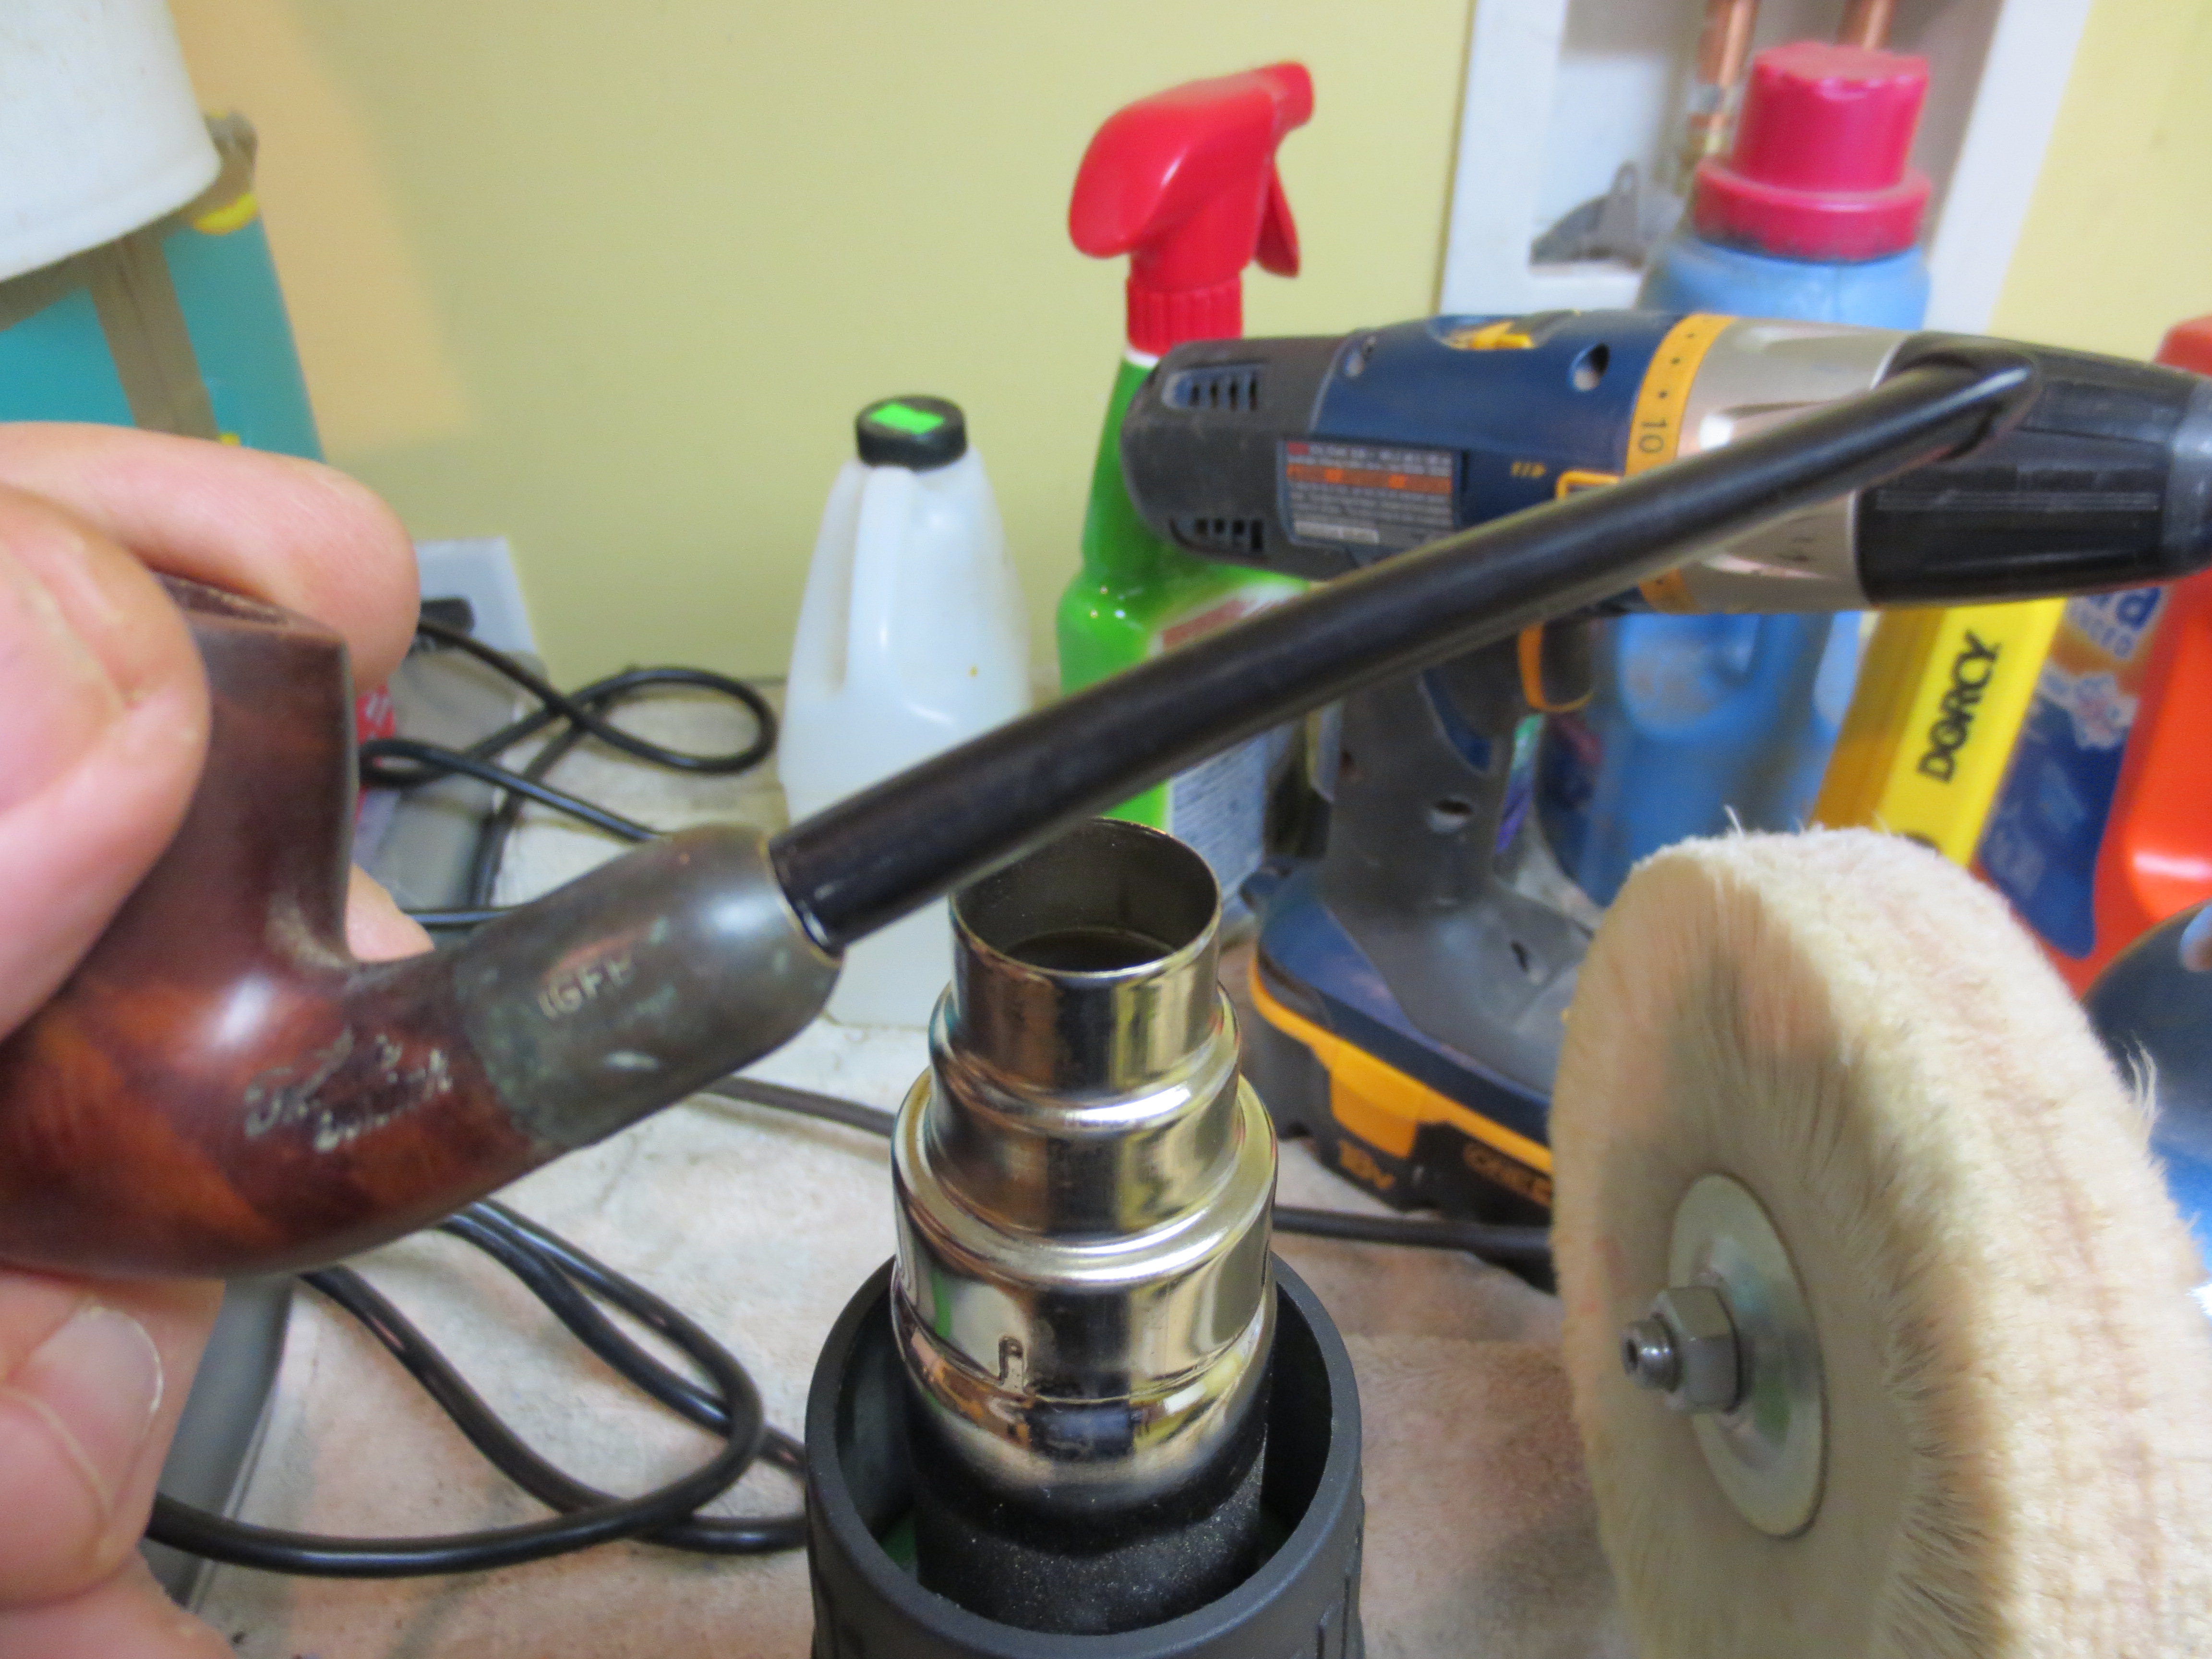
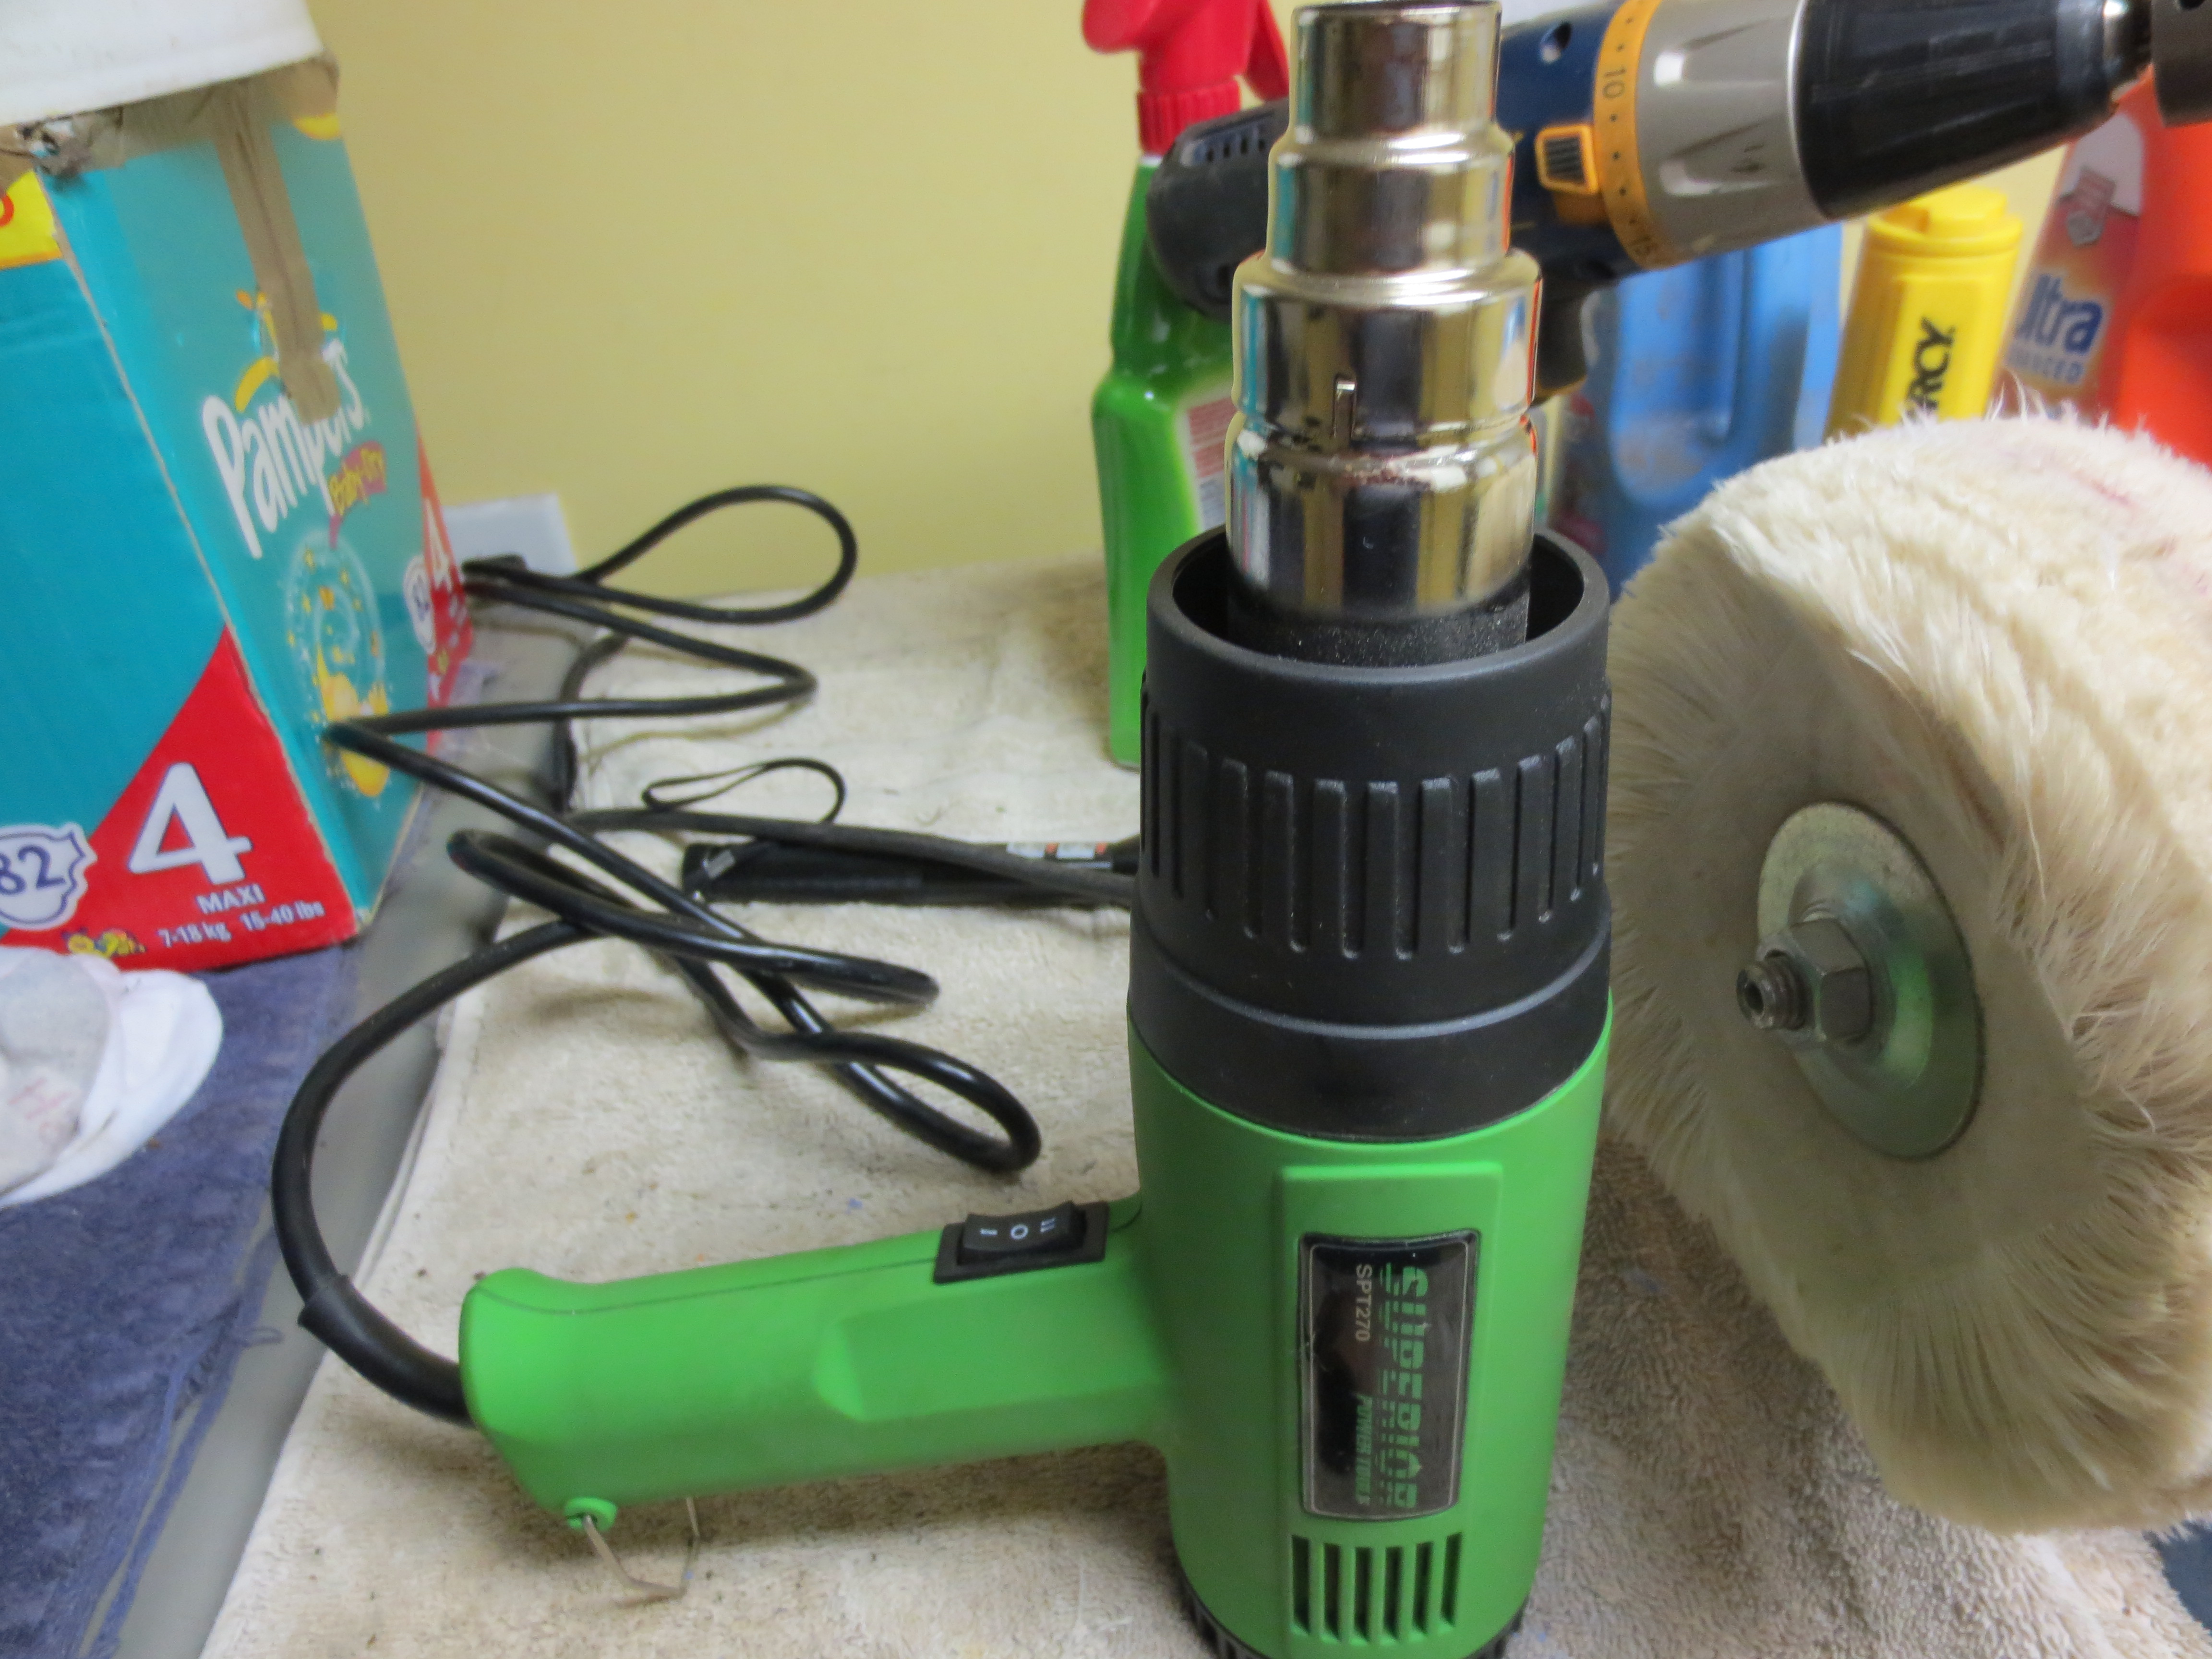
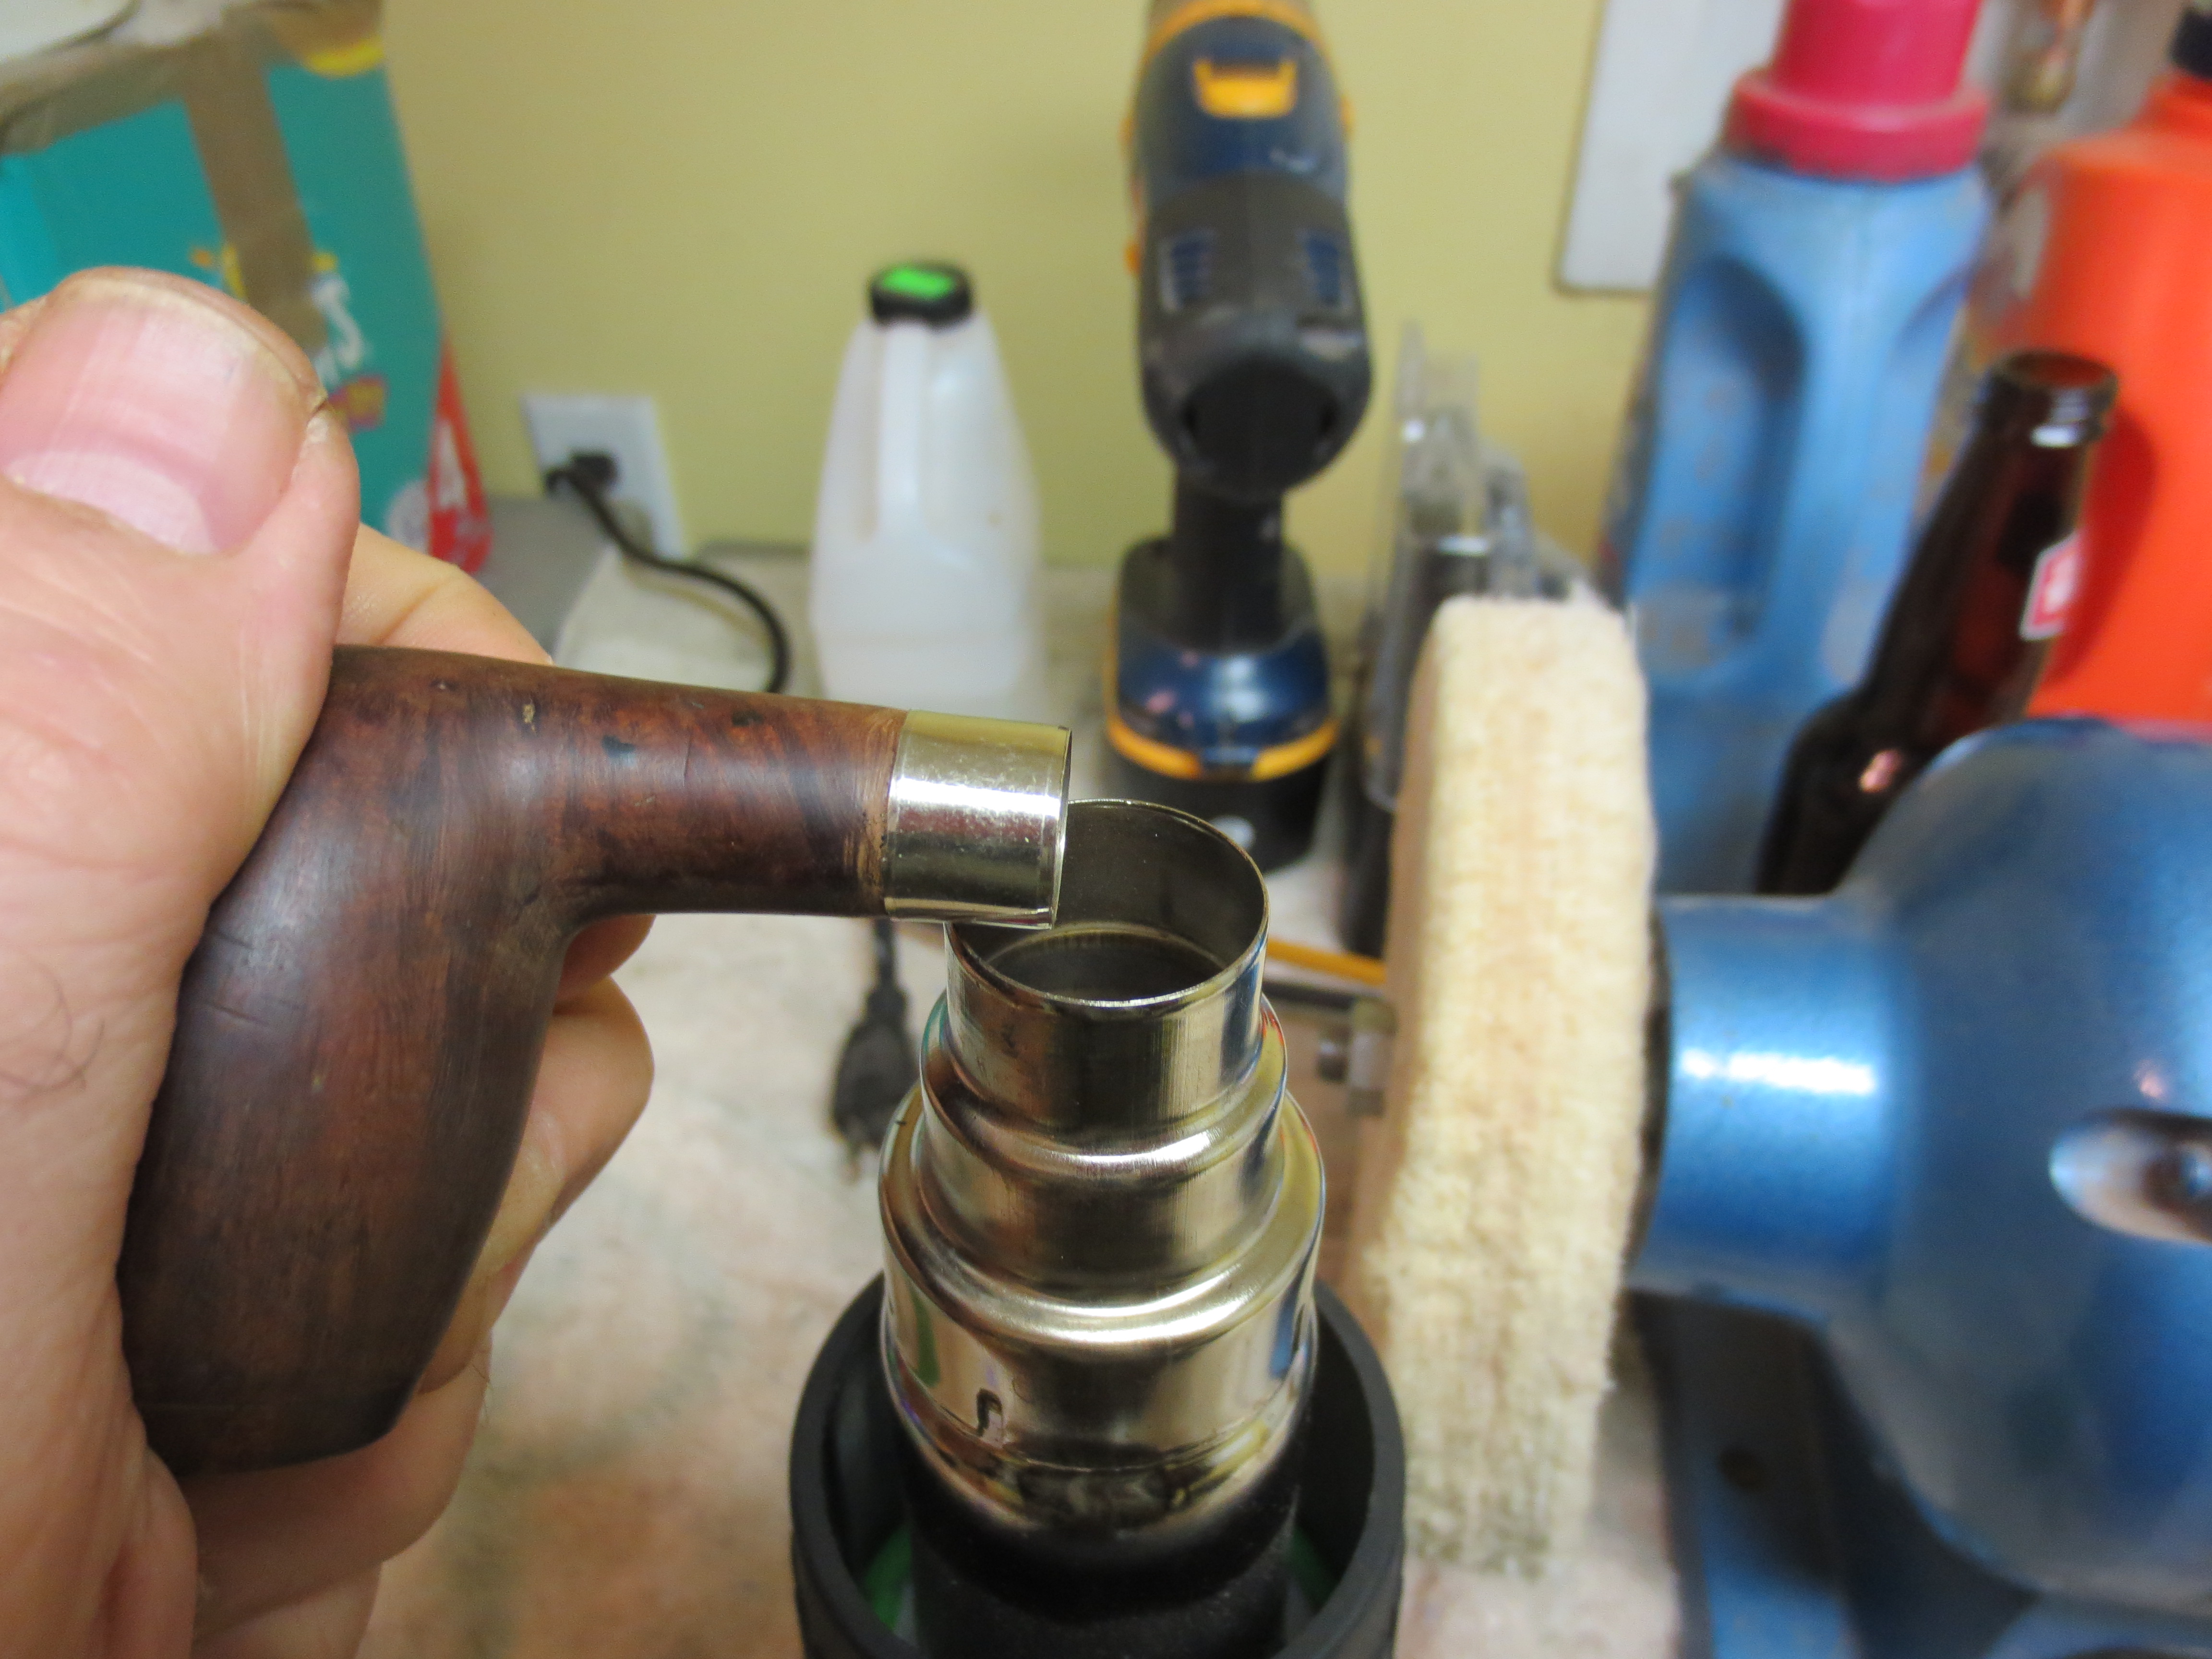
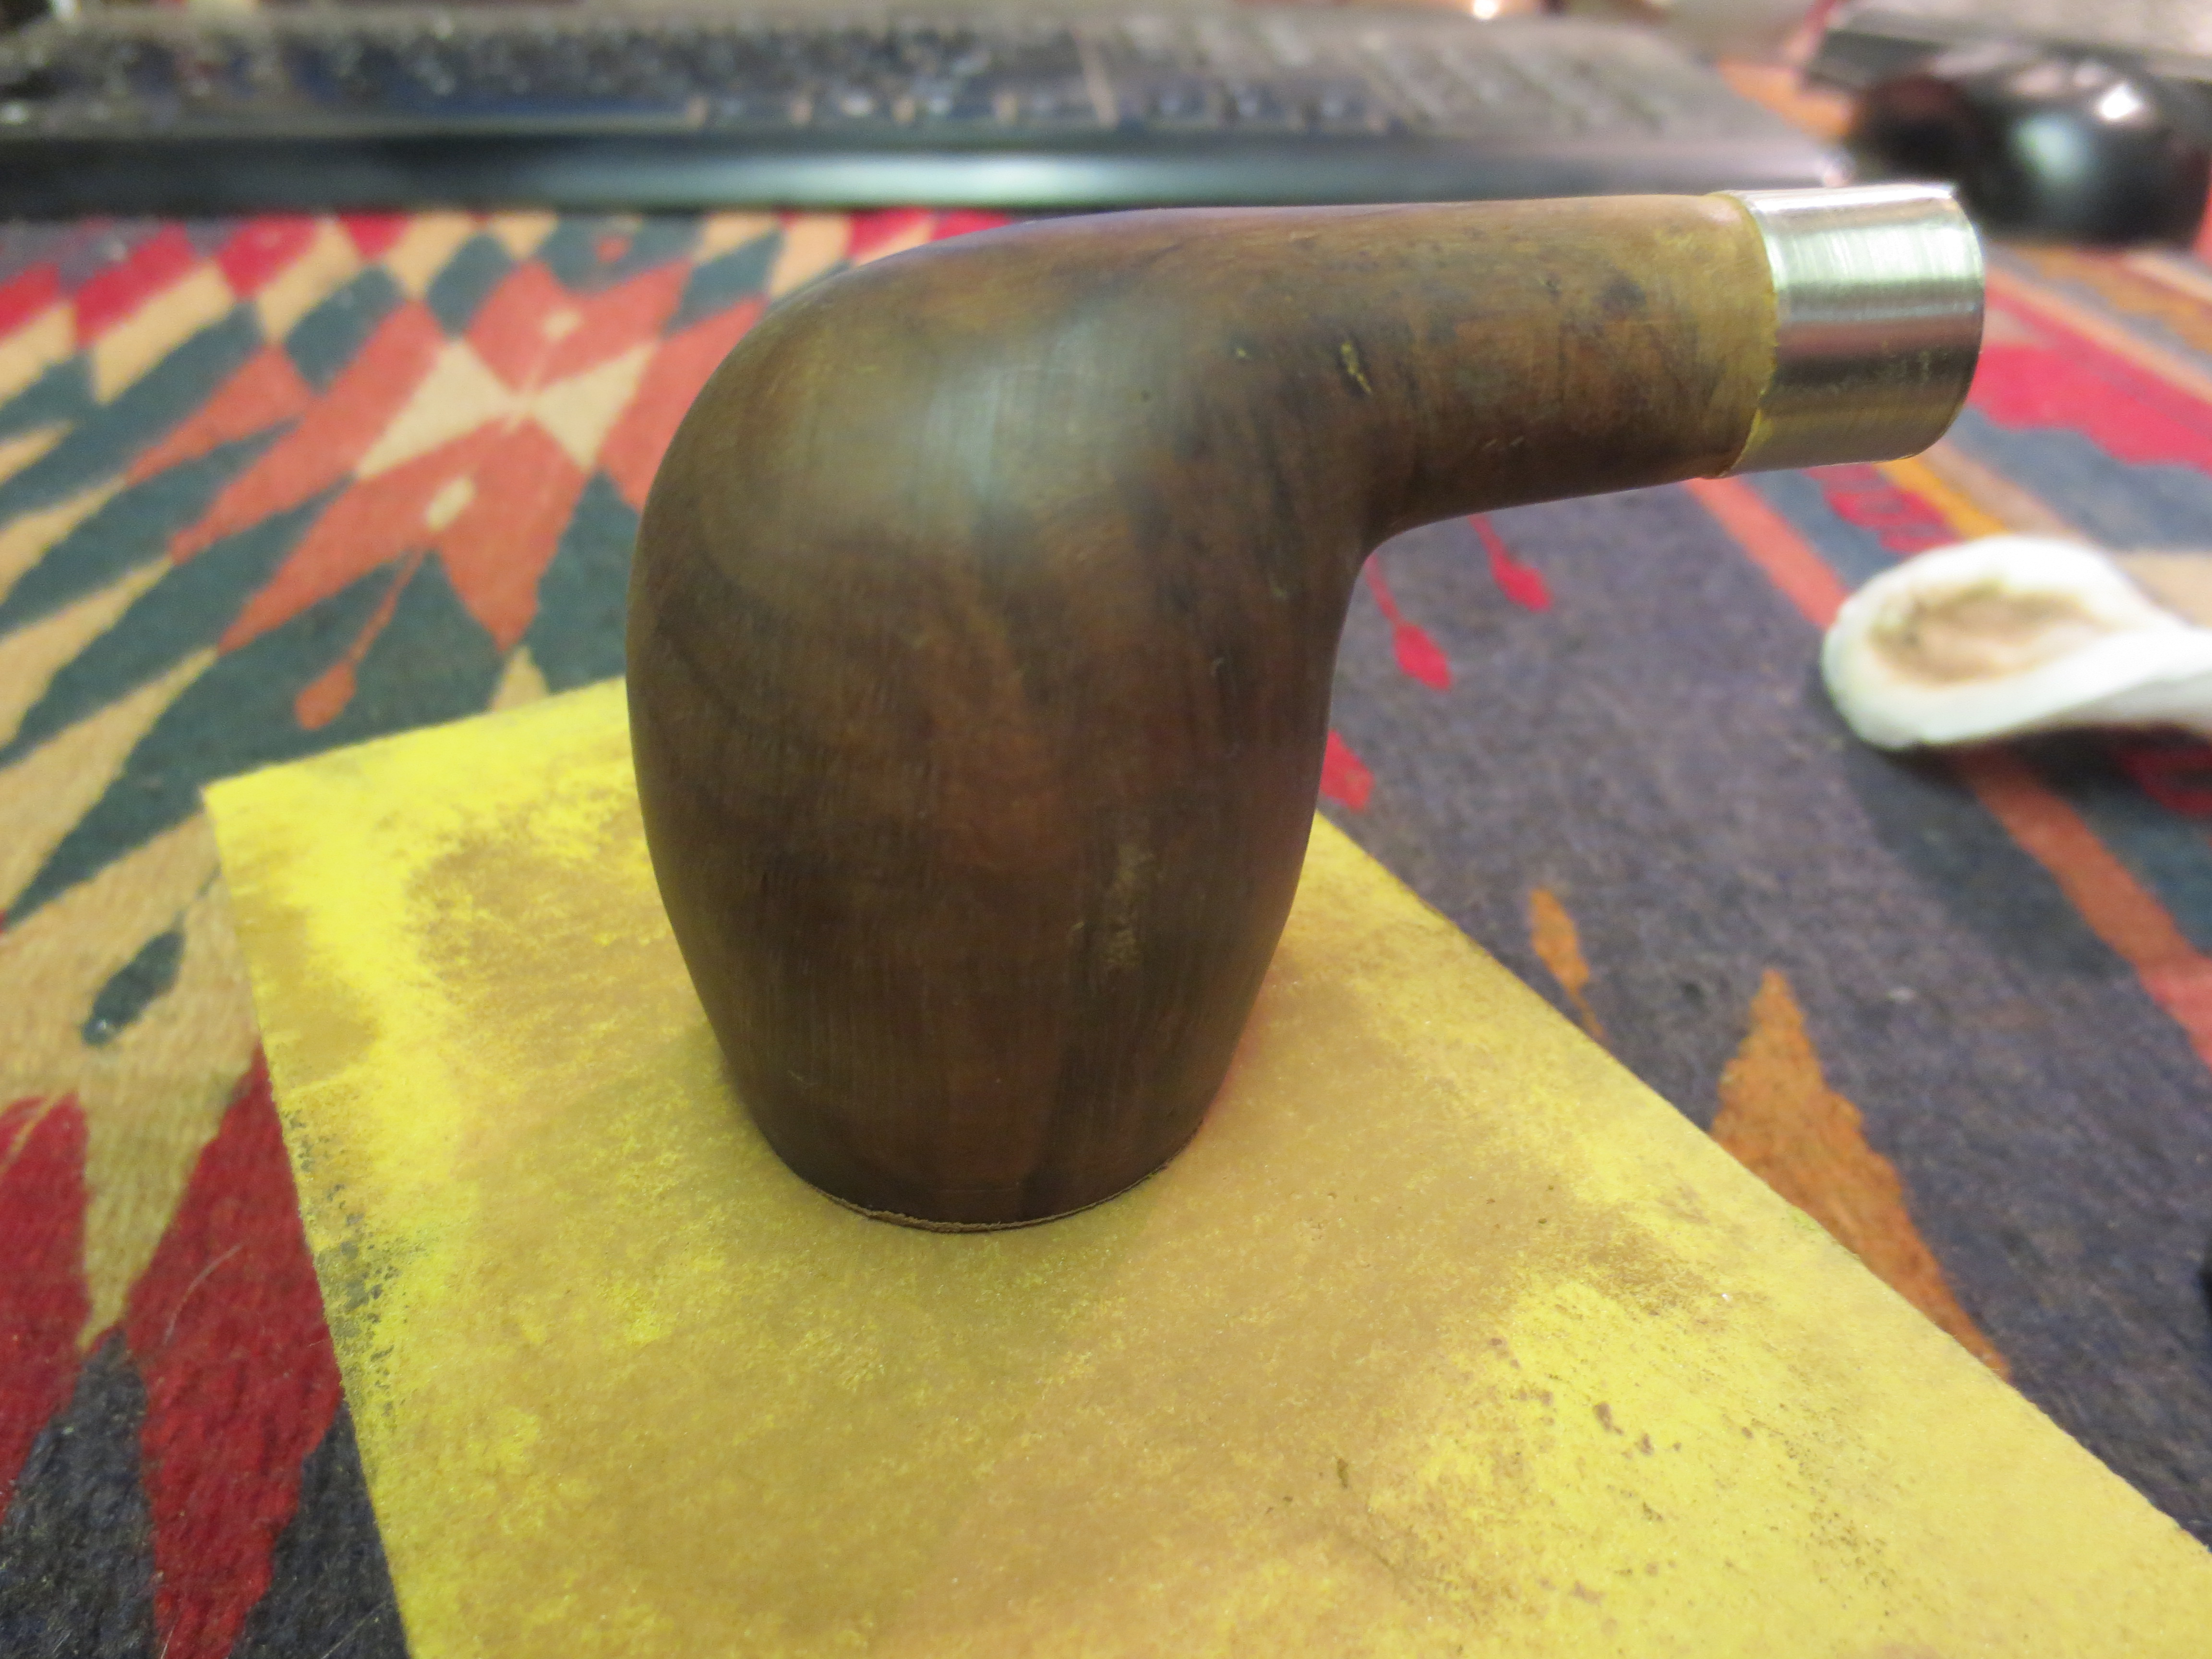
After cutting off the shank I sanded the area where the new band would be fitted. I used my Dremel with a sanding drum to begin the process of cutting back the shank to receive the band and finished by hand sanding it with medium grit emery cloth. I set up my heat gun on it end stand, slipped the band in place and set the heat on low to warm the band so that I could press it into place. The next two photos show that process.
IMG_0796

IMG_0797
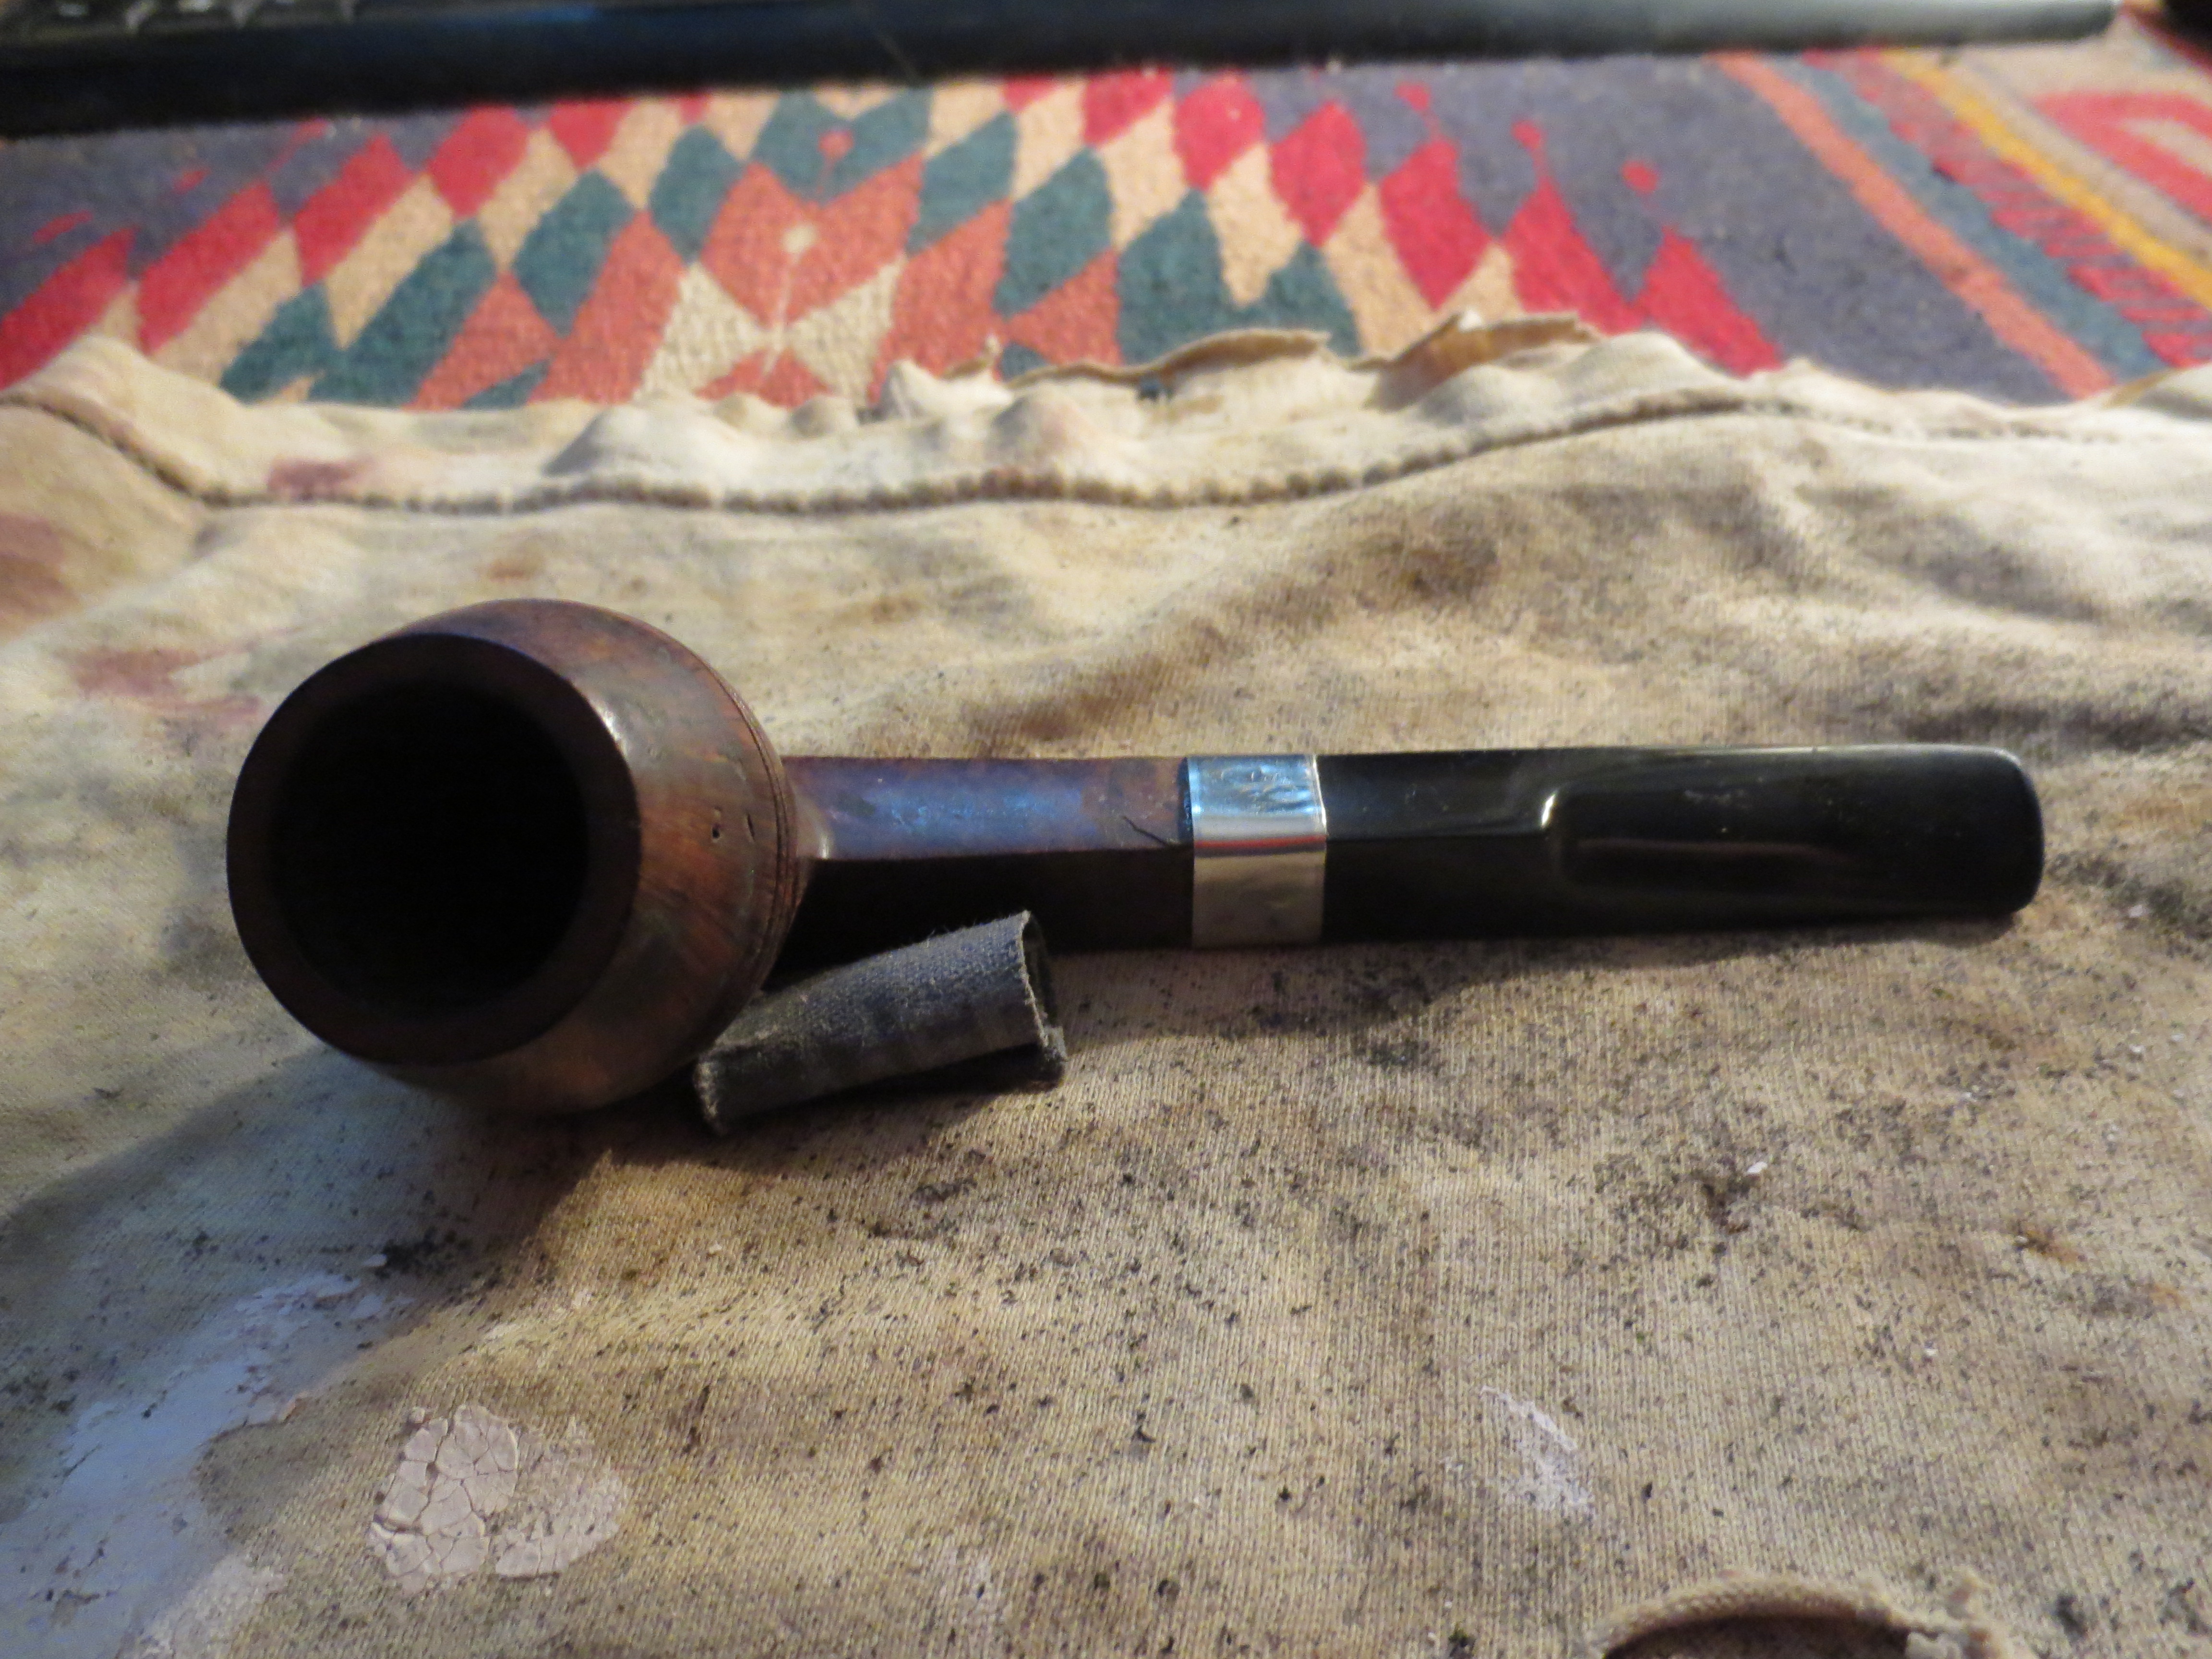
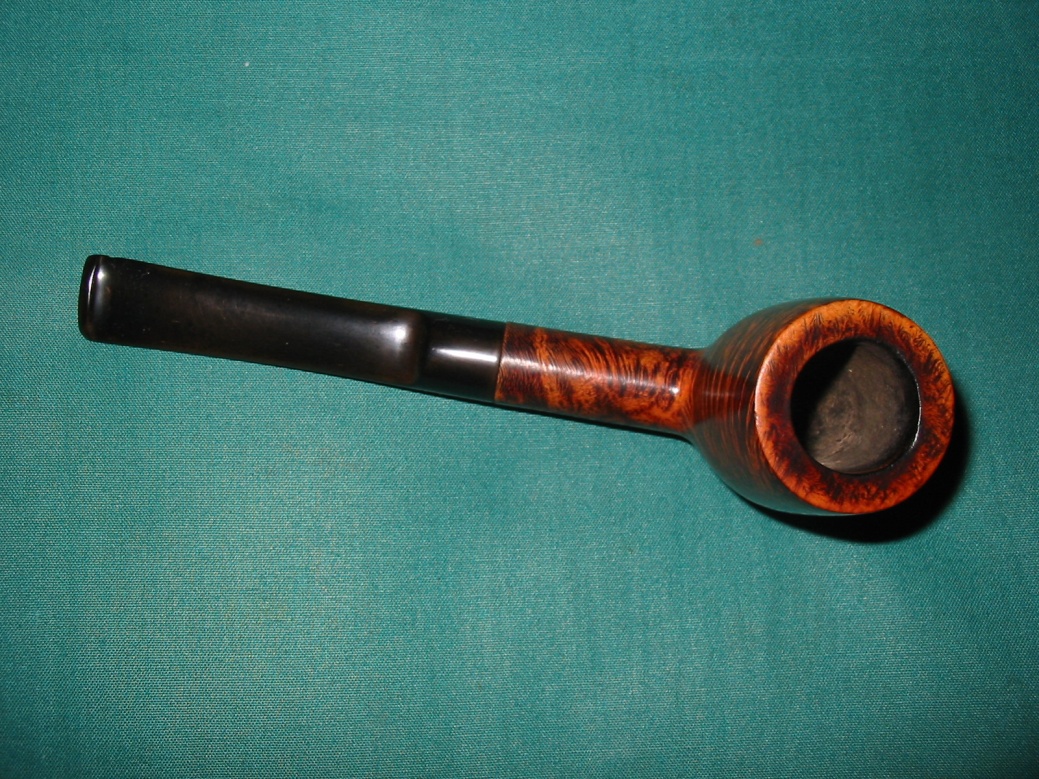
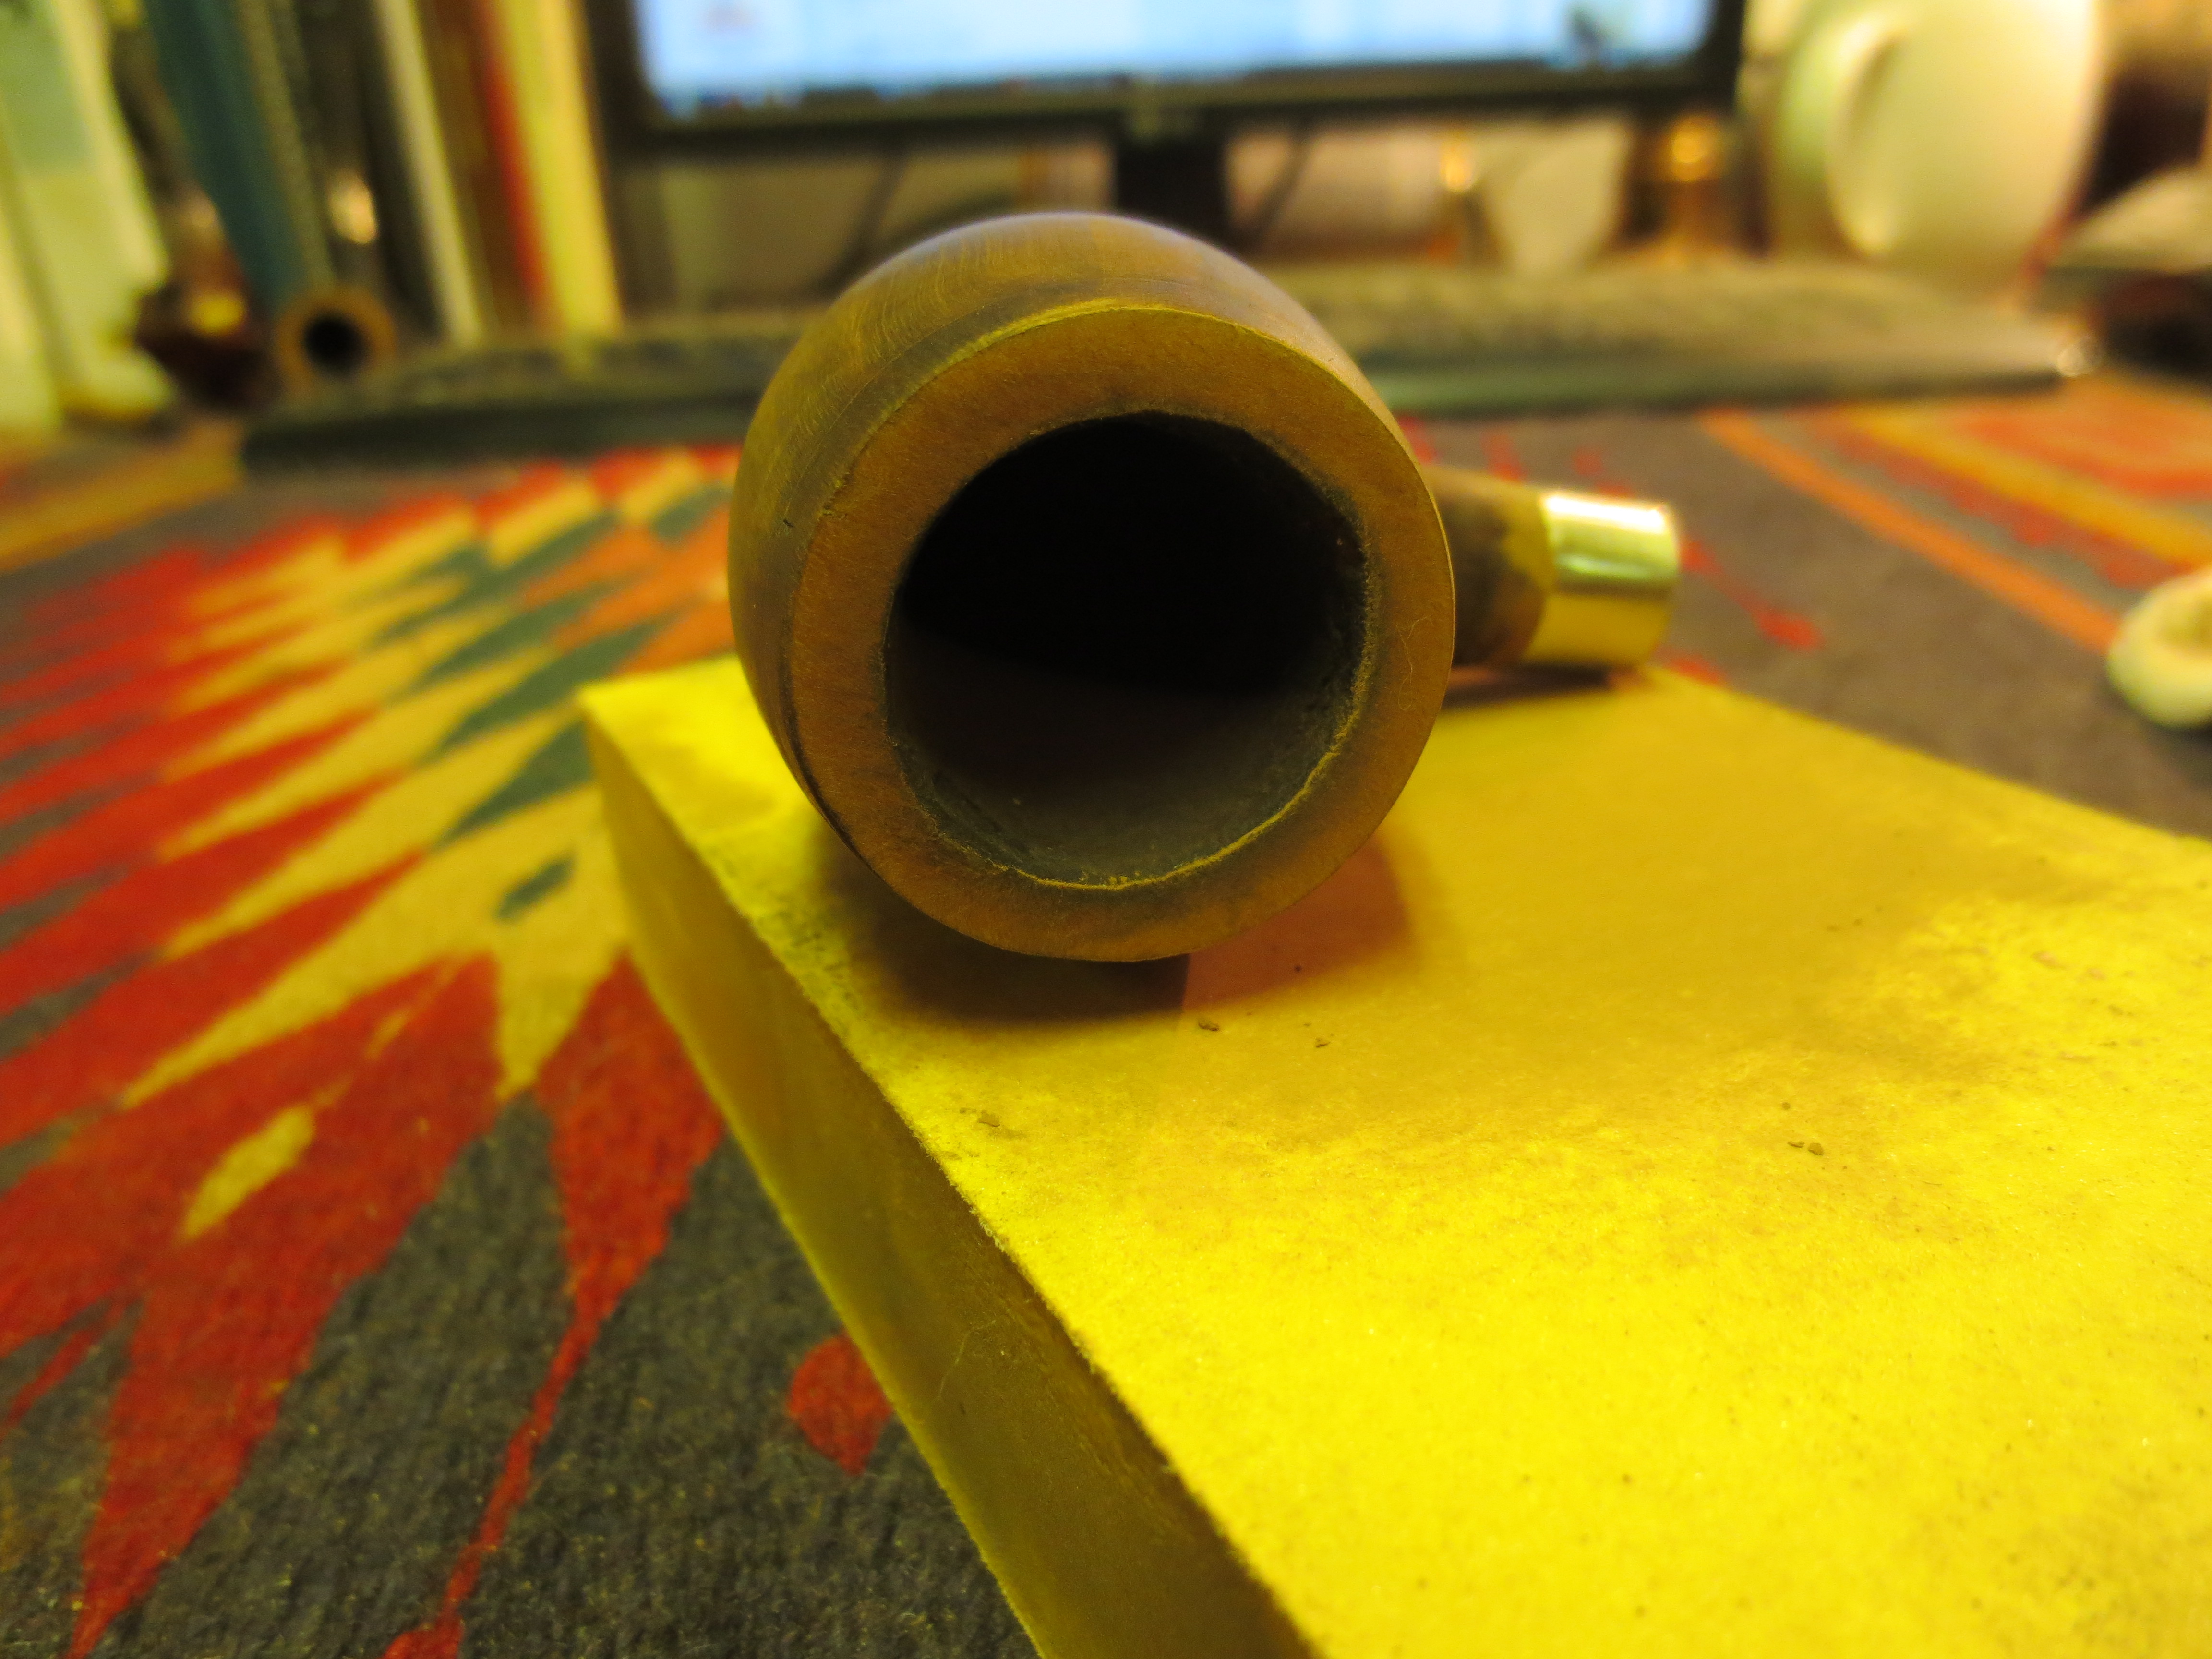
With the band in place I wiped down the bowl with acetone on a cotton pad to clean off the grit and the remnants of the finish on the pipe. After I had cleaned the bowl I topped the rim with a medium and fine grit sanding pad to remove the damage to the rim edges. The next four photos show that process. During that time I also used superglue and briar dust to fill the obvious sand pits on the bowl (at the back of the bowl near the shank and on the underside). I sanded them once they were dry and was able to blend them into the bowl quite well. In the first photo below you can see the first large sand pit clearly. It was quite long and fortunately flowed with the grain so that it was easy to blend in with the briar dust and superglue. The one on the bowl bottom was a bit more difficult to blend in. In either case both are now smooth surfaces that the finish sanding would blend in as much as possible.
IMG_0798

IMG_0799

IMG_0800

IMG_0801
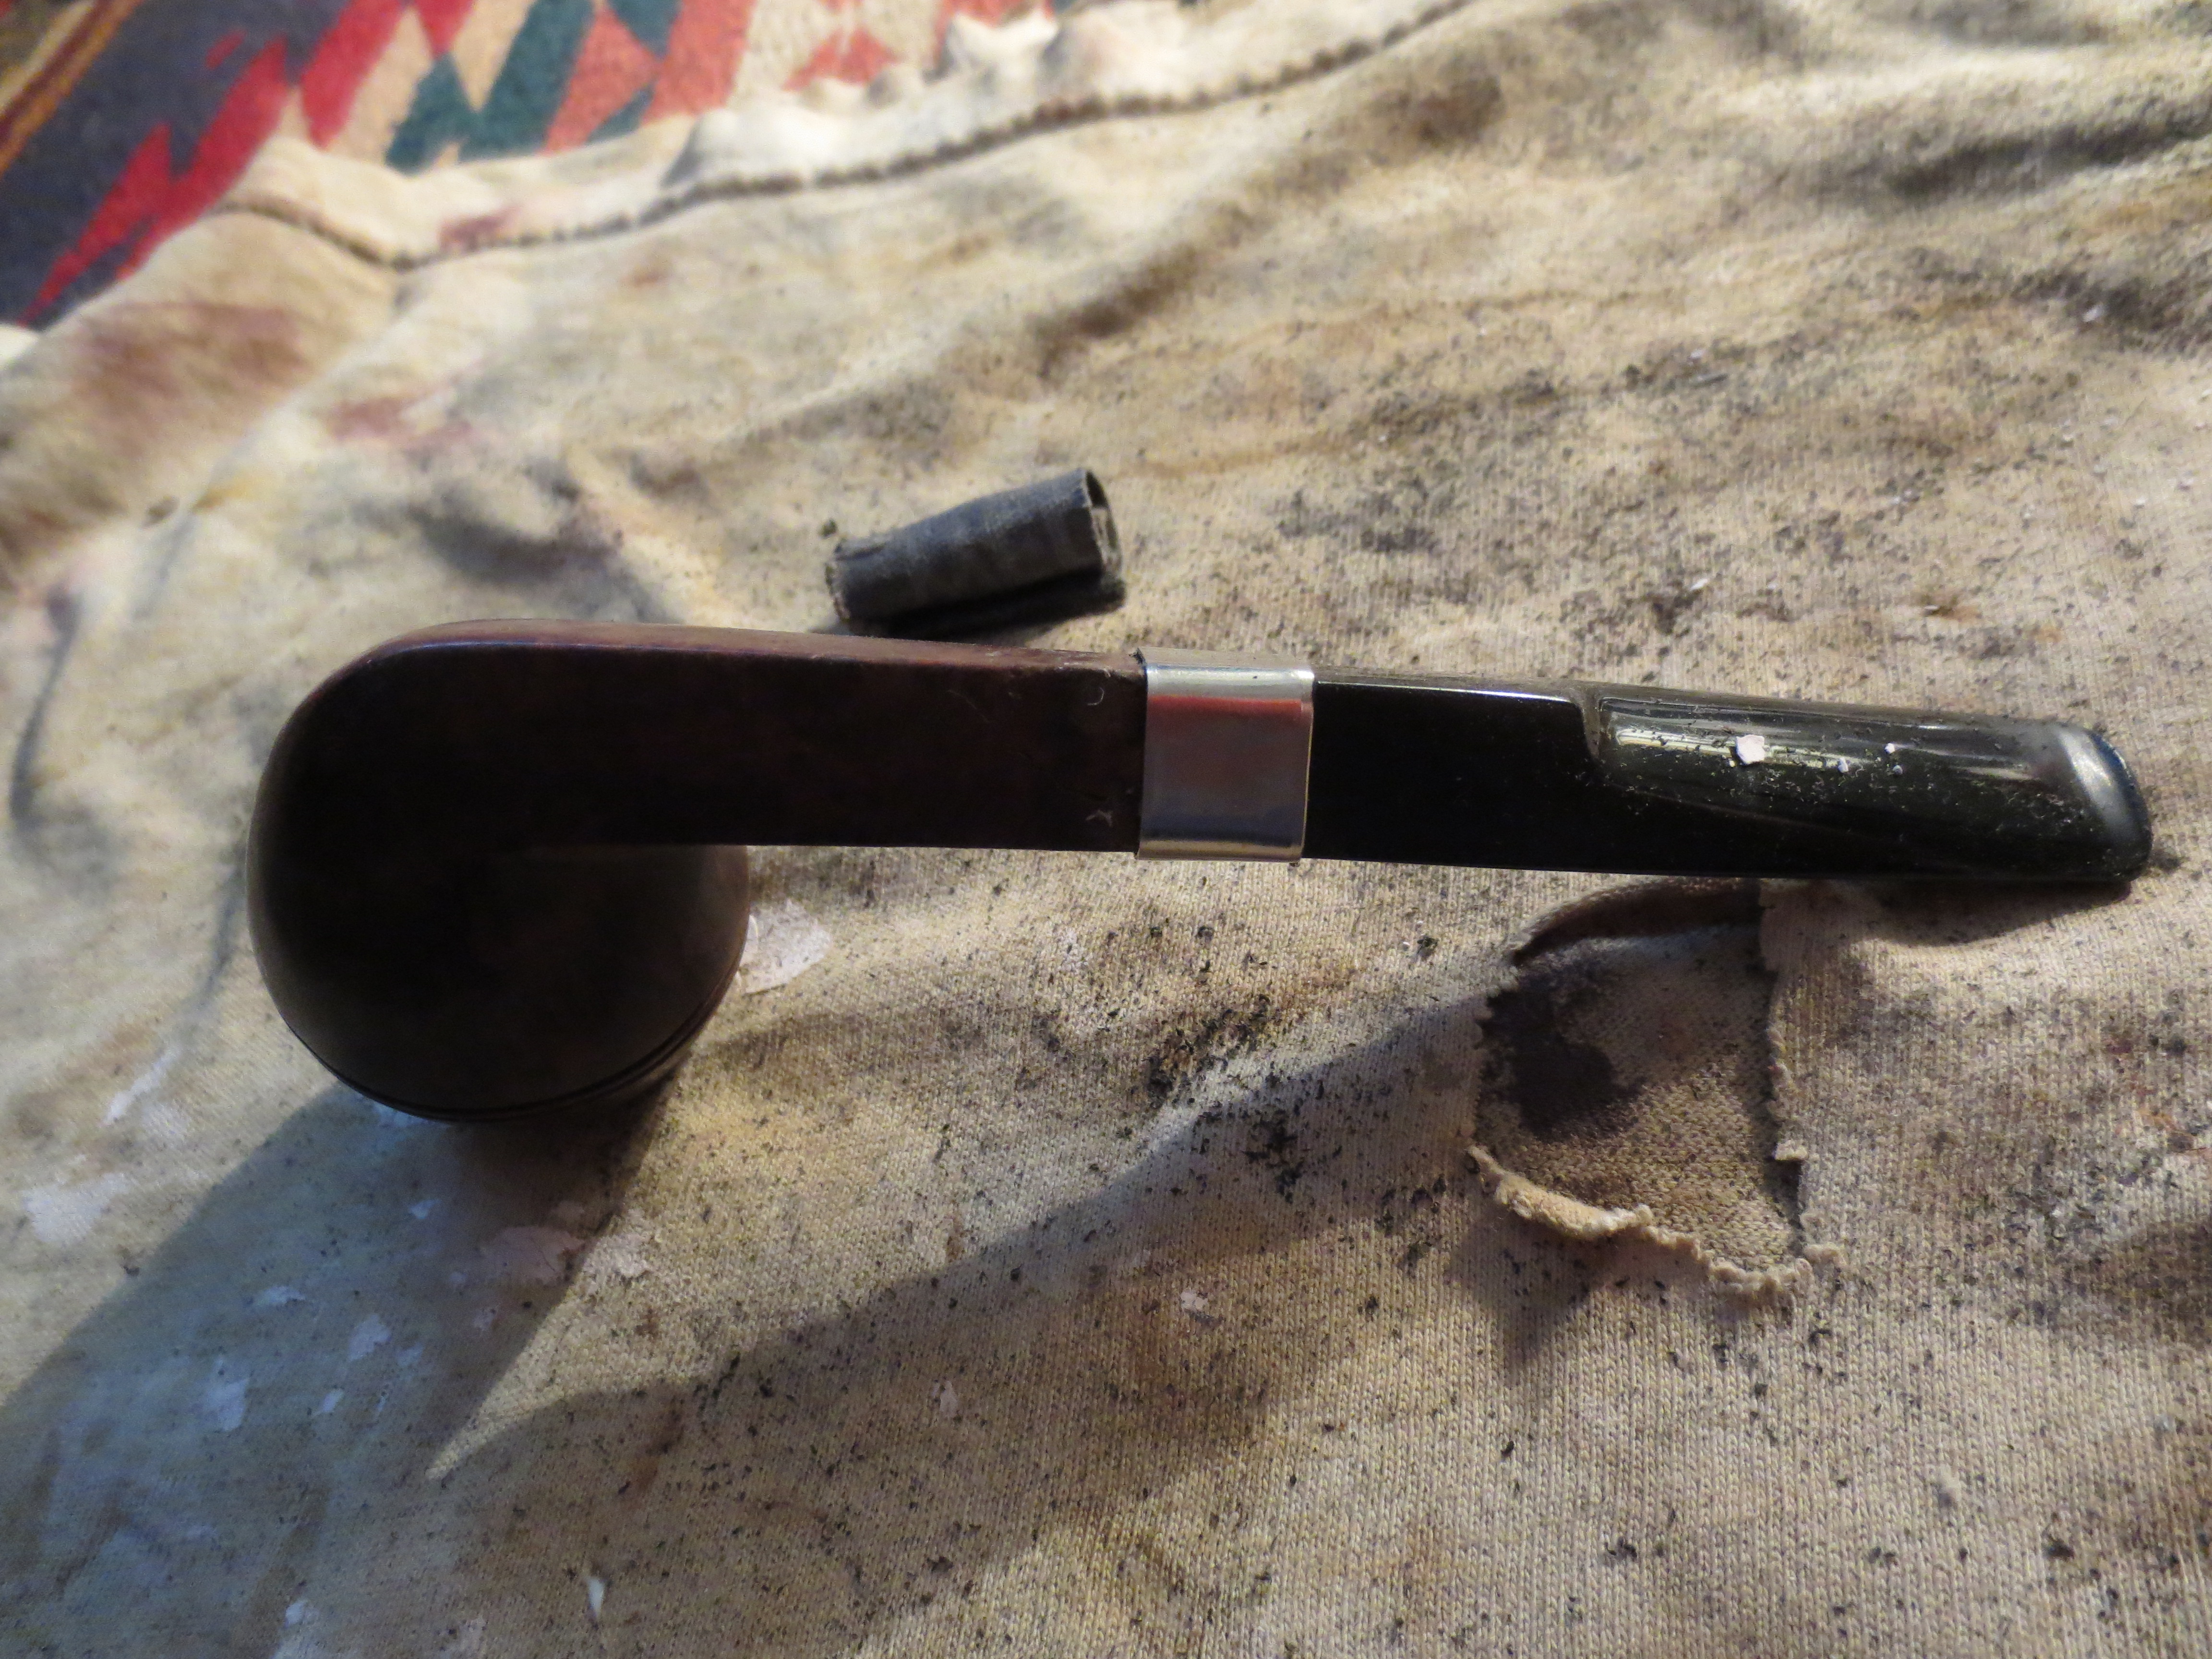
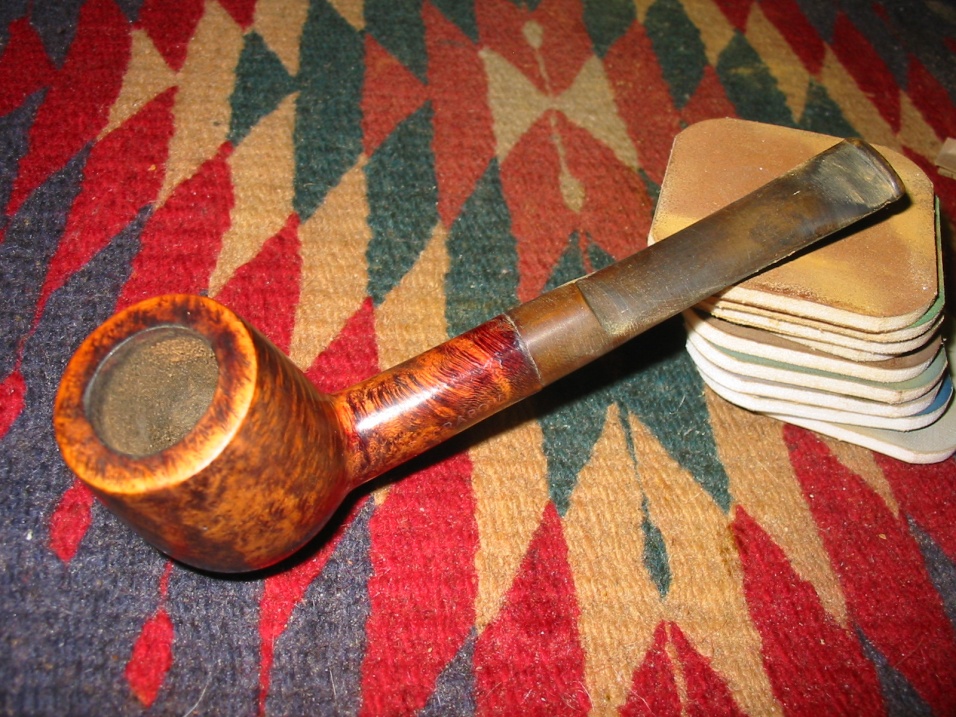
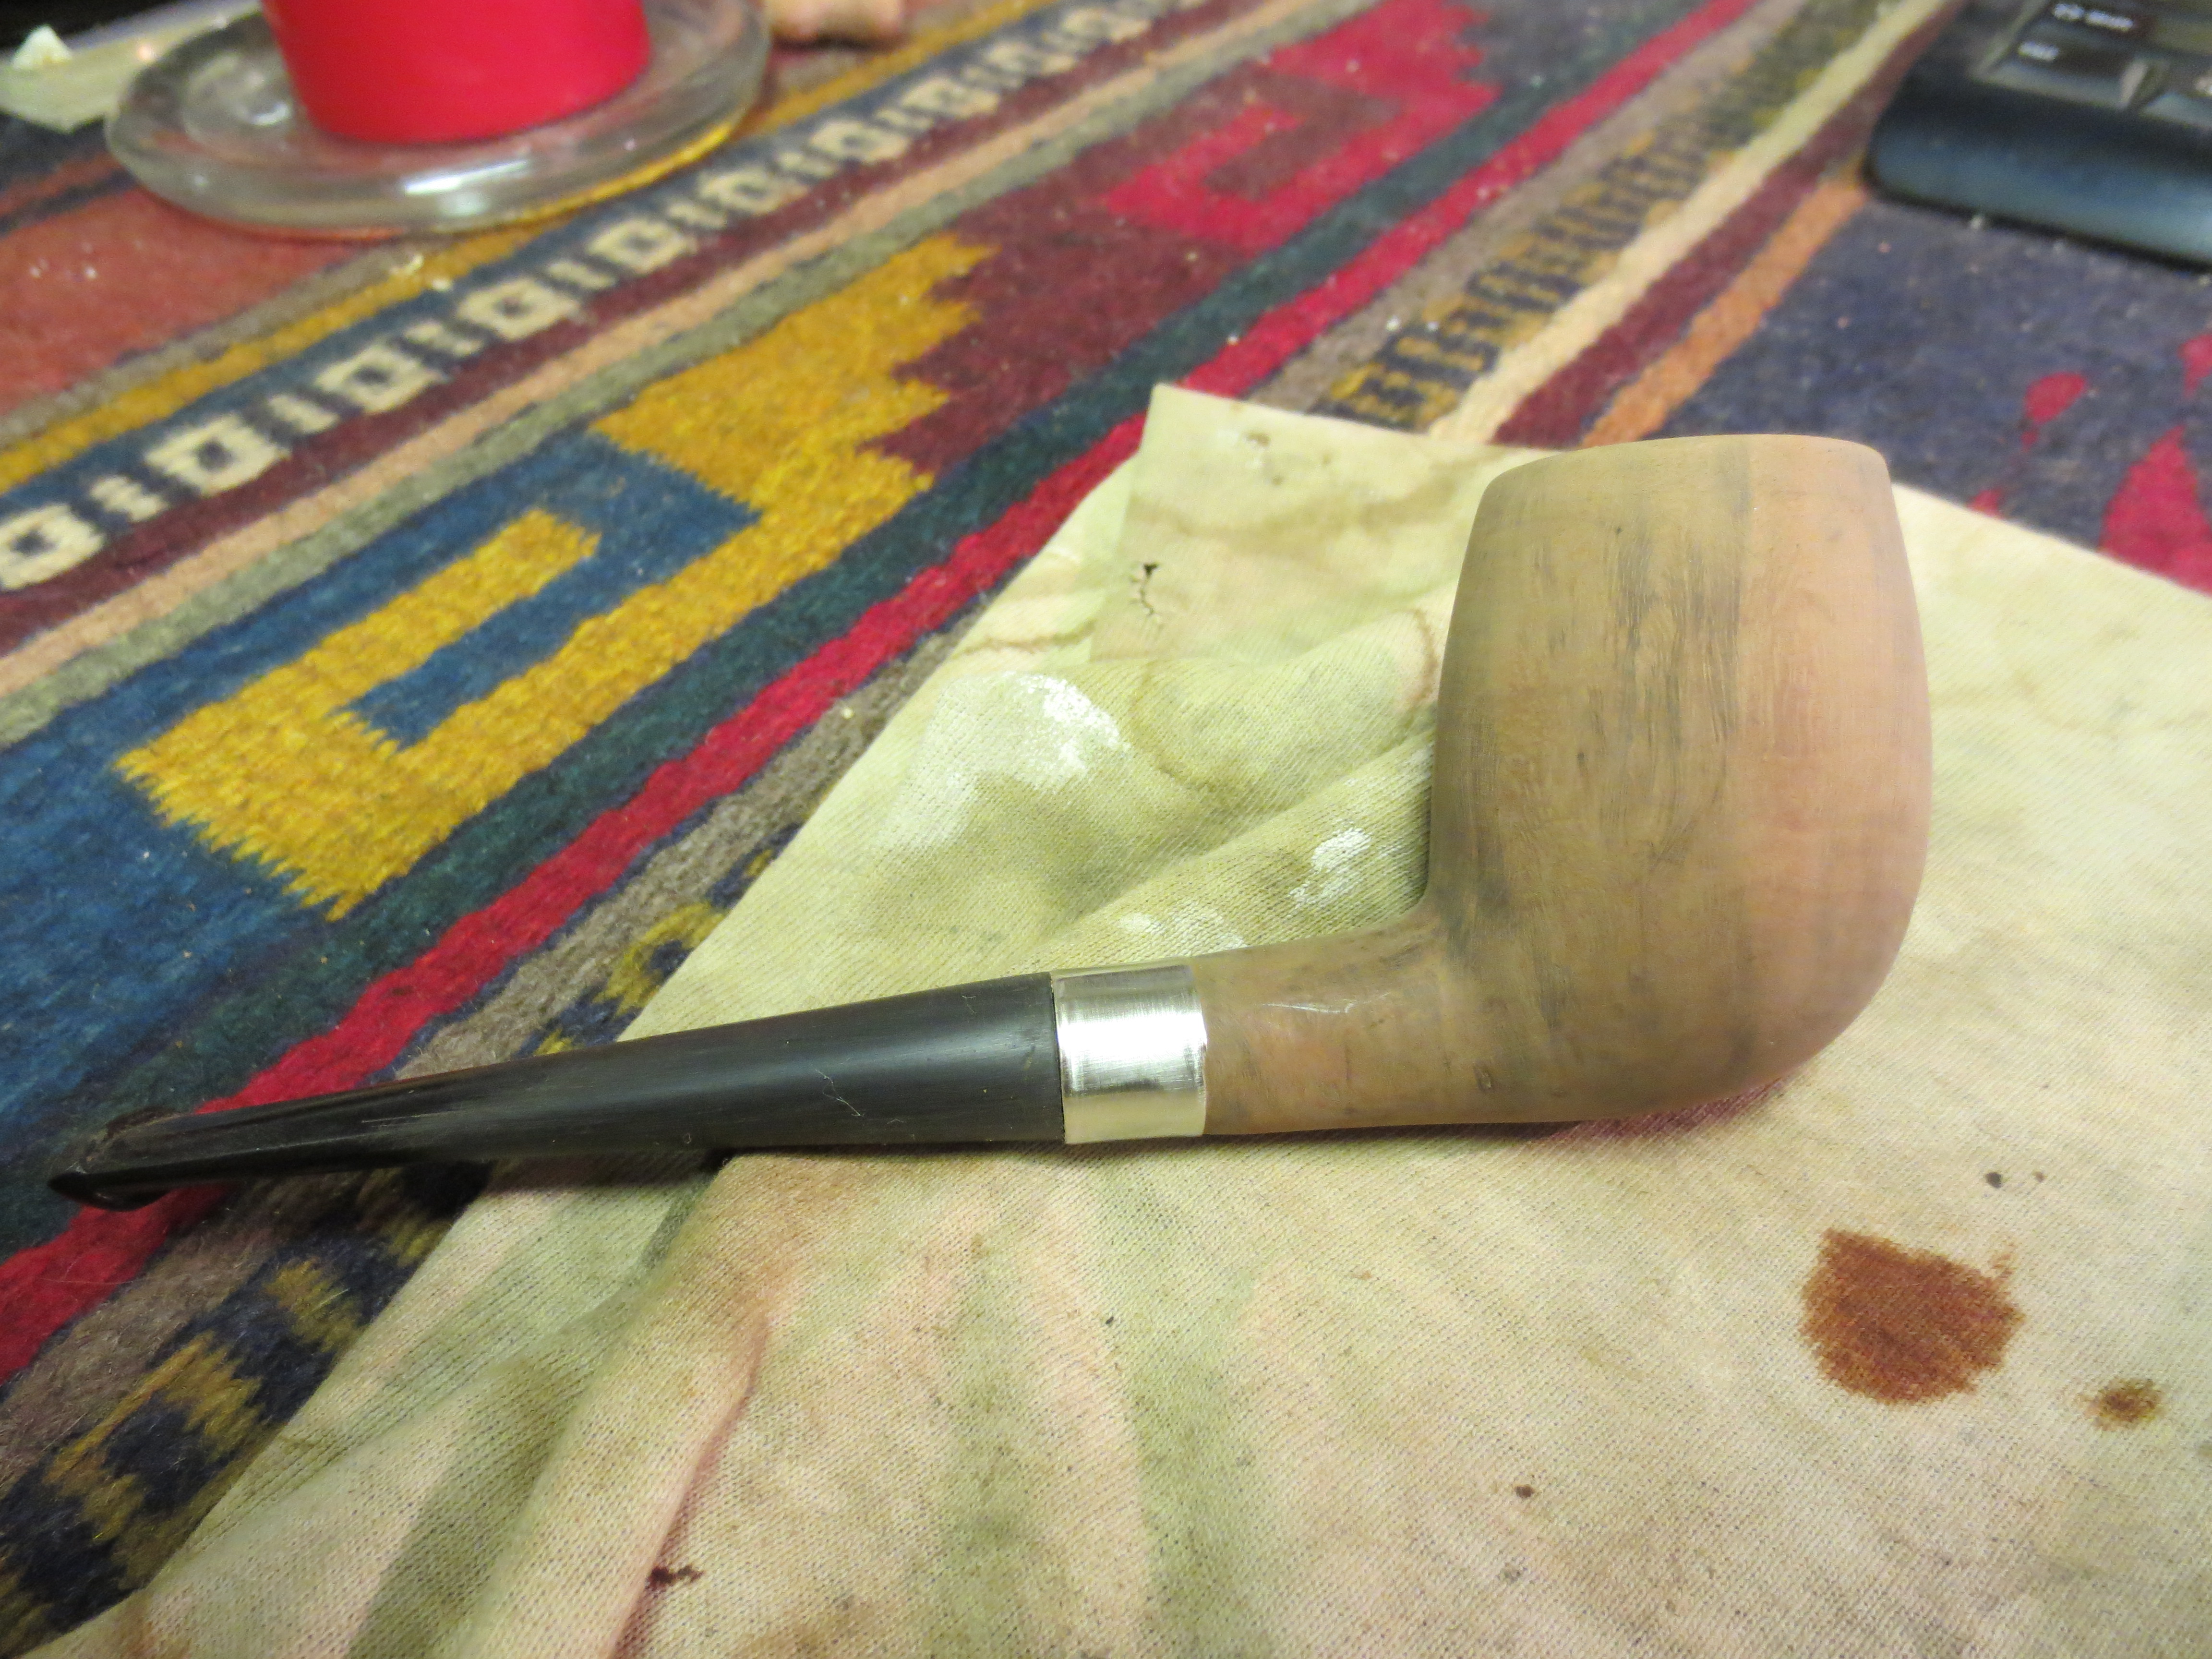
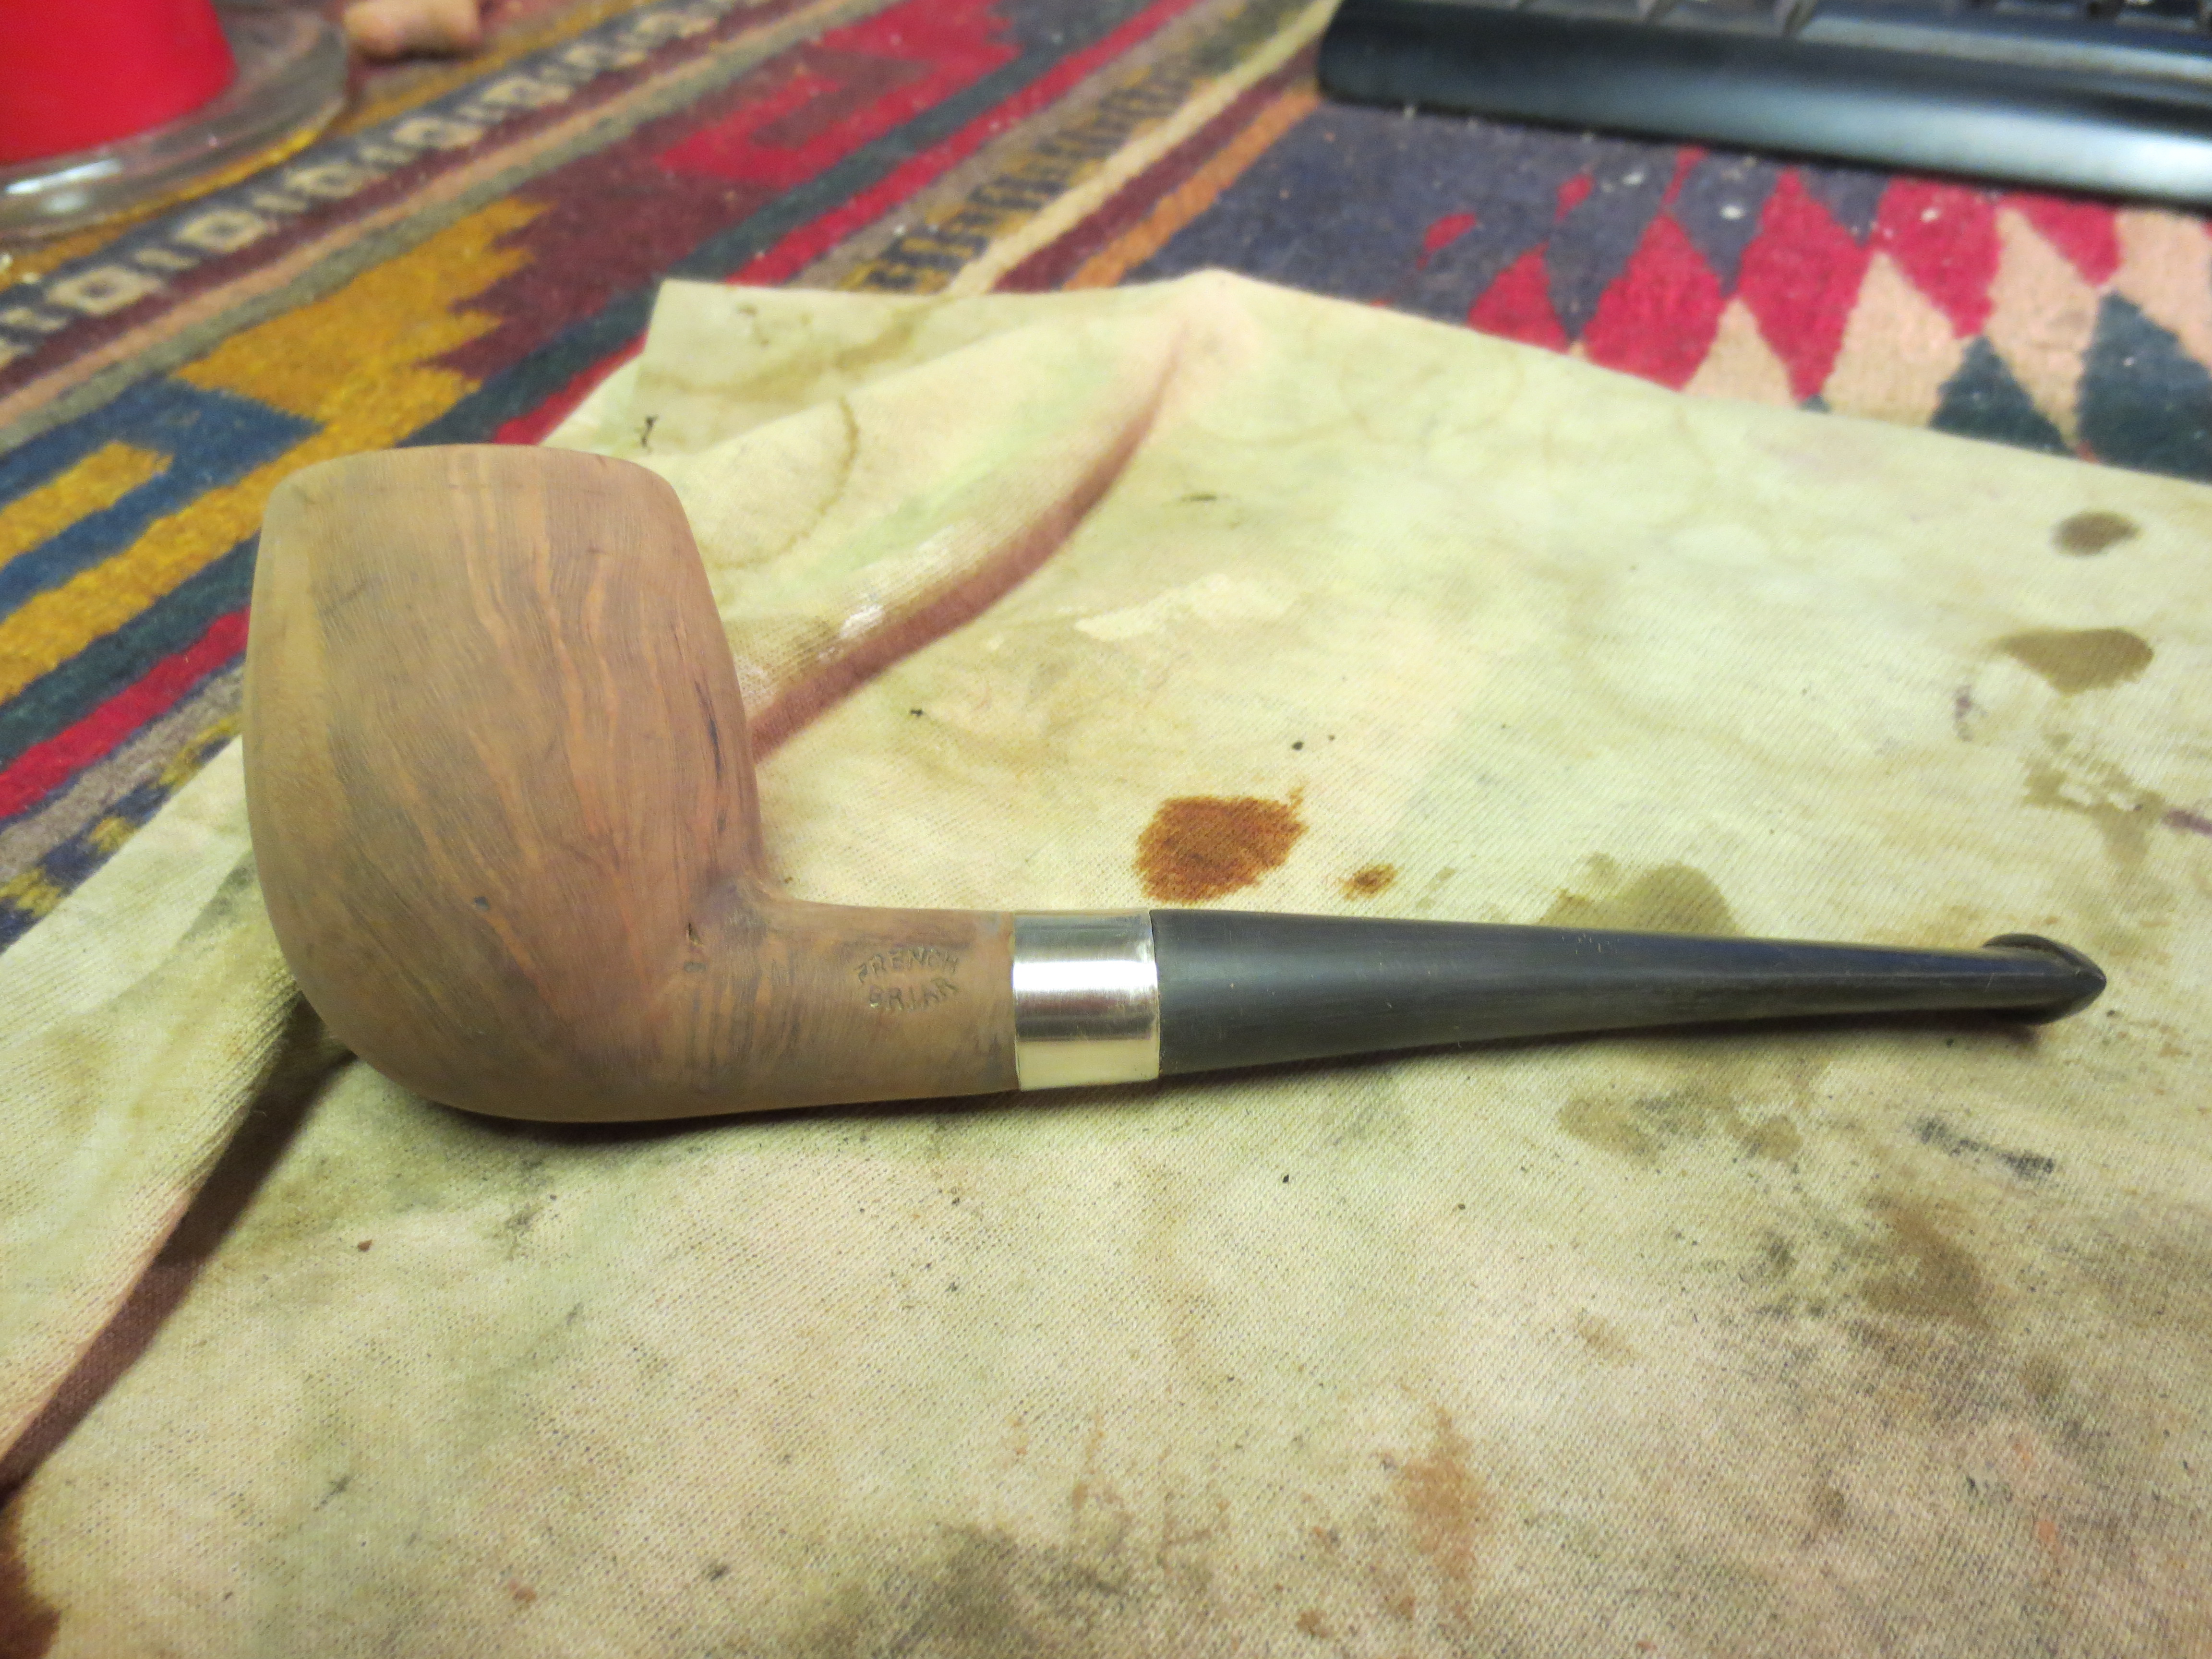
I sanded the bowl with a medium grit sanding sponge to remove the damage caused by the rim cap and to remove the darkened line around the top of the bowl. The next series of three photos show how the bowl is shaping up after initial sanding. The wood is stamped French Briar but as I work it I am wondering. It is very hard, dense wood with interesting grain. It is very light weight and the feel of the sanding dust and the wood itself calls this into question for me. Maybe it is only a question of age on the pipe as it is probably from the late 1800’s or early 1900’s.
IMG_0802

IMG_0803

IMG_0804
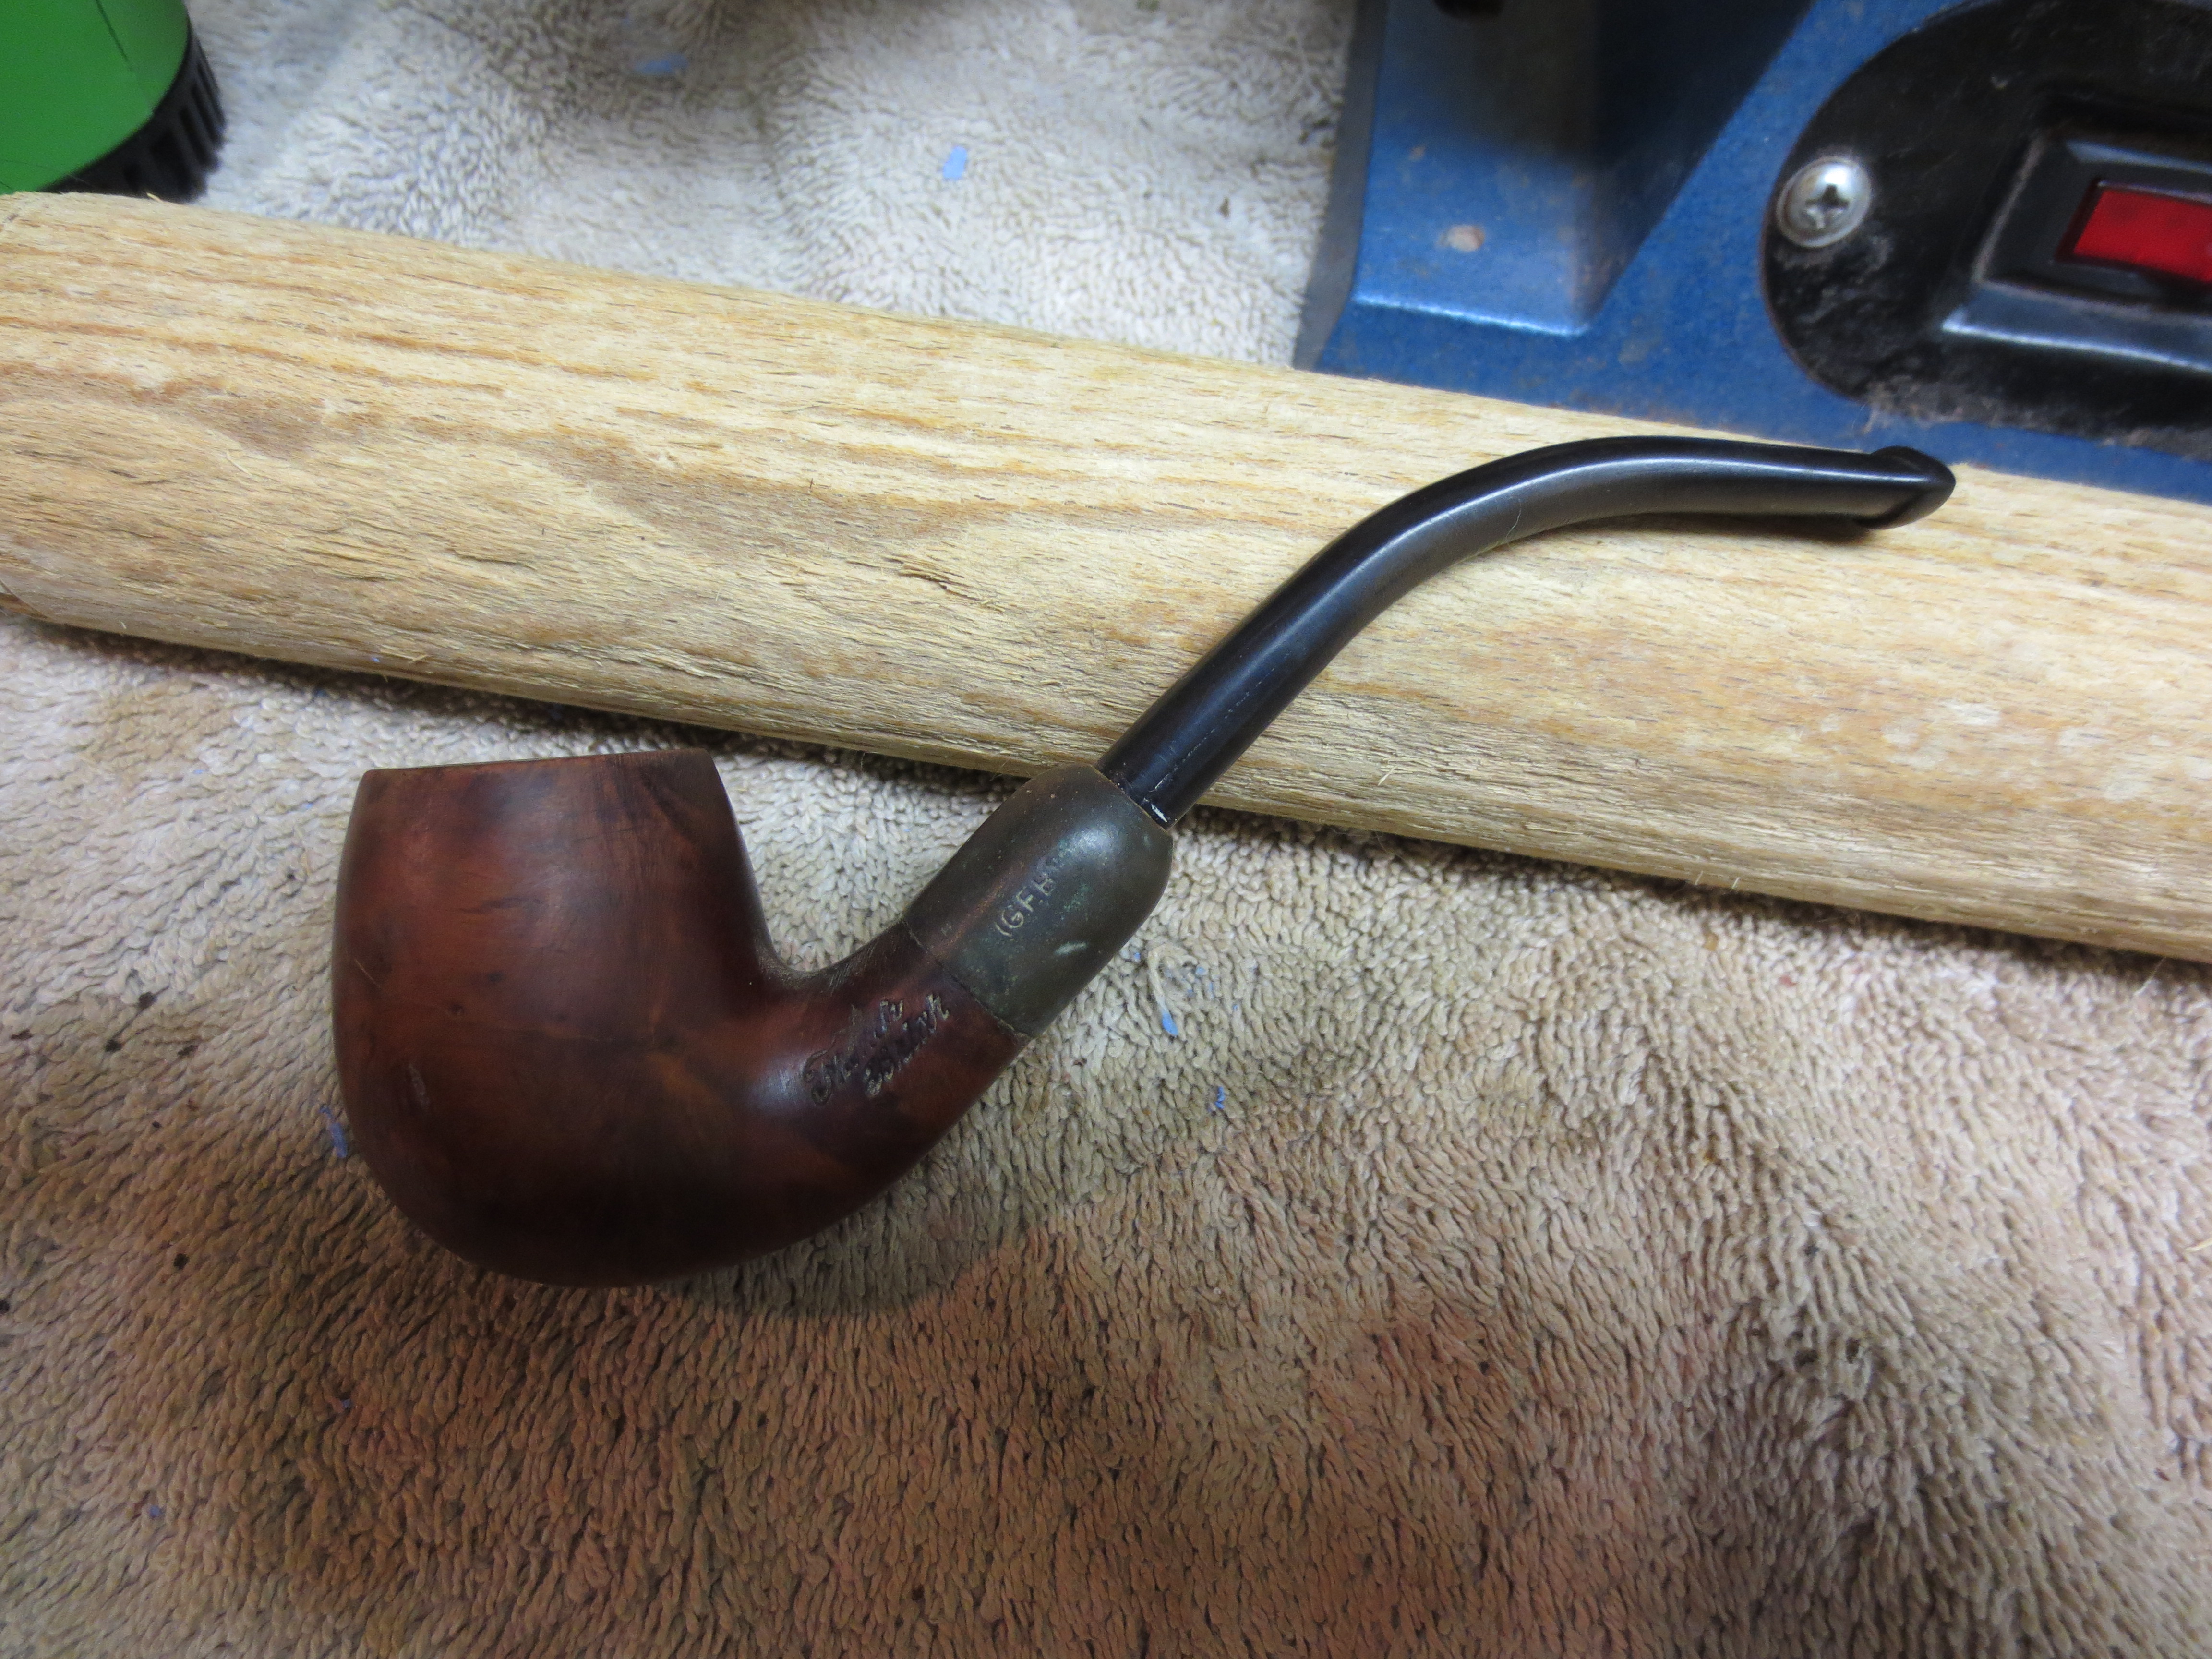
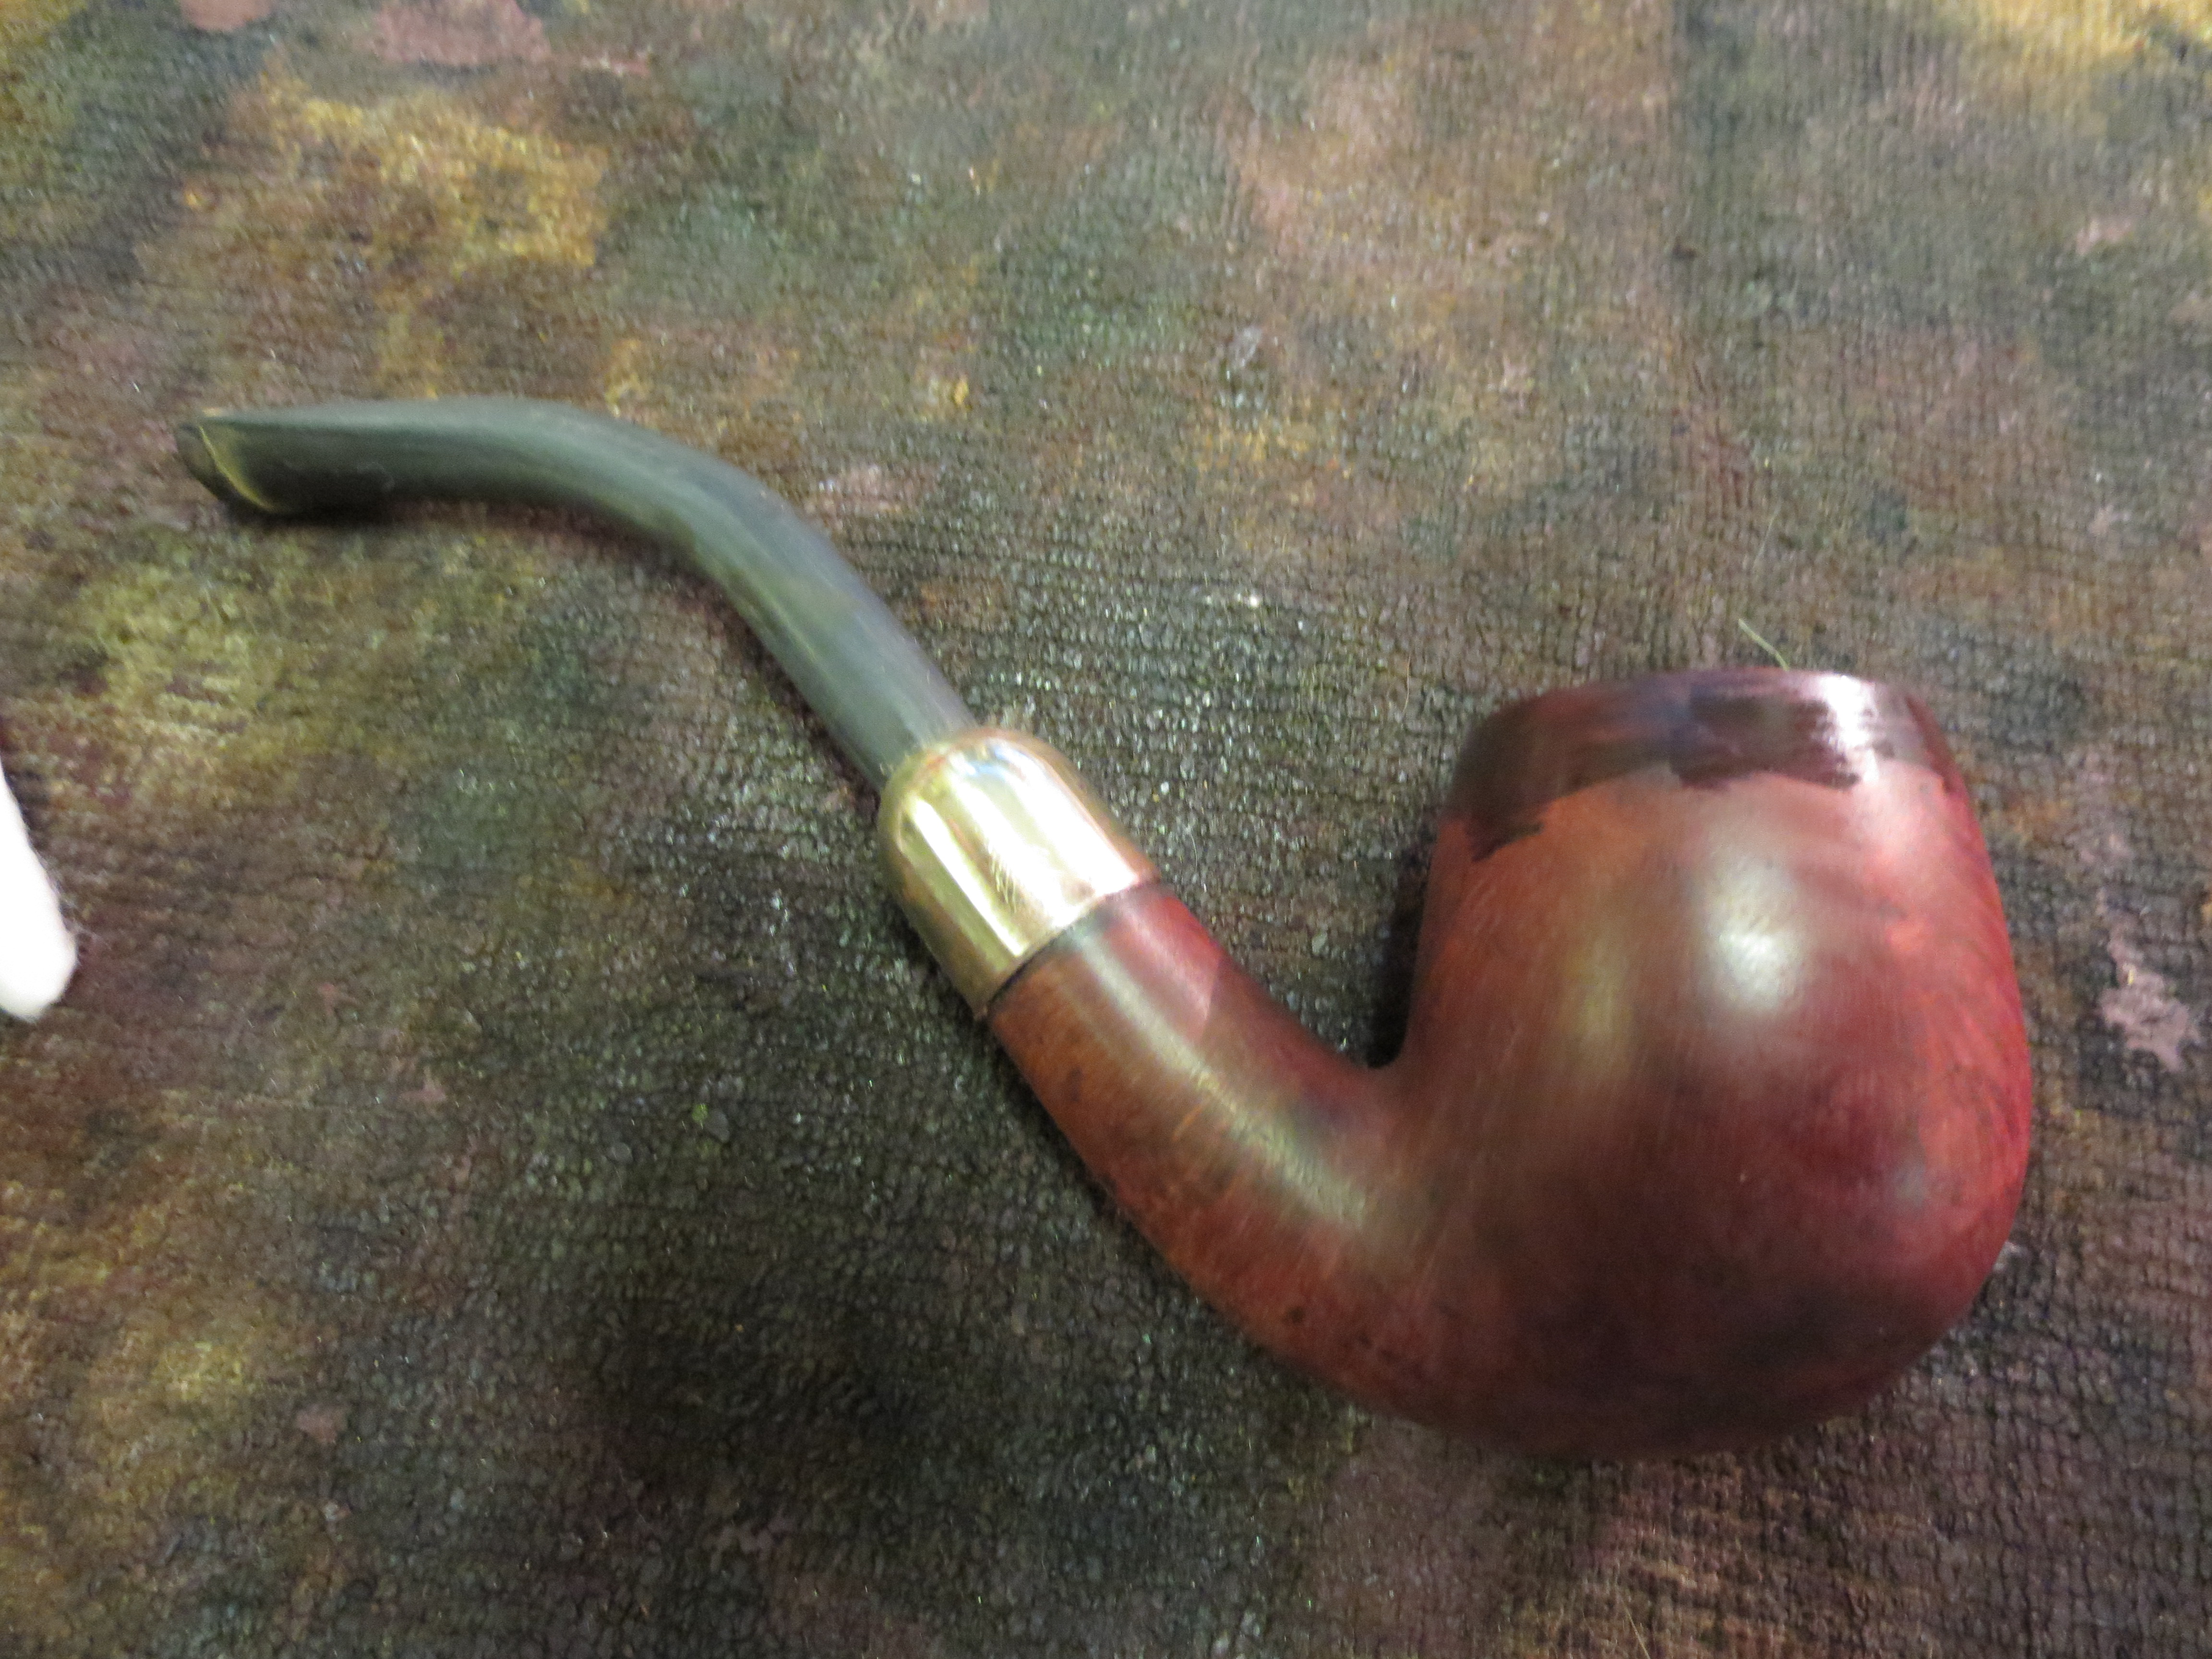
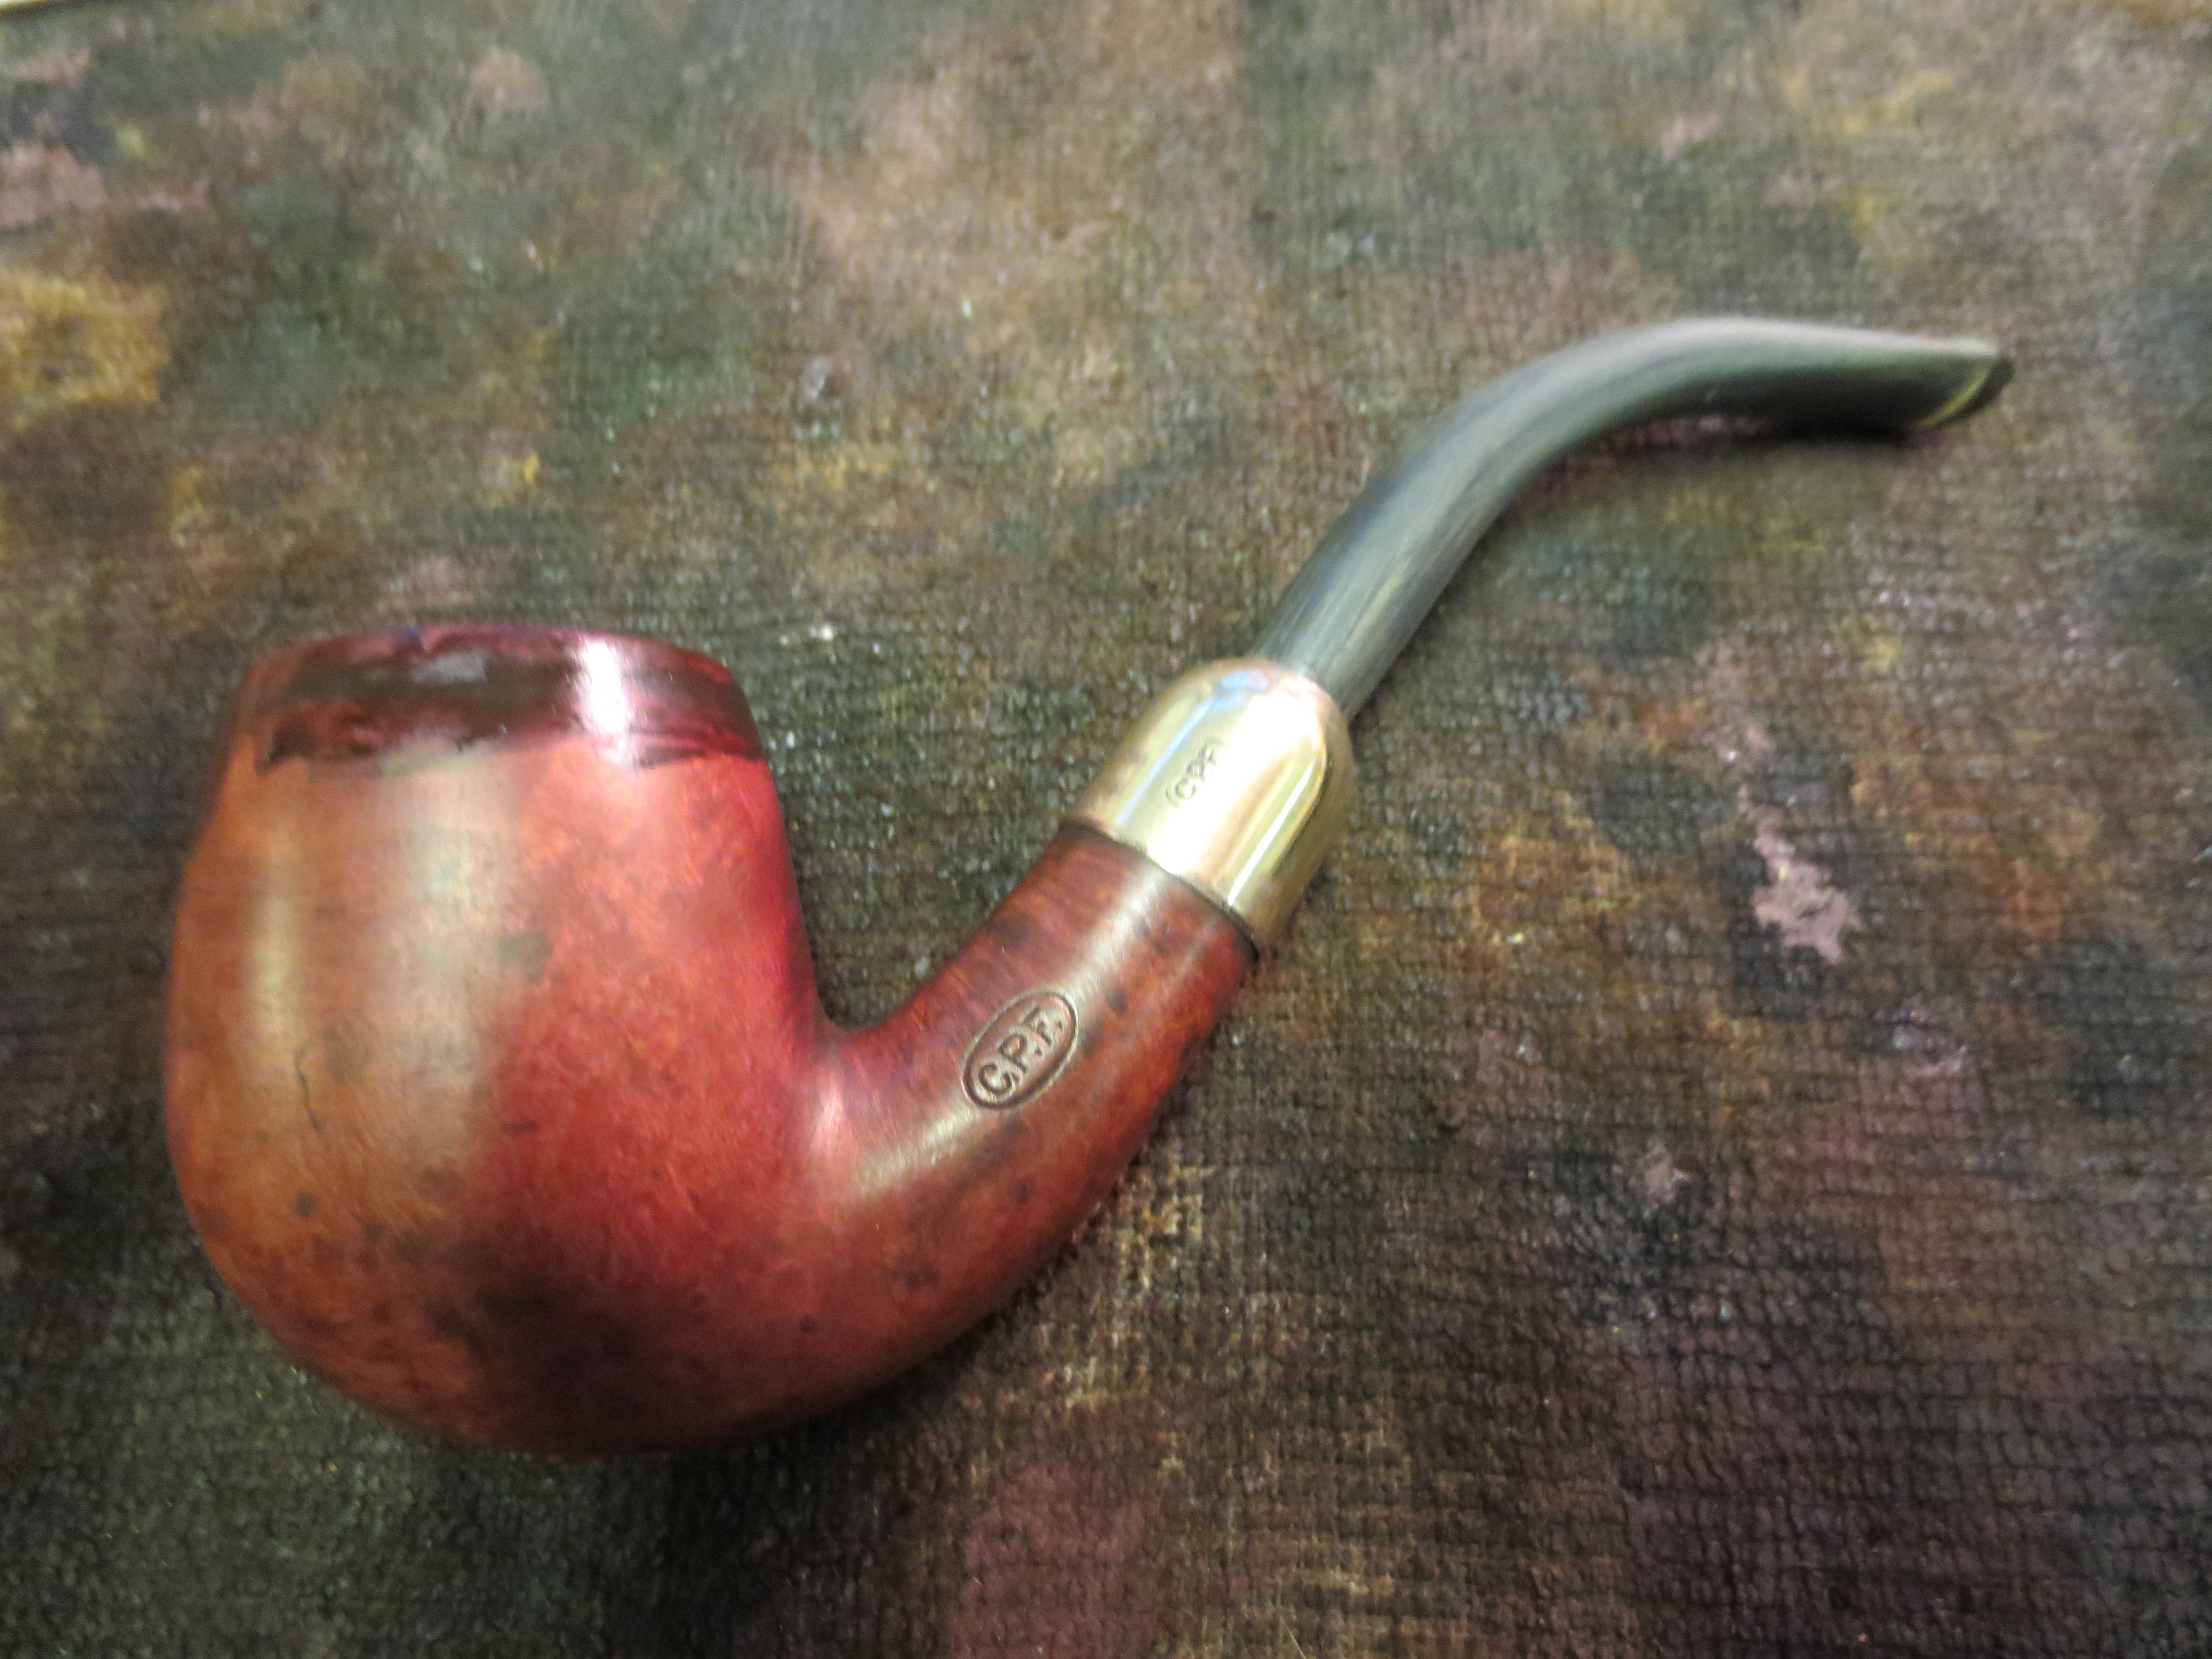
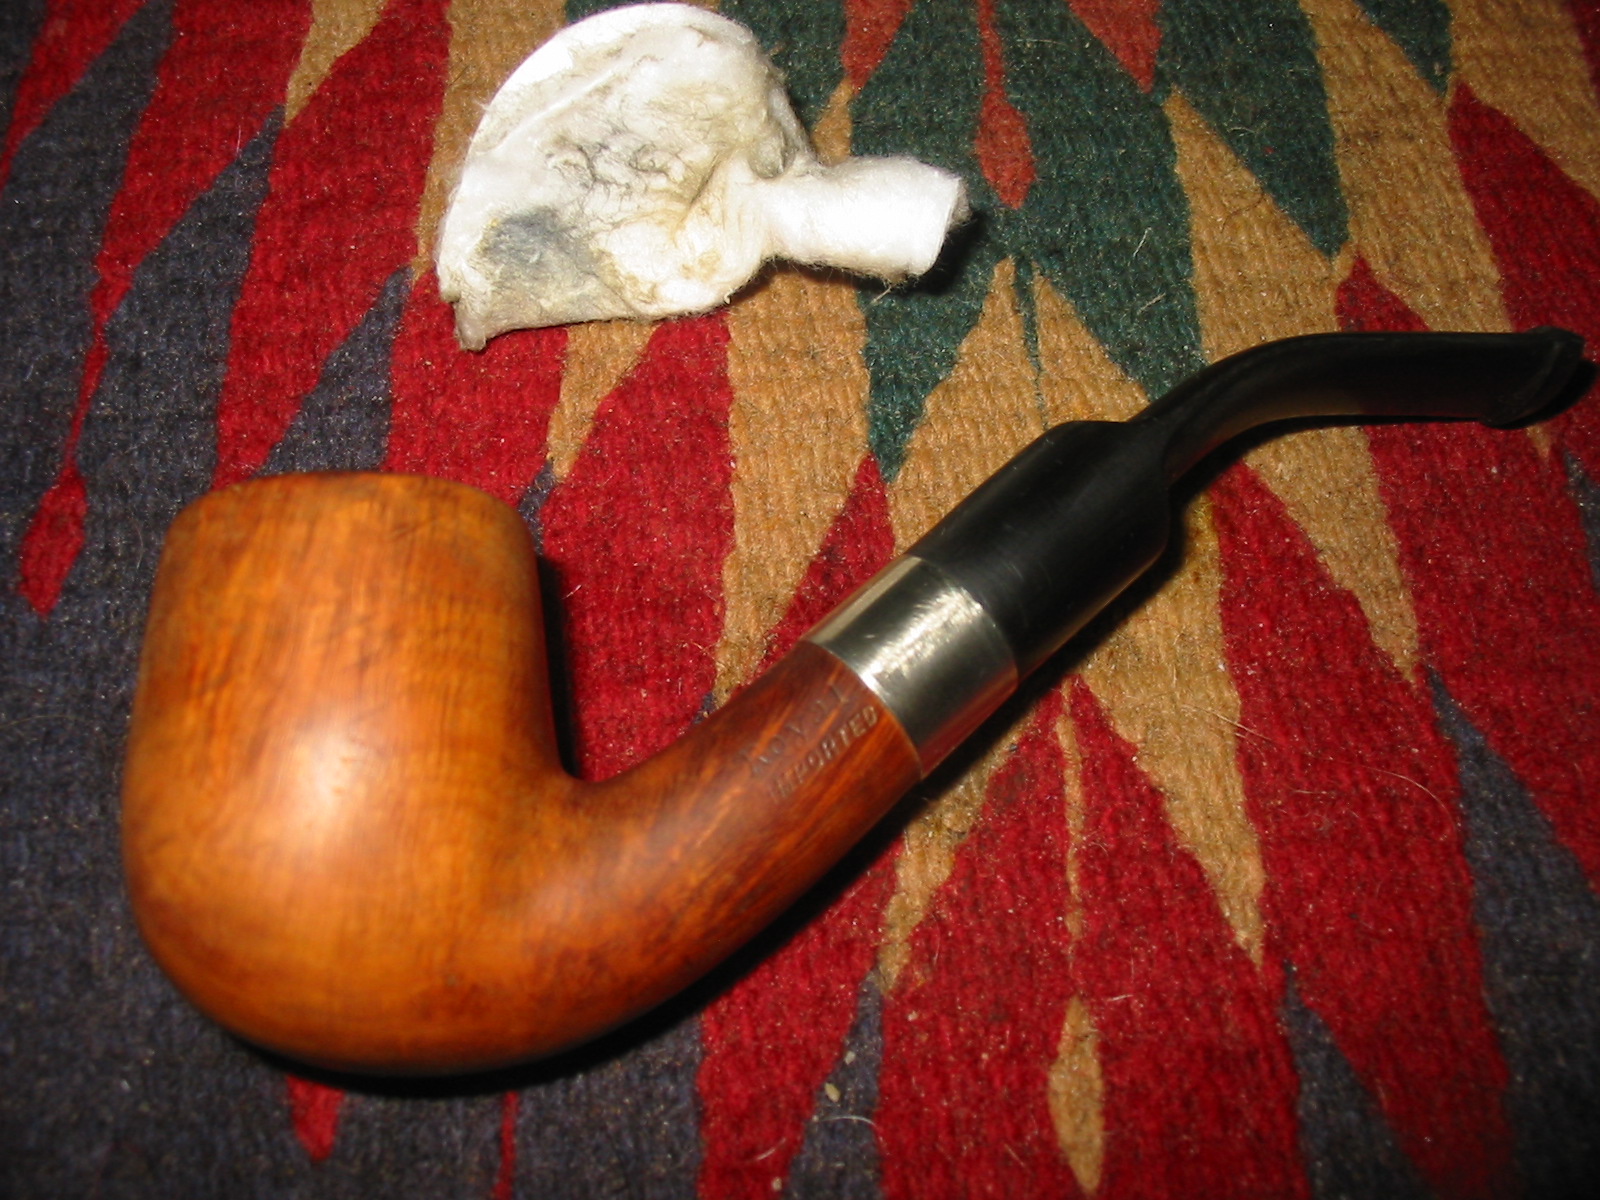
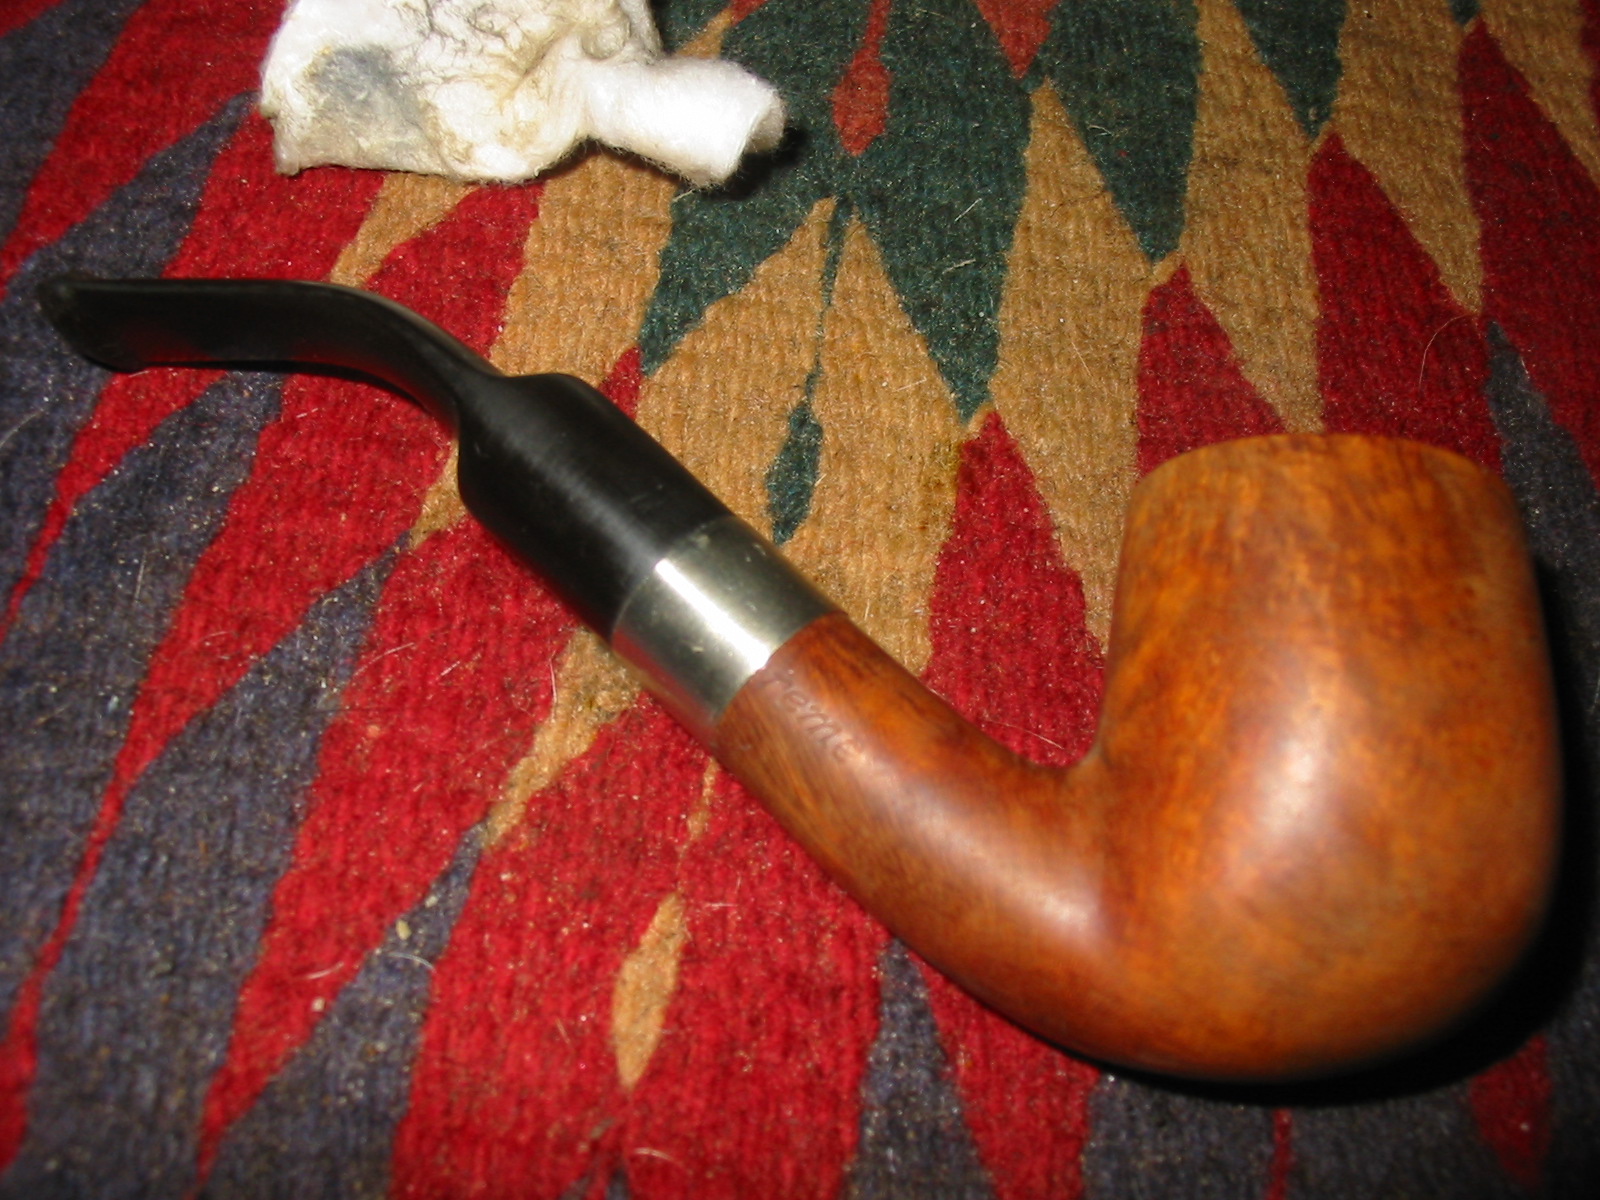
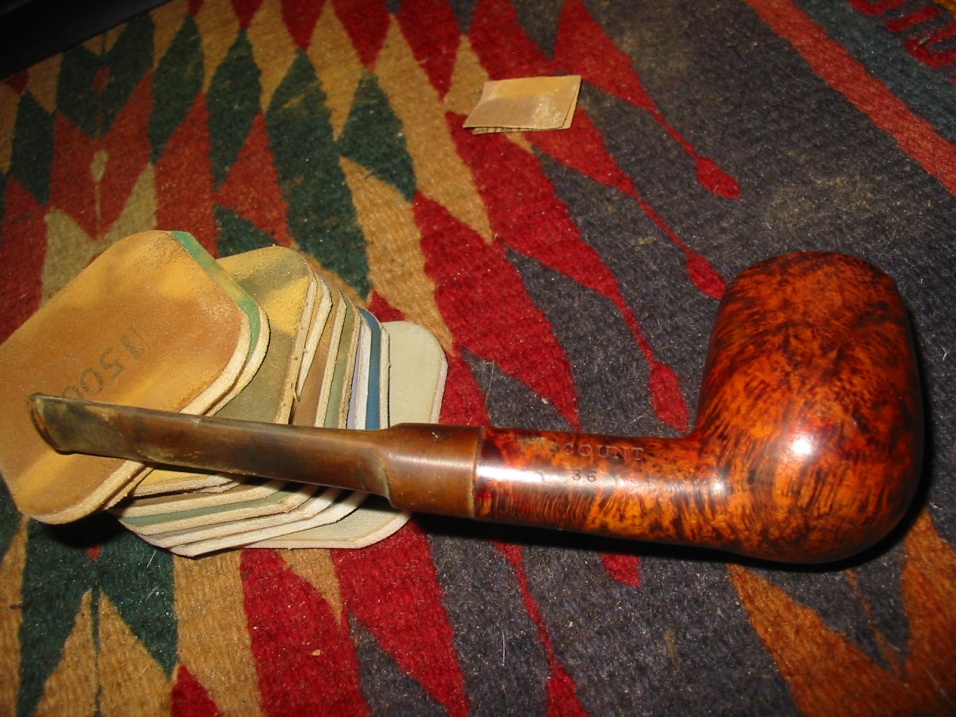
I inserted the stem and took it to the buffer to see what it looked like at this point after buffing. I buffed it with Tripoli. The next four photos show the pipe after buffing. There was a natural reddish colour to the wood that came out more and more as I sanded it.
IMG_0805

IMG_0808

IMG_0807

IMG_0806
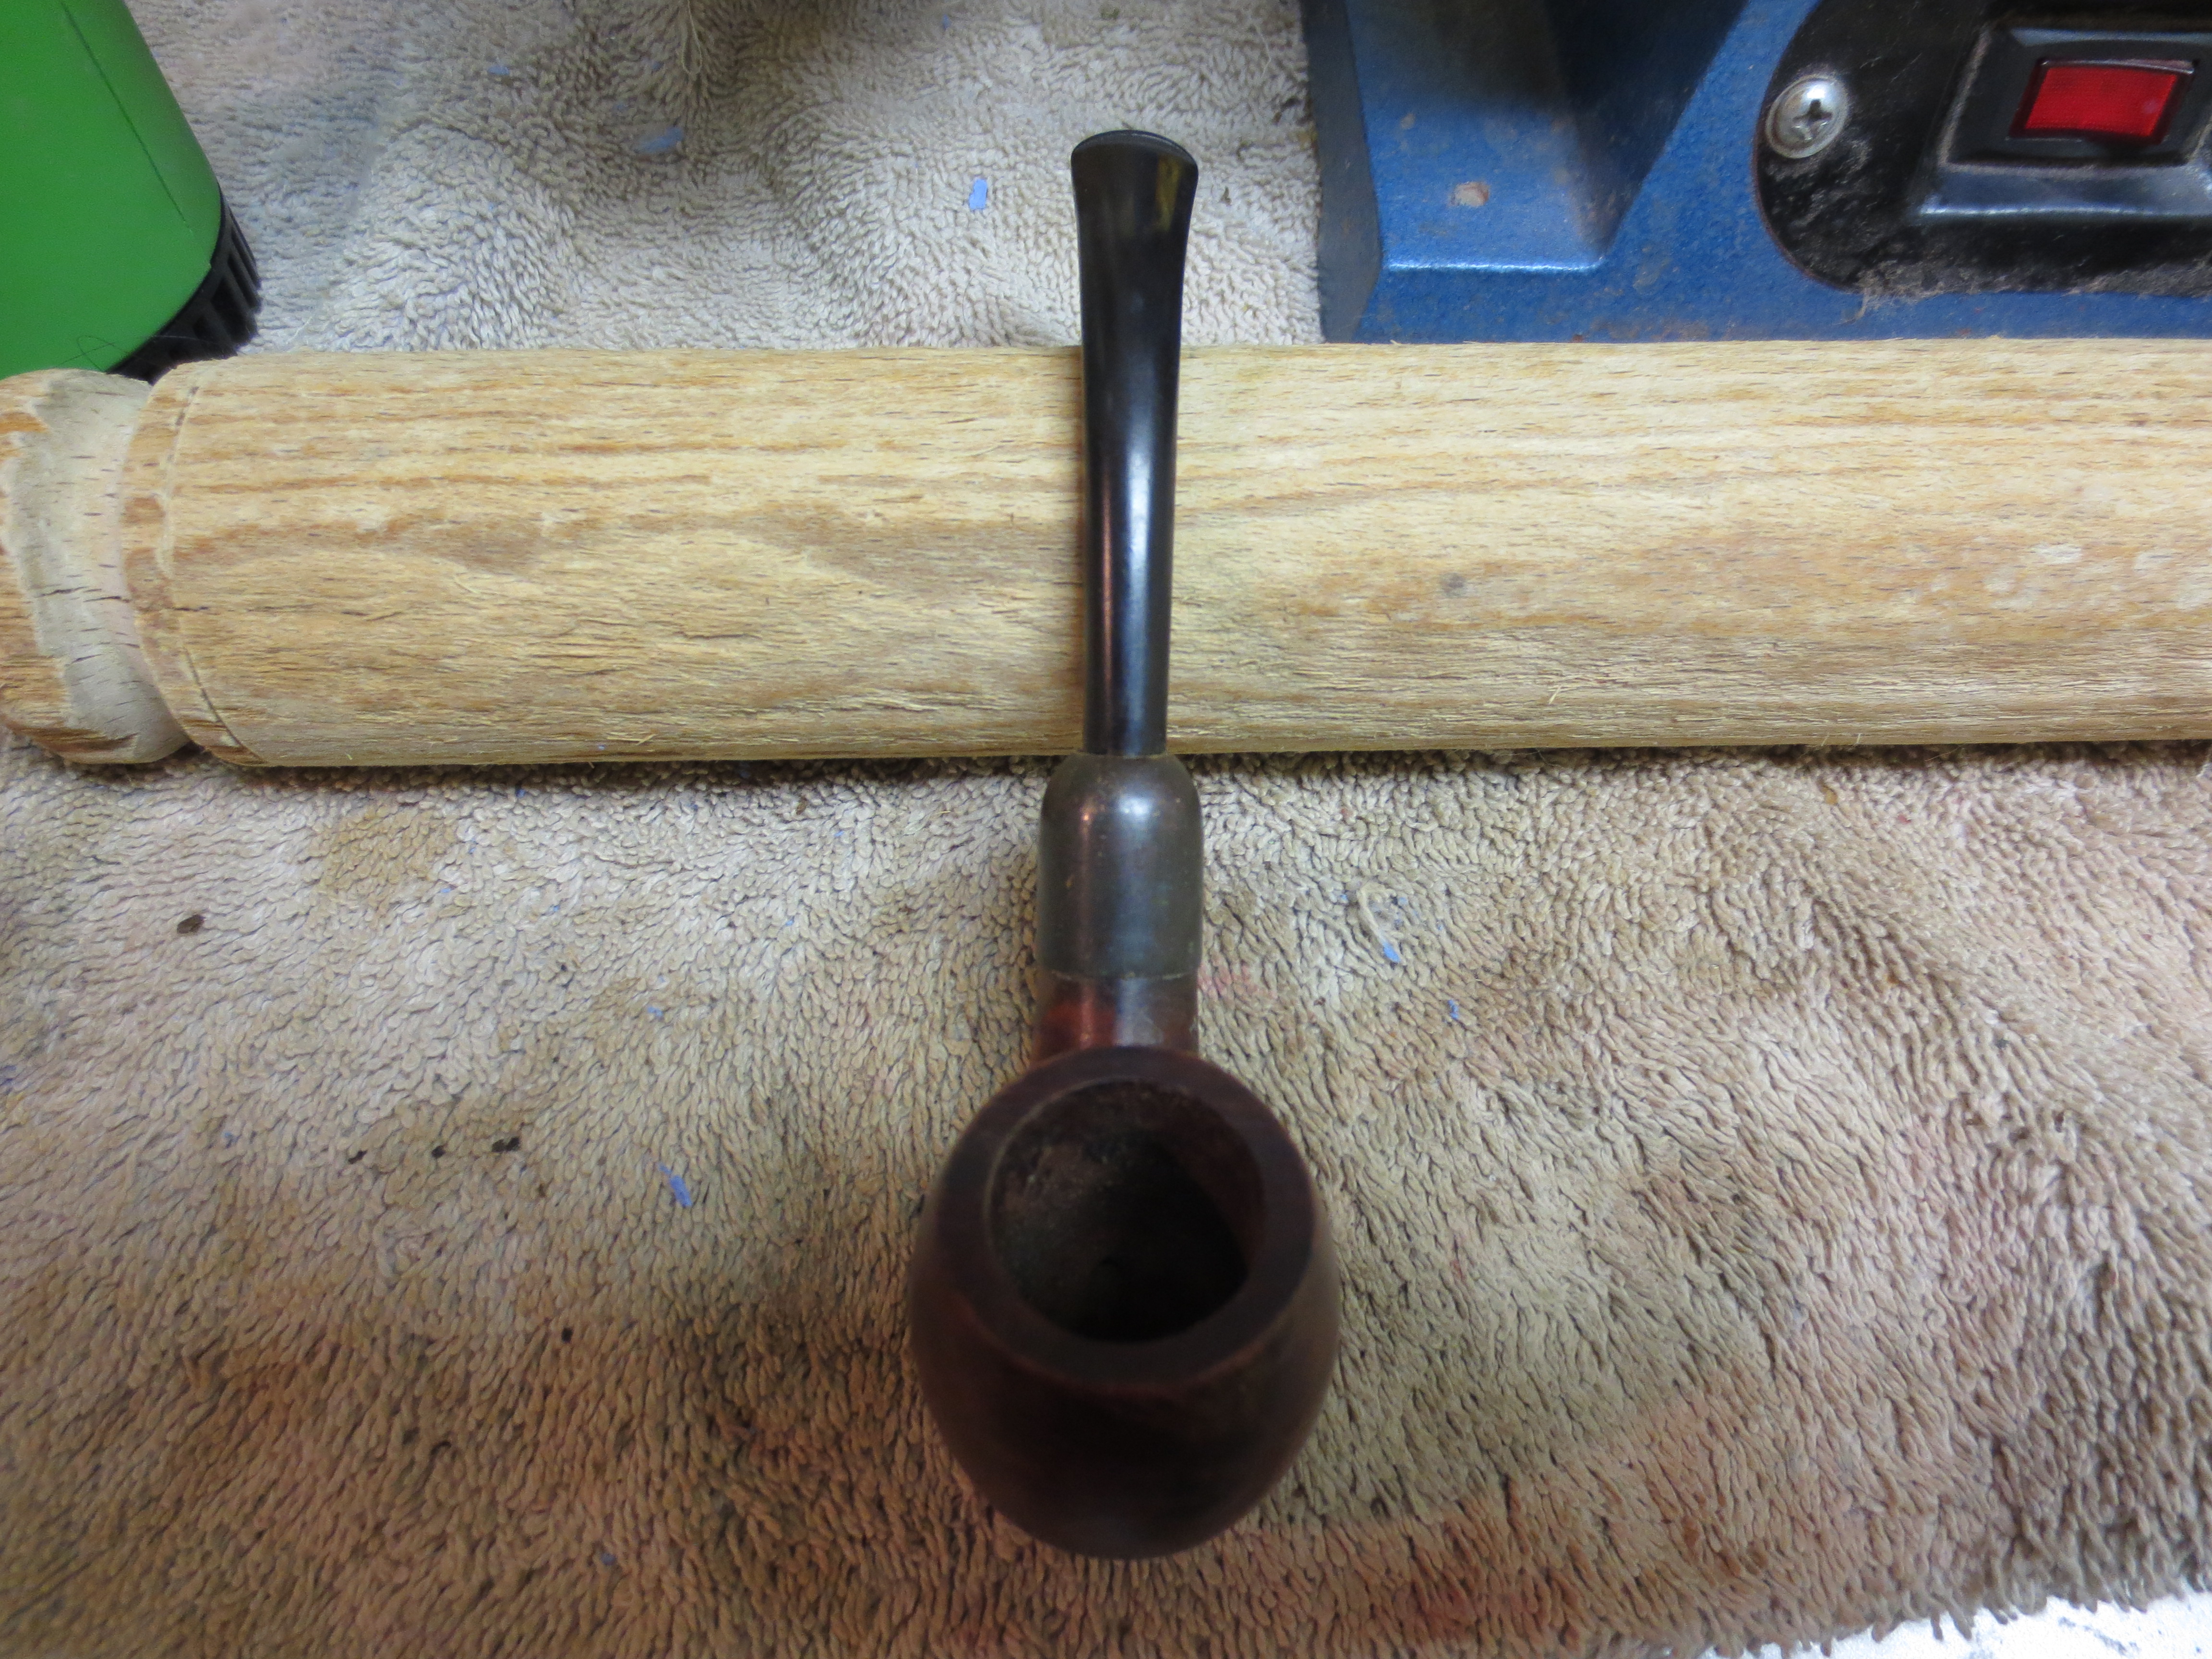
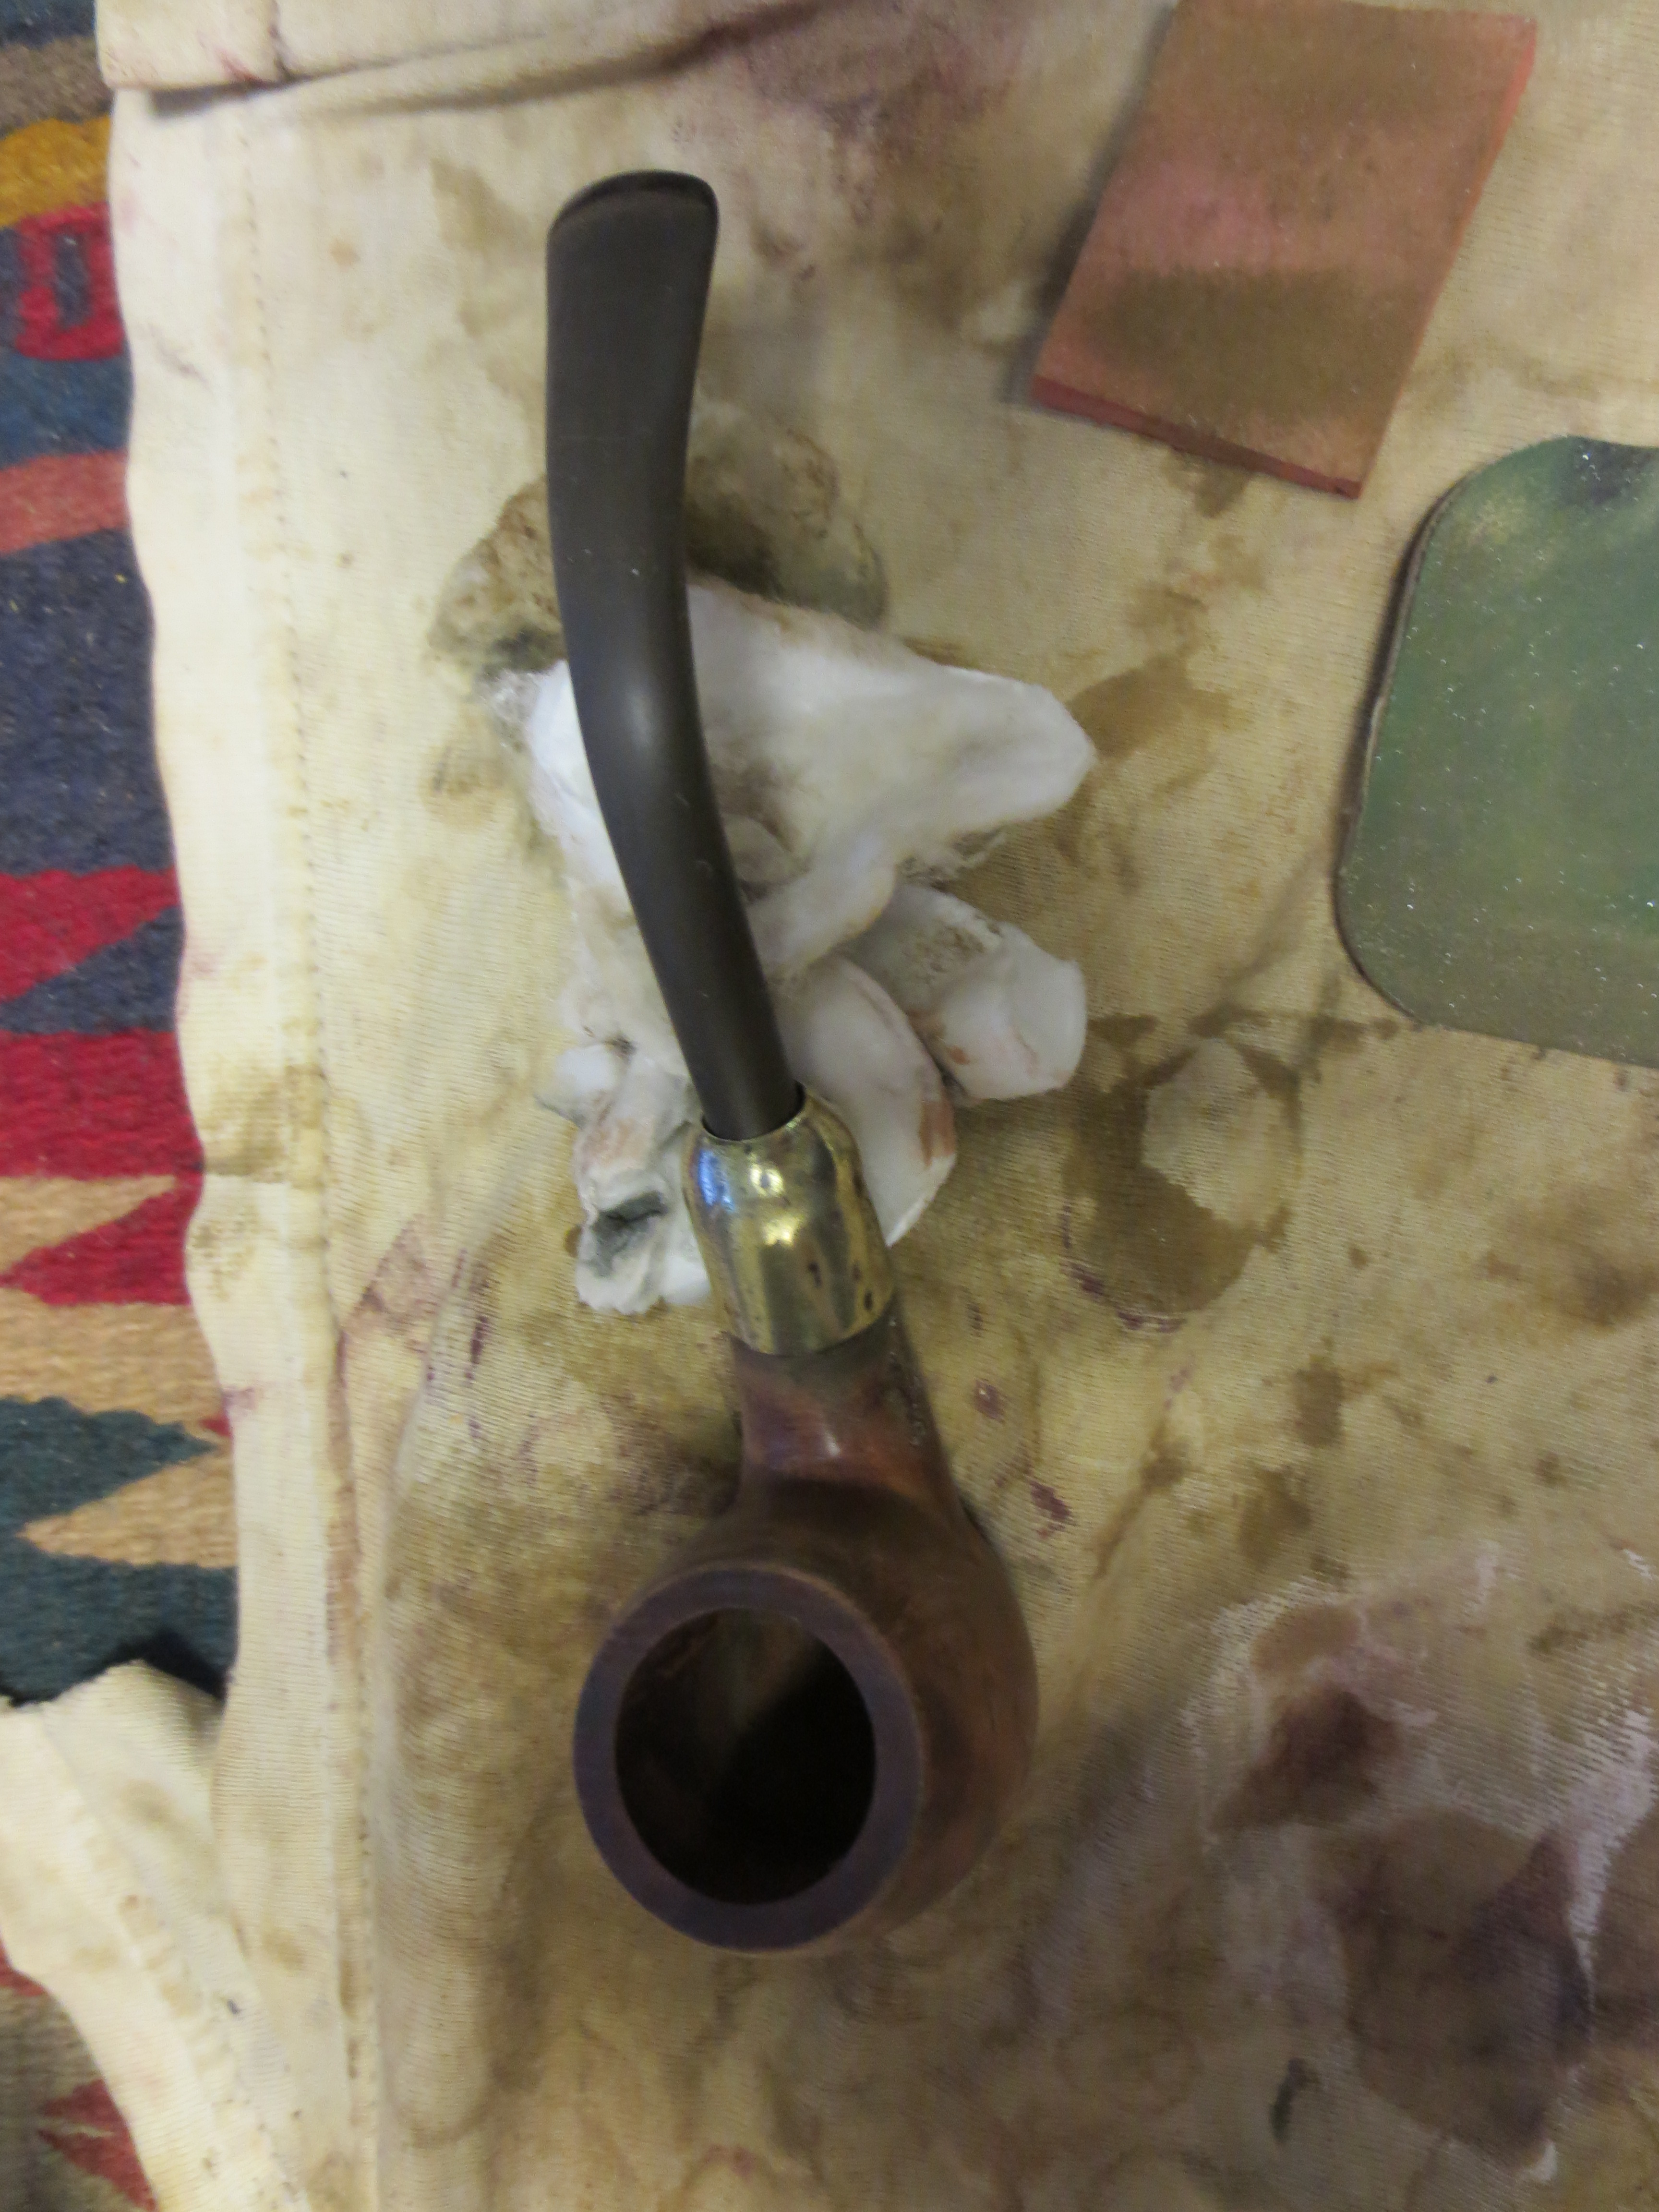
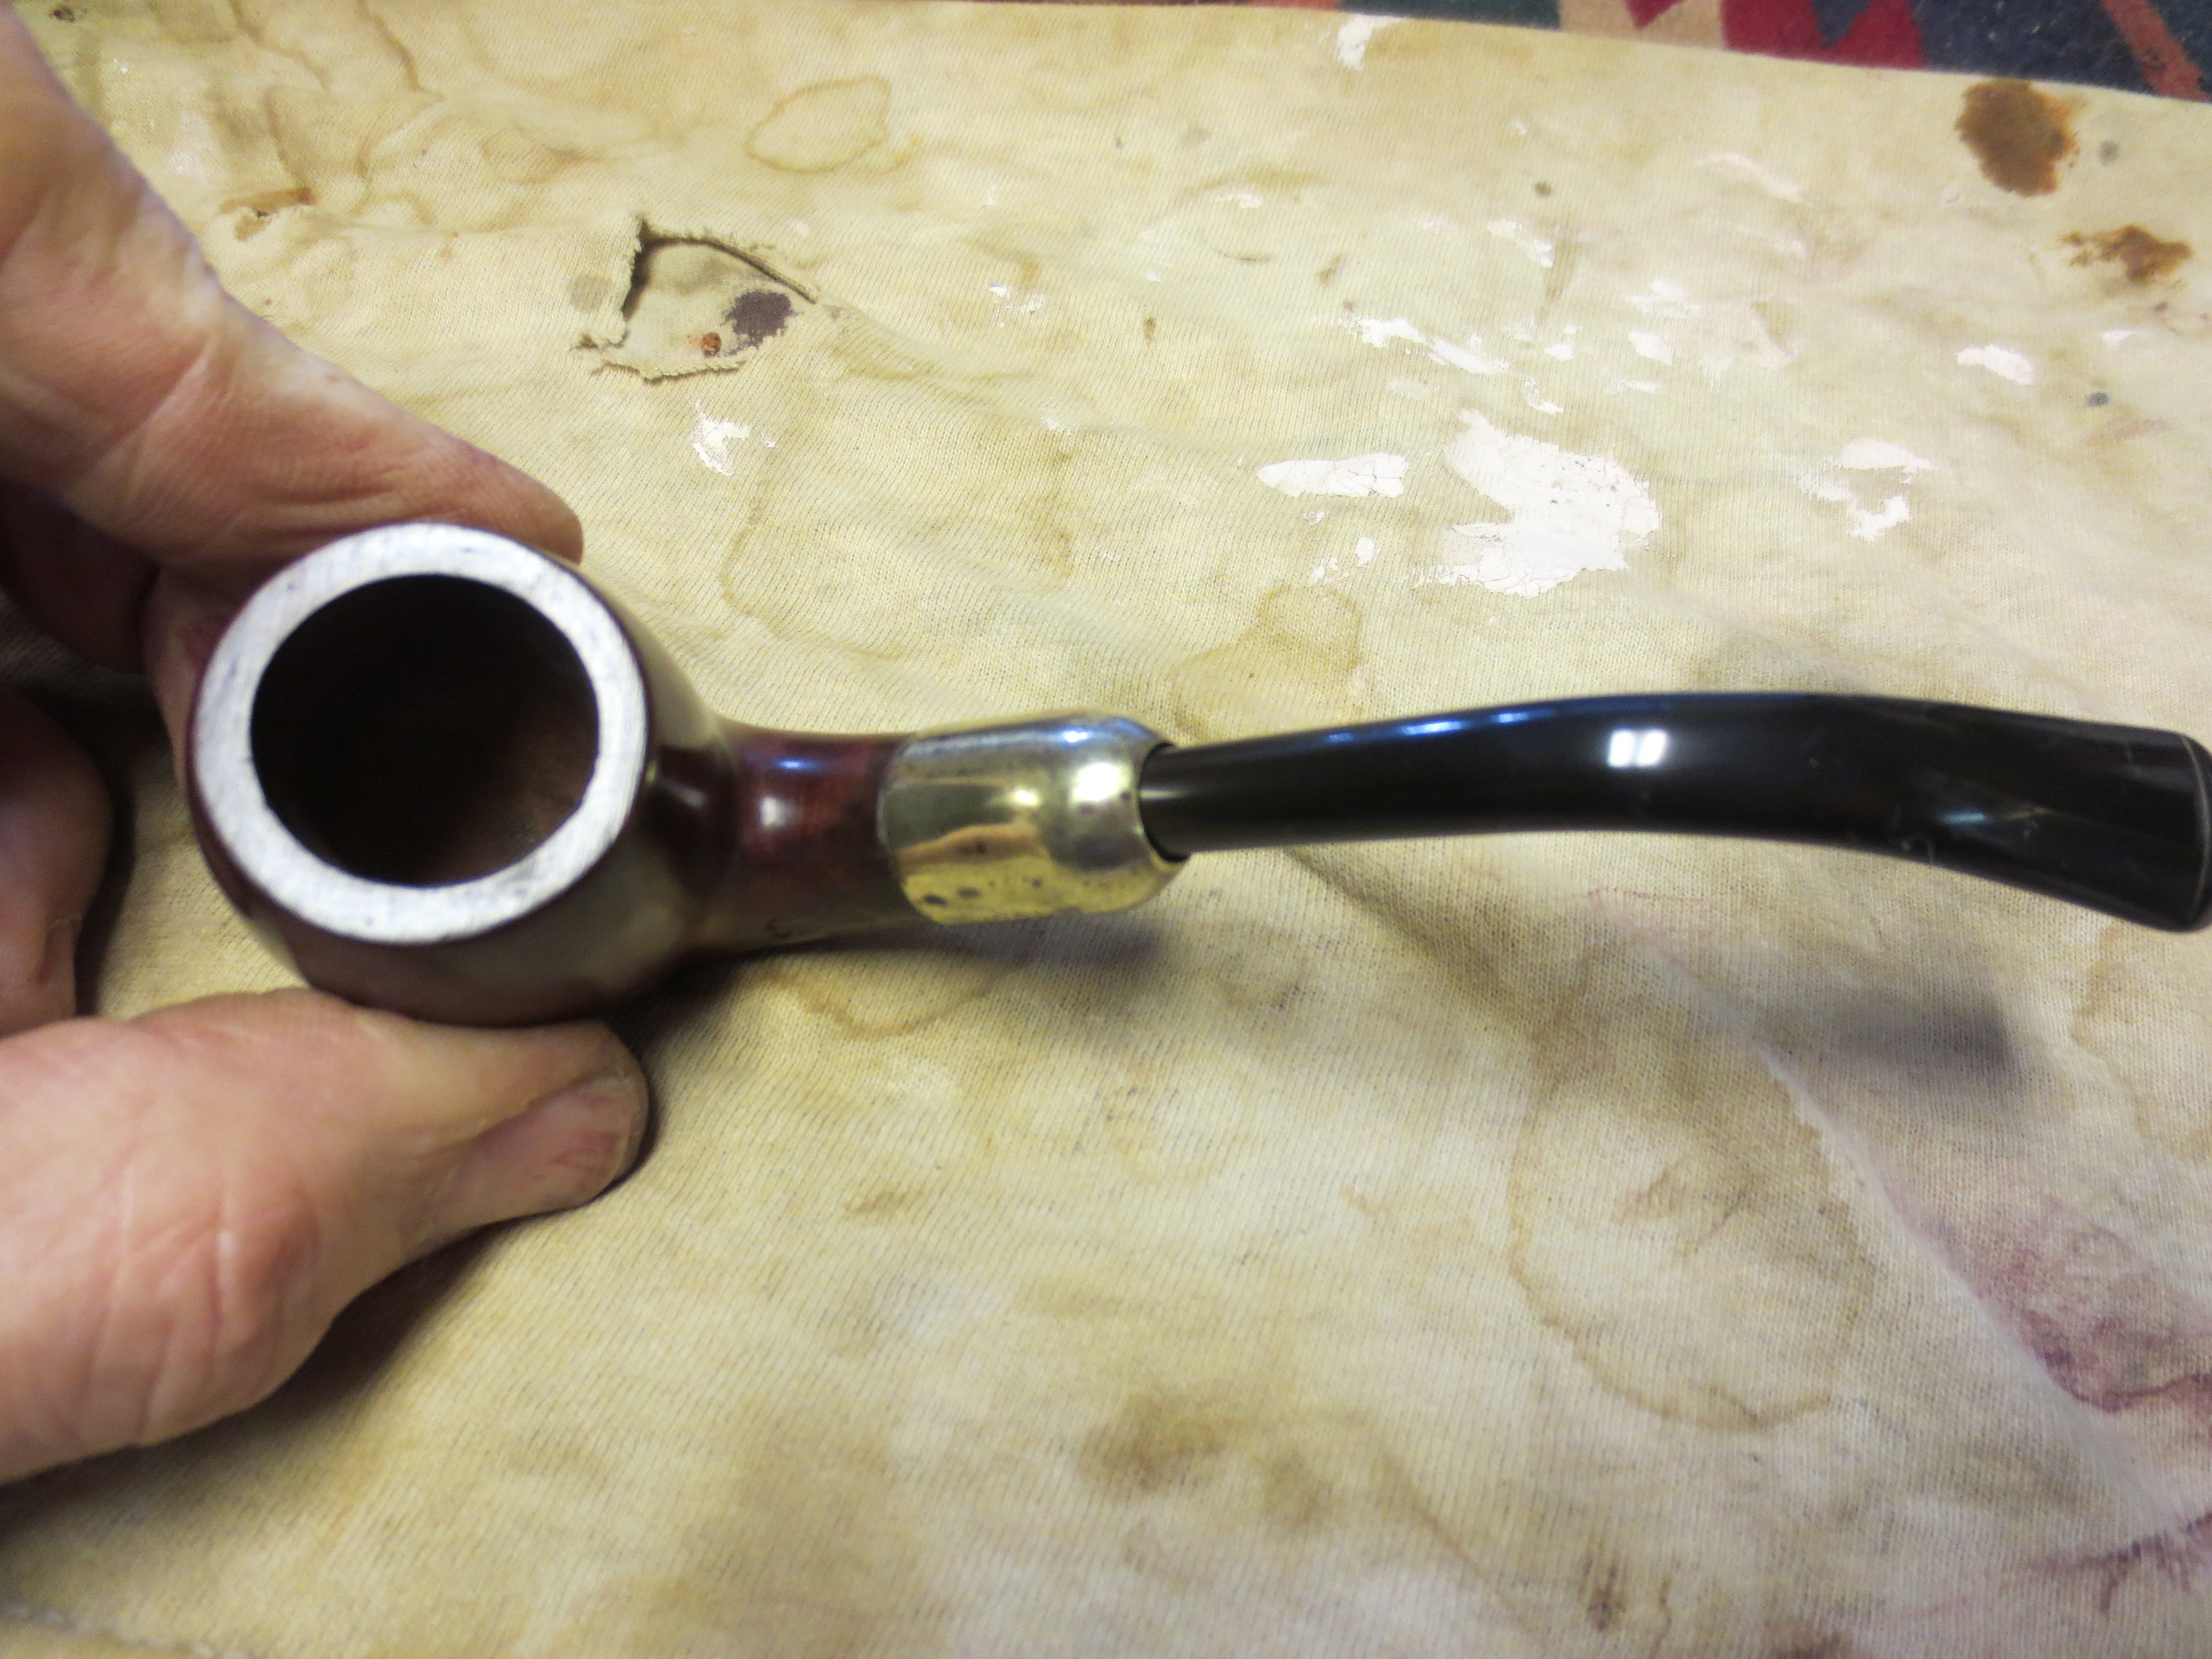
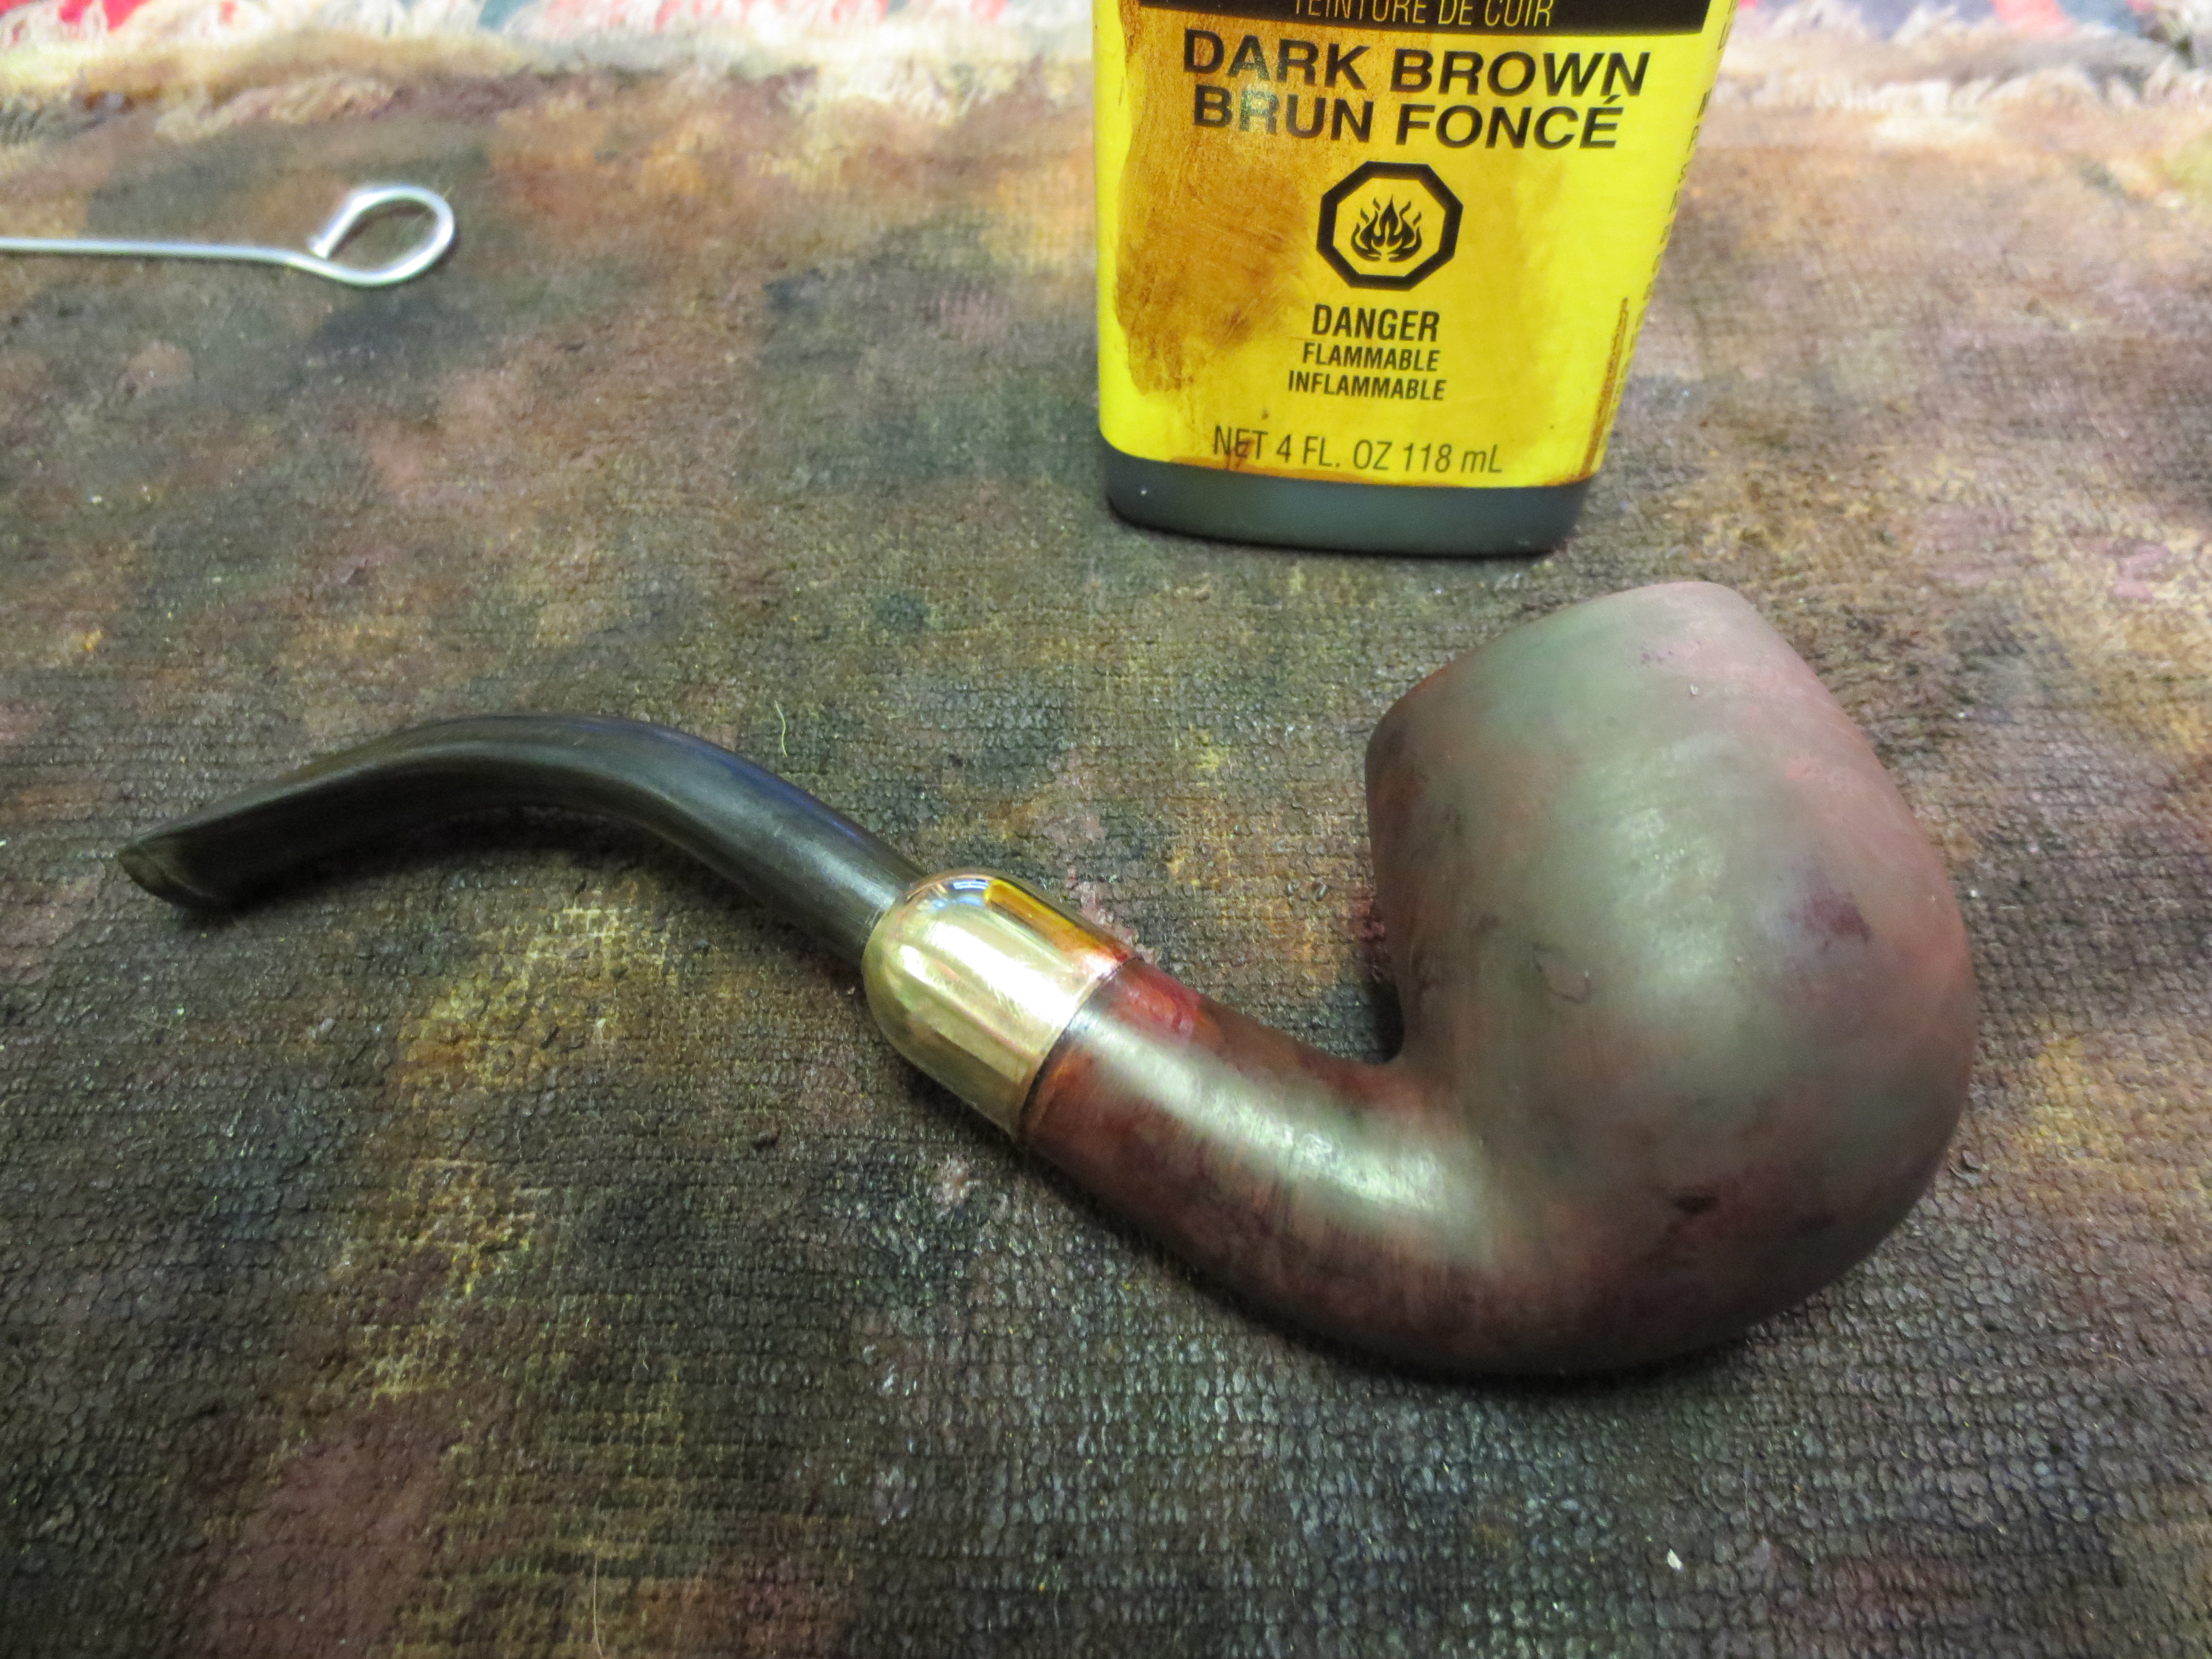
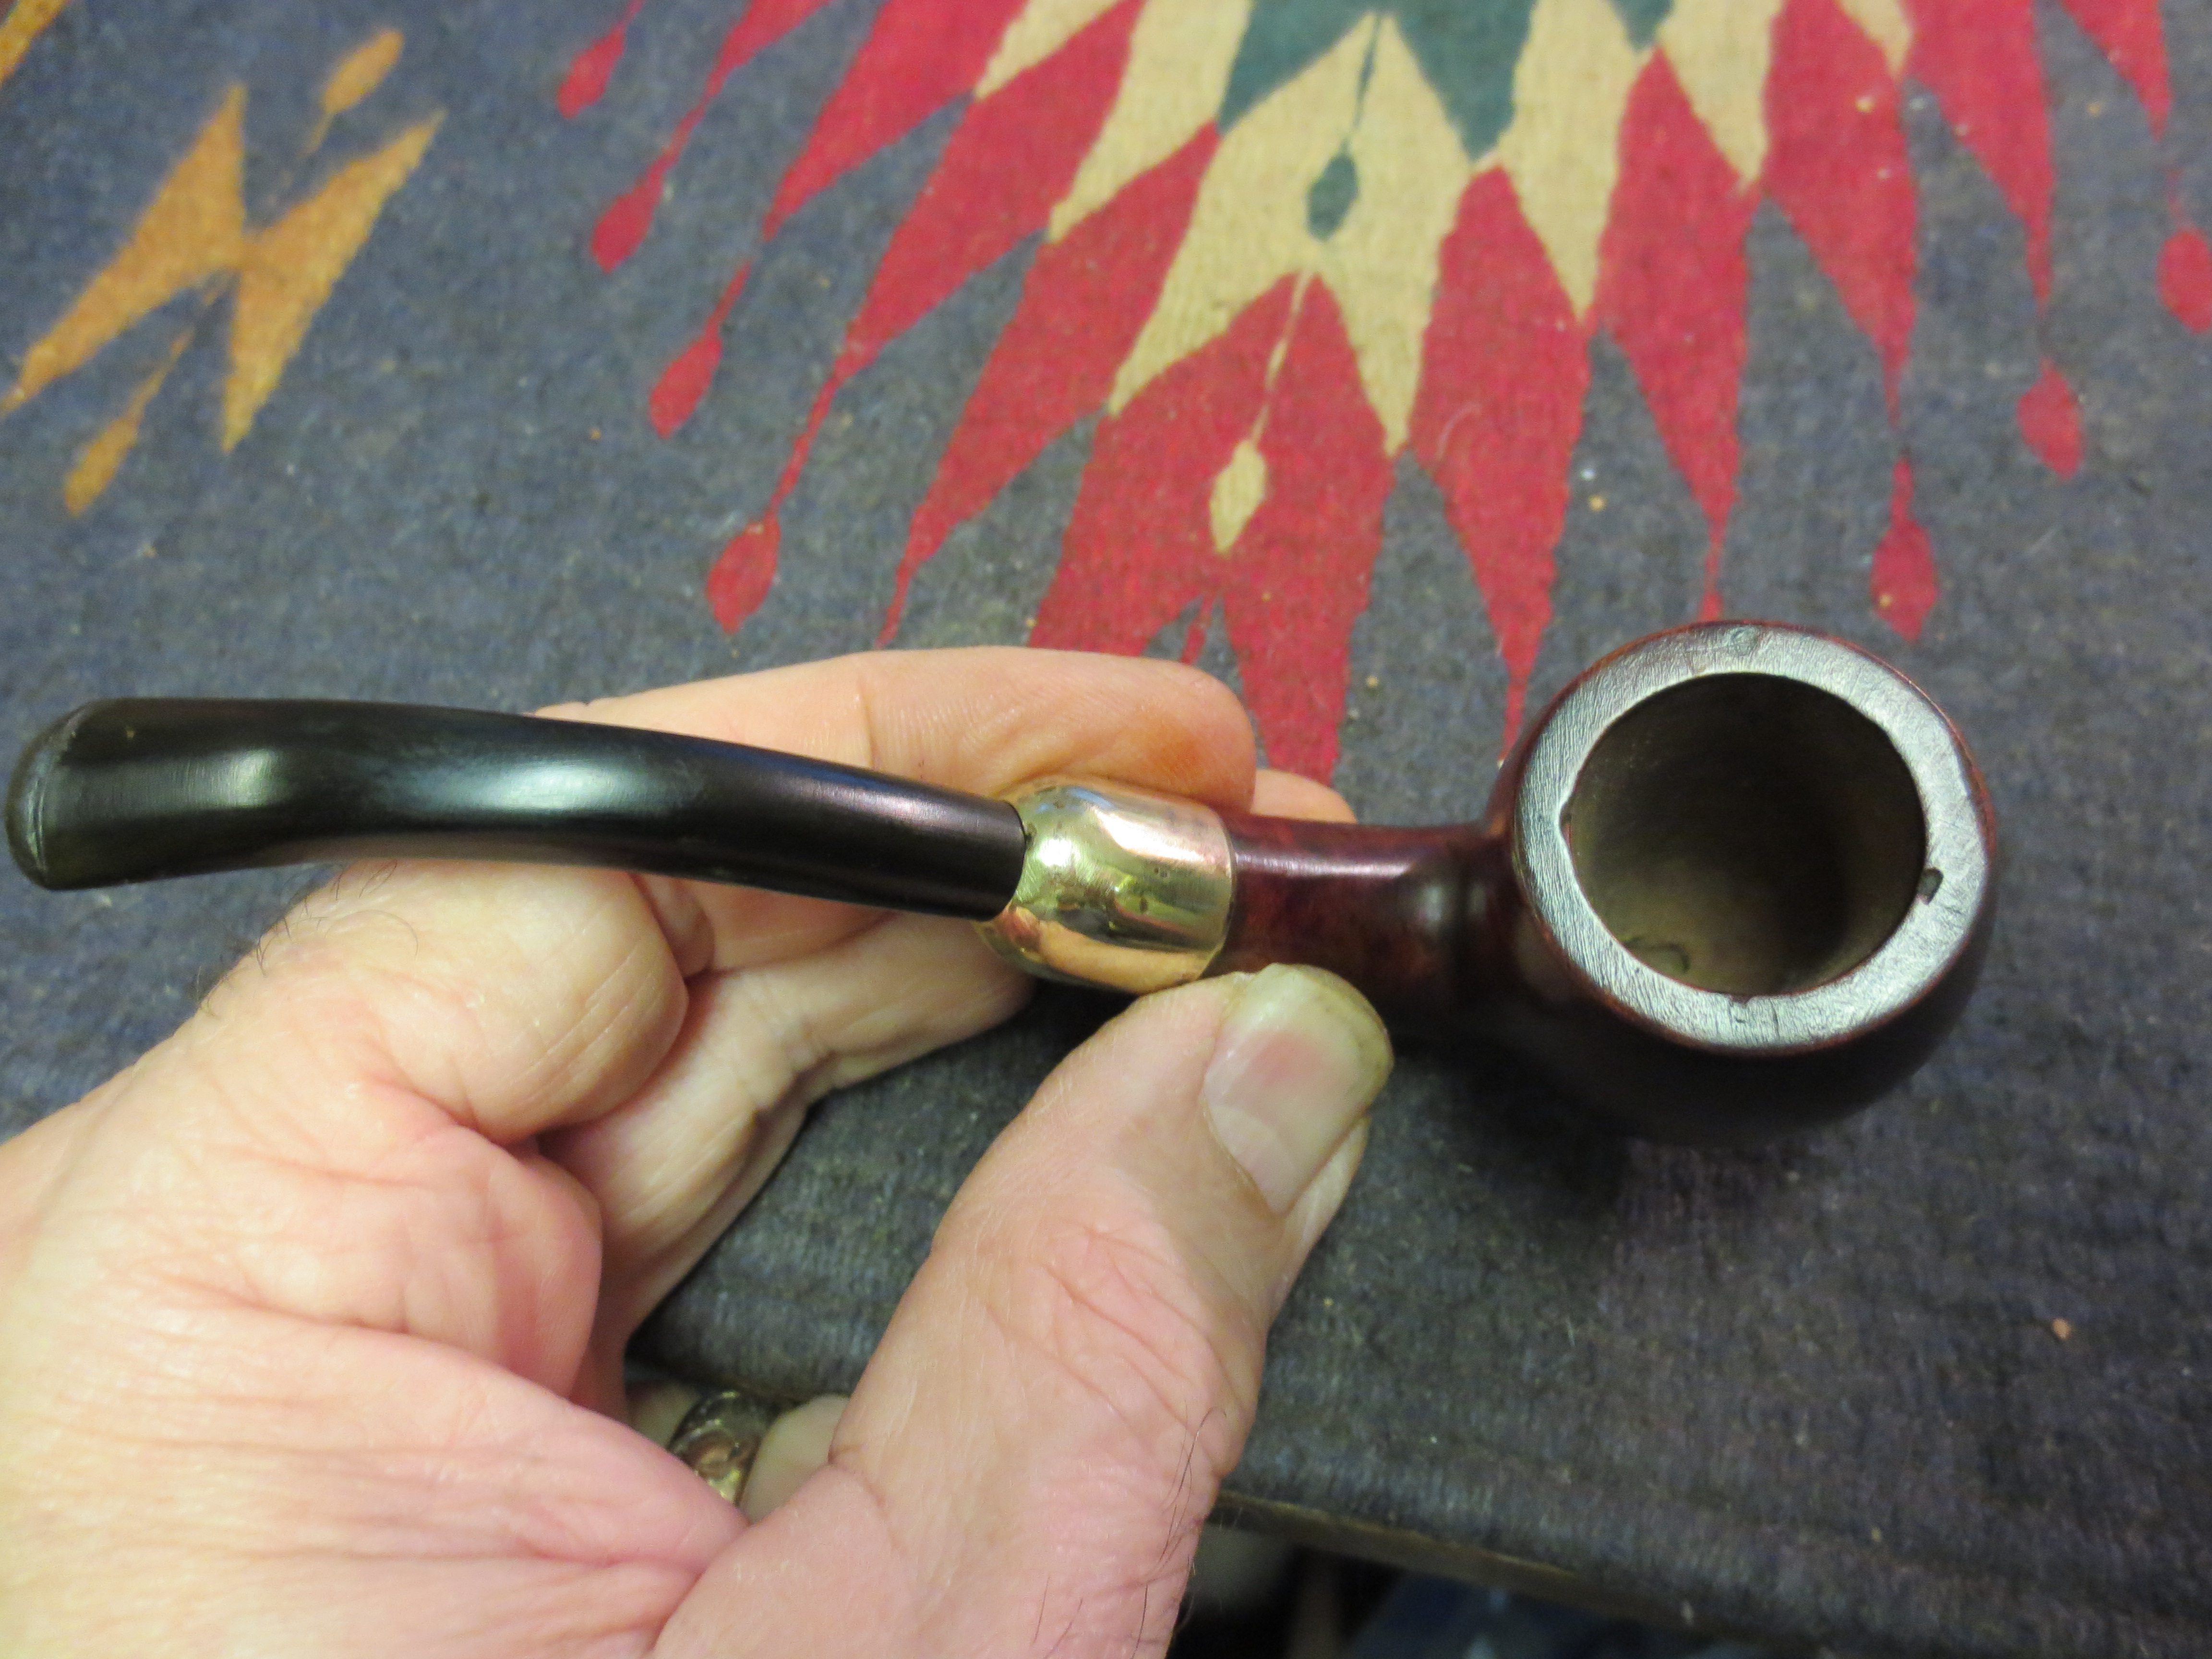
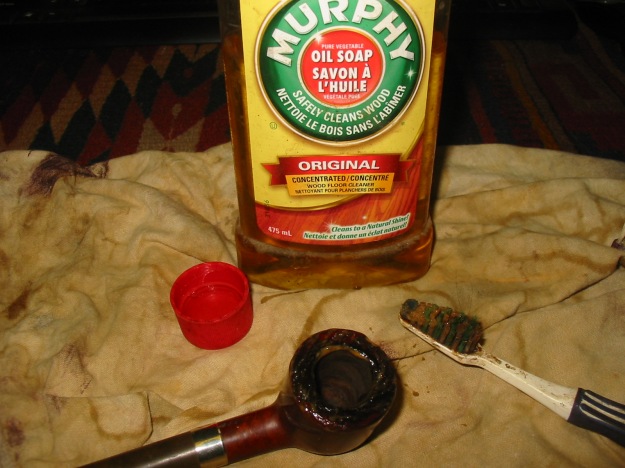
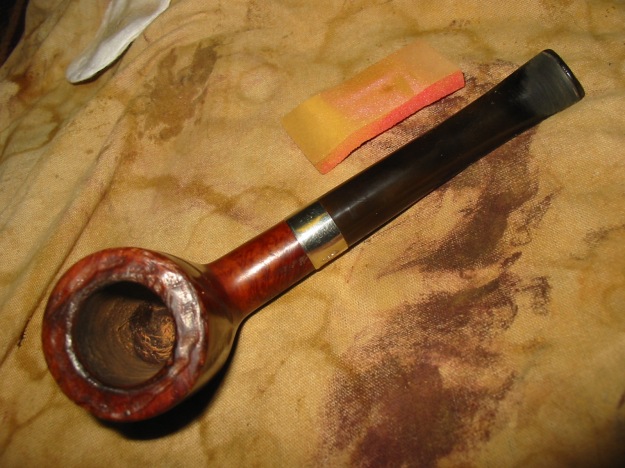
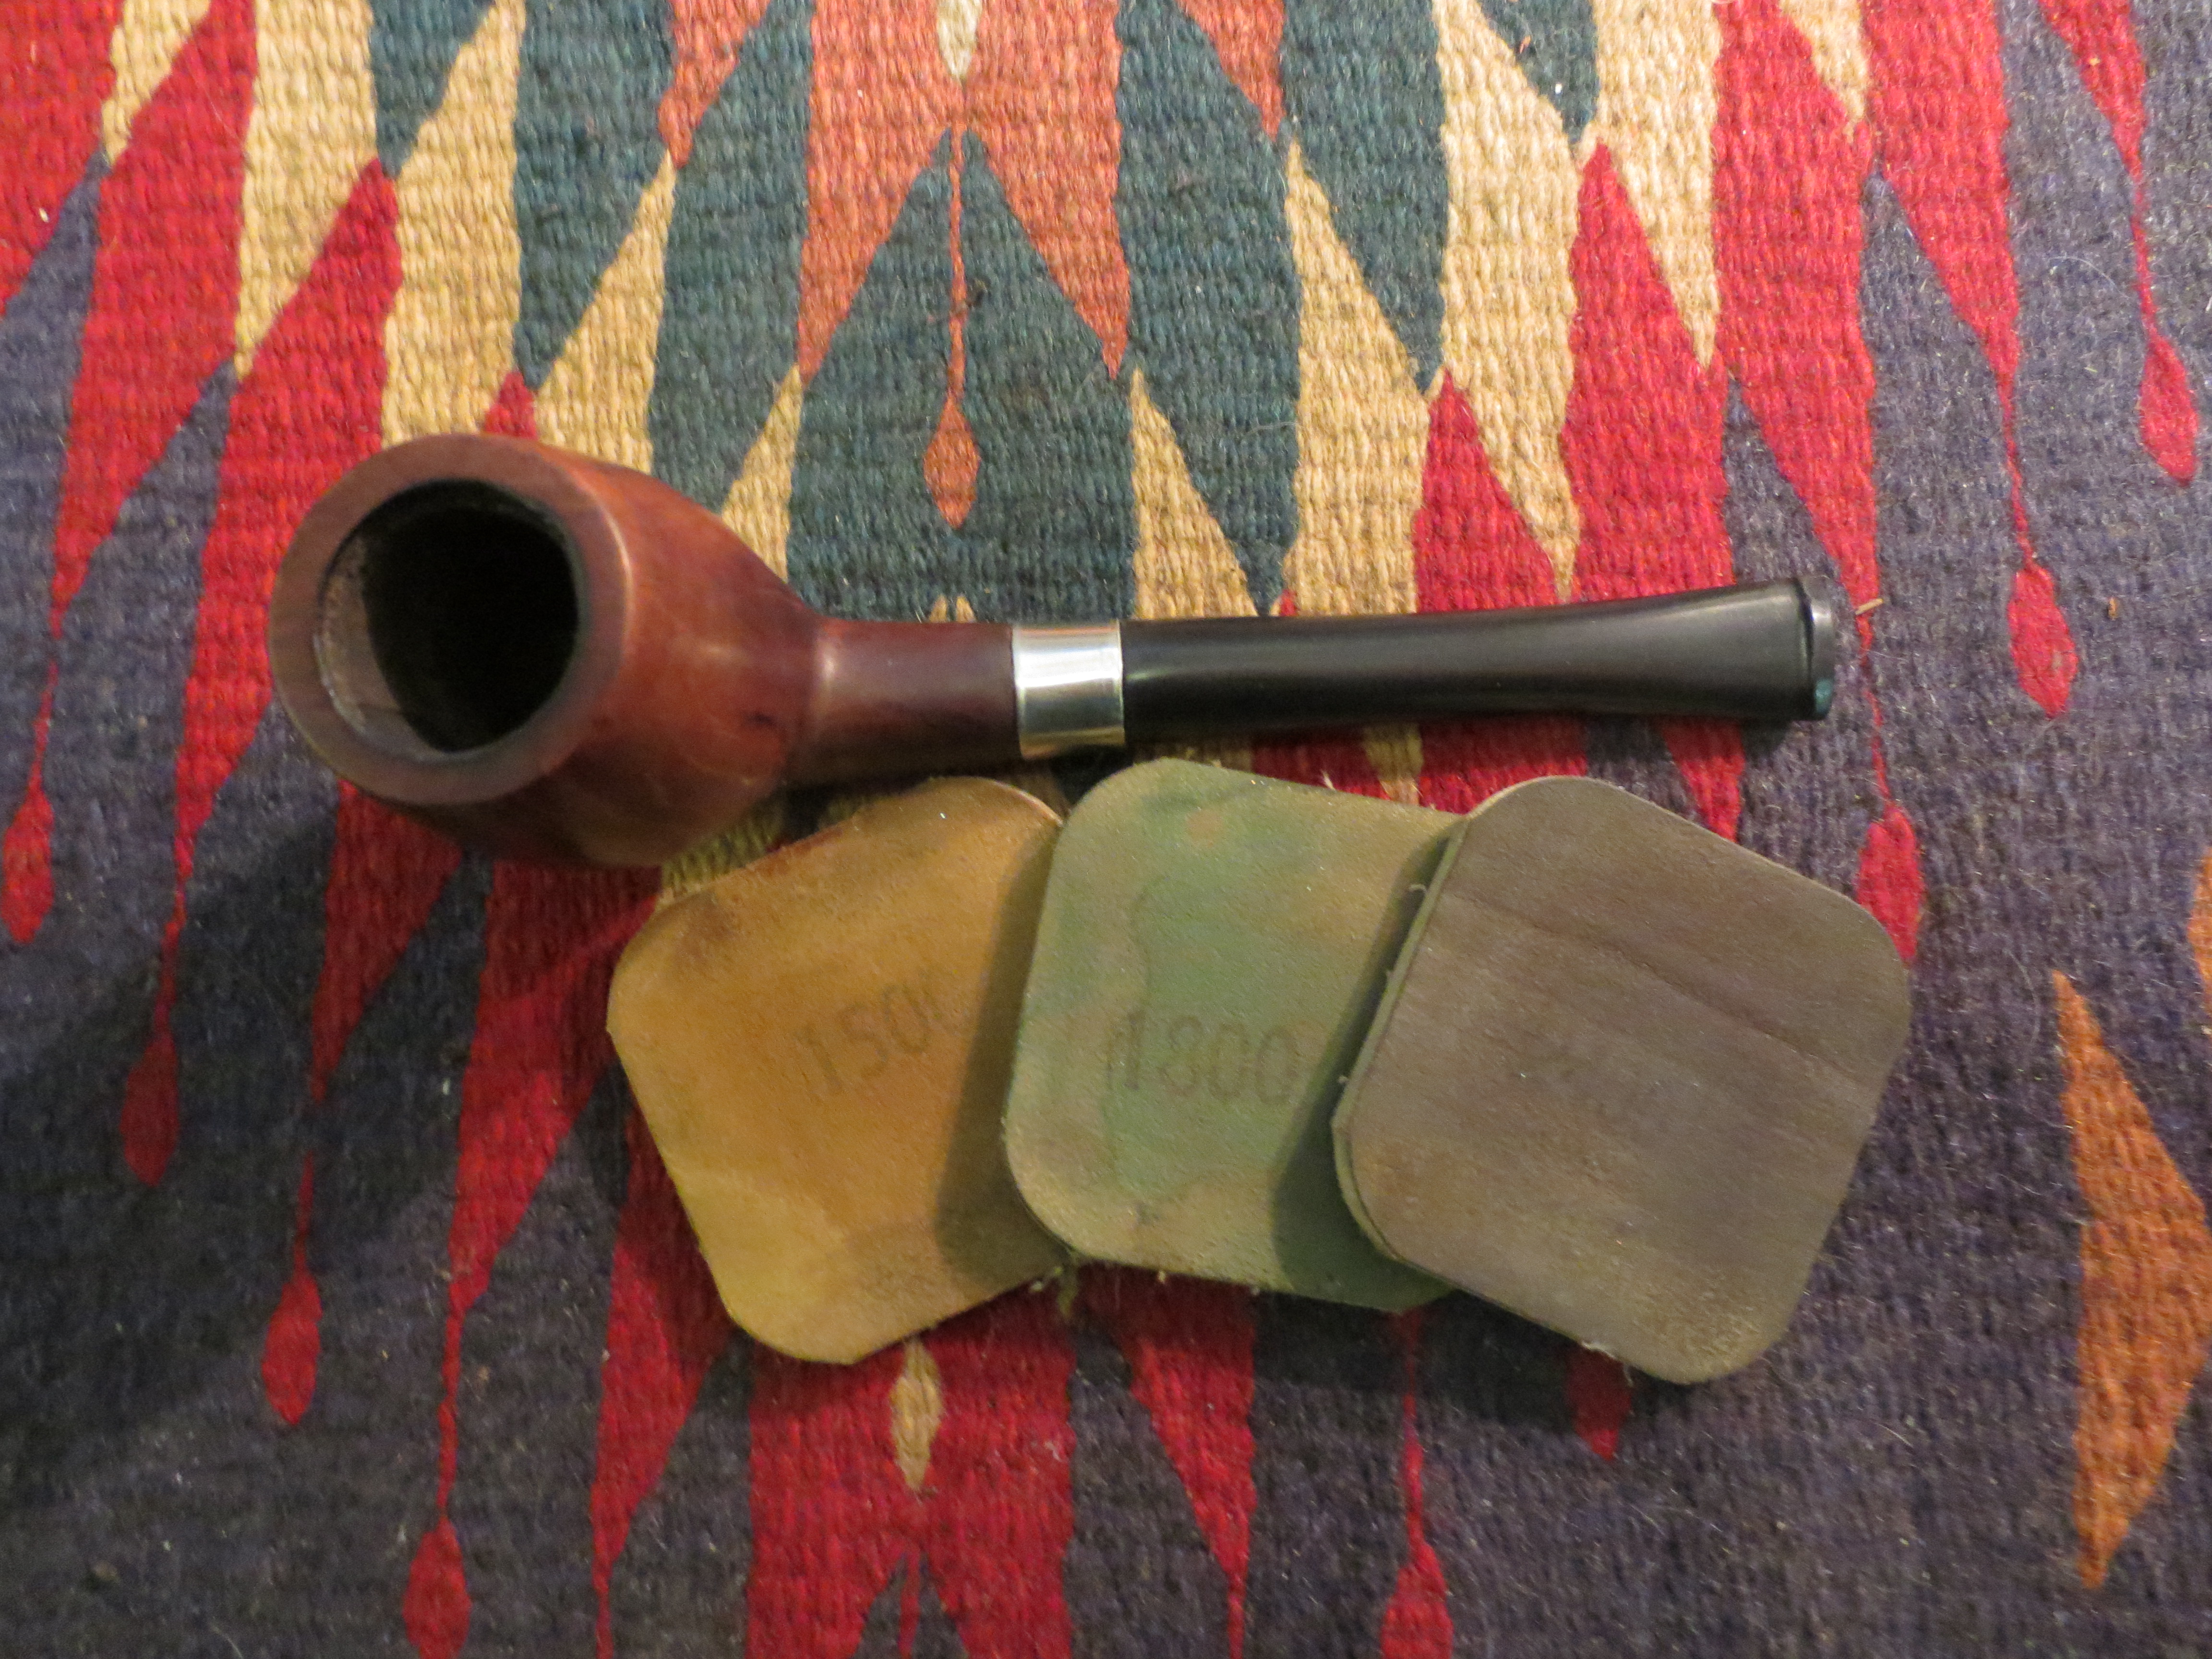
After buffing the pipe I reamed it with my PipNet reamer to clean out the crumbling and broken cake that was on the surface of the bowl (Photo 1). I sanded it some more and then wiped it down with an alcohol dampened cotton pad and prepared tit for restaining (Photos 2 & 3).
IMG_0809

IMG_0811

IMG_0810
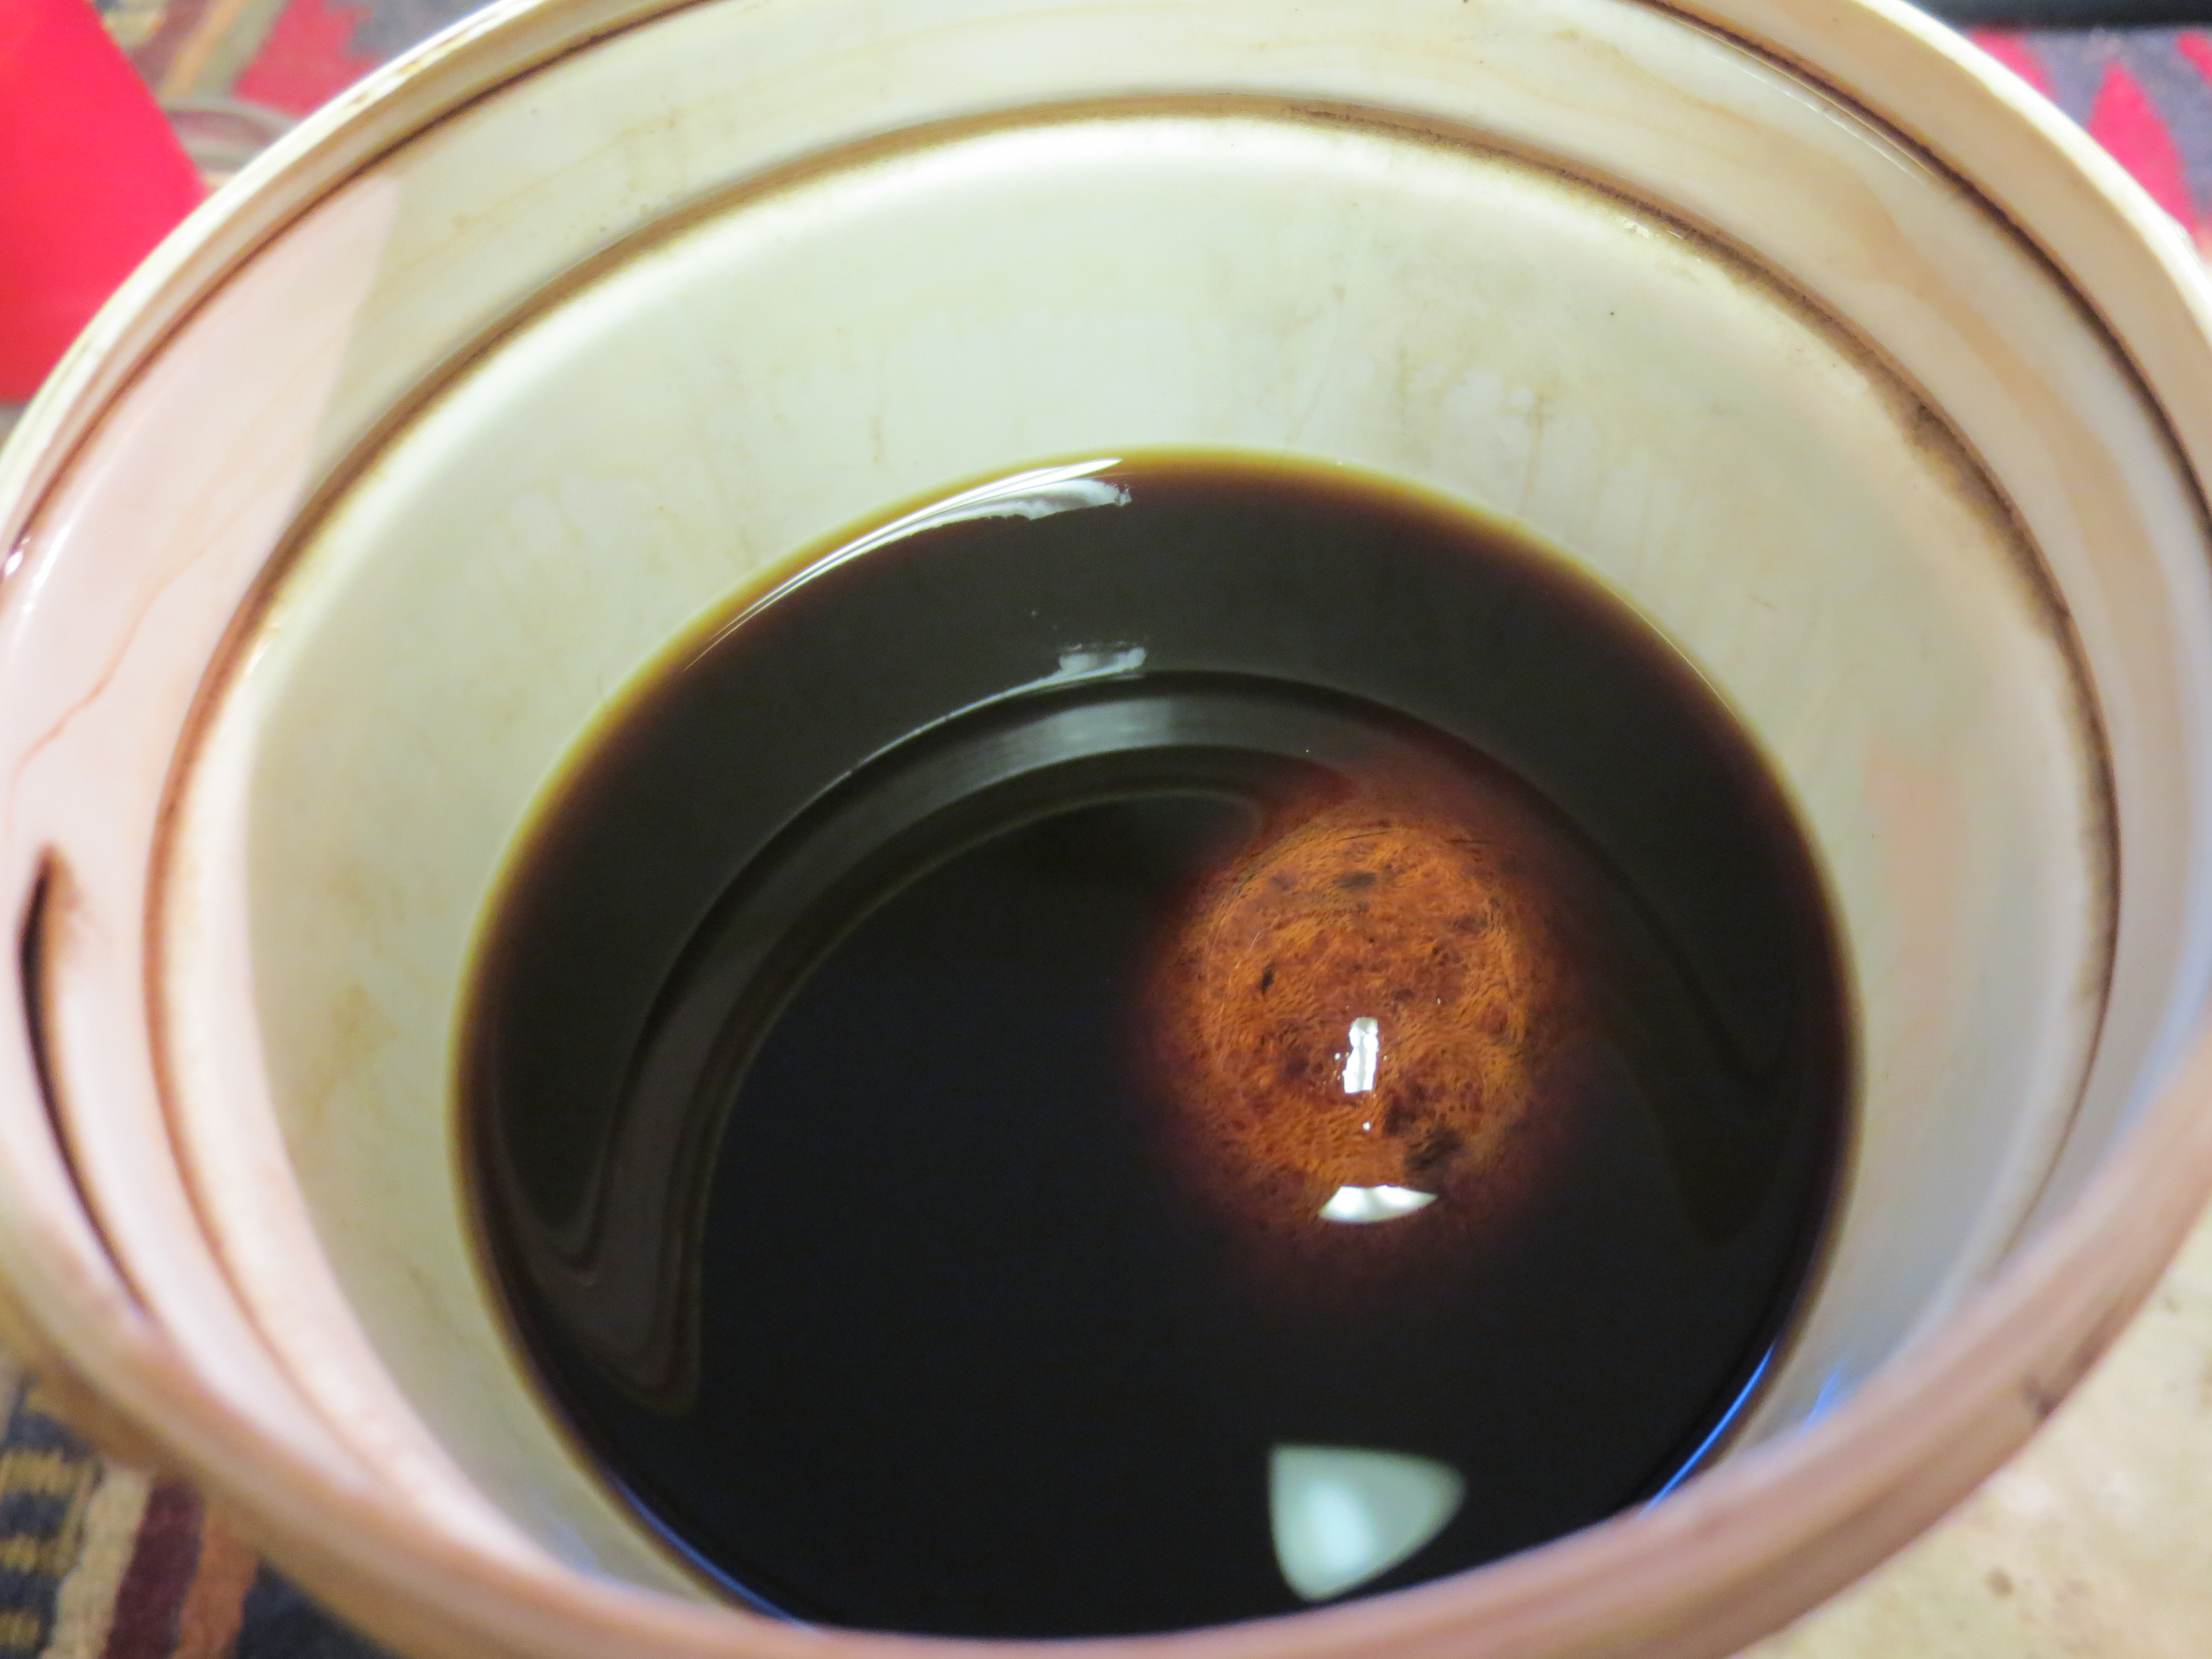
I receive regular tweets from Grant Batson, pipemaker. In one of the latest he wrote of experimenting with Danish Oil in finish the bowl of a pipe. I have several cans of that around from my refinishing furniture days so I decided to use some medium walnut coloured Danish Oil on this bowl. The next four photos show the stained pipe. I had yet to buff it or polish it at this point in the process. I just rubbed on the Danish Oil and then rubbed it off.
IMG_0812

IMG_0815

IMG_0814

IMG_0813
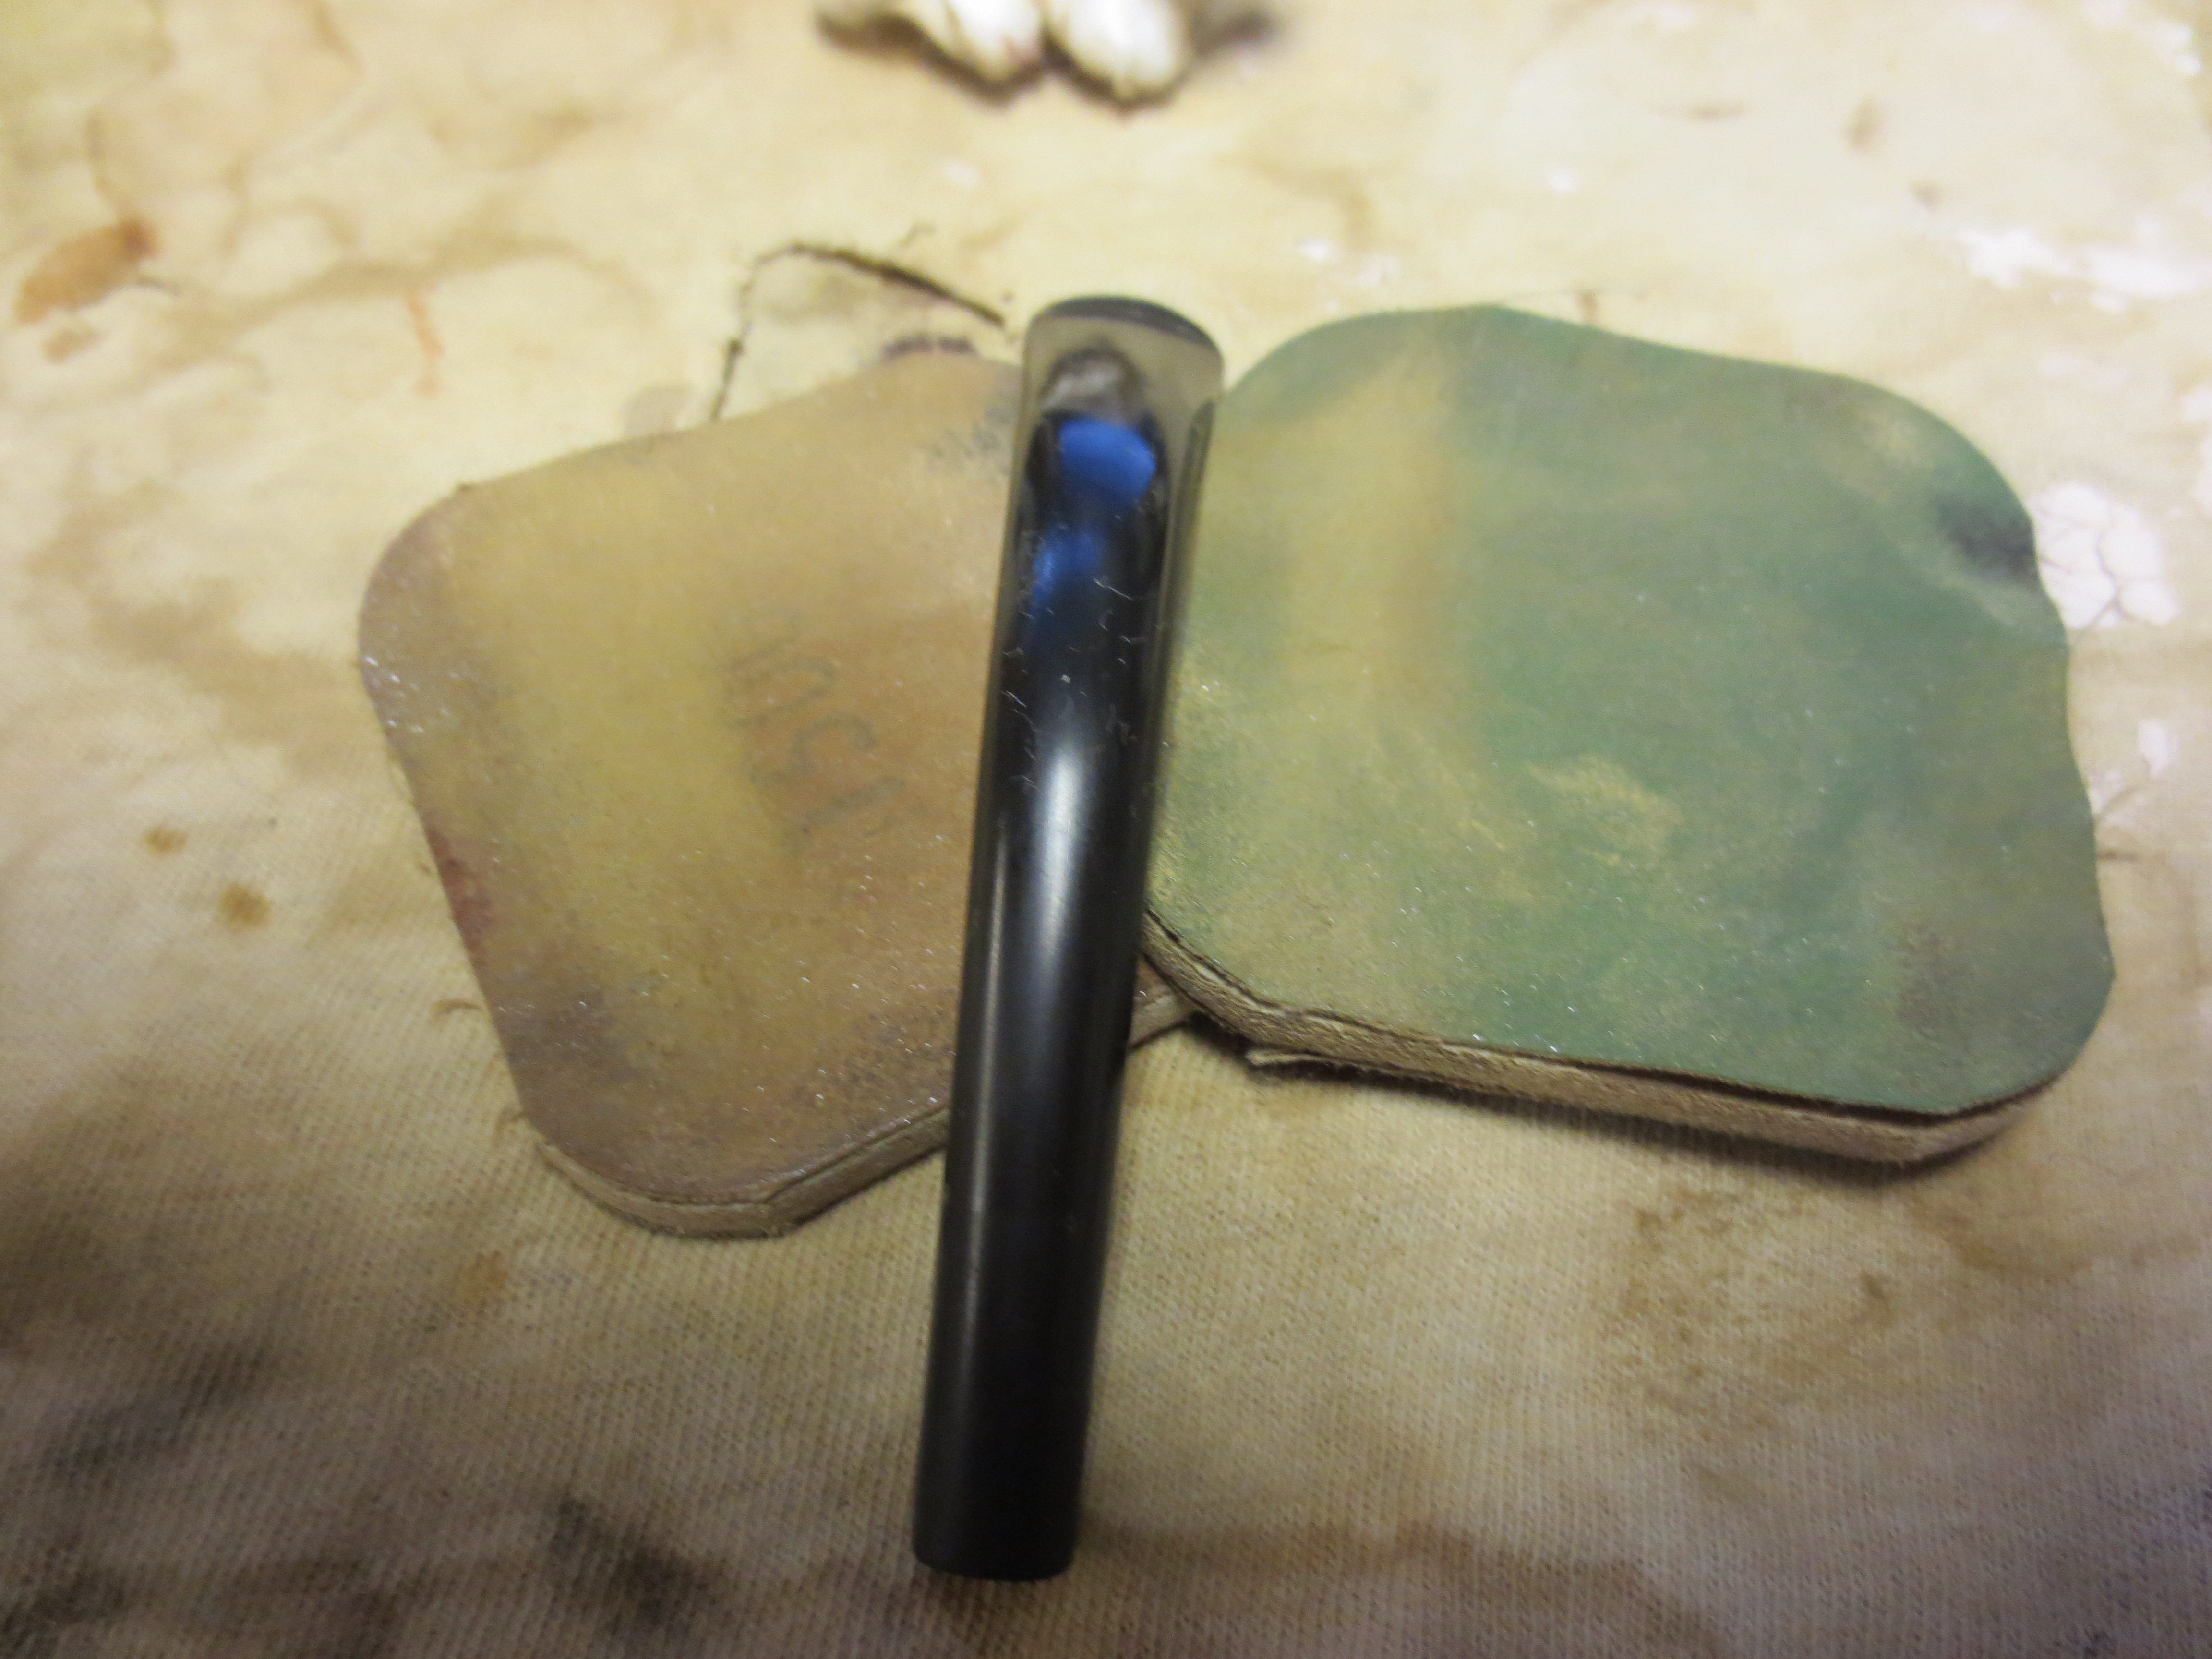
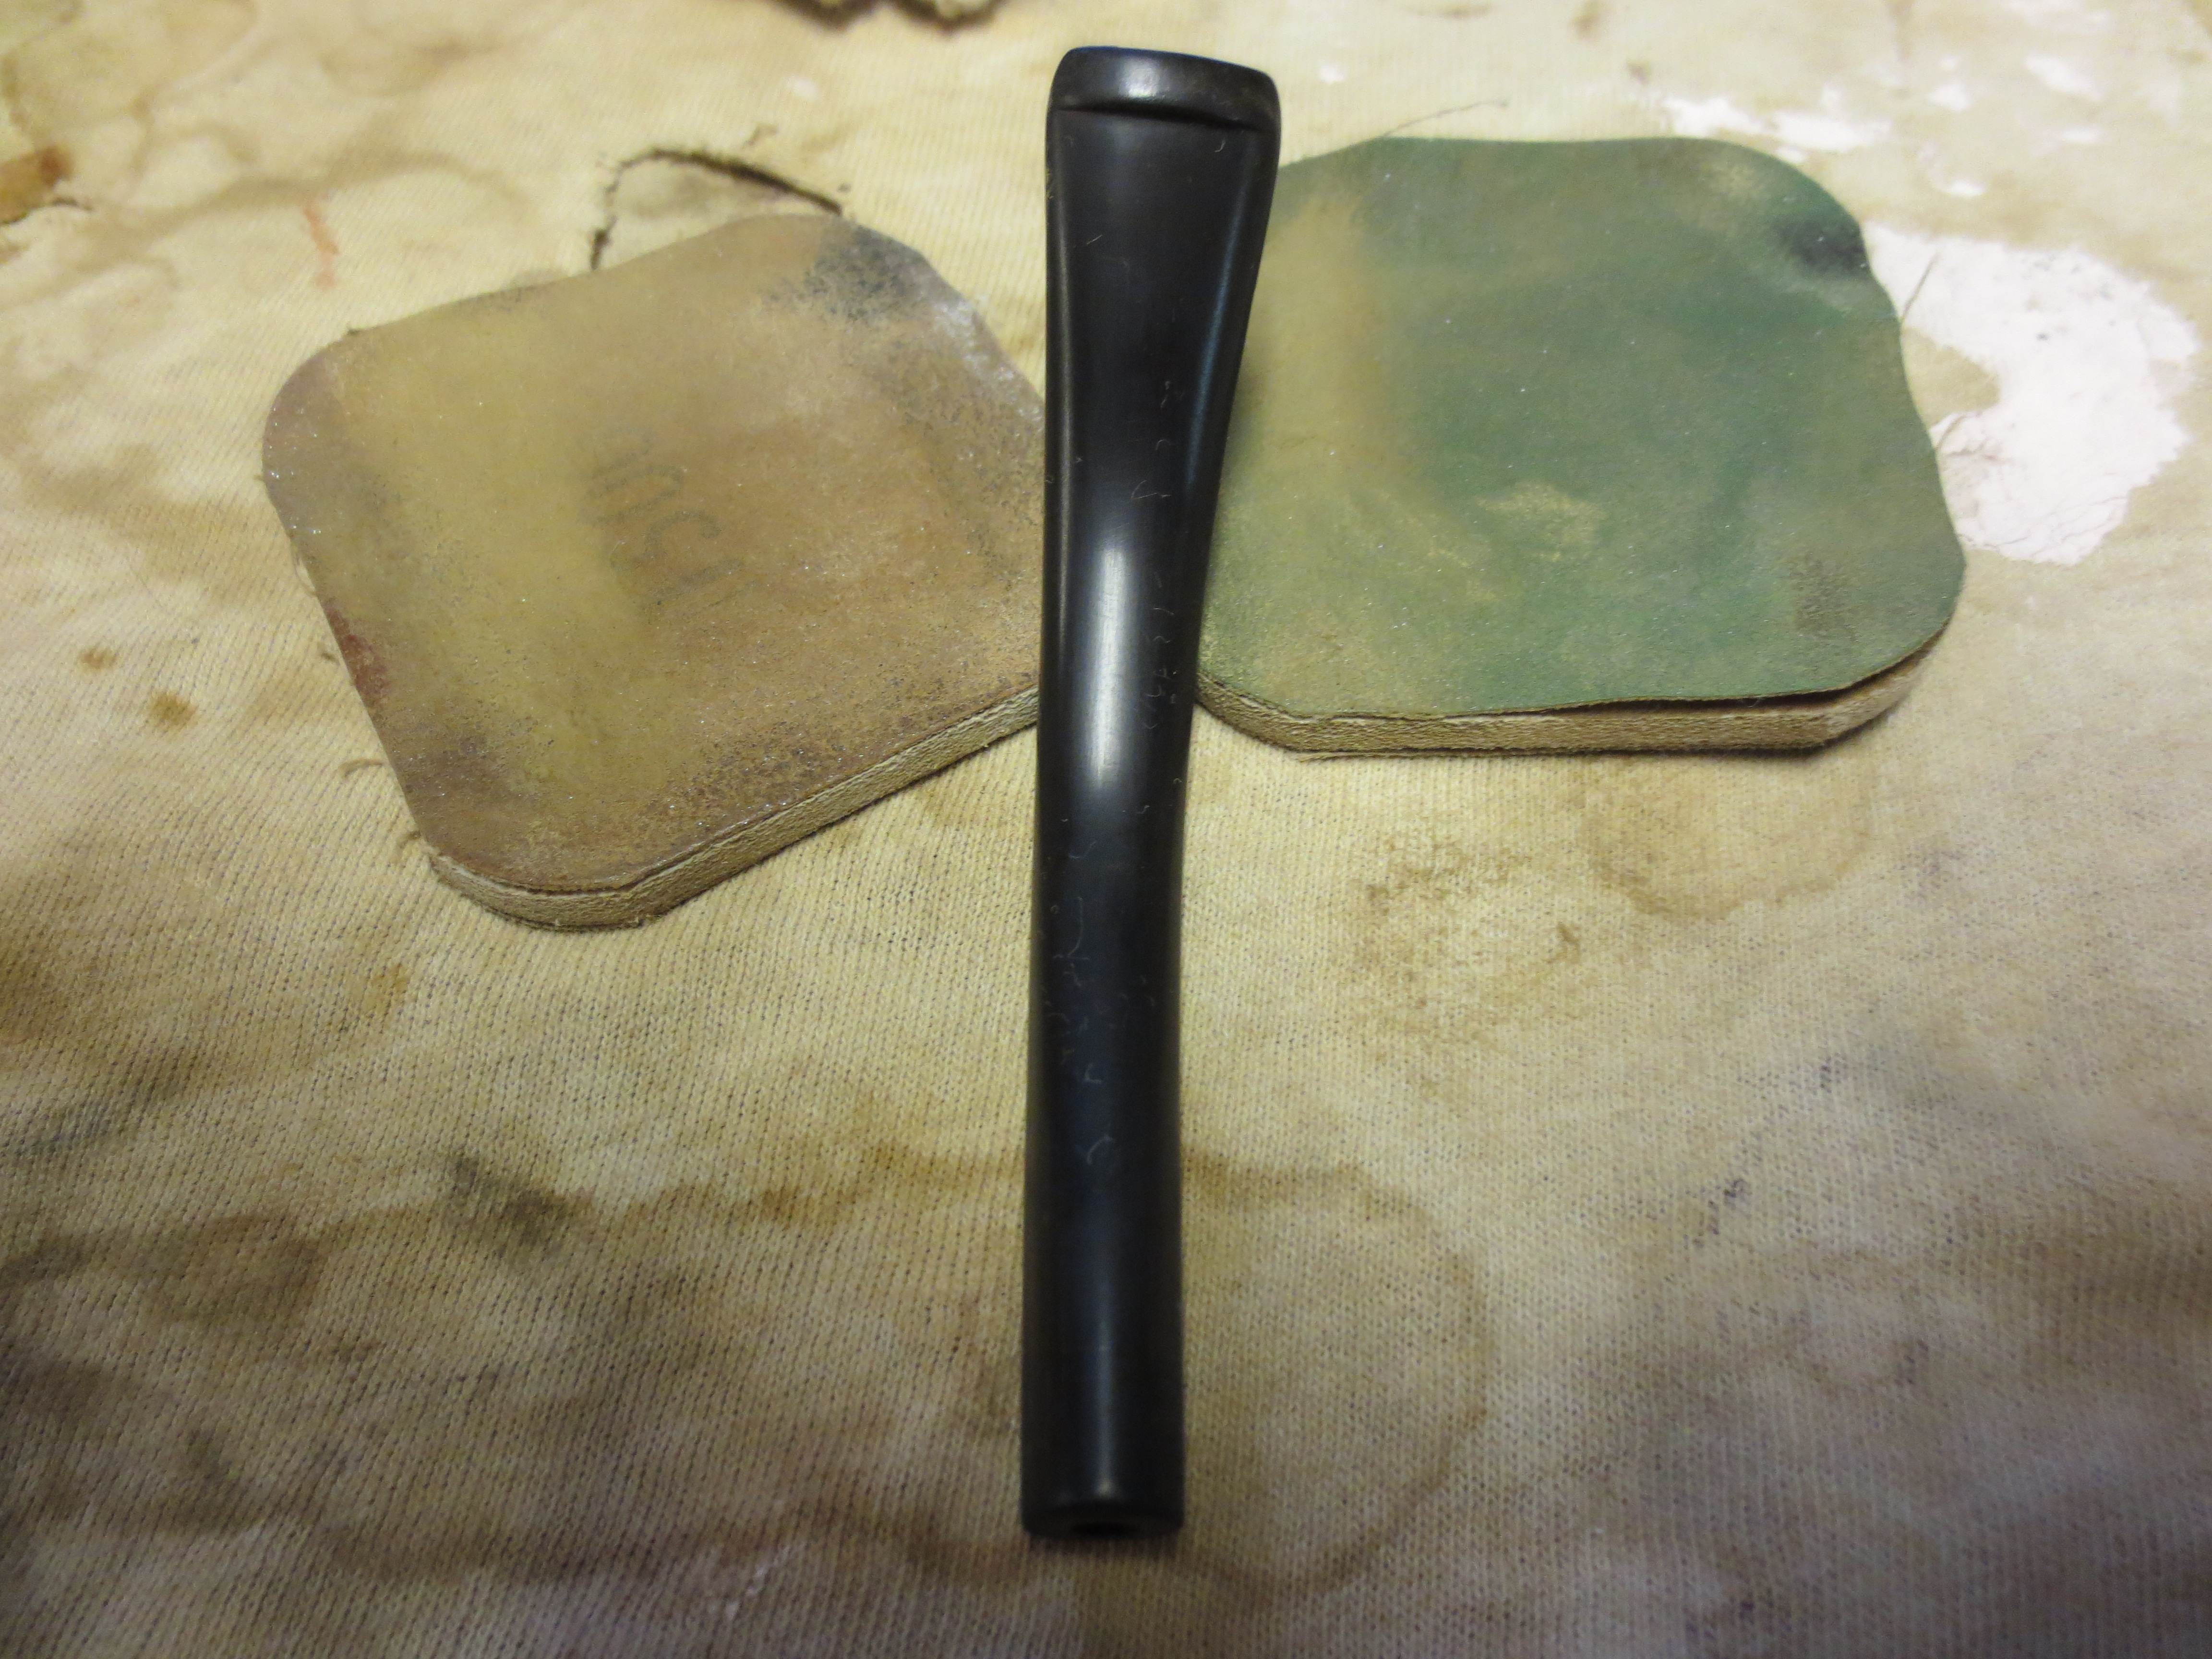
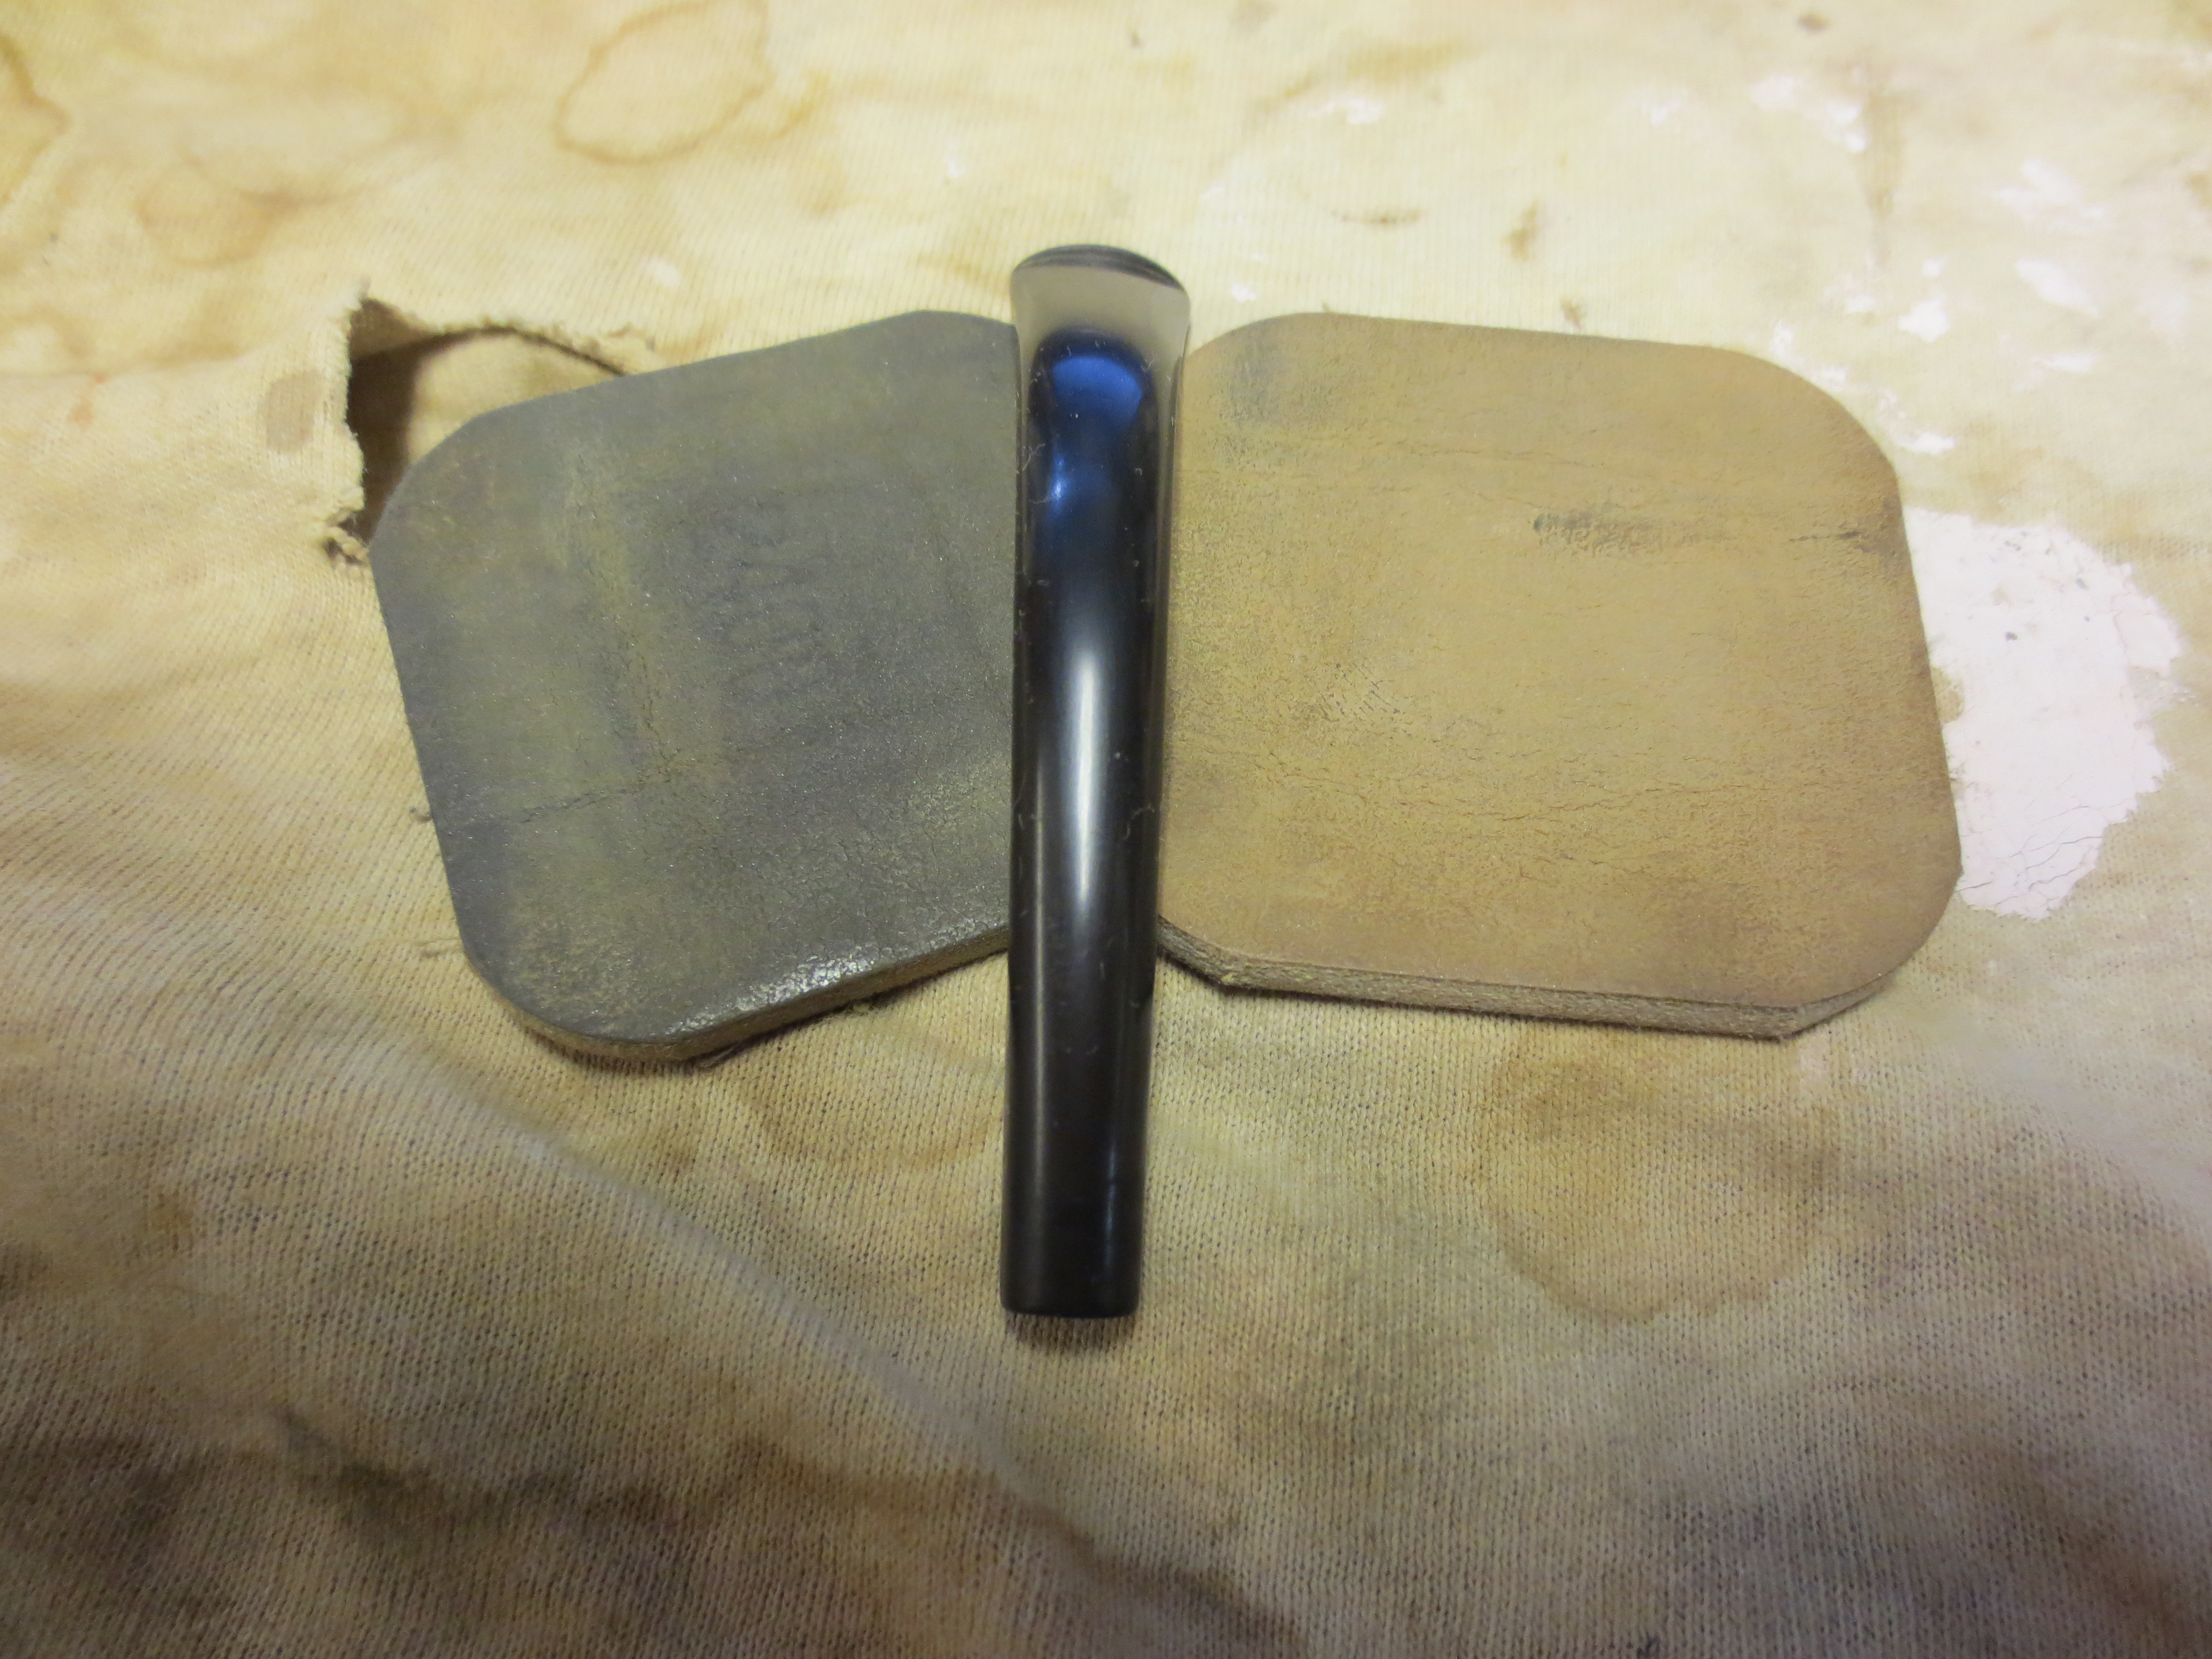
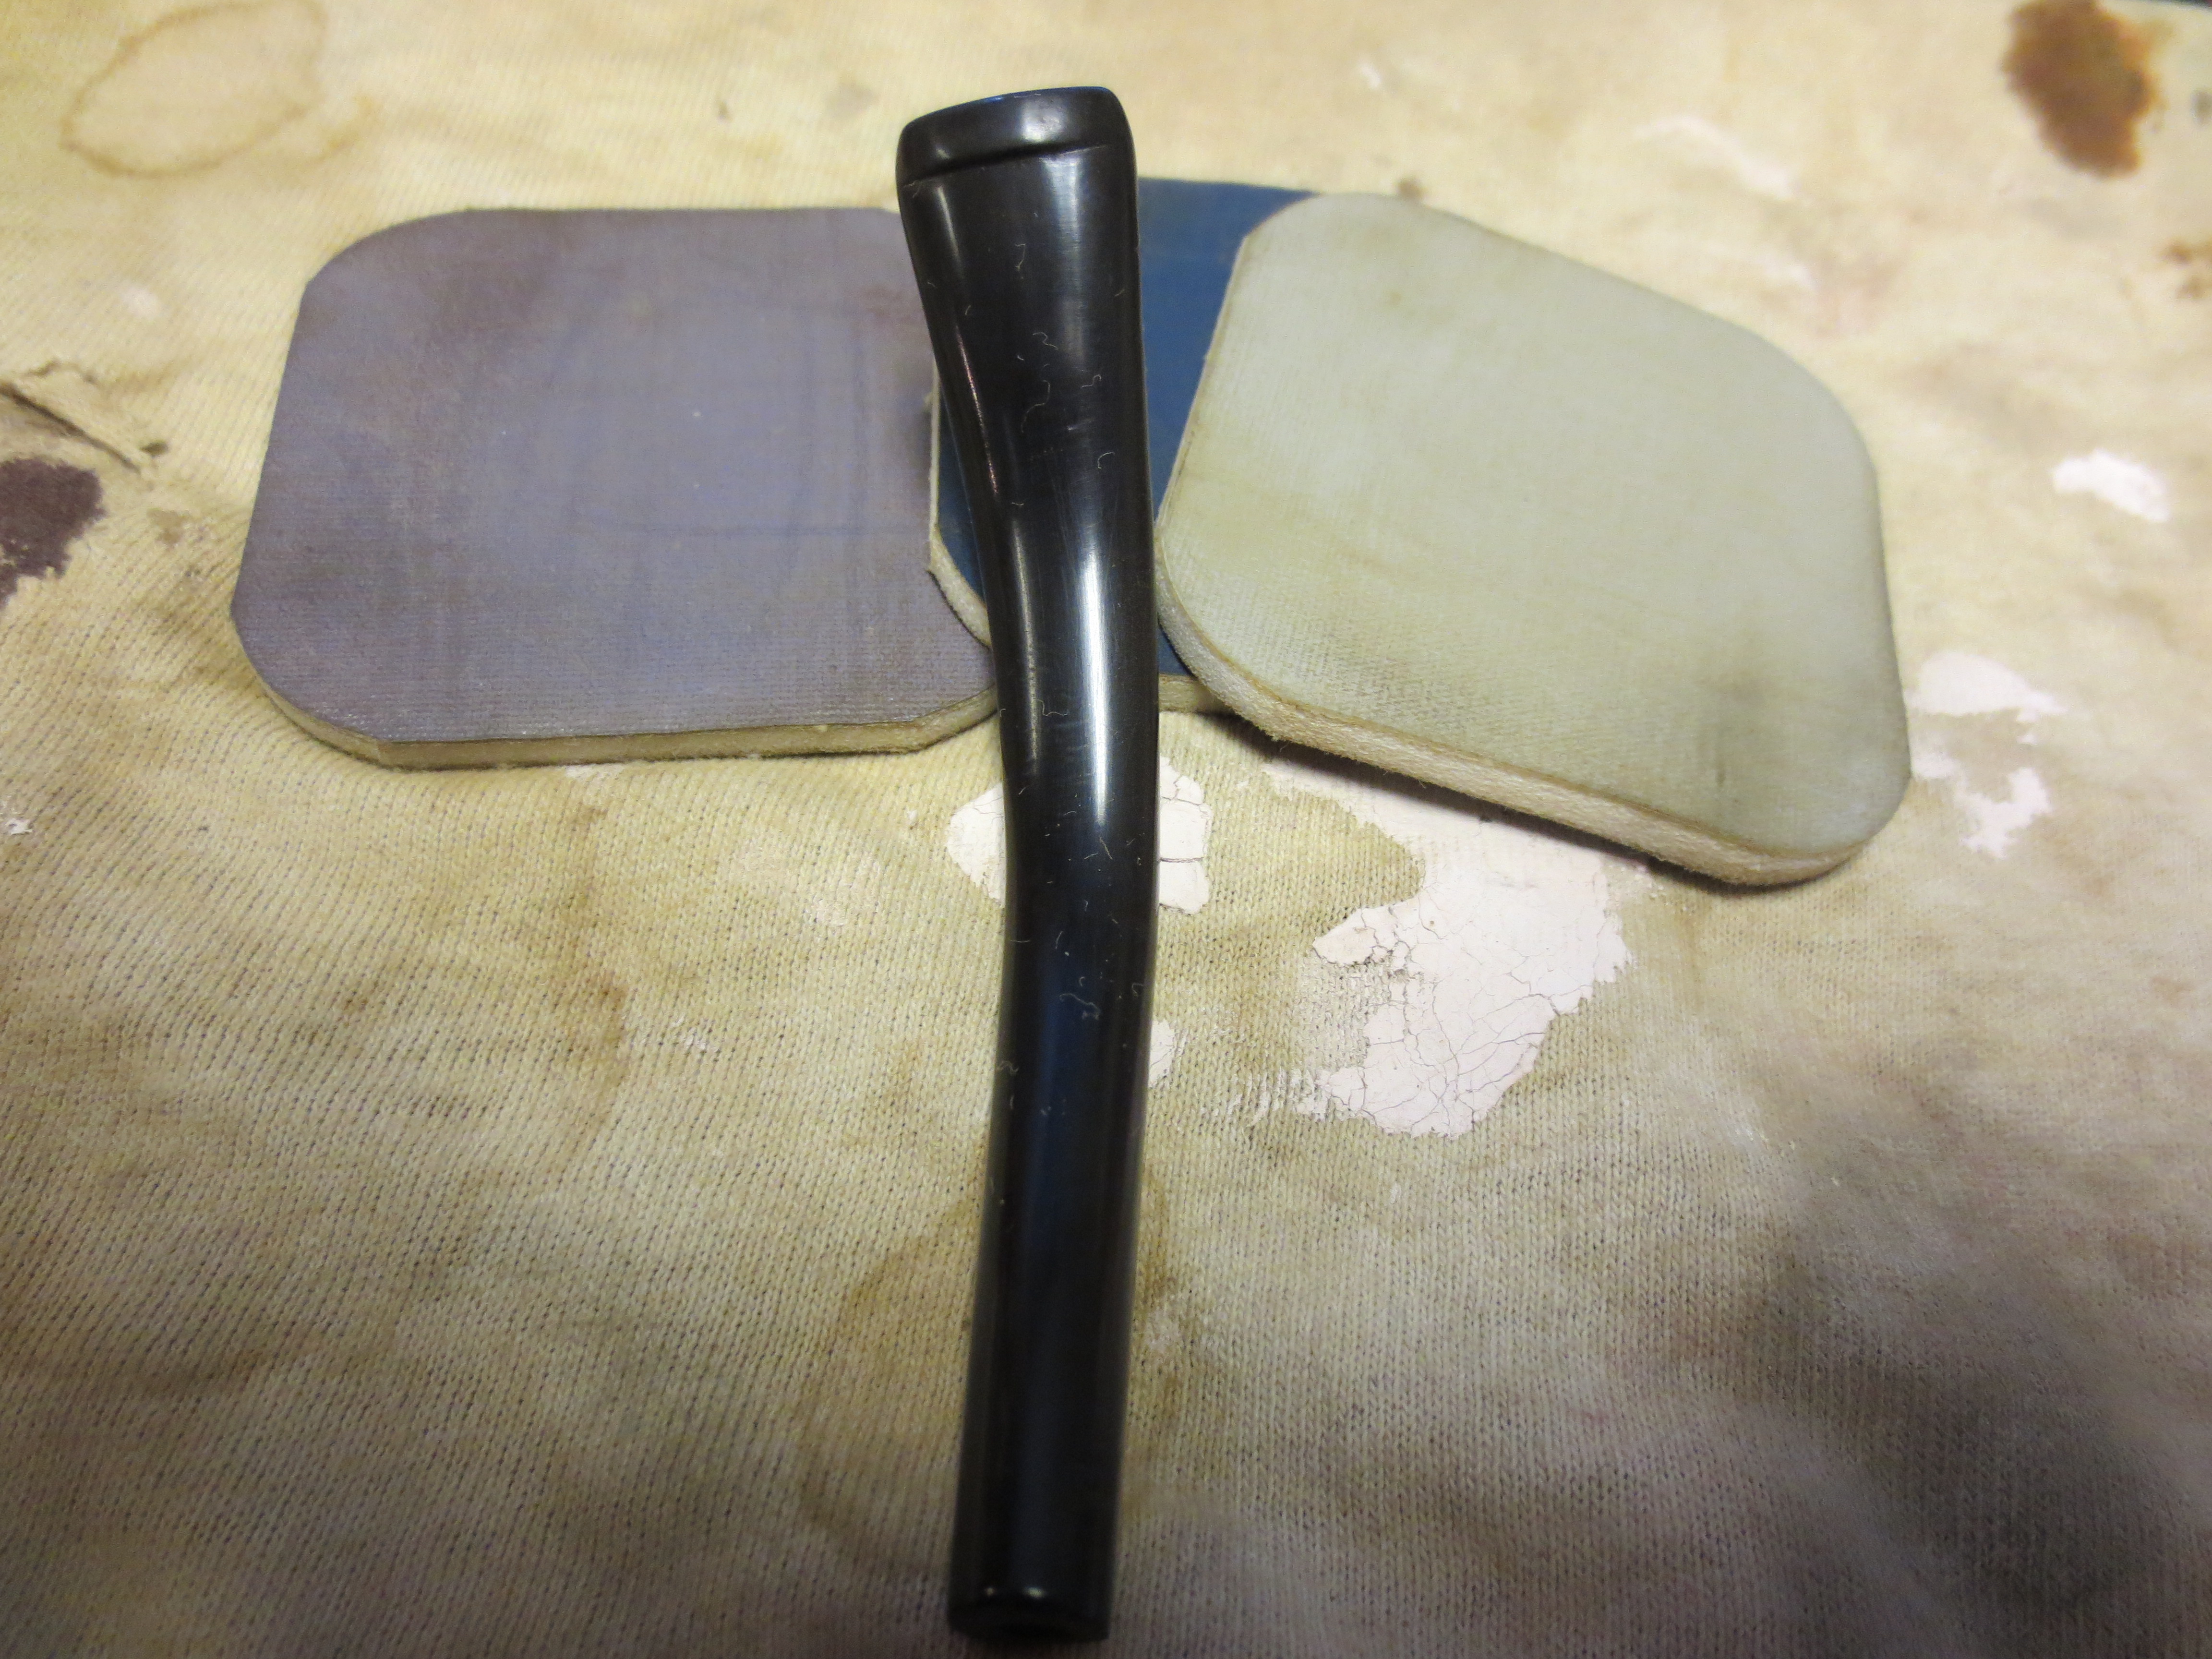
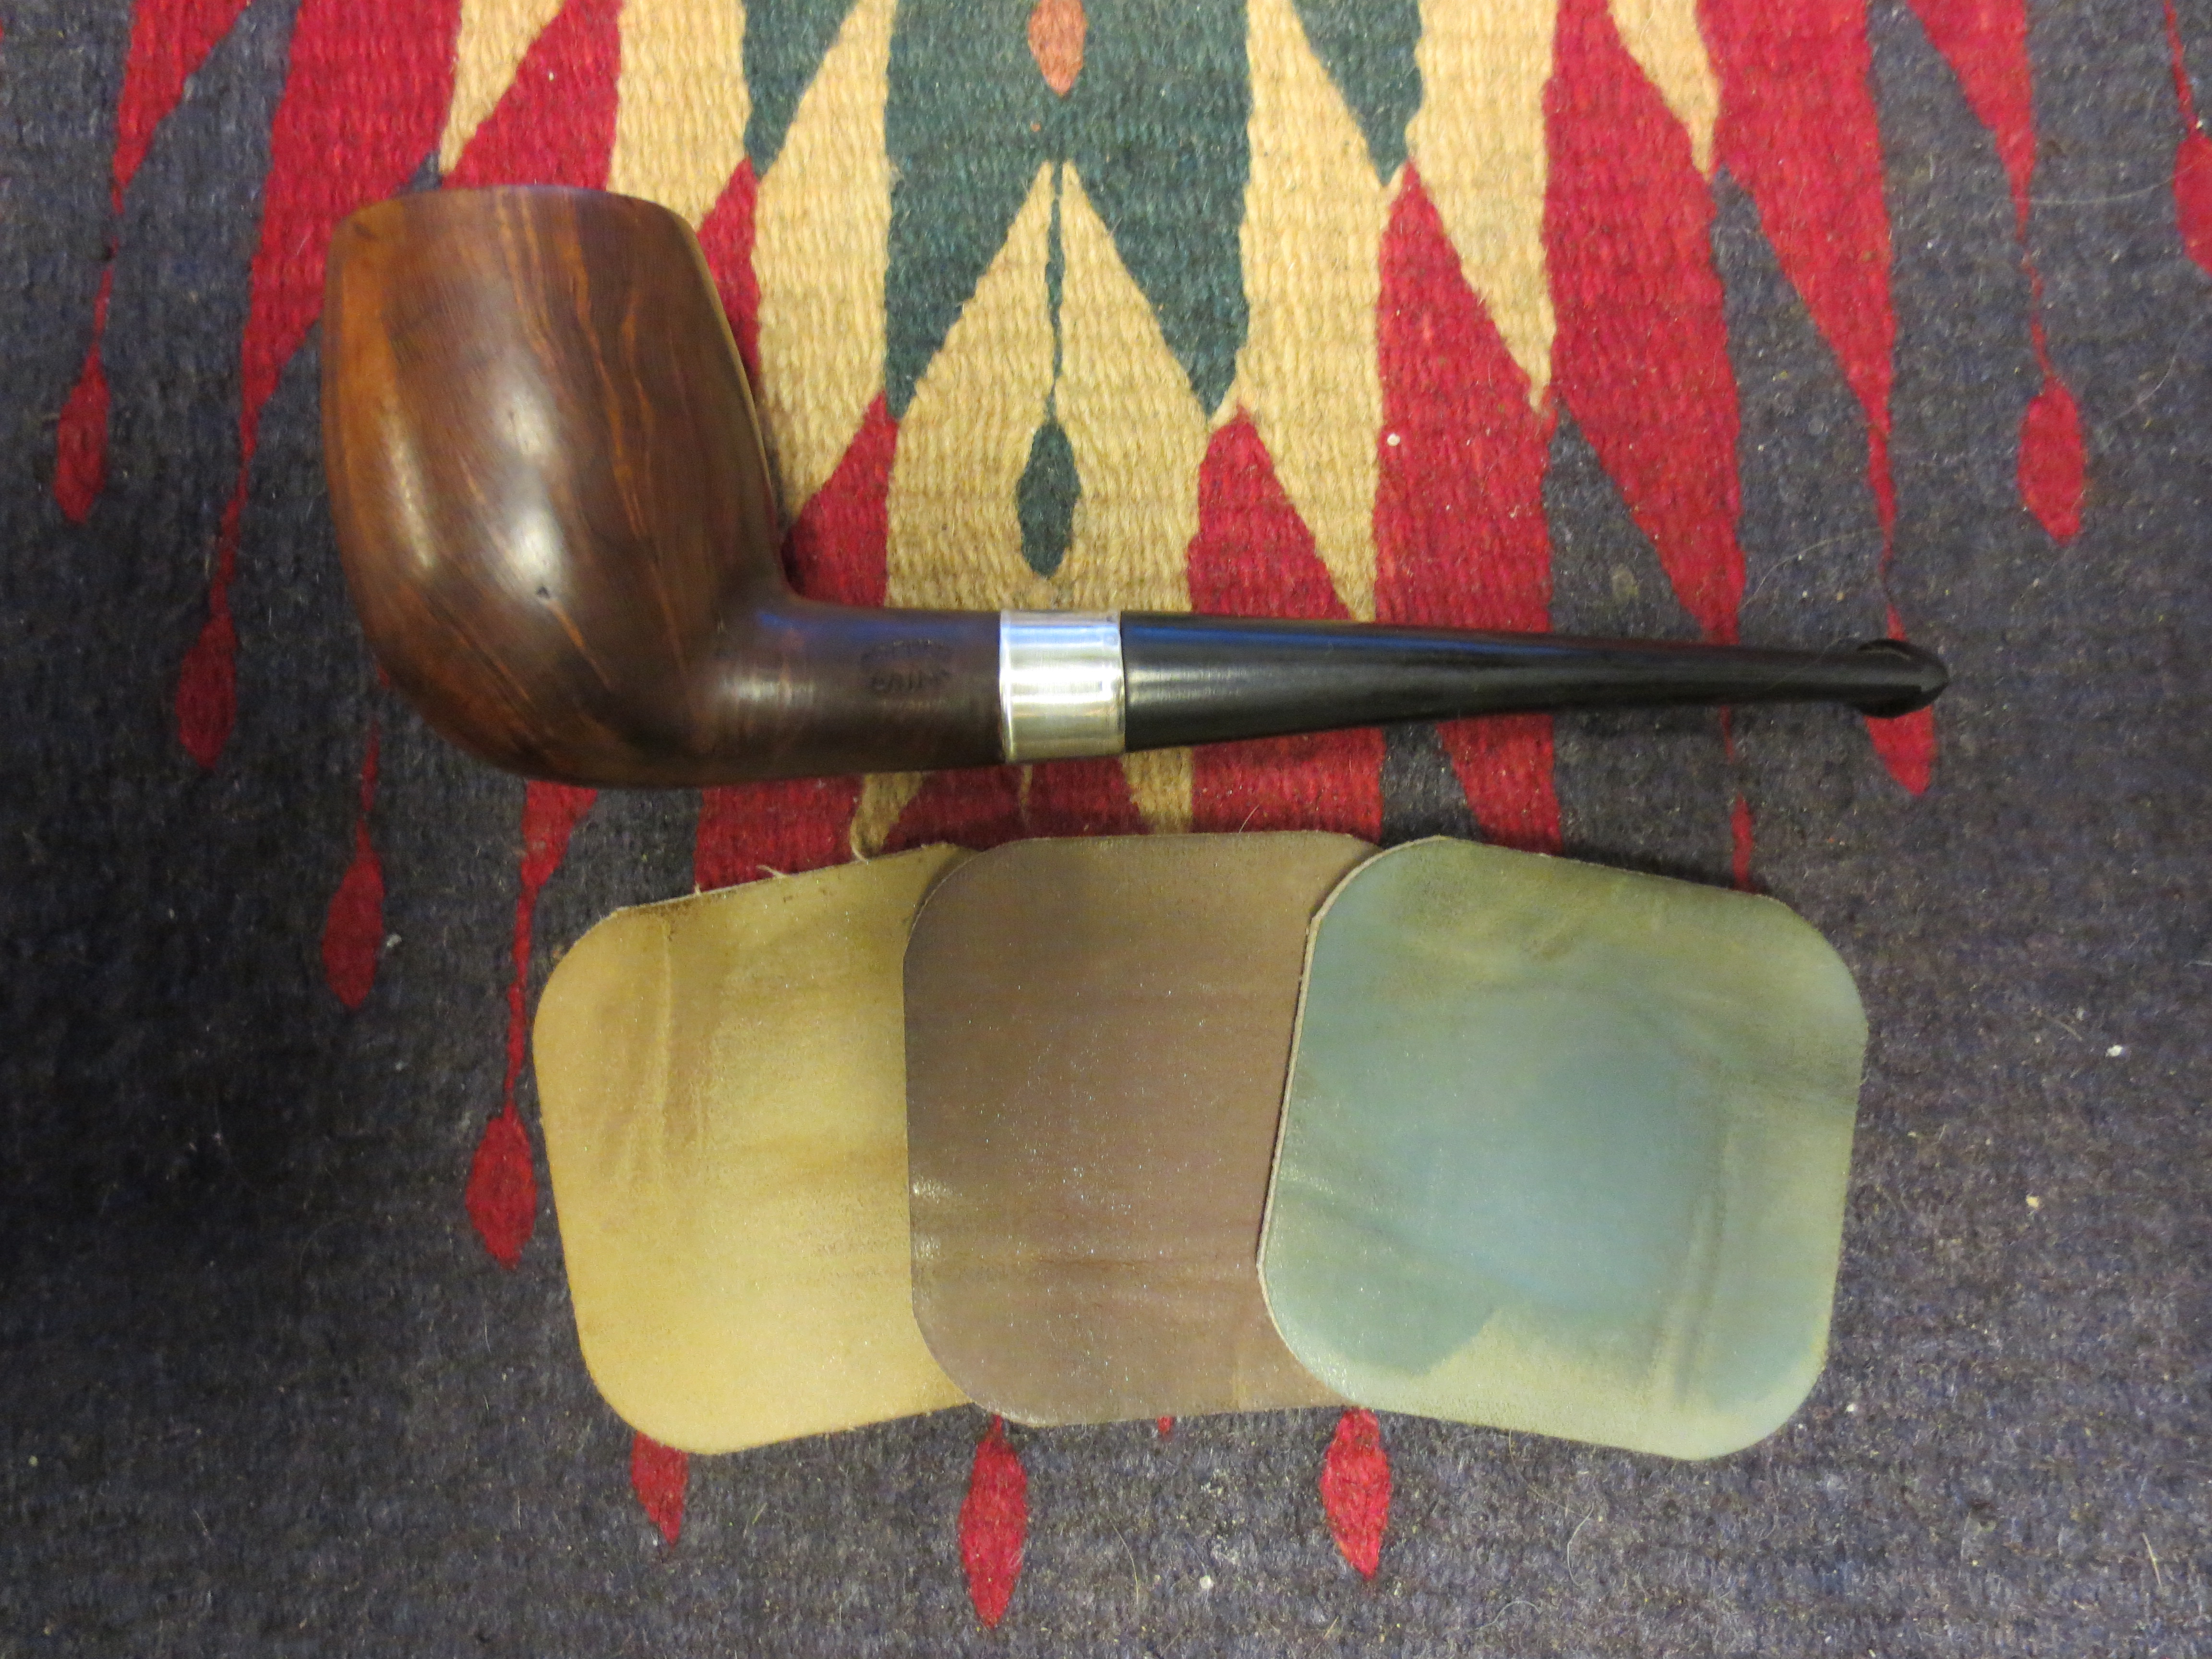
I set the pipe aside for the evening so that the finish had a chance to dry well. This morning I worked on the stem and the bowl with the micromesh sanding pads. I used all grits that I have available from 1500 – 12,000 grit to sand both the bowl and the stem. The next series of six photos shows the progressively developing shine on both the stem and the bowl.
IMG_0816

IMG_0821

IMG_0820

IMG_0819

IMG_0818

IMG_0817
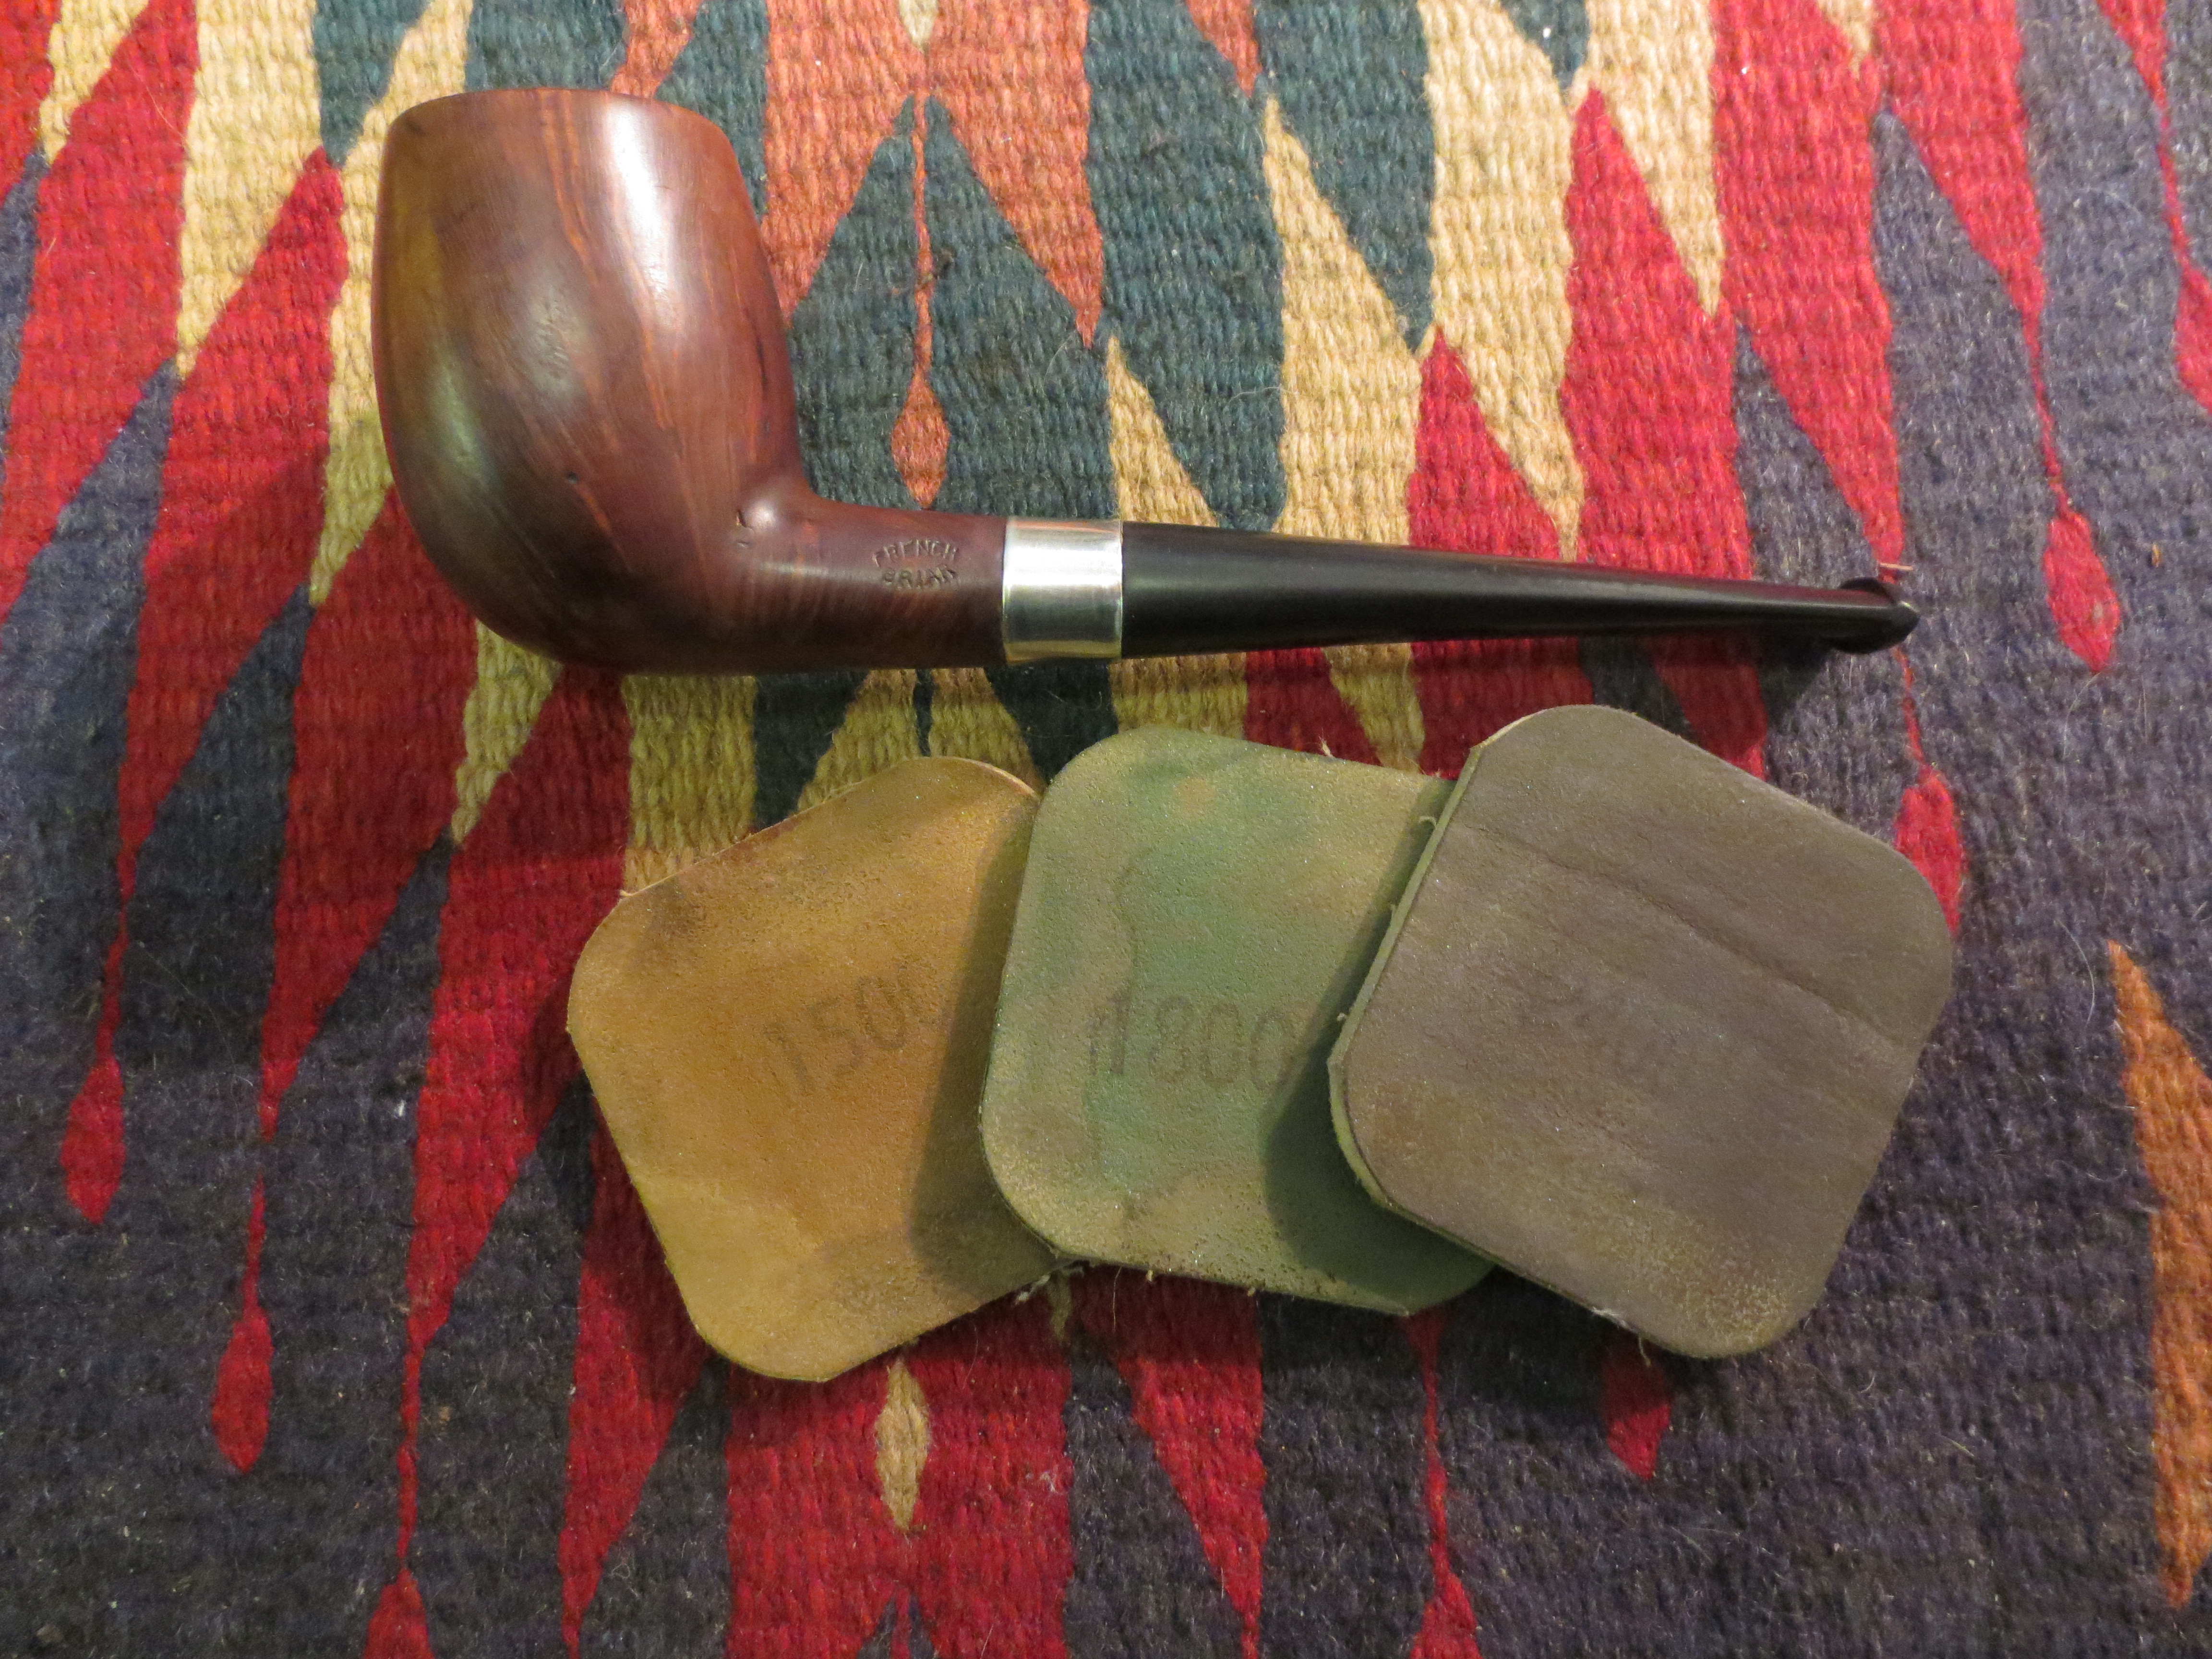
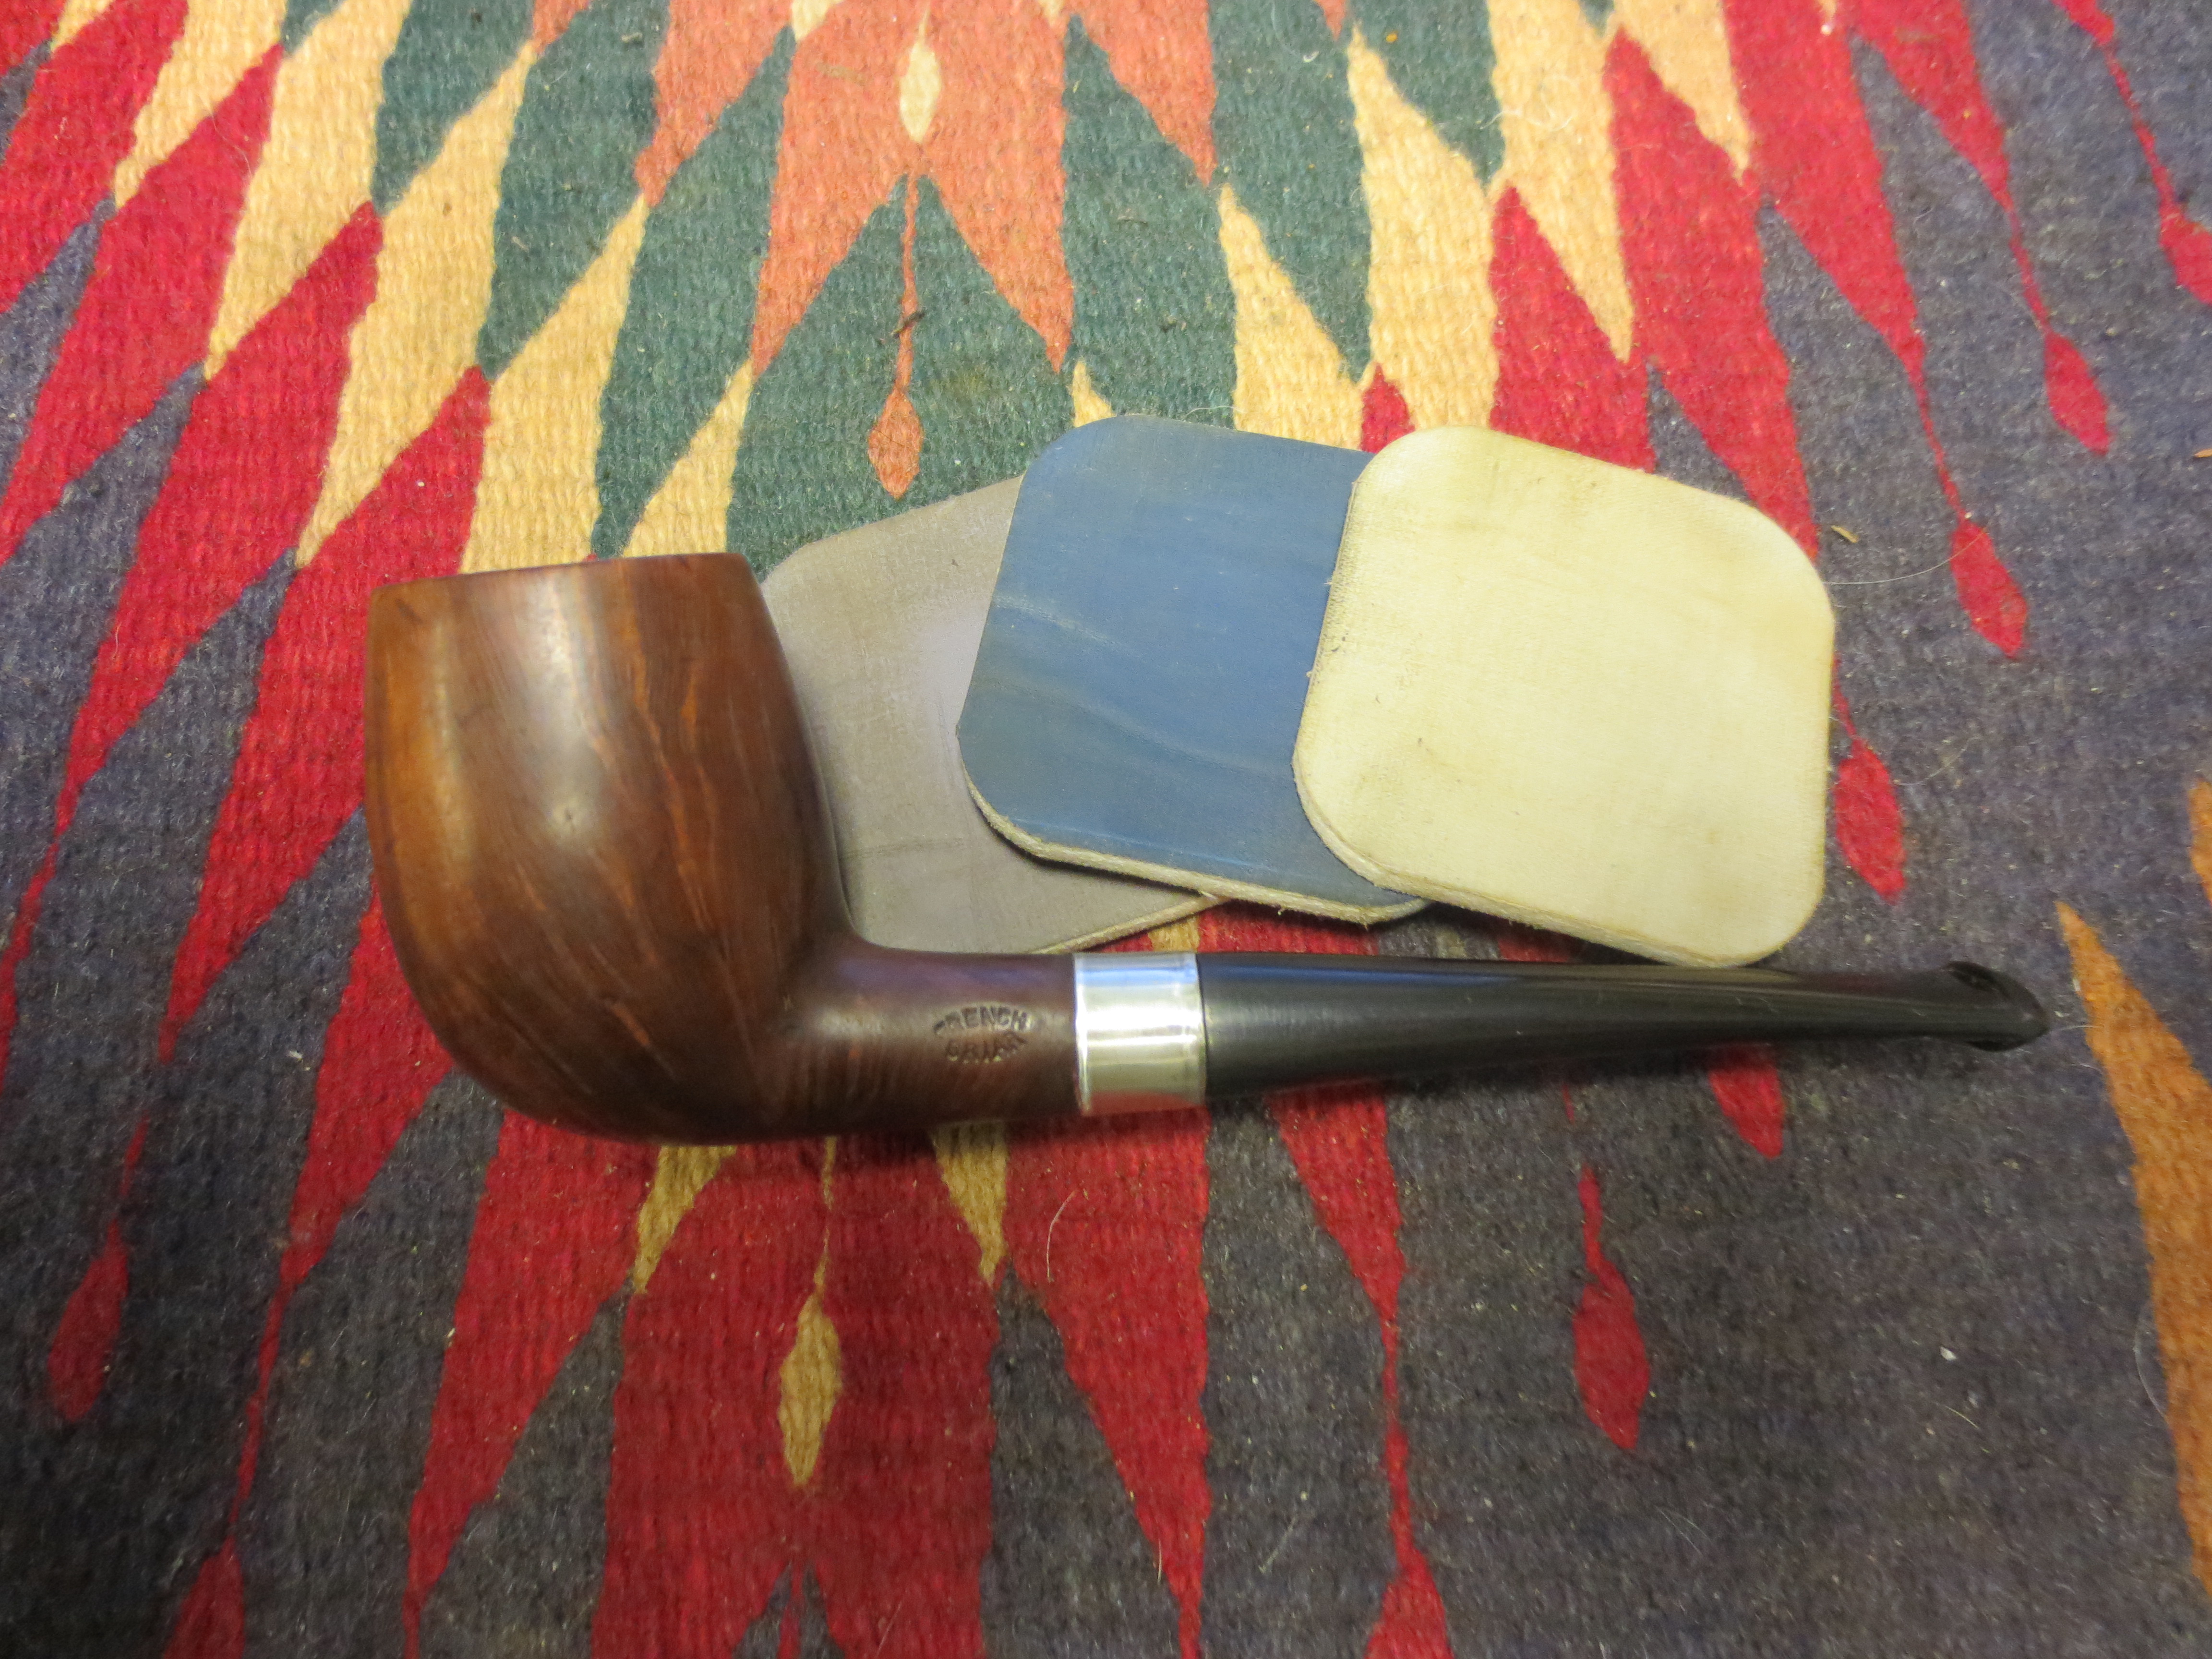
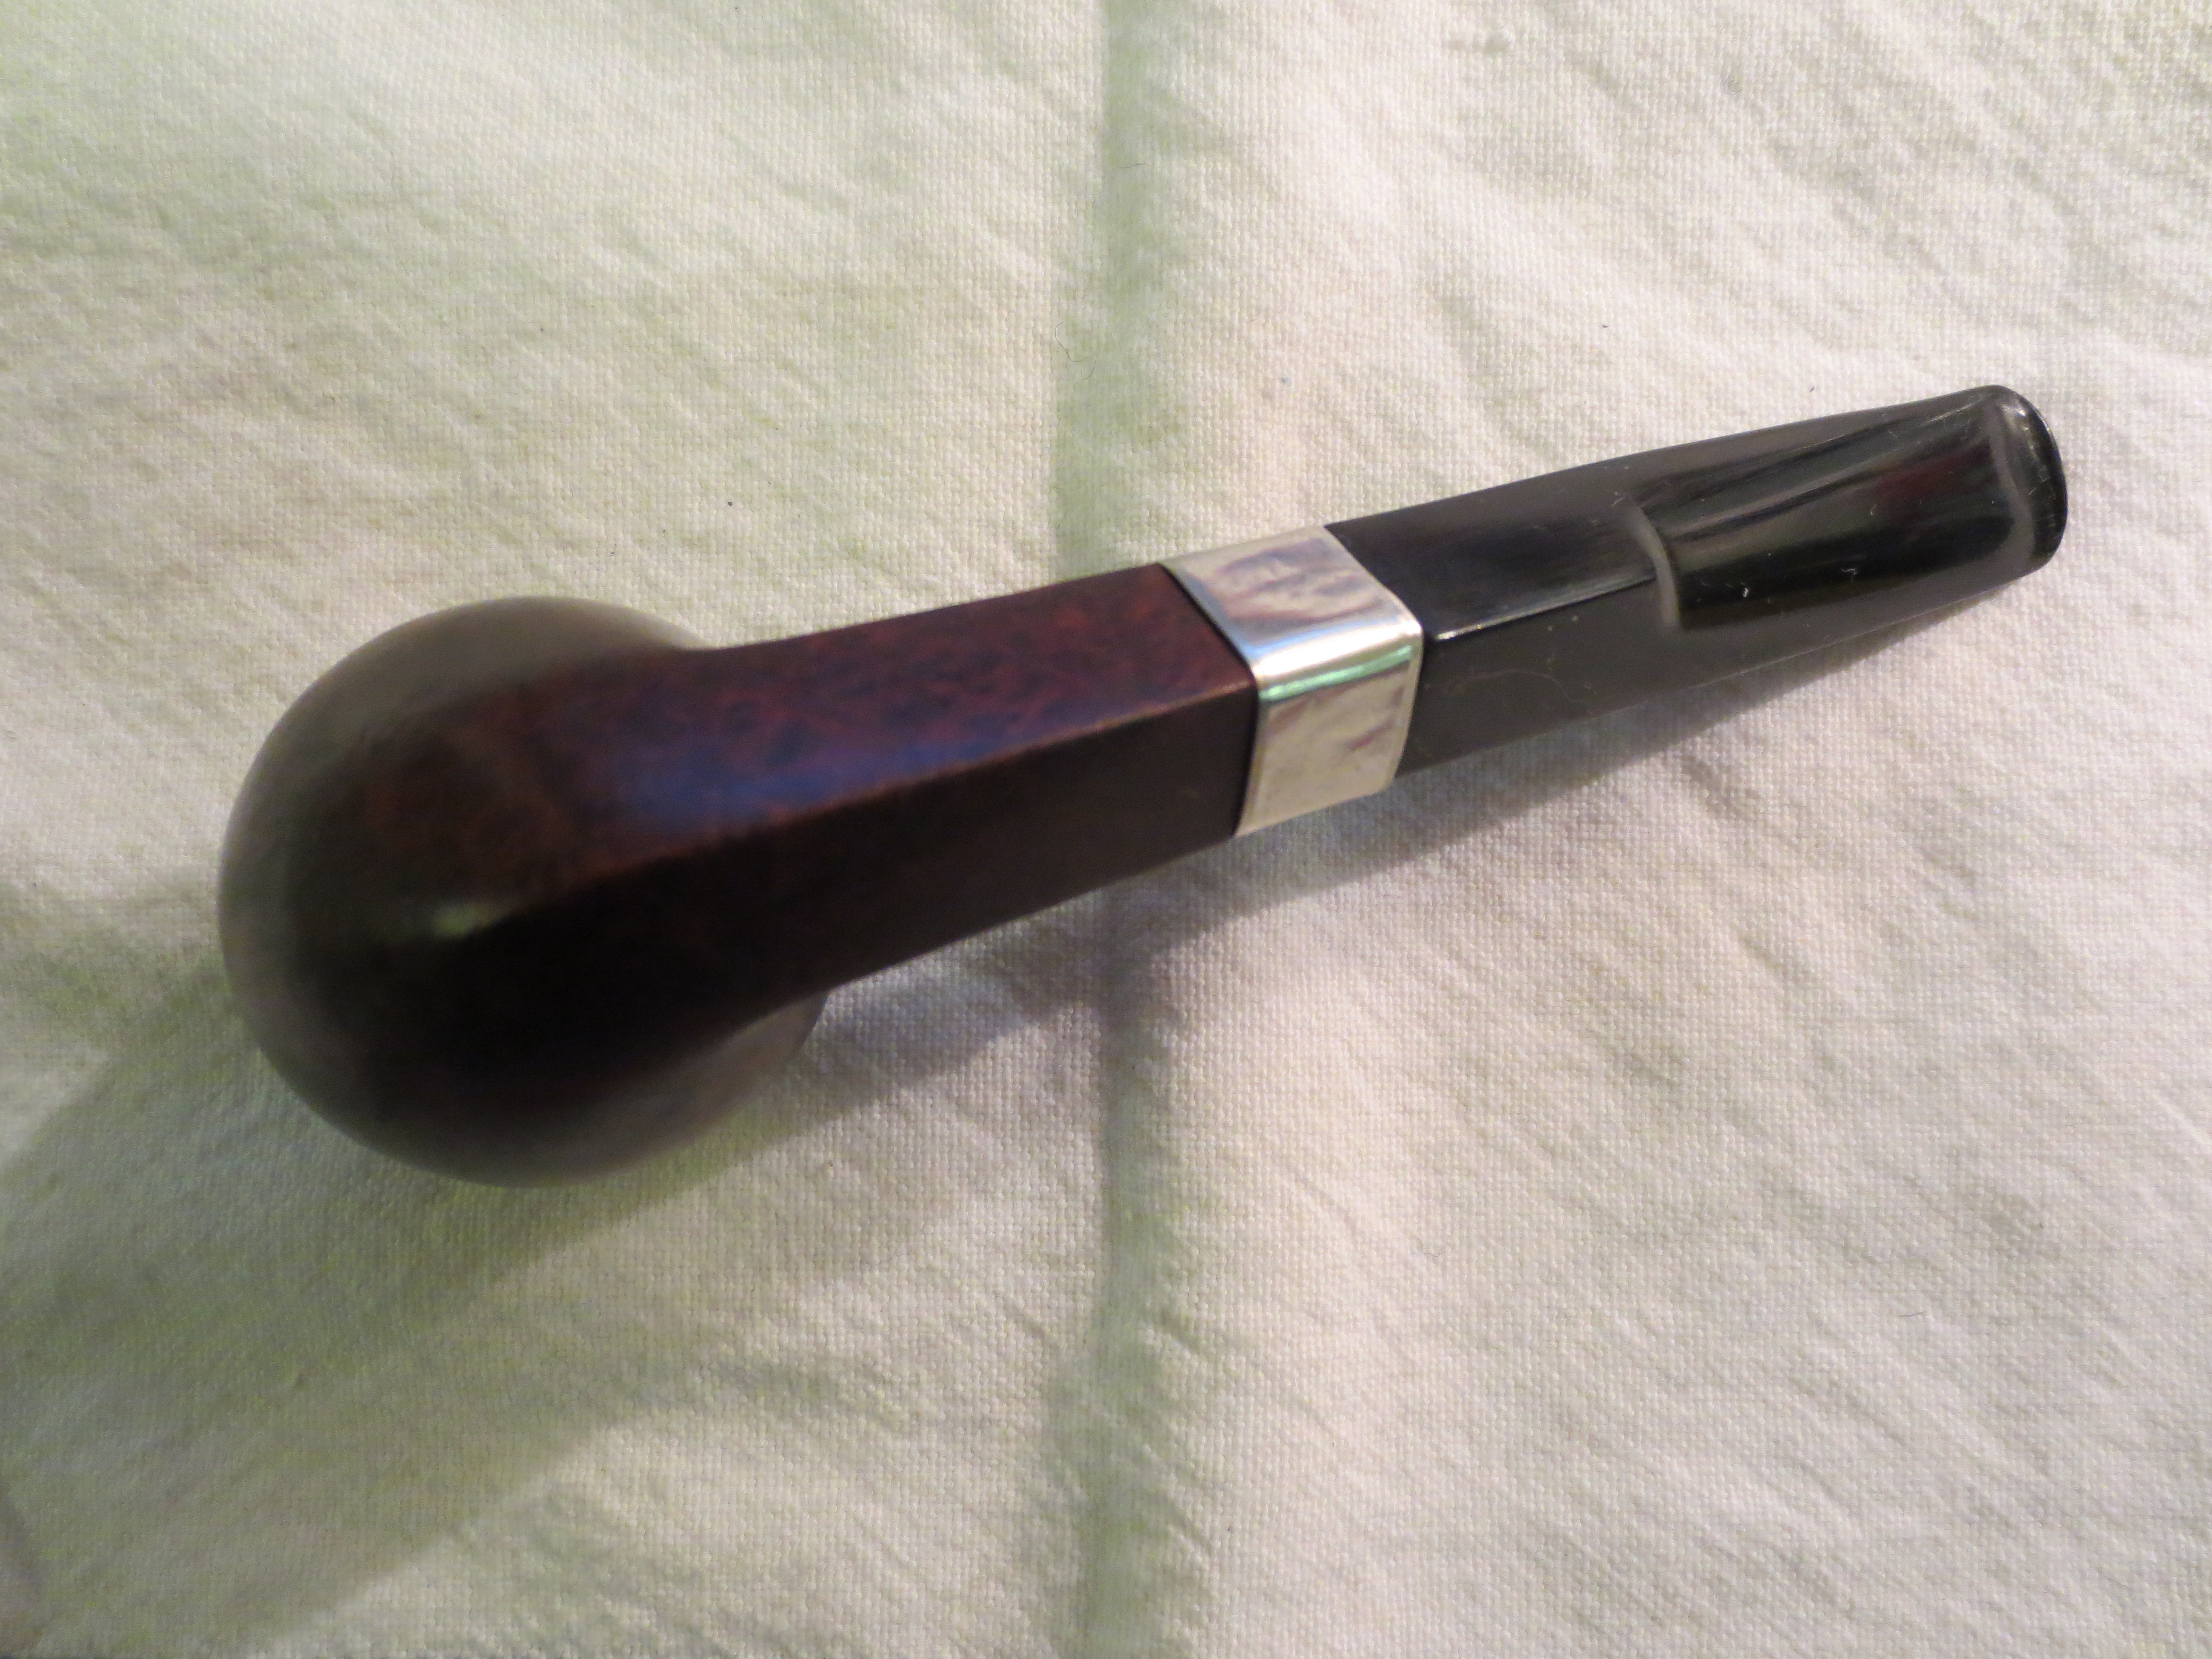
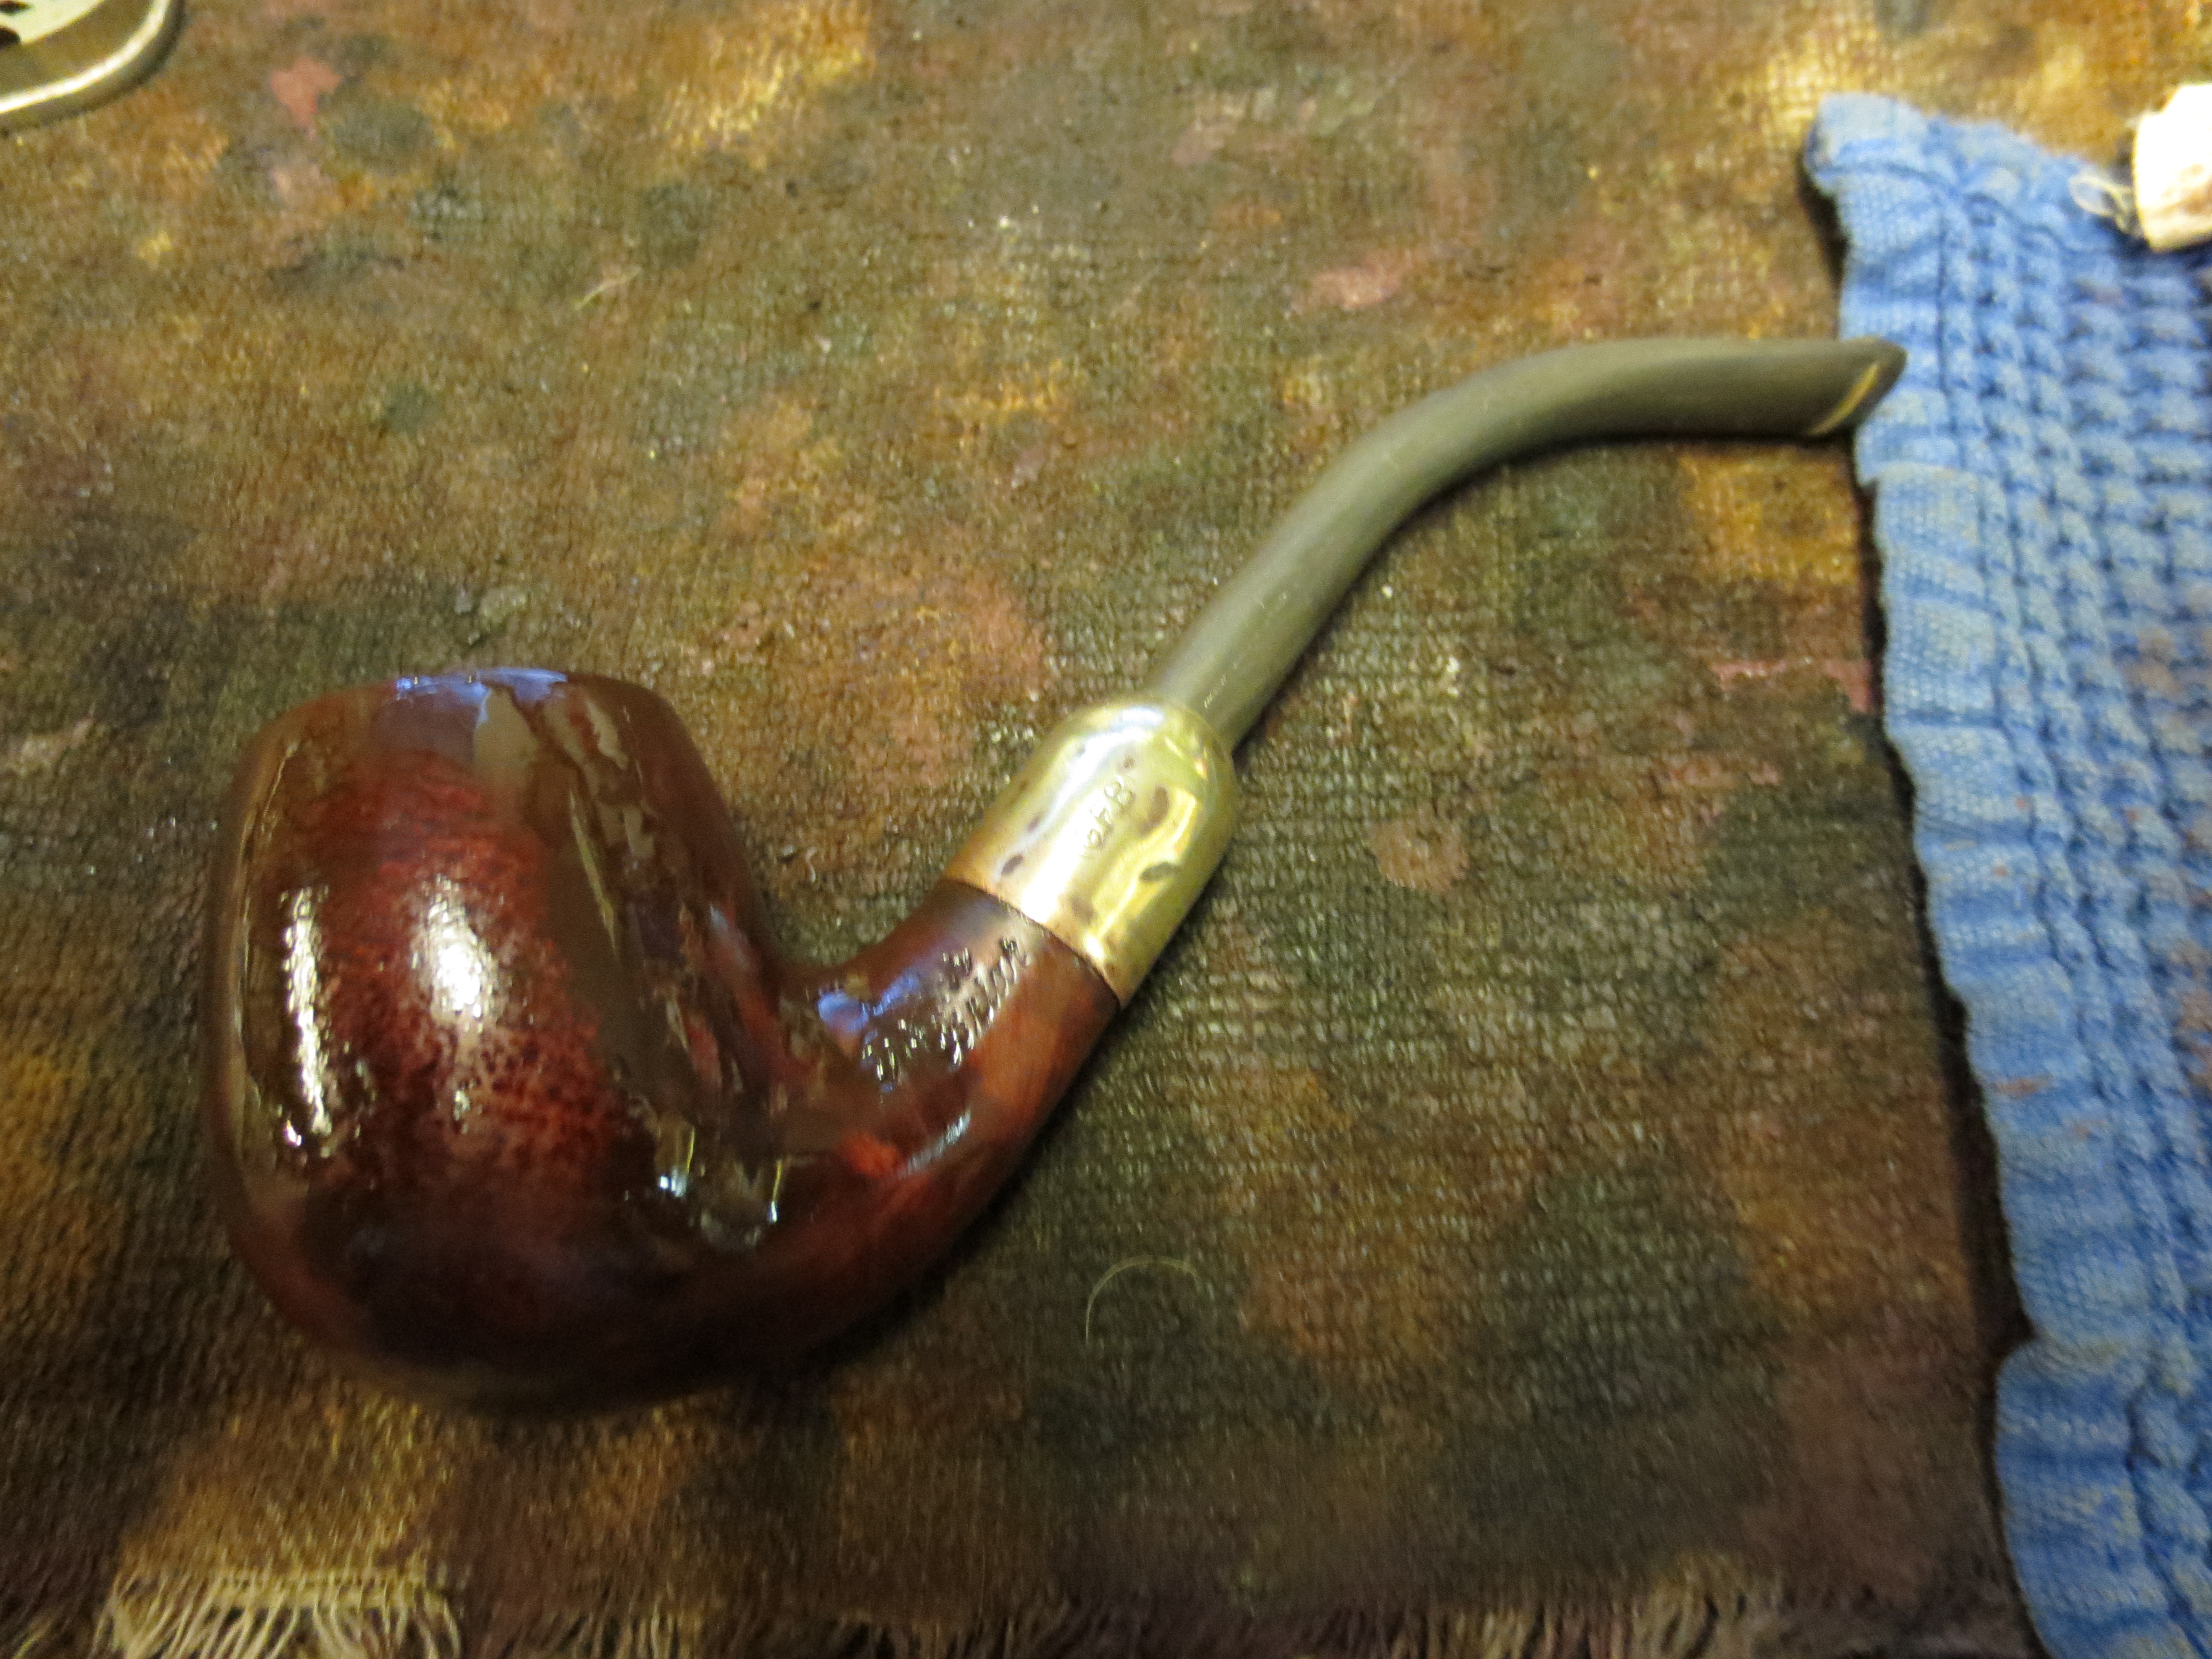
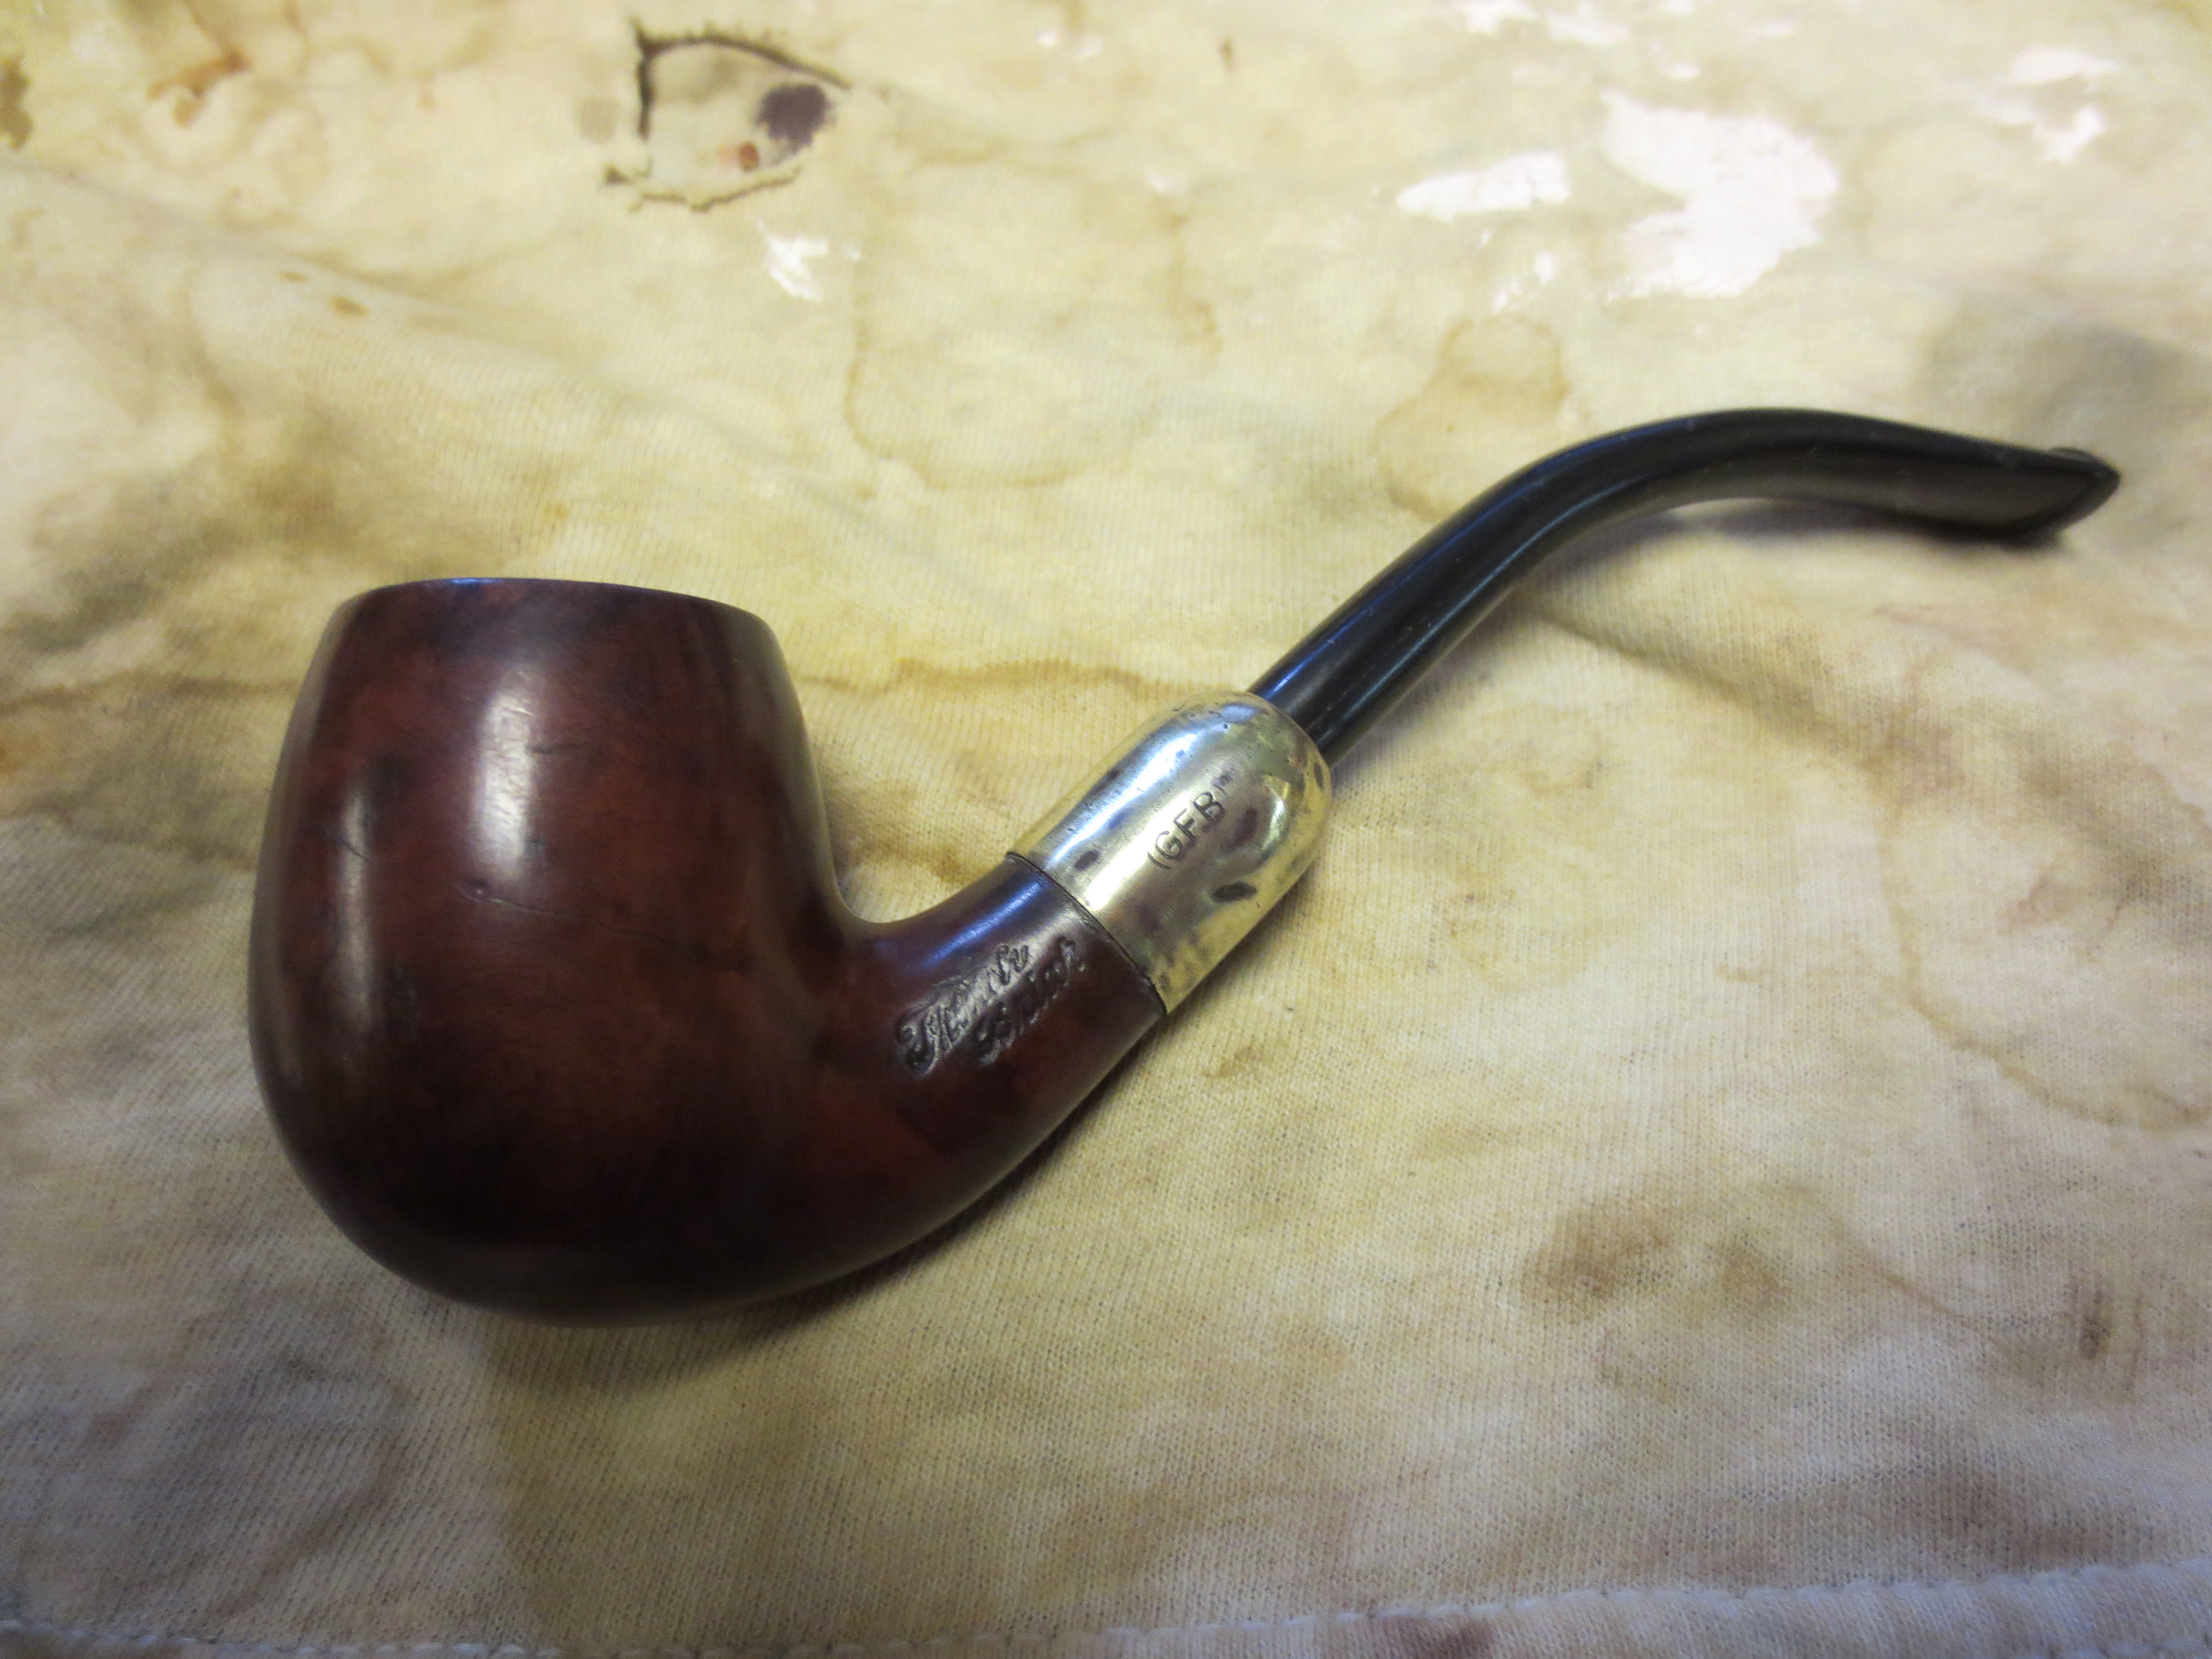
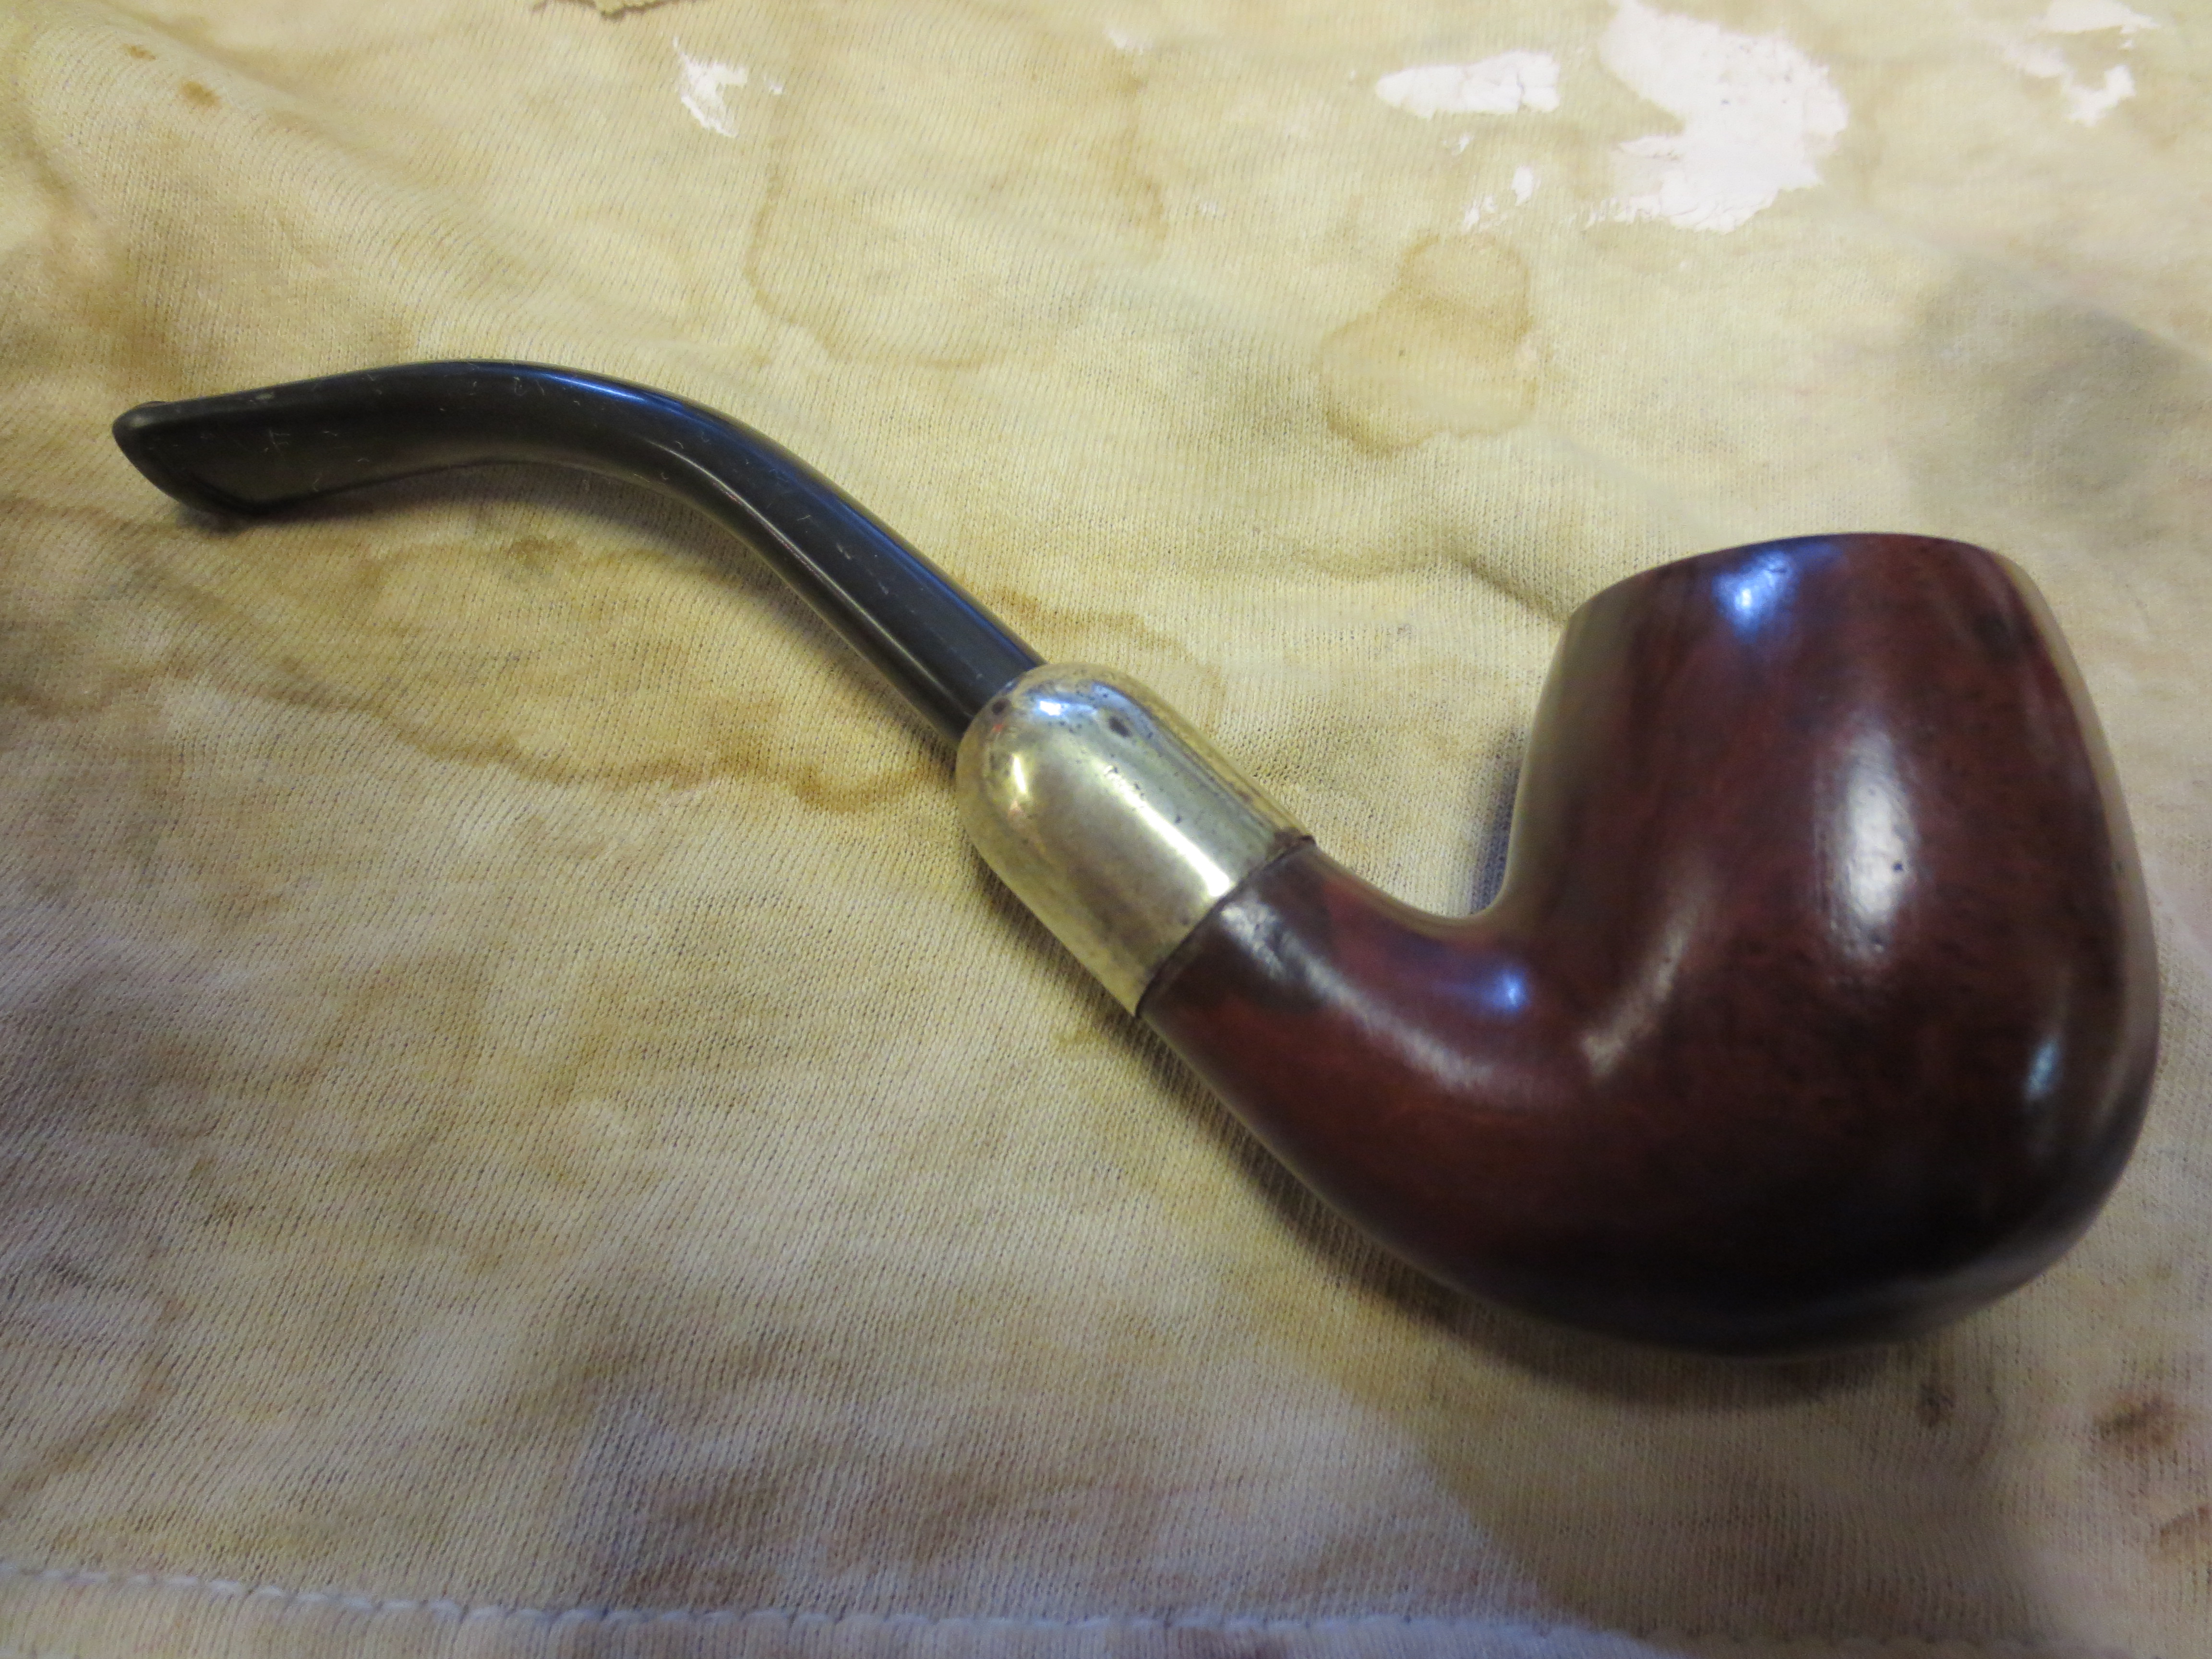
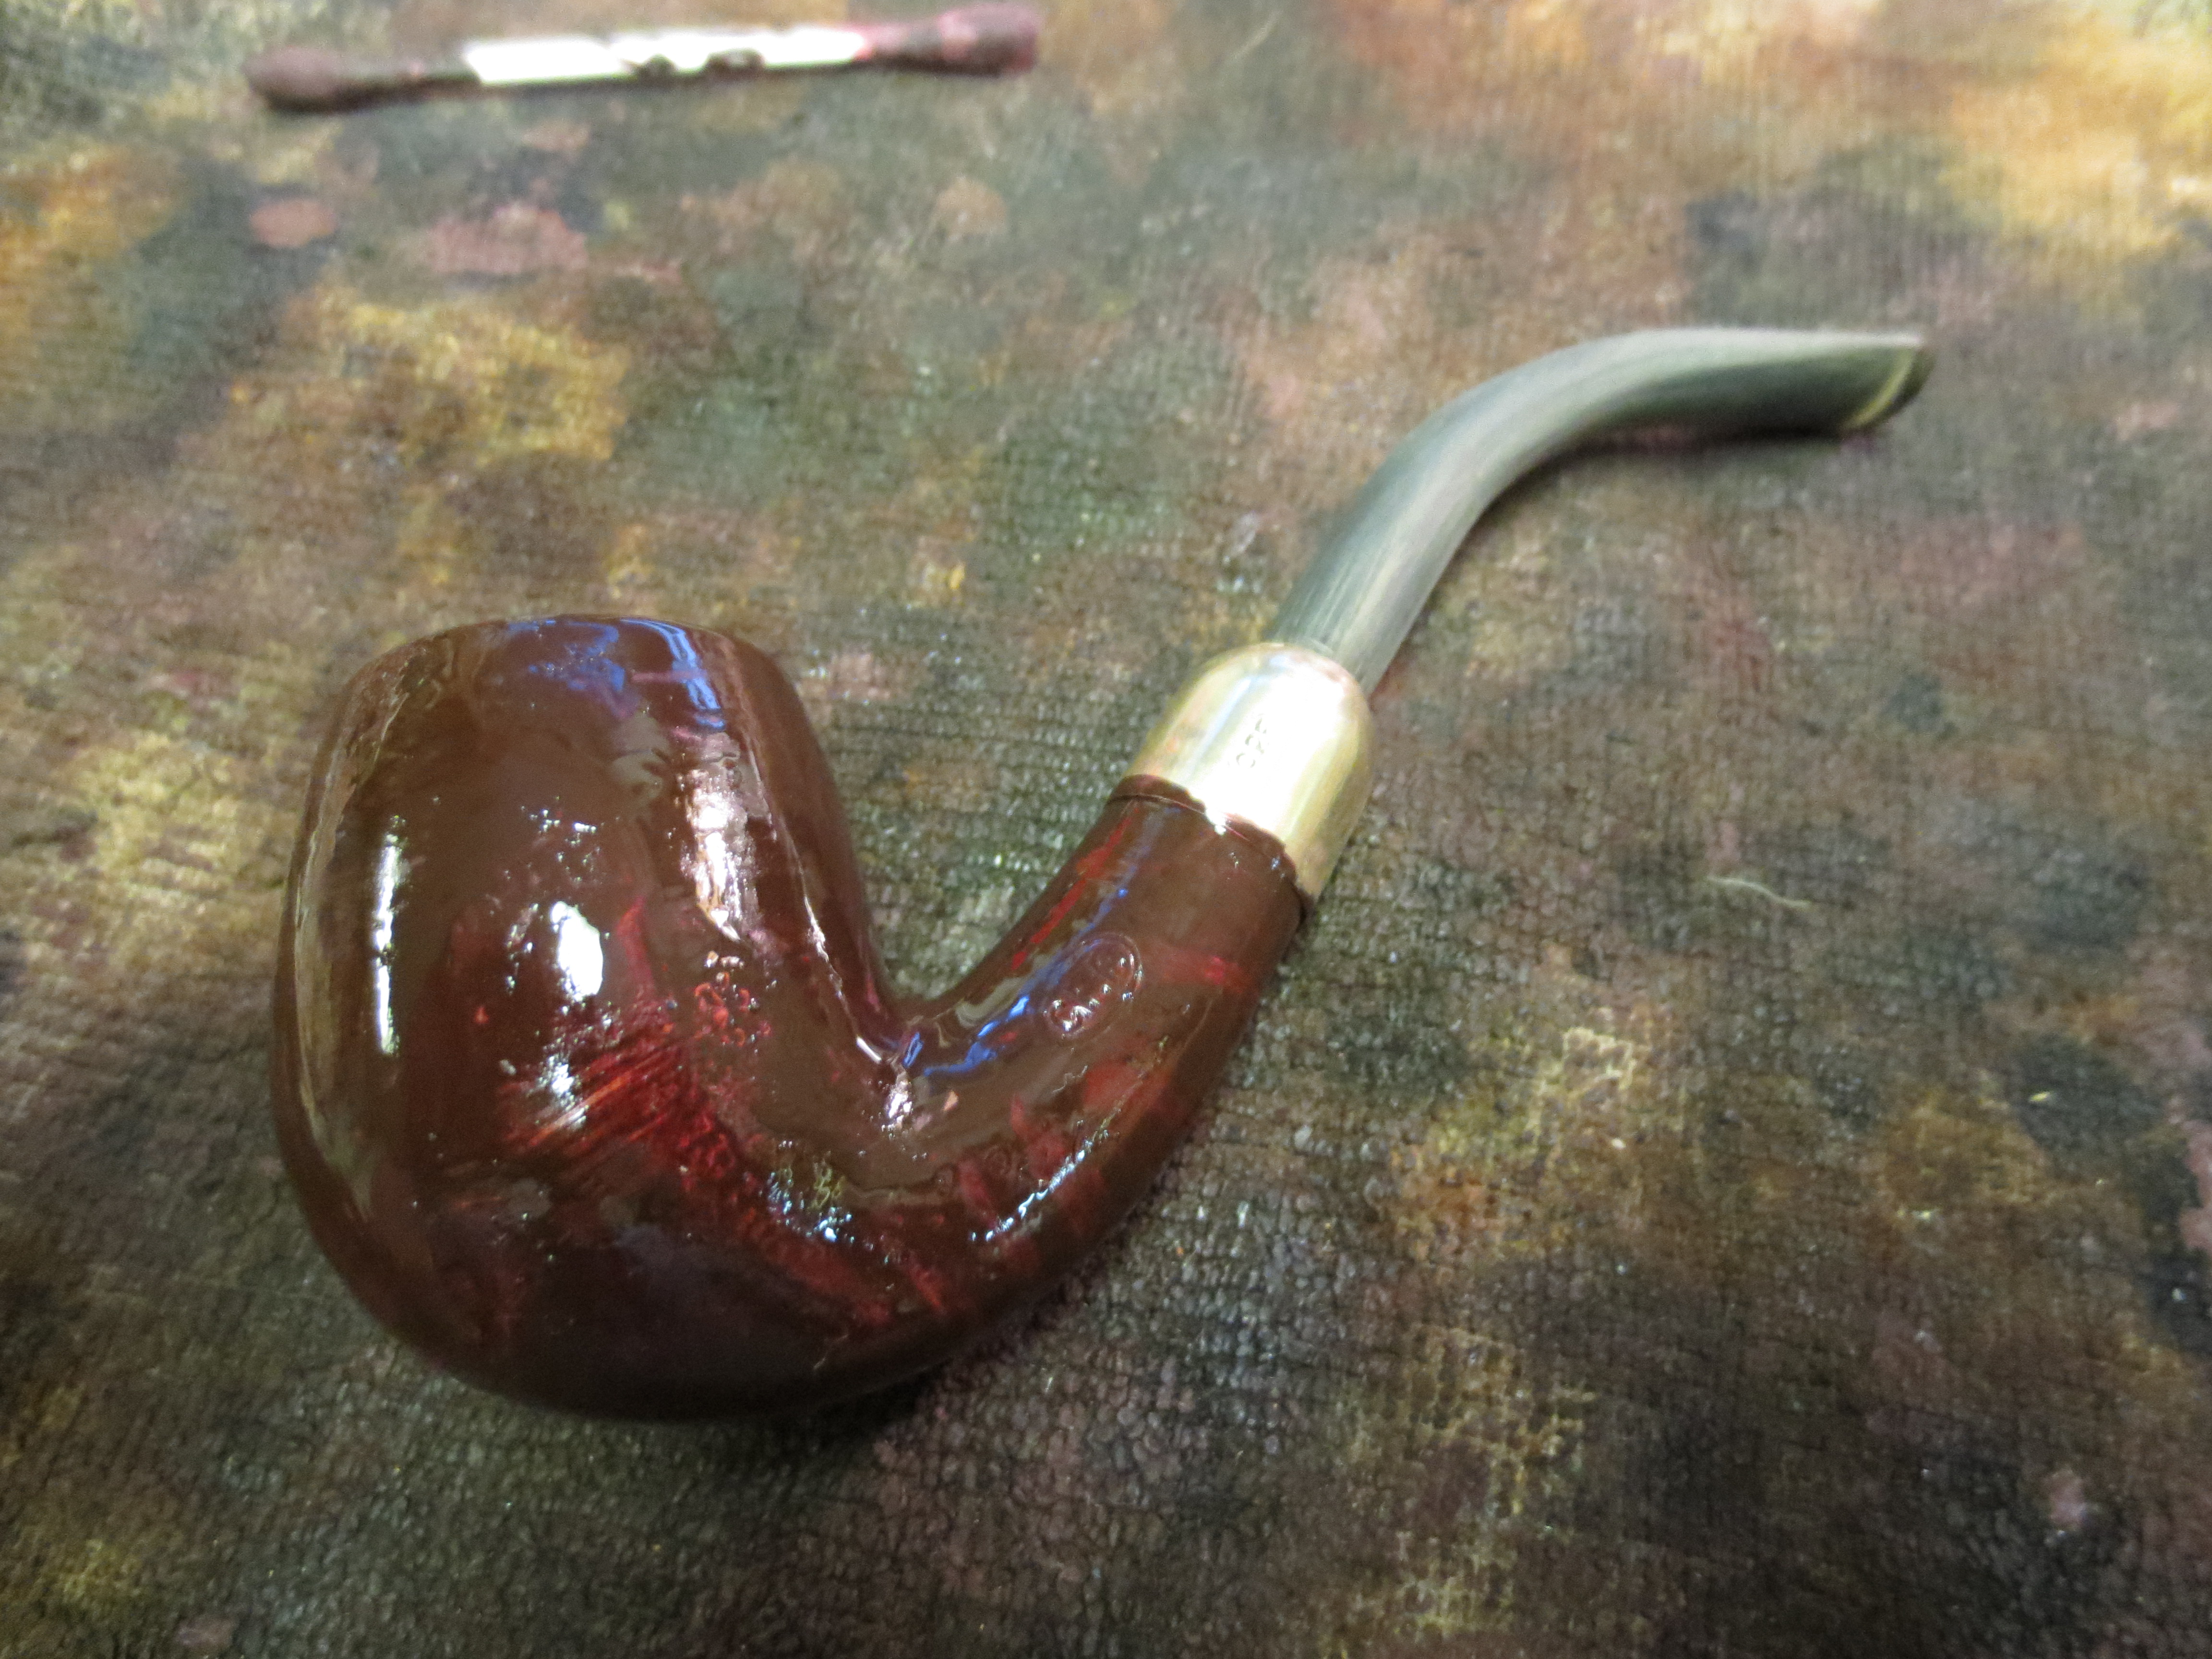
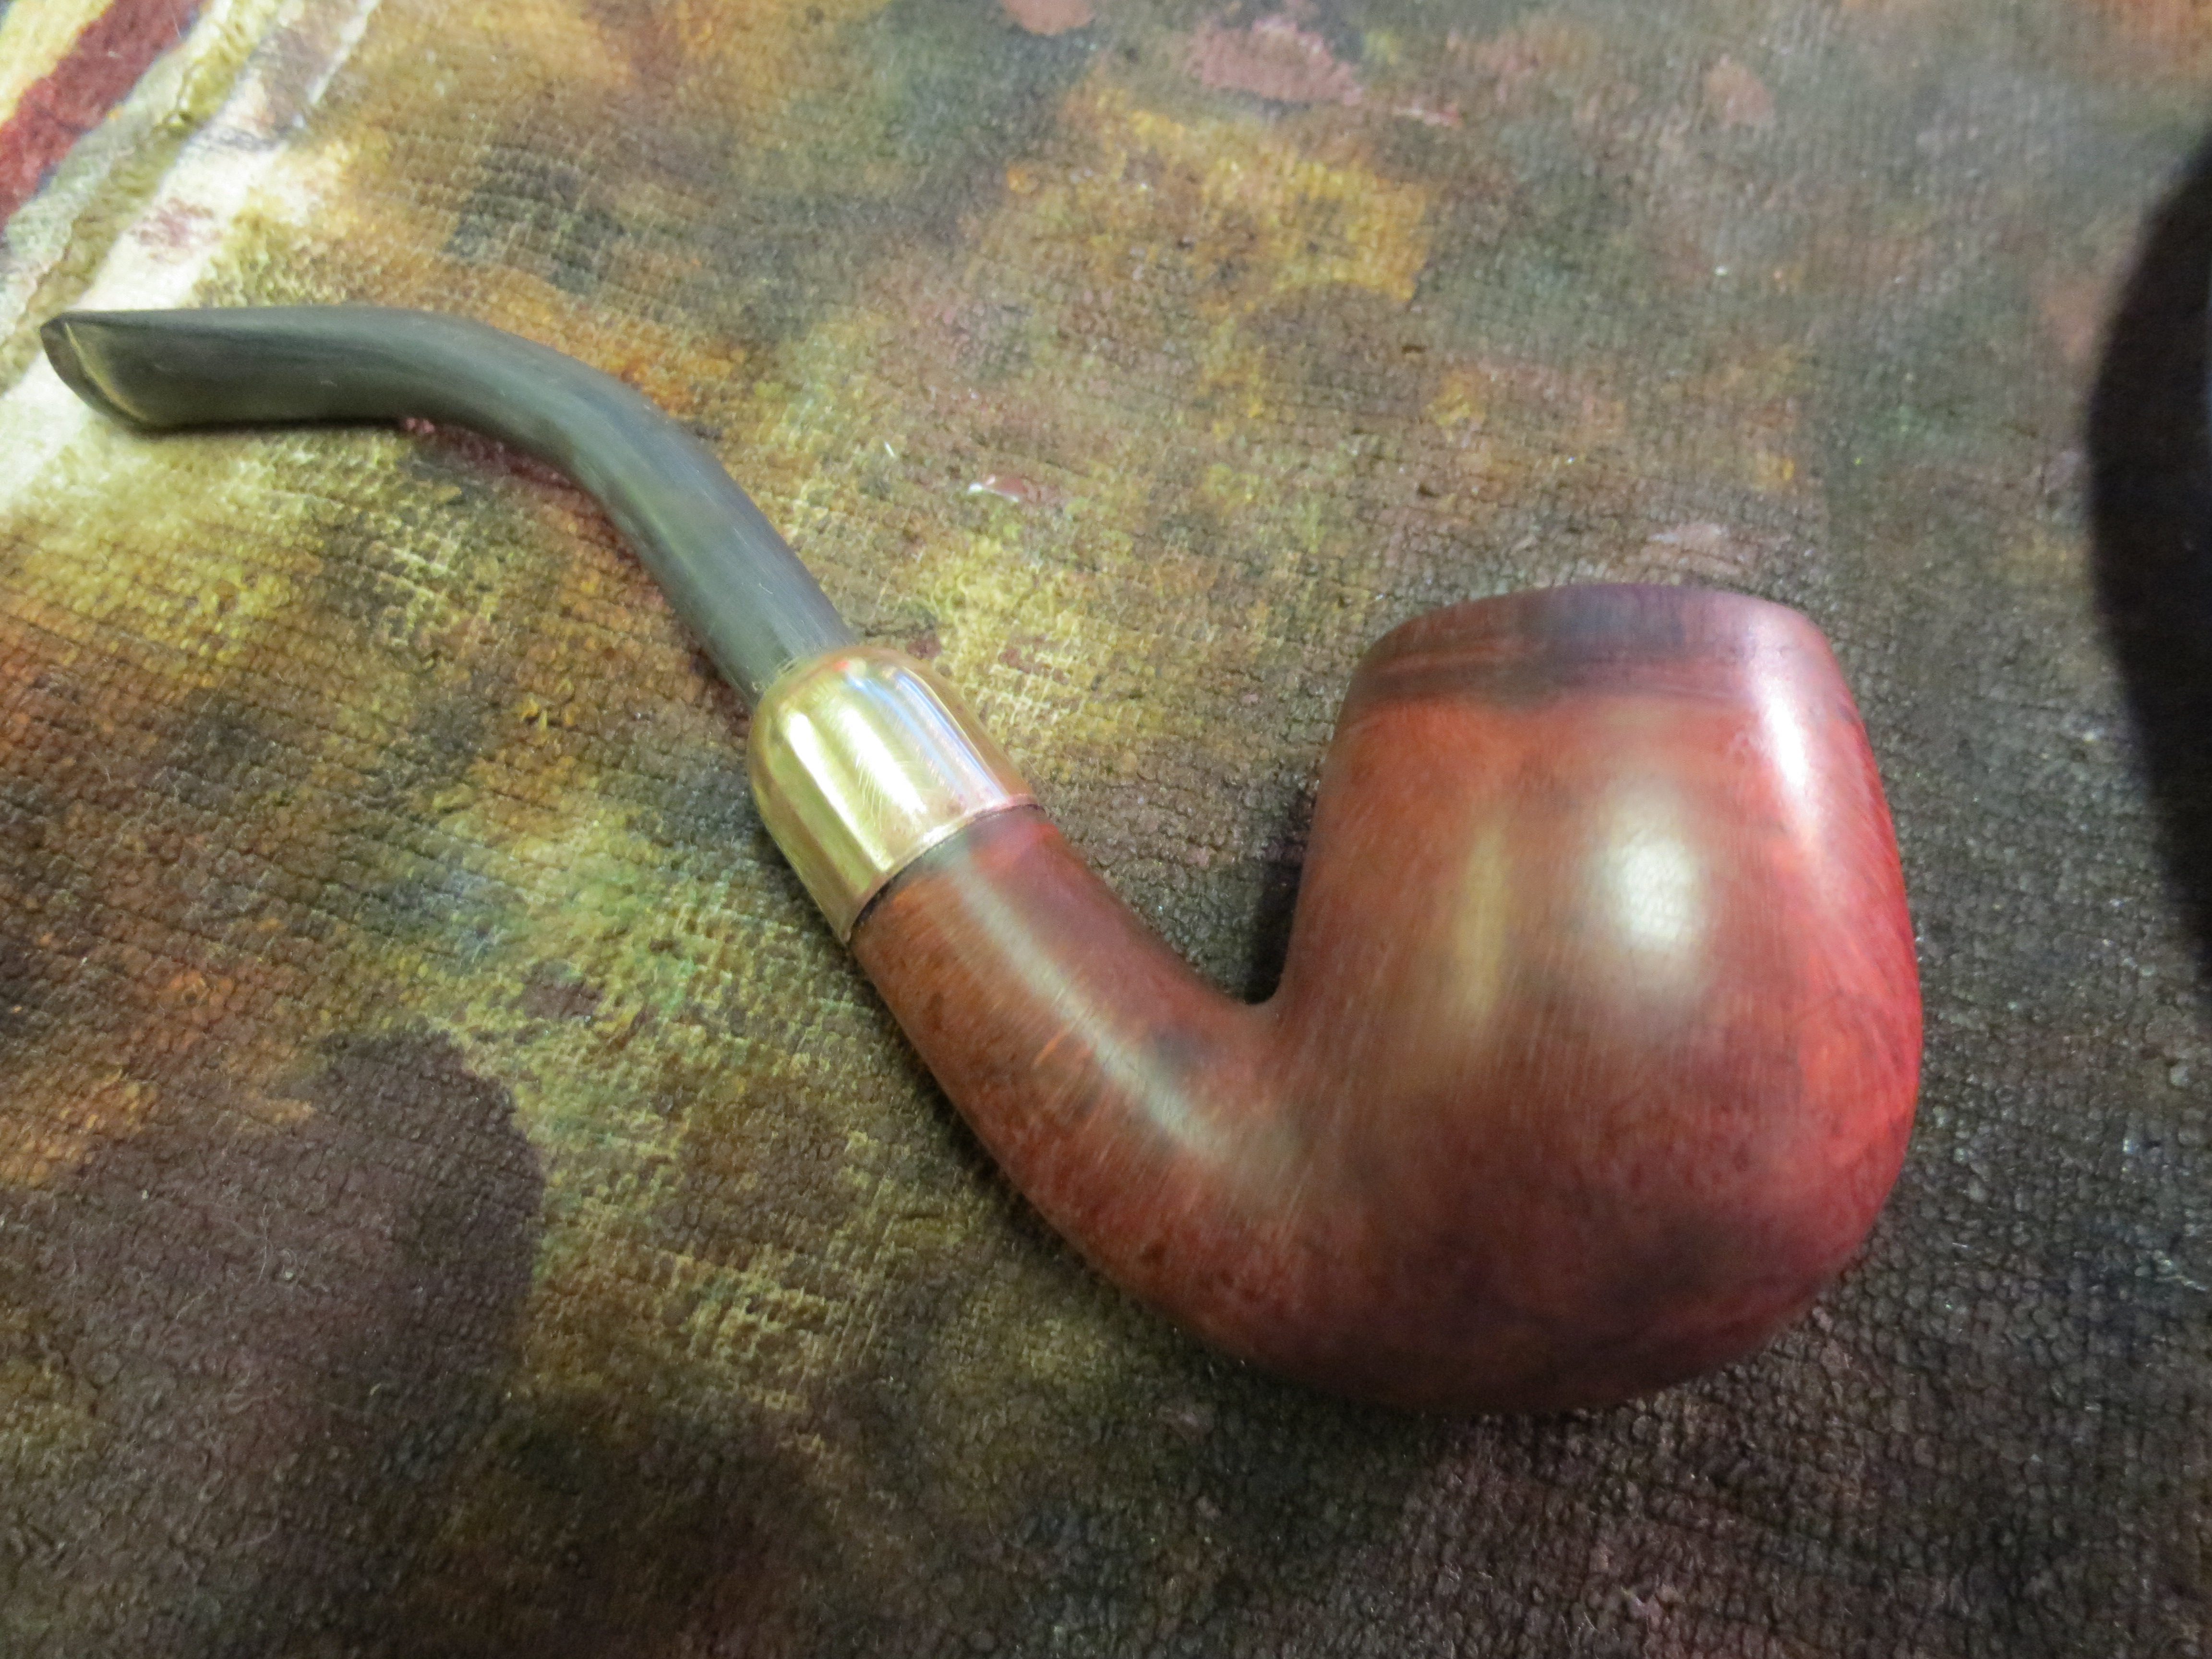
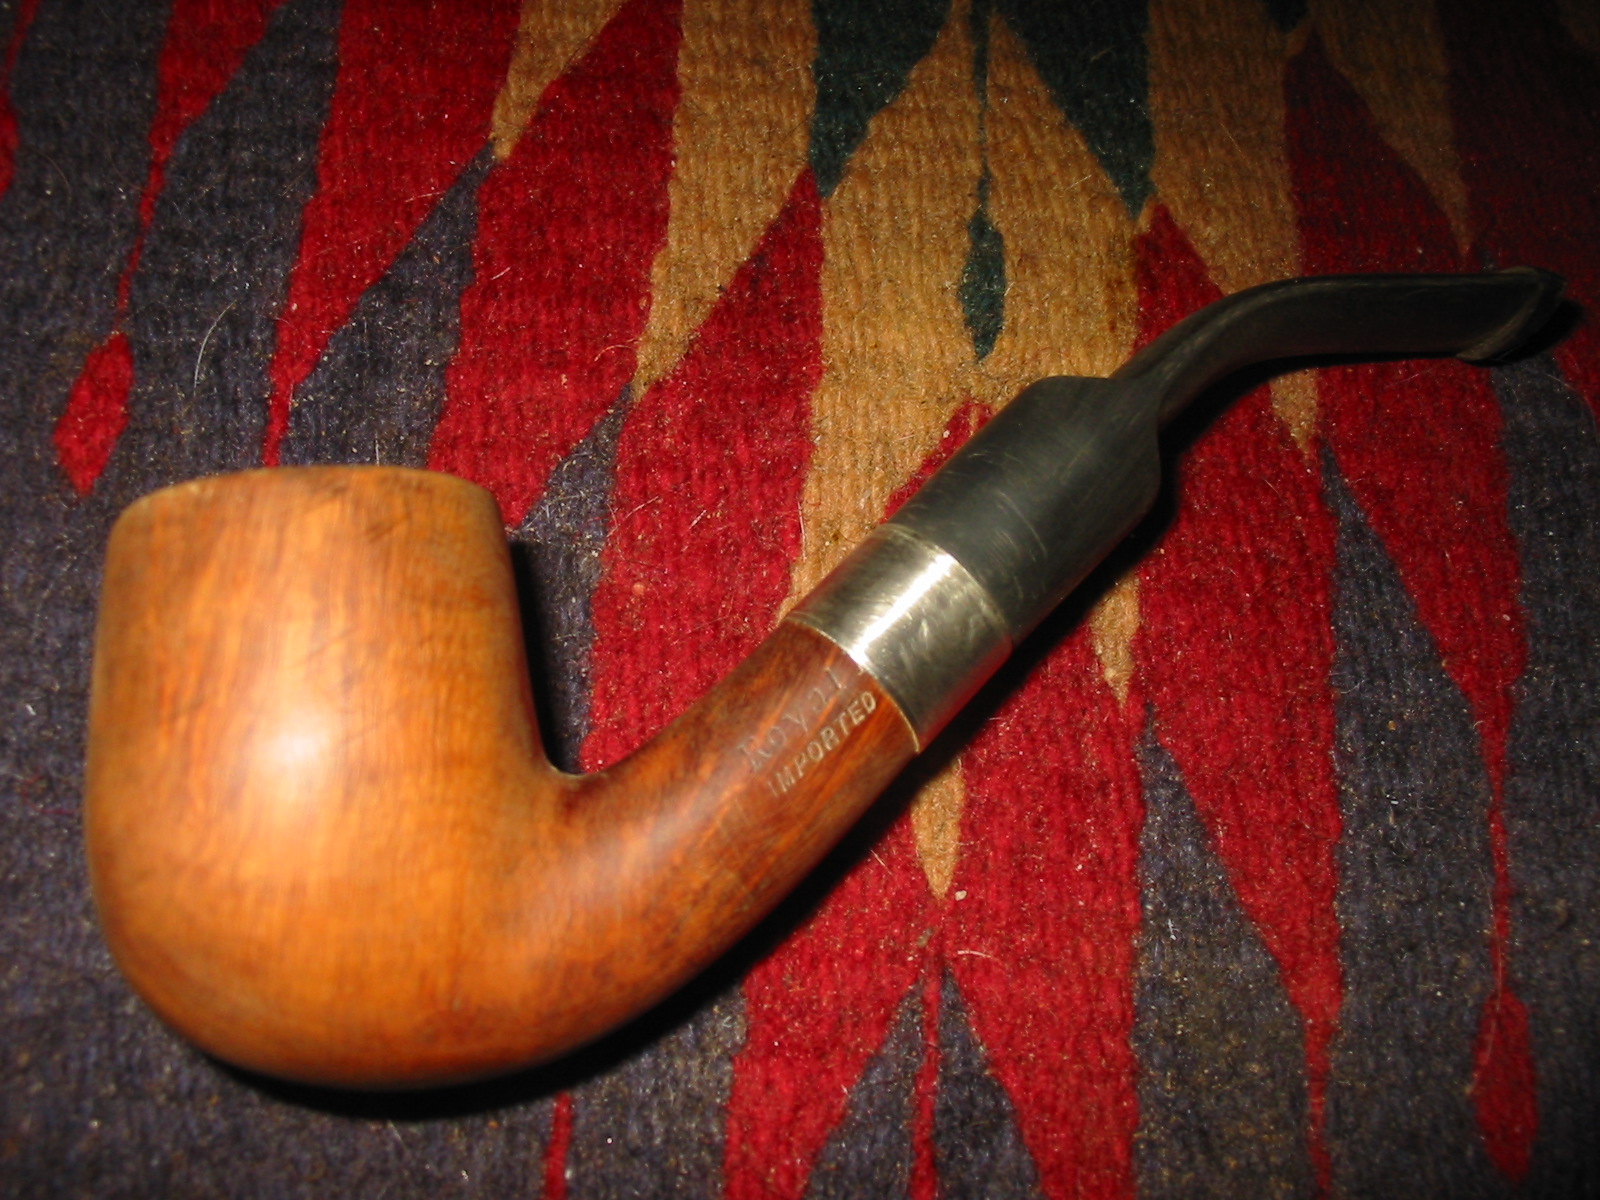
After finishing with the micromesh sanding pads I took it to my buffer and buffed it with White Diamond. I find that this buffing with a light touch really sets the shine to a glossy finish. The next four photos show the pipe after buffing. I still had to put on the wax but the shine is very evident.
IMG_0822

IMG_0825

IMG_0824

IMG_0823
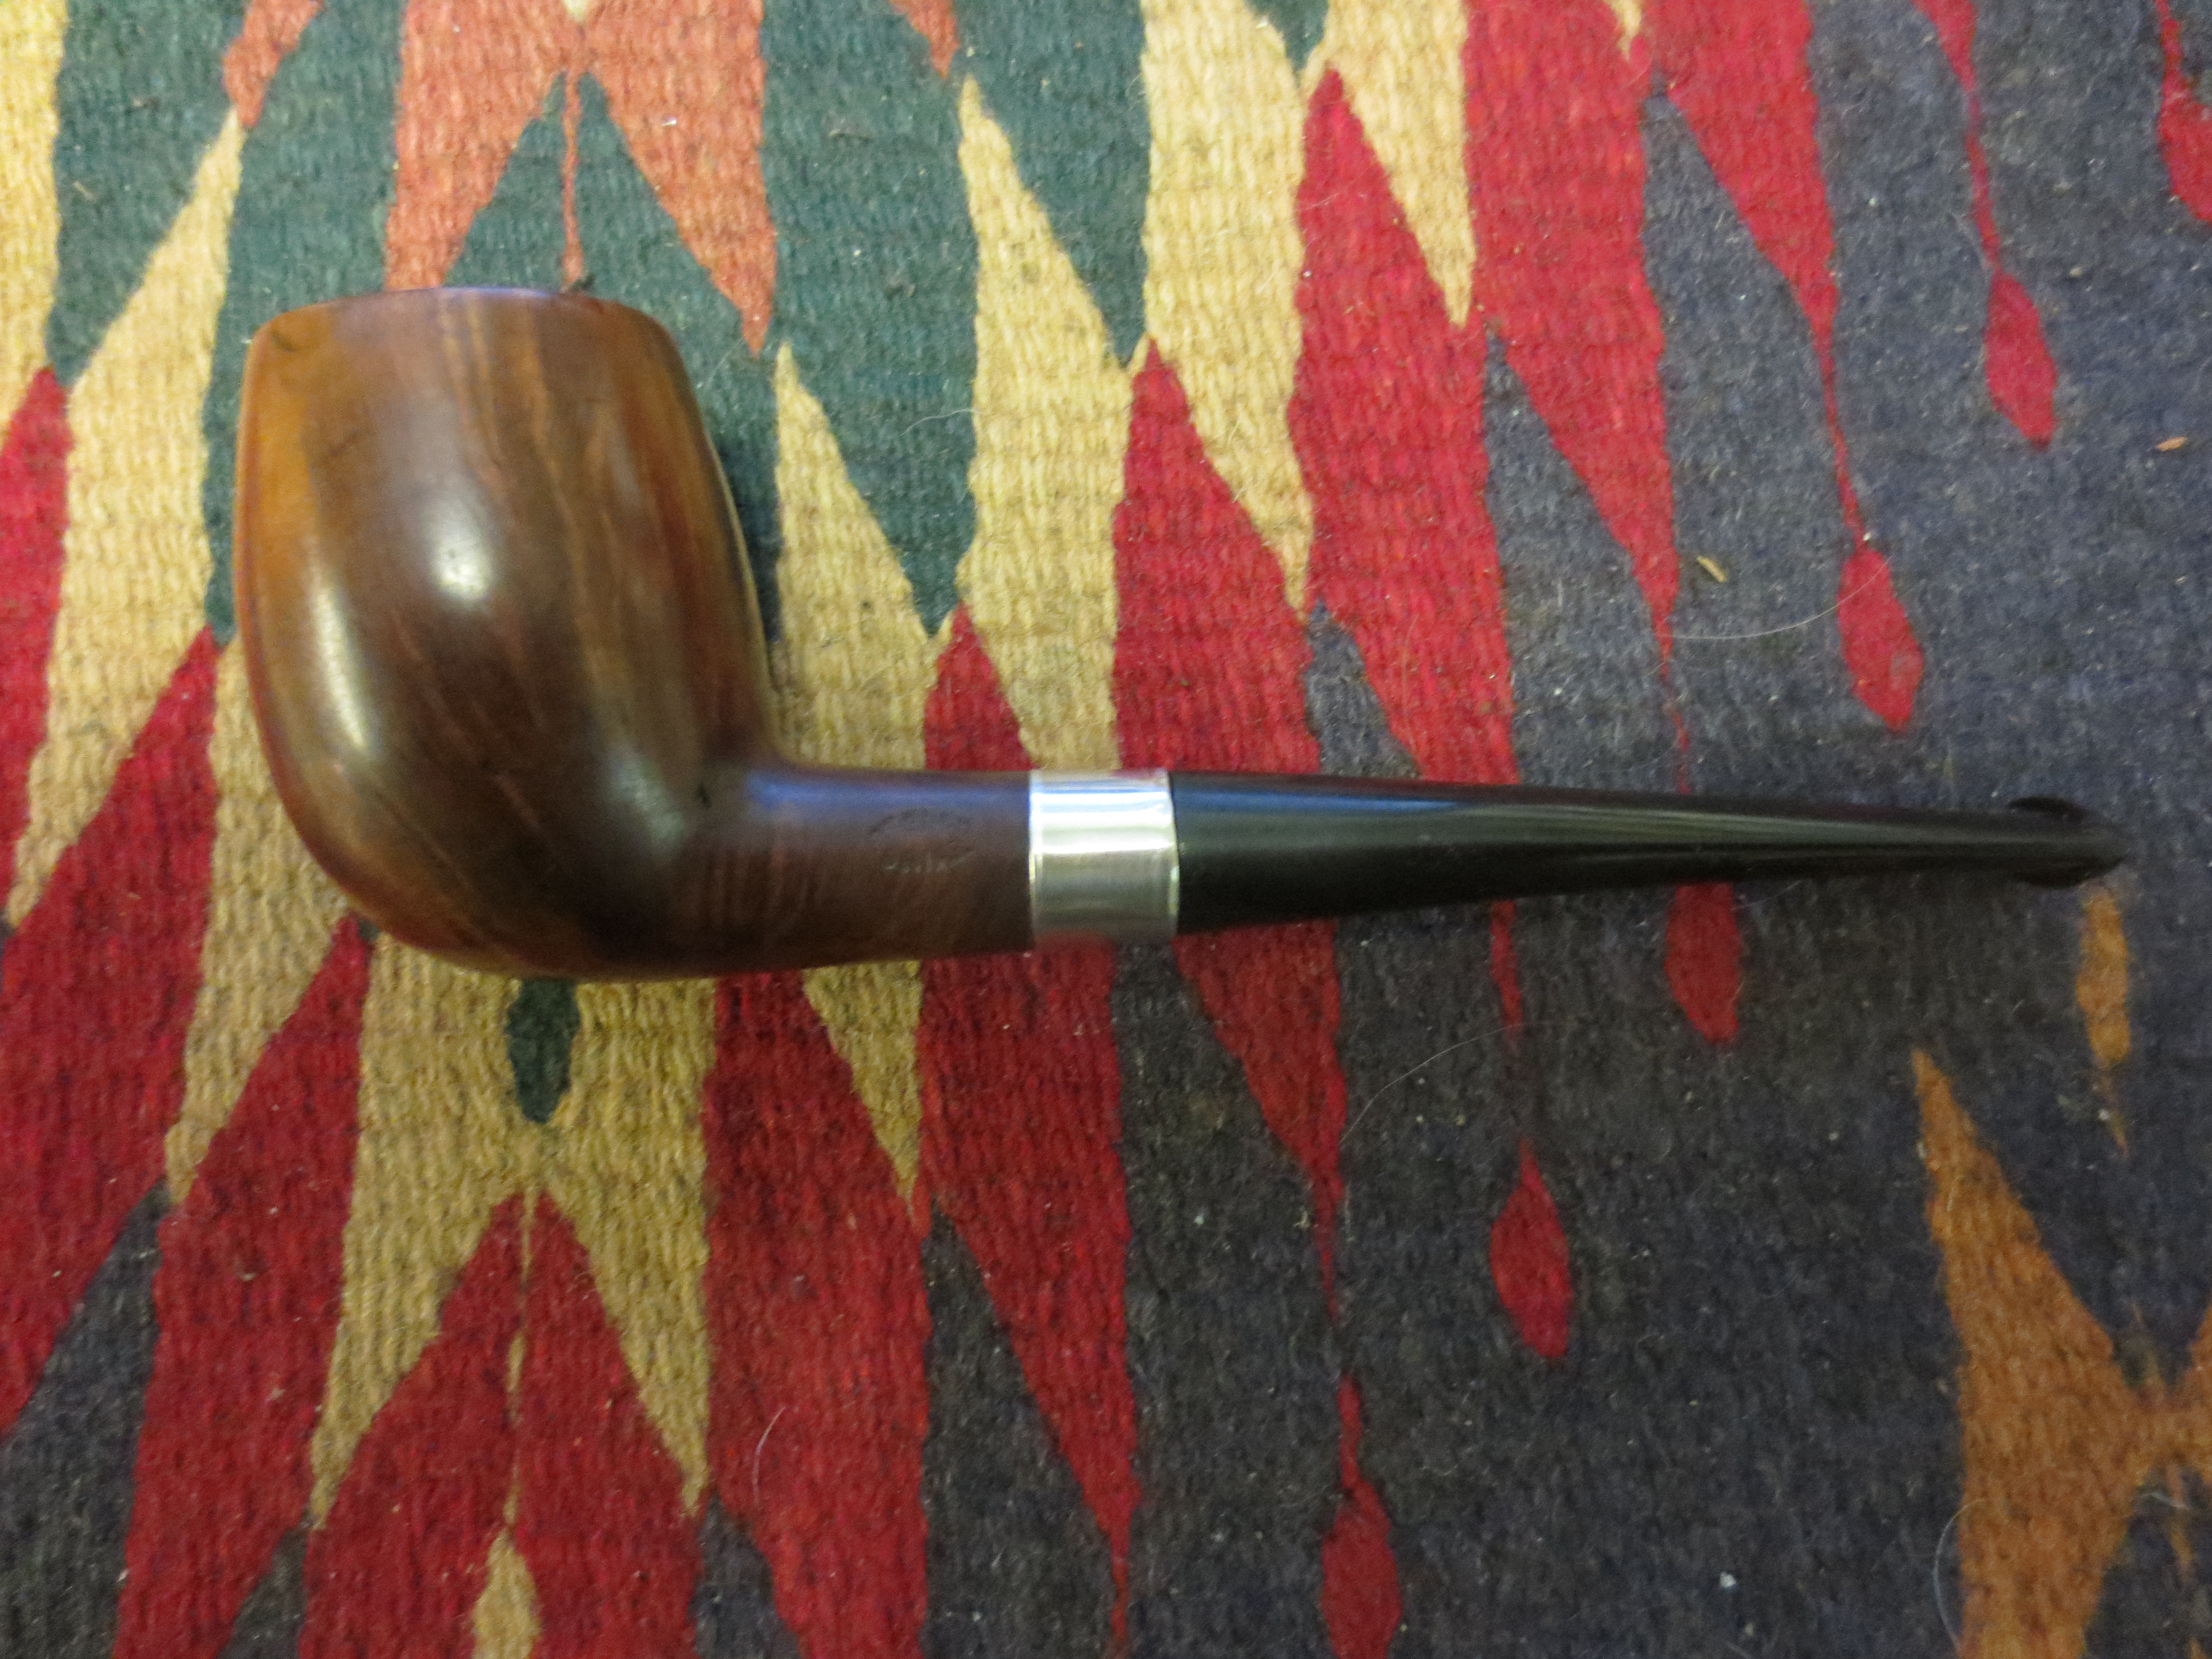
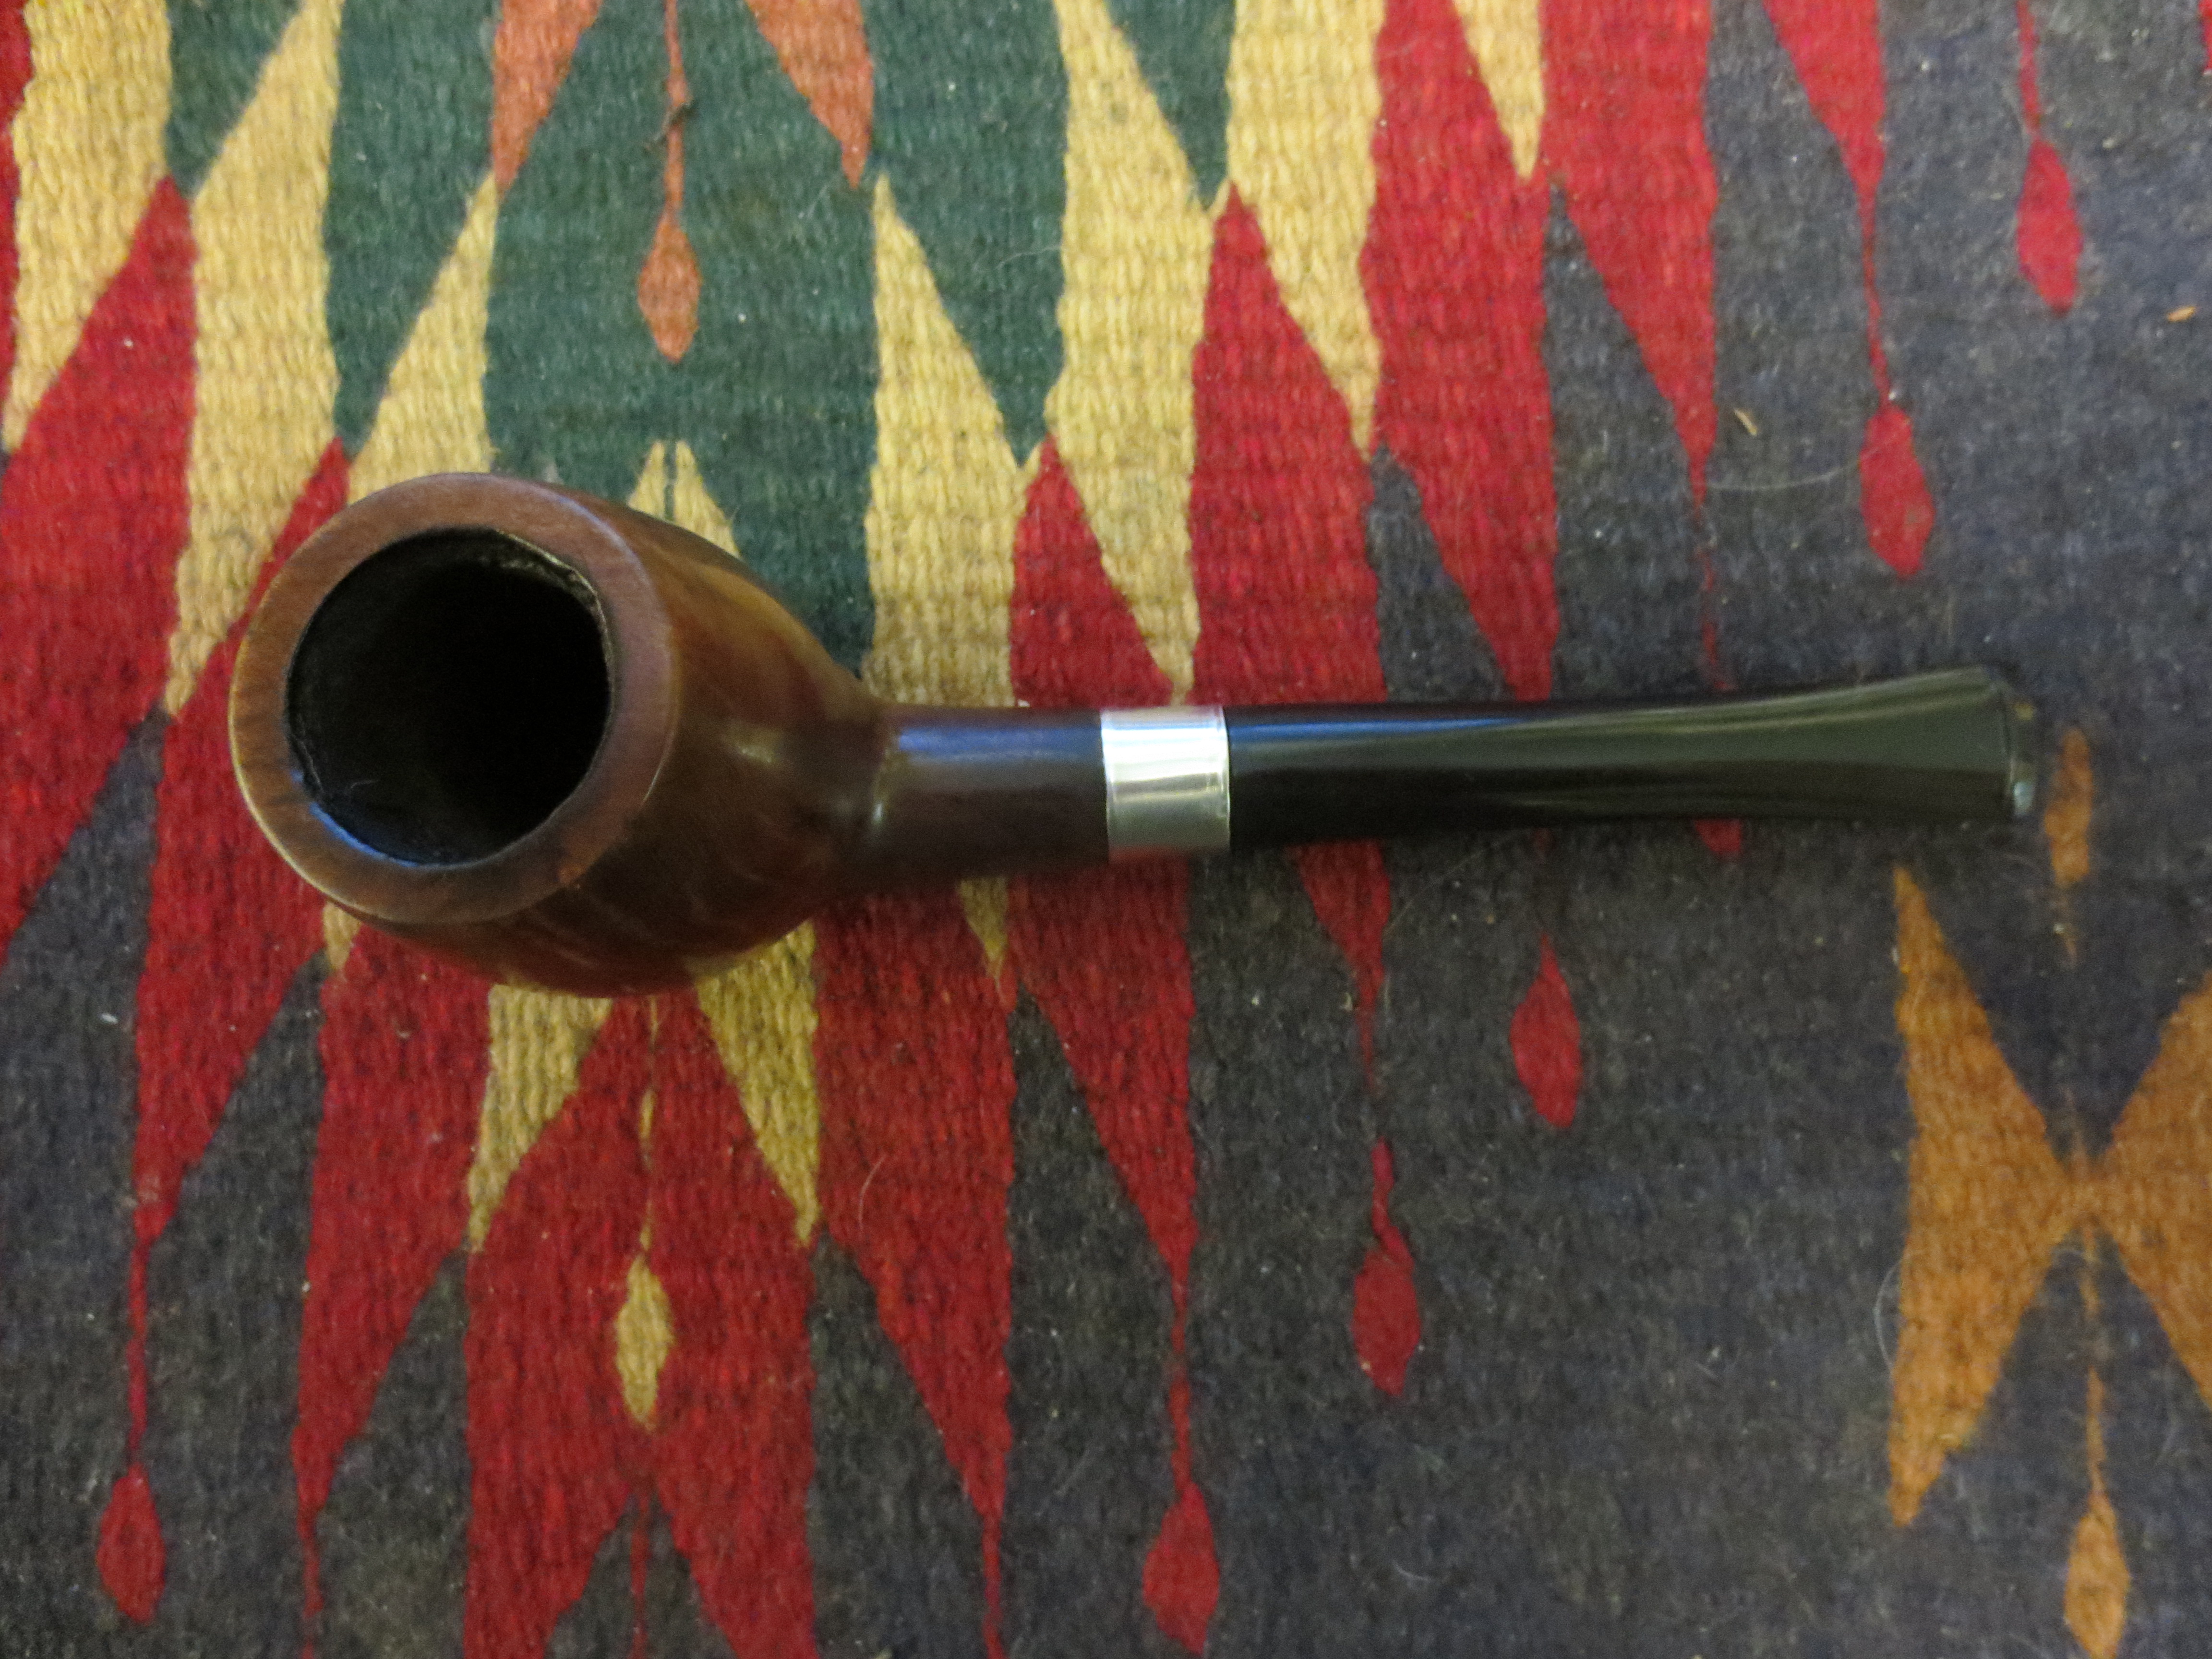
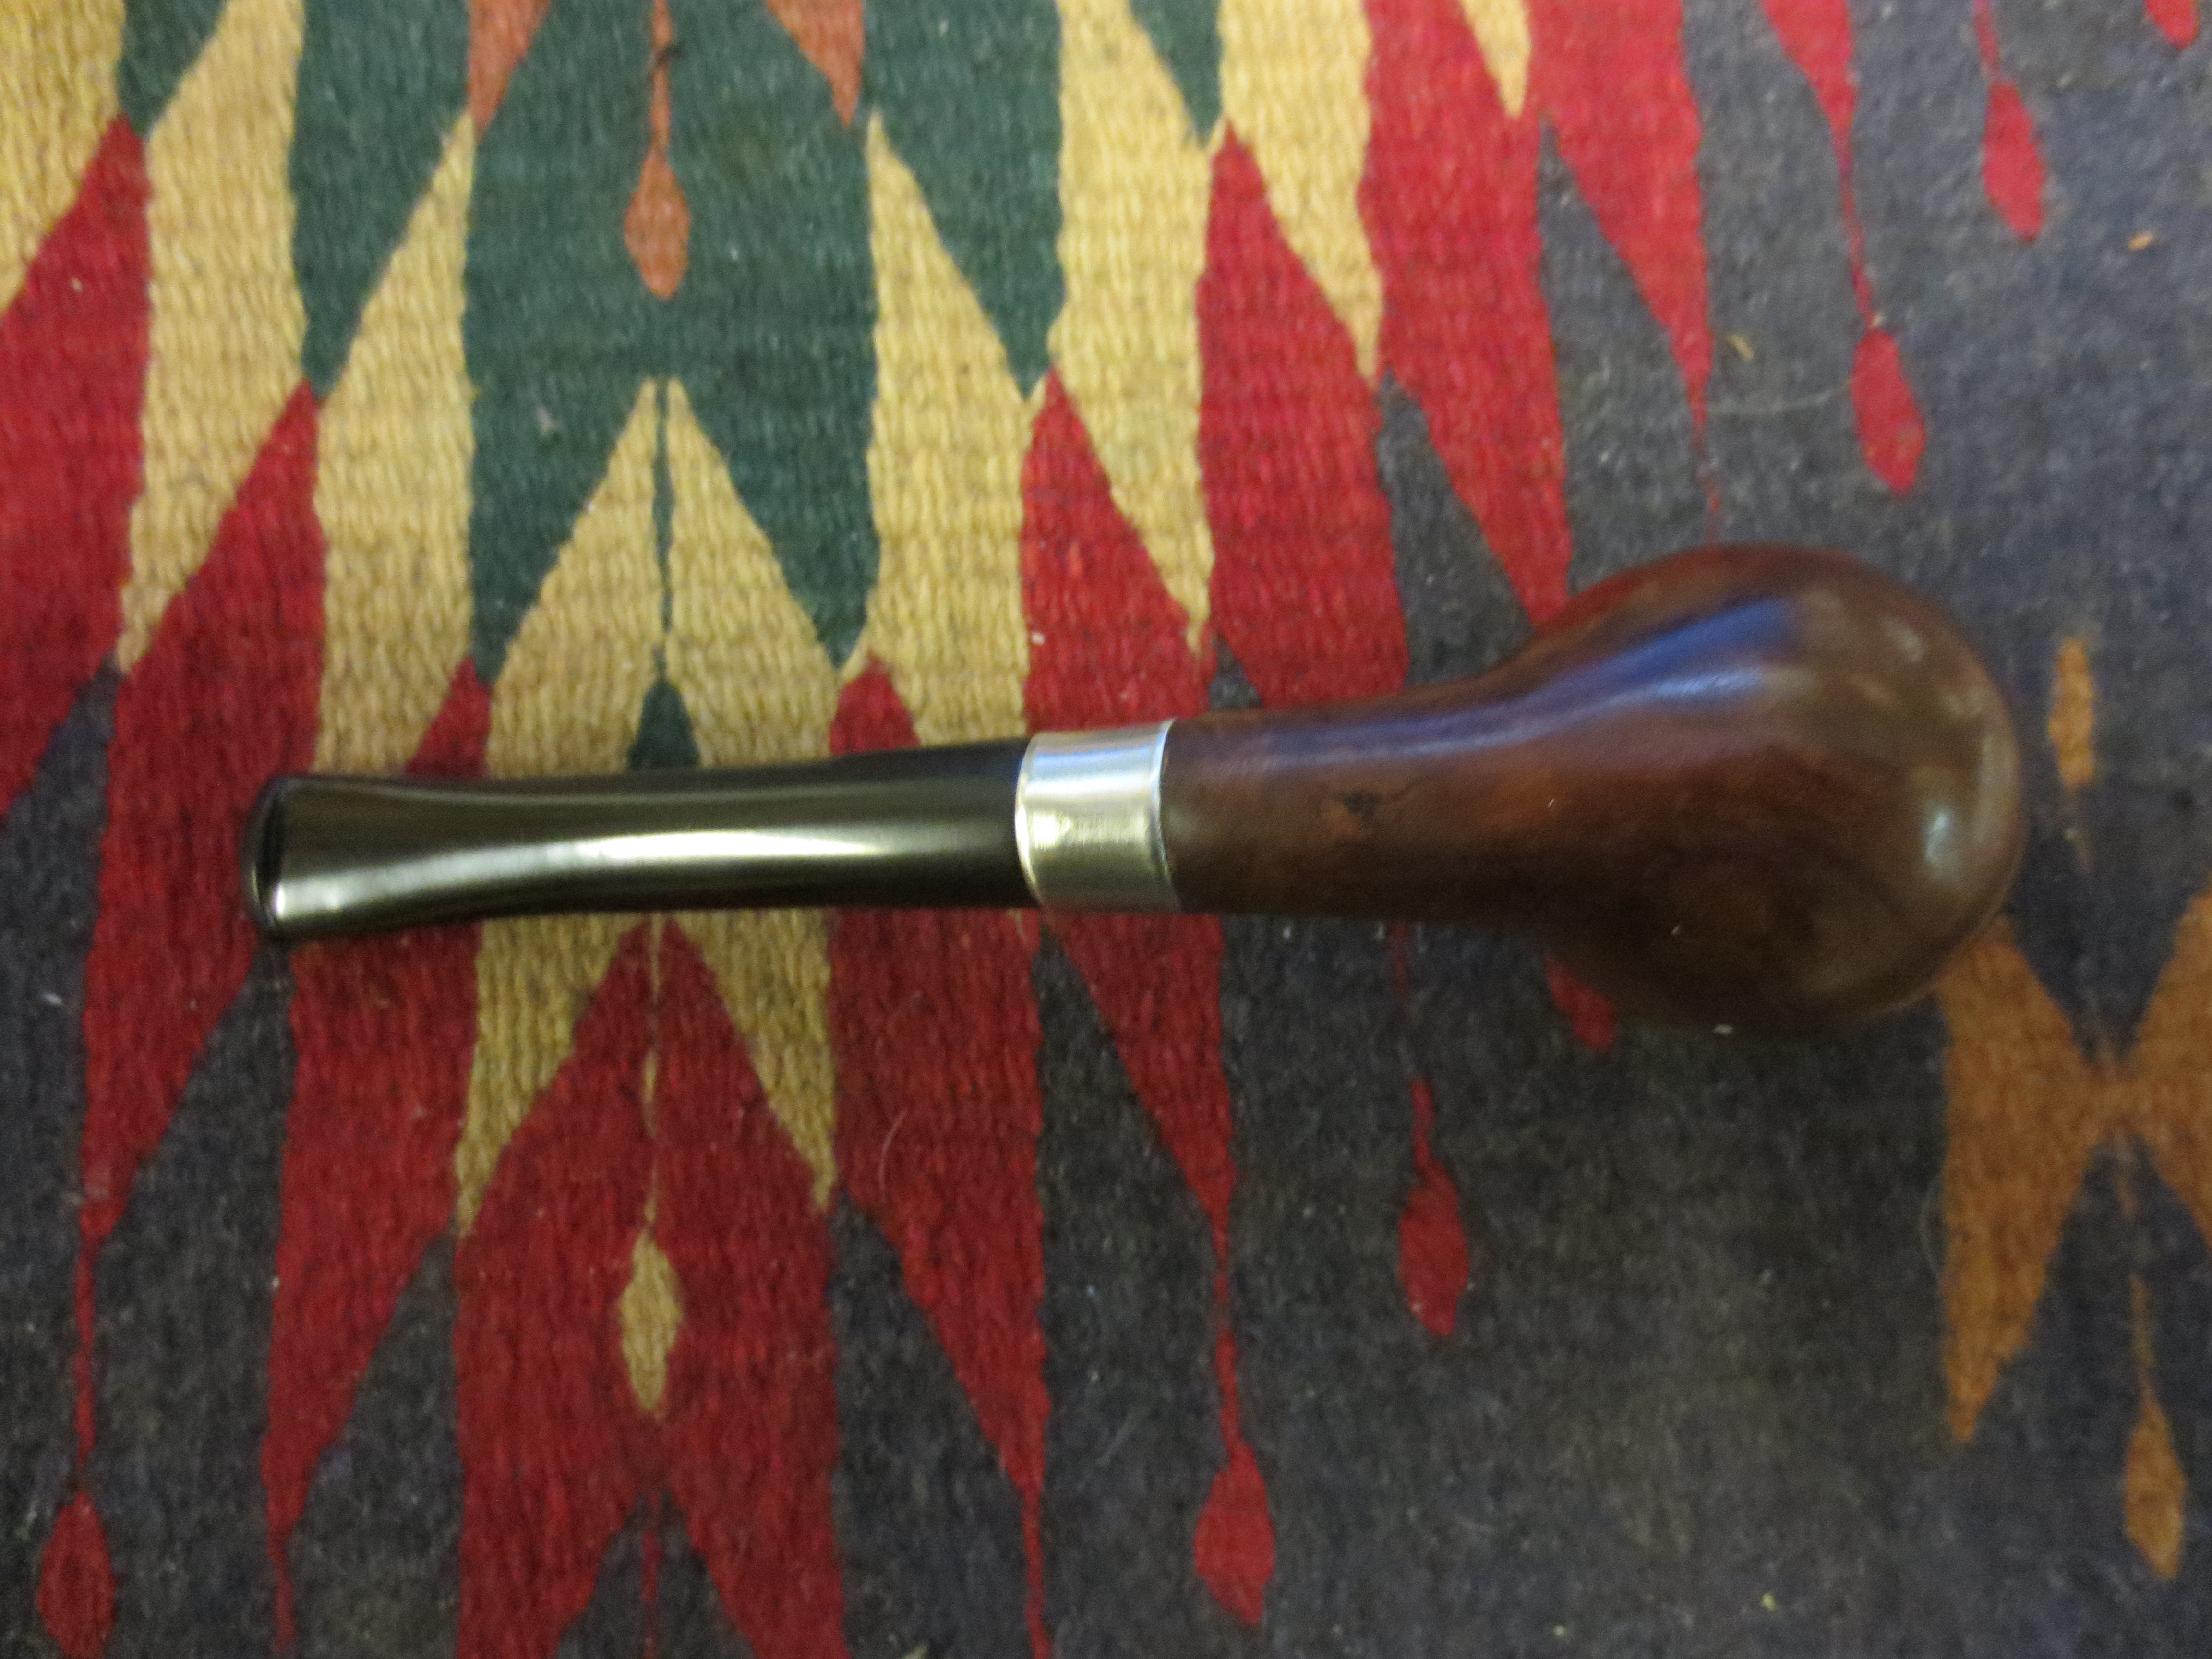
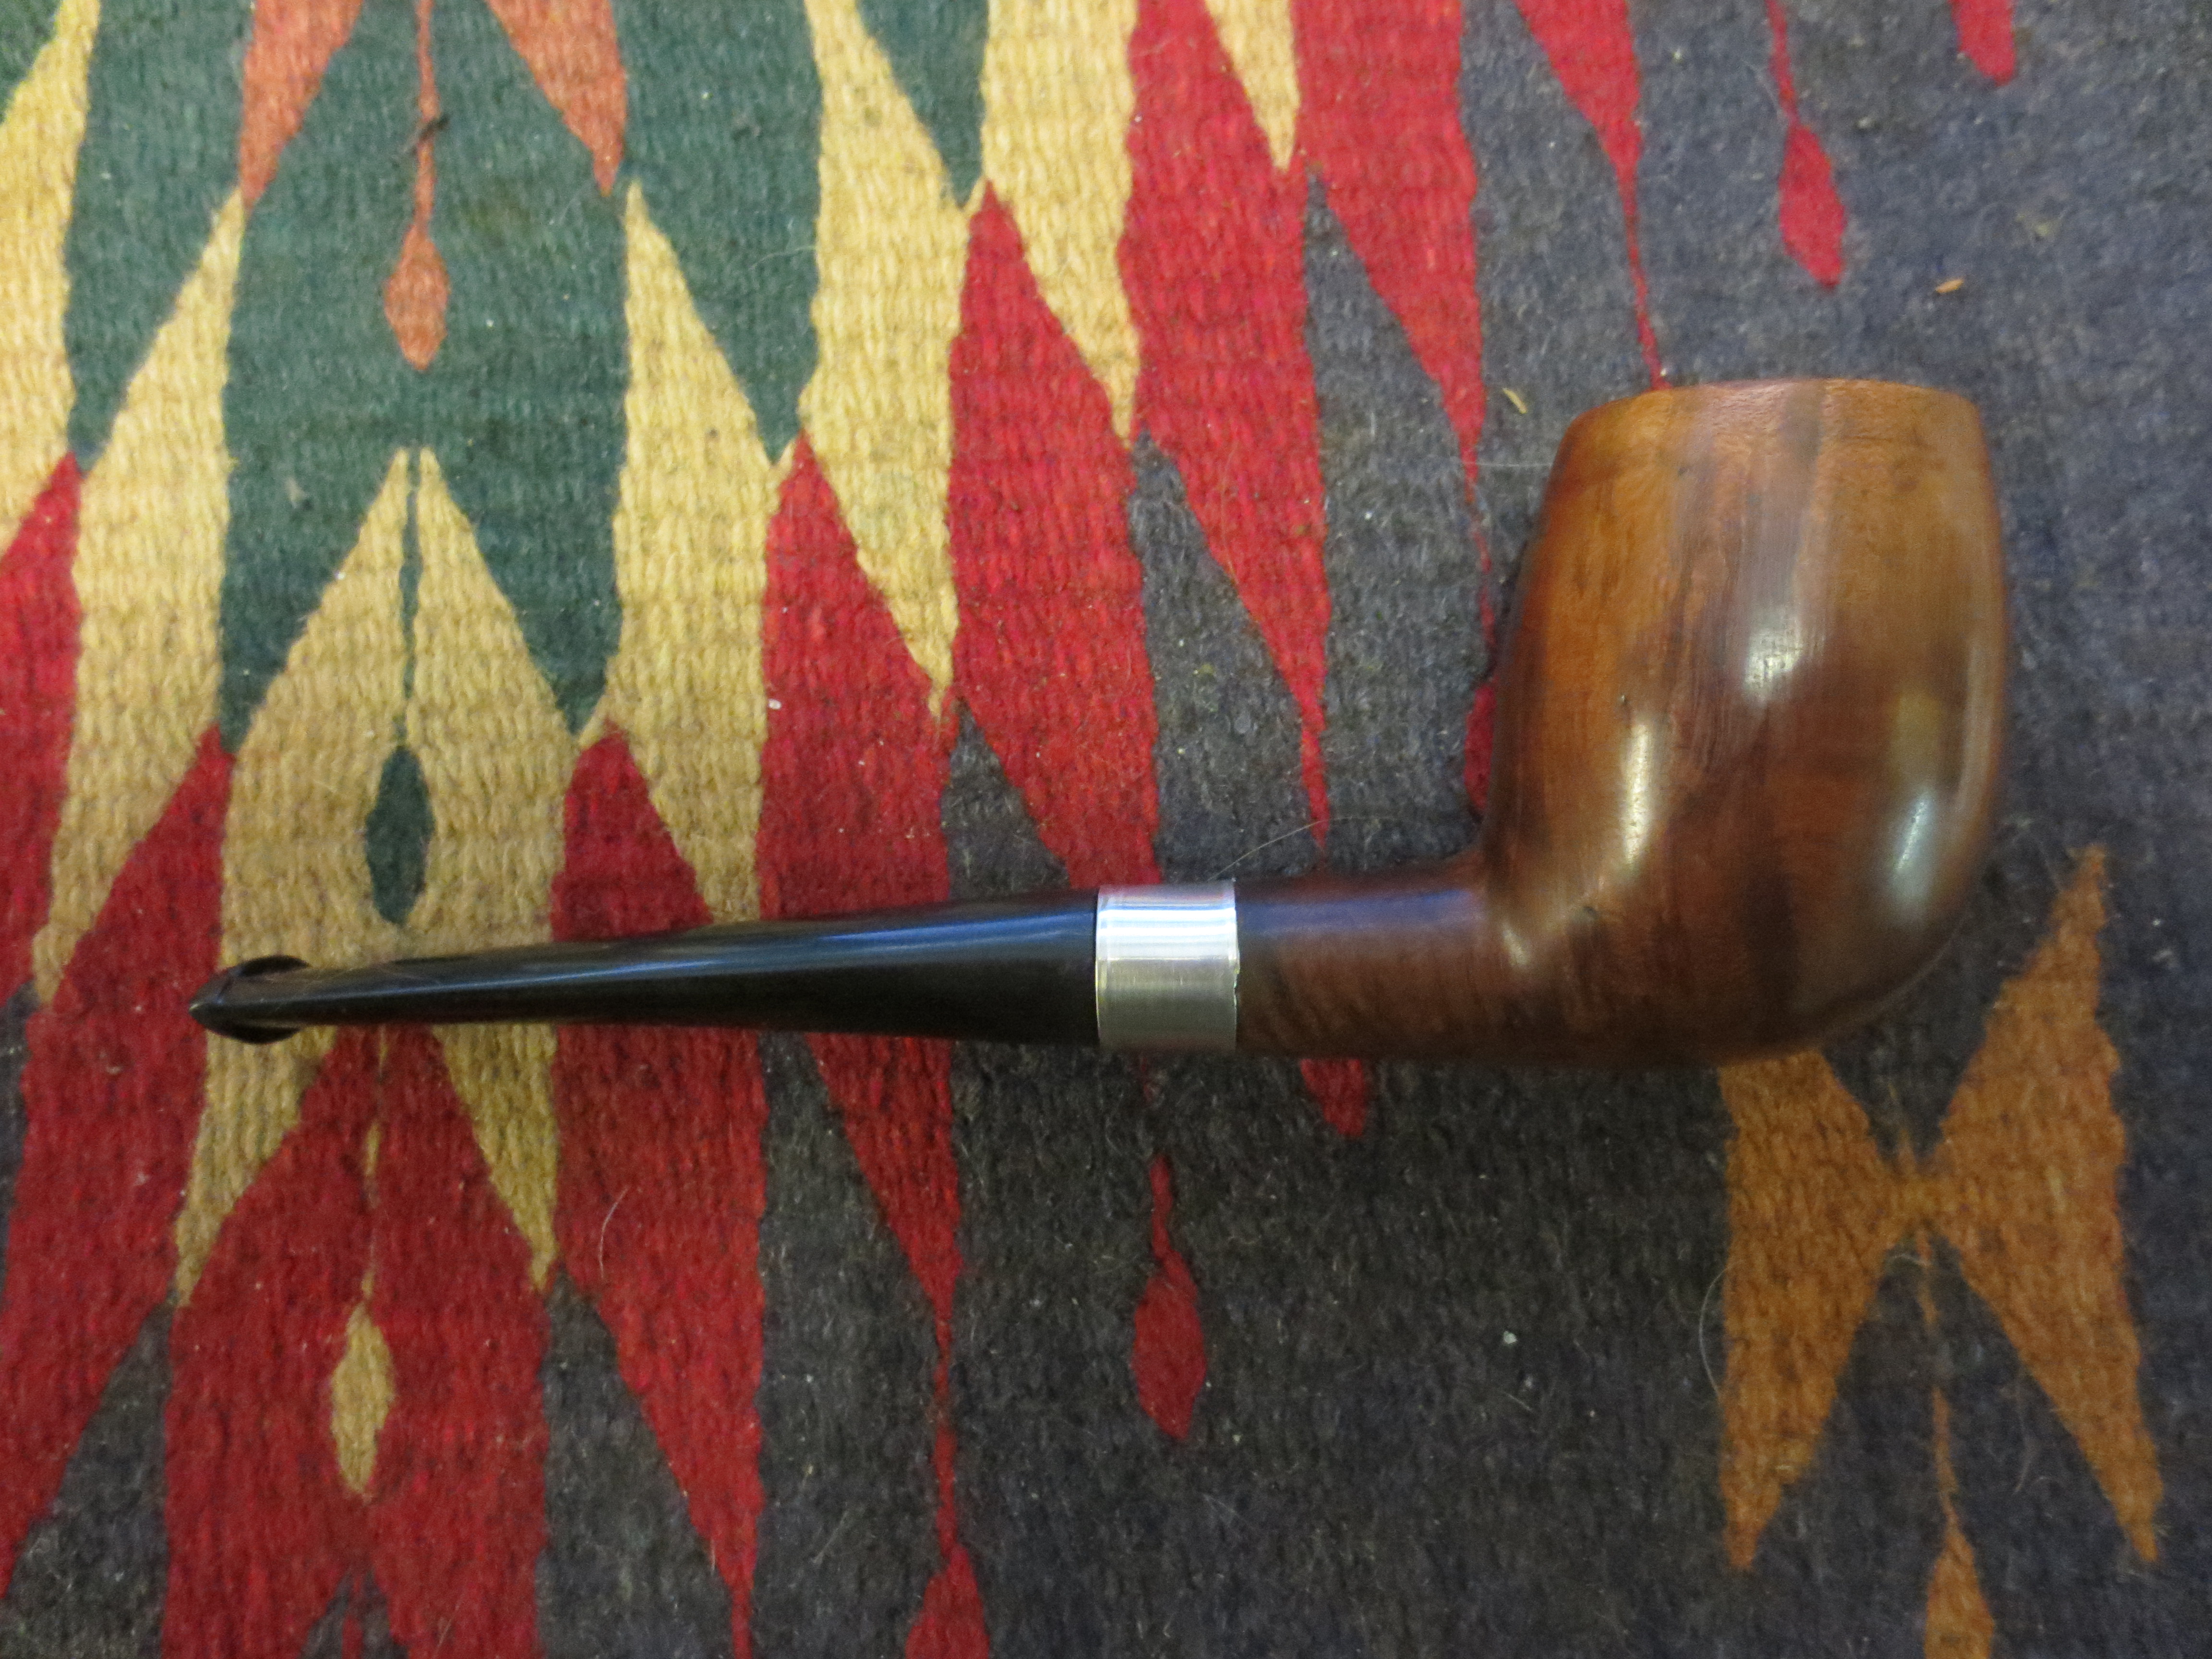
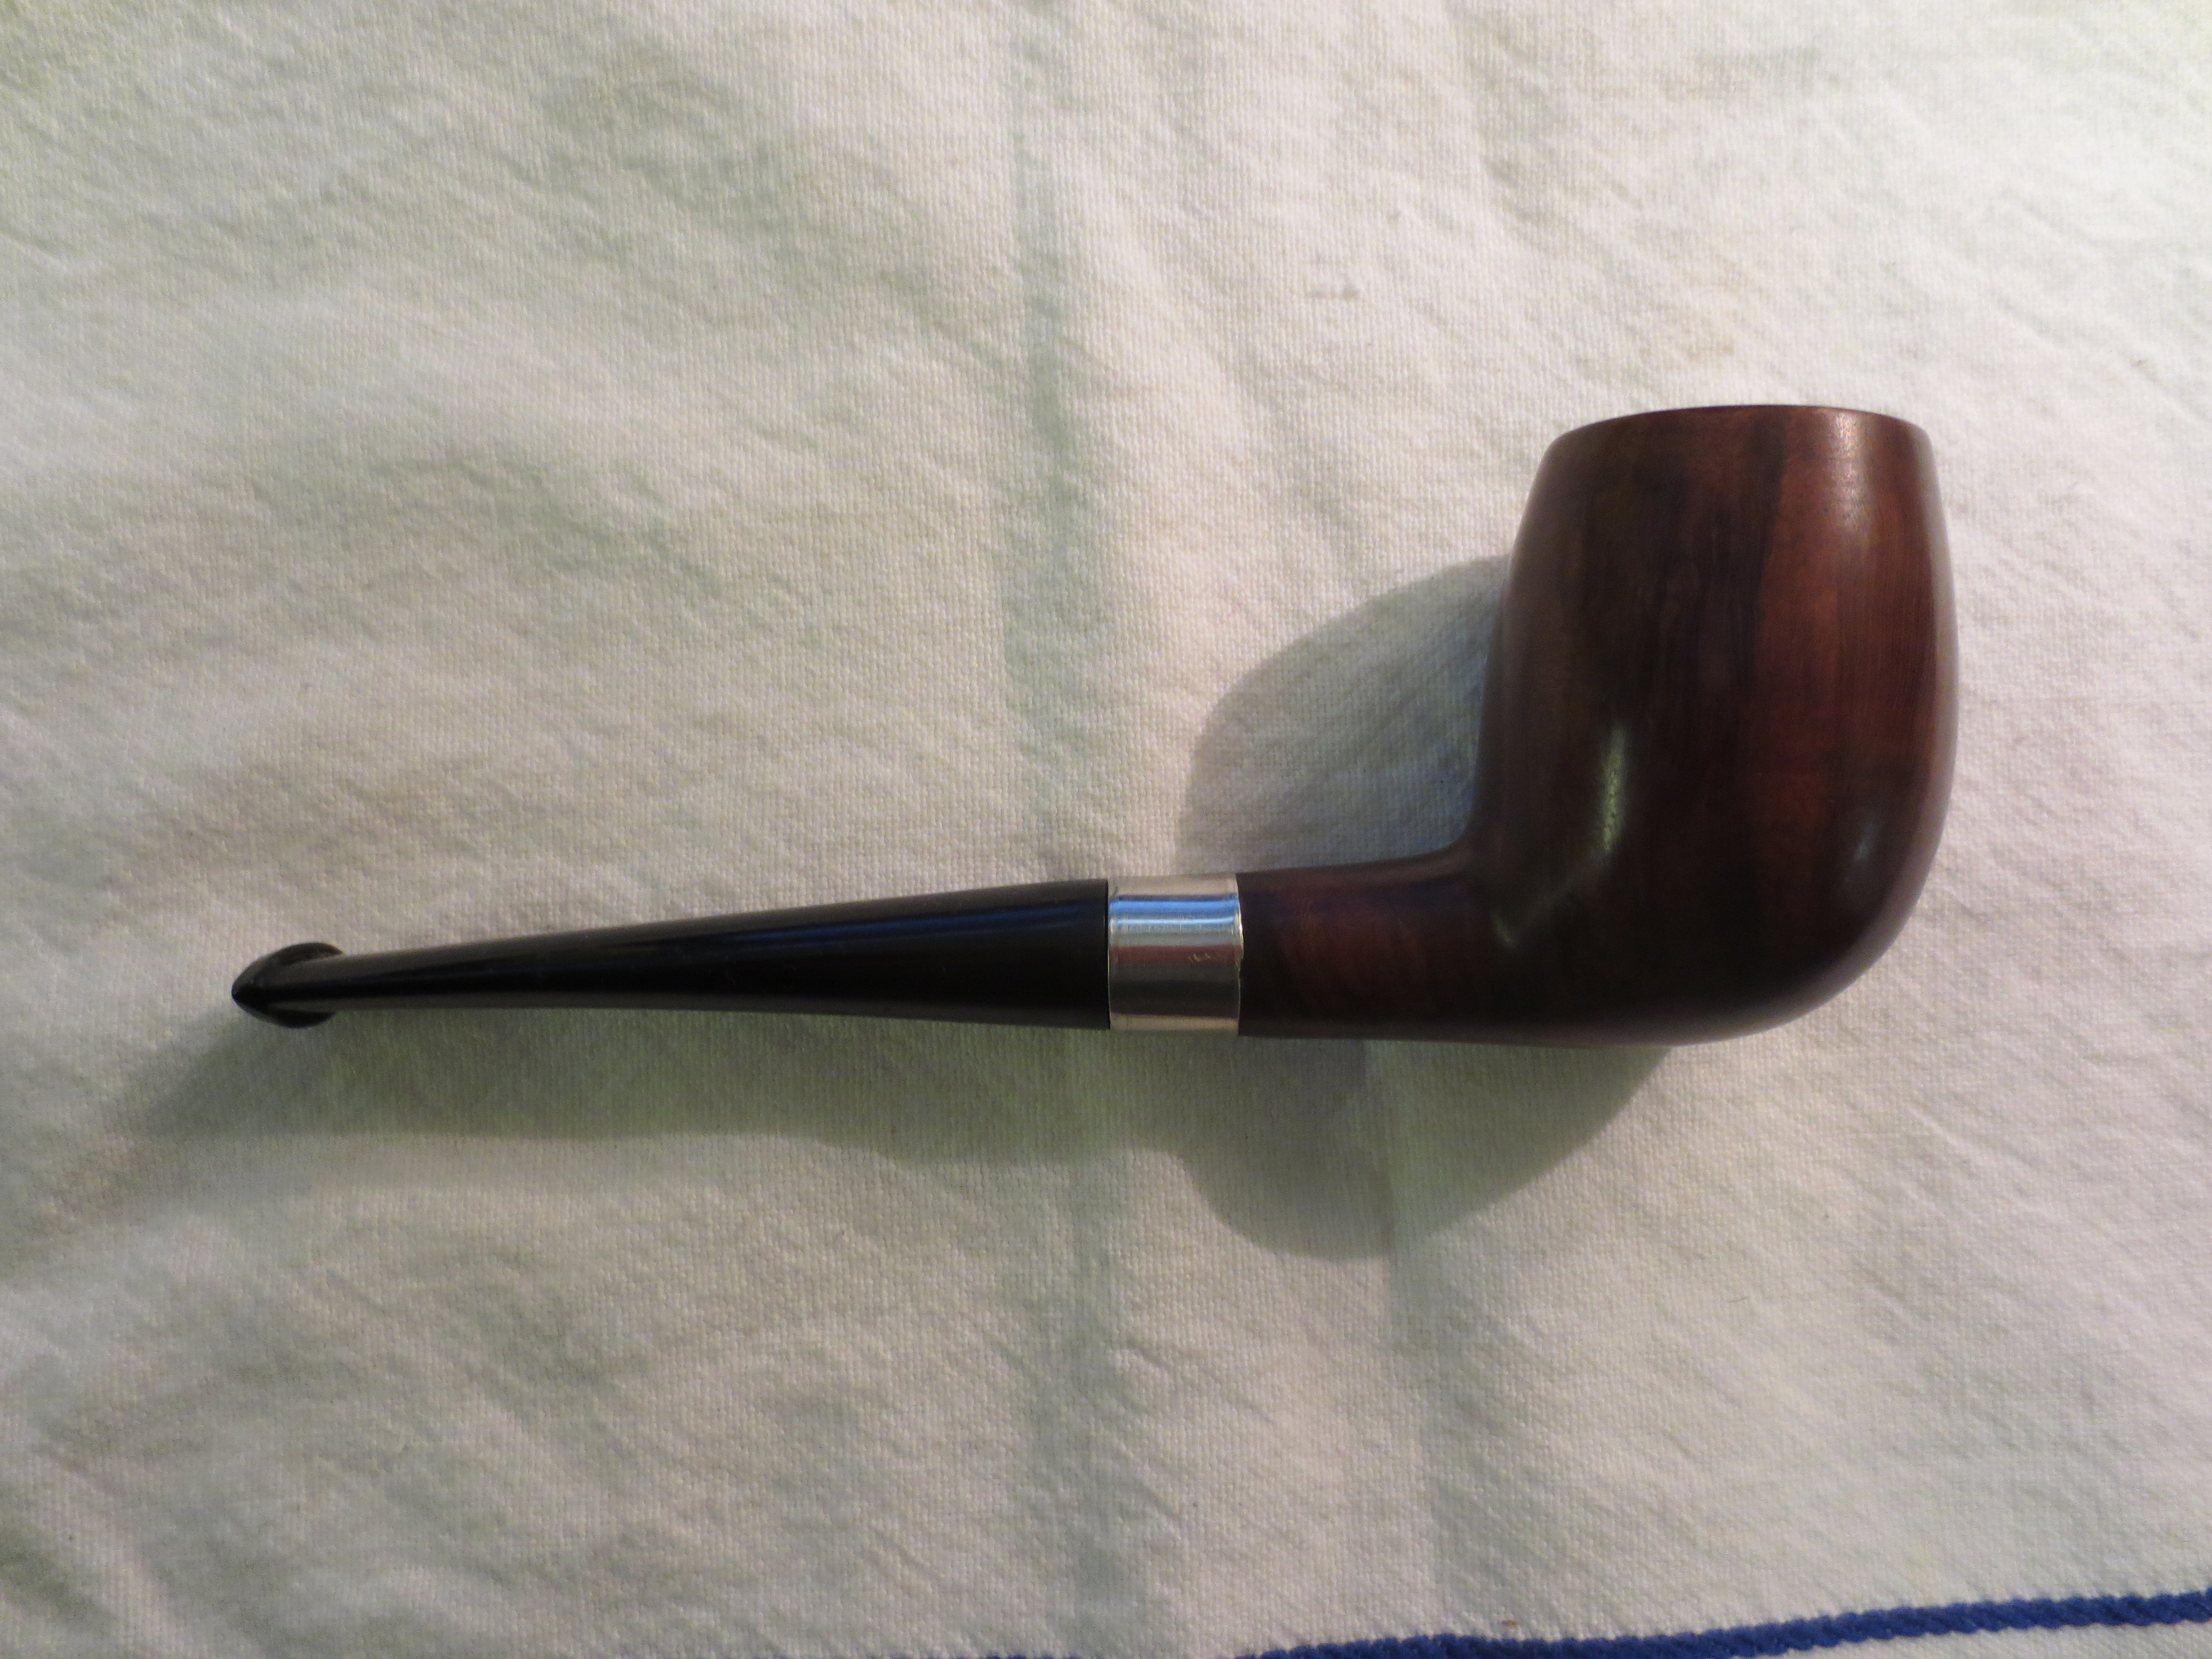
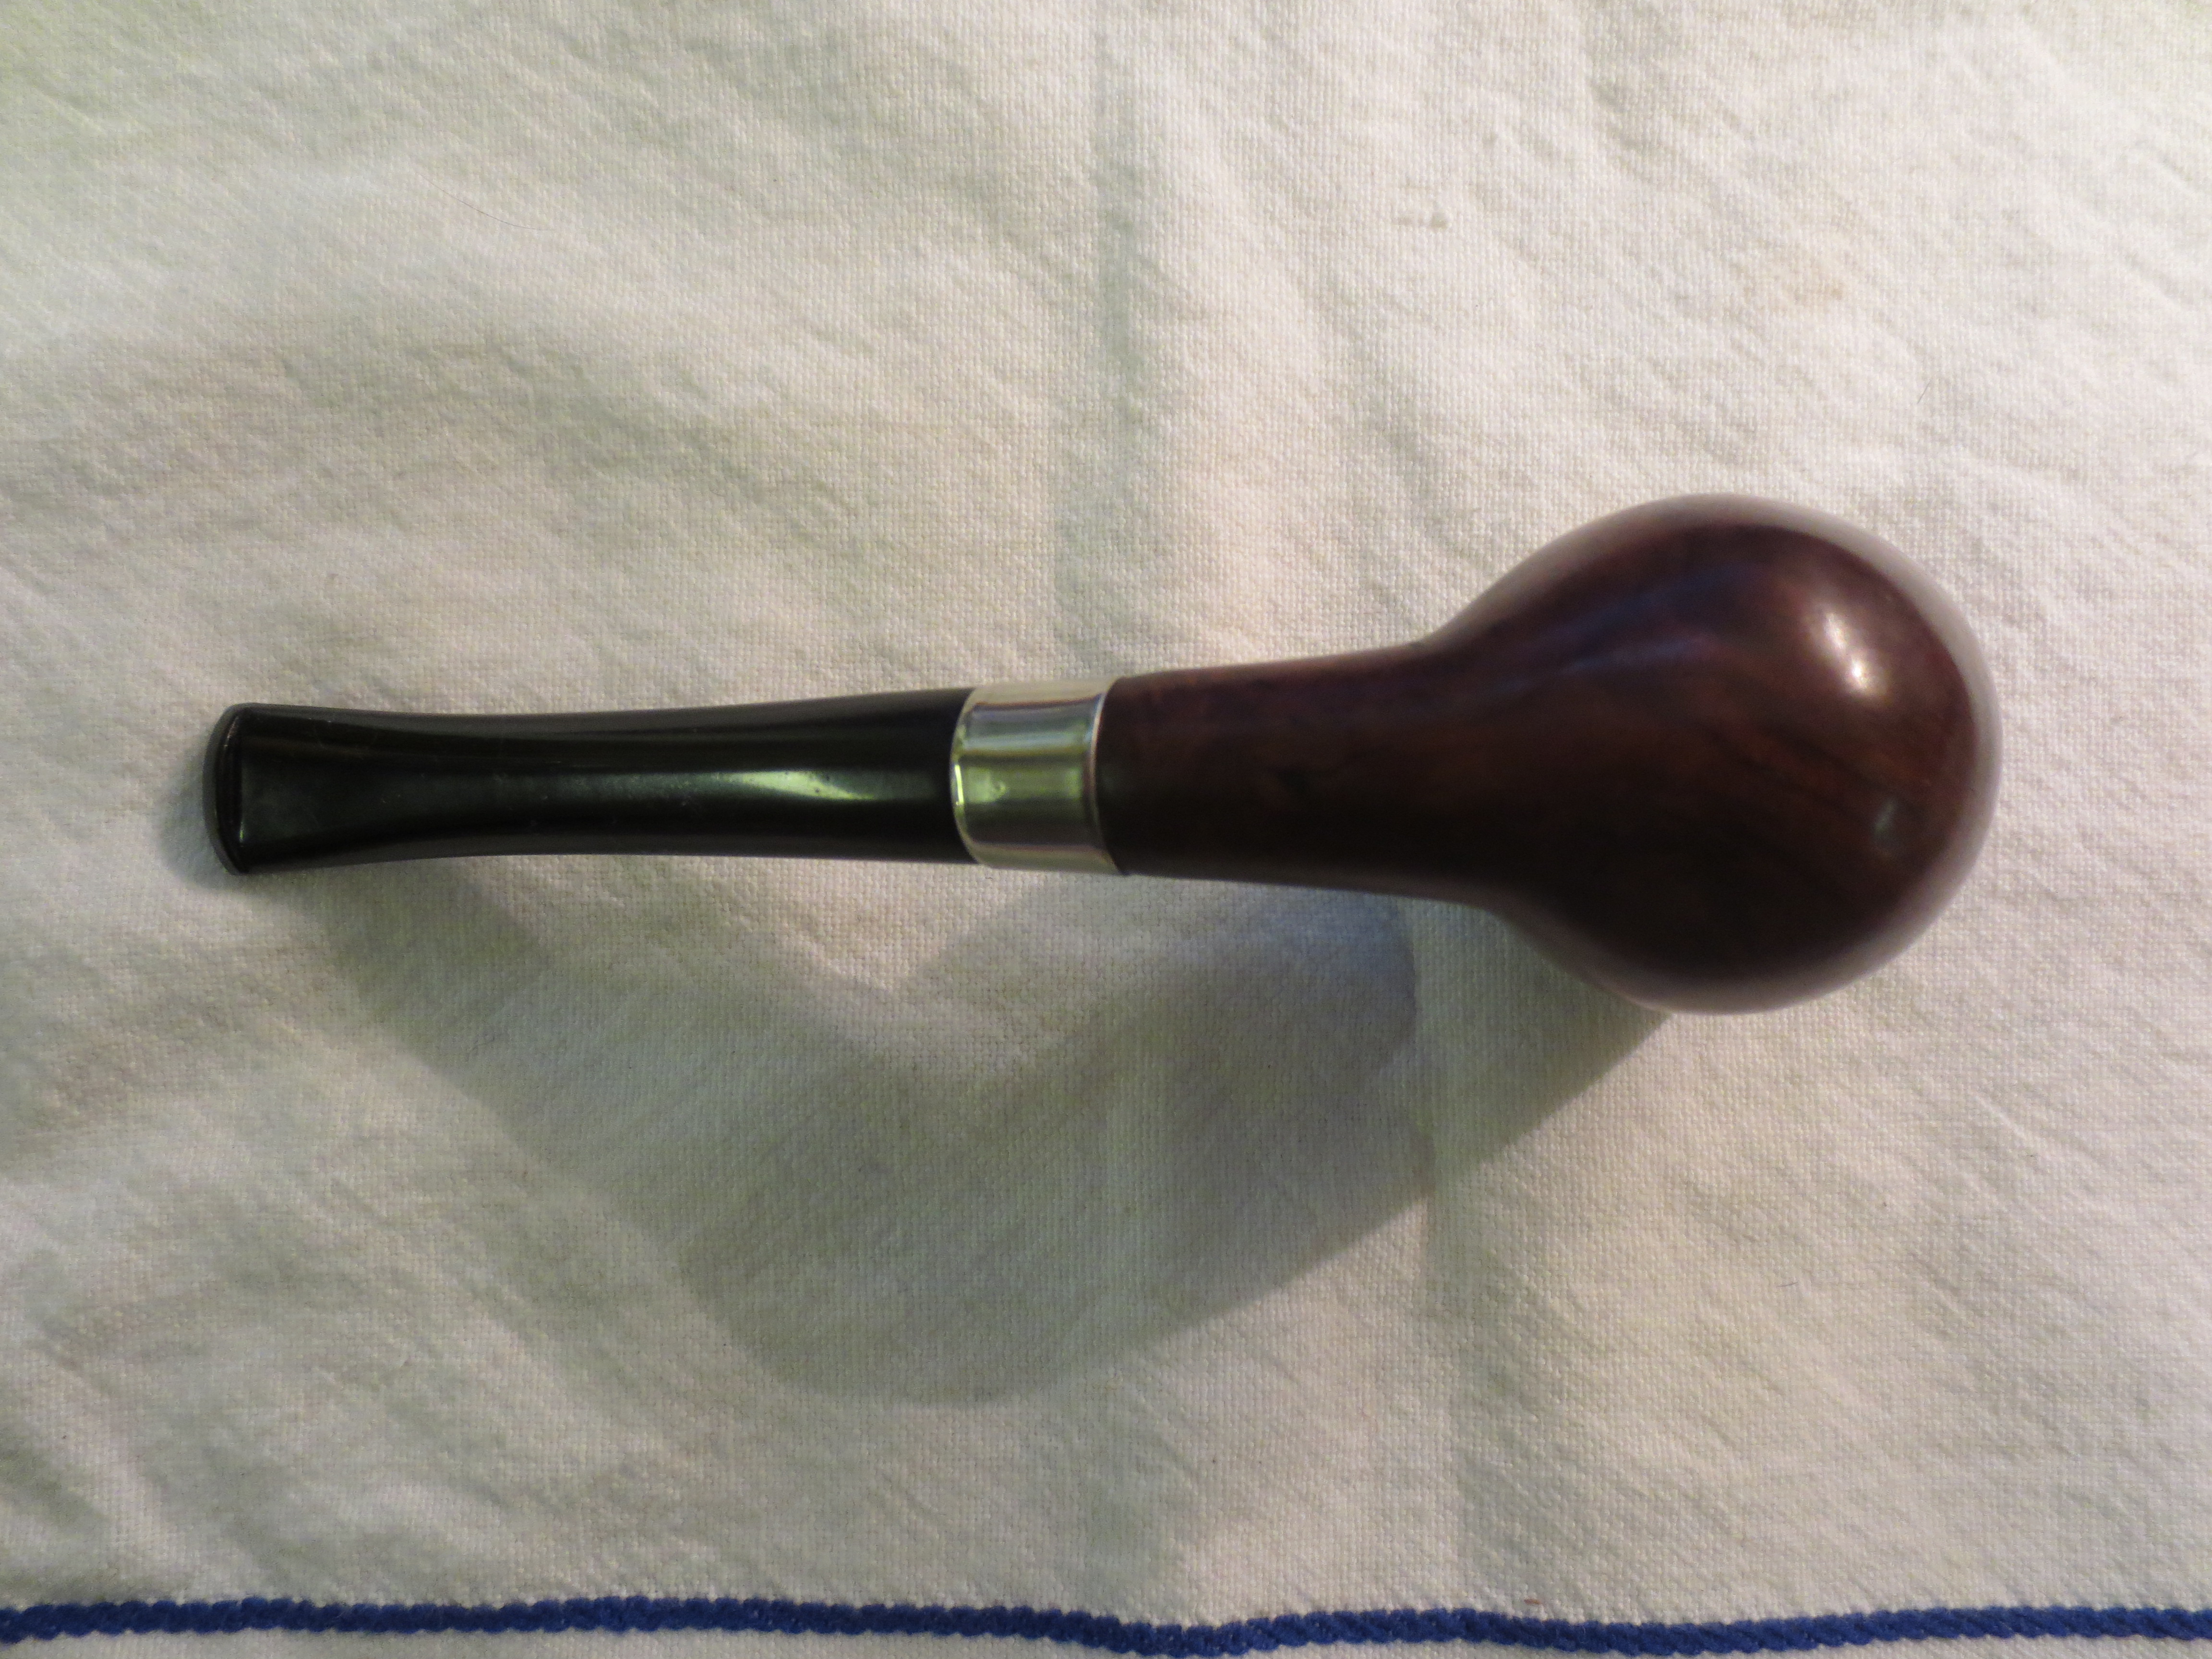
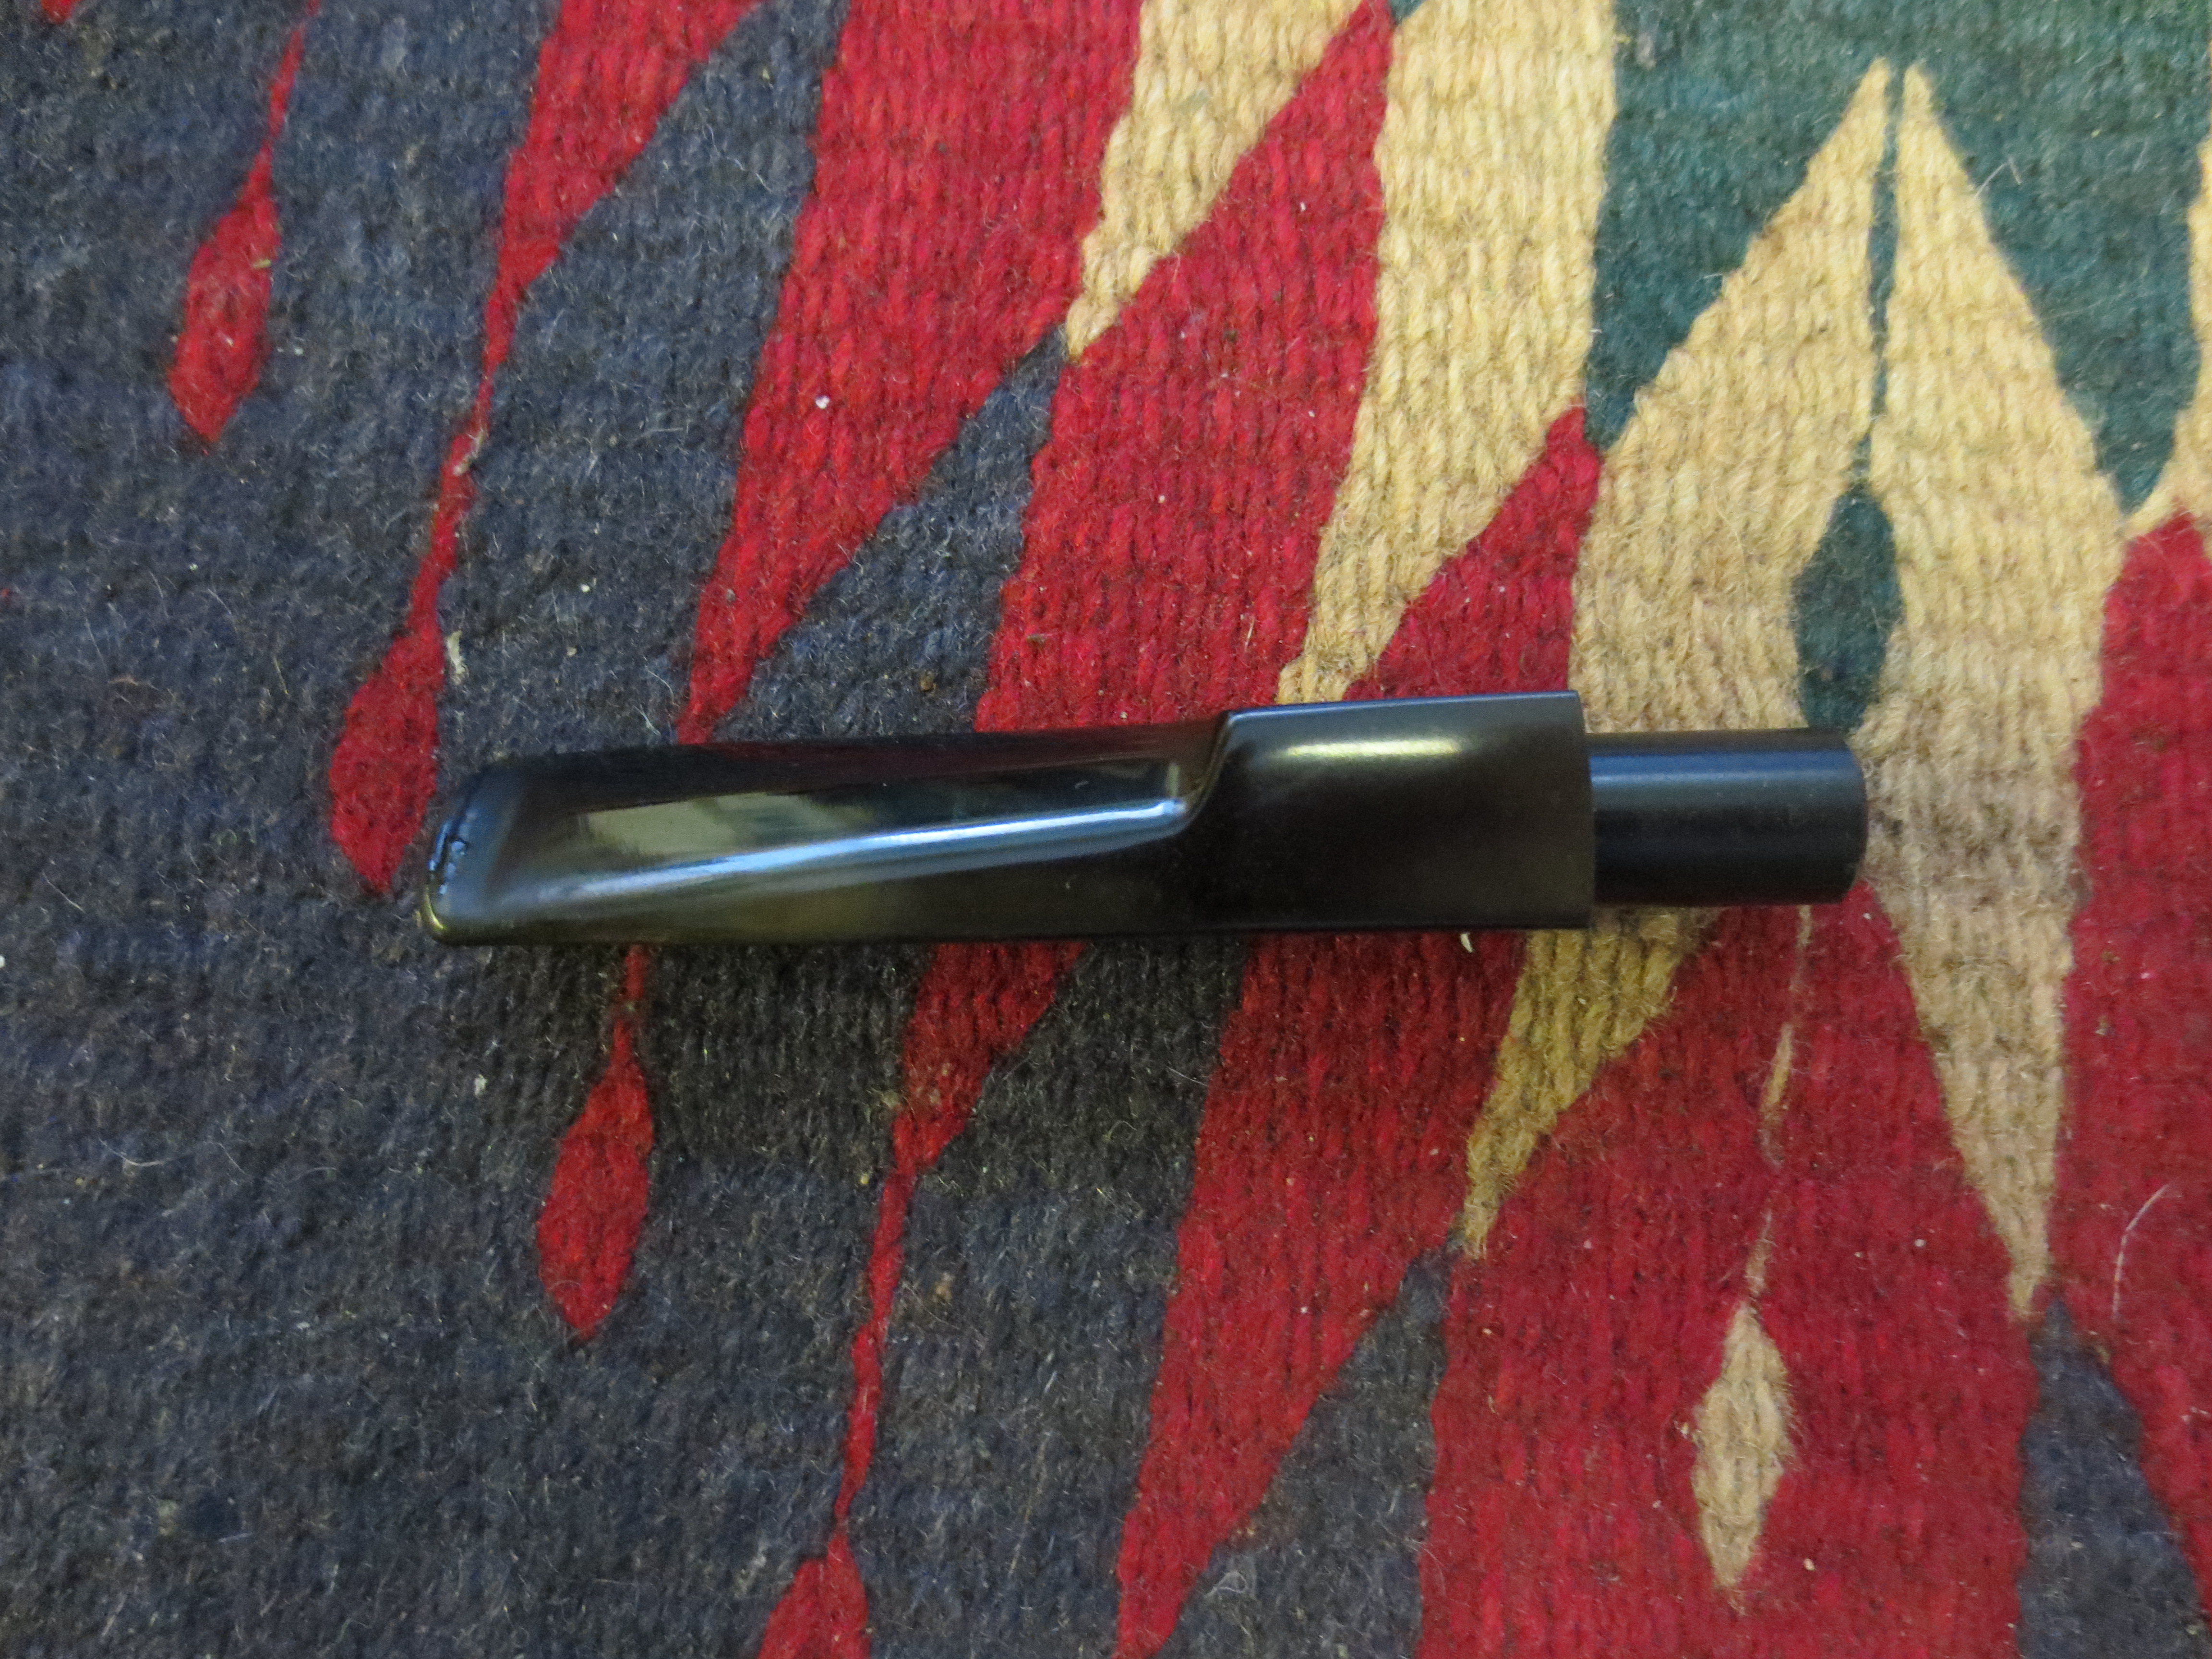
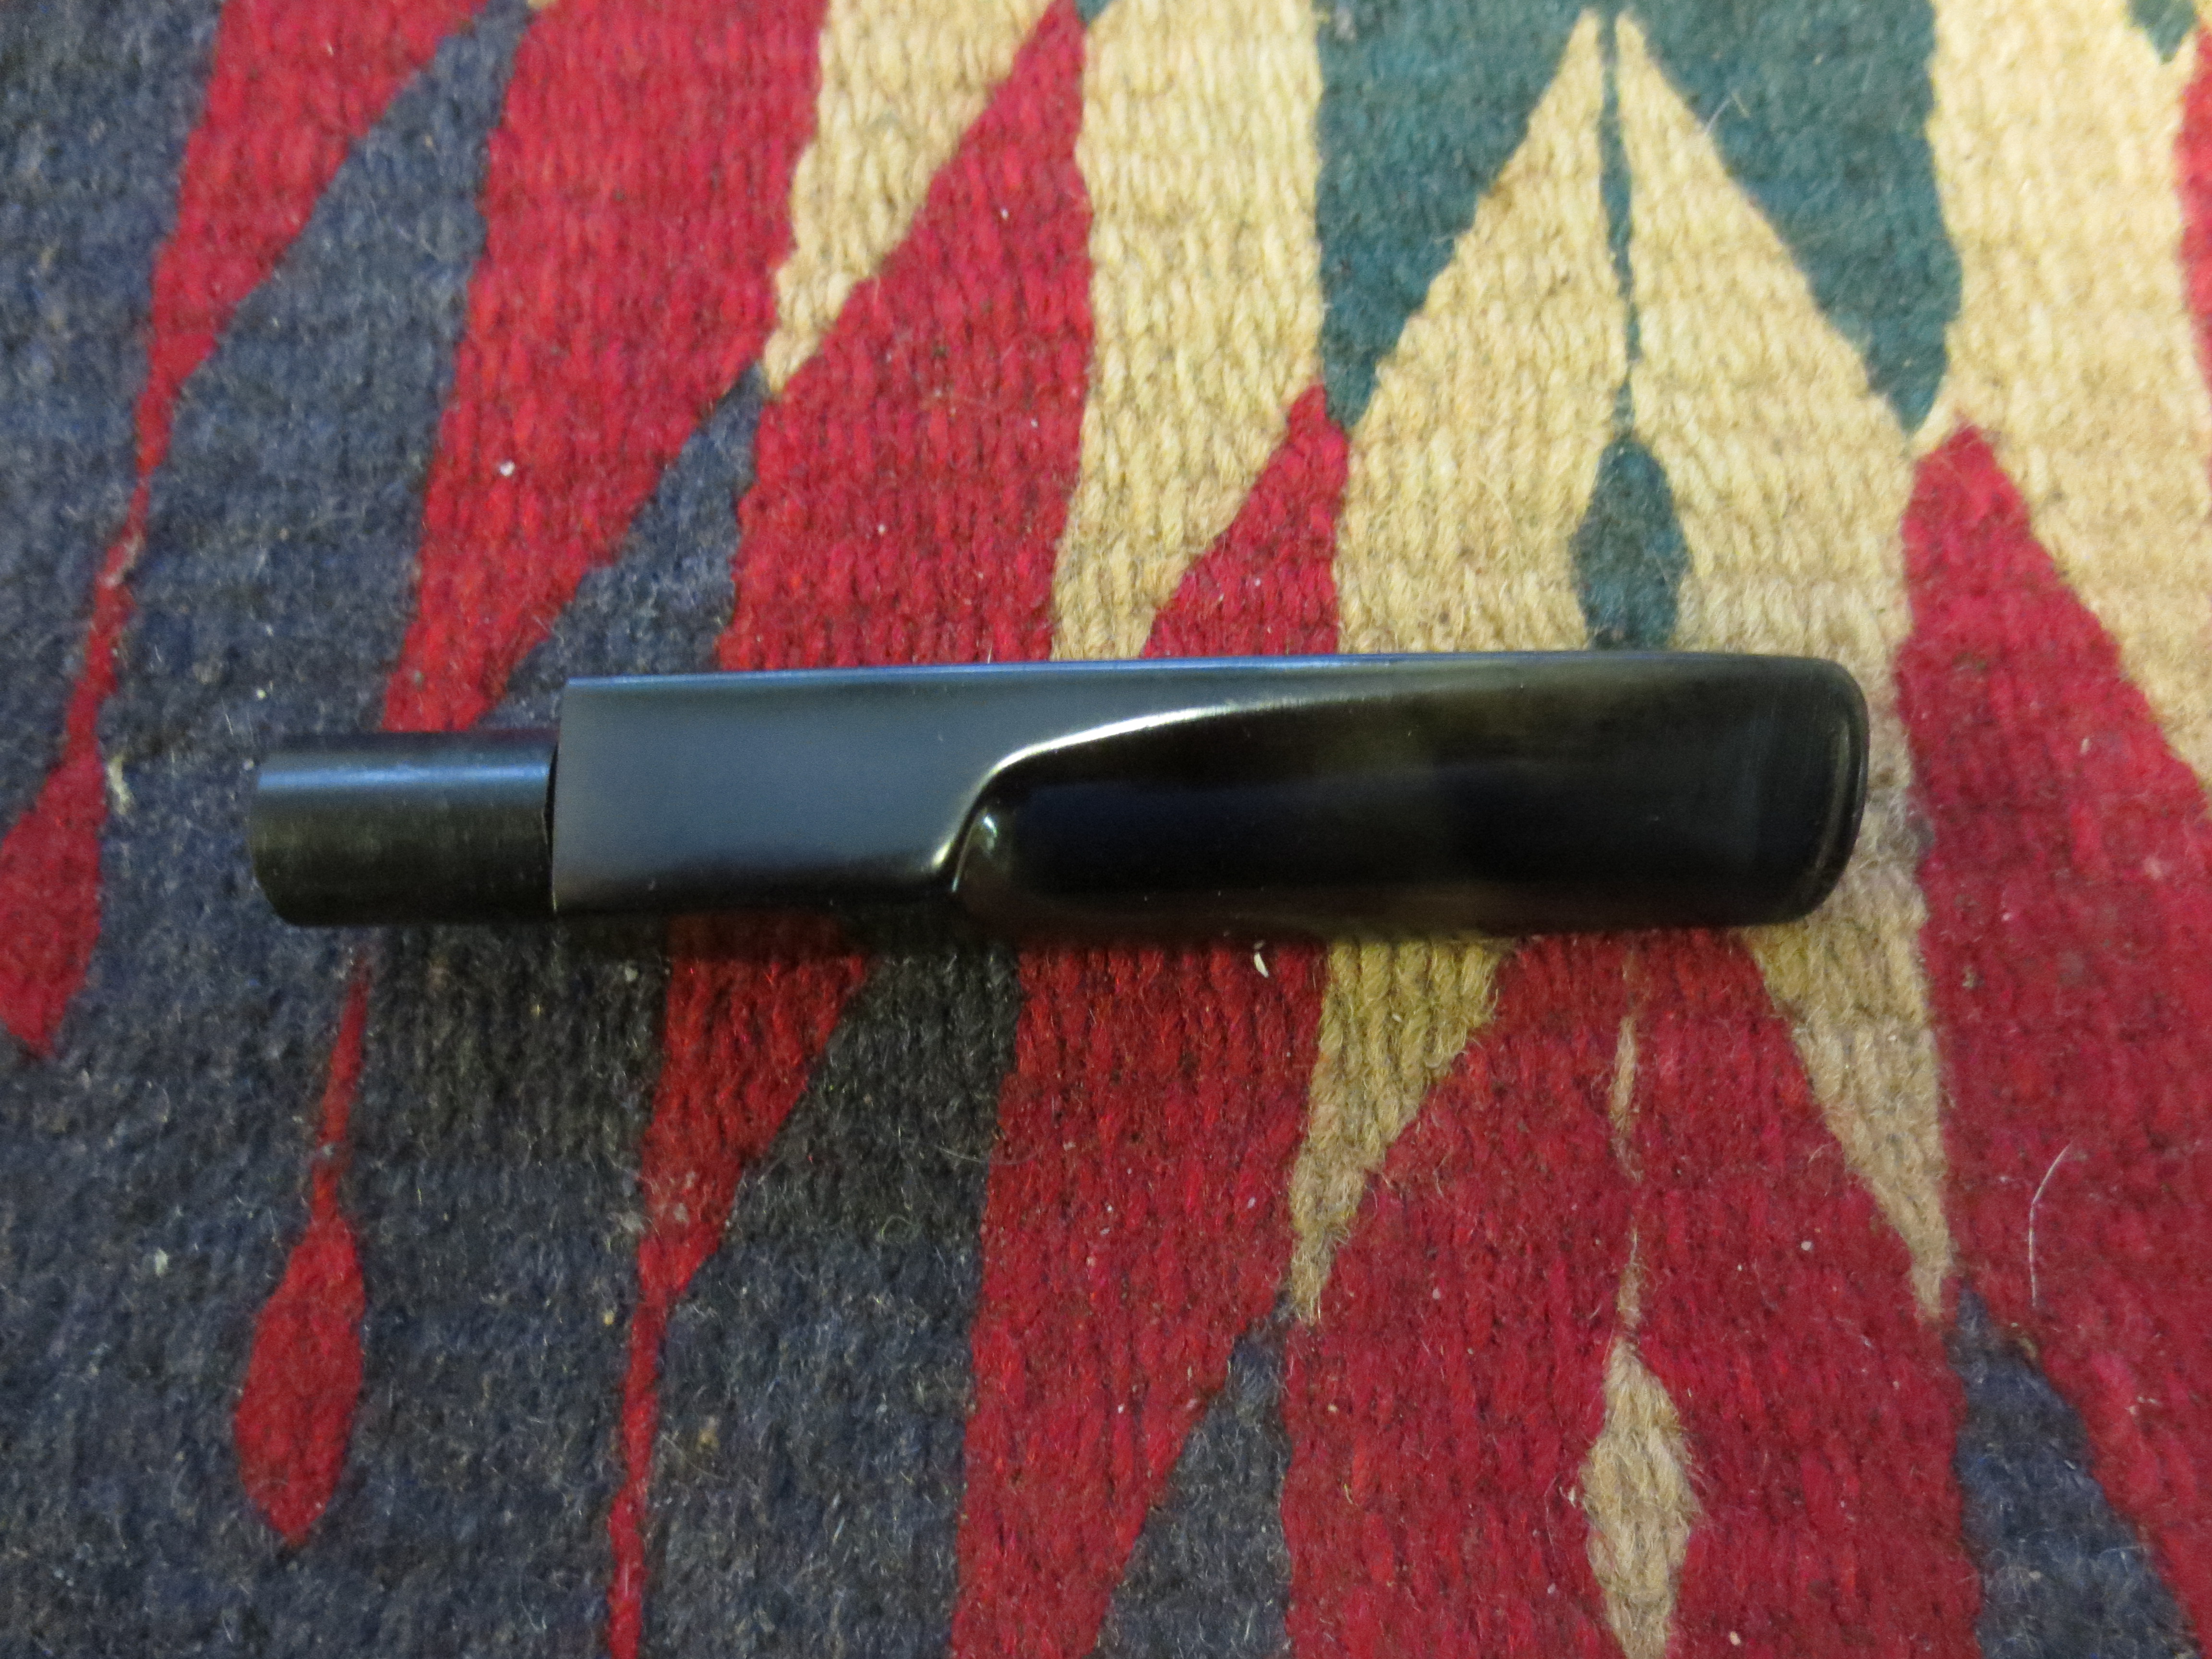
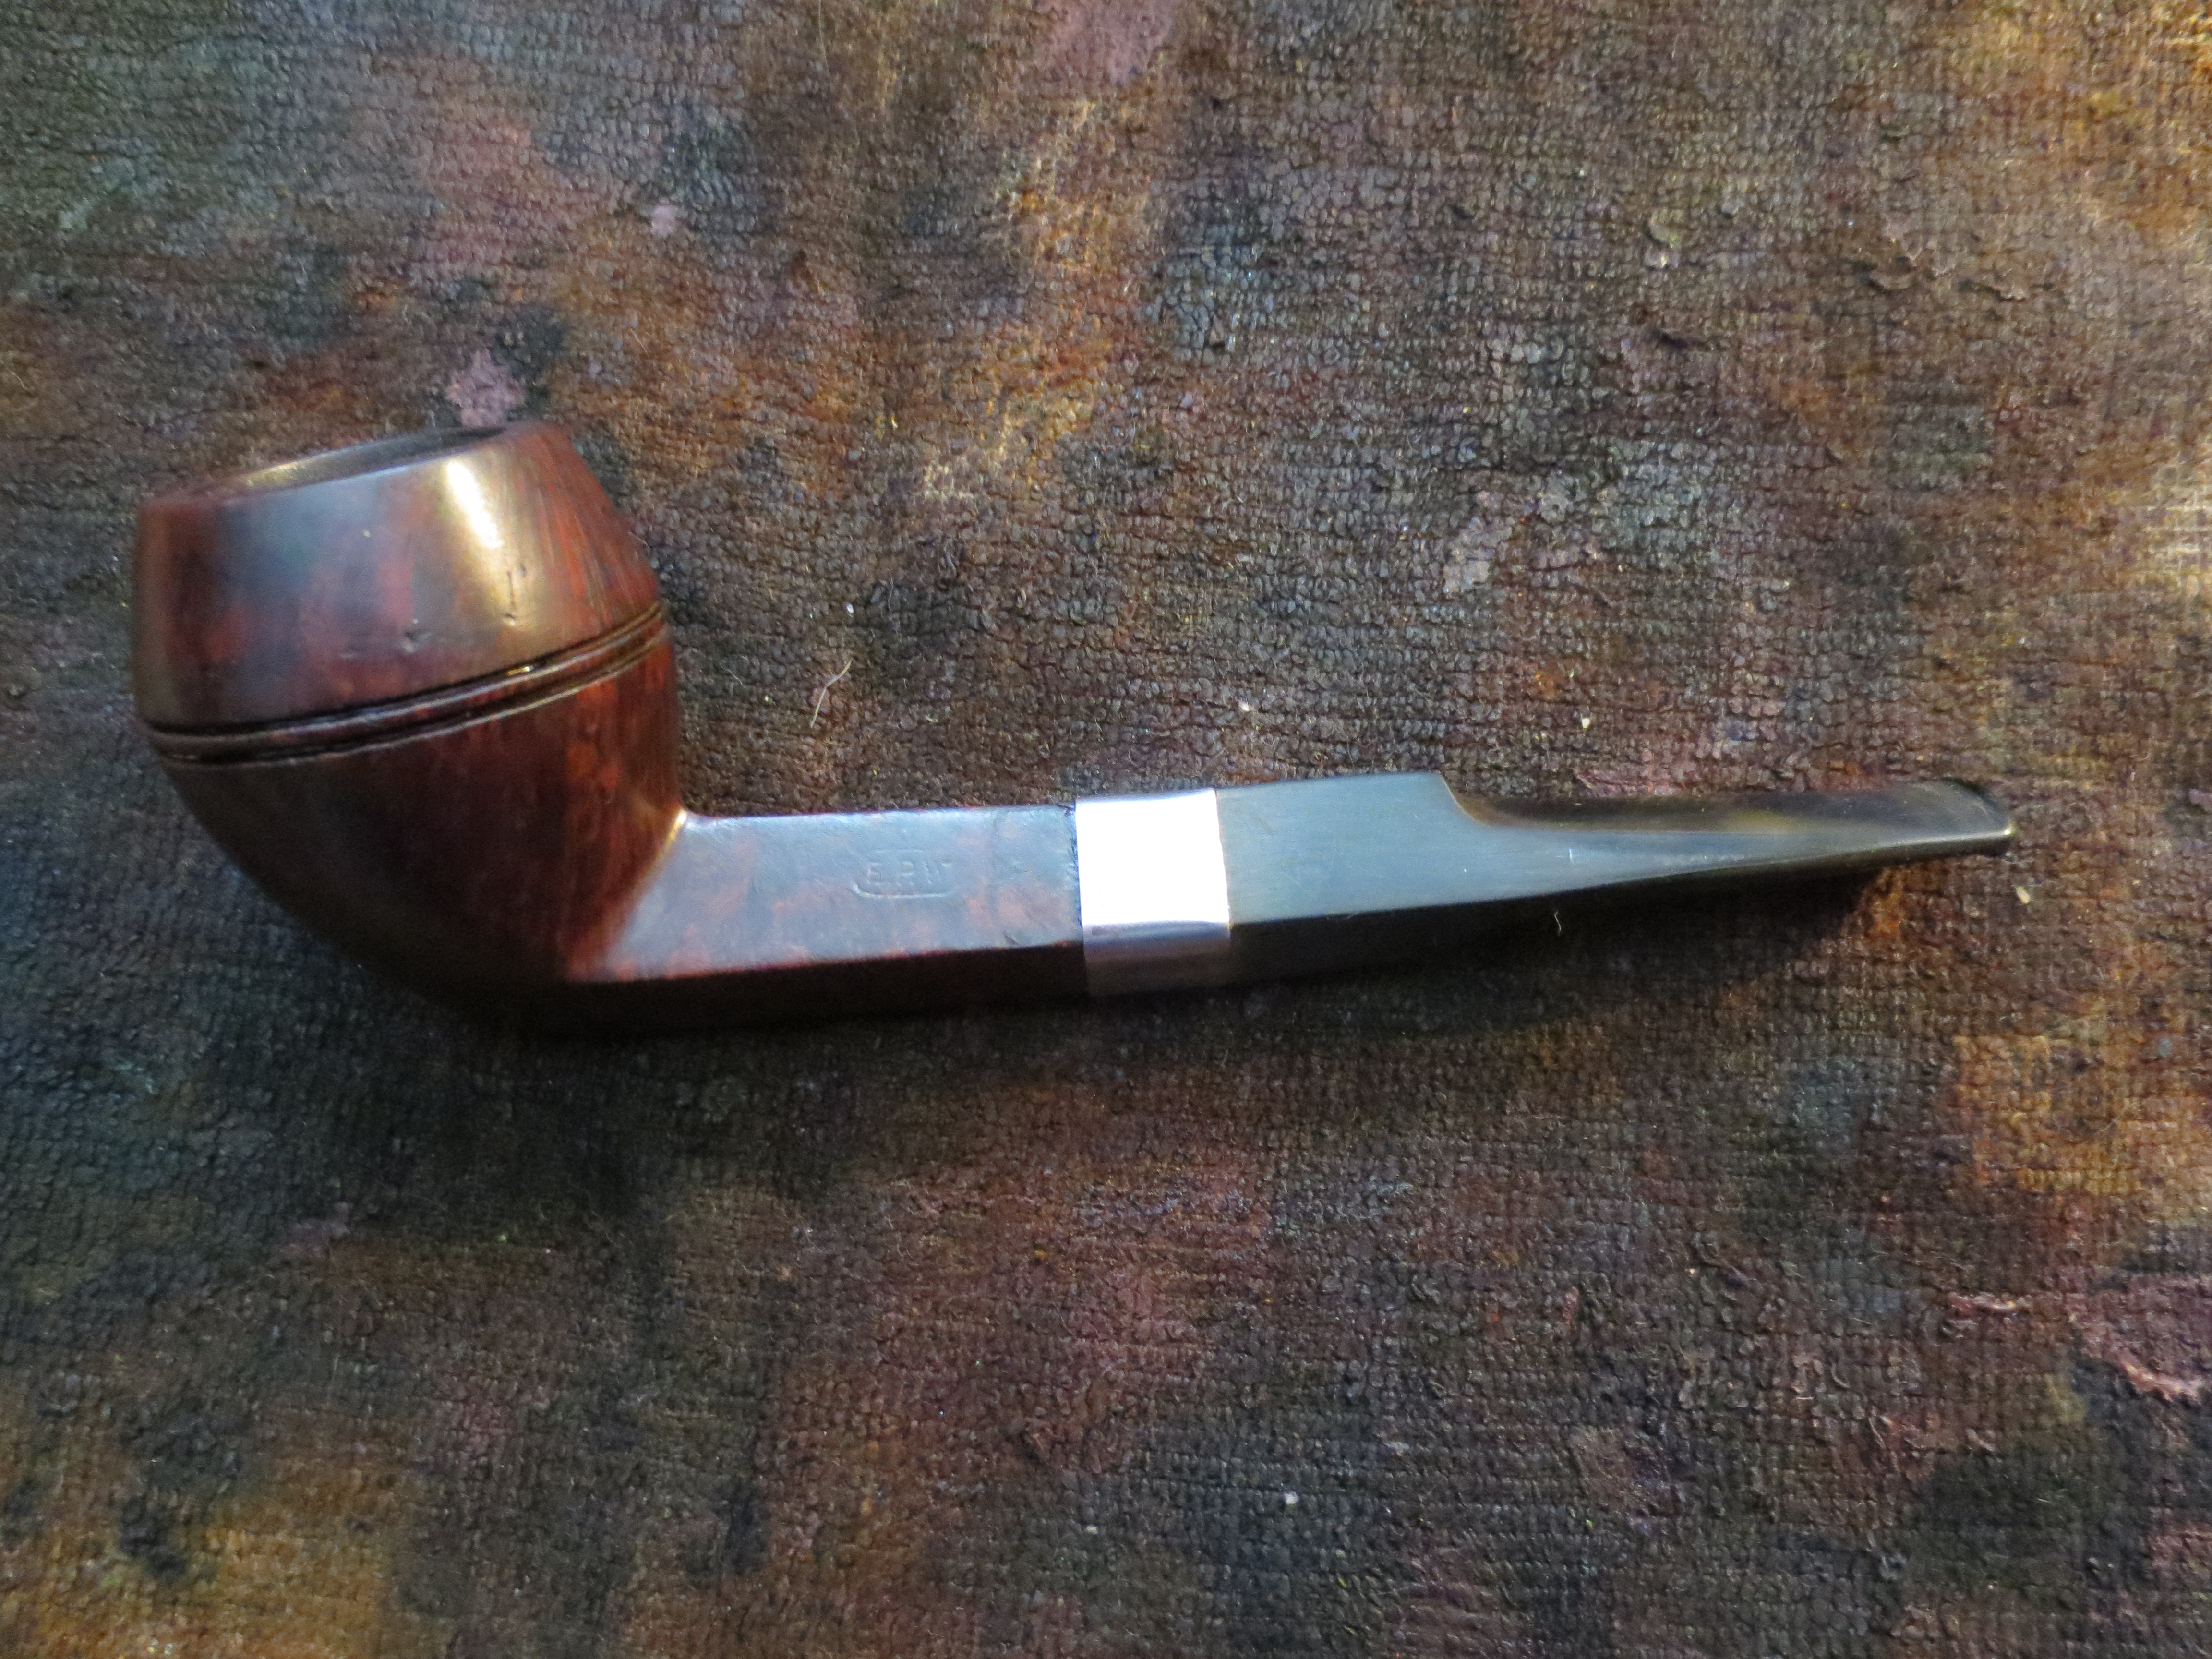
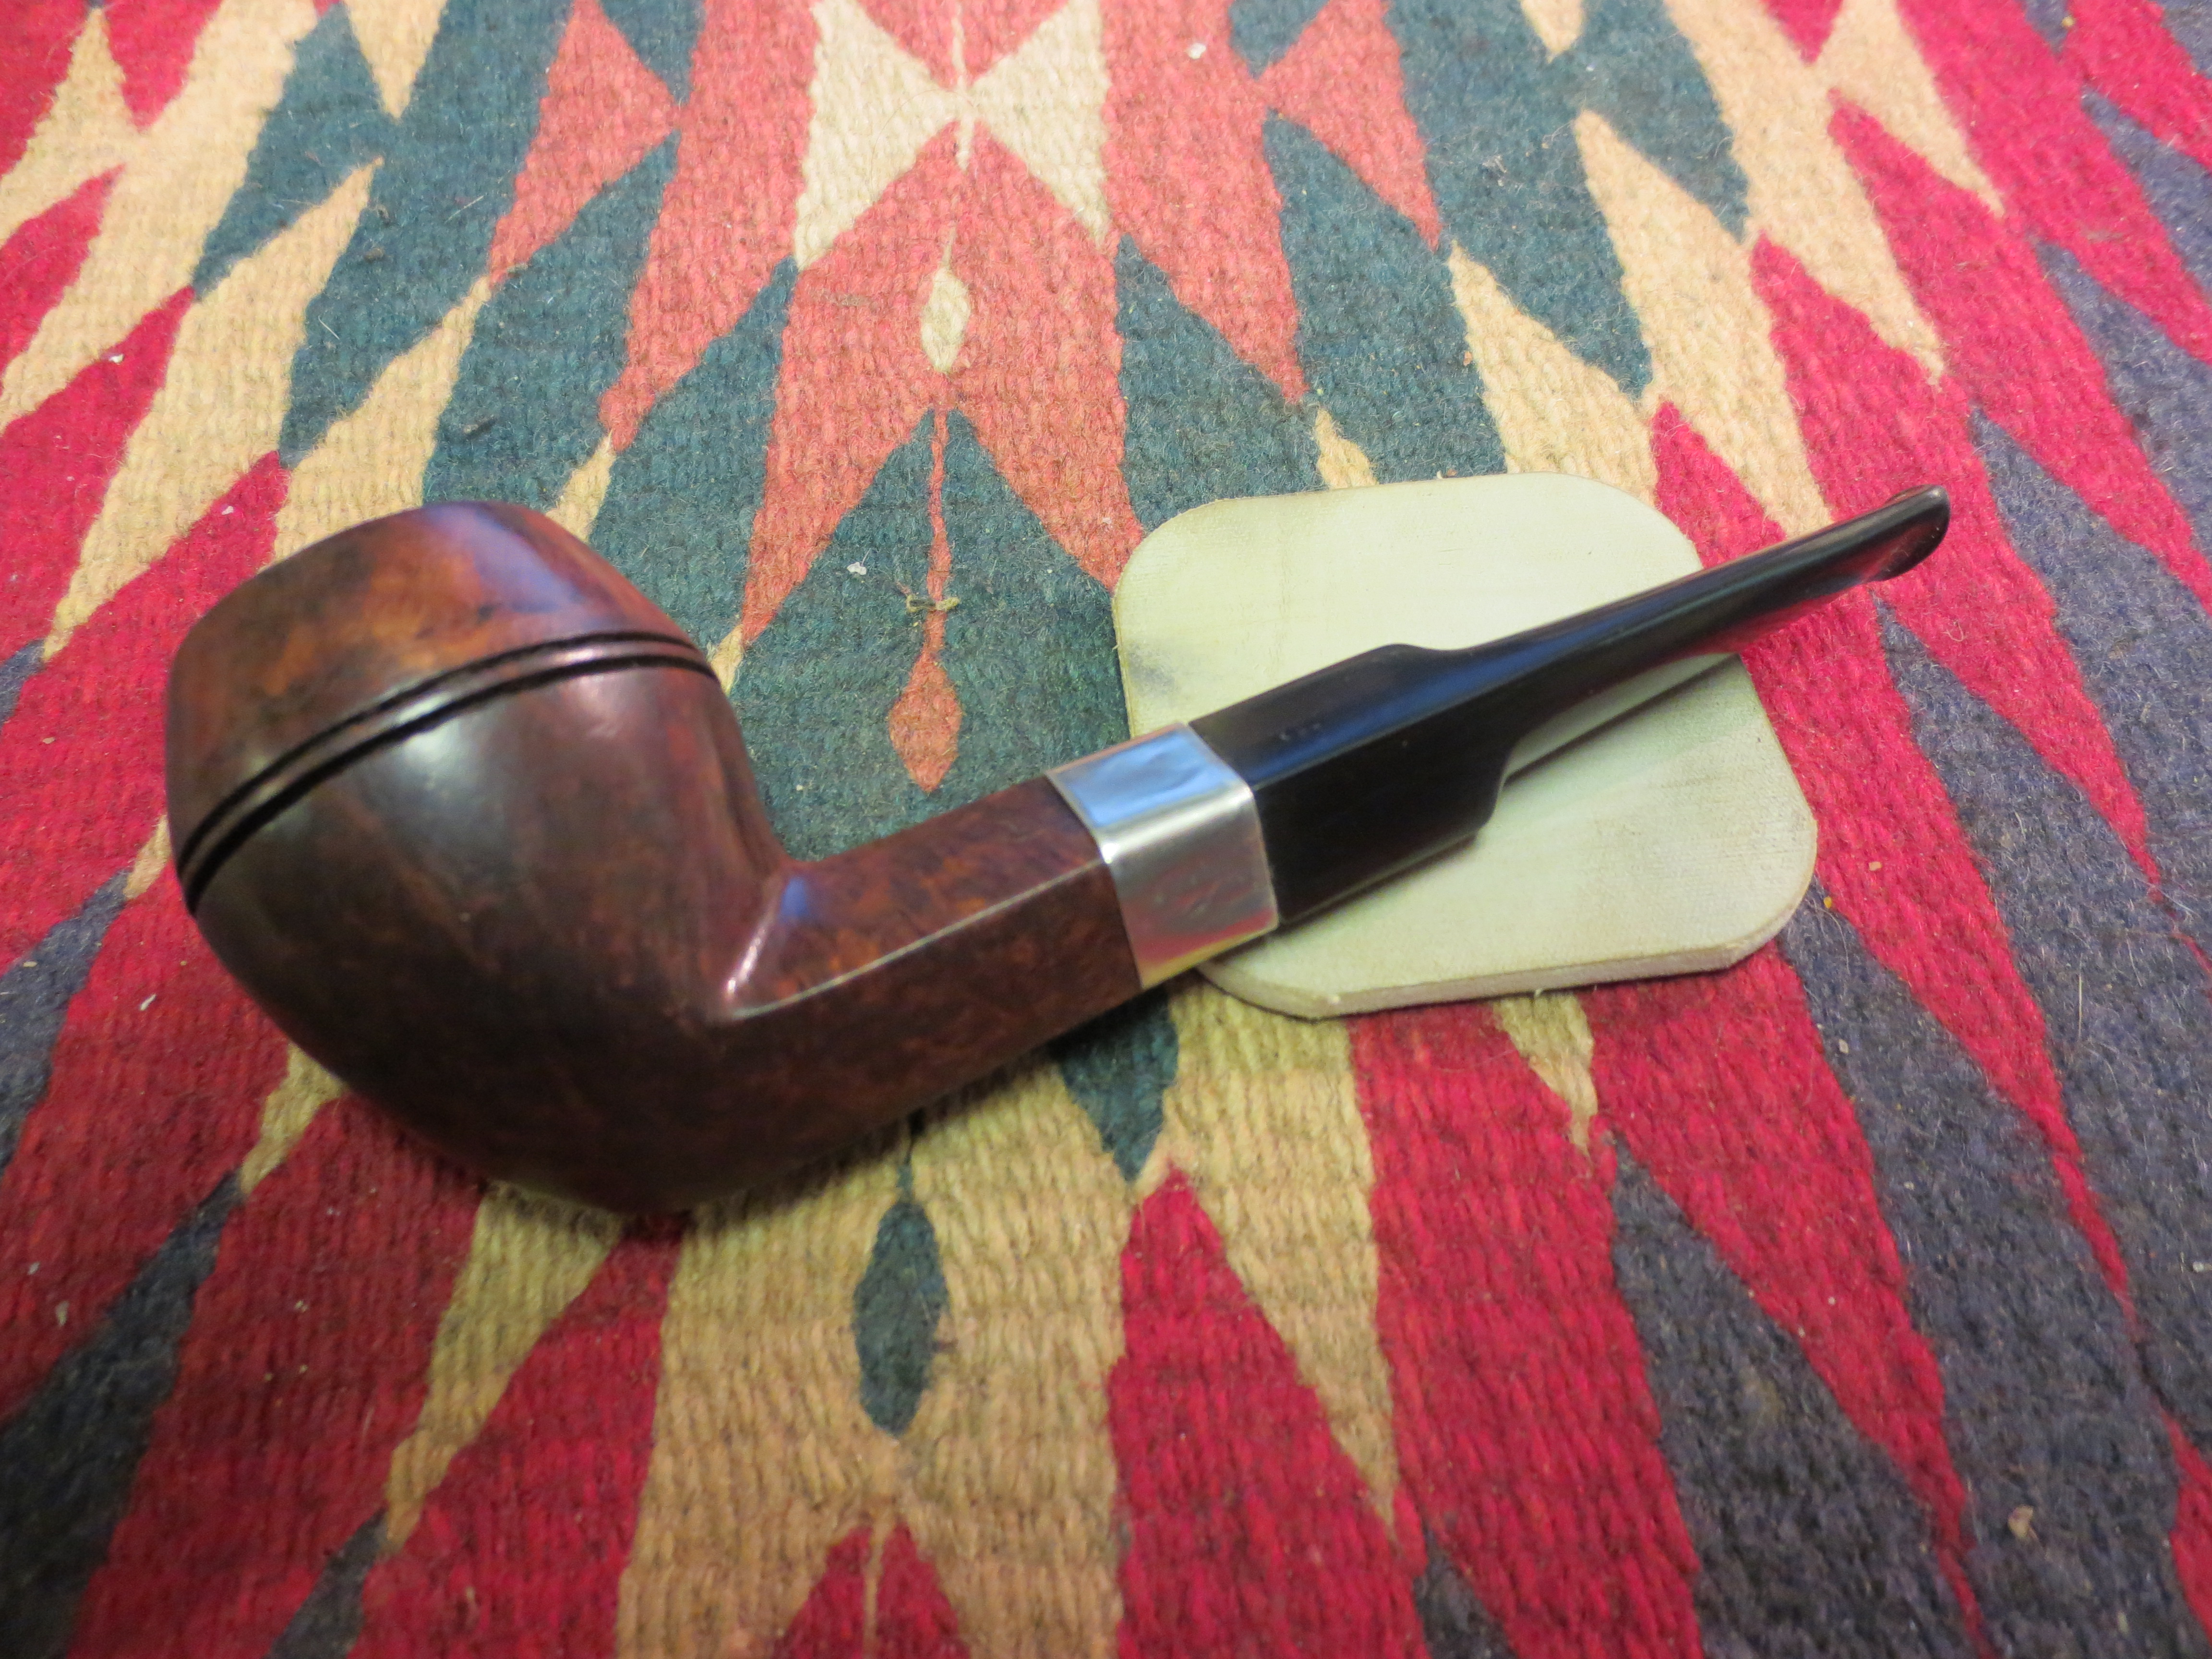
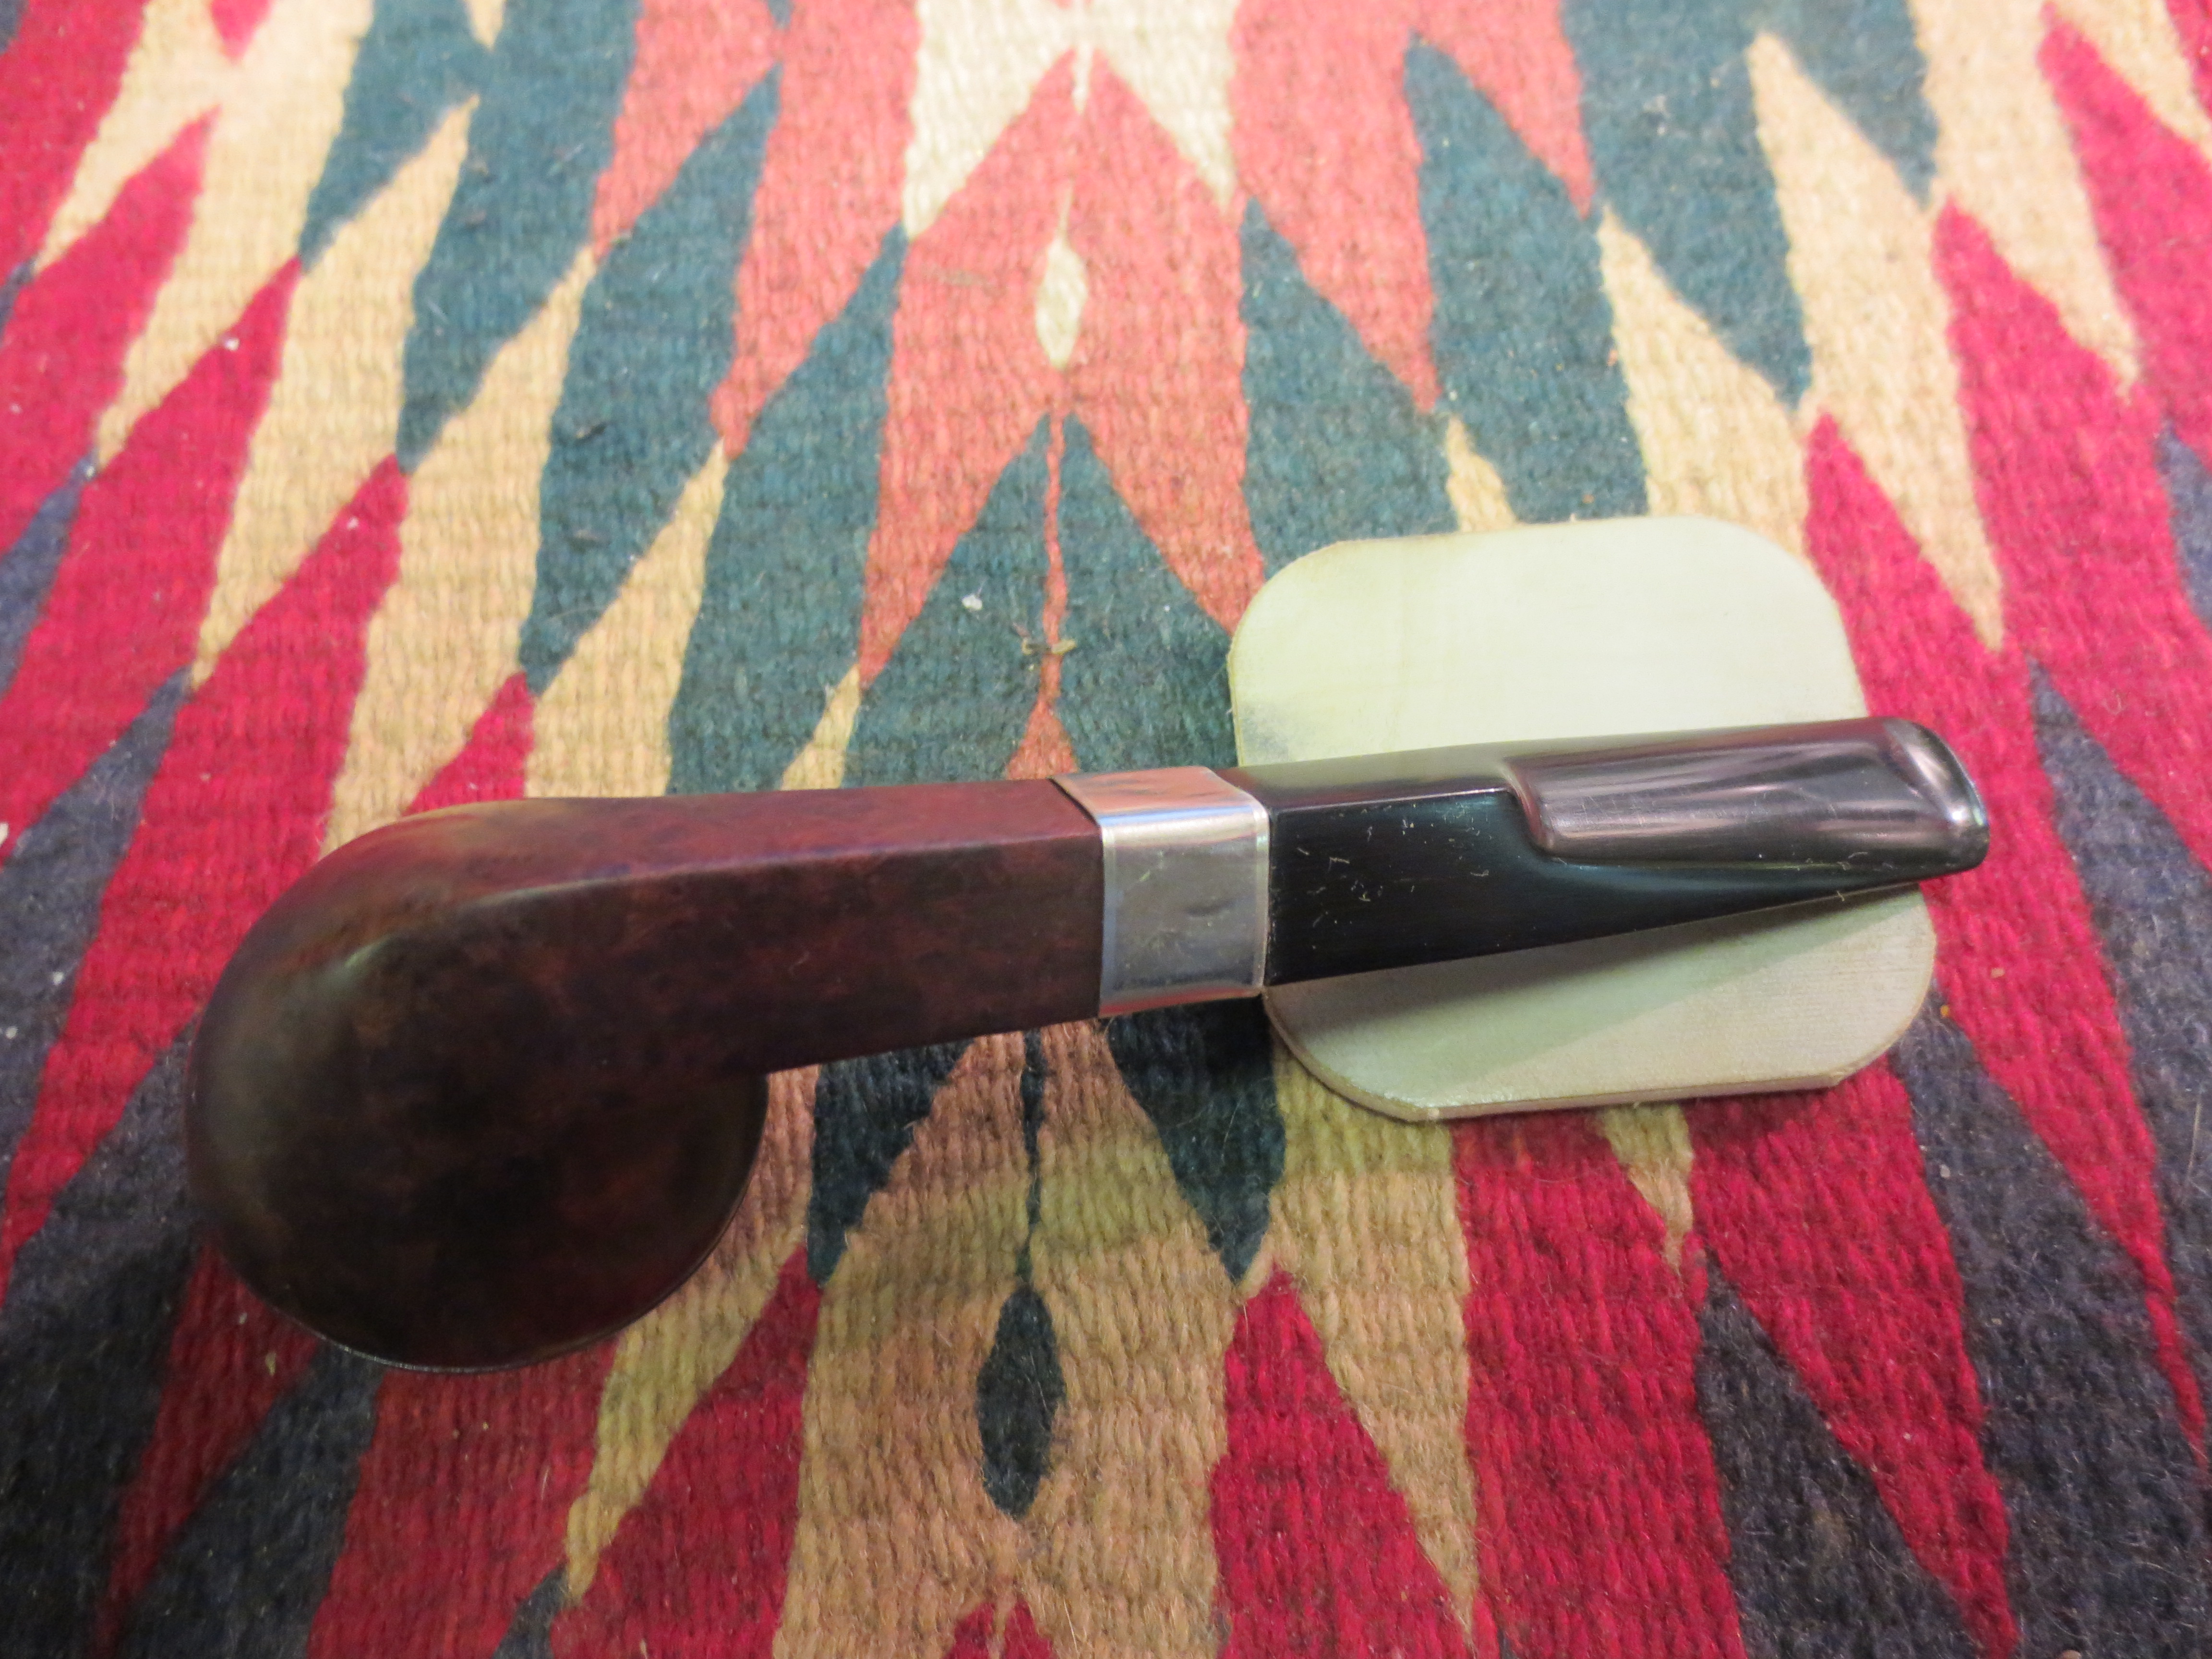
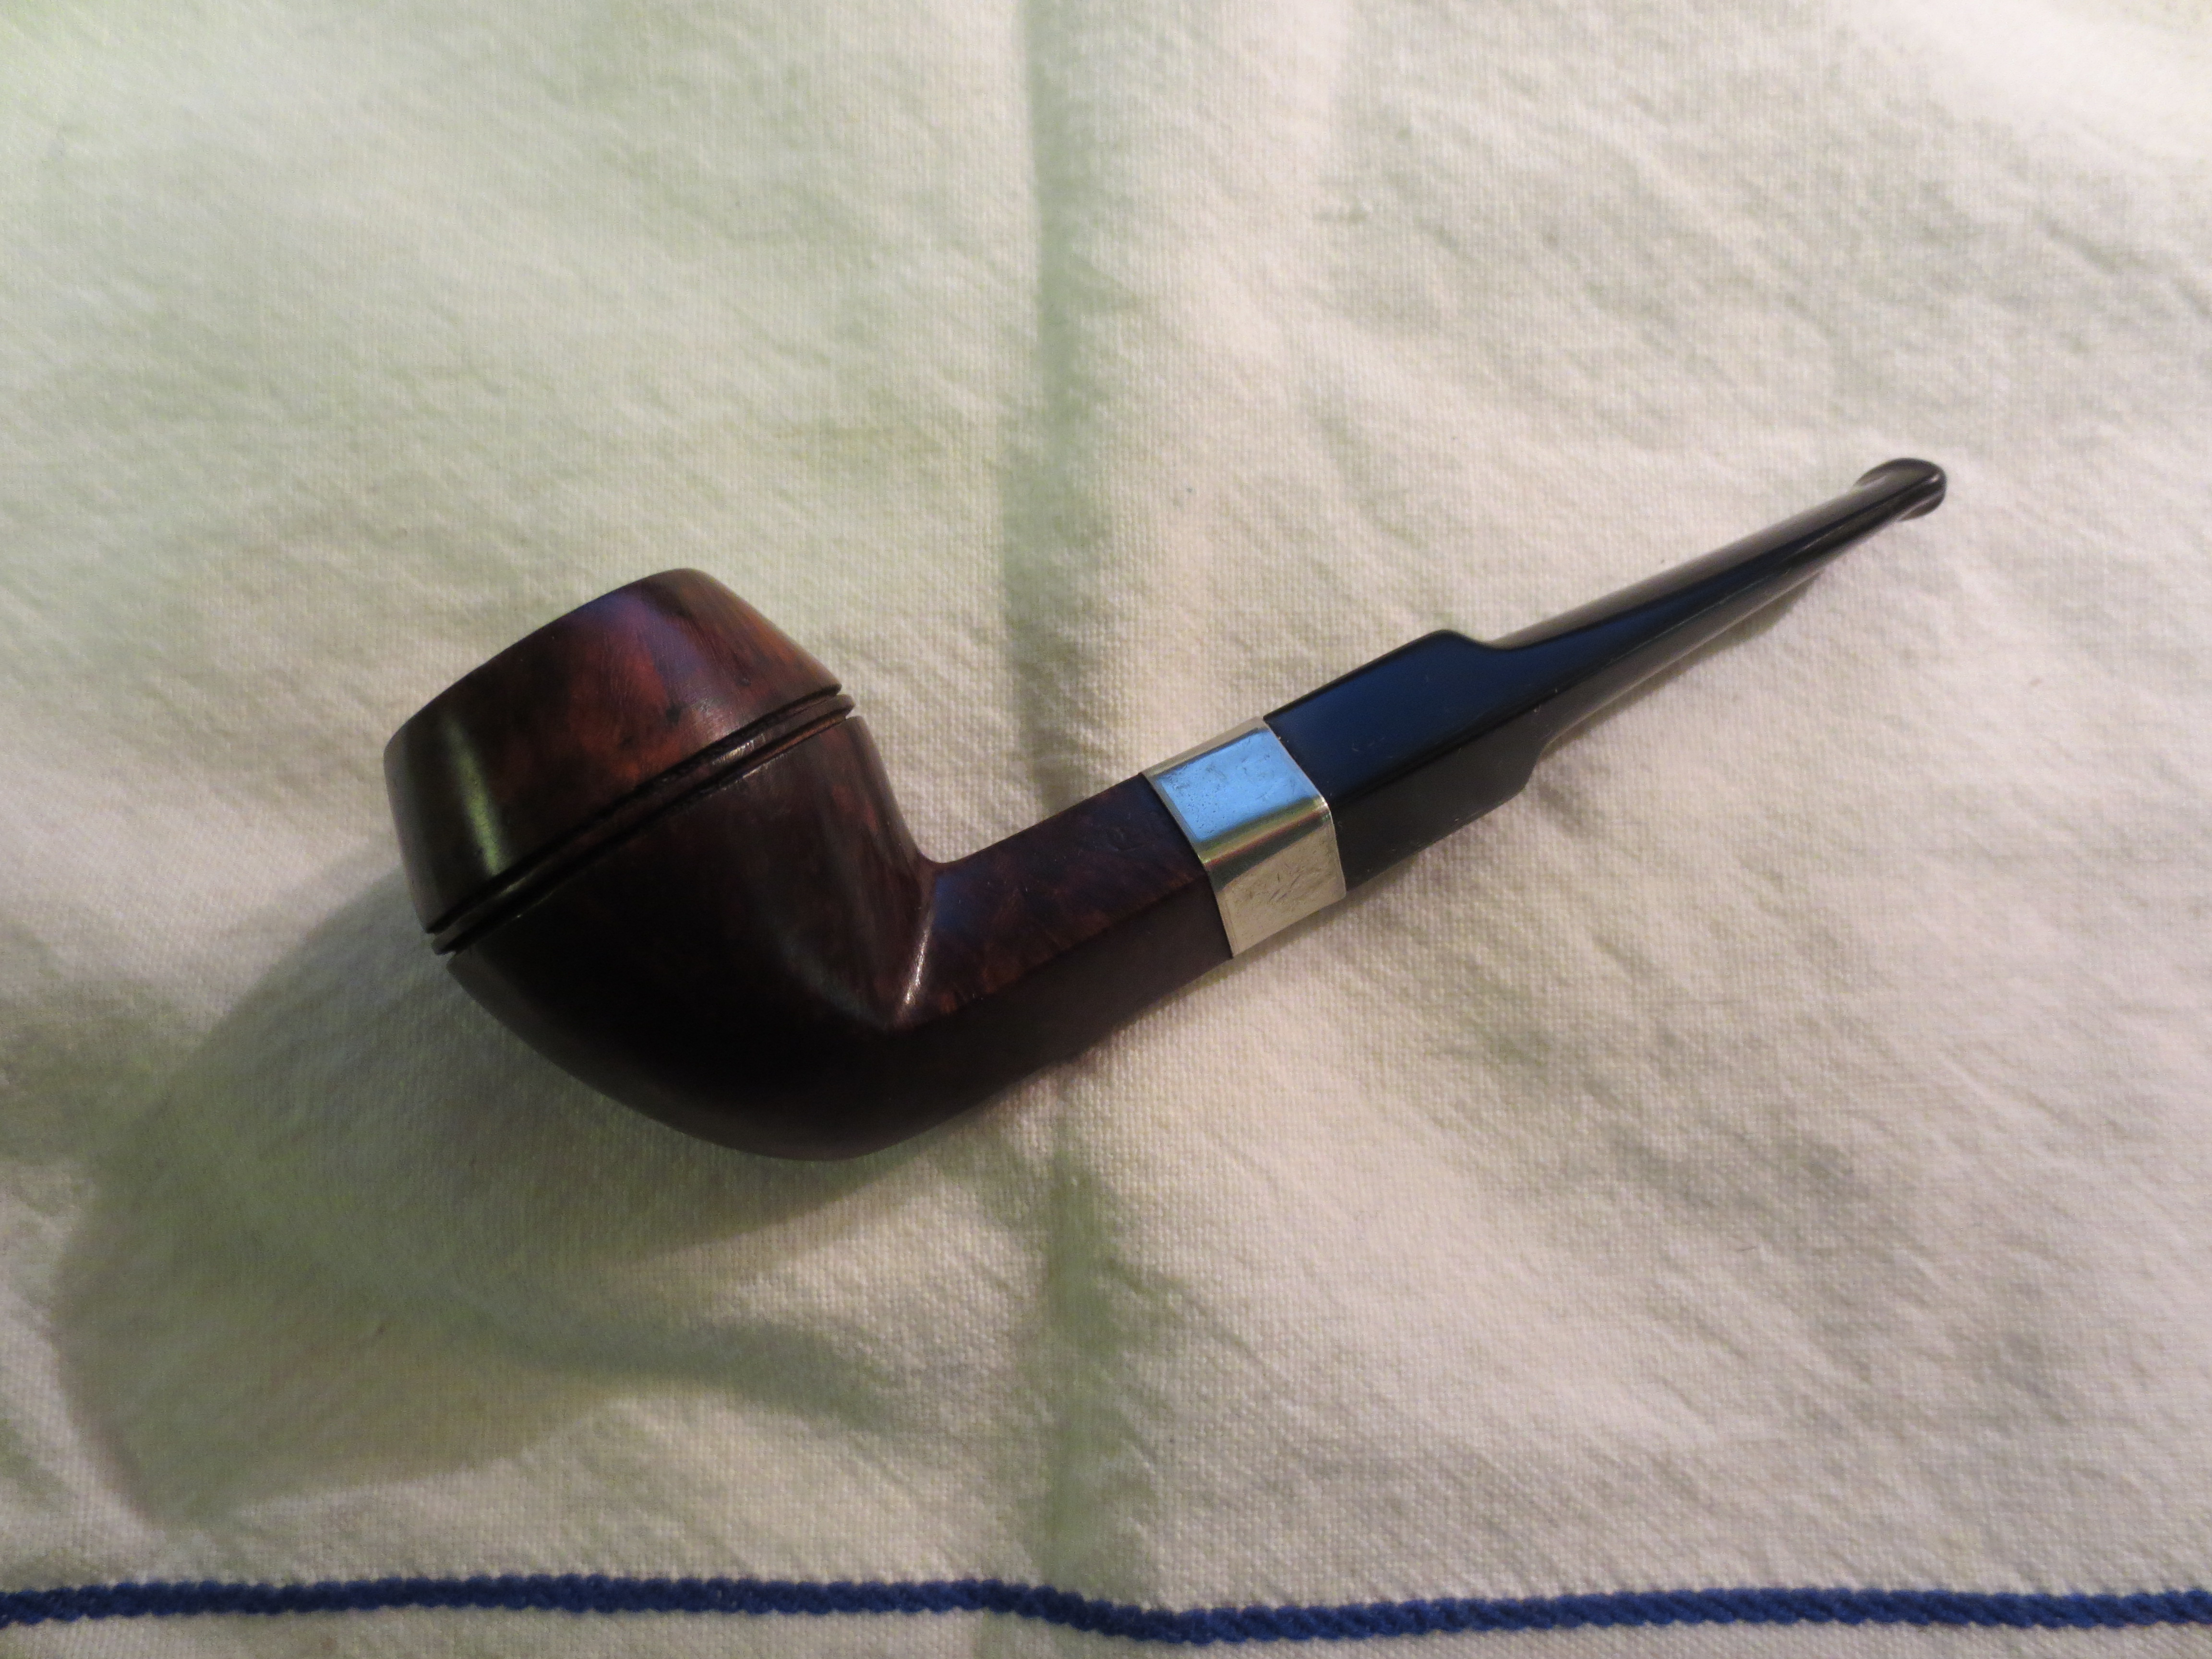
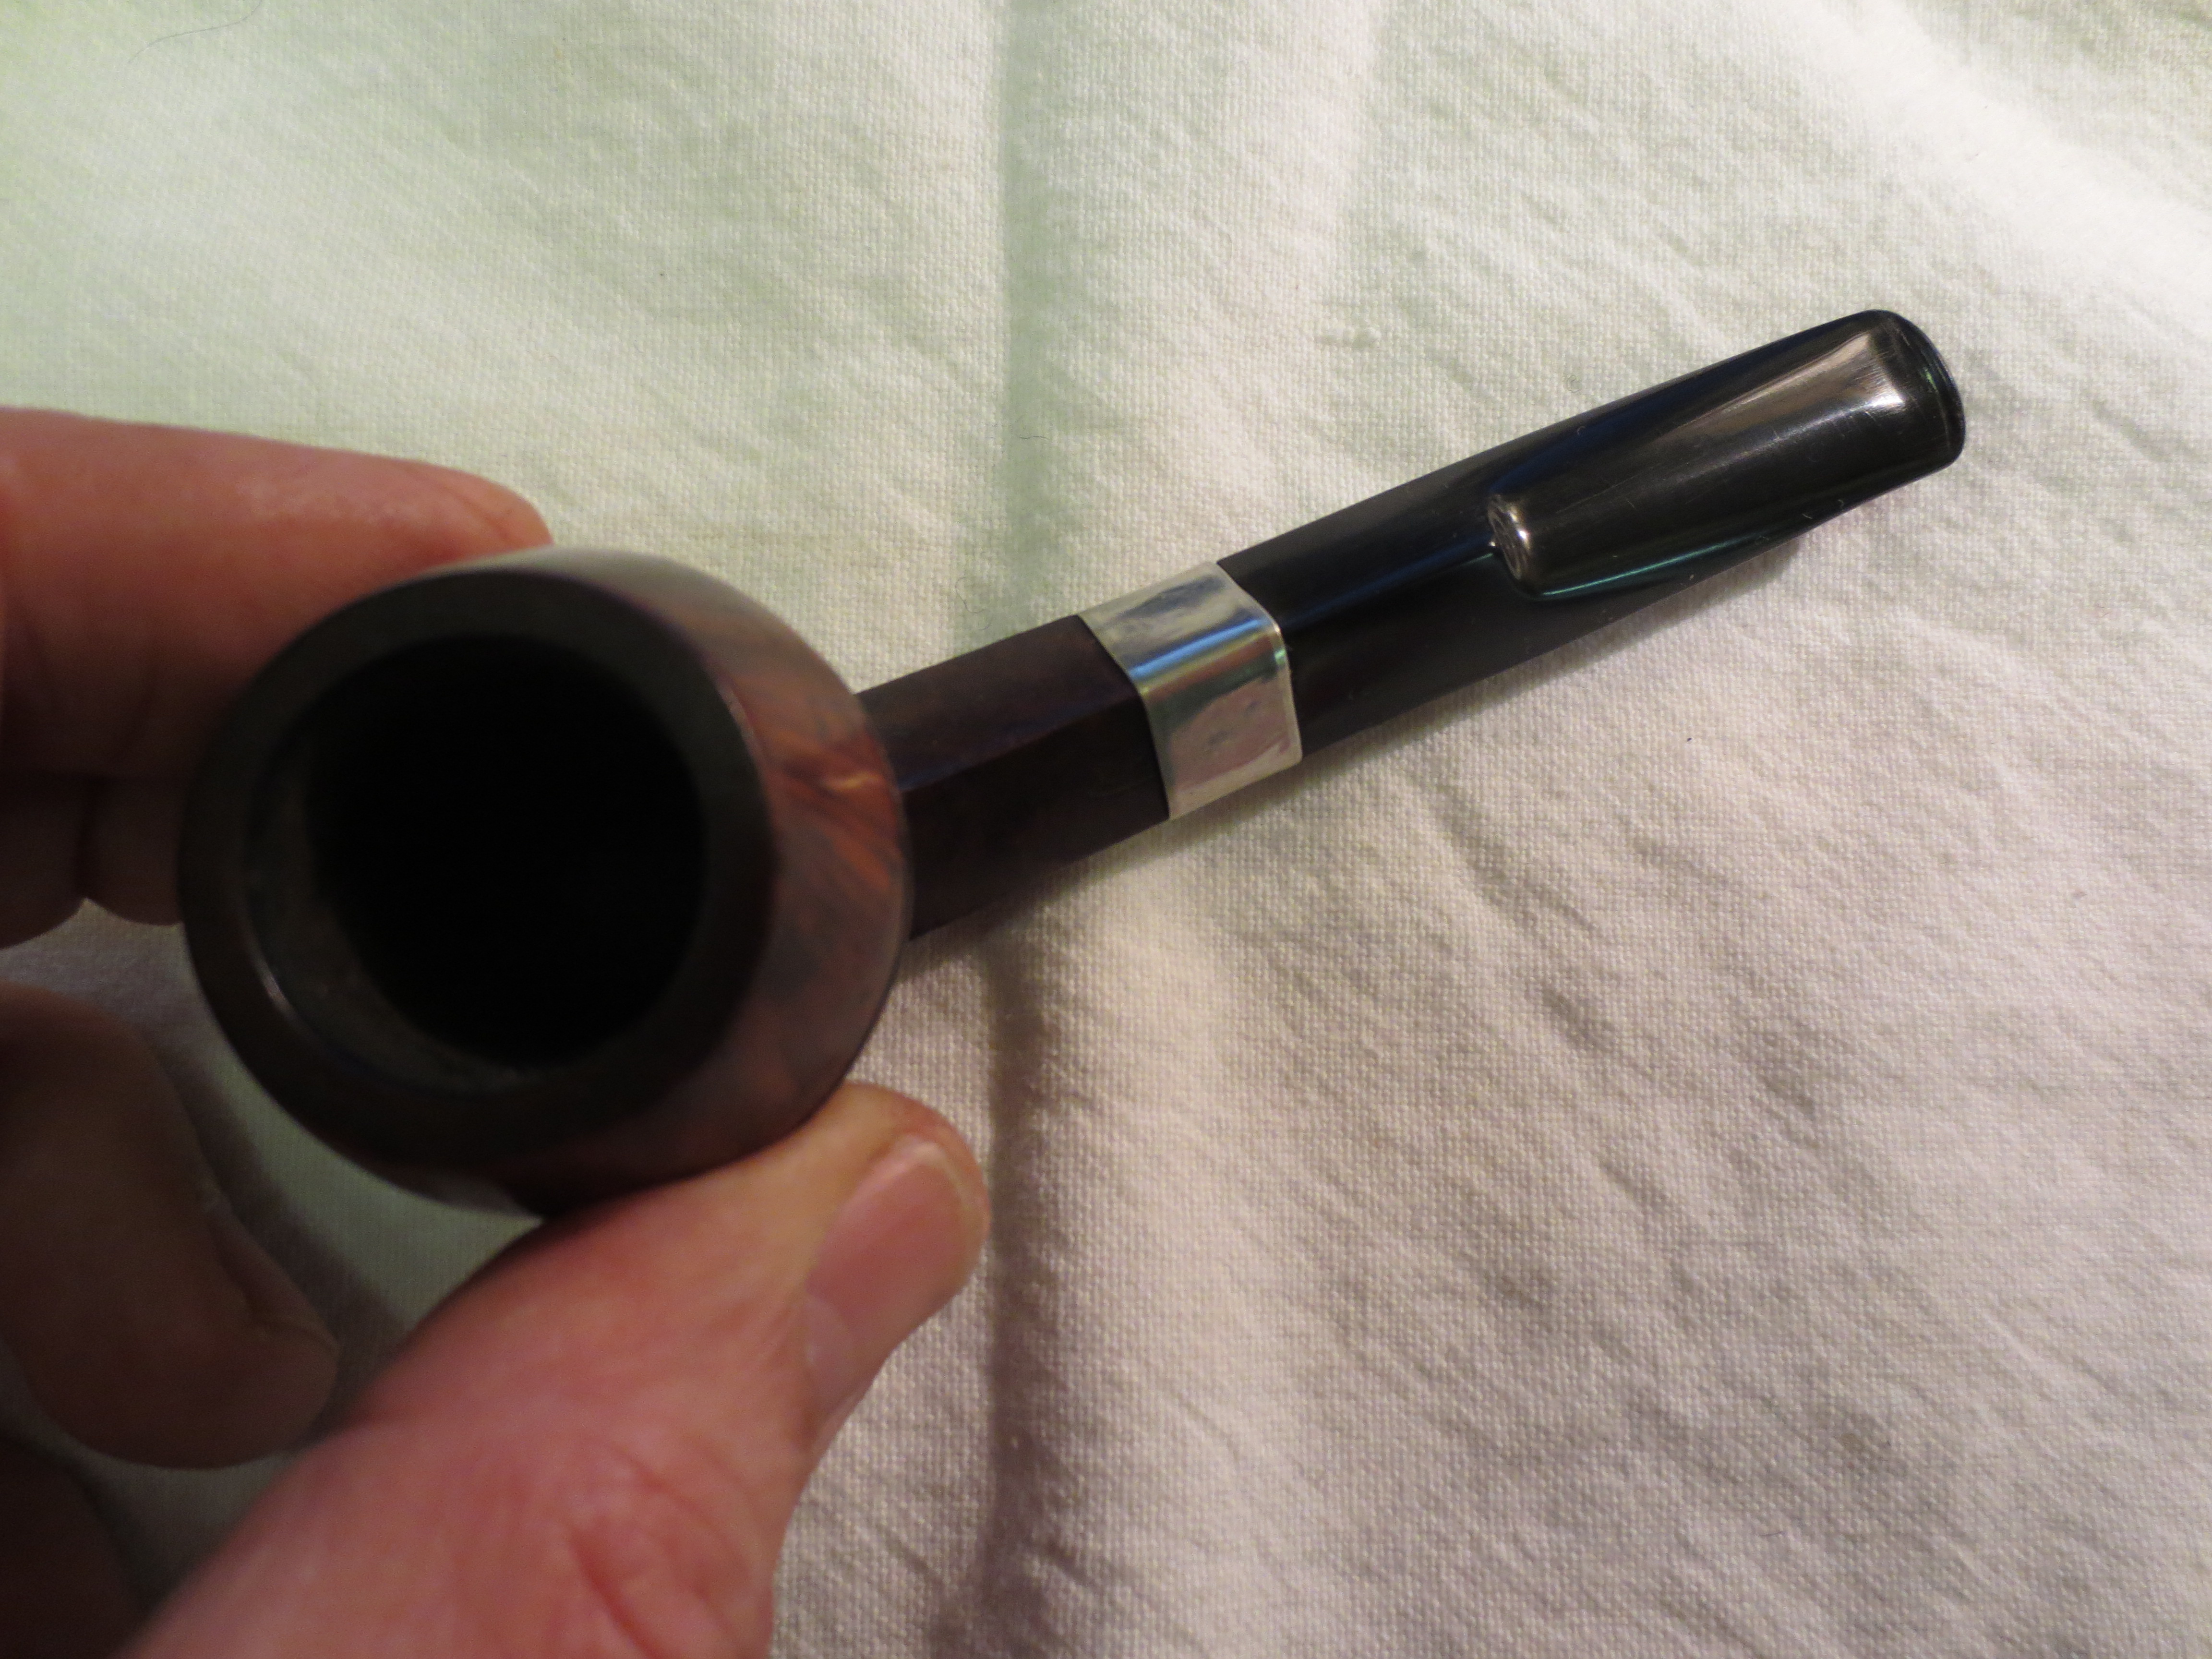
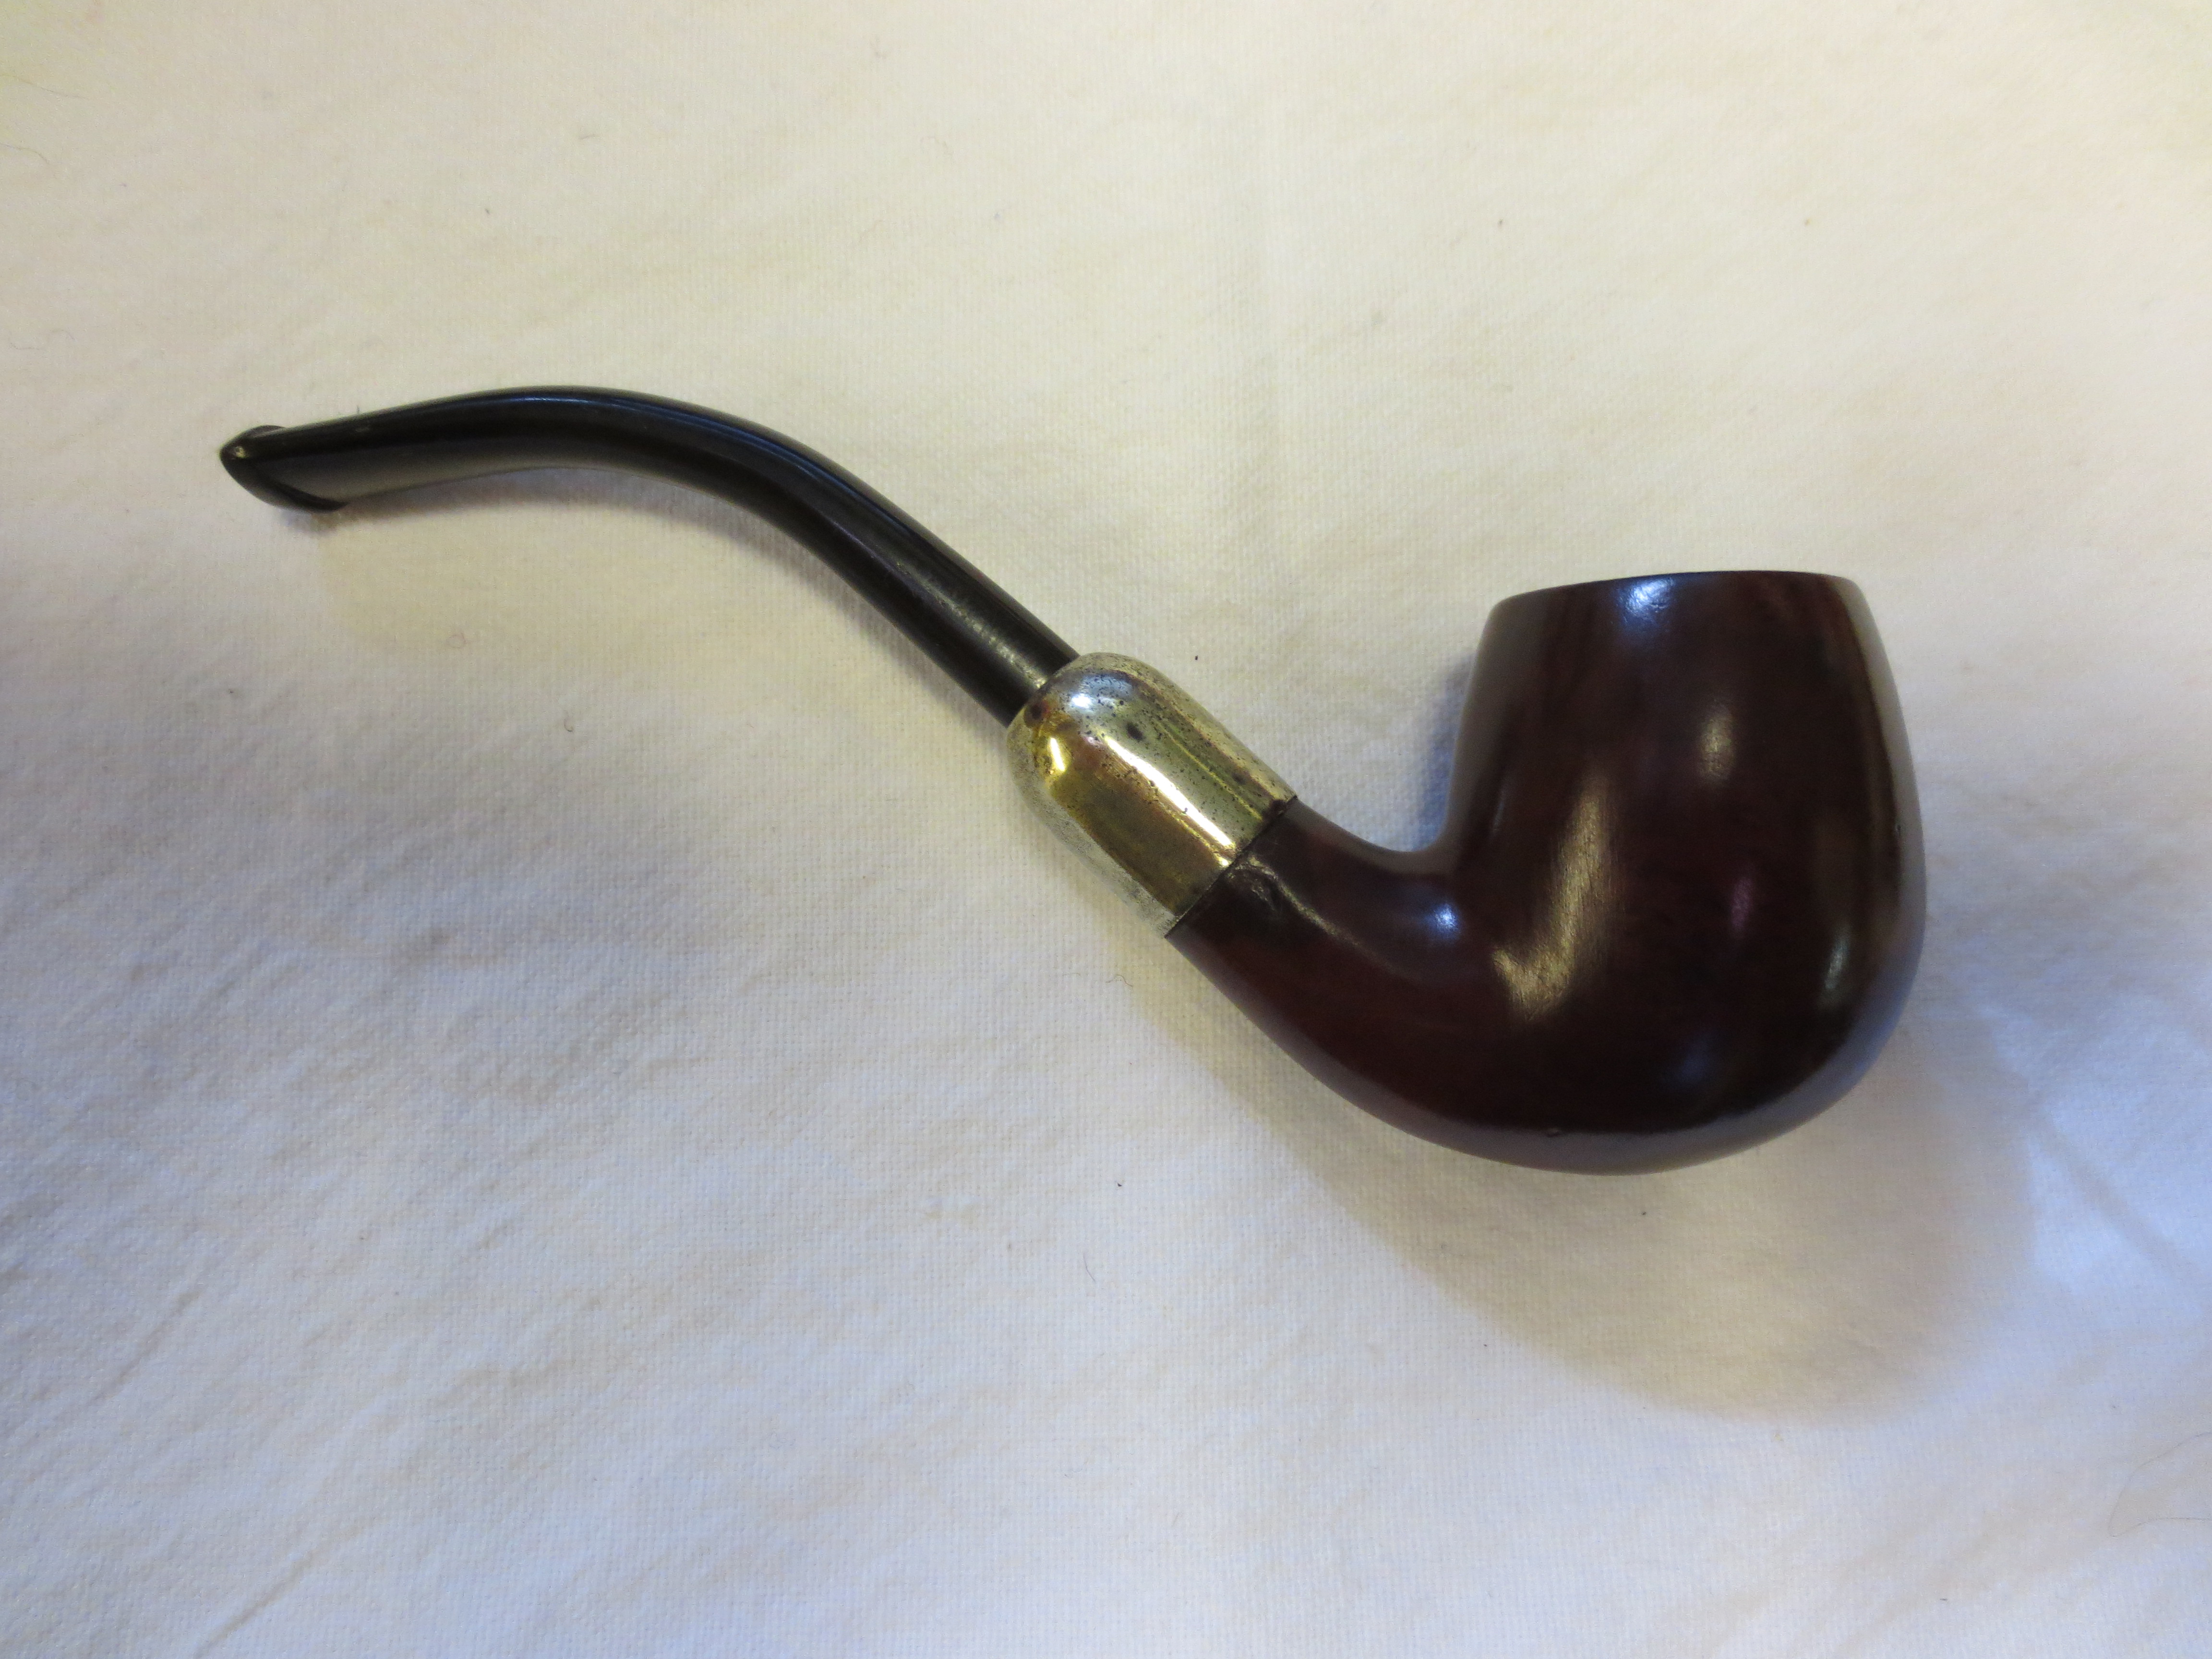
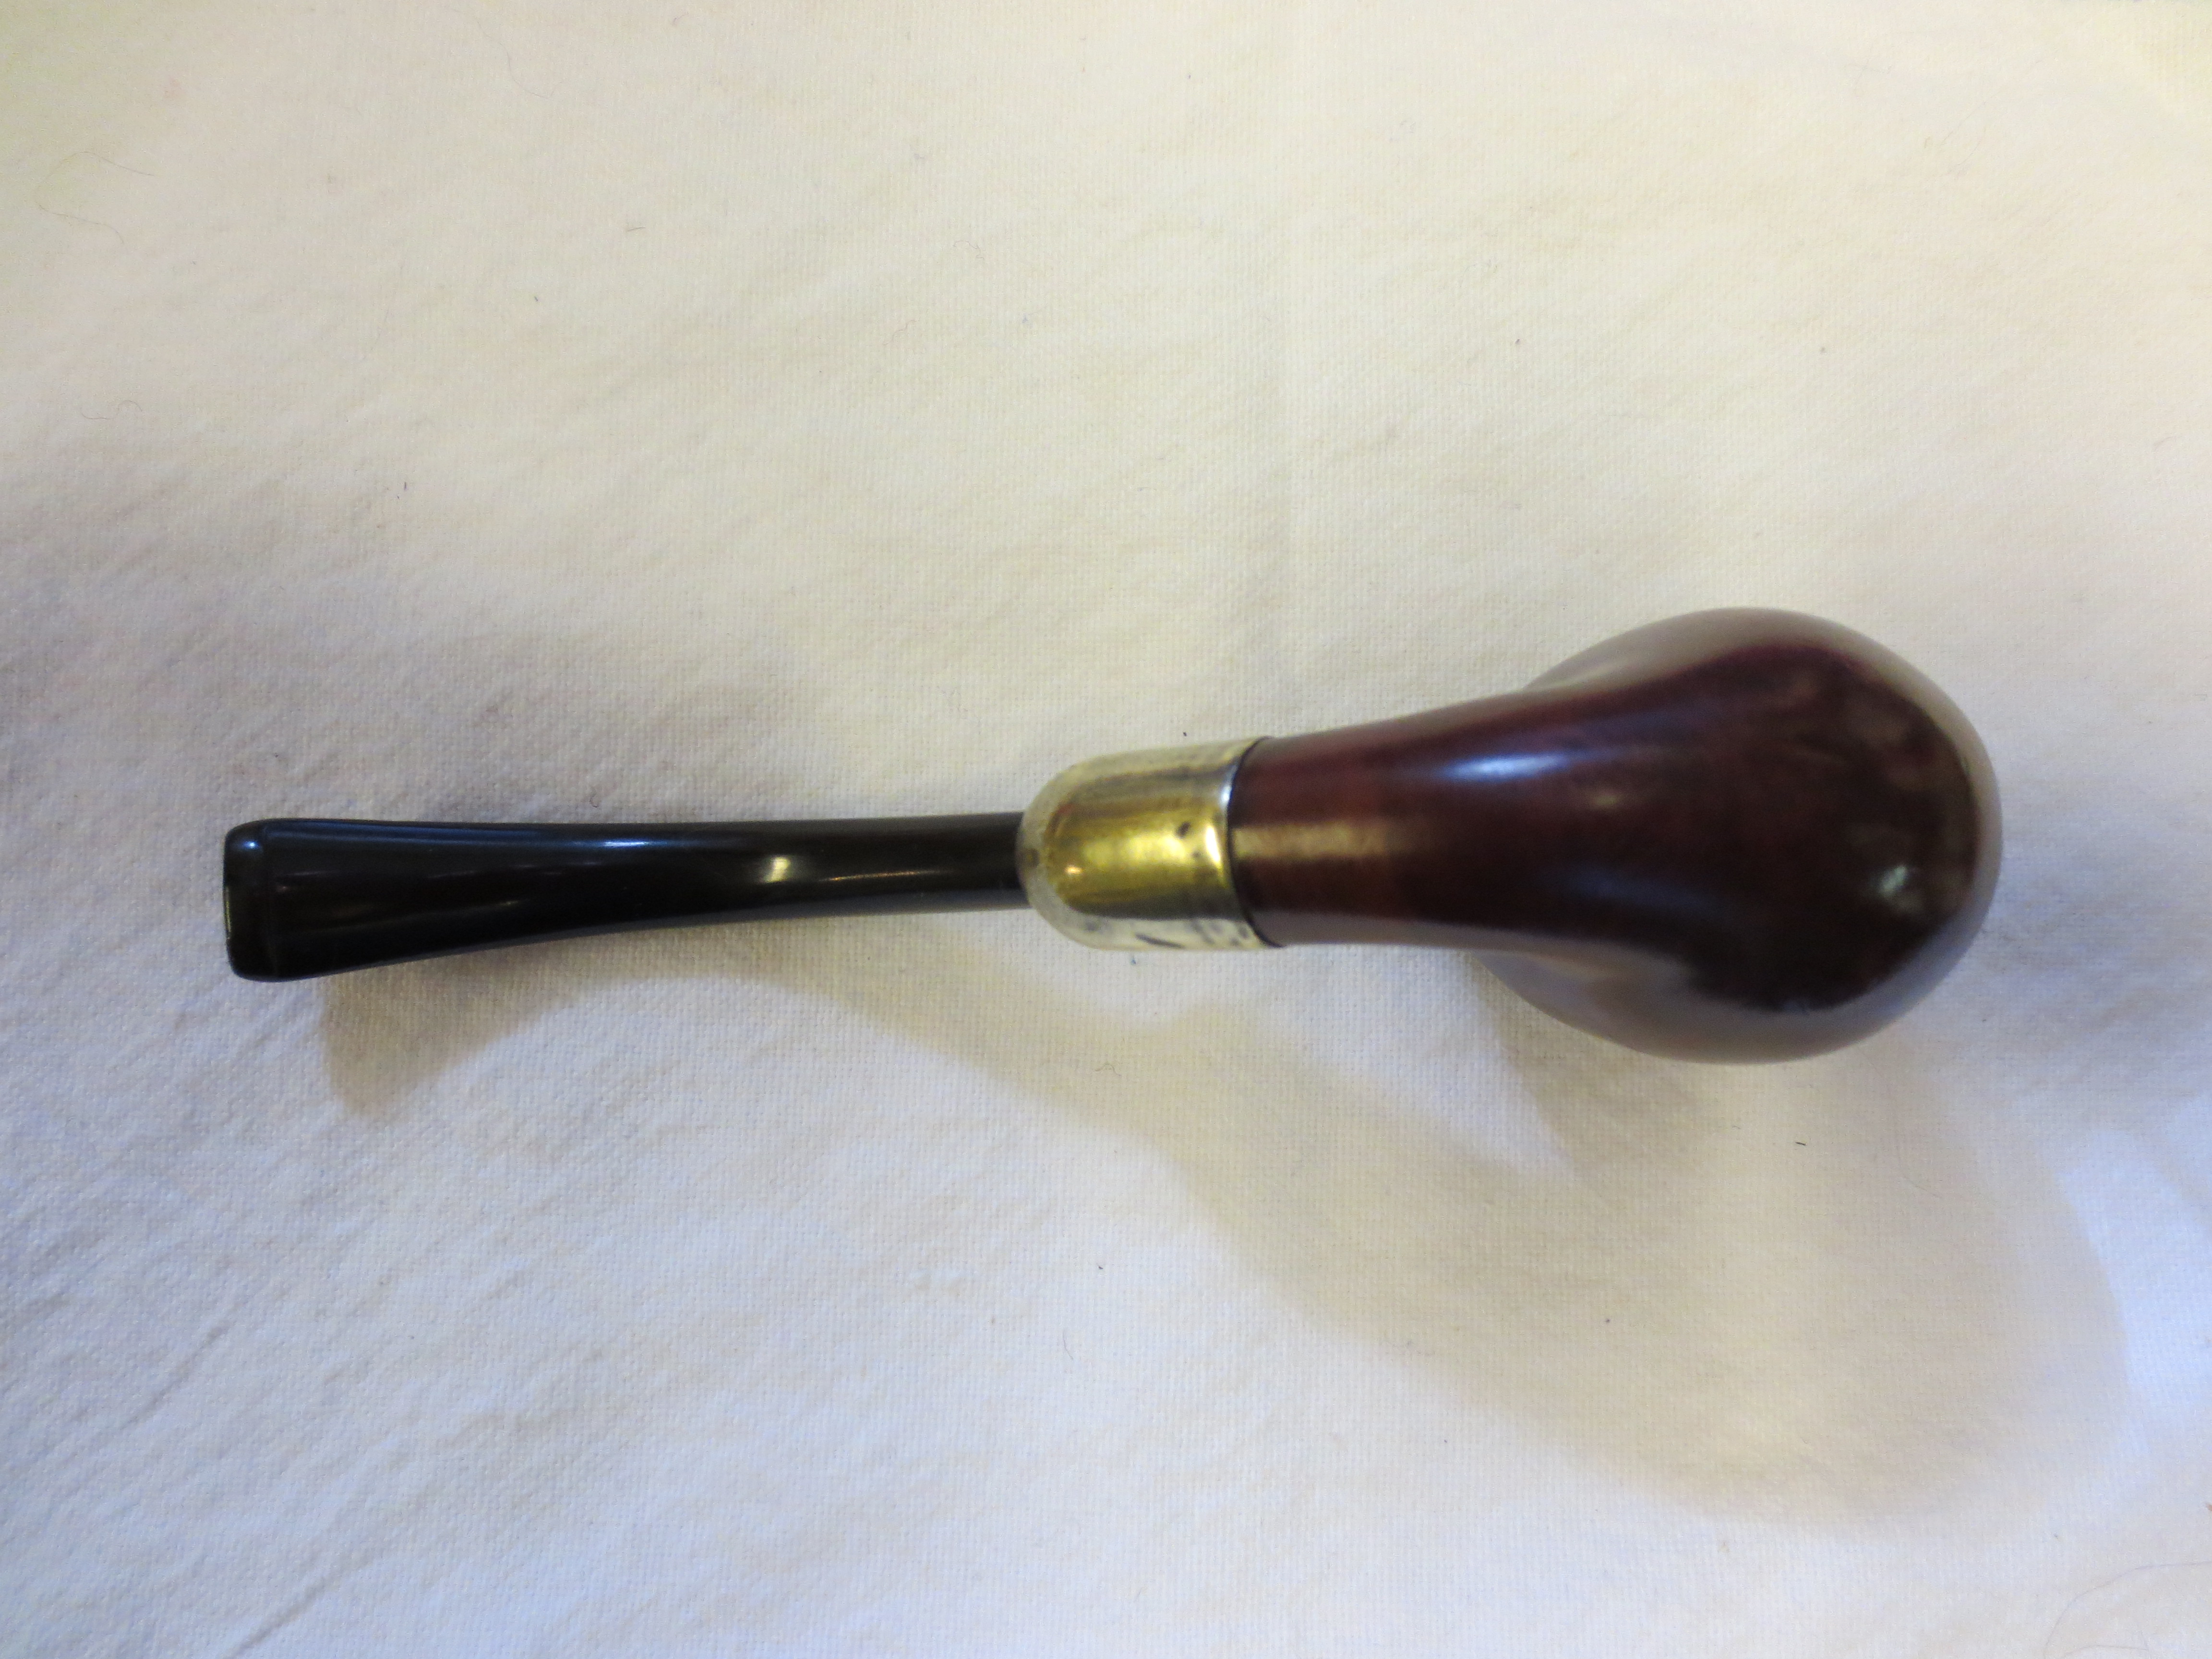
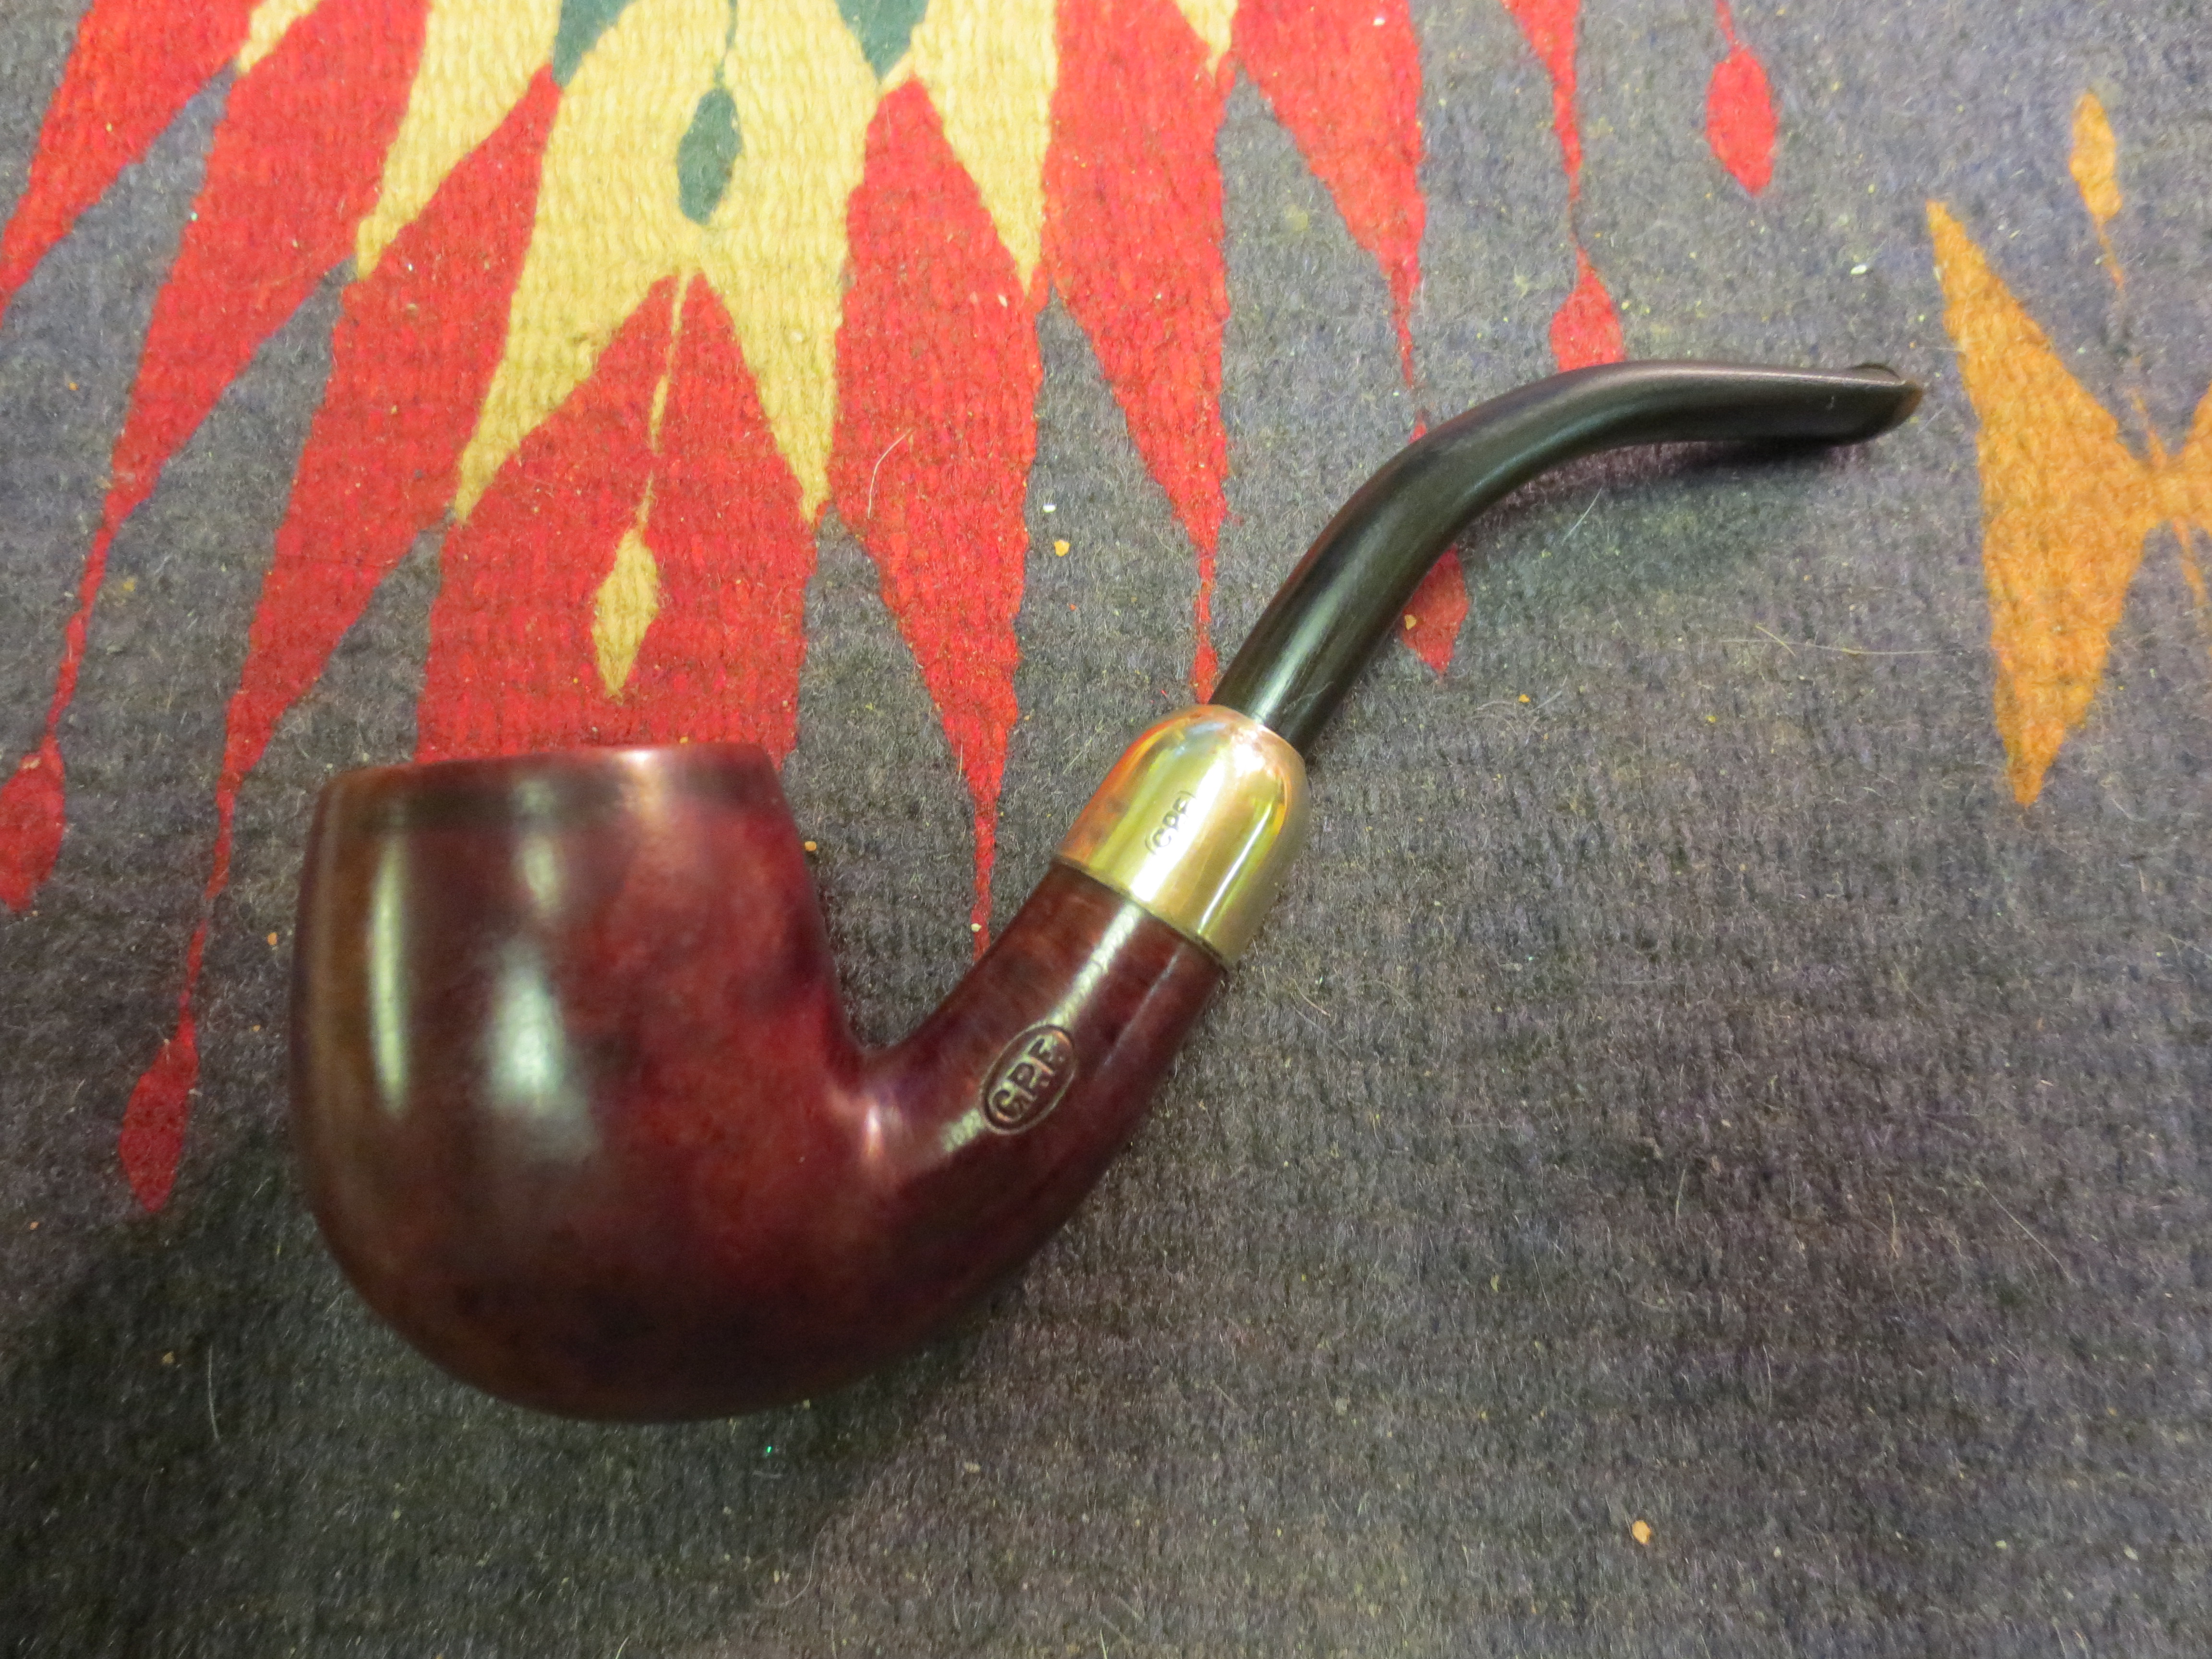
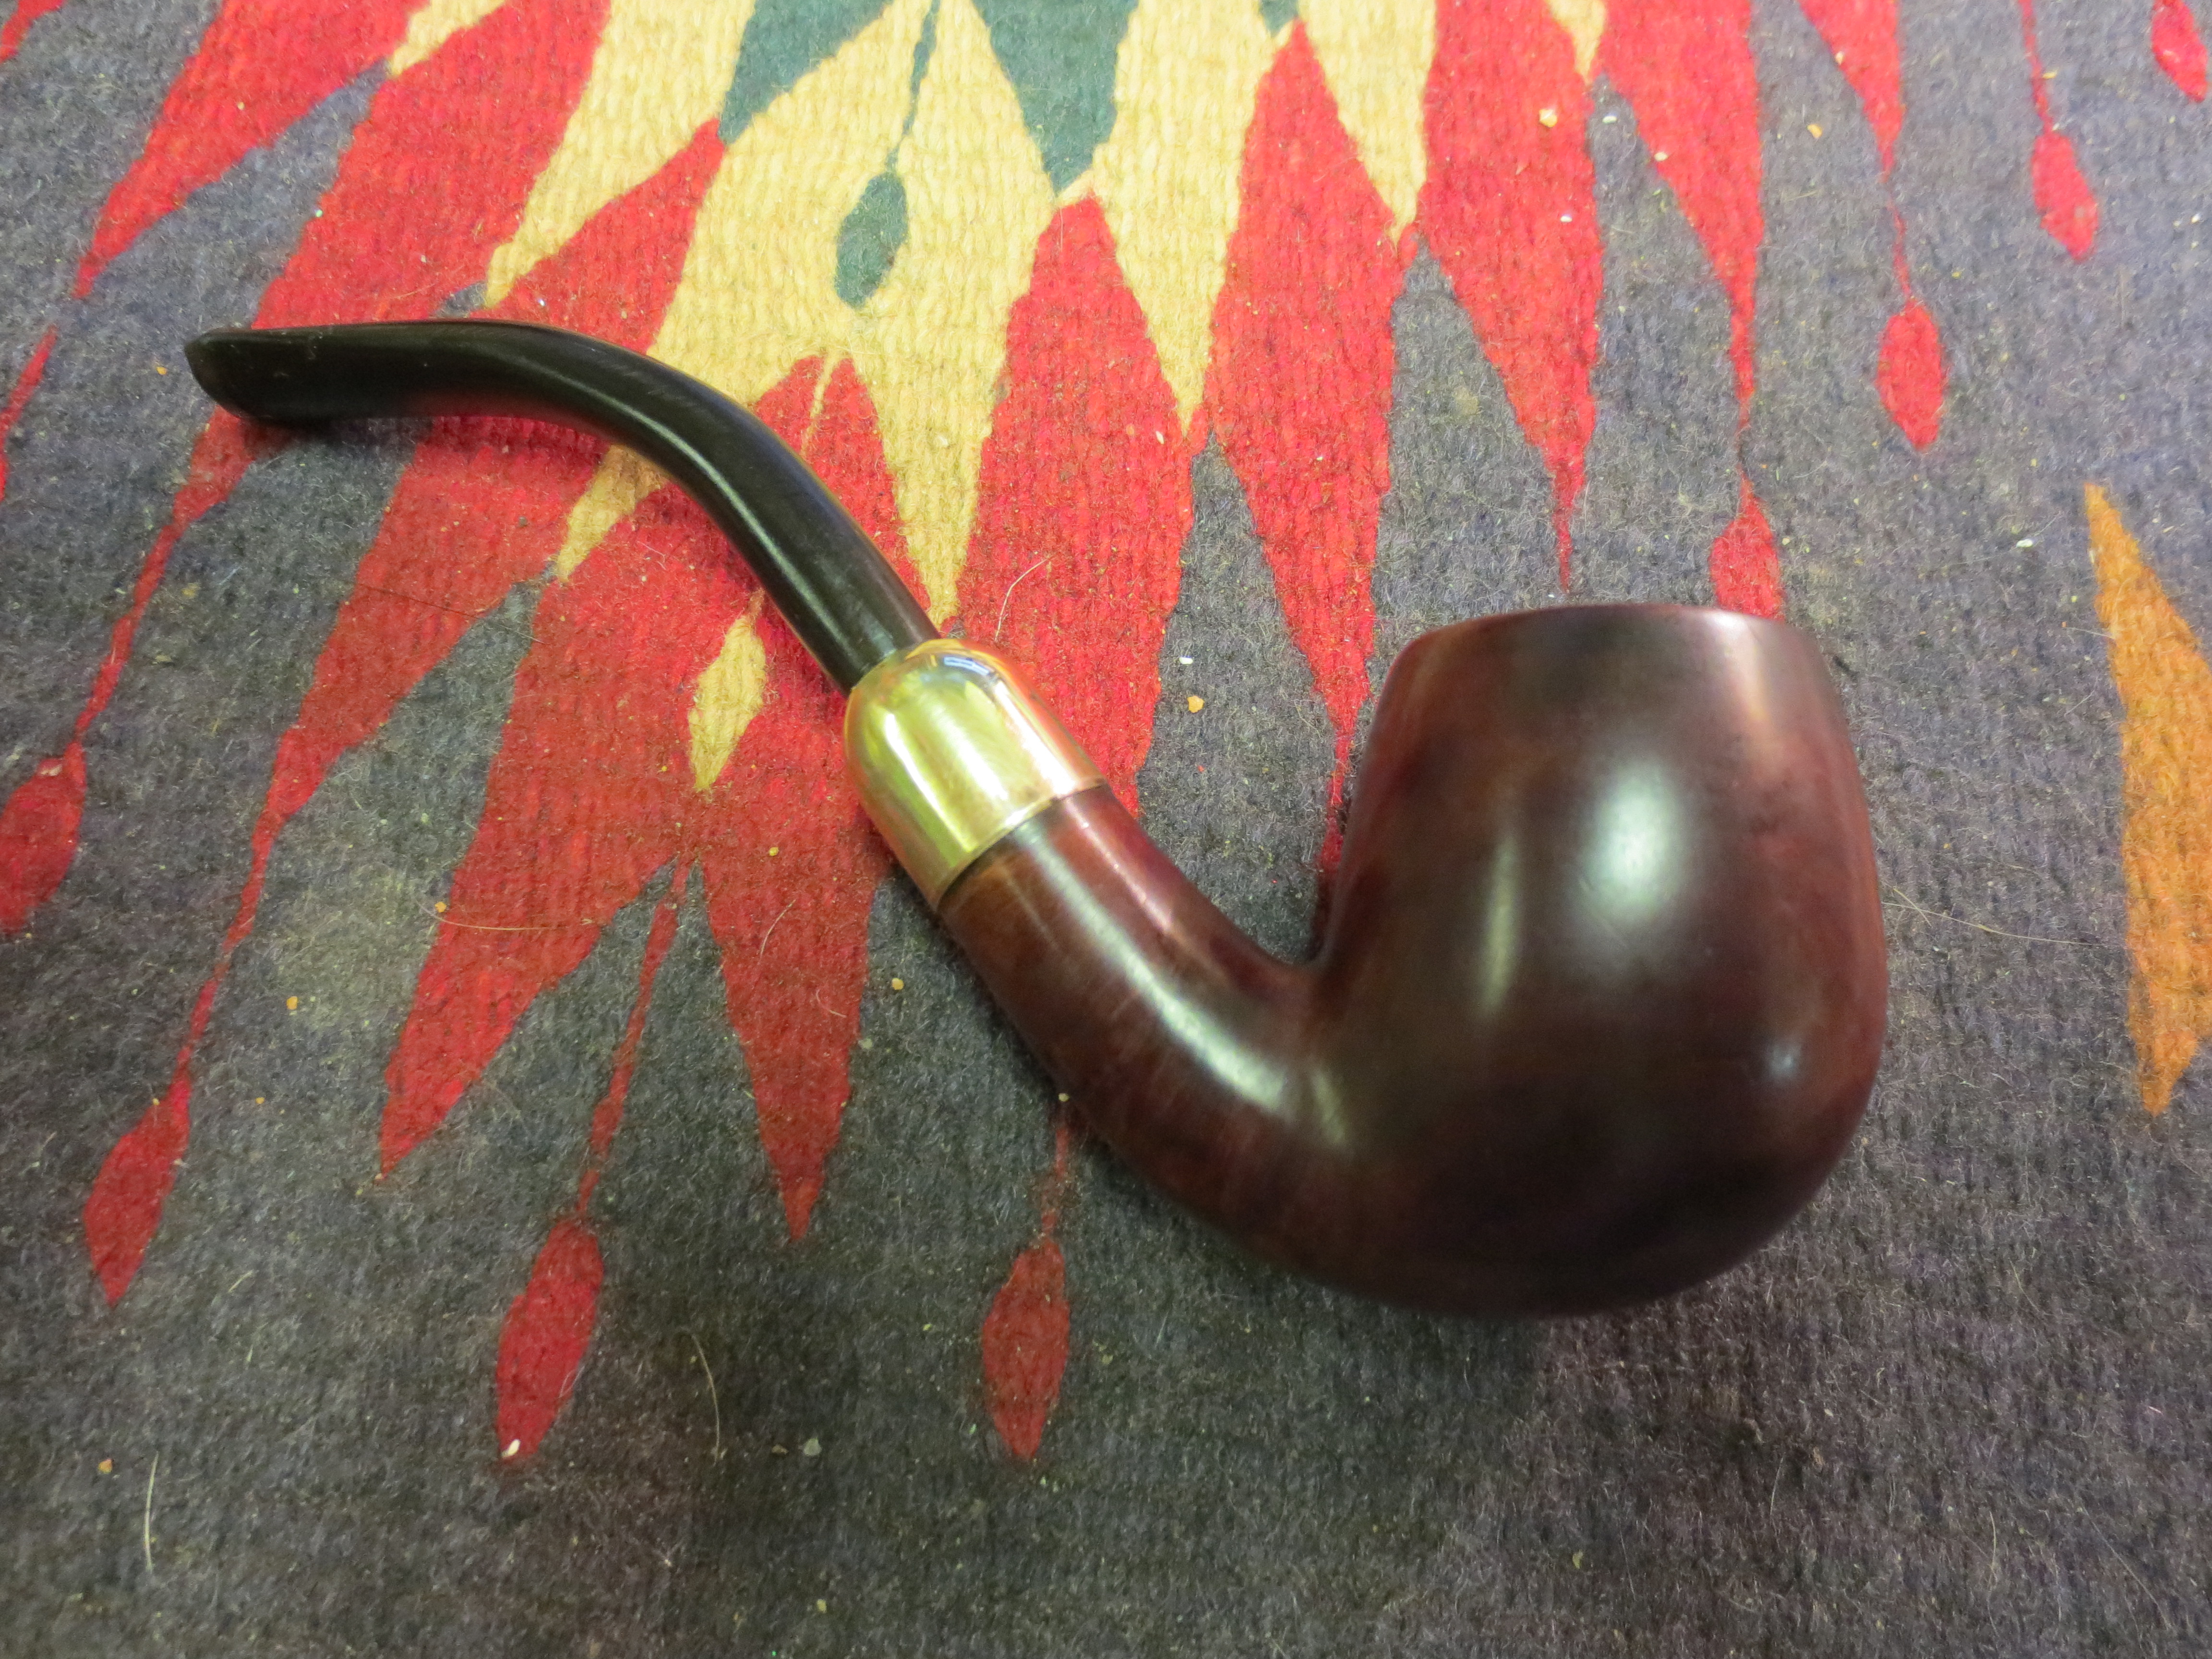
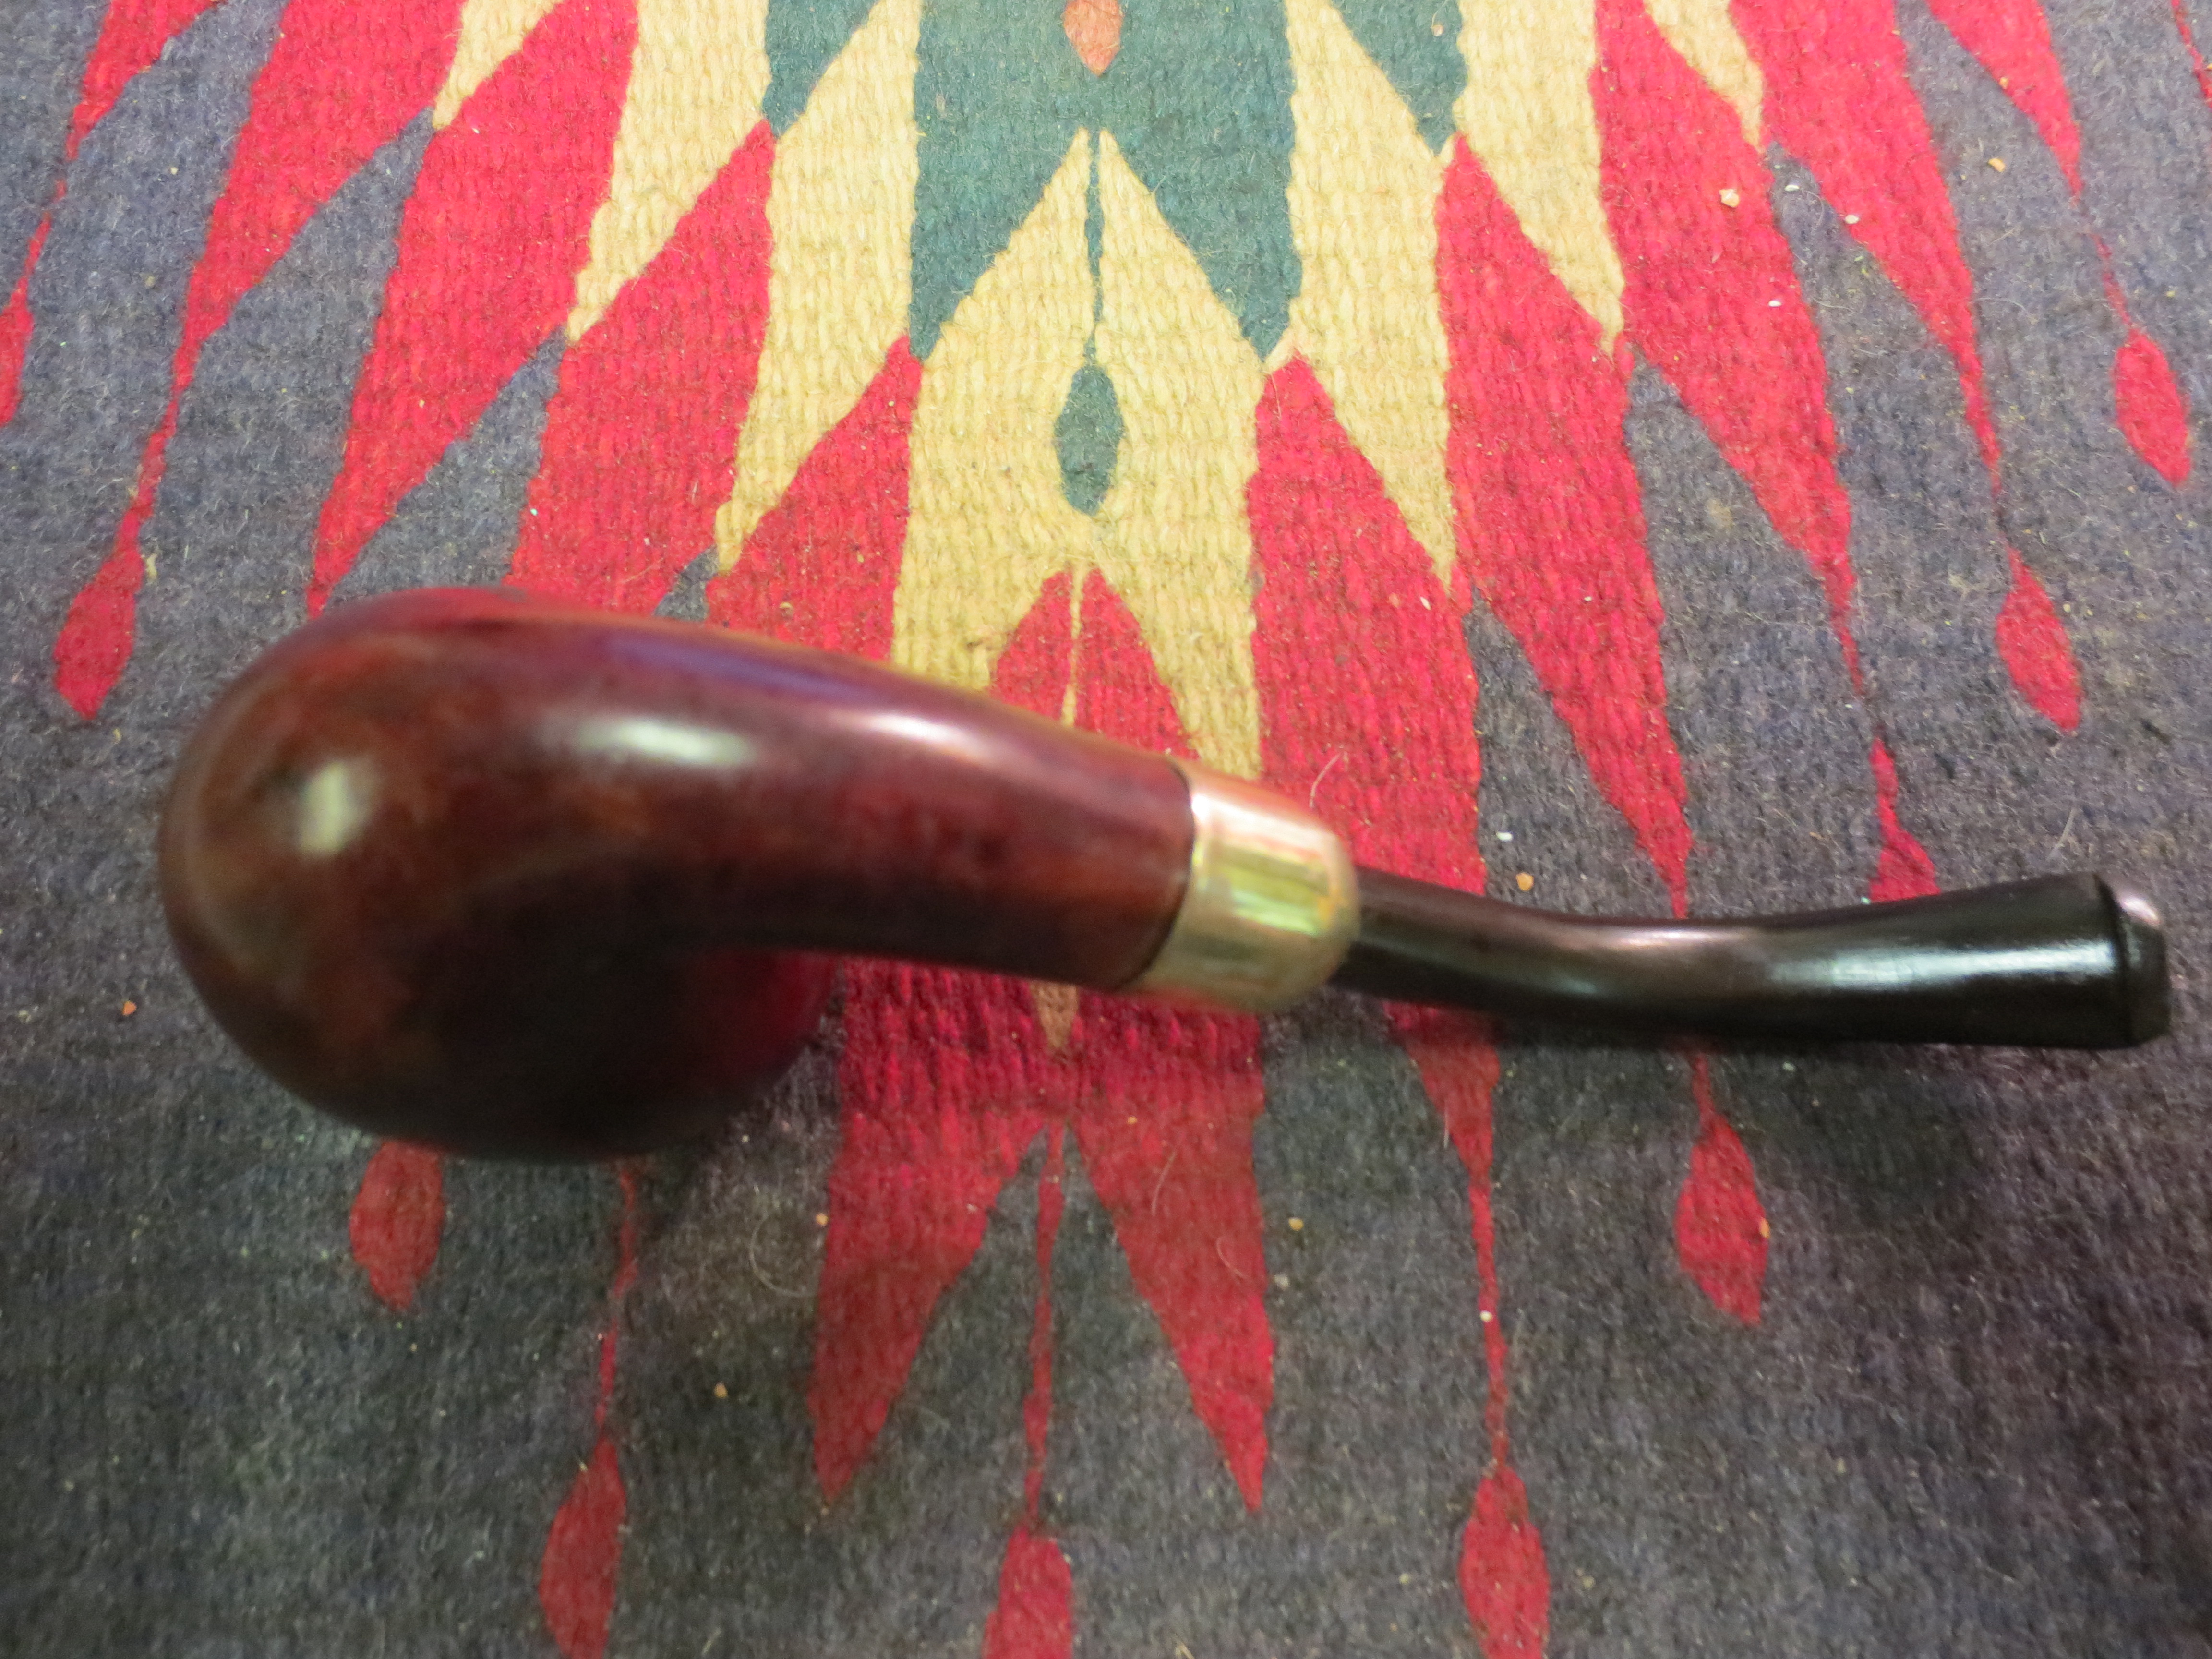
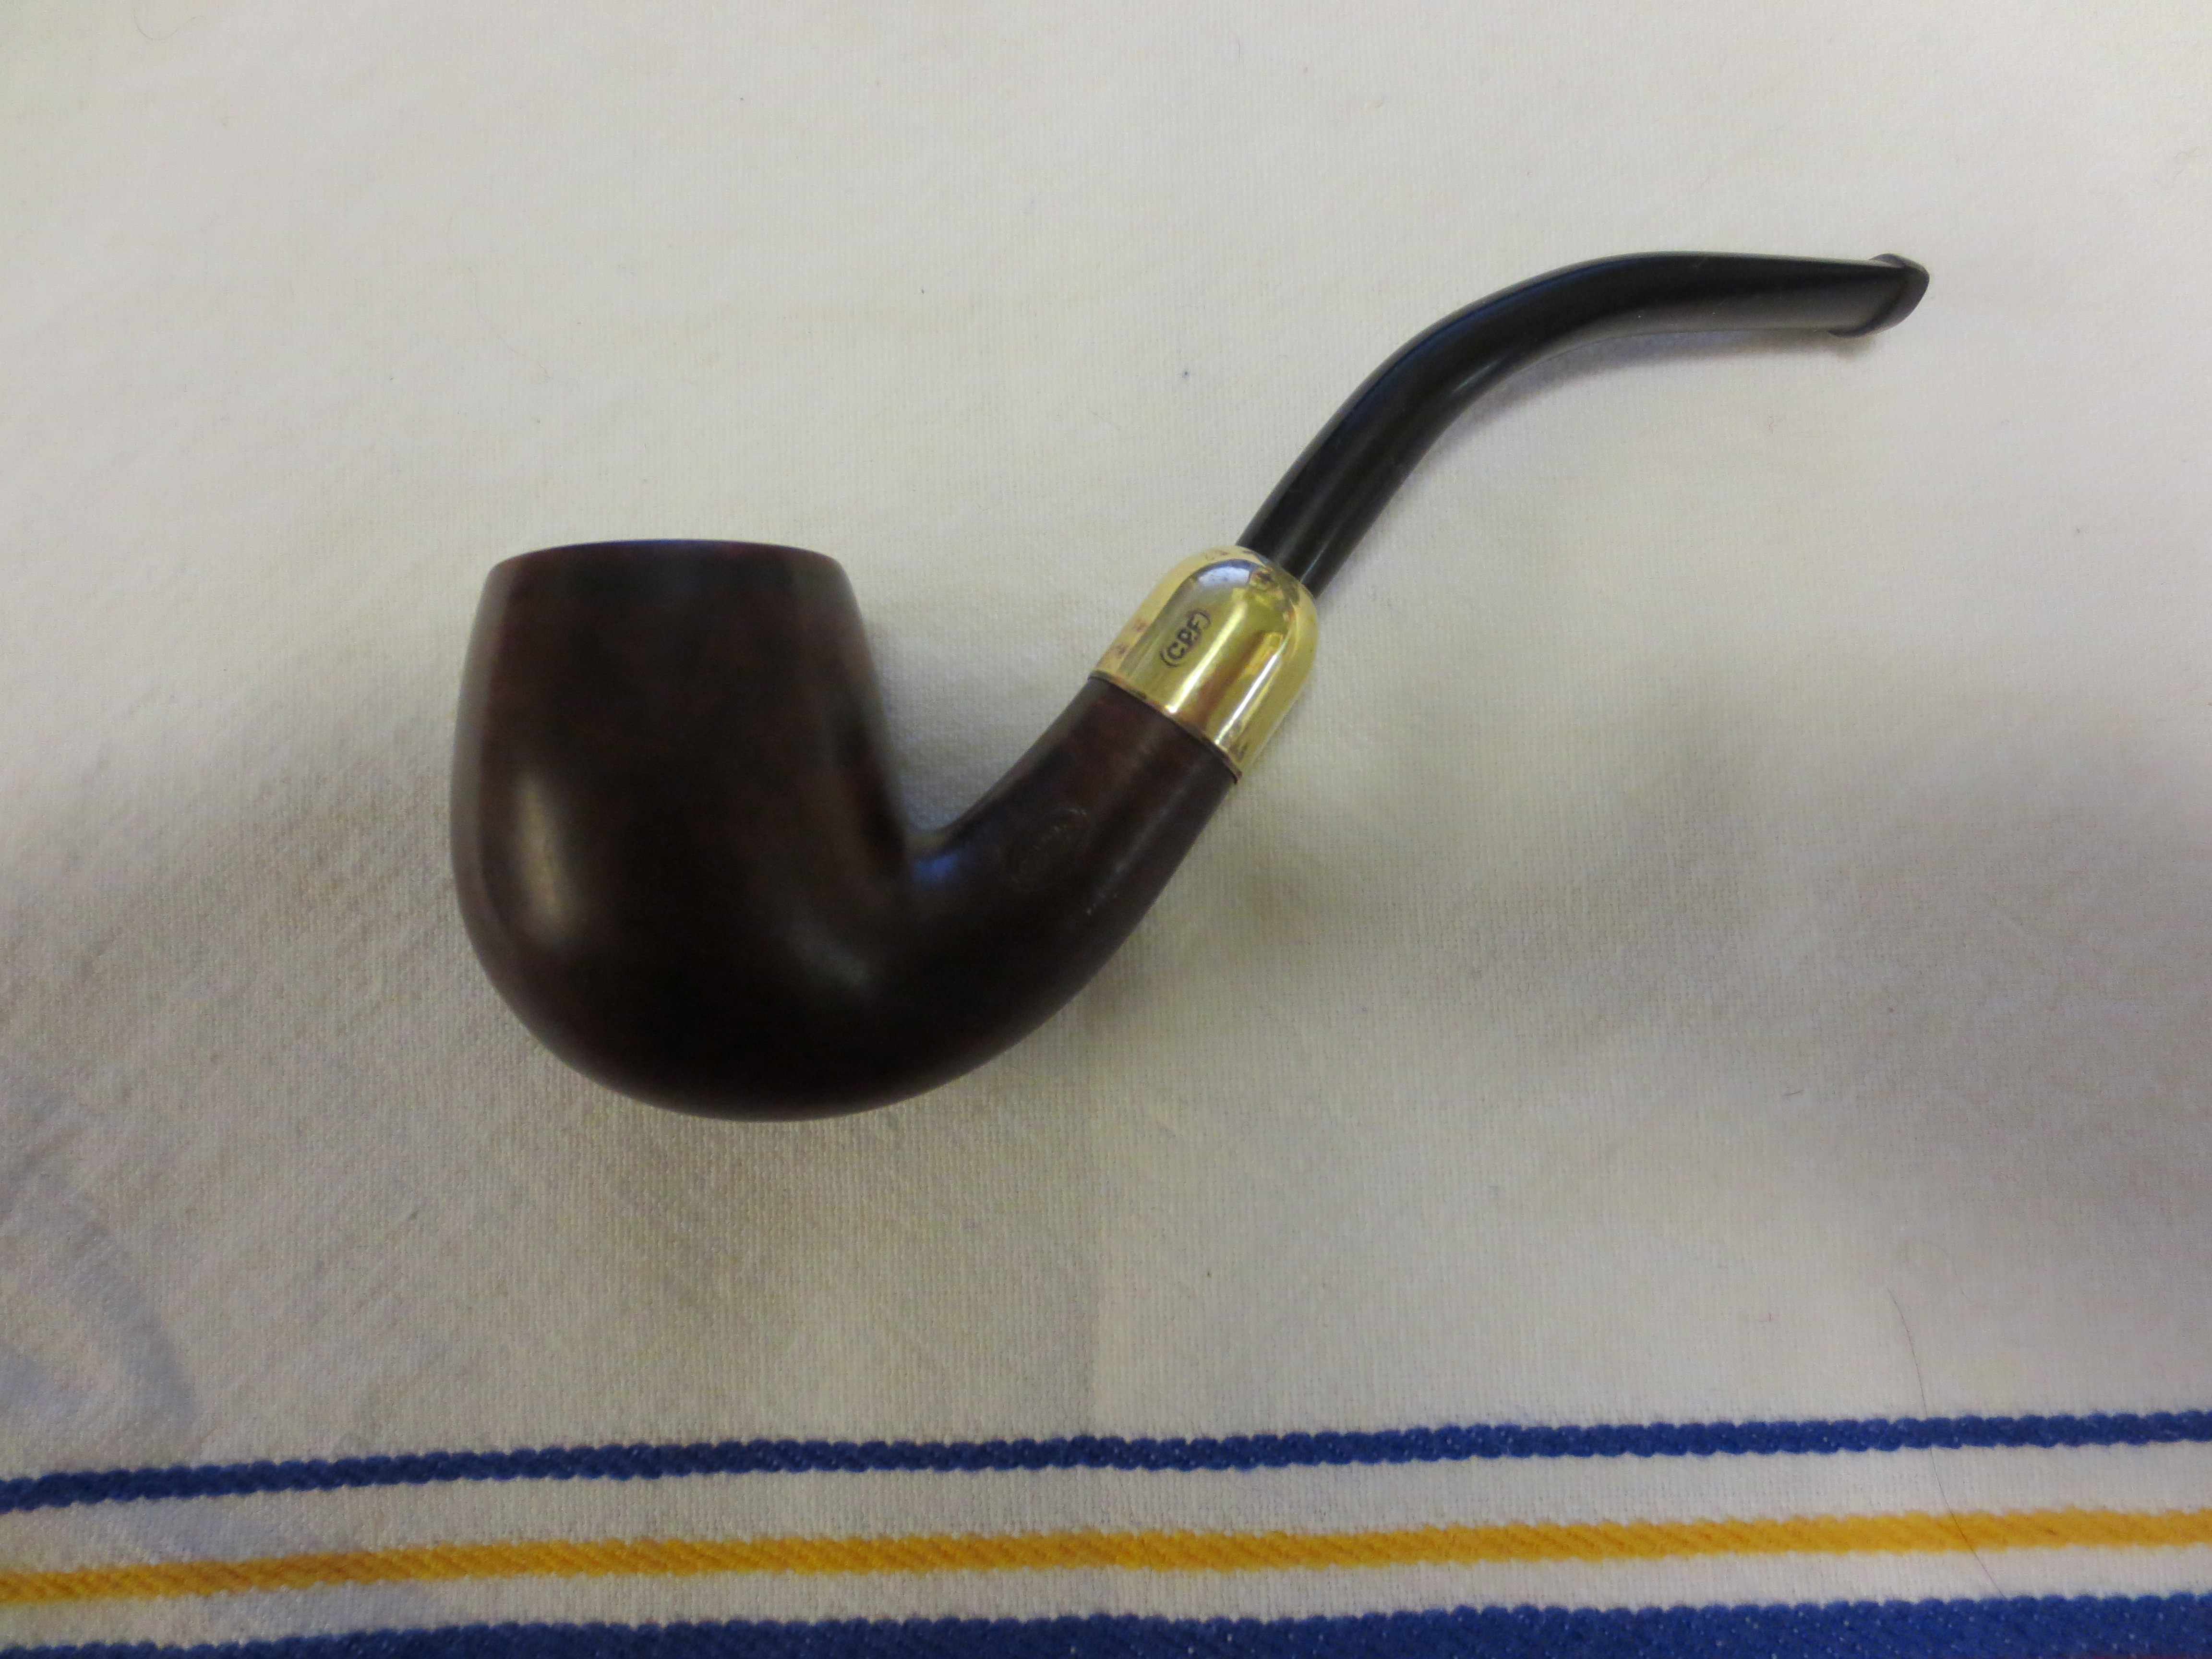
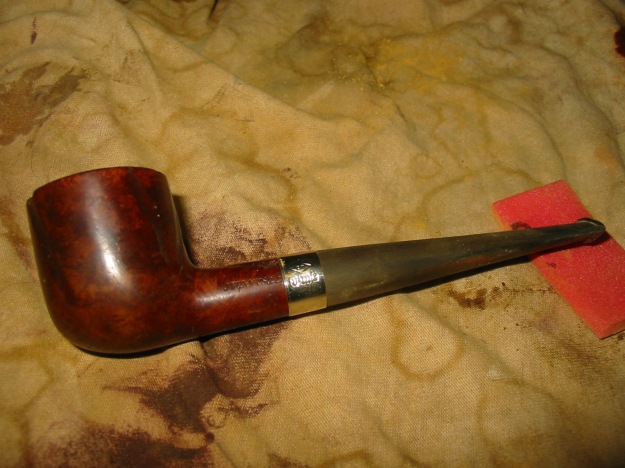
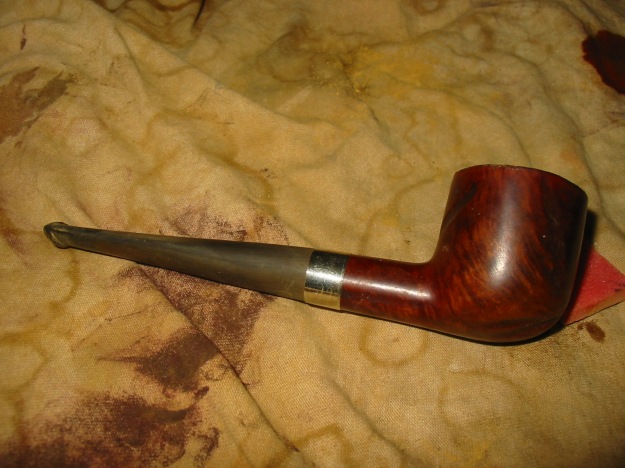
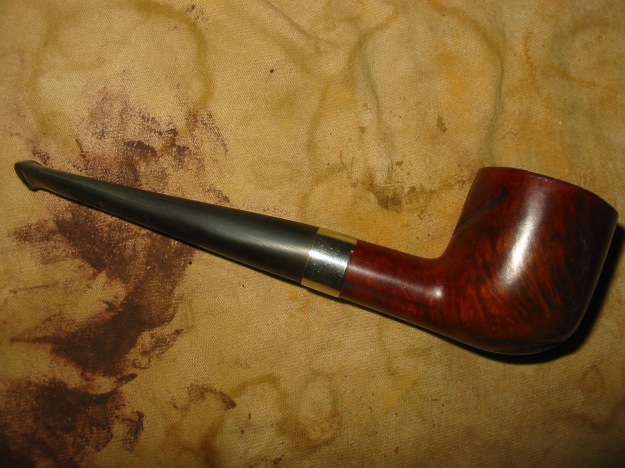
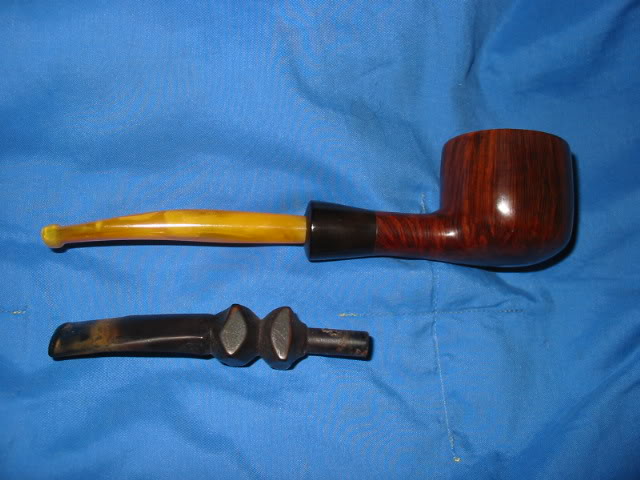
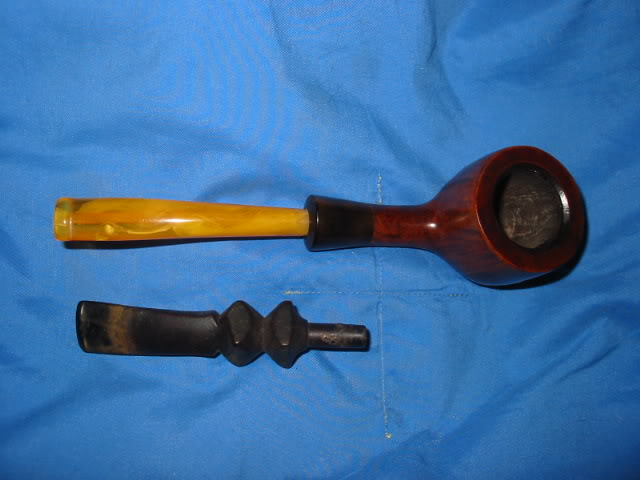
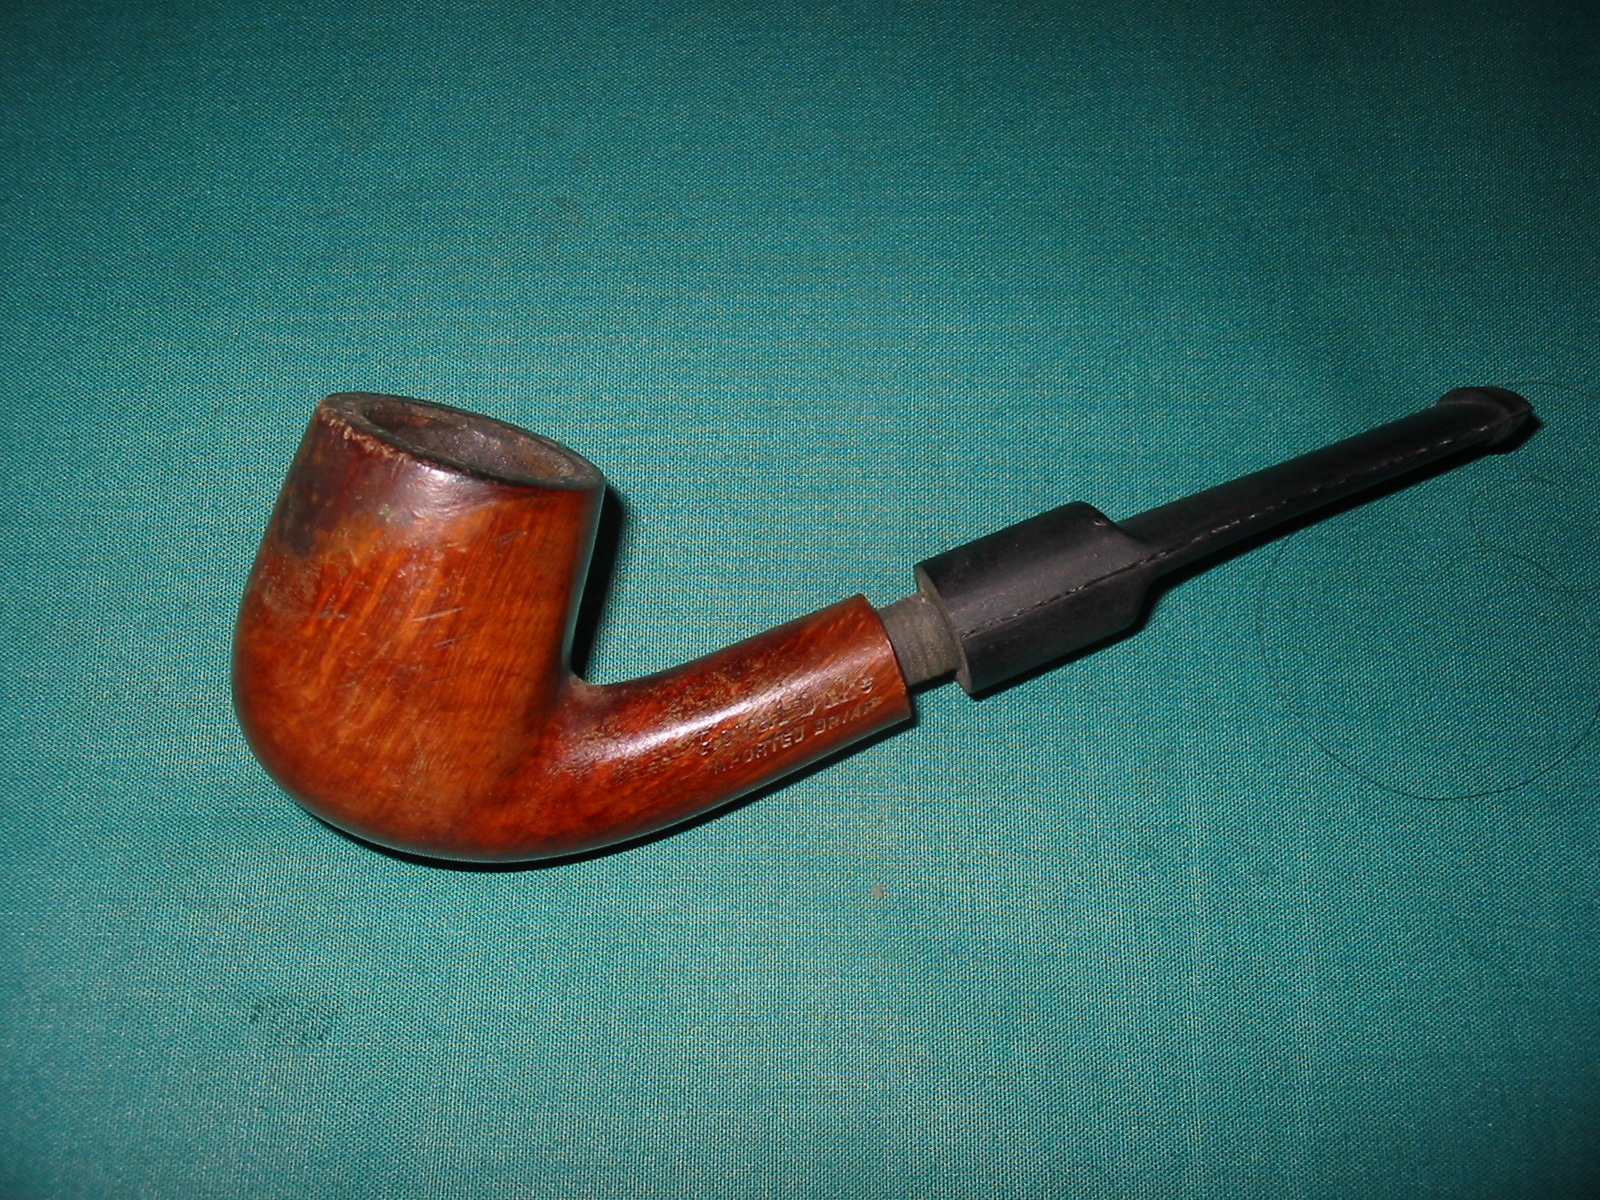
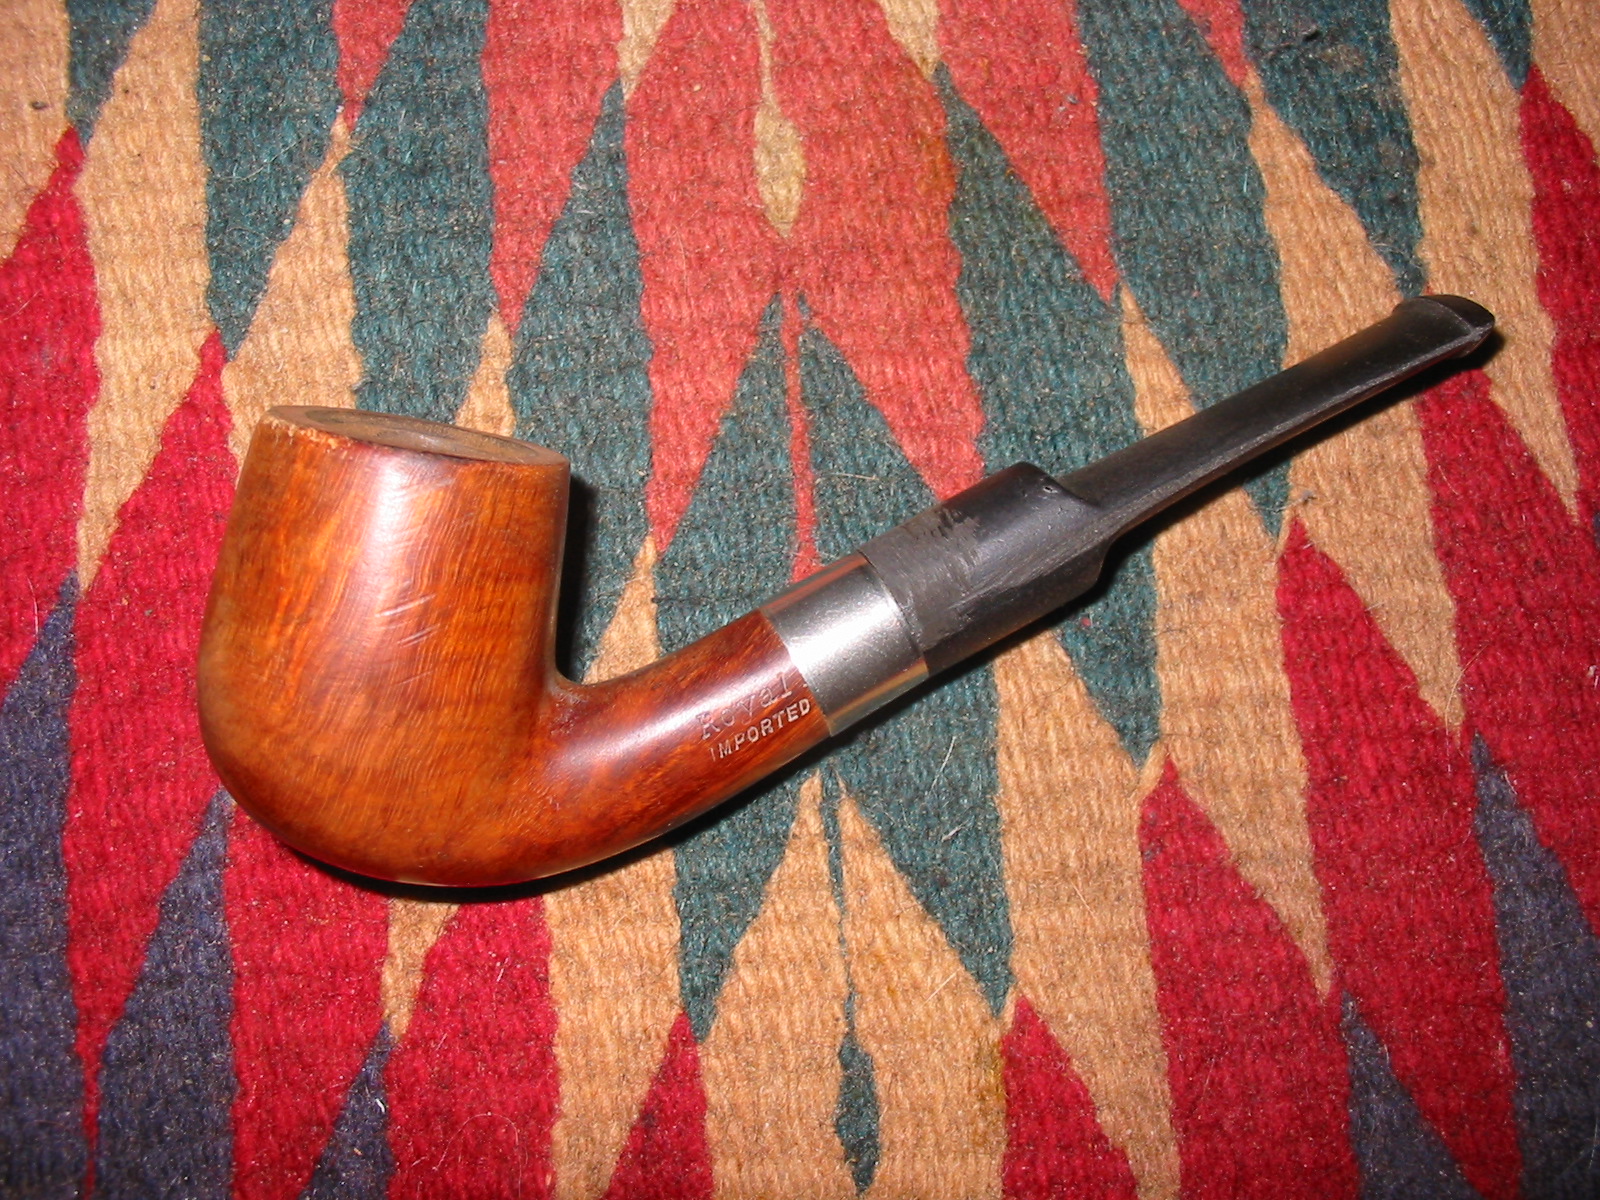
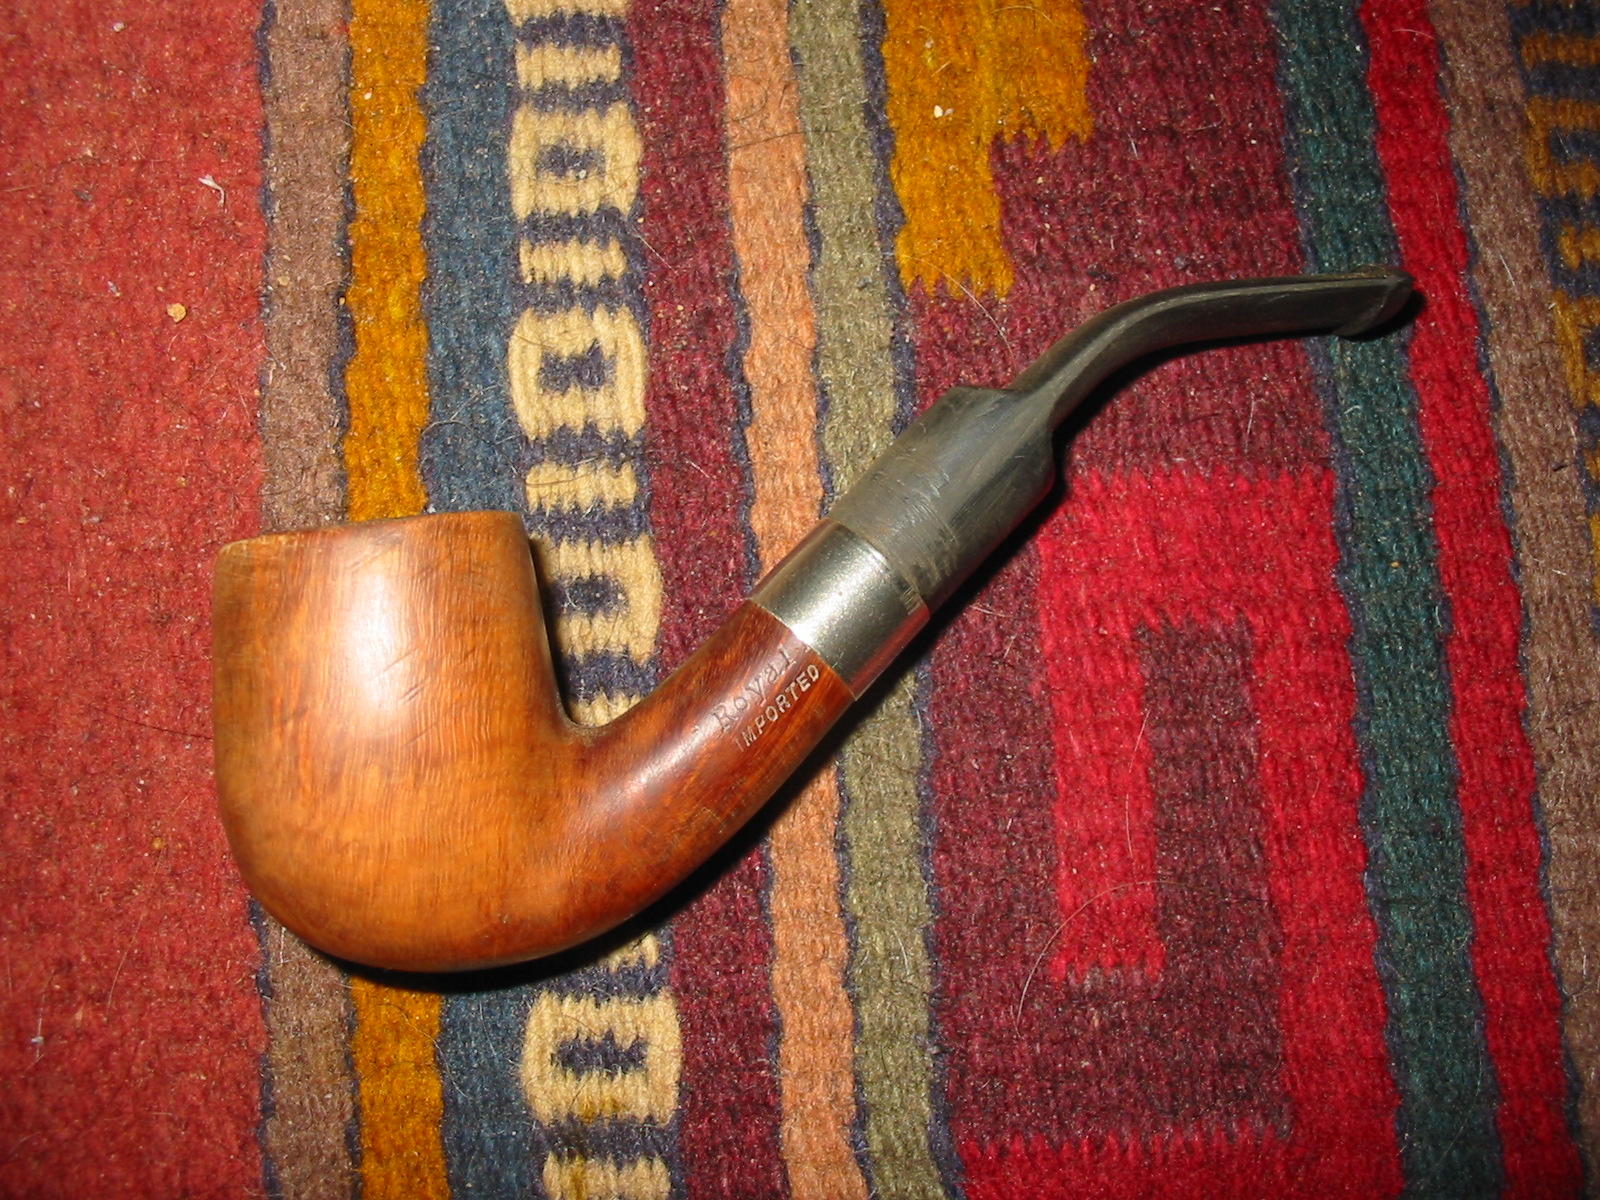
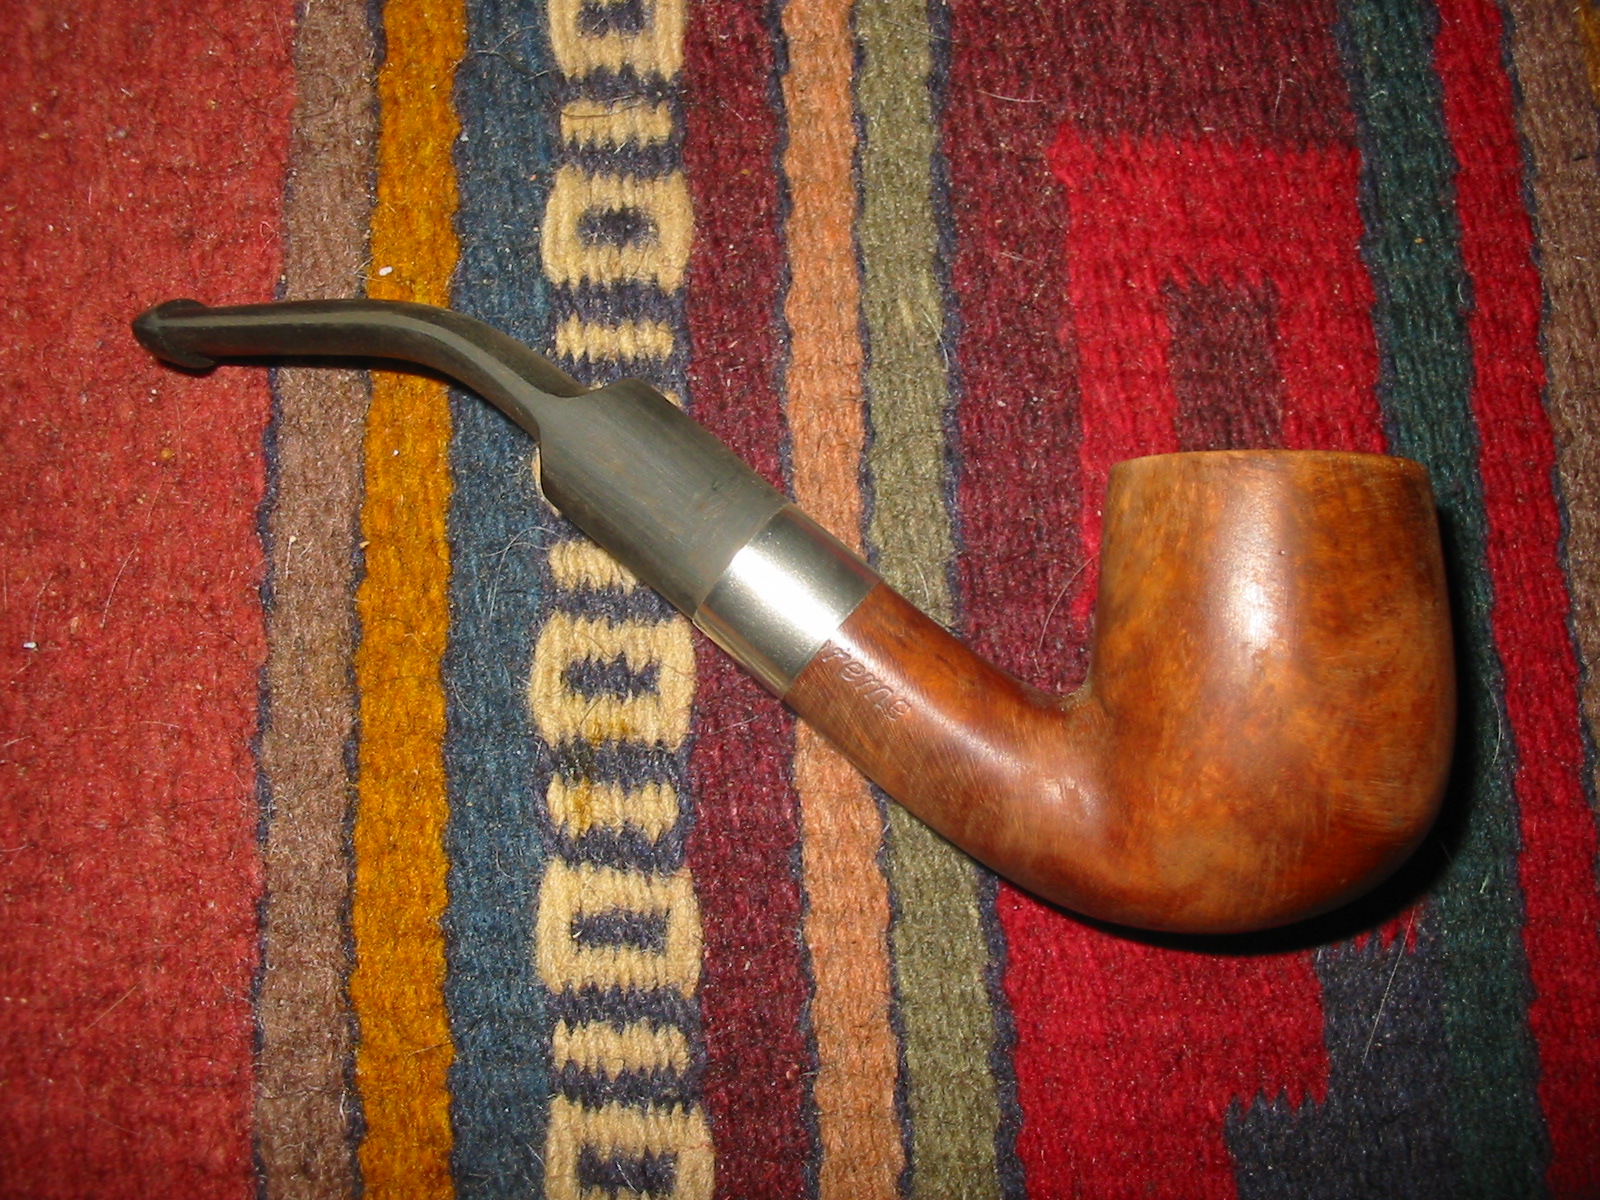
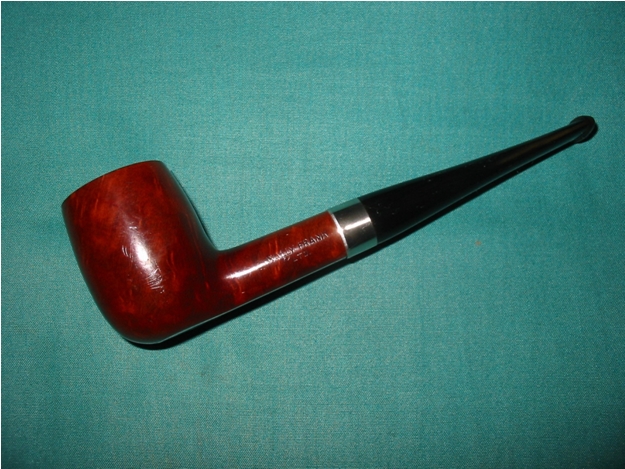
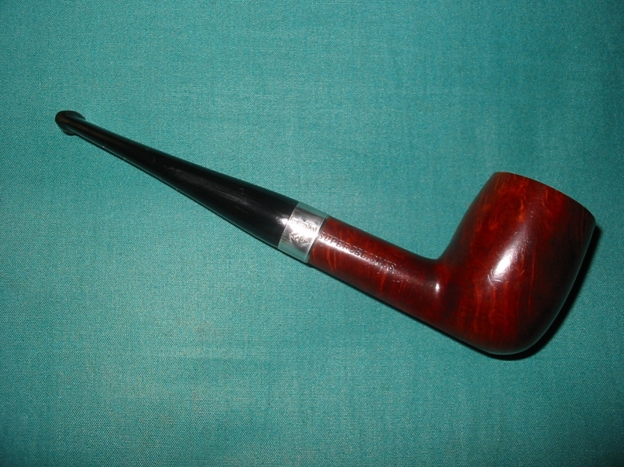
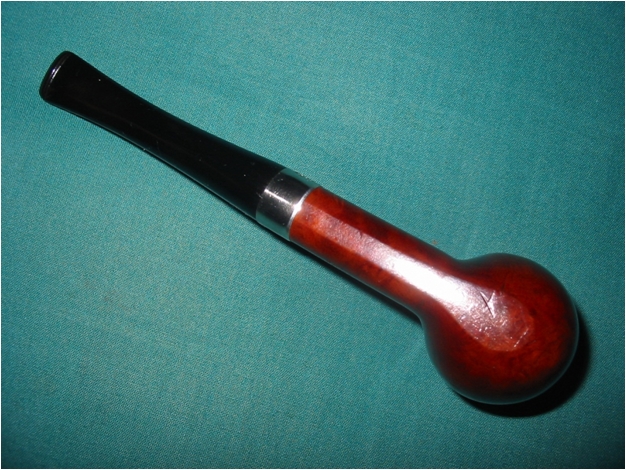
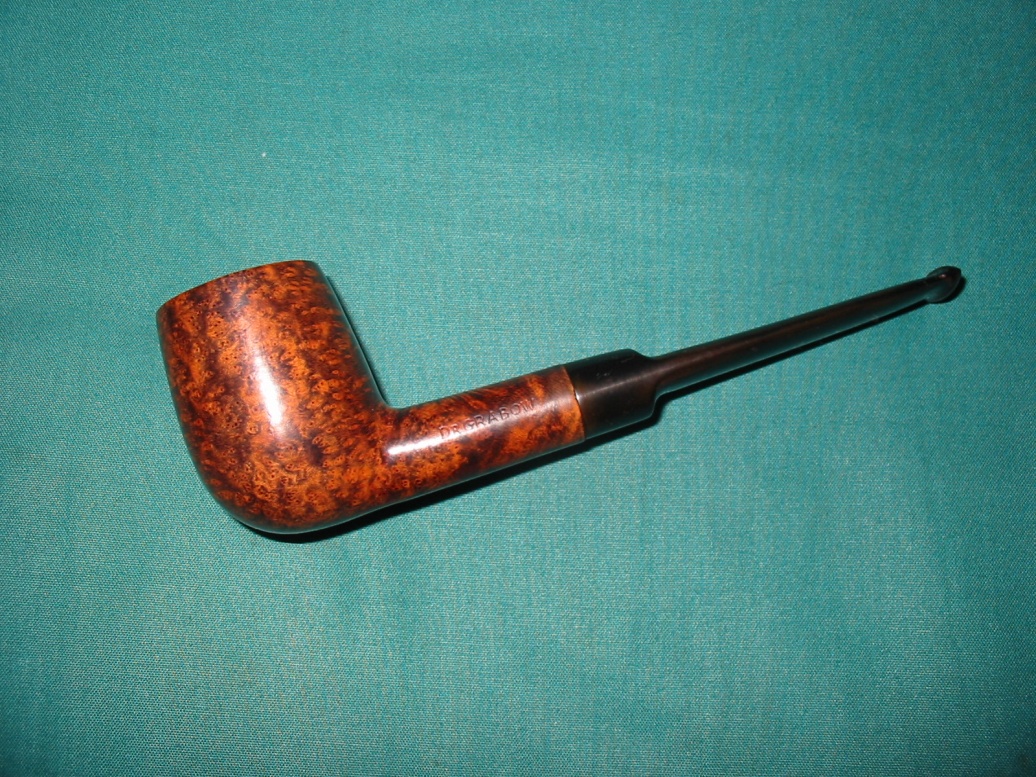
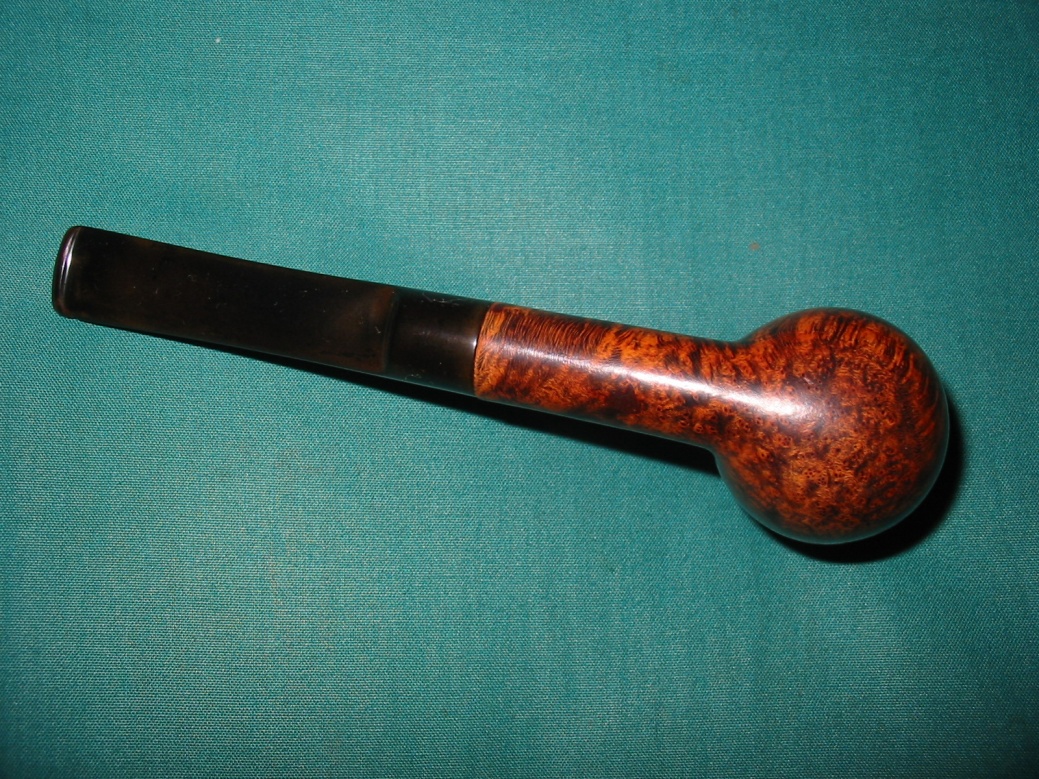
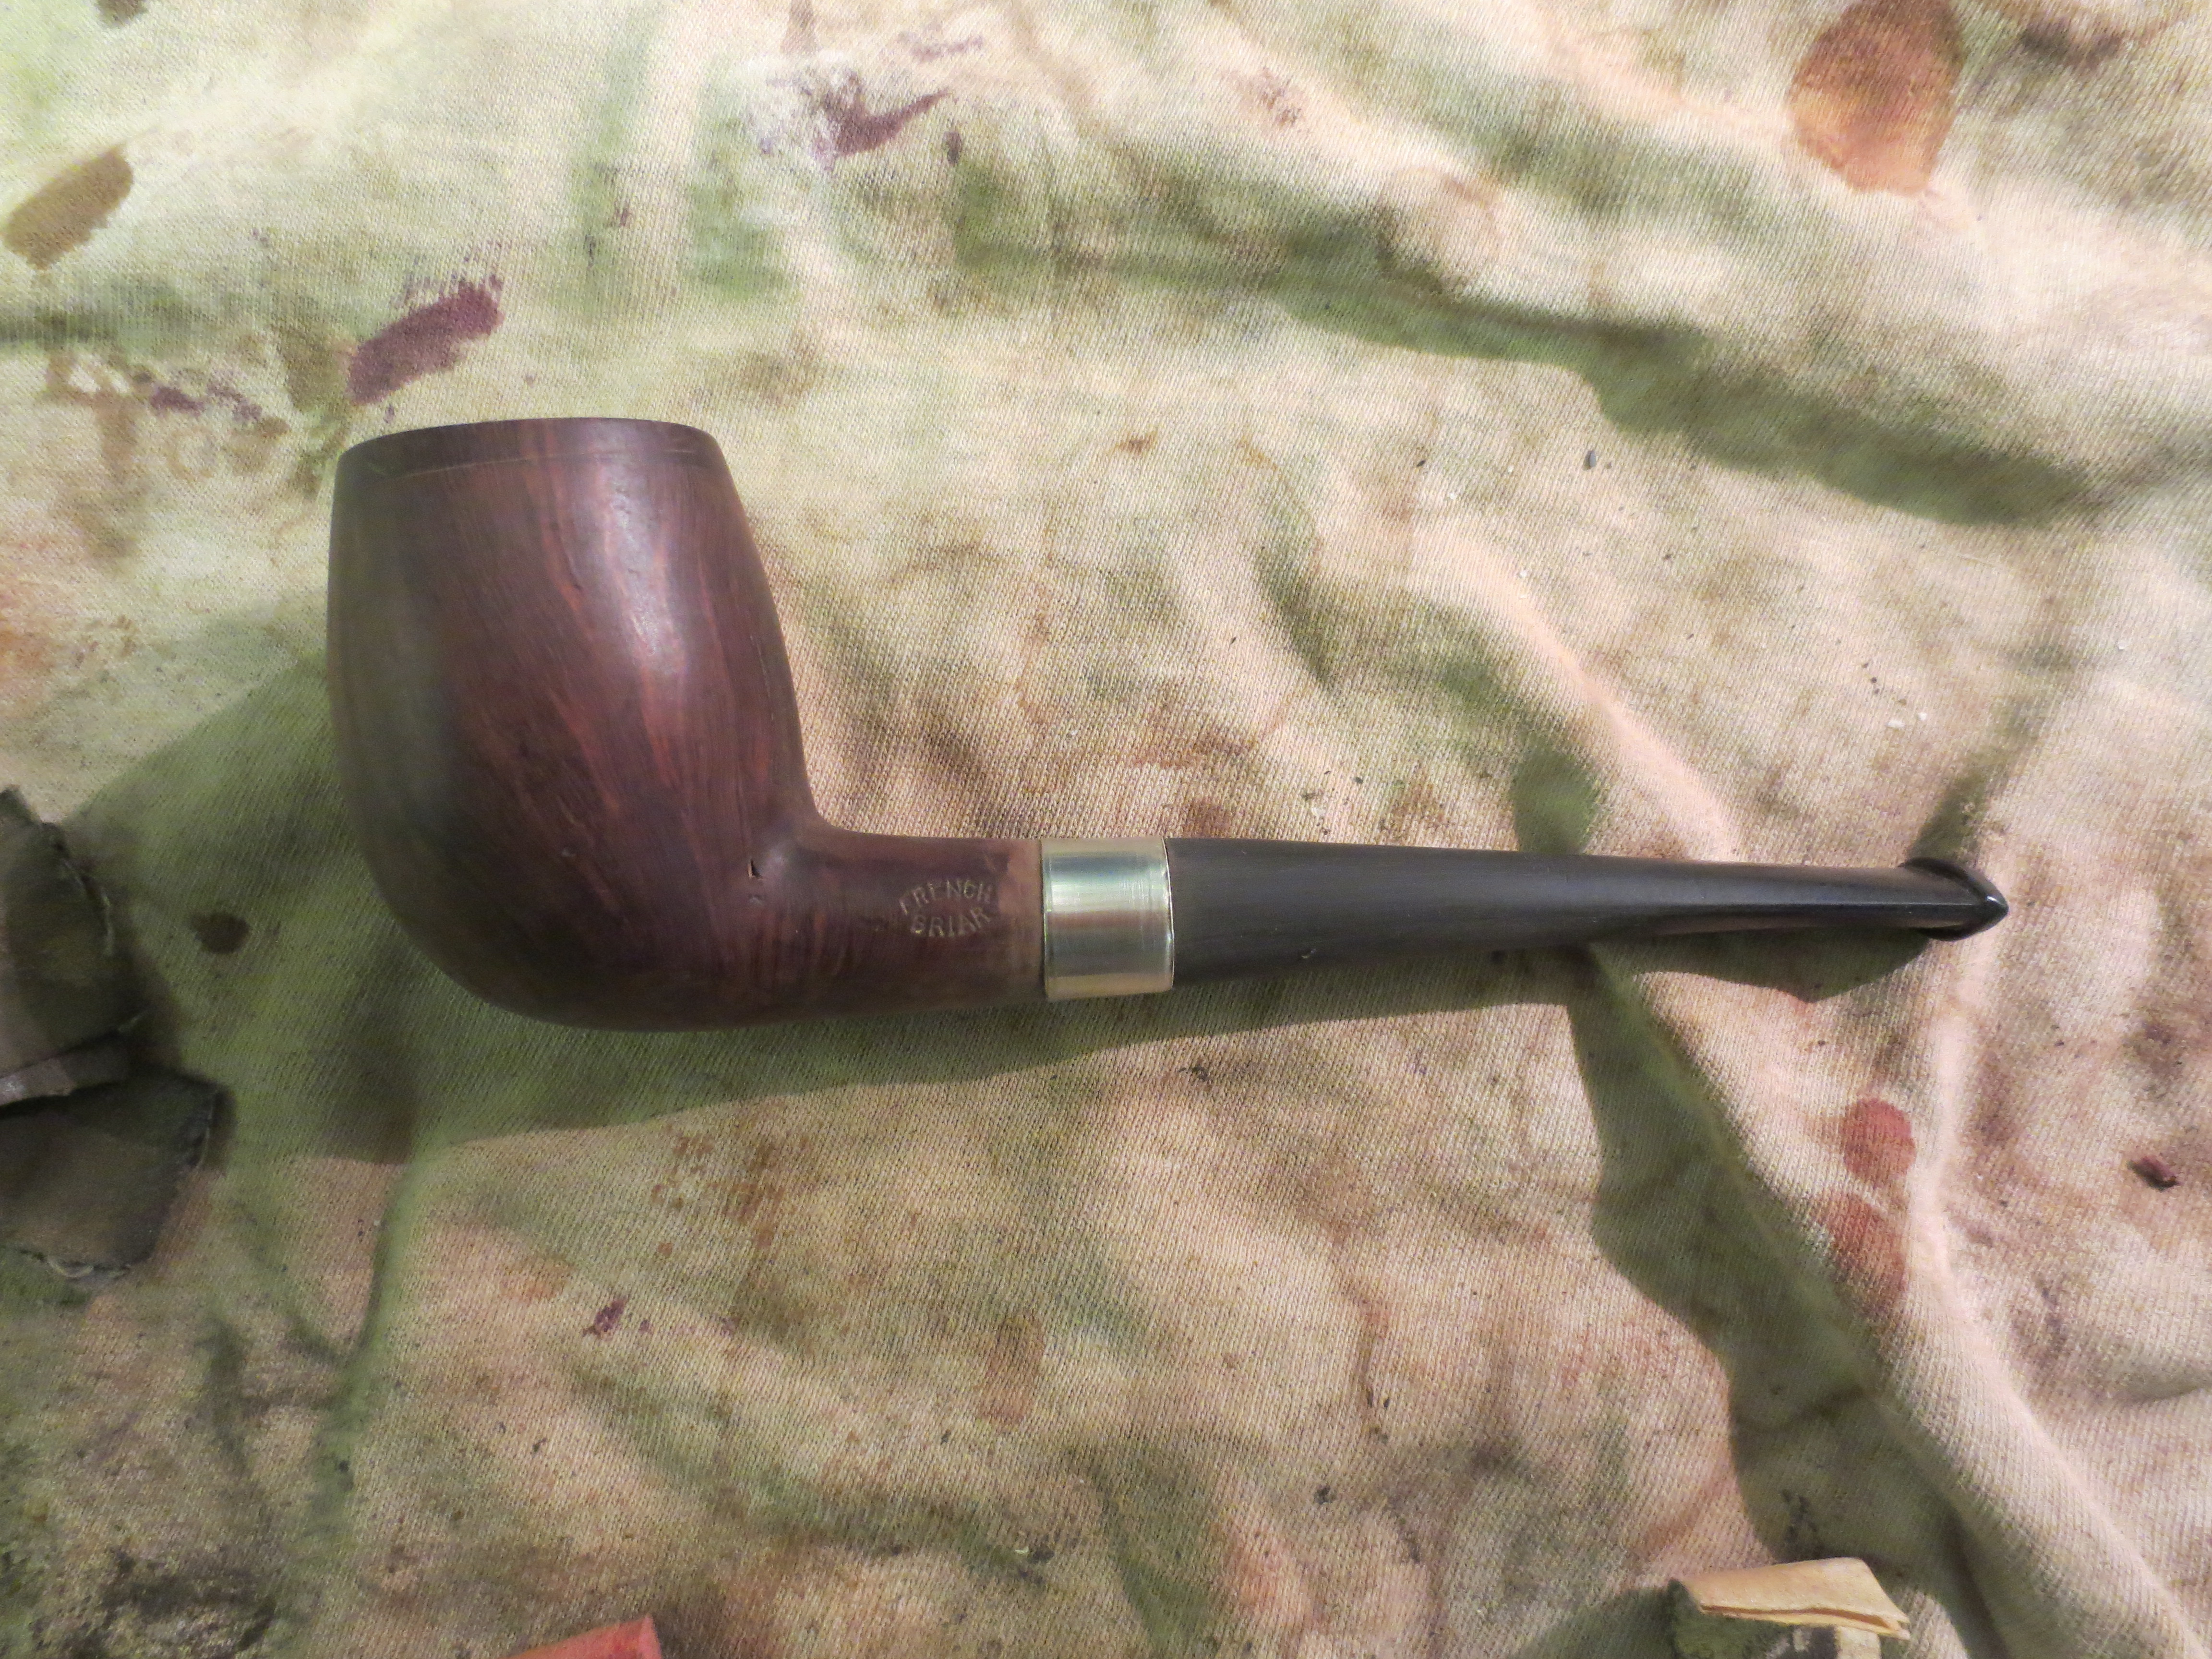
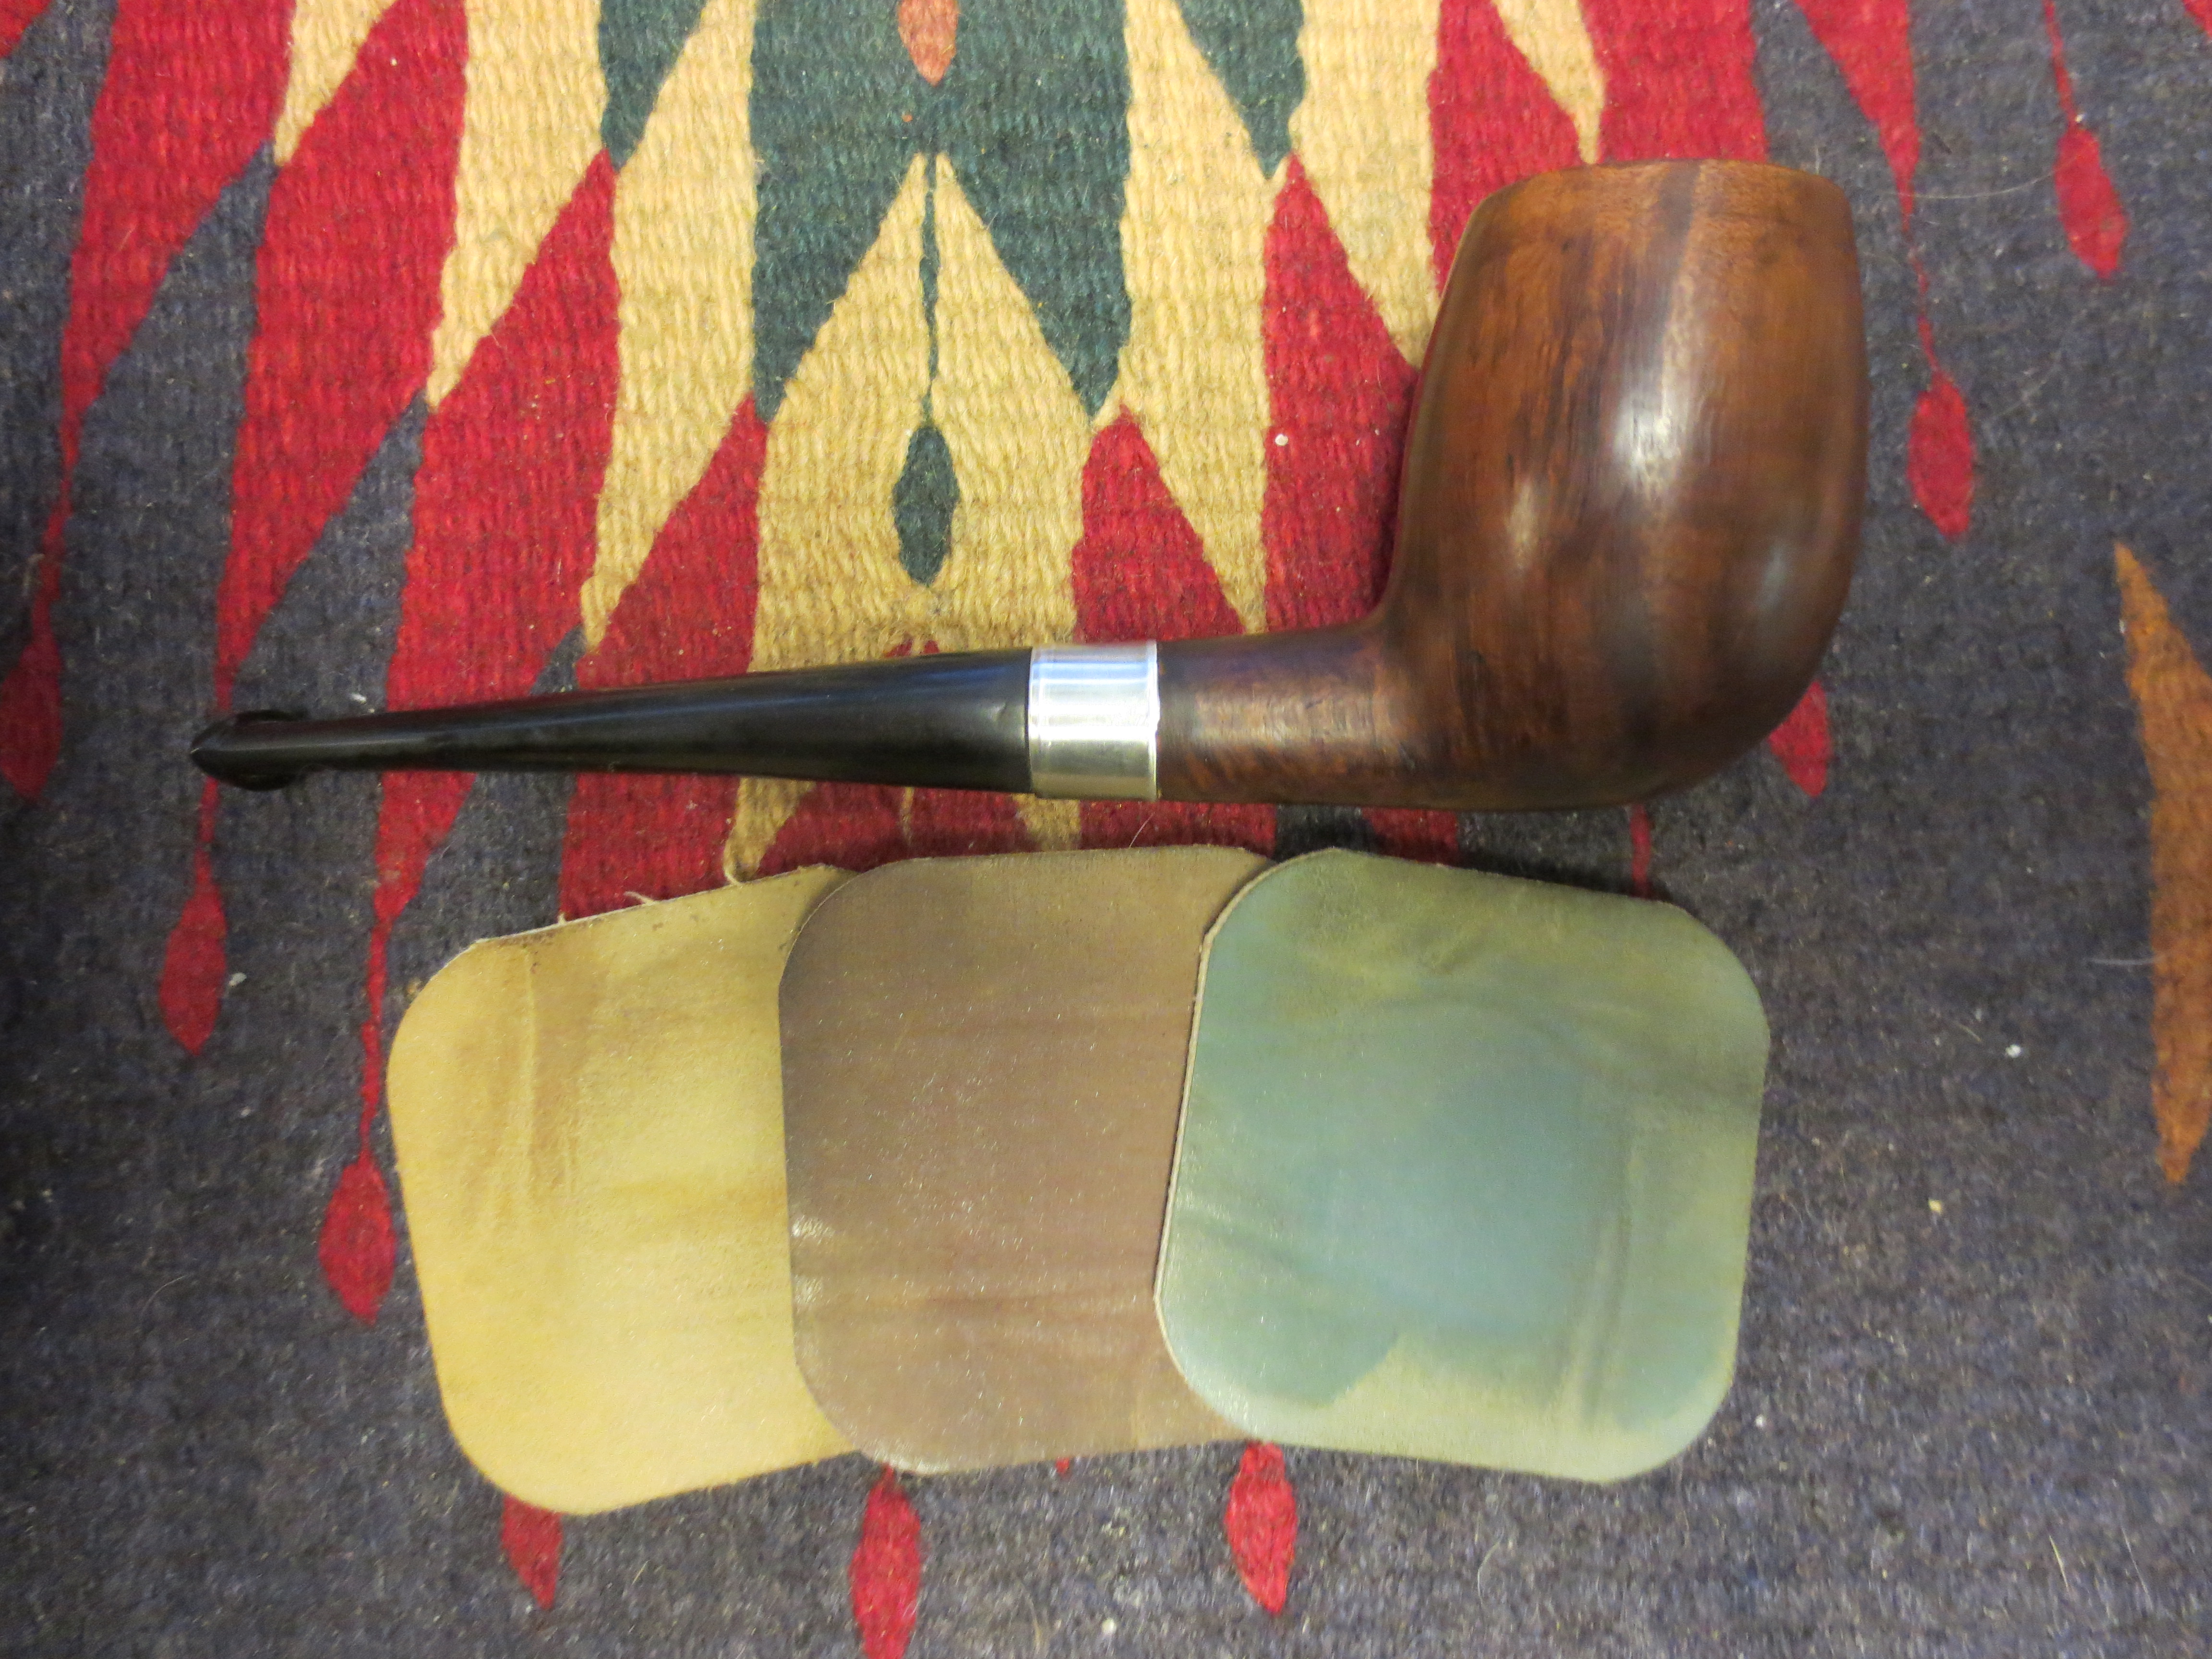
The final series of four photos show the finished pipe. I gave it multiple coats of carnauba wax and buffed it with a soft flannel buffing pad. I am pleased with the way it turned out. The pipe is ready for smoking and should provide service for many years to come.
IMG_0826

IMG_0827

IMG_0828

IMG_0829

Reclaiming an EPW Bulldog – Restoring it Twice


Blog by Steve Laug

This old time long shanked bulldog was a mess when I got it. At first glance it looks pretty good. But it was not. The shank had previously been banded and that band was lost. It was a deep band and filigreed so it left marks. There were also two large cracks in the shank that extended about an inch into the length. The rim was clean but the top portion of the bulldog shape – above the double rings was also stained and filled with holes from the nails that had held the decorated rim cap in place. There were four holes – back, front and both sides. There were also deep gouges where the decorative border had cut into the briar. The stamping was faint and read EPW in an oval. There was no stem with this one either so it would need to have one made. The overall finish on the bowl was not too bad in that it was not dented or burned or damaged on the sides and undersides of the bowl.  I decided to try banding the shank and see what I could do about the cracks on the top right side of the shank and the lower left side of the shank. They would in all likelihood be an issue. I did not have a deep band so I tried with a narrower band (about ½ inch deep). I shaped a round band with a flat blade screwdriver and a hammer until it was the right shape to fit the shank. I heated the band and pressed it into place.

IMG_0683

The next three photos show the band in place. If you look close in the photos below you can see the crack on the top of the right side shank. The one on the left underside of the shank did not come out in the photos. You can also see the nail holes in the bowl above the double rings.

IMG_0688 IMG_0687 IMG_0686

The next series of three photos shows the fitting of a new tenon. I drilled the stem and then used a tap to thread the stem so that I could screw in the new tenon. In the photos below you can see the tap in the stem and the new threaded tenon just above the bowl at the centre of the picture. The third photo shows the hole in the stem threaded and ready for the new tenon.

IMG_0678 IMG_0679IMG_0680

Once the stem was ready I dripped a little superglue on the tenon and screwed it into the stem. The next two photos show the tenon in place. I still needed to turn it with the Pimo tenon turner to reduce the size to fit the shank of the pipe.

ImageImage

I used the tenon turner and reduce the diameter of the tenon until it was close to fitting and then hand sanded it until it fit correctly. With the cracked shank the fit was critical. I did not want the tenon too big as it would open the cracks. The two photos below show the tenon after turning. It still needed a bit more hand sanding to make a perfect fit.

ImageImage

The next four photos below show the restemmed pipe. The stem fit perfectly against the band and the look was exactly what I was aiming for. The issue that remained was the two cracks that extended further than the band.

ImageImageImageImage

The next three photos show the work of patching the nail holes and the cracks with briar dust and superglue. I packed in the briar dust with my dental pick until they were filled and then I dripped the superglue into the spots. Once they were dry I sanded them down to remove the excess and blend them into the surrounding bowl. I wanted them to be less visible and be able to be blended in with the stain when I got around to staining it.

ImageImageImage

With the nail holes filled on the front and back of the bowl I was finished with the patching for now. I still was bothered by the ones on the sides of the bowl but would deal with them later. I sanded down the patches one more time with a fine grit sanding sponge and then wiped the bowl and shank down with an alcohol dampened cotton pad to remove the dust and remaining finish. The next series of eight photos shows that process as I prepared the bowl to be restained.

ImageImageImageImageImageImageImageImage

I restained the pipe with an oxblood aniline stain. The next series of four photos shows the pipe after staining. The nail holes and small holes on both sides of the bowl really bothered me. The cracks, while well bonded stood out clearly and made me wonder about how well they would hold up. I laid the pipe aside for a couple days to think about some solutions to the problem. I mulled over whether I should order a deeper band for the shank or whether I should cut down the shank and make it a normal sized bulldog. I did nothing to the pipe for two days and then on the third evening I came home and went to my work table to see what I could do to deal with the damage on the old pipe.

ImageImageImageImage

I decided to cut off the shank at the inside edge of the nickel band. I wanted to use the nickel band as the straight edge for the saw. I have seen too many pipes where the cut off shank was poorly cut and at an angle. So I used a hacksaw that has a perfect blade for working with briar. The teeth are fine so they do not chip the wood as they cut it. The cut when completed is clean and smooth with no chips. The next three photos show the set up for cutting and the cutting process itself. (I apologize for the second photo – it is hard to saw and take a photo!) But you can get the idea. The third photo below shows the finished cut.

ImageImageImage

I took the two pieces back to my work table and removed the cut off piece of briar shank from the band. When they fell out they were in two pieces. I cleaned up the band and straightened out the angles to make sure it would fit the shortened shank. It was just a bit too deep and when in place would cover the W of the stamping but it would do a good job on the cracks. With the piece cut off the cracked shank had two very small cracks left that would easily be repaired by the band. I smoothed out the cut end with a piece of emery paper. In the second photo below you can see the cut off shank piece. It is cracked all the way through and in two pieces. Note also that the mortise was threaded for the older original screw tenon.

ImageImage

I put the band in place on the end of the shank. It was a good tight fit but would not slide all the way in place. So I set up my heat gun and heated the band (Photo 1 below). I then pressed it into place on the shank by squarely pushing the shank and band on a metal plate (Photo 2 below). The final three photos below show the shank with the newly fitted band in place. The shank is ready to be drilled deeper to fit the tenon.

ImageImageImageImageImage

I matched the drill bit to the mortise in the cut off piece of shank. I used a drill bit one size lower and drilled the mortise to the depth of the tenon. I then used the proper sized drill bit and drilled it a bit larger. Once I had the drilling down I sanded down the tenon with some emery cloth to make a clean tight fit and inserted the stem. Once the stem fit well I decided to rework the nail holes and holes in the sides of the top half of the bowl above the double rings. I packed in briar dust and dripped super glue in to them. The next two photos show the repaired/filled holes.

ImageImage

The glue and briar dust dried quickly so I sanded them with 320 grit sandpaper to smooth them out to the surface of the briar. The next four photos show the sanded patches and also the sanded stem. I used the same sandpaper to sand off the oxidation on the stem and clean up the surface of the stem so that I could work on it with the micromesh to bring out a deep black shine. (In the background of the photos I left the piece of cut off shank for a sense of the size of the piece I removed from the length of the pipe.)

ImageImageImageImage

At this point in the process I was ready to work the stem with micromesh sanding pads to remove all of the scratches and bring back the deep black. The shorter stem gave the pipe a great look in my opinion. The finished length is 5 inches as opposed to 5 ½ inches but it looks more balanced to me. The loss is the long shanked look of the original bulldog. The gain is a more solid pipe with less chance for the breakage to continue and render the pipe irreparable.

The next series of photos show the progress of sanding with the micromesh pads from 1500 – 12,000 grit. The first four photos show the stem after I wet sanded with the 1500, 1800 and 2400 grit micromesh. After wet sanding I polished the stem with some Maguiar’s Scratch X2.0 and then took it to the buffer and buffed the stem with Tripoli and White Diamond.

ImageImageImageImage

I then dry sanded with 3200 -12,000 grit micromesh sanding pads. The next series of seven photos show the progress of the developing shine on the stem. Once I finished with the 12,000 grit pad I wiped down the stem with Obsidian Oil and when dry buffed it with White Diamond for a final time. The only thing remaining was a final buff with carnauba wax.

ImageImageImageImageImageImageImage

The final four photos below show the finished pipe. I applied several coats of carnauba wax and buffed the pipe and stem with a soft flannel buff to give it the final shine. When I started on this pipe I would have never guessed that I would refurbish it twice, band it twice, stain it twice, work the stem twice, and on goes the list of second times on this one. But the end product speaks for itself. I like the look of the shortened shank and tight band. This one will outlast me in its service to pipemen in the days ahead.

ImageImageImageImage

Restoring a GFB Bent Billiard – Another Reclamation Project


Blog by Steve Laug

This project was another pipe bowl that was in the lot from EBay. It is a billiard stamped French Briar in script on the left side of the shank and it too was in very rough shape at first glance. It is an old timer. The band on this one was also as badly oxidized as the CPF billiard I wrote of before. It was to the point of being crusty with oxidation and a greenish hue. They were also rough to the touch which led me to believe that they were pitted underneath all of the oxidation. It came stemless but I found a stem of the proper age in my can of stems. The finish was rough, a reddish hue in terms of stain, but there were no deep dings or dents. There was one spot on the right side of the shank near the shank cap where there was a sandpit that had darkened from some bleed off the oxidized shank cap. This one did not have any darkening around the bowl or shank other than the one spot near the sandpit. The shank cap on this one was also loose and when I touched it, it came off (I am glad they stayed on the pipe long enough to arrive here. One of the lot is missing the end cap so that will prove a later challenge. Again after the initial examination I came to see that underneath the grime there was a pretty nice piece of briar. The first series of two photos shows the state of the pipe when I took it to my work bench to begin working on it early this morning.

ImageImage

I cleaned the shank cap the same time I worked on the CPF billiard. I applied the Hagerty Tarnish Remover and scrubbed the cap with a cotton pad. I was able to remove some of the heavy oxidation and darkening but not a significant amount. The next two photos show the process of cleaning the shank cap with the Hagertys.

ImageImage

I dropped the bowl in the alcohol bath with the CPF billiard and let it soak while I work on the CPF pipe. Once it had been sitting in the bath for about an hour I removed it and dried it off.

Image

The next series of four pictures show the pipe after it had been sitting overnight and dried from the alcohol bath. Most of the grime is gone from the outside of the bowl of the pipe and the oxidation on the stem was not fairly smooth – just black and needed to be cleaned. The shank cap also had quite a few dents that would make it a challenge to remove the oxidation.

ImageImageImageImage

At this point in the process I decided to bend the stem. It was pretty clean and did not have any oxidation on it. It merely needed to be polished and shined. So I set up my heat gun and the old rolling pin to bend the stem over and went to work on it. The next three photos show the bending process and the finished bend in the stem.

ImageImageImage

At this point in the process I took the pipe back to the work table and took two more pictures before taking the end cap off the shank and working on the pipe bowl and end cap.

ImageImage

I scrubbed down the shank cap with the Hagertys Tarnish Remover while I had it off of the shank. I also sanded it with my fine grit sanding sponge to remove the heavy buildup of oxidation. It took a lot of elbow grease to clean it off and to avoid damage to the stamping that became apparent in the cleaning of the cap. Once I had it relatively clean I sanded the bowl with the sanding sponge, wiped it down with an acetone wet cotton pad and prepared to reglue the shank cap. I used white glue to reglue the cap. I applied the glue to the shank of the pipe quite heavily as I wanted to close the gap between the cap and the shank. I pushed the cap into place and wipe away the excess glue. The next three photos show that process.

ImageImageImage

While the glue was drying I picked out the grit from the sandpit on the right side of the shank and repaired it with briar dust and superglue. The photo below shows the filled and repaired sandpit just next to the shank cap. The second photo below shows the newly place end cap and the work that still remained on the nickel/silver (?) shank cap.

ImageImage

I worked on the shank cap once it was dry with micromesh sanding pads. I used 1500 – 2400 to wet sand the cap. It took much elbow grease to get it to the point is at in the four photos shown below.

ImageImageImageImage

The GFB stamp on the cap shows up clearly in the photo above and the ones below. There were many small dents in the cap that I was not able to remove. However, I continued to polish the cap with some Neverdull Wool – a cotton product that is impregnated with a tarnish remover. It is soft enough to get into the dents on the cap. I then went on to sand the bowl with the fine grit sanding sponge to clean up the finish. The next six photos show the sanding progress. Once it was finished I wiped the bowl down with some Everclear on a cotton pad to remove the sanding dust and prepare the surface of the wood for restaining.

ImageImageImageImageImageImage

I decided to restain the pipe bowl with an oxblood stain to maximize the stain that remained in the briar. I believe the original stain was oxblood coloured so the look would approximate the original finish of the pipe. I applied the stain, flamed it, reapplied it and flamed it a second time. The first two photos below show the pipe after the application of the stain. The next four photos show the pipe after it has been hand buffed with a soft cotton cloth to remove excess stain on the briar. The filled area near the shank cap on the right side is visible and the darkening of the area is also clear.

ImageImageImageImageImageImage

At this point in the process I set the bowl aside and worked on polishing the stem. I quickly gave it a once over with the fine grit sanding sponge and then worked my way through the micromesh sanding pads from 1500 – 12,000 grit. The next series of eight photos shows the shine that comes to the surface of the vulcanite with each successive grit of micromesh.

ImageImageImageImageImageImageImageImage

I wiped the stem down with Obsidian Oil and then hand waxed it with some carnauba paste wax that I have in the shop. It is the wax available from Walker Briar Works and I will often hand apply it to the stems at this point in the process and hand buff a shine. I then reassembled the pipe, polished the bowl with a little of the carnauba as well. I hand buffed the pipe with a soft cotton cloth I use for that purpose. The next four photos show the pipe after this process. I purposely did this on this pipe to see if the wax would cause the area on the right side of the shank that is darker to blend in a bit and be less visible. It seemed to work very well.

ImageImageImageImage

Once I was finished with the hand buff and had checked out the dark spot I took the pipe to my buffer. I lightly buffed the pipe and stem with White Diamond and then gave it multiple coats of carnauba wax and a final buff with a soft, clean flannel buffing pad. The next four photos show the finished pipe. It has been brought back to life and should well serve a new generation of pipe smokers. I do believe it will live longer than I do!

ImageImageImageImage

As I finished this piece on the GFB pipe I thought I would take some photos of the CPF and the GFB old timers posed together. The next two photos show the pair in their newly found glory. I can’t help but think that this is how they looked when they were purchased by the original owner. I believe that both came from the same pipe smoker so now they are returned to the look that must have caught his eye when he purchased them. The pair look enough alike I wanted you to see them in this pose! A noble pair of old pipes, don’t you agree?

ImageImage

Restored CPF Bent Billiard – A Reclamation Project


This is the second CPF pipe bowl that was in the lot from EBay. It is a billiard and it was in very rough shape at first glance. It is an old timer. The rim cover and the band were badly oxidized to the point of being crusty with oxidation and a greenish hue. They were also rough to the touch which led me to believe that they were pitted underneath all of the oxidation. It came stemless but I found a stem of the proper age in my can of stems. The finish was rough but there were no deep dings or dents. There was a deep, almost black darkening around the bowl just under the rim cap. The darkening was such that made me think that the oxidation had oozed into the briar and would be interesting to remove from the finish. The same was true of the area around the shank cap. The rim cap originally had a hinged lid on it but that was gone. The shank cap was also loose and when I touched it, it came off. The briar underneath was thick with a reddish coloured glue but was also free of cracks or fissures. It was intact. After the initial examination I came to see that underneath the grime there was a pretty nice piece of briar. The first series of three photos shows the state of the pipe when I took it to my work bench to begin working late yesterday afternoon.

ImageImageImage

I decided to work on the oxidation on the shank cap and the rim cap. I wanted to see if either one was redeemable. I used a jeweler’s tarnish remover called Hagerty to work on the finish of both. I applied it with a cotton swab and scrubbed it with that until it was dry. Then I wiped it off with a cotton pad. In doing this I saw that the rim cap and the shank cap were both brass. The rim cap had two tears or cracks in it around the hinge that showed up once it was clean. The next two photos show the tarnish remover on the rim and shank caps.

ImageImage

After the initial cleaning of the two I decided to remove the cracked rim cap. This was not as easy as it appears in the photos as it was nailed to the rim and also was pretty tightly bonded with the tars and oils of the tobacco. I used a pair of needle nose pliers and a flat blade screw driver to lift the edge of the cap. I began at the hinge and lifted it from there. It came off with a bit of work and broke at the two nails that held it to the rim mid bowl on each side. The back half of the cap came off in one piece. I was able to lift the front edge carefully using the flat blade of the screw driver to pry the edge and work my way to the front. The nail on the right side came out with the cap while the one on the left side was stuck. I used the flat blade of the screwdriver to lift it from the surface of the rim without scarring the rim and pulled it out with the pliers. Underneath the rim surface was actually smooth and had a slight caking of oils that would come off easily. The two nail holes would need to be filled. The one on the right side of the bowl had been put in at an angle and would take a little more work to repair. The first picture below shows the torn rim cap on the work table next to the pipe bowl. The holes and the state of the rim are also clearly visible. The second picture shows the darkening that seeped down the edges of the bowl from underneath the rim cap.

ImageImage

I used briar dust and superglue to fill the two nail holes. It took several applications to get a smooth and even surface. I packed some briar dust into the nail hole with my dental pick and my finger. I wanted the briar dust to fill the holes so I tamped them down with the dental pick. Then I dripped in the superglue to bind the briar dust to the surrounding area. The first photo below shows the top of the rim after briar dust superglue patch has been done.

Image

After patching the nail holes I worked on the stain line around the bowl. I removed the finish from the bowl with a cotton pad soaked with acetone. I continued to wipe it down until the finish was gone. After that I sanded it with a medium grit sanding sponge. The next six photos show the sanding process with the sponge. I also sanded the end cap with the sponge being careful around the CPF stamping that I had found under the oxidation.

ImageImageImageImageImageImage

The dark lines were better after the sanding but still very present. I was able to remove the indentation in the briar from the metal cap to a large degree but the black was stubborn. I decided to soak the bowl in an alcohol bath to see what would come out. I took the shank cap off to work on it while I left the bowl in the bath for about an hour. I was able to remove much of the oxidation on the shank cap. I scrubbed it with the tarnish remover and then sanded it with the micromesh sanding pads using 1500-2400 grit pads.

Image

Once I remove it from the bath I dried it off and the lines were lighter than before. I sanded the bowl some more with the sanding sponge and glued the shank cap on with white glue. I wait to glue it on until I am done with the alcohol and acetone as I found out the hard way the glue is dissolved and has to be redone. After that I reinserted the stem and set up my heat gun to bend the stem to the correct angles. The next four photos show the bending of the stem from its beginning to the final look after bending.

ImageImageImageImage

I took it back to the work table and did some more sanding on the bowl especially working on the surface around the top sides near the rim. The black line was stubborn. I wiped it down with white vinegar to see if it would lift any of the stain as I remembered reading about that in an old book on furniture repair on how to remove dark rings from the wood. I also wet a cotton pad with bleach and wiped down the area as well. The result of all that work is evident in the two photos below. It was not going to come out so I sanded it with 1800-3600 grit micromesh sanding pads and then wiped it down with an alcohol dampened cotton pad to remove the surface dust and prepared to stain it. The two photos below show the bowl ready to stain. (Incidentally note the shine on the shank cap. It cleaned up amazingly well.)

ImageImage

I applied an oxblood thick aniline stain for the first coat. I flamed it and reapplied it and flamed it a second time (the first two photos below show the staining of the bowl with the oxblood stain). I then buffed it off to see what I had to work with. The black lines still showed so I restained the bowl around the top edge to see if I could darken that area and mask the black (photos three and four show this process).

ImageImageImageImage

I buffed it a second time to see where I was at with the staining. You can see from the next two photos the effect of that restaining around the top of the bowl. It did indeed darken the edge but the line was still visible and I did not like the look of the dark edge. So I buffed it yet again to see if I could smooth out that look a bit more.

ImageImage

I was not happy with the finished look after buffing. The darkening around the edge still showed both in the top edge of the bowl and around the end cap. I decided to restain the bowl with a dark brown aniline stain. So I applied the stain, flamed it and restained and flamed it a second time. The next two photos show the pipe after the stain had been flamed and had dried.

ImageImage

I buffed it to see how the second stain had covered the darkening around the top edge and near the shank cap. I was pleased by the overall look now. It was still there for sure but it certainly was less visible and blended in well with the finish. The next four photos show the pipe after restaining and buffing.

ImageImageImageImage

I set the bowl aside and worked on the stem. I sanded it with micromesh sanding pads 1500 – 12,000 grit to polish the stem. I put the stem back in the bowl and then took the pipe to the buffer and gave the entire pipe a buff with White Diamond and then gave both the stem and bowl multiple coats of carnauba. The finished pipe is picture below. It came out very well and the black line around the top edge seems to be less visible. The pipe is restored to a bit of its former glory!

ImageImageImageImage

Restemming a Custombilt Look Alike


This morning I decided to restem an old Custombilt look alike pot that I had in my box of pipes for repair. I am getting down to only twenty or so pipes left so it is the pipes I have left until the end. Some of these I left because they had no charm to me and others because I just was not ready to work on them. This old no name pot was one of the ones that held no charm for me. The rim was pretty covered with grit and grime. The finish was not in too bad a shape. There was a small crack in the shank which would need to be banded and then the matter of matching a stem to the pipe hung in the air. This morning I went through my can of pipe stems and found an old cast off taper stem that was the right diameter to match the shank. The tenon would need to be sanded to fit the mortise. I set it aside and reamed the pipe and cleaned the shank before fitting the stem. I opened the crack in the shank a bit with some pressure from a dental pick and dripped some super glue into the crack and held it tight until it set. I then heated a nickel band and pressure fit it to the shank. I sanded the tenon by hand with 240 grit sandpaper until the fit was snug.

IMG_9311 IMG_9312 IMG_9313IMG_9314

Once the stem was a good snug fit I went to work on the bowl. I cleaned the bowl with Murphy’s Oil Soap and a soft bristle tooth brush. I wanted to remove as much of the grim from the rim as possible and clean up the rustication on the rim surface without damaging the finish. I repeated the process by applying the soap, scrubbing and wiping it off with a cloth.

IMG_9315

When the rim was clean I wiped down the outside of the bowl with the Oil soap as well and removed the grime that remained on the surface. I then wiped the entire bowl down with some acetone on a cotton pad to even out the stain colouring. Once it was dry I took the pipe to the buffer and buffed the pipe and stem with Tripoli and White Diamond.

IMG_9316IMG_9317 IMG_9318

I sanded the stem with a sponge backed medium grit sandpaper. I find that this allows me to get into the crevices on the button and to follow the shape and taper of the stem well. At this point the two photos below show the stem after the buffing and sanding. I spent a bit of time working on some tooth marks along the edge of the button on both the top and the bottom of the stem. You can see the work that has been done near the button in the photos below.

IMG_9319 IMG_9320

I worked on the stem with the micromesh sanding pads using the 1500, 1800 and the 2400 grit with water to sand out the scratches and the remaining oxidation. At the conclusion of this process the stem was a nice matte black and the oxidation was basically history as can be seen in the photos below.

IMG_9321 IMG_9322 IMG_9323 IMG_9324

At this point in my stem rejuvenating process I rub the stem down with Maguiar’s Scratch X 2.0 a fine scratch and blemish remover intended for cleaning and polishing plastic headlight lenses. I rub it on by hand and then scrub it off with a cotton pad until the stem is clean. When I finish with the polish I move on to the next grits of micromesh 3200-12,000 grit and sand until the finish is a polished black with a depth to it. I dry sand with these grits of micromesh. Between the 4000 and 6000 grit pads I took it to the buffer and gave it a buff with White Diamond. I found that the oxidation at the shank end of the stem was still present after the buffing and would require some more work with the earlier grits of micromesh. I buffed that end with some Tripoli and then decided to try the Bic Lighter method to address the remaining oxidation. Once that was finished I sanded the stem with the higher grits of micromesh 4000-12,000 and then coated the stem with Obsidian Oil. I buffed the stem with White Diamond and then reinserted it in the pipe and gave the entire pipe a final buffing with multiple coats of carnauba wax. Here is the finished pipe.

IMG_9325 IMG_9326 IMG_9327 IMG_9328

A Pair of Rare Dunhill Cobs – Dunhillbillies


On a lark I restemmed a couple of my Missouri Meerschaum cobs a while back for a special pipe cleaning and polishing night hosted by our local Dunhill and Brigham Representative. He told us that if we brought our old pipes with oxidized stems he would buff them and polish them for us – no charge. Being a bit of a joker and handyman I scavenged in my can of stems and found two oxidized Dunhill white spot stems. These had just the right sized tenons to fit on a couple of old cobs that I had here. So with very little effort, I made them fit the shank. Just in case some of you are worried that I might have ruined them by trimming them back, I assure you that I did nothing to the stems other than clean them up a wee bit and then insert them into my cobs.

Thus armed I packed my trusty pipe bag – holds eight pipes. I included some other nice pipes that I wanted to have the benefit of having buffed but I also included the pair of Dunhill cobs. I waited for an opportune moment when the handy rep was at the buffing wheel. There was a lag in the number of gents coming to him for buffing work so I sidled over and handed him my good pipes first and he did a magnificent job cleaning and waxing them on his wheels. When he had finished them he asked if I had any others that I wanted him to take care of. I hemmed and hahed a bit and then said I had a couple but that they were very special and rare. I wanted to make sure that he would not damage them in any way. I emphasized the fact of their rarity by stating that in fact I had never seen or come across any like them in all the years I had been smoking a pipe.

With that I had hooked him and he turned off his buffer and looked inquiringly. I could see the look in his eye – full of questions. What kind of pipes could I possibly have that I was worried he would harm them? What could I have in my bag that I was slow to pull out and have him buff? I think he was a bit put out by my slow response. So now that I had him hooked I decided to work him a little bit and play with the hook. I began to spin the tale I had worked on earlier in the afternoon. I was enjoying every moment of this so I dragged it out a bit longer than necessary probably, but as I talked a small group of other pipesmokers had gathered around the wheel. We were all puffing on pipes of chosen tobaccos and everyone was interested.

I spun the tale of how I had come across these two special pipes in a cabinet at a local antique mall in Fort Langley, British Columbia. I had gotten the clerk to unlock the cabinet and carefully removed the pair from the cabinet. I looked each of them over carefully so as not to break them. After all I did not want to buy something that was worthless. Both pipes were a bit worn from wear and showed some charring at the rim but otherwise they were clean and seemed to be solid. The clerk said they were rare and who was I to argue as I had never seen anything like the two of them. The price for each was a kingly sum. At this point in my tale I looked at each of my listeners. But in particular I fixed my eyes on the buffing king. I wanted to emphasize the cost of these gems. Now my tale had captured the most dubious of them so I began to reel them in. I explained the stems and the slight oxidation that each had. I explained how they each had a white dot set in the vulcanite of the stems. At this point I am sure the buffing king was wondering if I had stumbled on a pair of early patent era Dunhills. All those listening to the tale know my proclivity for pipe scavenging and how I am pretty lucky in my finds. I honestly think that I had struck the motherlode of pipes finds.

The Dunhill Rep/buffing king was beside himself now. He wanted to see them now. He wanted to handle the two old timers and get a feel for their age and ply his skill in bringing the shine back to life on them both. But I wanted to set the hook a bit deeper so I continued talking about how I had carefully carried them to the cashier and shelled out the money for them. I talked of the deep shell finish on both and the almost amberlike brown of the bowls and shanks. Then as they were almost salivating I pulled the pair out of my bag and handed them to him with the bowls and shanks hidden in my hands. Just the two white spot stem poked out of my hands. I slowly and carefully opened my hands to reveal the treasure. I told him they were called Dunhillbillies. And with that everyone but him was just about rolling on the floor in laughter. They just shook their heads and few of them had choice comments for me. But the buffing king looked at me with a grimace and then he laughed loudly, shaking his head. I have to hand it to him as he did a great job buffing the pair. The pictures below show the twosome after his hard work. What do you think? Are they treasures or not?

ImageImage

A New Stem and a New Look For a Larsen Special


I got this Larsen Special in a lot I picked up for a very cheap price. The stem that was on it is in the bottom of each picture to give an idea of what it looked like. The shank extension is made of vulcanite and was very oxidized when it came to me. The stamping on the pipe is actually on the extension and it is faint. It is visible with a jeweler’s loupe and is stamped Larsen Special and Handmade in Denmark. The bowl was badly cake and the finish was almost flat with dark soiled spots of grime on the surface. The rim was covered with a lava overflow of tars and oils. I decided as soon as I saw it that the stem had to go. I had no idea what I was going to do with it but I knew it was history.

I cleaned the bowl with Murphy’s Oil Soap undiluted on a soft cotton cloth and cut through the grime and grit on the surface without damaging the finish at all. I used the same thing on the rim and was able to remove the lava. There was a bit of darkening that remained but no burn or charring. I used micromesh and Oxyclean on the vulcanite shank extension. I avoided sanding around the stamping as it is very light and I did not want to compromise it any more than it was. I was able to get the majority of the oxidation cleaned off the end and then coated it with some Obsidian Oil and let it sit for a while. Once it had dried I rubbed it with a soft cloth and then took the pipe bowl to the buffer and gave it a good buff with White Diamond, carefully avoiding the stamping. Then I coated the bowl and shank with carnauba wax and buffed with a soft cotton buffing pad. The grain on this pipe is absolutely beautiful. I really like the look of it. The bowl is quite large and it is clean and trouble free once it was reamed and cleaned.

I looked through my stem can and found this Lucite/amberoid stem that I thought would look perfect with the pipe. It is a military style bit so I sanded it enough to give it a snug fit and then used micromesh sanding pads 1500-12,000 grit to sand and polish the stem. I opened the slot and made it into an oval shaped flared opening in order to better disperse the smoke. The old stem is still in the box. I am not sure what I will do with it but it will not find a home with this old Larsen ever again.

Oh this one is a keeper by the way and is regularly in my rotation. It smokes English and Balkan tobaccos like it was made for them. I think I will go and fire up a bowl now.

ImageImageImage

A Classic Rework of A Royal Duke Supreme


Blog by Steve Laug

I had this old Royal Duke bowl in my box. It had some promise to my eye but it needed some work. The first thing I did was drill out the metal mortise that took a threaded tenon. I did not have any stems that fit it anyway and I wanted to try something new. The issue that remained once it was gone was the fact that the mortise rough inside and the end of the shank was not square so that there was no way to get a new stem to fit it seamlessly. The finish was very rough as can be seen in the photos below. The varnish on the outside of the bowl had bubbled and blistered. The front edge of the bowl was actually darkened as the varnish seemed to have burned or at least coloured. There were dents in the bowl and the rim was rough. I turned a precast stem with my tenon turner and got it close. I had to custom fit it as the shank was a little tapered toward the end.

ImageImageImage

The stem fit fairly well but would take a bit of customizing to get a good tight fit to the shank. It would also need a good cleanup to trim off the castings on the stem. The vulcanite was fairly decent quality as I have had it a long time but it showed no oxidation.

Image

I decided to work on the bowl first to clean up the remaining finish and remove the varnish from the bowl. I also wanted to see if I could remove the darkening around the front and back of the bowl. I washed the bowl with acetone on a cotton pad and cleaned off the finish. It took repeated washing to break through the varnish coat and also the burned and bubble finish. The next two photos show the pads after the wash. You can begin to see the grain coming out on this beauty. That is what drew me to the pipe in the first place and I was glad to see that it was truly there.

Image

I repeated the washing until the pipe was clean and had no remaining finish coat. The dark undercoat of stain still remained and light brown topcoat also was still present. This is clearly seen in the photos below. I worked on the fit of the stem and tapered the tenon enough to get a good snug fit to the bowl. I also used my Dremel to remove excess vulcanite from the top and the sides of the stem so that it lined up smoothly with the shank of the pipe. It was at that point I decided to pressure fit a nickel band to the shank to square things up a bit. There was no way that the stem and the shank would meet squarely as the shank was a bit angled and dented from the metal inserted mortise. The previous mortise had been threaded in and it had a thin band or flat top on it that sat against the briar. It was also patched a bit with putty to make the flow from the shank to the insert smooth. I fit the nickel band with heat and pressed it into place. I liked the finished look of the band and it gave me a straight edge to work with on the new stem. I again used the Dremel with a sanding drum to shave off more of the vulcanite and make the stem fit against the band inside edge. The next two pictures below show the stem after the fit and the shaving with the Dremel. You can see the rough surface on the saddle and the cleaned up edges of the cast stem and the button.

ImageImage

I then sanded the bowl and the stem with 240 grit sandpaper to remove the scratches in the briar and also on the vulcanite stem. It took quite a bit of sanding to smooth out the saddle of the stem. The next five photos show the progress of the sanding on the stem. I also sanded the bowl to remove the remaining finish and scratches. I topped the bowl and smooth out the inner and outer rim to remove the damages to them both. I also used my heat gun to put the bend in the stem. I have a curbed dowel here that I put the heated stem on to ensure that the bend is straight and that I do not crimp or bend the stem unevenly.

ImageImageImageImageImage

Once the sanding was at this point I wiped the bowl down with Isopropyl alcohol. I find that it removes any sanding dust and also the wet look shows me places where I still need to sand the bowl and stem. Once that was done I sanded the bowl again with 400 and 600 grit wet dry sand paper and water. I progressed through micromesh sanding pads 1500-12,000 grit – the first four pads with water and the remaining ones dry sanding. Once it was completed and smooth I wiped it down a final time before staining it.

ImageImage

While I was sanding the pipe and working on the stem I tried to visualize what stain I wanted to use on this pipe. At this point remember I was not trying to restore the original Royal Duke colouration. I was working a new pipe out of this piece of briar even though I left the stamping. I decided to go with an oxblood aniline stain. I applied it with a cotton swab, flamed it and then took it to my buffer and buffed it with White Diamond.

ImageImage

The next three photos show the pipe after the buffing with White Diamond. I had not applied any wax at this point nor was I finished working on the stem. The colour came out better than I imagined. The dark under notes of the grain come through nicely in the finished pipe. The light areas have a reddish brown hue that is a bit lighter as the pipe has been waxed and buffed.

ImageImageImage

Once the pipe was stained I coated the bowl with multiple coats of carnauba wax to protect the new stain while I worked on the band and the stem. The nickel bands shine up really well with the higher grit micromesh sanding pads. I sanded the band with the 6000-12,000 grit pads and then polished it with some wax as well. I moved on to the stem. I sanded it some more with 240 grit sandpaper to remove some more of the scratches in the saddle area left by the Dremel. I then sanded it again with the 400 and 600 grit wet dry and water to smooth out the lesser scratches left behind by the 240 grit sandpaper. I went on to use 1500-3200 wet micromesh sanding pads to polish up the stem some more. These early grits of micromesh leave behind a matte finish as they sand out the scratches. It takes the grits above 4000 to really see the depth and polish that is there when finished. Once I used the lower grits I then polished the stem using Maguiar’s Scratch X2.0 polish and rubbed it on with a cotton pad and polished it off. I buffed the stem with White Diamond following this to see what I needed to work on.

I took the stem back to my work table and used the higher grits of micromesh. I started with 3600 and worked through 4000, 6000, 8000 and 12,000. Once I finished I buffed it again with the White Diamond and then coated the stem with Obsidian Oil and let it sit while the oil soaked the stem. I hand buffed the oil with a soft cotton cloth and then polished it with some carnauba wax paste and then buffed the entire pipe with several coats of carnauba. I buffed it with a clean cotton buff between coats of wax. The final photos are of the pipe as it stands now.

ImageImageImageImage

New Life for a Wally Frank Super Delicious Billiard


Blog by Steve Laug

I have become familiar with many of the Wally Frank lines of pipes but this was one I had not heard of before. It almost sounds like something to eat rather than smoke. It is stamped Wally Frank Ltd on the left side of the shank and on the right Super Delicious – interesting stamping indeed. The pipe was one of the bowls that I had in my box needing to be restemmed. It also had a cracked shank that was present before I matched a stem to it. Often a shank will crack like this if a tenon that is oversized is forced into the shank. That obviously had happened to this old pipe sometime in its life. I found a stem that fit the shank and inserted it enough to show the crack in the shank for the first photo below. The crack approximately ½ inch long and was in a portion of the shank where it was thinner than the other side. One of the challenges in restemming these older pipes is the fact that the shank is very often out of round and the stem has to be shaped to match it accordingly. The bowl has some nice grain on it and was well worth restoring. The remaining three photos in the first group of four show the grain and shape of the pipe. Note that rim was not only darkened but was worn on the front edge of the outer rim.
super1

super4

super3

super2
I reamed out the bowl and removed the cake that was present only in the top half of the bowl. It seemed that the lower portion of the bowl was not even broken in. The top of the bowl needed to be topped to even out the flat top of the bowl. The way the angle was after the tars and grime were removed was d a slight slant toward the front of the bowl and the front edge was rounded from tapping out the bowl repeatedly on a hard surface. I used the board and sandpaper to top the bowl and even out the top. I also made certain that the bowl was held against the board to even out the angle and make the top smooth and flat. The first photo below shows how out of round the shank is in proportion to the mortise. Notice the difference in thickness all around the shank diameter. The crack in the shank is at about 3 o’clock on the shank. The next two photos show the bowl after it has been topped and is even with no slant toward the back or front of the bowl.
super5

super7

super6
After I had topped the bowl and evened things out I wiped the entirety of the bowl down with acetone on a soft cotton pad to remove the grime and the remaining finish on the bowl. It came off almost black when I was finished cleaning it. I then needed to band the crack shank. I opened it with the stem and then dripped a bit of superglue in the crack before pressure fitting the band in place. The first photo below shows the shape of the shank and makes the thin area very clear. This would require quite a bit of shaping to make the stem fit the shank correctly. The next two photos show the banded stem and how it fits on the shank. I kind of like the look of the band against the natural colour of the briar.
super8

super10

super9
The next two photos below show the stem shape after I had removed much of the material at the top left corner of the picture. The stem is round at this point but the tenon is no longer in the center of the stem. It is proportionately toward the top left of the picture and on the top bottom when it is in place in the shank.
super11

super12
At this point in the process I restained the bowl with a dark brown aniline stain that I thinned with isopropyl alcohol so that it would match the colour of the bowl. My goal was to match the rim that I had topped and was raw briar to the natural patina of the bowl and shank. I mixed the stain until it was the colour I was aiming for and then stained the entire bowl with multiple applications of the stain to the rim. I flamed the stain and reapplied it to the rim, flamed it again and then took the pipe to the buffer. I buffed the bowl and stem with Tripoli and White Diamond. Once I was done with that I buffed the bowl and shank with multiple coats of carnauba wax to bring depth to the shine and also to blend the rim and bowl together.

I then worked on the oxidation of the stem. I had shaped it to fit the shank with my Dremel and when it fit well I sanded the stem from front to button with 280 grit sandpaper and then 400 and 600 grit wet dry sandpaper to remove the oxidation and scratch marks from the Dremel. Once it was smooth I progressed through the micromesh sanding pads from 1500-12,000 grit. In between 4000 and 6000 grits I polished the stem with Maguiar’s Scratch X 2.0 and then finished sanding with the micromesh. I finished the stem with a coat of Obsidian Oil and then multiple coats of carnauba wax to give it shine. The next series of four photos show the finished pipe. It is shined and ready to smoke.
super13

super14

super15

super16

Reworking a Dr. Grabow Viscount


I had this old bowl in my box of pipes to refurb. It needed a stem and it needed a good cleanup. When I took it out of the box to match a stem to it, I noticed that it had some pretty nice grain under the cherry red stain. It seemed like it had a nice dark contrast stain added to bring out the grain and then the red stain was over that. On top of the red stain was a coating of varnish or lacquer of some sort. That topcoat was peeling and the red beneath it was also rubbed off. It seemed like the red stain was more of a wash on top of the bowl rather than one that permeated the bowl. I went through my can of stems and found an old saddle stem that fit quite well. It was badly oxidized but I liked the overall look of the pipe with the saddle stem.
vis1

vis2

vis3

vis4

With the state of the finish I decided to wipe it down with acetone to remove the varnish/lacquer finish and see what I could do with the stain. I was not overly concerned as I figured I would need to remove the red topcoat and start over. The wiped off portions of the finish would require a restain. I just was not sure what was underneath the topcoat. Sometimes on these older Grabows there are a lot of fills hidden under the opacity of the topcoats. I was hoping that this would not be the case with this one. I used a cotton pad wet with acetone to wipe down the finish on the bowl. The rim took a bit more work to remove the tars and build up. I used a fine grit sanding pad and carefully removed the grime while leaving the finish intact. I wipe the bowl down with about three pads and acetone. The result is seen in the photos below. The grain and the stain on this one was beautiful. It has a great contrast stain that makes the grain pop and the lighter reddish brown stain provides a soft canvas to highlight the grain. Once the red finish was removed I left the bowl as it was. I buffed it with White Diamond to polish and remove any remaining red portions of the stain. Then I waxed it with multiple coats of carnauba wax. I put the stem in an Oxyclean bath to soak while I continue to polish the bowl and finished cleaning out the interior of the shank and bowl.
vis5

vis6

vis7

vis8

The stem took a lot of work as the oxidation was very deep. I soaked it twice in the Oxyclean bath and sanded it with micromesh 1500 and 1800 grit sanding pads between soaks. There was some deep, stubborn oxidation on the flat portion of the blade – about mid stem. It was very hard to remove. I sanded it with 2400-3600 grit micromesh and then polished with Maguiar’s Scratch X 2.0 polish repeatedly. Eventually the stubborn oxidation came to the surface and I was able to remove it. I then continued to sand on the stem with the higher grits of micromesh sanding pads – 4000-12,000 grit. I find that the higher grits really deepen the shine of the stem. Each successive grit of micromesh pad brought more of a polish to the stem. The hardest spot at the end was the saddle area. In the photos below there still remains a bit of oxidation that I am still working on – this is particularly clear in the photo of the underside of the pipe.

Ah well – here is the reworked Dr. Grabow Viscount. It is ready to load up a bowl for its new inaugural smoke.
vis9

vis10

vis11

vis12