
Blog by Steve Laug
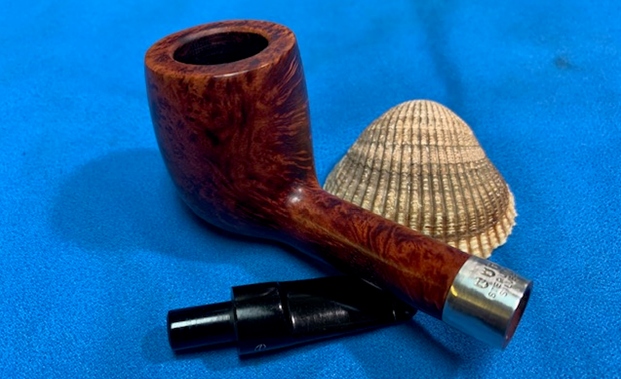
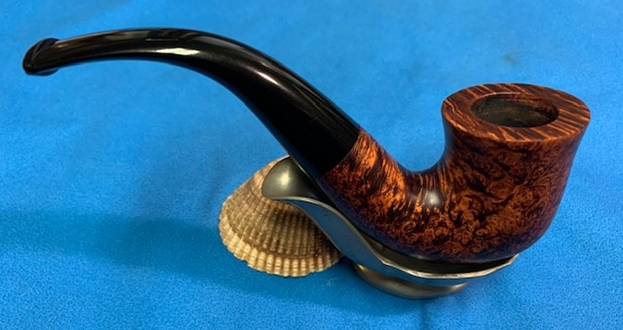
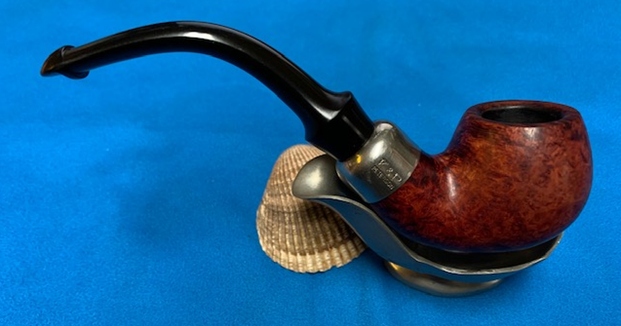
The next pipe I have chosen is smooth finished Peterson’s “Sterling Silver” pipe. This one is a 53 Lovat that has a rich coloured finish with amazing grain around the bowl sides and shank. It is also incredibly dirty. It also came to us from the estate of Anglican minister that was a great friend of mine here in Canada. I was in the airport in Hong Kong when his daughter contacted me to tell me of his death and asked if I wanted to take on his pipes. I told her that I was sad to hear of his death but would gladly take on his pipes to restore and sell.
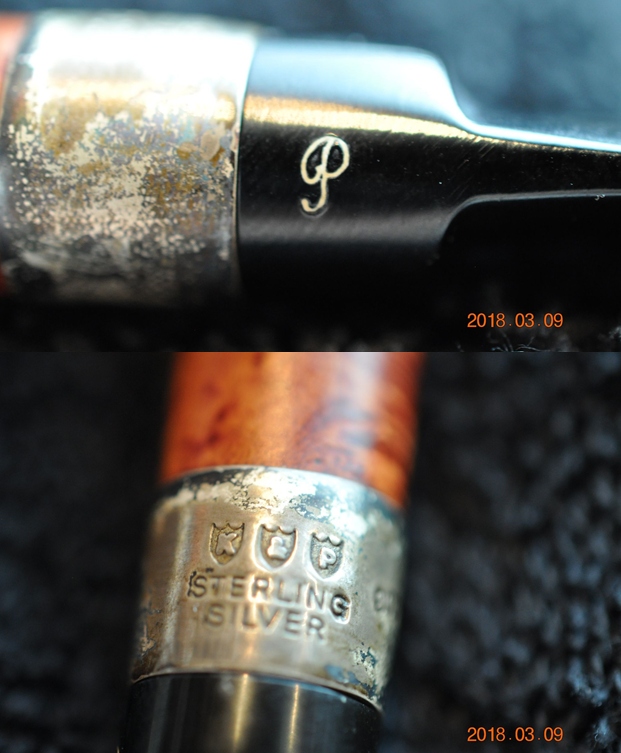
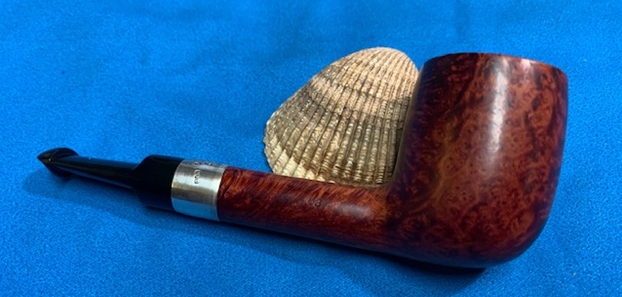
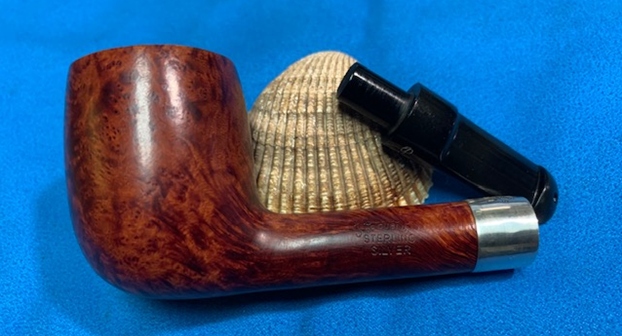
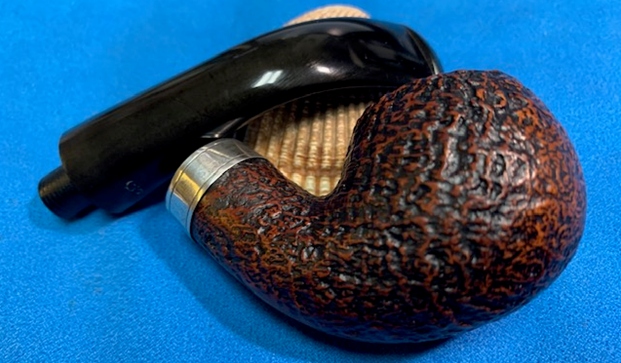
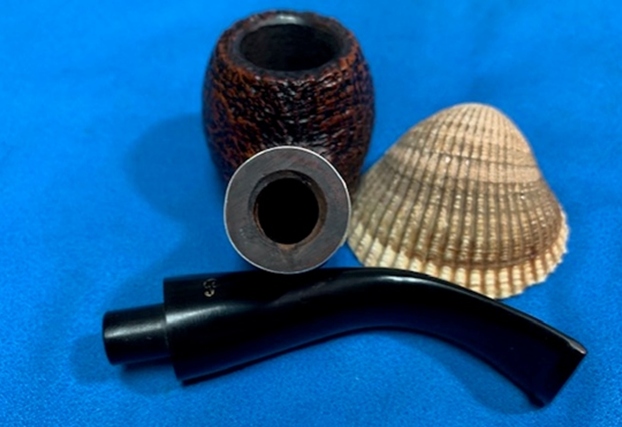
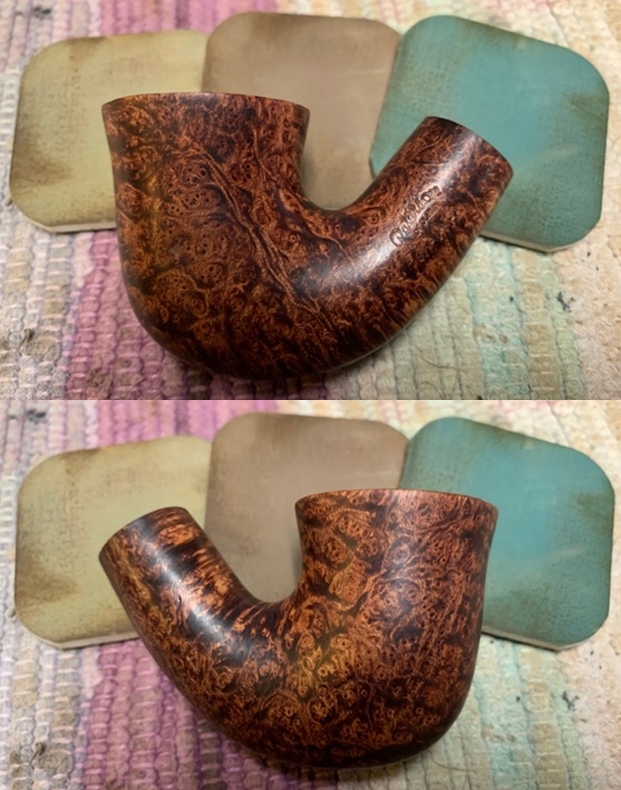
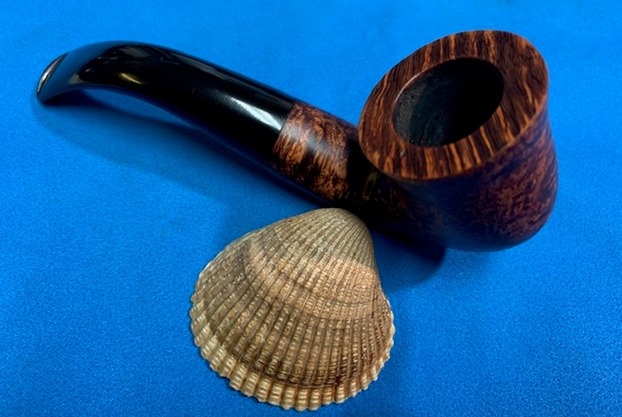
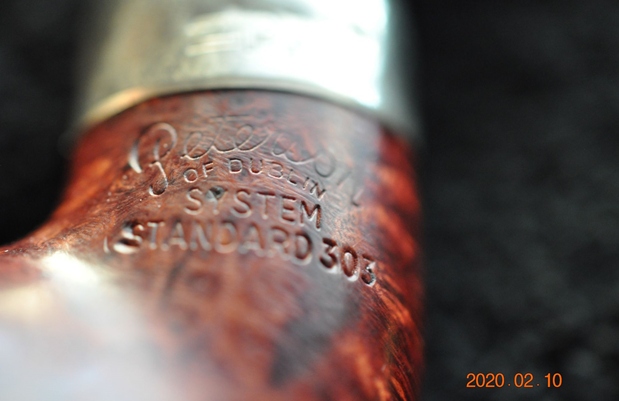
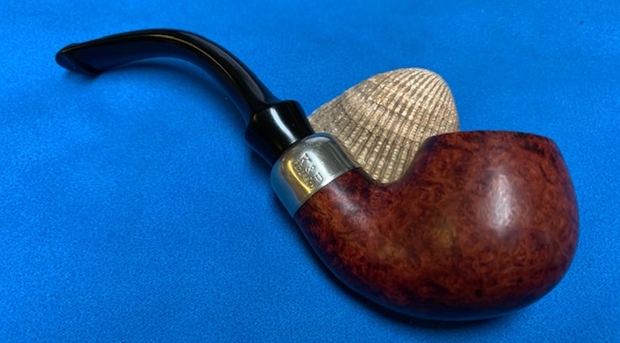
This Lovat had a badly oxidized silver band on the shank. The grime on the finish was ground into the finish on the bowl sides. The contrast of the brown stains the grain really pop. It was stamped on the left side of the shank and read Peterson’s [over] of Dublin [over] Sterling [over] Silver. It was stamped on the right side with the shape number 53. The tarnished band is stamped with K&P in shields [over] Sterling Silver. That was followed by three hallmarks – the seated woman, the harp and the italic letter Q. It was in filthy when he brought it to the table. The finish was dirty with grime ground into the briar sides and rim. There was a moderate cake in the bowl and light spattering of lava on the rim top and the inner edge of the bowl. The stem was lightly oxidized and had light tooth marks and chatter on the top and underside on and near the button. Jeff took photos of the pipe before his cleanup work. They tell the story and give a glimpse of the promise that we see in this pipe. 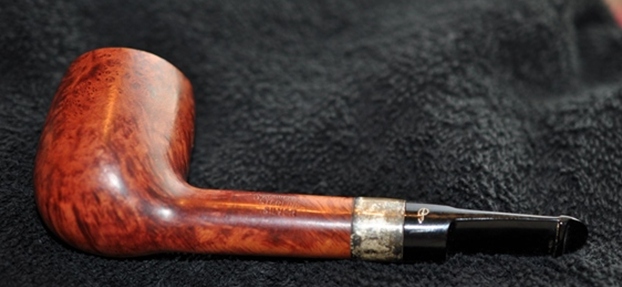
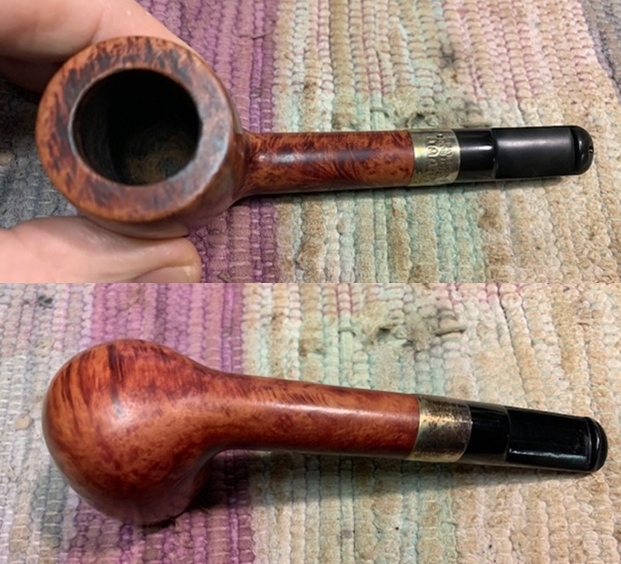
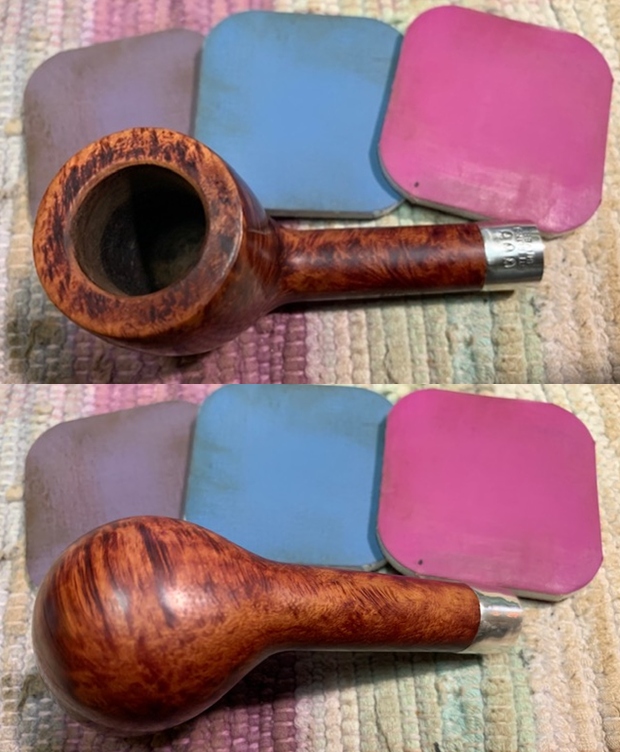
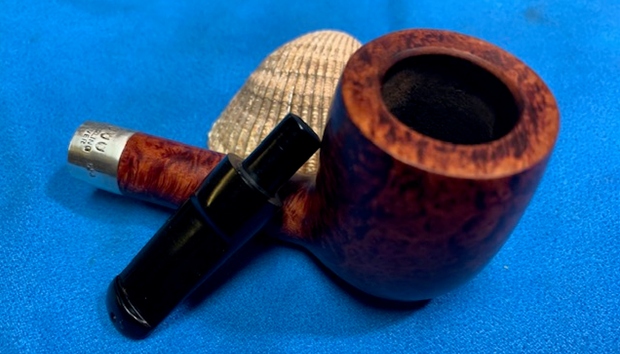
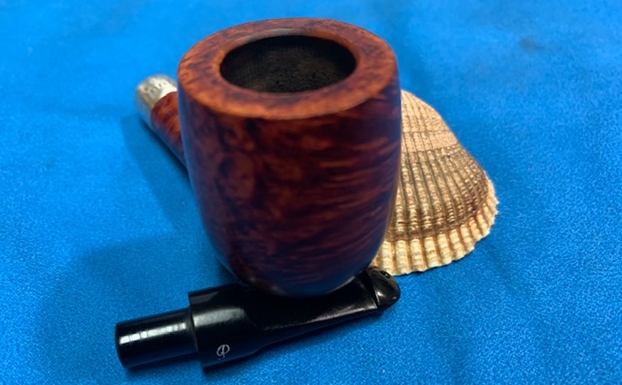
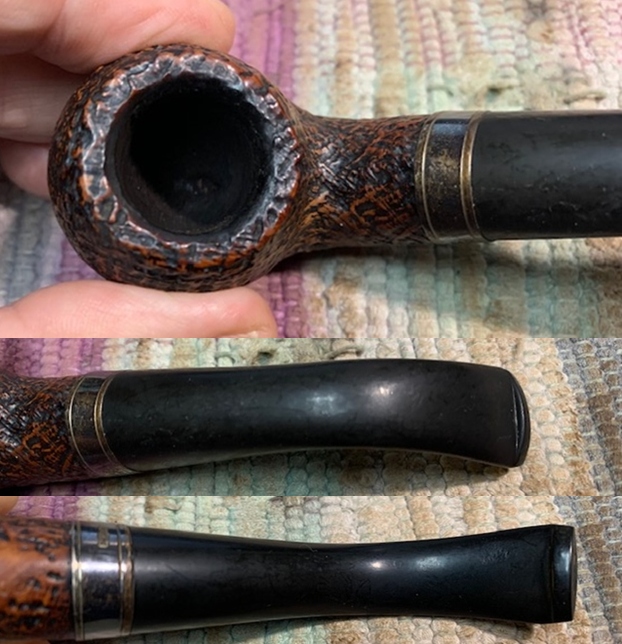
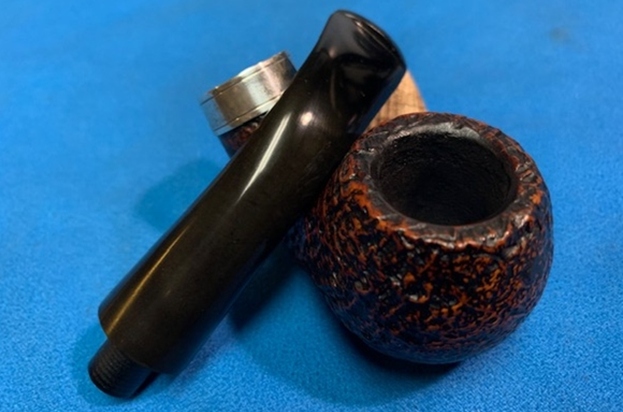
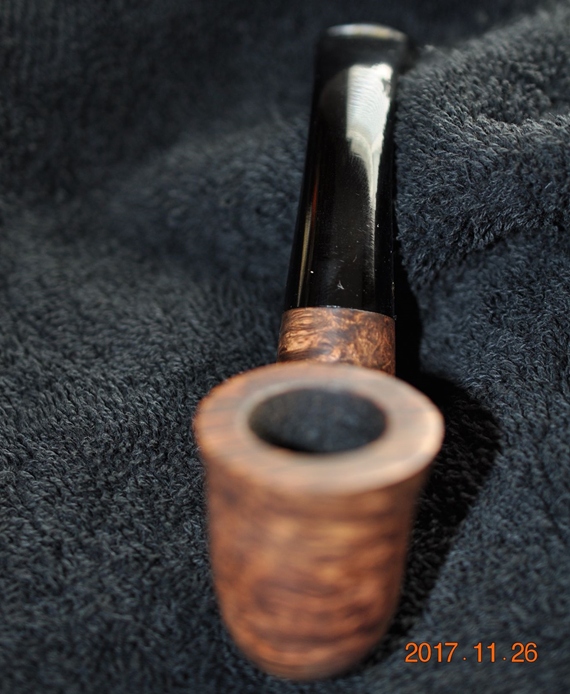
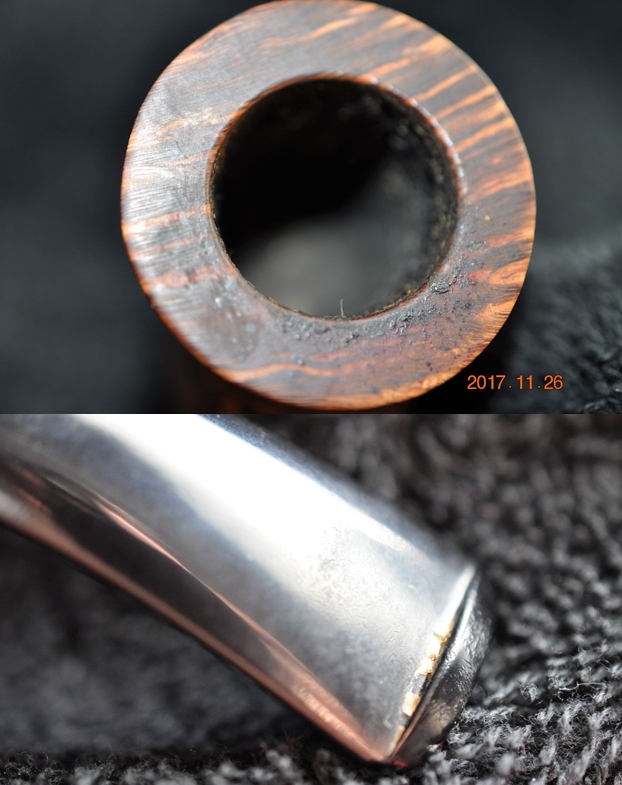
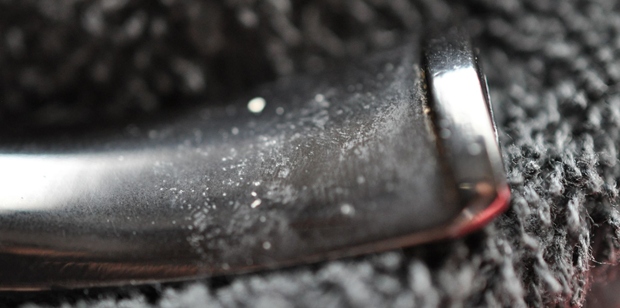
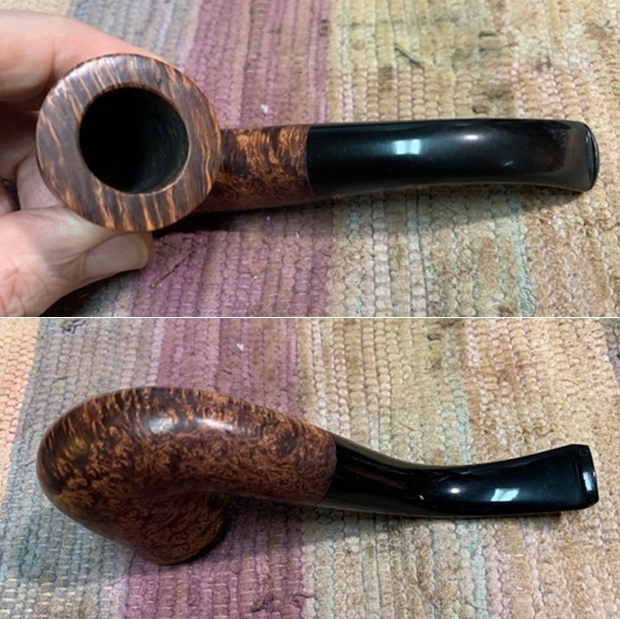
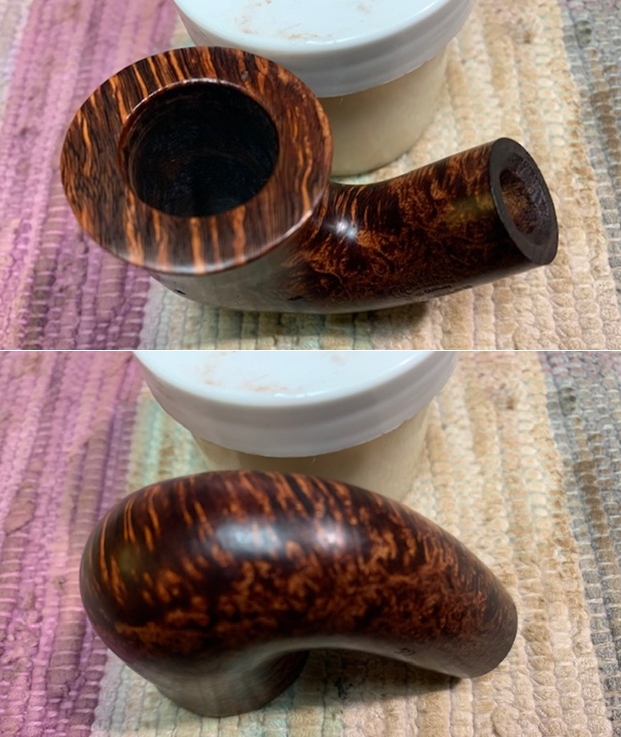
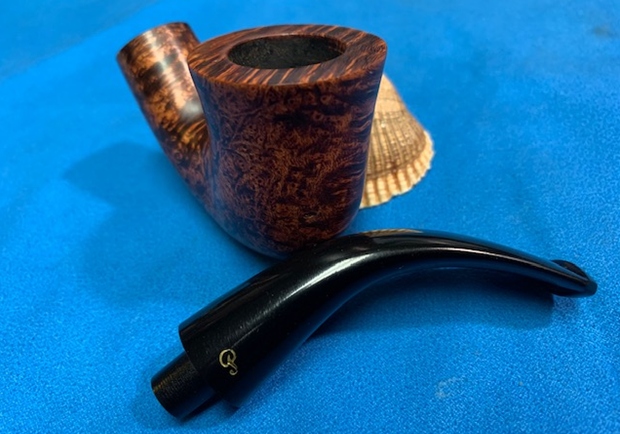
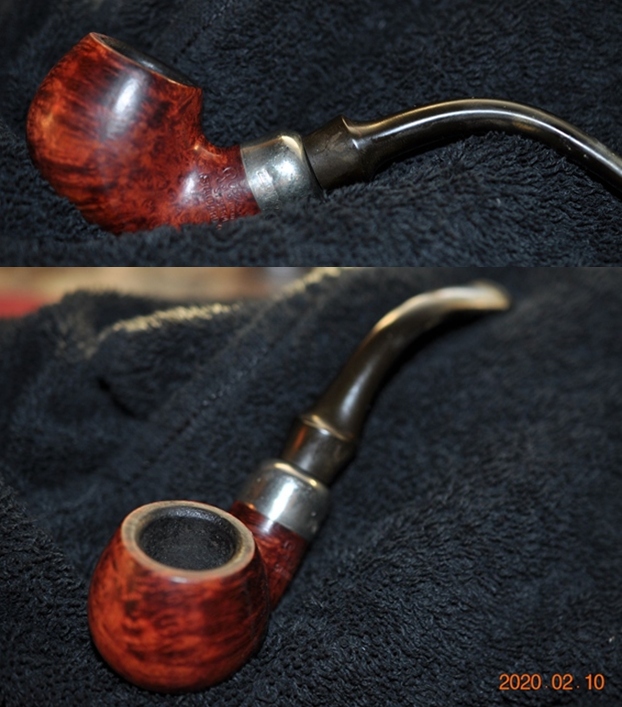
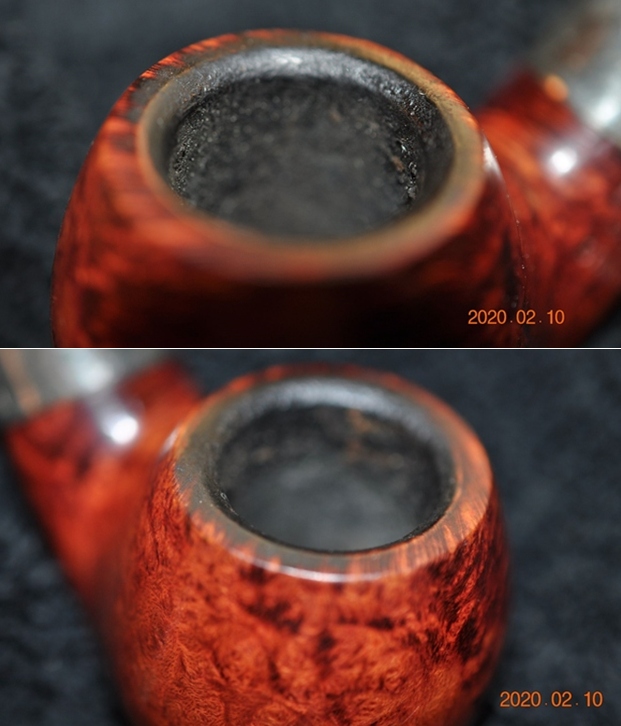
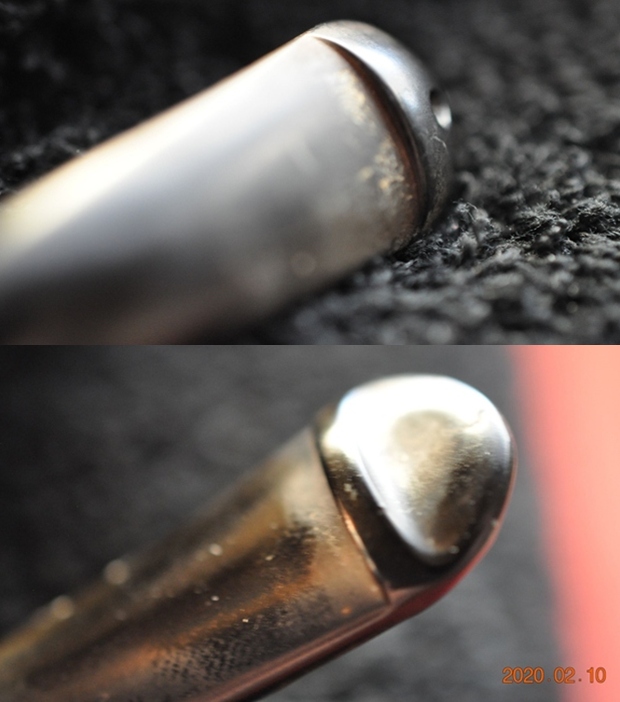
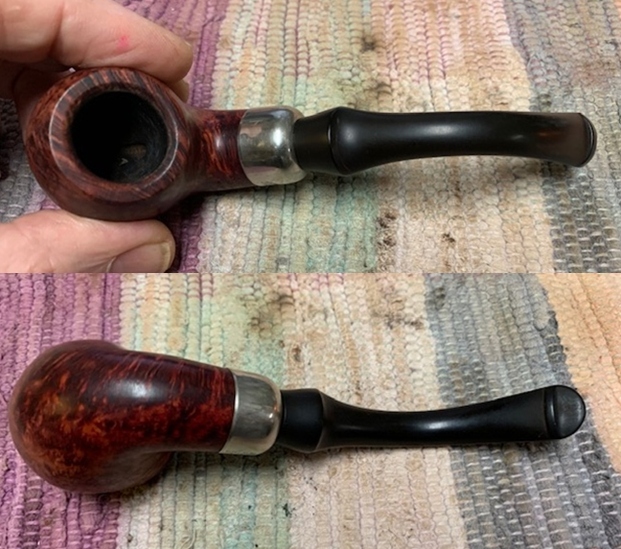
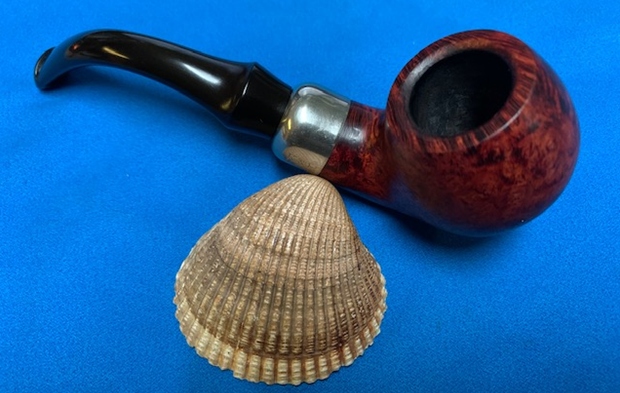
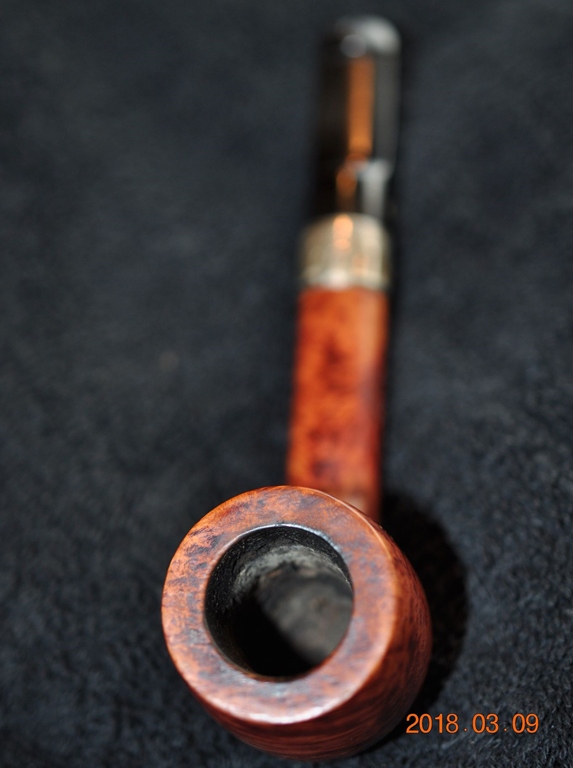 Jeff took photos of the rim top and stem to show the general condition of the pipe. The bowl is moderately caked and the rim top and edges have some light lava overflow. The stem is lightly oxidized and has light tooth marks on the top and underside near the button.
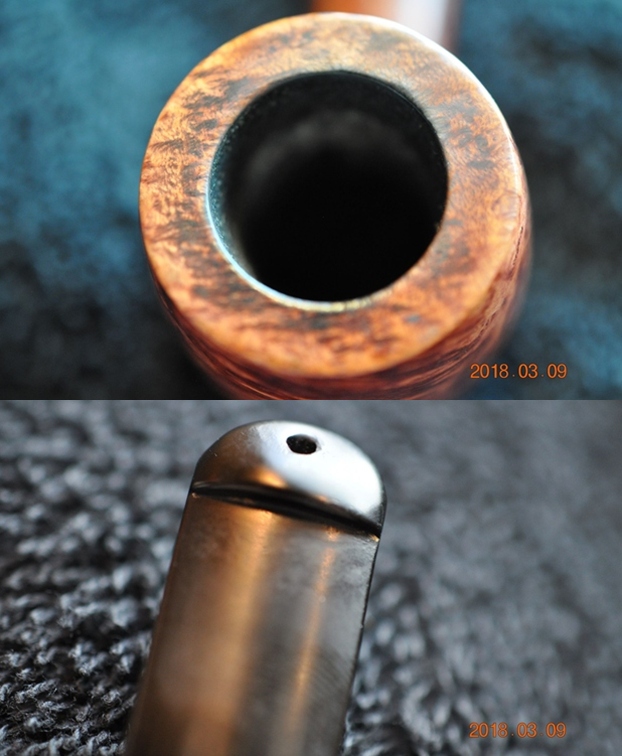
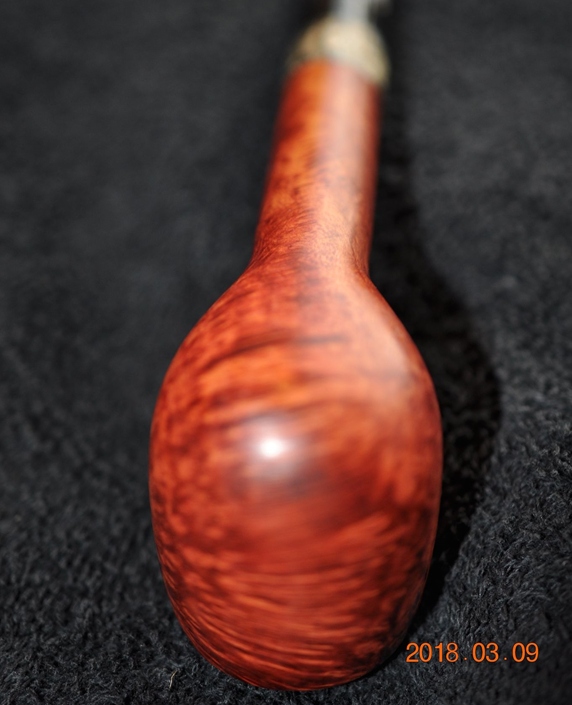
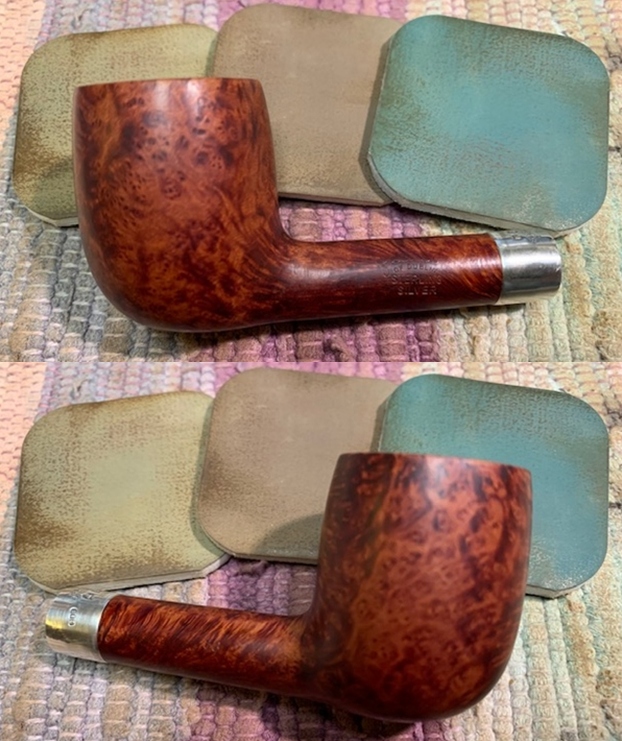
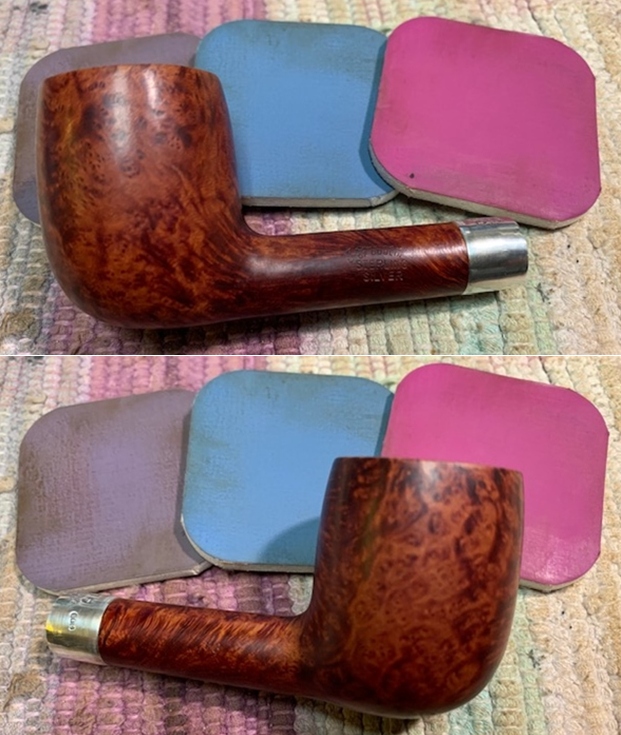
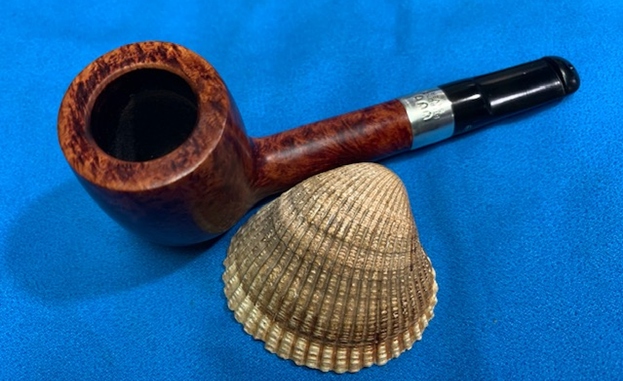
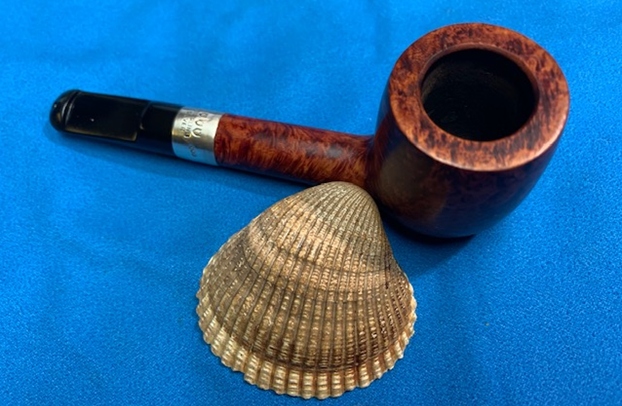
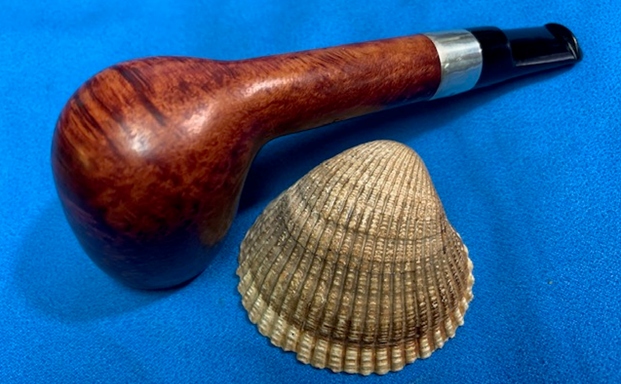
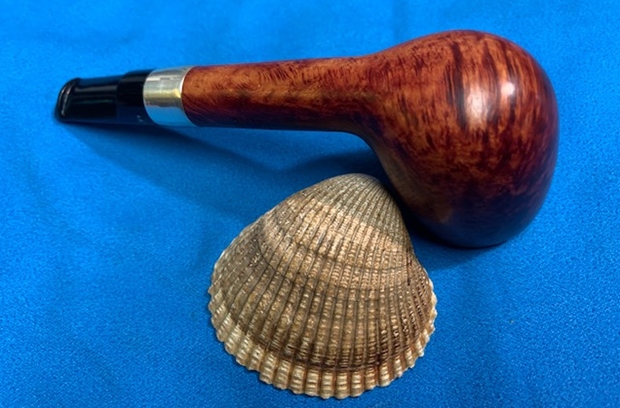
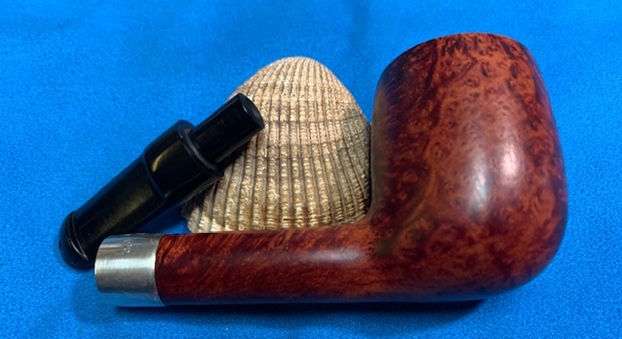
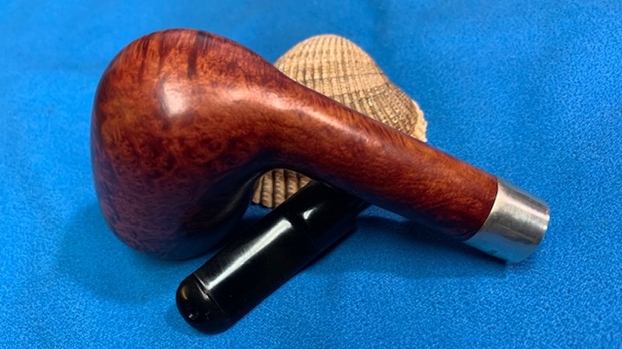
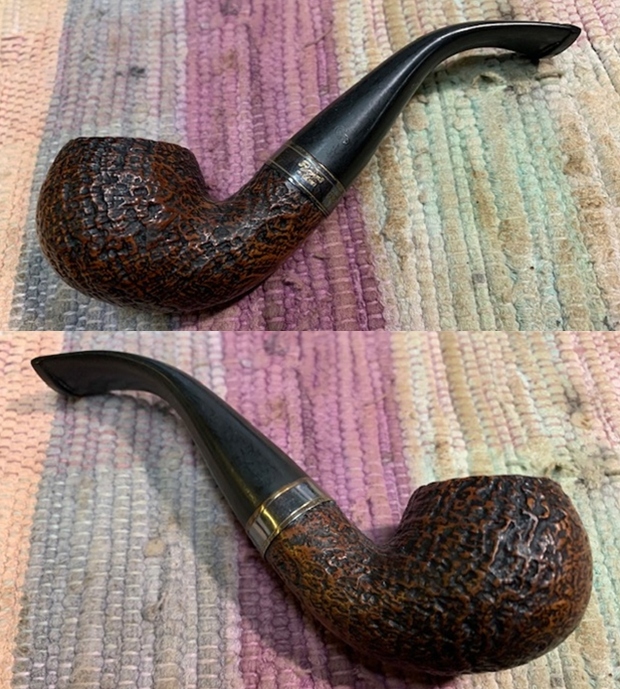
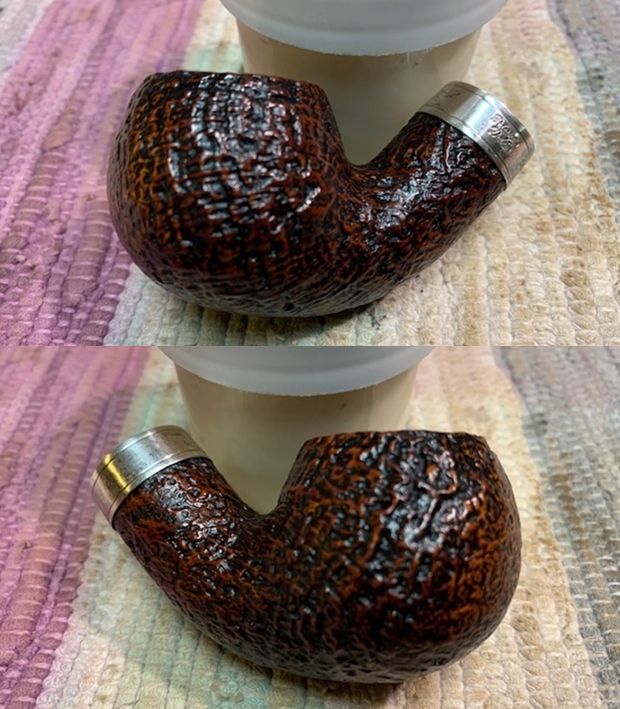
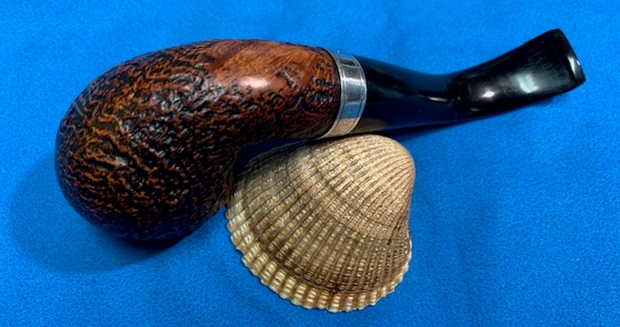
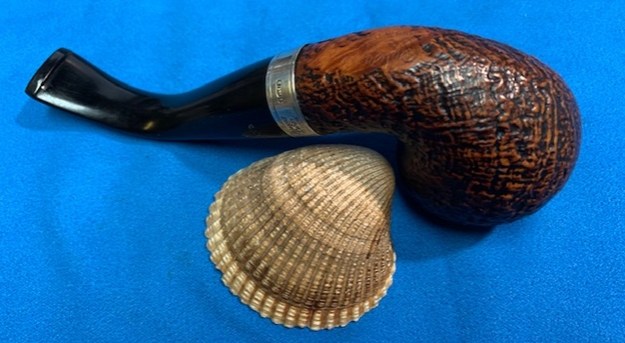
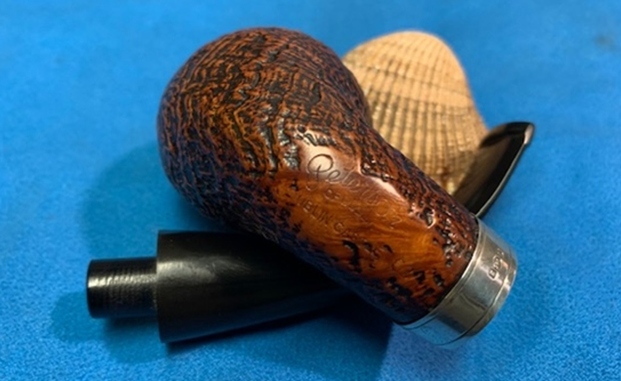
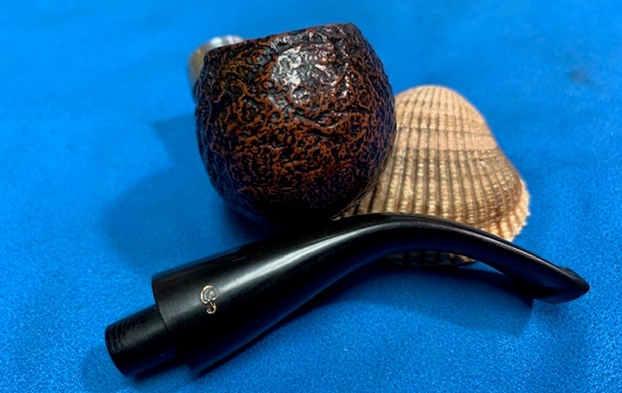
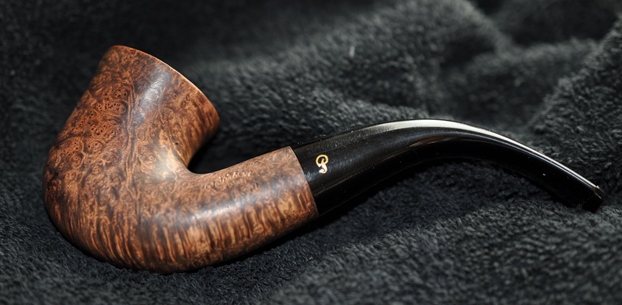
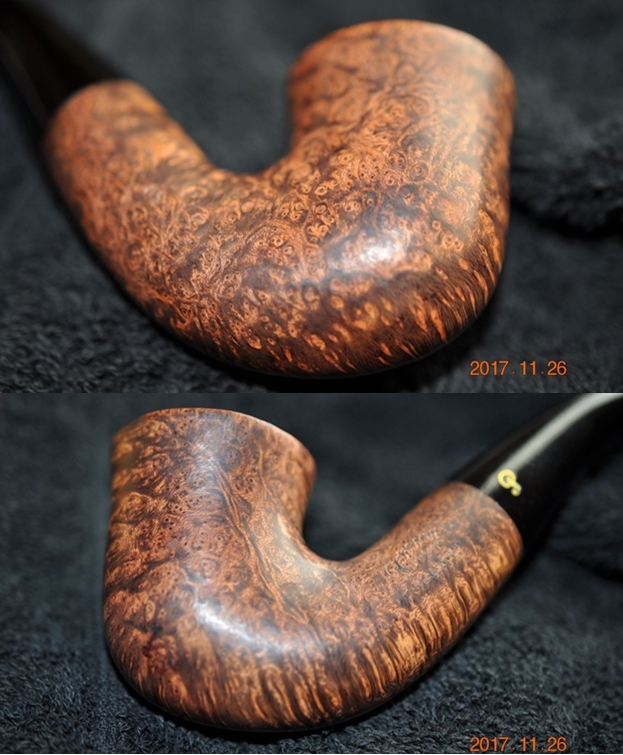
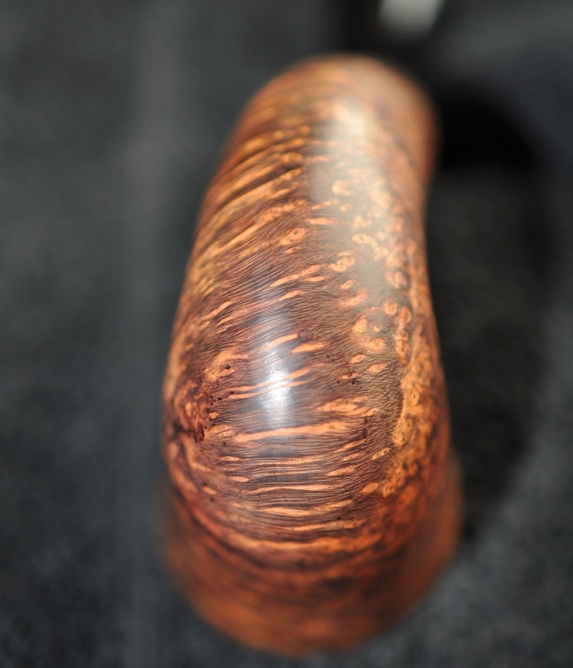
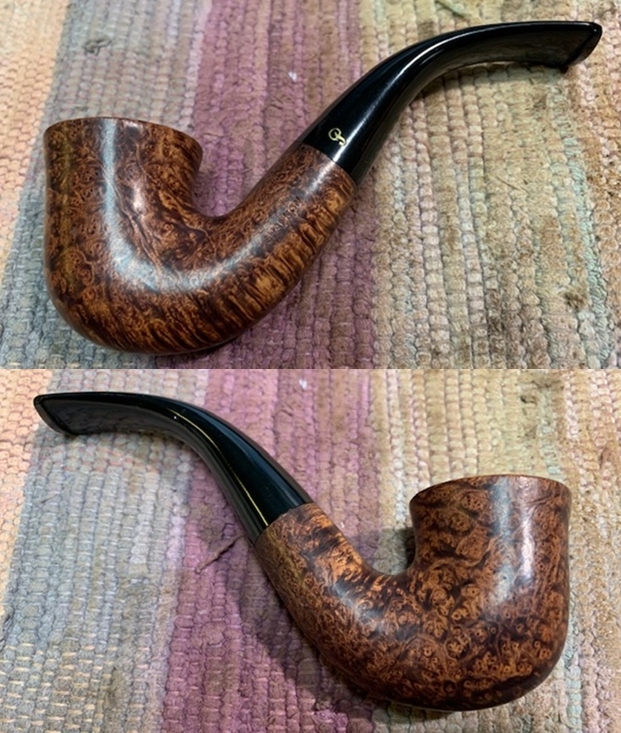
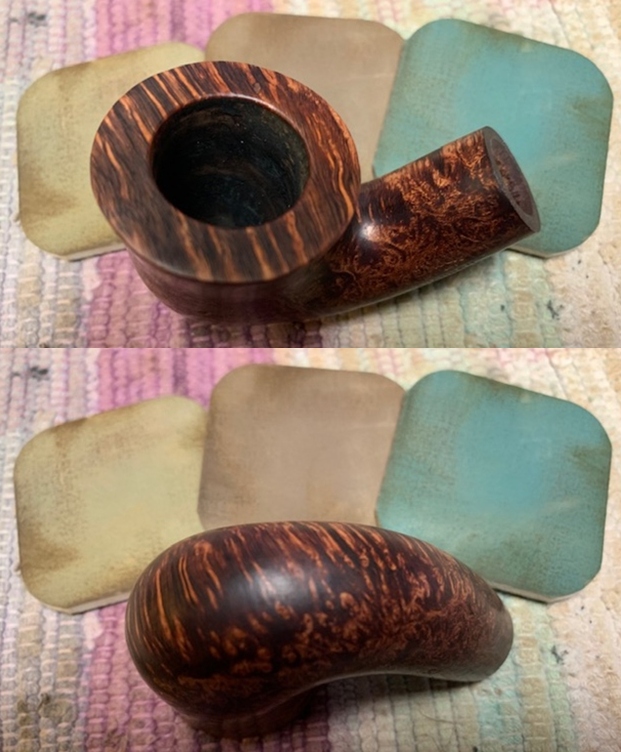
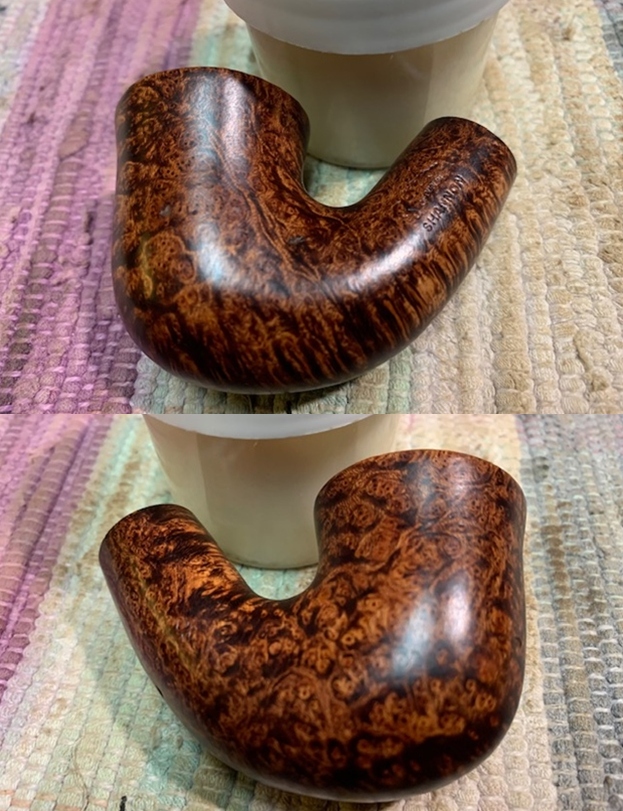
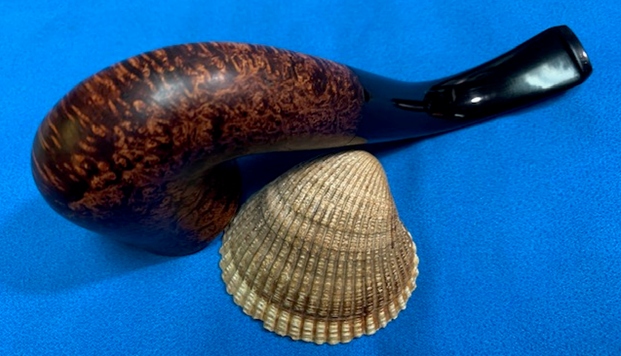
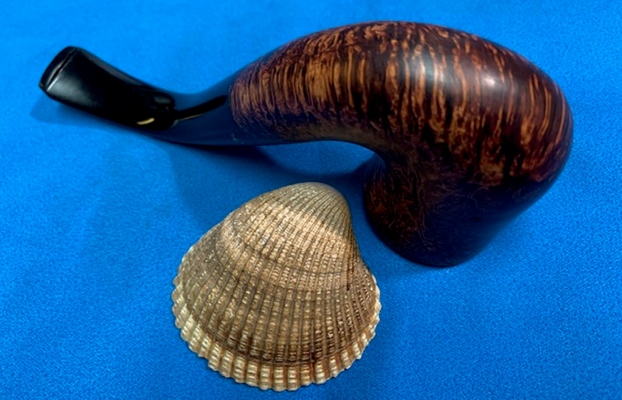
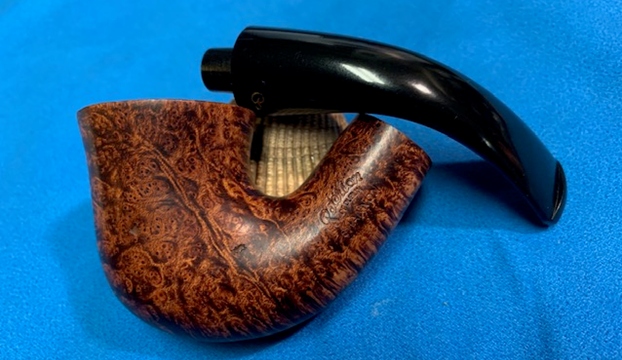
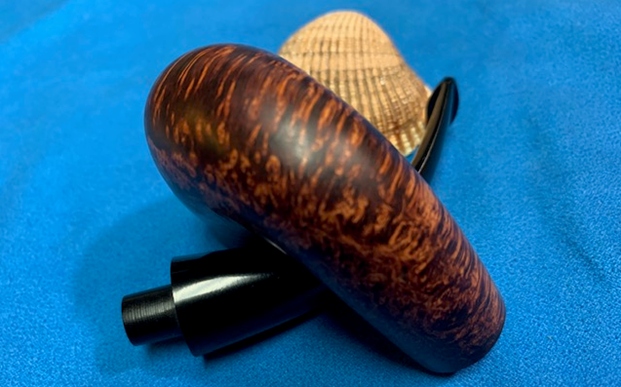
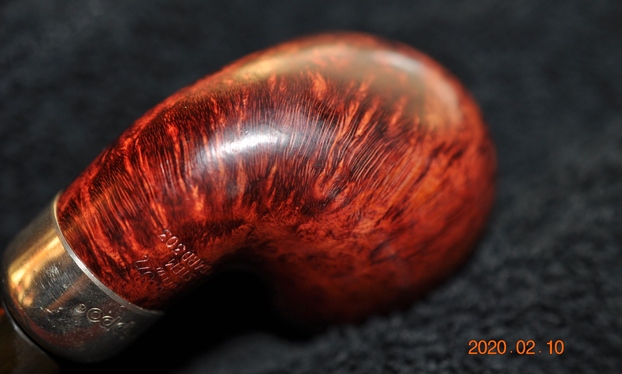
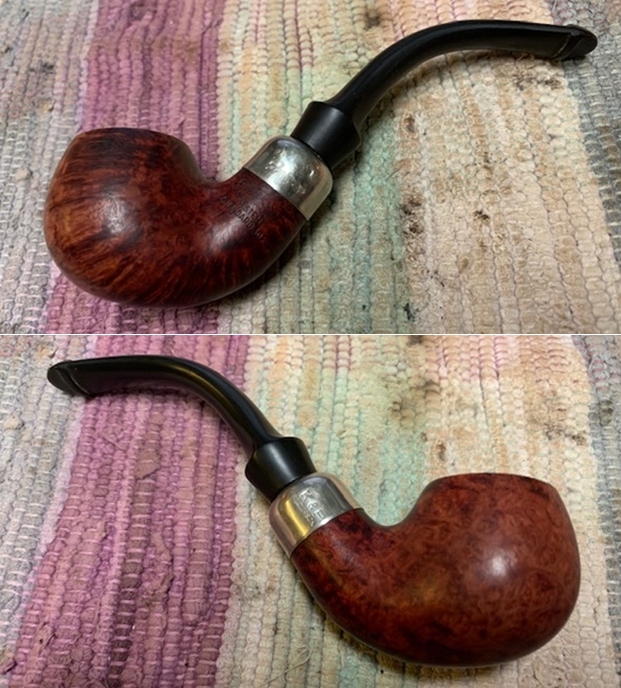
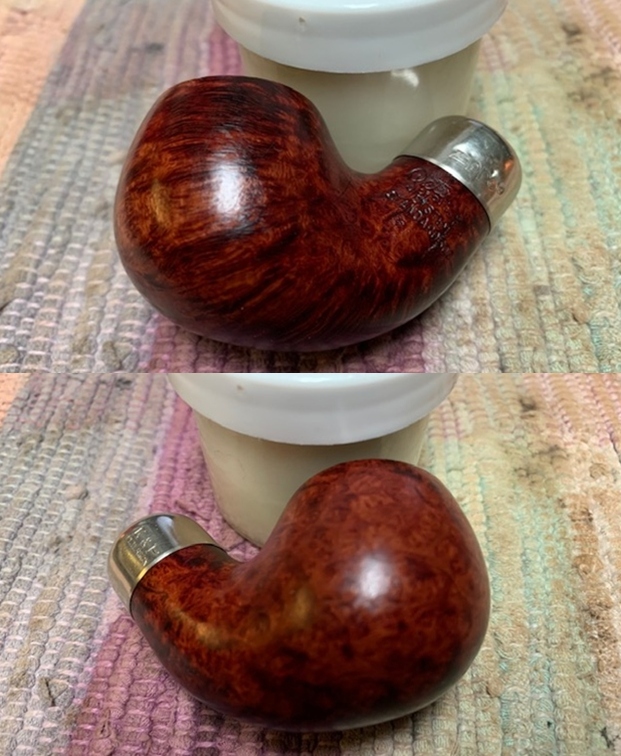
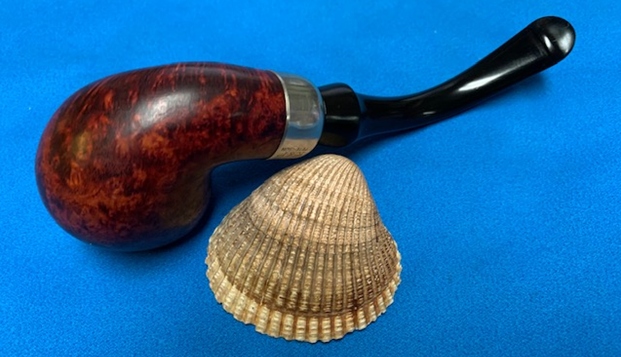
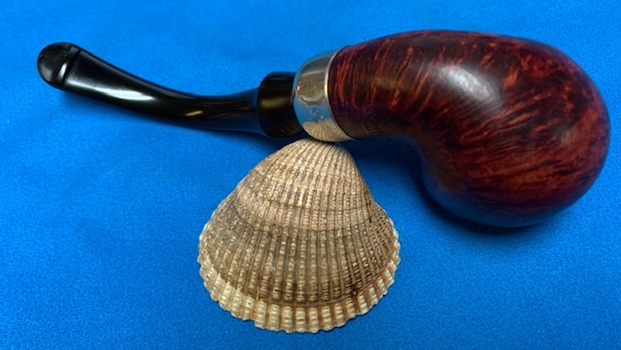
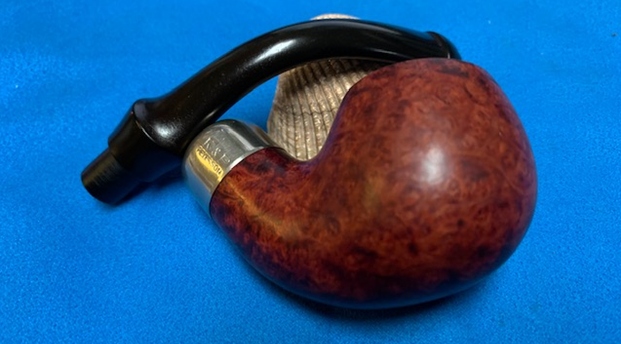
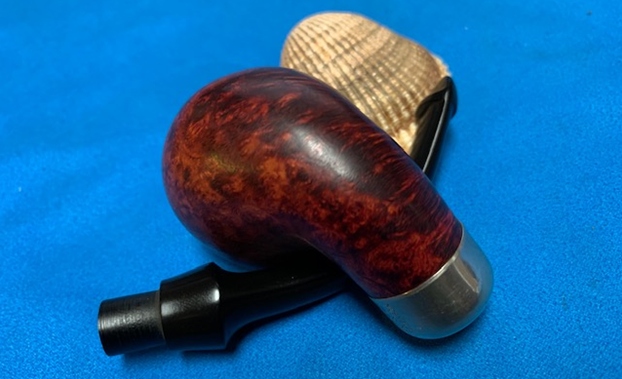
 Jeff took some photos of the bowl sides and heel to show the amazing grain that was around this bowl. It is a nice looking pipe.
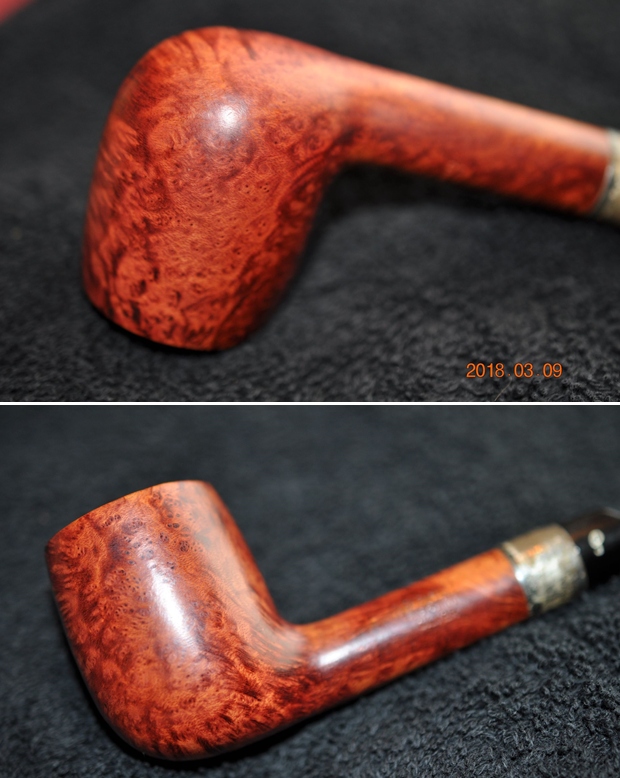
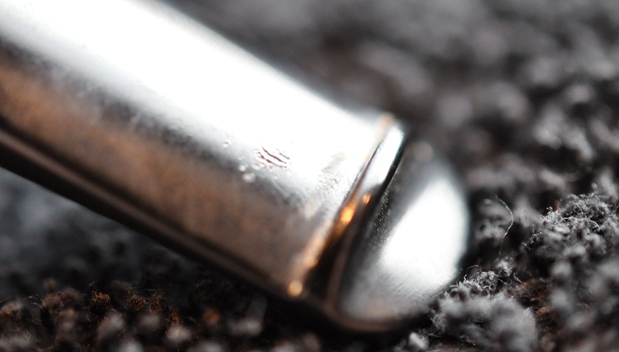
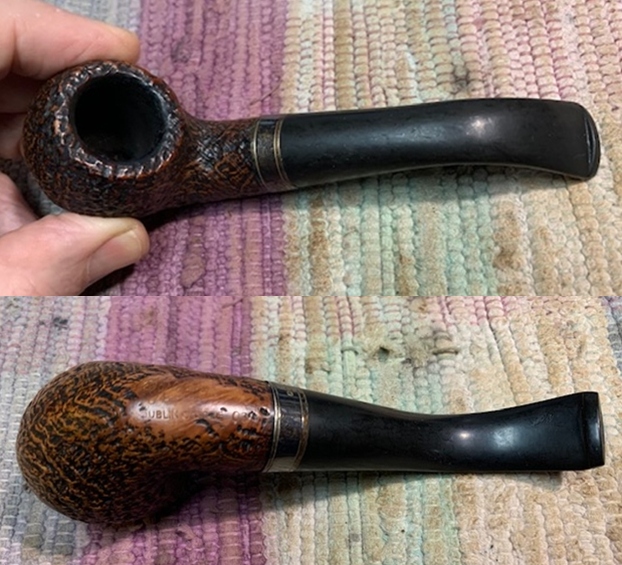
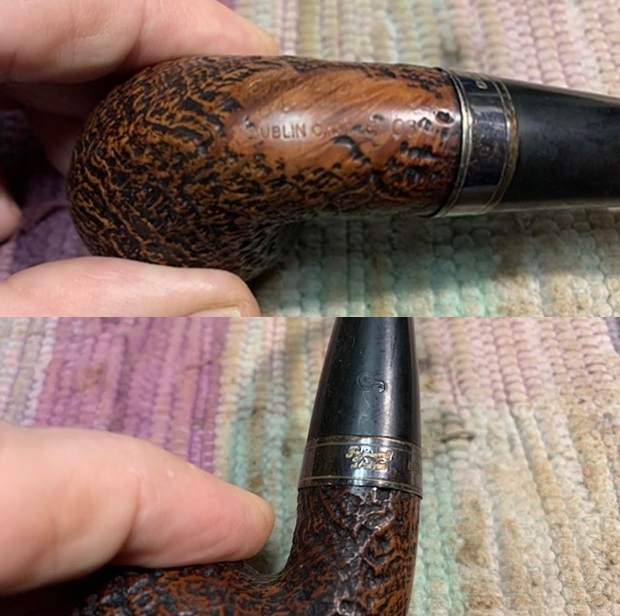
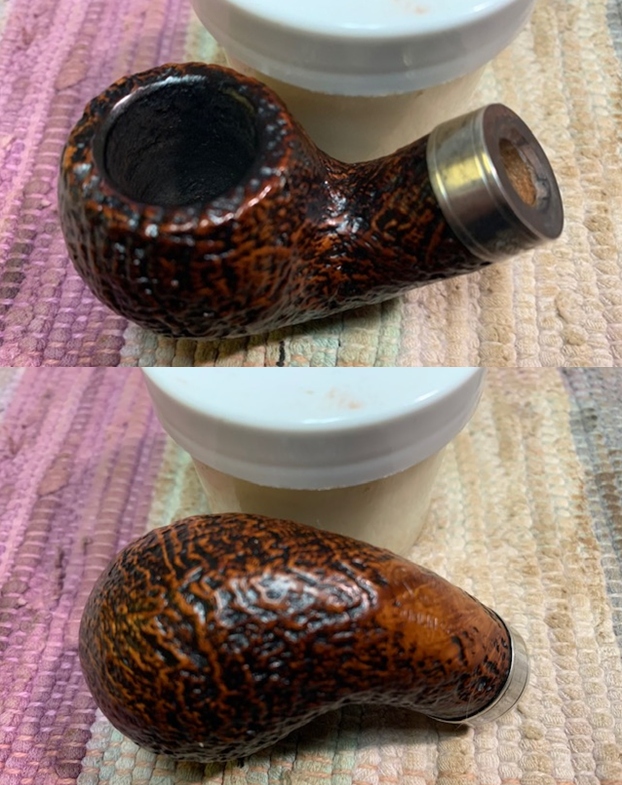
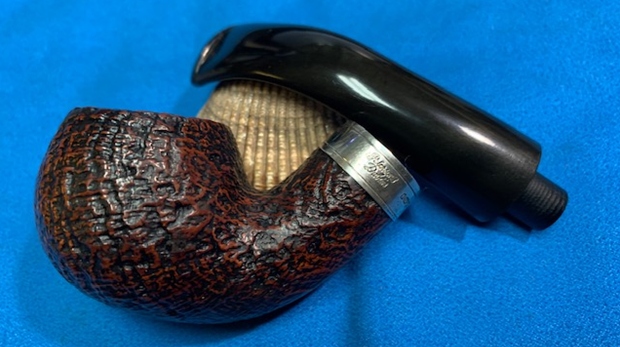
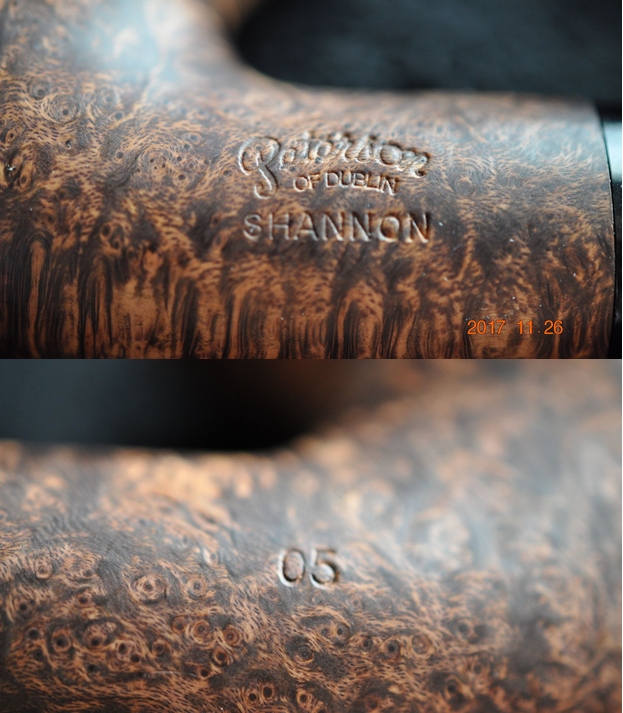
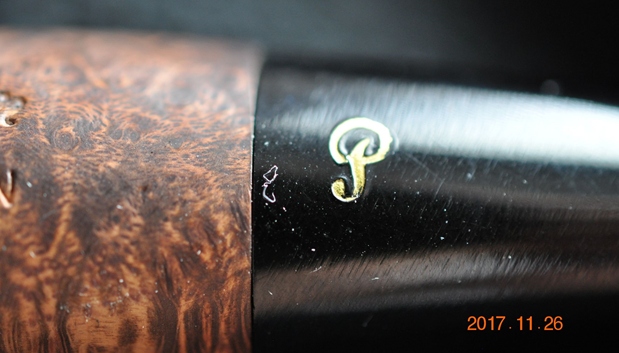
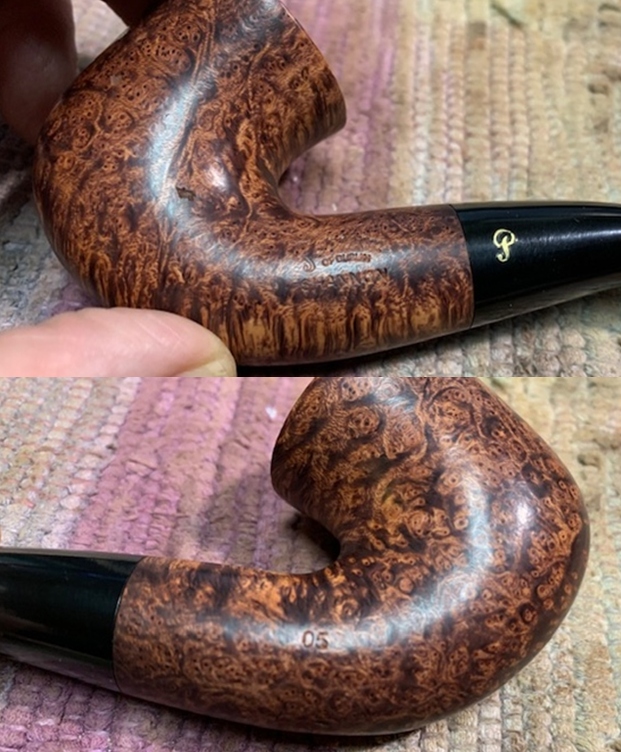
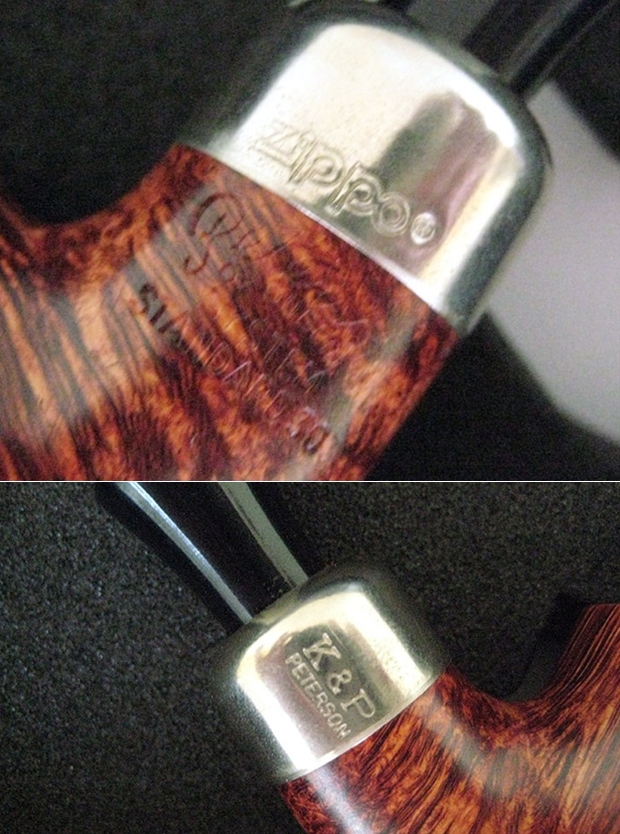
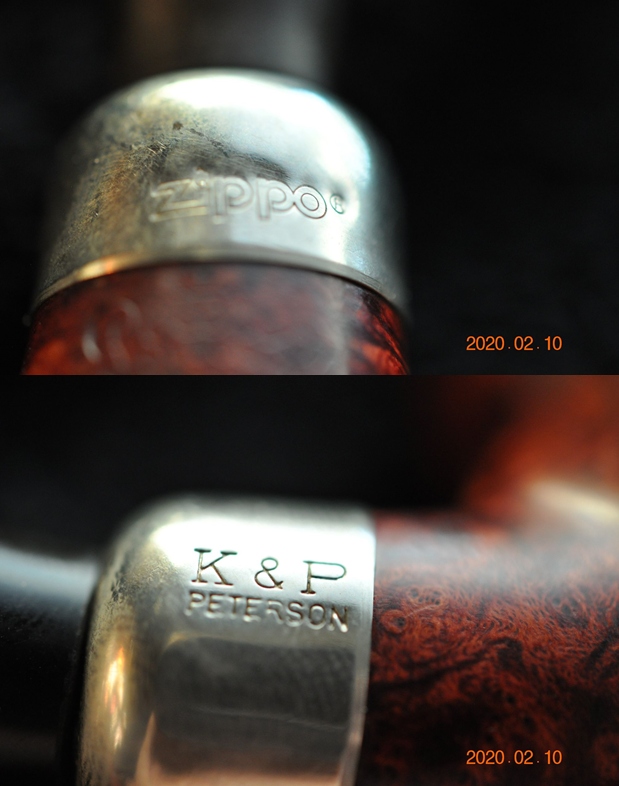
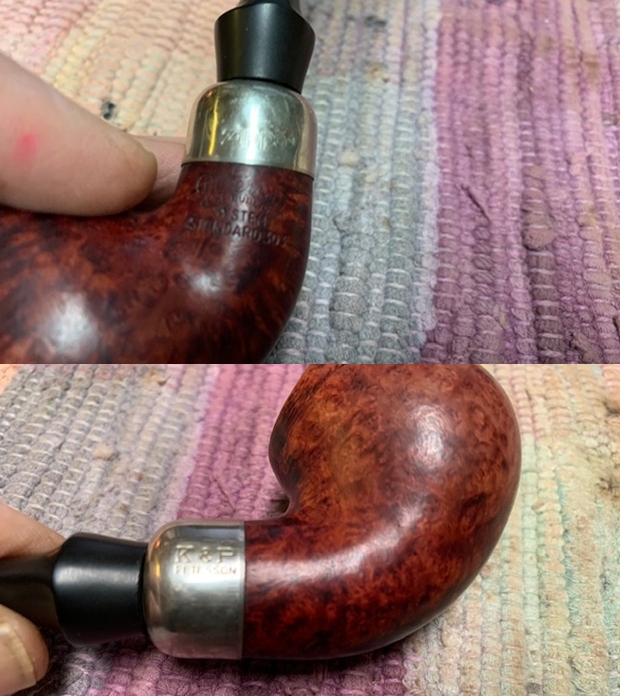
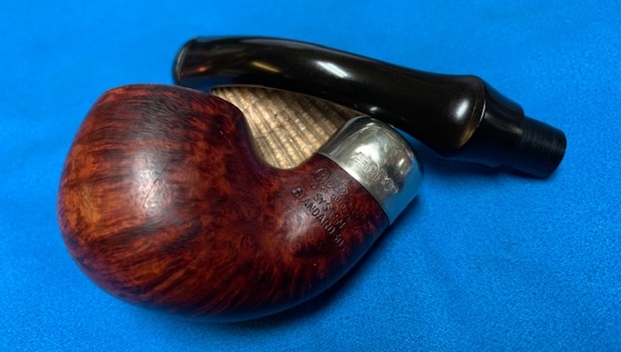
 He took photos of the sides of the shank to show the stamping. The stamping is readable in the photos below and is as noted above. He also took a photo of the band.
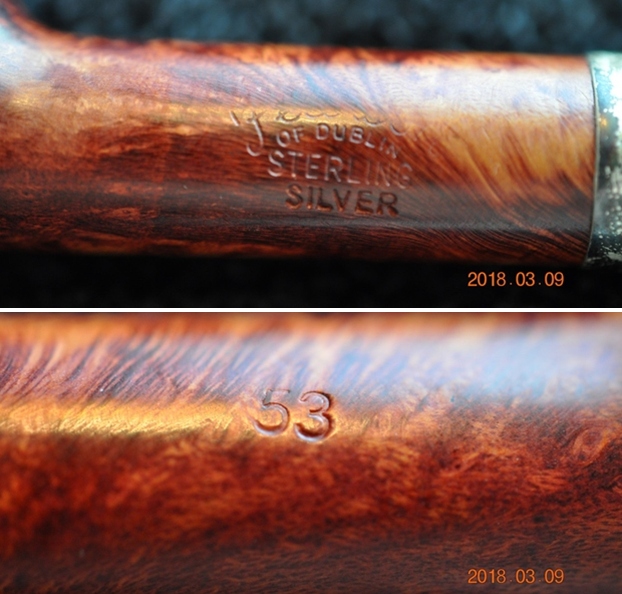
 I am including the link to the Pipedia’s article on Peterson pipes. It is a great read in terms of the history of the brand (https://pipedia.org/wiki/Peterson).
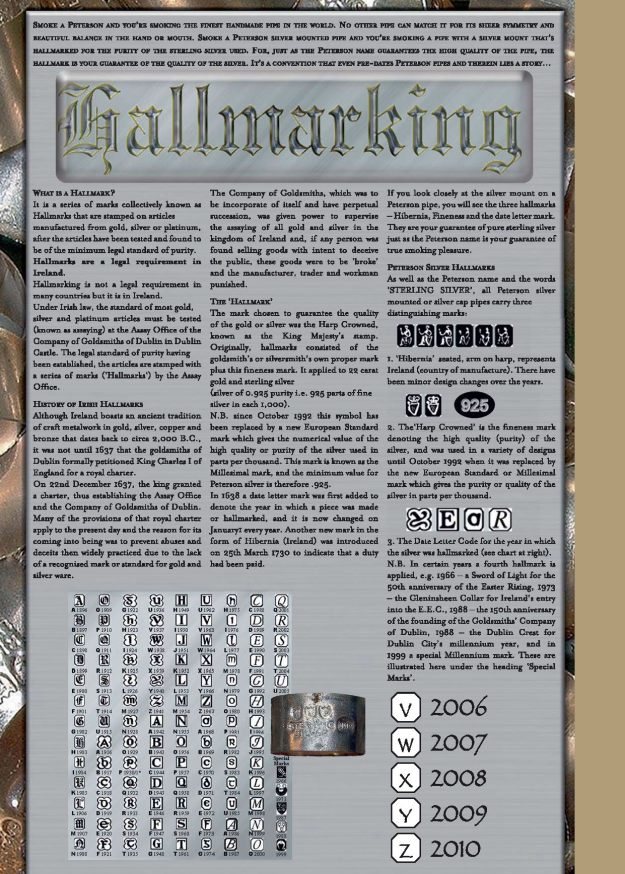
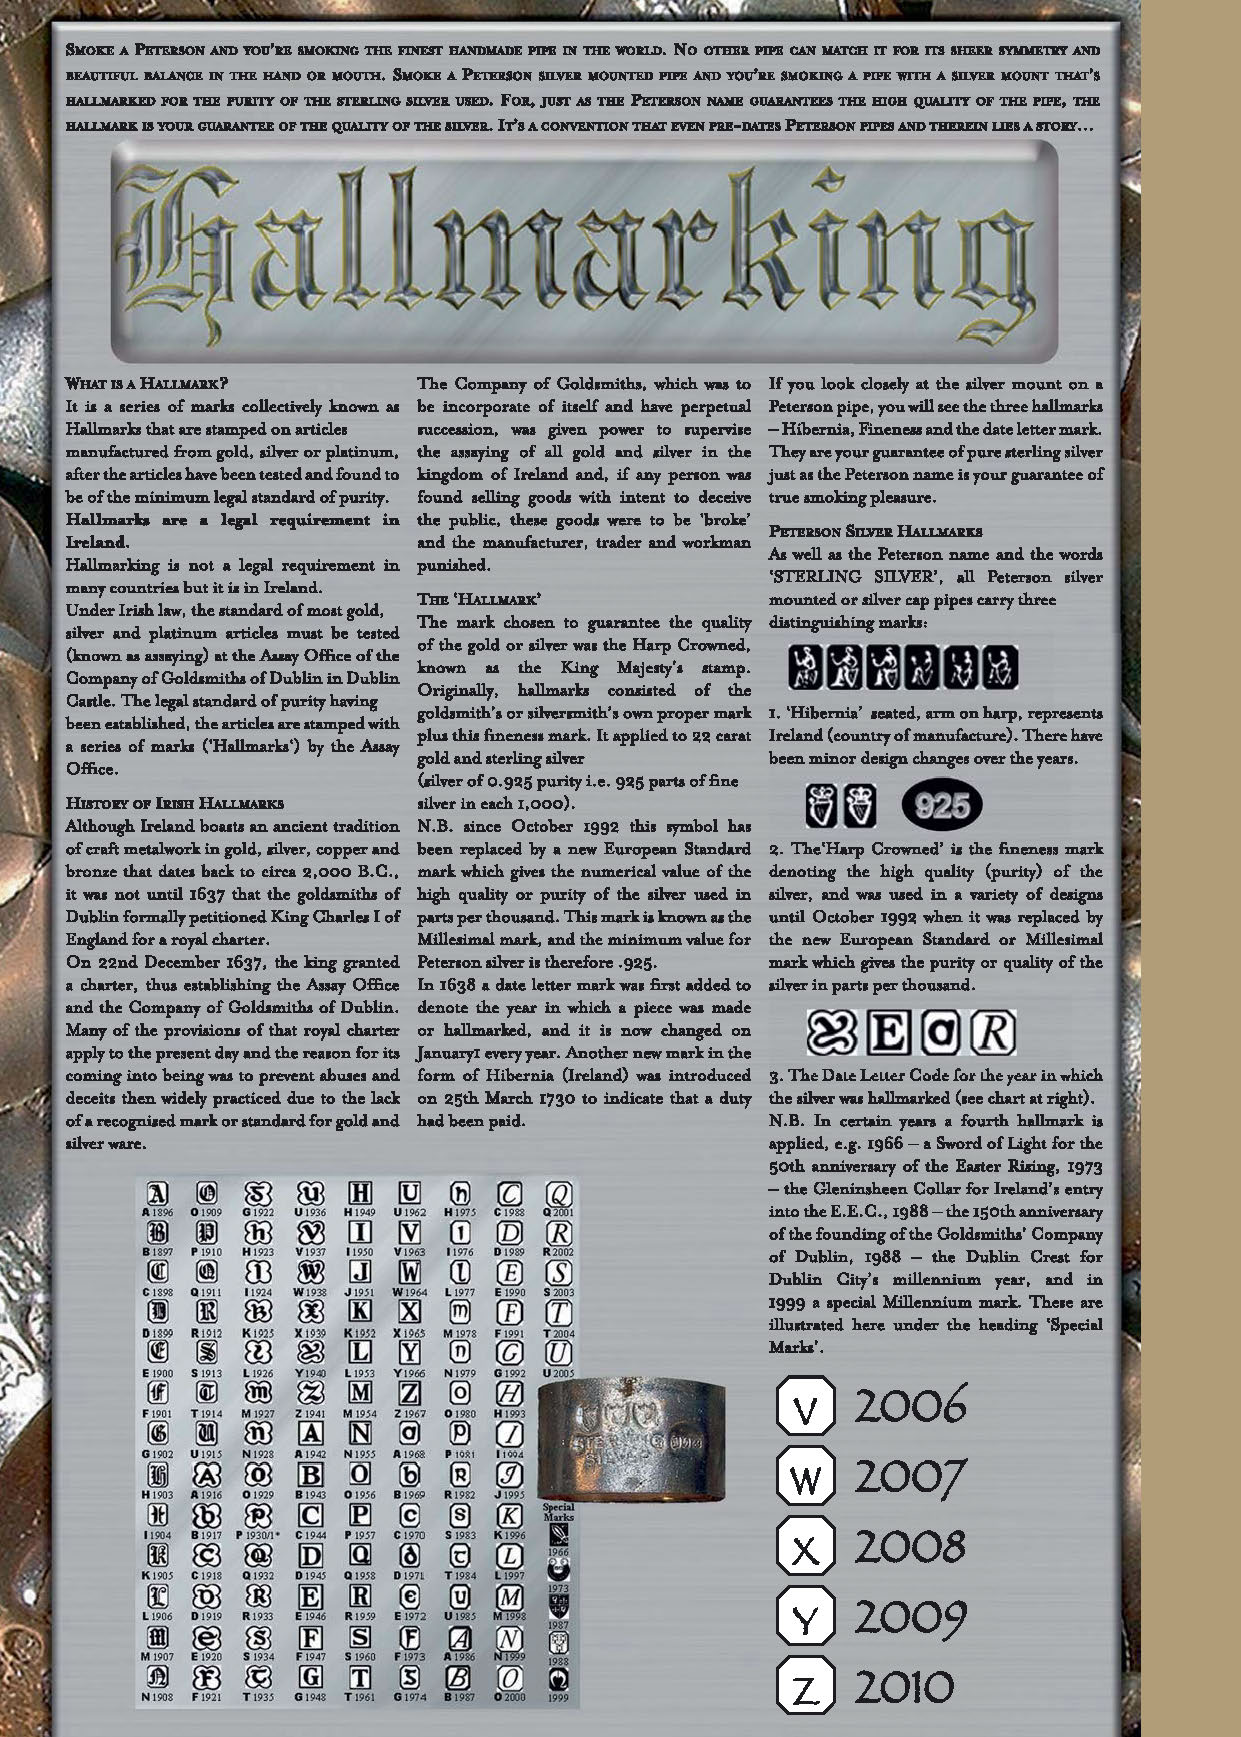
 I always like to date the year a pipe was made while I am working on it. In the process of working on a pipe if I can pin down a date that it was made that it adds another dimension to the restoration process. Once I have identified the hallmarks on the pipe then I use a Hallmark chart to pin the date down. In the case of Peterson’s pipe with a silver band I use a hallmarking chart that Peterson included in their catalogs and on their website
I have a copy of the hallmark charts in one of the Peterson catalogs that I have uploaded to the blog on rebornpipes. I turned to that chart to lock down the date letter for the Sterling Silver Lovat that I am working on. Here is the link to the site (https://rebornpipes.com/wp-content/uploads/2015/05/peterson-cataloguecomp_page_27.jpg).
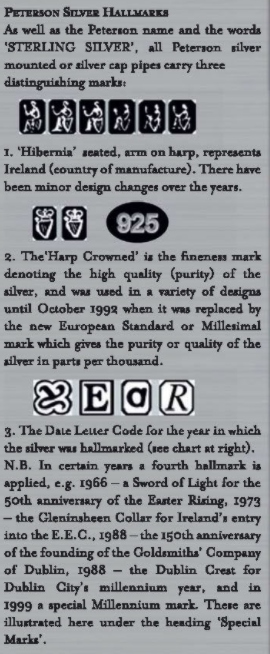
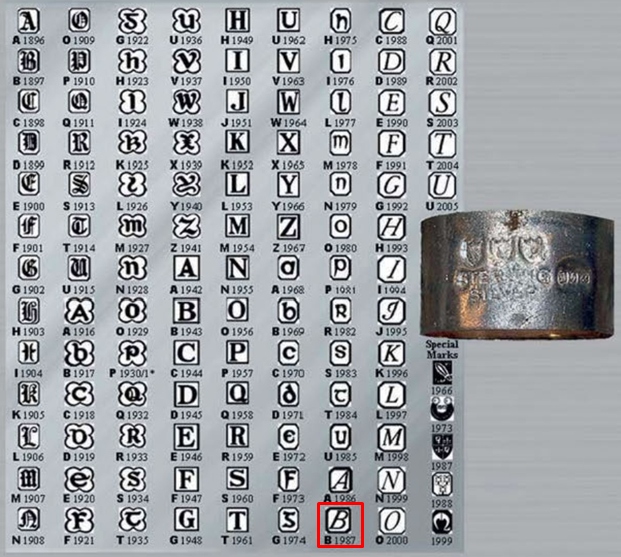
The chart defines the meaning of each hallmark on the silver band. The first one is of a seated woman with a harp is known as the Hibernia stamp and identifies the pipe as made in Ireland. The second stamp is a crowned harp which is a fineness mark denoting the high quality of silver that was used. The third stamp is the italic letter Q. I have included a larger screen capture of the section on the third column of the chart in the photo below.
 I have drawn a square around the date letter below. It identifies the date of this Peterson’s pipe to 2001.
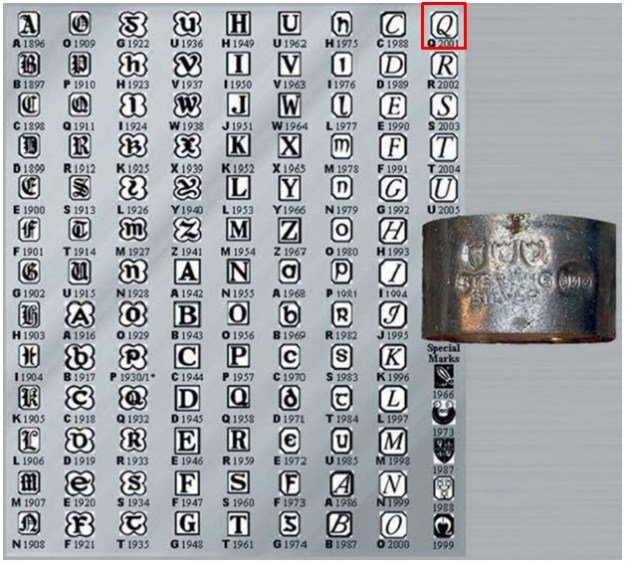 I knew that I was dealing with a pipe that the hallmarks date to 2001. Now it was time to work on the pipe.
Jeff had done a great job cleaning up the pipe as usual. He reamed the pipe with a PipNet reamer and cut back the cake back to the bare briar. He cleaned up the walls with a Savinelli Fitsall Pipe Knife. He scrubbed the interior of the bowl and shank with pipe cleaners, cotton swabs and alcohol to remove the tars and oils. He scrubbed the exterior of the pipe with Murphy’s Oil Soap and a tooth brush to remove the grime from the finish. He worked on the rim top lava and darkening with the soap and tooth brush. He scrubbed the inside of the stem with alcohol and pipe cleaners. He scrubbed the exterior with Soft Scrub and then soaked it in Before & After Deoxidizer. He washed it off with warm water to remove the Deoxidizer. The pipe looked far better when it arrived. It has been sitting here for 2 years so the silver tarnished once again and would need to be polished. 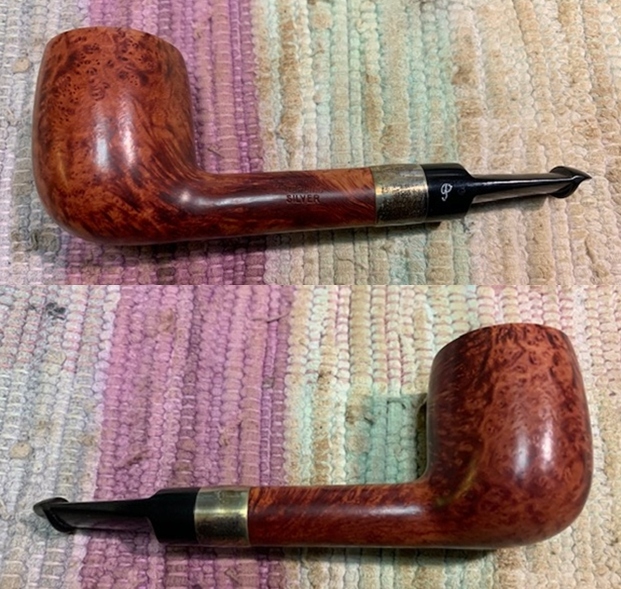
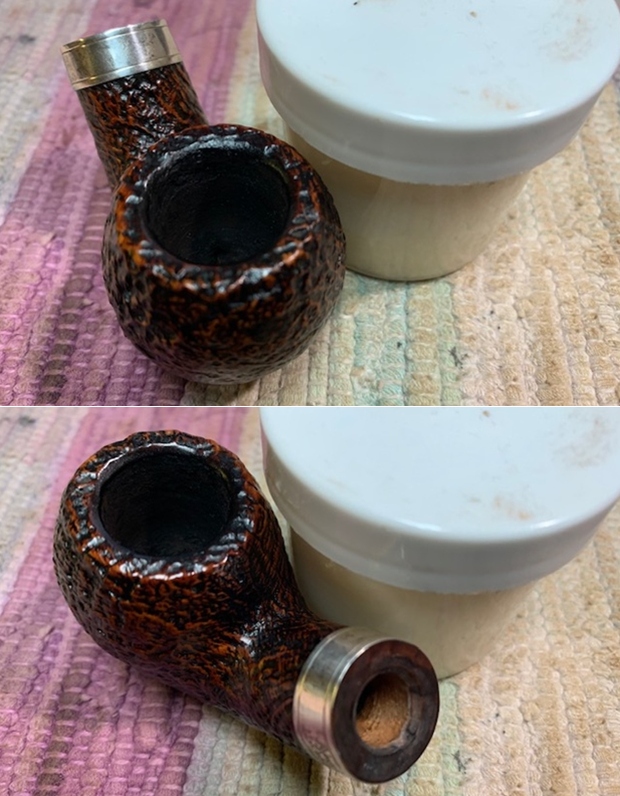
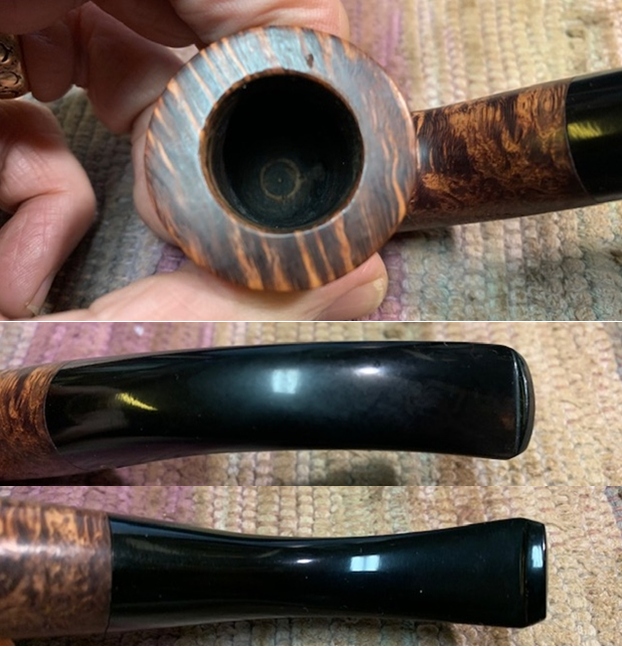
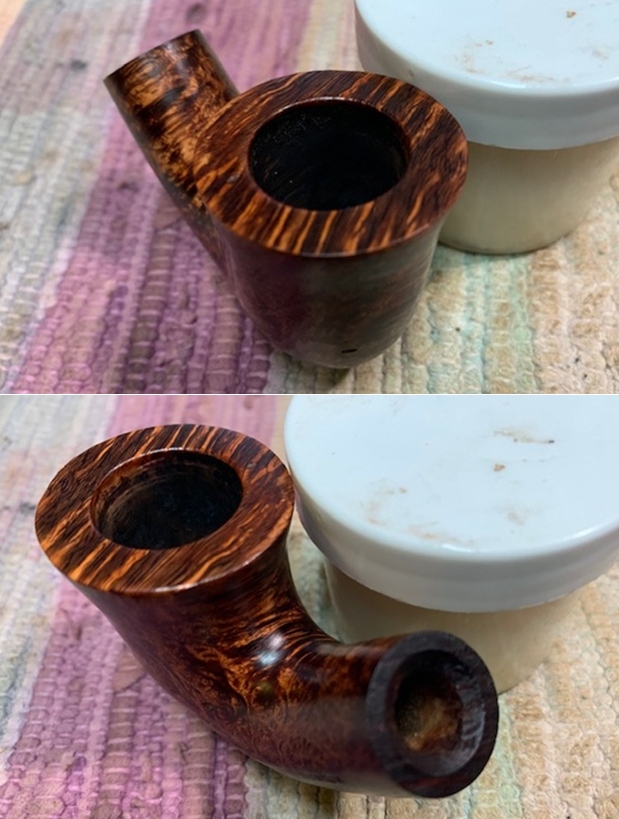
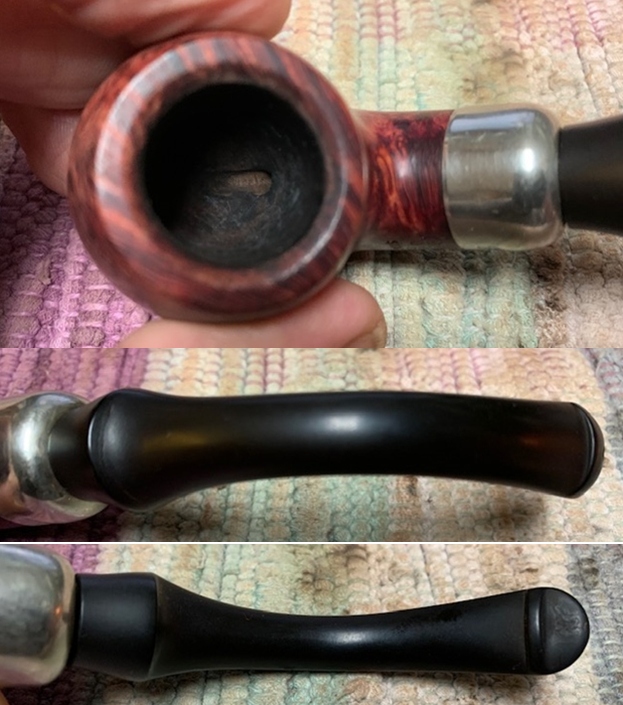
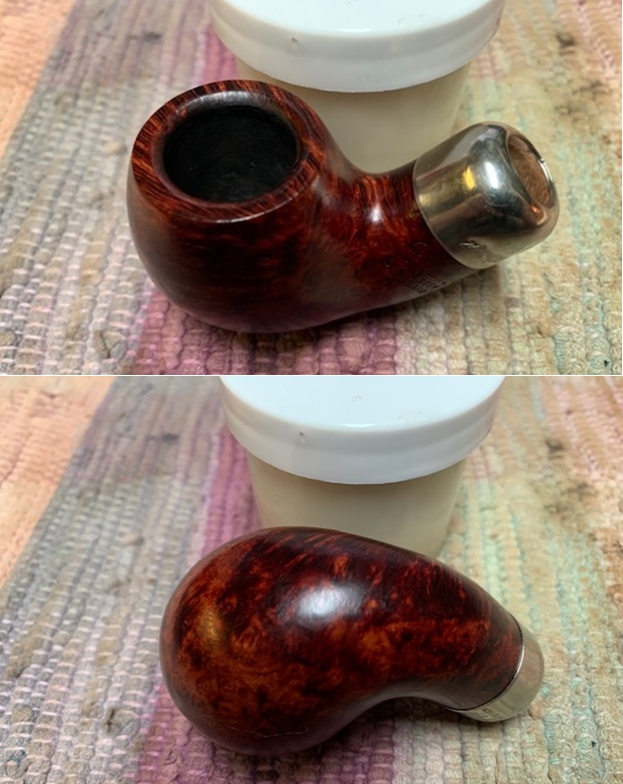
 I took some close up photos of the rim top and also of the stem surface. I wanted to show how well it had cleaned up. The rim top had some looked quite good and the inner edge had damage on the back. It should clean up really well. I also took close up photos of the stem to show the light tooth marks on the surface near the button.
 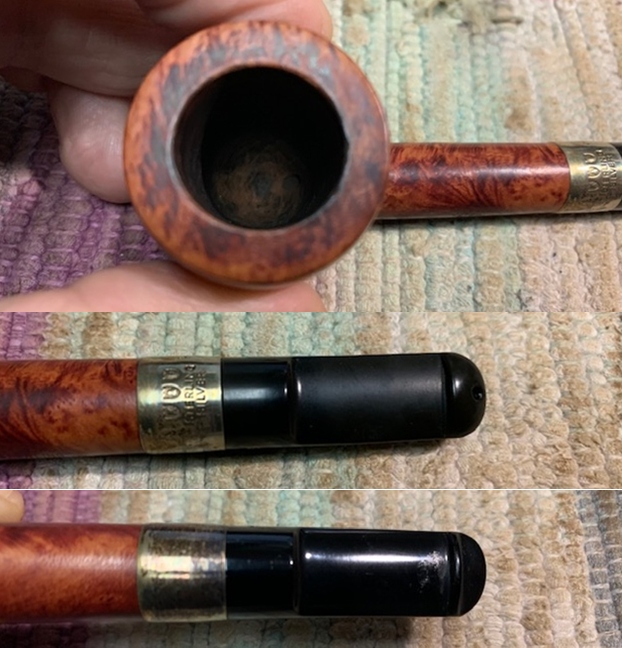 I took photos of the stamping on the sides of the shank. You can see that it is stamped as noted above. It is clear and readable.
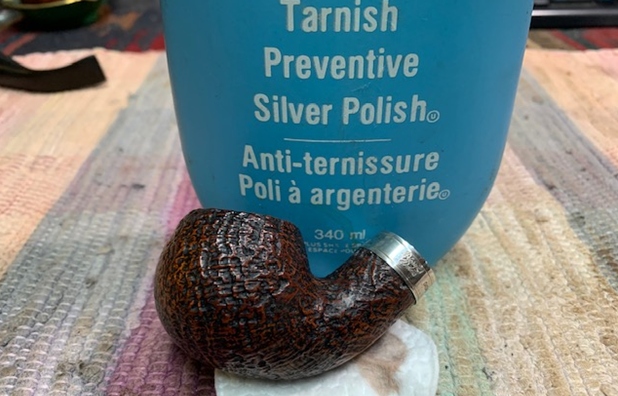
 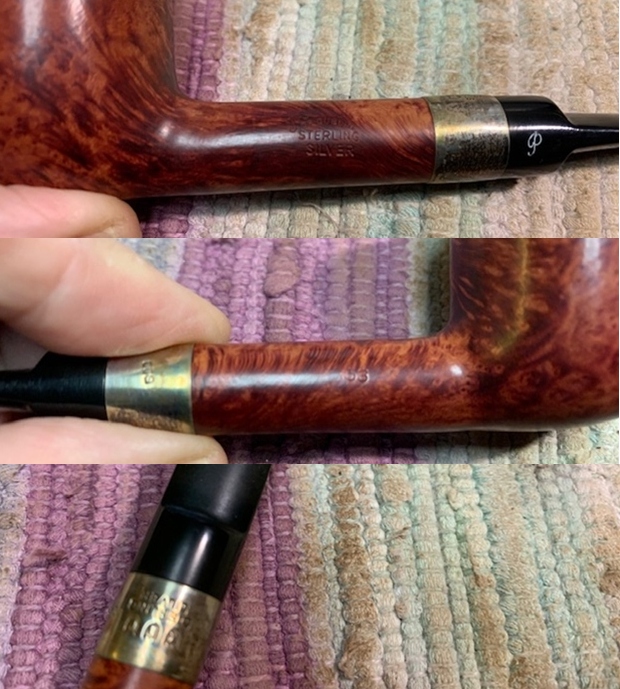 I polished the Sterling Silver band on the shank with some Silver Polish and a jeweler’s cloth to remove the tarnish and polish it.
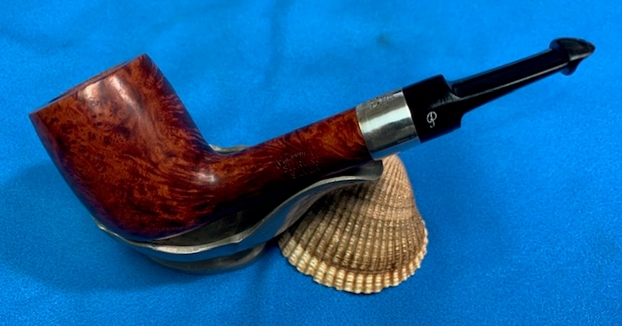
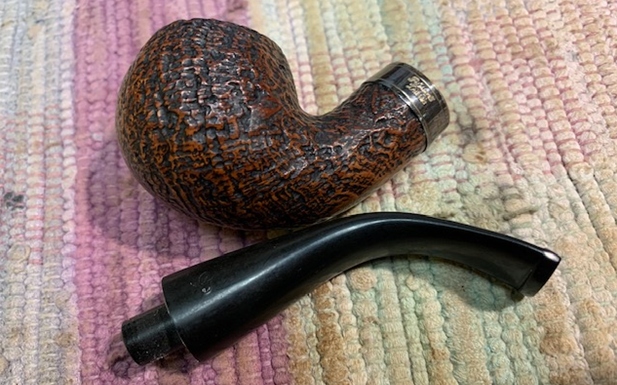
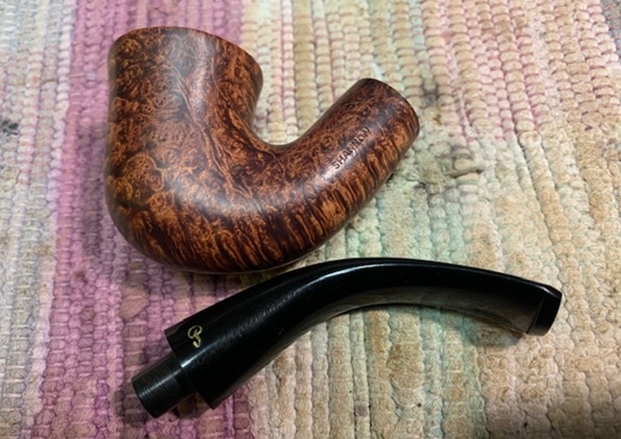
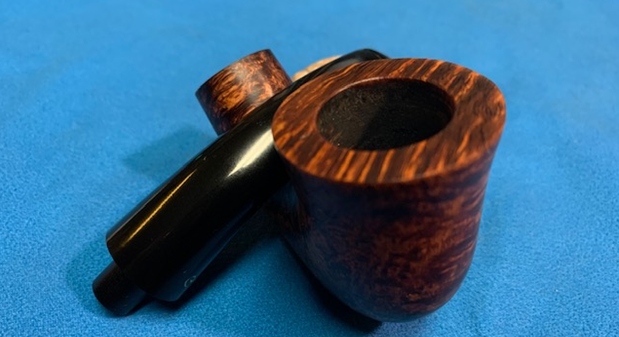
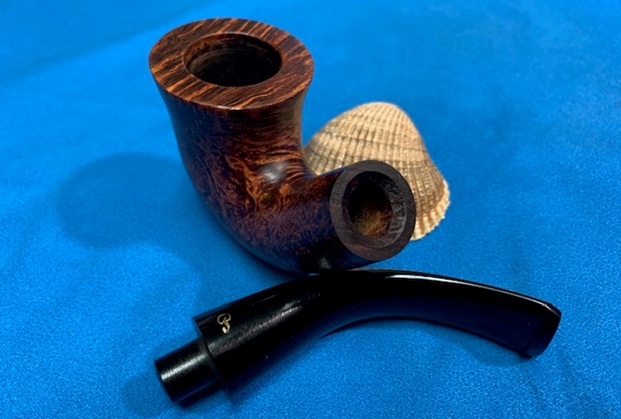
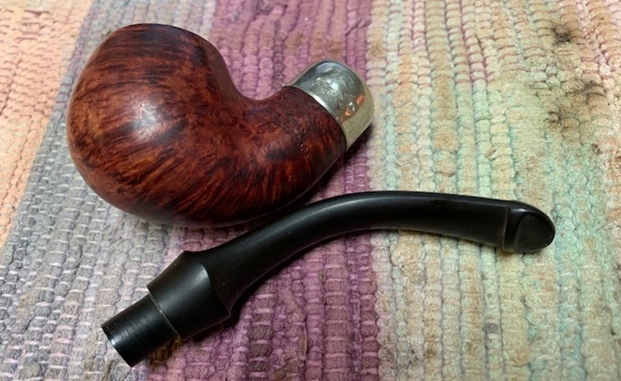
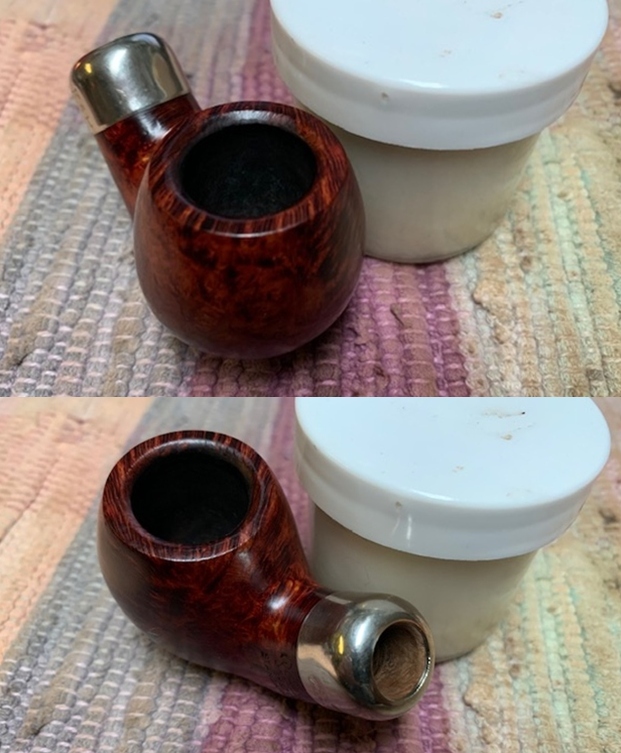
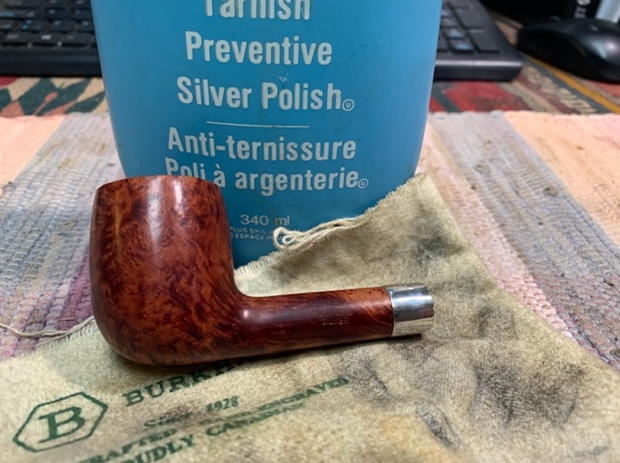 I took the pipe apart and took a photo of the pipe. It is a good looking pipe and has a rugged rustication around the bowl.
 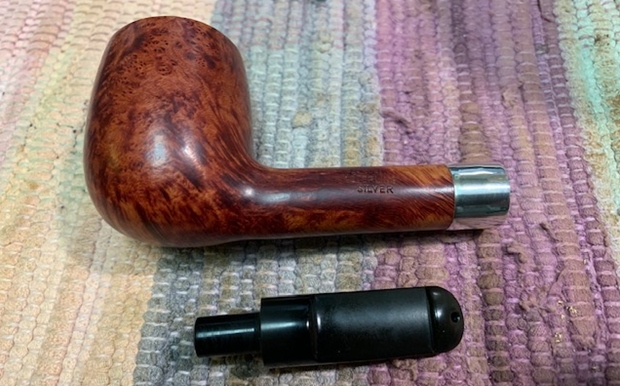 I decided to address the out of round bowl first. I used a folded piece of 220 grit sandpaper to give the inner edge of the bowl a slight bevel to accommodate the burned areas and blend them into the surrounding briar.
 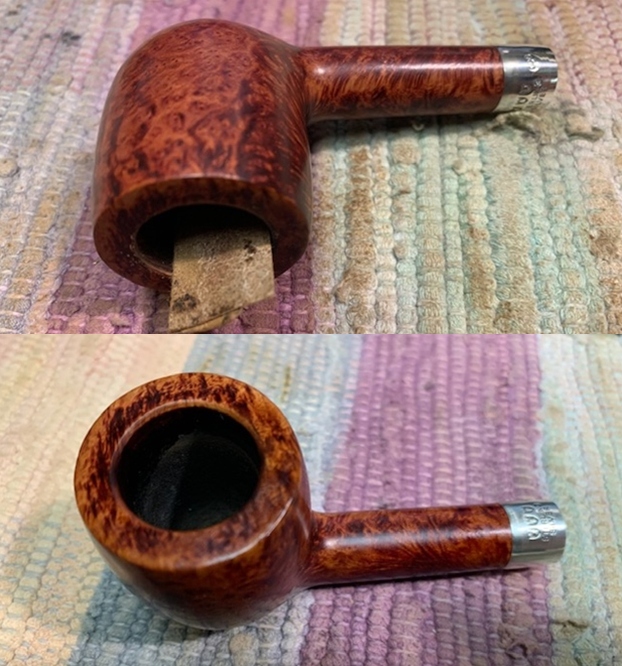 I polished the briar with micromesh sanding pads – dry sanding with 1500-12000 grit sanding pads. I wiped the bowl down with a damp cloth after each sanding pad.
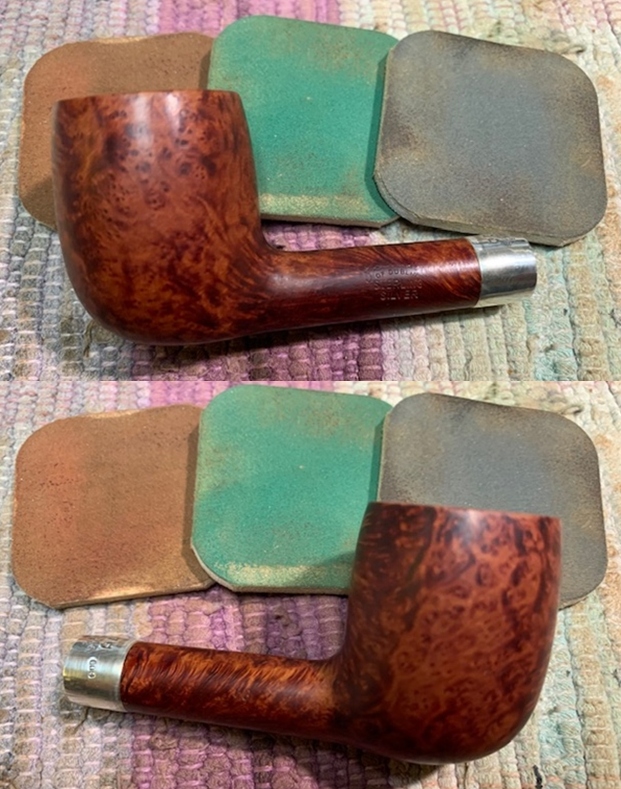

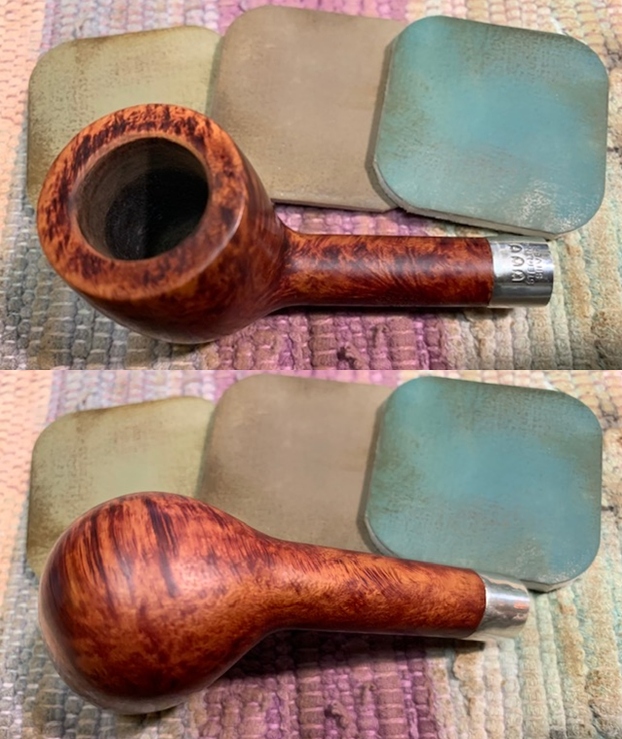
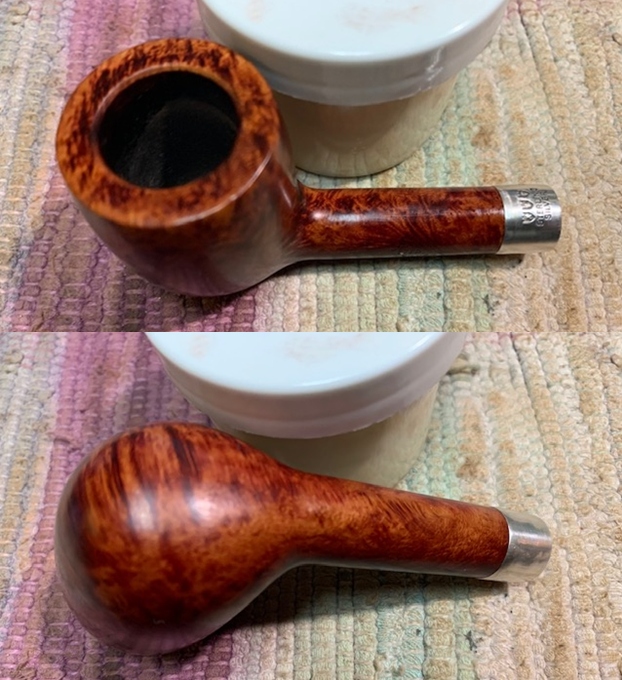
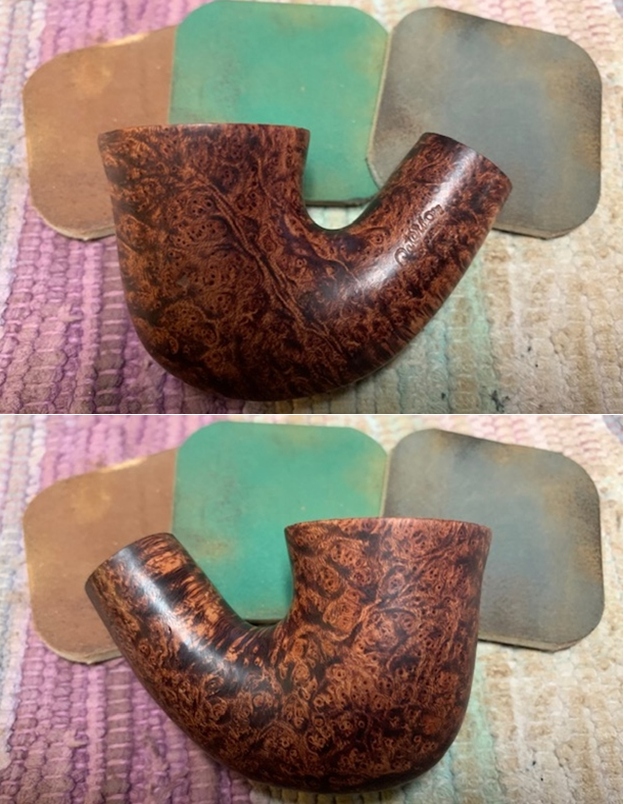
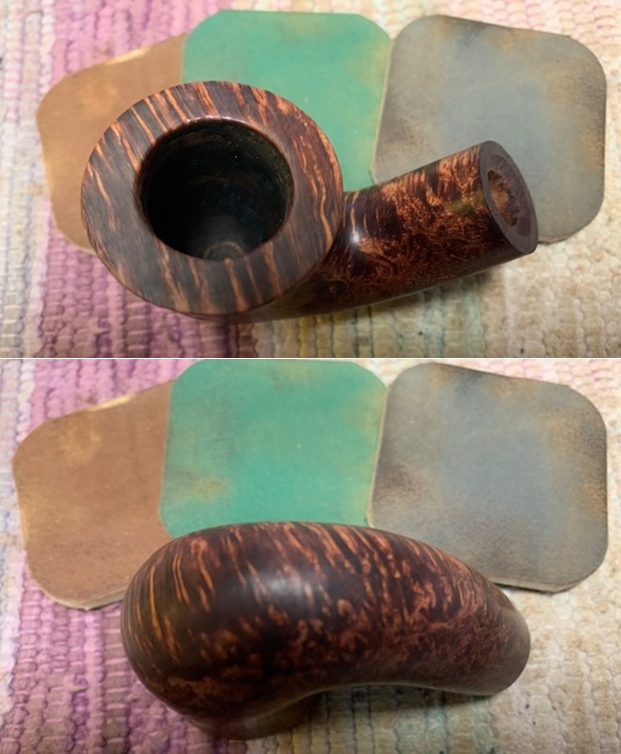
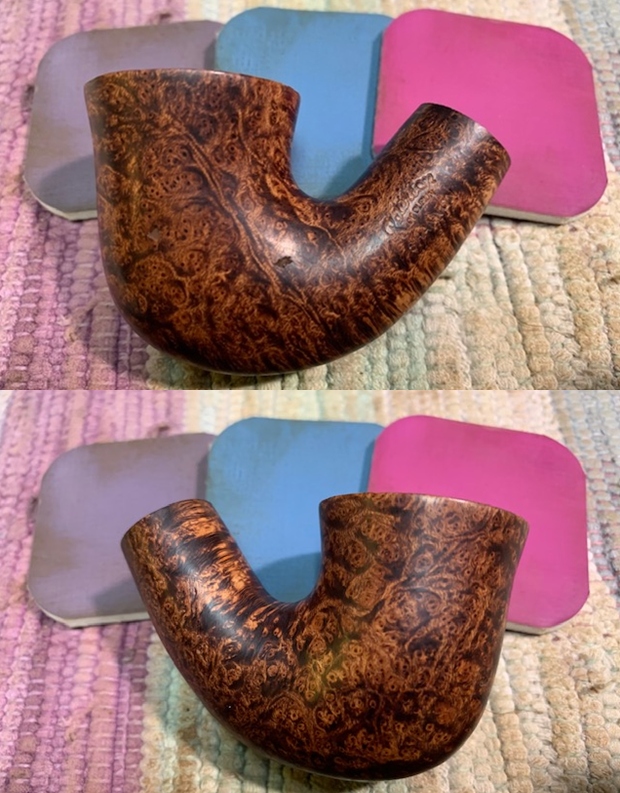
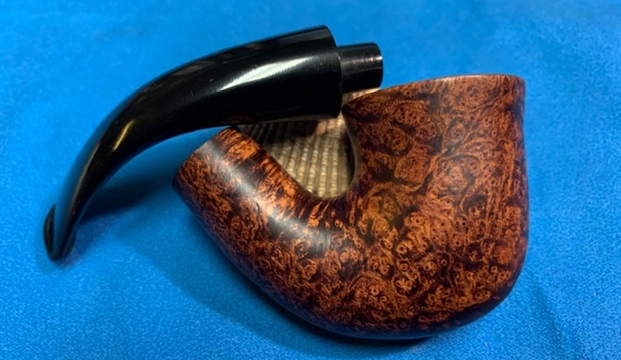
 I worked some Before & After Restoration Balm into the surface of the briar with my fingertips and a horsehair shoe brush to clean, enliven and protect the briar. I let the balm sit for 15 minutes and then buffed with a cotton cloth to raise the shine. The photos show the bowl at this point in the restoration process.
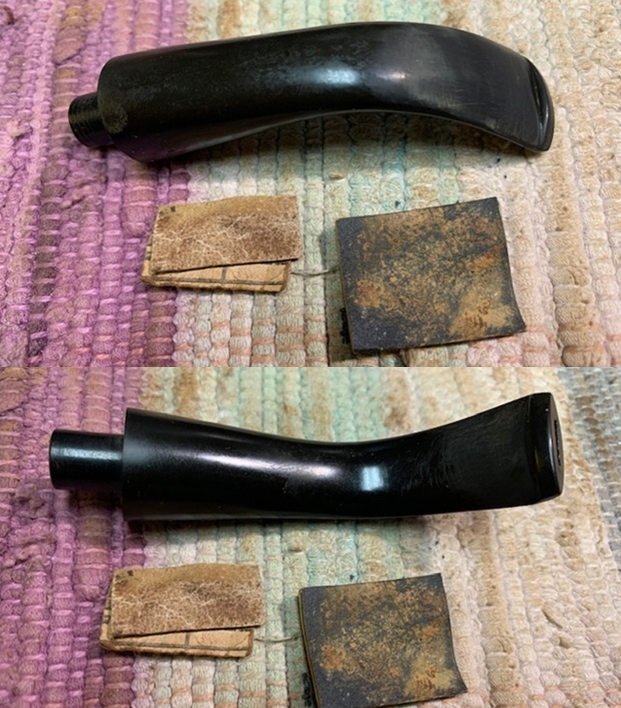
 I set the bowl aside to turn my attention to the stem. The stem was in excellent condition other than a deep tooth mark in the underside near the button. I filled it in with some clear super glue to repair it.
 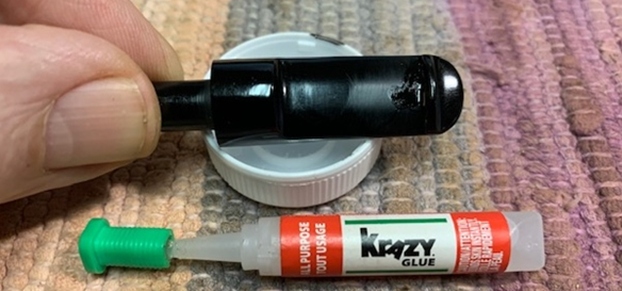 I sanded out the repair on the underside of the stem next to the button and the chatter on the topside with 220 grit sandpaper until they were smooth. I started polishing the stem with 400 grit wet dry sandpaper.
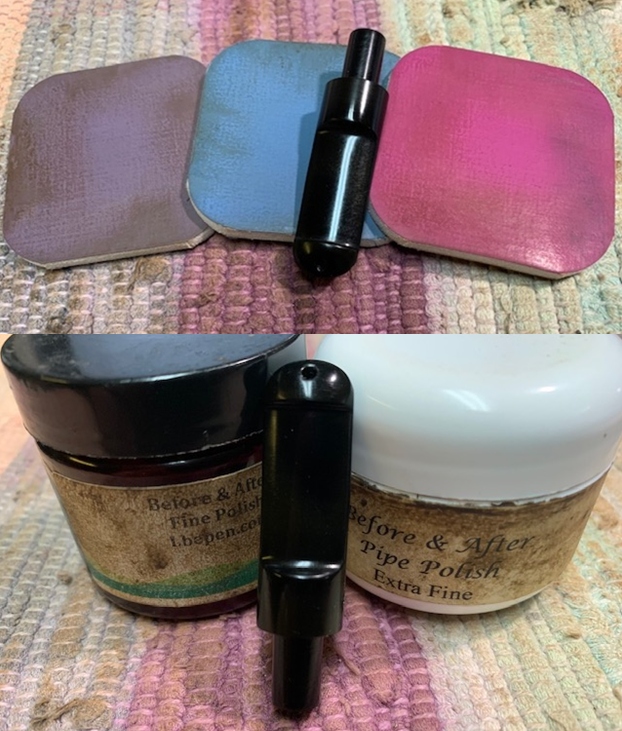
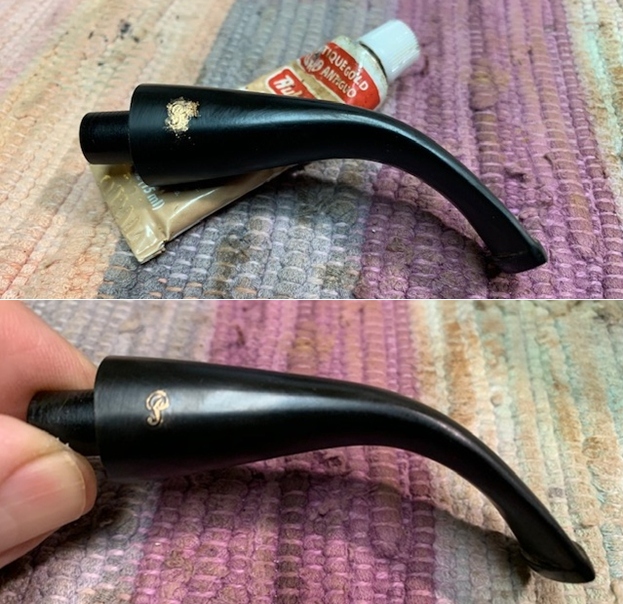
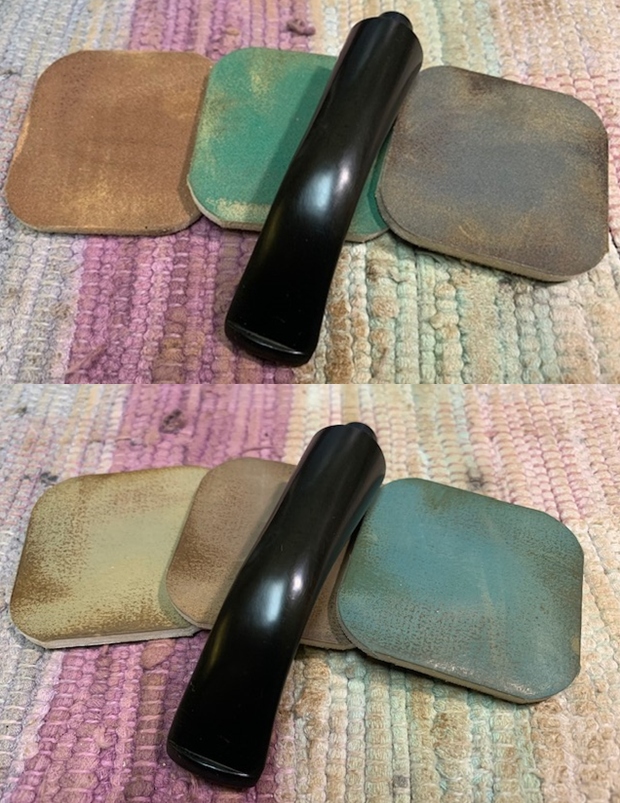
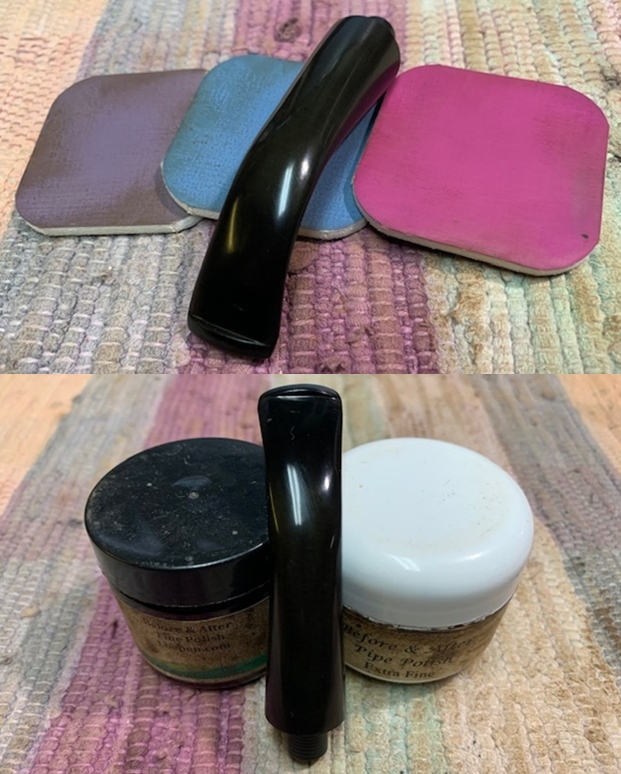
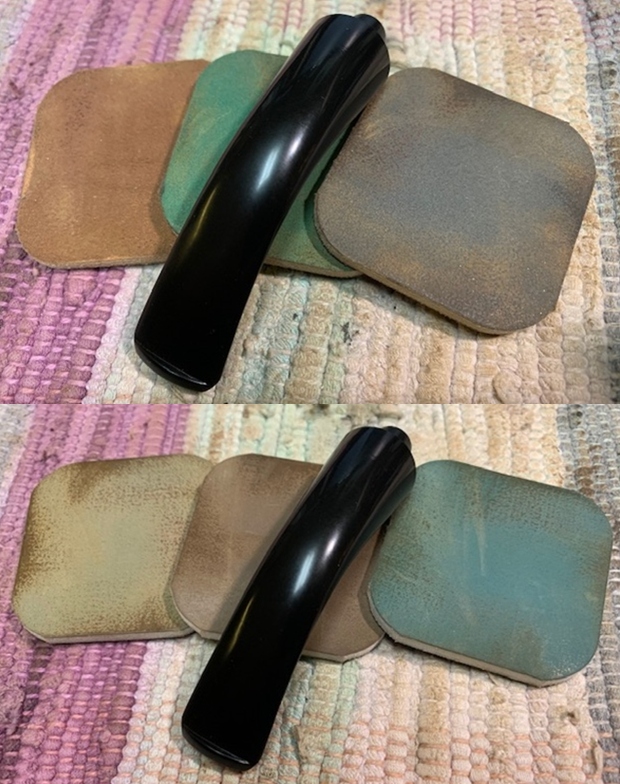
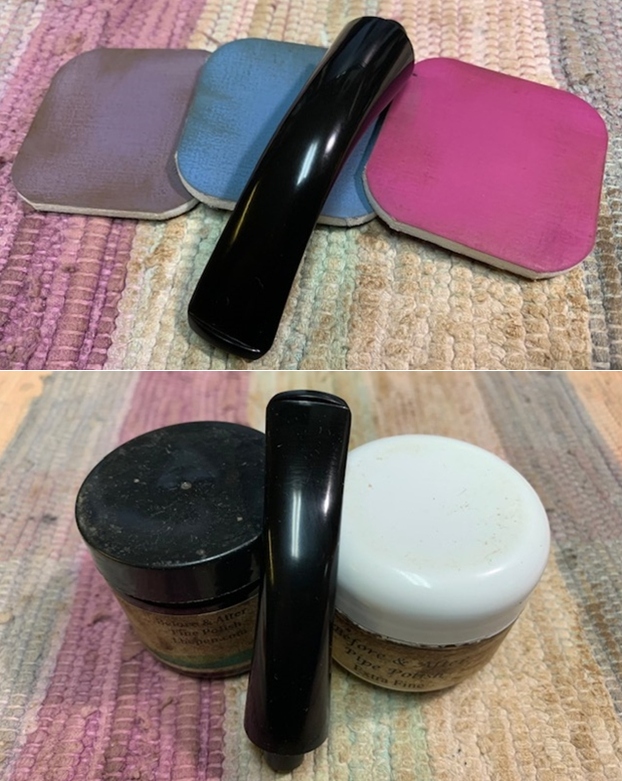
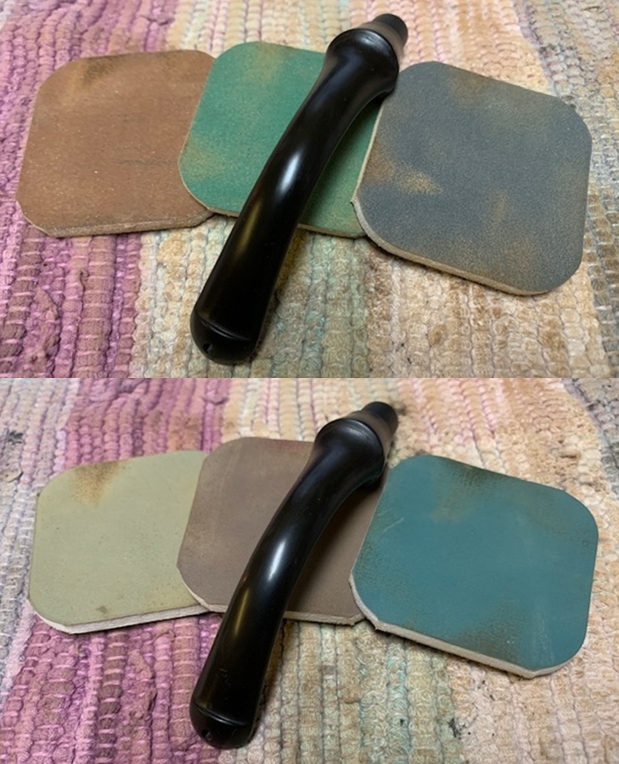
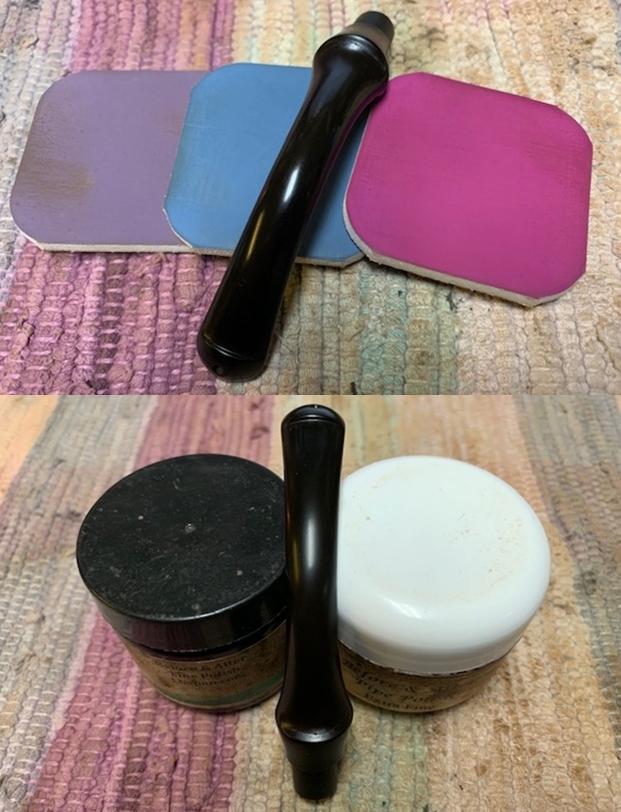
 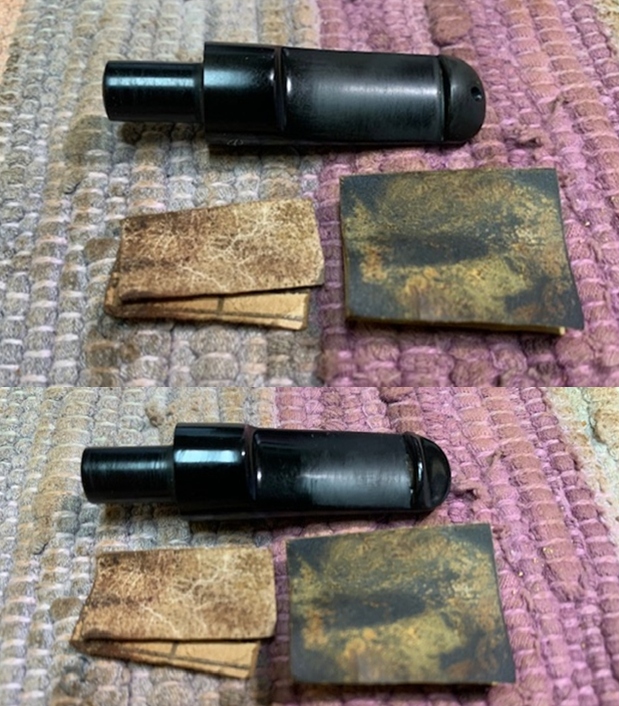 I polished the stem with micromesh sanding pads – wet sanding with 1500-12000 grit sanding pads. I wiped it down after each sanding pad with Obsidian Oil. I polished it with Before & After Pipe Stem Polish – both Fine and Extra Fine.
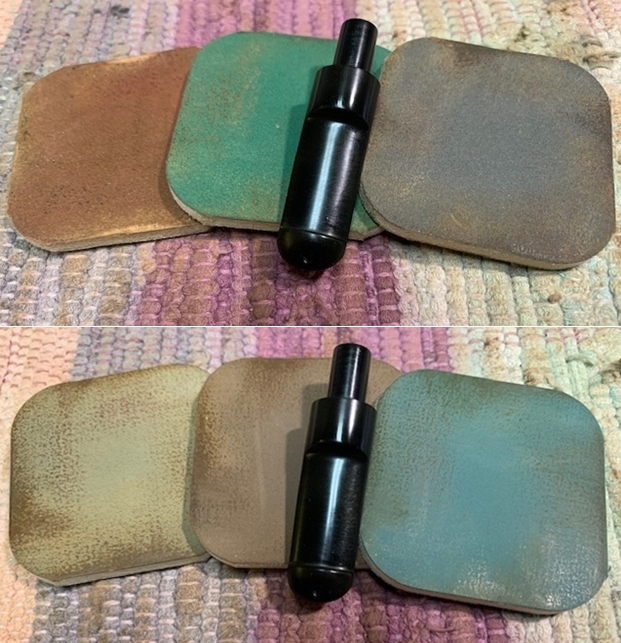
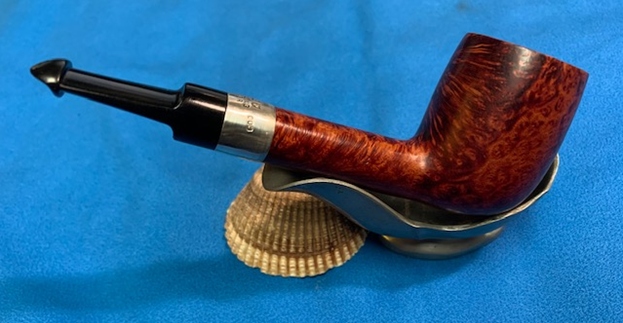
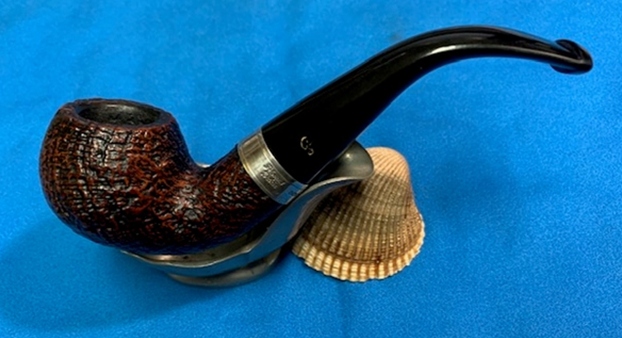
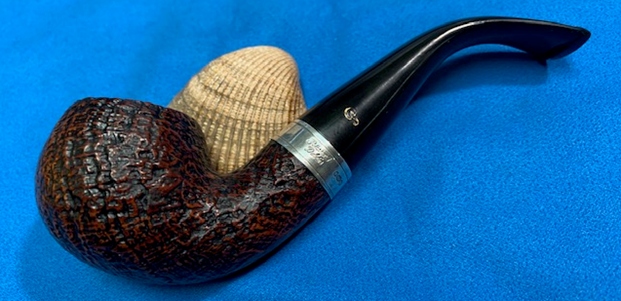
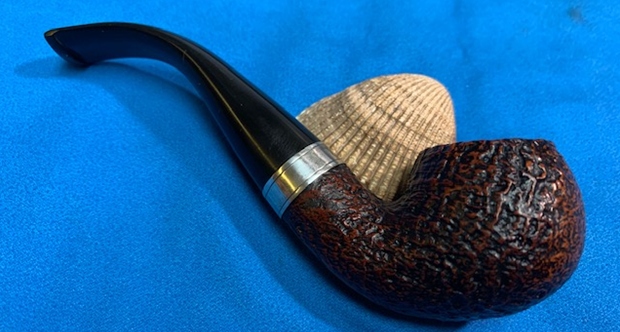
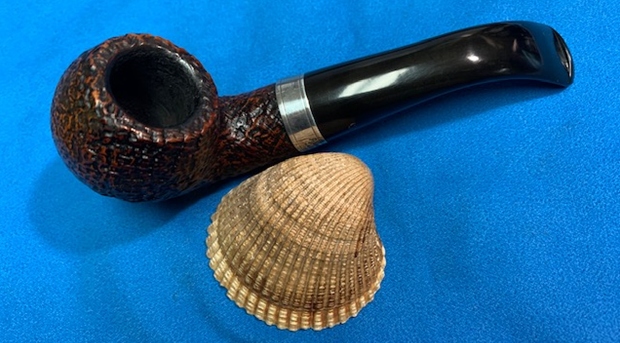
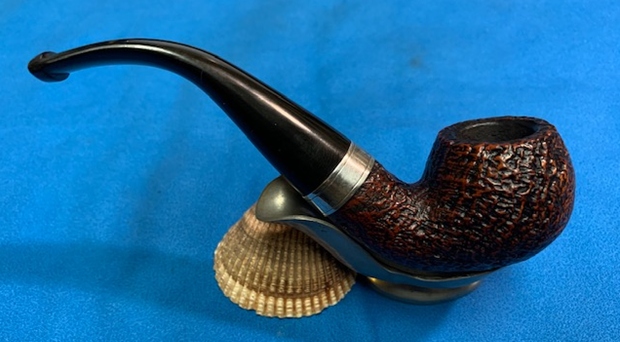
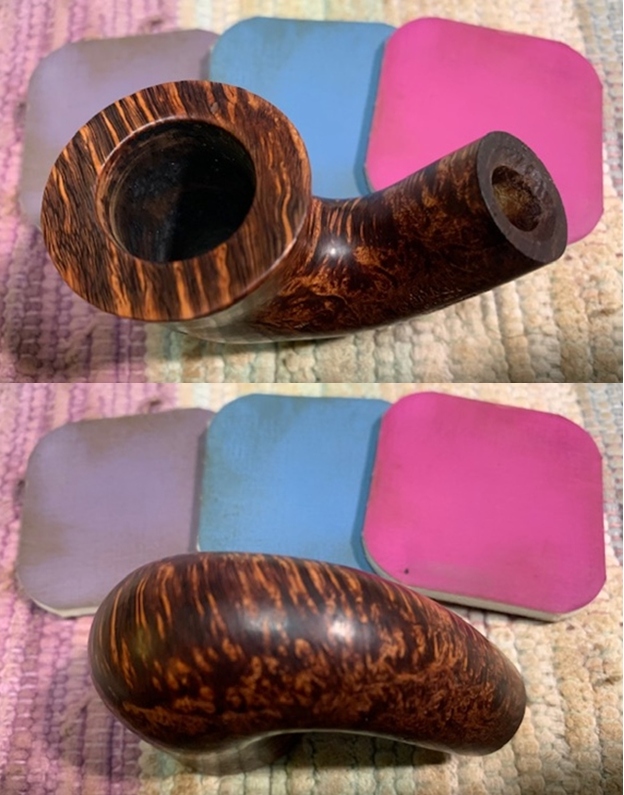
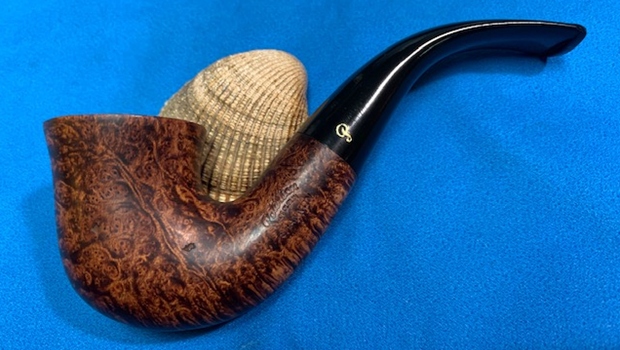
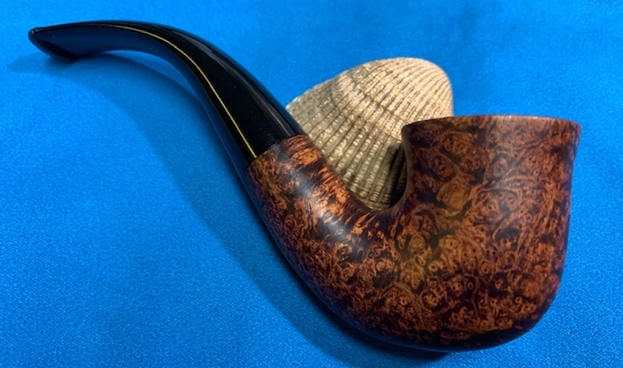
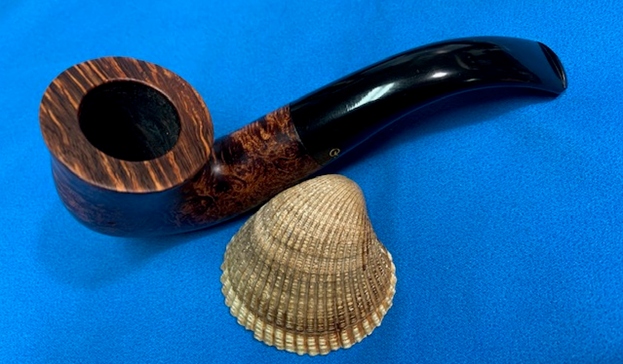
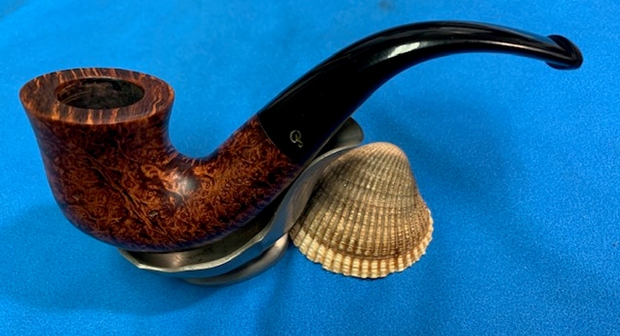
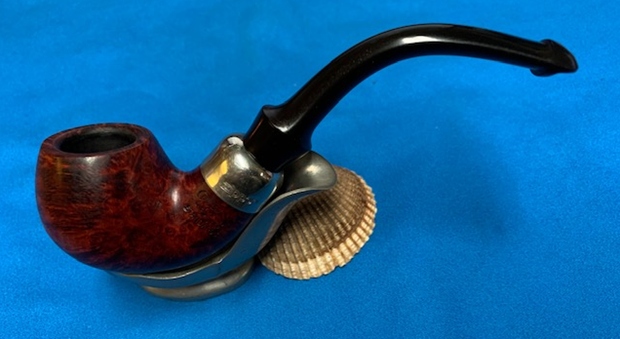
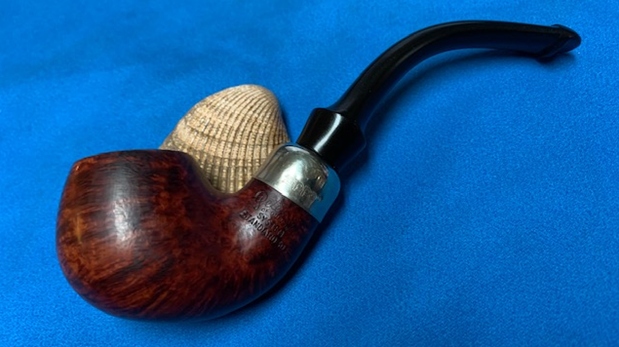
 I am excited to finish this Peterson’s of Dublin “Sterling Silver” 53 Lovat. I put the pipe back together and buffed it with Blue Diamond on the buffing wheel. I gave the bowl and the stem multiple coats of carnauba wax. I hand buffed the pipe with a clean buffing pad to raise the shine. It is fun to see what the polished bowl looks like with the rugged rustication all around it. Added to that the polished Sterling Silver band and the black vulcanite stem was beautiful. This smooth Classic Peterson’s Lovat is nice looking and the pipe feels great in my hand. It is light and well balanced. Have a look at it with the photos below. The dimensions are Length: 5 inches, Height: 1 ¾ inches, Outside diameter of the bowl: 1 ¼ inches, Chamber diameter: ¾ of an inch. The weight of the pipe is 34grams/1.20oz. It is a beautiful pipe and one that will be on the Irish Pipe Makers section of the rebornpipes store soon. If you are interested in adding it to your collection let me know. Thanks for walking through the restoration with me as I worked over this pipe. Thanks to each of you who are reading this blog.
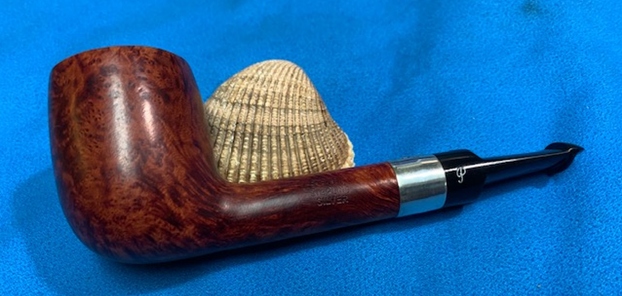


