Blog by Kenneth Lieblich
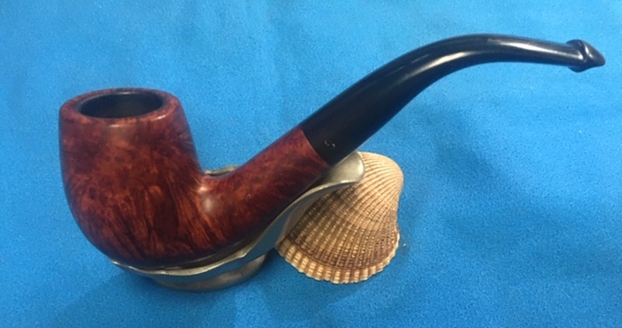
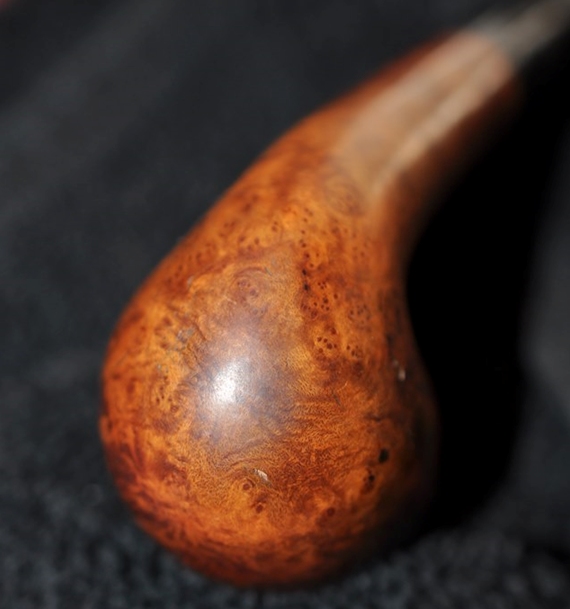
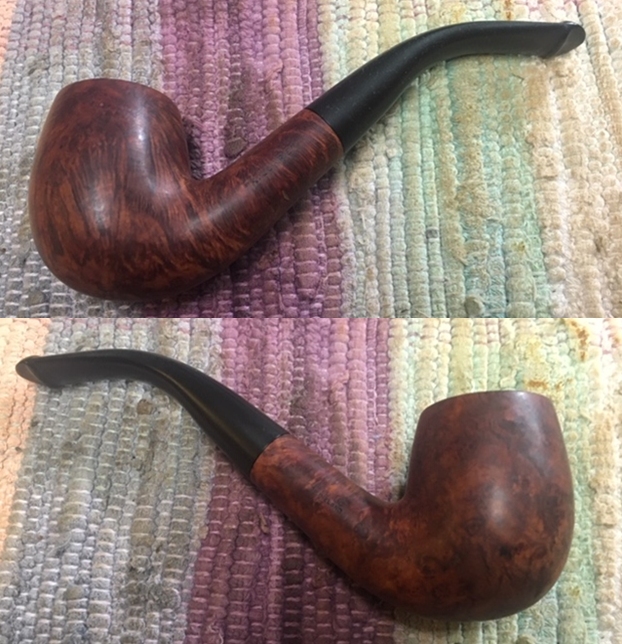
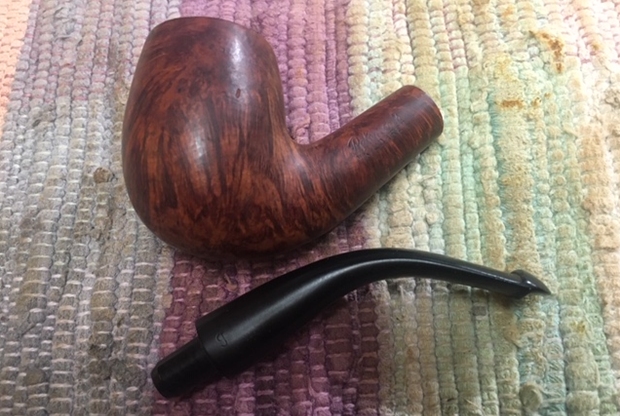
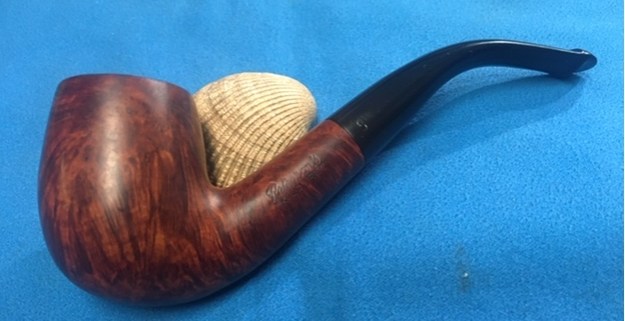
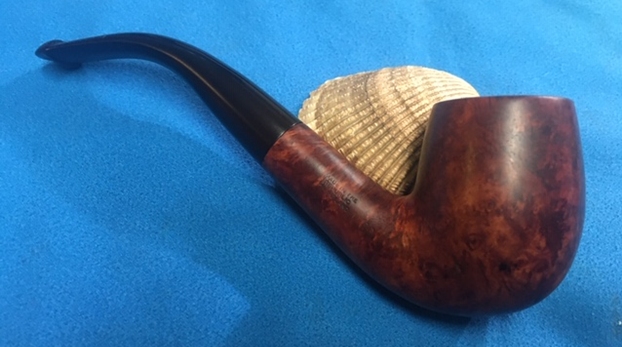
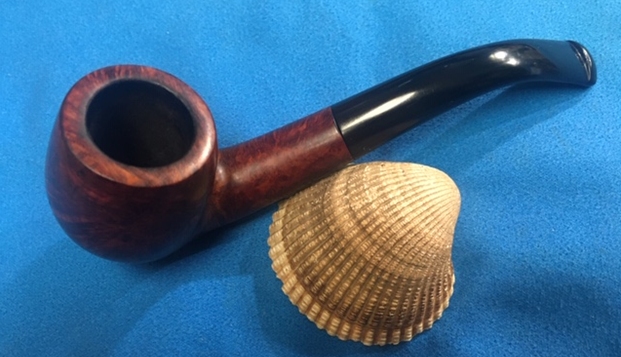
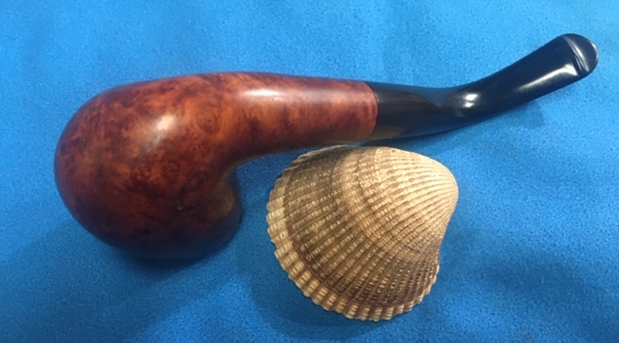
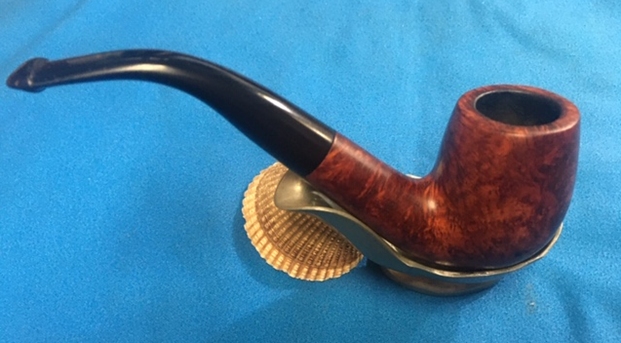
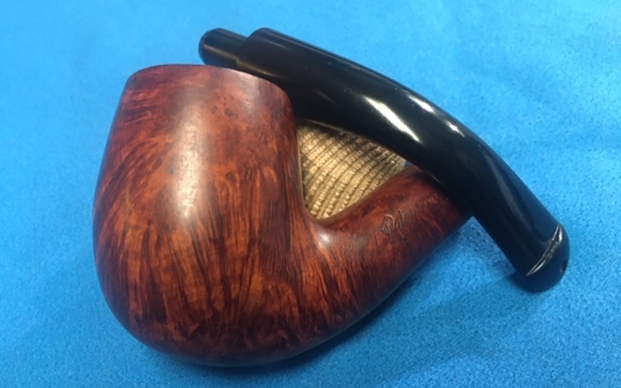
How fine it is to come across a pipe as comely as this! I found this republic-era Peterson “Kildare” bent billiard 69 recently and I was charmed by it right away. There is absolutely beautiful grain on this pipe! There is a feeling of satisfaction in just looking at it and a feeling of comfort with it in hand. Despite its rather shabby appearance when I found it, the pipe held great promise – and I was sure that I could tease out its beauty with a little TLC.
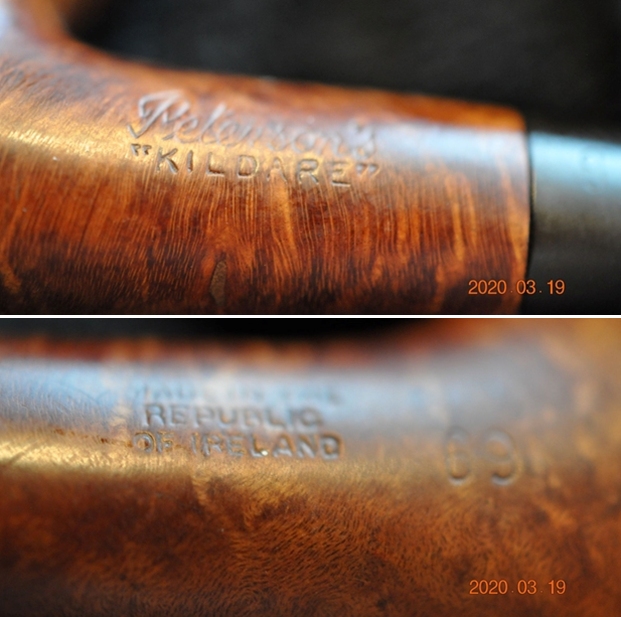
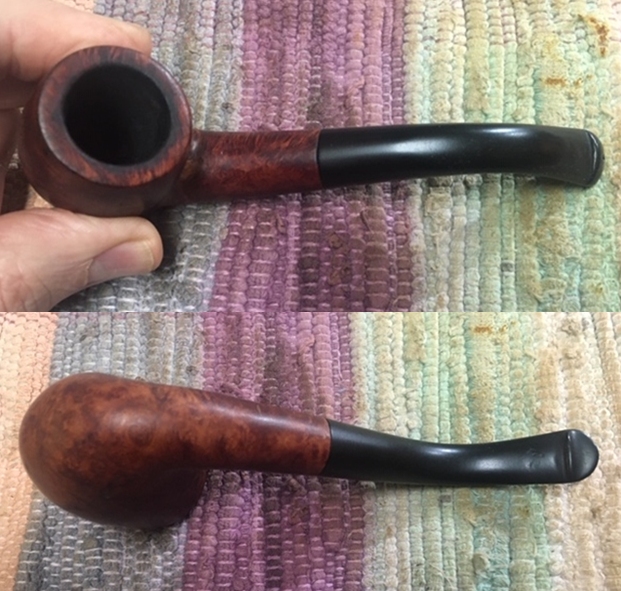
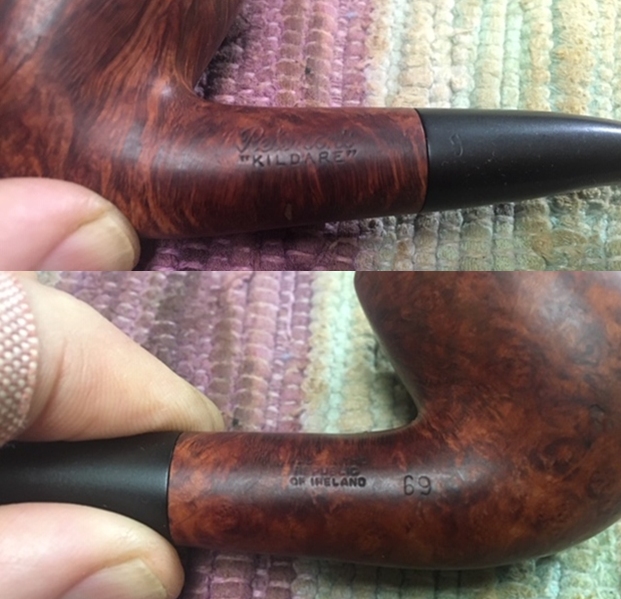
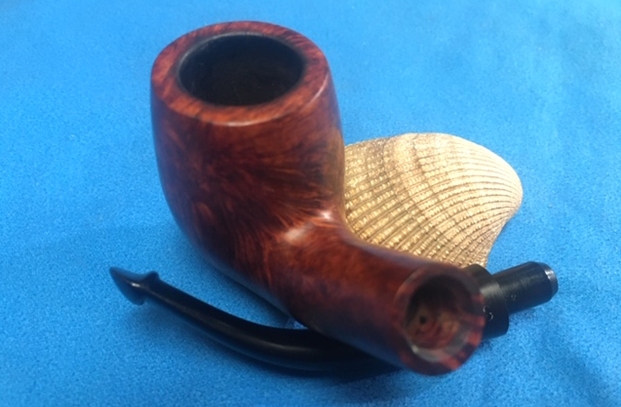
 Let’s have a closer look. This Peterson pipe has the classic bent-billiard shape: beautiful curves, tapered stem, and the traditional Peterson P-lip stem. The markings on the left side of the shank are Peterson’s [over] “Kildare”. The right side of the shank showed Made in the [over] Republic [over] of Ireland. Further along the right side of the shank was the shape number: 69. Naturally, the Peterson logo “P” was engraved on the stem – more about that “P” later.
 I know something about Peterson pipes, but little about the Kildare line, so I went over to Pipedia to have a look. Obviously, there is a long and very good article about Peterson – here is the link. Here is a brief quotation about the republic-era pipes:
1950 – 1989 The Republic Era – From 1950 to the present time, the stamp for this era is “Made in the Republic of Ireland” in a block format generally in three lines but two lines have been used with or without Republic being abbreviated. During the 1950’s and 60’s the Kapp & Peterson Company was still in the ownership of the Kapp family. However, 1964 saw the retiral of the company Managing Director Frederick Henry (Harry) Kapp.
No mention was made of the Kildare line there, but Mark Irwin and Gary Malmberg’s book, The Peterson Pipe: The Story of Kapp & Peterson, did make mention of it:
Kildare (1965–) First issue of line with matte-finish in Classic Range shapes, P-Lip and fishtail mouthpiece. Second issue C.1979 as Kildare Patch, with rusticated patches on pipe surface. Third issue 2010, matte-brown, P-Lip or fishtail mouthpiece, no band. Fourth issue 2011-, burgundy sandblast finish, nickel army mount, fishtail mouthpiece, exclusive to smokingpipes.com. So? Does this mean I have a First Issue Kildare or a Third Issue Kildare (it’s clearly not Second or Fourth). Truth be told: I don’t know for sure. But the First Issue is the only one that specifically mentions the Classic Shapes, of which the 69 is one. So I have no reason to think that this isn’t from the earliest (1965-79) range. I am more than happy to be corrected by someone who knows more than I do!
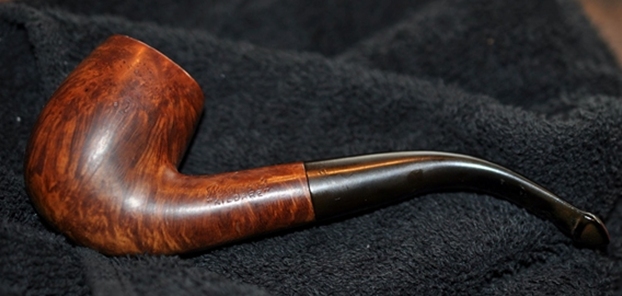
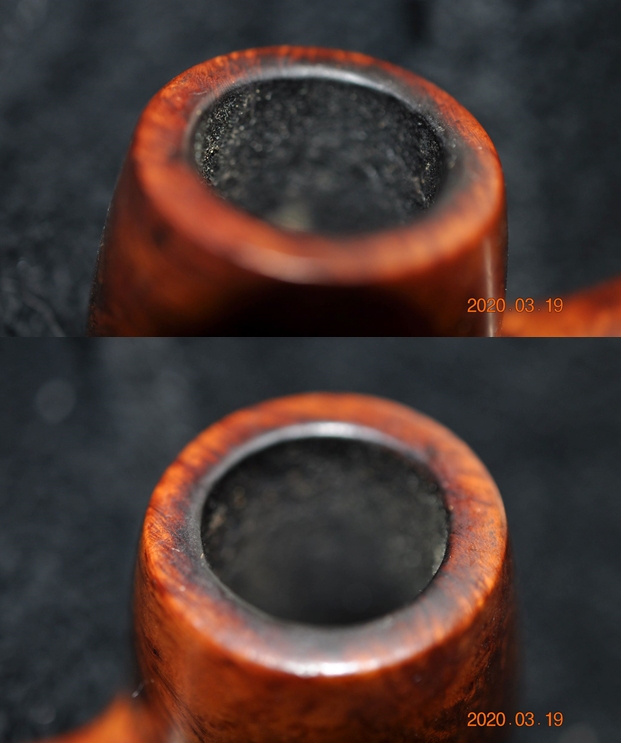
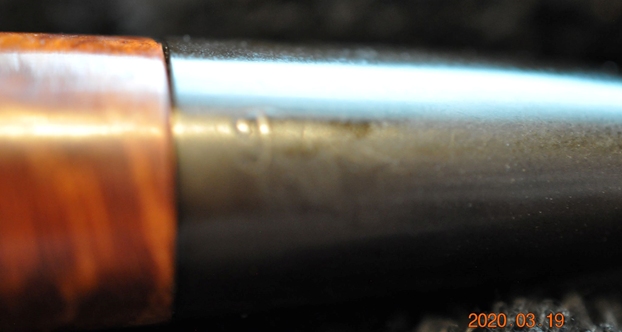
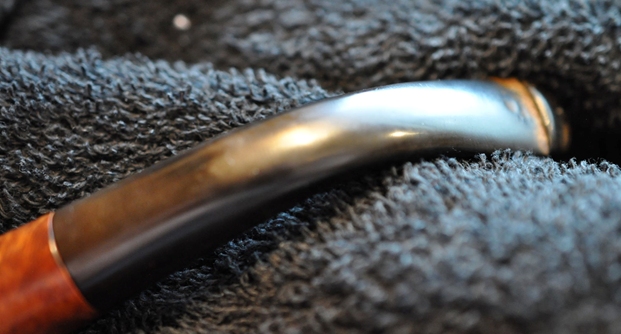
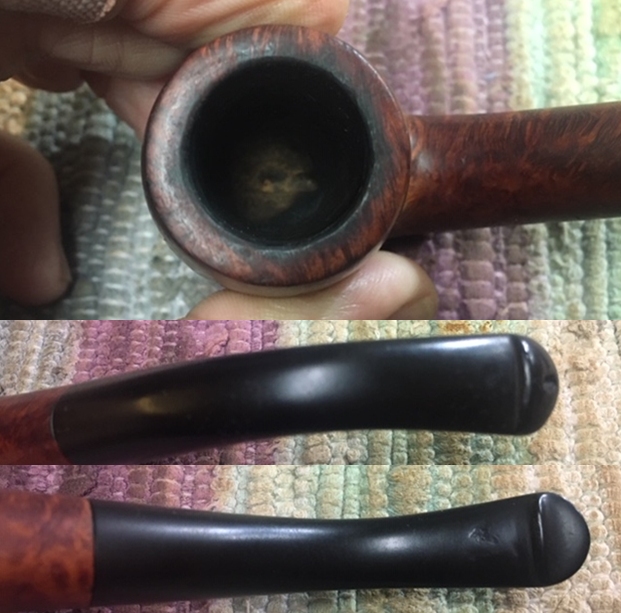
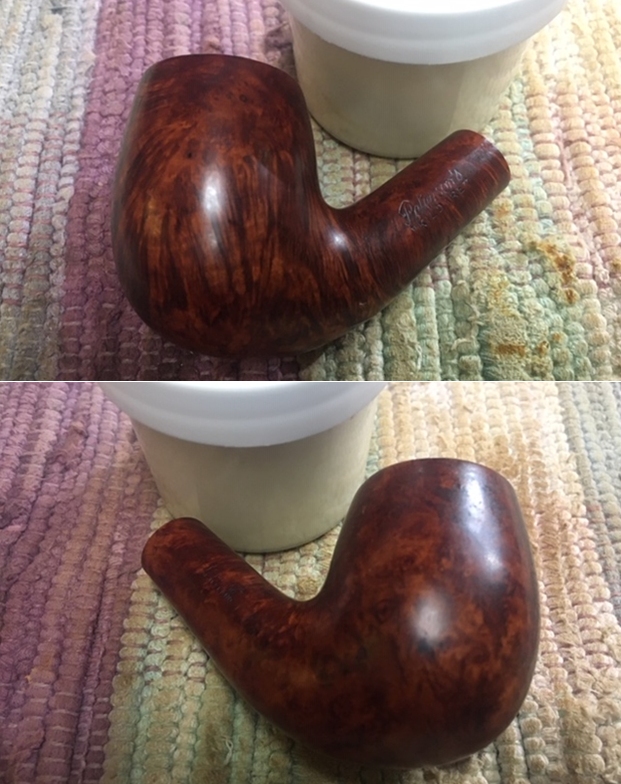
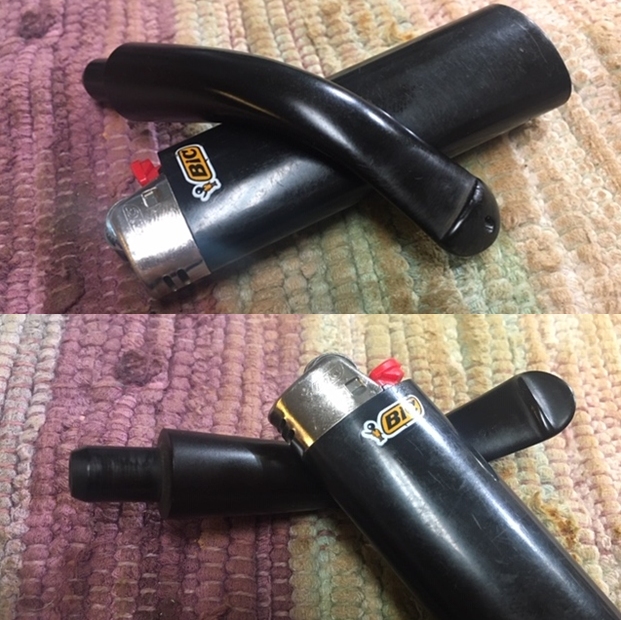
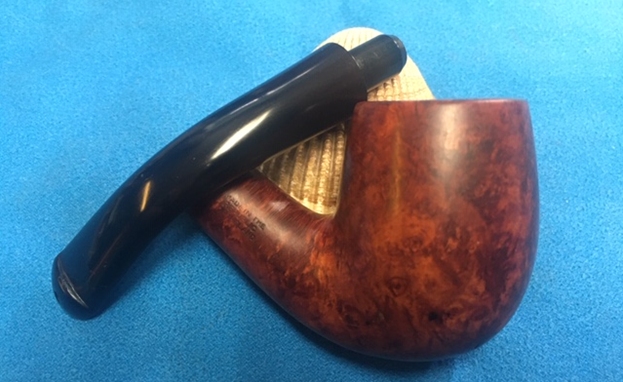
Let’s have a closer look at this pipe. Someone had clearly enjoyed this pipe in the past. No big problems with this pipe – just dirty. The rim of the bowl had a good amount of lava and there was some cake inside the bowl. Looks like there could be some burns on the rim too. The stummel has stunning grain and was merely dull and grungy. Fortunately, the stem was in good shape – just dirty and some oxidation to address.


 There was an inner tube in this pipe and it needed to be cleaned. I had to use the heat un to get it out first, though. Then, I threw it in some lemon-infused isopropyl alcohol and let it soak for a while. I took it out, cleaned with some SoftScrub, gave it a rinse, and gave it a polish. Much better.
 Stem next. As usual, I cleaned the insides with lemon-infused isopropyl alcohol and some pipe cleaners. Fortunately, it wasn’t too dirty inside. Then I wiped down the outside of the stem with Murphy’s Oil Soap on some cotton rounds – that removed some exterior dirt. I wiped them stem with SoftScrub, then of course, I stuck it in the deoxidizing solution overnight. The next day, I scrubbed it down again with some SoftScrub on cotton rounds.


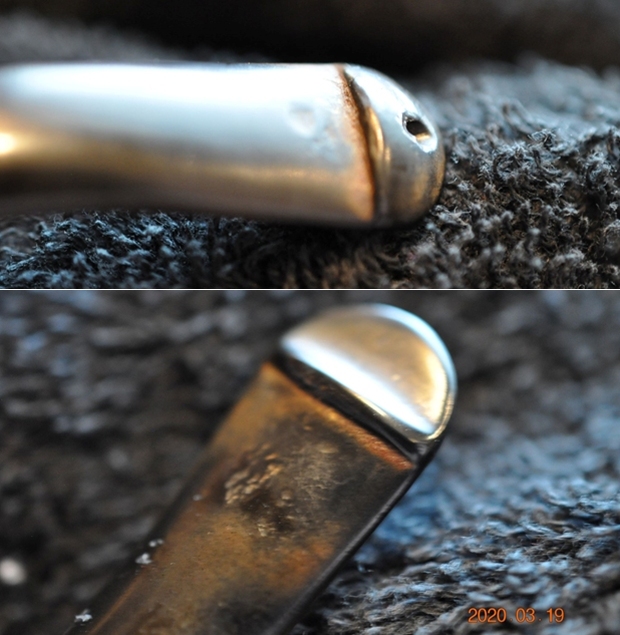
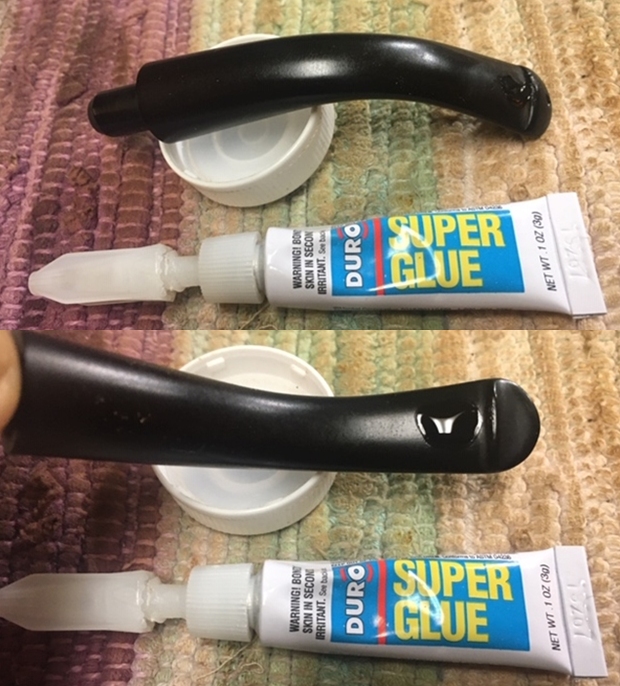
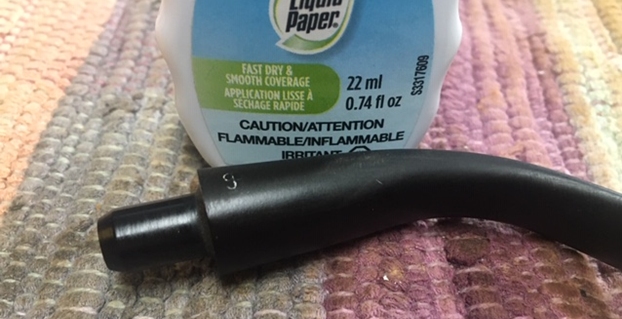
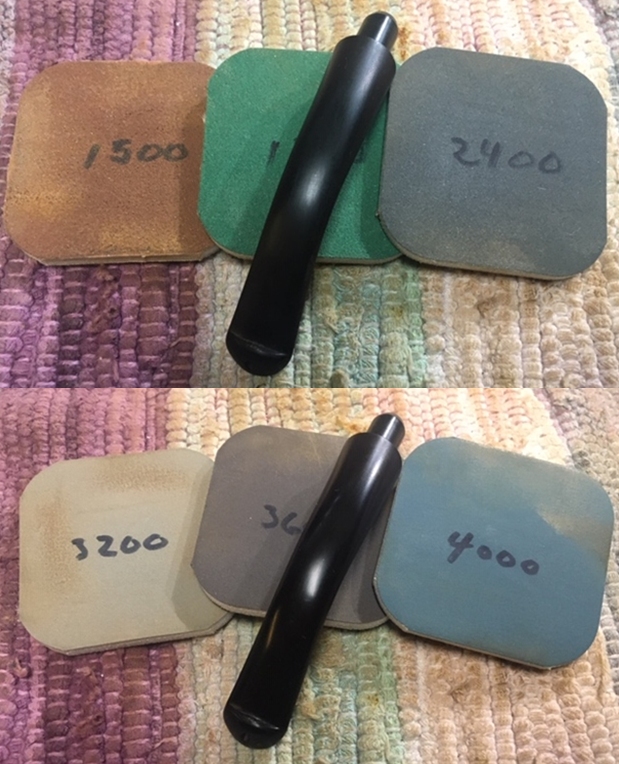
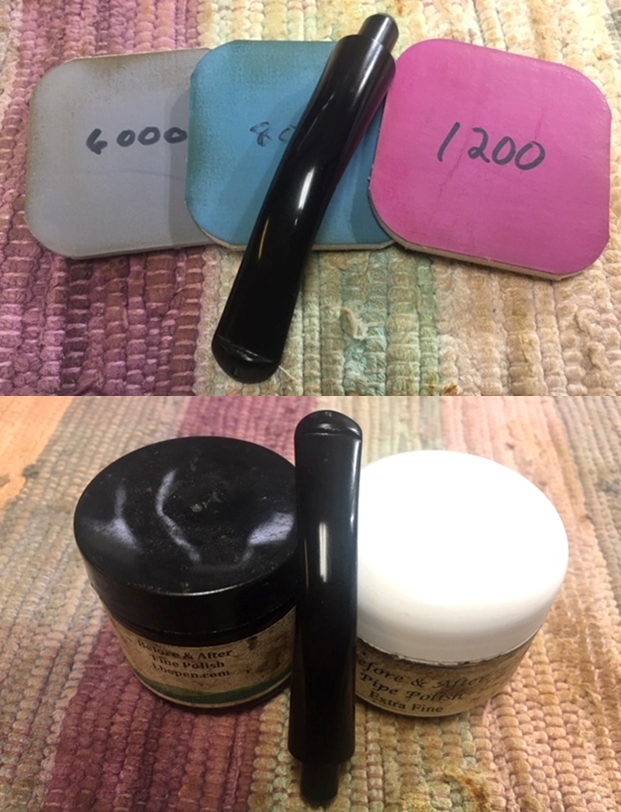
 Before moving on to sanding, I had a problem. The deox solution removed the stylized “P” from the stem. I wanted to restore the logo, but I could see that the impression was very shallow. I painted that “P” in white and let it dry. I then used all nine Micromesh pads (1,500 through 12,000 grit) to bring out the lovely black lustre on the stem. I also used Obsidian Pipe Stem Oil in between each pad scrubbing (from 3,600 on). Unfortunately, the “P” never really came back properly. Oh well.
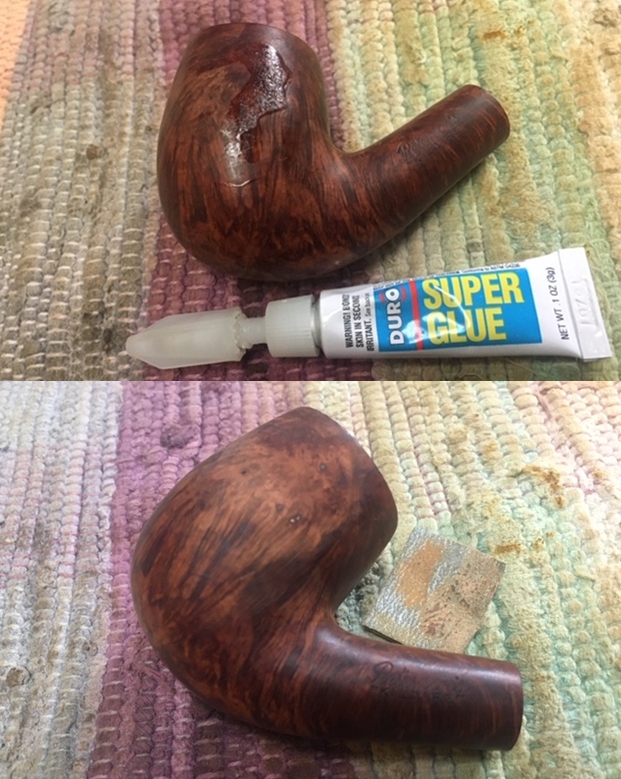
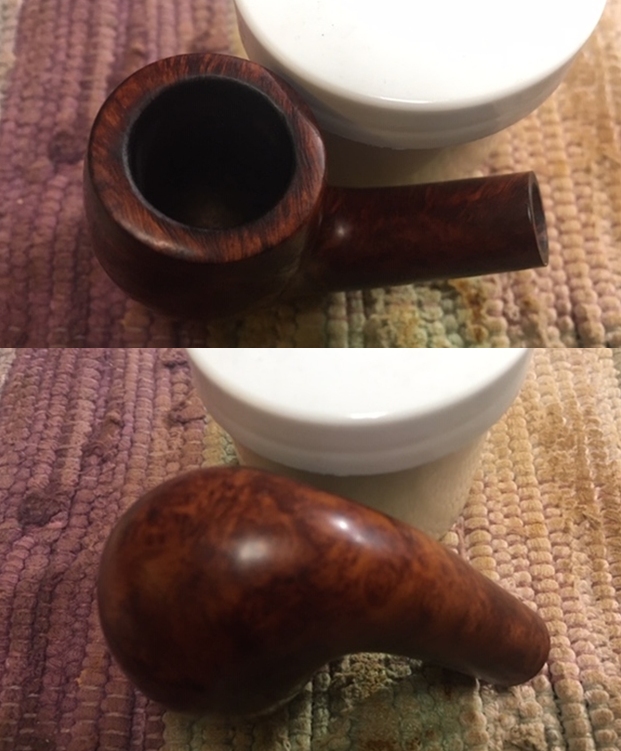
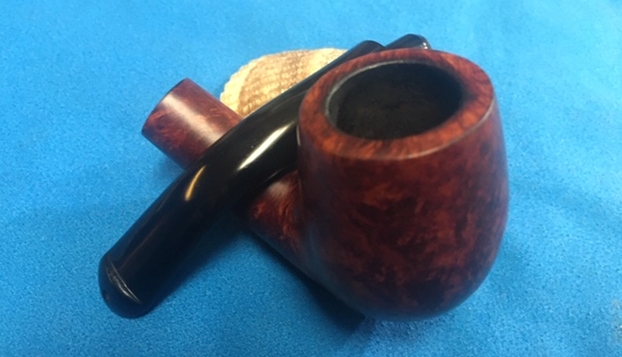
 Setting aside the stem, I grabbed the stummel and started on that. I took a piece of machine metal and gently scraped away the lava on the rim. I do this in order to remove the filth without damaging the rim. I saw that there were some burn marks.
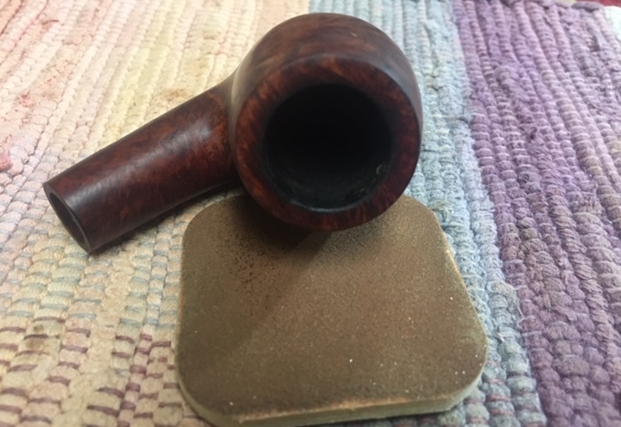
 I reamed out the bowl. I used the KleenReem to remove the built-up cake and followed that with 220-grit sandpaper taped to a dowel to eliminate as much as I could. I took the chamber down to bare briar, as I wanted to ensure there were no hidden flaws in the wall. Fortunately, there were none.
 Just like the stem, I cleaned the insides with lemon-infused isopropyl alcohol and some pipe cleaners and Q-tips. One has to keep cleaning until the pipe cleaners no longer show any interior filth.
 I decided that a de-ghosting session would be a good idea. I thrust cotton balls into the bowl and the shank and saturated them with 99% isopropyl alcohol. I let the stummel sit overnight. This caused the oils, tars and smells to leach out into the cotton. The bowl was nice and clean after this.
 I then took some 400-grit sandpaper and gently sanded down the inside edge of the bowl. I wanted to improve the burn marks and remove any remaining detritus. Once done, I thoroughly cleaned the outside with Murphy’s on cotton rounds. The pipe was really beginning to look beautiful. I followed that up by cleaning the insides of the stummel with some dish soap and tube brushes.

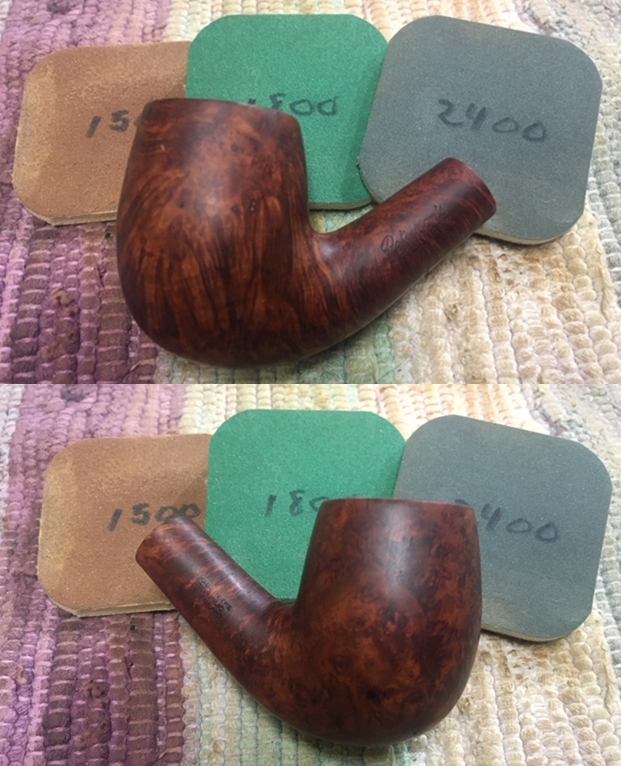
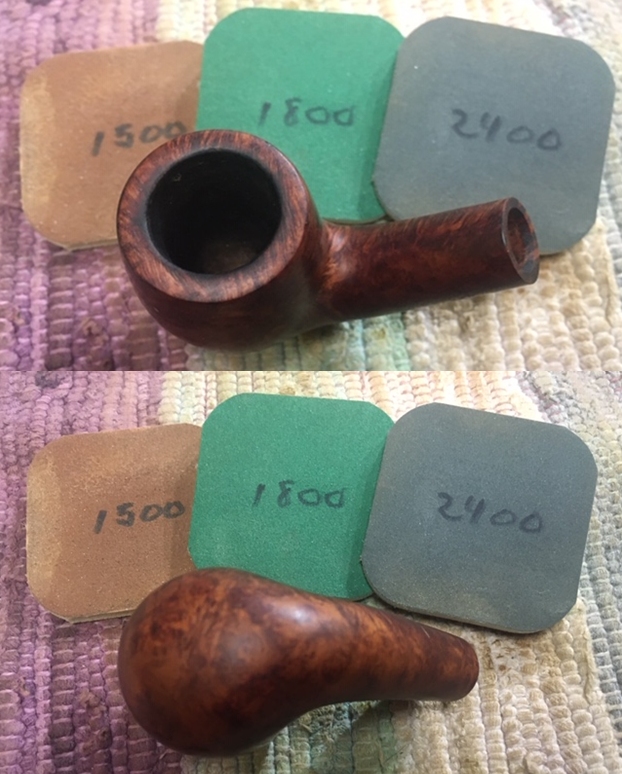
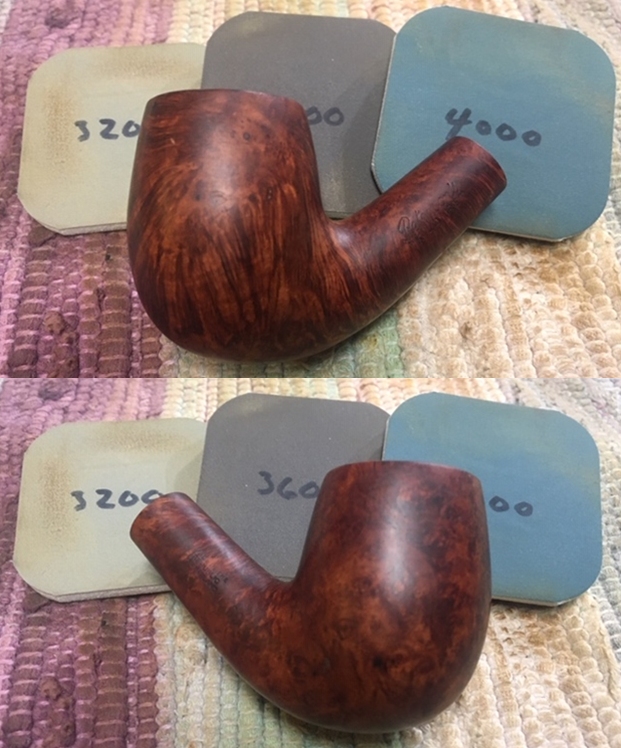
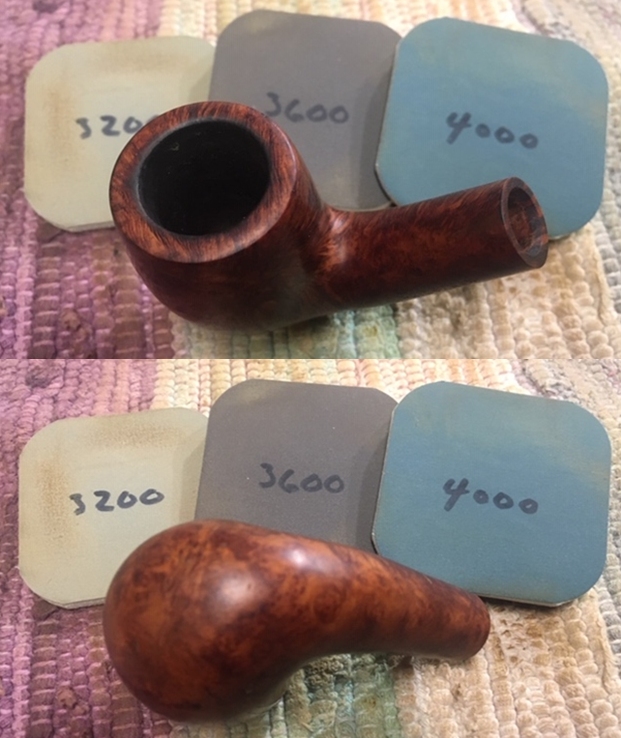
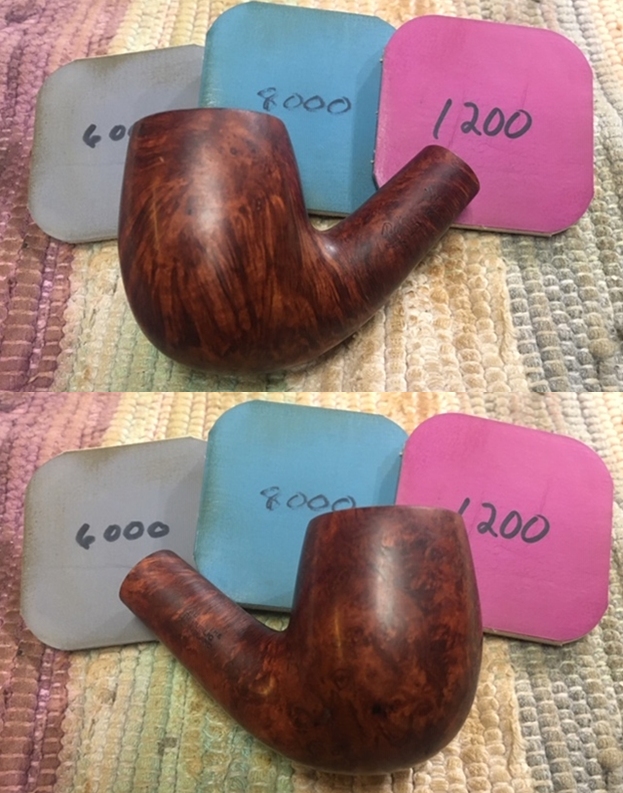
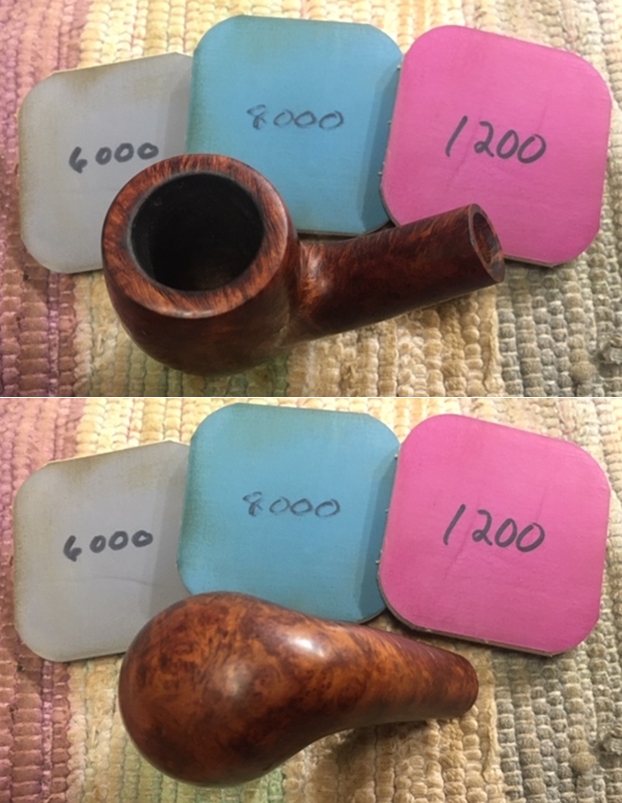
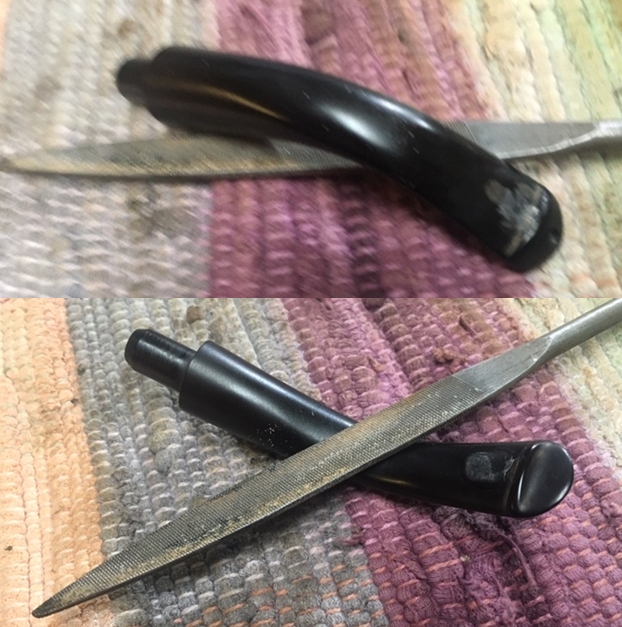
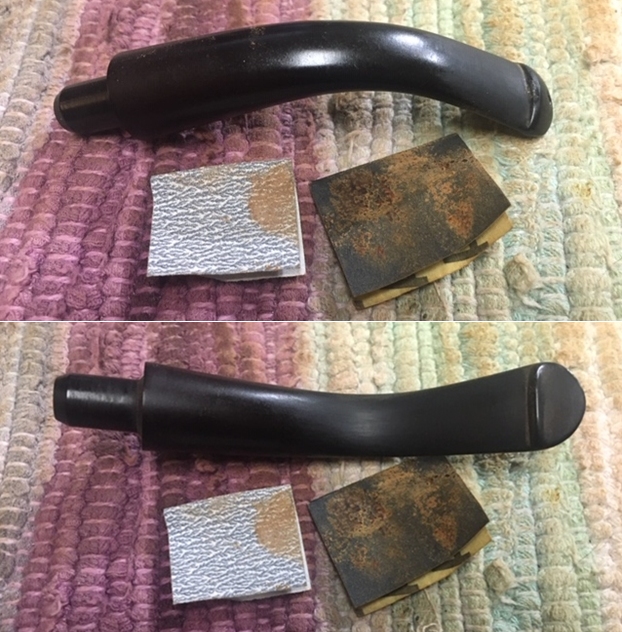
 After this, I used all nine Micromesh pads (1,500 through 12,000 grit) to sand the stummel smooth.

 I then applied some Before & After Restoration Balm which I massaged into the wood and let sit for 20 minutes or so. After that, I rubbed it with a microfiber cloth. The balm brings out the best in the beautiful wood. It makes things shine and really shows the lustre.
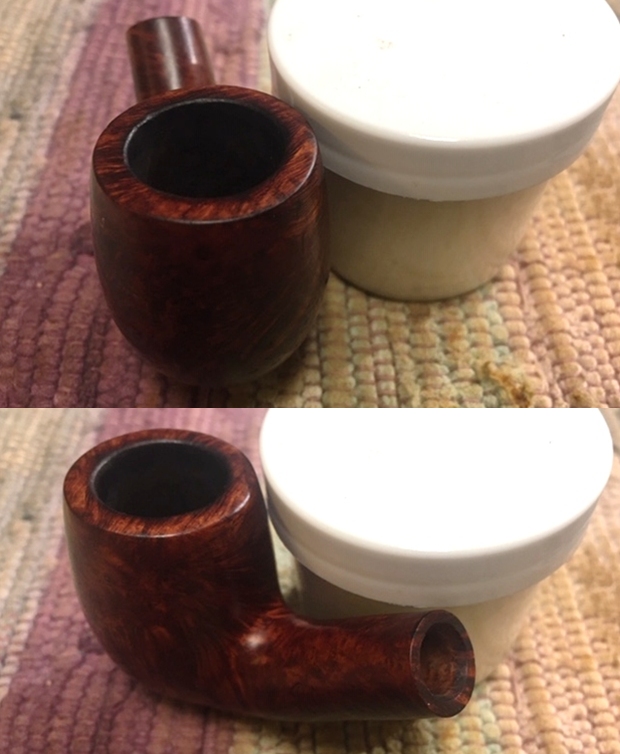
 Finally, I took it to the buffer and used some White Diamond and a few coats of carnauba wax.
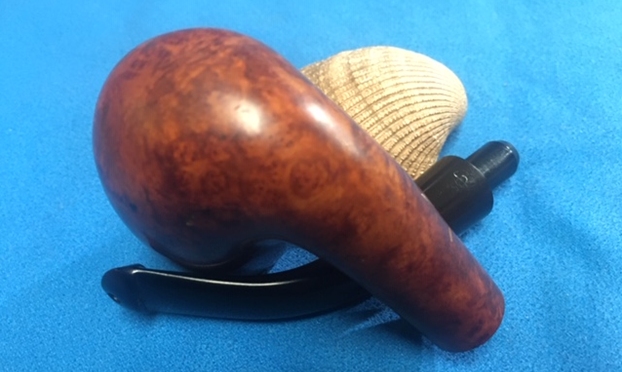
 This Peterson Kildare 69 bent billiard really came out well. I am proud of the work and I’m sure the new owner will love it! Just look at the grain! I am pleased to announce that this pipe is for sale! If you are interested in acquiring it for your collection, please have a look in the ‘Irish’ pipe section of the store here on Steve’s website. You can also email me directly at kenneth@knightsofthepipe.com. The approximate dimensions of the pipe are as follows: length 5½ in. (140 mm); height 2⅜ in. (60 mm); bowl diameter 1½ in. (38 mm); chamber diameter ⅞ in. (21 mm). The weight of the pipe is 1⅜ oz. (42 g). I hope you enjoyed reading the story of this pipe’s restoration as much as I did restoring it. If you are interested in more of my work, please follow me here on Steve’s website or send me an email. Thank you very much for reading and, as always, I welcome and encourage your comments.