by Steve Laug
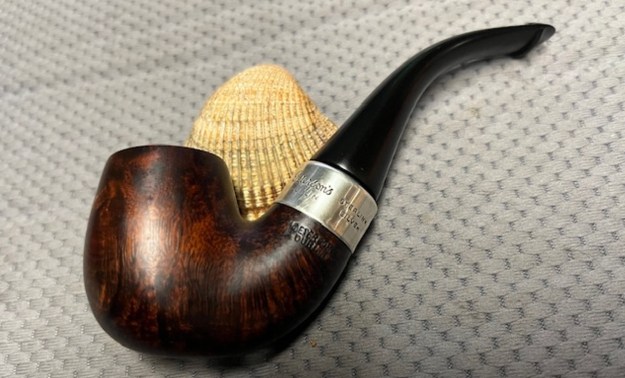
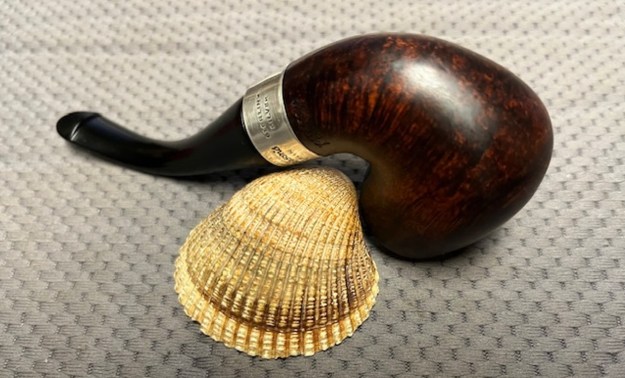
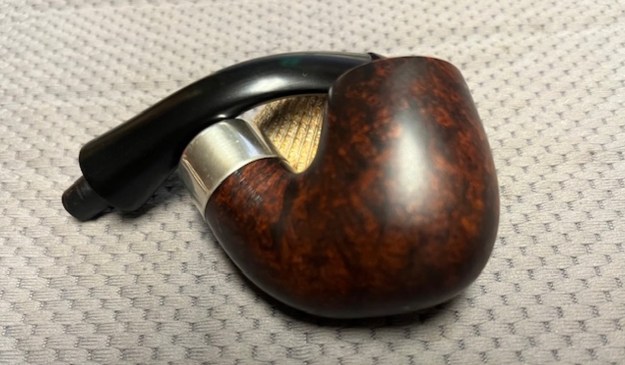
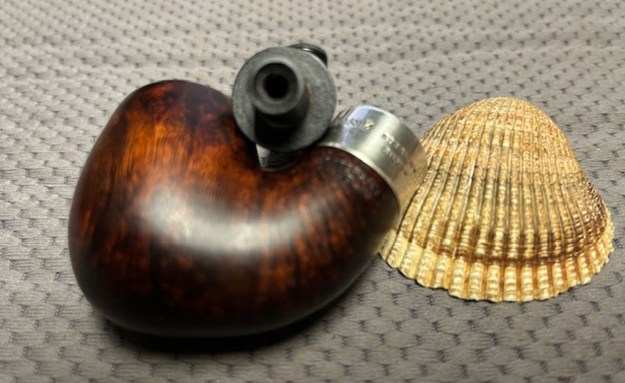
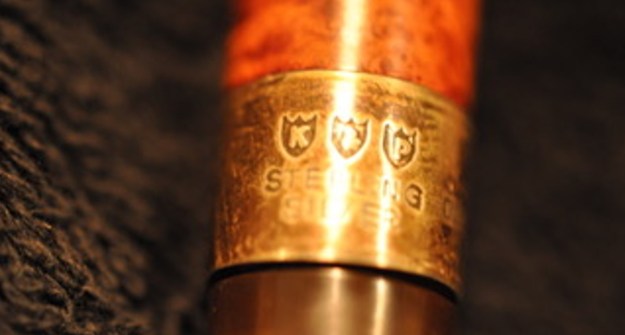
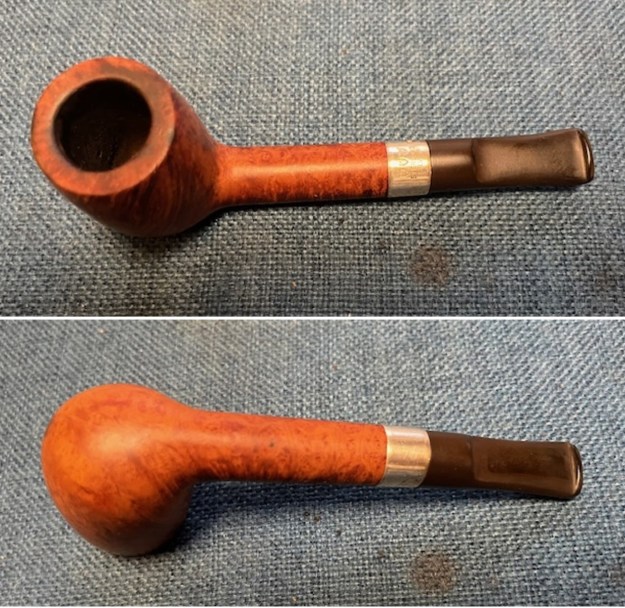
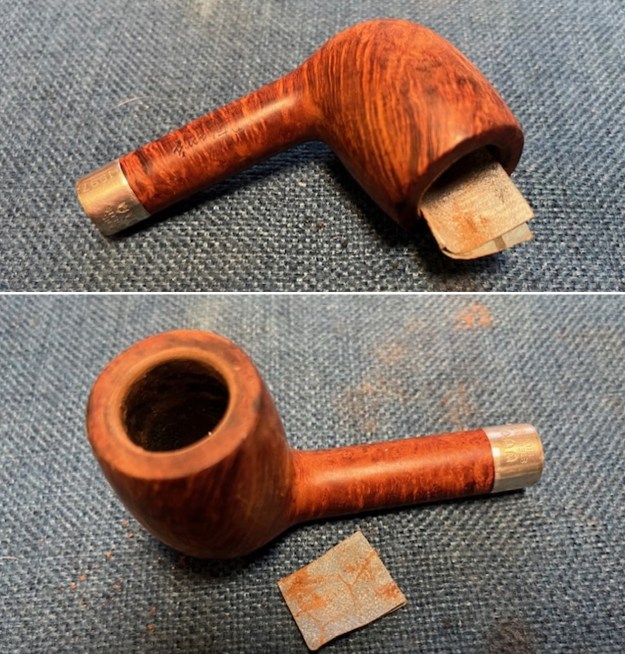
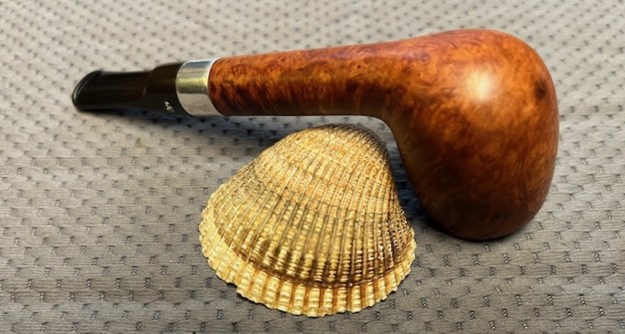
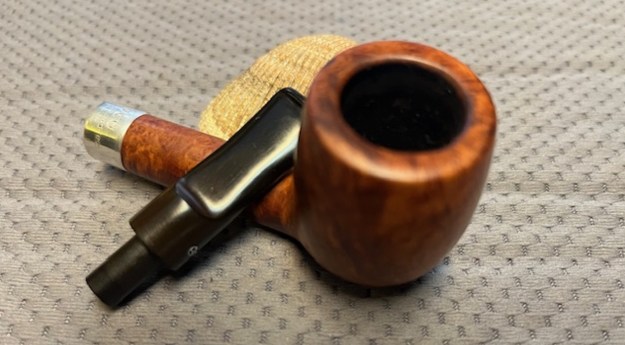
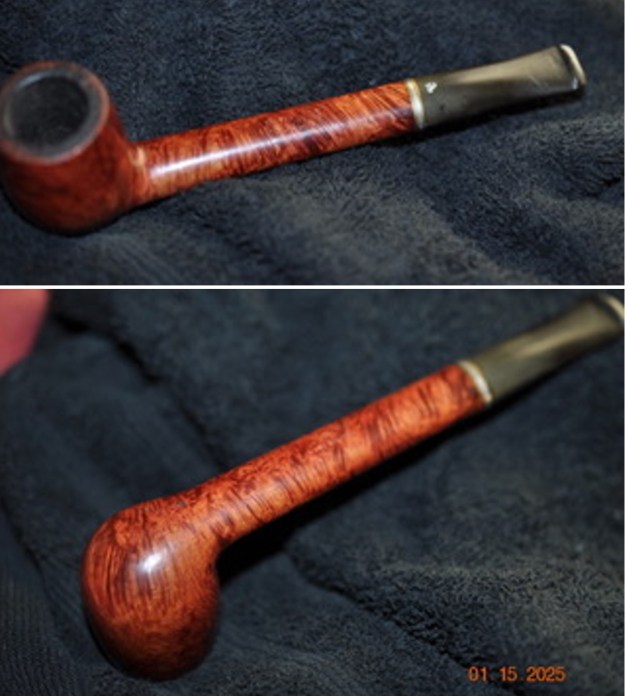
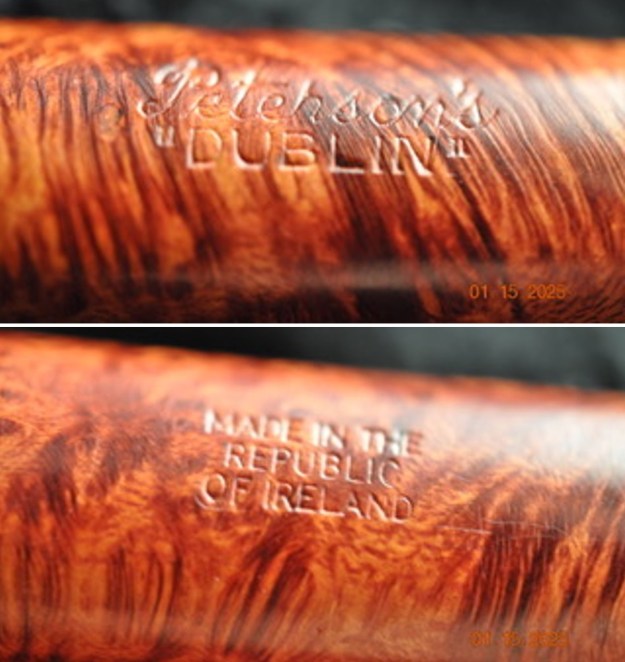
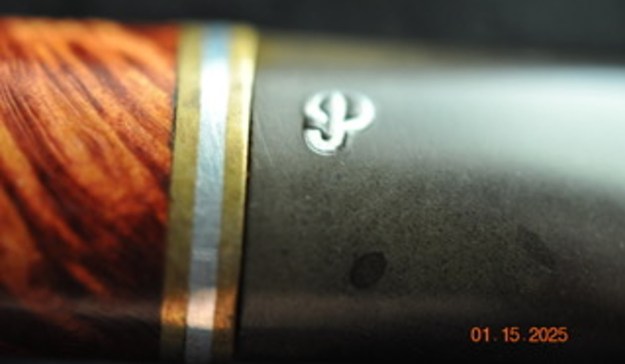
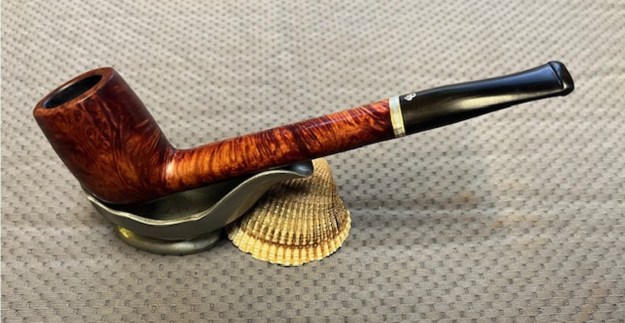
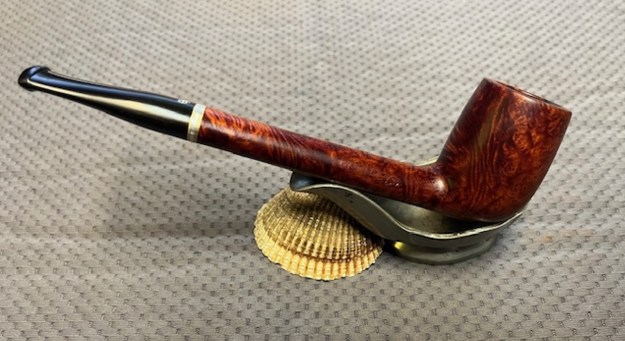
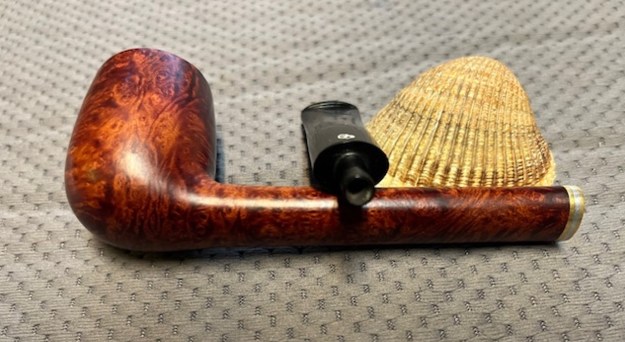
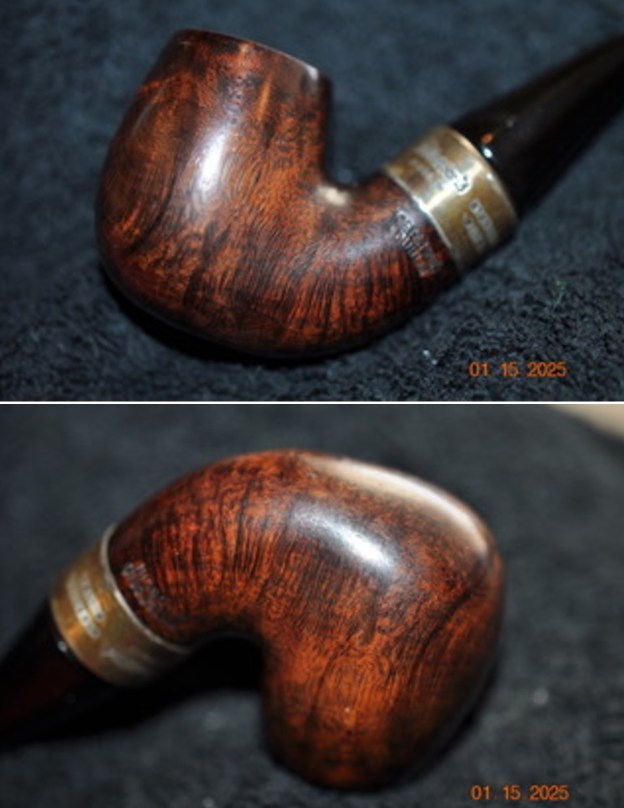
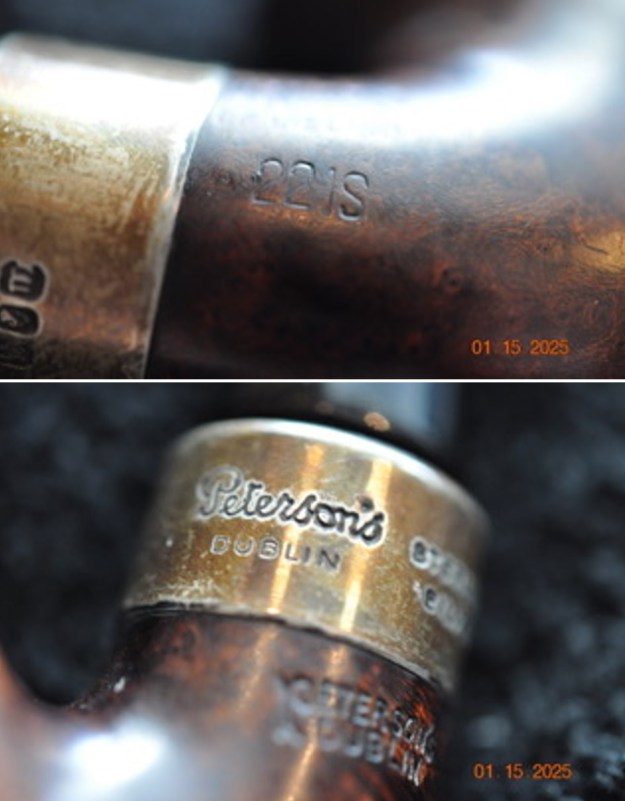
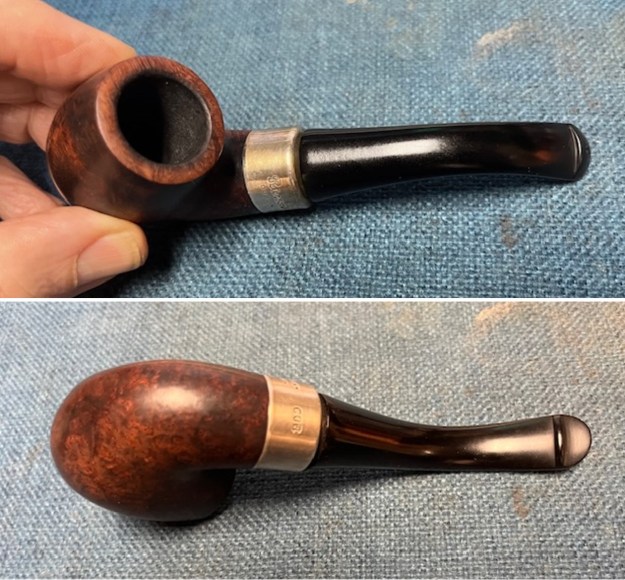
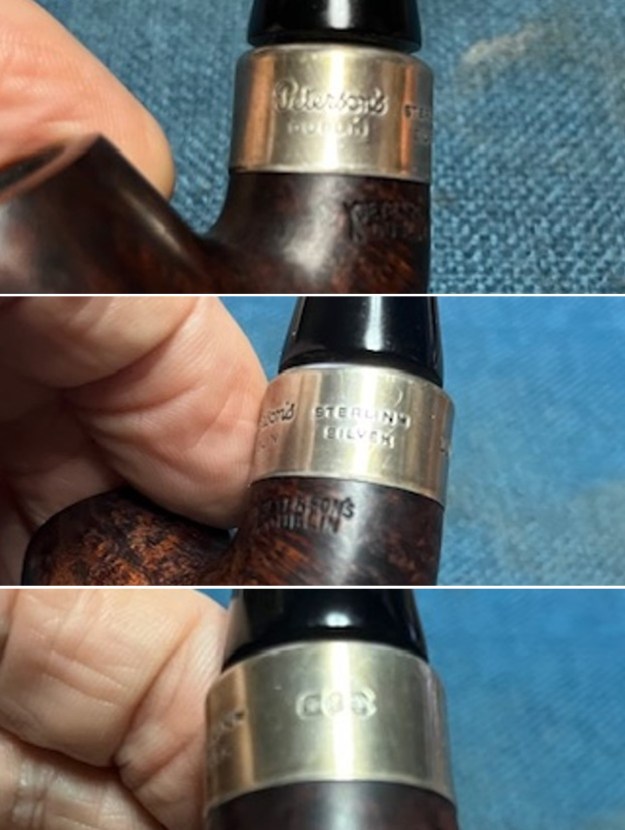
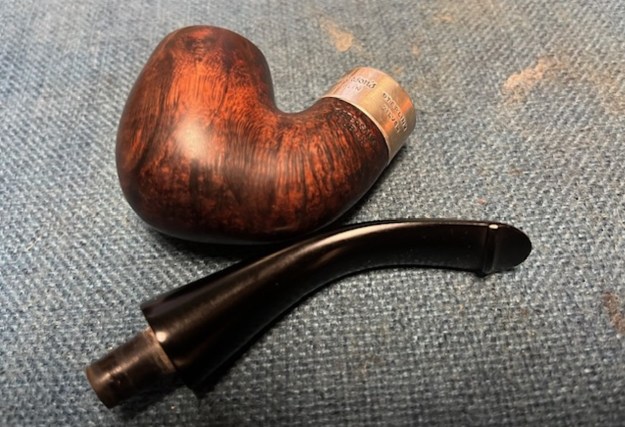
The next pipe I have chosen is another Peterson’s Dublin Bent Billiard pipe. This one is a nice smaller size It has a silver ferrule and a taper style Peterson’s stem on the shank end. It came to us from our contact in Copenhagen, Denmark on 04/11/2024. This pipe was obviously a favourite of the previous pipe smoker. It had been well smoked but was also well cared for. The bowl was recently reamed and there was no lava on the rim. The briar was dirty with grime and oils ground into the finish and some of the lava flowing down the bowl sides. The Sterling Silver ferrule was oxidized but undamaged. The pipe was stamped vertically on the left side and read Peterson’s with a forked P [over] Dublin. On the right side it had the three-line Republic of Ireland stamp [over] the shape number 221S. The ferrule was stamped Peterson’s [over] Dublin on the top left side. That is followed by Sterling [over] Silver. To the right that it has three hallmarks – Hibernia seated arm on a harp (signifies country of manufacture), a crowned harp designating Sterling quality and finally a Date Letter mark – in this case it is an italic “m” (1978). The stem was lightly oxidized and was free of tooth marks or chatter on both sides ahead of the button. Jeff took photos of the pipe before he started his clean up work on it.
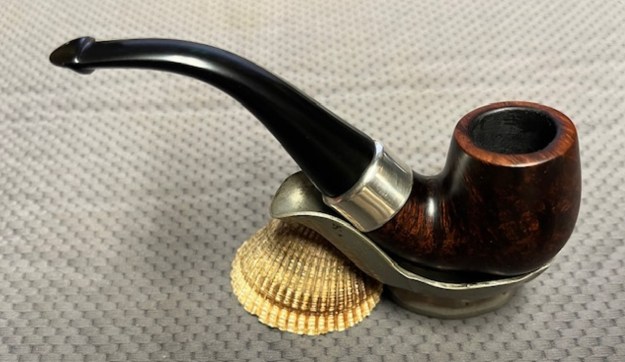
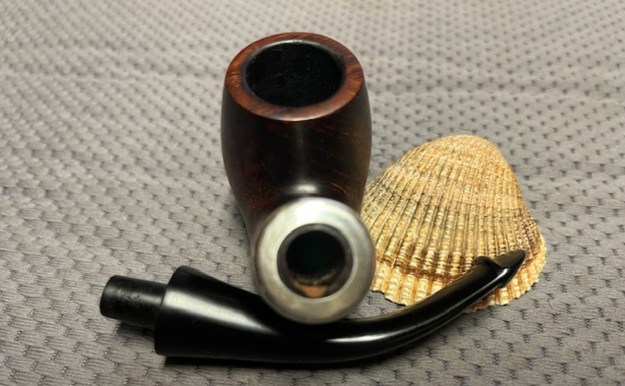
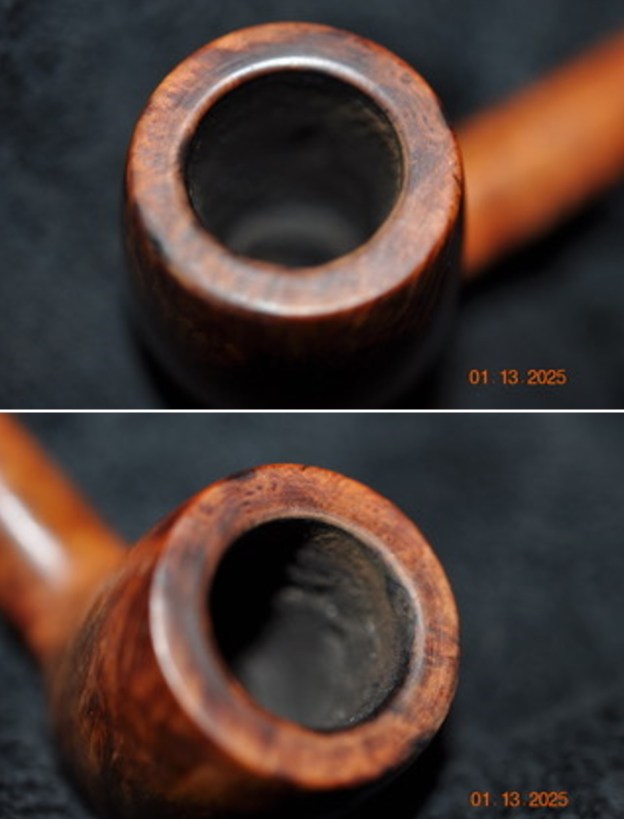
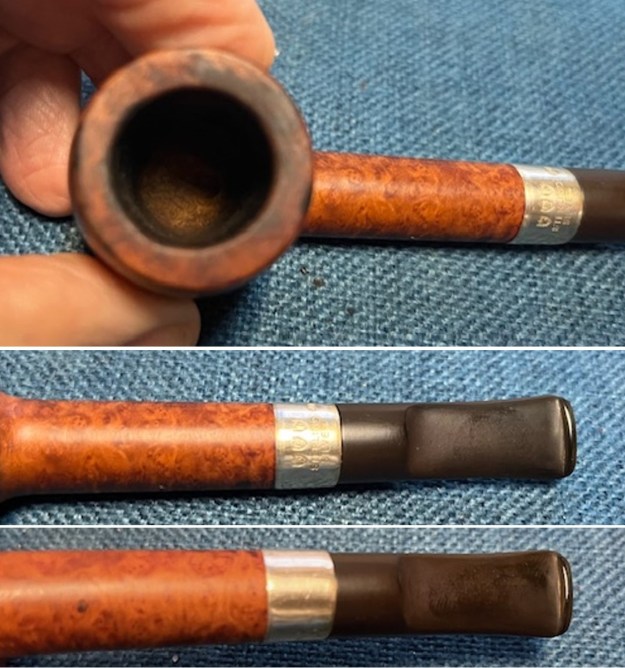
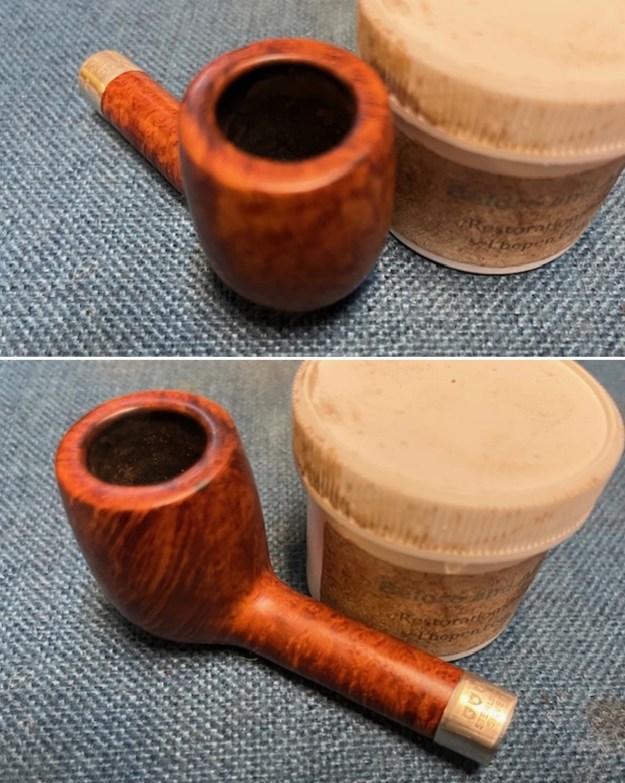
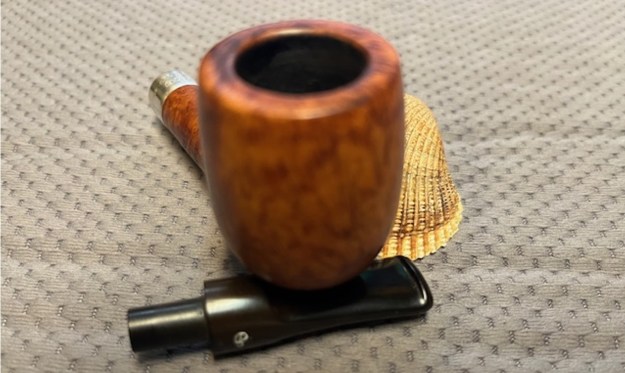
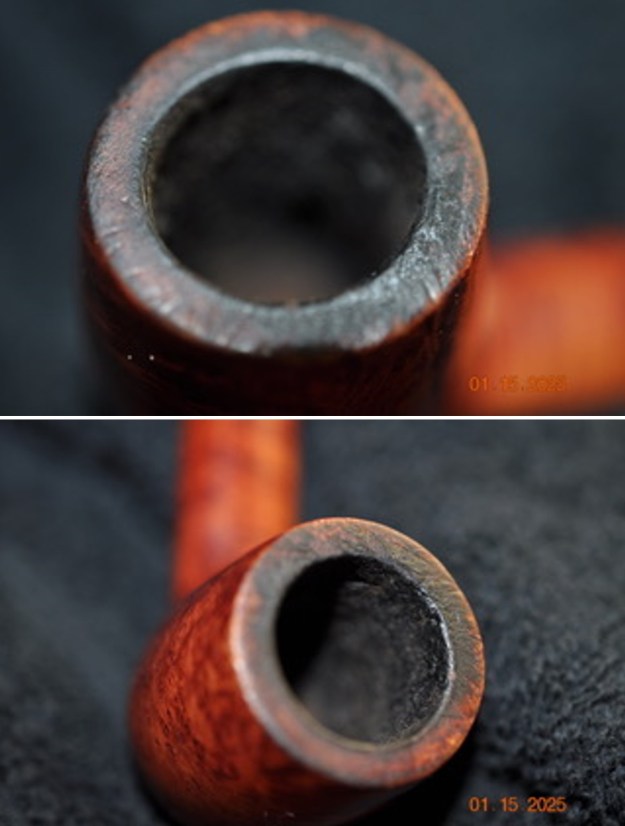
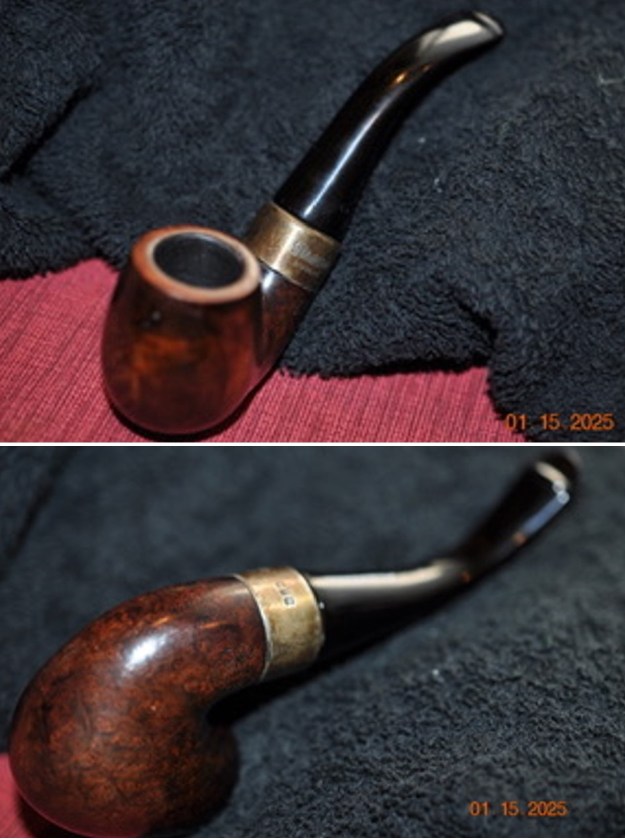 Jeff took photos of the rim top and stem to show the general condition of the pipe. The bowl and the rim top were quite clean. The inner edge of the bowl had some darkening around the edges. The photos of the stem show the light tooth marks and chatter on both sides near the button.
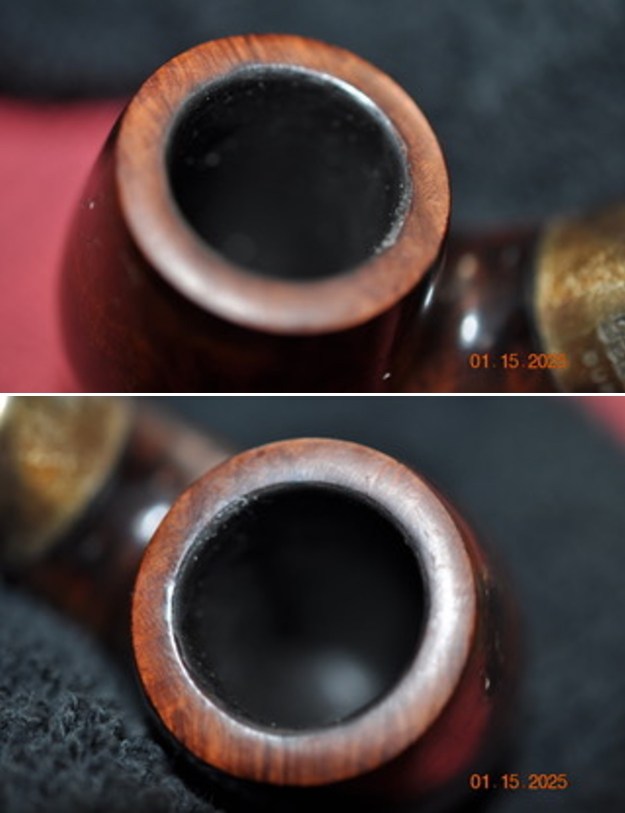
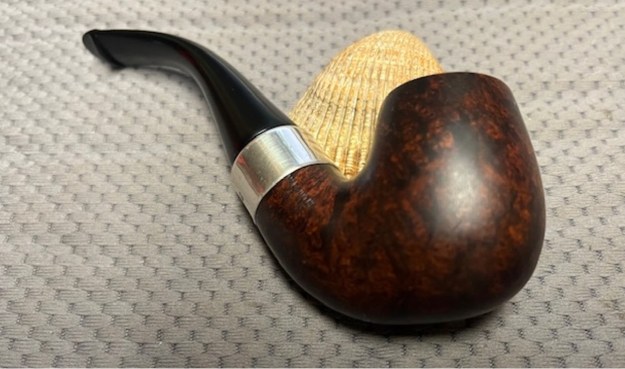
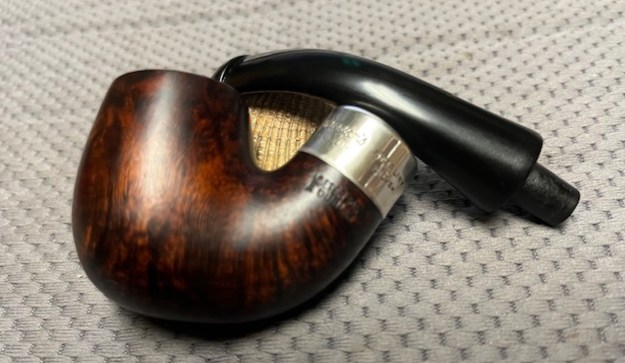
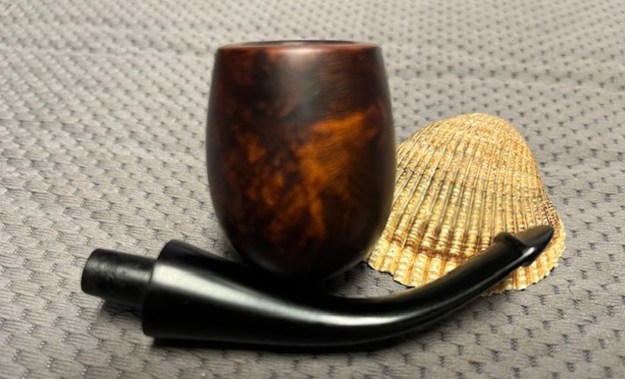
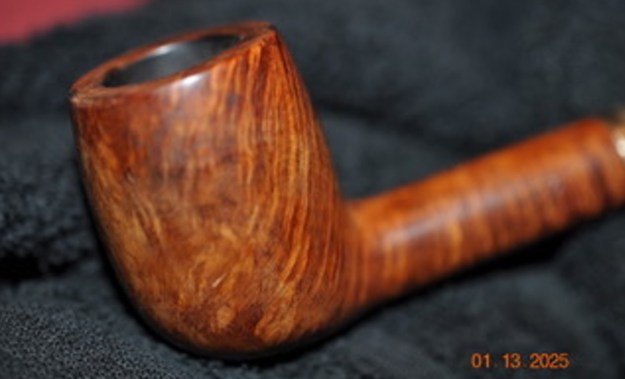
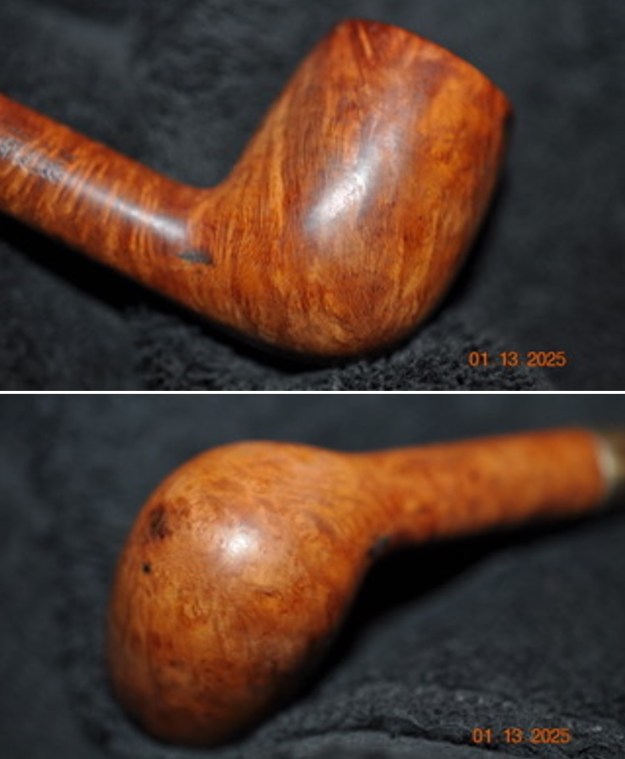
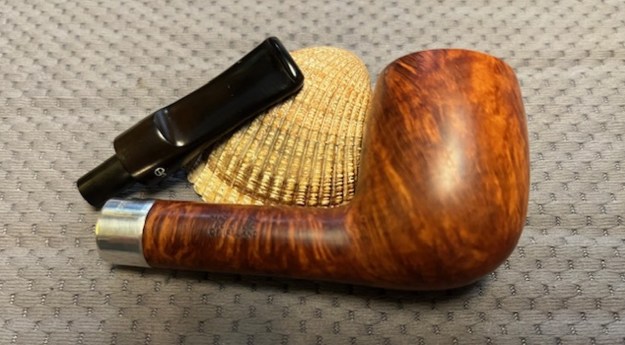
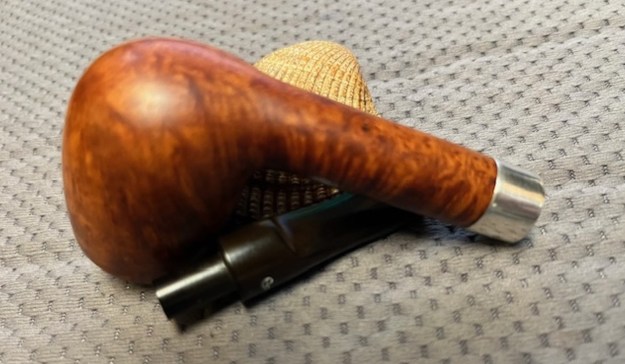
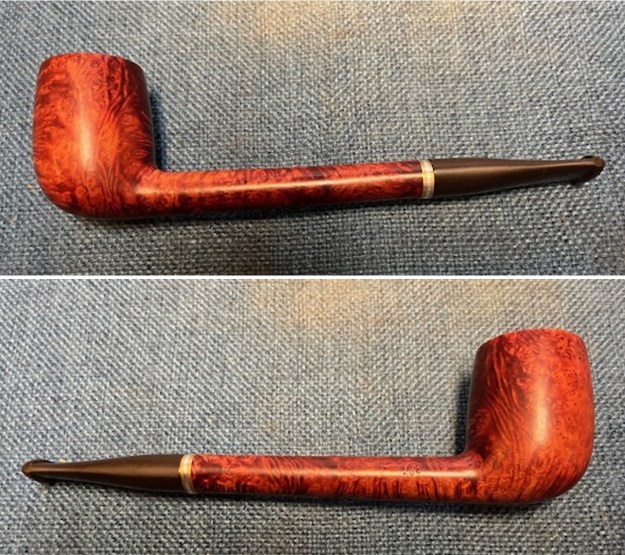
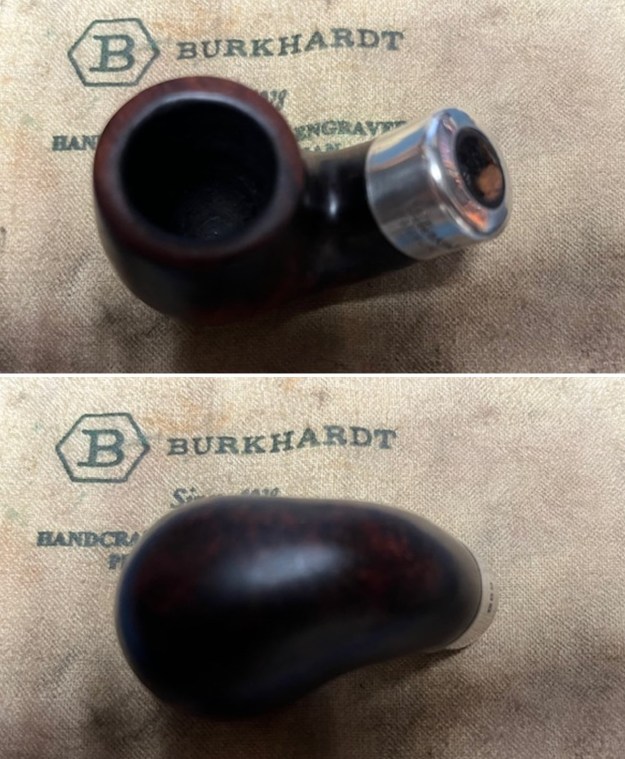
 Jeff took some photos of the bowl sides and heel to show the amazing grain that was around this bowl underneath the grime and grease coat on the surface. It is a nice looking pipe.
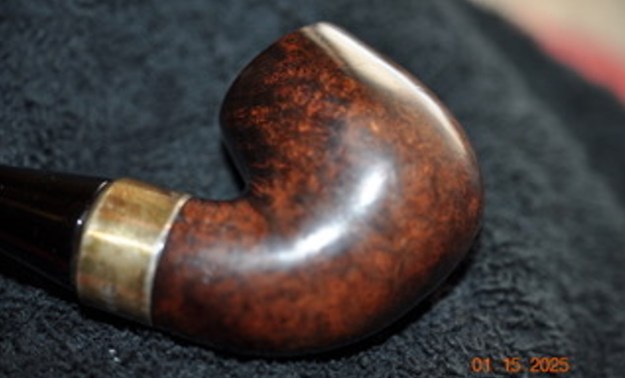
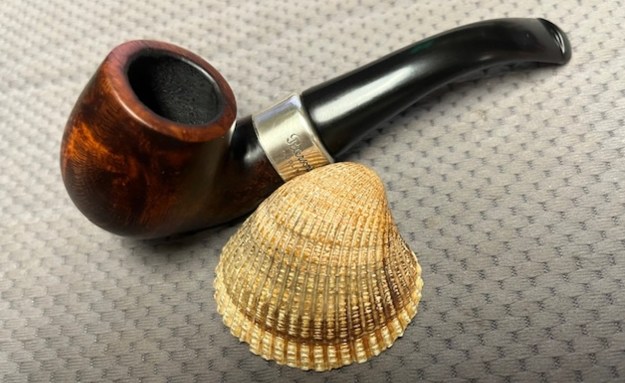
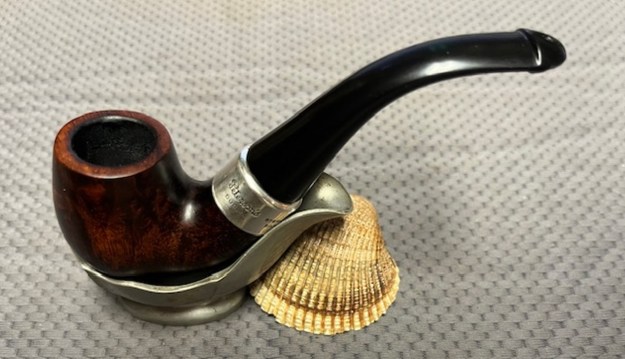
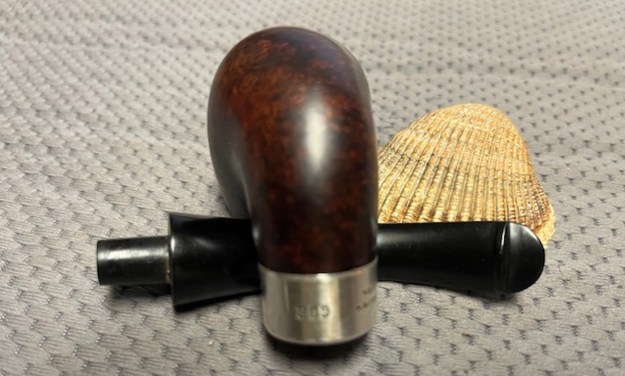
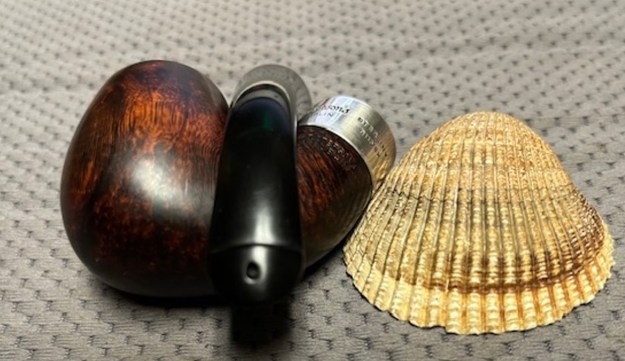
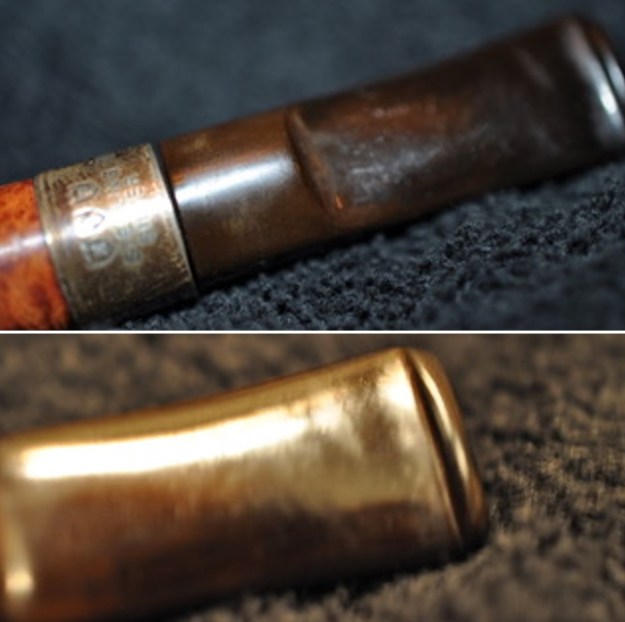
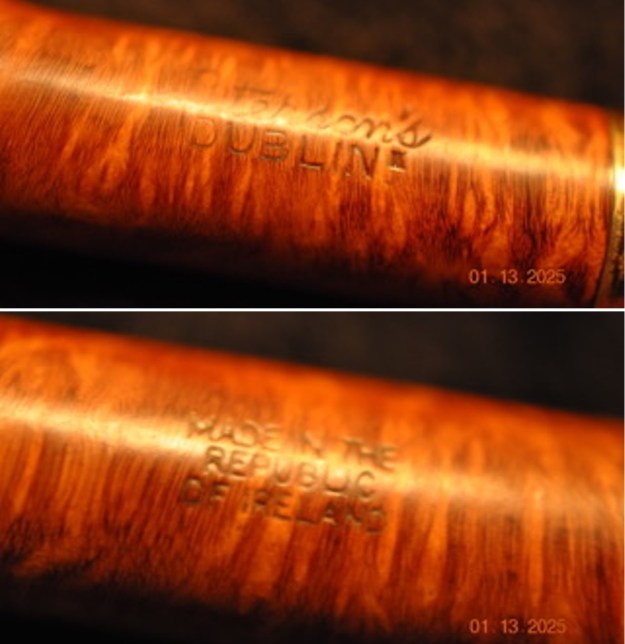
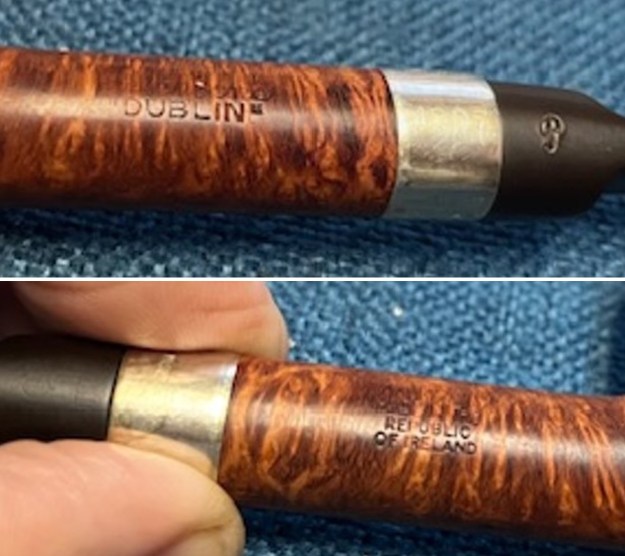
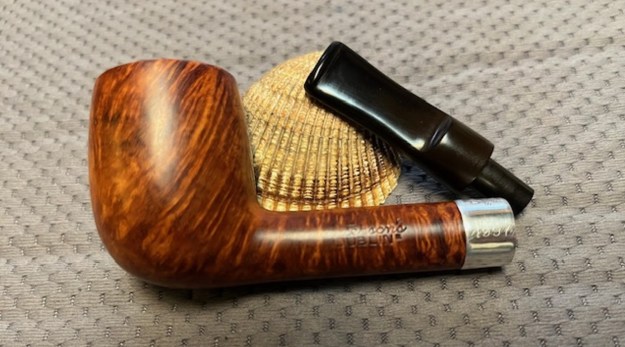
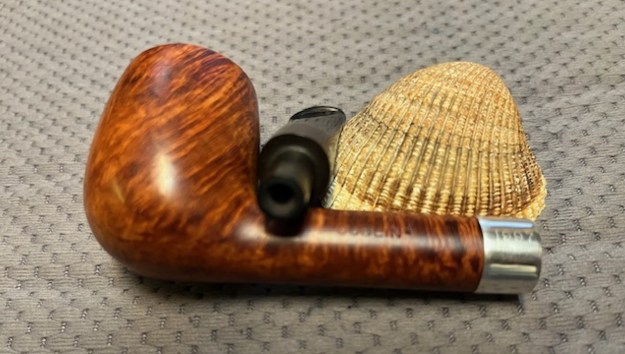
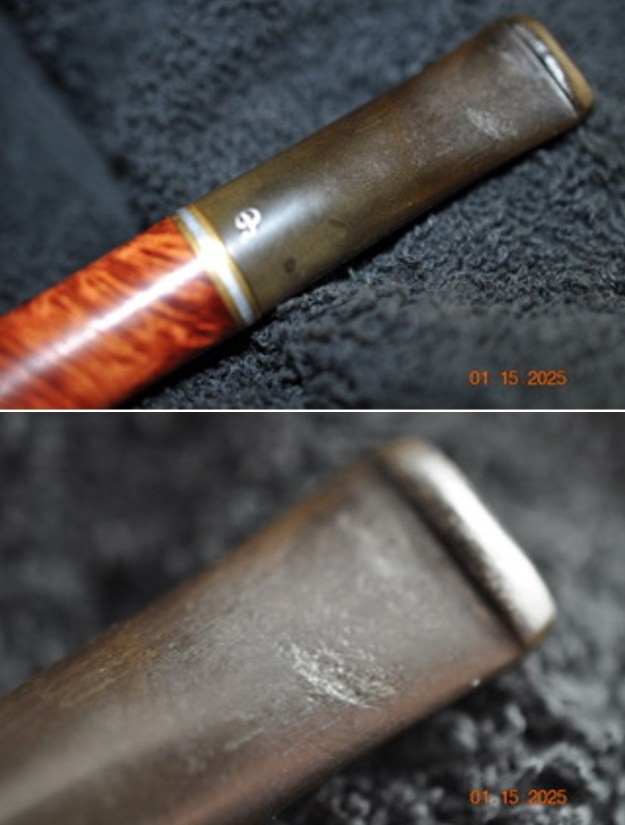
 He took photos of the sides of the shank to show the stamping. The stamping is readable in the photos below and is as noted above. He also captured some of the stamping on the Sterling Silver band on the shank.
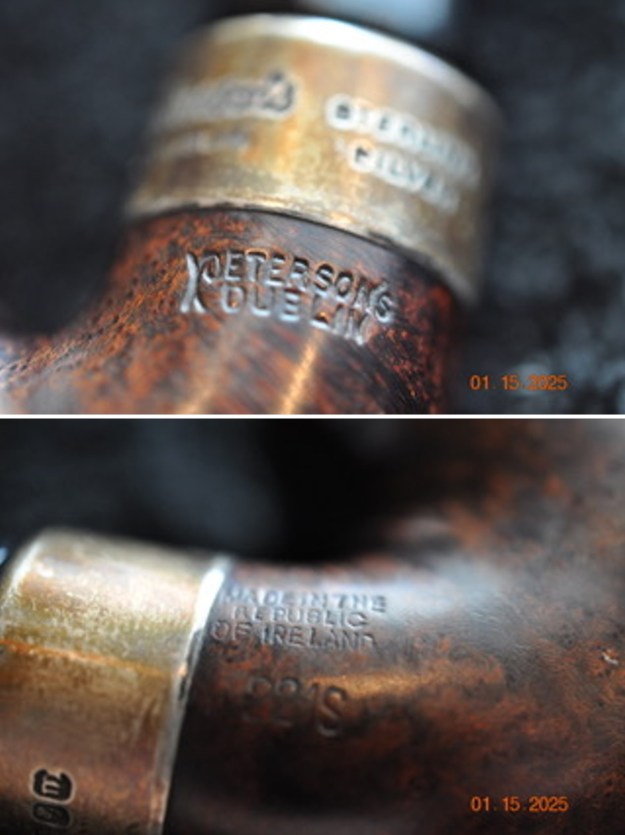
 I am including the link to the Pipedia’s article on Peterson pipes. It is a great read in terms of the history of the brand (https://pipedia.org/wiki/Peterson).
I turned to “The Peterson Pipe” by Mark Irwin and Gary Malmberg to get some background on the Peterson’s London Made England line. On page 298 it had the following information.
“Dublin” (1906-2003) Although DUBLIN appears under PETERSON’s on many pipes over the decades, it has served mostly to part of the brand name. The word first appeared on pipes hallmarked 1906-11, stamped PETERSON’S over PATENT over DUBLIN. The simpler PETERSON’S over DUBLIN first appeared on pipes hallmarked 1912 after the expiration of the patent. Illustrations of pipes in the’37 catalog show a random dispersion of the stamp PETERSON’S over OF DUBLIN together with the ordinary PETERSON’S over DUBLIN on ever model offered. Specimens of the former will bear either an Irish COM and almost certainly date from 1945-62. It was first mentioned in print as pat of the model name in the’68 price list, as K&P DUBLIN, in ’92 for a Danish market line.
I knew the date for the pipe I was working on from the stamping on the silver– 1978. Since the one I was working on did not have a D shape it is not provable that it was made for the Danish market. Now it was time to work on the pipe.
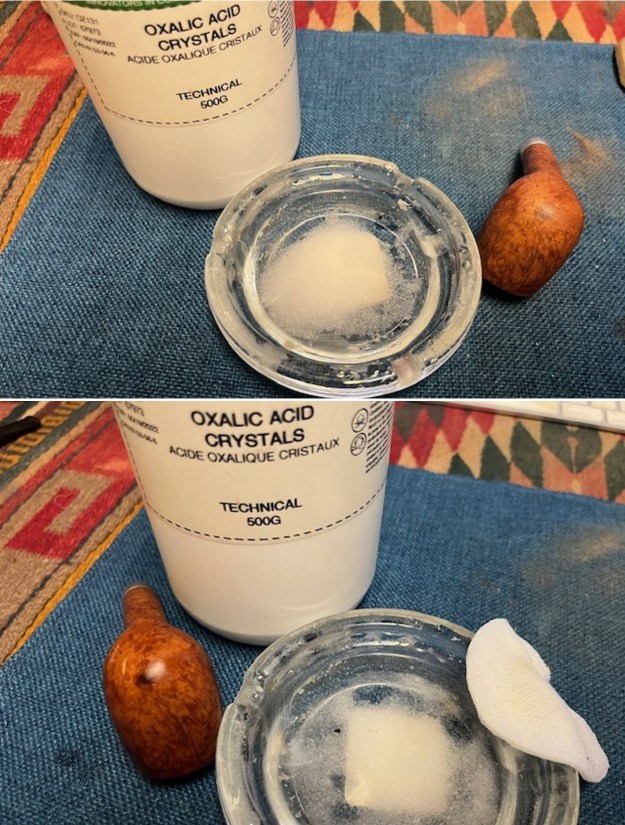
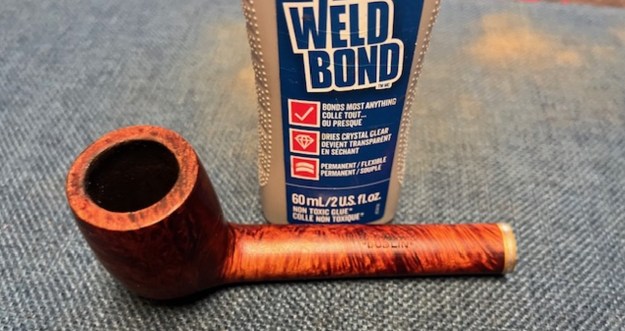
Jeff had done a great job cleaning up the pipe as usual. He reamed the pipe with a PipNet reamer and cut back the cake back to the bare briar. He cleaned up the walls with a Savinelli Fitsall Pipe Knife. He scrubbed the interior of the bowl and shank with pipe cleaners, cotton swabs, shank brushes and alcohol to remove the tars and oils. He scrubbed the exterior of the pipe with undiluted Murphy’s Oil Soap and a tooth brush to remove the grime from the finish. He worked on the rim top lava and the darkened spots with the soap and tooth brush. He scrubbed the inside of the stem with alcohol and pipe cleaners. He scrubbed the exterior with Soft Scrub and then soaked it in Briarville Pipe Stem Deoxidizer. He washed it off with warm water to remove the Deoxidizer. The pipe had some dark spots on the briar but it looked far better when it arrived.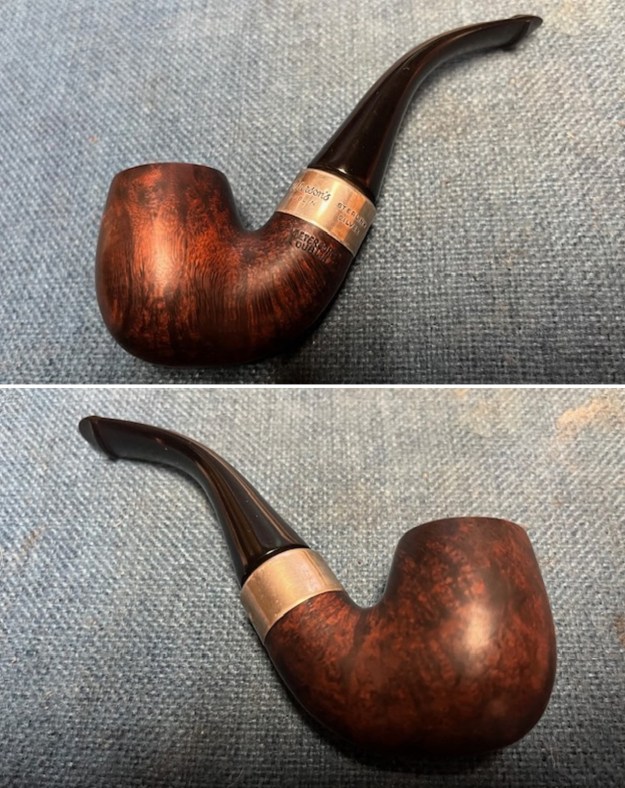
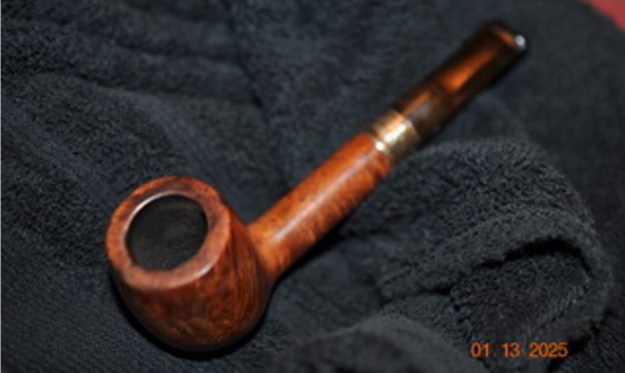
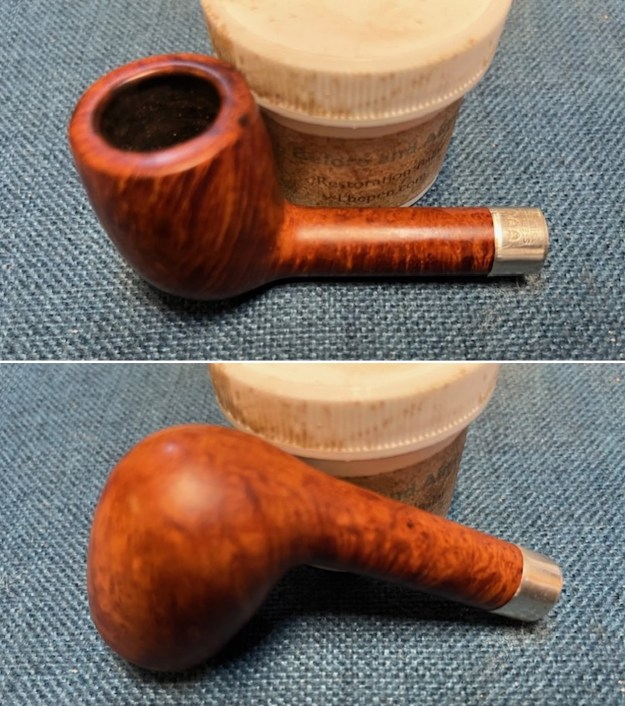
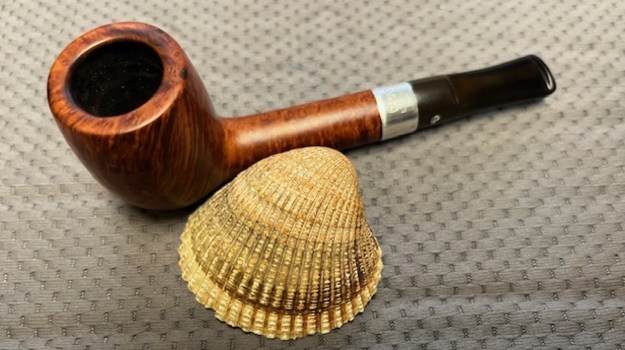
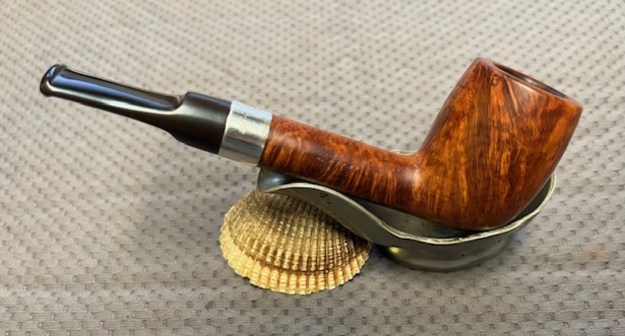
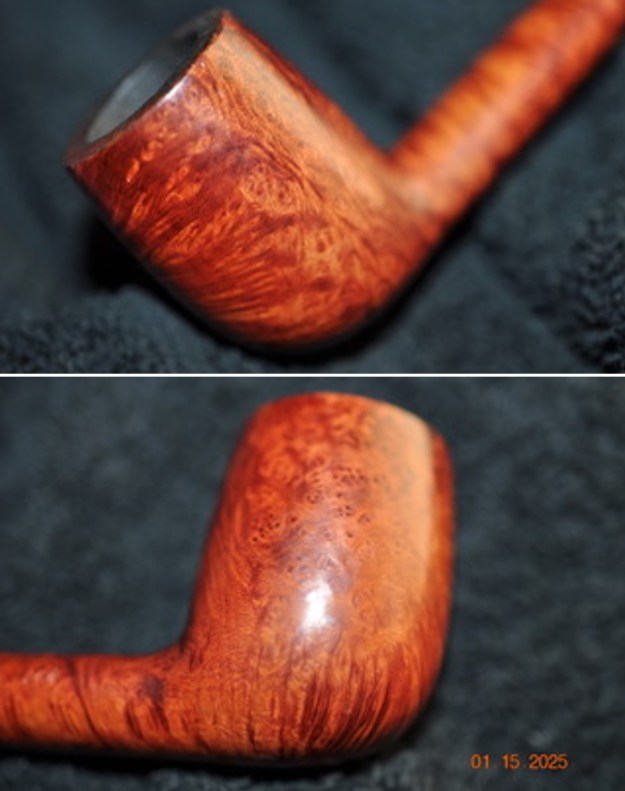
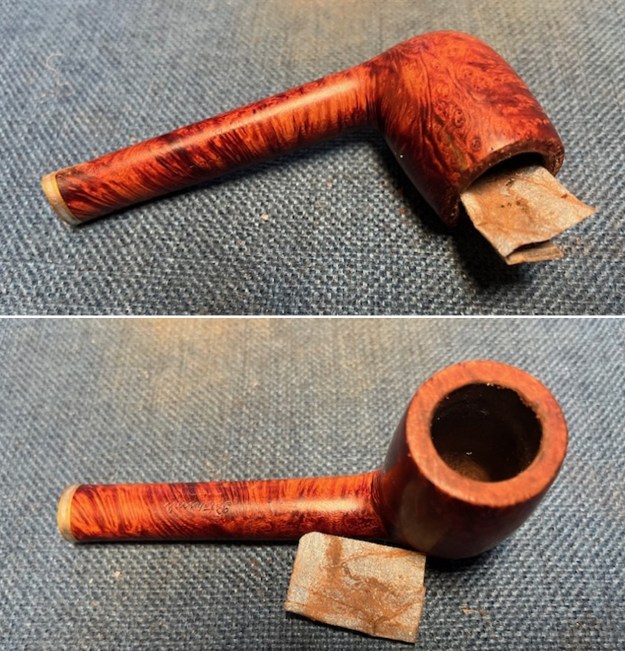
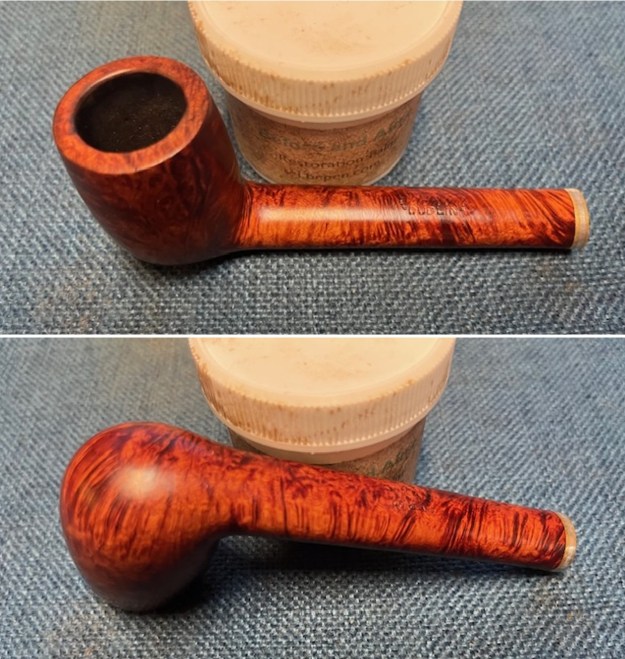
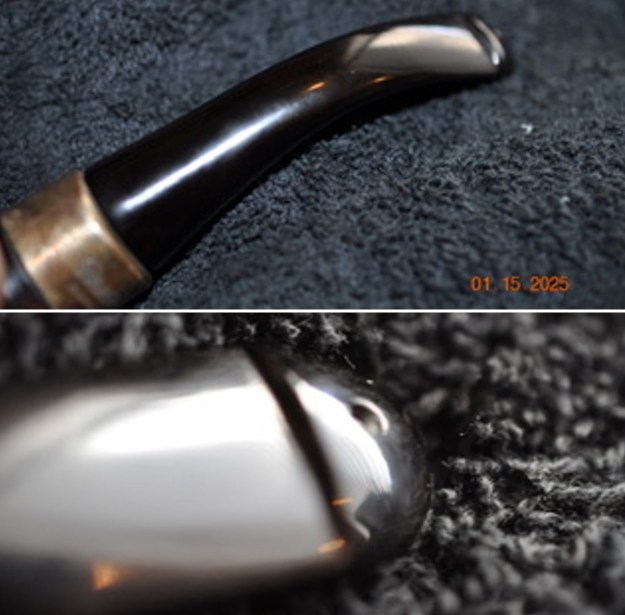
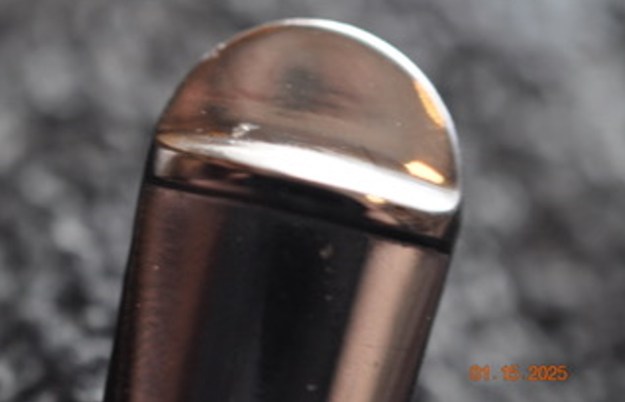
 I took some close up photos of the rim top and the stem surface. I wanted to show how well it had cleaned up. The rim and inner and outer edge looked very good. It should polish well. I also took close up photos of the stem to show the condition of the stem surface near the button.
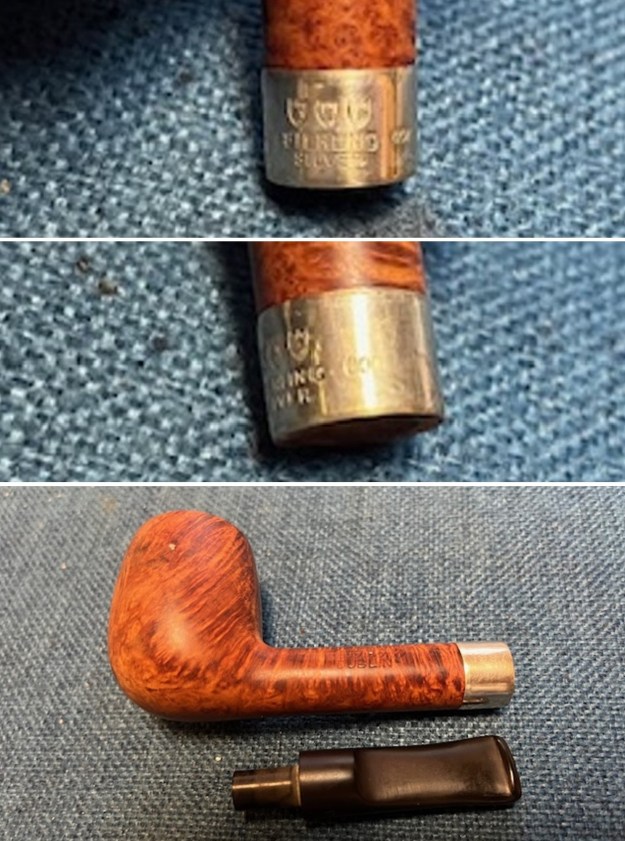
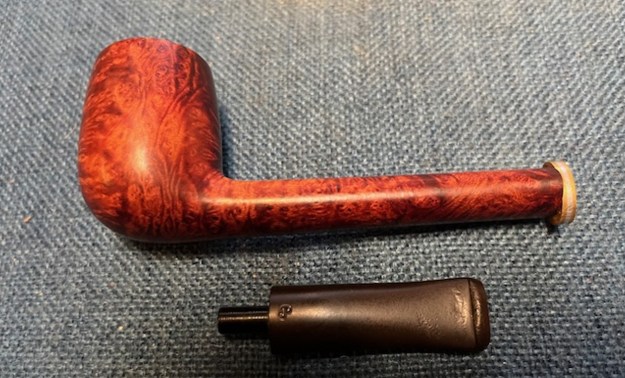
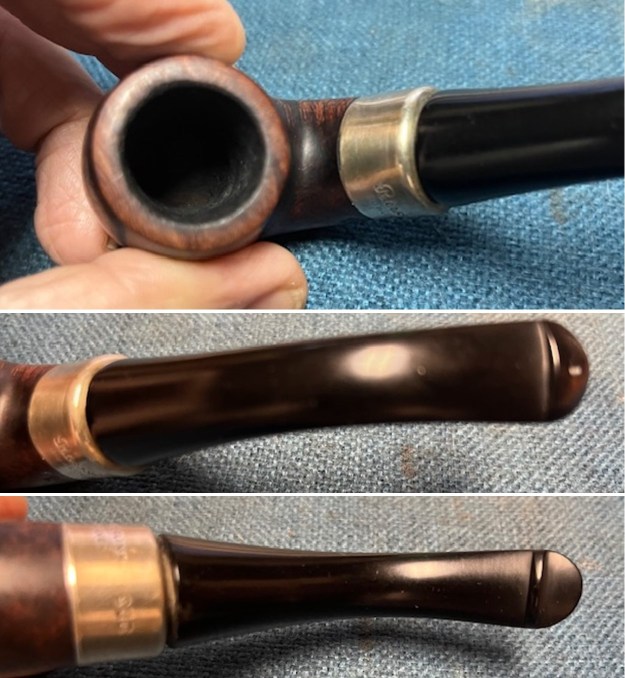 I took photos of the stamping on the sides of the shank. You can see that it is stamped as noted above. It is faint in spots but readable. I took photos of the stamping on the silver band to try and capture what was on the band. It is readable. I removed the stem and took a photo of the pipe to have a look at the parts and overall look.
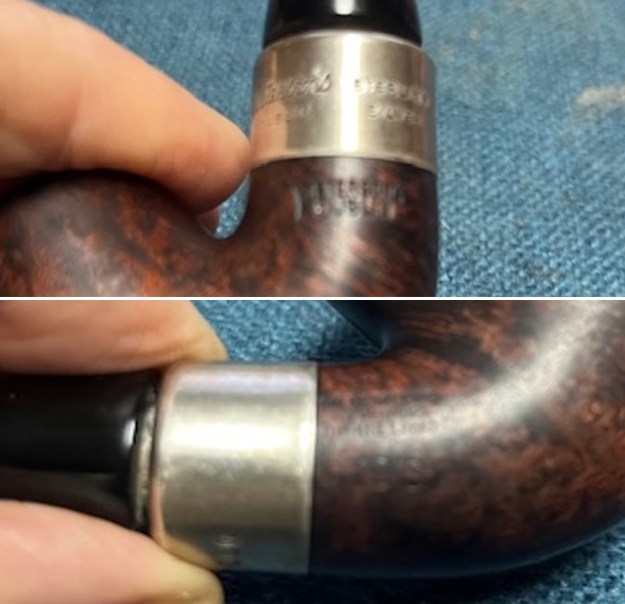
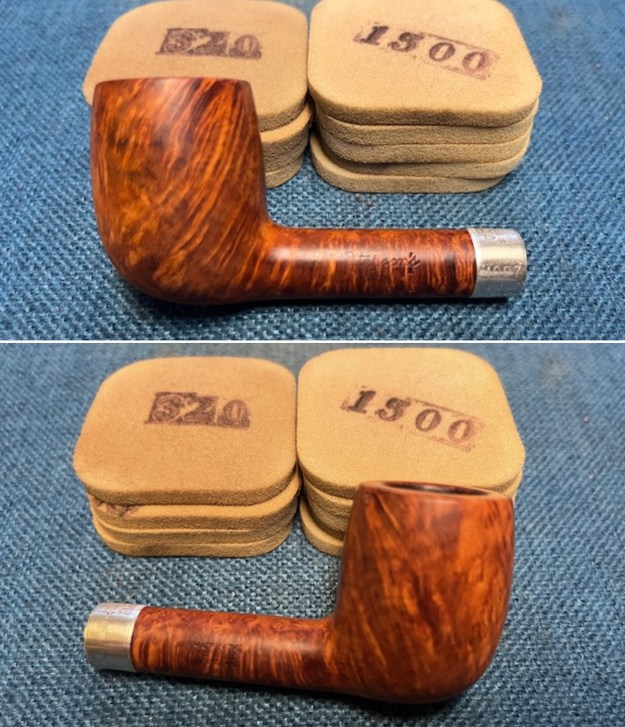
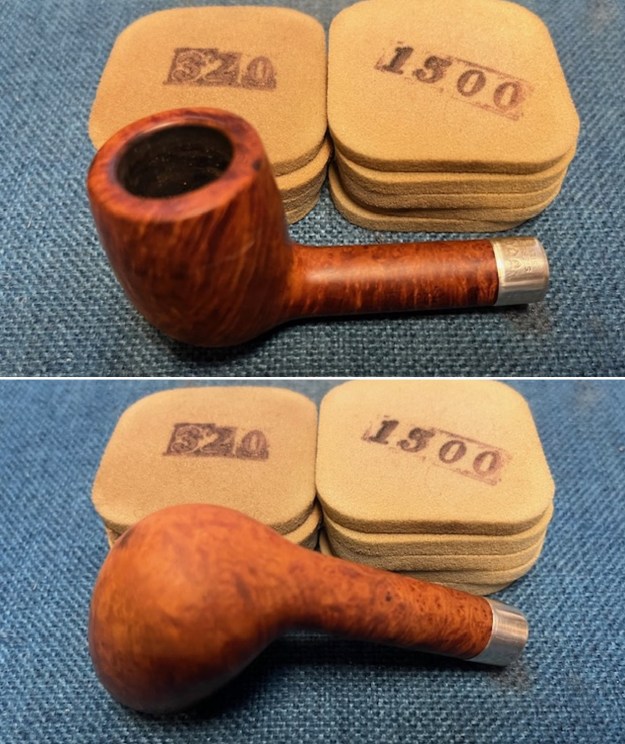
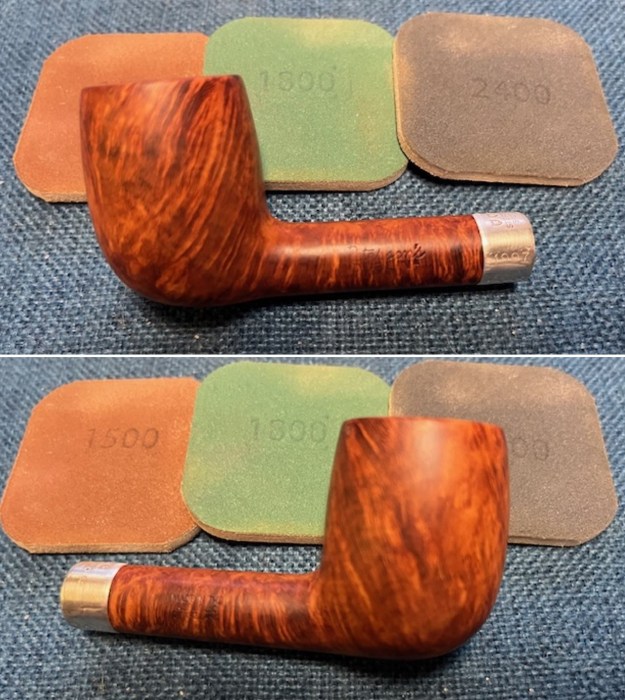
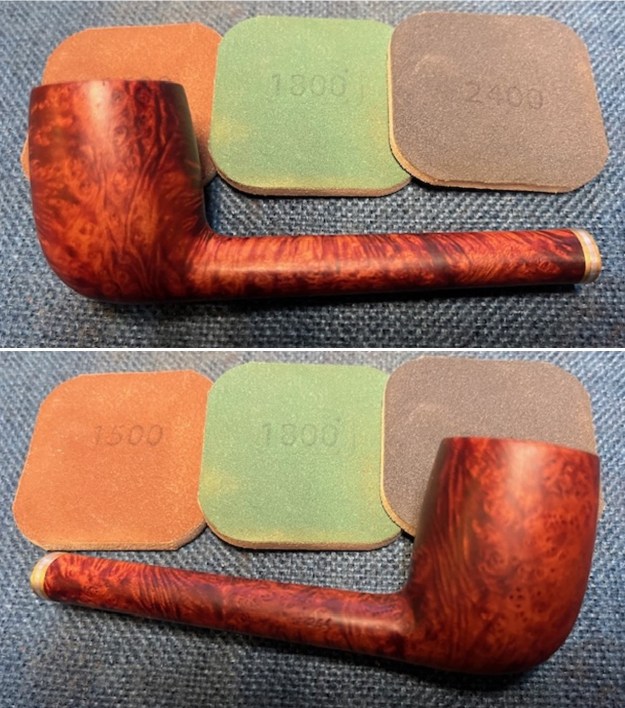
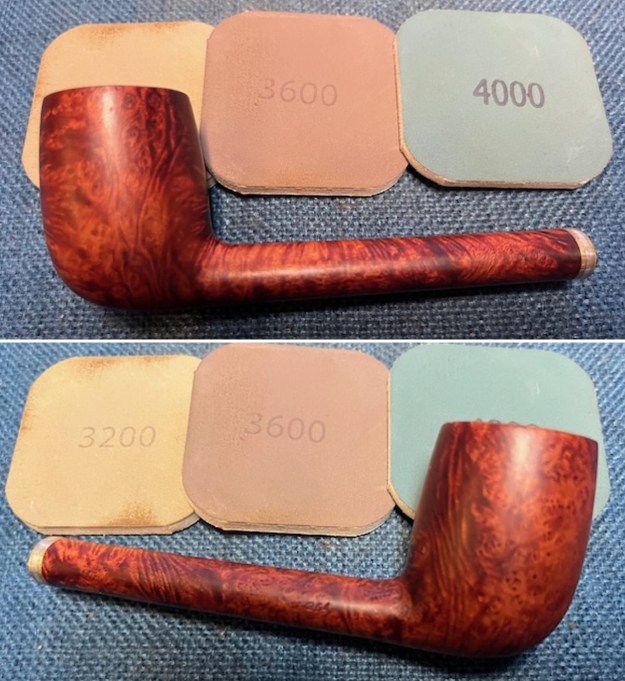
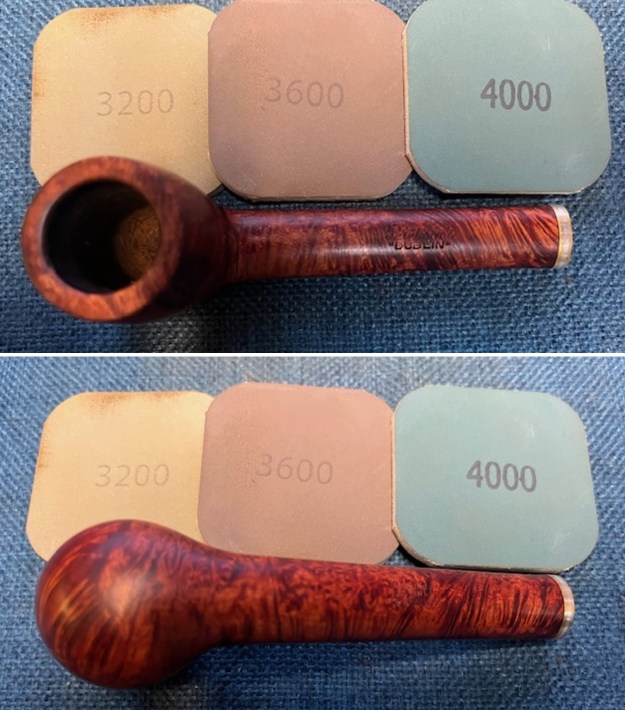
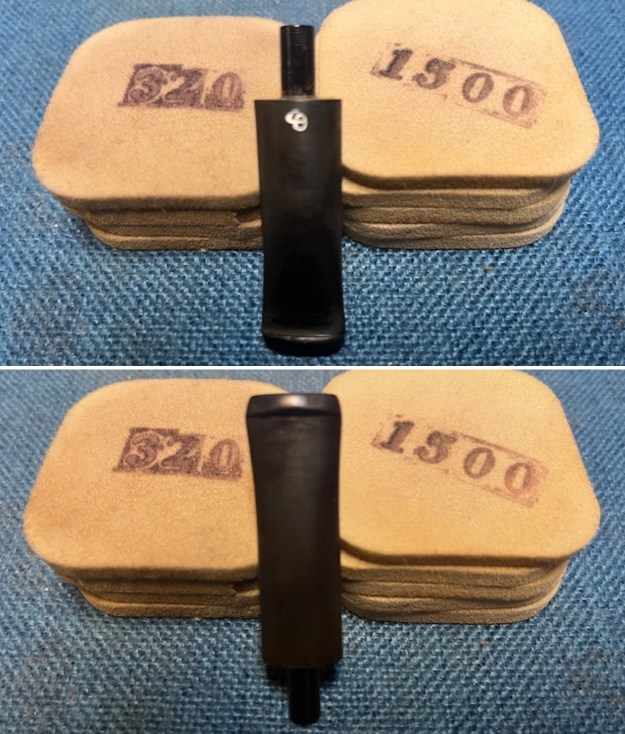
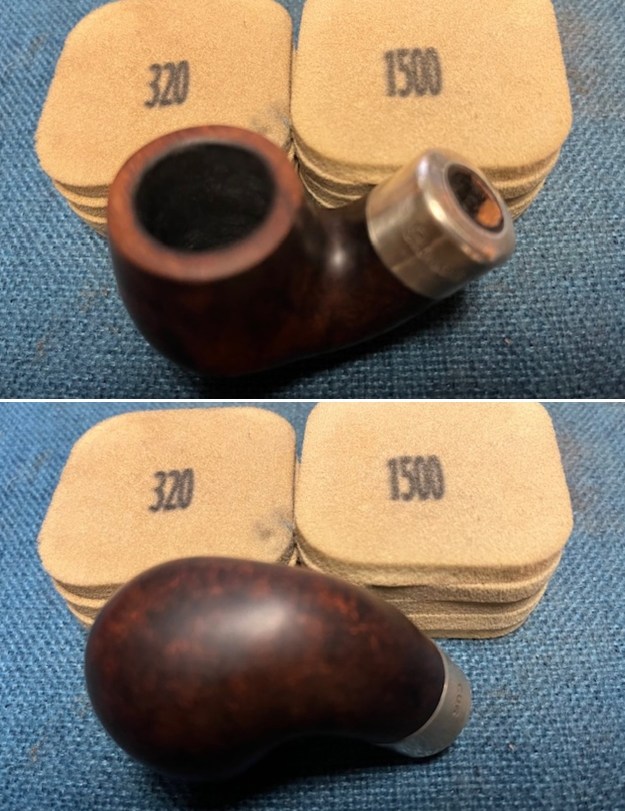
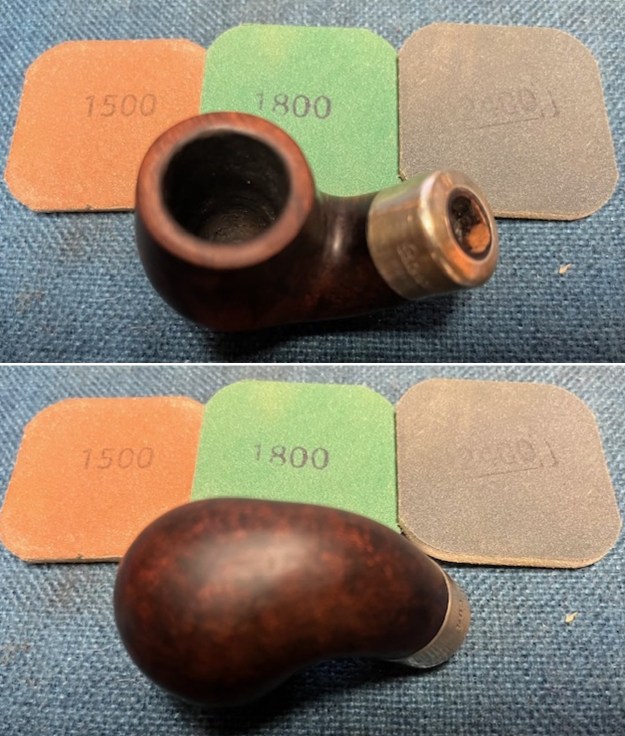
 I sanded the briar with 320-3500 grit 2×2 inch sanding pads. I wiped the bowl down after each sanding pad to remove the sanding debris. It really looks much better.
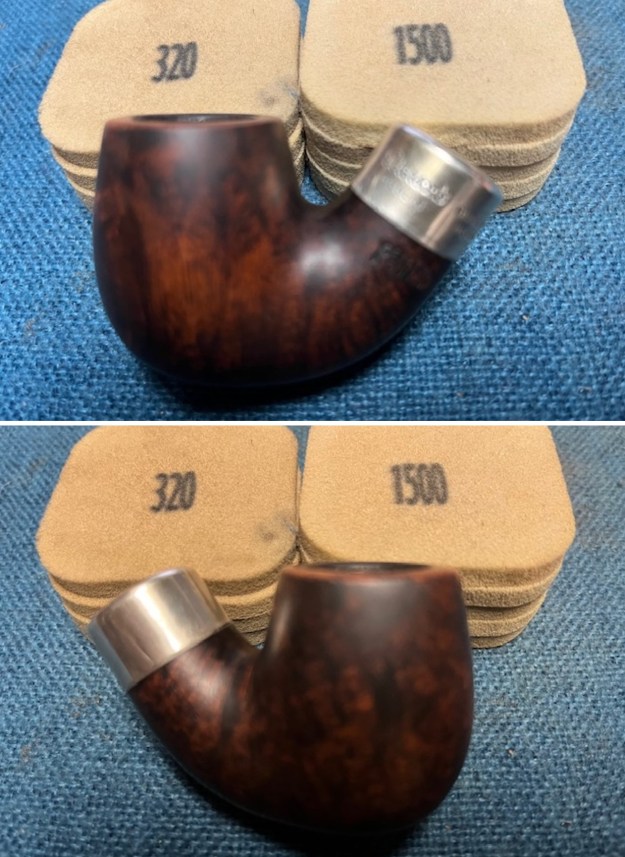
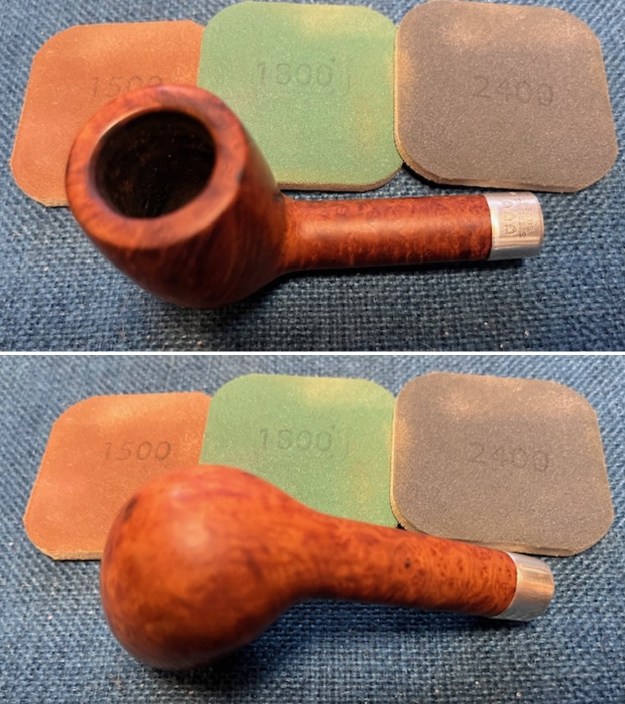
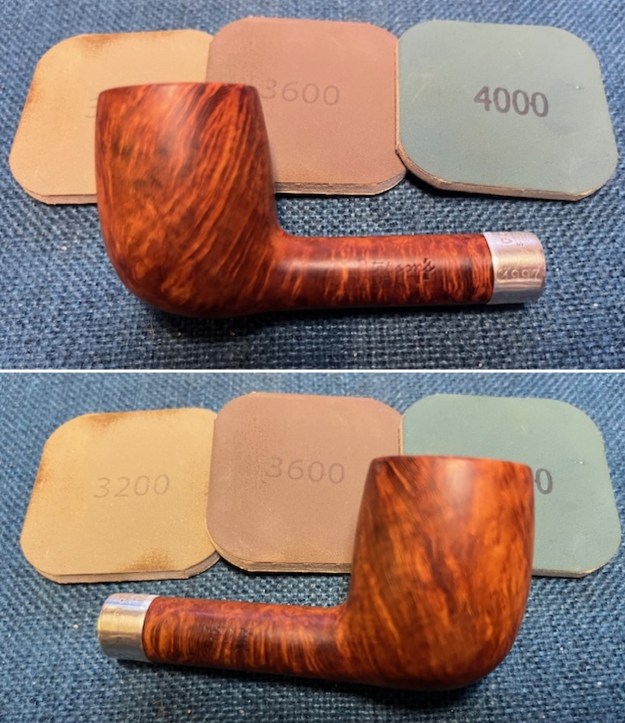
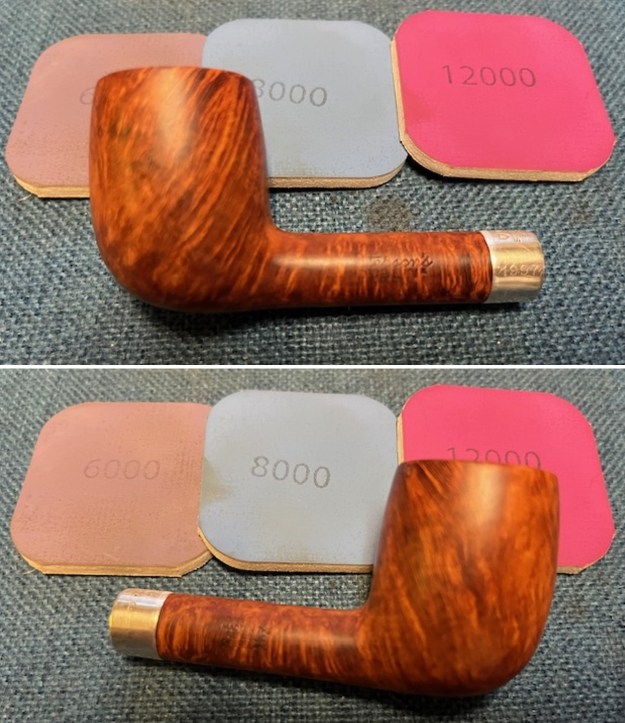
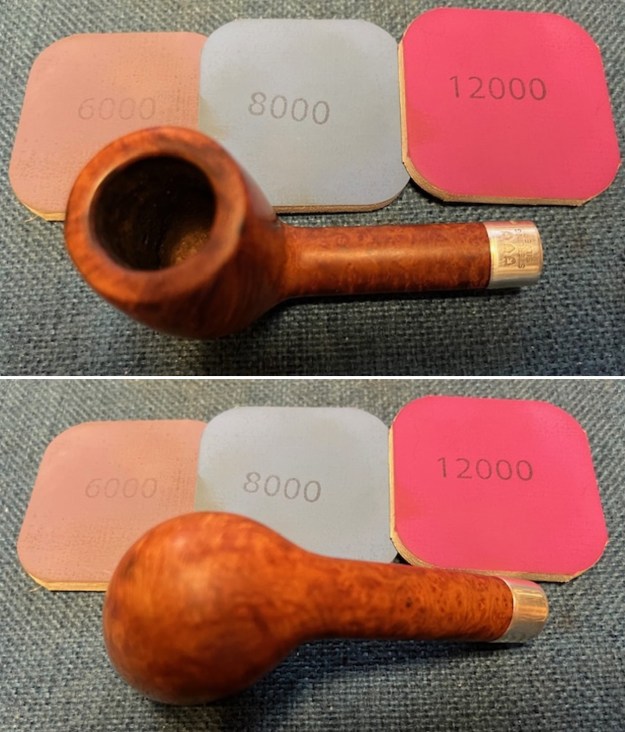
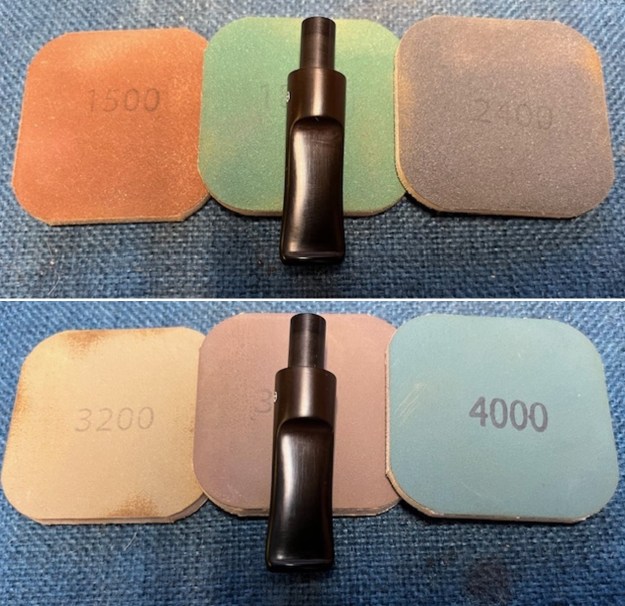
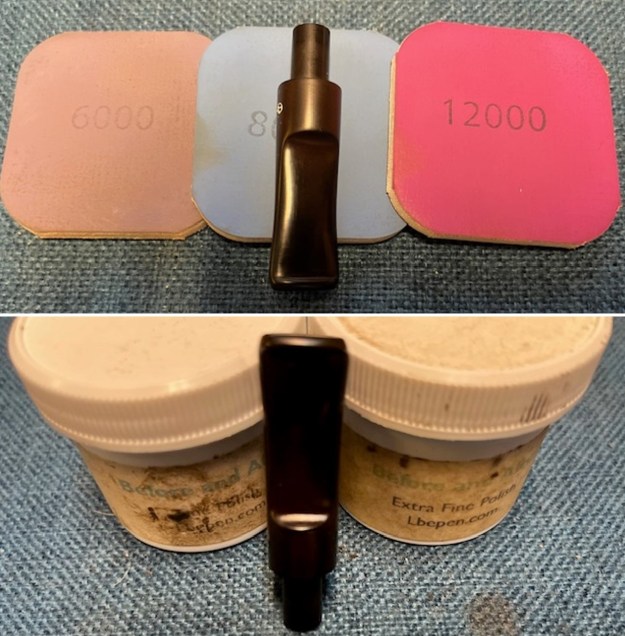
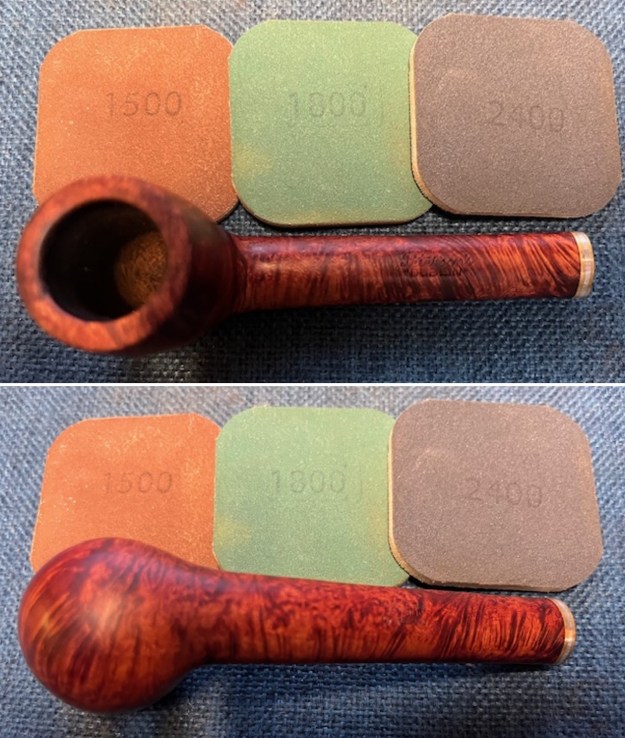
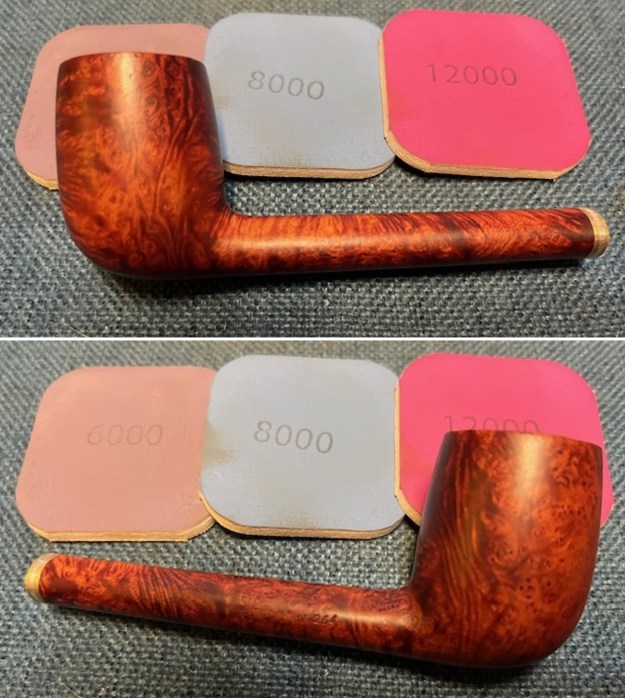
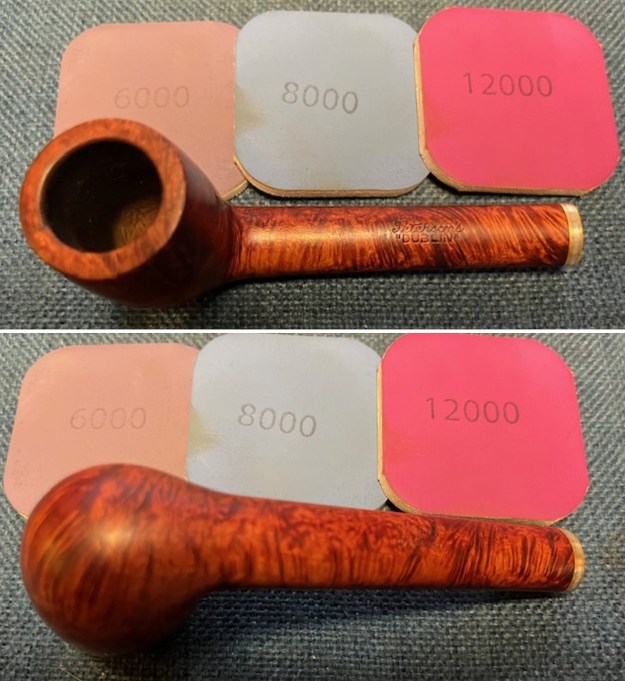
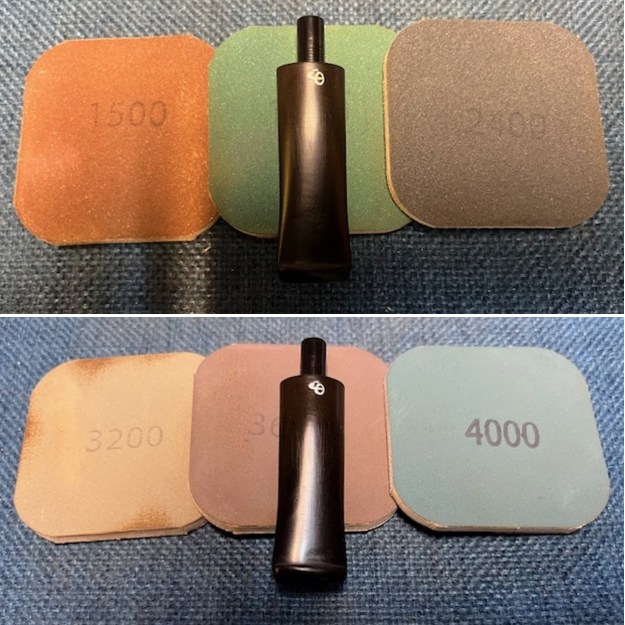
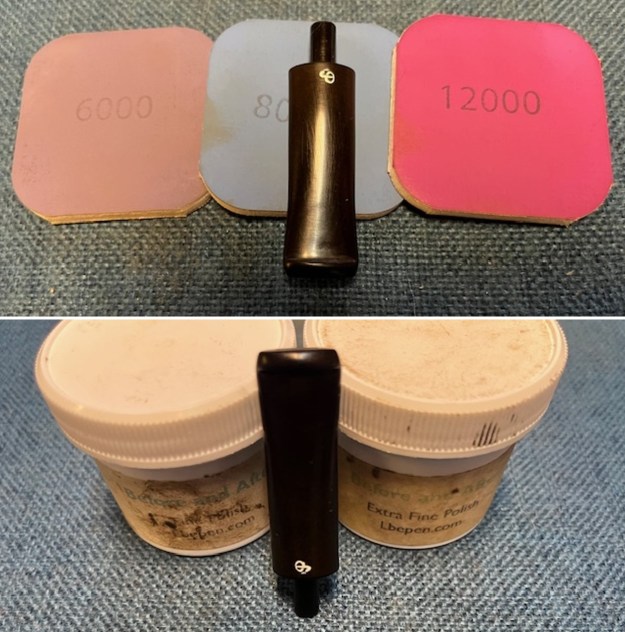
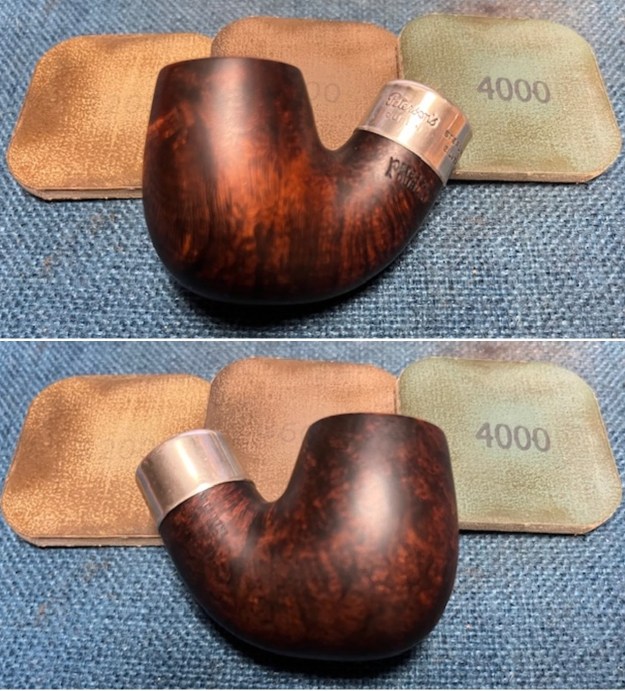
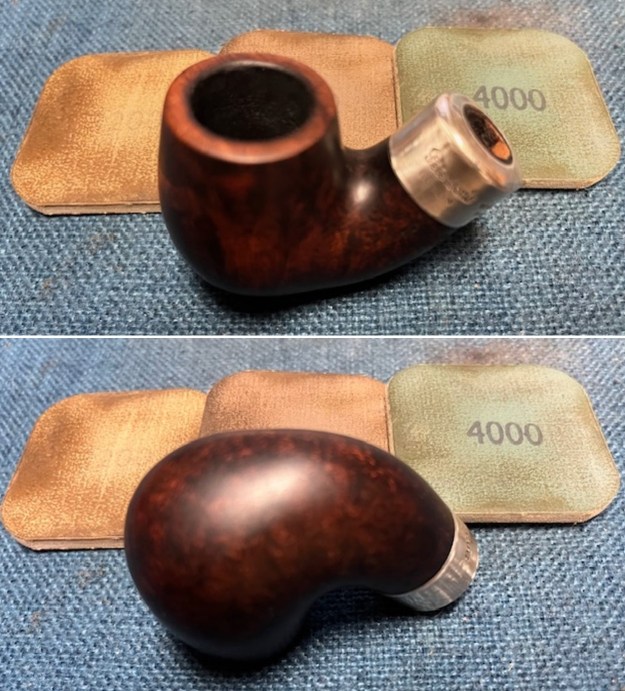
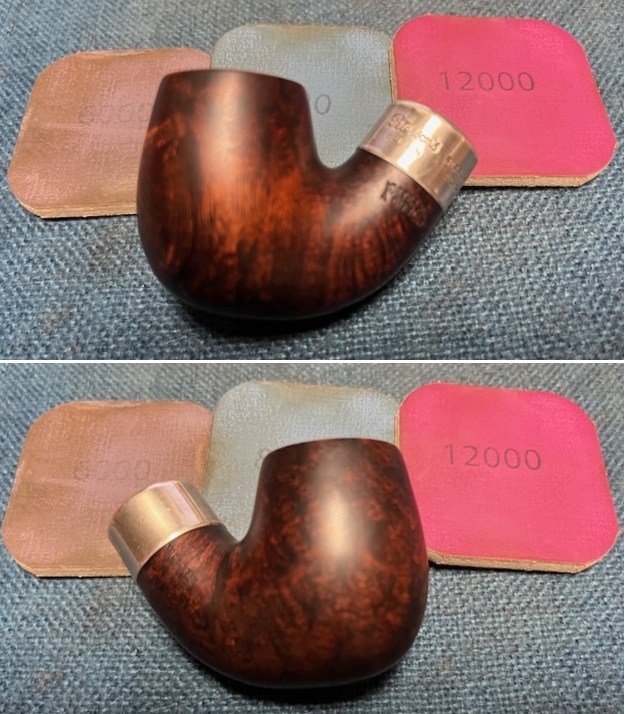
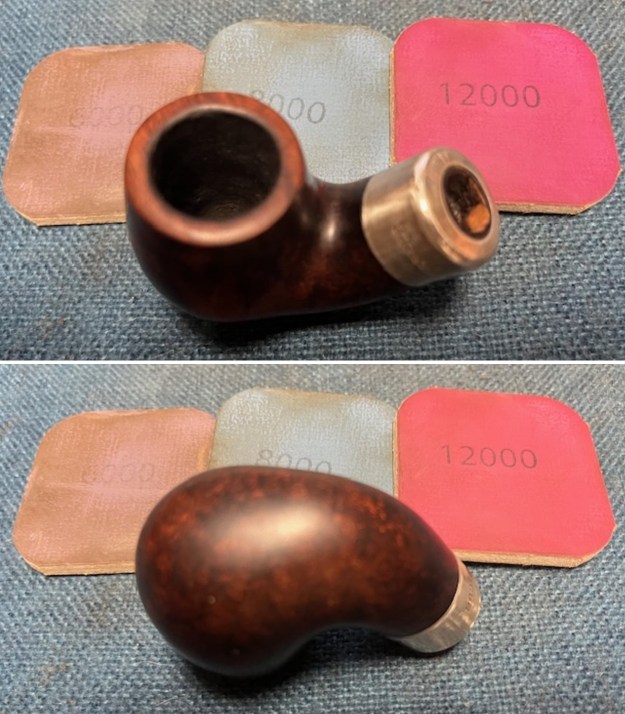
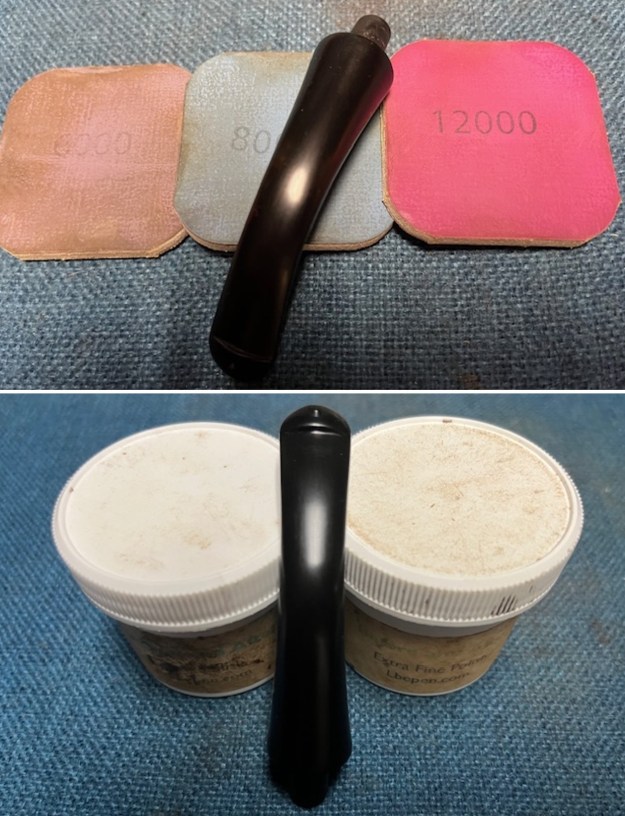
 I polished the briar with micromesh sanding pads – dry sanding with 1500-12000 grit pads. I wiped the bowl down after each pad with a damp cloth.
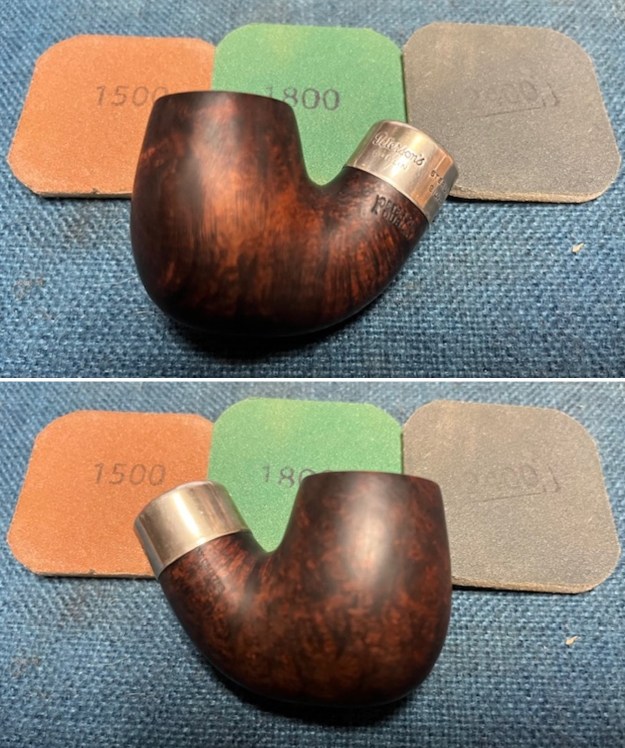
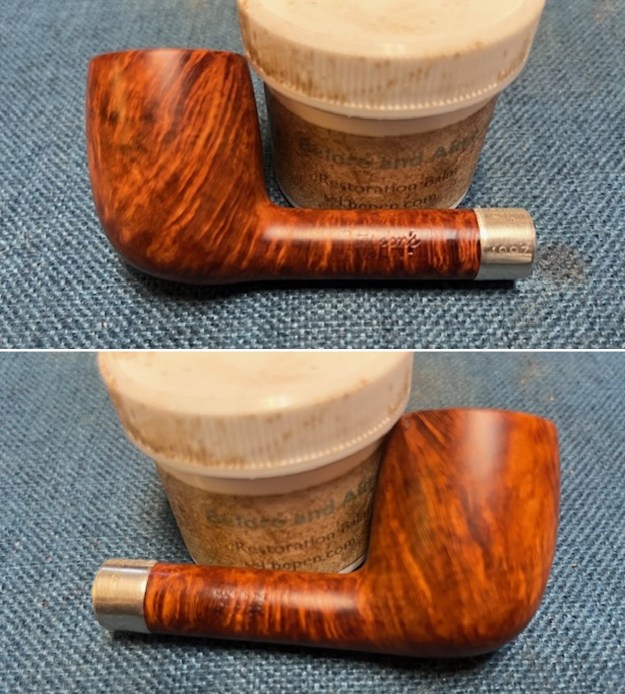
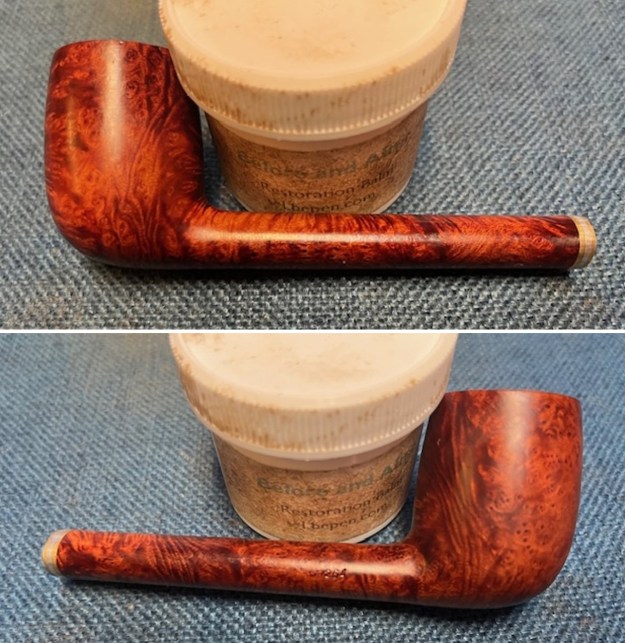
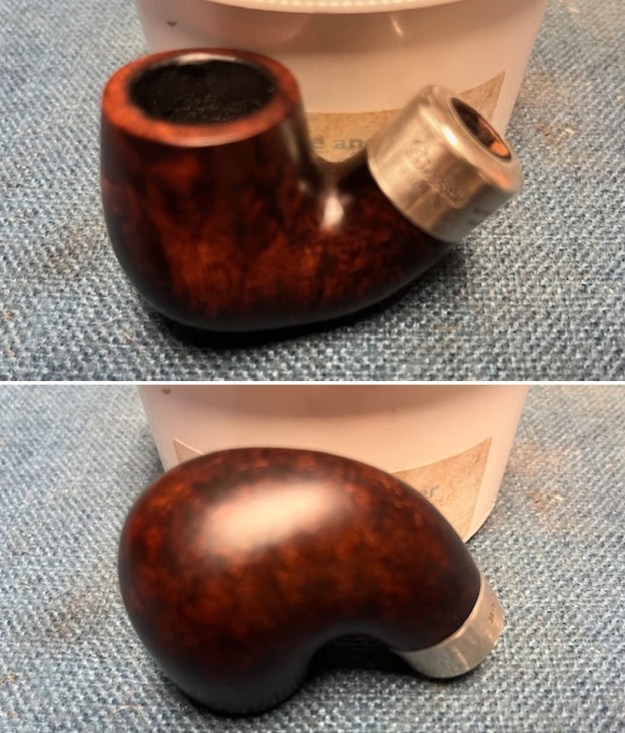
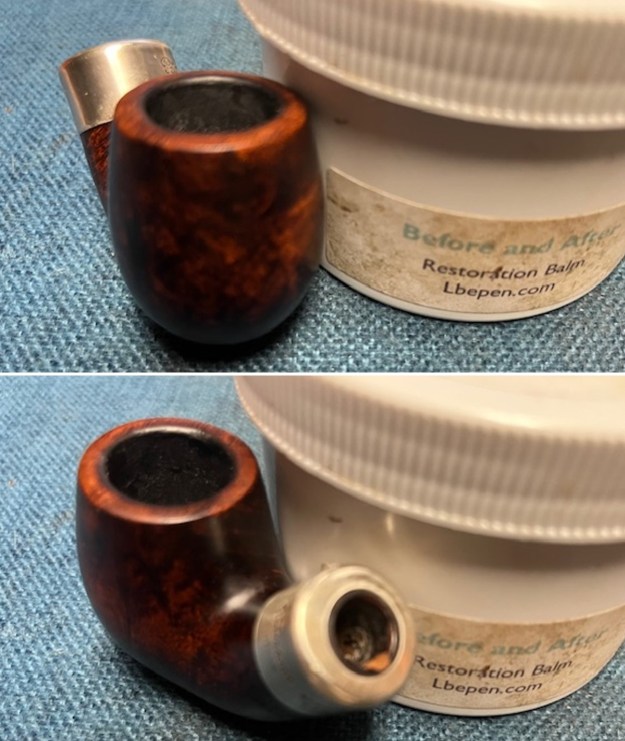
 I rubbed the bowl down with Before & After Restoration Balm. I worked it into the surface of the bowl sides and shank with my fingertips. The product works to clean, enliven and protect the briar. I let the balm sit for a little while and then buffed with a cotton cloth to raise the shine.
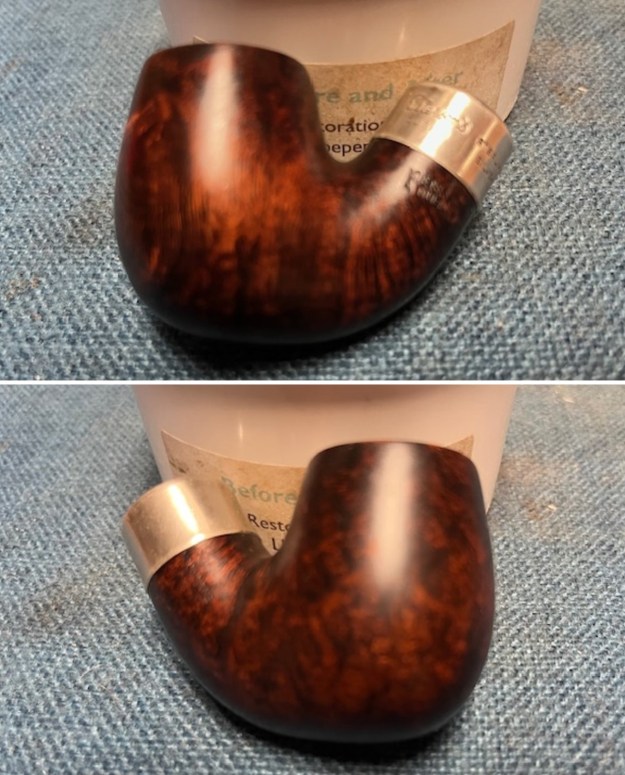
 I polished silver band with a jeweller’s cloth to remove the tarnish and protect the finish from further tarnishing. It took on a rich shine.
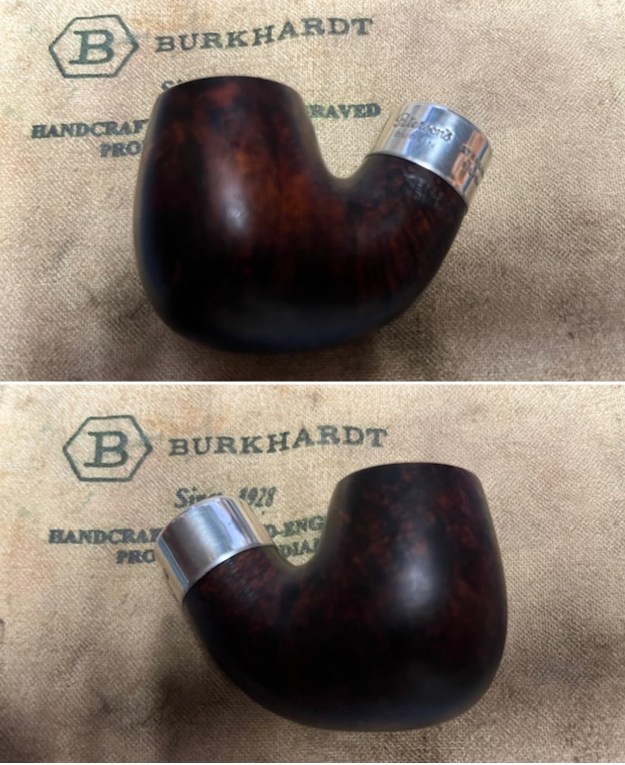
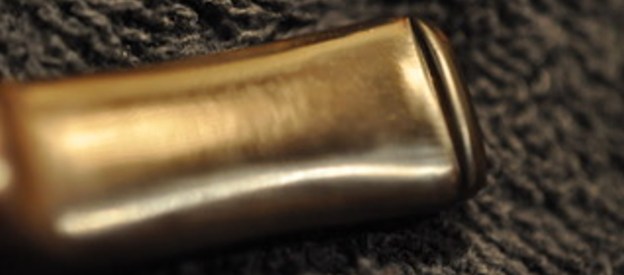
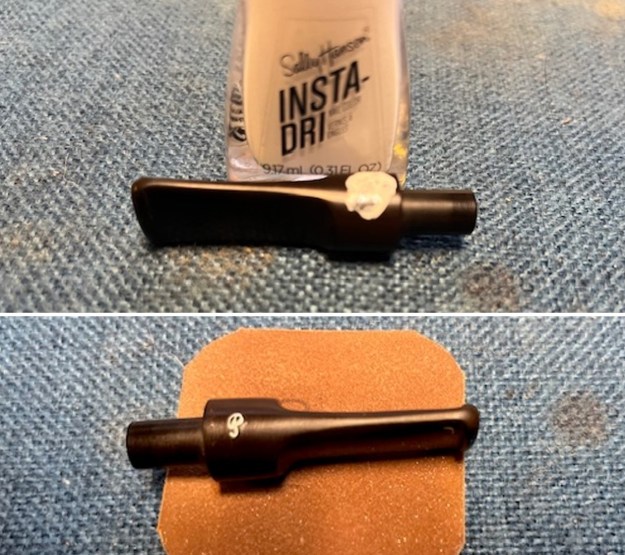
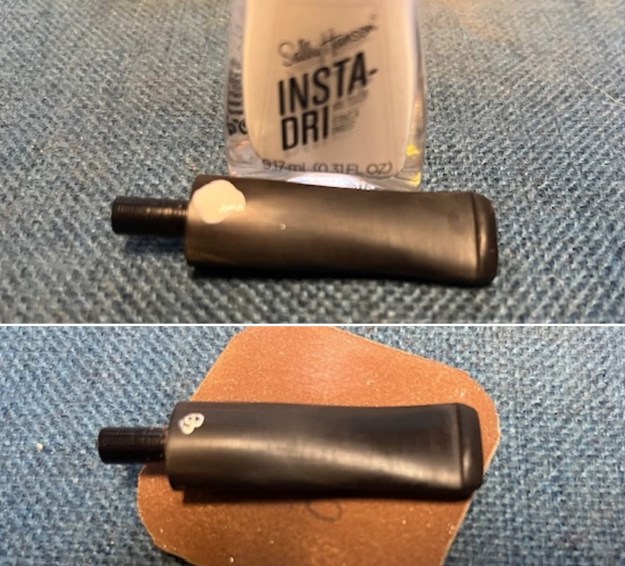
 I set the bowl aside and turned my attention to the stem. I polished the stem with micromesh sanding pads – dry sanding it with 1500-12000 grit pads. I wiped the stem down with Obsidian Oil after each pad. I polished it with Before & After Pipe Polish – both Fine and Extra Fine and gave it a final coat and set it aside to dry.
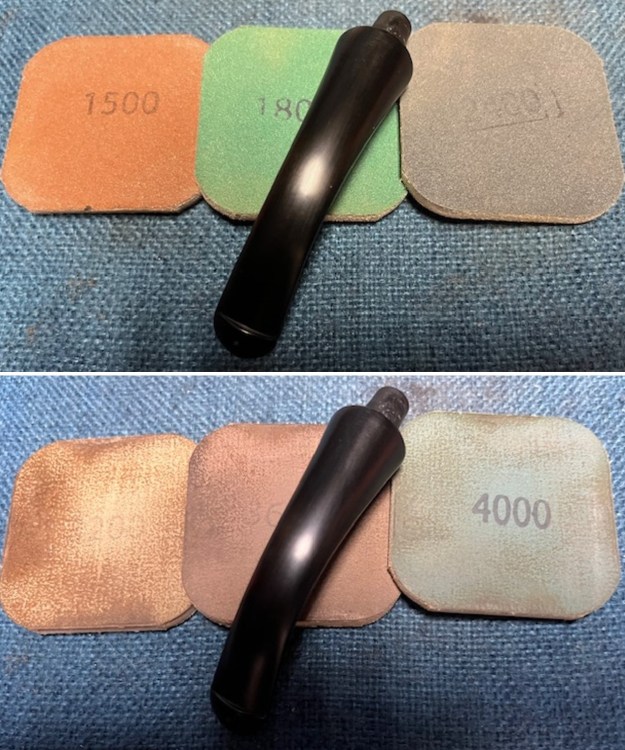
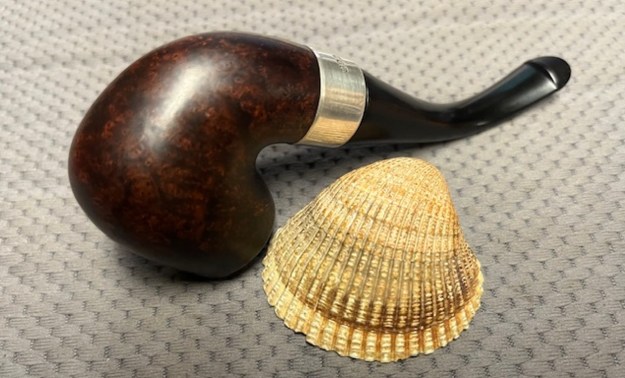
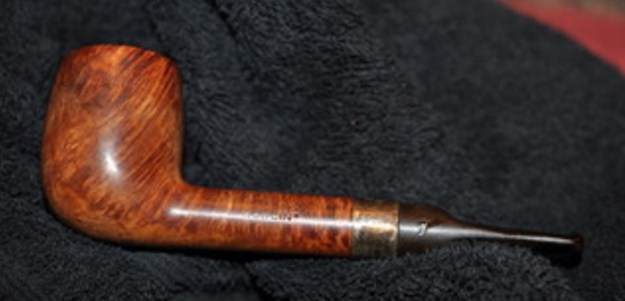
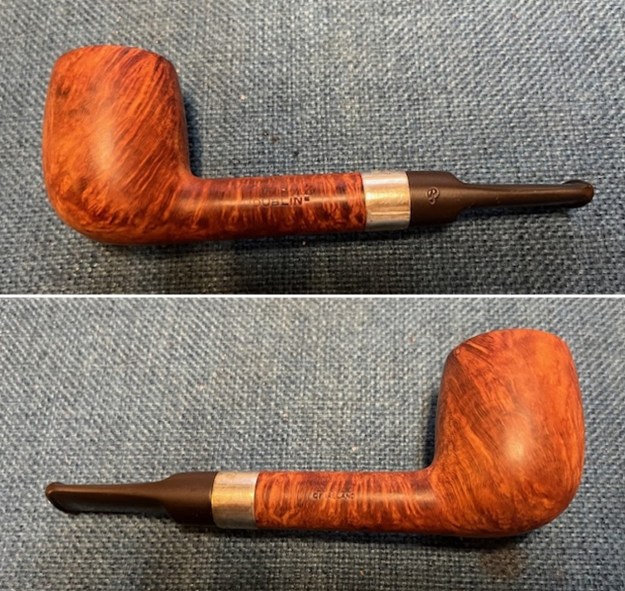
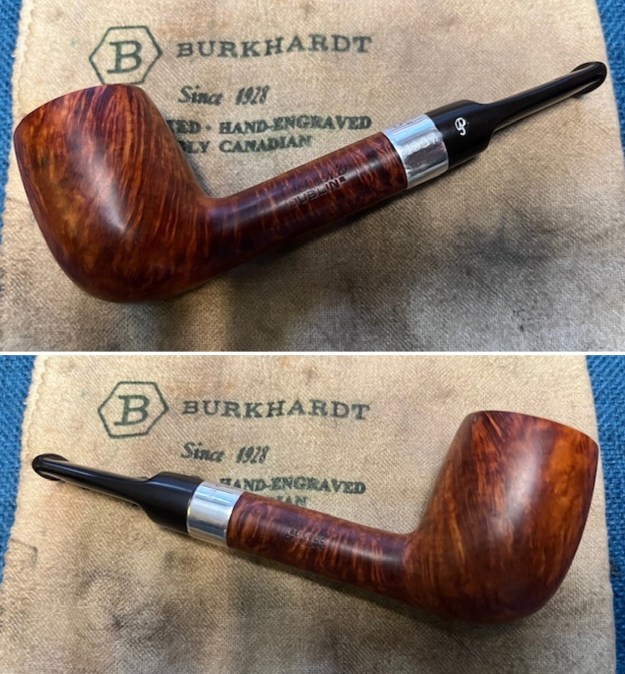
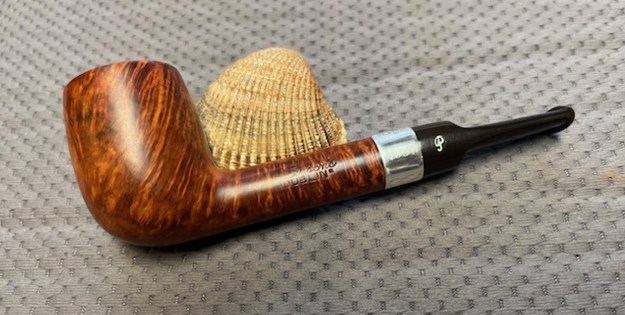
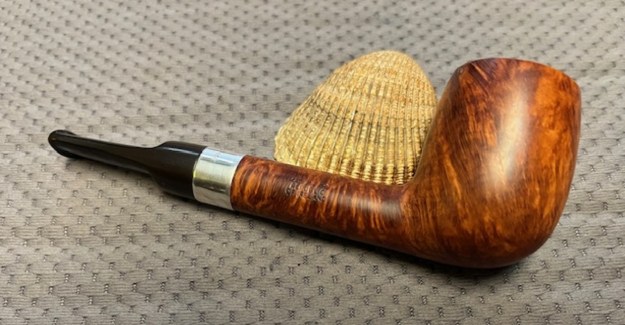
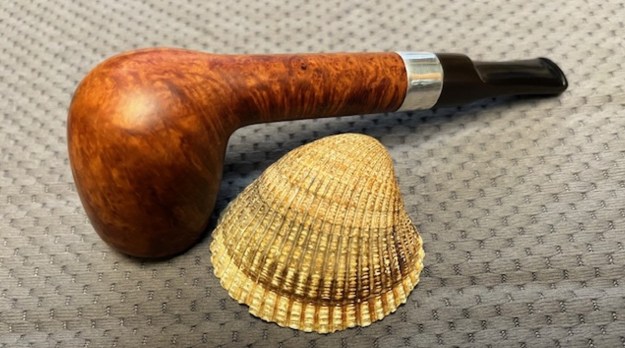
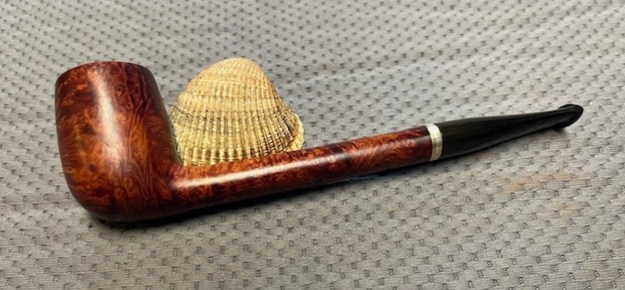
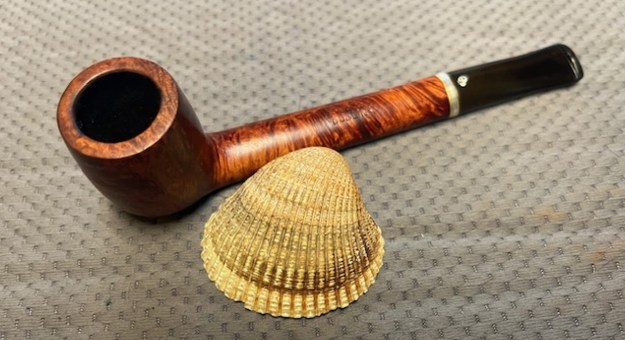
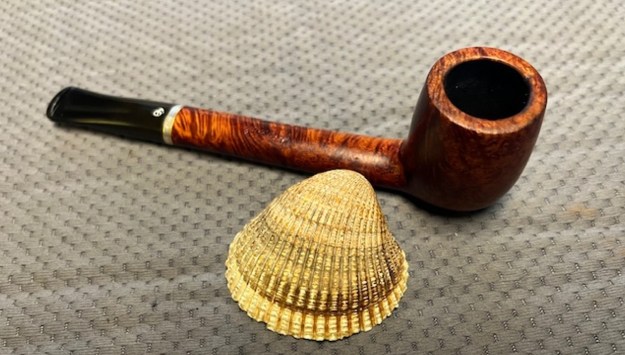
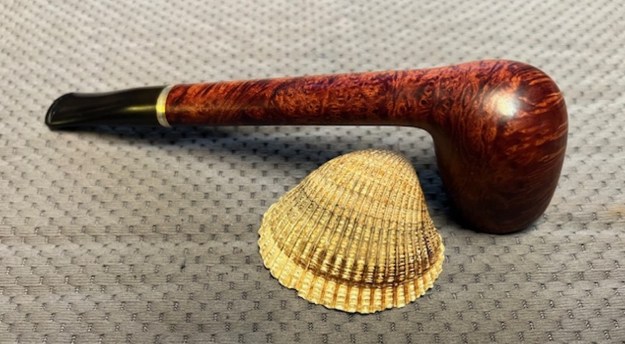
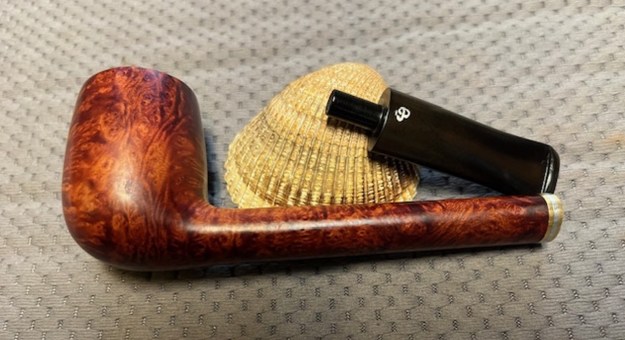
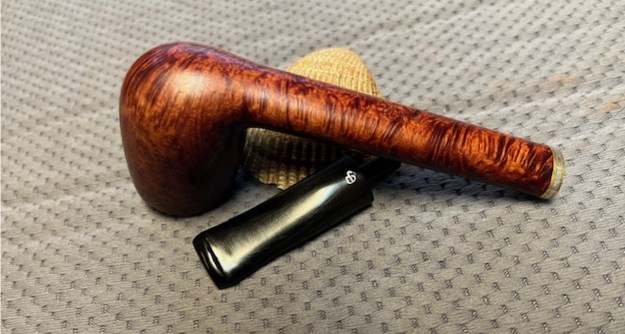
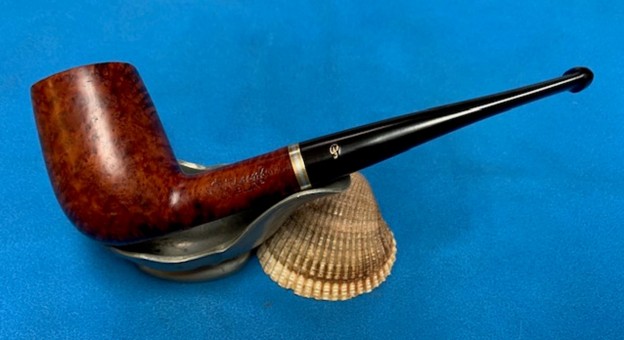
 I am excited to finish this Peterson’s Dublin Silver Banded Bent Billiard. I put the pipe back together and buffed it with Blue Diamond on the buffing wheel. I gave the bowl and the stem multiple coats of carnauba wax. I hand buffed the pipe with a clean buffing pad to raise the shine. It is fun to see what the polished bowl looks like with beautiful mixed grain all around it. Added to that the polished black vulcanite stem combined with the bowl and sandwich brass/nickel/brass band on the shank and made a stunning pipe. This smooth Classic Peterson’s Dublin banded Bent Billiard is great looking and the pipe feels great in my hand. It is light and well balanced. Have a look at it with the photos below. The dimensions are Length: 5 inches, Height: 1 ½ inches, Outside diameter of the bowl: 1 1/8 inches, Chamber diameter: ¾ of an inch. The weight of the pipe is 44 grams/1.59 ounces. It is a beautiful pipe that I will soon be putting on the rebornpipes store in the Irish Pipe Makers Section. If you are interested in adding it to your collection send me an email or a message. Thanks for walking through the restoration with me as I worked over this pipe. Thanks to each of you who are reading this blog.
As always, I encourage your questions and comments as you read the blog. Thanks to each of you who are reading this blog. Remember we are not pipe owners; we are pipe men and women who hold our pipes in trust until they pass on into the trust of those who follow us.