by Steve Laug
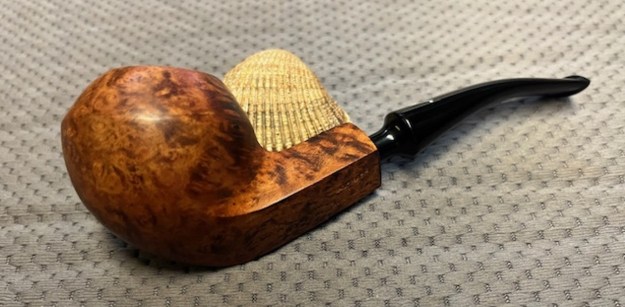
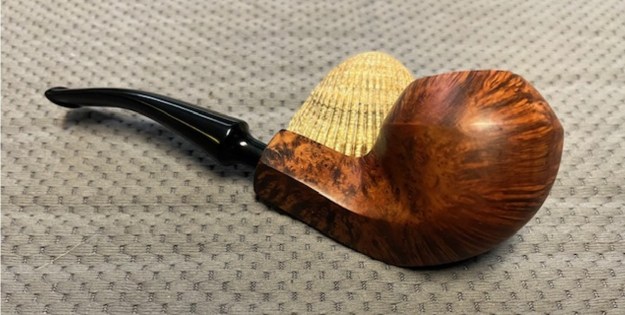
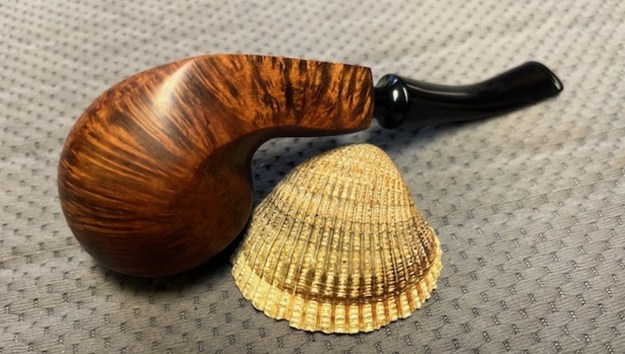
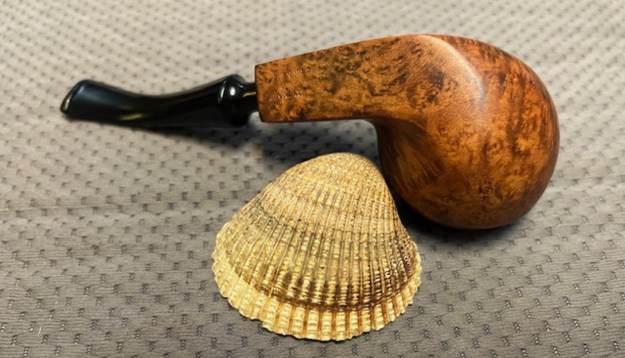
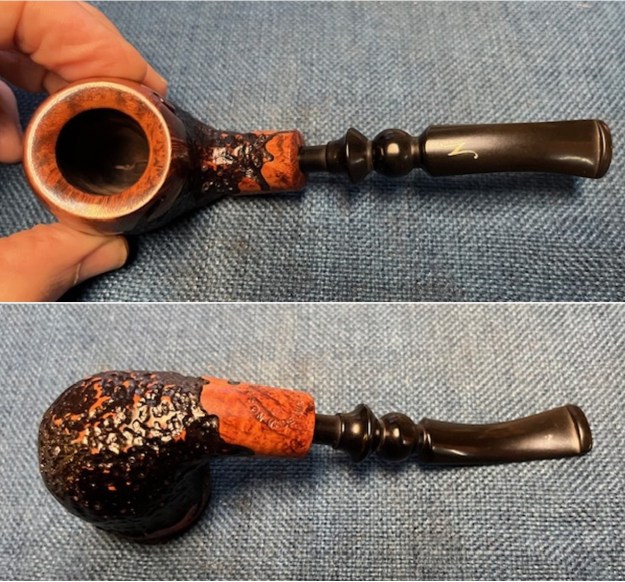
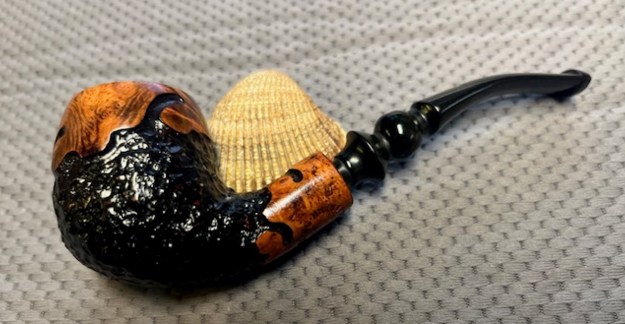
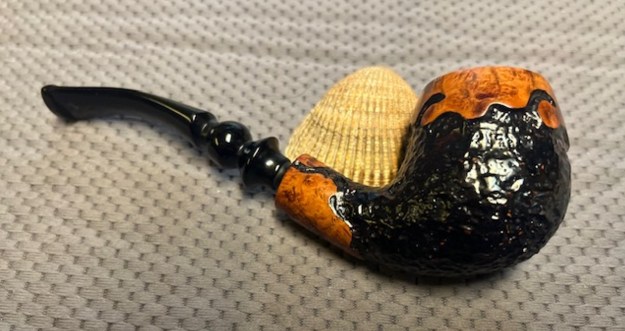
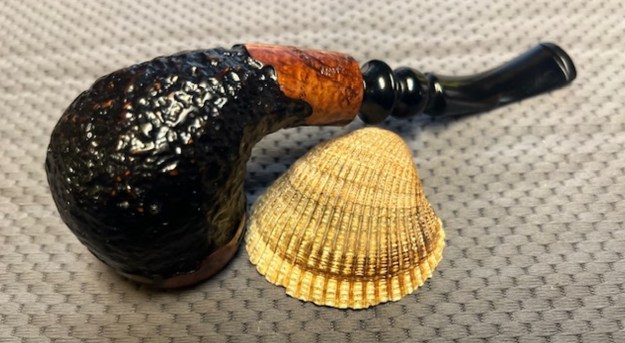
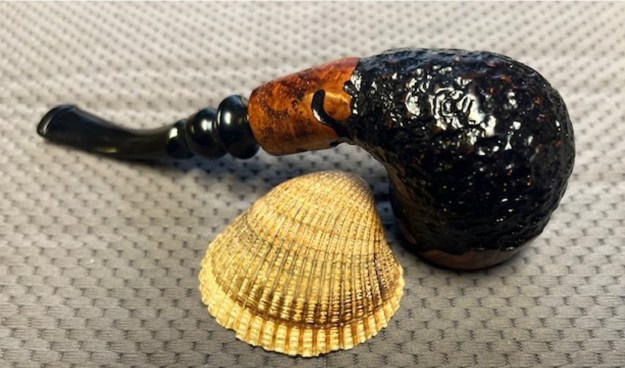
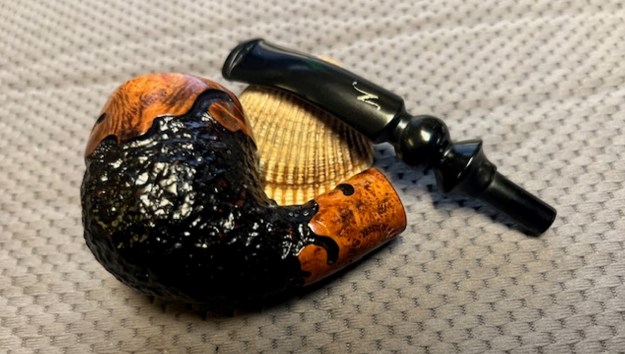
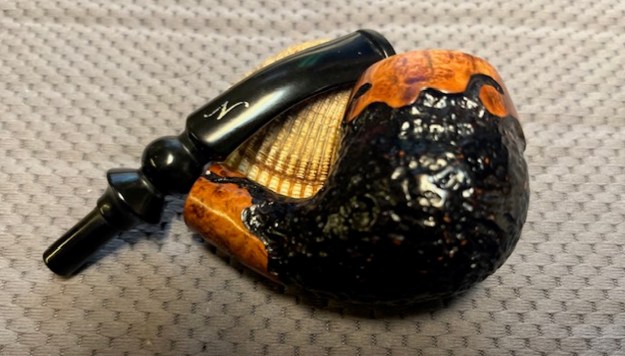
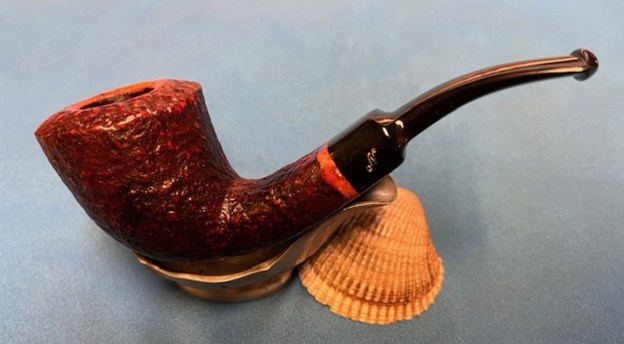
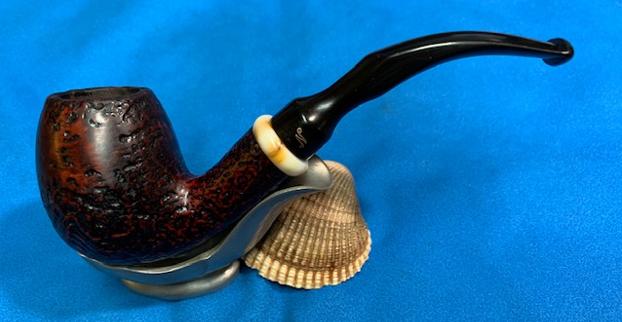
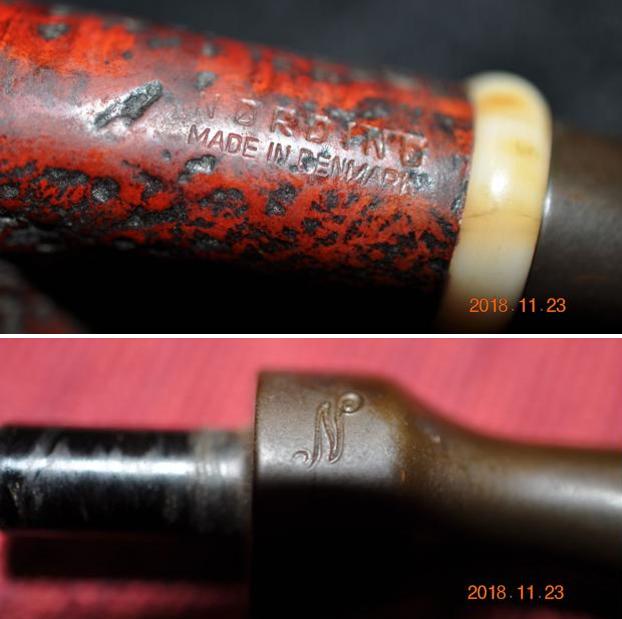
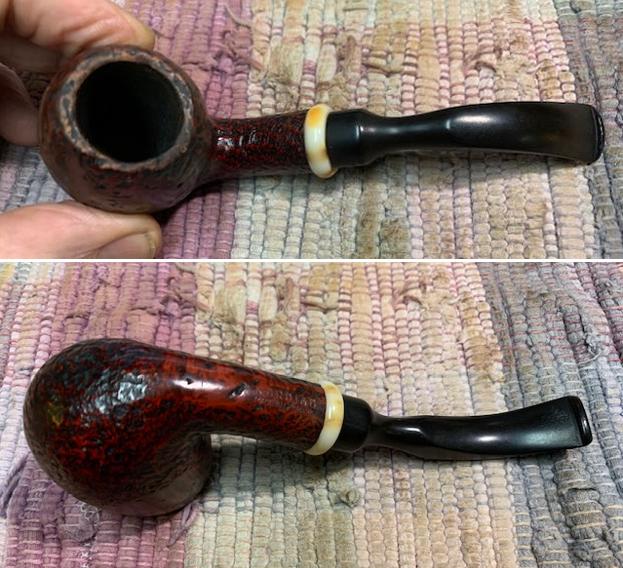
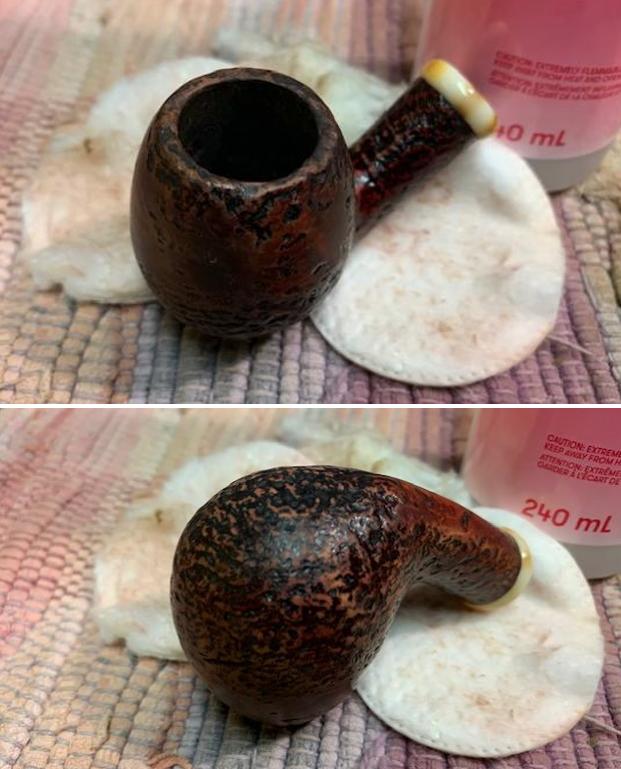
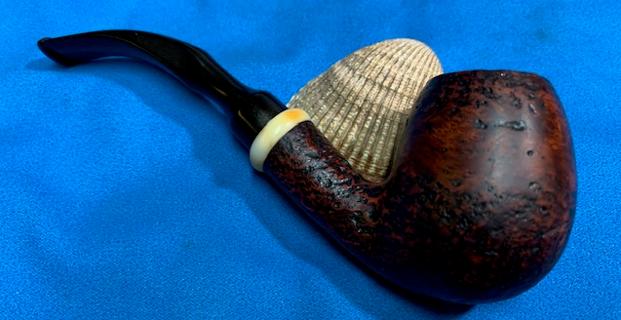
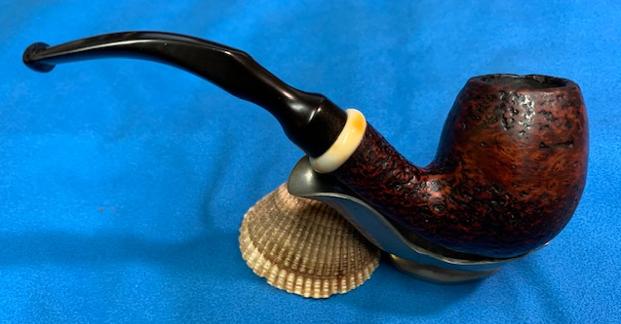
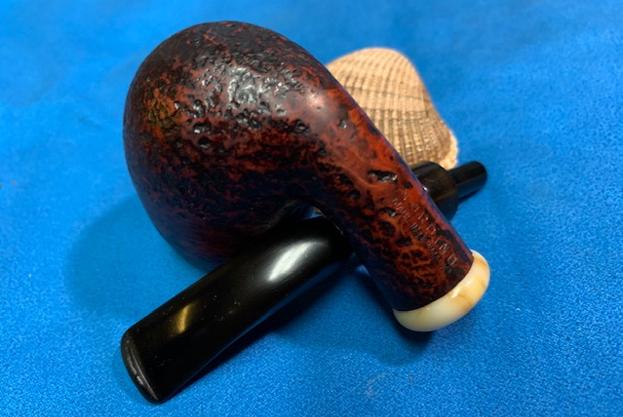
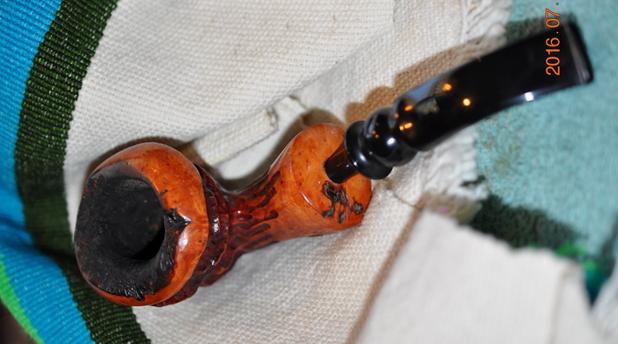
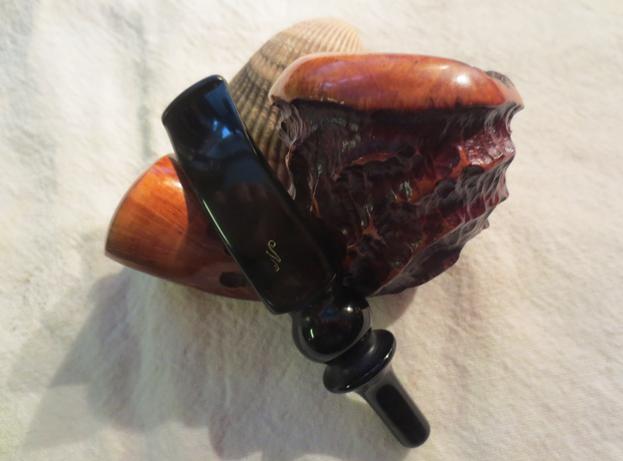
The next pipe on the table is a lightly beauty. It is dusty and dirty from sitting and smells lightly of tobacco. We purchase it from a seller on Facebook marketplace on 04/30/25 in Portland, Oregon. It is a smooth Bulldog with a diamond shank. The Bullcap top is rusticated to look like plateau. The shank end has a light bevel and the stem is a military style bit. It is stamped on the left underside of the diamond shank and reads Handmade [over] By [over] Erik Nording. There is no shape number stamped on it. There is a light carbon bowl coating and the bowl was clean and had a light smell of tobacco in the bowl which led me to the conclusion that the bowl had been smoked. The rim top and the inner edge of the bowl looked very good. The mortise was also clean with no oils or tars darkening it. The finish on the bowl and shank was dull but otherwise in great condition and the acrylic stem was new looking. There were not any tooth marks or chatter on the top and underside on and near the button. There was a Nording “N” logo stamped on the top side of the stem. I took photos of the pipe before I started my cleanup work. They tell the story and give a glimpse of the promise that we see in this pipe. 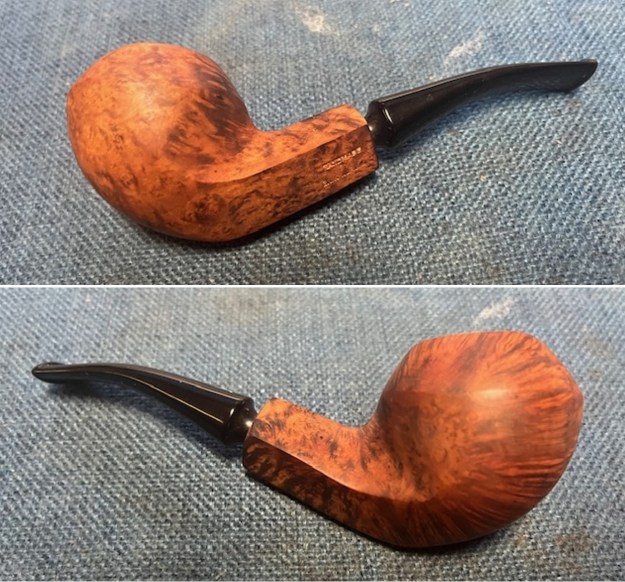
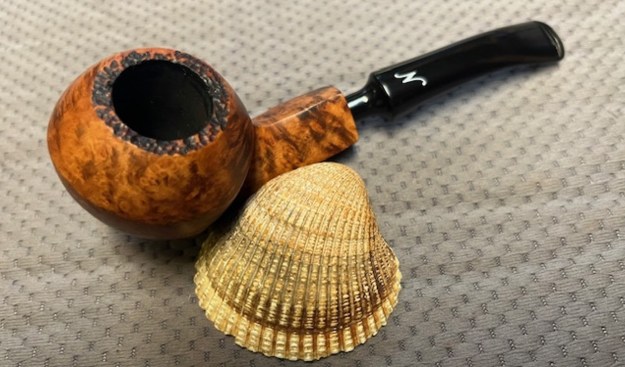
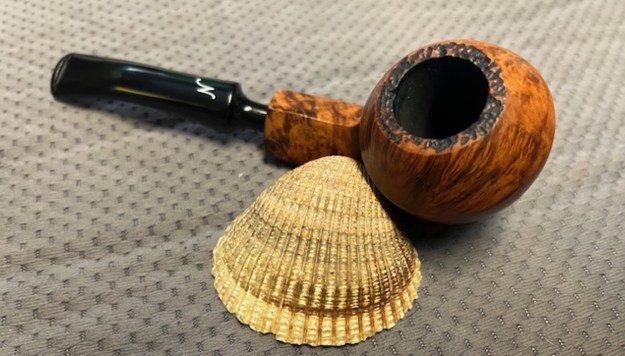
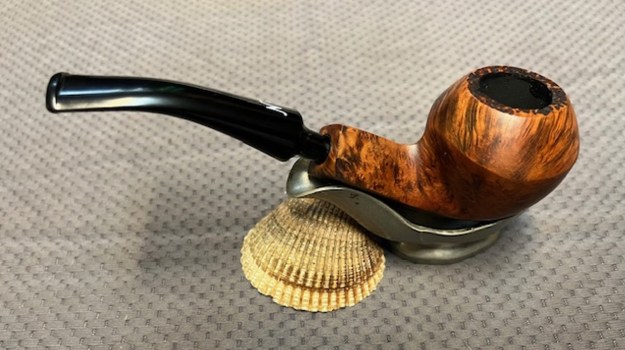
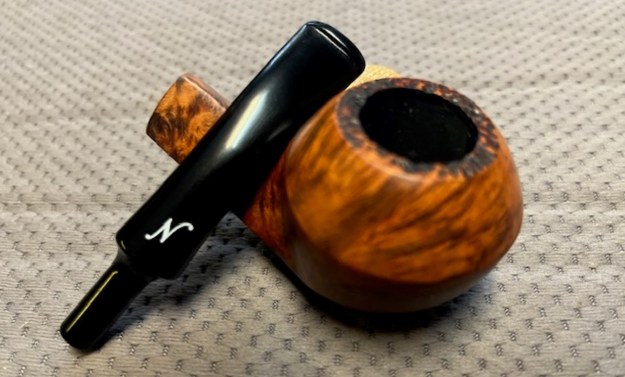
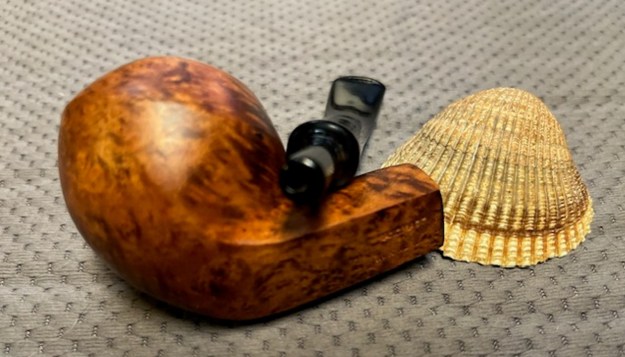
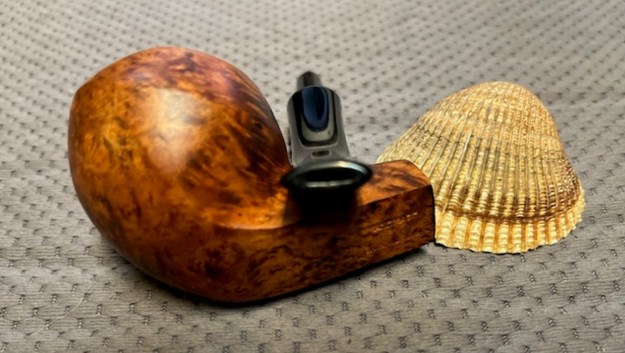
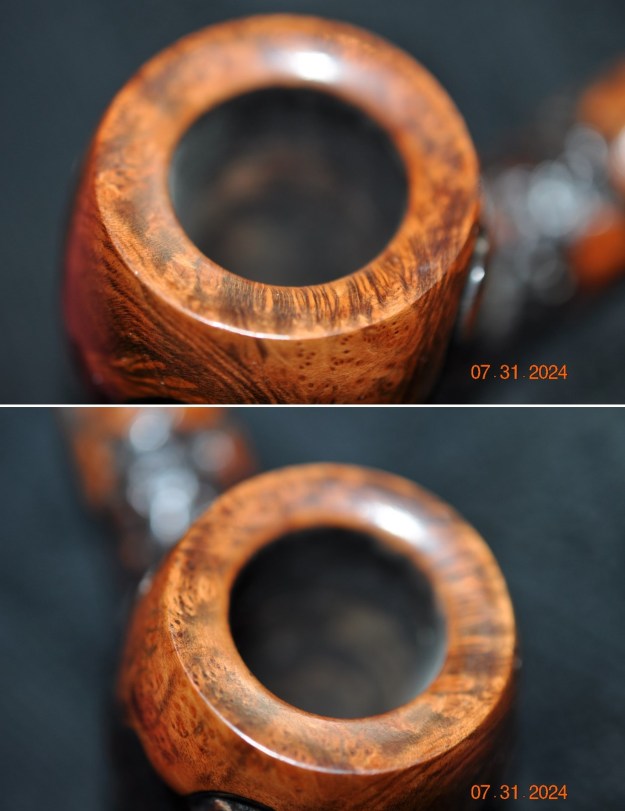
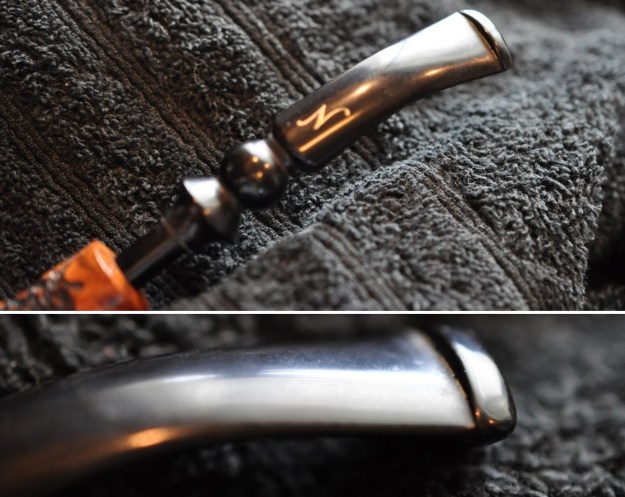
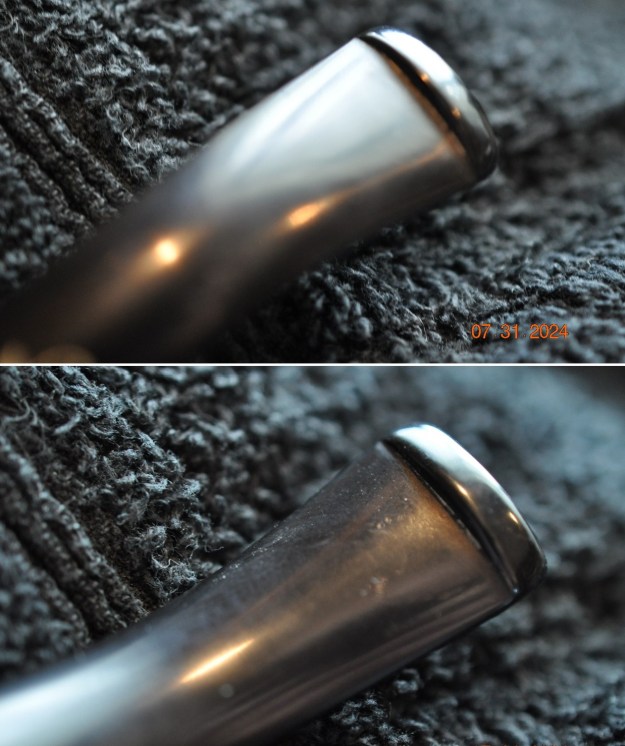
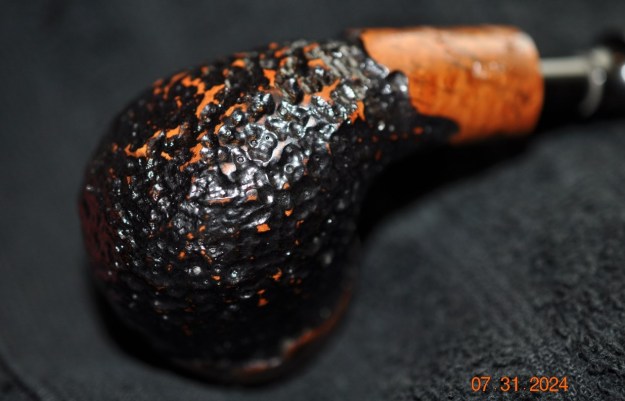
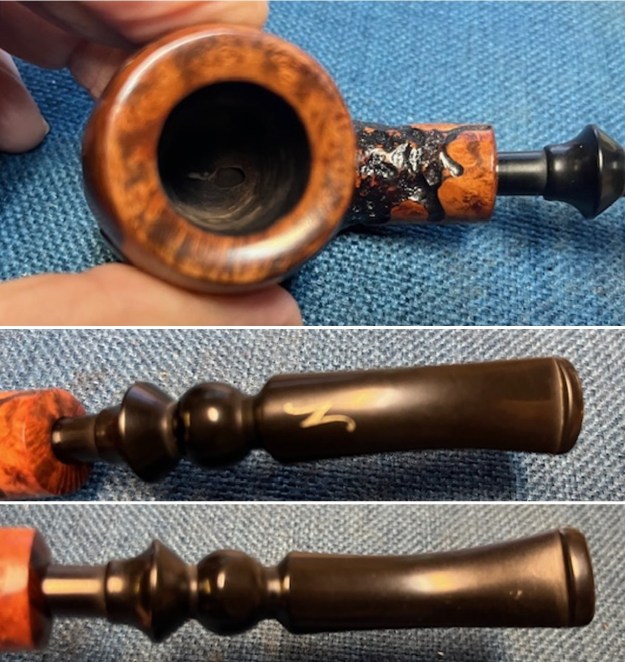
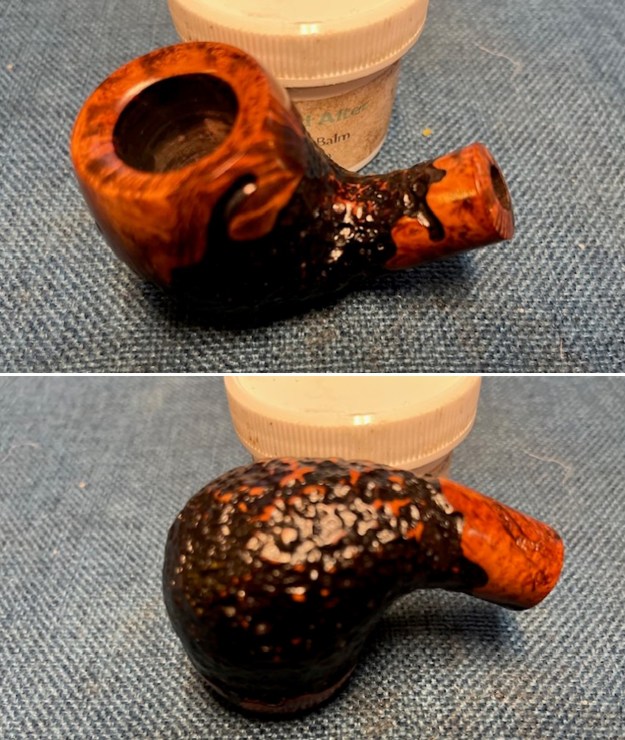
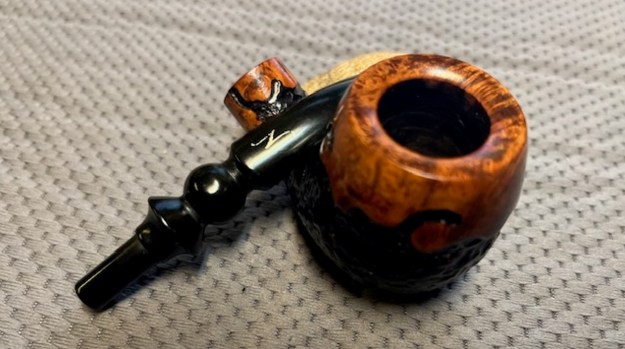
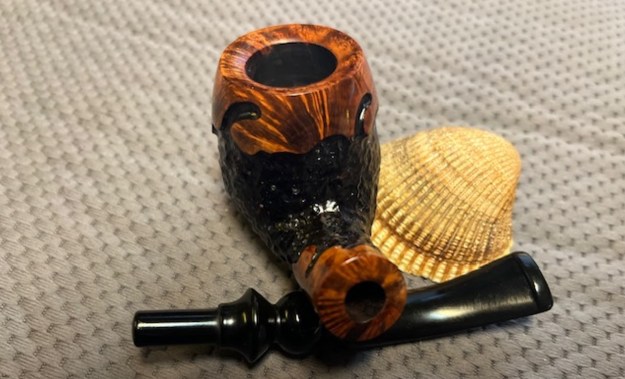
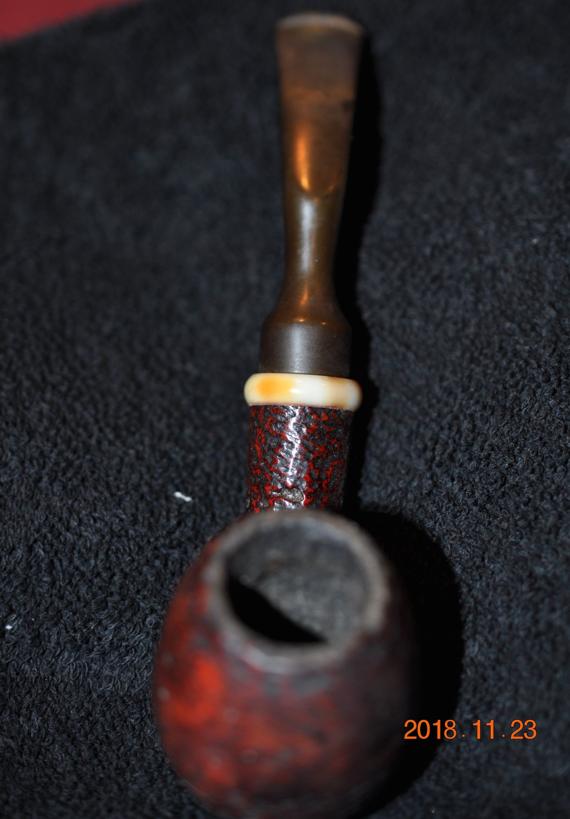
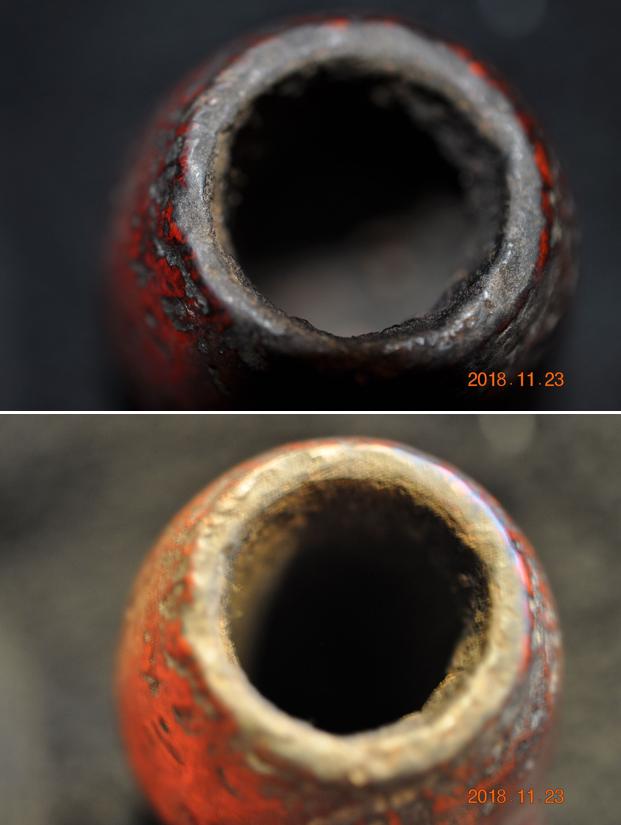
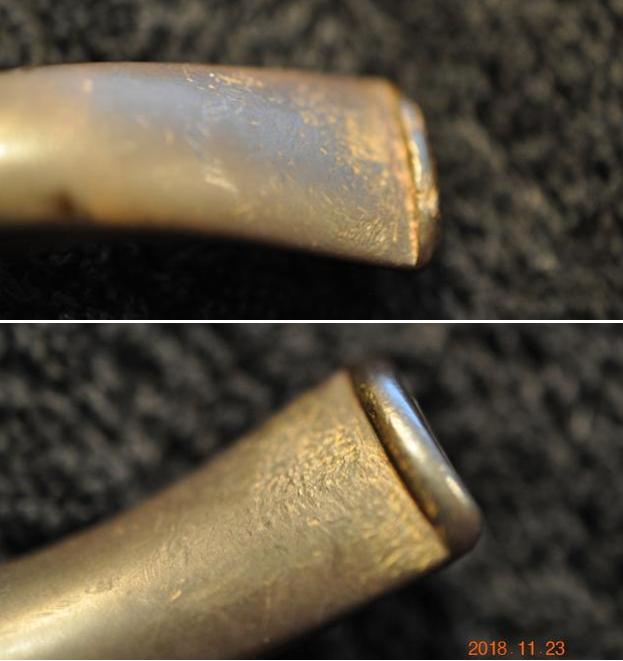
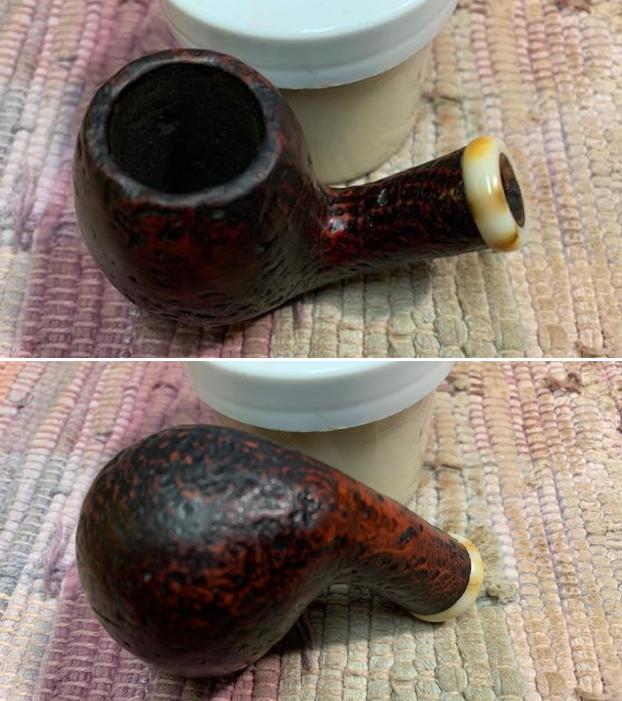
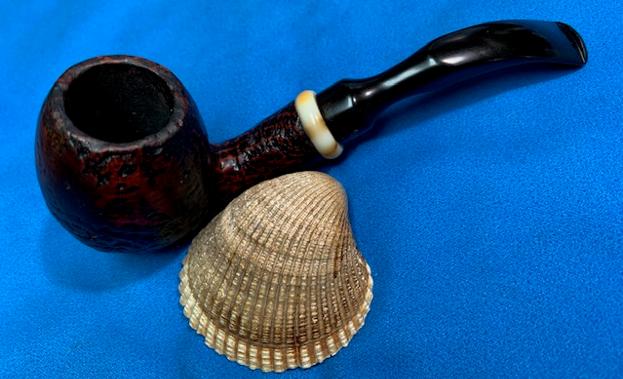
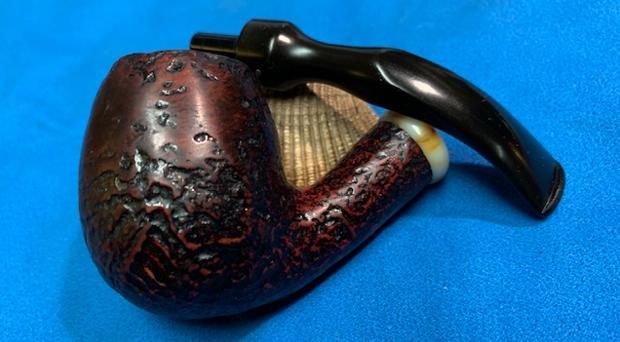
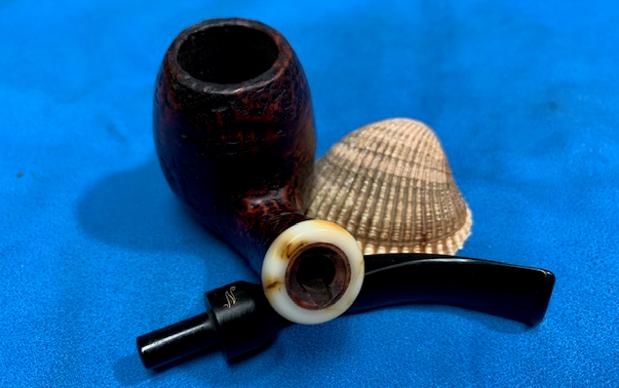
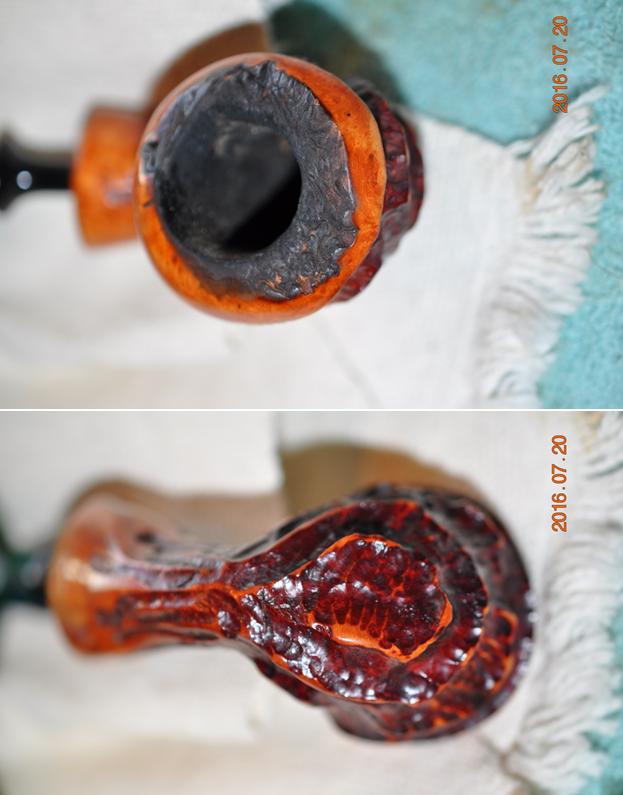
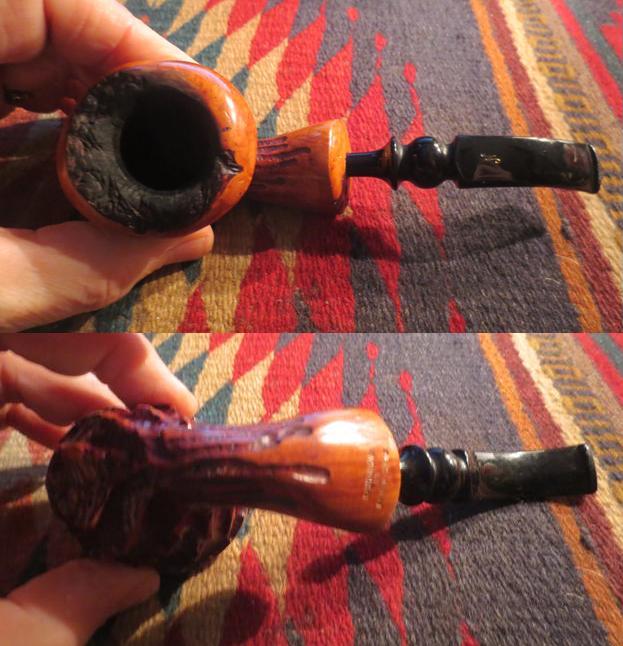
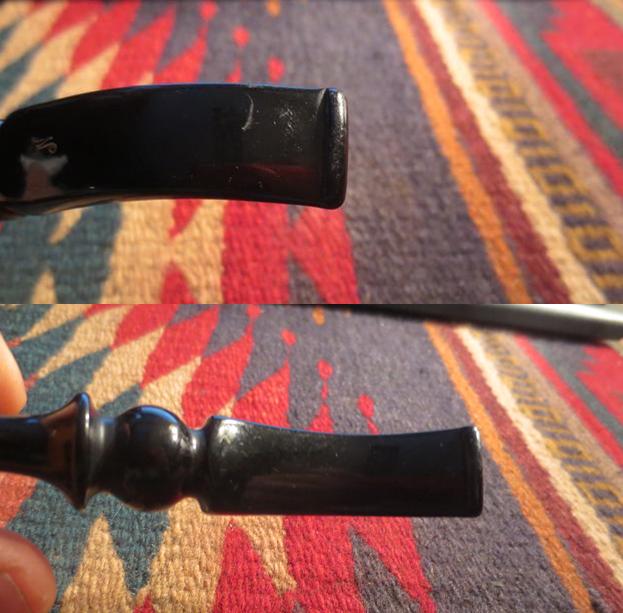
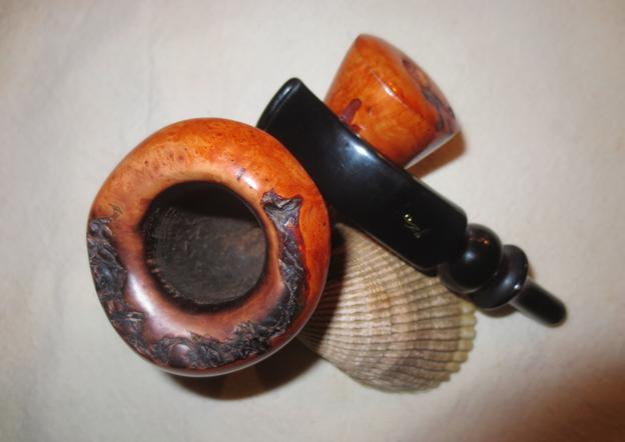
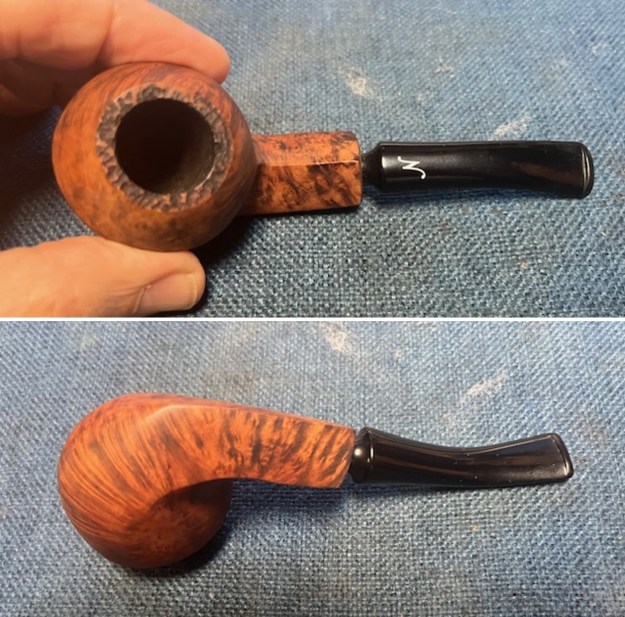 I took a photo of the rim top and bowl to show the current condition. The rusticated “plateau style” rim top is in perfect condition with no nicks or flaws. The bowl photo shows the light carbon coating on the walls. The walls do not have any tobacco debris or ash on them at all. The stem photos show how clean the stem is other than scratching on the surface.
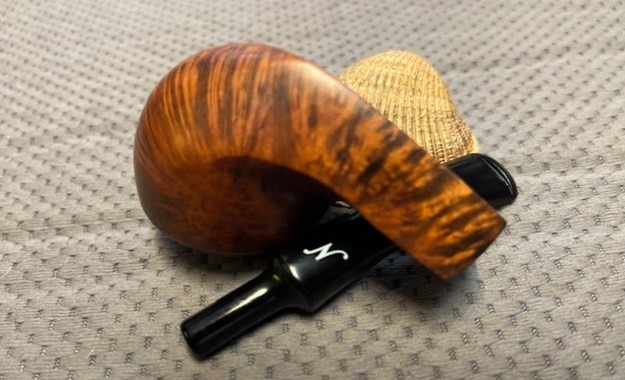
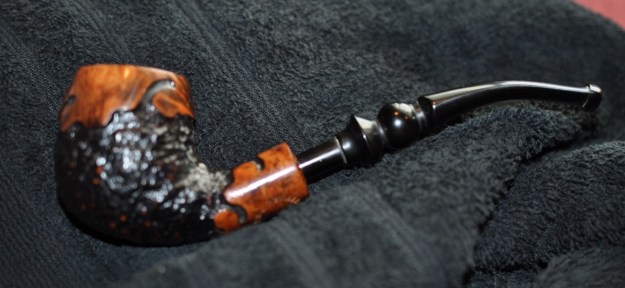
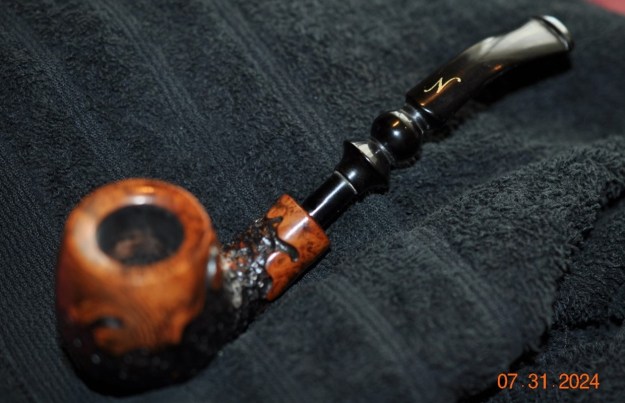
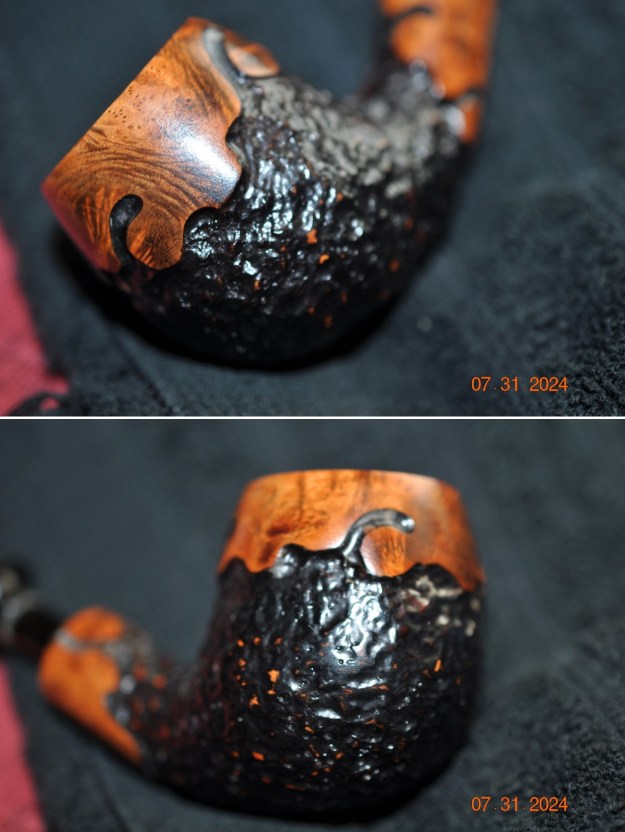
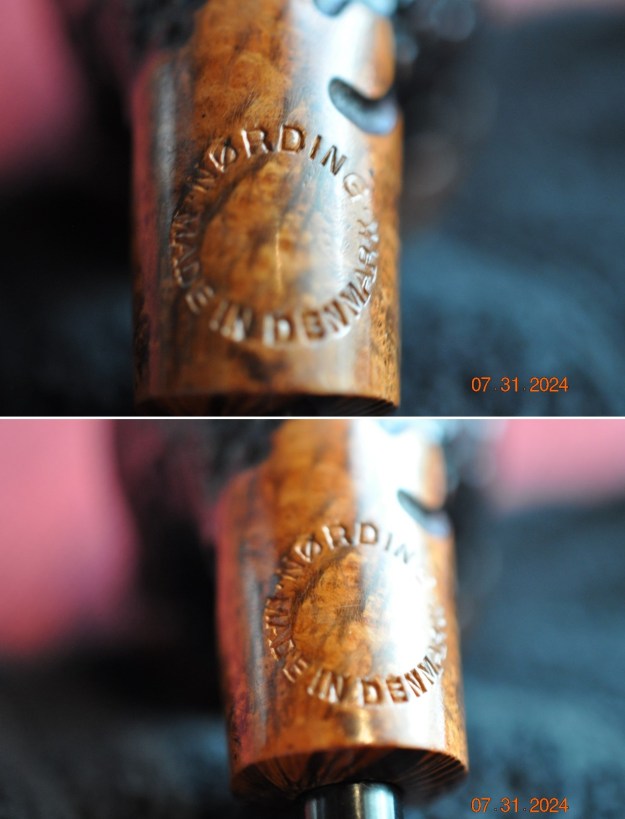
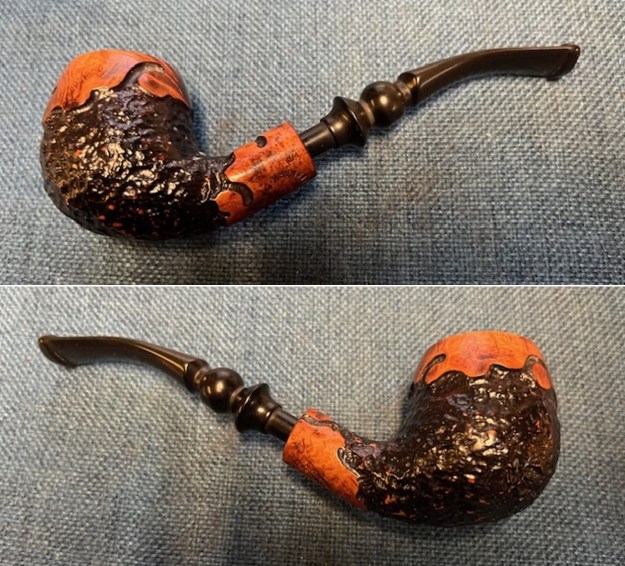
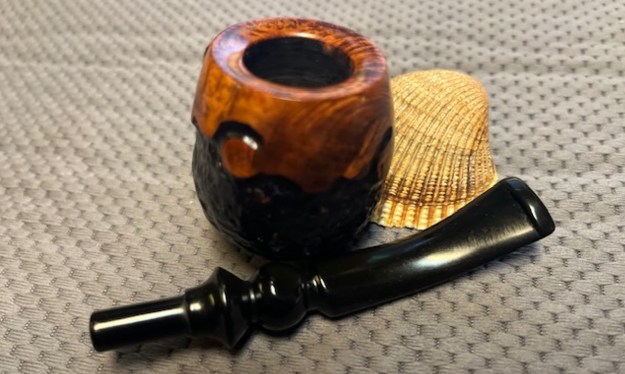
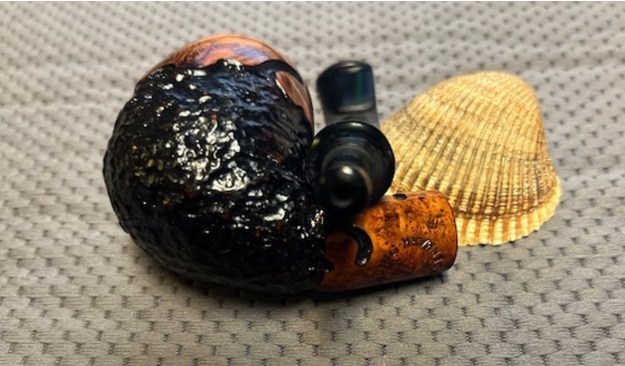
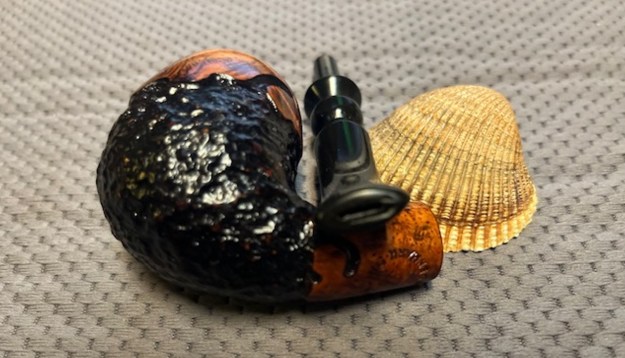
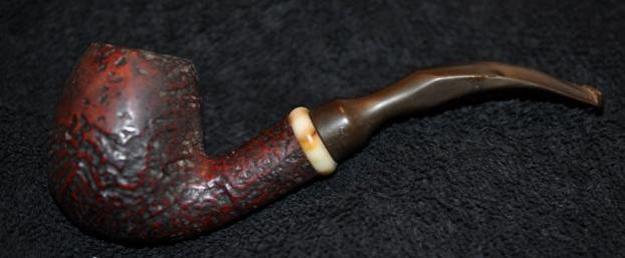
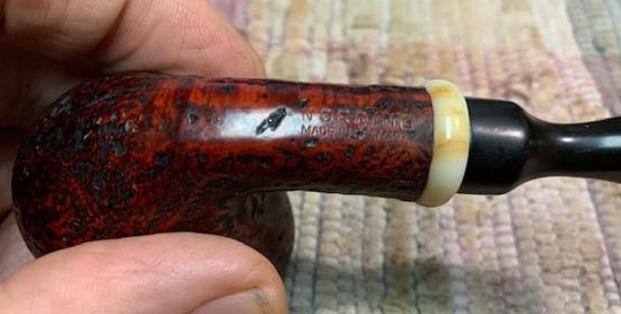
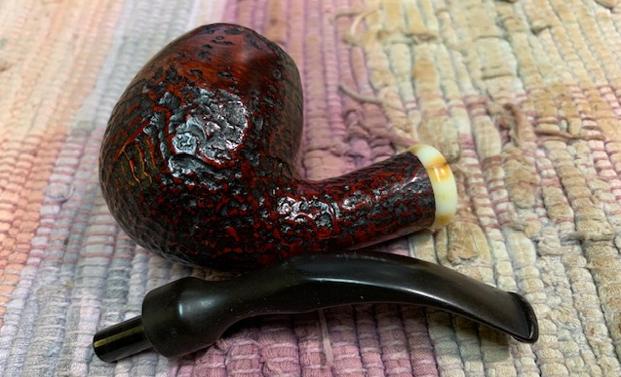
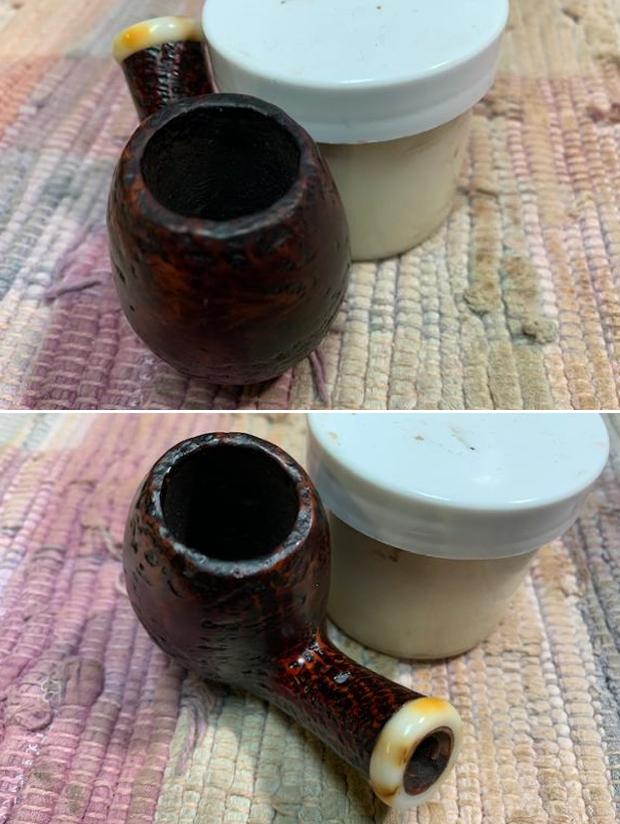
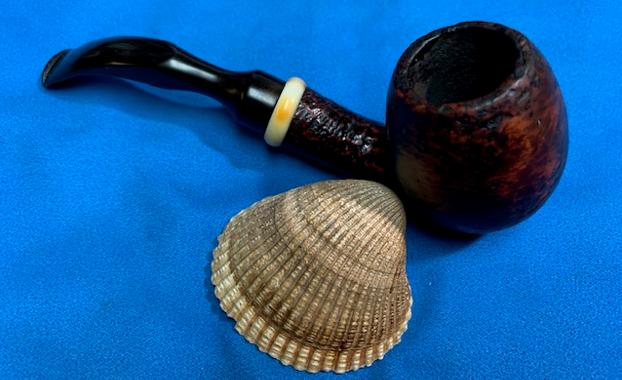
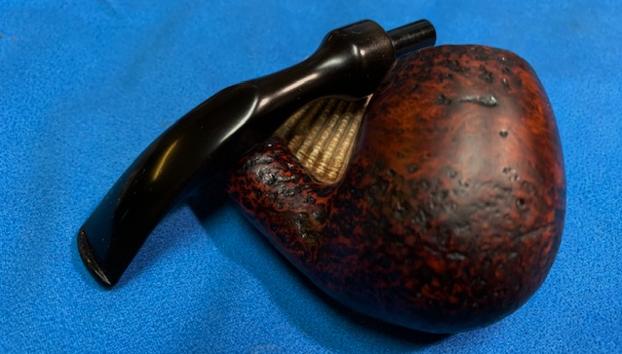
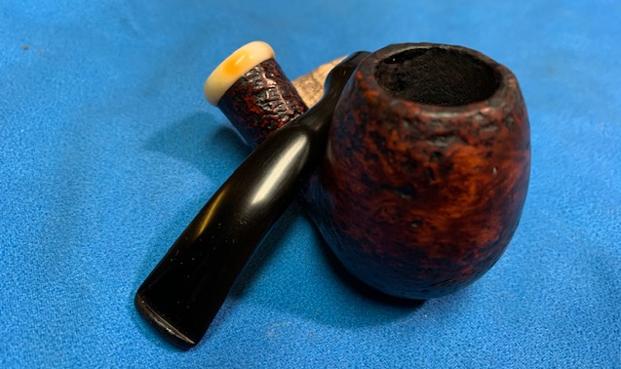
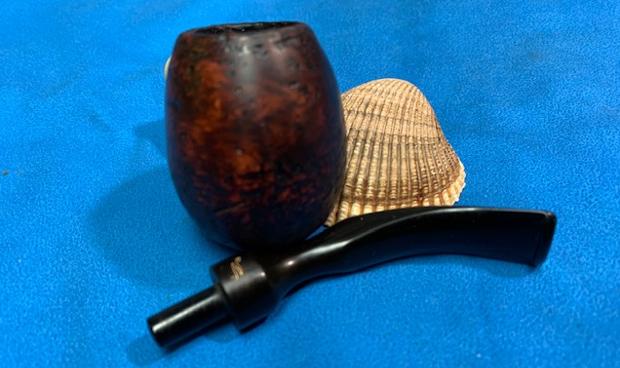
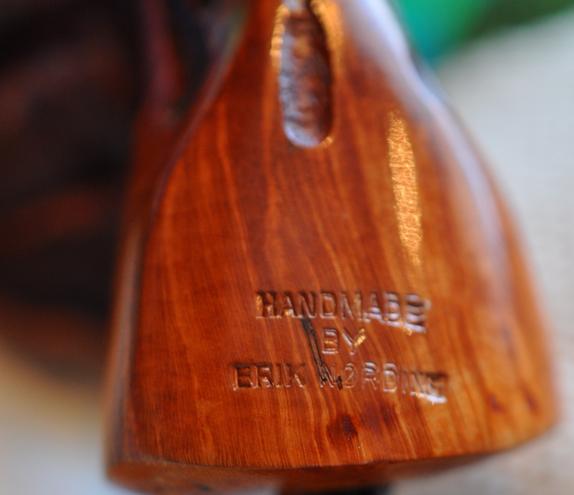
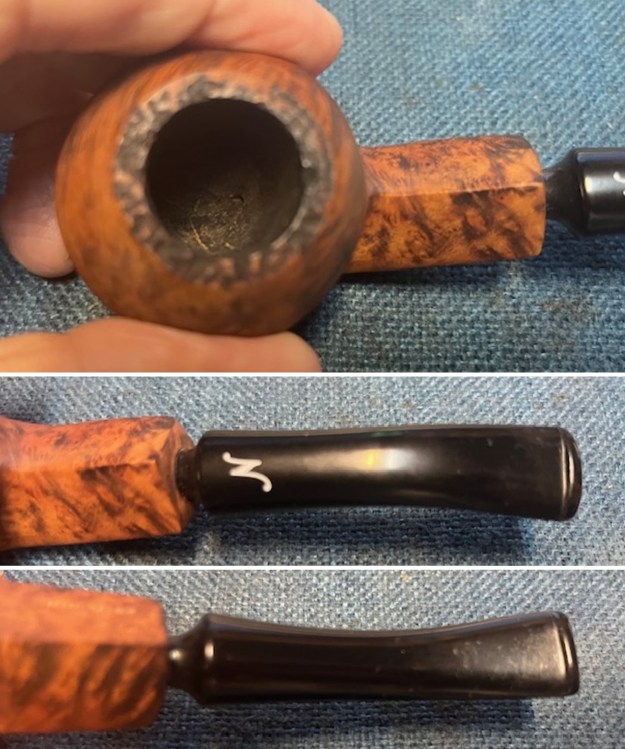 I took photos of the heel of the bowl to capture the stamping. It is faint but readable as noted above but a bit hard to capture in the photos. I removed the stem from the shank and took photos of the overall look of the pipe. It is a beautiful pipe.
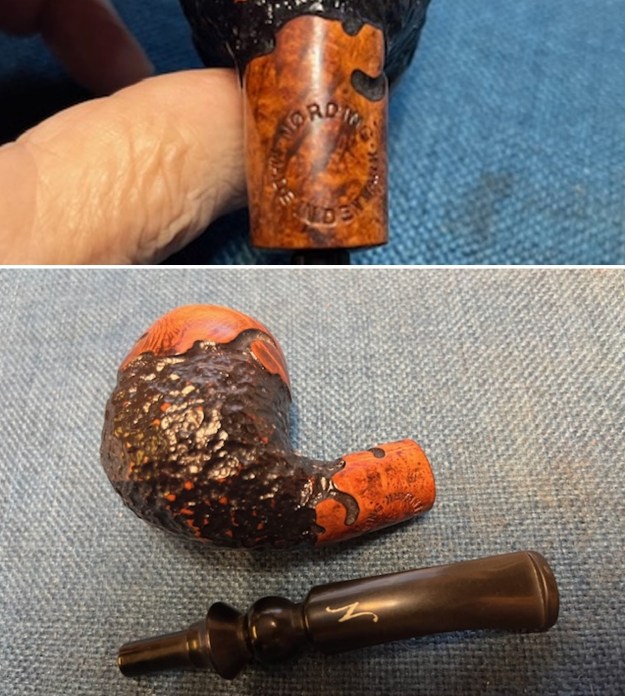
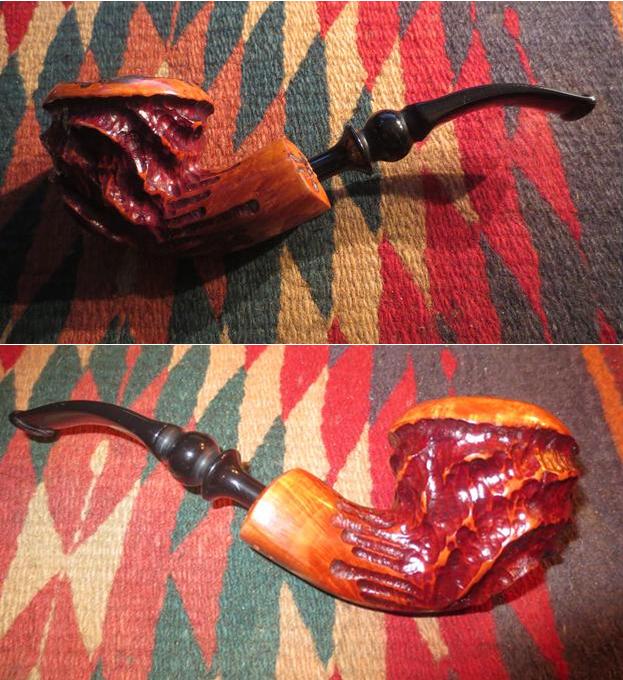
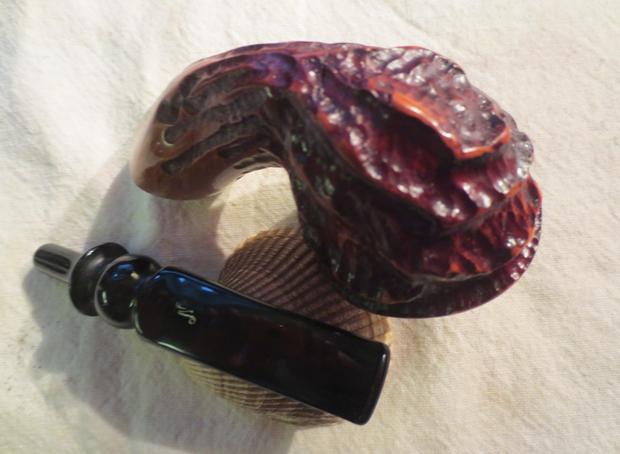
 I turned my attention to the pipe itself. I wiped out the inside of the bowl with a paper towel to lightly remove the dust in bowl coating on the pipe. It looked much better at this point.
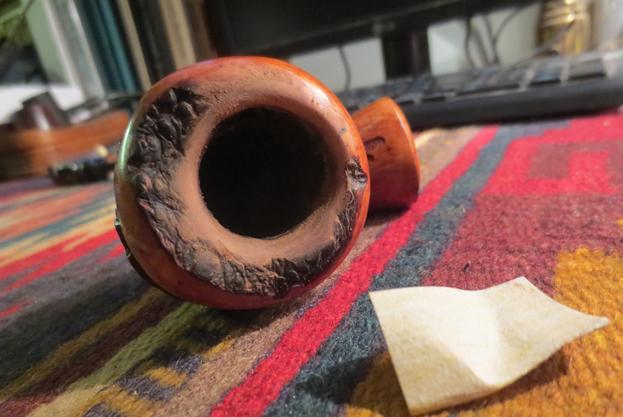
 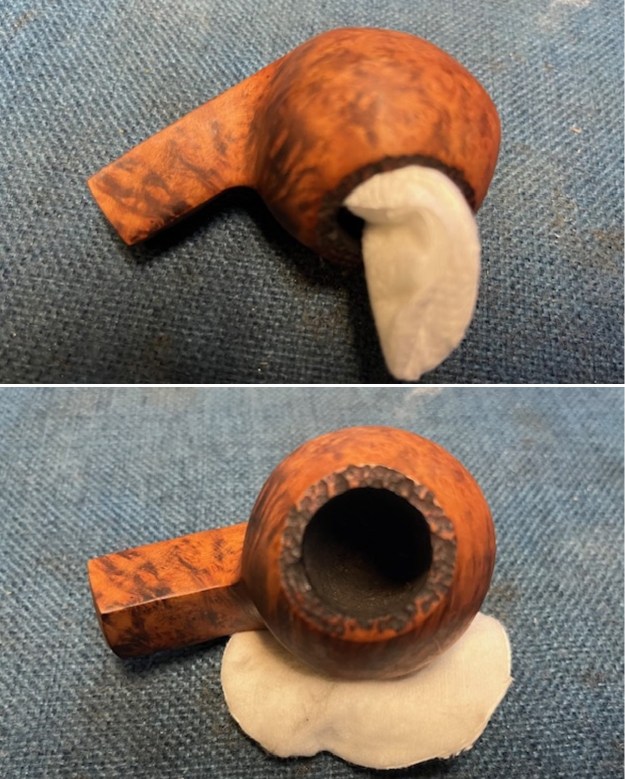 The bowl still smelled like light tobacco. I am pretty certain the pipe has been lightly smoked. I scraped off the loose coating with a Savinelli Fitsall Pipe Knife. I sanded it smooth with 220 grit sandpaper wrapped around a dowel. The bowl is smooth now but I left a smooth coat on the walls for protection.
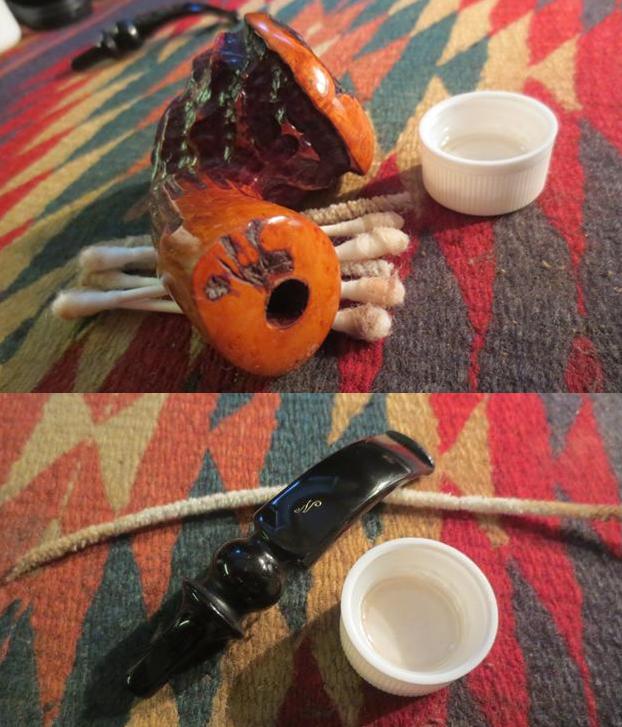
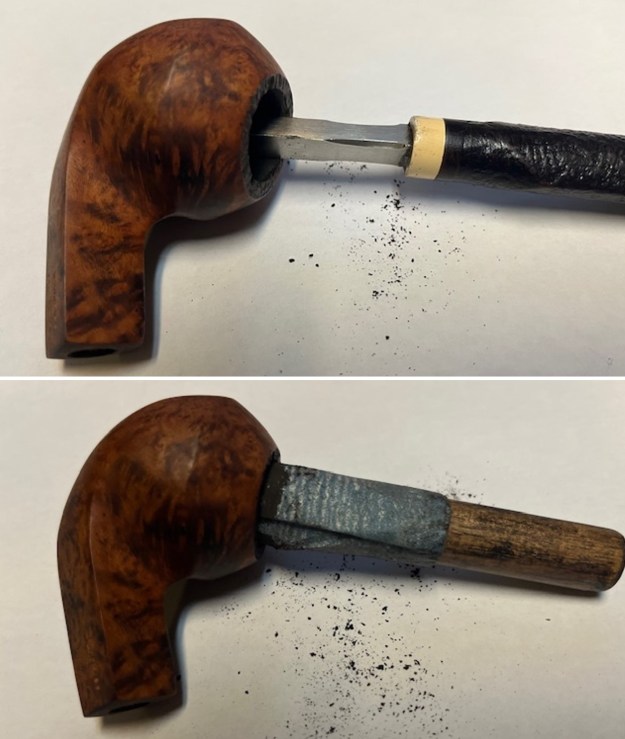 I cleaned out the shank and airway using alcohol, cotton swabs and pipe cleaners – both bristle and clean ones. The shank was clean though there was some stain from the briar and some light tars and oils that came out of the shank and some bowl coating out of the entry of the airway in the bowl. I cleaned the airway in the stem at the same time and the airway had some tobacco debris and oils that came out.
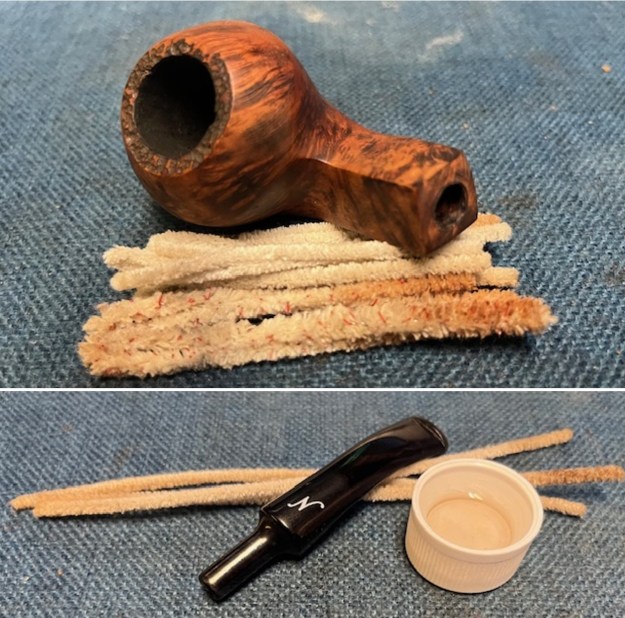 I scrubbed the briar and the inside of the bowl with undiluted Murphy’s Oil Soap and a tooth brush. I rinsed the bowl with warm running water. The bowl was clean and it smelled fresh.
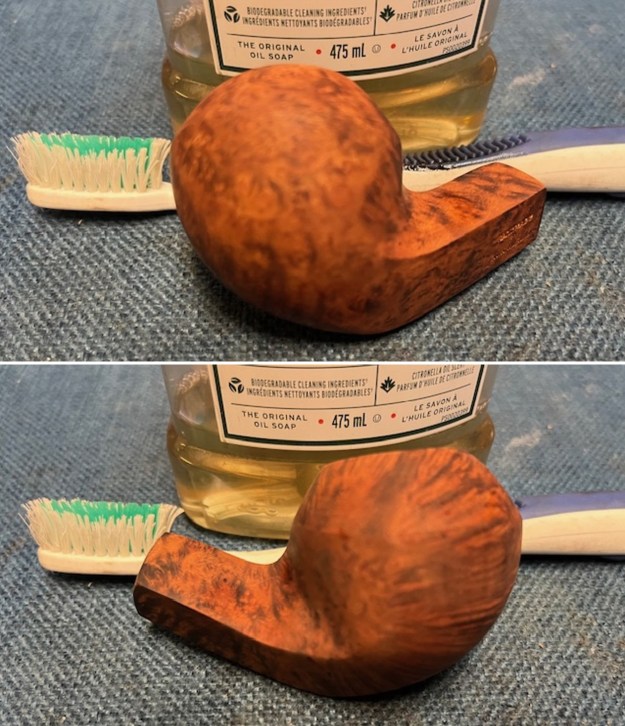
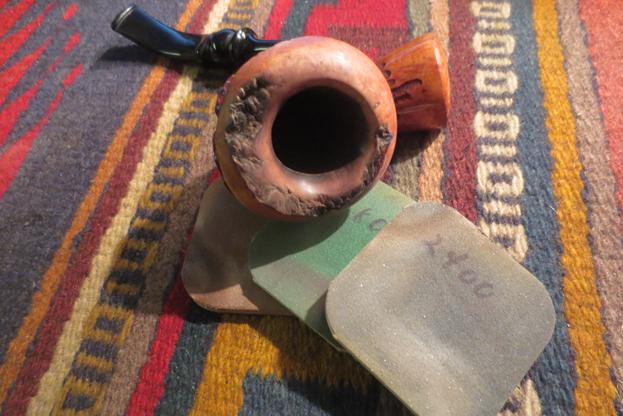
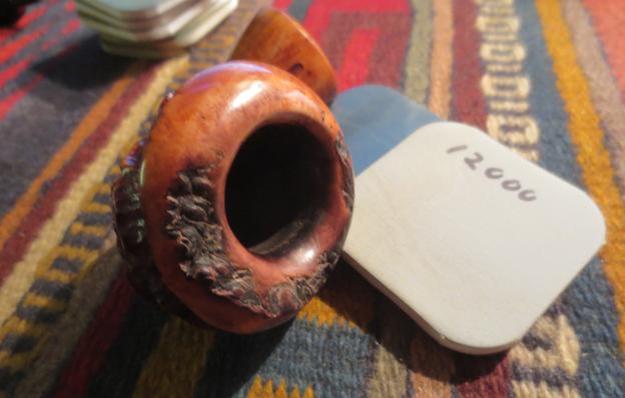
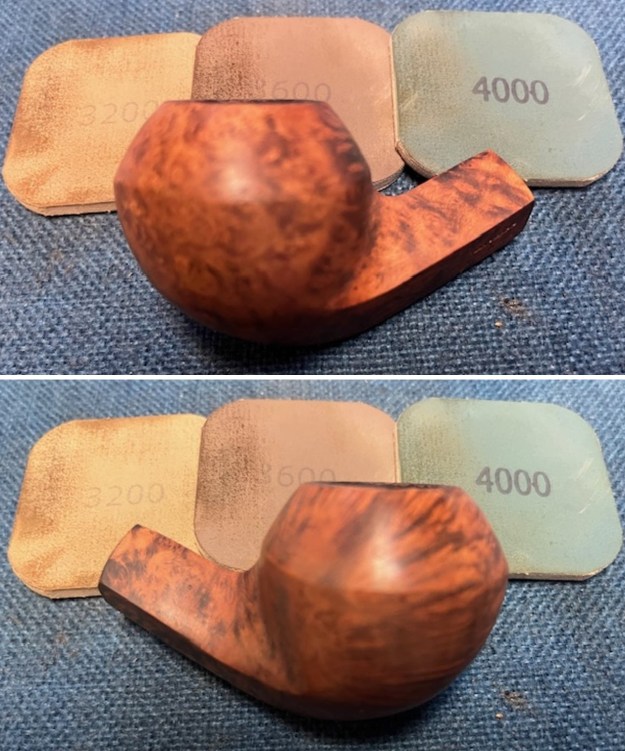
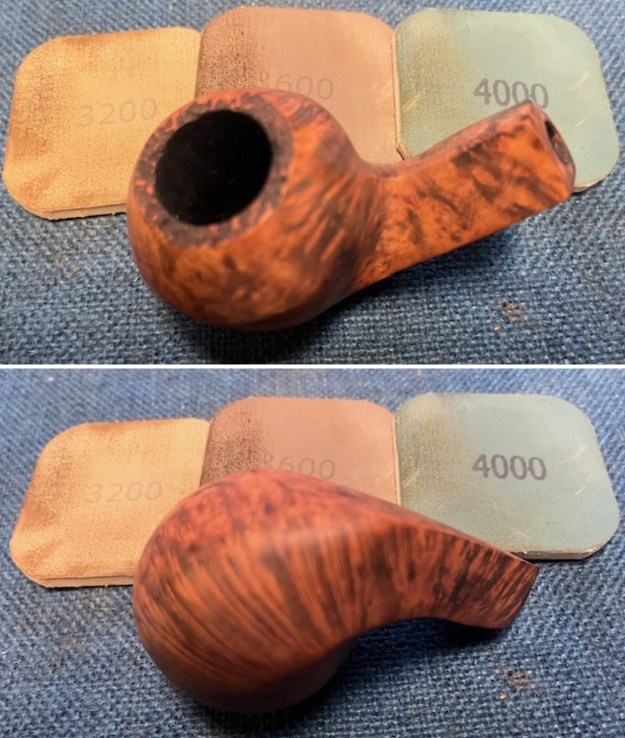
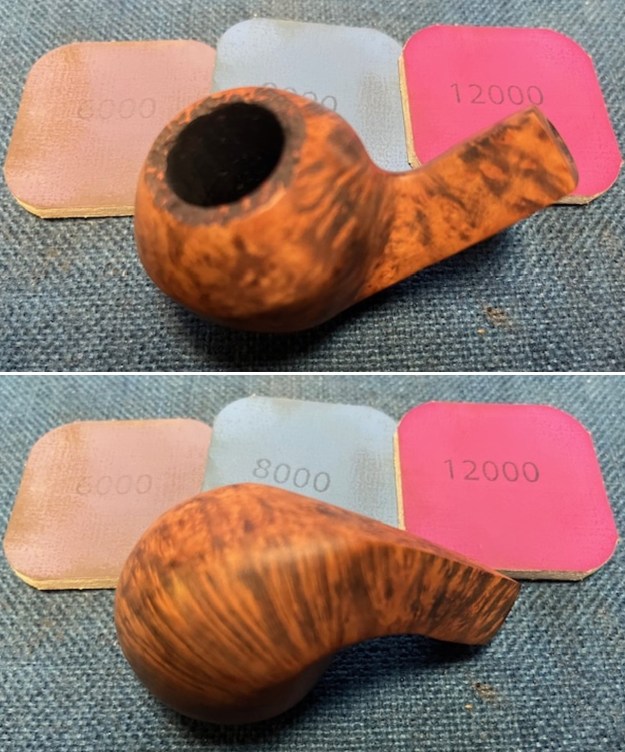
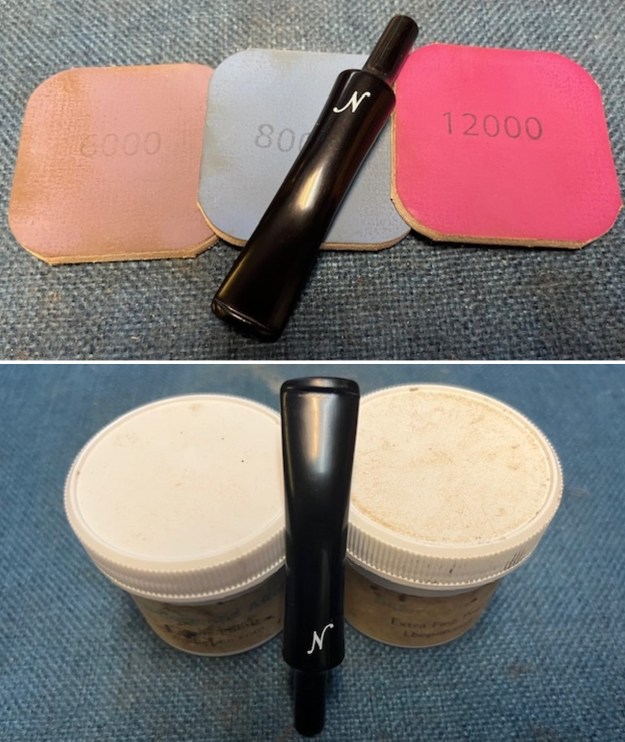
 I polished the briar with micromesh sanding pads – dry sanding the briar with 1500-12000 grit pads. I wiped the bowl down with a damp cloth to remove the debris left behind by sanding.


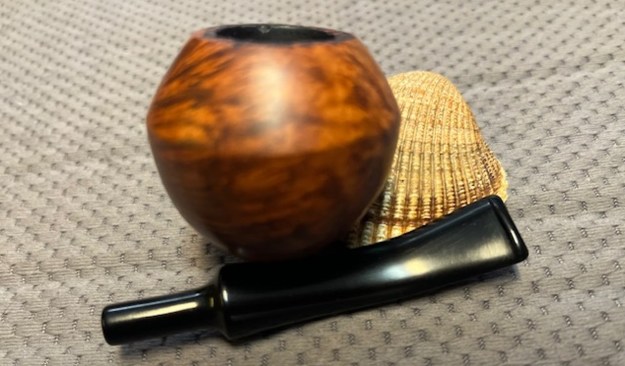
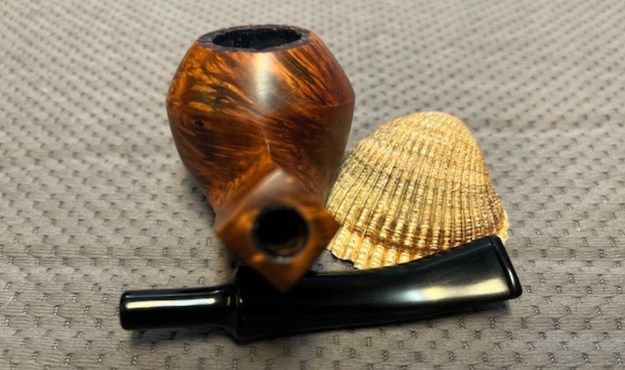
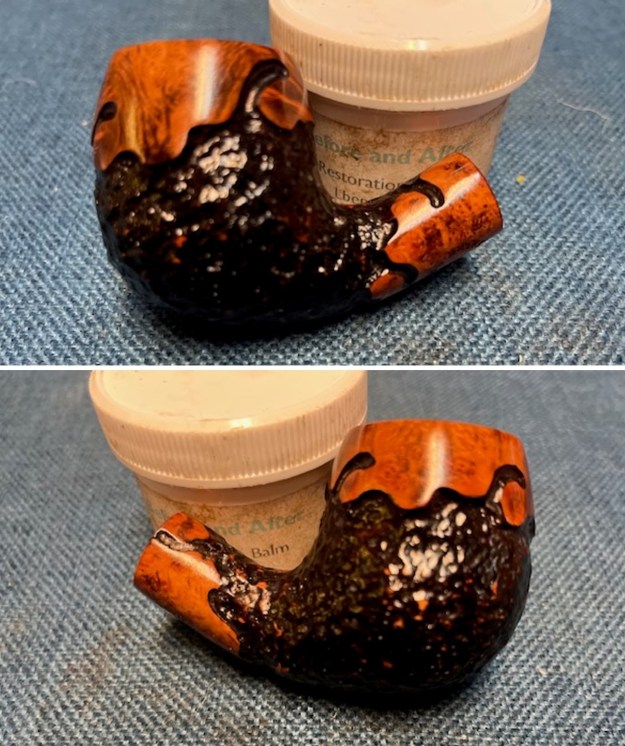
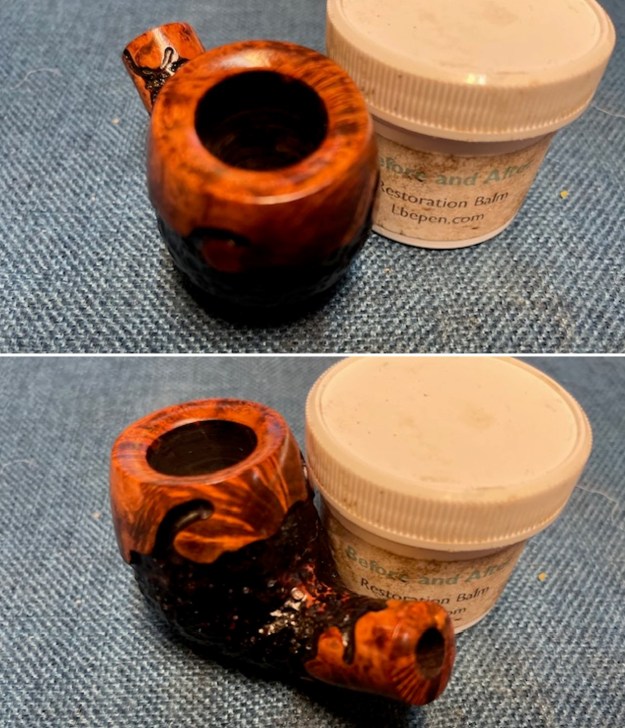
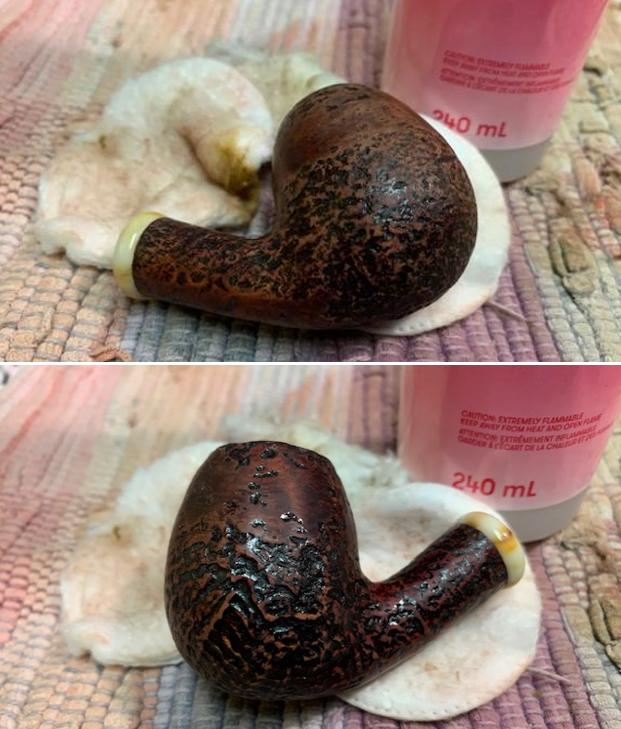
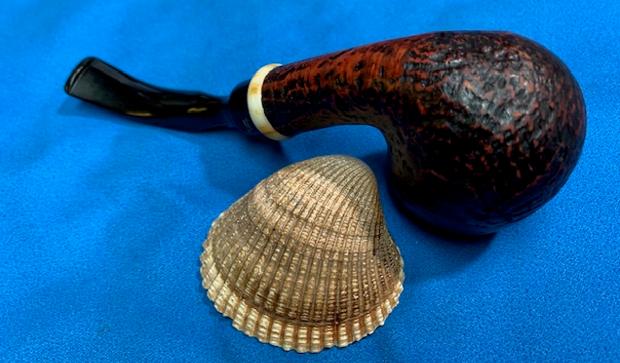
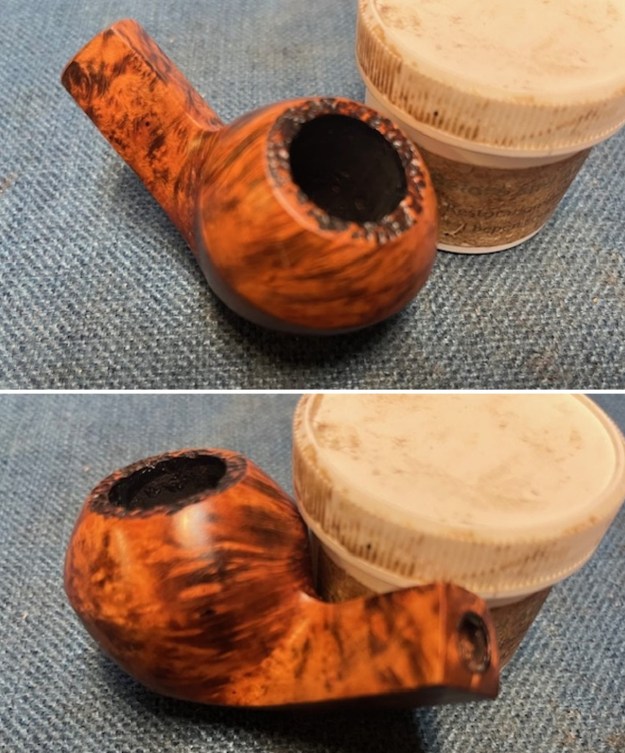
 I worked some Before & After Restoration Balm into the surface of the briar with my fingertips to clean, enliven and protect the briar. I let the balm sit for 15 minutes and then buffed with a cotton cloth to raise the shine. The photos show the bowl at this point in the restoration process.
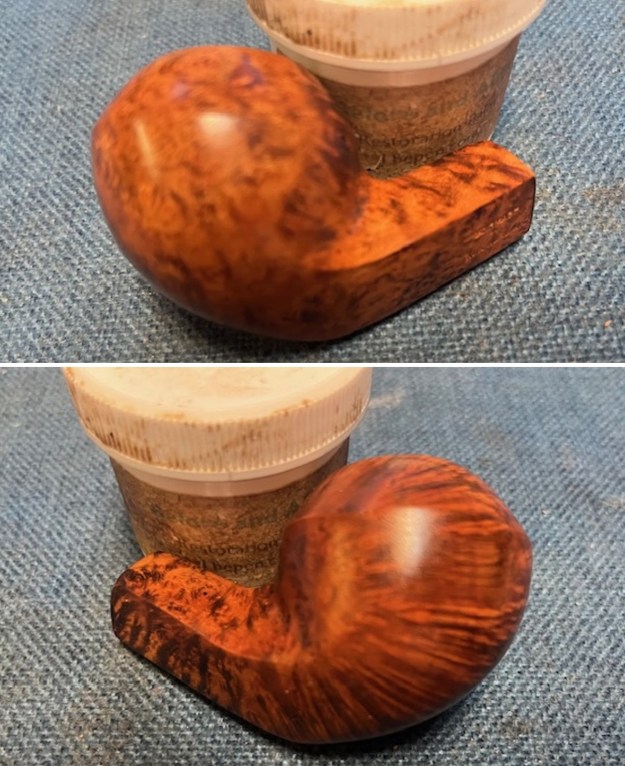

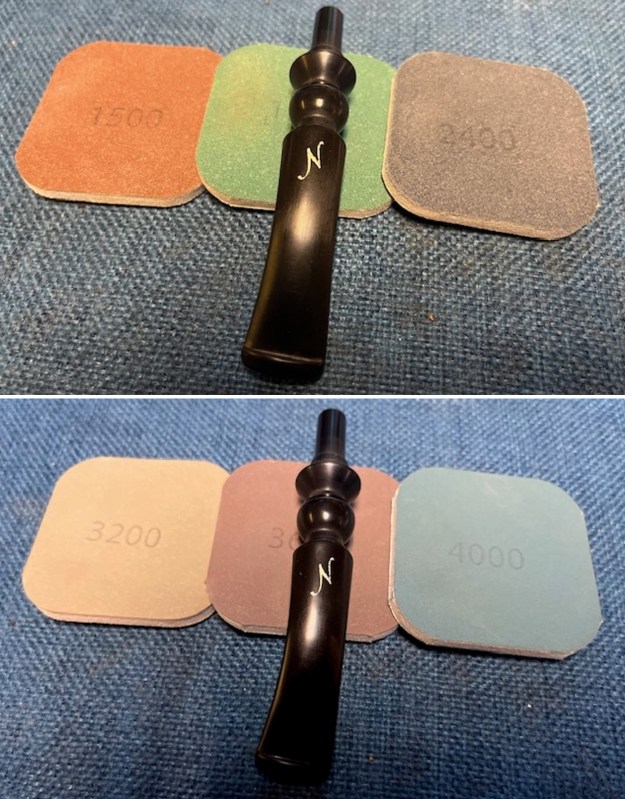
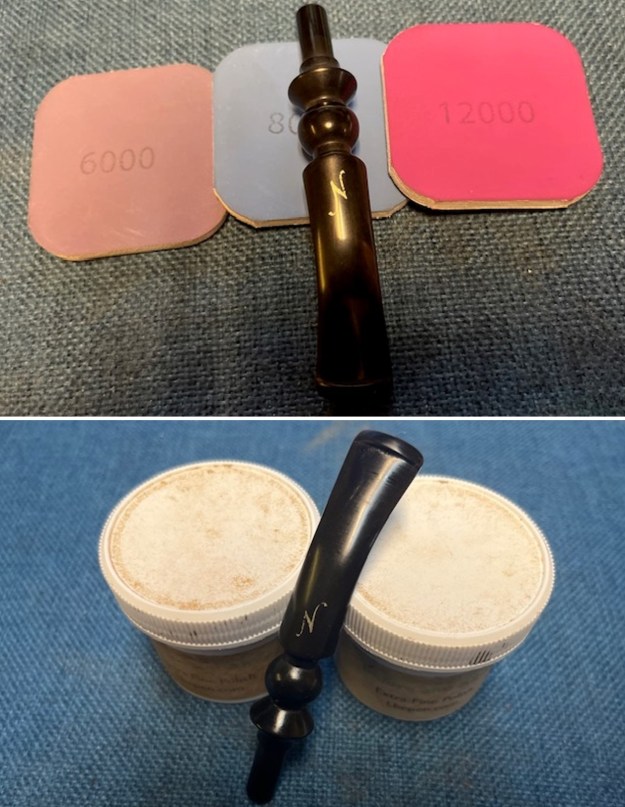
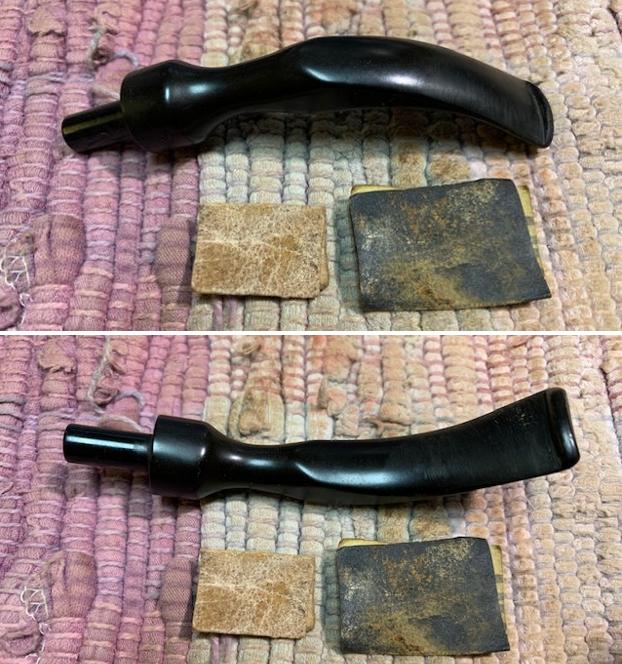
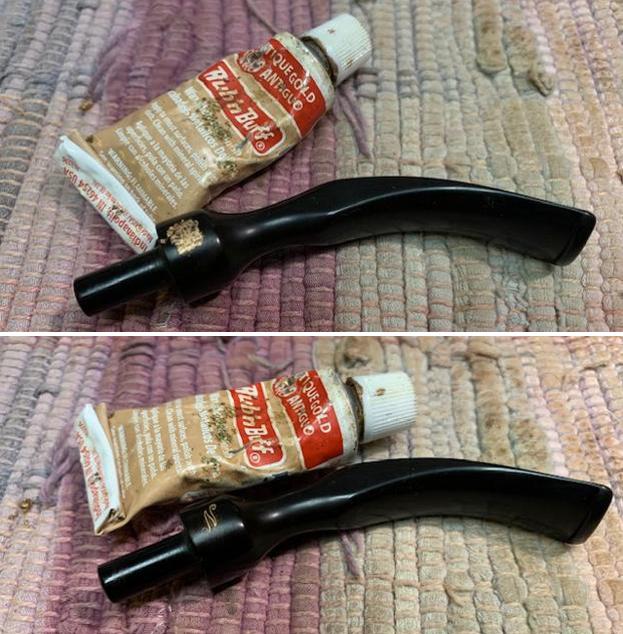
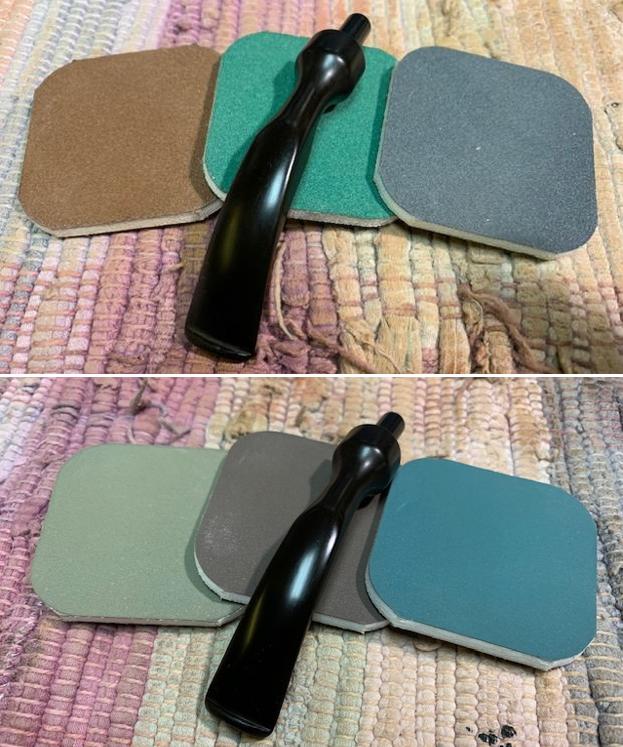
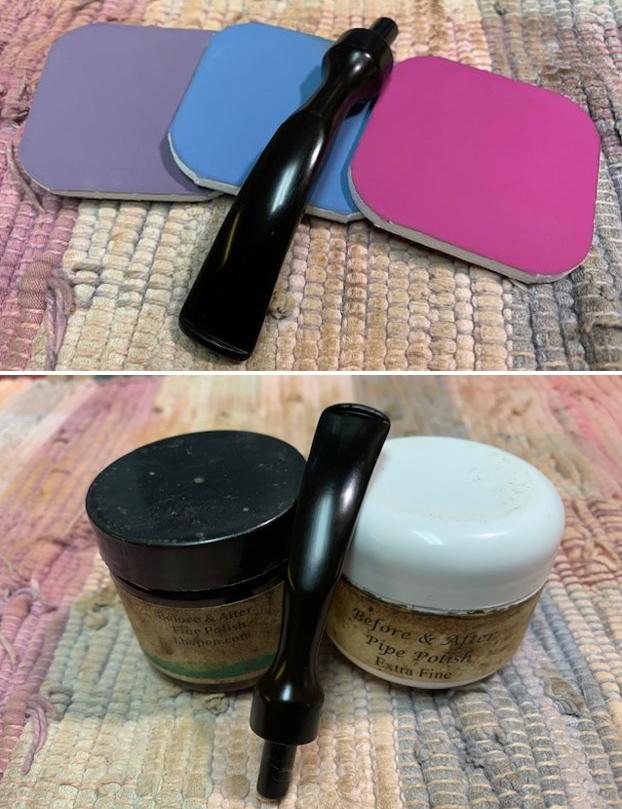
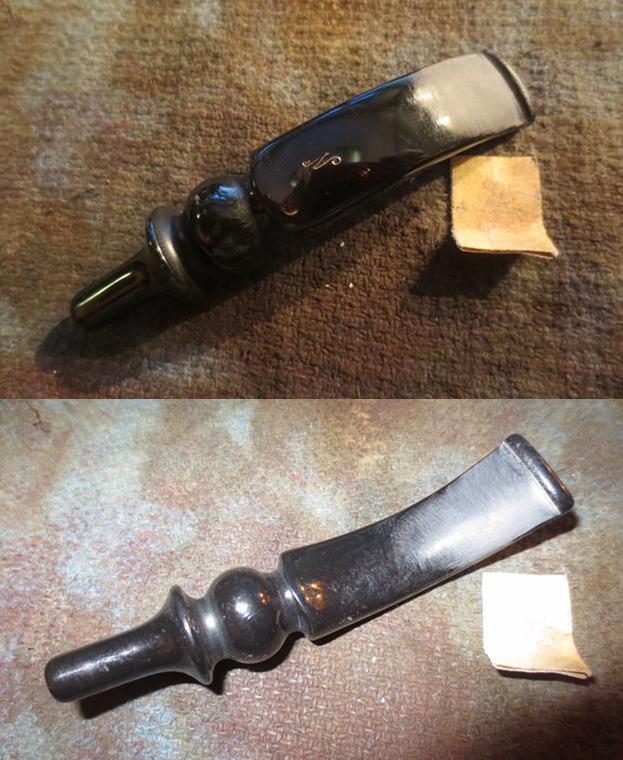
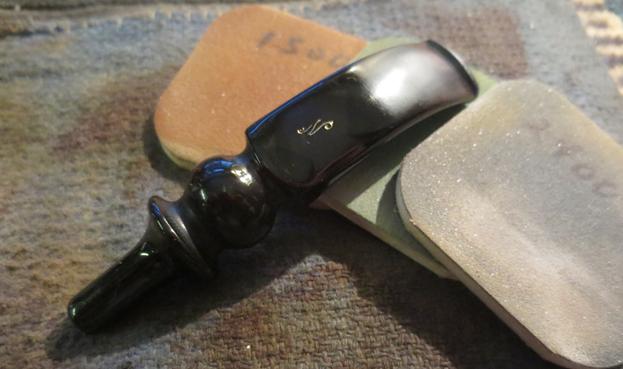
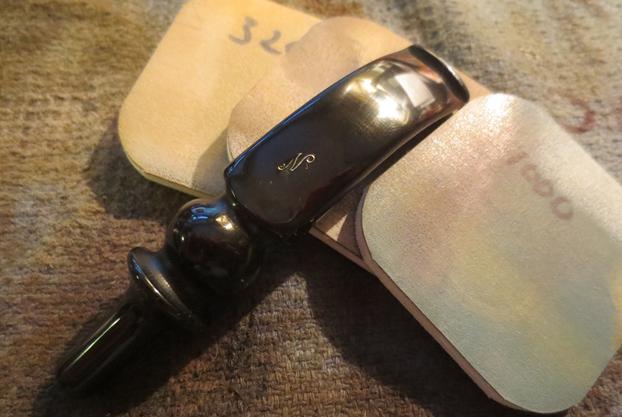
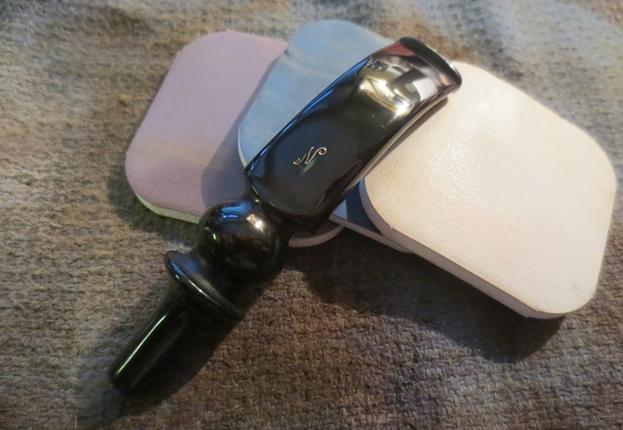
 I polished the stem with micromesh sanding pads – dry sanding with 1500-12000 grit sanding pads. I wiped it down after each sanding pad with Obsidian Oil. I finished hand polishing the stem with Before & After Pipe Stem Polish – both Fine and Extra Fine. I wiped it on with my fingers and buffed it off with a soft cloth. The stem really began to have a deep glow. I gave it a final wipe down with Obsidian Oil and set it aside to dry.
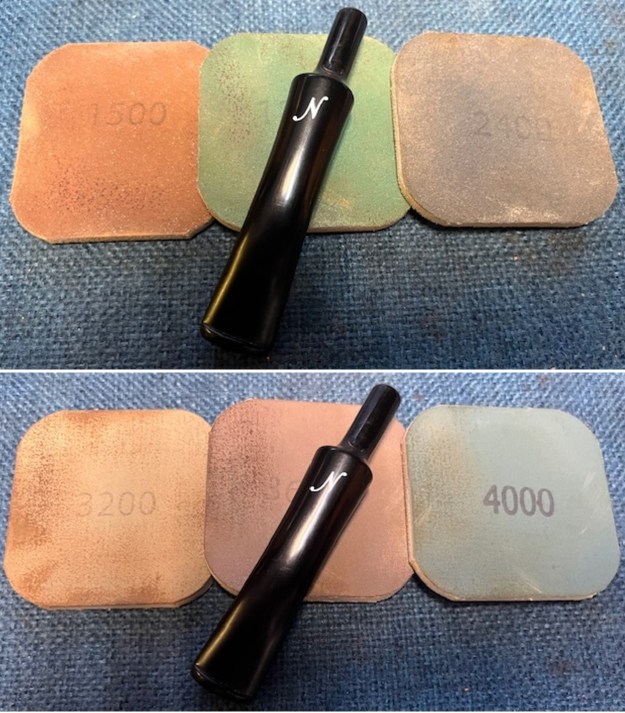
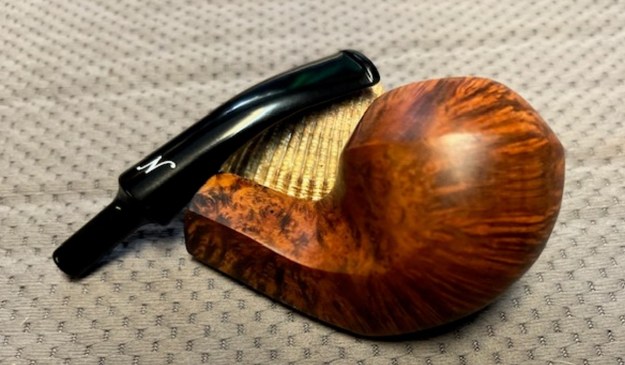
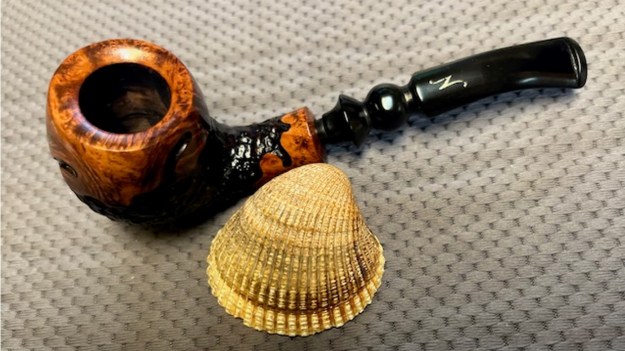
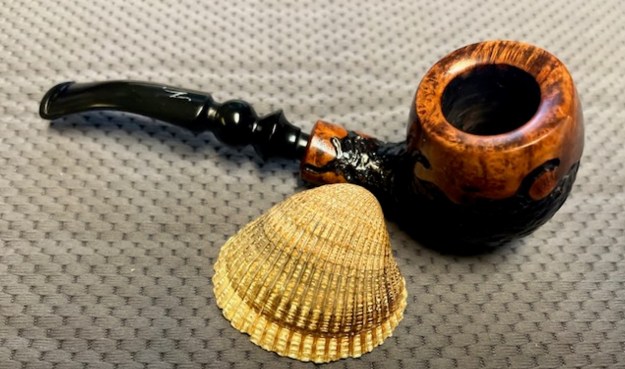
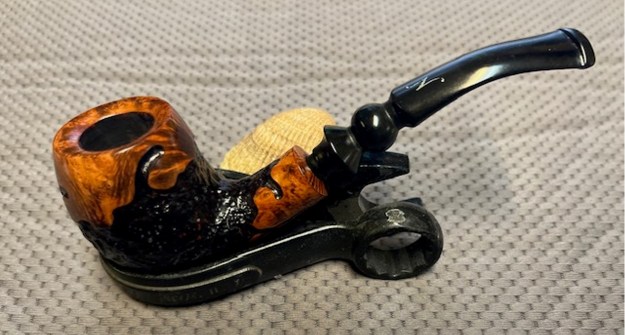
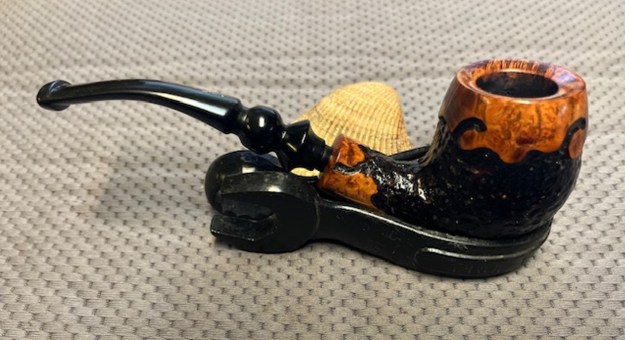
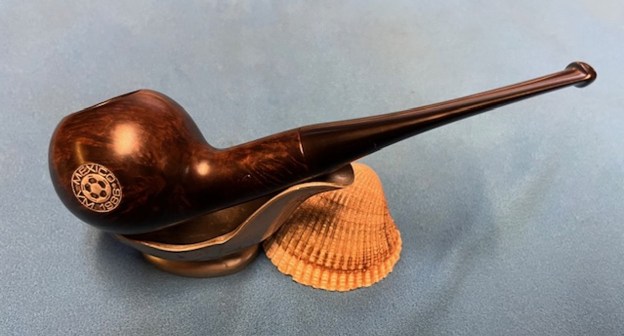
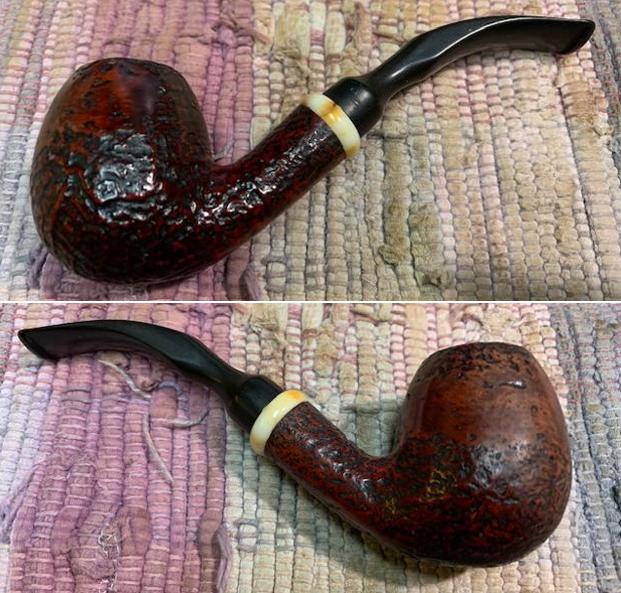
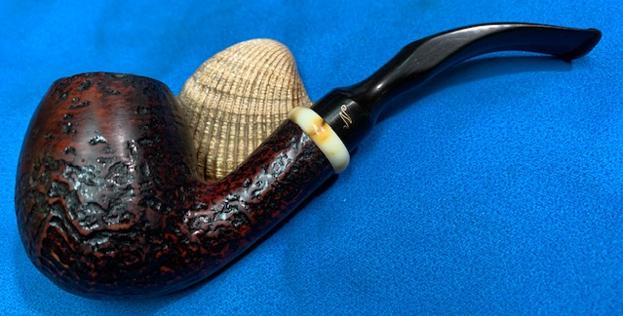
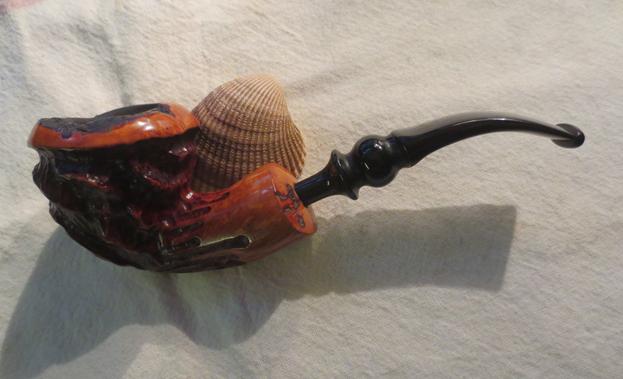
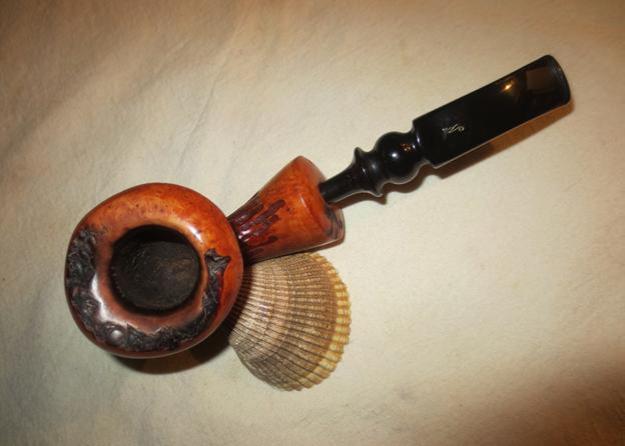
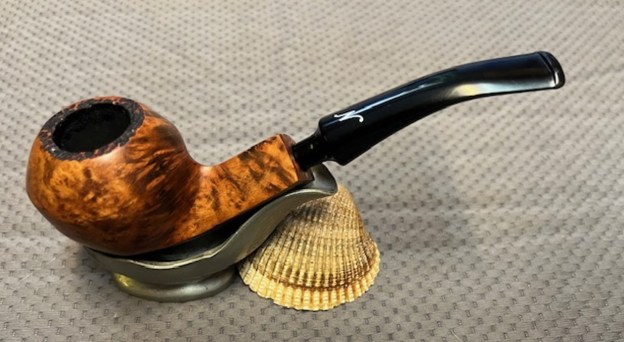
 I am excited to finish this Nording Handmade Smooth Bulldog with a polished military bit style stem. I put the pipe back together and buffed it with Blue Diamond on the buffing wheel. I gave the bowl and the stem multiple coats of carnauba wax. I hand buffed the pipe with a clean buffing pad to raise the shine. It is fun to see what the polished bowl looks like with beautiful grain on the sides of the bowl with the black vulcanite stem. This smooth Nording Handmade Bulldog is great looking and the pipe feels great in my hand. It is light and well balanced. Have a look at it with the photos below. The dimensions are Length: 5 ½ inches, Height: 2 inches, Outside diameter of the bowl: 1 ¼ inches, Chamber diameter: ¾ of an inch. The weight of the pipe is 49 grams/1.73 ounces. It turned out to be a beautiful pipe. I will be putting it on the rebornpipes store in the Danish Pipe Makers section. If you are interested in adding it to your rack let me know by message or by email to slaug@uniserve.com. Thanks for joining me in my work on this pipe.