Blog by Steve Laug
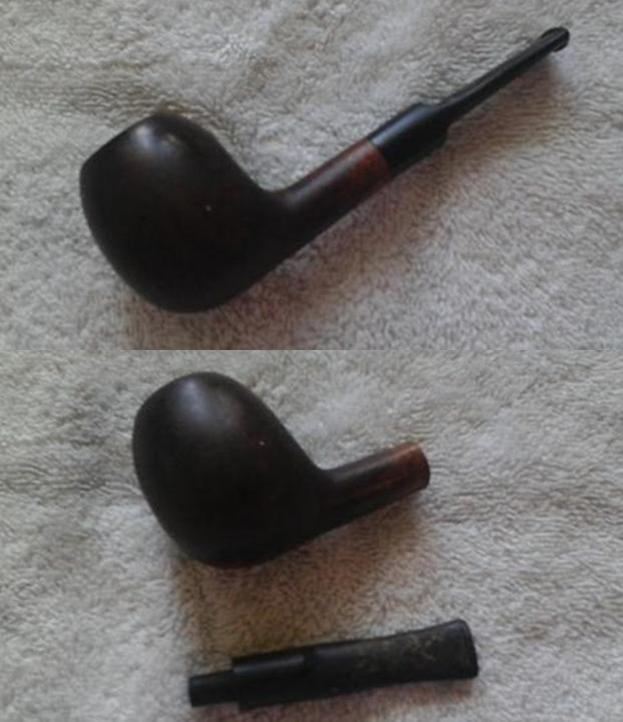
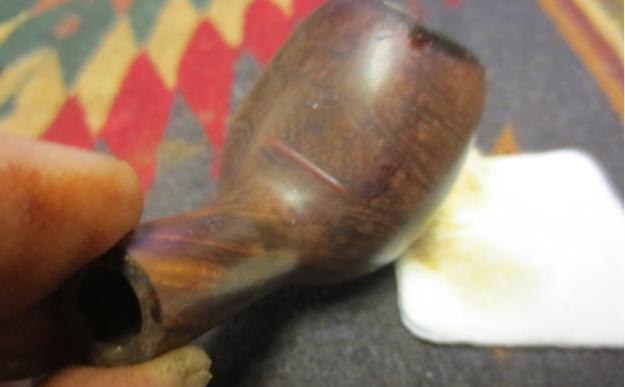
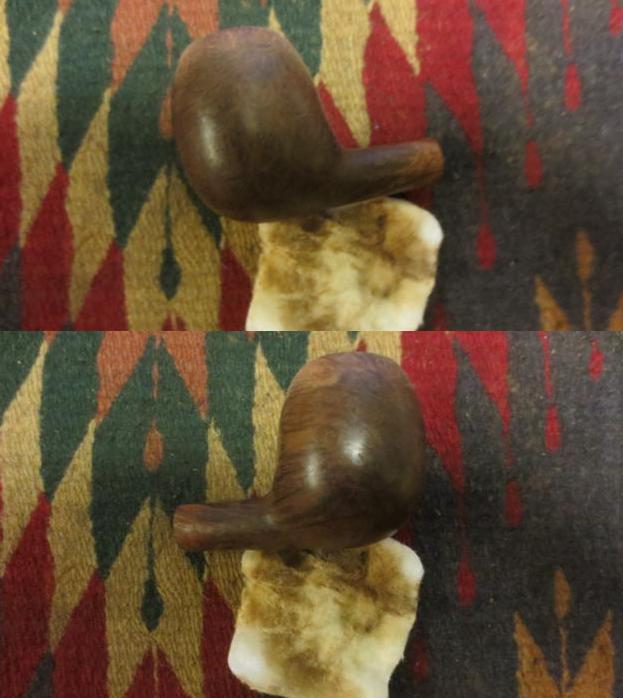
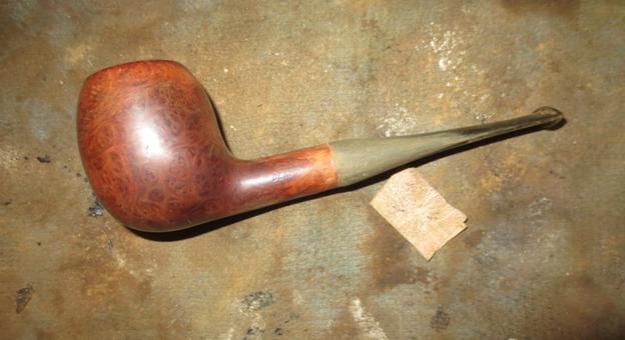
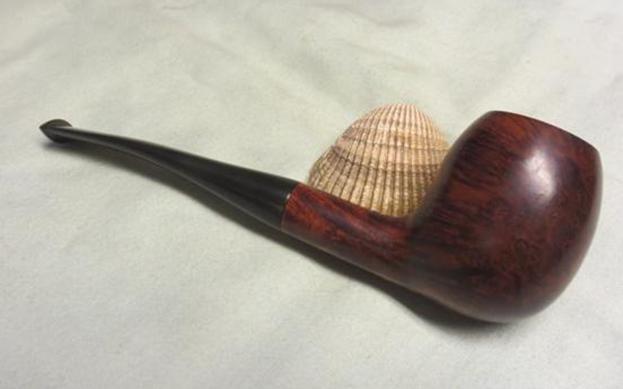
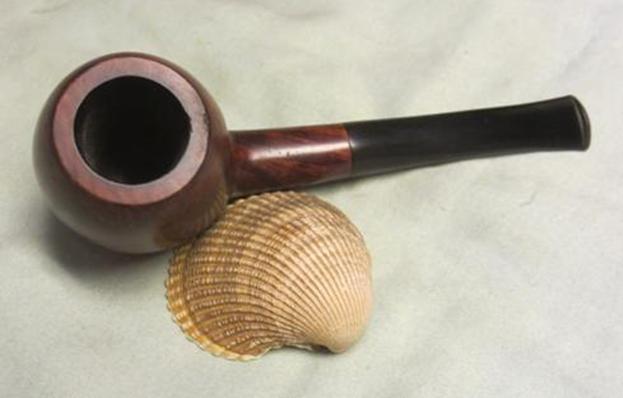
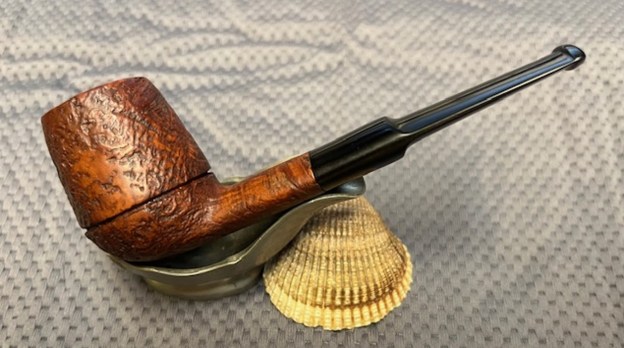
The next pipe is one that is very intriguing to me for multiple reasons. First, neither Jeff or I have any memory of finding it or trading for it. It has been in my box of pipes to work on for a very long time but I have no sense of when or where I got it. It had been reamed but not cleaned or sanitized. Second, the stamping on it was strange in that all it said was MADE IN DENMARK. There were no other marks, faint or otherwise on either the stem or the shank. So, we had no hint as to the maker. I do know that I have worked on a few other pipes with the same stamping. Third, the shape which I call a Danish Bulldog or Rhodesian is different. It has some smooth panels (almost smooth) on both sides of the shank above the carved band. The sandblast is quite deep and rugged and it is a pretty looking pipe. I took photos of the pipe to show you what I saw.
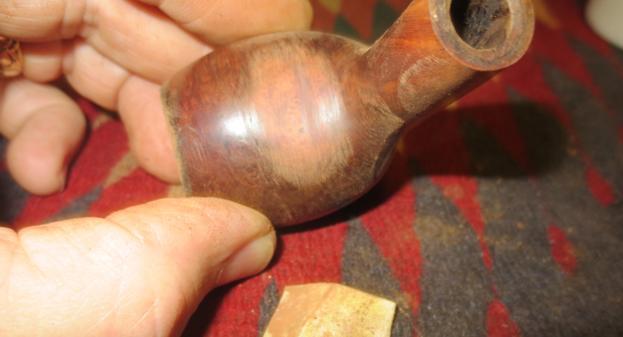
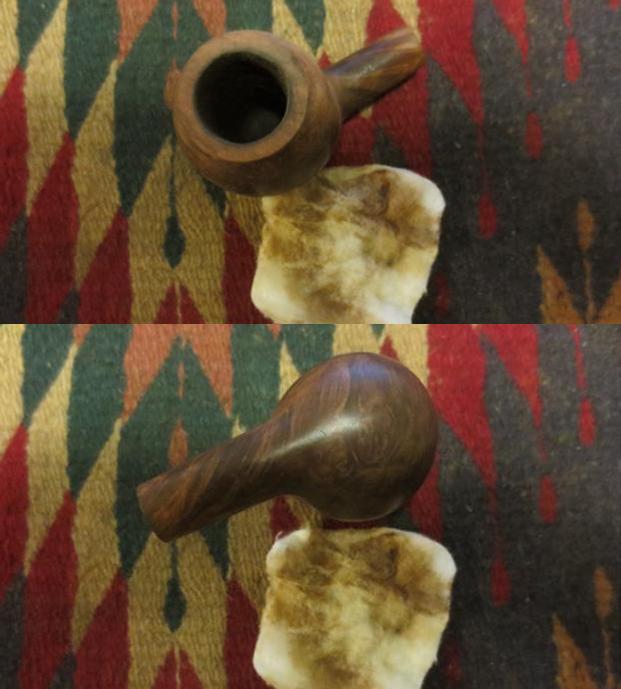
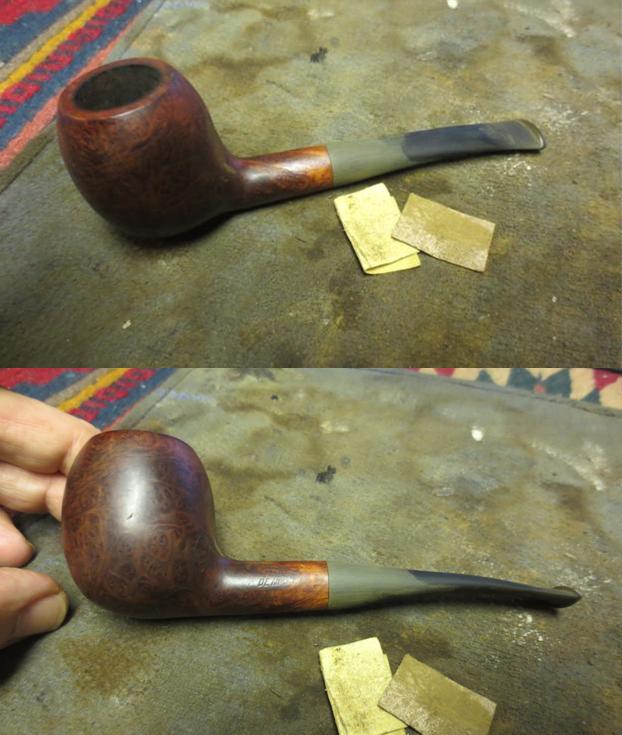
 I mentioned above the pipe had been reamed recently but it had not been cleaned. The airway in the shank and stem were dirty with tars and oils. The mortise had tars and oils on the walls and the pipe smelled heavily of English tobacco. The vulcanite stem is also dirty on the inside as well as oxidized on both sides of the stem. There was light tooth chatter on both sides but the top and underside were unmarked by tooth damage.
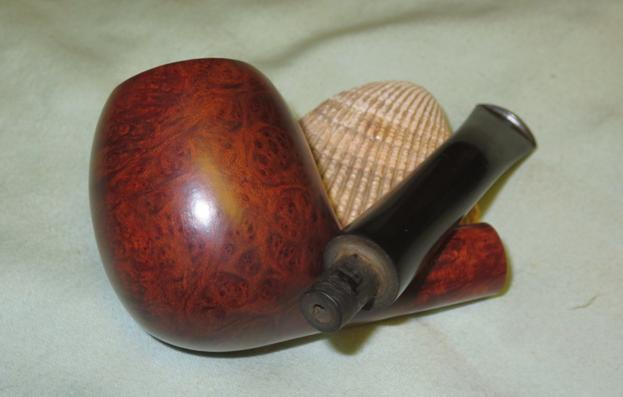
 I took a photo of the stamping on the underside of the shank. It was stamped Made in Denmark as noted above and there was no other stamping visible on the shank or stem. I took the stem off the shank and took a photo of the parts.
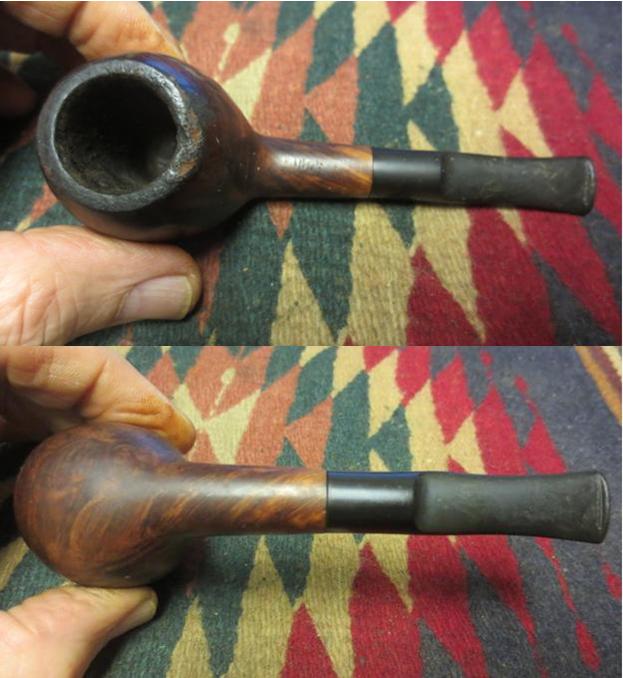
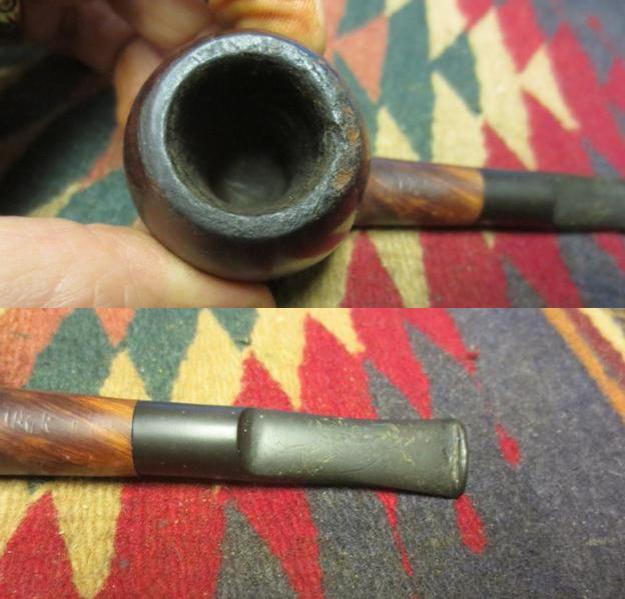
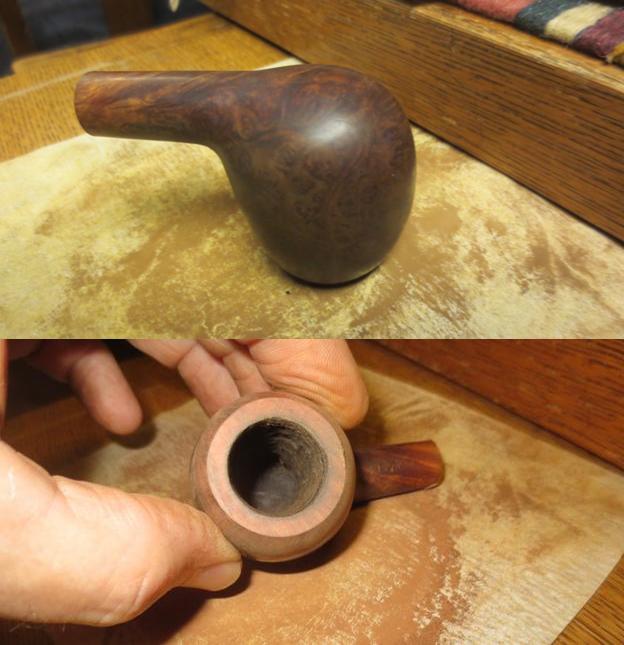
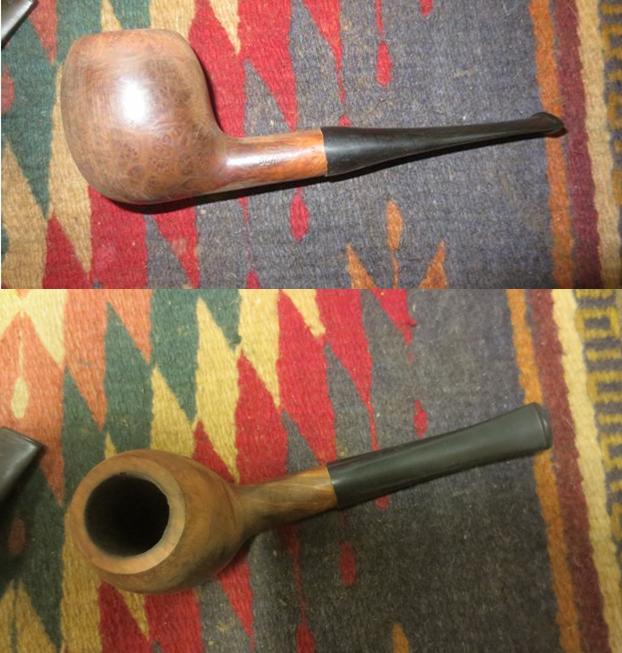
 At this point I started at the beginning of the cleanup on it. I worked over the sandblast rim top with a brass bristle wire brush to knock off the grime in blast. It looked better but there was more to do on this one.
 I cleaned out the internals of the mortise and the airway in the shank and the stem with isopropyl alcohol, cotton swabs and pipe cleaners. I was able to remove the tars and oils and once finished the smell of the pipe was much cleaner.
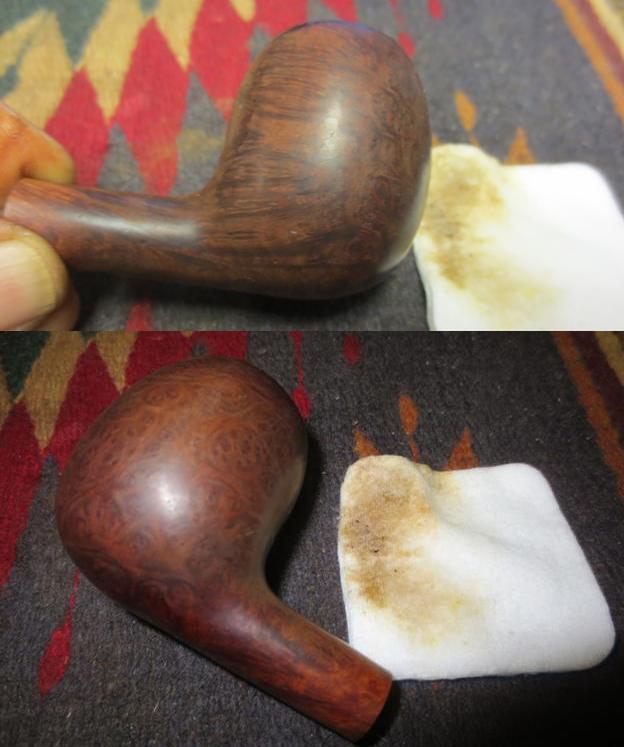
  I scrubbed the externals of the bowl with undiluted Murphy’s Oil Soap and a tooth brush. I was able to clean out the grime in the sandblast finish and the oils left from the pipe smoker’s hands. I cleaned out the ring around the bowl at the same time as it was a fairly deep groove. I rinsed off the pipe with warm water to remove the debris in the soap.
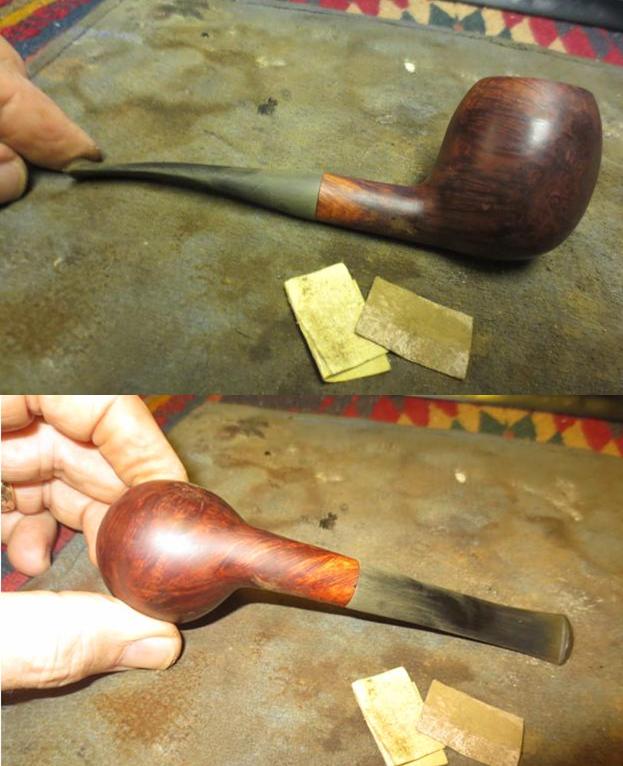
 I rubbed the bowl down with Before & After Restoration Balm. I worked it into the surface of the briar with my fingertips and a horse hair shoe brush to clean, enliven and protect it. I let the balm sit for 15 minutes and then buffed with a cotton cloth to raise the shine. Mark Hoover’s Balm is a product that I have come to appreciate and one I use on every pipe I have been working on.

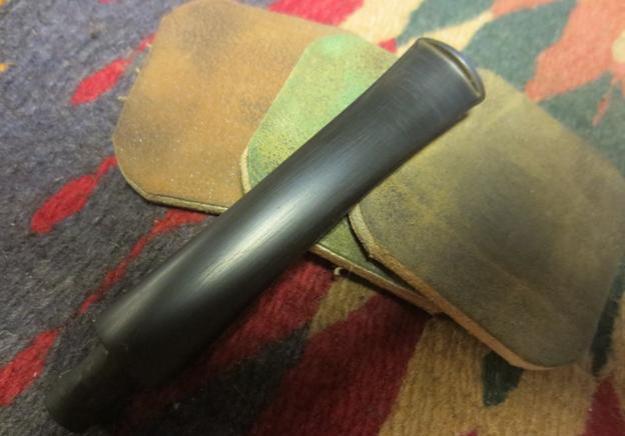
 I set the bowl aside and turned my attention to the stem. I used the sanding pads I purchased recently – 320-3500 grit regular pads to smooth out the finish and remove the light tooth and chatter marks in the stem. I wiped the stem down with Obsidian Oil to finish the preliminary work after the 3500 grit pad.
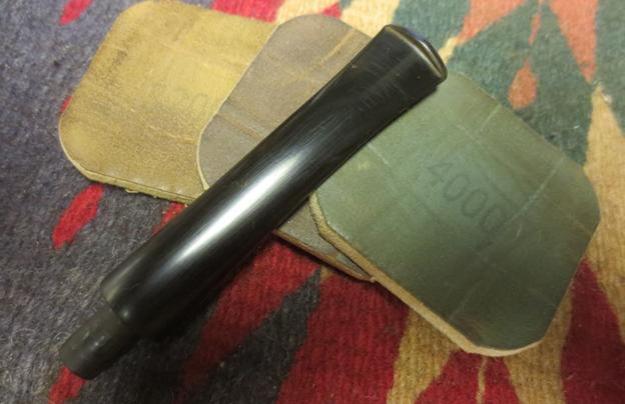
 I polished the stem with micromesh sanding pads – dry sanding with 1500-12000 grit pads. I wiped the stem down after each sanding pad with Obsidian Oil.
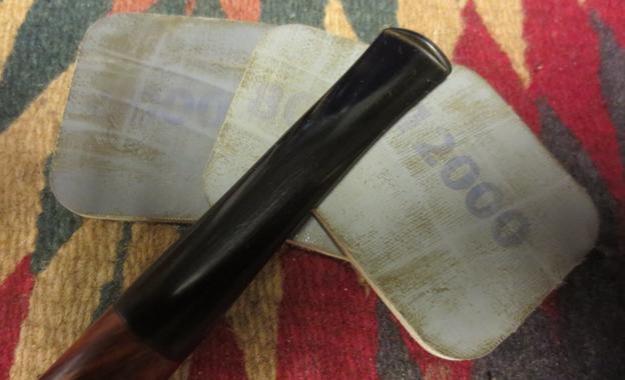
 I finished polishing it with Before & After Pipe Stem Polish – both Fine and Extra Fine. Once I had finished the polishing I gave it final coat of oil and set it aside to dry.
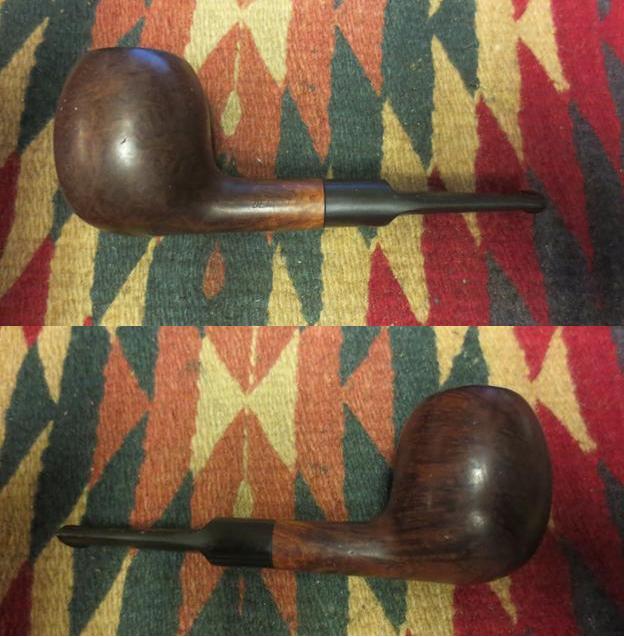
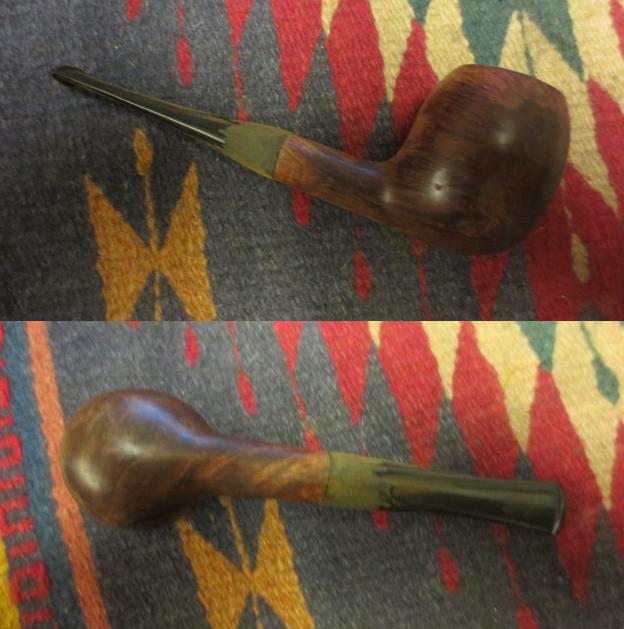
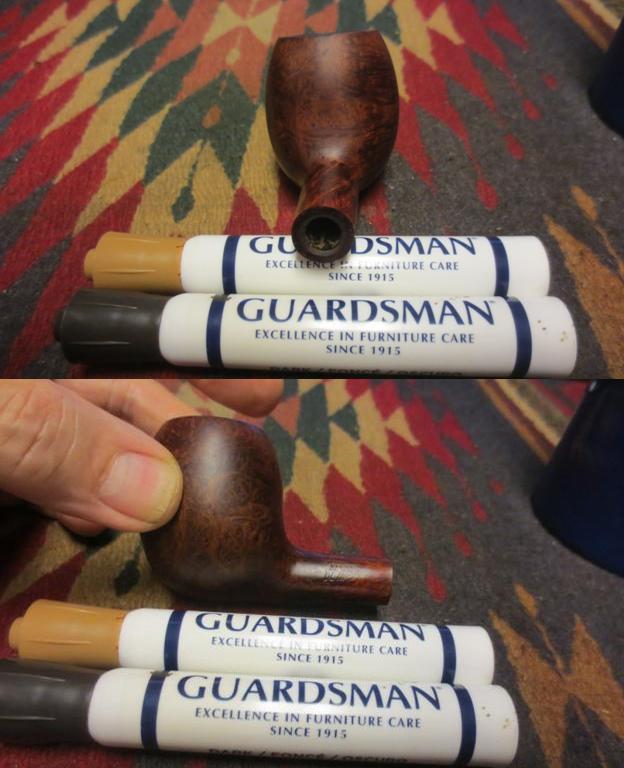
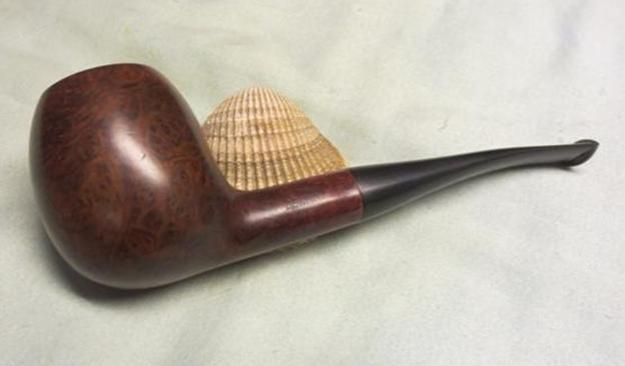
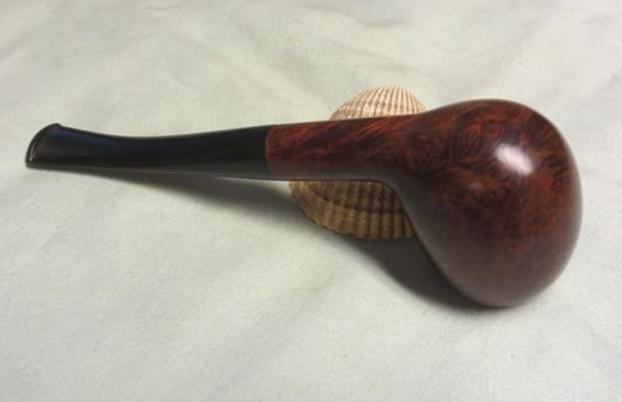
 As usual at this point in the restoration process I am excited to be on the homestretch. I look forward to the final look when it is put back together, polished and waxed. I put the Made in Denmark Bulldog back together. I polished the bowl and stem with Blue Diamond to polish the briar and the vulcanite. I gave the bowl and the stem multiple coats of carnauba wax. I buffed the pipe with a clean buffing pad to raise the shine. I hand buffed it with a microfiber cloth to deepen the shine. The pipe polished up pretty nicely. The grain really pops with the wax and polish. The shiny black vulcanite stem is a beautiful contrast to the browns of the bowl. This Made in Denmark Bulldog was a great pipe to spruce up. It is a very comfortable pipe to hold in the hand. The finished pipe is shown in the photos below. The dimensions of the pipe are Length: 5 ½ inches, Height: 1 ¾ inches, Outside diameter of the bowl: 1 ¼ inches, Chamber diameter: ¾ of an inch. The weight of the pipe is 41 grams/1.45 ounces. I will be putting this pipe on the Danish Pipe Making Companies Section of the rebornpipes store. If you are interested in adding it to your collection let me know by email or message. Thanks for reading this blog and my reflections on the pipe while I worked on it. This is an interesting estate to bring back to life.