by Kenneth Lieblich
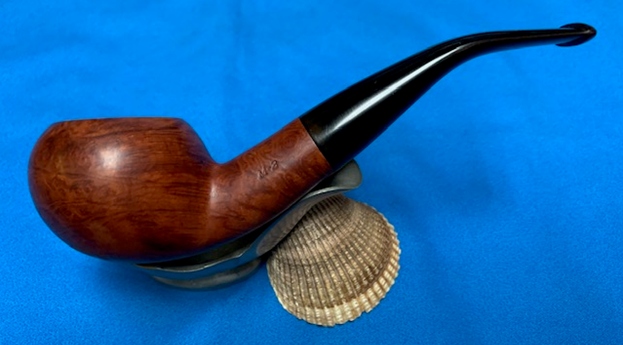
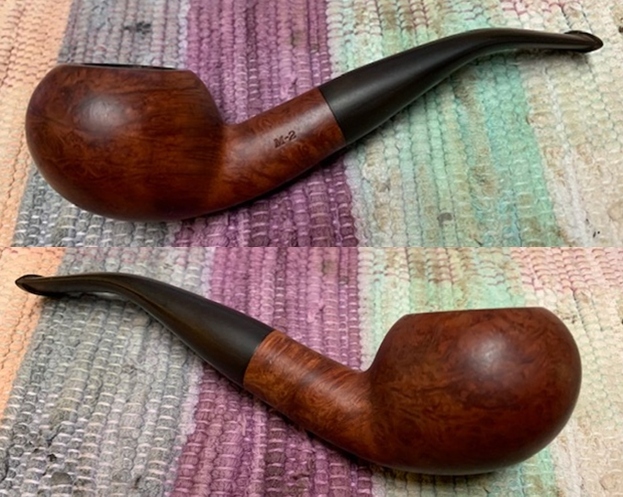
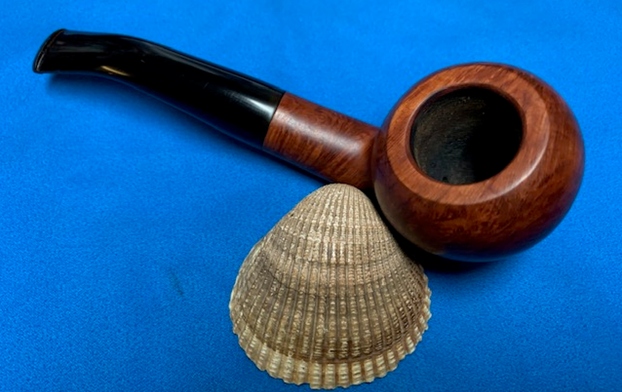
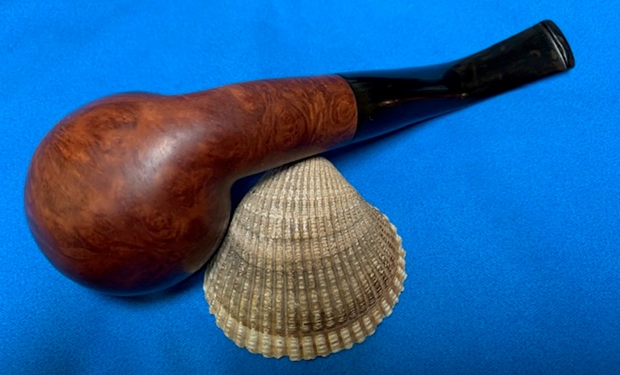
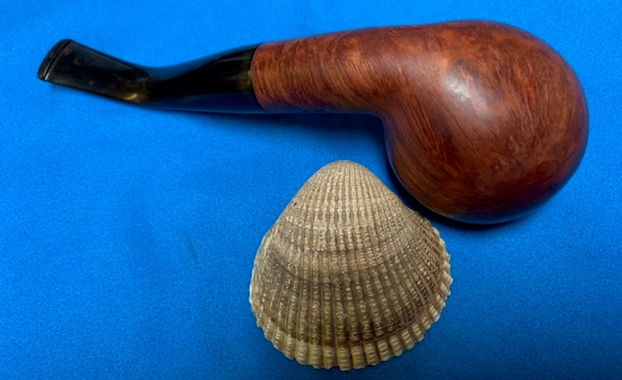
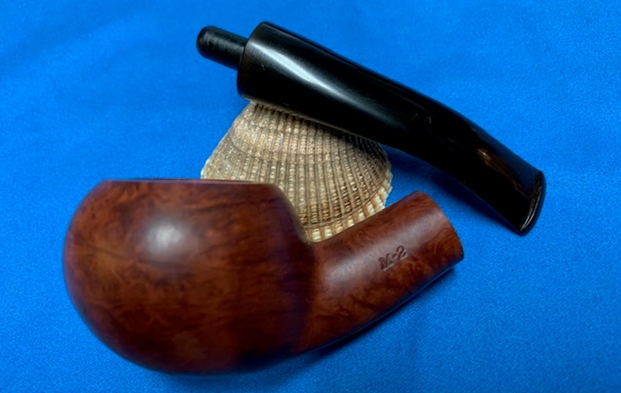
Next on the chopping block is a beautiful and unusual, long, partially-rusticated, Canadian-shaped pipe from the old Malaga Pipe Shop in Royal Oak, Michigan. I acquired it from eBay for a reasonably good price because it is technically a Malaga “second” – although I know from Steve that Malaga “seconds” are frequently indistinguishable in quality from their firsts. Truth be told, I’m not a fan of the rustication on this pipe, but the actual shape of the pipe itself was so charming to me that I knew I had to add it to my collection. The slightly-canted, apple-shaped bowl, attached to the long oval shank is particularly beautiful. 

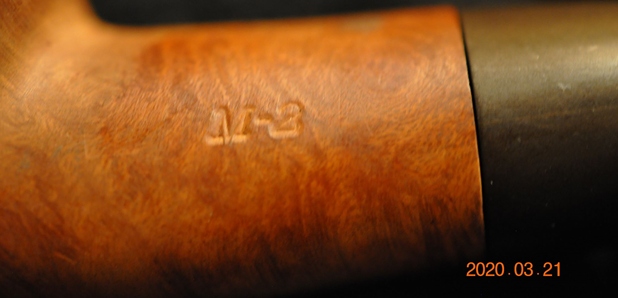
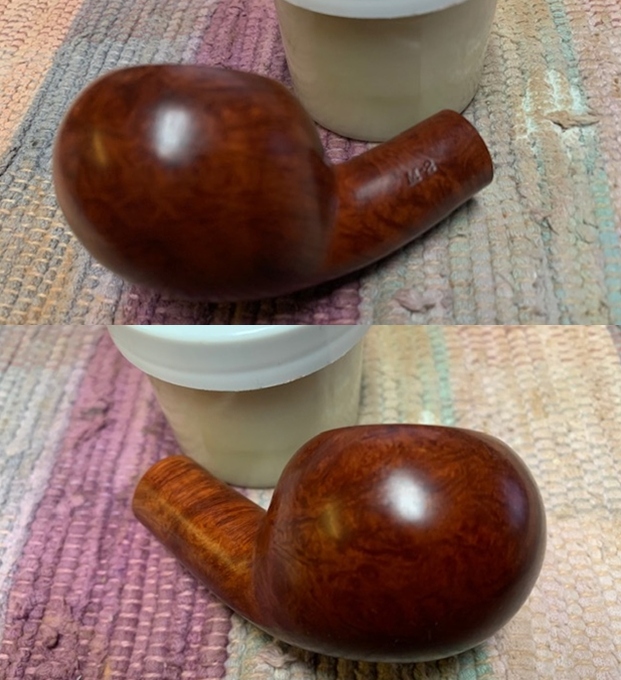
 The only markings on the pipe are on the underside of the shank. They read “Malaga” M-2. The M-2 indicates that this is a second, as I mentioned above.
 Steve has worked on quite a few Malaga pipes and blogged their restorations over the years, so rather than repeat previous blogs, I am including the link to one that gives some of the history of the Malaga brand and the Malaga Pipe Shop in Royal Oak, Michigan in the USA from a catalogue: https://rebornpipes.com/2013/02/09/george-khoubesser-and-malaga-pipes/. I assume (but don’t know) that the name from comes from the Spanish port city of Málaga – a place I visited in my youth. The founder of the company, George Khoubesser, is of Turkish ancestry and, given Málaga’s importance to the ancient Caliphate of Córdoba, I wonder if there is a distant connection. But I digress…
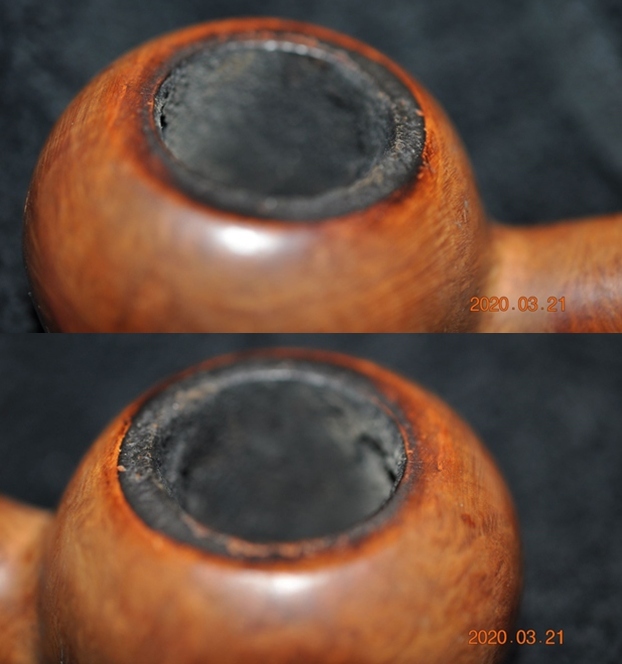
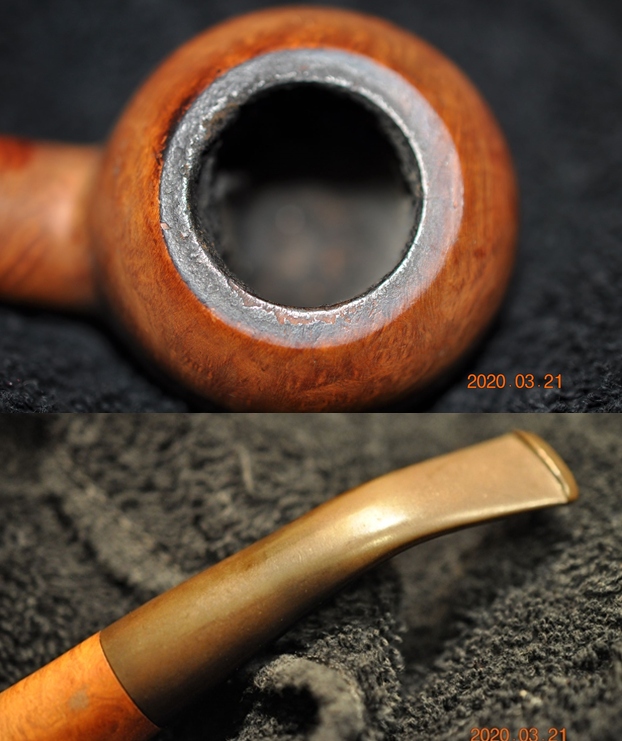
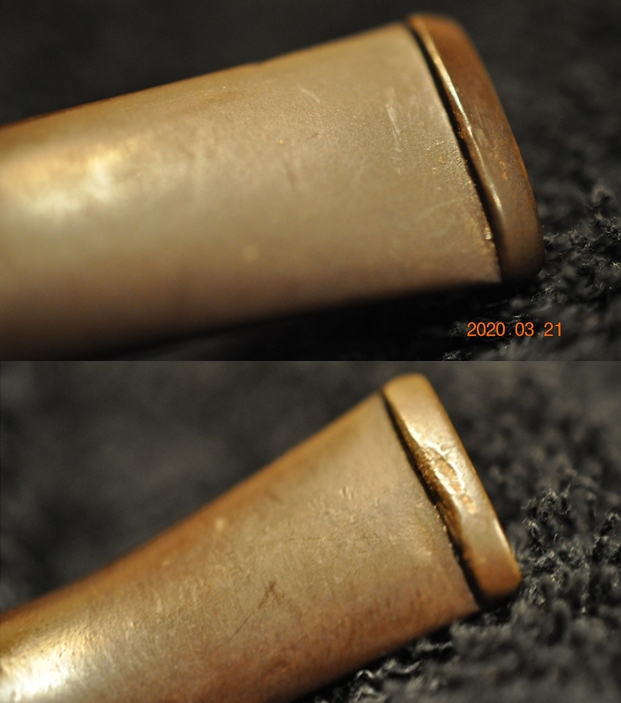
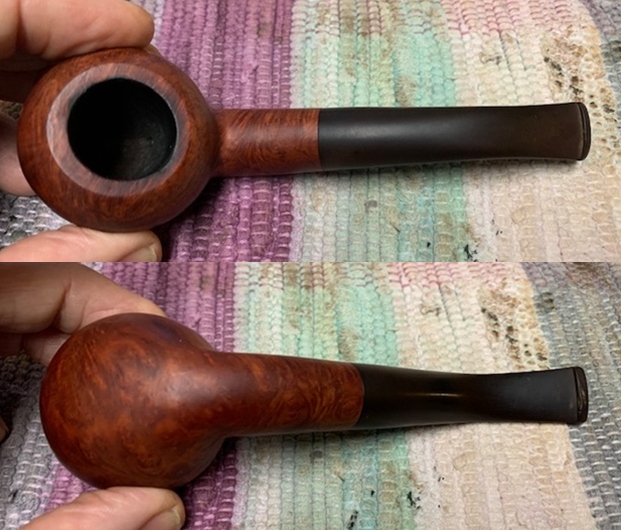
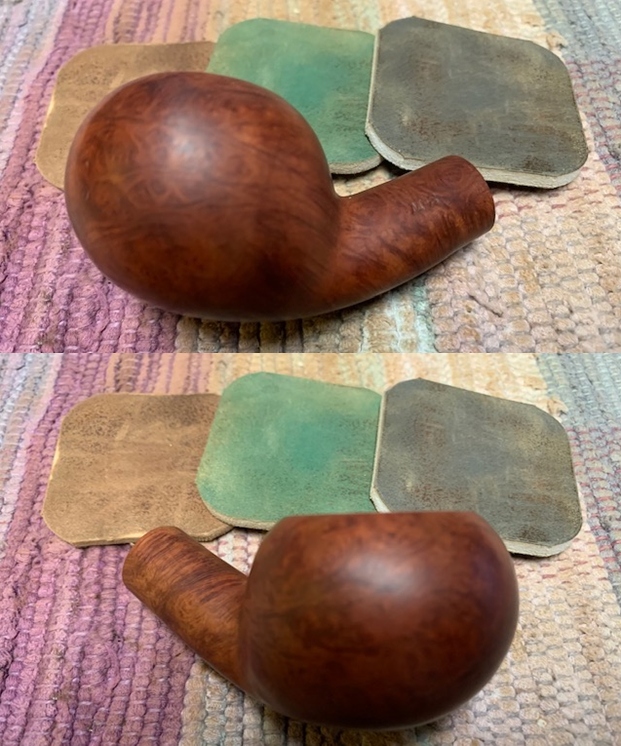
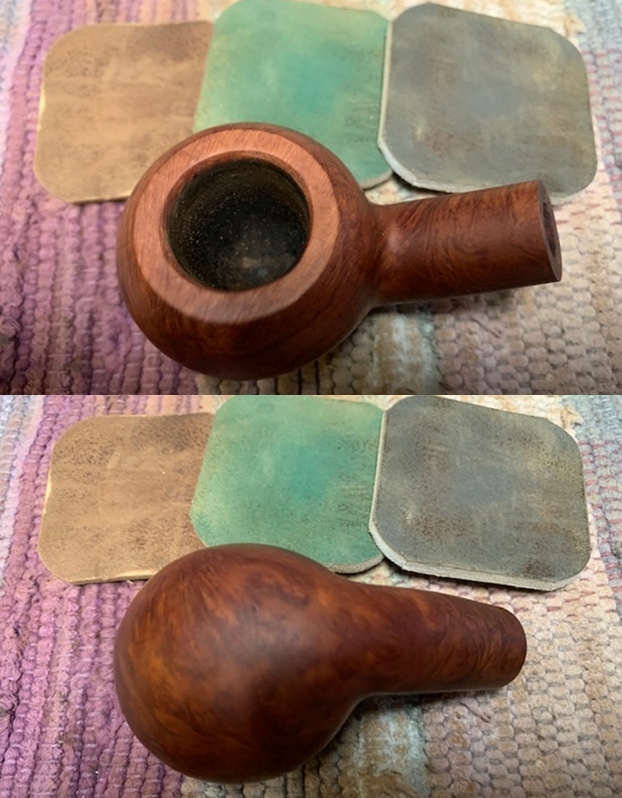
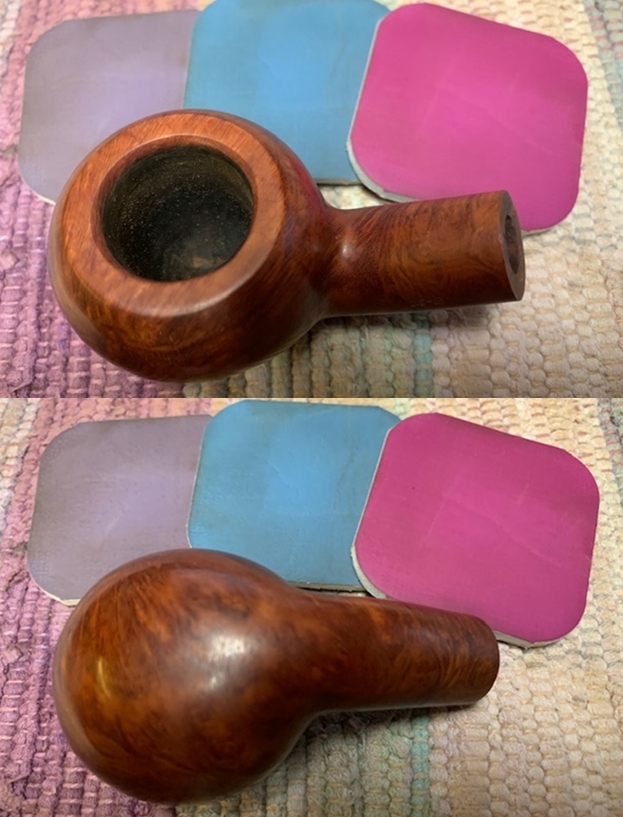
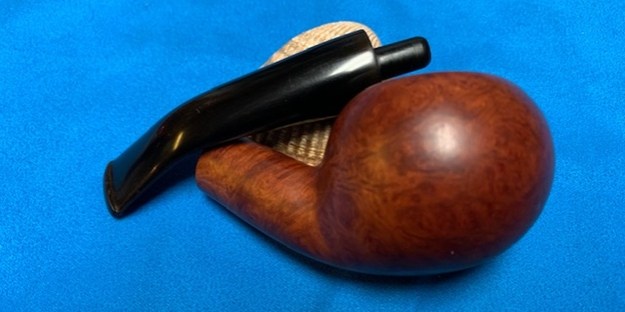
My pipe is very similar, but not identical, to the one in the image below from the Malaga catalogue.  The pipe must have been a favourite of the previous owner, as it was heavily and lovingly smoked. The stem had little oxidation but was well-chewed and dented. It would require some considerable attention. The stummel was in good shape, albeit dirty; there was the odd scratch and nick, but nothing problematic. The rim of the pipe had a substantial burn. We’ll see how much of that can be repaired. The insides of both the stem and the stummel were pretty filthy, and STUNK very badly of some sort of aromatic tobacco.


 As usual, I wiped the stem down with Murphy’s Oil Soap on some cotton pads. Then I cleaned out the inside with pipe cleaners and isopropyl alcohol. As you can see, this one had a lot of filth in it! I also took a BIC lighter and ‘painted’ the stem with its flame to lift the few bite marks and dents. This was quite successful in raising the dents, but the tooth damage was significant enough to need more work.

 I then wiped down the stem with SoftScrub cleaner to remove surface oxidation. Once this process was done, the stem went for an overnight soak in the Pipe Stem Oxidation Remover. This allows me to clean the oxidation off in a couple of ways: by applying a mild cleaner to the surface and sanding the stem. The next day, I used SoftScrub again with some cotton rounds.

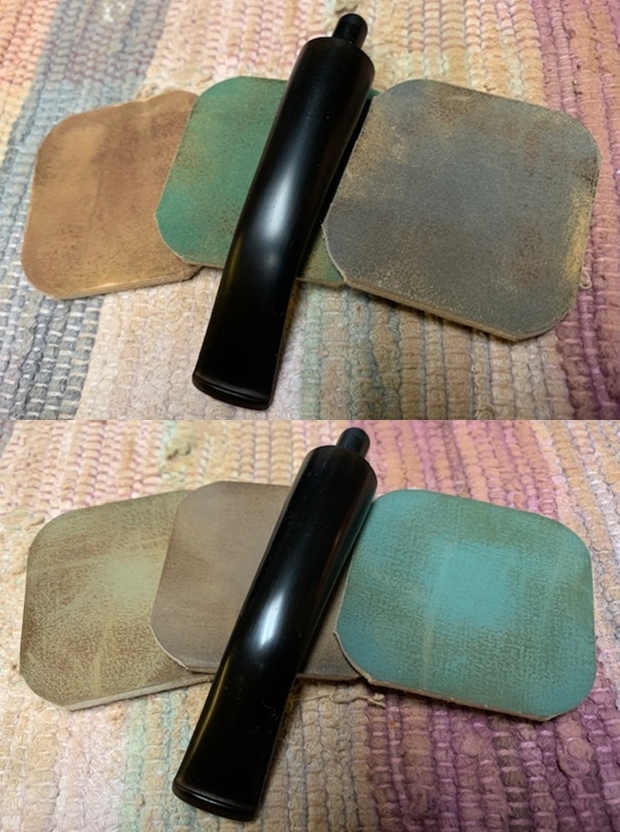
 I built up the dents on the stem and repaired the button with black cyanoacrylate adhesive and let them fully cure. I then sanded the adhesive down with 220- and 400-grit sandpapers to meld seamlessly into the stem. I then used all nine Micromesh pads (1,500 through 12,000 grit) to bring out the lovely black lustre on the stem. I also used Obsidian Pipe Stem Oil in between each pad scrubbing.

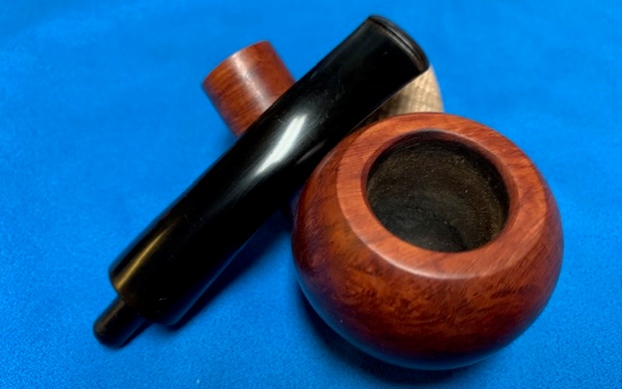
 Moving on to the stummel. Firstly, I decided to ream out the bowl. I used the PipNet Reamer to remove the built-up cake and followed that with 220-grit sandpaper taped to a dowel to eliminate as much as I could. I took the chamber down to bare briar, as I wanted to ensure there were no hidden flaws in the wall. As it turns out, there were several heat fissures which I’d have to deal with later.
 I started to do my normal cleaning procedures on the shank, but the shank was completely blocked with debris and filth. I resorted to using a drill bit (by hand) and a dental tool to clear it out. Just look at the debris! Then I carried on cleaning out the insides of the shank with Q-tips, pipe cleaners, and lemon-infused isopropyl alcohol. I followed that up by cleaning the insides with some dish soap and tube brushes.
 I thrust some cotton balls into the bowl and the shank and saturated them with 99% isopropyl alcohol. I let the stummel sit overnight. This caused any remaining oils, tars and smells to leach out into the cotton. After this, it was clean alright, but most certainly not de-ghosted. I mentioned earlier that the ghost in this pipe was quite disgusting and very strong. This step turned out to be only one of several steps to remove the smell.
 Leaving the ghost for the moment, I used cotton rounds and some Murphy’s Oil Soap to scrub the outside of the stummel and a toothbrush with Murphy’s for the lava on the rim of the pipe.

 At this point, it seemed sensible to set up a retort and further clean this whole pipe out – in hope of scaring out the ghost. I put the stem and stummel back together and used my pipe retort system. This system uses boiling isopropyl alcohol and a vacuum (a void, not the household appliance) to clean the interior of a pipe. I forgot to take photos of this, but the retort worked. I managed to improve the state of the pipe.
Back to this obstinate Ghost of Tobaccos Past. I was frustrated. The stench still lingered and was really getting on my nerves. I remembered some time ago that Steve told me about a technique that Greg Pease used to remove especially stubborn ghosts. One might call this the exorcism technique. The procedure is as follows: First, warm your oven to its lowest baking temperature (in my case, 170° F). Second, place the stummel (no stem) in the oven for three hours to warm up and allow the pores of the wood to open. Third, pull the stummel out, fill it with activated charcoal and place it back in the oven for another three hours. This will (hopefully) remove the remaining smells into the charcoal. Once the three hours are up, dump out the activated charcoal and you’re done. Here is a link to the original article by Greg Pease: http://glpease.com/Articles/Spot.html. With all that done, I could address the burn on the rim. I took some oxalic acid, used several Q-tips, and rubbed and rubbed and rubbed. The burn improved quite a bit, though there are still some signs of it left.
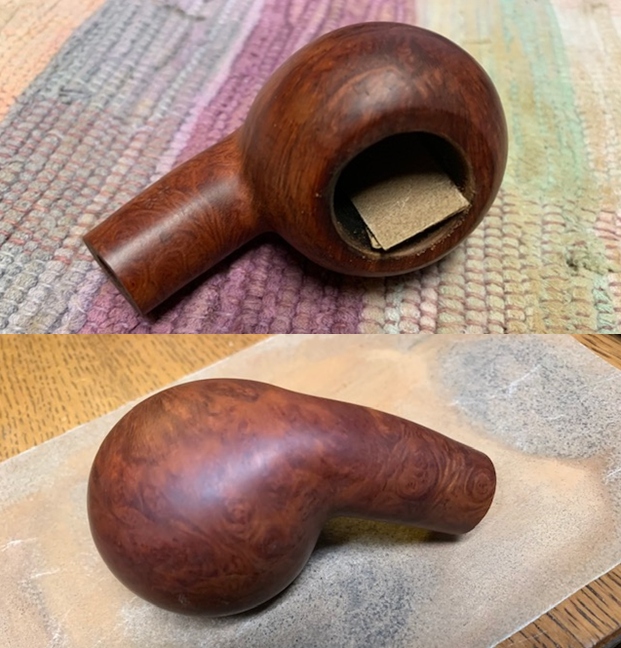
 Alas, as I mentioned earlier, there were some small cracks inside the bowl. The solution to this problem is always a tricky one: epoxy. I prepared some J.B. Weld epoxy and filled the cracks, ensuring that the epoxy was evenly spread. Once done, a good 24 hours was needed to ensure that the epoxy was properly cured. After that, I gently sanded the inside of the bowl to provide a rough surface for what was to come next. I coated the entire inside of the bowl with a mixture of activated charcoal and my wife’s homemade yogurt. Once hardened, this provided a good, slightly rough surface for a new cake to build.
 I took a solid wooden sphere, wrapped a piece of 220-grit sandpaper around it, and sanded the inner side of the chamber. This achieved two things: first, it removed some of the burn marks on the inner edge of the rim; and second (and more importantly), the circular shape and motion of the sphere gradually returned the edge to a perfect circle. Then, I took my entire set of Micromesh pads to finish off the sanding of the stummel.

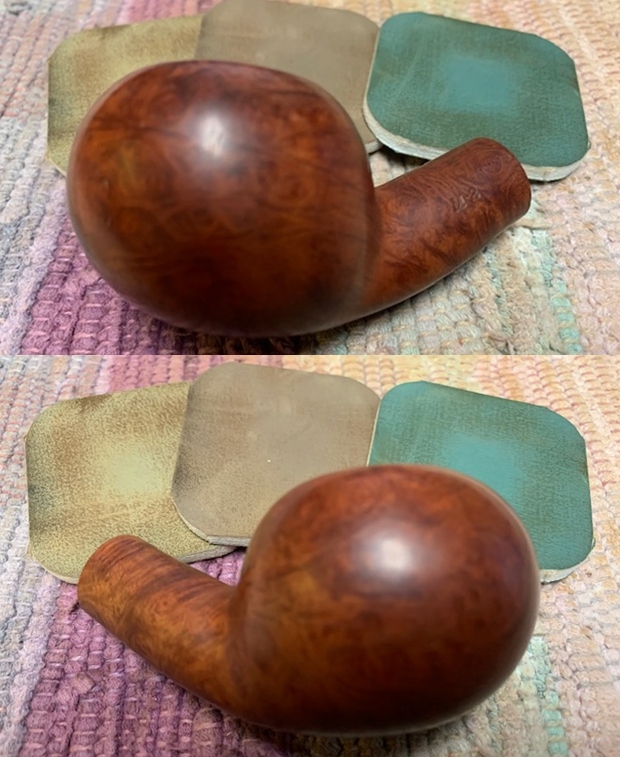
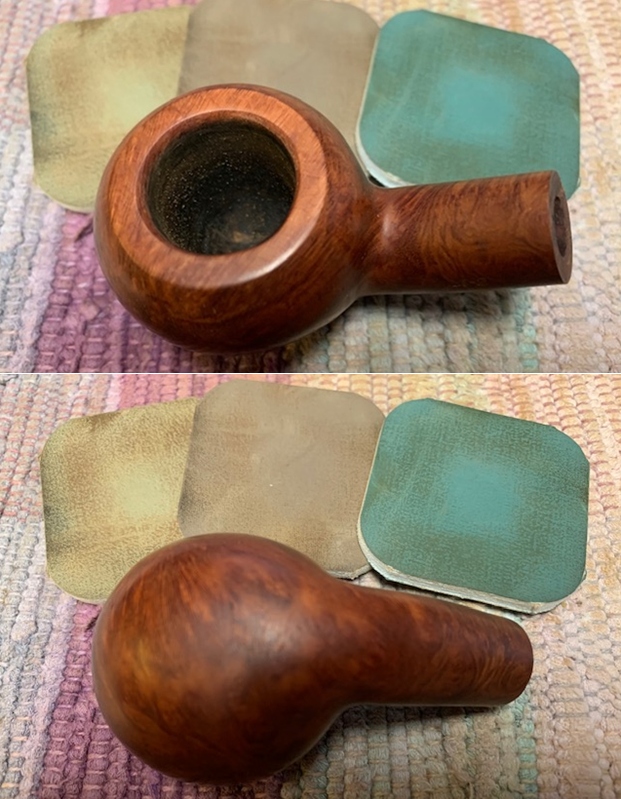
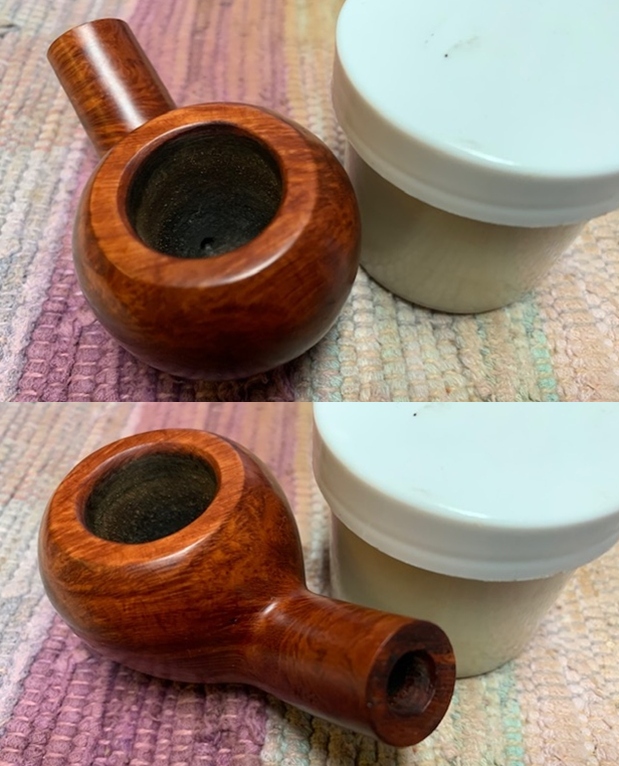
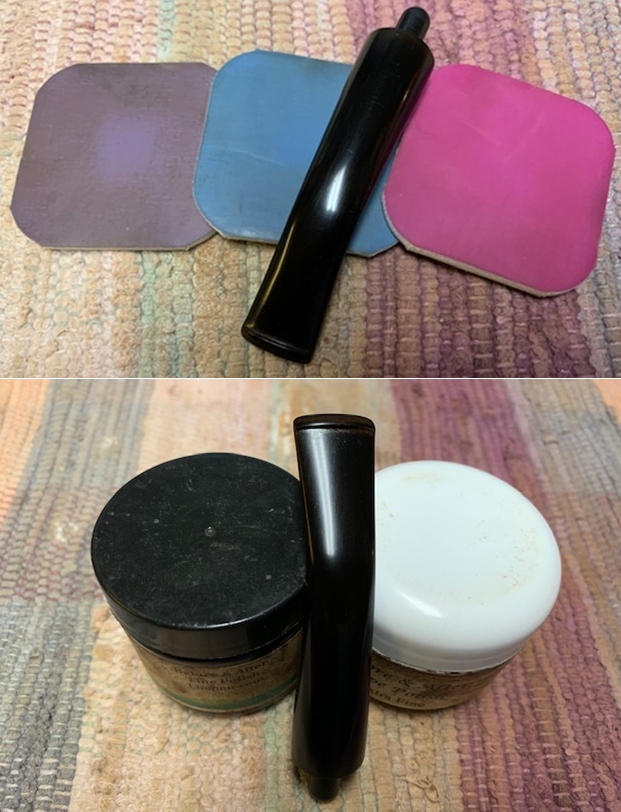
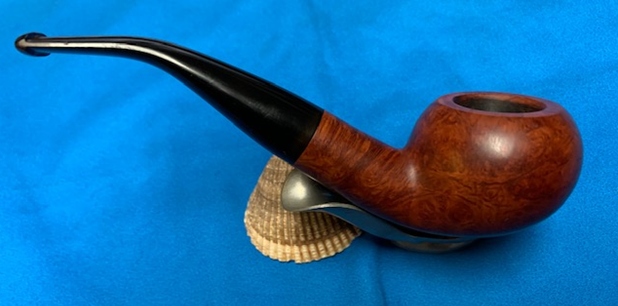
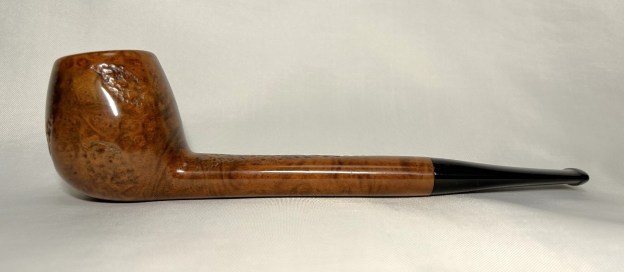
 After that, a light application of Before & After Restoration Balm brought out the best in the stummel’s grain. Finally, it went off to the bench polisher. In the photograph, I show White Diamond and carnauba wax, but after taking the photo, I realized that Conservator’s wax would be better suited to the purpose. So that’s what I used.


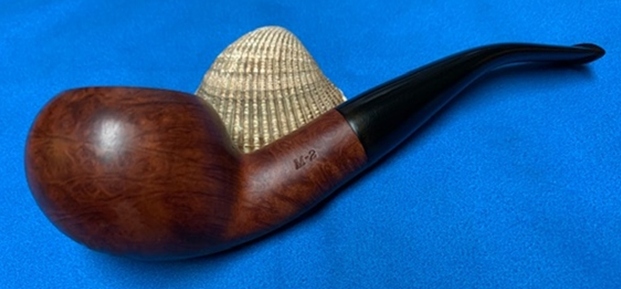
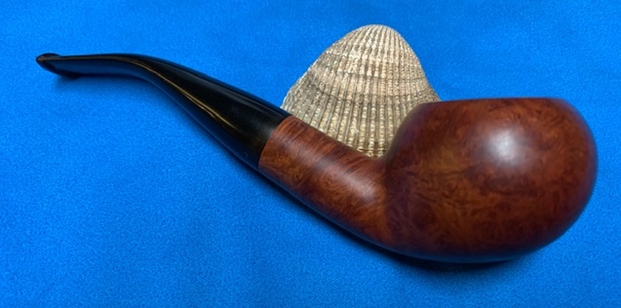
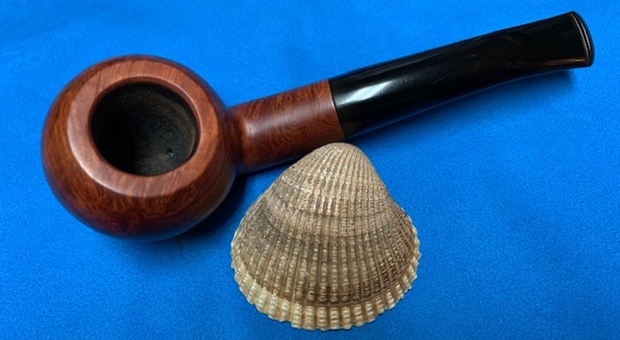
 This is a wonderfully crafted pipe and has a very handsome feel to it. It took some work, but I am proud of it and the final product suits me to a T. It retains some wounds from battle, but, as Steve would say, they are part of this pipe’s story. This is one pipe that I am keeping for myself and adding to my collection. I am sure that I will be enjoying this one for many years to come. The approximate dimensions of the pipe are as follows: length 6⅝ in. (168 mm); height 1⅞ in. (48 mm); bowl diameter 1⅝ in. (41 mm); chamber diameter ¾ in. (20 mm). The weight of the pipe is 1¾ oz. (53 g). I hope you enjoyed reading the story of this pipe as much as I did restoring it. If you are interested in more of my work, please follow me here on Steve’s website or email me directly at kenneth@knightsofthepipe.com. Thank you very much for reading and, as always, I welcome and encourage your comments.