Blog by Steve Laug
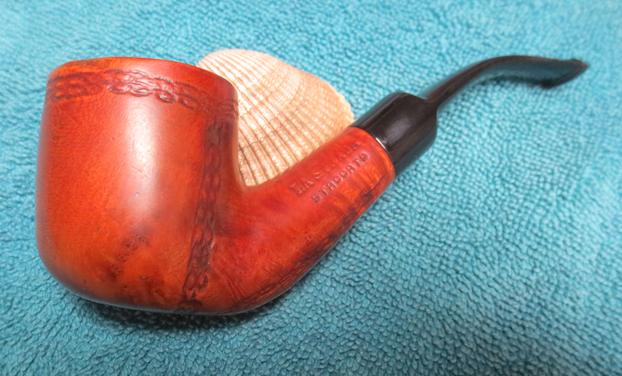
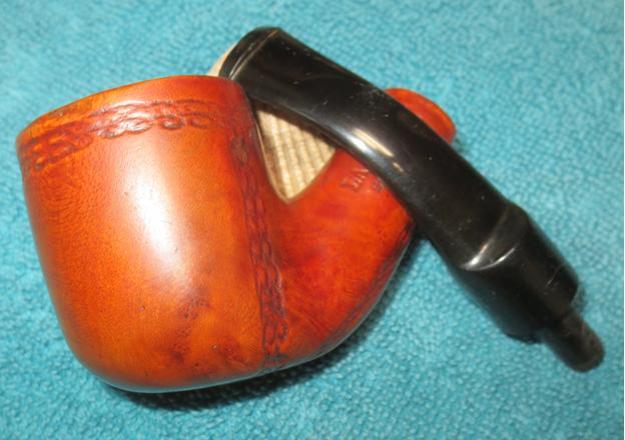
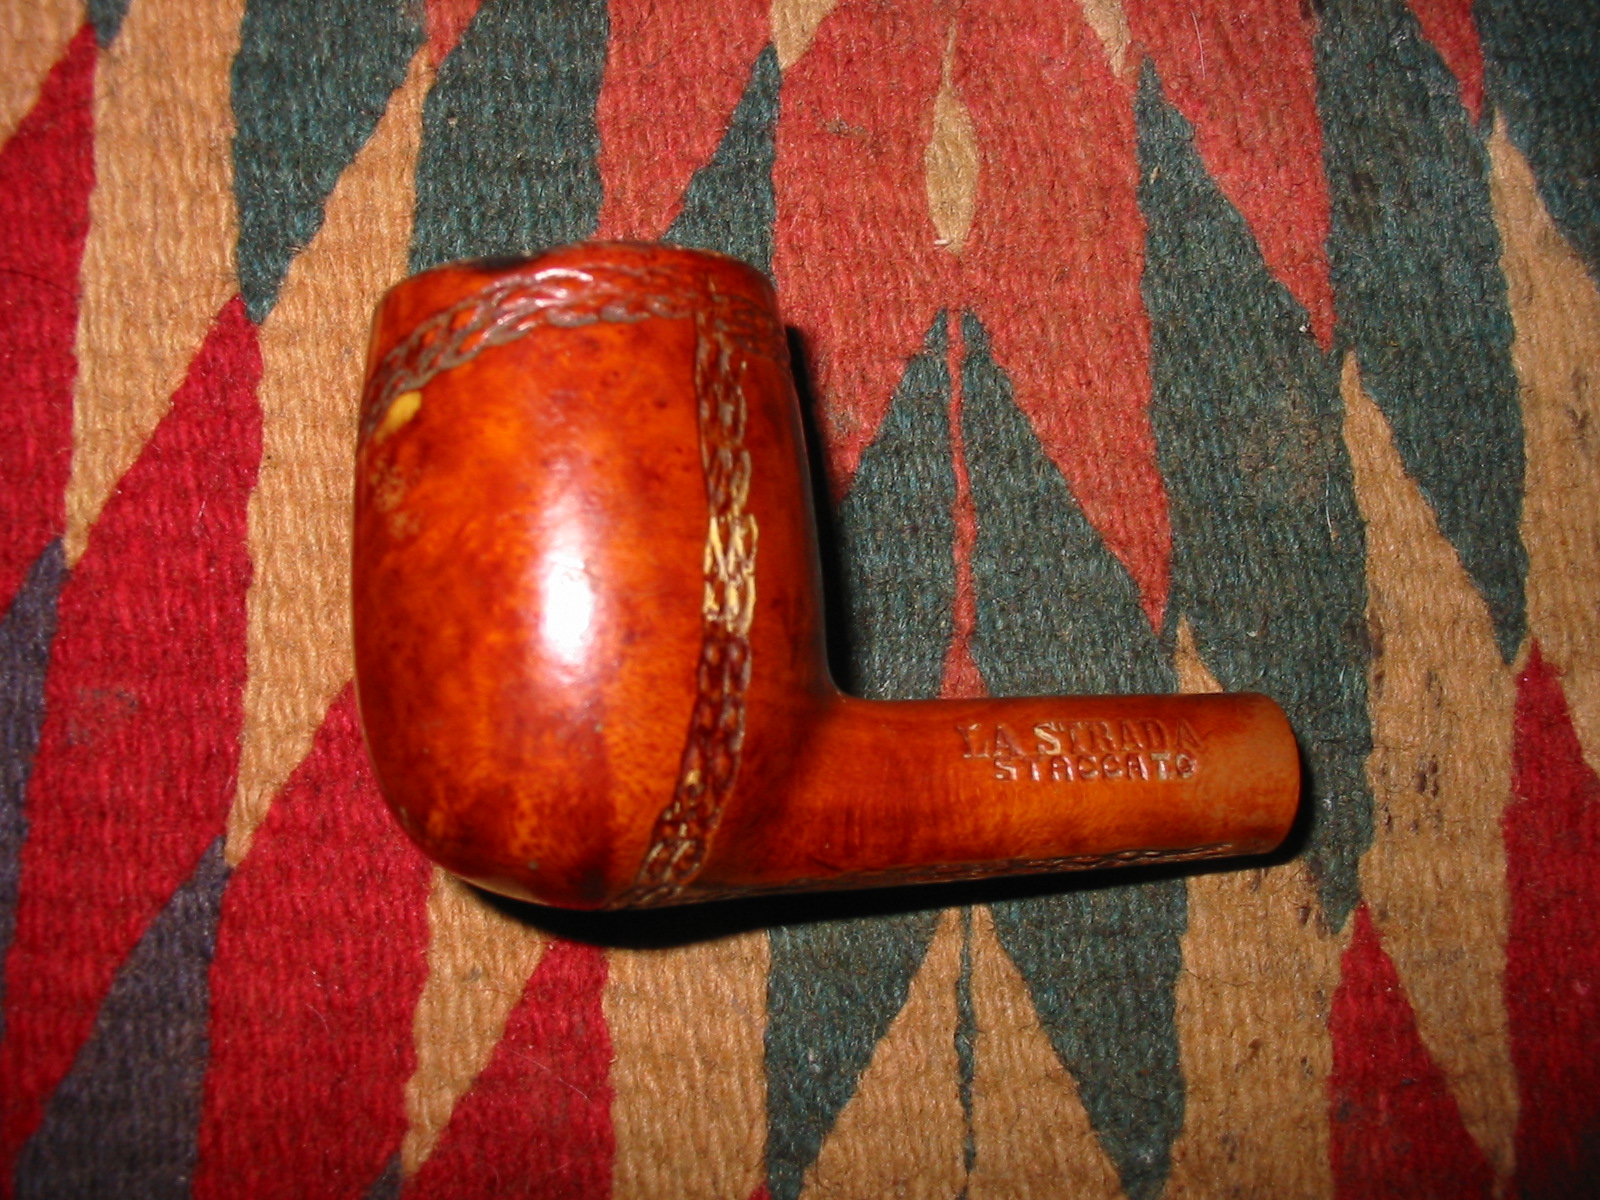
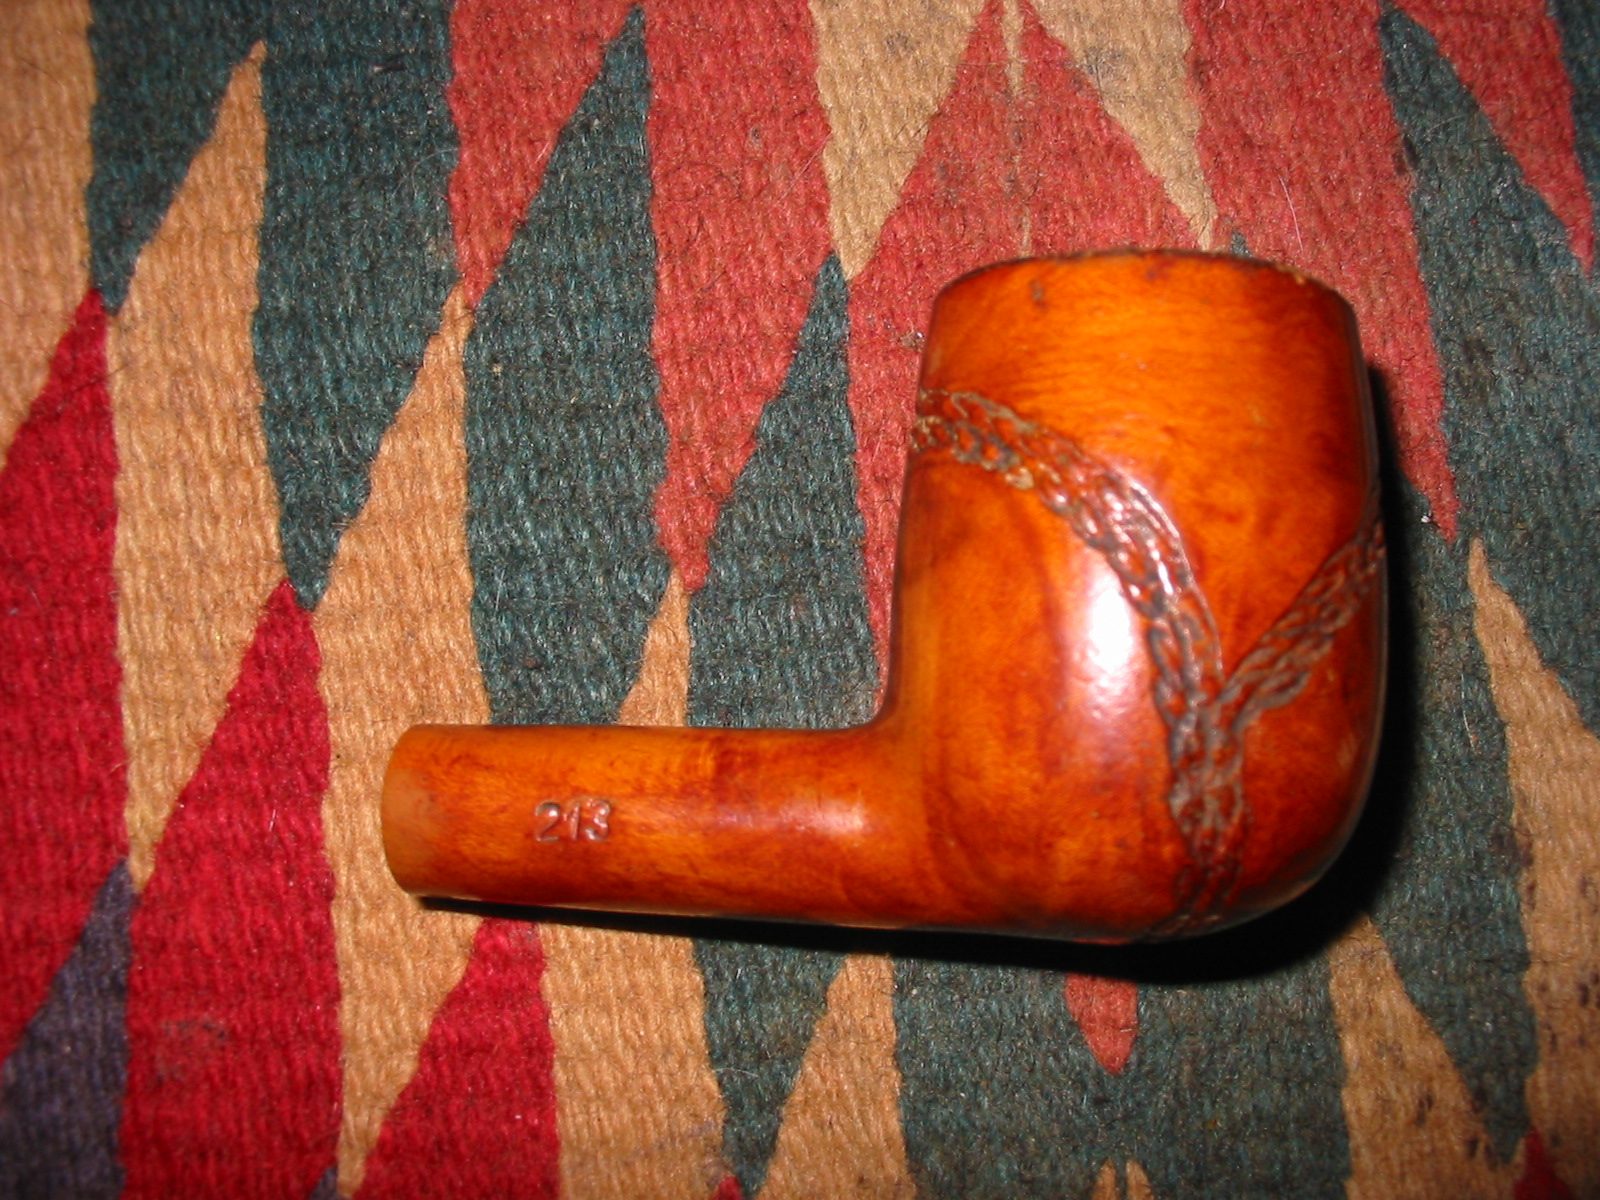
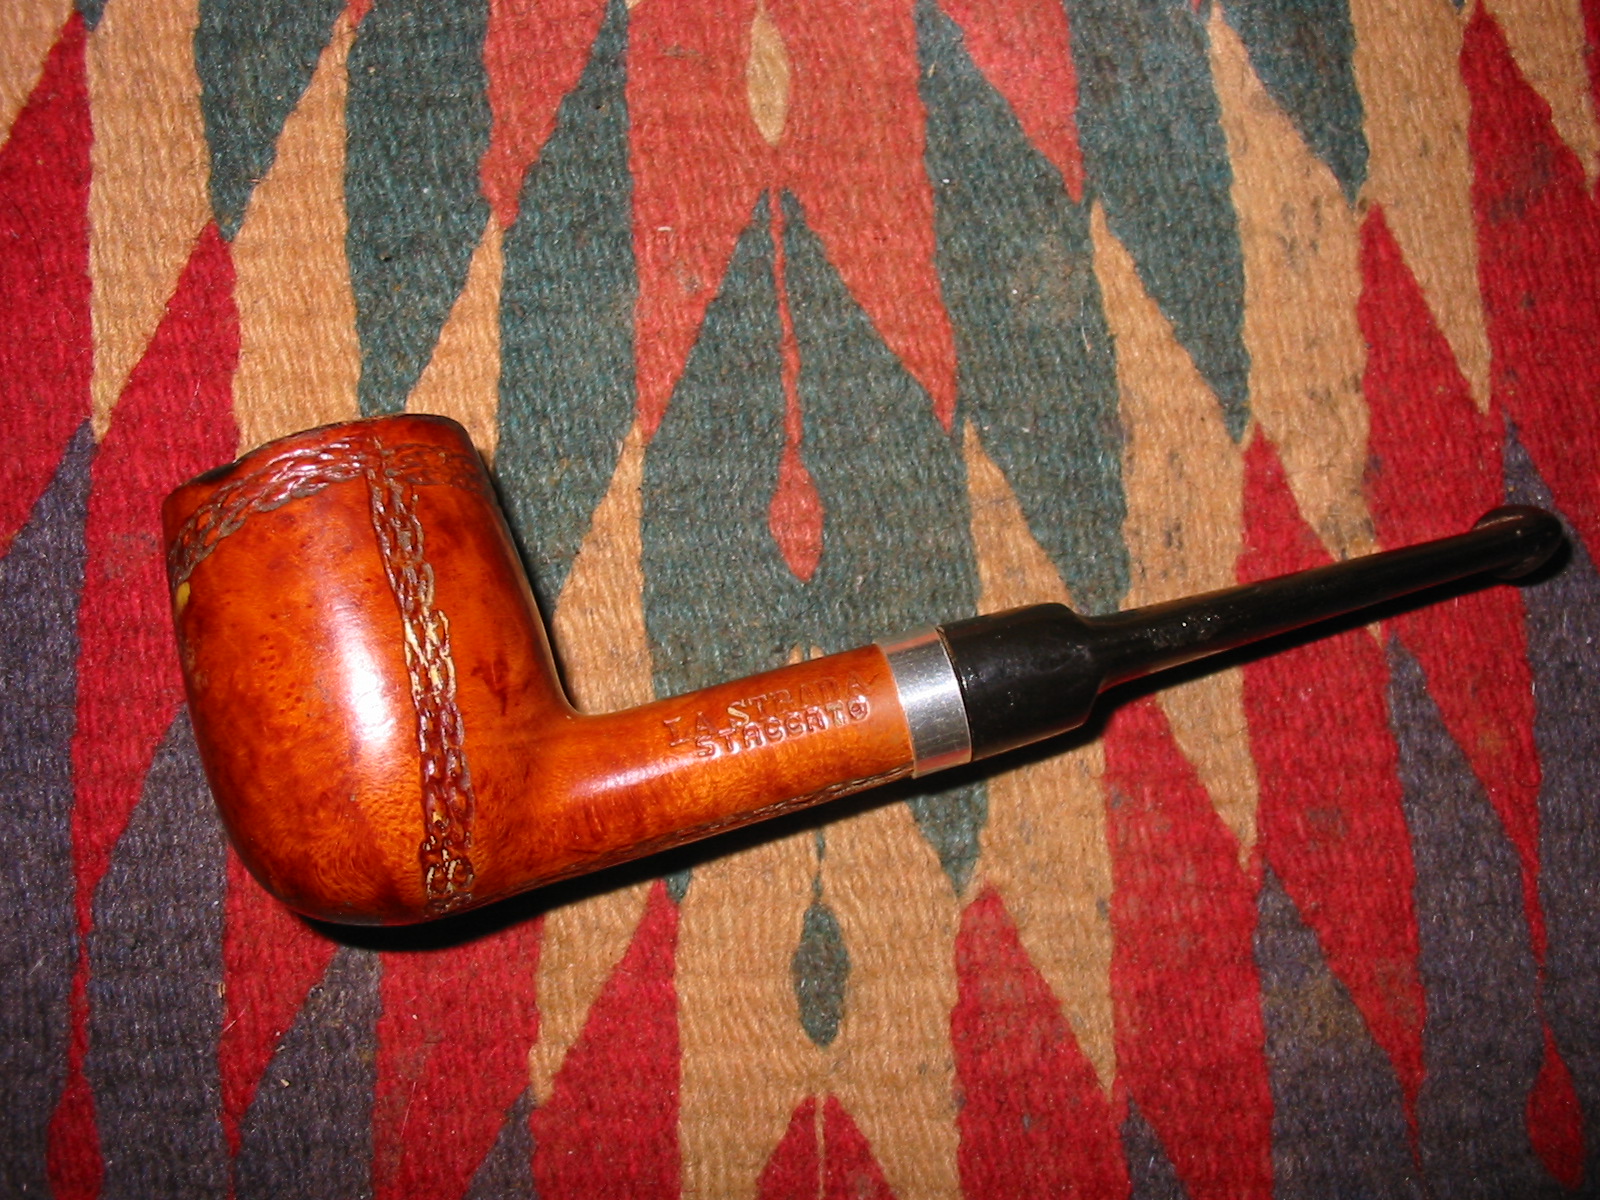
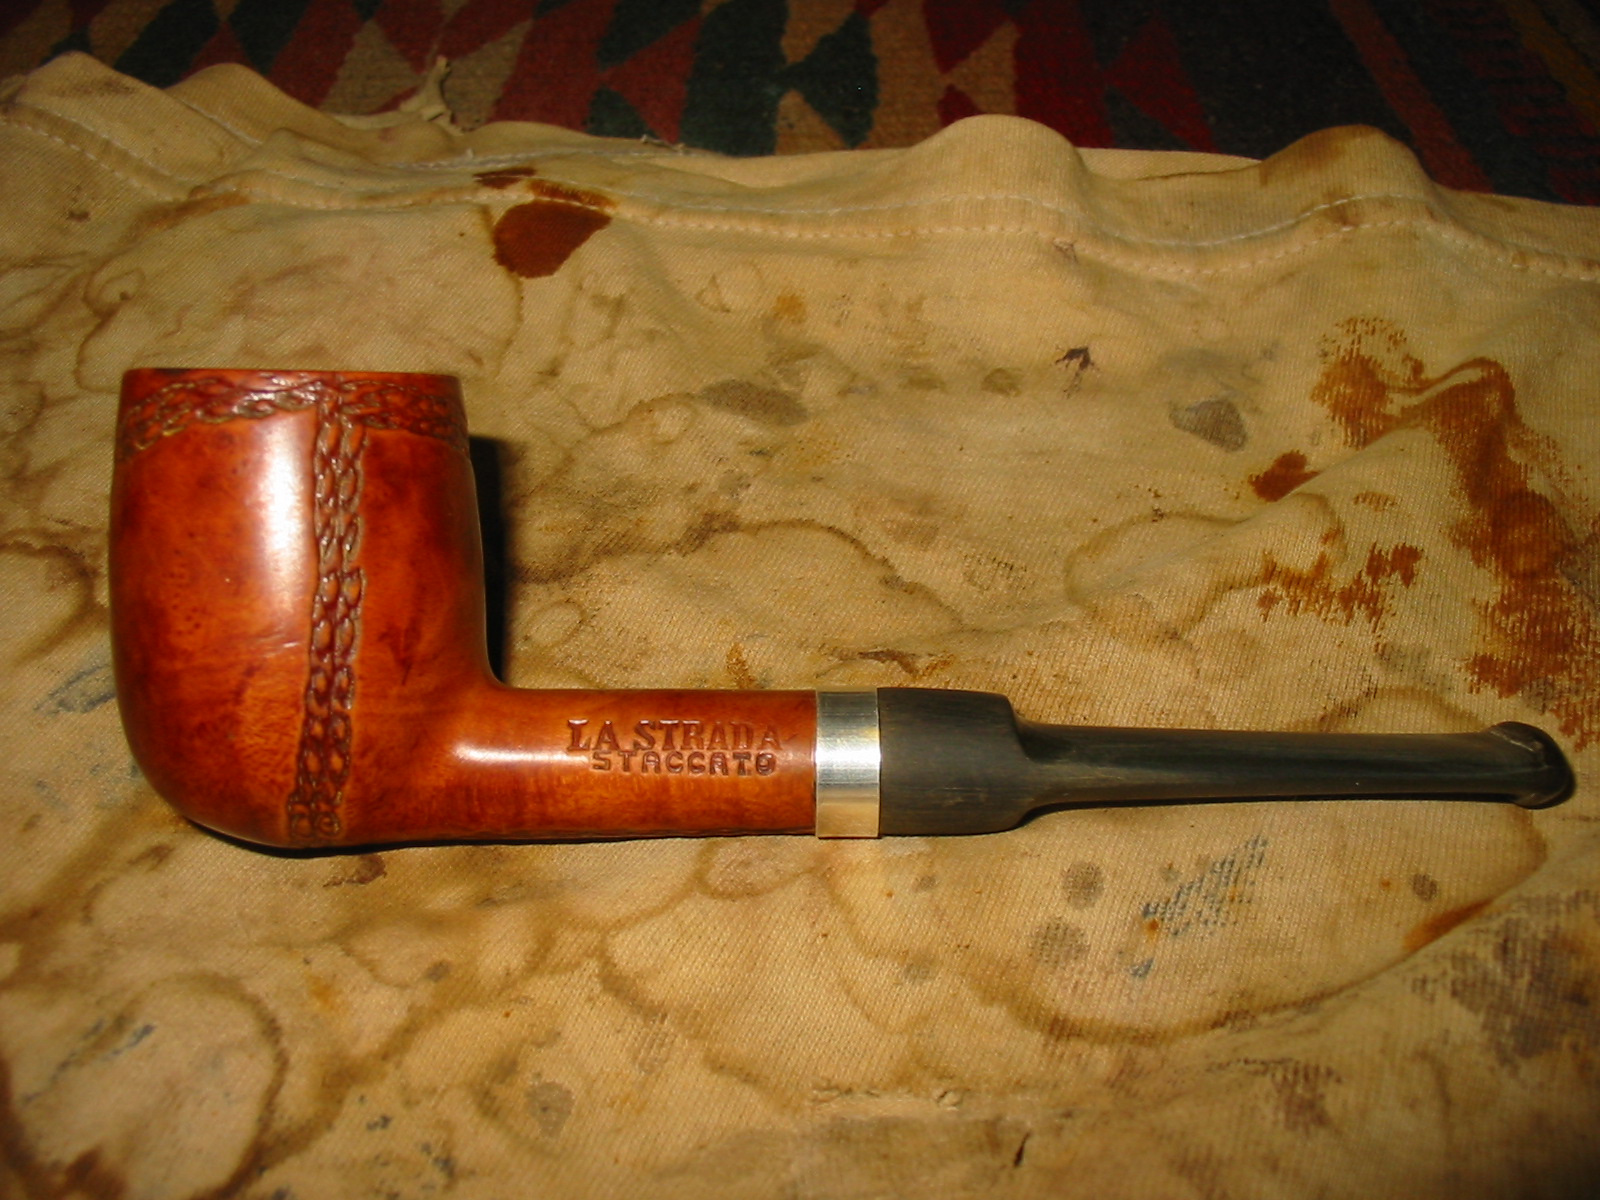
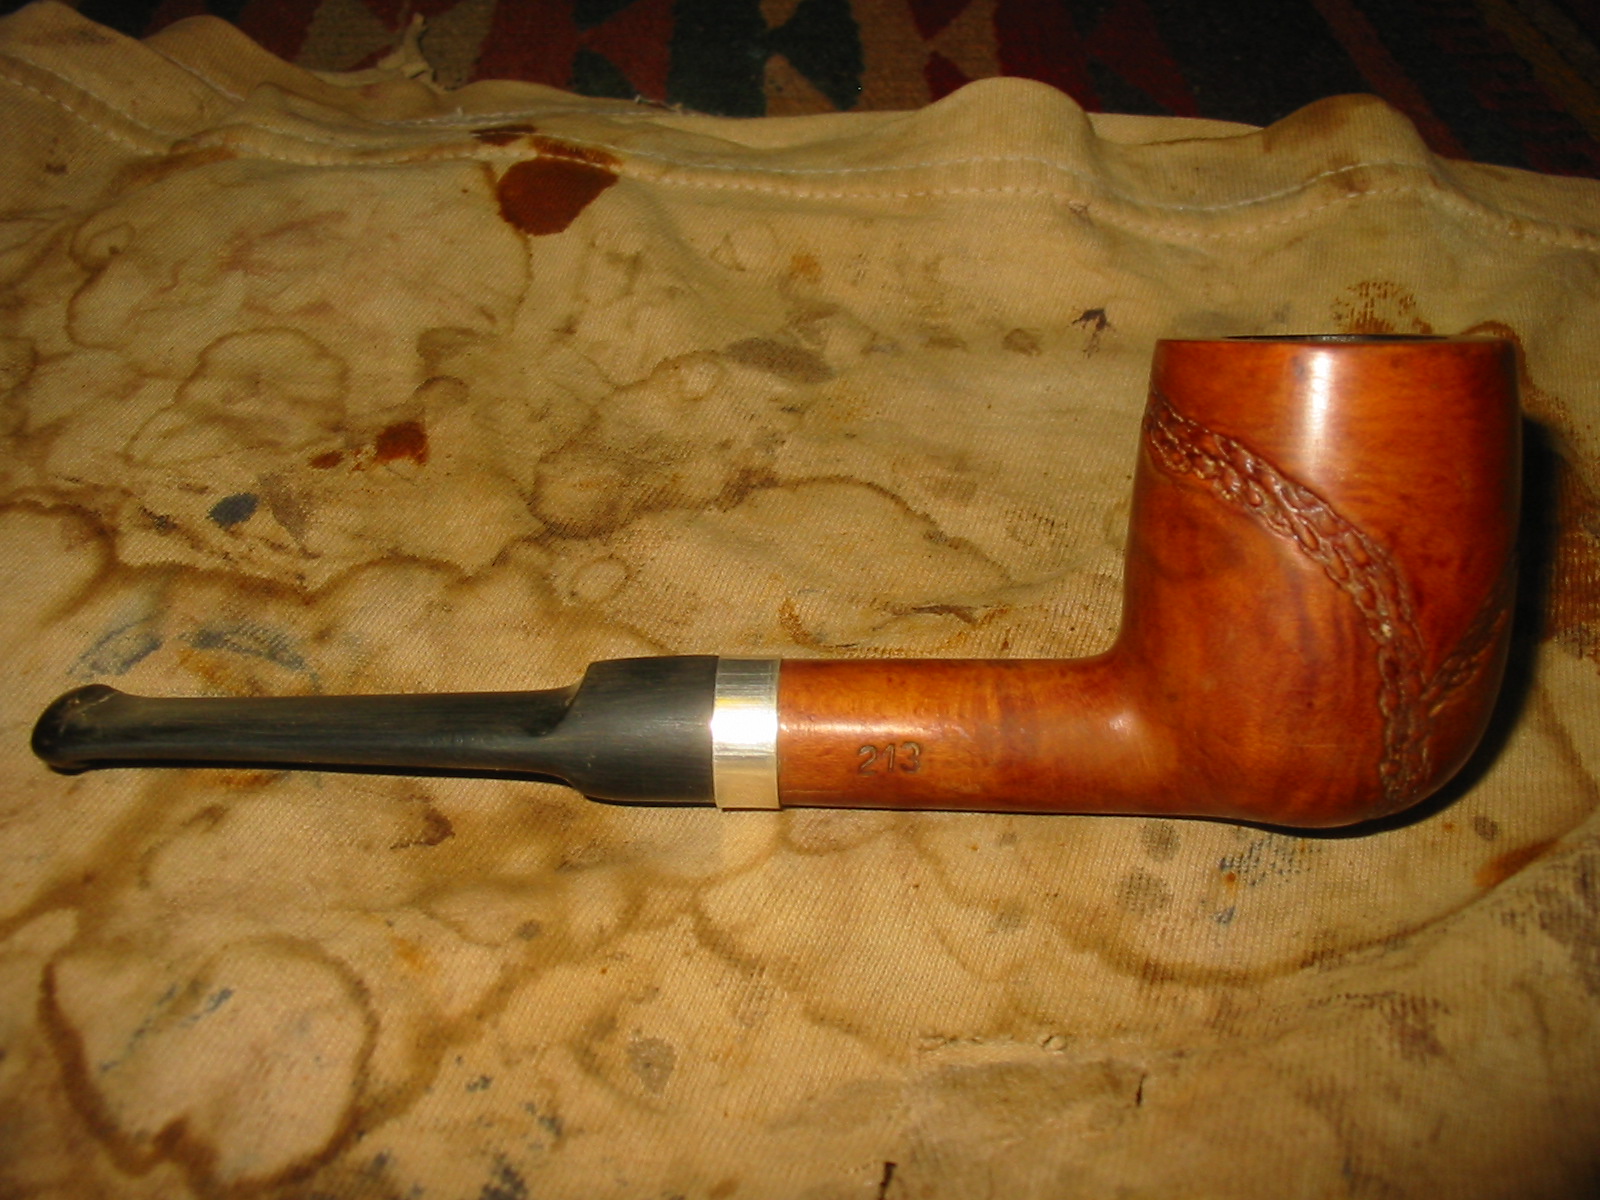
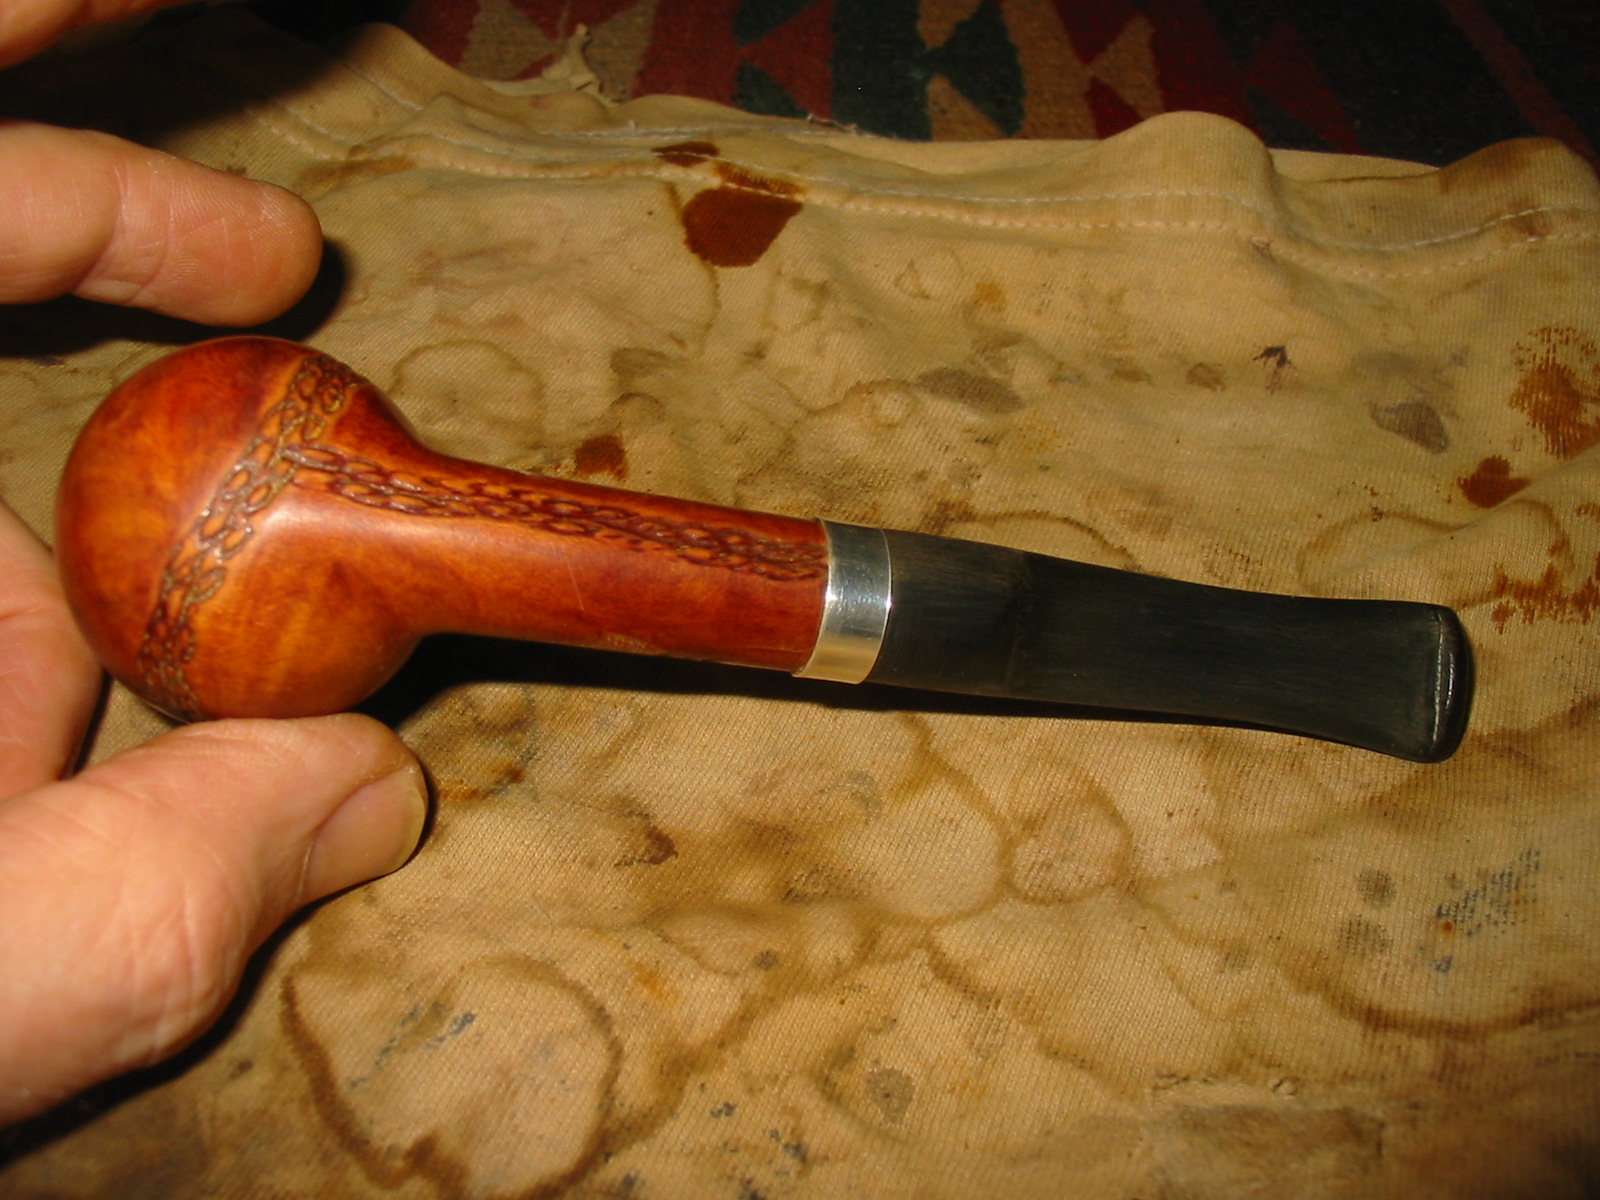
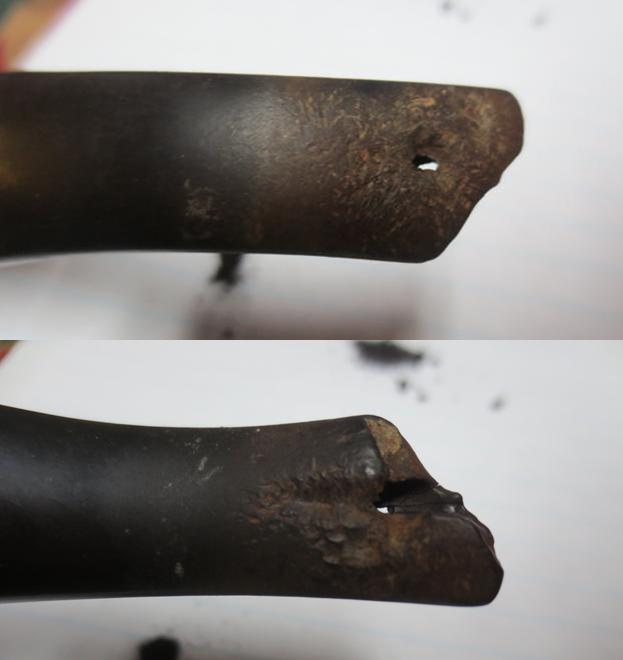
This tired old La Strada came to me for repairs. It was in rough shape. The stem had been gnawed, broken and gnawed again. The finish was shot and covered in oils and grease to the point that it was hard to see the rope rustication around the bowl. The bowl had a thick crumbling cake and smelled heavily or aromatics. The lava from the bowl had flowed over the top of the rim and darkened the finish there. The outer edge of the rim was heavily damaged on the front left side and looked as if the bowl had been dropped. There were dents on the underside of the bowl as well from a similar event. The shank was so dirty that the stem would not fit into the mortise. I was able to get it in but the fit was not tight against the shank. The shank is slightly off round so the stem was slightly different.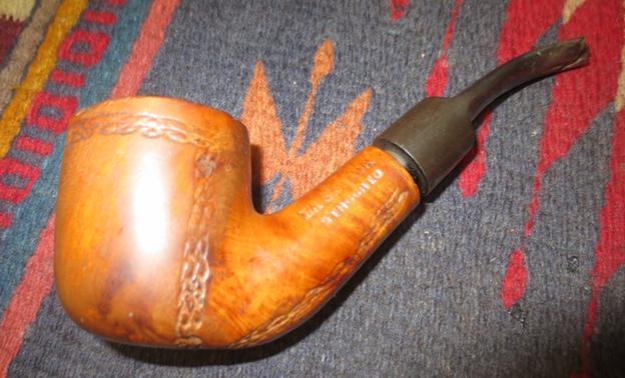
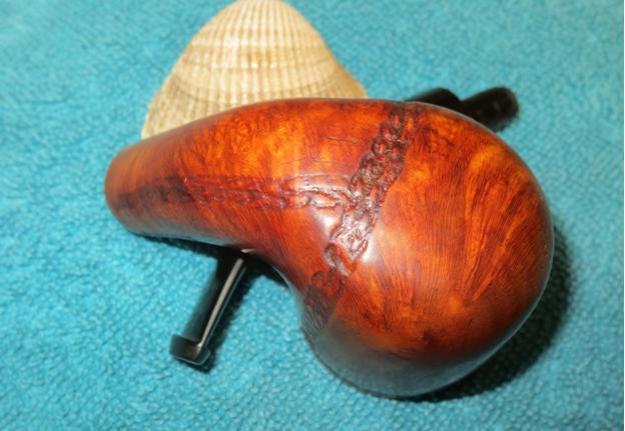
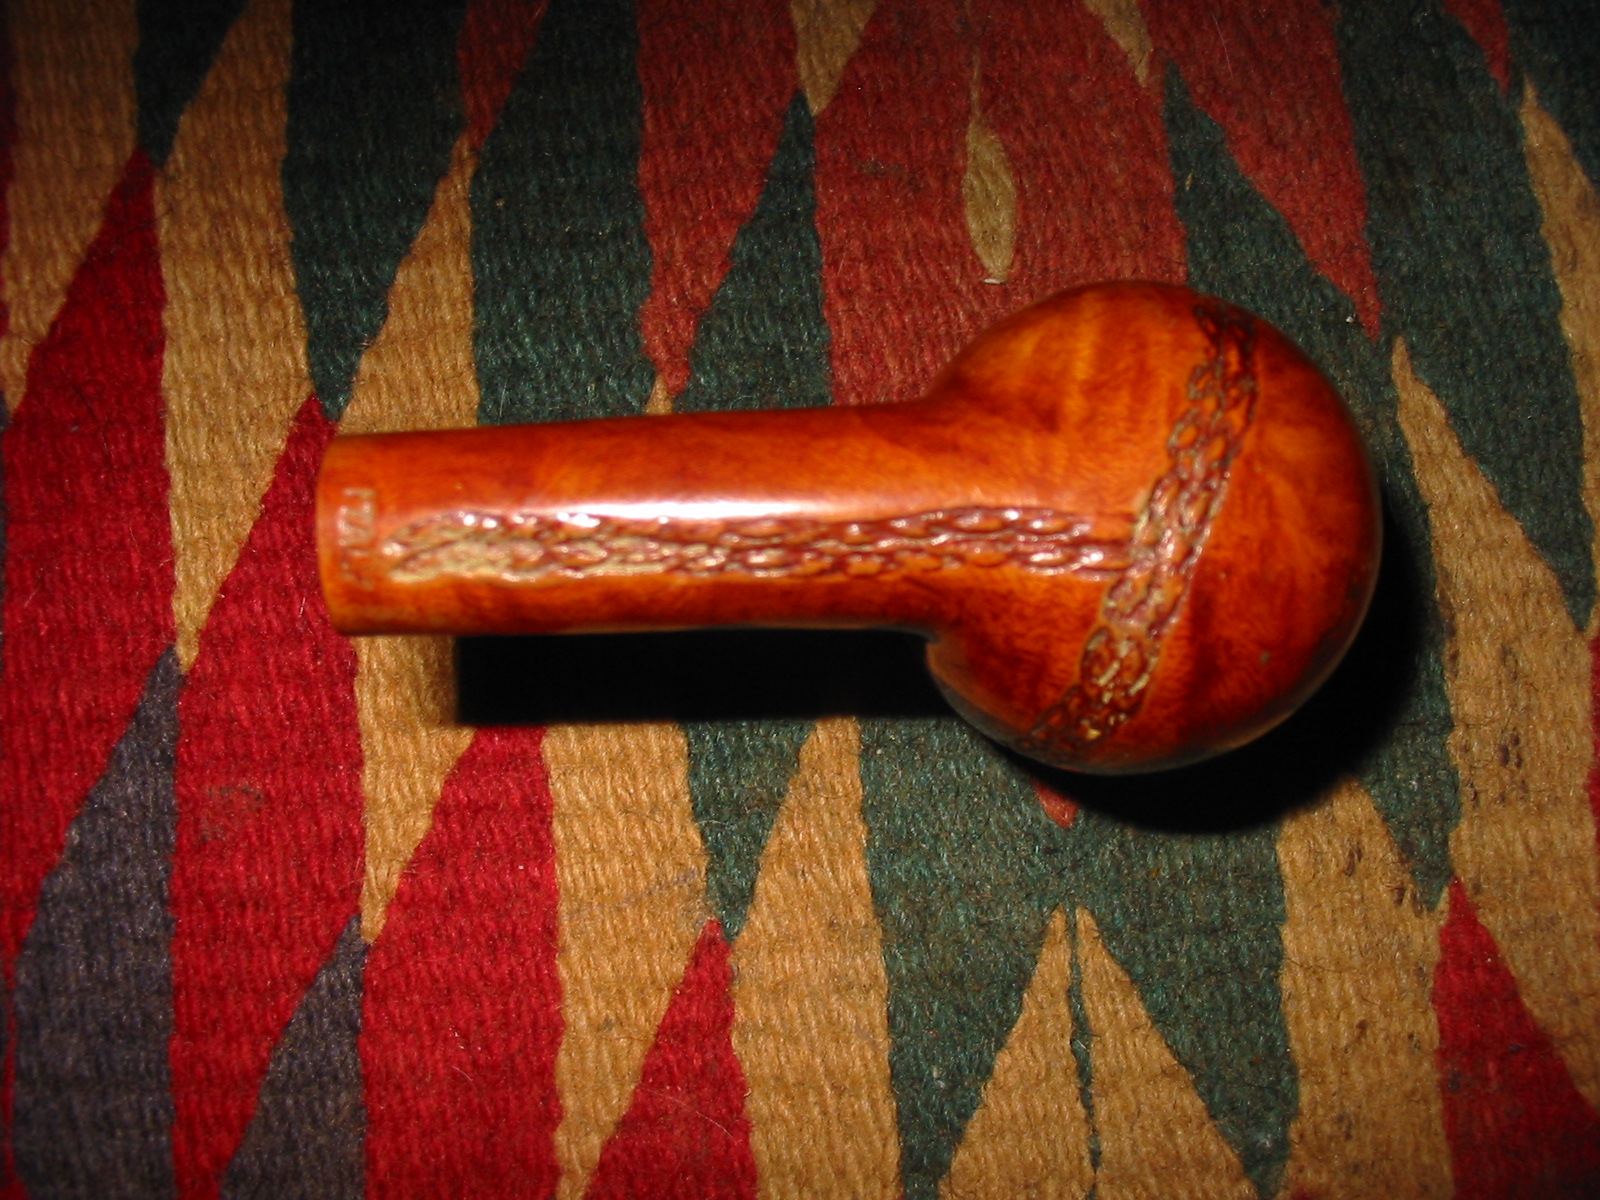
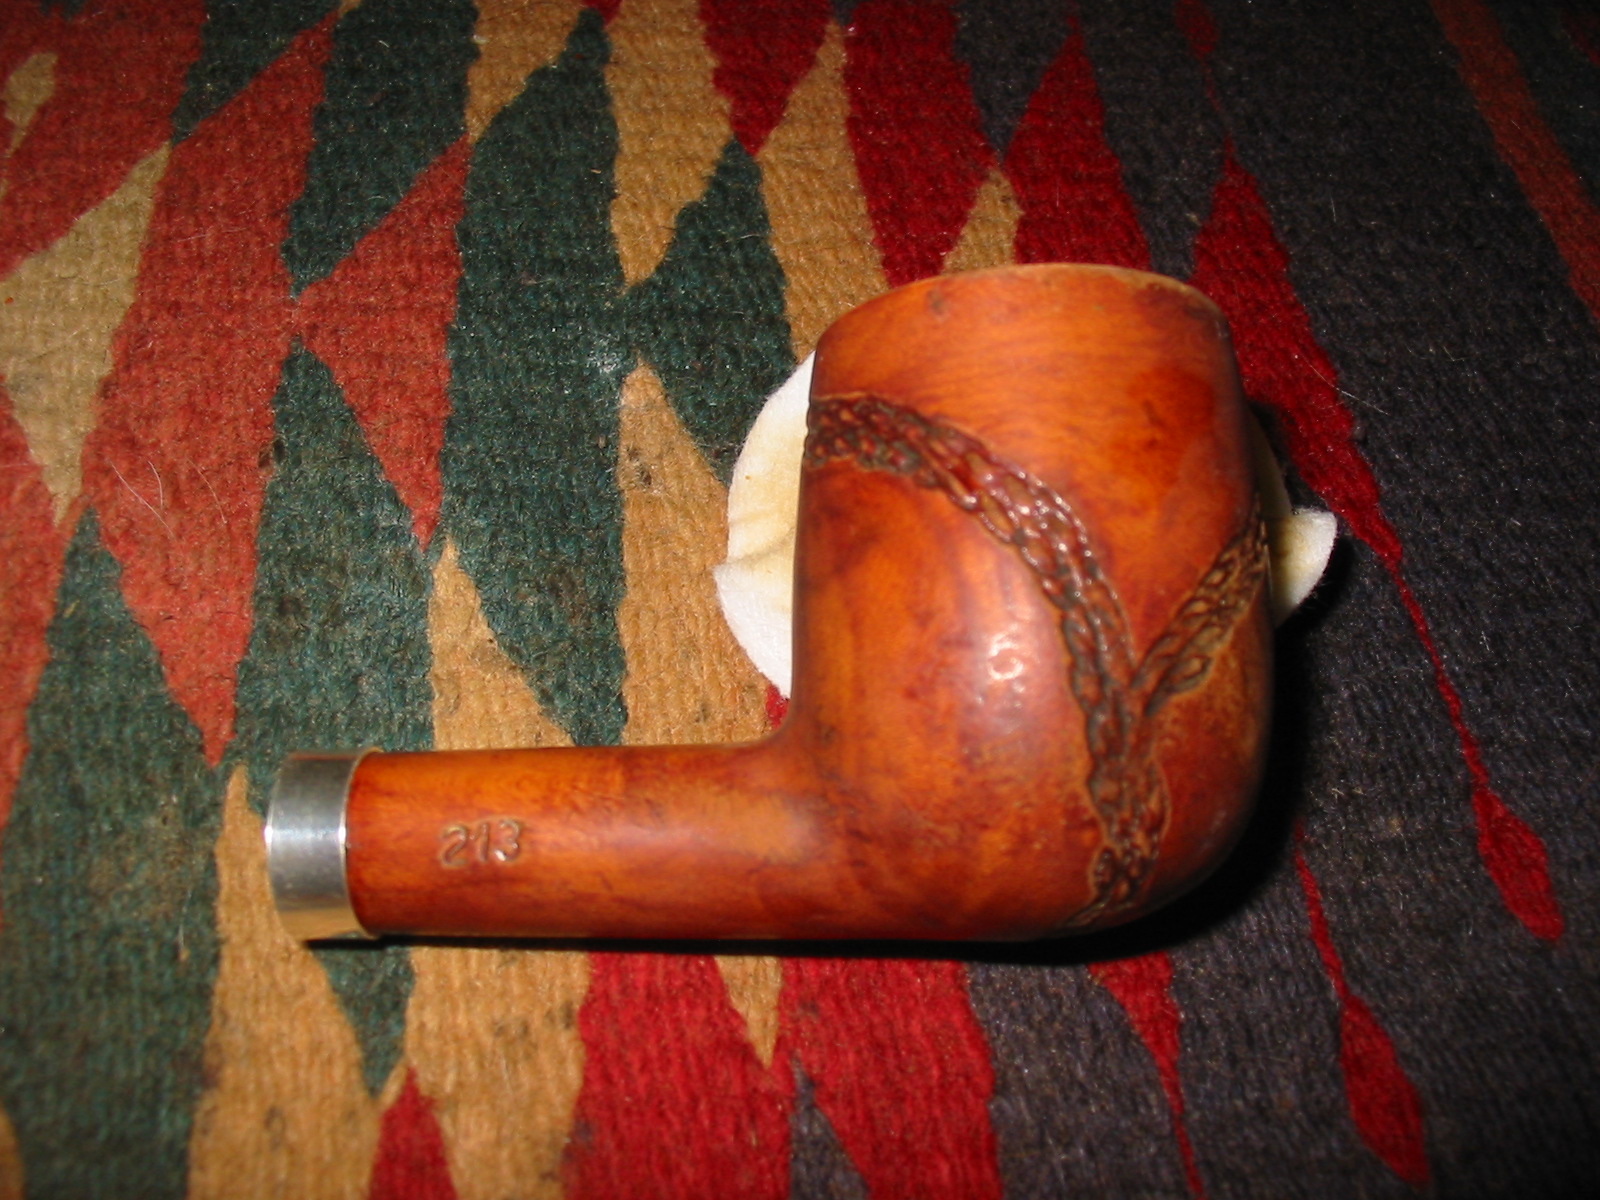
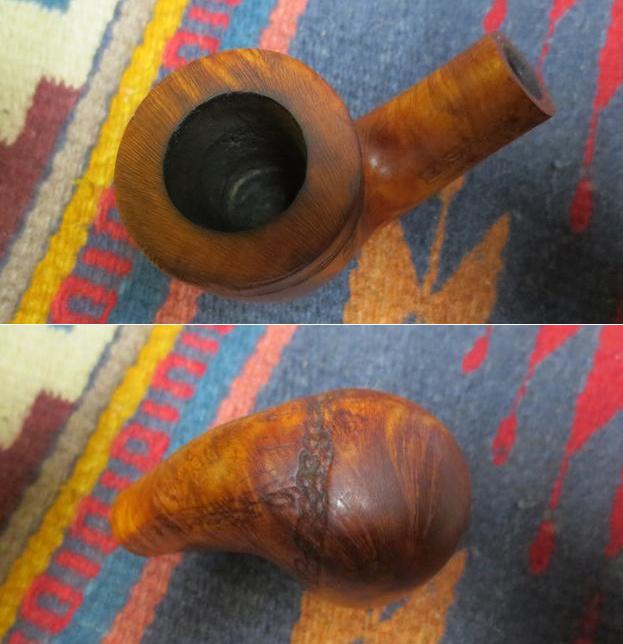
 The next photo is out of focus but the road rash on the bowl bottom is visible.
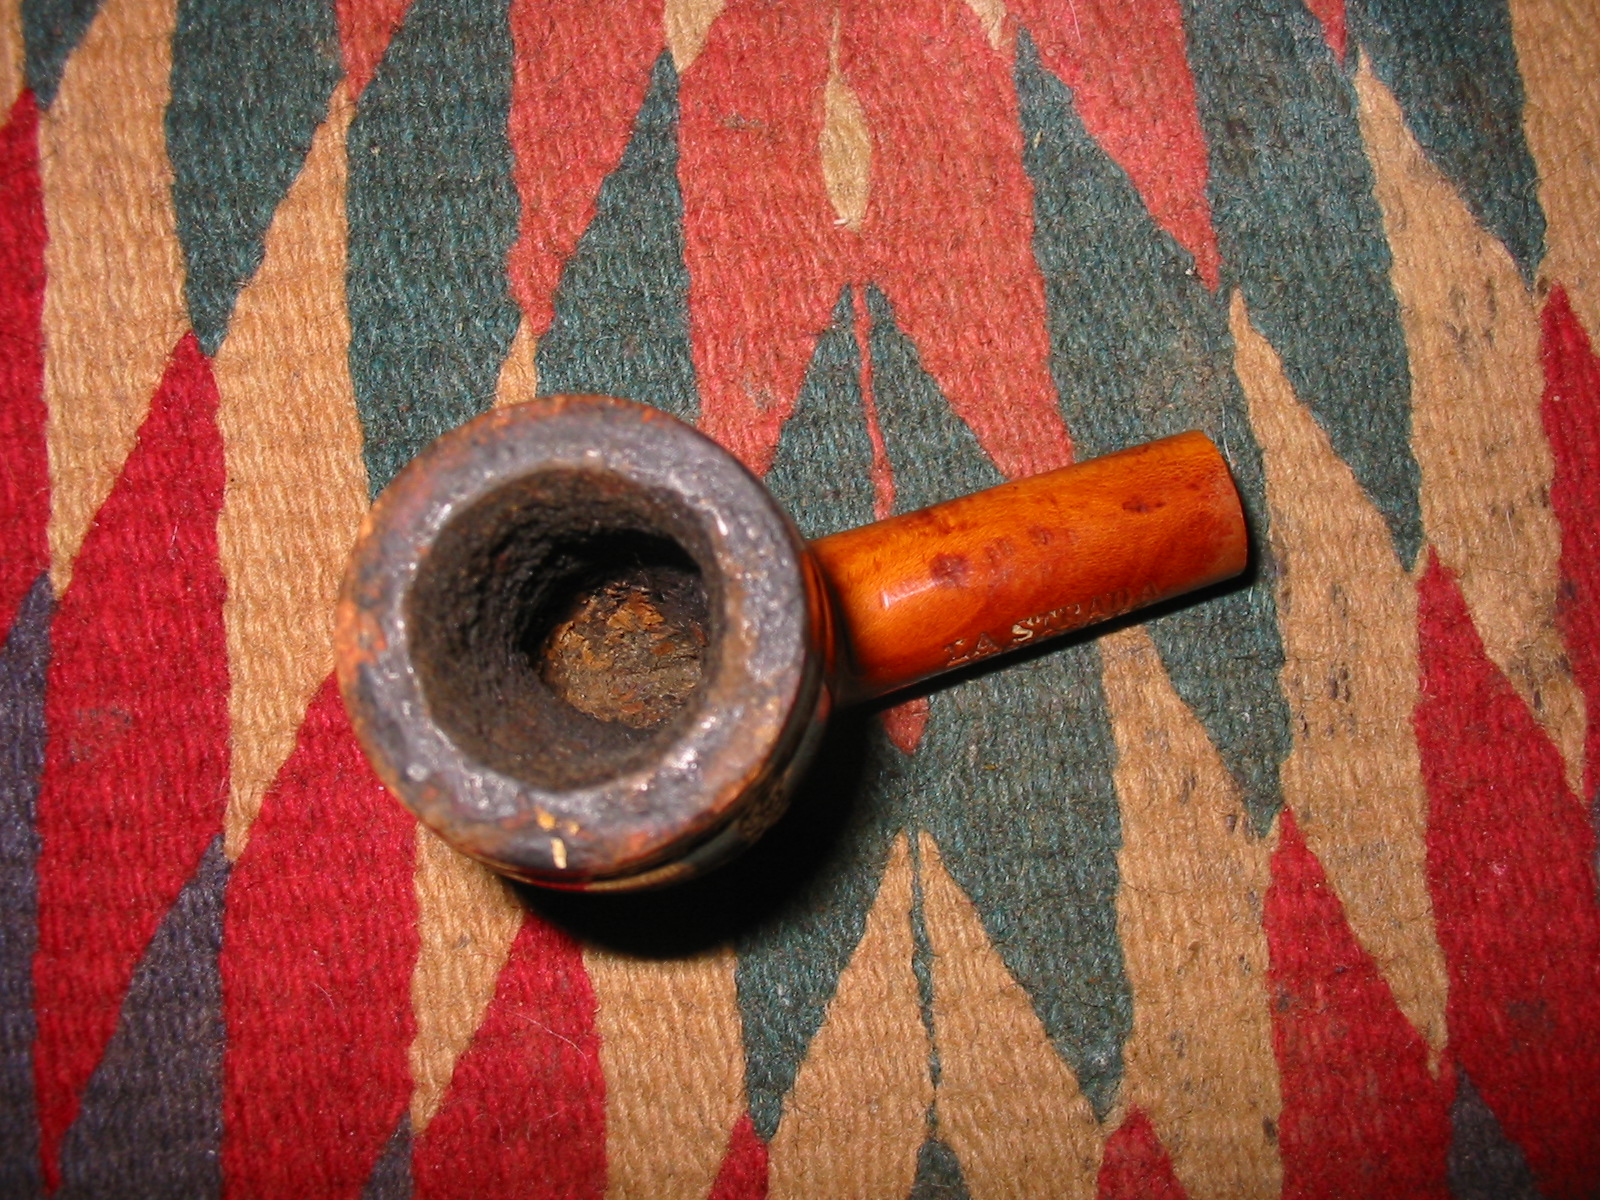
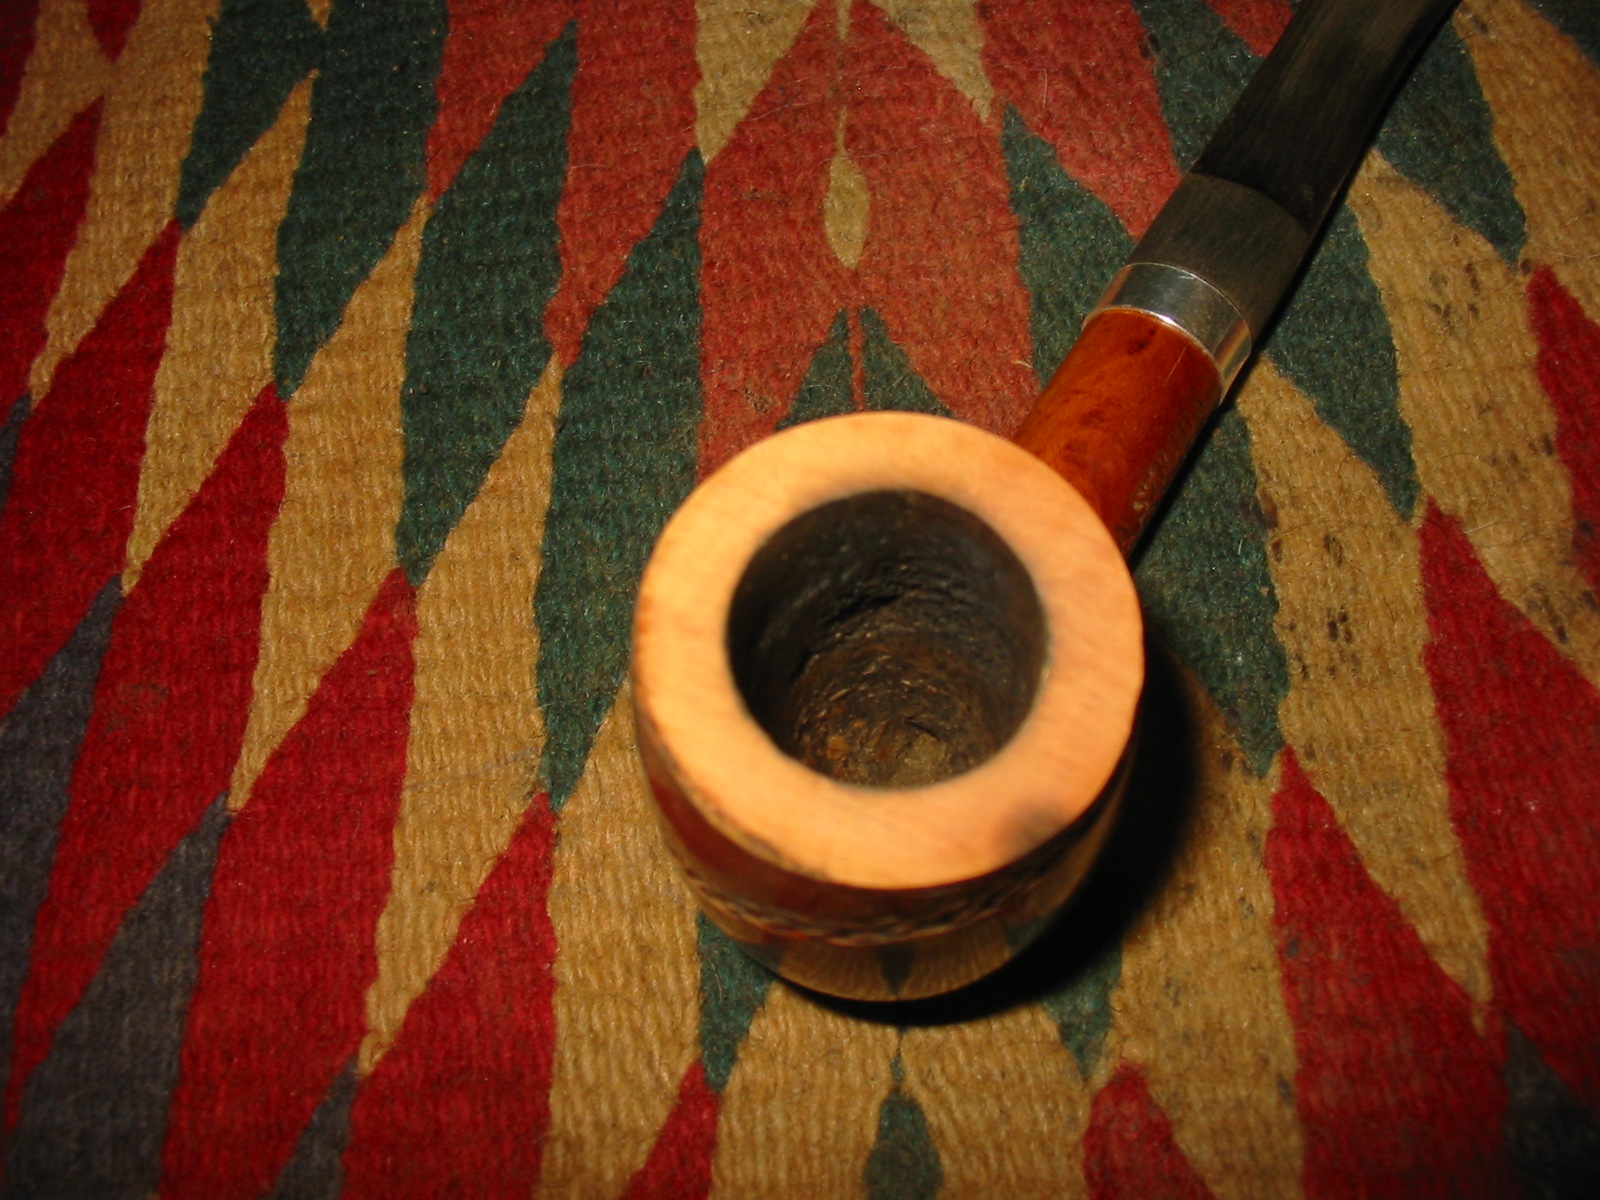
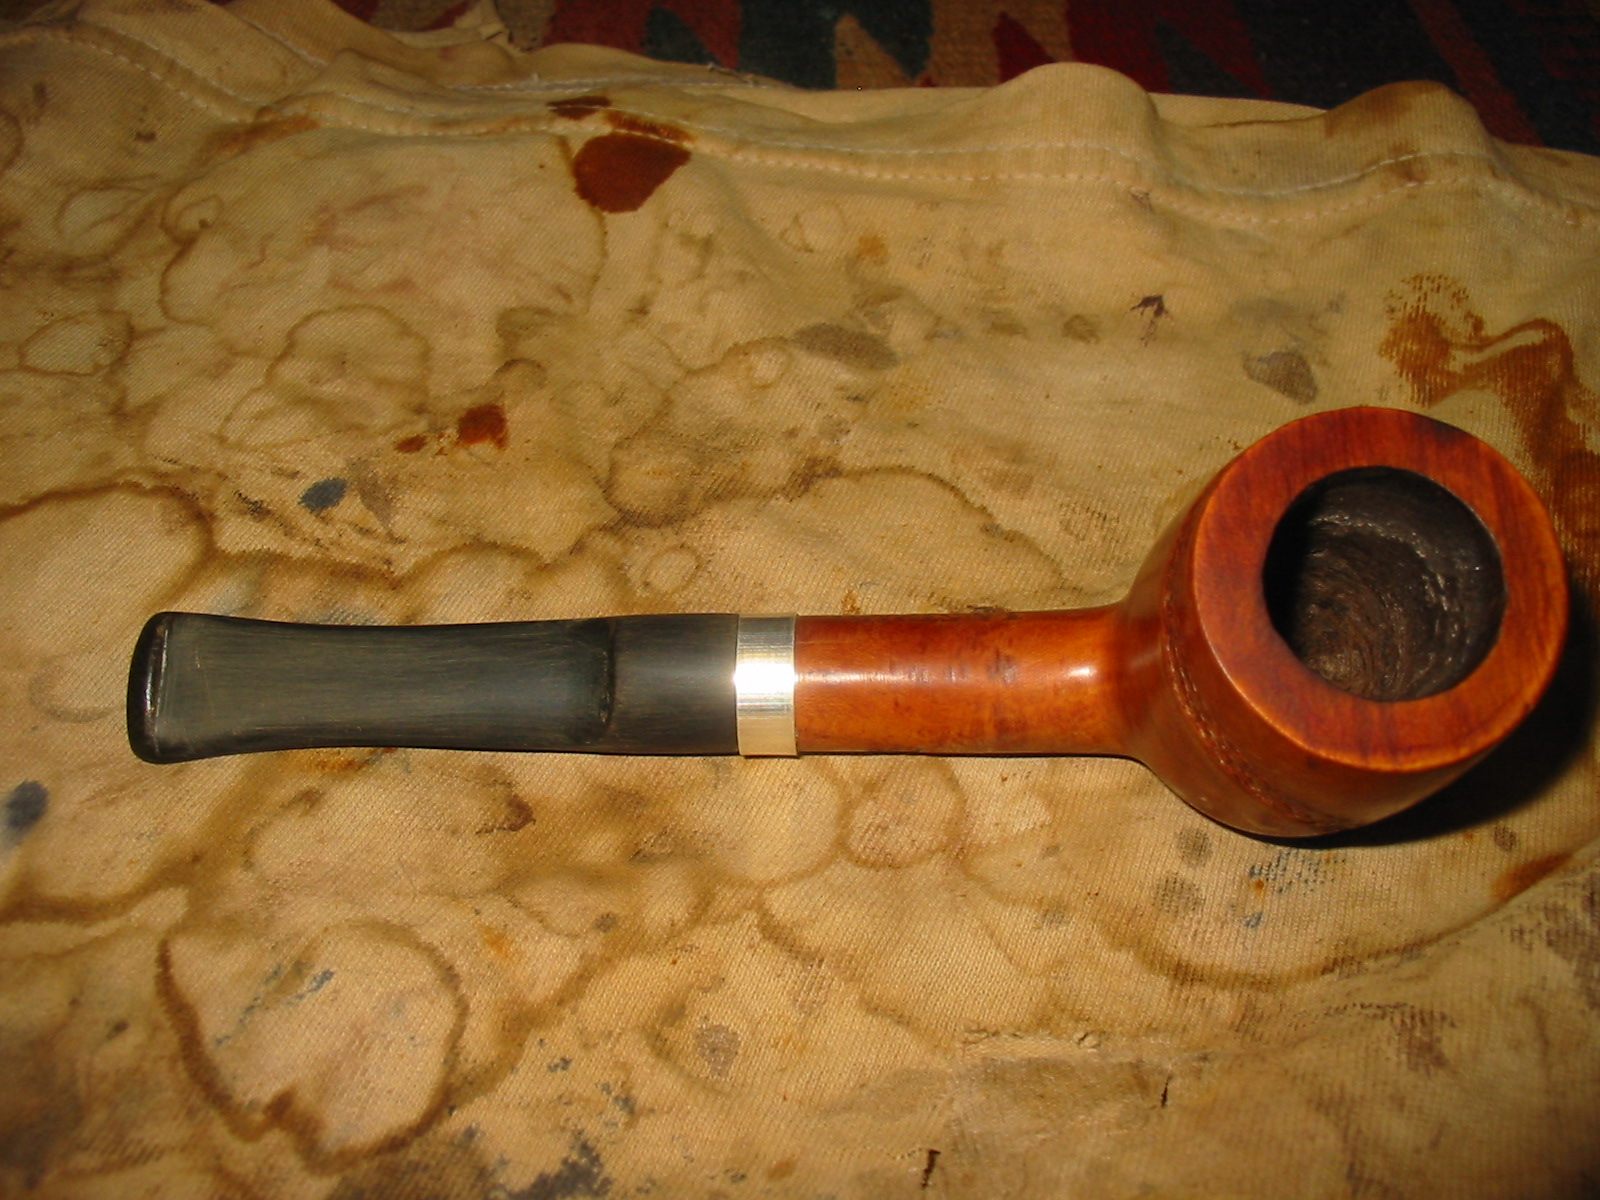
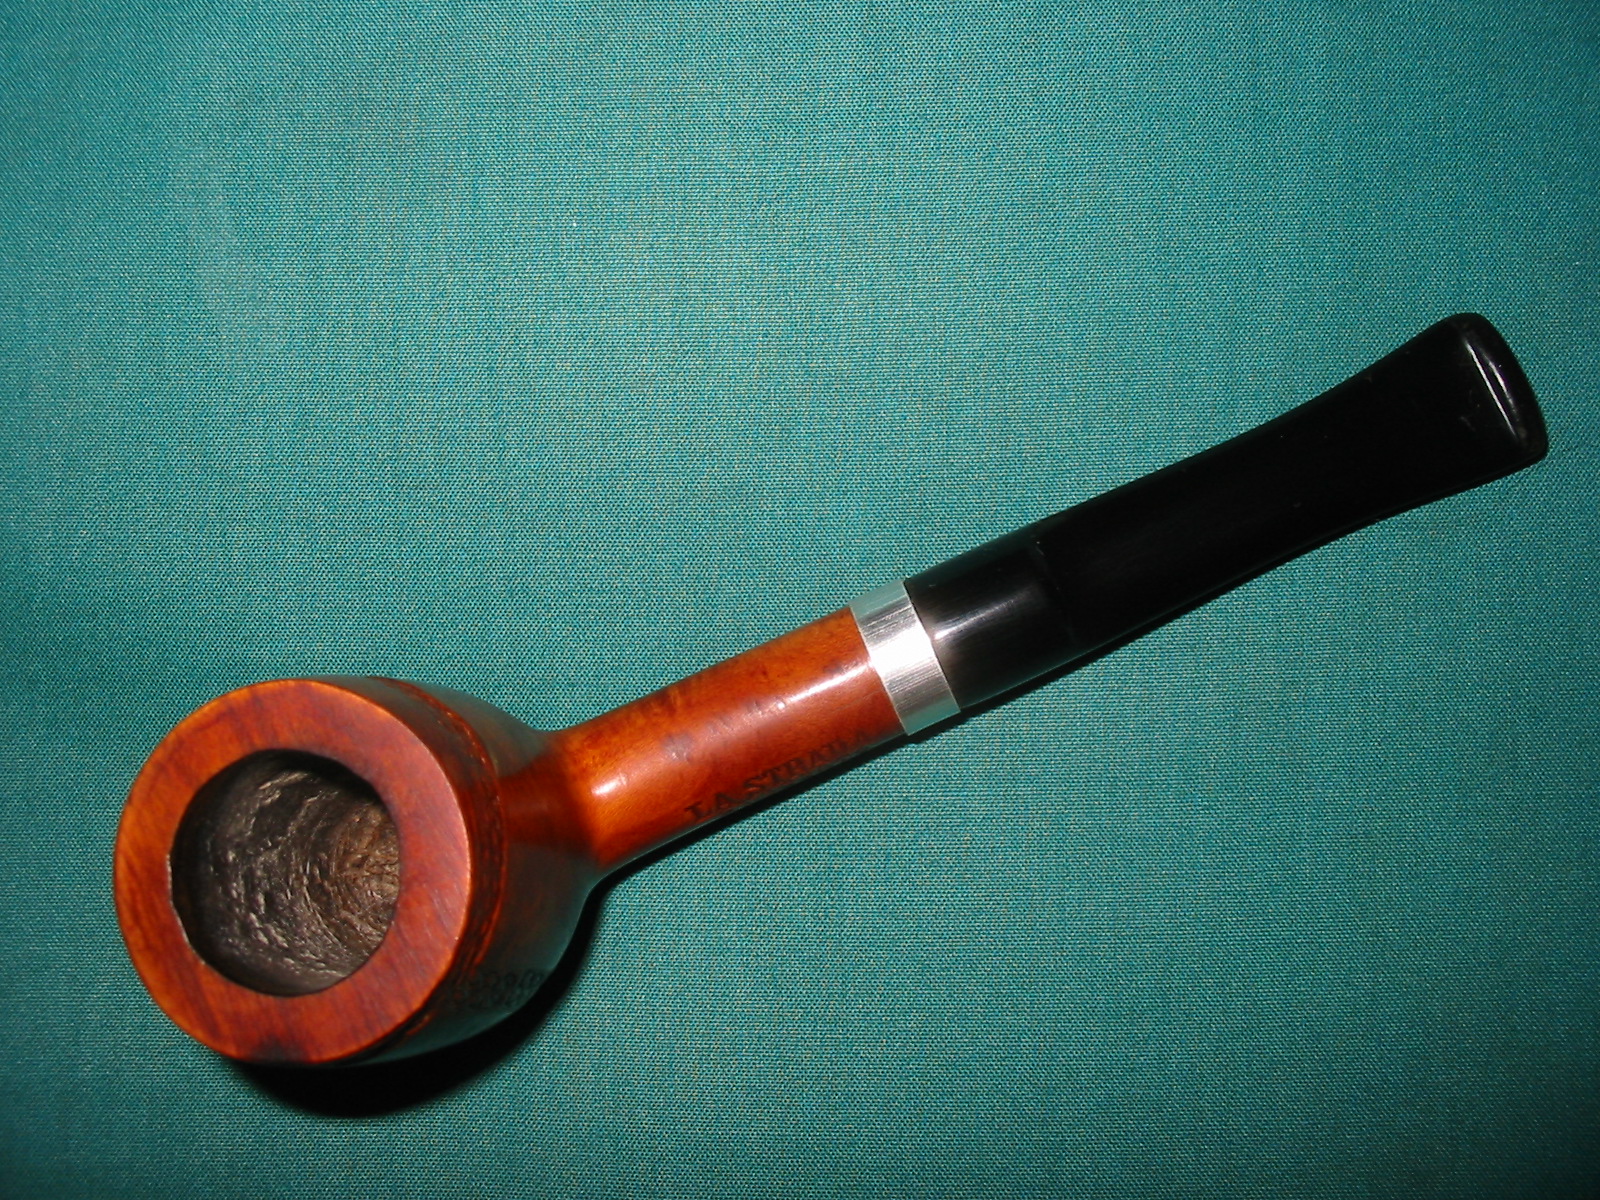
 I took a series of close up photos of the bowl and rim and the stem to show the condition of the pipe when I started. In the first photo you can see the thick crumbly cake and the damage to the rim surface and edges. It was hard to tell if the inner edge of the bowl was damaged and only after reaming would I be able to know for certain. The stem was a write off as the damage was too extensive to repair. The fit against the shank also warranted a new stem.
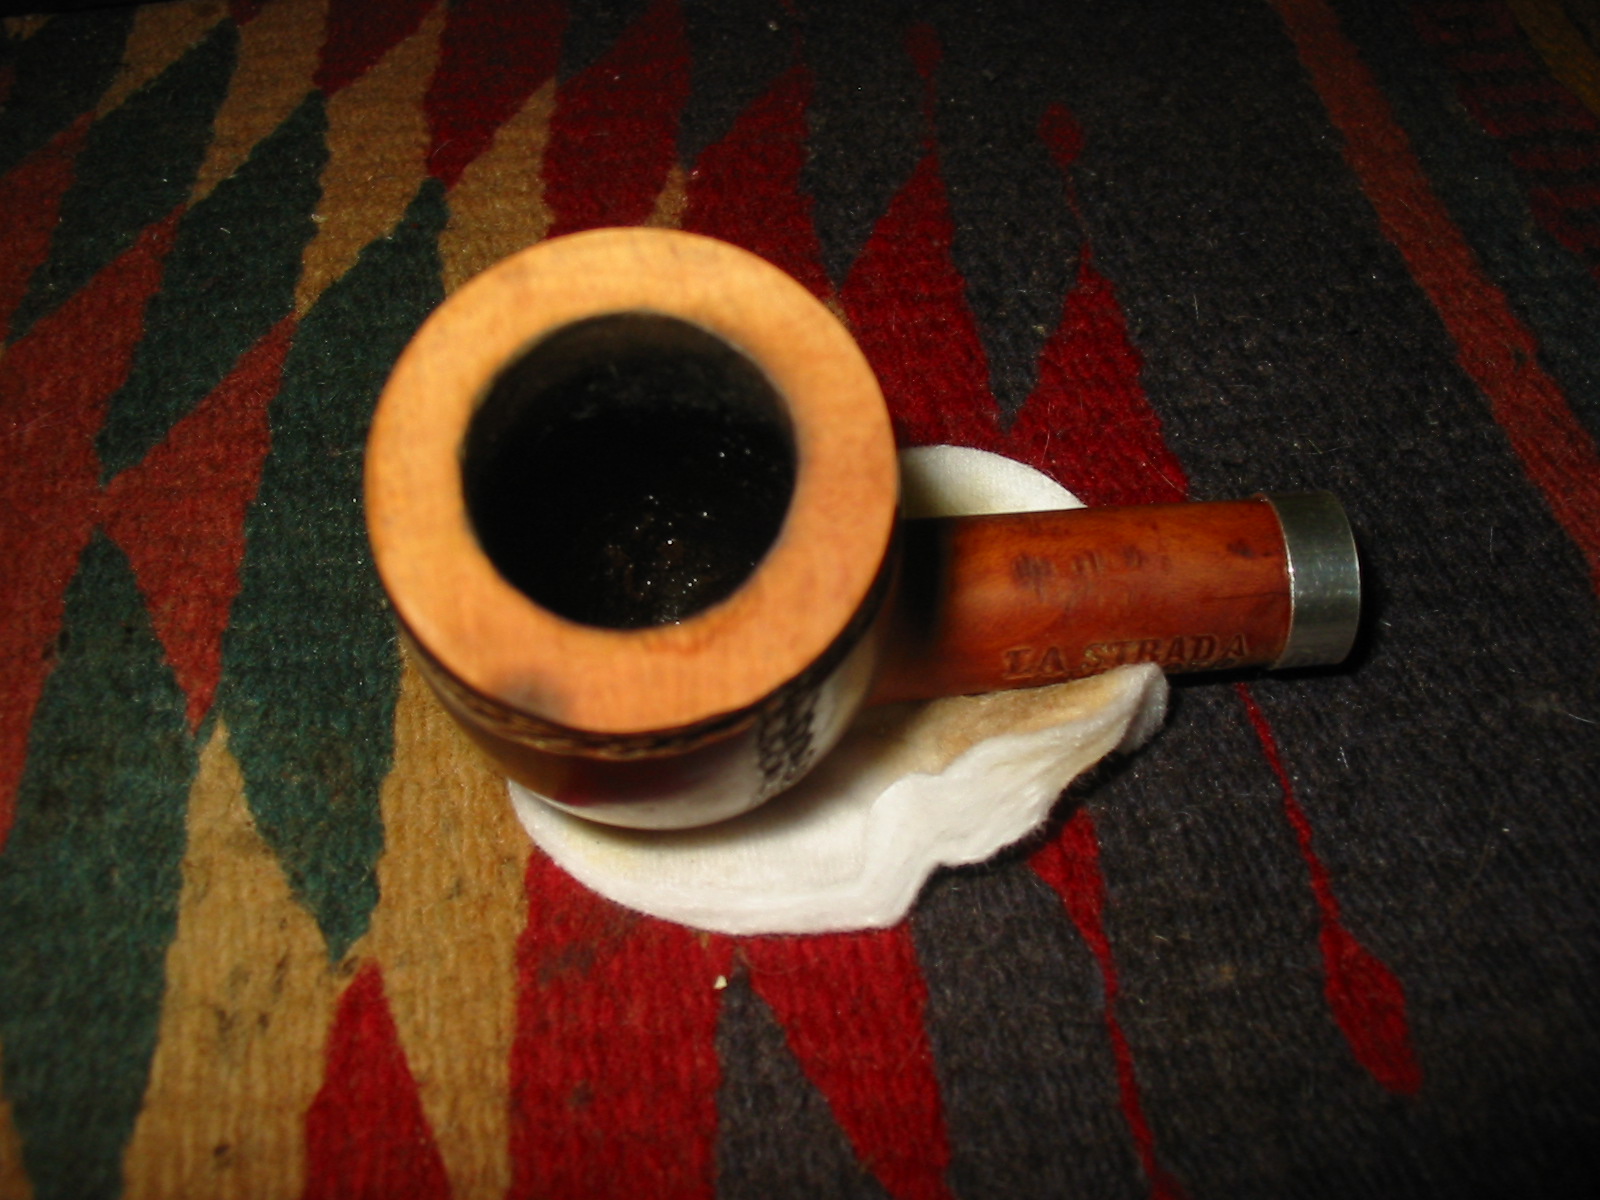
 I reamed the bowl with a PipNet reamer and went through the various cutting heads. I cleaned up the remaining cake in the bowl bottom with the Savinelli Pipe Knife. I took the cake completely out of the bowl and reamed it back to bare briar.
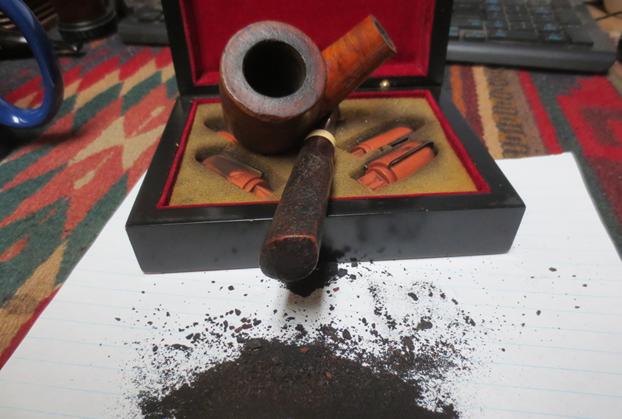 I wiped down the surface of the bowl with acetone on cotton pads to remove the finish. It came off with a bit of scrubbing but there were places where it did not come off with the acetone. It would take some sanding to remove the totality of the finish.
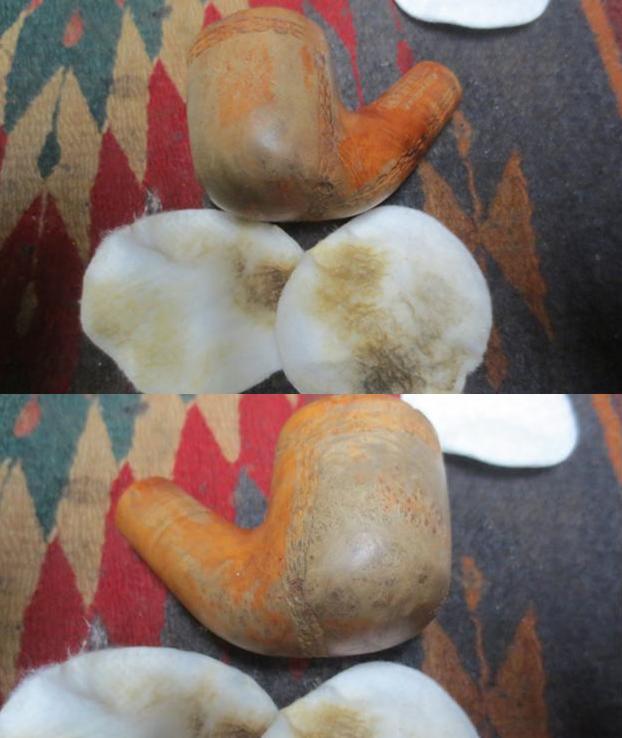
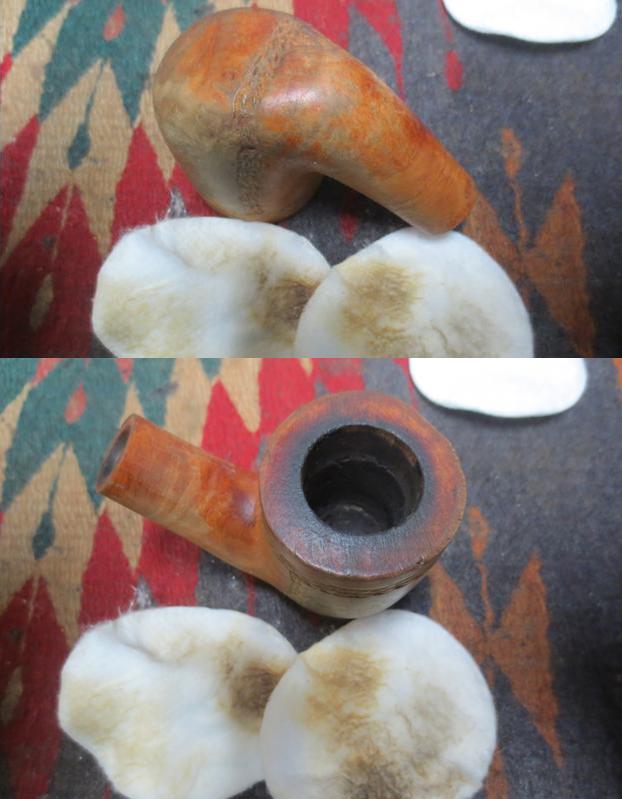 The damage to the bowl top and outer edges required that I top the bowl. I gently topped it on the topping board so as not to remove too much and remove the smooth portion above the rope rustication on the top edge.
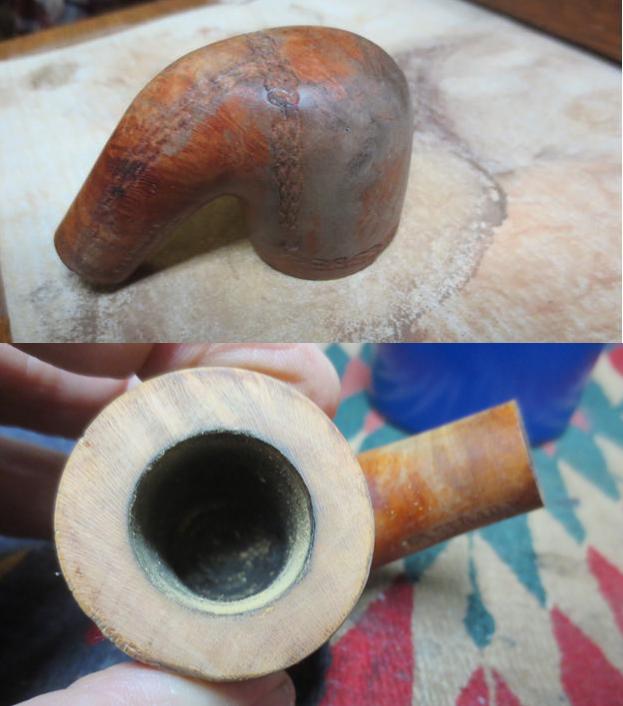 I sanded the bowl and rim top with a medium and a fine grit sanding sponge and took the following photos.
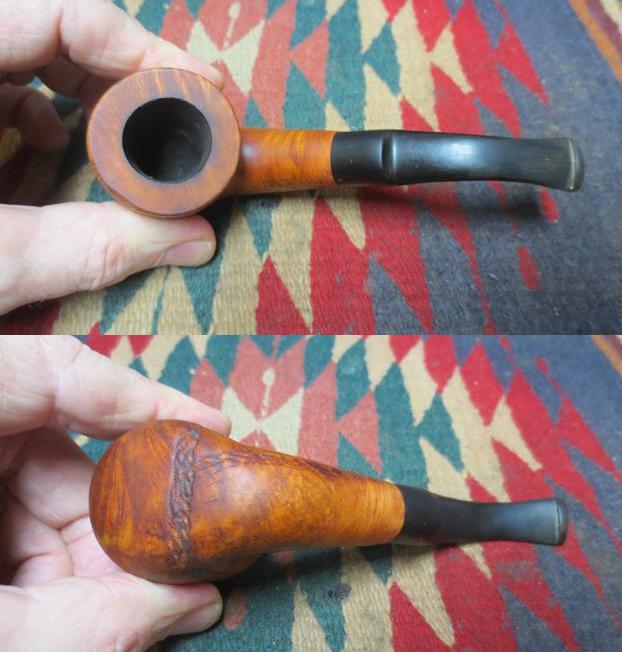
 I cleaned out the internals of the shank and the replacement stem that I fit to the shank with alcohol, pipe cleaners and cotton swabs. It took a lot of scrubbing to get the mortise and the airway clean in the shank. The stem was in decent shape so it did not take too much work on it.
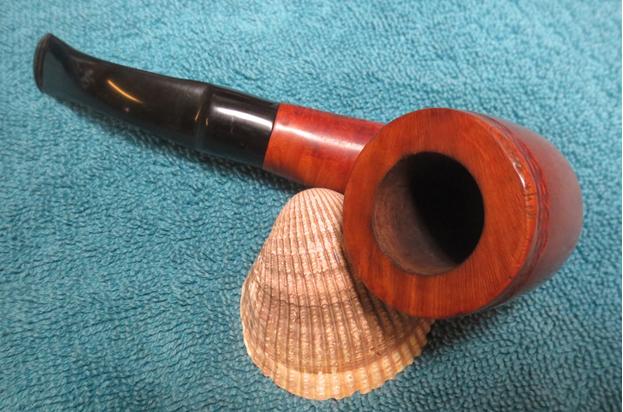
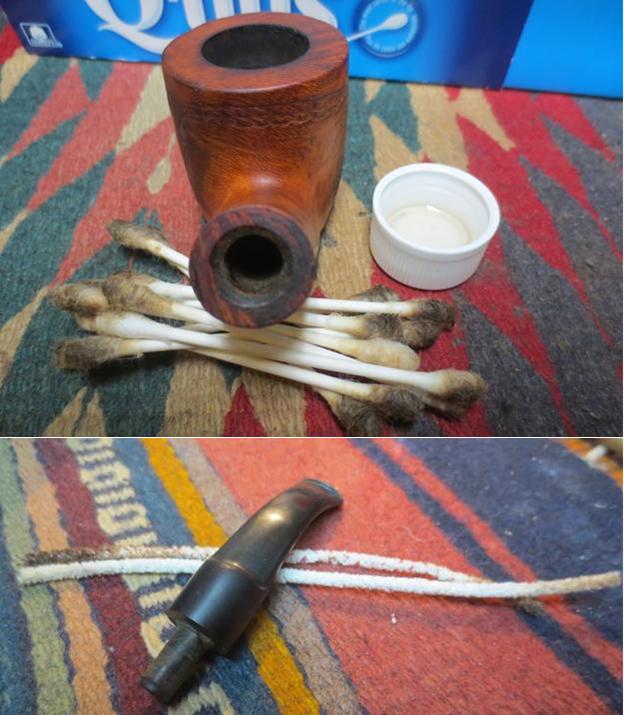 I took some photos of the pipe at this point to get a feel for the look with the new stem in place.
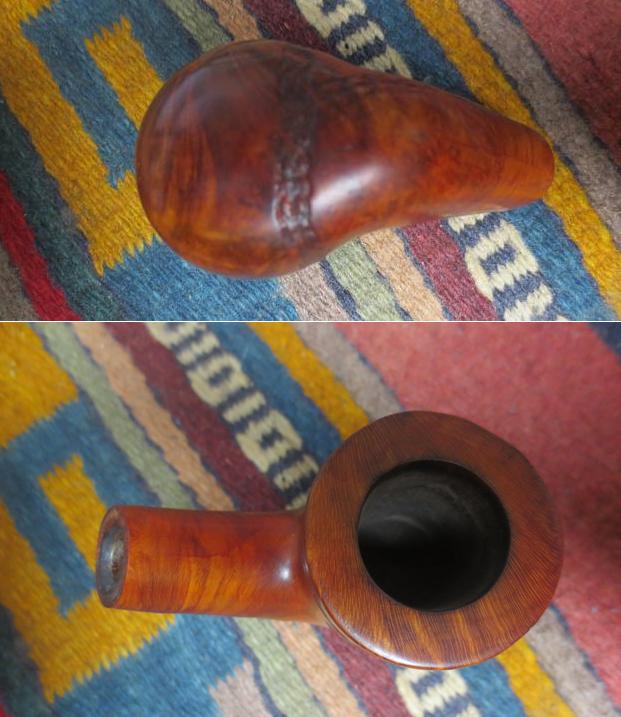
 I wrapped some sandpaper around a dowel and sanded the walls and bottom of the bowl. There was a ring at the bowl bottom that was grooved and needed to be smoothed out. It did not take a lot of sanding before the inside walls were smooth.
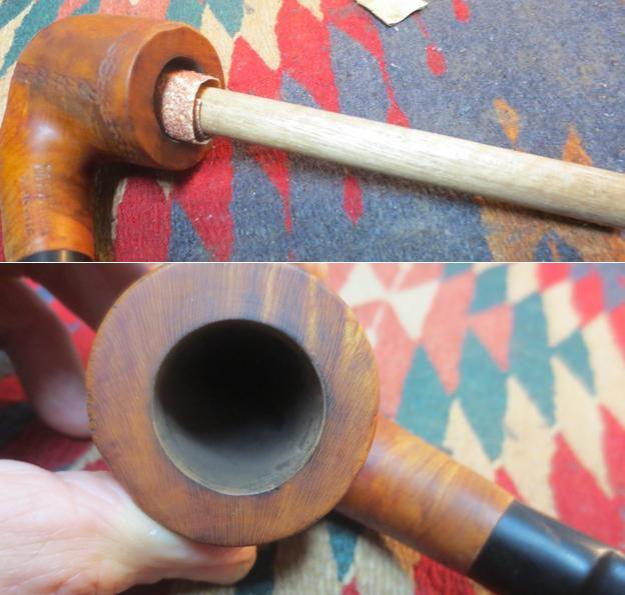 I restained the bowl with a dark brown aniline stain mixed 50/50 with isopropyl alcohol to approximate the original colour of the pipe and to highlight the grain on the pipe. I flamed the stain and repeated the process until the coverage was even around the bowl and rim.
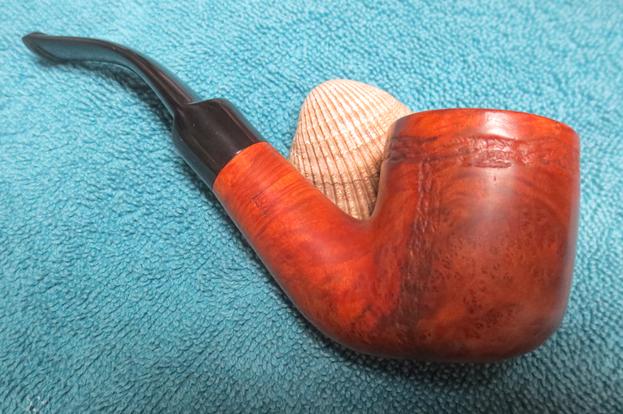
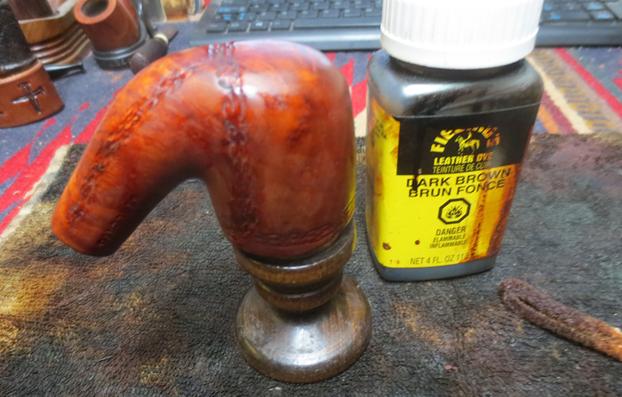 I buffed the bowl with White Diamond on the buffing wheel to even out the new finish and give it a bit of a shine. I took photos of the bowl at this point to give a clear picture of the new look.
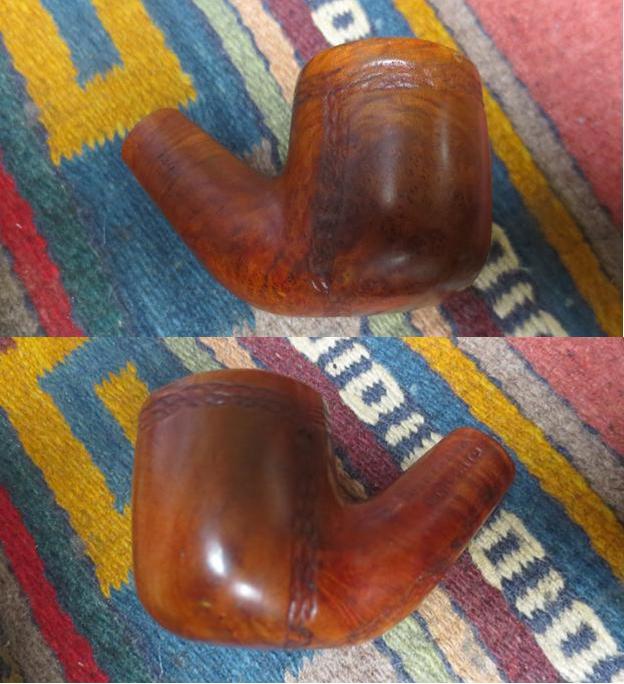
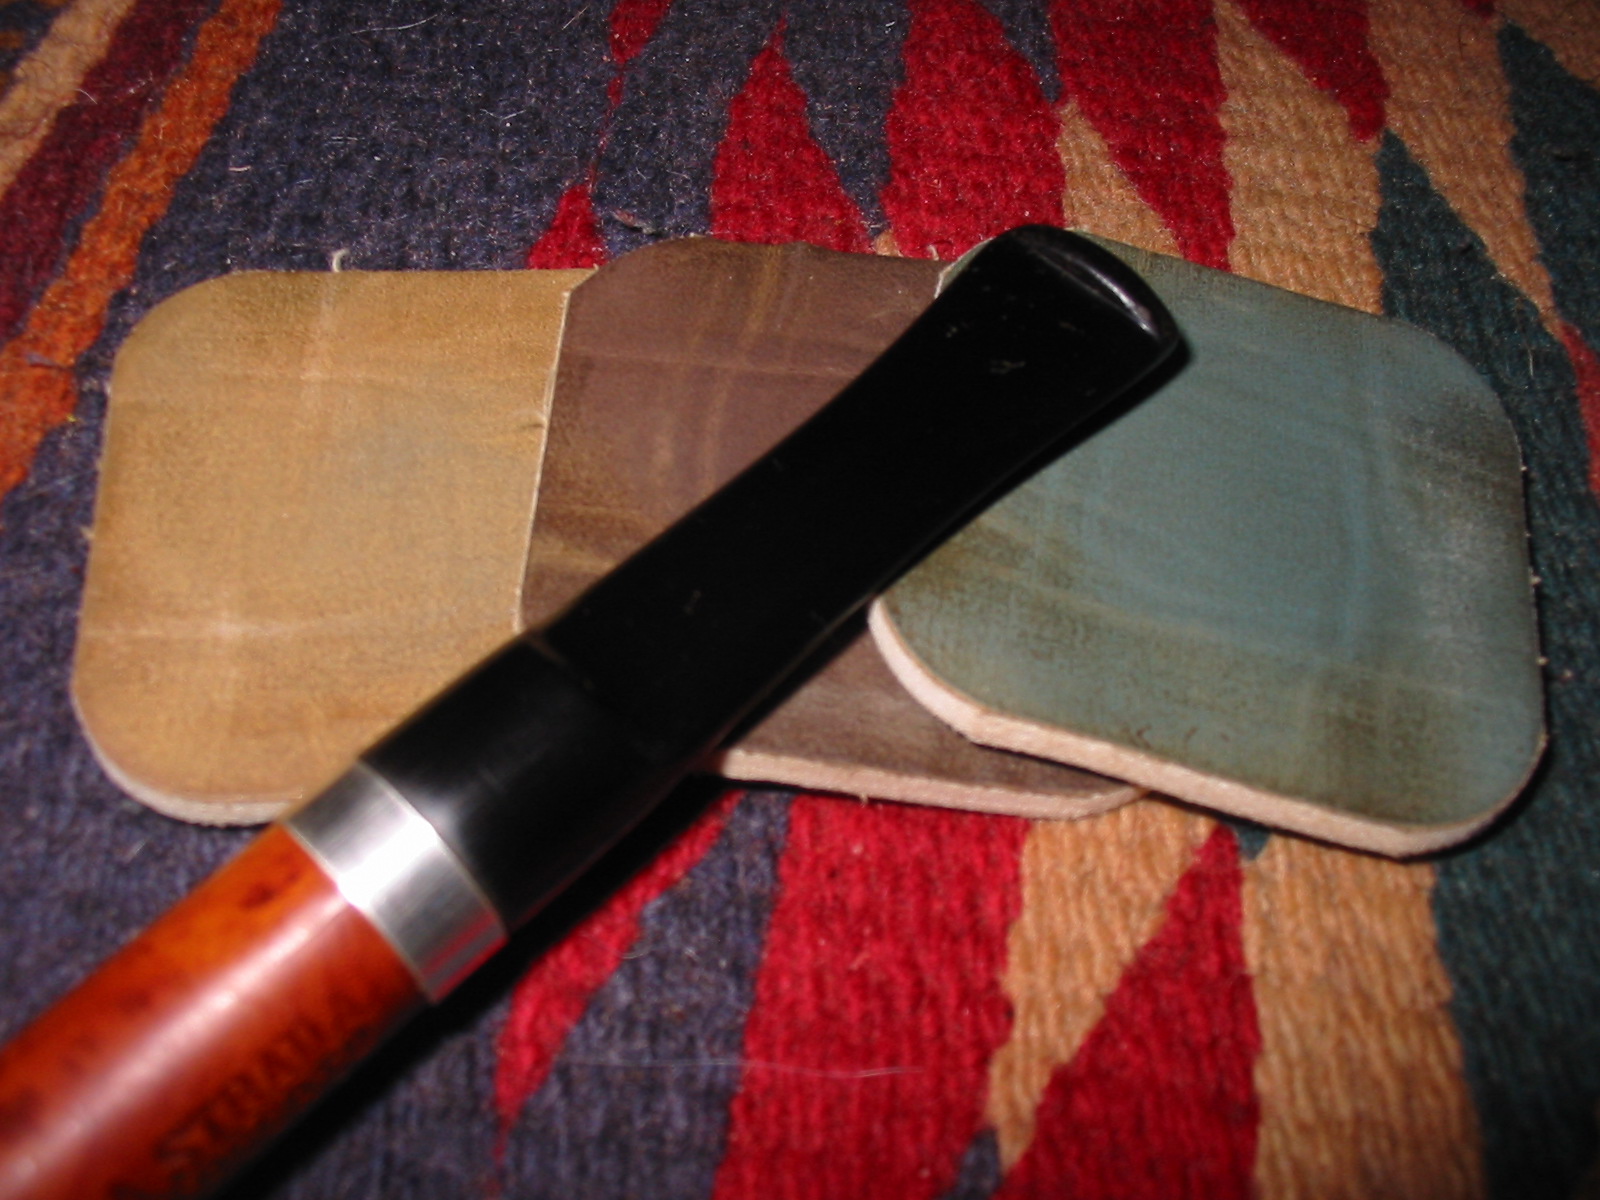
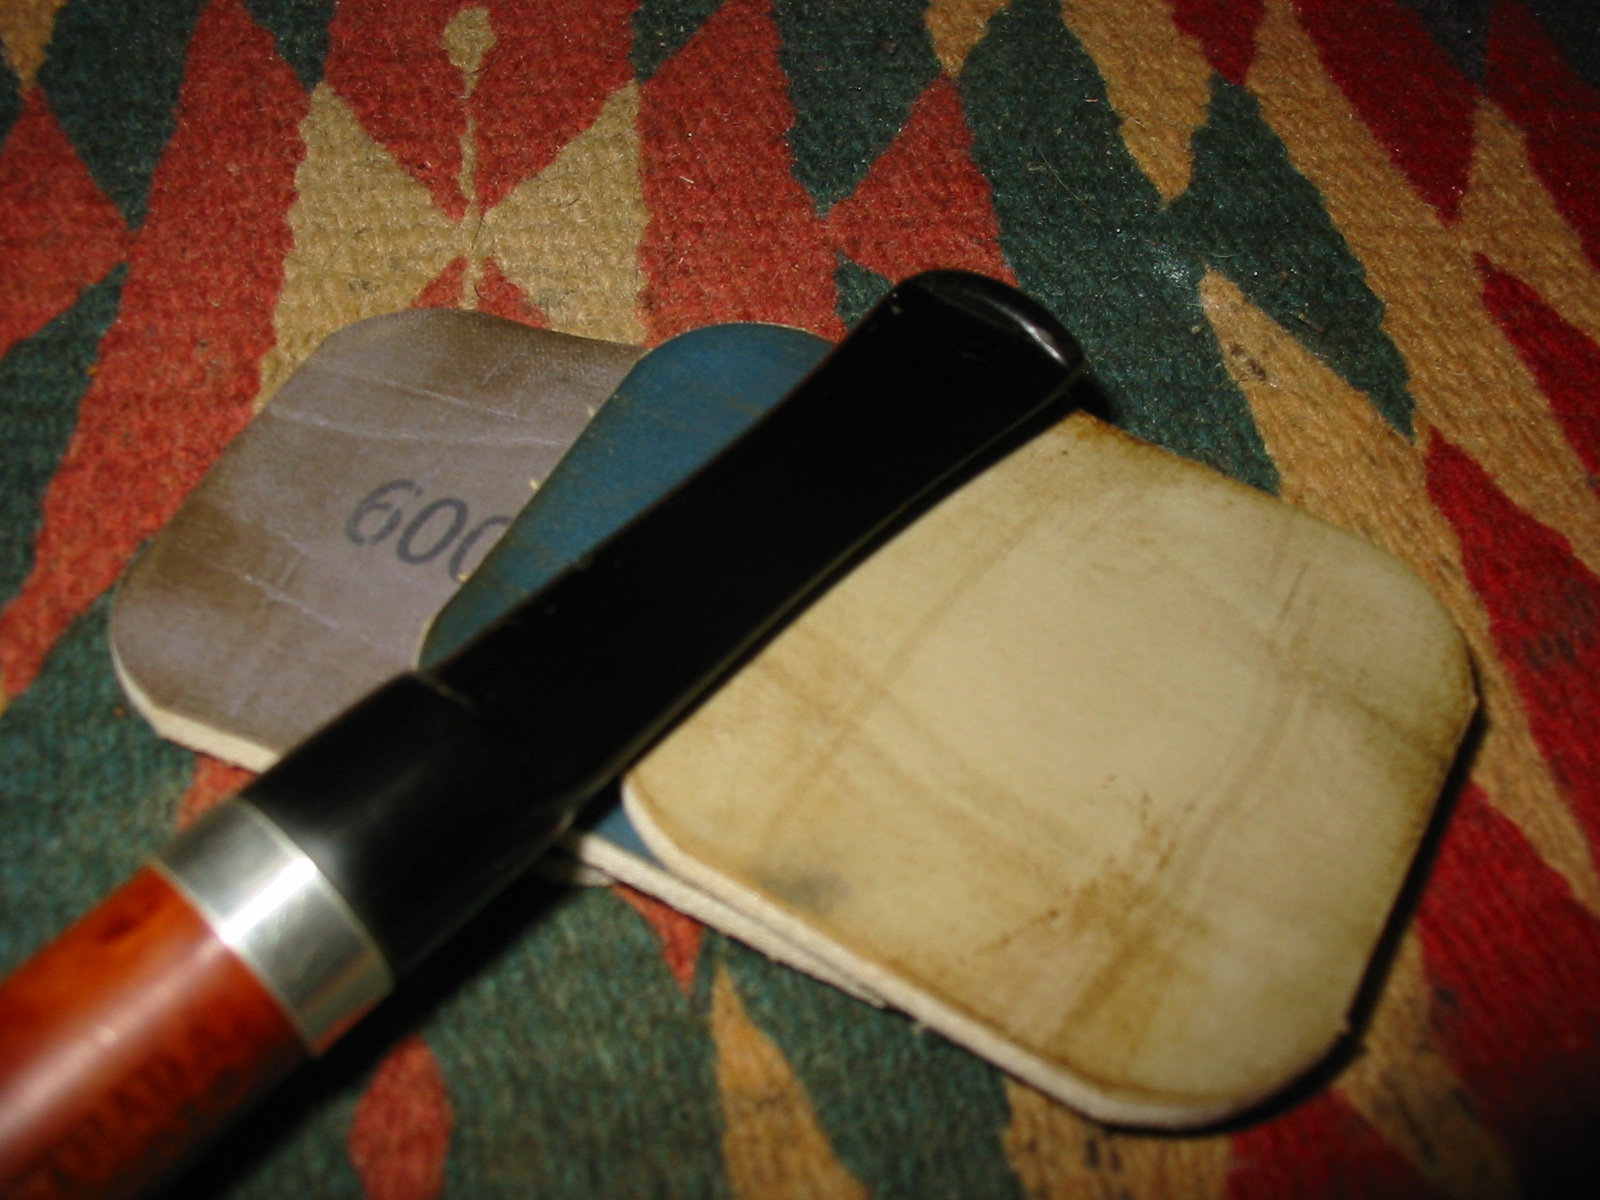
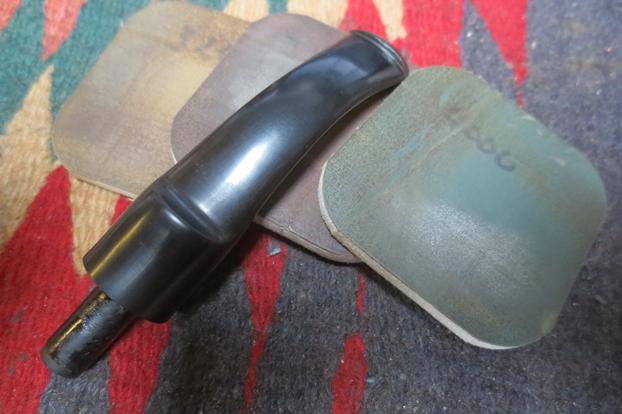
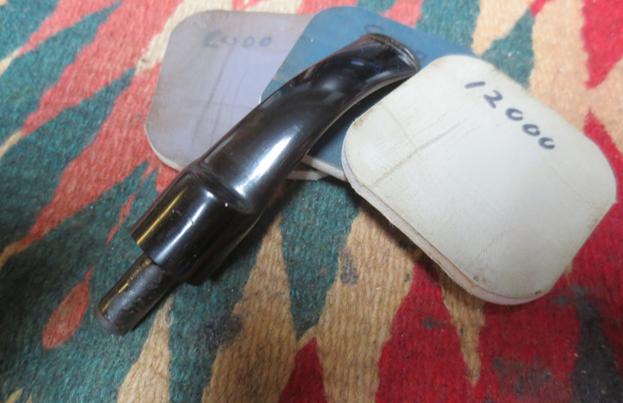
 Now all that remained was to finish the fit and polishing of the stem. I sanded it with 220 grit sandpaper until it fit the shank well. It took some adjusting of the diameter of the stem to match the slightly out of round shank. In the end it fit well. I polished the stem with micromesh sanding pads – wet sanding it with 1500-2400 grit pads and dry sanding with 3200-12000 grit pads to give it a deep shine.
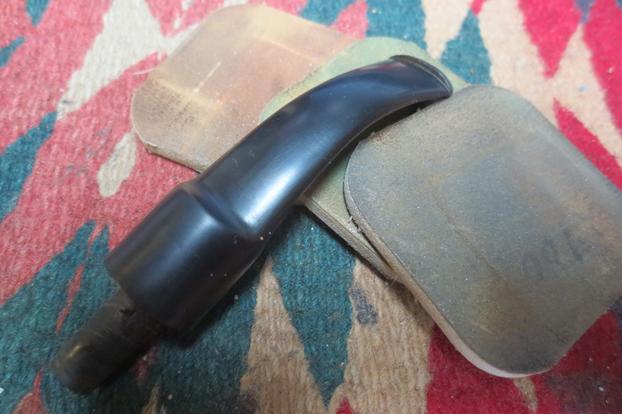
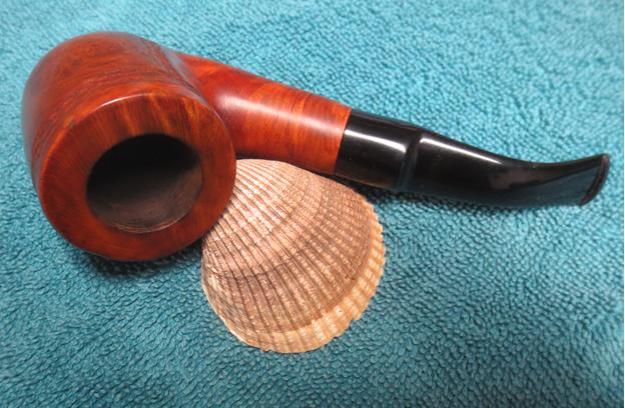
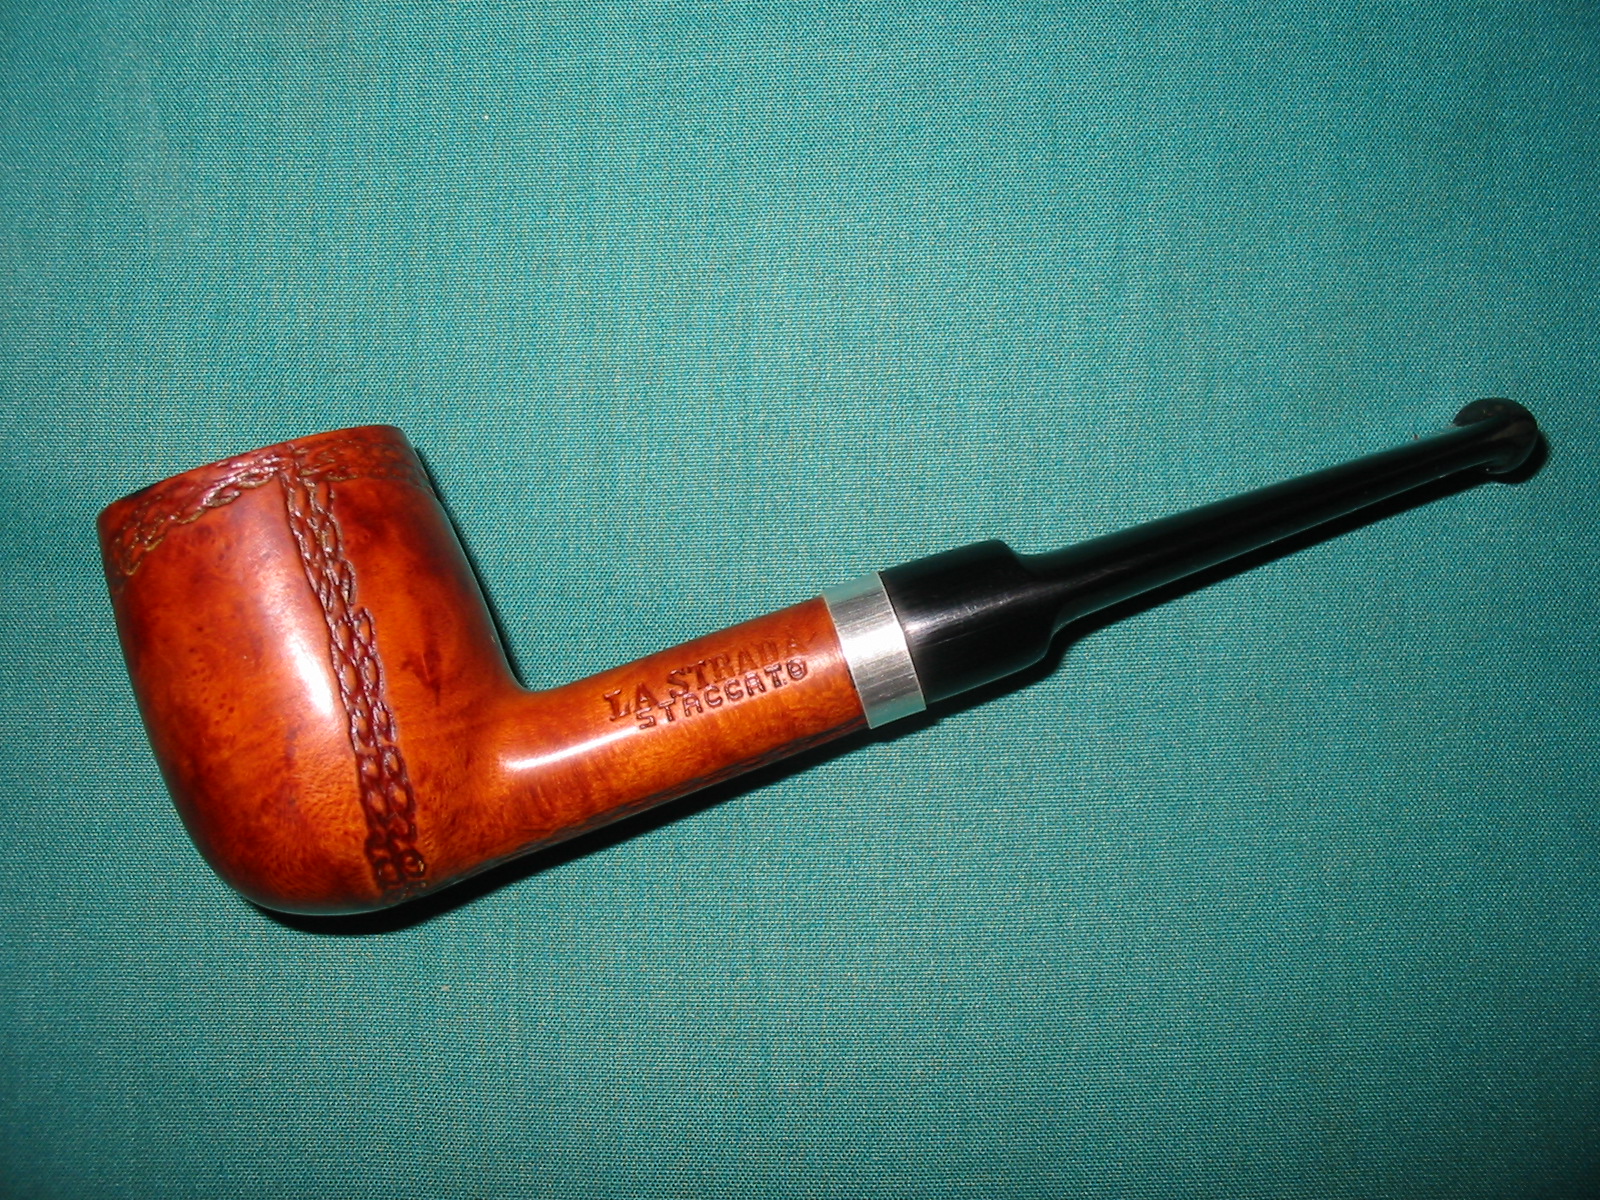
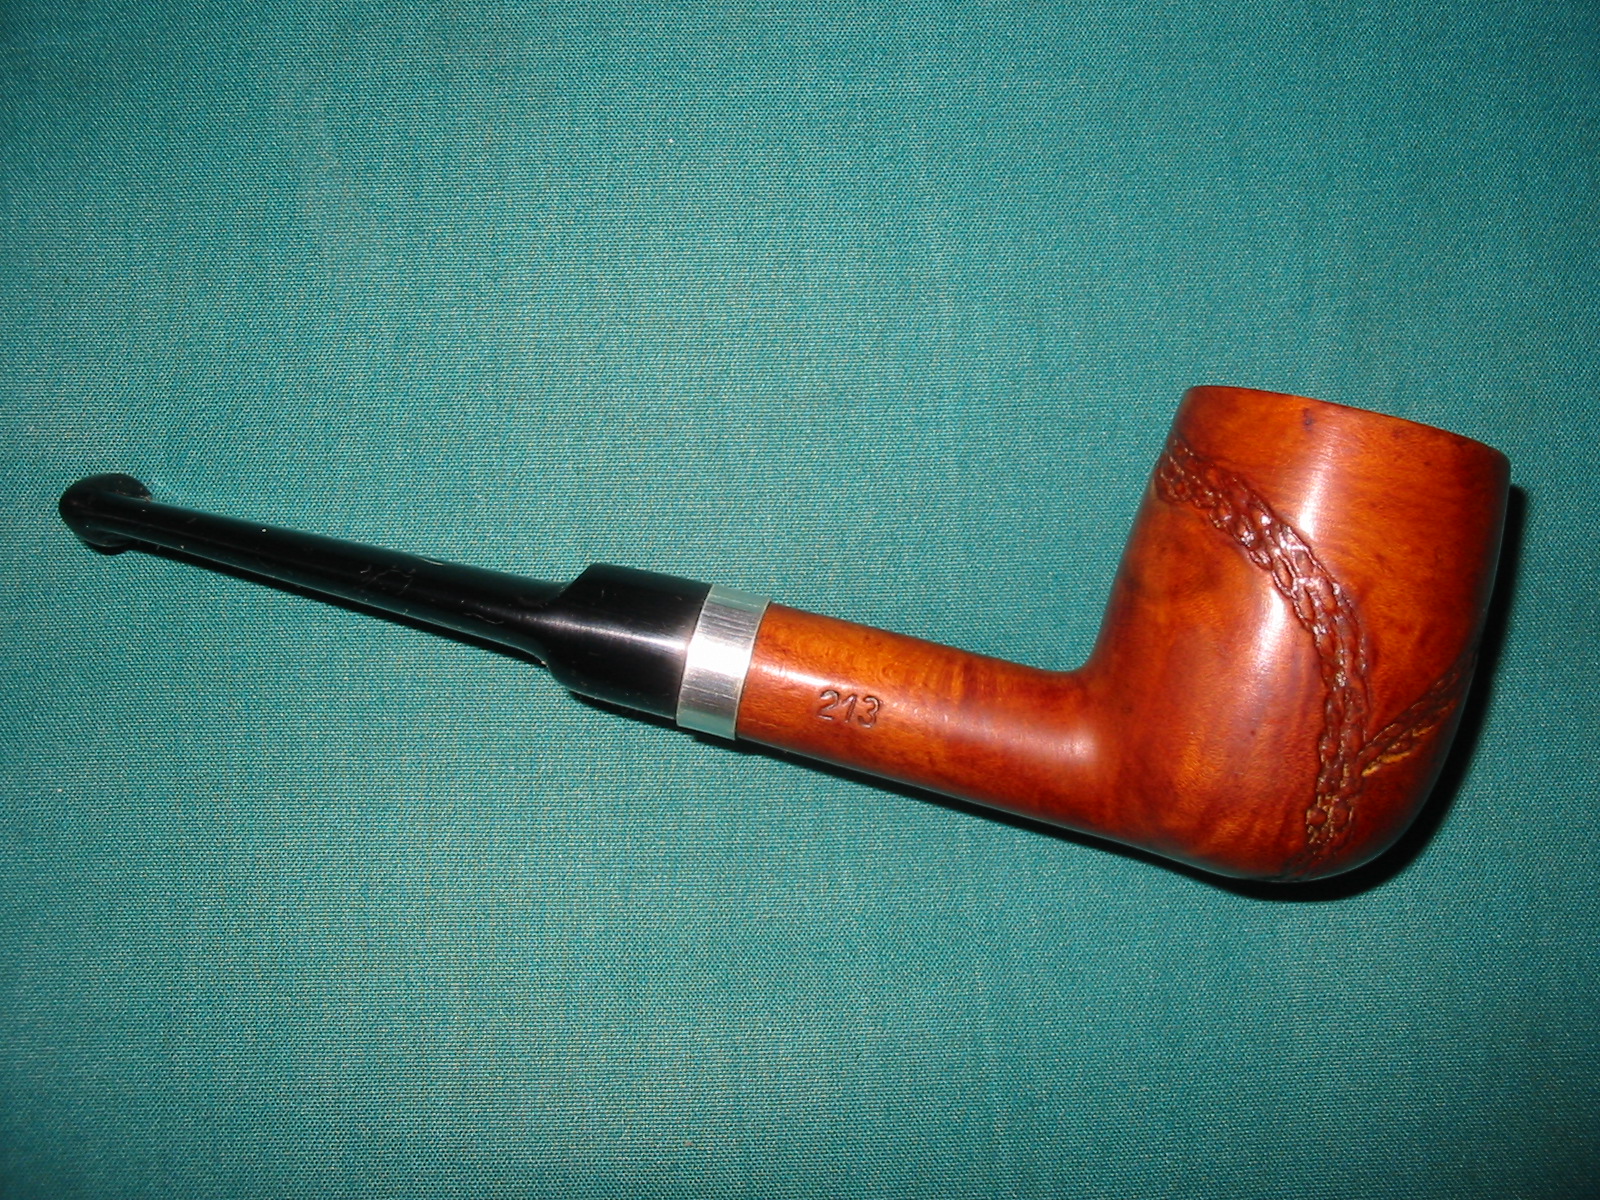
 I buffed the bowl and stem with Blue Diamond on the buffing wheel to polish the minute scratches on the vulcanite and on the briar. I buffed them both until the stem and briar glowed. I gave the bowl and stem multiple coats of carnauba wax. I buffed the bowl and stem with a clean buffing pad to raise the shine. I hand buffed it with a microfibre cloth to deepen the shine. The finished pipe is shown in the photos below. It is ready to go back to the pipe man who sent it to me for restemming and refurbishing. I think he will enjoy it and it will deliver a life time of good smokes to him.