Blog by Steve Laug
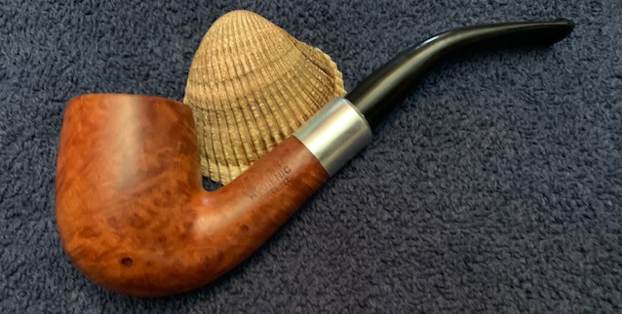
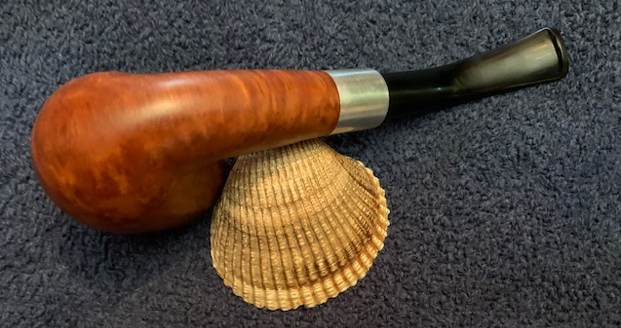
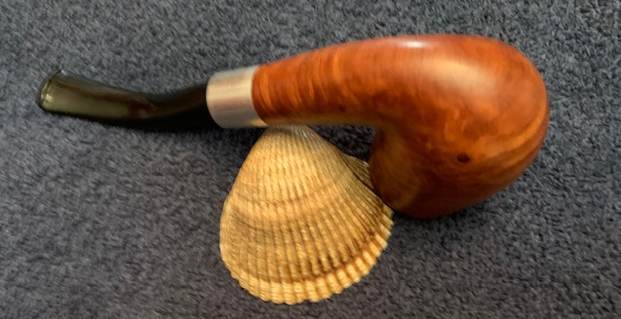
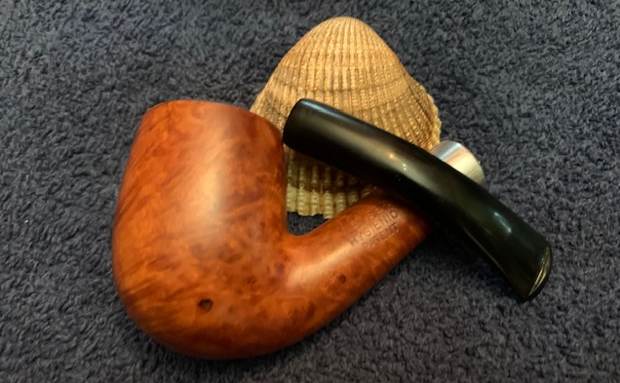
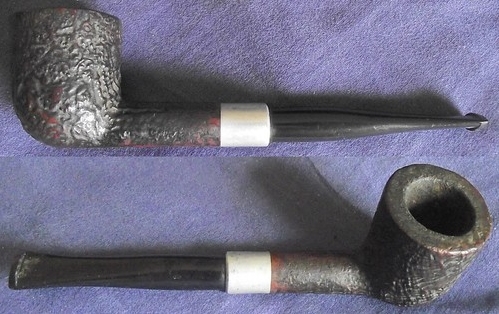
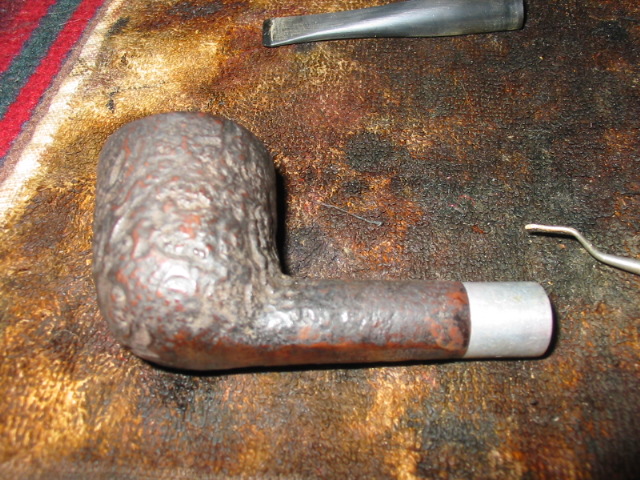
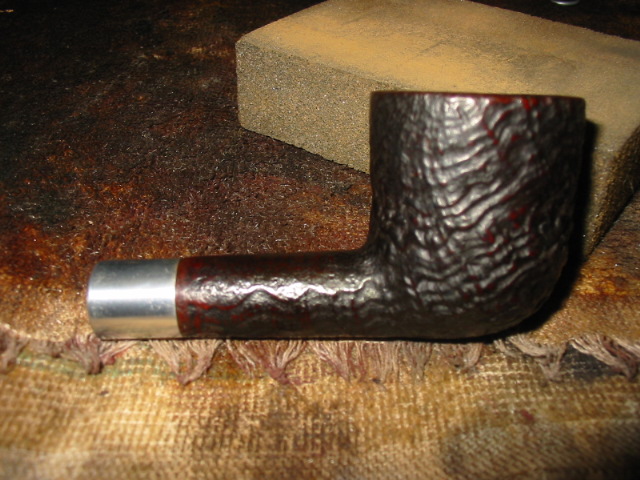
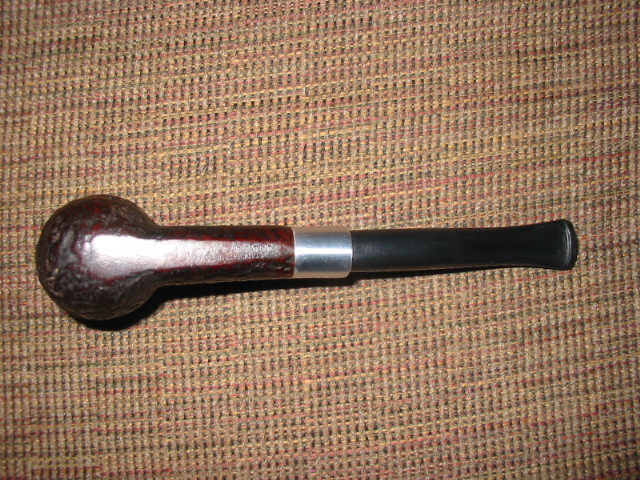
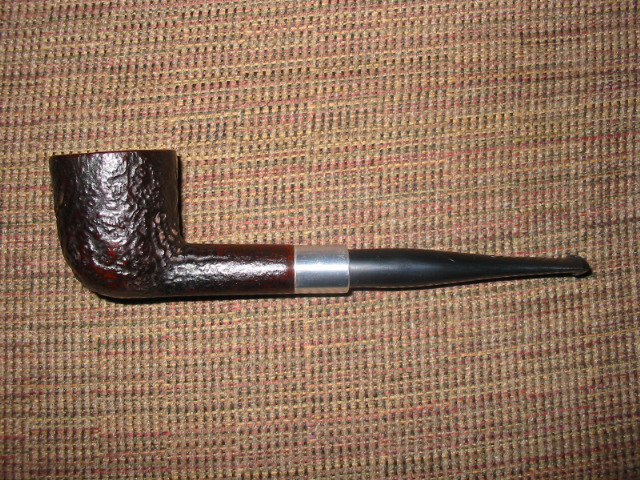
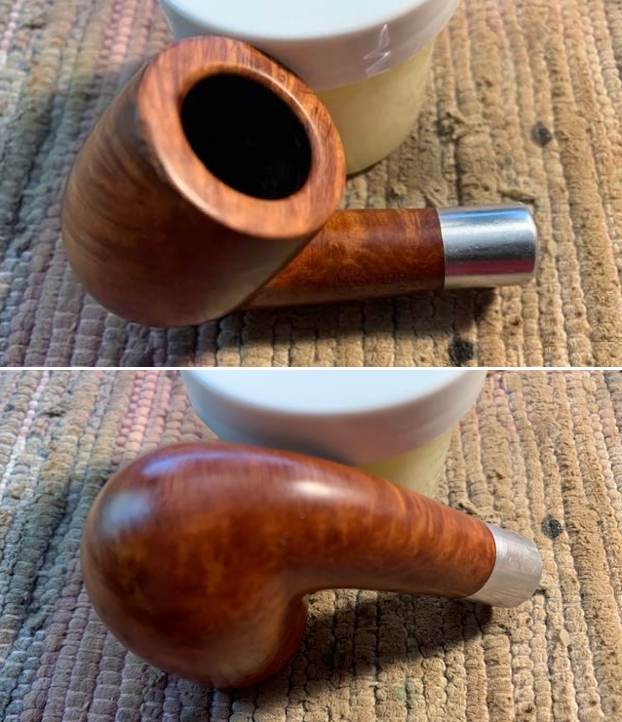
This next pipe is another that has been here for a very long time. I have no idea where I purchased it or whether it came to me in a trade for labour. I don’t remember. I have worked on quite a few of these English made Keyser Hygienic Pipes over the years and know that they were made for the South African market. They were unique in that one stem pretty much fit all of their models. They have a unique system in the shank end – a tube that aligns with a tube in the stem. The aluminum mortise acts as a cooling chamber. This particular pipe has some nice grain and a few fills in the heel area. There is a shiny top coat on the pipe – varnish I think. The aluminum was dull. The bowl had been reamed but the pipe otherwise was filthy. I could blow air through the stem but not through the bowl and shank. It was clogged and unsmokeable. The rim top was quite clean and the inner edge was damaged on the front with darkening and burn marks. The stem was chipped on the end that fit in the shank and was missing a small chunk. The top and underside of the stem was covered with deep tooth marks. Internally it was filthy with build up in and around the tube inside. The pipe smelled like older English tobacco. I took some photos of the pipe to give a sense of what I saw before I started. 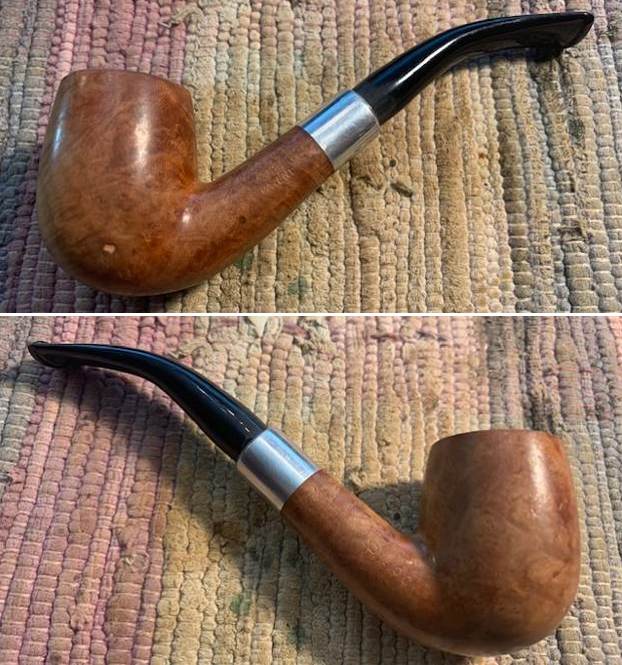
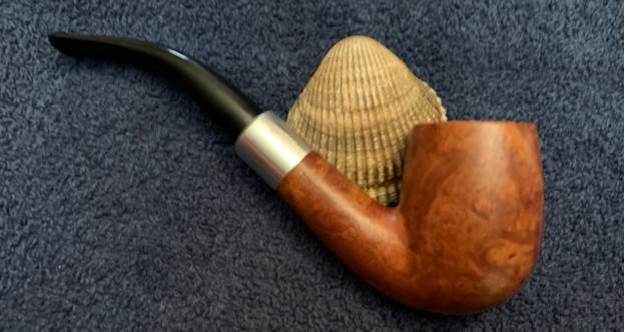
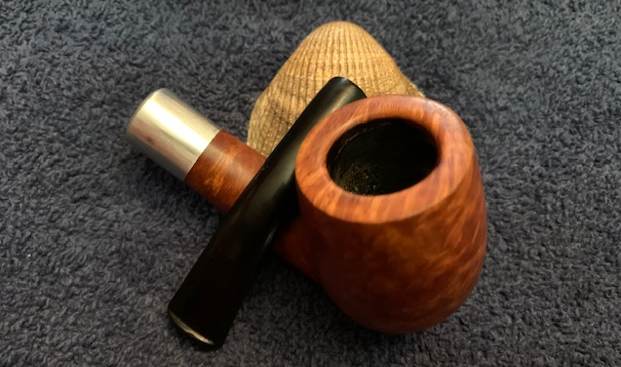
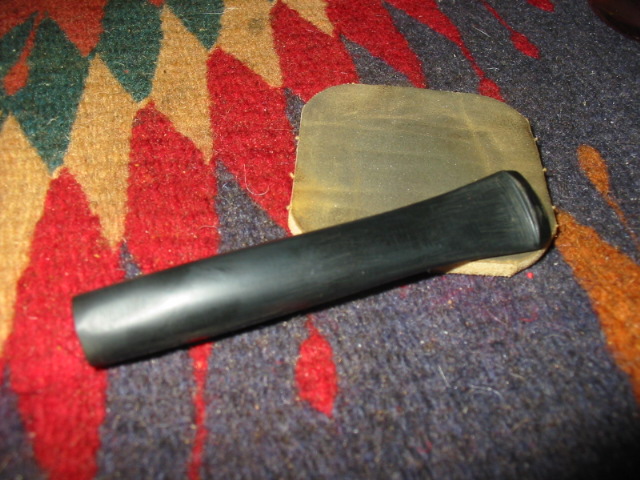
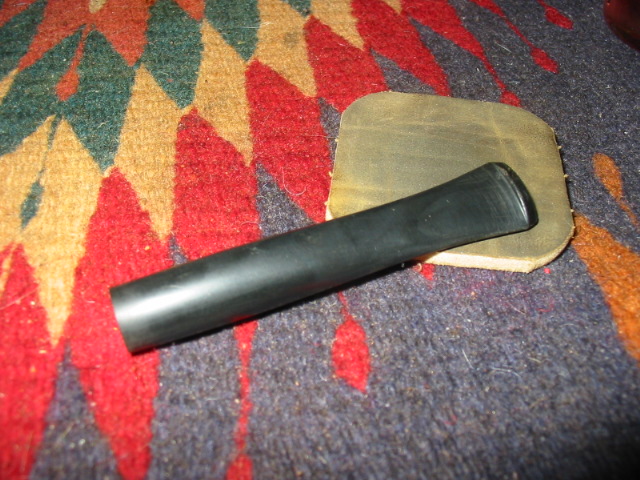
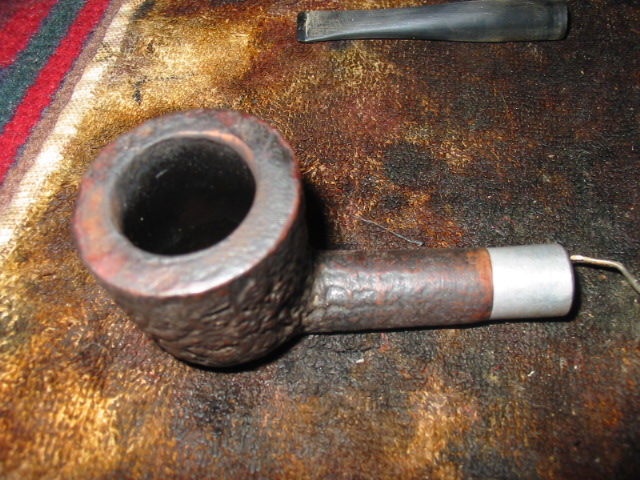
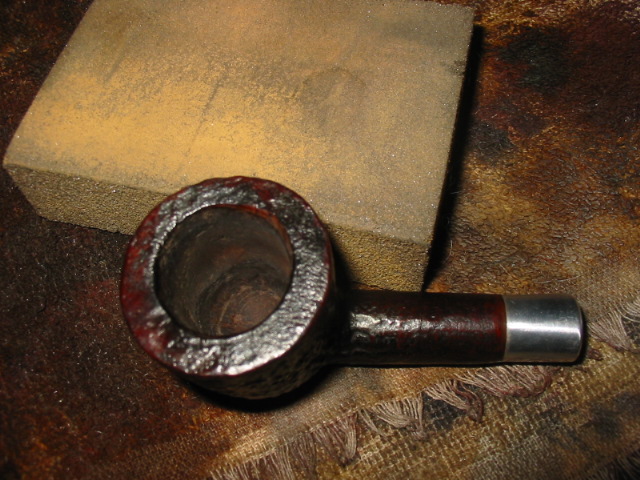
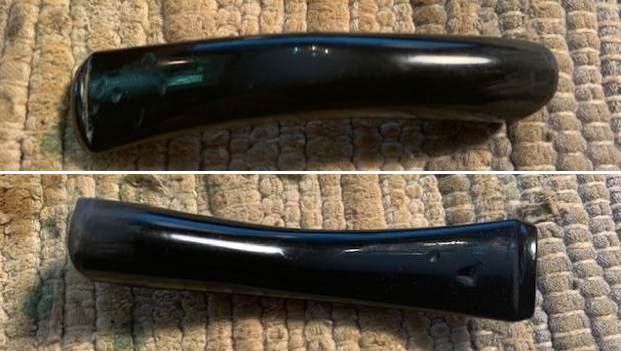
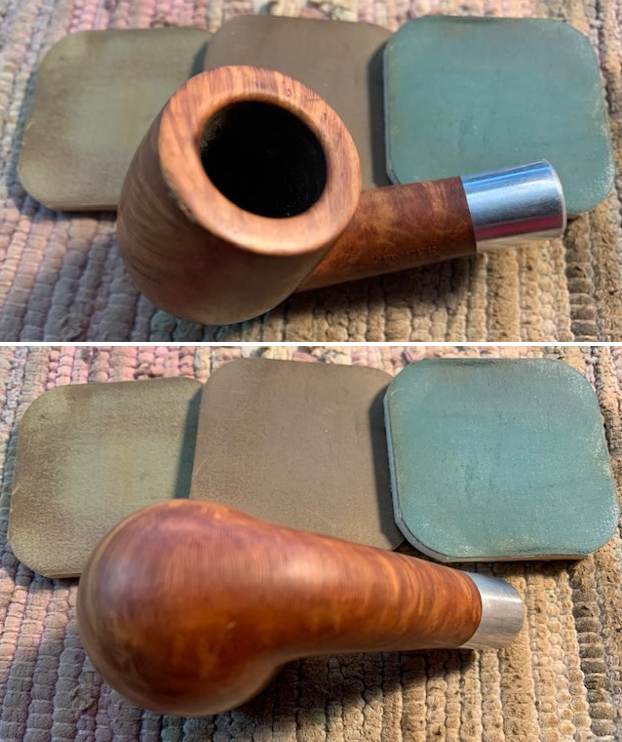
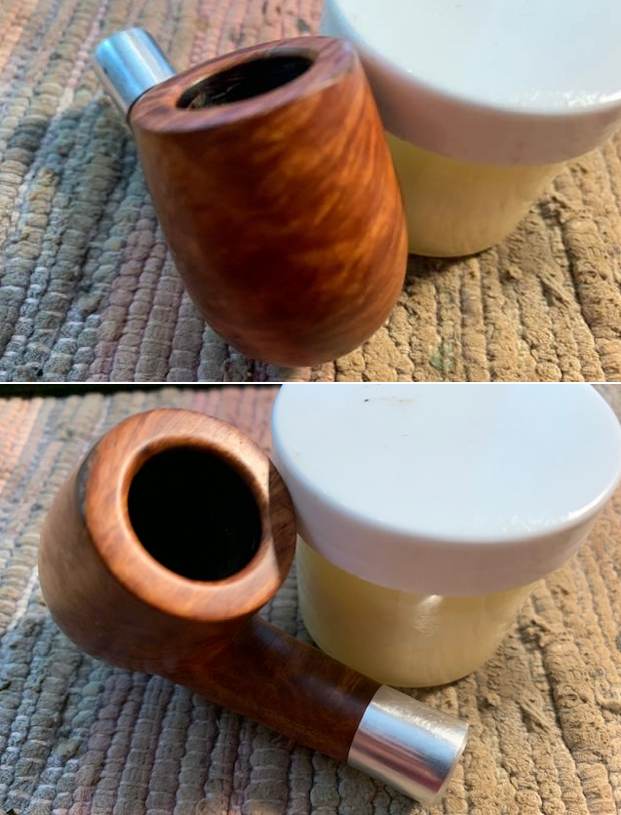
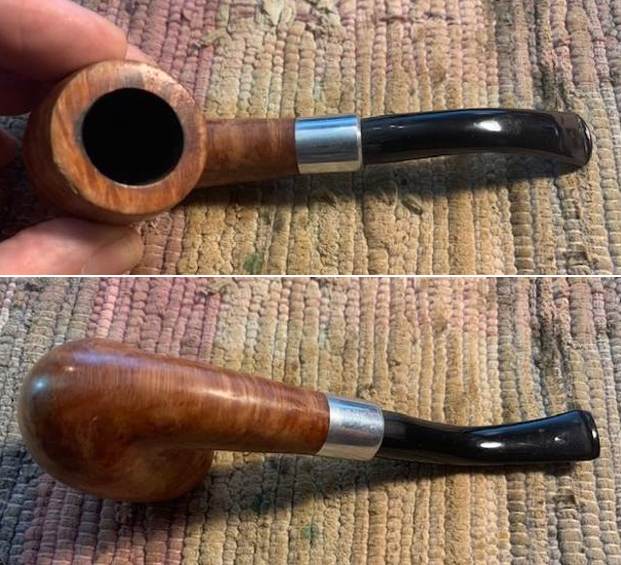 I took photos of the rim top and inner edge of the bowl to show the burn damage and darkening there. I also tried to capture the chipped end at the place it inserts in the shank and the tooth marks in the stem on the top and underside of the stem just ahead of the button.
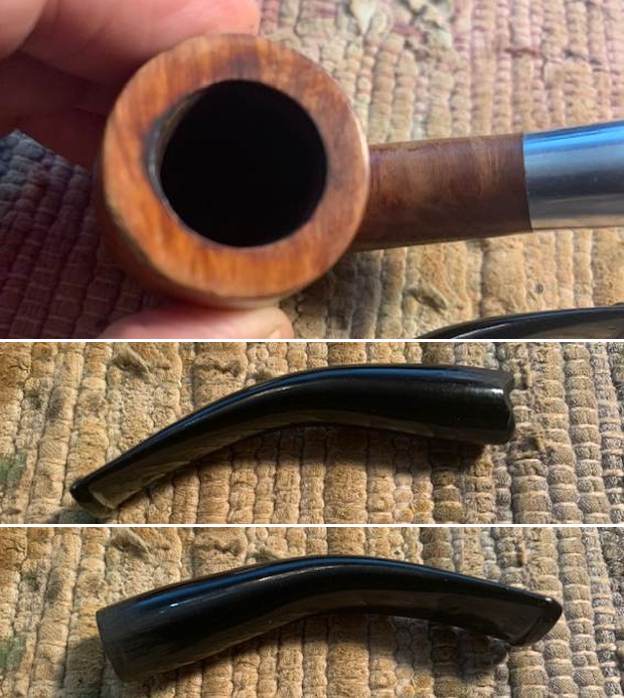
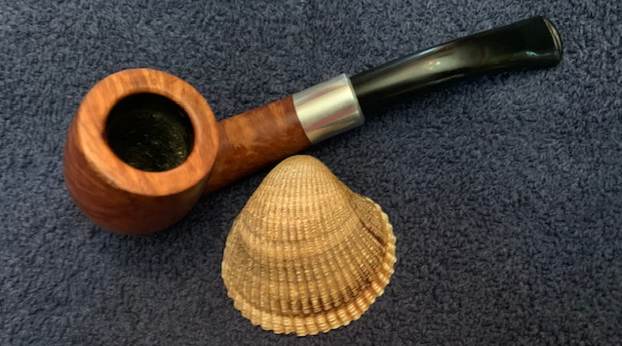
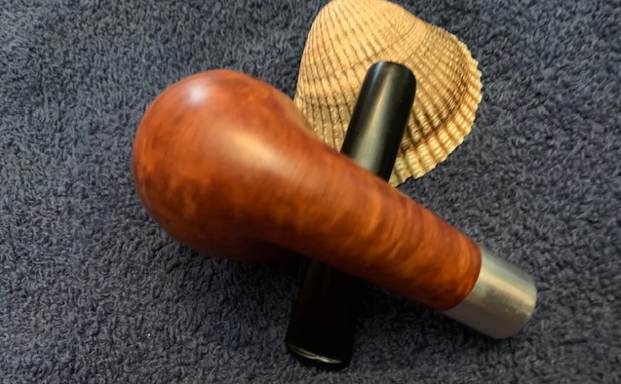
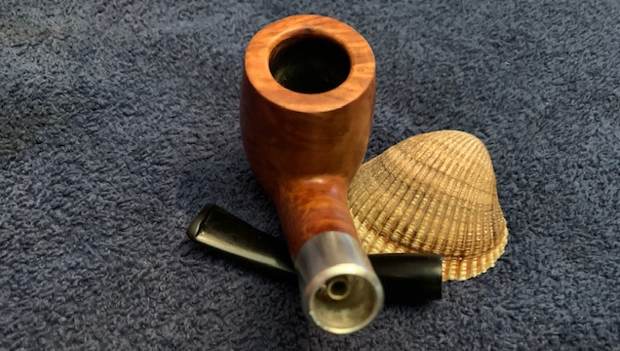
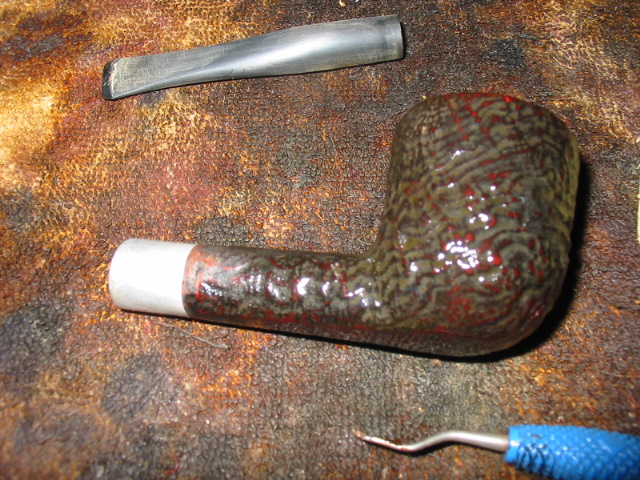
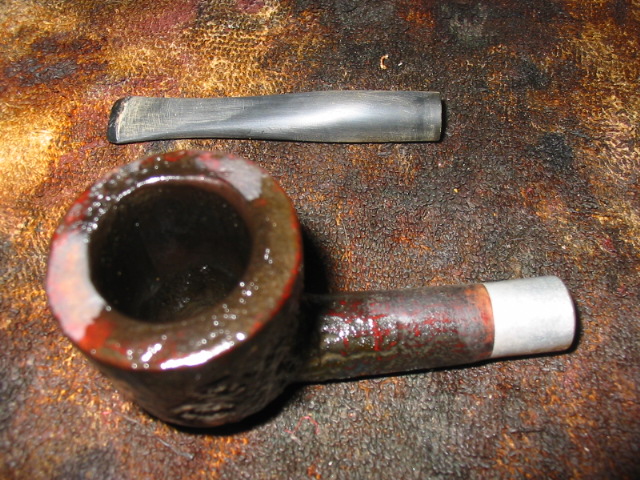
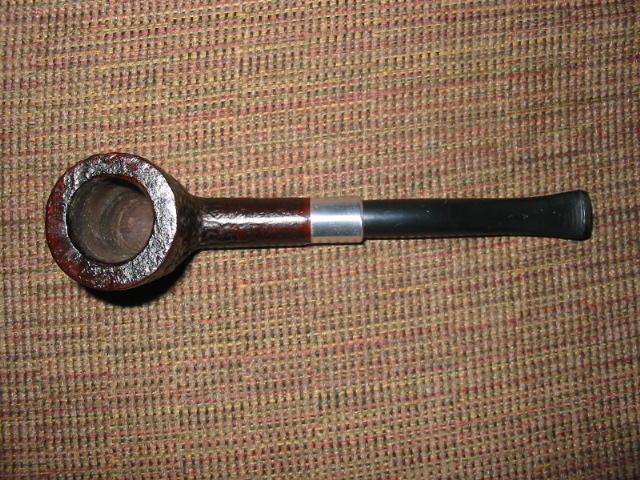
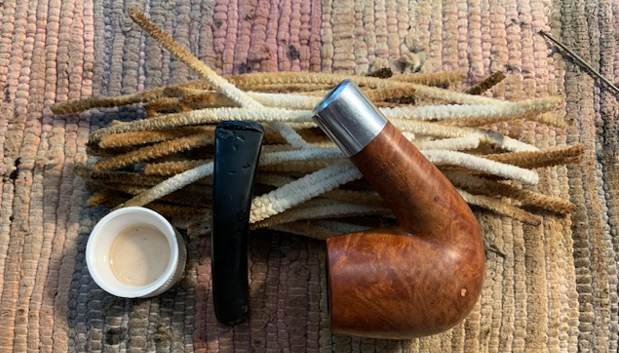
 I removed the stem from the shank and took a photo of the pipe to give a sense of the proportion.
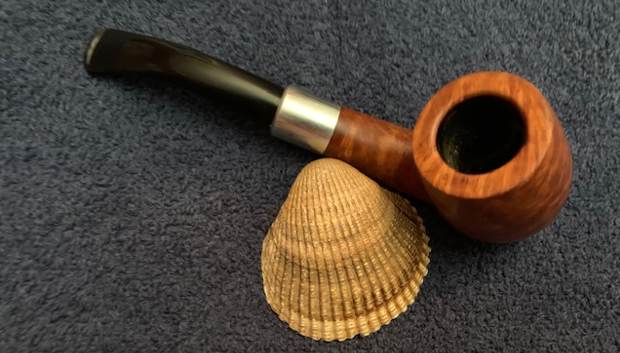
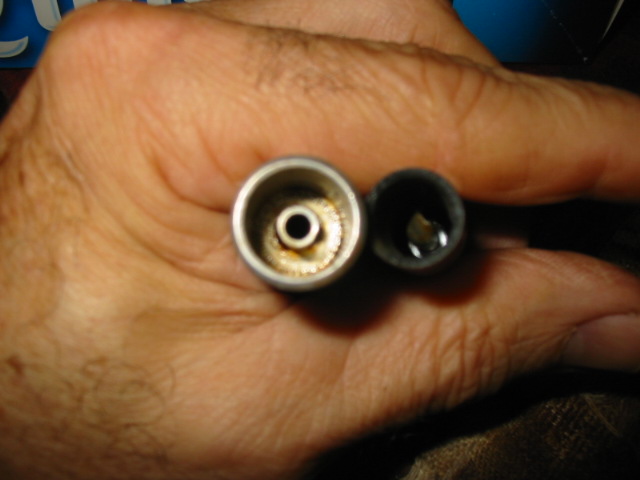
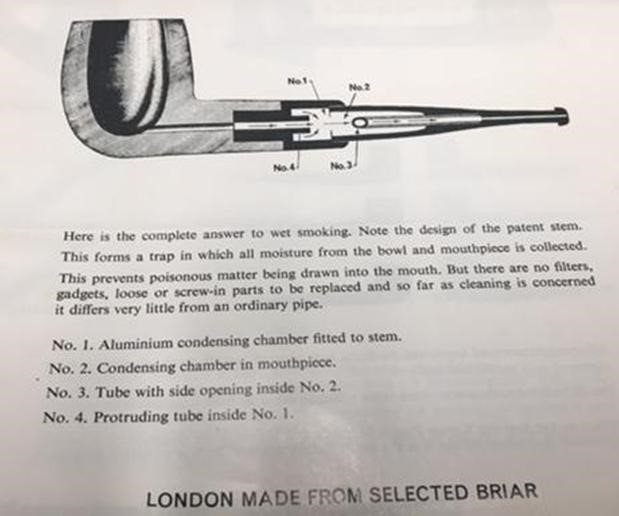
 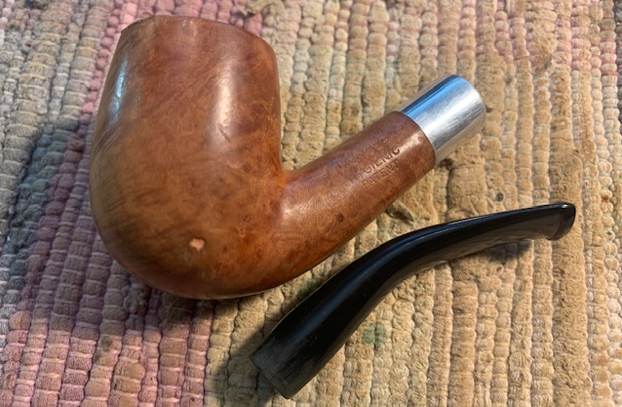 I tried to capture the “plumbing” in the shank and in the stem. The inner tube in the shank was straight and the tube in the stem was aimed downward. The mortise acted as a cooling chamber. You can also see the chip missing from the end of the stem. I also had some saved advertisements on the system that I have included below to show how it works. It is a unique pipe.
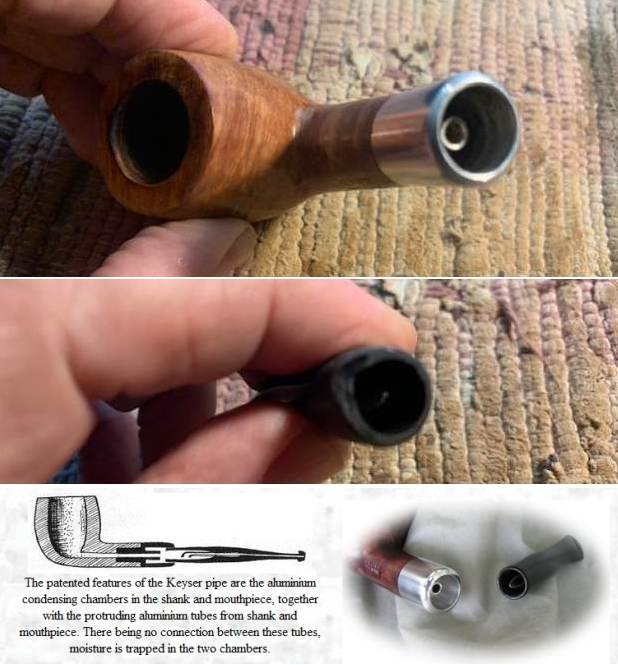
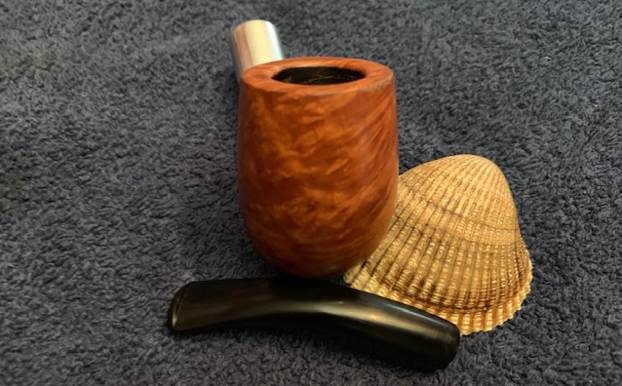
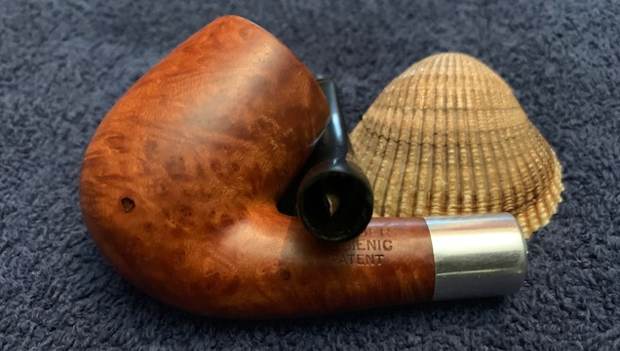
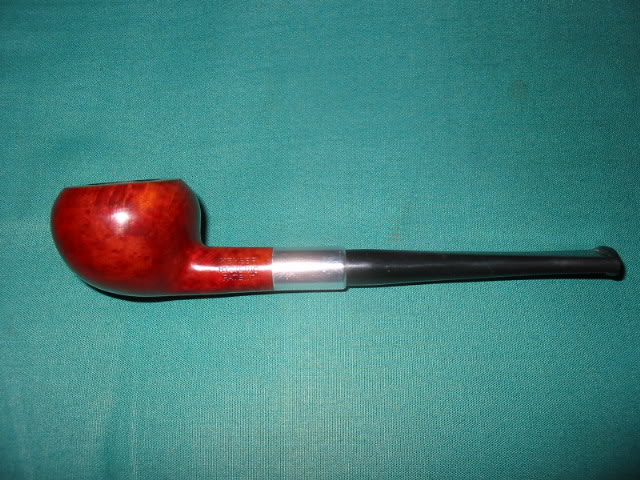
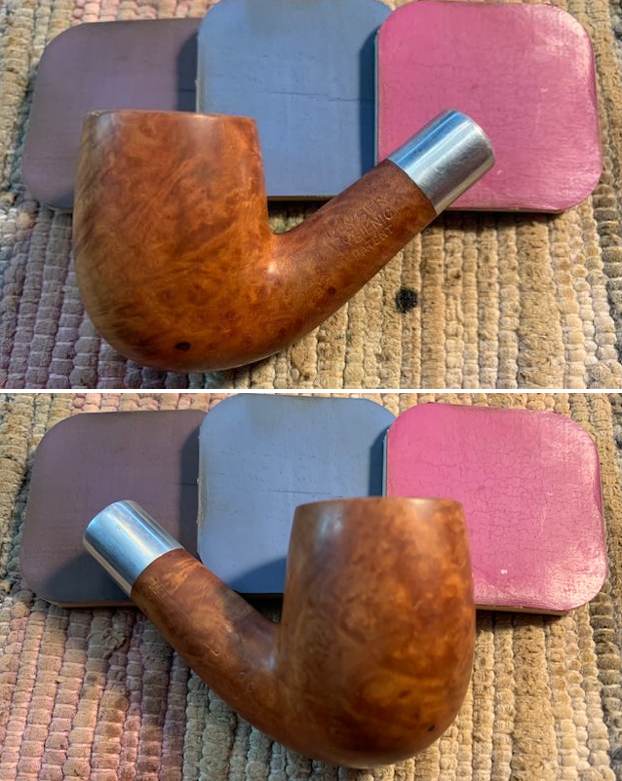
 It is stamped on the left side of the shank and reads Keyser [over] Hygienic [over] Patent. On the right side it is stamped Made in England. There was also long patent number stamp in the inside of the aluminum shank extension.
 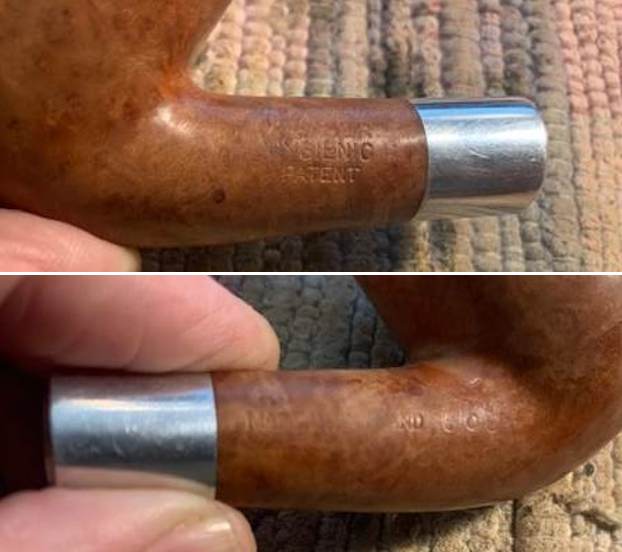 I am including two links below. The first is to a blog I wrote on a Keyser Bent Billiard that is very similar to the one on the table now. It is a good read in terms of history and detail on the brand (https://rebornpipes.com/2018/09/27/restoring-a-keyser-hygienic-patent-from-a-garden-shed-in-england/). The second one is to a pamphlet that I have on rebornpipes about the brand. It is a classic piece of old advertising (https://rebornpipes.com/2018/10/01/keyser-hygienic-pipes-pamphlet/). Give it a read.
Now it was time to work on the pipe. I decided to address the blockage in the airway from the shank to the bowl. I worked many pipe cleaners through but was not able to break through at all. I finally used a straightened paper clip and carefully worked it into and around the inside of the airway and was able to break the clog. It took quite a bit of probing with the clip to finally remove the blockage and give the bowl good draught but once it was open it was great. I cleaned out the chamber in the shank and in the stem as well as the airways in both with pipe cleaners, cotton swabs and Isopropyl 99% alcohol. Many pipe cleaners and much time passed and the draught was clean and open in both the stem and the shank. 
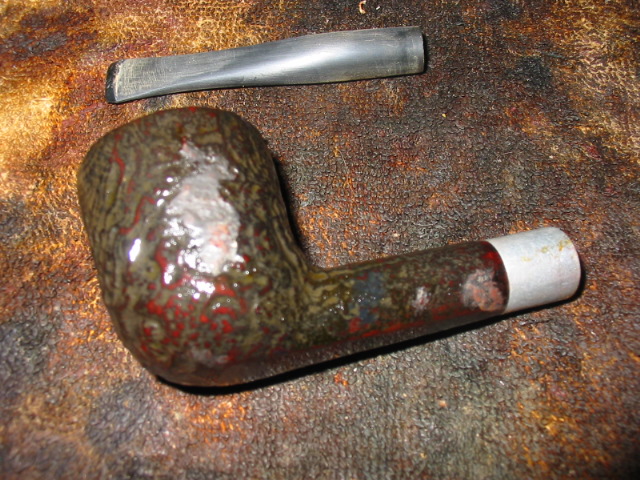
 With the bowl and shank clean I moved on to repair the shrunken fills in the heel. I used the tip of a Maple and black stain pen to darken the putty spots before putting a drop of clear CA glue on top to fill them in.
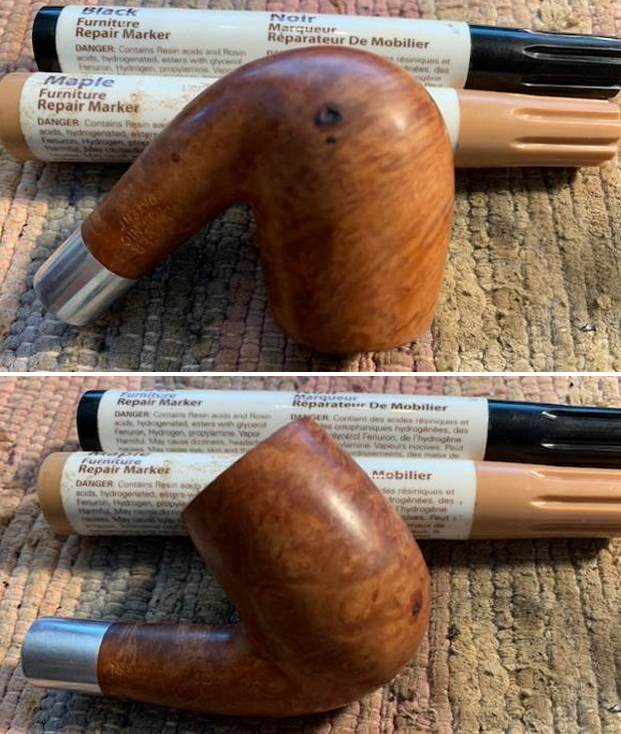
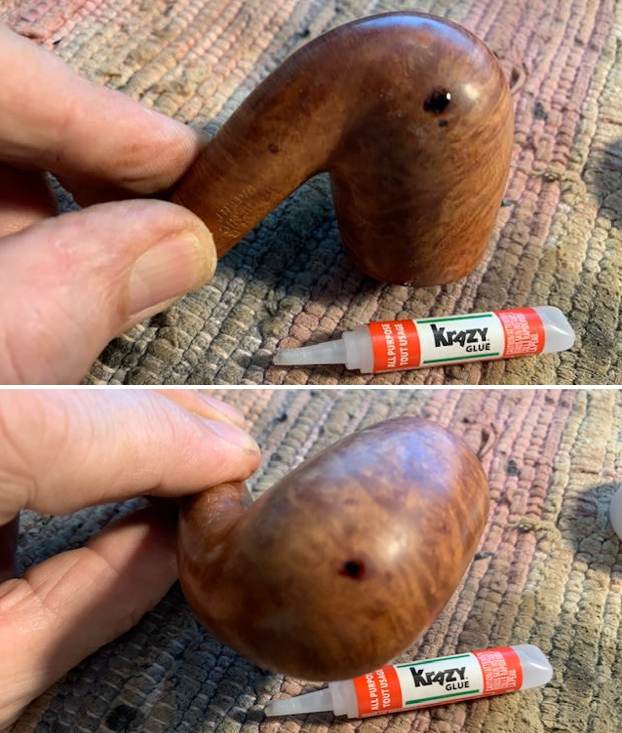 Once the repairs cured I sanded them smooth with 220 grit sandpaper to blend them into the surface of the bowl. While they are dark spots and look quite large at this point once I work them over with micromesh they will be smaller and a bit lighter.
 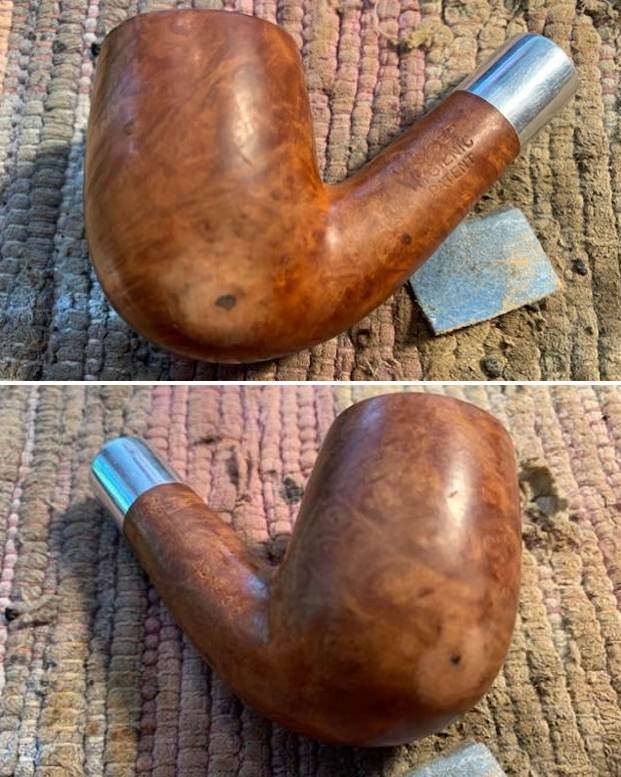 With that done I worked on the burn damage and darkening on the inner edge of the rim. I used a folded piece of 220 grit sandpaper to give the edge a light bevel to minimize the damage and bring the bowl back to round.
  I polished the bowl and rim top with micromesh sanding pads – dry sanding it with 1500-12000 grit pads. I wiped the bowl down with a damp cloth after each pad to remove the sanding debris. After the final sanding pad I hand buffed it with a cotton cloth to raise a shine.
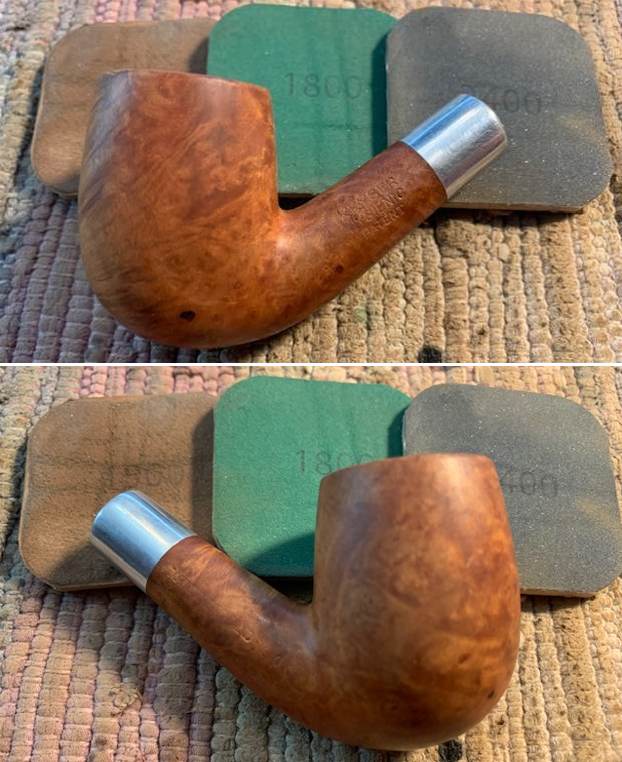


 I worked some Before & After Restoration Balm into finish of the briar with my fingertips to clean, enliven and protect it. I let the balm sit for a little while and then buffed with a cotton cloth to raise the shine. The Restoration Balm really makes the grain stands out beautifully.
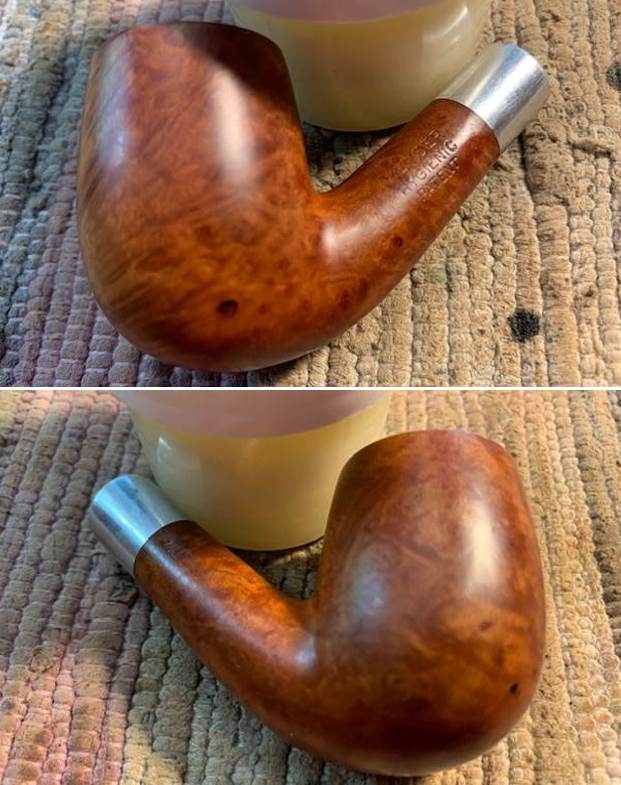
 I set the bowl aside and turned my attention to the stem. I used a topping board to smooth out the chip on the right side of the stem. To do that I flattened the end and reduced the diameter of the stem to fit more smoothly into the shank of the pipe.
 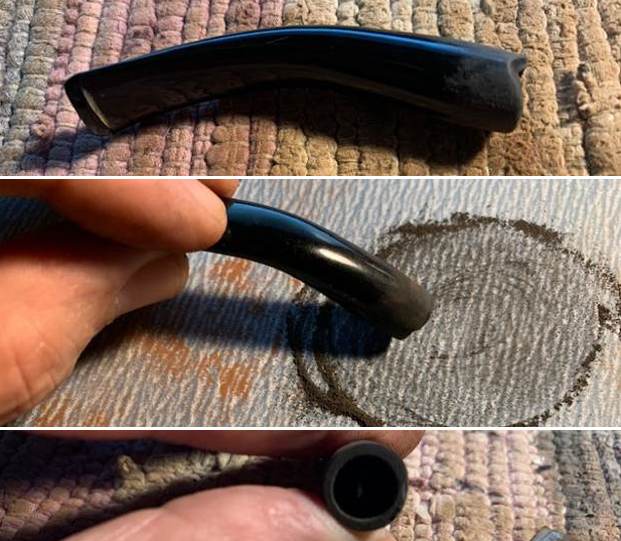 I filled in the tooth marks on both sides of the stem with clear CA glue. Once it cured I flattened out the repairs with 220 grit sandpaper (I forgot to take photos of this step).
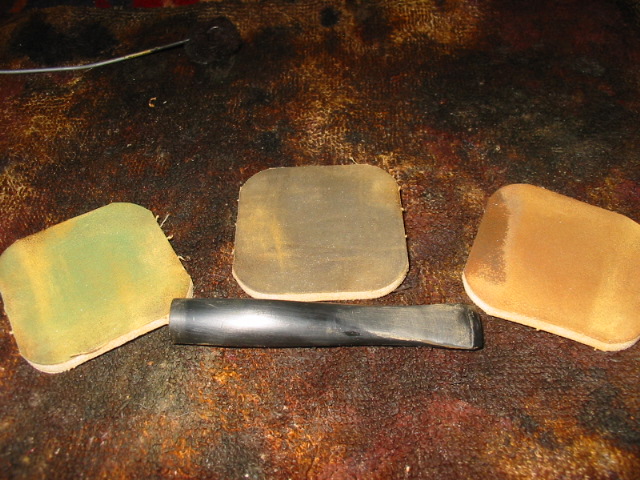
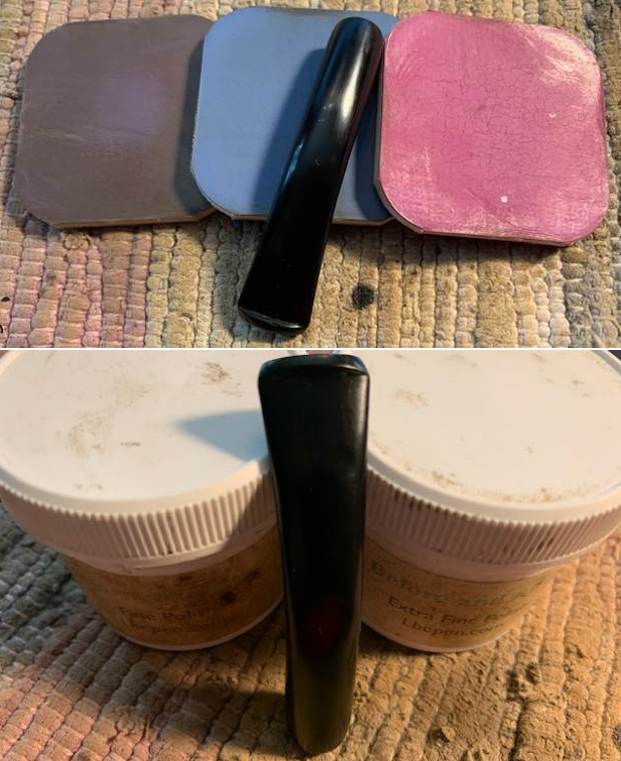
 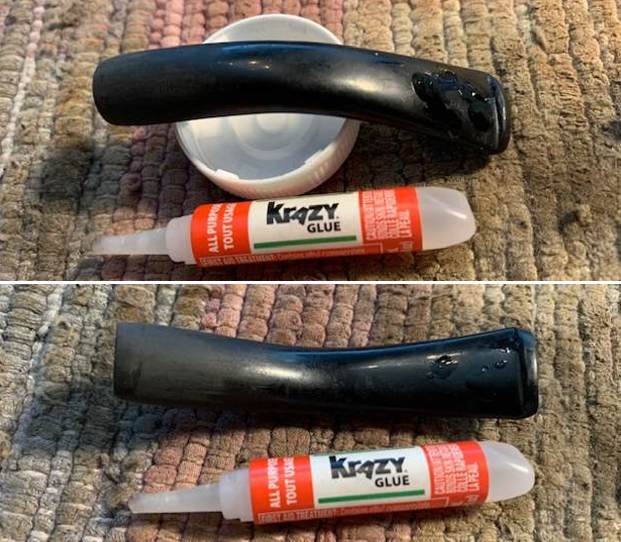 I polished the stem with micromesh sanding pads – wet sanding with 1500-2400 grit pads and dry sanding with 3200-12000 grit pads. I wiped the stem down after each pad with Obsidian Oil. I polished it with Before & After Pipe Stem Polish – both fine and extra fine and buffed it with a cotton pad. I gave it a final coat of Obsidian Oil and set it aside to dry.
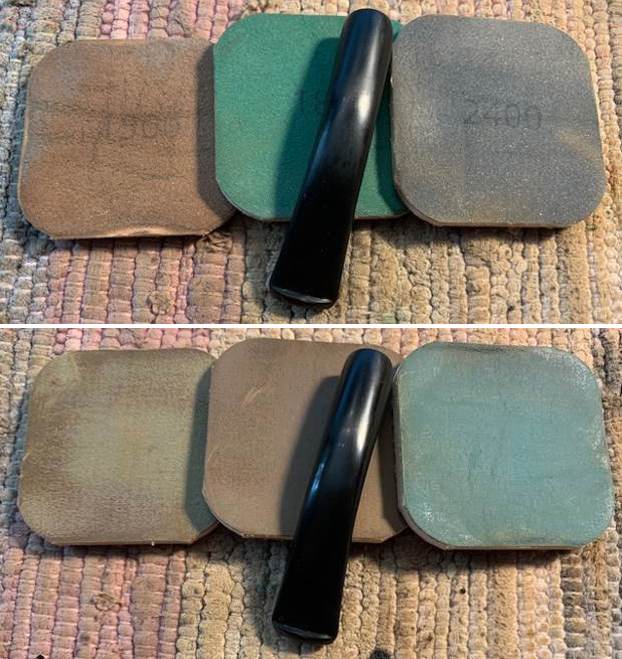
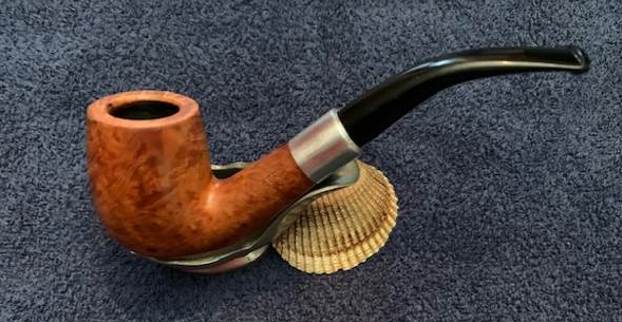
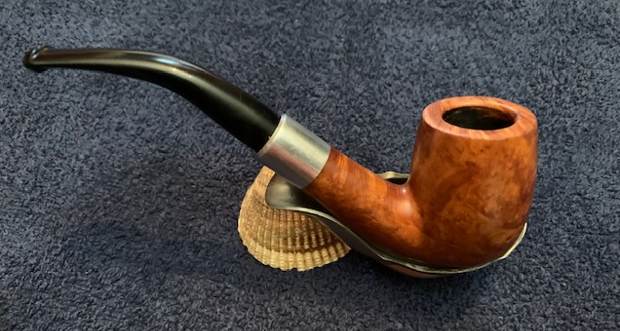
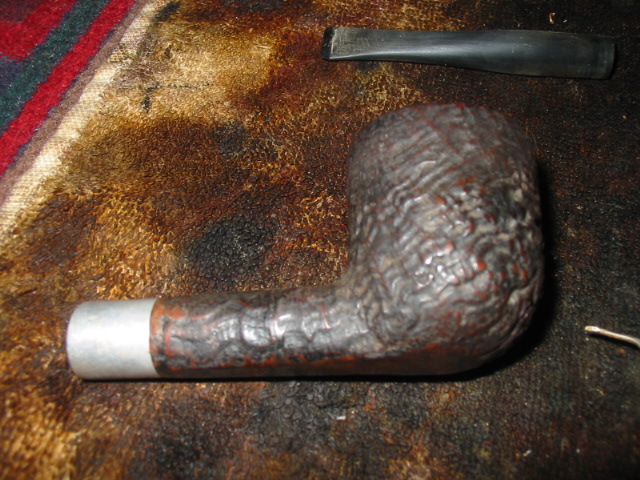
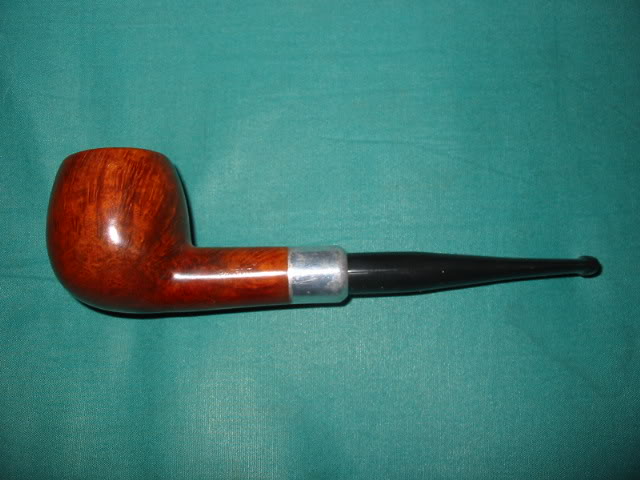
 I carefully polished stem with Blue Diamond to polish out the remaining small scratches. I used a very light touch so as not to damage the stem. I buffed the bowl with Blue Diamond as well – a bit more vigorously. I gave the bowl and the stem multiple coats of carnauba wax. I buffed the pipe with a clean buffing pad to raise the shine. I hand buffed it with a microfiber cloth to deepen the shine. The pipe polished up pretty nicely. The grain came alive with the buffing and works well with the polished aluminum ferrule and the polished black vulcanite stem. Altogether the pipe has a rich look. The finished pipe is shown in the photos below. The shape, finish and flow of the pipe and stem are very well done. The dimensions are Length: 5 ½ inches, Height: 1 ¾ inches, Outside diameter of the bowl: 1 ¼ inches, Chamber diameter: ¾ of an inch. The weight of the pipe is 1.55 ounces/44 grams. I will be gifting this pipe to a good friend of mine who I think will appreciate cool smoke the pipe delivers. Thanks for walking through the restoration with me as I worked over this well-made Keyser Hygienic Bent Billiard Patent pipe.