Blog by Steve Laug
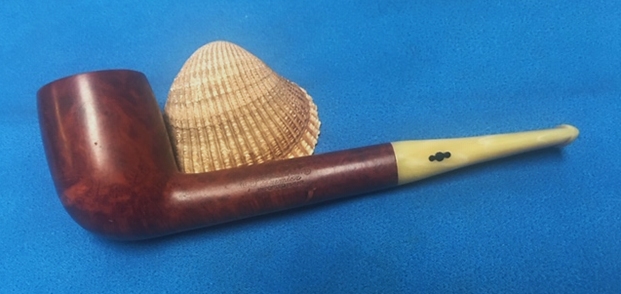
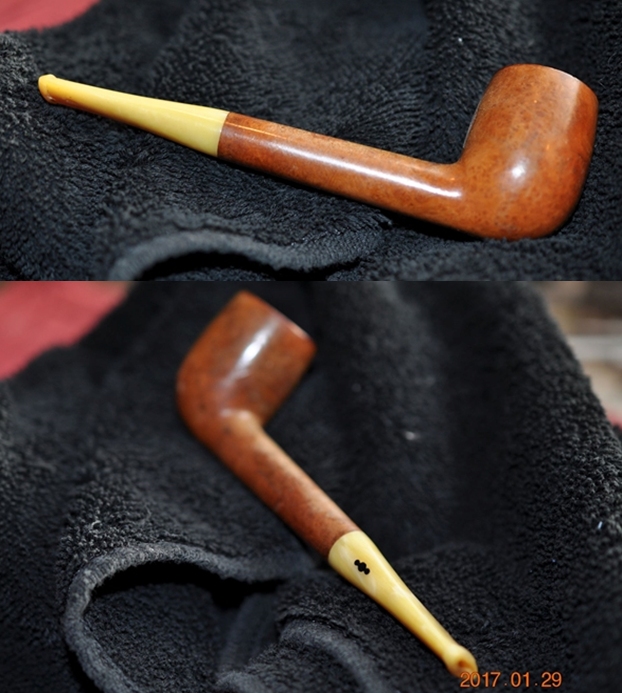
With this post I am celebrating notification from WordPress that rebornpipes is 8 years old. It does not seem possible that 8 years ago in May I posted the first blog on rebornpipes and wrote about my dream of the blog being a gathering spot for information and individuals who enjoy working on rehabilitation and restoration of pipes. I continue to do the work or restoration and rehabilitation of pipes because it is something I enjoy. It is a pleasure to take pipes that are a bit of a wreck and with some effort and careful work bring them back to life. The next pipe on the table is a great one to work on as a part of that celebration. It is a well smoked KBB Yello-Bole Premier Liverpool. The pipe was very dirty with a thick cake in the bowl and some tobacco remnants from the last bowl smoked. There was some darkening and lava around the rim top and inner edge of the bowl. There are a few visible fills around the bowl and the varnish coat is crackling. The taper yellow stem has tooth marks and chatter on both sides. Jeff took some great photos of the pipe to show its general condition before he started his cleanup.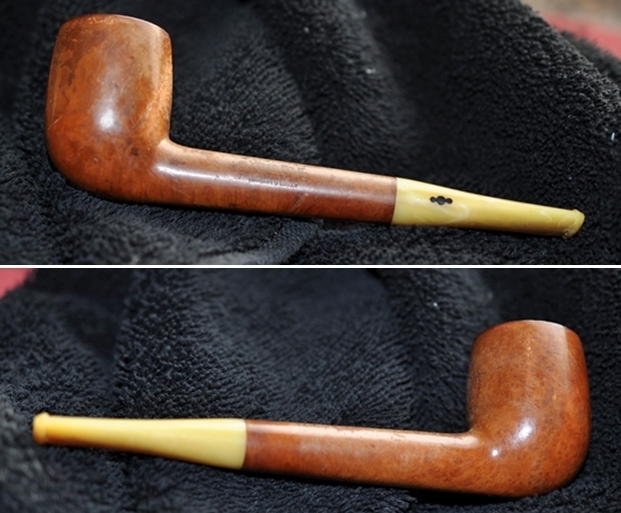
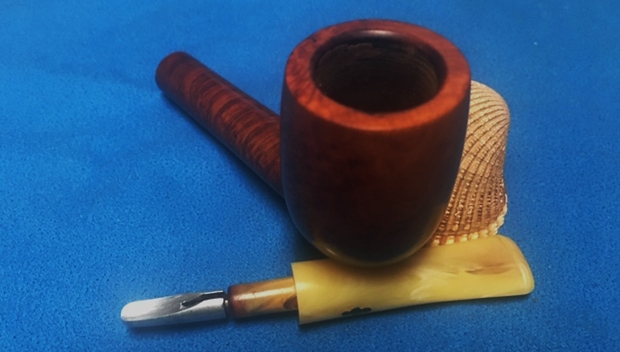
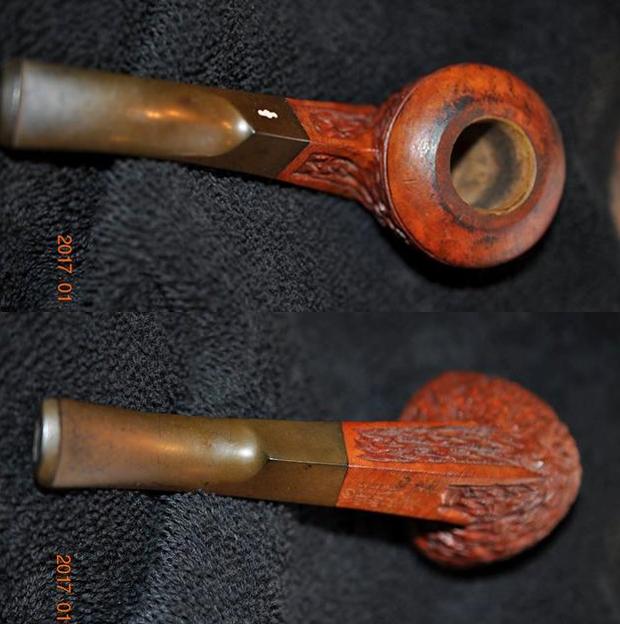
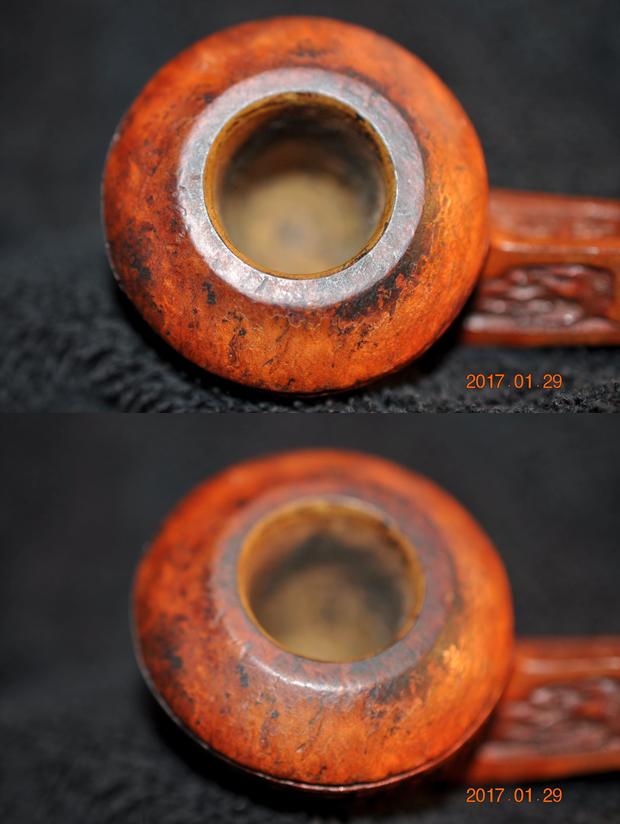
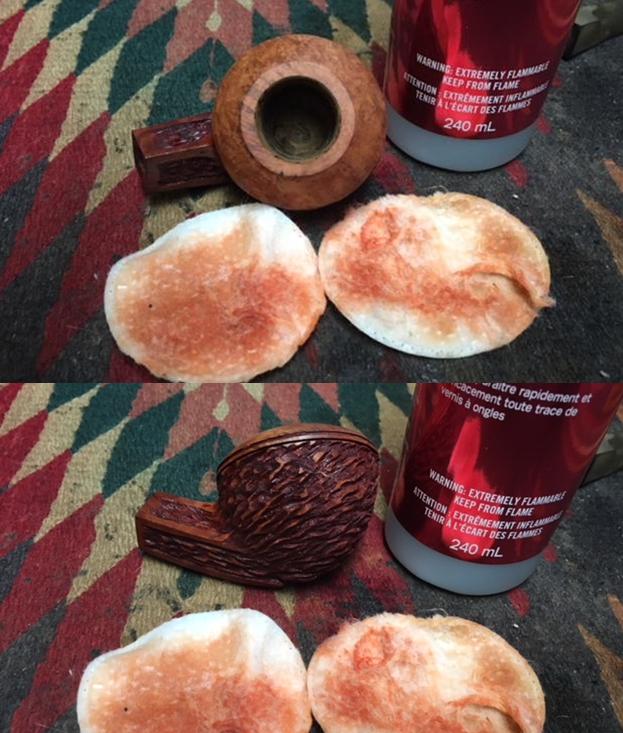
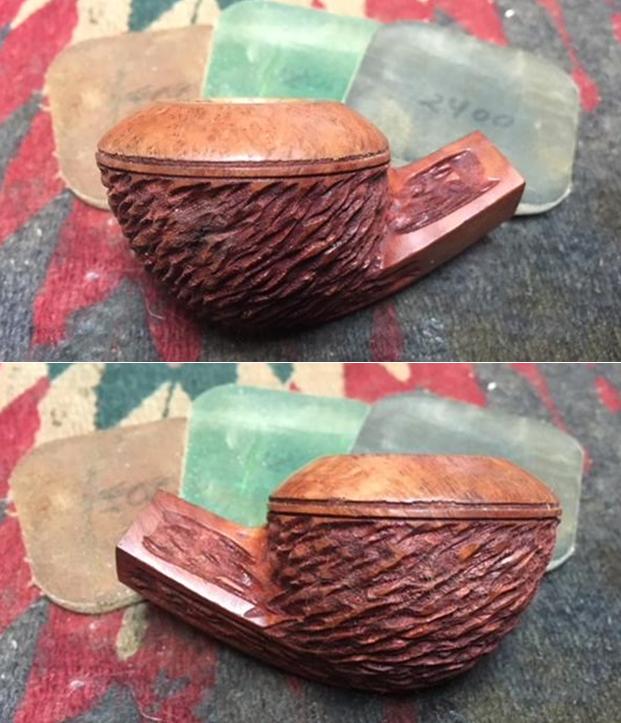
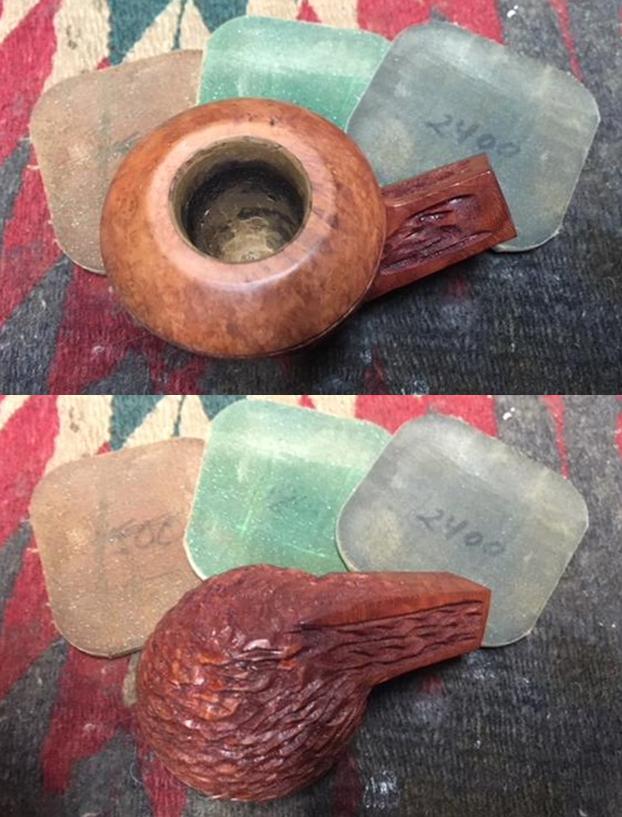
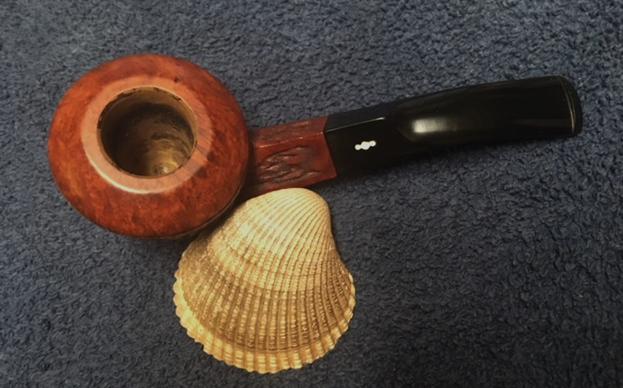
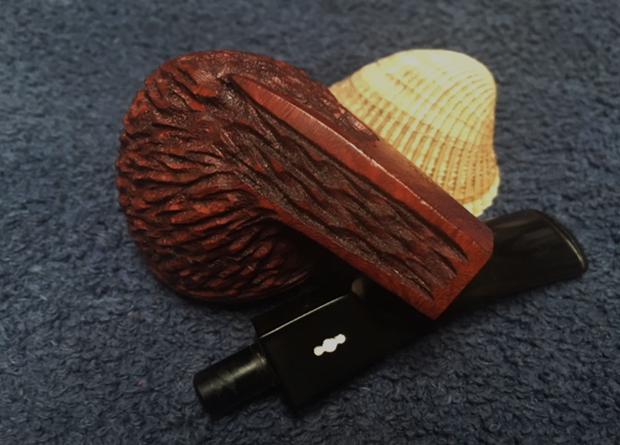
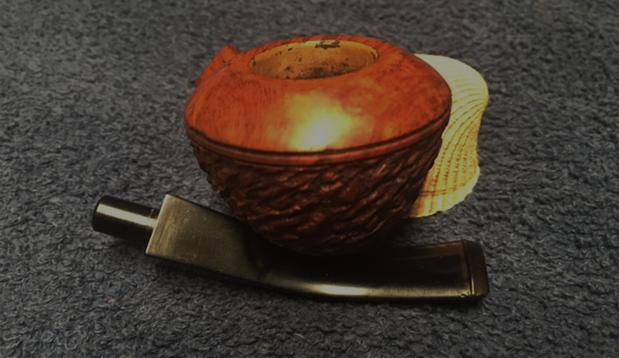
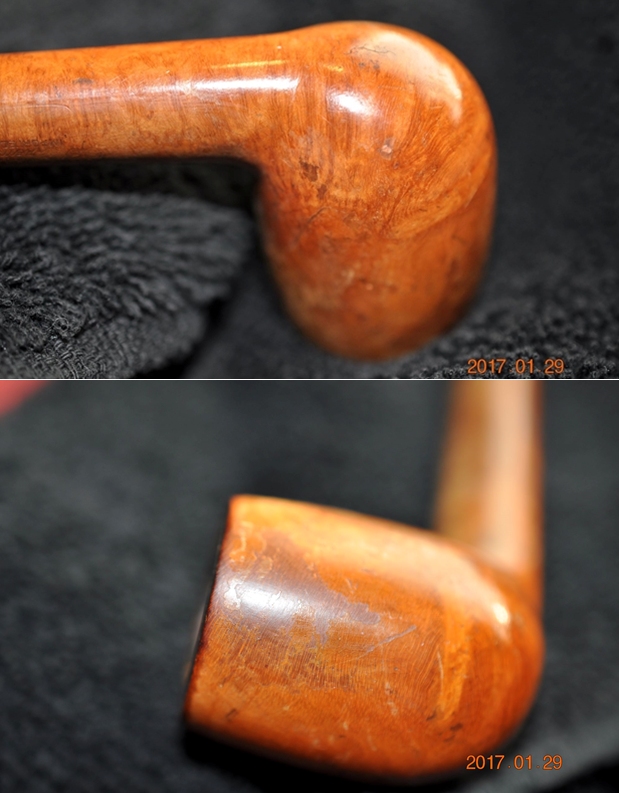
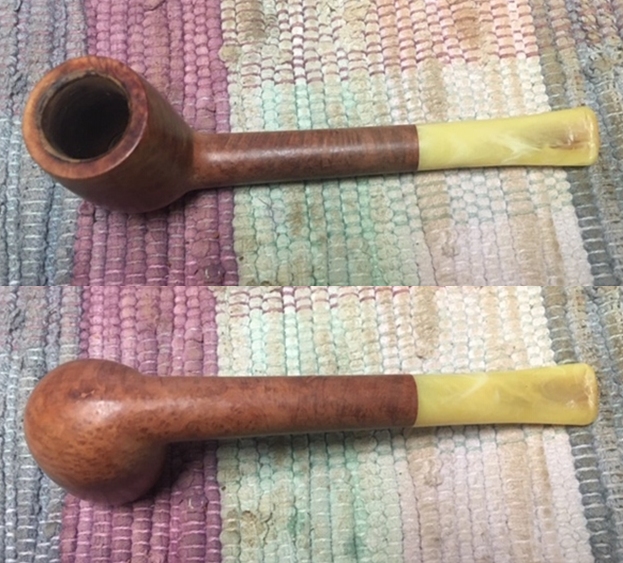
 Jeff took a photo of the rim top to show the thick cake in the bowl and the lava overflow all over the rim top. It is hard to know what the inner edge of the rim looks like until we remove the cake and the lava.
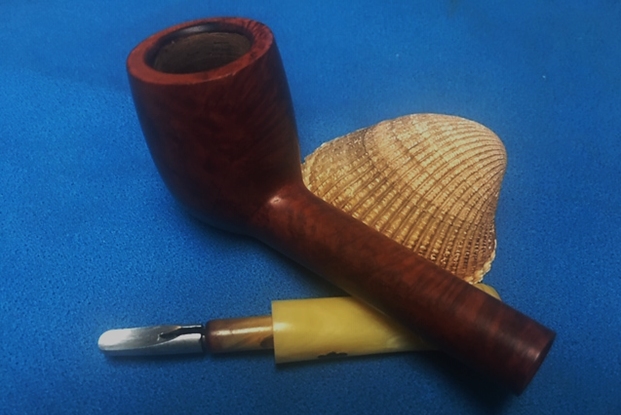
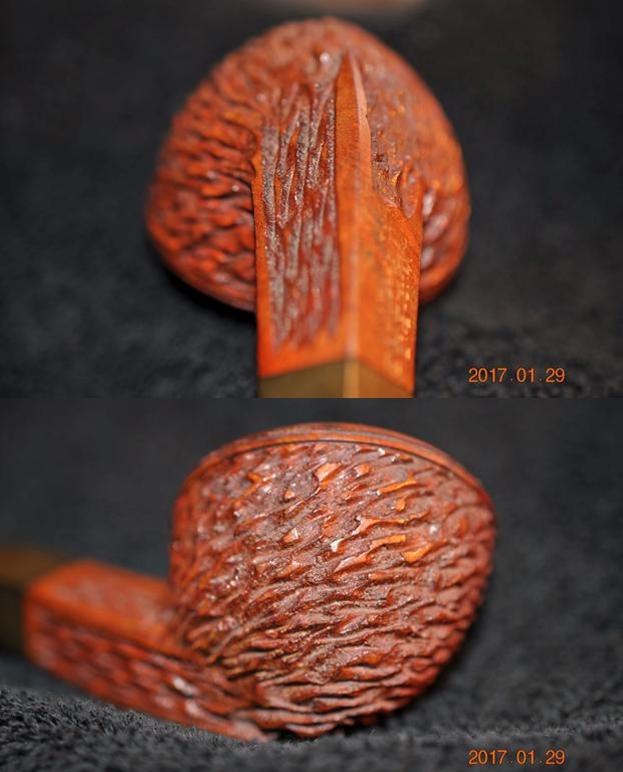
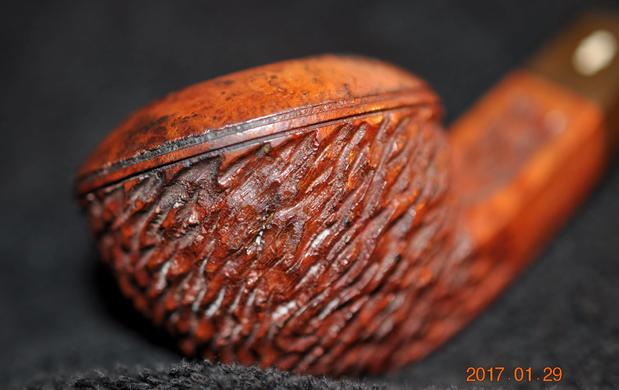
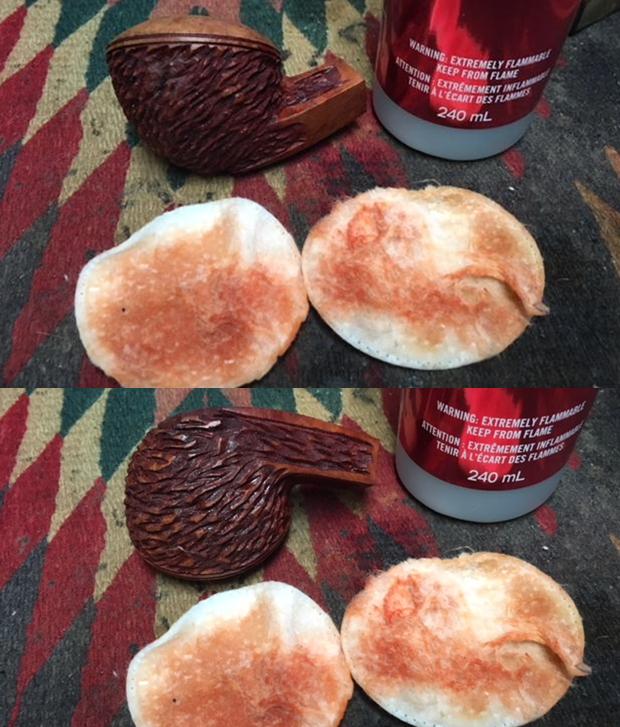
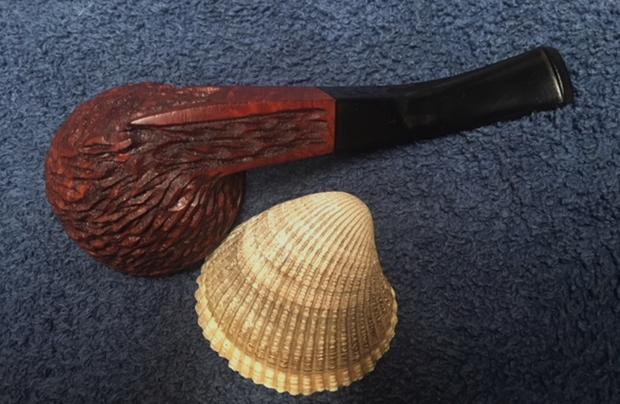
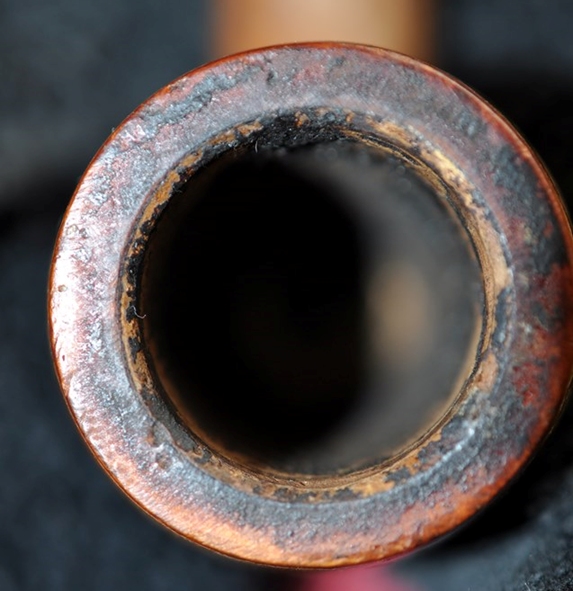 He took photos around the sides and heel of the bowl to show the condition. You can see the grime in the finish and the crackling of the varnish coat.
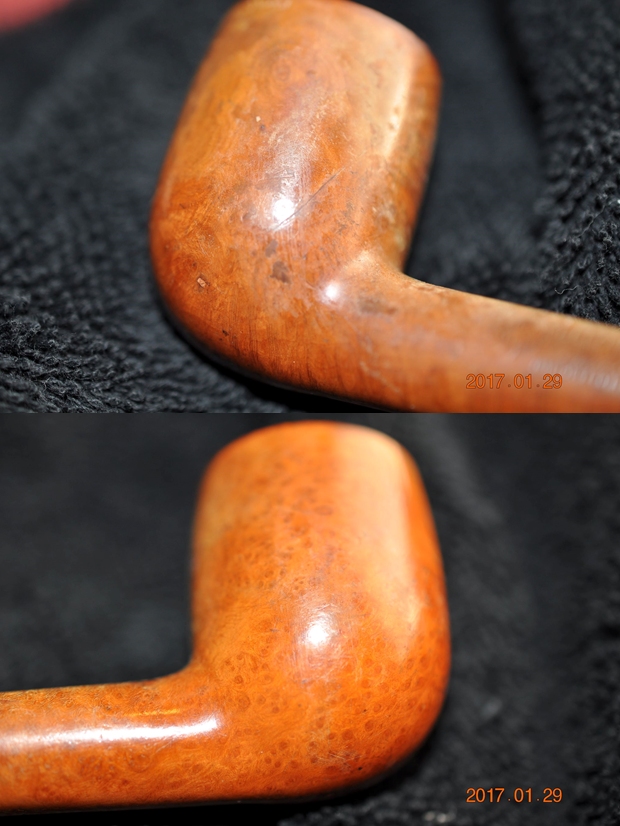
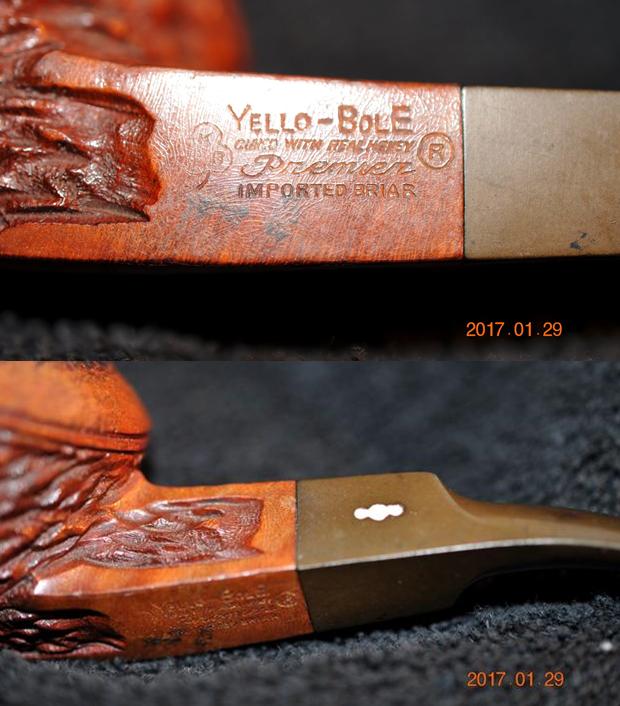
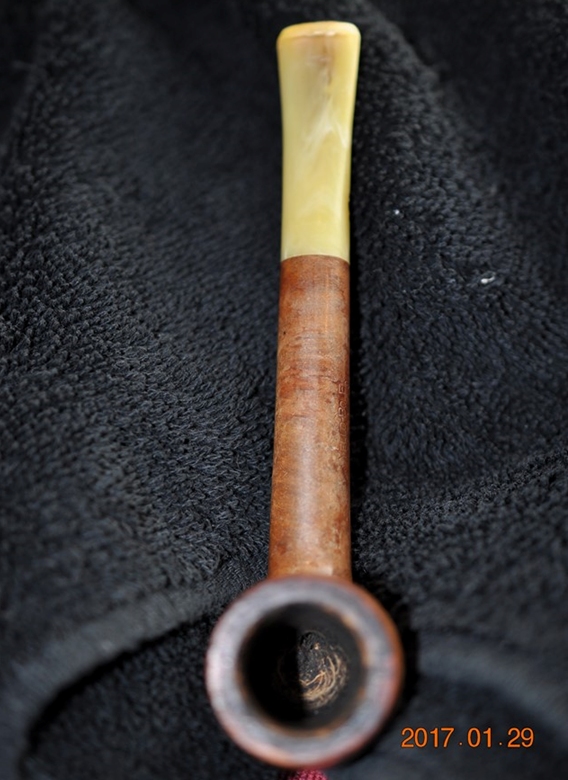
 He took a photo of the stamping on the left topside of the shank. You can see that it is clear and readable. It reads KBB in a Cloverleaf followed by Yello-Bole over Cured with Real Honey followed by R in a circle. Underneath that it reads Premier over Imported Briar. Normally there would be stamping on the right side but in this case there does not appear to be any stamping visible.
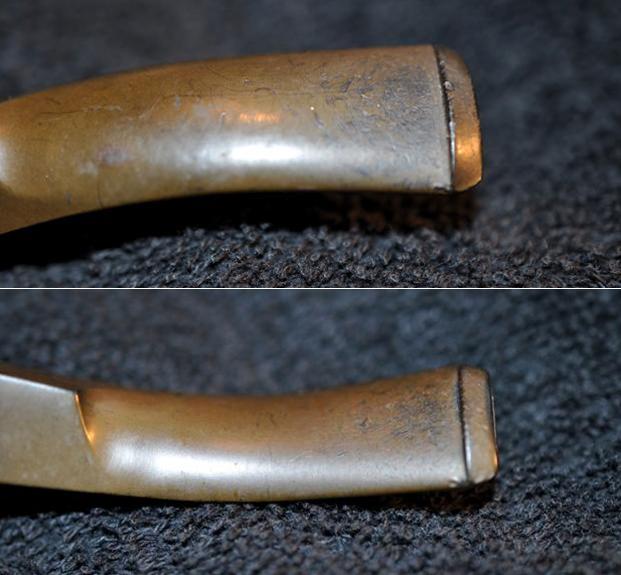
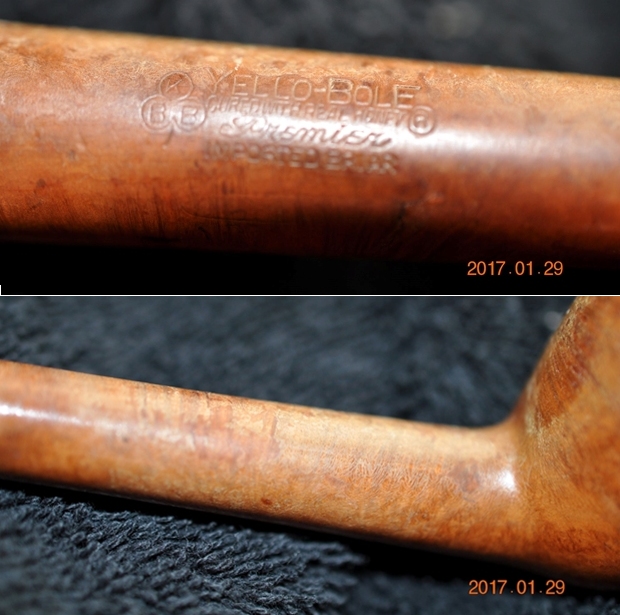 The next two photos show the condition of the stem. You can see that it is lightly oxidized and has some tooth chatter and marks on both sides near the button. There is also some wear on the button surfaces on both sides.
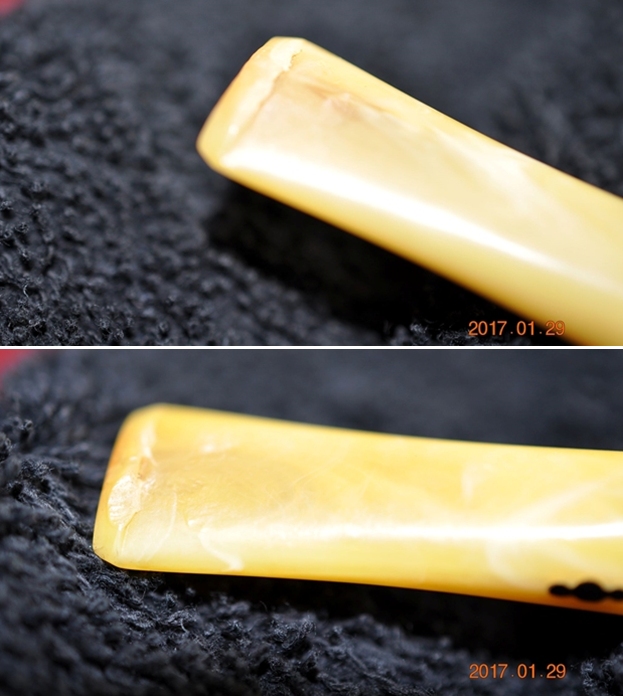
 I turned to the listing on Pipephil on the KBB Yello-Bole pipes and actually found a very similar pipe to the one I am working on (http://www.pipephil.eu/logos/en/logo-y.html). It is a KBB in a cloverleaf Yello-Bole that also bears the Cured with Real Honey, circle R stamp over Premier over Imported Briar. I did a screen capture of the section and the stamping on the shank side. I have included it below.
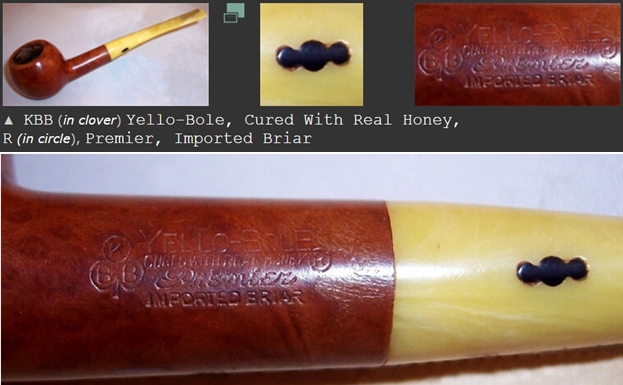 I turned next to Pipedia to gather a more detailed history of the brand and see if I could find any information on this particular pipe (https://pipedia.org/wiki/Yello-Bole). I quote a portion of that article on tips for dating Yello-Bole pipes below.
Tips for Dating Yello-Bole Pipes
- KBB stamped in the clover leaf indicates it was made in 1955 or earlier as they stopped this stamping after being acquired by S.M. Frank.
- Pipes from 1933-1936 they were stamped “Honey Cured Briar”
- Post 1936 pipes were stamped “Cured with Real Honey”
- Pipe stems stamped with the propeller logo were made in the 1930’s or 1940’s – no propellers were used after the 1940’s.
- Yello Bole used a 4 digit code stamped on the pipe in the 1930’s.
- Pipes with the Yello-Bole circle stamped on the shank it were made in the 1930’s, this stopped after 1939.
- Pipes stamped BRUYERE rather than BRIAR it was made in the 1930’s.
Following the tips above I learned that the KBB Stamped in a Cloverleaf indicates that the pipe I have was 1955 or earlier. The fact that it is stamped Cured with Real Honey puts it post 1936. The field is narrowing down for a date. The fact that the stem has the propeller logo puts it between the 30s and 40s. So now I have it narrowed down to between 1936 and 1949. That is as close as I am going to get with this one as the numbers are worn off the shank.
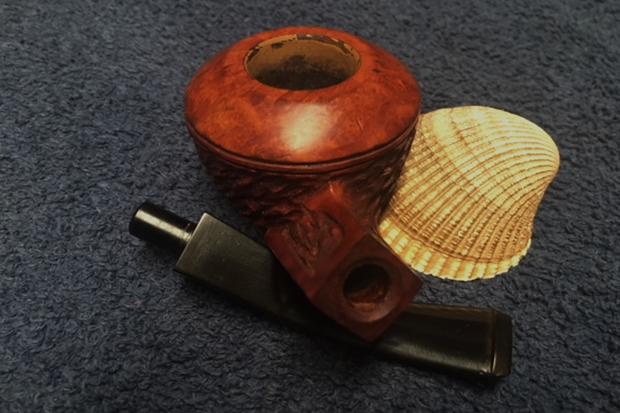
It is definitely an interesting piece of pipe history. Armed with the brand information and some parameters for the age of the pipe I turned to work on it. Jeff had done a great job cleaning up the pipe as usual. He reamed the pipe with a PipNet reamer and cake from the walls of the bowl. He cleaned up any remnants of cake with a Savinelli Fitsall Pipe Knife. He scrubbed the interior of the bowl and shank with pipe cleaners, cotton swabs and alcohol to remove the tars and oils. He scrubbed the exterior of the pipe with Murphy’s Oil Soap and a tooth brush to remove the grime from the finish. He was not able to remove the bowl from the base so a thorough cleaning of the base was not possible. He worked on the rim edge lava and darkening with the soap and tooth brush. He scrubbed the inside of the stem with alcohol and pipe cleaners. He scrubbed the exterior with Soft Scrub and washed it off with warm water to remove the cleanser. The pipe looked far better. I took photos of the pipe when I received it before I started working on it.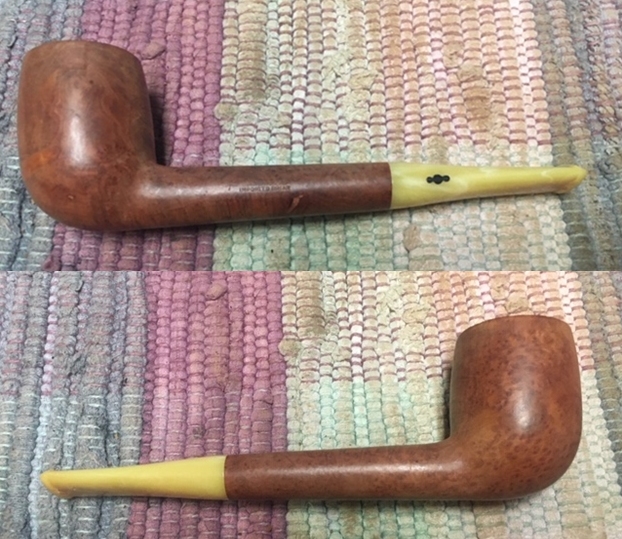
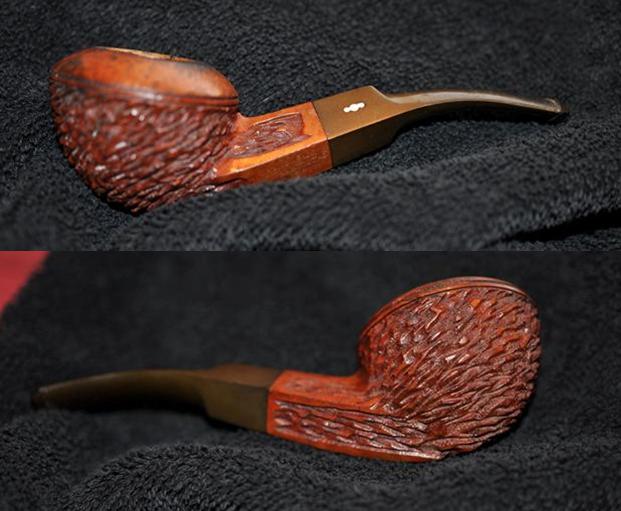
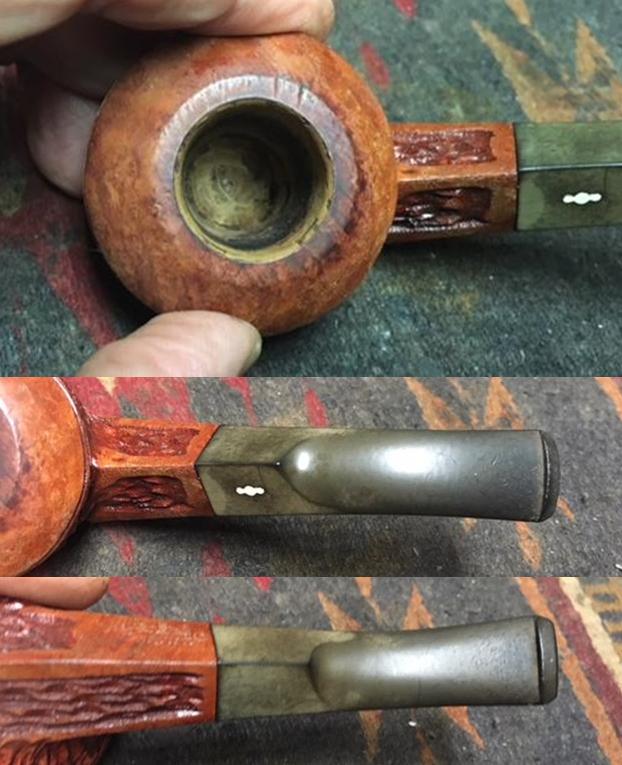
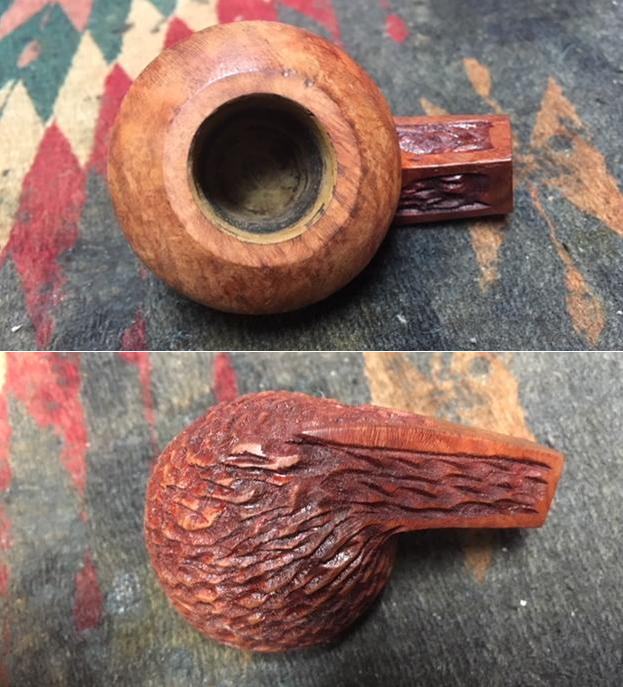
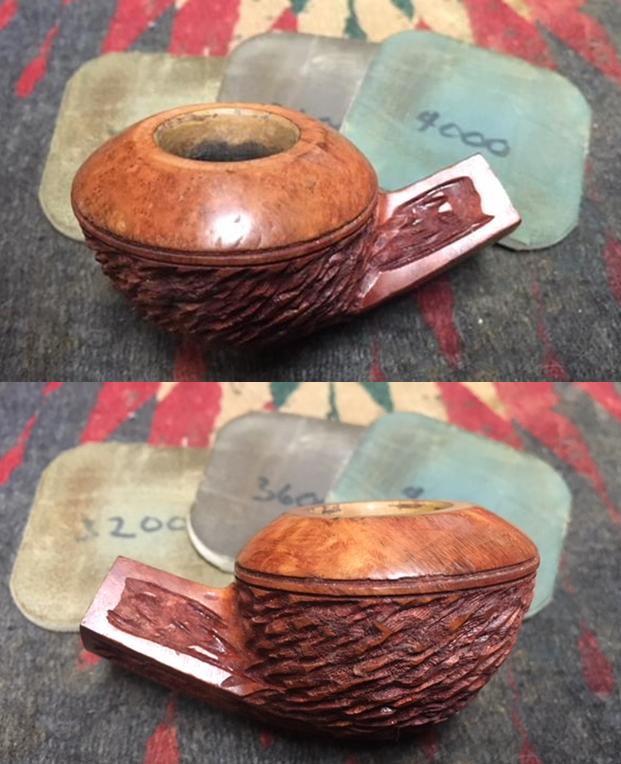
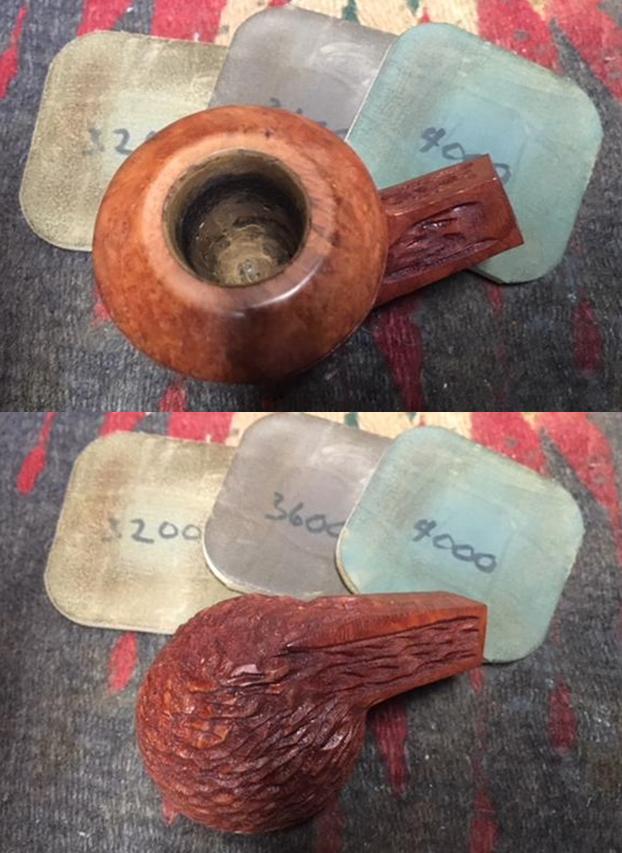
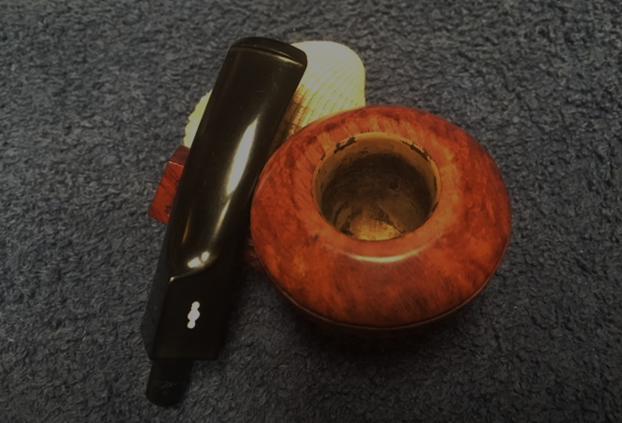
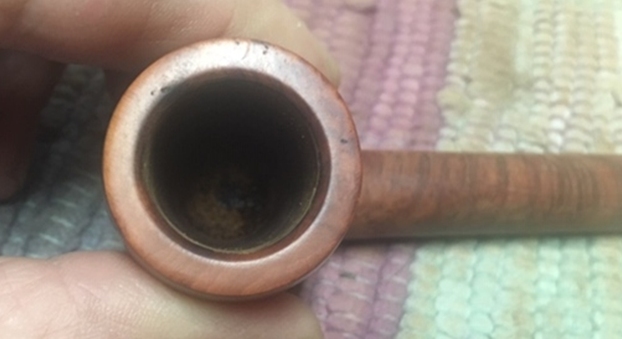
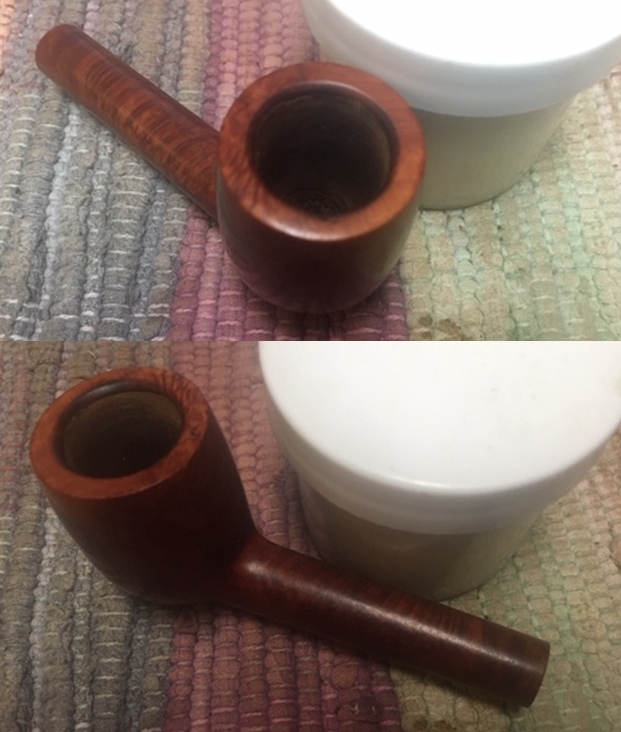
 I took photos of the bowl and rim top as well as the stem to show how clean they were. You can the roughness on the top and the inner edge of the rim on the front right side of the bowl. The bowl and rim looks much better without the thick lava and cake. The stem looked better. There was tooth chatter and marks were very visible on both sides of the stem near the button. I have included a photo of the propeller logo on the left side of the stem.
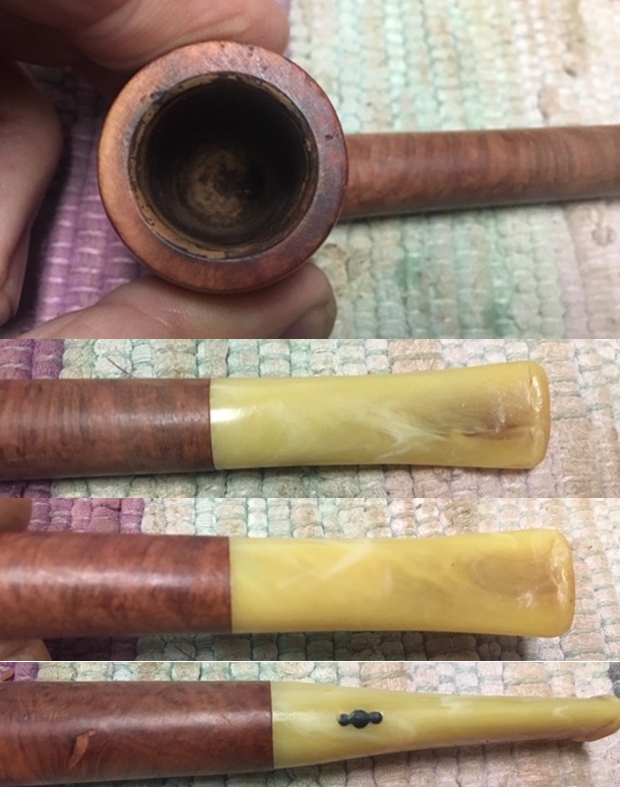 I took a photo of the stamping on the left side of the shank. The stamping is faint but very readable and it reads as noted above. The right side of the shank is smooth- if there was any stamping it is long gone.
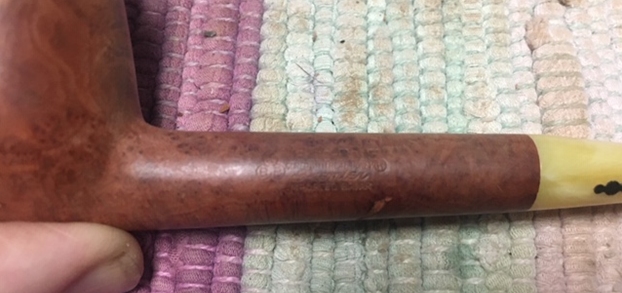 I took a photo of the large fill on the underside and up the left side of the shank. It was hard but it had shrunk and left a divot.
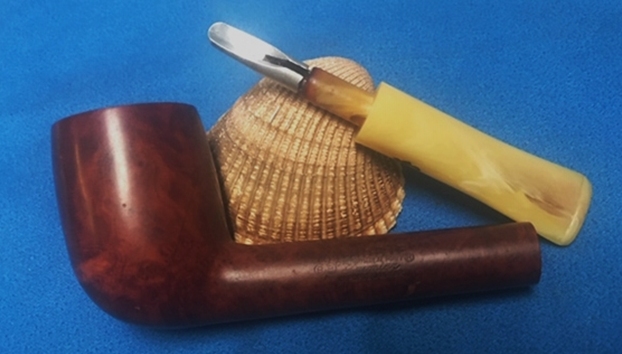
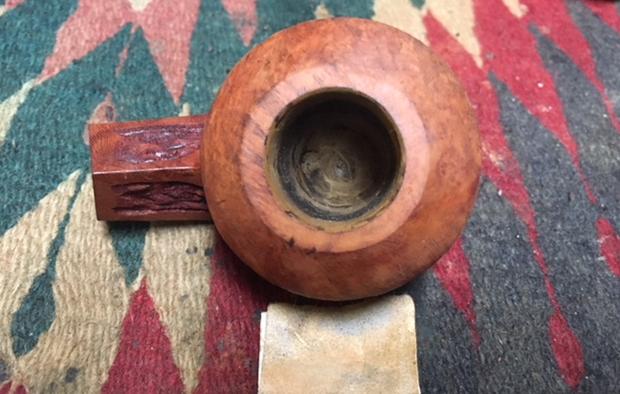
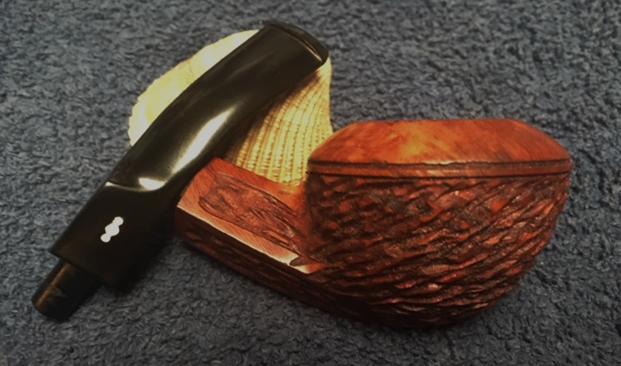
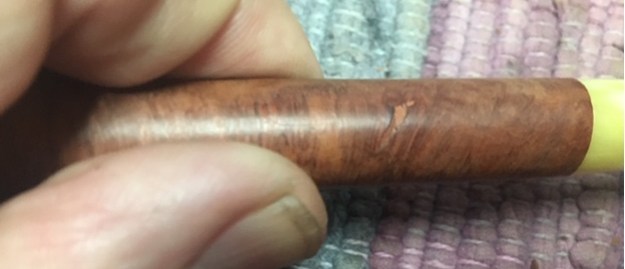 I took a photo of the pipe with the stem removed to show the overall look of stem, tenon and profile of the pipe. I noted that there was a small stinger apparatus that is removable in the tenon. I heated the stinger with a Bic lighter flame and was able to very easily remove it for more thorough cleaning of the tenon and airway in the stem.
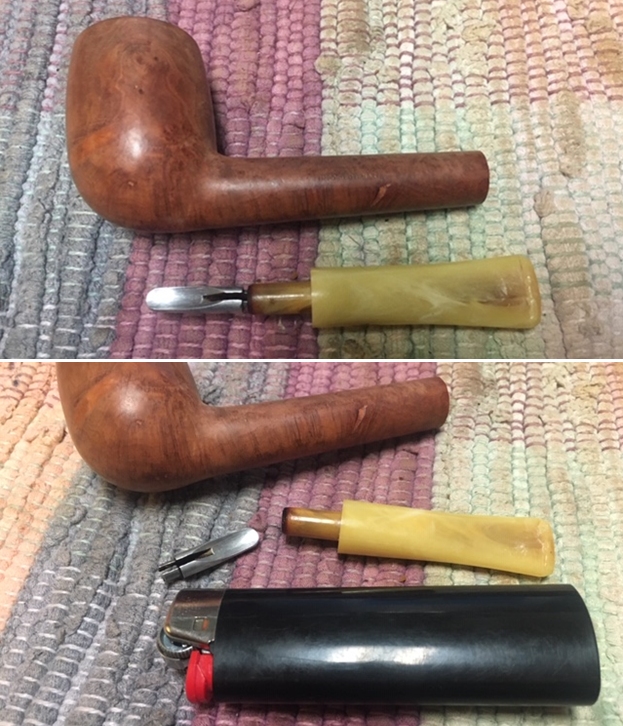 I decided to start my work on the pipe by dealing with the damaged rim top and inner edge of the bowl. I lightly topped the bowl with 220 grit sandpaper to minimize the damage on the top. I used a folded piece of 220 grit sandpaper to smooth out the damaged bevel on the rim edge. It is far from perfect but it is better.
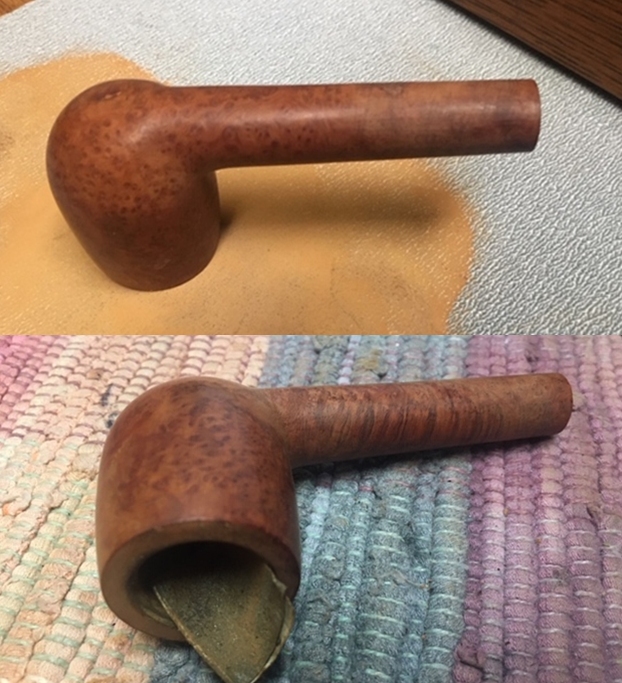
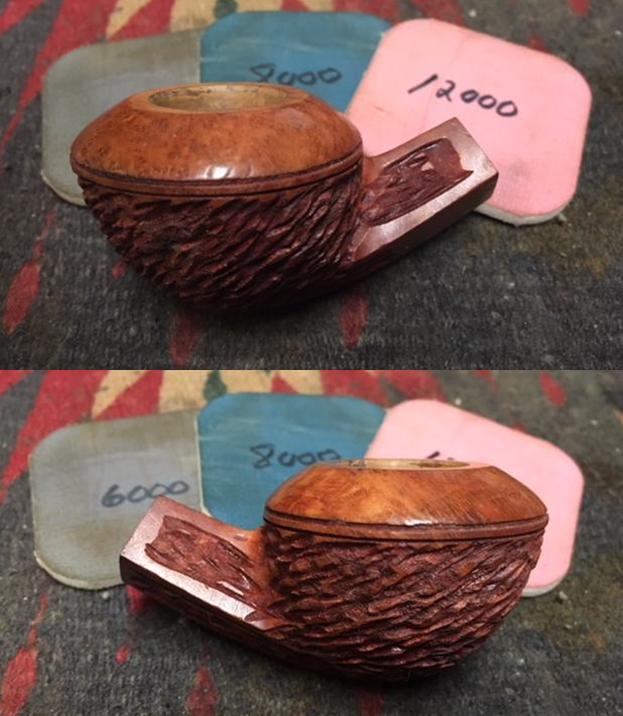
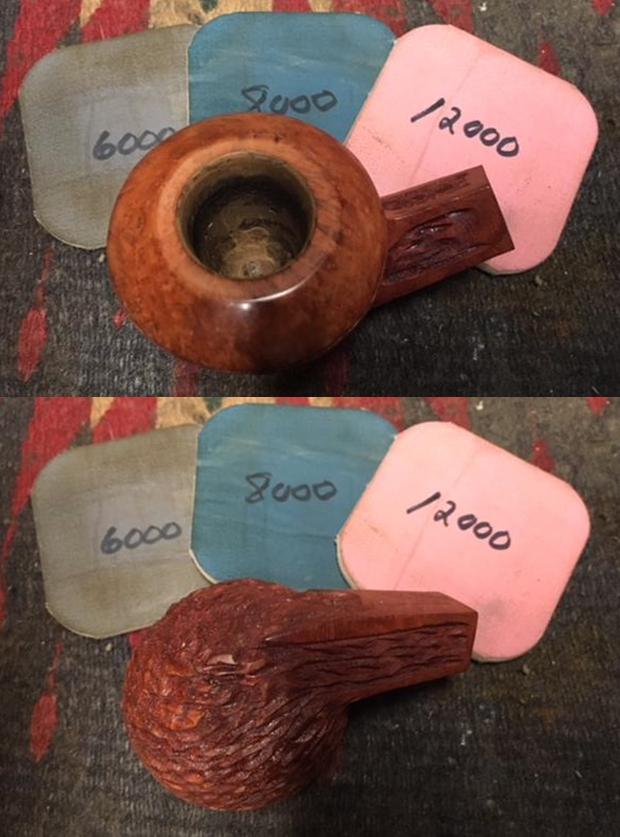
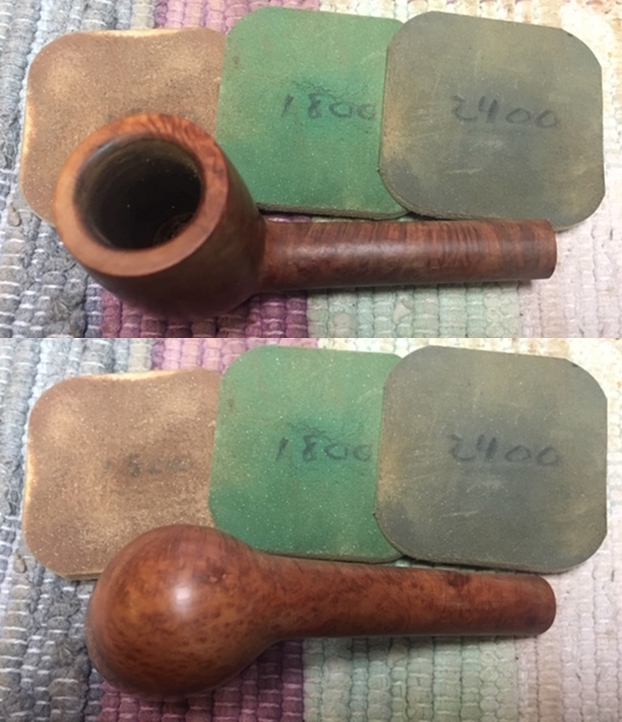
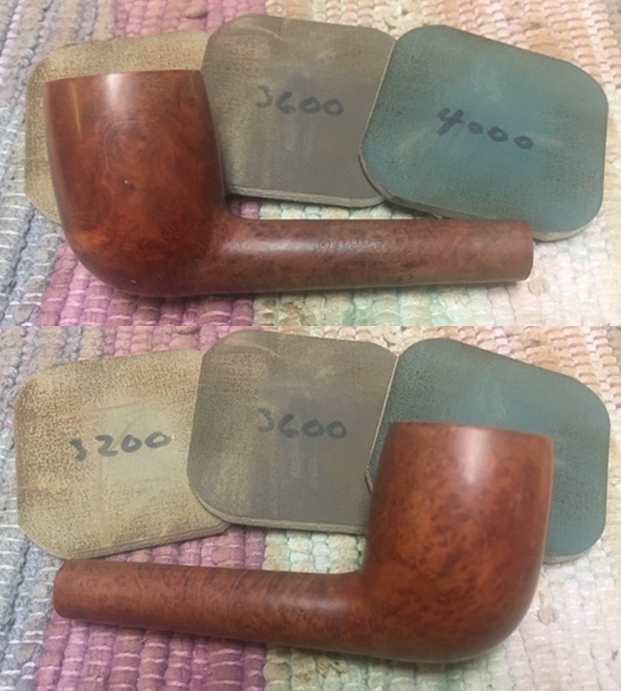
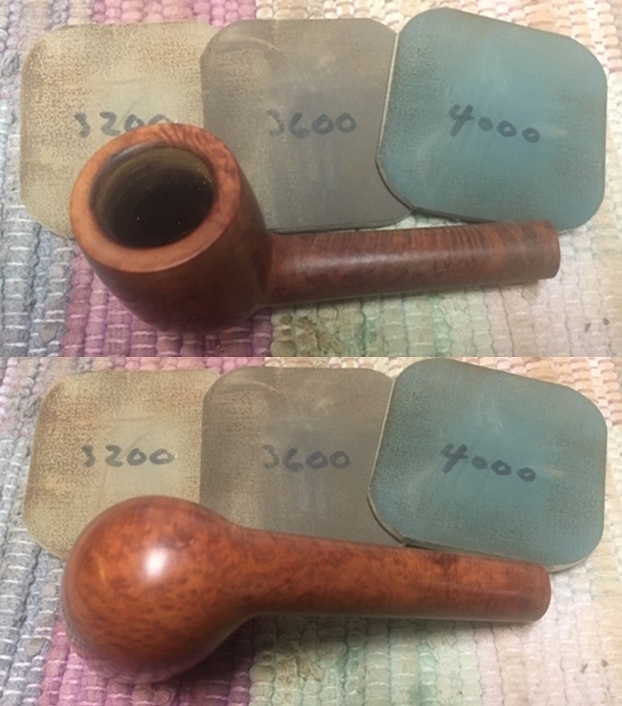
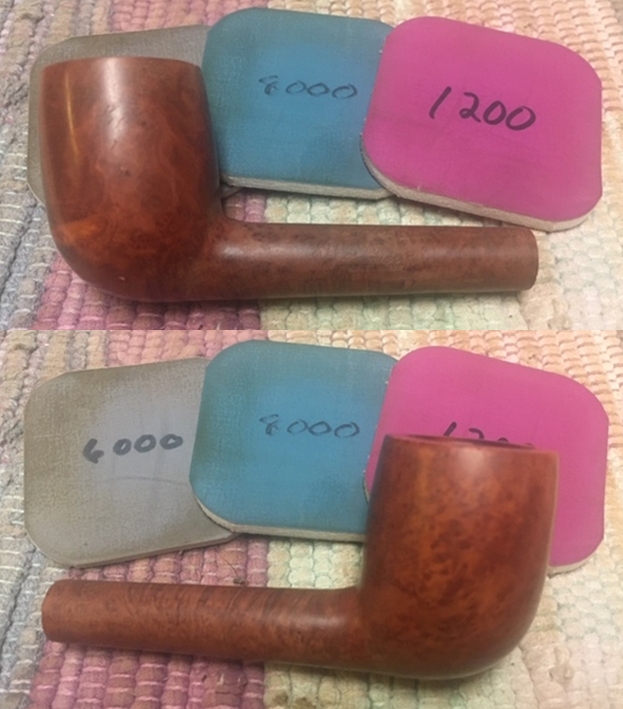
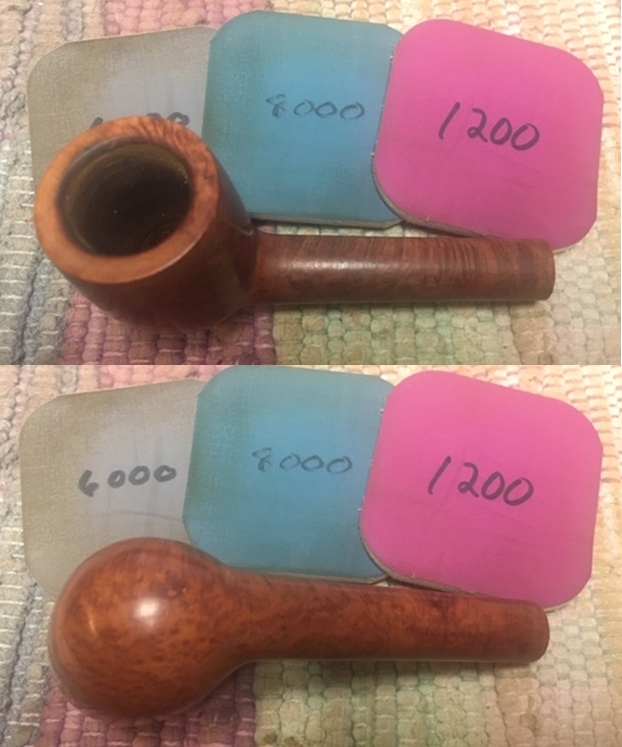
 I polished the bowl with micromesh sanding pads – wet sanding with 1500-12000 grit pads. I worked over the rim top and edge of the bowl with the pads. I wiped the bowl down with a damp cloth after each pad to remove the sanding debris.
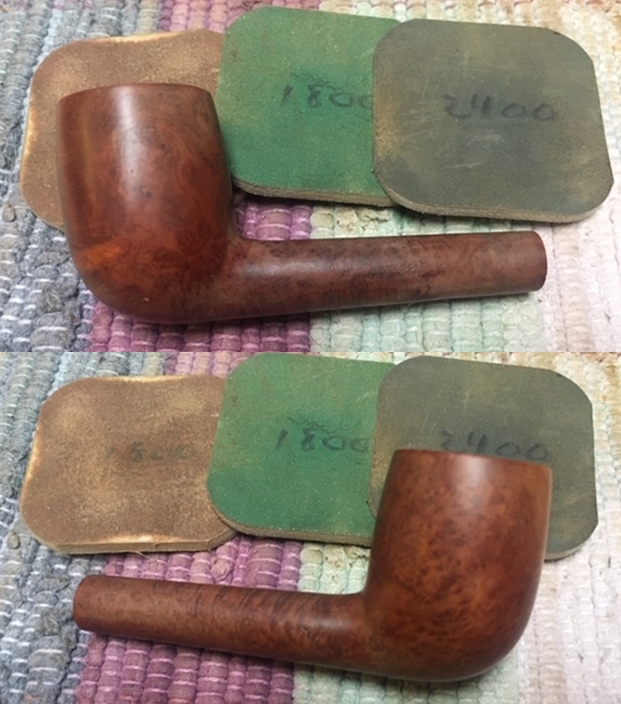
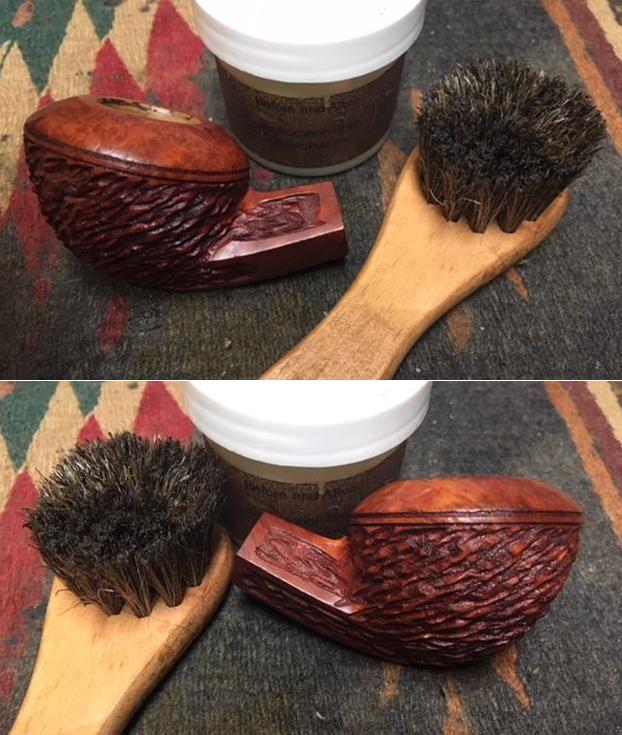
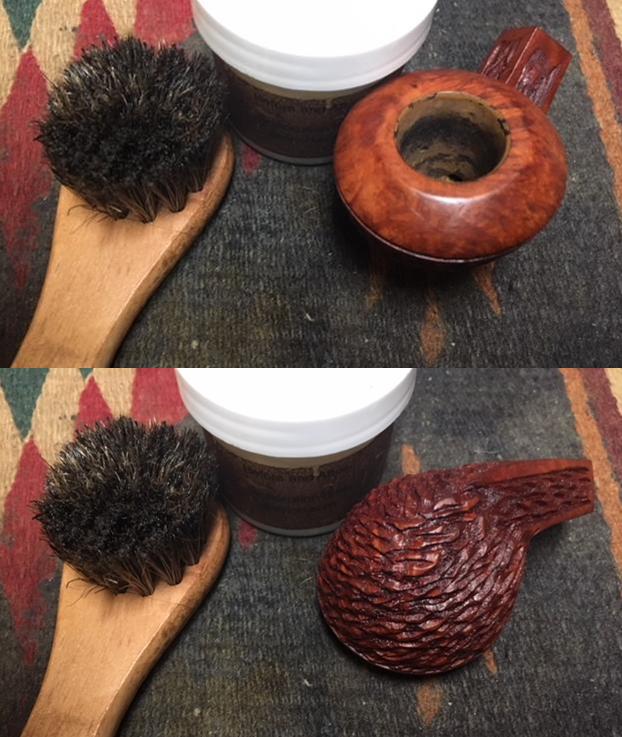
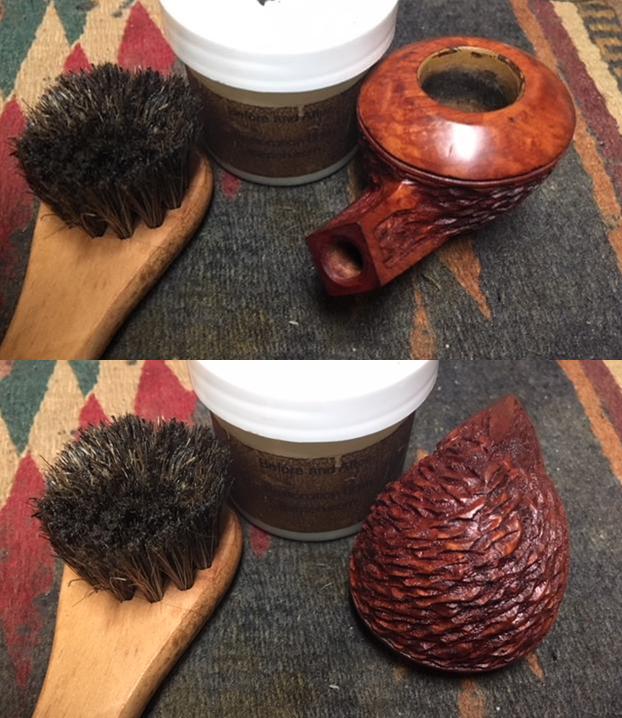
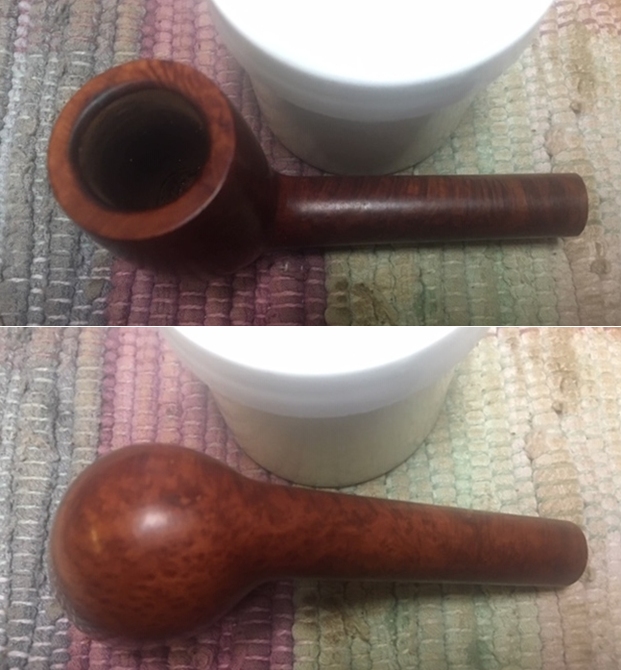
 I rubbed the briar down with Before & After Restoration Balm. I worked it into the surface of the briar with my fingertips and a horse hair shoe brush. The product works to clean, enliven and preserve the even that material. The balm is absorbed by the briar and gives it real life. I buffed it with a cotton cloth to deepen the shine.
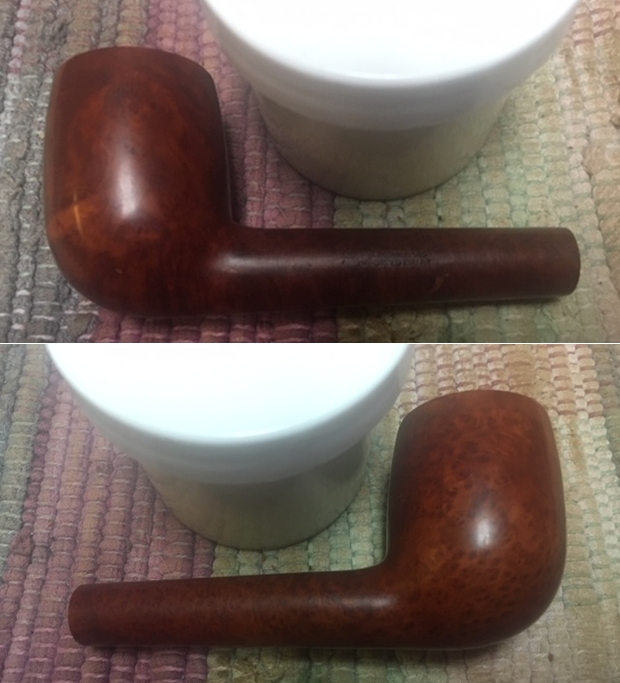
 I set the bowl aside and turned my attention to the stem. The stem material is an early acrylic product (perhaps Bakelite) and does not respond like vulcanite when heated. I filled in the deep tooth marks with clear super glue. Once the repairs cured I used a needle file to smooth them out and to reshape the button edge.
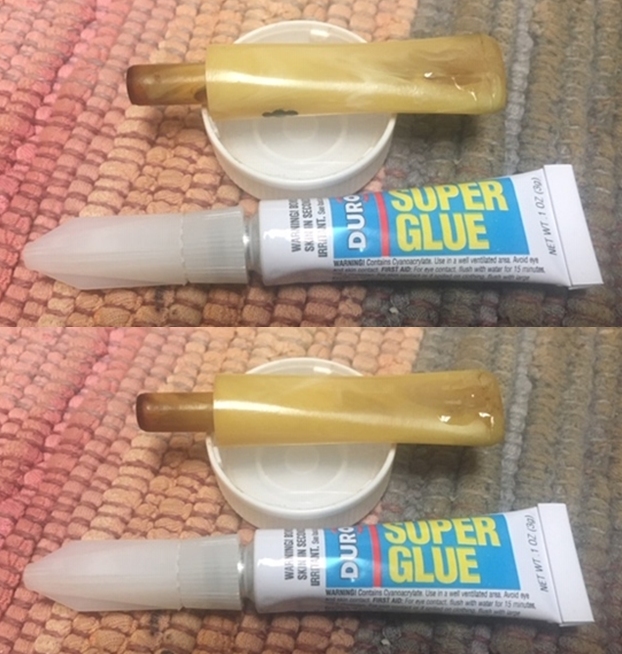
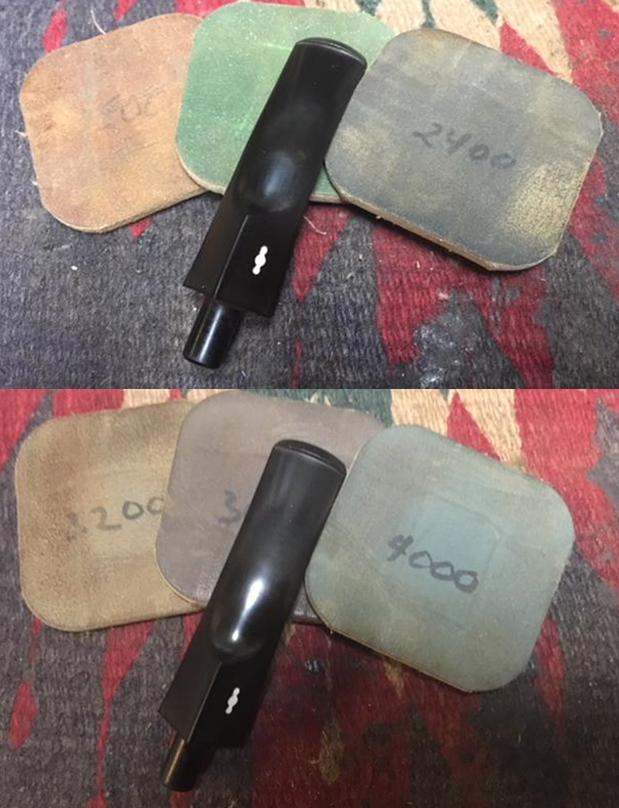
 I sanded it with 220 grit sandpaper to remove the oxidation and tooth chatter on both sides of the stem. I started the polishing of the surface with 400 grit wet dry sandpaper.
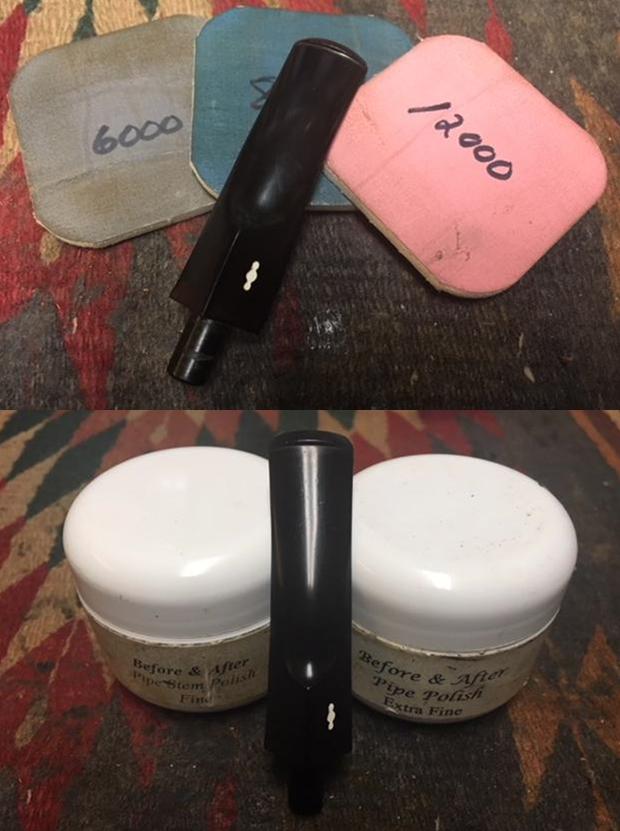
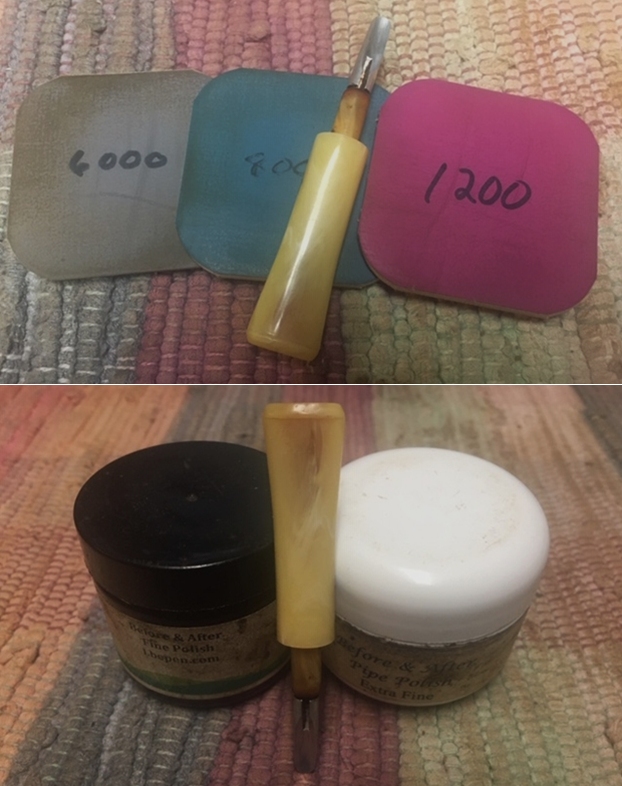
 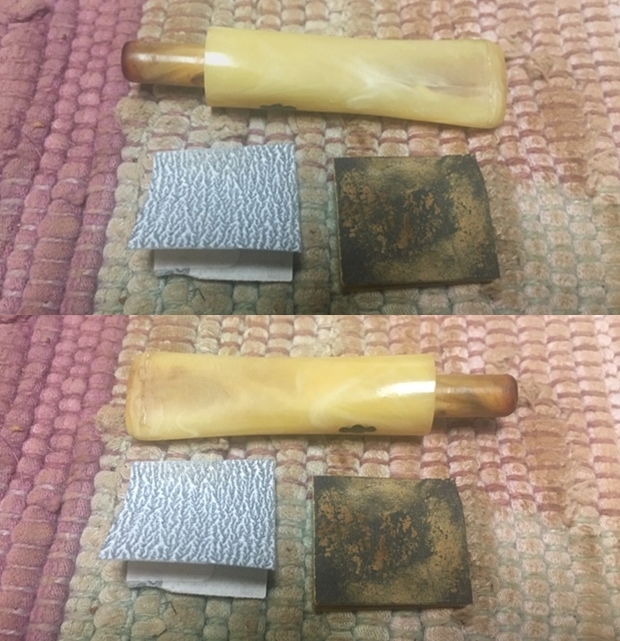 I polished the stem with micromesh sanding pads – 1500-12000 grit pads. I wiped it down with Obsidian Oil after each sanding pad. I used Before & After Pipe Polish – both Fine and Extra Fine to further polish the stem.
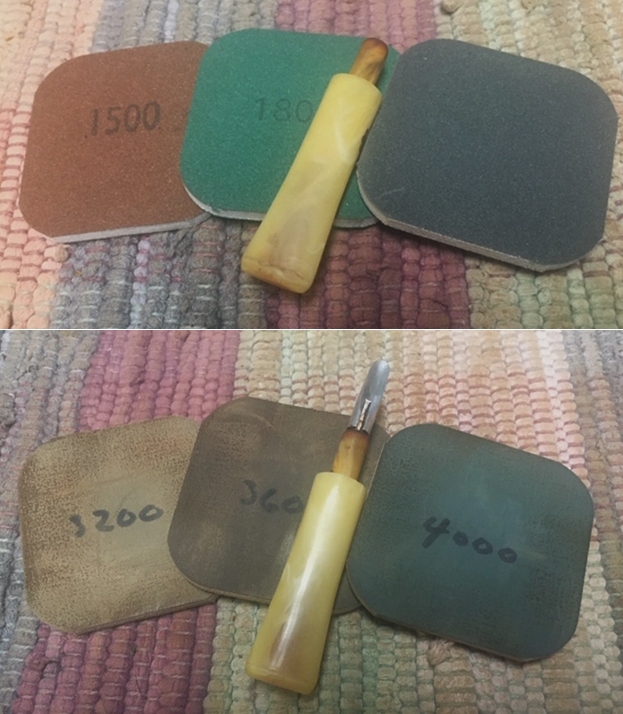
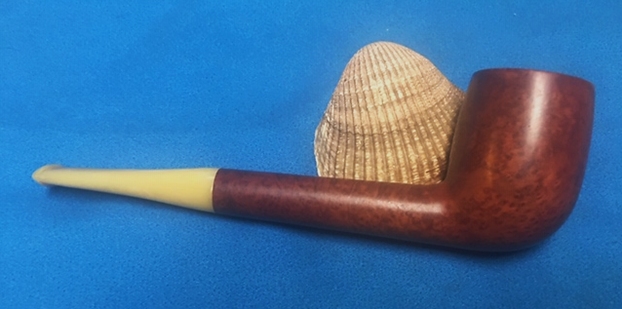
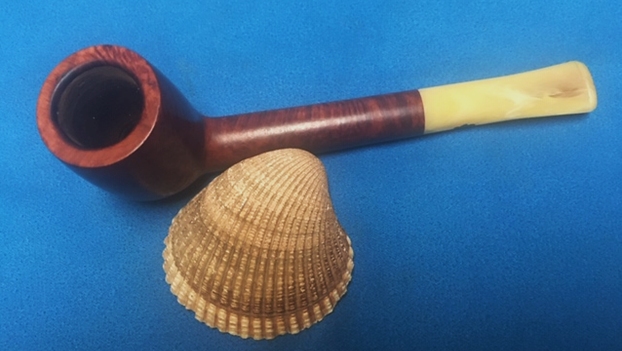
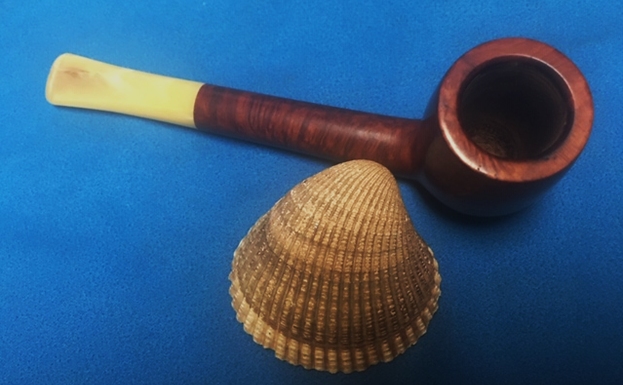
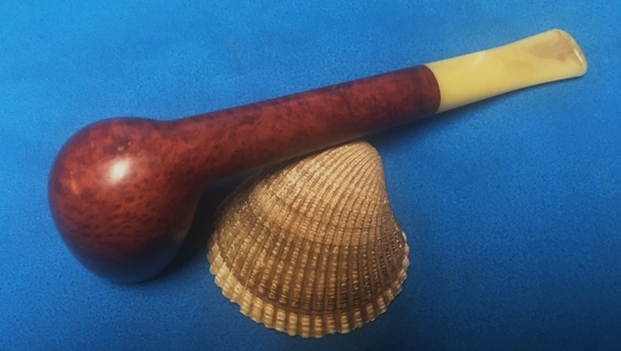
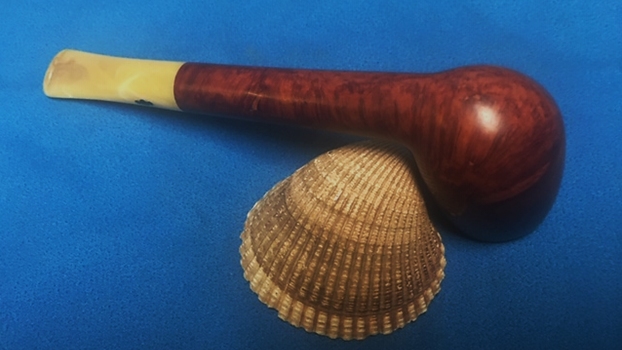
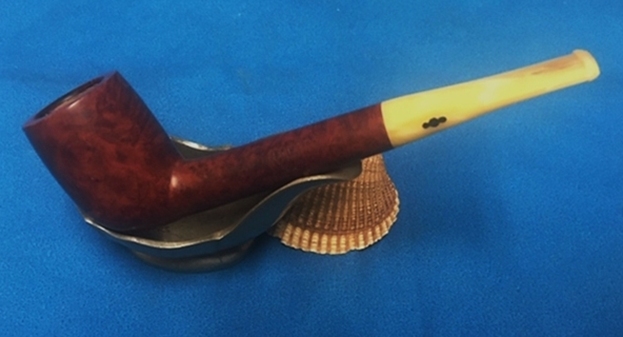
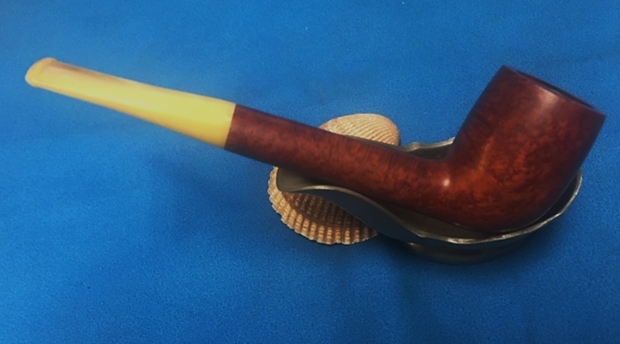
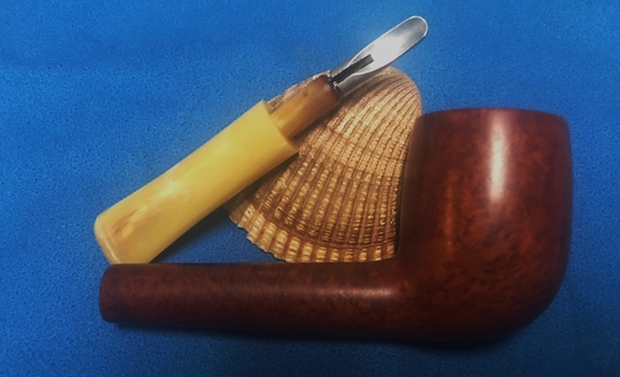
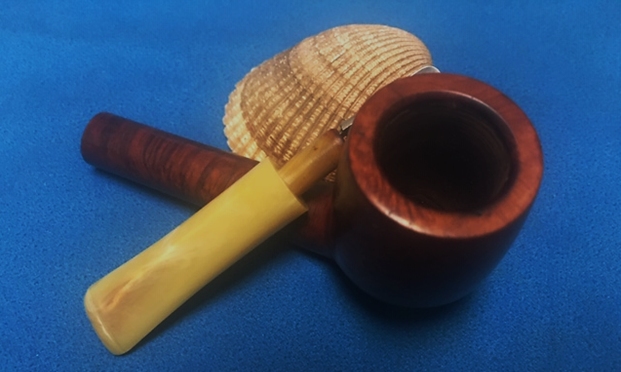
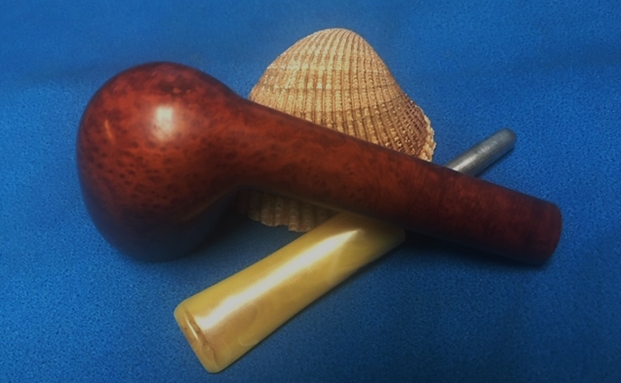
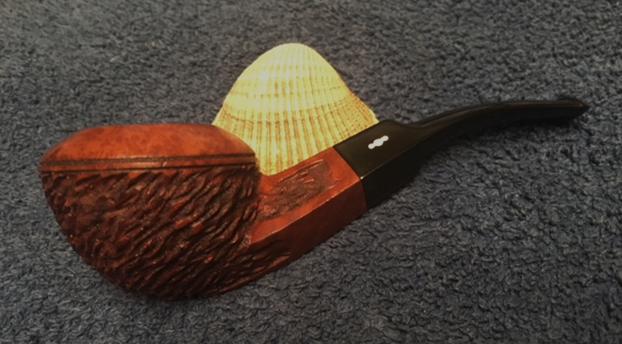
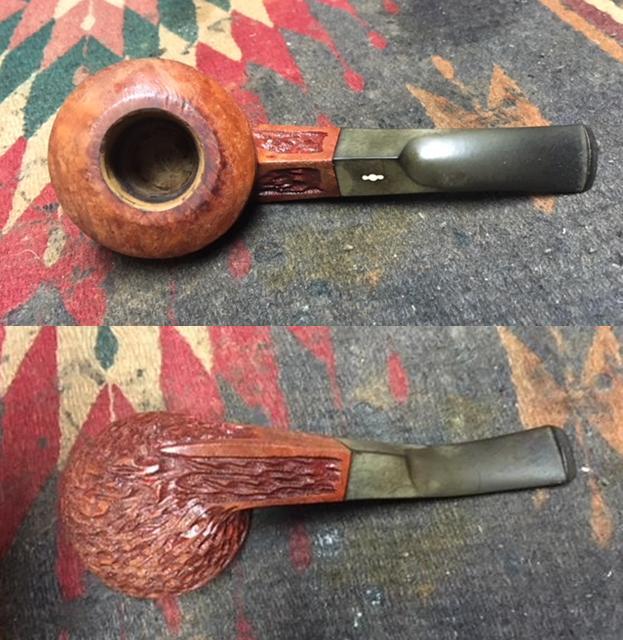
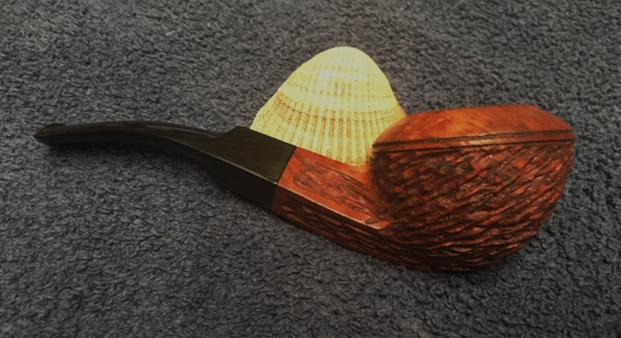
 With both parts of the pipe finished, I polished the bowl and the stem with Blue Diamond polish on the buffing wheel. I gave the bowl and the stem multiple coats of carnauba wax. I buffed the pipe with a clean buffing pad to raise the shine. I hand buffed it with a microfiber cloth to deepen the shine. The old KBB Yello-Bole Premier Liverpool polished up pretty nicely. The rich browns of the finish and the grain came alive with the buffing. The finish on the briar works well with the polished yellow Bakelite stem. The finished pipe is a well-proportioned, well-made KBB Yello-Bole Liverpool. Have a look at it with the photos below. The dimensions are Length: 5 ¼ inches, Height: 1 ¾ inches, Outside diameter of the bowl: 1 1/8 inches, Chamber diameter: ¾ of an inch. This KBB Yello-Bole Premier Liverpool will be going on the rebornpipes store in the American Pipe Makers shortly. Thanks for walking through the restoration with me on this older American Made pipe.