Blog by Steve Laug
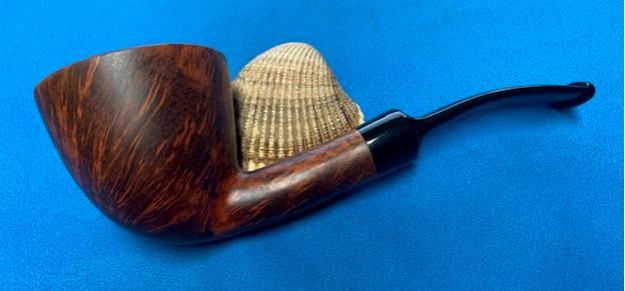
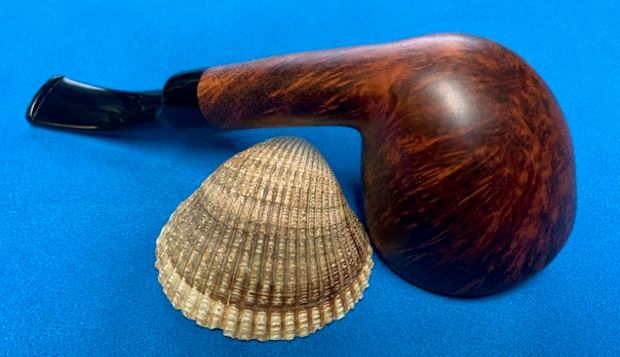
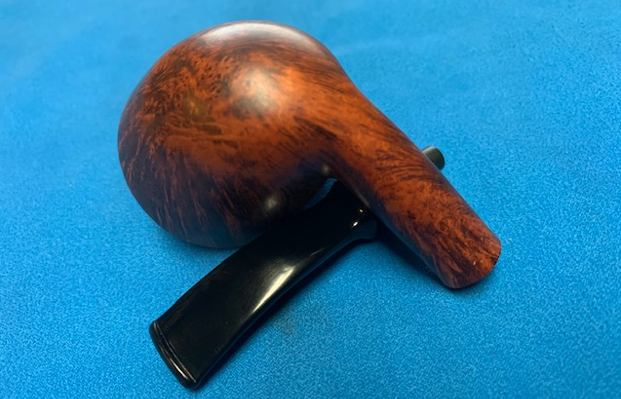
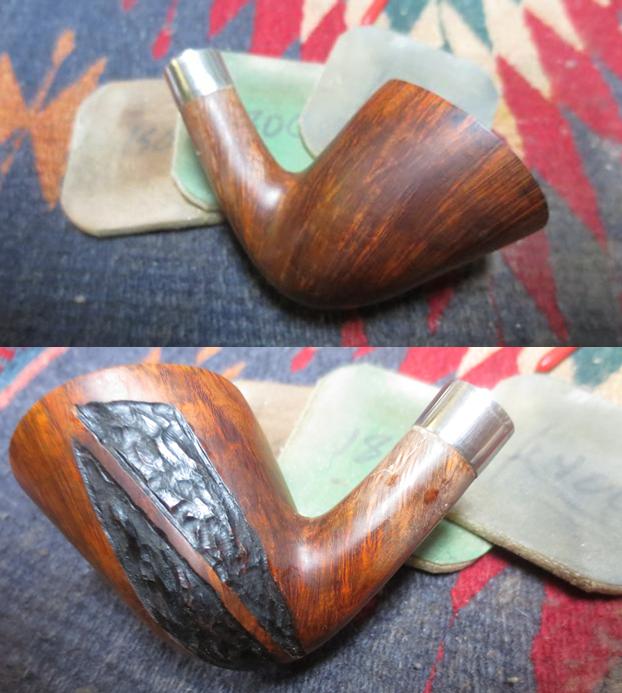
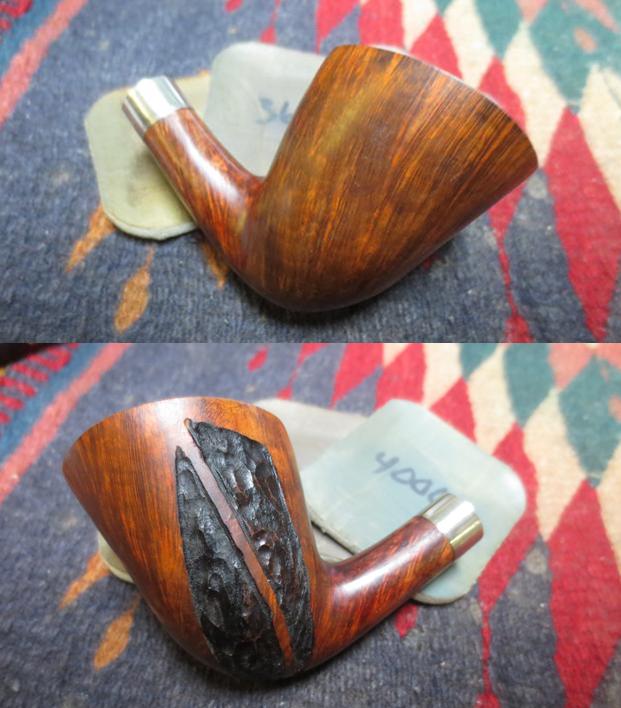
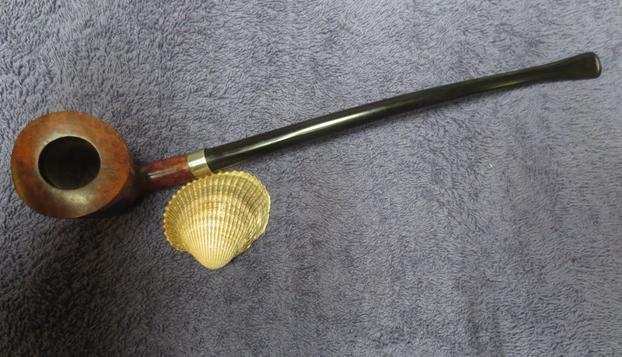
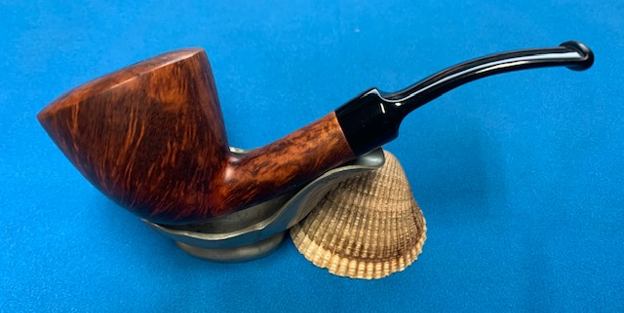
I was going through my boxes of pipes this weekend sorting out pipes for new grab bags and came across several that I wanted to work on right away. I find that I have so many sitting in boxes right now that I easily forget what is in the boxes. A periodic tour of the boxes brings and interesting string of pipes to the table. The first of these is a nice looking large bent Dublin that is stamped on the underside of the shank and reads Johs in script [over] Hand Made [over] In Denmark. The stamping is faint but readable under a lens and light. The pipe was very well made and the grain though dull with time had promise. The bowl was clean and reamed and the rim top looked very good with no damage on the top or outer edges. The inner edge has some damage that makes it slightly out of round. The stem looks like it is acrylic and has some light tooth chatter near the button on both sides of the stem. Jeff and I cannot remember when or where we picked this one up. I know that Jeff cleaned it as it had been reamed and cleaned and showed signs of his clean up methodology. 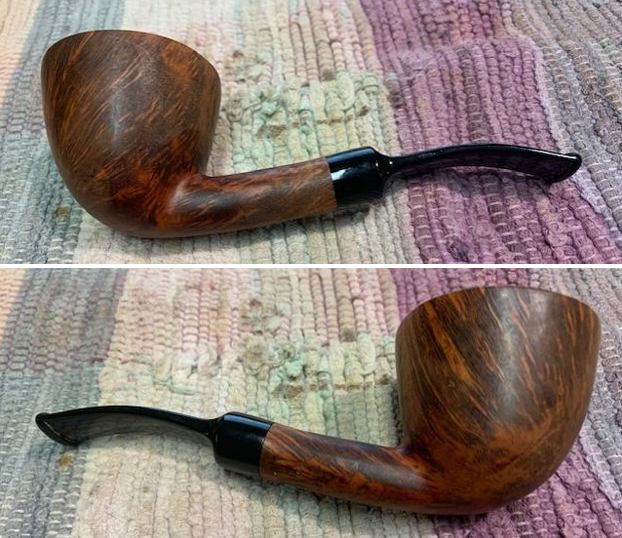
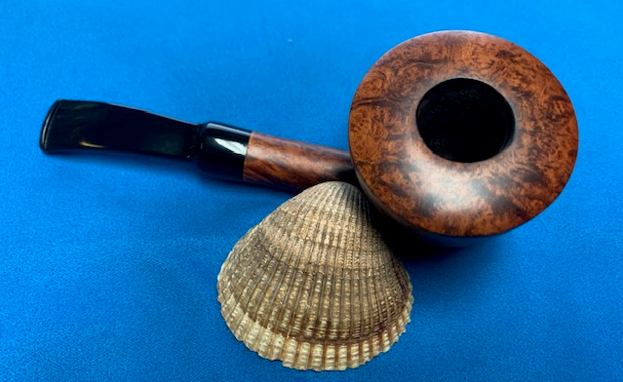
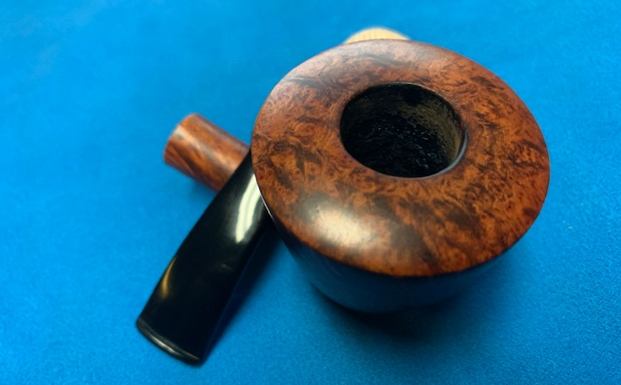
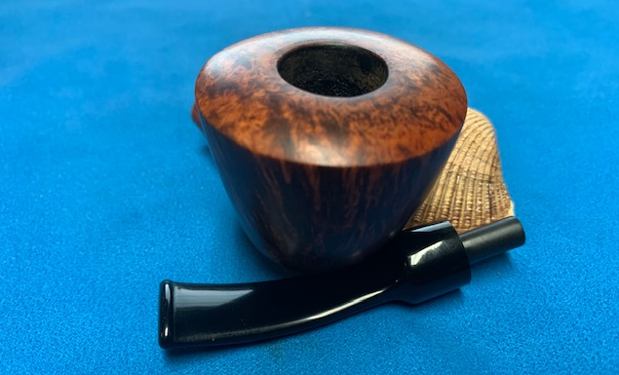
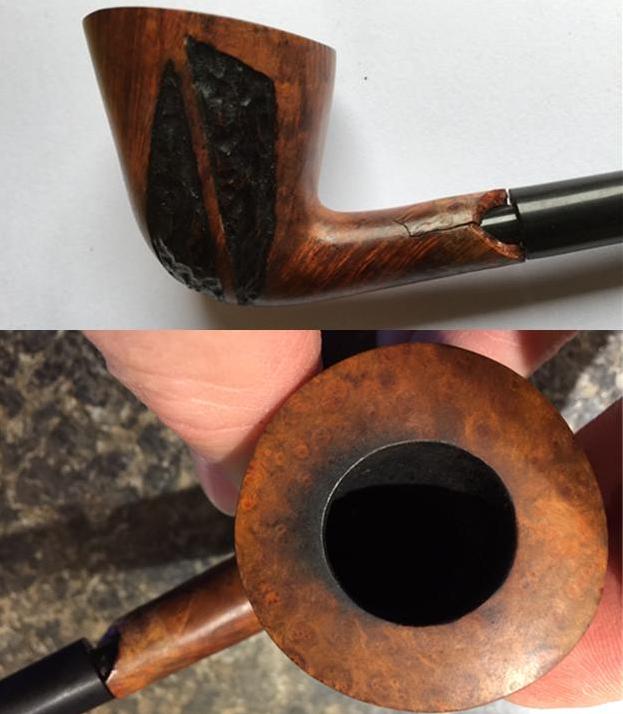
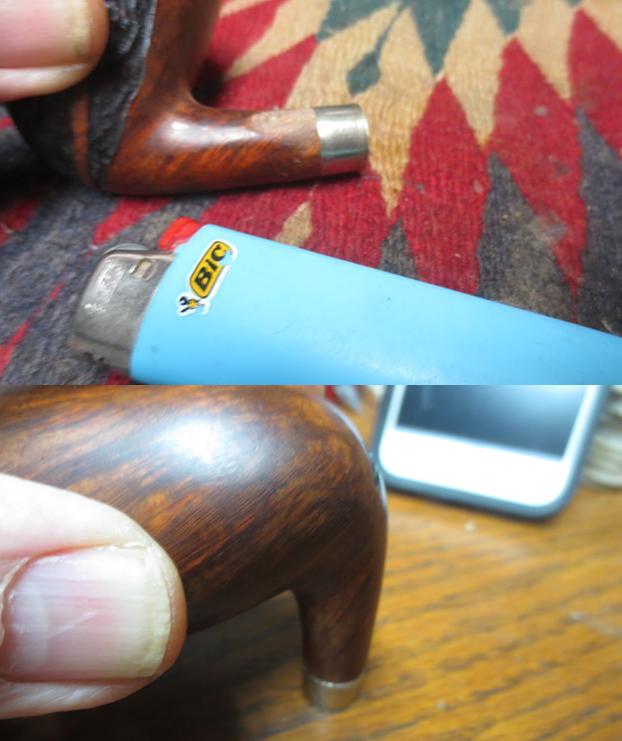
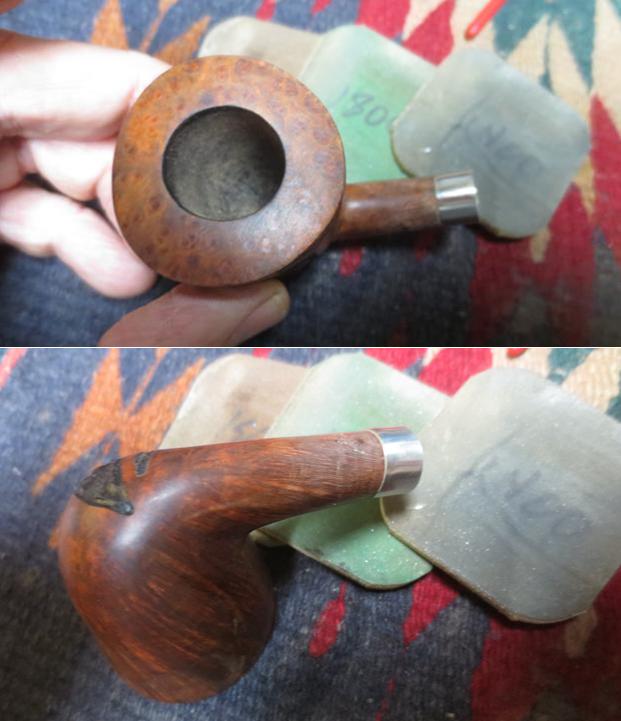
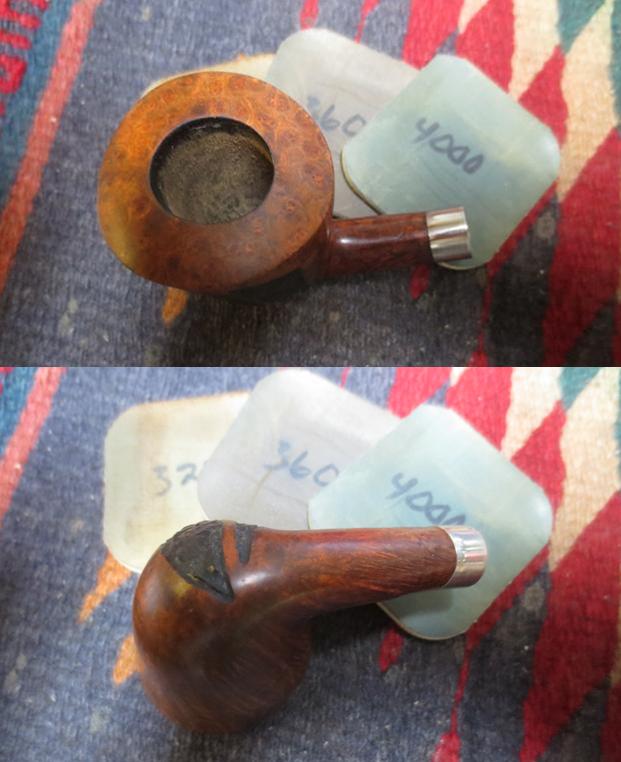
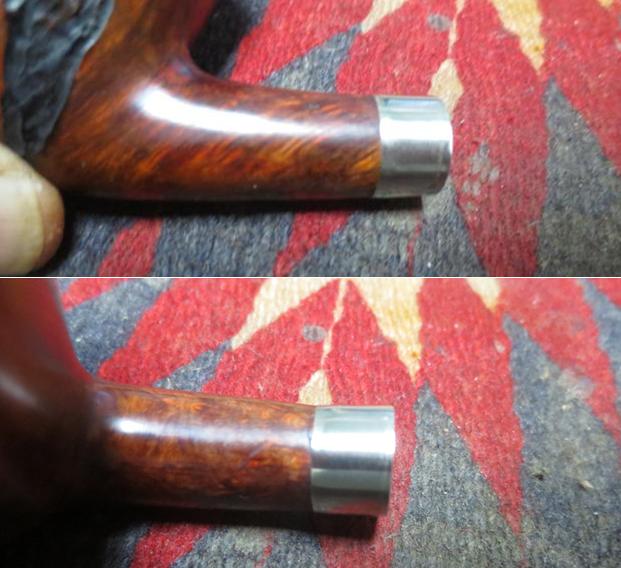
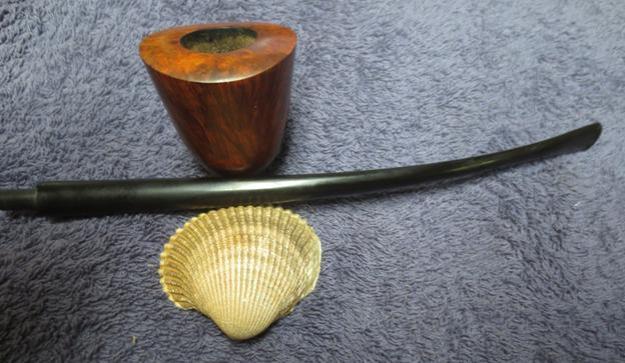
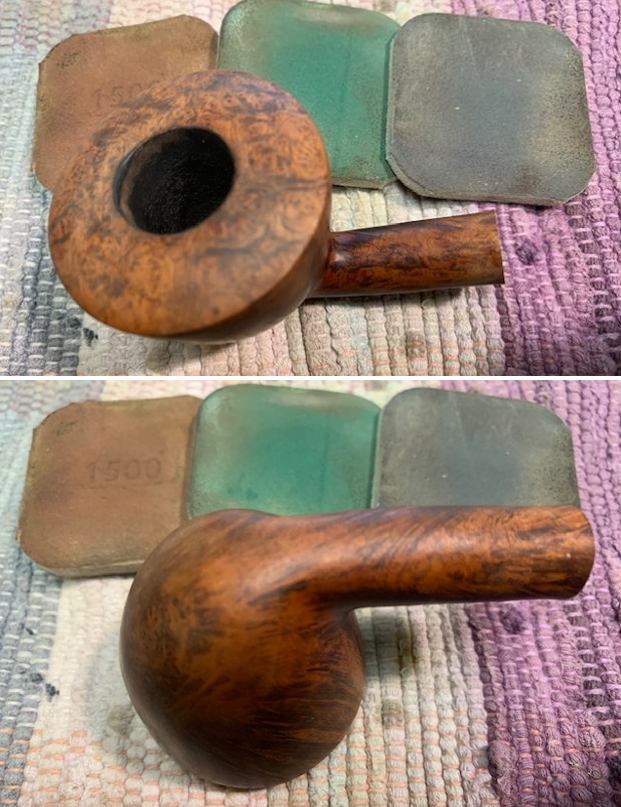
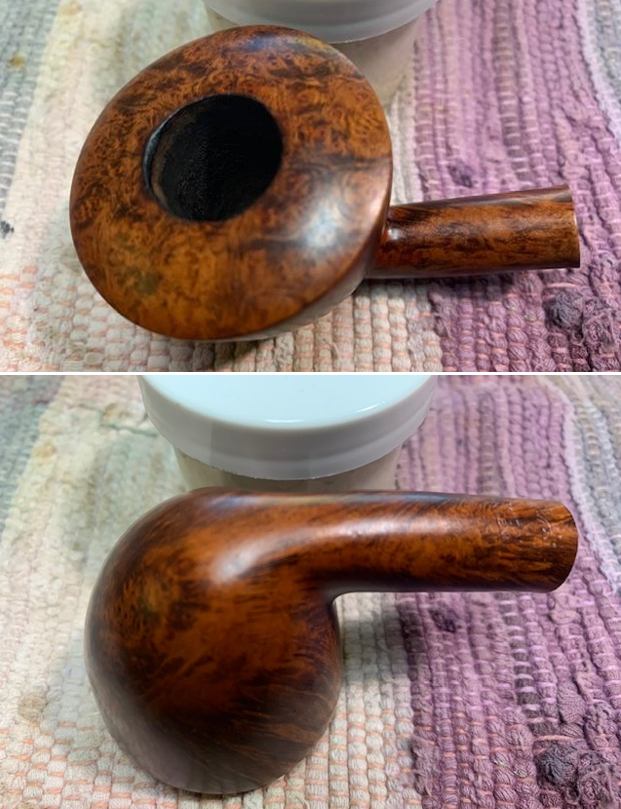
 The rim top is quite stunning. It is wide and has some great birdseye grain around the top. You can see the damage on the inner edge of the bowl where a lighter left behind some burn marks. It is slightly out of round. The outer edge looks very good. The stem has light tooth chatter on both sides near the button.
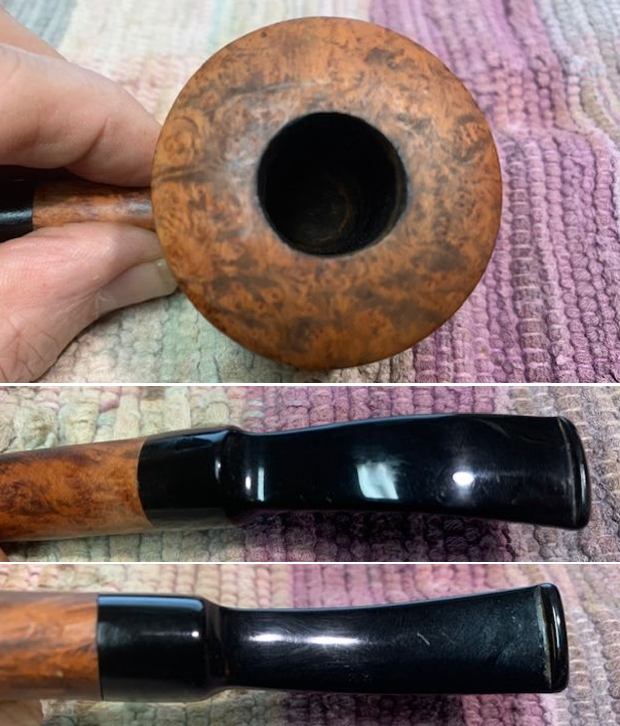 I took a photo of the stamping on the underside of the shank. It reads as noted above. You can see that it is a bit faint but it is still readable.
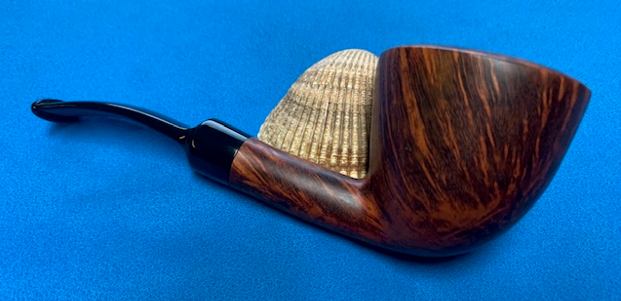
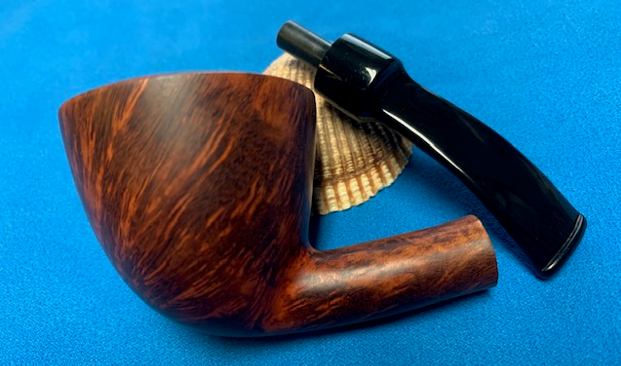
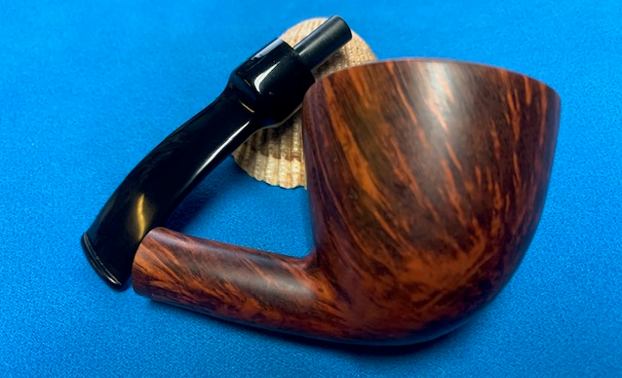
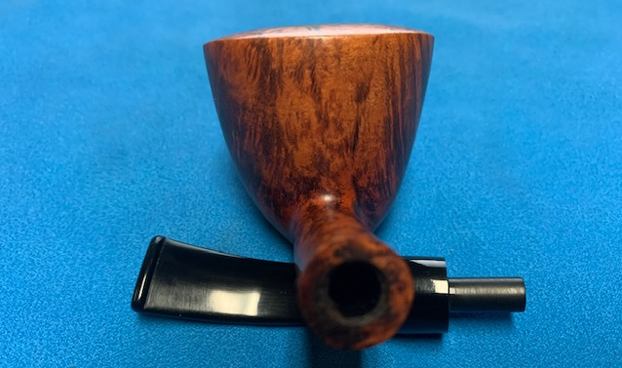
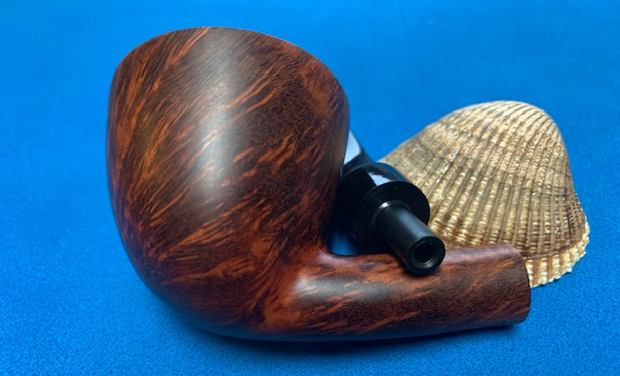
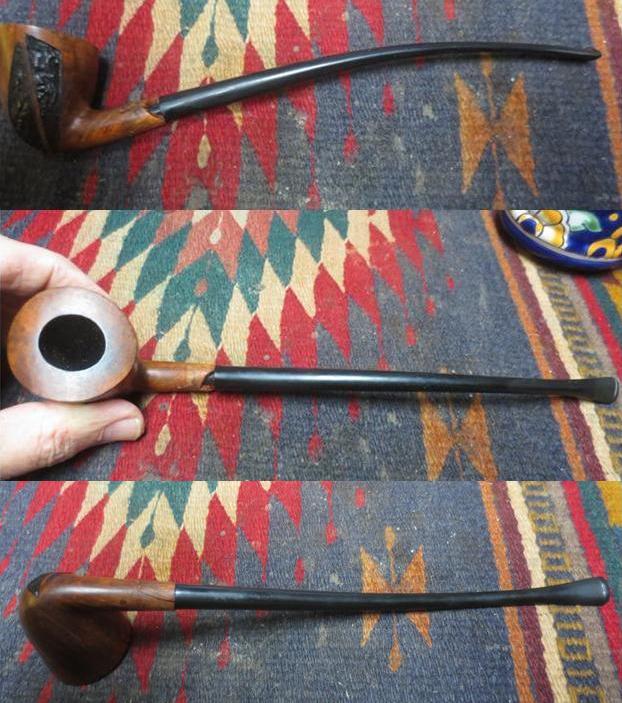
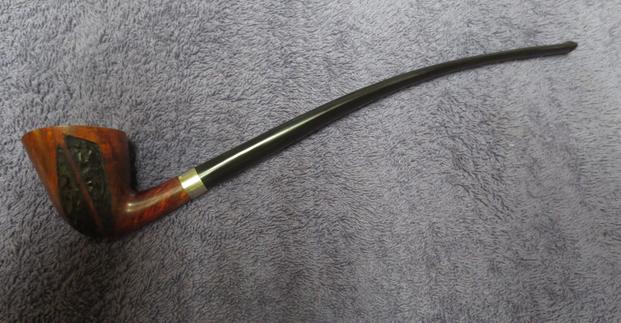
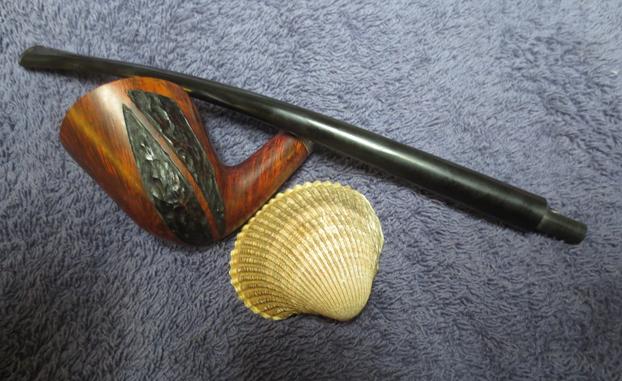
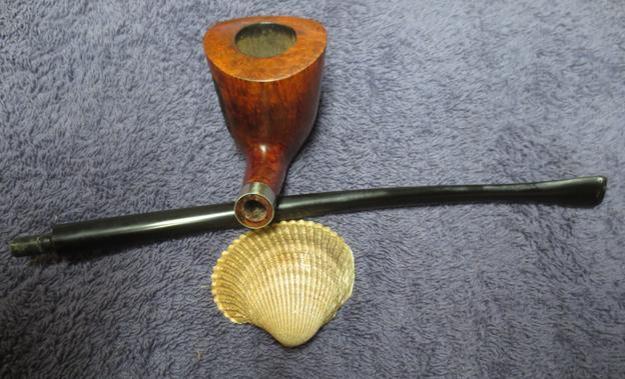
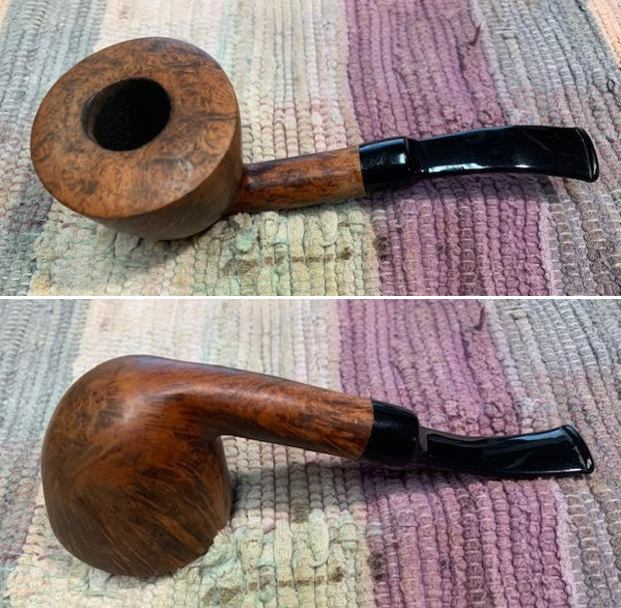
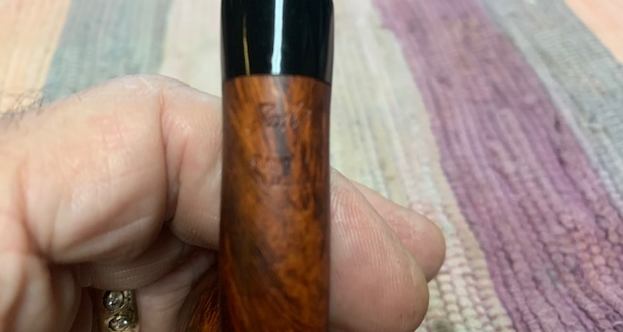 I took the stem off the shank and took a photo of the pipe to show the overall look of this beauty. It has some great grain around the bowl and I am pretty sure the stem is acrylic.
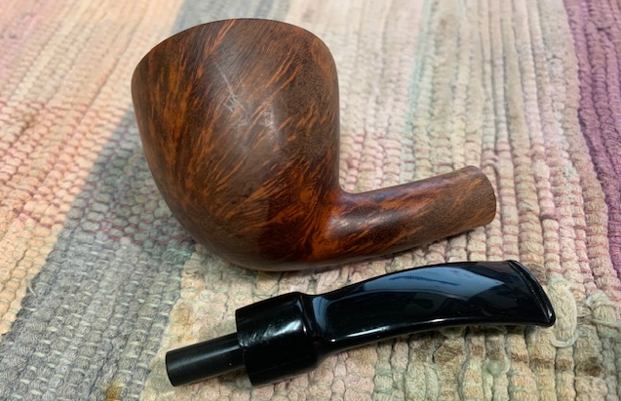 I turned to Pipephil’s site to get a bit of background on Johs. I know that I had read this before but I could not remember the connection to the Danish Pipe Making circle. It was a great short read (http://pipephil.eu/logos/en/logo-j3.html). I have included a screen capture of the info there. I have also copied the side bar information for it concise introduction to the maker.
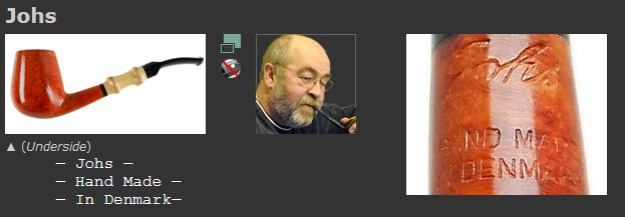 Artisan: Mogens Johansen has carved pipes for Bjarne during 15 years. When Bjarne Nielson passed away “Johs” established on his own in 2008.
I turned then to Pipedia for more information on the brand and was awarded with a great write up. There was a quick introduction and then a fairly long article from the book, Scandinavian Pipemakers by Jan Andersson (https://pipedia.org/wiki/Johs). I quote in part.
Mogens Johansen and his wife Doris operate a pipe and tobacco shop named Gaden Pibemagerie in the small hamlet Ravenhøj, not far from Frederikshavn. Mogens, he calls himself Johs as a pipemaker, makes his classical Danish freehands in the adjacent workshop…
Likely many pipe smokers have smoked a pipe made by Mogens Johansen without realizing it. For many years he made pipes for Bjarne Nielsen, and those pipes were not stamped with his name. So apart from tourists visiting his workshop in Frederikshavn, few knew who Johs was. But in 2008, when Bjarne died so suddenly and unexpectedly, Johs had to make his name known and start selling his pipes on his own. A natural first step toward becoming known was to visit the pipe show in Chicago, and he did so that same year. When sellers learned that Johs had made pipes for Bjarne, who had a very good reputation, it was not hard for him to find interested dealers…
In the late 1980s Johs met Peter Hedegaard, a meeting of great importance for Johs. The beautiful pipes Peter made inspired Johs, and Peter gave him valuable advice and suggestions. The two of them became close friends, and that probably was a contributing factor for Peter to move from Helsingor to Frederikshavn in the early 2000s.
As time passed, Johs spent more and more time in his cellar, where he had his tools and machines, and finally he decided to try making a living from pipe making. He rented an old stable, situated in the backyard where he lived, and started to make pipes full time. Most of them were sold to German tourists. But in 1992 Johs started to work for Bjarne Nielsen and continued until Bjarne passed away.
…There he makes 800 – 1000 pipes a year, and most of them are sold to dealers in the USA. Despite the large production, Johs says that he probably has enough briar to last for the rest of his life, as he bought the entire stock Bjarne left behind. And it was huge. He also has a lot of ebonite and, except for a few pipes with stems from Cumberland, all his pipes have ebonite stems. Adornments from many different materials are quite frequently used.
Johs’s pipes are stamped Johs. Handmade in Denmark. The sandblasting is performed in Peder Jeppesen’s workshop.
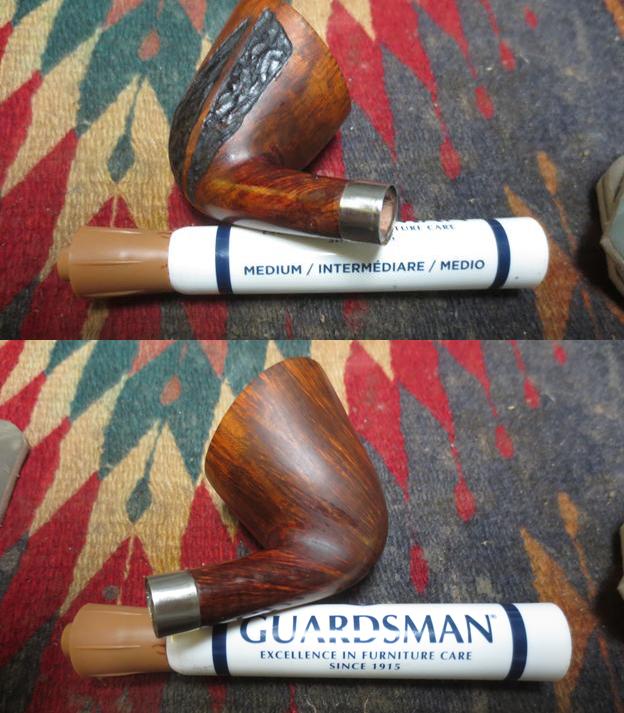
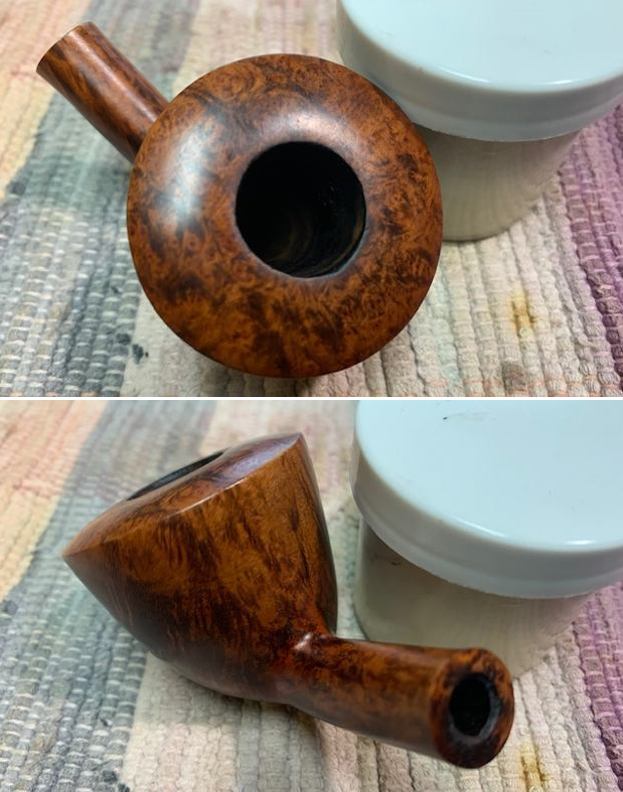
Jeff had obviously done a thorough job cleaning and reaming this pipe so when I brought I to the table it was very clean. I polished the briar with micromesh sanding pads – dry sanding with 1500-12000 grit pads. I wiped the bowl down after each pad with a damp cloth. The bowl really began to take on a shine.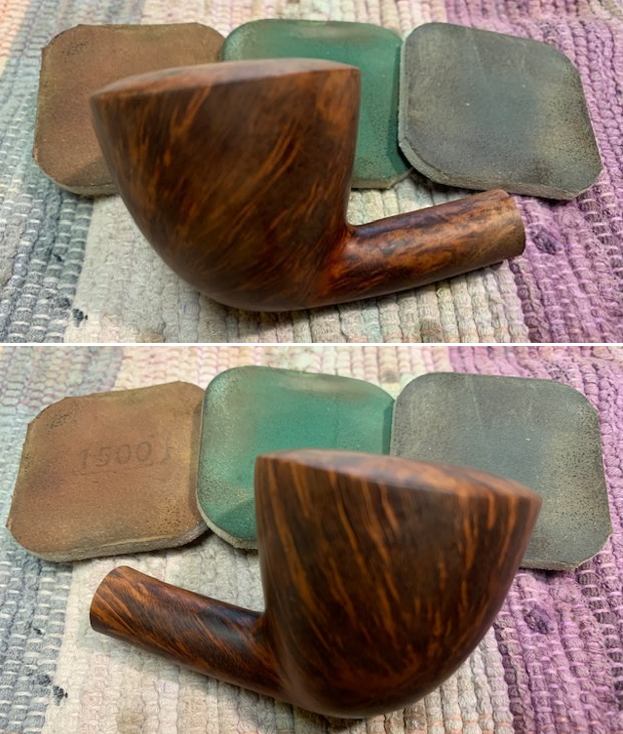
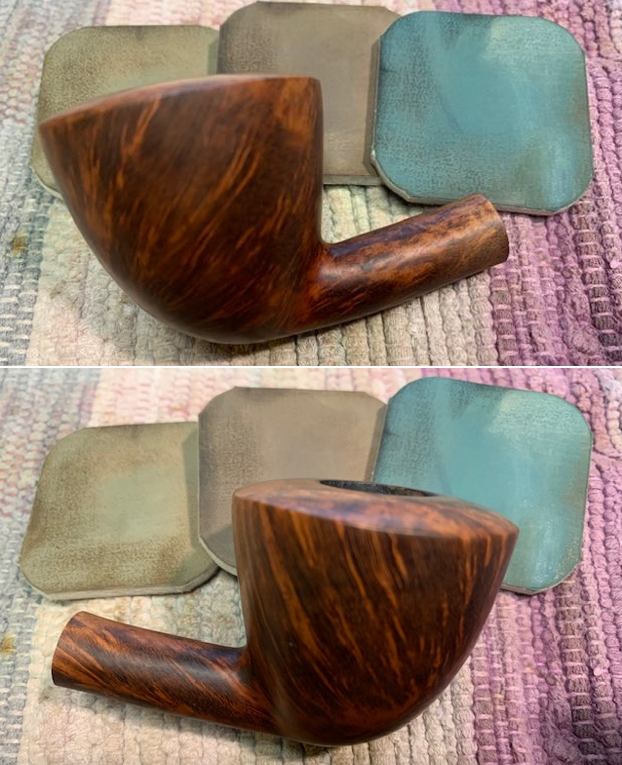
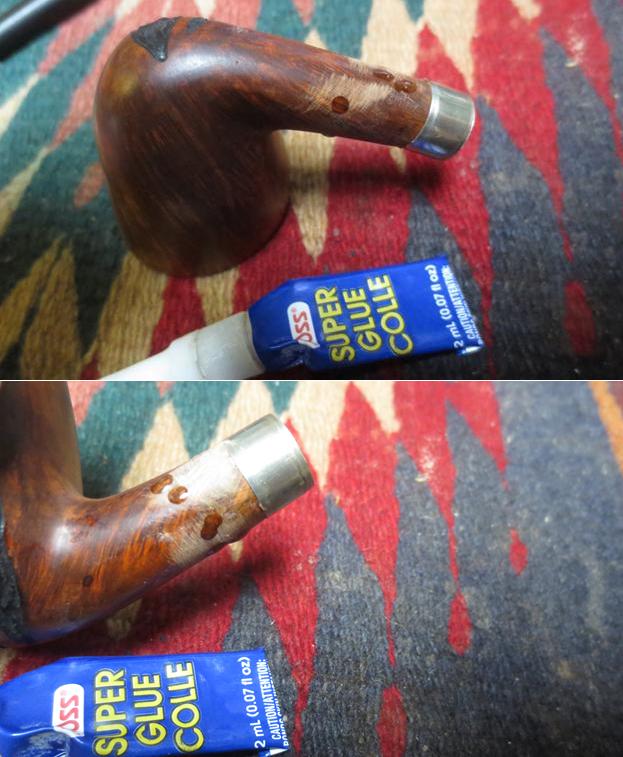
 I worked some Before & After Restoration Balm into the surface of the smooth briar with my finger tips. The product is amazing and works to clean, enliven and protect the briar. I let it sit on the briar for 10 or more minutes and then buff it off with a soft cloth. It really makes the grain really stand out clearly.
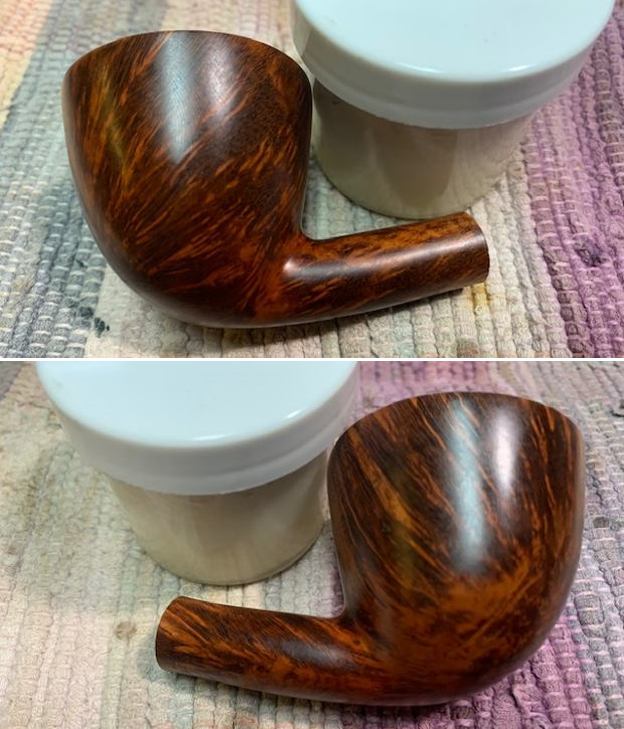
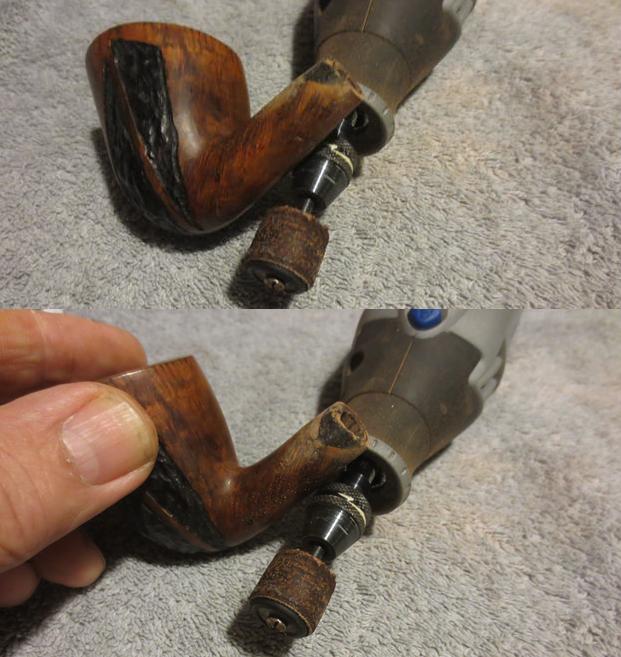
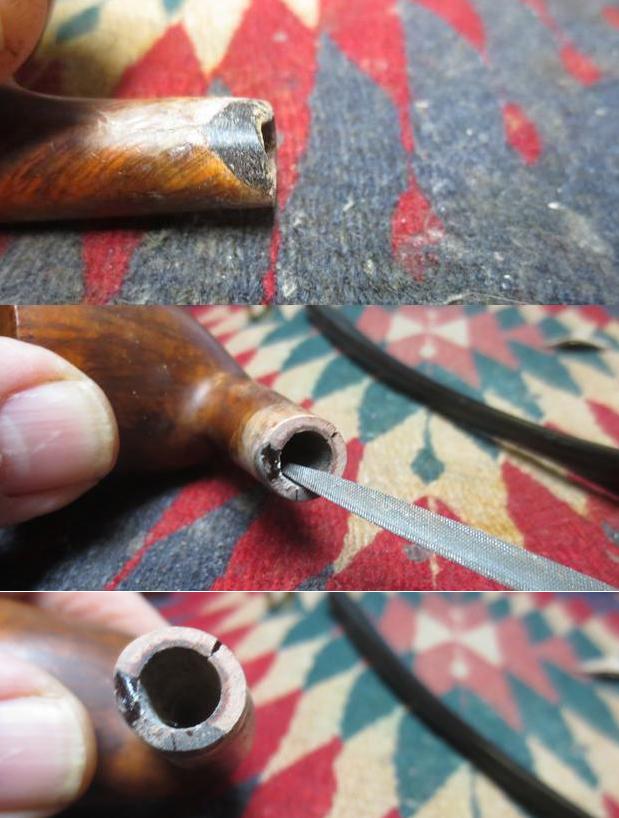
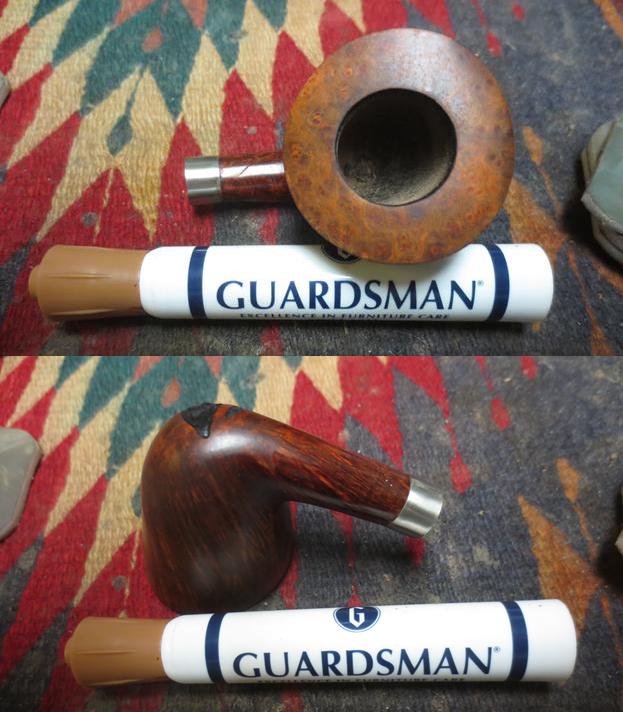
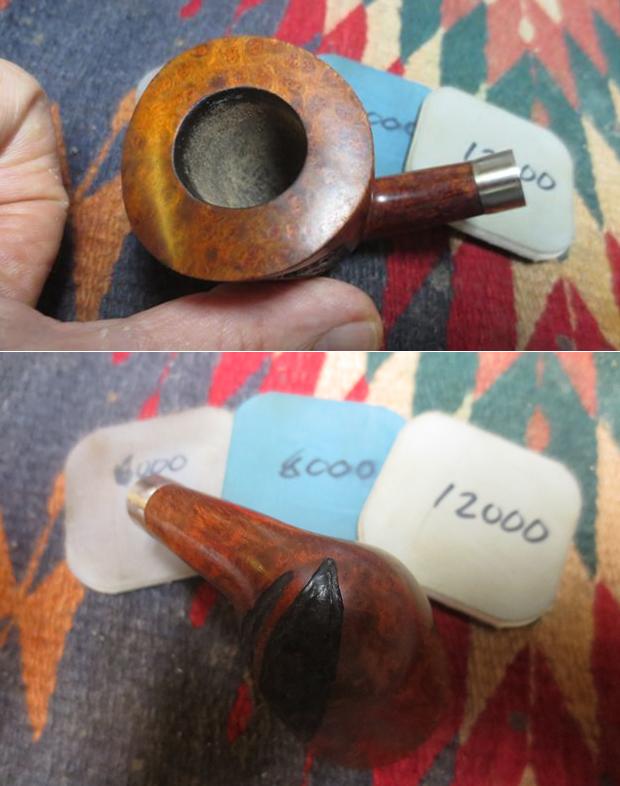
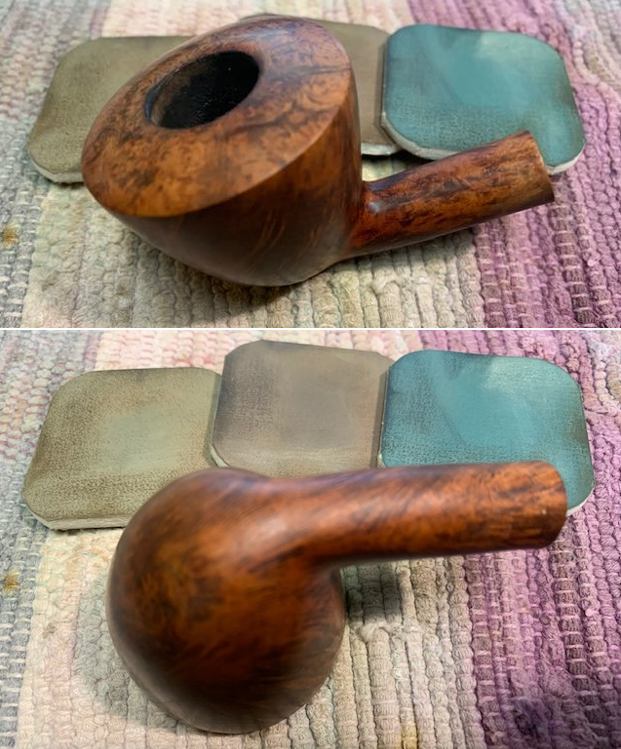
 When I put the above pictures in I noticed that I had missed a little burn damage on the inner edge of the bowl at the backside. The bowl was slightly out of round. I dealt with that now! I used a folded piece of 220 grit sandpaper to smooth out the edge and then gave it another coat of restoration balm. It looked a lot better.
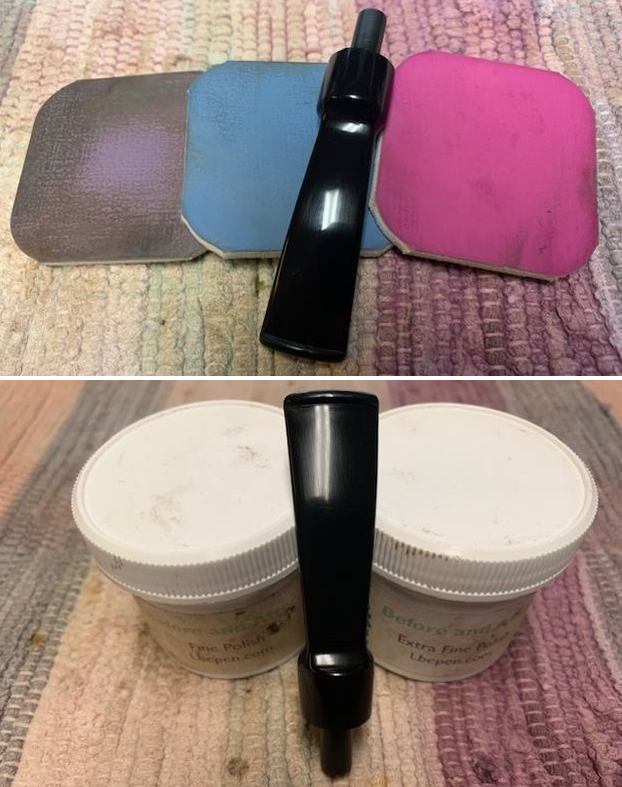
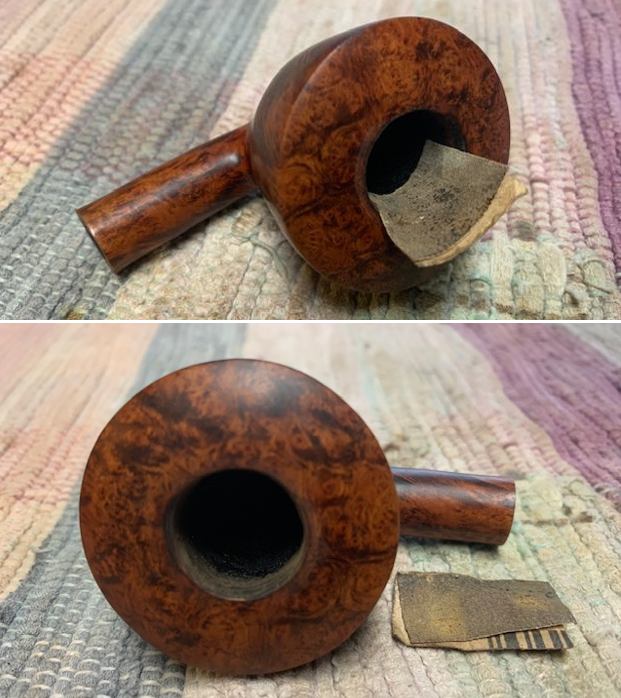 I set the bowl aside and turned my attention to the stem. There was nothing more to deal with there than tooth chatter so I was able to polish it out with micromesh sanding pads. I dry sanded with 1500-12000 grit pads to bring those areas near the button back to smooth and give them a shine.
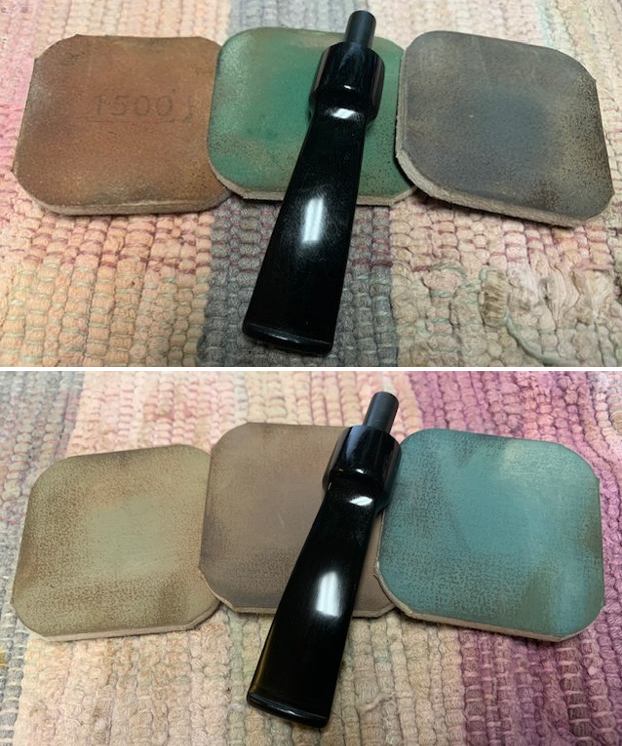
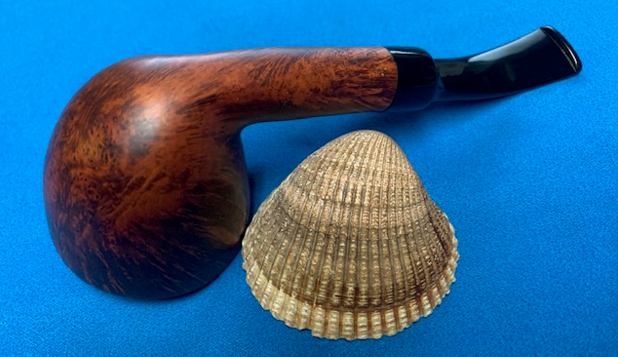
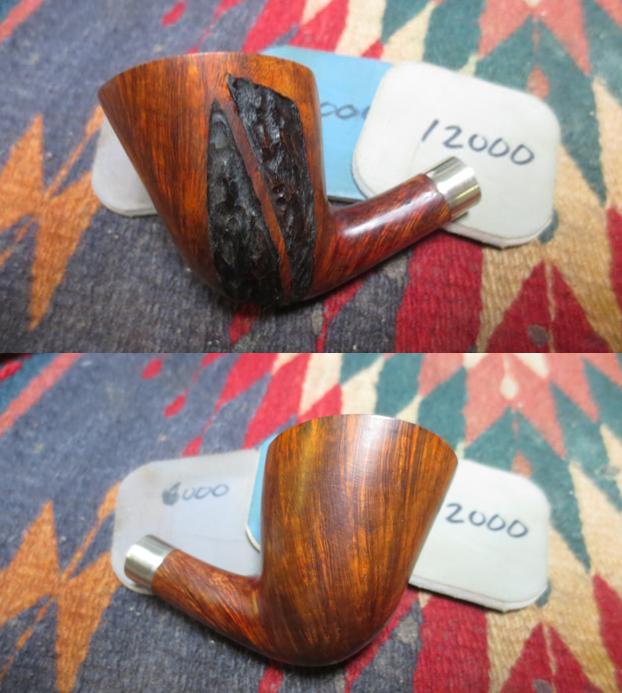
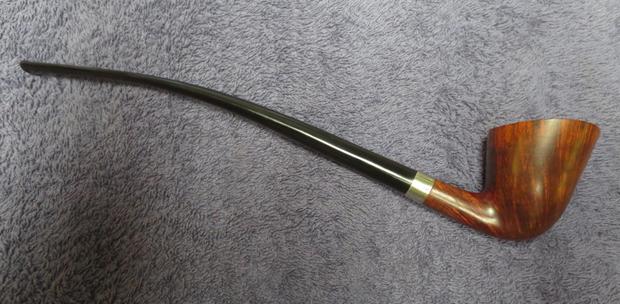
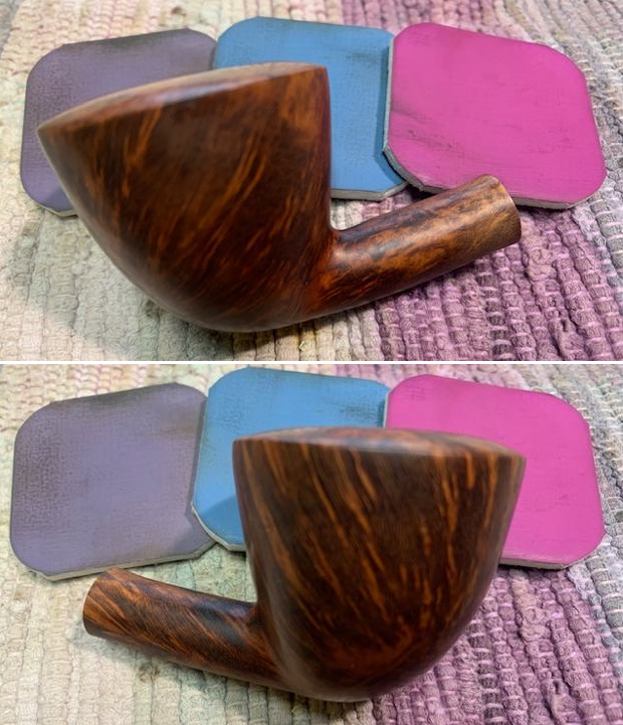
 I put the pipe together – the bowl with its polished stem. This restored and polished Johs Hand Made Danish Dublin is quite stunning. The grain around the bowl came alive with the polishing. I used Blue Diamond on the buffing wheel on both the bowl and stem. I gave the bowl and the stem mulitple coats of carnauba wax on the wheel then buffed it with a clean buffing pad to raise the shine. I hand buffed it with a microfibre cloth to deepen the shine. The attractive Johs Dublin feels great in the hand. It is lightweight for its size and the contrast in the browns of the briar and the polished vulcanite stem is quite beautiful. The dimensions of the pipe are Length:5 ¾ inches, Height: 2 inches, Outer diameter of the bowl: 2 inches, Chamber diameter: ¾ of an inch. The weight of the pipe is 1.73 ounces/49 grams. It really is a beauty. I will be putting it on the rebornpipes store in the Danish Pipe Makers section shortly if you are interested in adding it to your collection. Thanks for walking through the restoration with me. Cheers.