Blog by Steve Laug
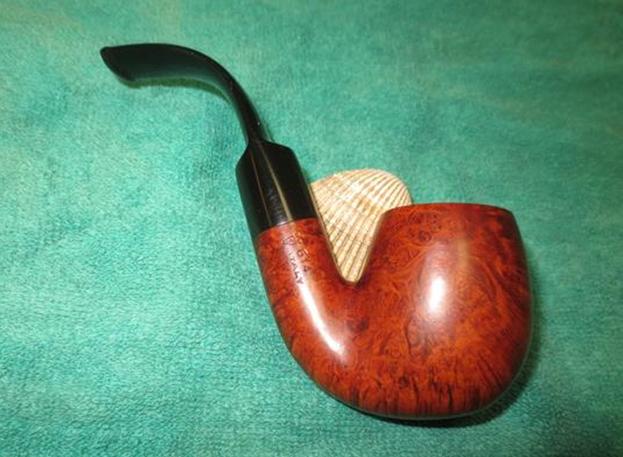
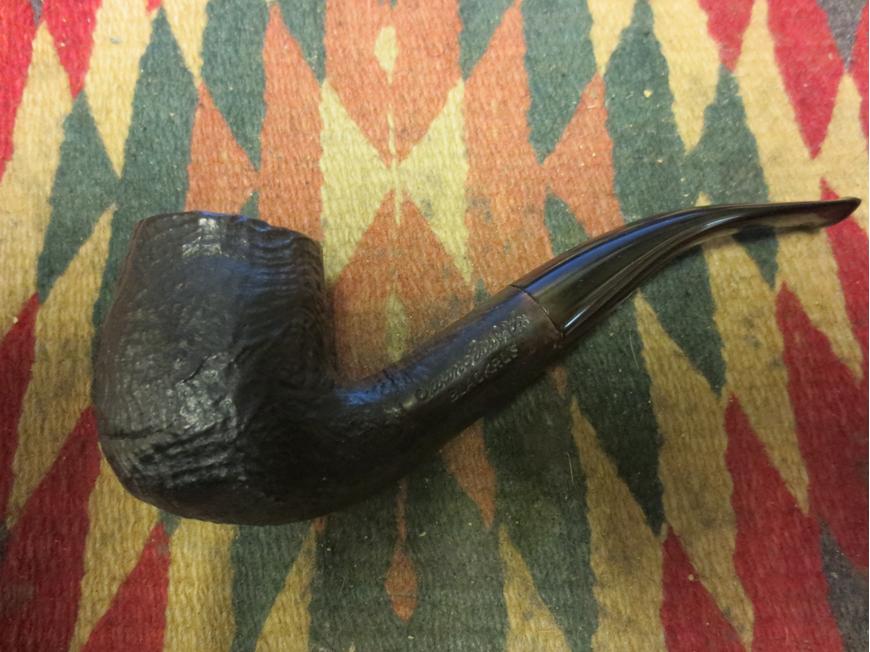
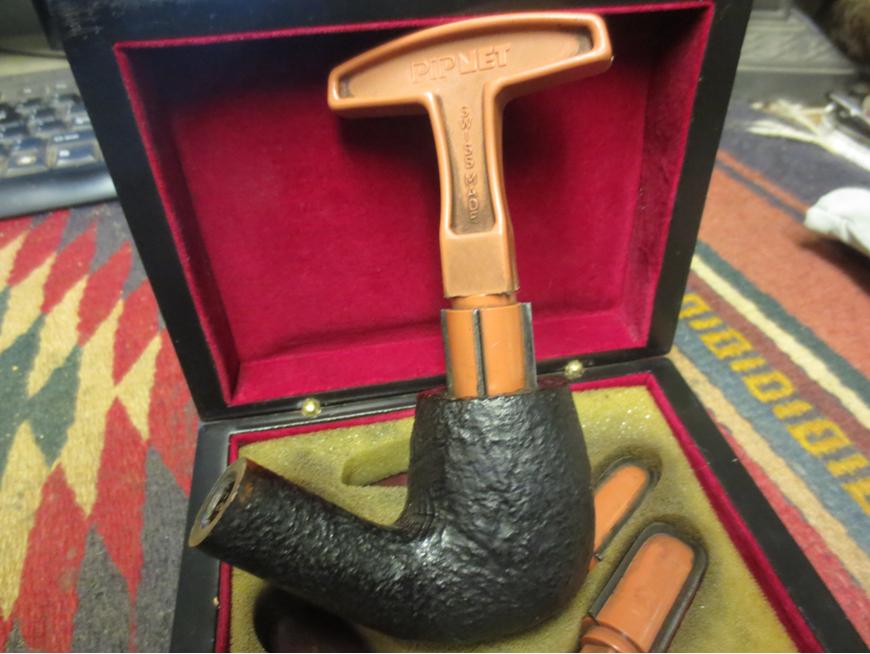
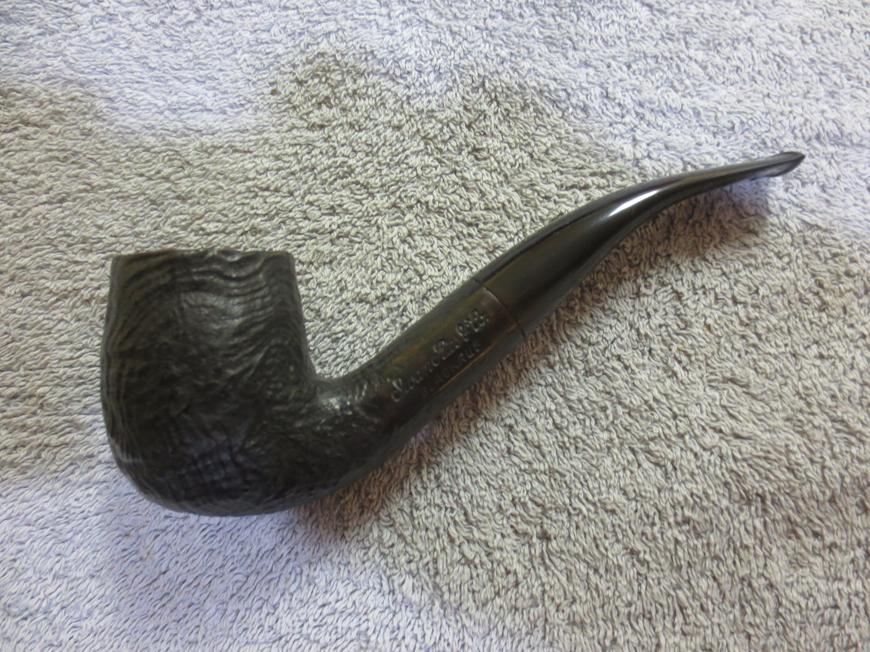
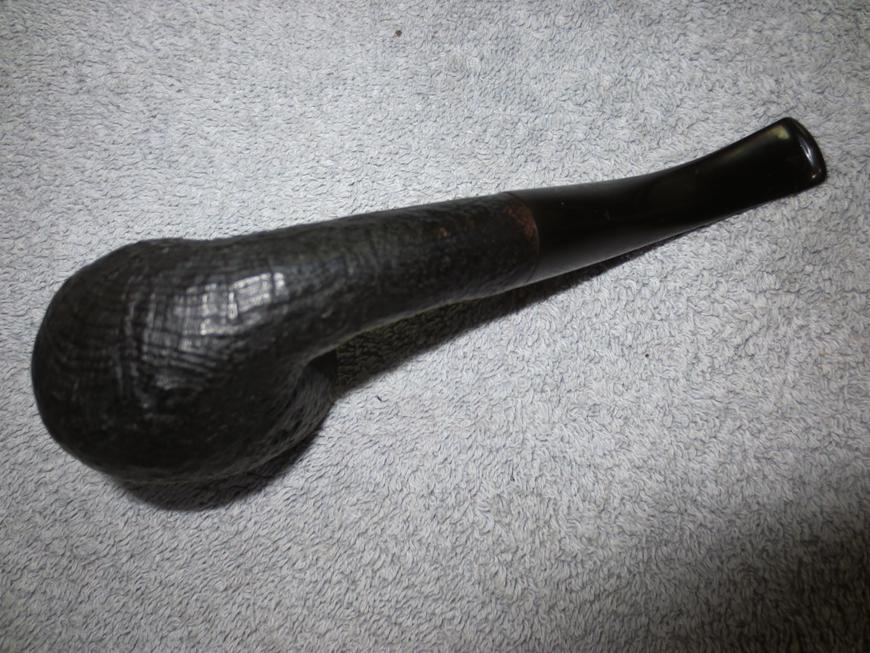
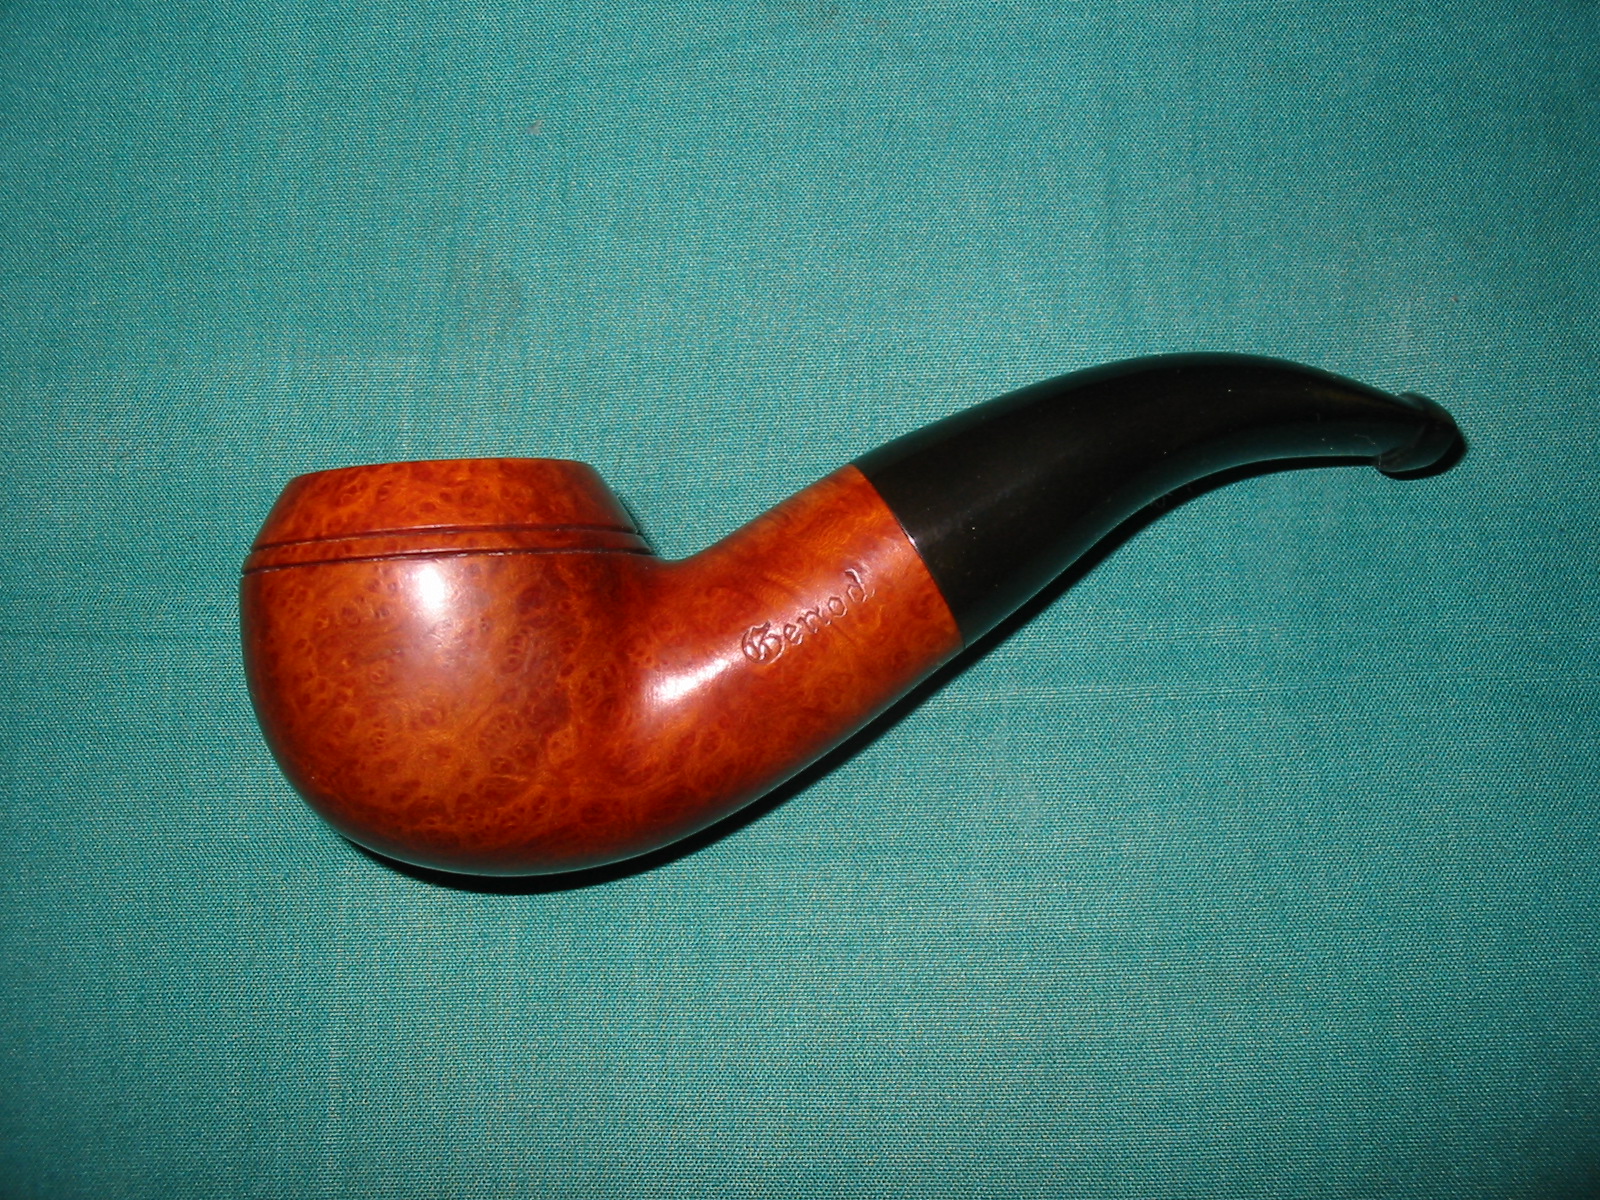
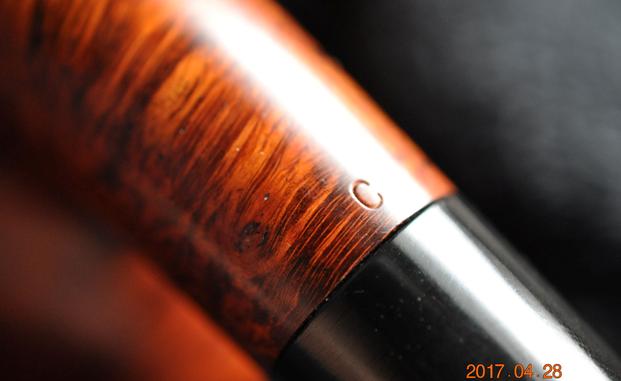
I am getting very close to finishing up the lot from the estate sale that my brother Jeff sent me for restoration. Because he had done a great job on the clean up the restoration of the lot has been a pretty easy process. I can’t tell you how much fun it is to work on clean pipes. Once I finish up this one I have only three left to complete. It is a good feeling when I get toward the end of a package of pipes. It feels like I actually am making some progress in the box of pipes to be restored sitting in my shop. This particular pipe is a beautiful Oom Paul with stunning grain all around the bowl. It is stamped Iwan Ries over Pantera on the left side of the shank with a faint IRC stamped on the left side of the saddle stem. It is stamped with the traditional Savinelli “S” shield with the shape number 614 over Italy on the right side of the shank. The underside has an upper case “C” next to the shank/stem junction.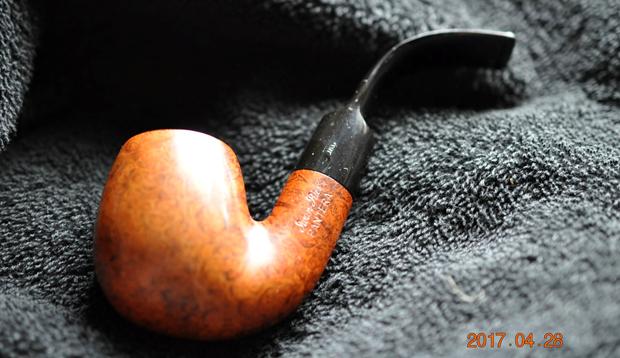 My brother took quite a few photos of the pipe from a variety of angles to show both the condition of the pipe and the beautiful grain around the bowl sides, top and bottom. The photos show the pipe before he started his clean up.
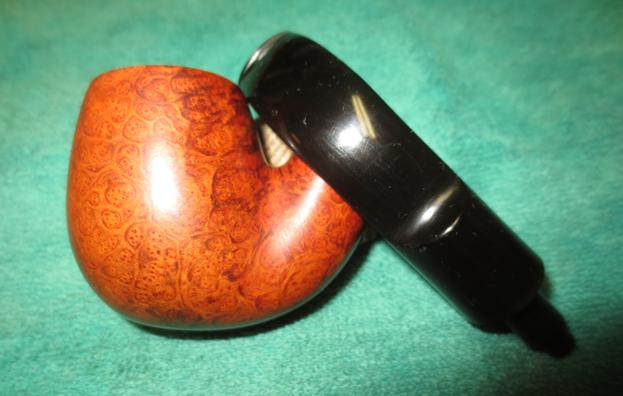
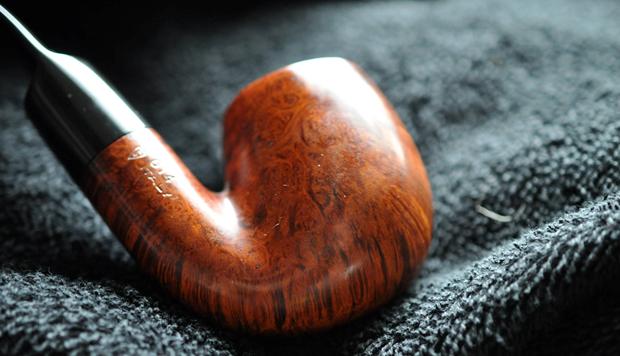
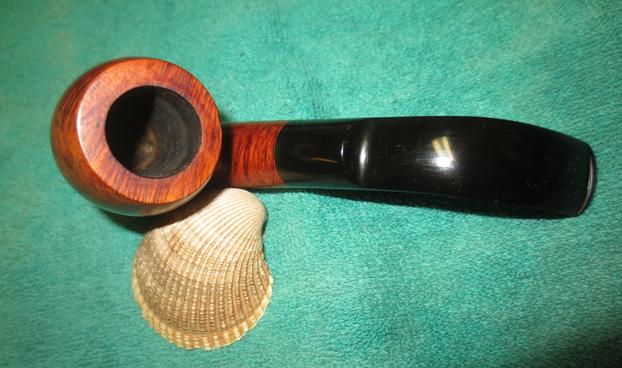
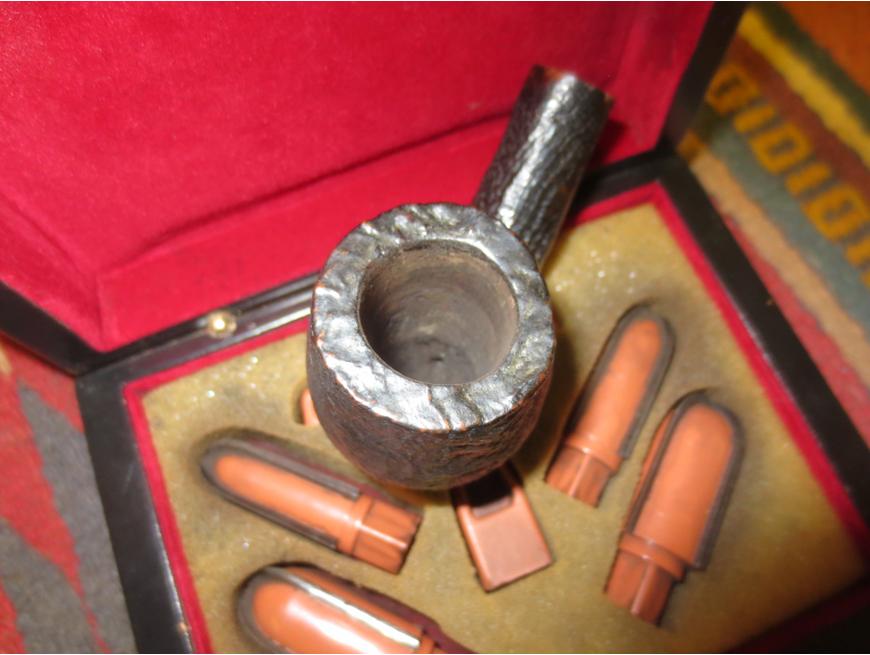
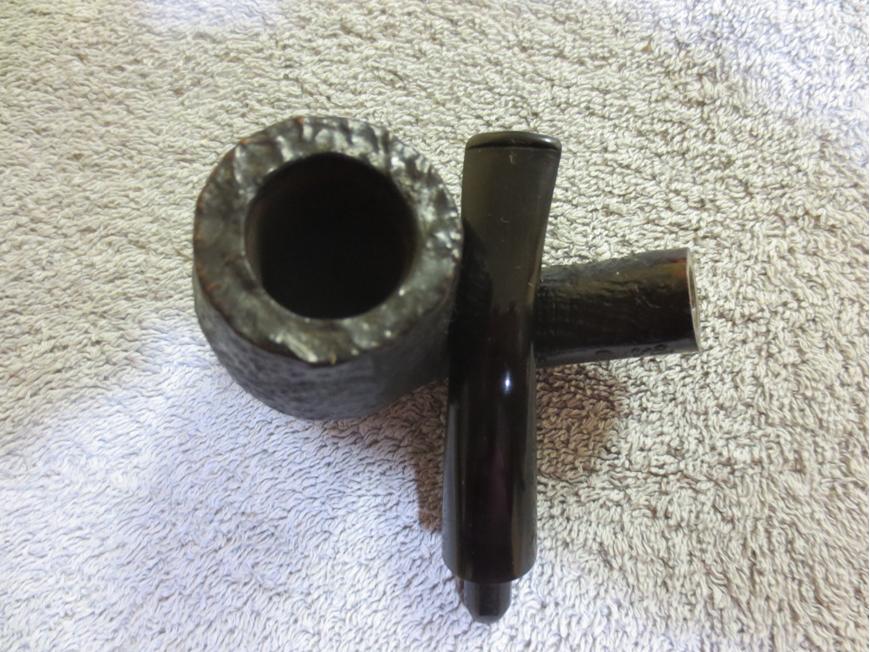
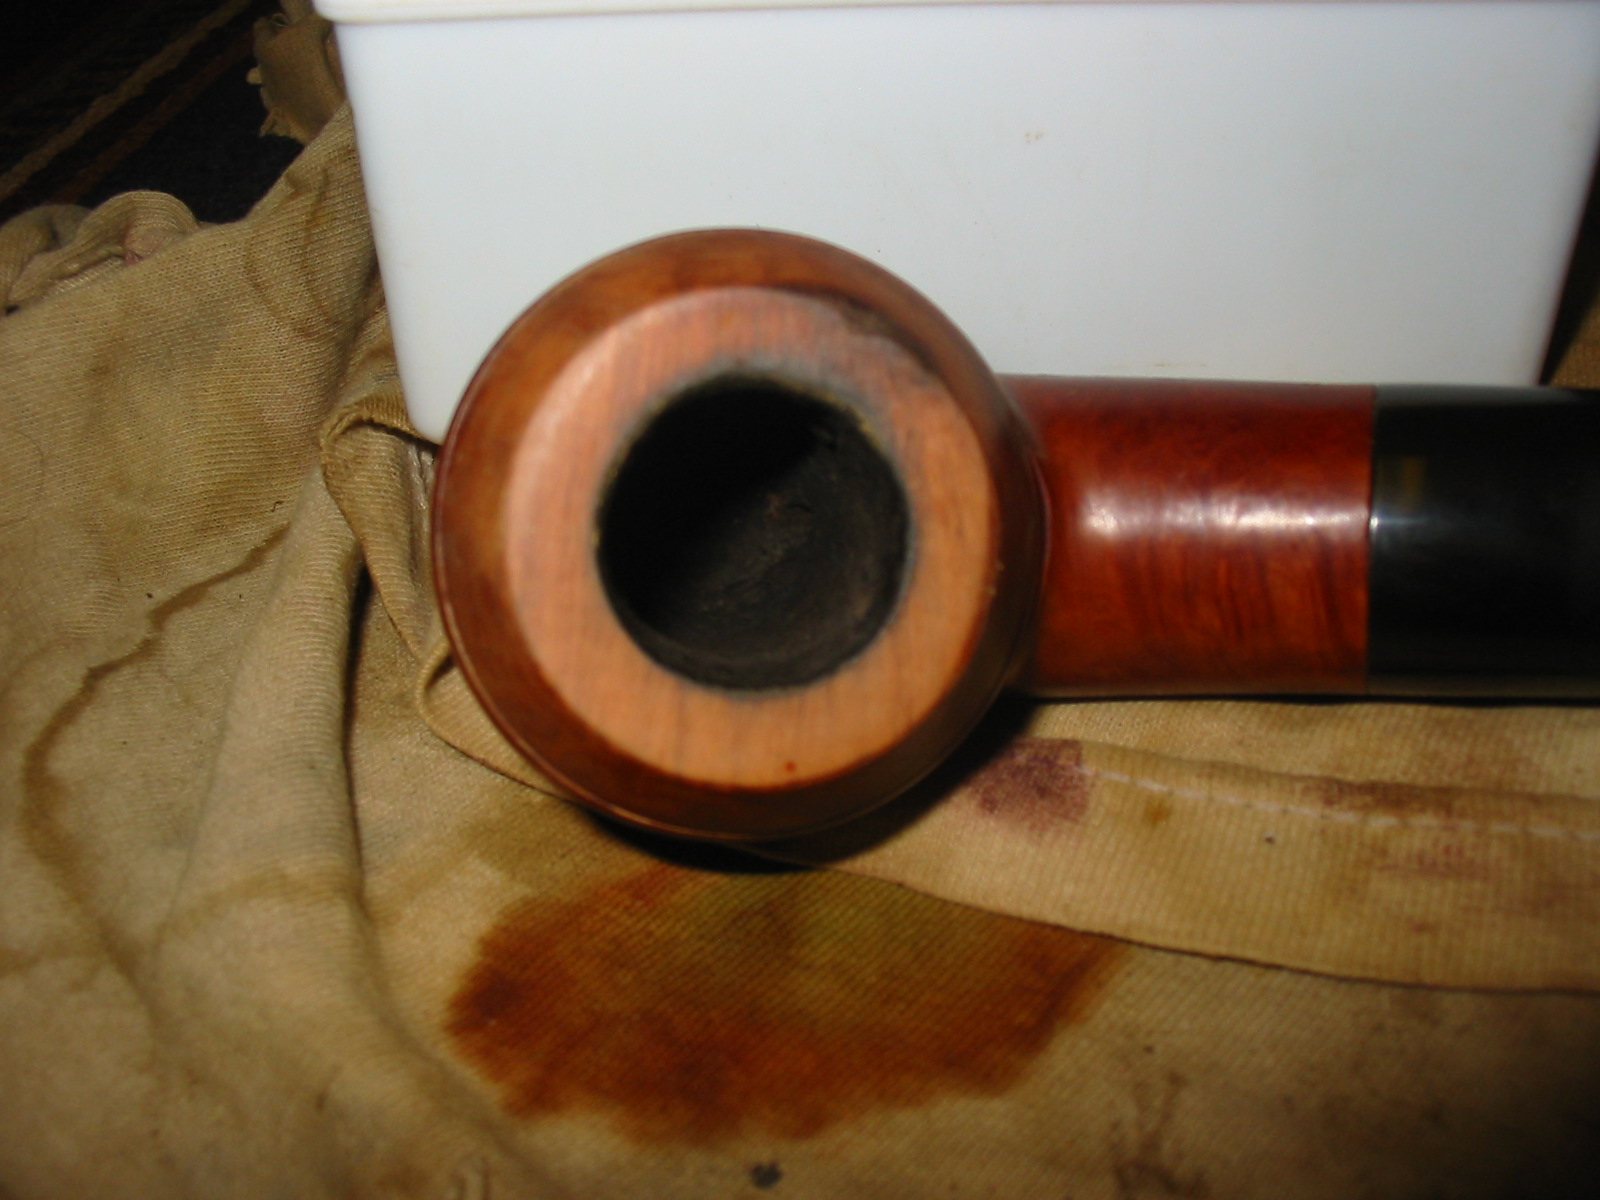
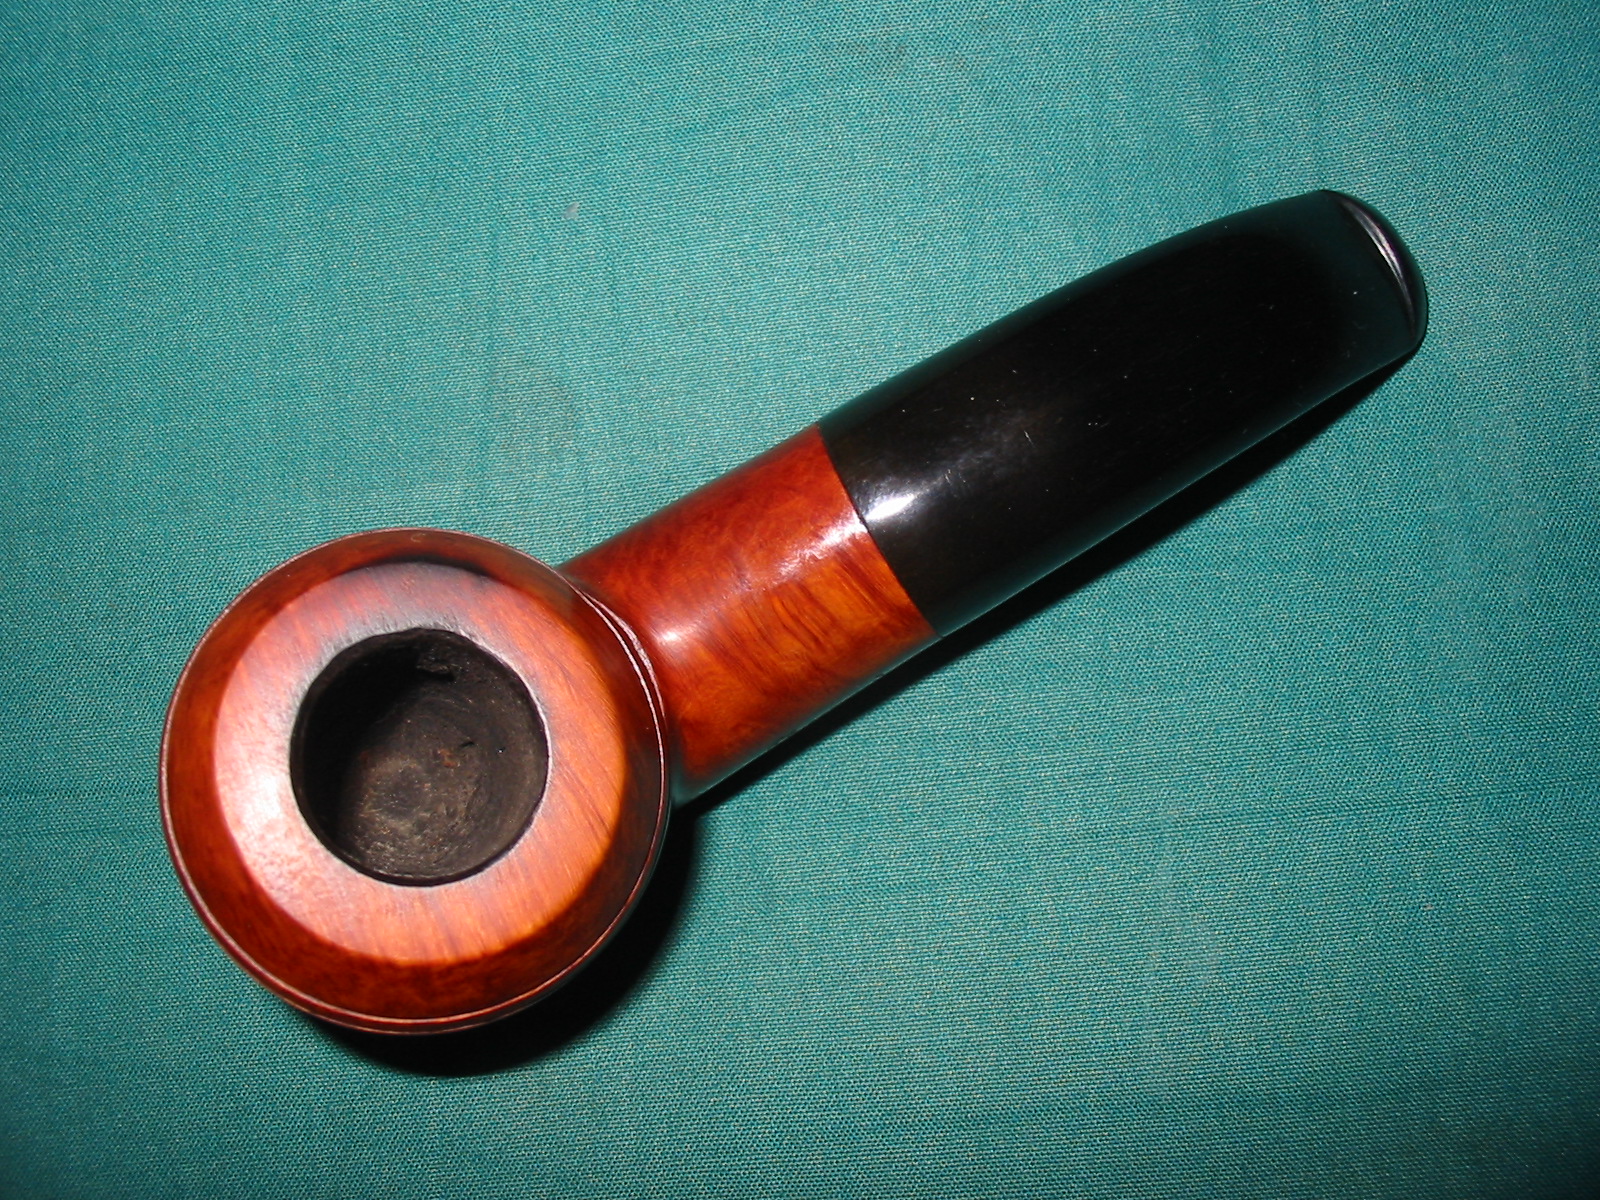
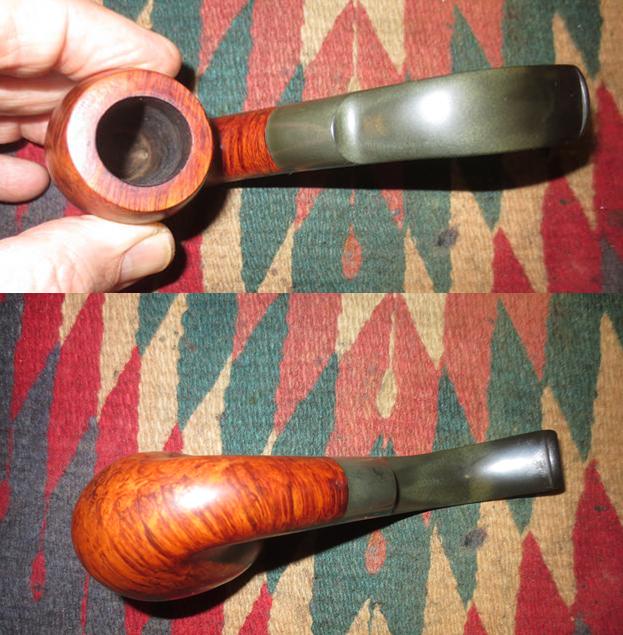
 The bowl was lightly cake and there was a light coat of lava overflowing on to the top of the rim. It appeared to be in excellent condition under the lava and both the inner and outer edges of the bowl were undamaged.
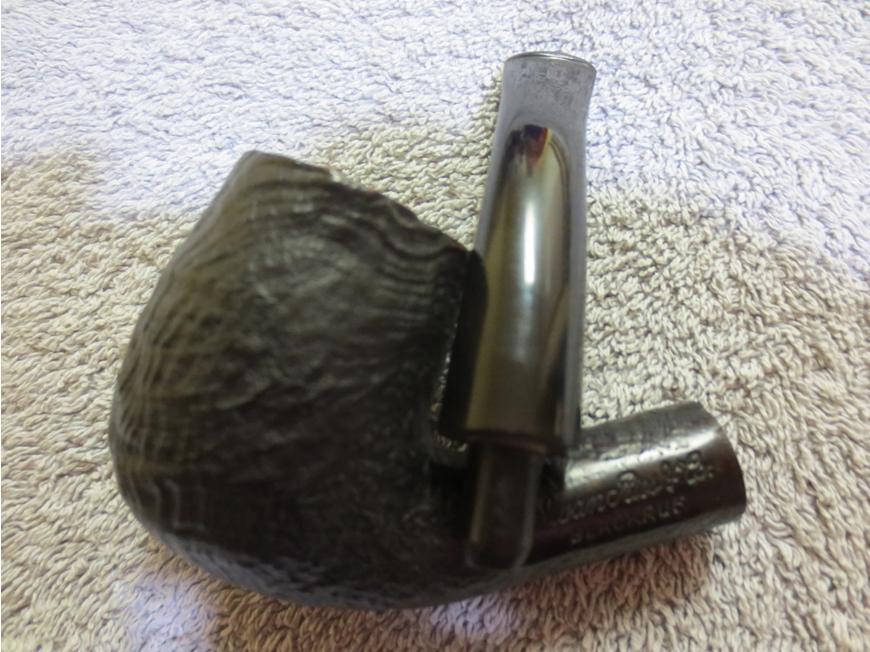
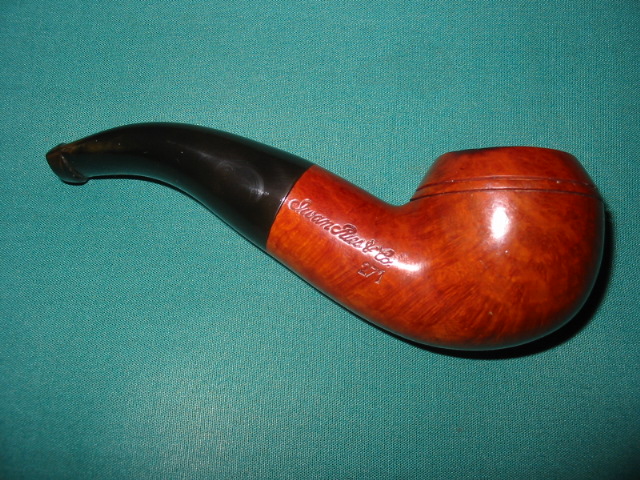
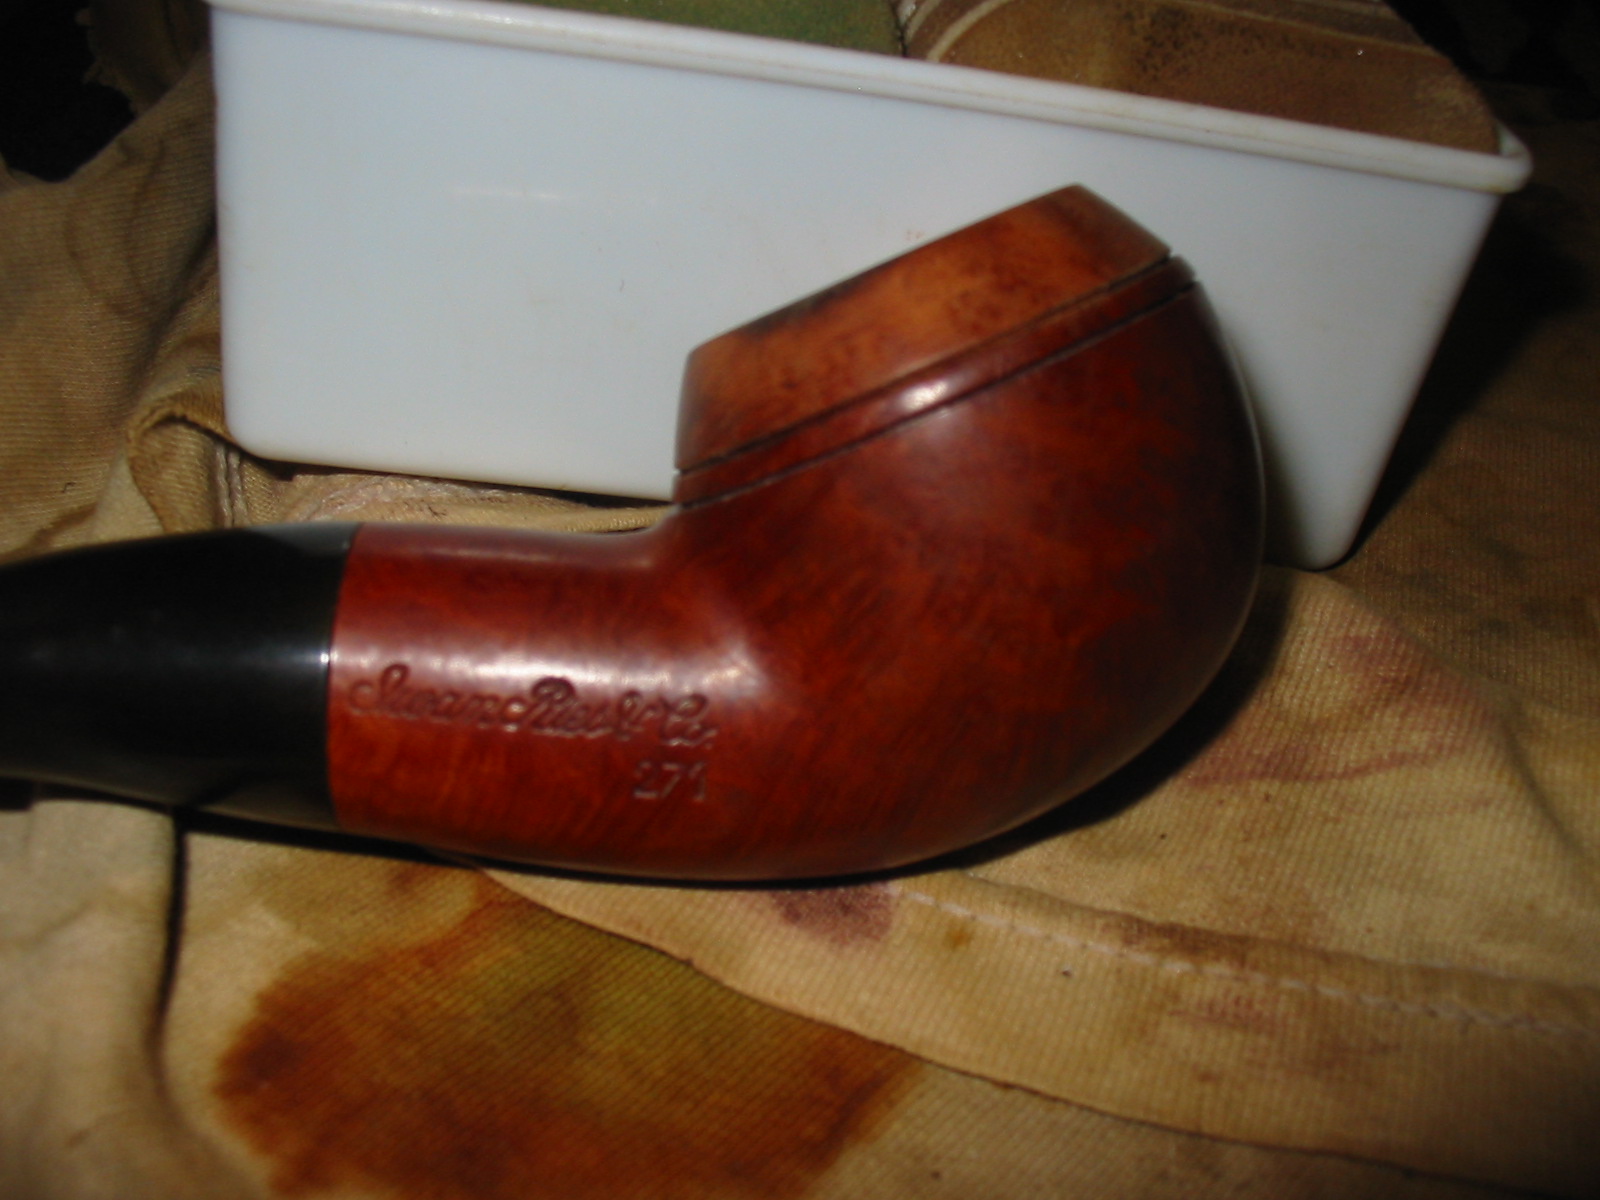
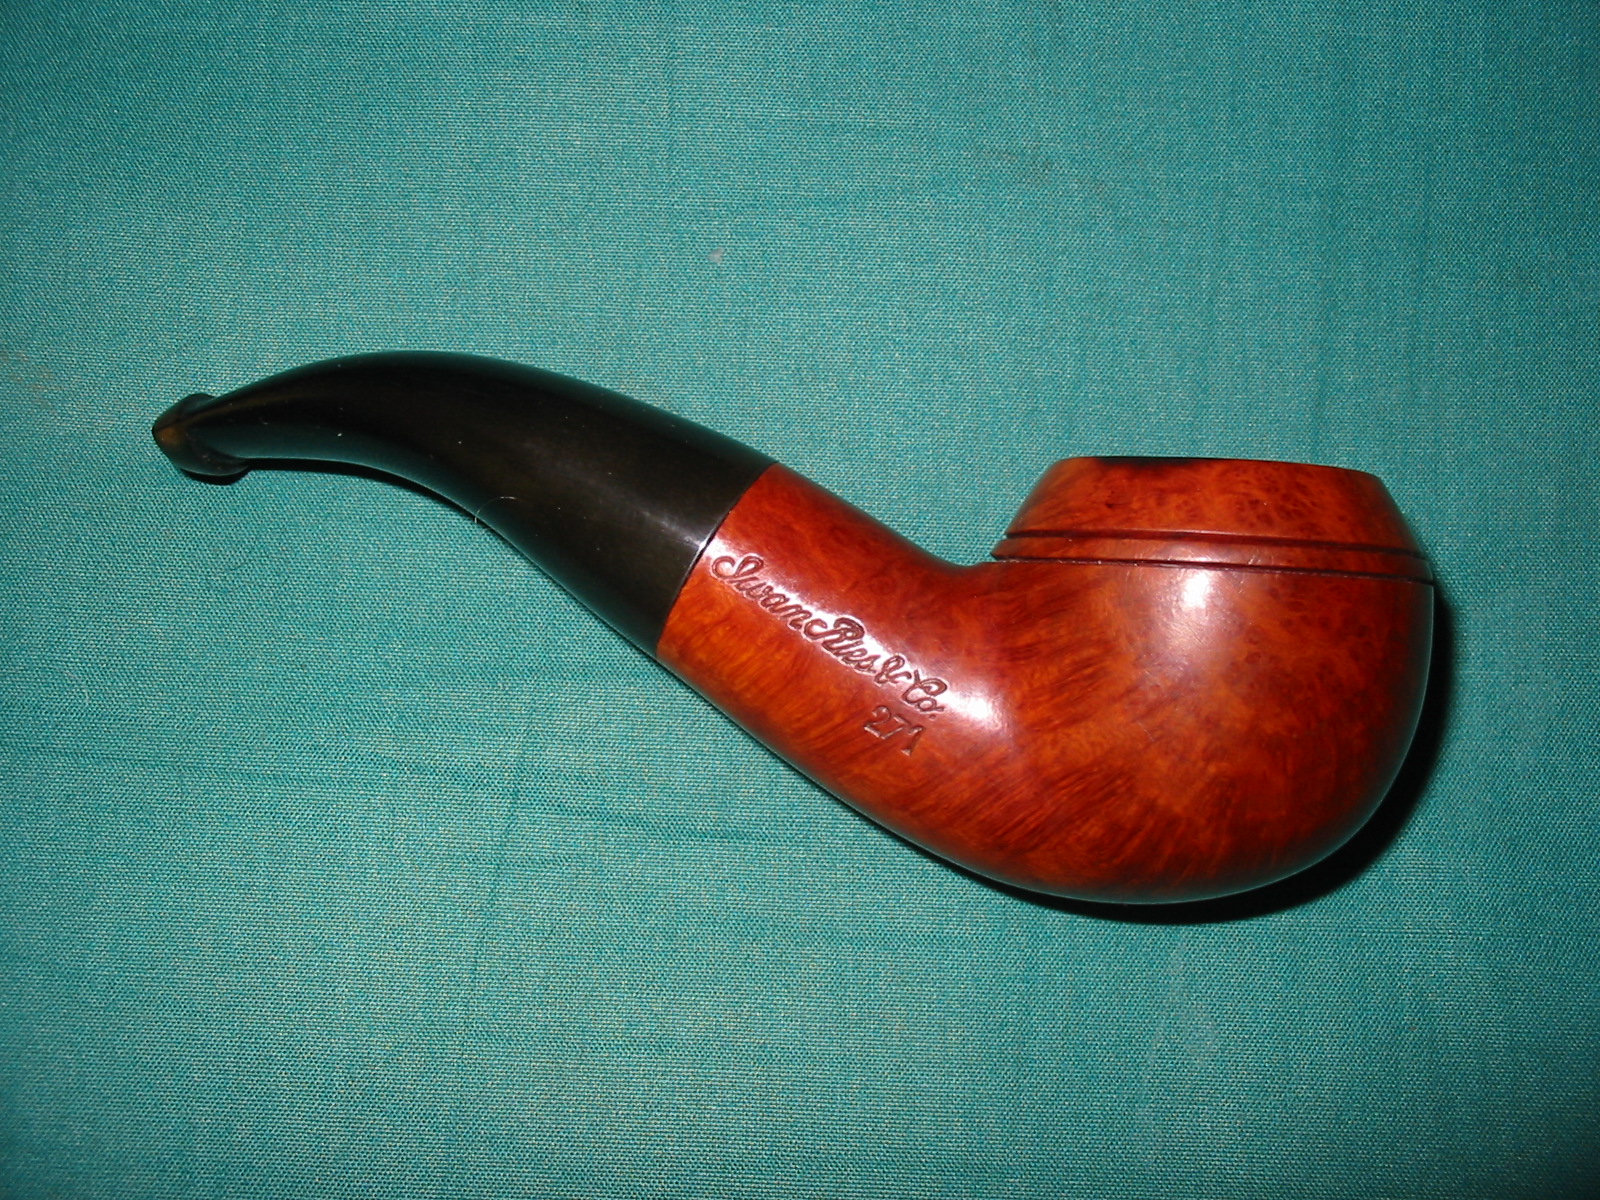
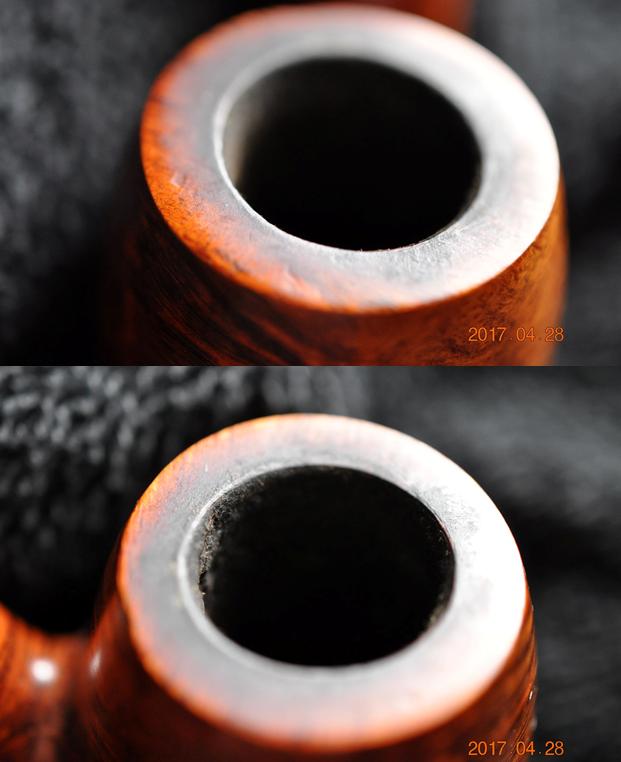 The next three photos show the stamping that I noted above. It is readable and very clean and sharp. The IRC stamp on the stem was deep on the lower half and fainter as it moves toward the top.
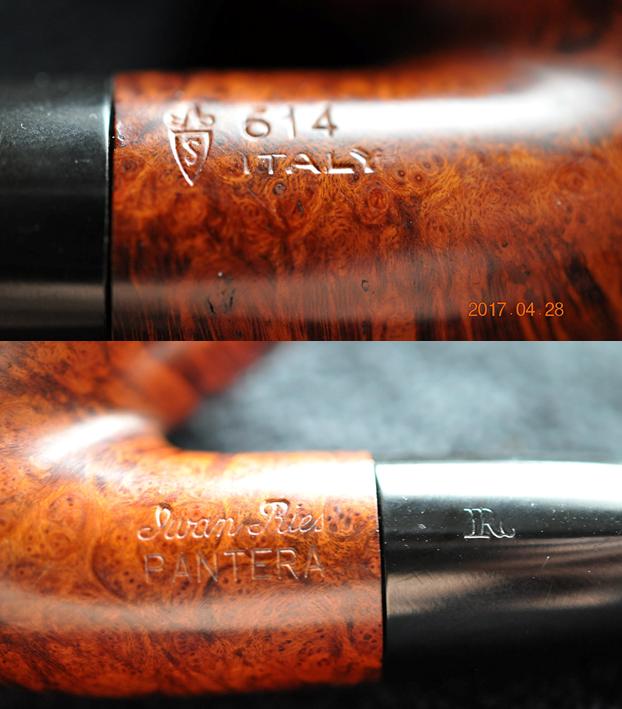
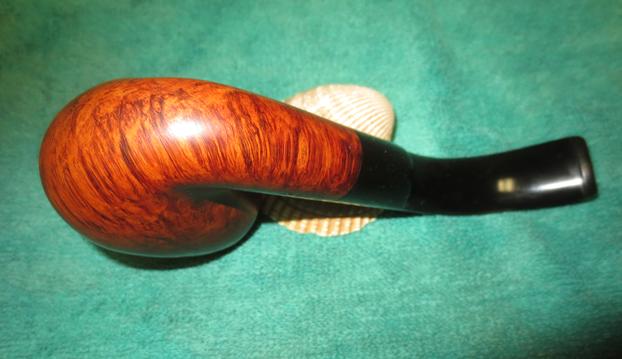
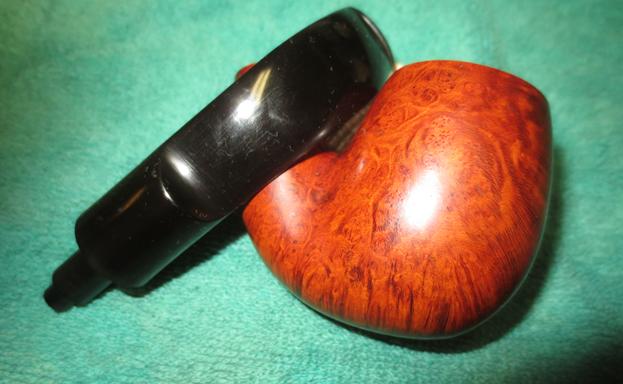
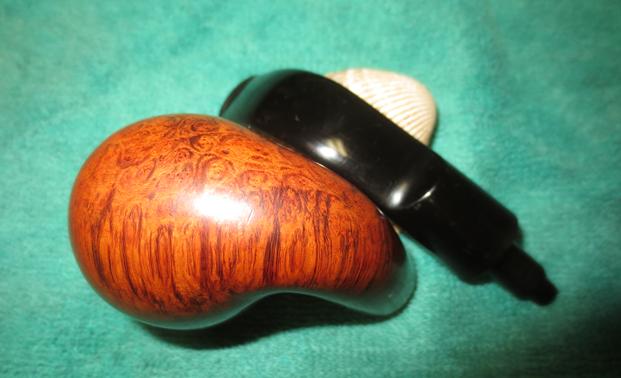
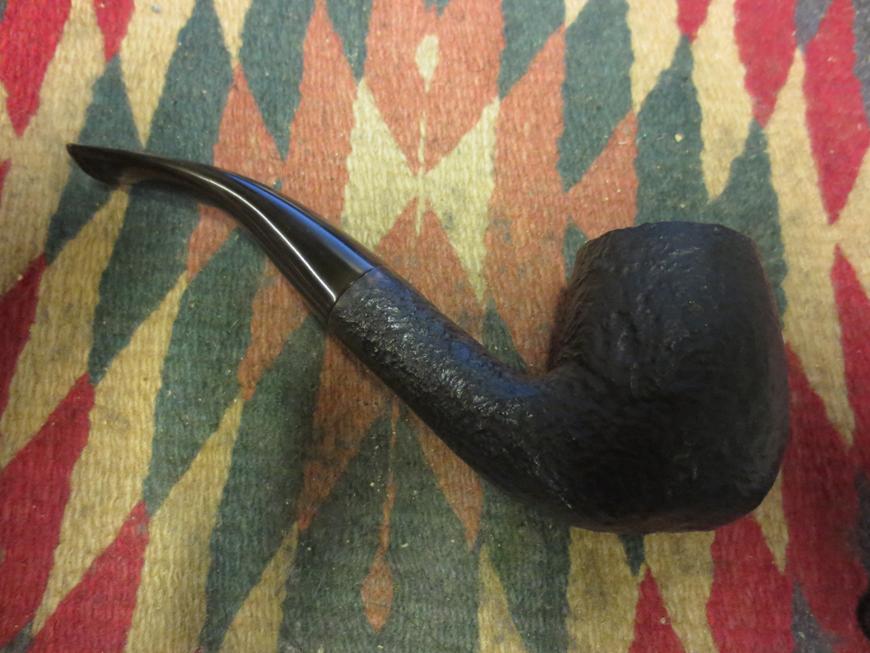
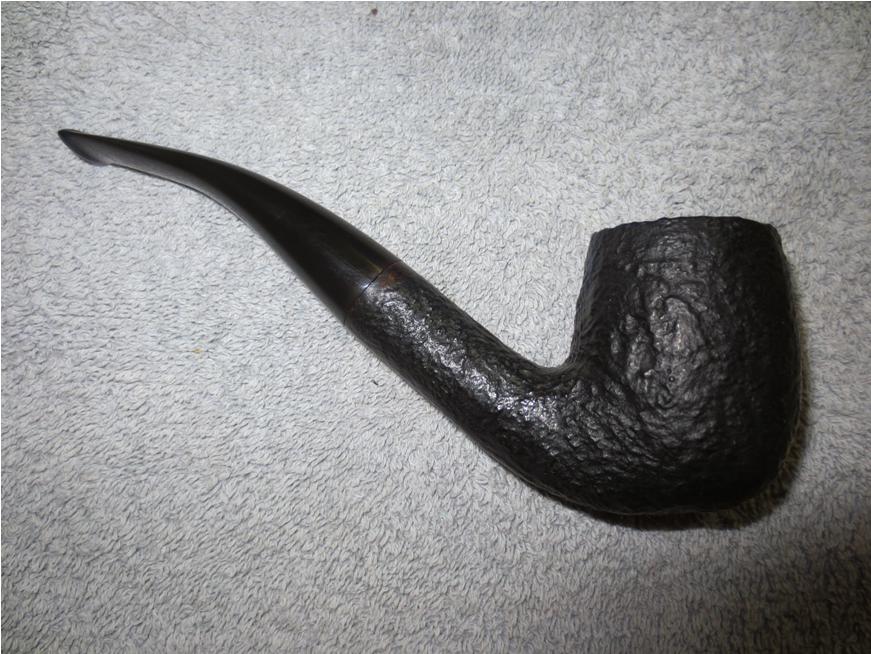
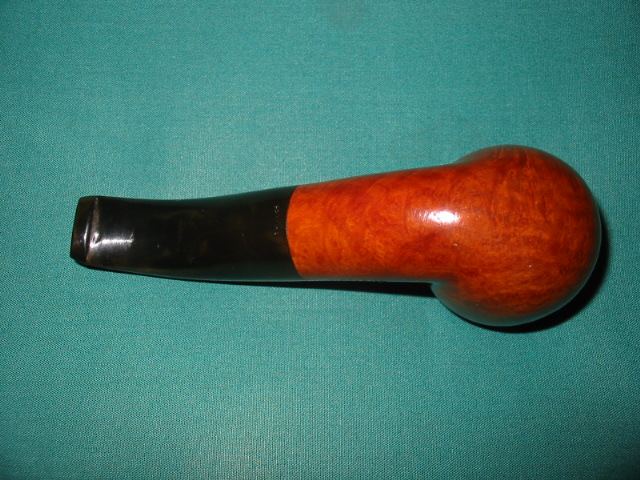
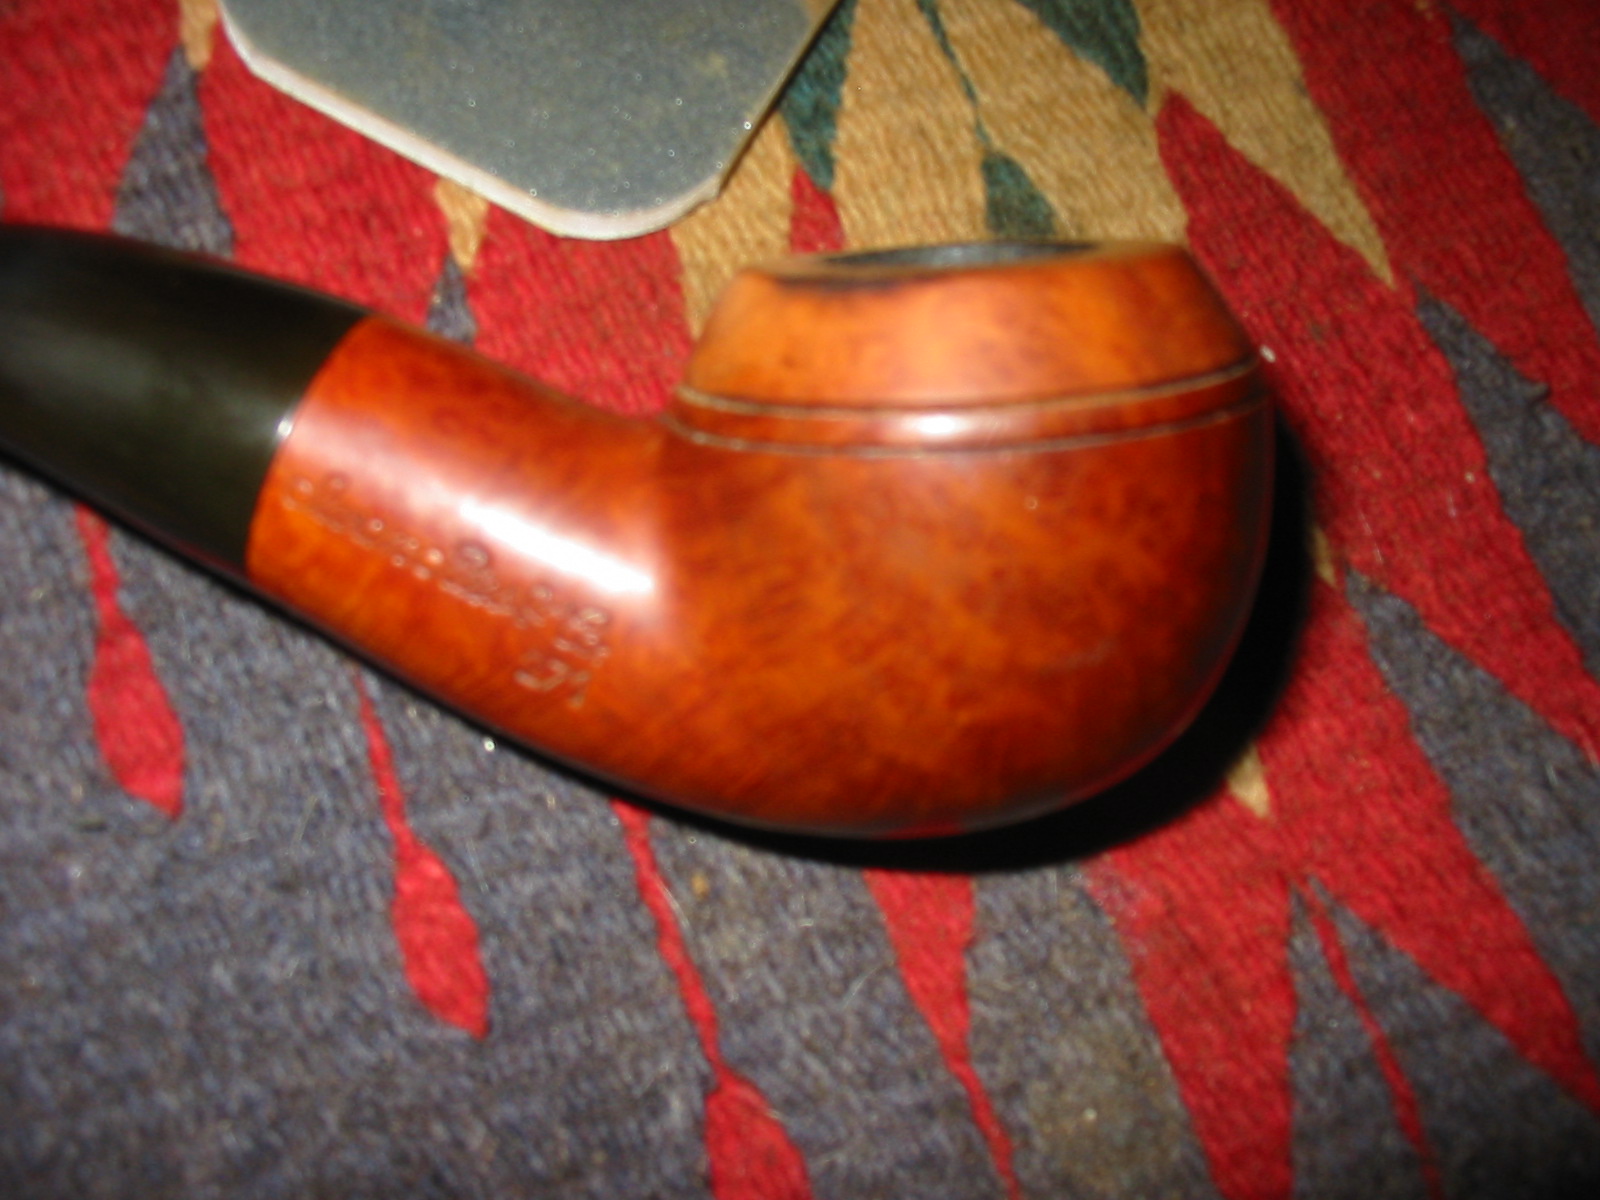
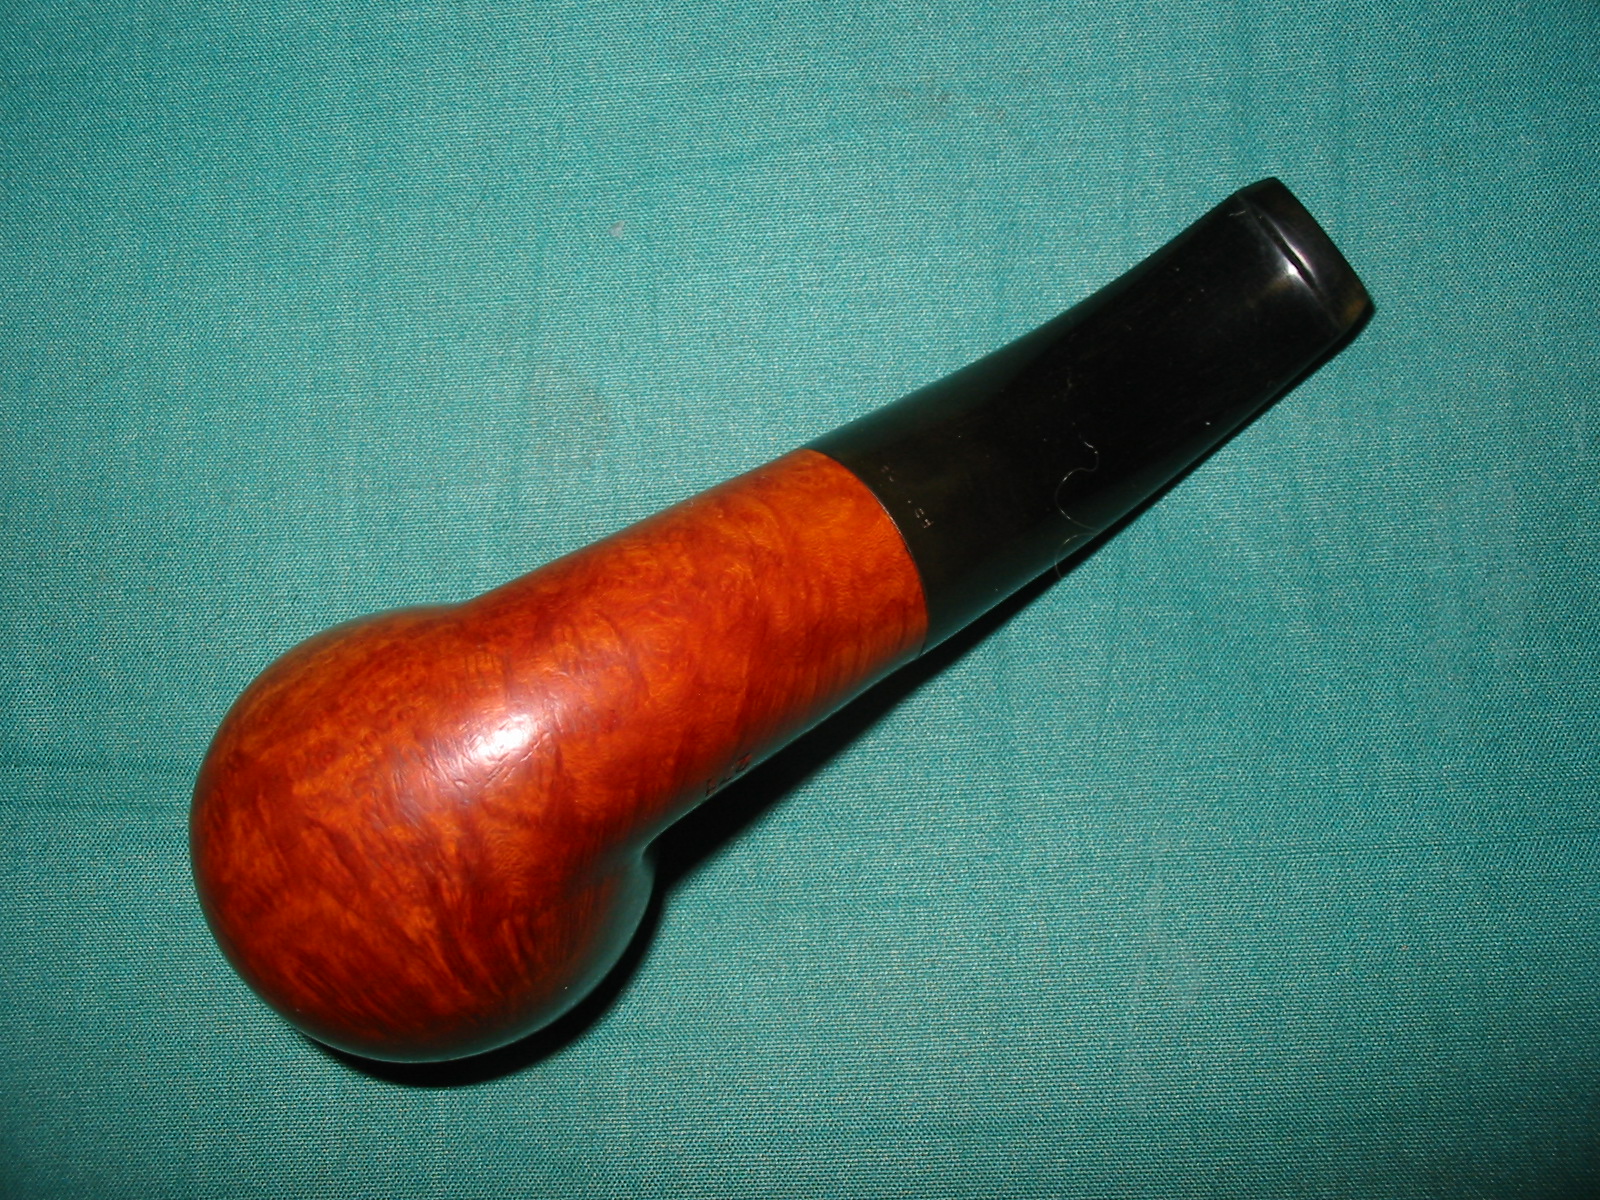
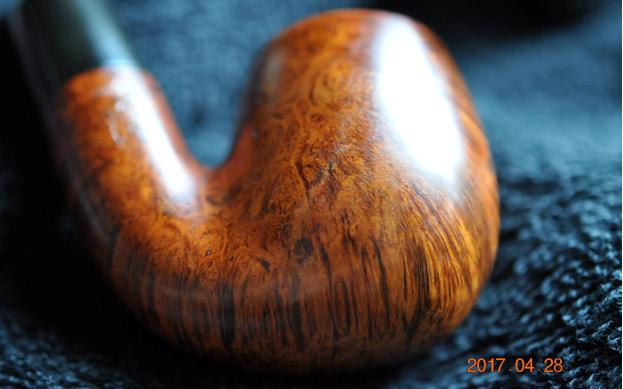
 The next photos of the grain around the bowl show the cross grain and birdseye around the bowl sides, top and bottom. It really shows some spectacular grain.
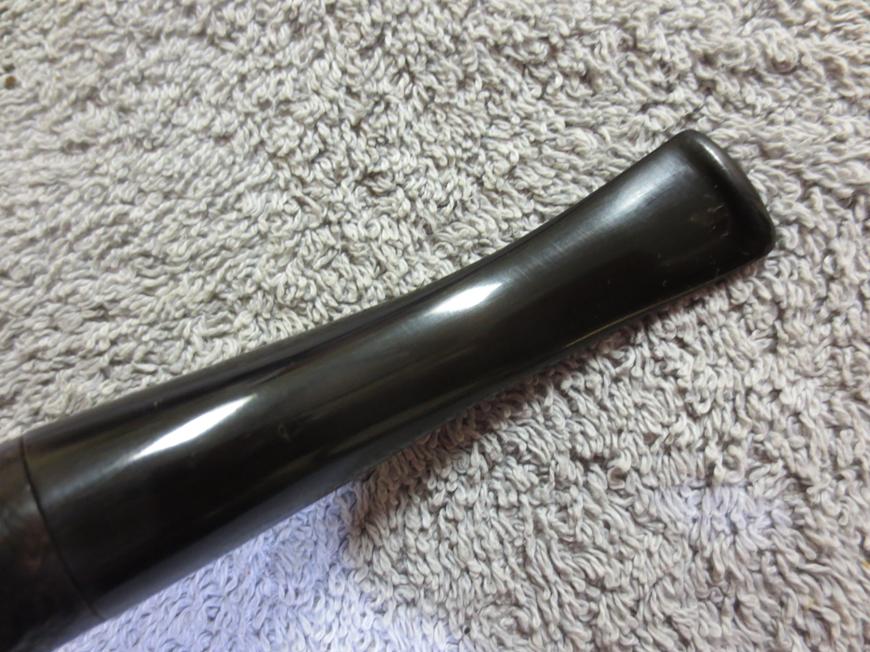
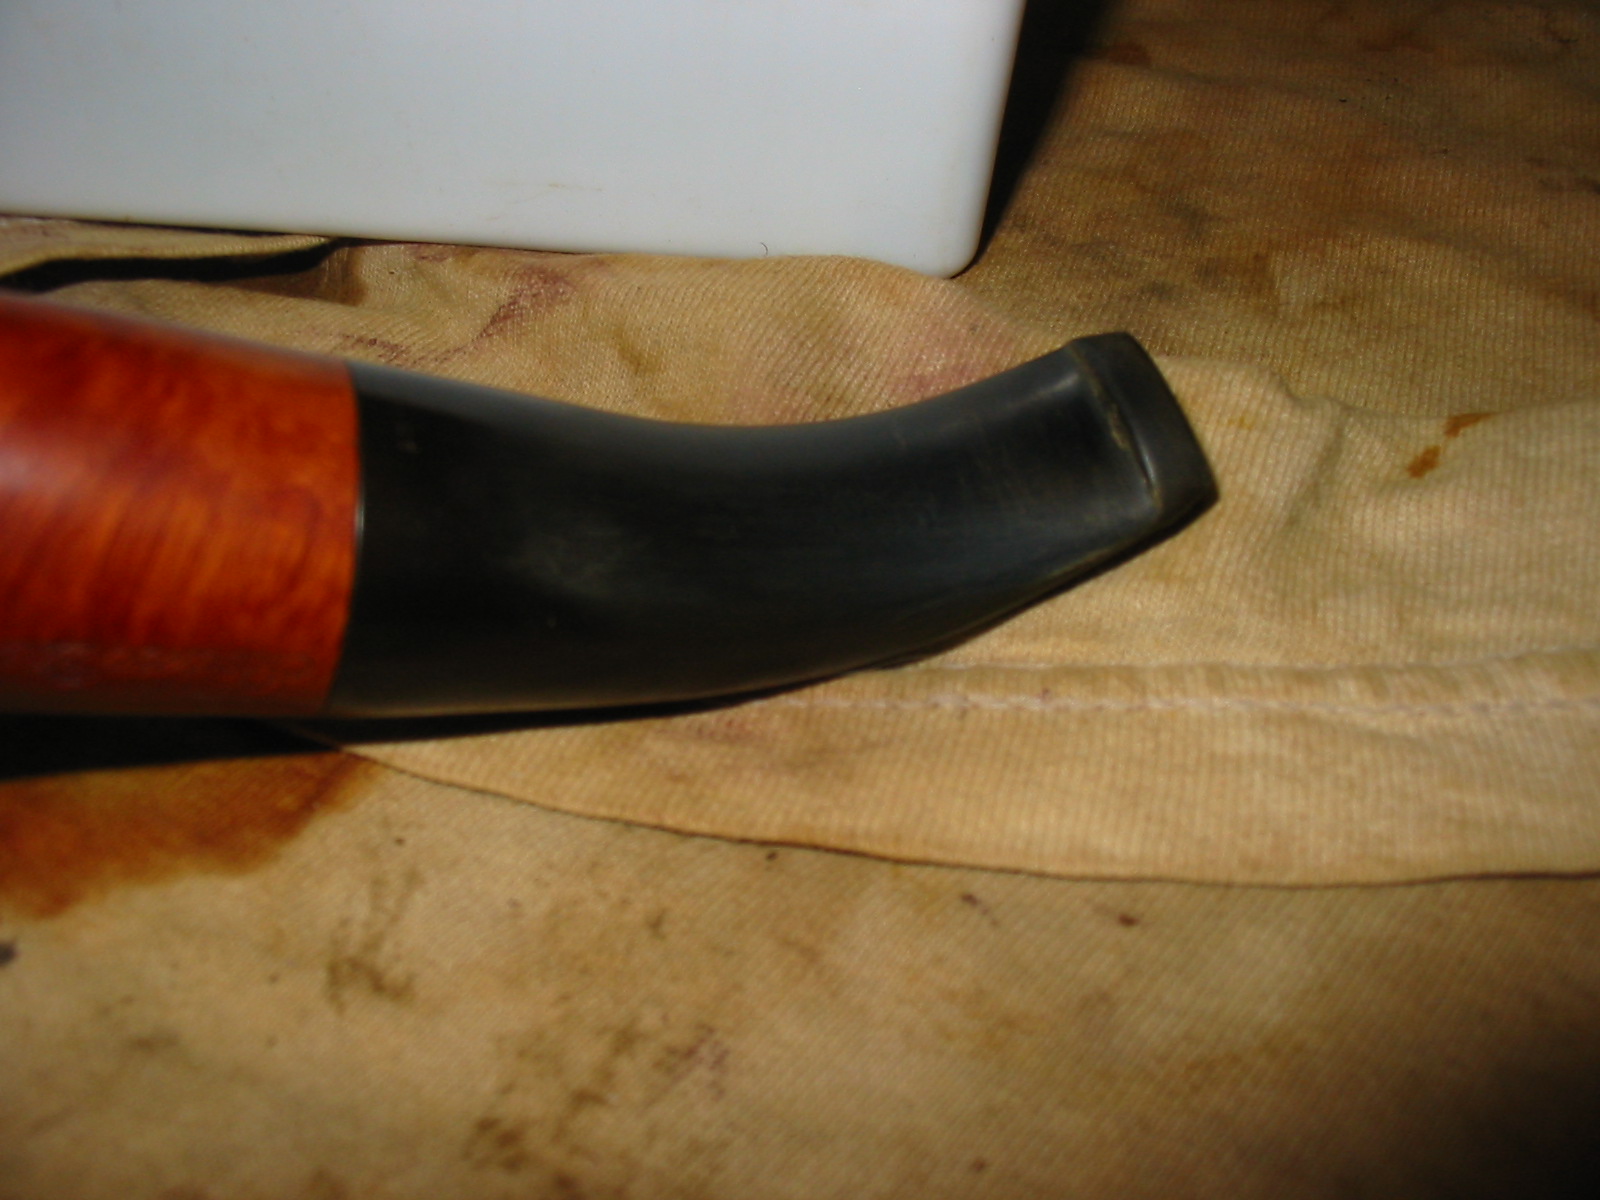
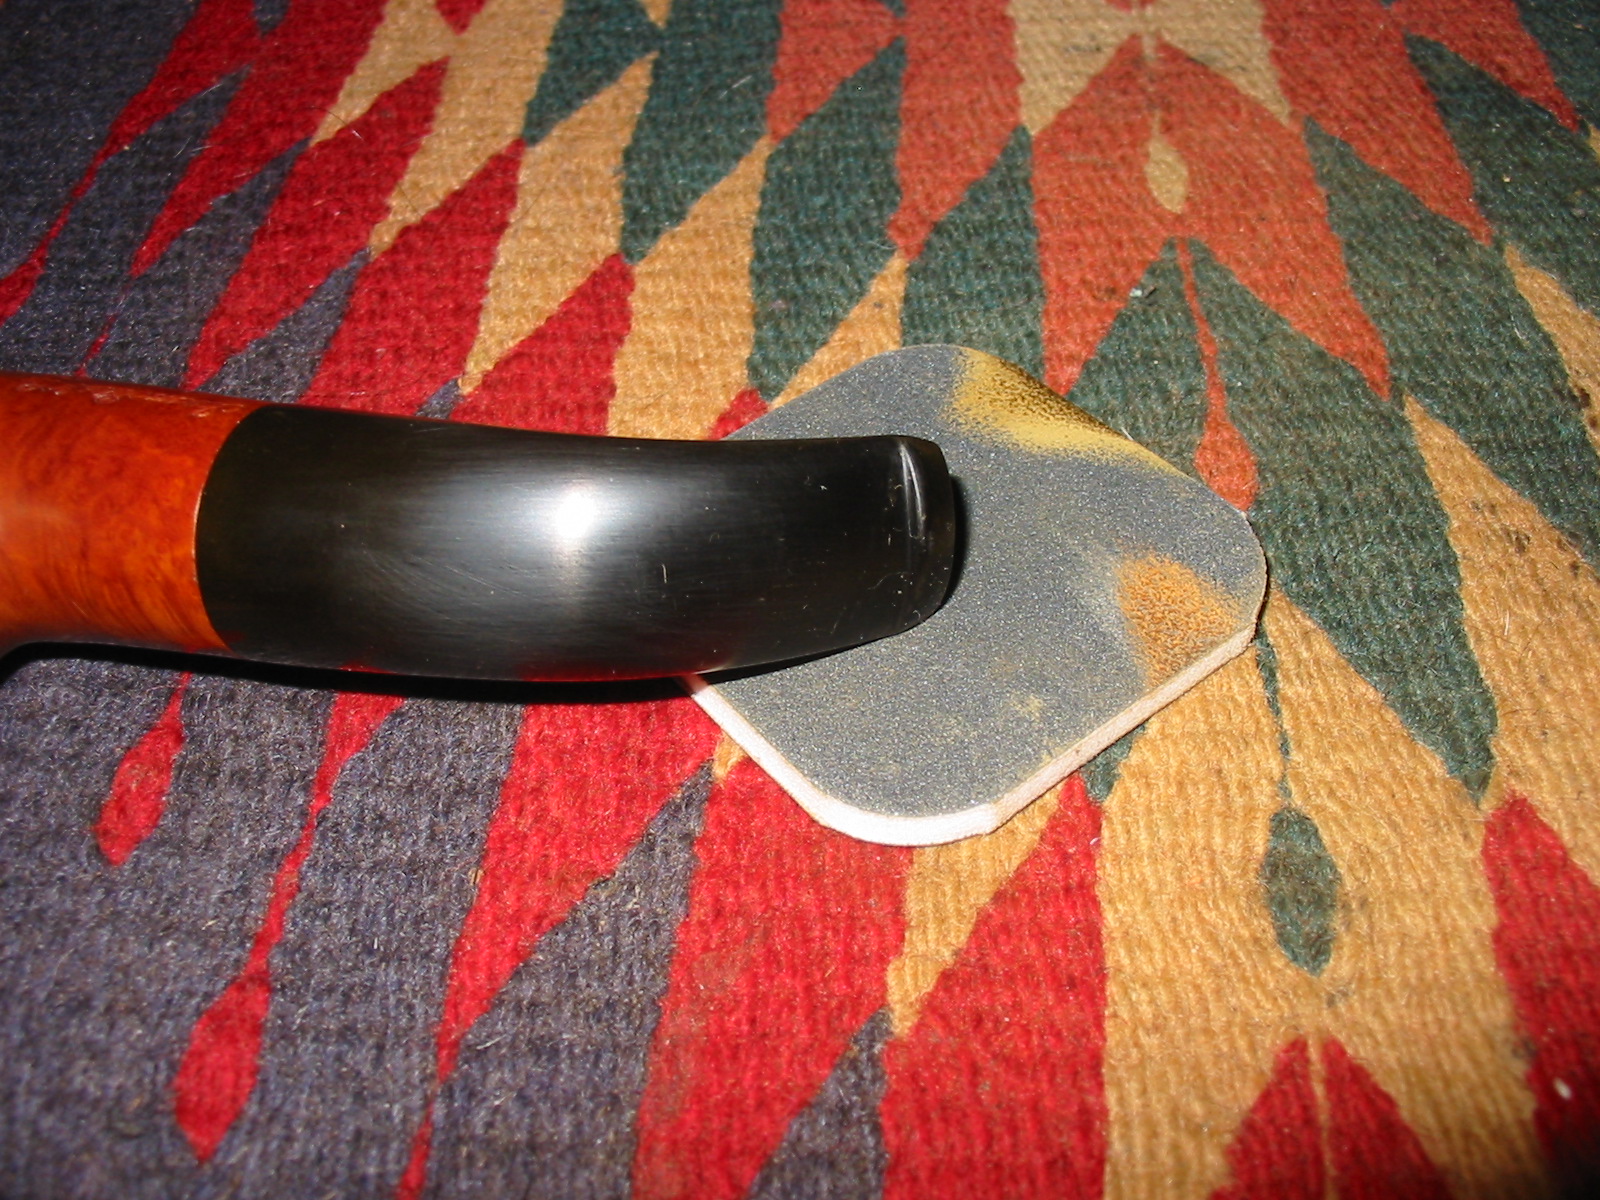
 The stem was in very good condition in comparison to the other pipes in the estate. Even so, there were still some light tooth marks and chatter on both sides of the stem near the button and flowing onto the top and bottom of the button as well.
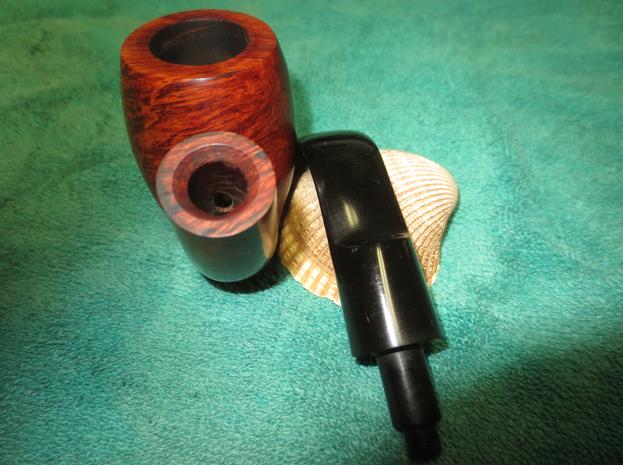
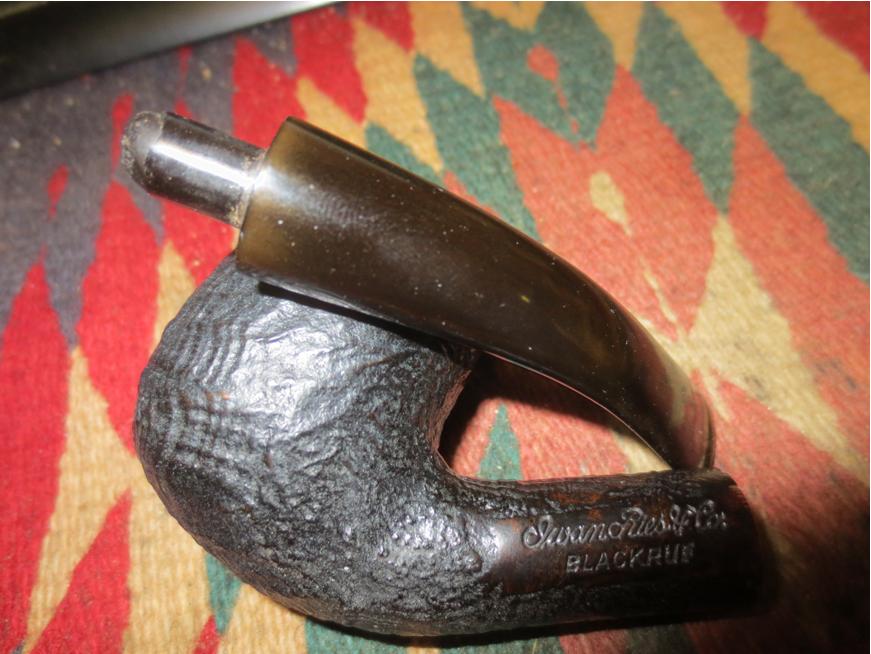
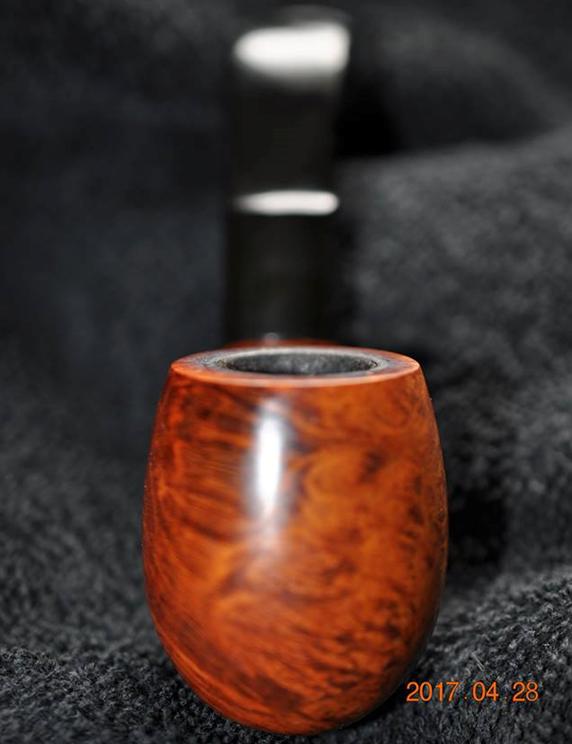
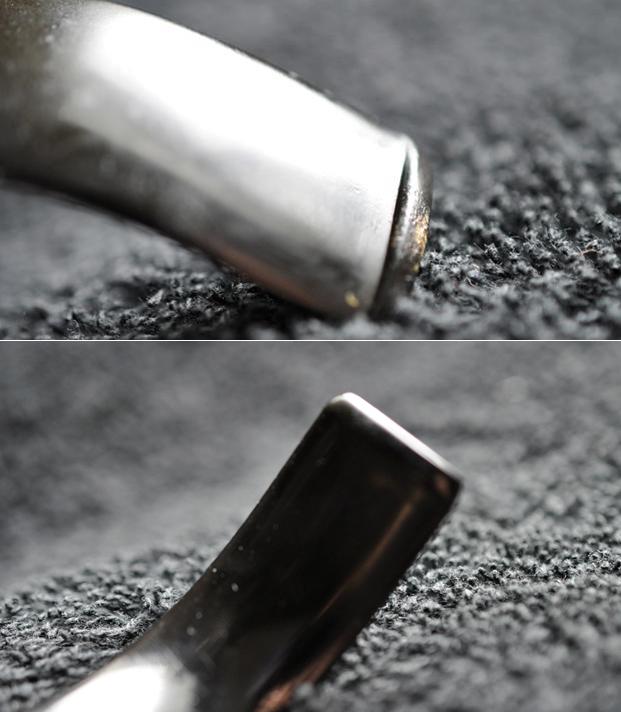 My brother did his usual stellar job of cleaning up the pipe. The inside and outside were spotless when the pipe arrives. The stem was lightly oxidized as the Oxyclean treatment he gave it brought that to the surface. The next photos show the condition of the pipe when I brought it to my work table. The briar is beautiful with great grain. The stamping on the side of the saddle stem is faint and worn.
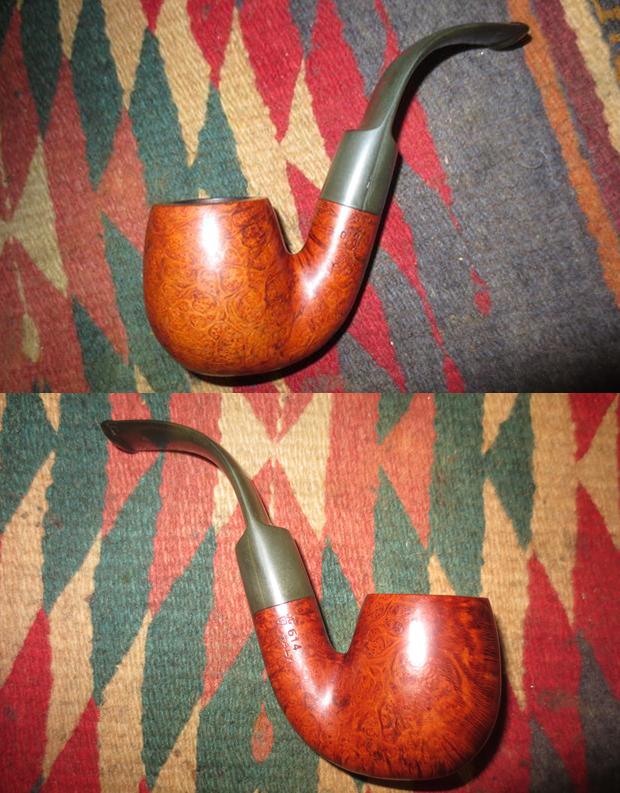
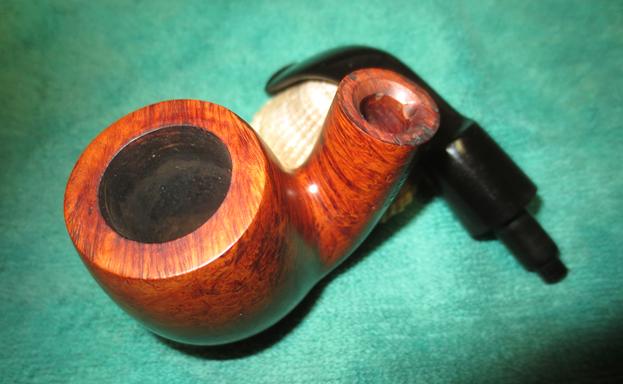
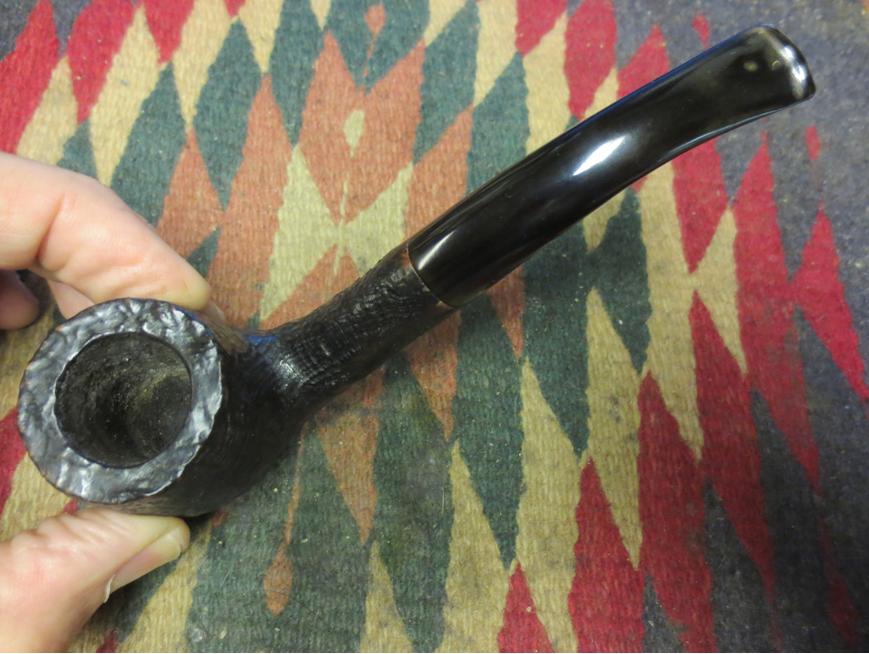
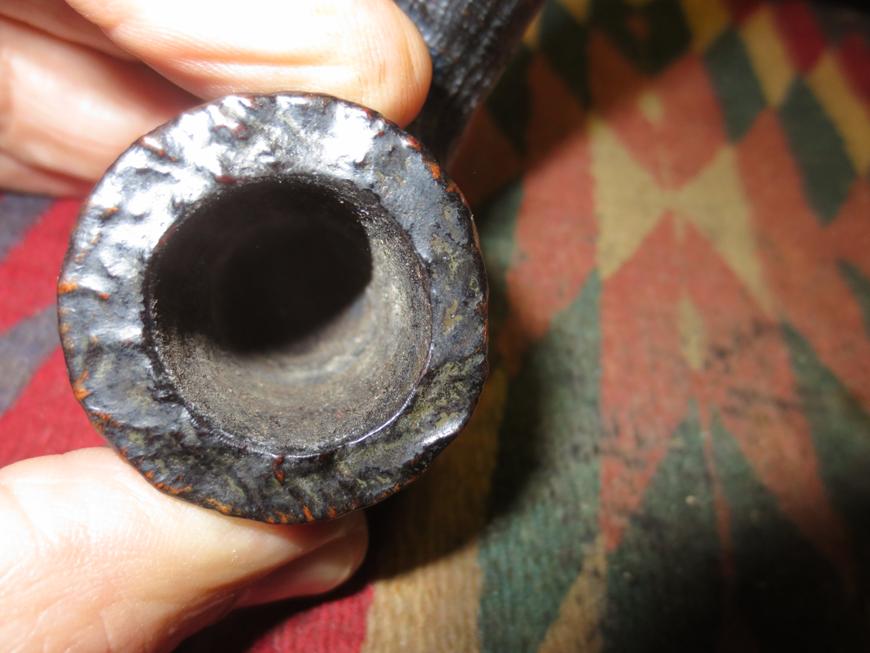
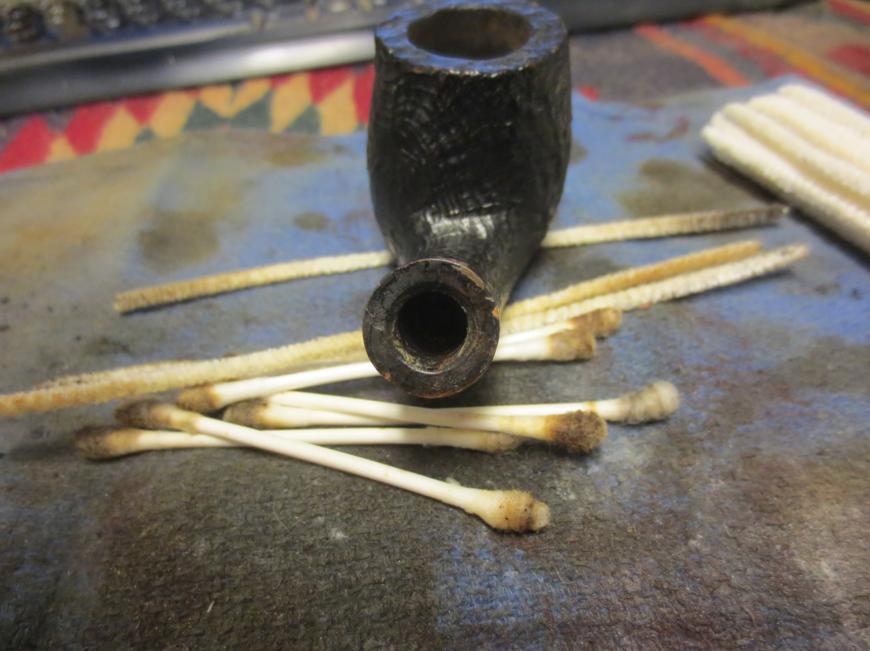
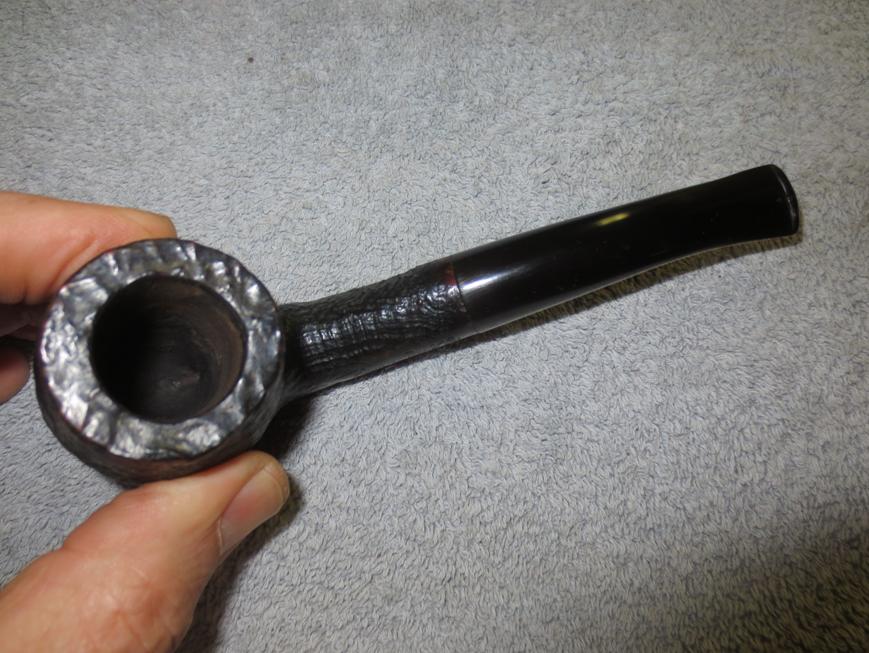
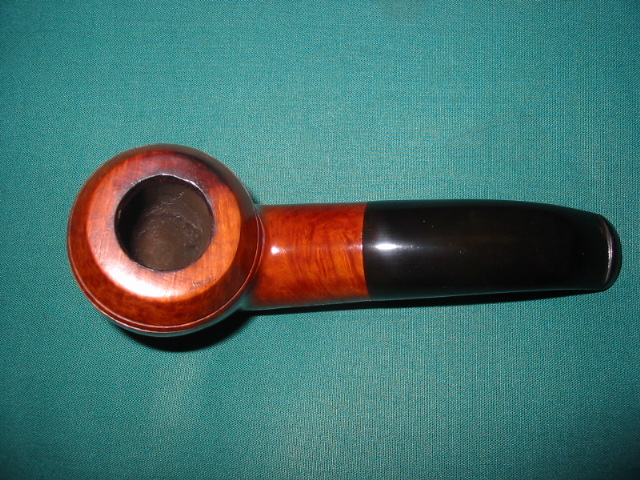
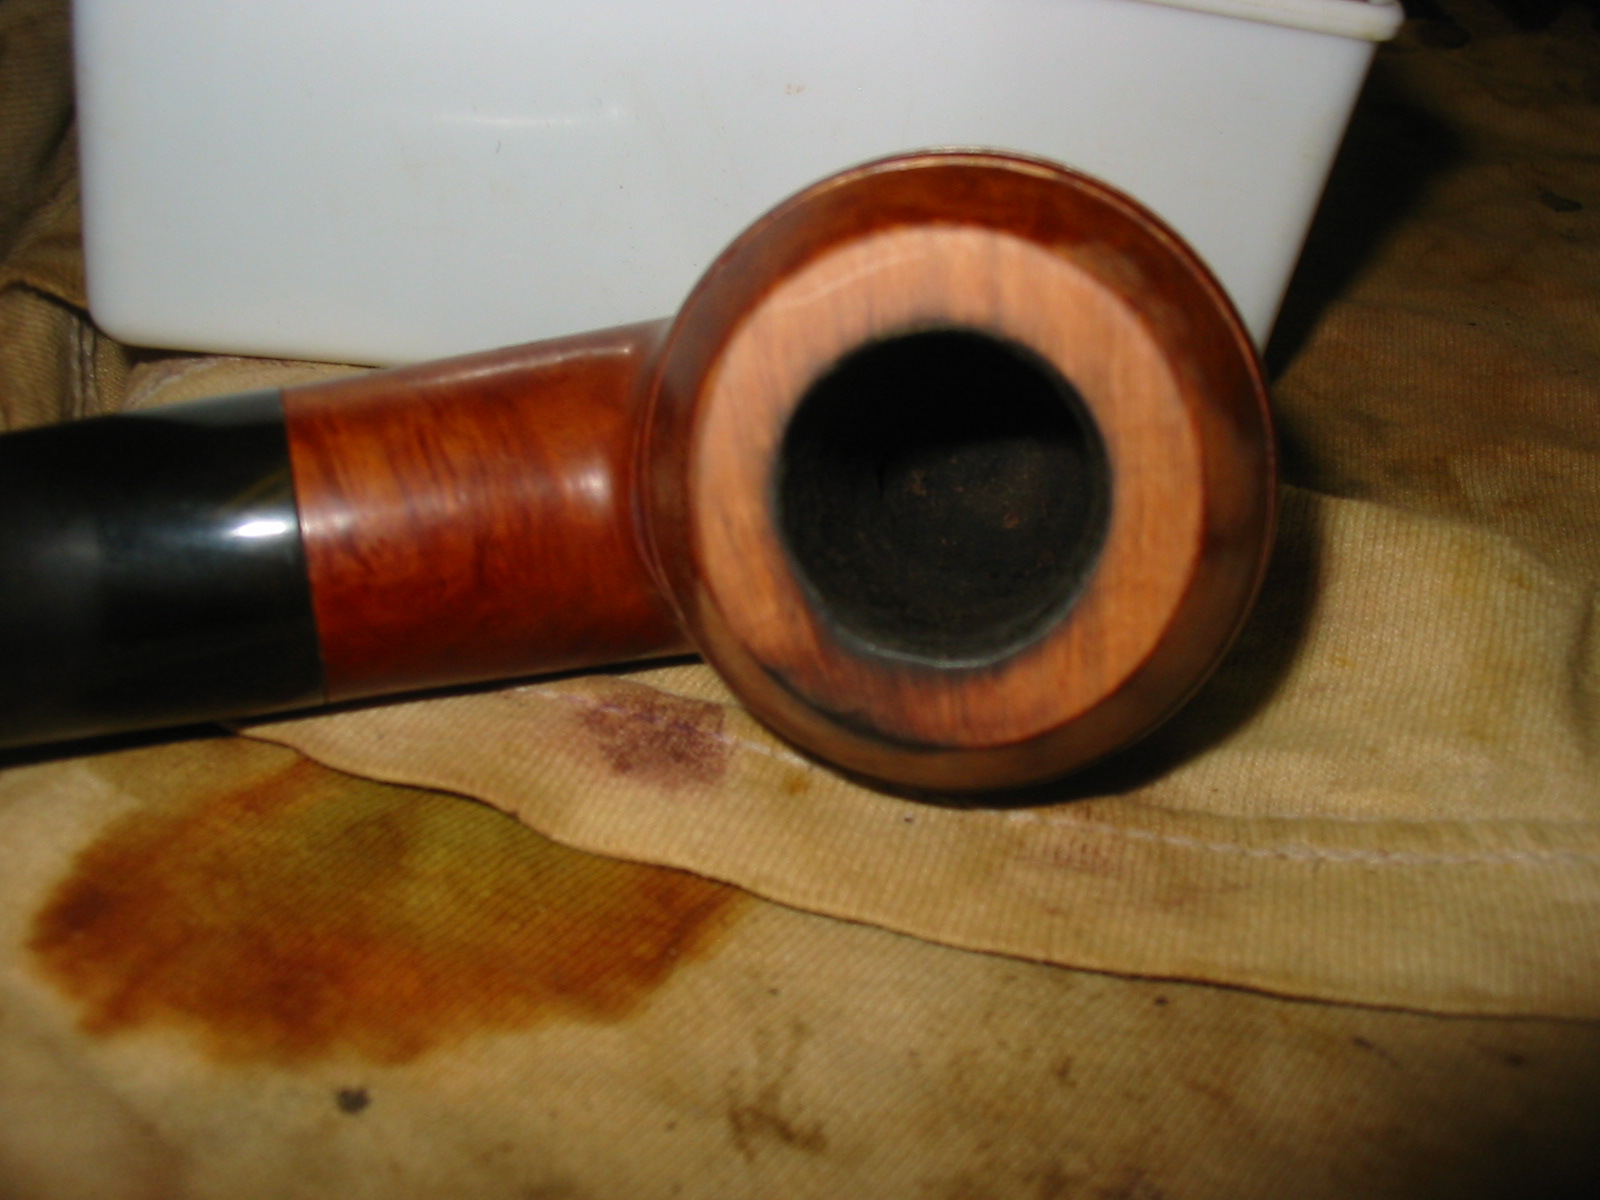
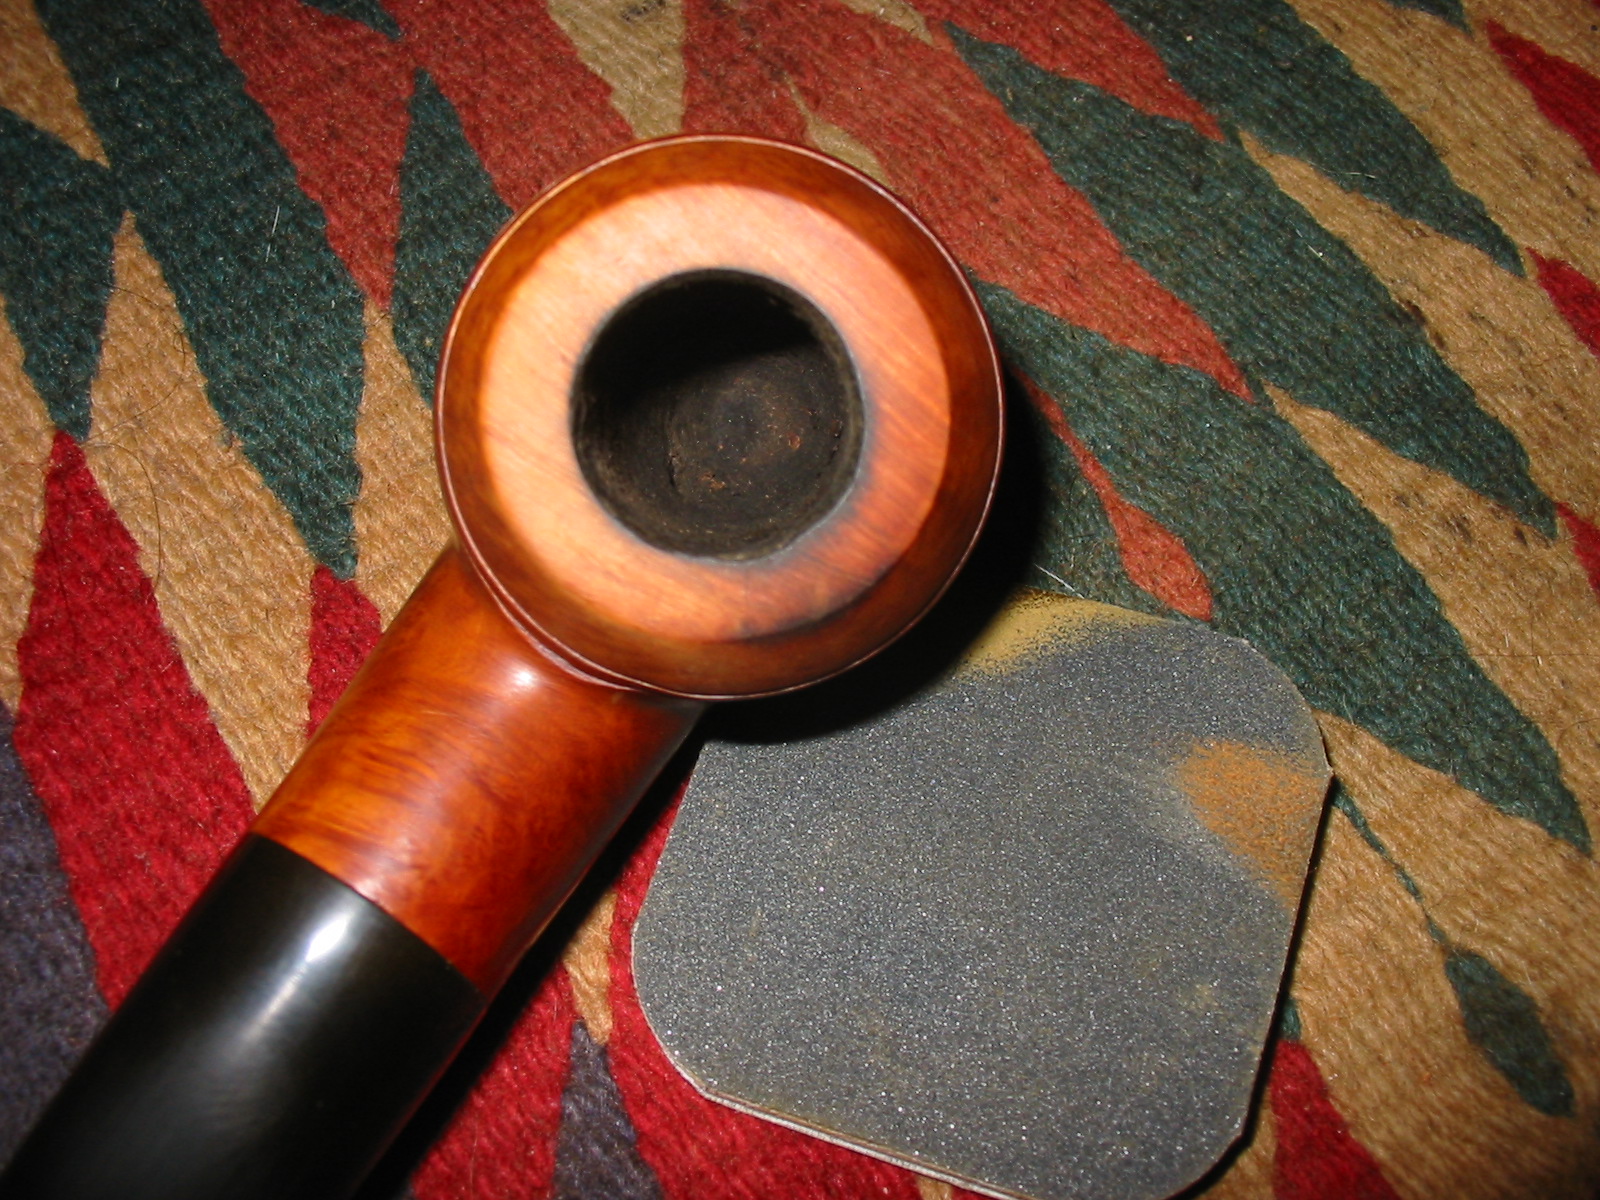
 The top of the rim and the bowl were very clean. Jeff had been able to remove the lava on the rim and had reamed the bowl back to bare briar. The bottom 1/3 of the bowl was undarkened and revealed that the bowl had not been smoked to the bottom.
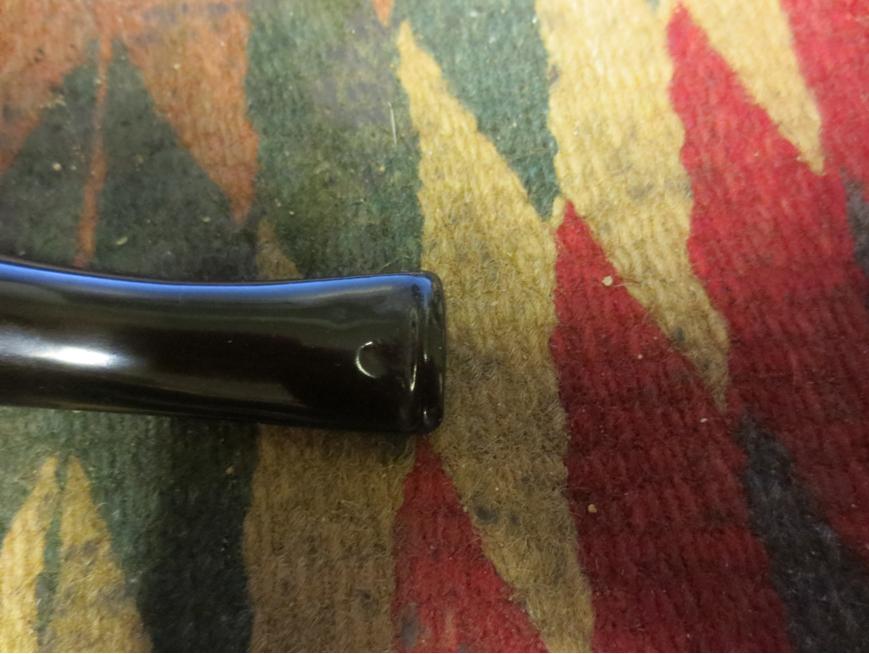
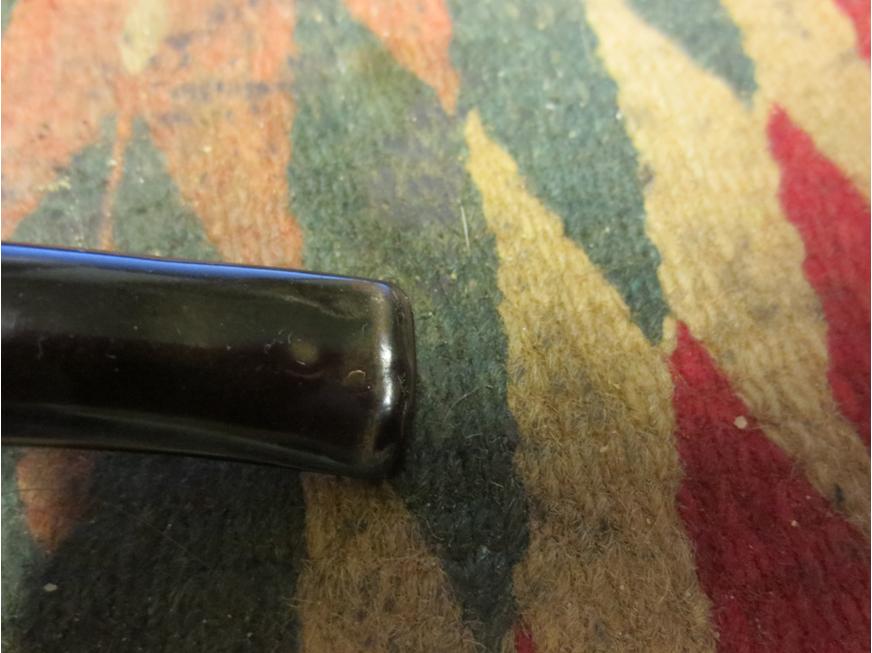
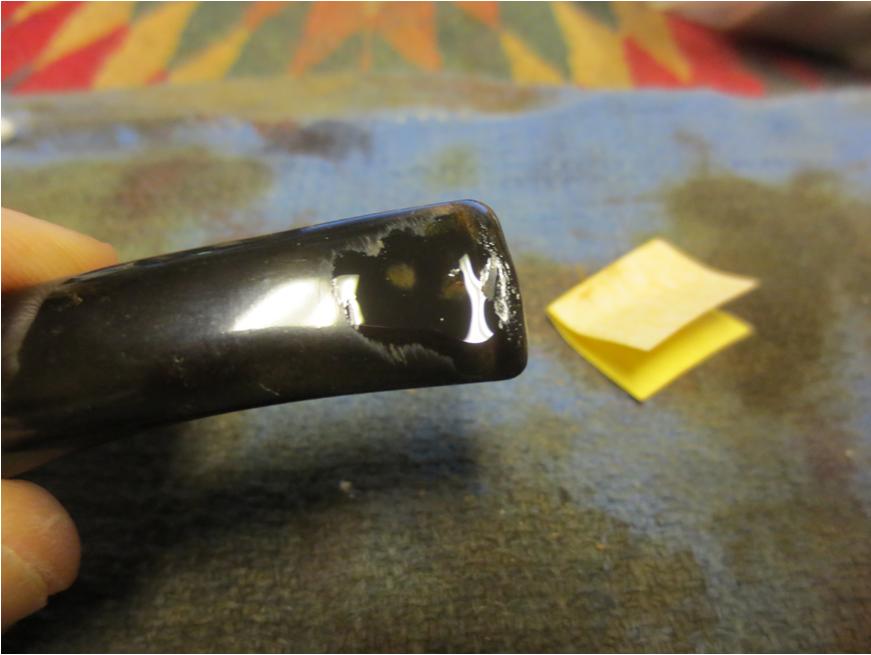
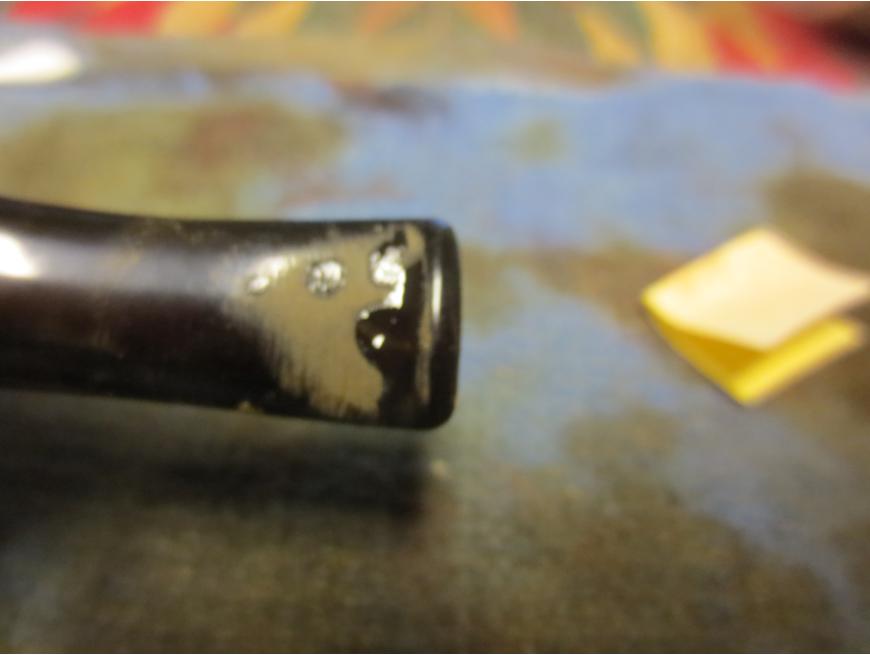
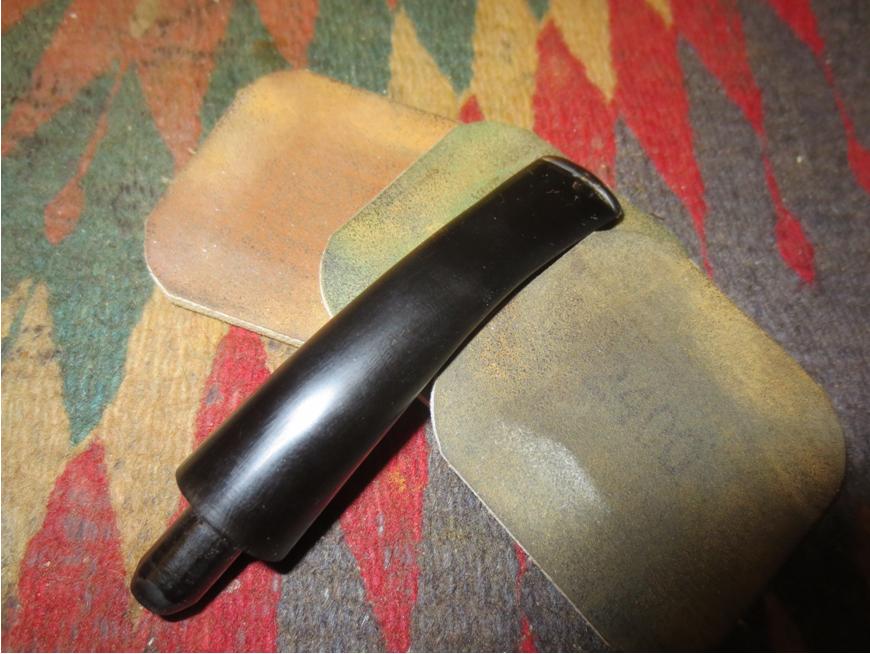
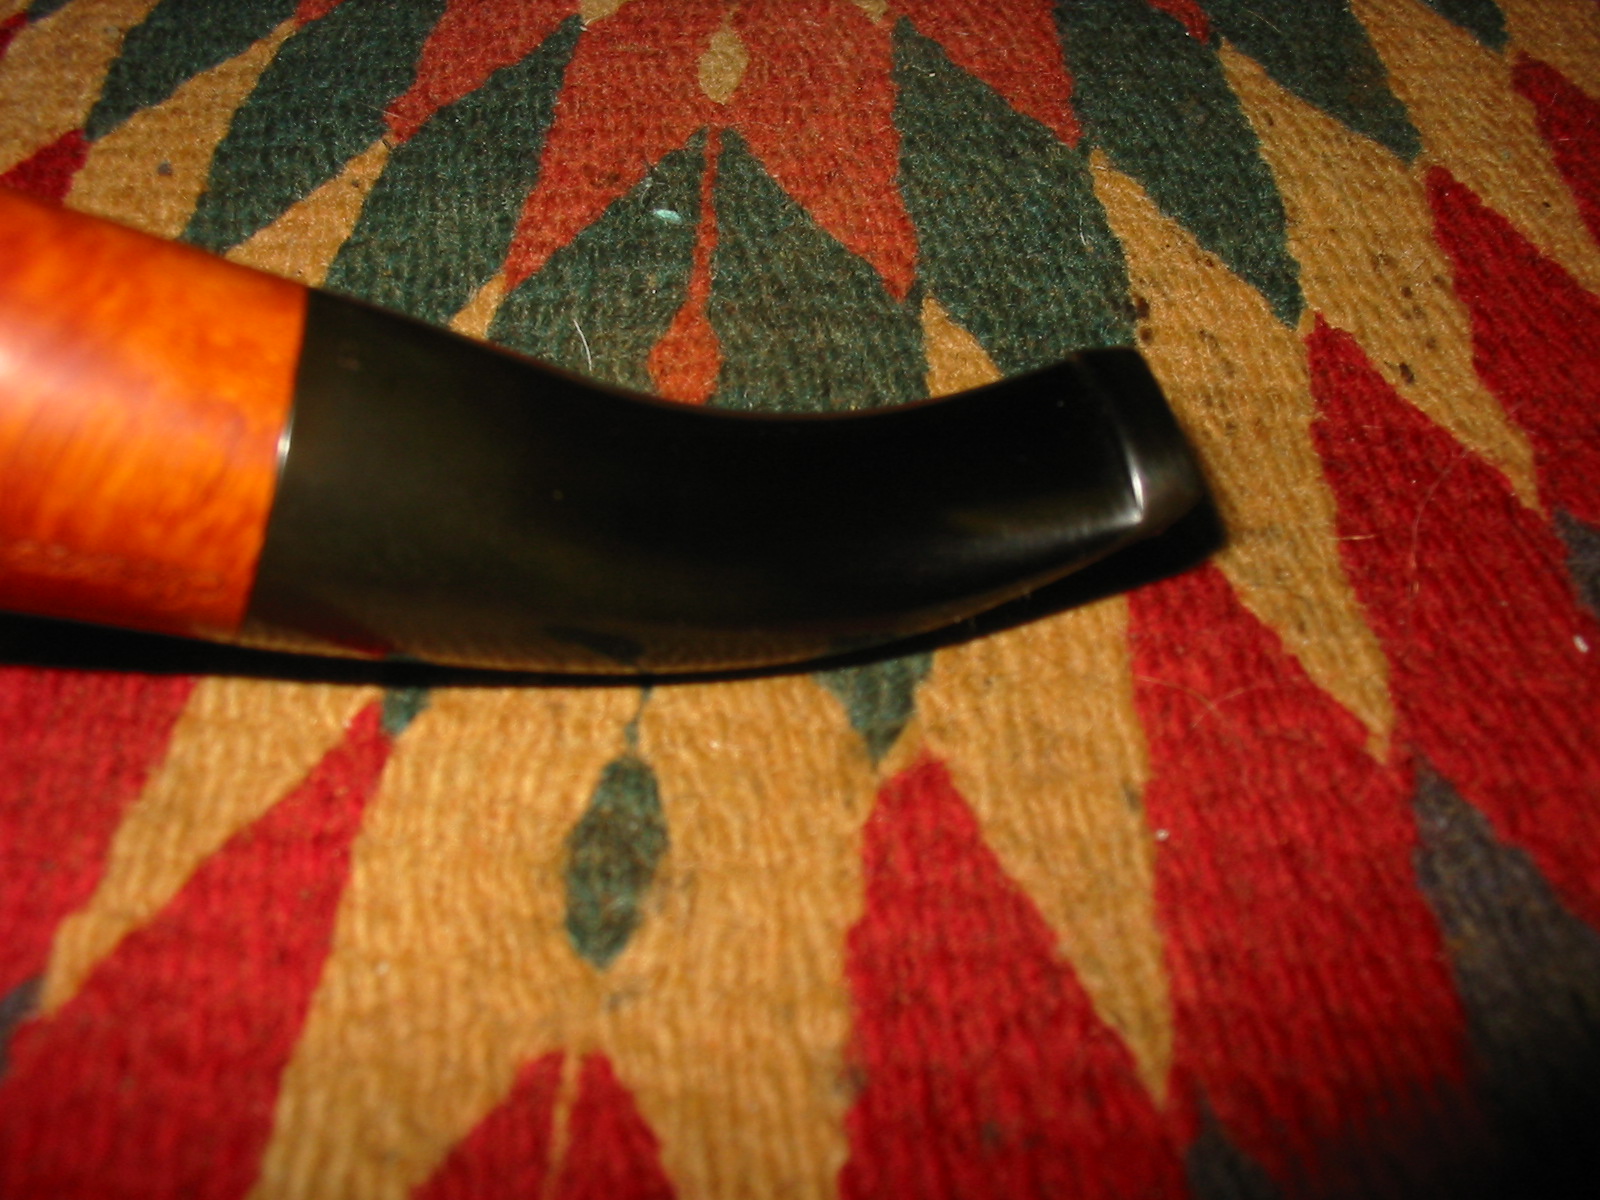
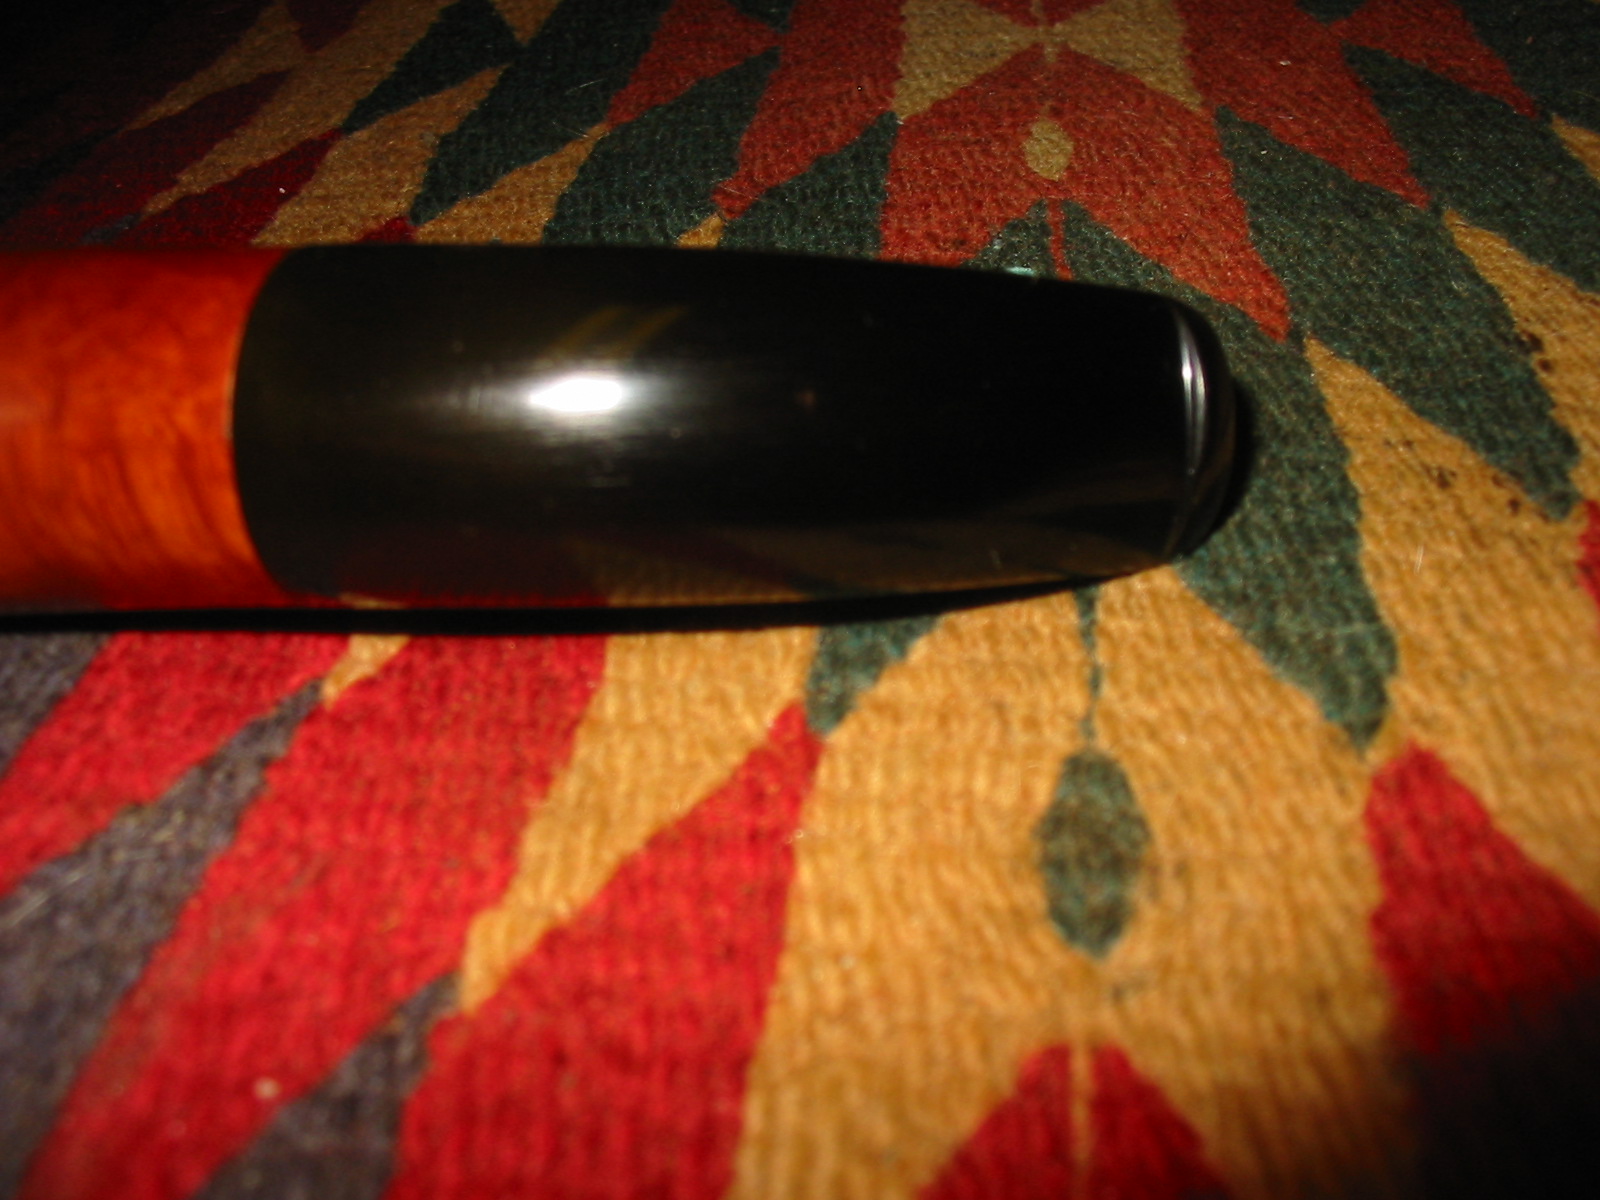
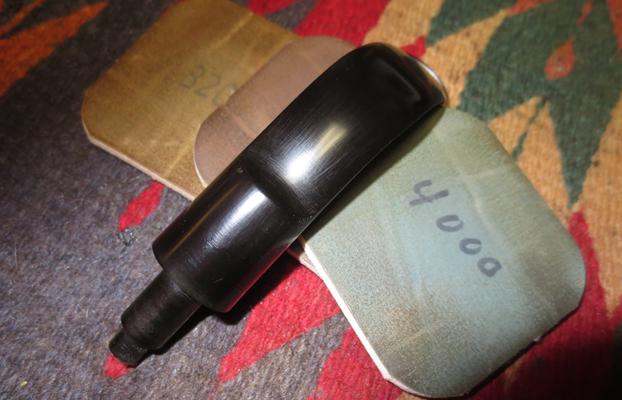
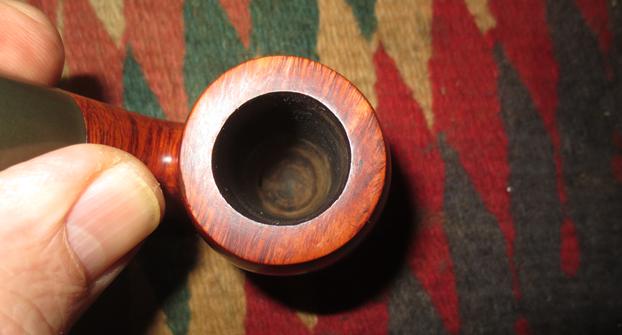 The oxidized stem shows the light tooth marks and chatter on both sides next to and on top of the button. They were the same characteristic marks that were on every other pipe in this estate lot.
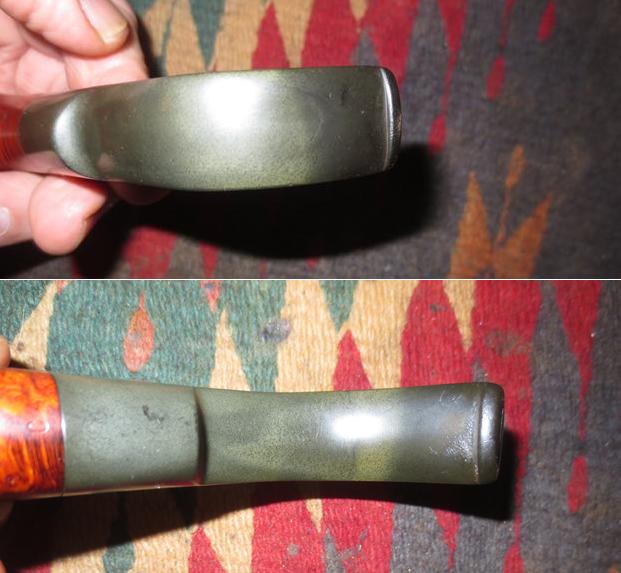 I sanded the stem surface and the top and underside of the button with 220 grit sandpaper to remove the oxidation and the tooth marks and chatter. It did not take too much work to remove the tooth chatter and marks as they were not deep in the vulcanite stem surface. The oxidation had come to the surface of the stem so it came off quite easily.
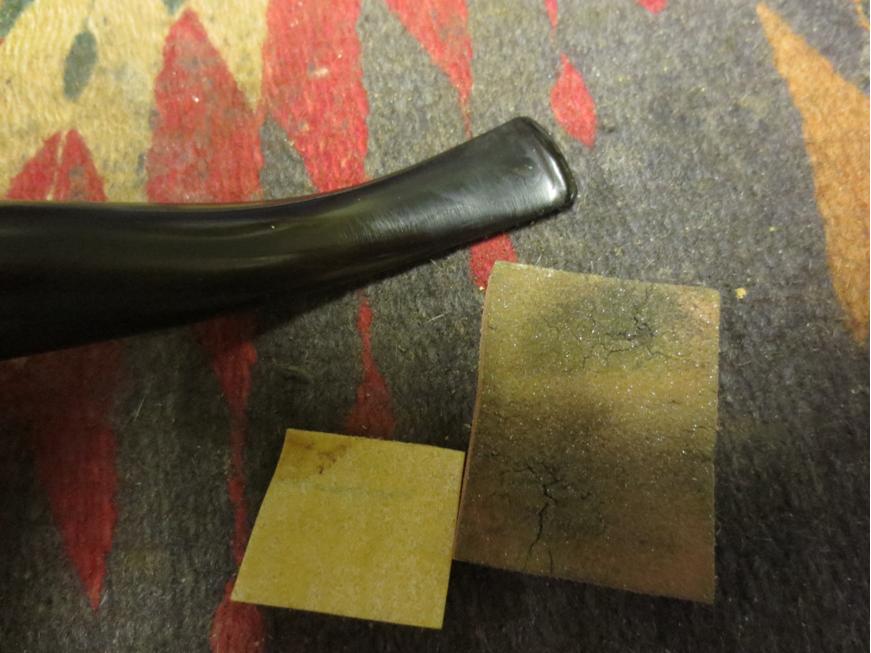
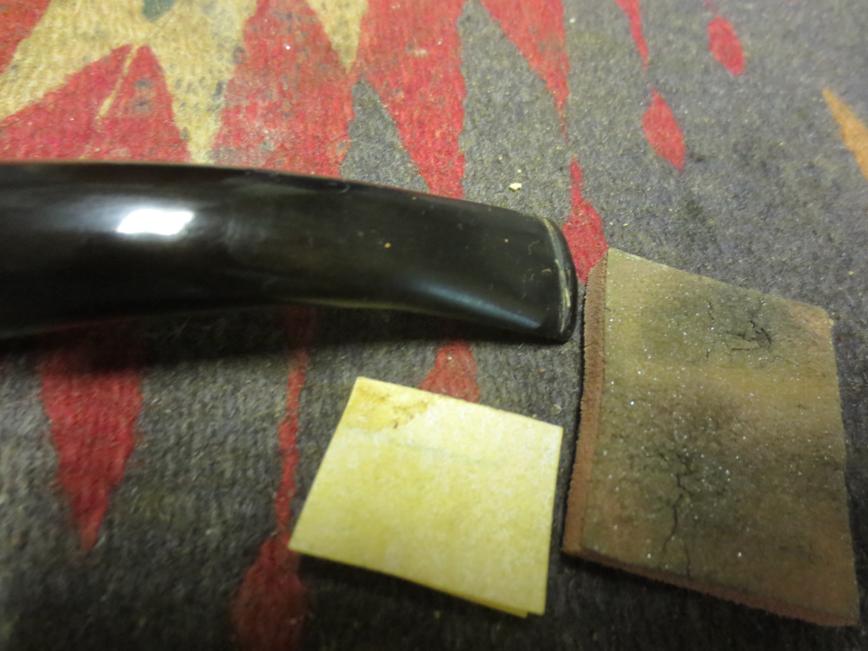
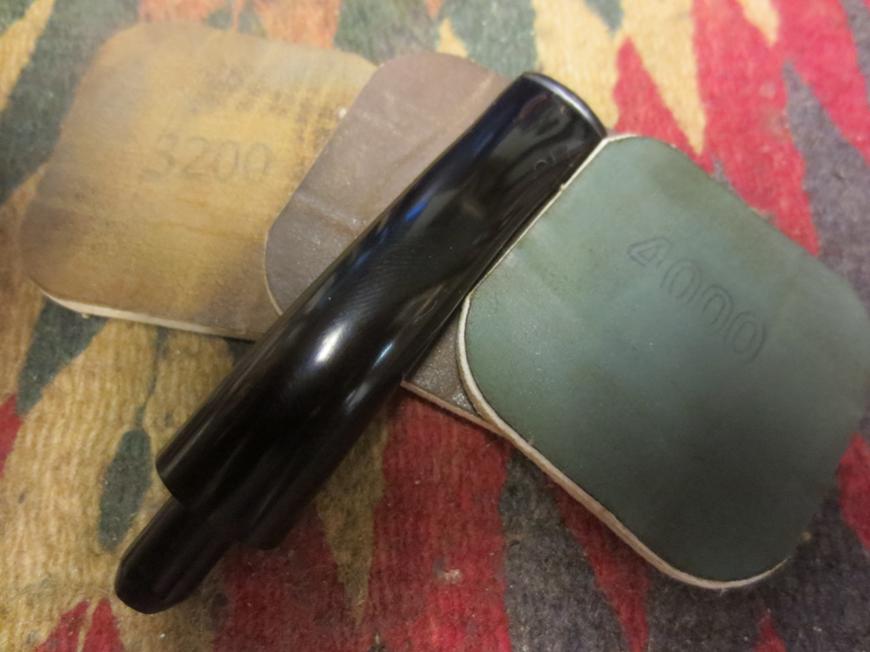
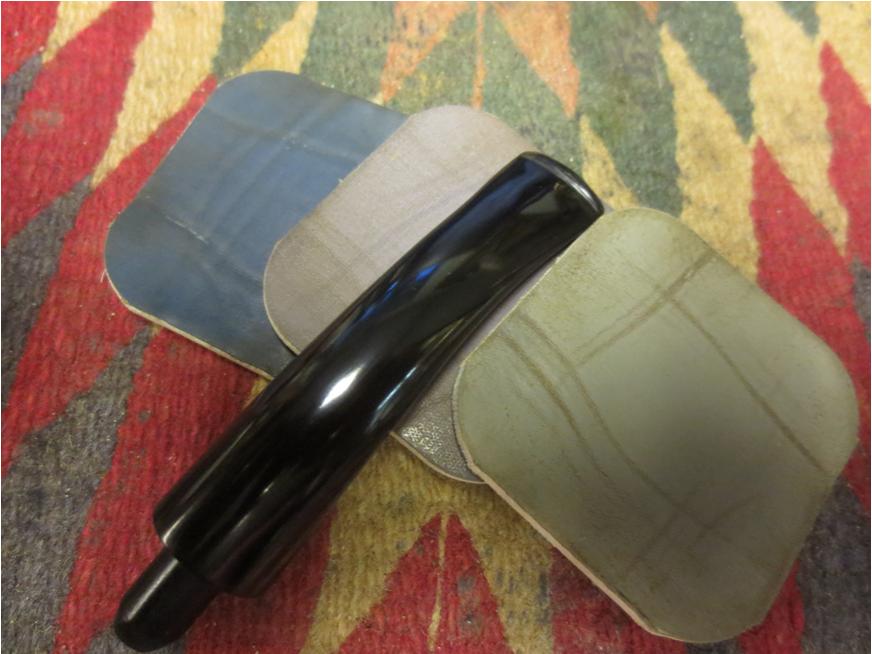
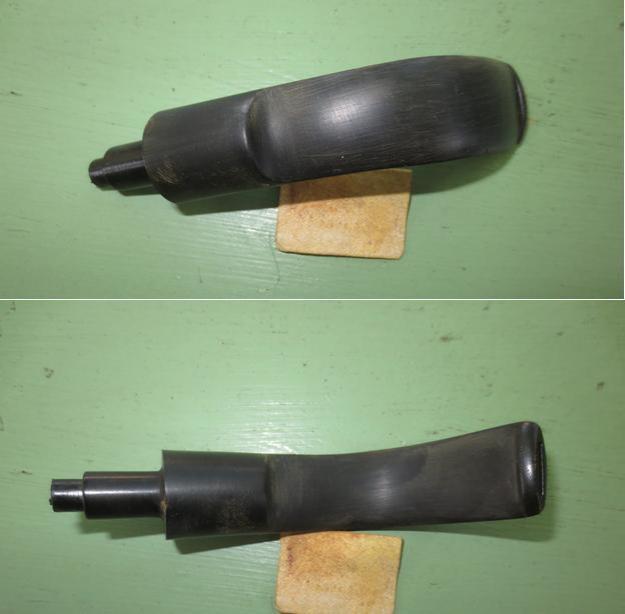 With the tooth marks and chatter removed, I polished the stem with micromesh sanding pads – wet sanding with 1500-2400 grit pads and dry sanding with 3200-12000 grit pads. I worked over the stem with each of the grits of micromesh and between each one I rubbed the stem down with Obsidian Oil to enliven the rubber. I buffed the stem with red Tripoli on the buffing wheel after I had finished sanding it with the 4000 grit pad. I brought it back to the work table and finished polishing it with the 6000-12000 grit pads. I gave it a final coat of oil and set it aside to dry.
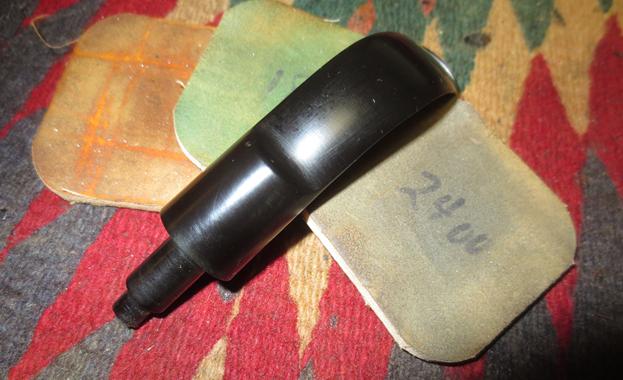
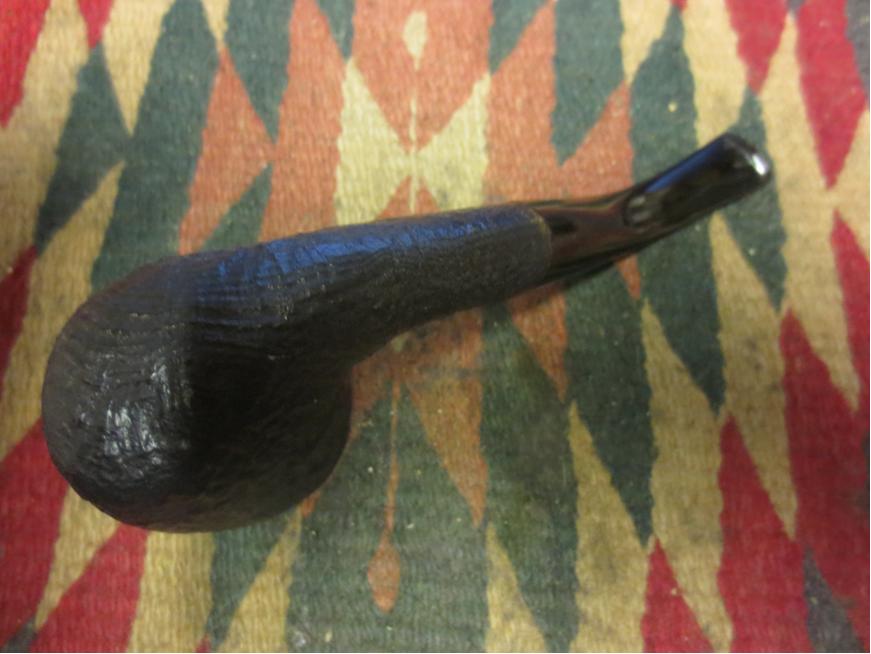
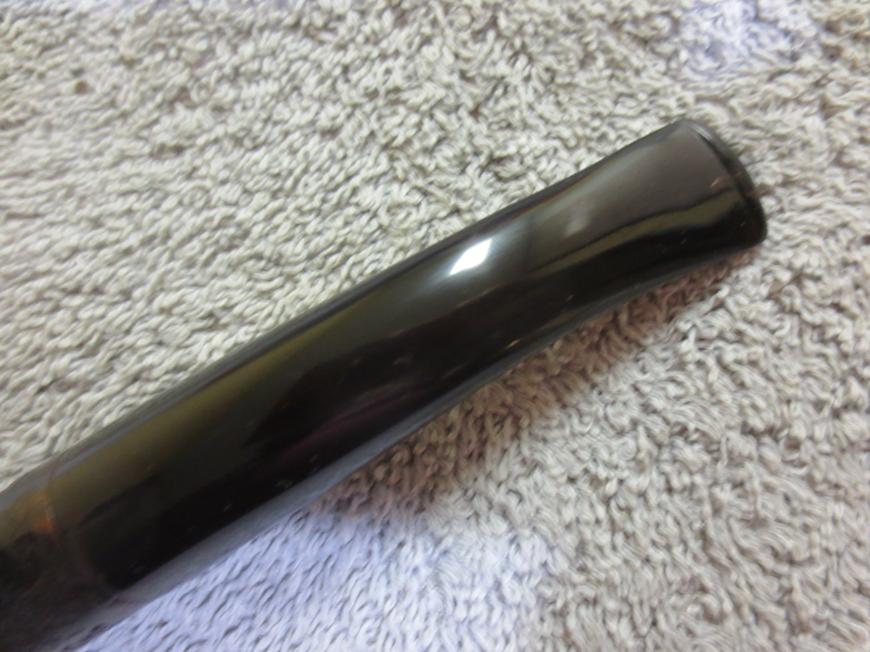
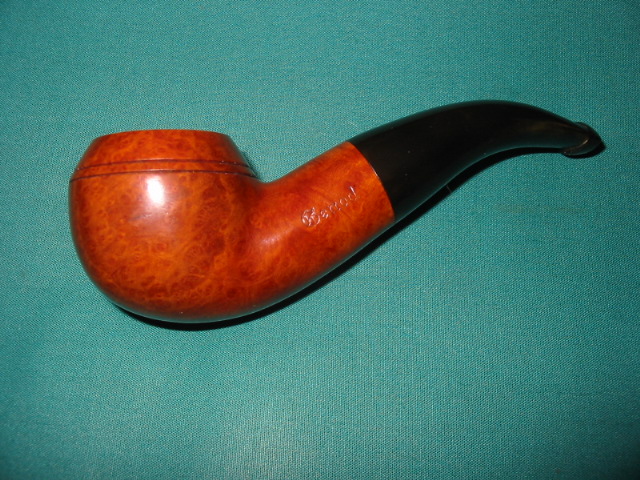
 I put the stem back on the bowl and buffed the stem and bowl with Blue Diamond on the buffing wheel. I worked it over until the minute scratches that were visible on the stem in the photos above were gone. The briar also began to shine with the buffing. I gave the pipe multiple coats of carnauba wax and buffed it with a clean buffing pad to raise the shine. I hand buffed it with a microfibre cloth to deepen the shine. The finished pipe is shown in the photos below. This one has some remarkable grain and look. I will be putting it on the rebornpipes store shortly. It is available to add to your pipe collection if you want it. Just email me at slaug@uniserve.com or send me a message on Facebook.