Blog by Steve Laug
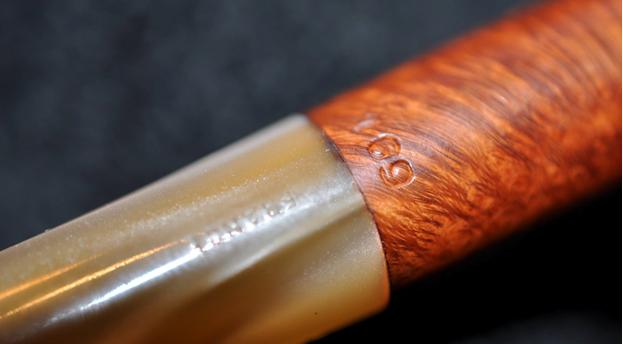
The next pipe on the table from the estate sale to be refurbished is a small apple that is stamped JACQUES on the left side of the shank and Iwan Ries & Co on the right side. It is also stamped 169 (Shape Number) on the underside of the shank at the stem/shank junction. The piece of briar is really a beauty with a mix of grains. The right side of the bowl has some beautiful birdseye grain that just pops. The combination of the yellow, cream coloured Lucite stem with the medium brown stain on the bowl works well and brings out the reds in the briar. Jeff took some photos of the pipe when he brought it home and before he worked his magic cleaning it up.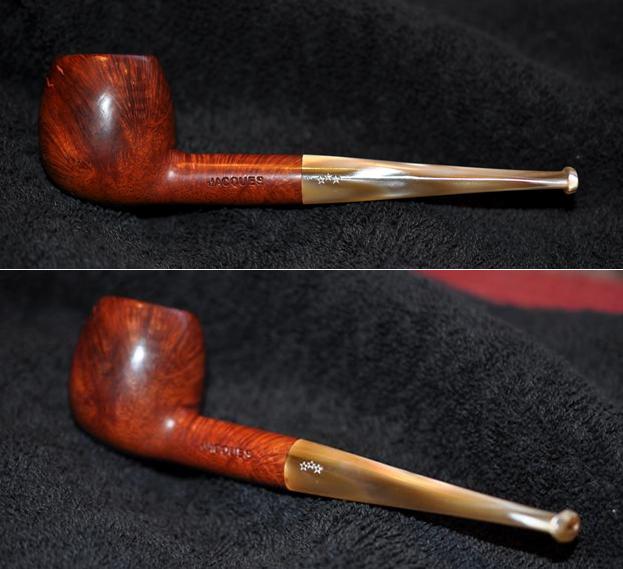
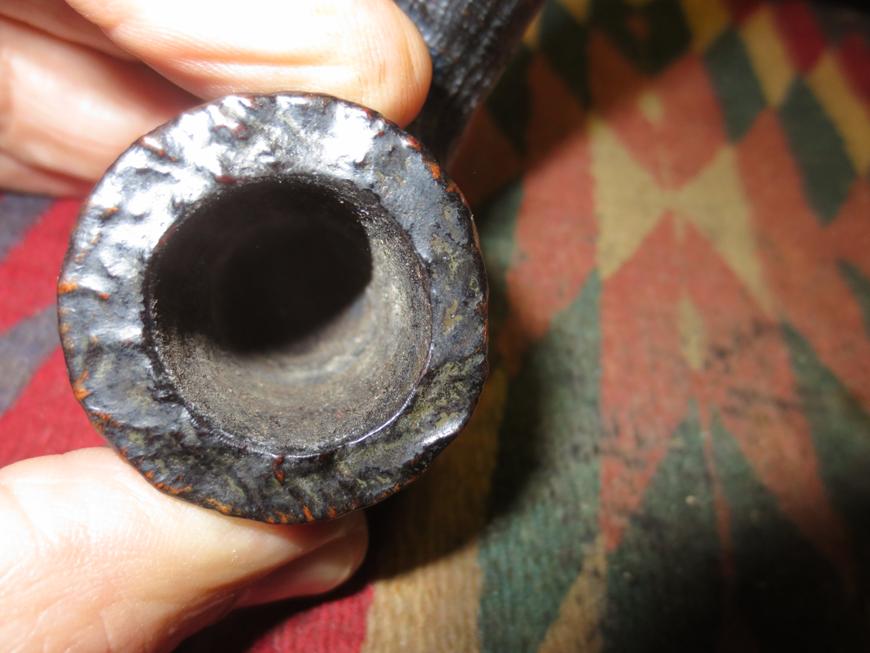
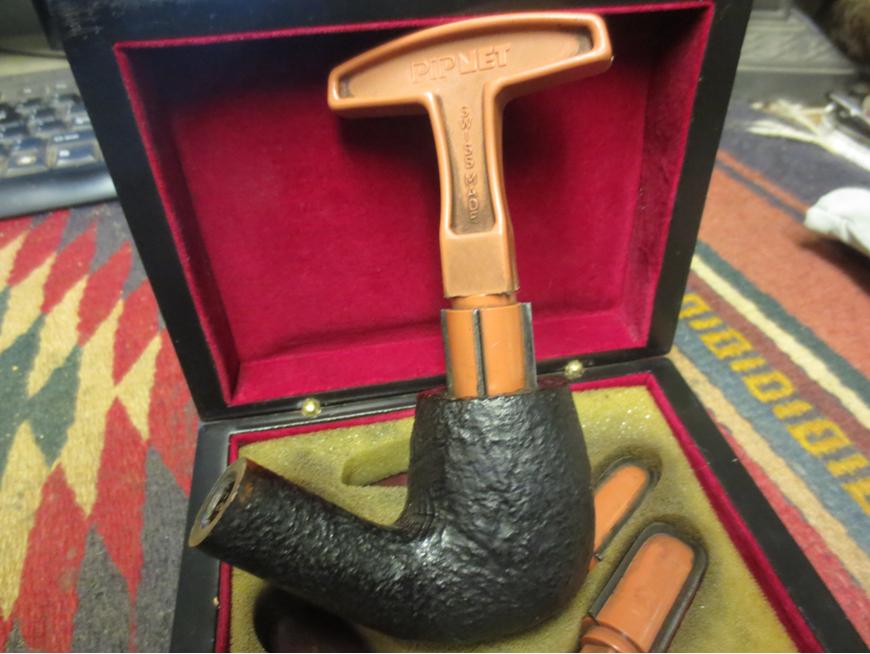
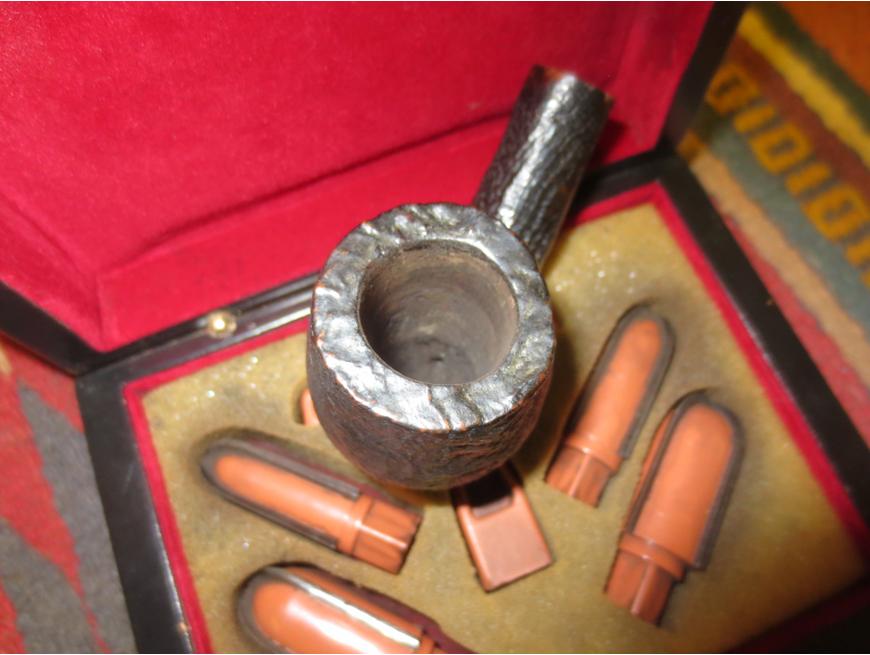
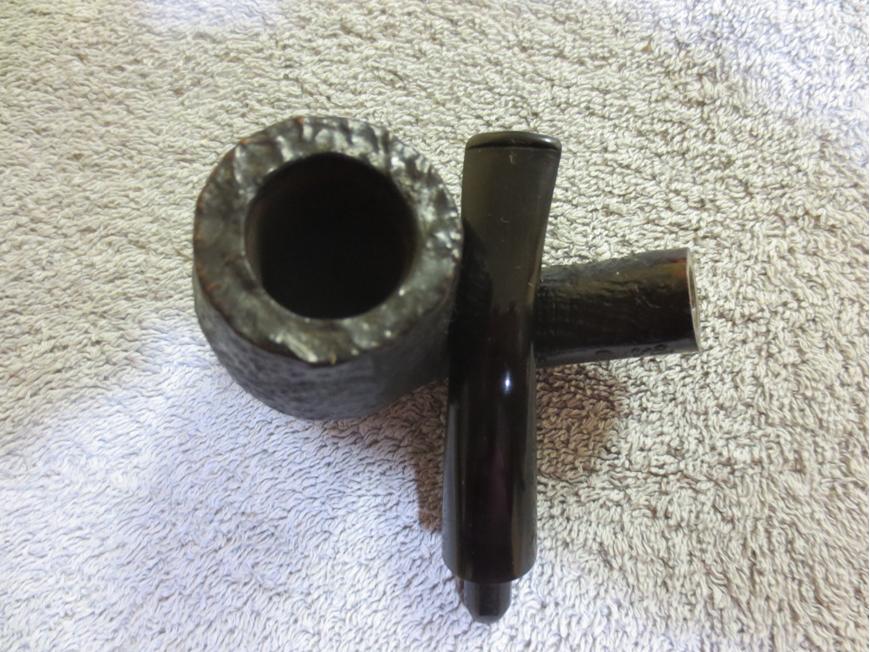
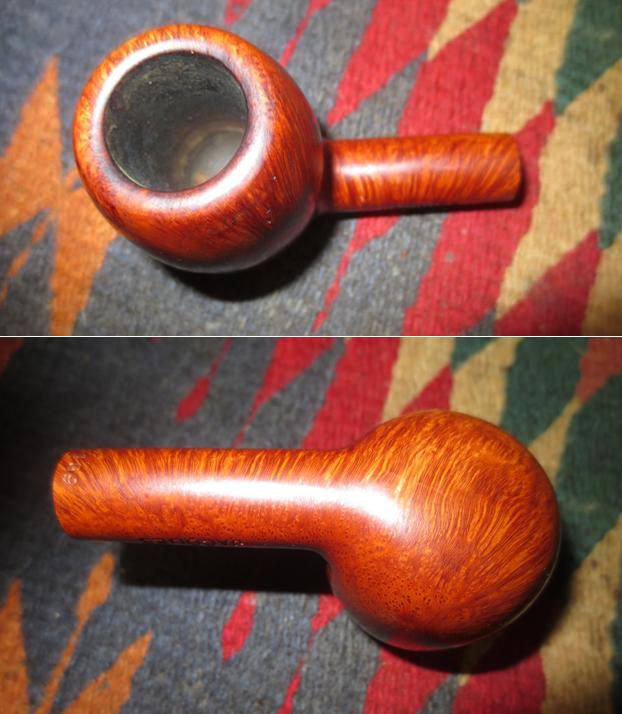
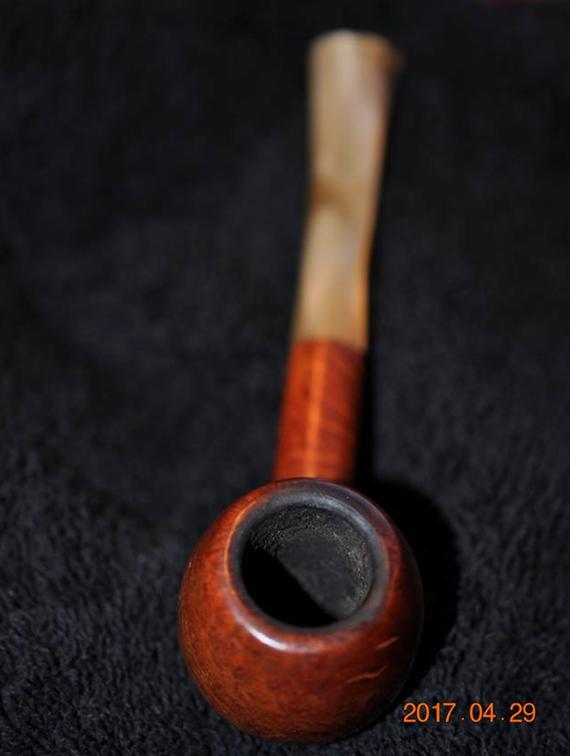 He took some photos of the pipe to show the condition. The first of these shows the cake in the bowl and the lava overflow on the rim top. The rounded rim top looked like it was also darkened but I would know for sure once he had cleaned the top of the bowl.
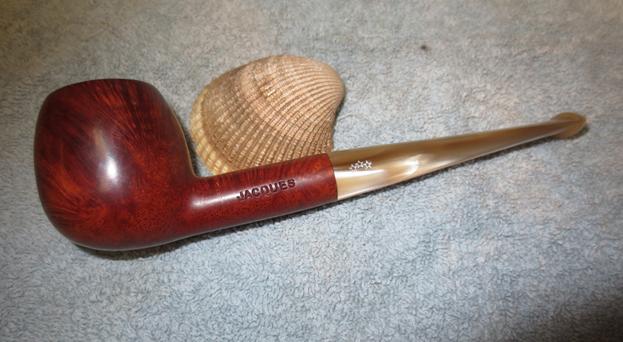
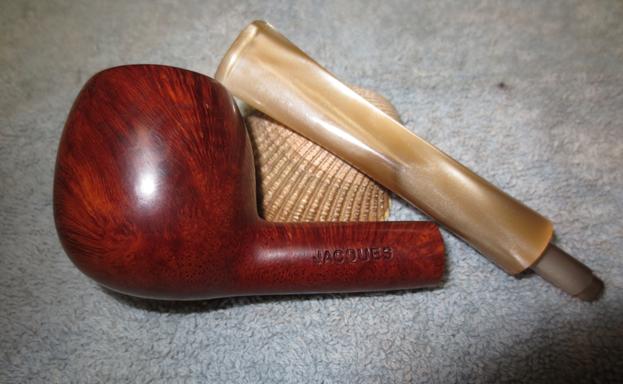
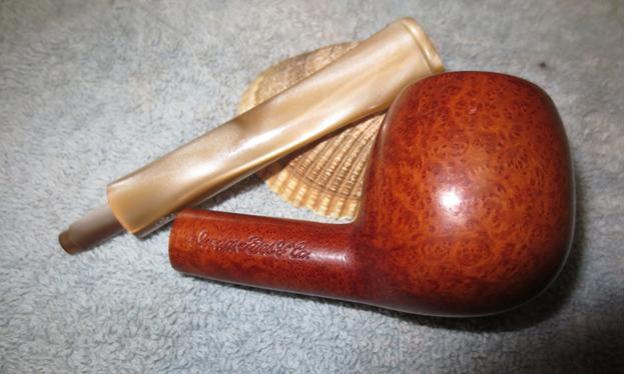
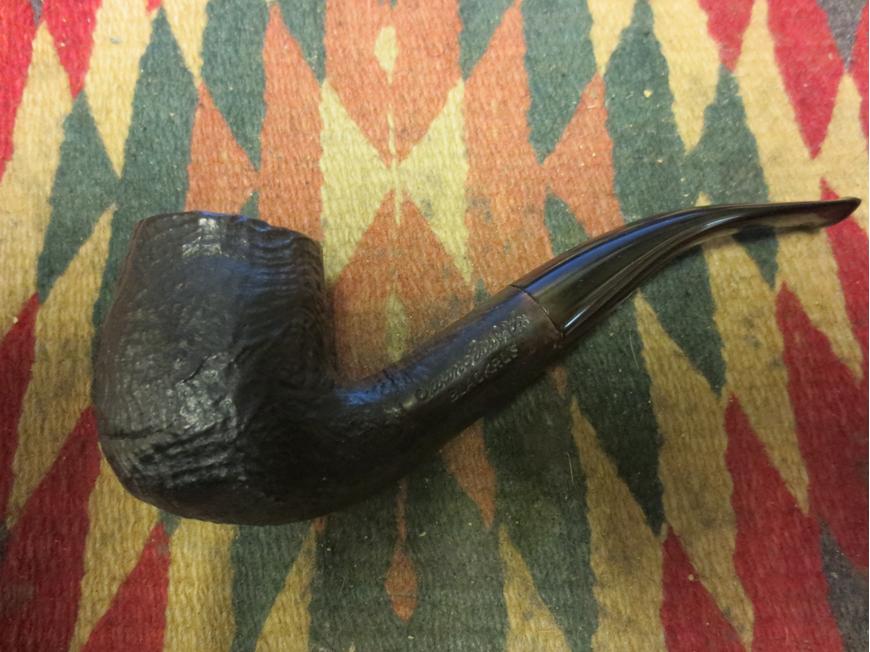
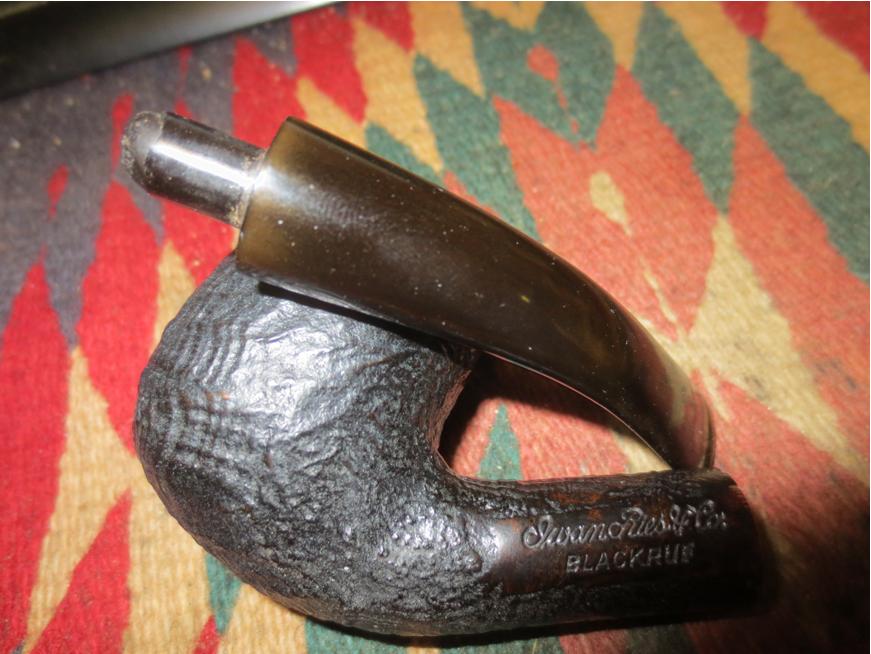
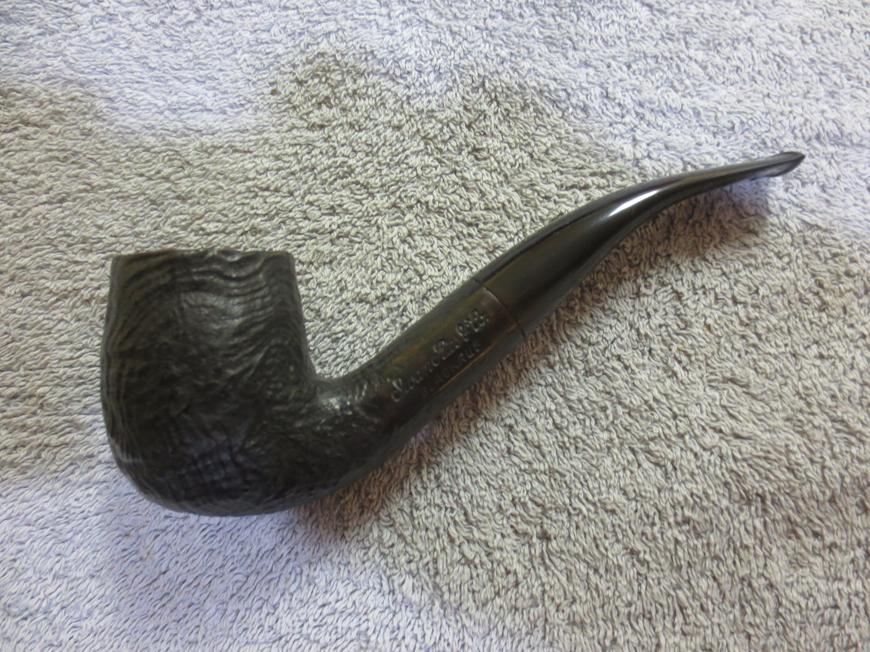
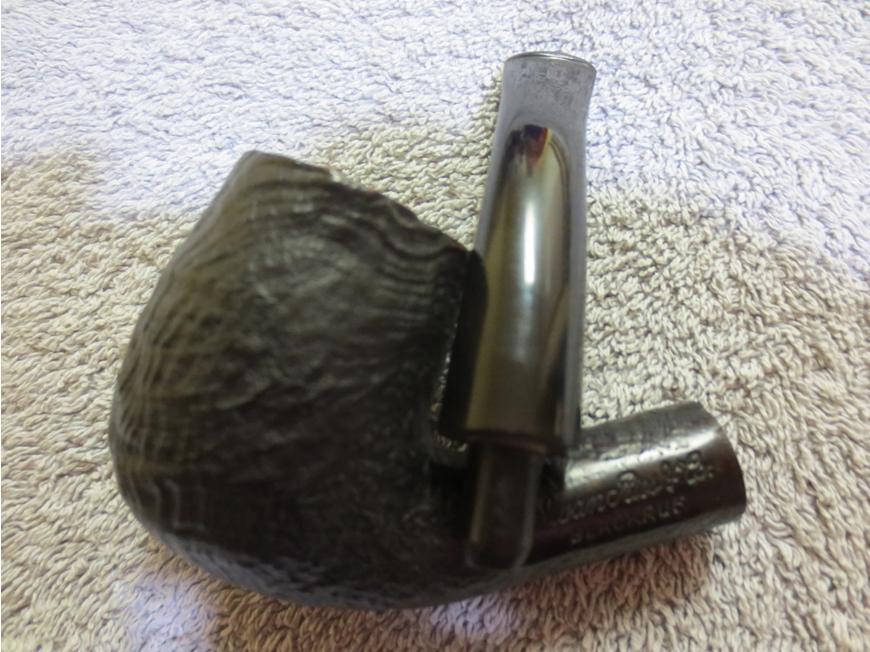
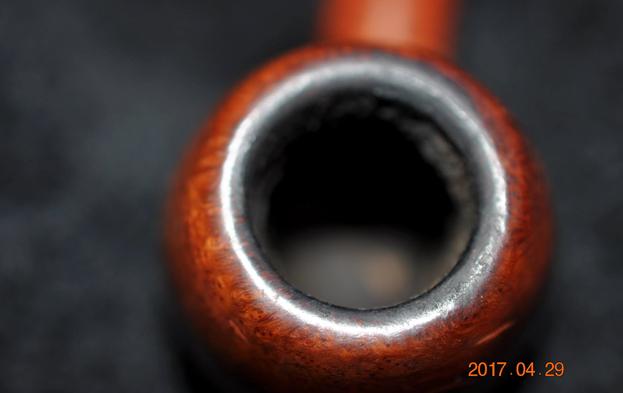 The next three photos show the stamping on the bowl. It is sharp and readable. There are also three stars on the left side of the taper stem as well. On the underside of the stem it is also stamped France. I am not sure if that is in reference to the entire pipe or just the stem being made in France.
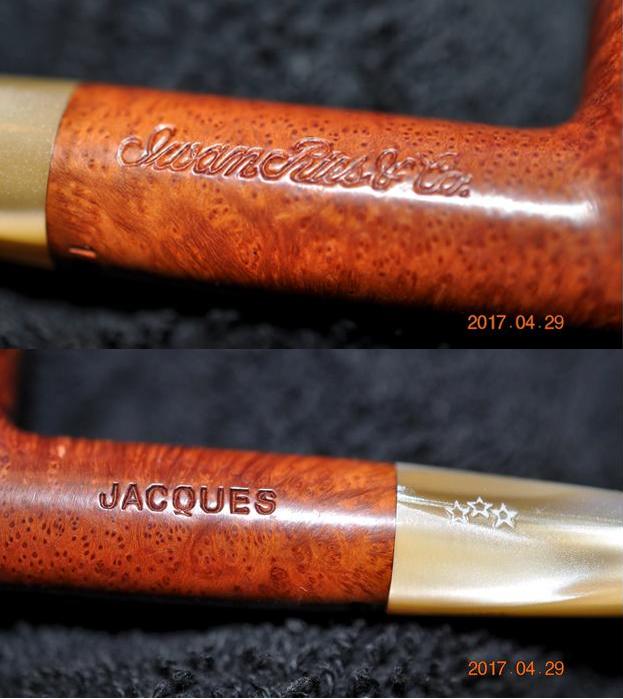
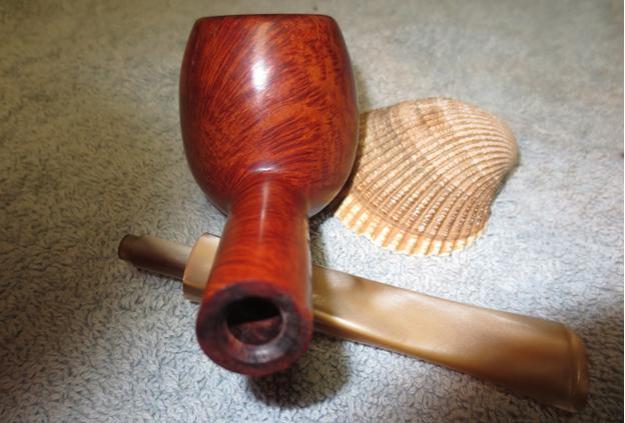
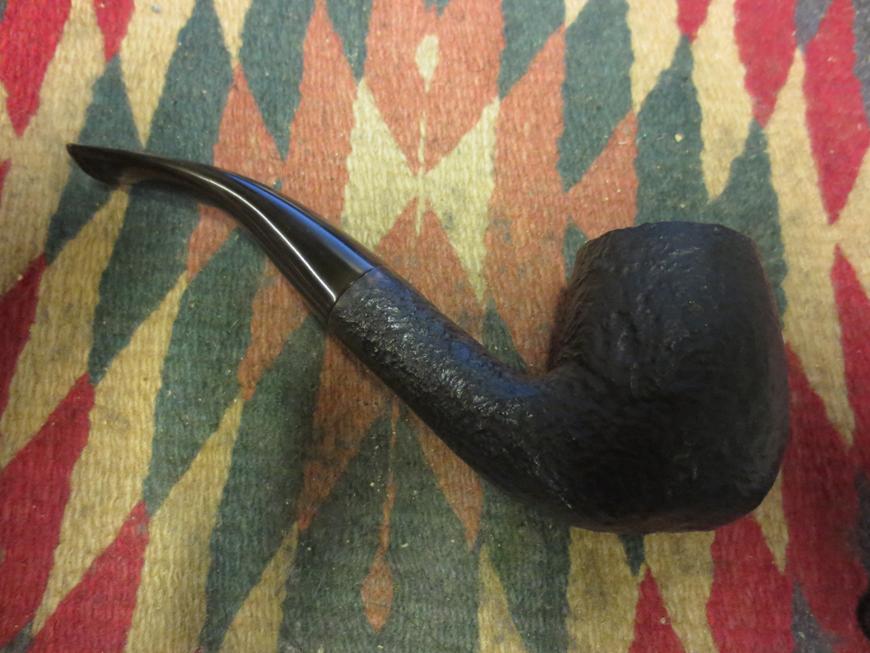
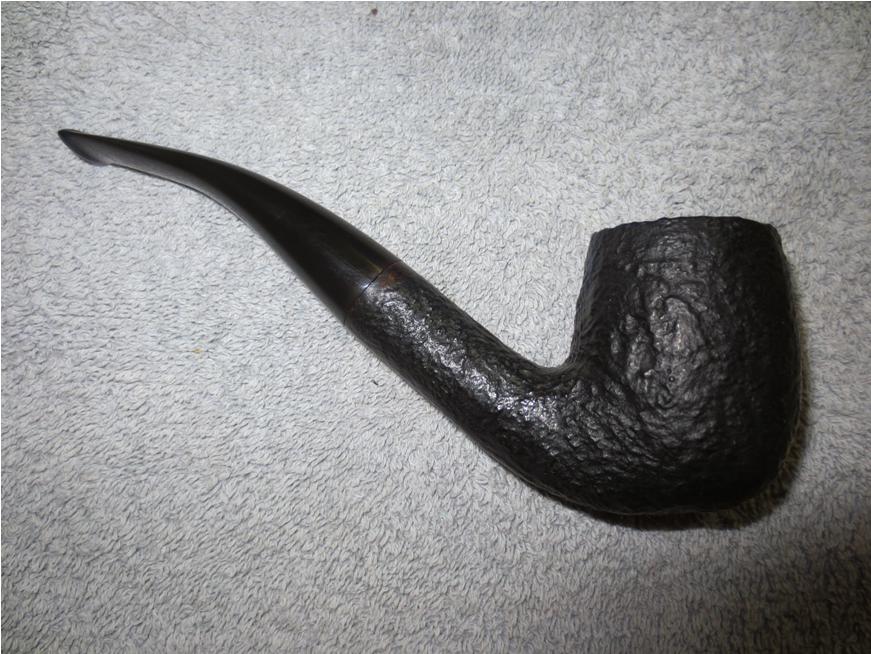
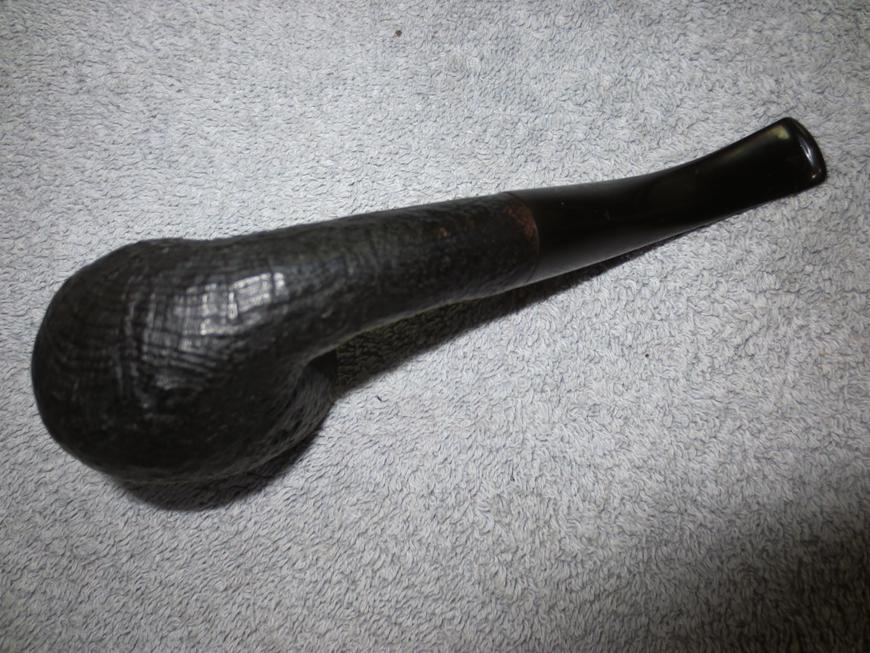
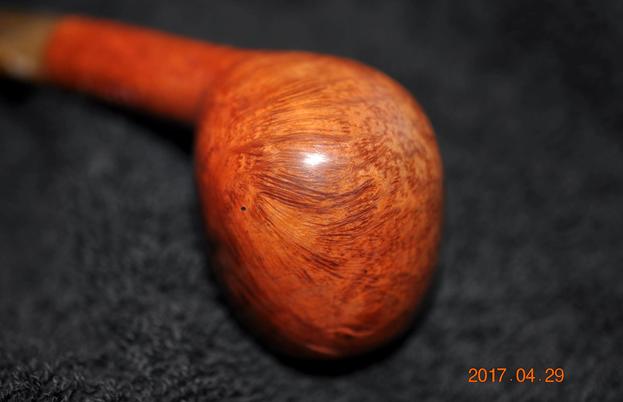
 The next series of close up photos of the bowl show the overall condition of the pipe. The first photo shows the damaged fills on the left front of the bowl. These will need to be picked out and repaired to take care of the crumbling putty.
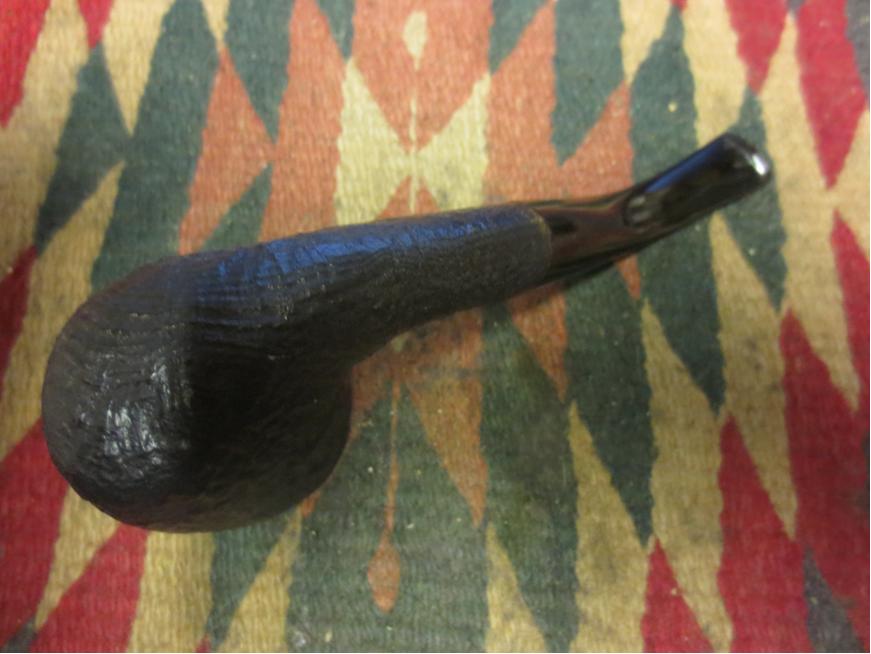
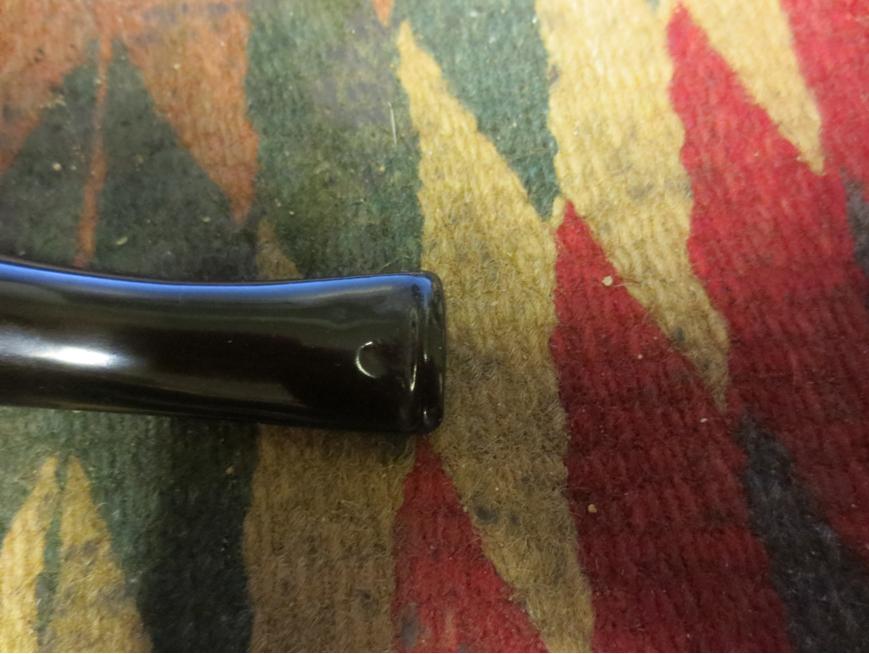
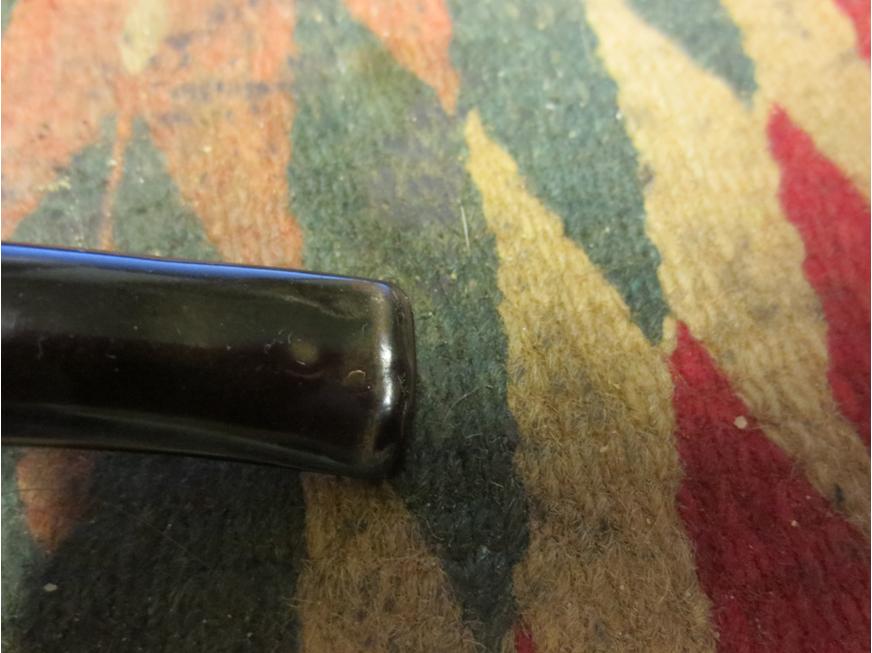
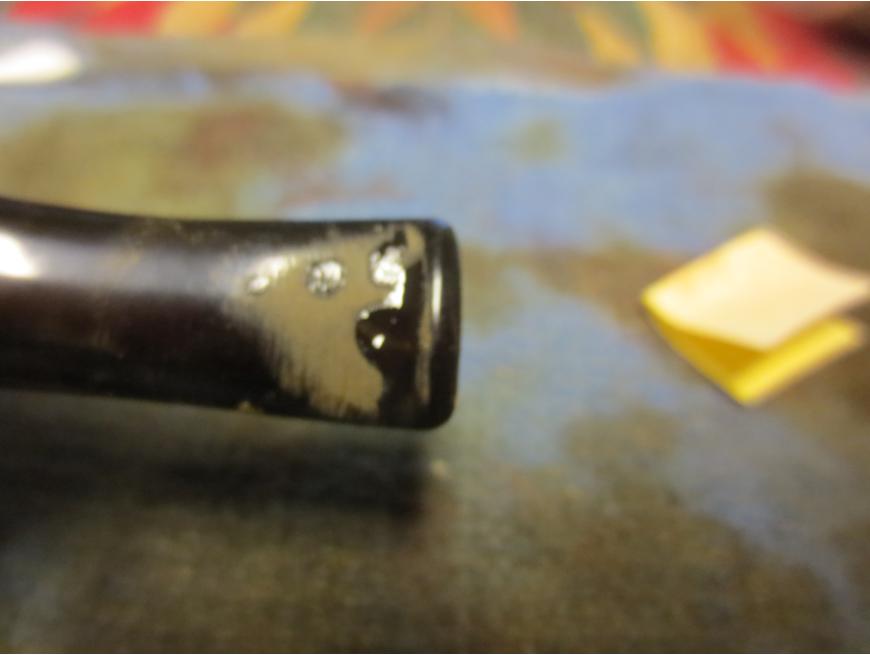
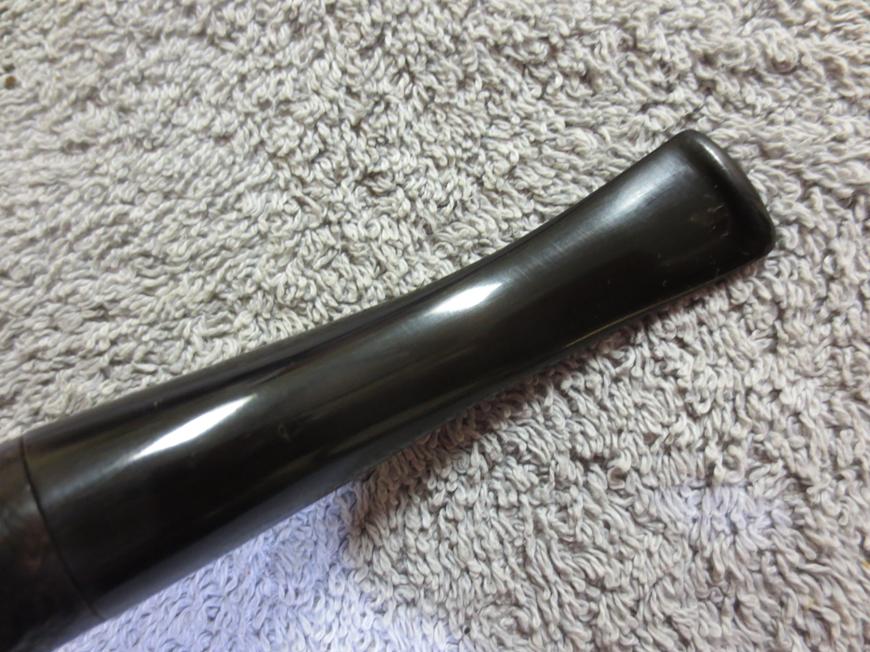
 The following photos show the now familiar tooth marks on the top and underside of the stem near the button. Unfortunately they are a bit hard to see as the colour of the Lucite obscures them. The top has tooth chatter and the underside has both chatter and a few deeper tooth marks.
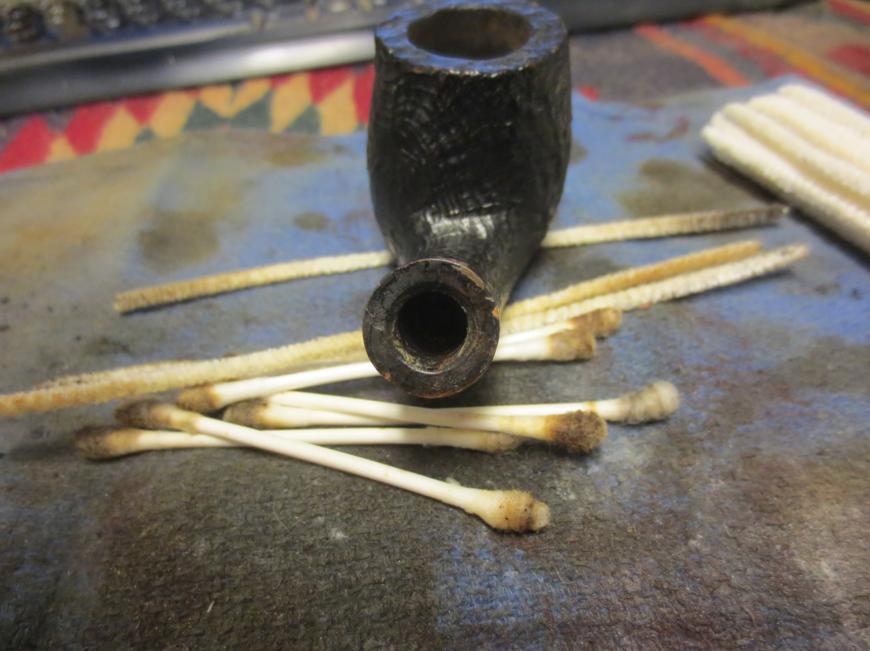
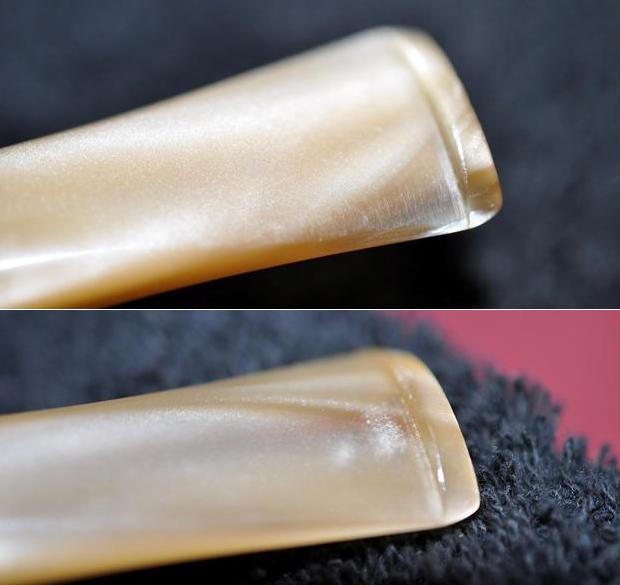 My brother worked his cleanup magic on the pipe and when it came to me the bowl had been reamed and cleaned. The airway in the shank and stem had been scrubbed with alcohol and pipe cleaners and the mortise cleaned with cotton swabs and alcohol. The pipe was in pristine condition internally. All I had to do was rework the fills and sand out the tooth marks on the stem. The next four photos show the pipe upon arrival in Vancouver.
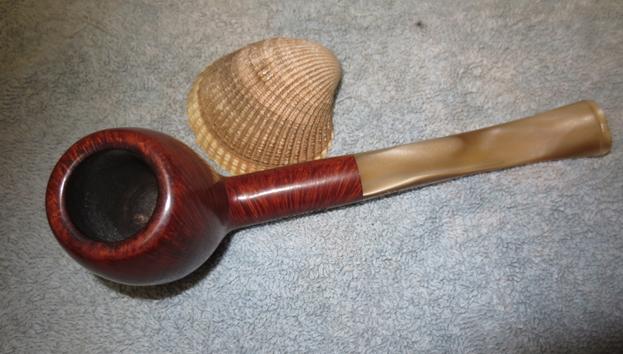
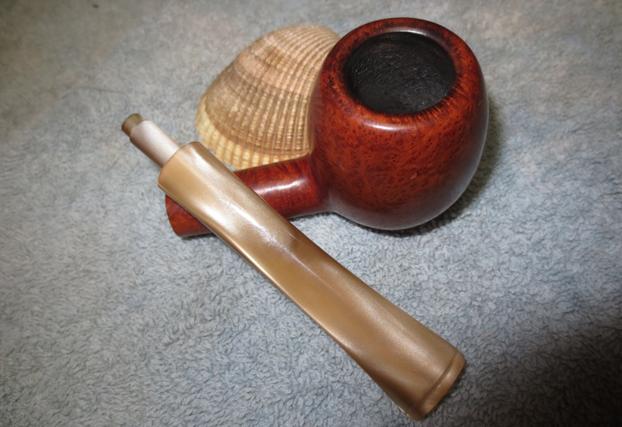
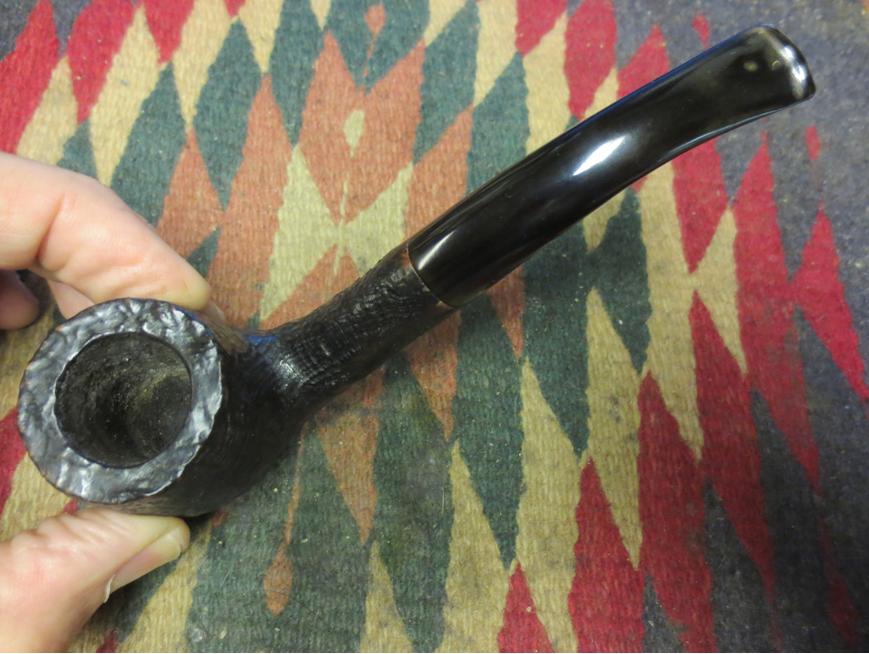
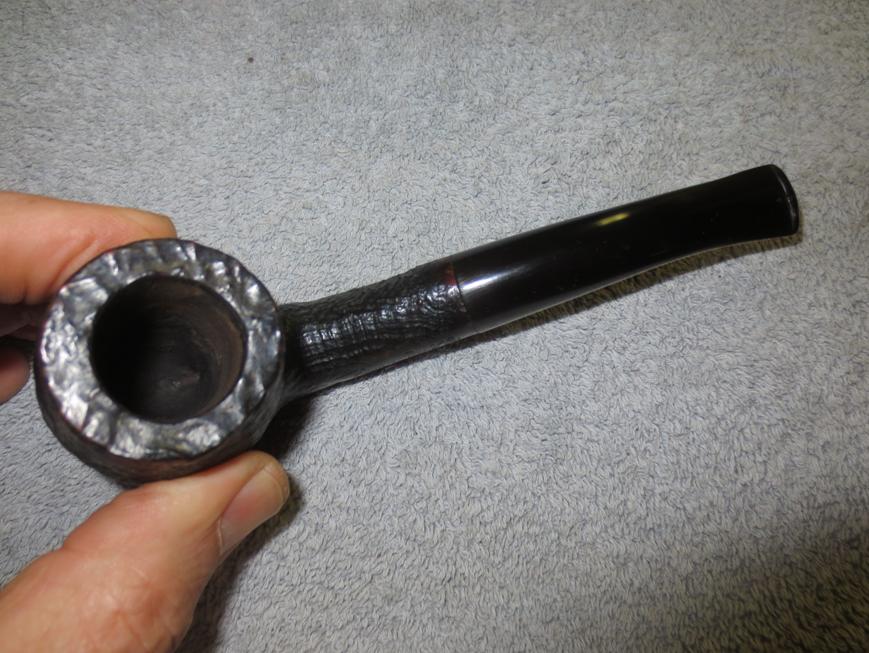
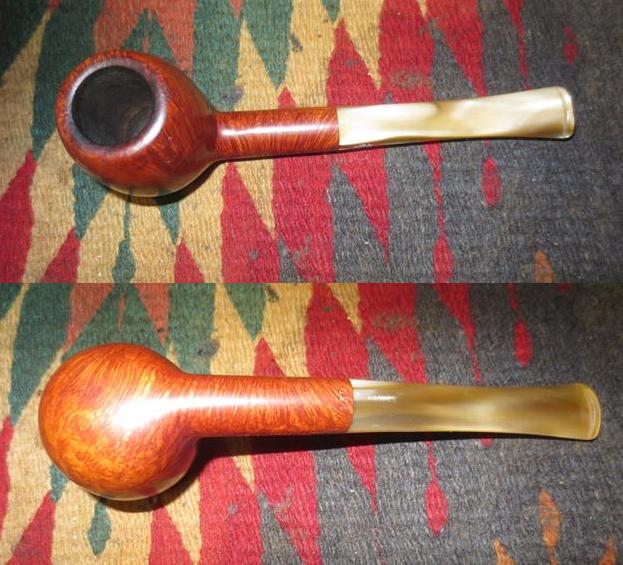 Jeff had been able to remove the cake in the bowl and all of the lava from the rim top. There was indeed some rim darkening that would need to be taken care of but it was very clean. The second photo shows the ugly, damaged fills on the left front of the bowl.
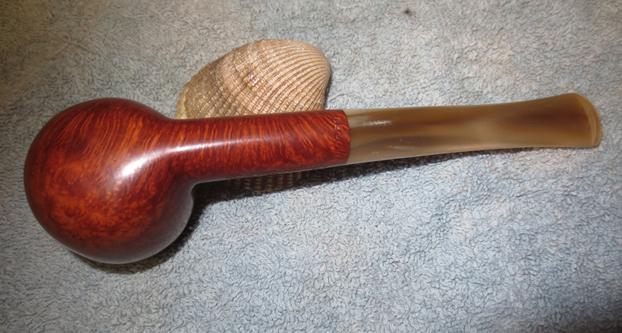
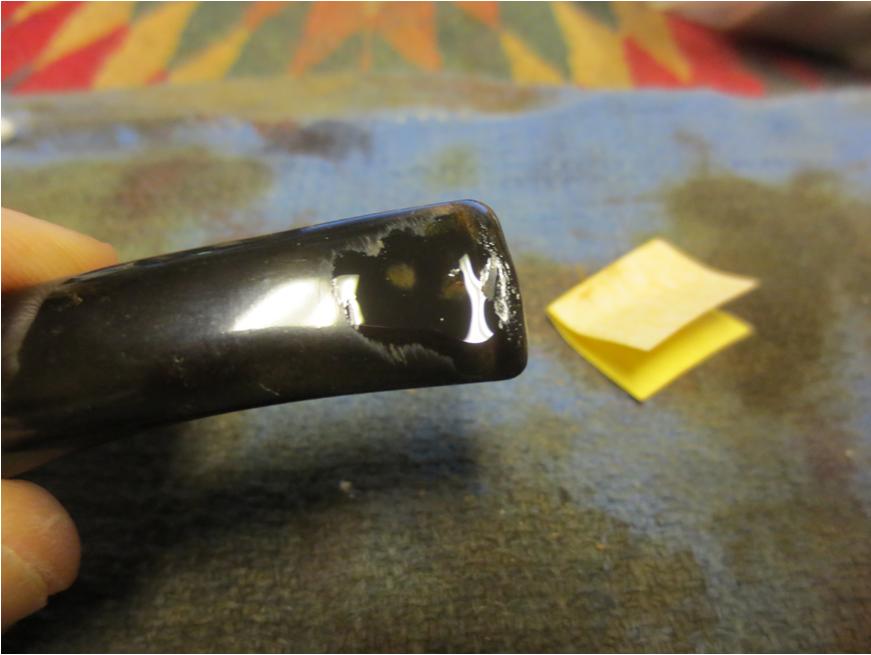
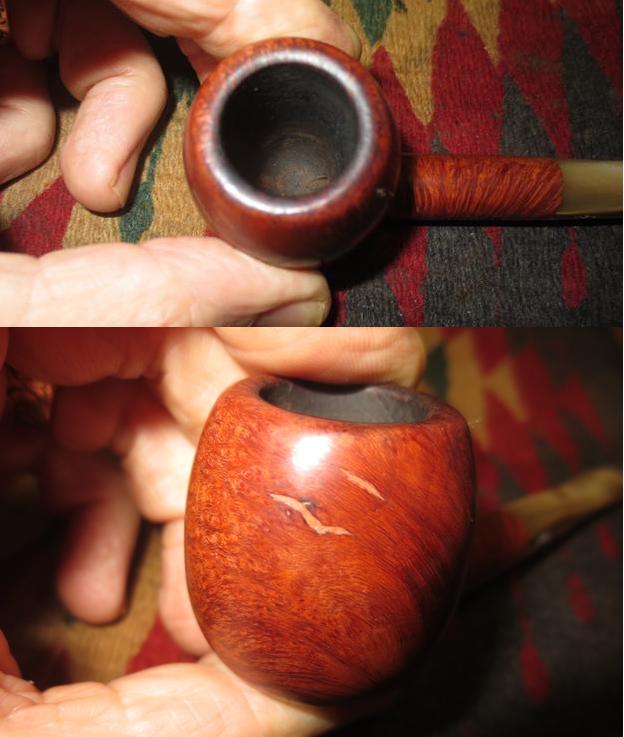 The stem looked really good and the tooth marks and chatter are even harder to see than in the previous photos but they are there.
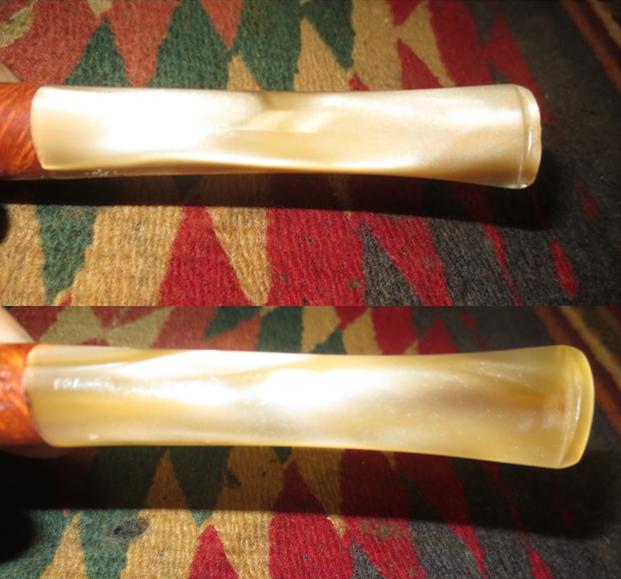 I picked out the damaged putty fills with a dental pick until they were clean. I wiped down the area with an alcohol dampened cloth to remove any remaining debris. I filled the areas with briar dust and clear super glue. It dries dark but that will work in these fills that follow the grain pattern of the bowl.
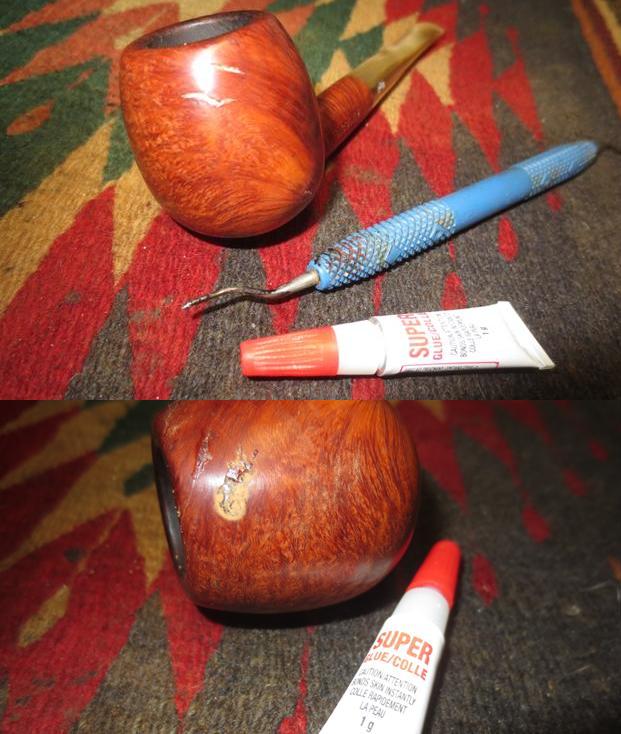 Once the patch had dried I sanded it with 220 grit sandpaper to remove the excess fill and then with 320 sandpaper to smooth that out a bit. I polished the repair with micromesh sanding pads – 1500-12000 grit sanding pads to smooth out all the scratches.
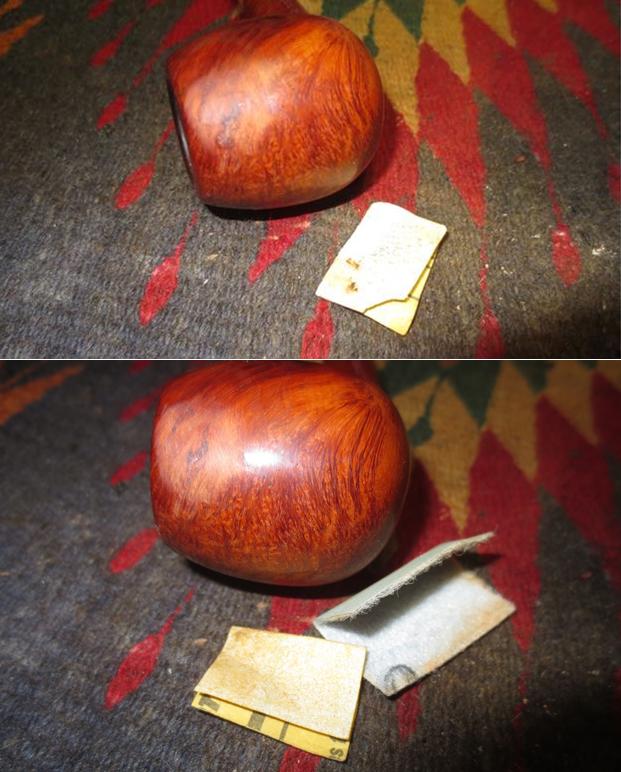
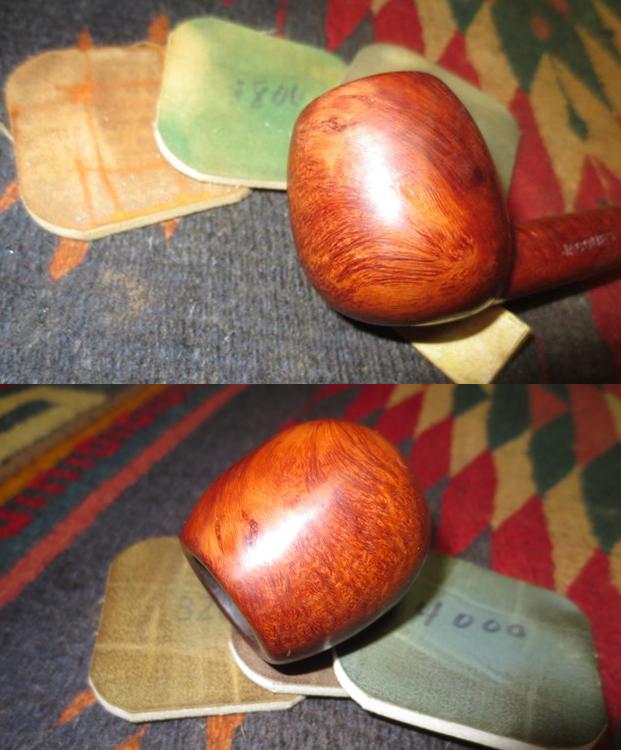
 I touched up the repaired area with a dark brown stain pen. The colour of the stain matched the bowl perfectly and the fills blended in better than they were before.
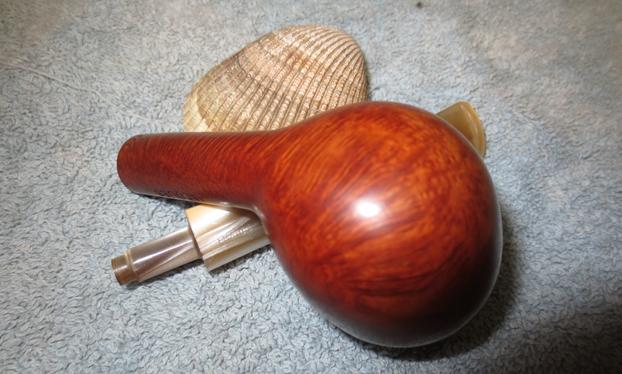
 I hand buffed the bowl with a microfibre cloth to have a look at the rest of it and get a feel for the finished look.
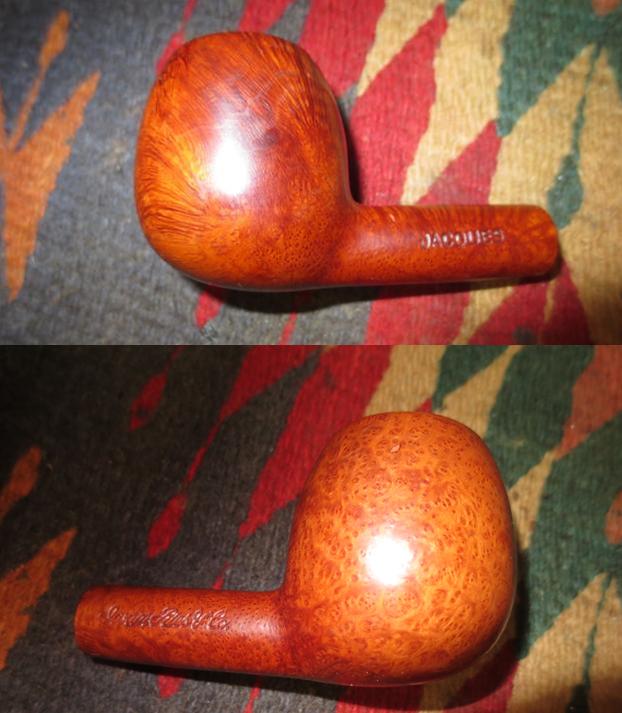
 I ran a pipe cleaner through the mortise and the airway in the shank and the stem to check for any debris that might have collected from my sanding. They were still very clean.
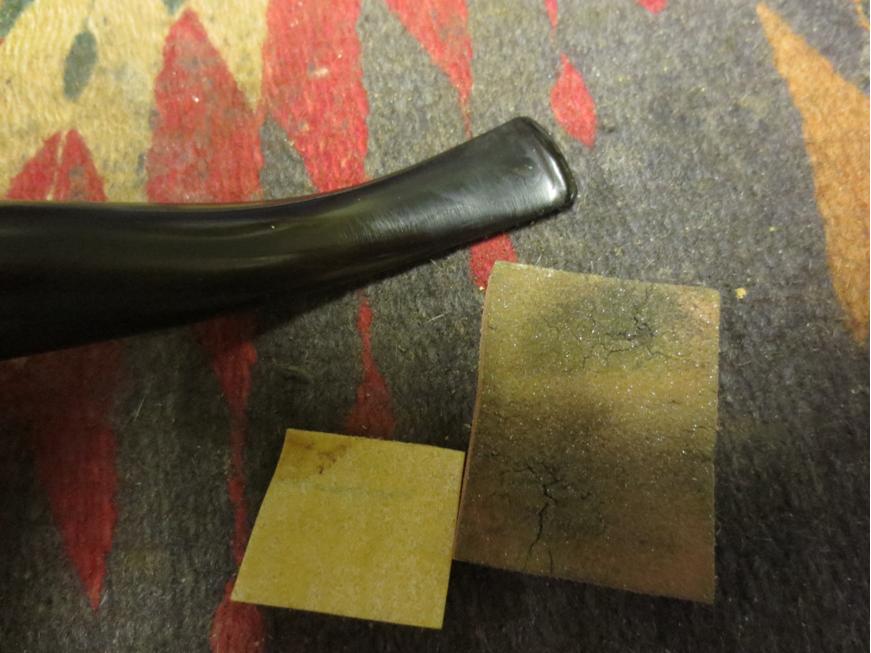
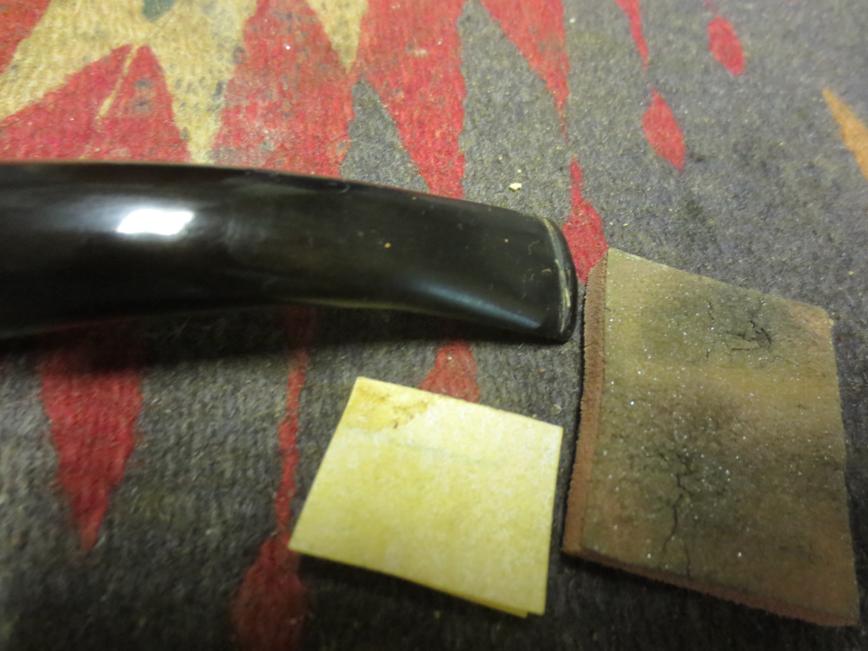
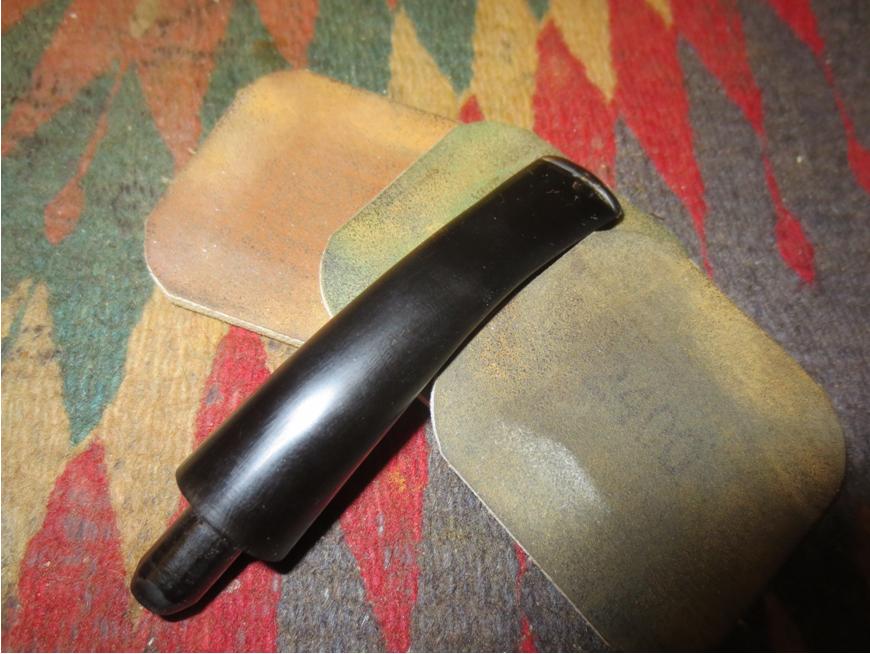
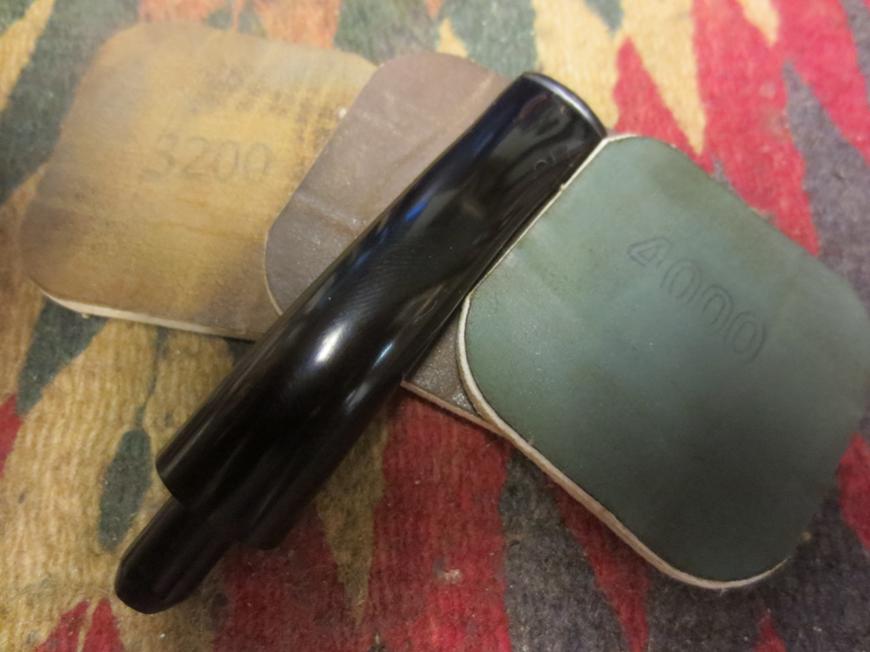
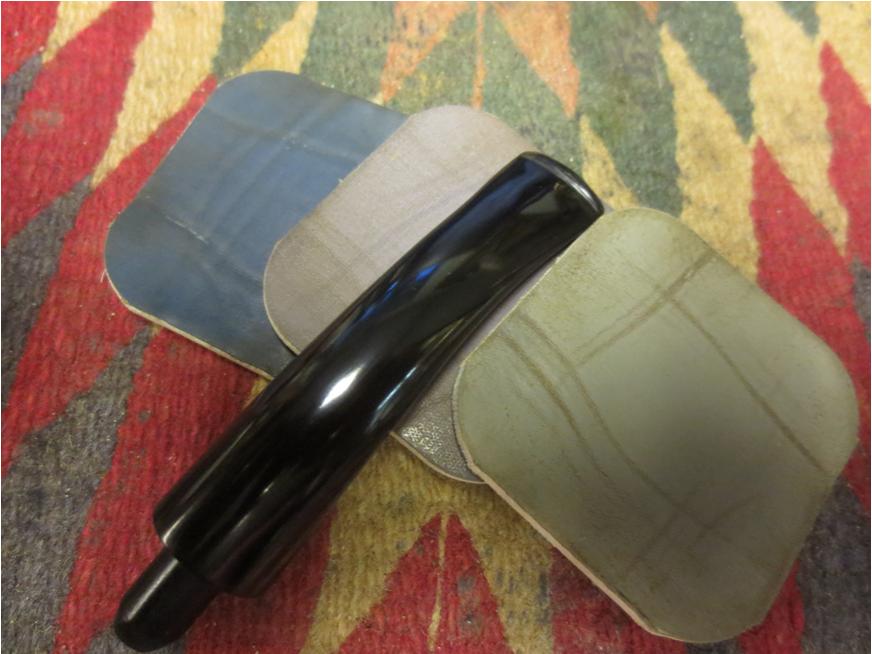
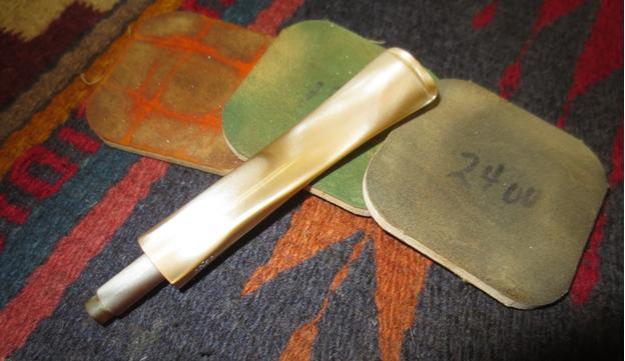
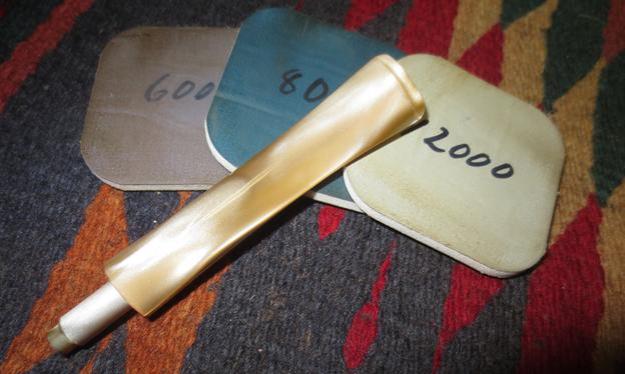
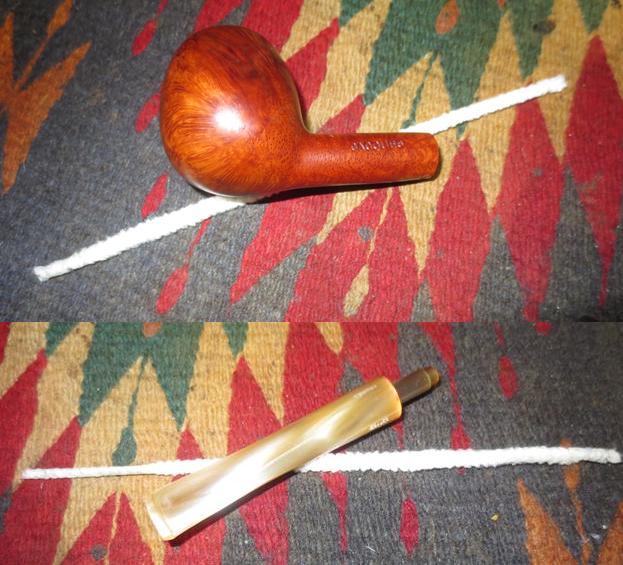 Now it was time to take care of the tooth marks on the stem. I sanded them out with 220 grit sandpaper and smooth that out with 320 grit paper. I polished the stem with micromesh sanding pads – wet sanding with 1500-2400 grit pads and dry sanding with 3200-12000 grit pads. I wiped the stem down between each pad with a water dampened cotton pad to remove the sanding debris.
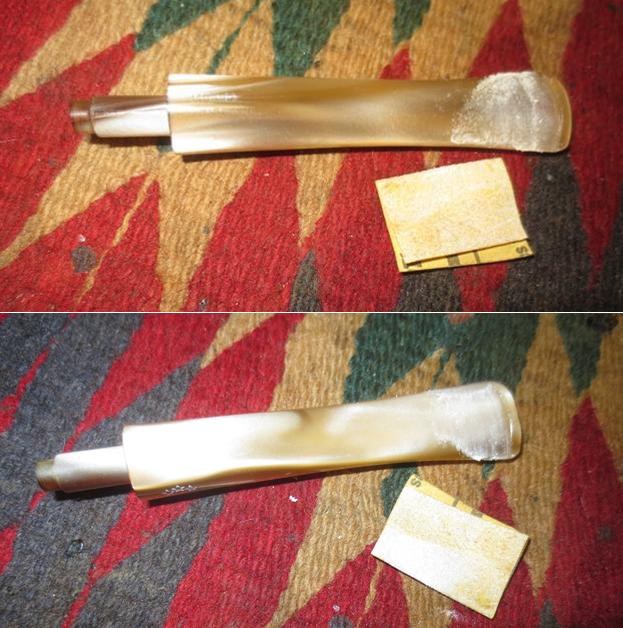

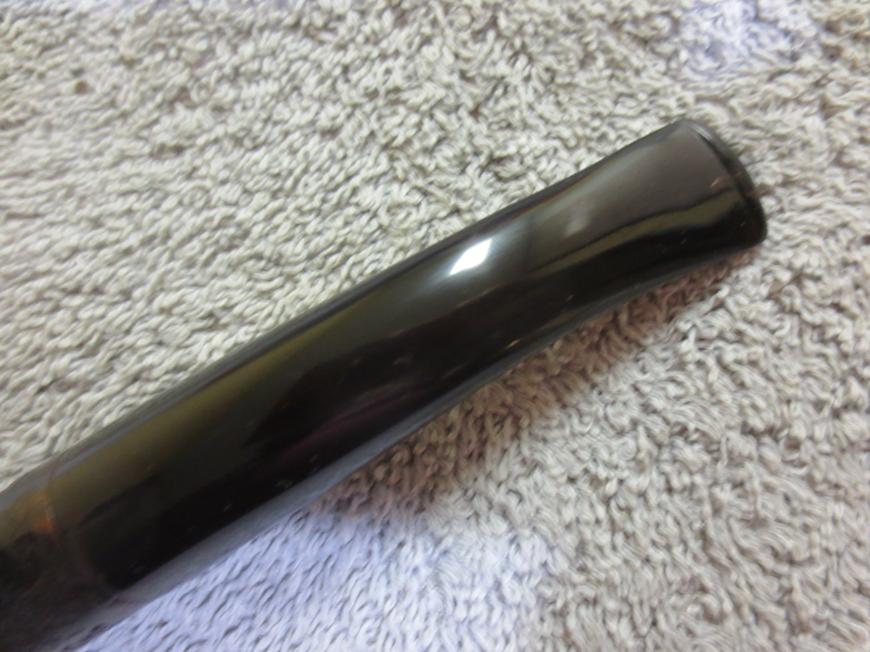
 I put the stem back on the pipe and buffed it with Blue Diamond on the buffing wheel. I am skittish about buffing Lucite as it can heat up quickly and then make a mess of the work that has been done. I used a gentle touch to buff the stem and powered through buffing the bowl and shank. I took care not to damage the stamping on the shank. I gave the bowl and stem multiple coats of carnauba wax and buffed it with a clean buffing pad to raise a shine. I hand buffed it with a microfibre cloth to deepen the shine. The dimensions are Length: 5 ¾ inches, Height: 1 5/8 inches, Outer diameter of the bowl: 1 ¼ inches, Chamber diameter: ¾ inches. The finished pipe is shown in the photos below. It turned out to be a beautiful pipe and the repaired fills look better than when it left the factory. This one is available if you want to add it to your rack. Email me at slaug@uniserve.com or send a private message via Facebook if you are interested. Thanks for looking.