by Steve Laug
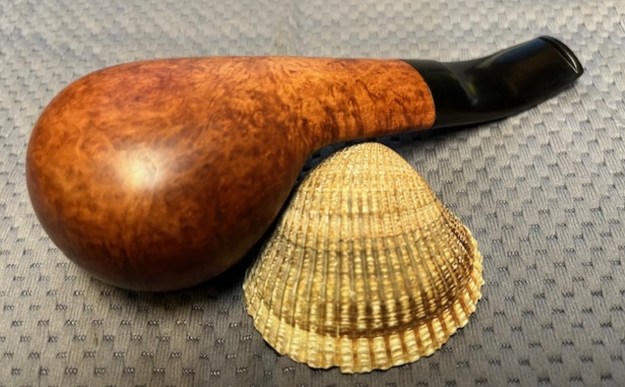
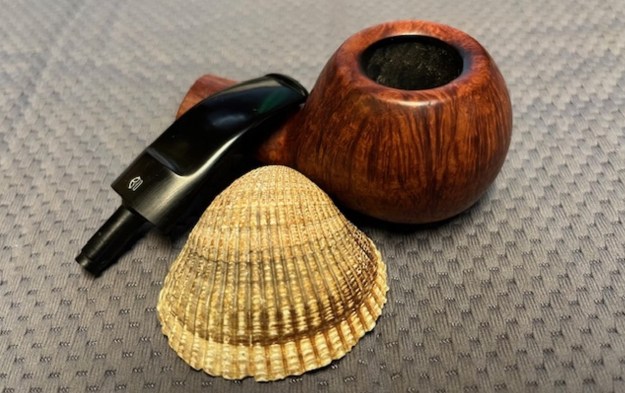
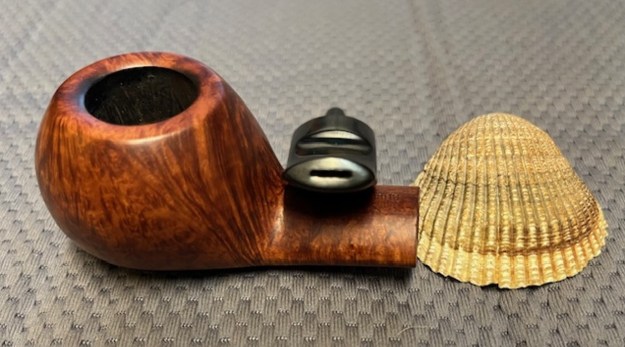
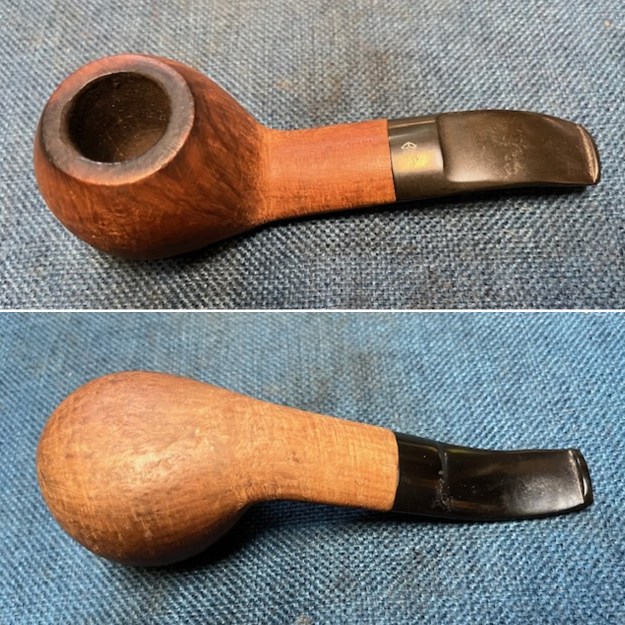
A few weeks ago, I visited my Dad and family in Idaho Falls, Idaho. While there my Brother Jeff and I did a bit of pipe hunting. We did not find much but we did find an interesting Banker shaped pipe in an Antique Mall. The price was right ($35USD) so we picked it up and brought it home to Jeff’s house. The surface of the briar has been roughened, perhaps by steel wool or a wire brush. The finish was rough to the touch but it looked like there might be some nice grain underneath. With the use of a lens I could read the stamping on the topside. It read House of Lords [over] Made in England. There was the remnant of the shape number on the right side of the shank next to the bowl. It could be a 52S shape. The bowl had a cake in it and the rim top had a thick coat of lava built up. The stem had a crown stamp on the topside of the saddle. The stem was lightly oxidized and there were tooth marks on the top and underside ahead of the button. I took a few photos of the pipe in the car on the way home and have included them below.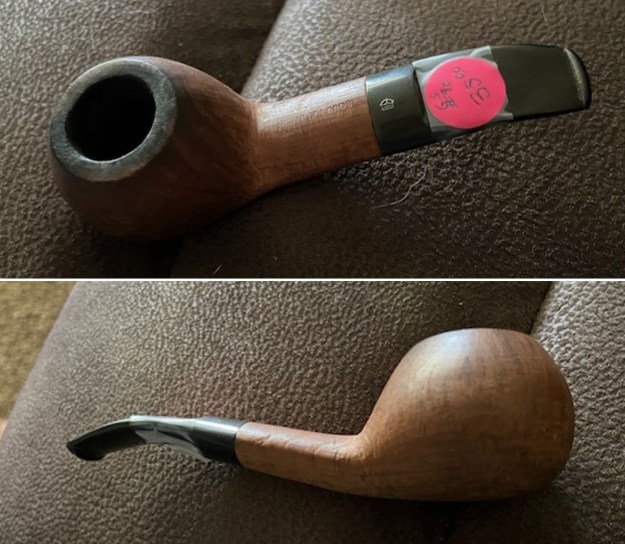
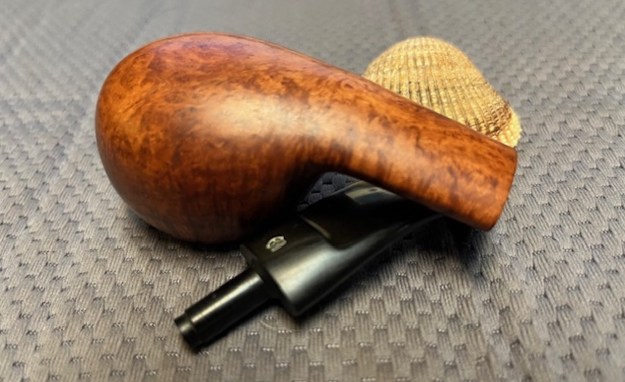
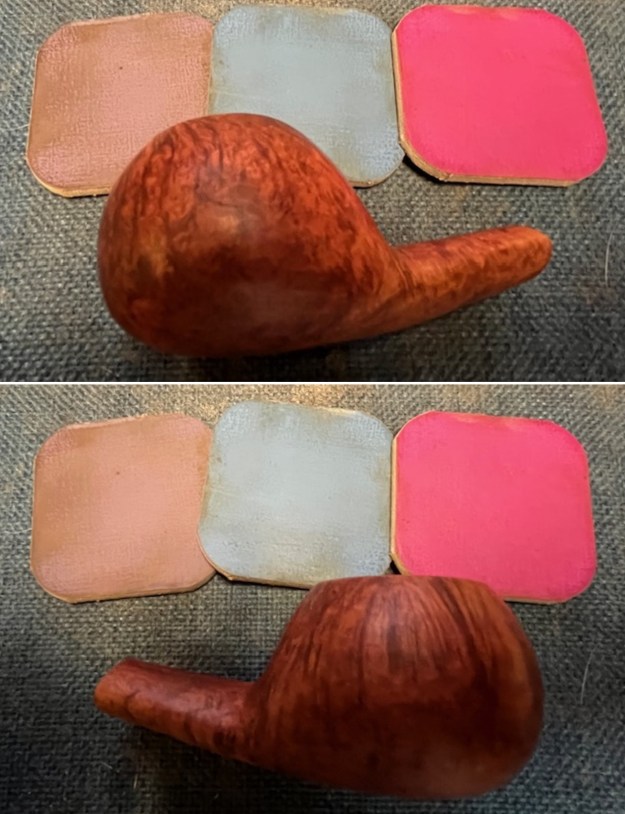
 I reamed the pipe while I was staying with Jeff. I forgot to take photos of the pipe before I reamed it. I brought it home to finish my work on it. I took photos of the pipe when I took it out of the box this afternoon. Jeff had scraped the lava off the rim top and we cleaned up the outside of the bowl. You can see the damage to the finish in the photos below. Whoever had done the work on it had made a mess of it. This was going to be a fun one to bring back to life.
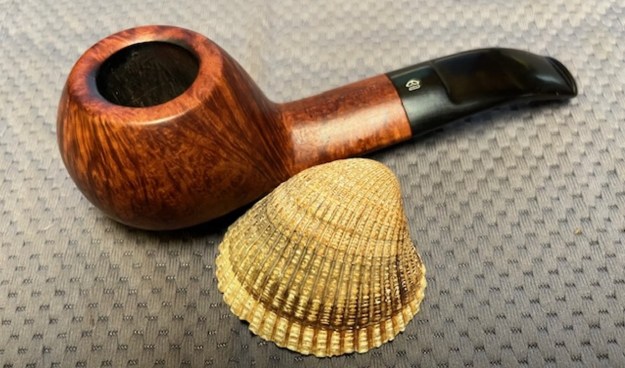
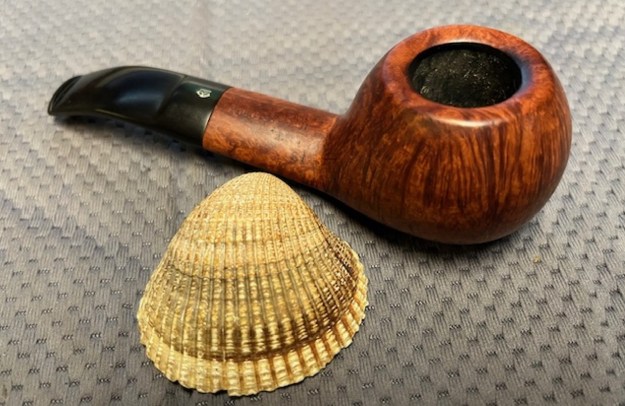
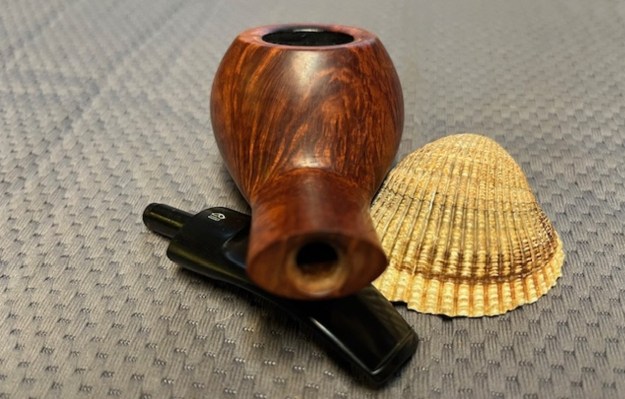
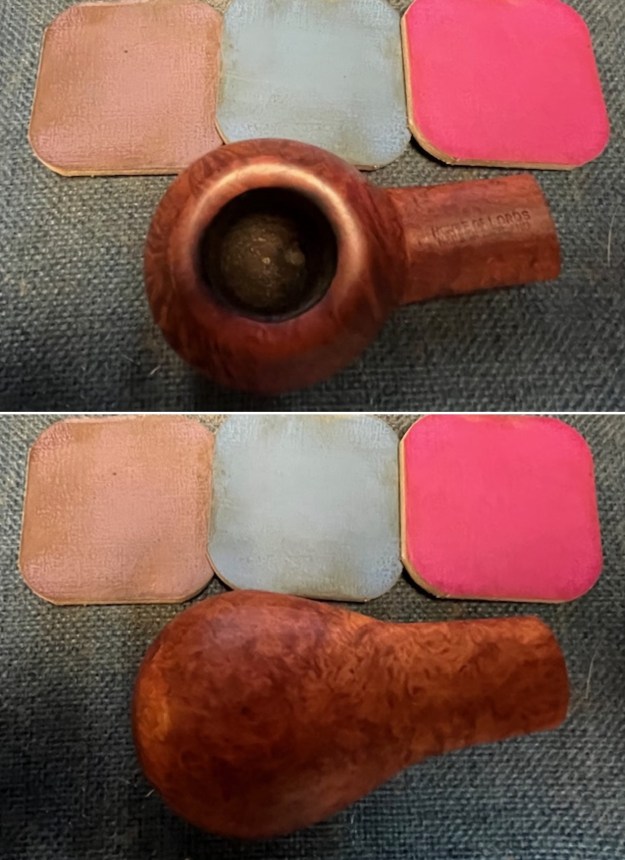
 I took a photo of the rim top and bowl to show the condition of both of them. The bowl itself looked quite clean after our reaming. The rim top showed some darkening on the top and down the outside edges where it had run over the rim top. The inner edge was rough from being reamed with a knife and would need to be cleaned up. The photos of the stem show the light oxidation and tooth marks/chatter on both sides ahead of the button.
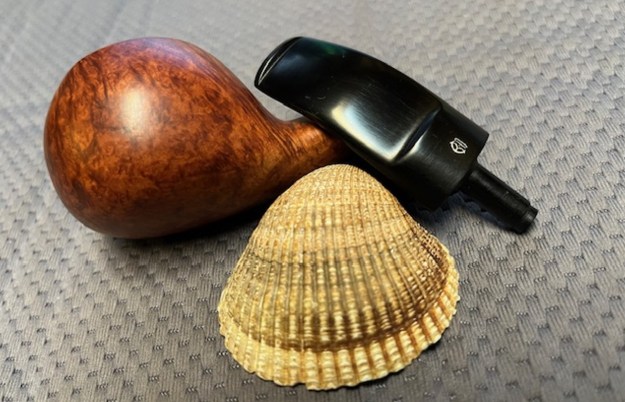
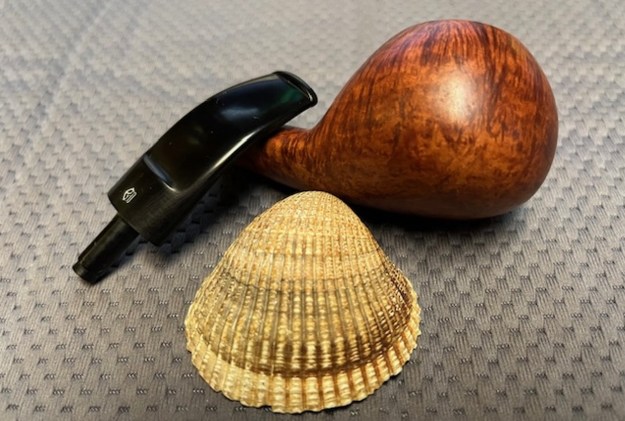
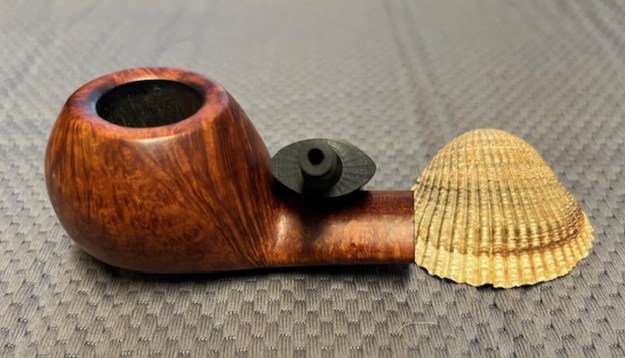
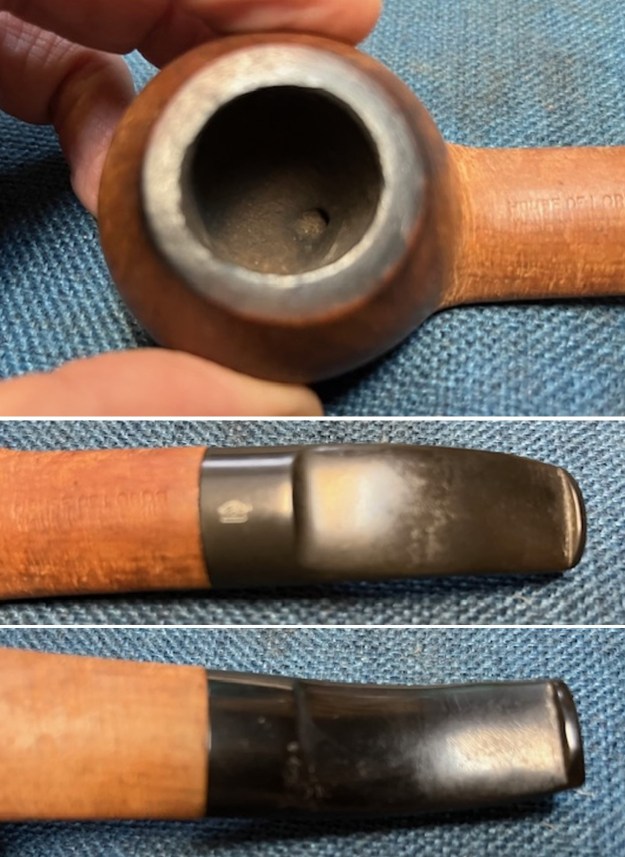 I took a photo of the stamping on the side of the shank. The stamping was clear and readable as noted above. I removed the stem from the shank and took a photo to show the proportions of the pipe.
 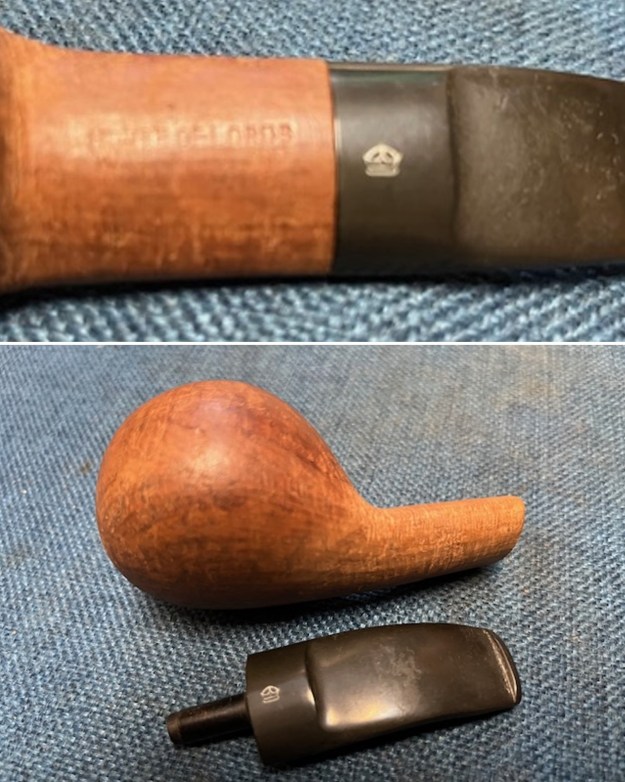 I turned to Pipephil’s site (www.pipephil.eu/logos/en/logo-h3.html#houseoflords). I did a screen capture of the section on the site. It shows the stamping on the left side of the shank that matches the stamping on the topside of the pipe I am working on. The crown stamp shown on the stem I have is a lot like stamping on the stem I have. I am including the information from the side bar that says that House of Lords is a brand from Samuel Gordon and possibly a Sasieni second (J.M. Lopes, op. cit.).
  I further followed the link to “Gordon” and learned that Samuel Gordon had founded the brand “GORDON” in 1910-20 eras. This is the link for Gordon brand of pipes; www.pipephil.eu/logos/en/logo-g4.html#gordon
From there I turned to the Sasieni listing on Pipedia and scrolled down to the list of seconds that was given there (https://pipedia.org/wiki/Sasieni#Sasieni_Seconds). From that information I learned that the pipe was definitely linked to Sasieni. The fourth listing in the screen capture  Now I knew I was dealing with a Sasieni made pipe which helps explain the stamping on the pipe including the Made in England on the topside of the shank. I did a quick search of rebornpipes and found an article on a pipe I had restored that was the same shape as this one. I have included the link (https://rebornpipes.com/2015/10/25/cleaning-up-a-london-made-charleston-banker/). Have a look at the blog and you will see the shape I am referring to. I am also including some photos of the pipe that show the parallels to the one that I am working on now.
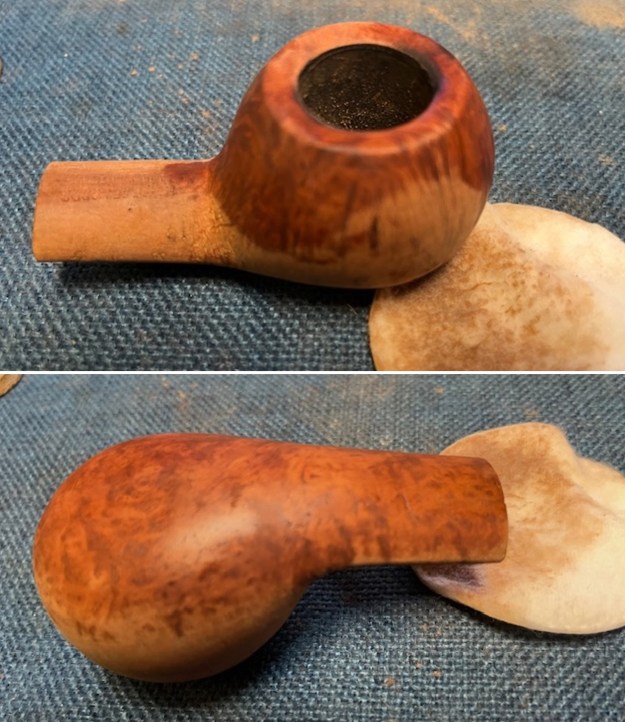
  I turned to work on the pipe next. Since it had been reamed and cleaned a bit I could forgo that part of the process. I used a 320 grit sanding pad to remove the darkening from the rim top. There was some burn damage on the back inside edge and the front inside and outside edge. I Then used a piece of 220 grit sandpaper and a wooden ball to give the top an inward bevel that took care of the damage to the inner edge and cleaned up the rim top. The pipe was beginning to look much better. I still needed to sand the rough finish but I liked the rim top at this point.
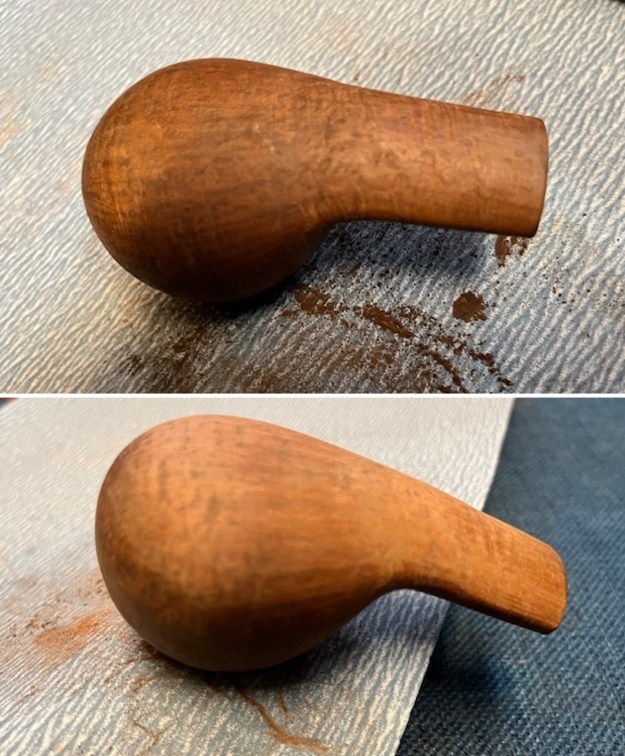
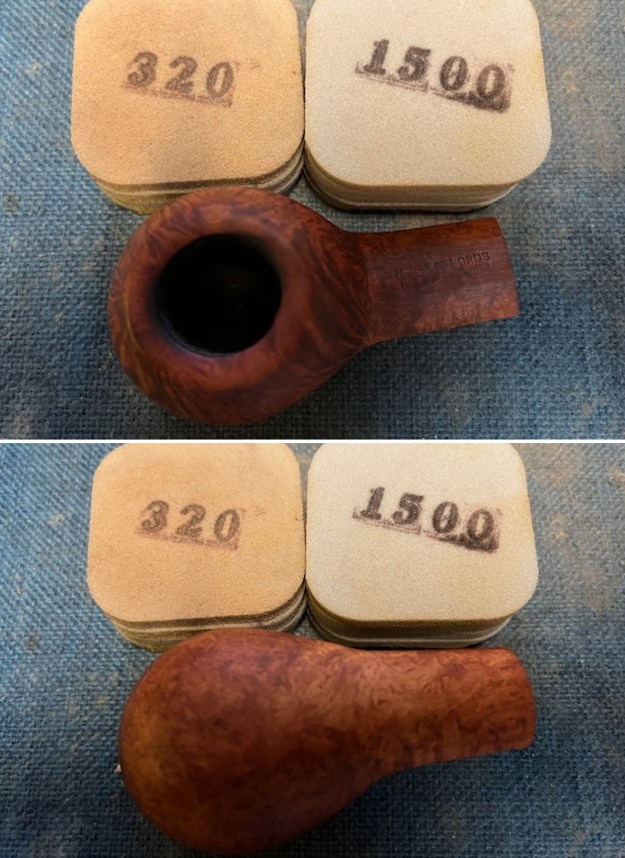
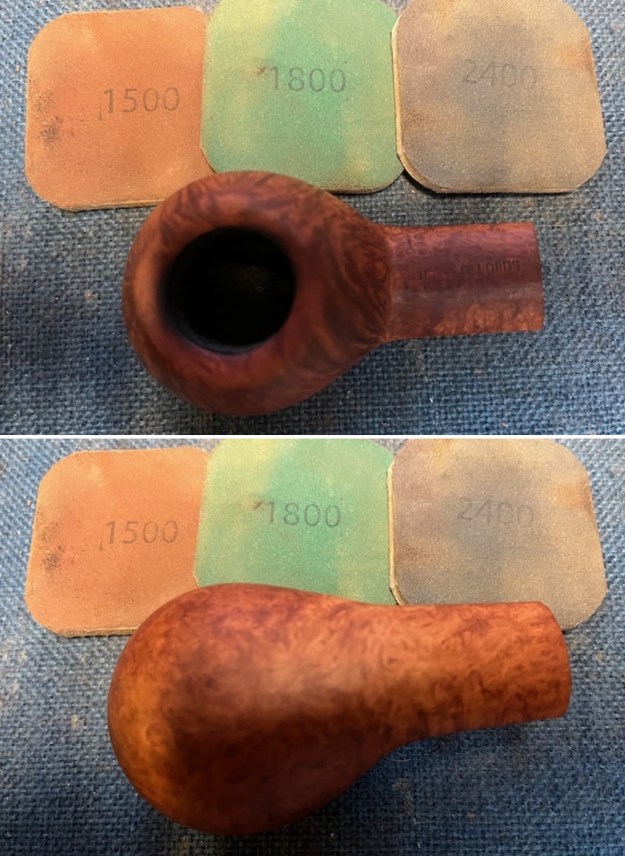
 I sanded the bowl with 320-3500 grit sanding pads to smooth out the roughened finish. I wiped it down after each sanding pad to get a sense of the progress on the finish. It was looking better with each pad I used.
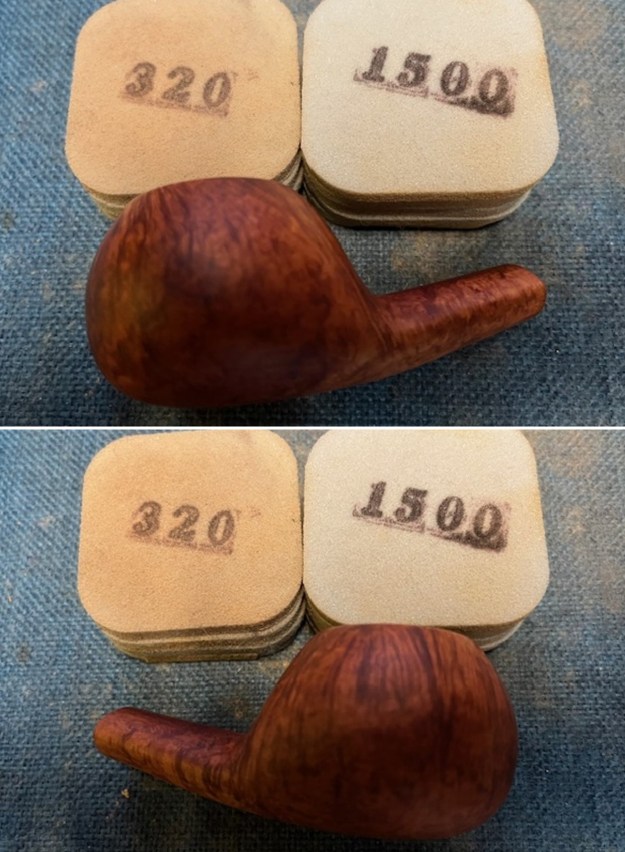
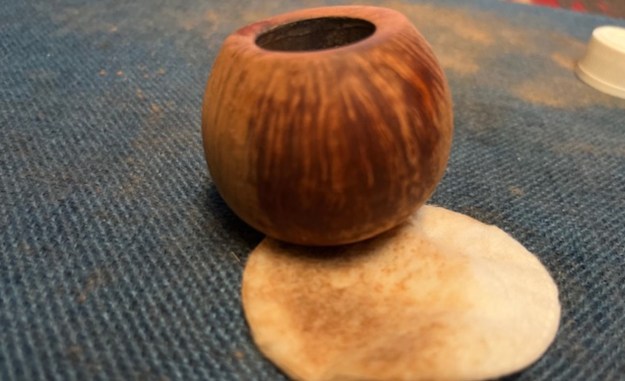
 I wiped the bowl and shank down with alcohol on a cotton pad to remove the sanding dust and get a sense of the grain around the bowl sides. I am very happy with how it is looking at this point.
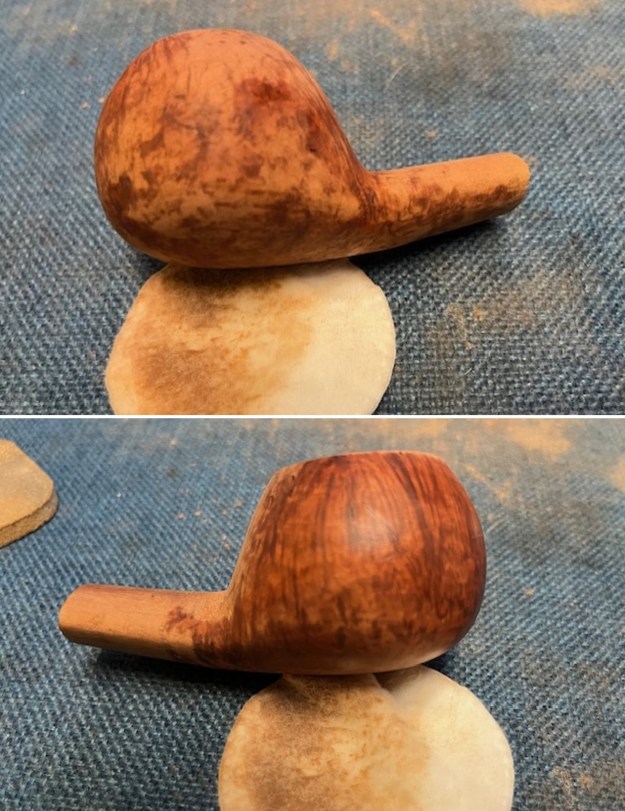
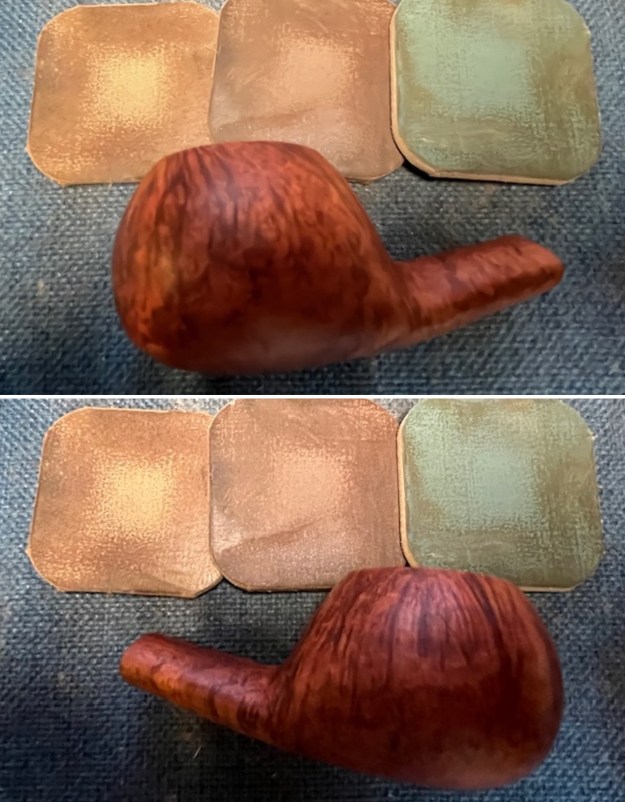
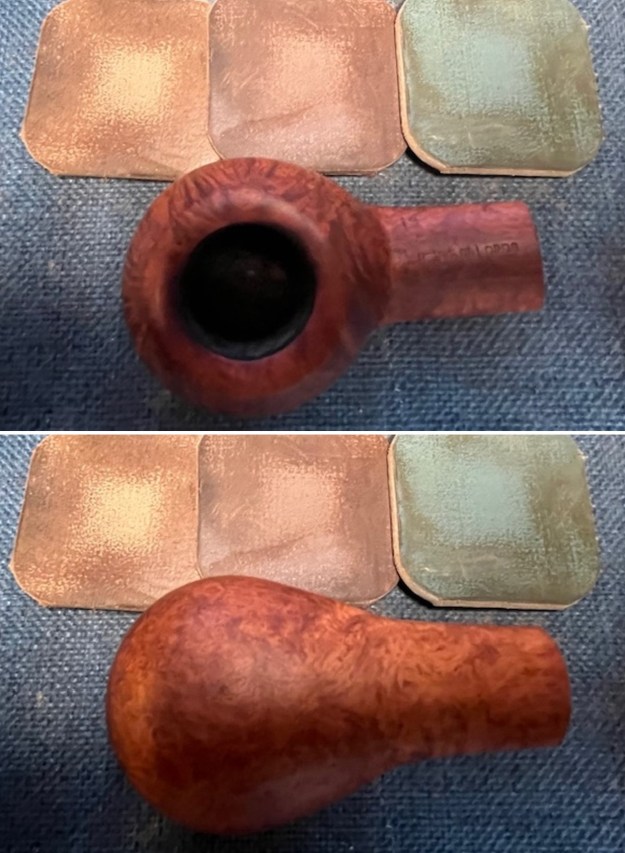
 I polished the bowl with micromesh sanding pads – dry sanding with 1500-12000 grit pads. I wiped it down with a cotton pad and a drop of olive oil after each sanding pad. The briar really took on a patina that began to look better with the polishing.
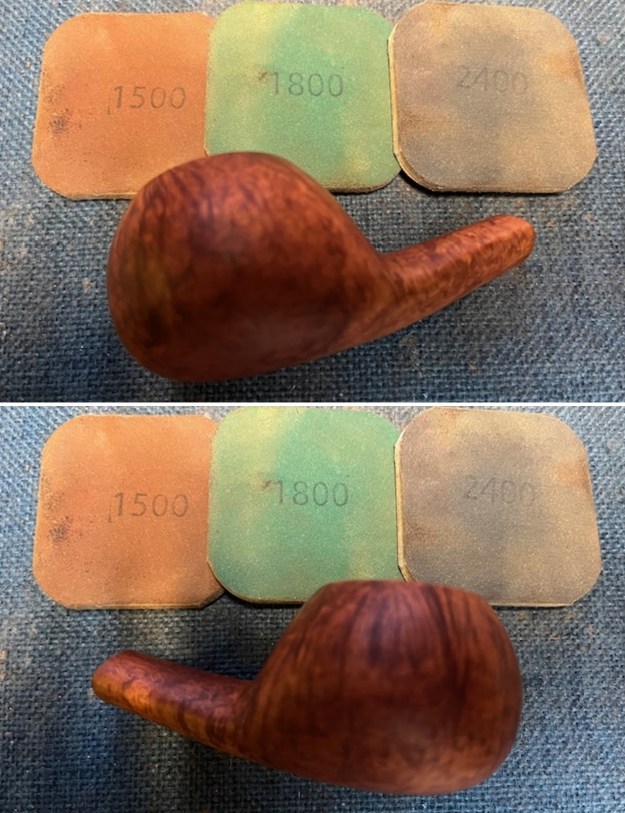
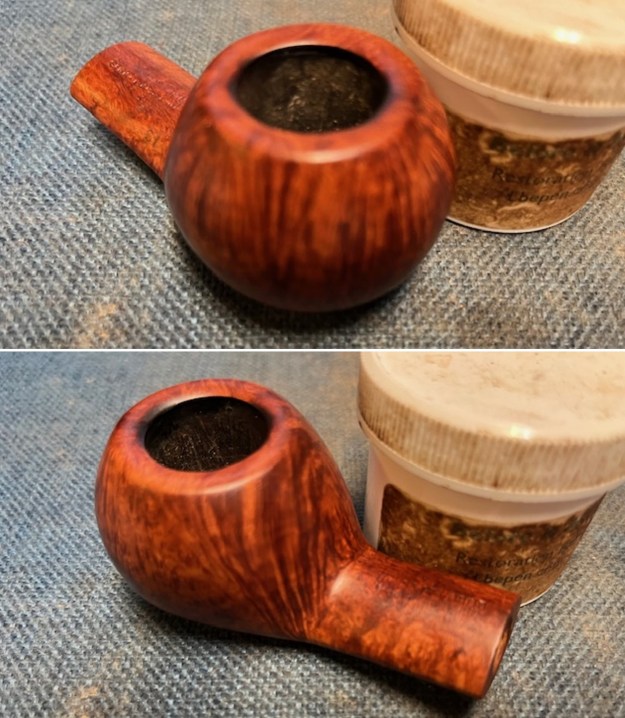
 I rubbed the bowl down with Before & After Restoration Balm. It is a paste/balm that works to deep clean the finish, enliven and protect the briar. I work it into the briar with my finger tips to make sure that it covers every square inch of the pipe. I set it aside for 10 minutes to let it do its work. I wiped it off with a soft cloth then buffed it with a cotton cloth. The briar really began to have a deep shine. The photos I took of the bowl at this point mark the progress in the restoration. You see the shine that the briar has taken on and the way sandblast has depth.
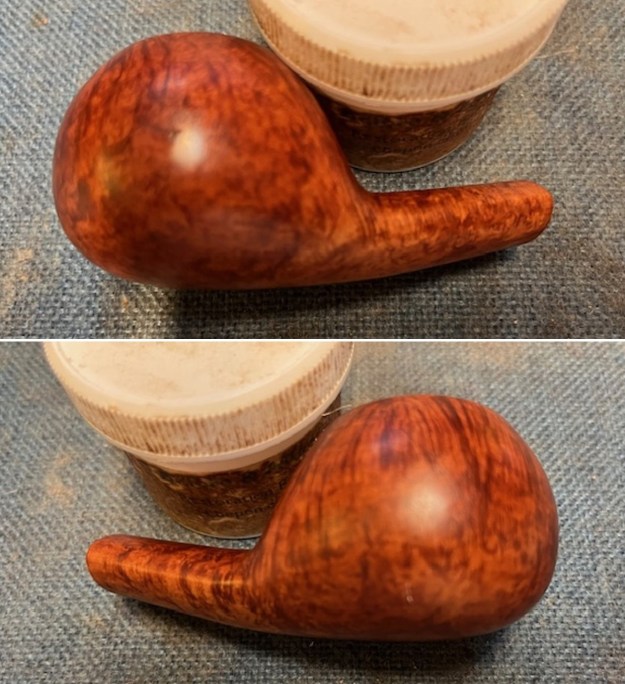
 I set the bowl aside and turned my attention to the stem. I sanded the stem with 320-3500 grit sanding pads to break up the remaining oxidation. I wiped it down after each sanding pad with an Obsidian Oil impregnated cloth. It began to look good.
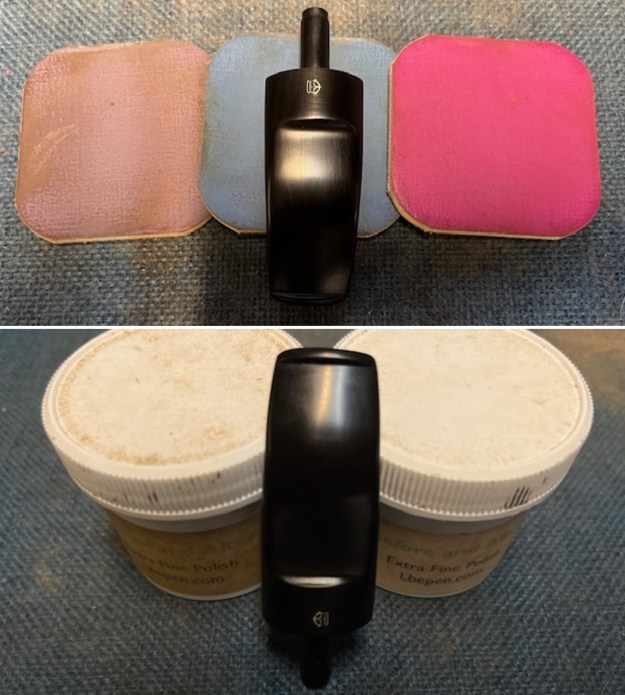
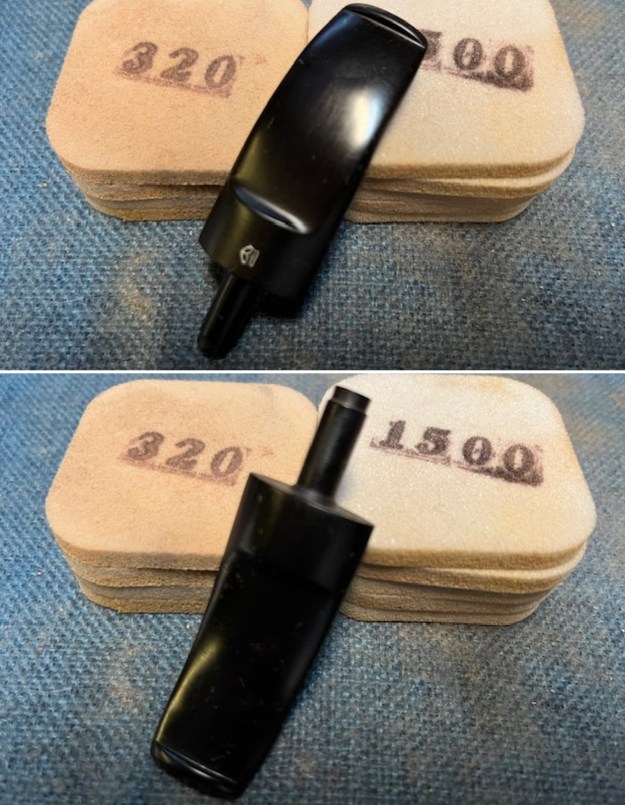 I polished the stem with micromesh sanding pads – dry sanding with 1500-12000 grit pads. I wiped the stem down after each sanding pad with Obsidian Oil. I polished it with Before & After Pipe Stem Polish – both Fine and Extra Fine. Once I had finished the polishing I gave it final coat of Obsidian Oil and set it aside to dry.
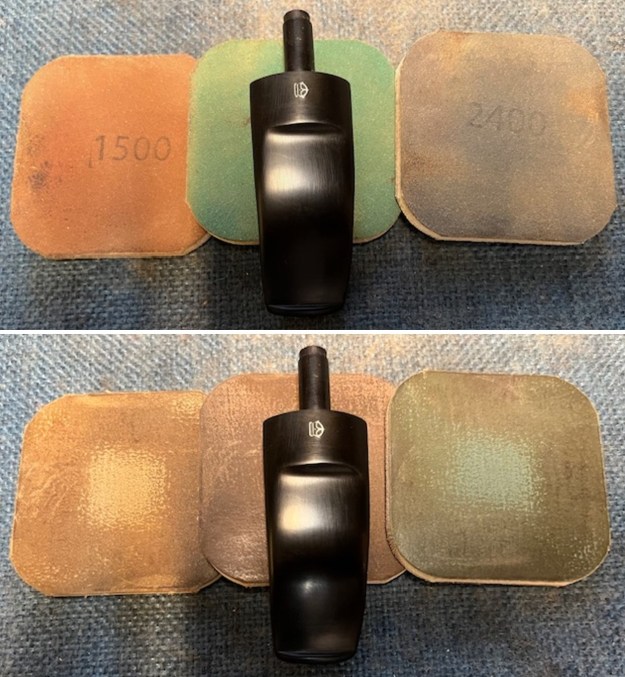
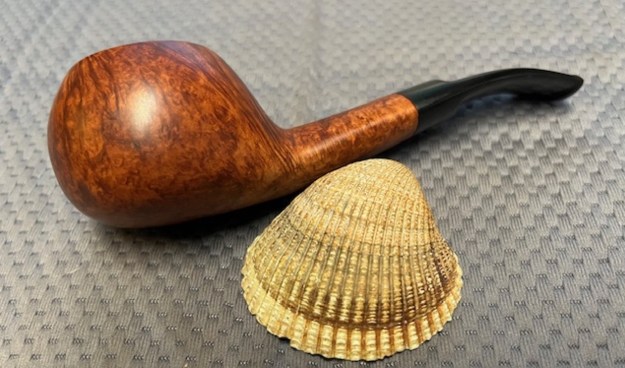
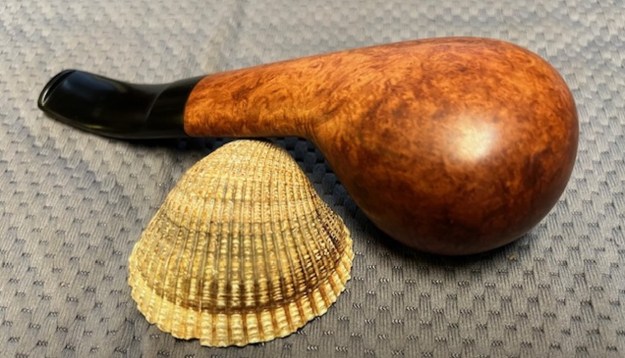
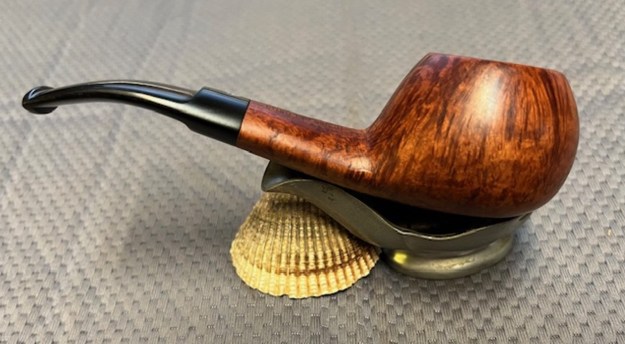
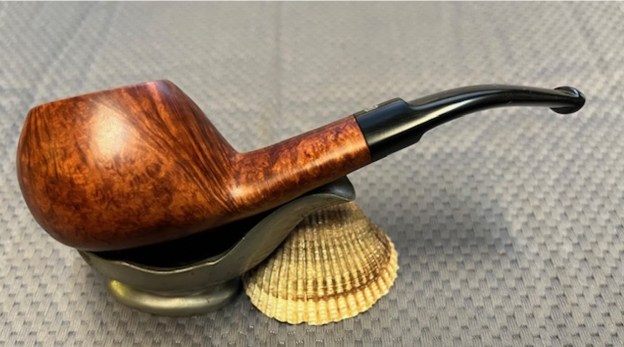
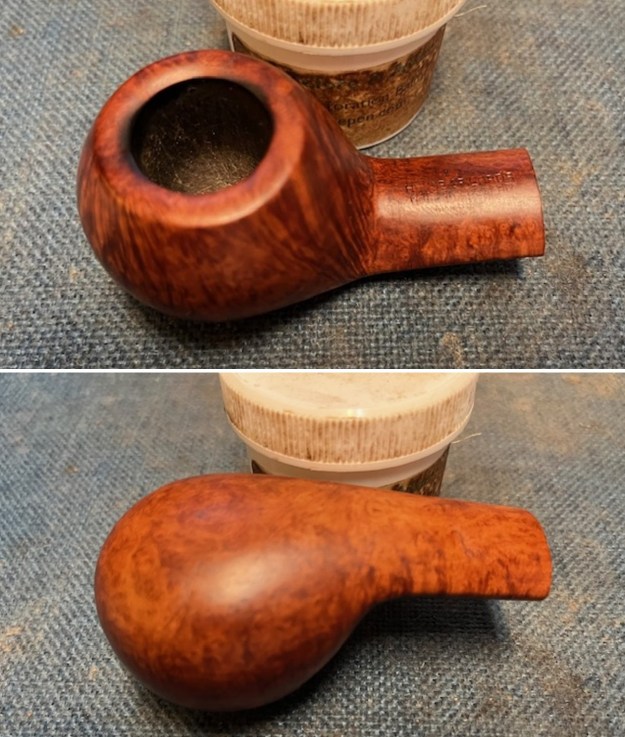
 More than usual at this point in the restoration process I am excited to be on the homestretch. I really am looking forward to the final look when I put a pipe back together, polished and waxed. I polished the bowl and stem with Blue Diamond to polish out the scratches in the briar and the vulcanite. I gave the bowl and the stem multiple coats of carnauba wax. I buffed the pipe with a clean buffing pad to raise the shine. I hand buffed it with a microfiber cloth to deepen the shine. The pipe polished up pretty nicely. The grain pops with the wax and polish. The shiny black vulcanite stem is a beautiful contrast to the browns of the bowl and shank. This House of Lords Banker was another fun pipe to work on. The pipe is comfortable pipe to hold in the hand. The finished pipe is shown in the photos below. The dimensions of the pipe are Length: 5 ½ inches, Height: 1 ½ inches, Outside diameter of the bowl: 1 ¼ inches, Chamber diameter: ¾ of an inch. The weight of the pipe is 2.08 ounces/59 grams. The pipe will be on the rebornpipes store shortly in the British pipe makers section. If you are interested in adding it to your collection let me know. Thanks for reading this blog and my reflections on the pipe while I working on it. As always, I encourage your questions and comments as you read the blog. Thanks to each of you who are reading this blog. Remember we are not pipe owners; we are pipemen and women who hold our pipes in trust until they pass on into the trust of those who follow us.