by Steve Laug
I have been working lately replacing tenons on bowls in my own work box. After 6 of them I am ready for something different. While I was in Florence, Italy I had received and email from Jack regarding some pipes that he had that needed some work. Here is his email.
I have a Dunhill from unknown era, a Hardcastle, and possibly a third pipe that could use your workmanship. If you’d like, I can send you pictures of the pipes so you know what condition they’re in. Please let me know the necessary details! — Jack
We chatted about that and I suggested he email me when I returned to Canada. He wrote back and asked me to work on not three but four pipes. He listed what he had and I thought these would be an interesting diversion from tenon replacement work.
Are you still willing to entertain restoring/refurbishing a few pipes? I have four in various stages of need, and I’ve attached pictures of each for your evaluation. I would be very grateful for anything that you could and would be willing to do.
- 1992 (?) Dunhill
- Bertram 80
- Hardcastle – This pipe looks very clean except for some pitting? fissures? in the chamber.
- Dr. Grabow Supreme – This poor pipe… well, it’s a doozy.
Thank you very much! – Jack
I agreed and asked that he send them to me. Interestingly they arrived the day I finished the last of the tenon replacements. I unpacked them and they were indeed as interesting as his email had led me to believe. I am working on the fourth and final pipe listed in the foursome next – the Hardcastle with what appears to be pitting/fissures in the chamber. Here are the photos he sent to me of that pipe. I will give my evaluation of the work that will need to be done on the pipe as I walk through the photos with you.
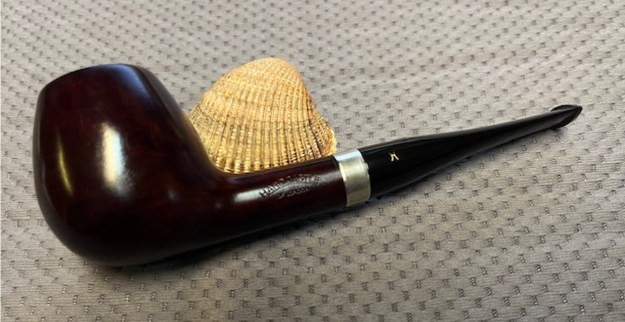
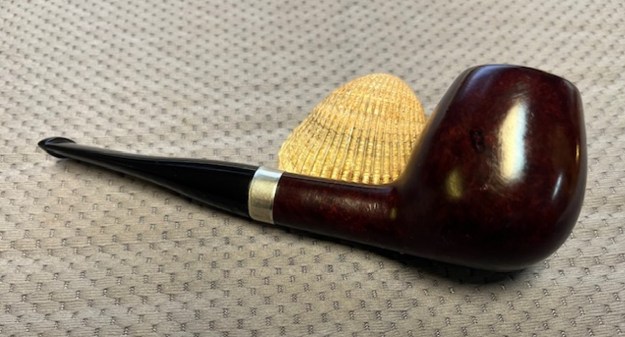
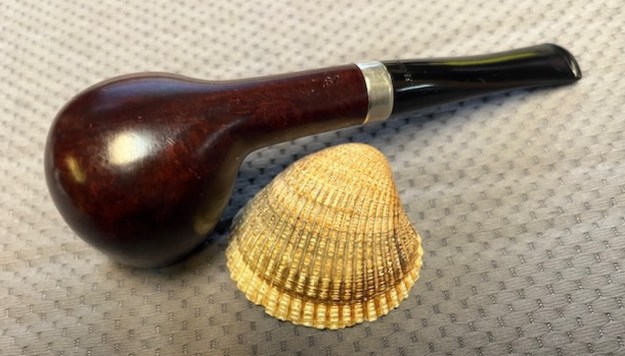
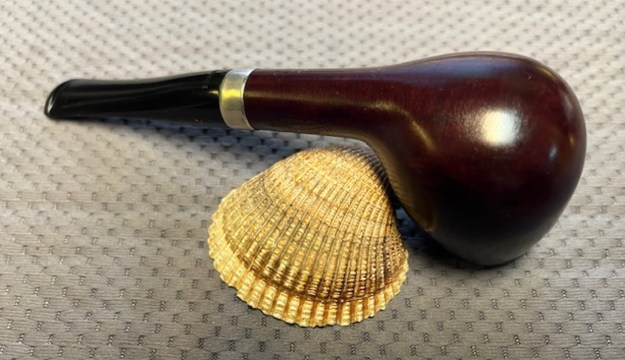
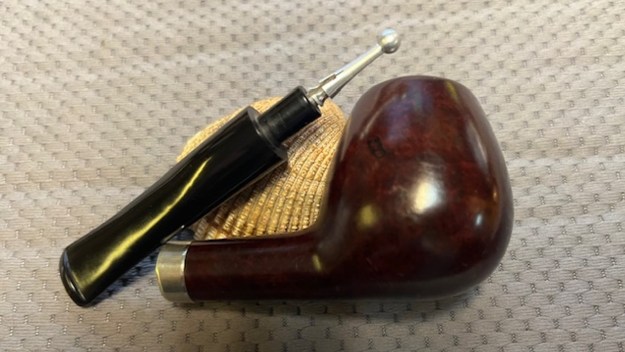
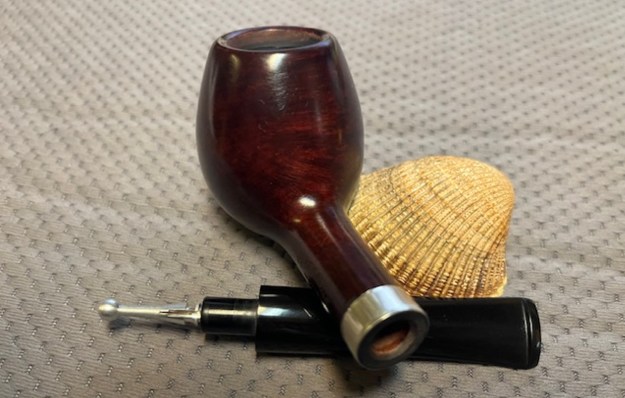
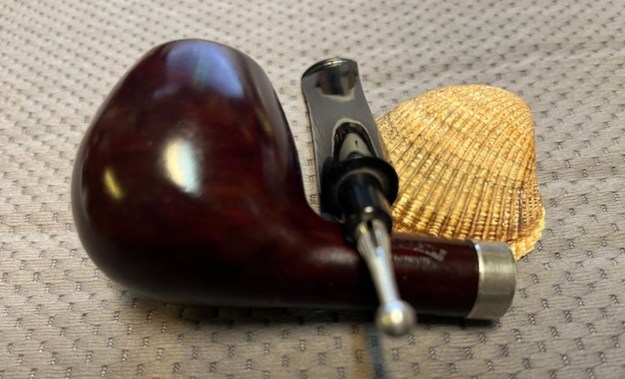
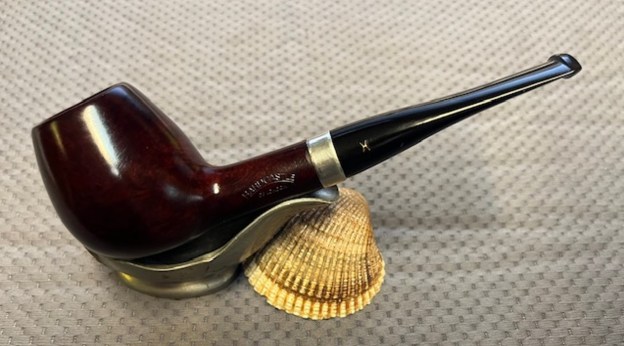
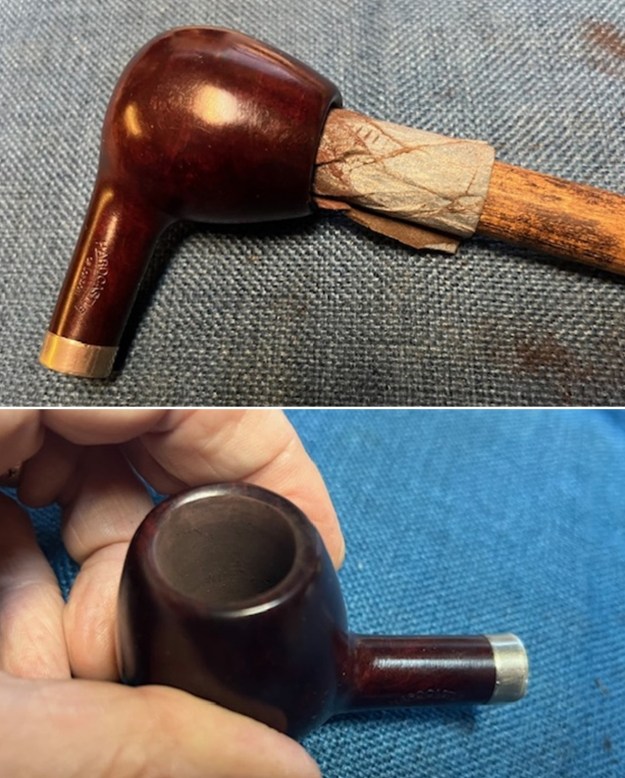
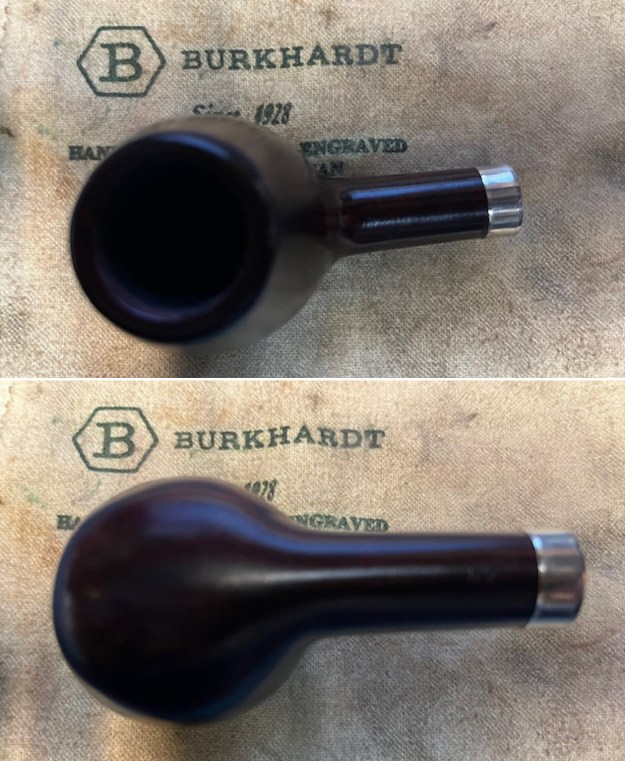
The first two photos that Jack sent show the overall condition of the pipe. You can see from these photos that the bowl and rim top look very good. There is not a cake in the bowl and it makes me wonder if it is smoked much at all. The finish is dull but clean. The stamping on the left side of the shank has a shape number reads Hardcastle [arched over] of London. There is no stamping on the right side of the shank. On the underside of the shank it is stamped with the shape number 82. There is an unmarked band on the stem that I believe is nickel. It is lightly tarnished. The stem has a the Hardcastle “H” logo stamped on the left side. The stem is in good shape with no oxidation or tooth damage. The underside of the stem is stamped FRANCE. The next photo shows the fissure/flaw on the right side of the bowl about a 1/3 of the way down. The rest of the bowl looks very good. It also is very clean and appears to be raw briar that has not been smoked.
 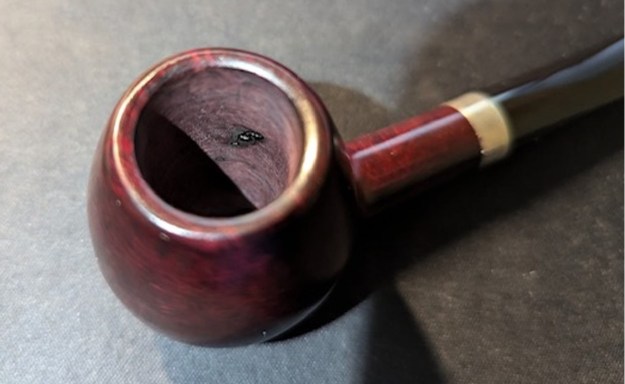 I unpacked the pipes when they arrived on Thursday and went over each one. As I examined this one my observations based on the photos were confirmed. The one thing that was better was that the finish actually looked better in person than in the photos. There was some nice grain around the bowl that was a bit dull looking. The bowl was very clean as I had expected. The stamping on the shank was very readable. The stem looked as noted above. It had a few small scratches in the surface but was very clean. There was an aluminum stinger in the tenon. The stem was stamped on the underside and read FRANCE. Have a look at the photos below.
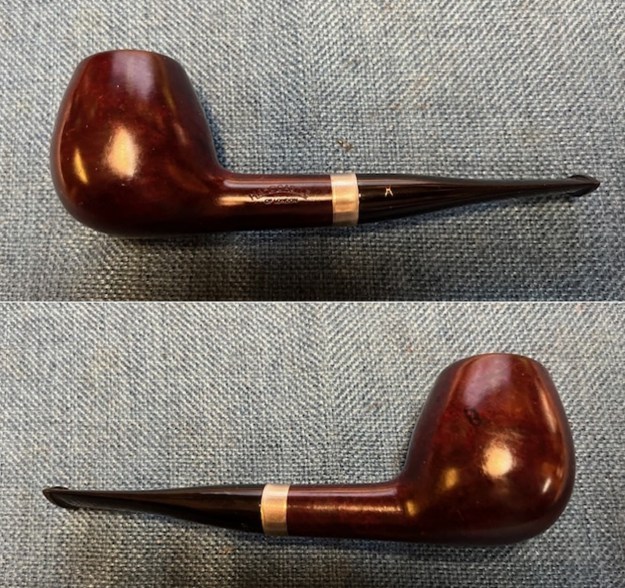
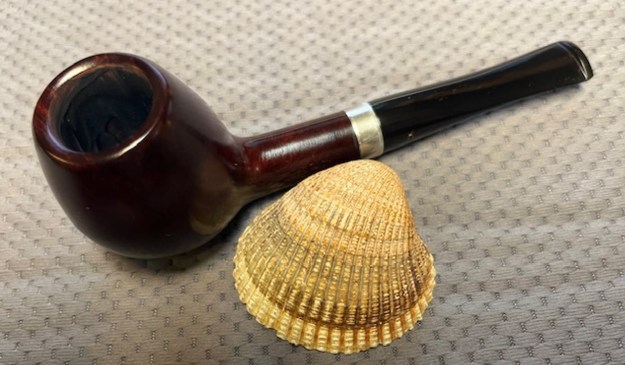
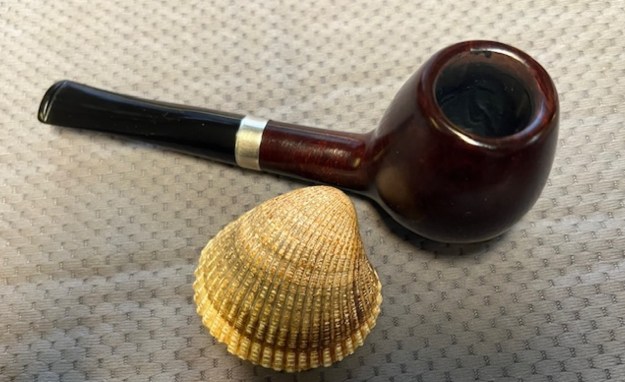
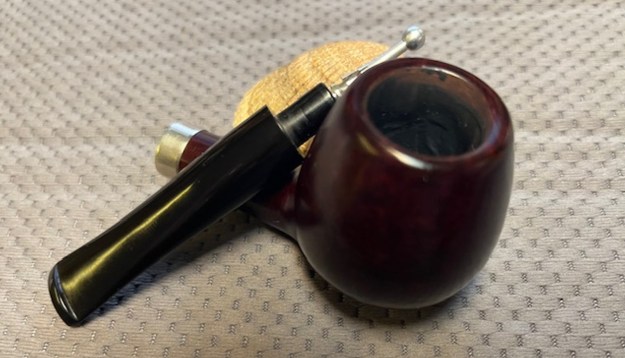
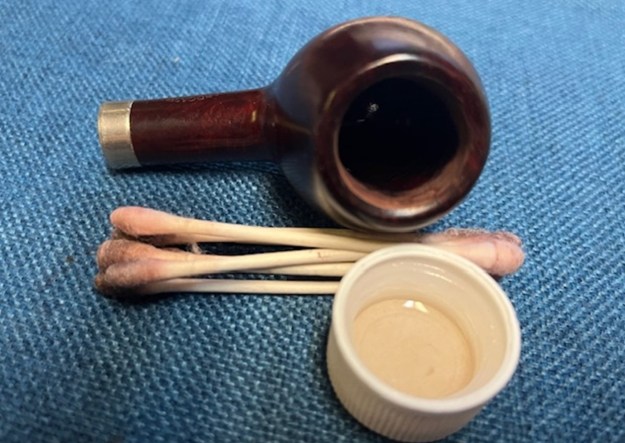
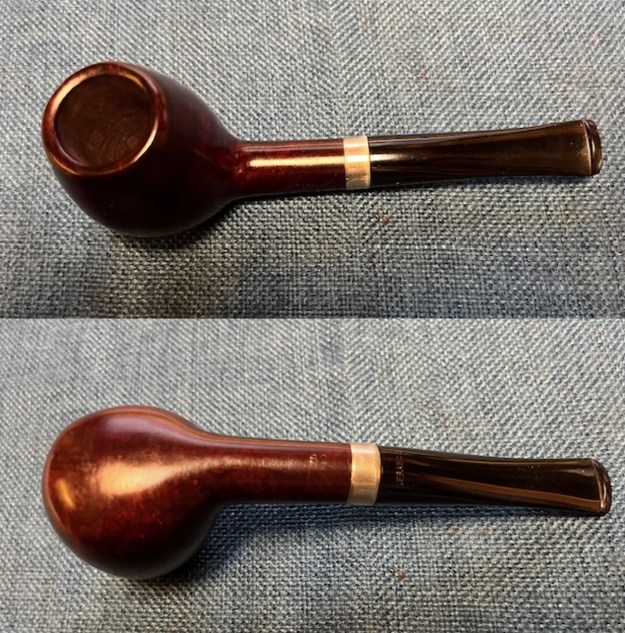 I took close up photos of the bowl and rim top to show the condition of both. The bowl and rim top look very good. There is no damage to the edges – either inner or outer. The stem is in great condition with just a few scratches on the underside. It does not have any tooth marks or chatter on either side.
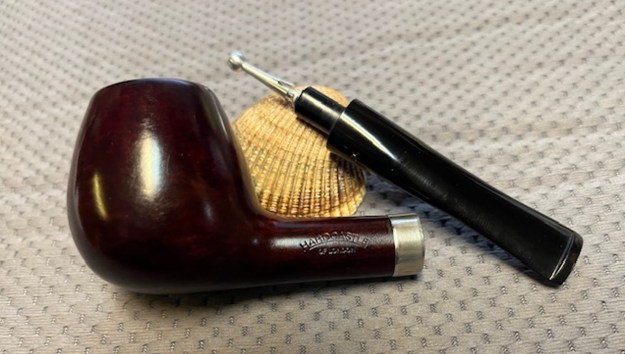
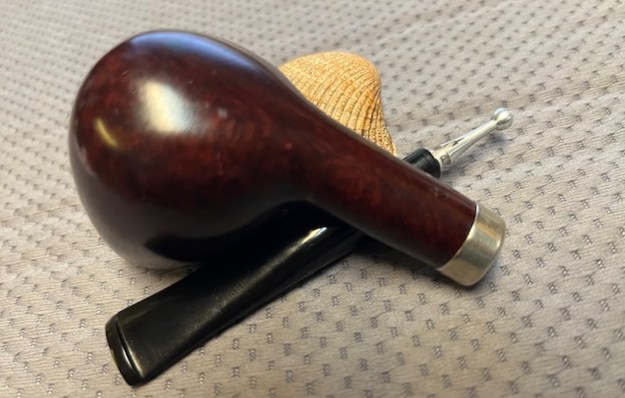
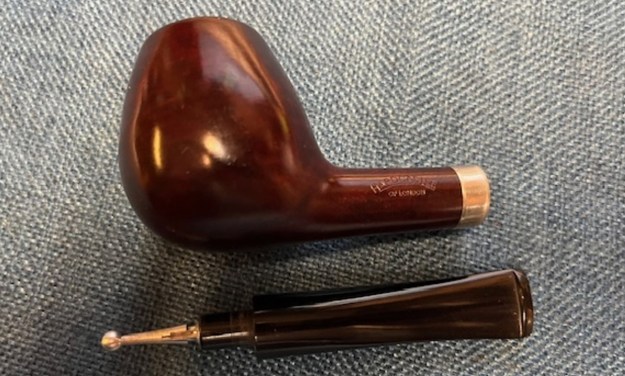
 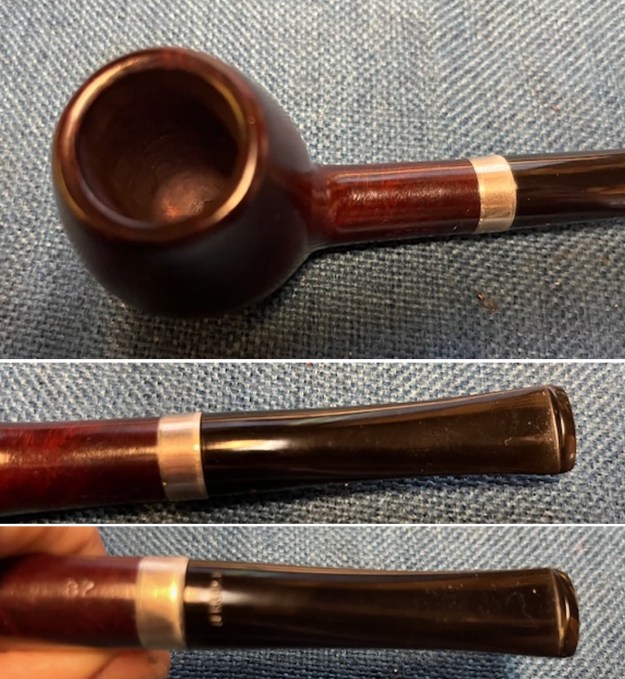 I tried to capture the stamping on the shank sides to show their condition before my work. The H logo stamp is clear and readable in the first photo below. It reads as noted above. I removed the stem from the bowl and took a photo of the parts to give a sense of the symmetry of the pipe. It is a beauty.
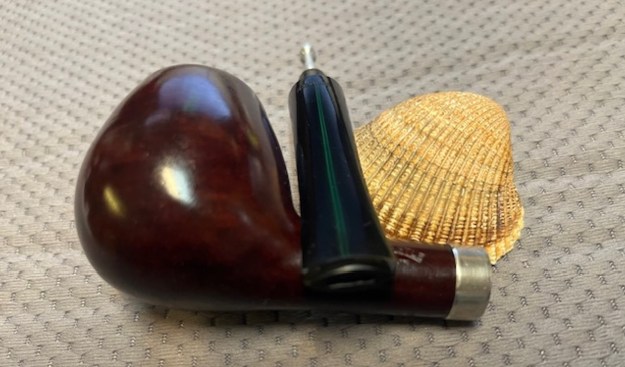
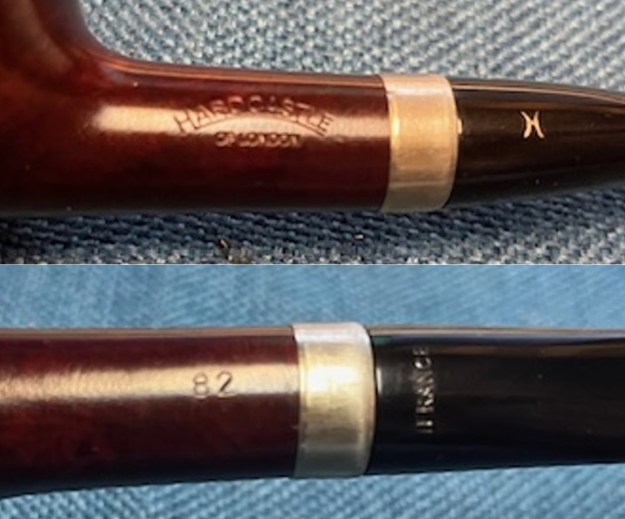
 I was curious about the particular line of Hardcastle’s pipes that I was working on. I wanted some more information on the Of London line so I did some searching on Pipephil (http://www.pipephil.eu/logos/en/logo-hardcastle.html). I including the short history of the brand as a whole from that site. The line itself was not present on the site.
1903: Edmund Hardcastle establishes the brand.
1936: the family sells 49% of the Hardcastle Pipes Limited shares to Dunhill.
1946: Dunhill buys the remaining shares. The family continues to manage the company.
1967: Dunhill merges Hardcastle with Parker. The new Parker-Hardcastle Limited company absorbs the Masta Patent Pipe Company.
I turned to Pipedia (https://pipedia.org/wiki/Hardcastle) to try to gather more information on the line. It gives a more detailed history of the brand but there is no mention of the Hardcastle’s Of London. I quote a section of the history below.
Hardcastle was founded in 1908 by Edmund Hardcastle and built itself a good reputation among the numerous British mid-graders. In 1935 Dunhill started to build a factory next door to Hardcastle in Forest Road, Walthamstow, London E17. The family owned Hardcastle Pipes Limited sold 49% of its equity to Dunhill In 1936.
Along with closing down its pipe factory in Notting Hill in 1946 Dunhill bought the remaining shares, turning Hardcastle into a 100% Dunhill subsidiary. As members of the Hardcastle family continued as executives in the company’s management Hardcastle retained a certain independence.
This ended in 1967. Dunhill merged Hardcastle with Parker (100% Dunhill as well). The new Parker Hardcastle Limited also absorbed the former Masta Patent Pipe Company. Hardcastle’s Forest Road plant was immediately given up and the production of Hardcastle pipes was shifted to Parker’s nearby St. Andrews Road factory – now consequently called Parker-Hardcastle factory.
In fact, this put a definite end to Hardcastle as an own-standing pipe brand, and none other than Edwin Hardcastle, the last of the family executives, spoke frankly and loudly of Hardcastle pipes being degenerated to an inferior Dunhill second.
Today Hardcastle pipes use funneled down bowls that are not deemed suitable to bear the Dunhill or even the Parker name (as well as obtaining briar from other sources).
With that bit of information, I believe it is a newer pipe but cannot prove it. The stamping and the FRANCE stamp on the stem point to the final paragraph above – bowls that are not deemed suitable for Dunhill or Parker name. My guess is that this pipe is from this period and was stemmed with a nice FRANCE stem.
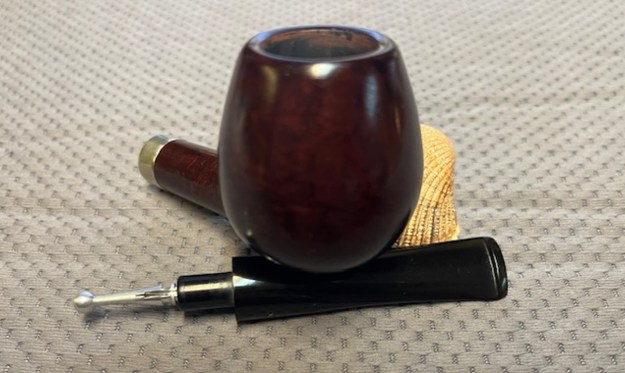
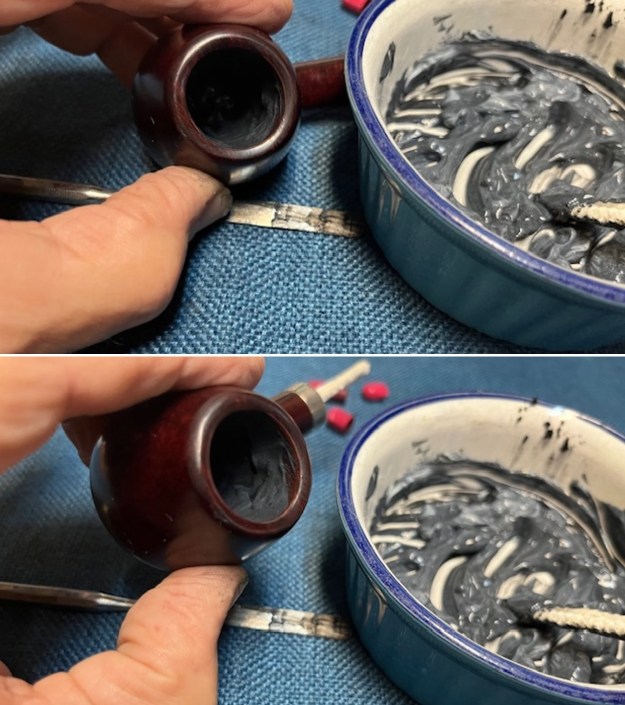
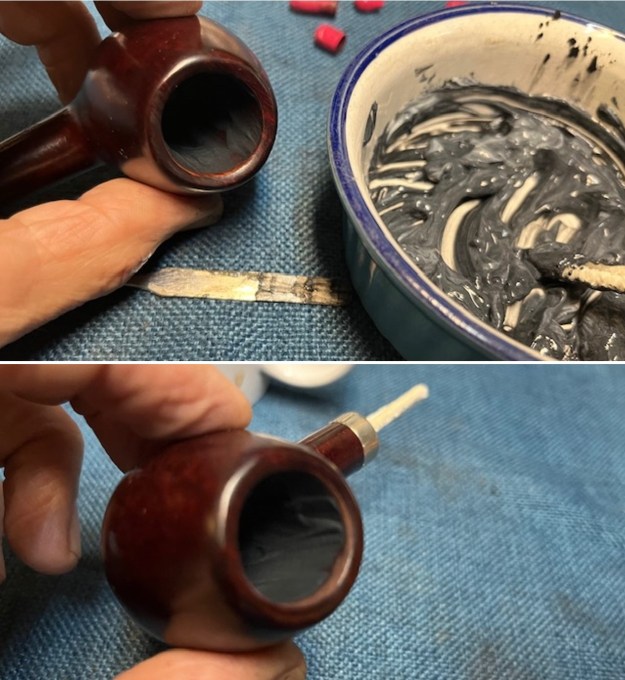
The first photo below shows the damaged area noted in the above paragraphs. To start the work on it I wiped the bowl down with alcohol on a cotton pad to remove the stain that was on the walls of the bowl. Once the stain was removed the walls looked better. I sanded the bowl walls with 220 grit sandpaper wrapped around a piece of dowel. I wiped the bowl walls once again with alcohol and cotton swabs to remove the sanding debris. The walls were flawlessly smooth. The previous presumed damage or flaw had disappeared with the washing and sanding! The third photo shows the smooth bowl walls. Too me that was amazingly good news. This unsmoked Hardcastle was flawless on the bowl walls.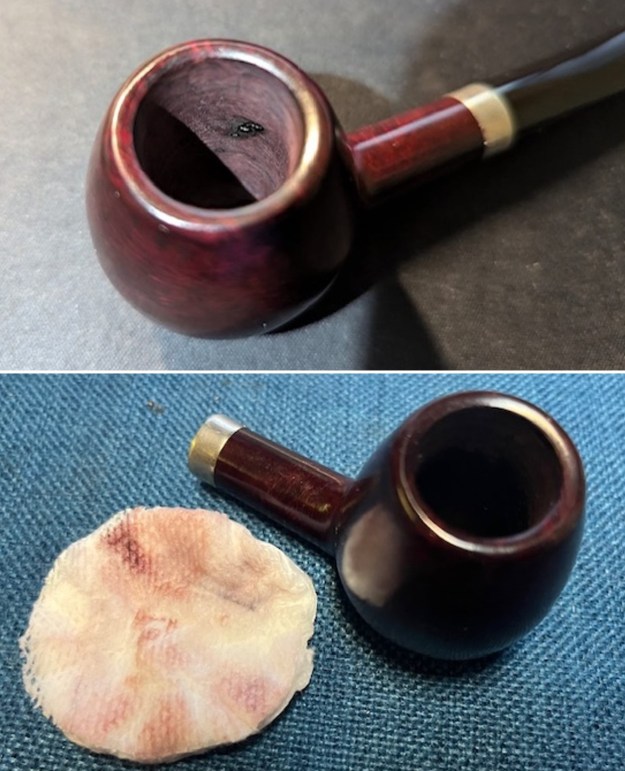
 I scrubbed out the internals with pipe cleaners, cotton swabs and alcohol to remove the debris and stain in the shank between the mortise and the entrance of the airway into the bowl. I wanted to remove the sanding debris from my work on the bowl. Once I worked on it the shank and bowl were clean. I decided to run some pipe cleaners through the stem at the same time.
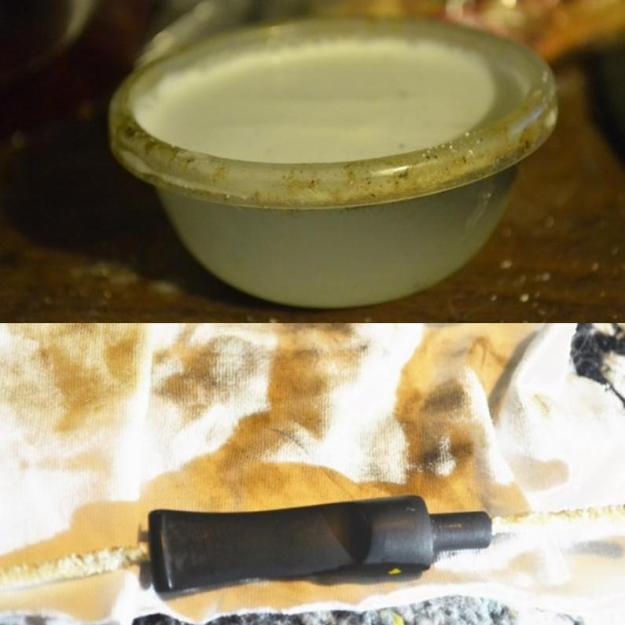
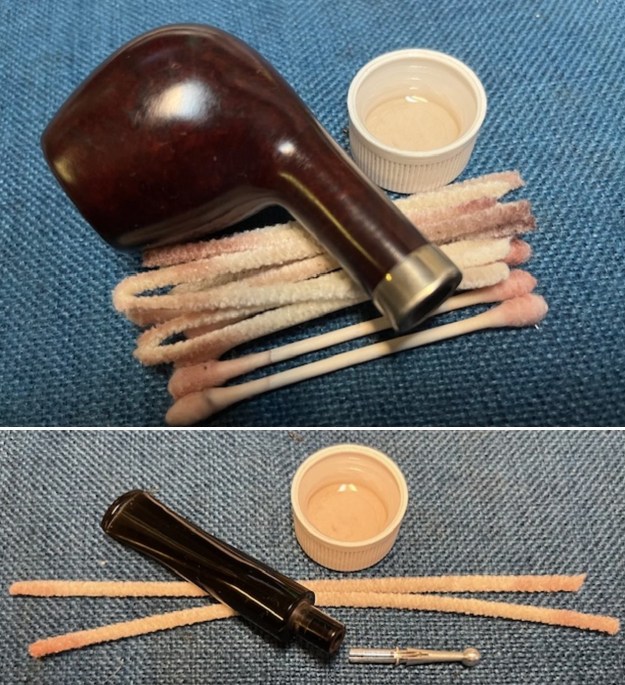 For protection of the bowl and to facilitate the building a cake on the walls I mixed a bowl coating of sour cream and charcoal powder. I mixed the coating together and put a pipe cleaner in the airway. I used a folded pipe cleaner to apply the mixture to the walls of the bowl. I coated it with the mixture, pulled out the pipe cleaner from the shank and set it aside to cure.
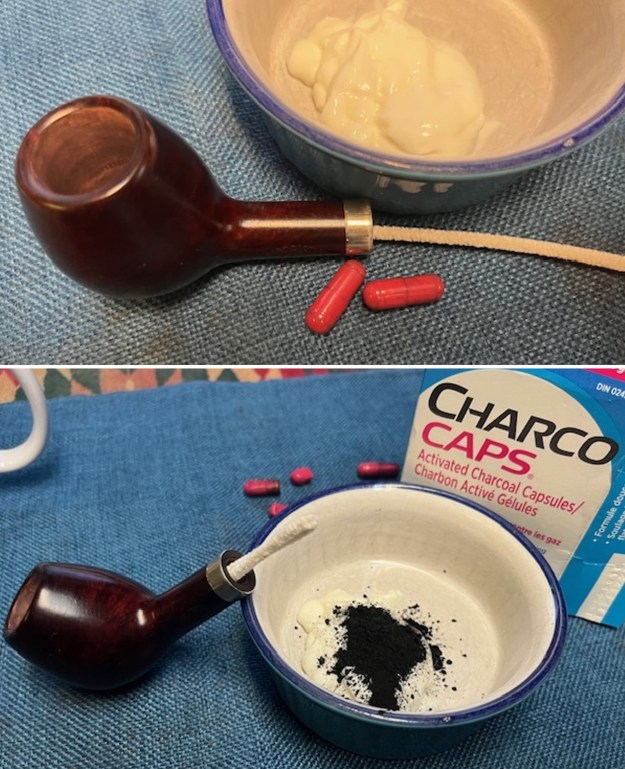
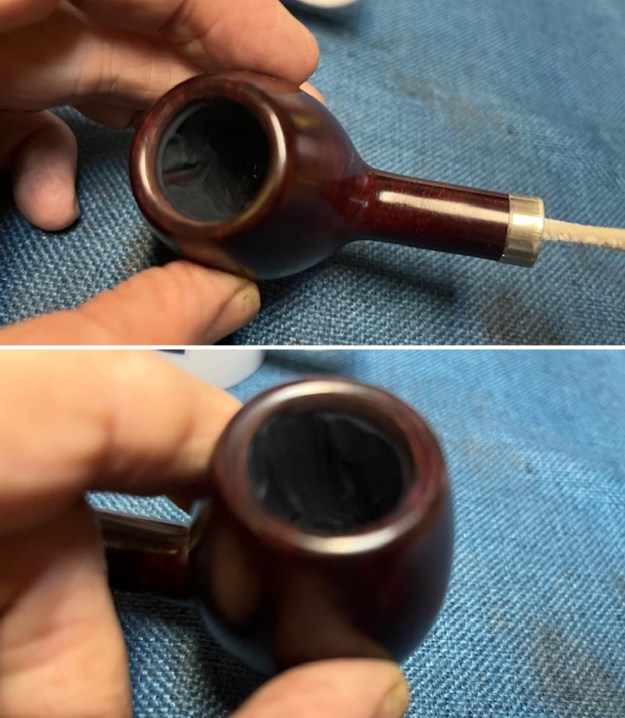 I set the bowl aside to let the bowl coating cure. Once it cures the mixture is black and odorless. While it cured I worked some Before & After Restoration Balm into the finish of the bowl, rim top and shank with my fingertips to clean, enliven and protect it. I find that the balm really makes the briar come alive again. I let the balm sit for 15 minutes and then buffed with a cotton cloth to raise the shine. The bowl really looks good at this point.
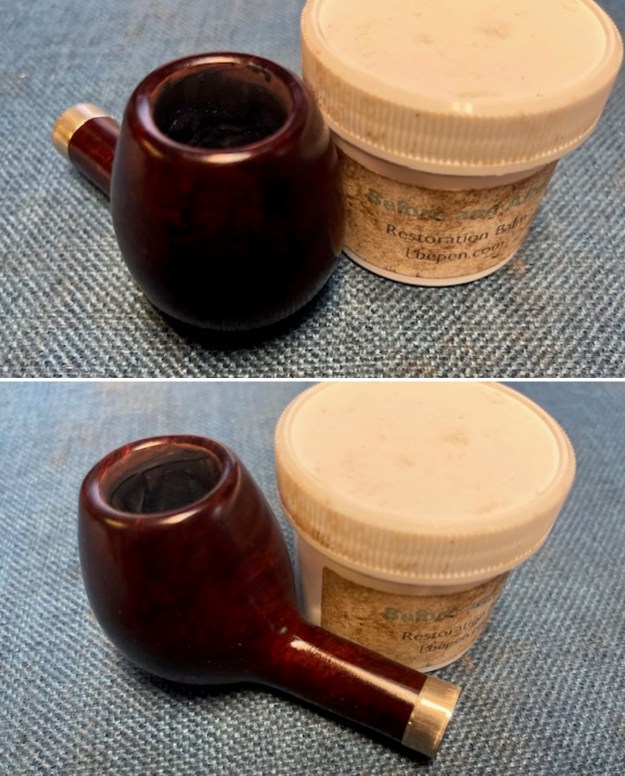 I polished the band with a jeweller’s cloth to remove the tarnish and polish and protect the silver. It looks very good at this point in the process.
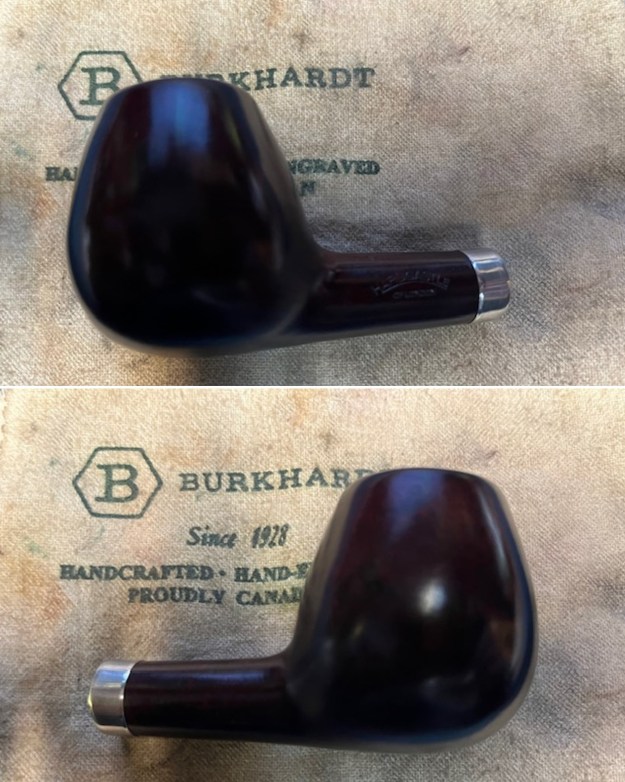
 I polished the stem with micromesh sanding pads – dry sanding it with 1500-12000 grit pads. I polished it further with Before & After Pipe Stem Polish – both fine and extra fine.
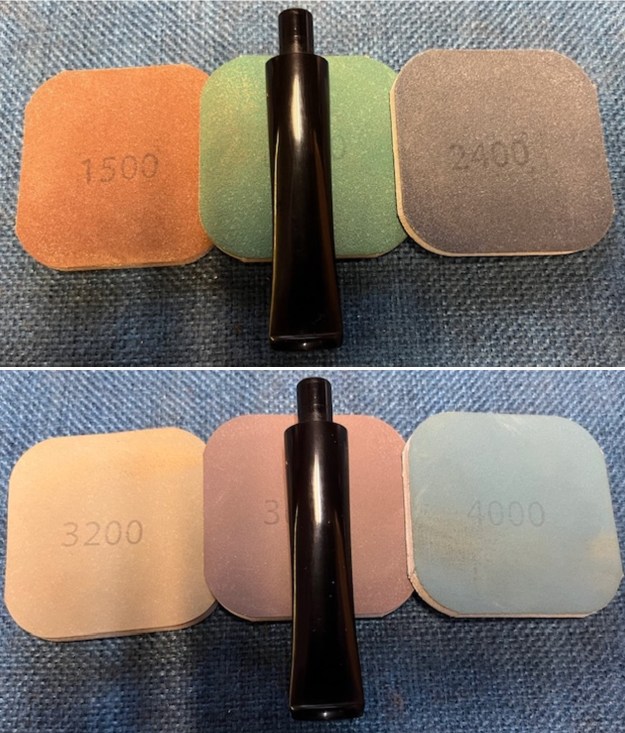
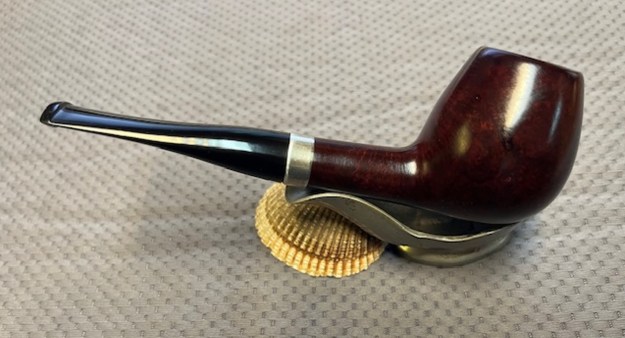
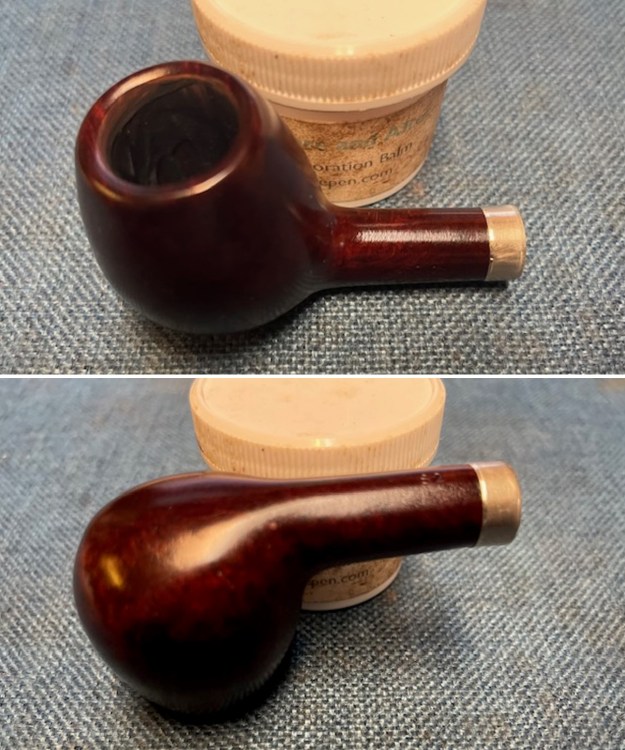
 This Hardcastle of London Straight Brandy – round shank with a vulcanite taper stem is a great looking pipe now that it has been restored. The beautiful grain that shines through the polished dark oxblood finish is stunning. I put the stem back on the bowl and carefully buffed the pipe with Blue Diamond on the buffing wheel. I gave the bowl and the stem multiple coats of carnauba wax on the buffing wheel and followed that by buffing the entire pipe with a clean buffing pad. I hand buffed the pipe with a microfiber cloth to deepen the shine. The finished Hardcastle of London Straight Brandy fits nicely in the hand and feels great. Give the finished pipe a look in the photos below. The dimensions of the pipe are Length: 5 ½ inches, Height: 2 inches, Outside diameter of the bowl: 1 inch, Chamber diameter: ¾ of an inch. The weight of the pipe is 44 grams/1.55 ounces. It is the fourth pipe from the lot that Jack sent me to work on. Now that all four are finished I will pack them up and send them back to him. Thanks for walking through the restoration with me as I worked over another beautiful pipe. Remember we are not pipe owners; we are pipemen and women who hold our pipes in trust until they pass on into the trust of the next generation.