Blog by Steve Laug
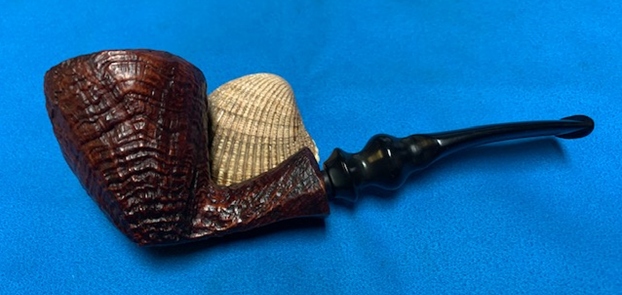
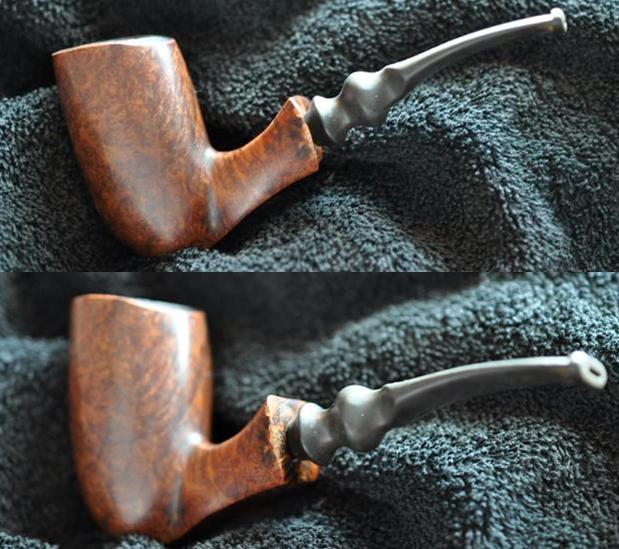
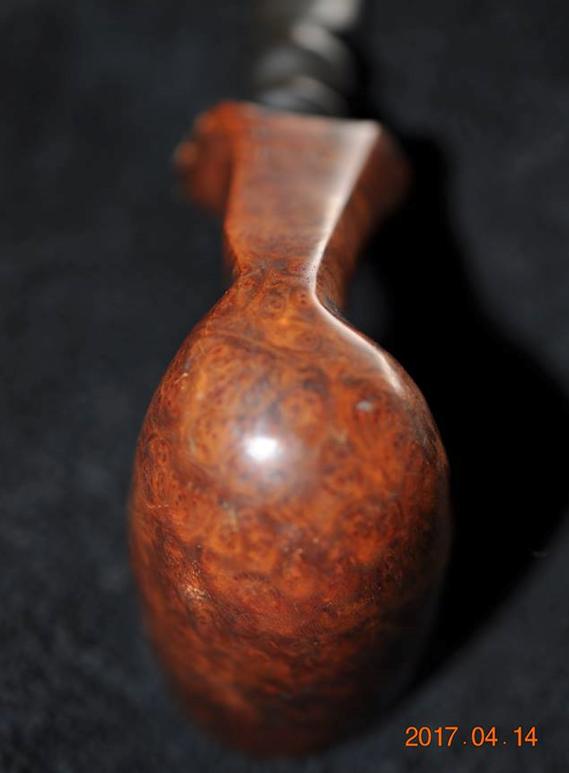
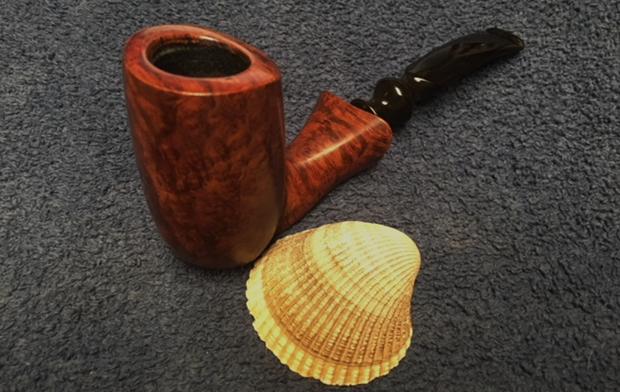
The next pipe I have chosen is one that neither Jeff nor I remember picking up. It could have come to us through a trade for work on a pipe or it could have come from one of an earlier pipe hunts that either Jeff or I did. Either way, the long and short of it is that this is another pipe that we have no idea how it came into our hands. It is stamped on the underside of the shank and reads Hand Made [over] In [over] Denmark. There is no other stamping on the pipe so it is a bit of a mystery. It is a Freehand that reminds me of several of the Preben Holm pipes that I have worked on lately – the shape, the sandblast and the stamp all signal that to me. It was a nice pipe that showed some extraordinary grain in the sandblast.
Jeff had cleaned up the pipe with his usual penchant for thoroughness. He reamed the pipe with a PipNet pipe reamer and removed the rest of it with a Savinelli Fitsall Pipe Knife. He scrubbed the bowl with undiluted Murphy’s Oil Soap with a tooth brush. He rinsed it under running warm water to remove the soap and grime. The rim top still had some darkening and debris in the grain. He cleaned out the inside of the shank and the airway in the stem with alcohol, cotton swabs and pipe cleaners. He soaked the stem in Before & After Deoxidizer and rinsed it off with warm water. I took photos of the pipe once I received it. 
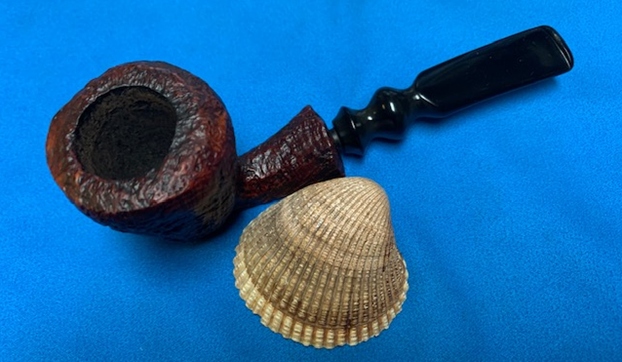
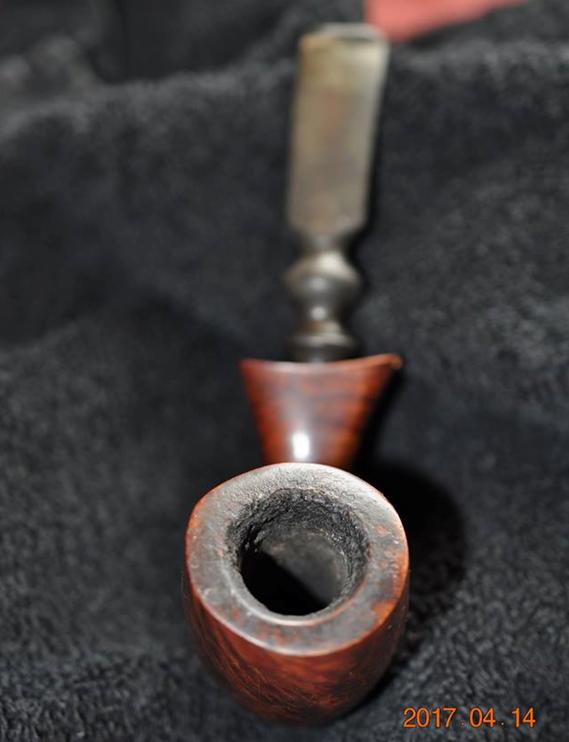
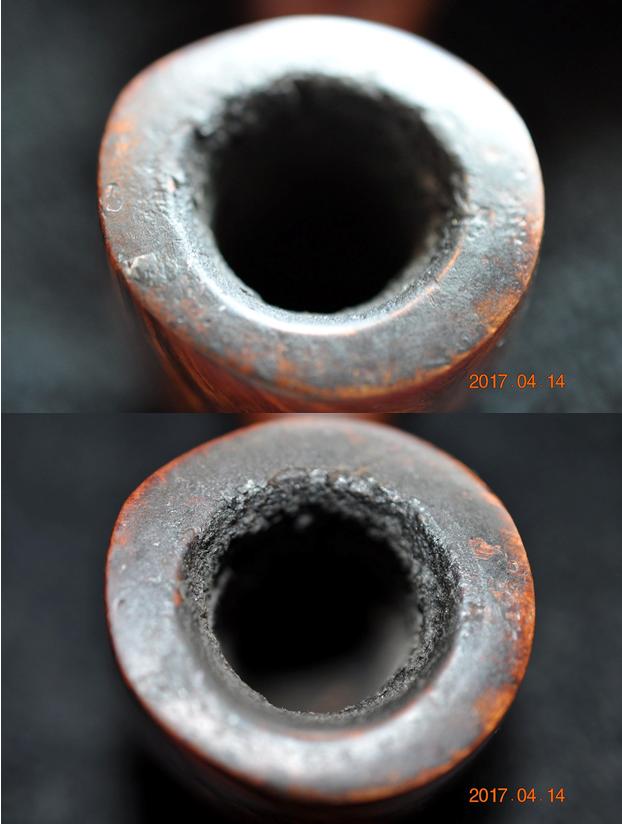
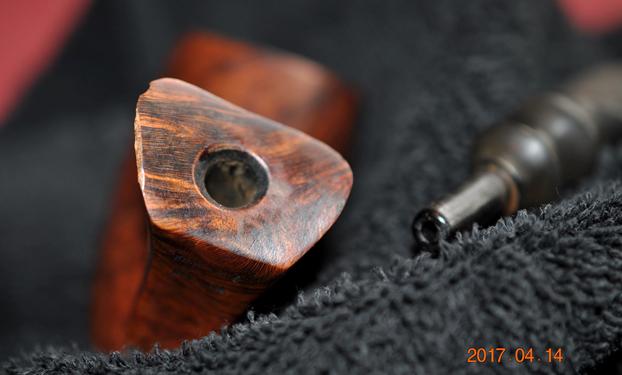
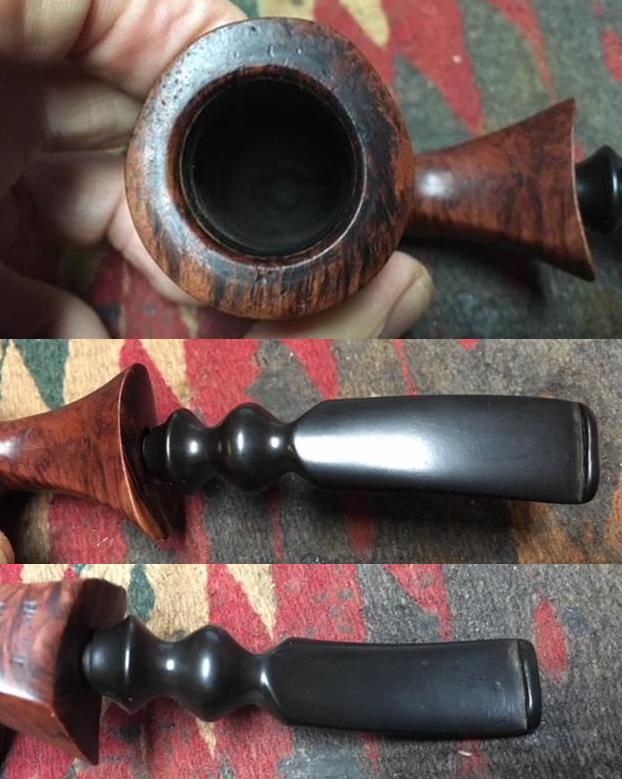
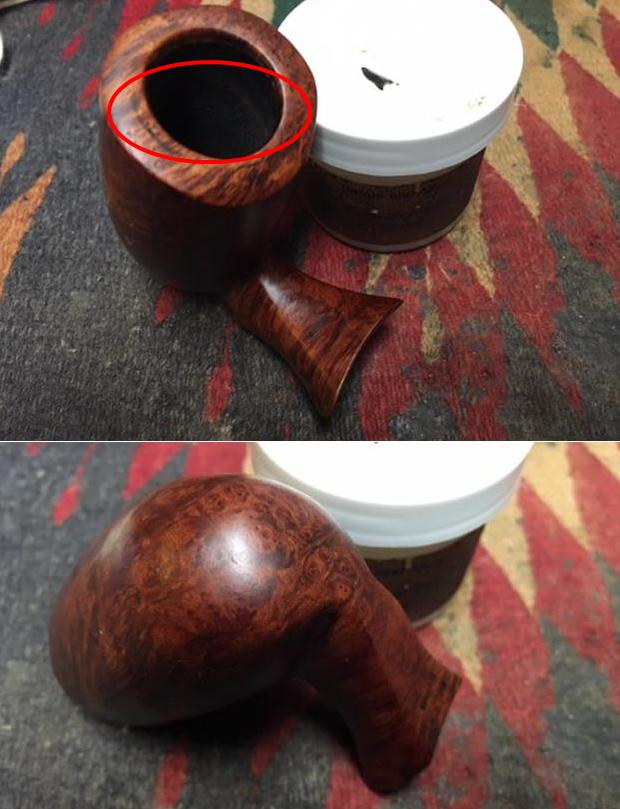
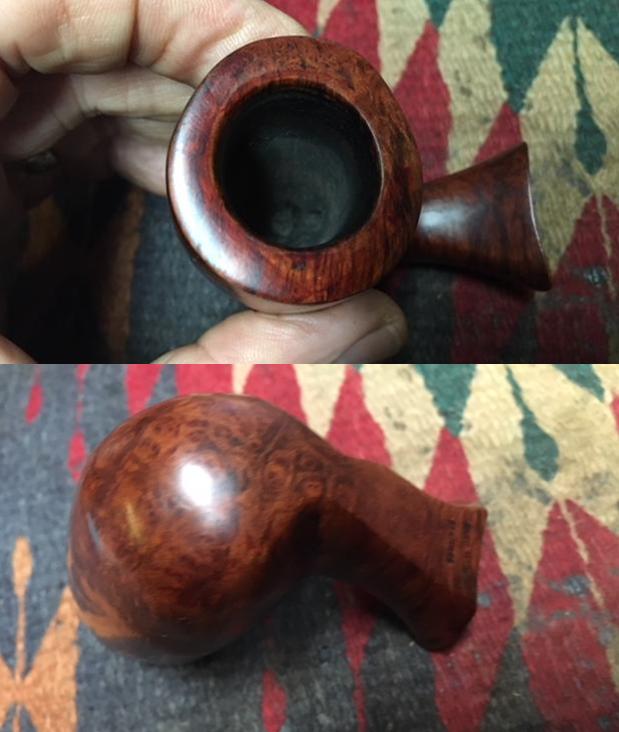
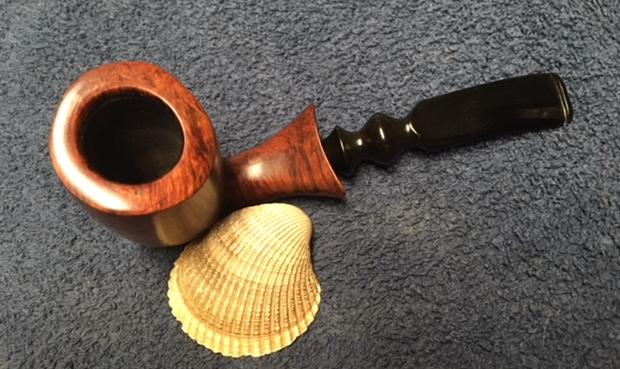
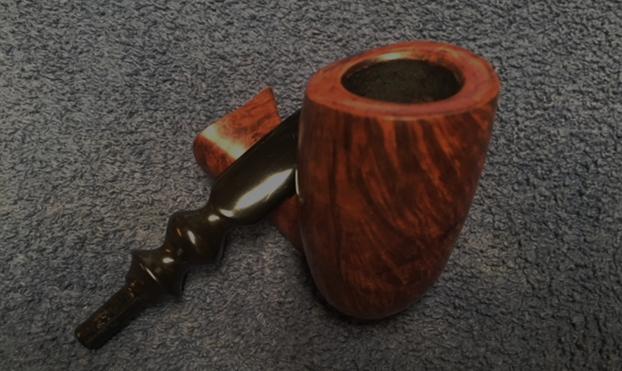
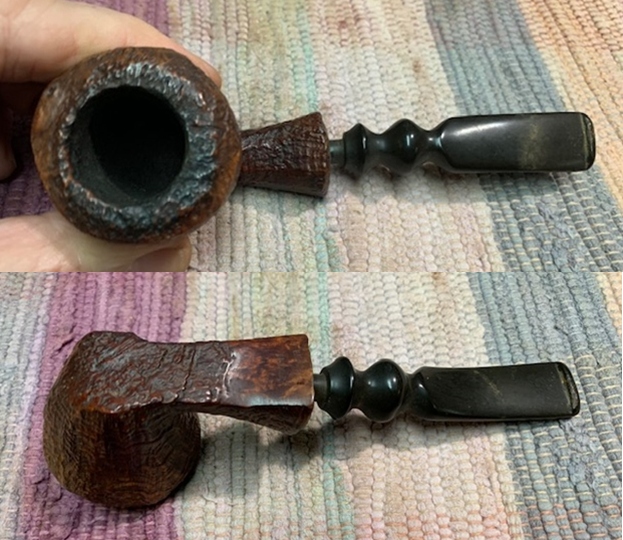 I took a photo of the rim top to show the interior the bowl and the rim top and inner edge. The rim top and edges were in great condition. The top of the rim had some darkening that I was pretty sure would come off with a wire brush. The vulcanite fancy turned stem is in decent condition with some oxidation and calcification. There were light tooth marks on the top and underside near the button.
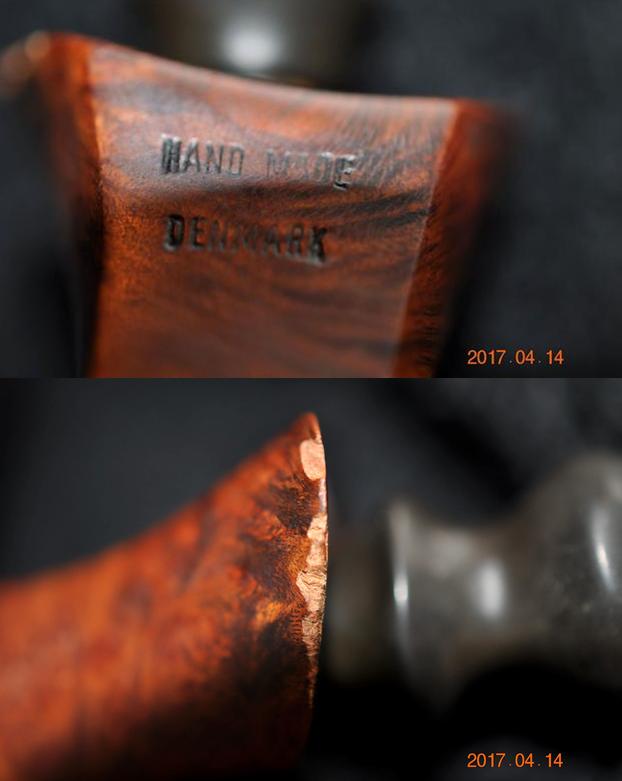
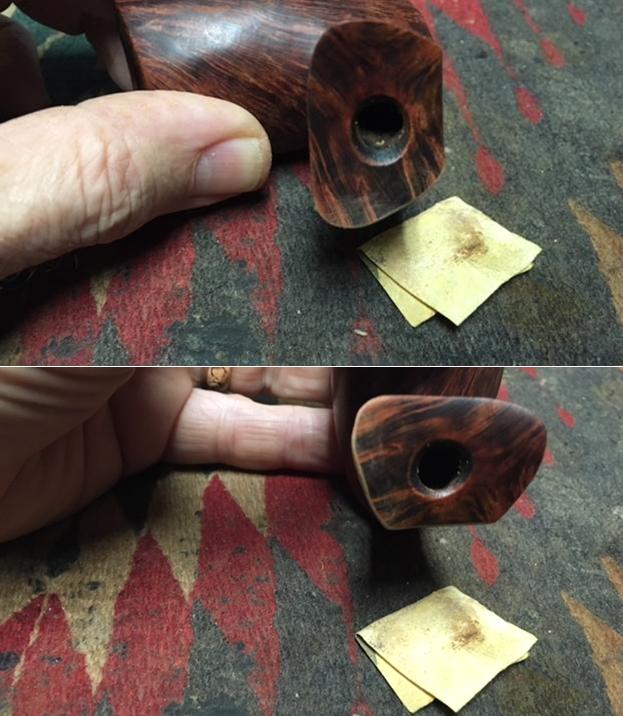
 I took a photo of the underside of the shank to try to capture the stamping that was there. It is faint but readable as noted above.
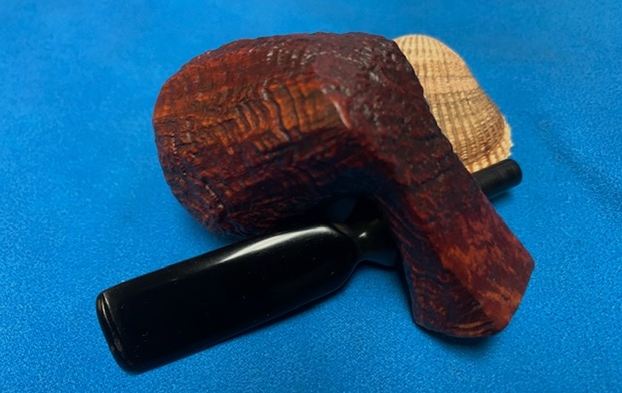
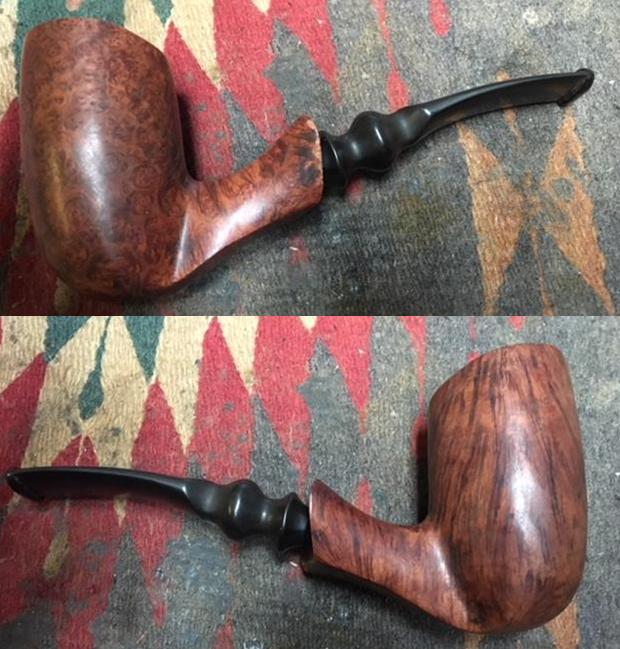
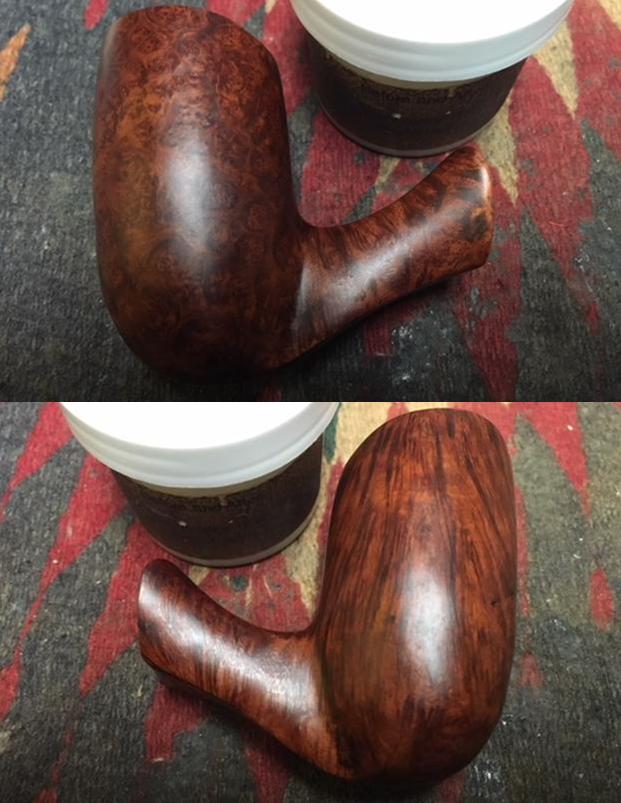
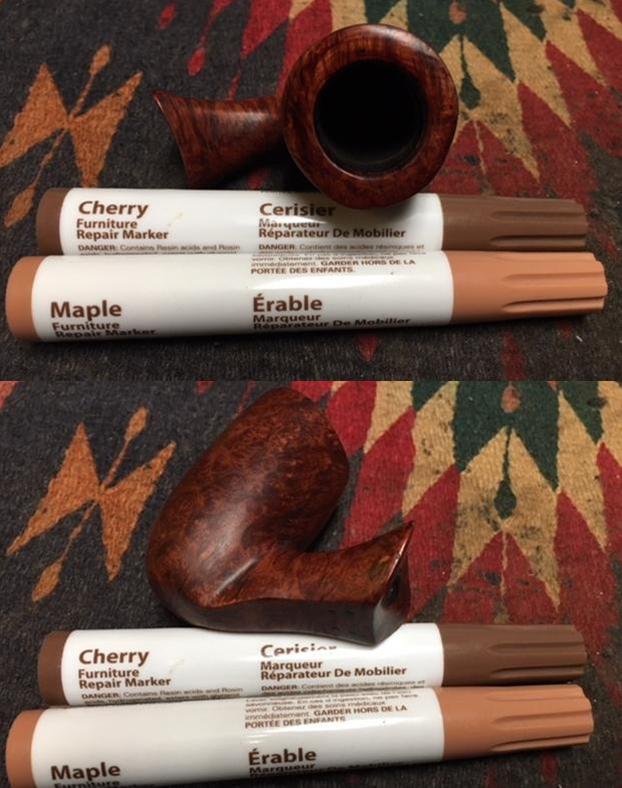
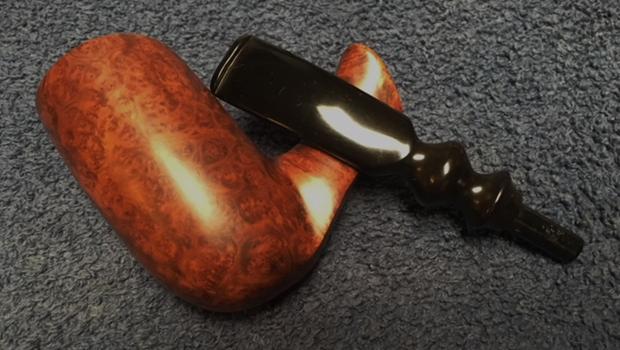
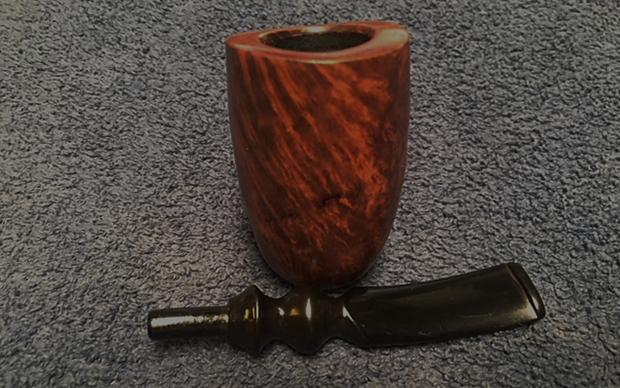
 I took a photo of the pipe with the stem below it to give a bit of perspective on the pipe. It really is a beauty.
 I cleaned up the debris on the rim top with a brass bristle brush. I scrubbed the sandblast rim top with the brush to remove the debris and when finish it looked much better.
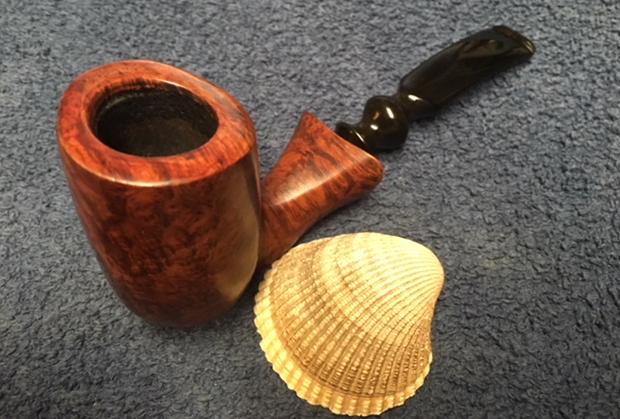
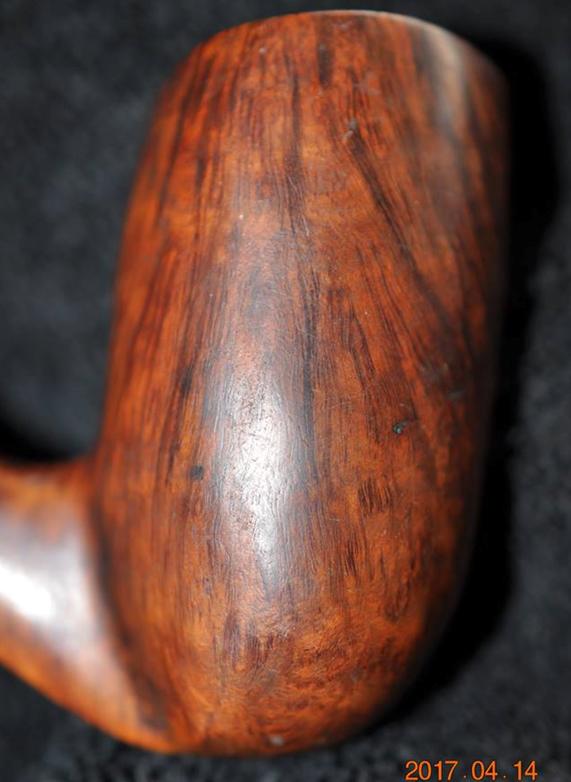
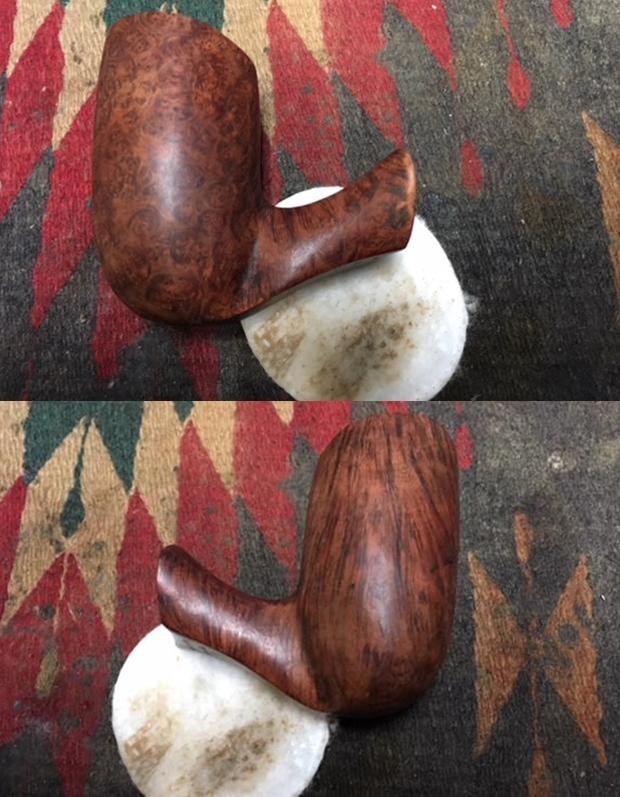
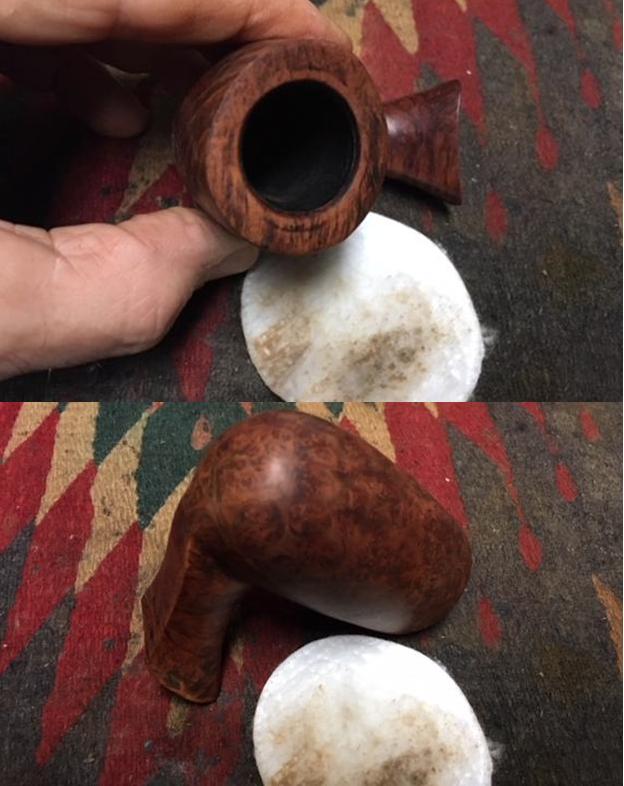
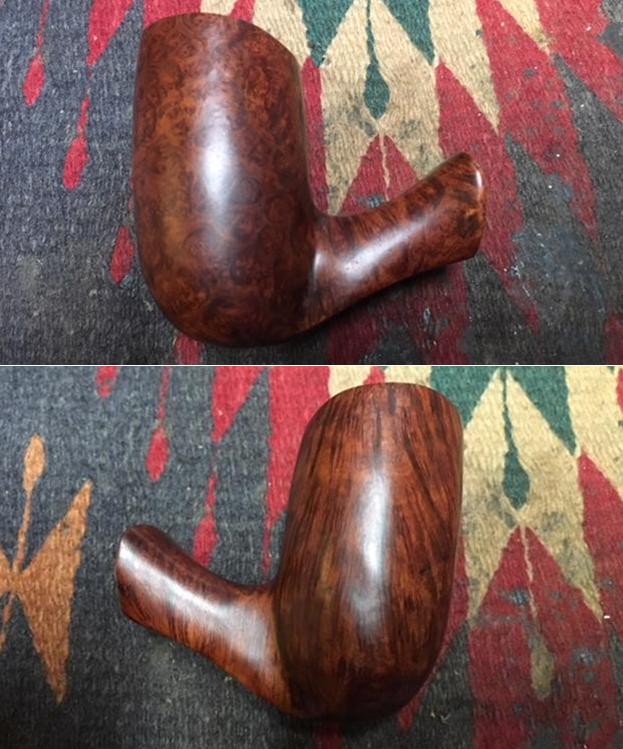
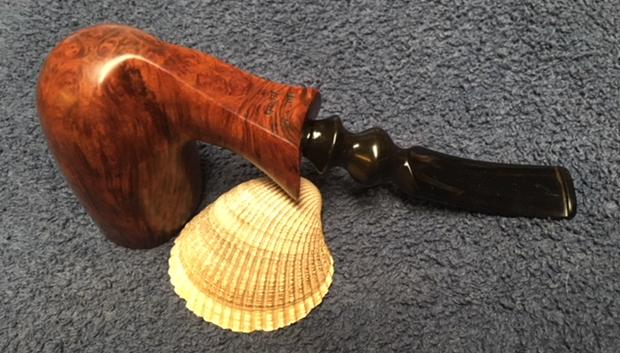
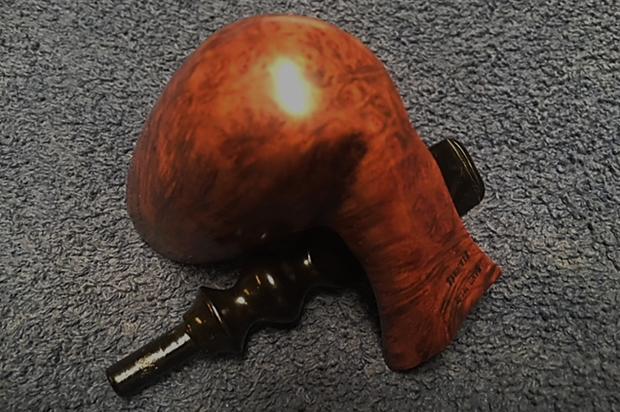
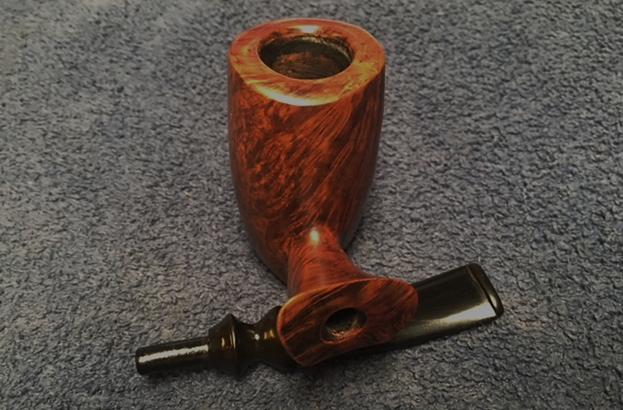
 I worked some Before & After Restoration Balm into the surface of the briar with my fingertips and a horsehair shoe brush to clean, enliven and protect the briar. I let the balm sit for 15 minutes and then buffed with a cotton cloth to raise the shine. The photos show the bowl at this point in the restoration process. It looks quite nice at this point.

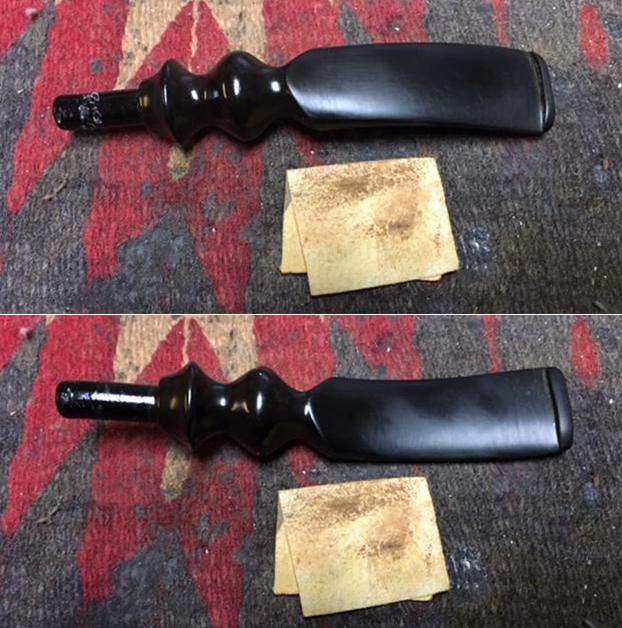
 I scrubbed the stem with Soft Scrub All Purpose Cleaner to remove the oxidation on the surface of the vulcanite. It took a bit of scrubbing and I was able to remove the remaining oxidation
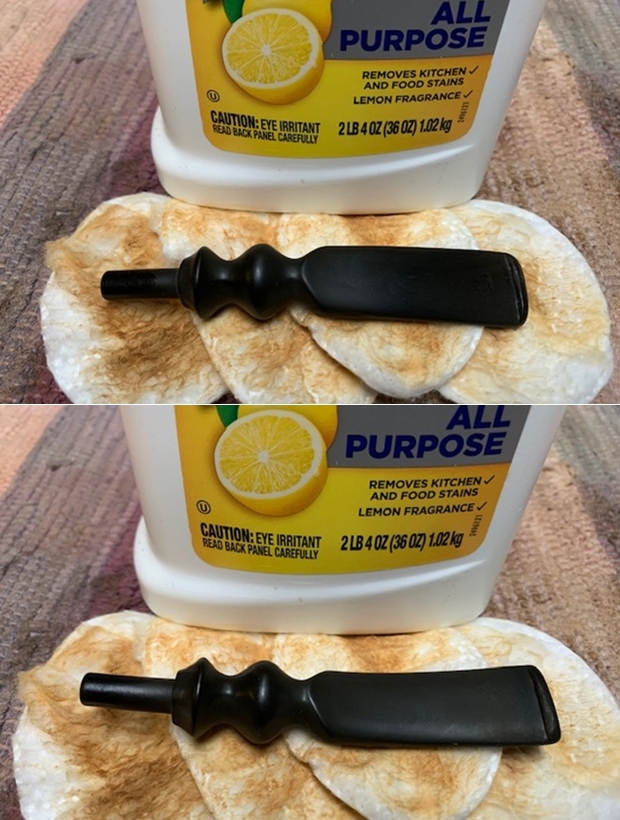 I “painted” the surface of the stem with the flame of a lighter to life the tooth marks on the surface of the vulcanite. I was able to life all of them. Once I finished I sanded the stem with 220 grit sandpaper and then started the polishing with 400 grit wet dry sandpaper.
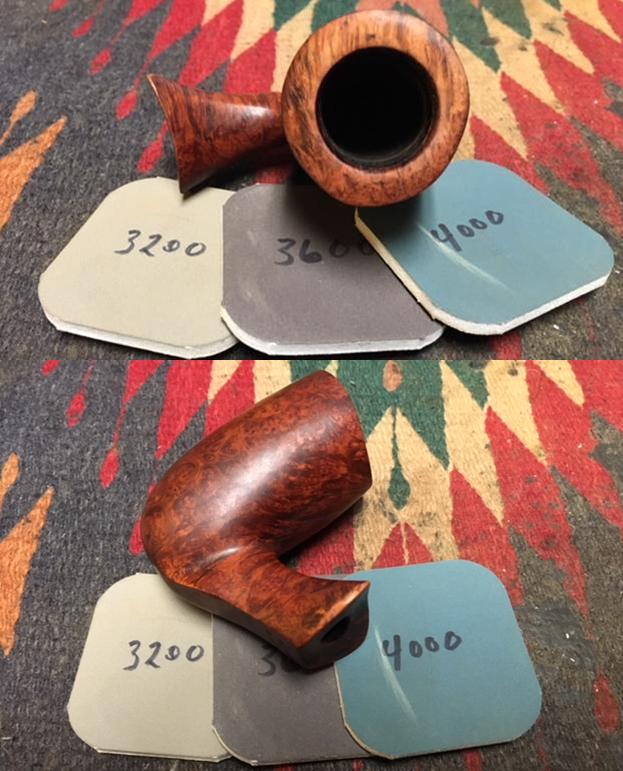
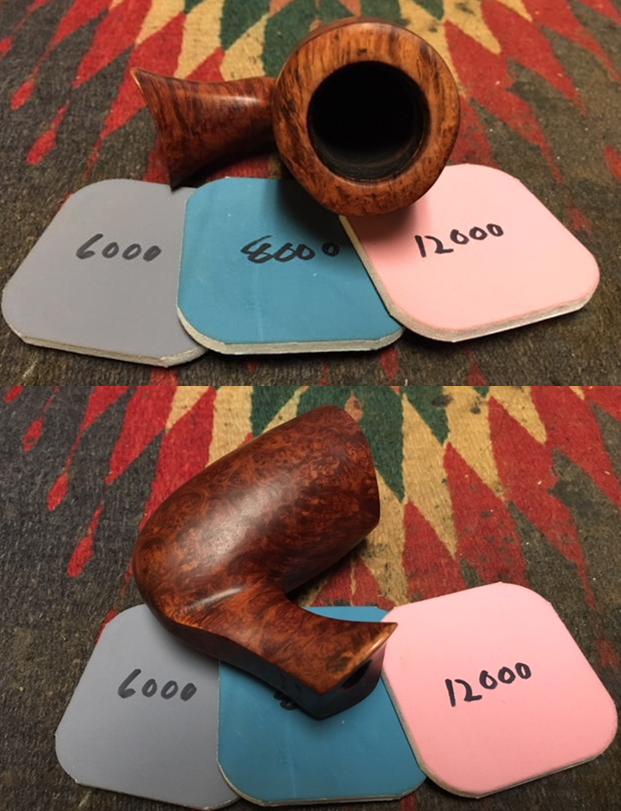
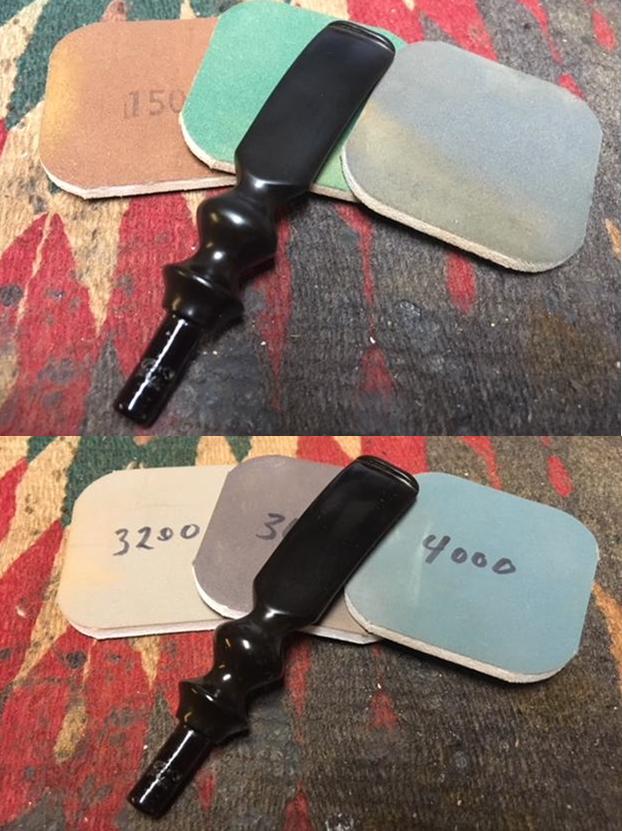
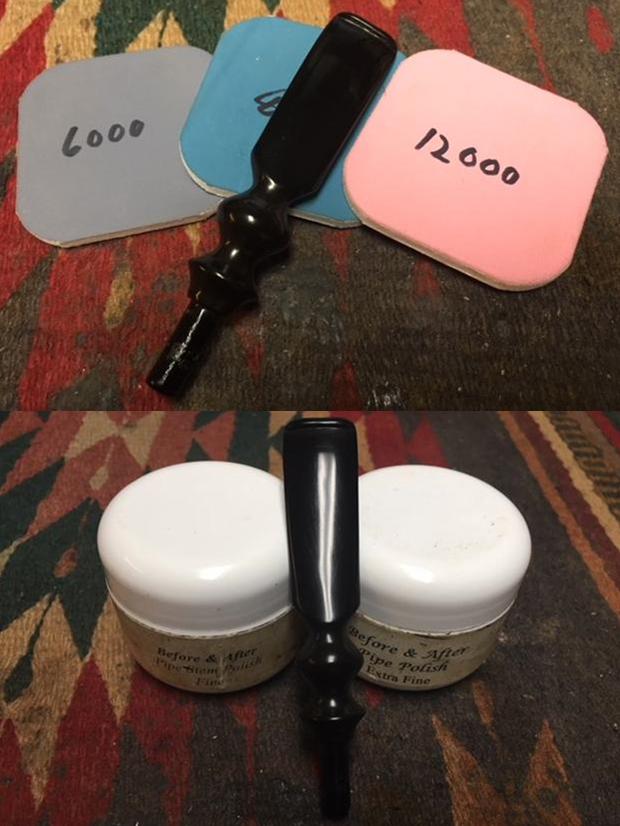
 With that done the bowl was finished other than the final buffing. I set it aside and turned my attention to the stem. I polished it with micromesh sanding pads – wet sanding with 1500-12000 grit sanding pads. I used the pads to remove the tooth marks on the stem on both sides near the button. I wiped it down after each sanding pad with Obsidian Oil.
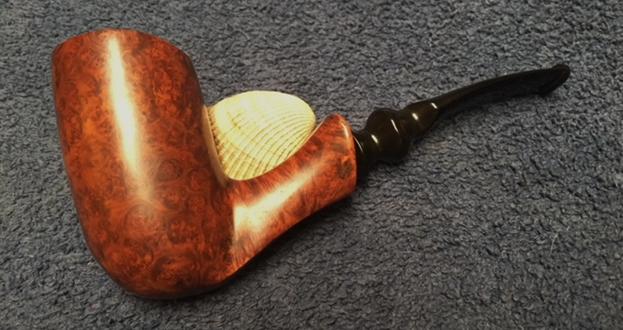
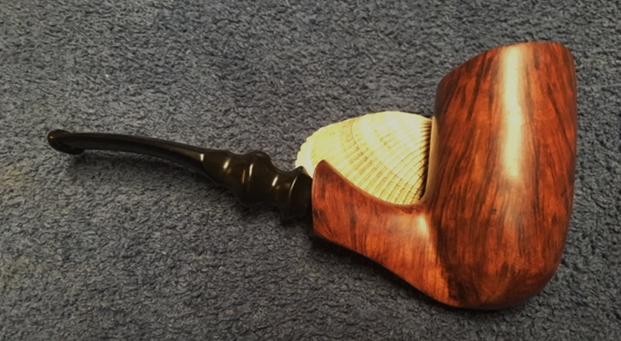
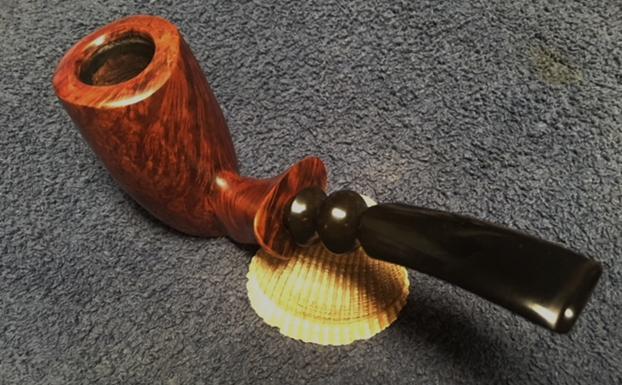
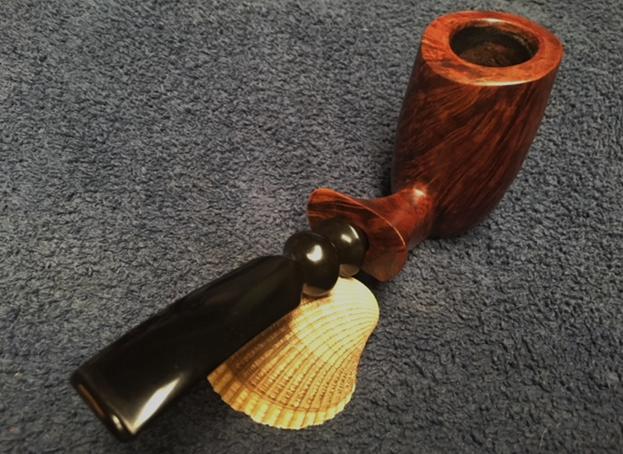
 This beautiful Sandblasted Made in Denmark Freehand is a great looking pipe now that it has been restored. The briar is clean and really came alive. The rich medium brown coloured stain gave the sandblasted grain a sense of depth with the polishing and waxing. The grain really popped. I put the vulcanite stem back on the bowl and carefully buffed the pipe with Blue Diamond on the buffing wheel using a light touch on the briar. I gave the bowl multiple coats of Conservator’s Wax and the stem multiple coats of carnauba wax on the buffing wheel. I buffed the pipe with a clean buffing pad to raise the shine. I hand buffed the pipe with a microfiber cloth to deepen the shine. The finished Hand Made in Denmark Freehand is a beauty and feels great in the hand and looks very good. The flat bottom on the shank and bowl allow it to be a sitter. Give the finished pipe a look in the photos below. The dimensions of the pipe are Length: 5 ½ inches, Height: 2 inches, Outside diameter of the bowl: 1 7/8 inches, Chamber diameter: ¾ of an inch. The weight of the pipe is 48grams/1.69oz. I will be adding it to the rebornpipes store soon. Look for it in the Danish Pipe Makers section of the store. Thanks for reading this blog and my reflections on the pipe while I worked on it. Remember we are not pipe owners; we are pipemen and women who hold our pipes in trust until they pass on into the trust of the next pipeman or woman.