by Steve Laug
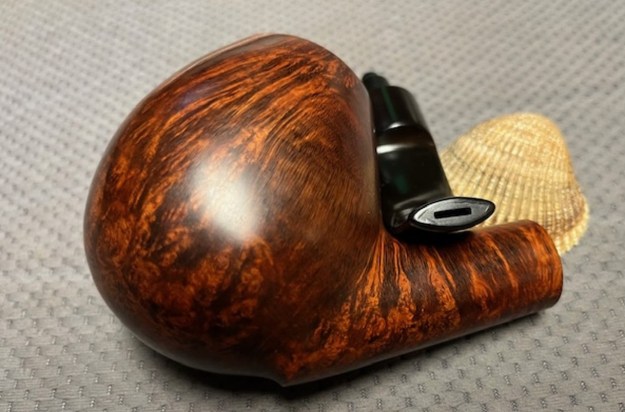
It is a beautiful chilly day in Vancouver without rain so I decided to go to the basement and work on another pipe that was purchased on 12/27/2025 in a lot of pipes that came to us from an estate of a pipeman in Durham, North Carolina, USA. The grain around the bowl and shank of this huge Bent Egg has a mix of birdseye, straight and flame grain. The pipe is stamped on the underside of the shank and reads Bjarne Nielsen [over] Hand-Carve [over] Made in Denmark. The pipe was dirty when Jeff received it. There was dust and grime ground into the finish. It is finished in the warm stain that highlights some nice grain around the bowl and shank. The bowl was heavily caked and there was some darkening and lava on the rim top. The inner edge is not visible under the lava so it may well be protected and undamaged. The saddle stem is vulcanite and was dirty with light tooth marks and chatter on both sides ahead of the button and on the button itself. There is no logo on the sides or top of the stem. The tenon is made to hold 9MM filter. Jeff took photos of the pipe before he started his clean up work on it.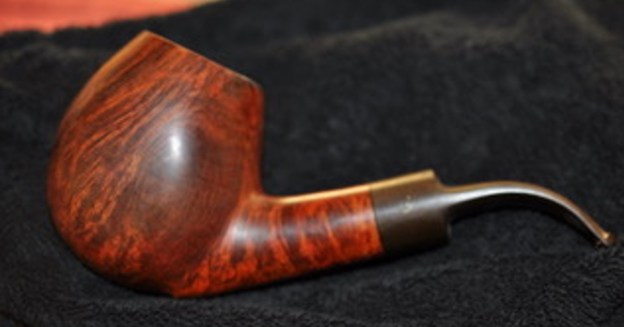
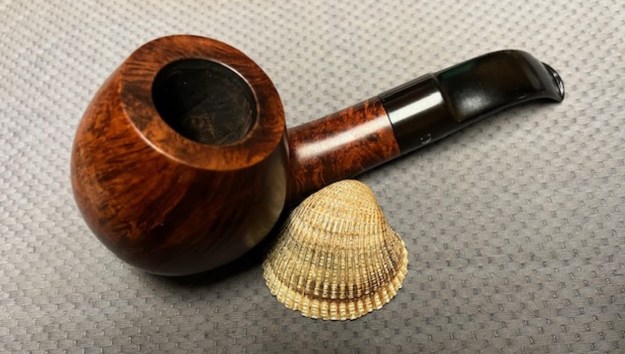
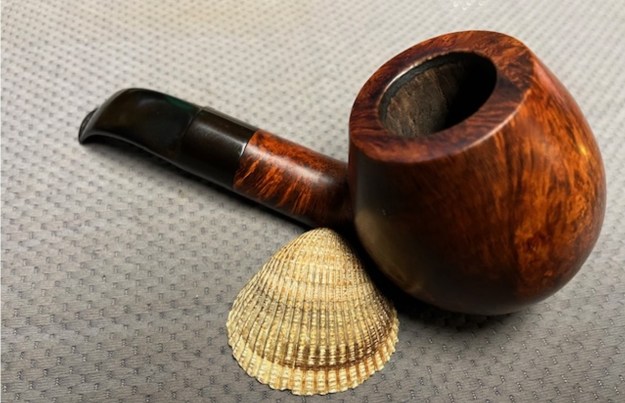
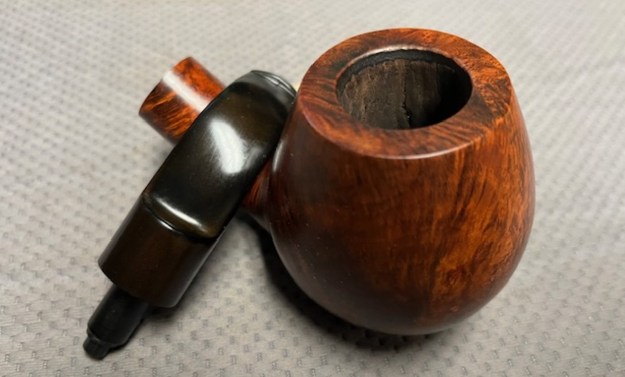
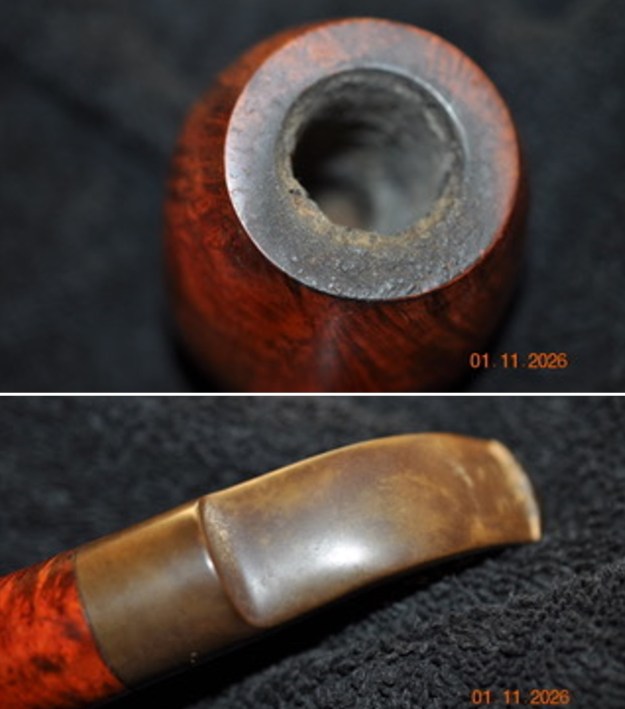
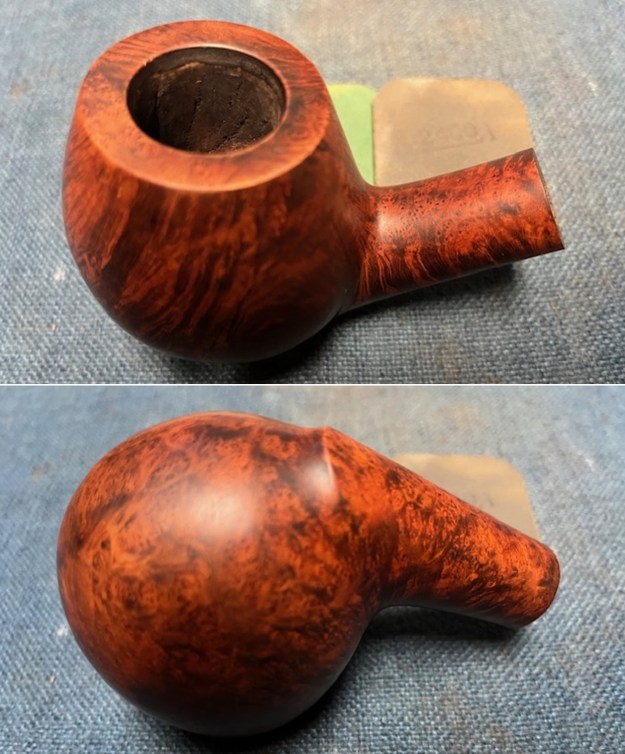
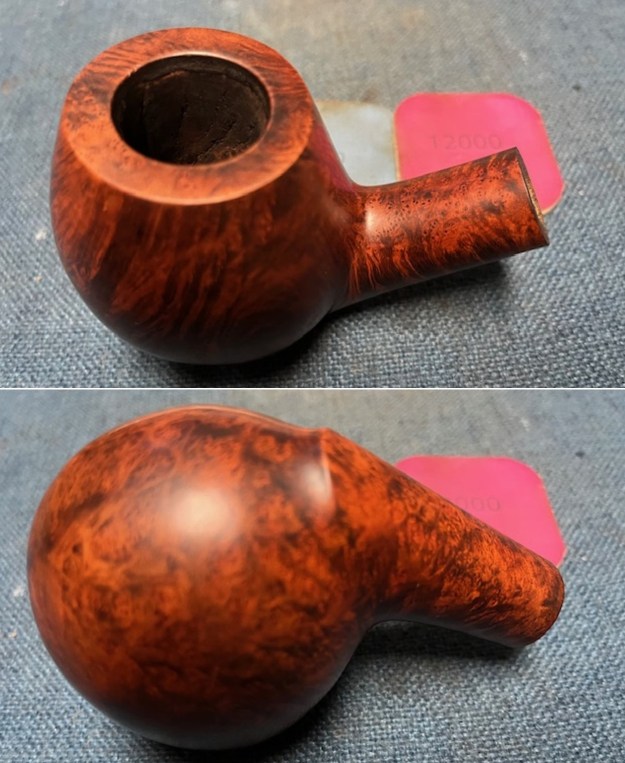
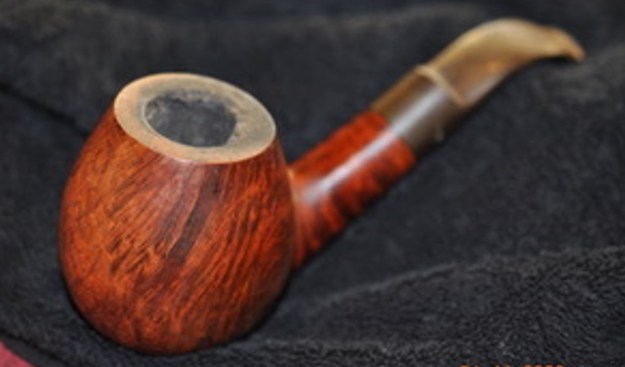 Jeff took photos of the bowl and rim top to show what they looked like before the clean up. You can see the thick cake in the bowl and the darkening and lava on the inner edge and top of the rim. The stem photos show the oxidation and the tooth marks ahead of the button.
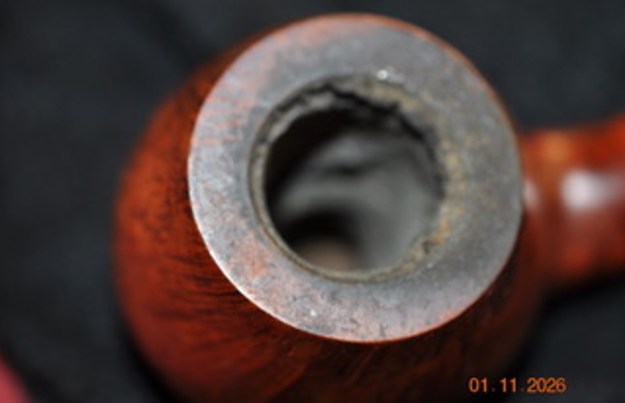
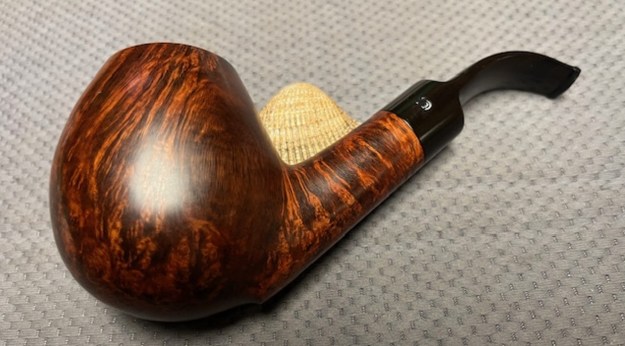
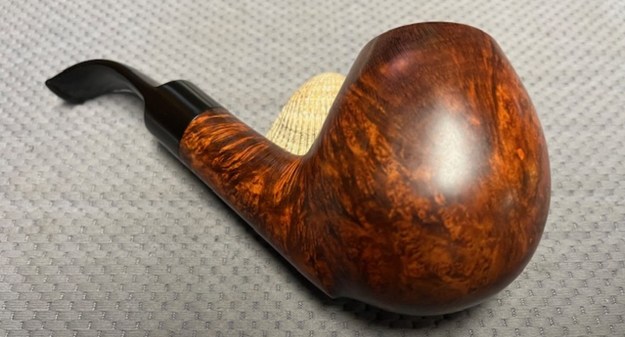
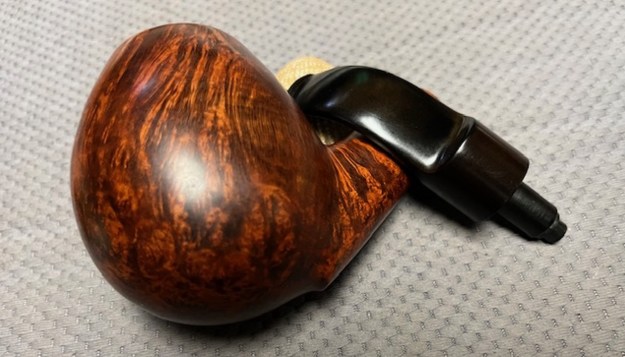
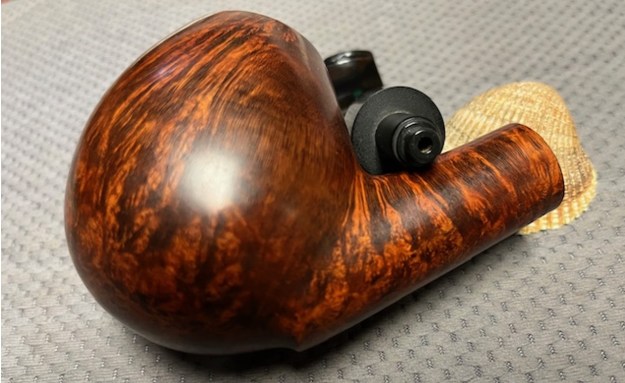
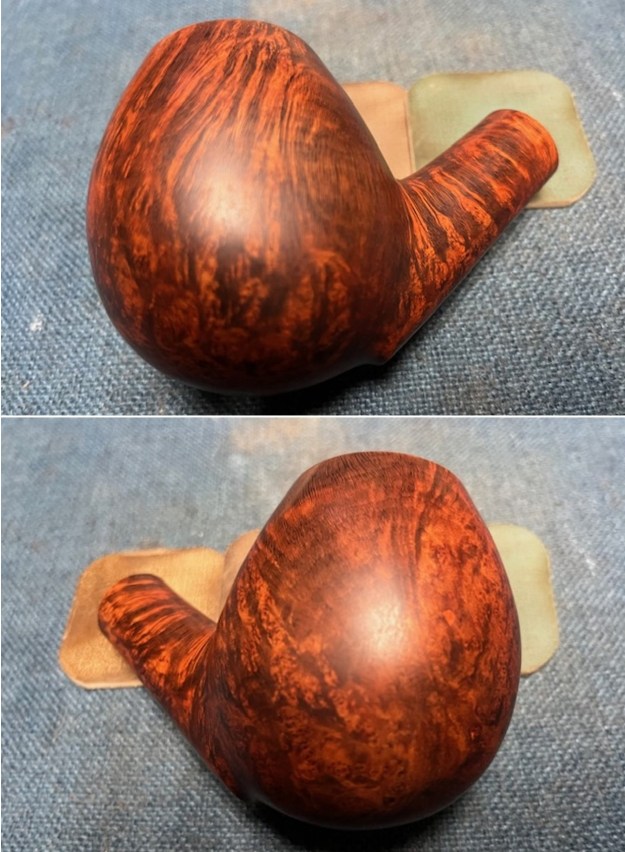
 The photos of the sides and heel of this huge bowl show the grain around the bowl and shank. The stain adds depth finish on the pipe. Even under the grime it is a real beauty.
 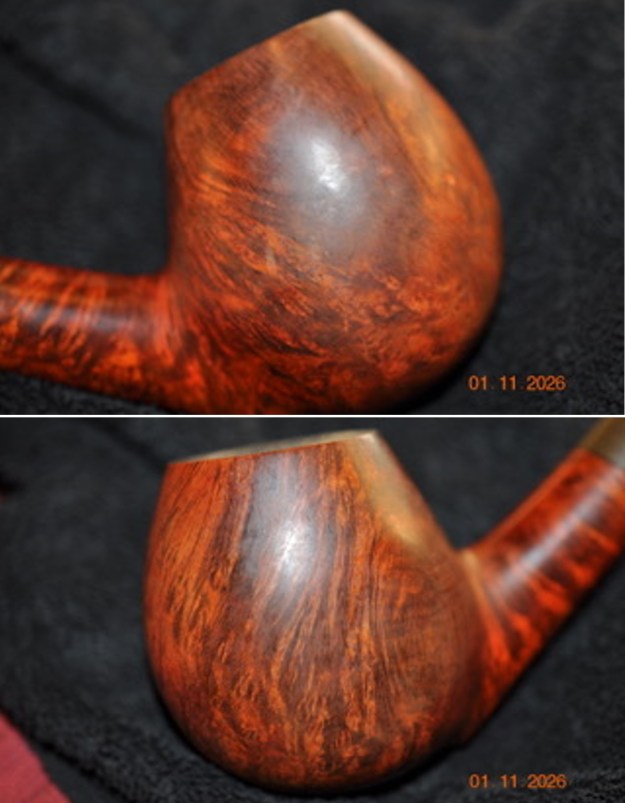 The stamping on the underside of the shank is shown in the photos below. It is clear and readable as noted above.
 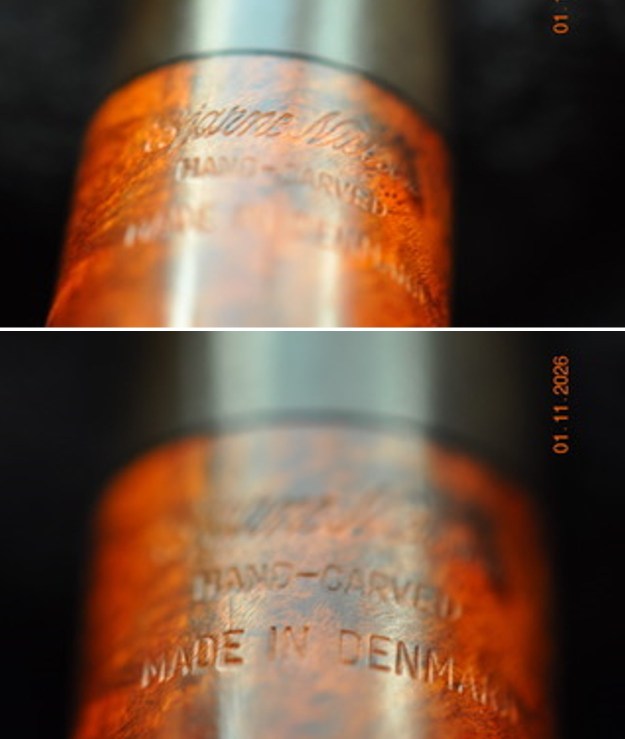 I have had many Bjarne pipes cross my work table over the years but all had been stamped only Bjarne or Bjarne Handmade. None of them had his full name stamped on it and none had a Hand – Carved stamp which I assumed indicated the grade of the pipe. I turned first to Pipephil’s site (http://www.pipephil.eu/logos/en/logo-b5.html). I have included a screen capture of the section below and below the screen capture I included the information from the sidebar.
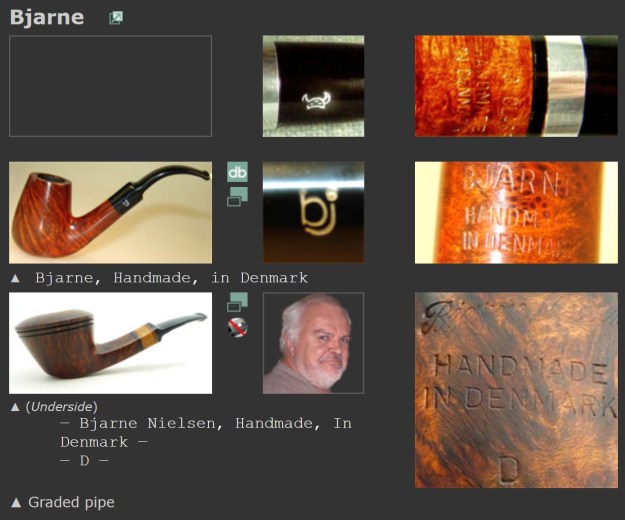 Bjarne Nielsen (1941 – † 2008) distributed his own “Bjarne” brand and pipes carved by Danish pipemakers (Mogens Johansen, Tonni Nielsen or Ph. Vigen). High grade pipes were stamped “Bjarne Nielsen” without any logo on the mouthpiece and graded A, B, C and D. Bjarne second brand: Viking
I did some research on Pipedia.com and found some helpful information on both the stamping of my pipe and the history of Bjarne Nielsen himself. I am including the link to the full article on Pipedia and also some pertinent sections of the article that I have edited for quick reference. https://pipedia.org/wiki/Bjarne From the early 1990s Bjarne had seven pipemakers employed and the pipes were sold in no fewer than 32 countries. For more than six months each year, Bjarne travelled around the world to promote his pipes by meeting with dealers and customers. But sadly, it all ended in February 2008 when Bjarne, then 66 years old suffered a fatal heart attack. An unexpected blow fist of all to his family, but also to the pipemakers who had been working for him, and to all lovers of his pipes from around the world. And as no one was willing to take over, the Bjarne pipe died together with its creator.
There was also an interesting section on the high grades and also the Giant pipes. I am including the pertinent information below…
From the early 1990s Bjarne had seven pipemakers employed and the pipes were sold in no fewer than 32 countries. For more than six months each year, Bjarne traveled around the world to promote his pipes by meeting with dealers and customers. But sadly, it all ended in February 2008 when Bjarne suffered a fatal heart attack. An unexpected blow fist of all to his family, but also to the pipemakers who had been working for him, and to all lover of his pipes from around the world. And as no one was willing to take over, the Bjarne pipe died together with its creator.
Among the pipemakers that worked for Bjarne were Johs (for the lower priced high volume pieces), and makers like Ph. Vigen, Ole Bandholm and Tonni Nielsen for high grade pieces. The cheaper line was stamped “Bjarne” while the highest grades were stamped “Bjarne Nielsen” (never with the pipemakers’ name) and graded, from highest to lowest, by the letters: AX, A, B, C, D, E, F, G, H, I, and J.
Bjarne was also a good source for lovers of XXL pipes. These were called “Giant”.
From that information I knew that the pipe that I was working on was made before 2008 but had no idea who the carver was. There was no letter stamp on the shank so I had no idea where it fit in the hierarchy. When I look at the grain and also the way the pipe maker cut the pipe to maximize the lay of the grain on the bowl makes me think it is definitely high on the grade list. Perhaps it is a Tonni Nielson carved pipe. Now it was time to work on the pipe on my end.
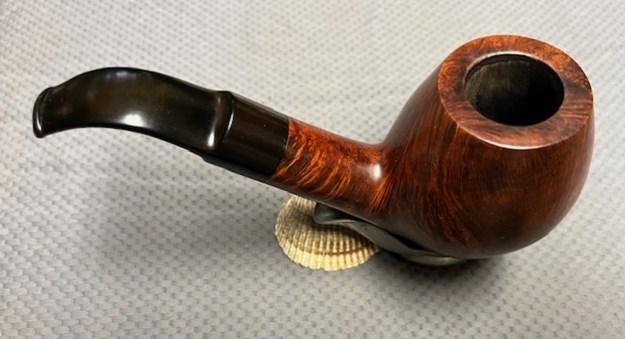
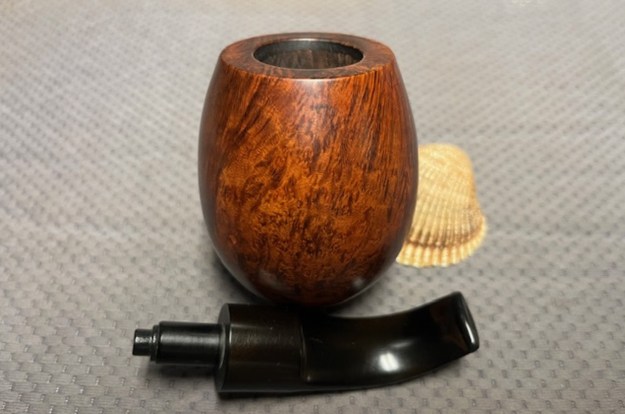
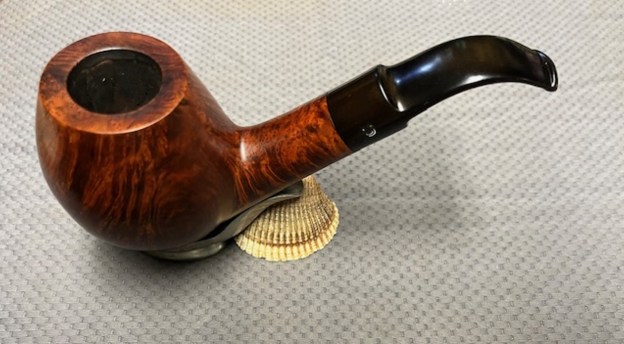
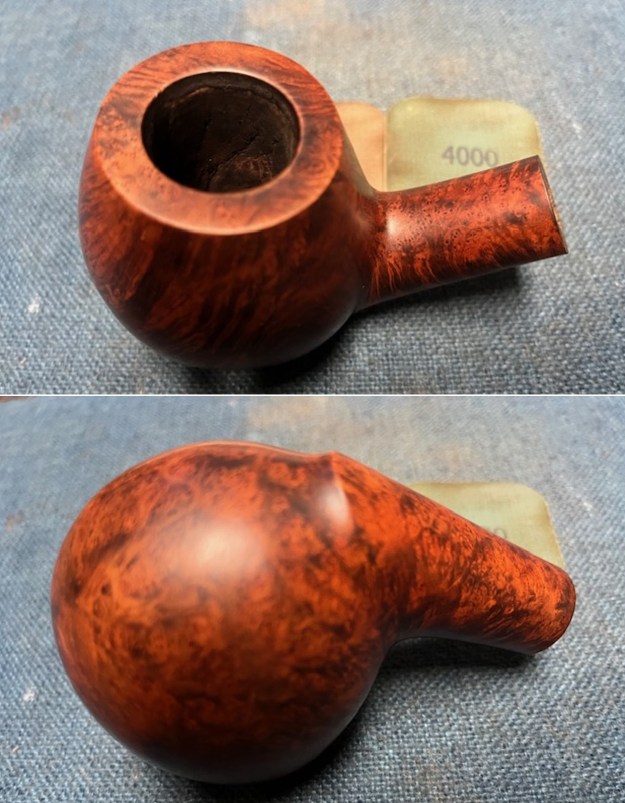
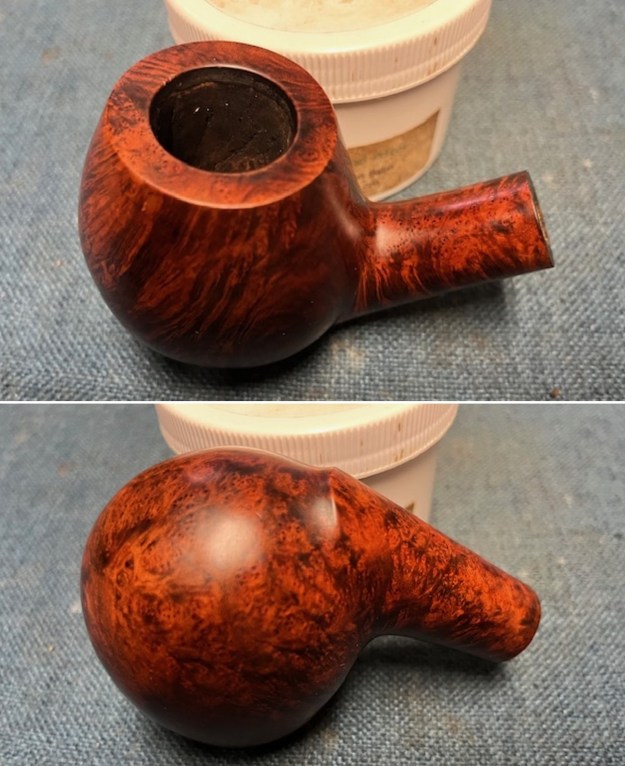
When I received it from Jeff this past week it did not look like the same pipe. It was clean and the finish had life. He reamed it with a PipNet pipe reamer and got rid of the cake. He cleaned up the reaming with a Savinelli Fitsall Pipe Knife so that we could see the walls of the bowl and assess for damage. It was in good condition. He cleaned the internals of the shank and stem with cotton swabs, pipe cleaners and alcohol. He scrubbed the exterior with undiluted Murphy’s Oil Soap and a tooth brush. He rinsed the pipe under warm water. He dried it off with a cloth and then let it air dry. The stem was scrubbed with Soft Scrub and soaked in Briarville’s Stem Deoxidizer. It came out looking very good. The finish on the bowl and the rim top cleaned up nicely. I took pictures of the pipe to show how it looked when I brought it to the table. 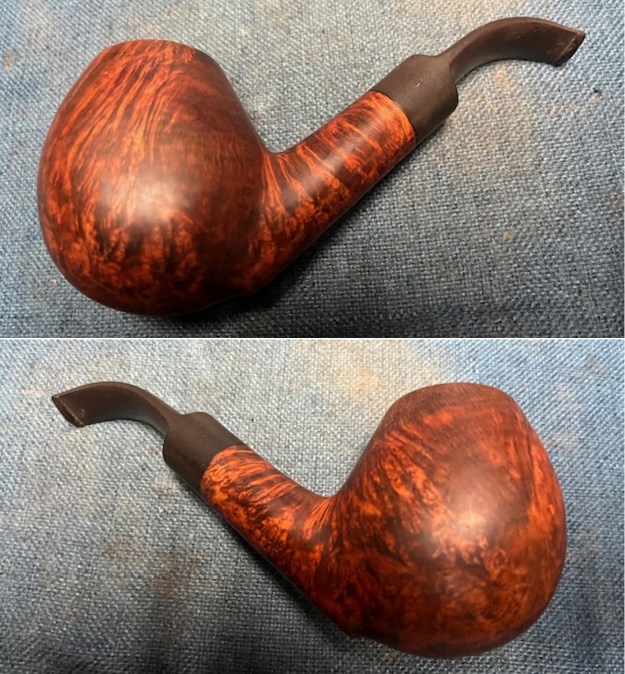
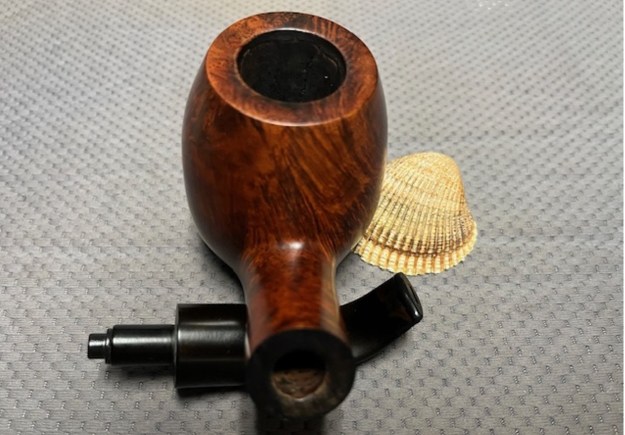
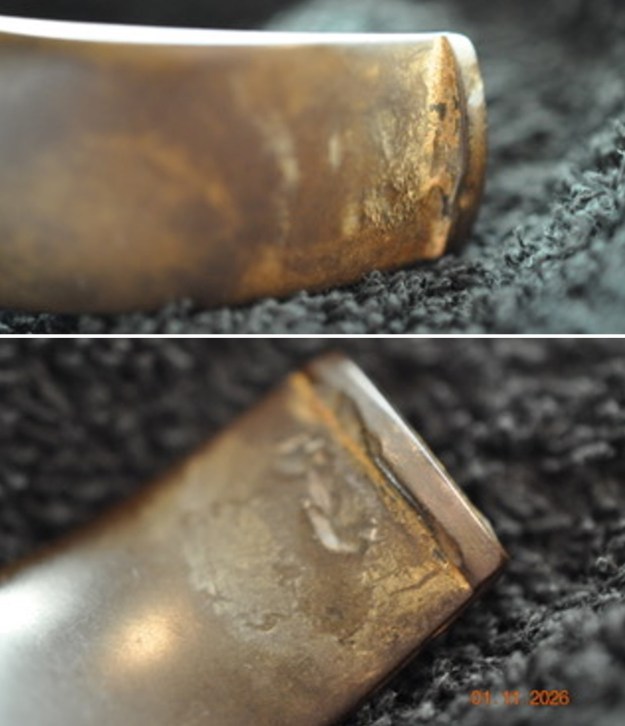
 I took some photos of the rim top and stem to show the condition of them both when the pipe arrived. Overall the briar looked good. The vulcanite stem had some light tooth chatter and marks ahead of the button and on the button surface on both sides.
 I took a photo of the stamping on the underside of the shank. It is readable and in great condition. I removed the stem from the shank and took a photo of the pipe to show the look of the pipe.
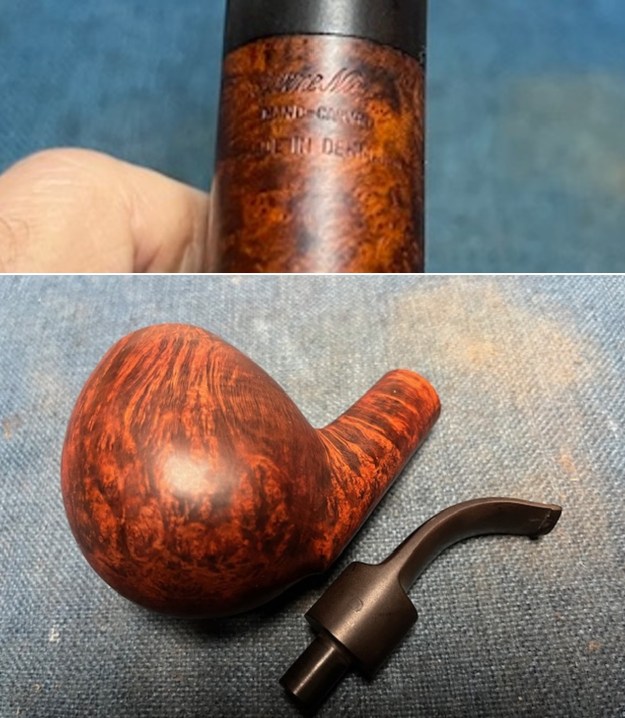 I took a photo of the filter tenon on the stem. It looked very good and I fit it with an adapter that converted it to a regular tenon. It is removable allowing the pipe to be smoked with or without a filter.
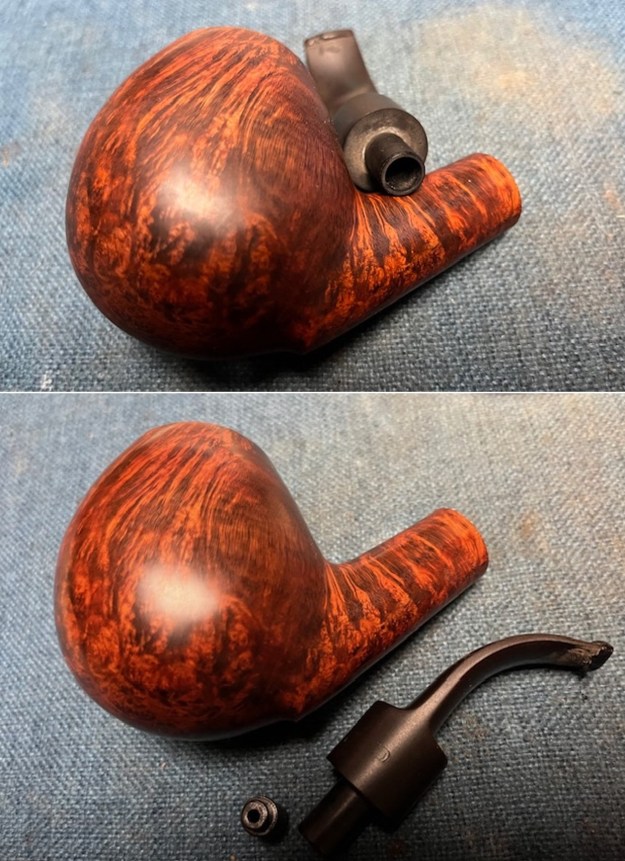 I sanded the sides of the bowl and the rim top with 320-3500 grit 2×2 inch sanding pads to remove the scratching in the briar and smooth it out. It is a really beautiful piece of briar with some amazing grain around the sides, heel and rim top.
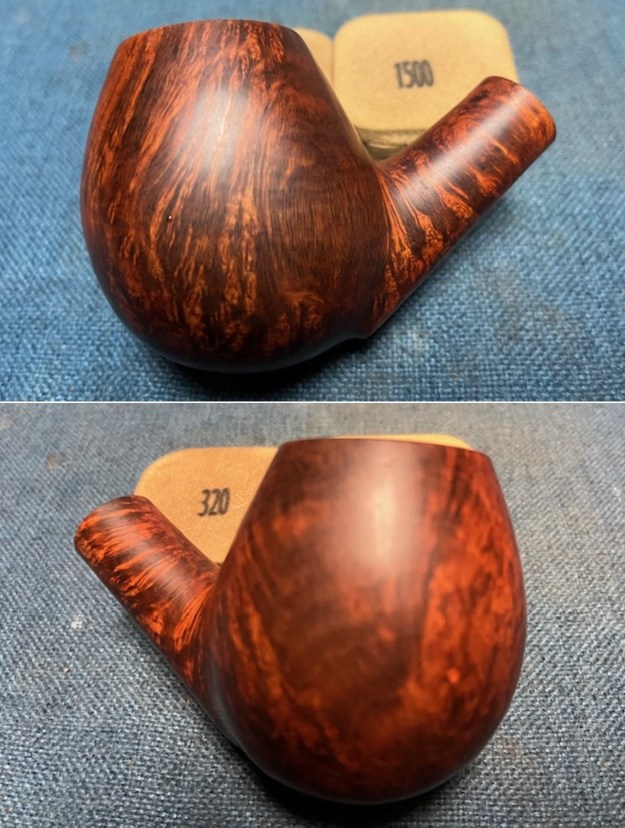
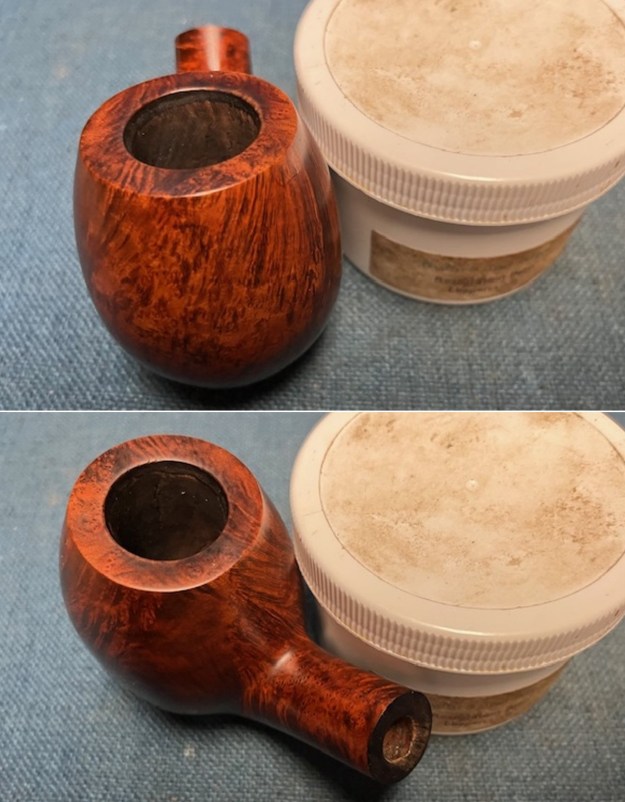
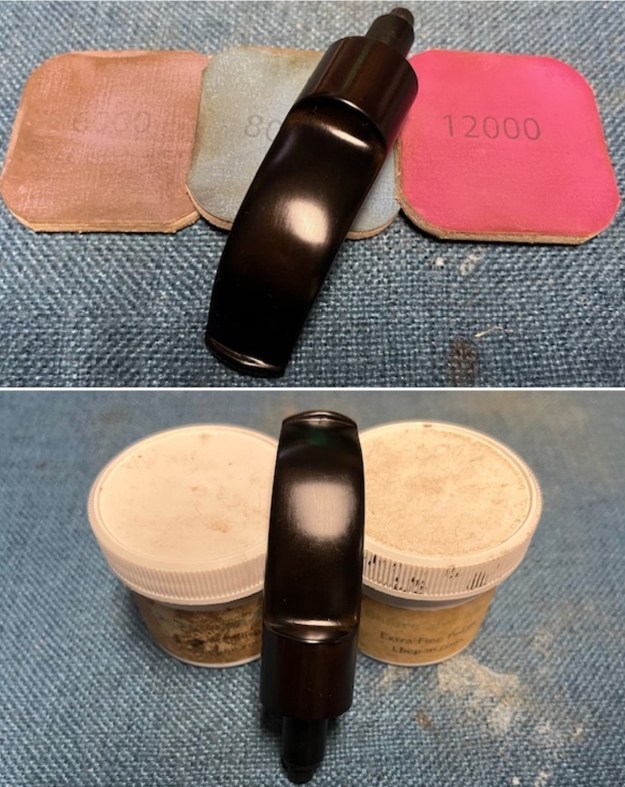
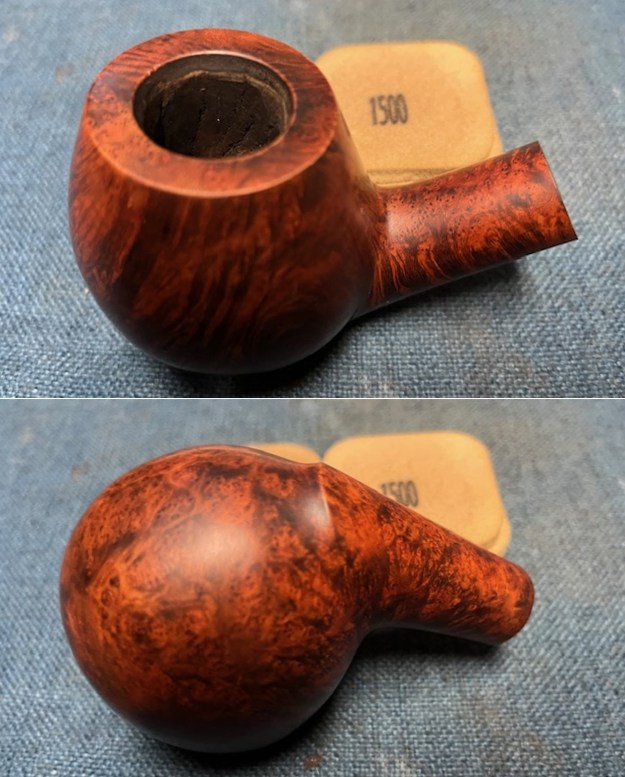 I polished the bowl with micromesh sanding pads – dry sanding with 1500-12000 grit pads. I wiped the briar down after each pad with a damp cloth. The bowl is starting to look very good.
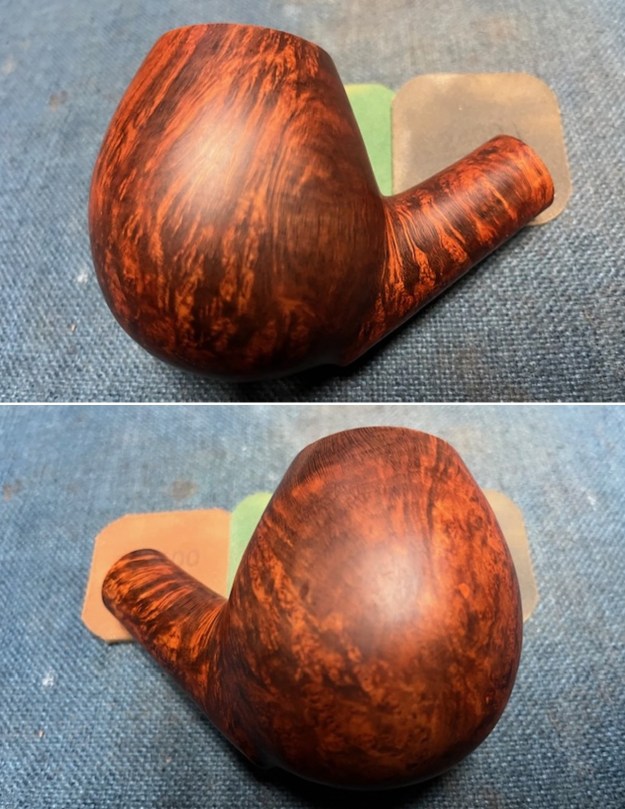
 I worked some Before & After Restoration Balm into the surface of the briar with my fingertips to clean, enliven and protect it. I let the balm sit for a little while and then buffed with a cotton cloth to raise the shine. The photos show the bowl at this point in the restoration process.
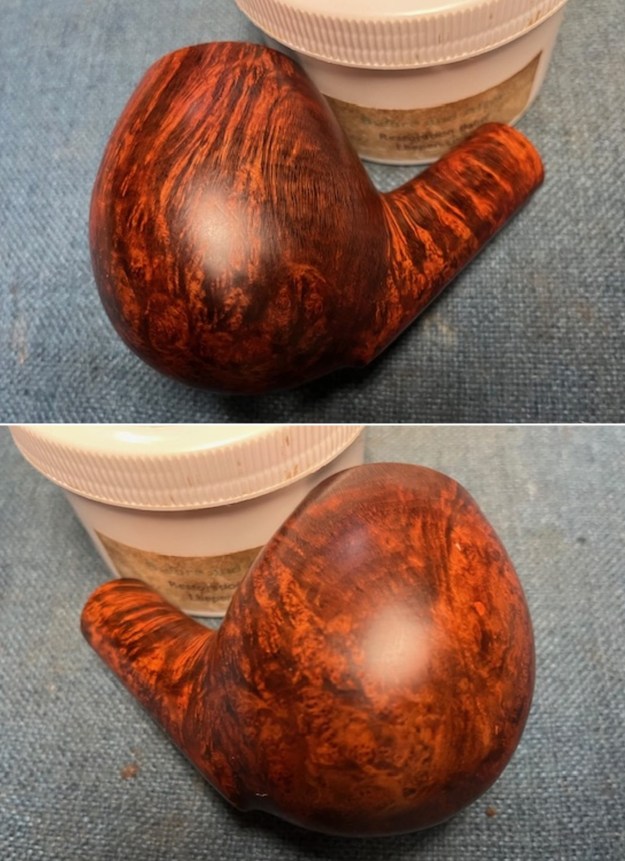
 I set the bowl aside and turned my attention to the stem. I wiped the tooth marks down with isopropyl alcohol and a cotton swab and then filled in the tooth marks with black CA glue. Once the repairs cured I used a small flat needle to smooth out the repaired areas on both sides of the stem. I sanded them with a folded piece of 220 grit sandpaper to blend them into the surface of the vulcanite.
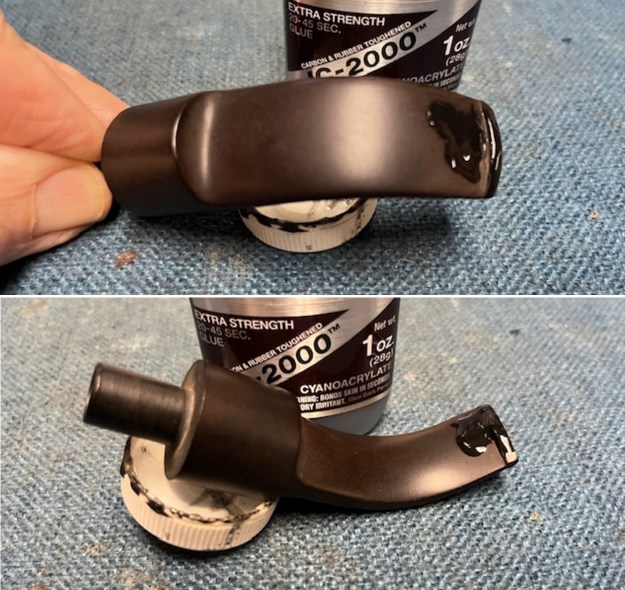
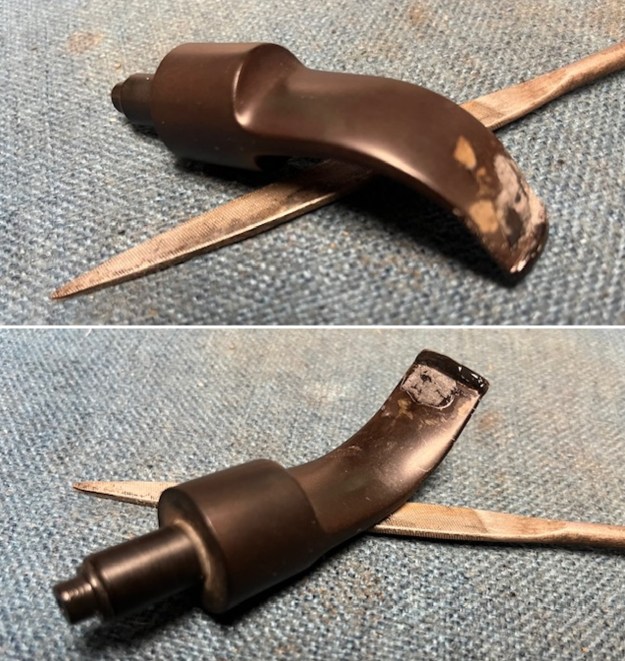
 I fit the 9MM filter tenon with an adapter converting it to an unfiltered tenon. It is removable so it can be smoked with or without a filter.
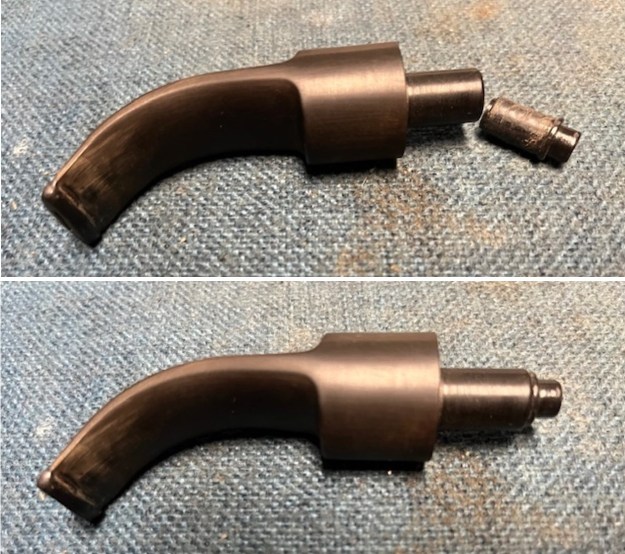 I touched up the BJ logo on the left side of the saddle stem. Once it dried I scraped off the excess and cleaned it up with a 600 grit sanding pad. It looked much better, though faint in spots.
 I sanded the stem with 320-3500 grit sanding pads. I wiped it down after each sanding pad with a damp cloth. By the final 3500 grit sanding pad the rim top had a shine.
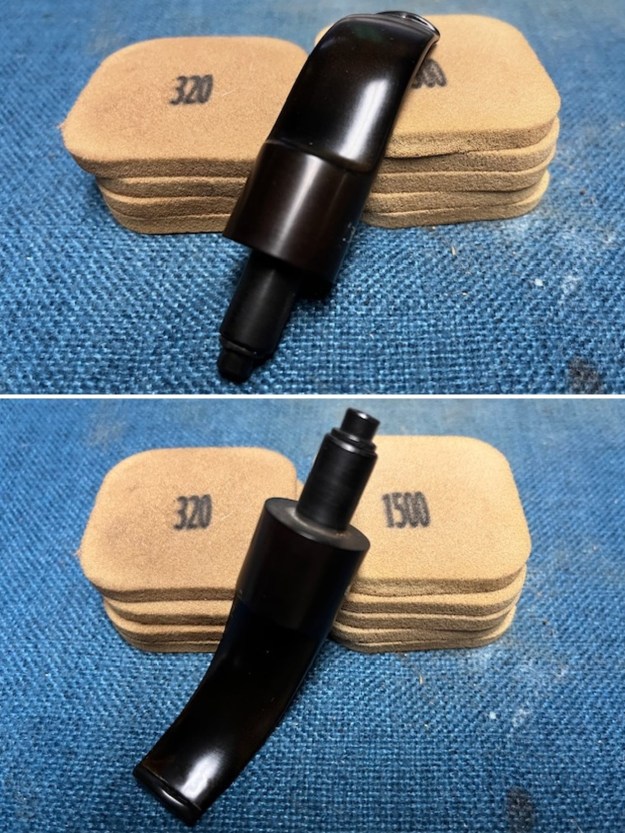 I polished the stem with micromesh sanding pads – wet sanding with 1500-12000 grit sanding pads. I wiped it down after each sanding pad with some Obsidian Oil. I finished polishing it with Before & After Pipe Stem Polish – both Fine and Extra Fine and buffed it off with a cotton cloth.
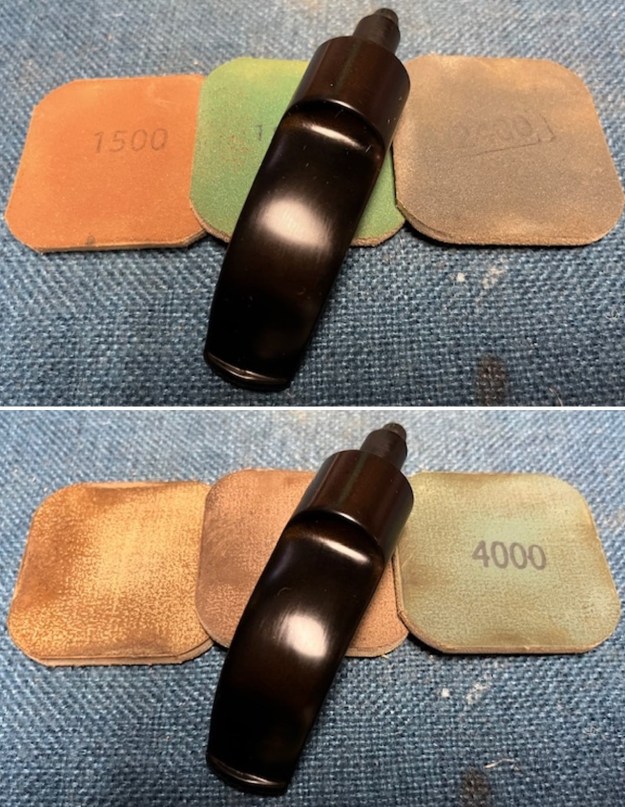
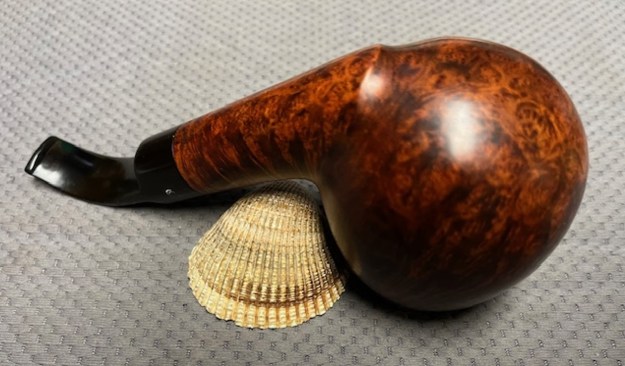
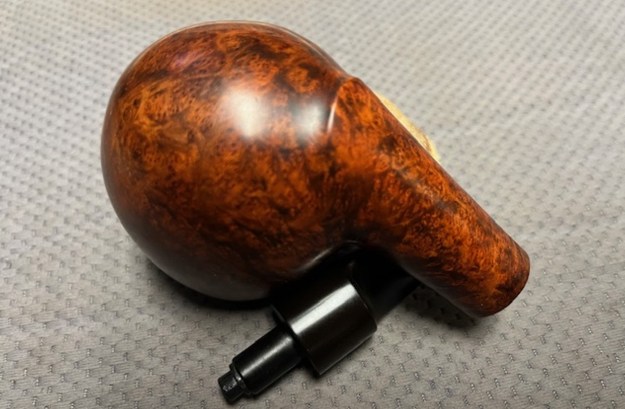
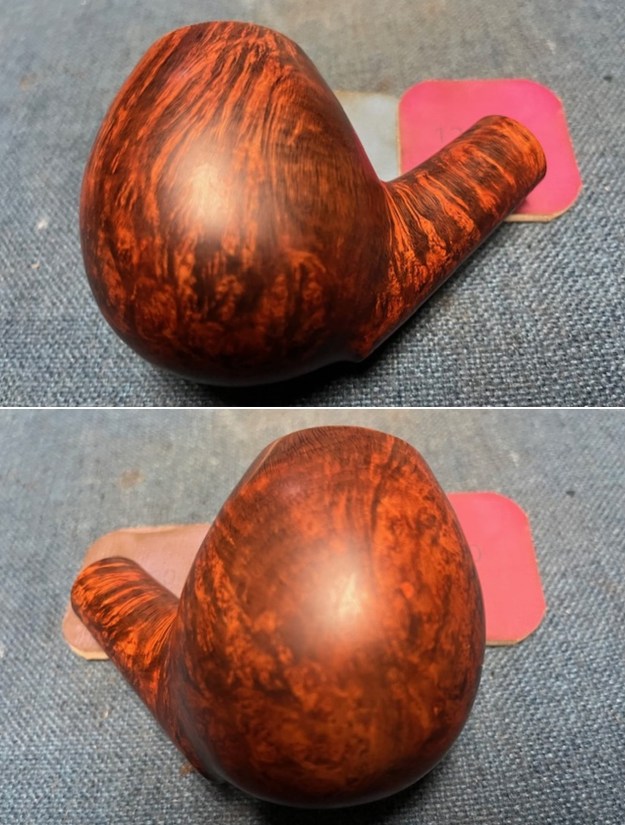
 This is a beautiful Bjarne Nielsen Large Bent Brandy Hand-Carved in Denmark with a filter saddle stem. It has a great look and feel. The shape fits well in the hand with the curve of the bowl and shank junction a perfect fit for the thumb around the bowl when held. I polished stem and the bowl with Blue Diamond polish on the buffing wheel. I gave the bowl and the stem multiple coats of carnauba wax. I buffed the pipe with a clean buffing pad to raise the shine. I hand buffed it with a microfiber cloth to deepen the shine. The pipe polished up pretty nicely. The rich combination of browns in the smooth finish took on life with the buffing. The rich colour of the briar works well with the polished hard rubber stem. I like the grain and finished look of this Bjarne Nielsen Bent Brandy Hand-Carved. Have a look at it with the photos below. The shape, finish and flow of the pipe and stem are very well done. The dimensions are Length: 6 ½ inches, Height: 3 inches, Outside diameter of the bowl: 1 ¾ inches wide, Chamber diameter: 1 inch. The weight of the pipe is 169 grams/5.96 ounces. This one will be going on the rebornpipes store in the Danish Pipe Making Section shortly if you would like to add it to your collection. Thanks for your time.
As always, I encourage your questions and comments as you read the blog. Thanks to each of you who are reading this blog. Remember we are not pipe owners; we are pipe men and women who hold our pipes in trust until they pass on into the trust of those who follow us.