by Steve Laug
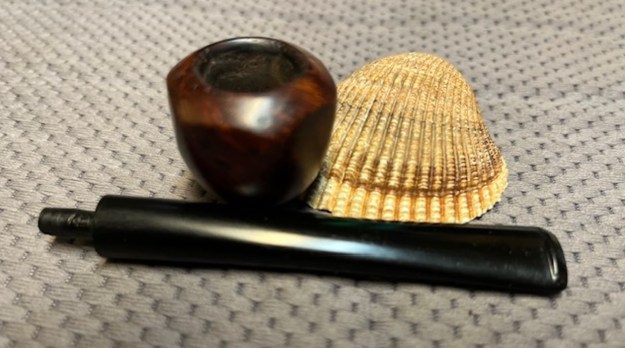
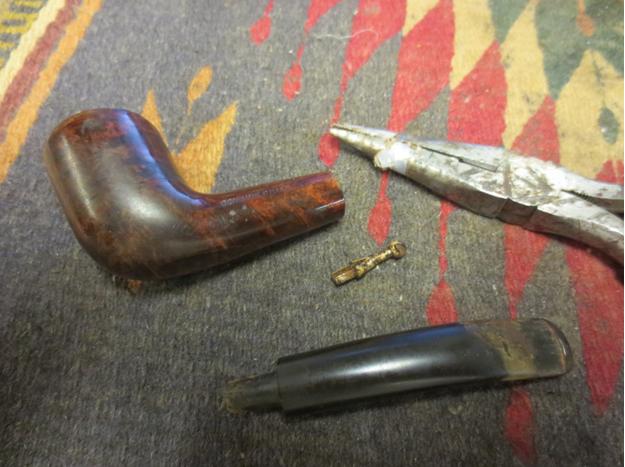
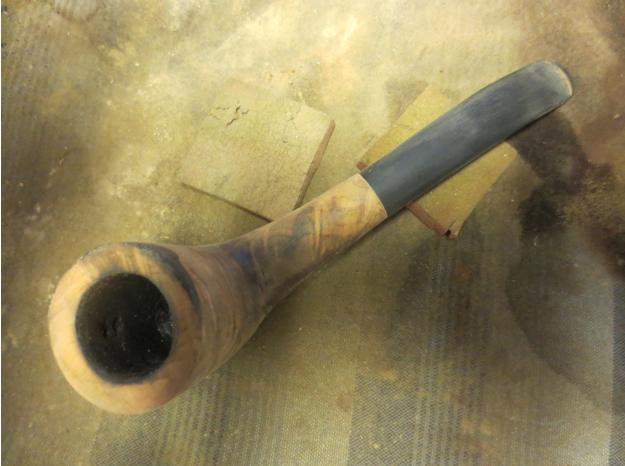
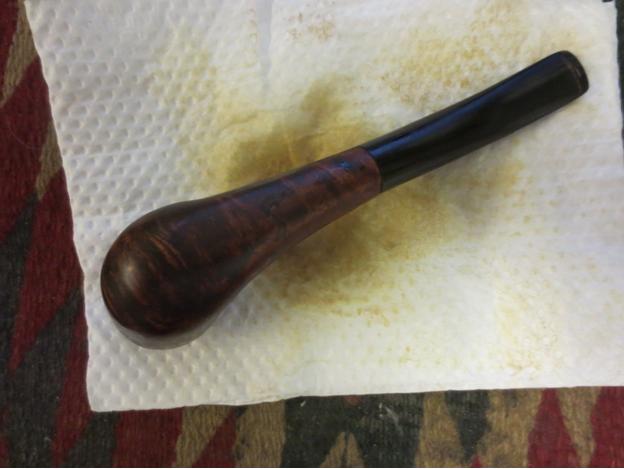
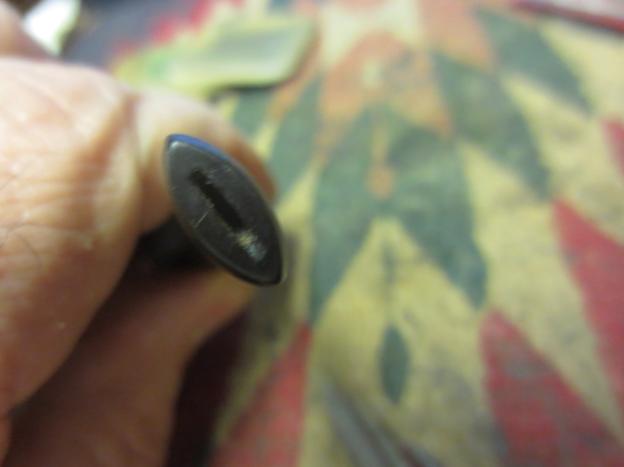
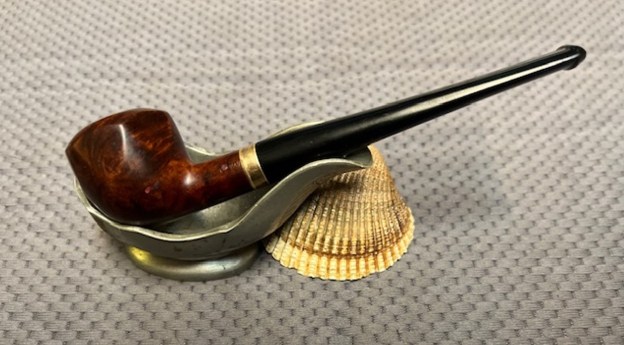
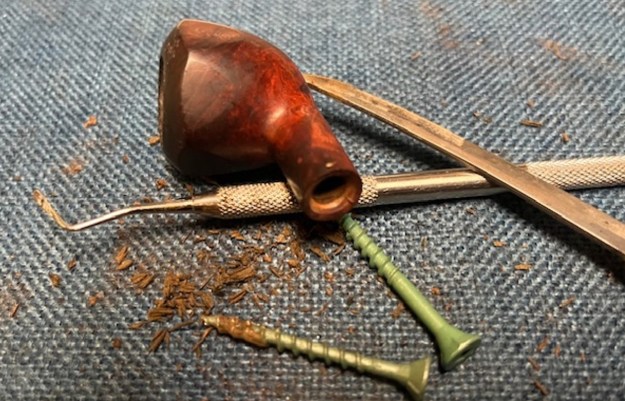
I received two pipes for repair from Brady, who works at a Pipe and Tobacco Shop in Texas yesterday. The first is a tiny Hexagonal Dublin stamped Genuine Briar. The second one is a leather coated bowl stamped Longchamp France Billiard. Both were quite dirty and needed some special attention. I decided to work on the harder of the two pipes – the tiny Genuine Briar Hex Dublin. It had a broken tenon in the shank and a small stem. In looking it over I felt it was too thin to set a new tenon in. I would need to restem it. I was in a rush to work on it so I started without taking the customary photos. I put the bowl in the freezer to see if the cold and change would loosen the tenon from the shank. I took it out and used a screw to try and pull it. It did not work as it was solidly stuck. I repeated the freezer trick with no luck at all. I examined it and found that the tenon in the shank was quite cracked. I used a dental tool to pull out the pieces as much as possible. I cleaned up the shank with a pen knife to scrape out the remnants of vulcanite. A second issue became clear. There was a snapped aluminum stinger in the shank with a large ball on the end. It took some work and the ball stinger dropped out of the shank.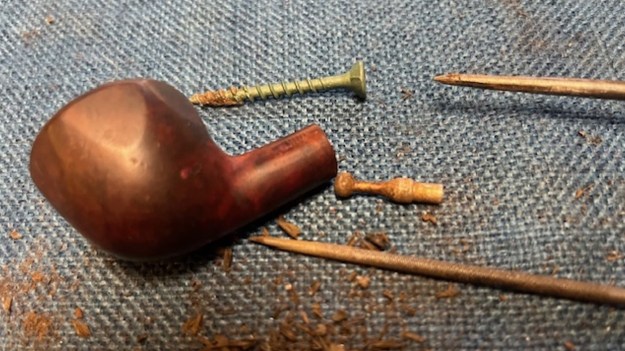
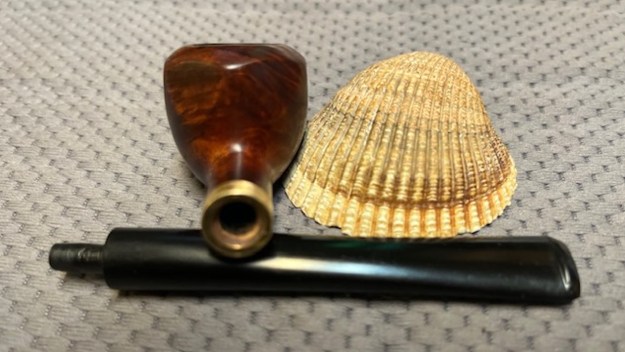
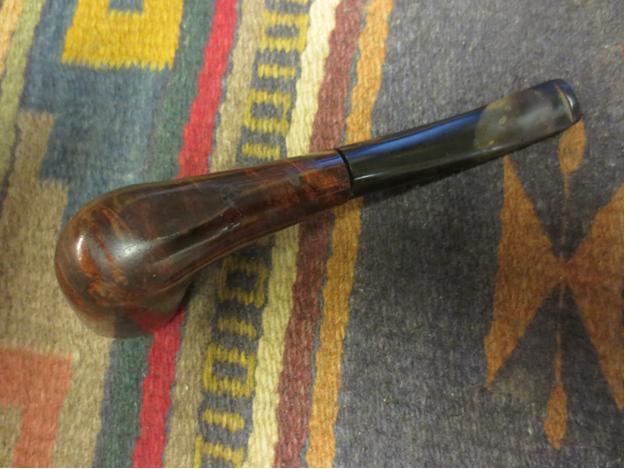
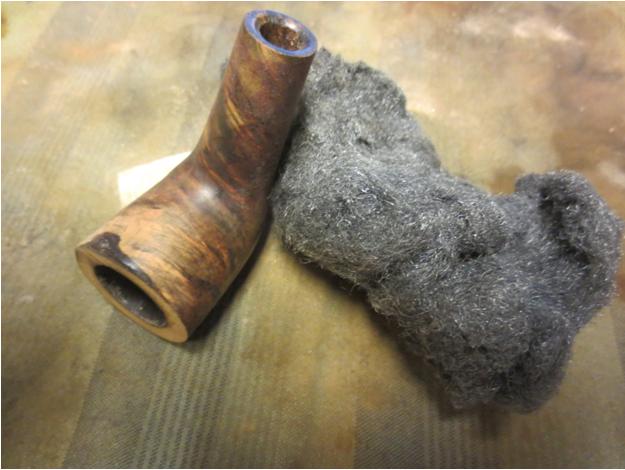
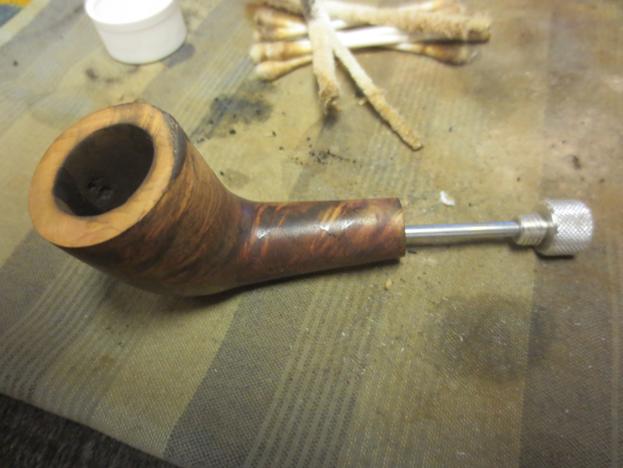
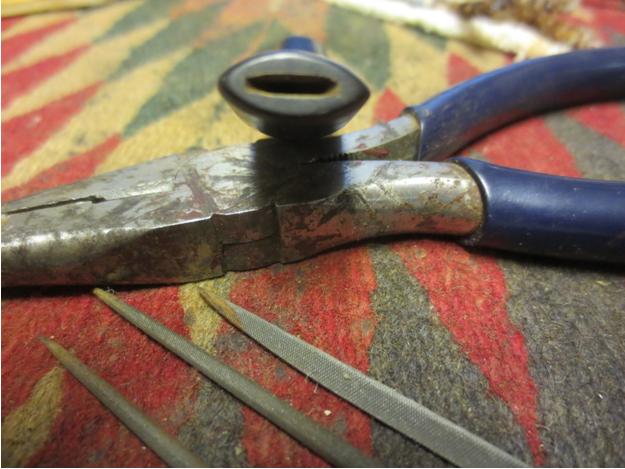
 With the stinger removed I worked on fitting a new stem to the shank. I toyed with a thin brass band to stabilize the thin shank. I tried it on for the fit and look and liked it. I glued it in place. I used sand paper and the Dremel and sanding drum to reduce the diameter of the tiny tenon. I finished it and the fit was right. All that was left was to polish it.
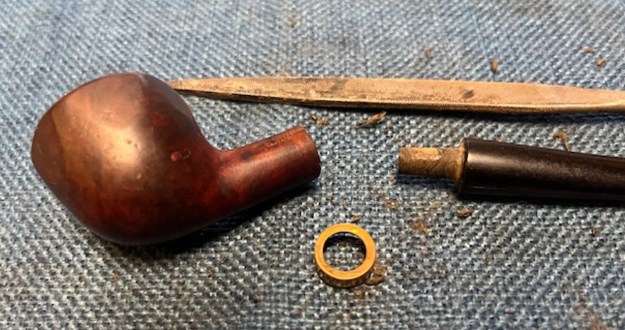
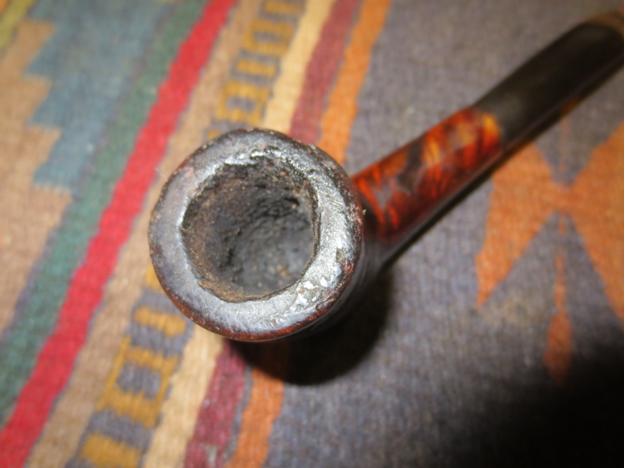
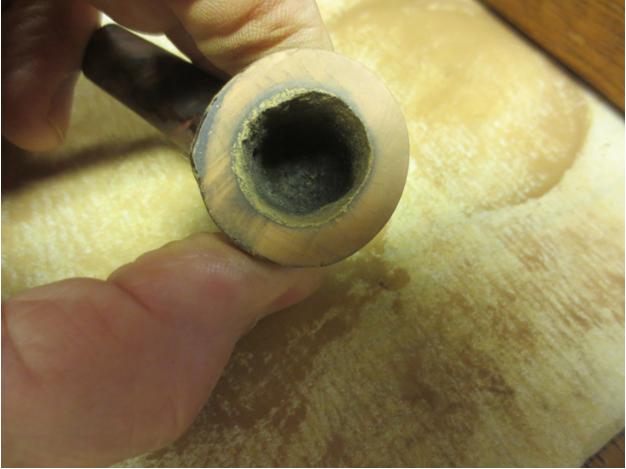
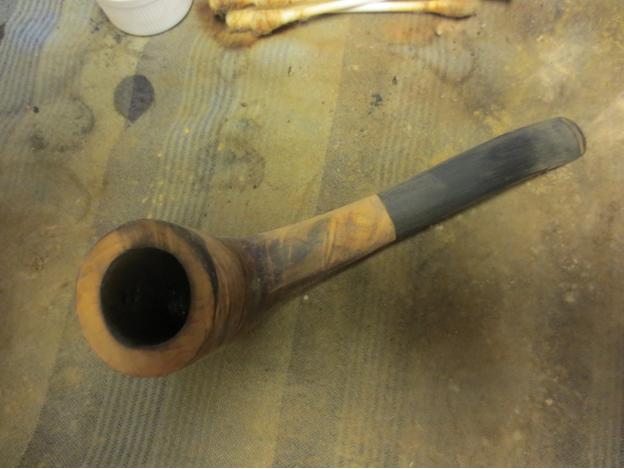
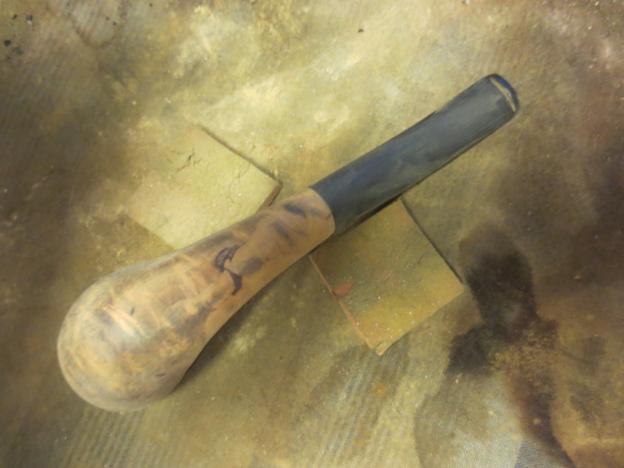
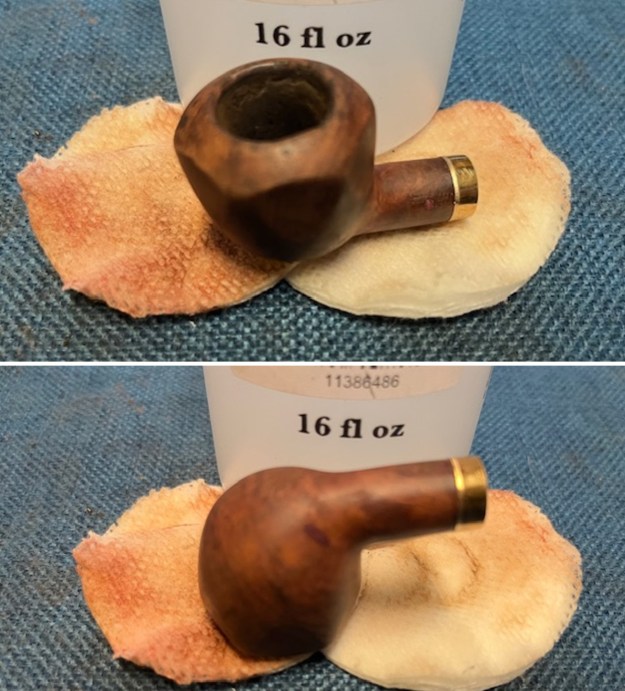
 I reamed the tiny bowl with a Savinelli Fitsall pipe knife and took cake back to briar. I sanded the walls of the bowl with a folded piece of 220 sandpaper.
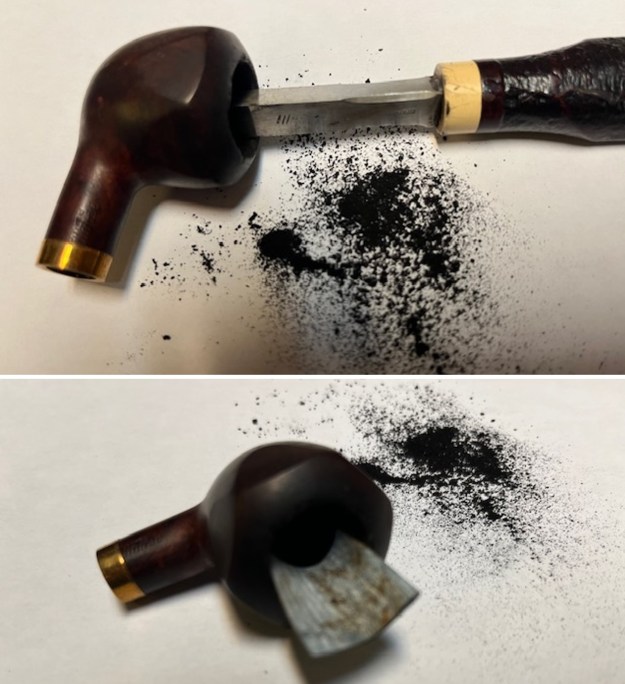 I cleaned out the internals of the bowl, shank and stem with pipe cleaners, cotton swabs and isopropyl alcohol. It came out smelling much better.
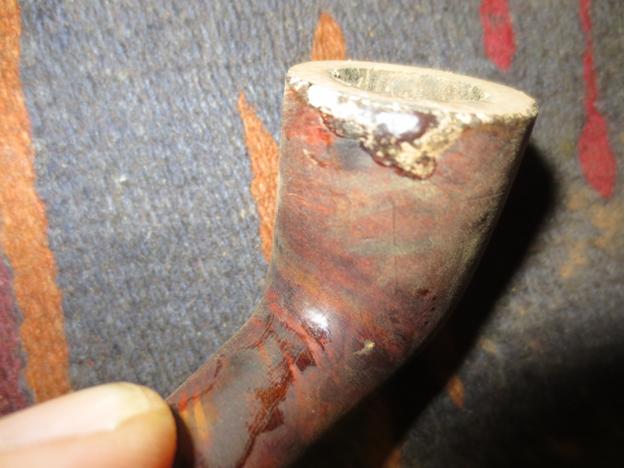
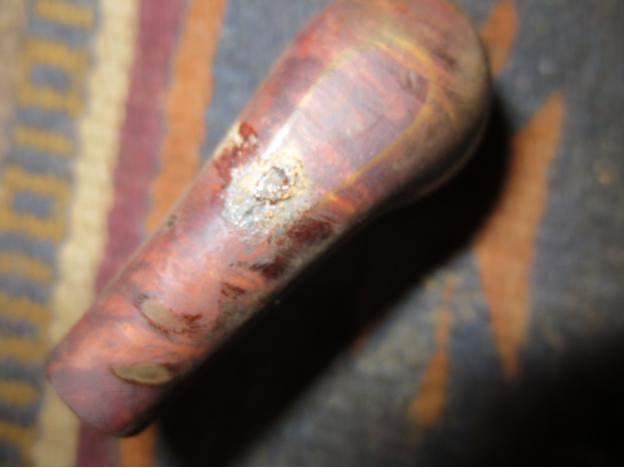
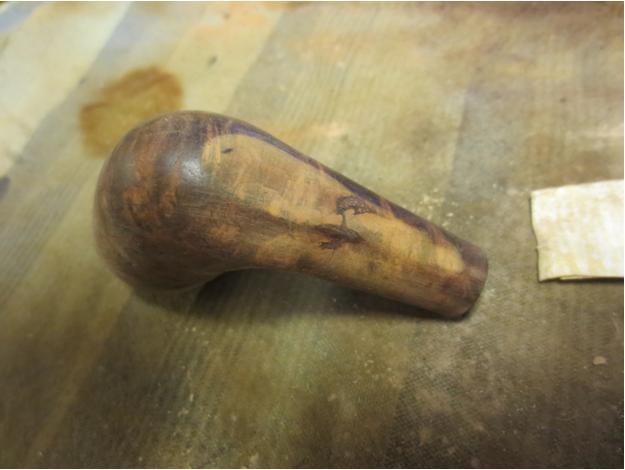
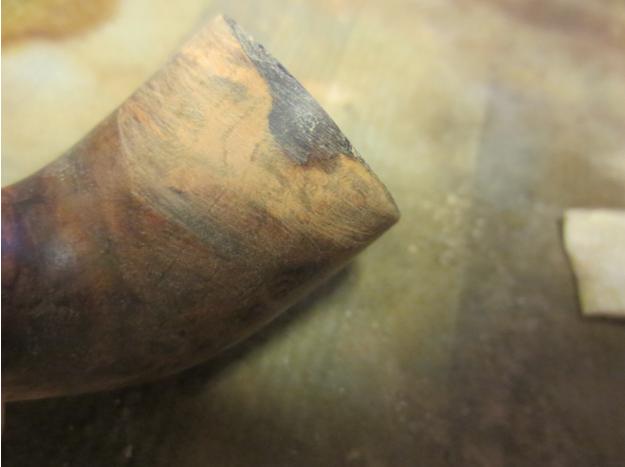
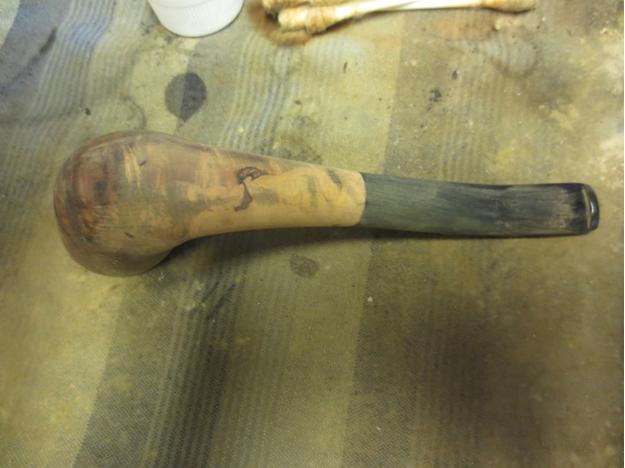
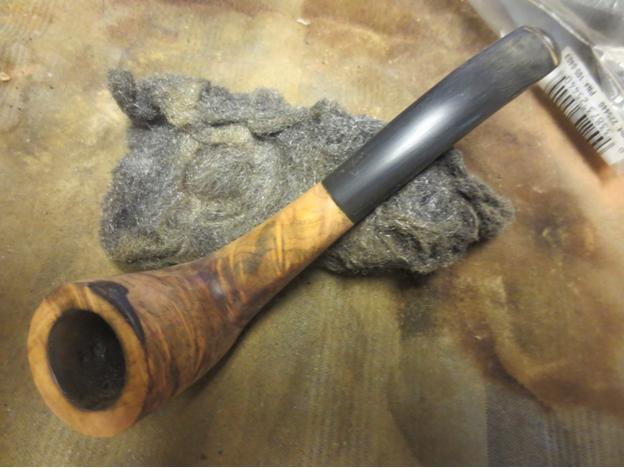
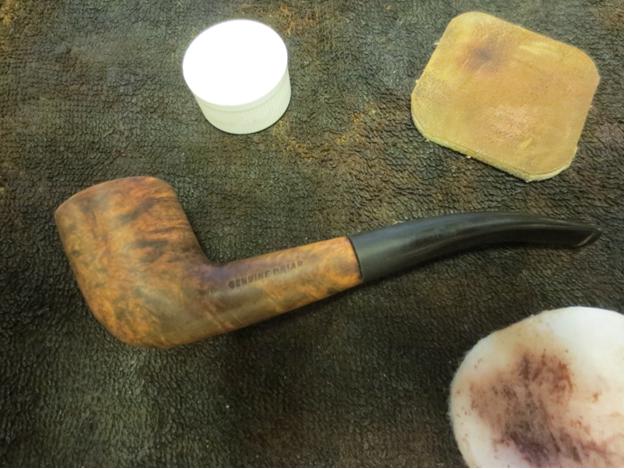
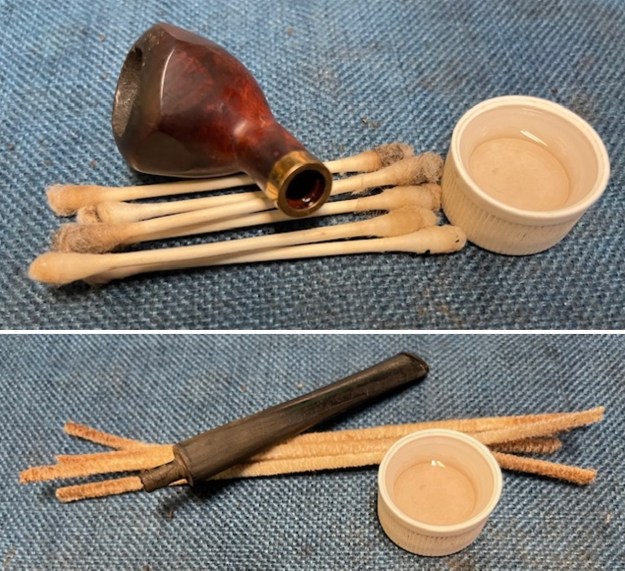 The bowl had a lot of tars, lava and even varnish underneath the grime. I wiped it down with acetone on cotton pads until the surface of the bowl was much cleaner.
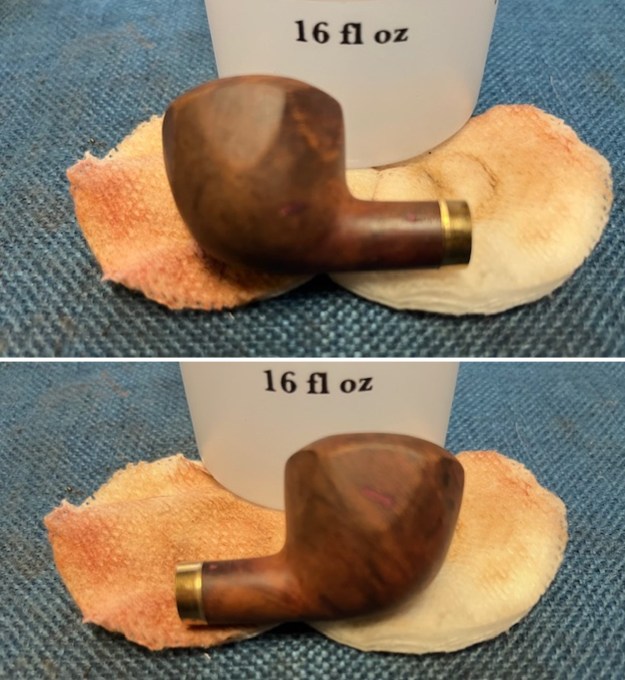
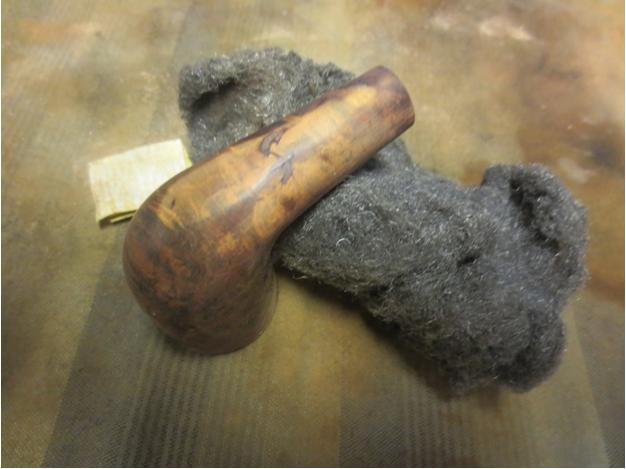
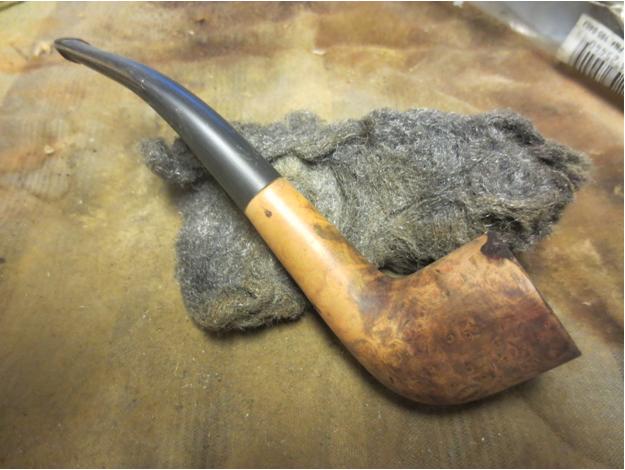
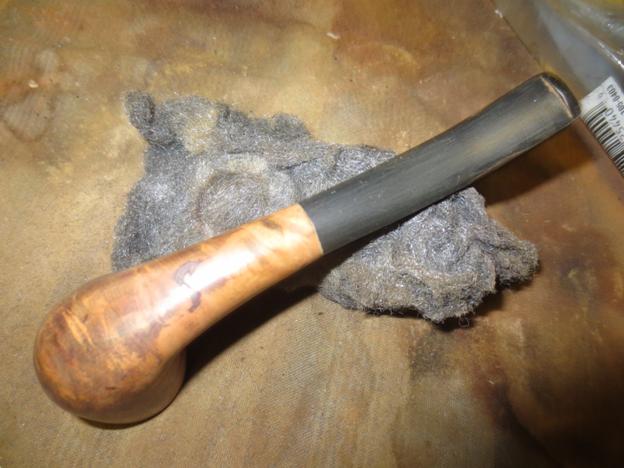
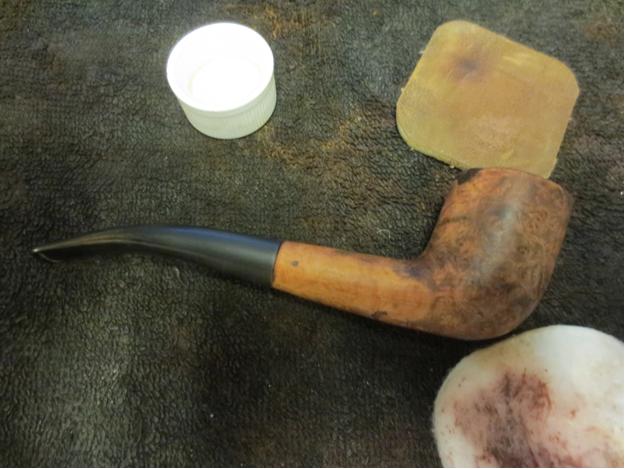
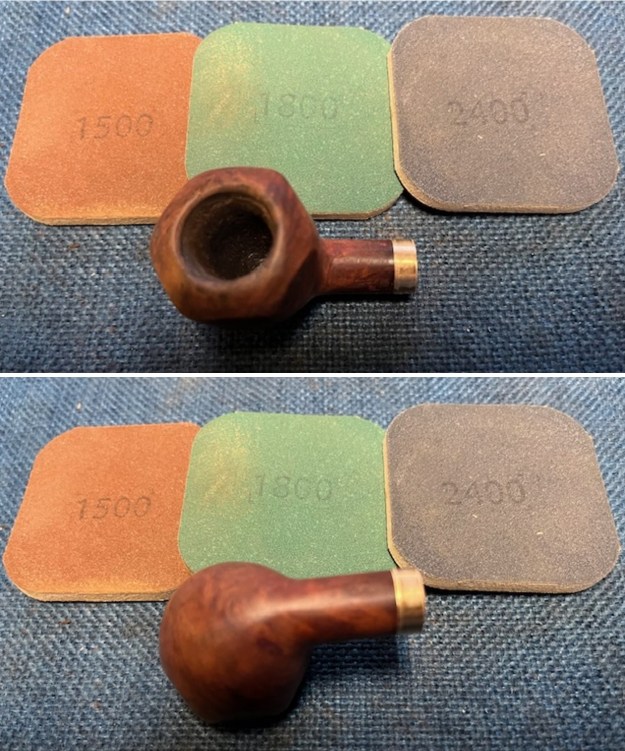
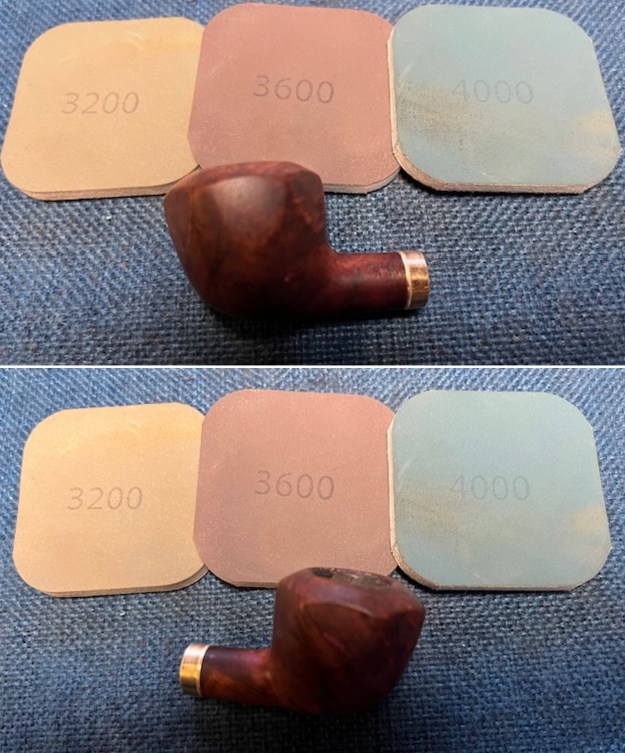
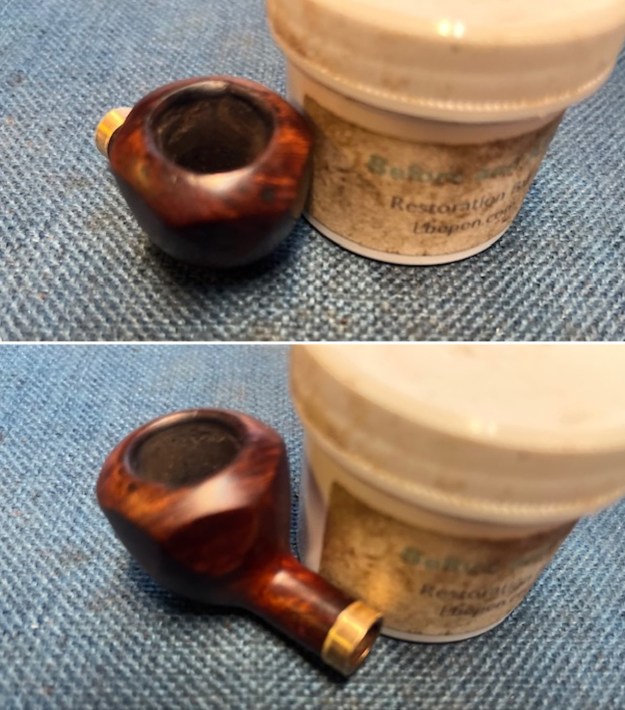
 I sanded the bowl with 320-3500 grit sanding pads. I wiped the briar down after each sanding pad to remove the dust and debris. The bowl began to look much better.
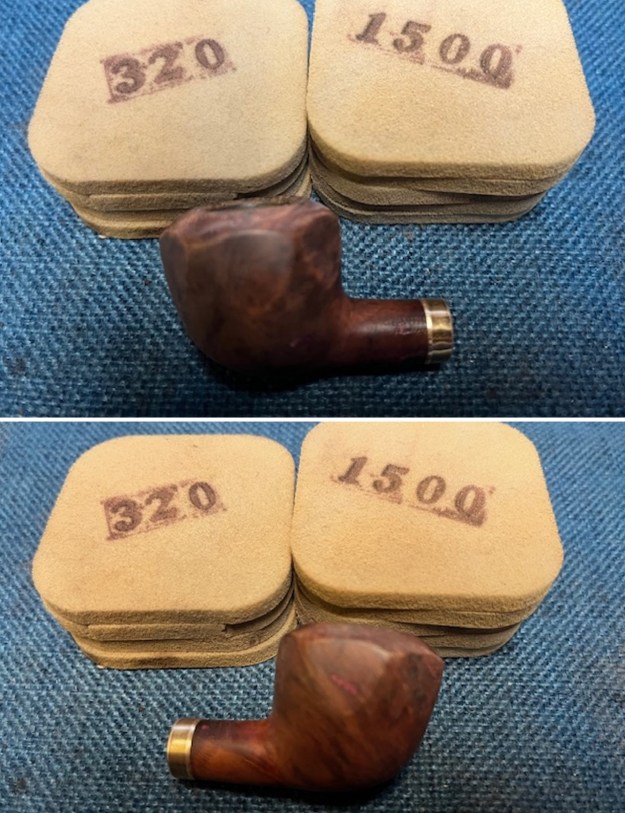
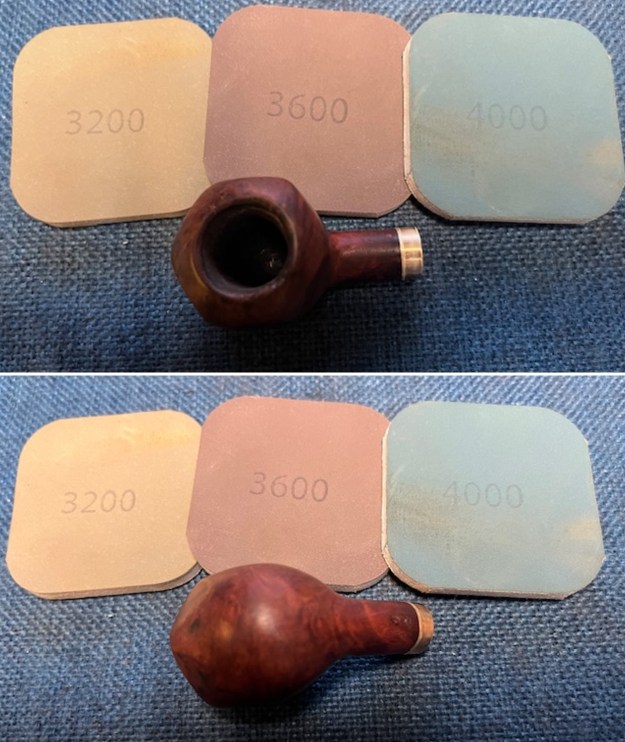
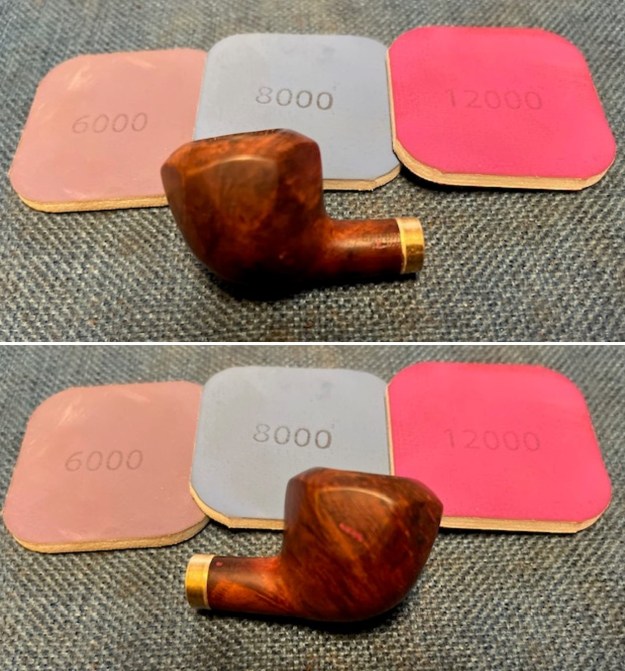
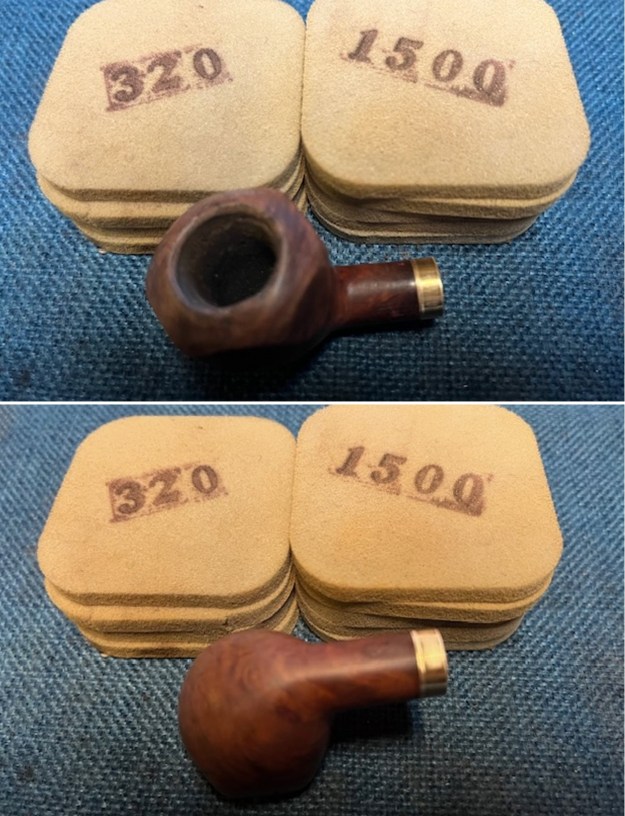 I polished the bowl with micromesh sanding pads – dry sanding with 1500-12000 grit sanding pads. I wiped it down with a damp cloth after each sanding pad to remove the dust and debris. The grain stood out more with each set of pads.
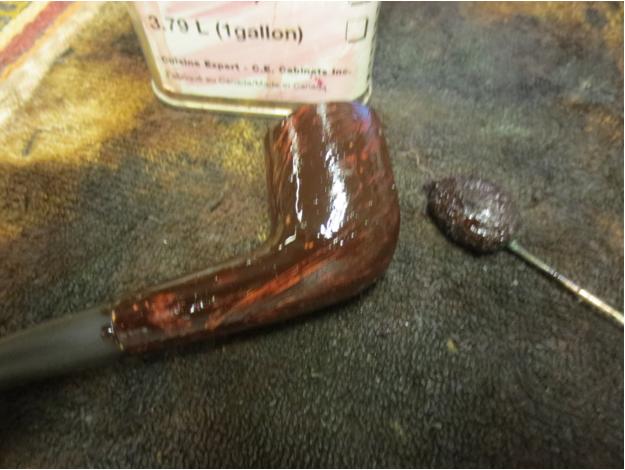
 I worked some Before & After Restoration Balm into the finish of the bowl, rim top and shank with my fingertips to clean, enliven and protect it. I find that the balm really makes the briar come alive again. I let the balm sit for 15 minutes and then buffed with a cotton cloth to raise the shine. The bowl really looks good at this point.
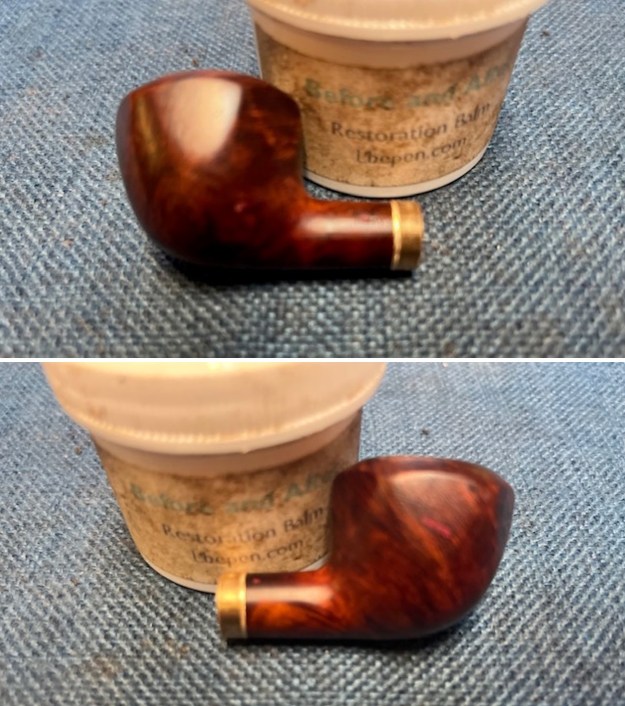

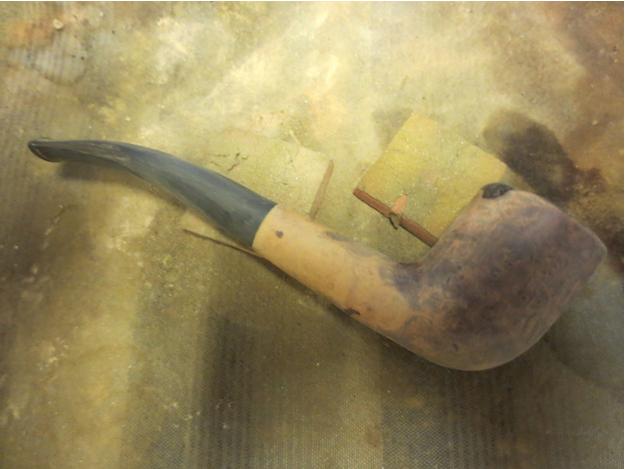
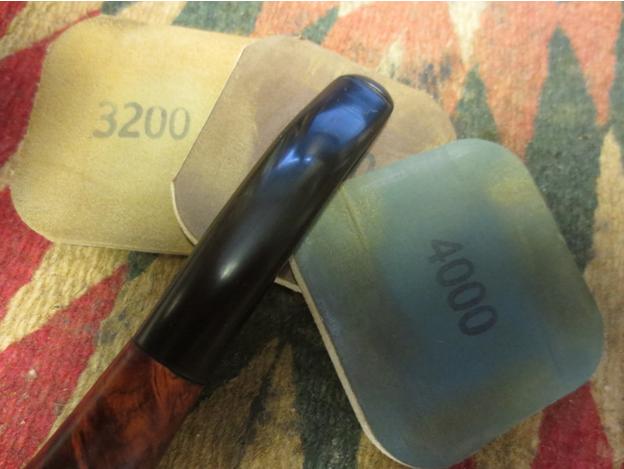
 I set the bowl aside and turned my attention to the stem. I sanded the stem with 320-3500 grit sanding pads and wiped the stem down after each pad with an Obsidian Oil saturated cloth to remove the sanding dust and protect the stem.
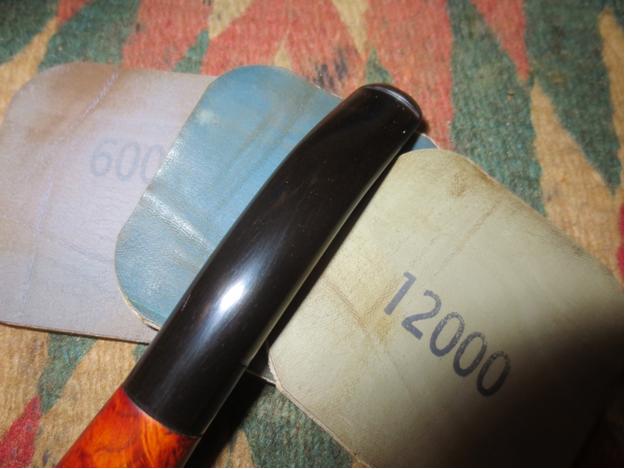
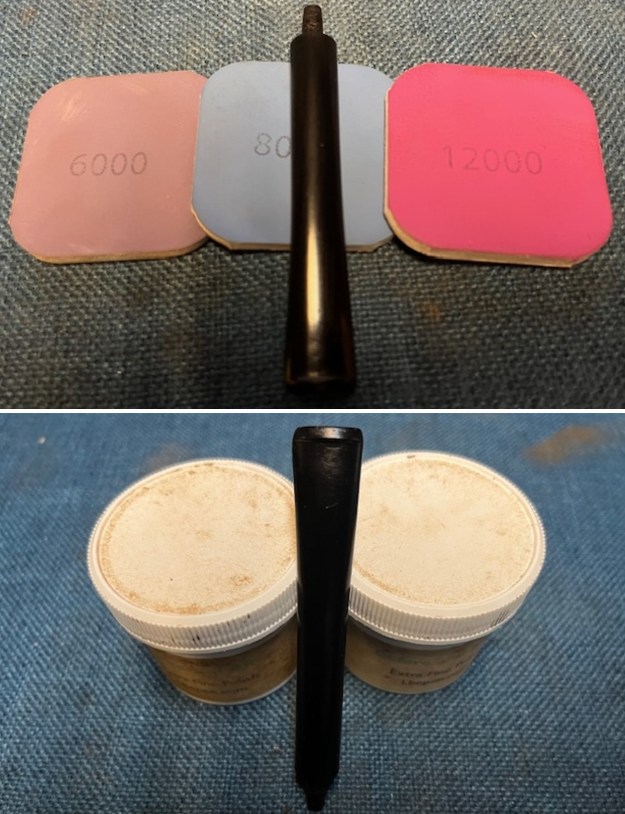
 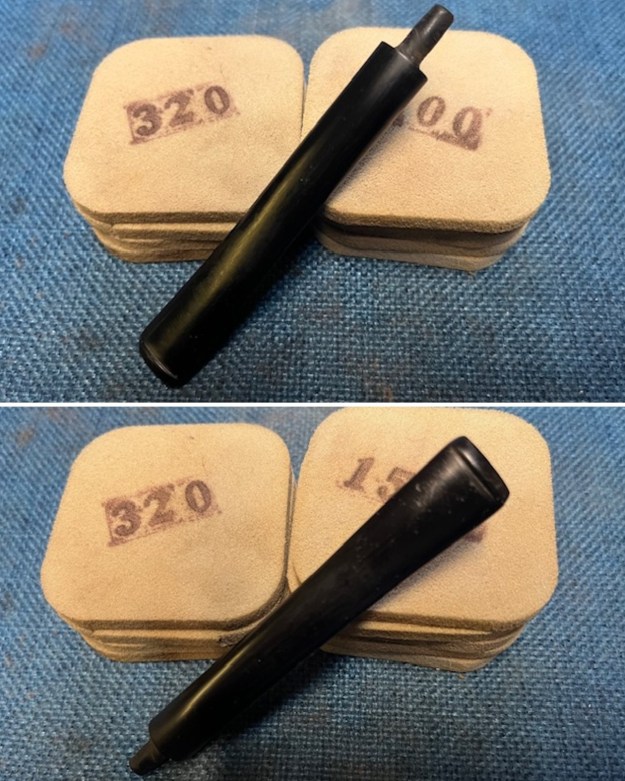 I polished the stem with micromesh sanding pads – dry sanding it with 1500-12000 grit pads. I polished it further with Before & After Pipe Stem Polish – both fine and extra fine.
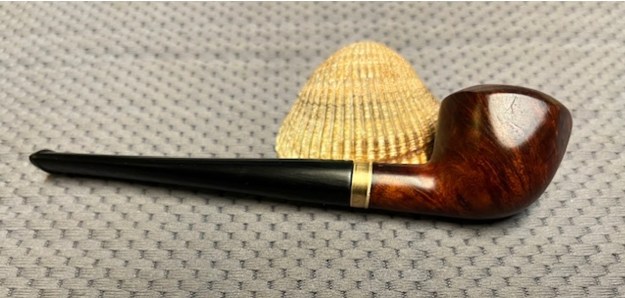
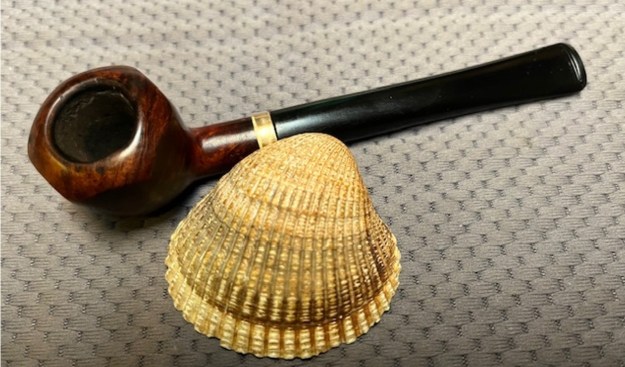
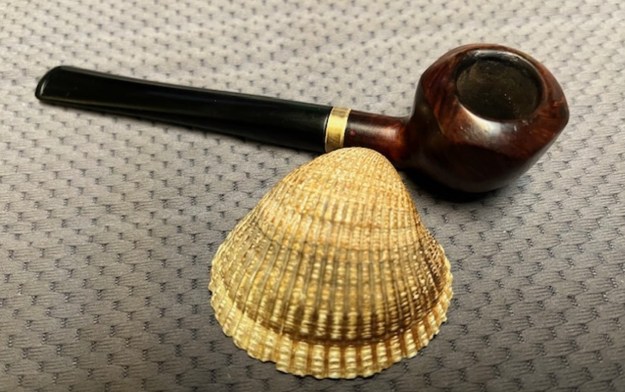
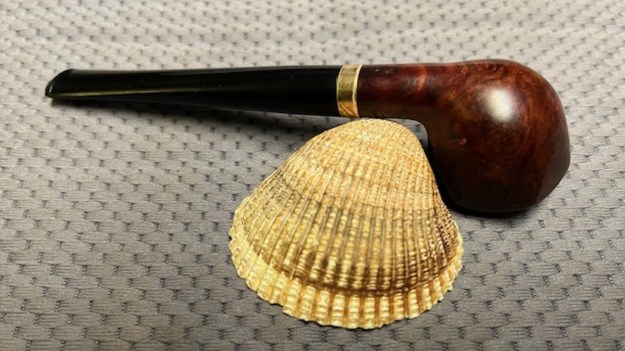
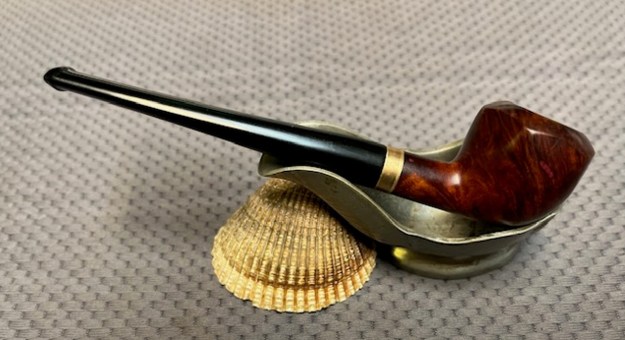
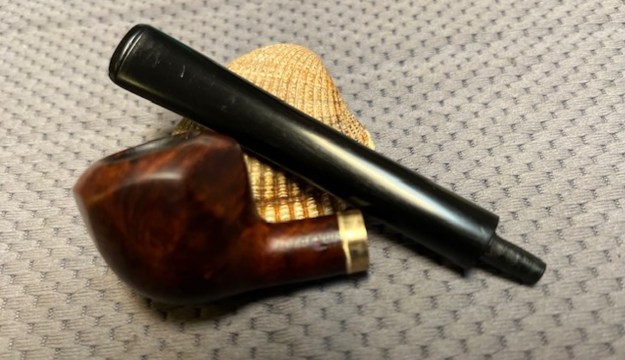
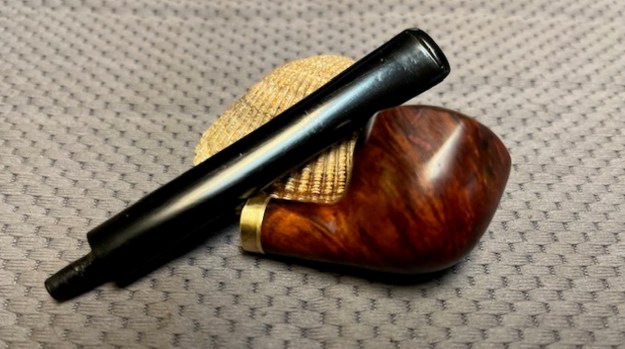
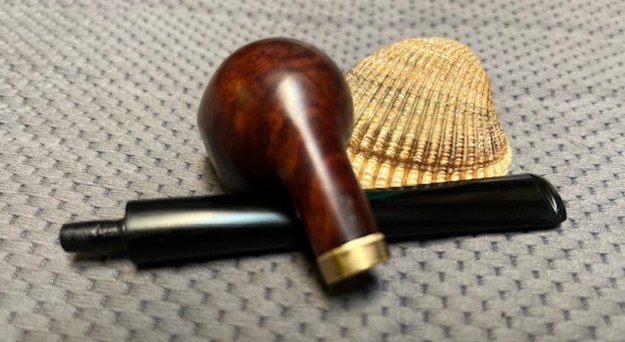
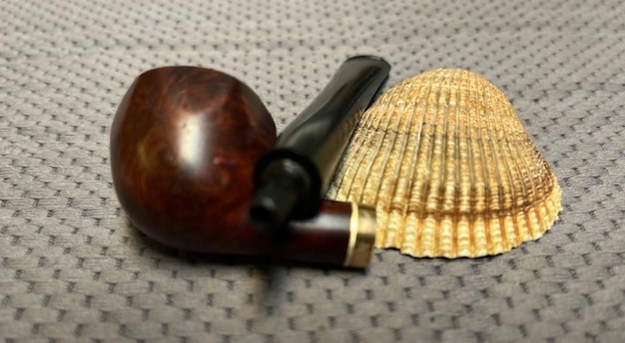
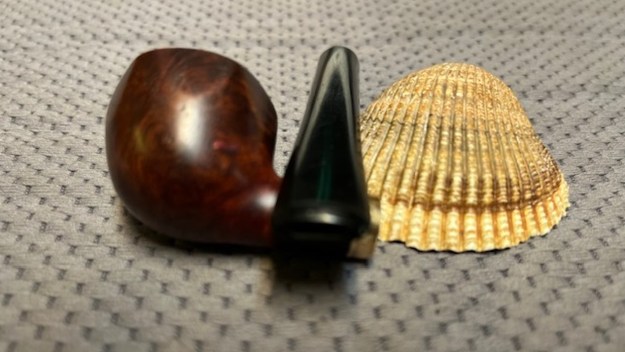
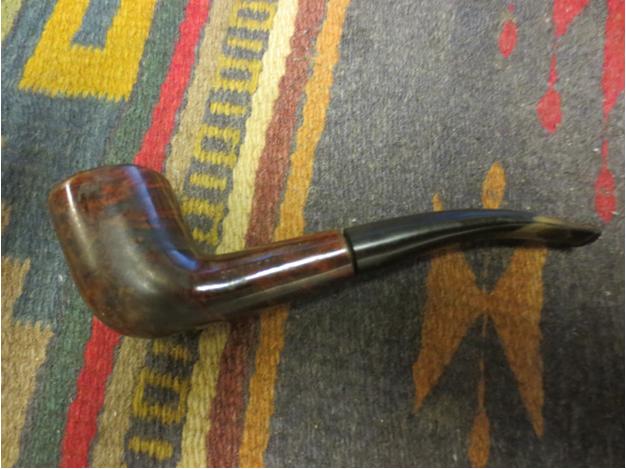
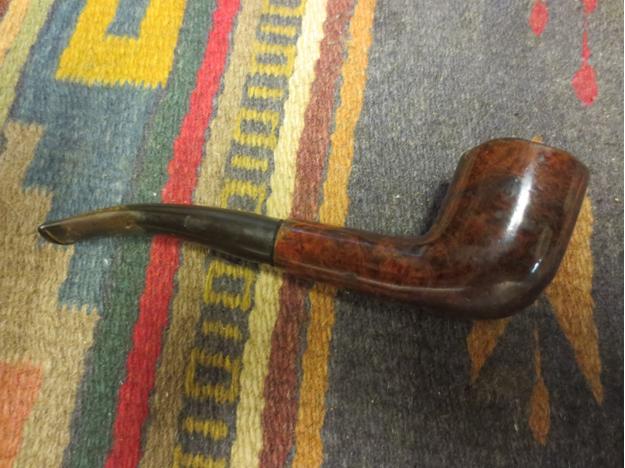
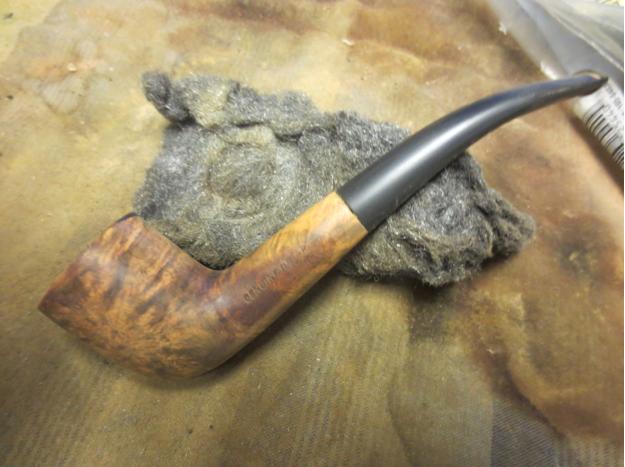
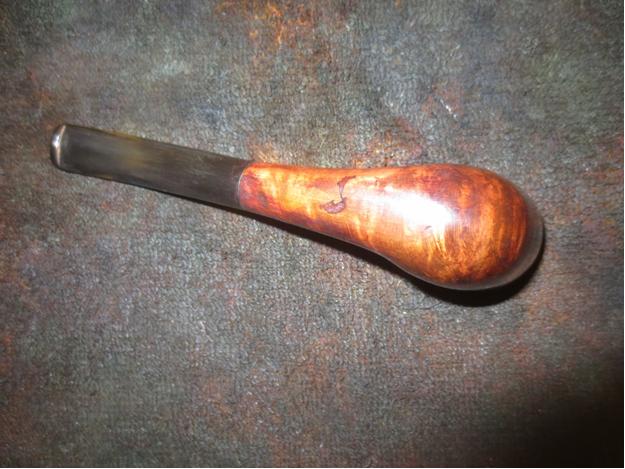
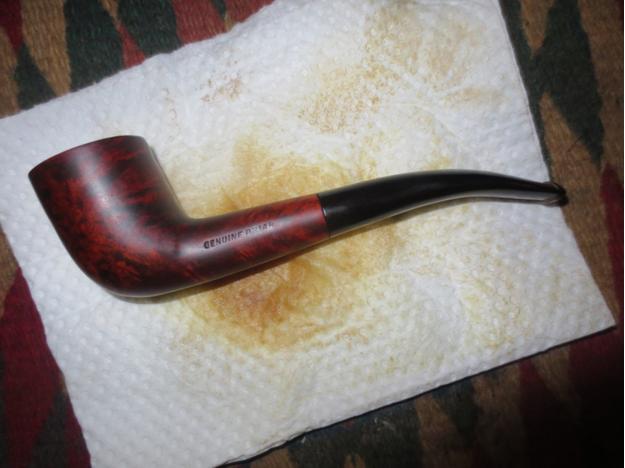
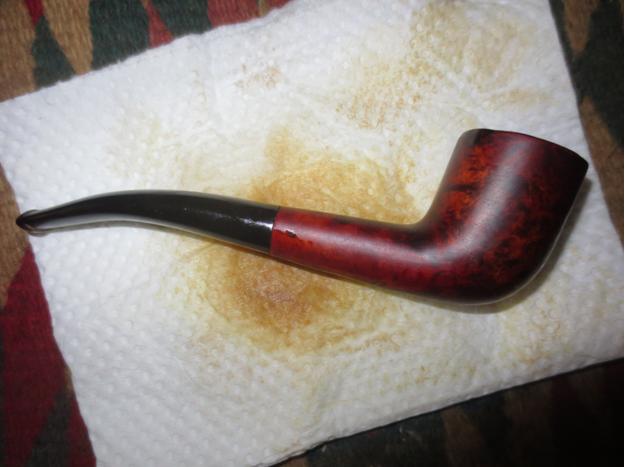
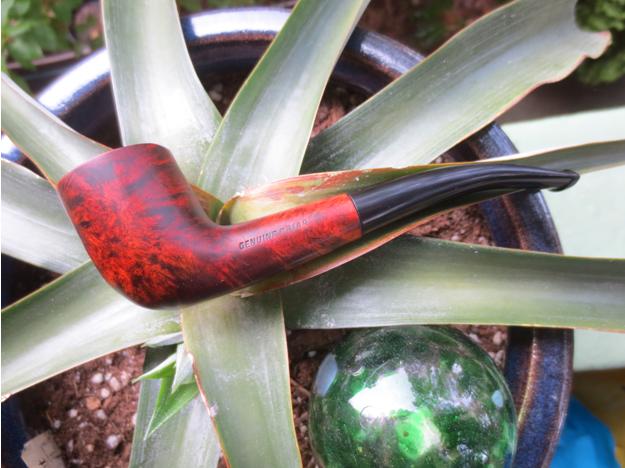
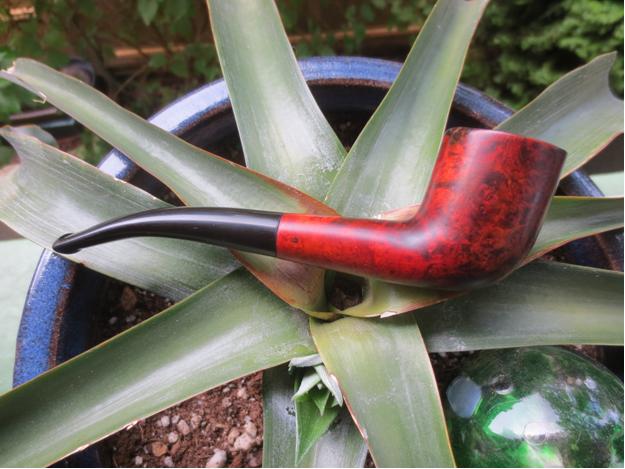
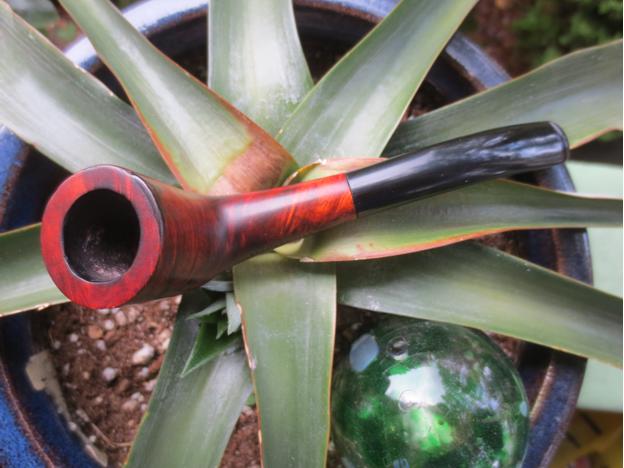
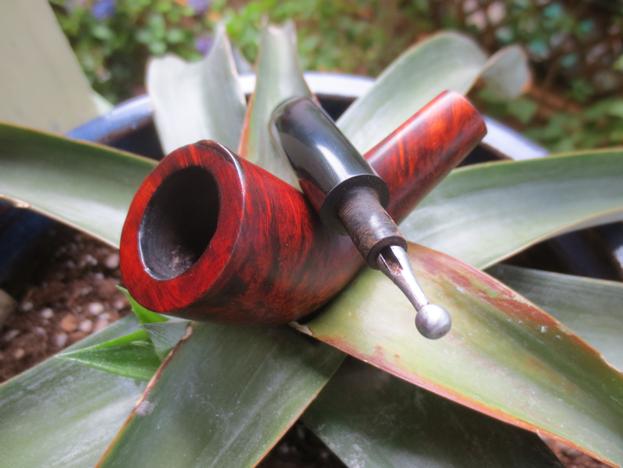
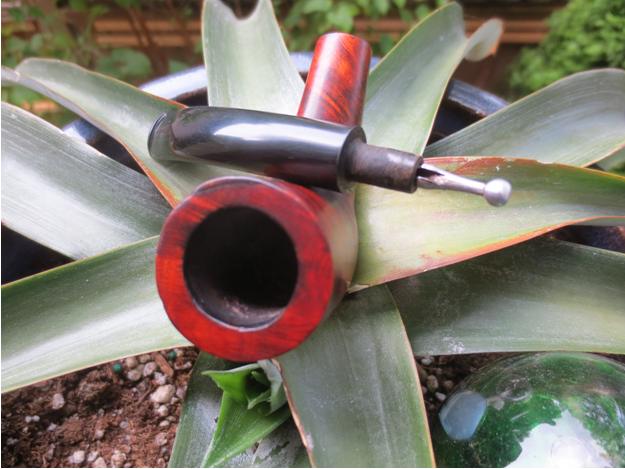
 This Petite Genuine Briar Hexagonal Dublin with a new vulcanite stem is a great looking pipe now that it has been restored. I put the stem back on the bowl and carefully buffed the pipe with Blue Diamond on the buffing wheel using a light touch on the briar. I gave the bowl and the stem multiple coats of carnauba wax on the buffing wheel and followed that by buffing the entire pipe with a clean buffing pad. I hand buffed the pipe with a microfiber cloth to deepen the shine. The finished Genuine Briar Dublin fits nicely in the hand and feels great. Give the finished pipe a look in the photos below. The dimensions of the pipe are Length: 5 inches, Height: 1 ¼ inches, Outside diameter of the bowl: 1 inch, Chamber diameter: 5/8 of an inch. The weight of the pipe is .71 ounces/21 grams. This tiny, older American Made Hexagonal Dublin is a real beauty. Thanks for walking through the restoration with me as I worked over another beautiful pipe. I will set it aside and once I finish the other pipe that Brady sent to me, I will send them back to him. Thanks for your time.