by Steve Laug
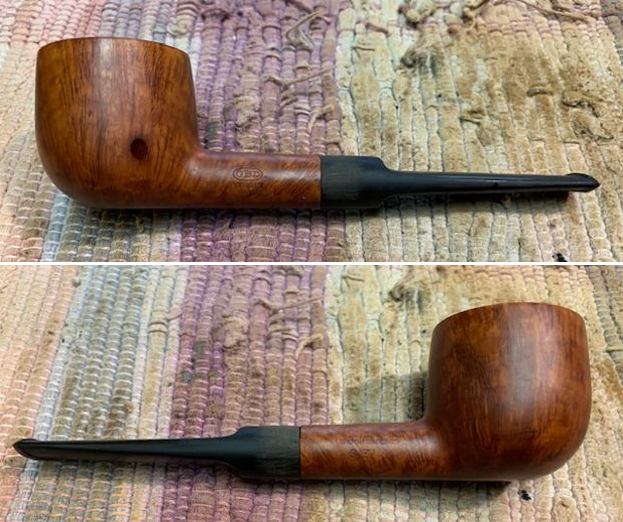
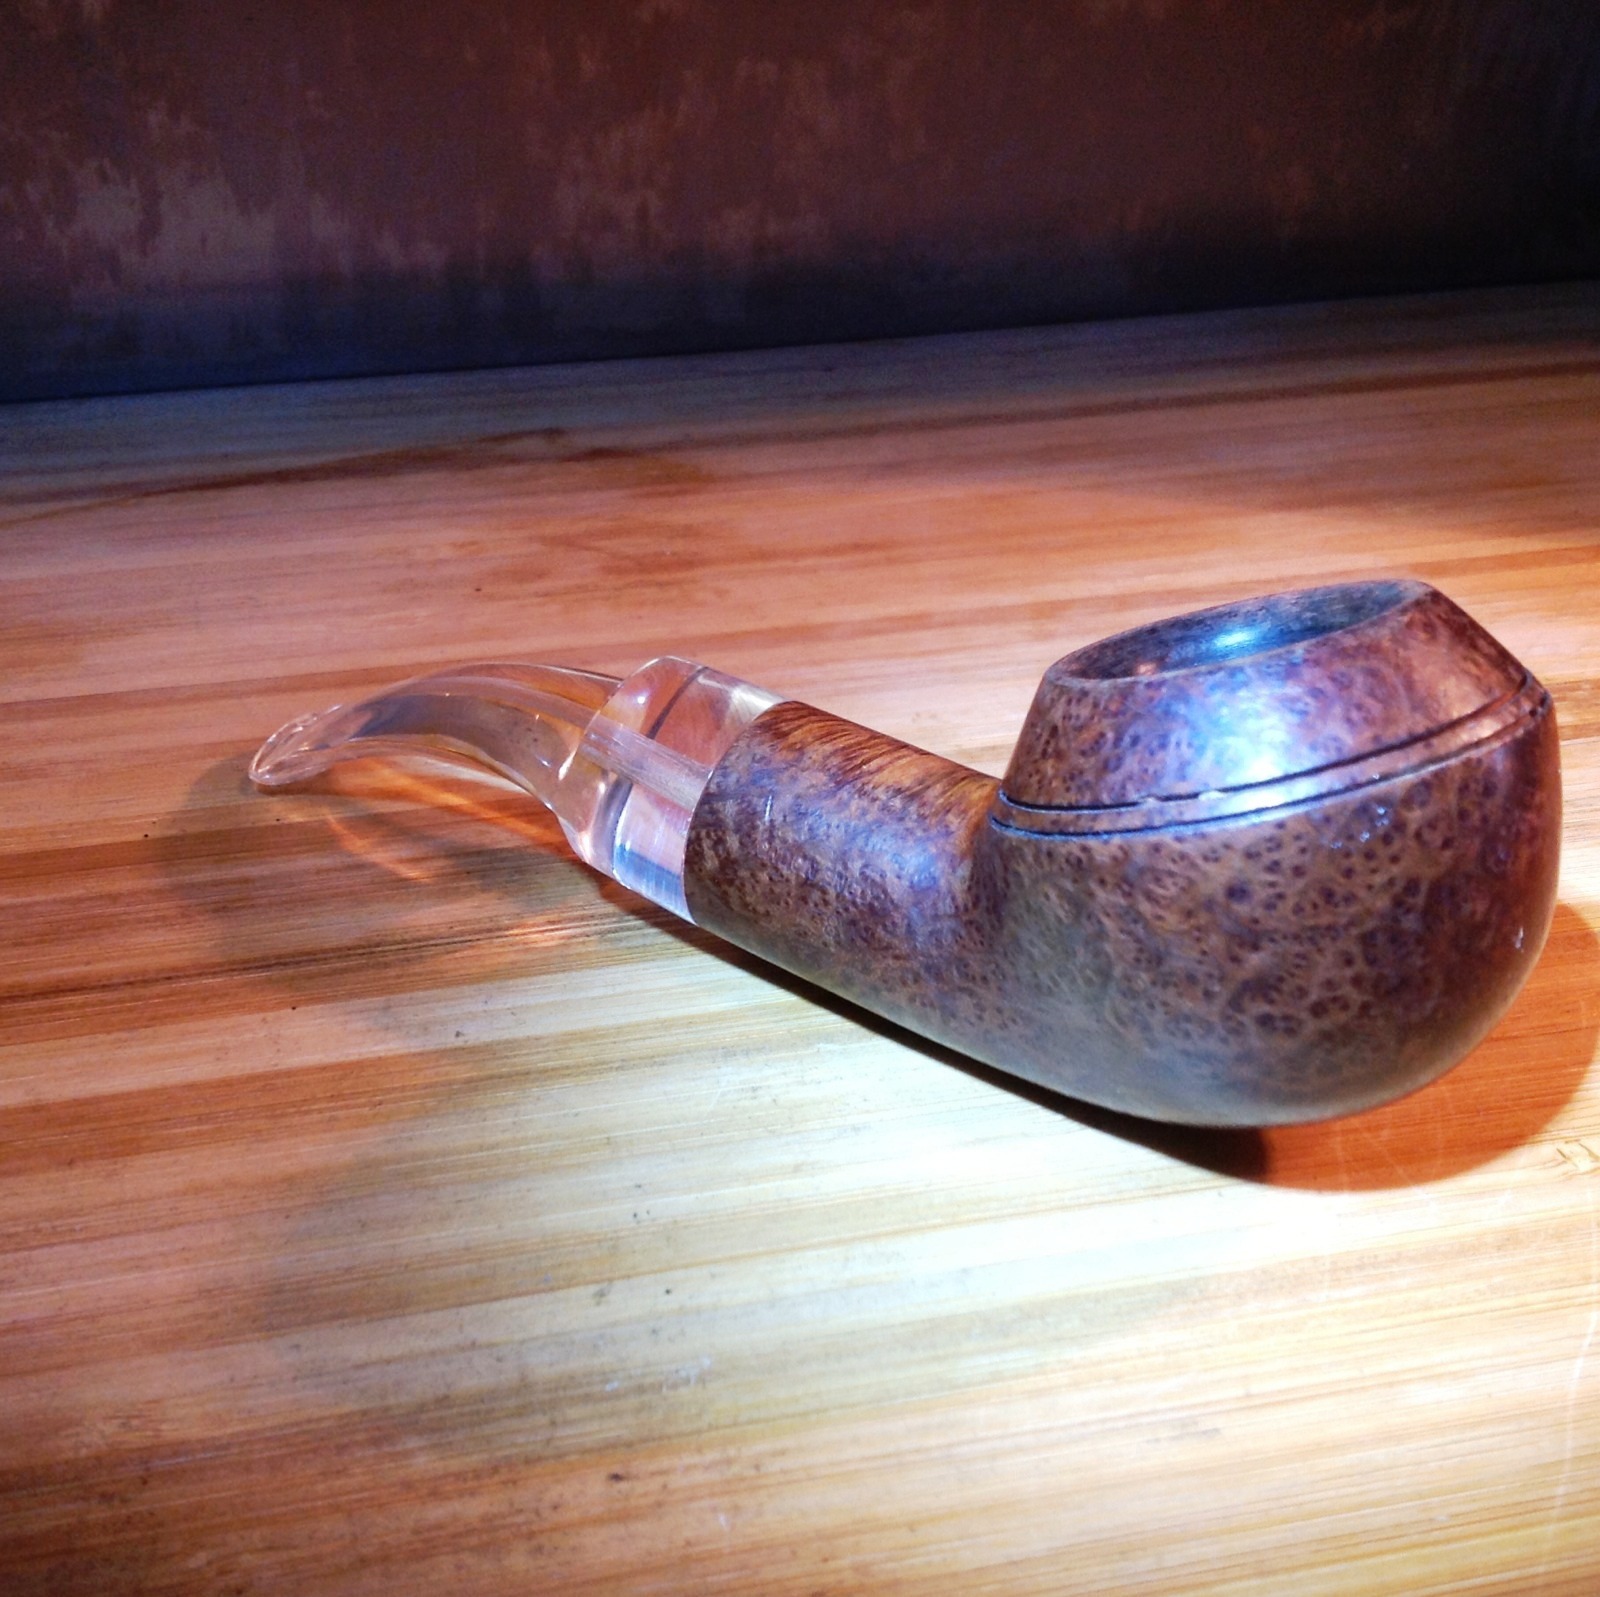
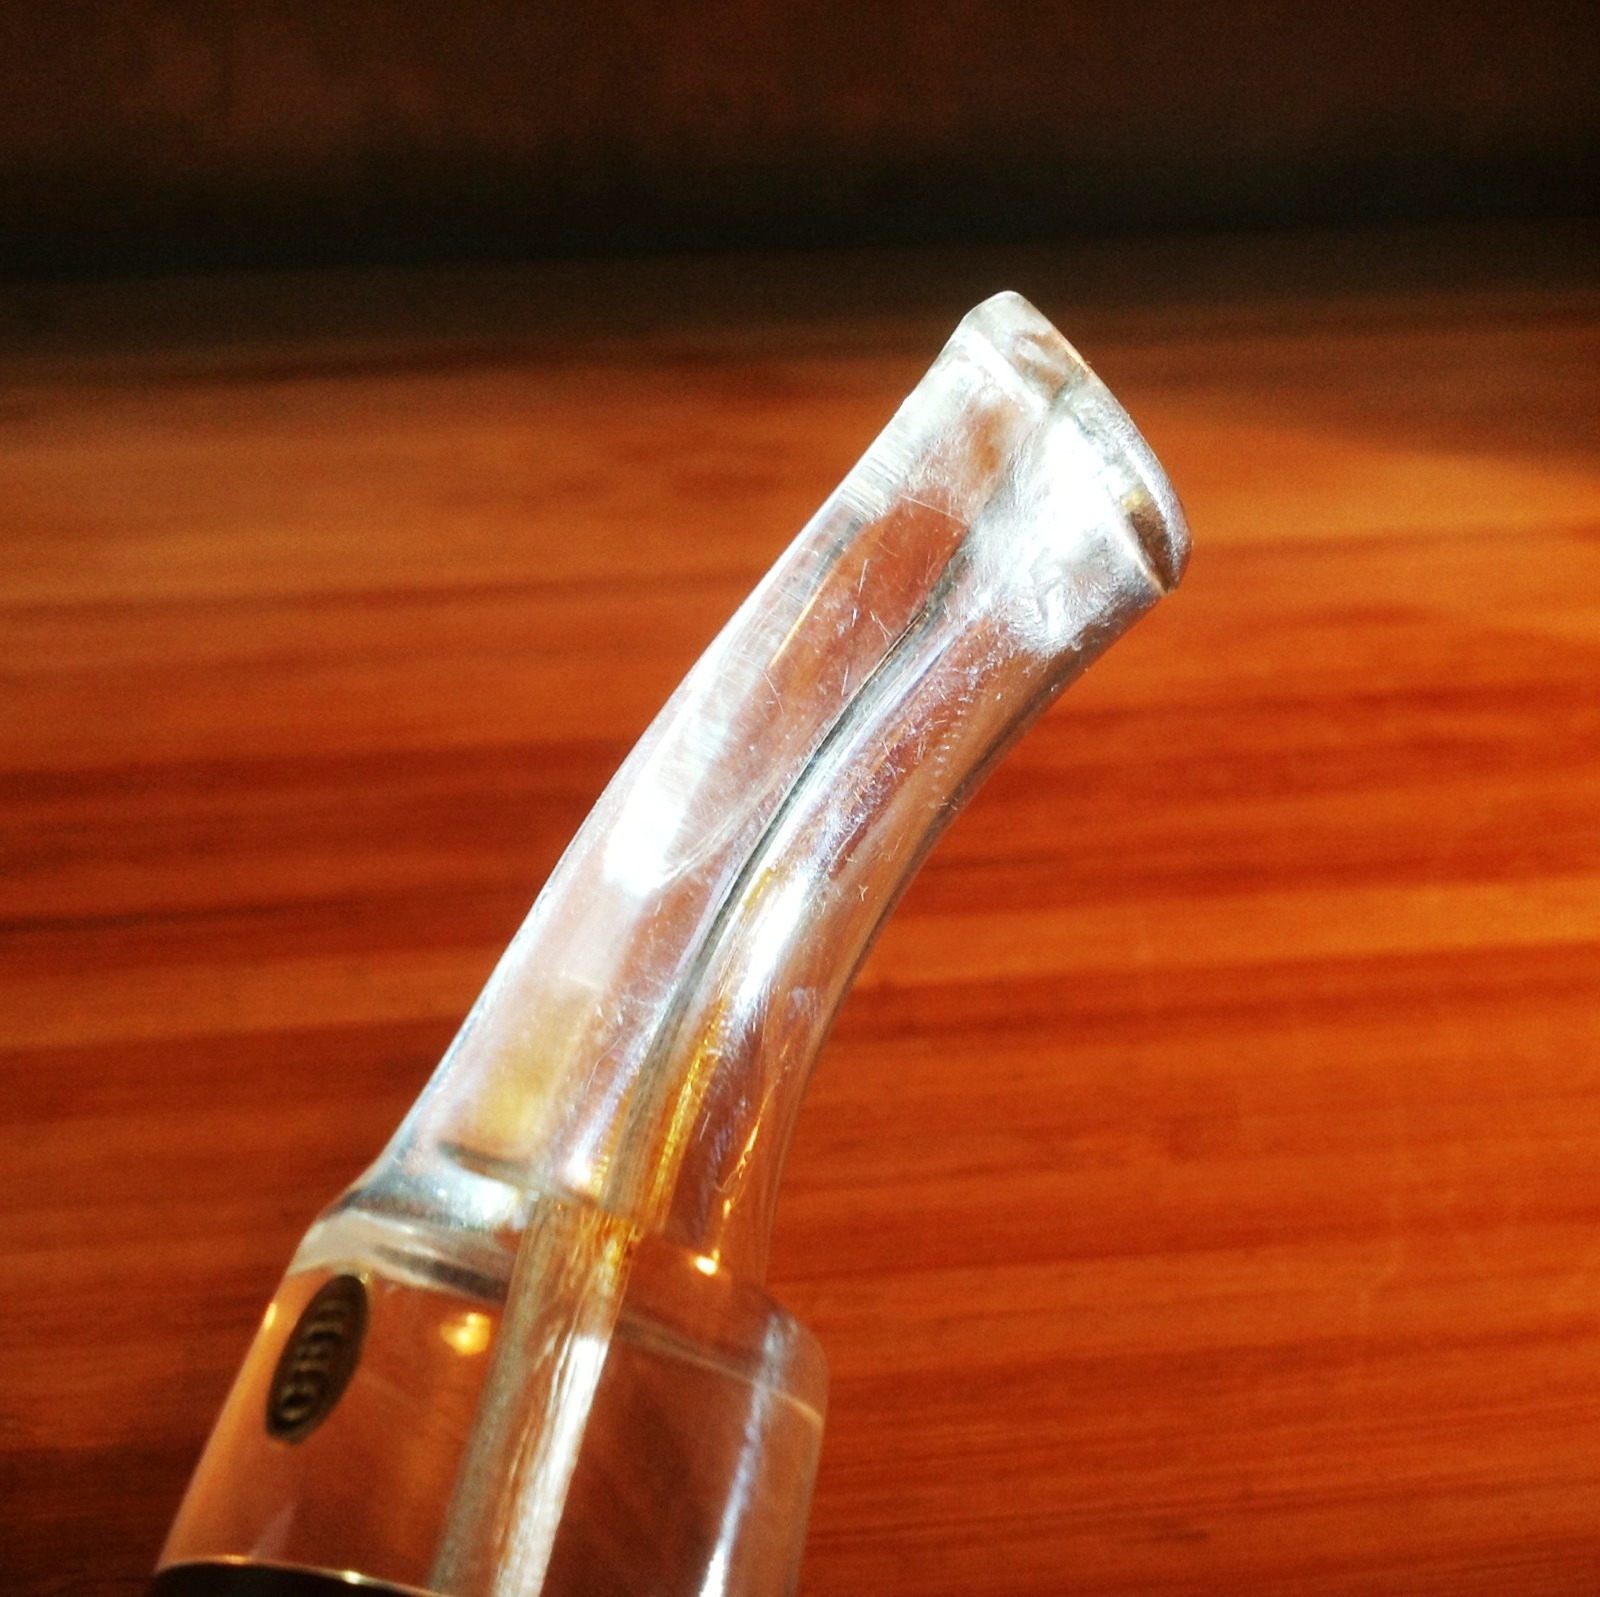
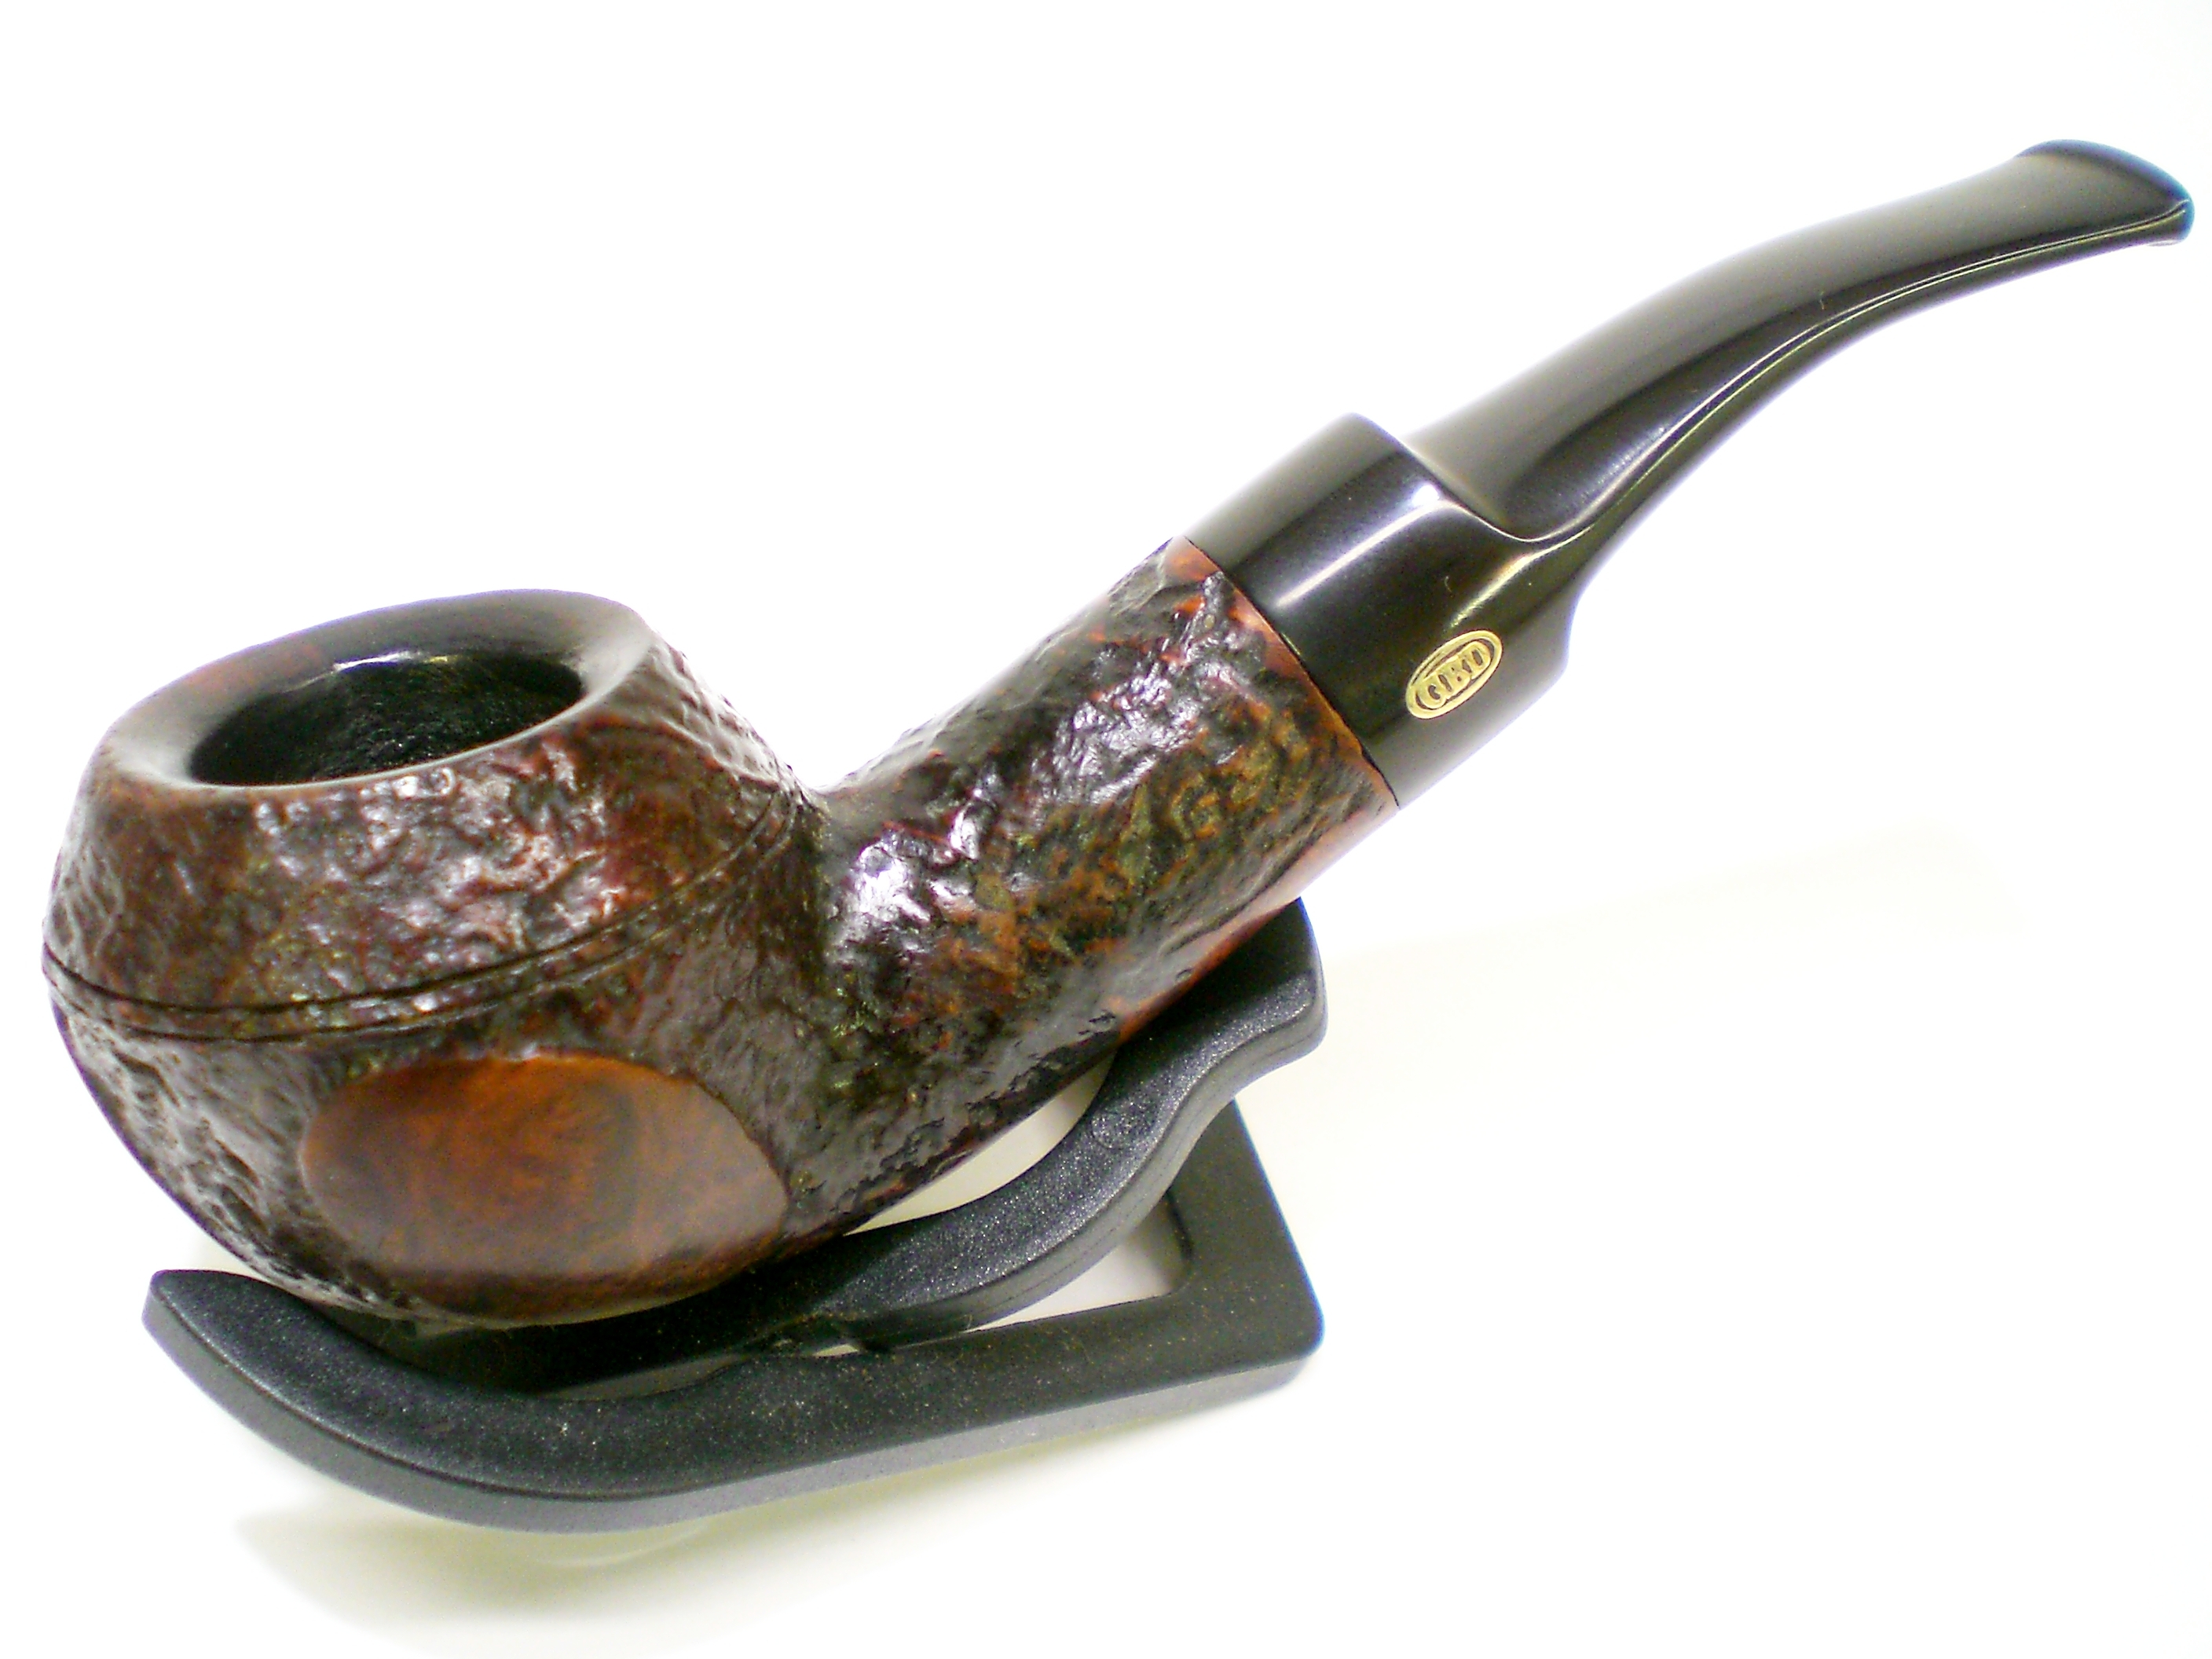
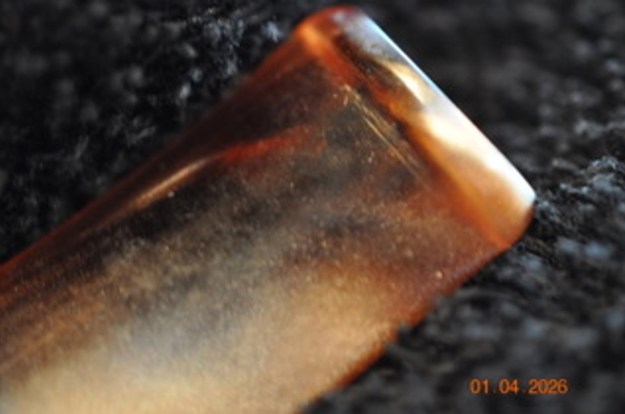
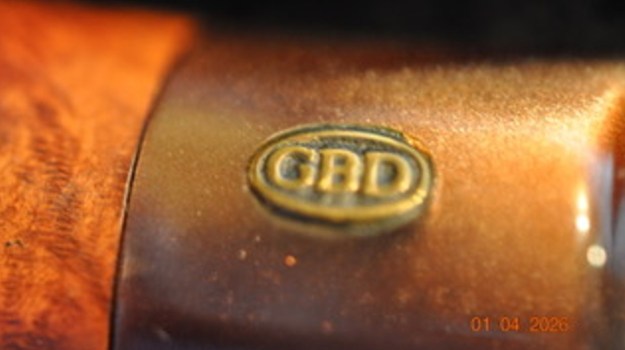
The next pipe on the worktable is an English made oval shank bent Apple with a classic brown finish. It is a combination reddish brown stains. The pipe came to us from a seller in Downey, California, USA on 08/12/2025. The pipe is very dirty with a thick cake in the bowl and lava on the rim top. The rim edge looks good but it was hard to know what was under the lava coat on the top and edges. It is stamped on the underside of the shank. It is stamped GBD in an oval, [over] Virgin L [over] Made in London in a circle [over] England [followed by] 1982. The shape is a classic GBD shape number 788 though the this pipe is unnumbered. The finish was dusty and there were oils and grime ground into the finish around the sides of the bowl. The stem had a GBD brass oval logo on the top of the saddle. It is a variegated brown acrylic saddle stem with grime on the surface and light tooth chatter and marks on both sides. Jeff took some photos of the pipe before he started his cleanup work.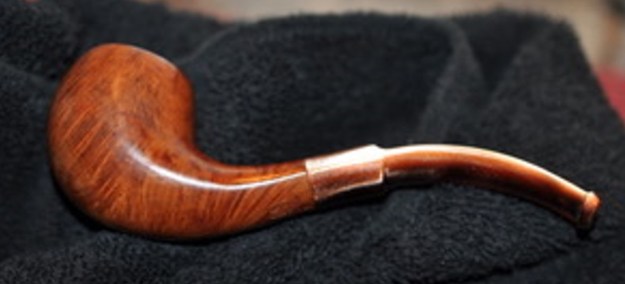
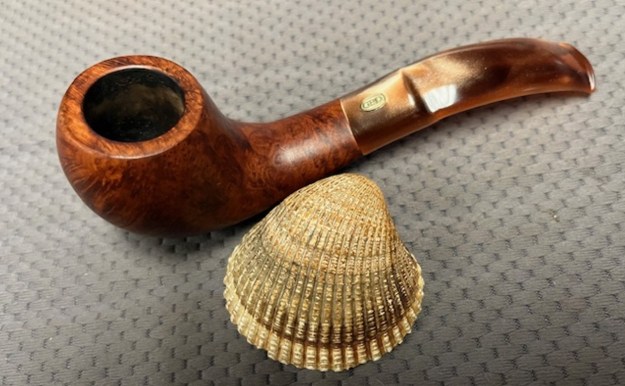
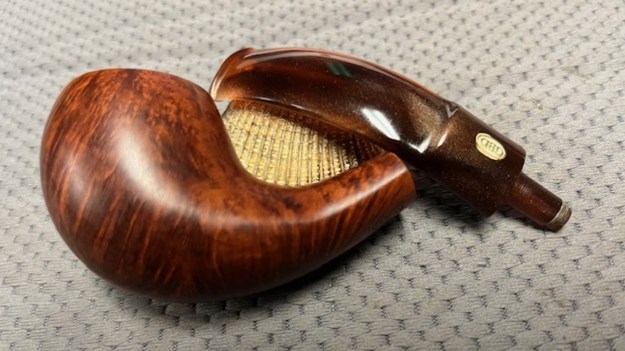
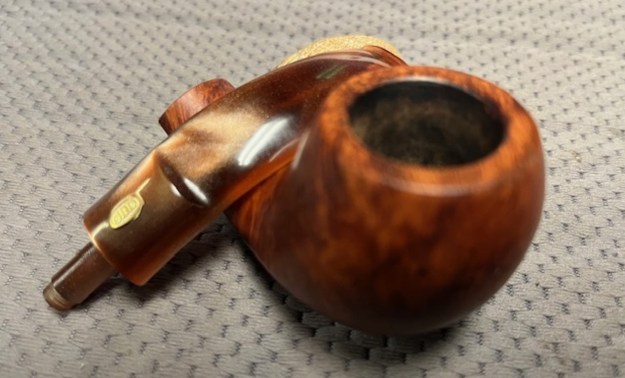
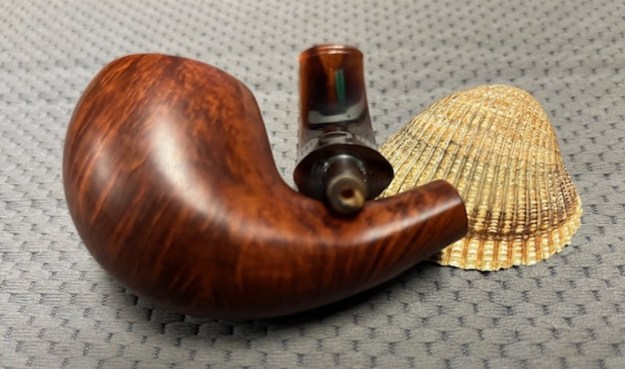
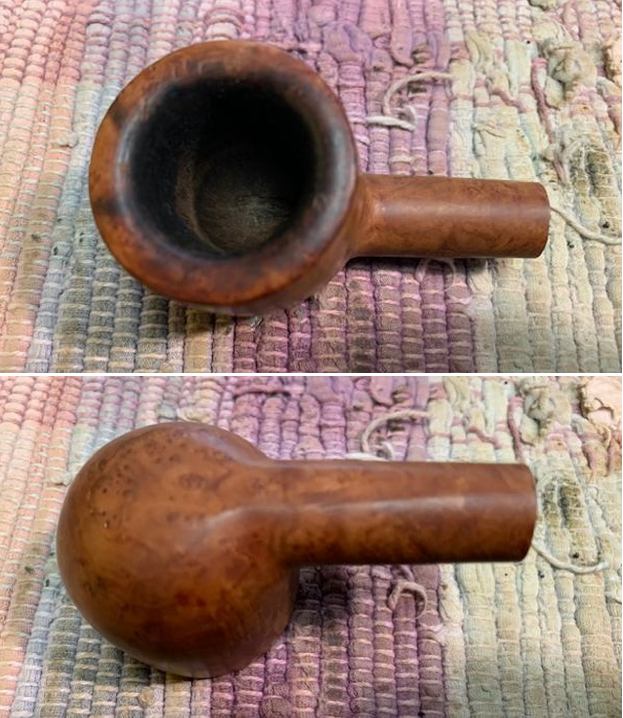
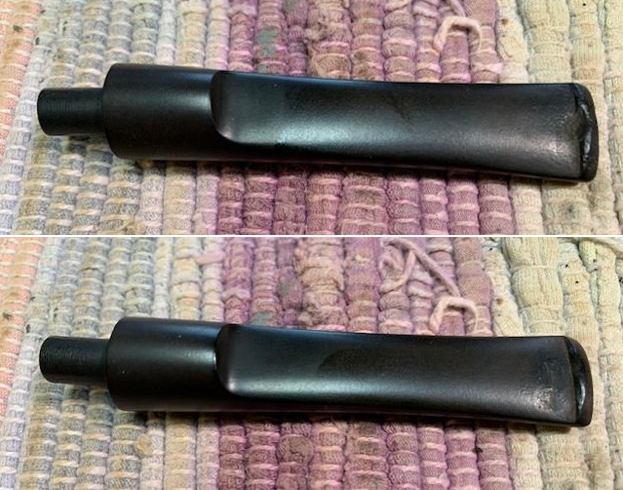
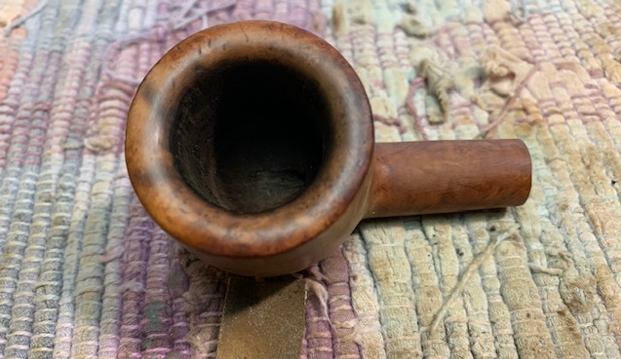
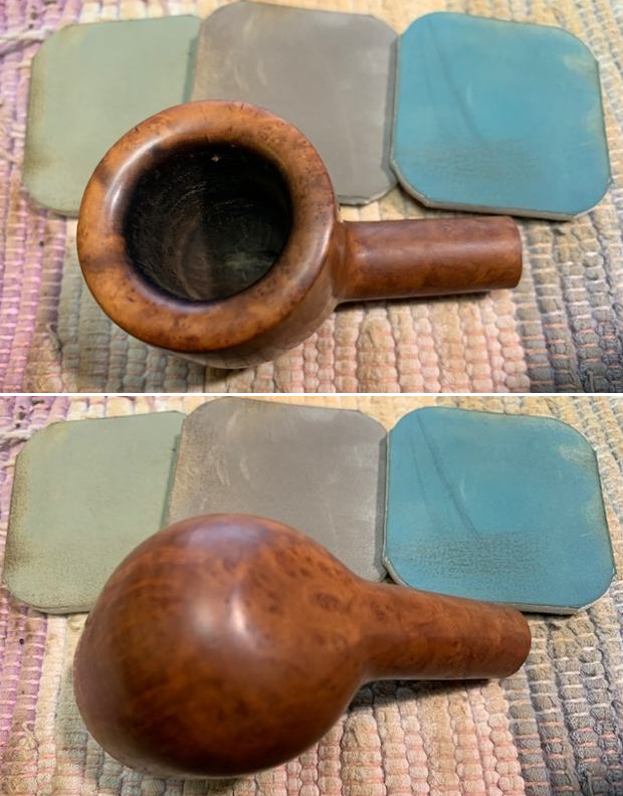
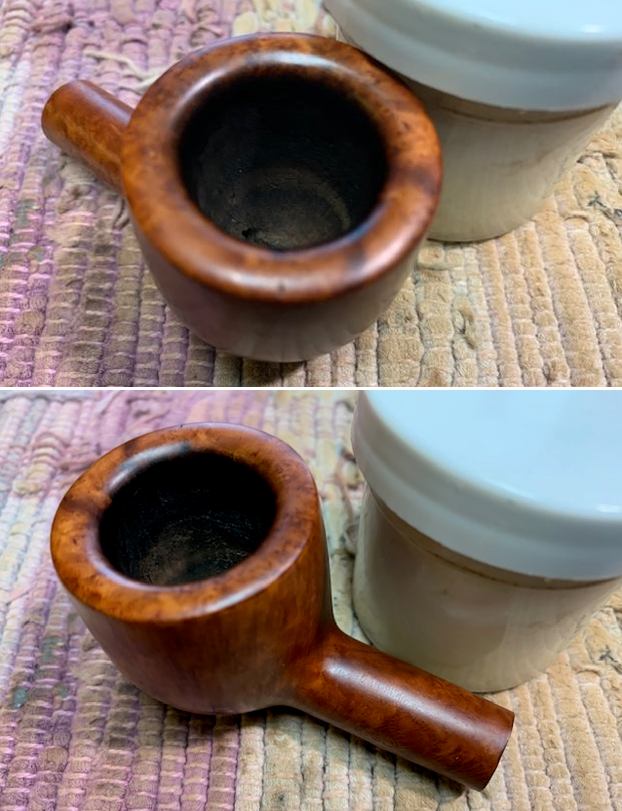
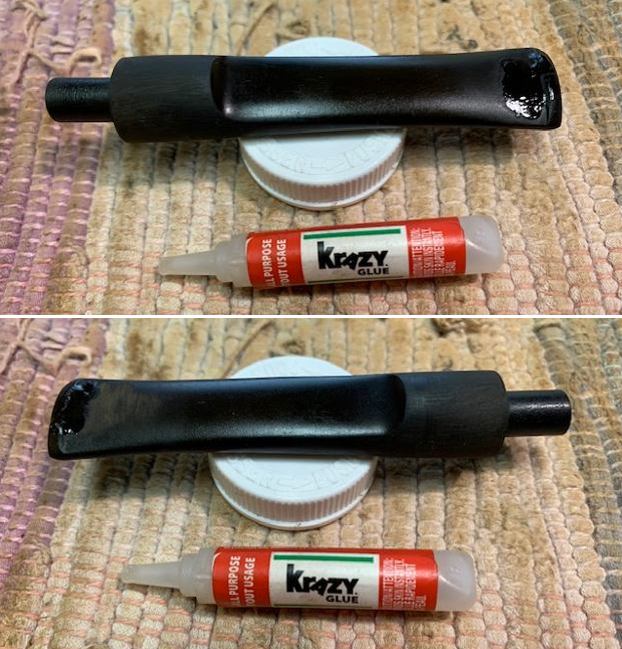
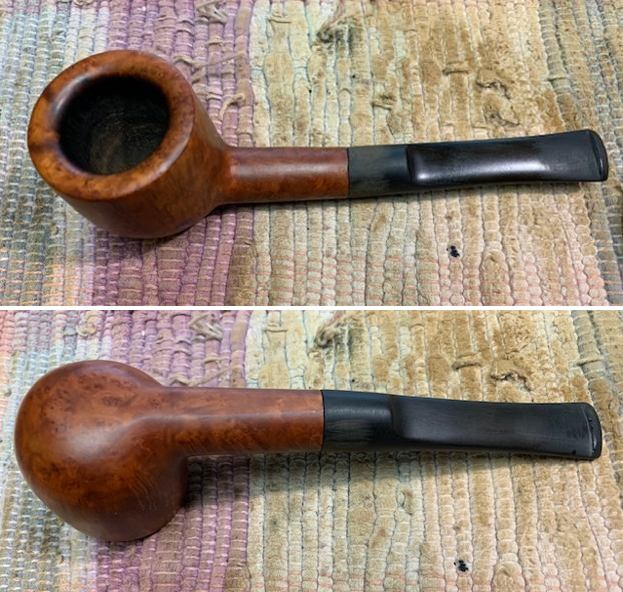
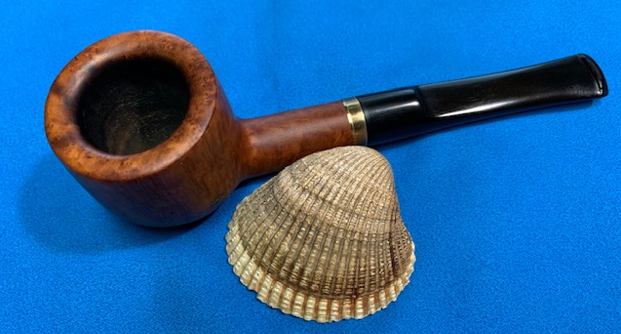
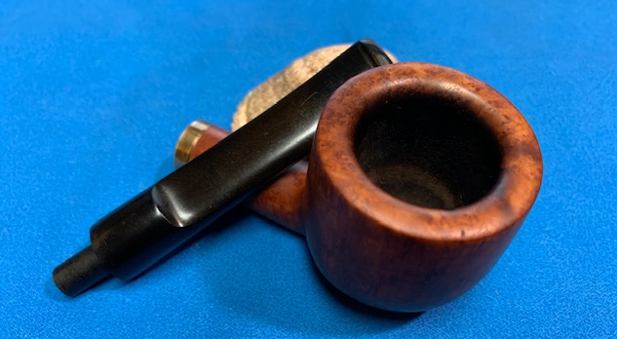
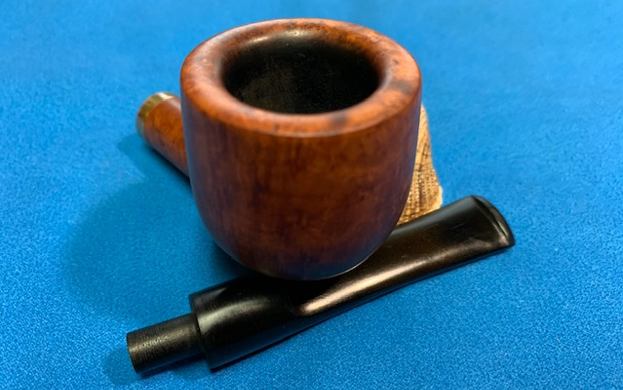
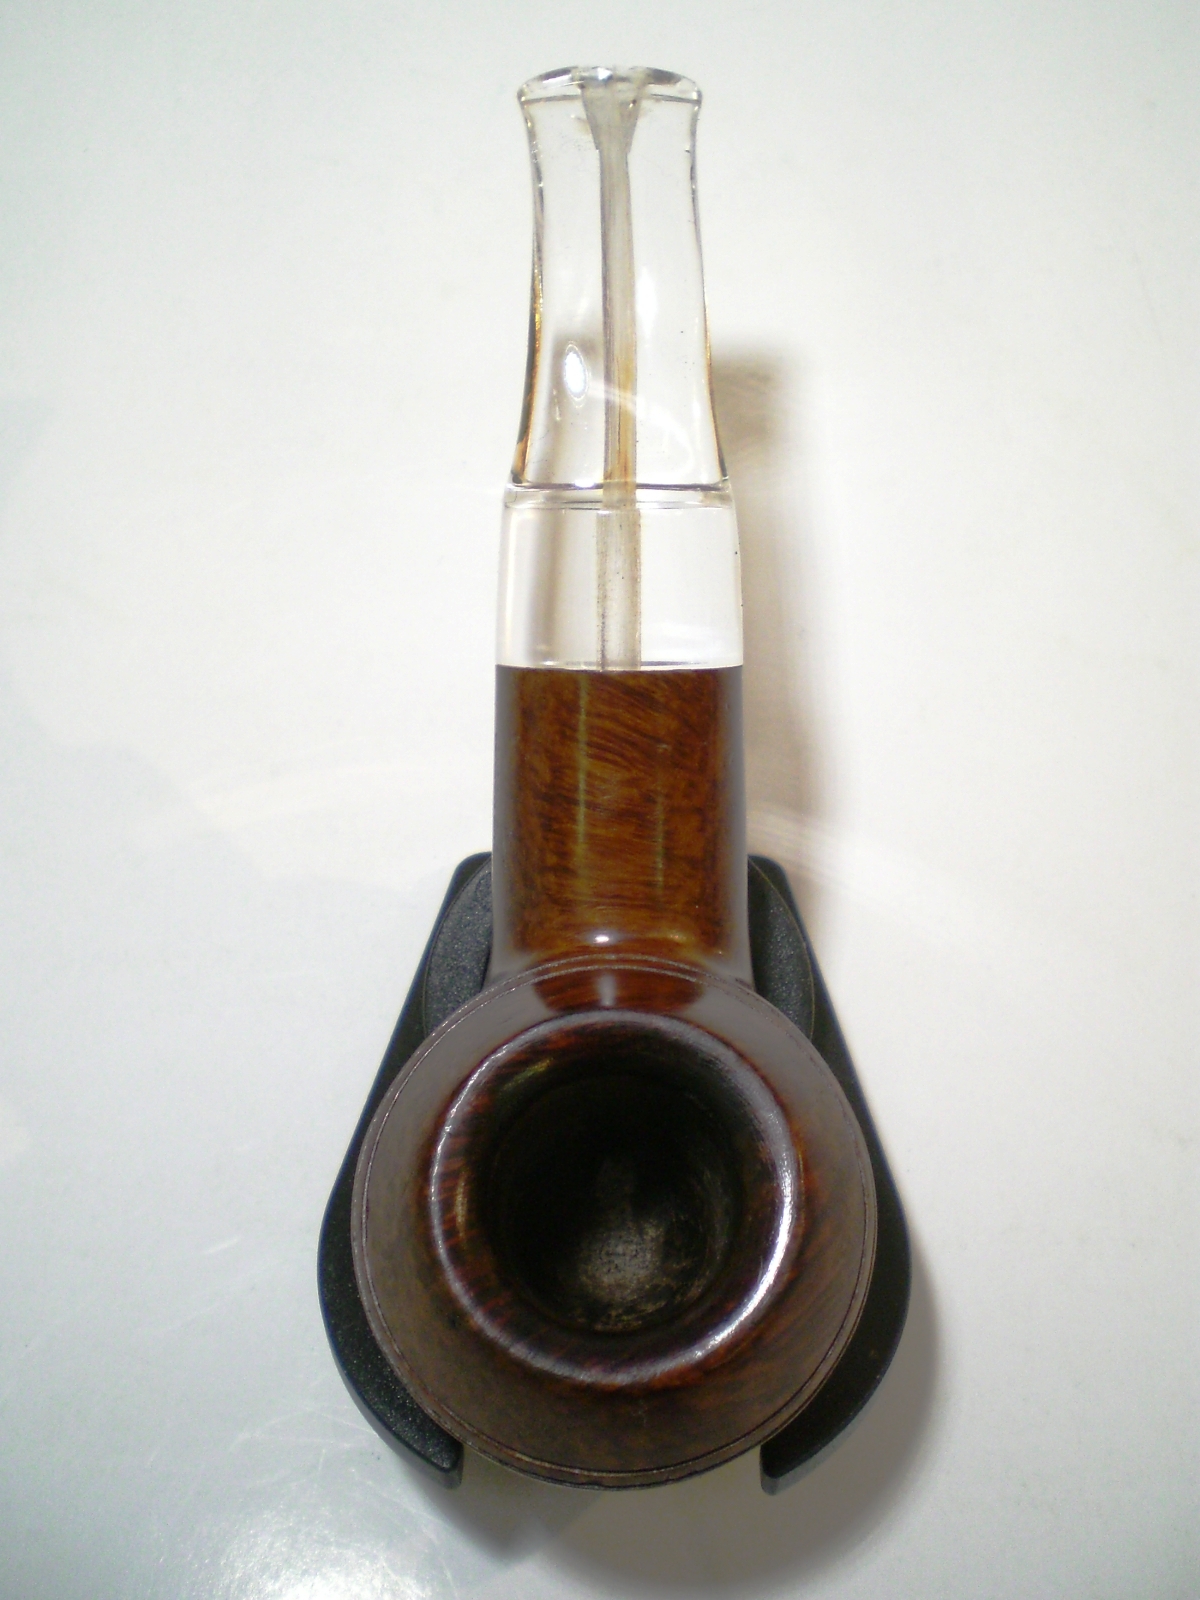
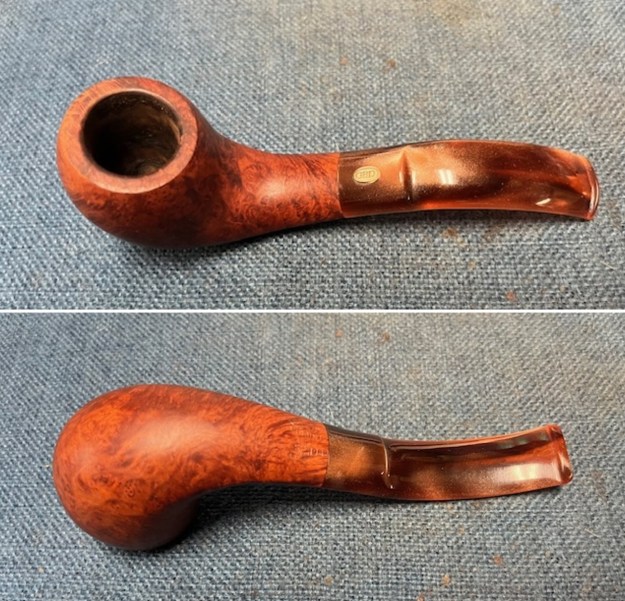
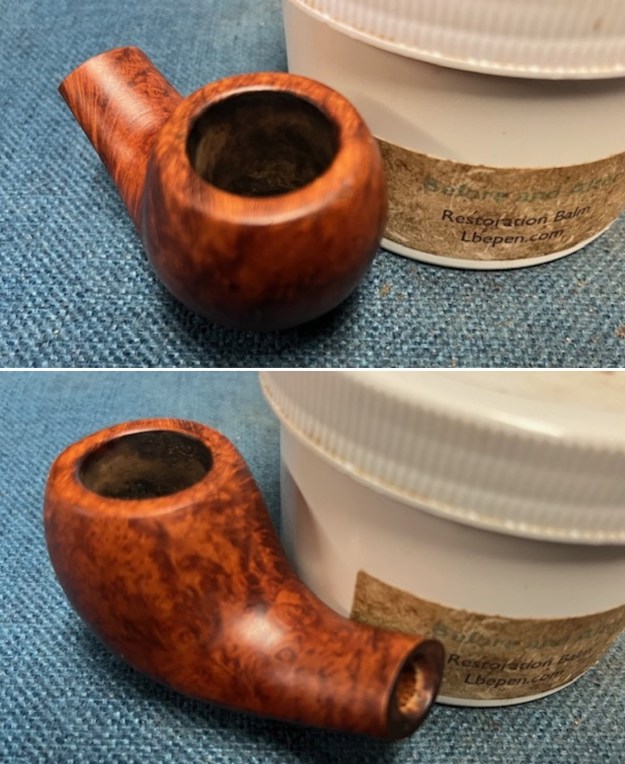
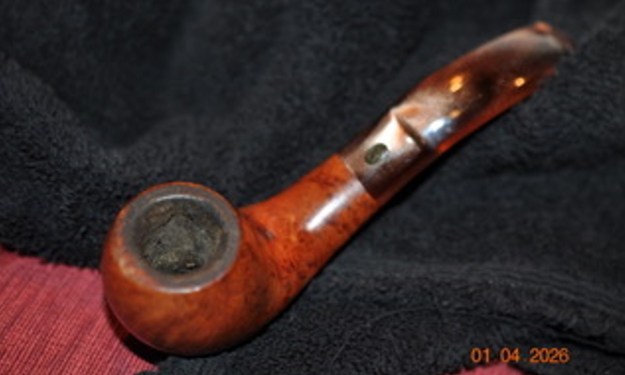 Jeff took a photo of the bowl and rim top to show the condition of the pipe. There was a thick cake in the bowl and a build up of lava on the smooth rim top. It is also built up on the inner edge of the bowl. The stem photos show the grime and the tooth marks on both sides ahead of the button.
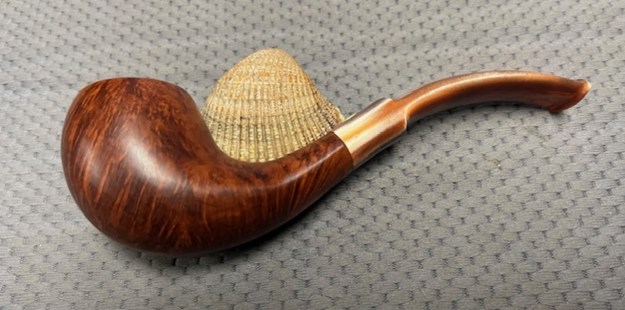
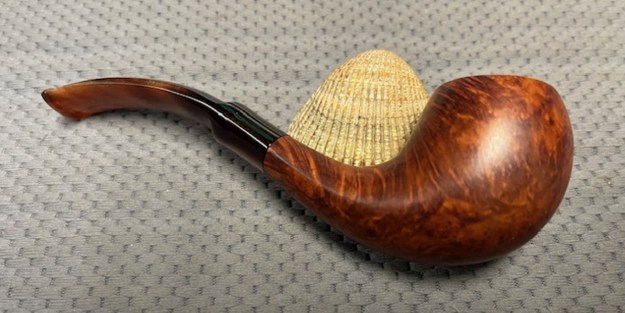
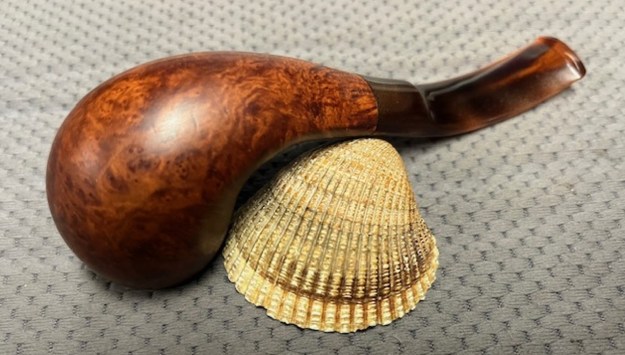
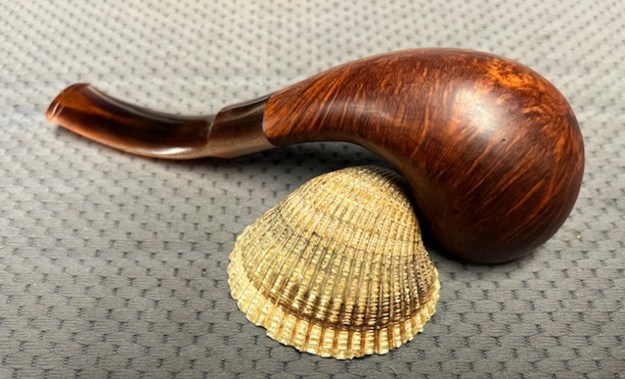
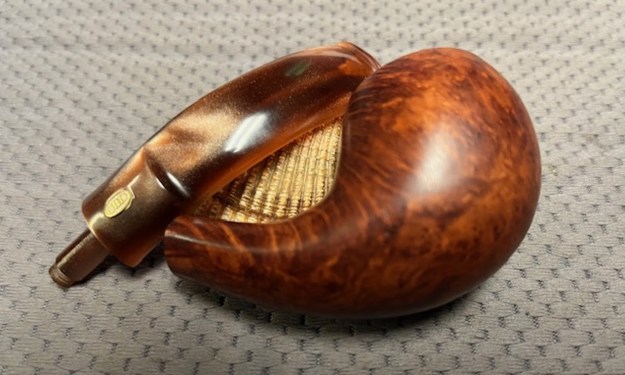
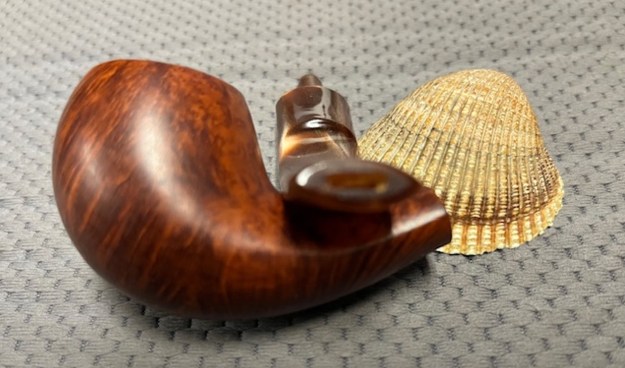
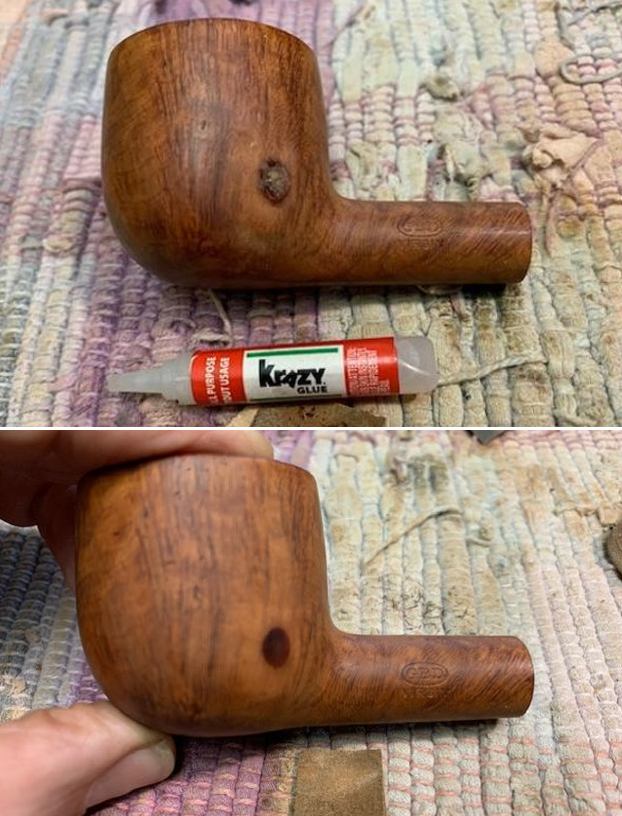
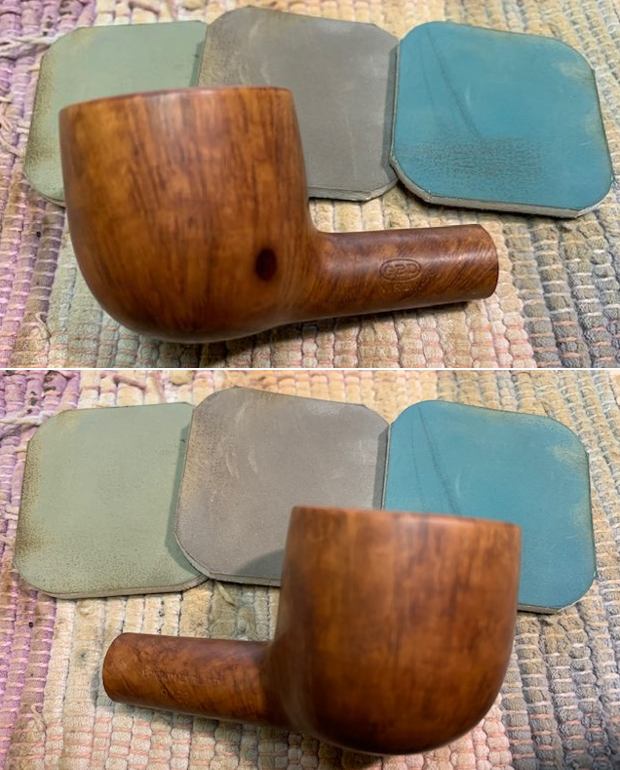
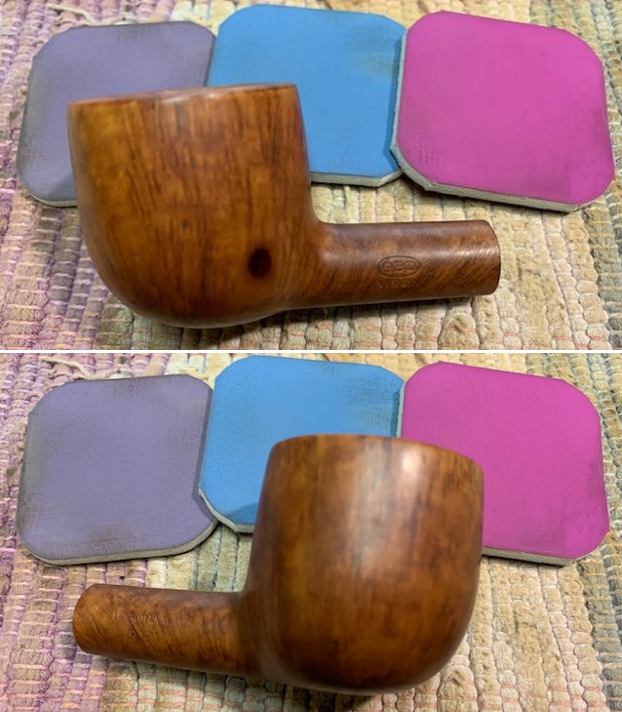
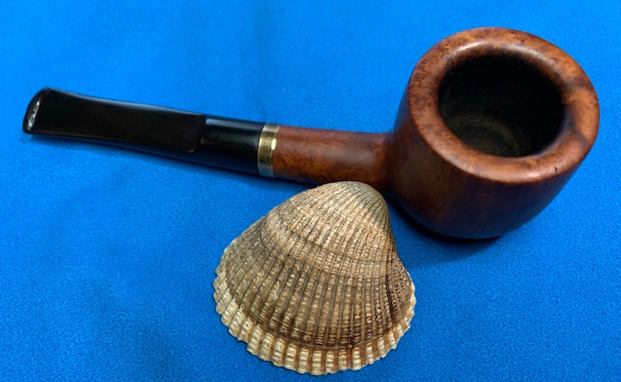
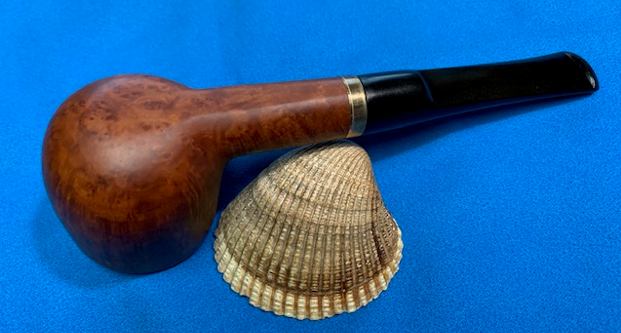
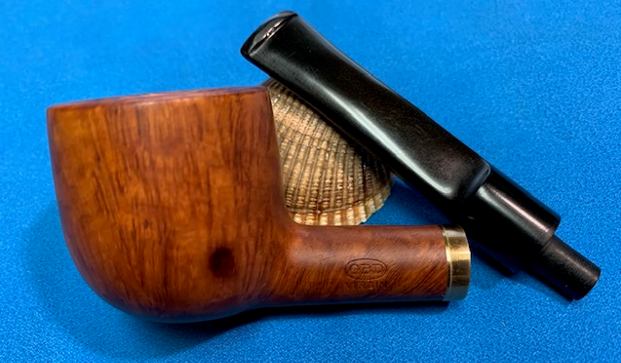
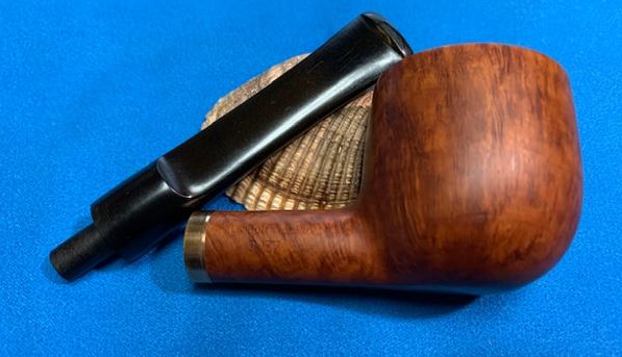
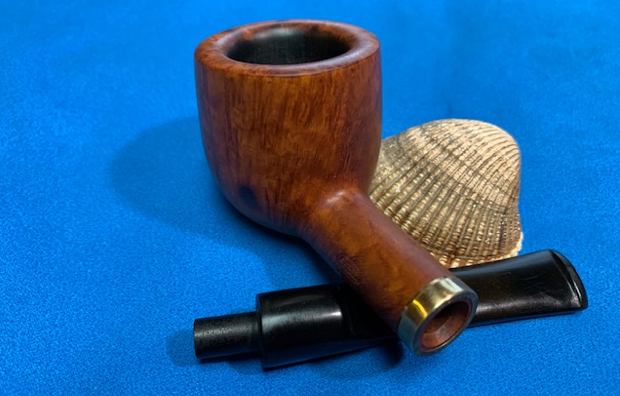
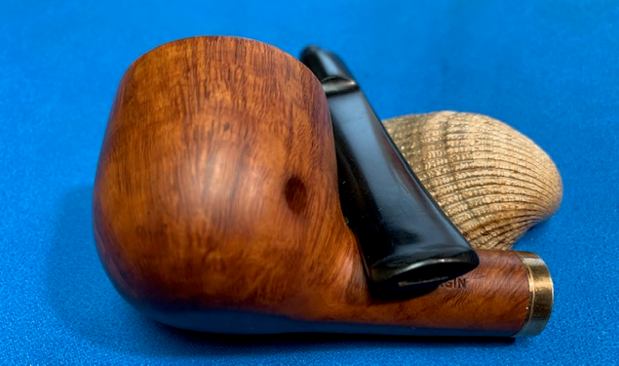
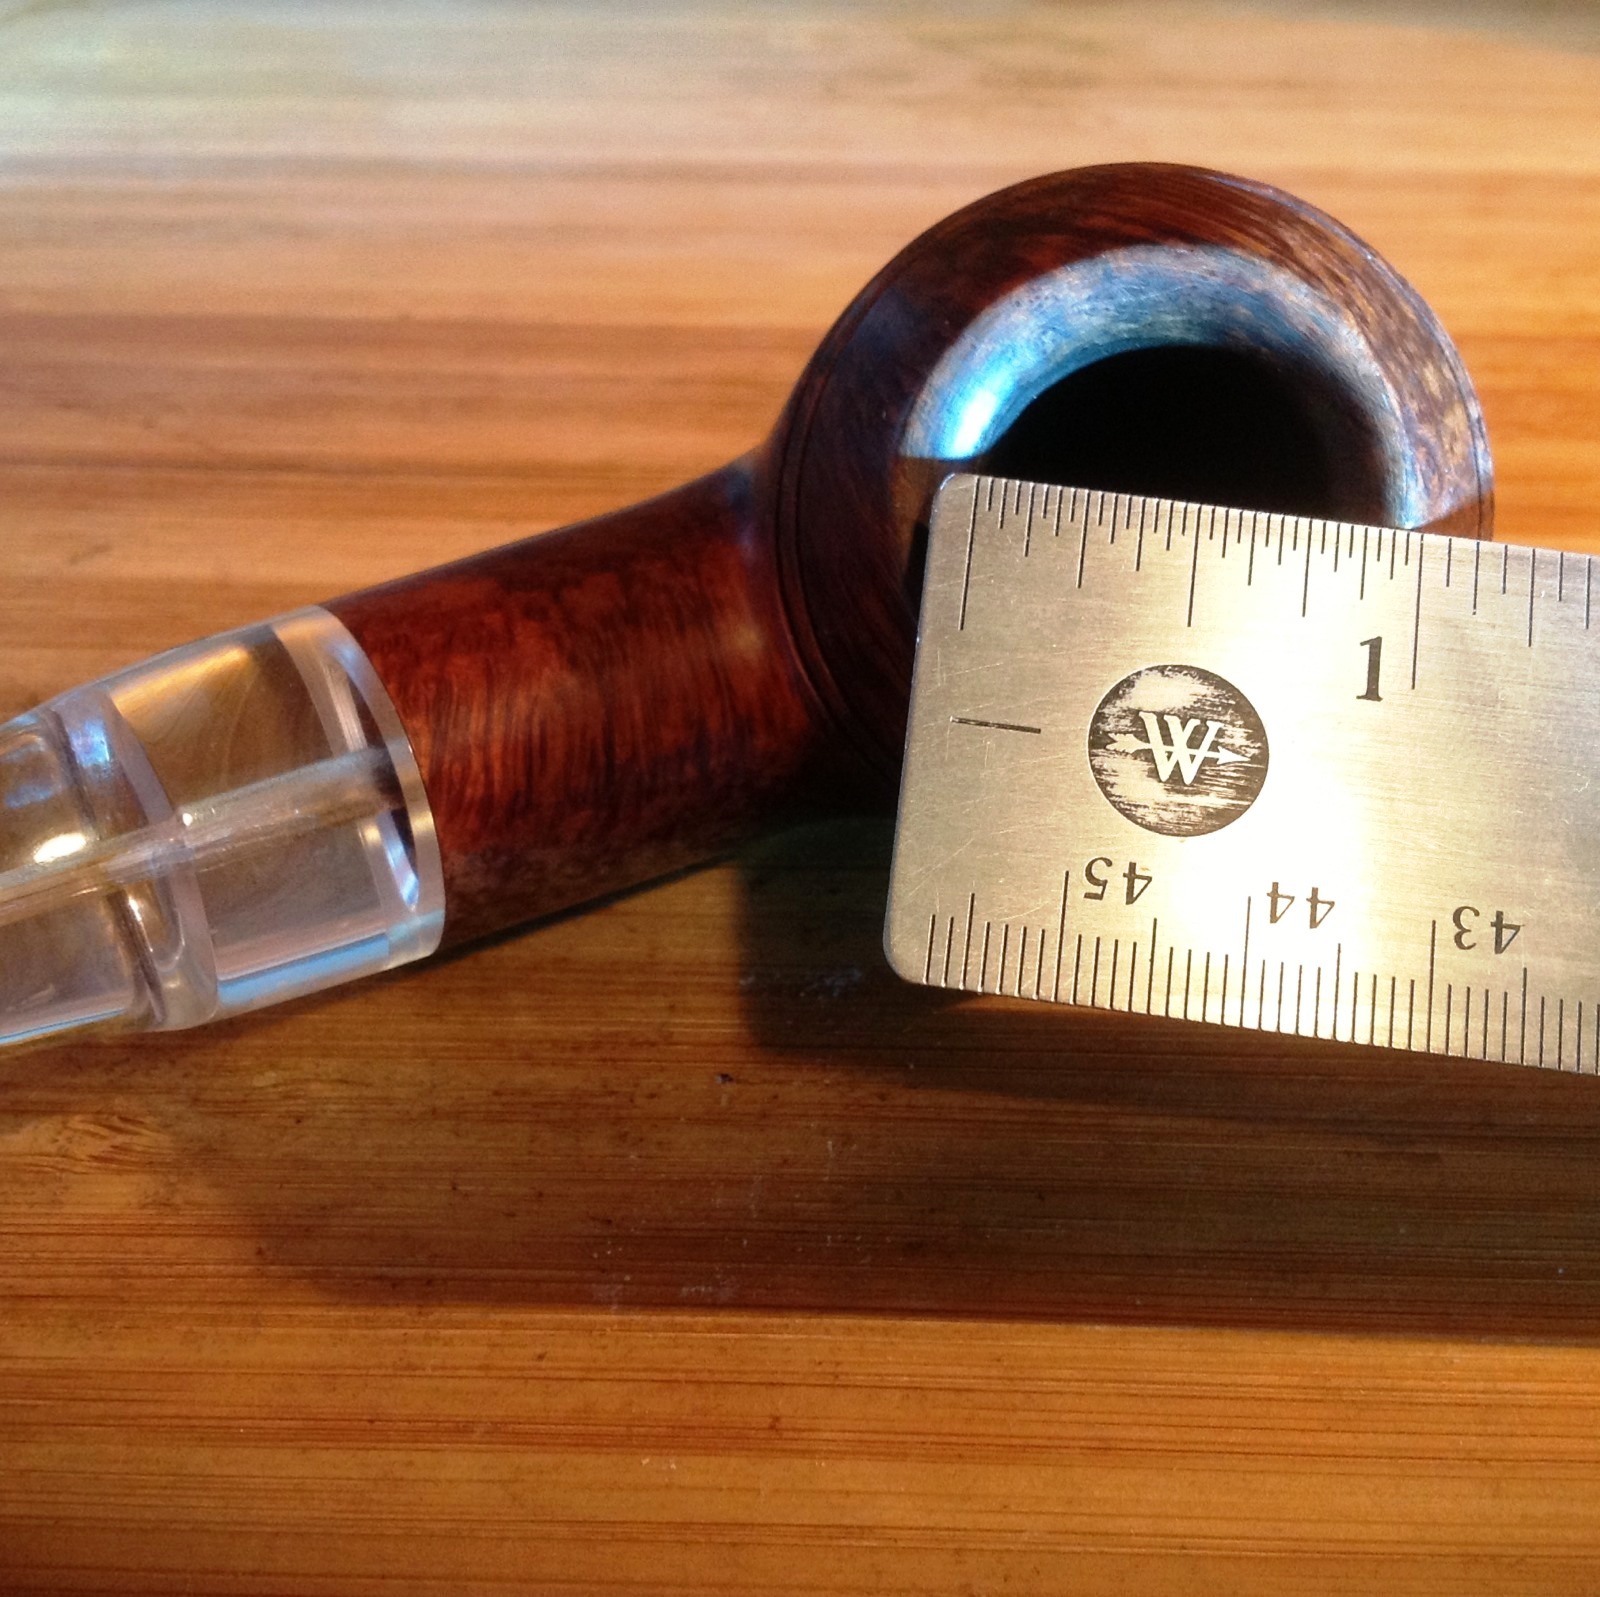
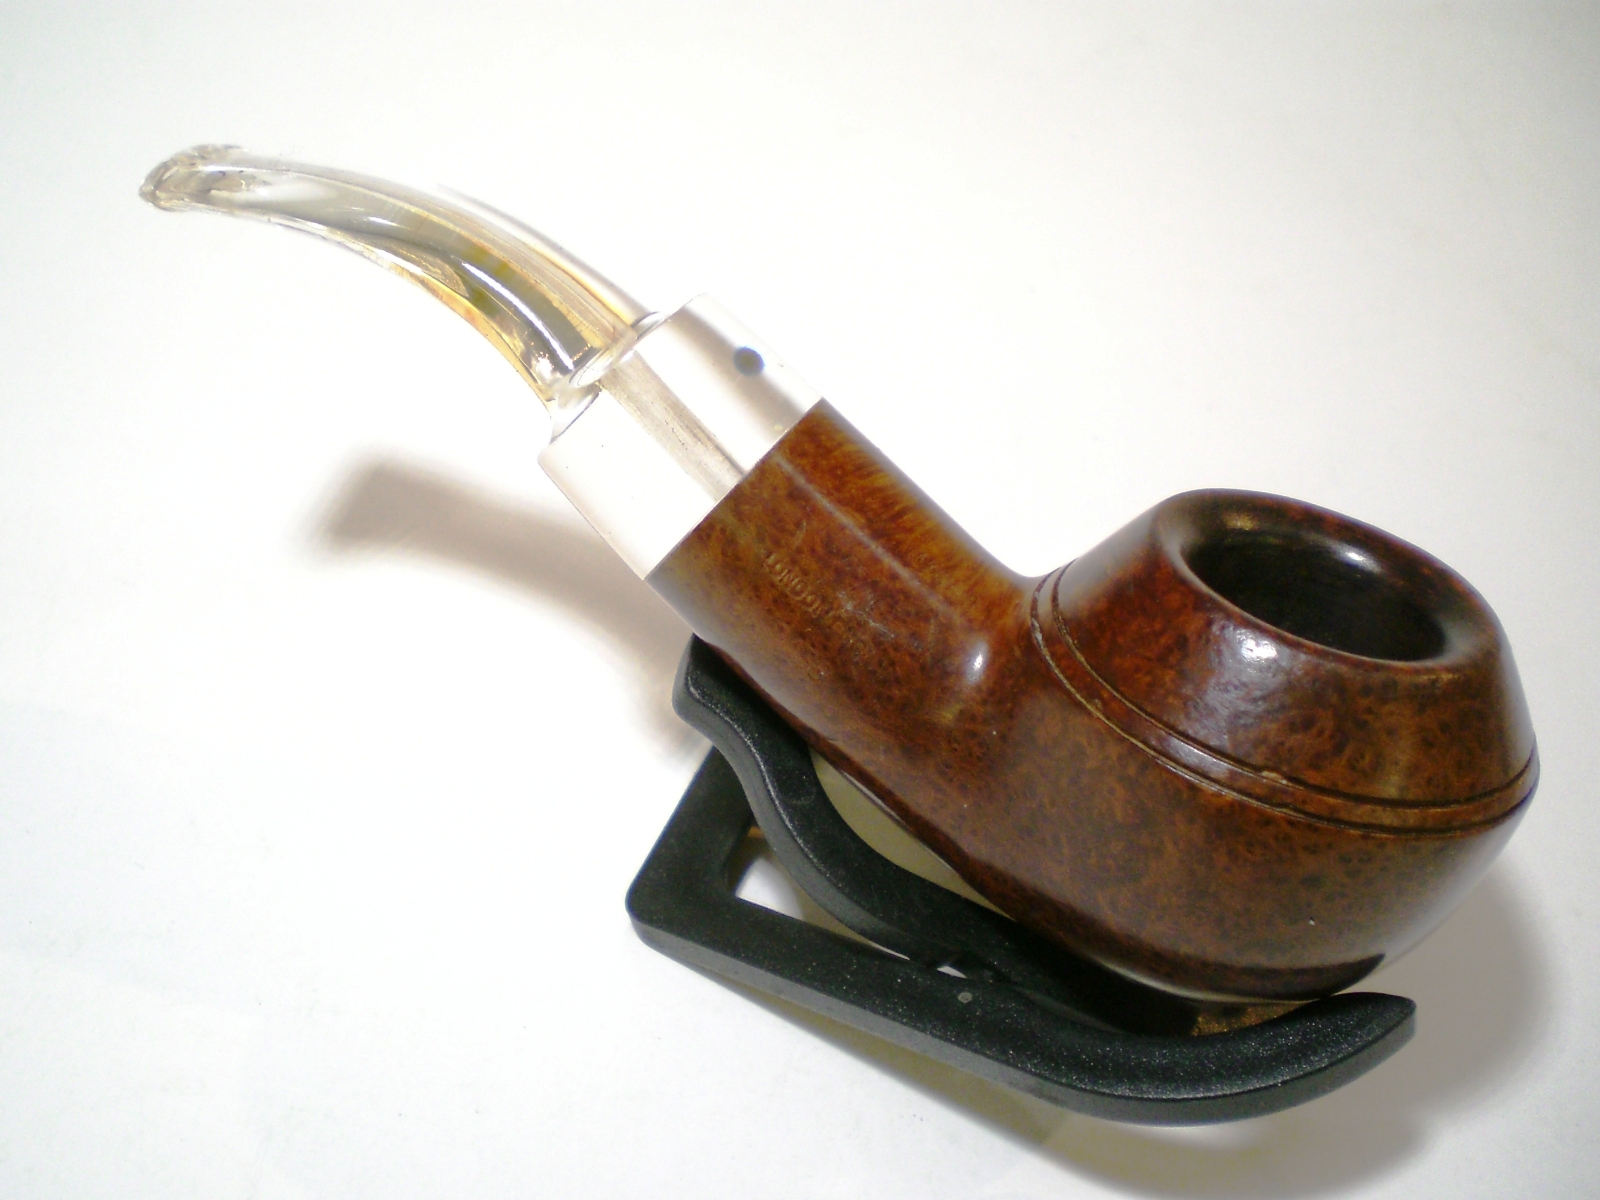
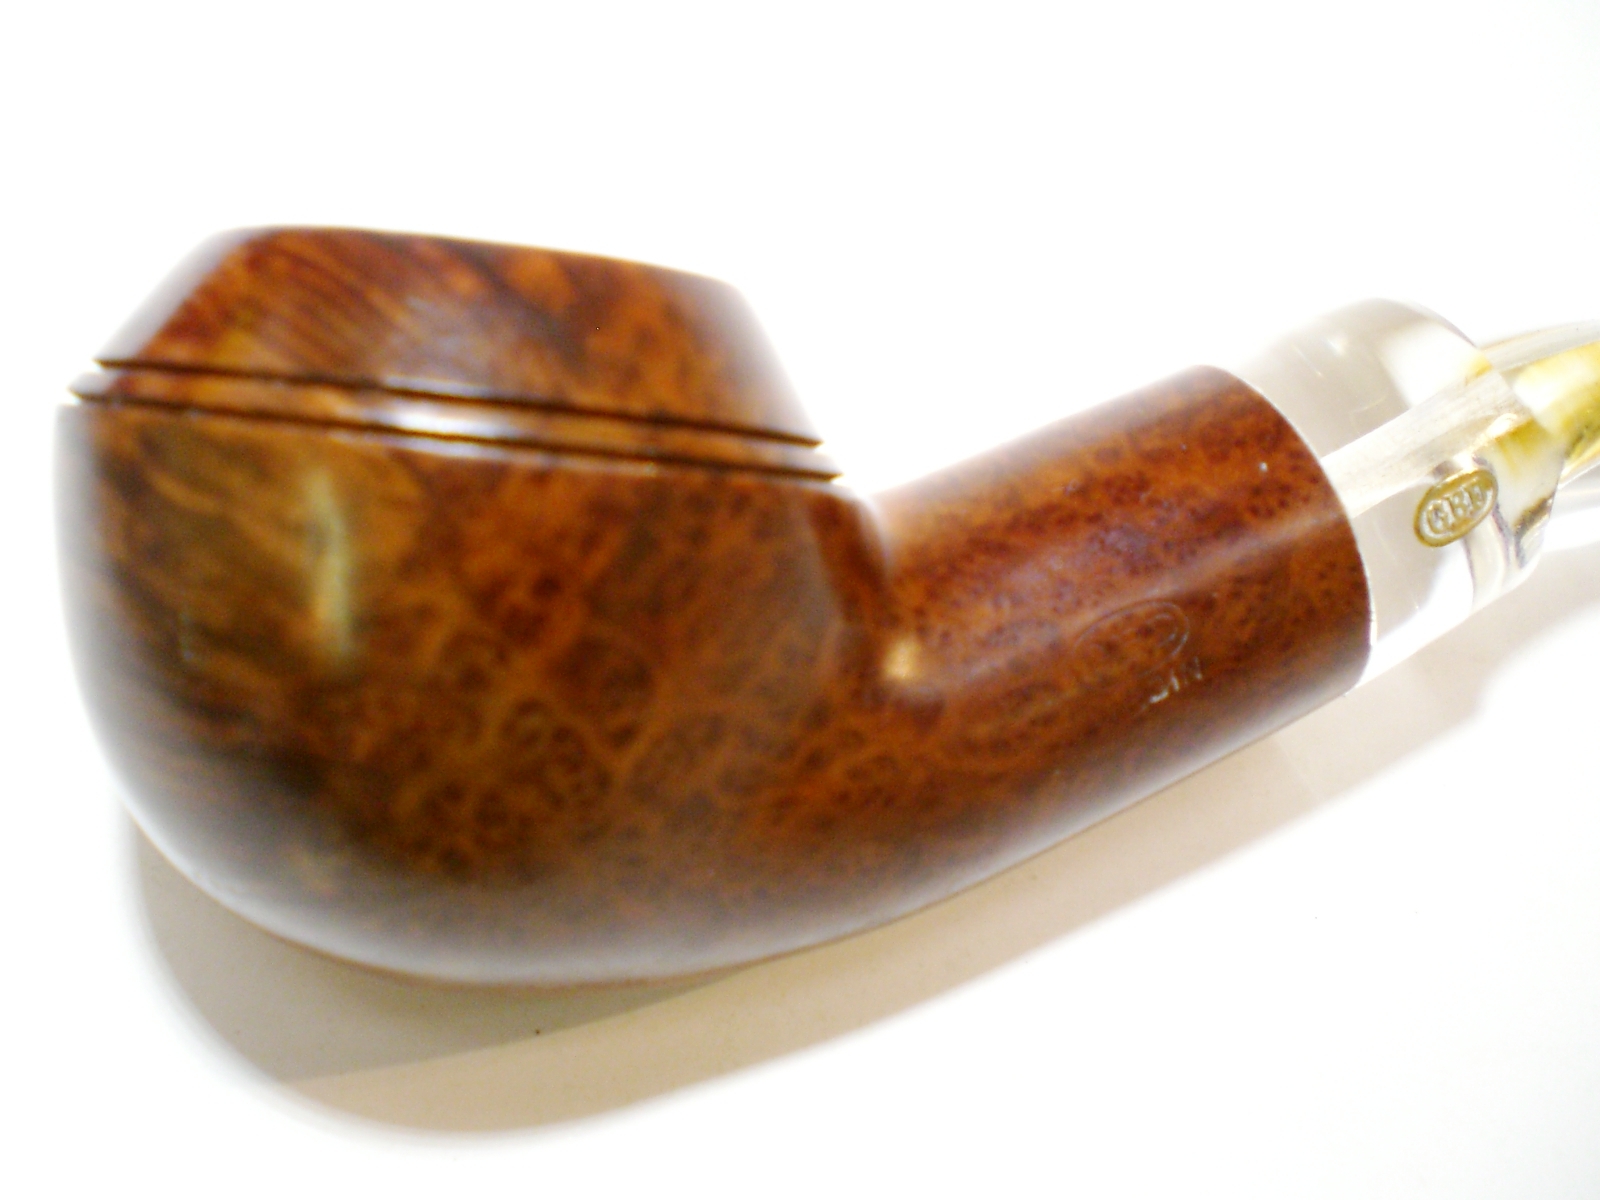
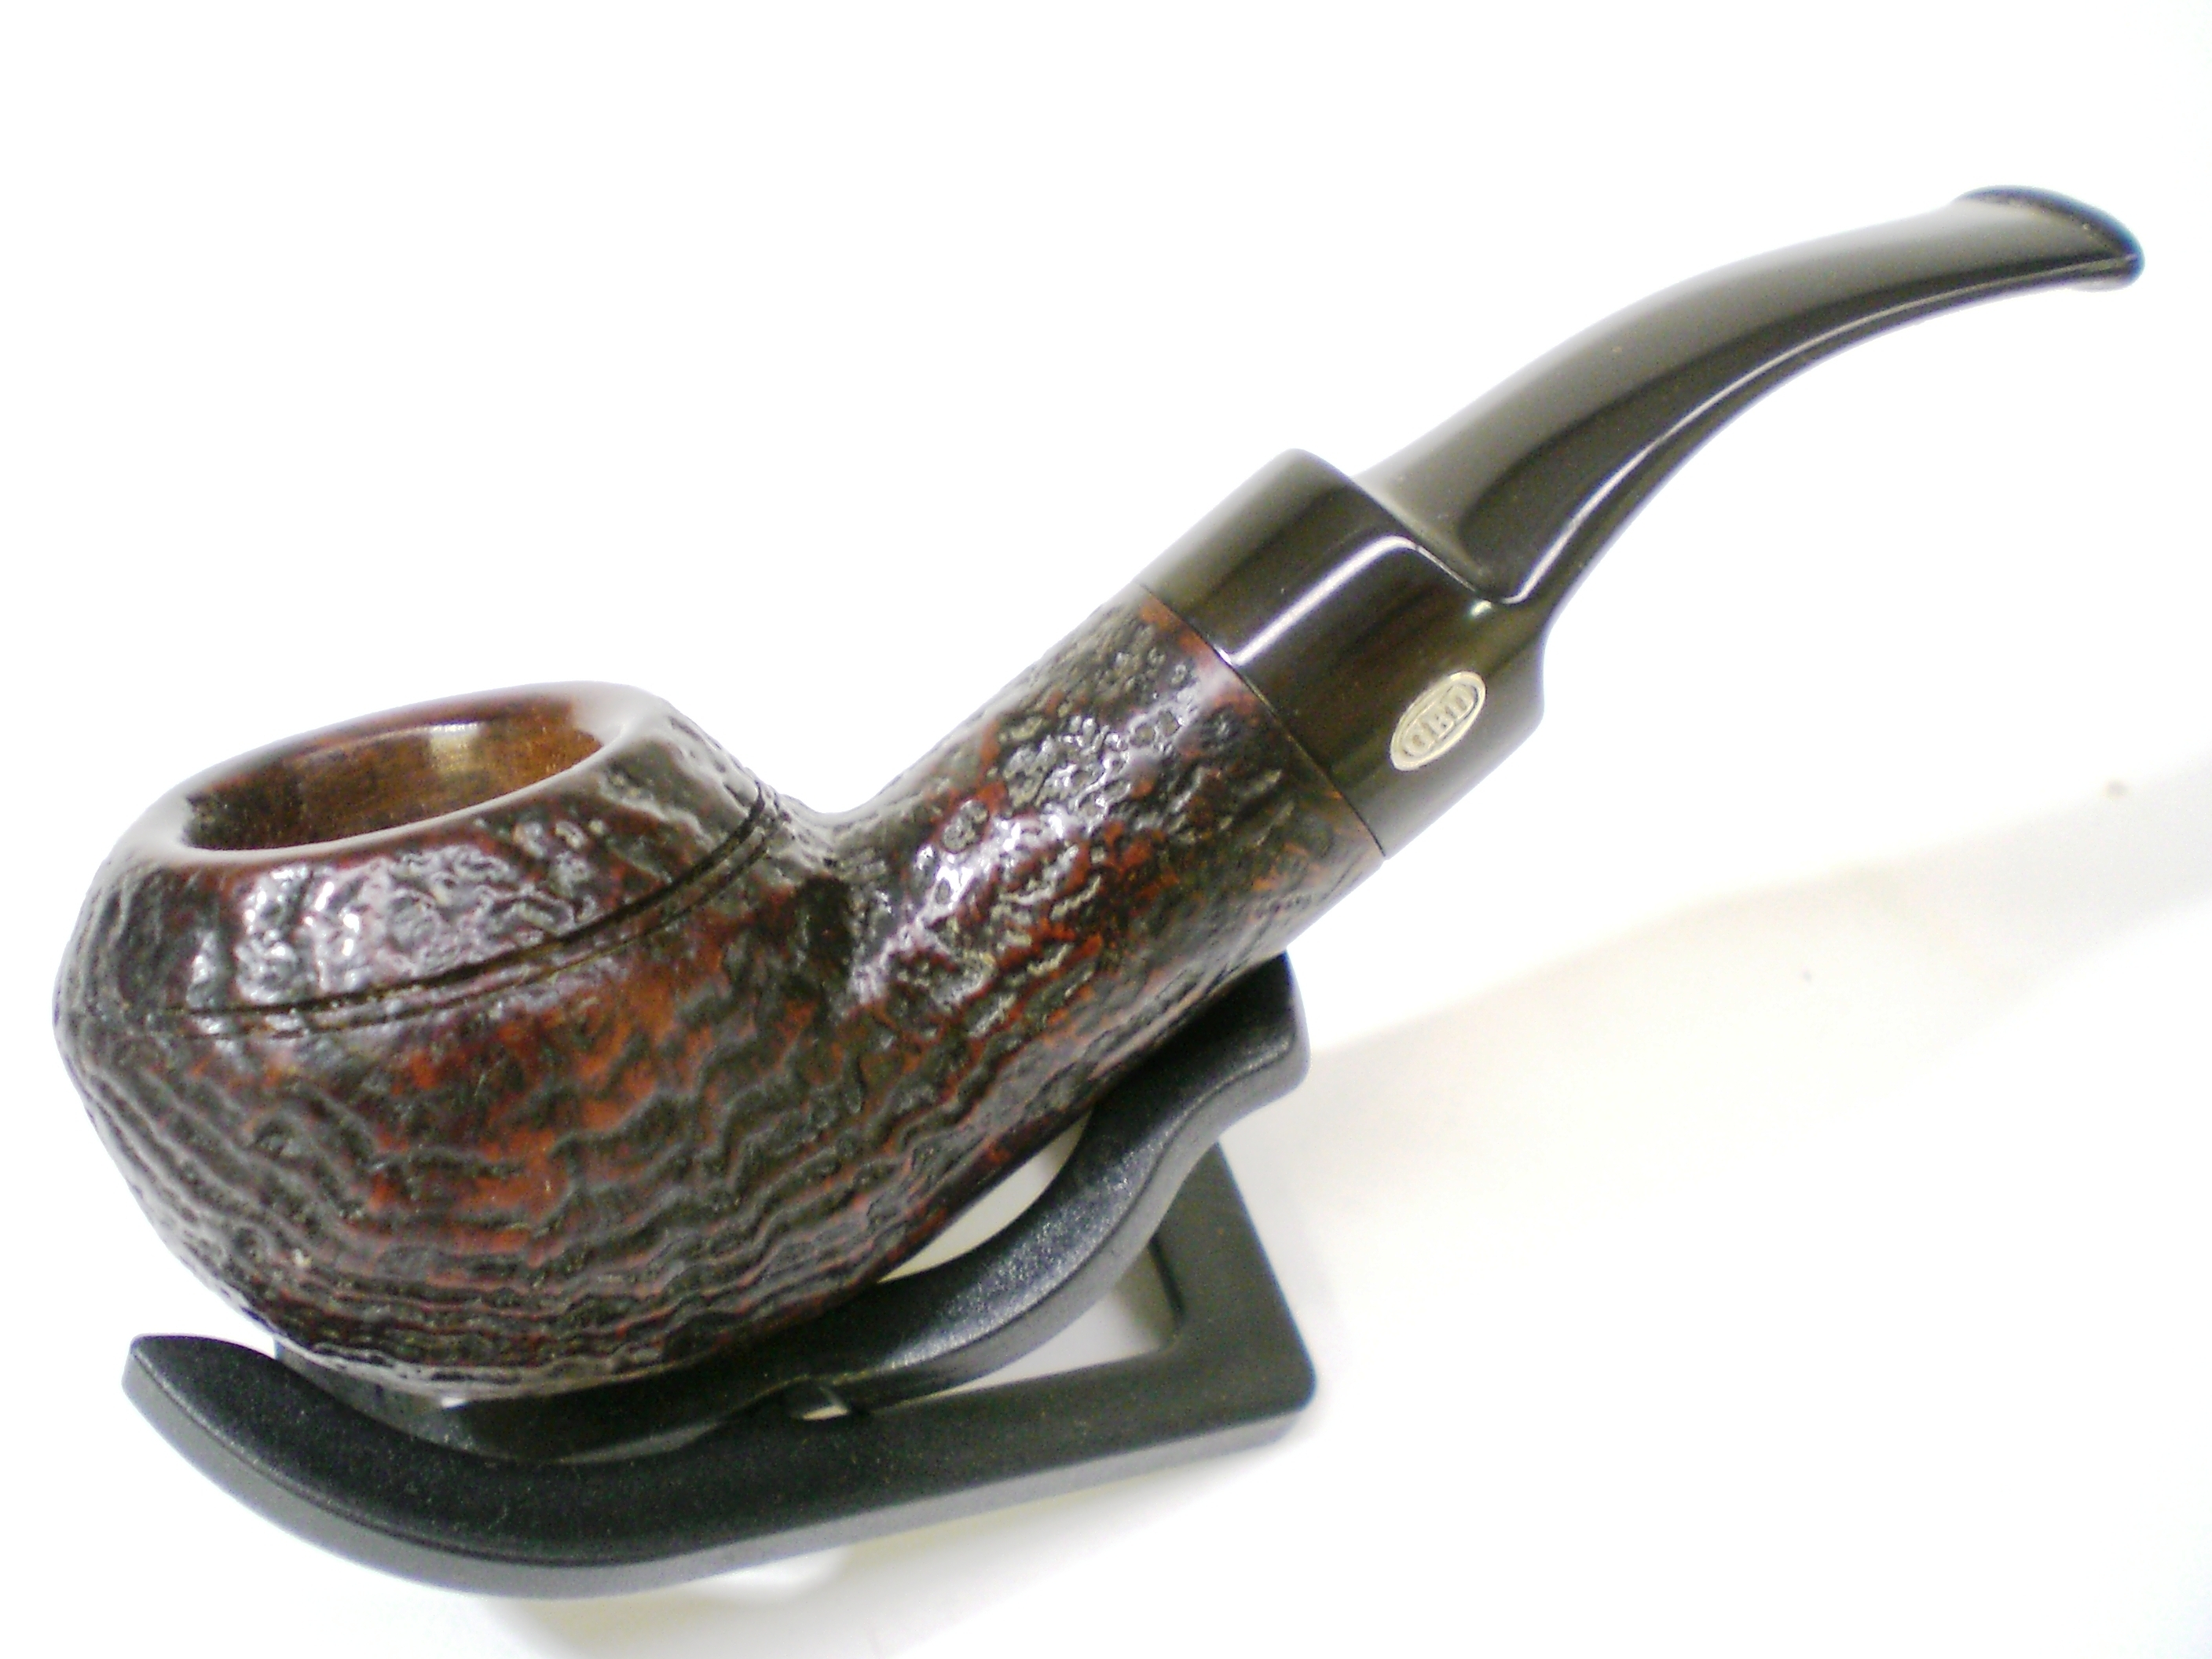
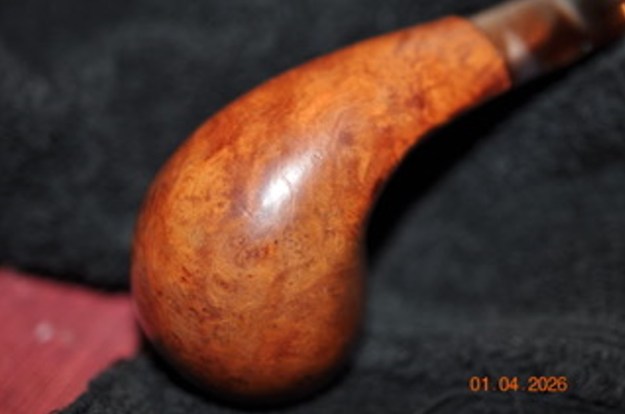
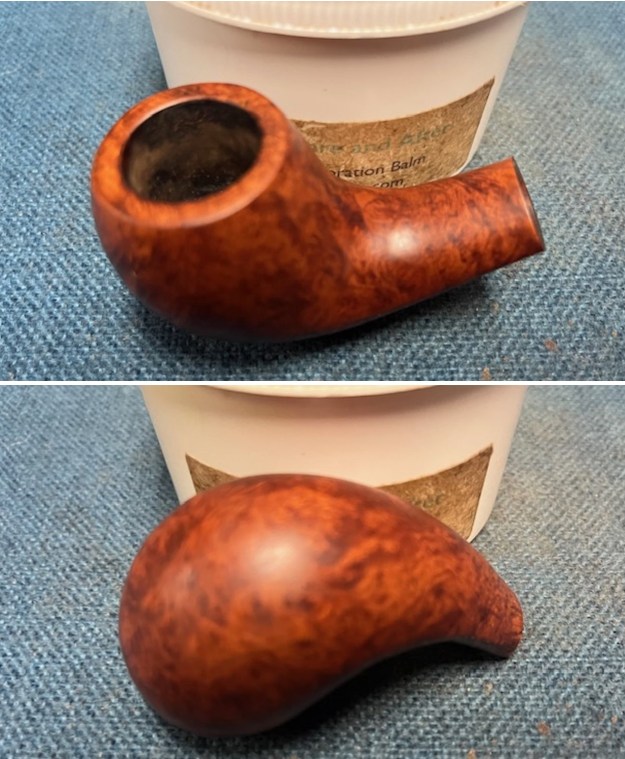
 He took photos of the sides and the heel of the bowl to show the finish on the pipe. It is a unique stain on it that really shows the grain around the bowl sides.
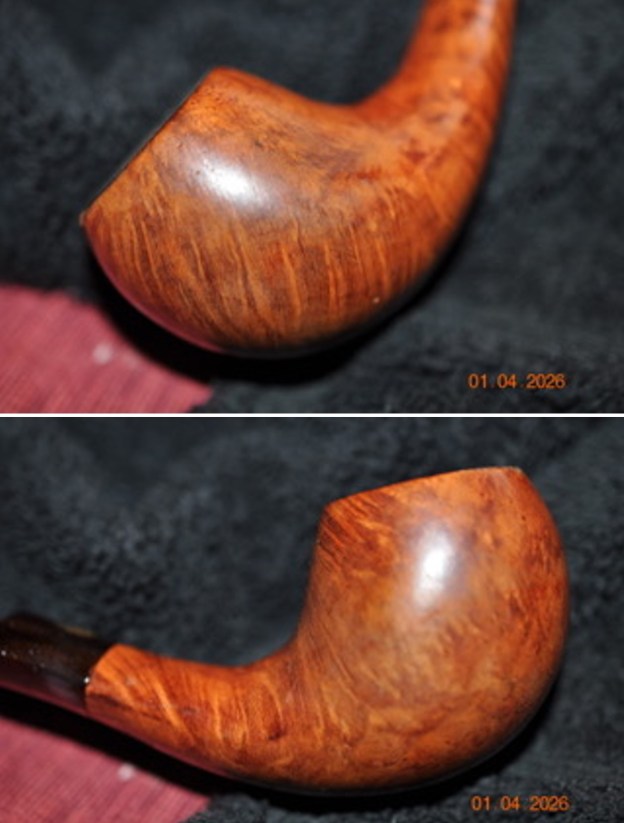
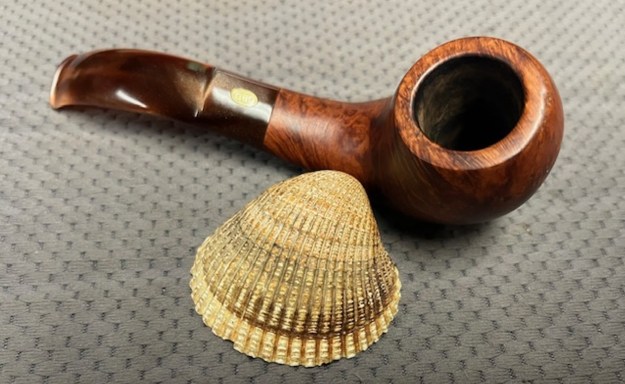
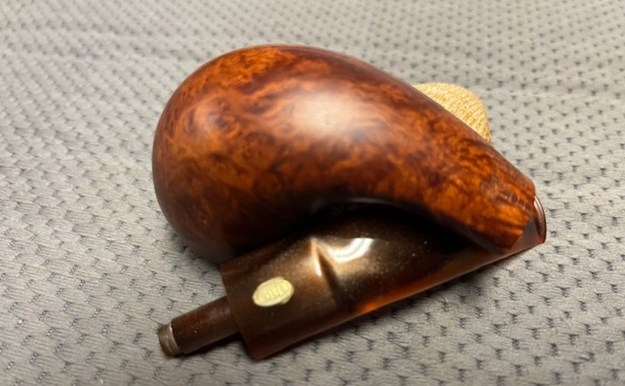
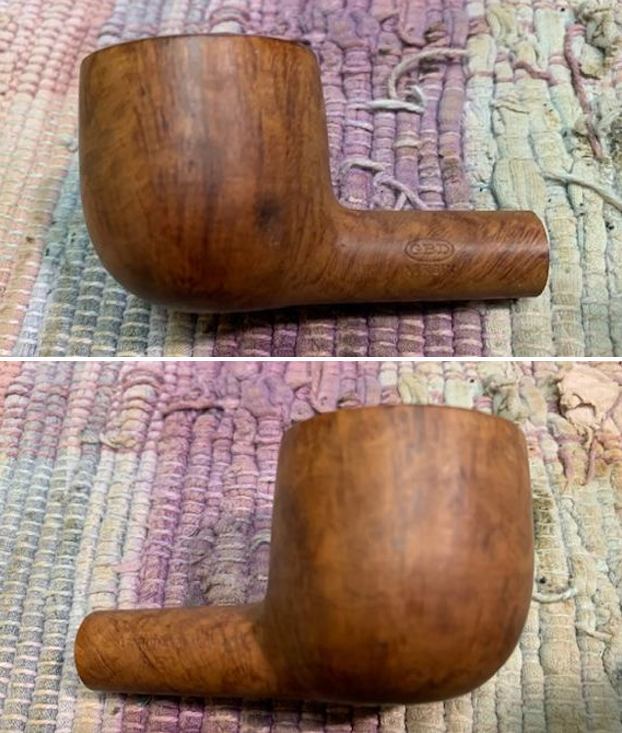
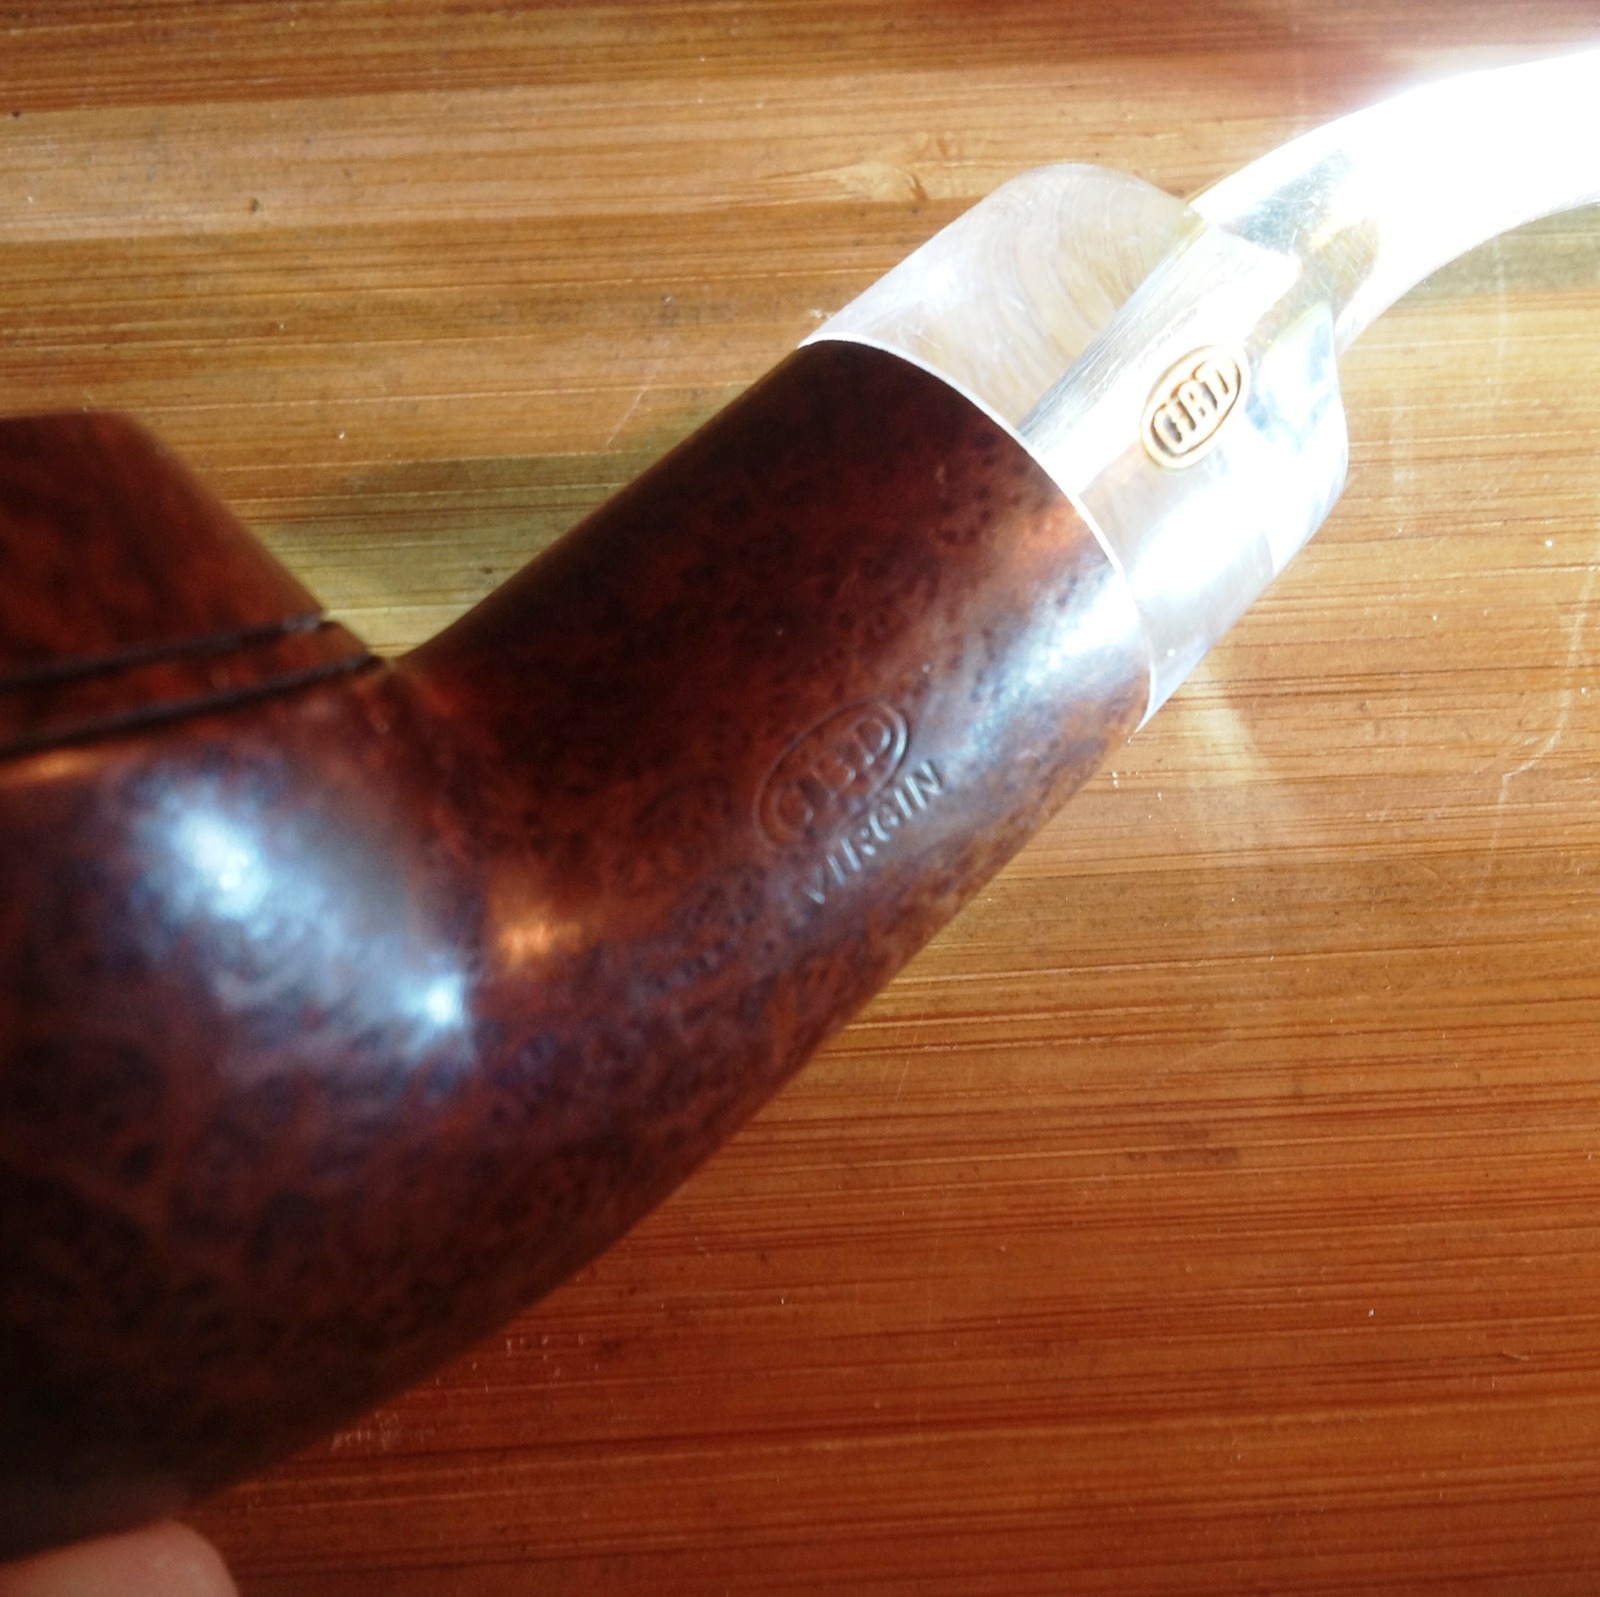
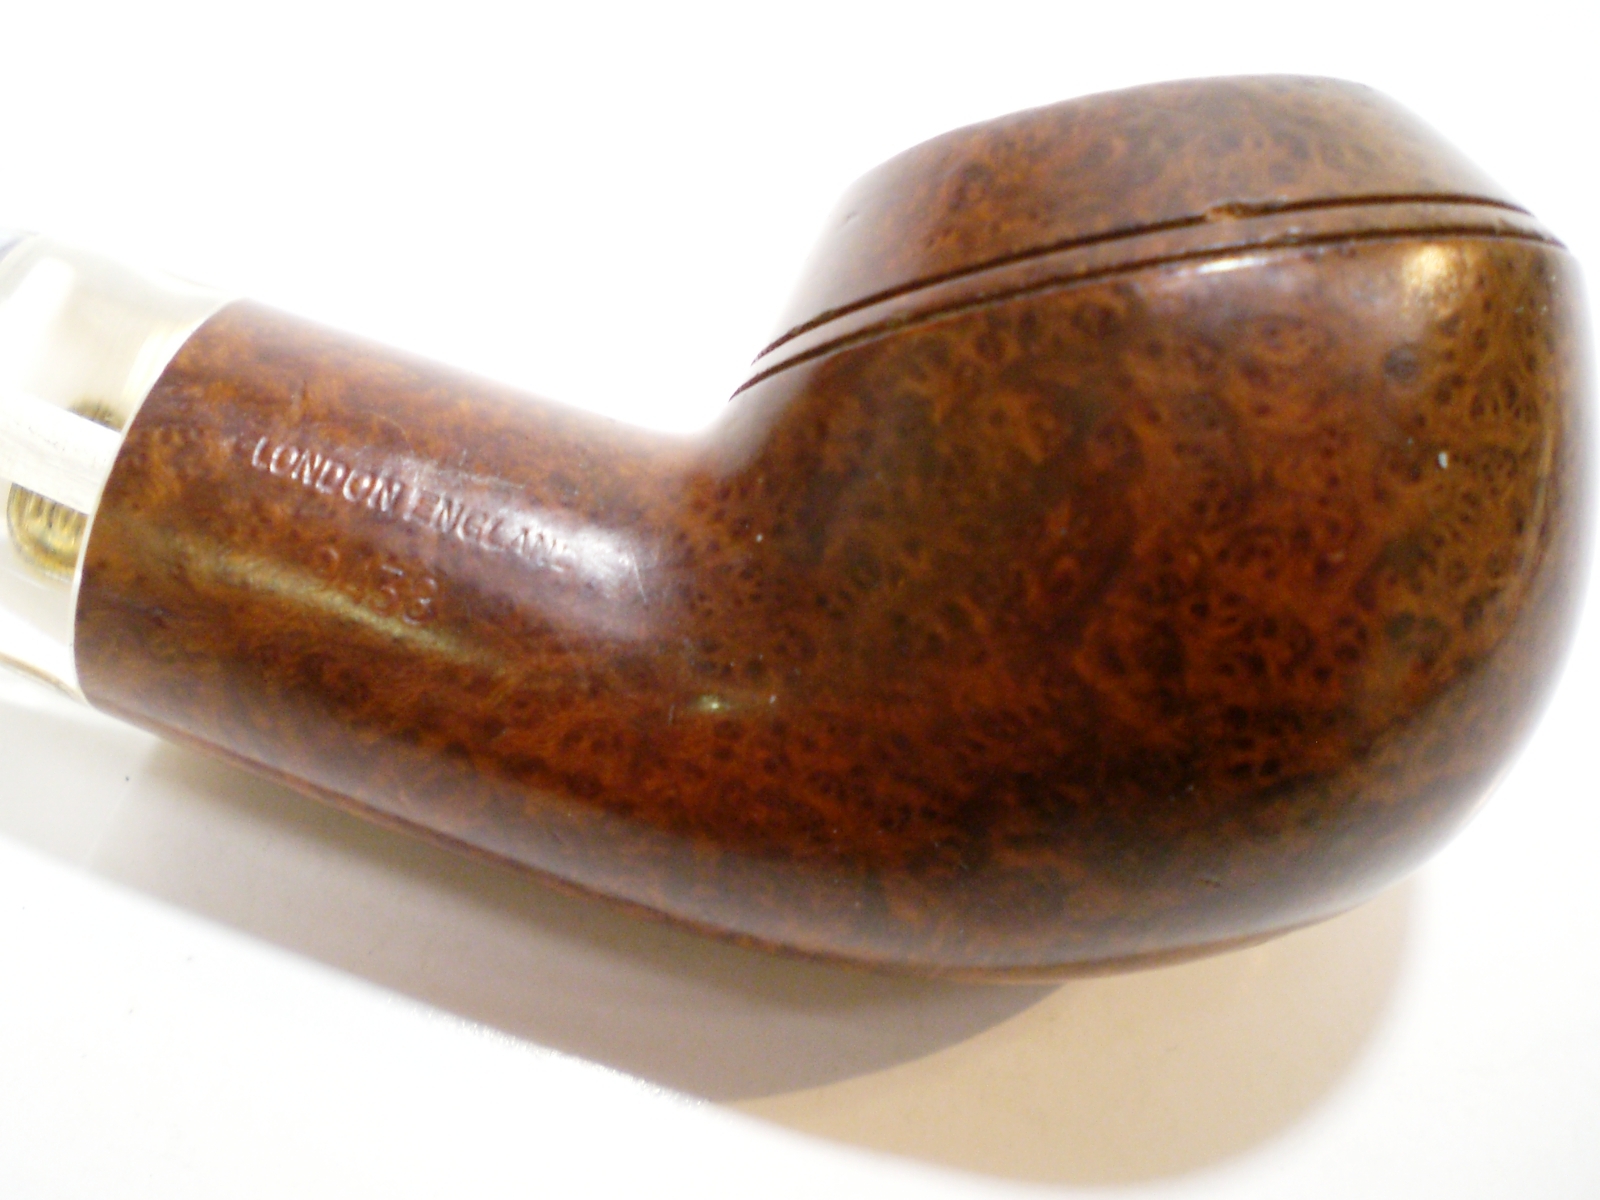
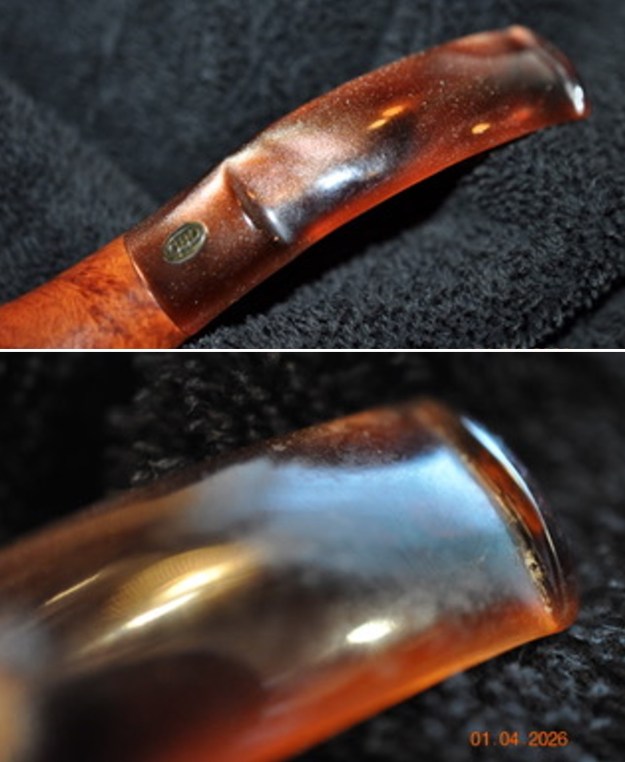
 He took two photos to capture the stamping on the sides of the shank and one of the medallion on the top of the saddle stem. It is clear and readable as noted above.
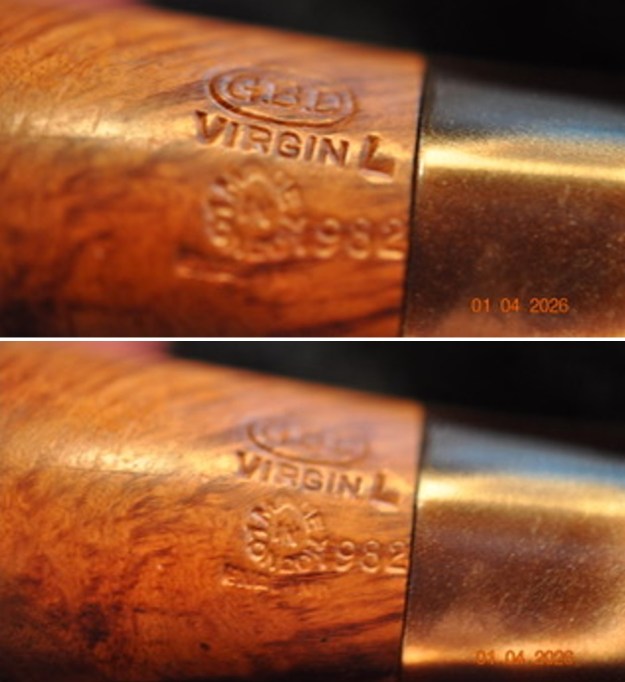
 I turned to PipePhil’s site (http://www.pipephil.eu/logos/en/logo-gbd.html) to see what I could find. The site had nothing particular on the GBD Virgin line of pipes.
I then turned to Pipedia (https://pipedia.org/wiki/GBD) to see if there was info the brand. It is a great read in terms of history.
The claims after the 1st World War demanded further distinctions. First of all was the London Made, which became the Standard London Made, followed by the New Era– in 1931 the top model asking 12½ Shilling. The Pedigree, although sketched around 1926, was not produced until the later 1930s. The New Standard was introduced in order to give the popular Standard of the 20s a higher rank in value. The Prehistoric, a deeply sandblasted black pipe, that still carried the small GBD Xtra stamp, was entirely new and unusual.
There was a photo of the GBD Virgin but no other information on the line. I am including the photo that was present as well as a photo of the stamping on the pipe.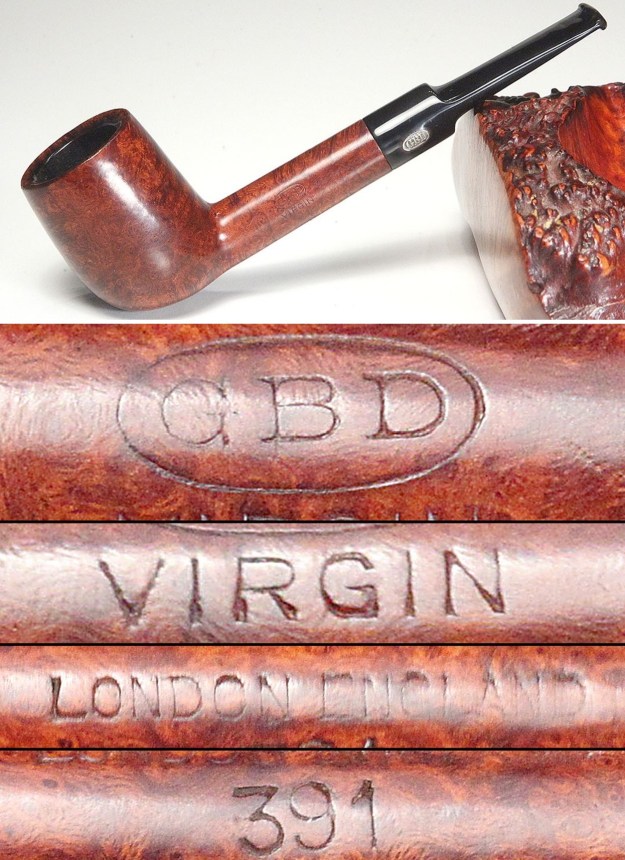 There was also some information on the line in a section entitled, Circa 1973 chart of lines. I am including the information in that section. The first item in the list is the line I am working on. It gives a good description of the Virgin line.
Virgin: “Only the finest of closely grained briar is utilized for this exceptional pipe. Natural finish”
Century: “A golden finish created to celebrate over a century of manufacturing the finest briar pipes.”
New Era: “The beauty of this pipe’s perfect briar is accentuated by the richness of the ‘take-off’ dual finish.”
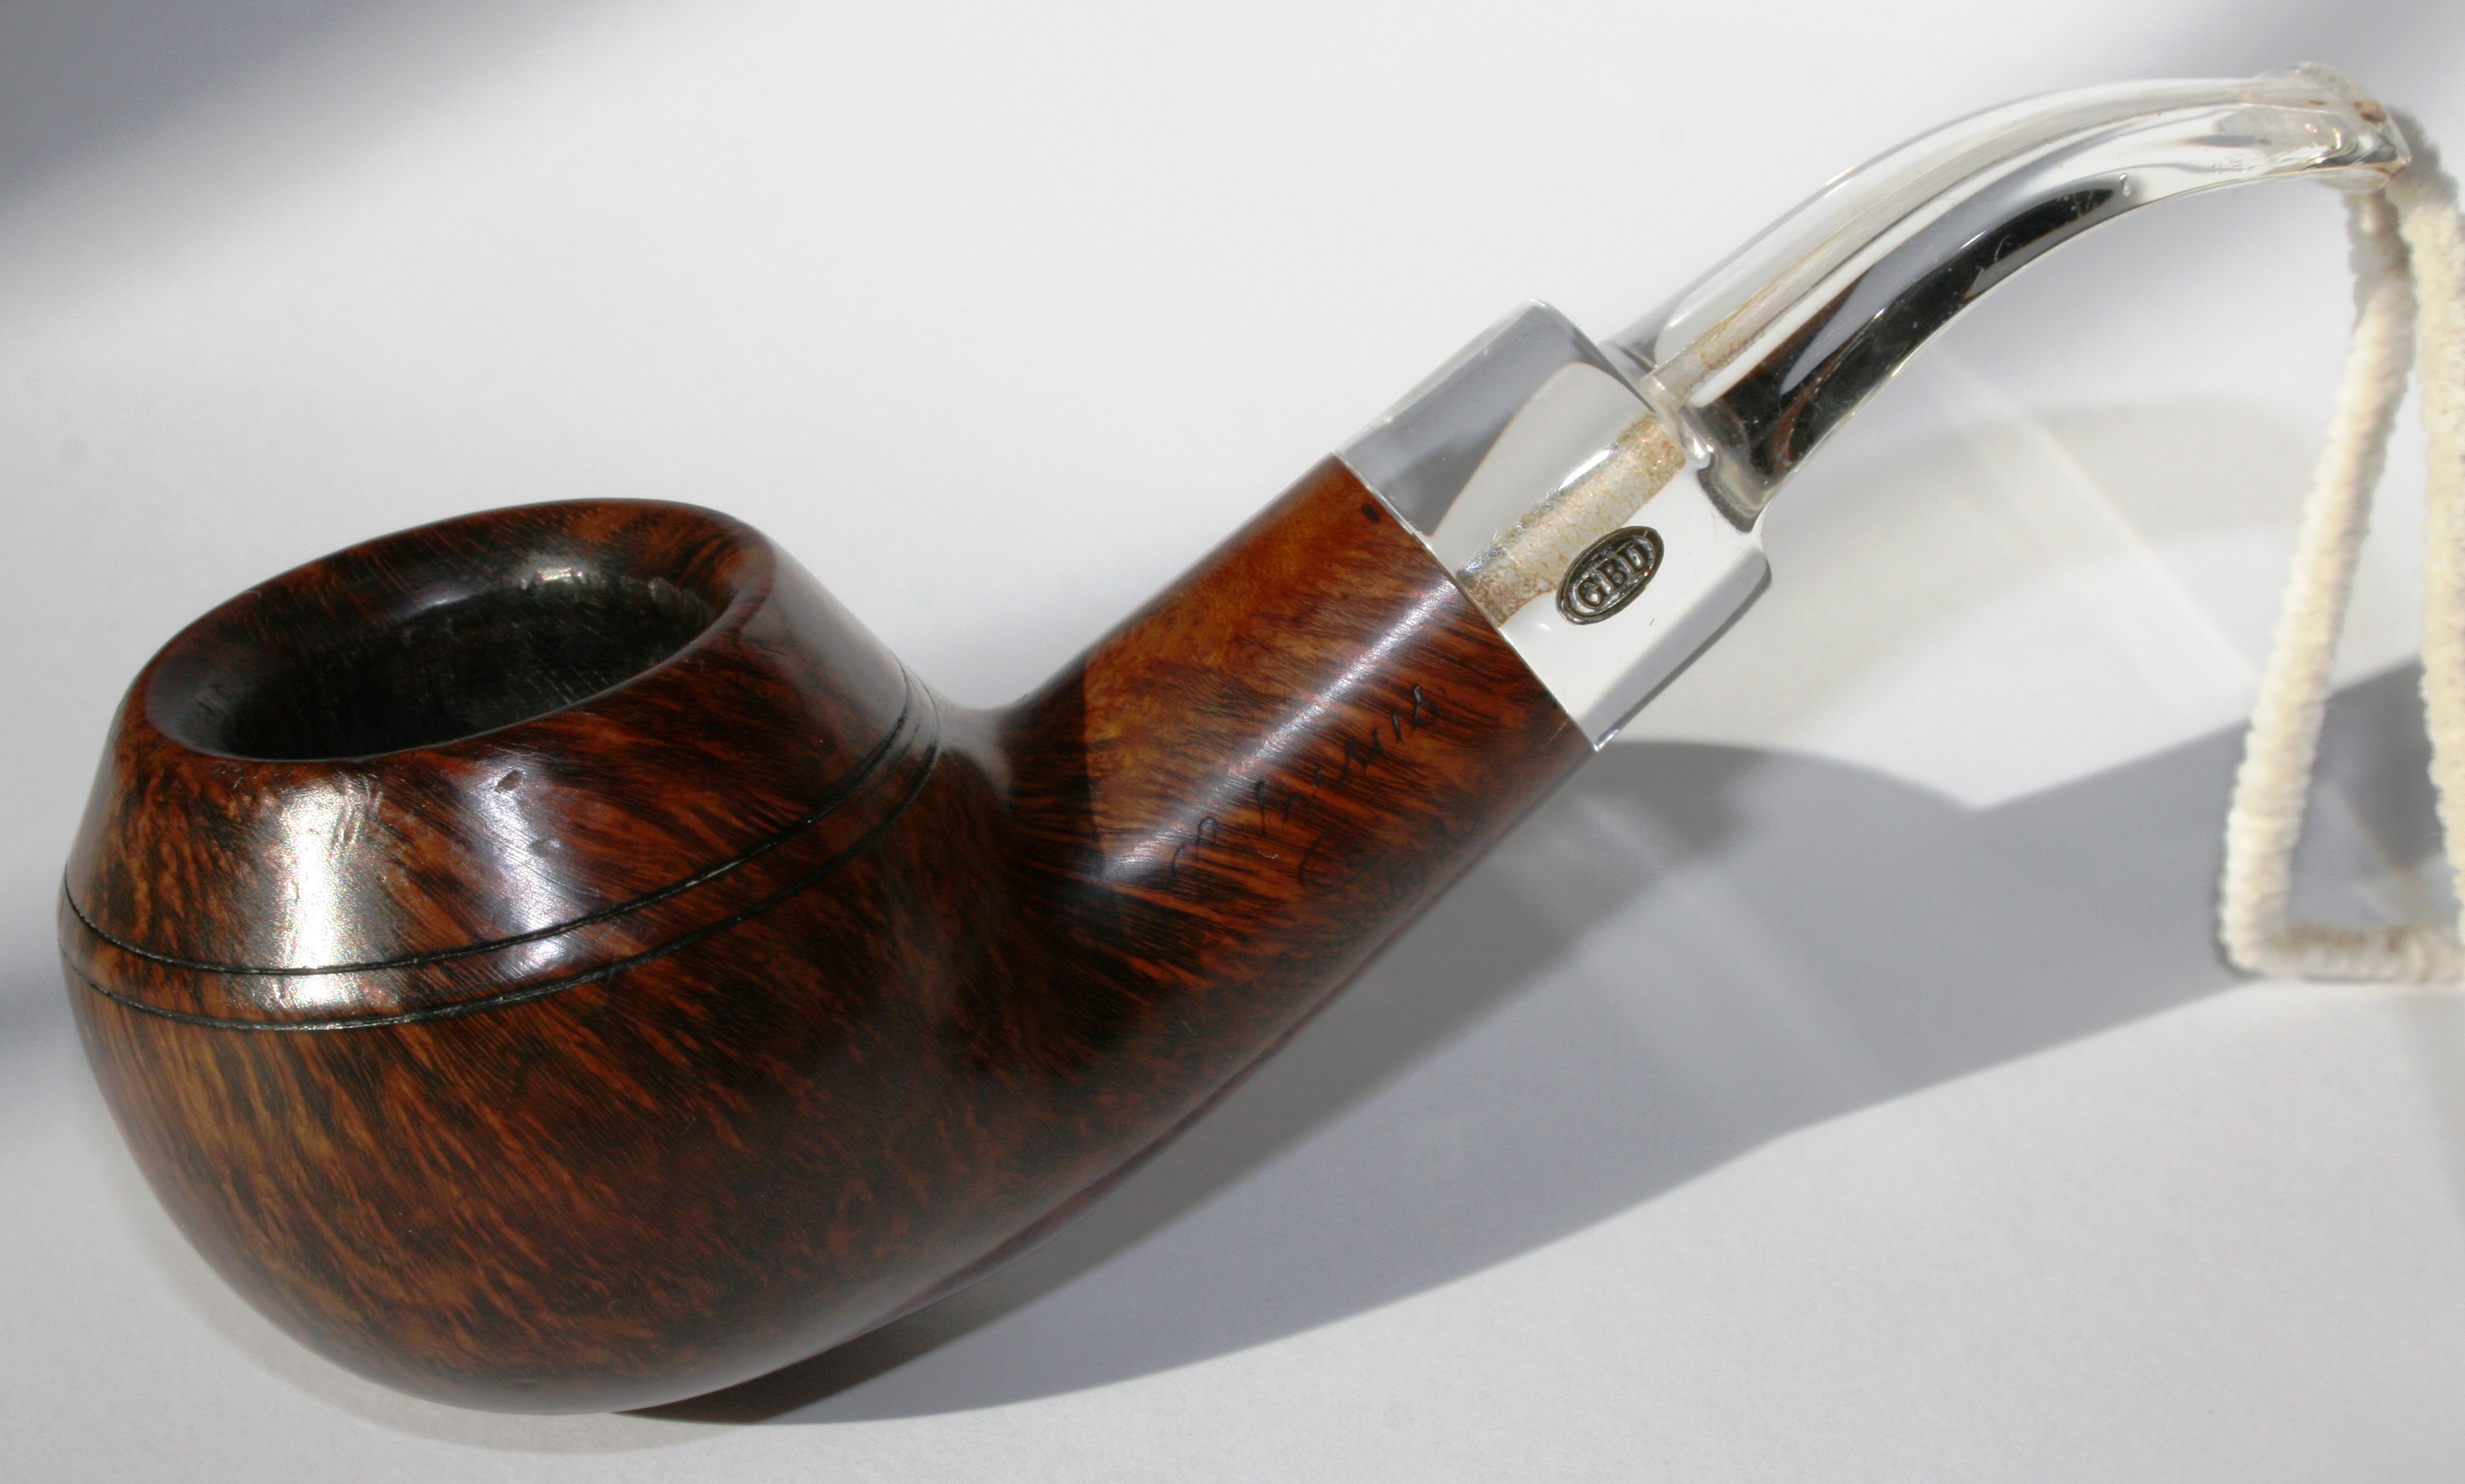
Prestige: “This pipe features a black handcut perspex mouthpiece which precludes discoloration and ‘bad taste’ after continual smoking. Only the finest of the fine-grained bowls are selected for this handsome matt virgin finished briar.”
Prehistoric Perspex: “The deep sandblasting sillhouettes the grain in bold relief. The crystal clear mouthpiece creates an attractive contrast to the deep dark finish.”
Now it was time to work on the pipe.
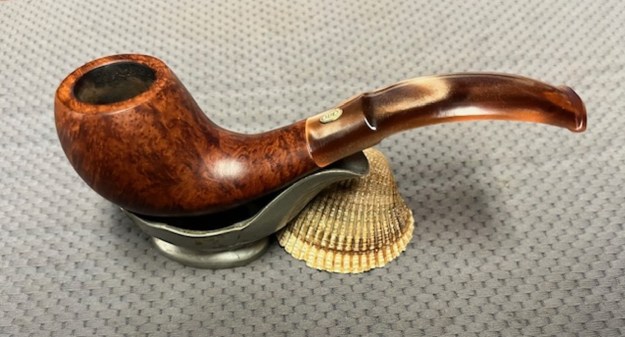
Jeff reamed it with a PipNet pipe reamer and cleaned up the reaming with a Savinelli Fitsall Pipe Knife. He scrubbed out the internals of the shank and stem with alcohol, pipe cleaners and cotton swabs until the pipe was clean. He scrubbed the exterior of the bowl with Murphy’s Oil Soap and a tooth brush to remove the grime and grit on the briar and the lava on the rim top. The finish on the bowl looked really good when I got it. The rim top and edges looked very good. He soaked the twin bore stem in Briarville’s Pipe Stem Deoxidizer bath to remove the oxidation. The stem looked better and the deep tooth marks and chatter on the surface were also visible. When the pipe arrived here in Vancouver for the second stop of its restoration tour it looked much better than when he found it. I took photos of the pipe before I started my work on it.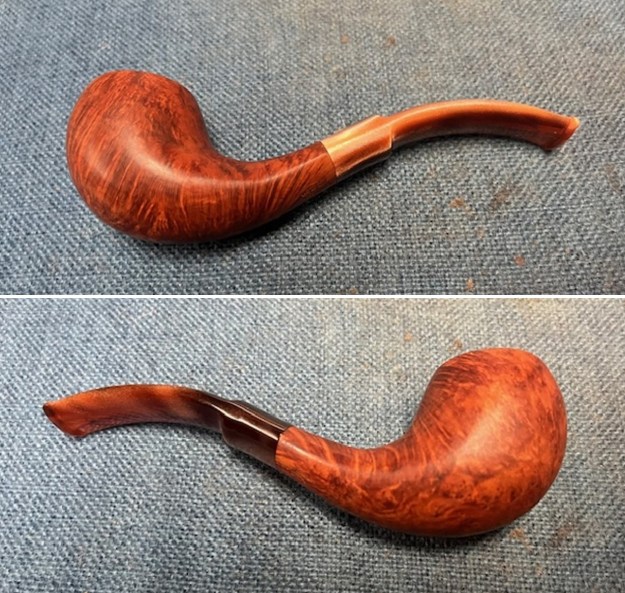
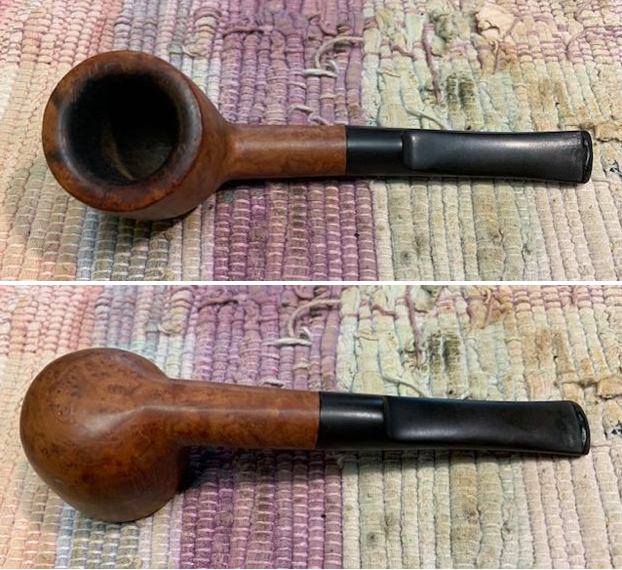
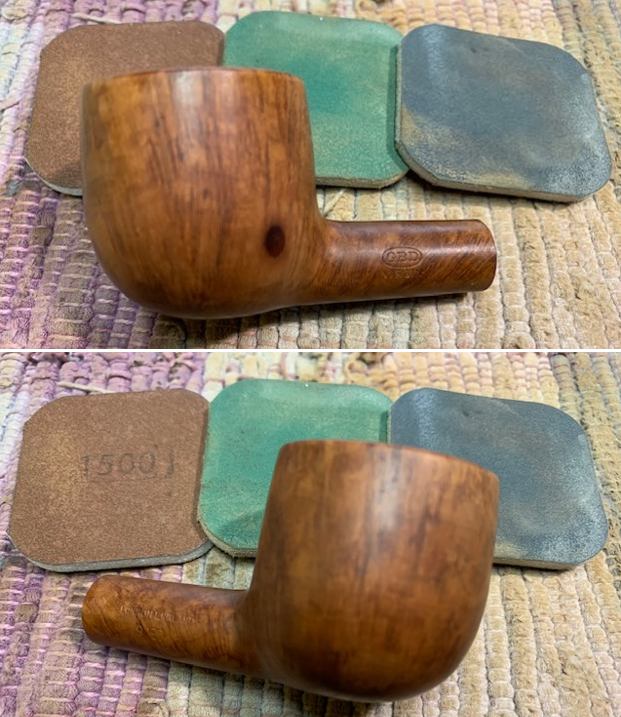
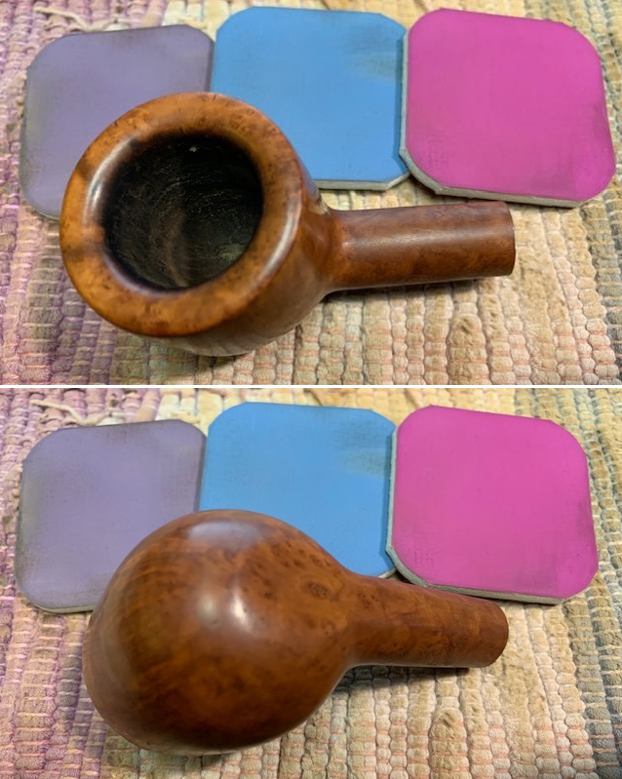
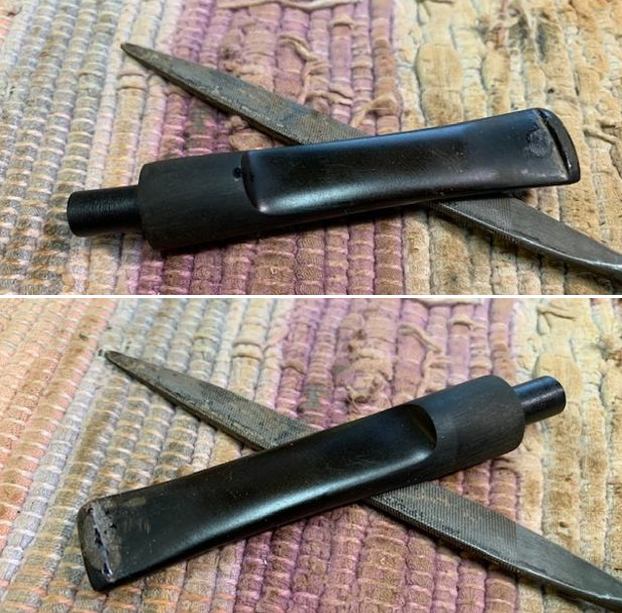
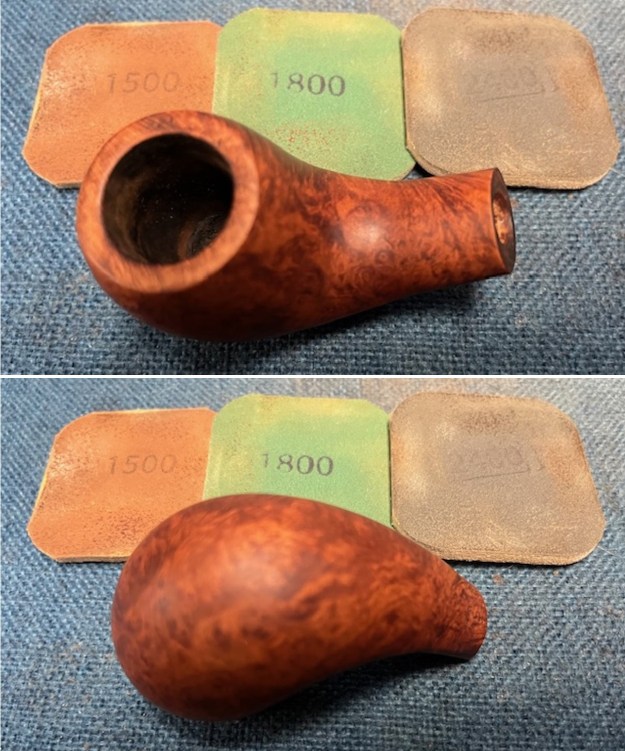
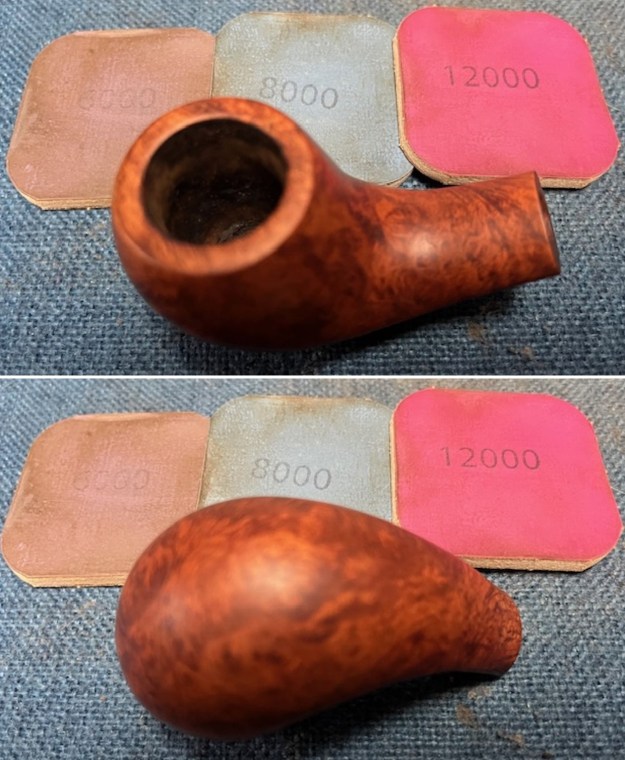
 I took photos of the condition of the rim top and stem before I started working. The rim top looks good and the bowl is clean. The stem is much better but still shows some light tooth chatter and marks on both sides near the button.
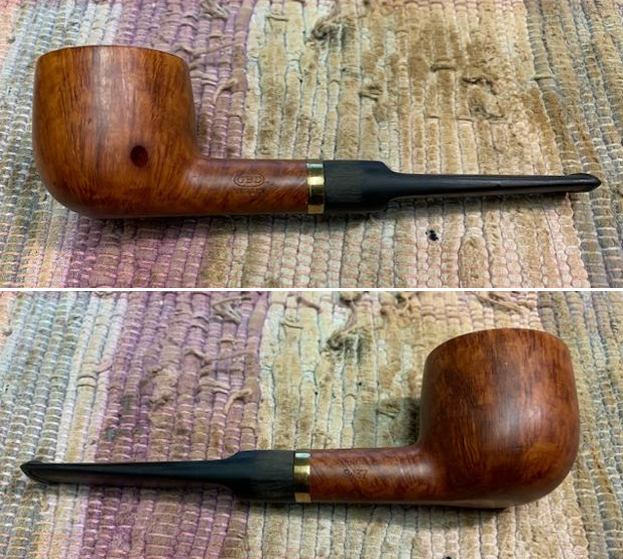
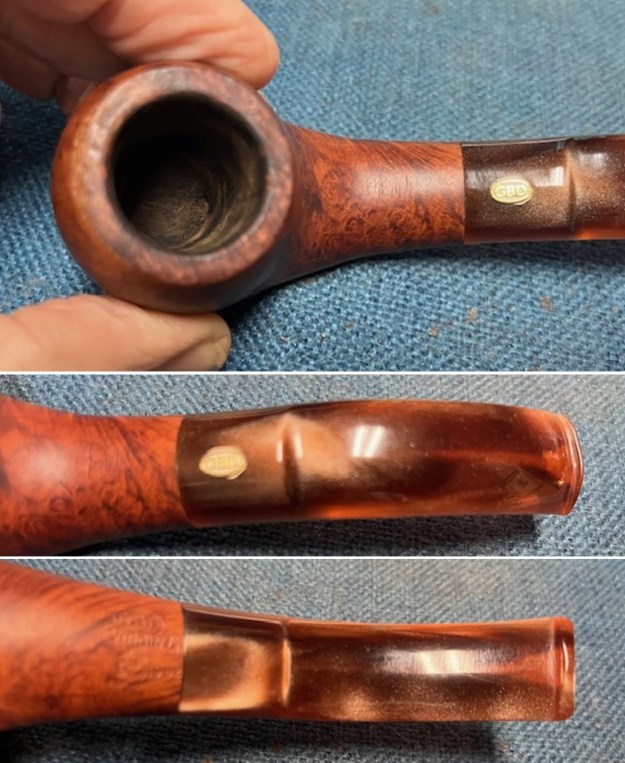 I took photos of the stamping on the sides of the shank. The stamping was clear and readable as noted above. I took the bowl and stem apart and took a photo of the pipe to show the look of the pipe.
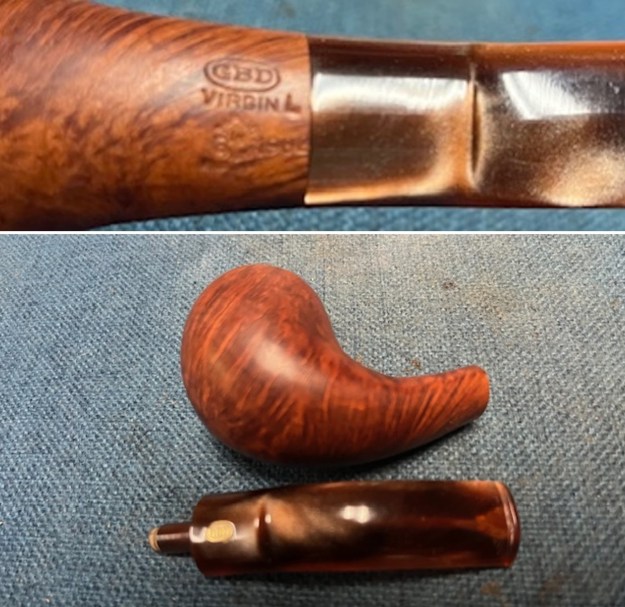 Now it was my turn to work on the pipe. I sanded the bowl and rim top with 320-3500 grit 2 inch sanding pads. I wiped the bowl down with a damp cloth to remove the sanding debris.
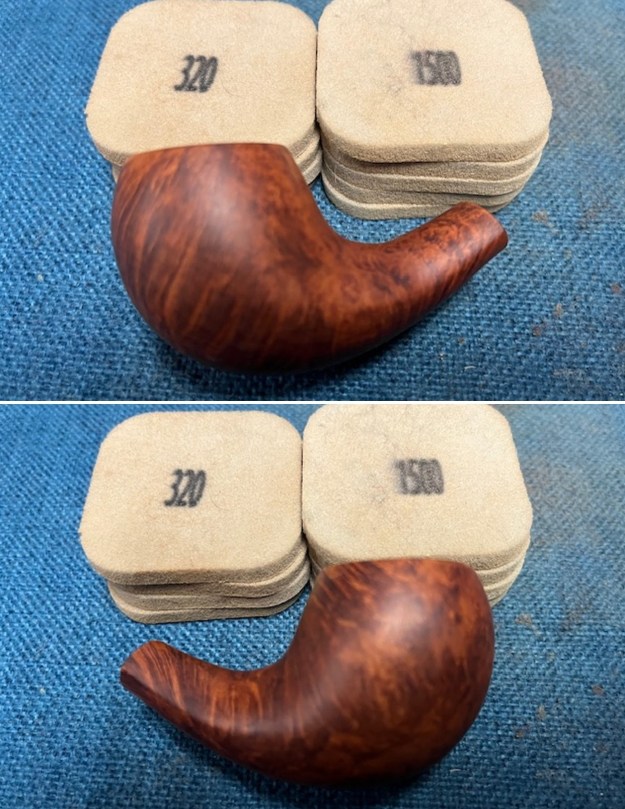
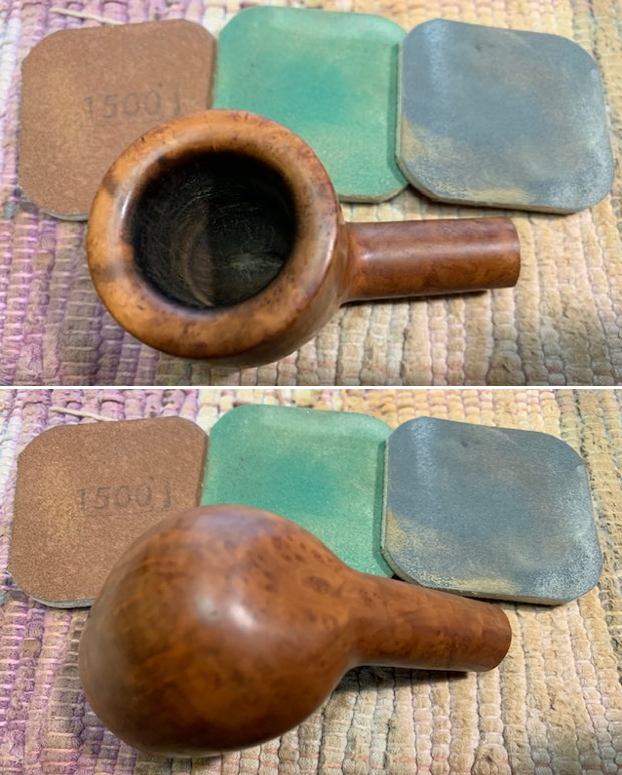
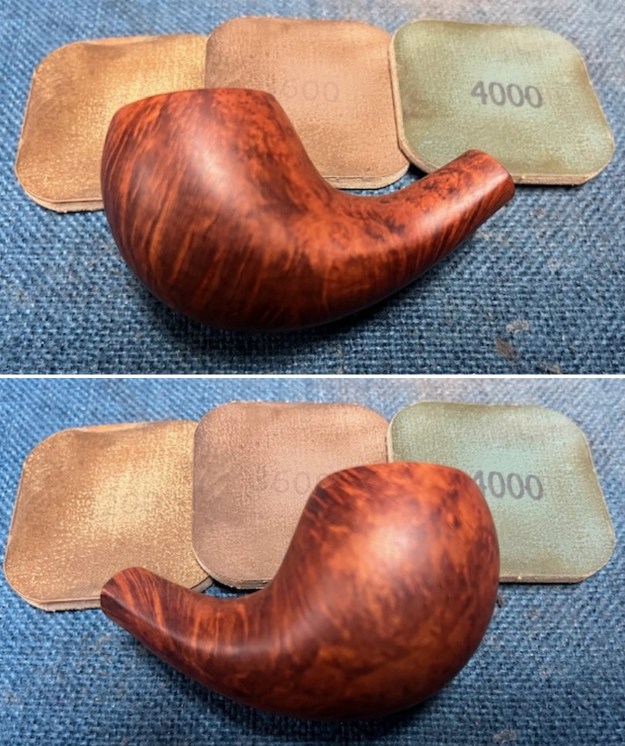
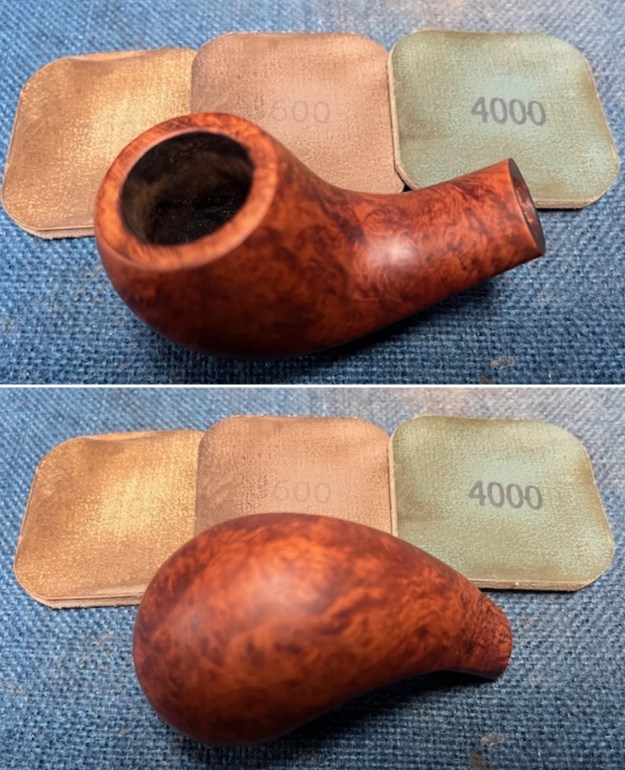
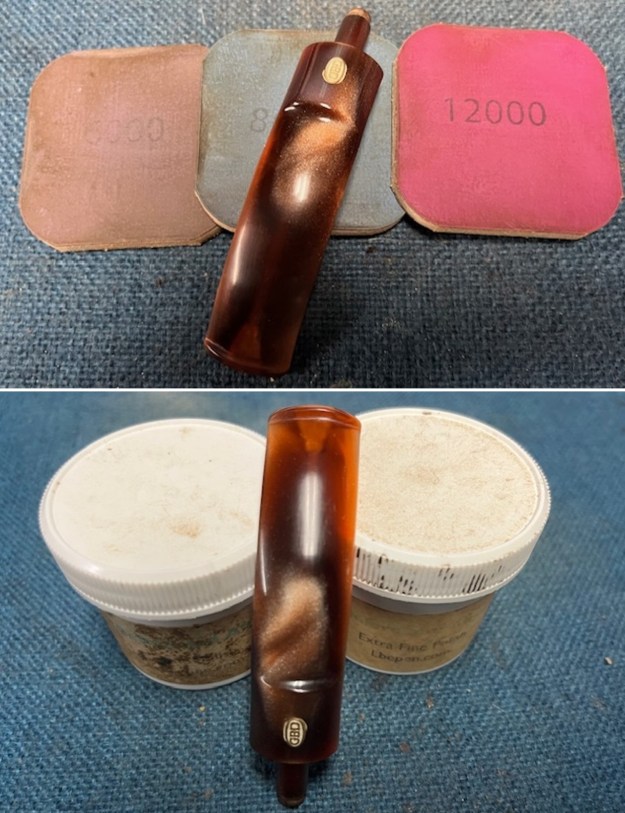
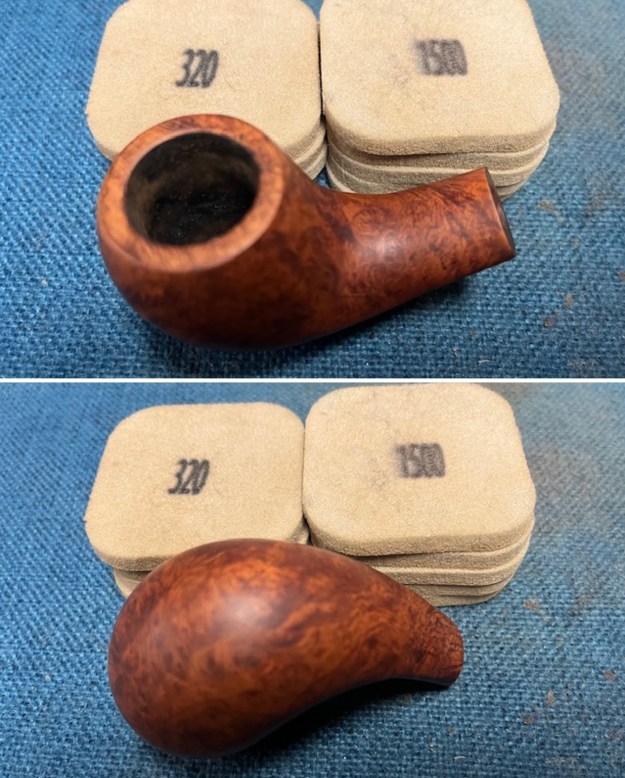 I polished the briar with micromesh sanding pads – dry sanding with 1500-12000 grit pads. I wiped the bowl down after each pad with a damp cloth to remove the debris.
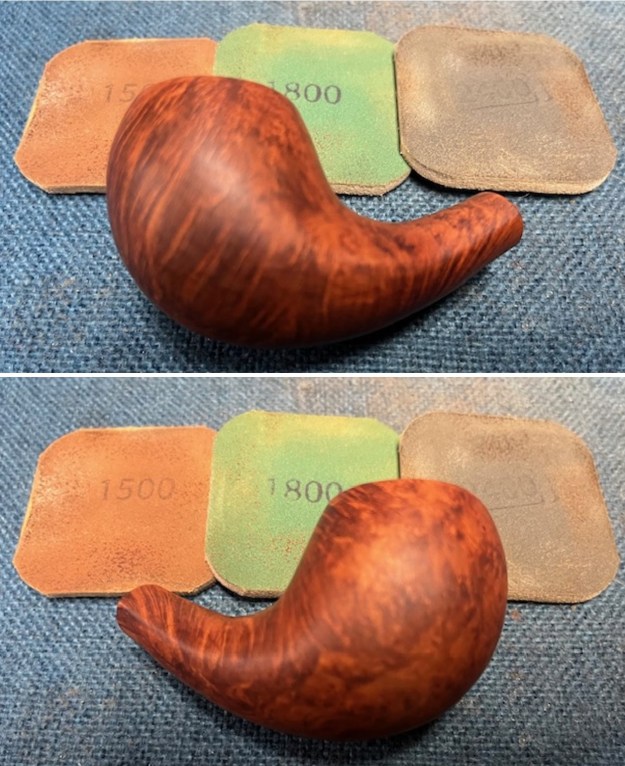
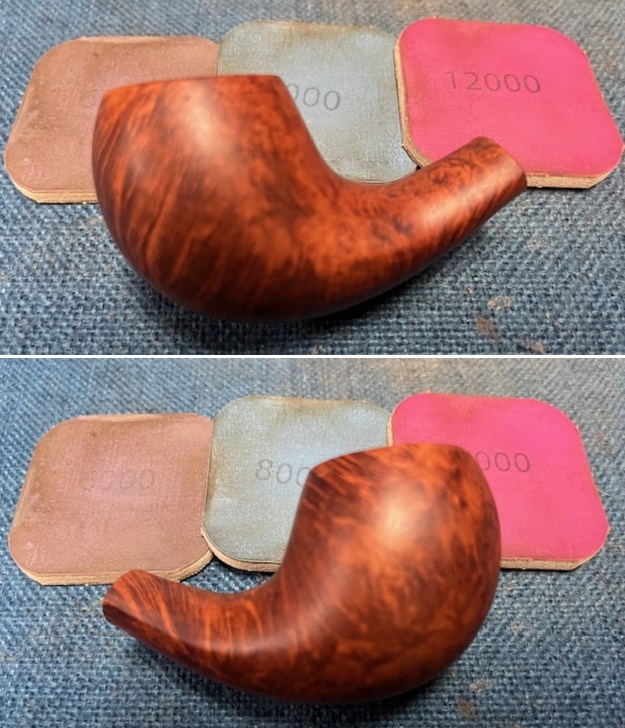
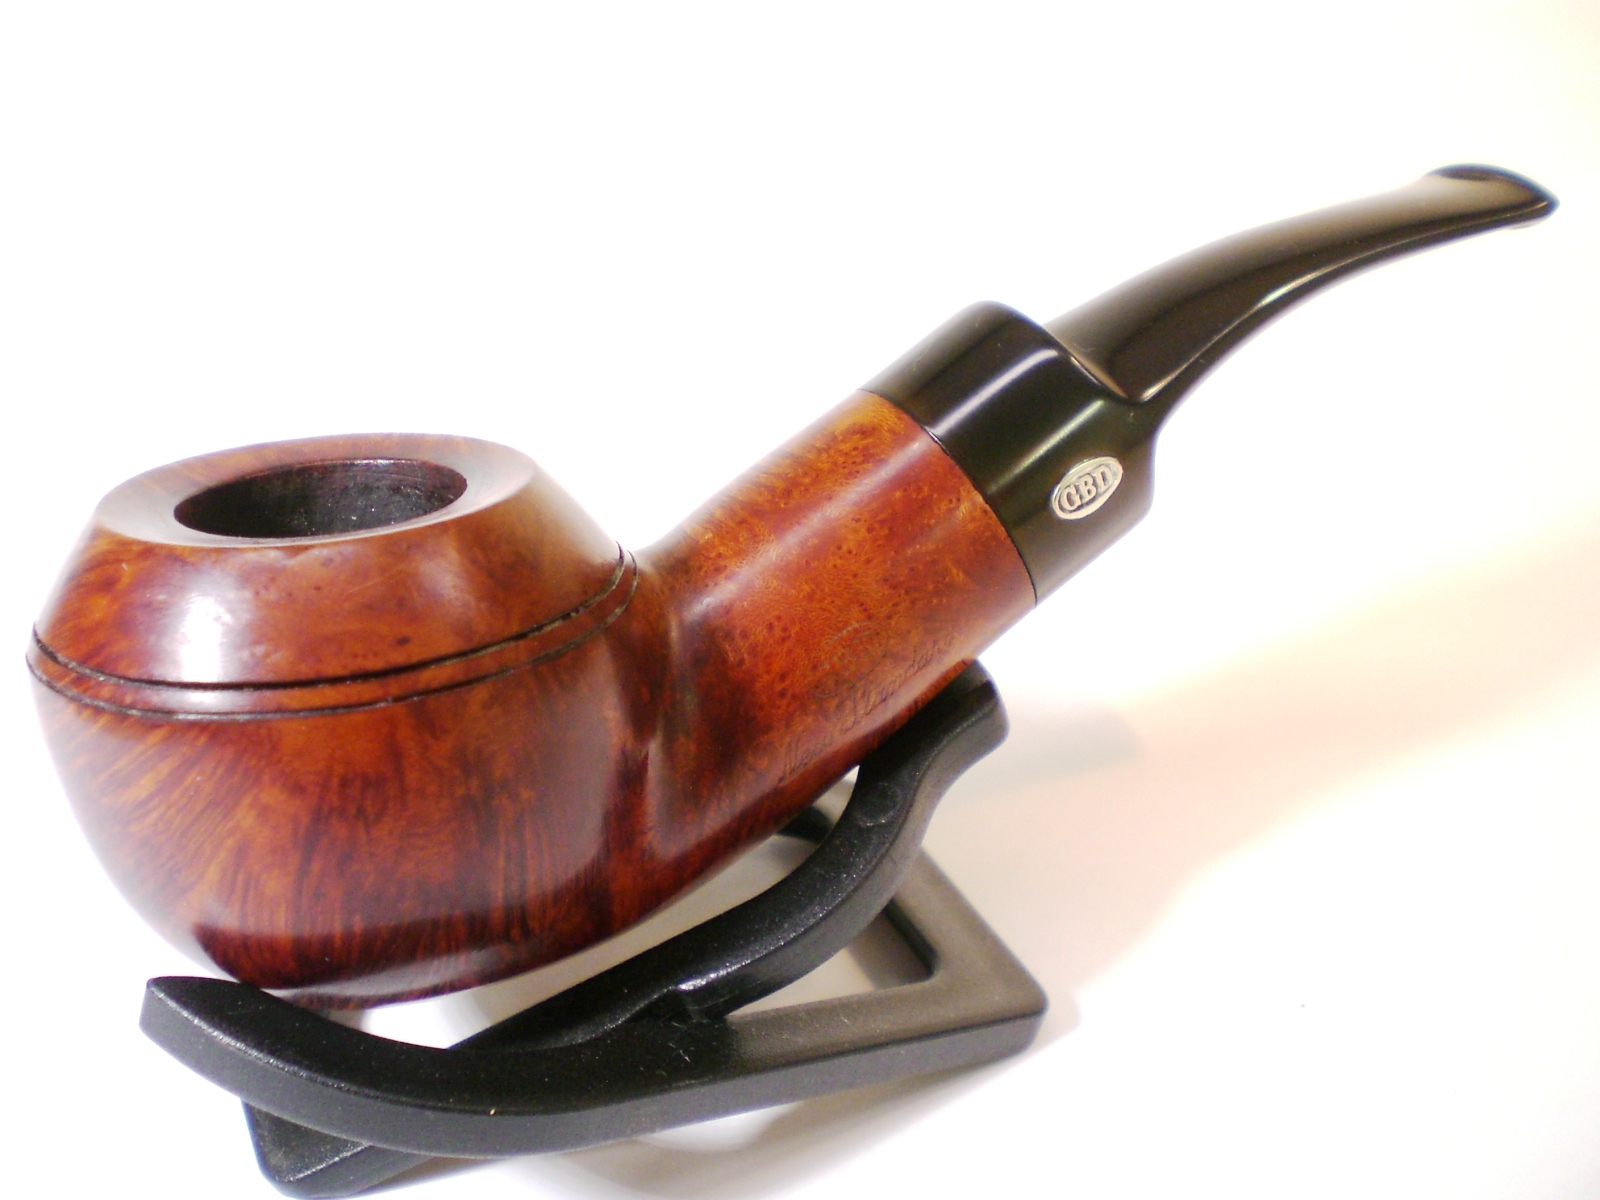
 I worked some Before & After Restoration Balm into the finish of the bowl, rim top and shank with my fingertips to clean, enliven and protect it. I find that the balm really makes the briar come alive again. The contrasts in the layers of stain really made the grain stand out. I let the balm sit for 15 minutes and then buffed with a cotton cloth to raise the shine. The bowl really looks good at this point.
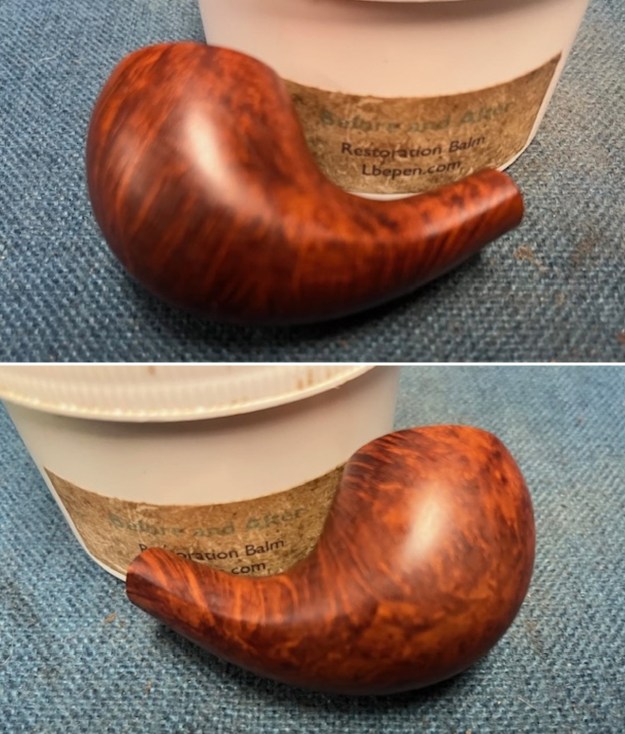
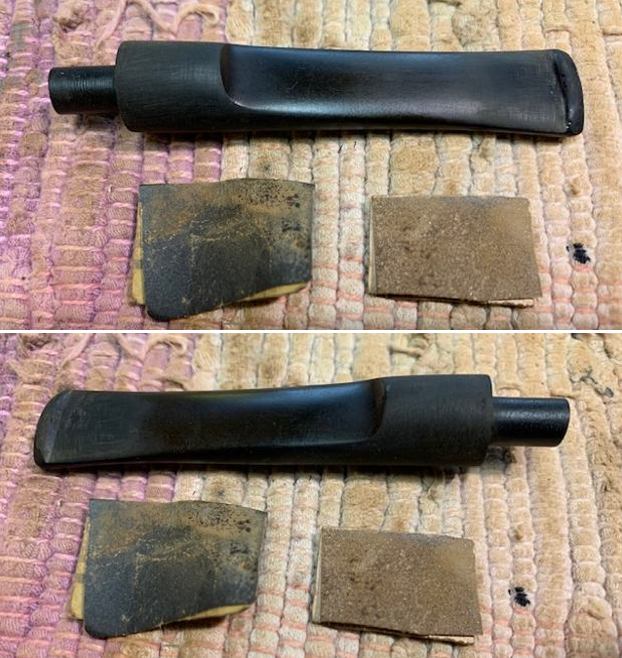
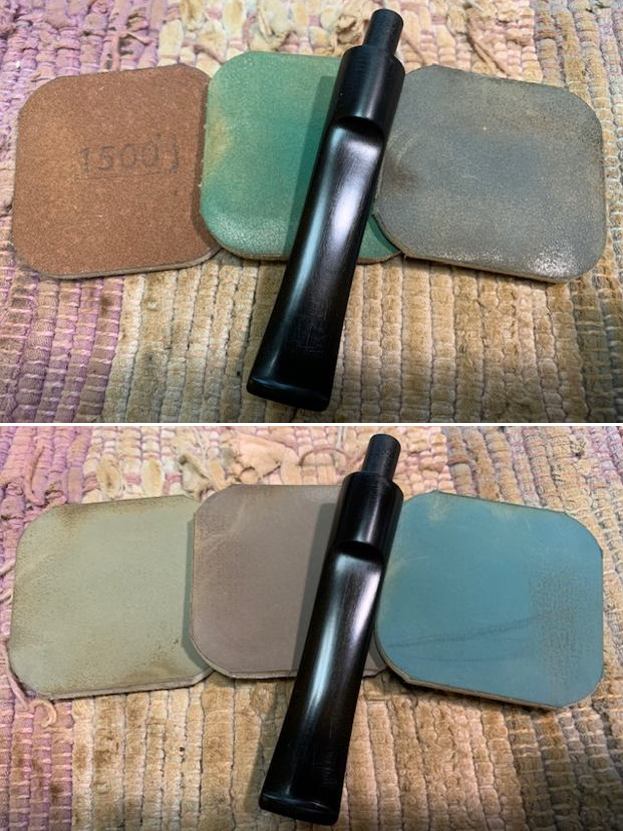
 I sanded the stem with 320-3500 grit sanding pads to blend in the tooth chatter and marks. I wiped the stem down after each pad with an Obsidian Oil saturated cloth to remove the grime and protect the stem.
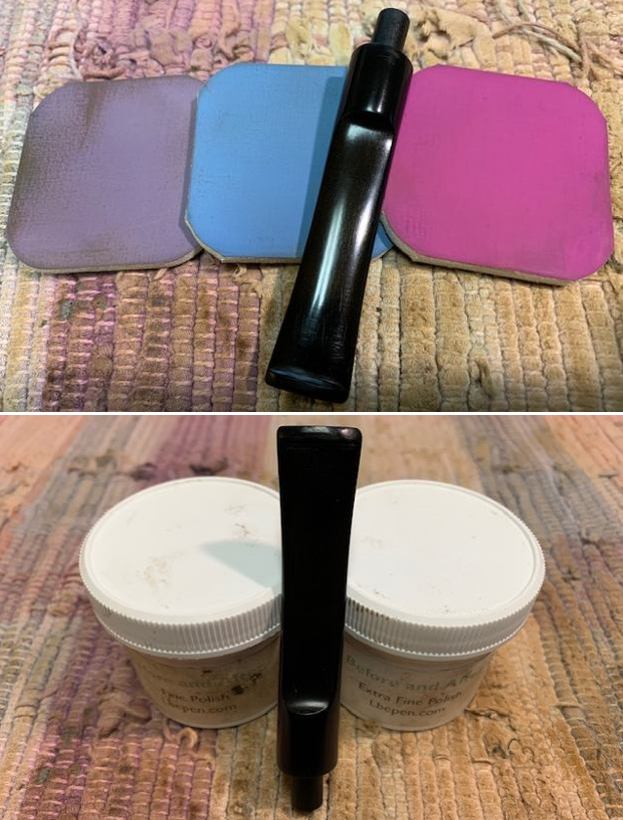
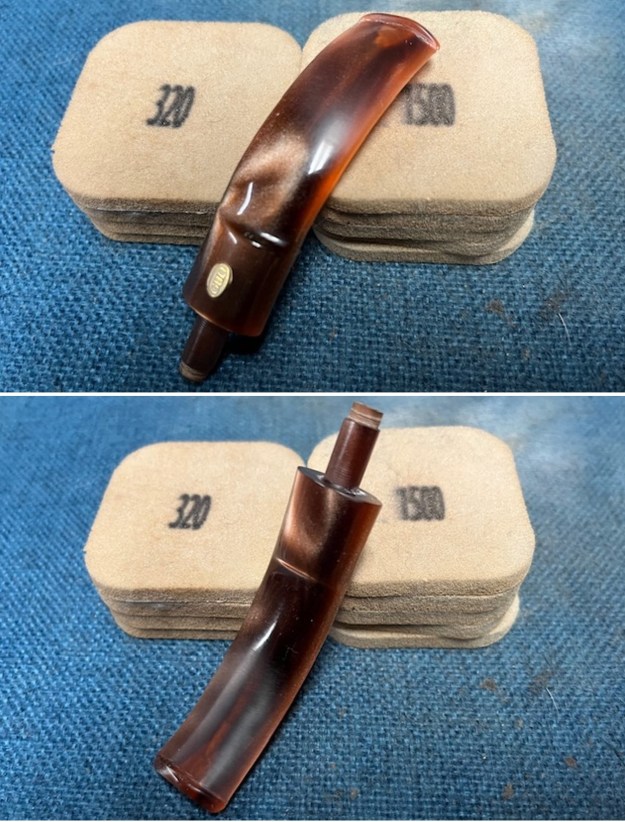 I polished the stem with micromesh sanding pads – wet sanding it with 1500-12000 grit pads. I polished it further with Before & After Pipe Stem Polish – both fine and extra fine. I wiped it down again with some Obsidian Oil and let it sit and dry.
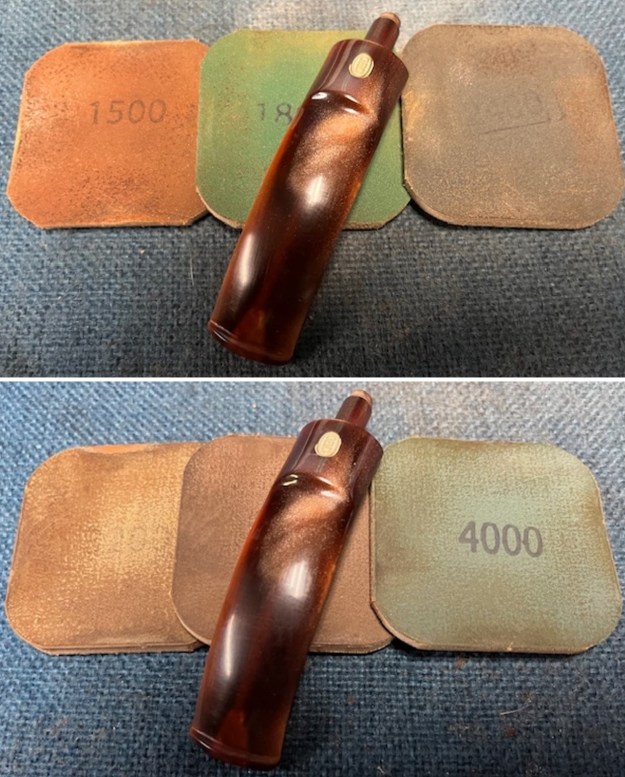
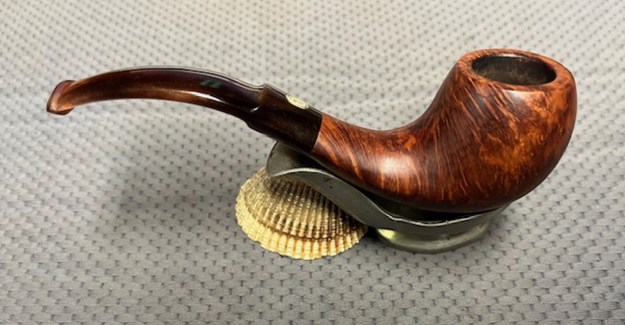
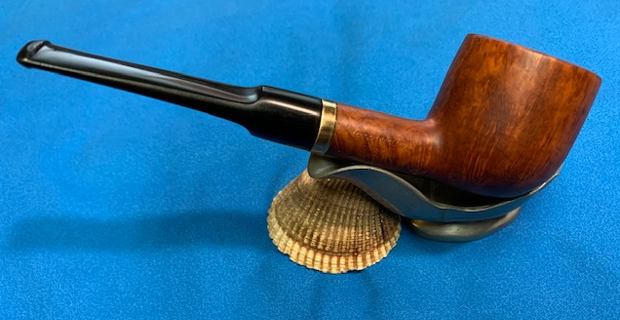
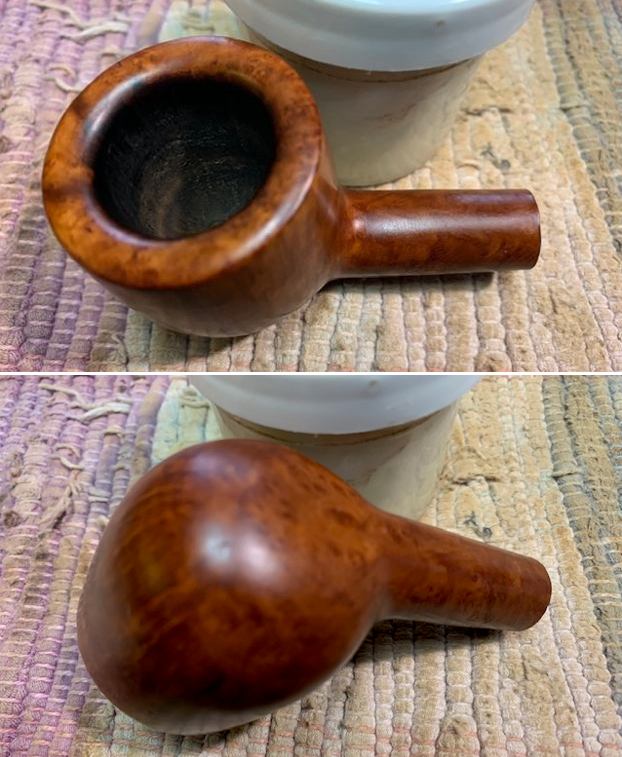
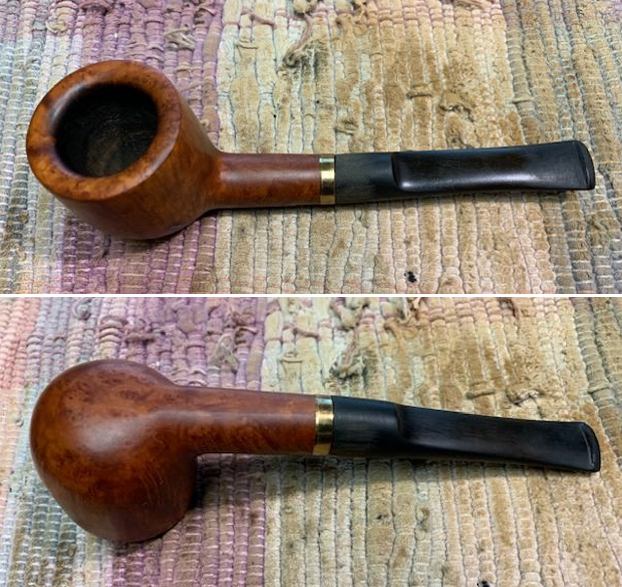
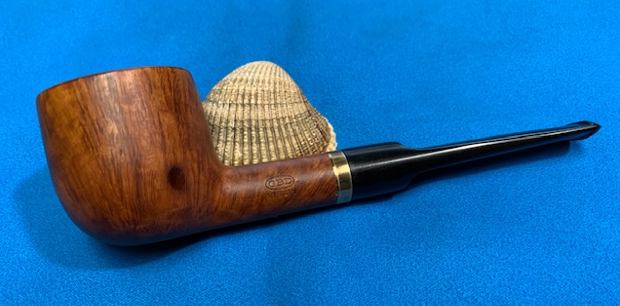
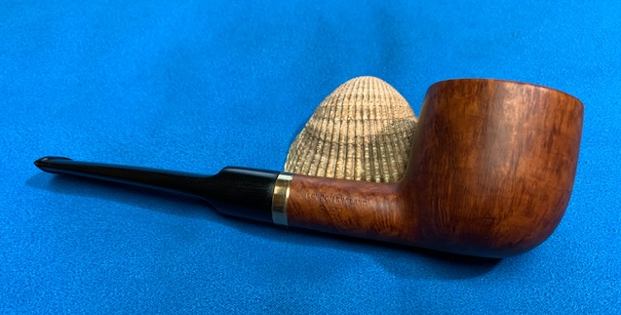
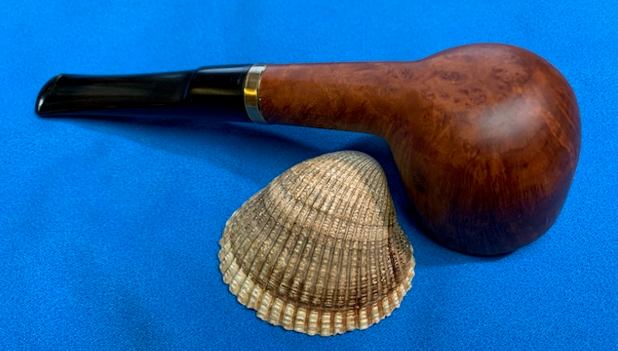
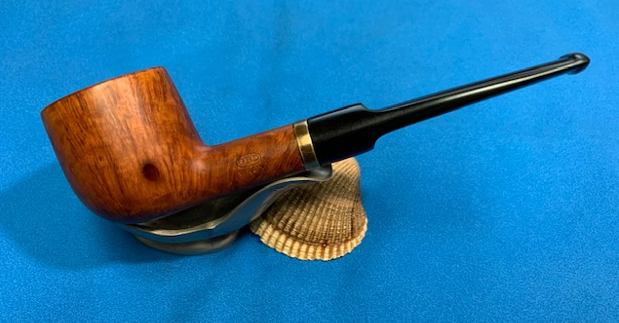
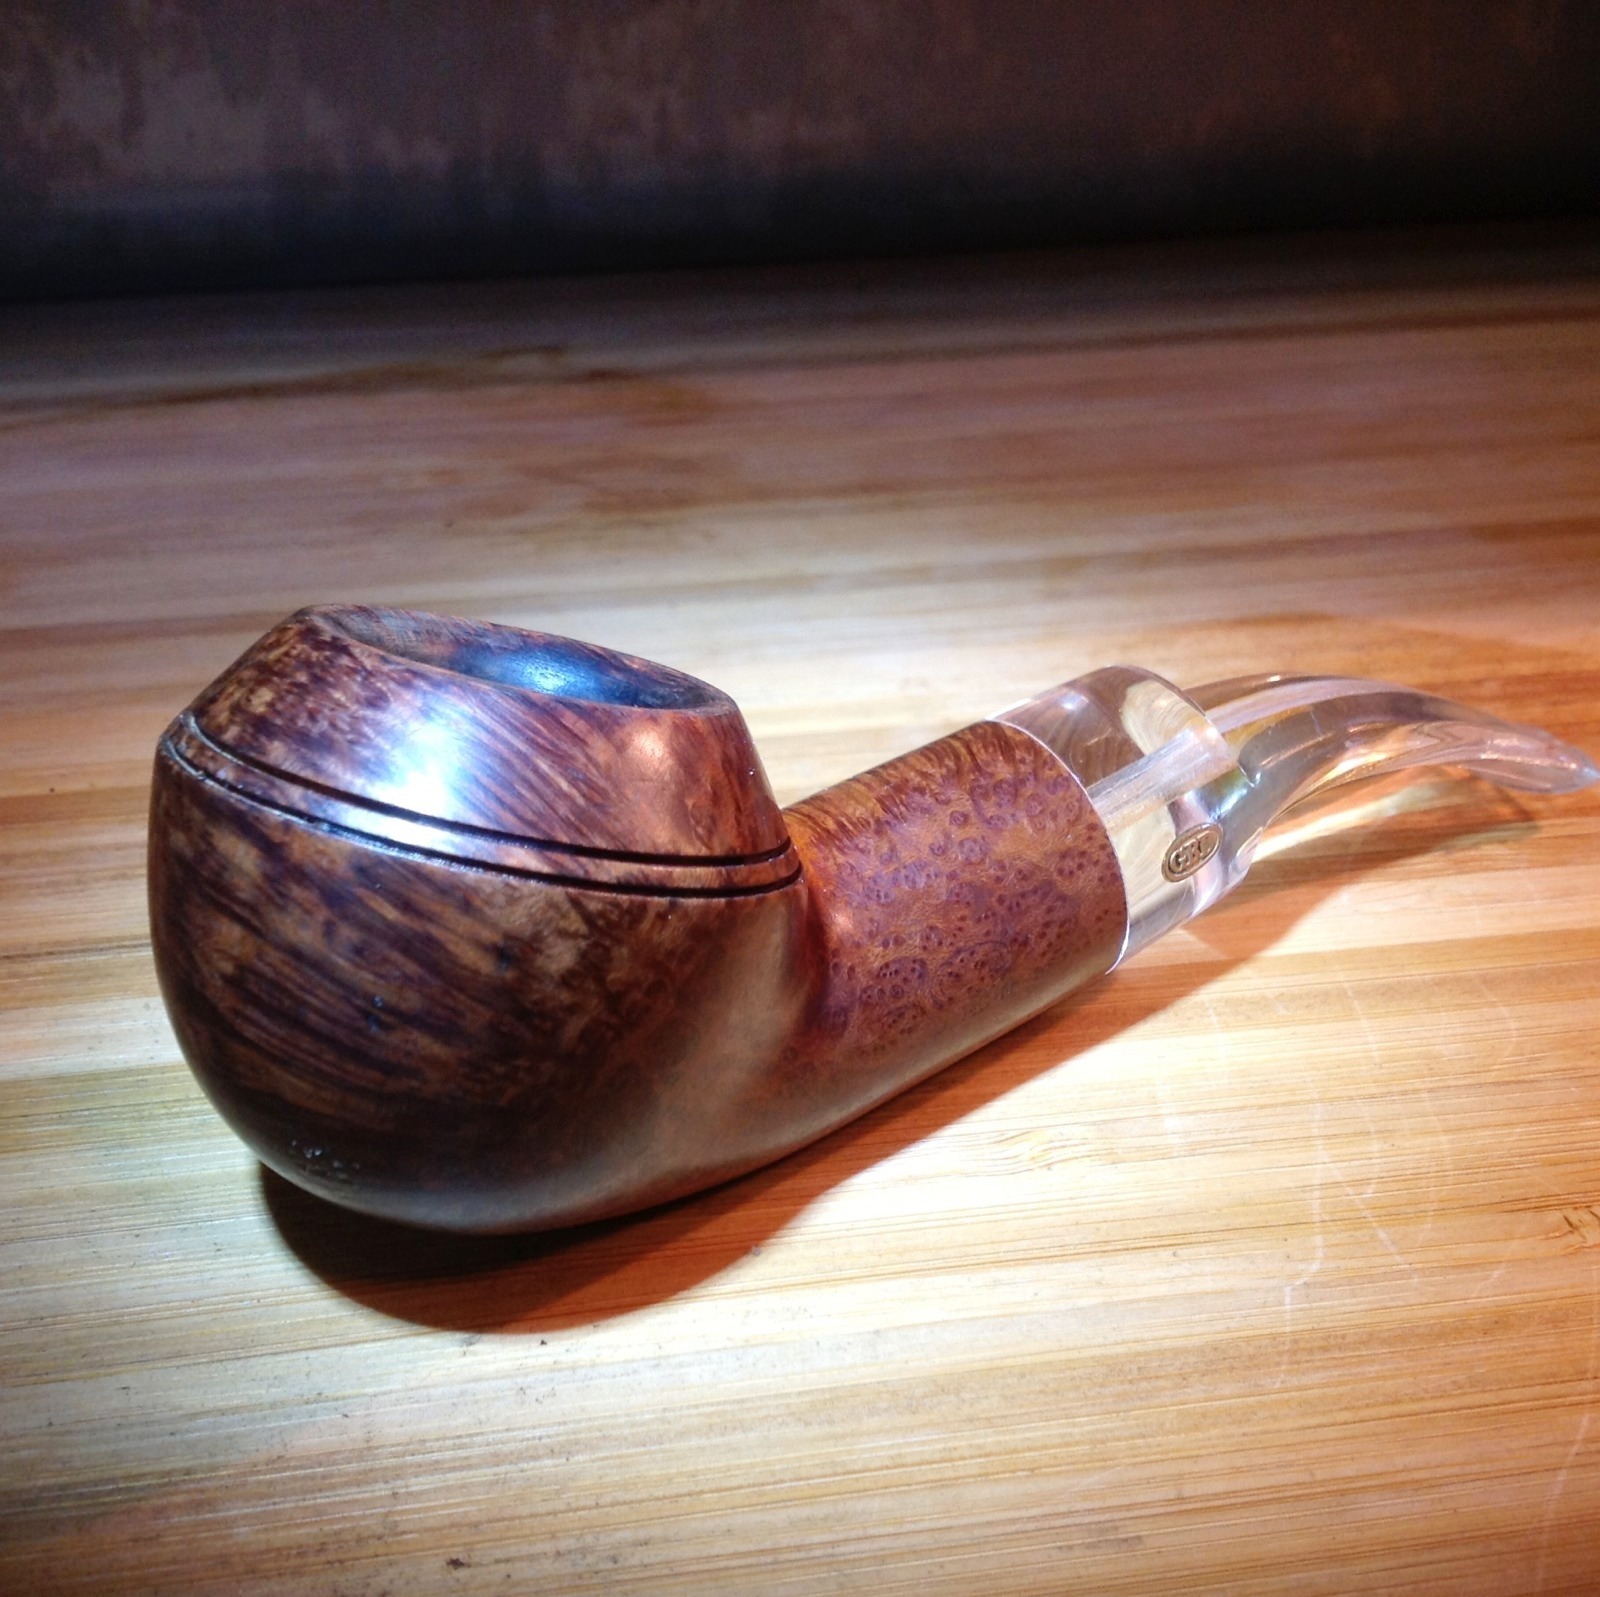
 I always look forward to the moment when all the pieces are put back together. The GBD Virgin Bent Apple makes a final trip to the buffing wheel and is met first with Blue Diamond polish on the buffing wheel. That is followed by multiple coats of carnauba wax over the whole pipe. Then I do a step that not everyone does but I learned from one of the old pipe men who no longer with us, I buff the pipe with a clean buffing pad to raise the shine. Finish my buffing by hand with a microfiber cloth to deepen the shine. It is fun to see what the polished bowl looks like with black vulcanite stem. This richly stained 1982 GBD Virgin L Bent Apple is light weight and ready for you to load up a tobacco of preference and enjoy. Have a look at it in the photos below. The dimensions are Length: 5 ½ inches, Height: 1 ½ inches, Outside diameter of the bowl: 1 ¼ inches, Chamber diameter: ¾ of an inch. The weight of the pipe is 48 grams/1.69 ounces. This is one that will go on the British Pipemakers Section of the rebornpipes online store shortly. Let me know if you are interested in adding it to your rack. Thanks to each of you who are reading this blog. Remember we are not pipe owners; we are pipemen and women who hold our pipes in trust until they pass on into the trust of the next generation.