by Steve Laug
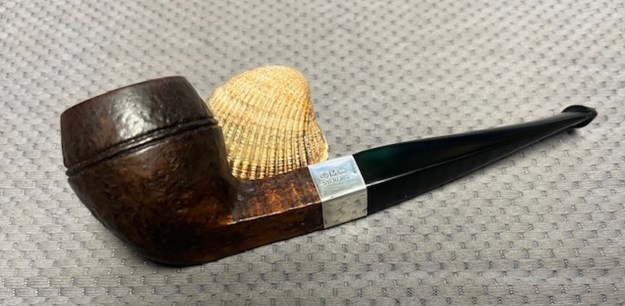
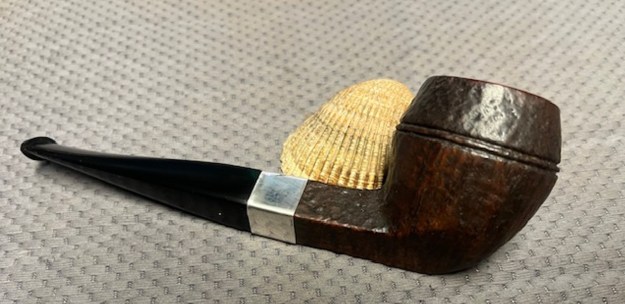
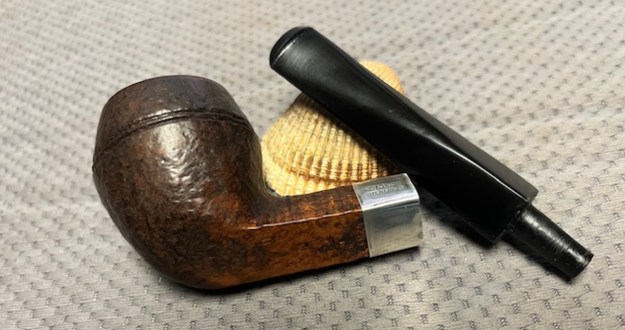
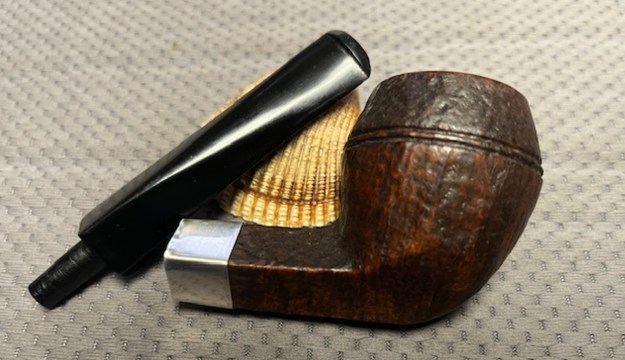
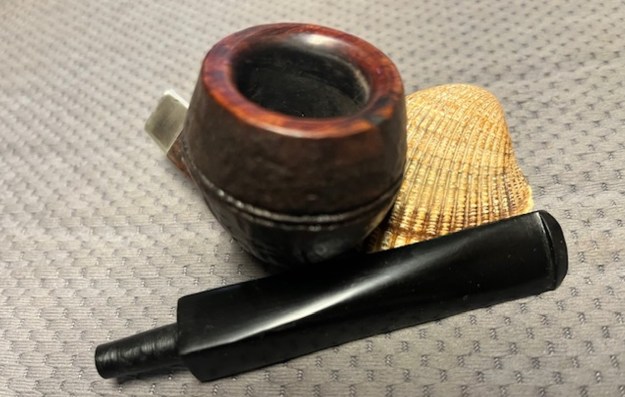
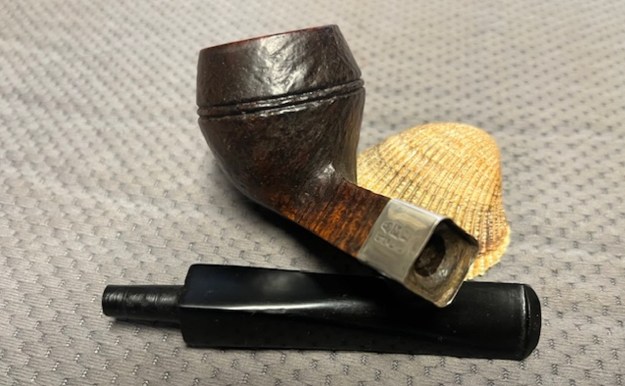
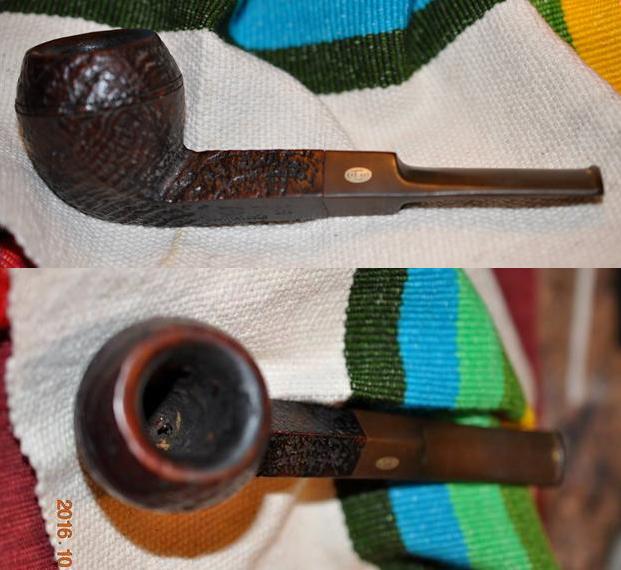
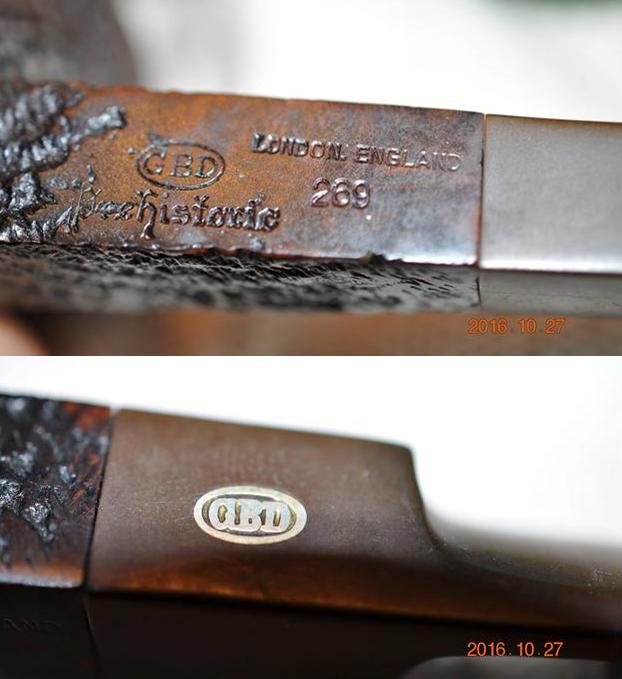
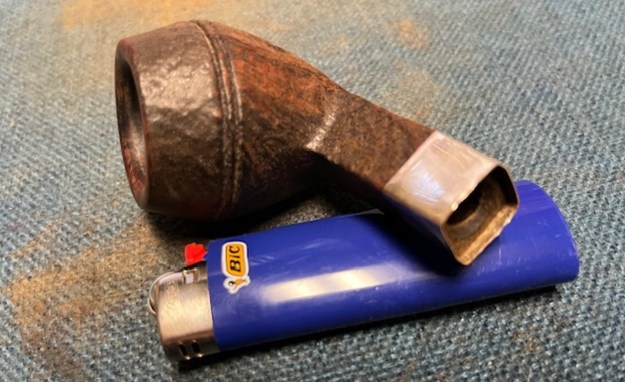
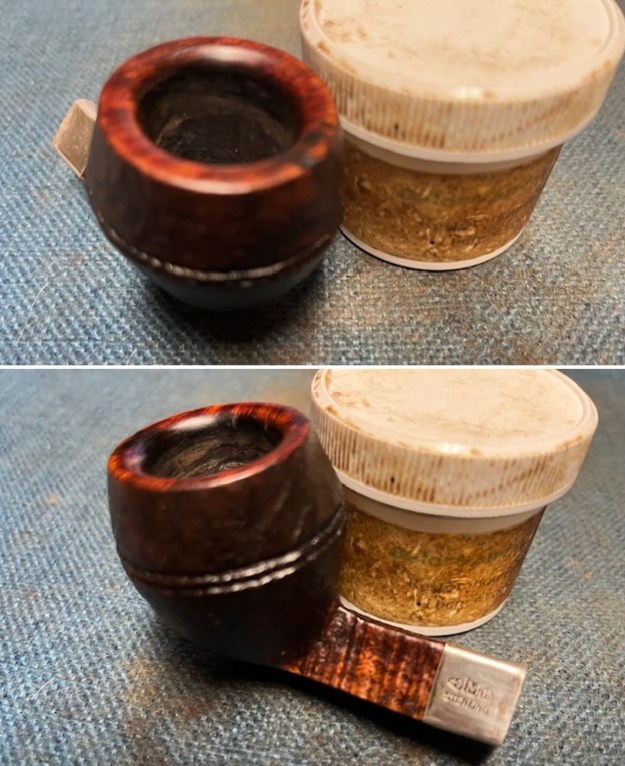
The next pipe on the work table was another bowl I had sitting in the box. This one was a nice-looking bulldog with beveled rim top and a sandblast finish on the bowl. There was a very faint stamp on the left underside of the shank. It had the GBD oval logo [followed by] Prehistoric [over] Made in England. The bowl had been reamed and cleaned. Jeff had thoroughly cleaned it before it went in the box. The rim top was smooth and other than a few small nicks was in good condition. The twin rings around the cap were also perfect. The sandblast finish was worn and the stain was faded. The shank had a crack on the right and the left top side. I had an old silver band that would fit the diamond shank well. I was so excited to fit the band on the shank that I did not take any before photos. I did however take photos of the band once it was in place on the shank. I heated it with the flame of a lighter and pressed it onto the shank end. The band is oxidized and is stamped with three hallmarks – an anchor, an M and a rampant lion [over] Sterling.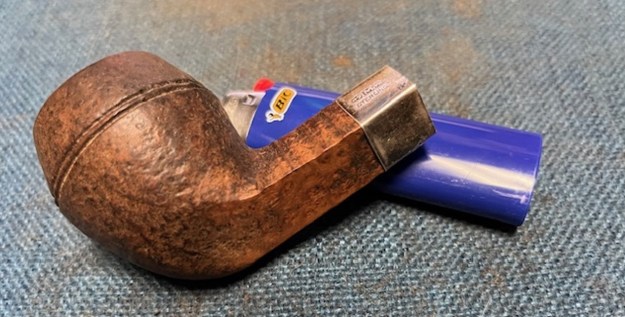
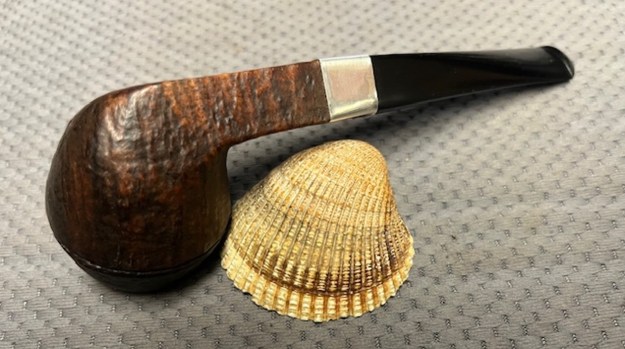
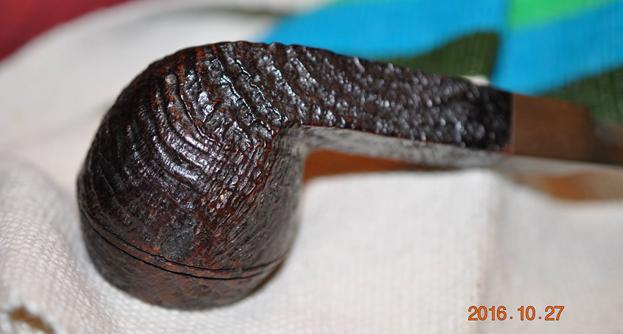
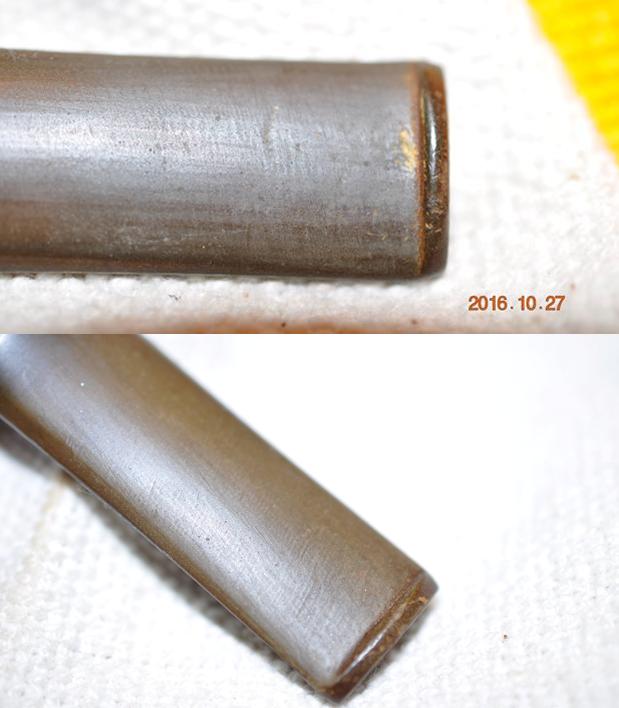
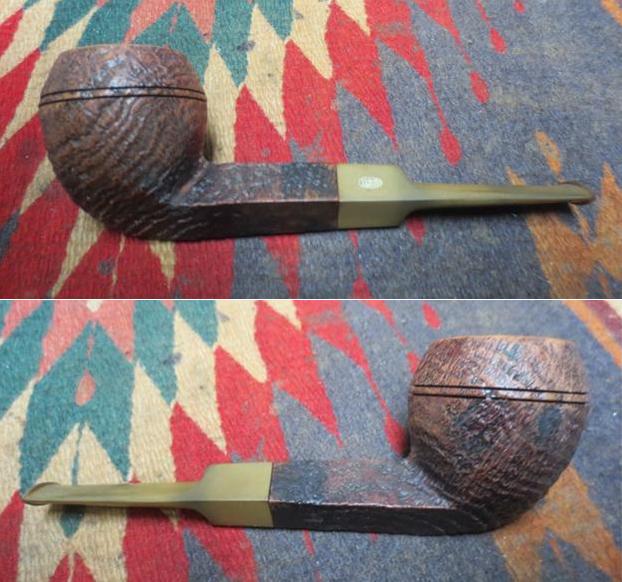
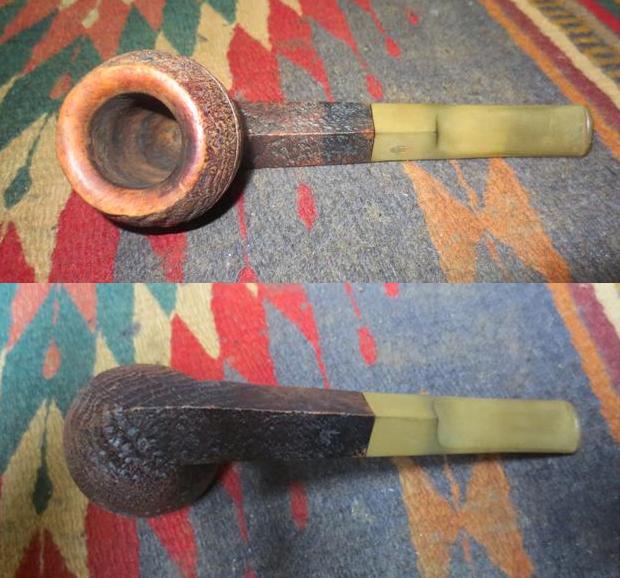
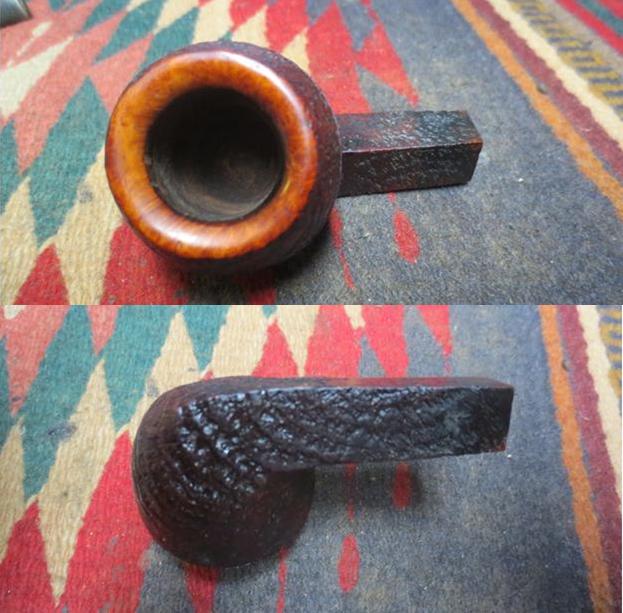
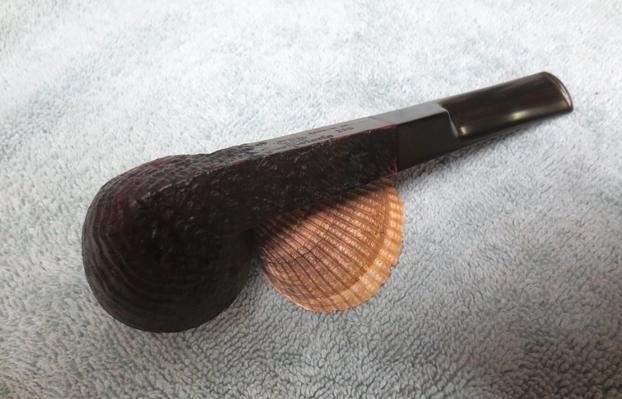
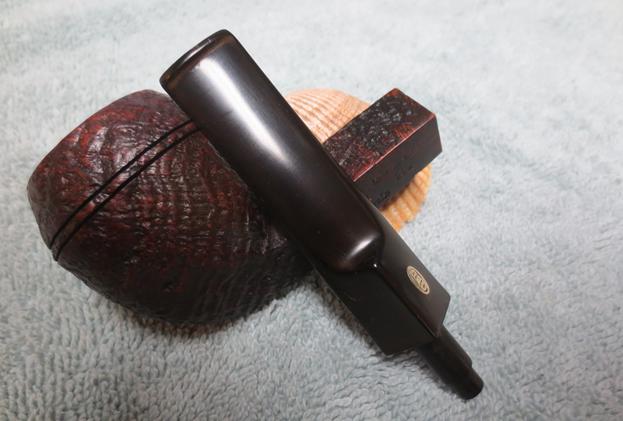
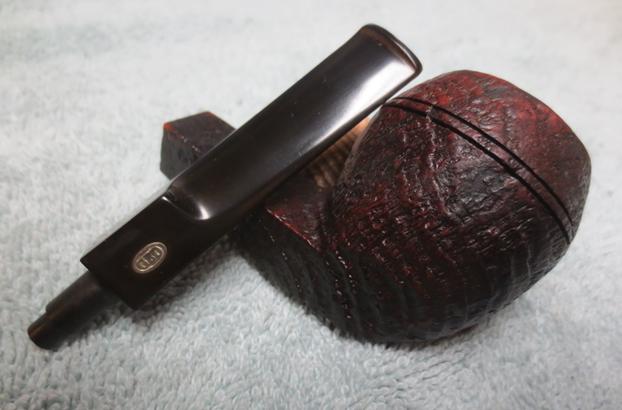
 I went through my can of stems and found a nice diamond taper stem that was unused. The tenon had been worked on but the rest of the stem still had the casting marks and debris on the angles and the button. Only later did I figure out that it was a twin bore or bite proof stem. I really liked the look of it and with the banded bulldog it worked well. The photos also show the condition of the bowl at this point in the process.
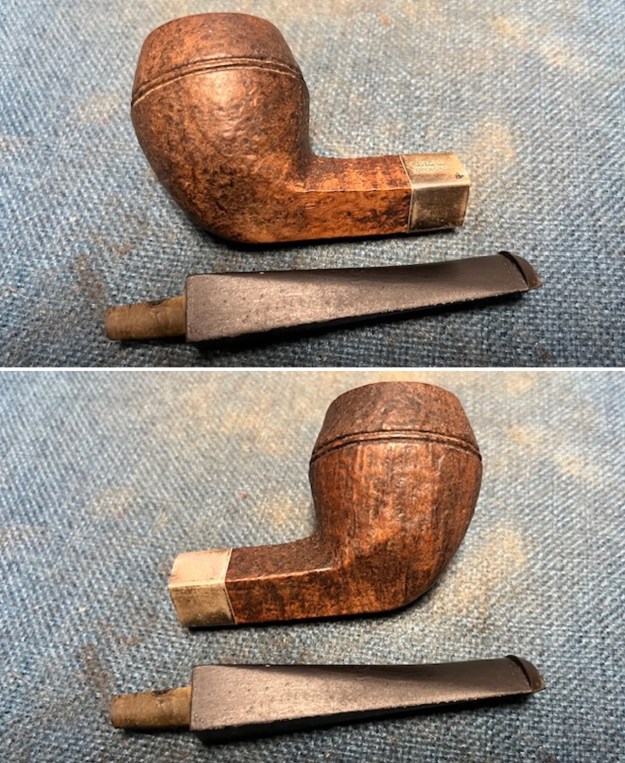
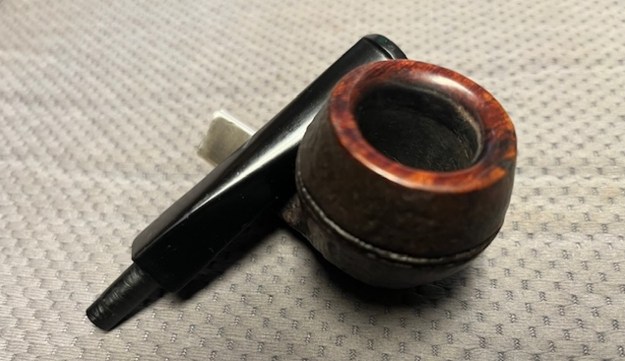
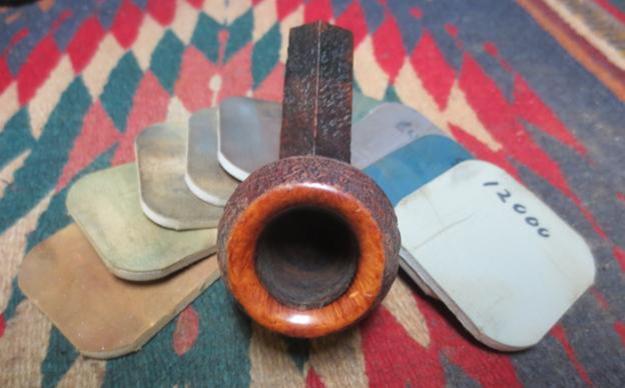
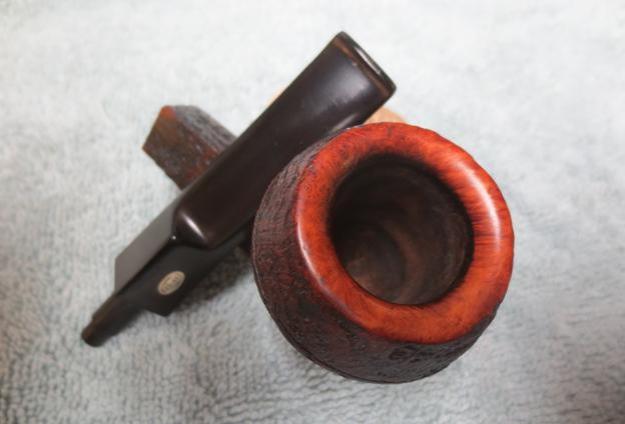
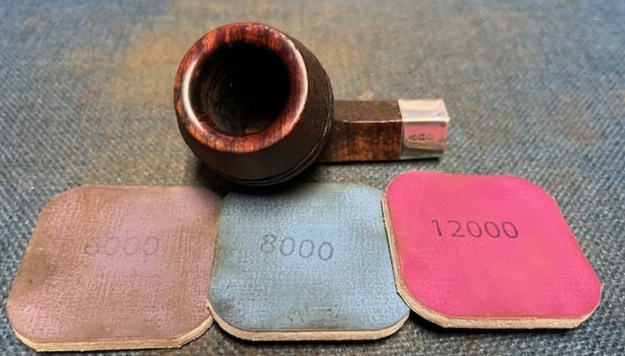
 I started on the bowl. I polished the smooth portions of the rim with micromesh sanding pads – dry sanding with 1500-12000 grit pads. I wiped the bowl down after each pad with a damp cloth. It really began to take on a rich shine.
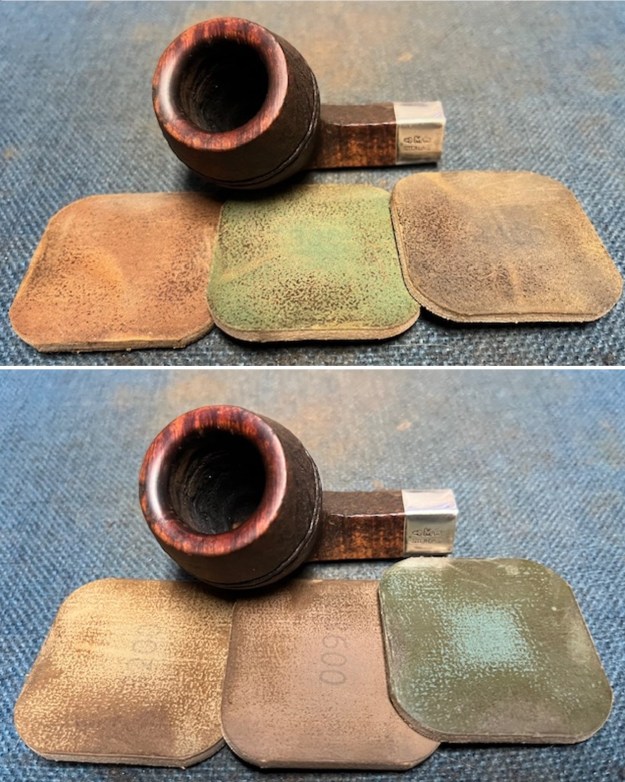
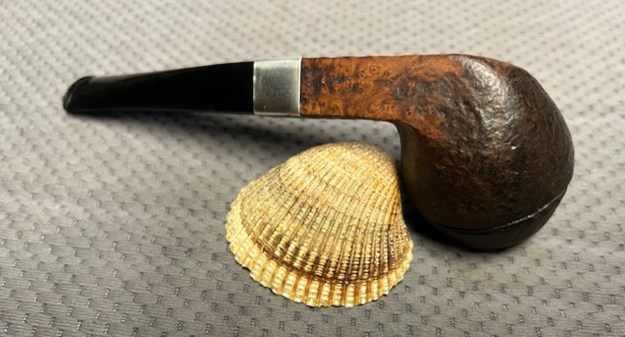
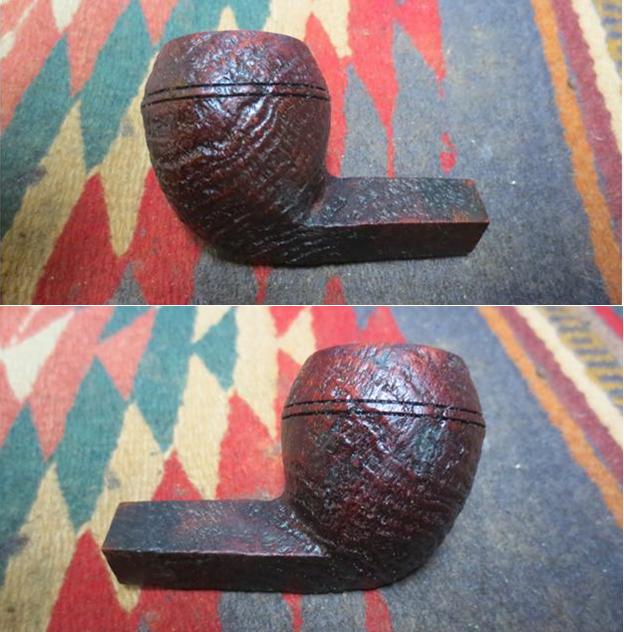
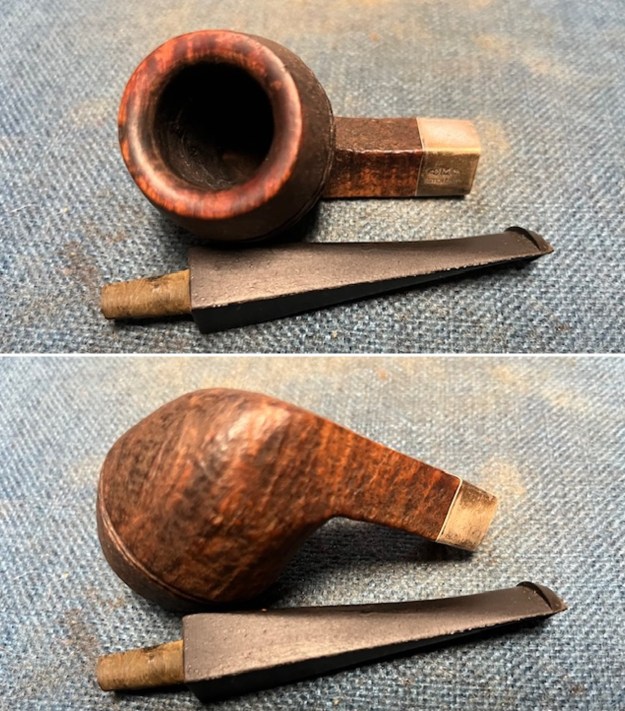
 I worked some Before & After Restoration Balm into the surface of the briar with my finger tips and a shoe brush to get into the depths of the sandblast on the bowl and shank. The product works to clean, enliven and protect the briar. I let the balm sit for 15 minutes and then buffed with a cotton cloth to raise the shine. The photos show the bowl at this point in the restoration process.
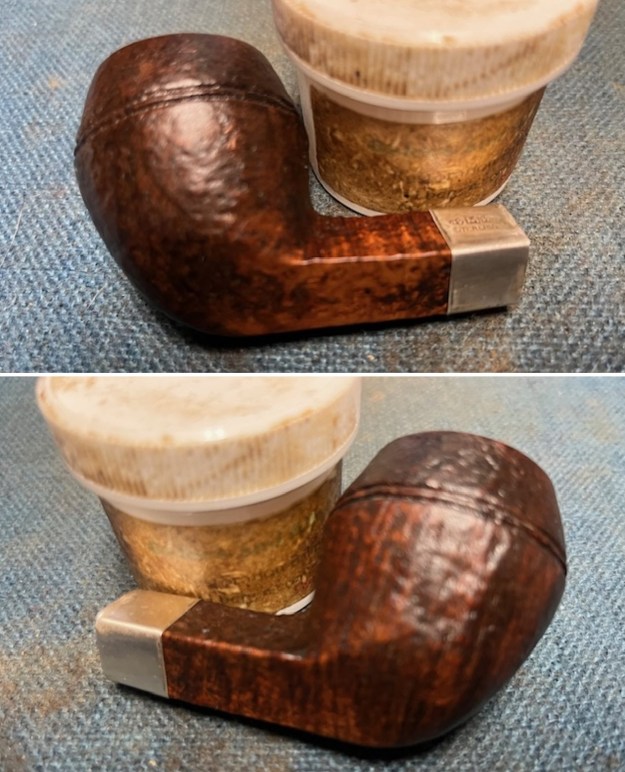
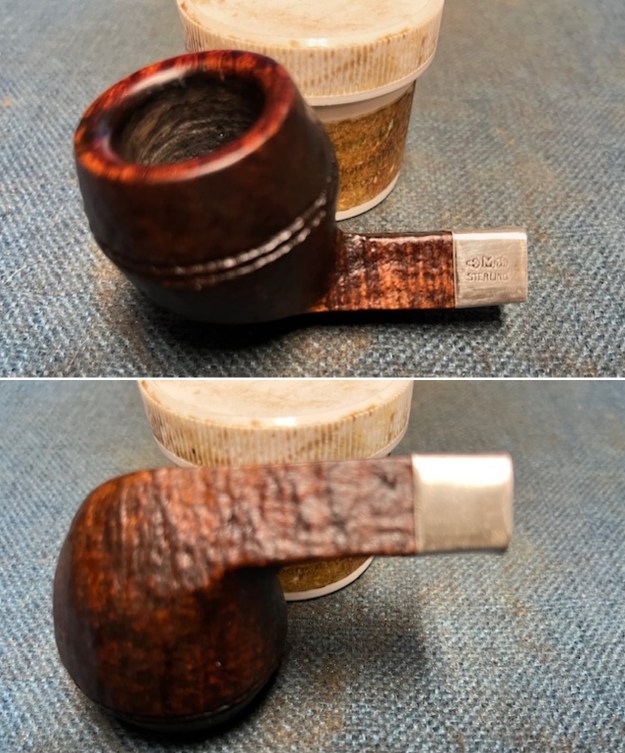
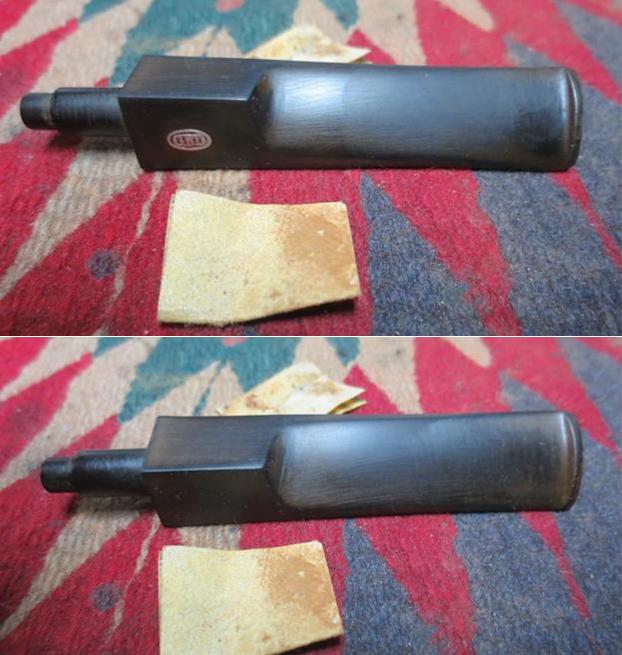
 I polished the silver band with 1500-3000 grit micromesh sanding pads and then finished with a jeweller’s cloth to raise the shine and protect it from further oxidation.
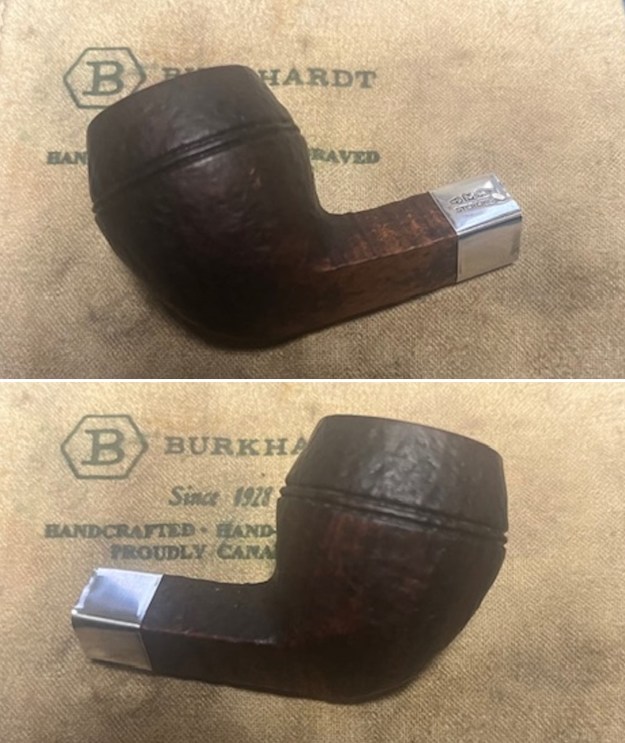
 I set the bowl aside and turned to the stem. I used the Dremel and sanding drum to clean up the tenon angles and smooth them out. I also used it to remove the excess vulcanite on the shank end of the diamond stem. I was excited and totally forgot to take any photos of the process. For that I apologize.
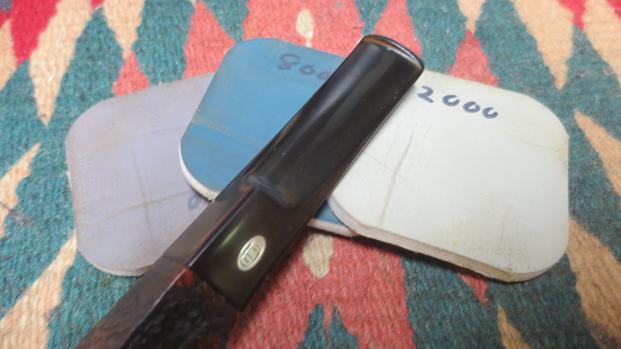
Once finished I sanded out the marks from the Dremel and the scratches with 220 grit sandpaper. I worked on it for quite a while to smooth out the surface and get the fit to the shank correct. I wiped the stem down with an Obsidian Oil cloth. 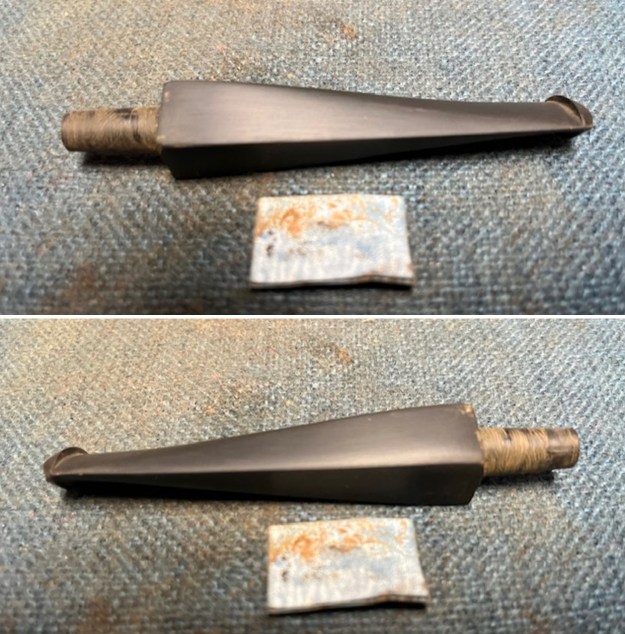 I sanded it with 320-3500 grit sanding pads to further blend down the sanding areas. I wiped the stem down between pads with an Obsidian Oil cloth to remove the sanding debris from the stem.
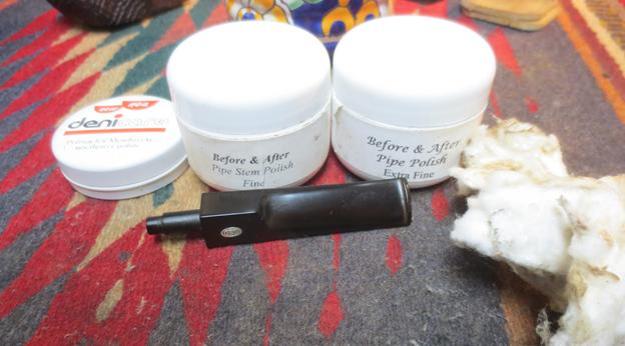
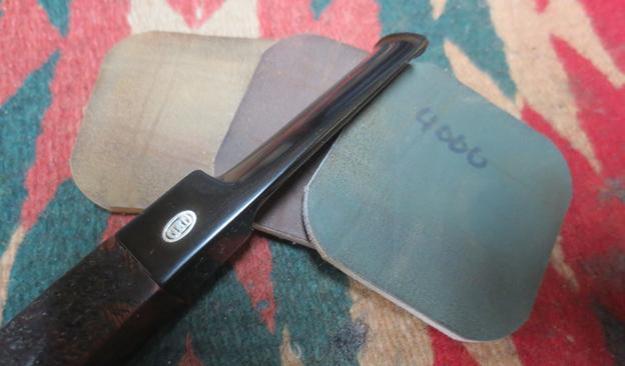
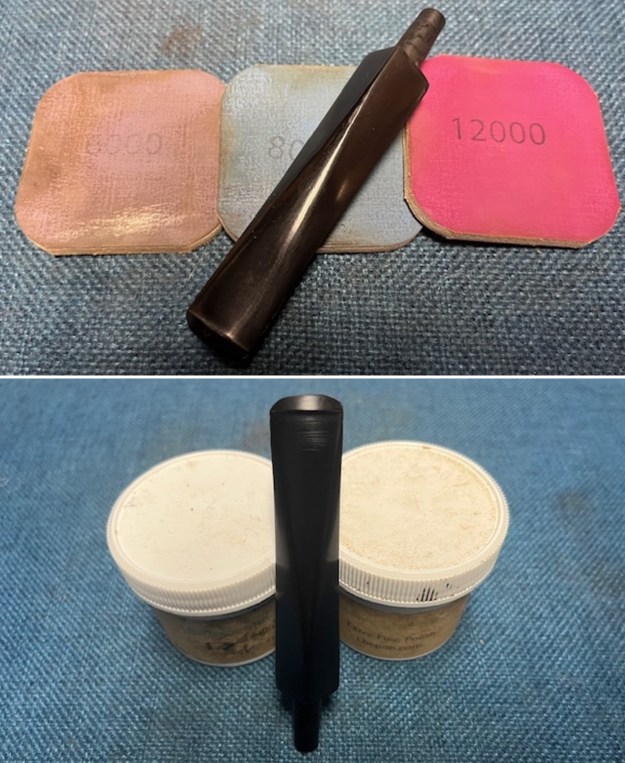
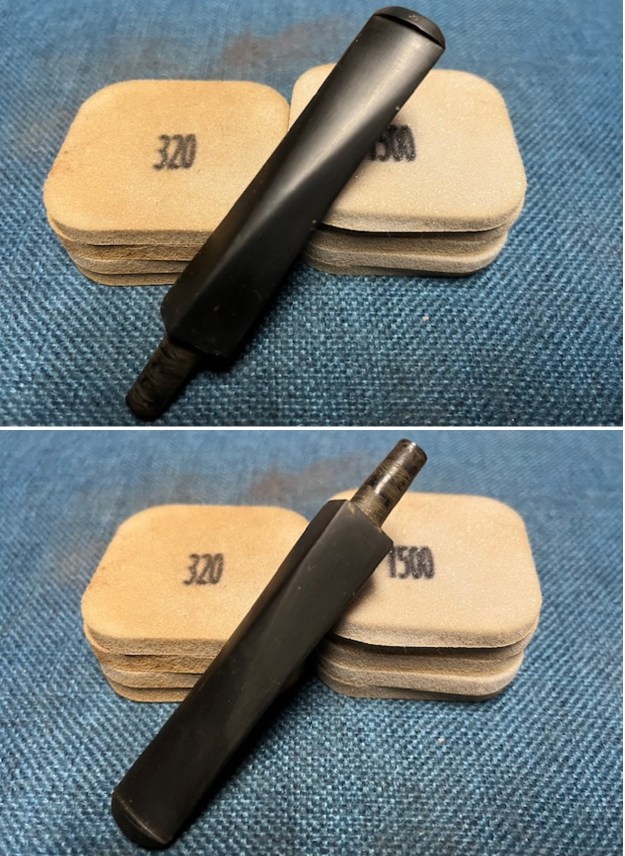 I polished the stem with micromesh sanding pads – dry sanding with 1500-12000 grit sanding pads. I wiped it down after each sanding pad with Obsidian Oil. I polished it with Before & After Pipe Stem Polish – both Fine and Extra Fine.
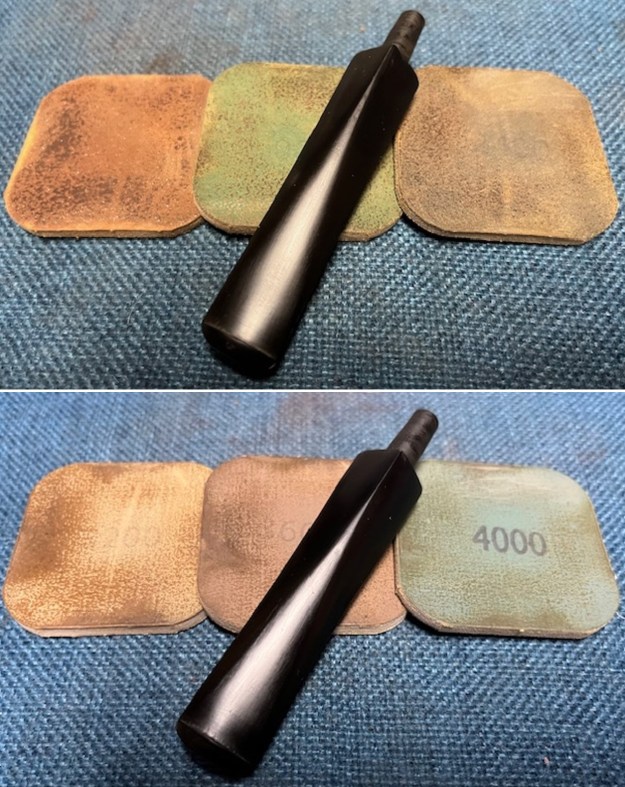
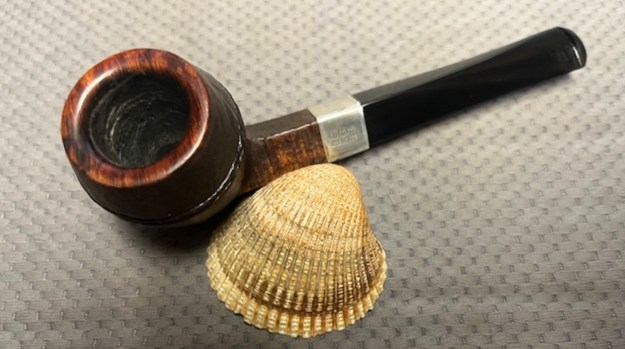
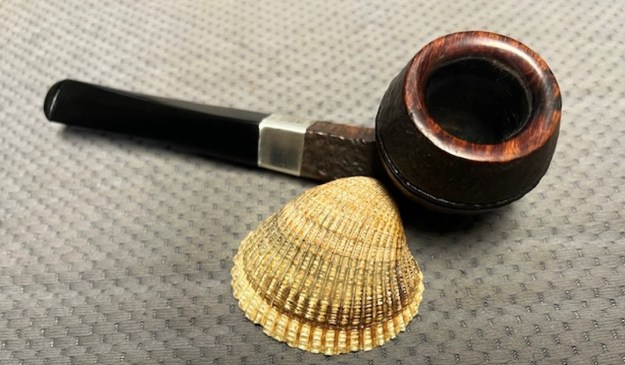
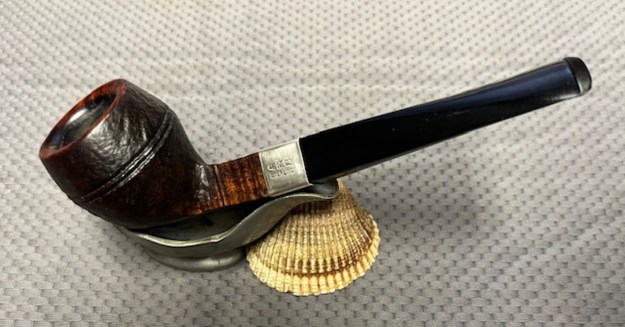
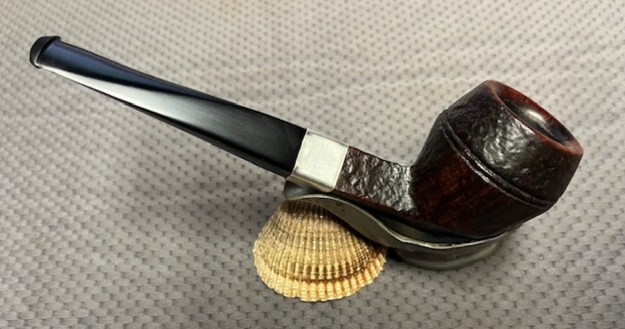
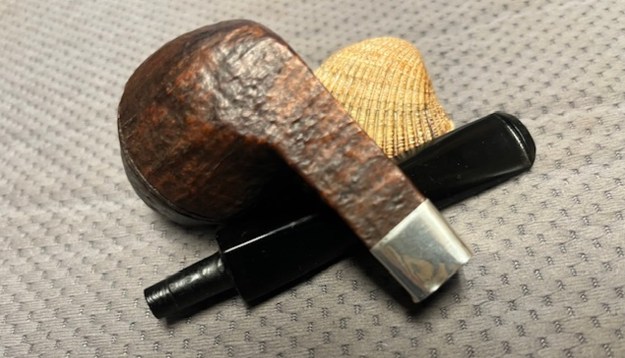
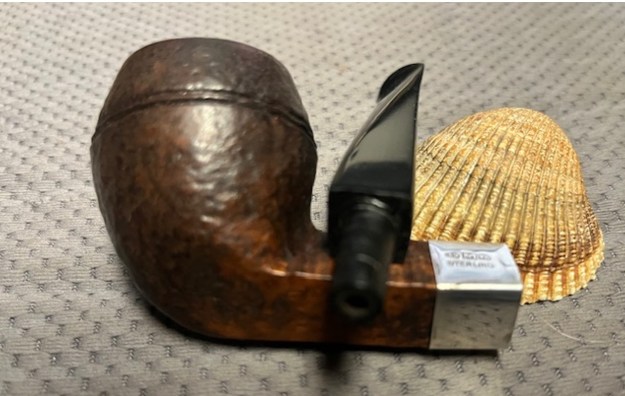
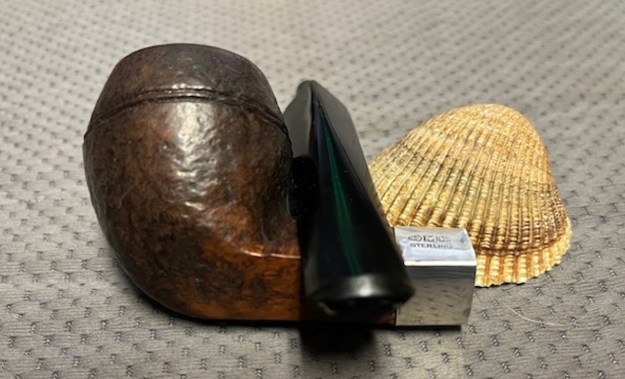
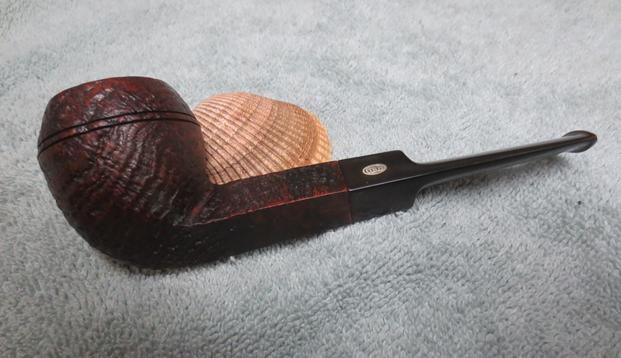
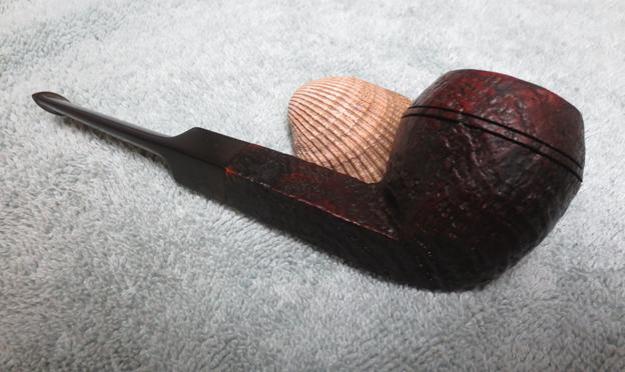
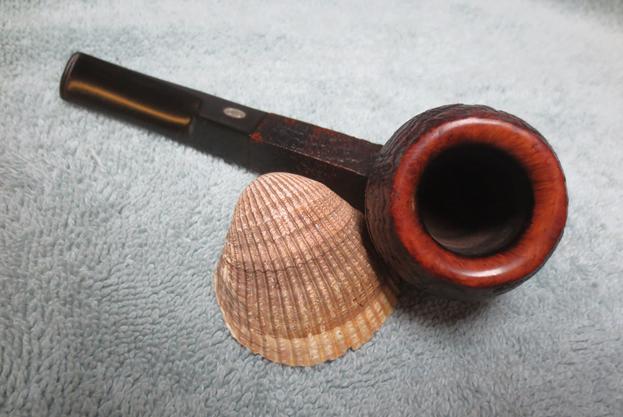
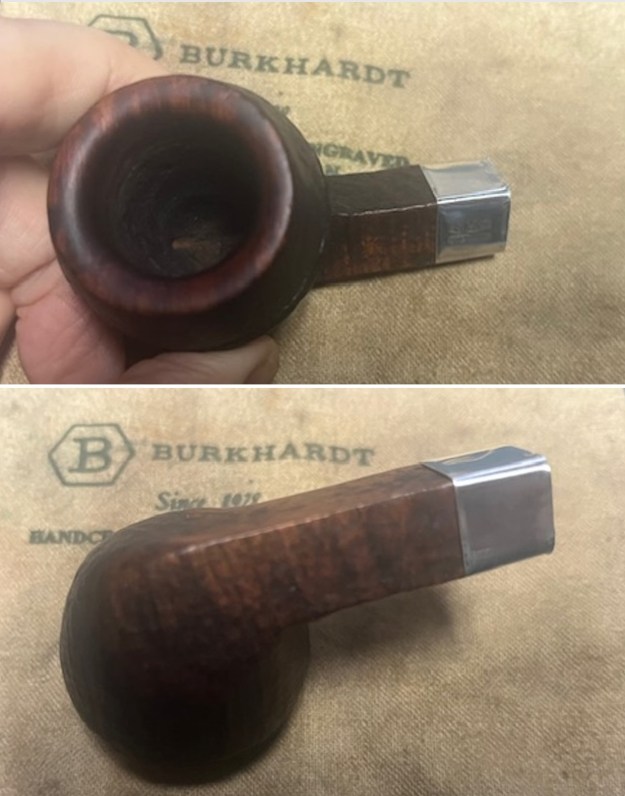
 This Sandblast GBD Prehistoric Bulldog is a great looking pipe now that it has been restored and restemmed. The rich finish and Sterling silver give the pipe an elegant look. The Twin Bore stem works with the pipe and is unique. The flow of the bowl and stem make for a great hand feel. I put the stem back on the bowl and carefully buffed the pipe with Blue Diamond on the buffing wheel using a light touch on the briar. I gave the bowl and the stem multiple coats of carnauba wax on the buffing wheel. I buffed the entire pipe with a clean buffing pad. I hand buffed the pipe with a microfiber cloth to deepen the shine. The finished GBD Prehistoric Bulldog fits nicely in the hand and feels great. Give the finished pipe a look in the photos below. The dimensions of the pipe are Length: 6 inches, Height: 2 inches, Outside diameter of the bowl: 1 ¼ inches, Chamber diameter: 7/8 of an inch. The weight of the pipe is 47 grams/1.62 ounces. It is a great looking and light weight pipe. I will be putting it on the rebornpipes store in the British Pipemakers Section shortly. If you are interested in adding this pipe to your collection send me a message or an email. Thanks for reading this blog and my reflections on the pipe while I worked on it.