By Steve Laug
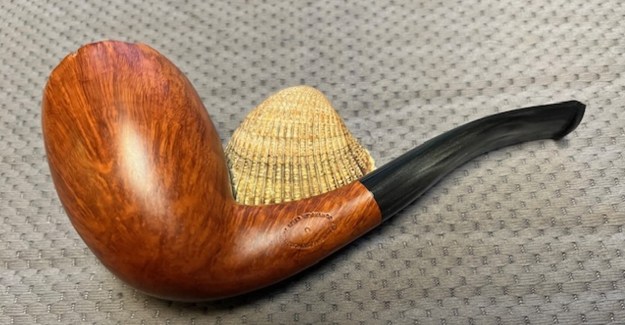
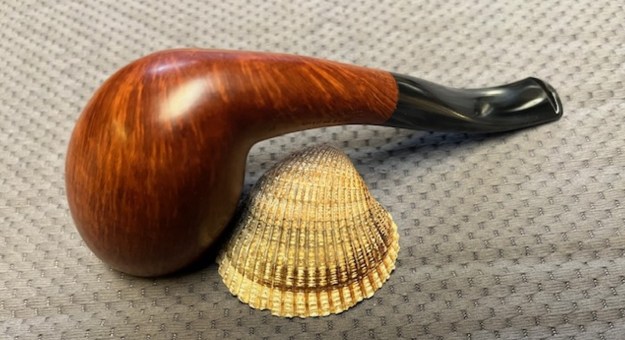
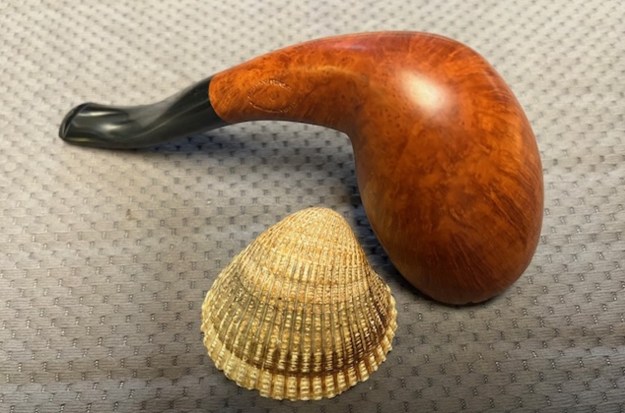
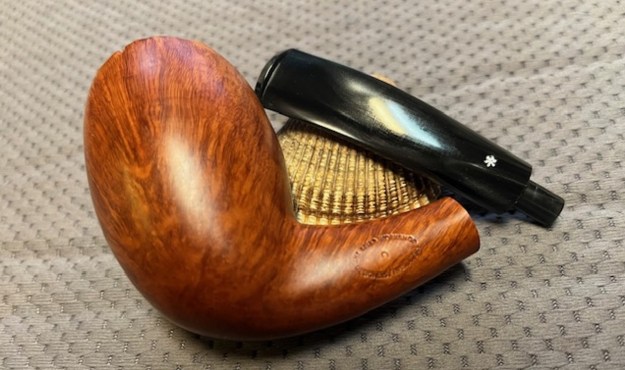
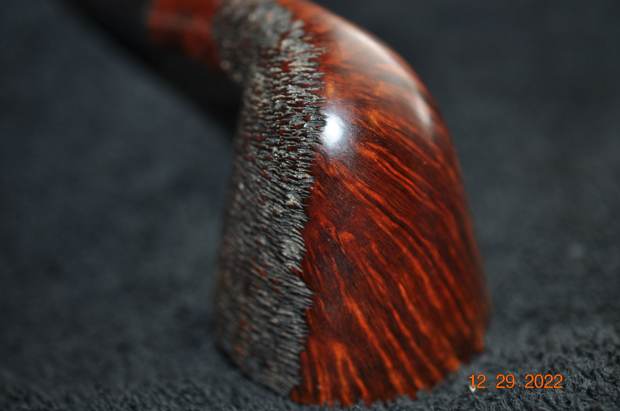
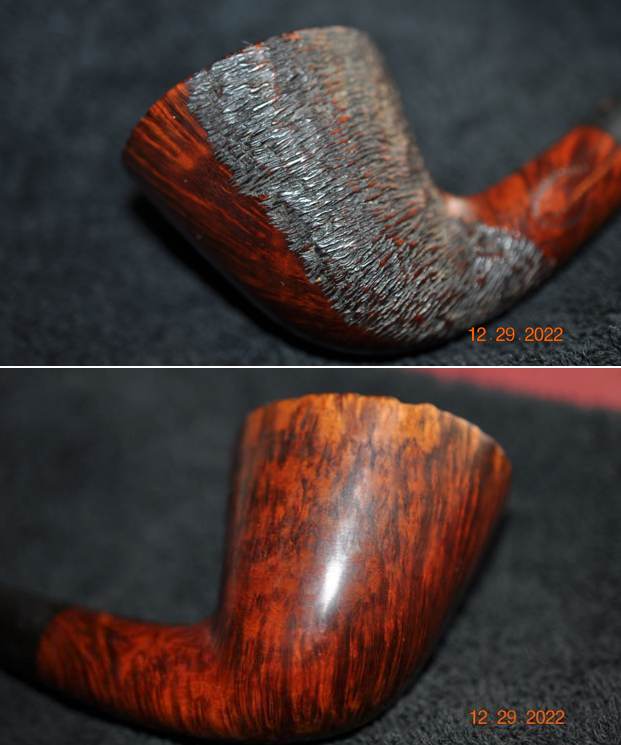
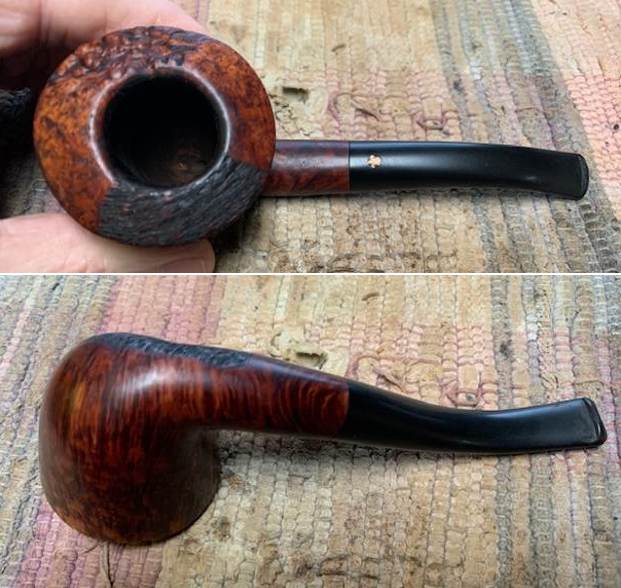
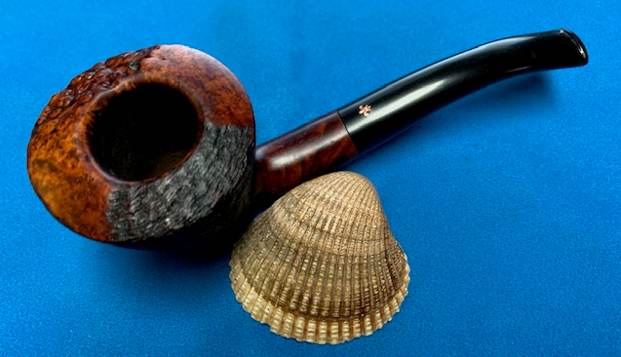
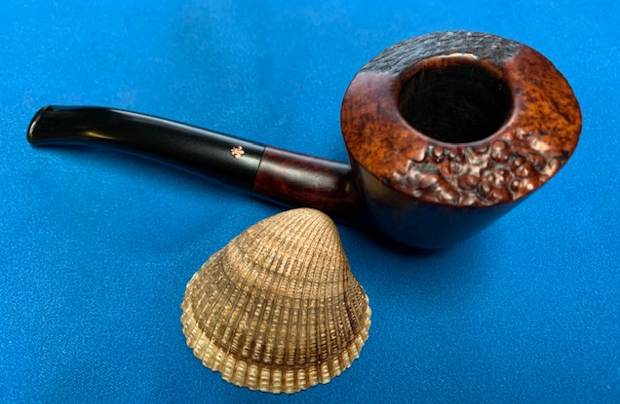
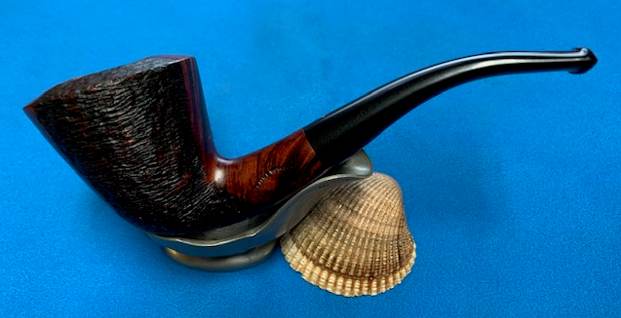
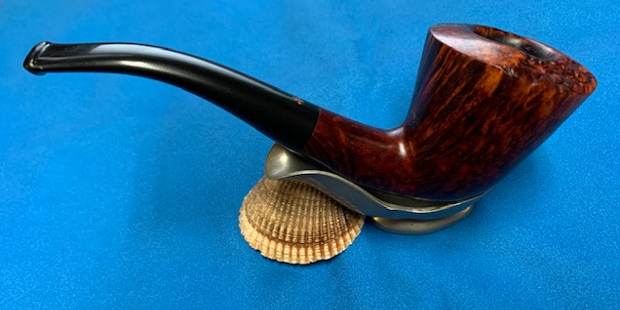
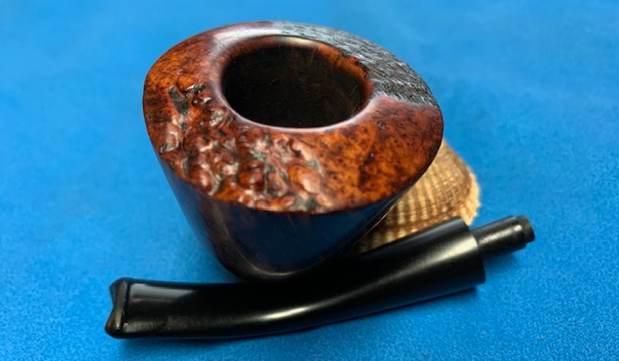
This next pipe was purchased from an online auction on 05/30/25 from a seller in Capac, Michigan, USA. It is an unsmoked, new old stock pipe. It was a beautifully shaped The Briar Workshop Freehand creation, hand made by Elliott Nachwalter. I have come to appreciate pipes made by Elliott and have several nice ones in my collection. They are uniformly great smokers. I have also restored my fair share of them over the years. The stamping on the left side of the shank is in an oval. Arched at the top of the oval it read The Briar Workshop. In the center it is stamped D. On the bottom of the oval it is stamped Designers/Pipe Makers. On the right side it is stamped Made by Hand [over] Elliot Nachwalter. Below that and toward the bowl it is stamped V [over] 87. The pipe has a smooth finish with great grain around the bowl and shank and a plateau rim top. The bowl is very clean and smooth and the finish on the pipe was shiny and quite clean. There is some dust in the plateau and in the finish. The stem is acrylic, variegated grey and has a Nachwalter snowflake logo topside of the tapered stem. I took photos of the pipe before I started to work on it.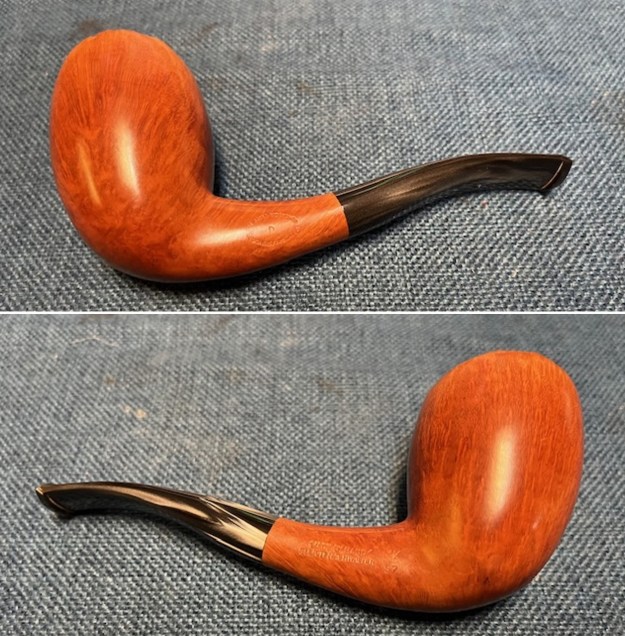
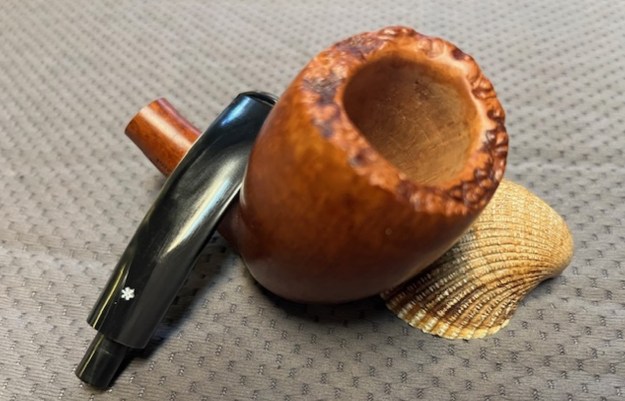
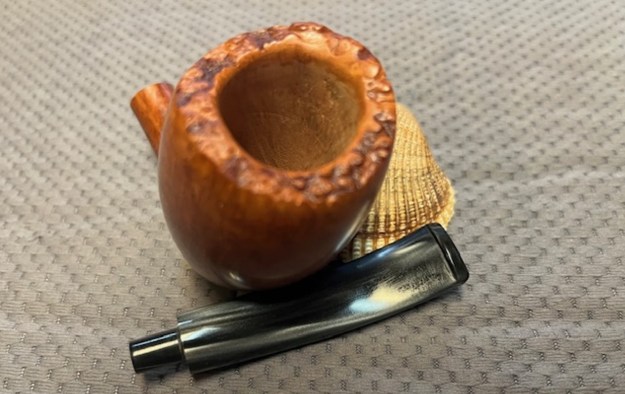
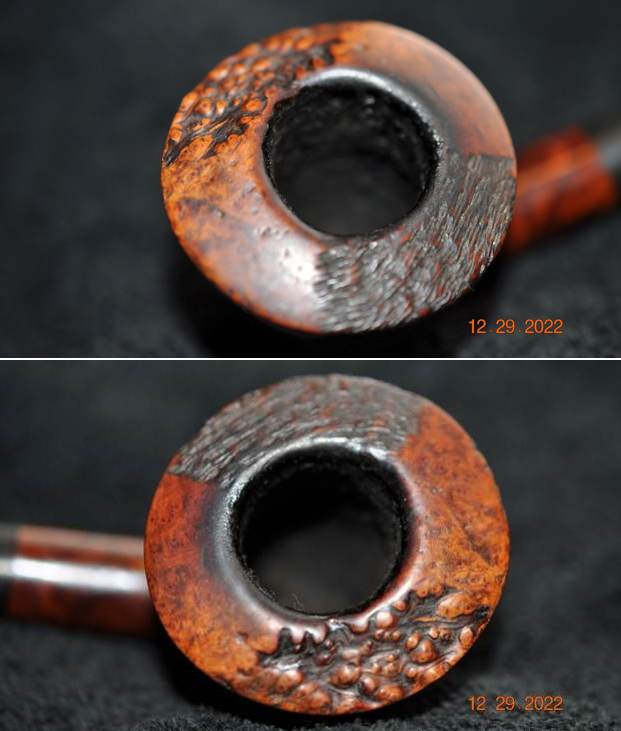
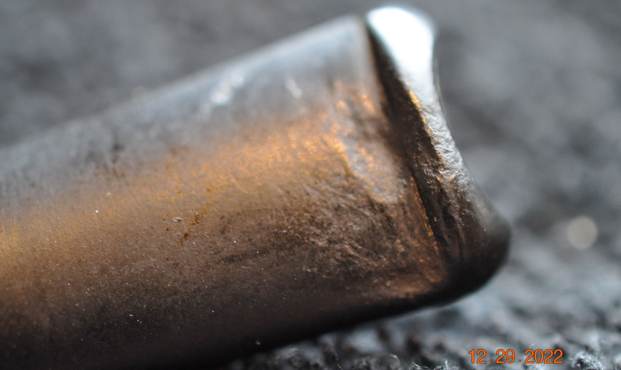
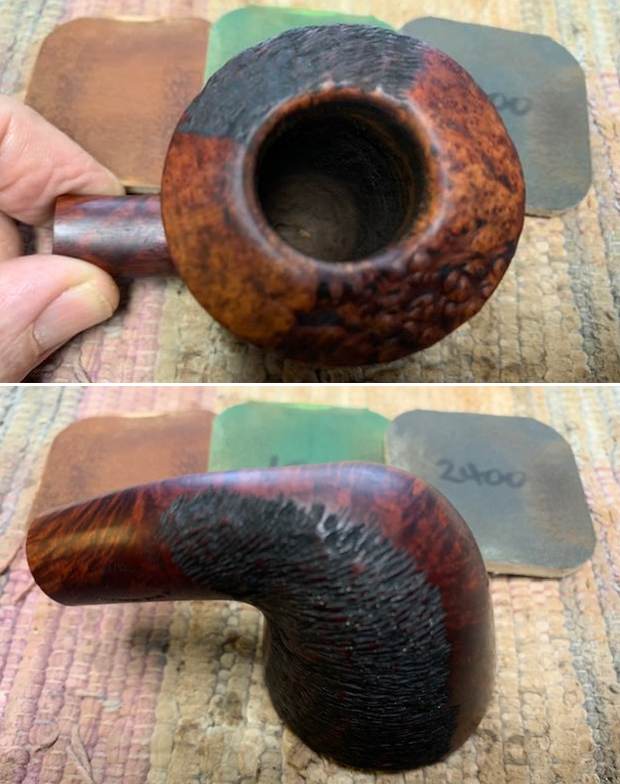
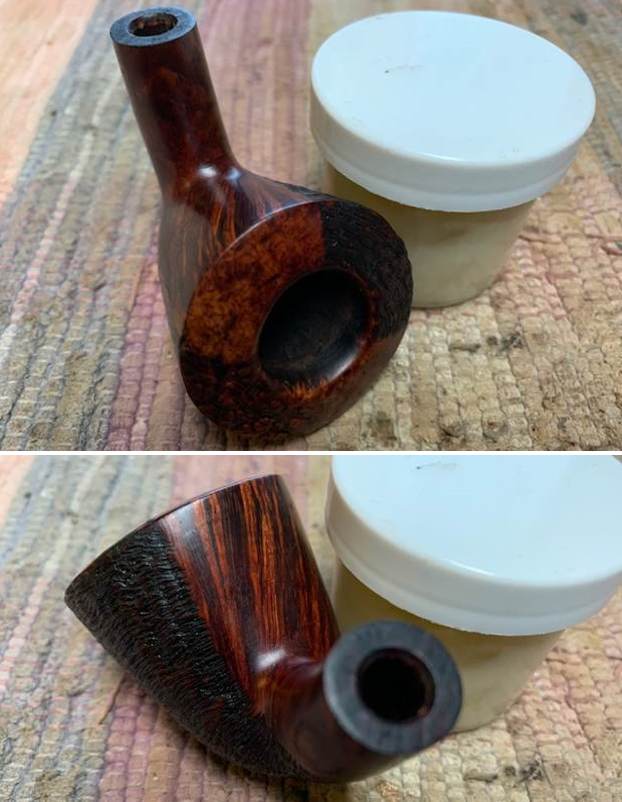
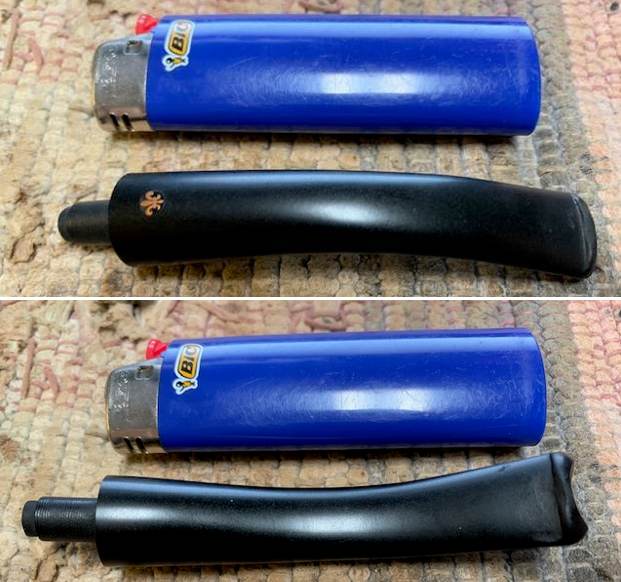
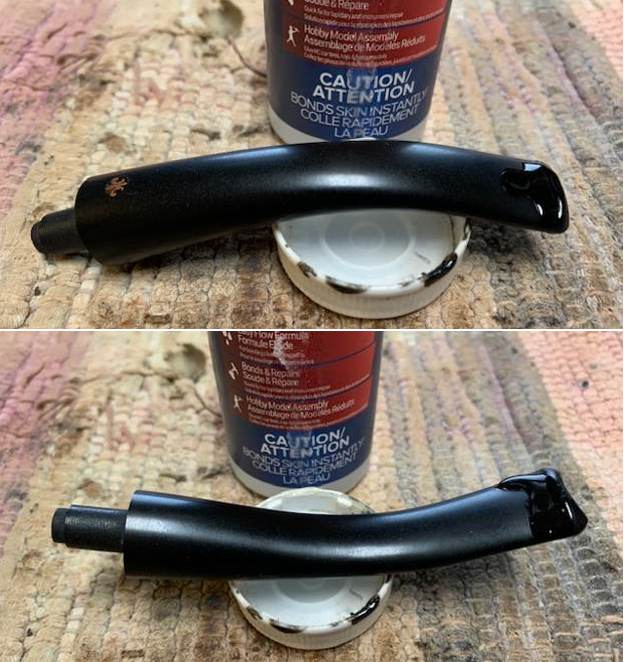
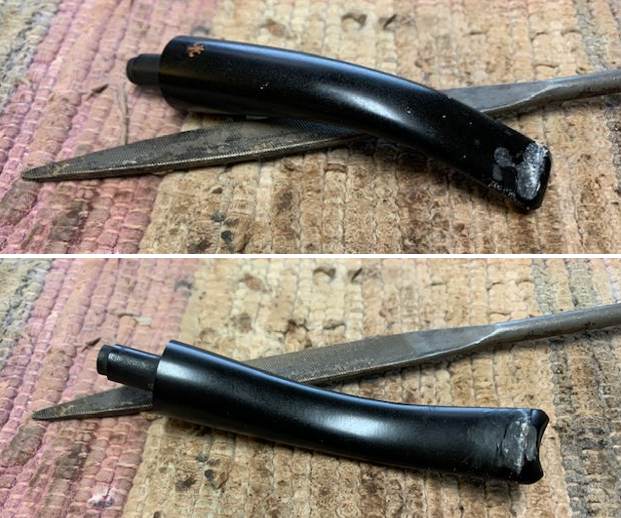
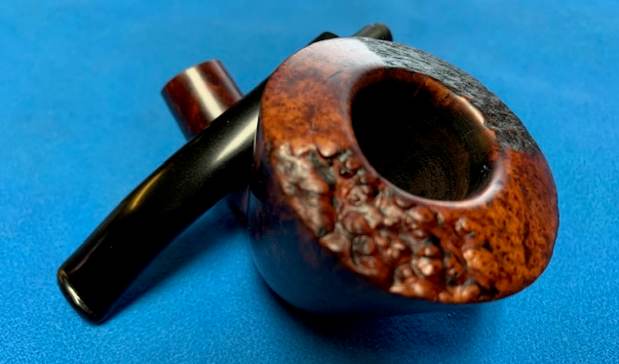
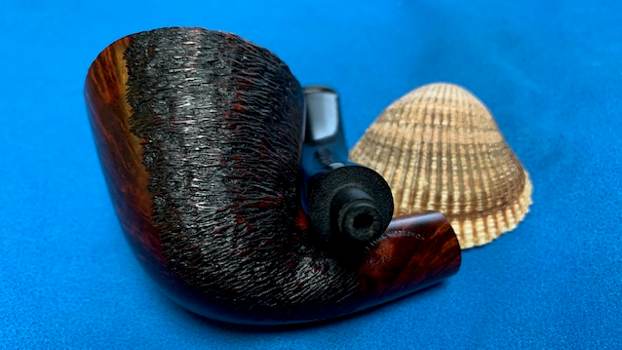
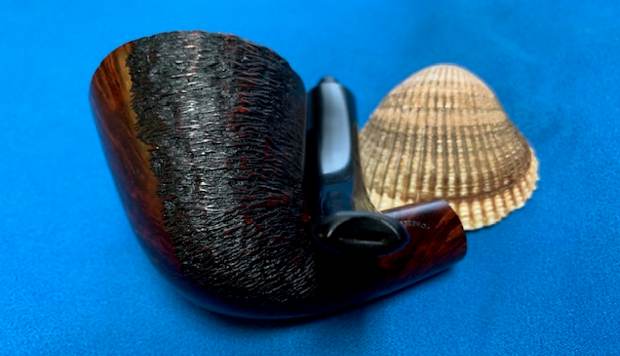
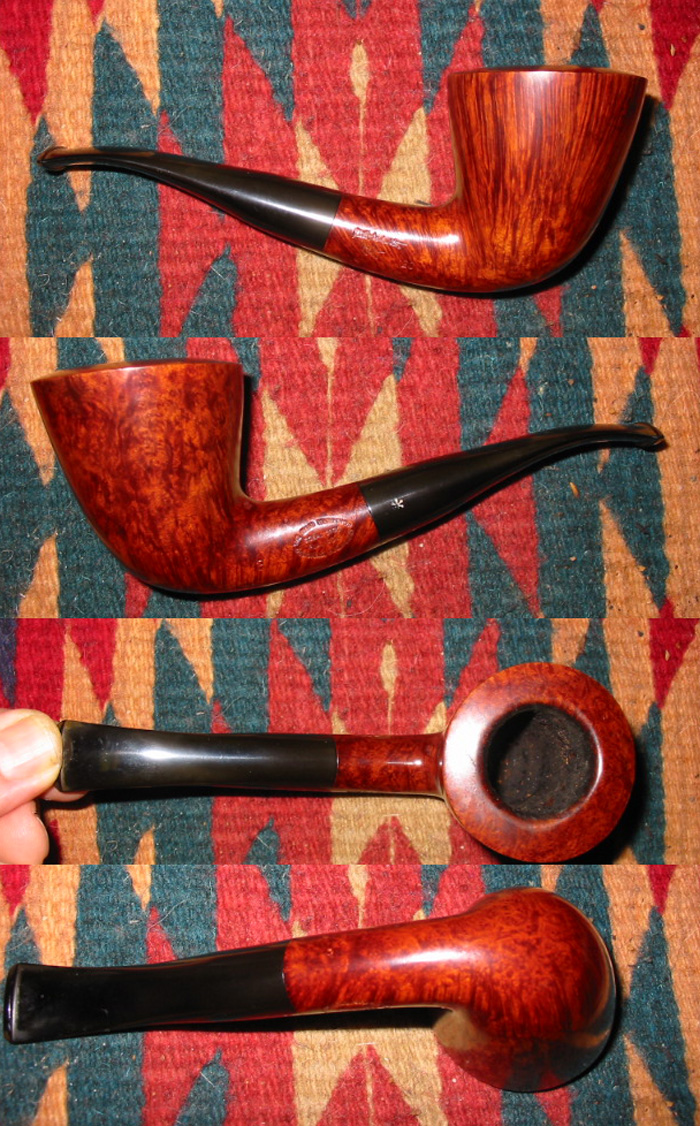
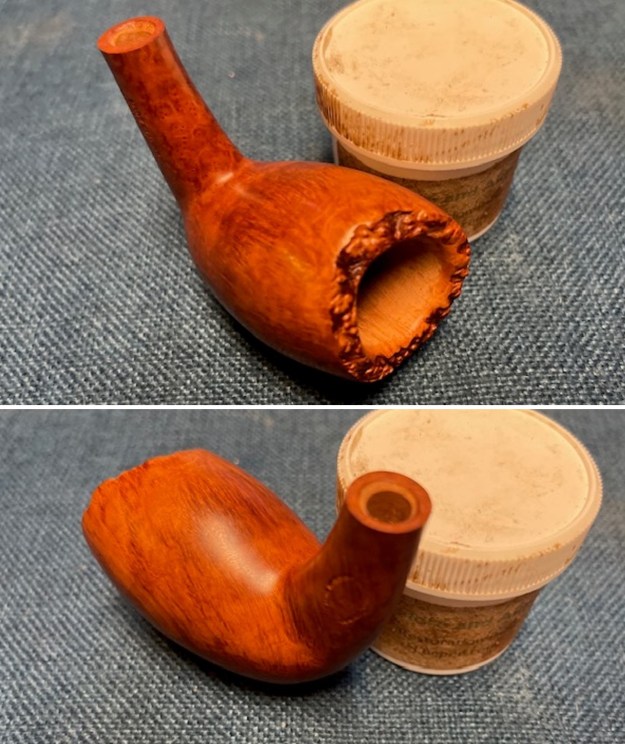
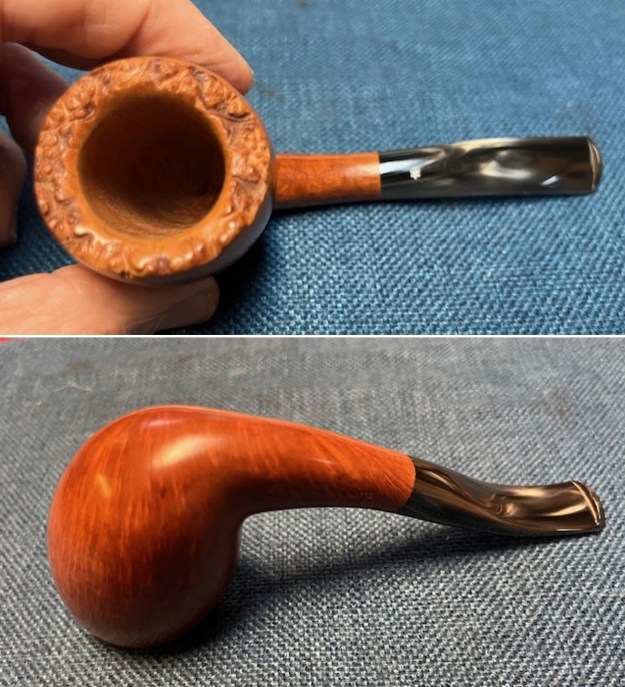 I took photos of the bowl and rim top to show what they looked like before my sprucing up of the unsmoked pipe. I also took some of the stem to show the condition of both sides.
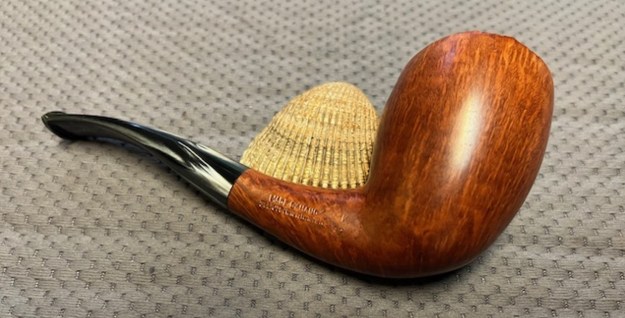
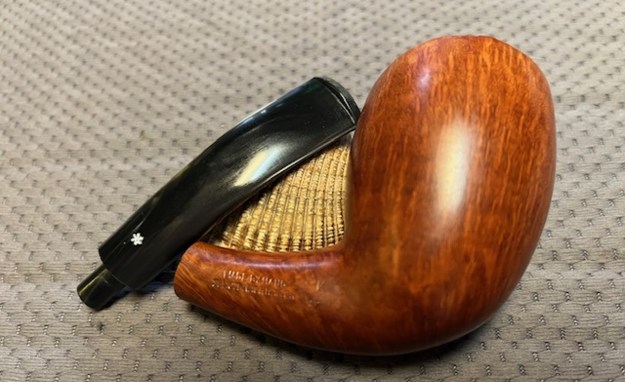
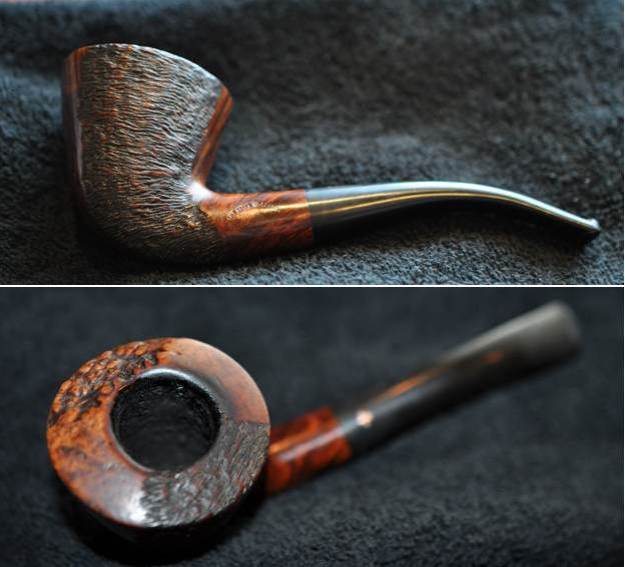
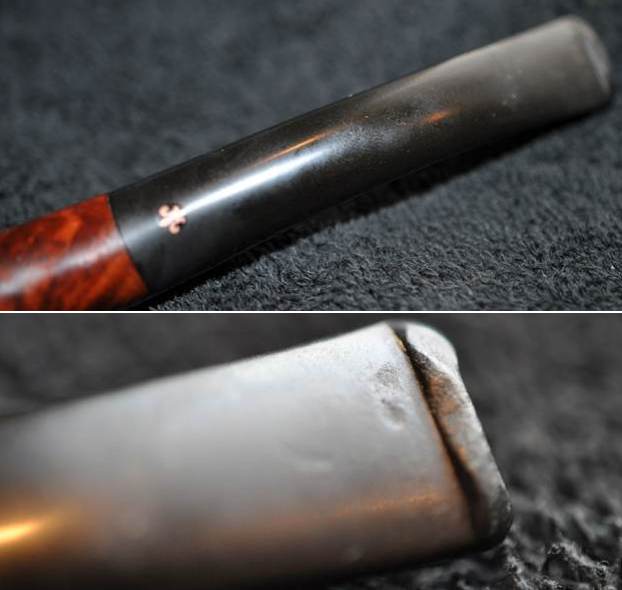
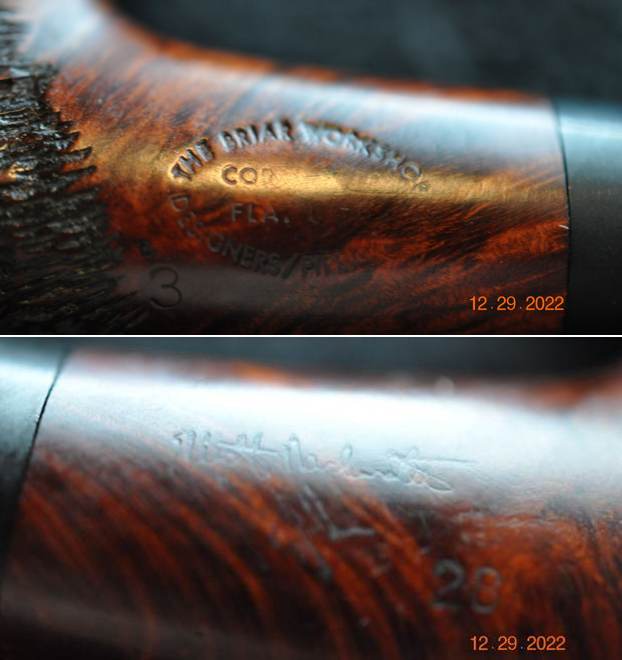
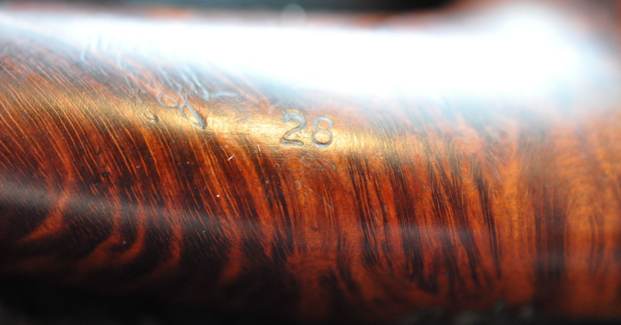
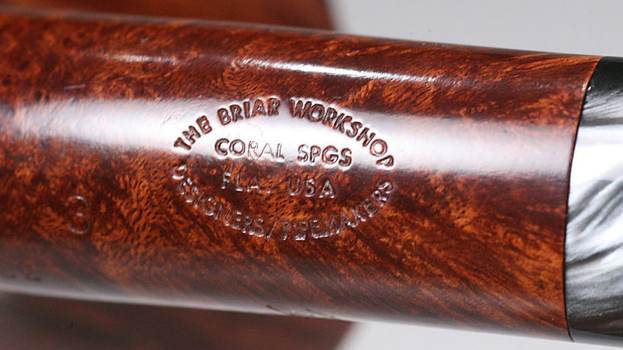
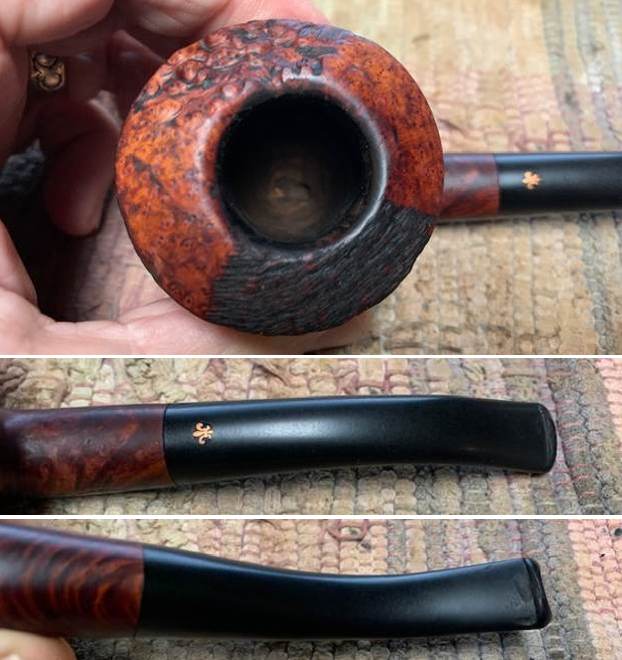
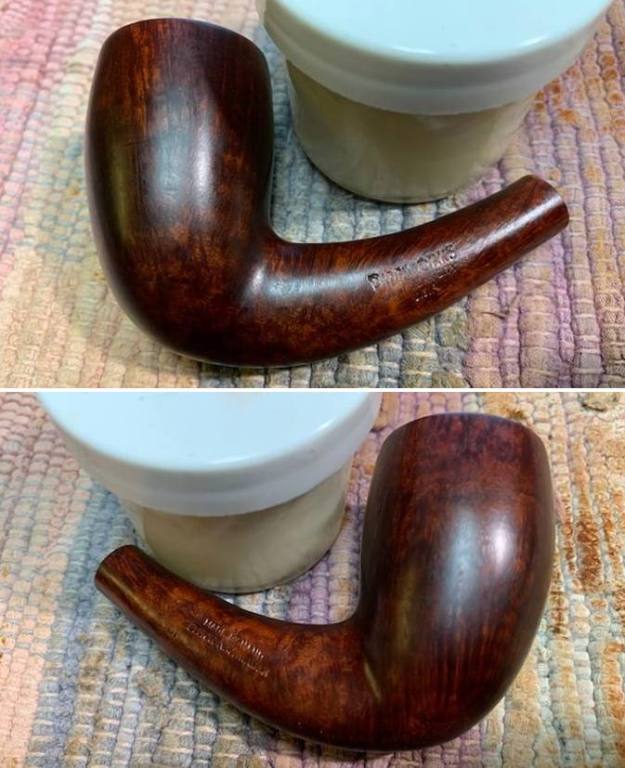
 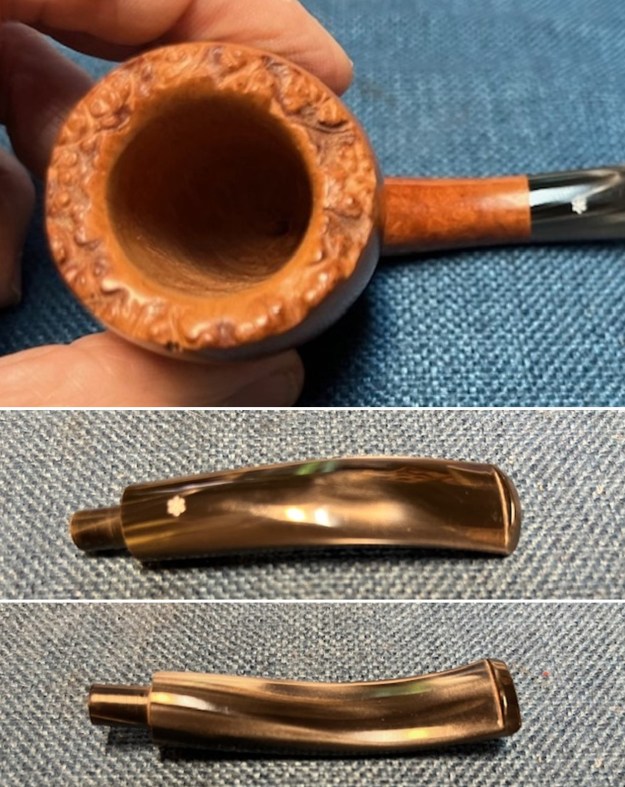 The stamping on the left side the shank is shown in the first photo below. It is clear and readable as noted above. The second photo shows the stamping on the right side of the shank and read as noted. The top of the stem bore a snowflake logo stamped into the surface of the acrylic.
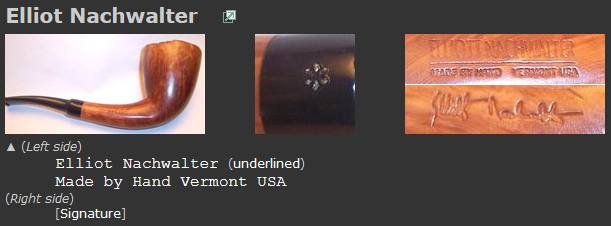
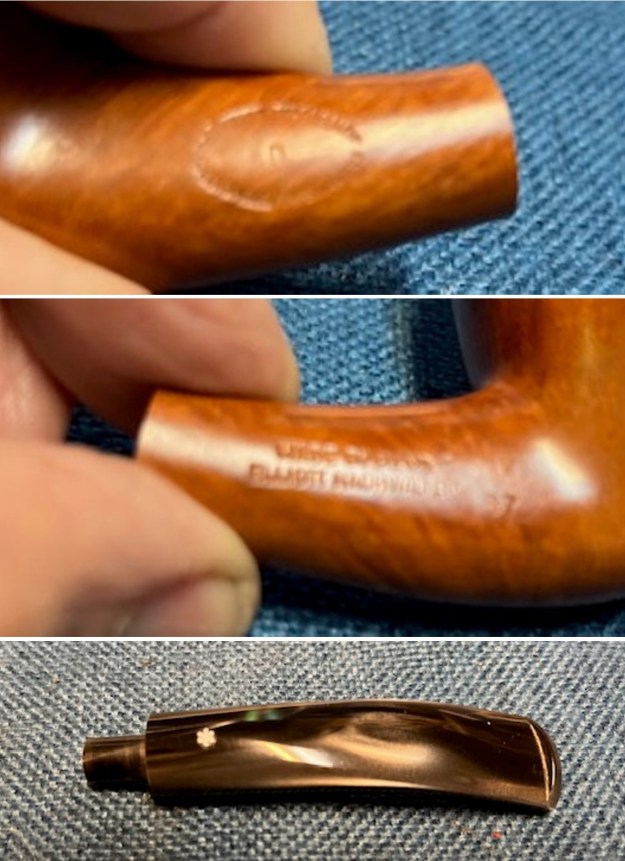 I turned to Pipephil’s site to look up information on the brand to identify the period of time when Nachwalter made the pipe. I turned first to the section on Elliot Nachwalter’s name (http://pipephil.eu/logos/en/logo-e2.html#elliotnachwalter) to see what it said. It is interesting in that it does not show a pipe like the one I have that just has a letter D in the oval on the left side.
  I turned then to the section of the site on Pipeworks as Nachwalter also stamped his pipes with that information (http://pipephil.eu/logos/en/logo-p3.html#pipeworks). Once again it did not have information on a pipe stamped like the one I was working on.
 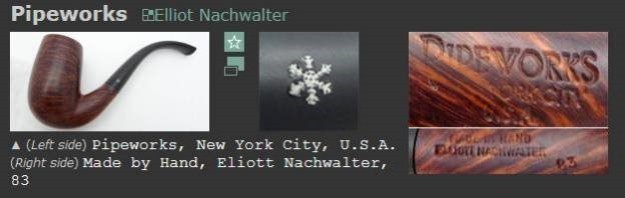 From there I turned to Pipedia for a bit more information (https://pipedia.org/wiki/Nachwalter). The site quoted from both Lopes book and from Nachwalter’s website and had a lot of great historical information. I quote portions of it below.
From Pipes, Artisans and Trademarks, by Jose Manuel Lopés’
Elliott Nachwalter studied the History of Art and Photography, but passionate about pipes, decided to go into pipe making. With a few tools and some machinery, he started his workshop some 25 years ago (that would be 35 years ago now, as of 2015), in Stowe, Vermont, where he shared a warehouse with Andrew Marks. He later created Briar Workshop with Jorg Jemelka, and was joined by the Danish designer Finn Meyan Andersen. They also collaborated with various artisans, such as Brad Pohlmann, J.T. Cooke, and Carol Burns.
Between 1980 and 1983, Elliot had a shop in New York where he would make and sell his pipes There then followed an interregnum — “For three years I was away from my craft, not knowing if I would ever make pipes again” –, after which he returned to Vermont and built Pipestudio. Aim: “to create sensual pipes, beautifully grained that are pleasing to the eye” and which would be “the creation of sculpted smoking instruments that are functional pieces of art”.
He uses Briar from Italy and Greece; and vulcanite, acrylic, or Cumberland stems. Symbol: a kind of six-pointed star…
…In 1980 I opened a store in New York City and designed and made pipes in the back of the store for pipe smokers that visited me from around the world. I worked late into the night. There came a time when I felt the need to stop making pipes. For three years I was away from my craft, not knowing if I would ever make pipes again. Something was missing. Perhaps I was missing the struggle of the creative process and the pure joy that one feels when you make something turn out exactly as imagined in your mind’s eye. I suppose I needed to make pipes; I needed to work late into the night.
In the autumn of ’96 as the falling leaves mixed with the early snowfall, I built a small studio overlooking the Battenkill and surrounded by the Taconic and Green mountains.
It is my desire to create sensual pipes, beautifully grained that are pleasing to the eye. I work with only the rarest of briar burls that are seasoned in a manner that allows for a minimal break in period and a very smooth smoking pipe. The briar grows in the wild and there is a remarkable difference in grain between each block. This variance of grain together with the myriad of designs in my mind and the nature of the work, makes for truly one of a kind pipes. The essence of my work is in the creation of sculpted smoking instruments that are functional pieces of art.
I turned to the section on Pipedia on the Briar Workshop to gather more information on this particular pipe (https://pipedia.org/wiki/Briar_Workshop). I quote below:
Elliott Nachwalter started the Briar Workshop in Vermont together with Jorg Jemelka. They were joined by Danish designer pipemaker Finn Meyan Andersen.
Through the years they had several talented crafts people working with them including Brad Pohlmann, Jim Cooke (J.T. Cooke), and Carole Burns. They made many pipes that were sold by fine tobacconists around the country. At some point, the Briar Workshop moved to Florida, and the nature of the work changed, along with the pipe makers involved.
While The Briar Workshop was in Vermont, it acquired turn of the century pipemaking equipment as part of a collaborative arrangement with Ehrlich’s of Boston. Jemelka modified this machinery to enable the production of true copies of handmade pipes. This methodology distinguishes Briar Workshop Florida from Briar Workshop Vermont.
Nachwalter and Brad Pohlmann continued in providing designs for batch production as well as hand-made ‘one-offs’ for sale.
It would seem the Briar Workshop and the pipemakers involved played a significant part in laying the groundwork that launching the American hand made pipe making tradition, which has since exploded.
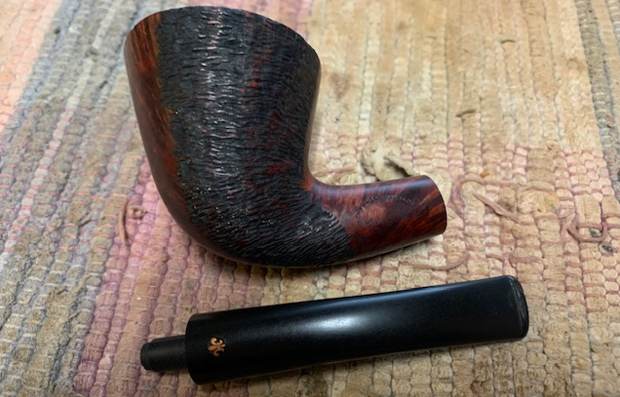
The pipe was in great shape other than the debris of sitting in a display somewhere in its life. The dust and debris in the plateau and the spotty wax shine on the surface needed attention. I scrubbed off the dust and debris on the plateau and in the finish with undiluted Murphy’s Oil Soap and a tooth brush. I rinsed off the debris and soap with warm running water. I dried the pipe off with a soft cloth.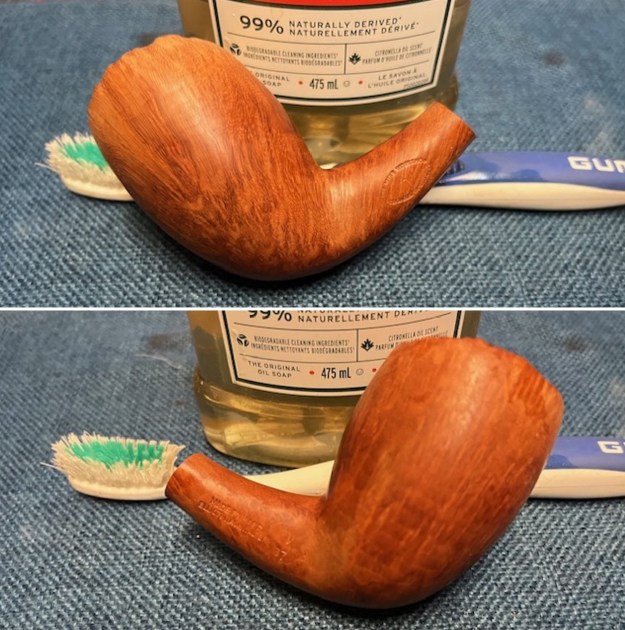
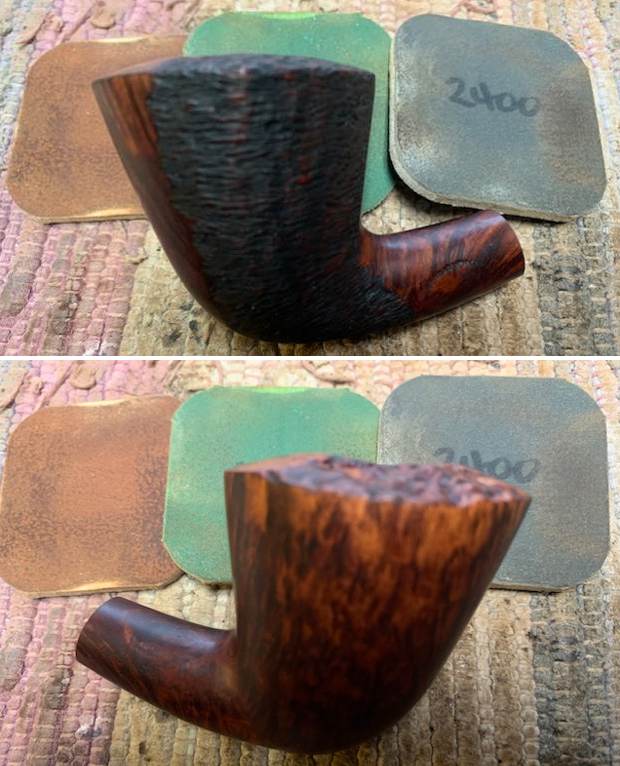
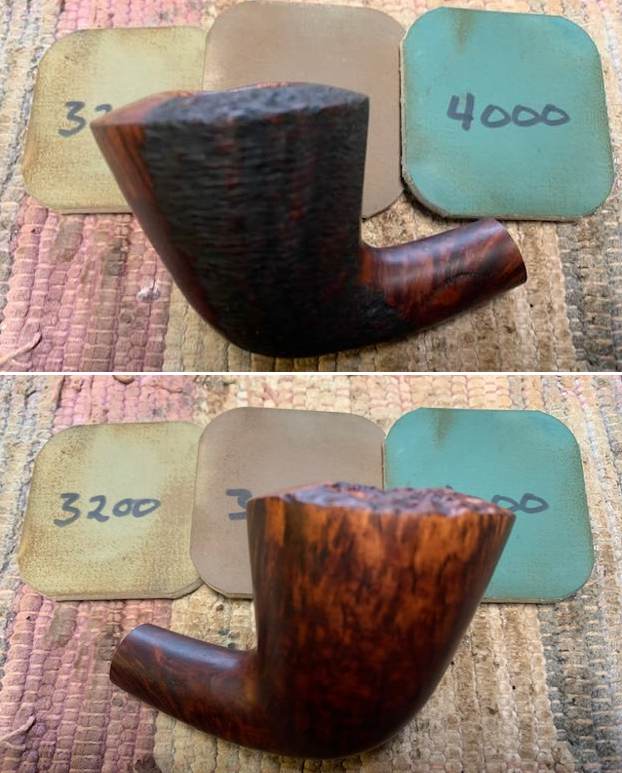
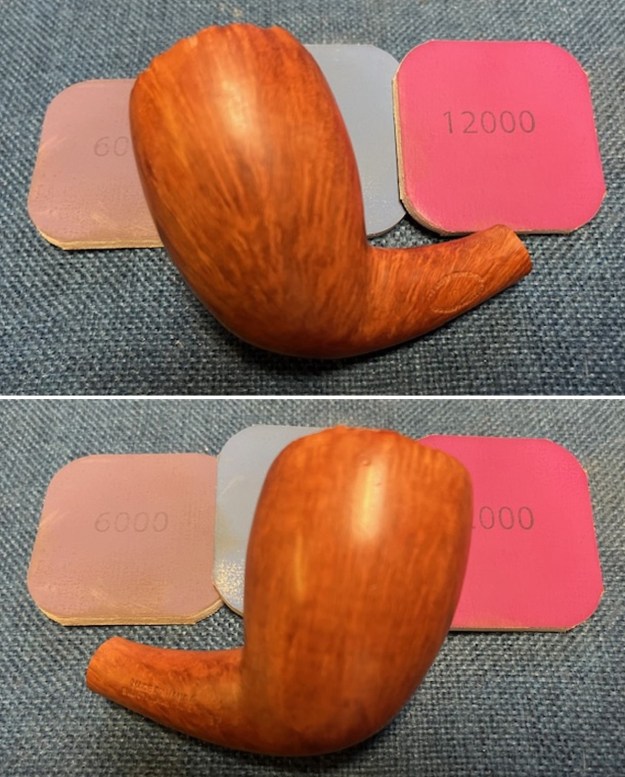
 I polished the briar with micromesh sanding pads to remove the light scratching in the finish. There were no big spots just normal wear and tear from sitting and being transferred. I dry sanded with 1500-12000 grit pads. I wiped the bowl down after each pad to remove the grit. The bowl began to take on a rich shine. It is a beauty.
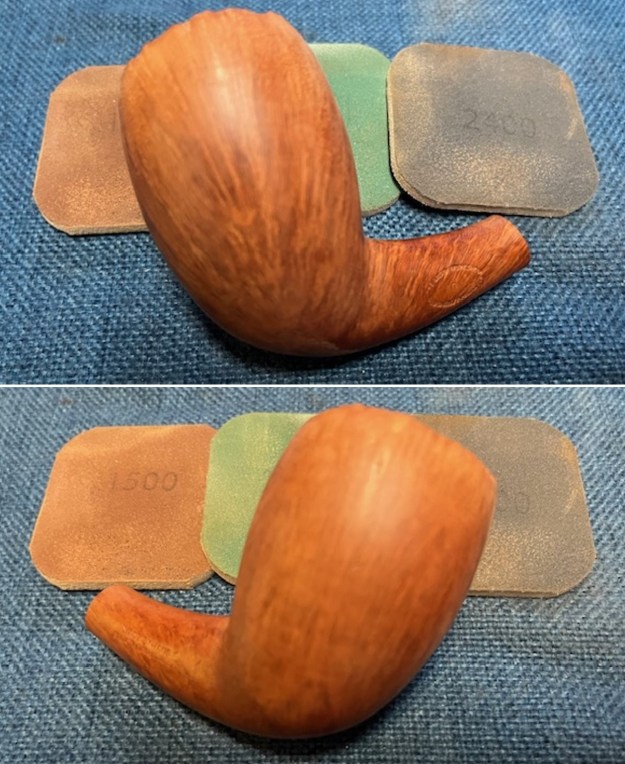
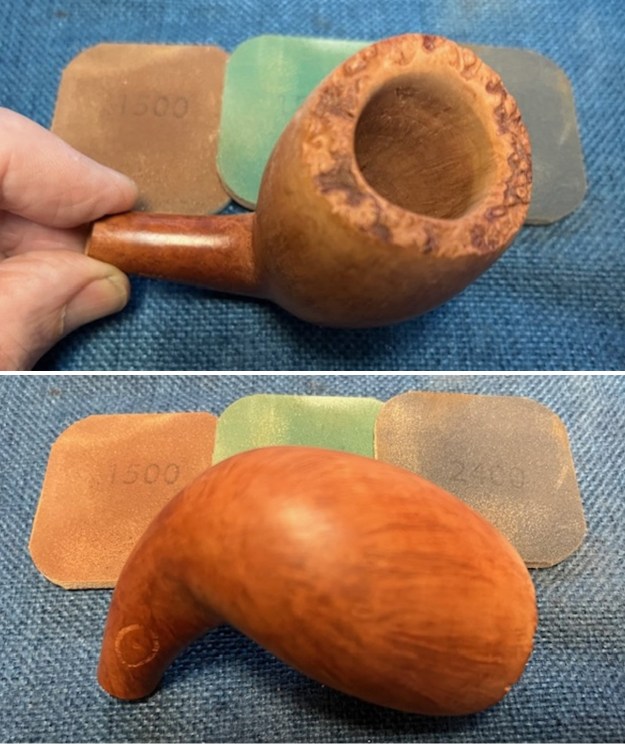
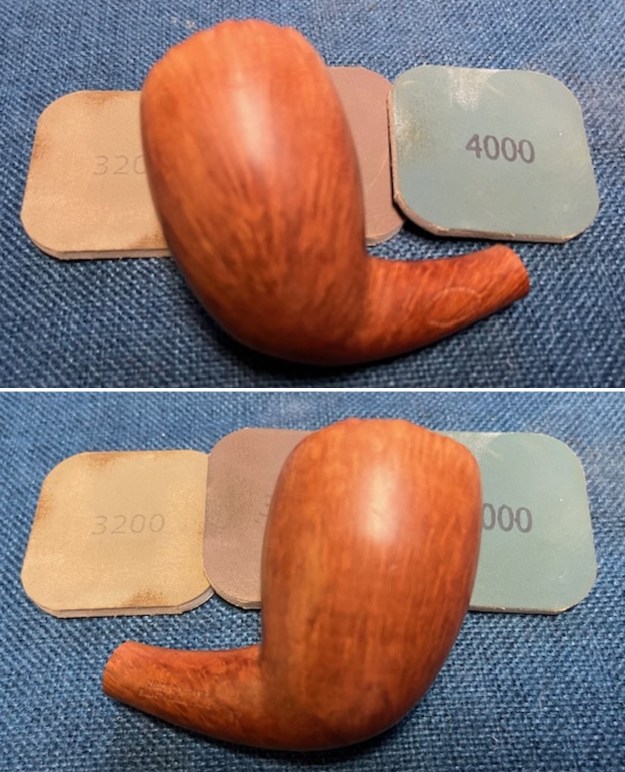
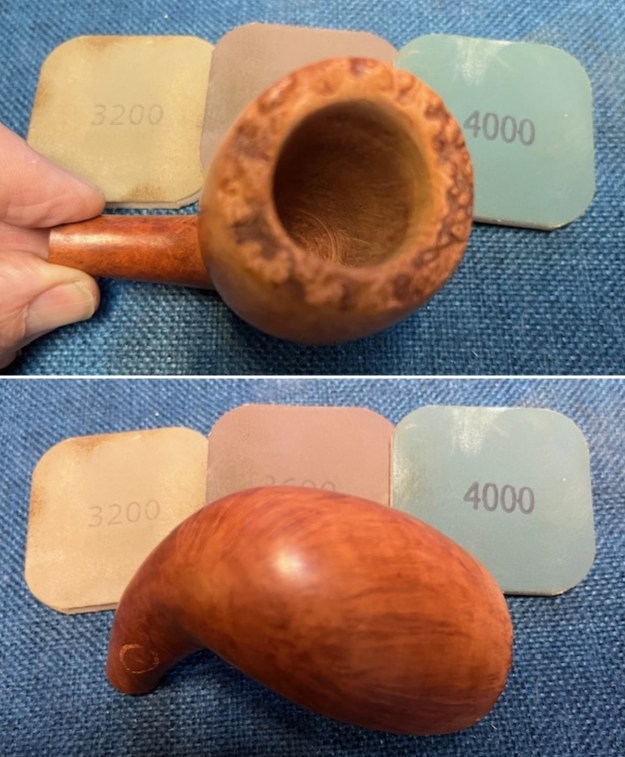
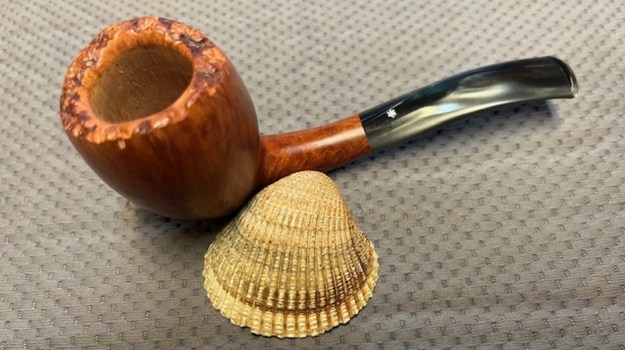
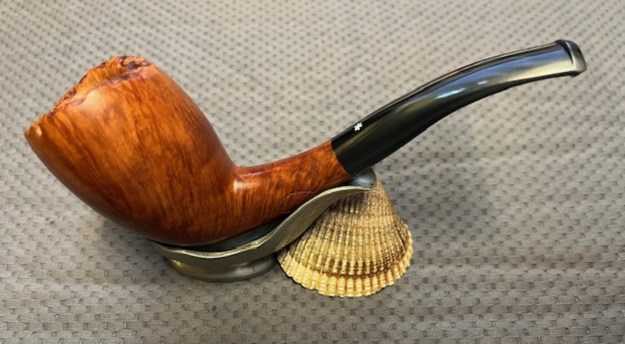
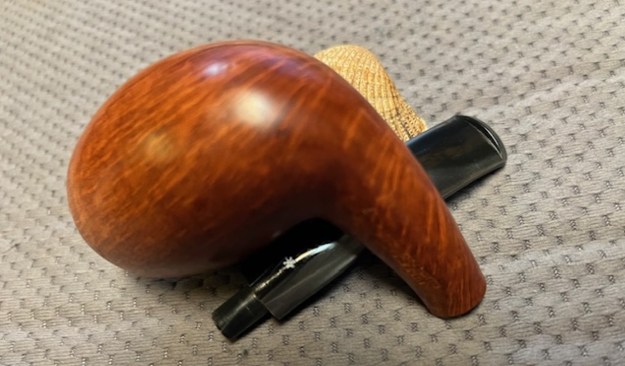
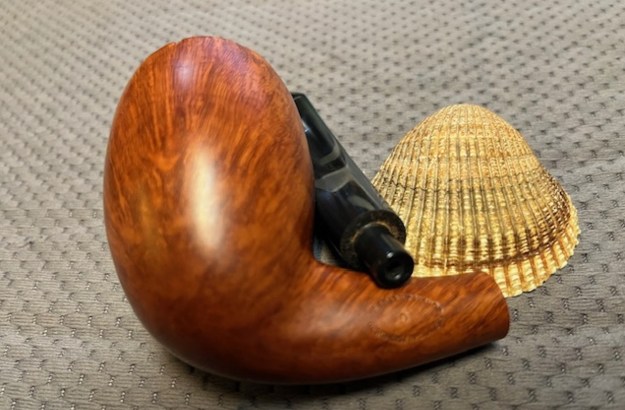
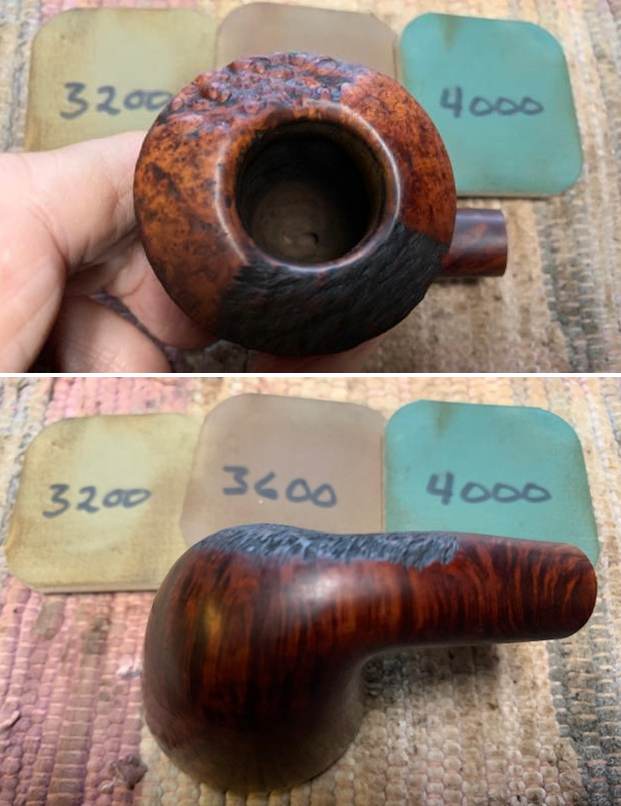
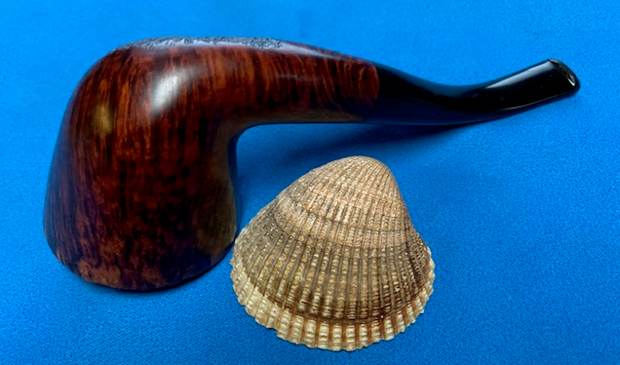
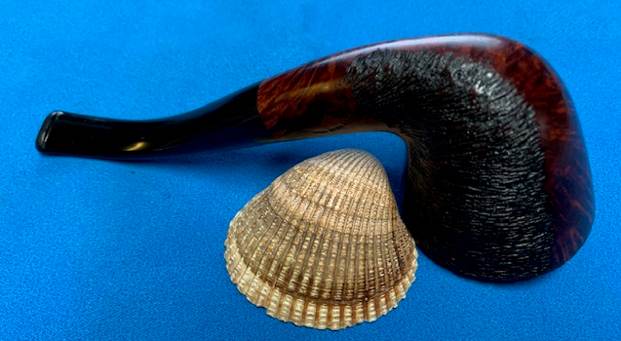
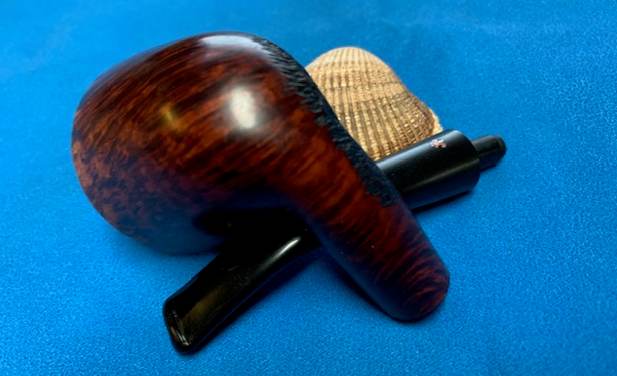
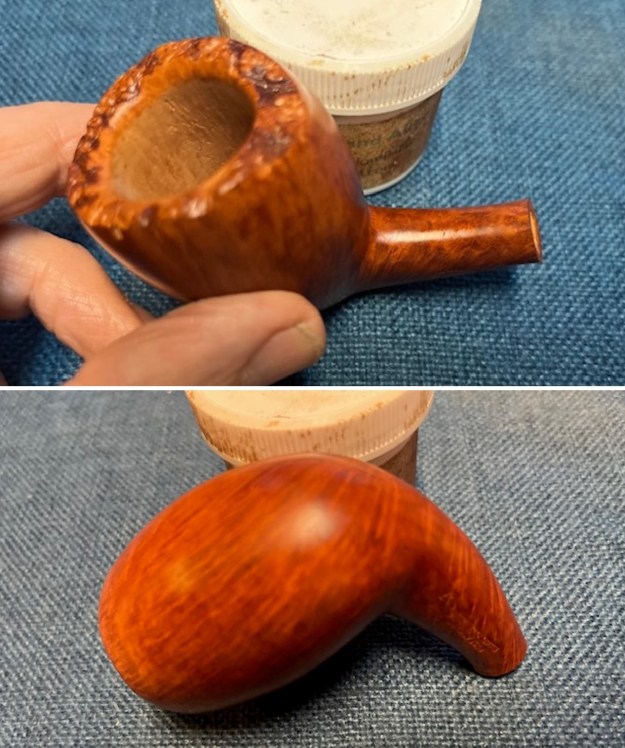
 I rubbed the bowl down with Before & After Restoration Balm. I worked it into the briar with my finger tips. I worked it into the plateau rim top with a shoe brush. I let it sit for 10 minutes and the Balm did its magic. It enlivens, cleans and preserves the briar. It brought this bowl back to life. I buffed it off with a clean cloth and took the following photos. It looks like the unsmoked pipe that it is!
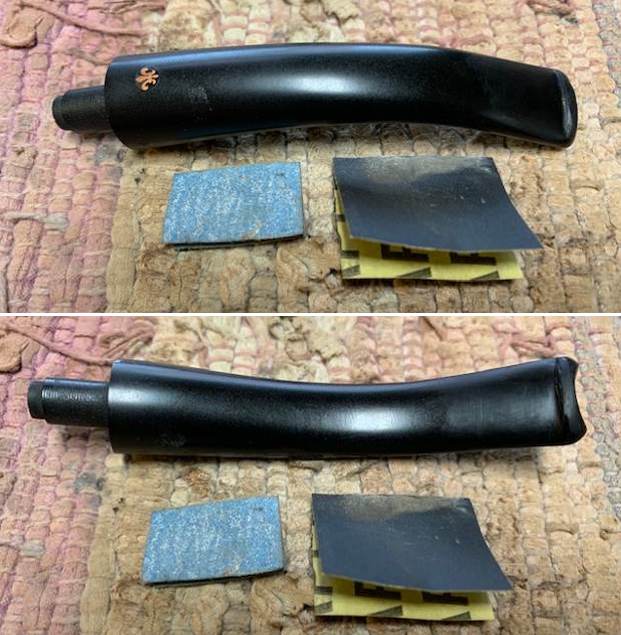
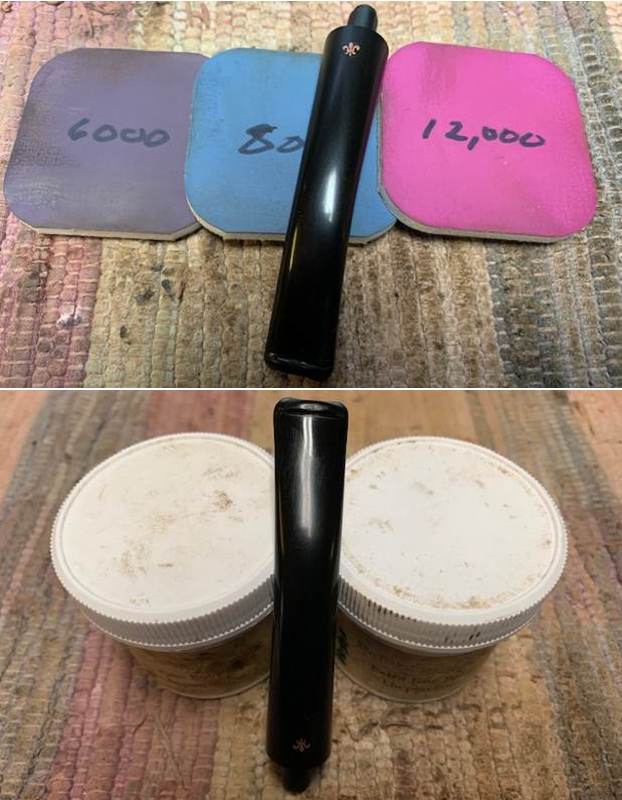
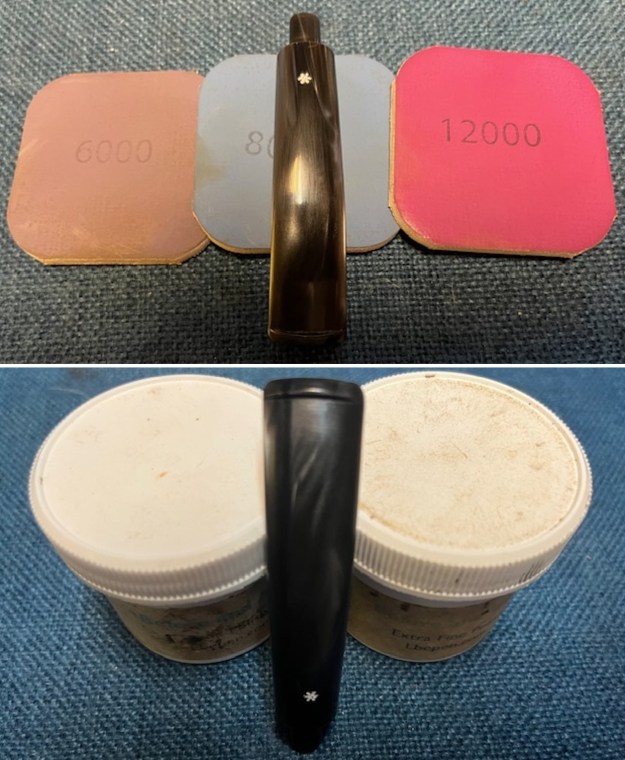
 I polished the acrylic stem with micromesh sanding pads – 1500-12000 grit pads. The process removed a lot of the scratches in the acrylic. I wiped it down with a damp cloth after each sanding pad. I used Before & After Pipe Polish – both Fine and Extra Fine to further polish the stem.
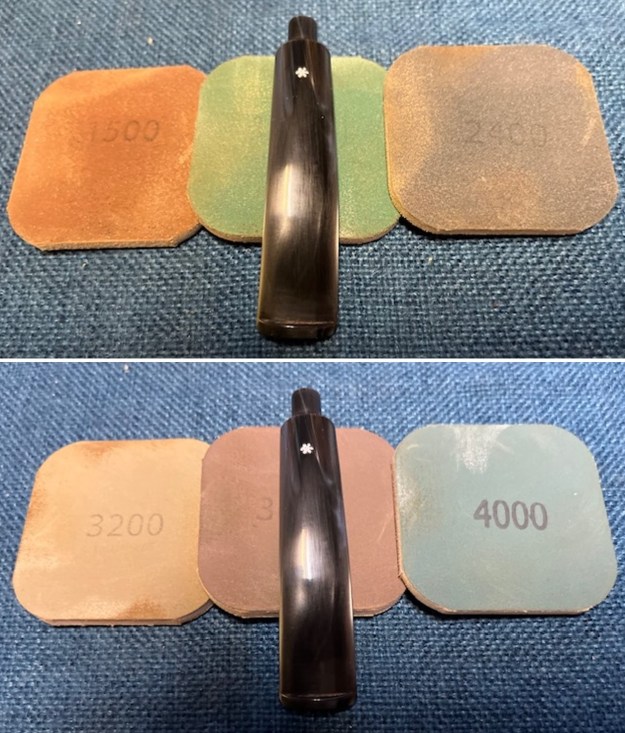
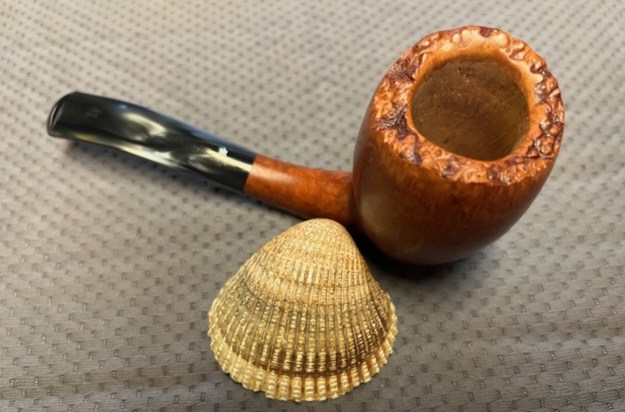
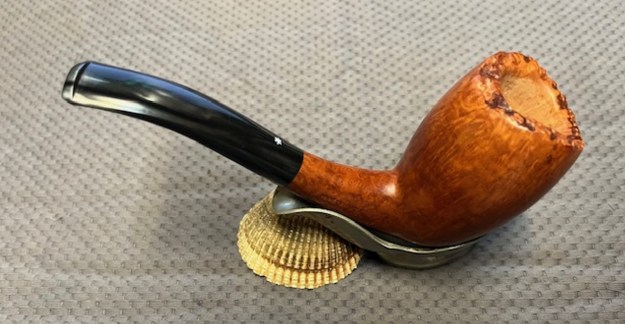
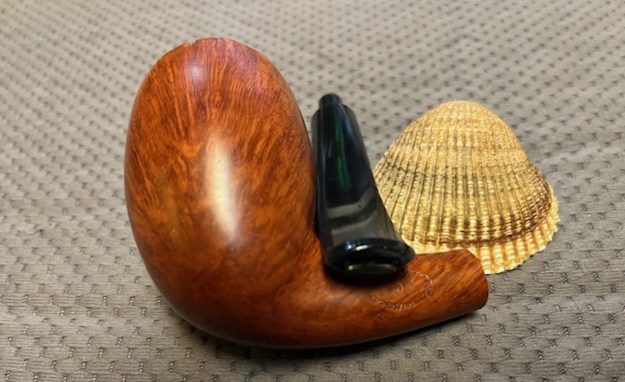
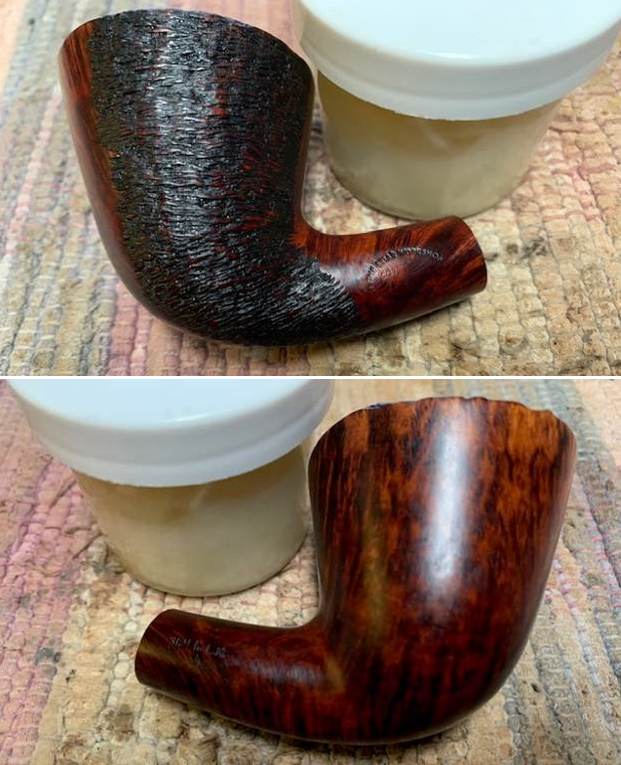
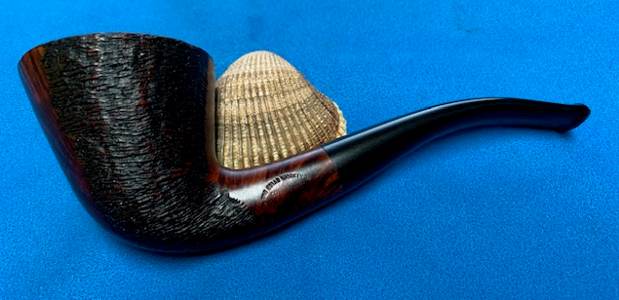
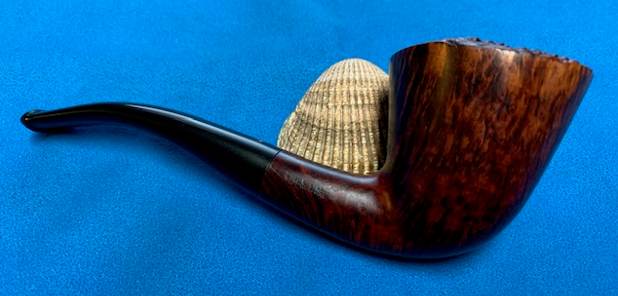
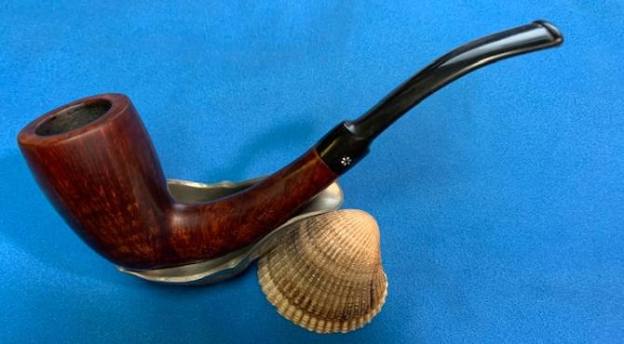
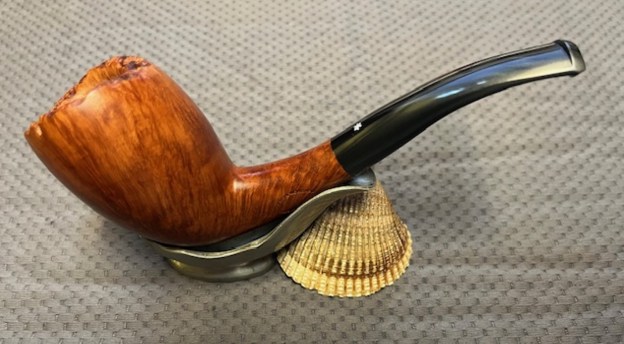
 This NOS Briar Workshop Designers and Pipemakers D Elliott Nachwalter Unsmoked Freehand is a great looking pipe after polishing. The beautiful finish really highlights the grain and the polished finish is stunning. I put the stem back on the bowl and carefully buffed the pipe with Blue Diamond on the buffing wheel. I gave the bowl and the stem multiple coats of carnauba wax on the buffing wheel and followed that by buffing the entire pipe with a clean buffing pad. I hand buffed the pipe with a microfiber cloth to deepen the shine. The finished Nachwalter Hand Made Briar Workshop Freehand fits nicely in the hand and feels great. Give the finished pipe a look in the photos below. The dimensions of the pipe are Length: 5 ½ inches, Height: 2 ¾ inches, Outside diameter of the bowl: 1 ½ inches, Chamber diameter: 7/8 of an inch. The weight of the pipe is 52 grams /1.80 ounces. I will be adding the pipe to the American Pipe Makers Section of the rebornpipes store. If you are interested in purchasing this pipe send me a message or an email. Thanks for reading this blog and my reflections on the pipe while I worked on it.