by Steve Laug
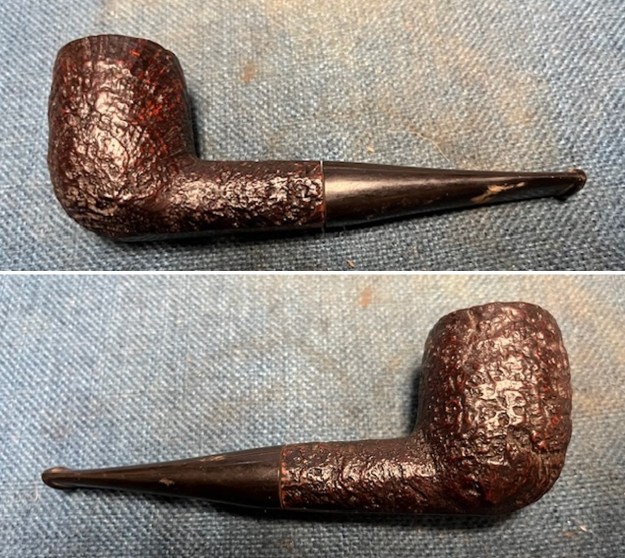
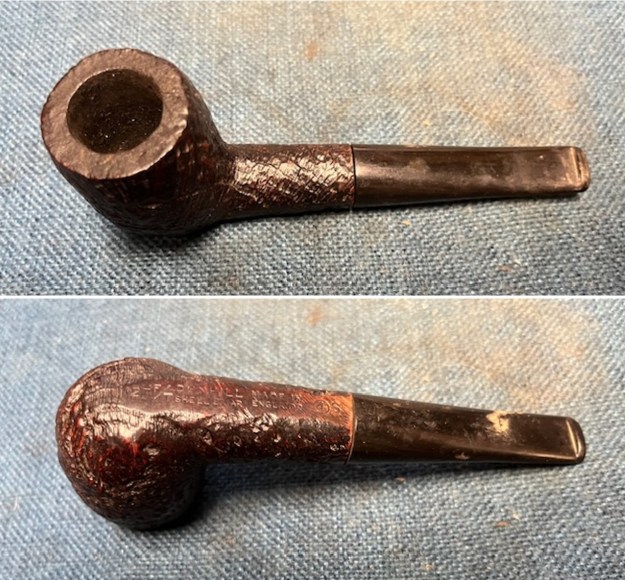
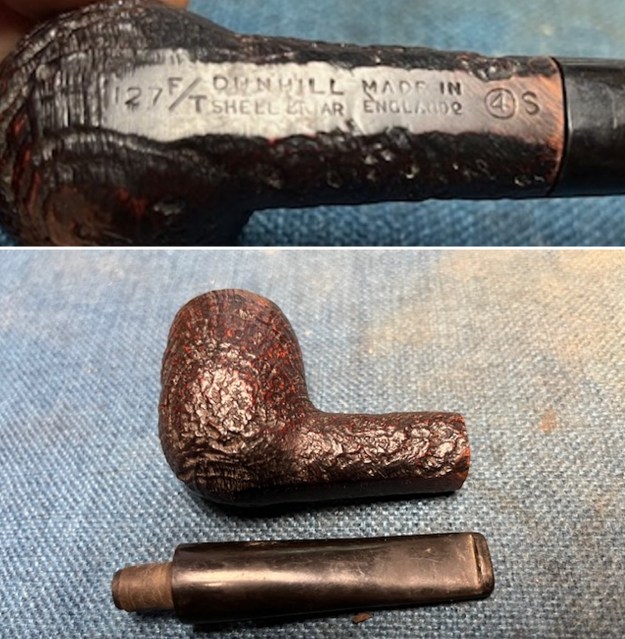
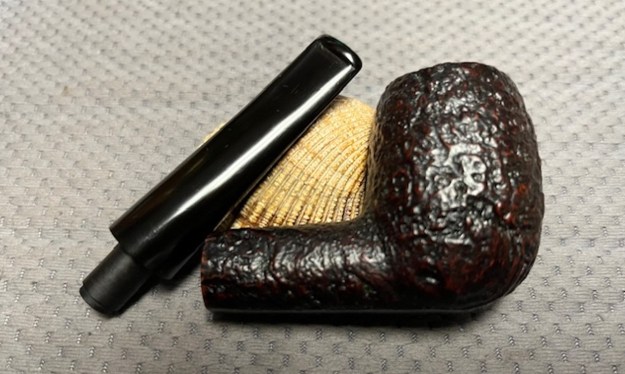
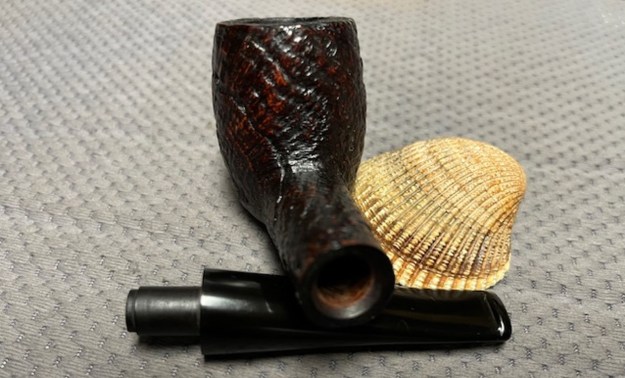
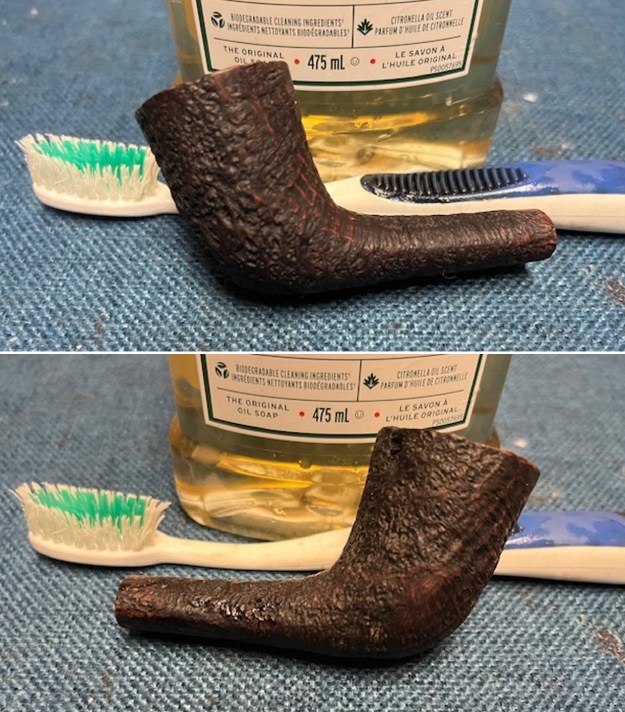
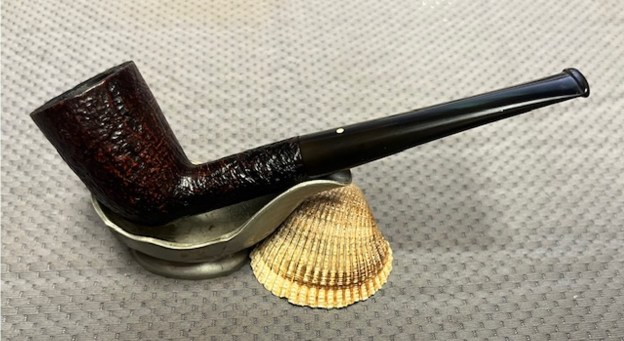
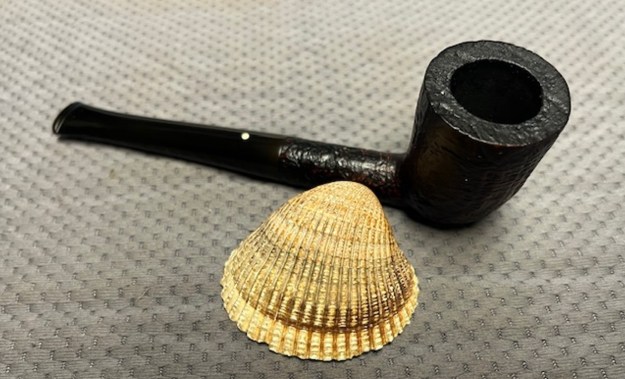
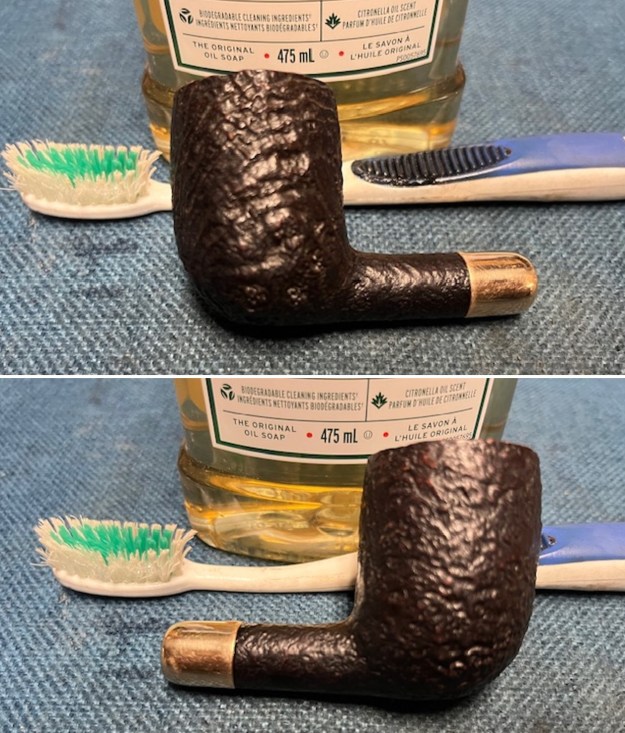
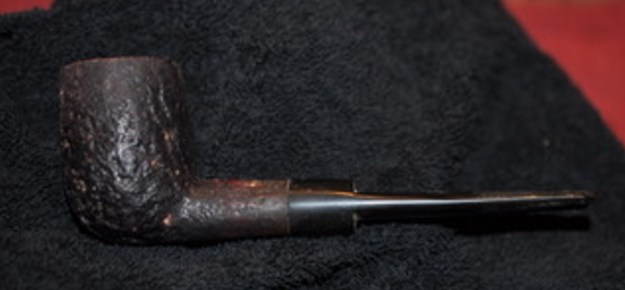
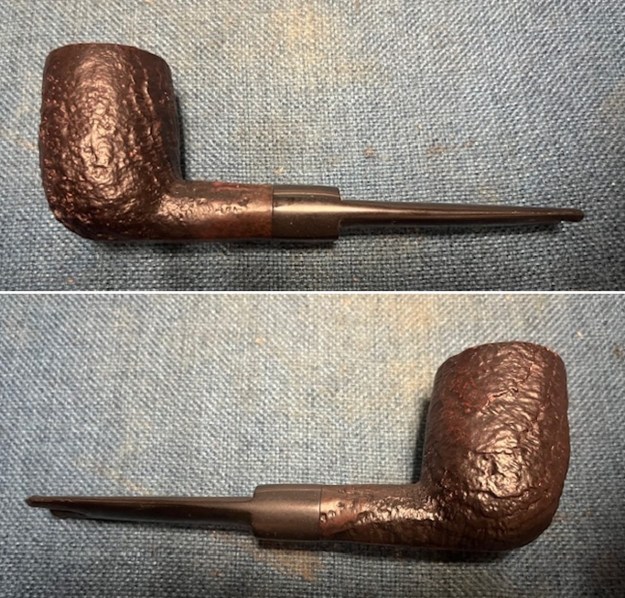
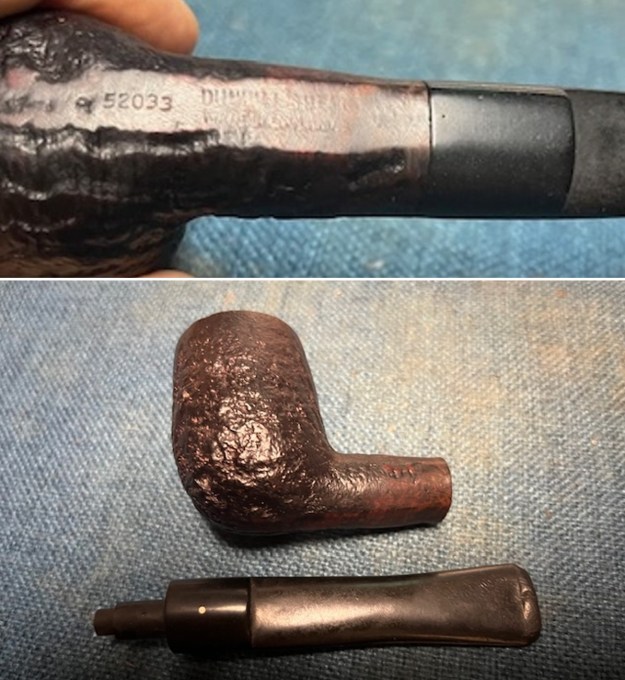
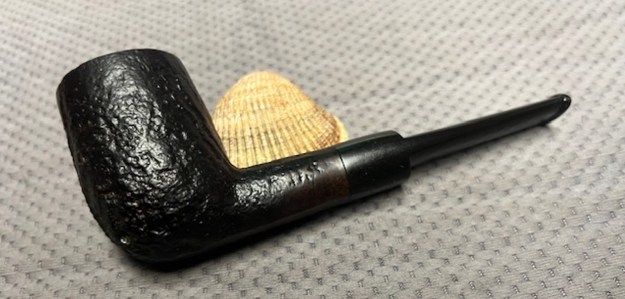
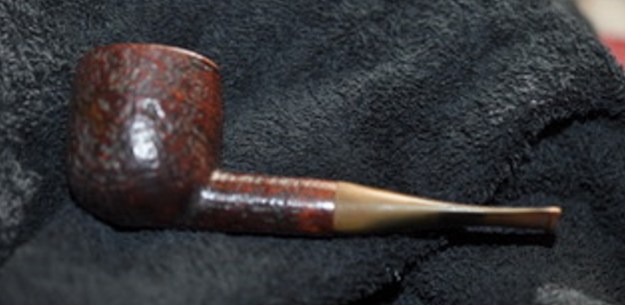
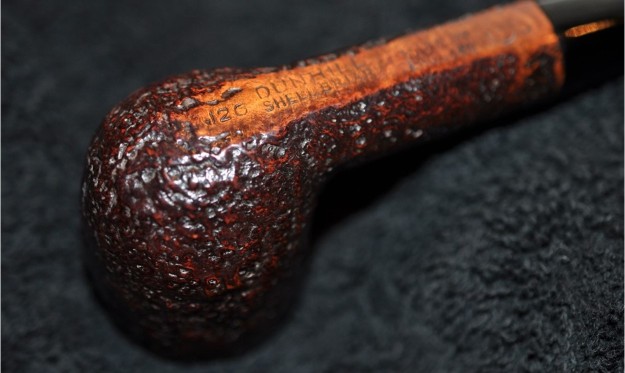
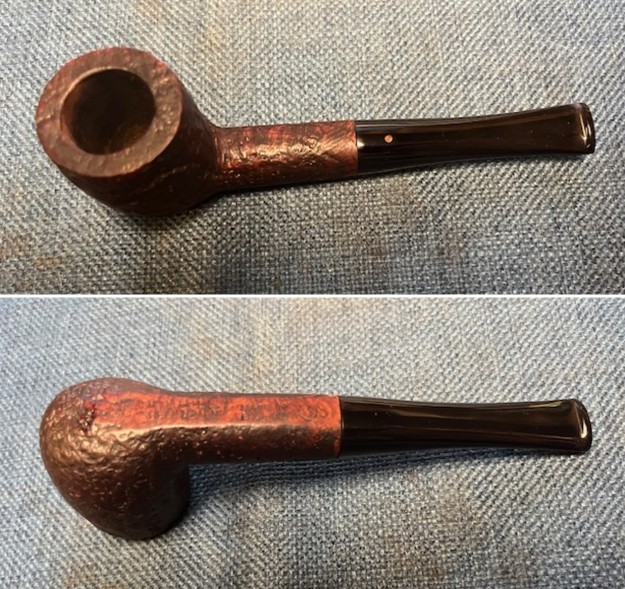
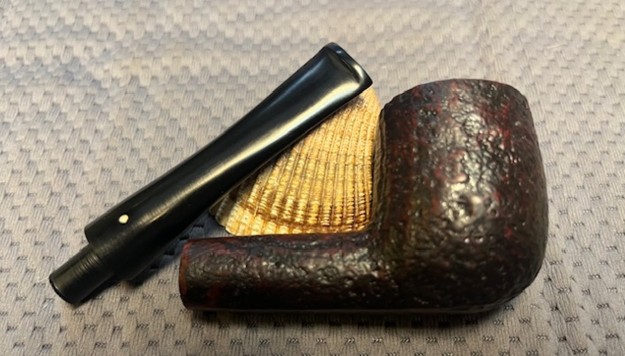
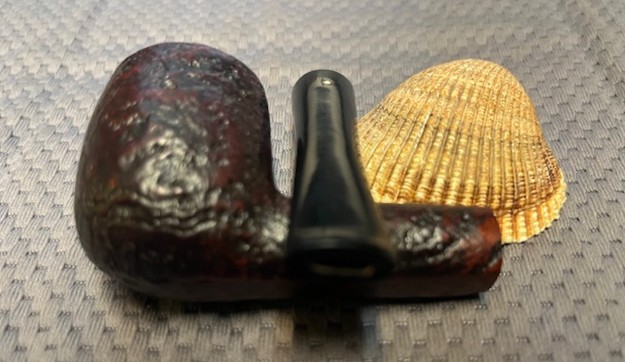
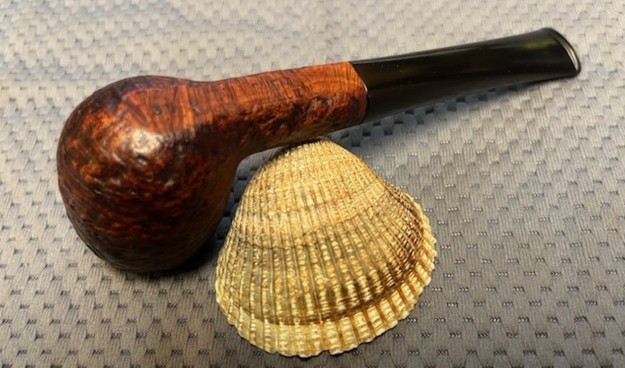
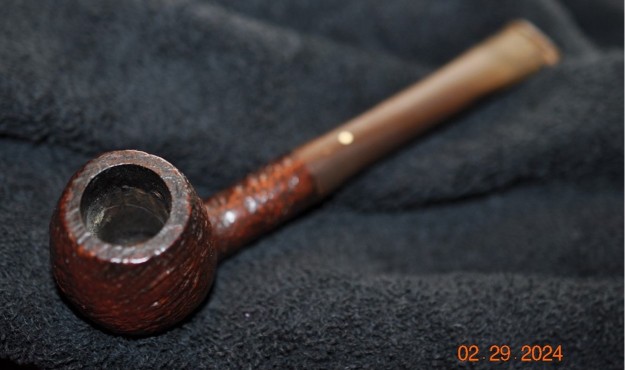
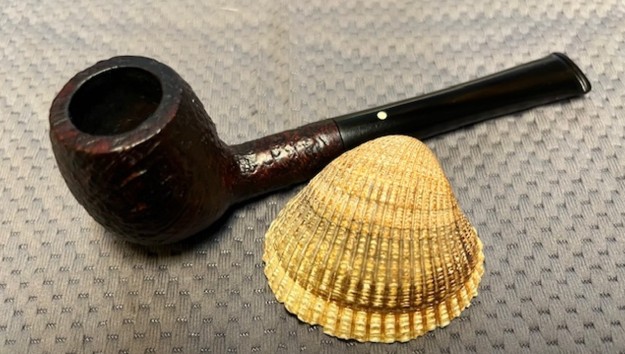
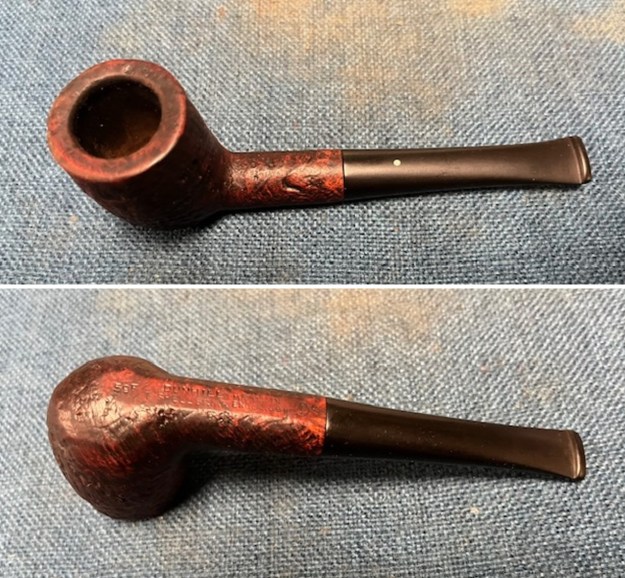
The next pipe on the table is one that came to us from a seller in Ogden, Utah, USA on 05/04/2025. It is a Dunhill sandblast that is in decent condition. It is stamped on a smooth panel on the underside of the shank with the shape number 59 F/T followed by Dunhill [over] Shell Briar. Next to that it is stamped Made in [over] England with the date number 9 after the D in England with an 11 below and to the right of the 9. After that it is stamped with a 4 in a circle [followed by] S for Shell Briar. The stamping is clear and readable as noted above. The finish was dusty and oily around the nooks and crannies of the sandblast but otherwise looked good. The bowl had been recently reamed but was dirty and there were some light lava spots on the sandblasted rim top or edges. The edges looked to be undamaged with some rounding on the outer edge. The taper stem was lightly oxidized, dirty and had light tooth marks and chatter ahead of the button. Jeff took photos of the pipe to show what it looked like before he started working on it.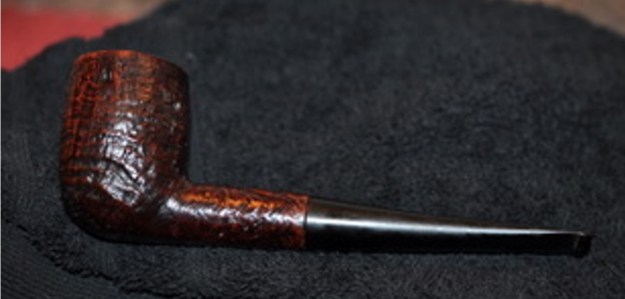
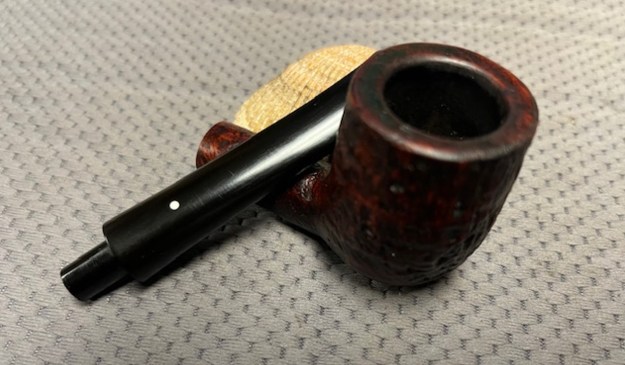
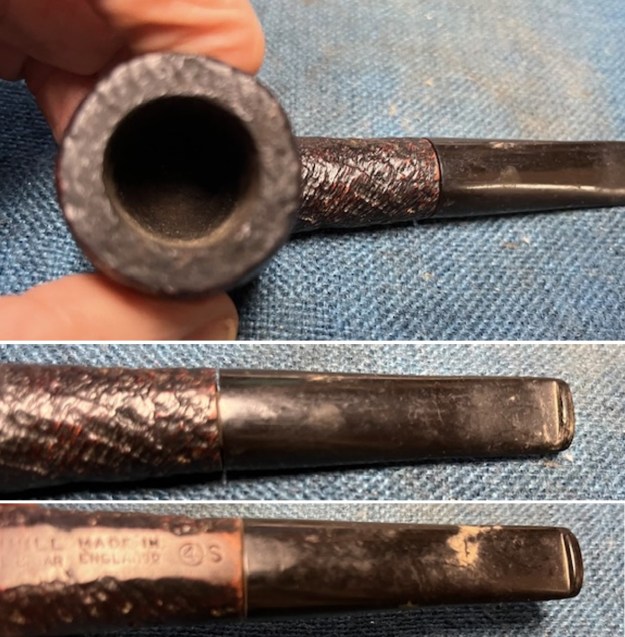
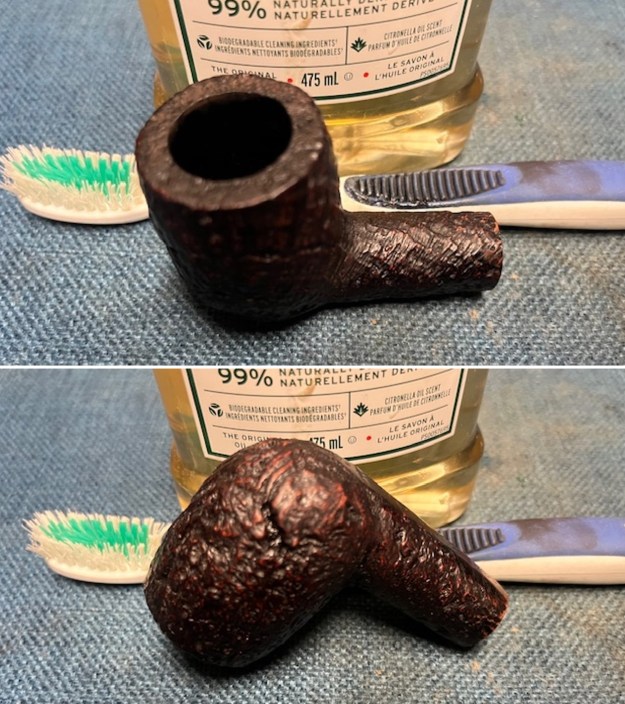
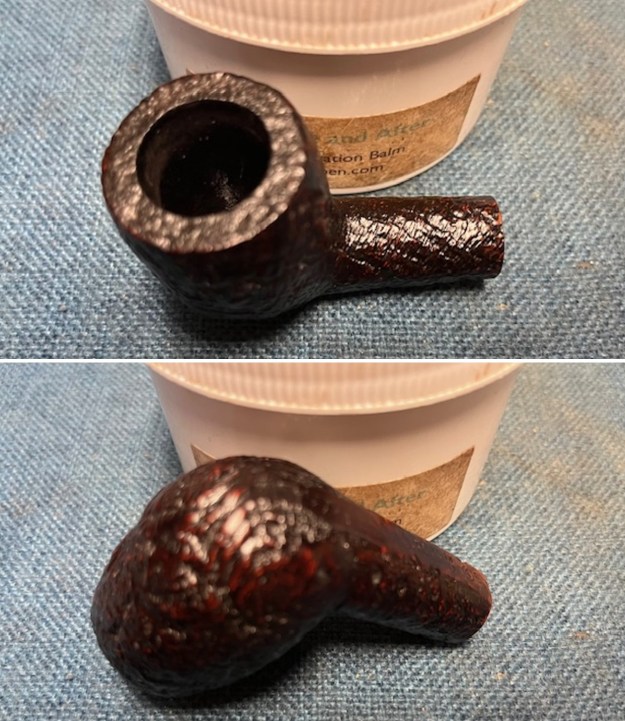
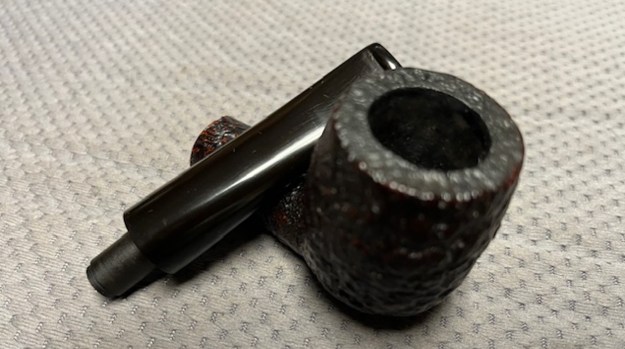
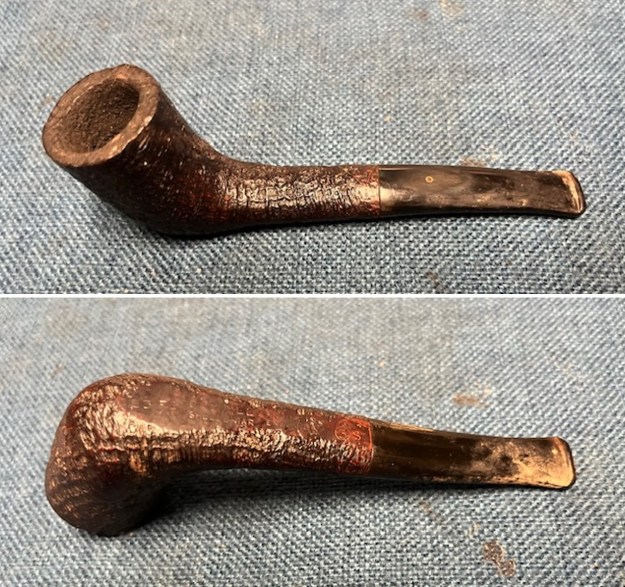
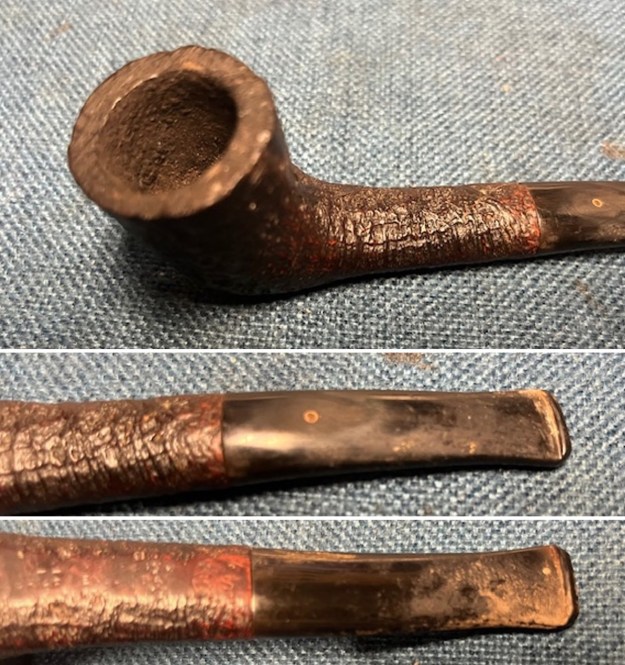
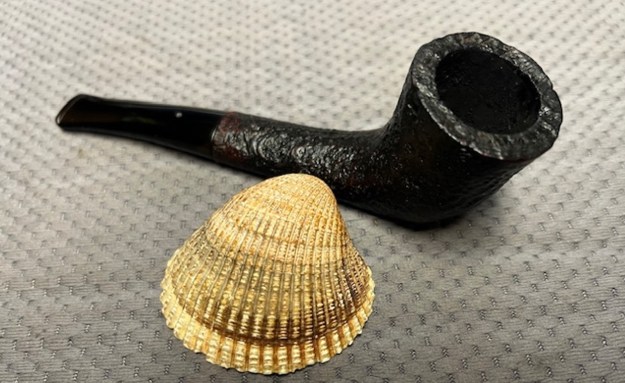
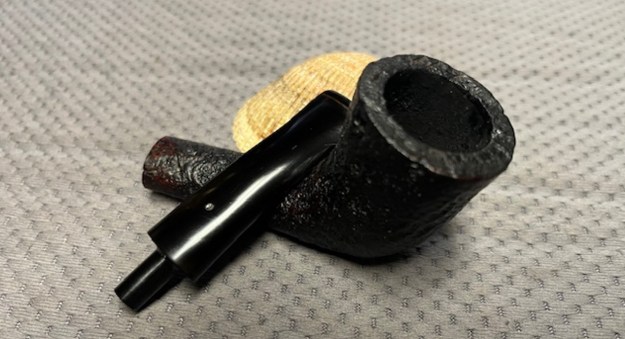
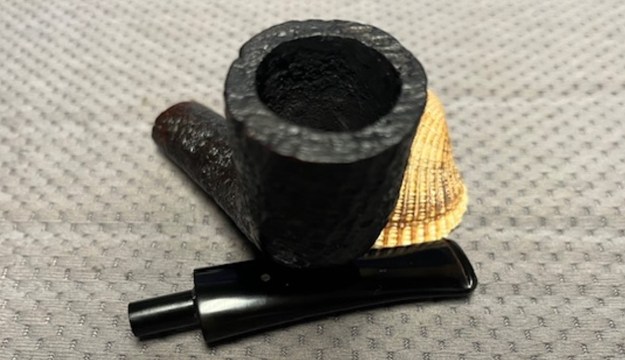
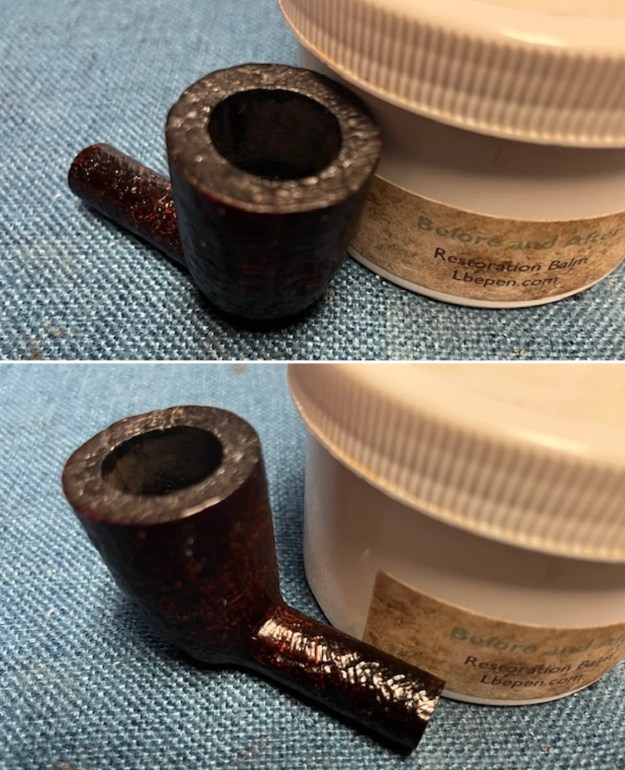
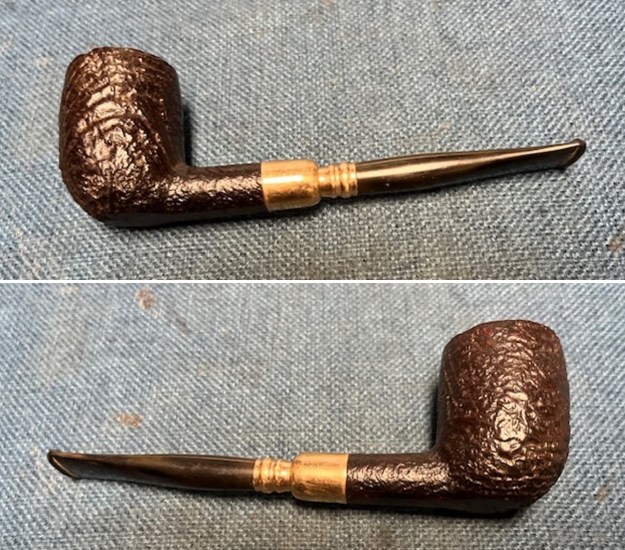
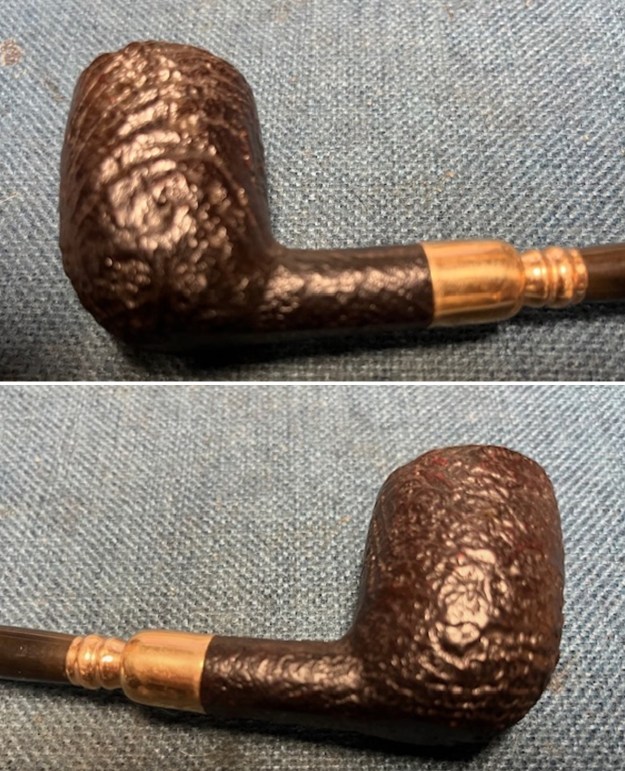
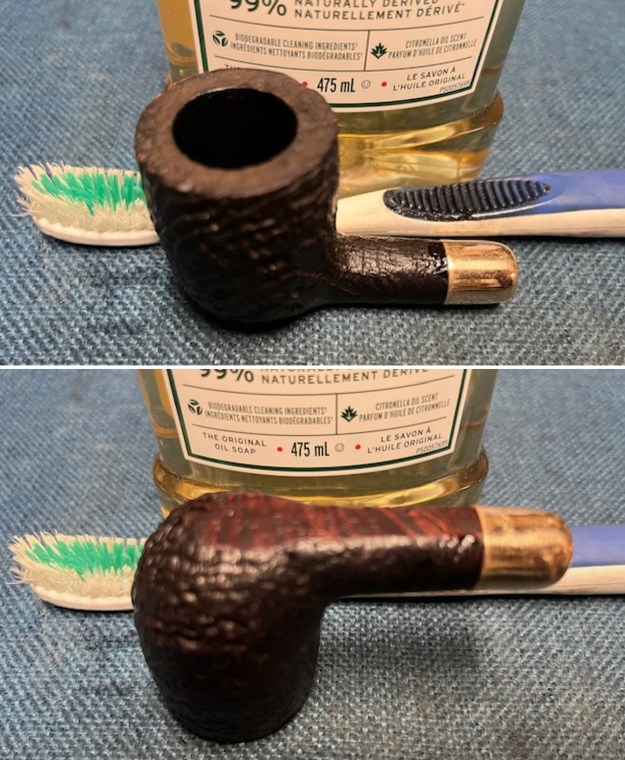
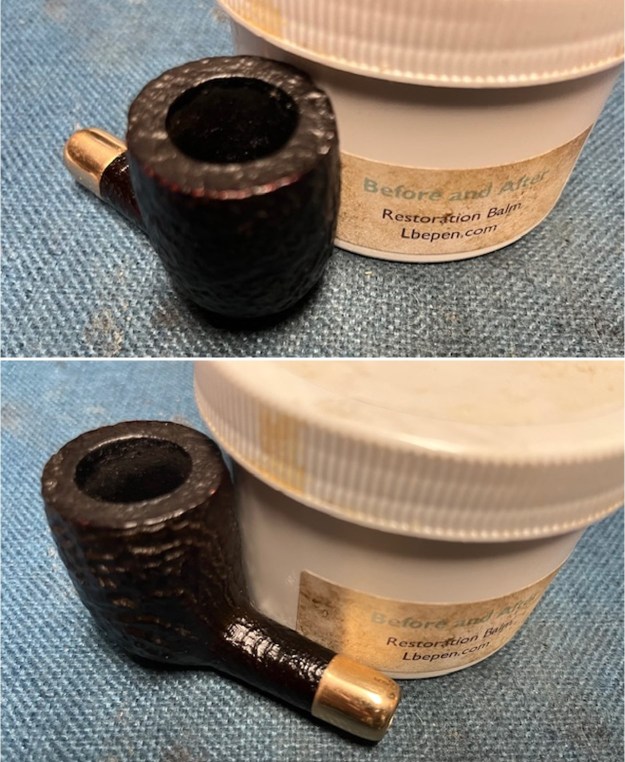
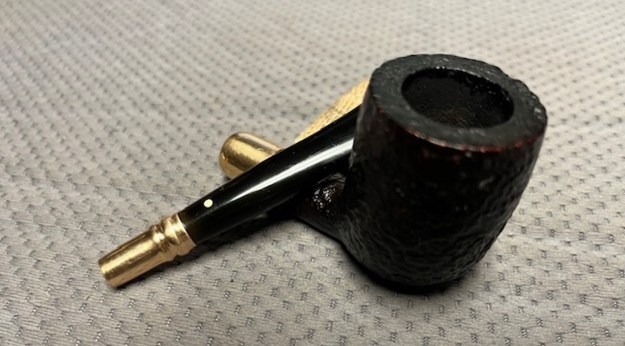
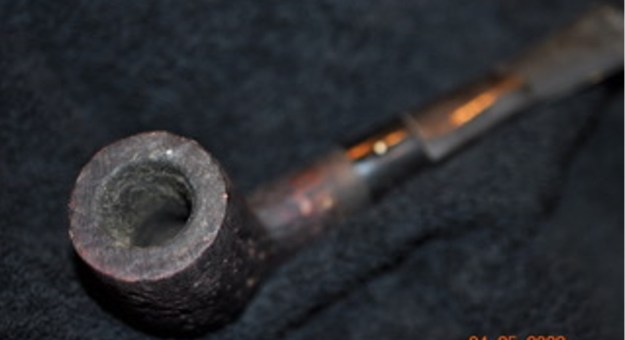
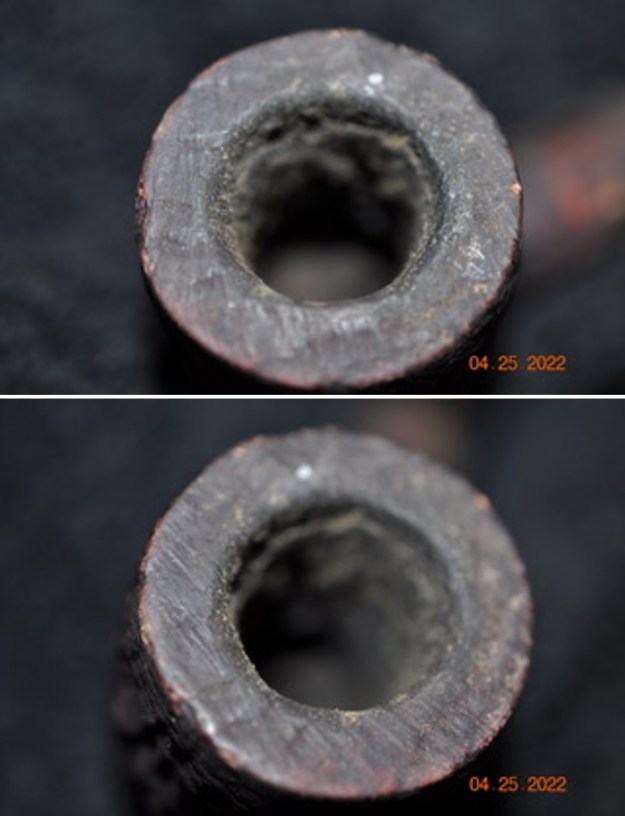
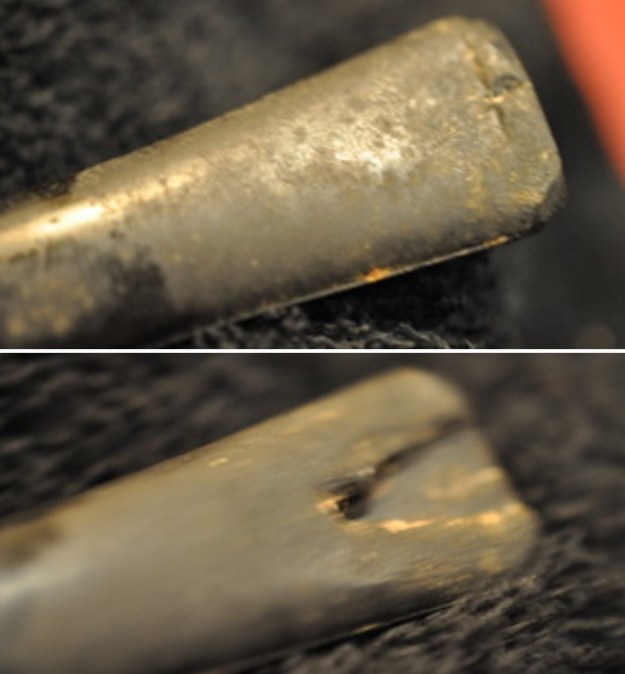
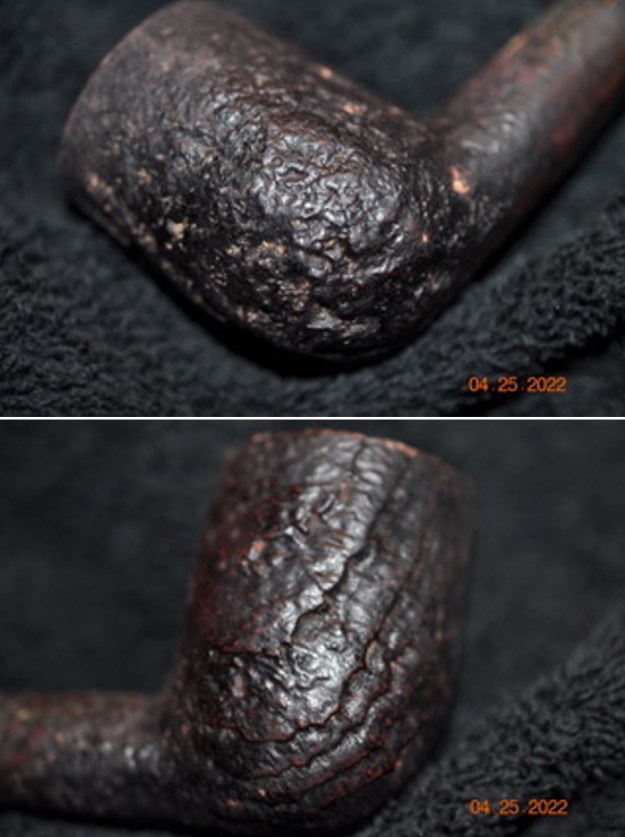
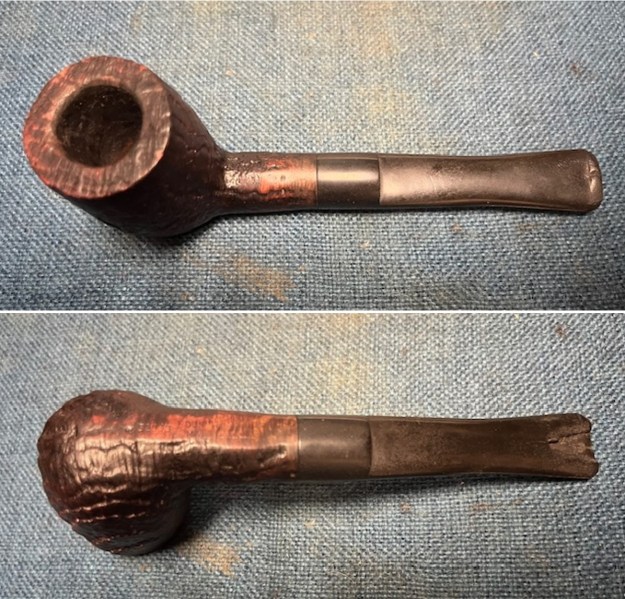
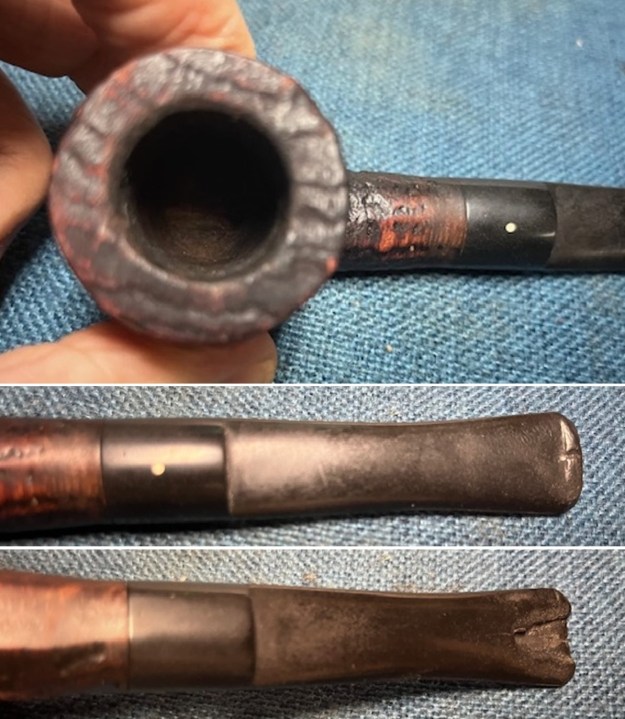
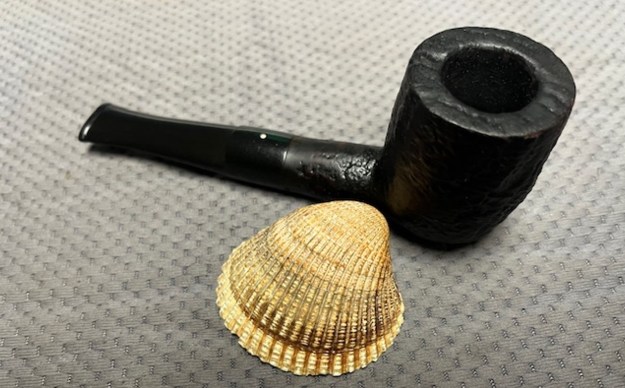
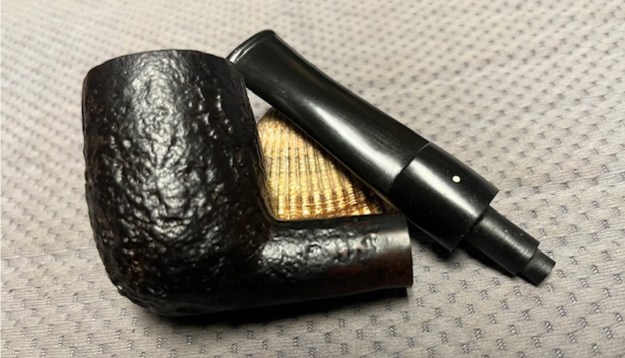
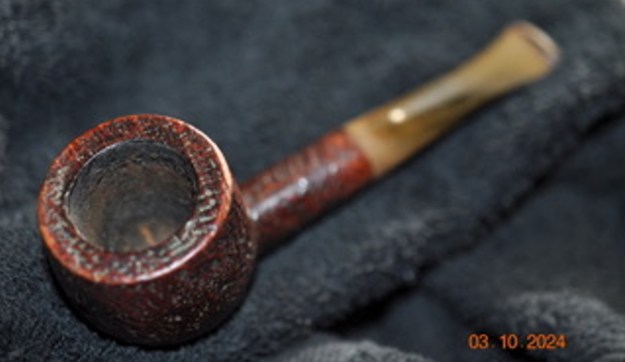
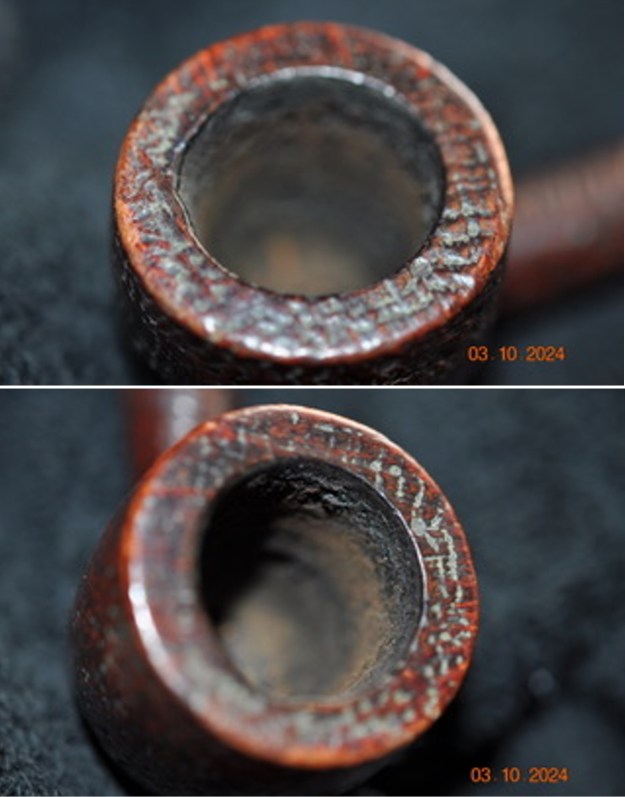
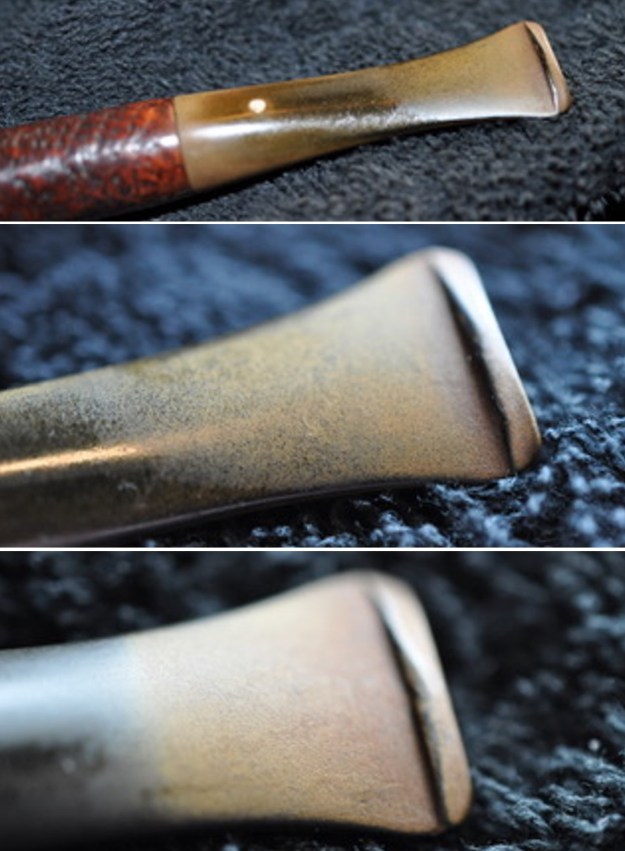
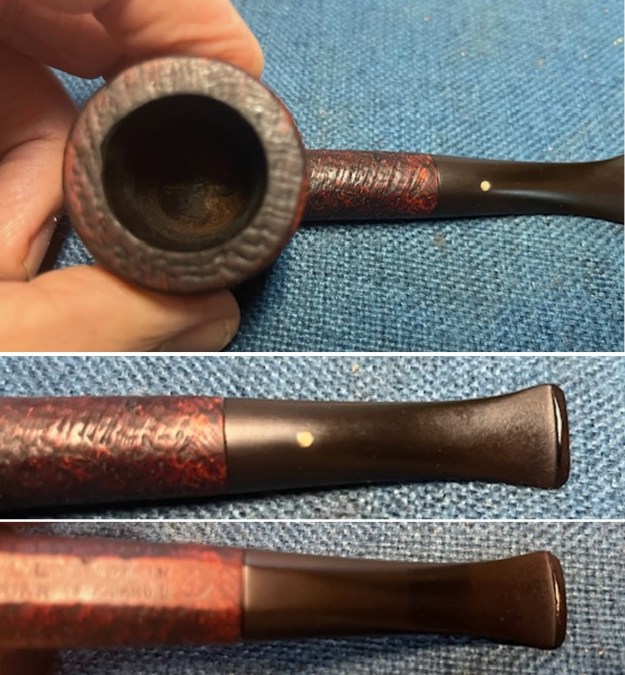
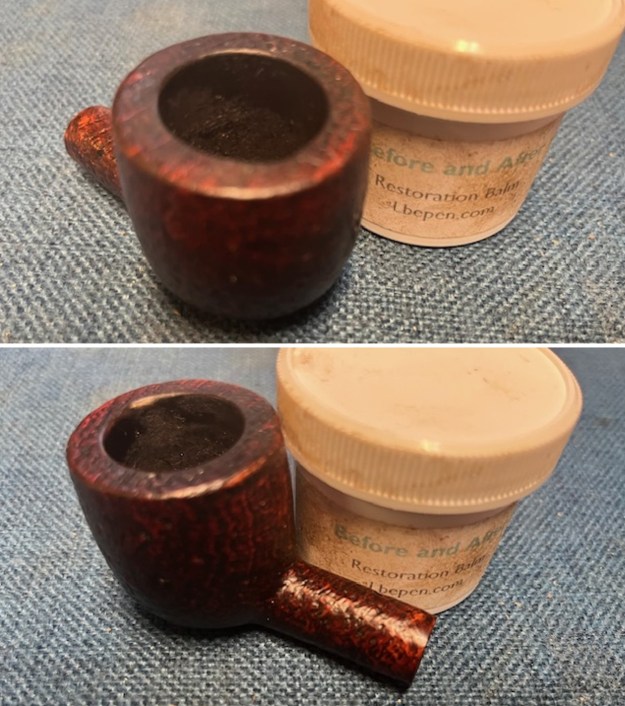
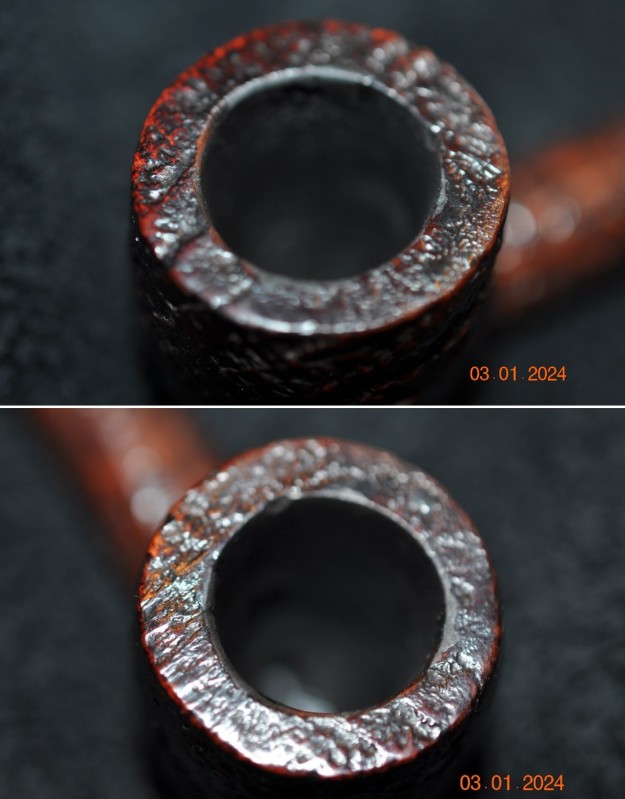
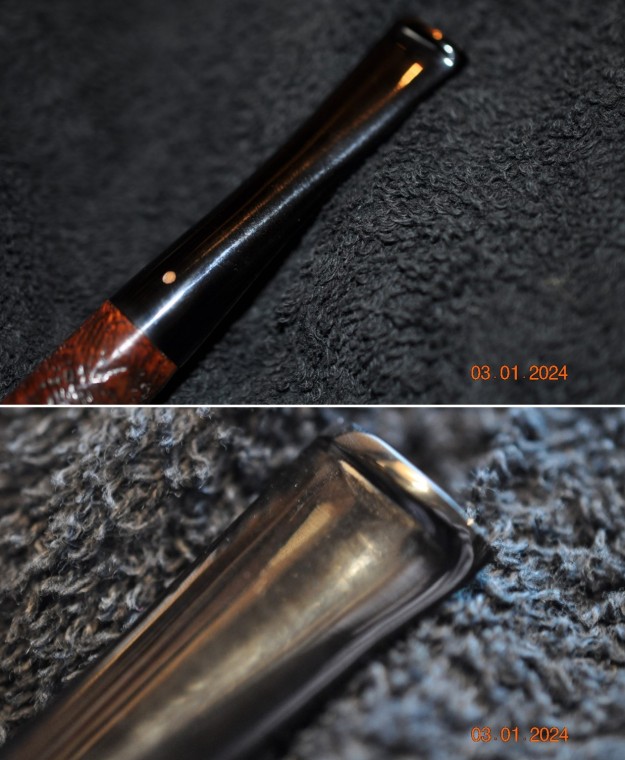
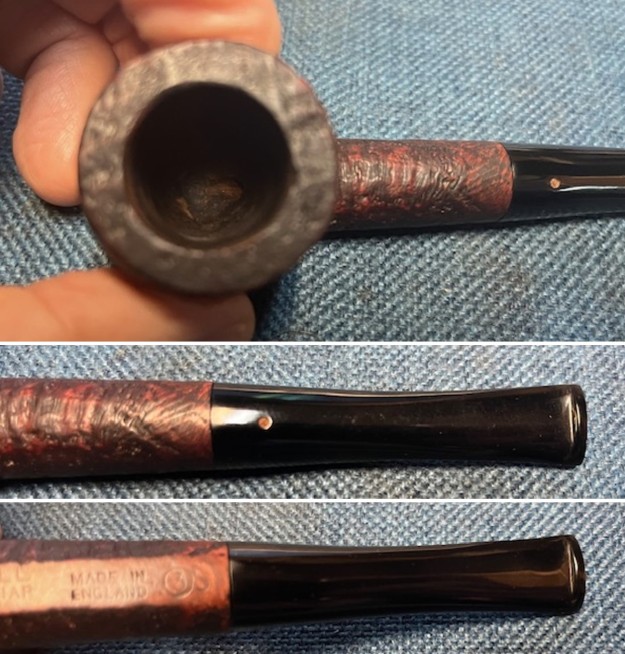
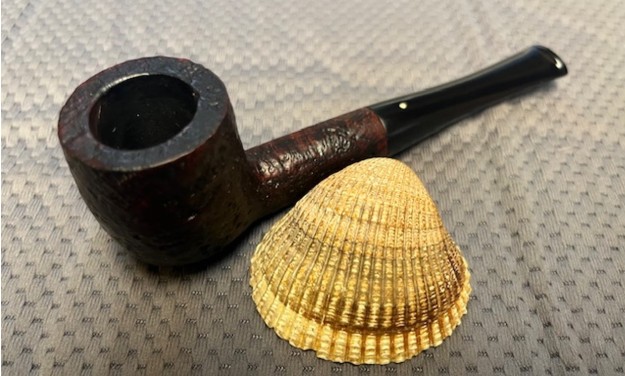
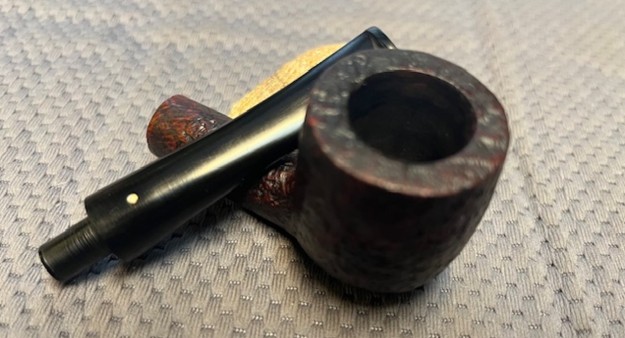
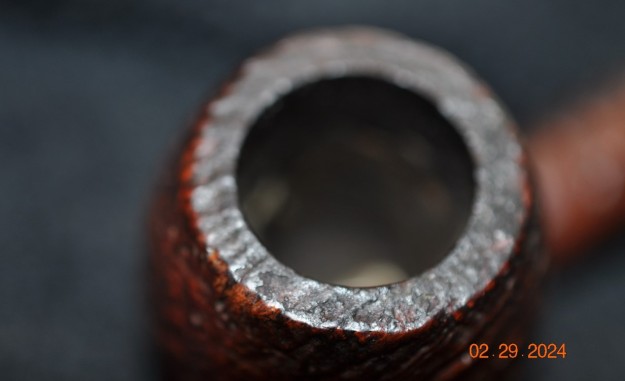
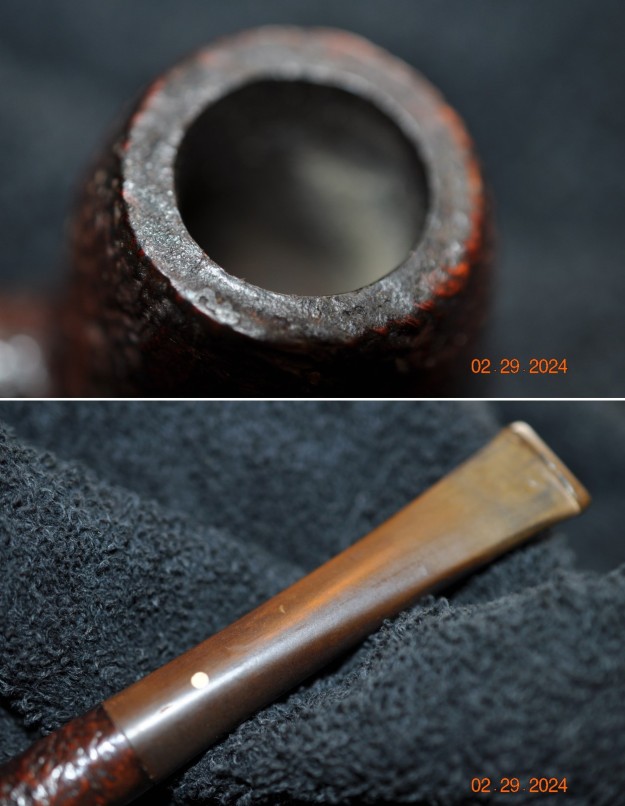
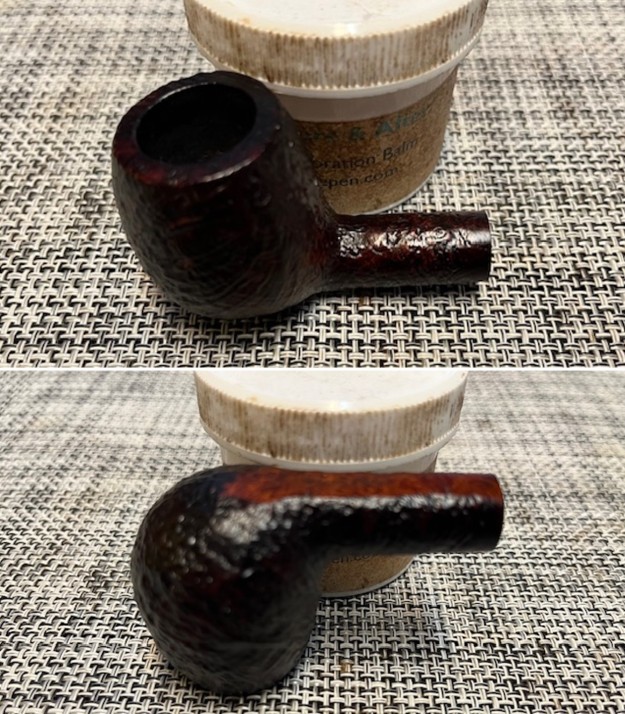
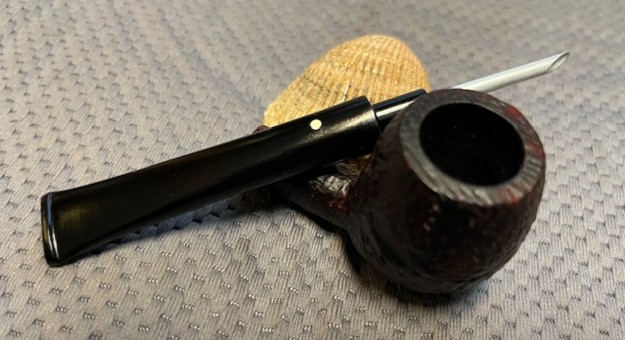
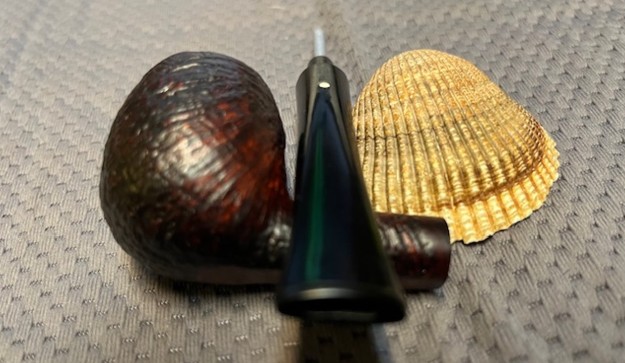
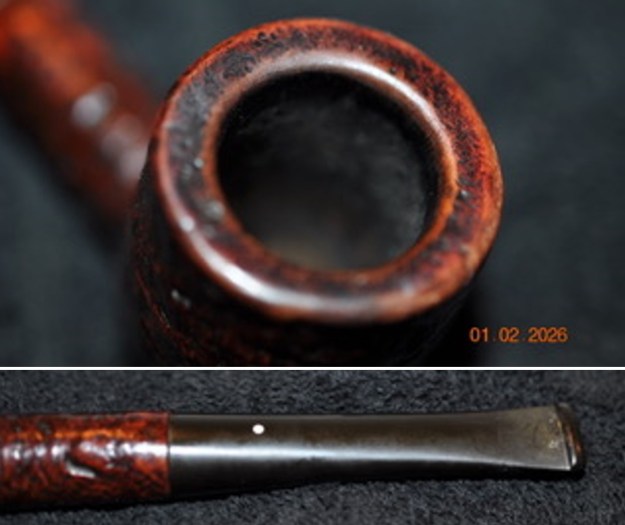
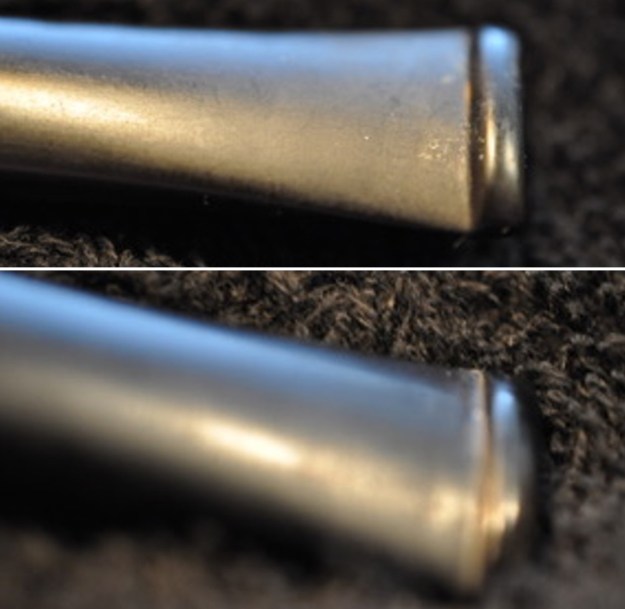
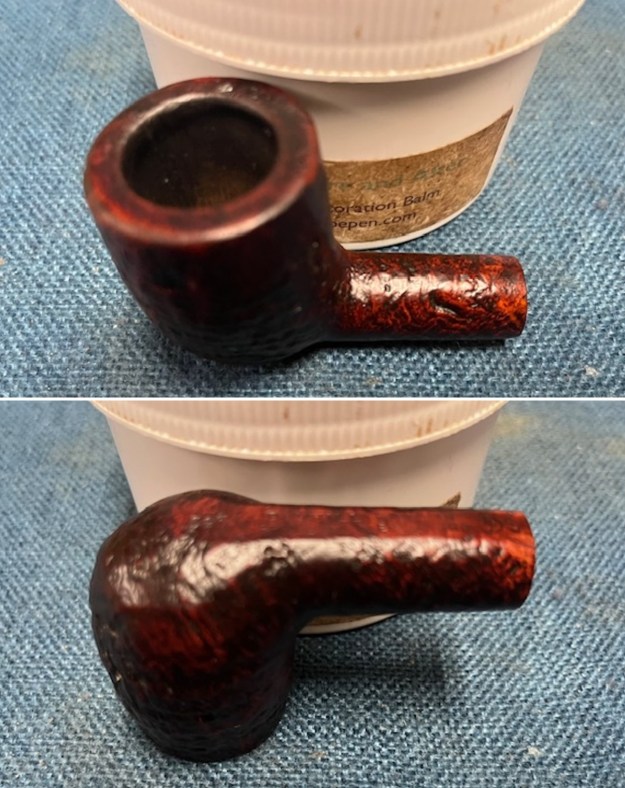
 Jeff took photos of the bowl and rim top to show the general clean condition of the bowl and the light lava spots on the rim top. The photos of the stem to show the condition of both sides of the stem as noted above.
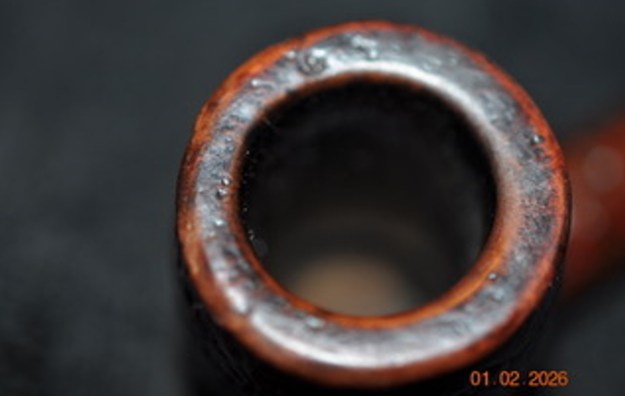
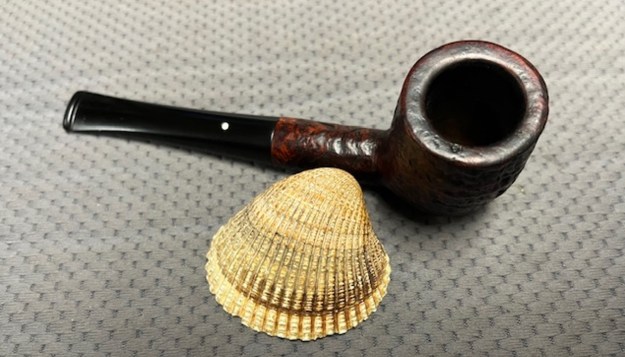
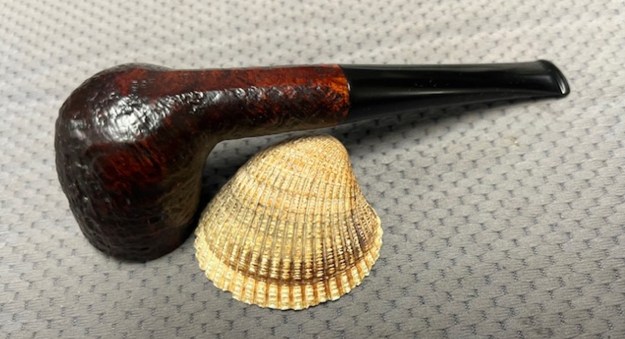
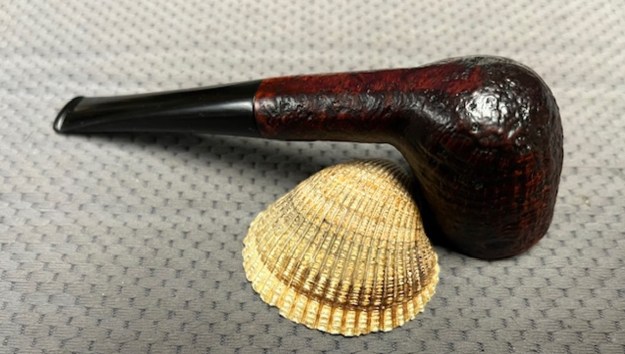
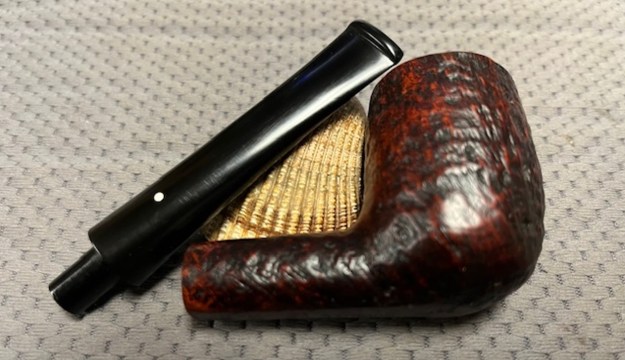
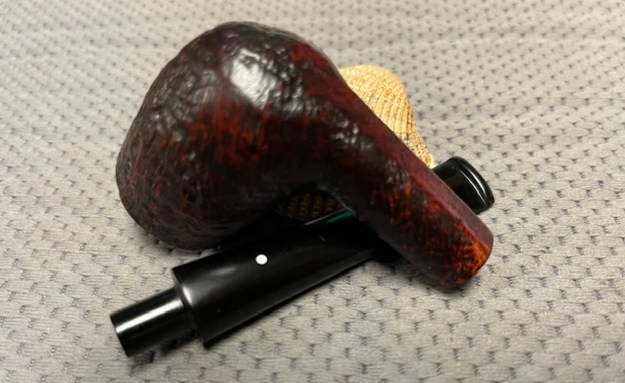
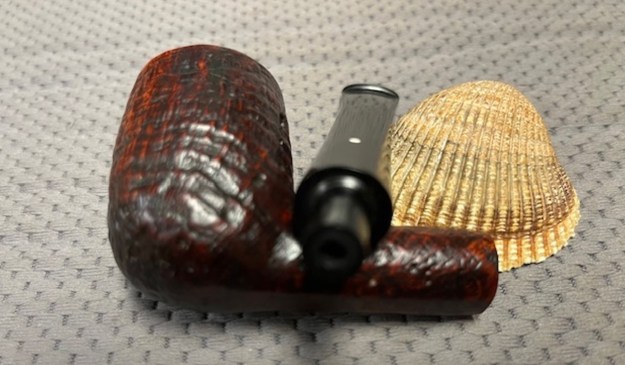
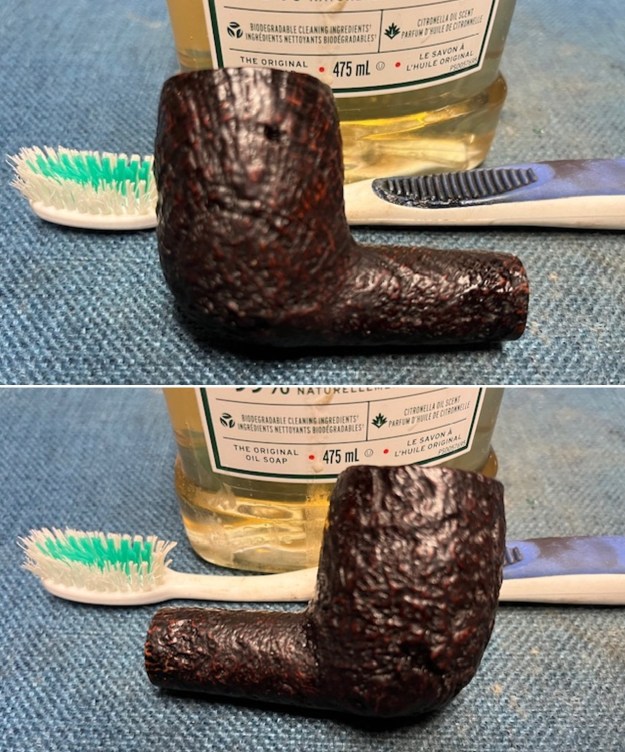
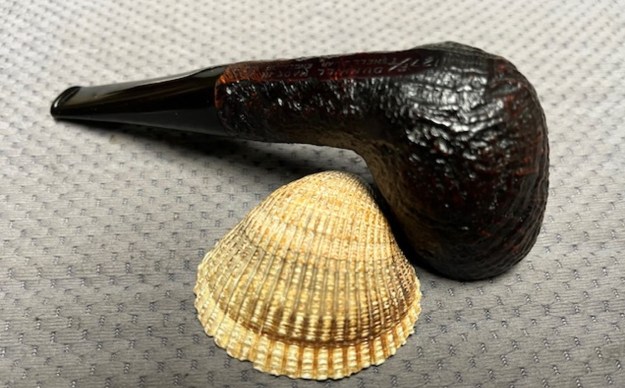
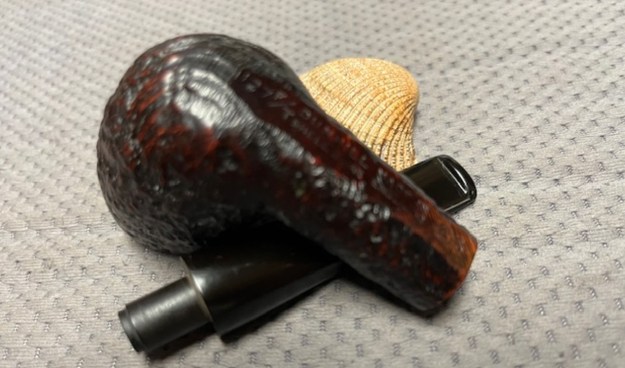
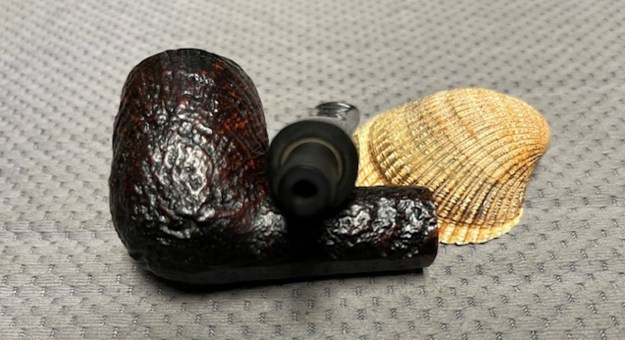
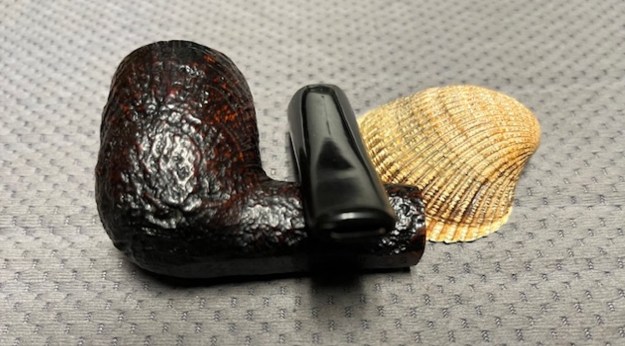
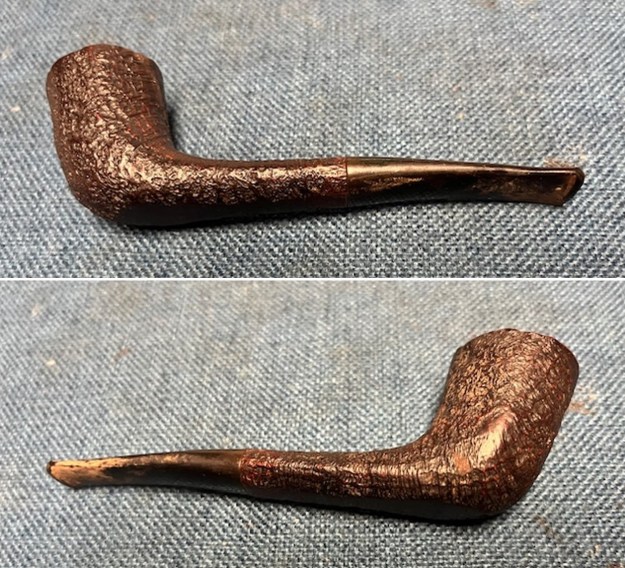
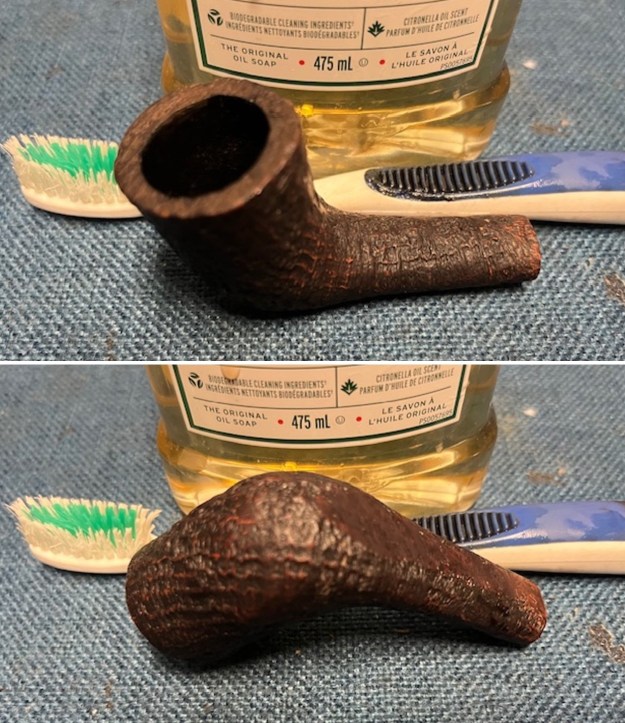
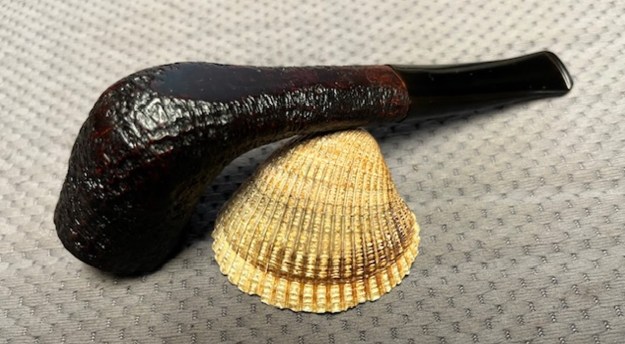
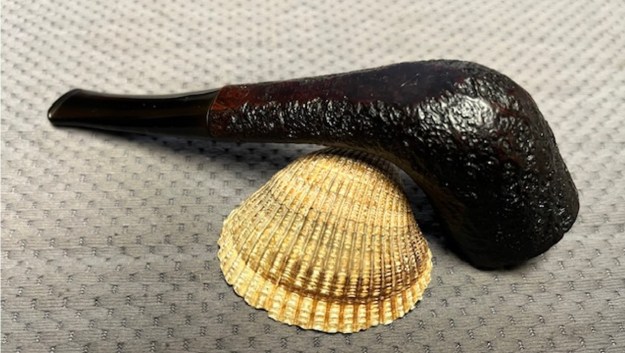
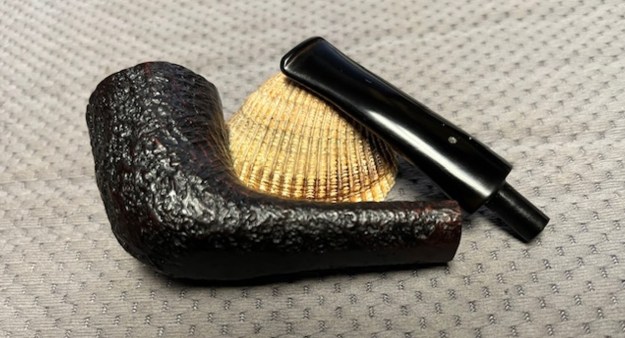
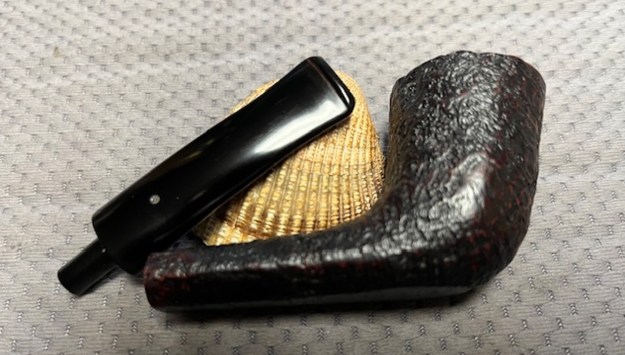
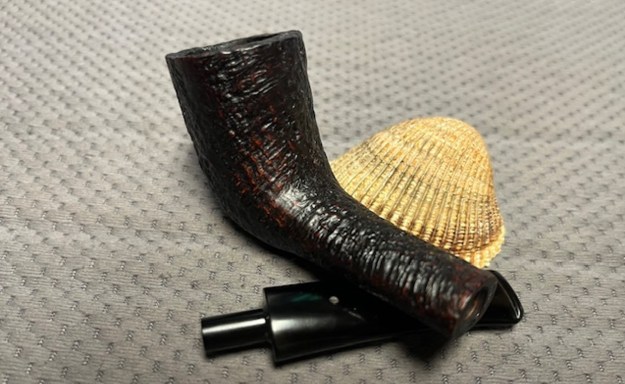
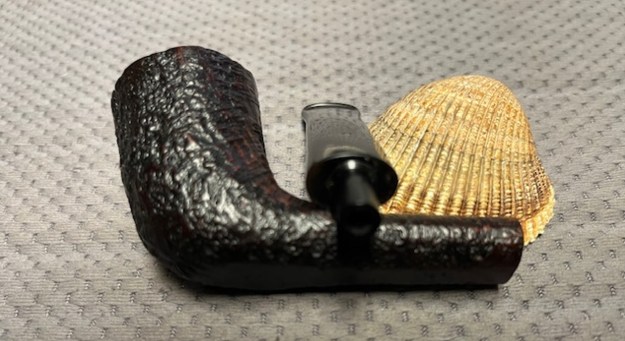
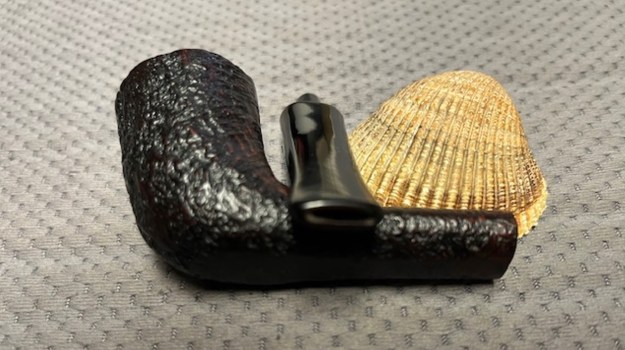
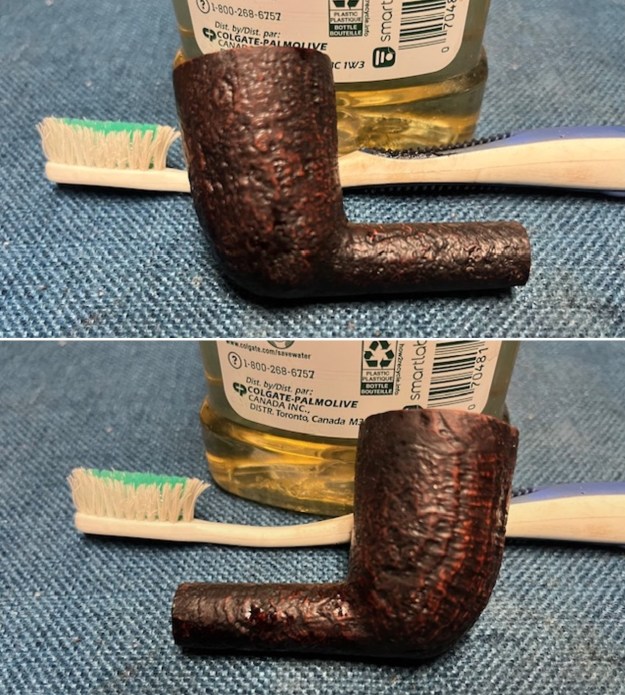
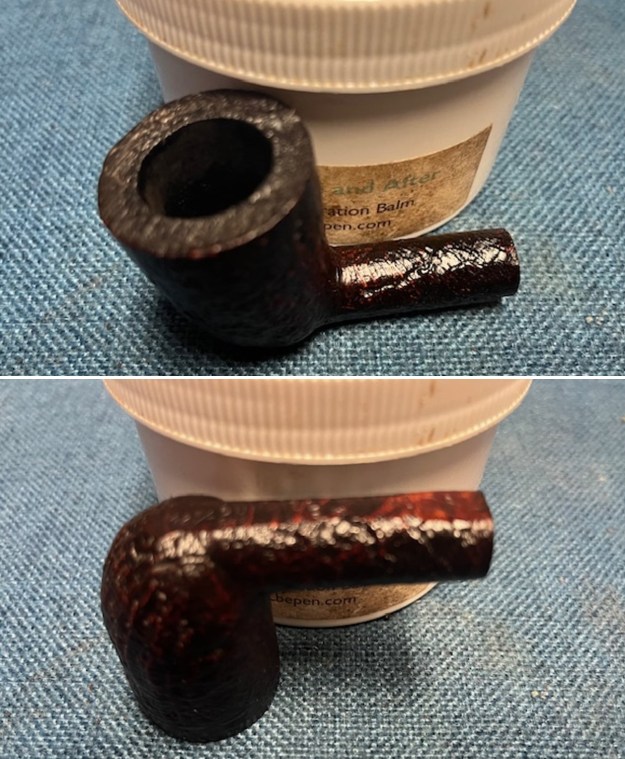
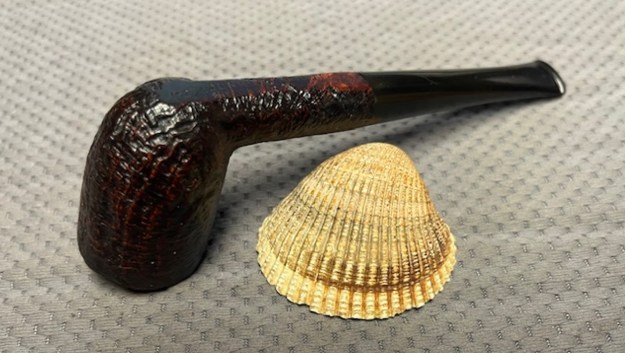
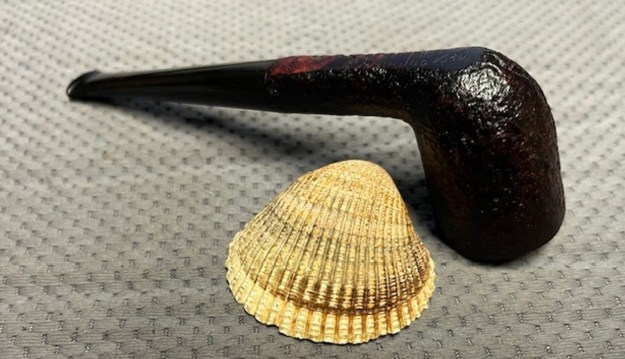
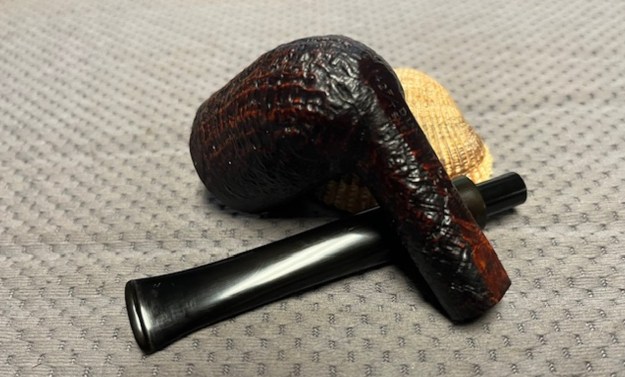
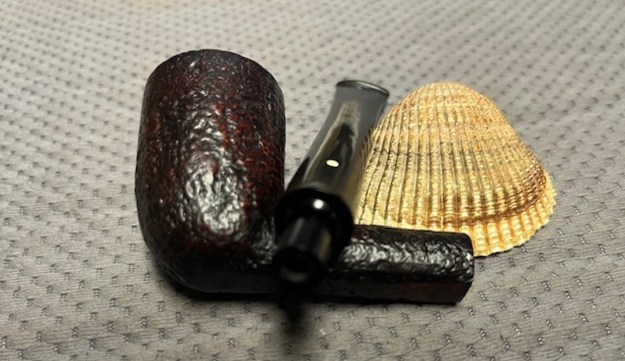
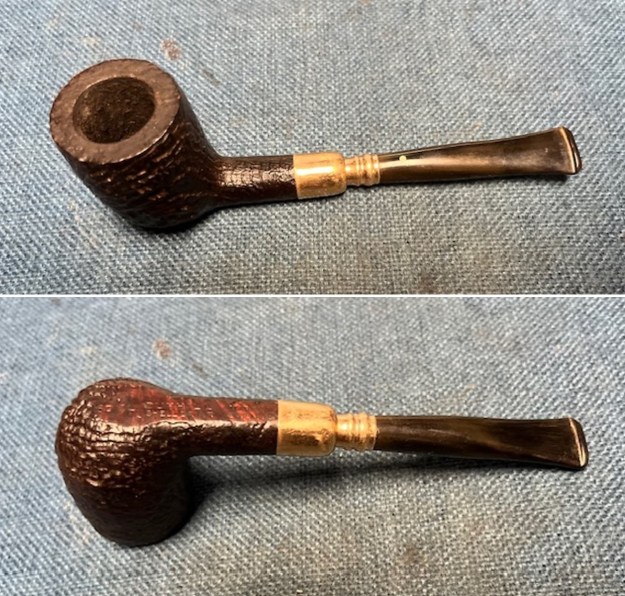
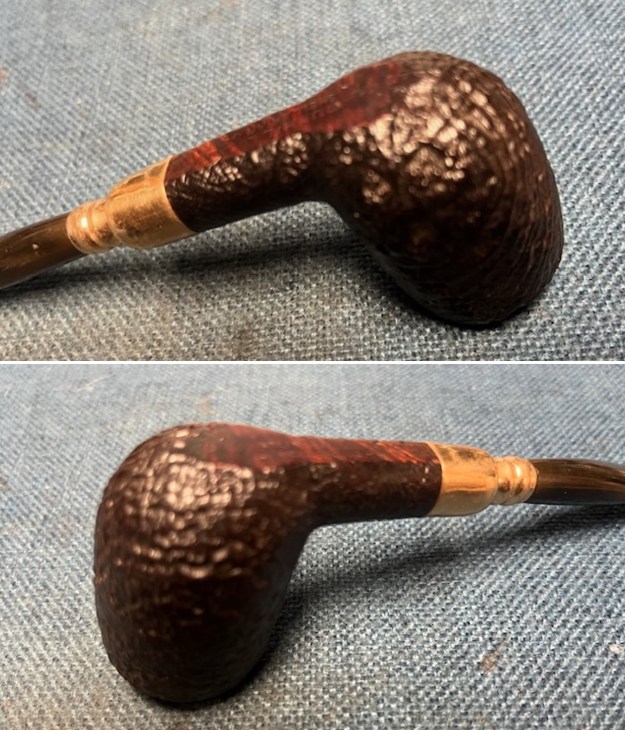
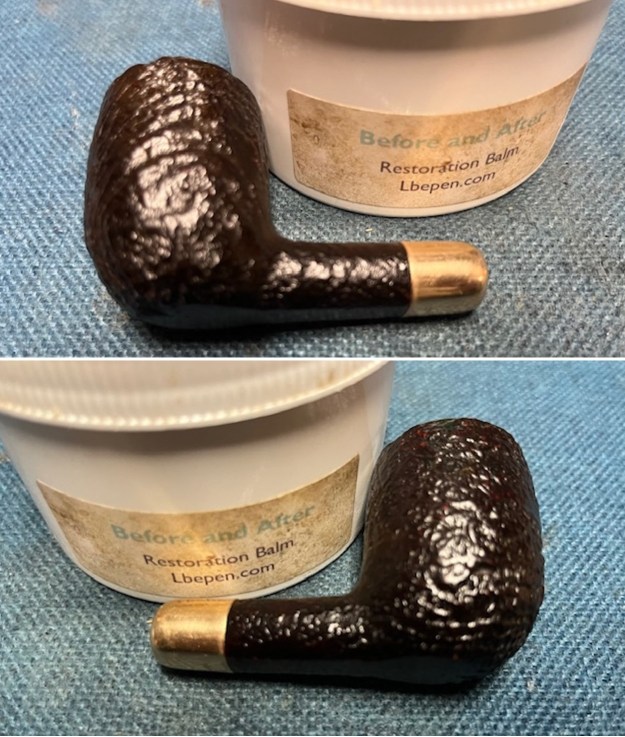
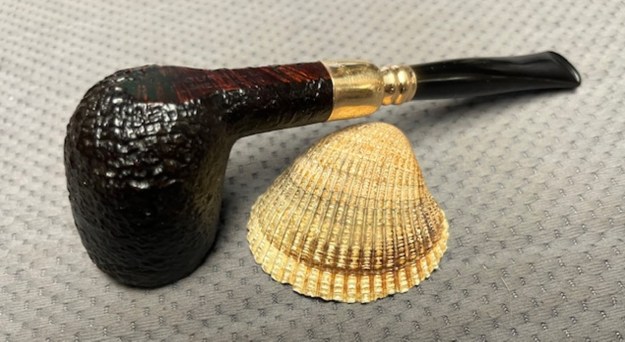
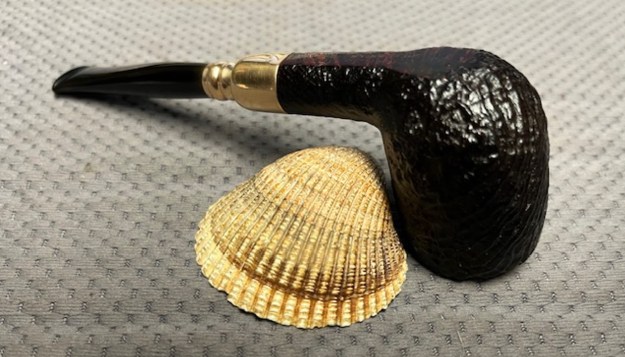
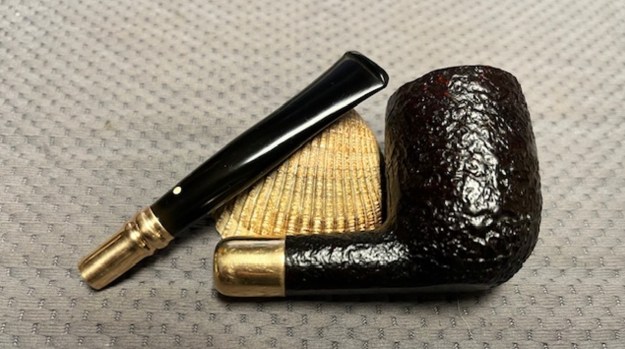
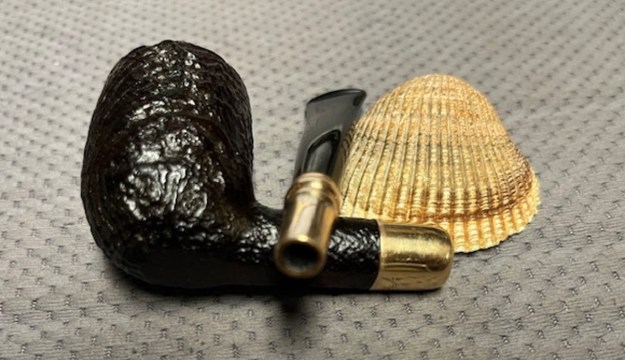
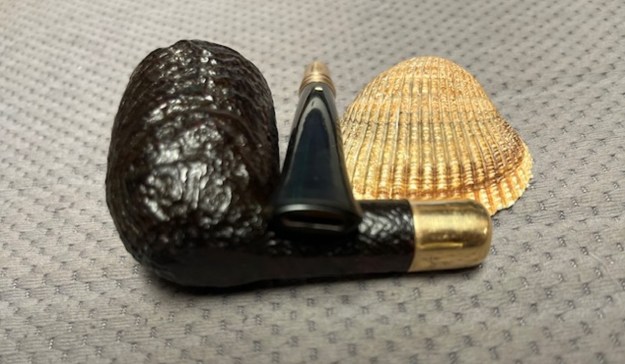
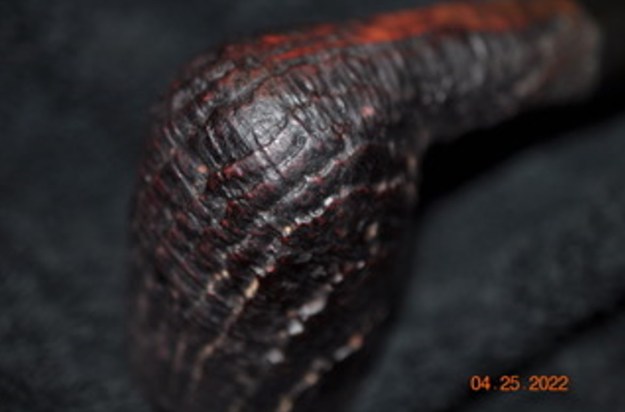
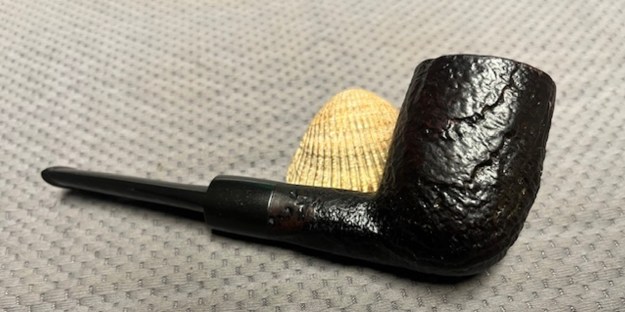
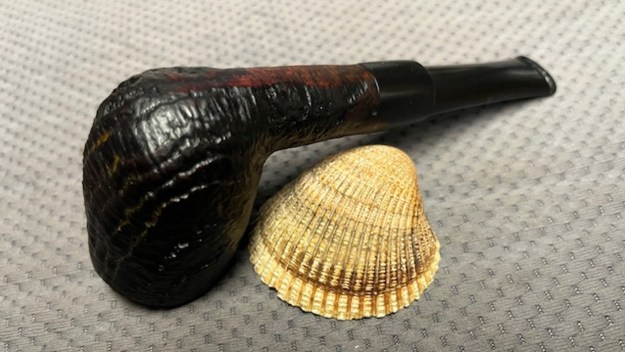
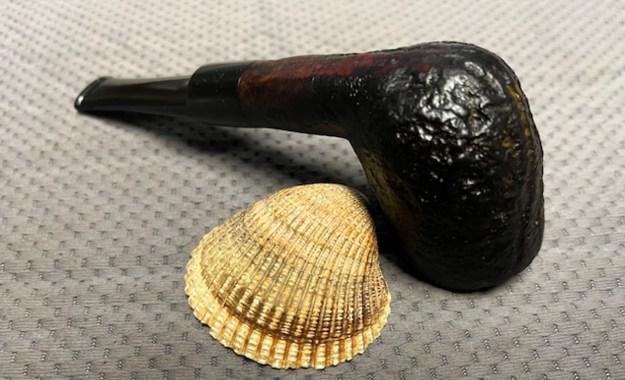
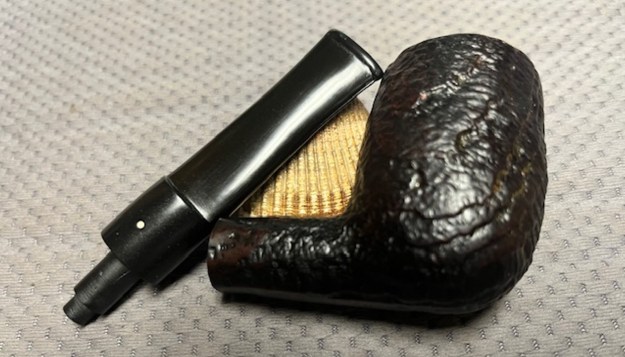
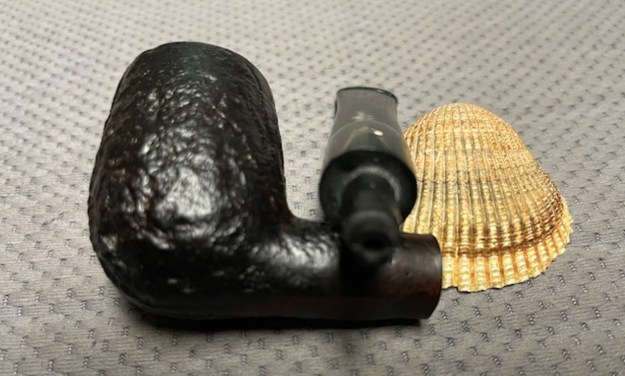
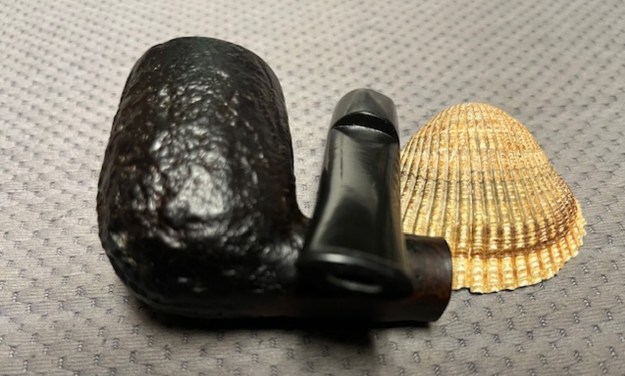
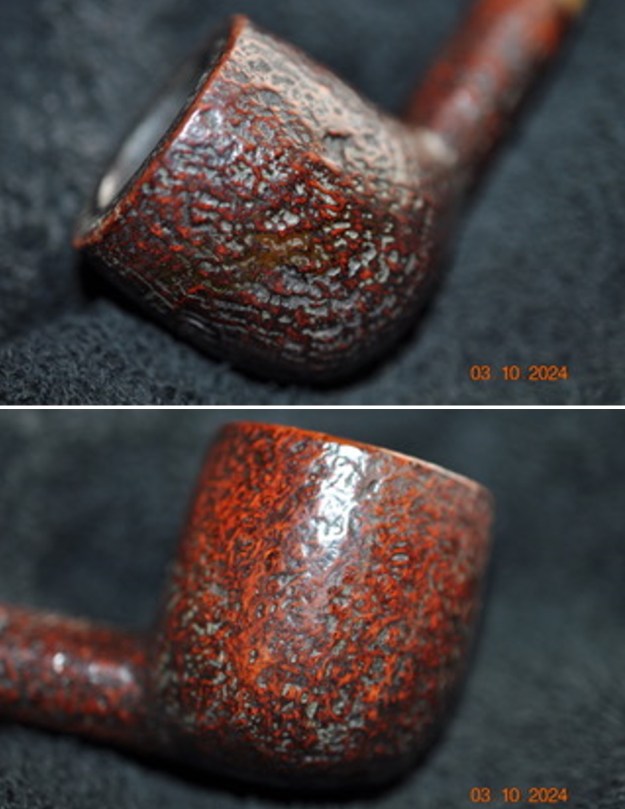
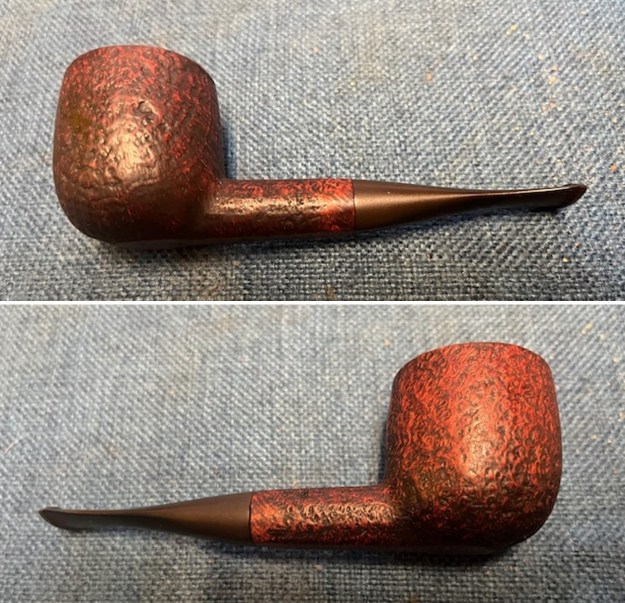
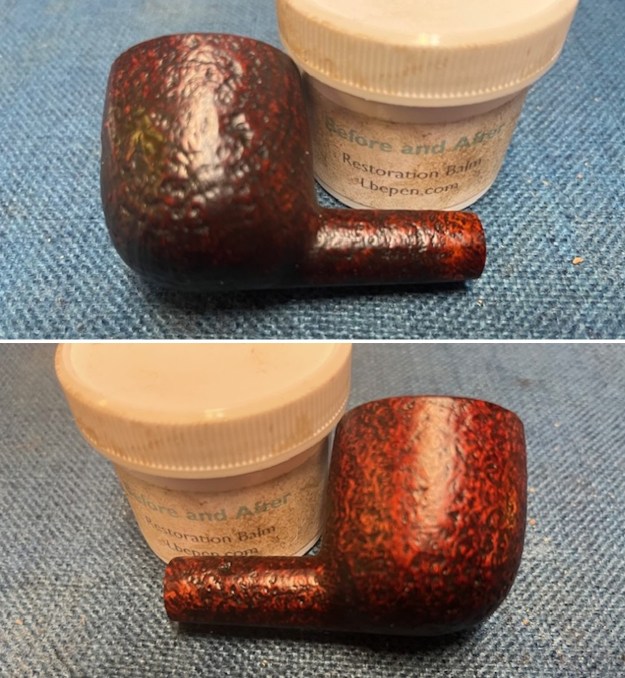
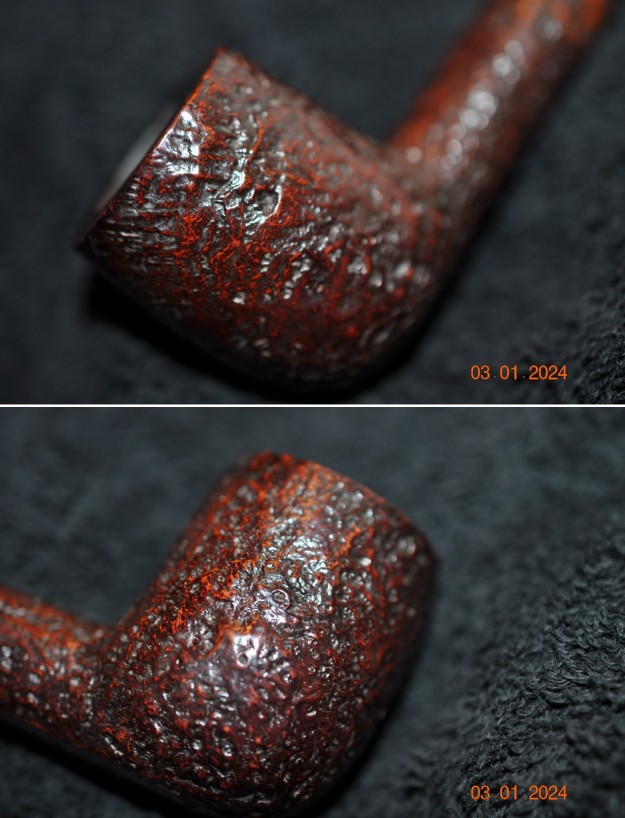
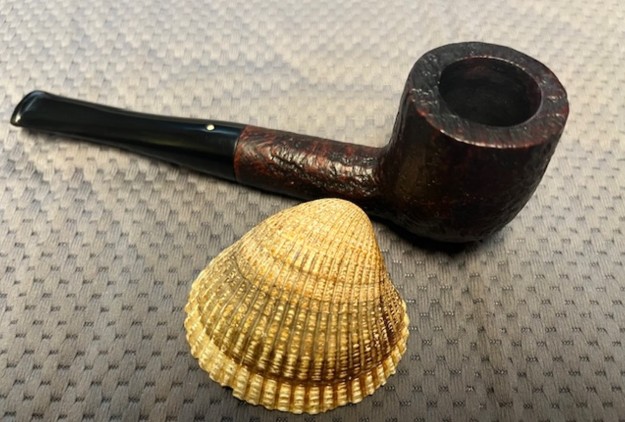
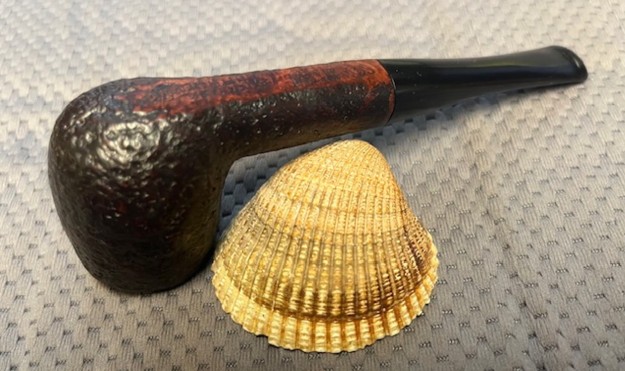
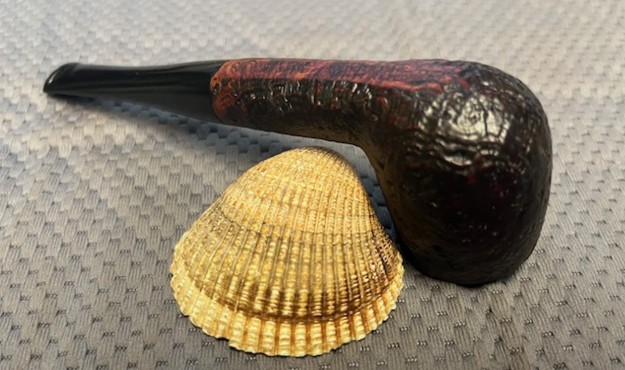
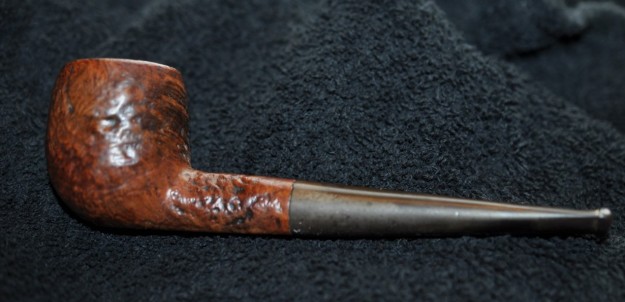
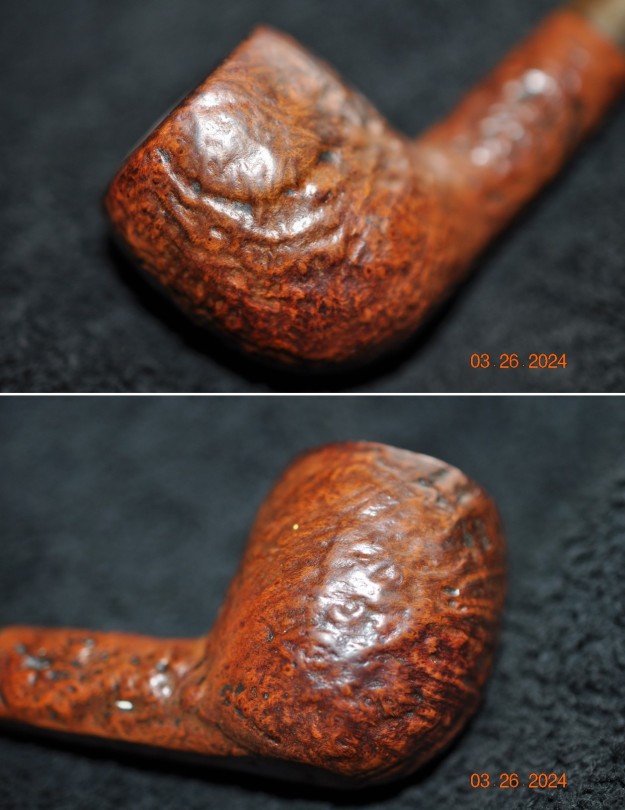
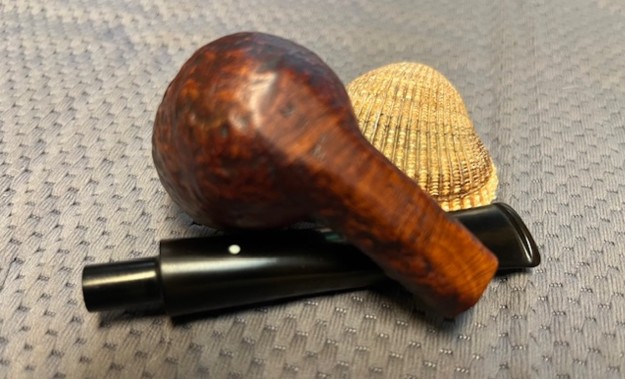
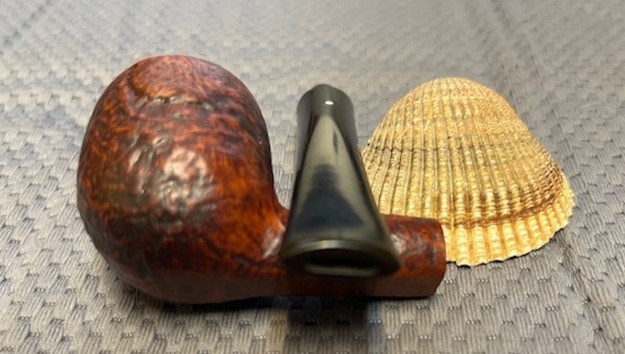
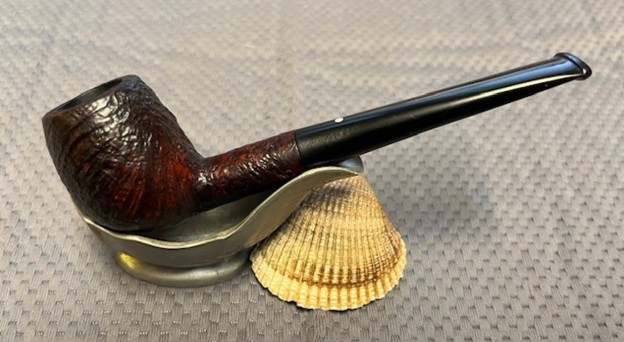
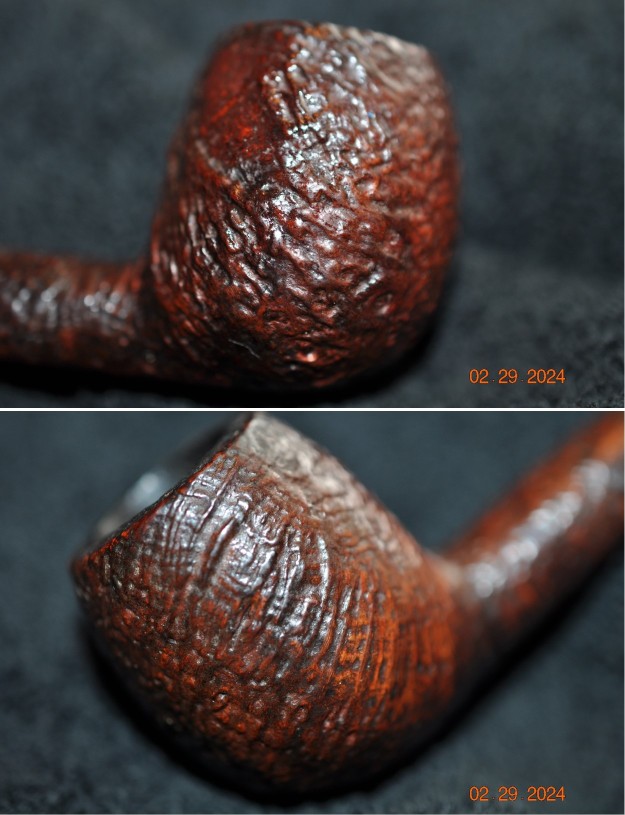
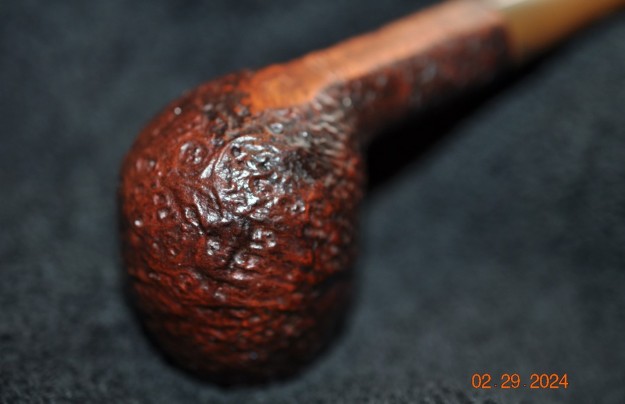
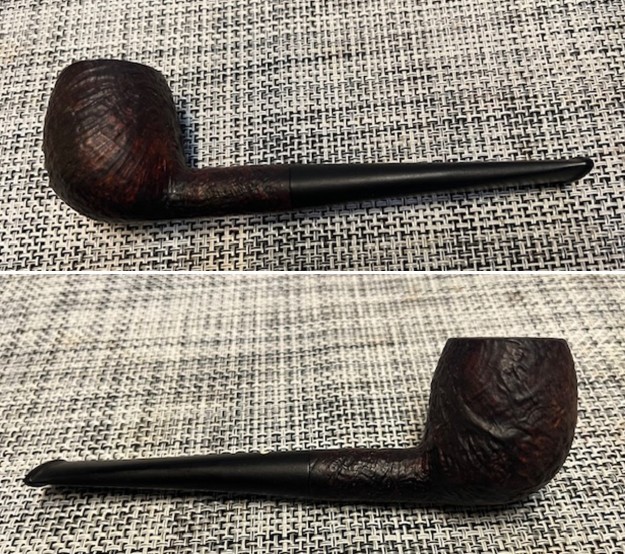
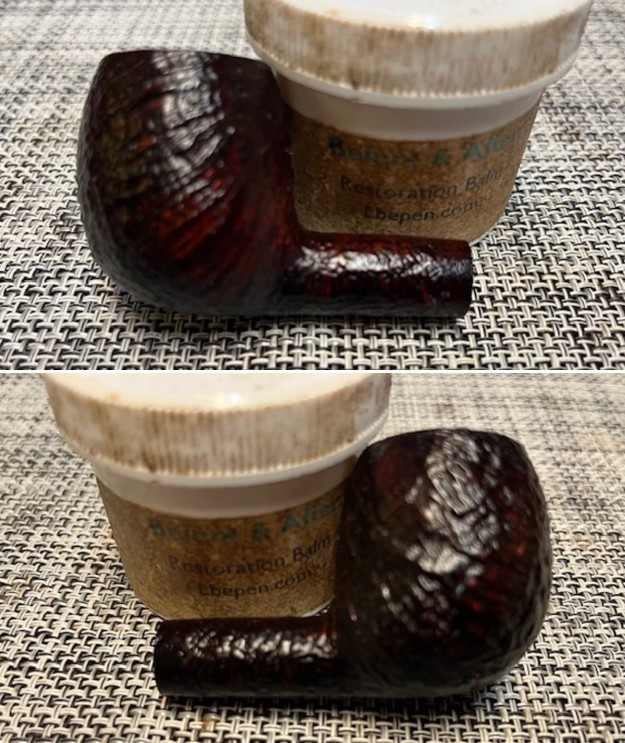
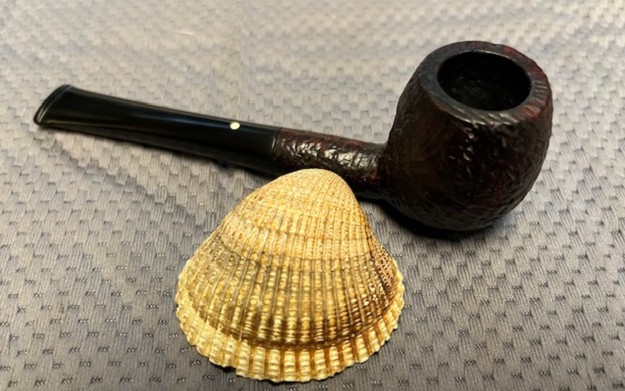
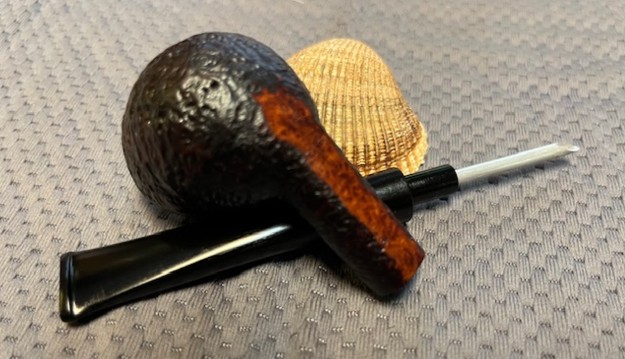
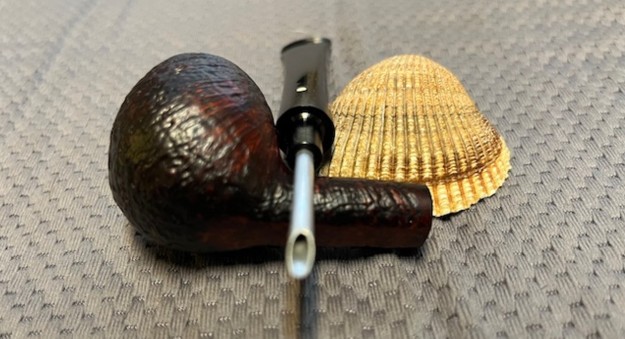
 He took photos of the sides of the bowl and the heel to show the beautiful grain in the sandblast around the bowl. It really is a beautiful piece of briar that has a shape that follows the grain. The finish is nice but it also dirty with dust ground into the finish.
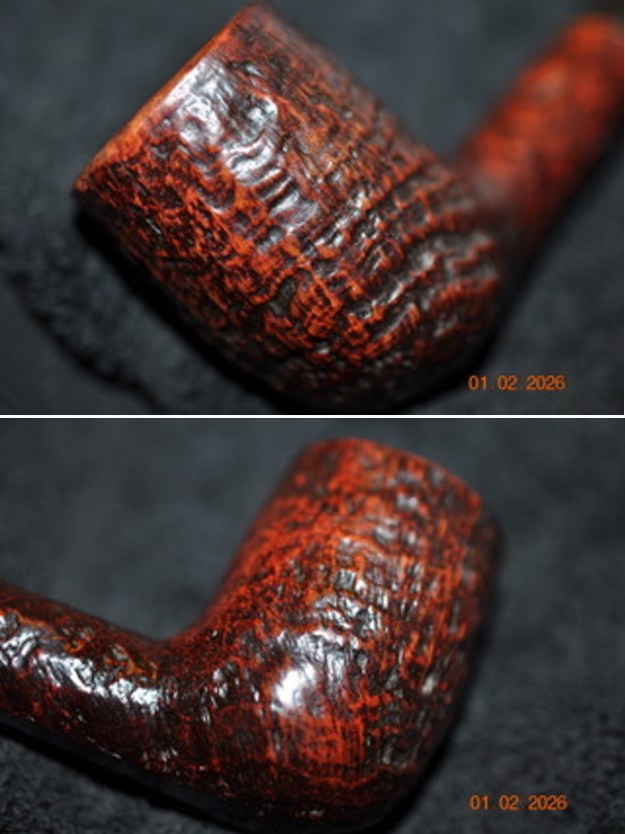
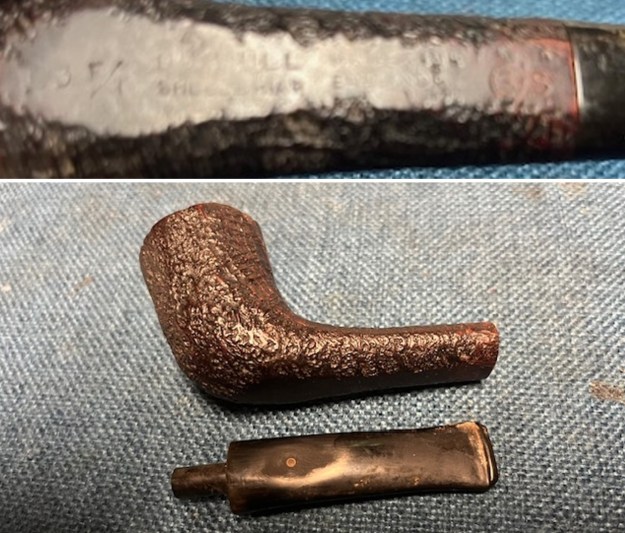
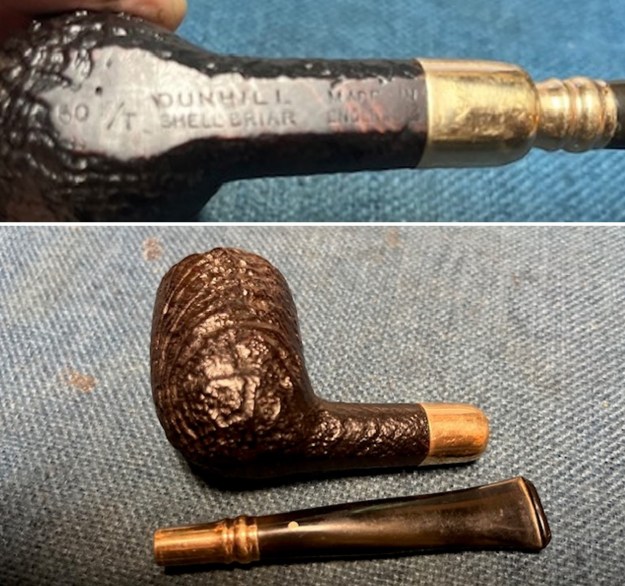
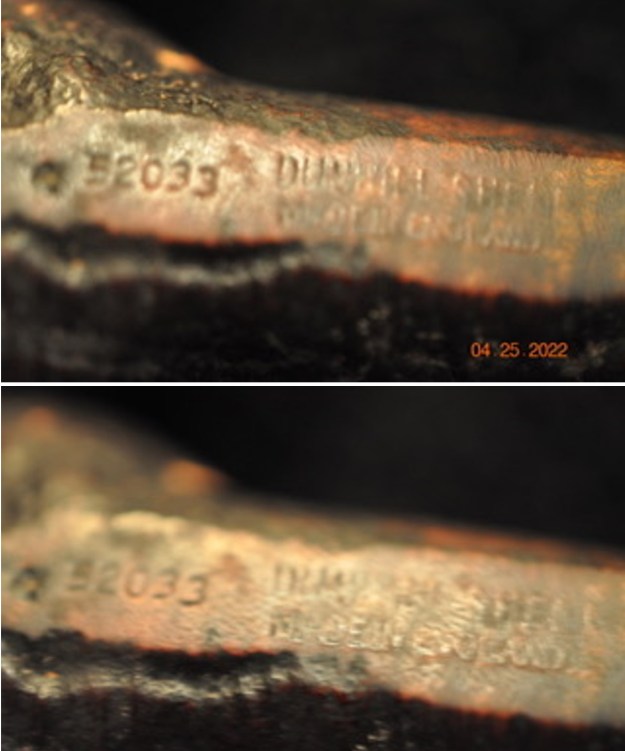
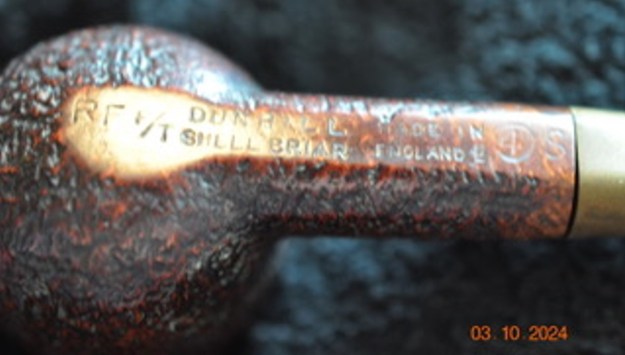
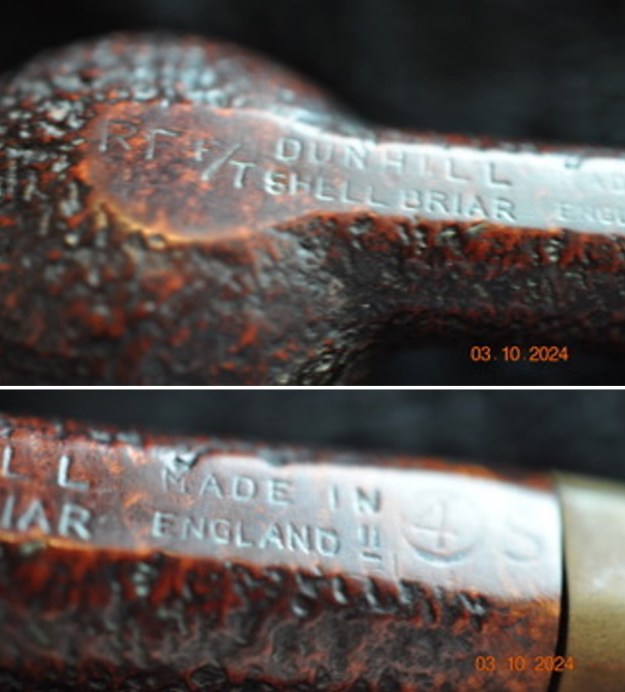
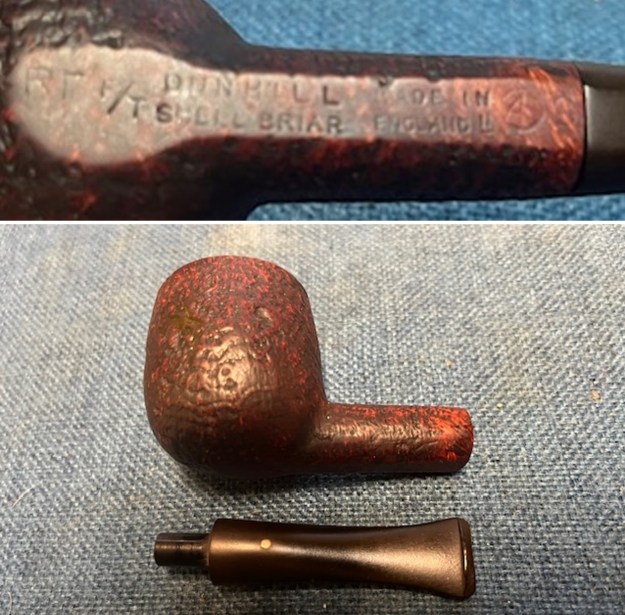
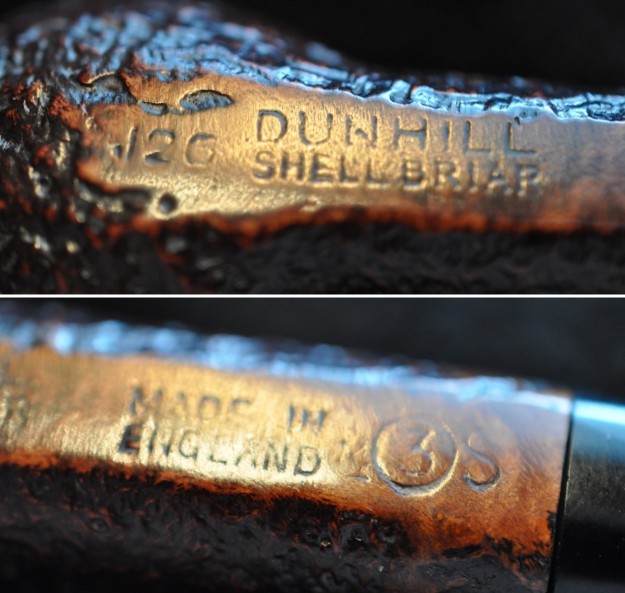
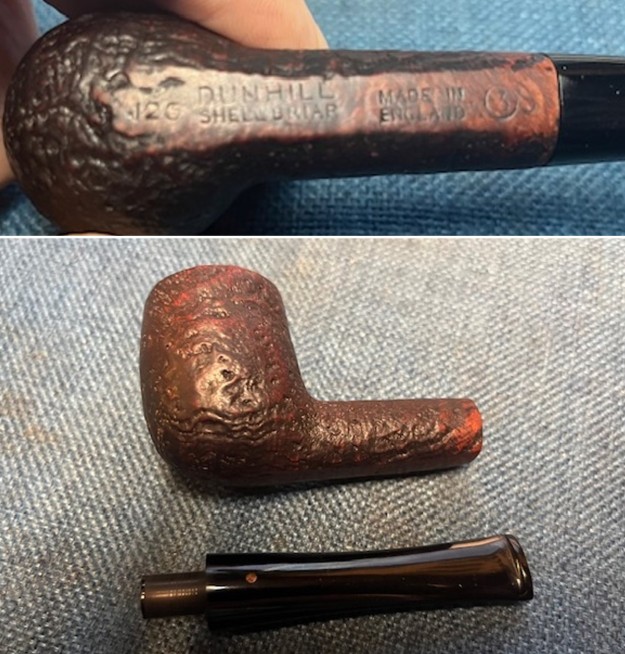
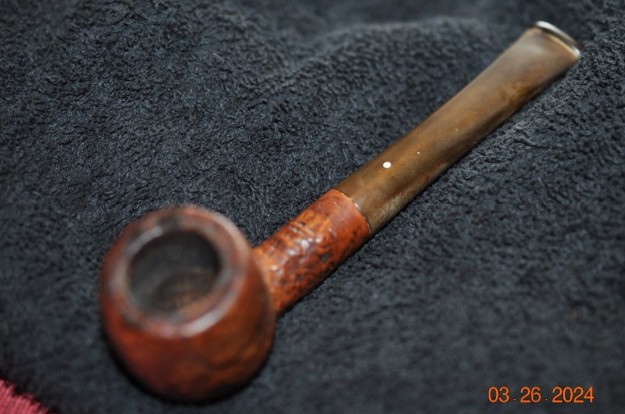
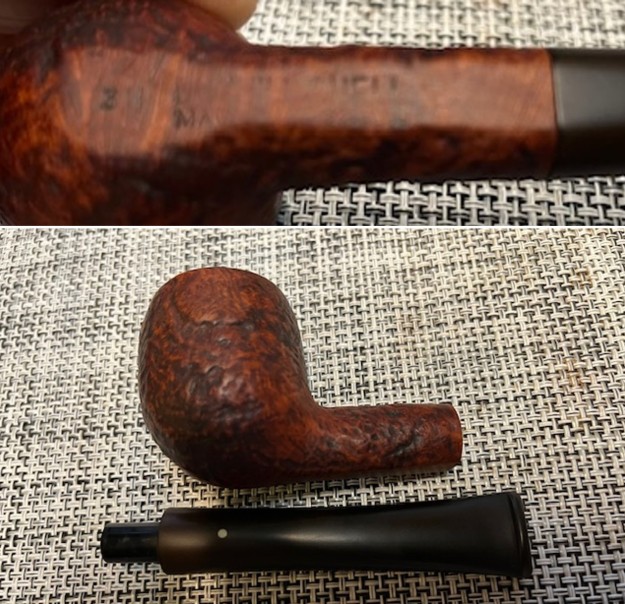
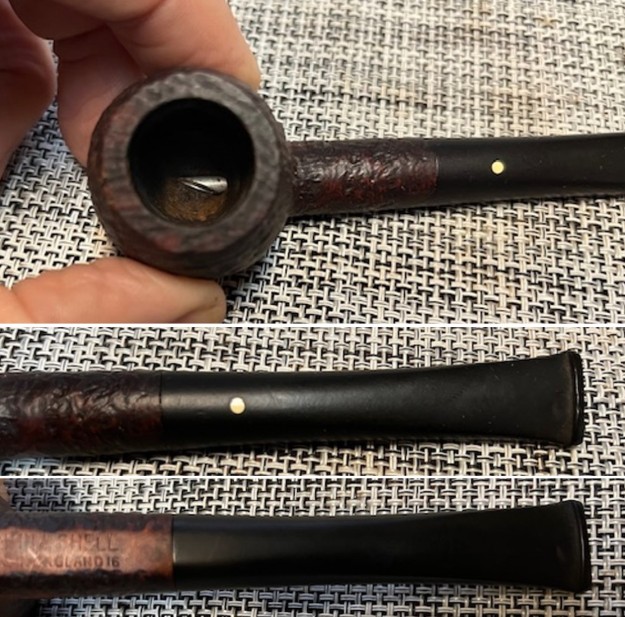
 Jeff took photos of the stamping on the heel of the bowl and underside of the shank. It is clear and readable as noted above.
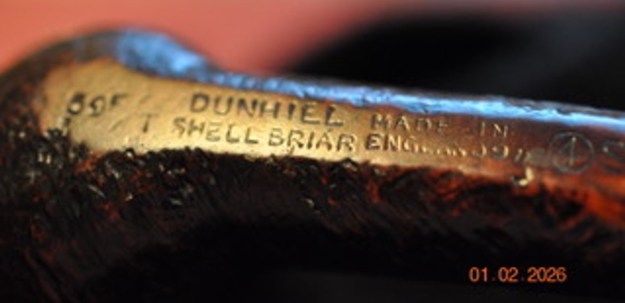
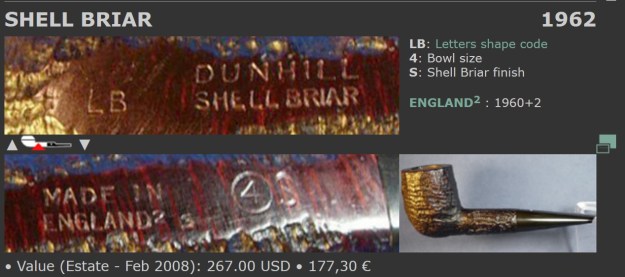
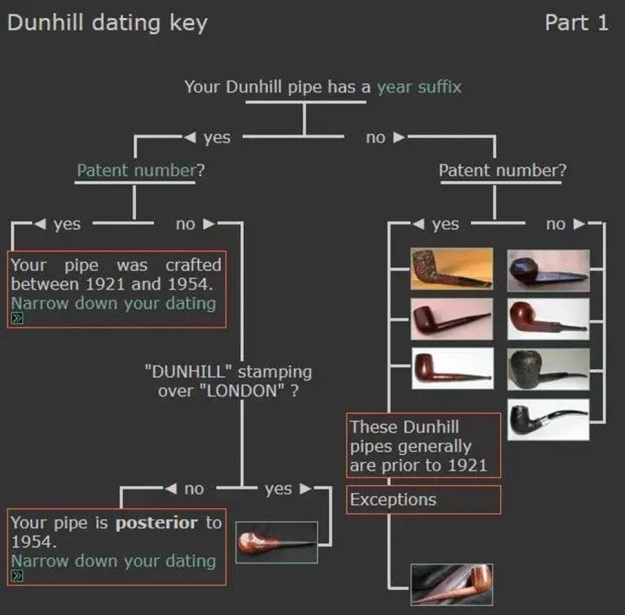
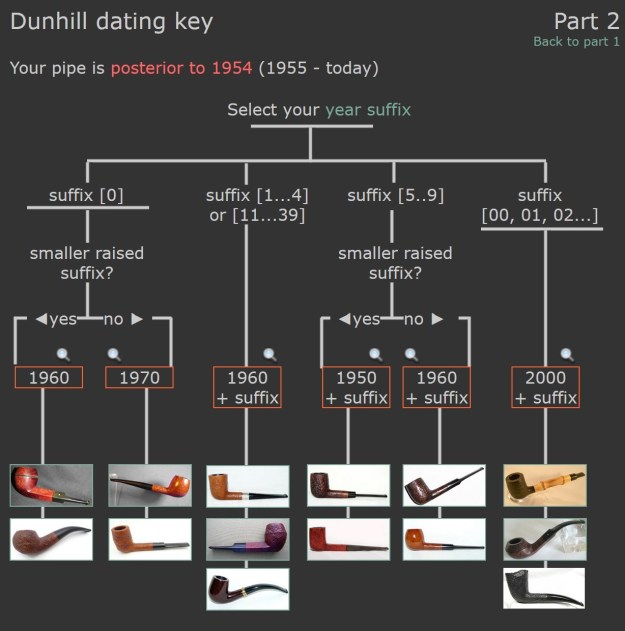
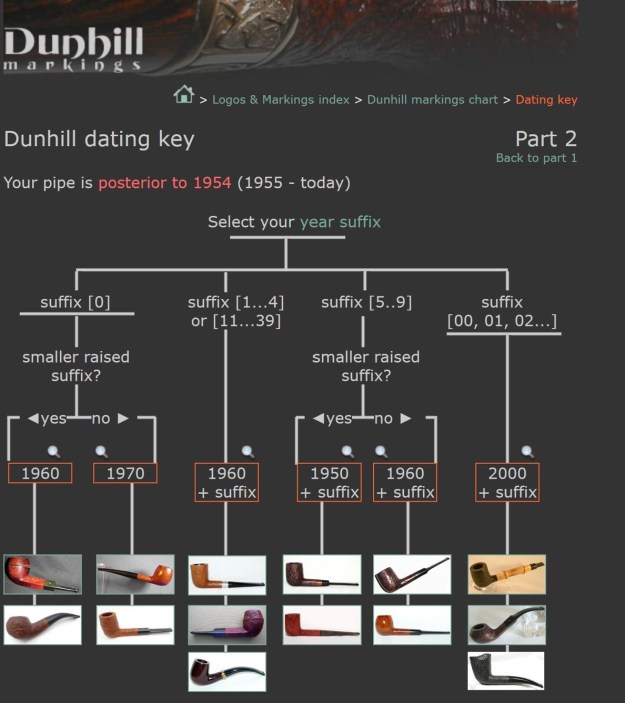
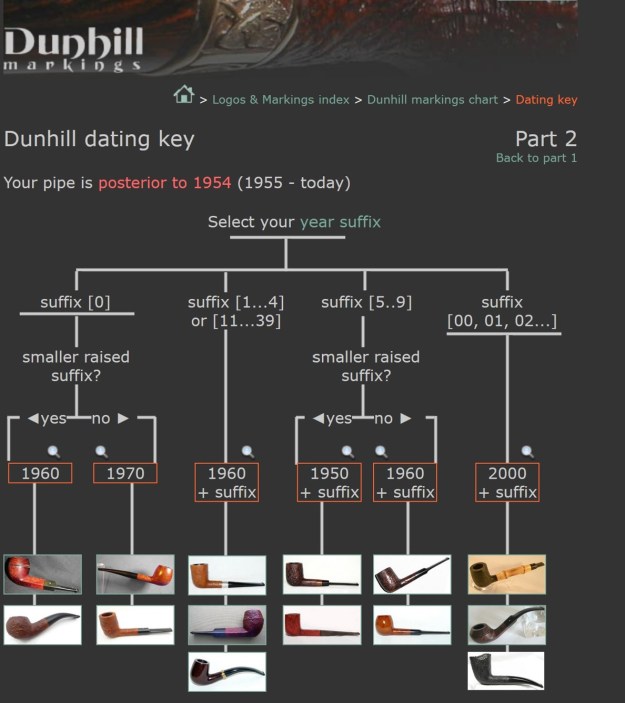
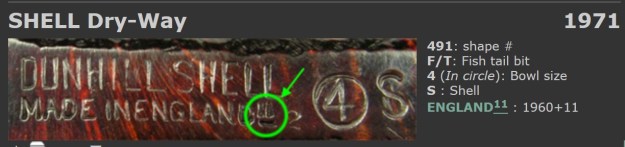
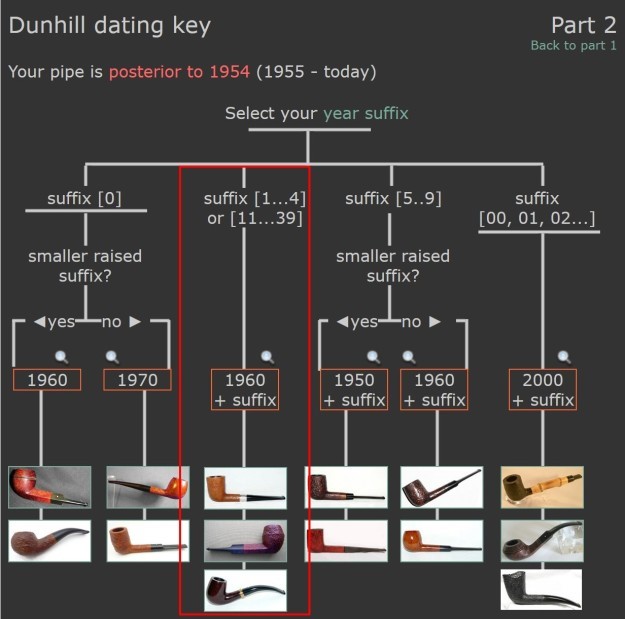
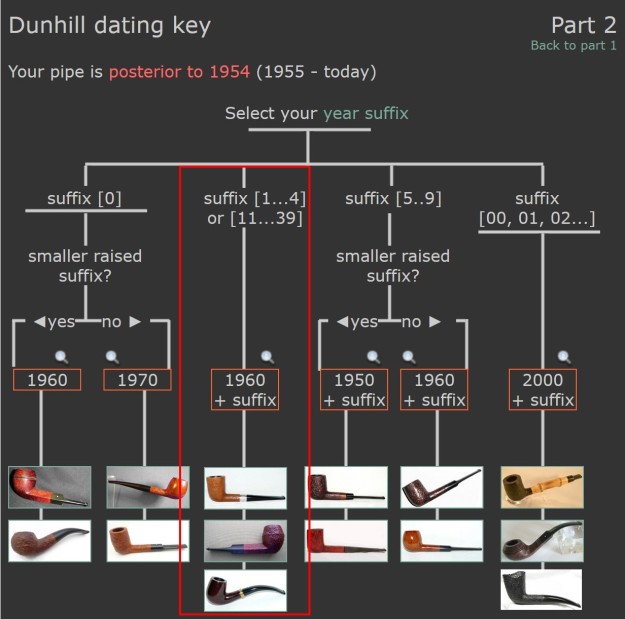
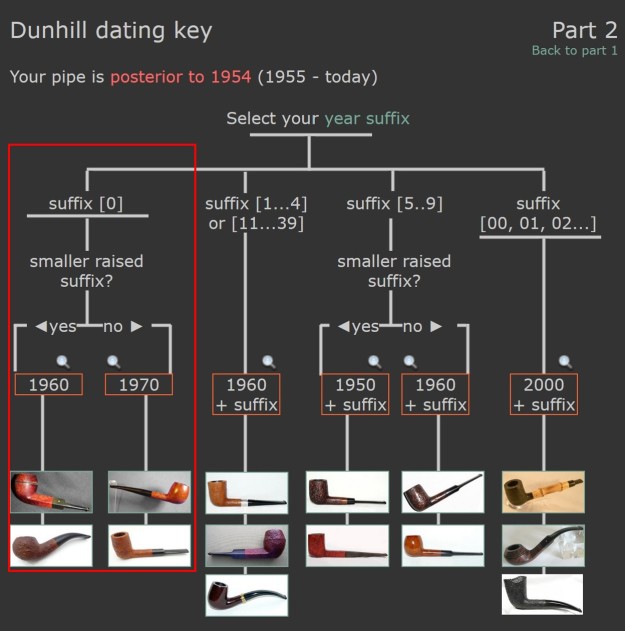
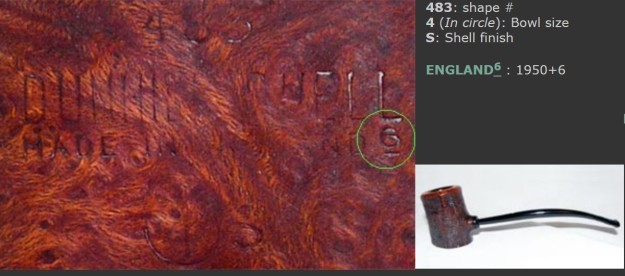
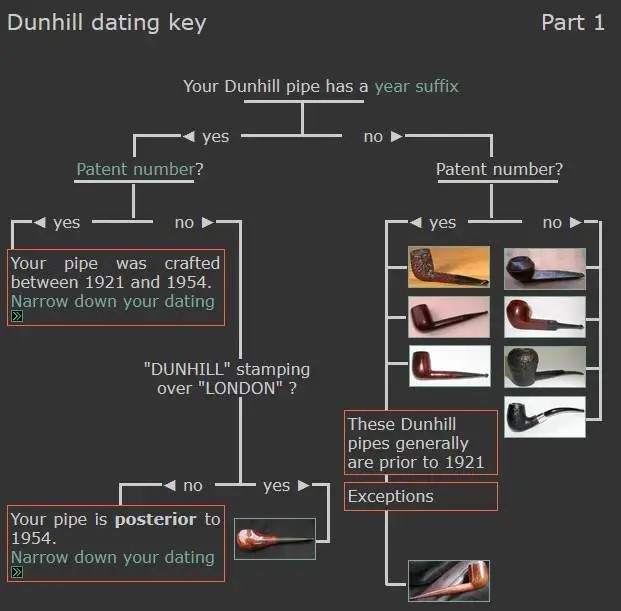
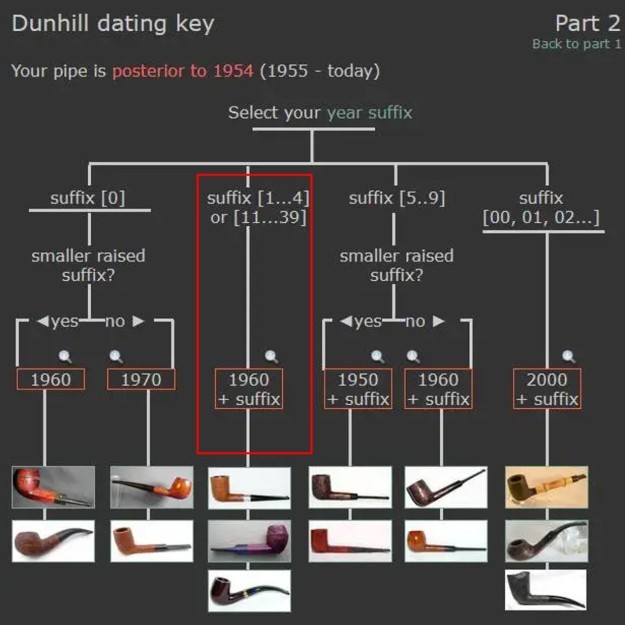
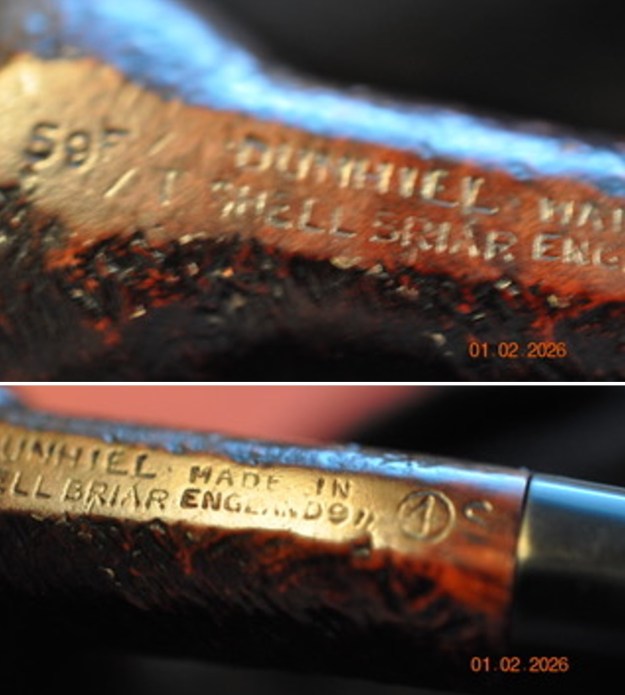 I turned to the dating key on Pipephil’s site (http://www.pipephil.eu/logos/en/dunhill/cledat-en1a.html) to establish a date for the pipe. I drew a red box around the pertinent information below. It fits the criteria of a Sandblast with a year suffix and a Non-possessive form Dunhill. The suffix is the number 9 same size as the D which puts in the section below which notes 1960 + suffix 9 to establish a date. In this case it is 1960 + 9 making the pipe a 1969. The 11 stamped right and below of the 9 would point to the possibility that pipe was retailed in 1971.
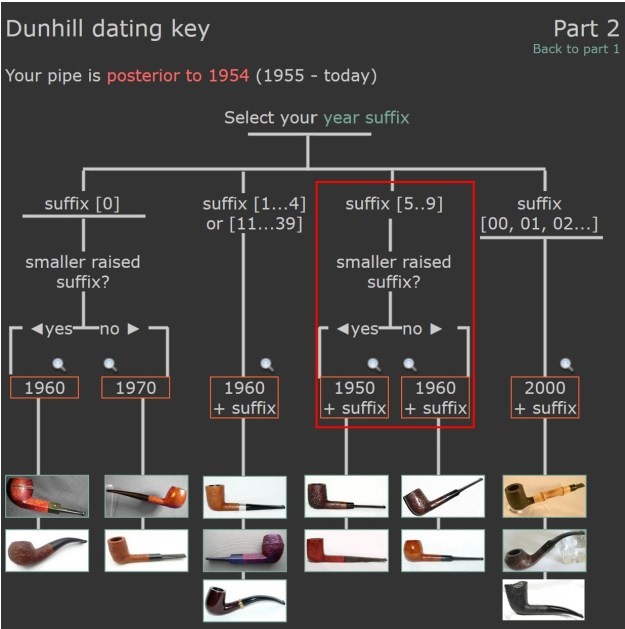
I turned to Pipedia to verify this date on the pipe and have included the link and the post for that below (https://pipedia.org/wiki/Pipedia_Dunhill_Dating_Guide#Post-Patents). It verifies that date is 1969. I have included further information that was on the site for this time period. I have highlighted the pertinent information in red below:
[1955 up to 1969] Only a single suffix number.
The date code is just after ENGLAND: 1950 +: 5, 6, 7, 8 and 9 for the 50s and 0 for 1960 (they are smaller and underscored) then, 1, 2, 3, 4, 5, 6, 7, 8 and 9 for the 60s (they are equal in size to the “D” in the word “ENGLAND”).
- Sometimes two suffix numbers (one after the other), but it’s an additional stamp for warranty control (see more here).
- From 1961 up to 1964 we can find numbers without underscore – the code is a raised and smaller than the preceding “D”.
- Sometimes the numbers 6, 7, 8 and 9, in the 50s, are roughly equal in size to the “D” in the word “ENGLAND”.
- DUNHILL over finish stamp (BRUYERE or ROOT BRIAR). On sandblasted DUNHILL followed by the name of the finish (DUNHILL SHELL, etc).
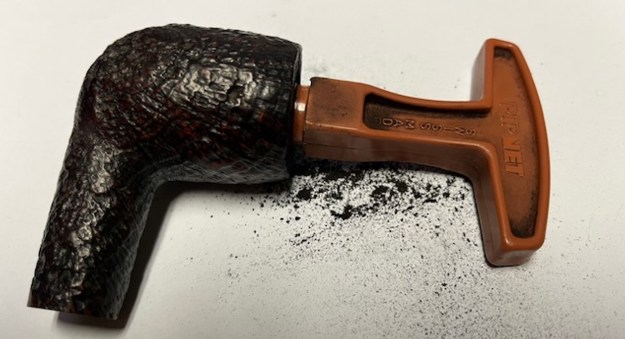
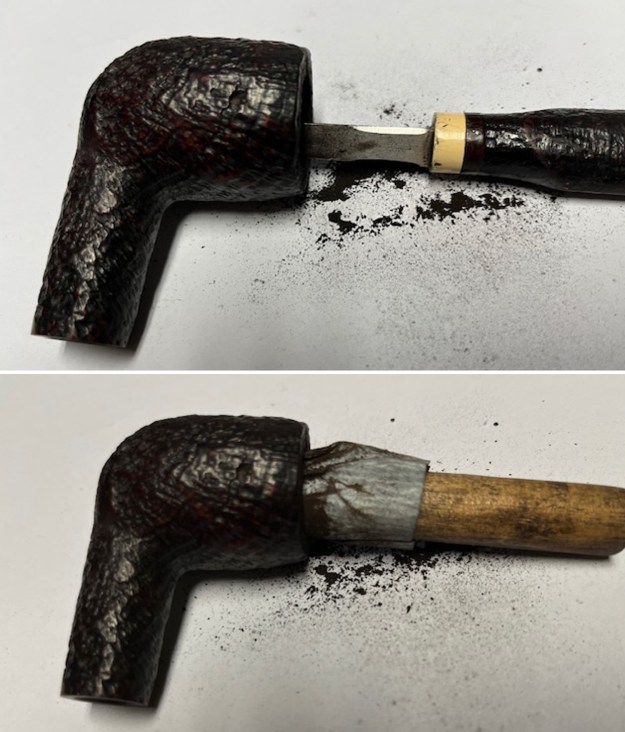
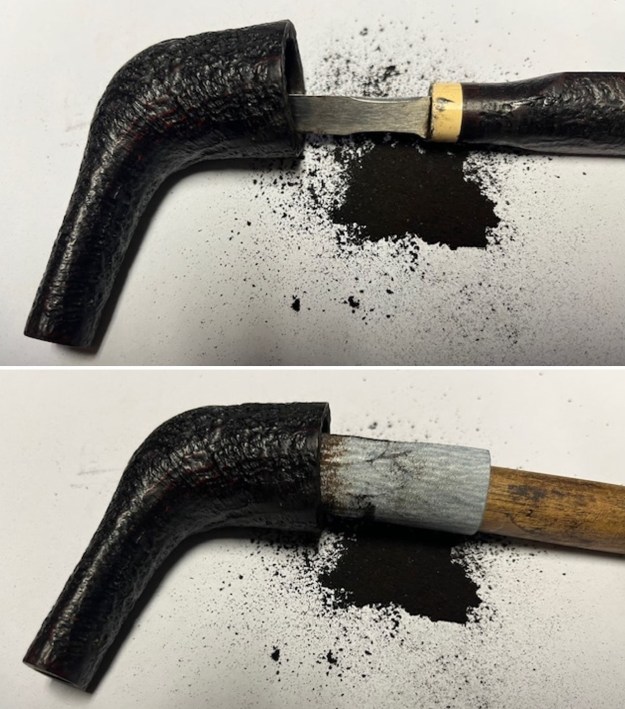
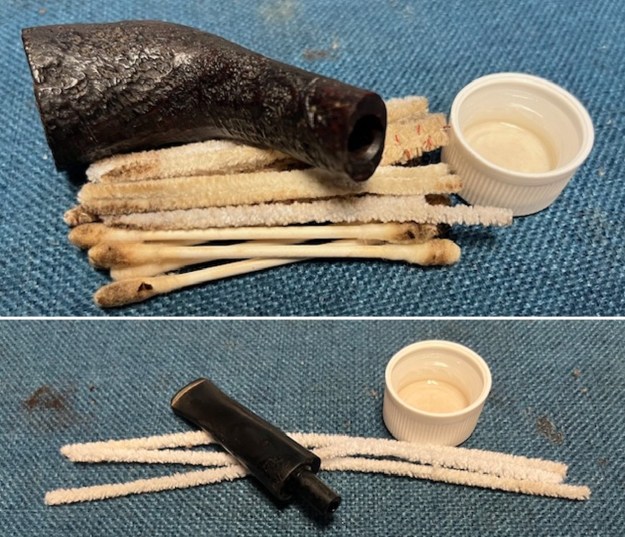
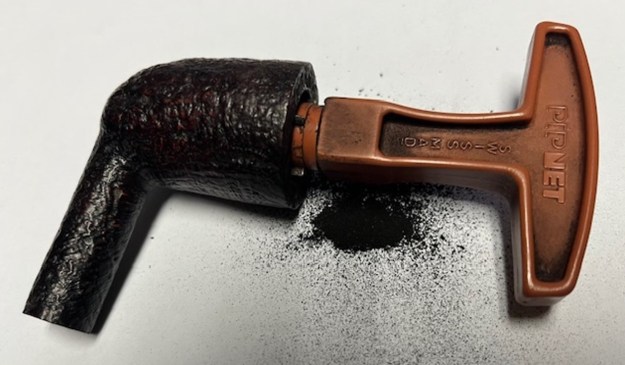
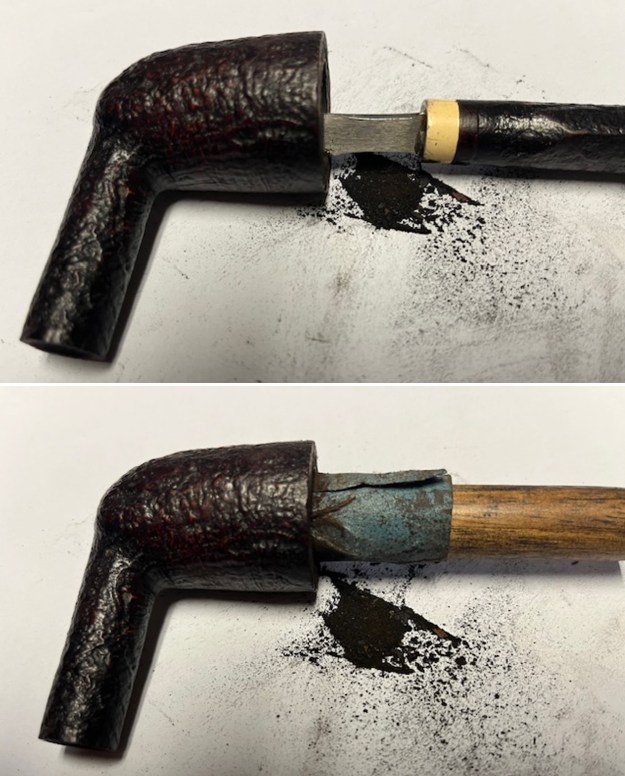
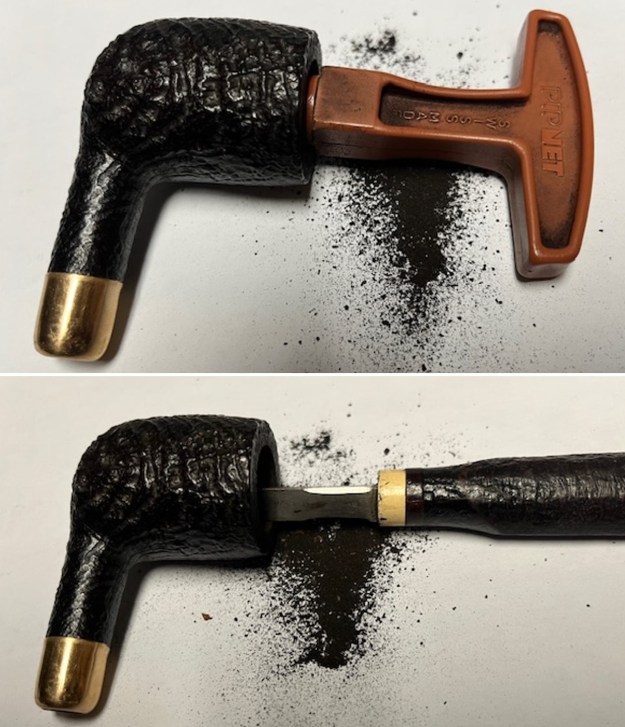
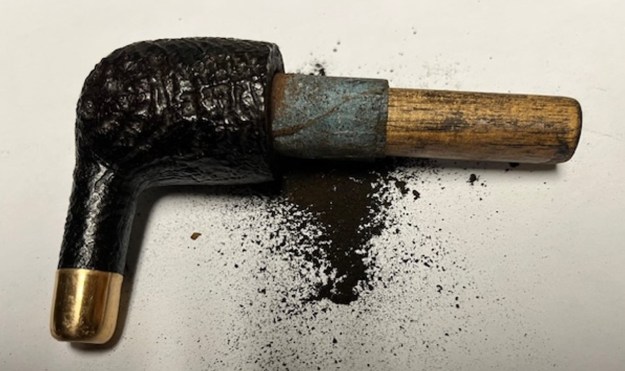
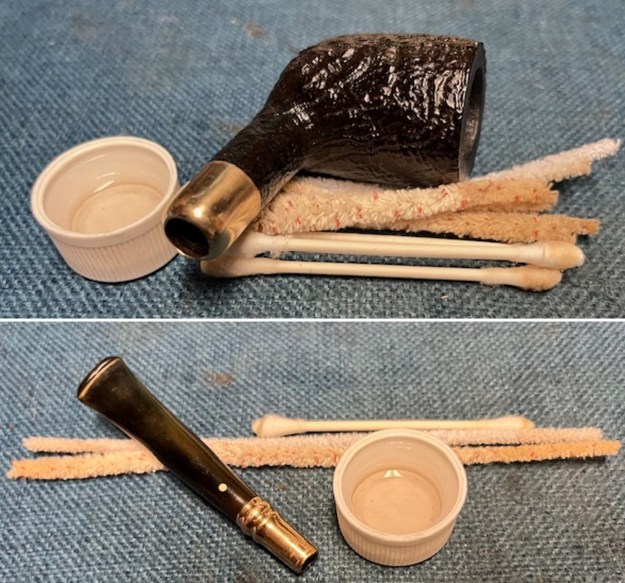
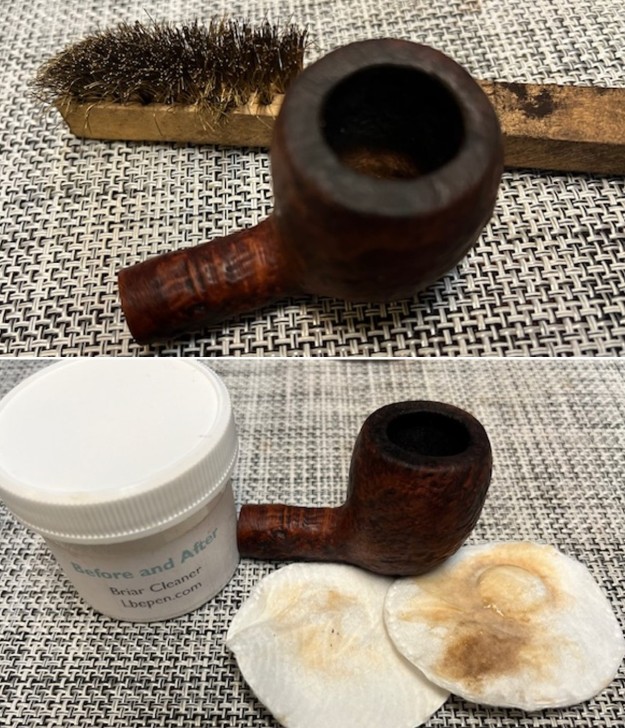
Now it was my turn to work on the pipe. Jeff had done an amazing cleanup of the pipe. He reamed the light cake with a PipNet reamer and cleaned up that with a Savinelli Fitsall Pipe Knife. He scrubbed the internals of the bowl and stem with alcohol, cotton swabs and pipe cleaners. He scrubbed the externals with undiluted Murphy’s Oil Soap and rinsed the bowl off with running water. He soaked the stem in Briarville’s Pipe stem Deoxidizer and once it had soaked rinsed it off with warm water to remove the residual solution. He dried it off and rubbed it down to remove any oxidation that was still on the stem. The pipe looked very good when I received it.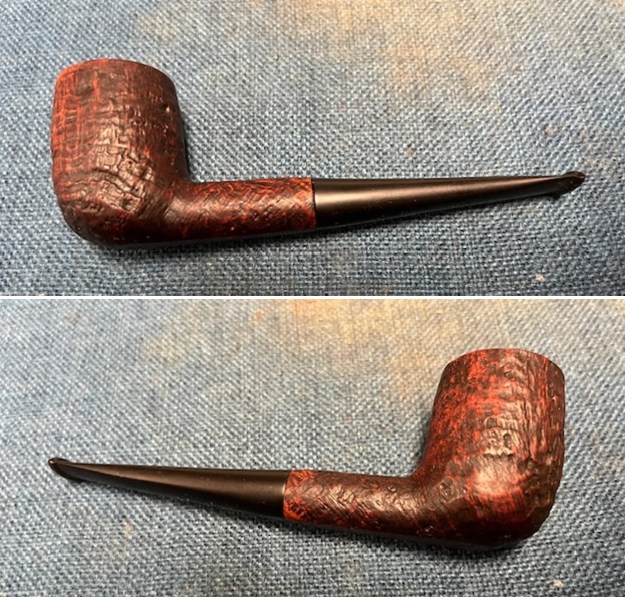
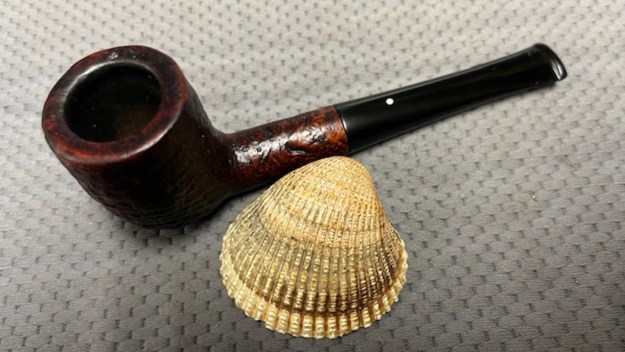
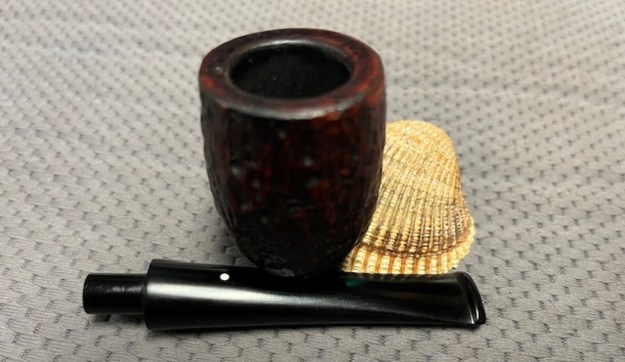
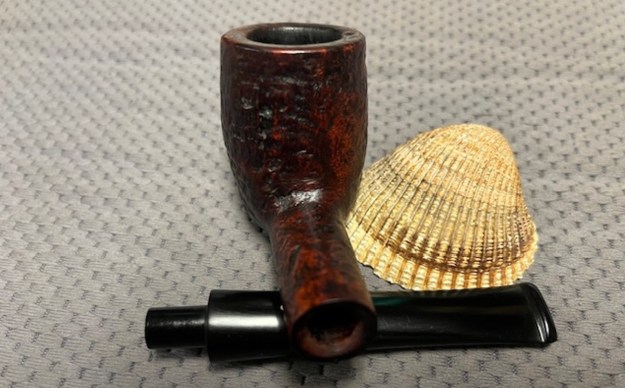
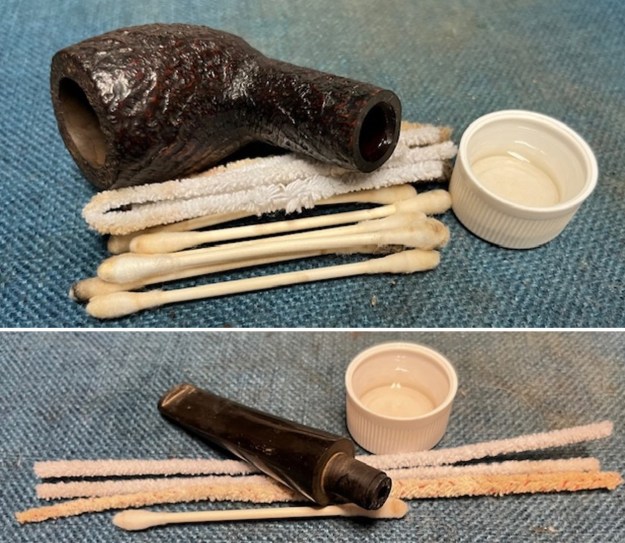
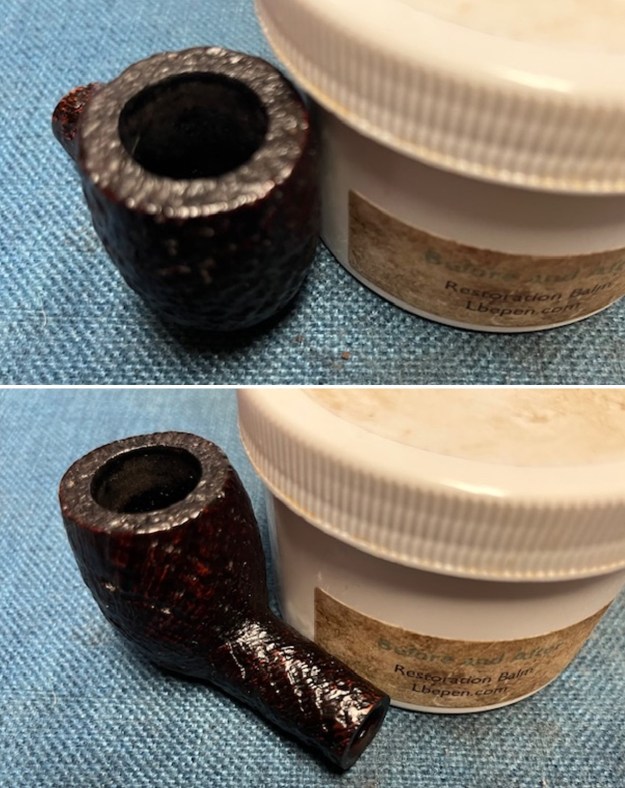
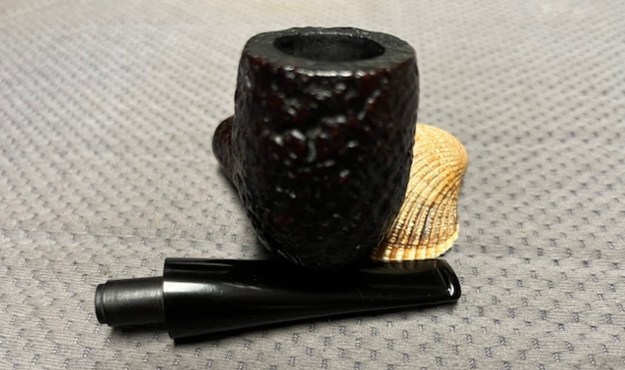
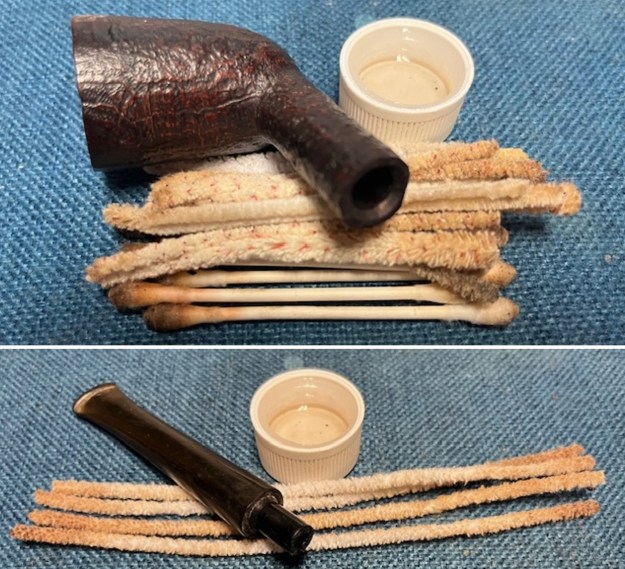
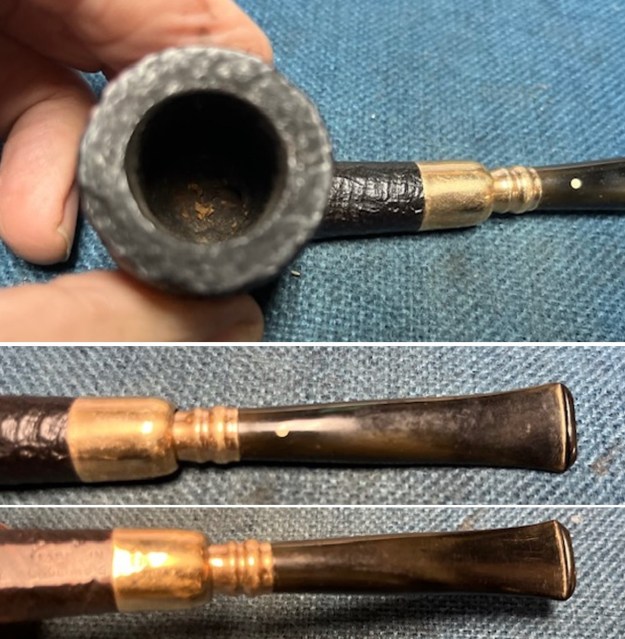
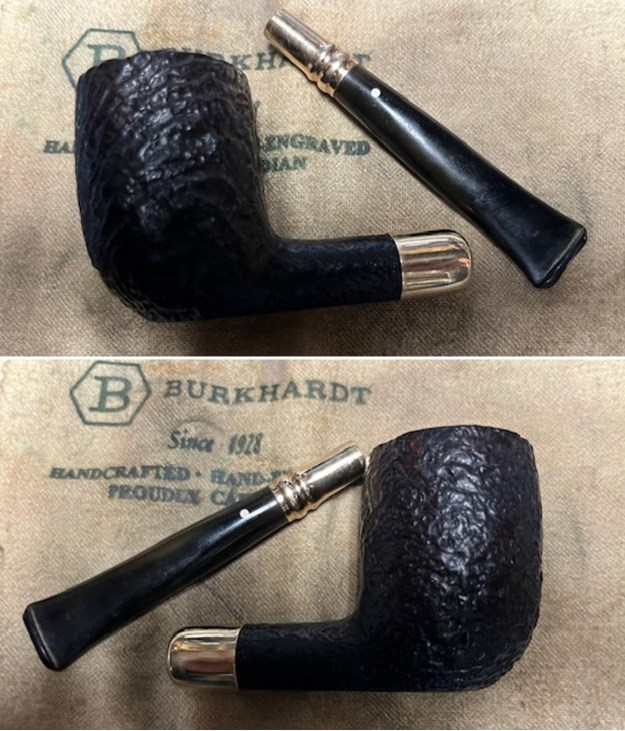
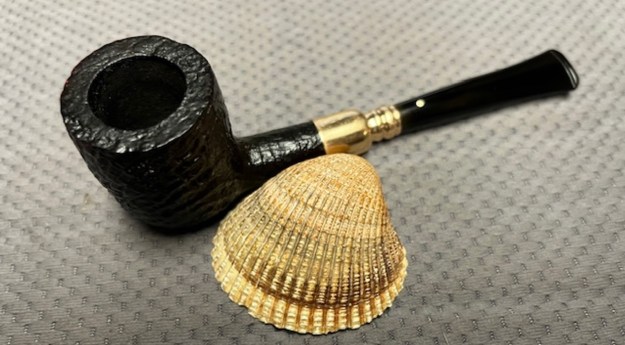
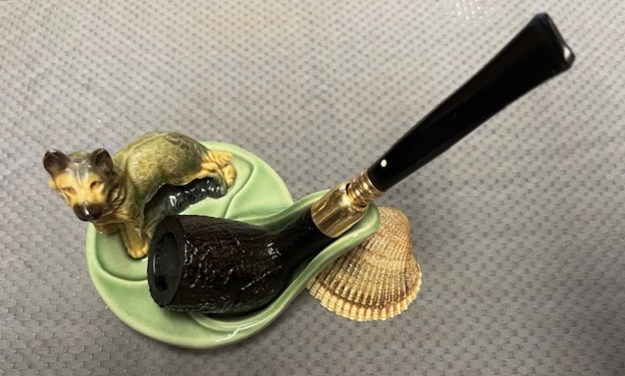
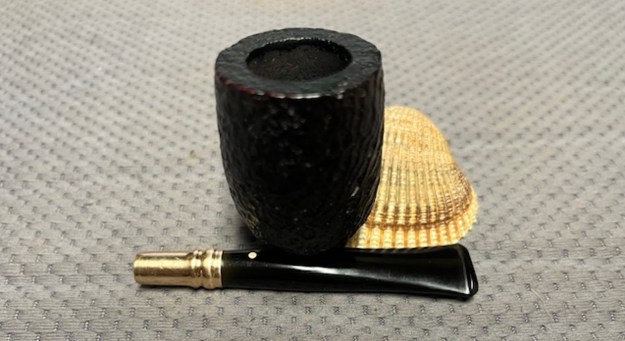
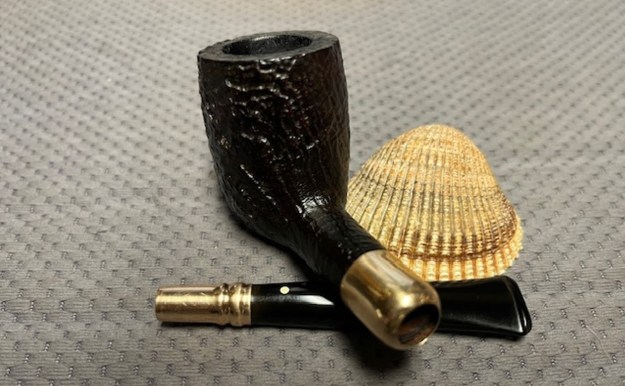
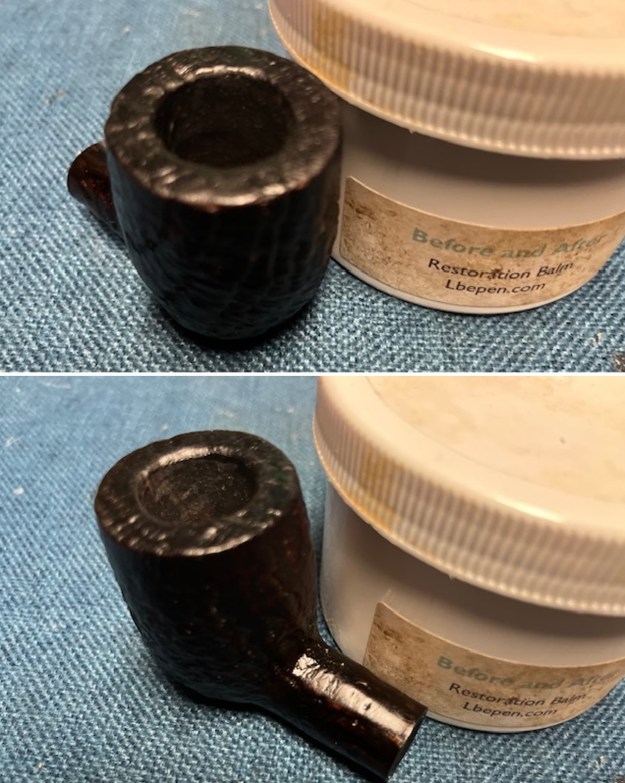
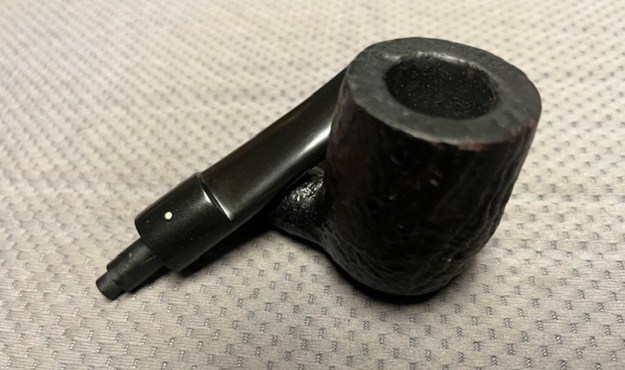
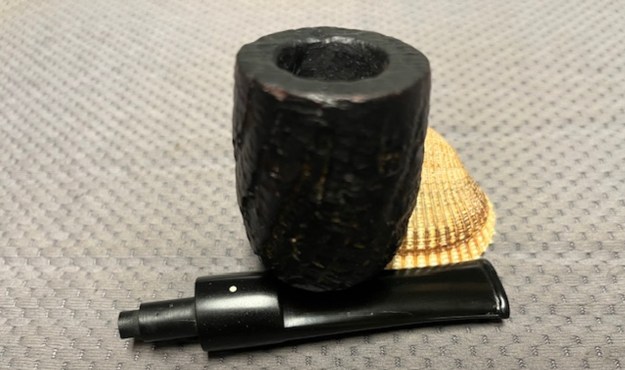
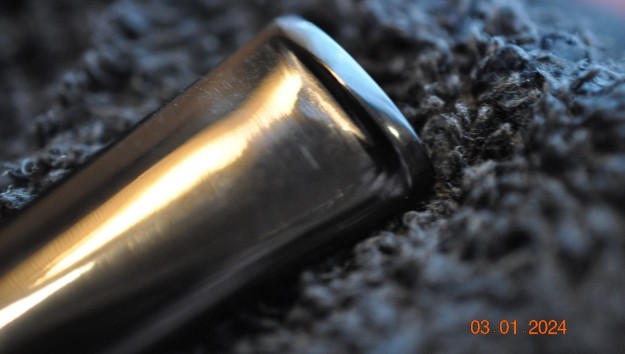
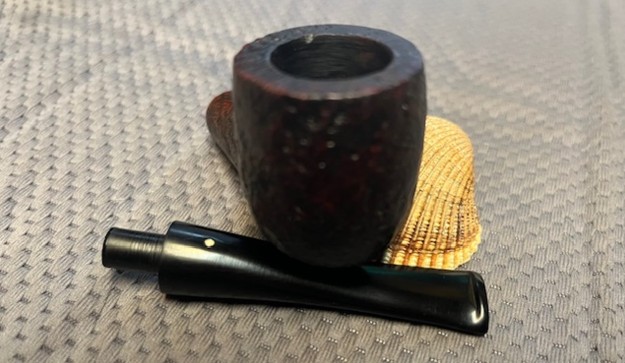
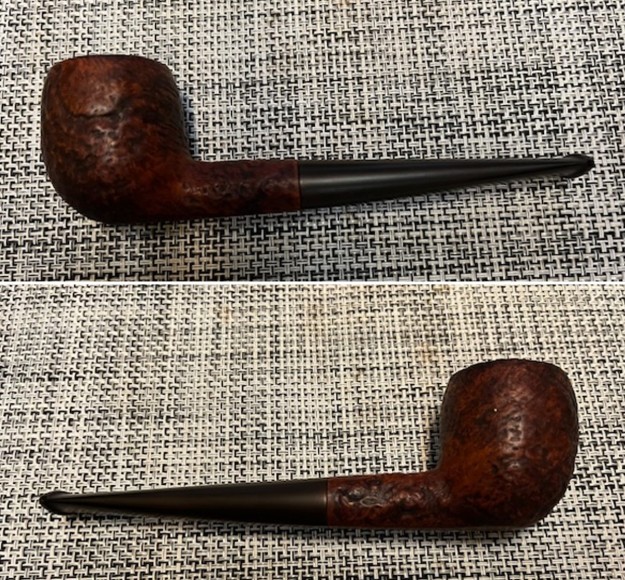
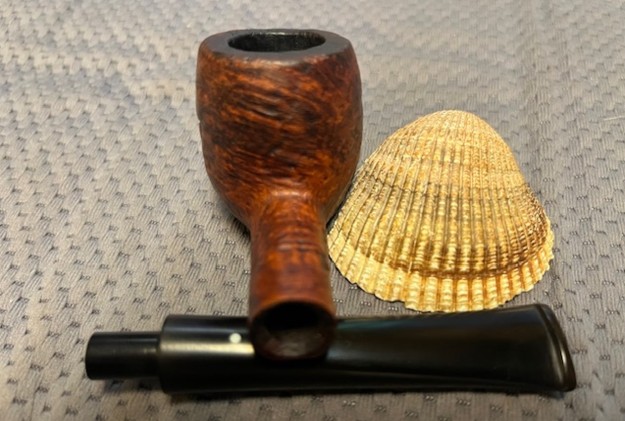
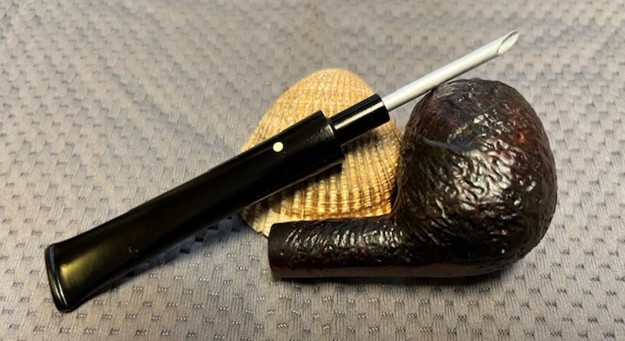
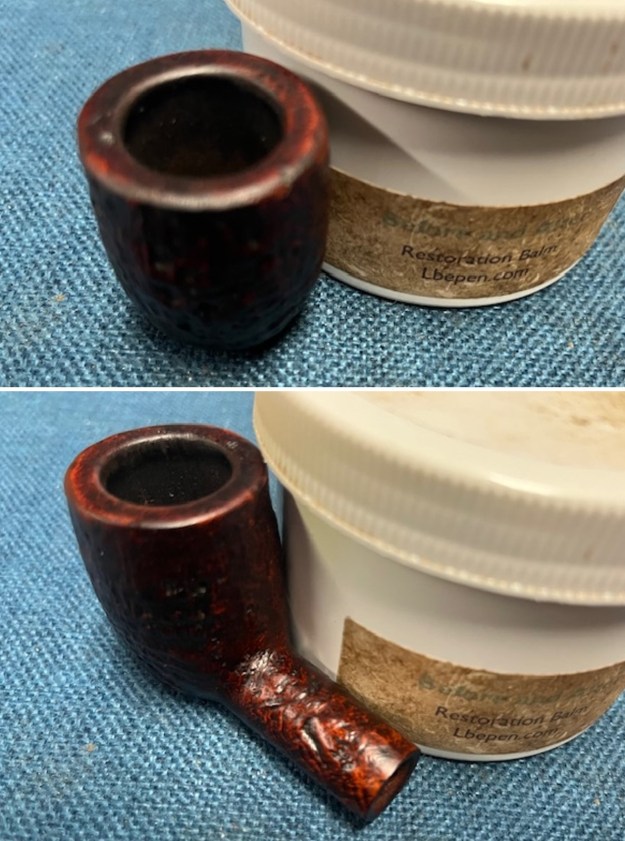
 I took photos of the bowl and the rim top as well as both sides of the stem to show the condition of the pipe before I started my work. The rim top looked remarkably good. The next photos show the condition of the stem and how clean it came out.
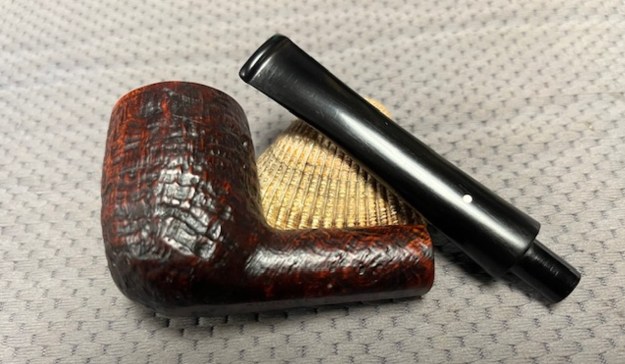
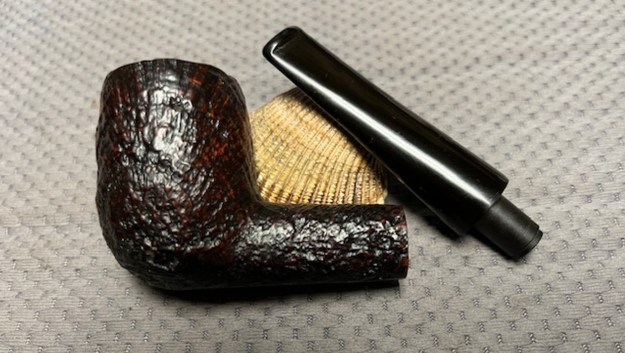
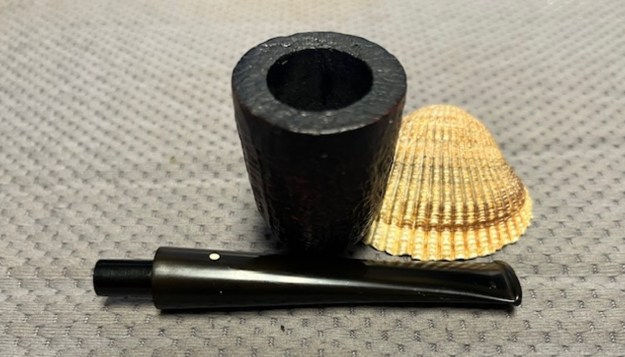
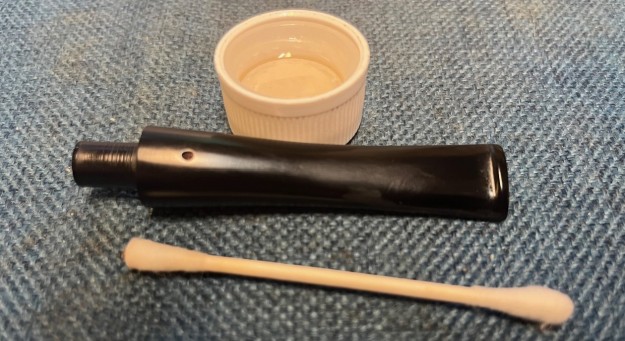
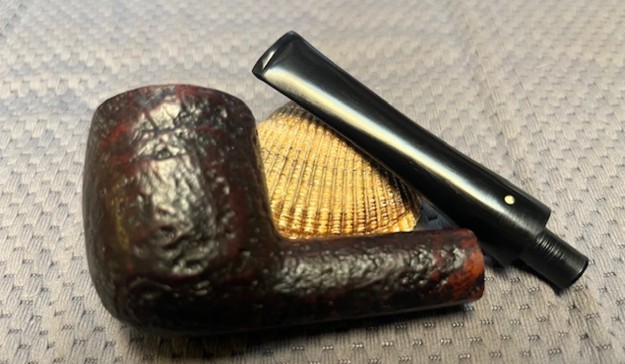
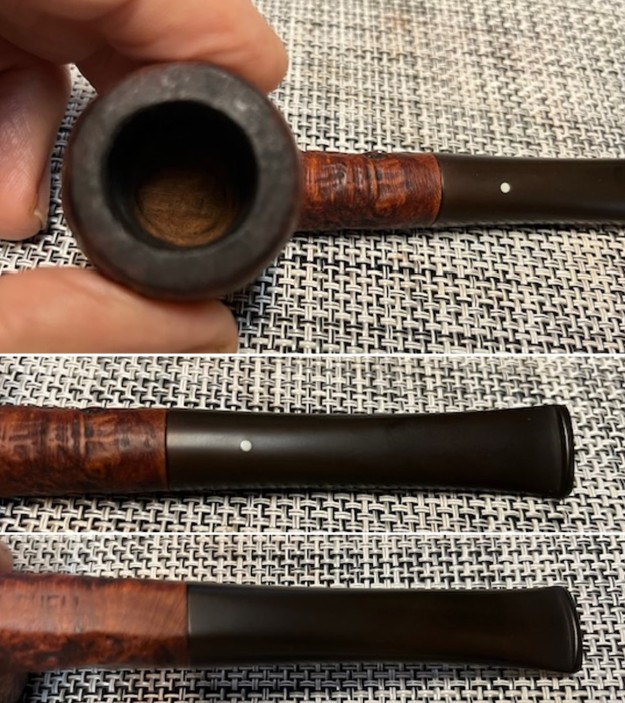
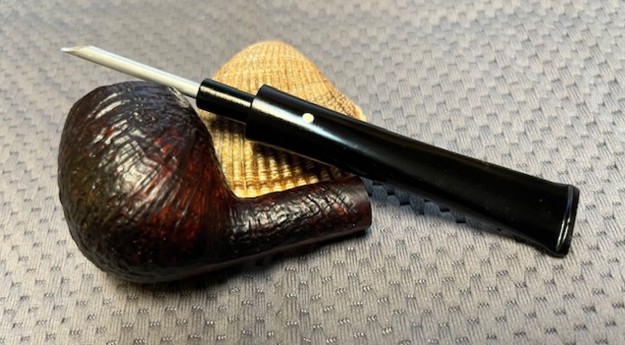
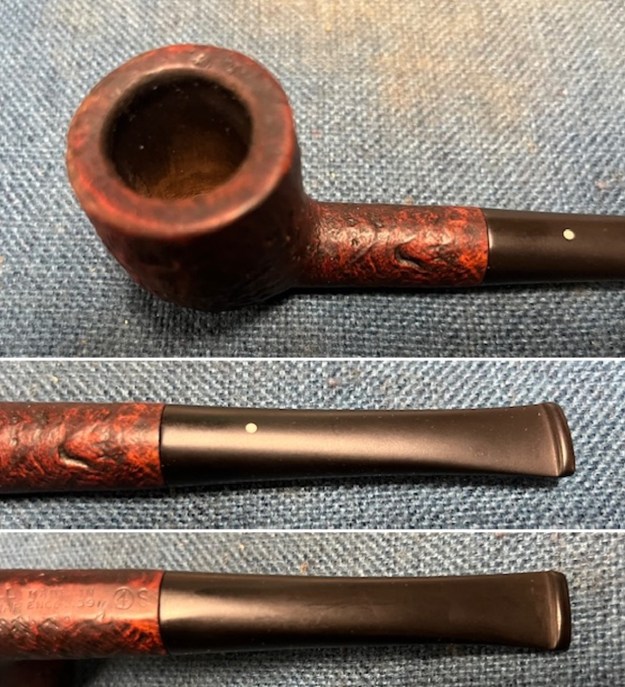 I took a photo of the stamping on the shank. The photo of the stamping is clear and readable. I also removed the stem and took a photo of the parts of the pipe.
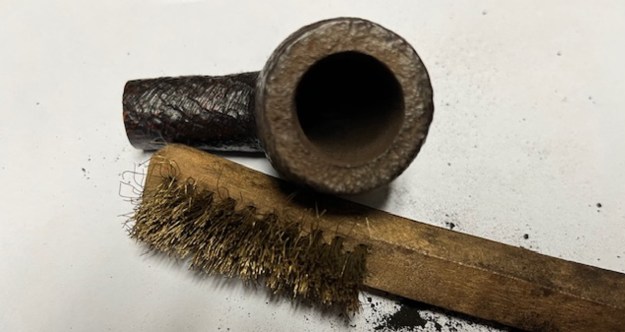
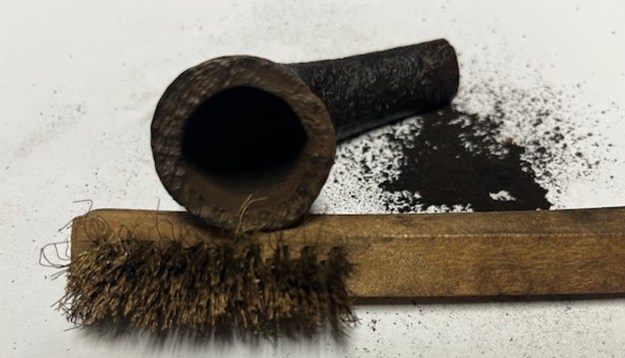
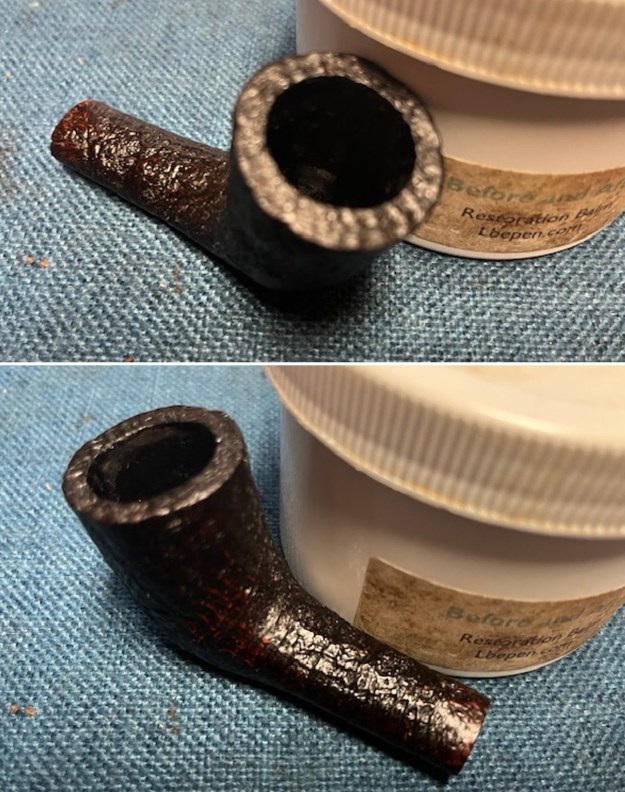
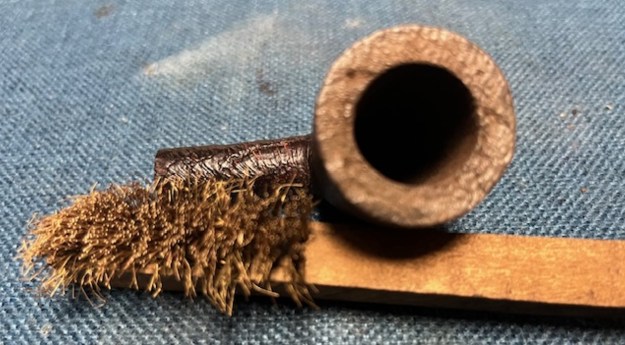
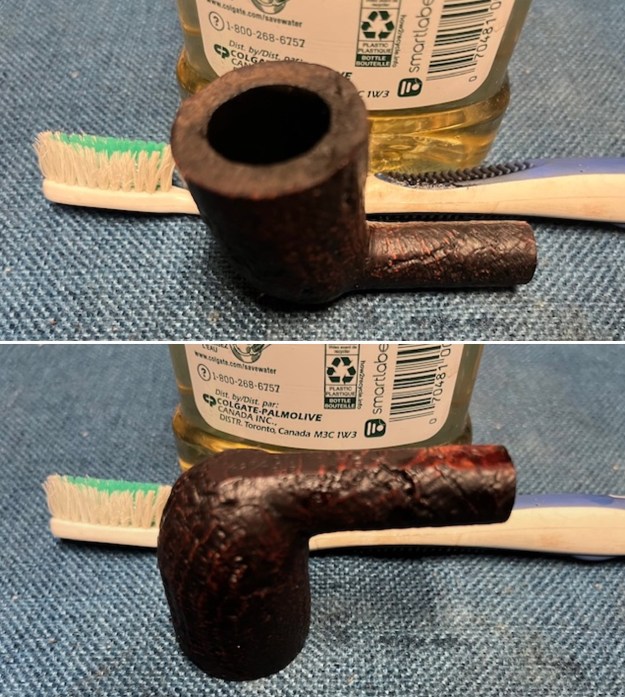
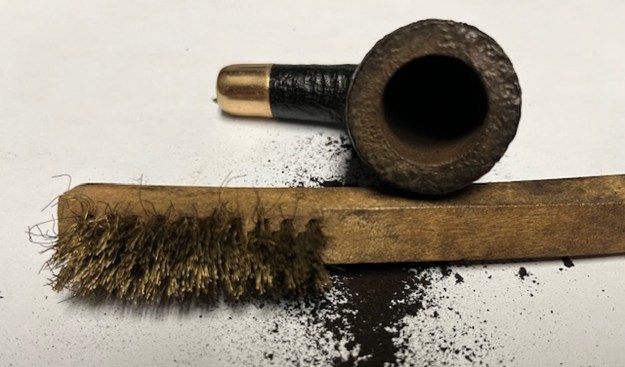
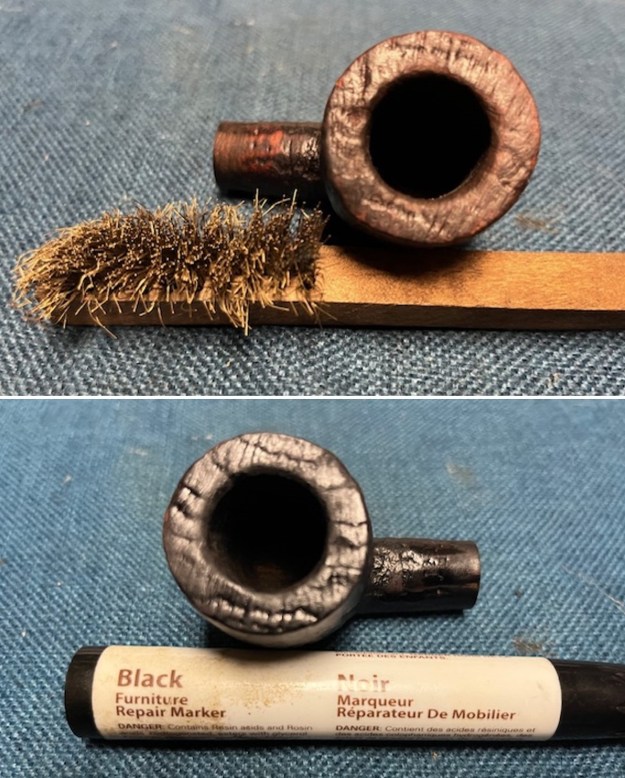
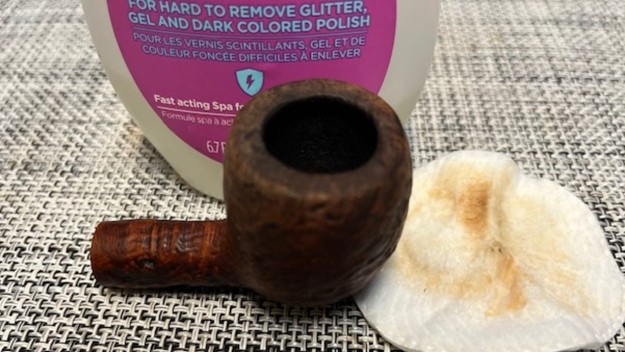
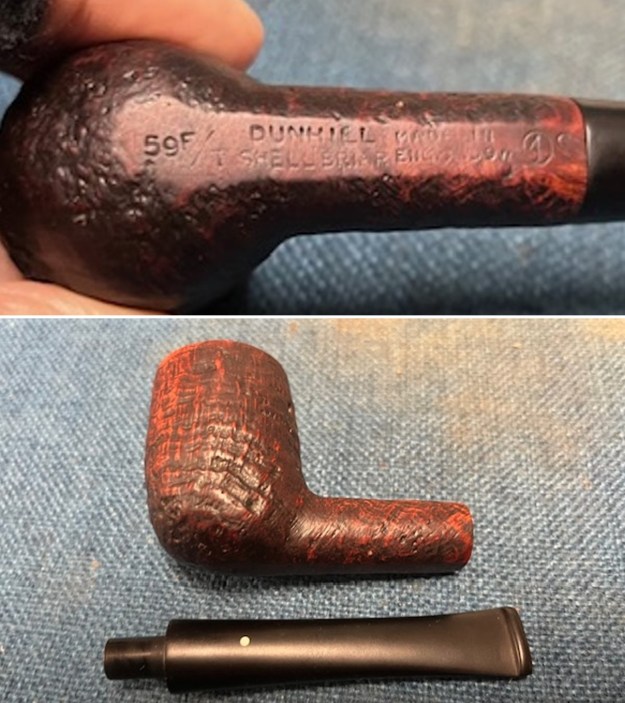 I went over the rim top with a brass bristle wire brush to knock off any debris in the shallow blast. Some came out and it looks quite good.
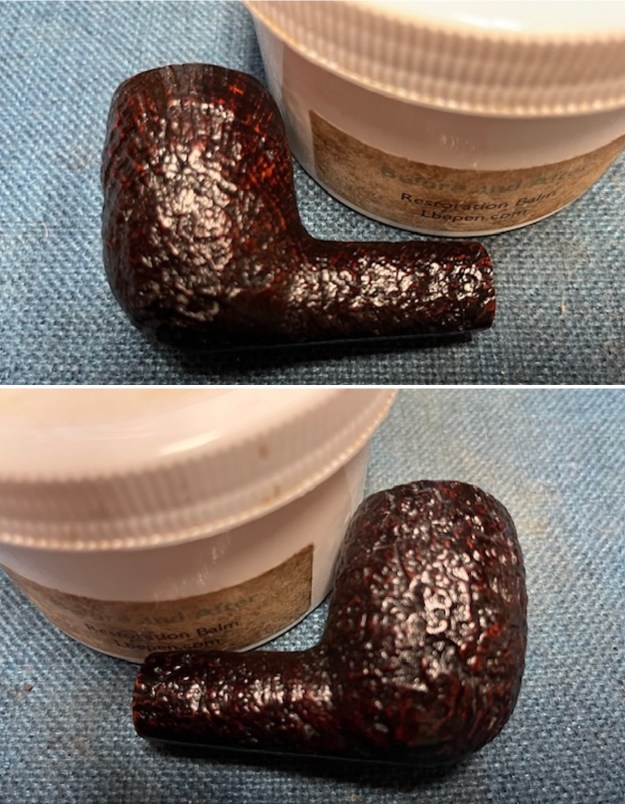
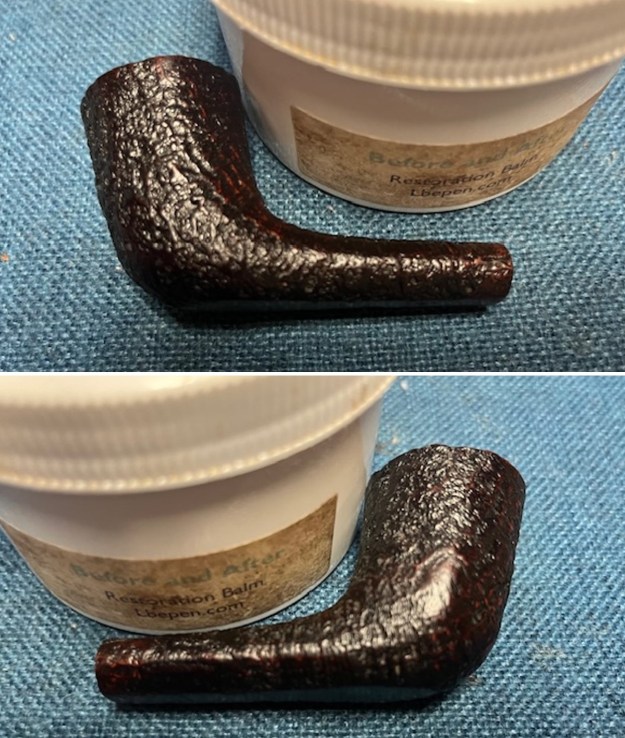
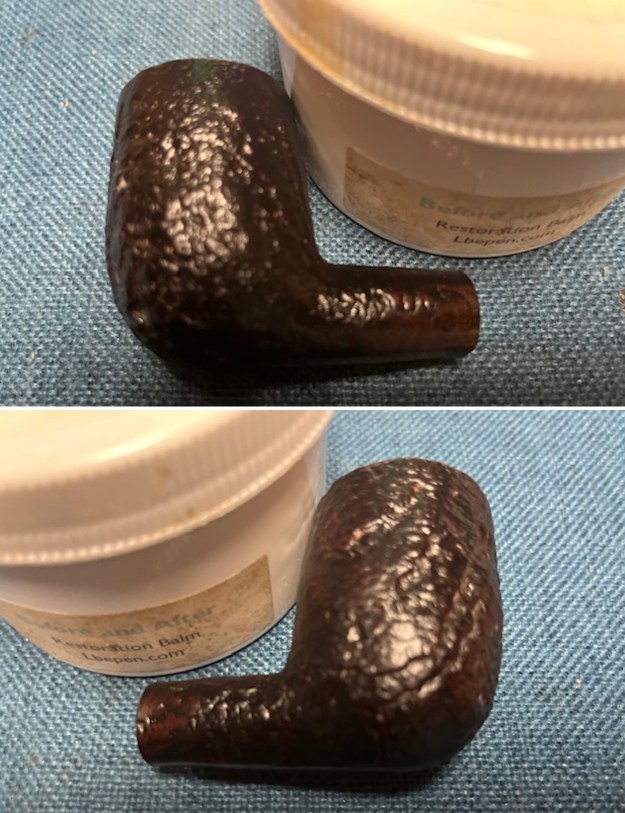
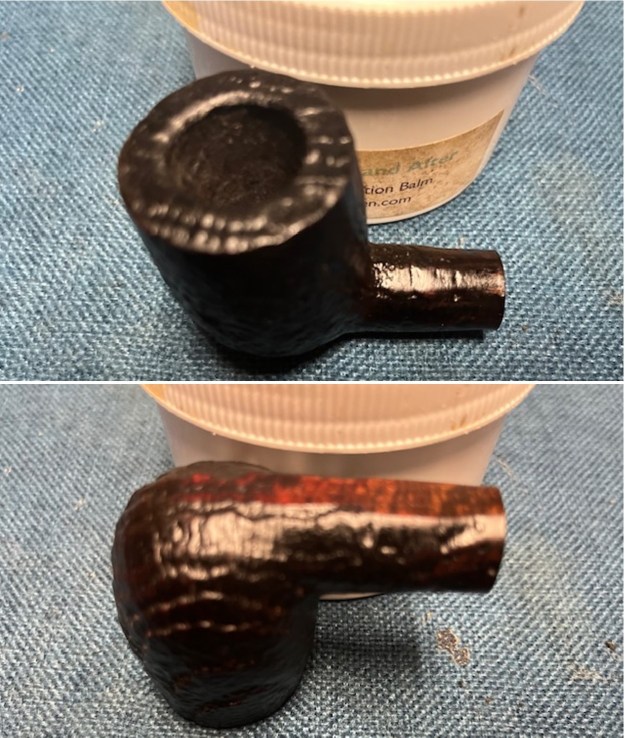
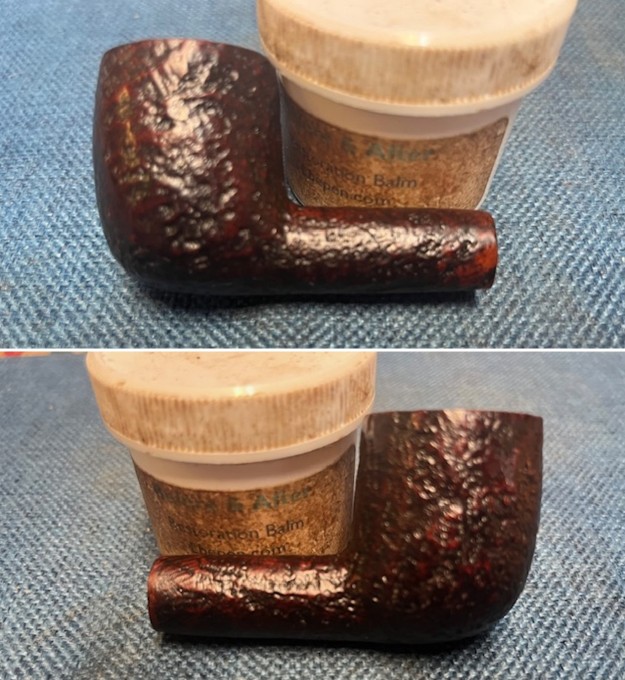
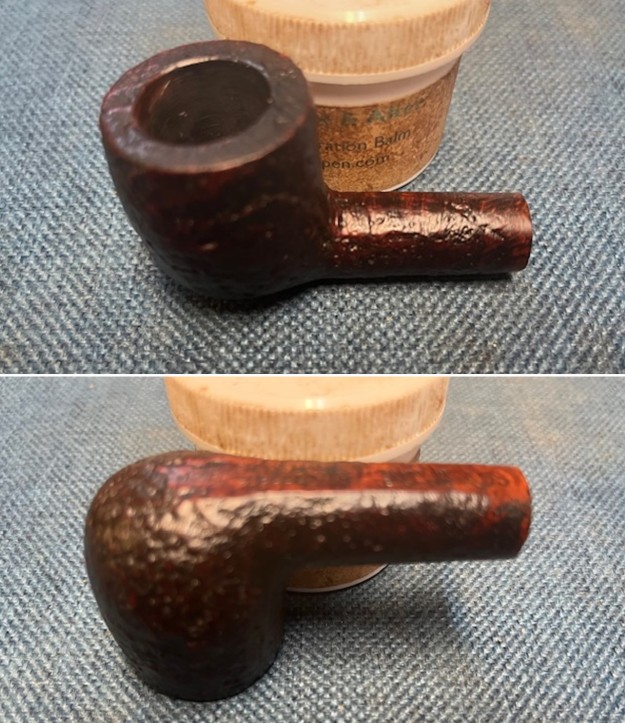
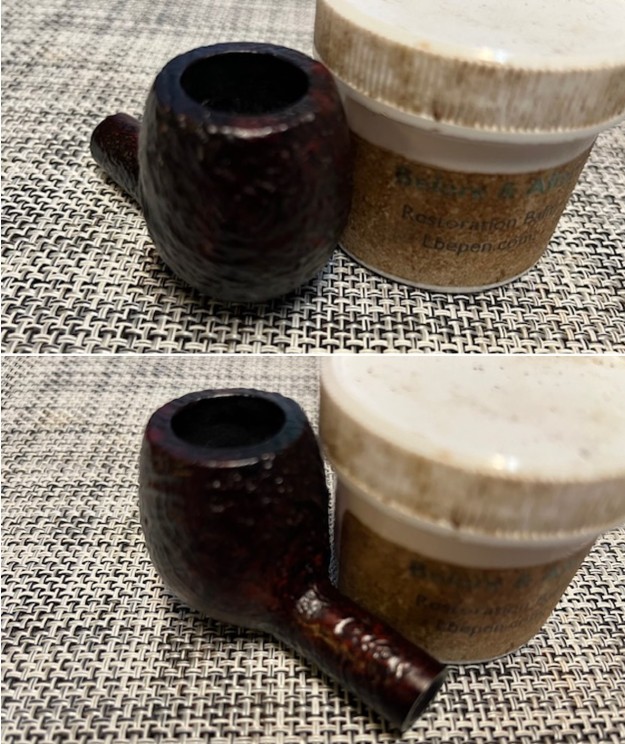
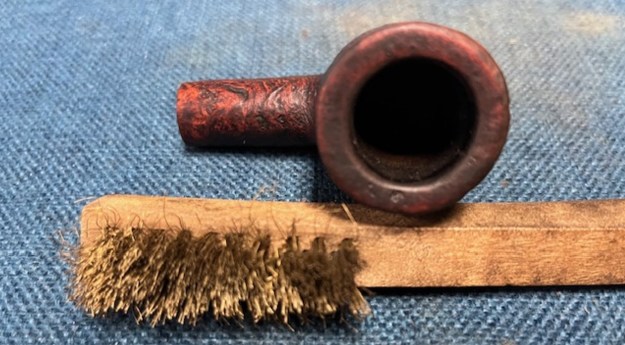 I rubbed the briar down with Before & After Restoration Balm. I worked it into the briar with my fingertips and a horsehair shoe brush. The product works to clean, enliven and preserve the briar. I let it sit for 10 minutes then I buffed it with a cotton cloth to deepen the shine. The briar really comes alive with the balm.
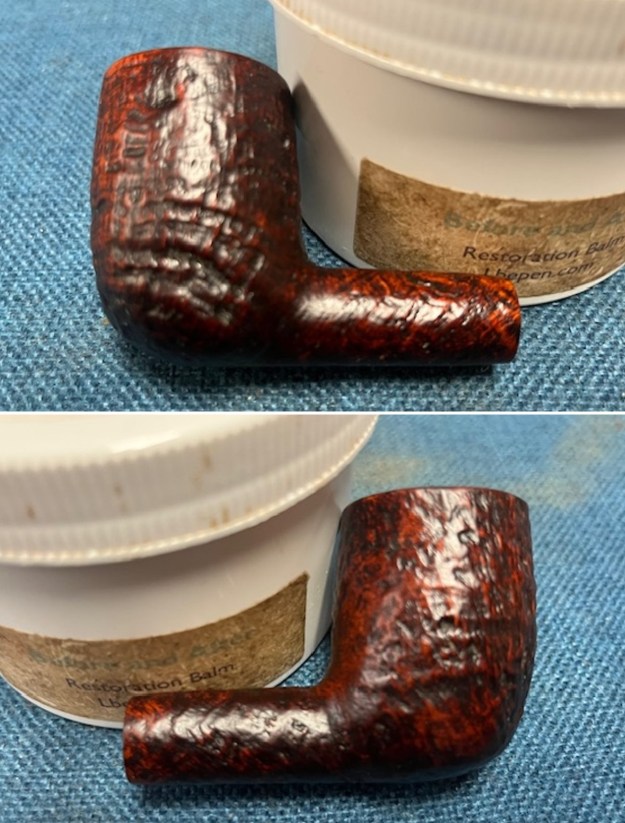
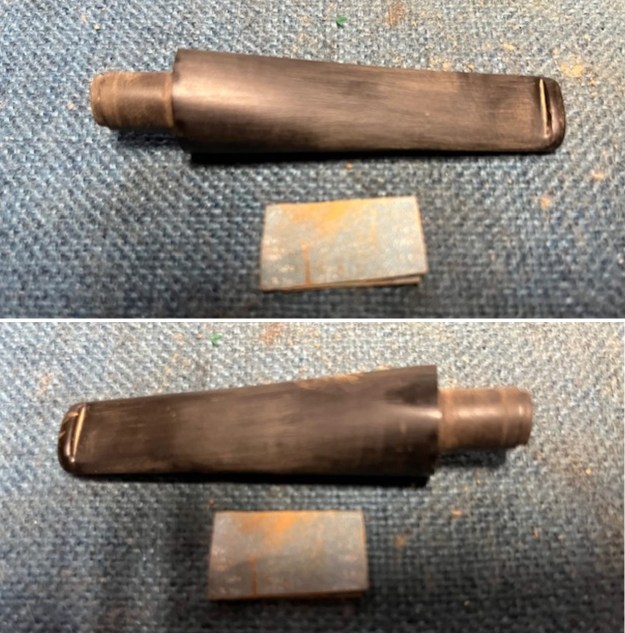
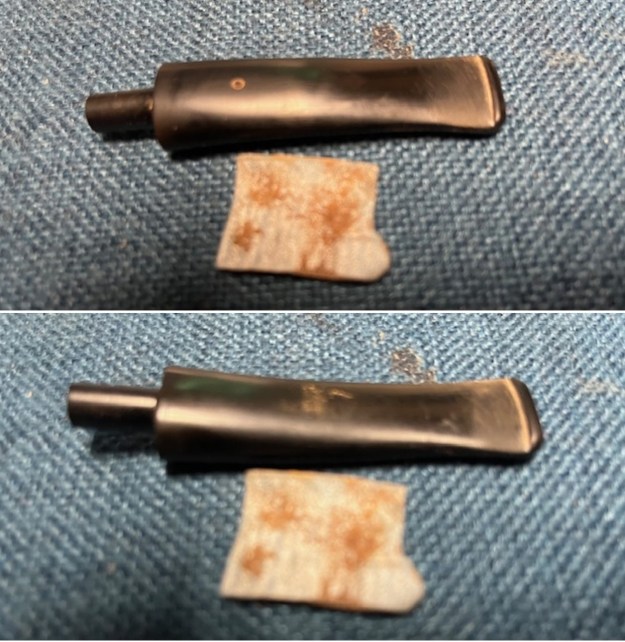
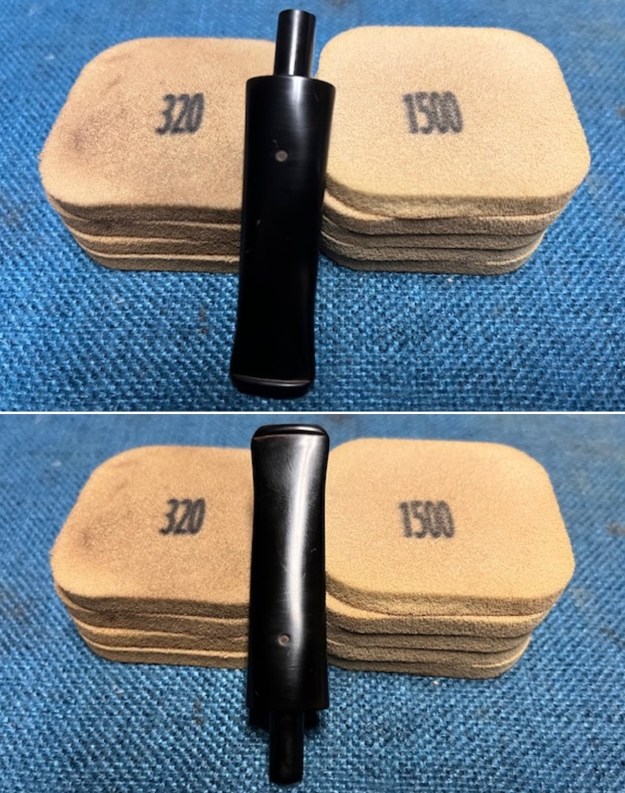
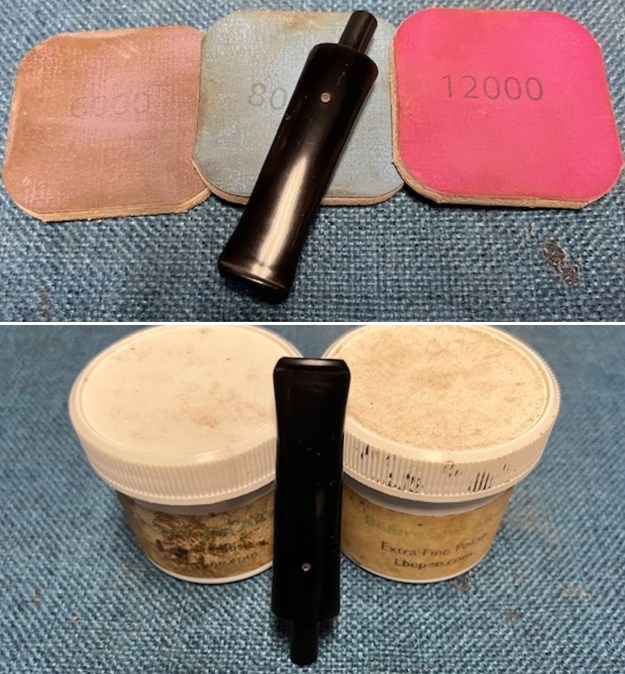
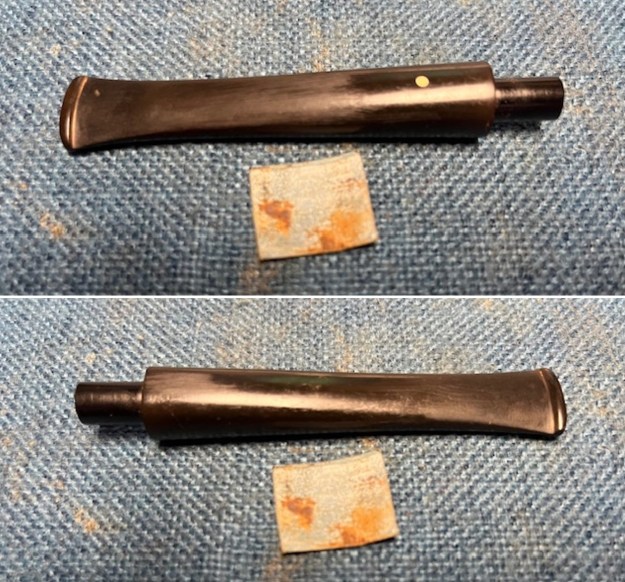
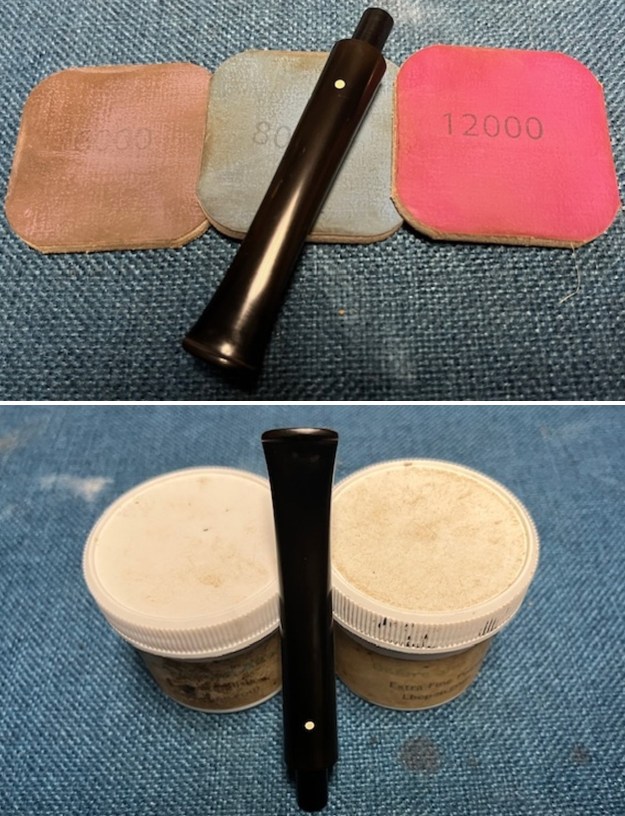
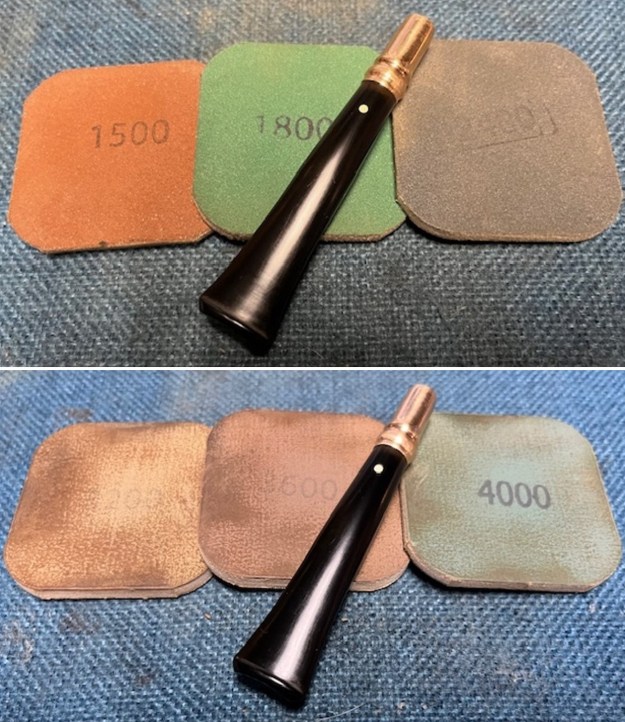
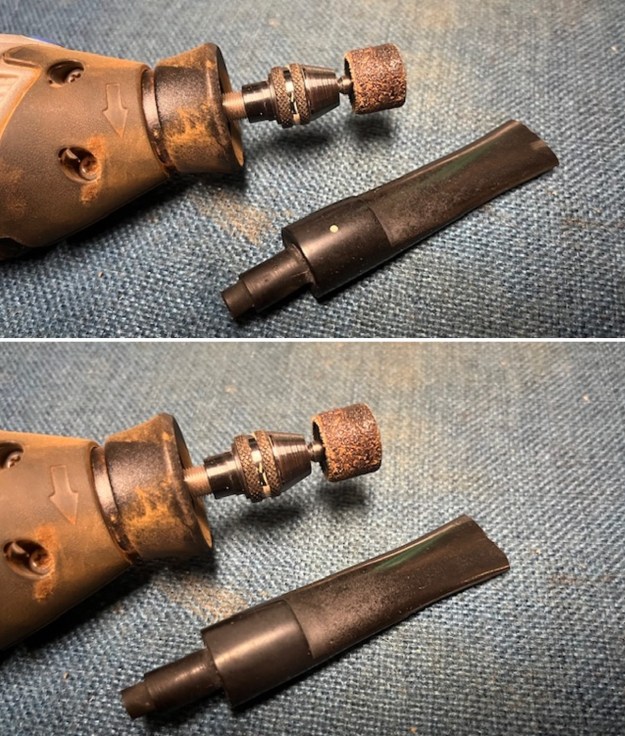
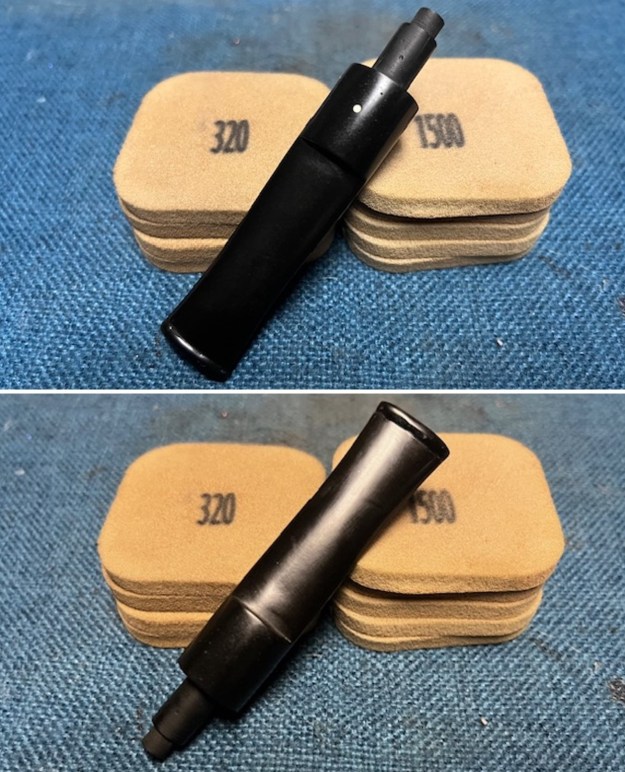
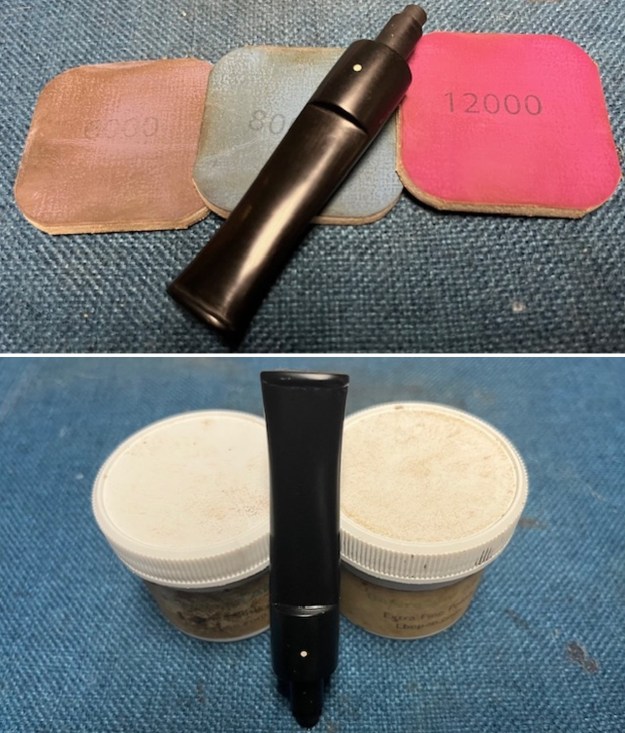
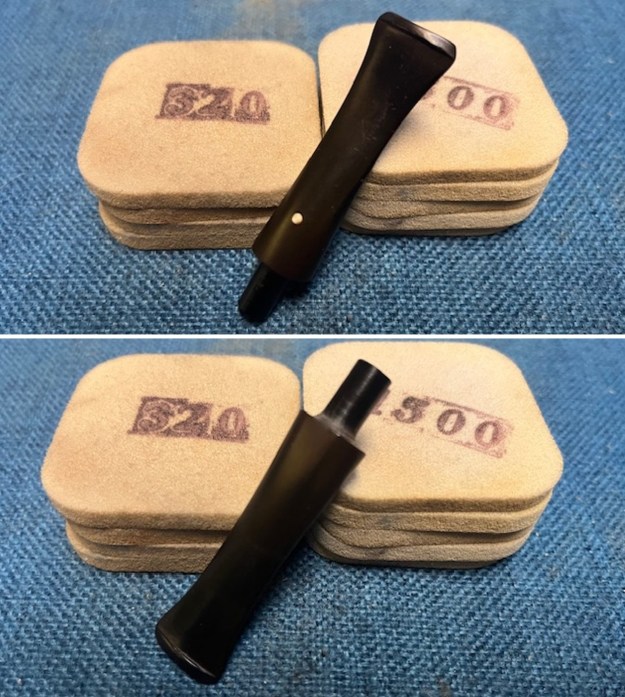
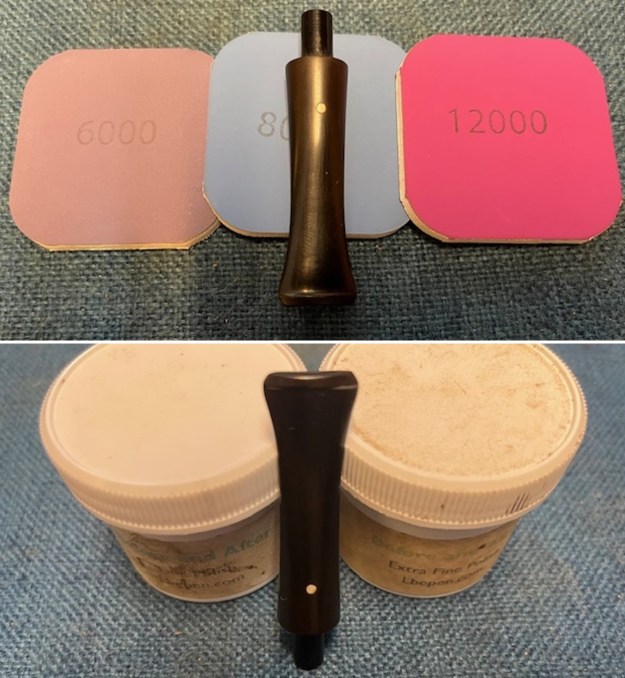
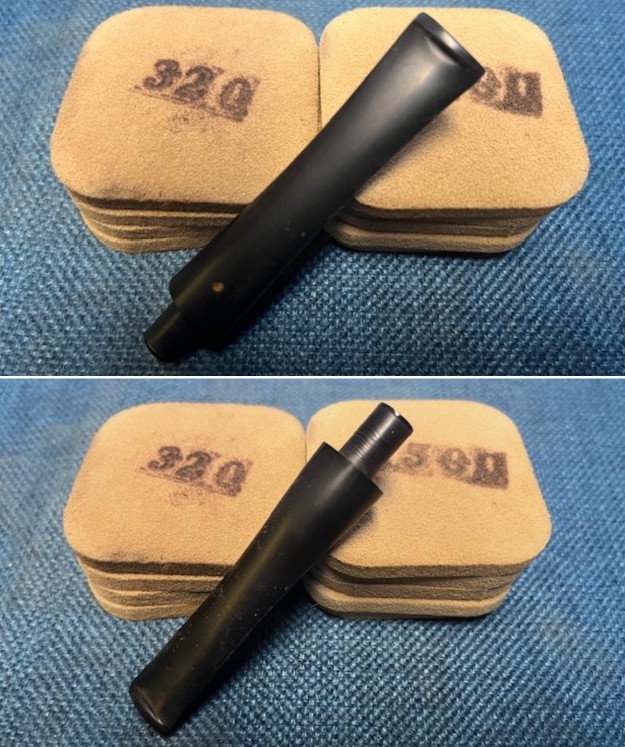
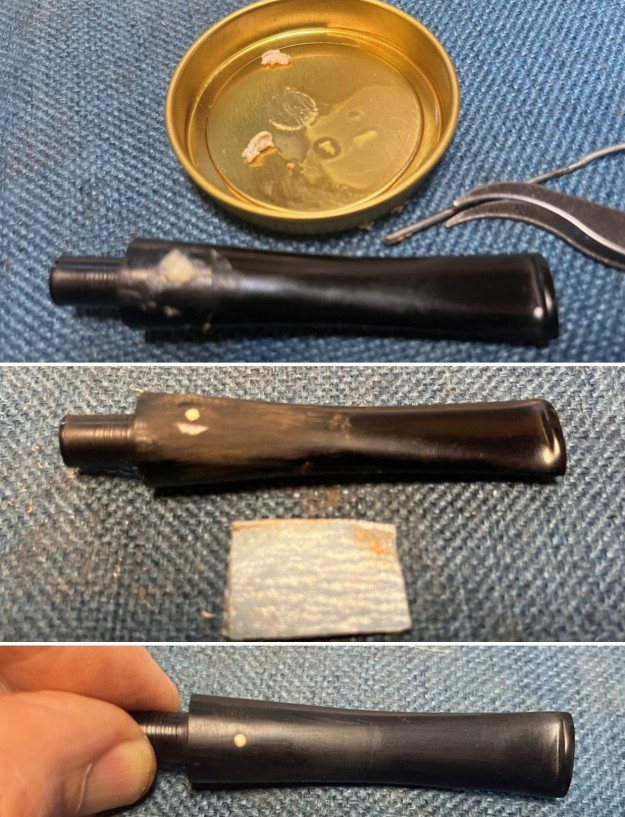
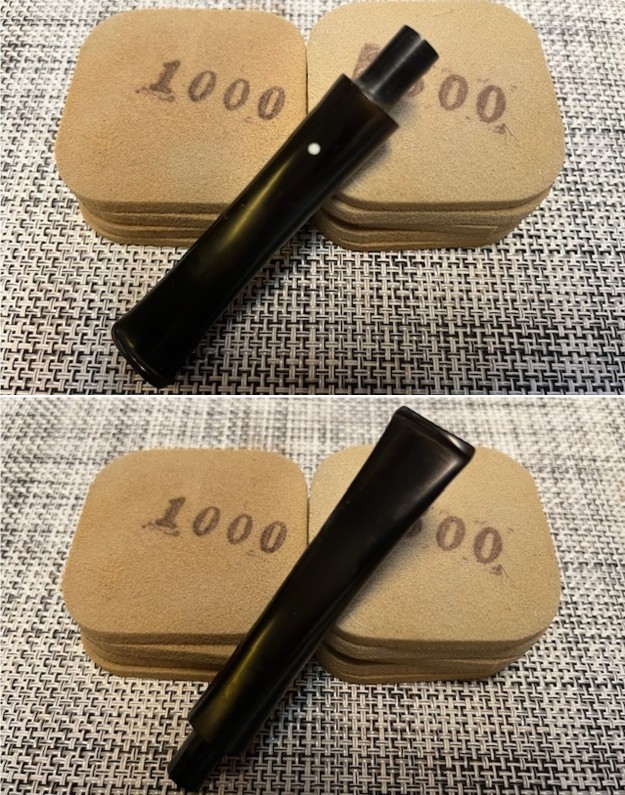
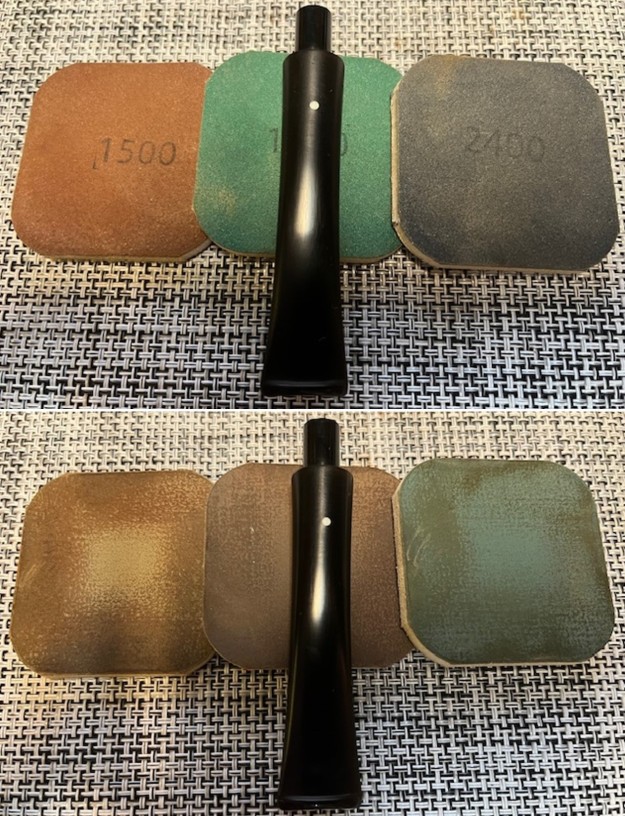
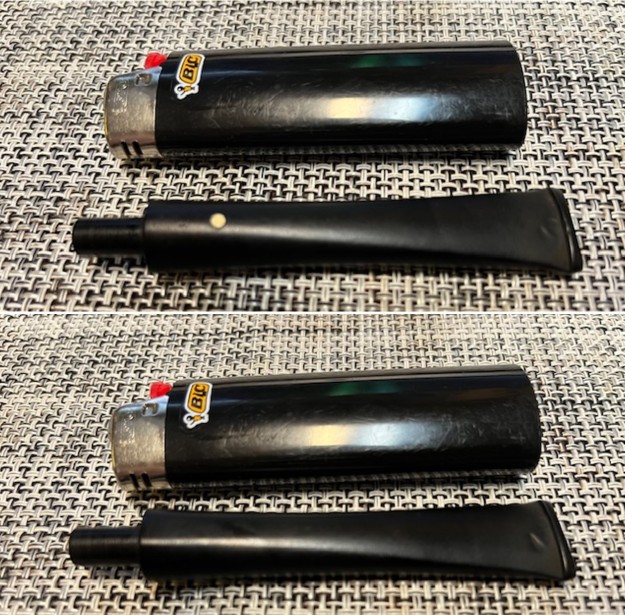
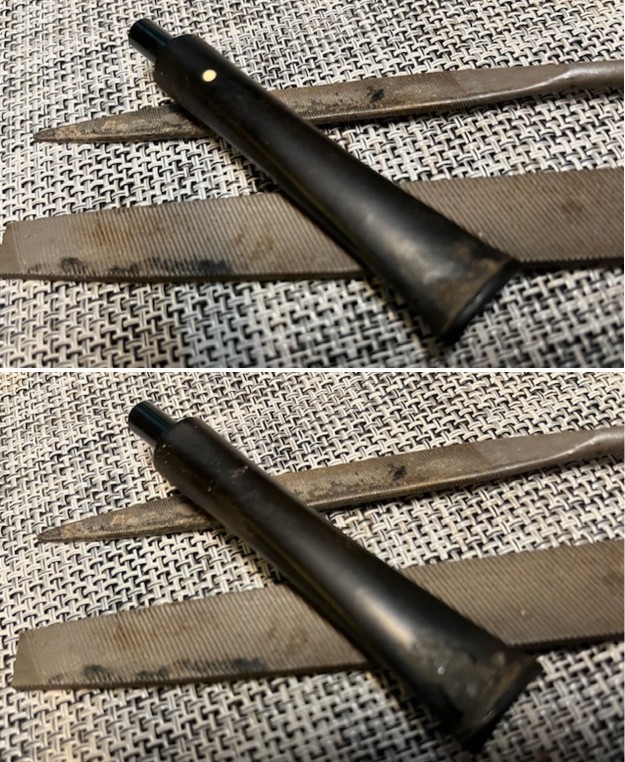
 I sanded the surface of the stem with 320-3500 grit sanding pads to smooth tooth chatters out and remove remnants of oxidation. When finished the stem looked much better.
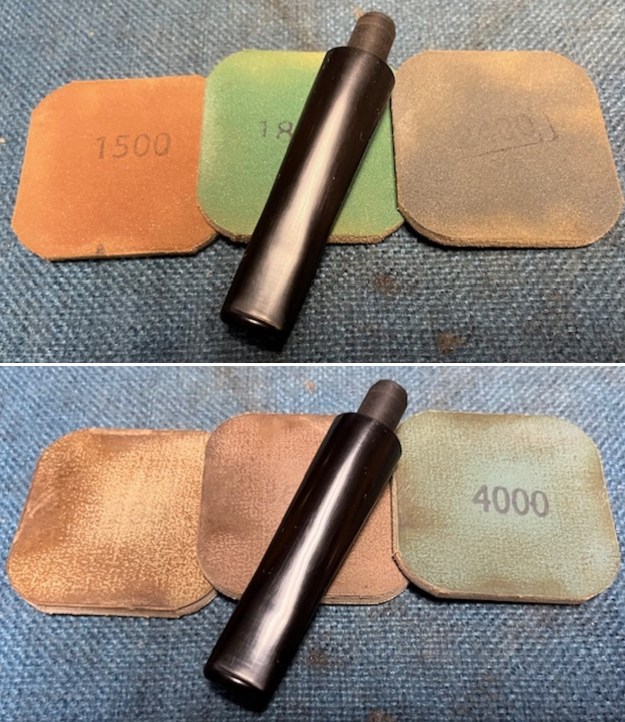
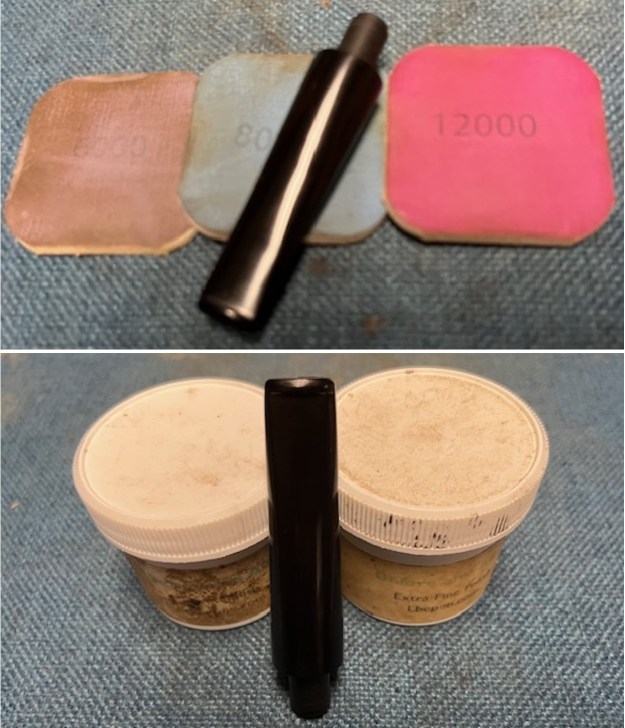
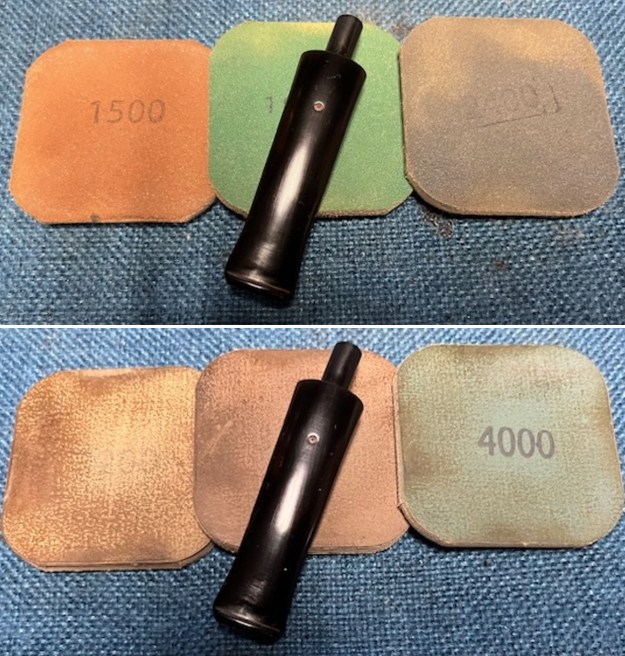
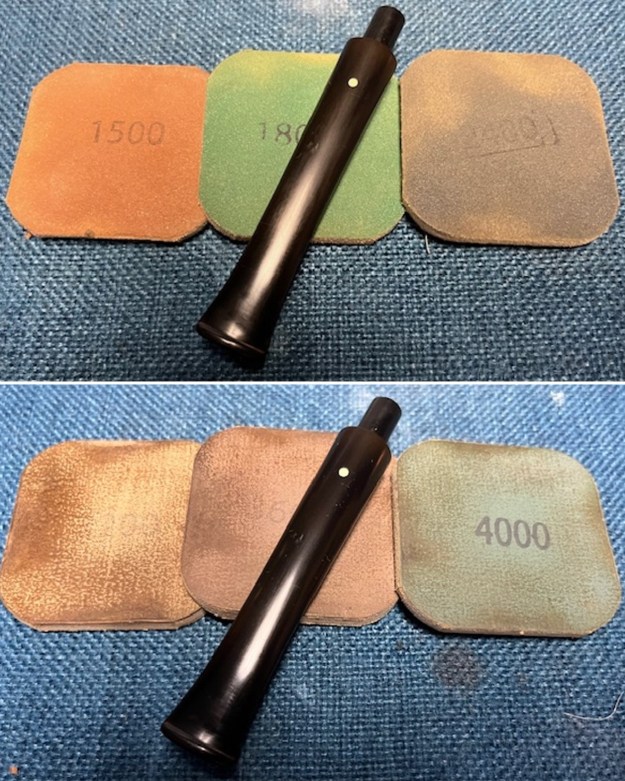
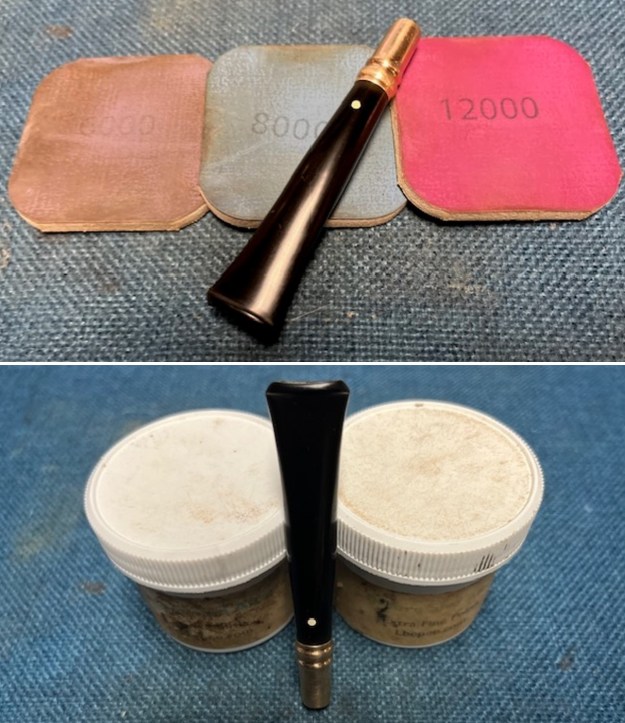
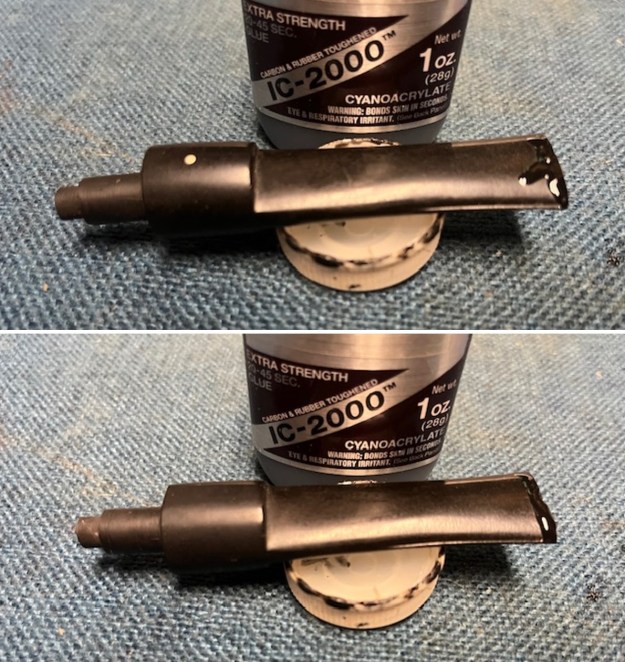
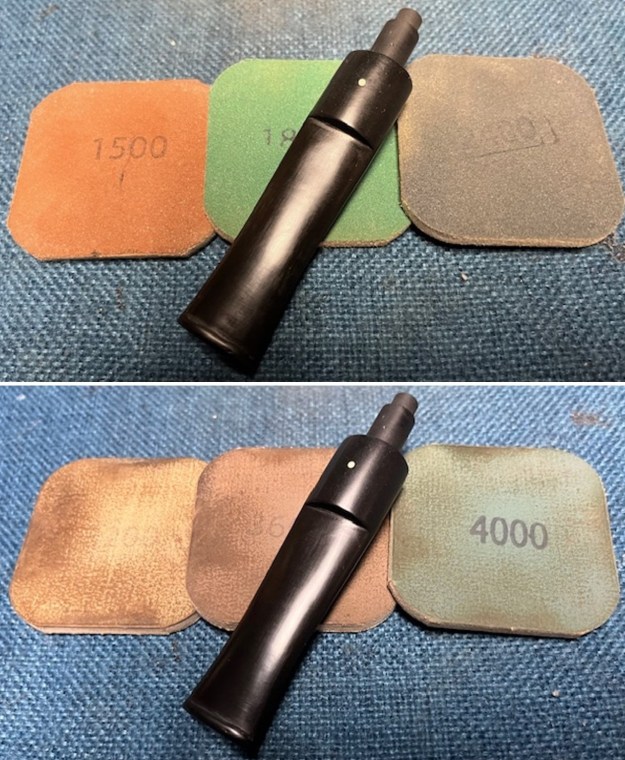
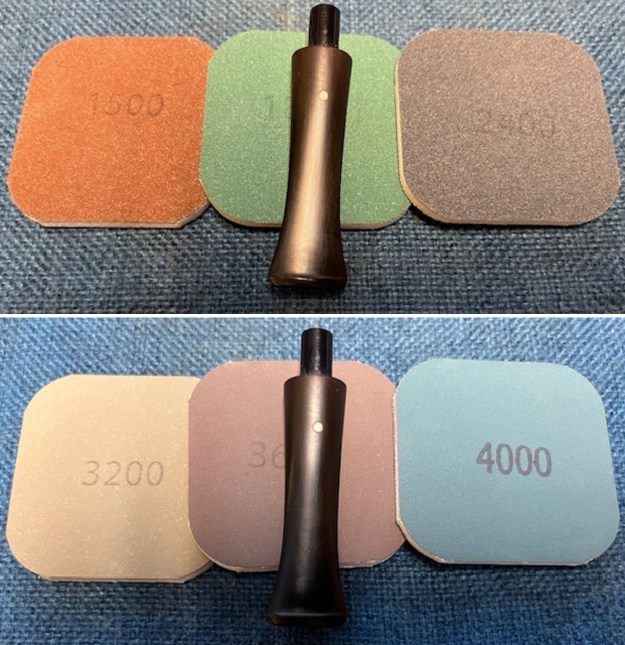
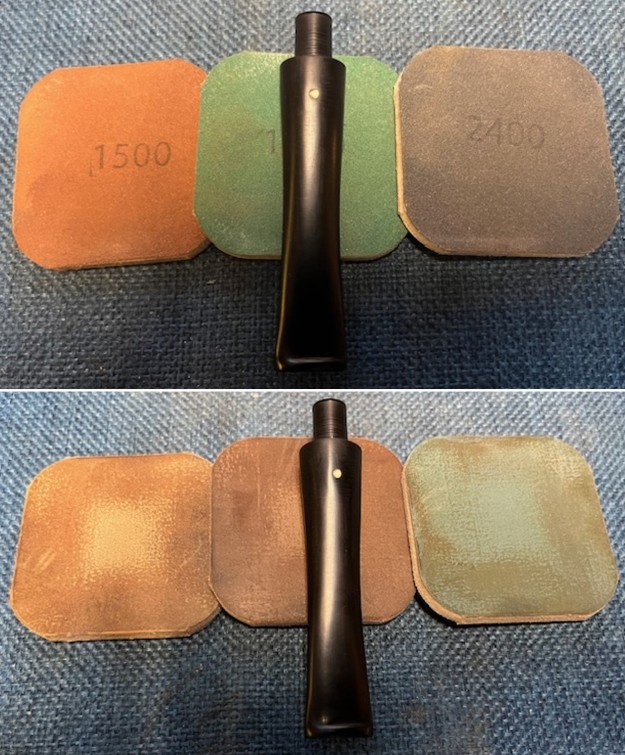
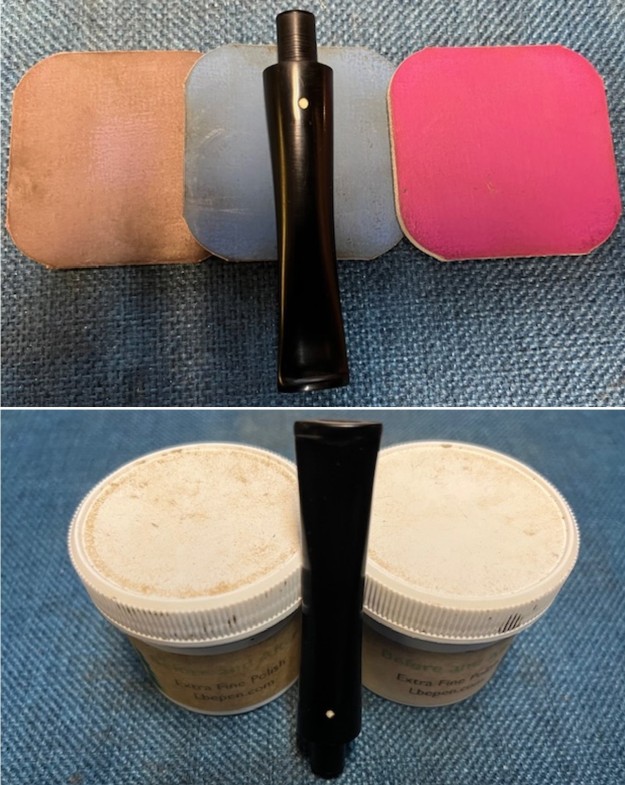
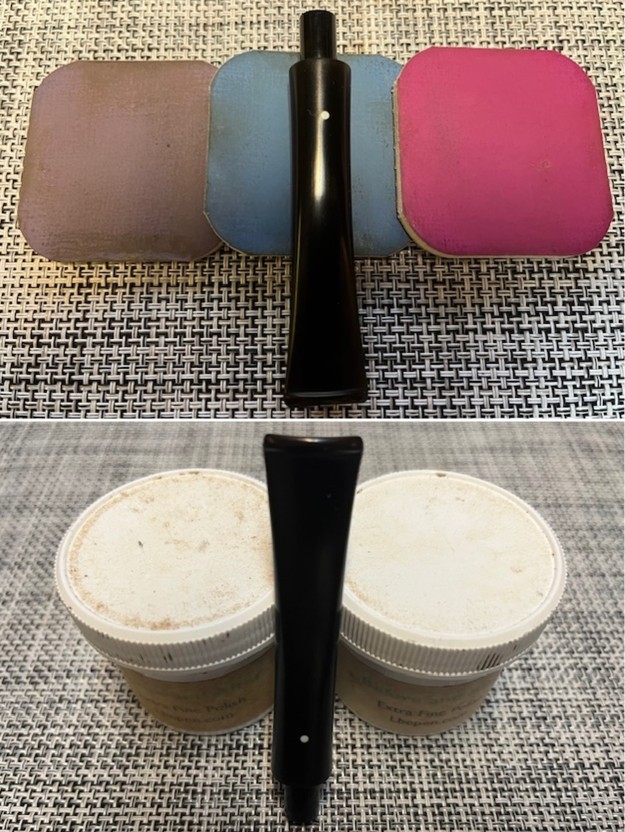
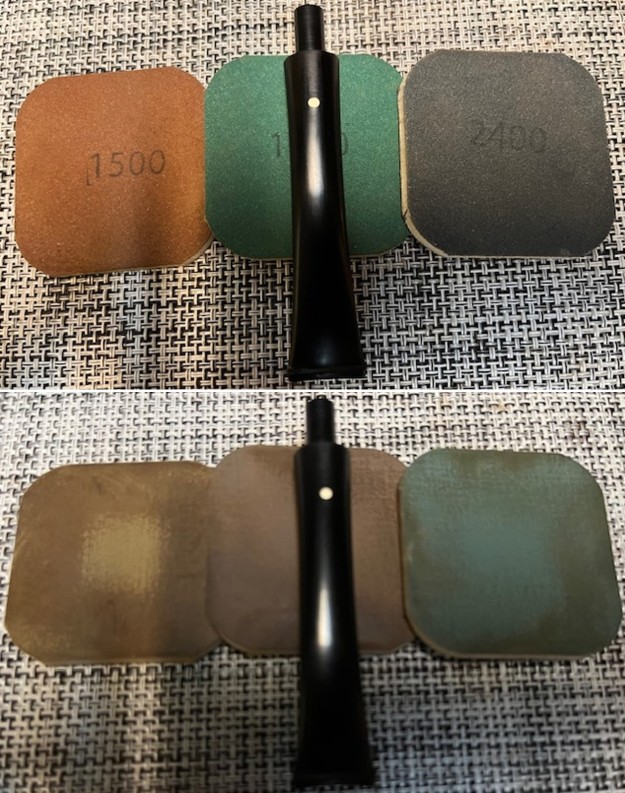
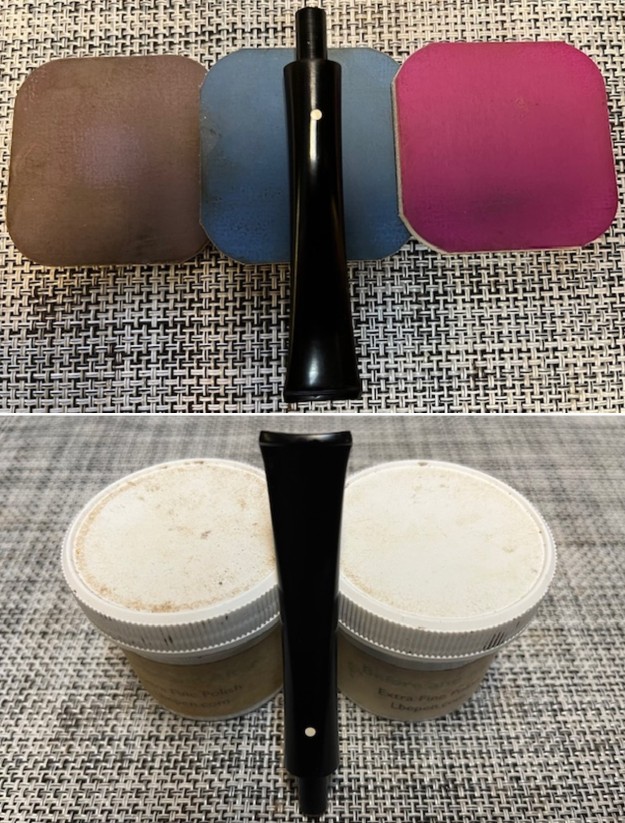
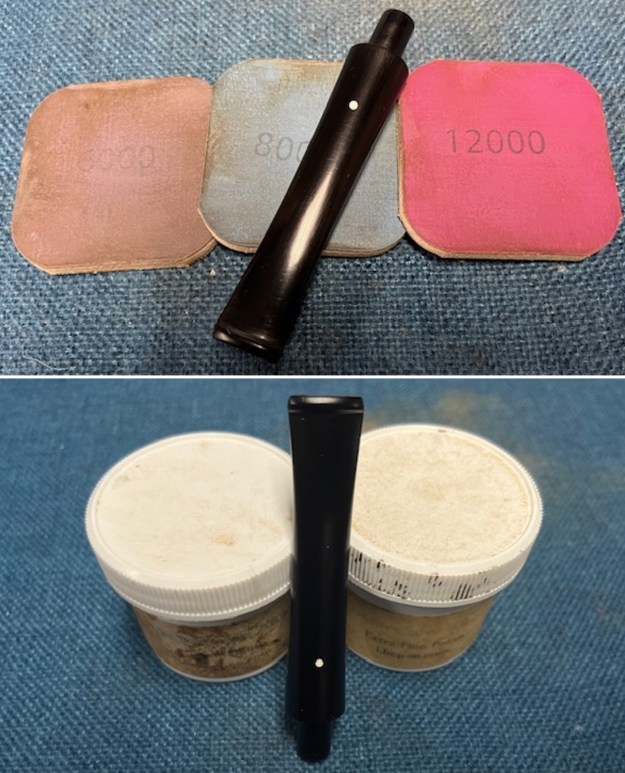
 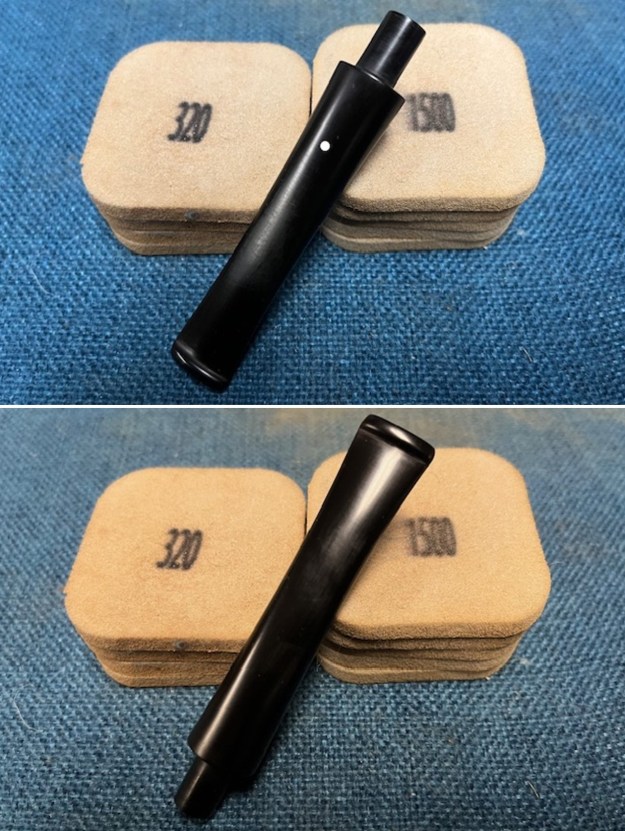 I polished the vulcanite with micromesh sanding pads – 1500-12000 grit pads. I wiped it down with Obsidian Oil after each sanding pad. I used Before & After Pipe Polish – both Fine and Extra Fine to further polish the stem.
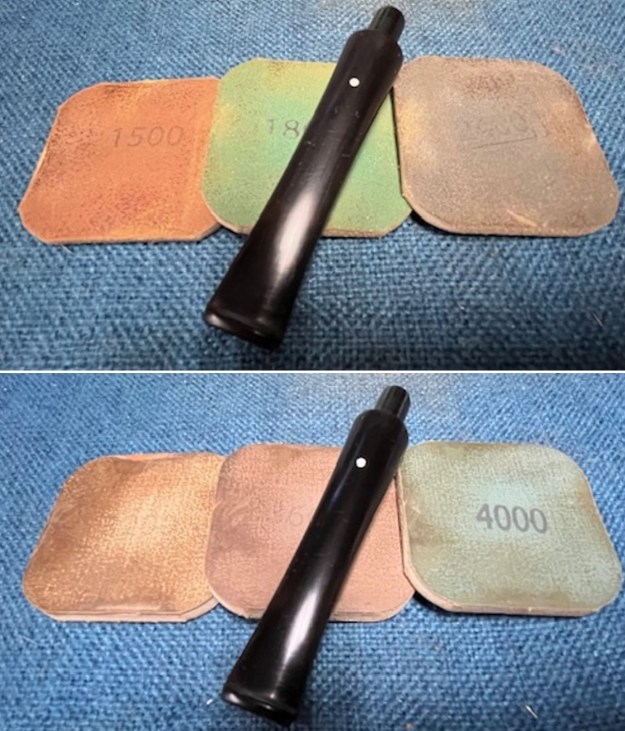
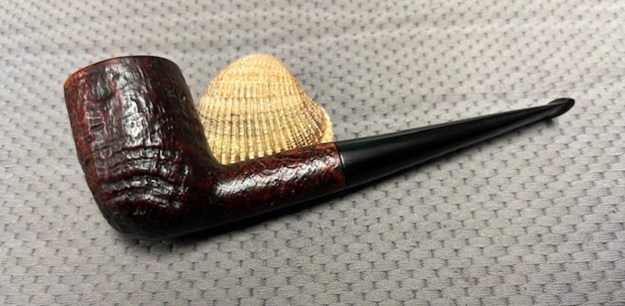
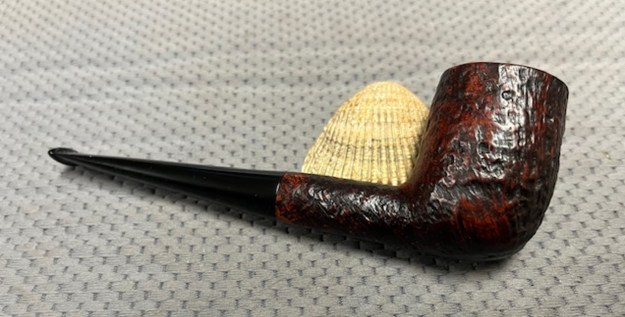
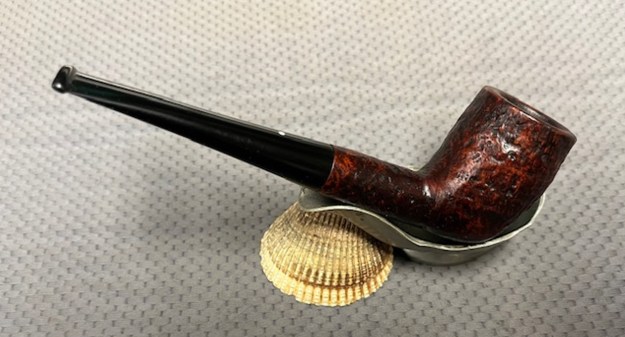
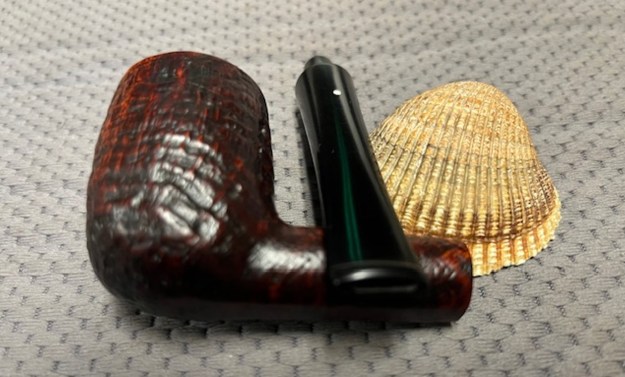
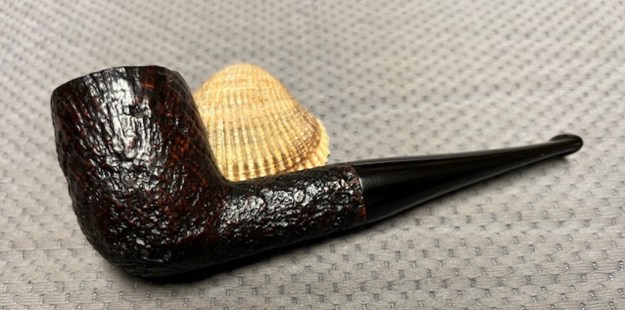
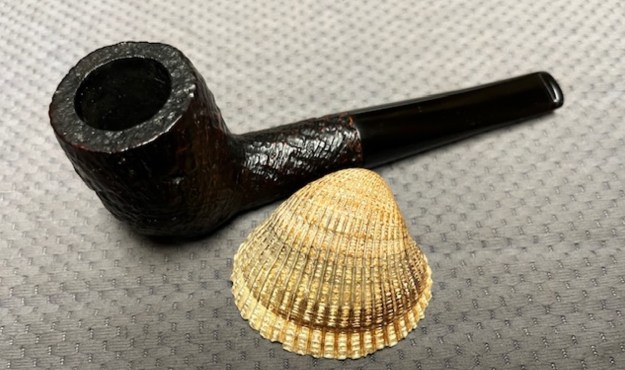
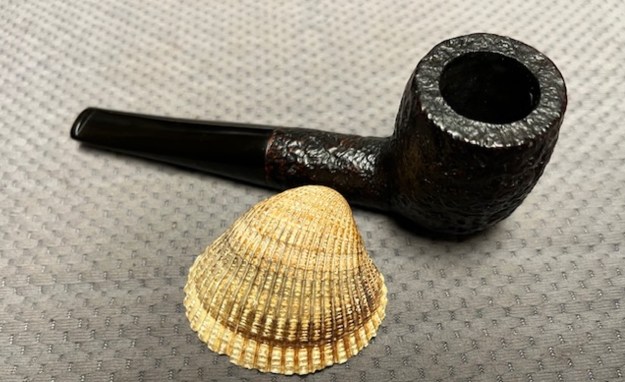
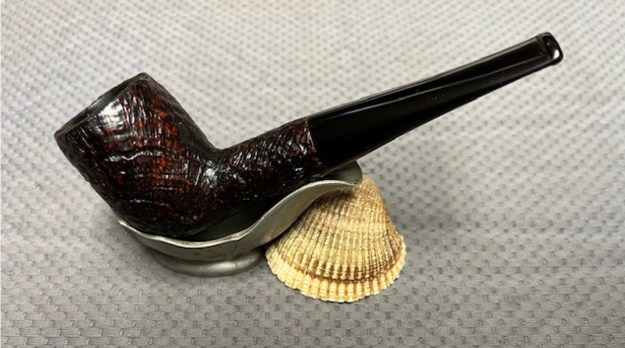
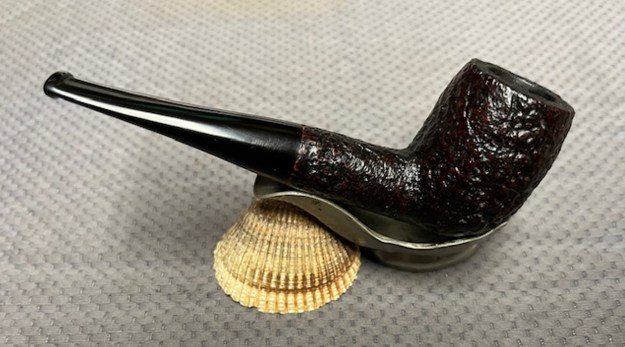
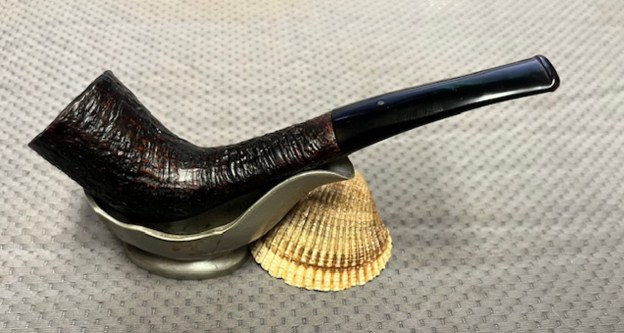
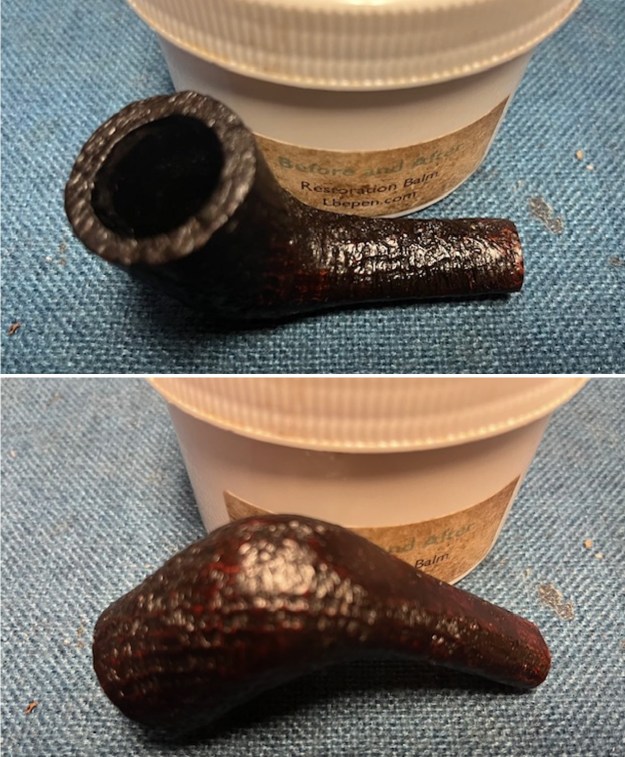
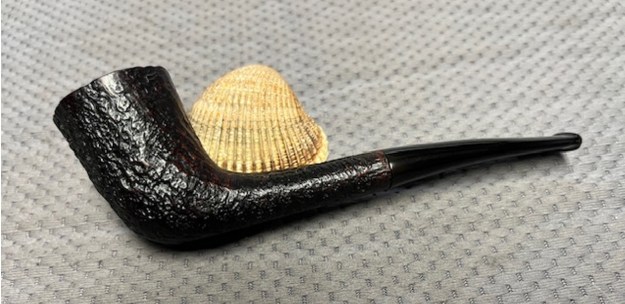
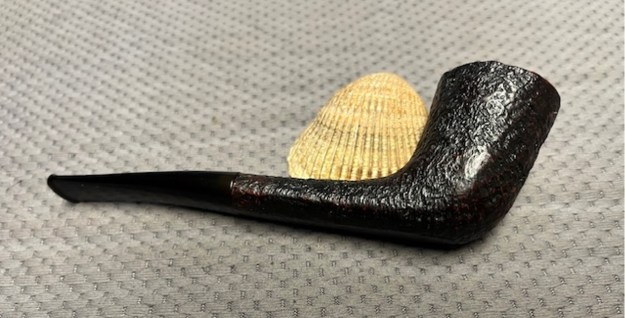
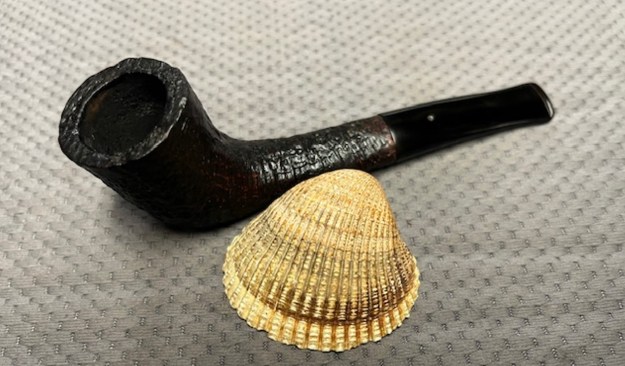
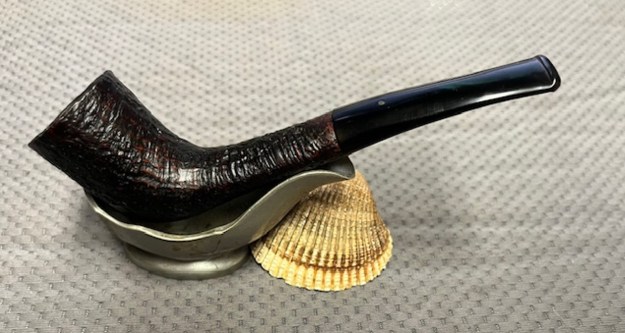
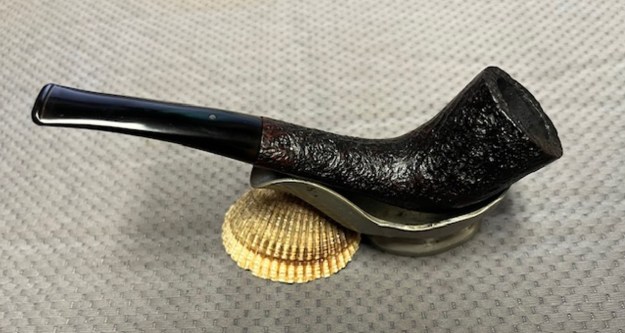
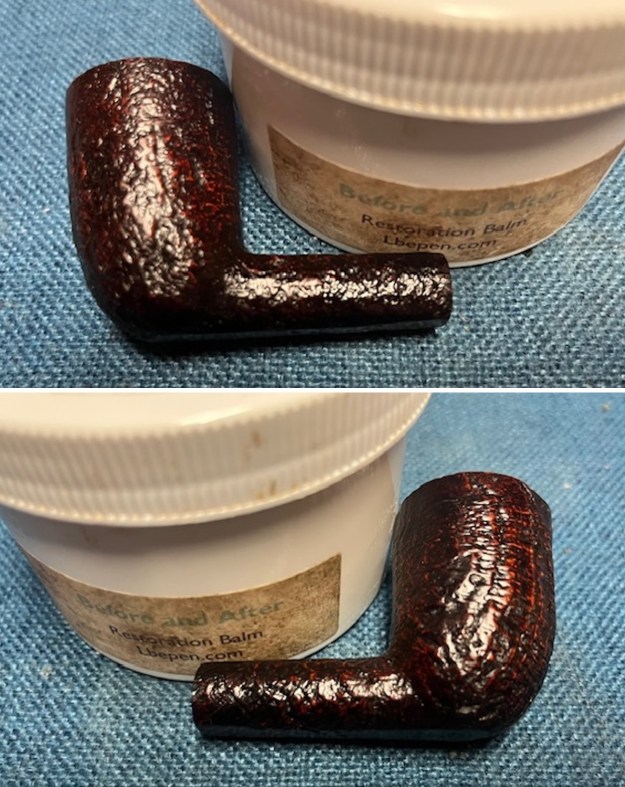
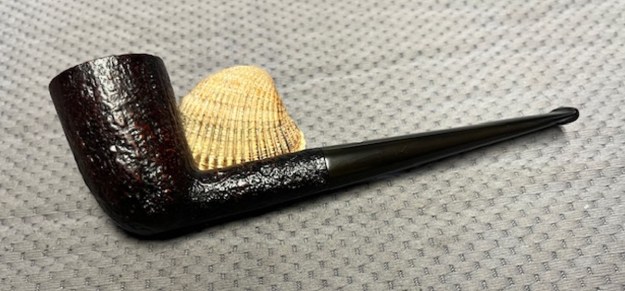
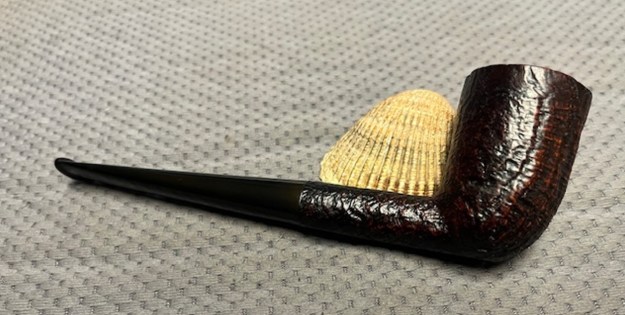
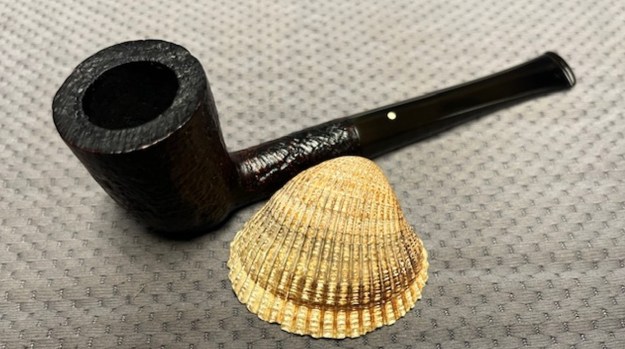
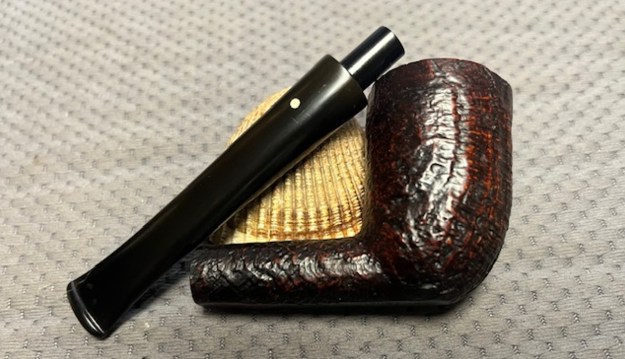
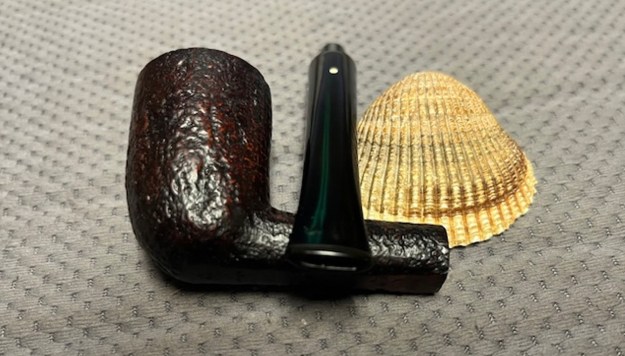
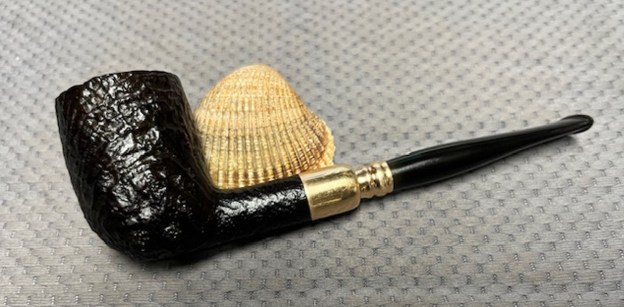
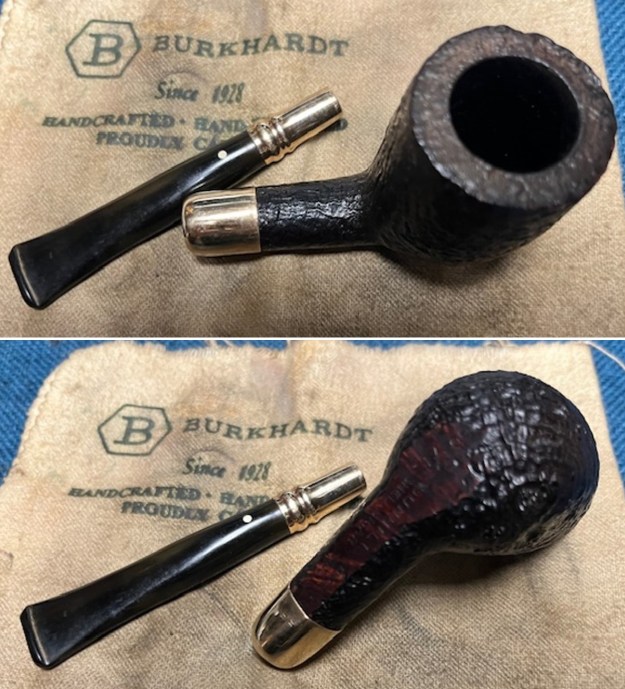
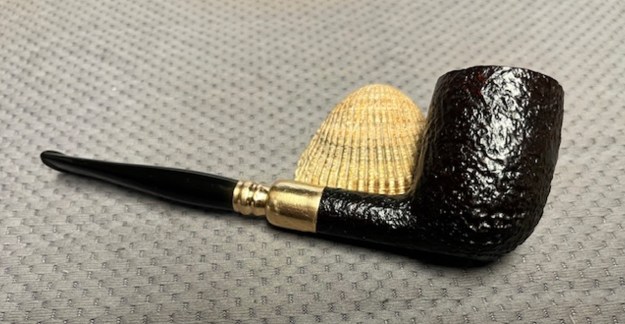
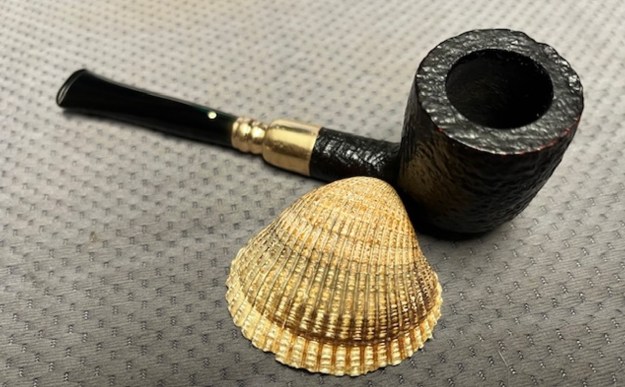
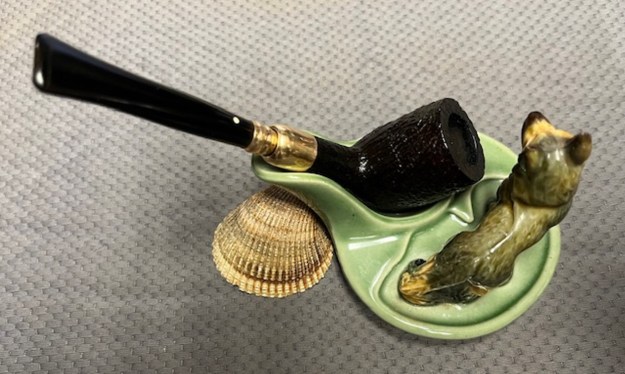
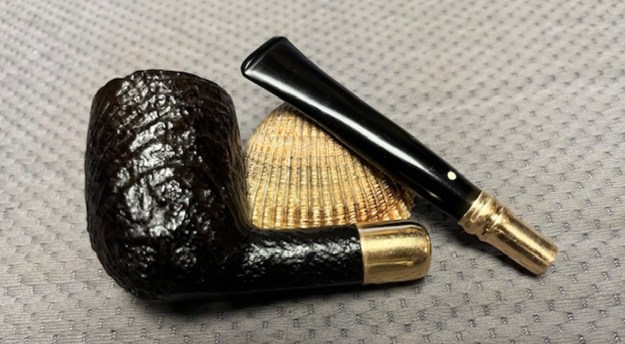
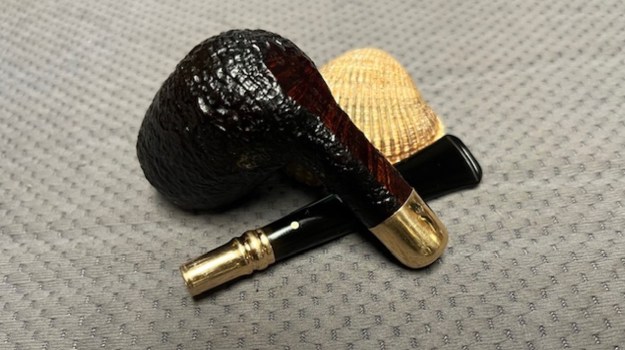
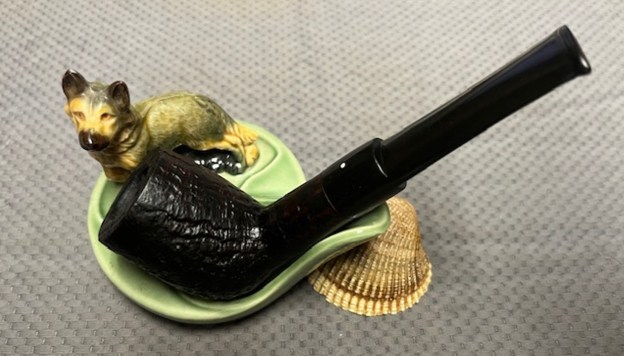
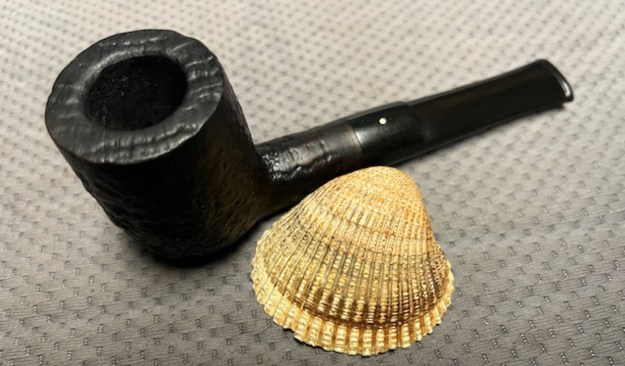
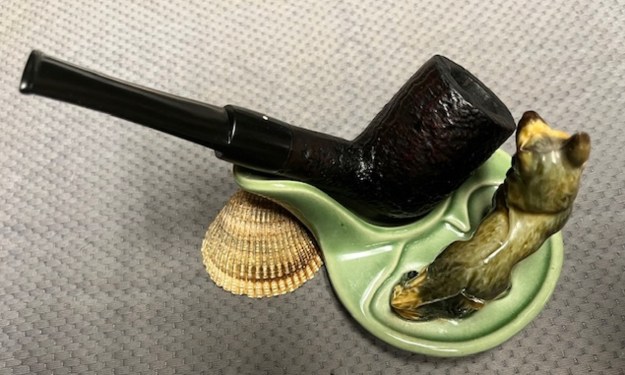
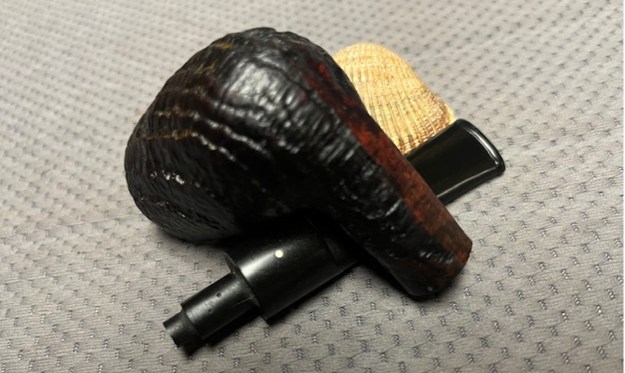
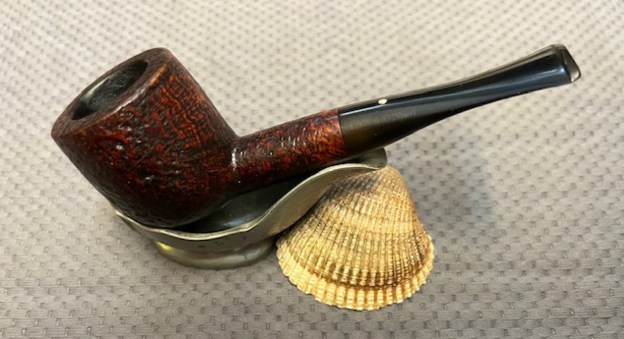
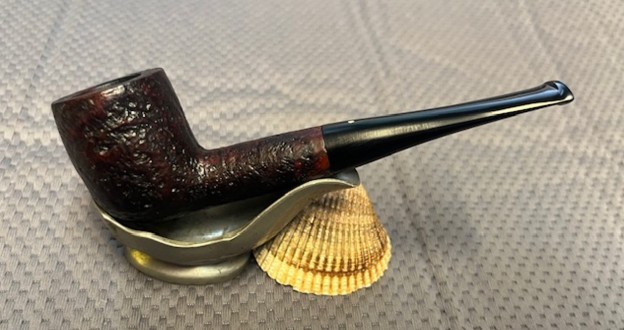
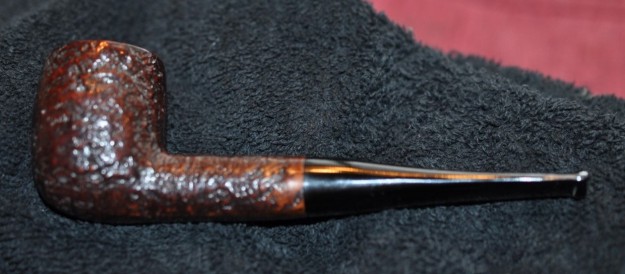
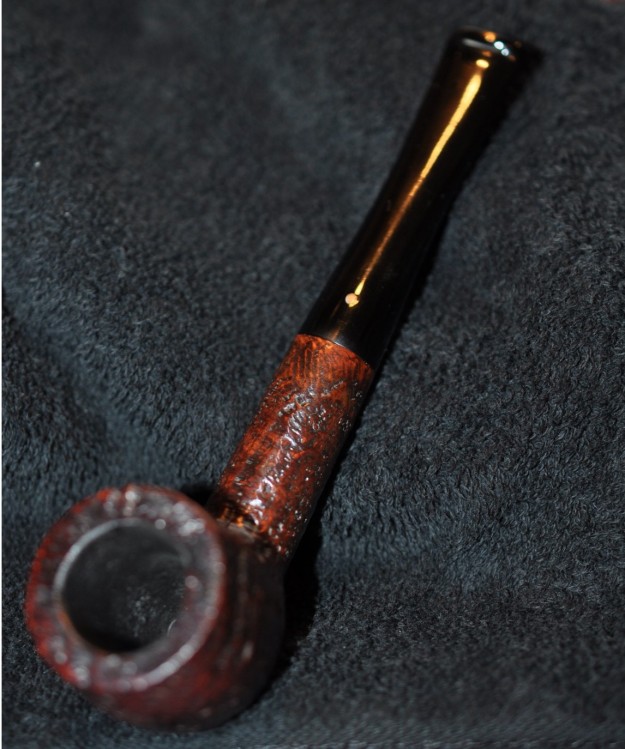
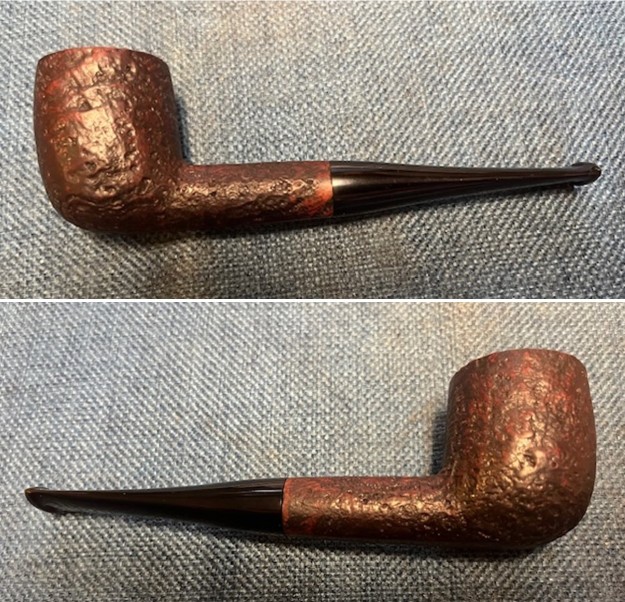
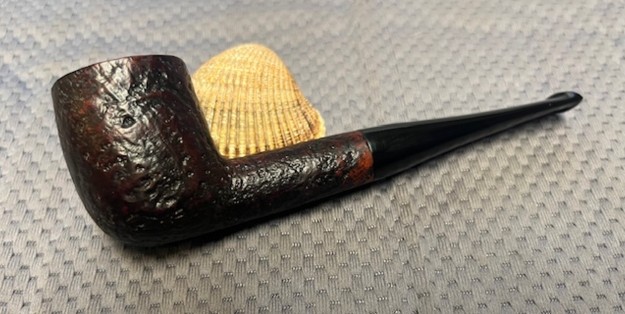
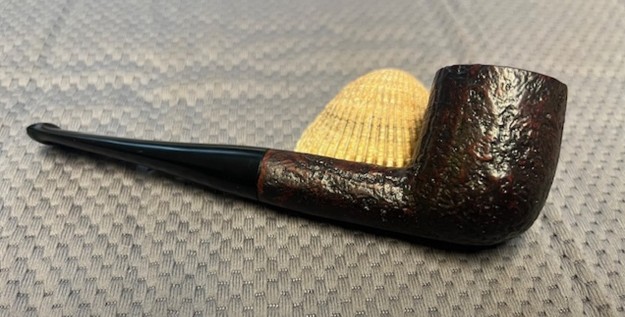
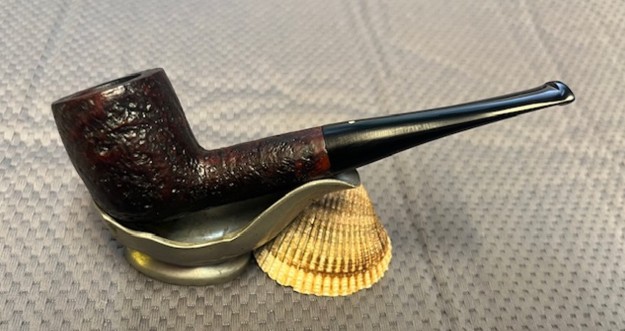
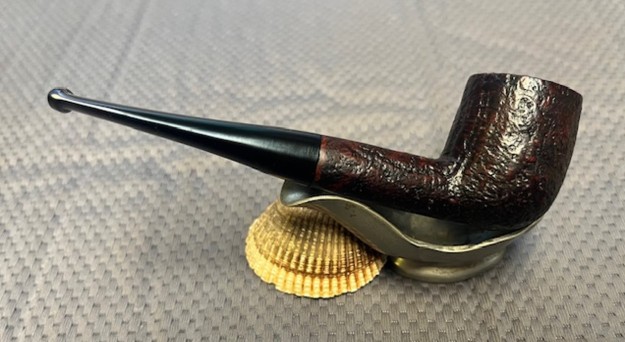
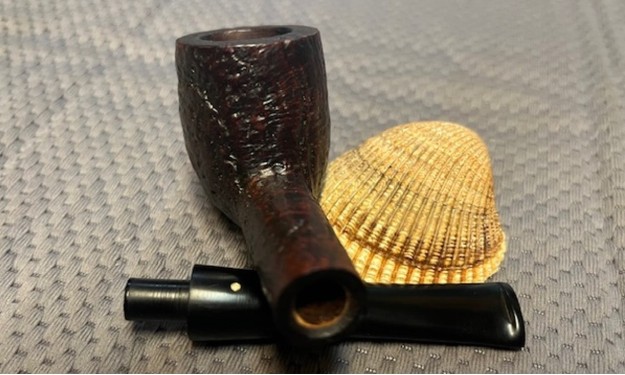
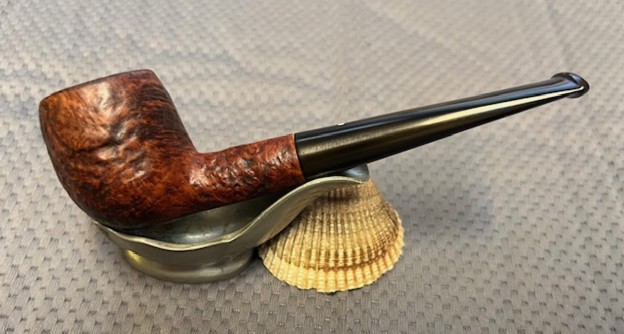
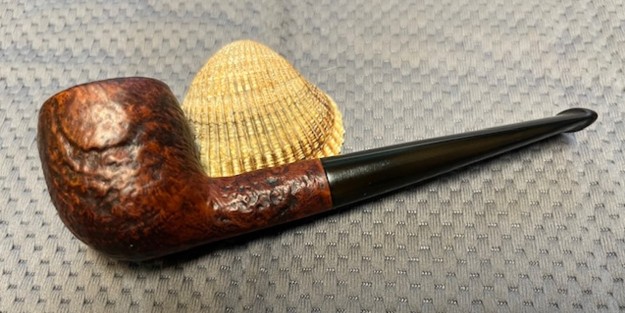
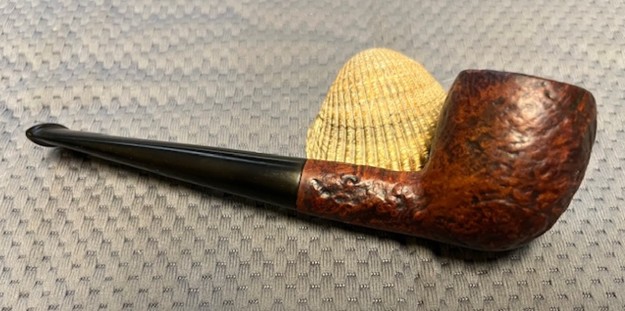
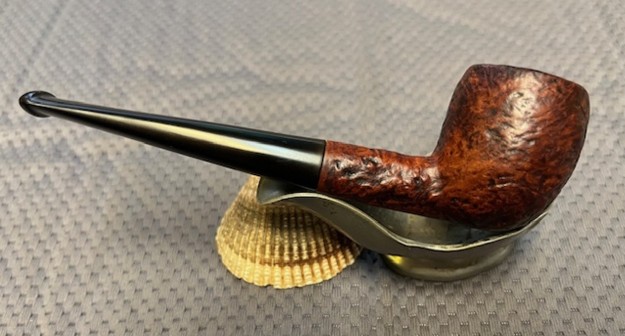
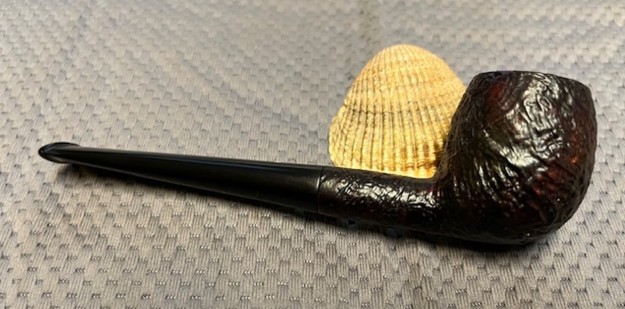
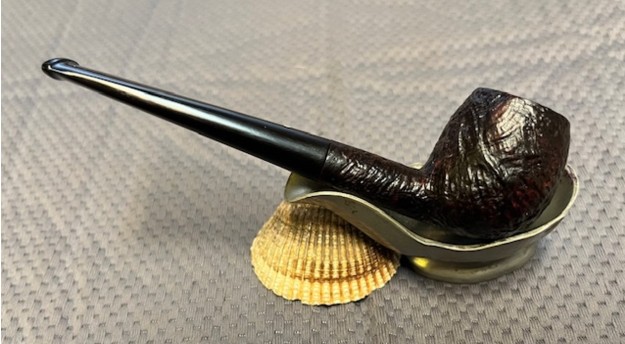
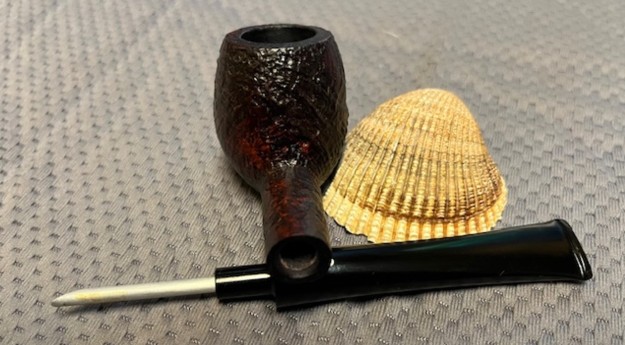
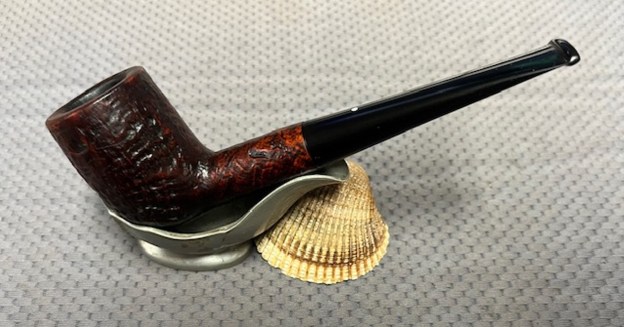
 This 1969 Dunhill Shell Briar 59 F/T Group 4 Billiard has a beautiful, unique Dunhill Sandblast finish that is not as deep as the older ones. The rich brown/black finish highlights some great grain around the bowl and shank. The polished vulcanite taper stem adds to the mix. I put the stem back on the bowl and carefully buffed the pipe with Blue Diamond on the buffing wheel. It is critical to avoid buffing the stamping and to have a lighter touch on the sandblast briar. I gave the bowl and the stem multiple coats of carnauba wax on the buffing wheel and followed that by buffing it with a clean buffing pad. I hand buffed the pipe with a microfiber cloth to deepen the shine. The finished Dunhill Shell Briar 59 F/T Billiard is quite stunning and feels great in my hand. Give the finished pipe a look in the photos below. The dimensions of the pipe are Length: 5 ½ inches, Height: 1 ¾ inches, Outside diameter of the bowl: 1 ¼ inch, Chamber diameter: ¾ of an inch. The weight of the pipe is 1.38 ounces/39 grams. Thanks for walking through the restoration with me as I worked over another beautiful pipe. I am going to add it to the rebornpipes store in the British Pipemakers Section. If you would like to add it to your collection let me know. Thanks for your time.