Blog by Paresh Deshpande
After we bid our farewells to my Guru and Mentor, Steve Laug and his brother, Jeff, (Dal had left a couple of days earlier) I felt a void. All of a sudden there was nothing to look forward to, no pipe talks, no planned activities, nobody to share a smoke with and above all, their mere presence was being missed by Abha, my wife and both daughters, not to mention me too! It was my youngest daughter, Pavni, who suggested that we restore a pipe!! What a suggestion that was! Our spirits immediately soared and I pulled out my “MUMBAI BONANZA” pipe box to select one pipe.
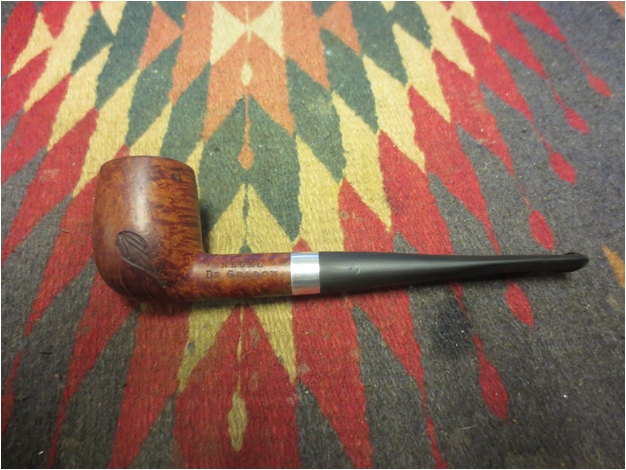
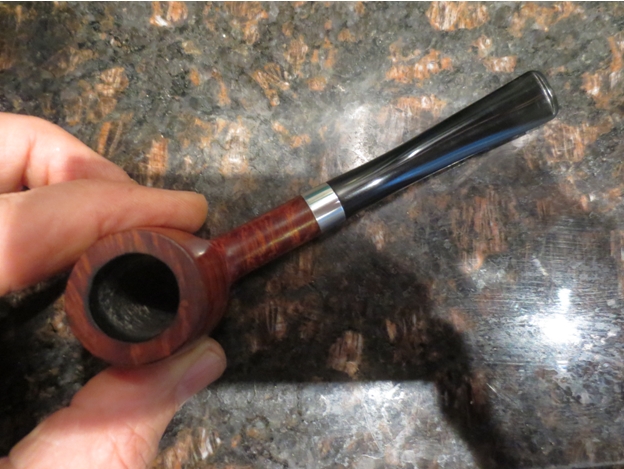
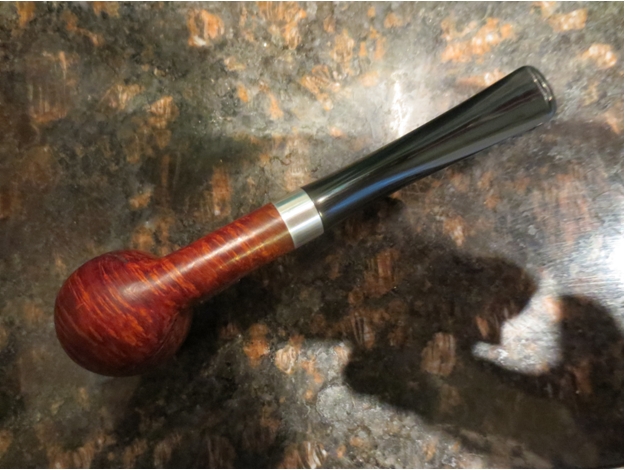
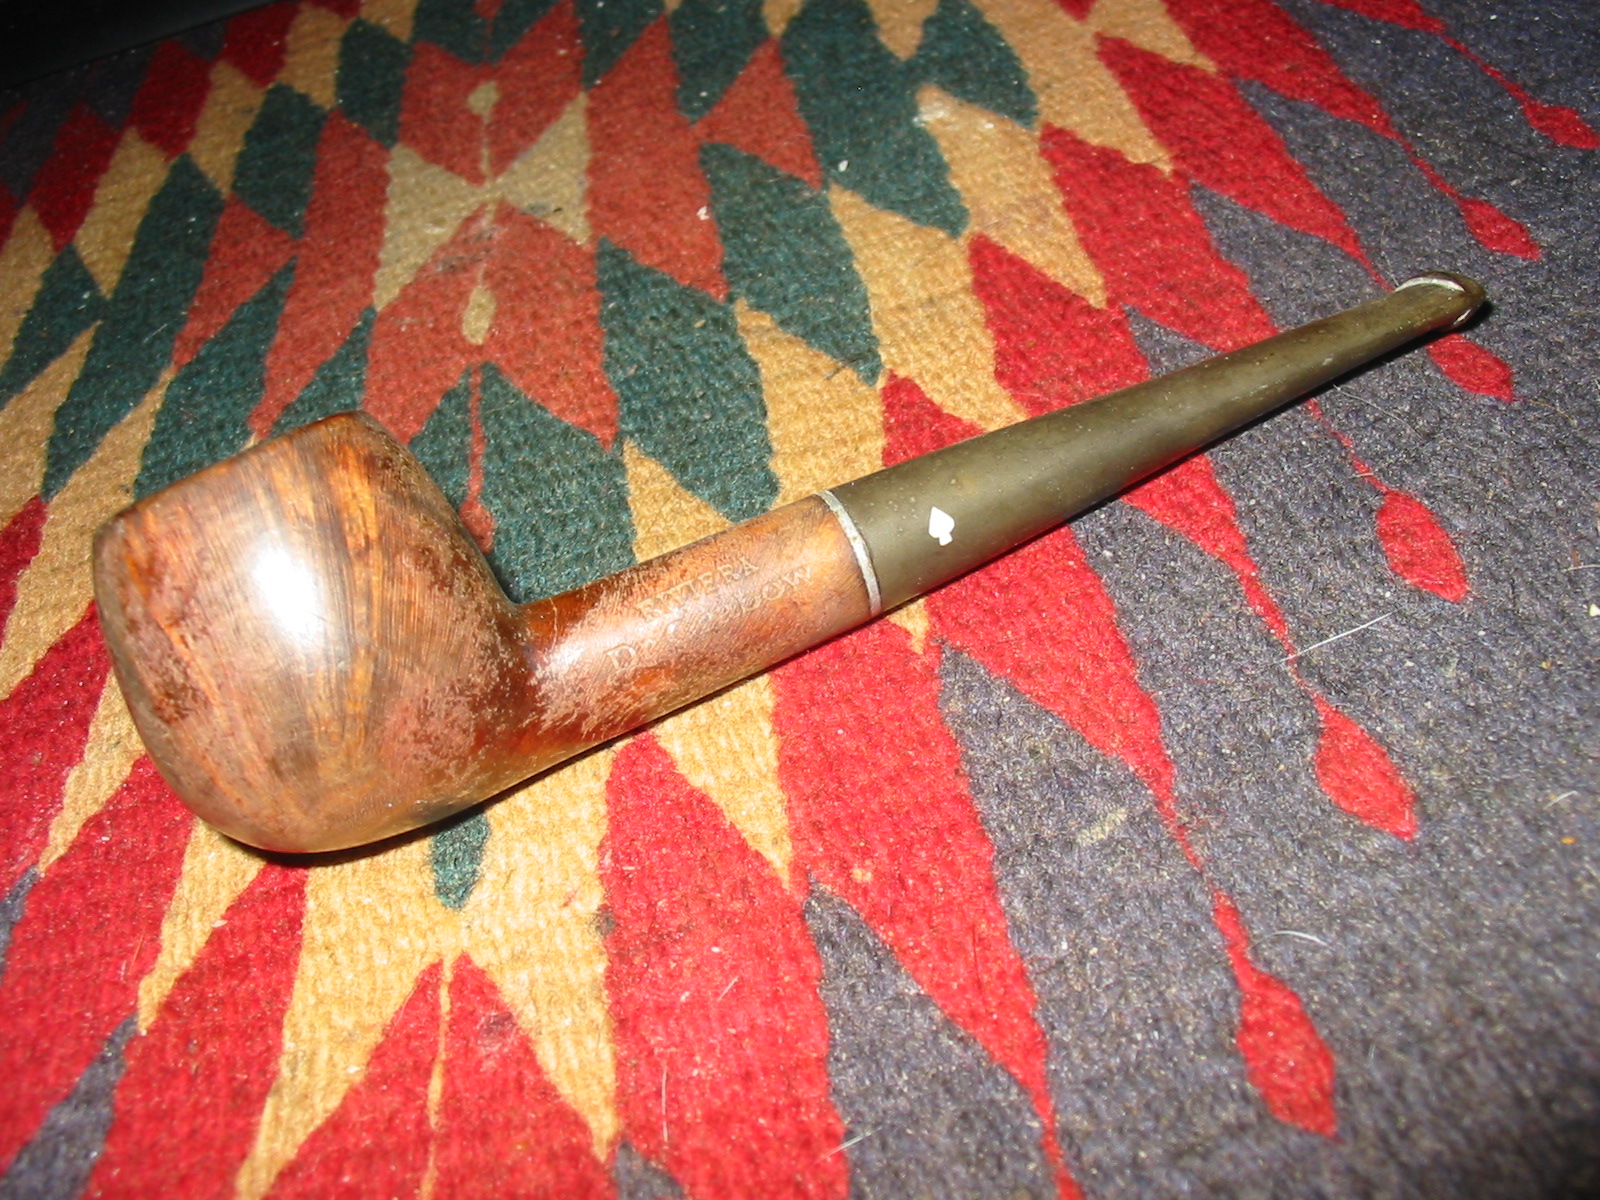
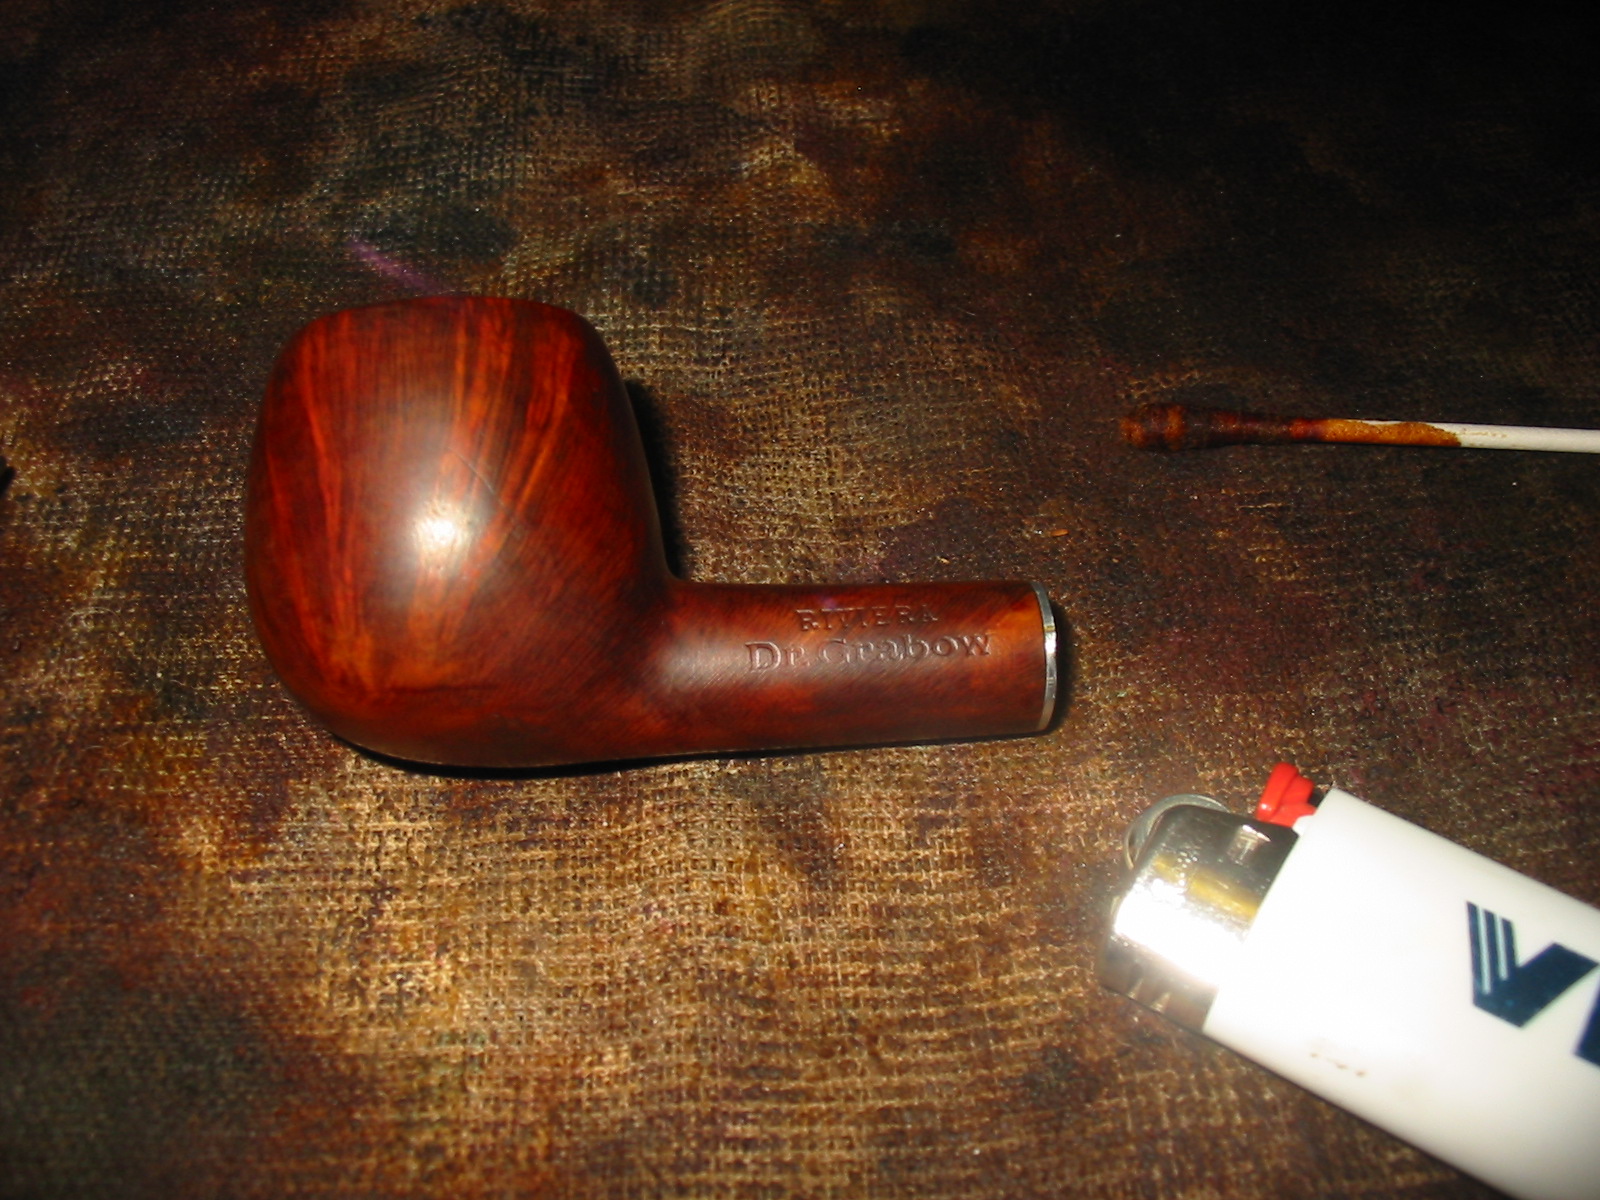
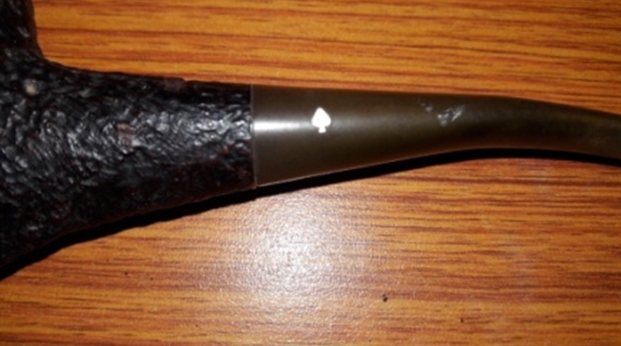
The one that caught our collective attention was a pick axe shaped pipe that we had come to associate with Kriswill as I have inherited a few. However, this had a “Spade” stamped on its stem in white. It was a Dr. Grabow.
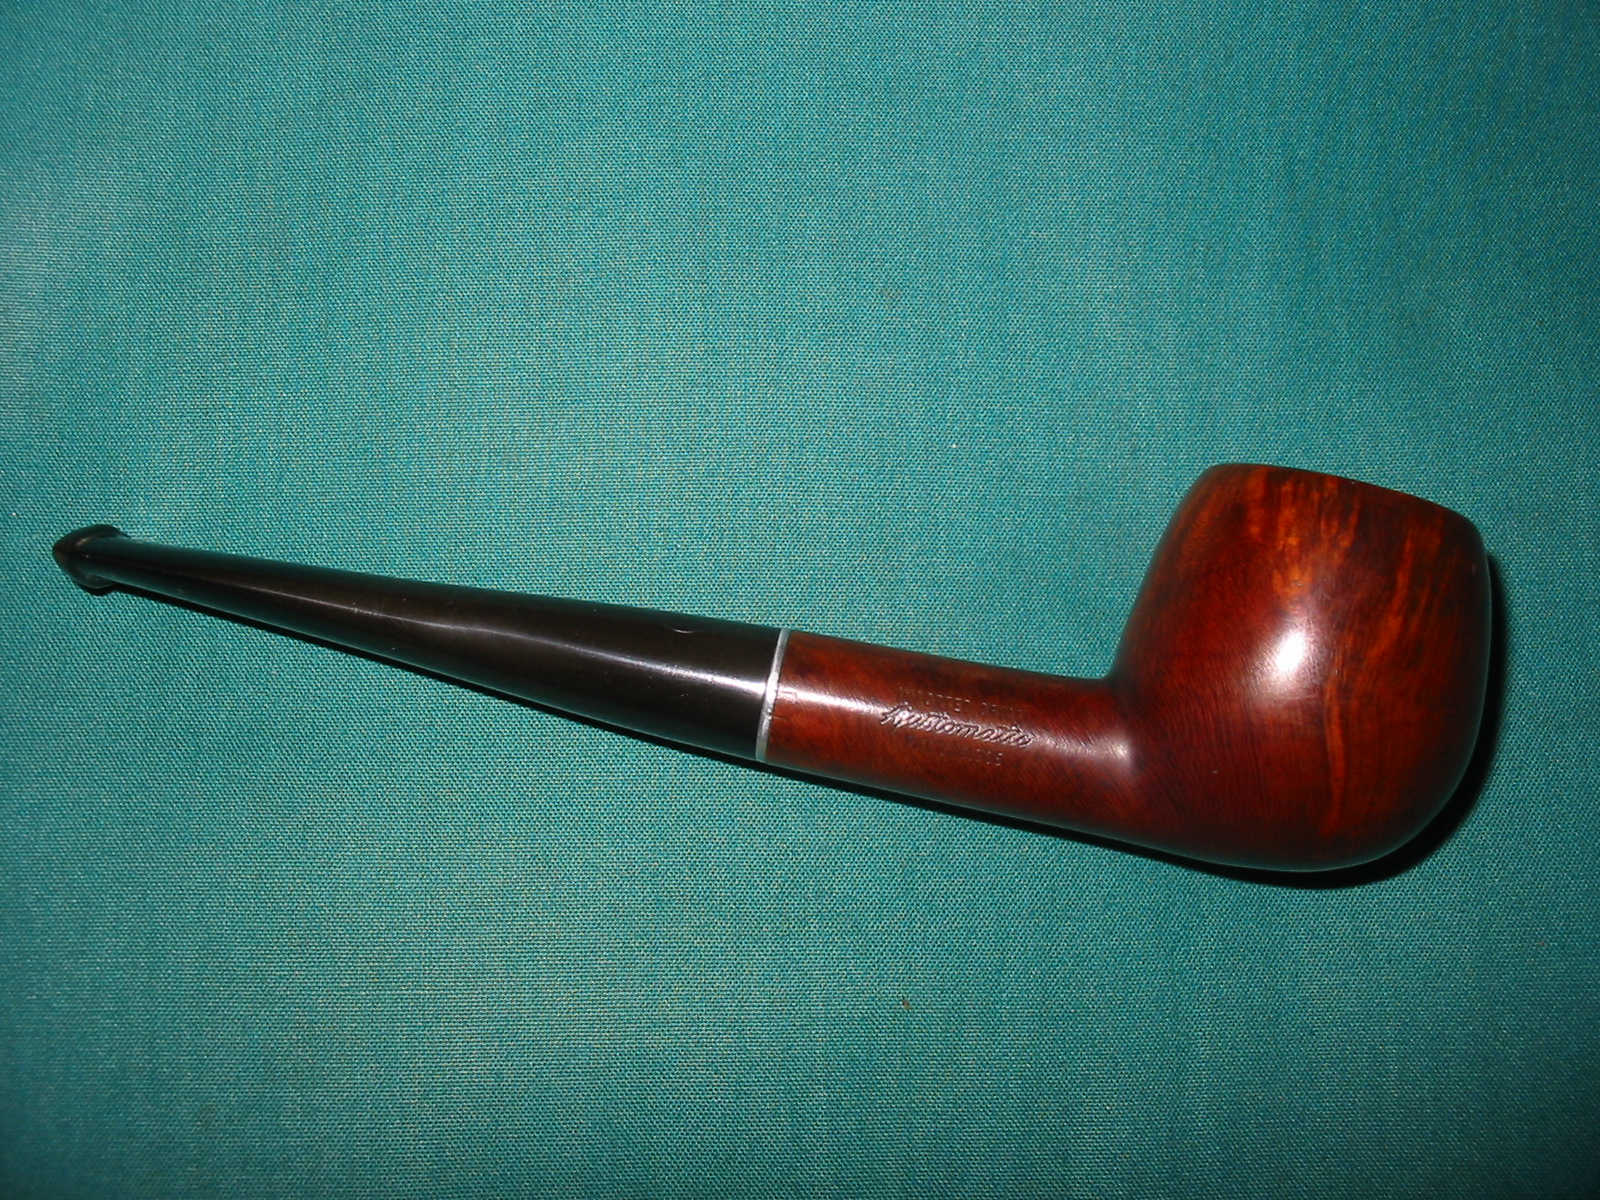
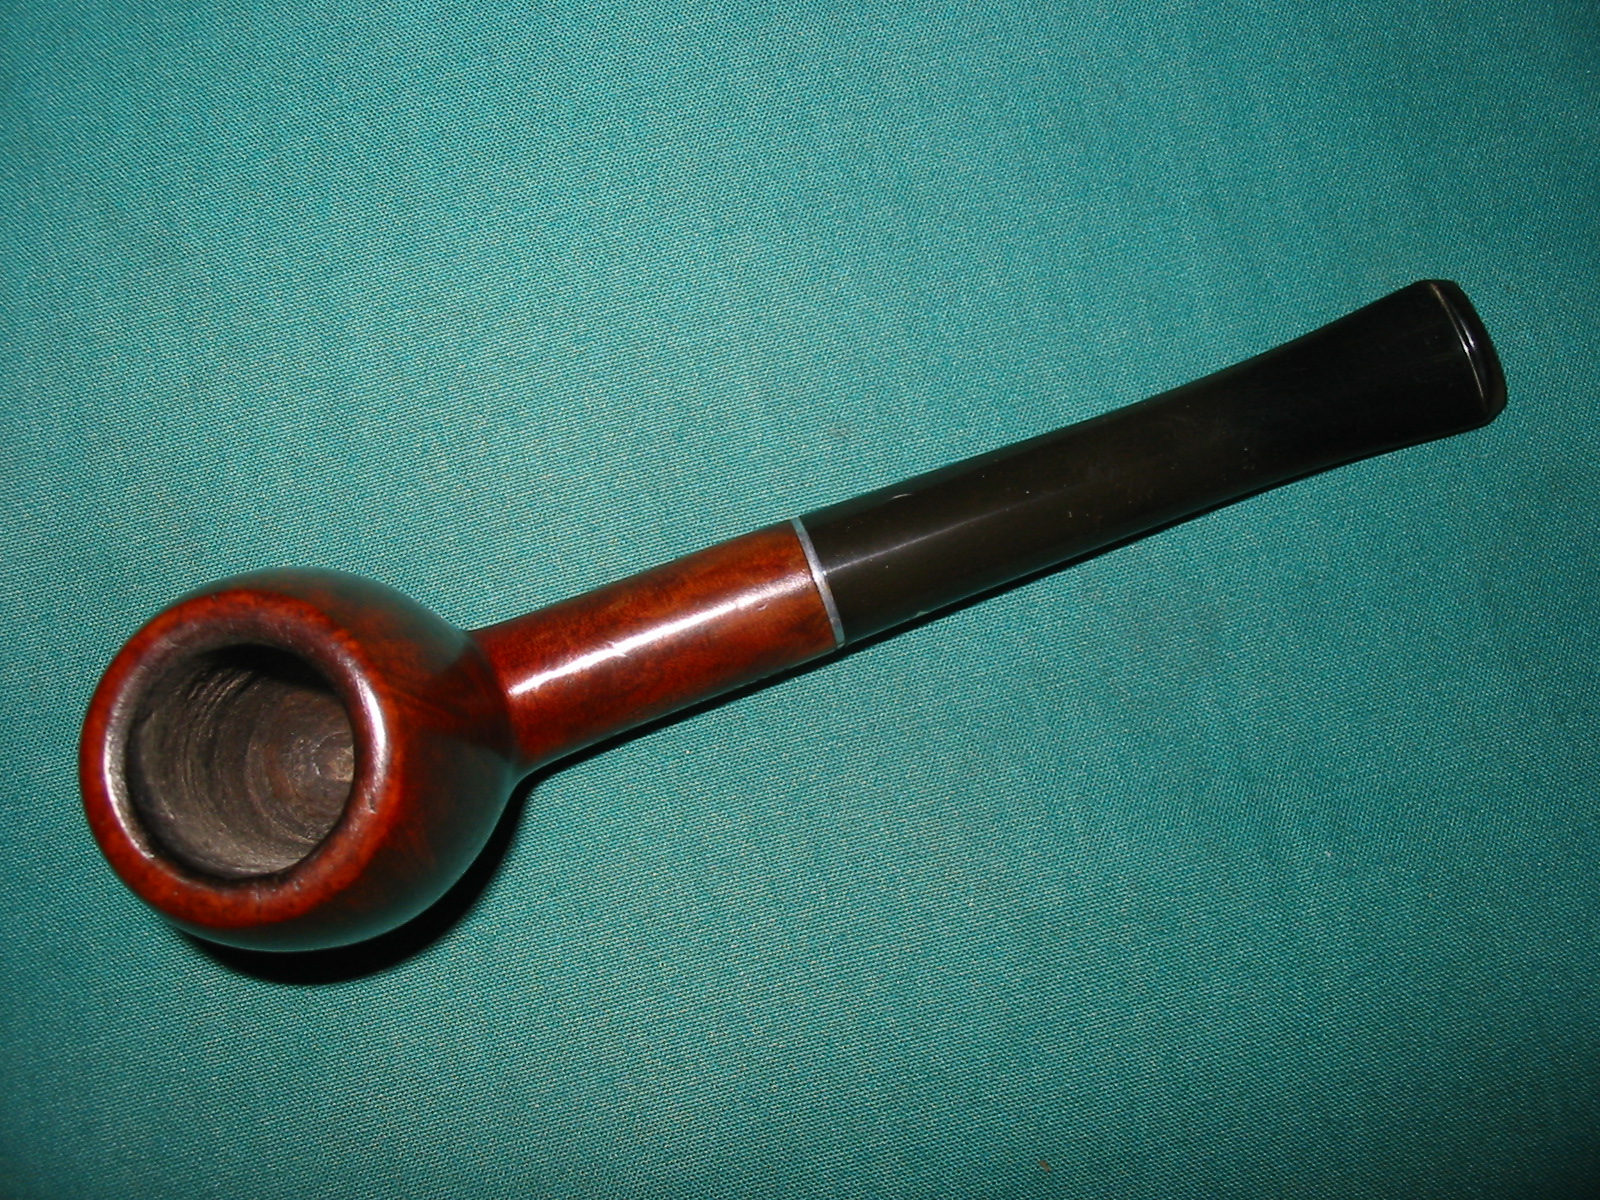
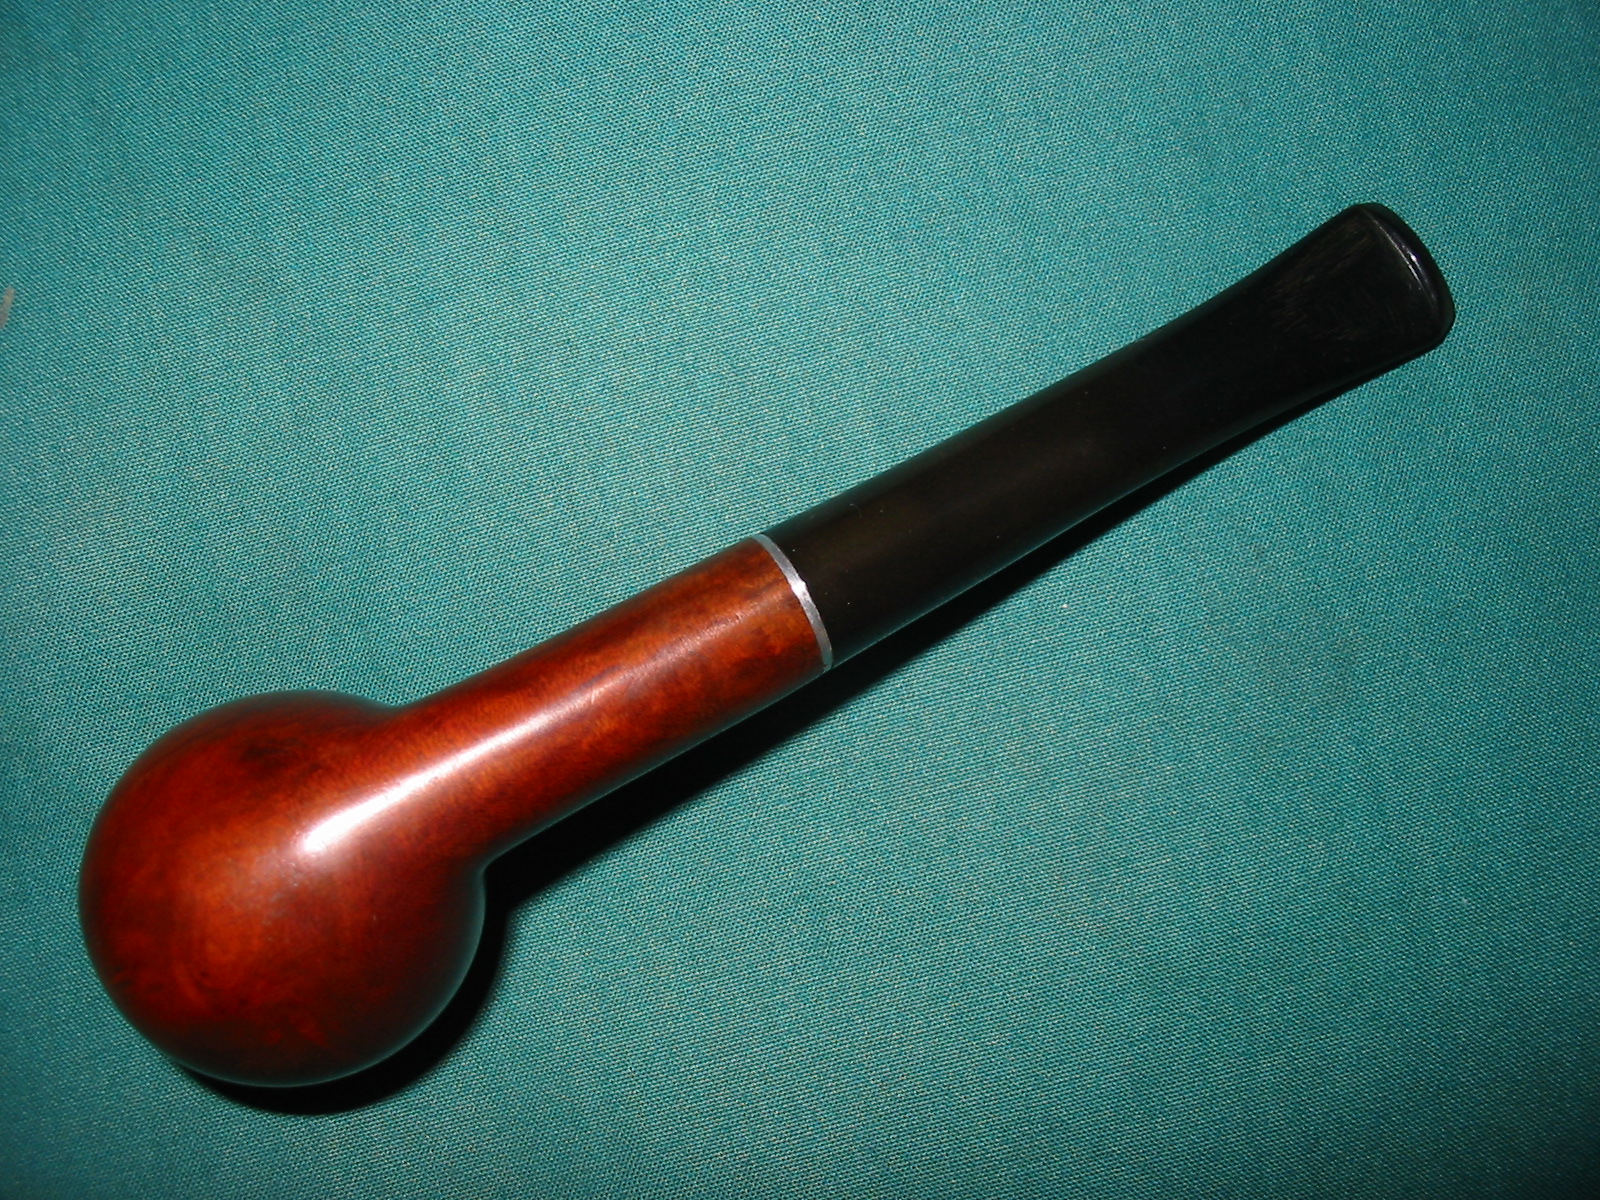
For those readers who have missed out on my previous work, I was fortunate enough to have heeded the advice of my dear friend and mentor, Steve, and struck a deal with a junk collector from Mumbai. He did not know what he was selling and I did not know what I was buying as we reside in different cities!! The argument that Mr. Steve presented was that if not anything, I shall at least have some spares and this was logical. I struck a deal and here are pictures of the pipes that I received in this lot. 

 This lot contains some very nice collectible pipes, a few well known brands and some mediocre brands. Overall, with seven Dunhill pipes, a Preben Holm #1 FH, a couple of “Made in England” Pete System pipes, a couple of Charatan’s Belvedere, Custom-Bilt, Stanwell and other assorted pipes, I would say that I had struck a decent haul!!! This is indeed my “Mumbai Bonanza”.
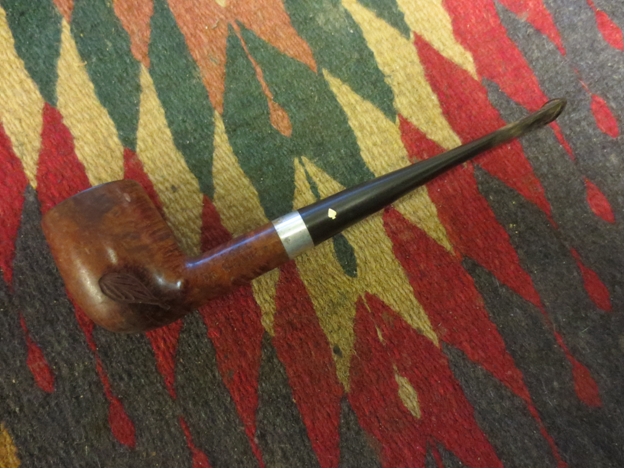
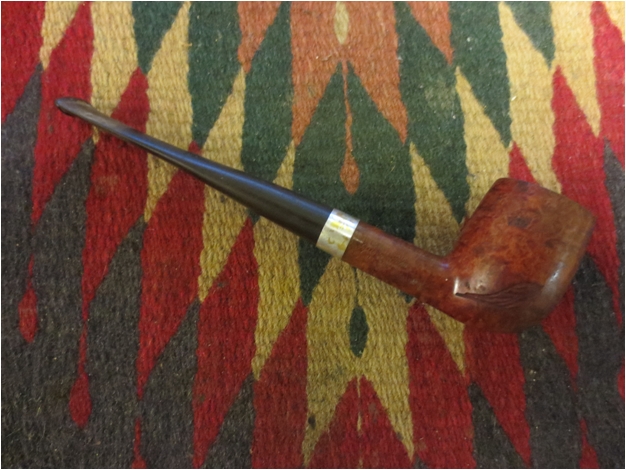
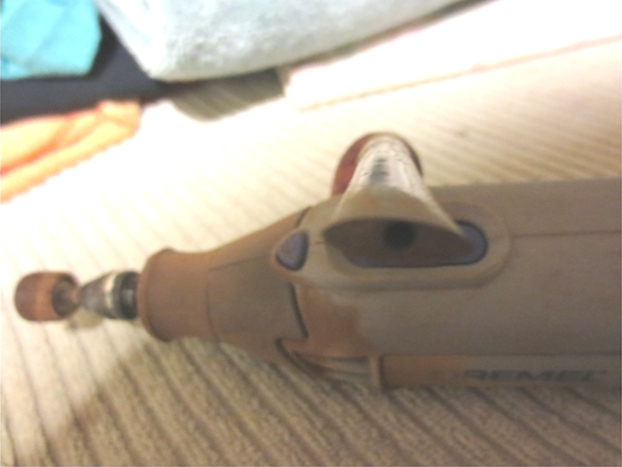
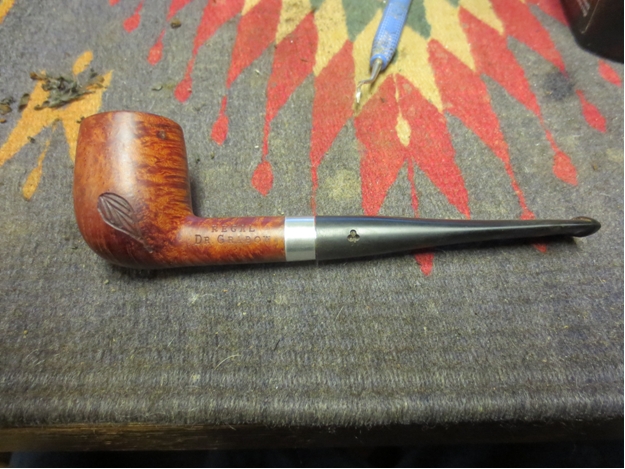
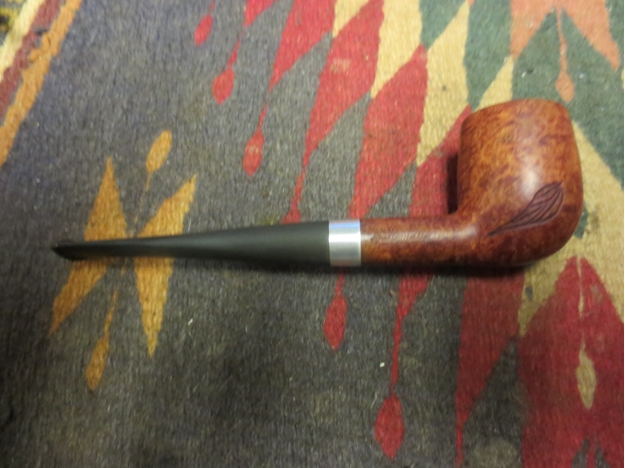
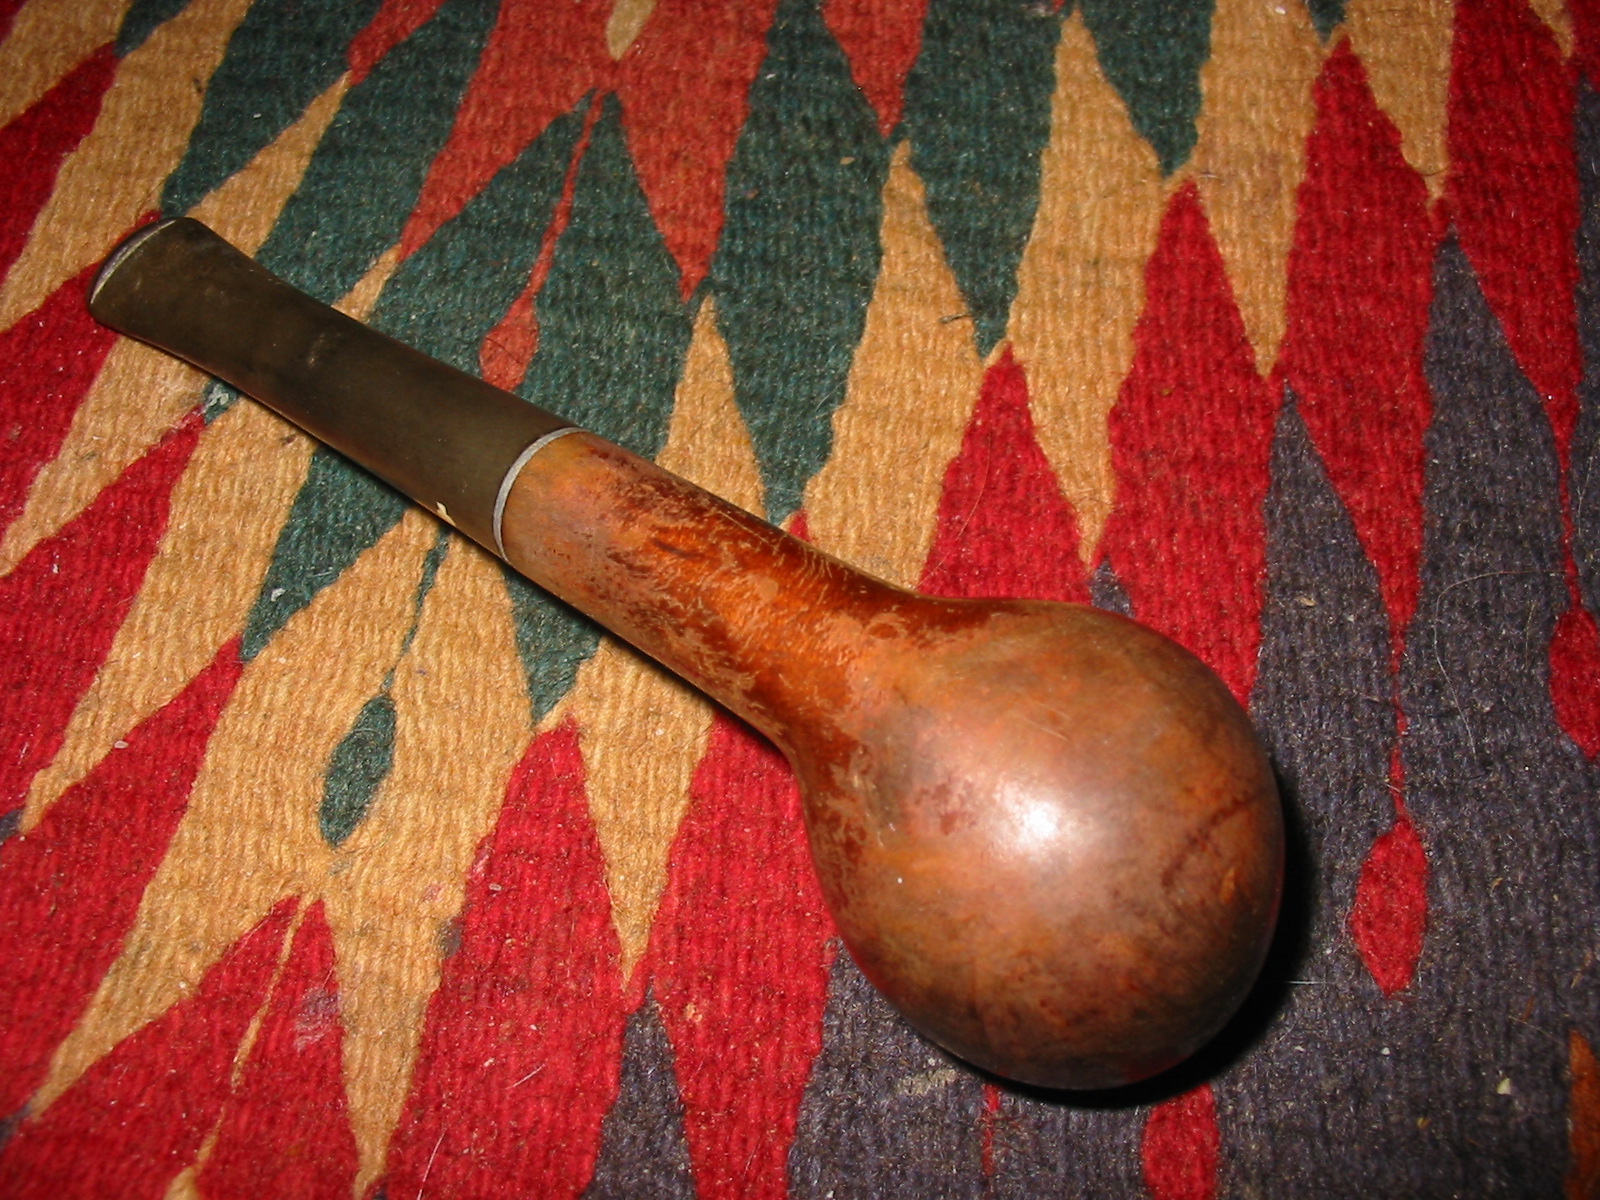
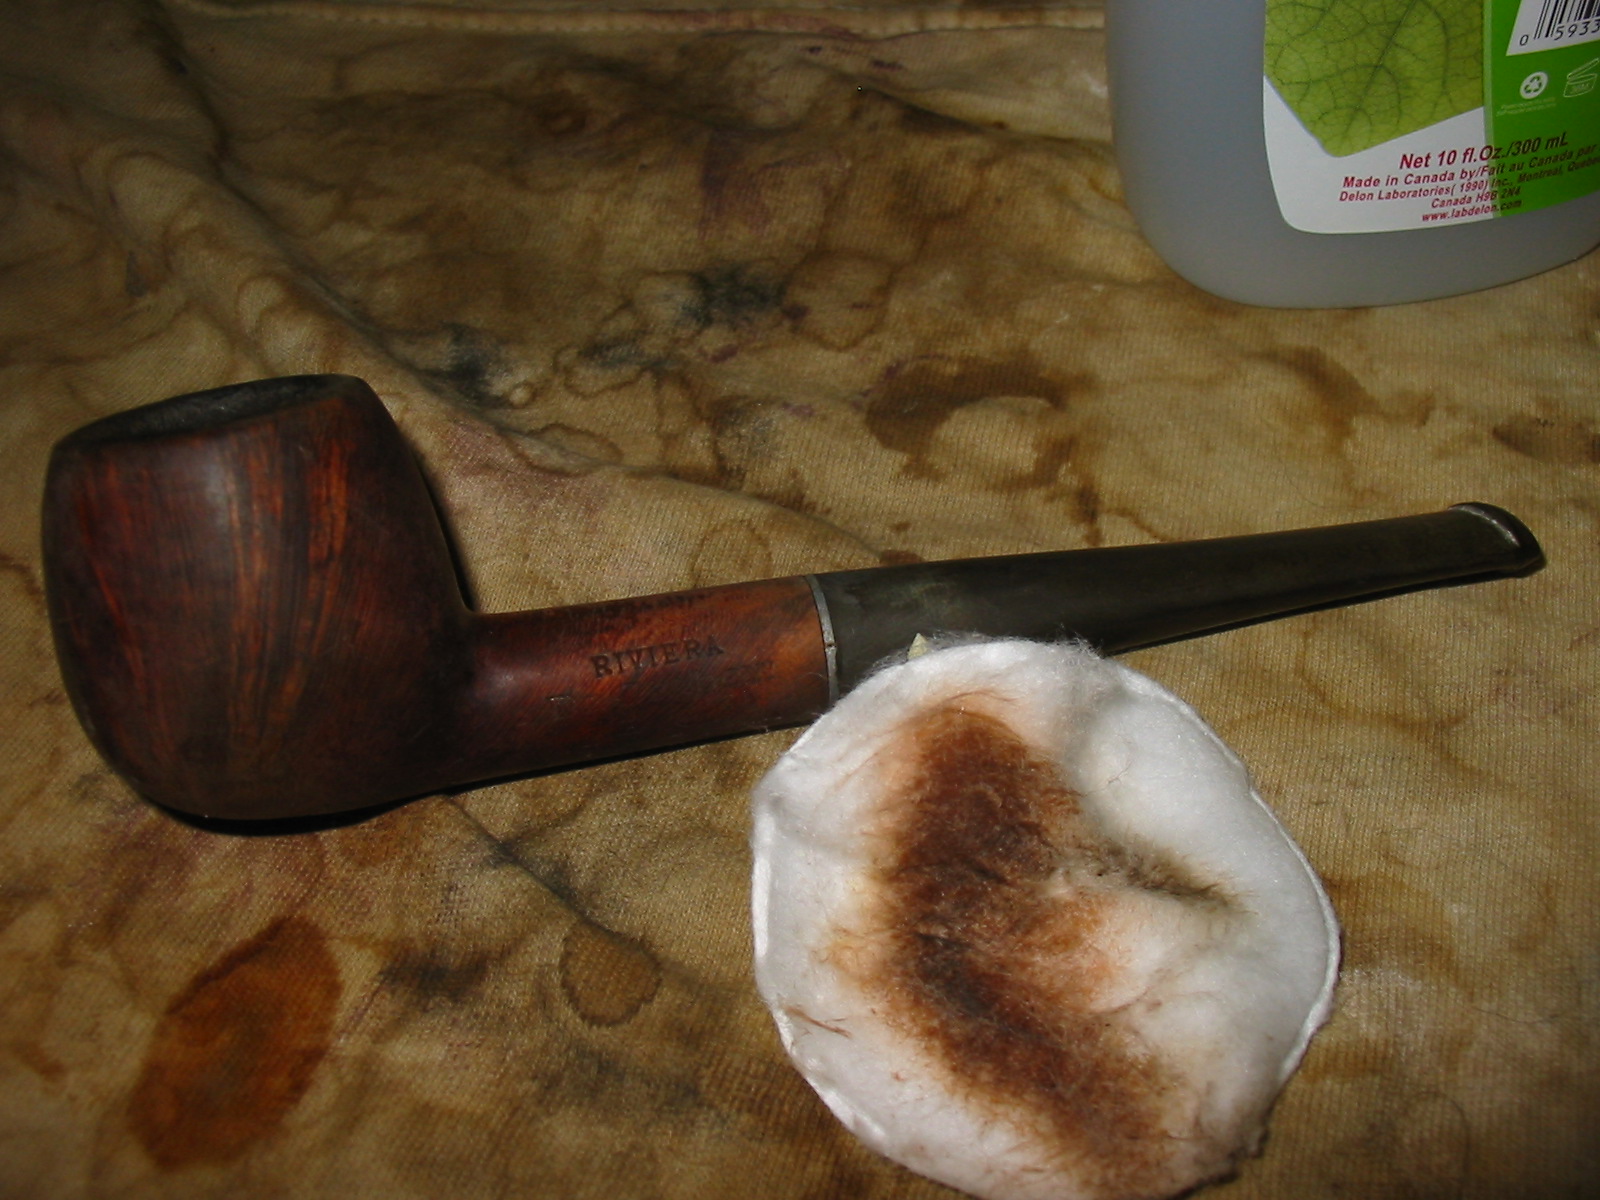
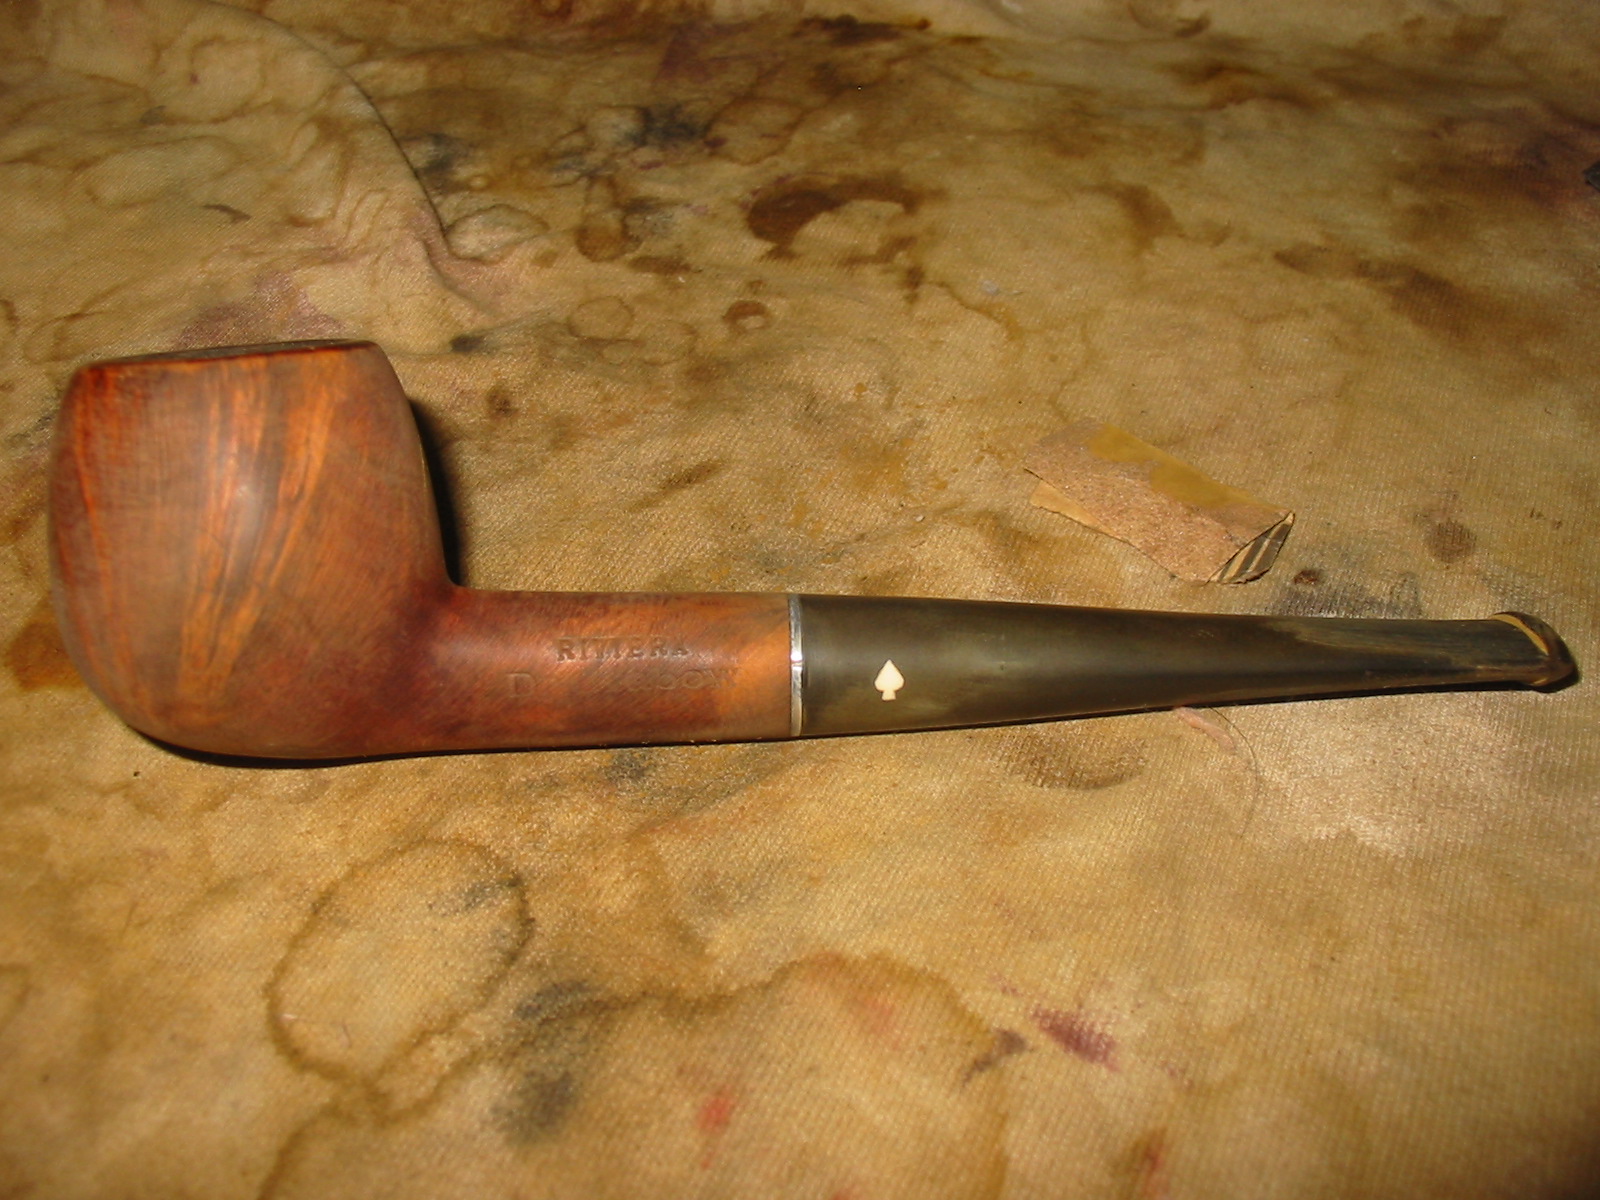
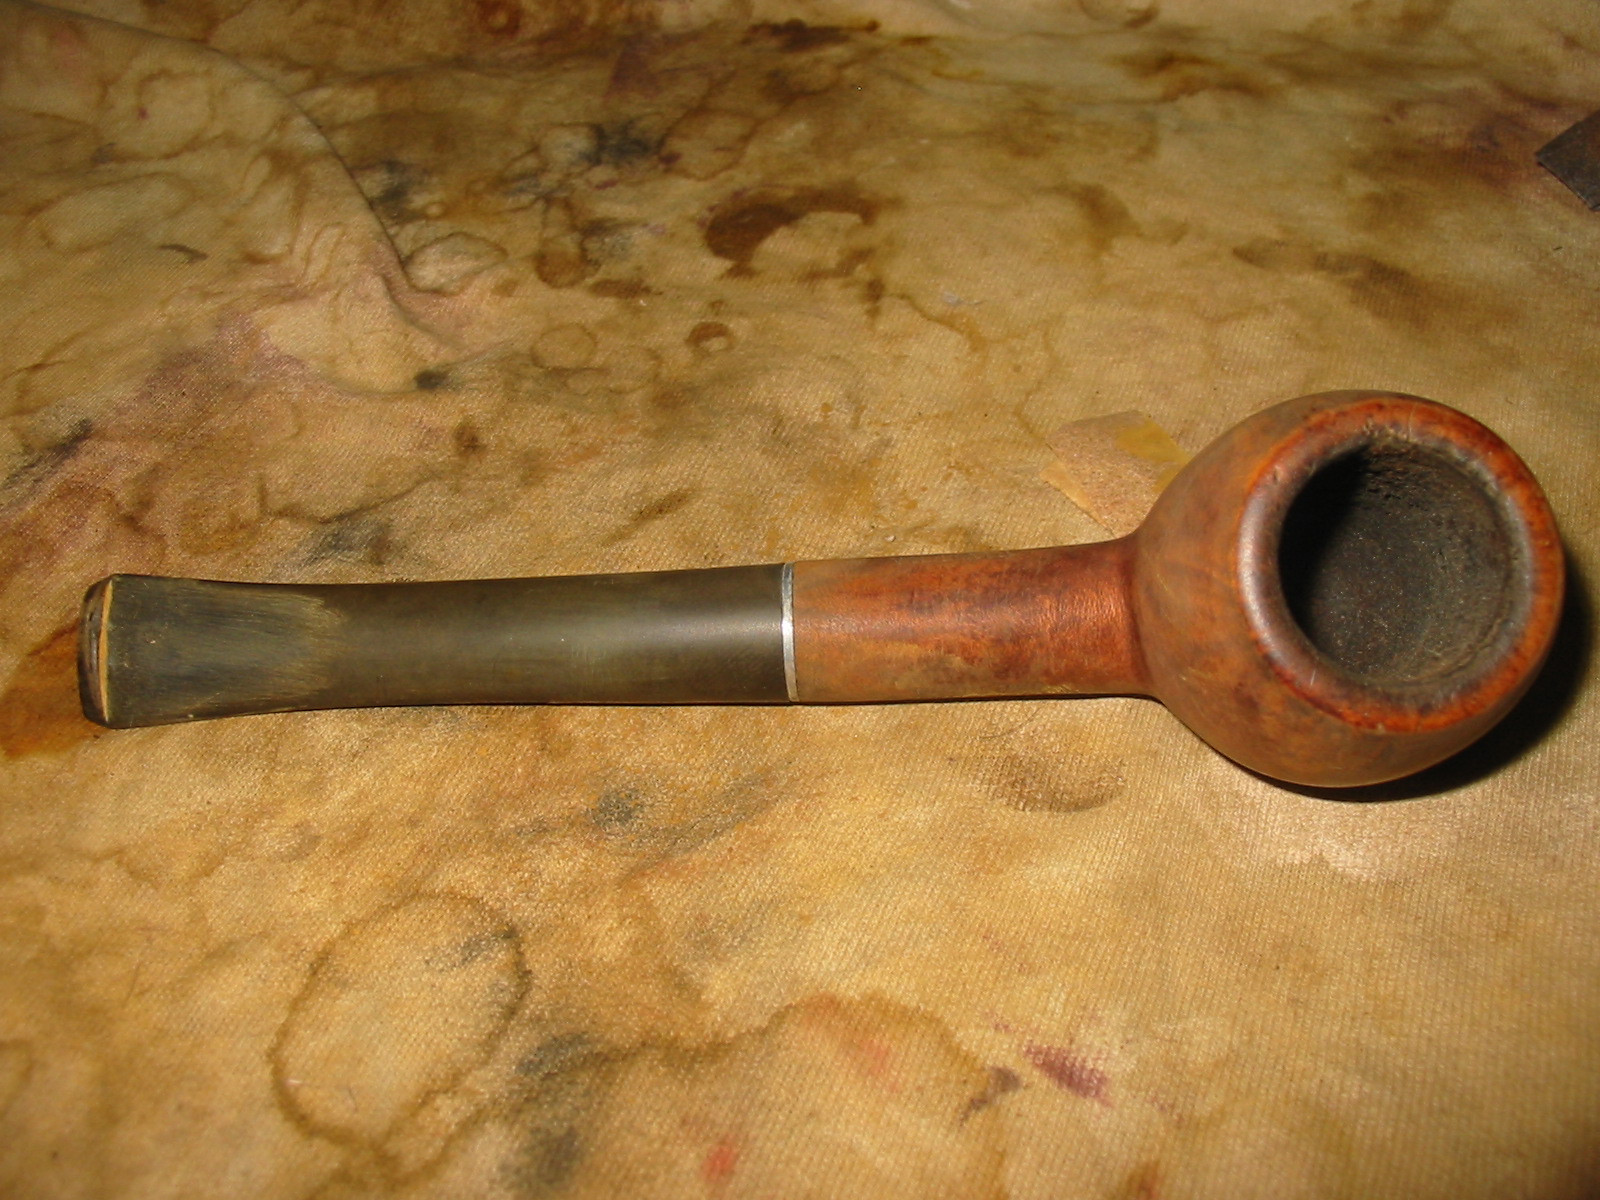
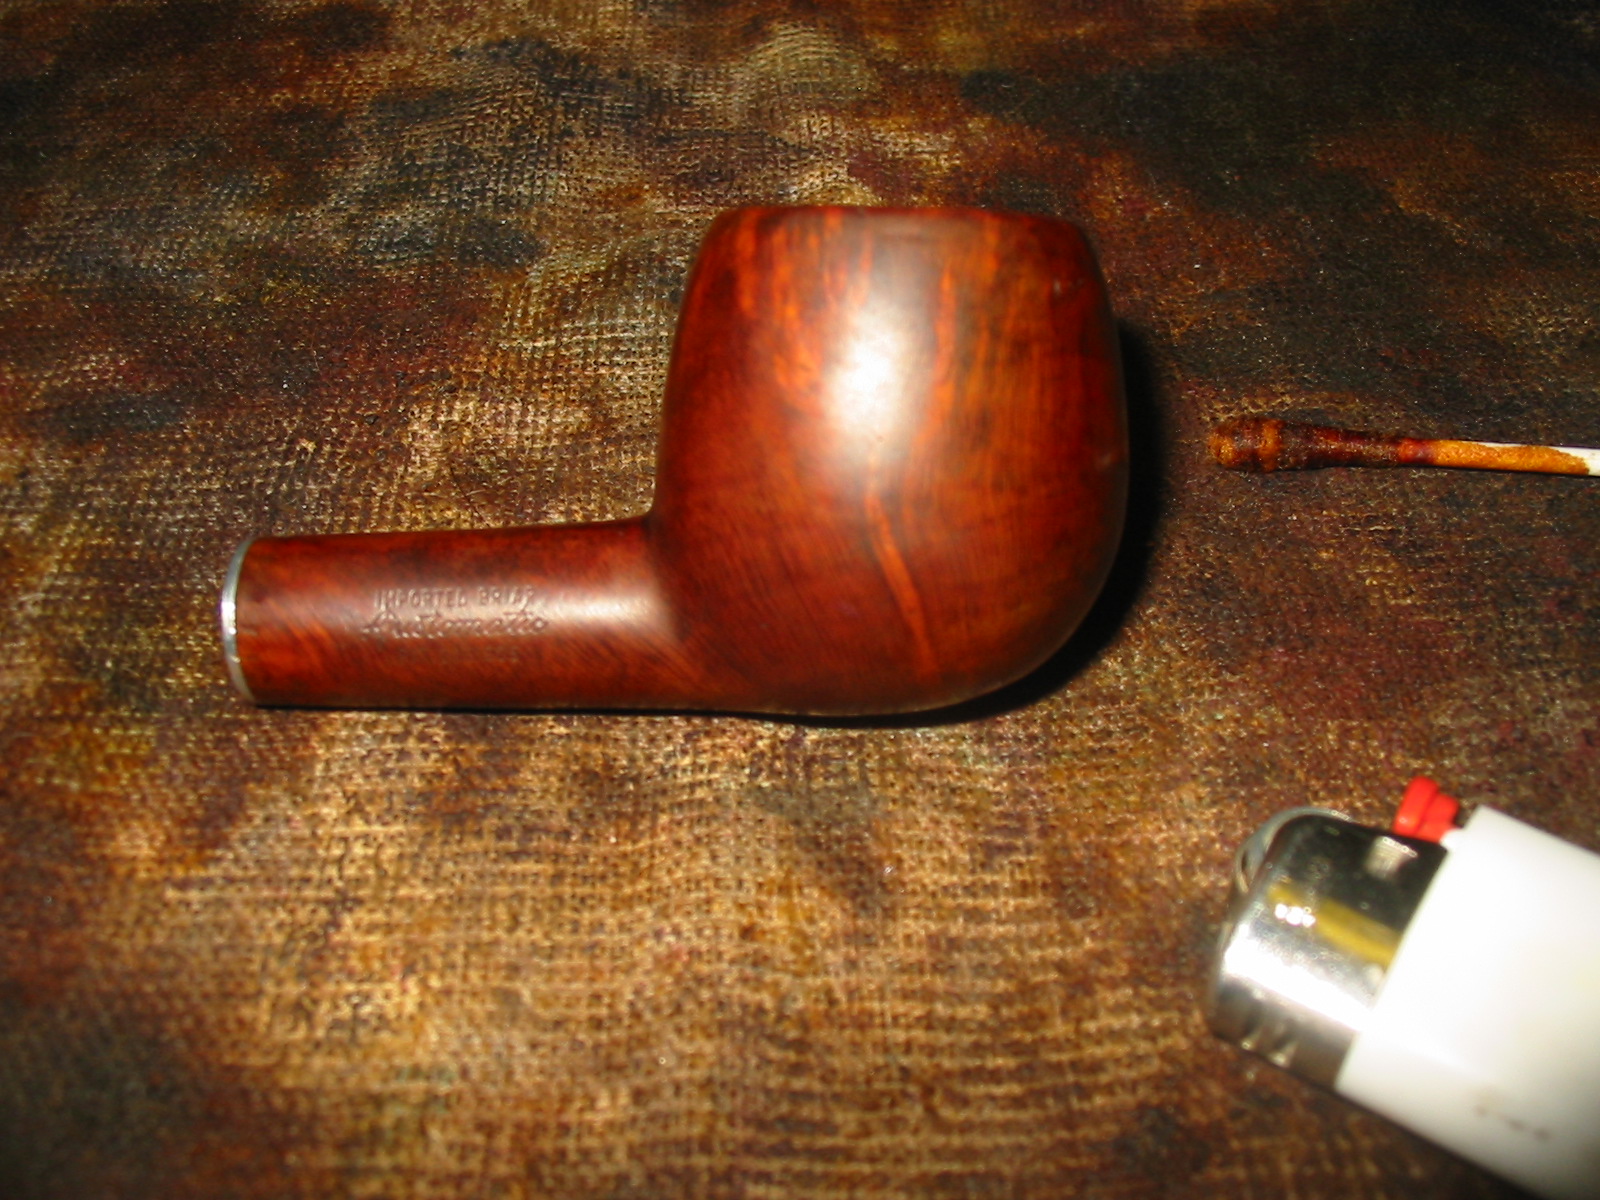
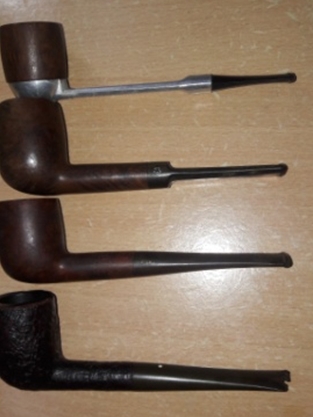
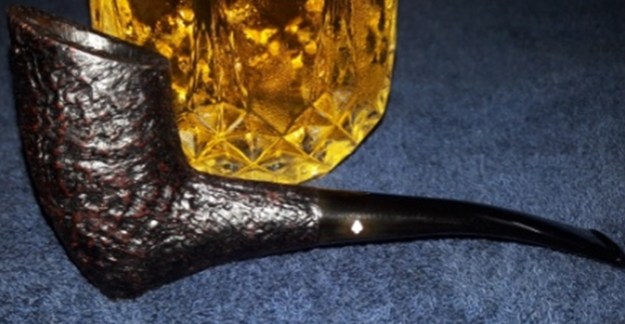
The eleventh pipe that we decided to work on from this find is a pickaxe shaped pipe and is indicated in red colored arrow in the picture below. It is stamped on the right side of the shank as “COMMODORE” in block letter over “DR. GRABOW” again in block letter. The shape code “# 39” is also stamped on the right side towards the shank end and away in the middle of the two lines. The left side of the shank is devoid of any stamping, which is slightly unusual as most of carvers and makers prefer to stamp their pipes on the left. The stem bears the famous “Ace of Spades” logo in white, embedded on the left side of the stem.
 Now coming to the research of this brand and line/ model in specific, I referred to pipedia.org and as expected there is an extensive research on this pipe and even has a separate page on the dating of Dr. Grabow pipes, starting from the Linkman era to later pipe lines and numbers which makes for an interesting read and is highly recommended. This research has been done by Russell McKay, and is from his website DrGrabow-pipe-info.com. Here is the link to the page on pipedia.org:
https://pipedia.org/wiki/Dr._Grabow_Models_(Series,Line)_Names_Through_the_Years
I found what I was looking for in the list of most “newer” Dr. Grabow pipe names and is reproduced below;
COMMODORE (c1964) — First appears in a magazine ad for $7.95 as early as 1964. Like the Sculptura, later models were sandblasted in a “big” blast circa 1967-69 (See “Sculptura” for details.)
From the above information, it is evident that the pipe currently on my work table is from the period 1967-69, even though the line was first introduced in 1964 since the stummel is beautifully sandblasted. With this input on the vintage of this pipe, I move ahead with the restoration of this 50 plus years old pipe!
INITIAL VISUAL INSPECTION
I usually start my initial visual inspection by going over the chamber first. However, in this particular pipe, I was so drawn by the beautiful sandblast on the stummel that I decided to change the order and start with the stummel.
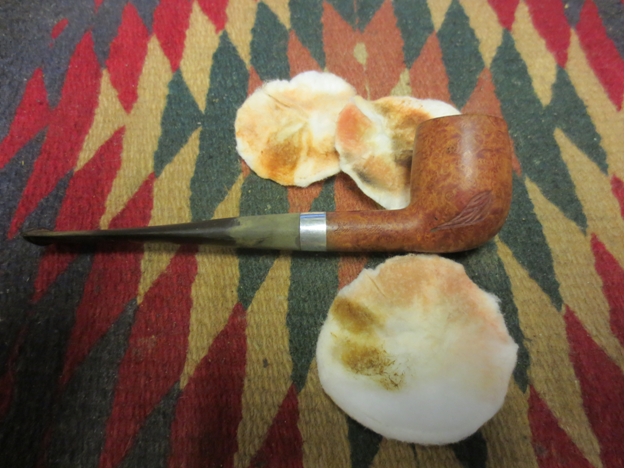
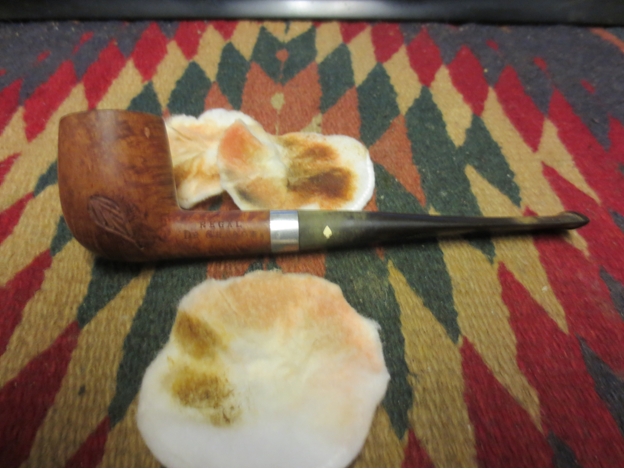
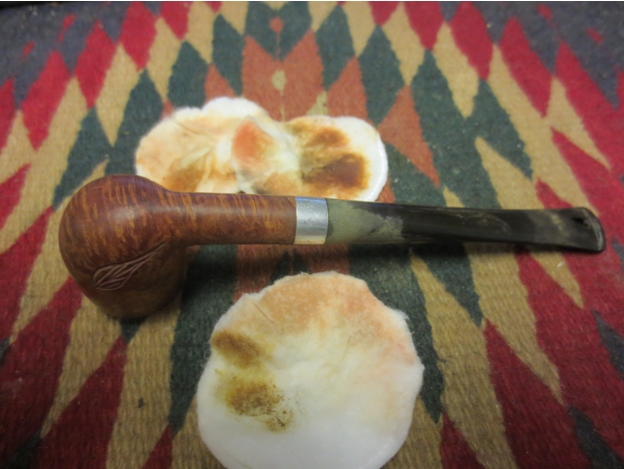
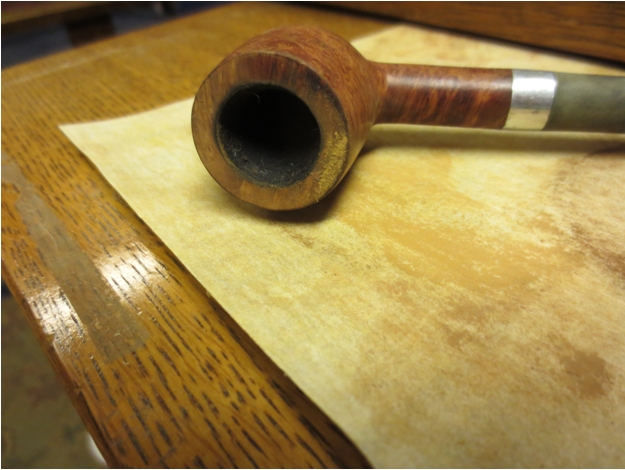
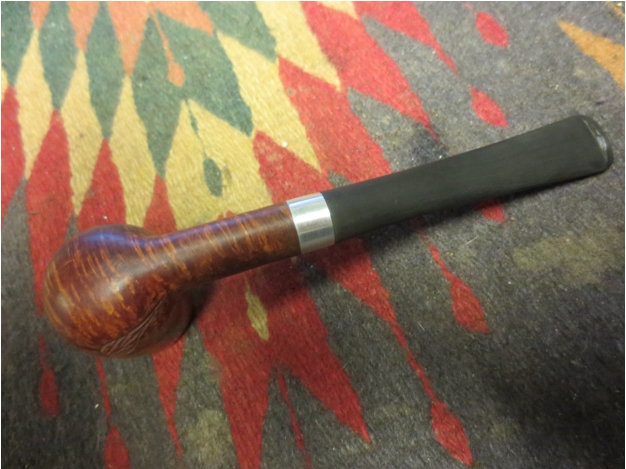
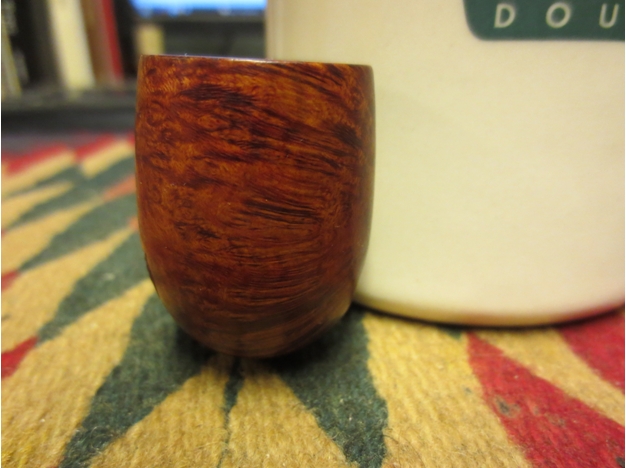
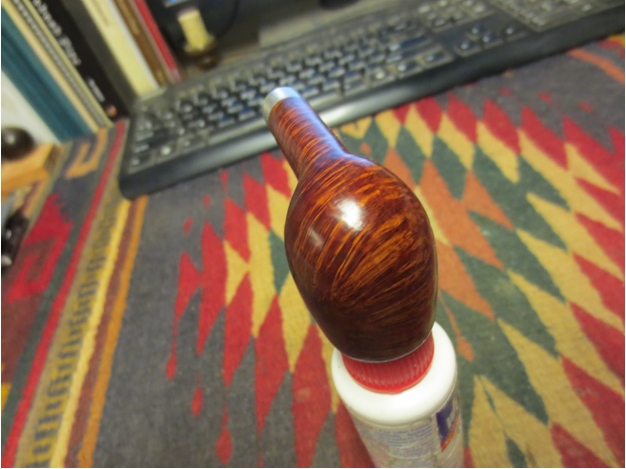
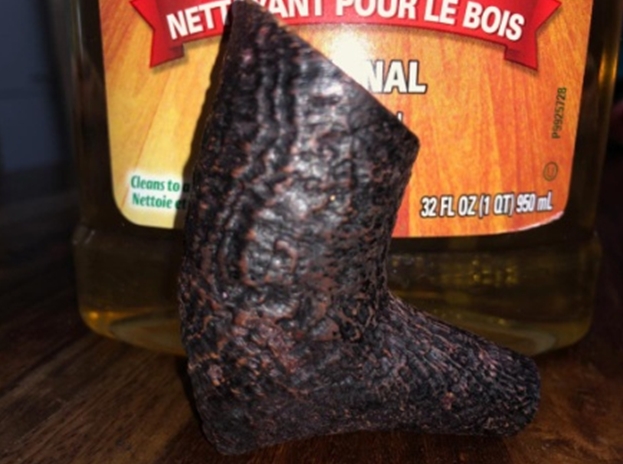
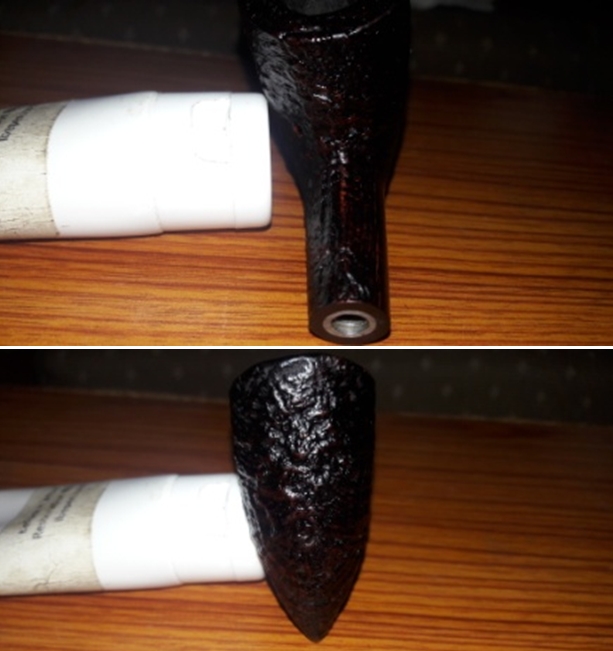
The stummel boasts one of the most beautiful sandblast patterns with the front of the bowl having circular blasted pattern and from the outer most part of this blast ring, the sandblast that radiates from the front of the stummel and moving around to the sides and back of the stummel with the cross grains and the straight grains forming an intricate crisscross patterns. It is a visual treat to say the least and difficult to explain in mere words! The following two pictures of the cleaned stummel will give the readers an idea of the sandblast patterns on the stummel. The sandblasted stummel is covered in dirt and grime of 50 plus years of its existence. This should clean up nicely. The stummel surface is solid with no damage to the external surface. The dark browns of the raised sandblast contrast beautifully with the black stain of rest of the stummel.

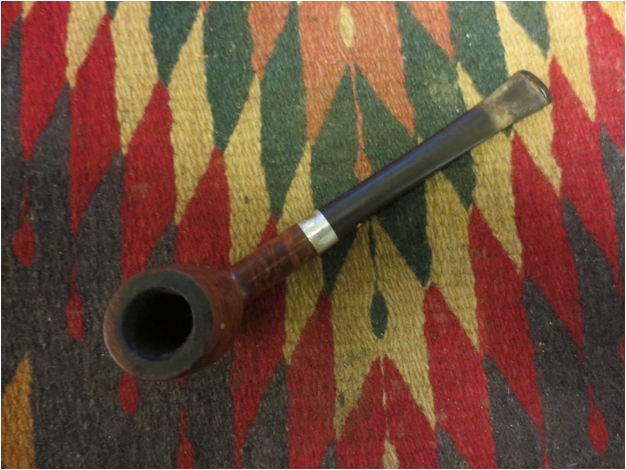
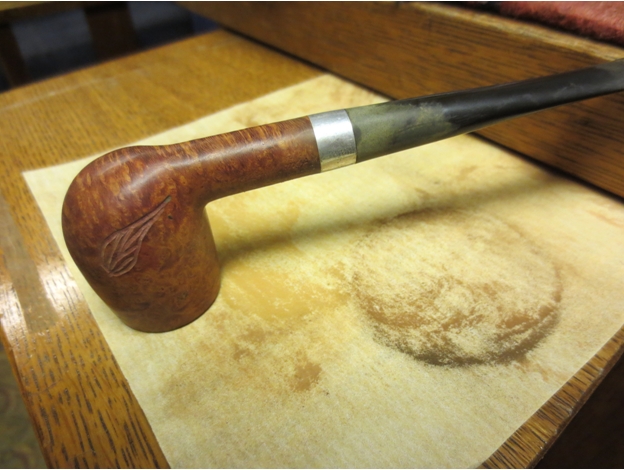
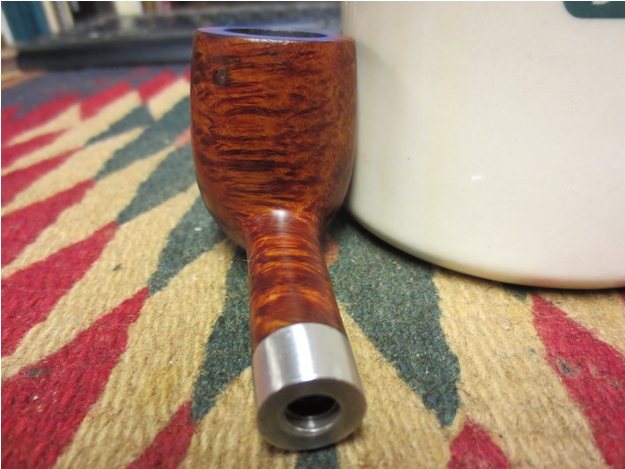
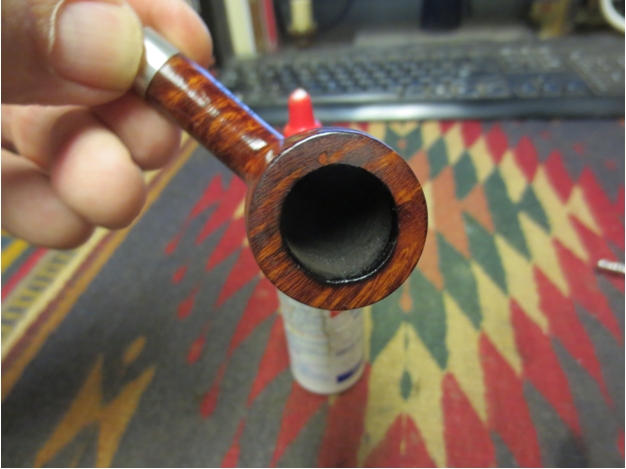
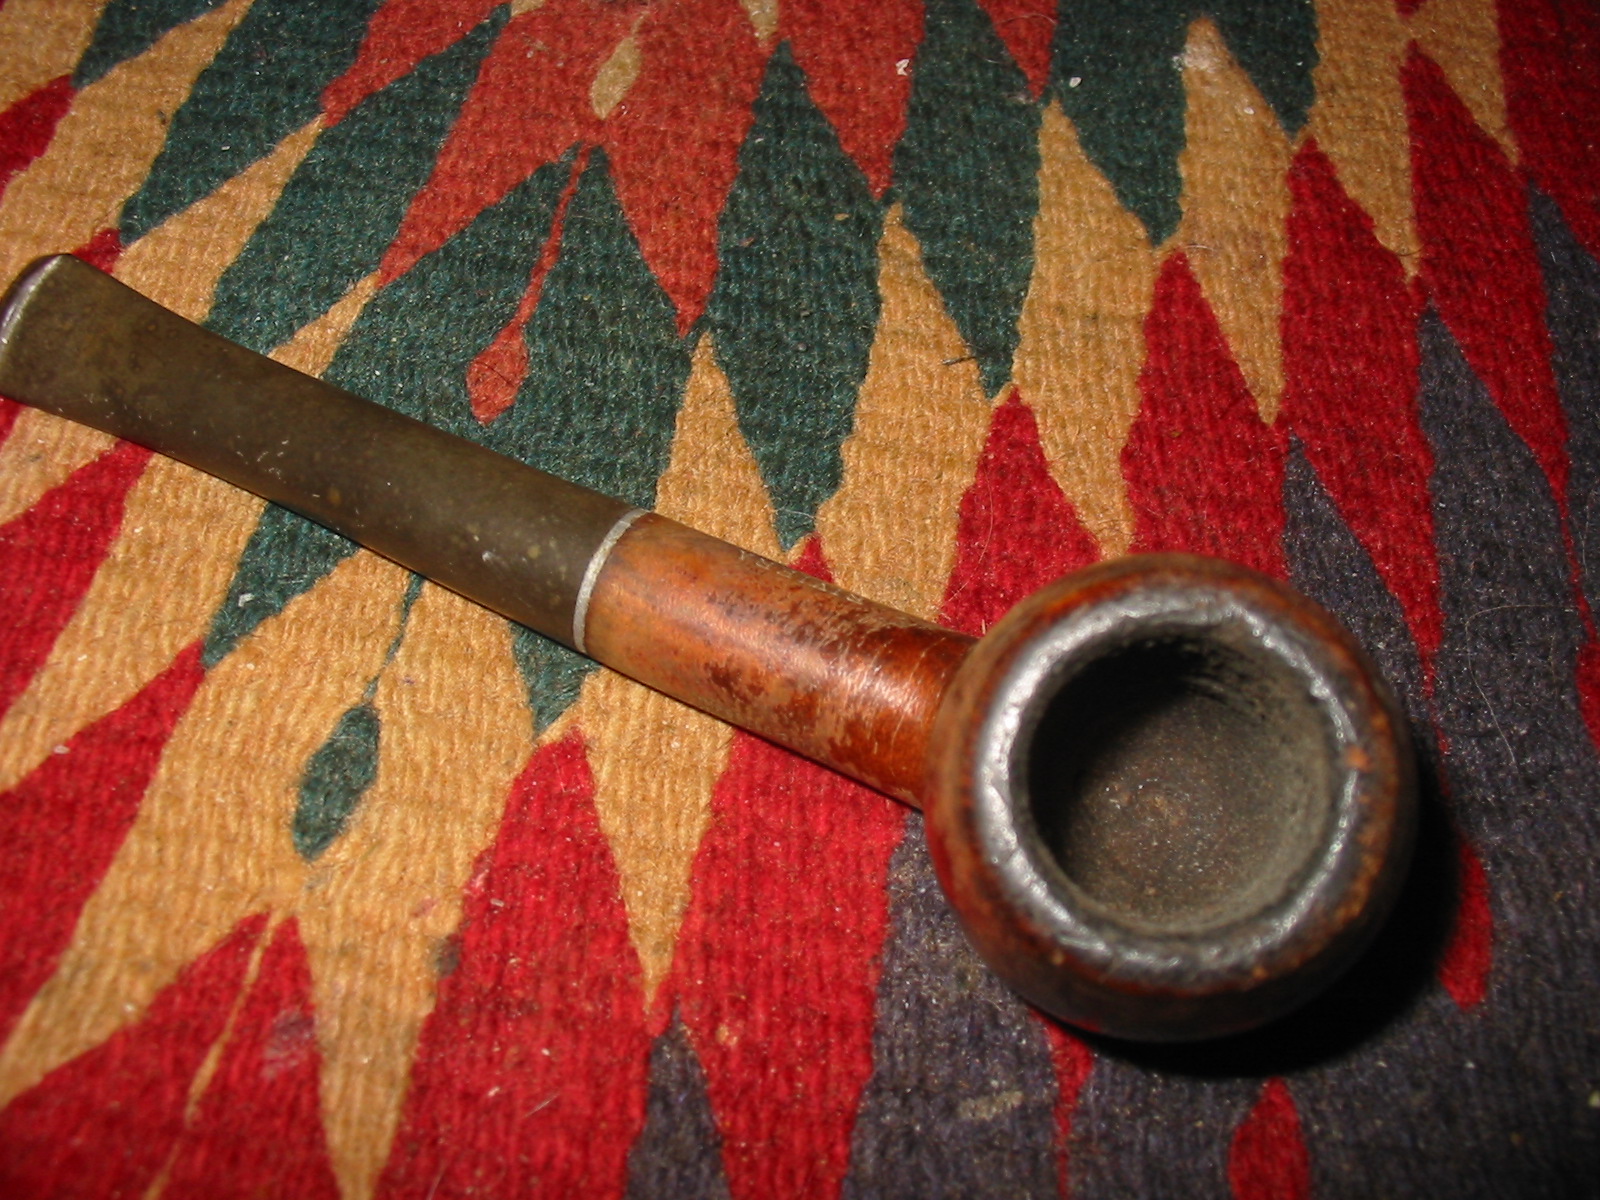
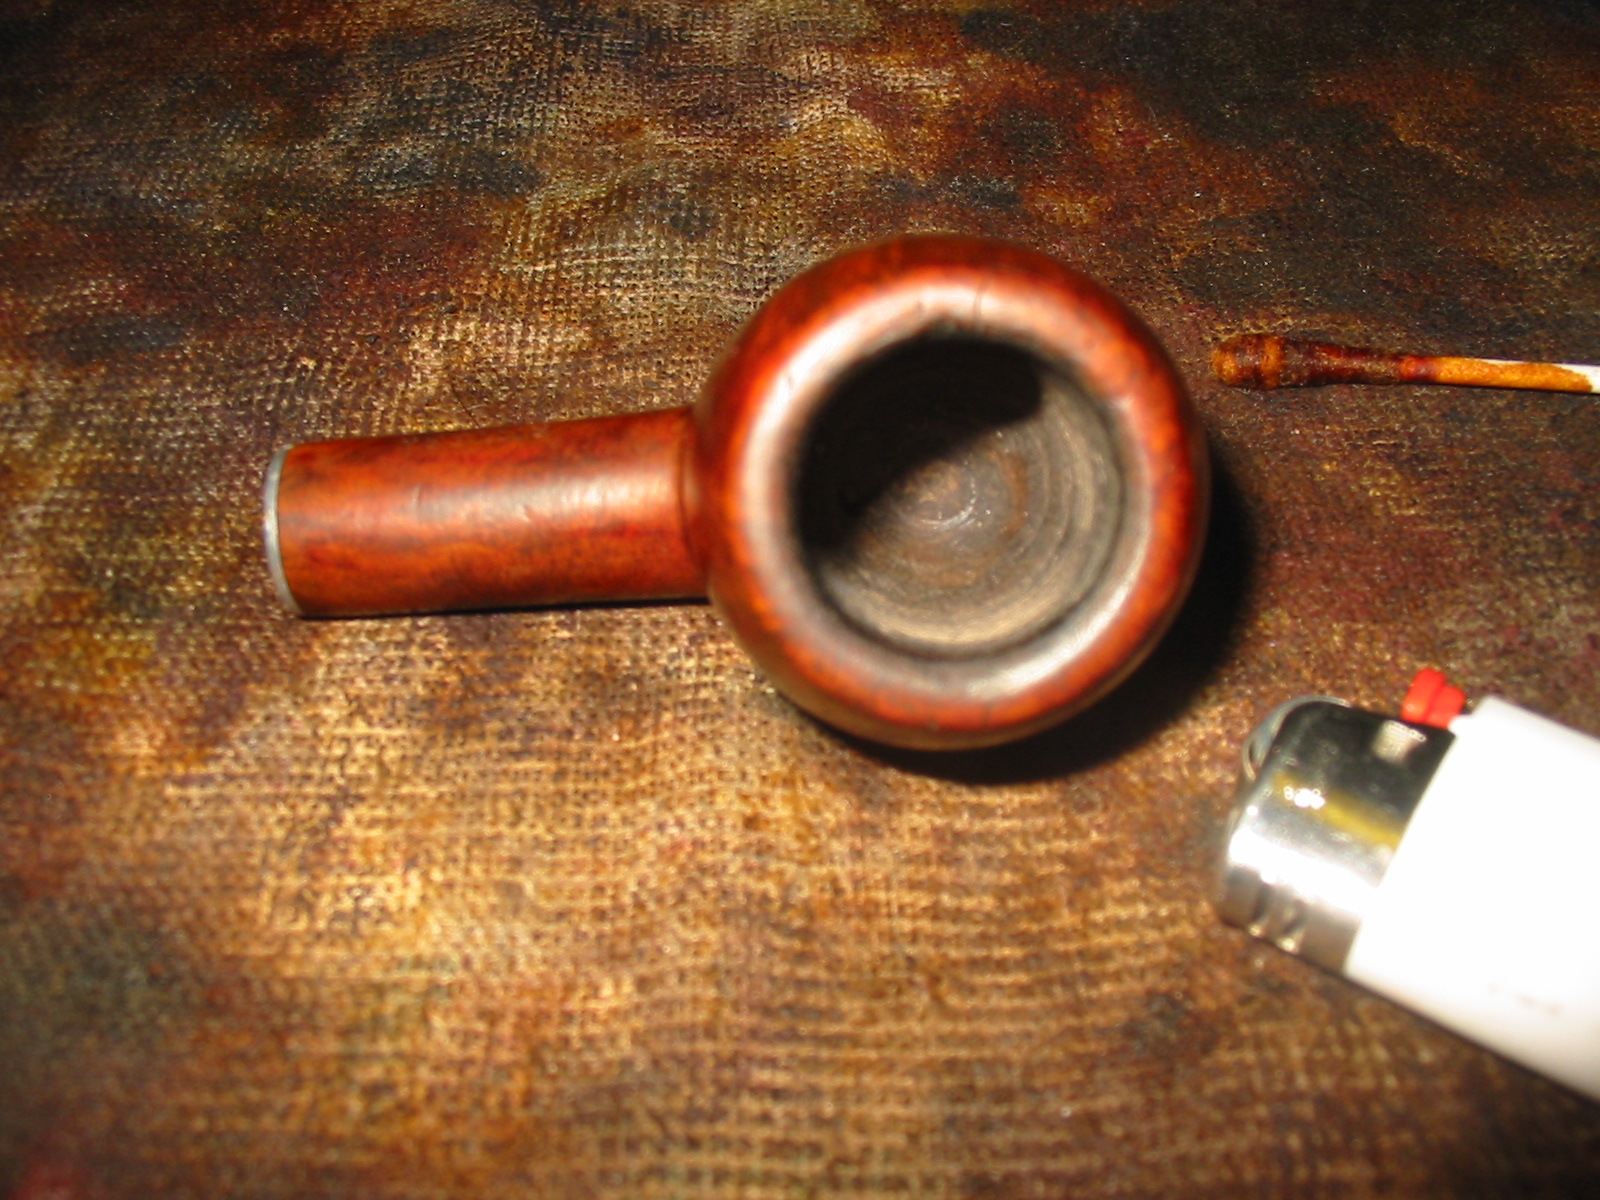
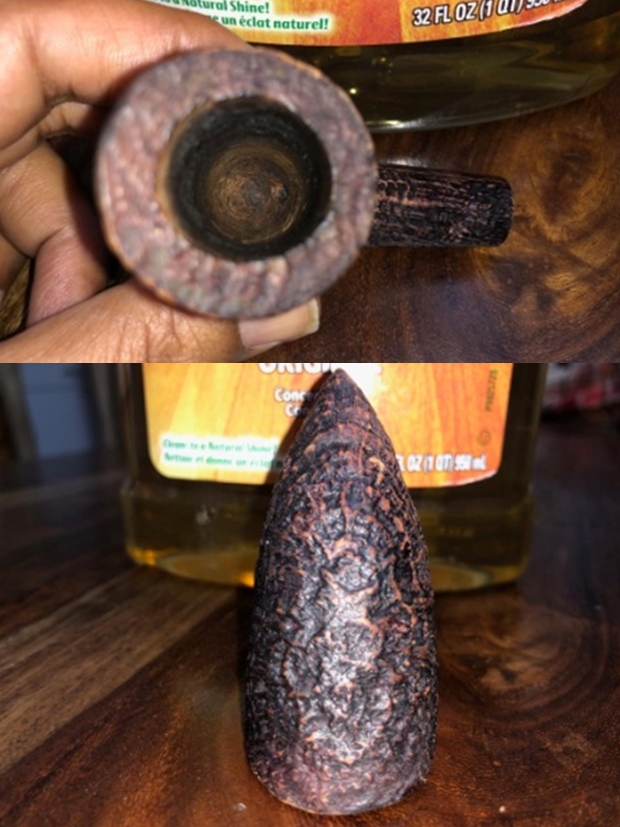
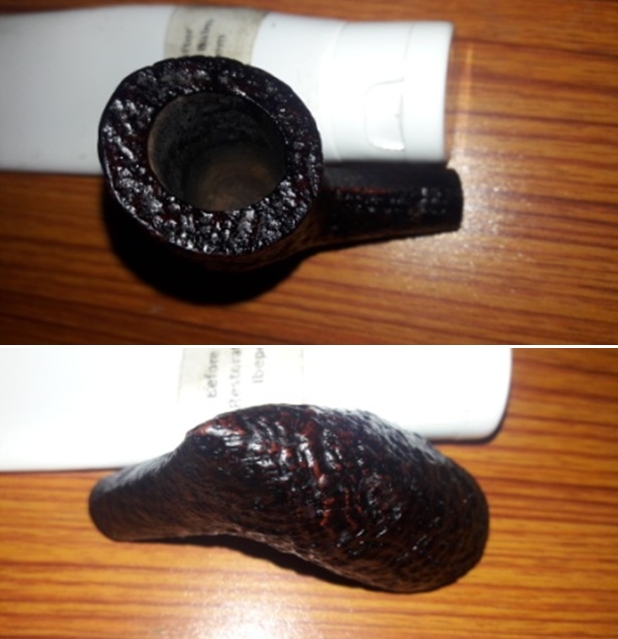
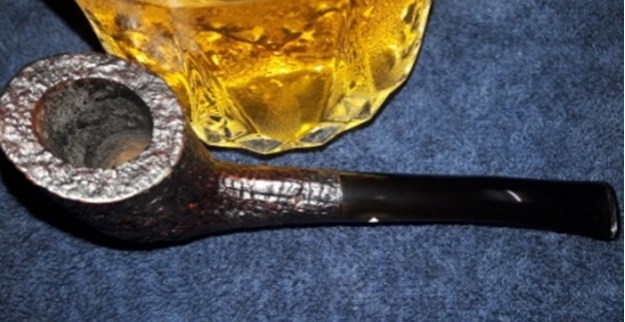
 A thick layer of cake can be seen in the chamber. The sandblasted rim top surface is covered in thick overflow of lava, dirt, dust and grime. The condition of the inner walls of the chamber and rim top surface will be known once the cake has been taken down to bare briar and the rim top crud has been scraped off completely (thankfully readers cannot see or hear me muttering silent prayers!!). The inner rim condition appears to be in good condition with no burn/ charred surfaces. Even the outer rim edge appears to be in a decent condition. Only once the stummel has been thoroughly cleaned that I can be sure of my initial appreciation. In spite of the thick cake, the chamber odor is, surprisingly, not strong and should be addressed once the cake has been taken down to the bare briar.
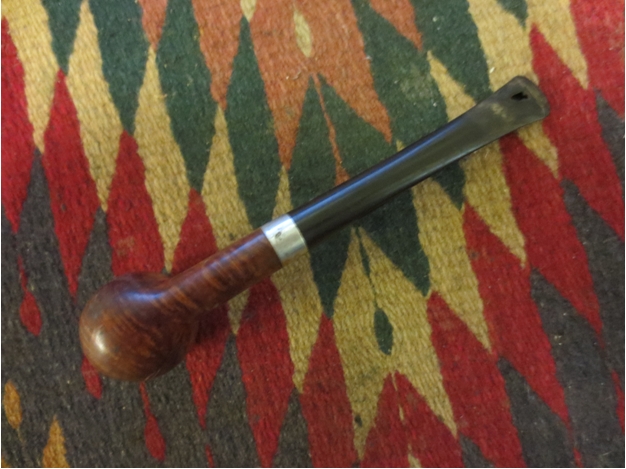
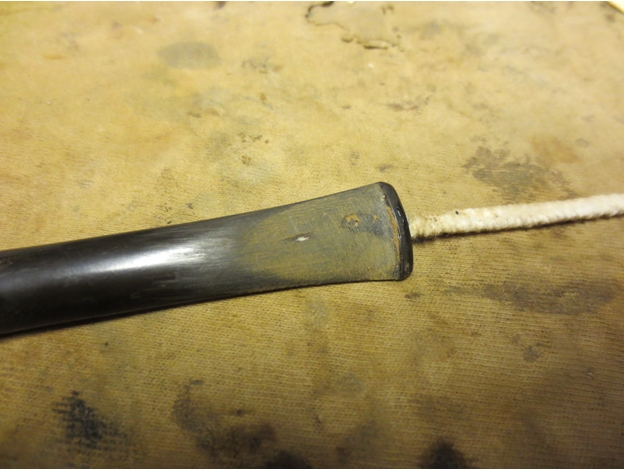
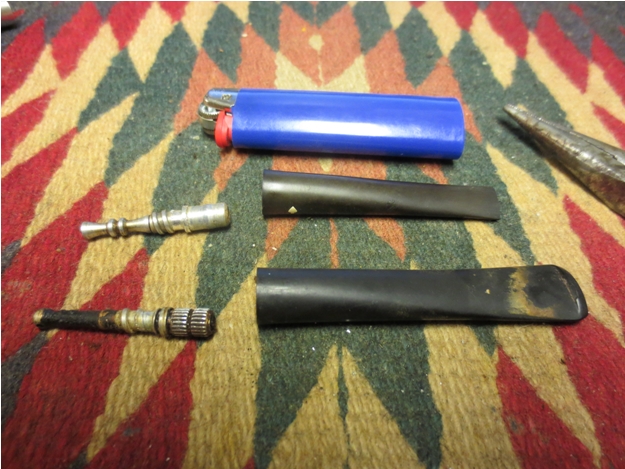
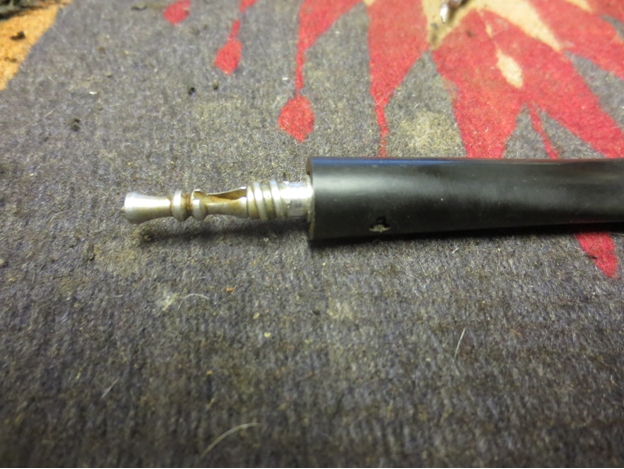
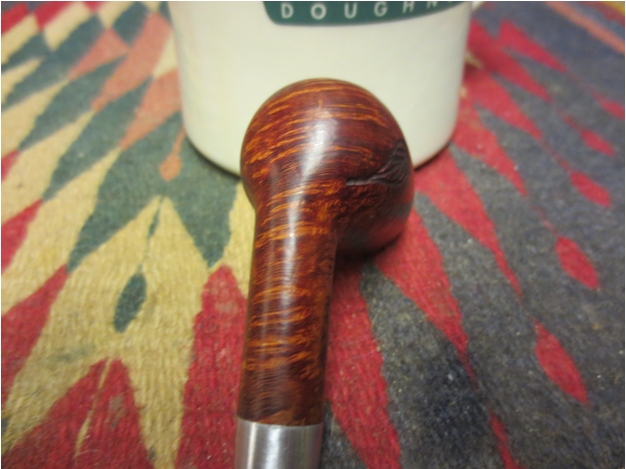
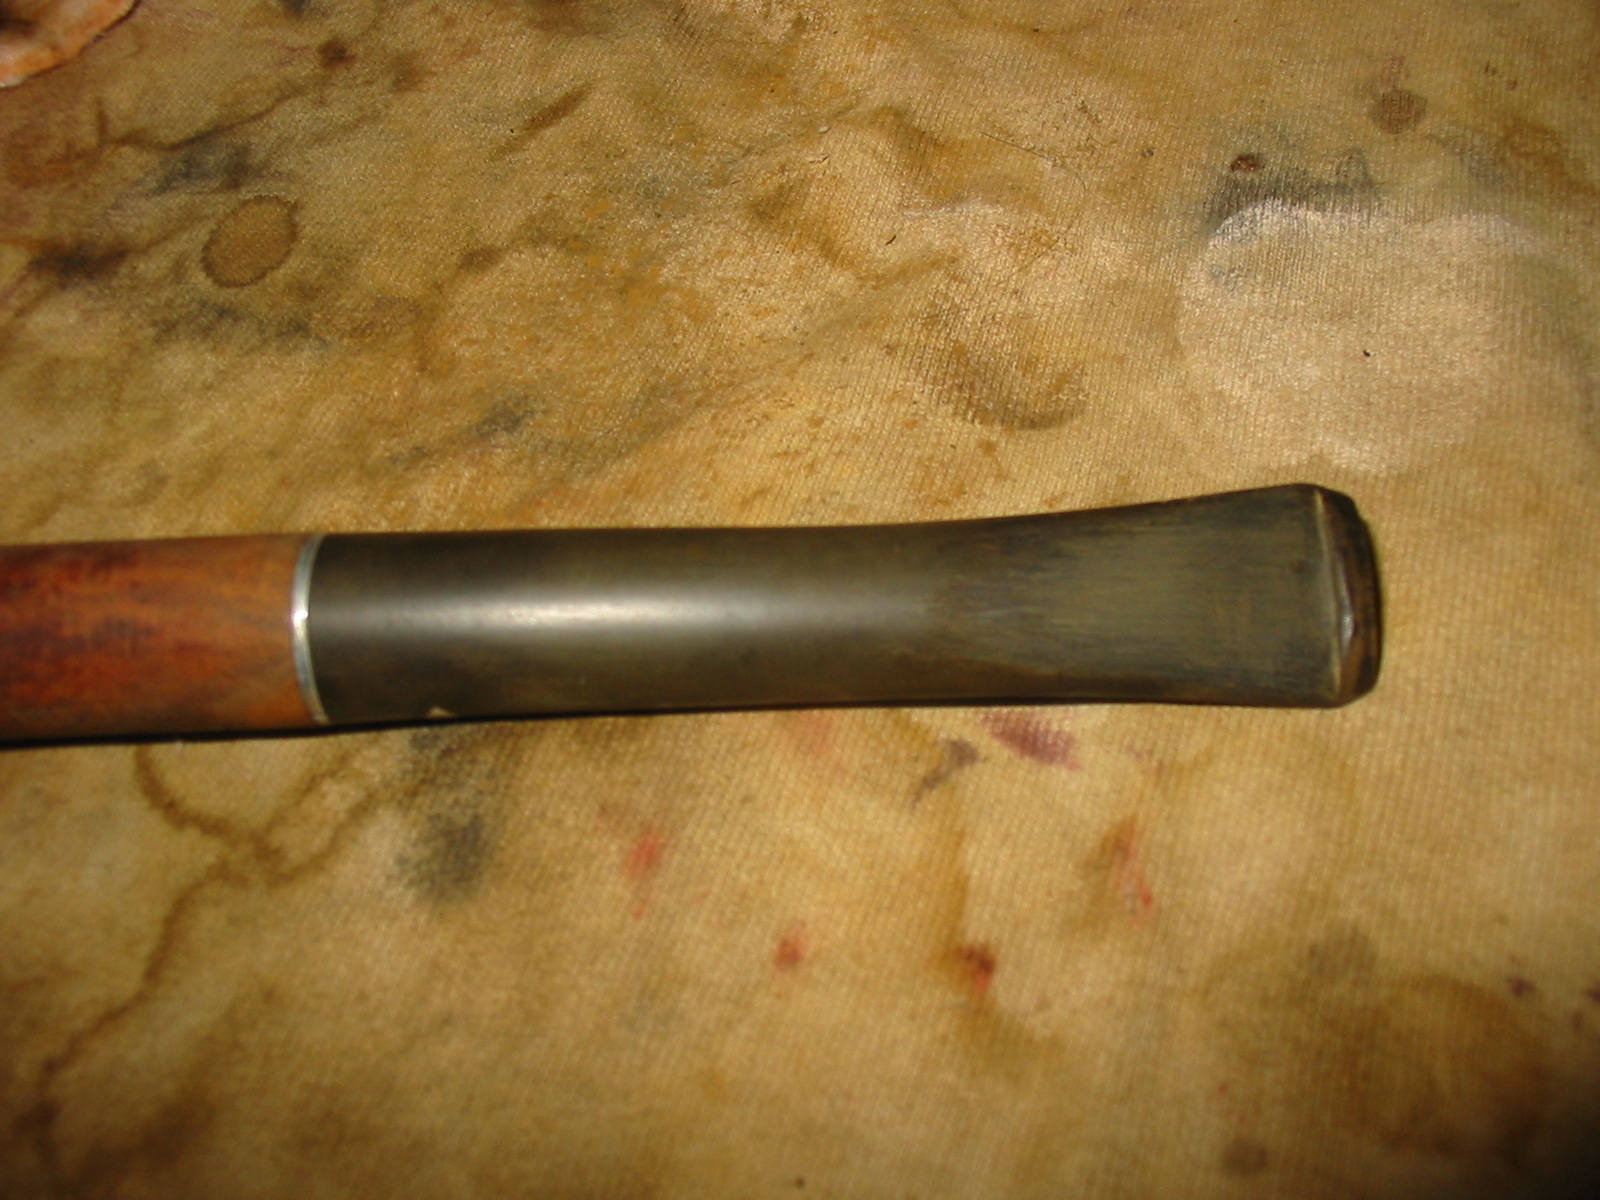
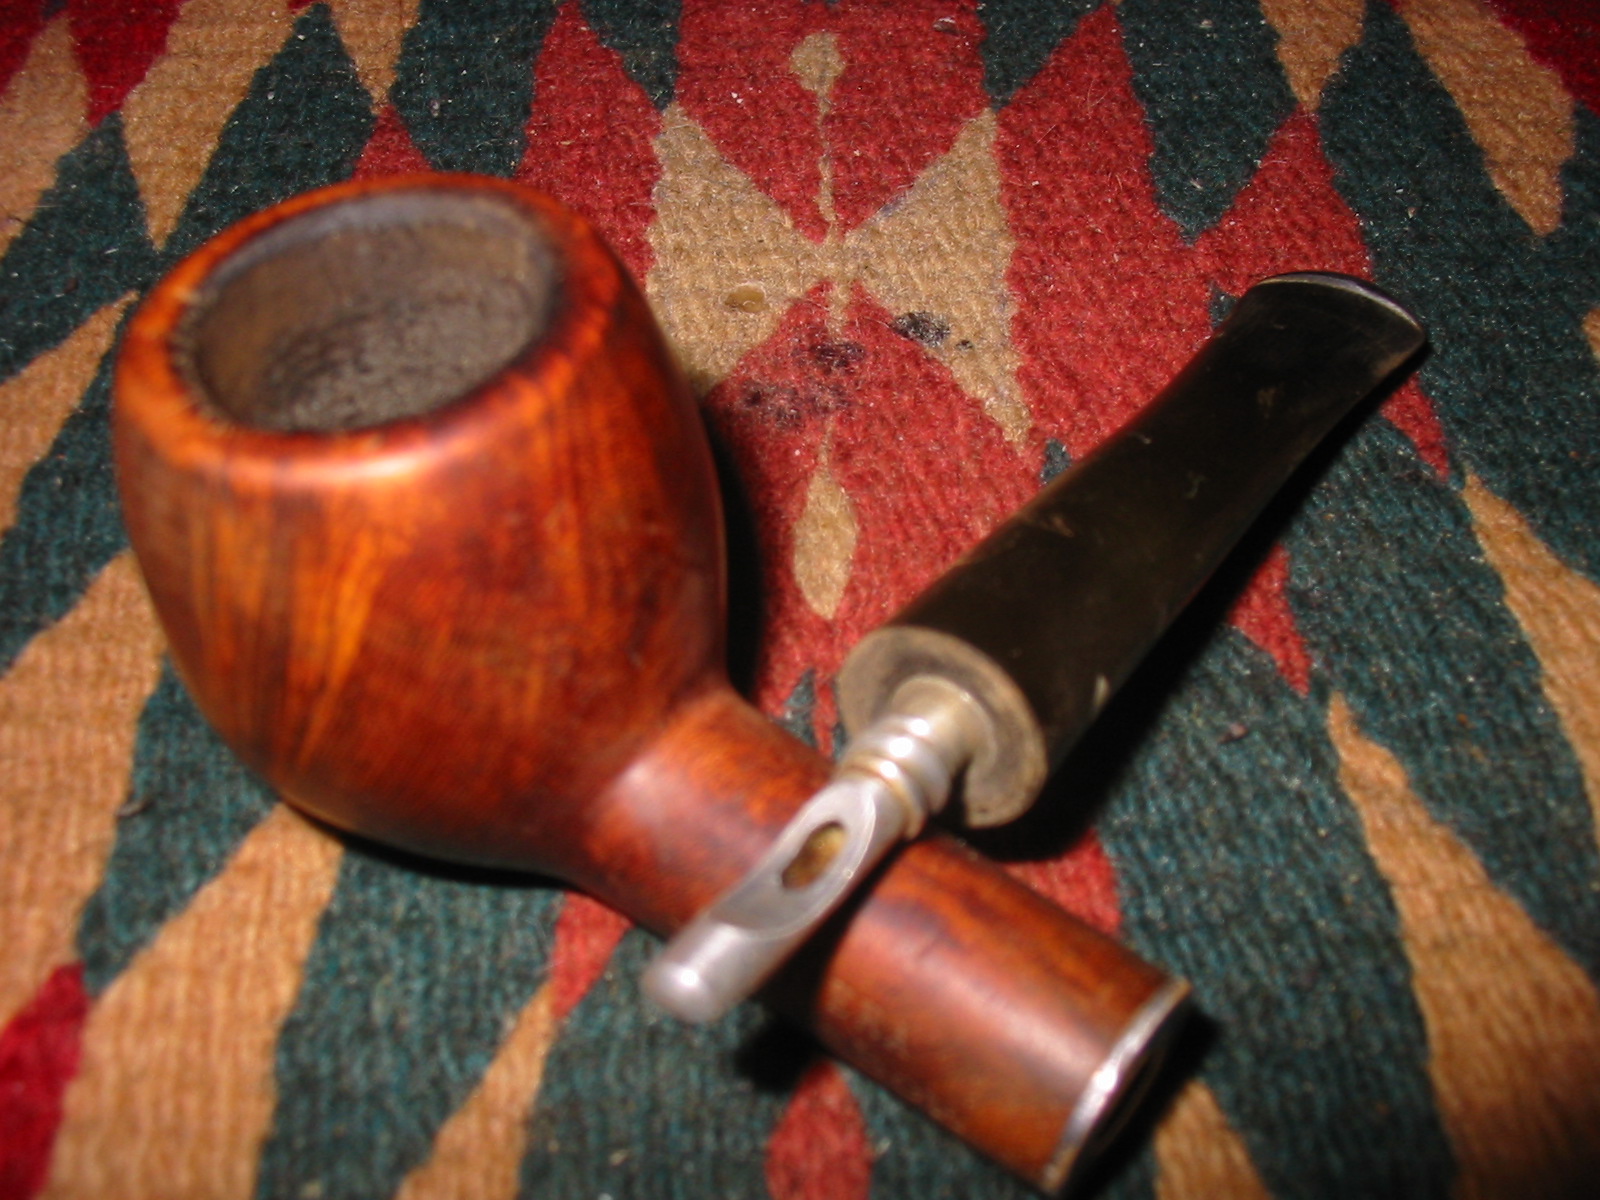
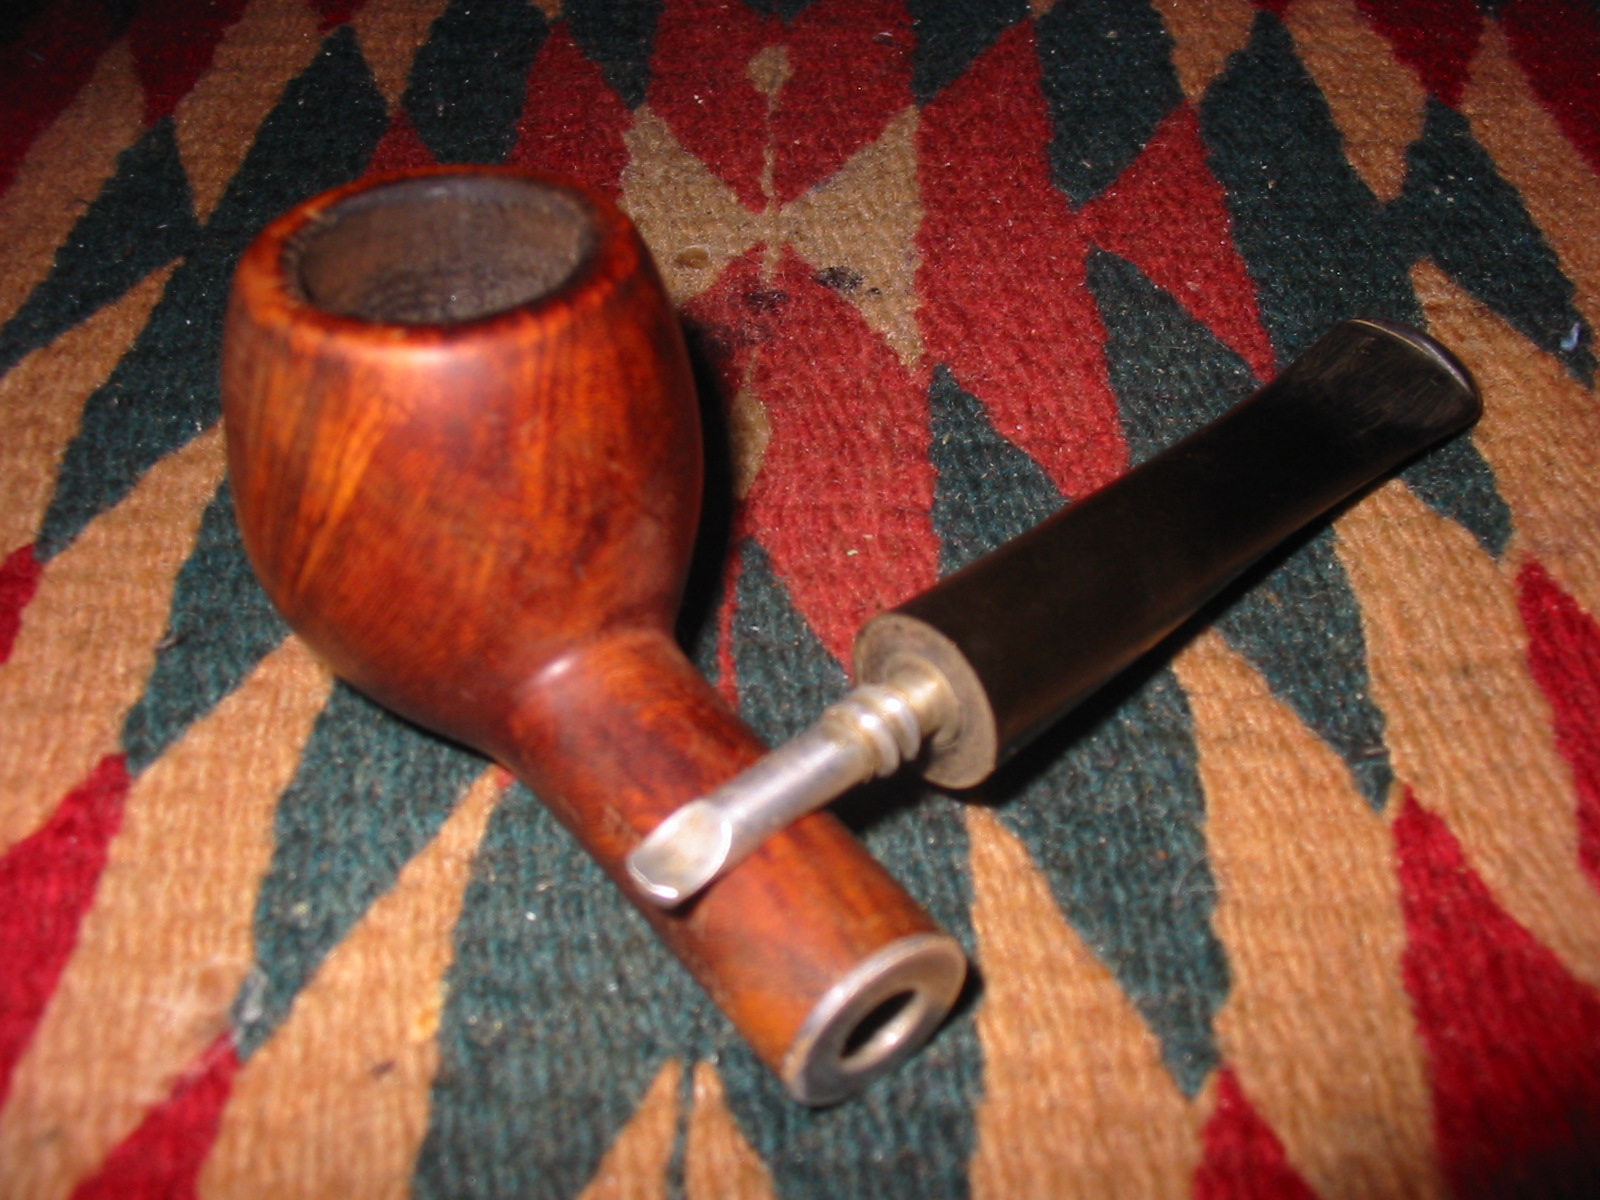
 The shank end has a metal band around the center and this metal band extends inside the shank with threads, over which the threaded stem stinger is seated in to the mortise. Thankfully, the band and threads are all intact. The mortise is blocked with dried gunk, adversely affecting the airflow. The metal band is dull and dirty in appearance.
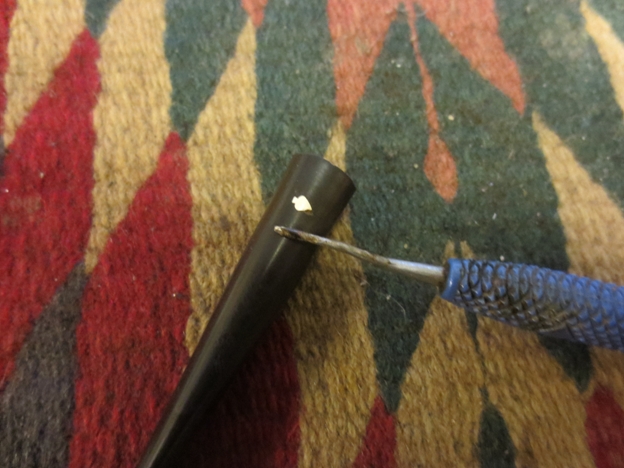
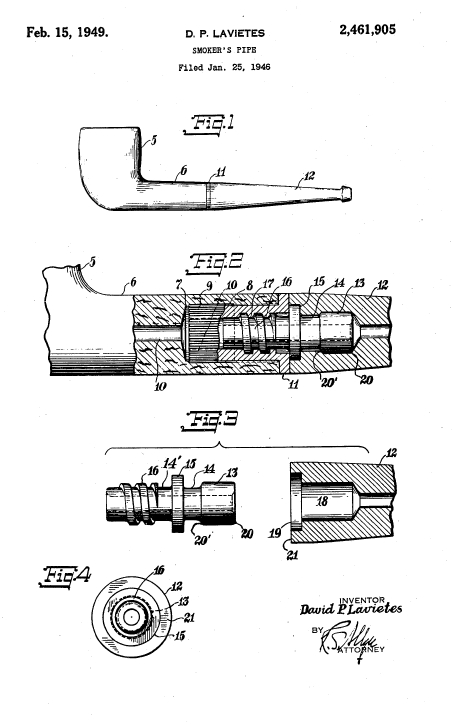
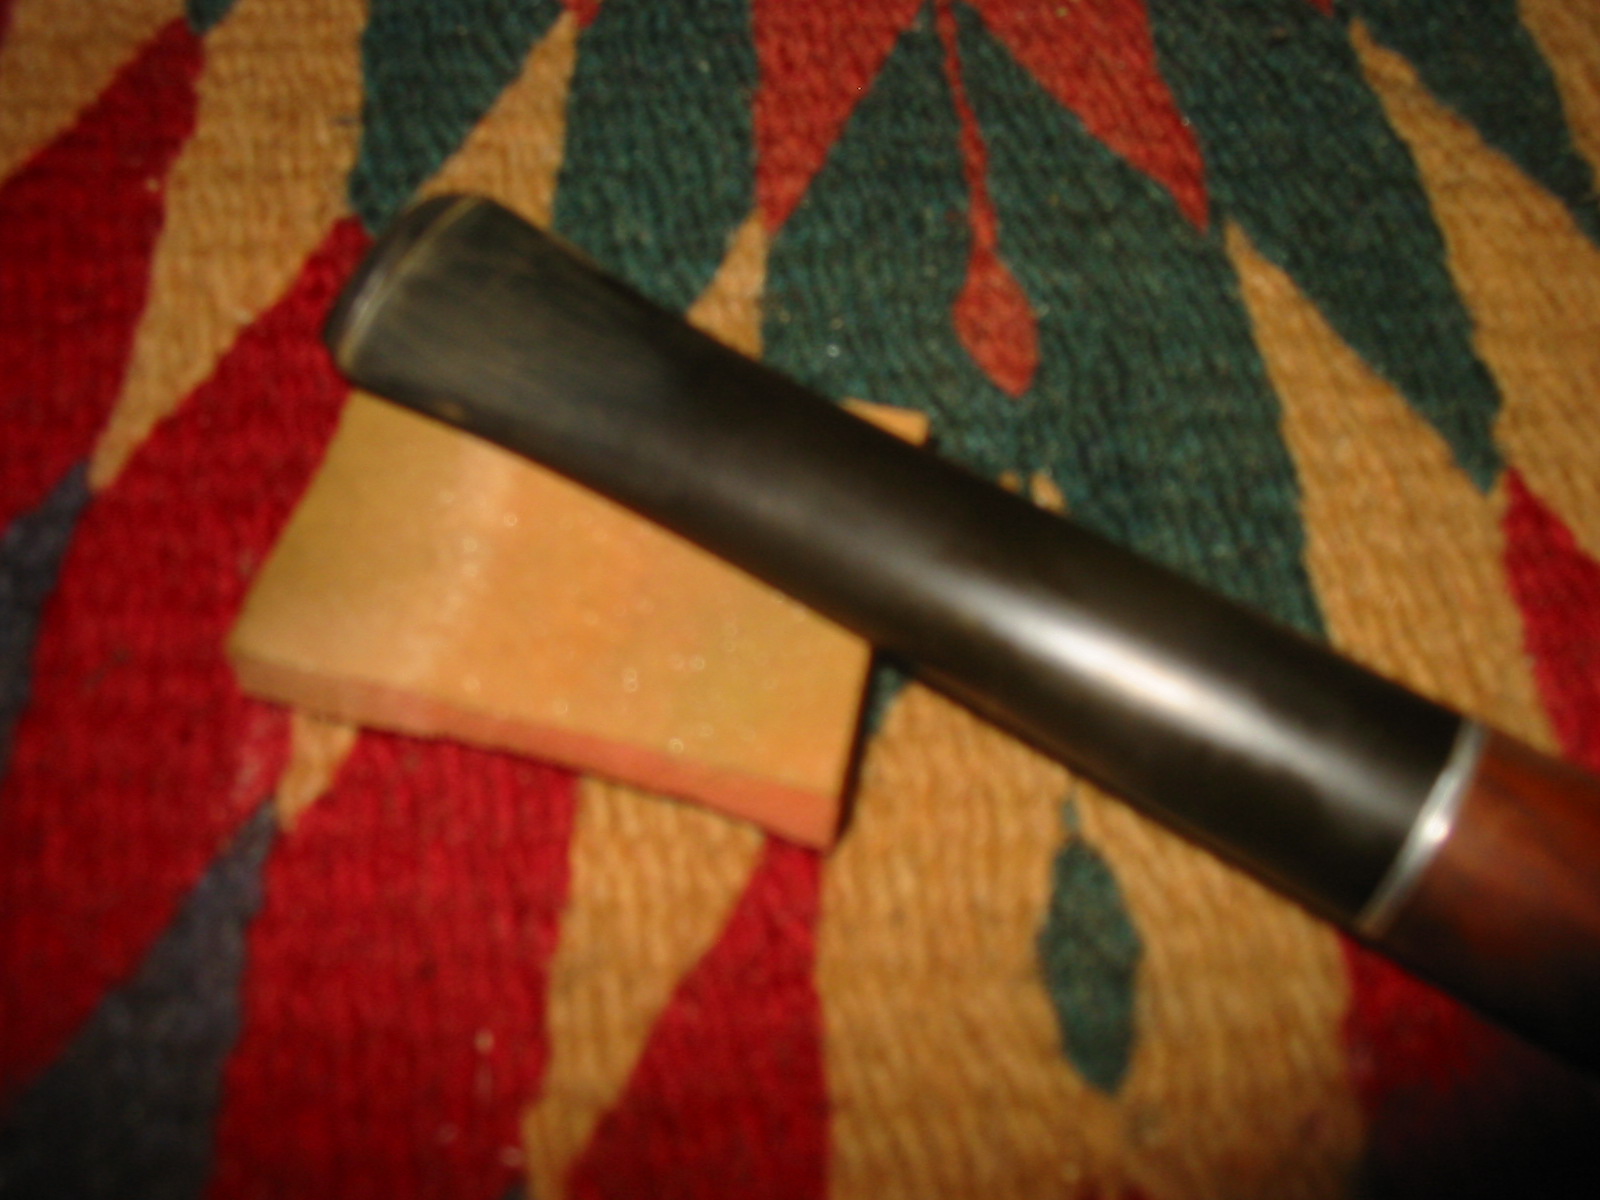
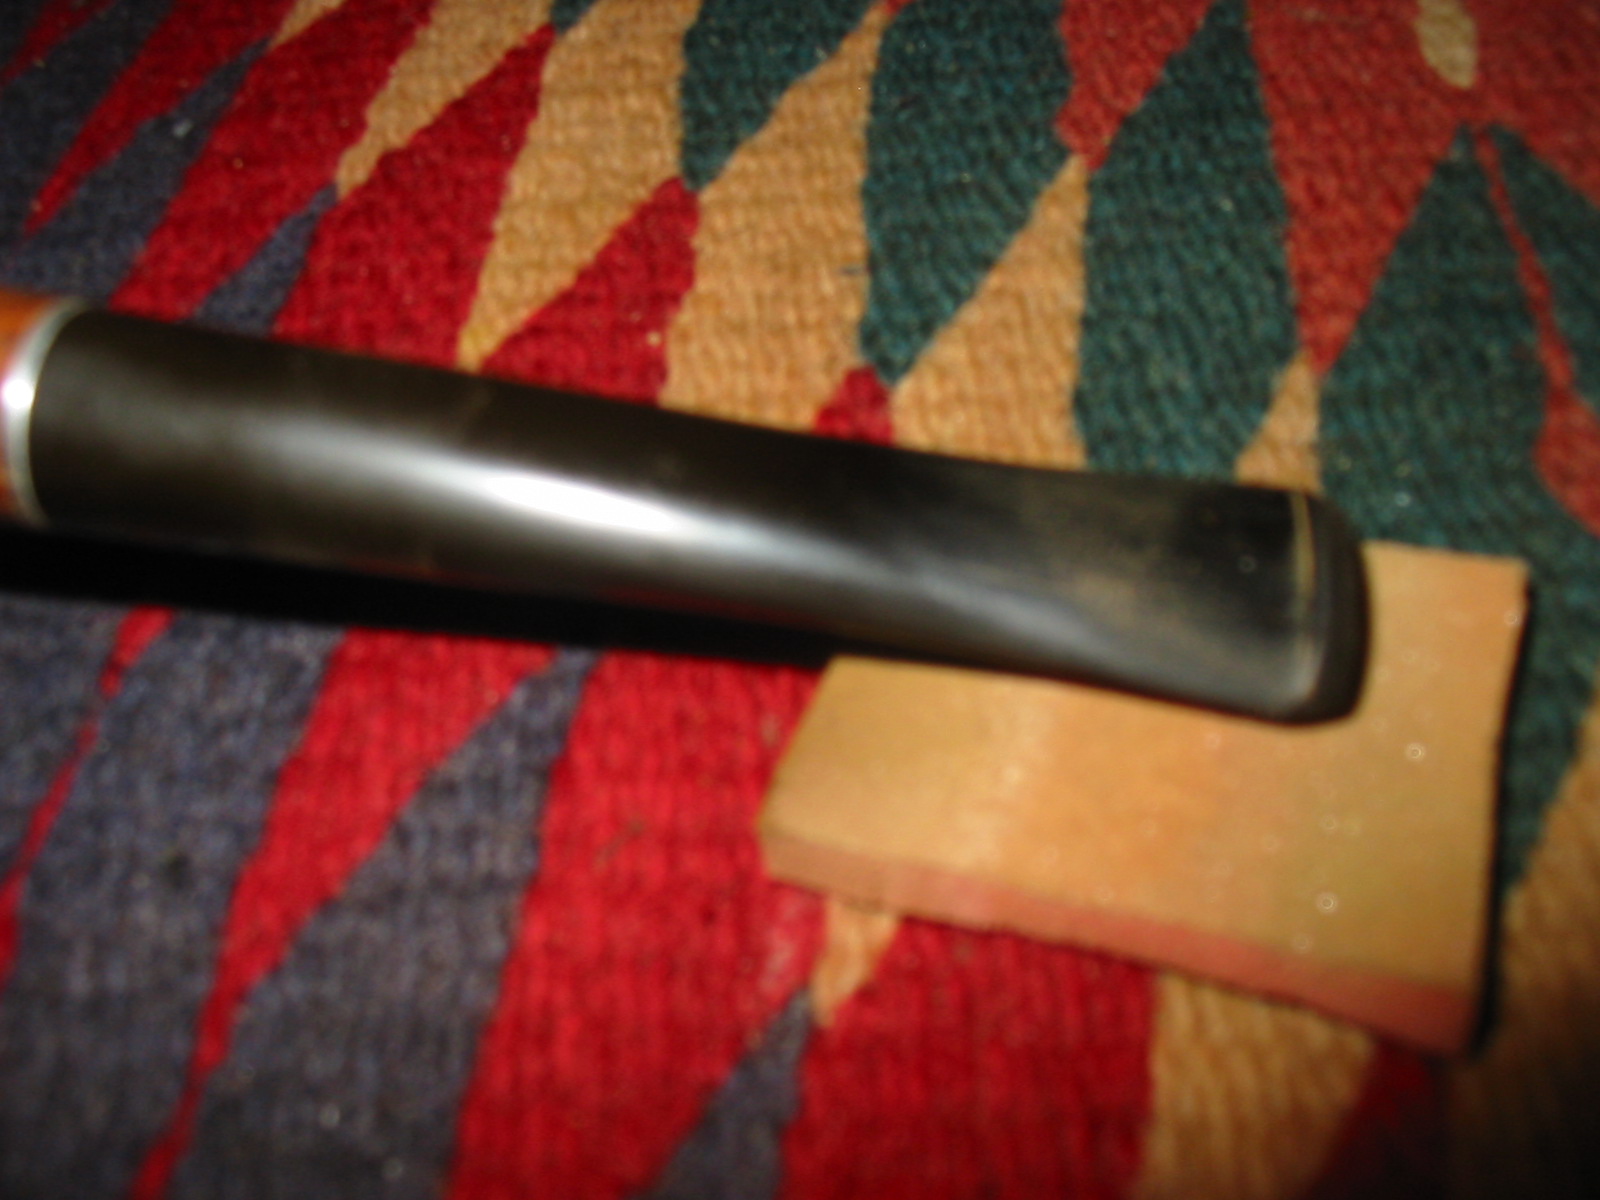
 The stem is an “Adjustomatic” type (a patent for stem to shank threading system, later Patent #2461905 which was filed on 25th January 1946 by David P. Lavietes). This patent allows the stem to be turned in the shank for a perfect alignment without having to detach the two. The stem is attached to the shank by a threaded “tool” stinger (again patented by the brand way back in 1924 and upgraded over the years) and the stem can be turned over this stinger for alignment of the shank and stem. Unfortunately, the previous owner had this stinger cut ahead of the threaded portion so that the attachment of the stem to the shank is not affected at all. The vulcanite stem is heavily oxidized and has calcification deposits towards the button end. There are a few deep tooth marks on the lower and upper stem surface. The button edges also have bite marks. The stinger opening and the horizontal slot shows accumulated oils and tars. The threaded portion of what remains of the stinger is covered in dried dust, dirt and grime. The alignment of the stem and shank skewed with the stem being overturned to the right.
 THE PROCESS
I started the restoration with cleaning of the stummel as I was keen to know the condition of the walls of the chamber. With size 1 head of a Castleford pipe reamer, I took the cake down to bare briar. Using a folded piece of 180 grit sand paper, I sand out the last traces of cake and expose the walls of the chamber to ascertain that there are no cracks/ heat fissures. I wiped the chamber with a cotton pad dipped in isopropyl alcohol to remove the carbon dust left behind by all the reaming and sanding process. I was happy to note that the walls of the chamber are in pristine condition without any heat fissures or pits. The inner and outer edge of the rim are intact and without any burn or char marks.
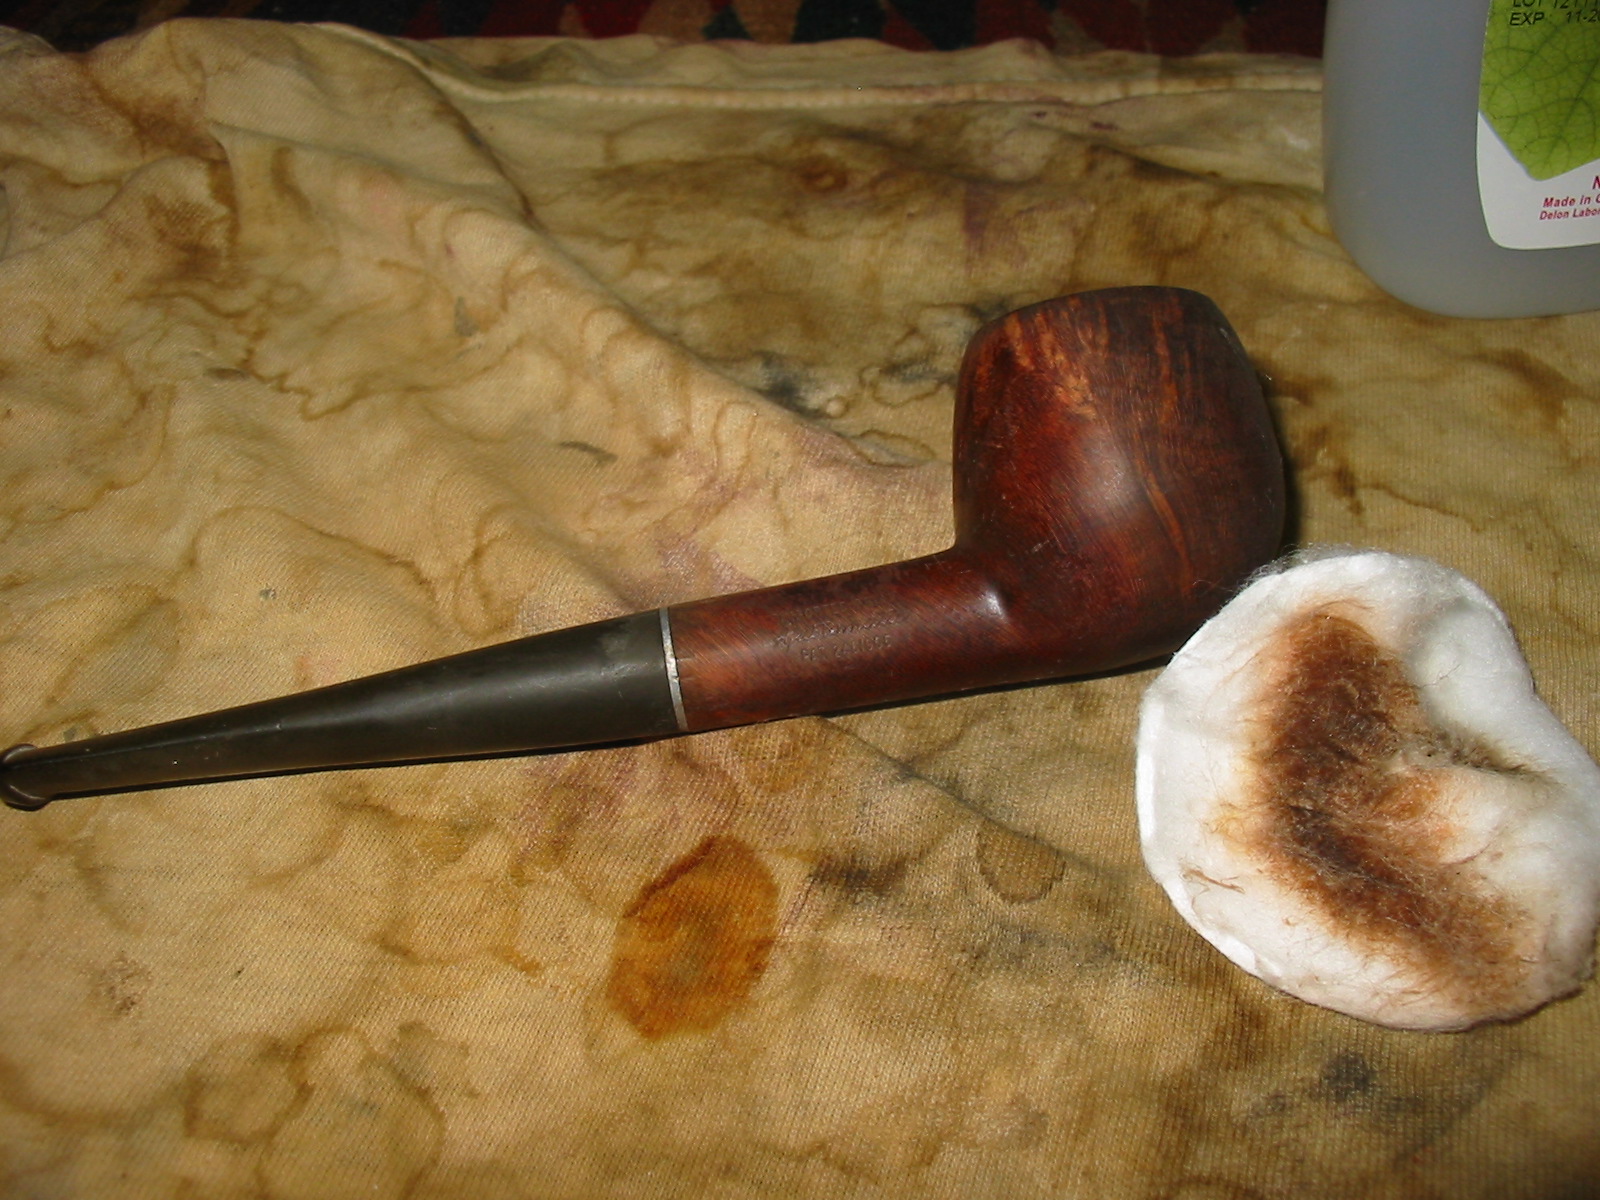
 Next I decided to address the stem. I cleaned the internals of the stem using hard and normal bristled pipe cleaners and isopropyl alcohol. The stem airway and the open ended stinger were filthy as can be made out from the number of pipe cleaners that were used up in the cleaning process. I cleaned the complete stem with a cotton swab and alcohol to remove the calcification from the button end and thereafter flamed the stem surface with the flame of a lighter to raise the tooth indentation to the surface. I scrubbed and cleaned the portion of the stinger that remained. I liberally applied petroleum jelly to the stinger to protect it and dropped the stem in to the “Before and After Deoxidizer” solution which Jeff had lugged all the way from Idaho, USA for me. This solution, which has been developed by Mark Hoover, has reduced my time in working on removing stem oxidation by ¼ and should form a part of the list of ‘must have’ items for restoring a pipe.
 While the stem was soaking in the “Before and After Deoxidizer” solution, I cleaned out the internals of the shank and mortise. Using my fabricated tool, I scraped out all the dried oils, tars and gunk that had accumulated in the shank airway and mortise. The amount of crud that was scrapped out leaves no surprise why air flow through it was restricted. I finished the cleaning by running a few pipe cleaners dipped in isopropyl alcohol. I also wiped the metal band and the threads with cotton buds and alcohol. With this cleaning, all old smells in the pipe are history. The pipe now smells clean and fresh.
 With the internals of the stummel now clean, I cleaned the external surface using a hard bristled toothbrush and Murphy’s Oil Soap. I diligently scrubbed the crevices formed by the sandblast to remove all the dust and dirt that was embedded in between. With a soft bristled brass wired brush, I gently removed the overflowing lava from the rim top surface and rinsed it under running tap water. I wiped the stummel dry with an absorbent soft cotton cloth. I am very pleased with the way the stummel has cleaned up. The sandblast looks absolutely gorgeous.
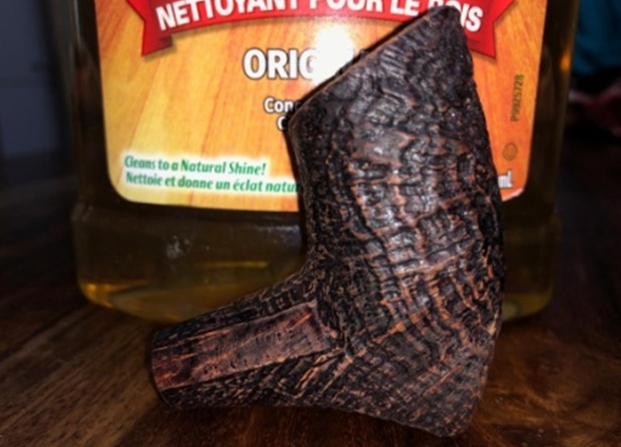

 Next, I rub a small quantity of “Before and After Restoration Balm” in to the briar with my finger tips, work it deep in to the sandblasts and let it rest for a few minutes. The balm almost immediately works its magic and the briar now has a nice vibrant appearance with the beautiful sandblast patterns on full display. I further buff it with a horse hair shoe brush. With this, I keep the stummel aside and turn my attention to the stem repairs.
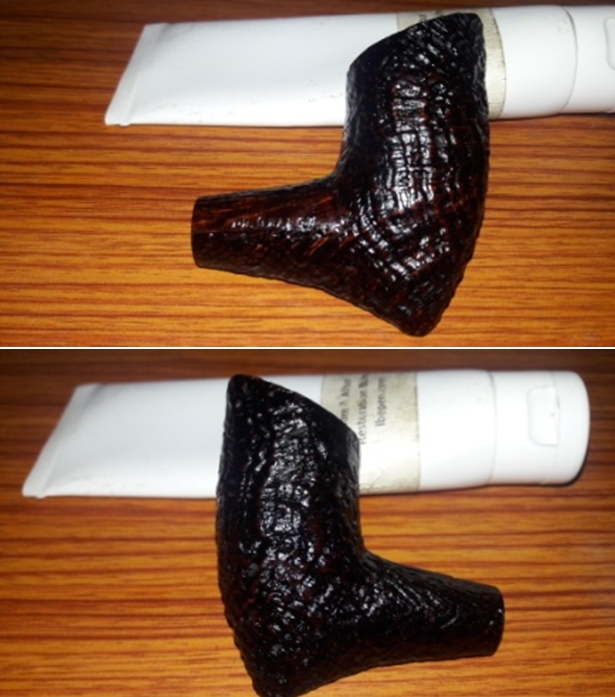
 While I was working on the stummel, Abha, my wife had in the meanwhile fished out the stem from the ‘Before and After Deoxidizer’ solution after a soak of about 6 hours. She rinsed it under running tap water to remove all the sticky solution that remained on the surface. She also let the water run through the stem airway and blew through it to dislodge the solution that remained inside and followed it up with a thorough cleaning with Mr. Magiclean sponge and 0000 grade steel wool. She finished her part in cleaning of the stem with a vigorous rubbing with a microfiber cloth. This removed nearly all of the oxidation from the stem surface, however, the deep tooth indentations at the button edge and in the bite zone still needed to be addressed. And as is her habit, she did not take any pictures of this process.
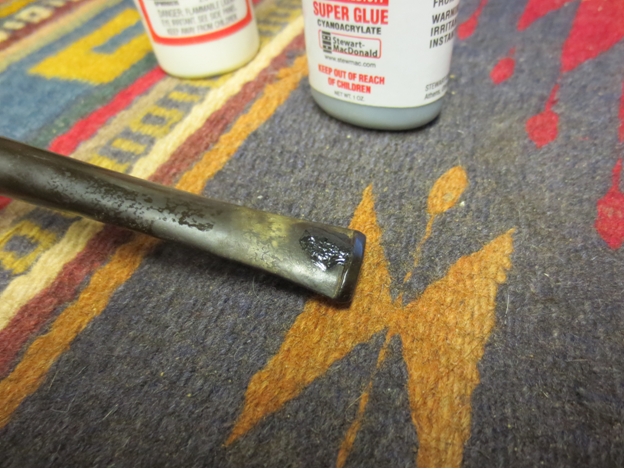
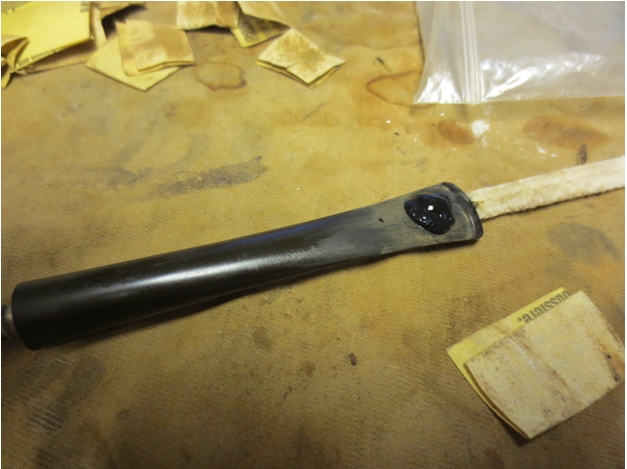
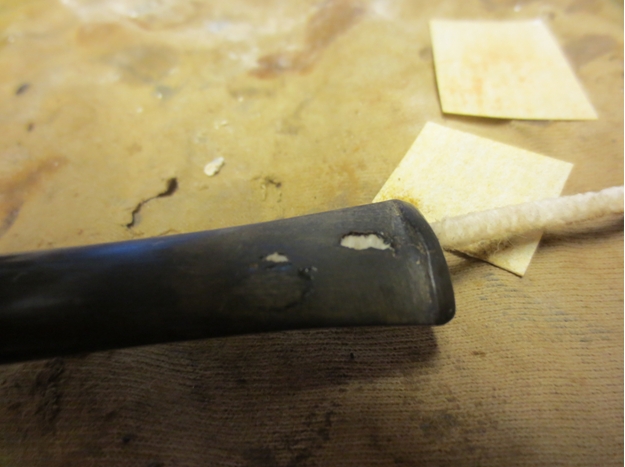
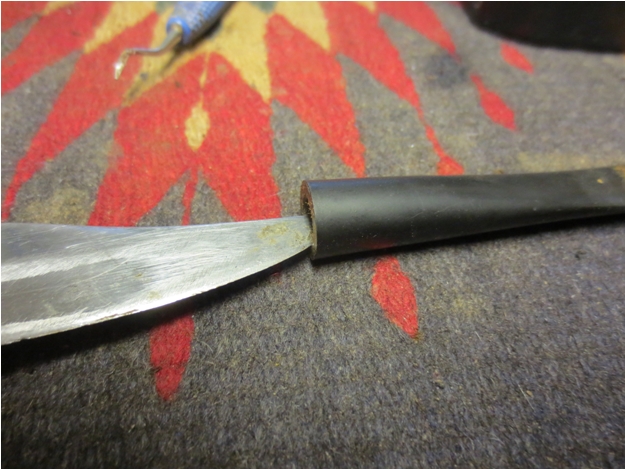
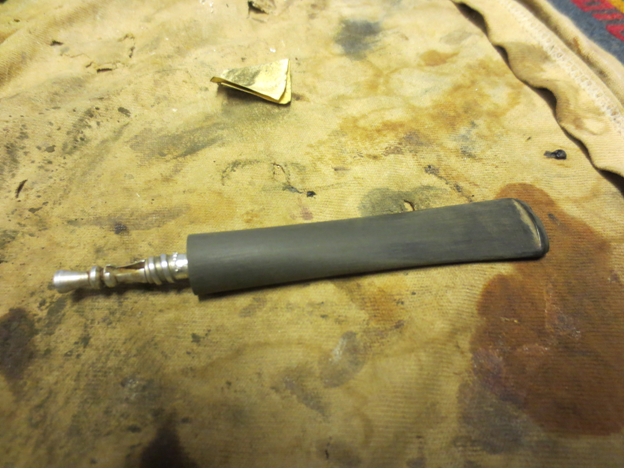
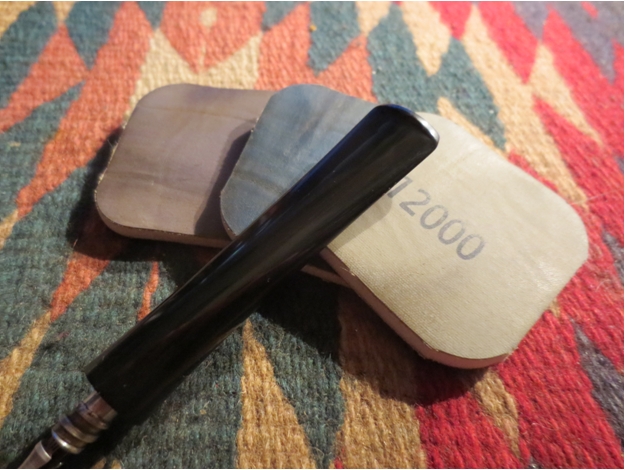
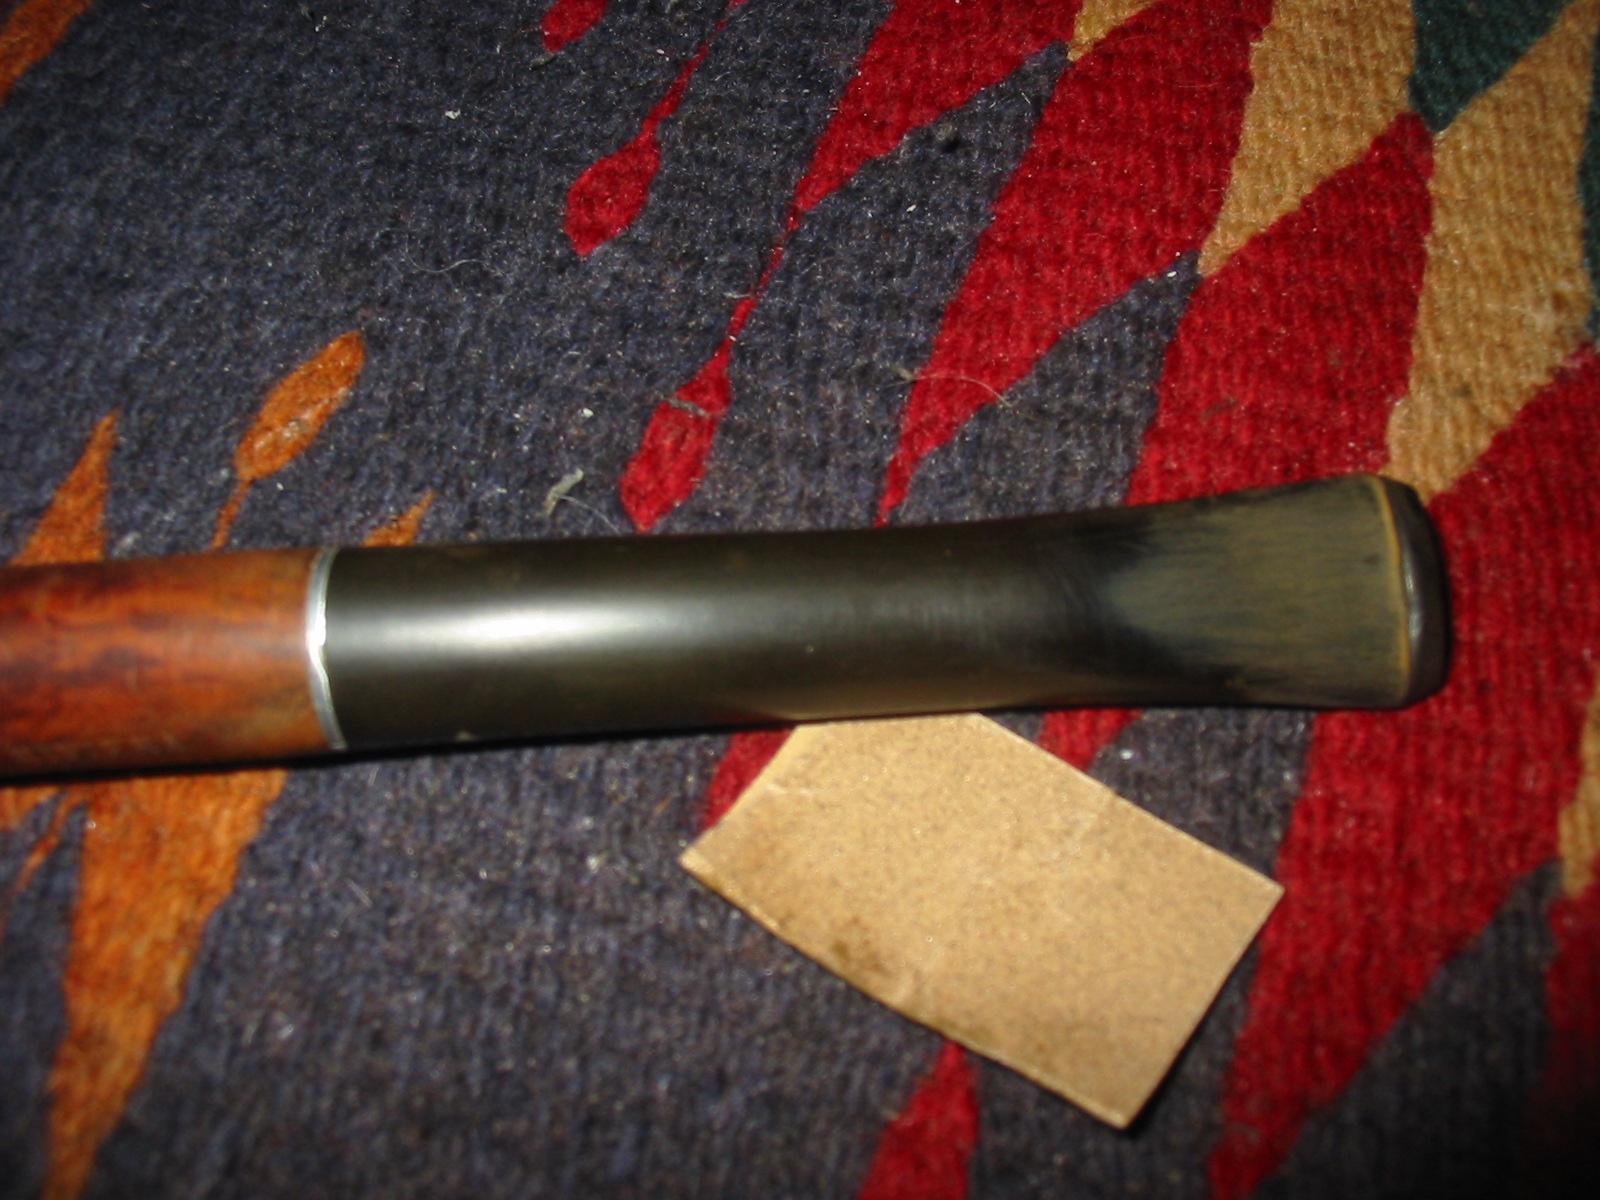
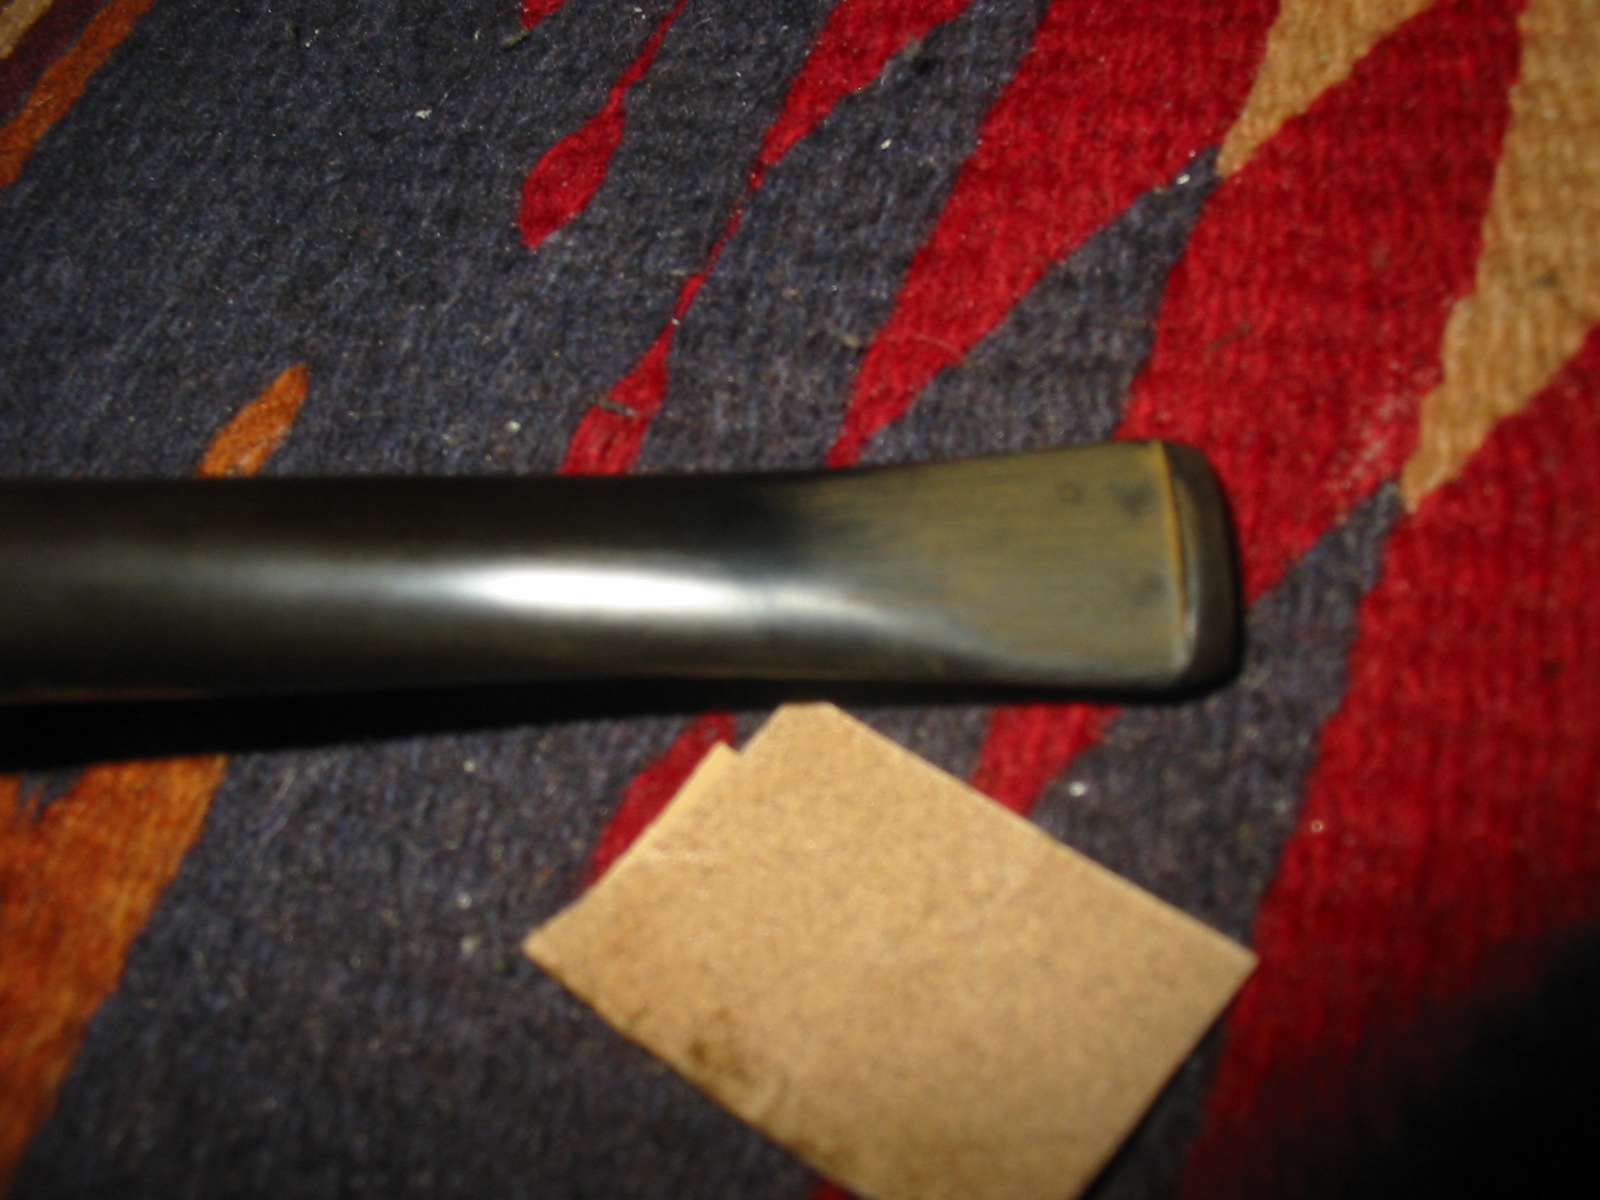
I began my part of stem repairs by sanding the stem with a folded piece of 220 grit sand paper. This helps in getting rid of what little oxidation remained while providing a smooth surface for the intended fills to reconstruct the damaged bite zone on both surfaces and also the button edges. I wiped the stem surface, particularly the damaged areas, with a cotton pad and alcohol to remove any traces of dirt and grime. I prepared a mix of CA superglue and activated charcoal and carefully applied it over the damaged bite zone on both surfaces, and button edges and set it aside for curing over night. I had applied this mix in sufficient thickness which would help during the filing and sanding to match the fills with the stem surface and shaping the button. 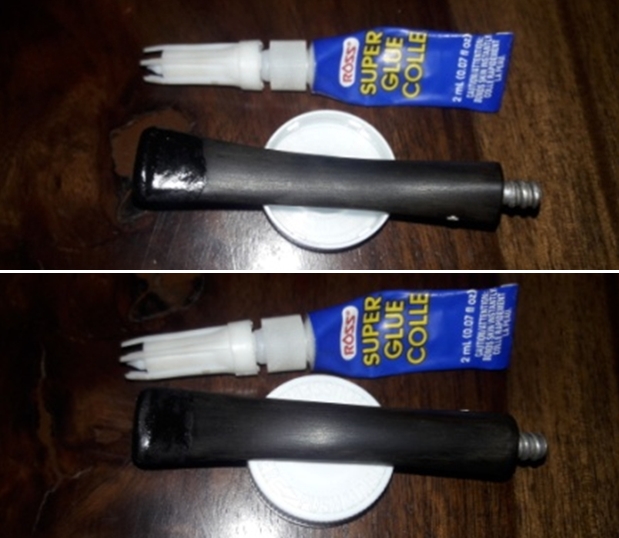 Once the fills had cured sufficiently, using a flat head needle file, I reshaped the button and roughly matched the fills with the rest of the stem surface. I followed it up by further sanding the stem with 320, 600 and 800 grit sand papers to achieve a perfect blending of the fills with the stem surface and a crisp button edge on either side of the stem. Using the micromesh pads, I complete the polishing cycle by wet sanding the surface with 1500 to 12000 girt pads. The stem looks great with the fills nicely matched with the rest of the surface. I rub a little quantity of Extra Virgin Olive oil in to the stem surface and set it aside to be absorbed by the vulcanite.
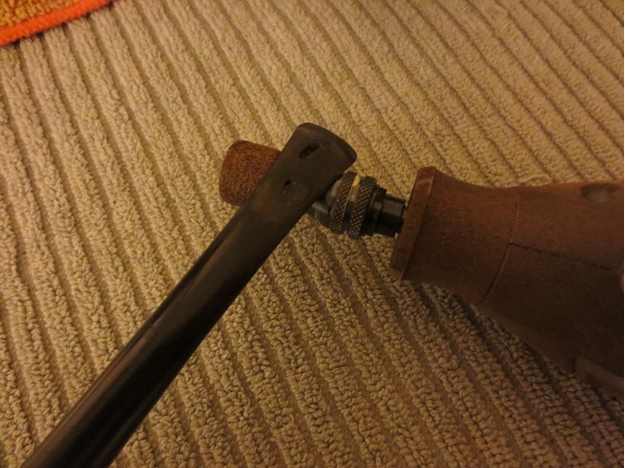
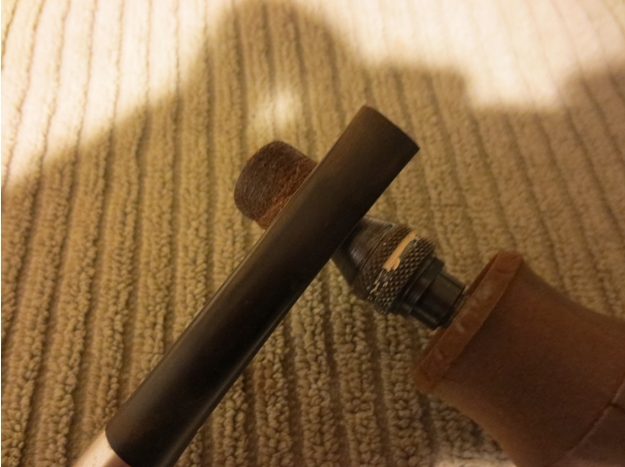
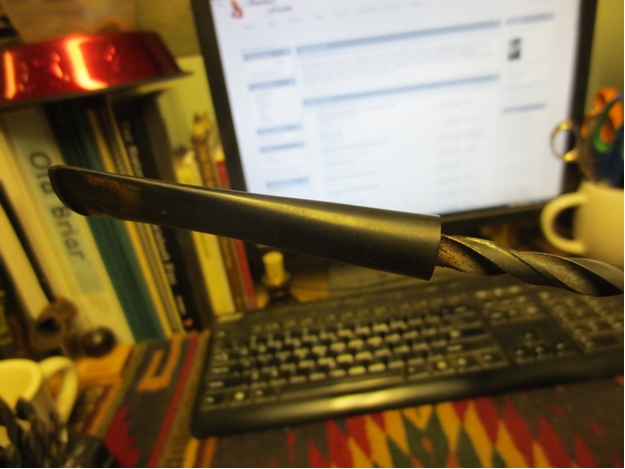
 The only issue that remains unaddressed at this stage is the issue of overturned stem. Being an adjustomatic stem, I fixed the stem in to the shank and tried to turn the stem to match the shank applying just adequate pressure. However, the stem would not budge. Not wanting to create further complications like broken stinger or wearing down of the threads, I unscrewed the stem from the shank. With the flame of a lighter, I heated the aluminum stinger to a point where the stem was just about able to rotate on the stinger. I reattached the stem to the shank while the stinger was still warm, and turned it till the alignment was perfect as I desired and set it aside to cool down. Actually the reasoning behind heating the stinger is that the gunk which accumulates on the stinger and further percolates inside is loosened, thus freeing the stem.
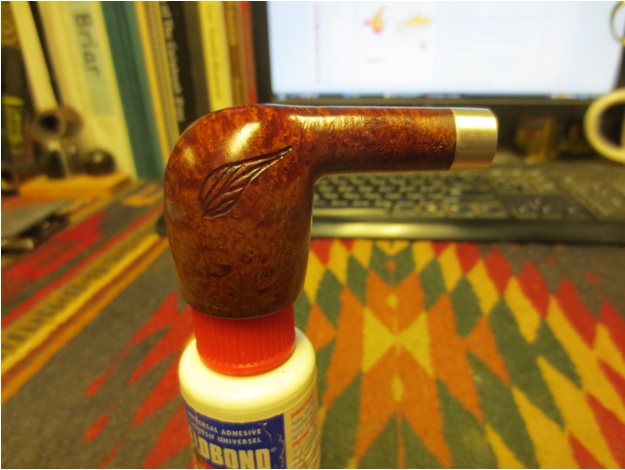
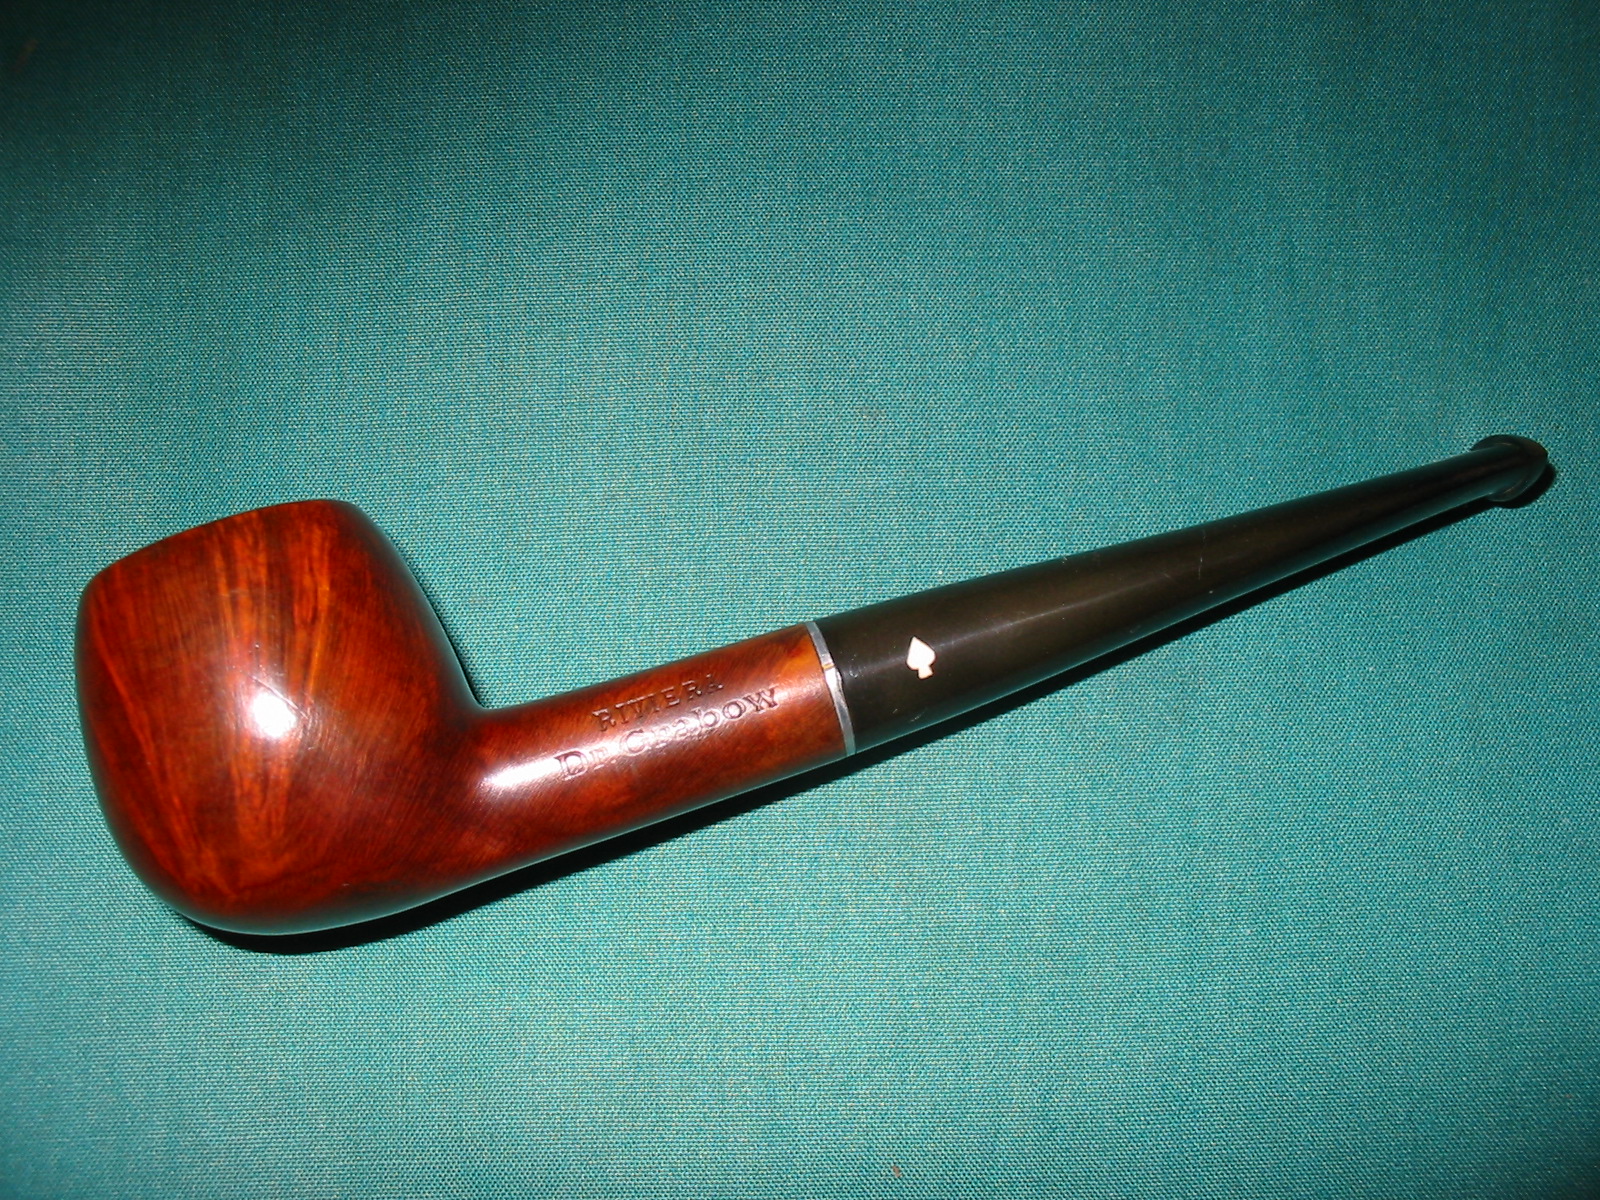
To complete the restoration, I mounted a cotton cloth buffing wheel on to my hand held rotary tool. I set the speed at about half of the full power and applied White Diamond compound to the entire pipe. I wiped/ buffed the pipe with a soft cotton cloth to clear it of any leftover compound dust. With a cotton buffing wheel earmarked for Red Tripoli, which has a finer grit than White compound, I buffed the stem to a fine glossy finish. I then mounted another cotton cloth wheel on to the polishing machine and applied several coats of carnauba wax. I finished the restoration by giving the entire pipe a rigorous hand buffing using a microfiber cloth to raise the shine further. The finished pipe looks amazingly beautiful and is now ready for its long second innings with me. I only wish it could share with me its life story of the past 50 plus years while I enjoy smoking my favorite Virginia blend in it!!


 P.S. I have to admit to the readers of this blog that I had completed this project in the month of May 2019 but I kept procrastinating on the write up. To be honest, I find doing the write up on any project more tedious and difficult than working on the project itself and Steve will bear with me on this fact. And the fact that English is not my first language further makes it all the more challenging. There are nine more pending write ups which I shall be tackling before I undertake any new restoration, God!! I don’t want to scare myself!! I wish to thank each one for sparing their valuable time to read through and any inputs or advice is always welcome.