Tag Archives: CPF pipes

An Old Kaufman Brothers & Bondy CPF Catalogue


I am not sure where I came across this old Kaufmann-CPF (Colossus Pipe Factory) Catalogue but it is a great old piece of pipe history. It links the CPF brand to Kaufmann Brothers and Bondy, perhaps better recognized by the stamping on their pipes: KB&B. In an earlier piece on the blog I wrote that I had learned through my online research that by the mid 1890’s CPF was owned by Kaufman Brother & Bondy (KB&B). This catalogue further confirms the connection and adds information to the history and background of one of my favourite old brands. I love the old photos of the CPF pipes as many of them reflect shapes of some of the pipes in my own collection. The ornate bling that is added to the pipes not only dates them to an era that is far more refined than our own in many ways but also gives the CPF pipes a distinctive and recognizable look. The photos also provide a great hunt list for me as I am on the lookout for various CPF pipes.
Kaufmann CPF Catalogue

Kaufmann CPF Catalogue2

Kaufmann CPF Catalogue3

Kaufmann CPF Catalogue4

Kaufmann CPF Catalogue5

Kaufmann CPF Catalogue6

Reflections on the Historical Background on CPF Pipes


Blog by Steve Laug

One of the secondary hobbies to pipe refurbishing that I enjoy doing is to research the history of a particular brand or make. In a recent EBay lot I bought there were 3 pipes that were stamped with the CPF logo – CPF in an oval with the word FRENCH stamped in an arch above the oval and the word BRIAR stamped in an arch below the oval. I had heard that the CPF stood for a variety of names from Consolidated Pipe Factory to Colossal Pipe Factory and even Chesterfield Pipe Company. There was a wide range of conflicting information available on the websites and forums that I looked read while looking into the brand. One evening while I was talking with Chuck Richards about the lot (I know that over the years he has seen quite a few old CPF brand pipes) he suggested that I ask Robert Boughton about it. Chuck said that Robert had done some work on the brand when he was given an old Meerschaum to refurbish. I contacted Robert and he sent me a variety of links that he had found. He had looked into the history and background of the CPF brand stamp. He wrote that he had found in his research that “…CPF definitely stands for Colossus Pipe Factory, a late 19th and early 20th century American venture that in its short, happy life created some of the most beautiful briar and Meerschaum pipes ever made”. He sent me a link to the stampings and logos site (1) http://pipephil.eu/logos/en/logo-c1.htmlbelowwhere he had found photos that showed the curved circular printing of French Briar around the CPF oval as well as some with a space between where the customary CPF mark was stamped within an oval enclosure. He had also looked into a variety of EBay offerings of CPF pipes and also on Worthpoint.com. He found some amazingly beautiful pipes for sale.

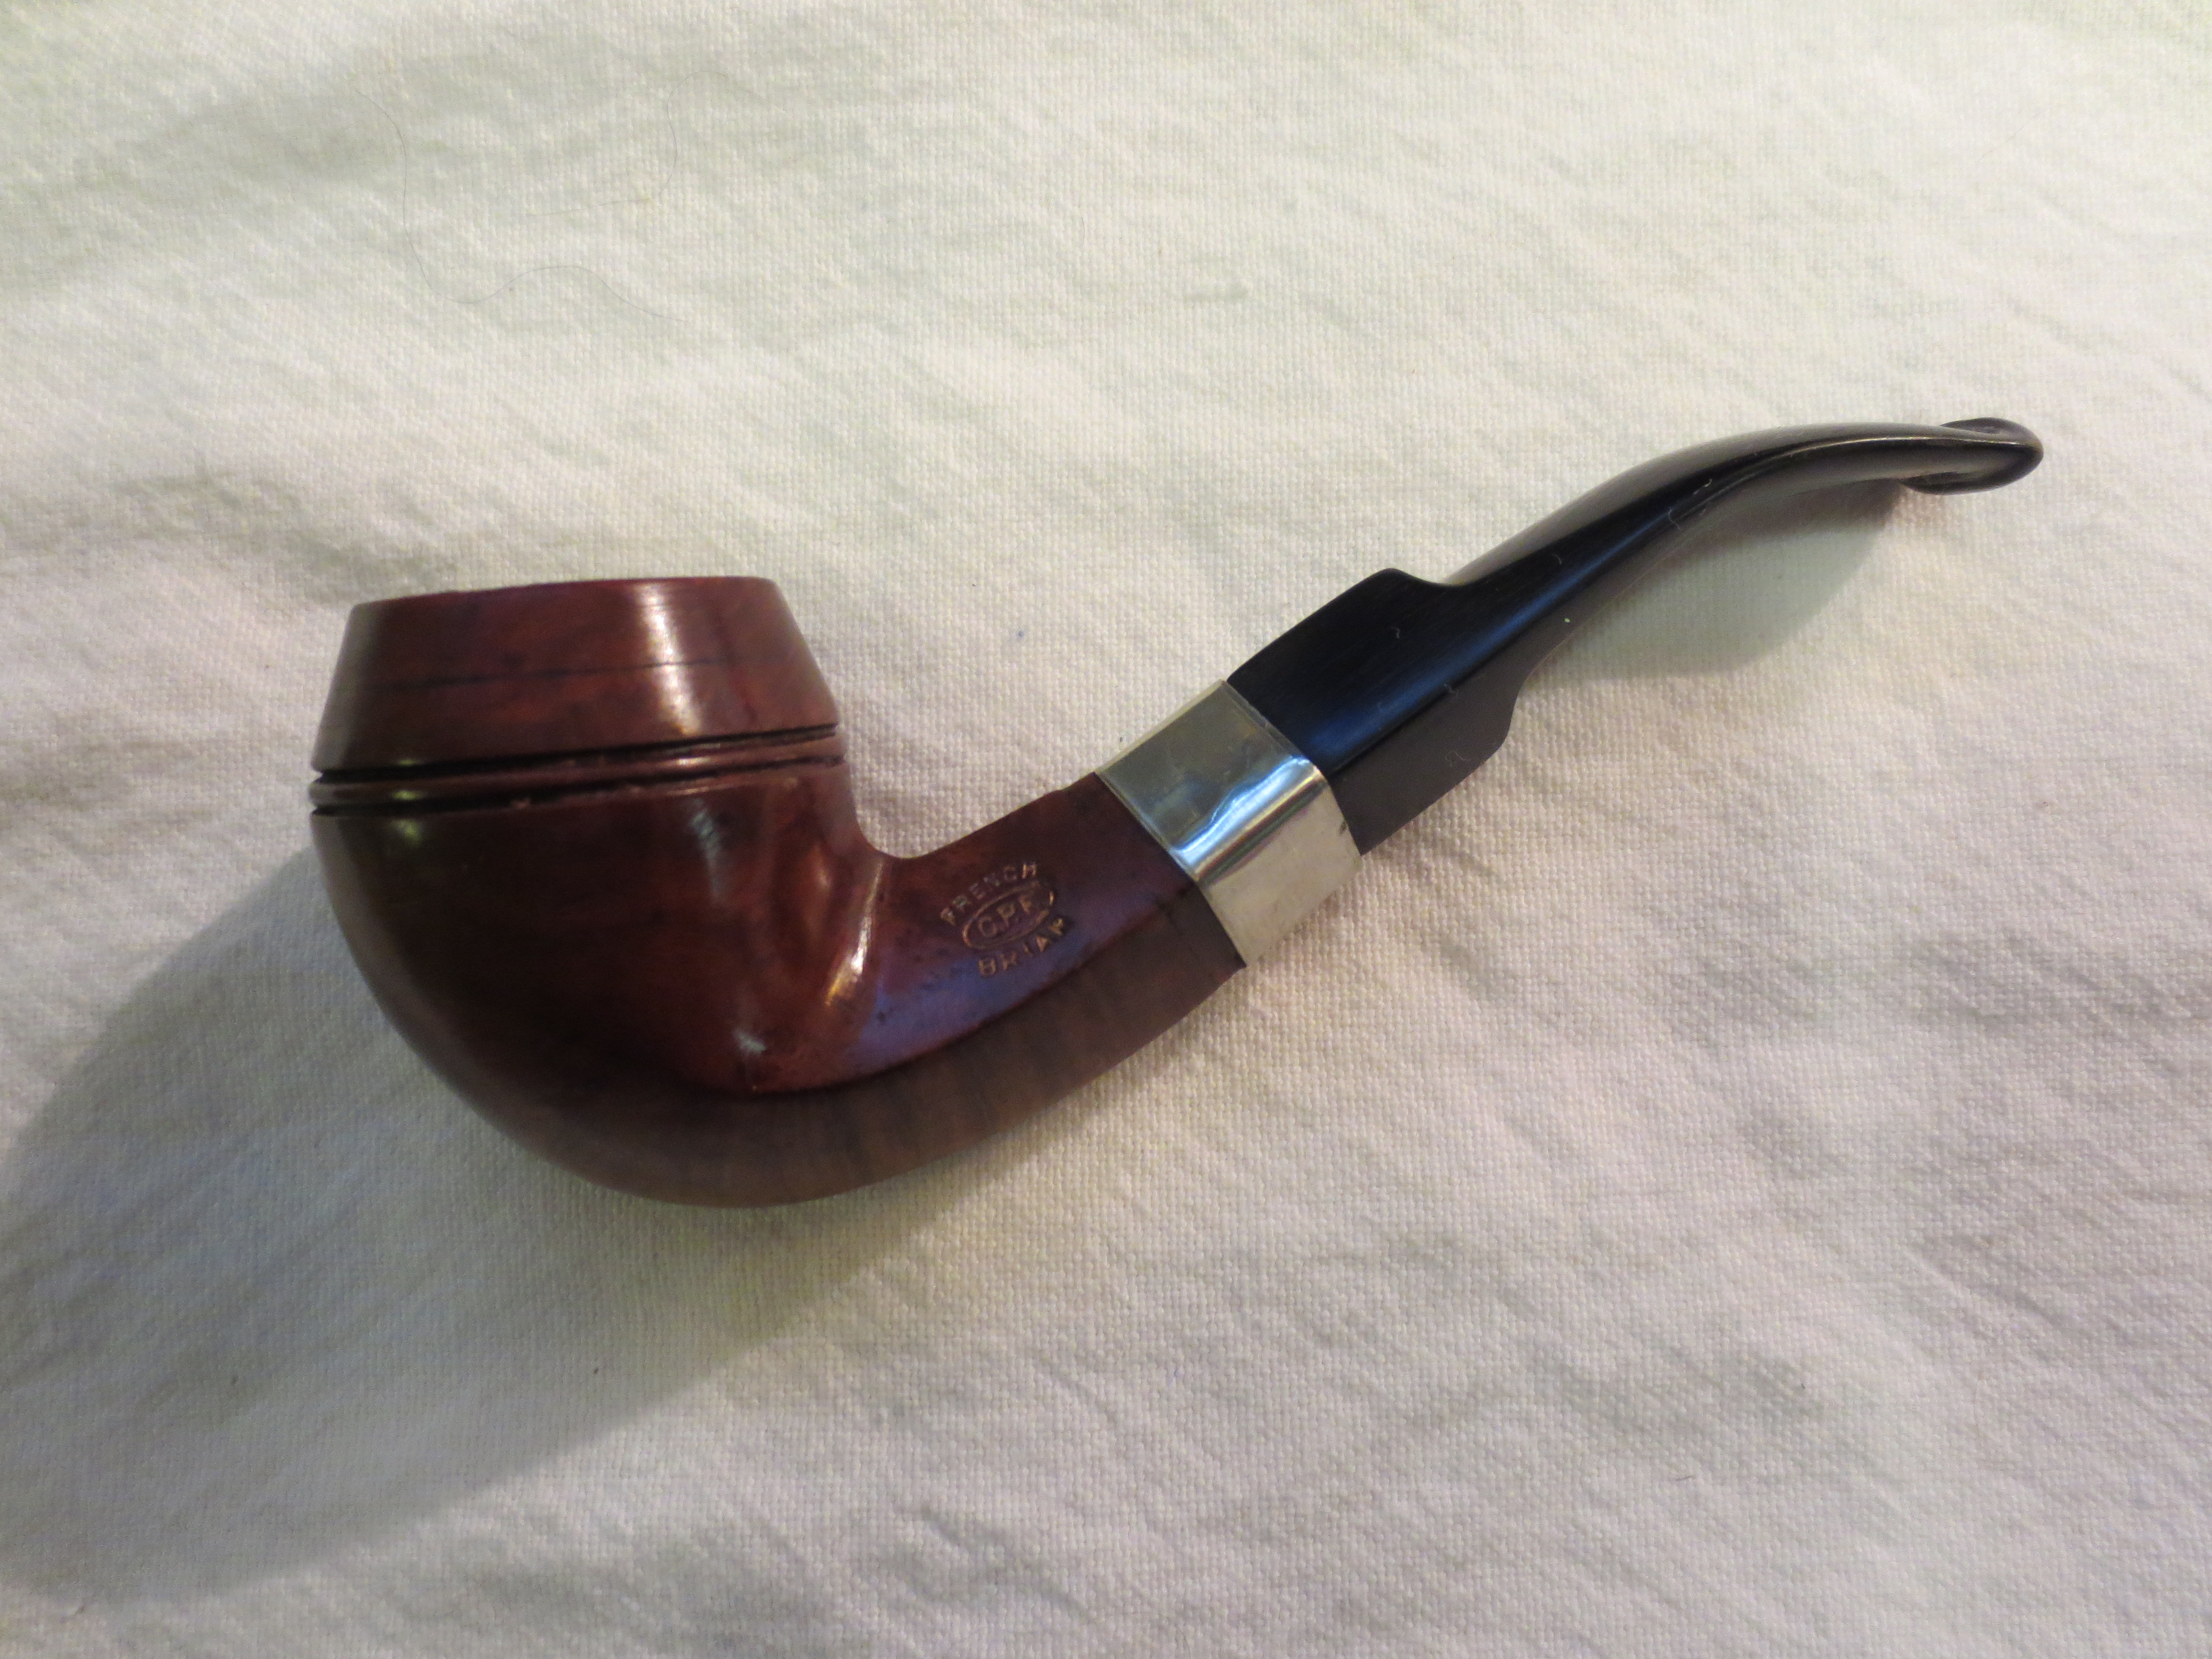
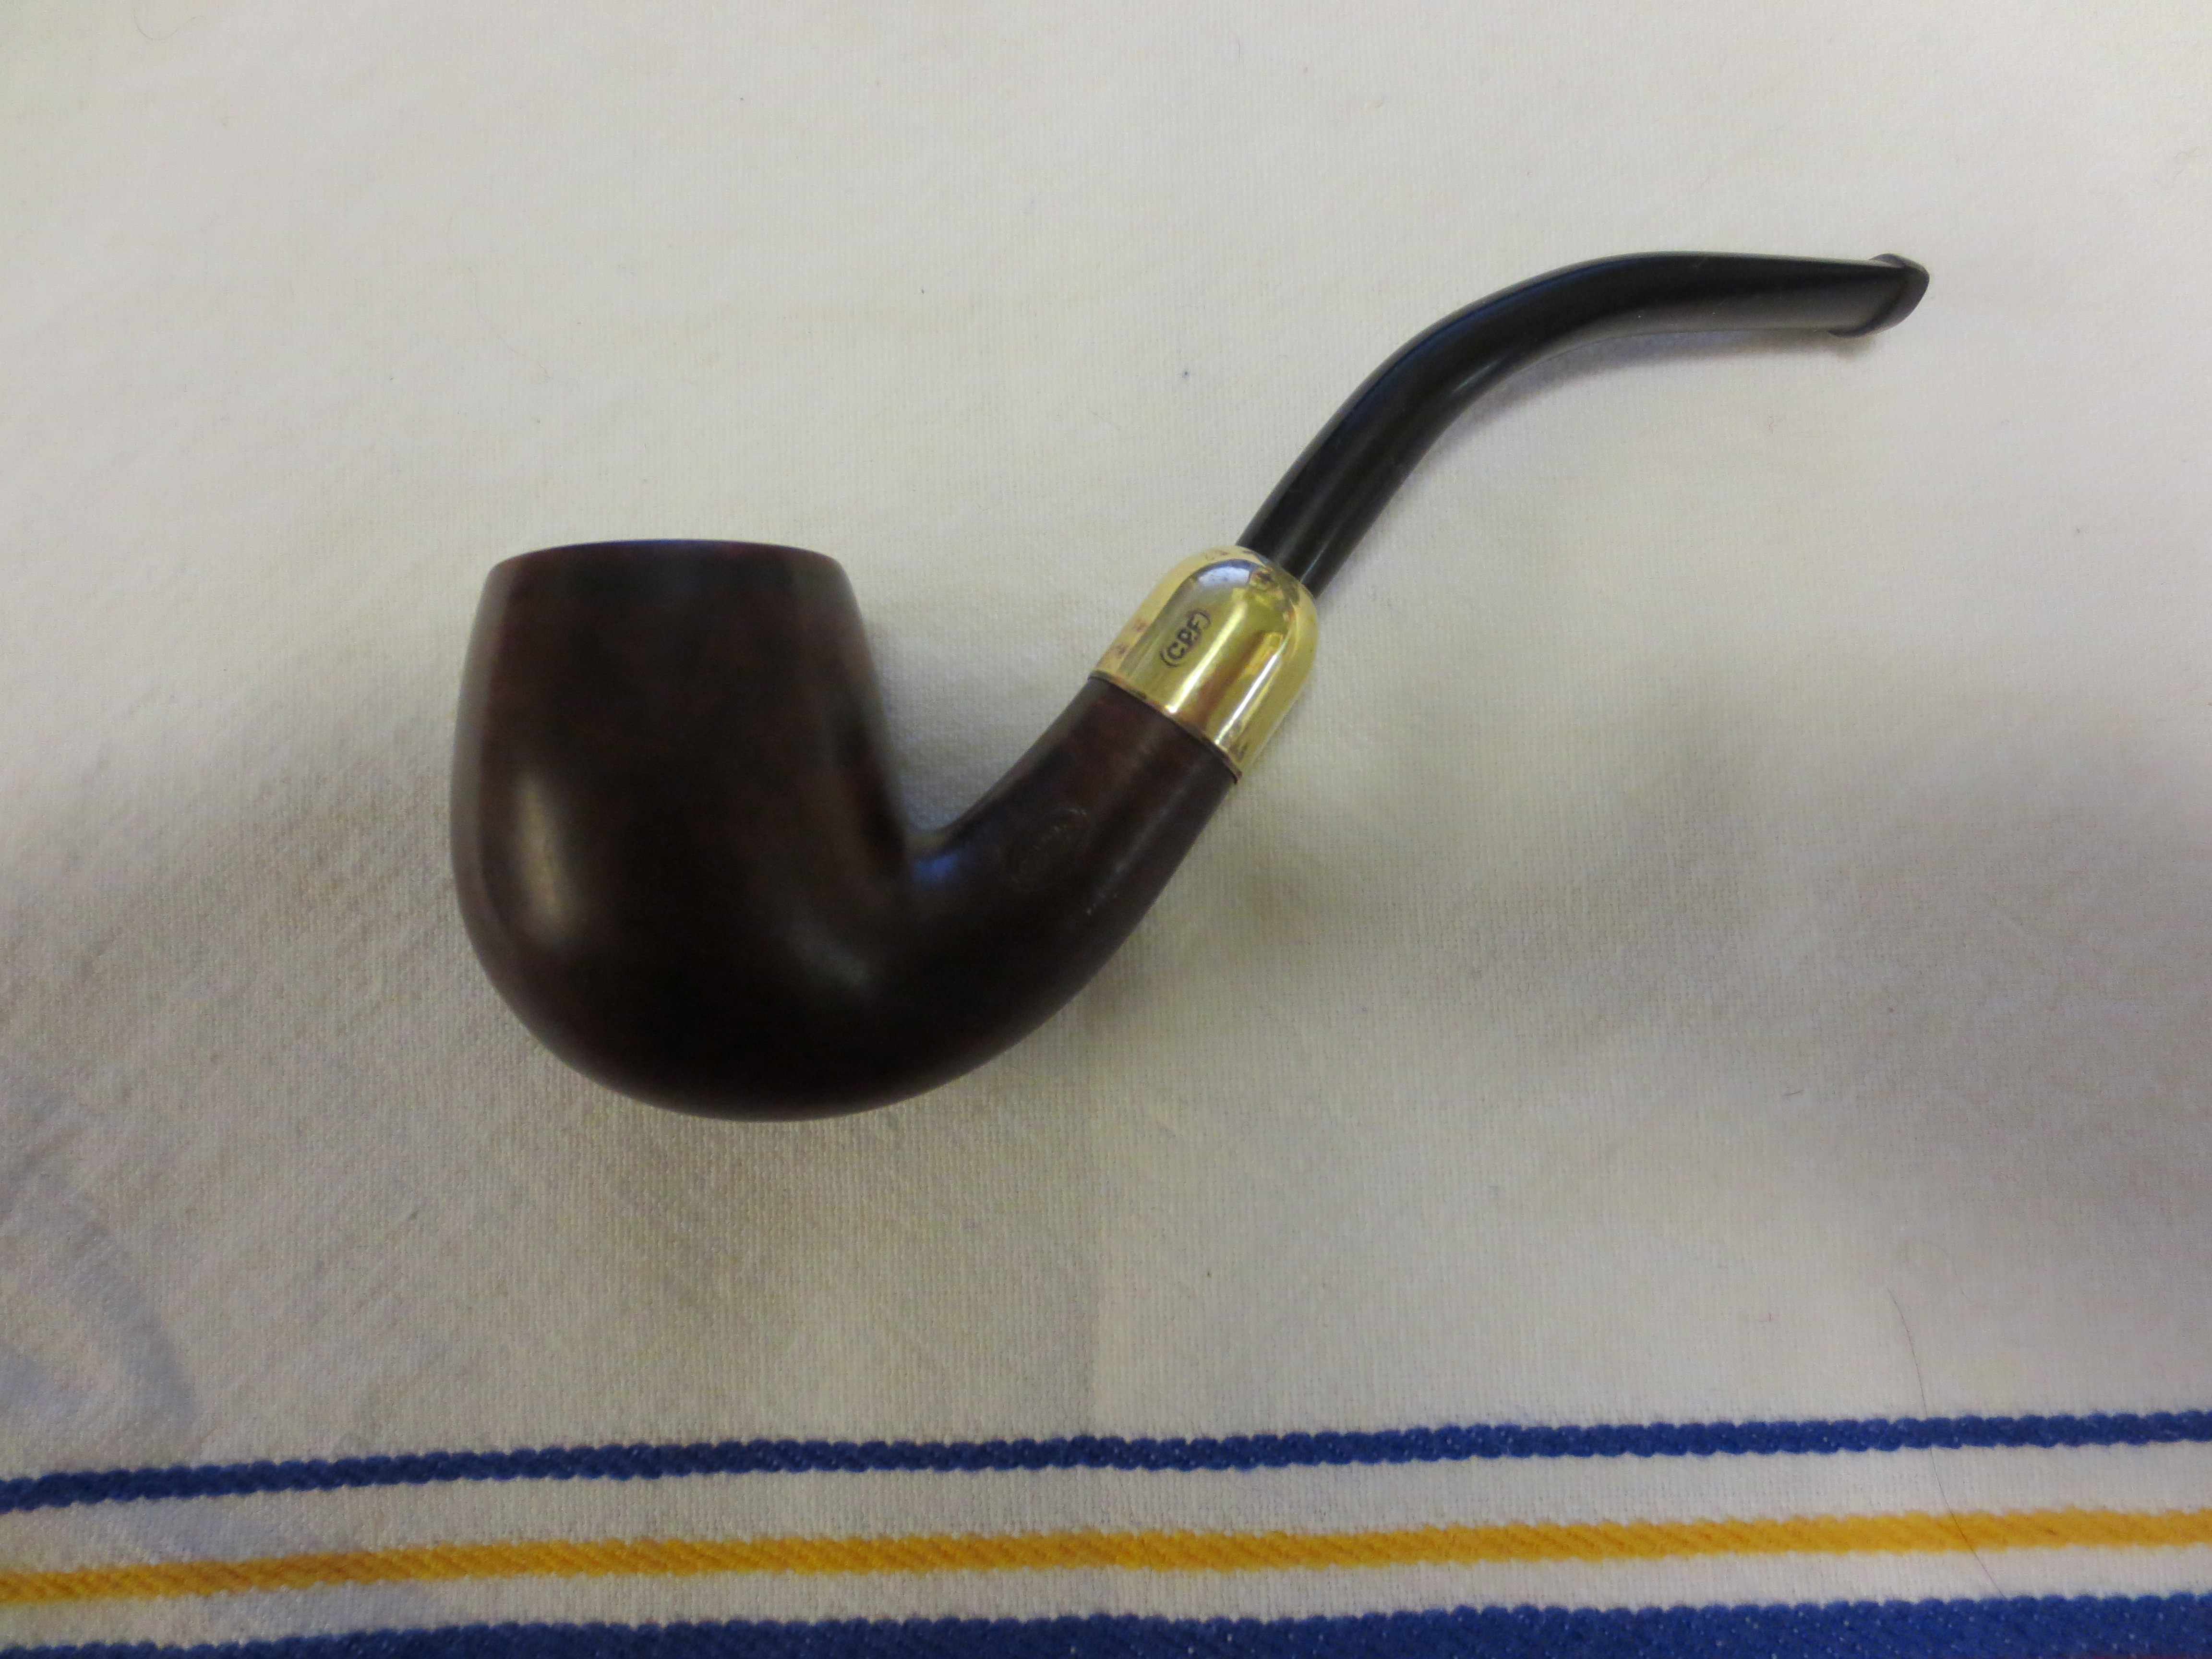
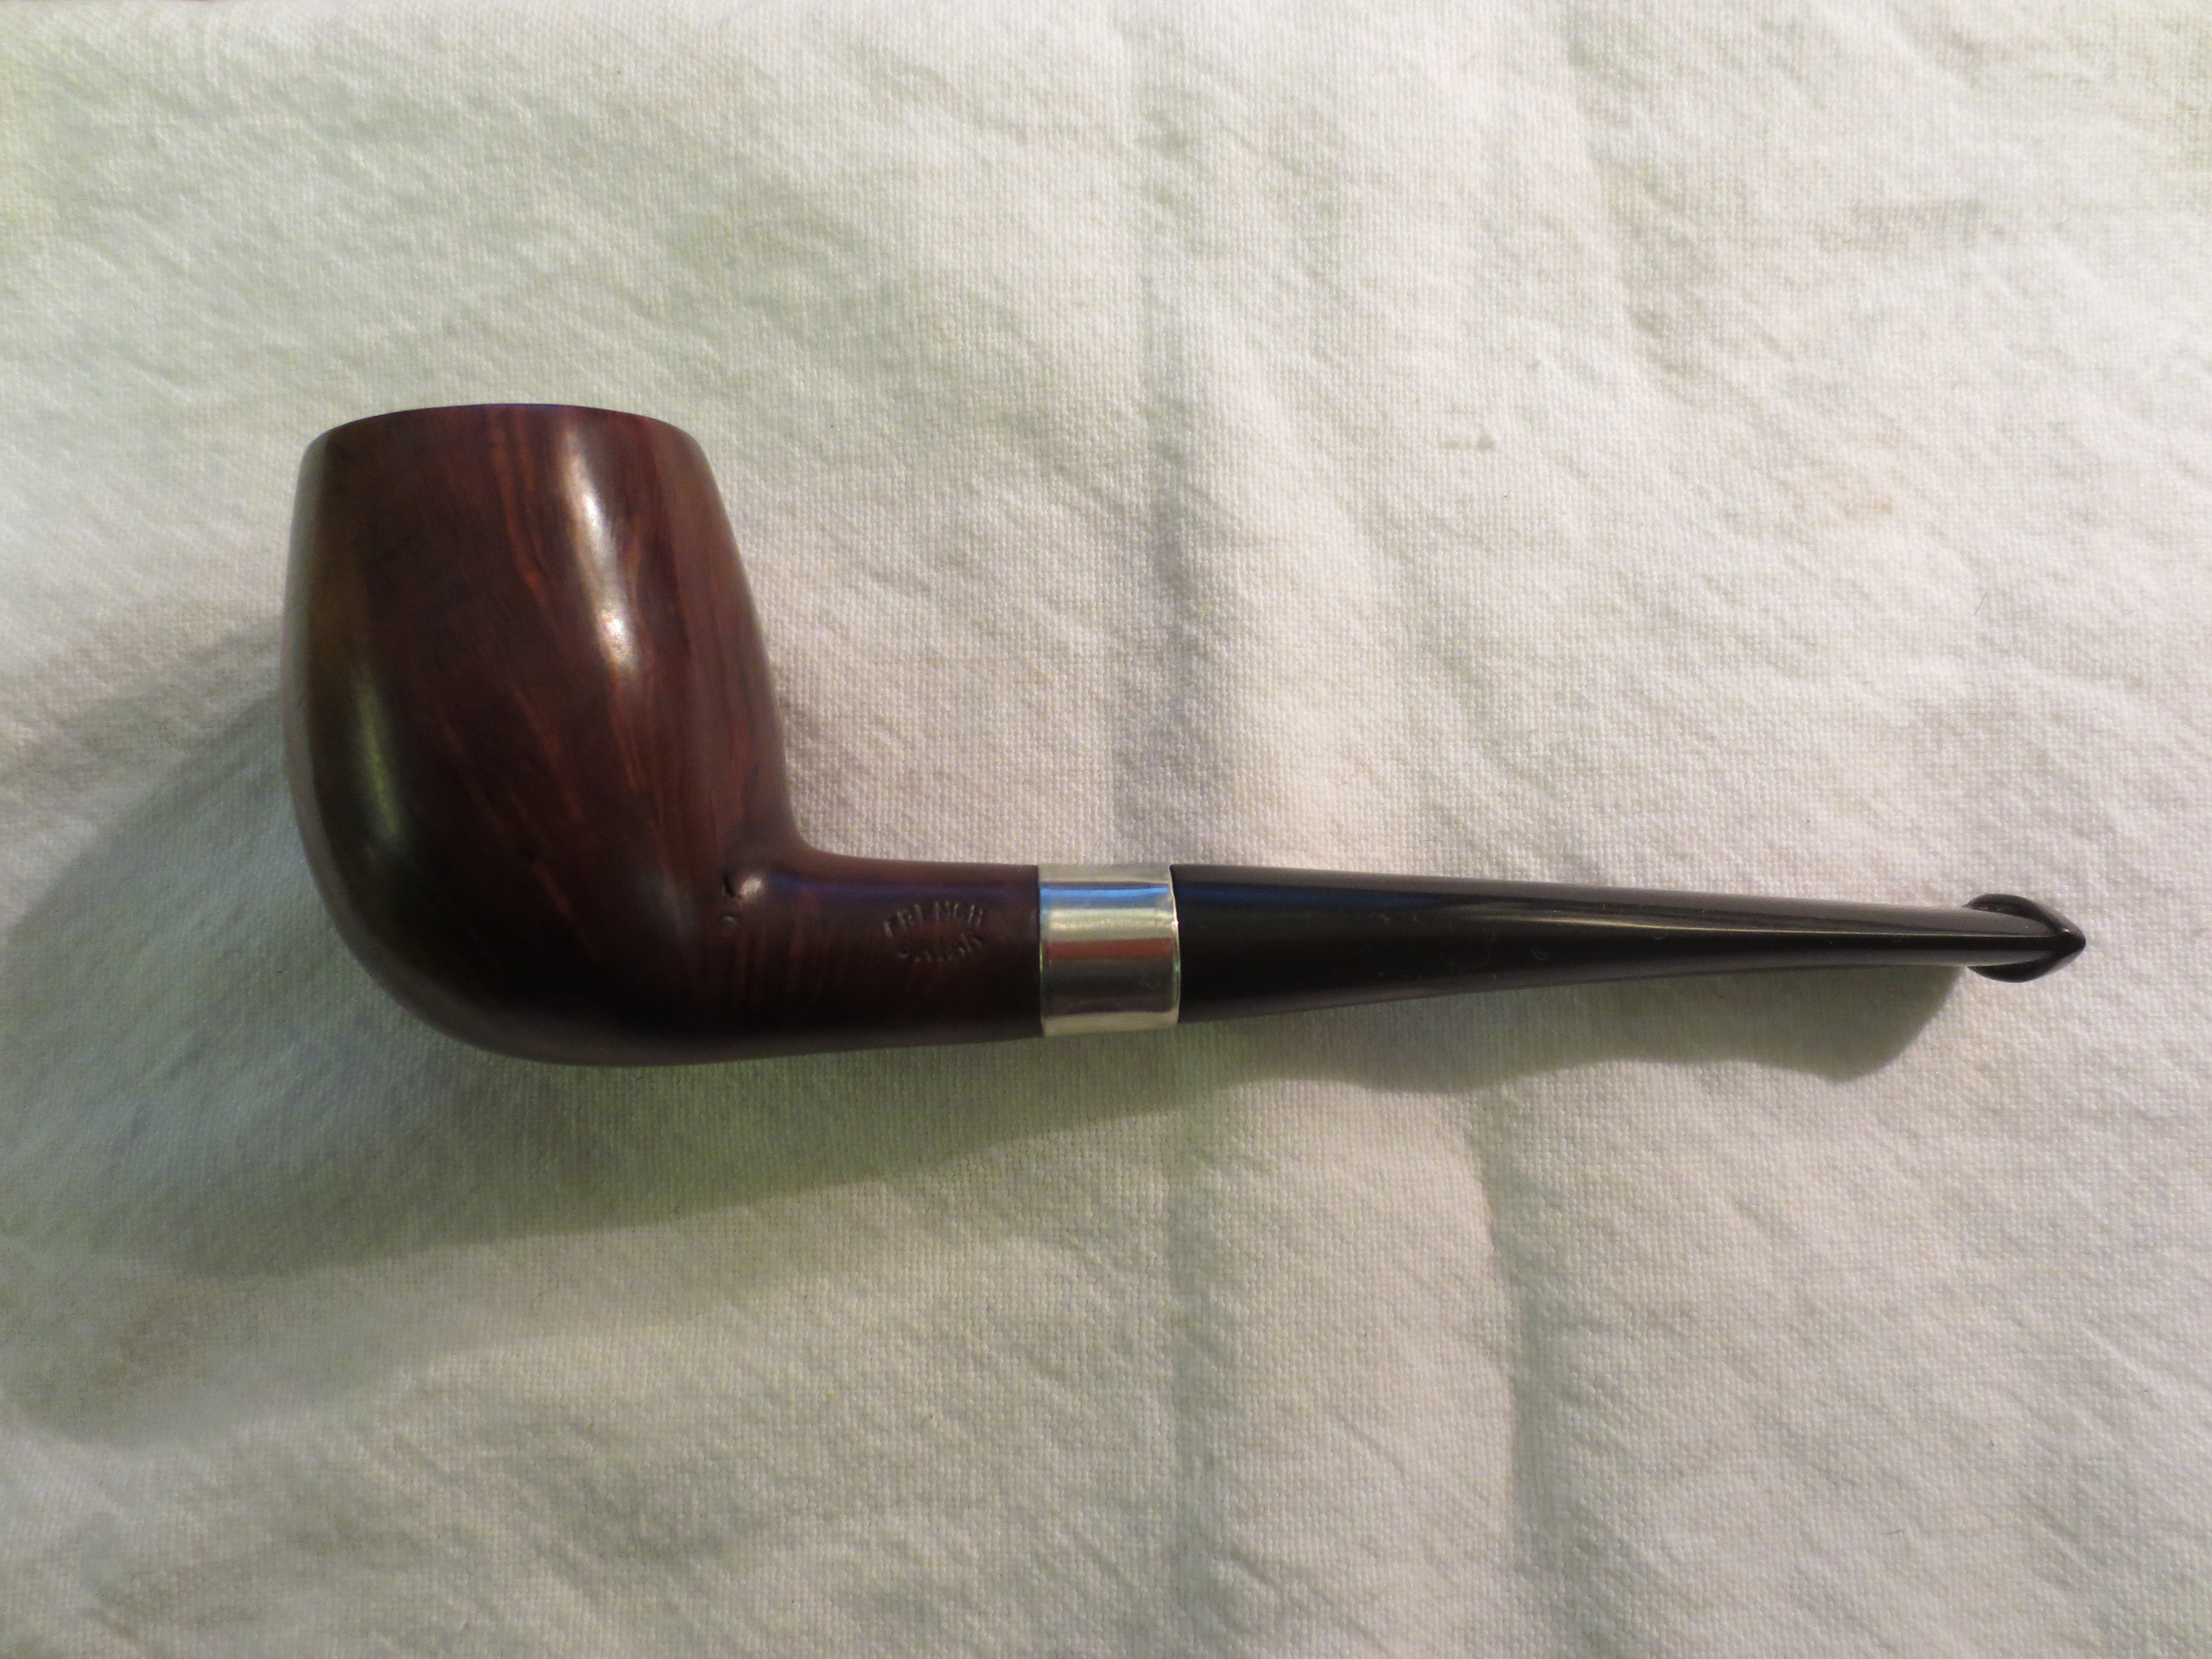
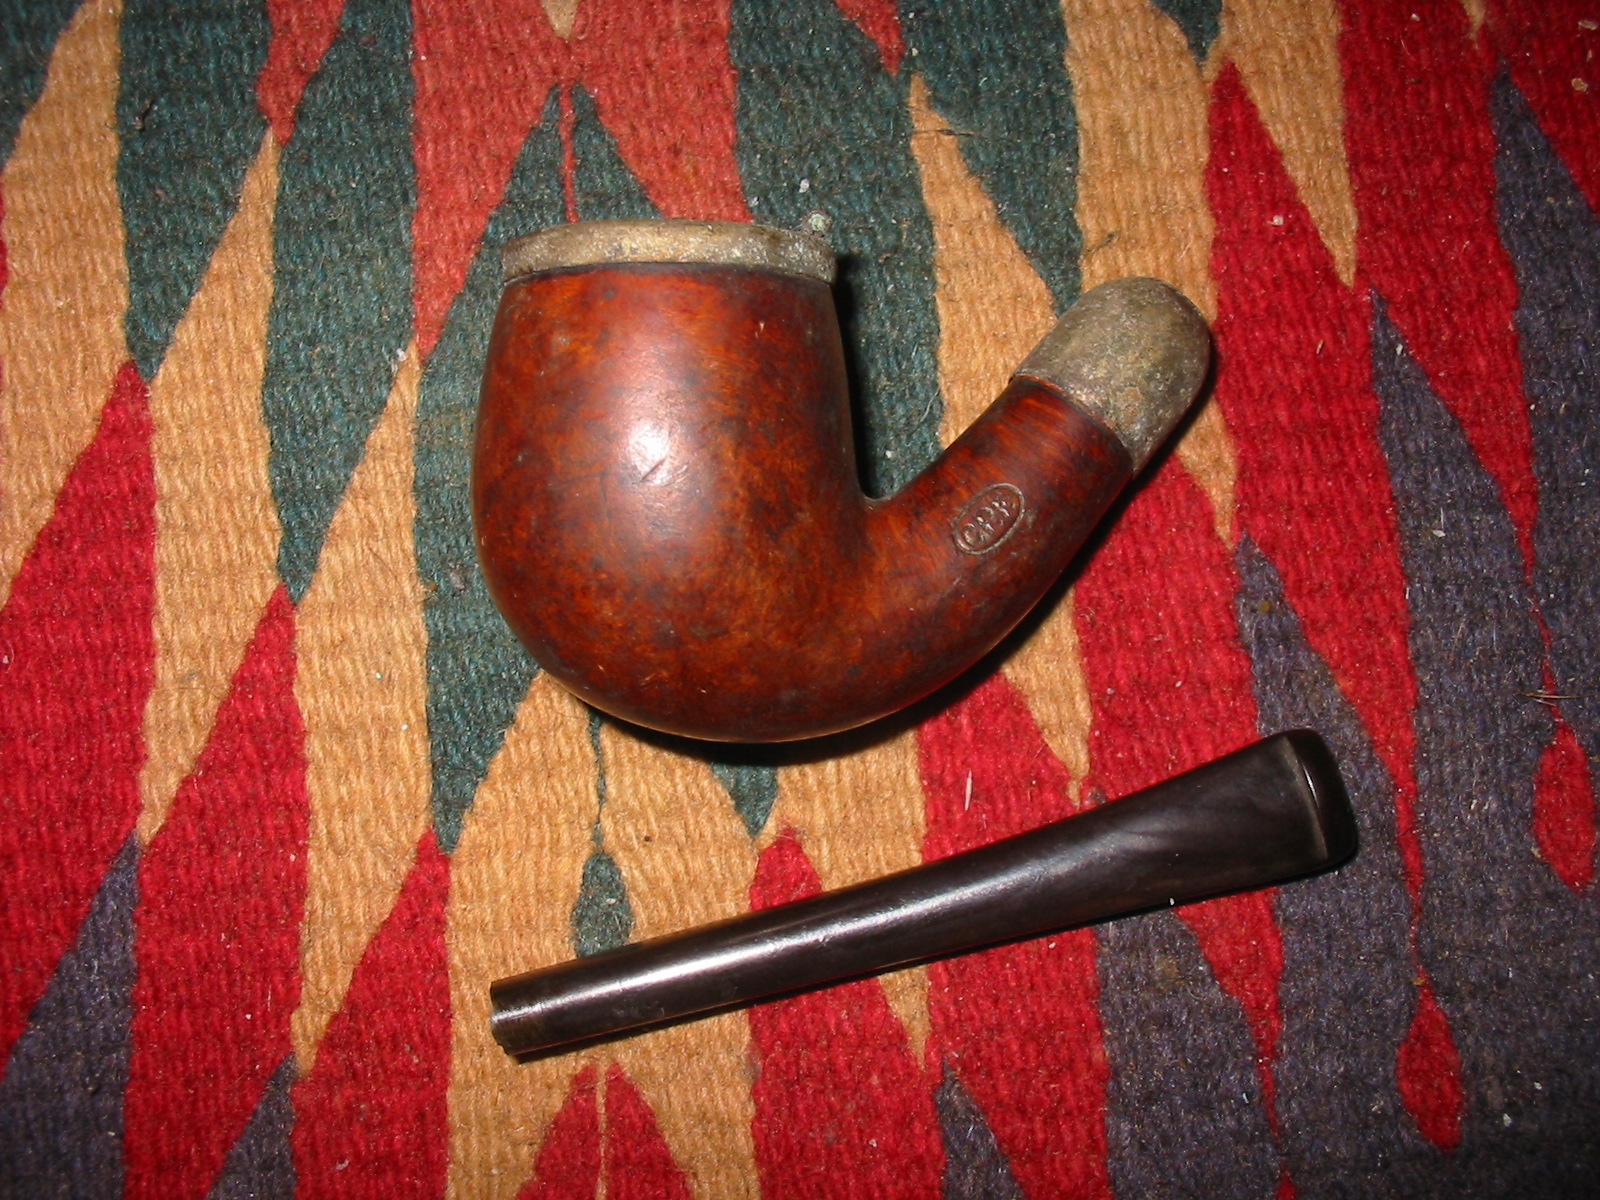
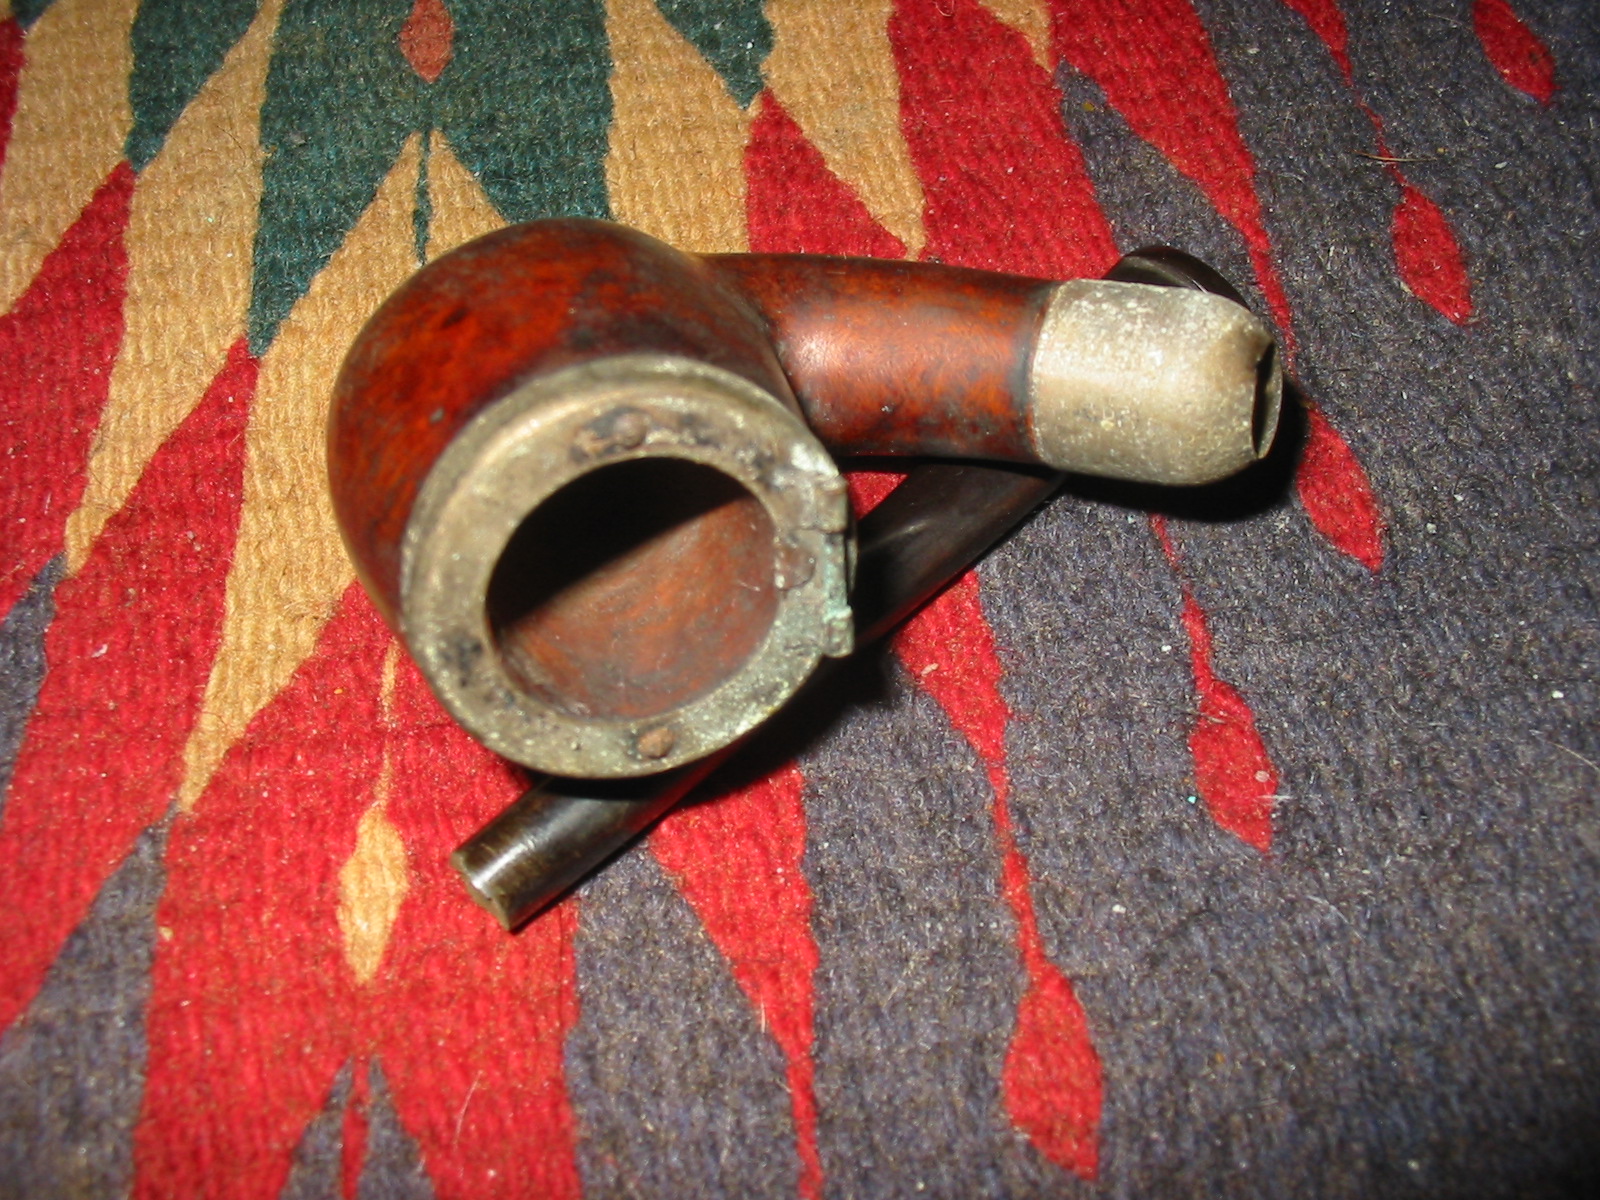
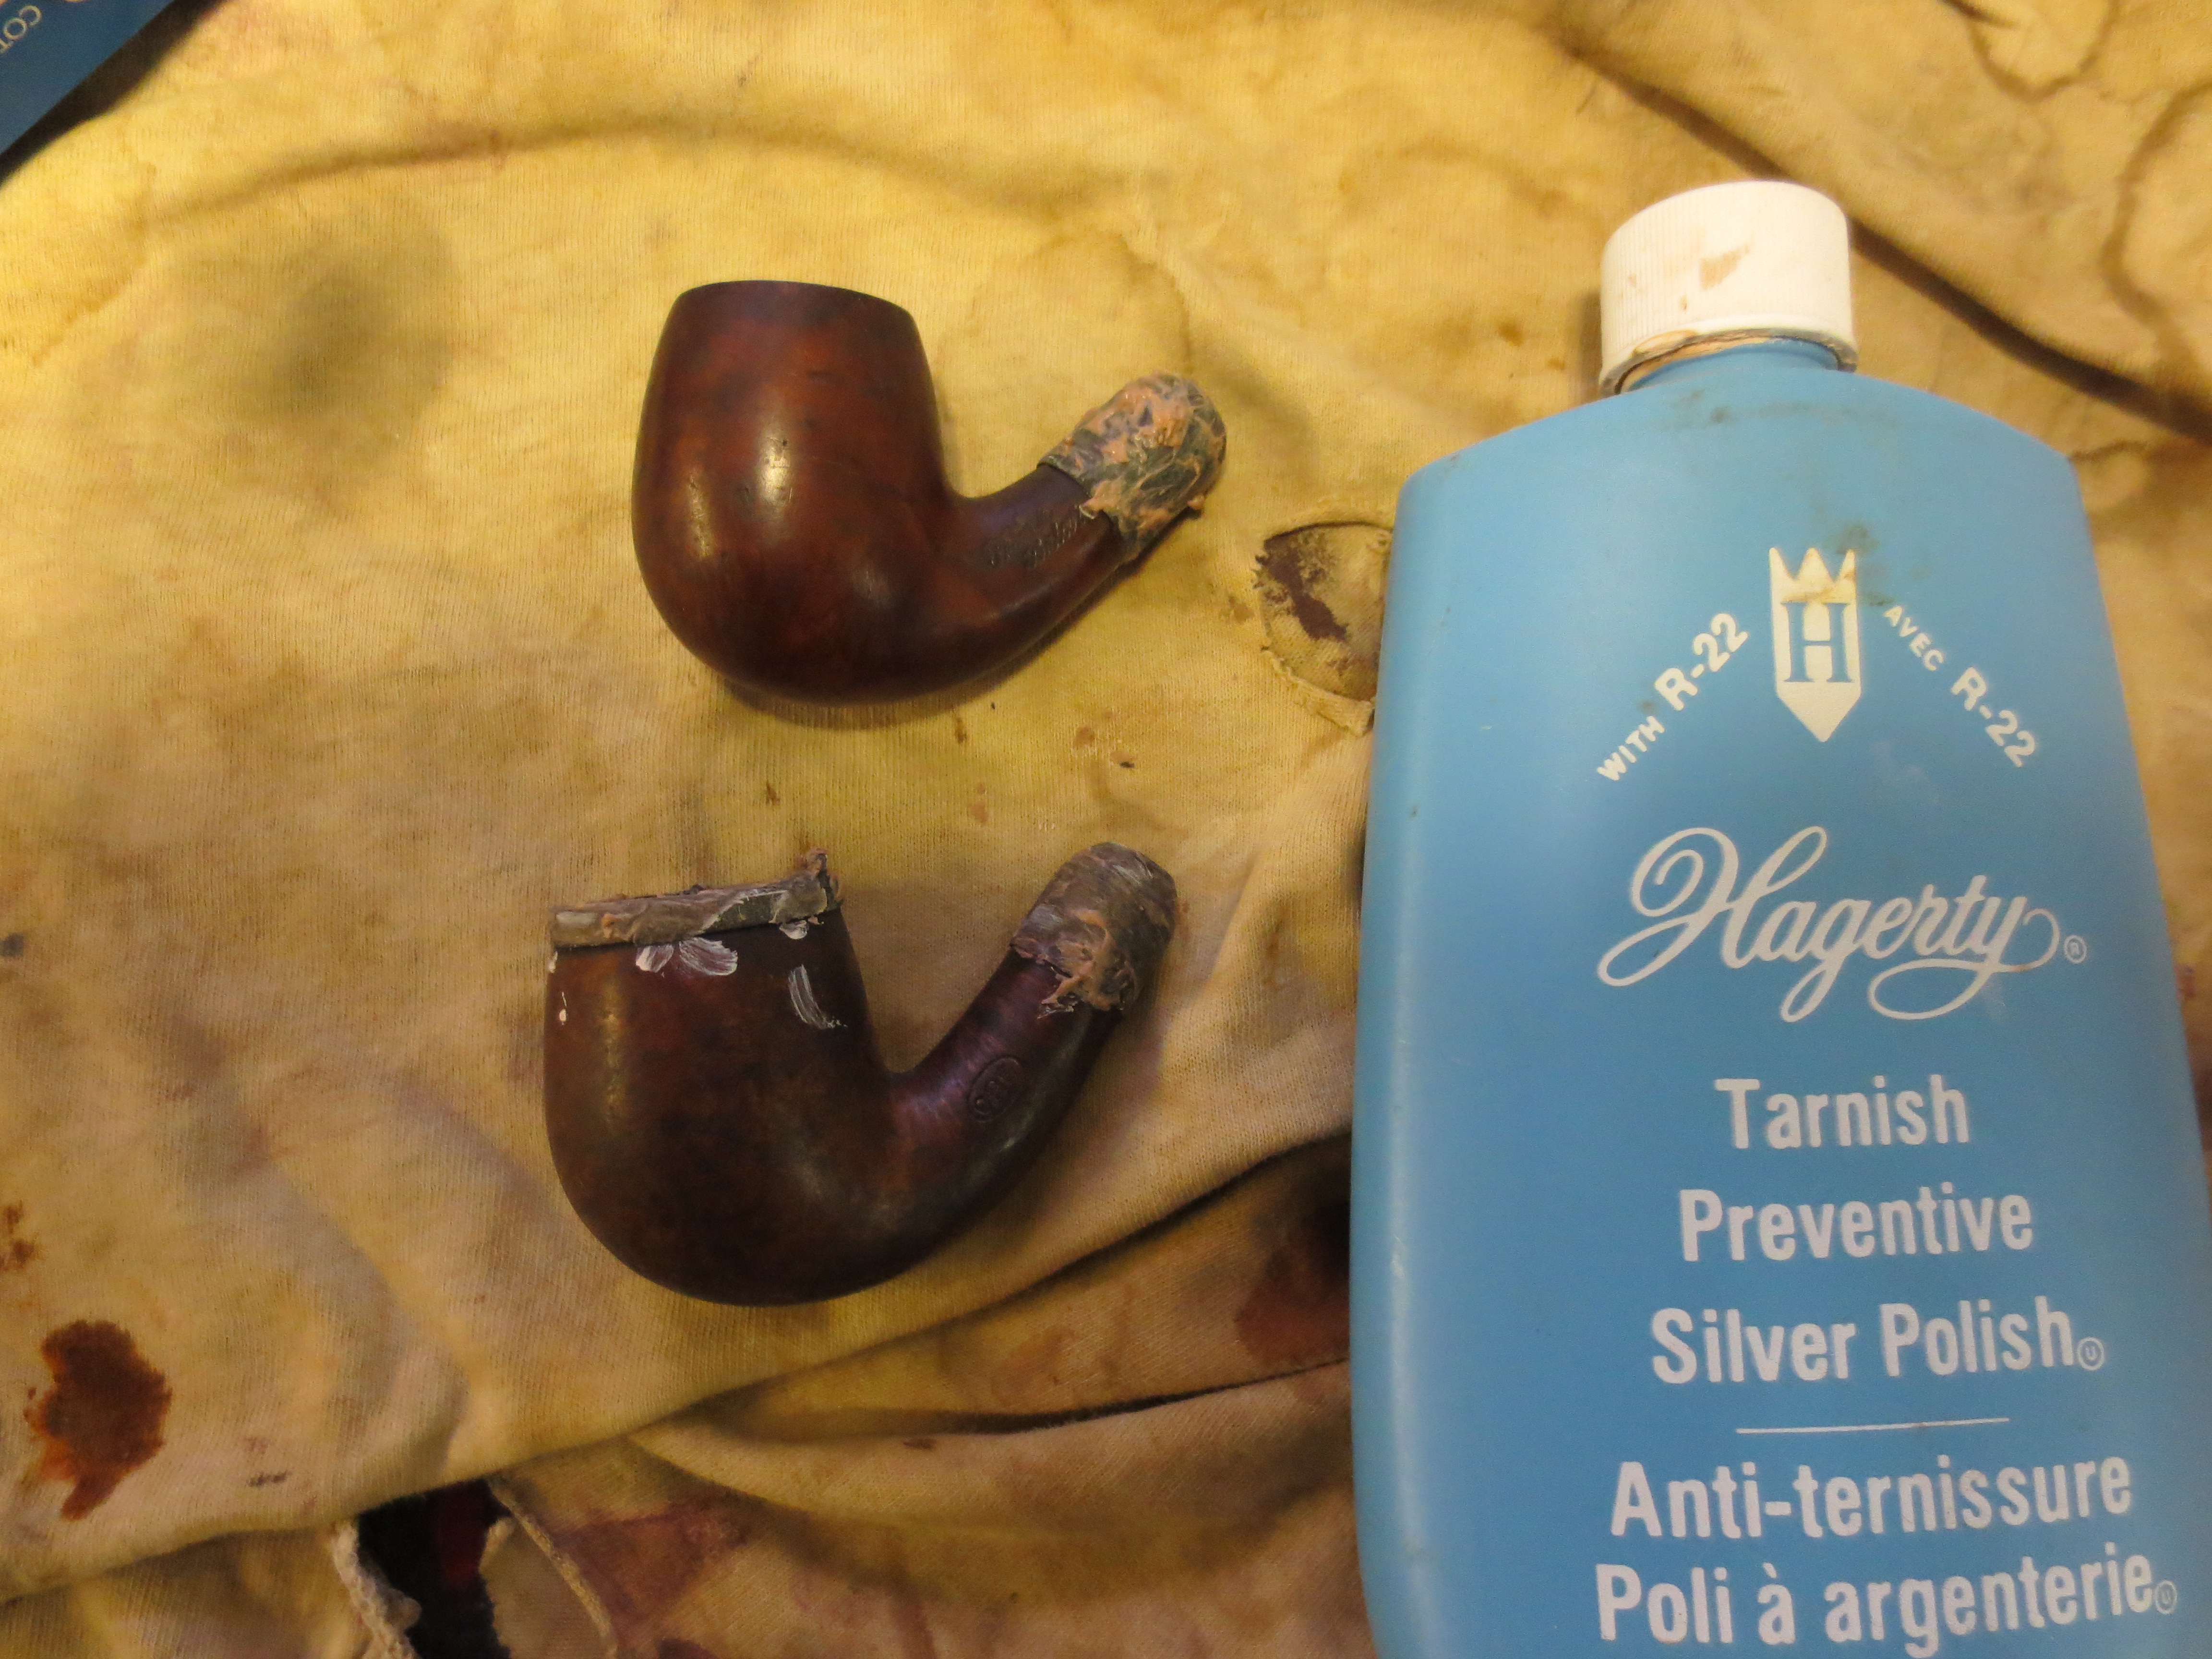
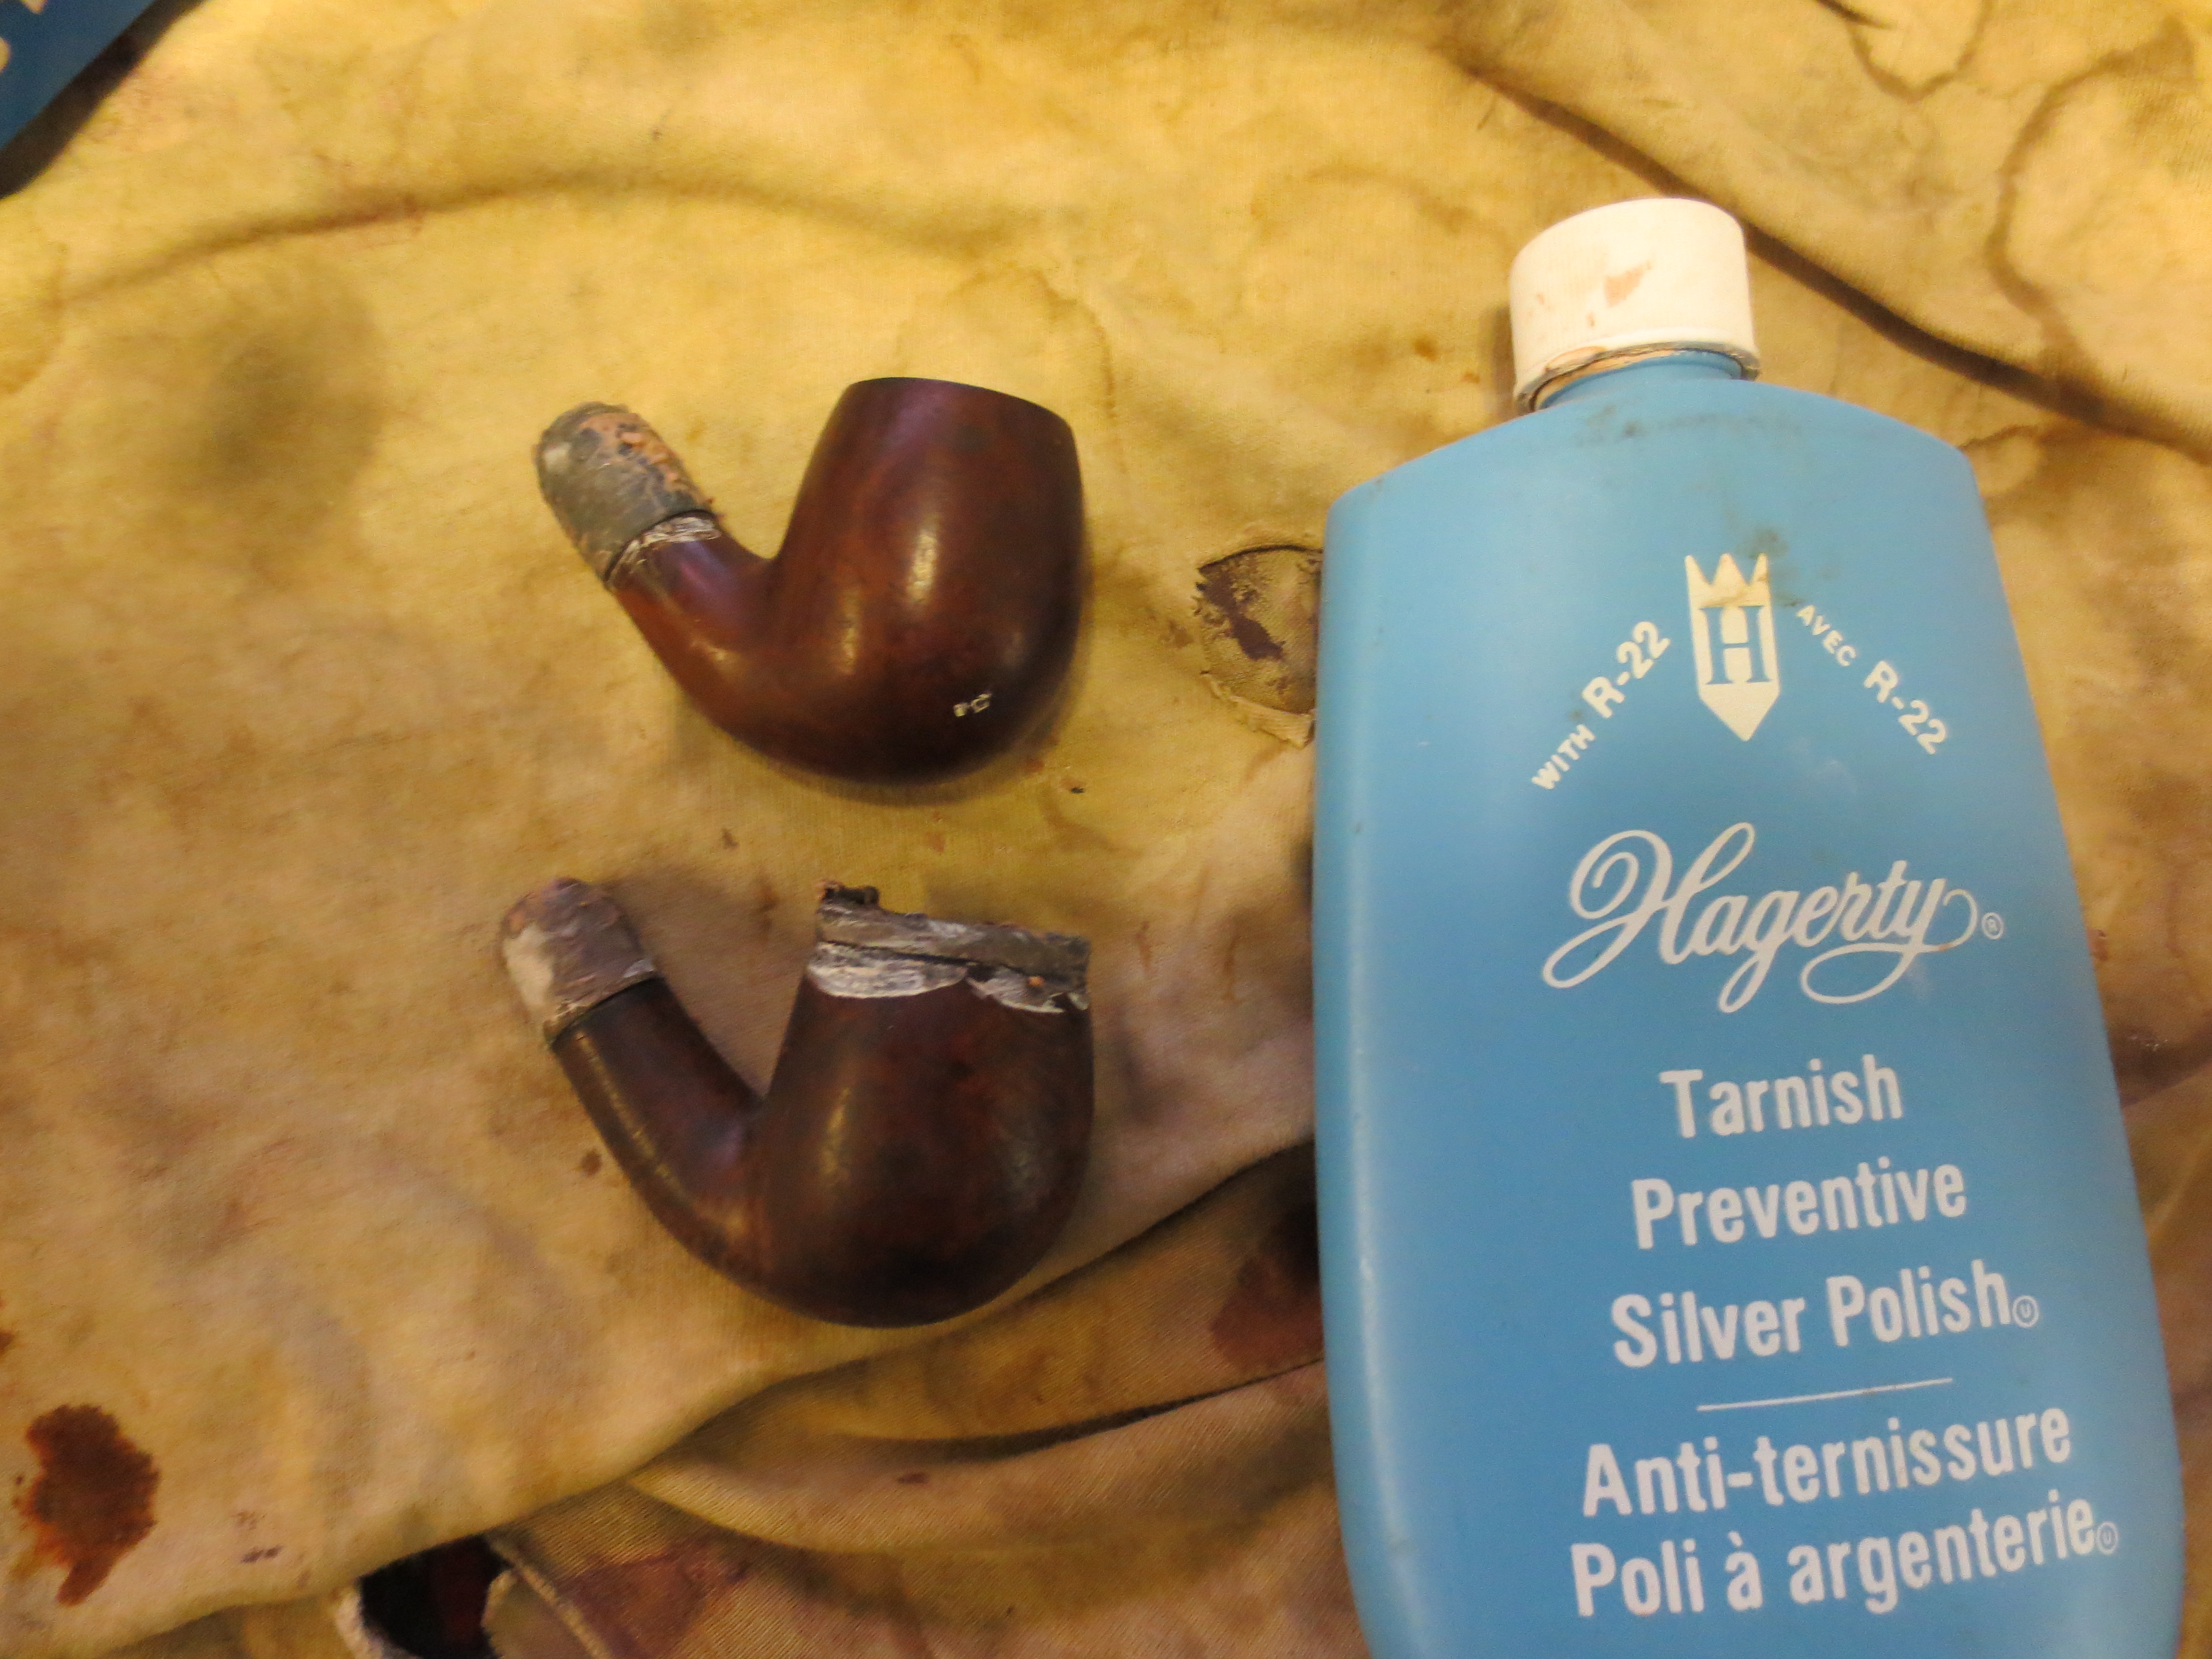
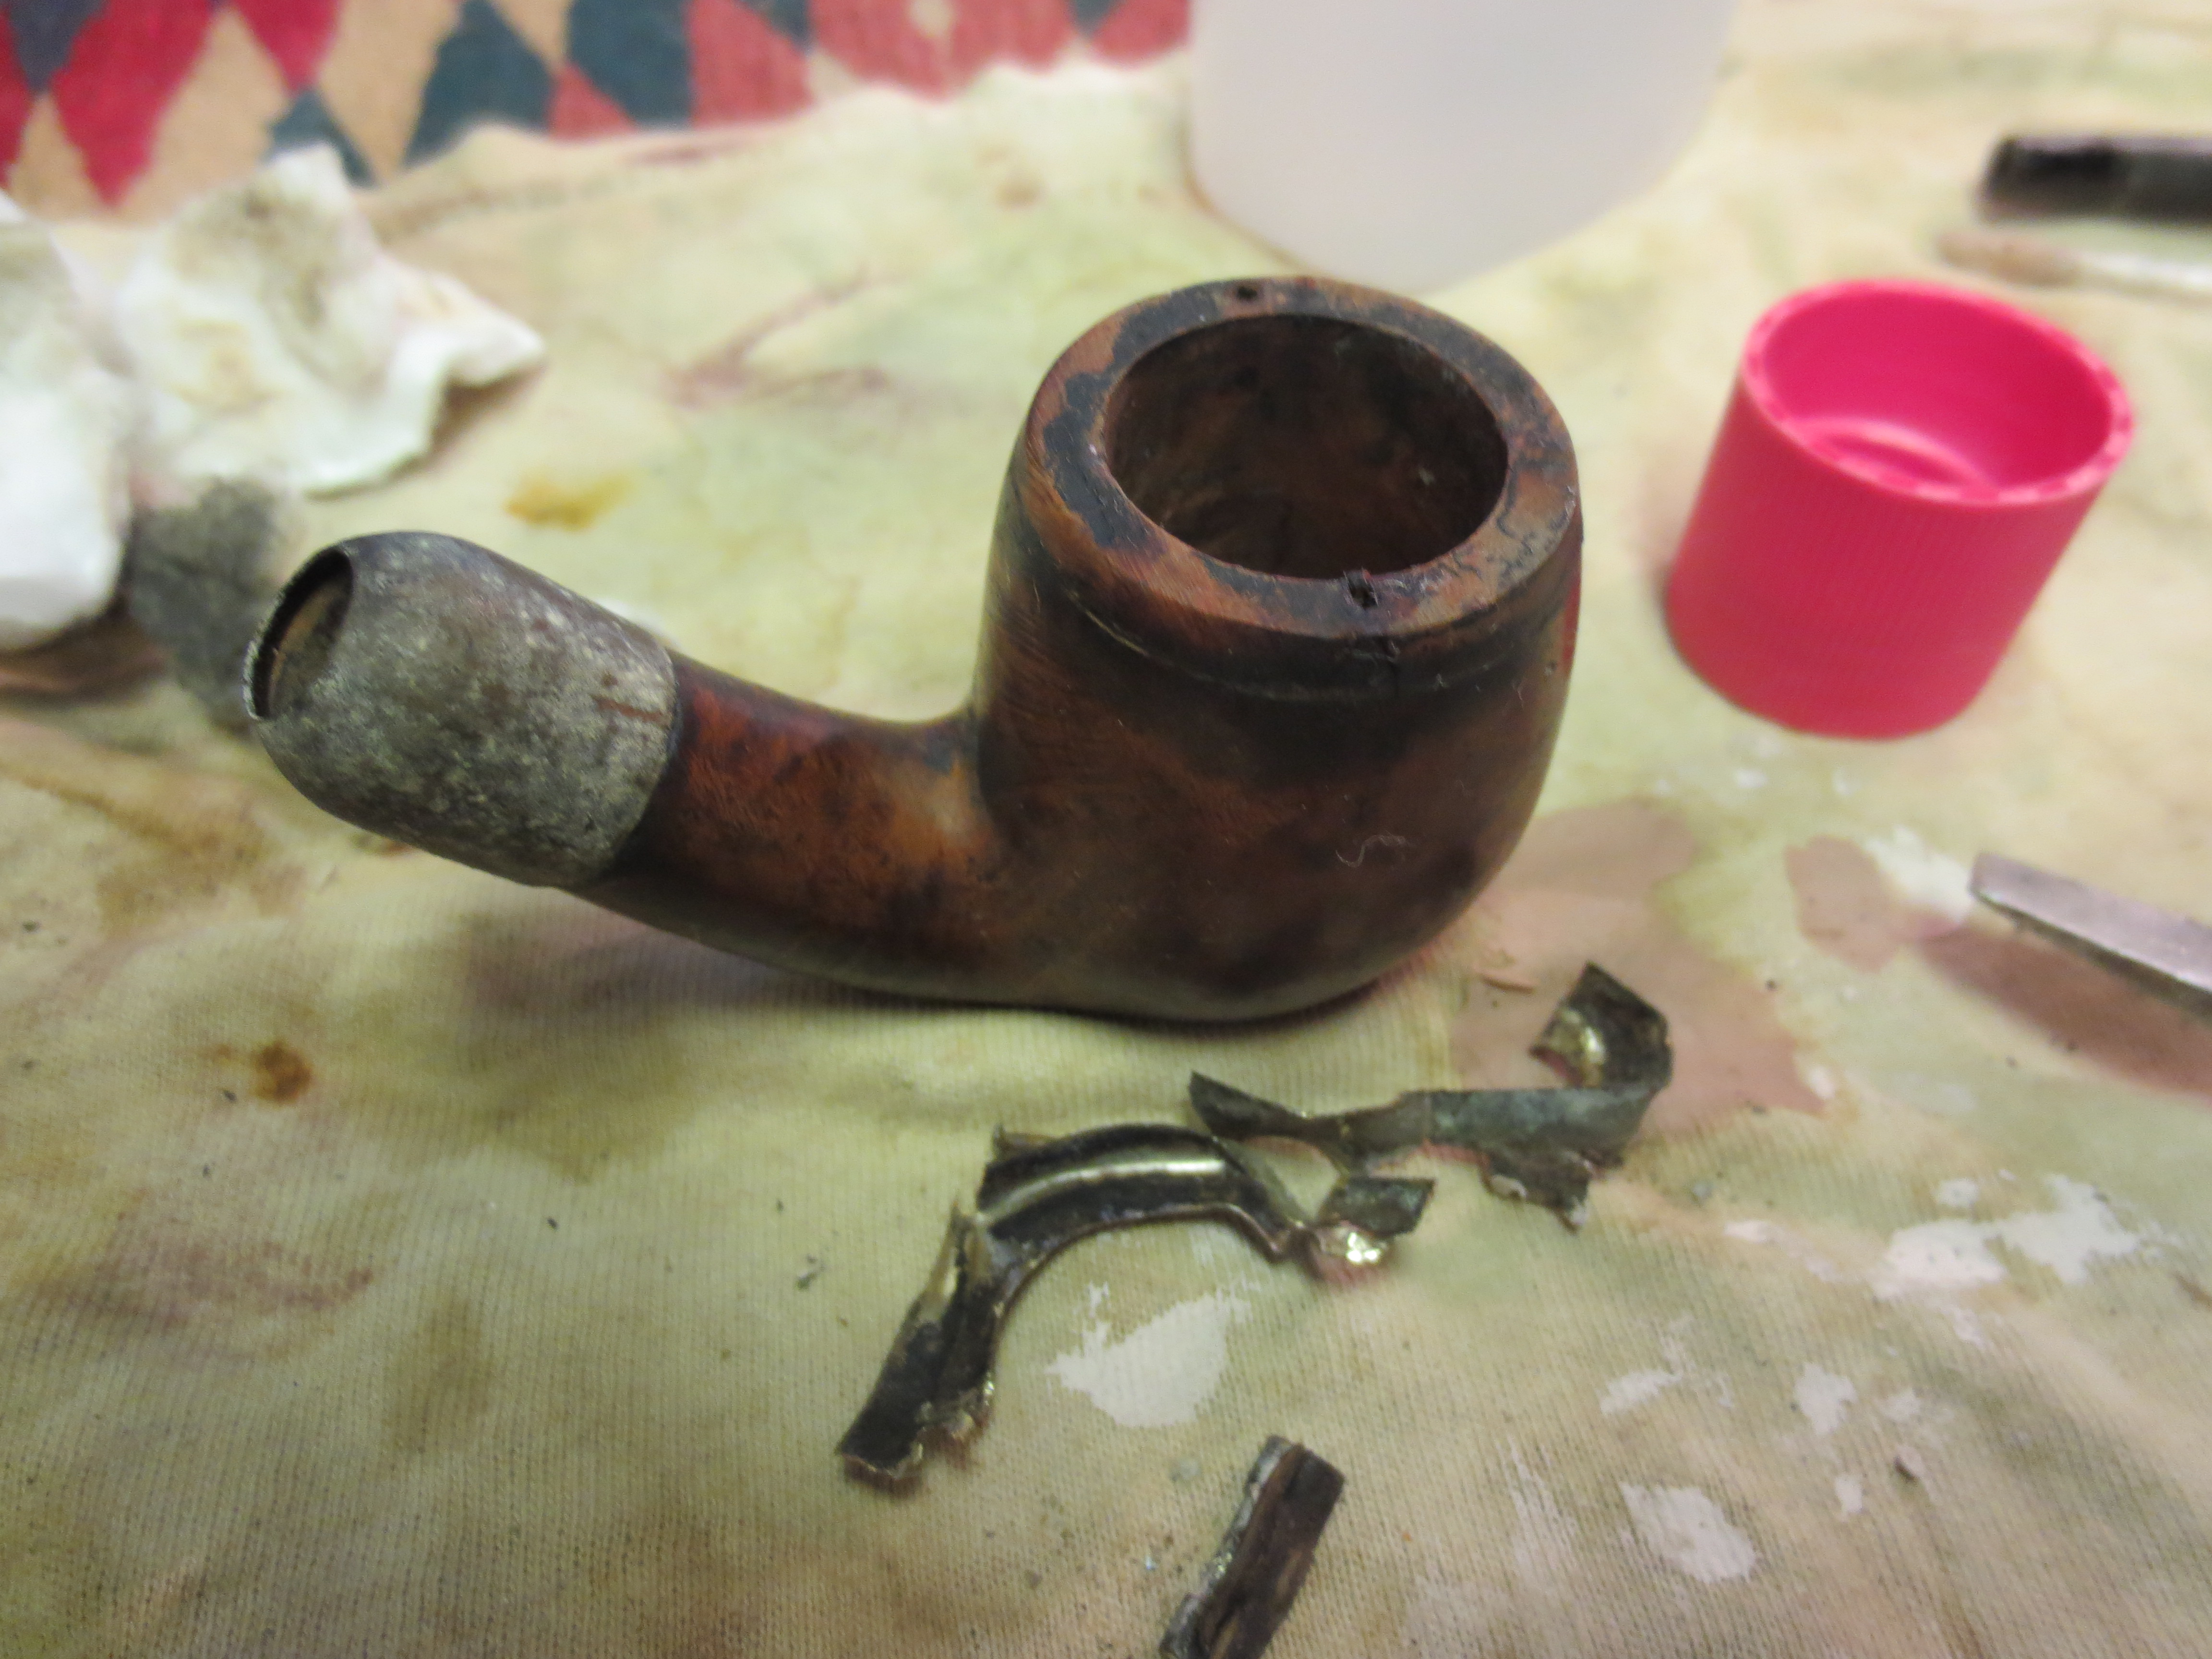
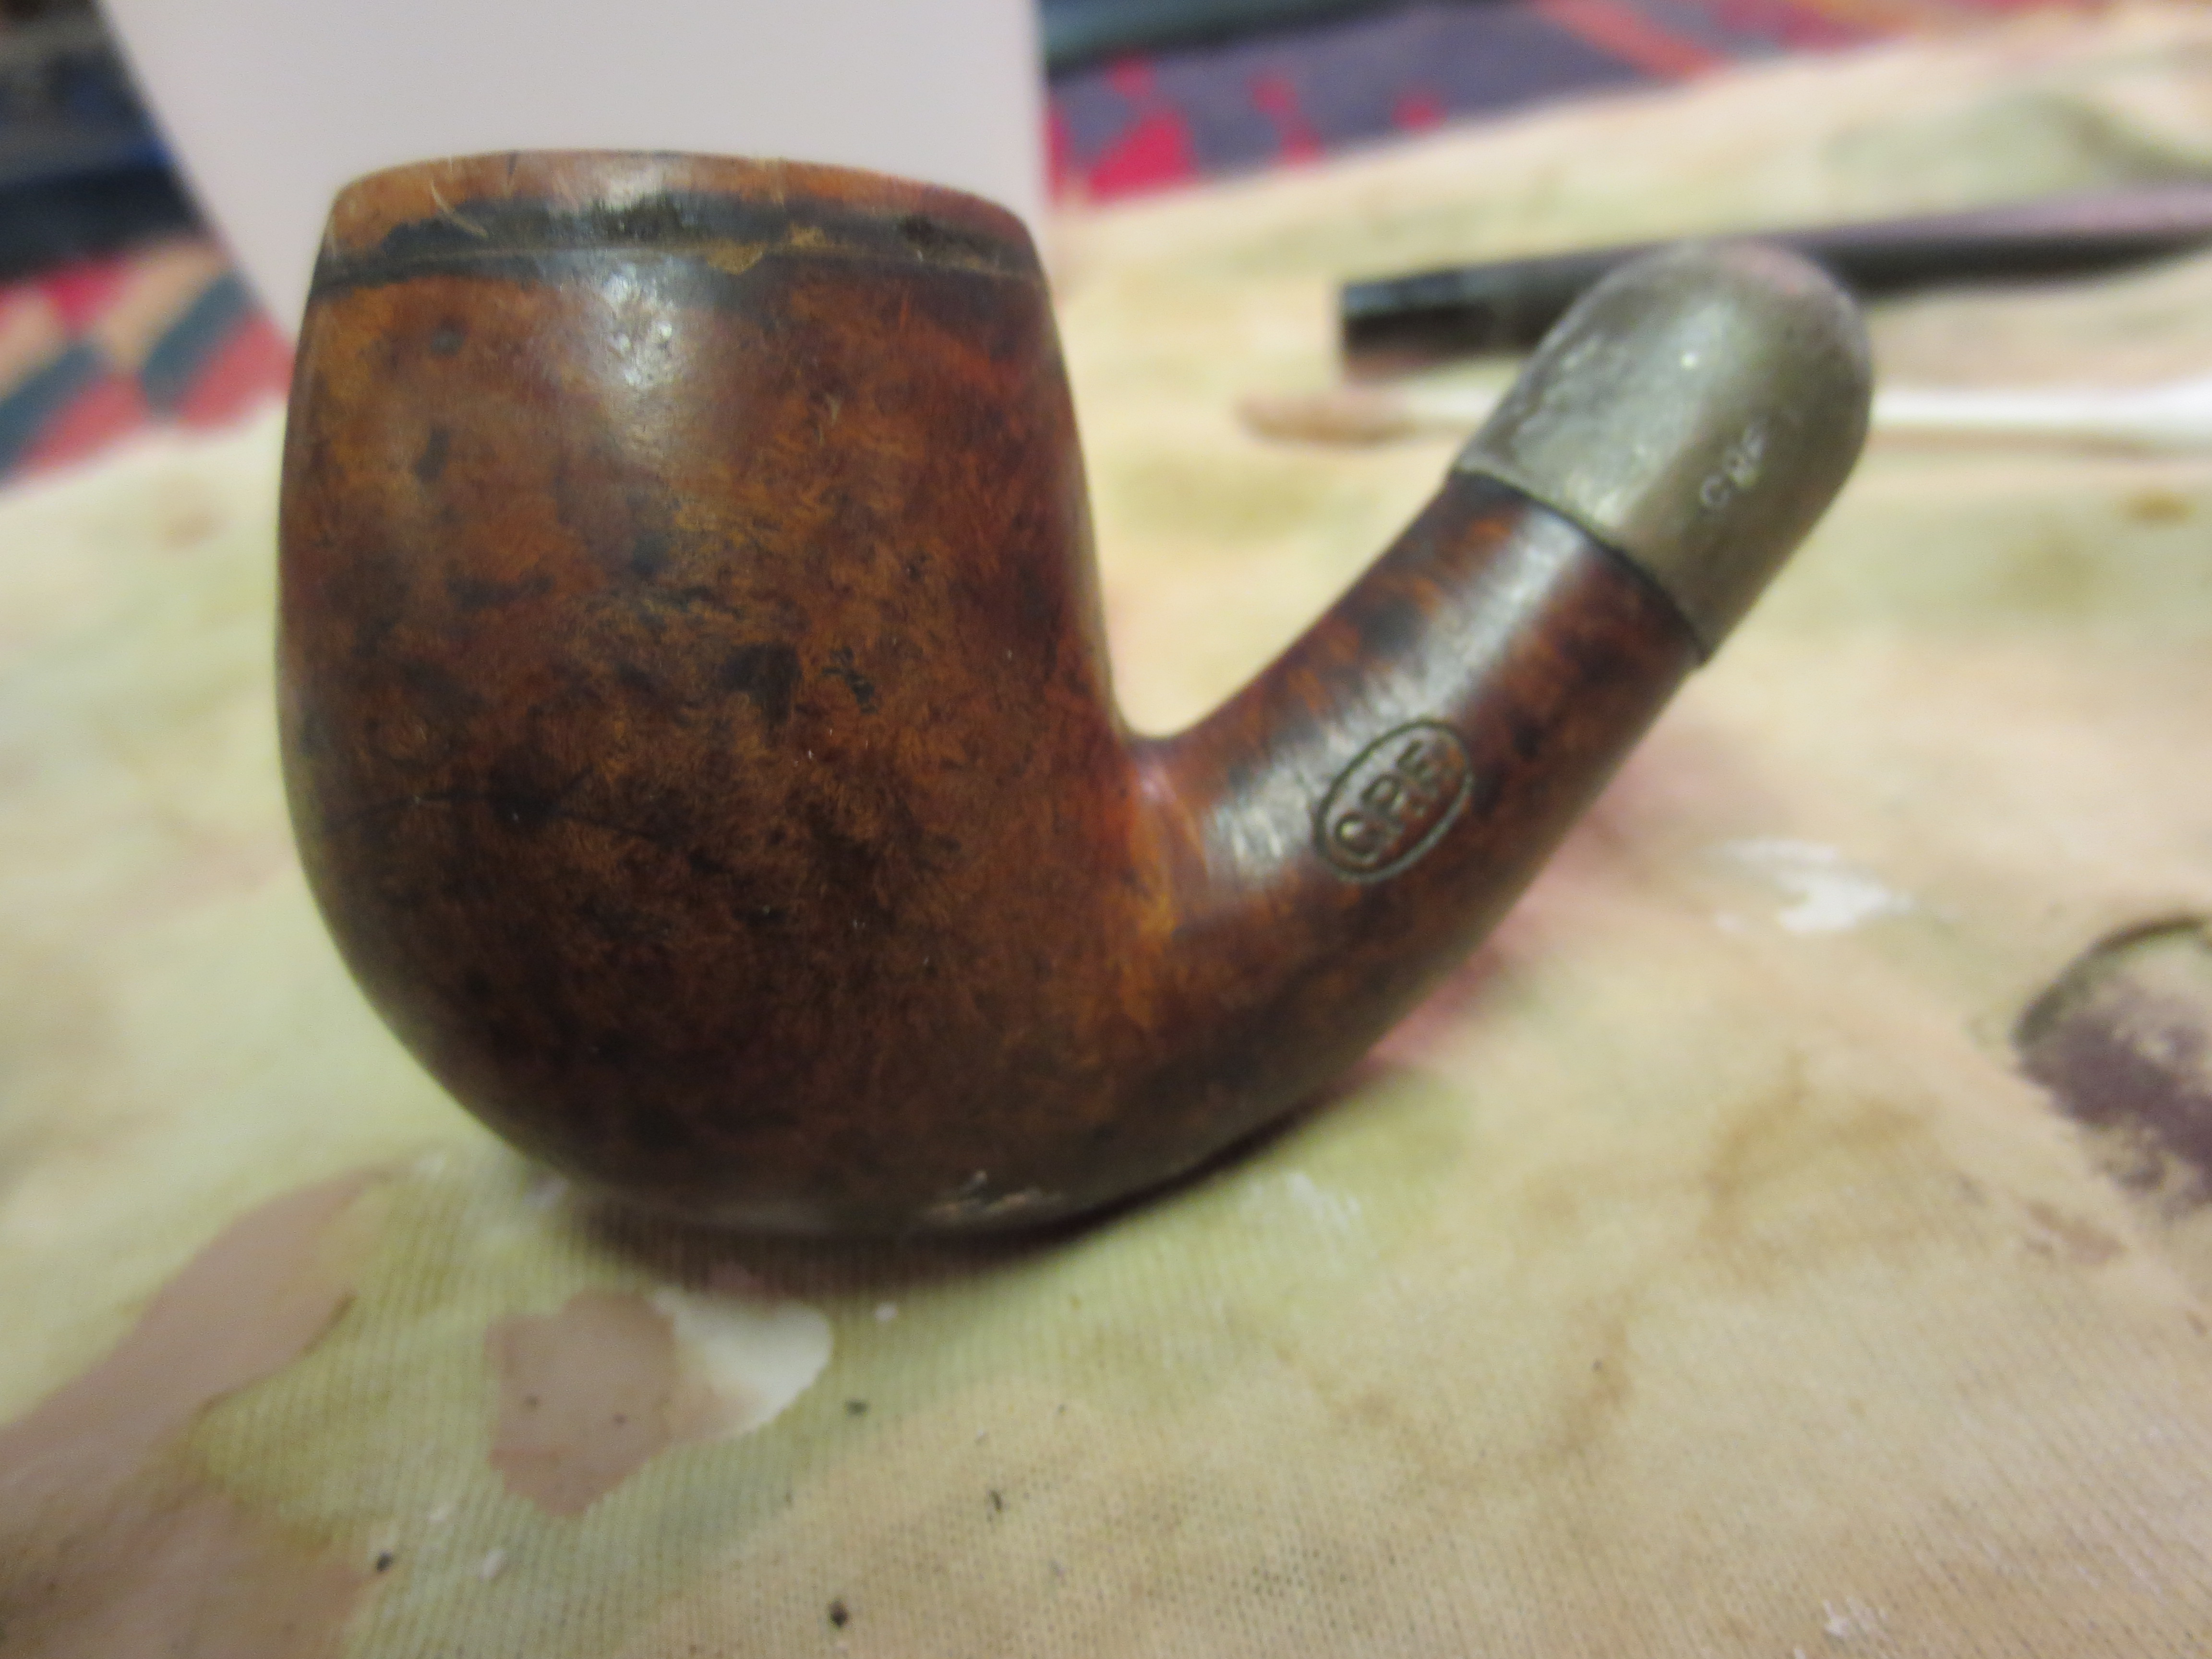
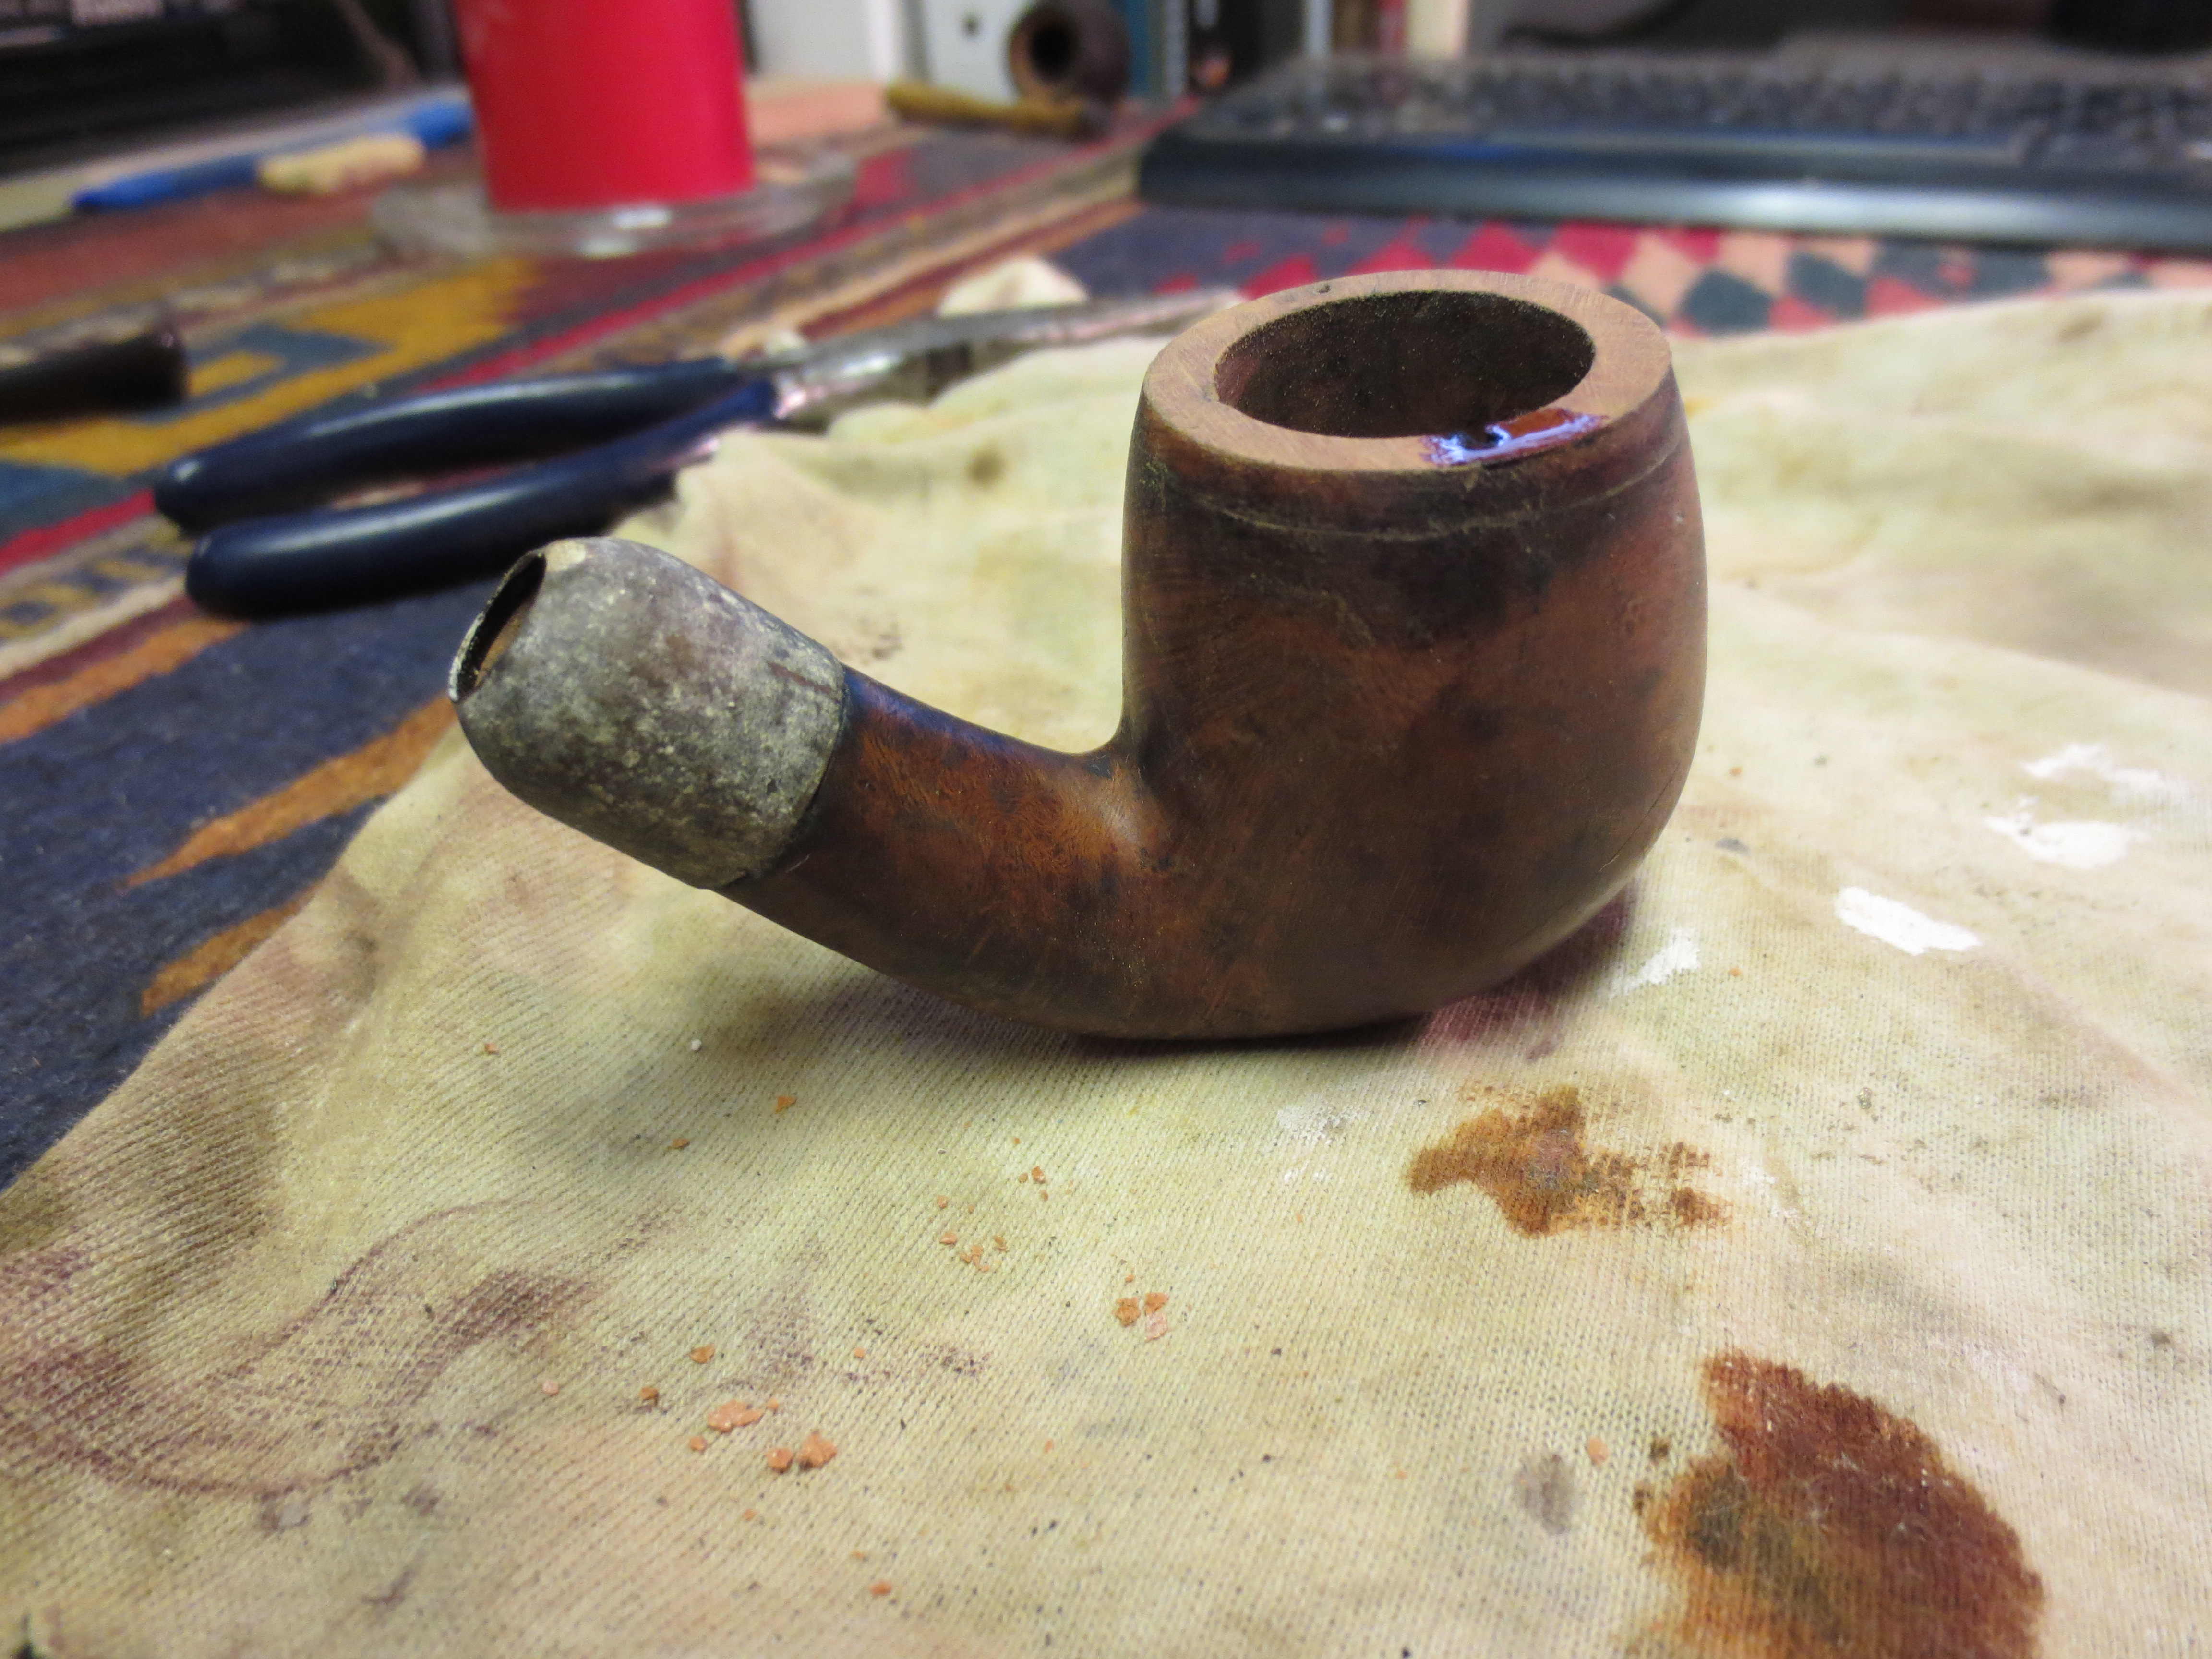
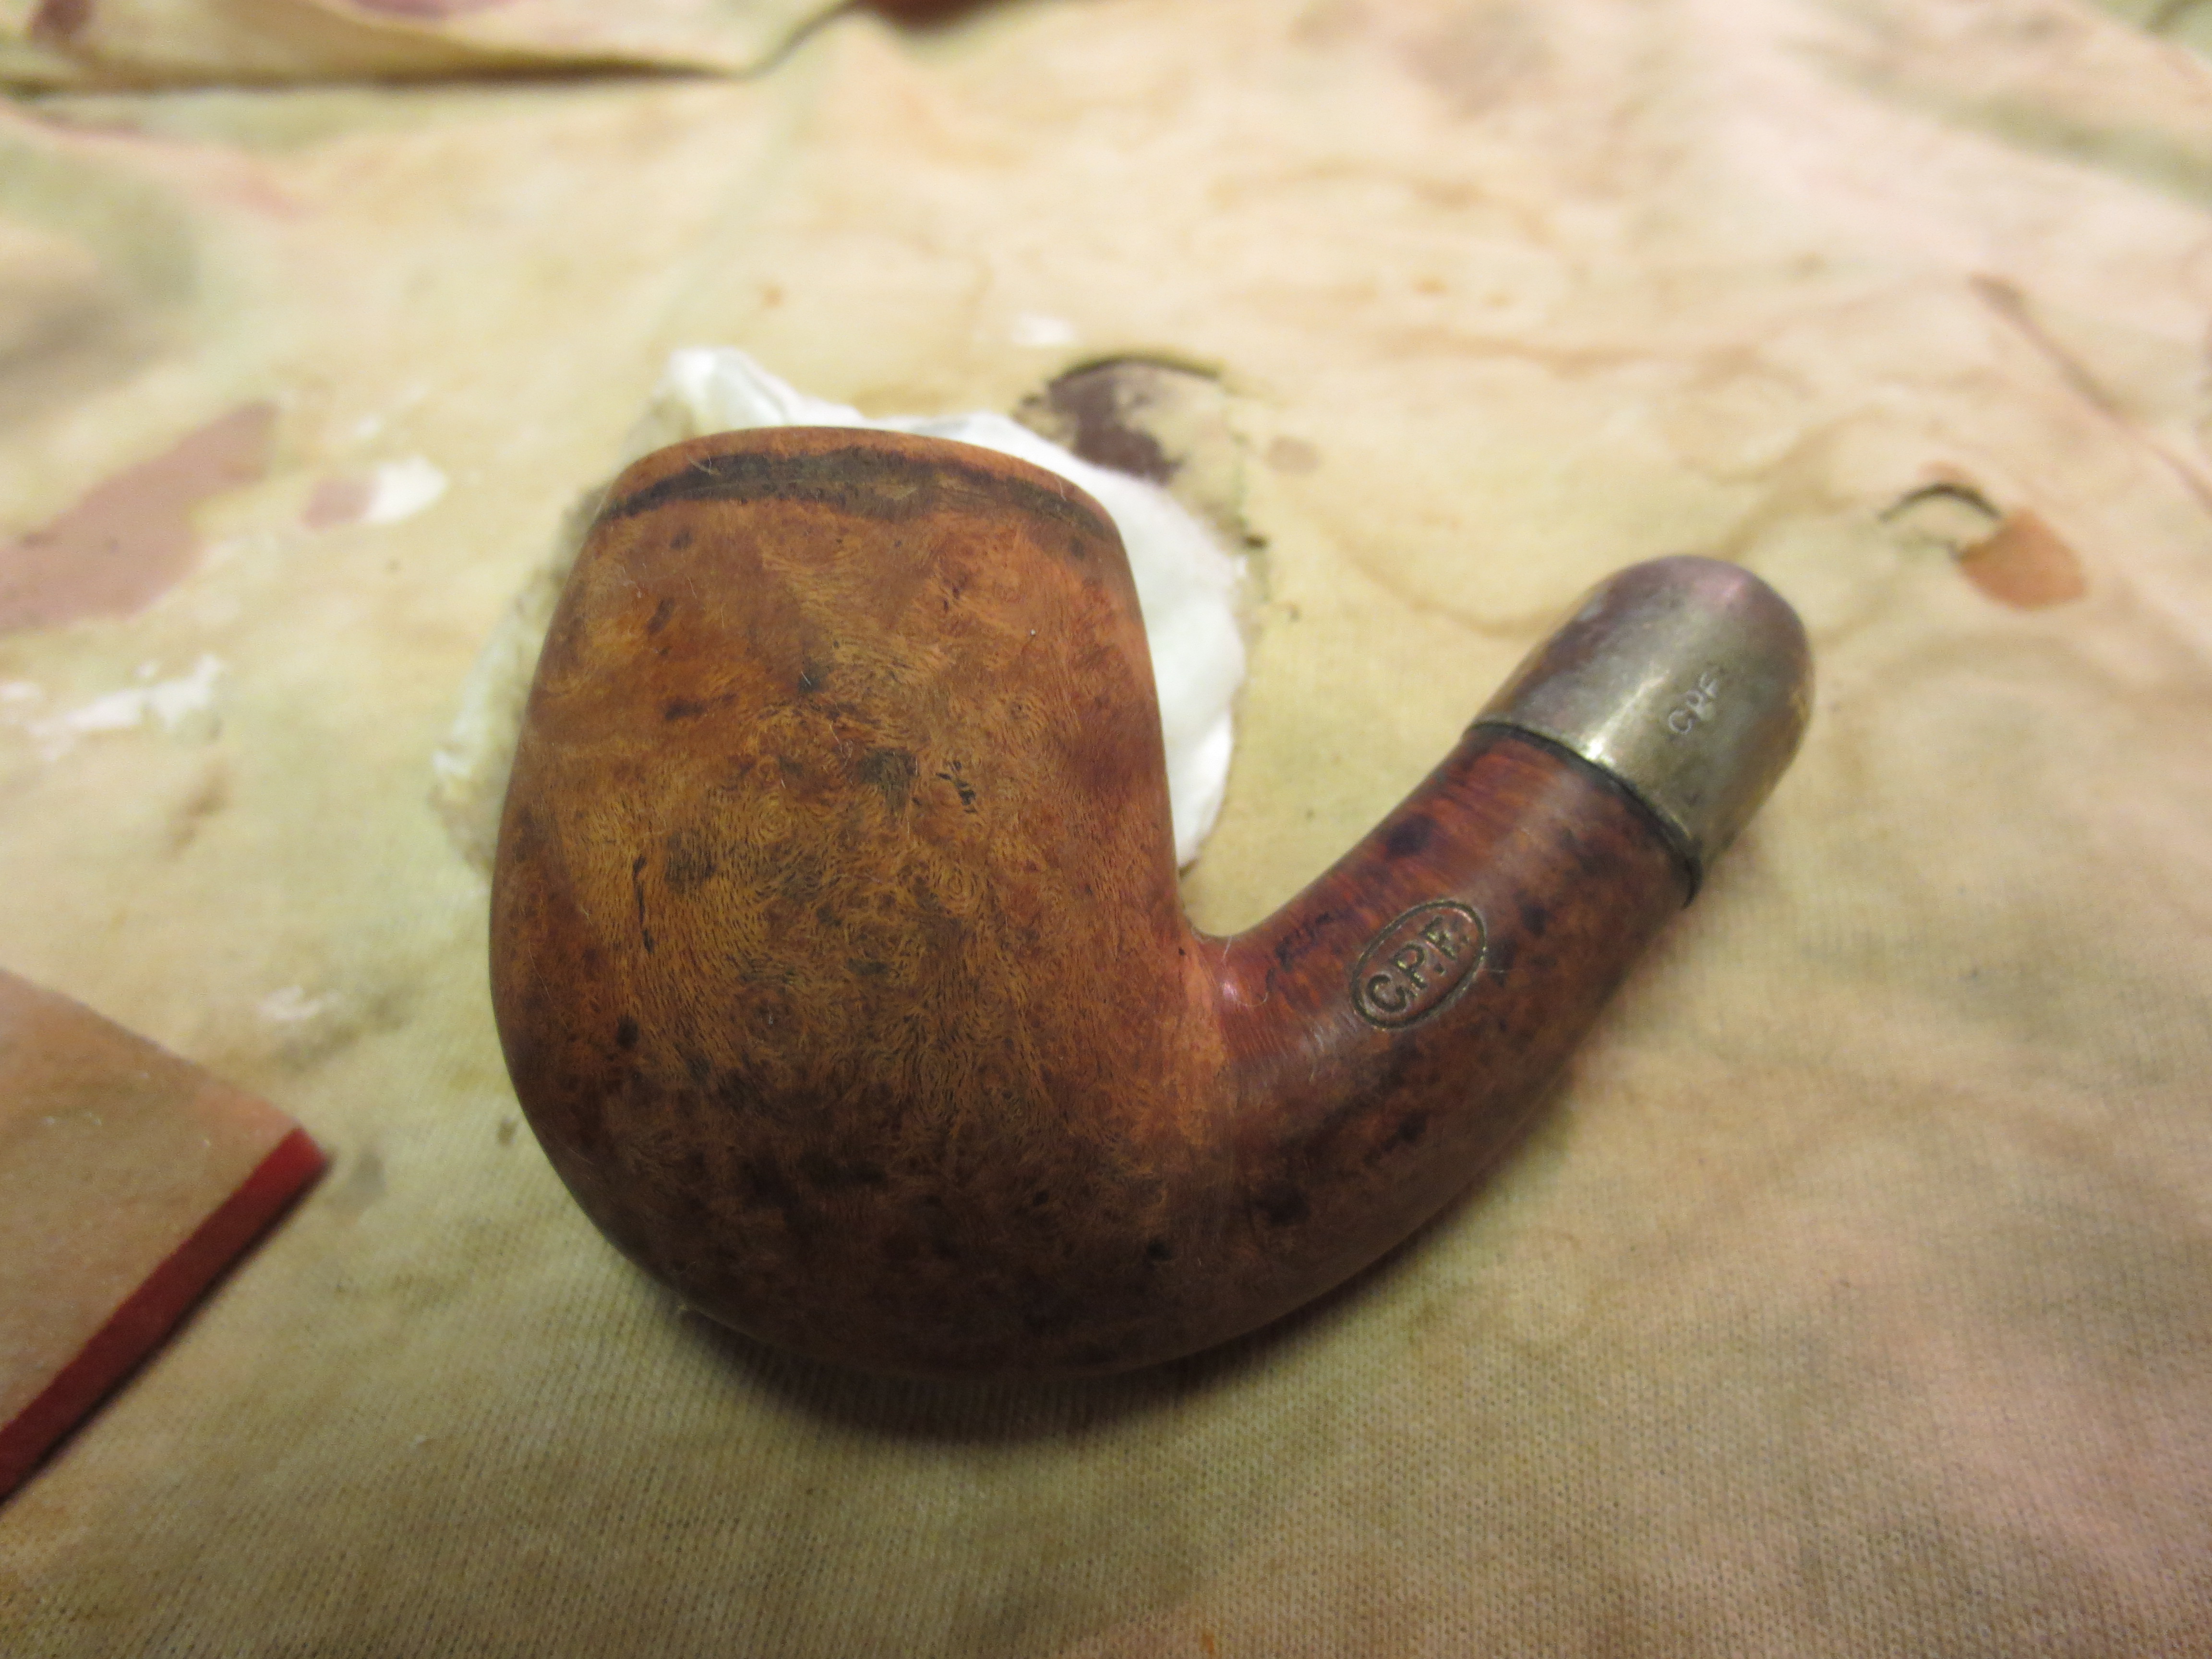
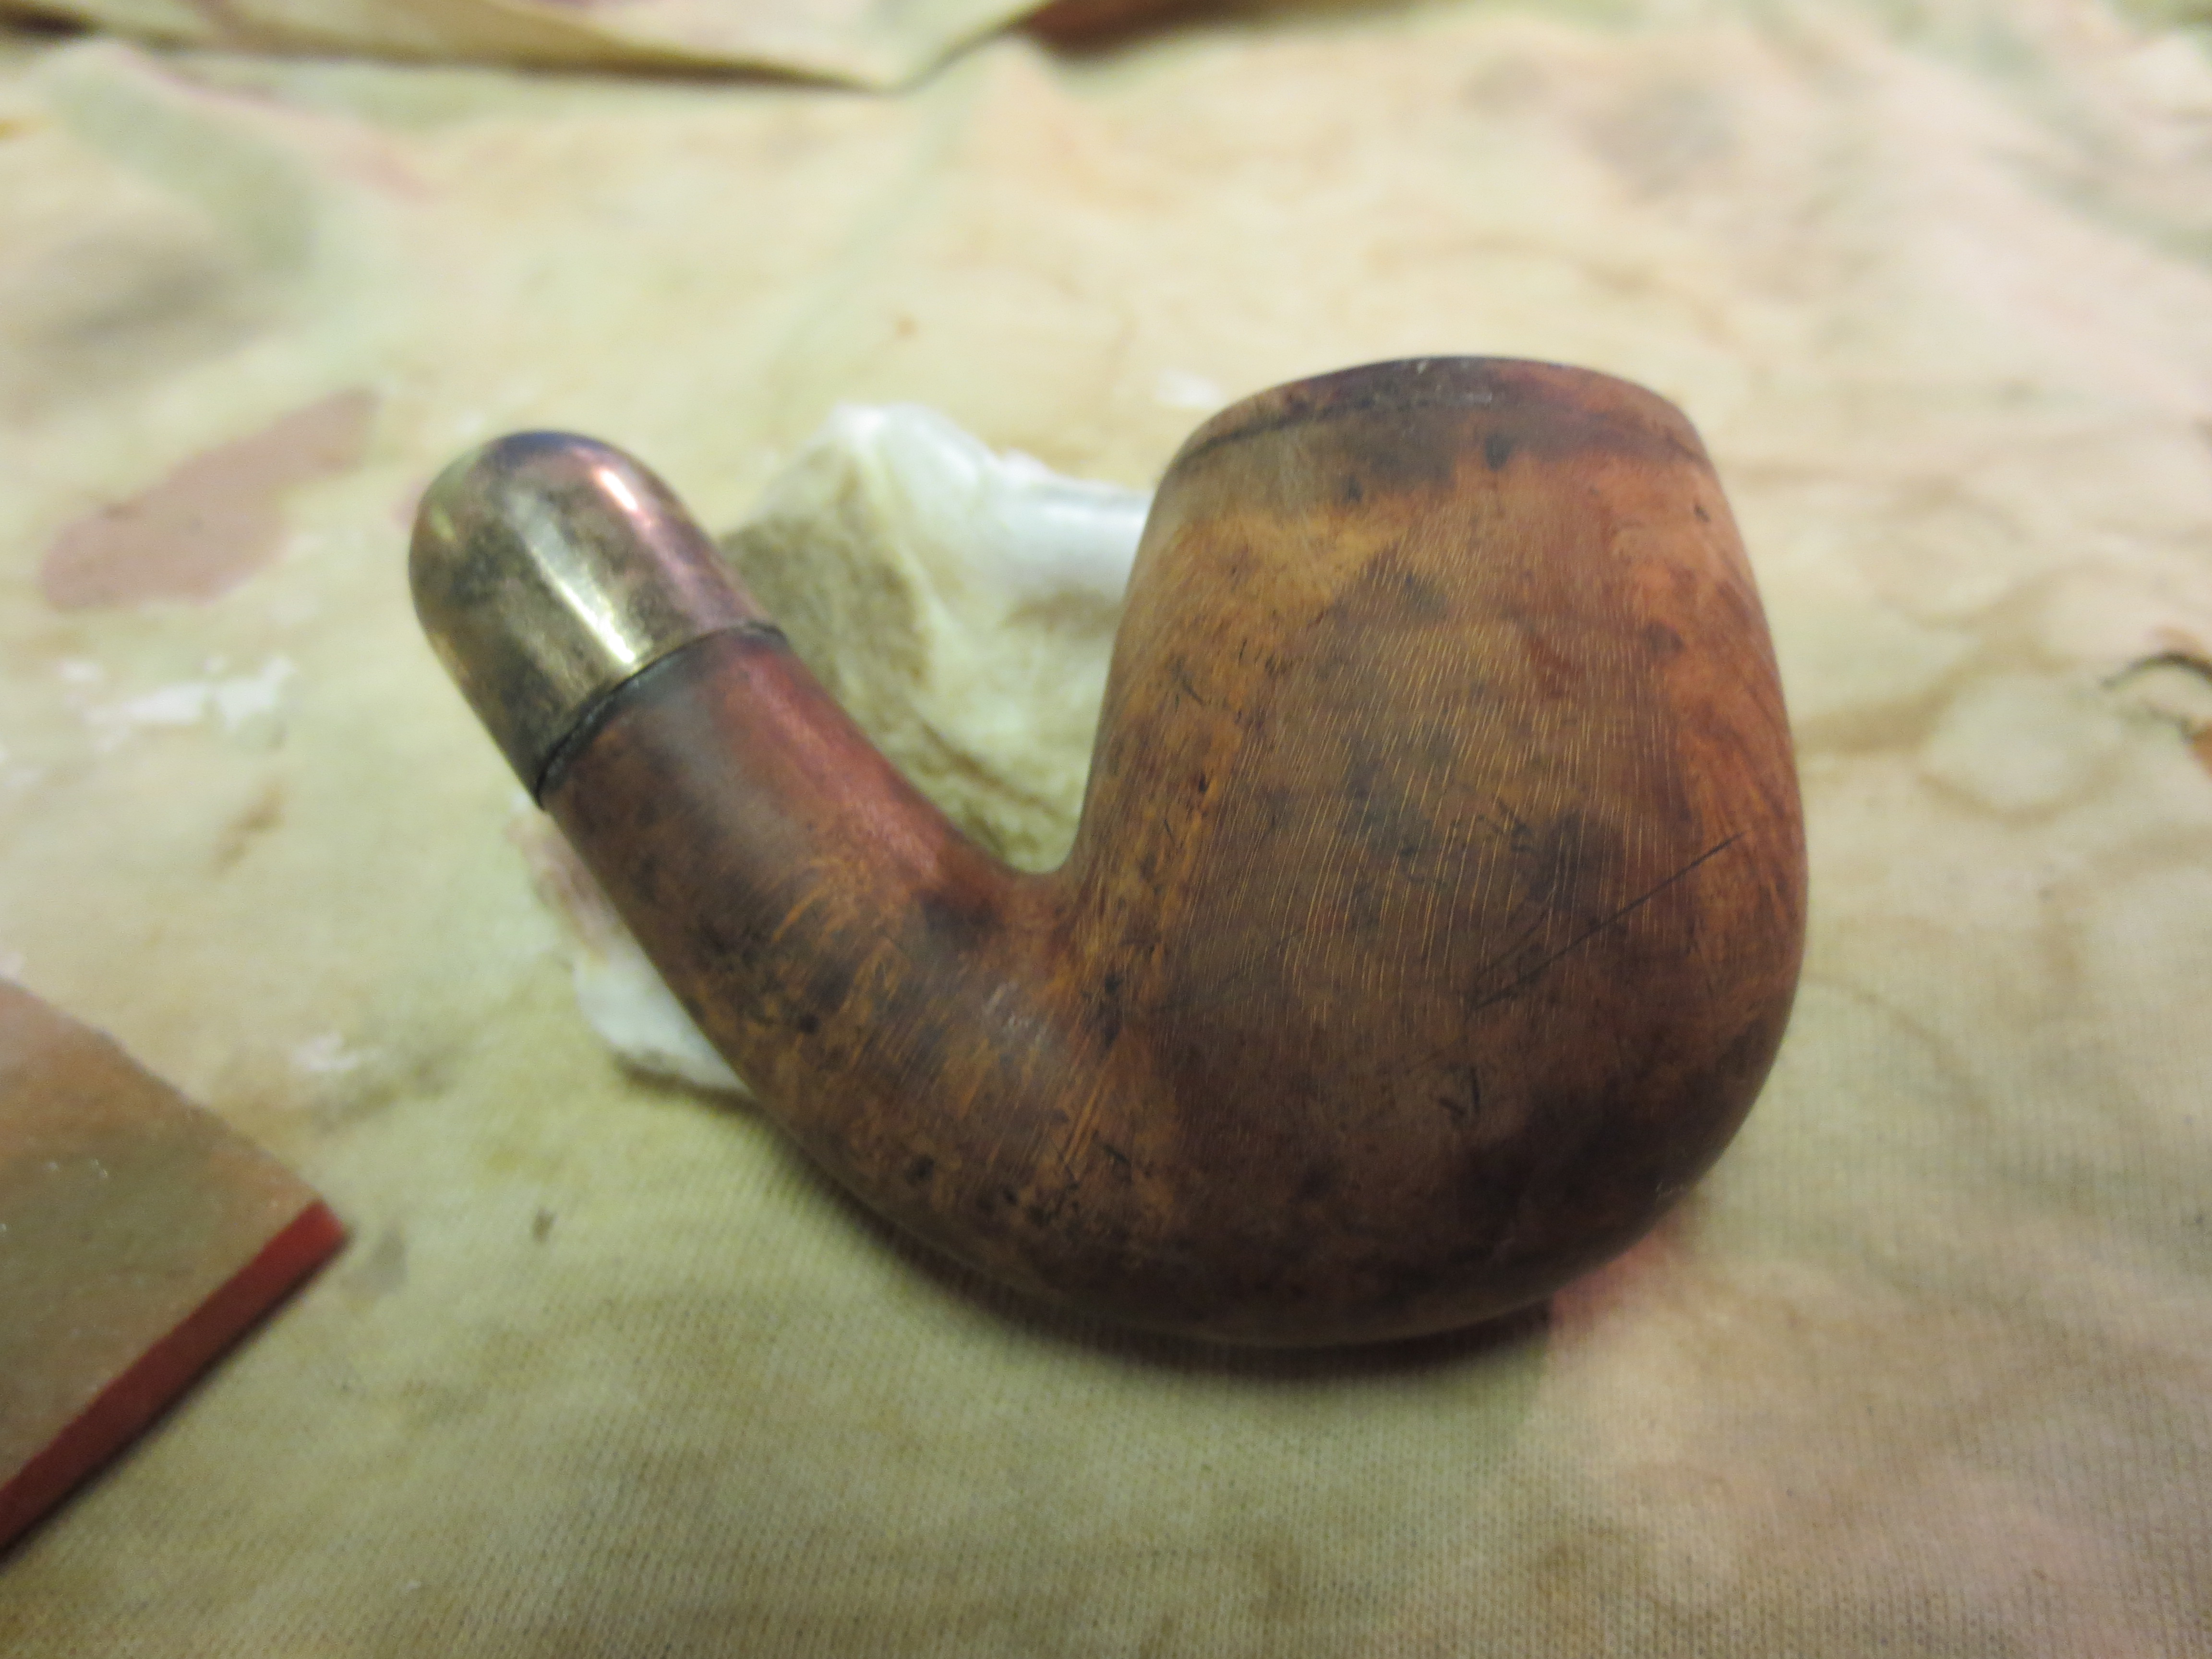
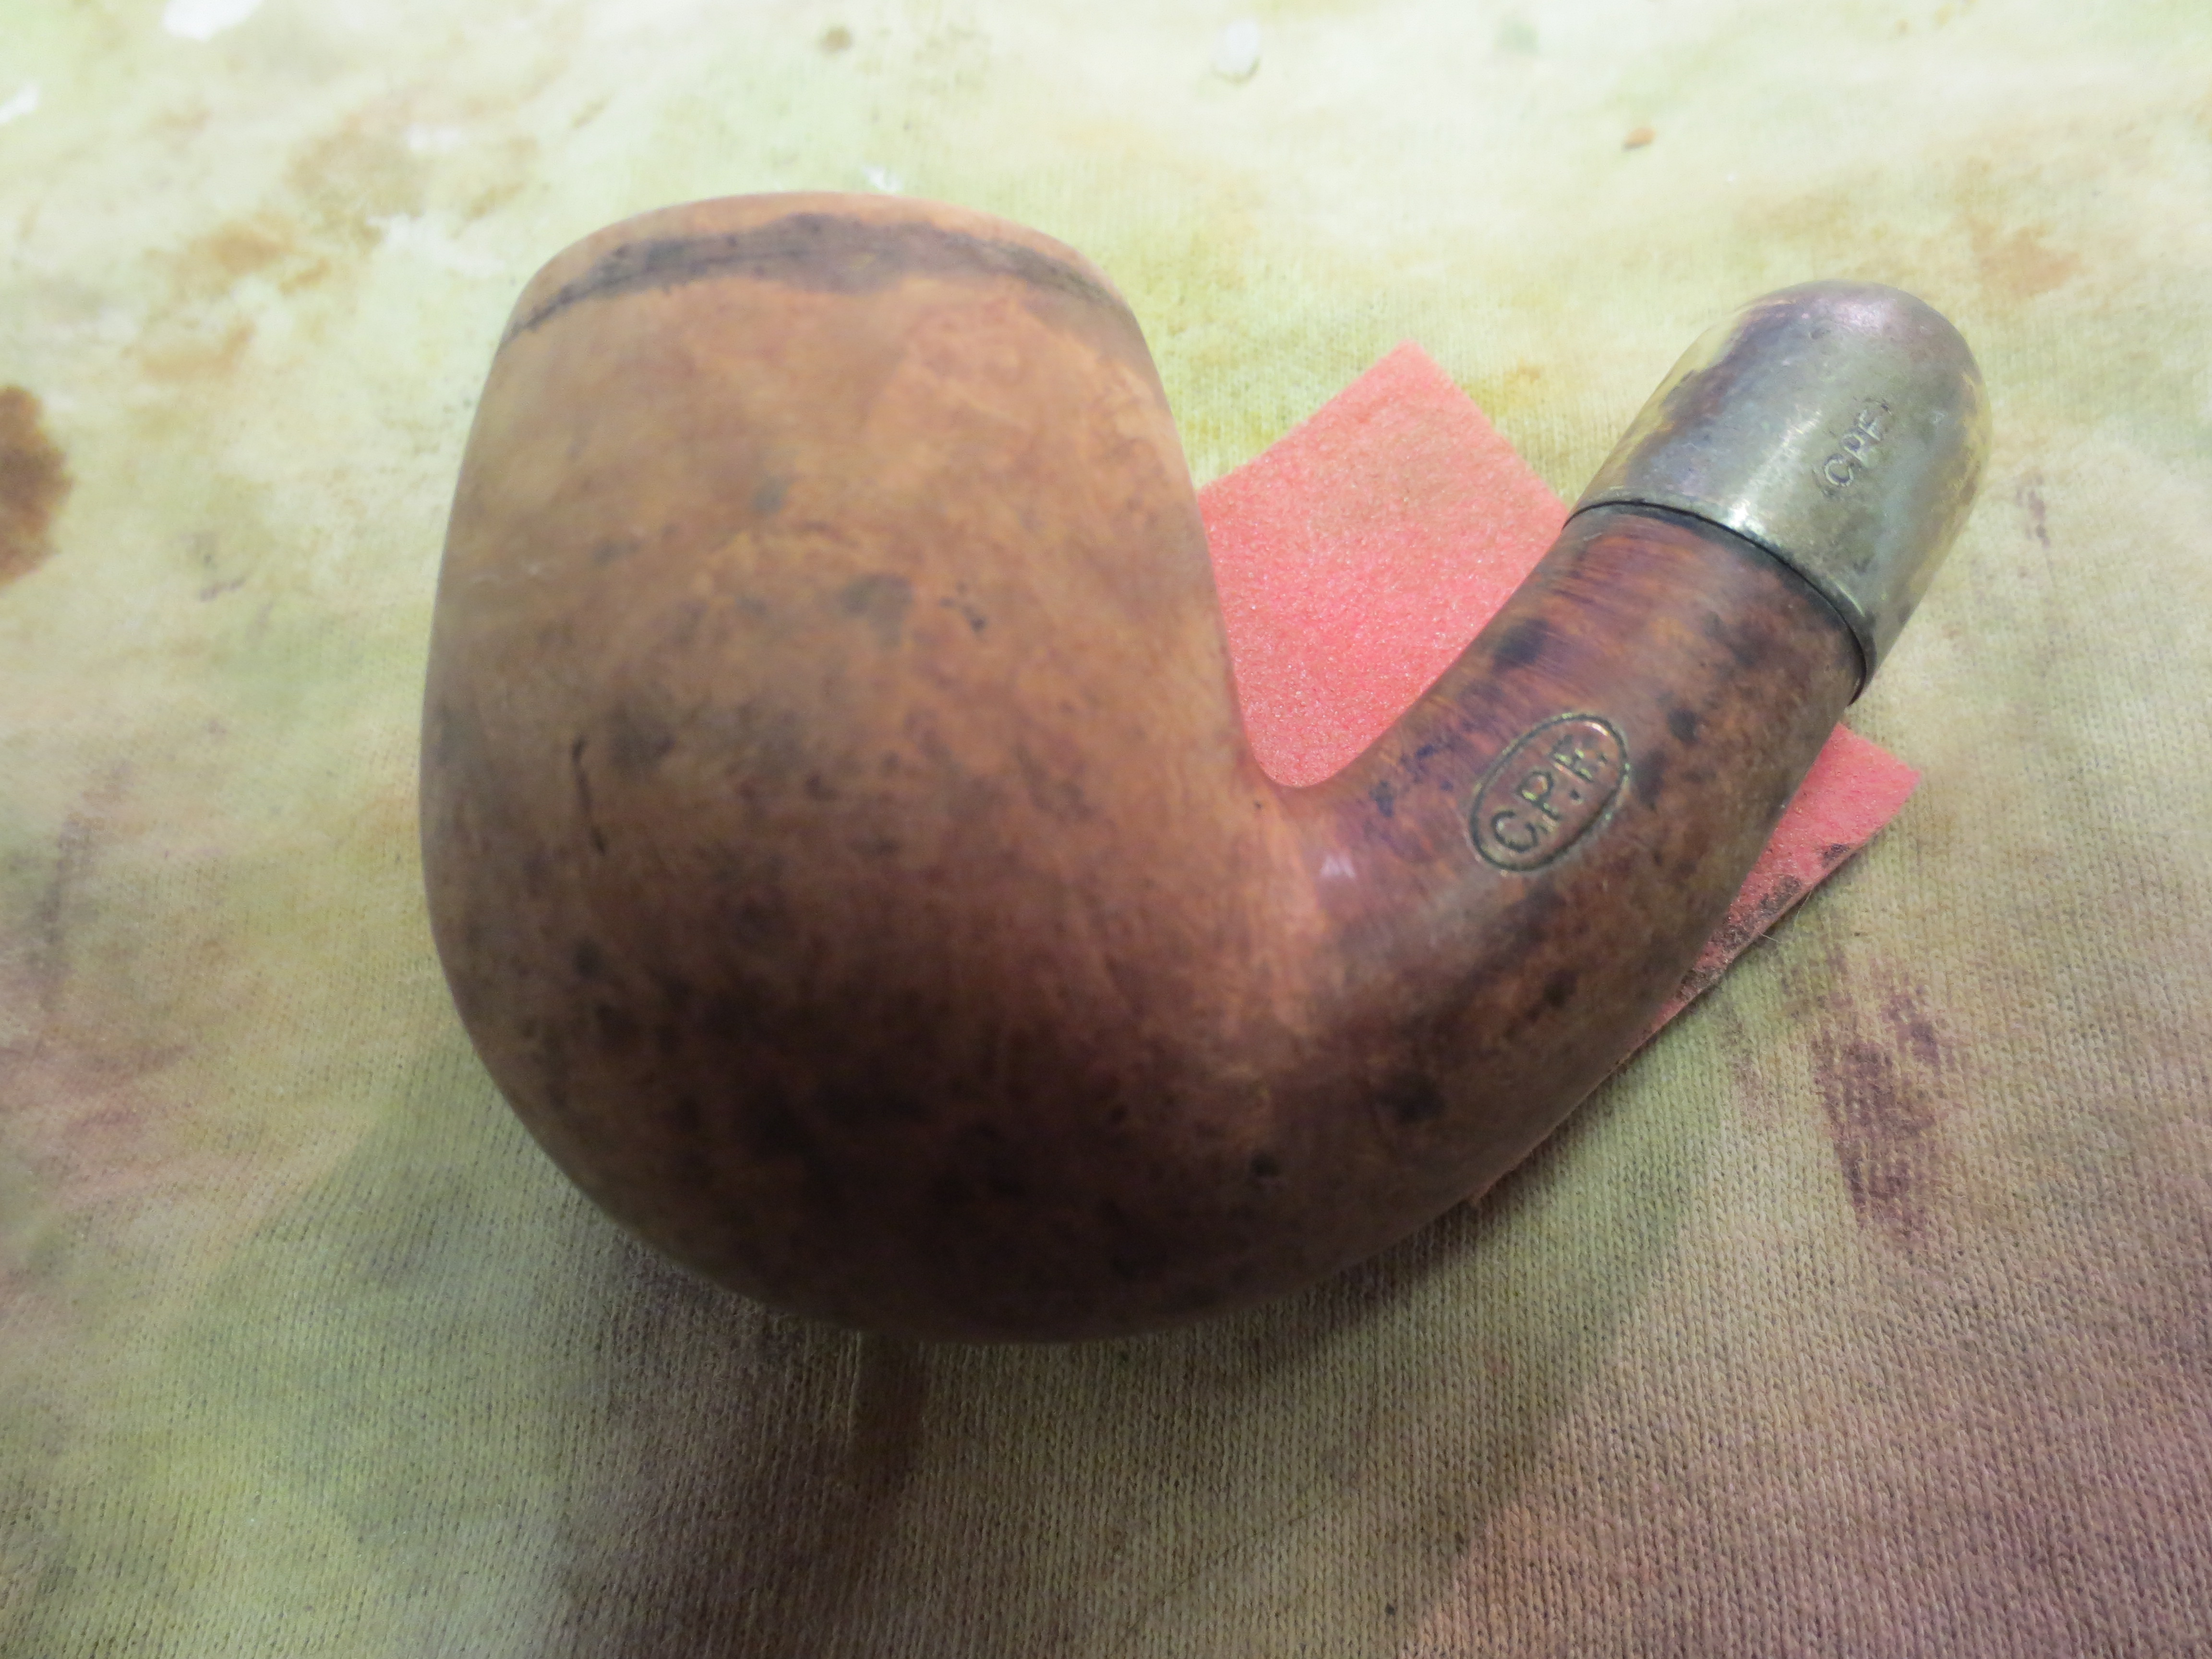
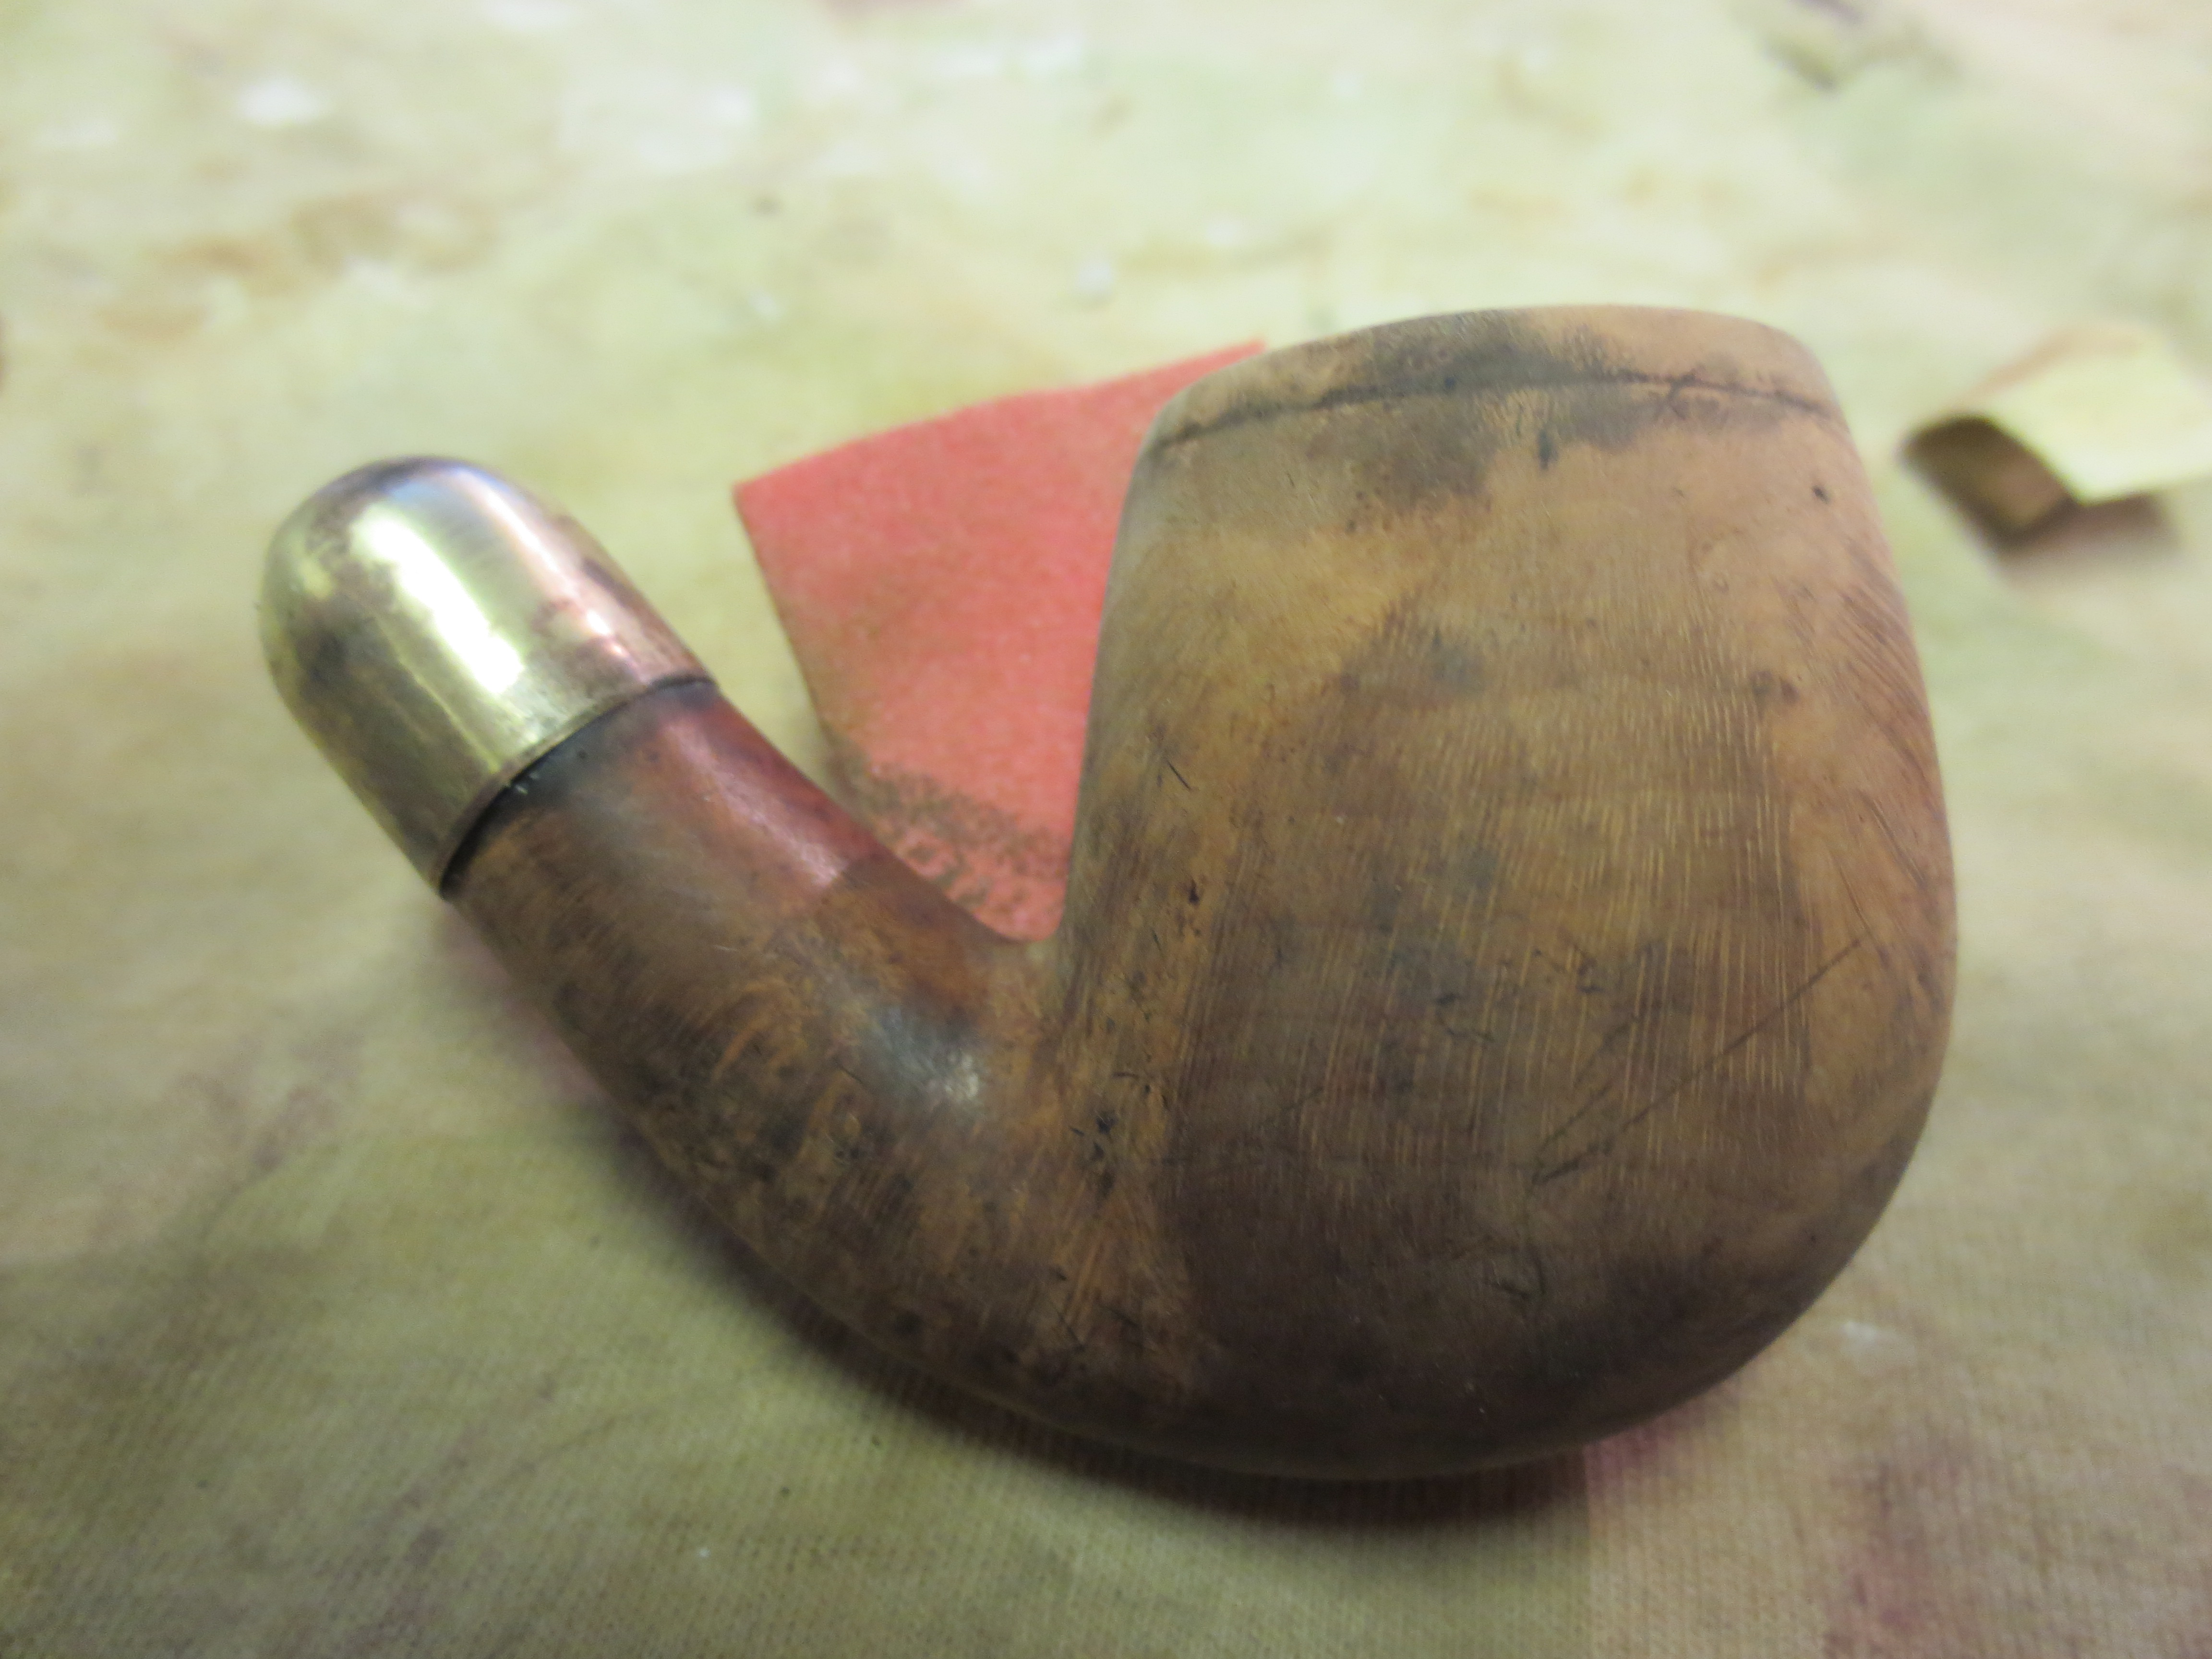
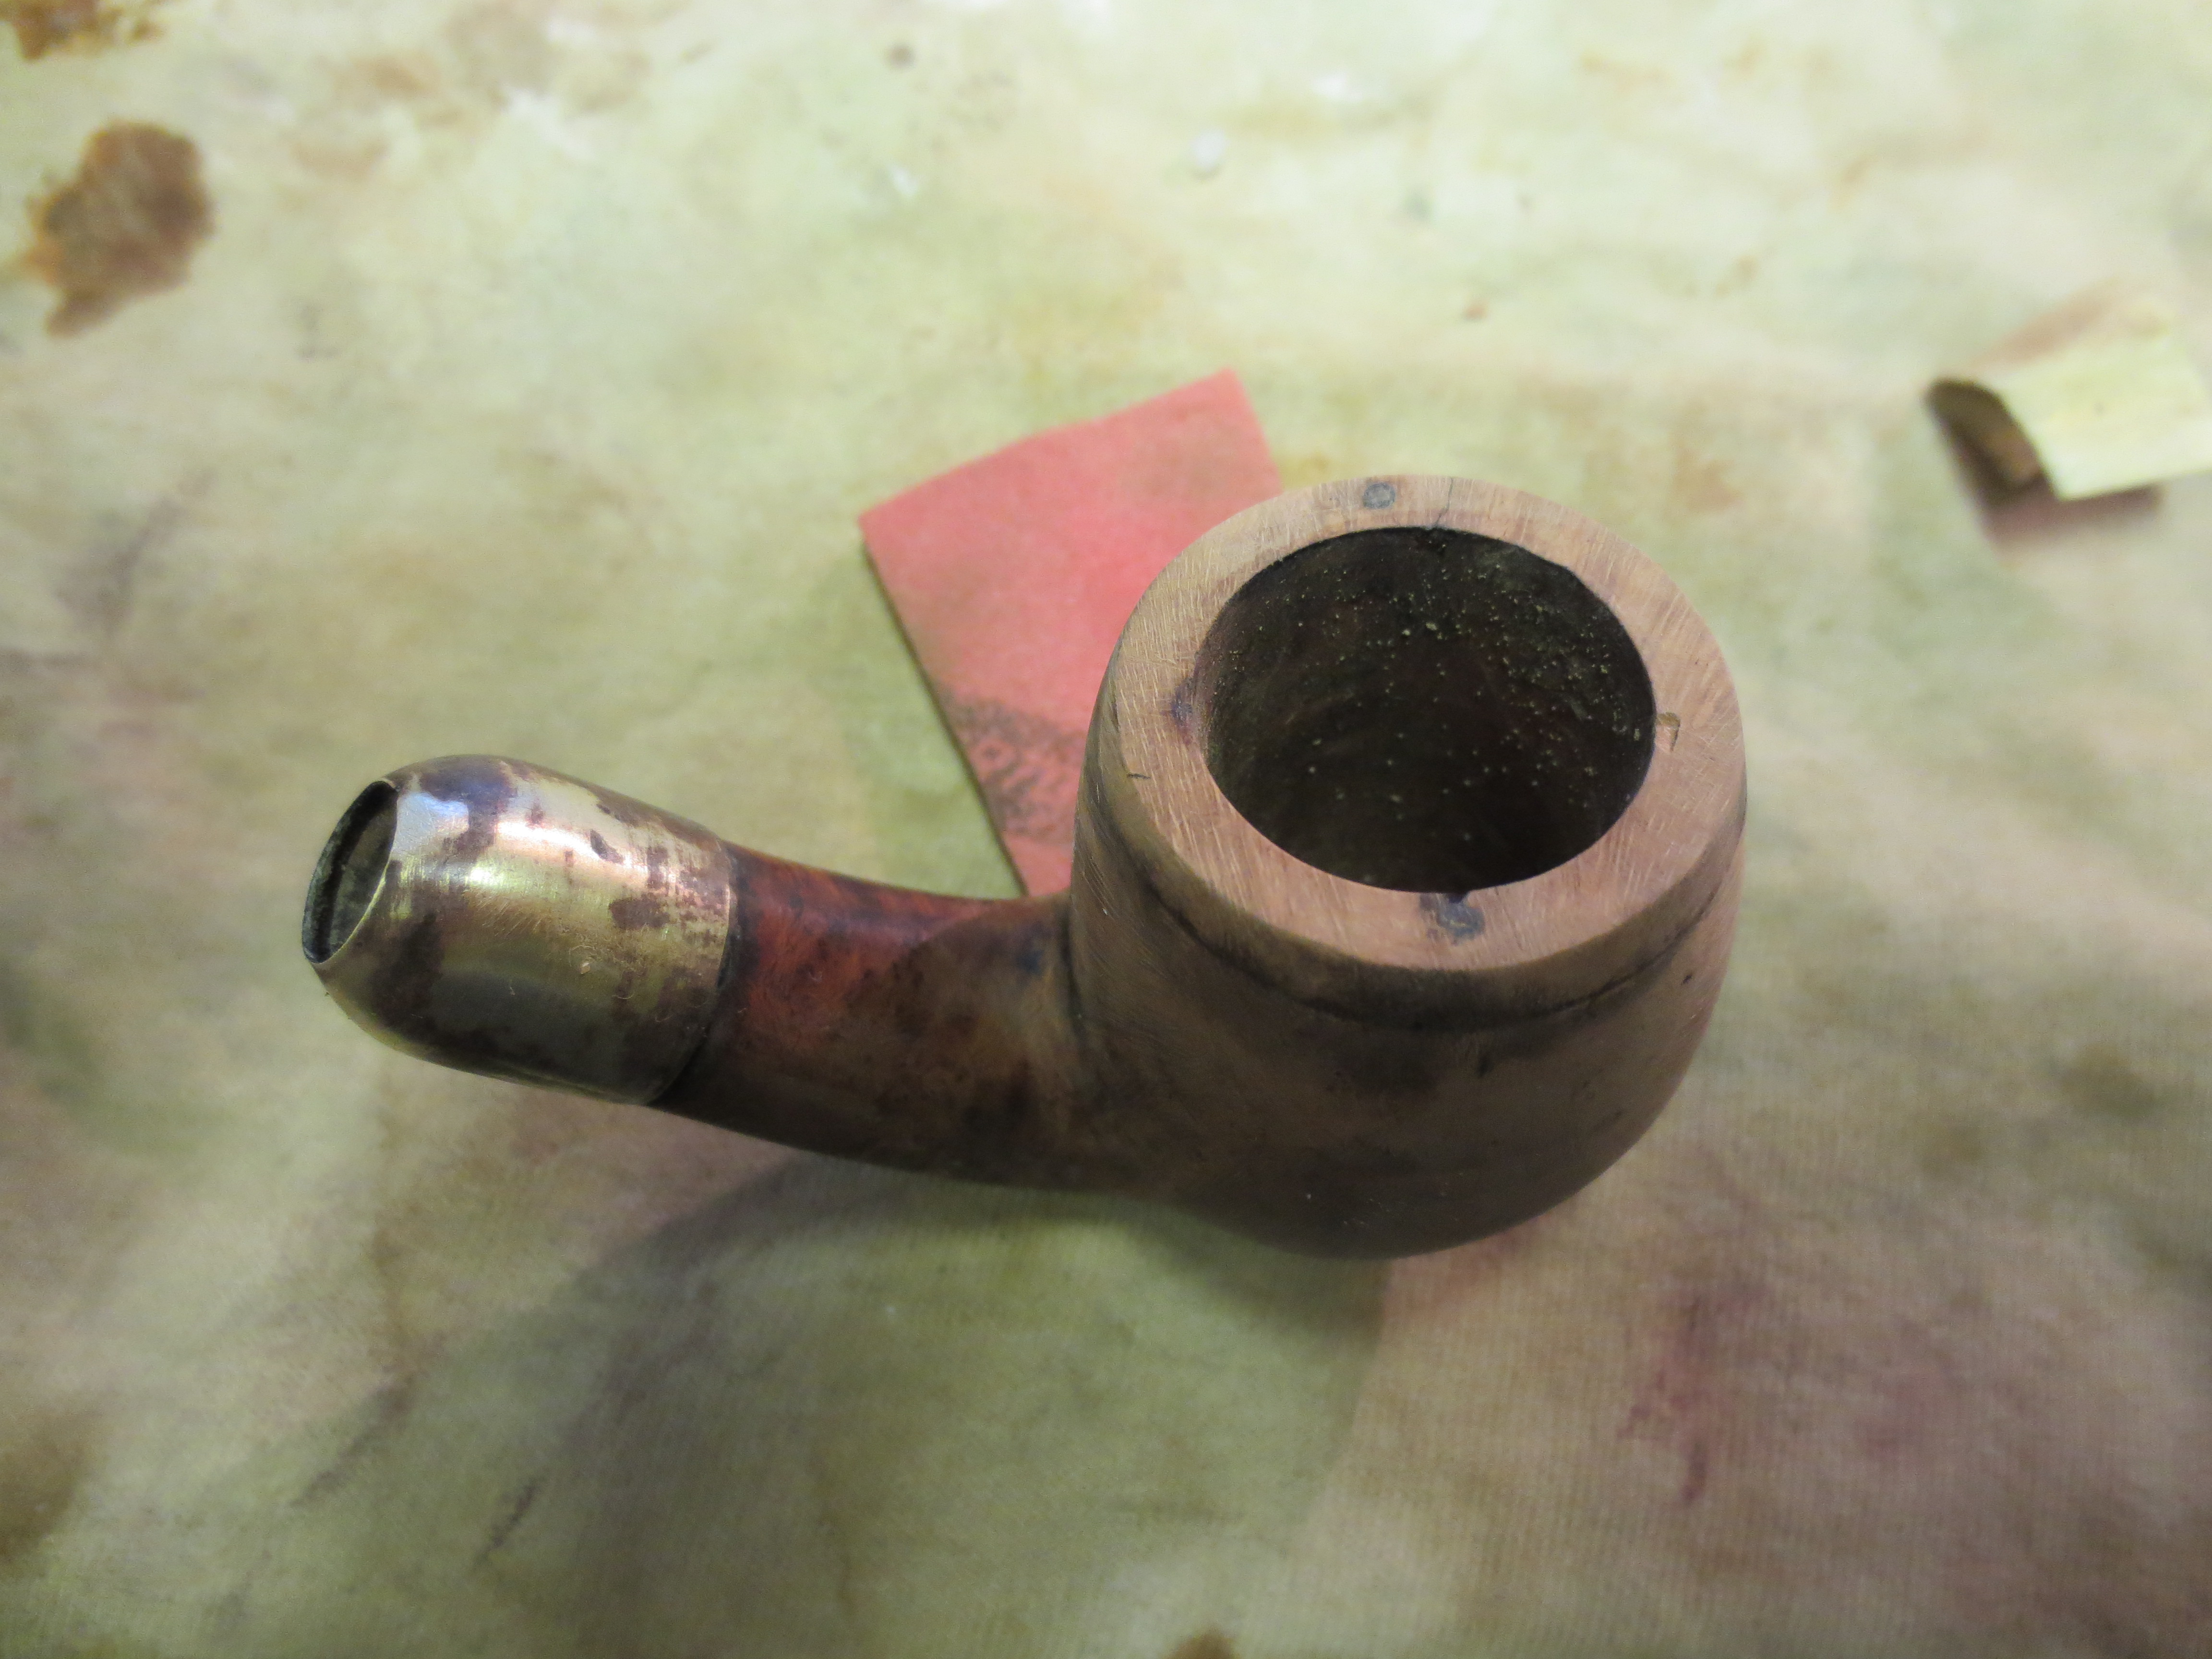
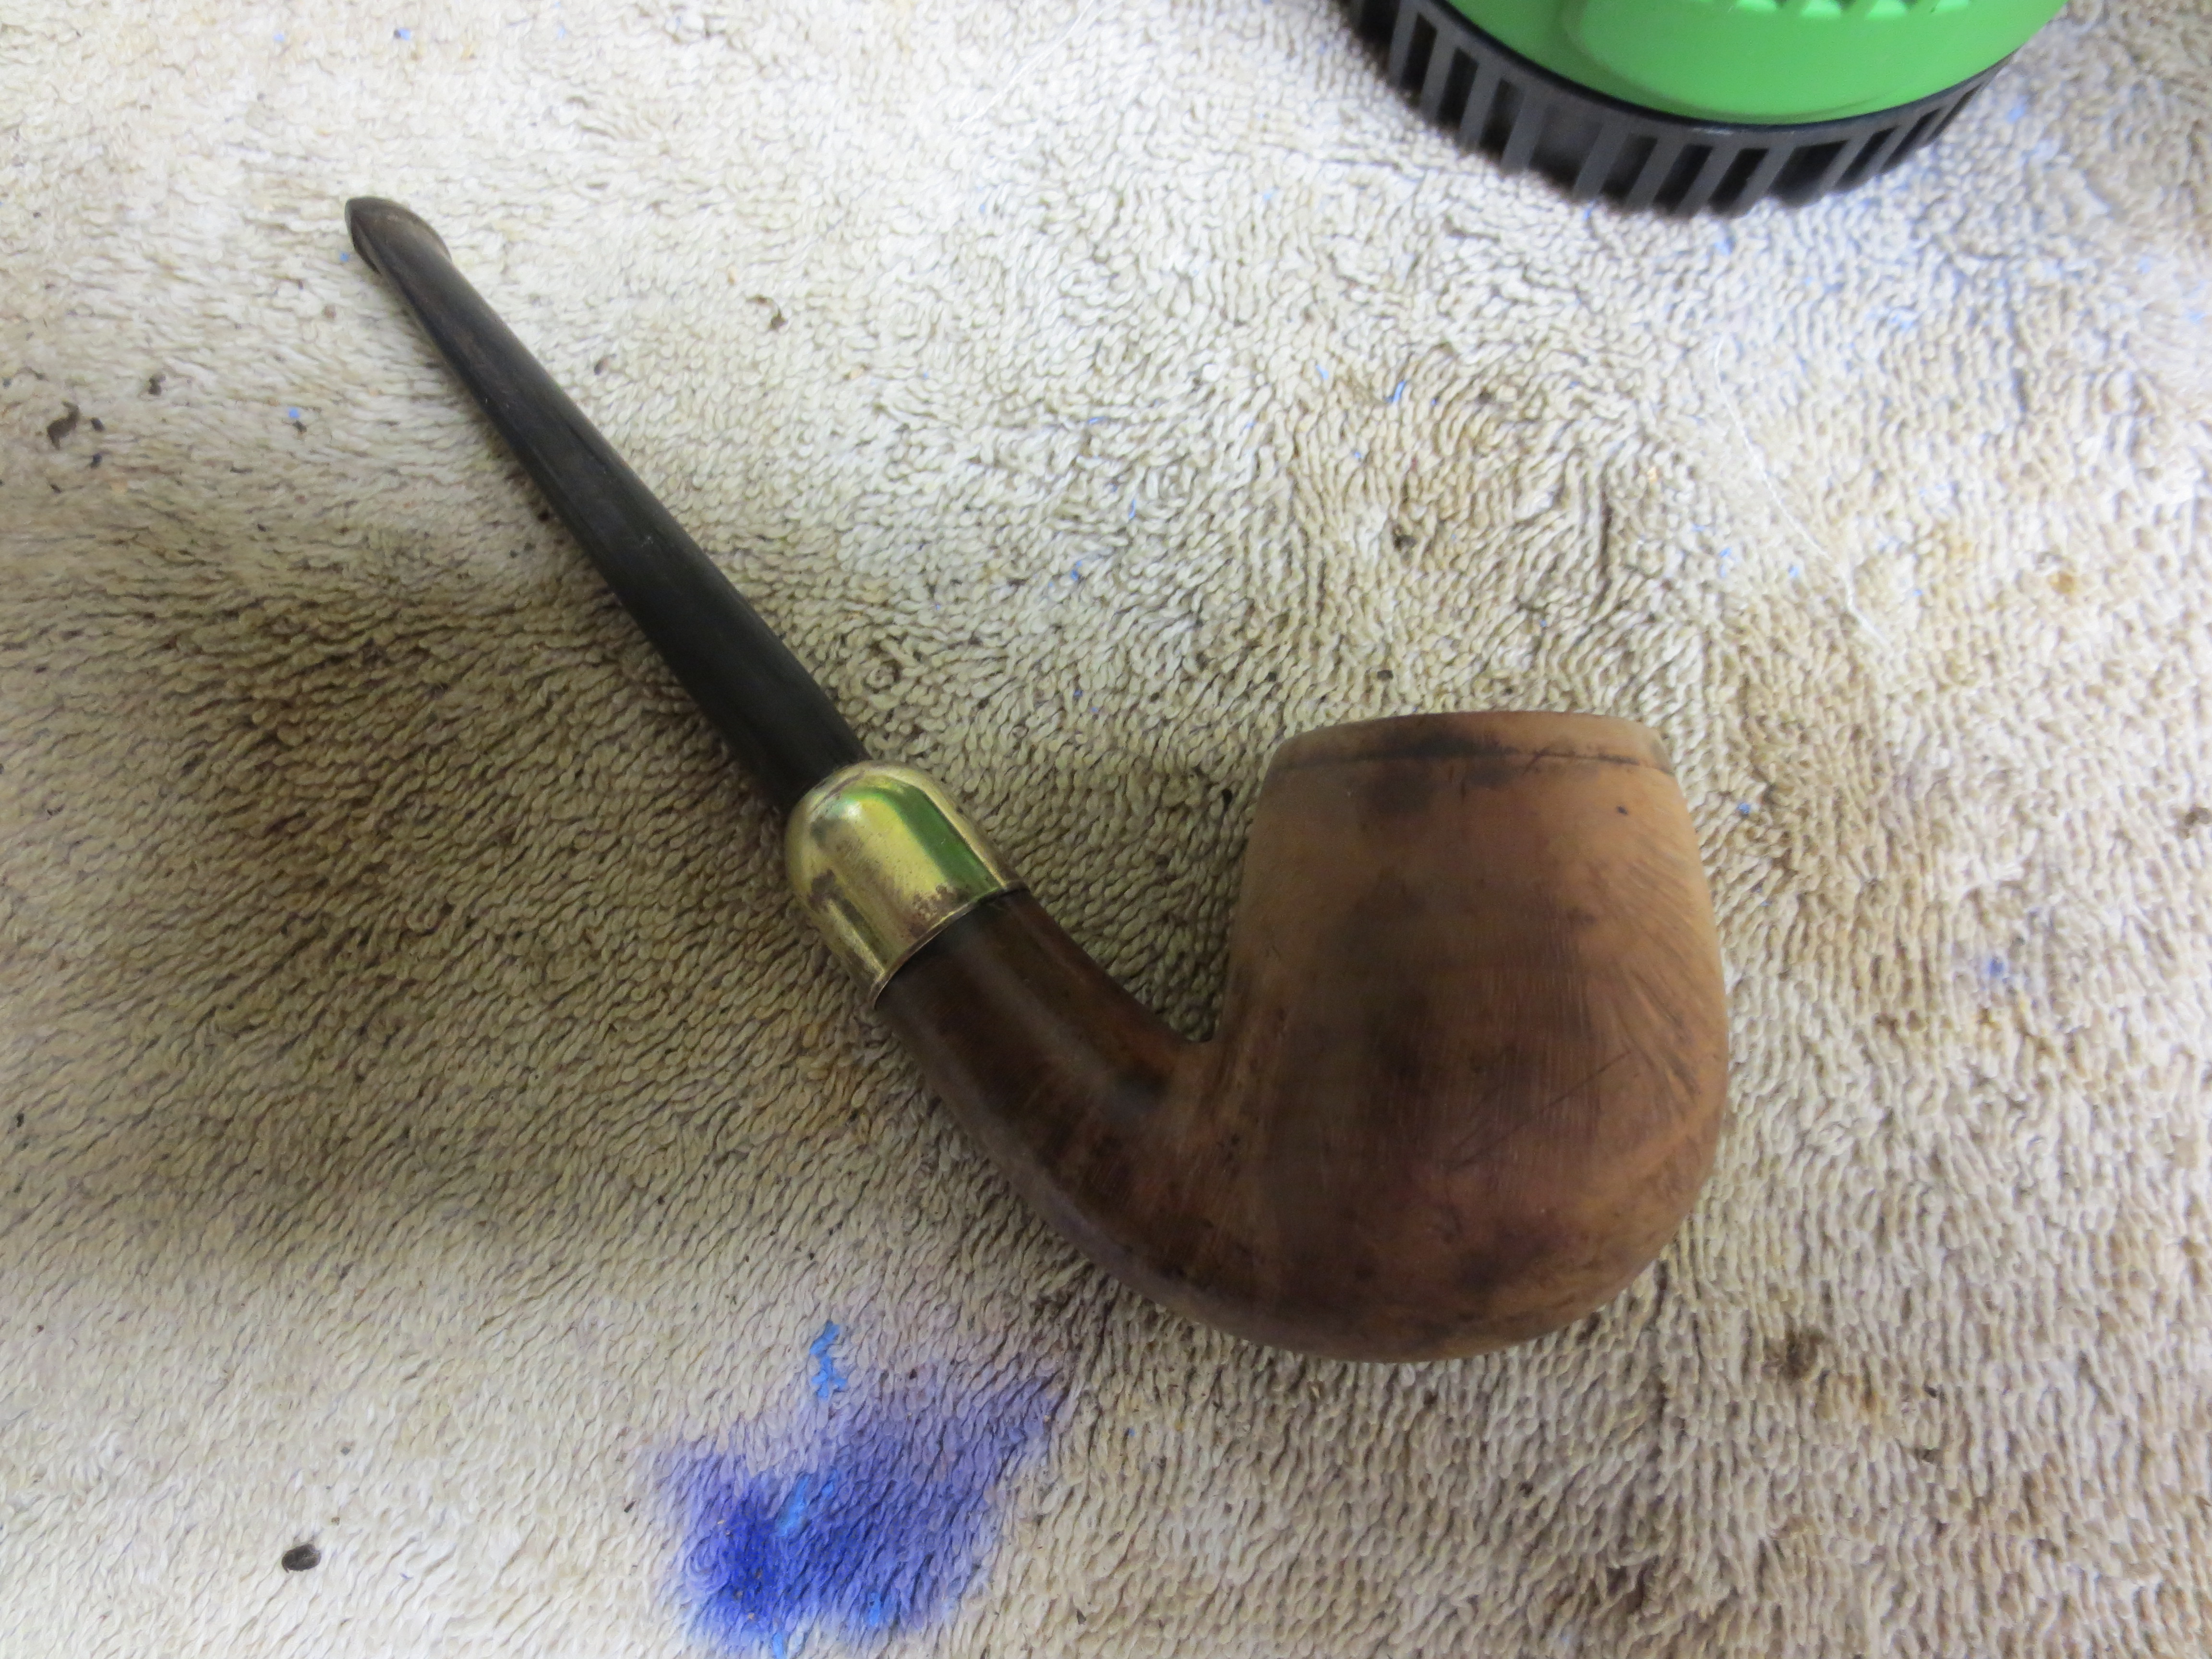
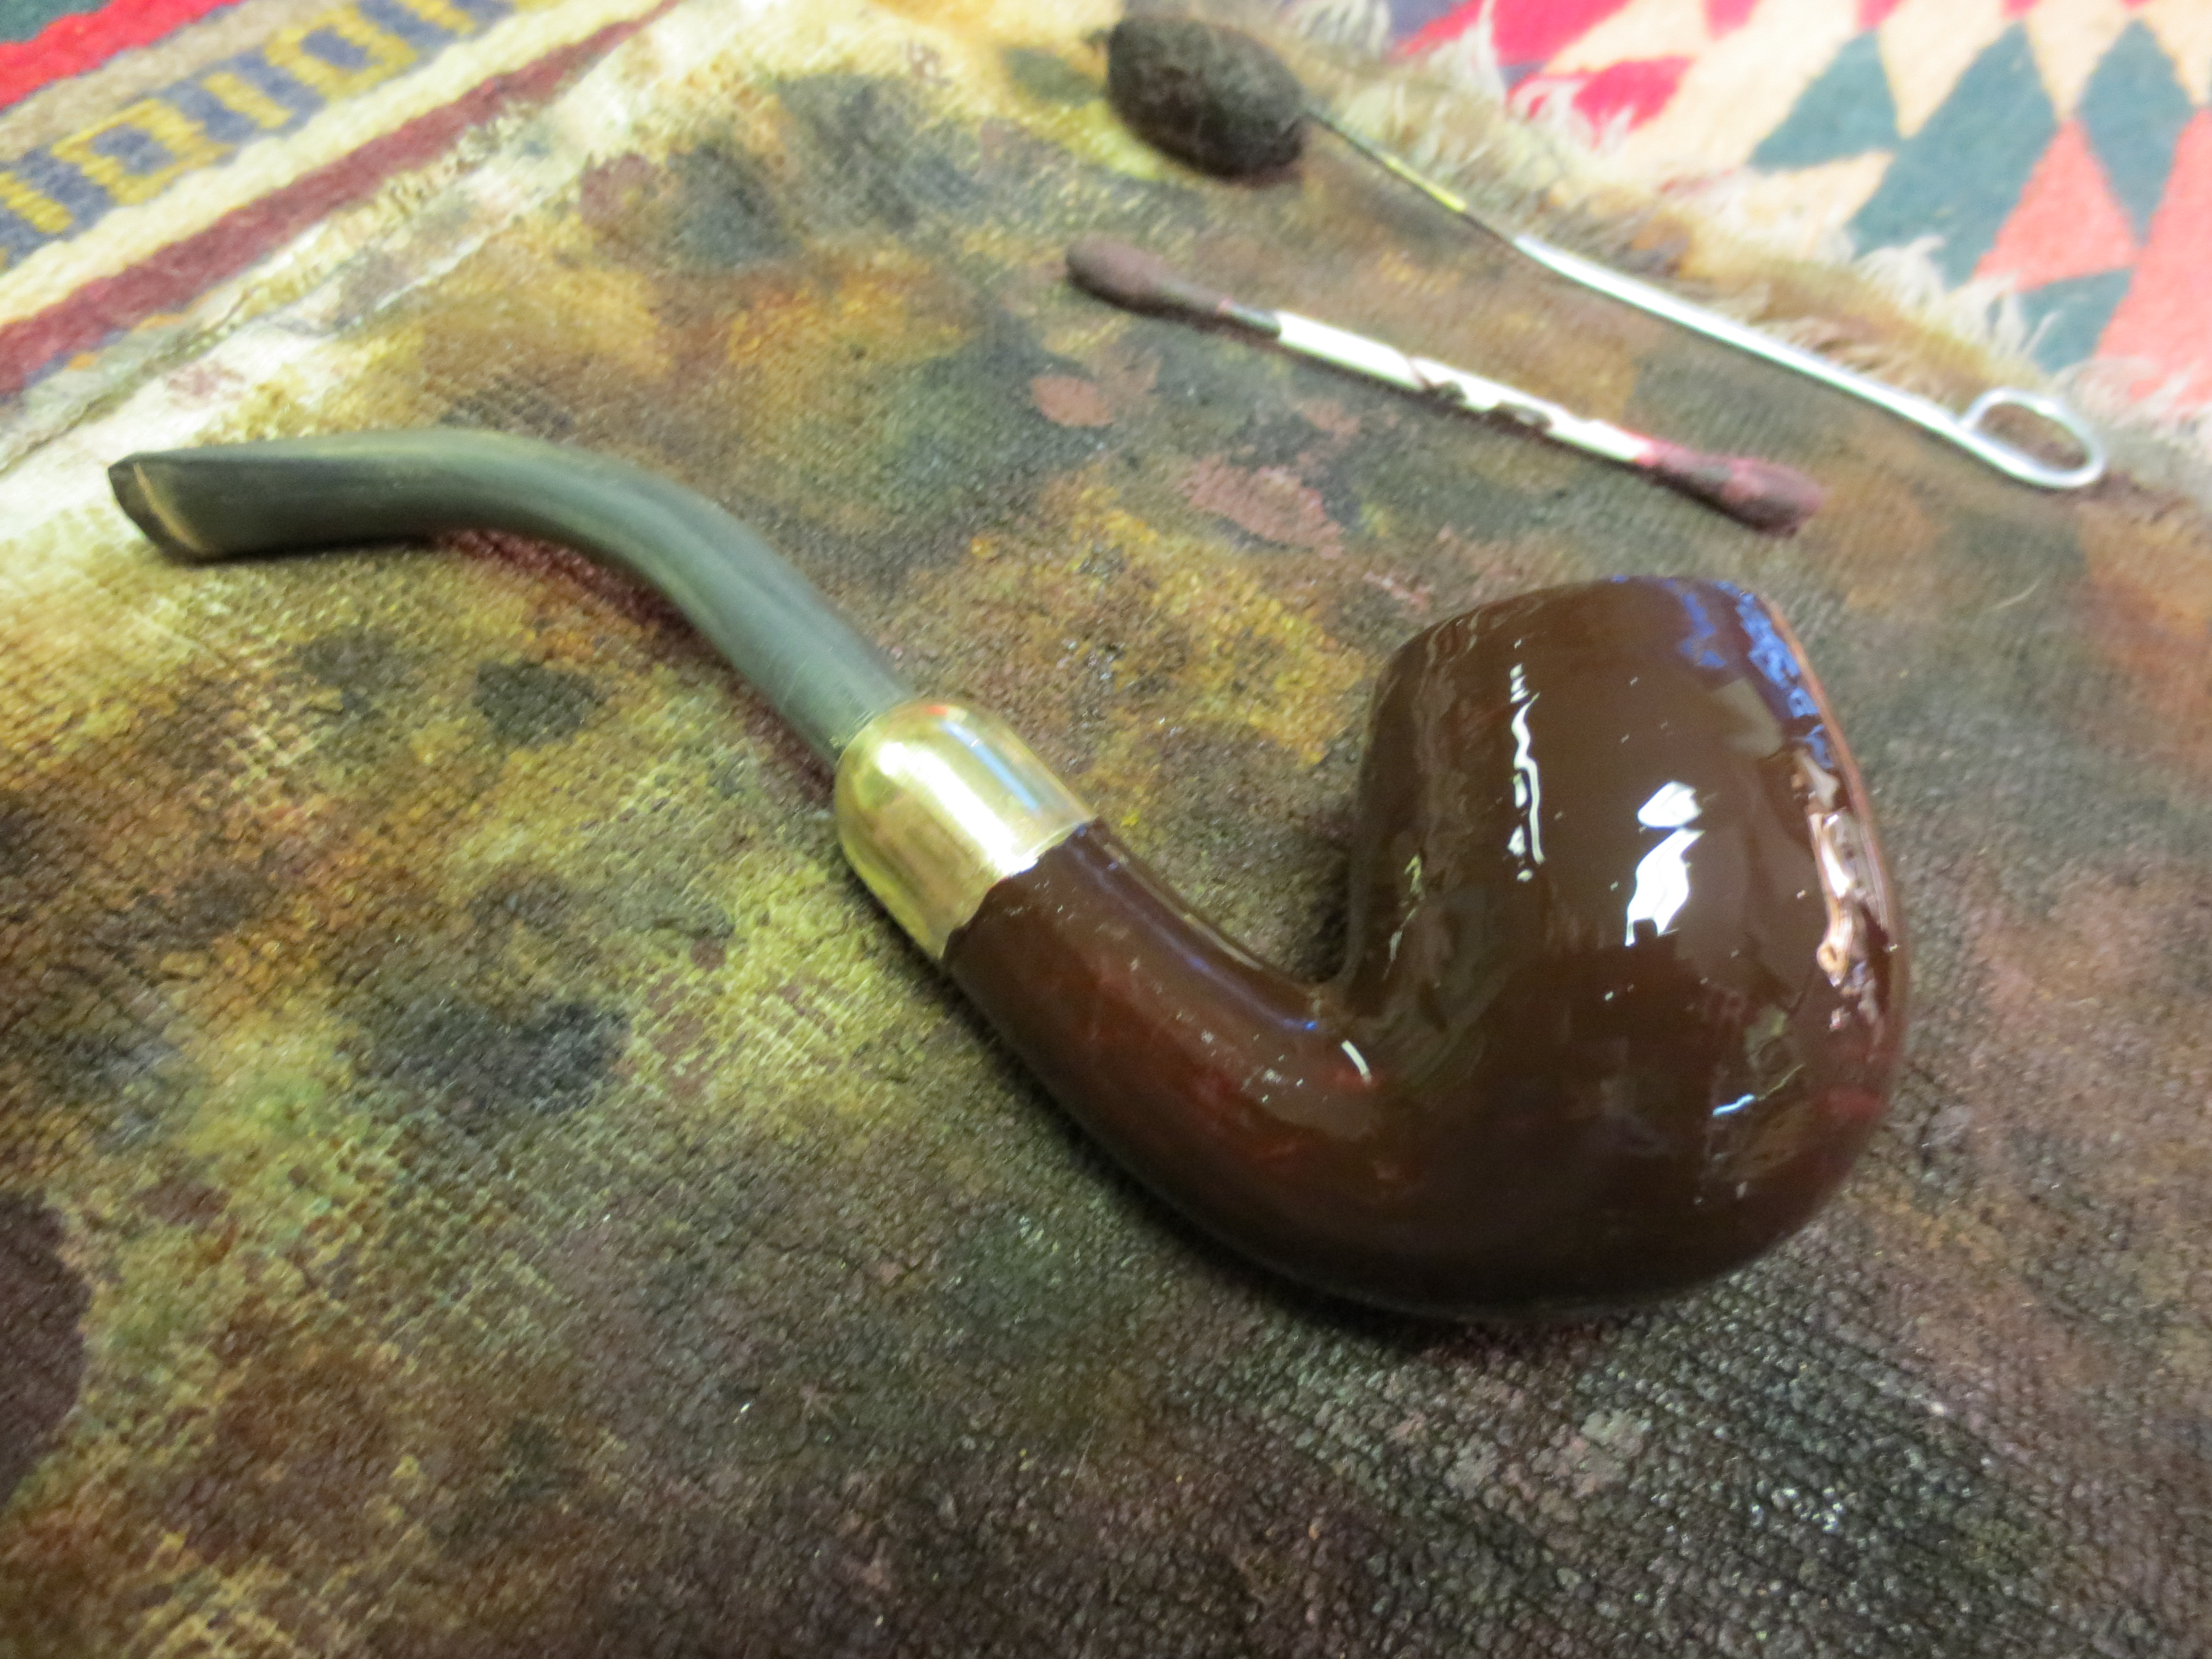
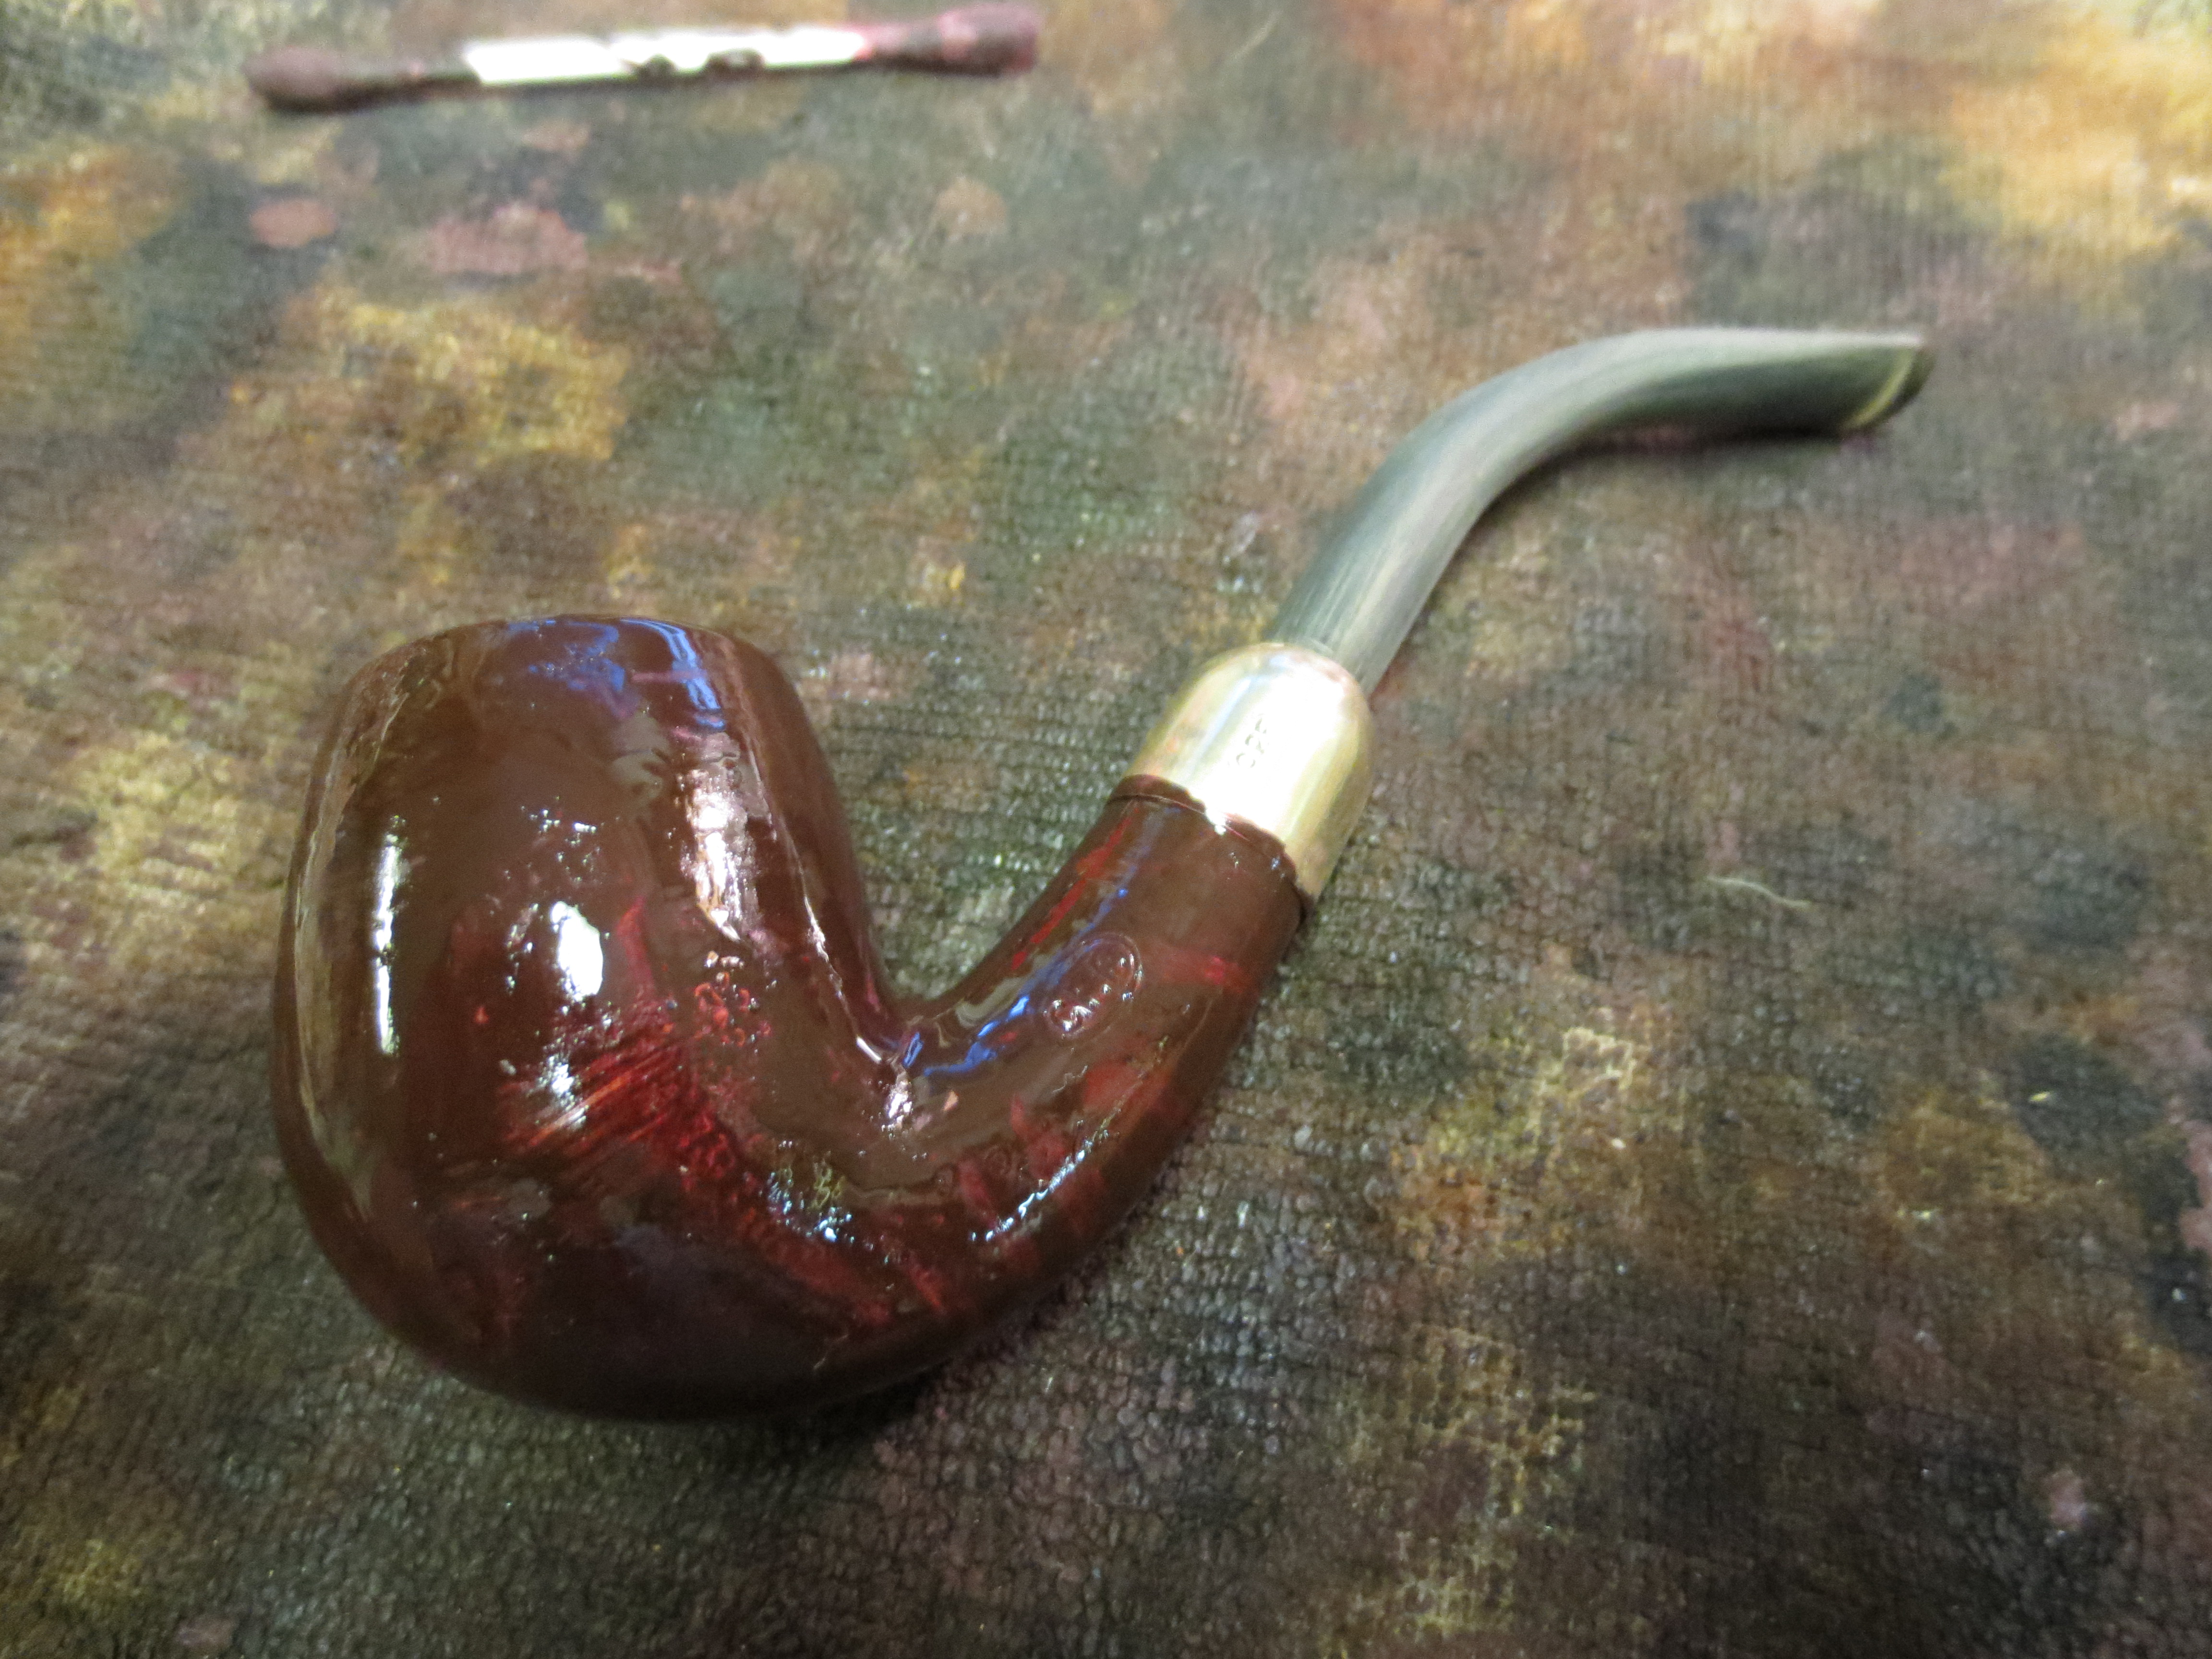
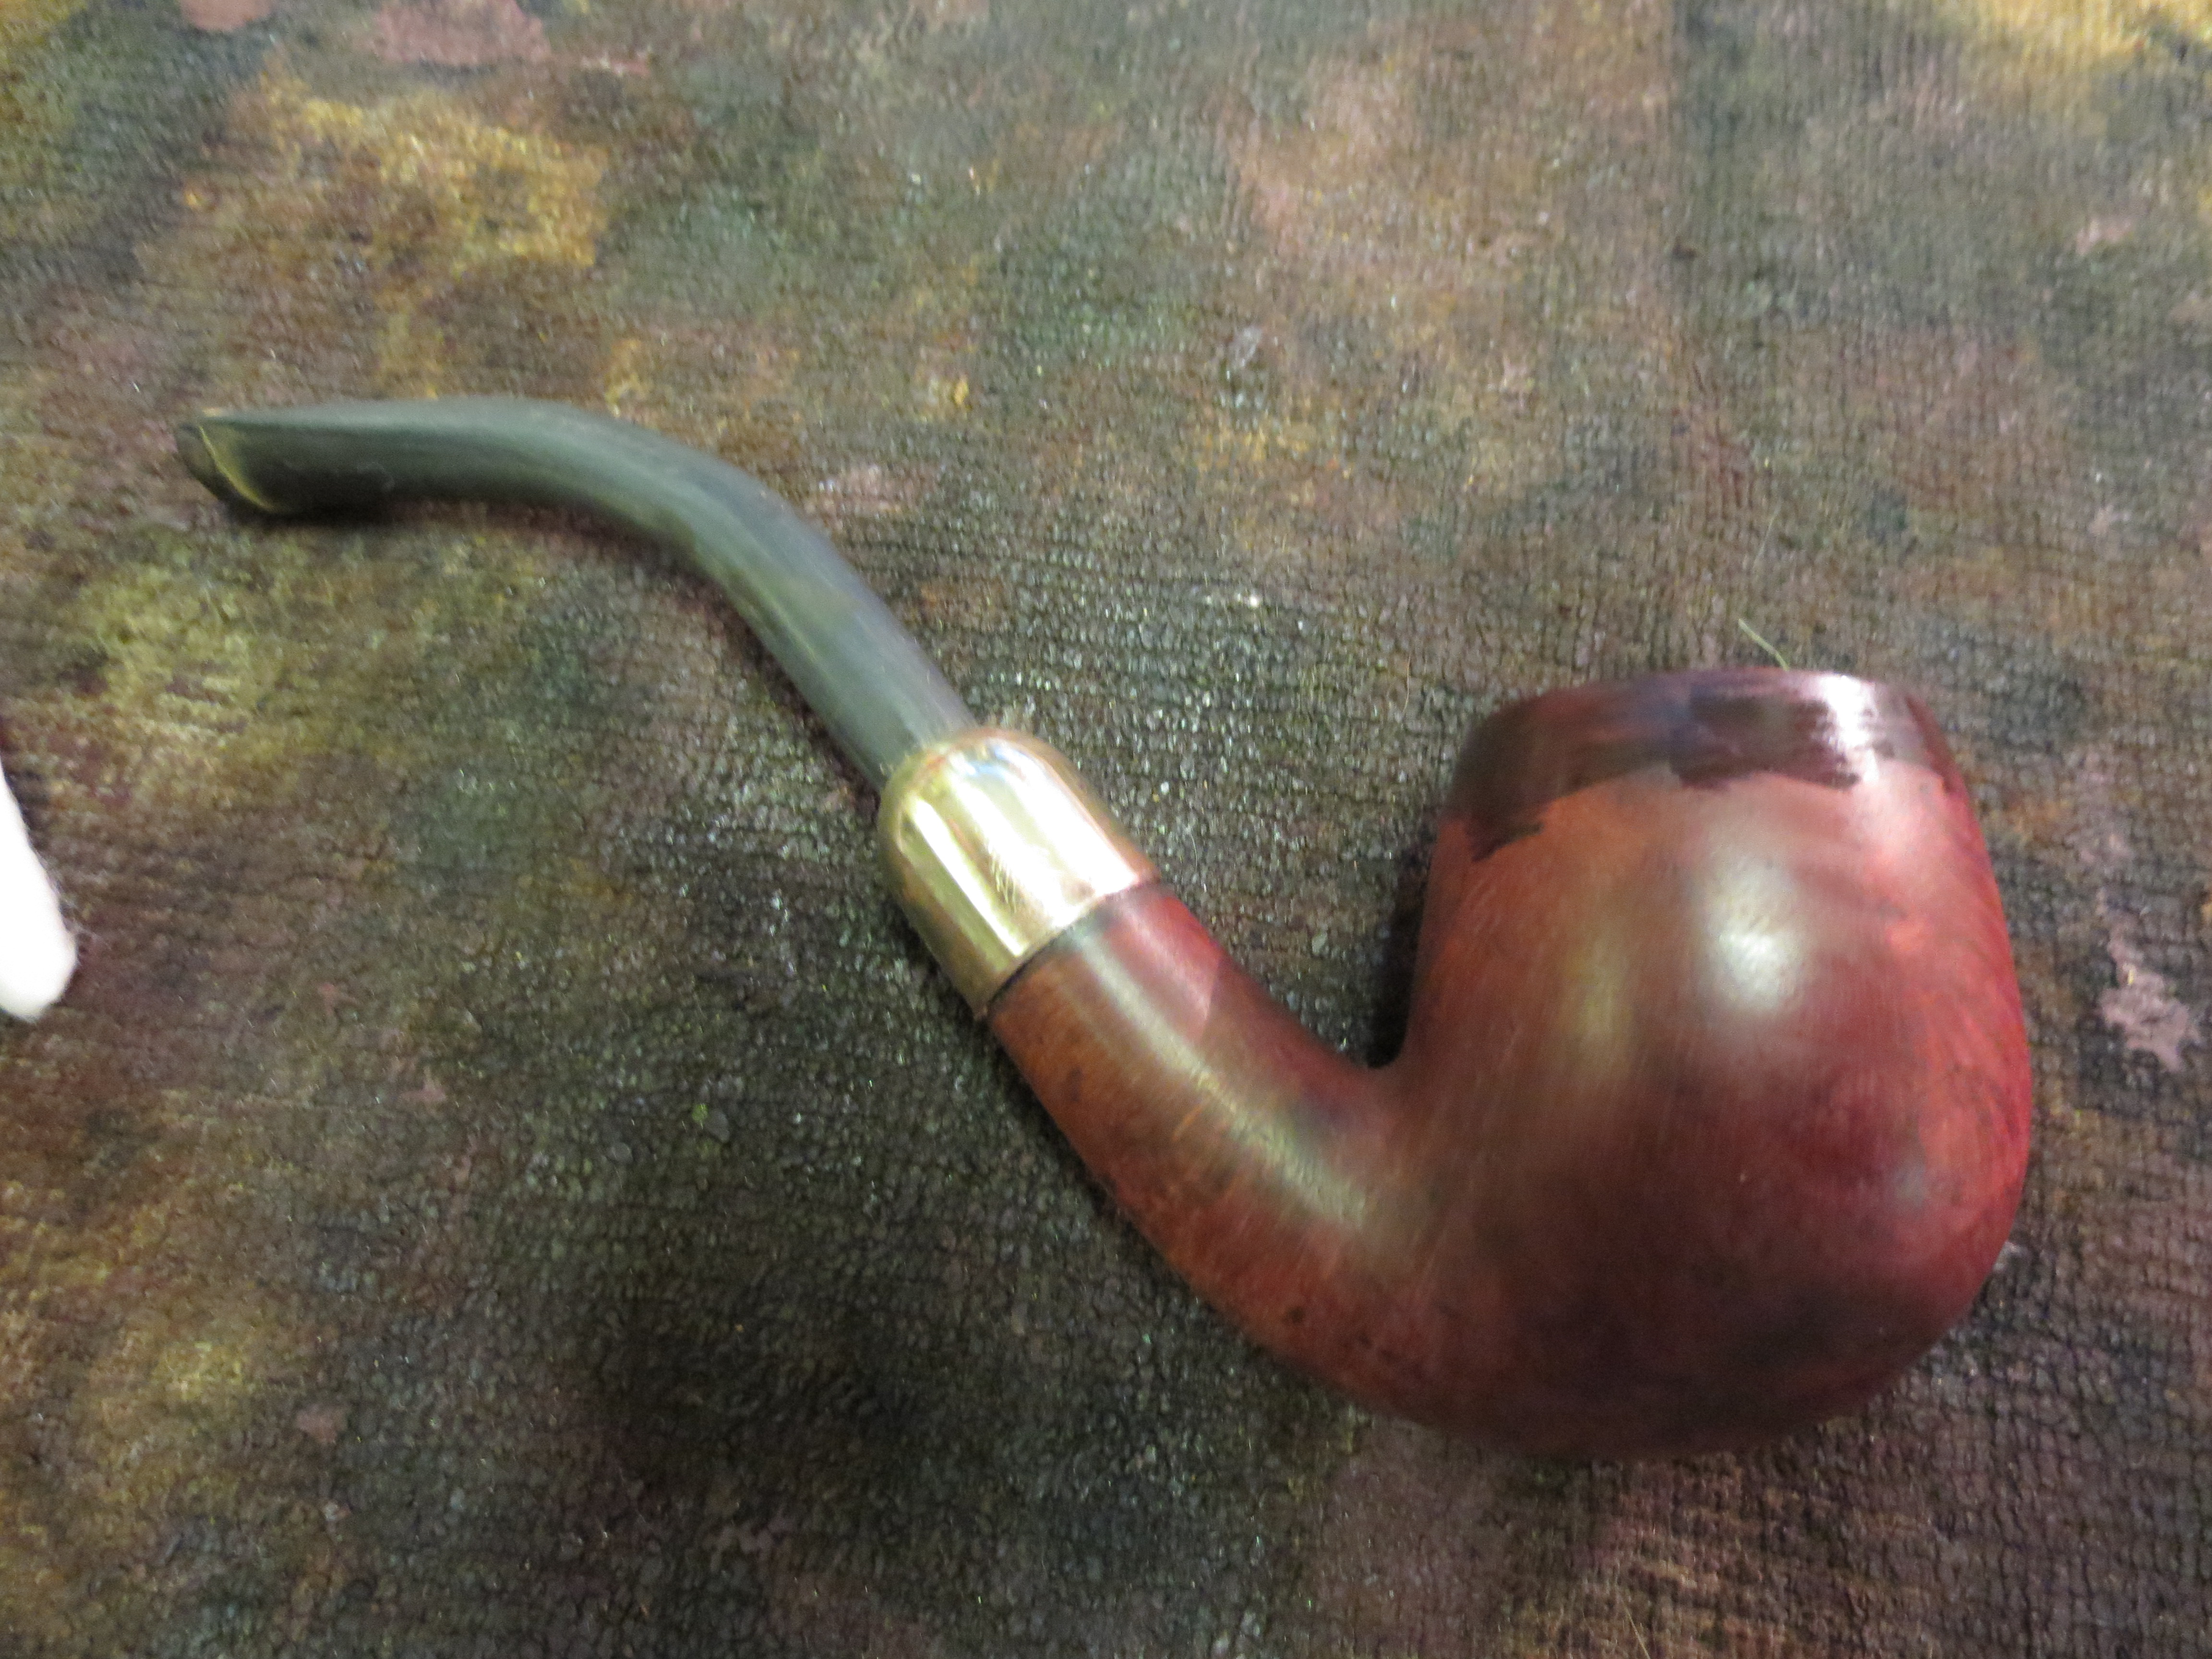
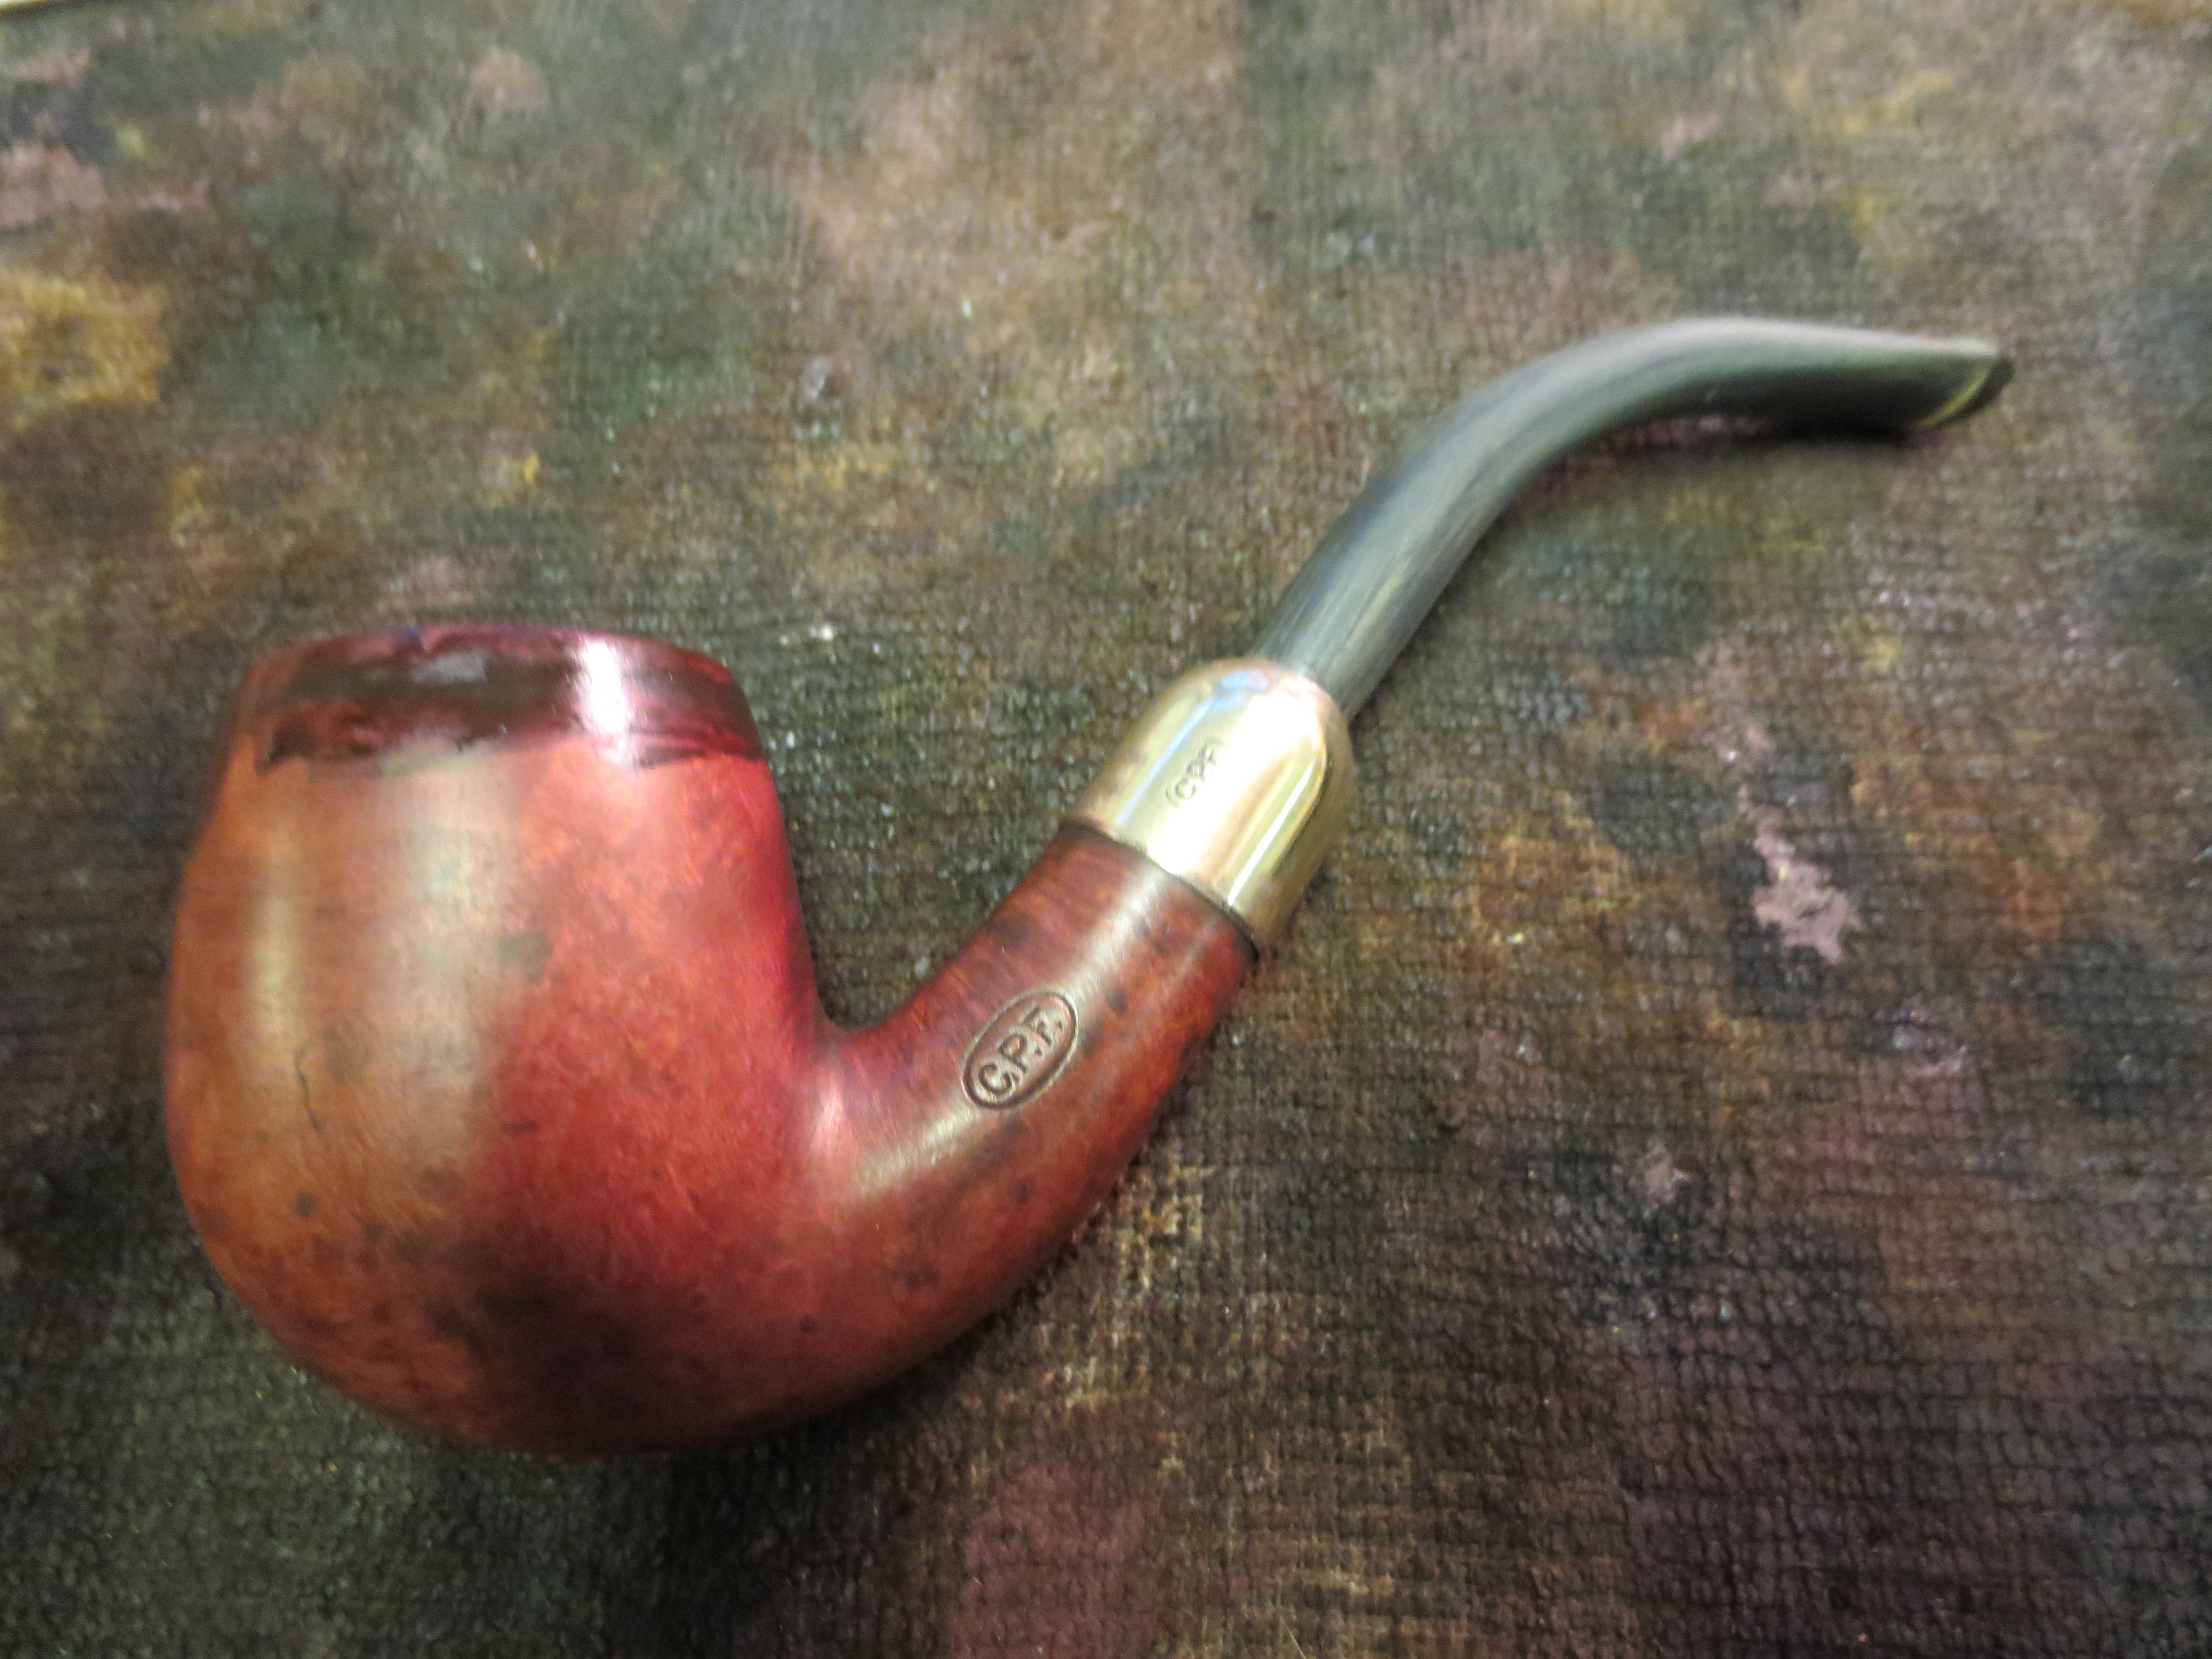
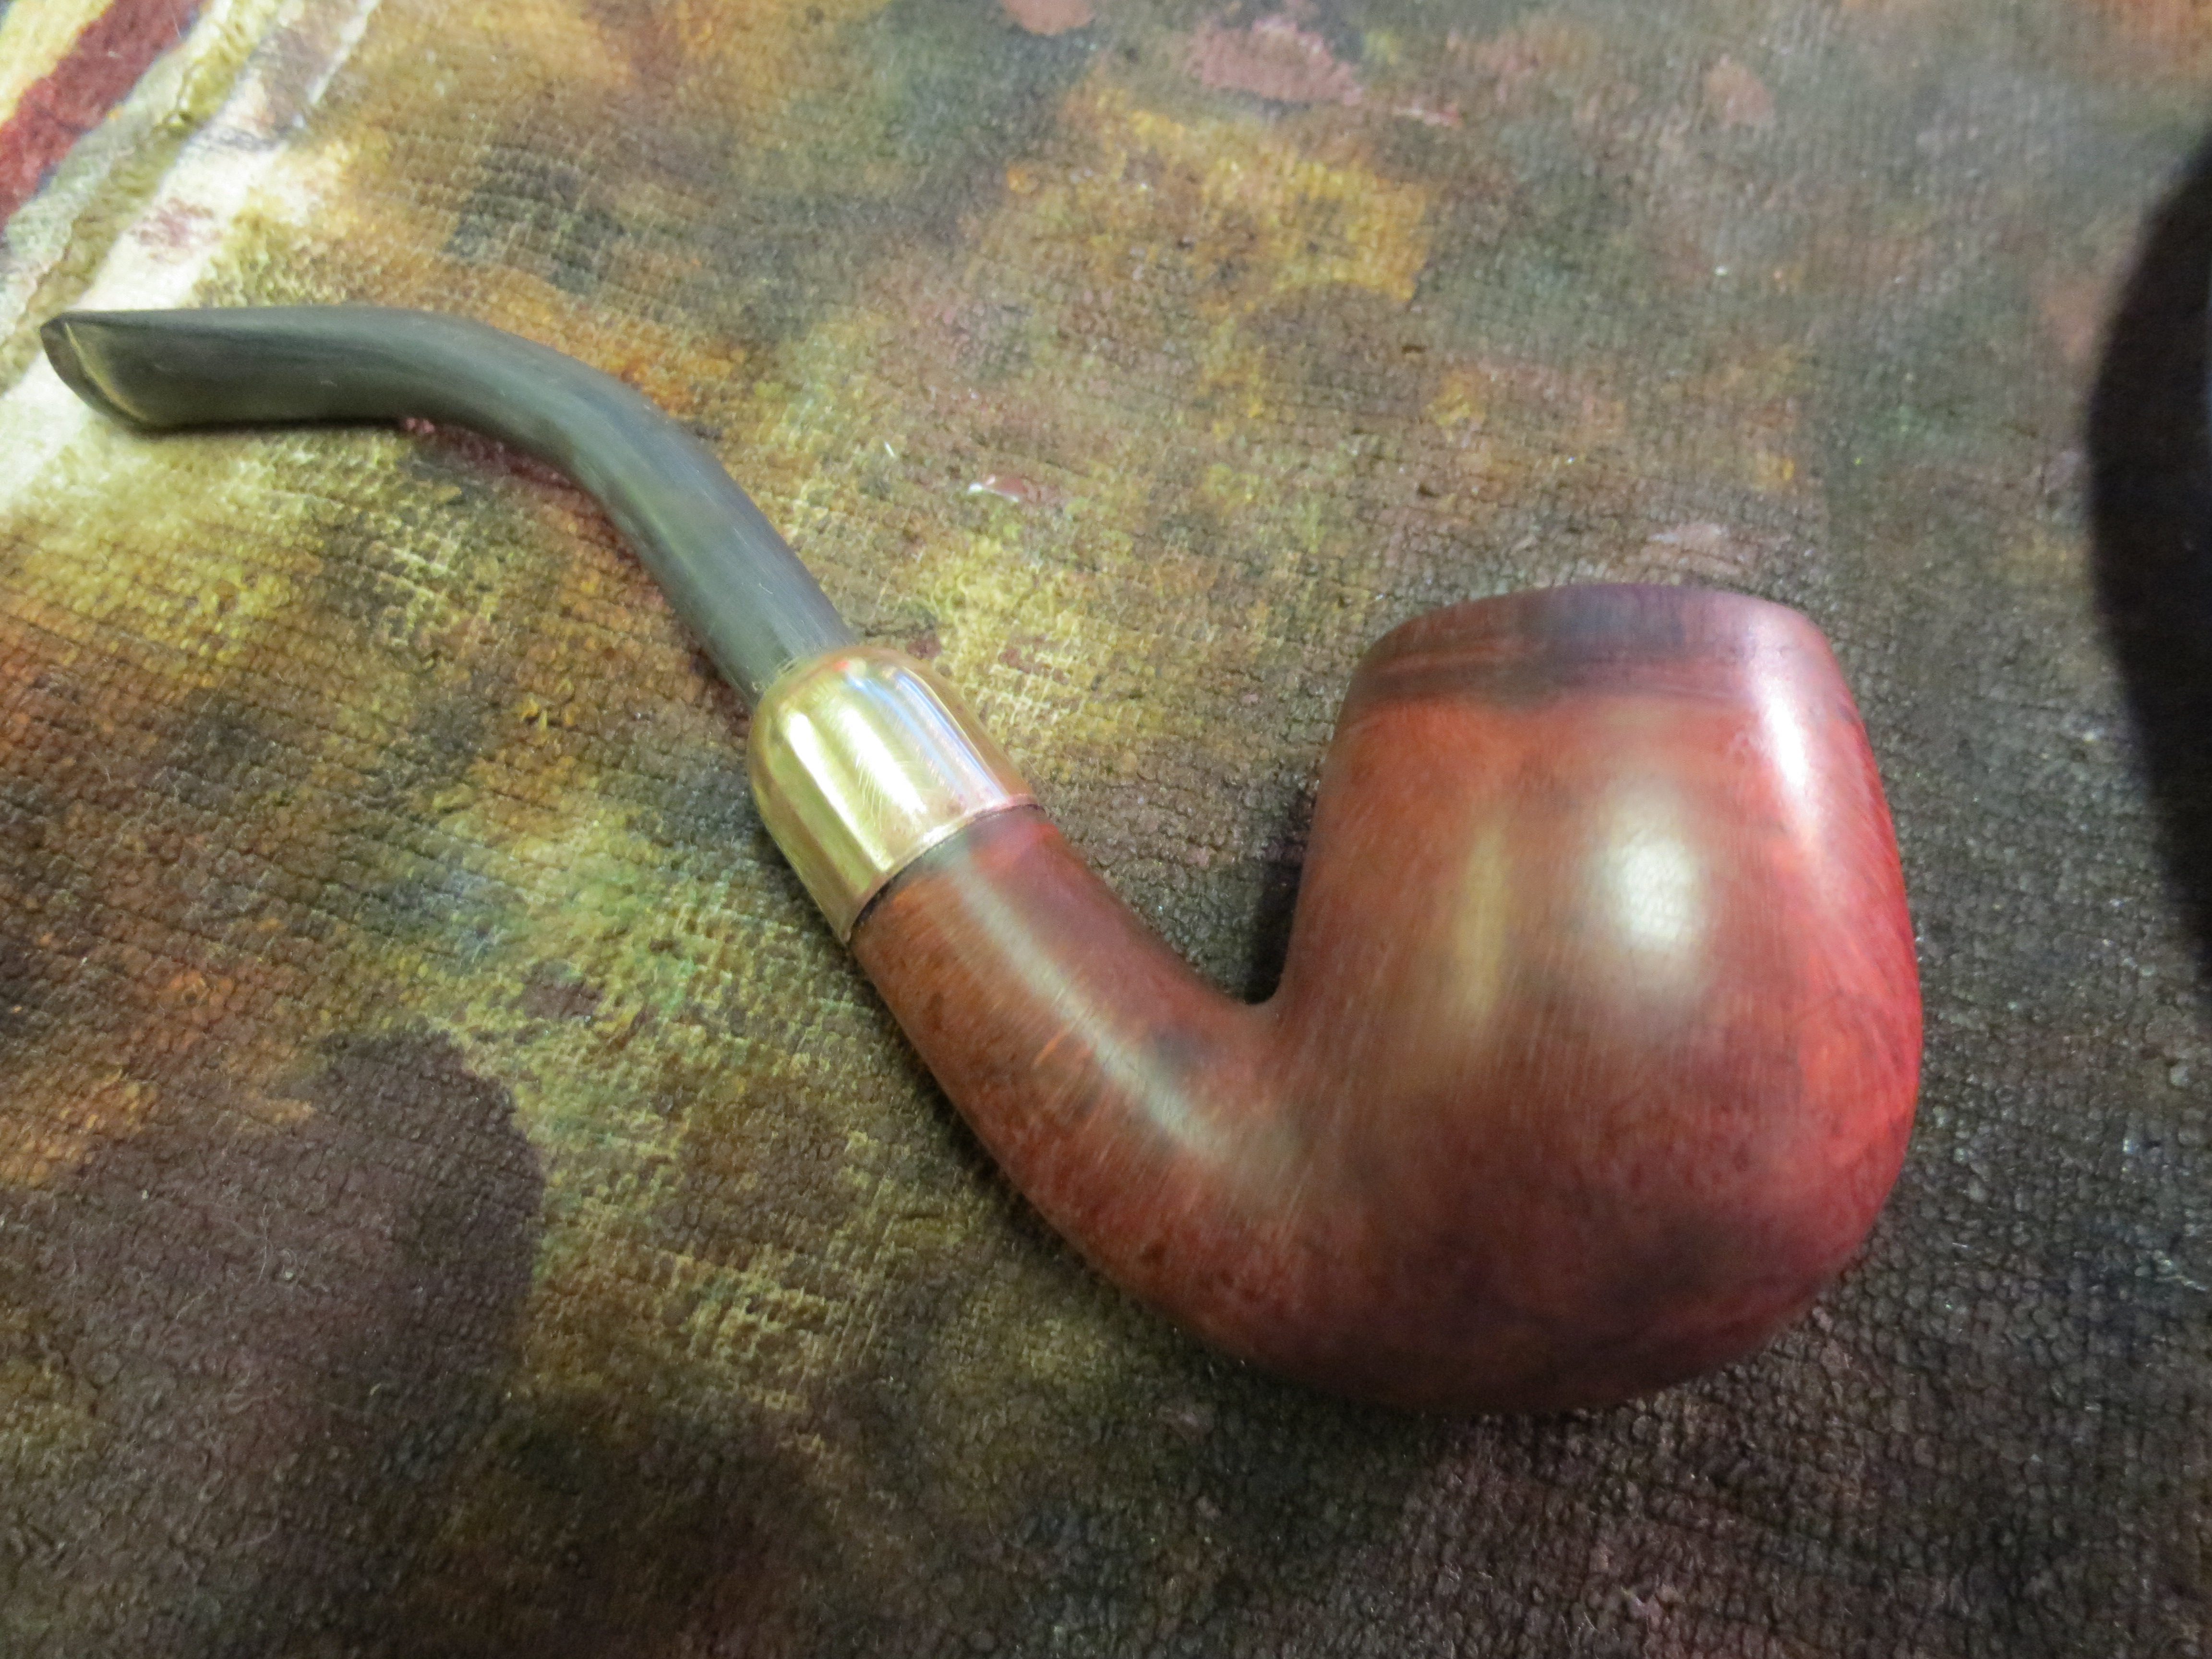
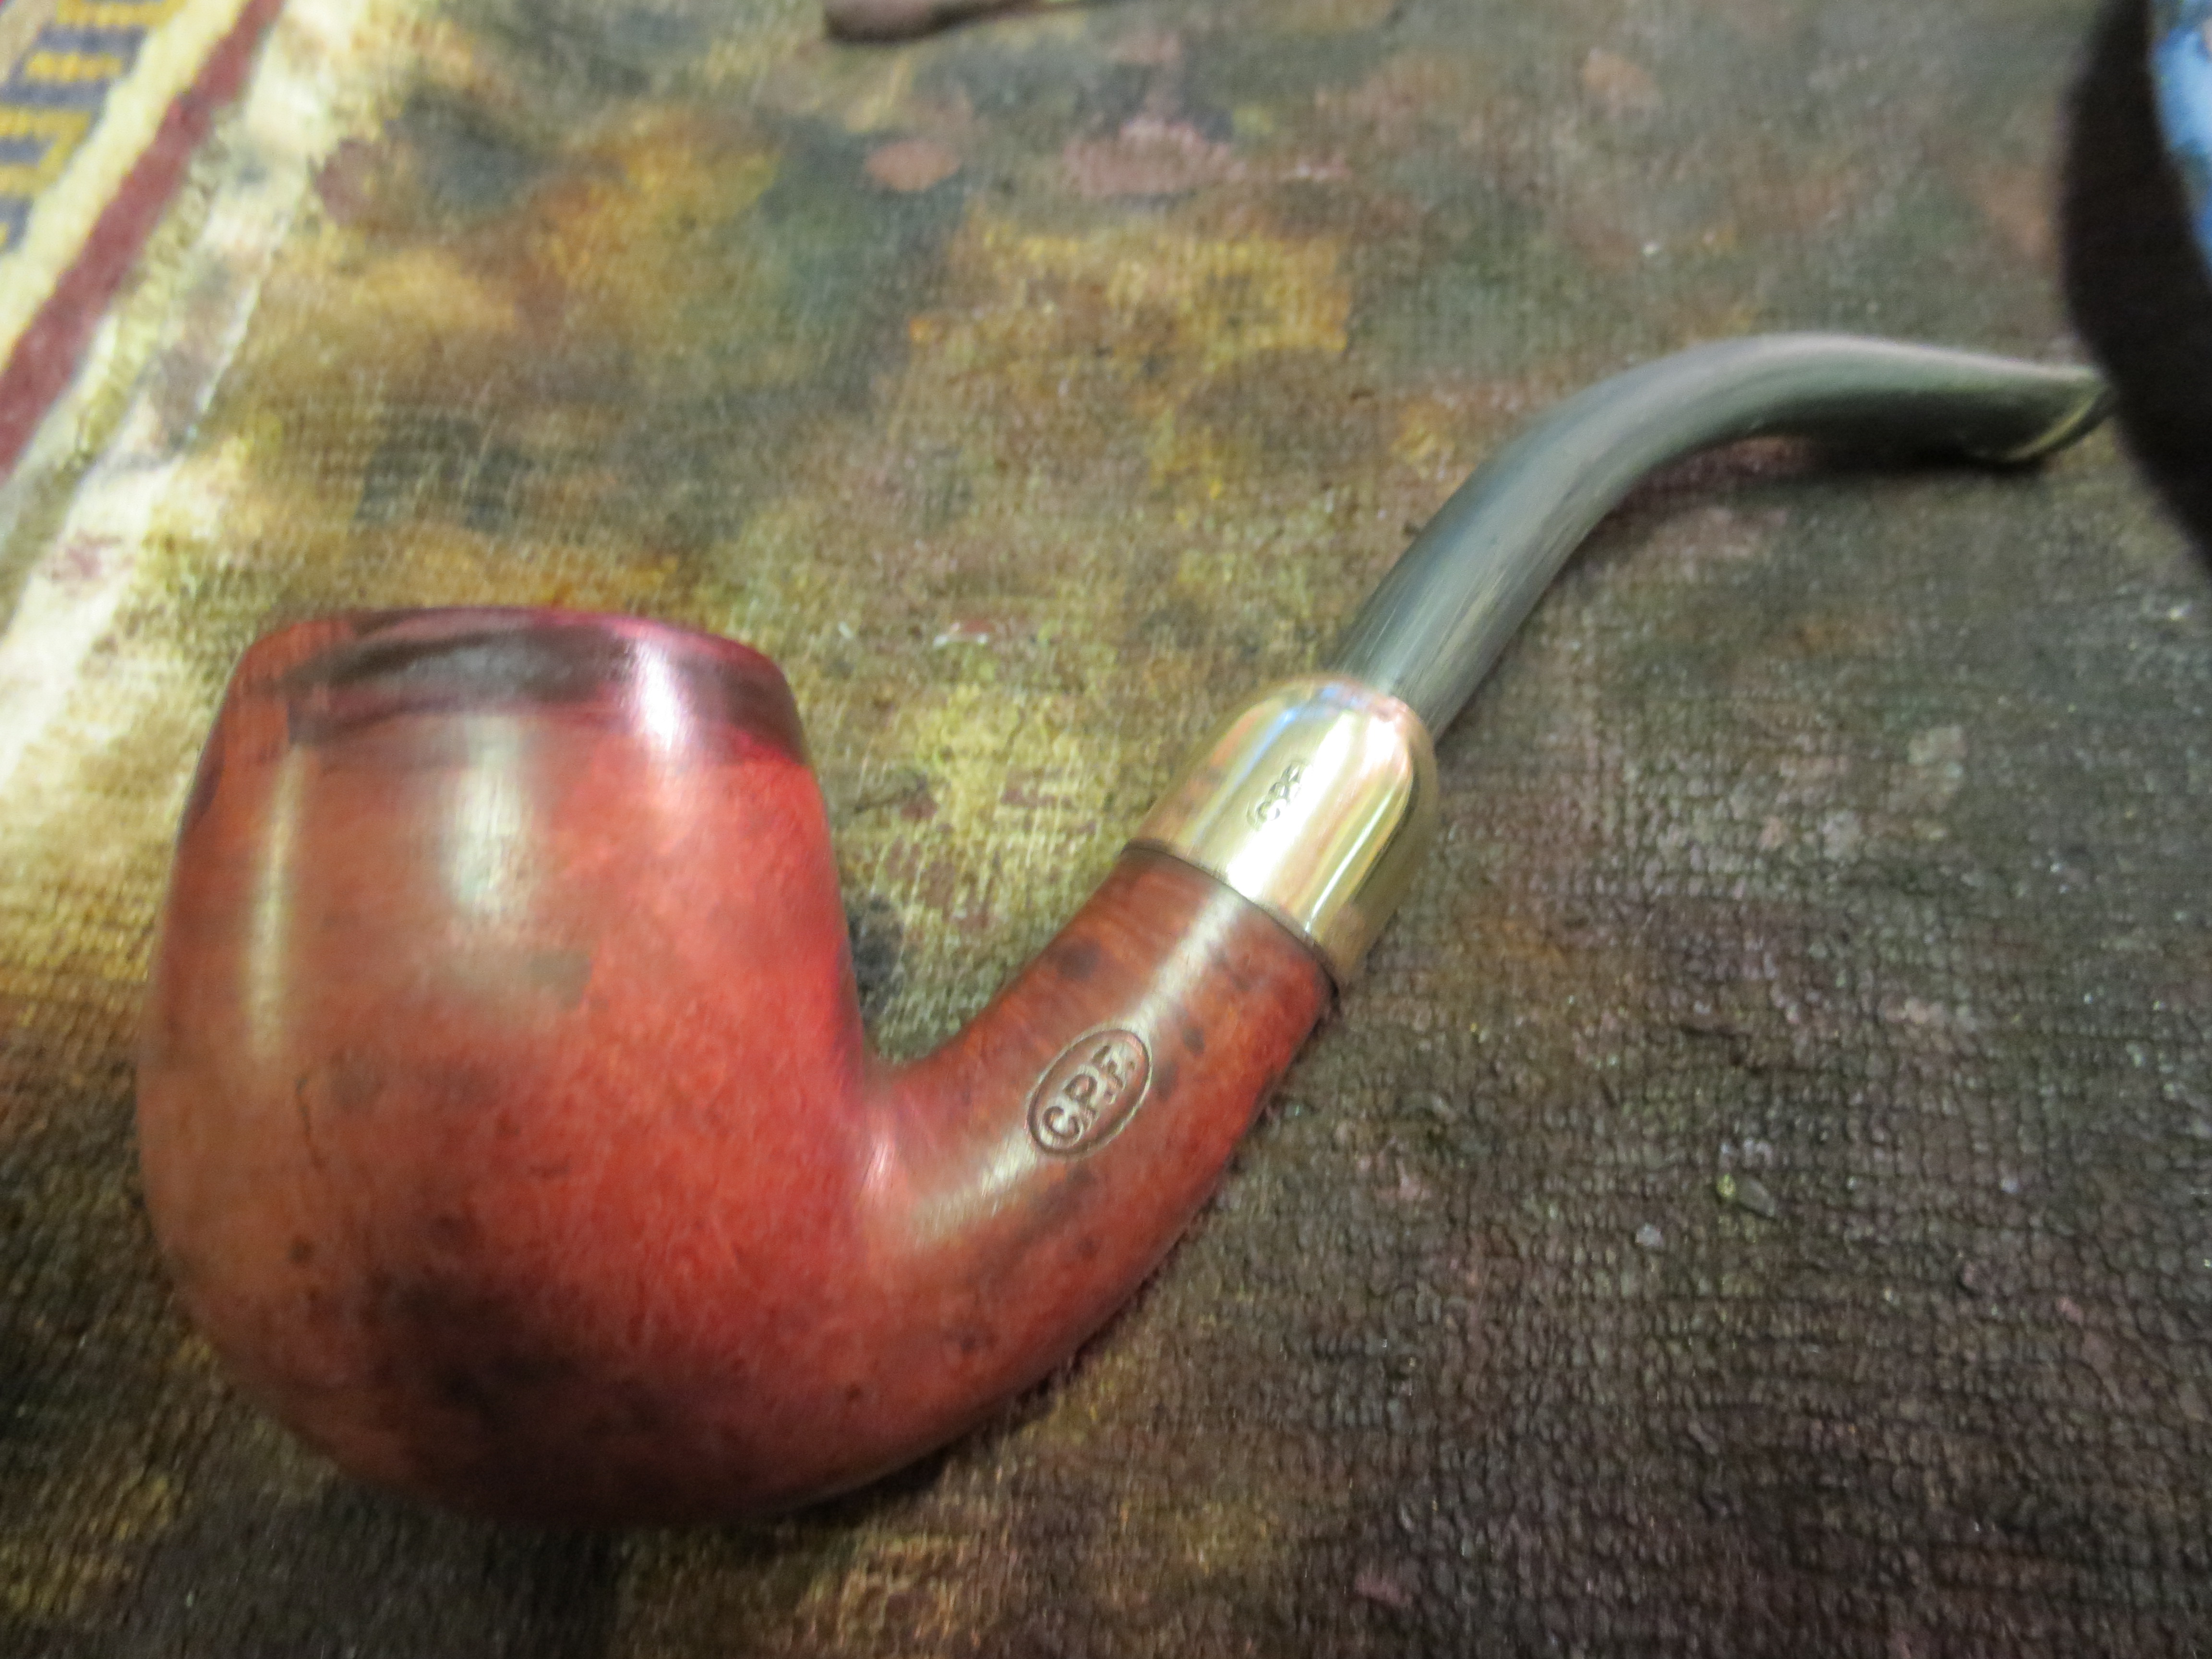
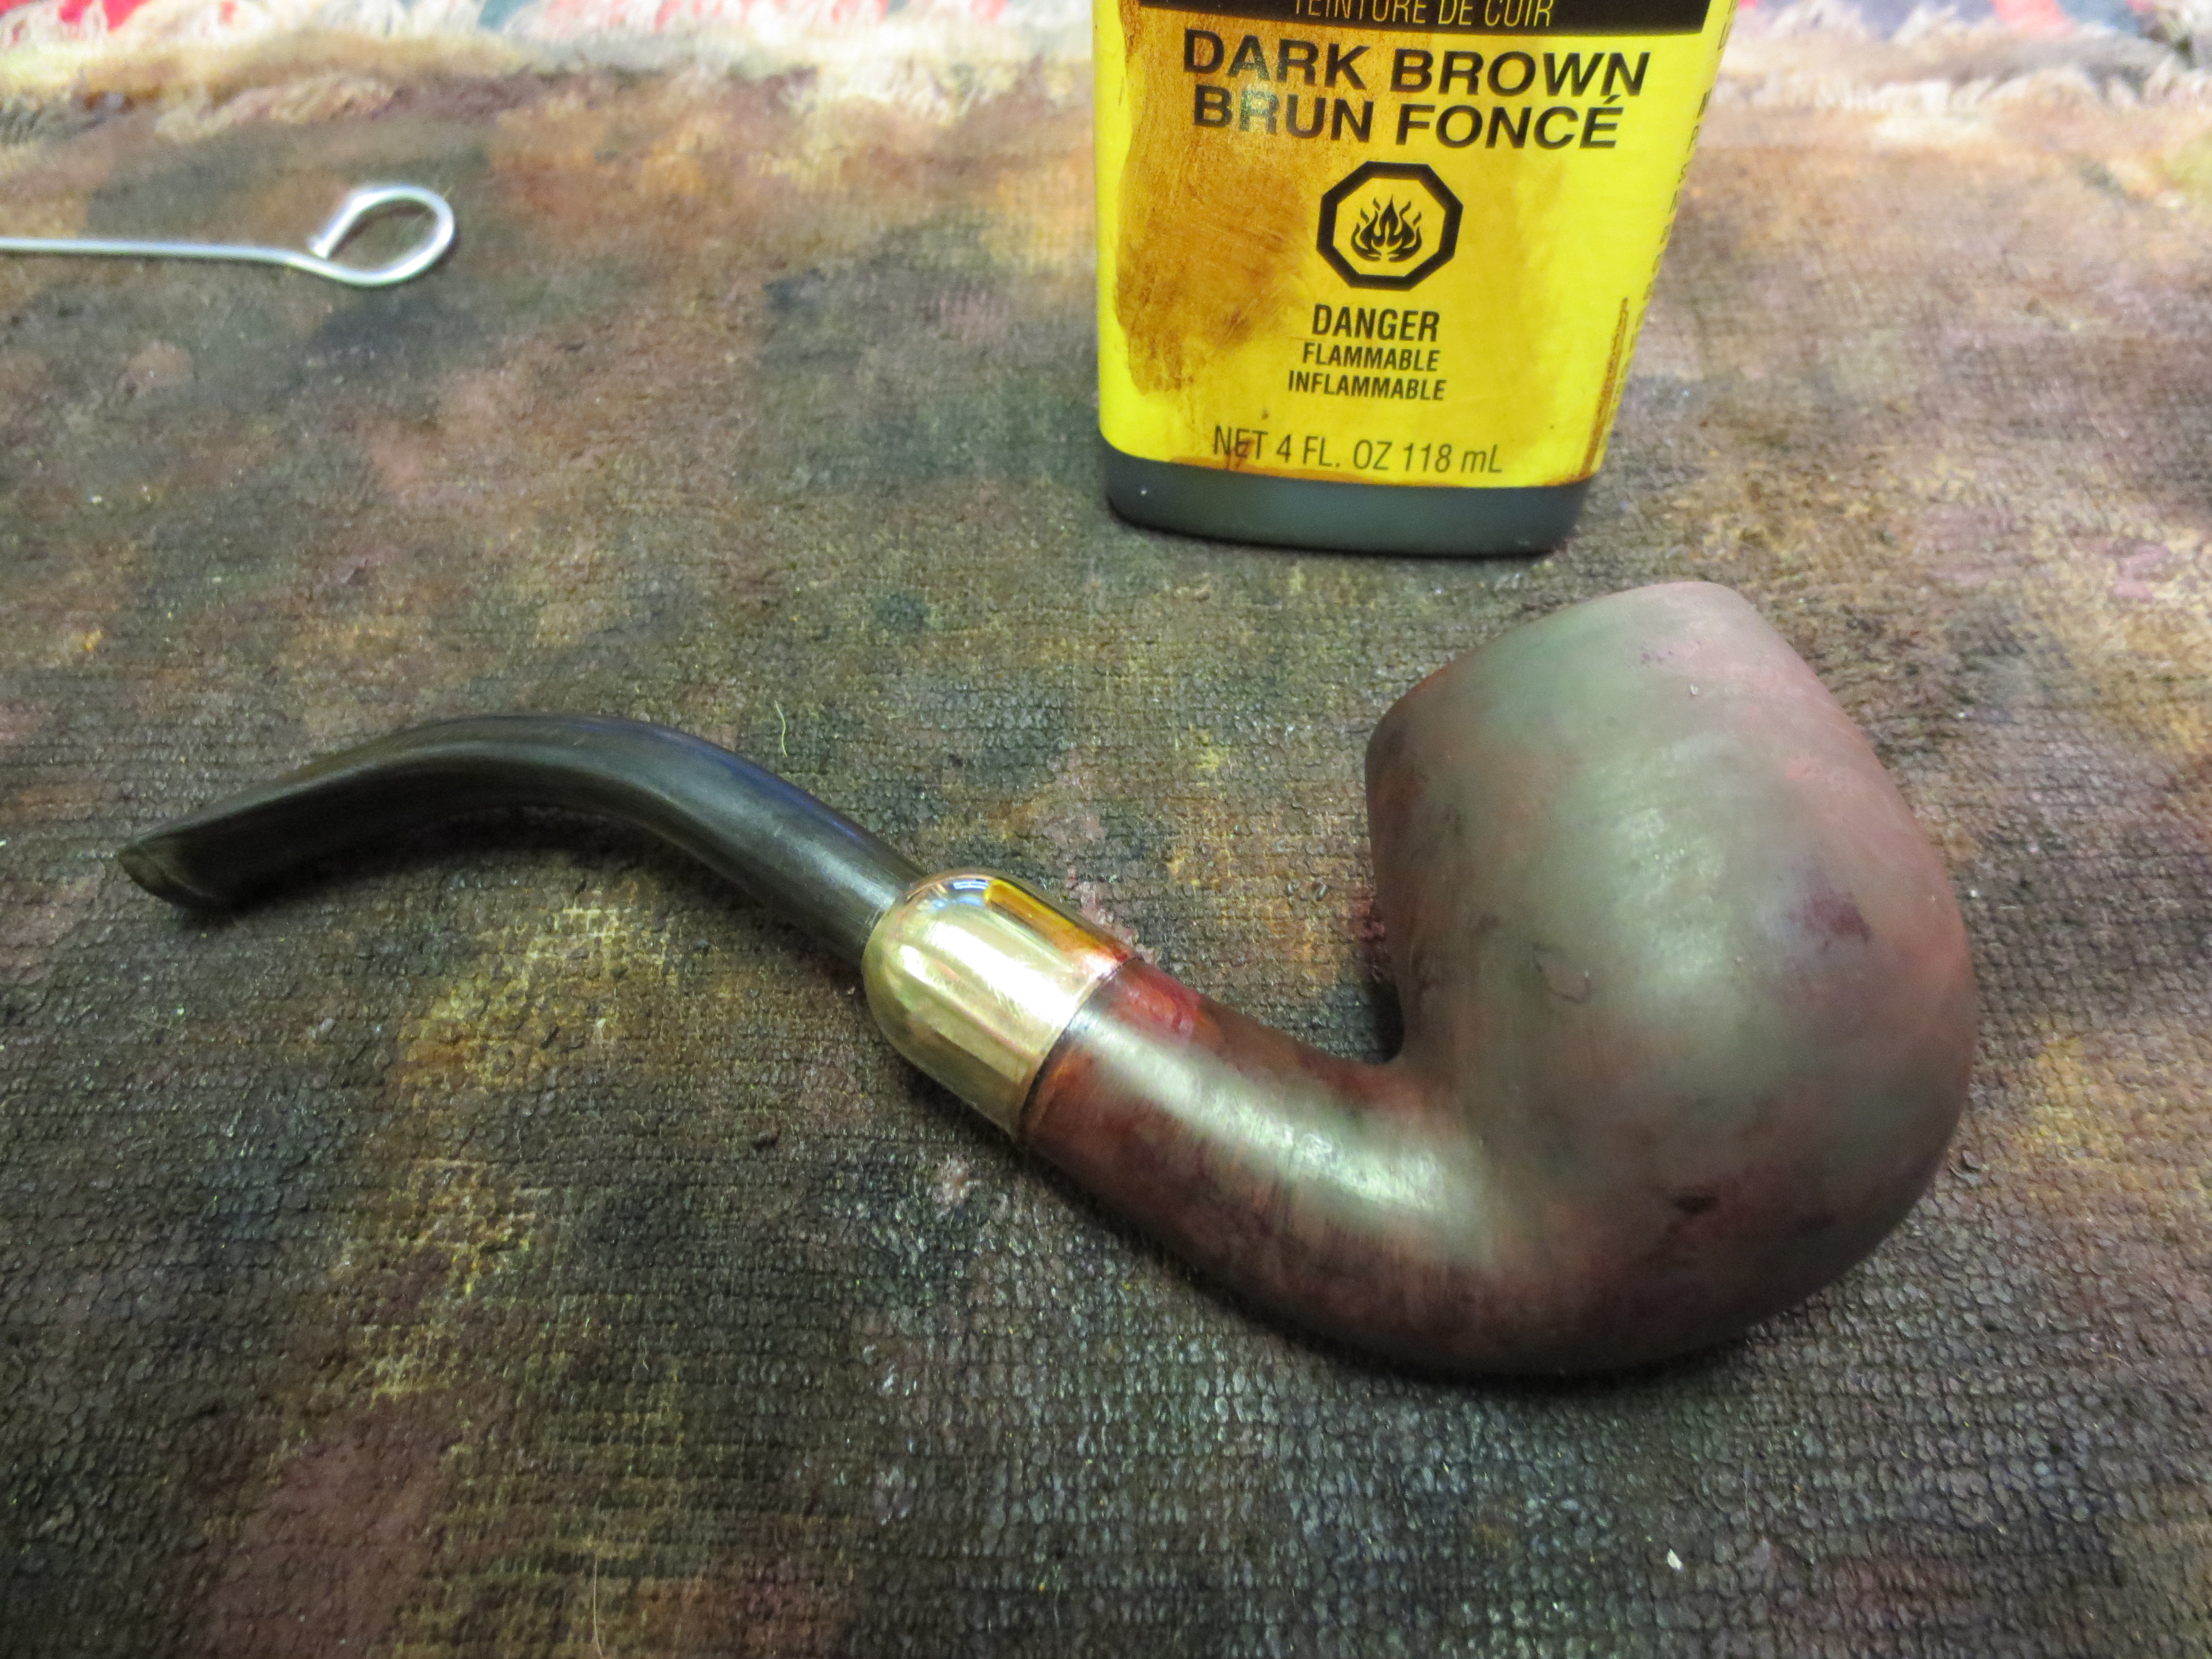
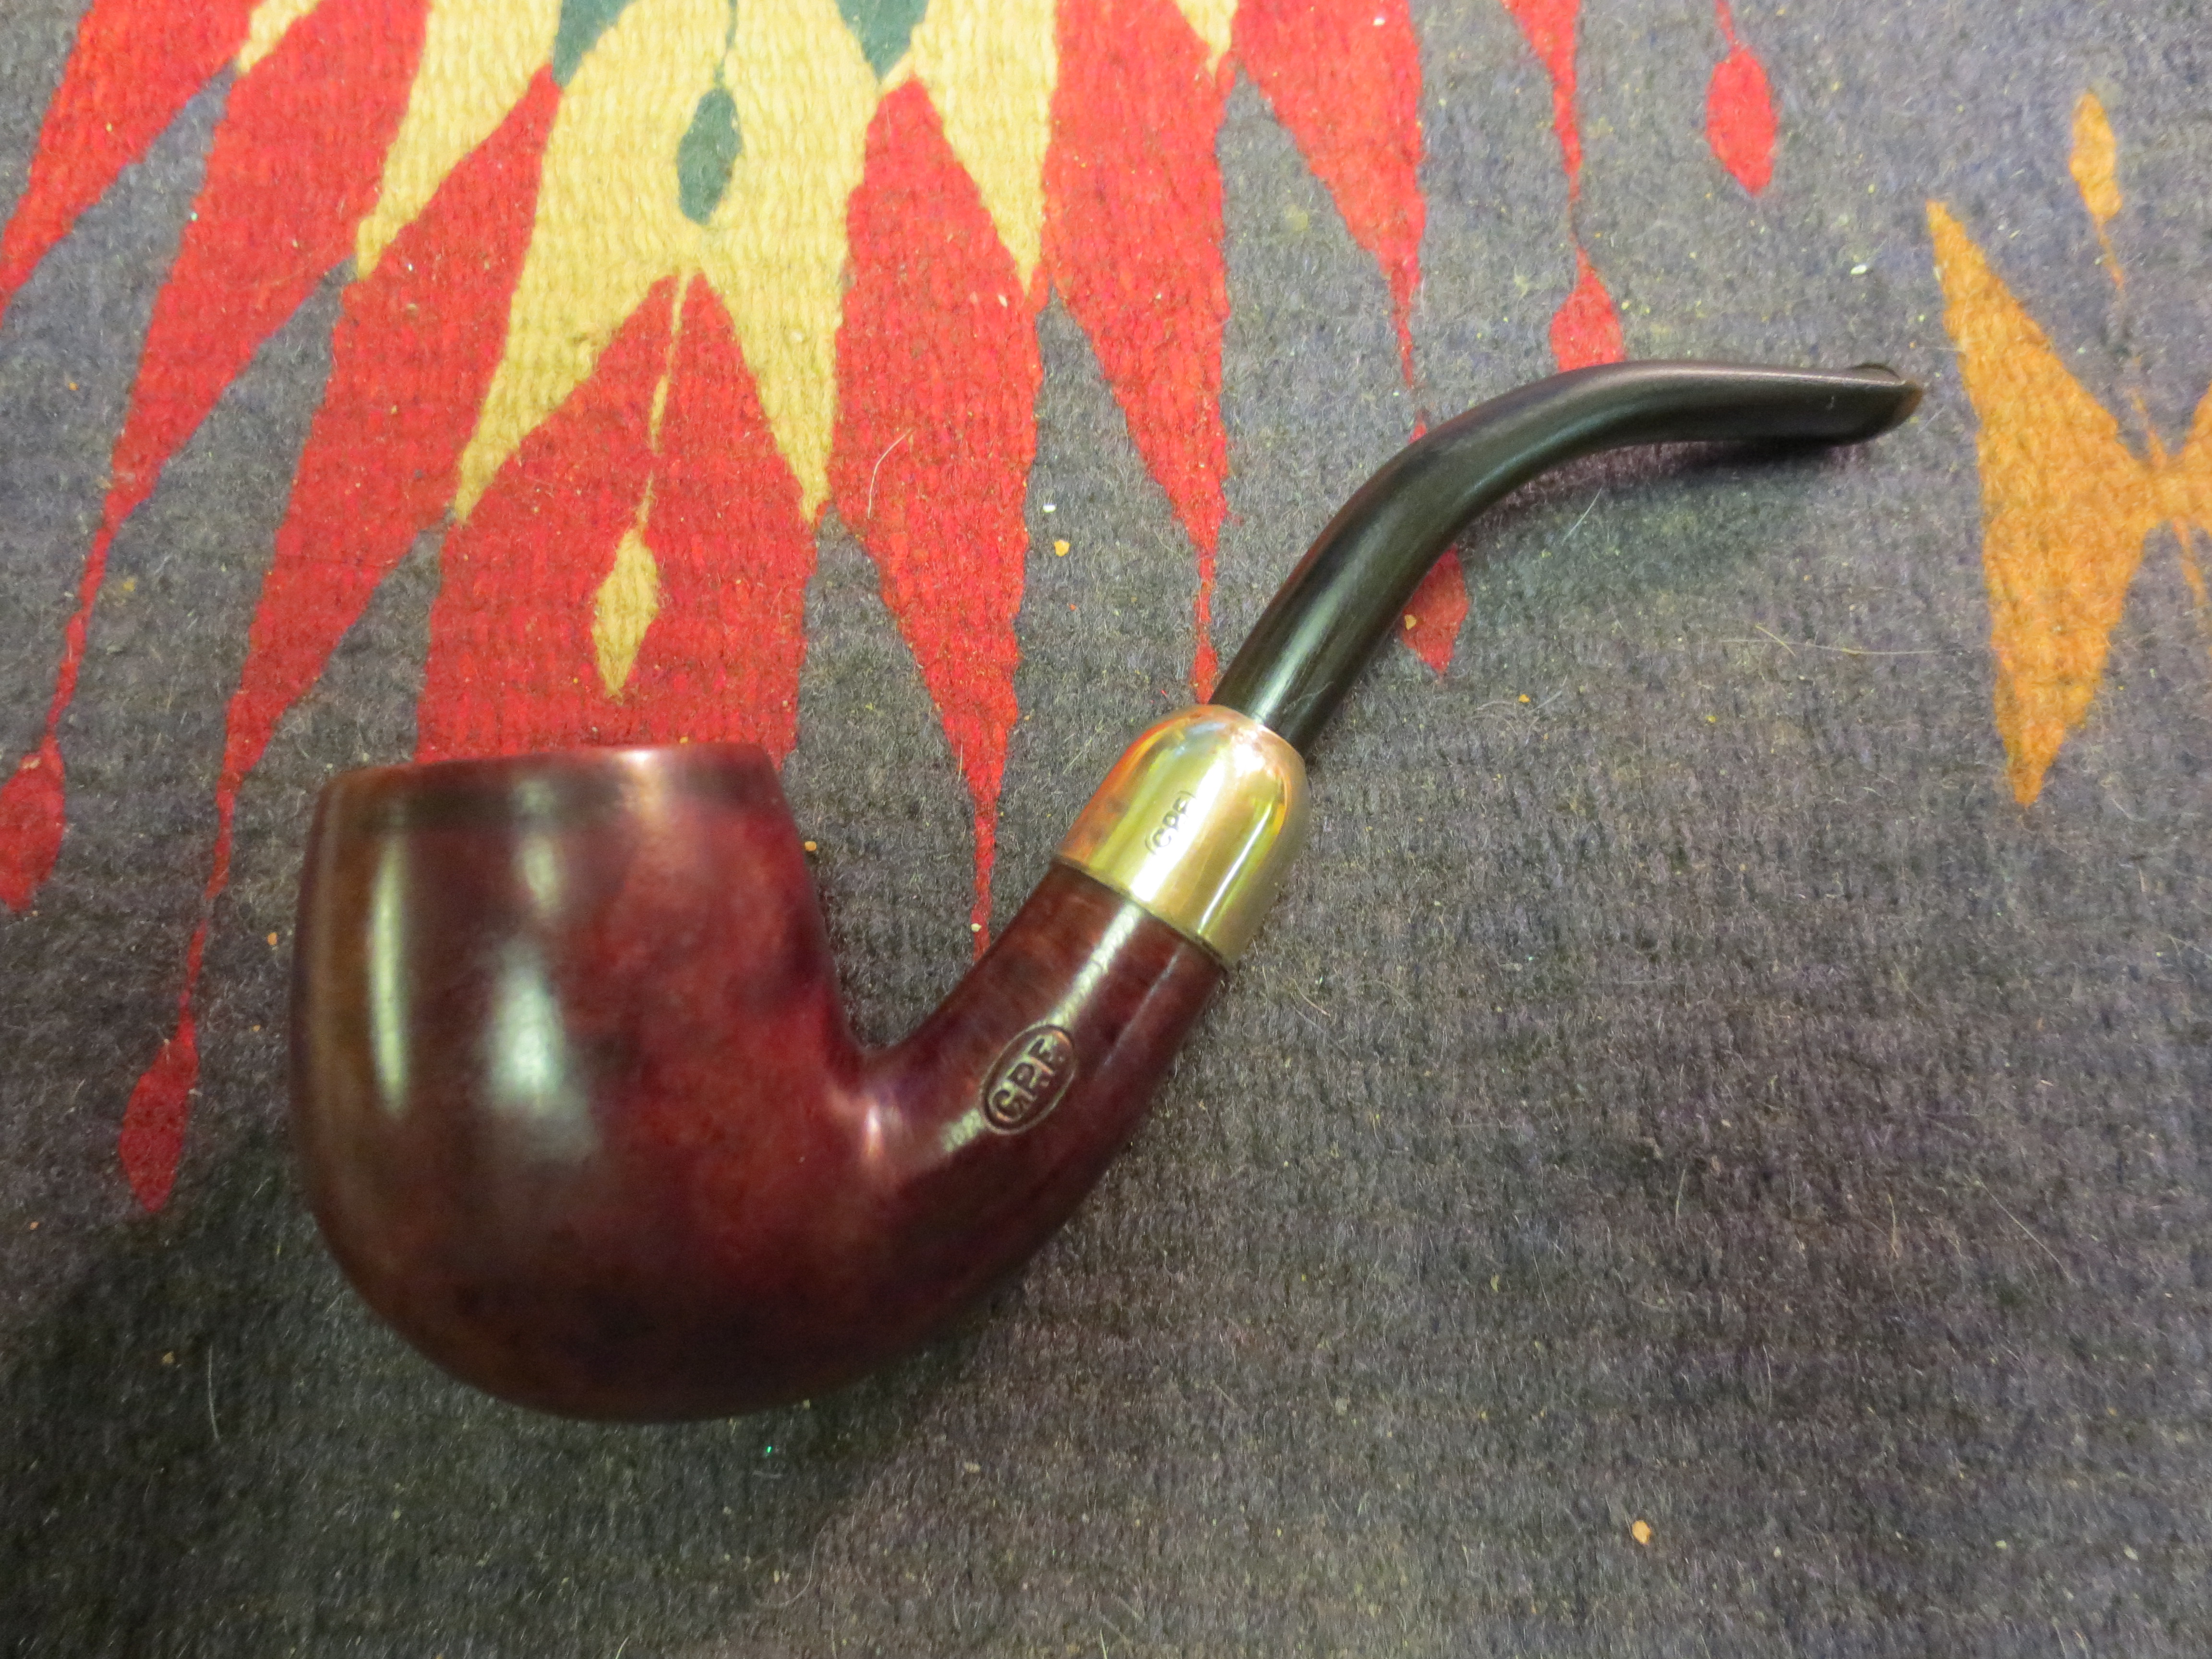
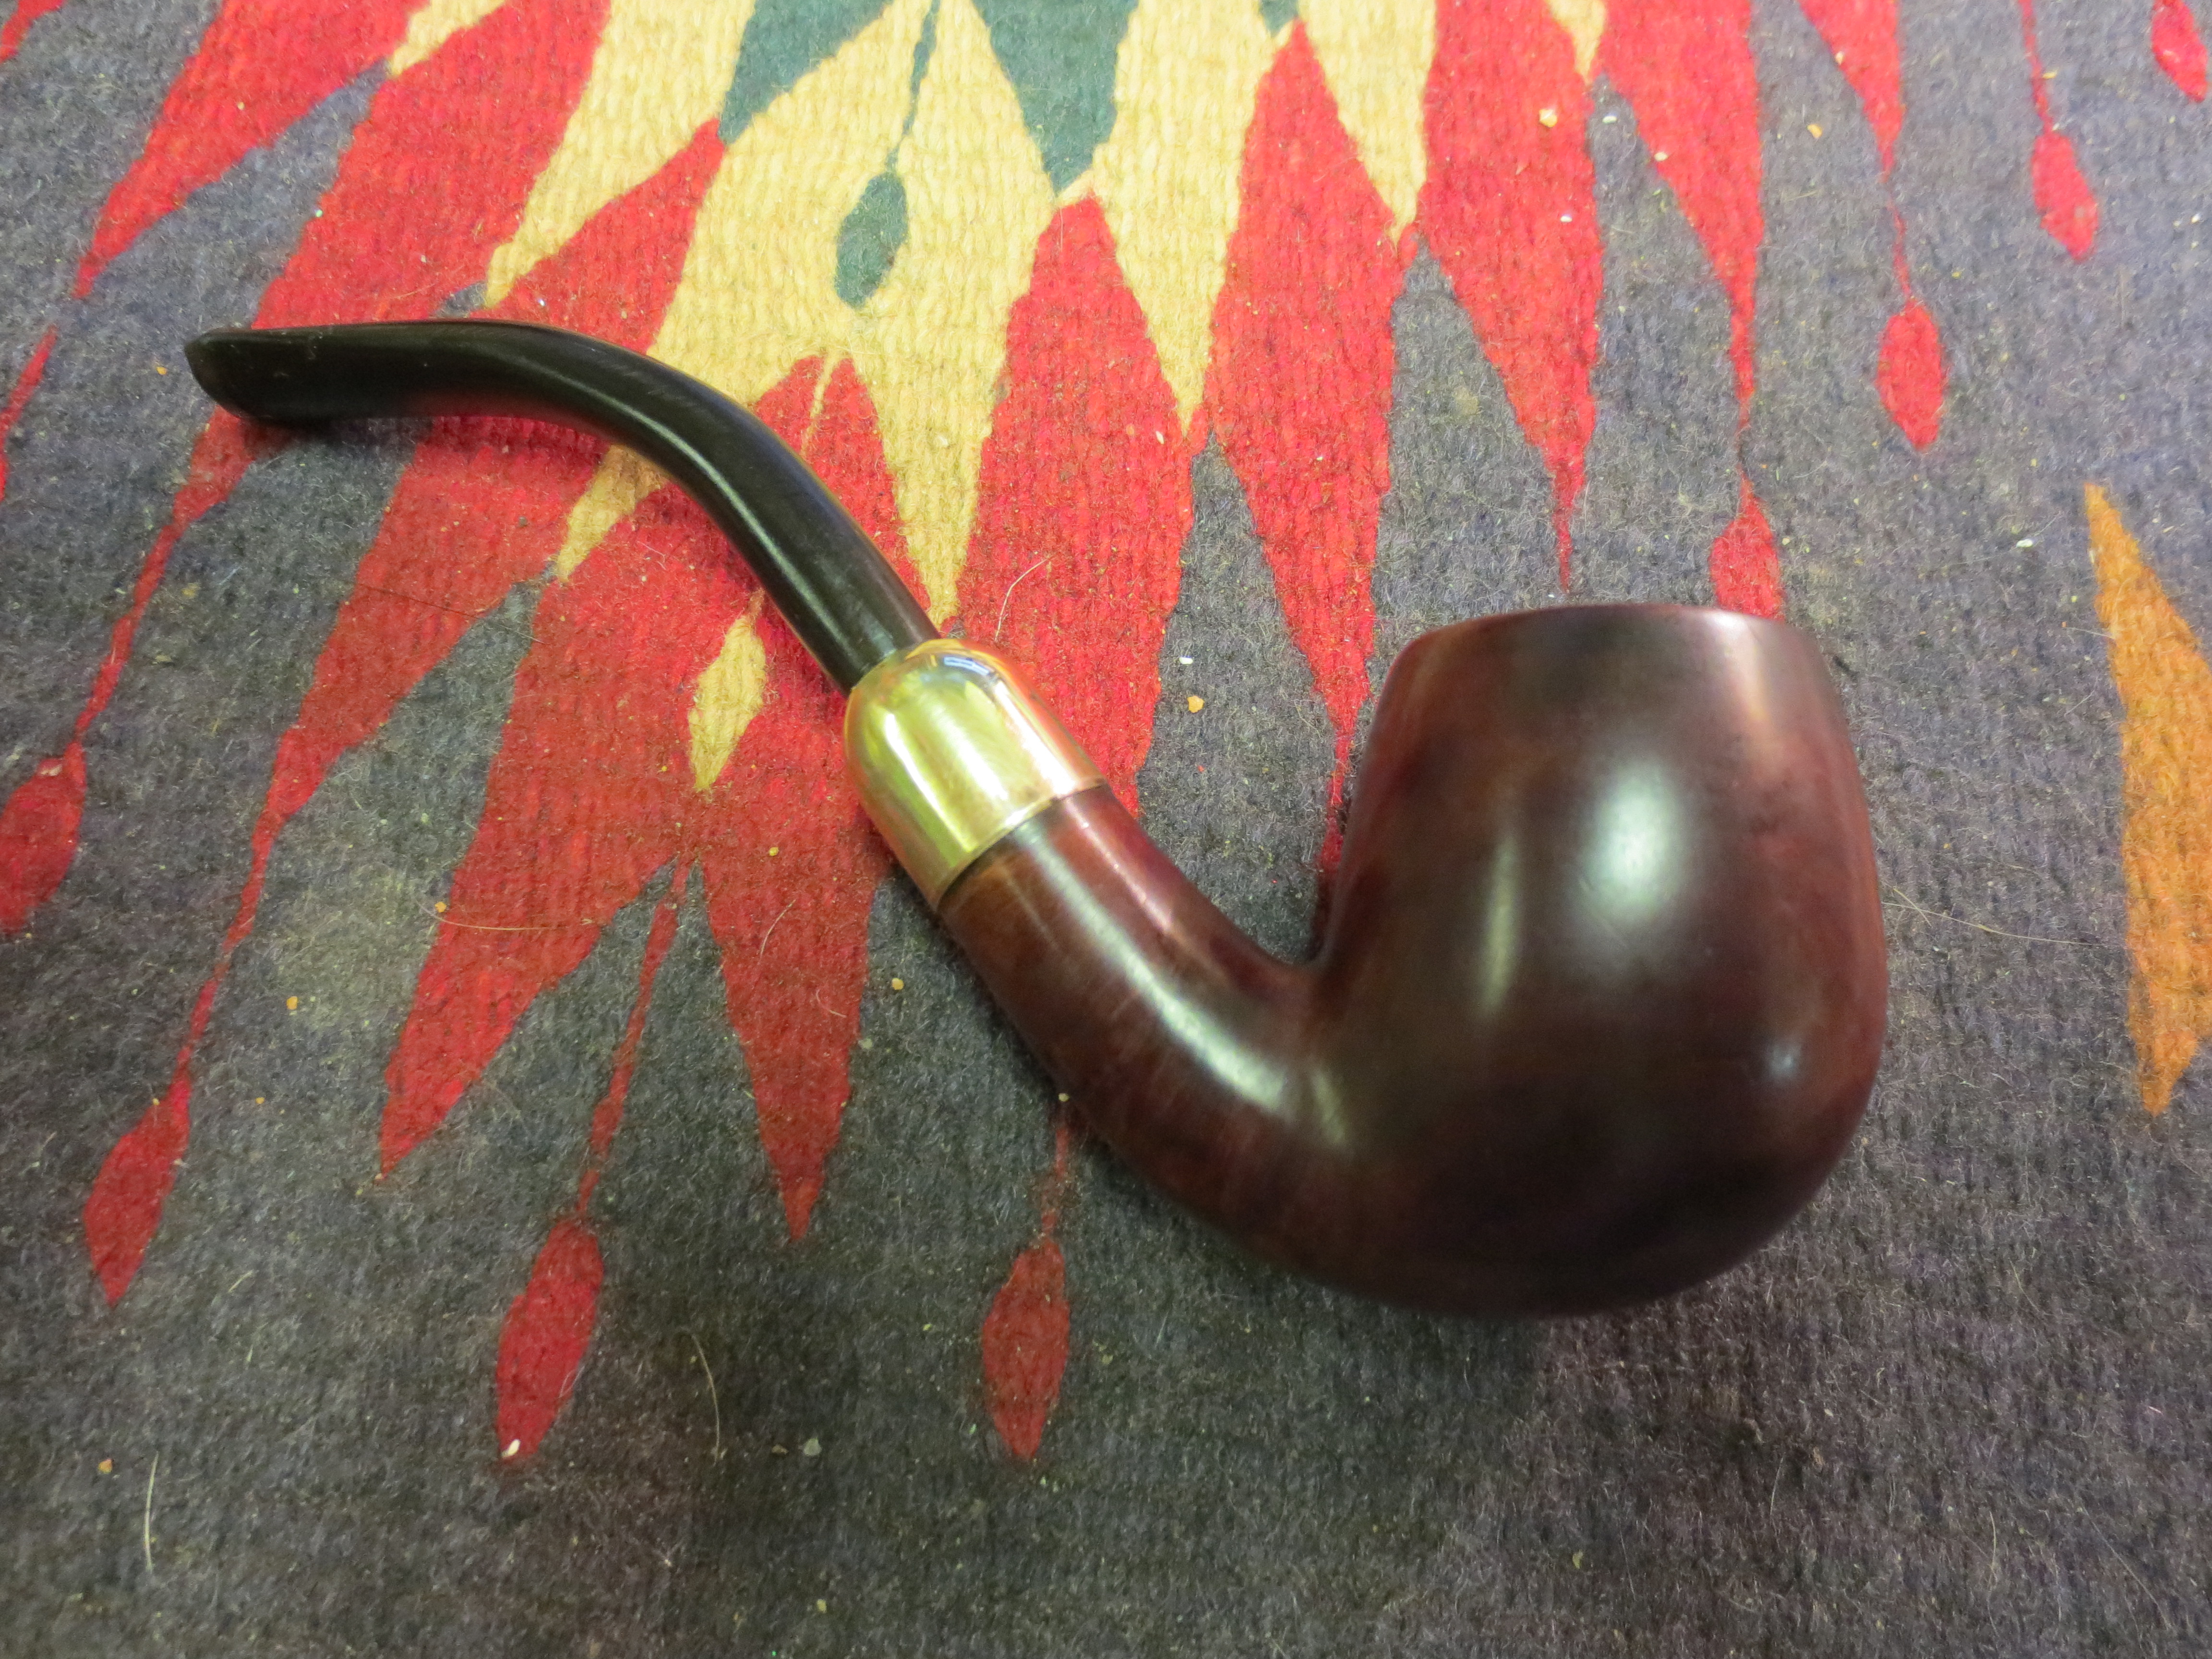
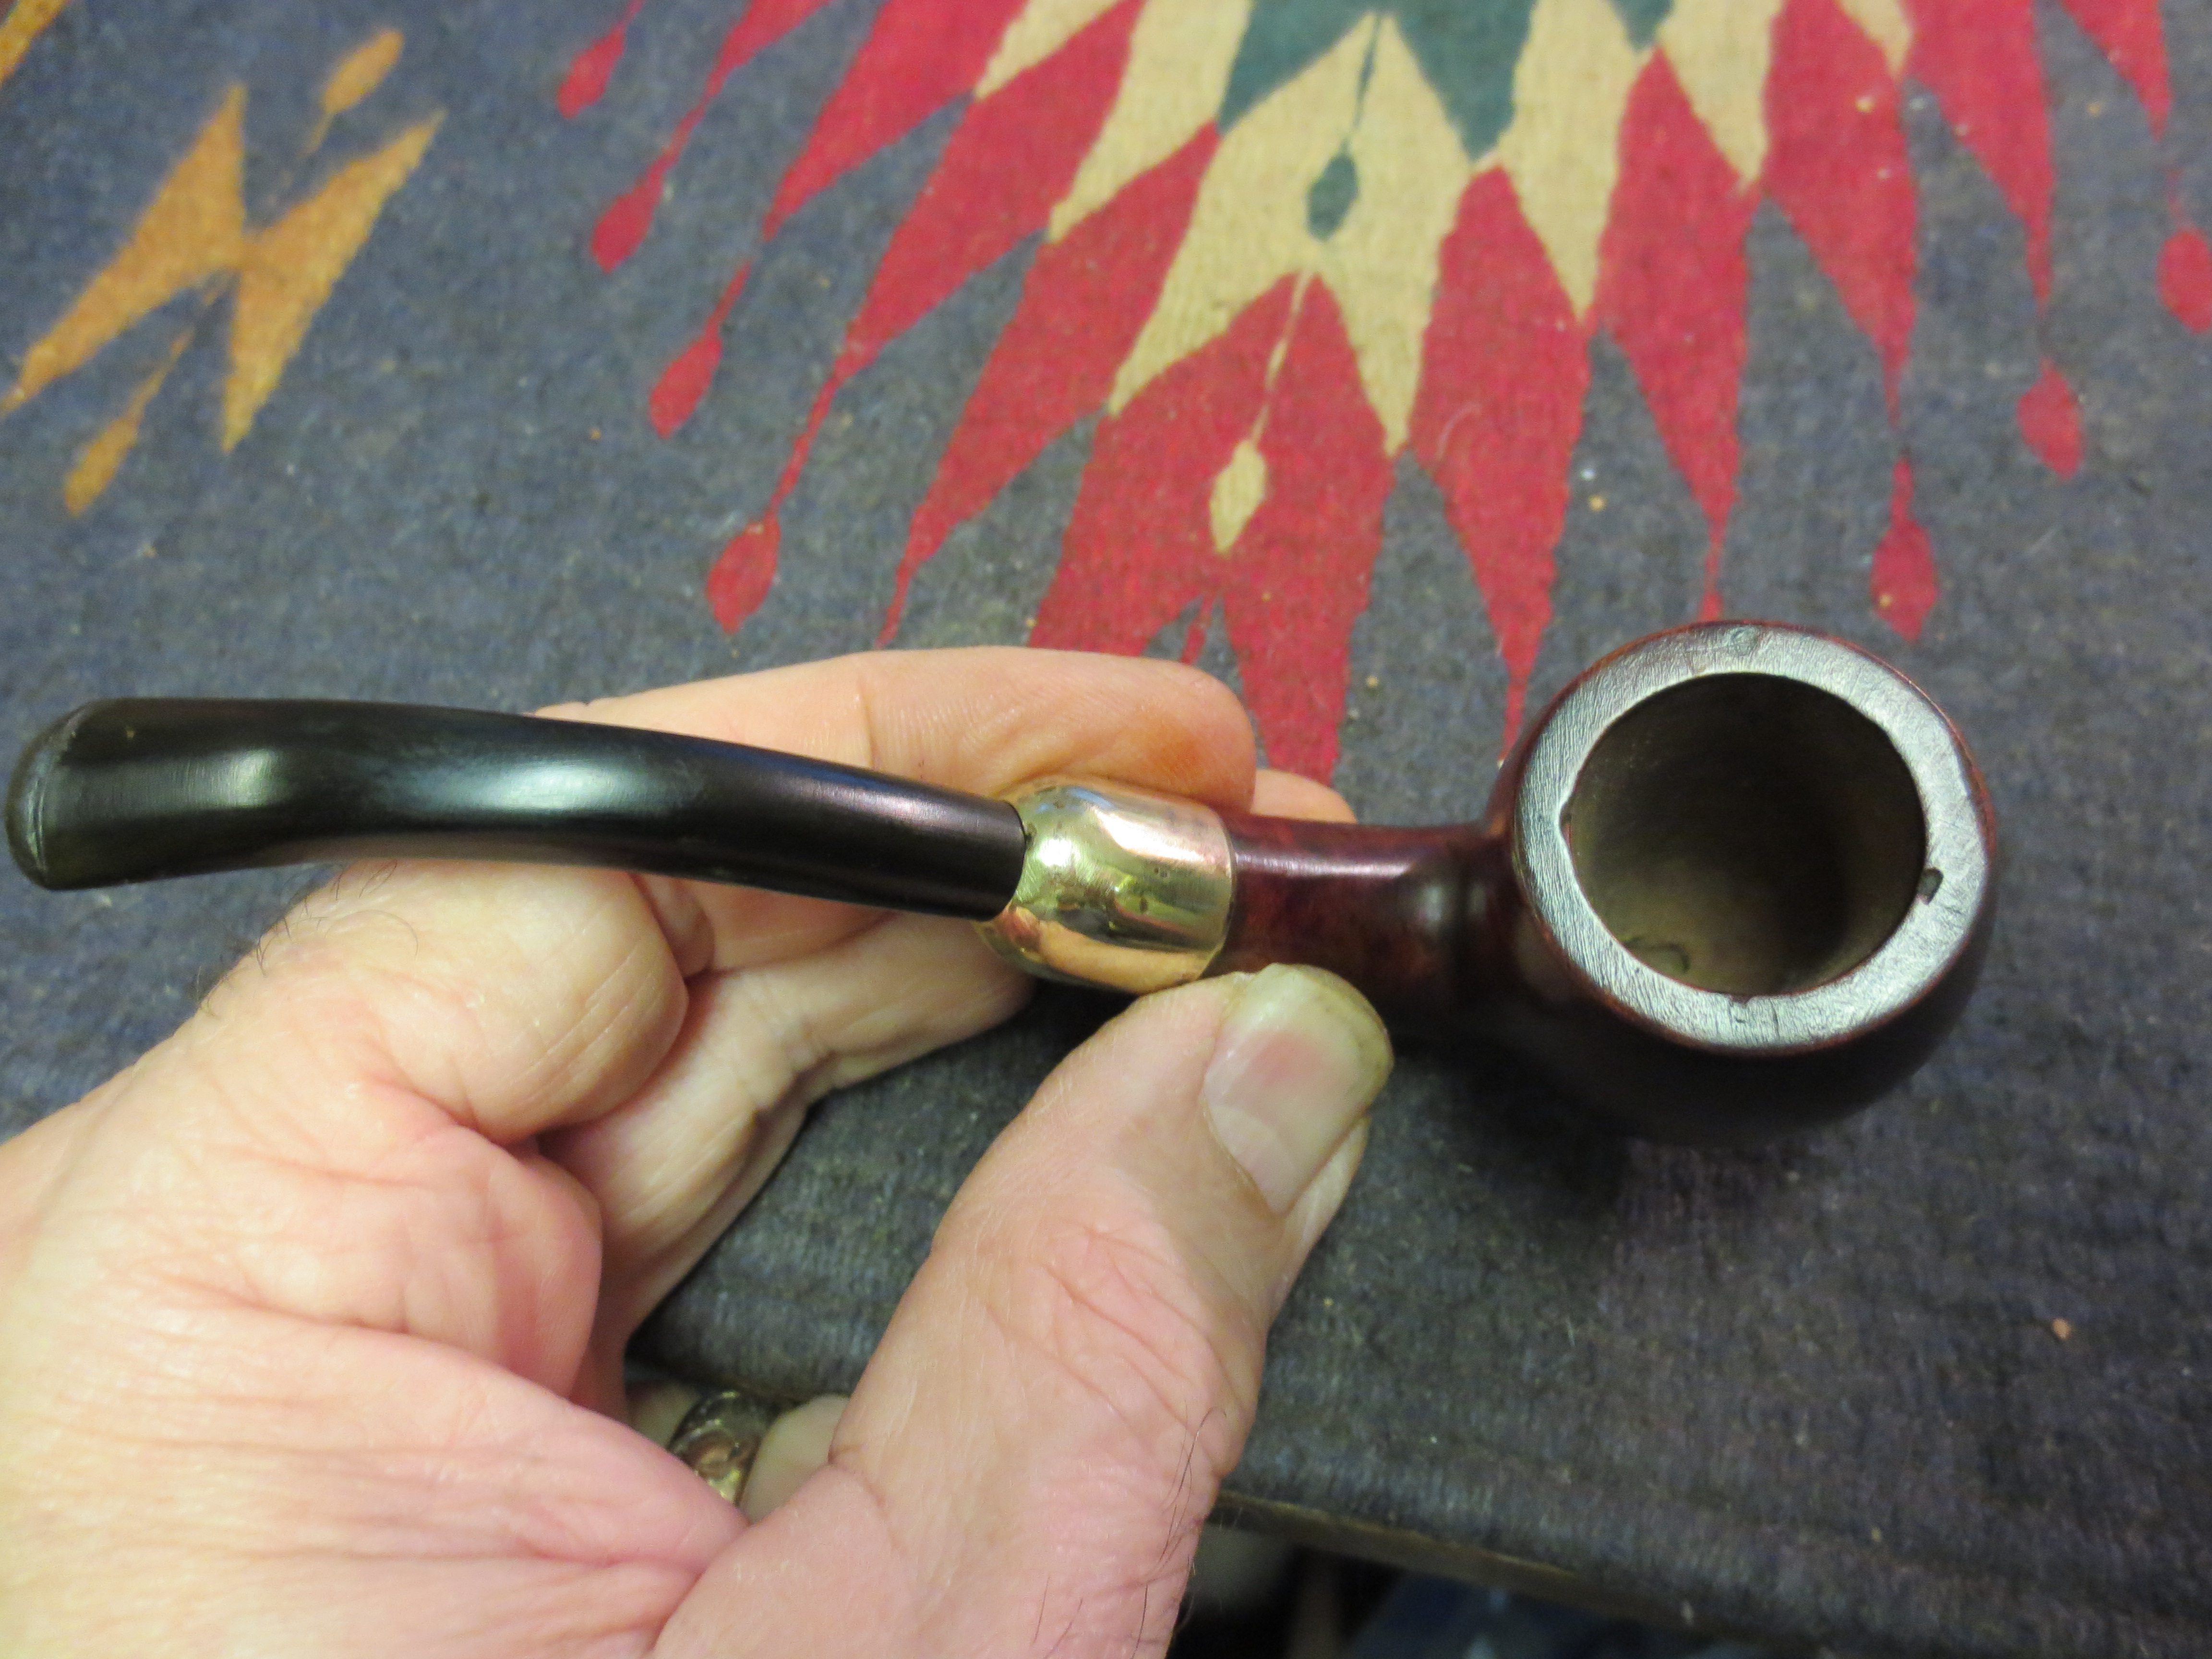
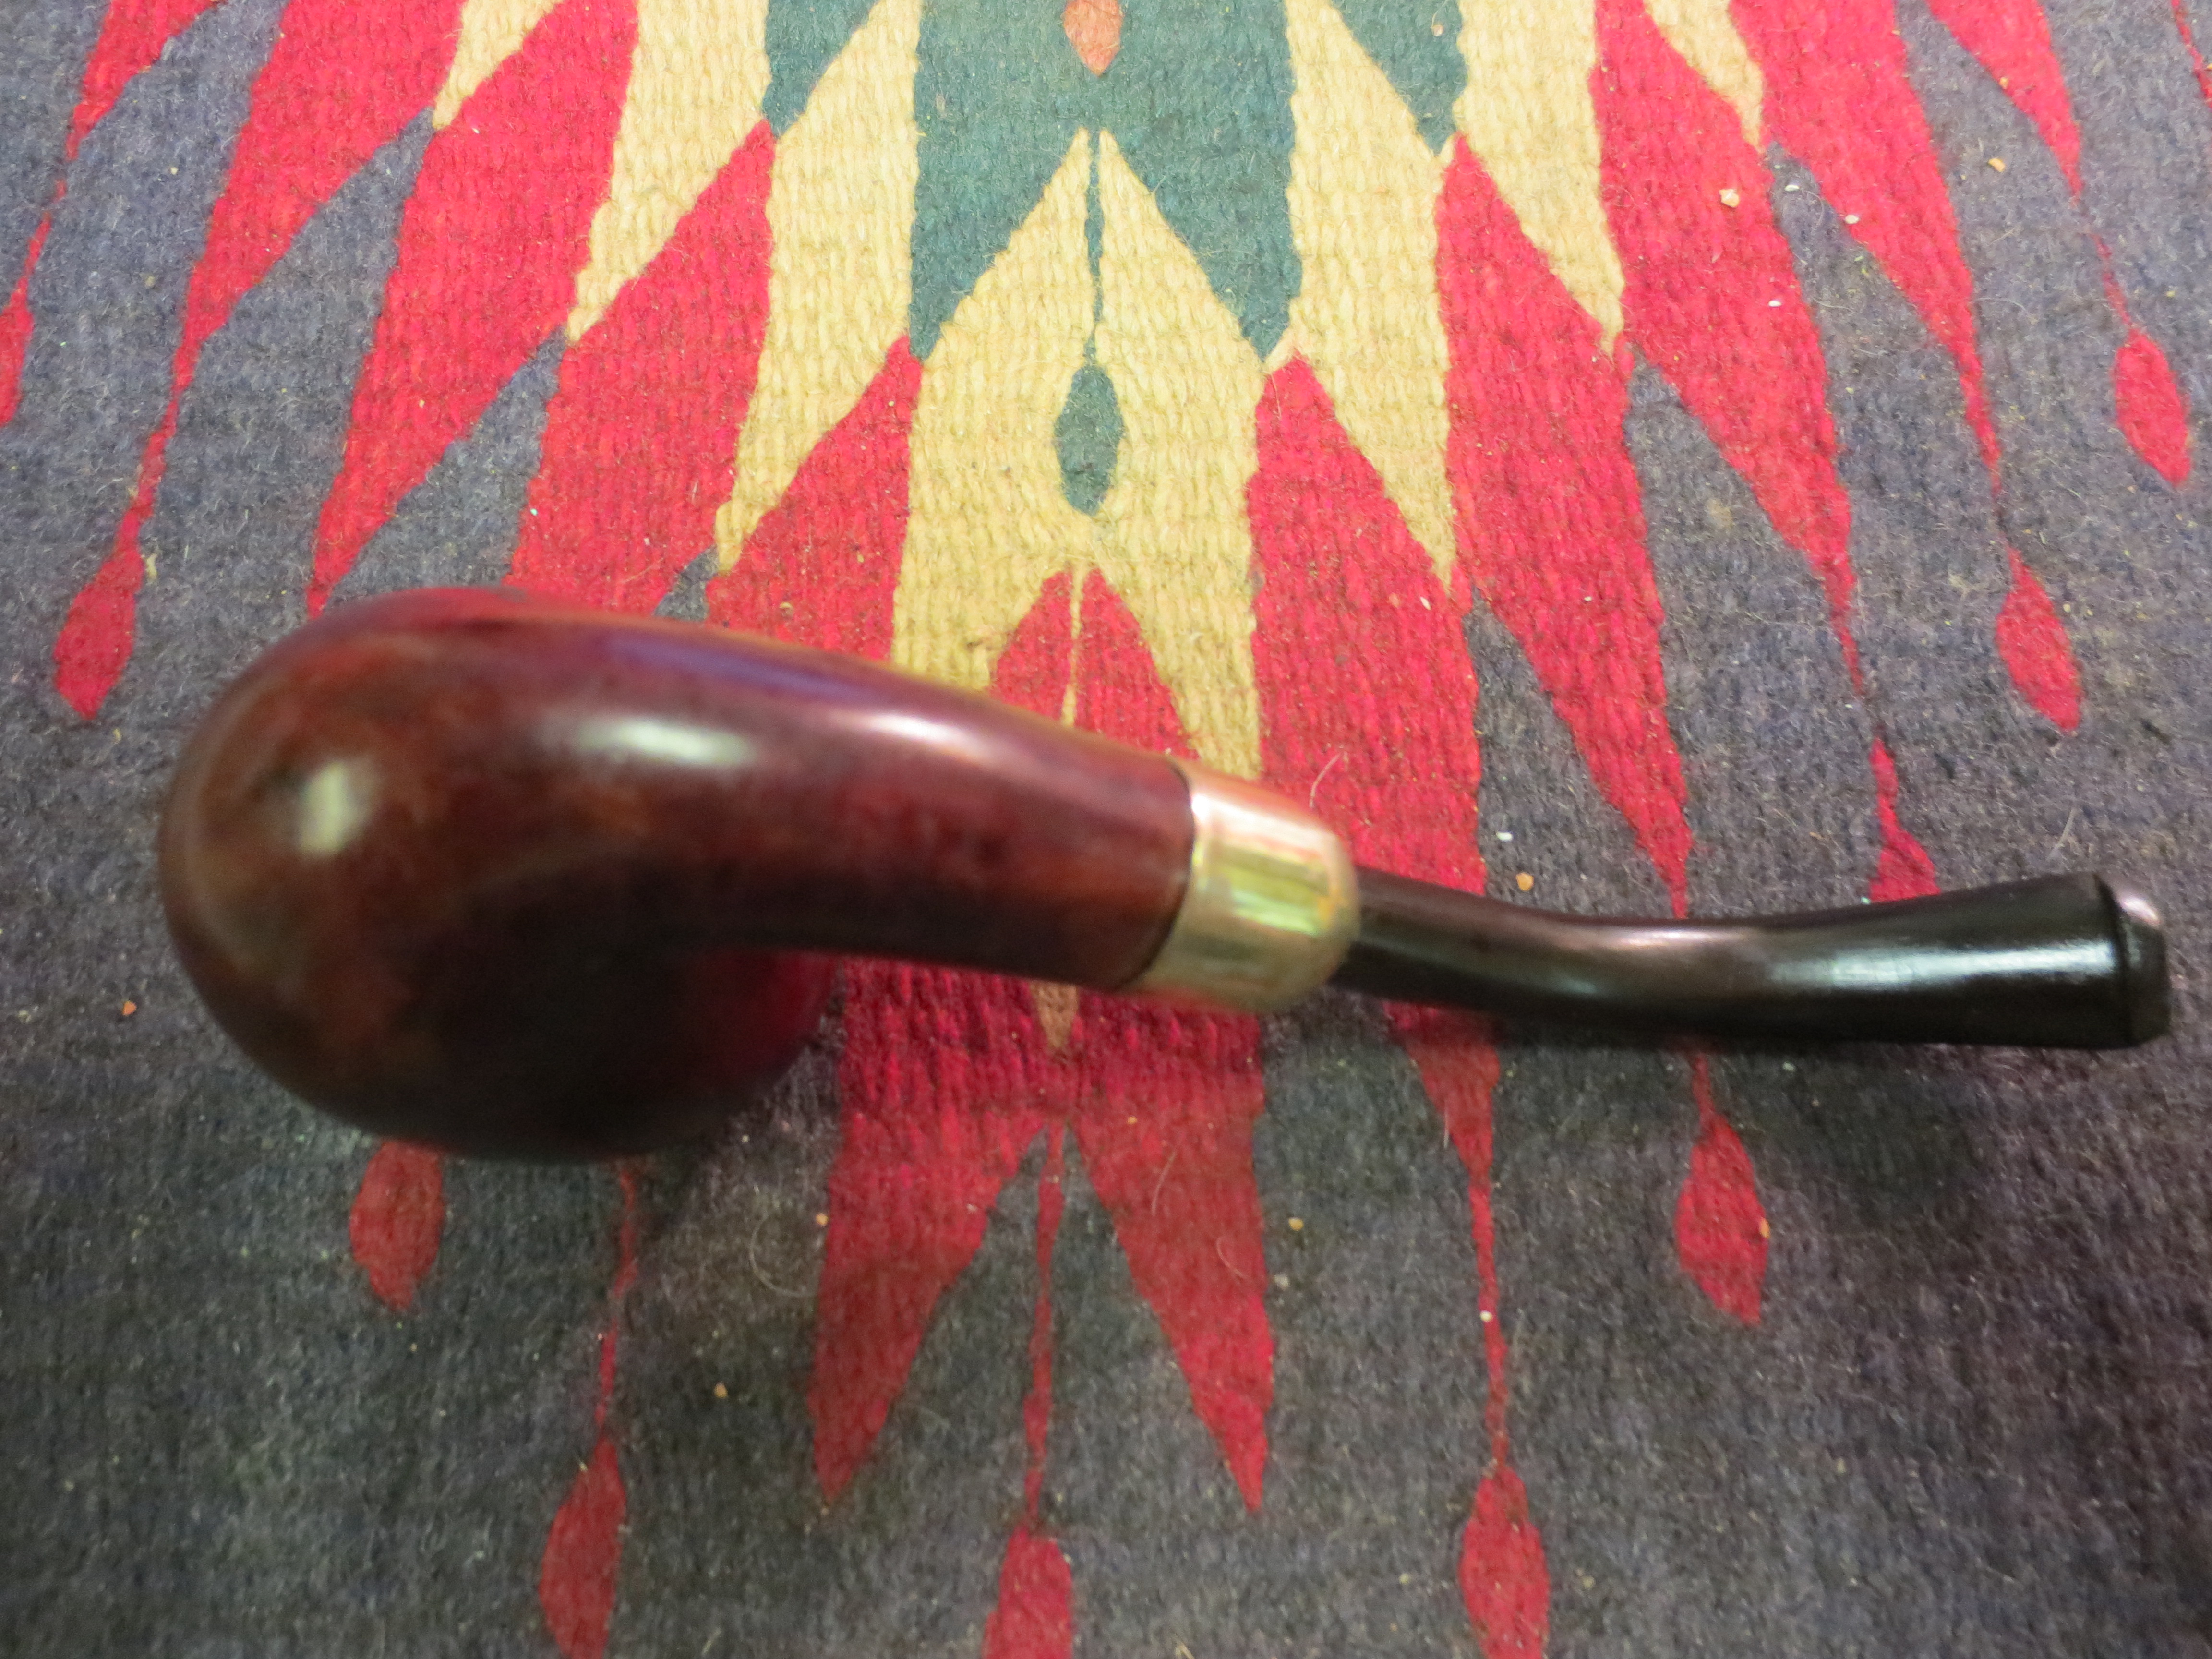
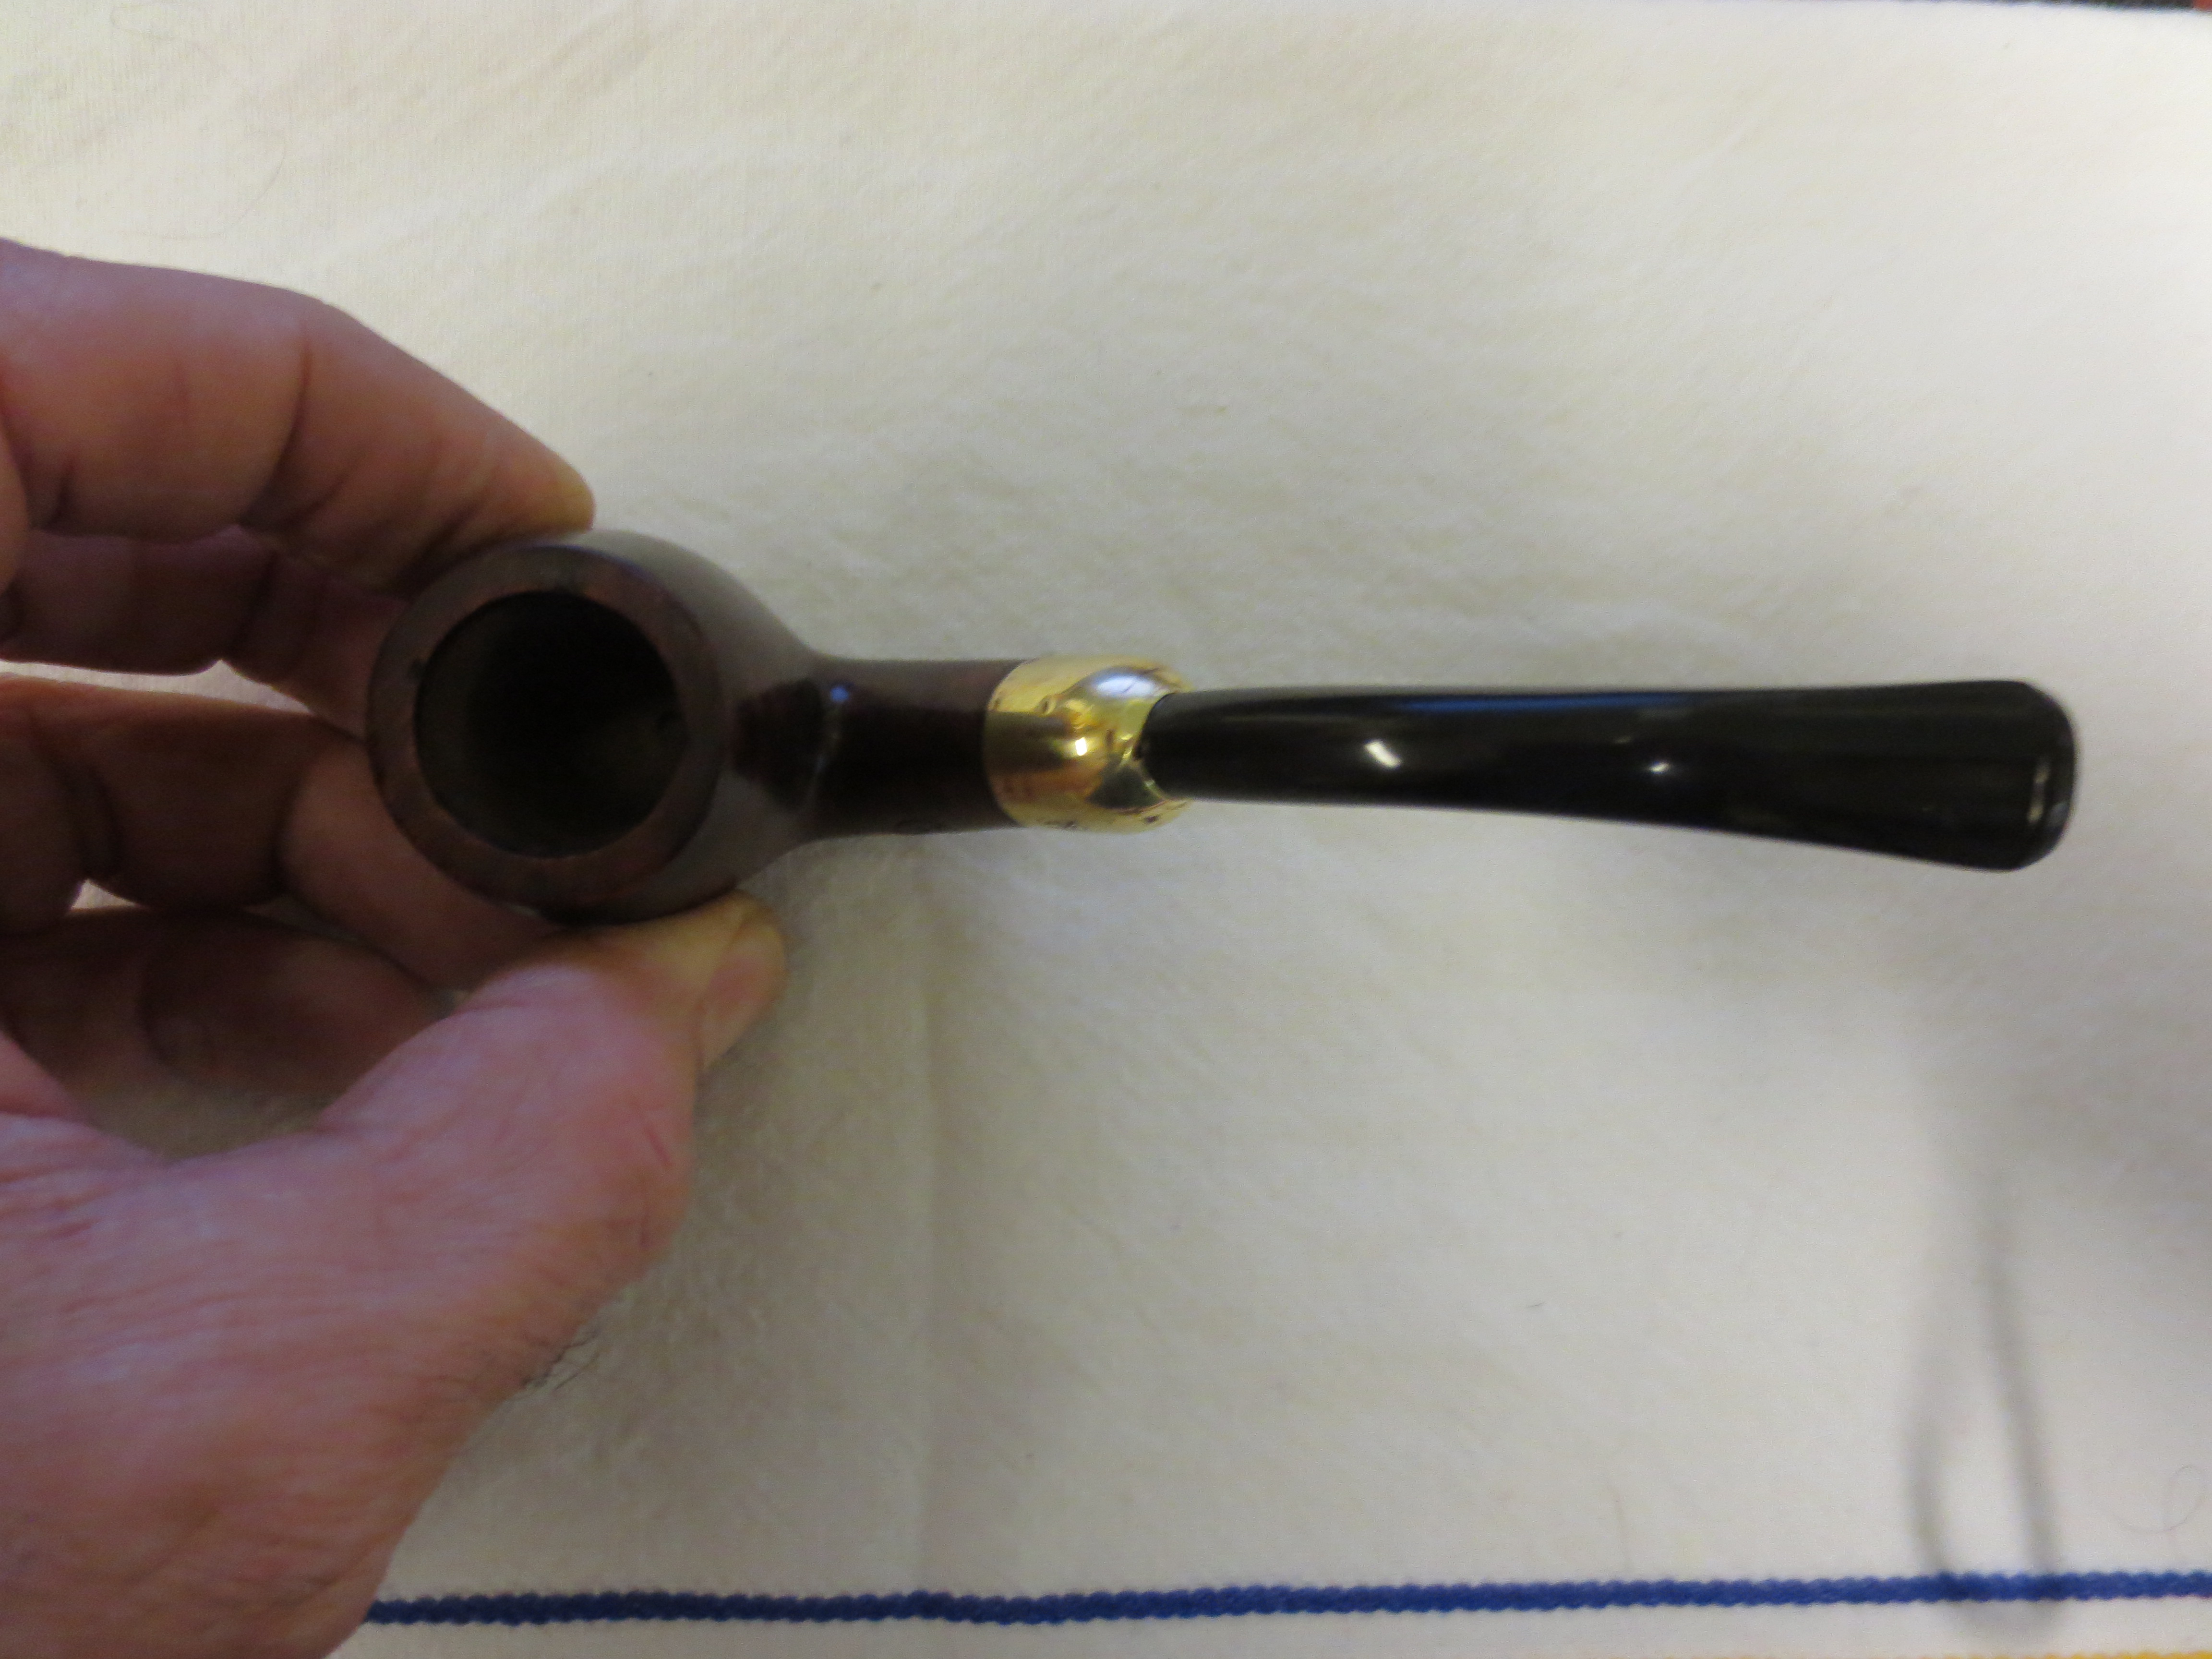
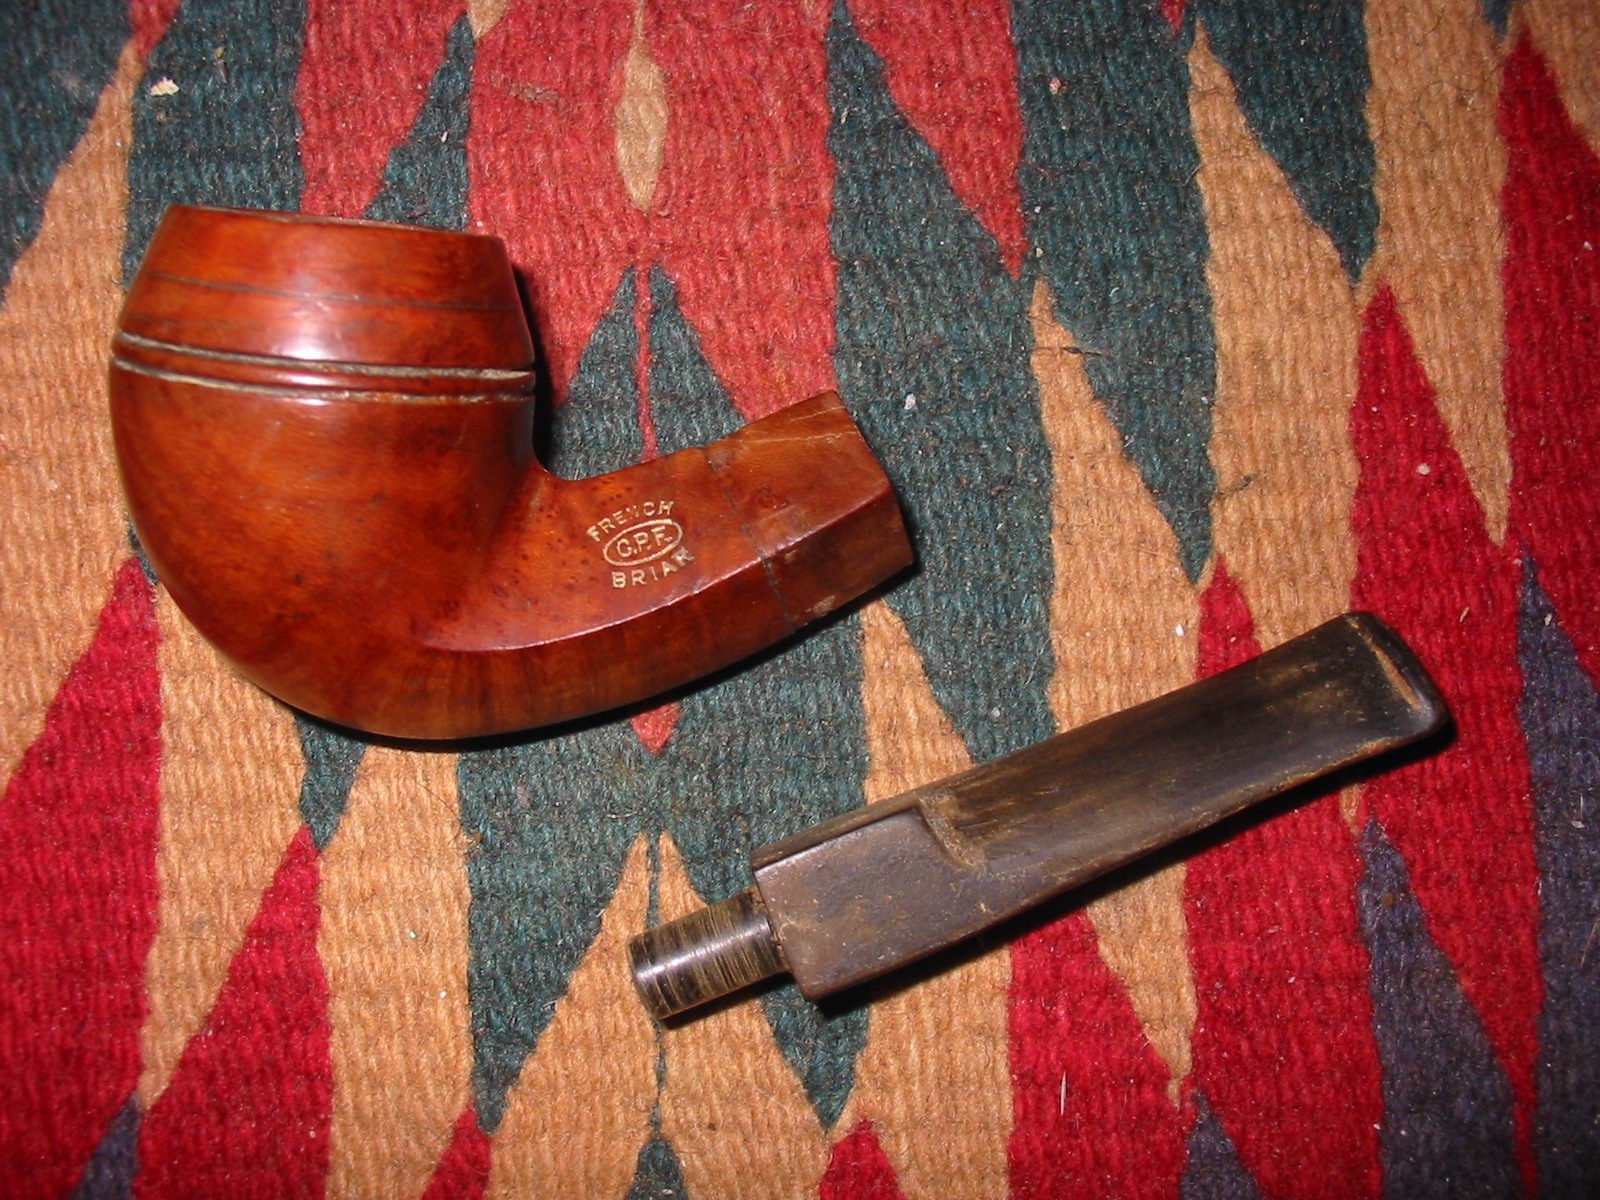
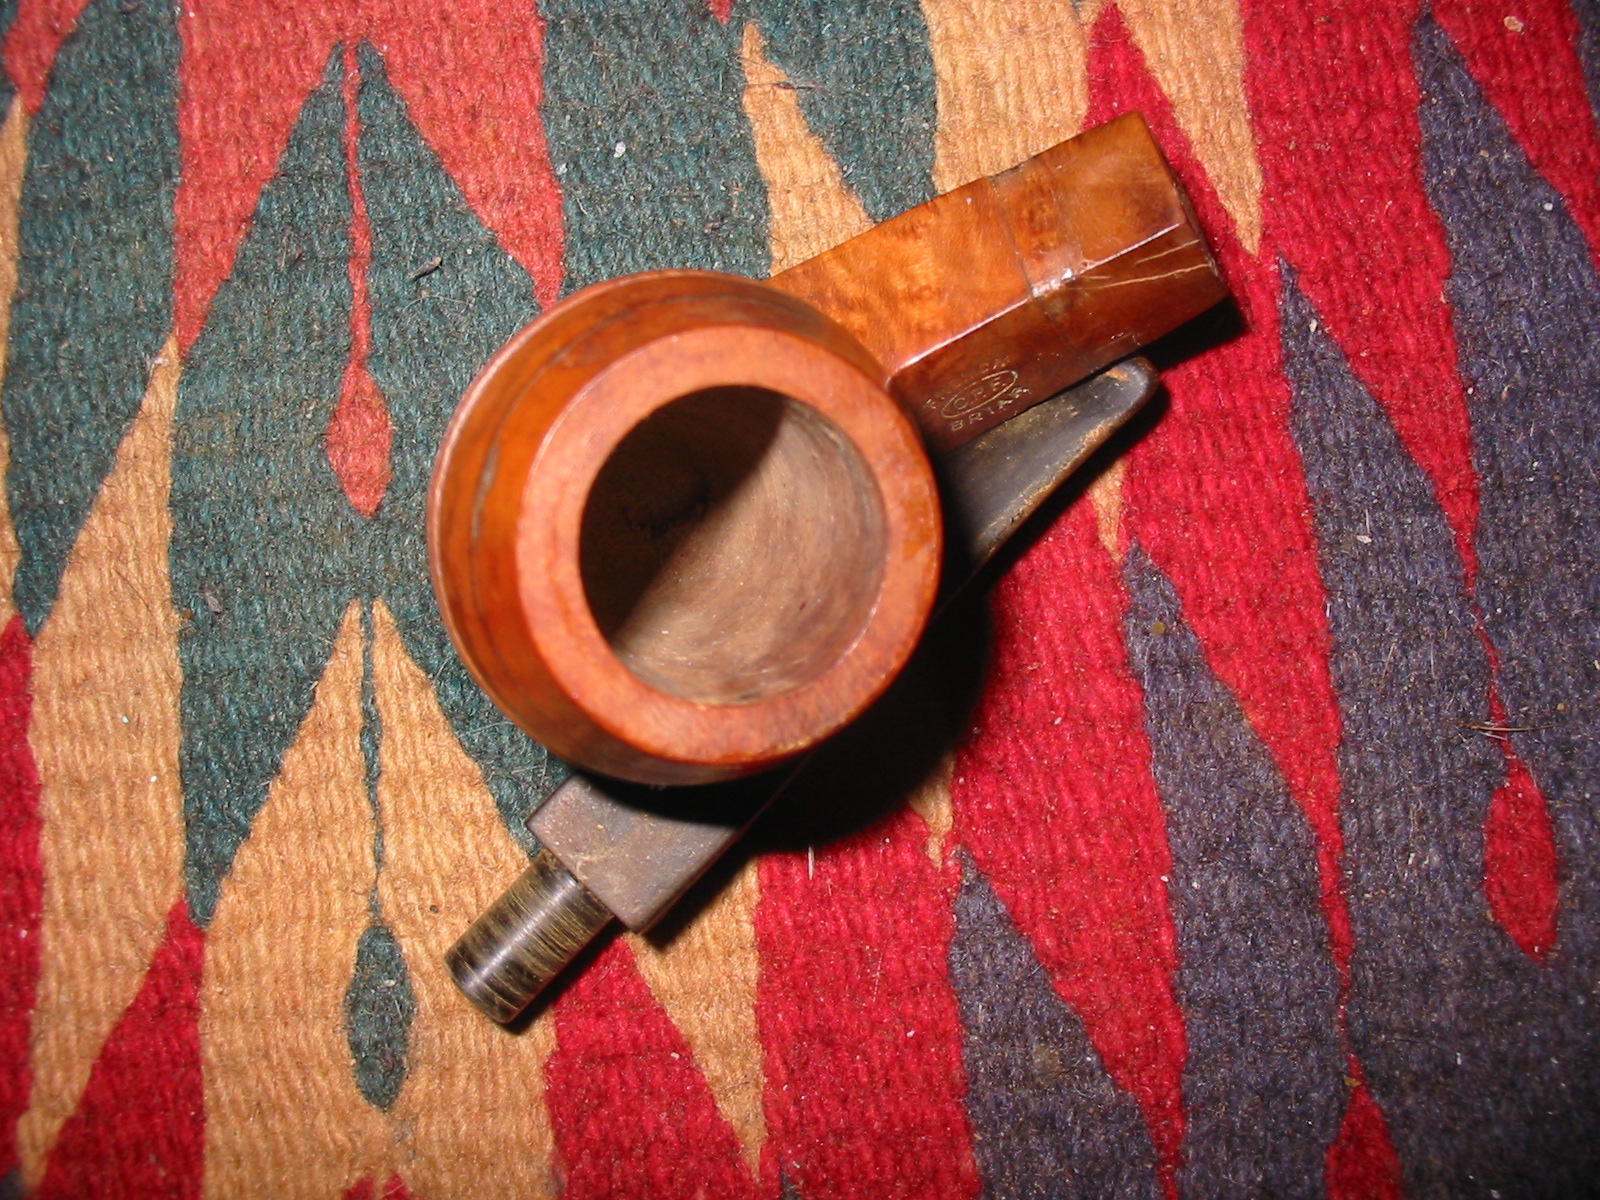
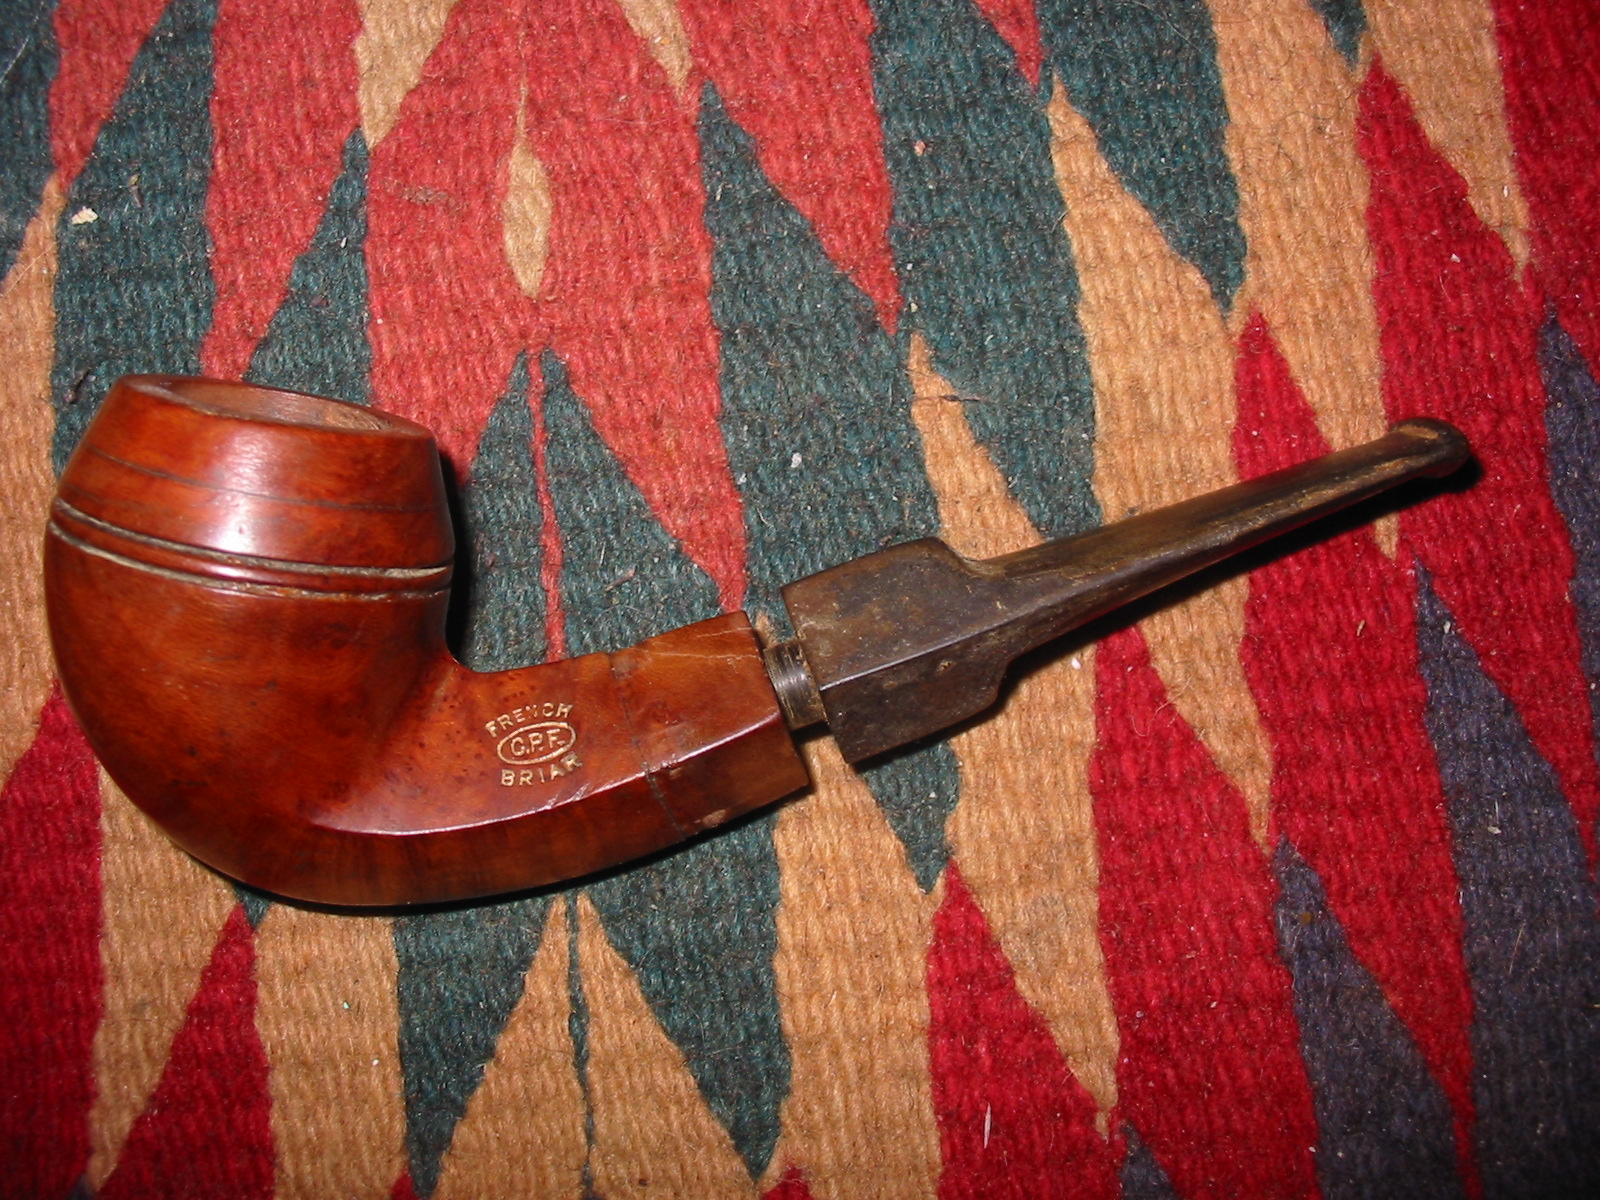
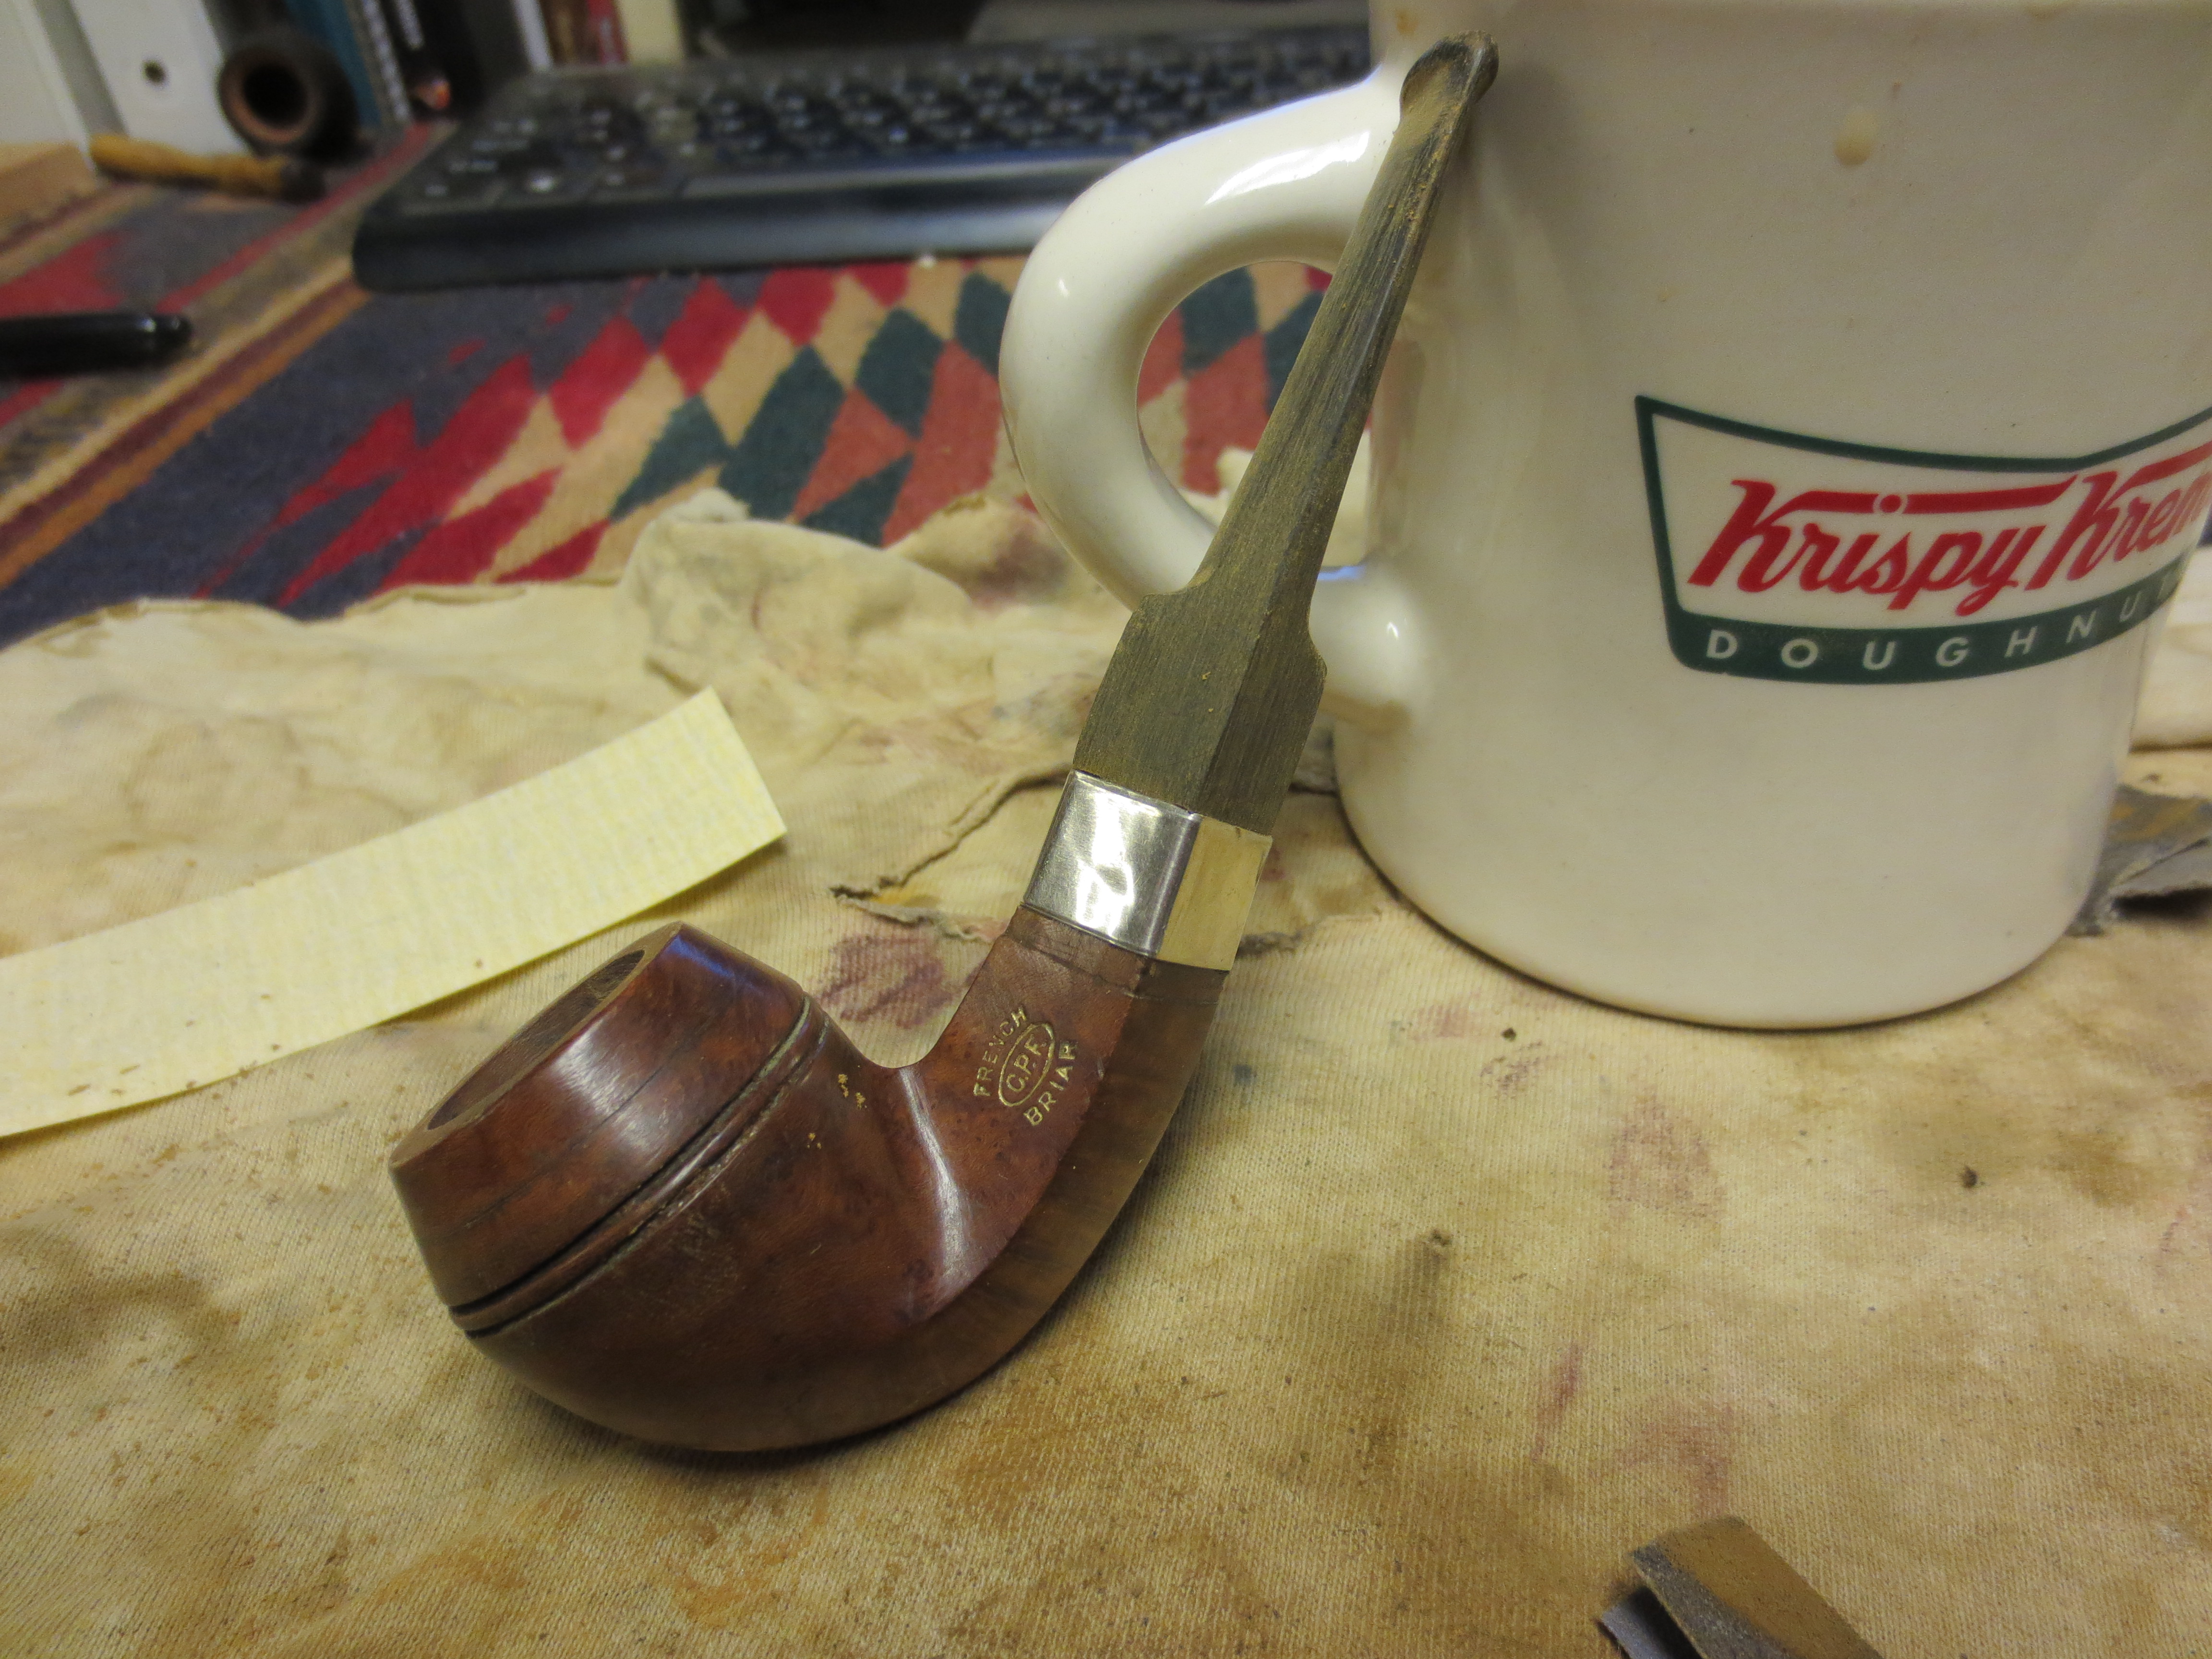
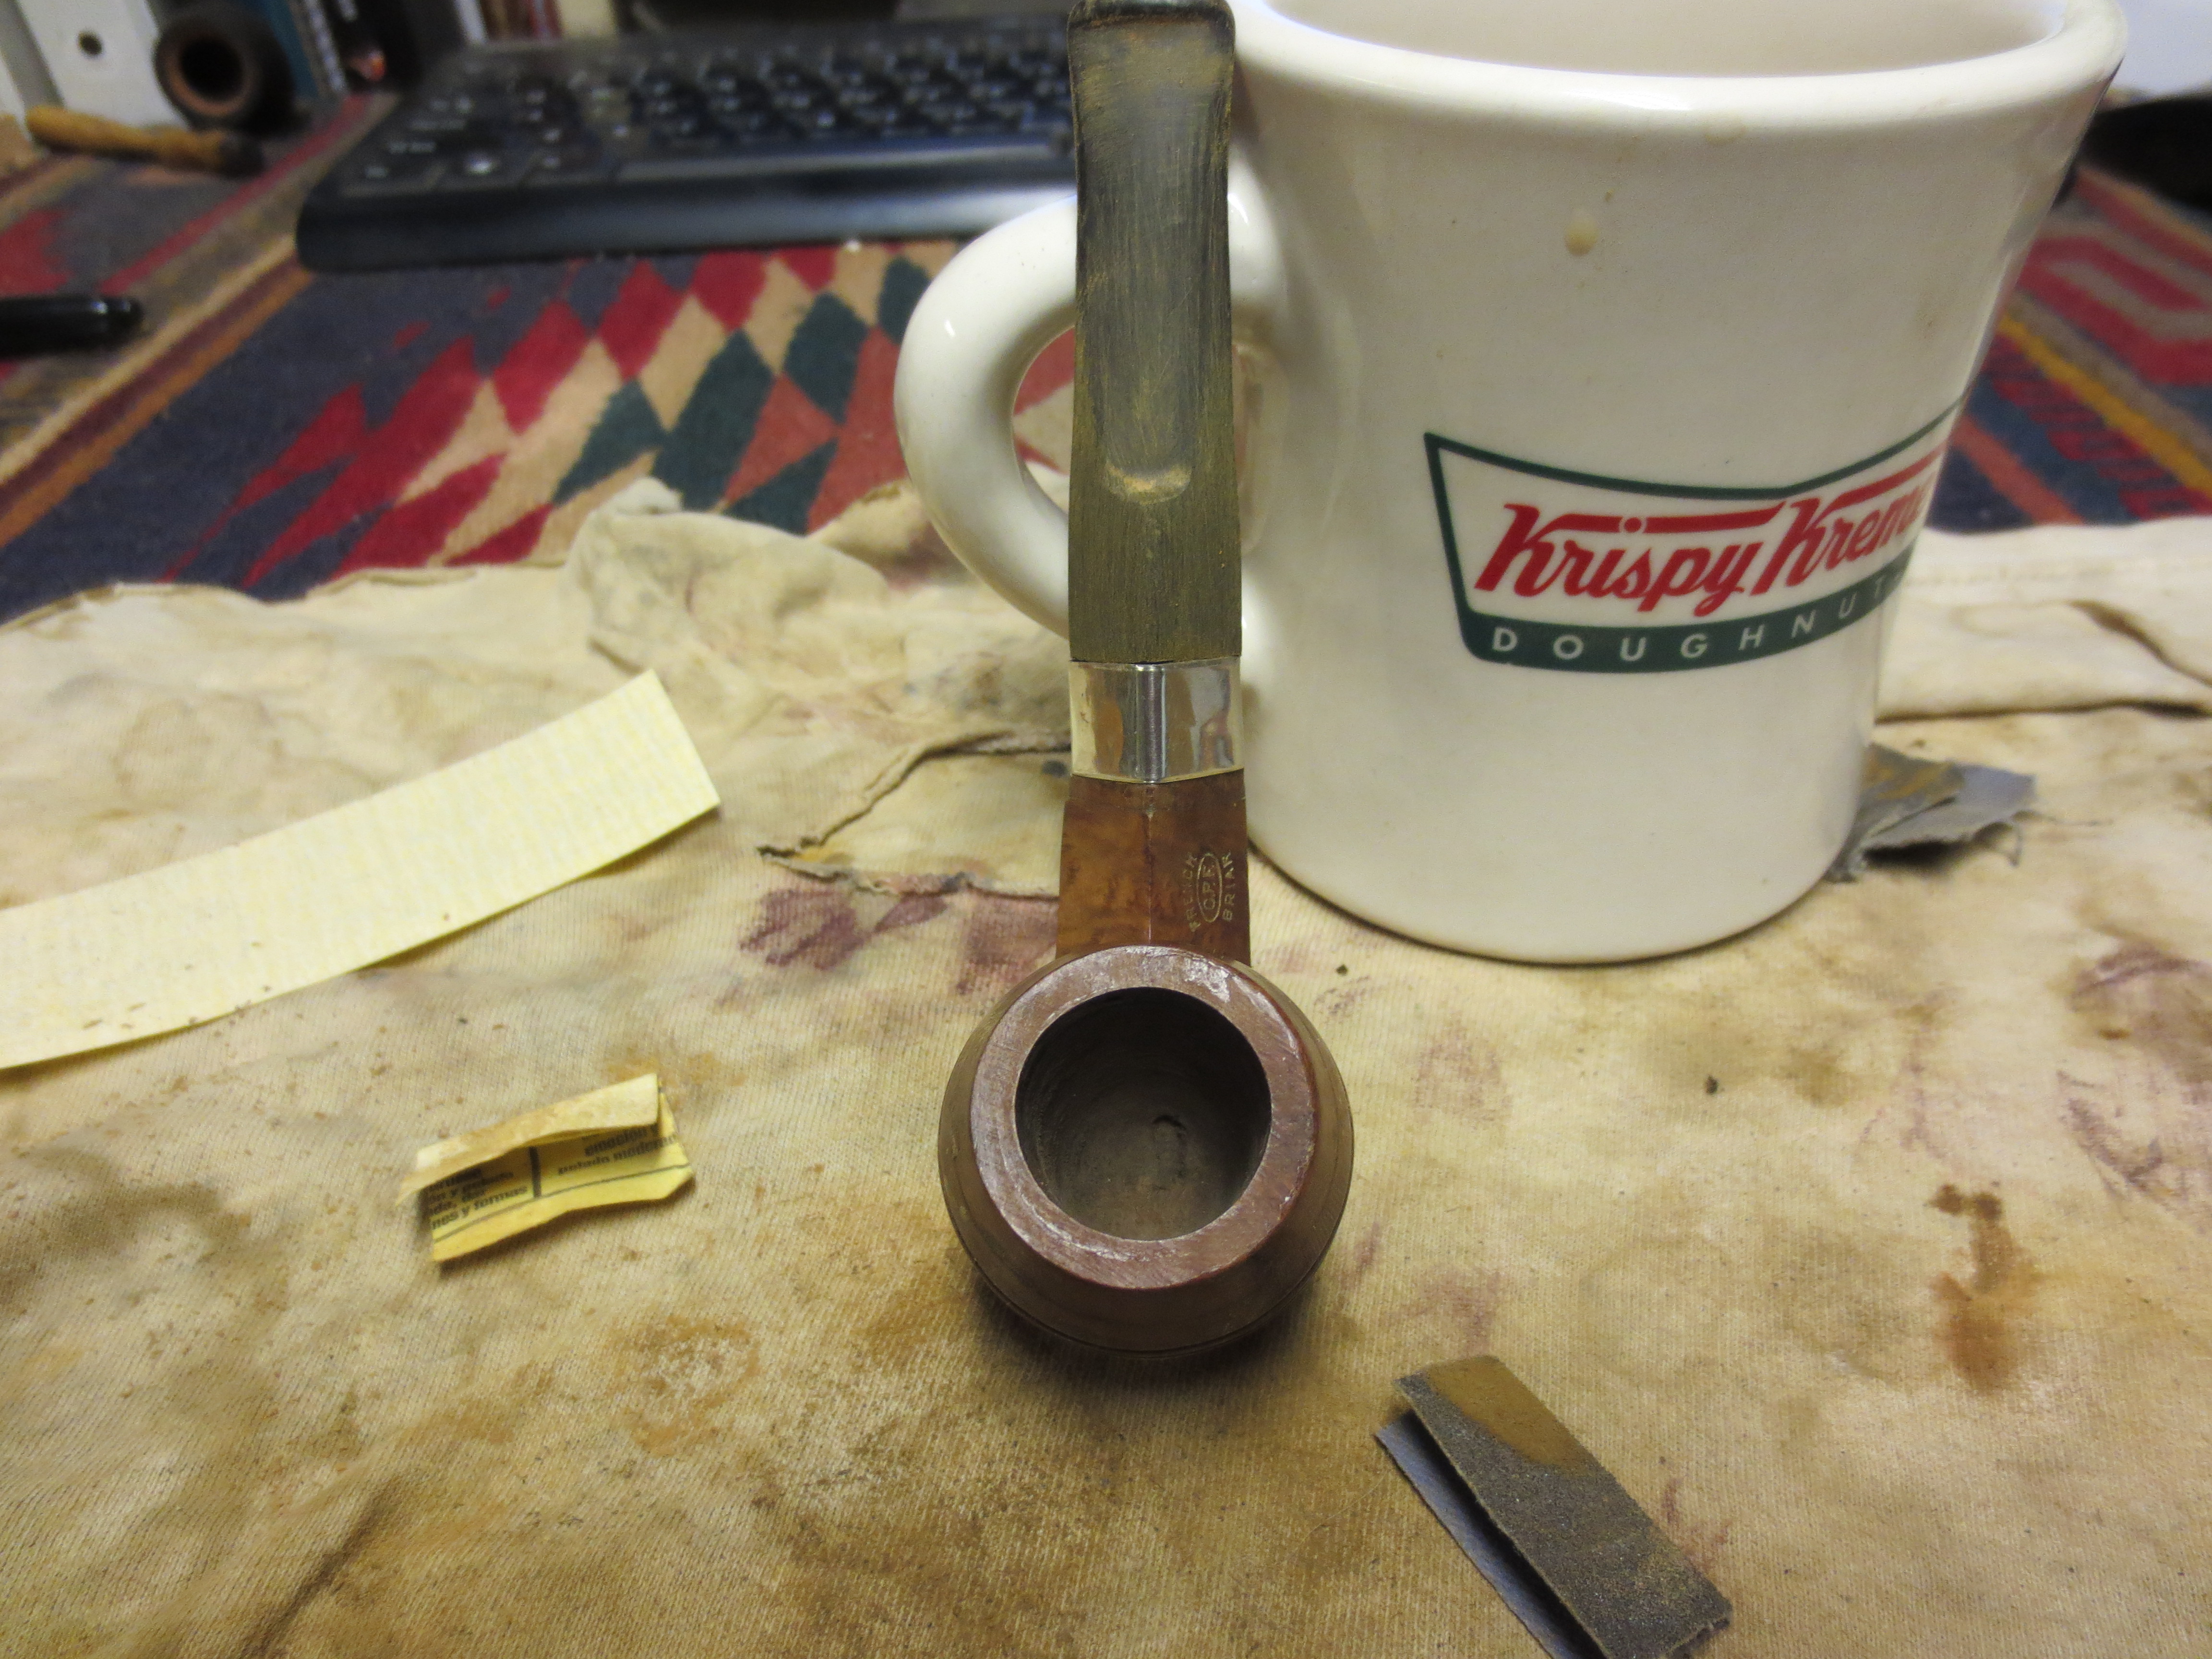
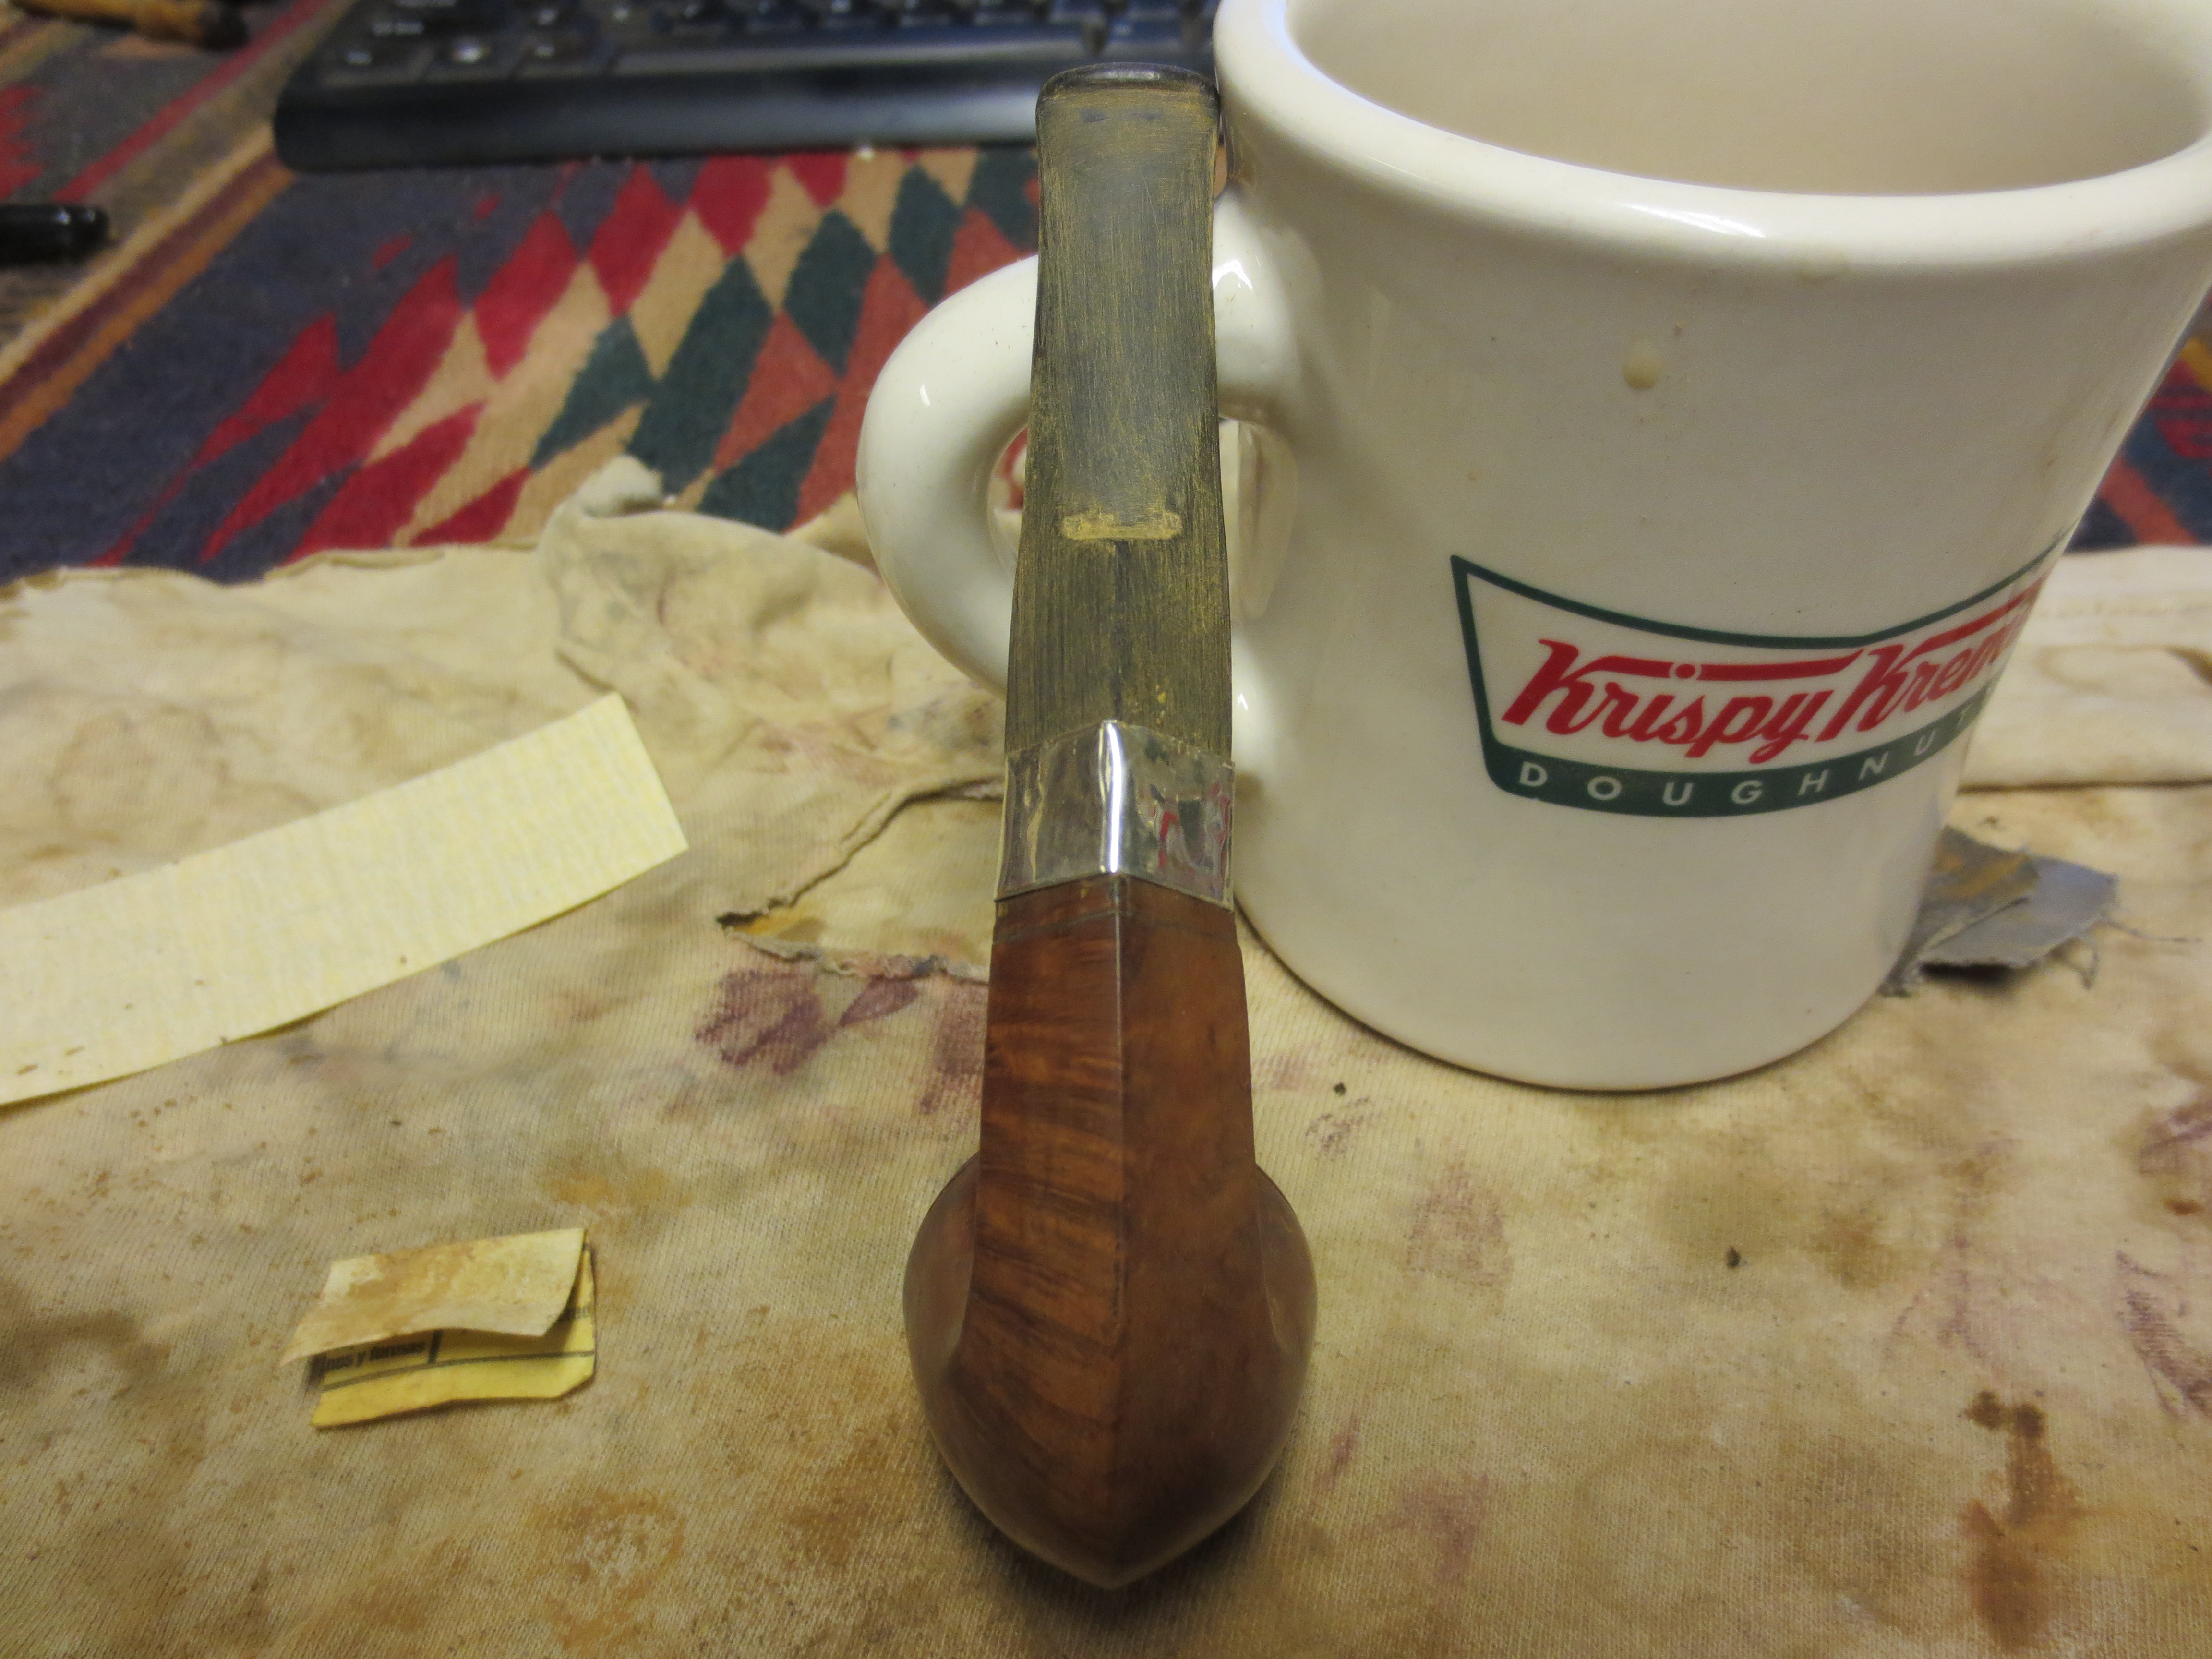
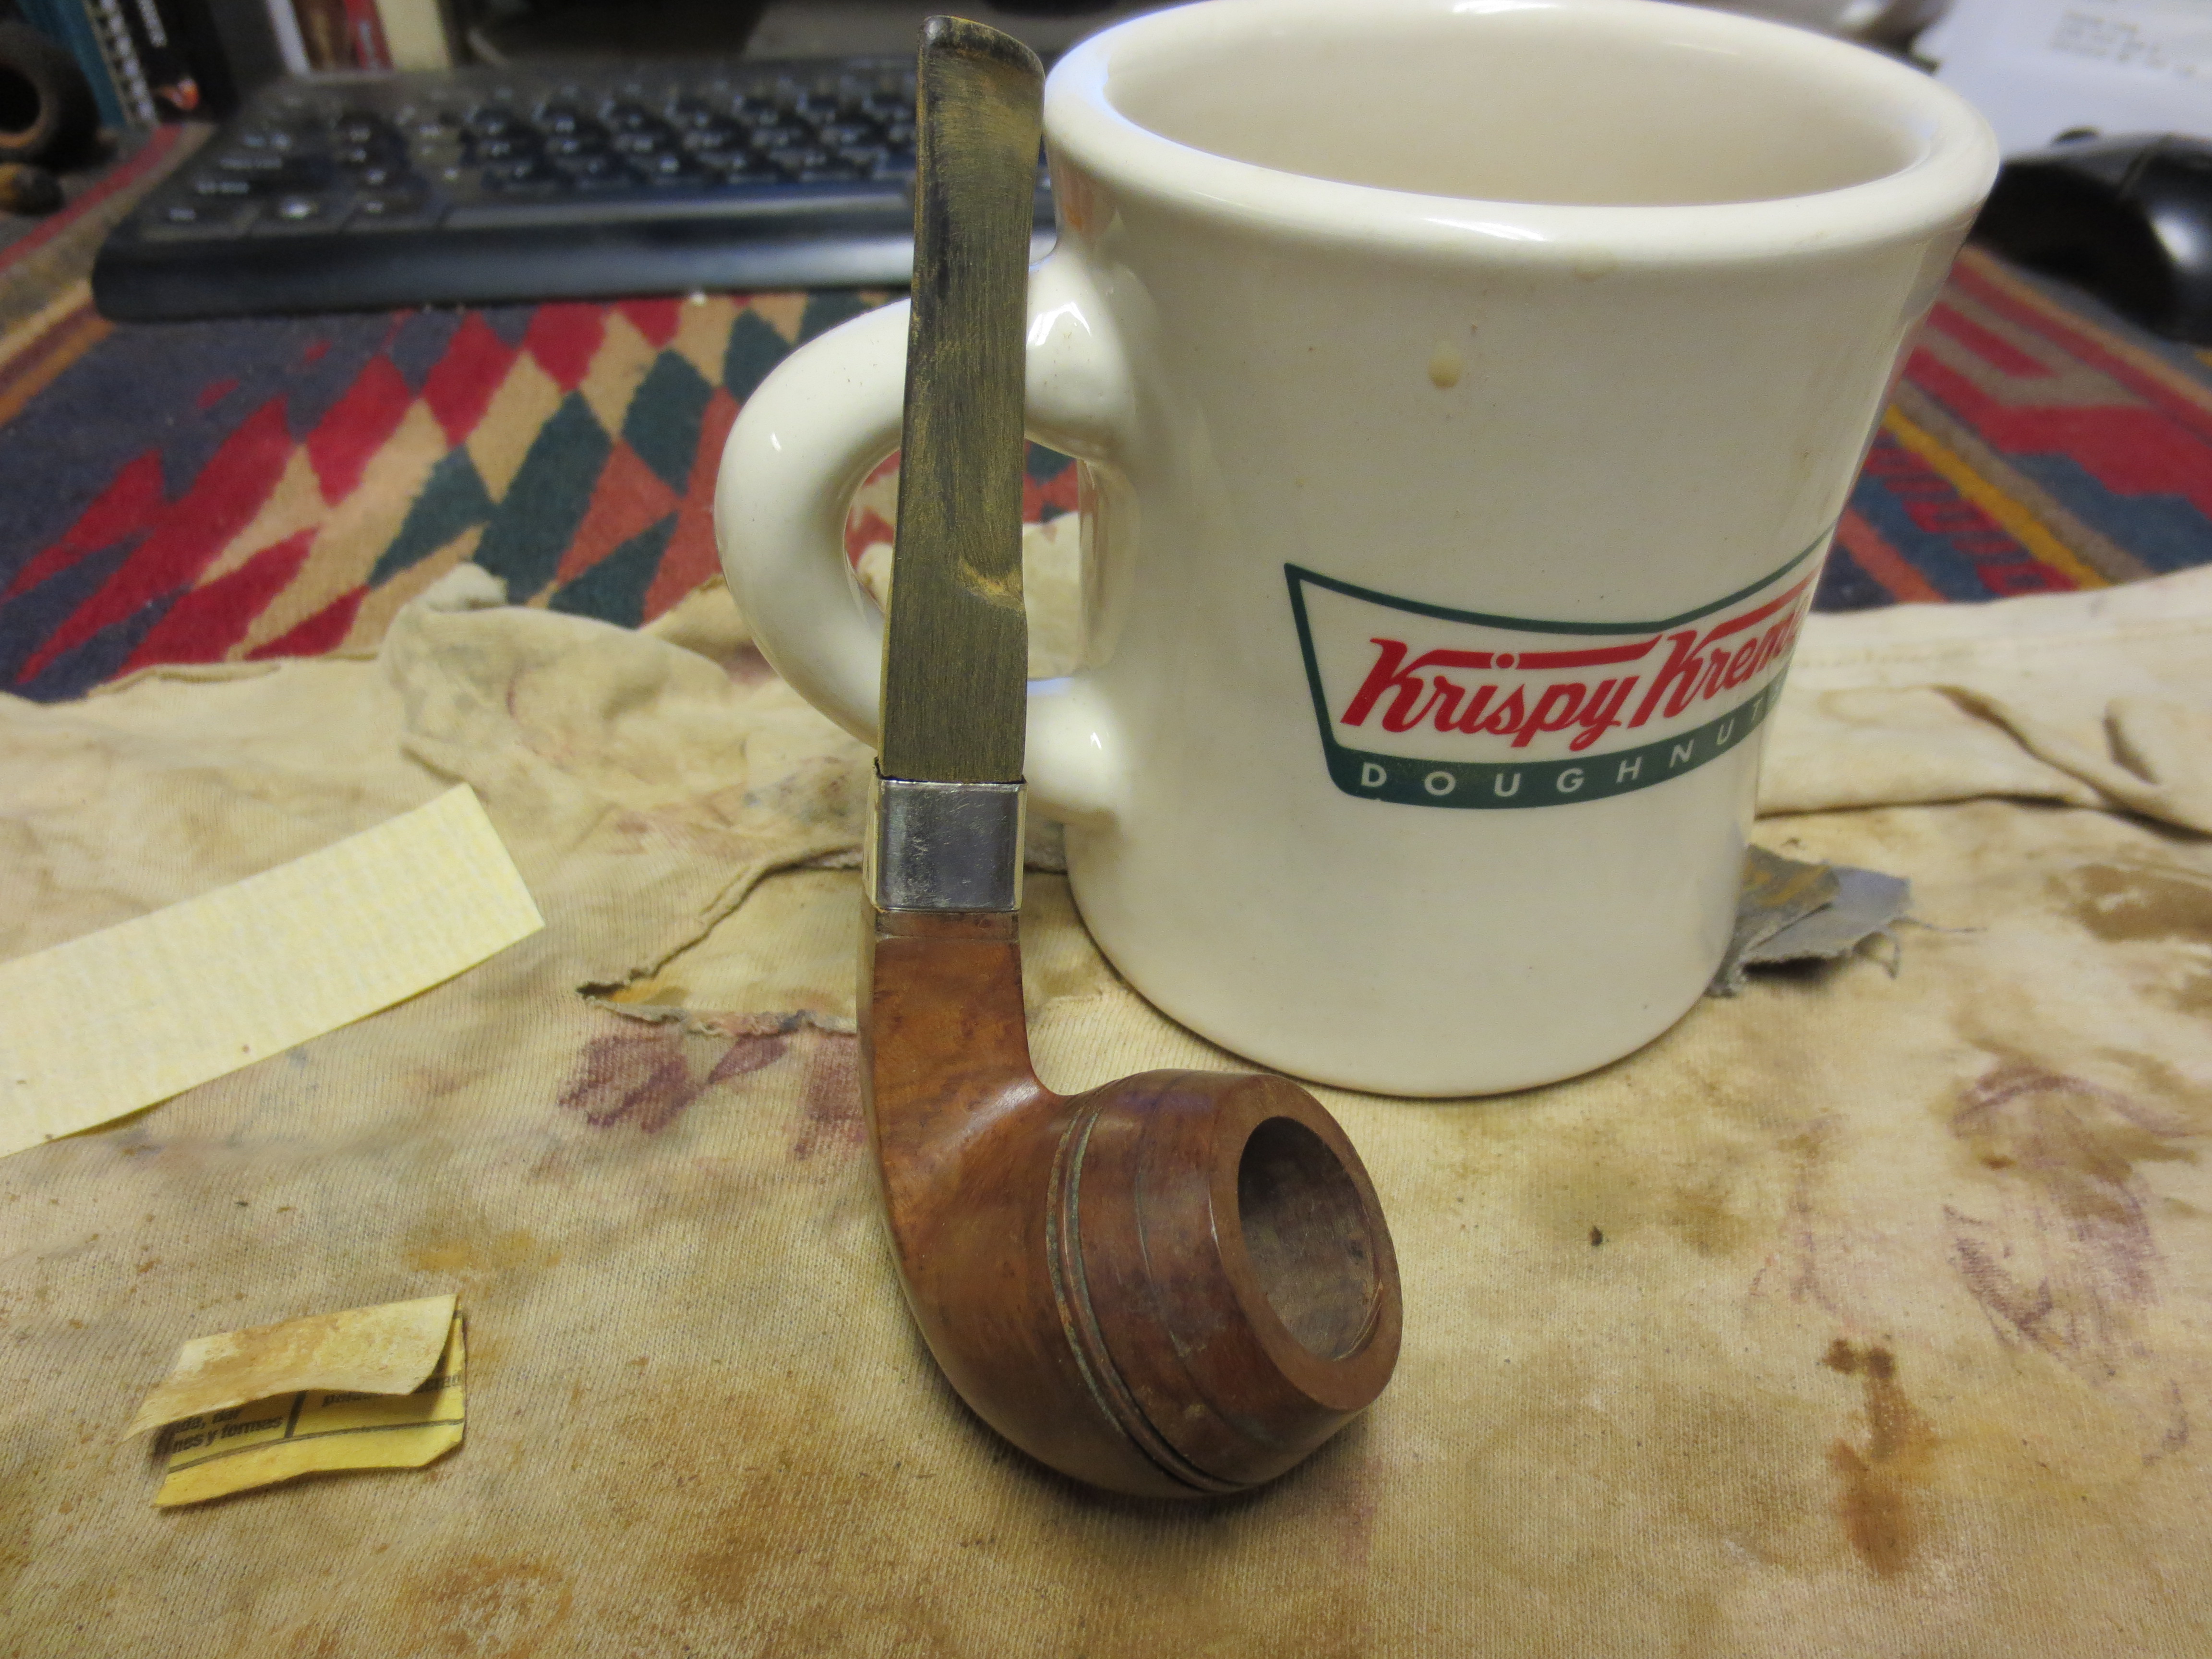
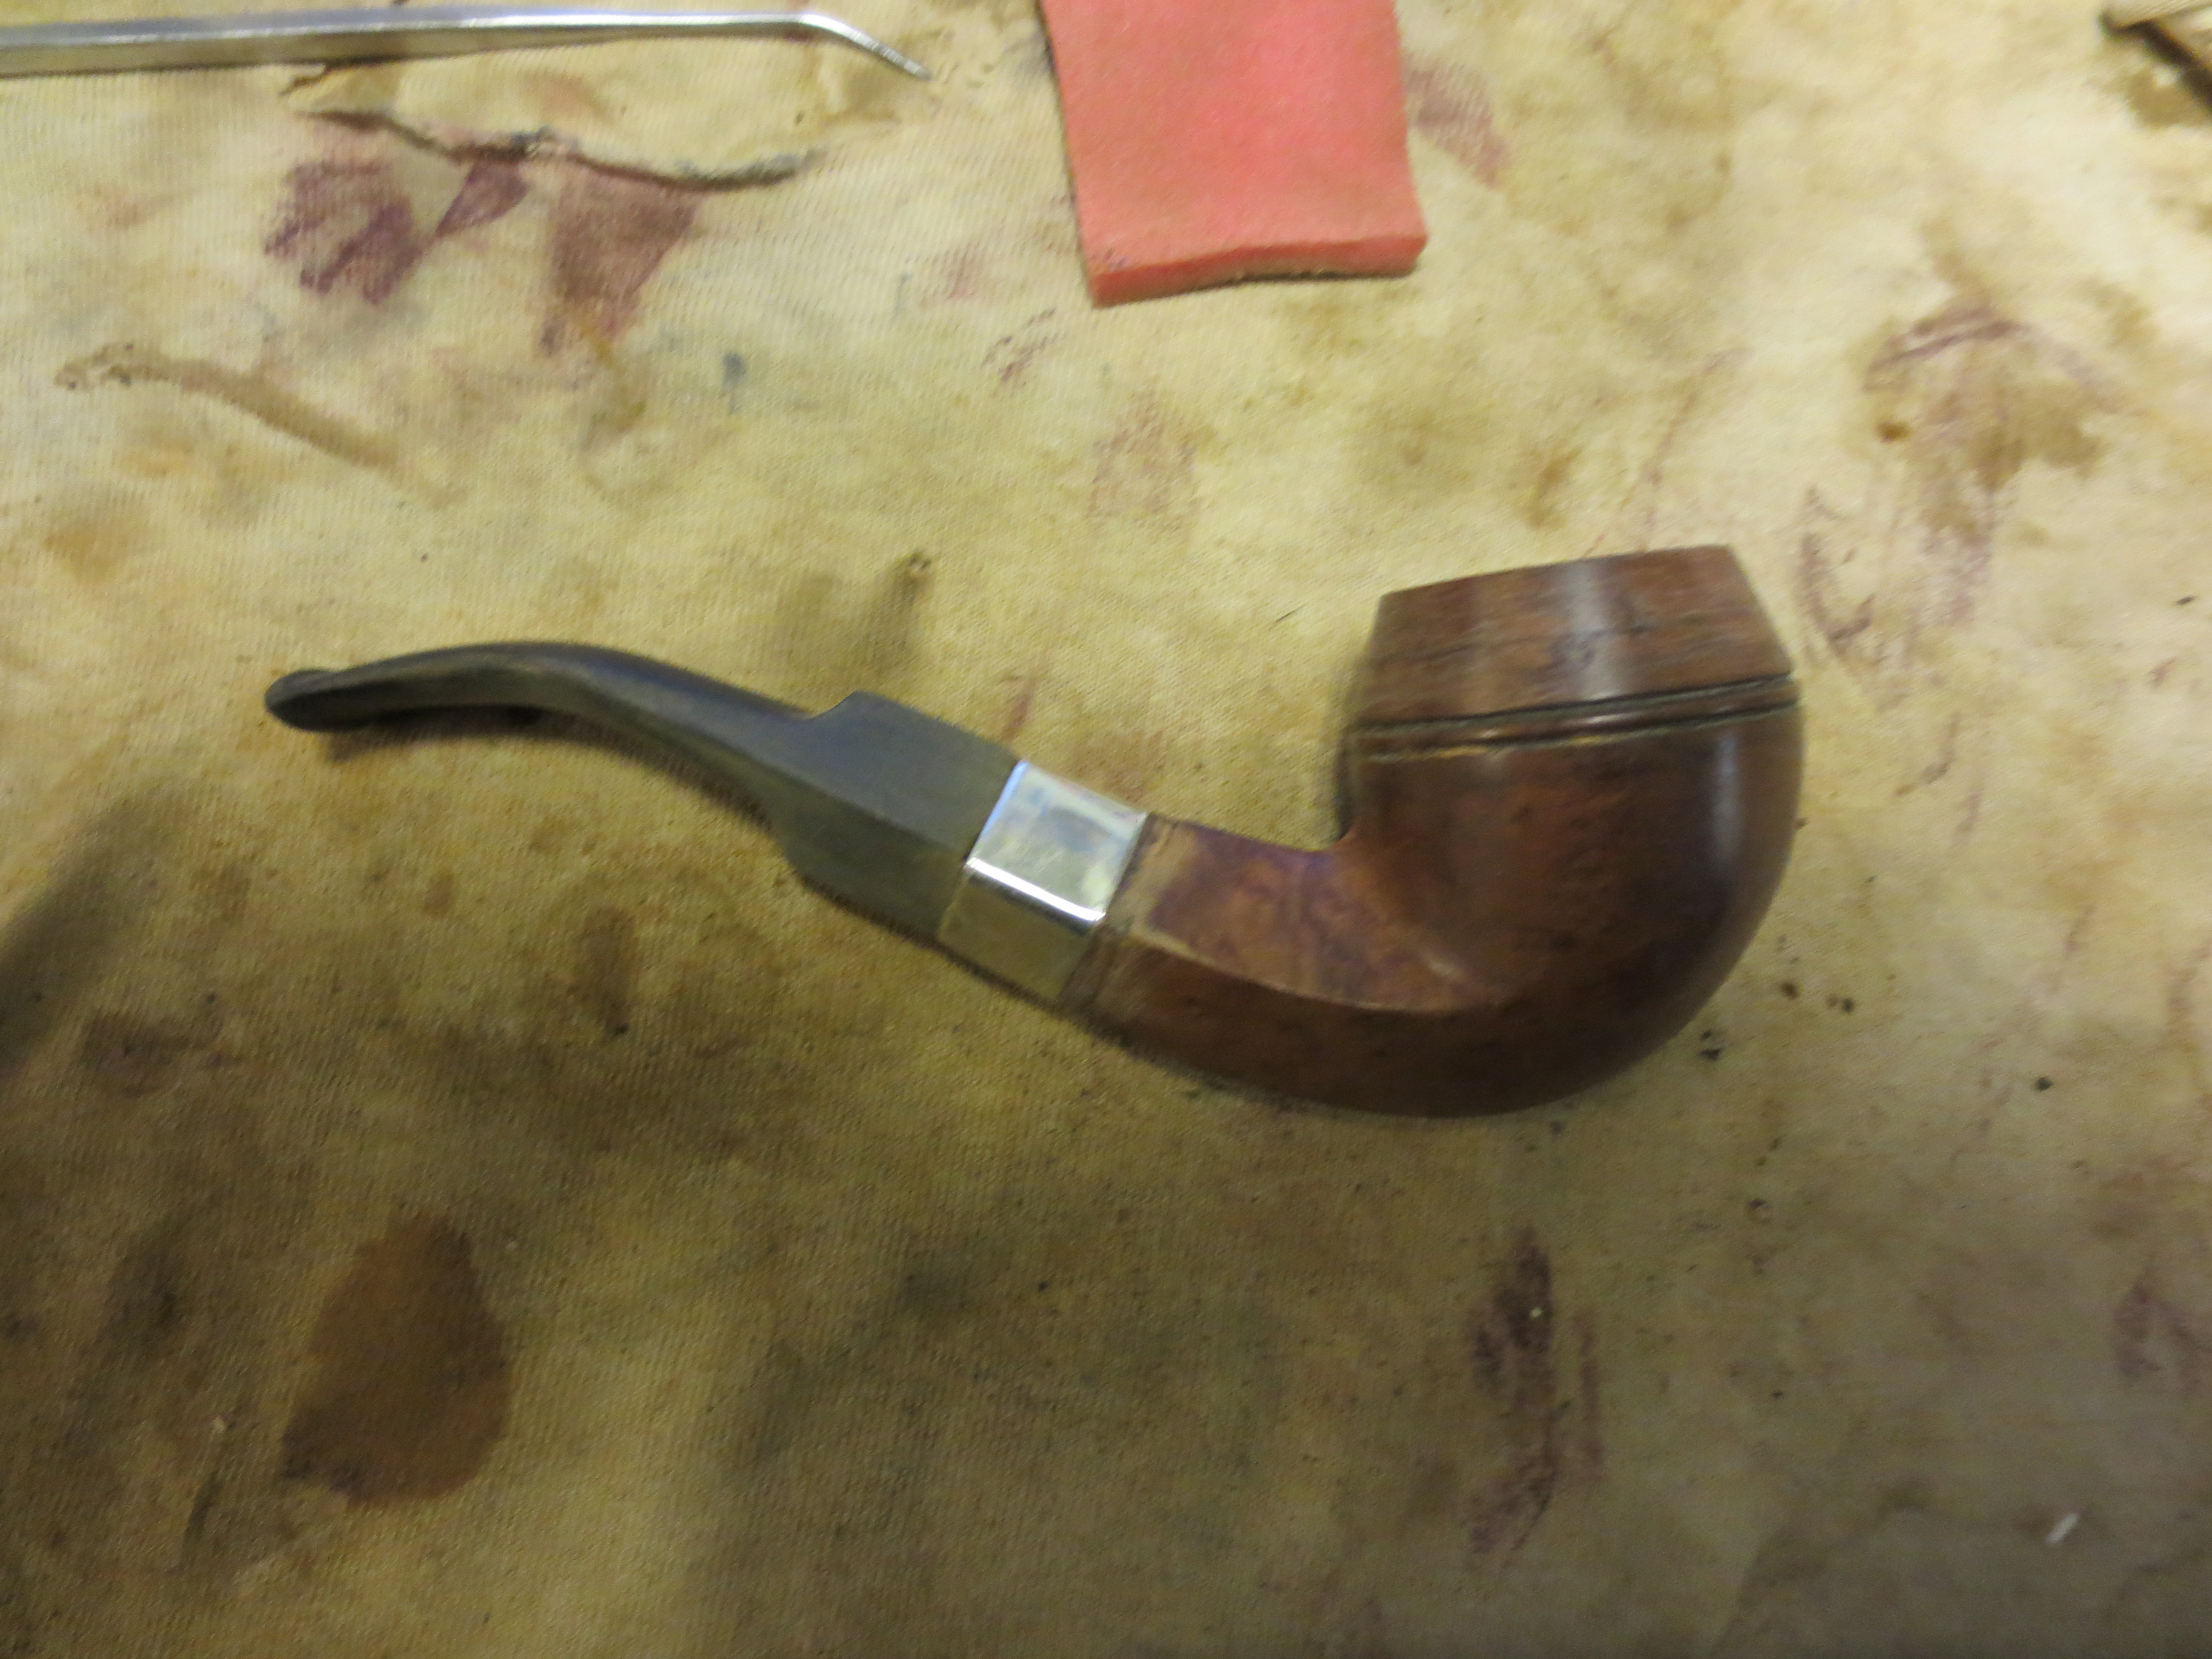
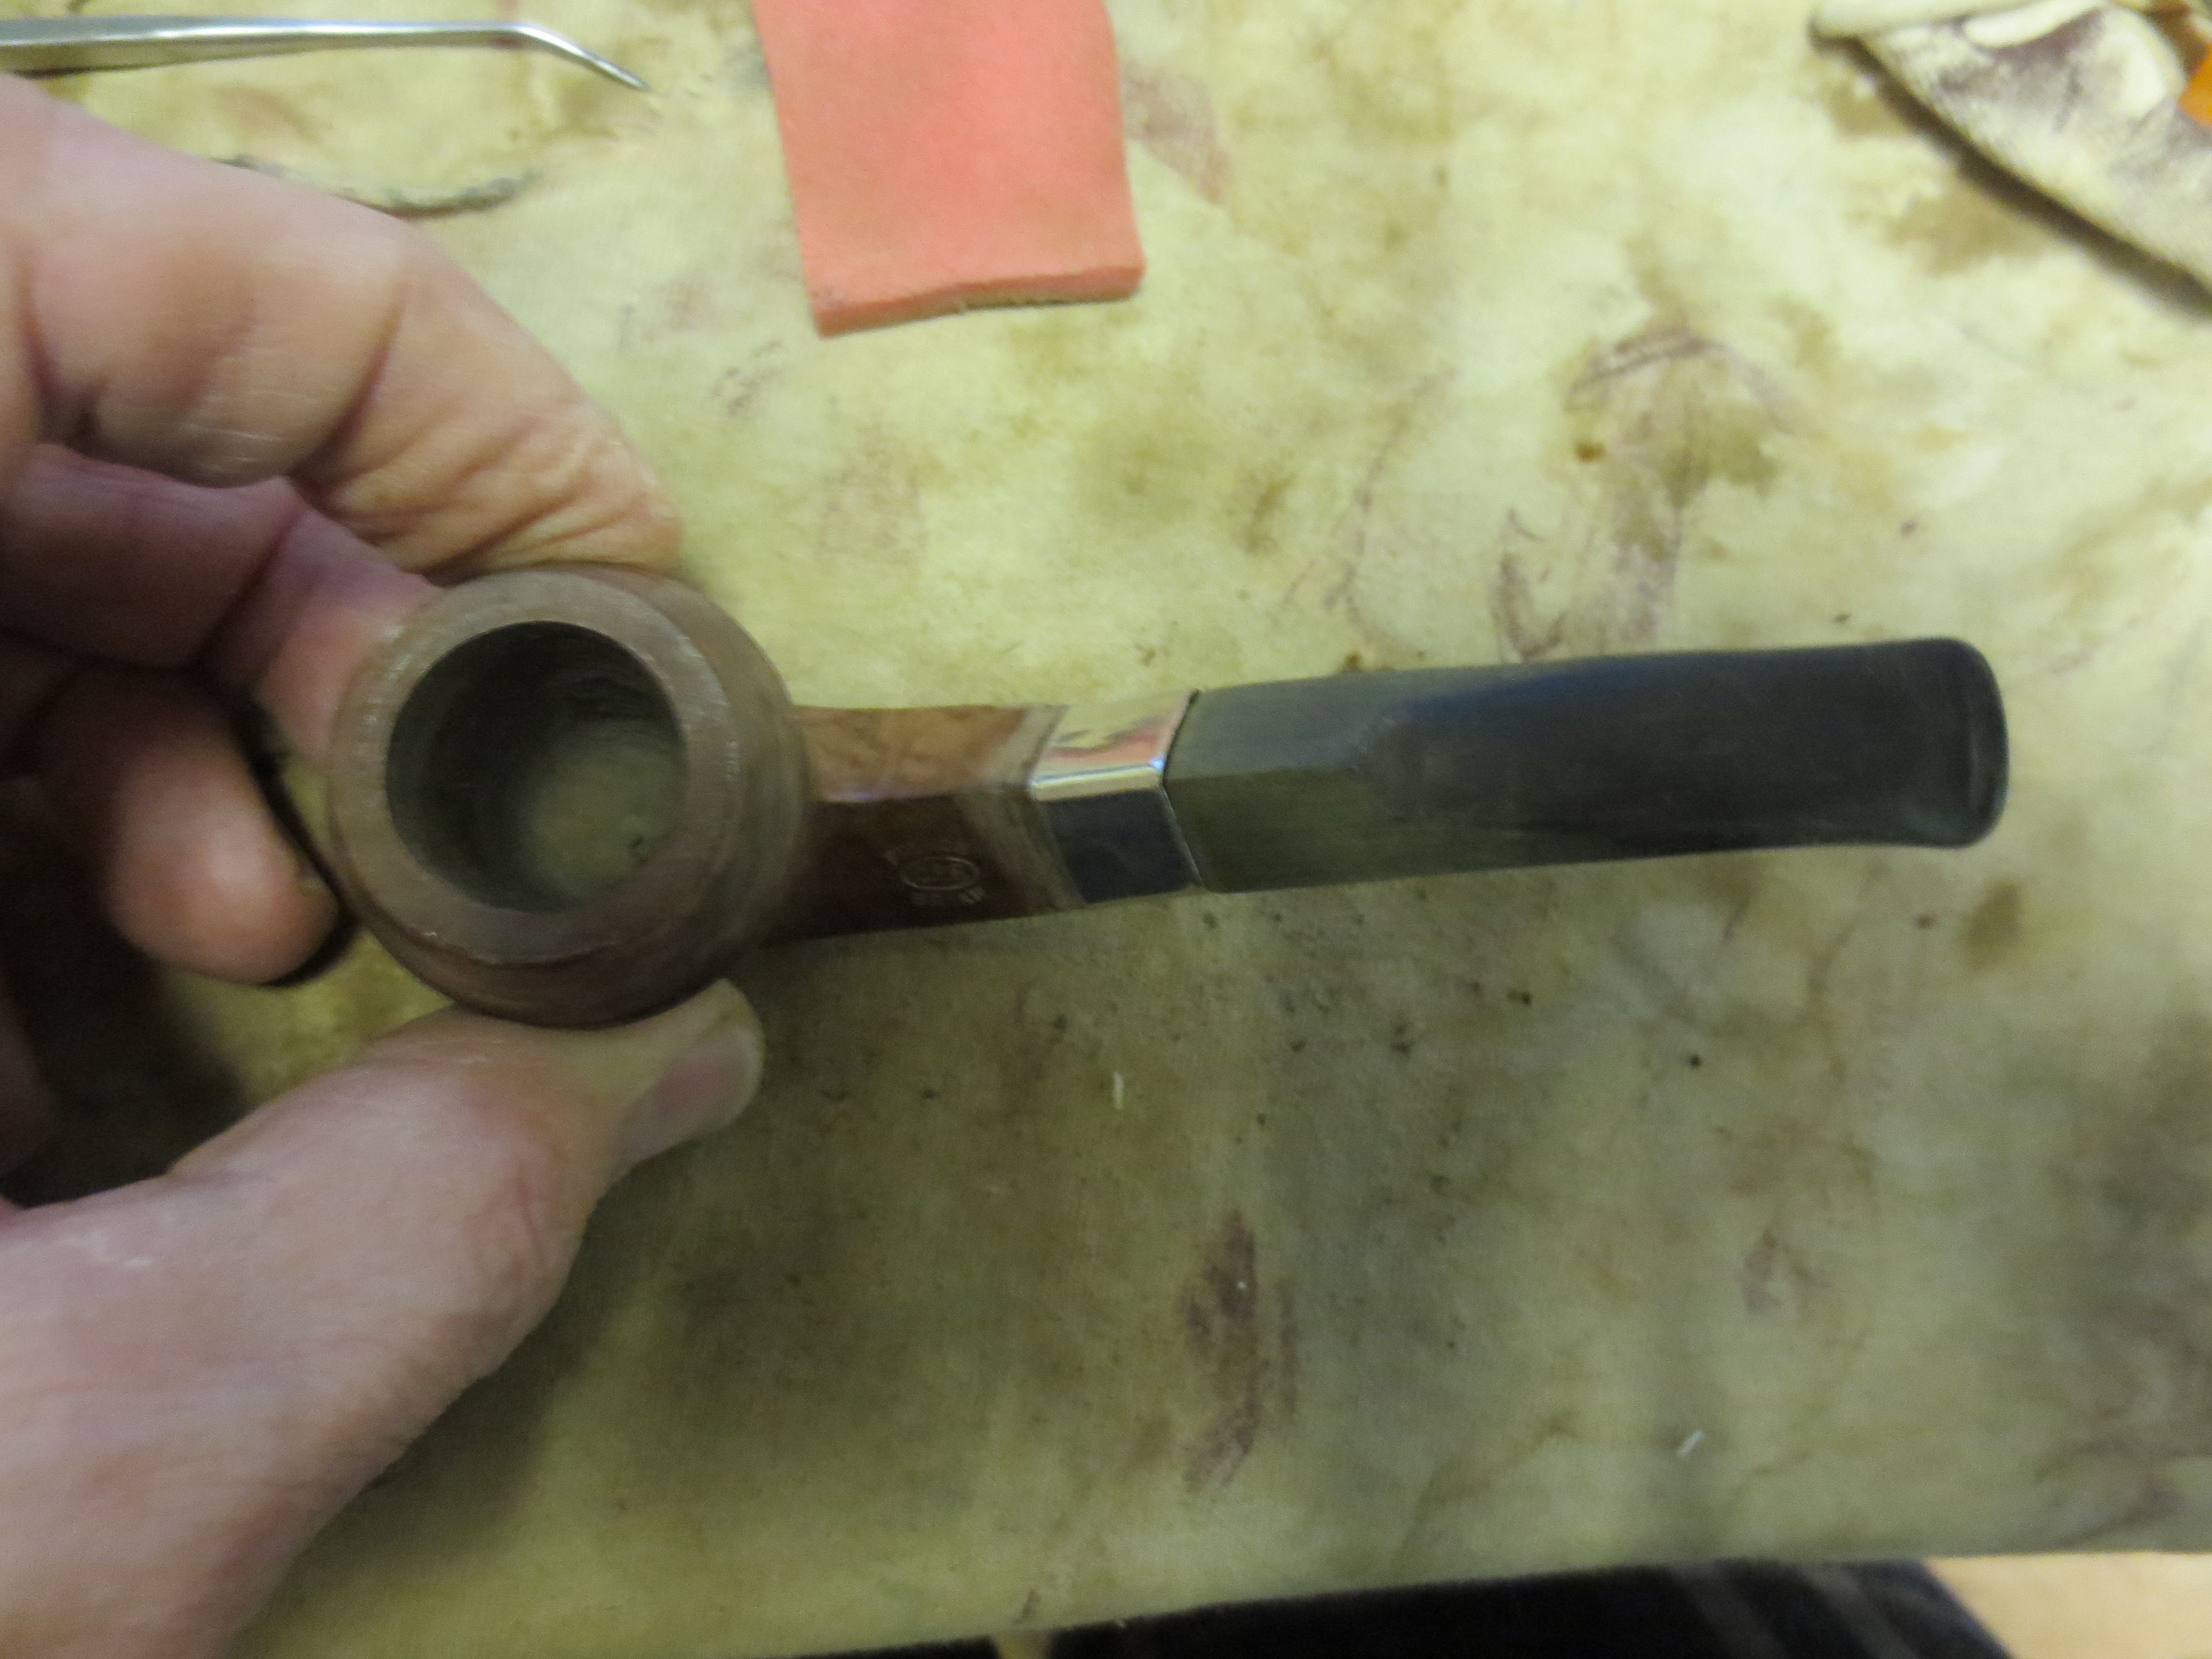
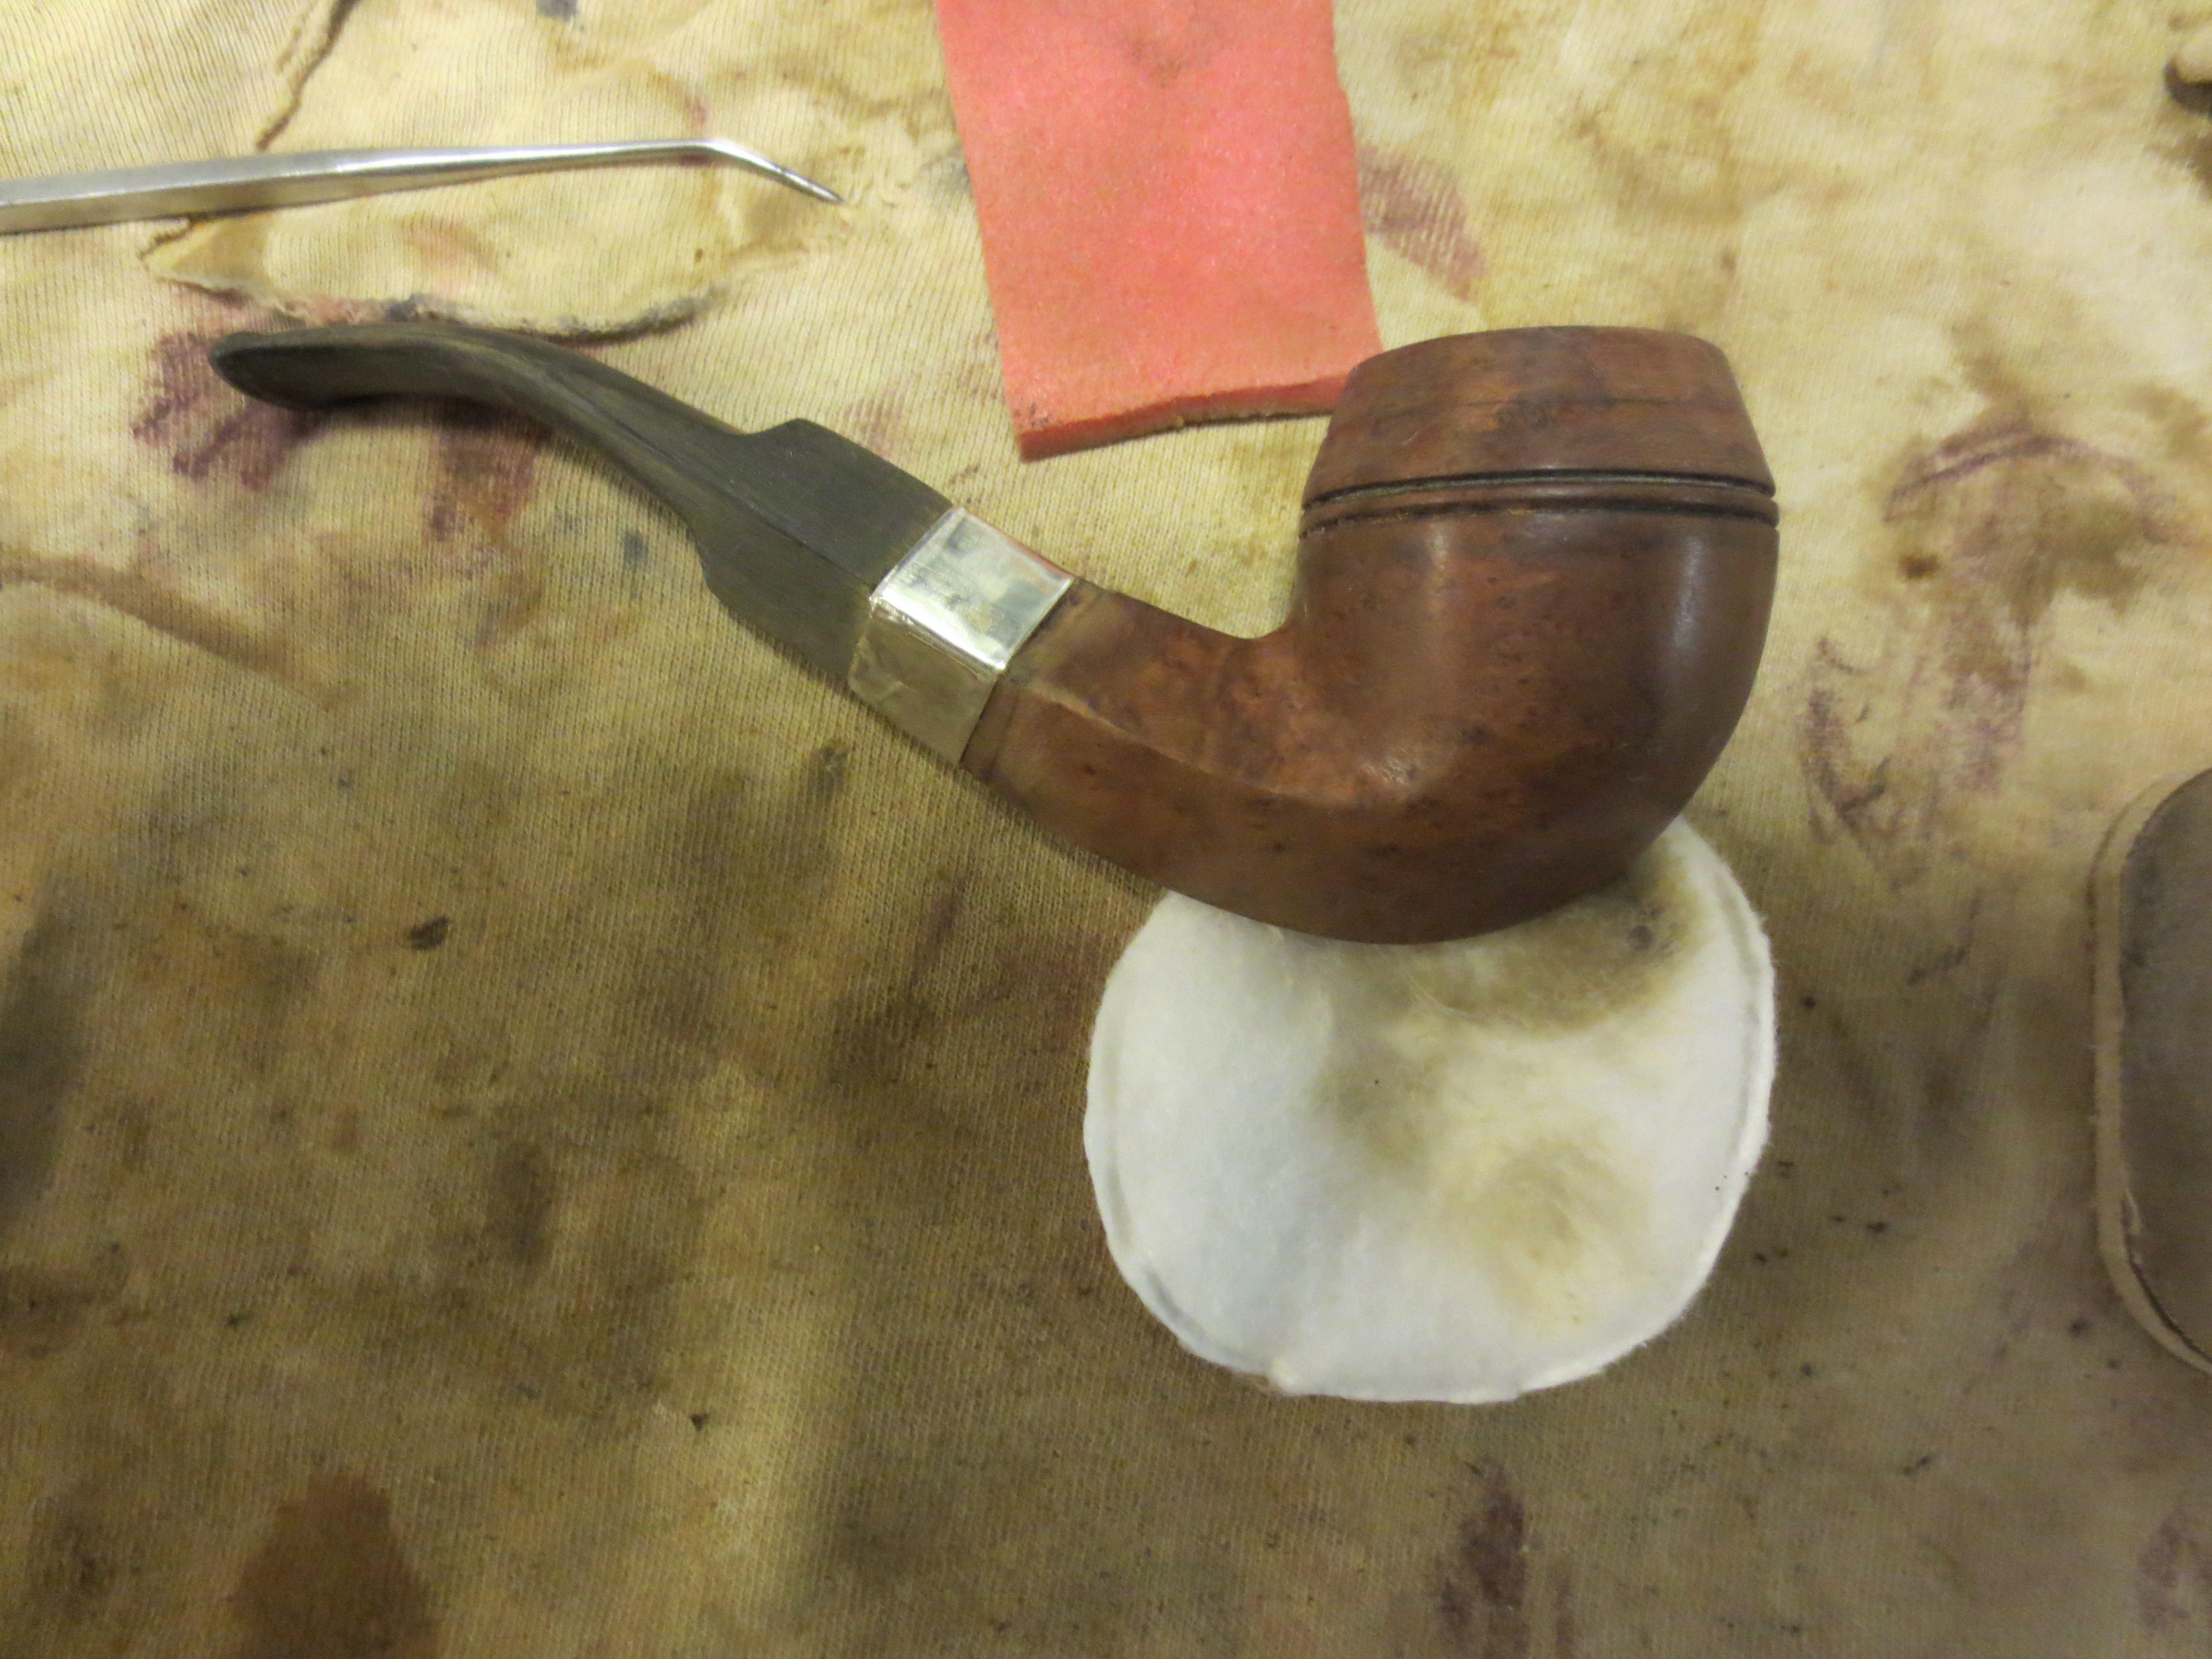
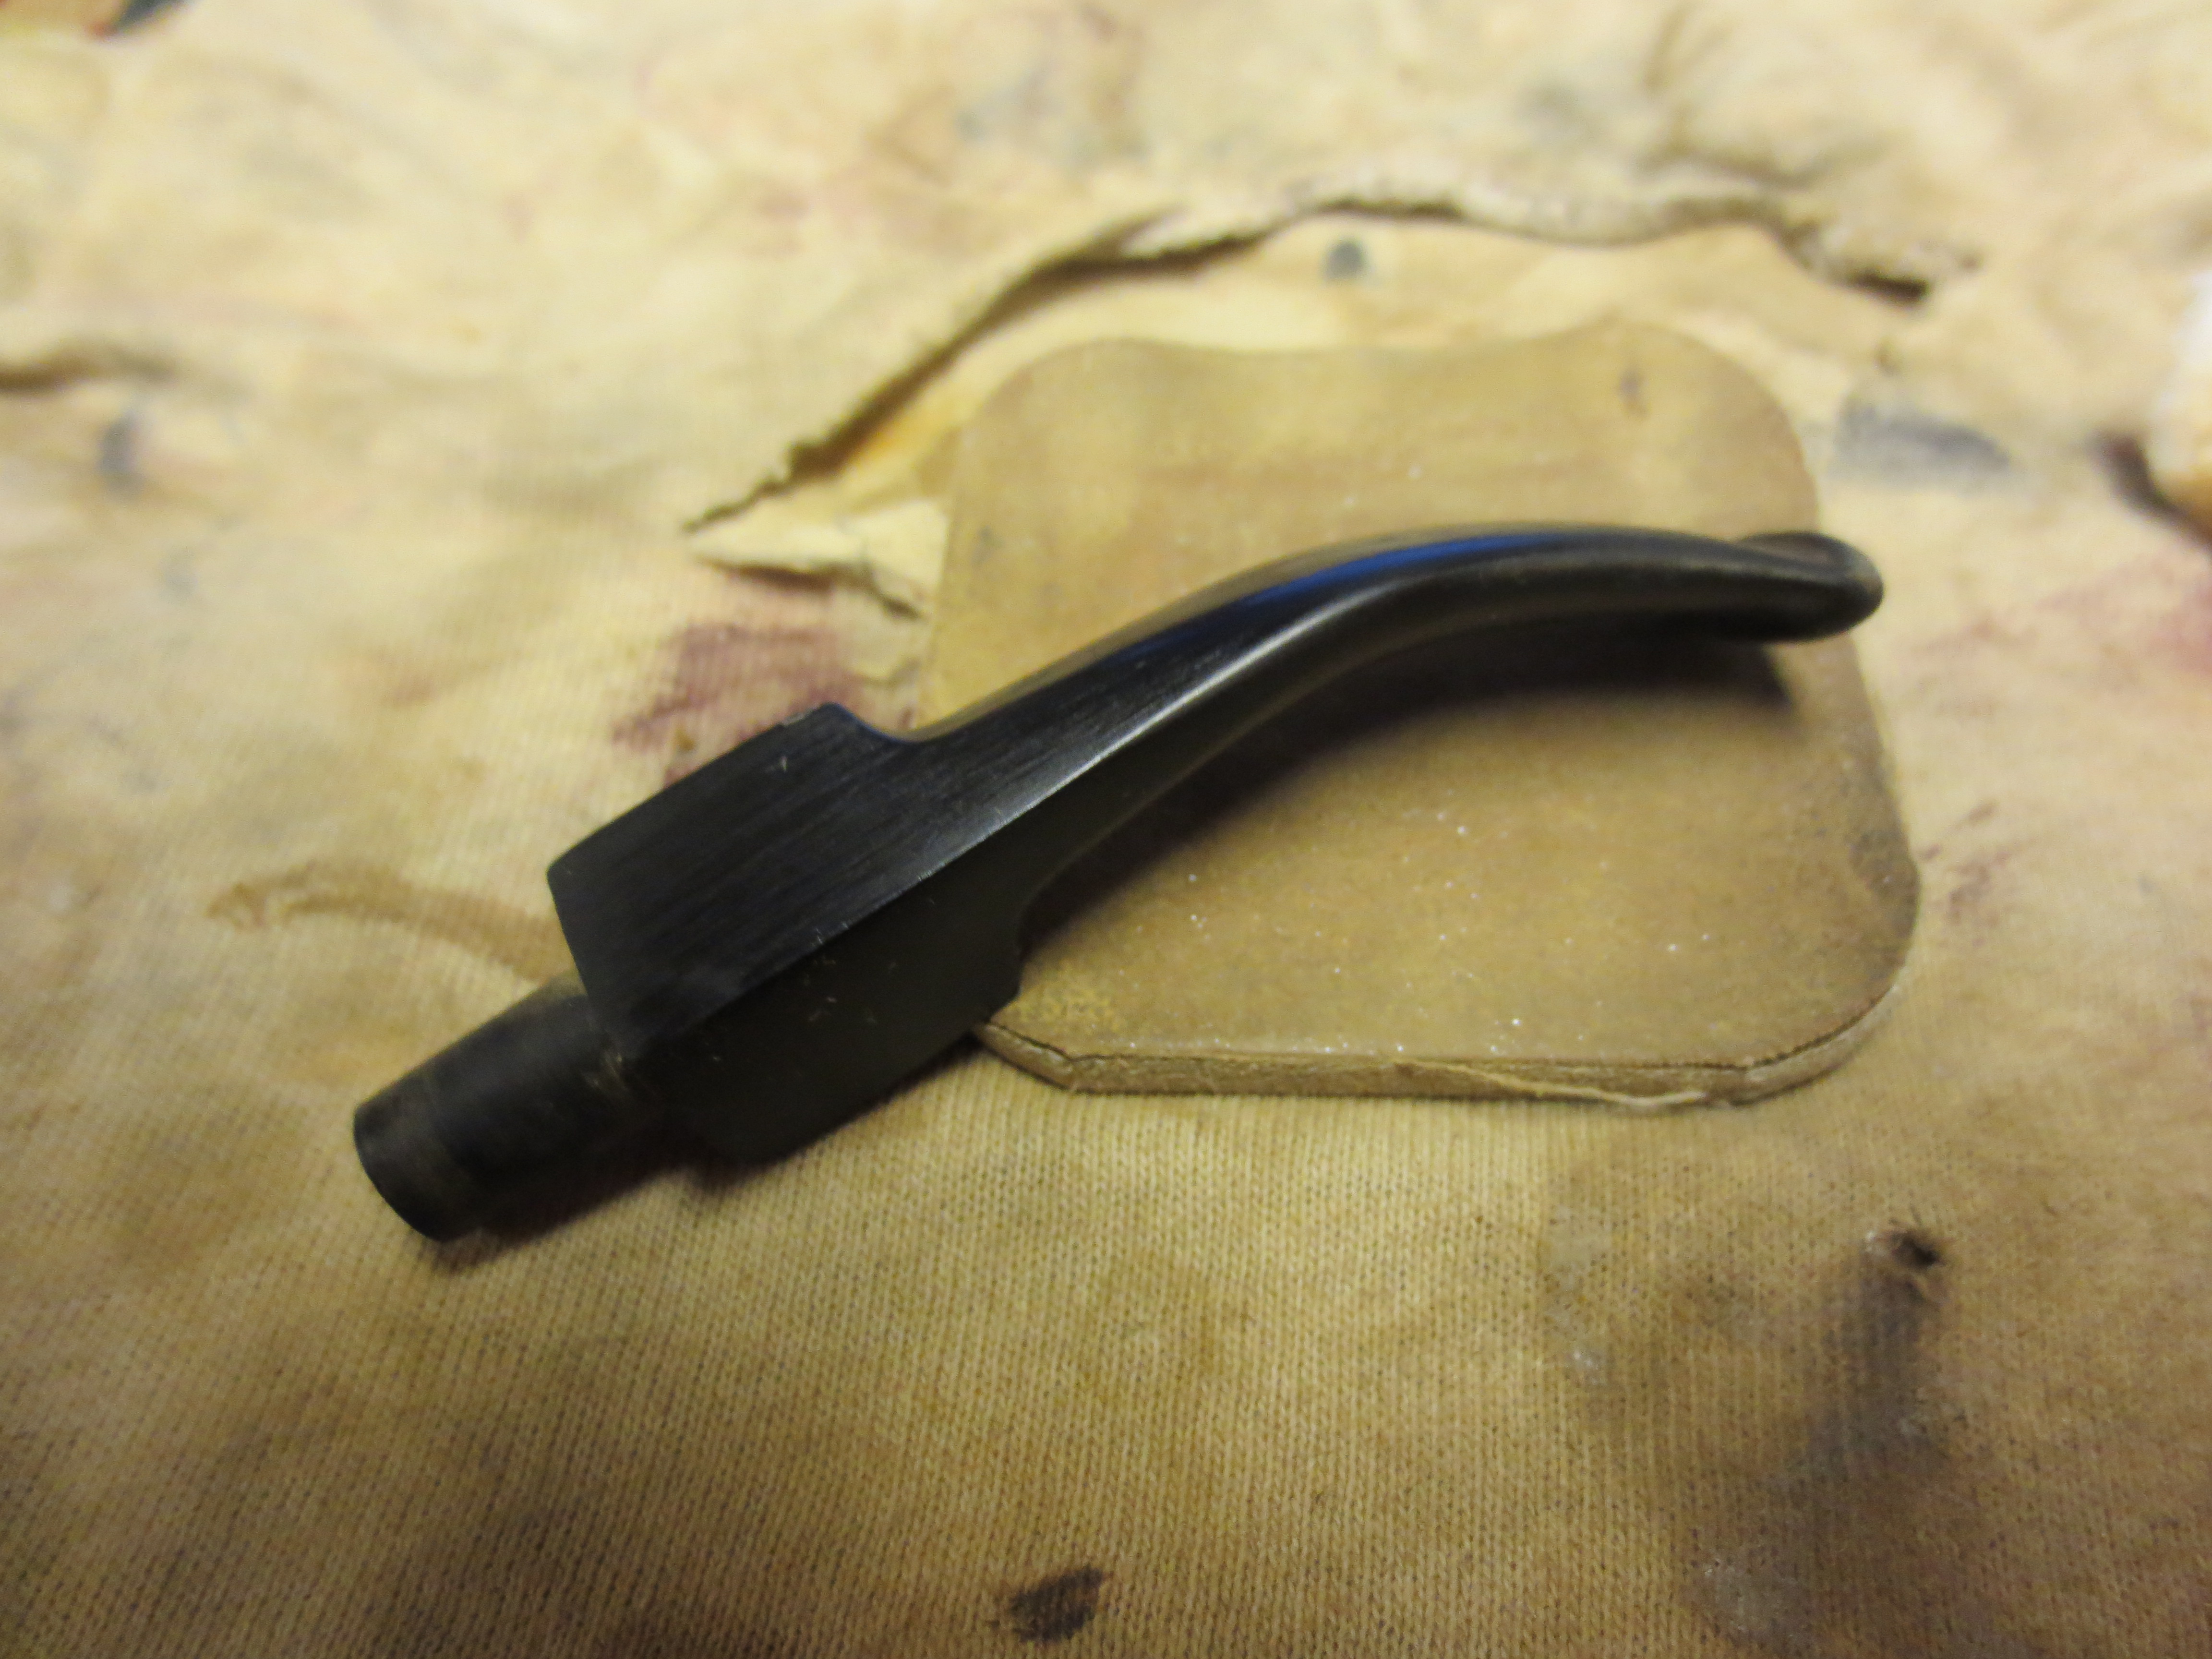
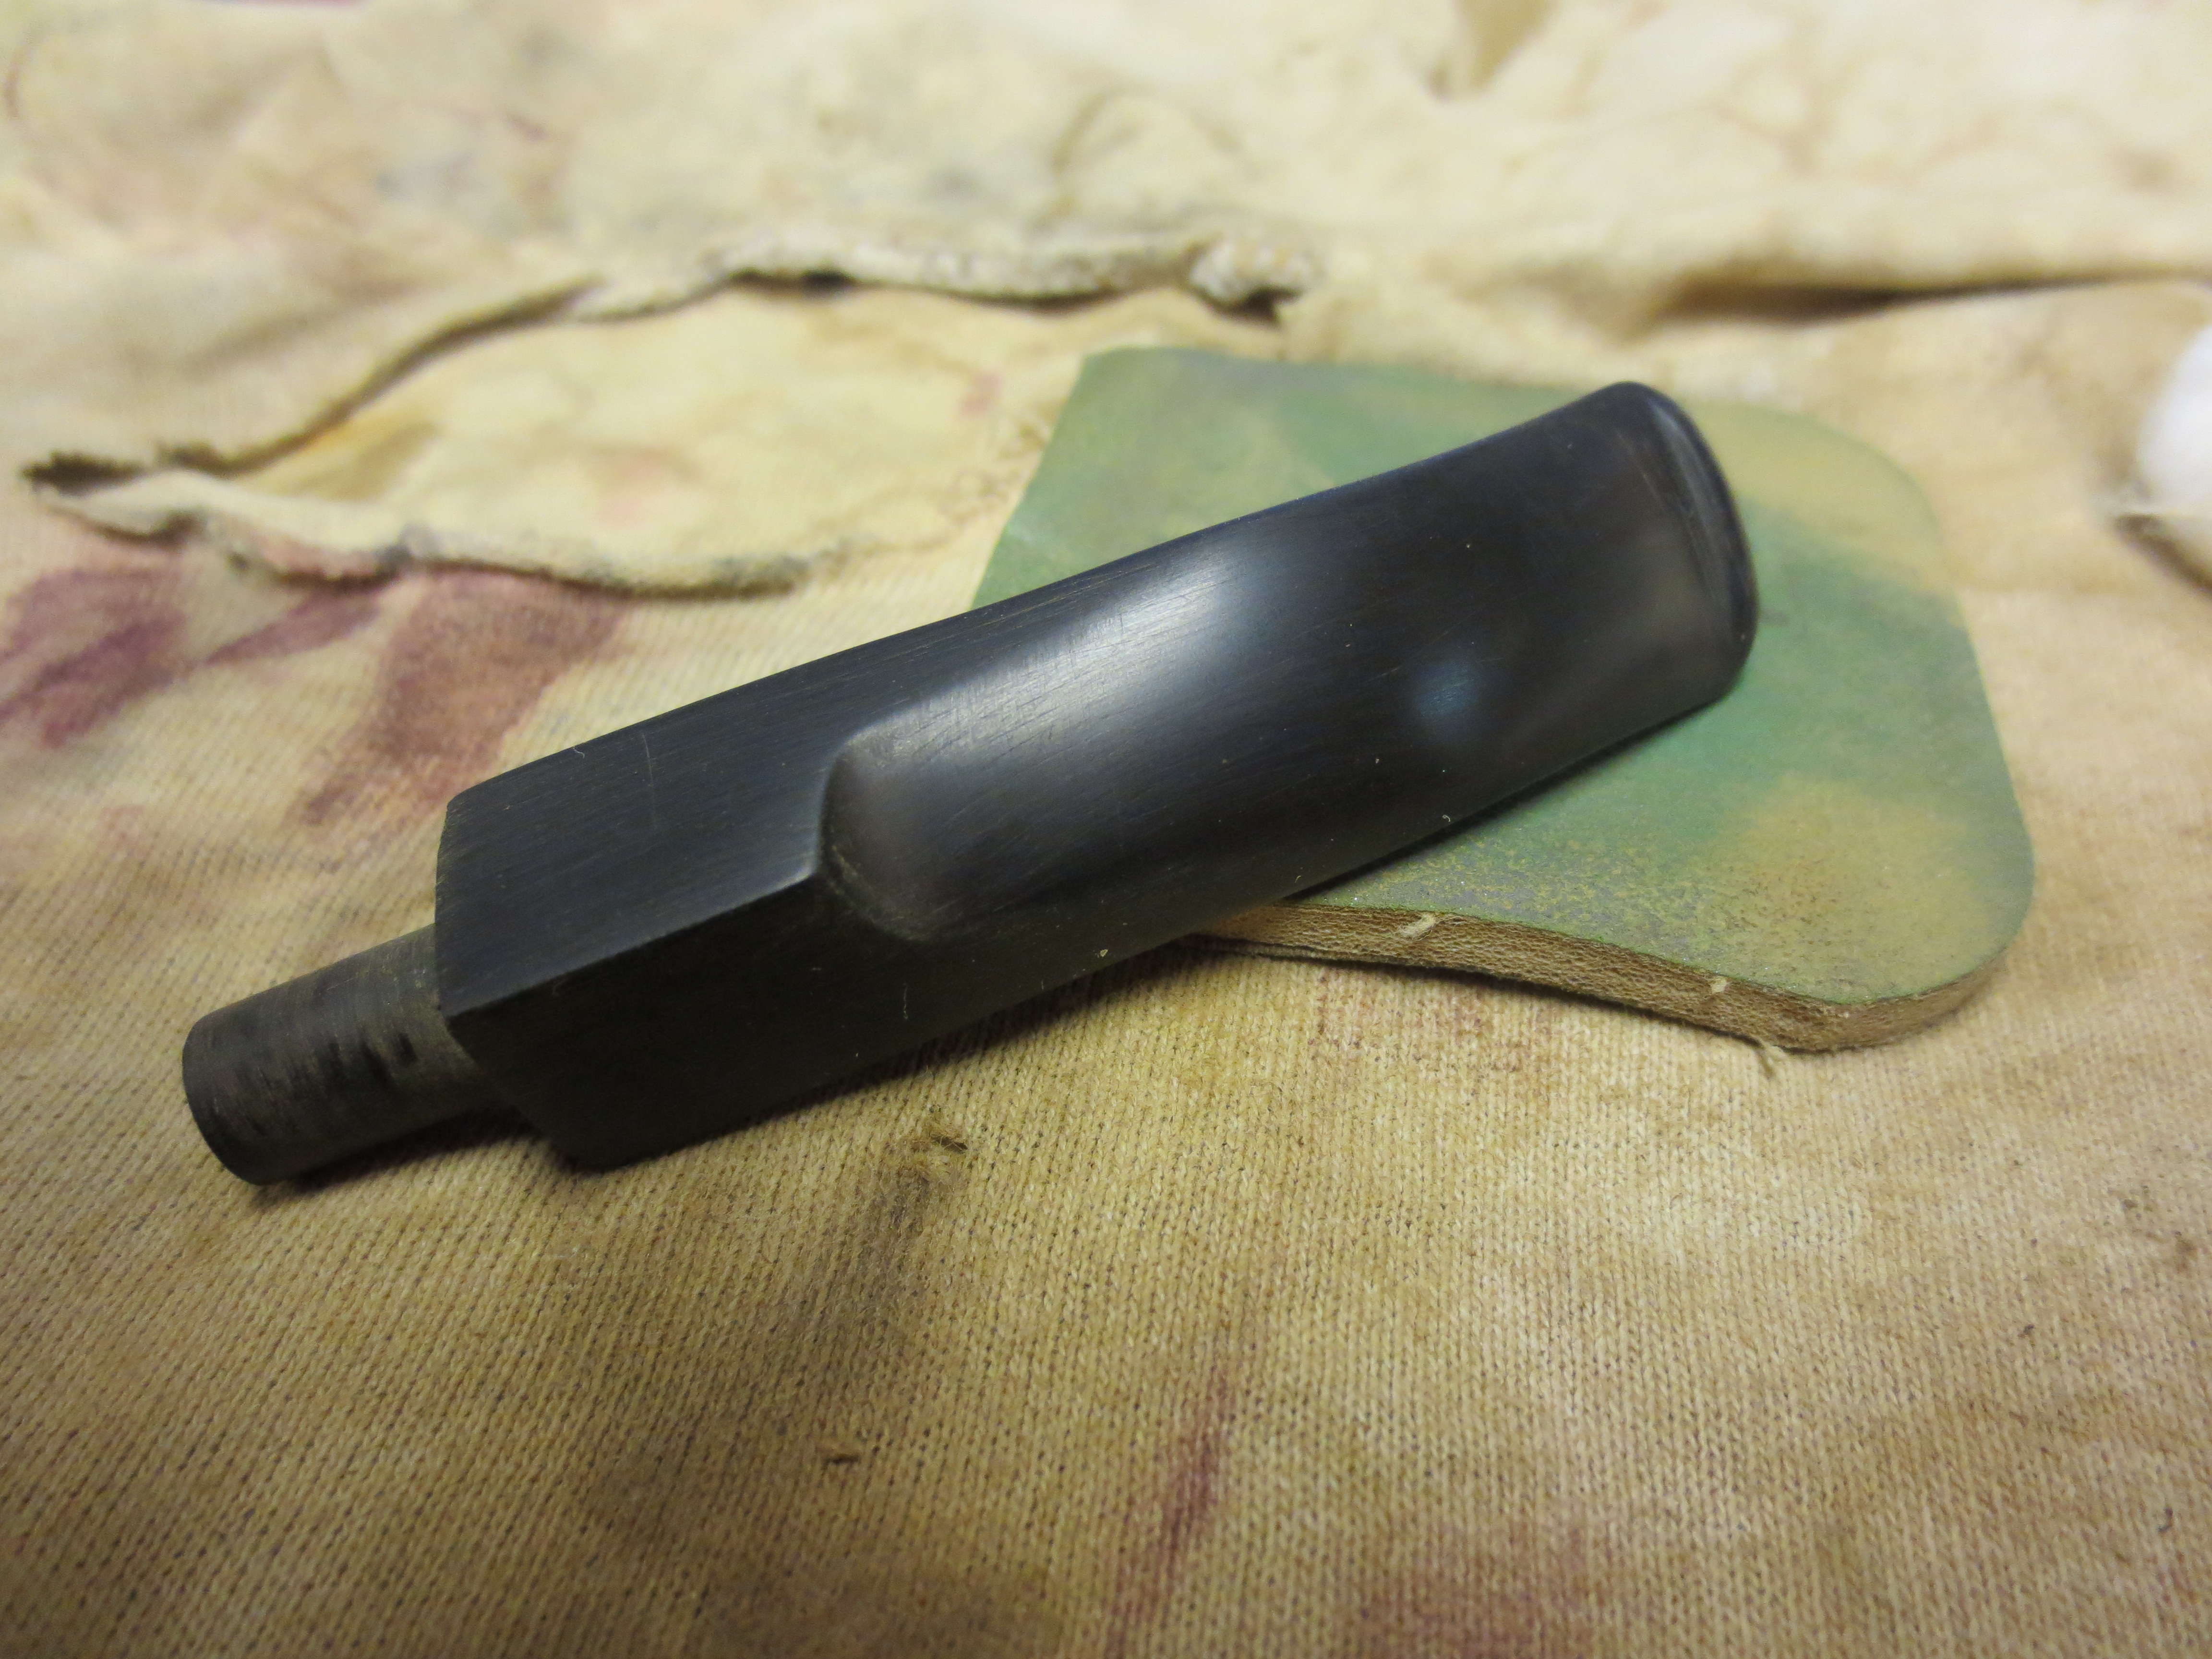
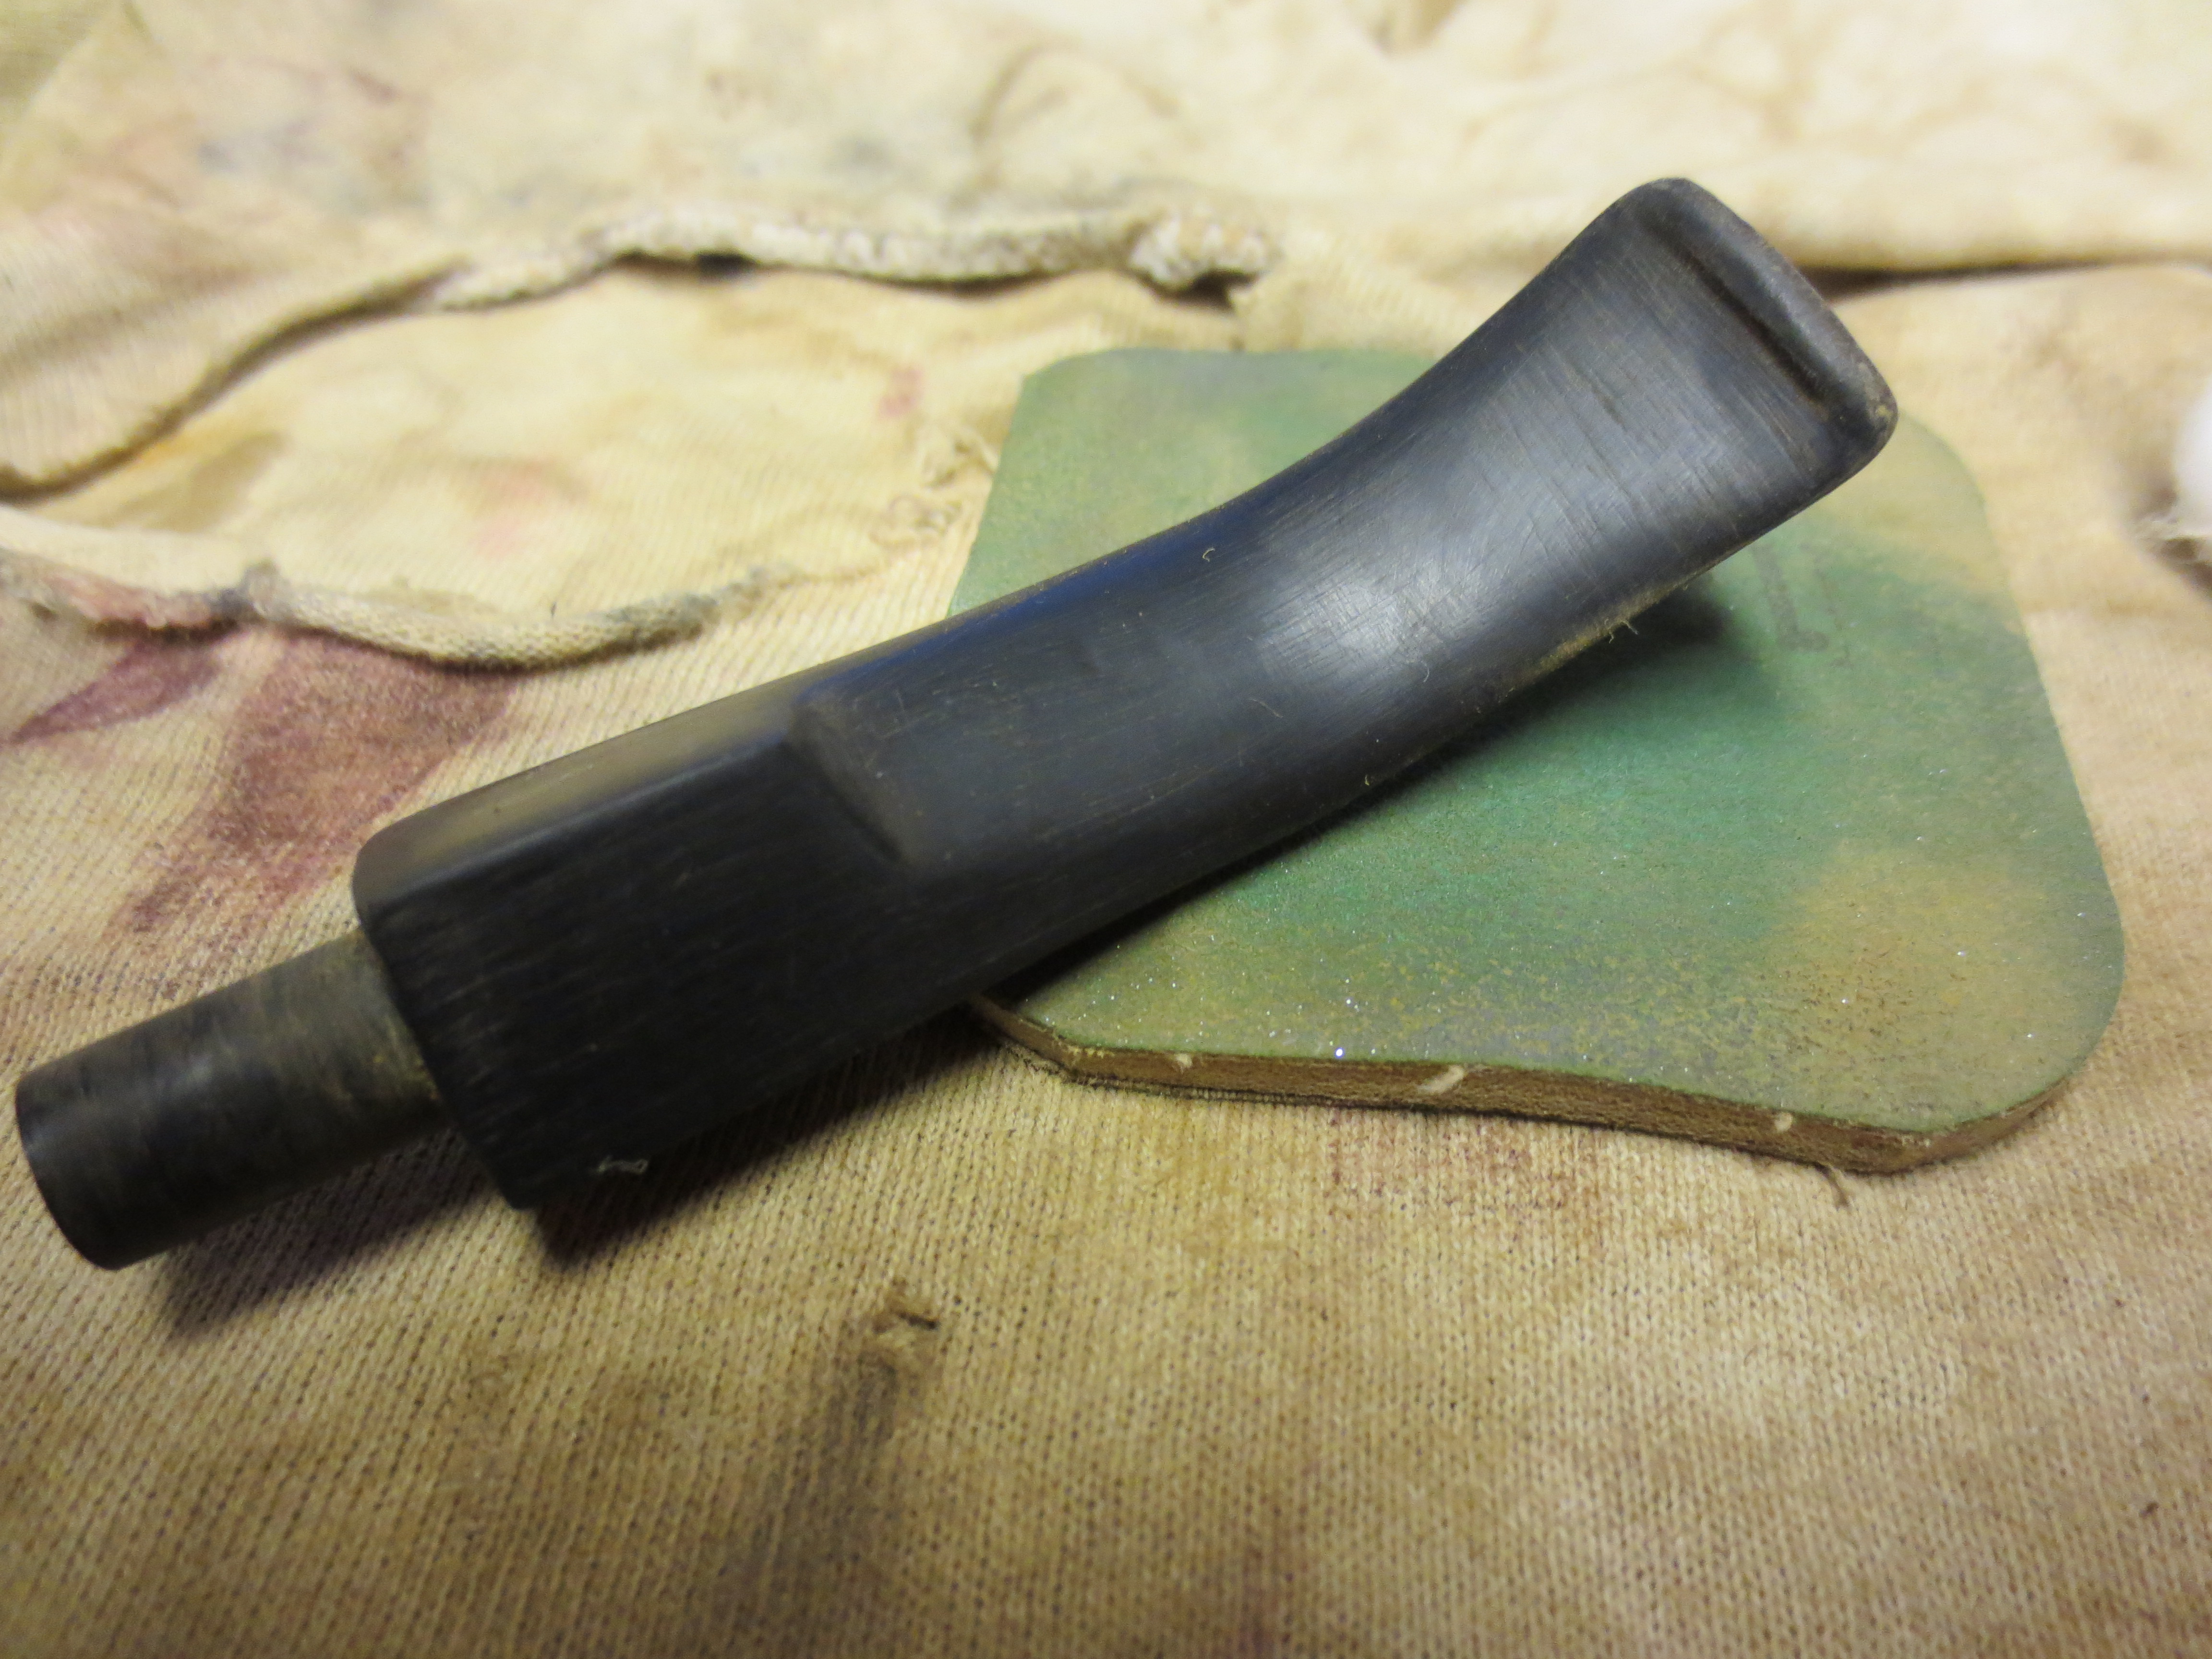
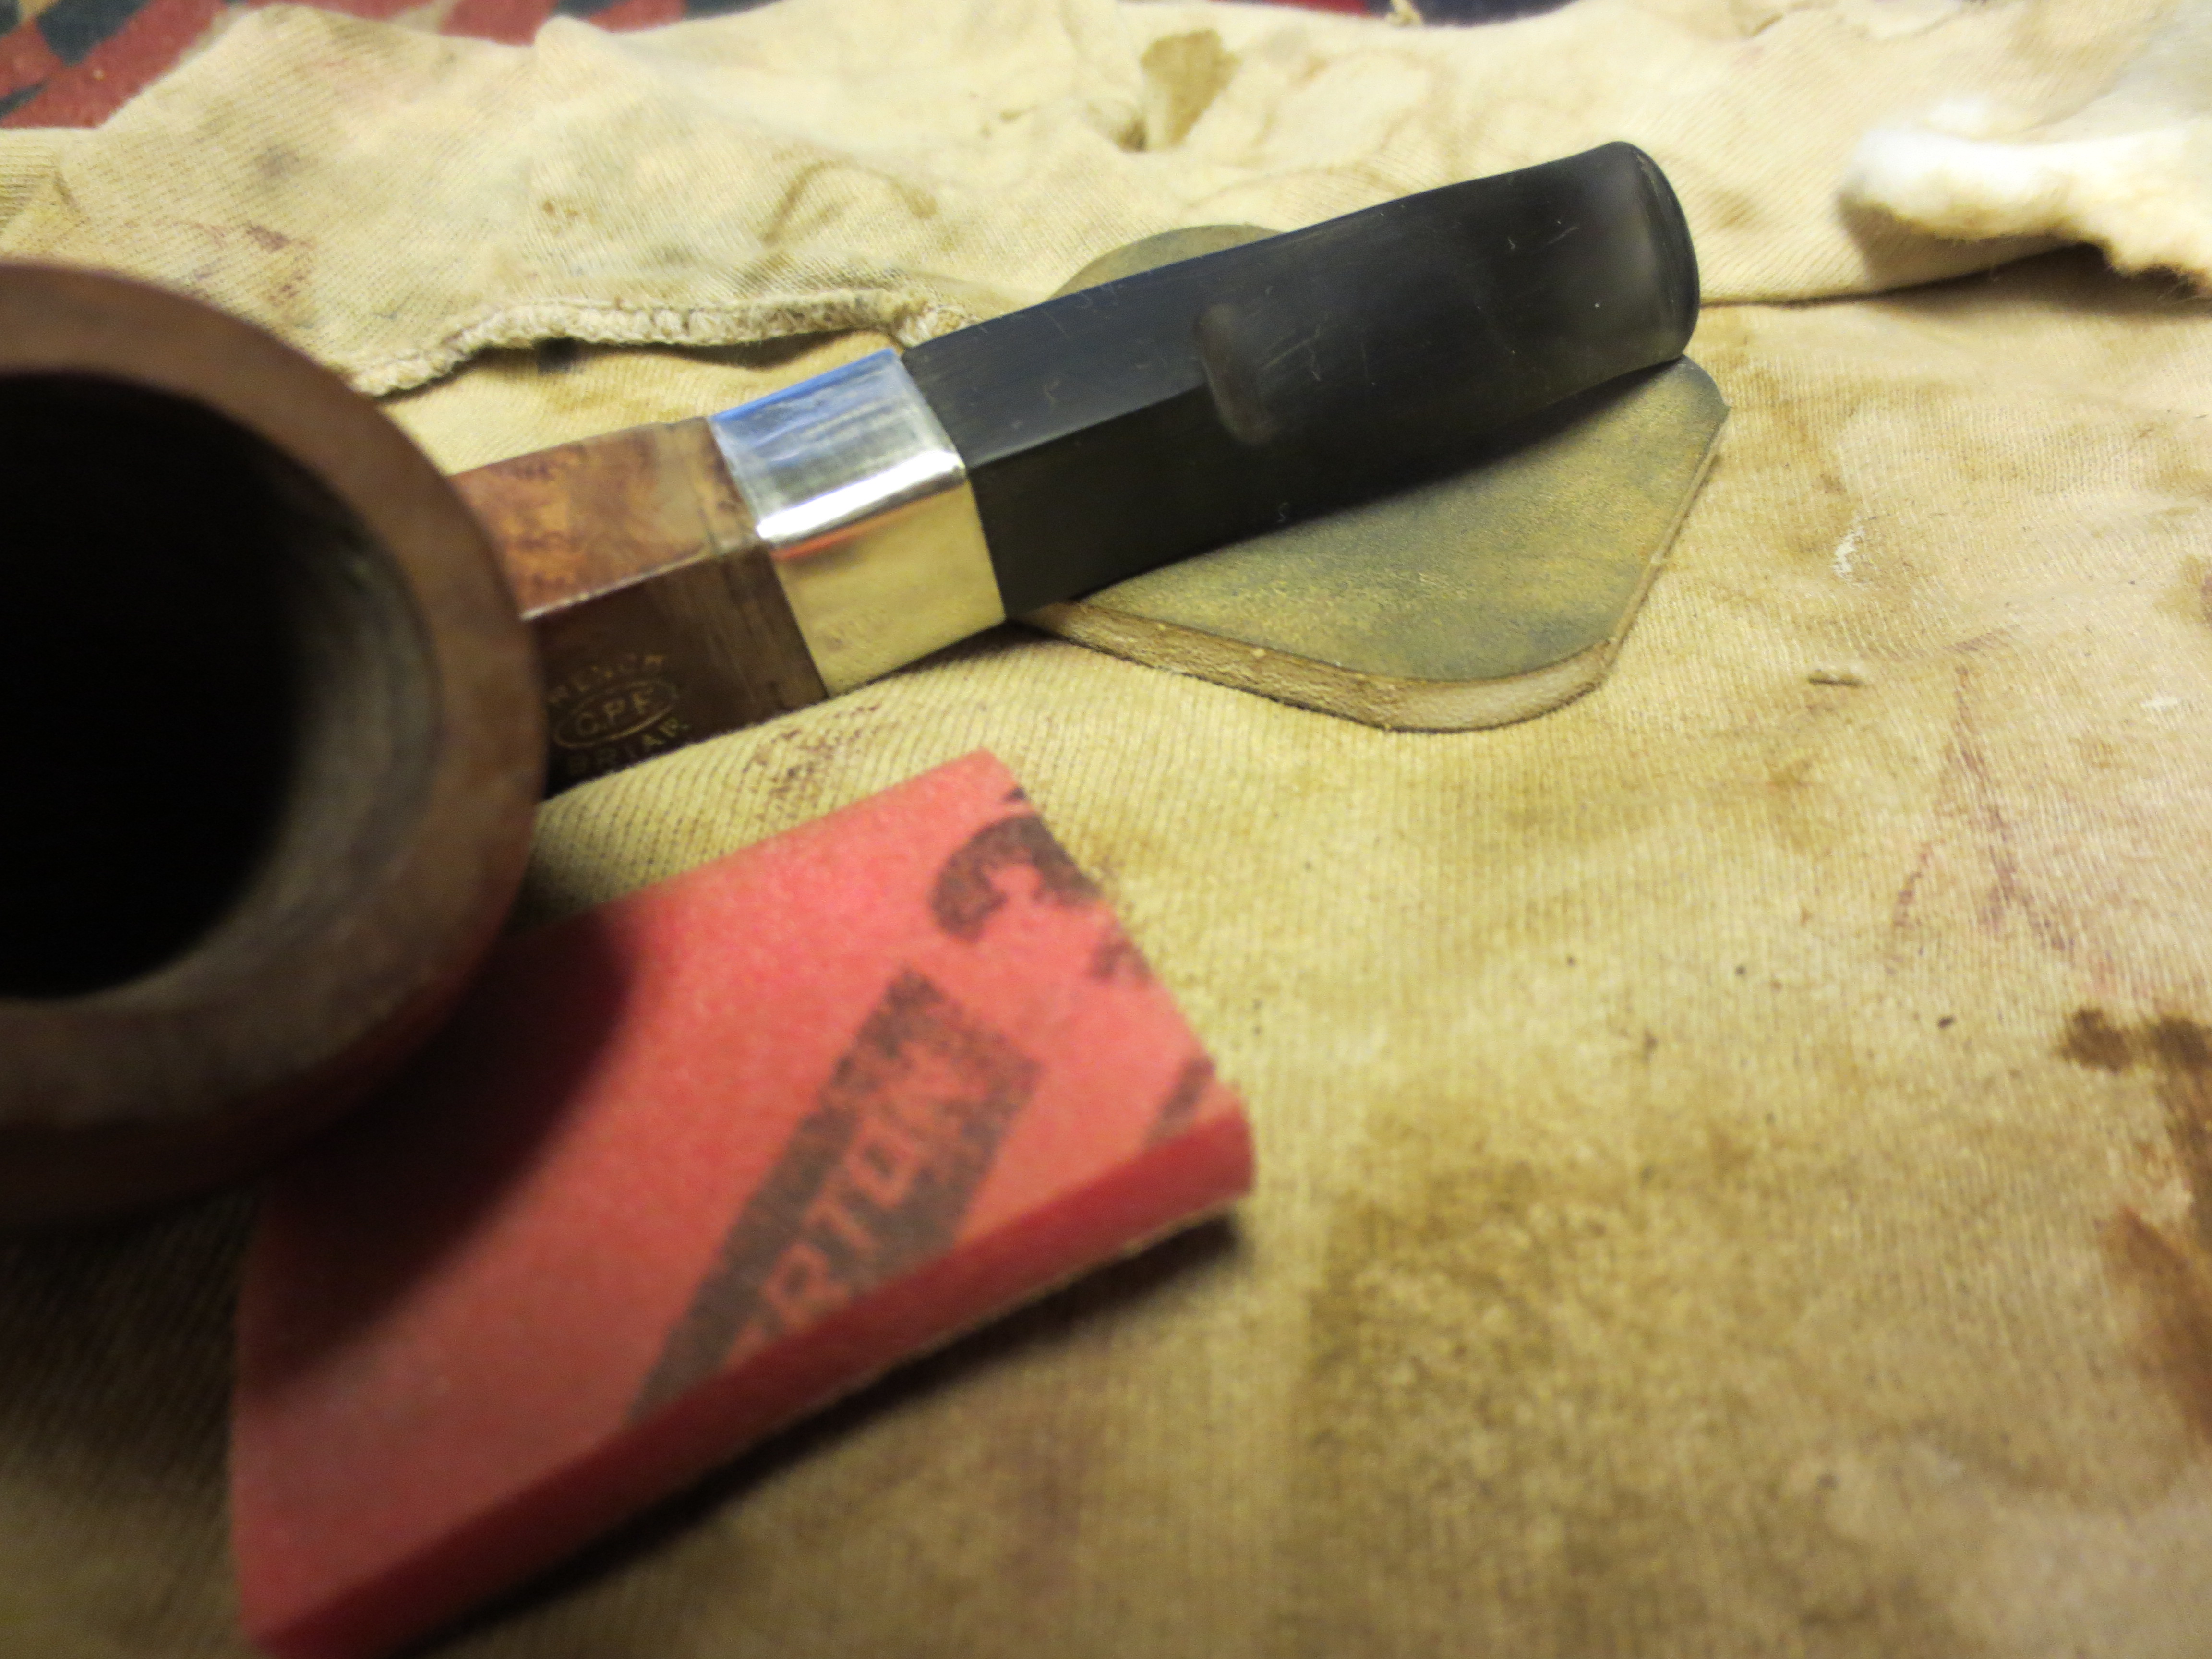
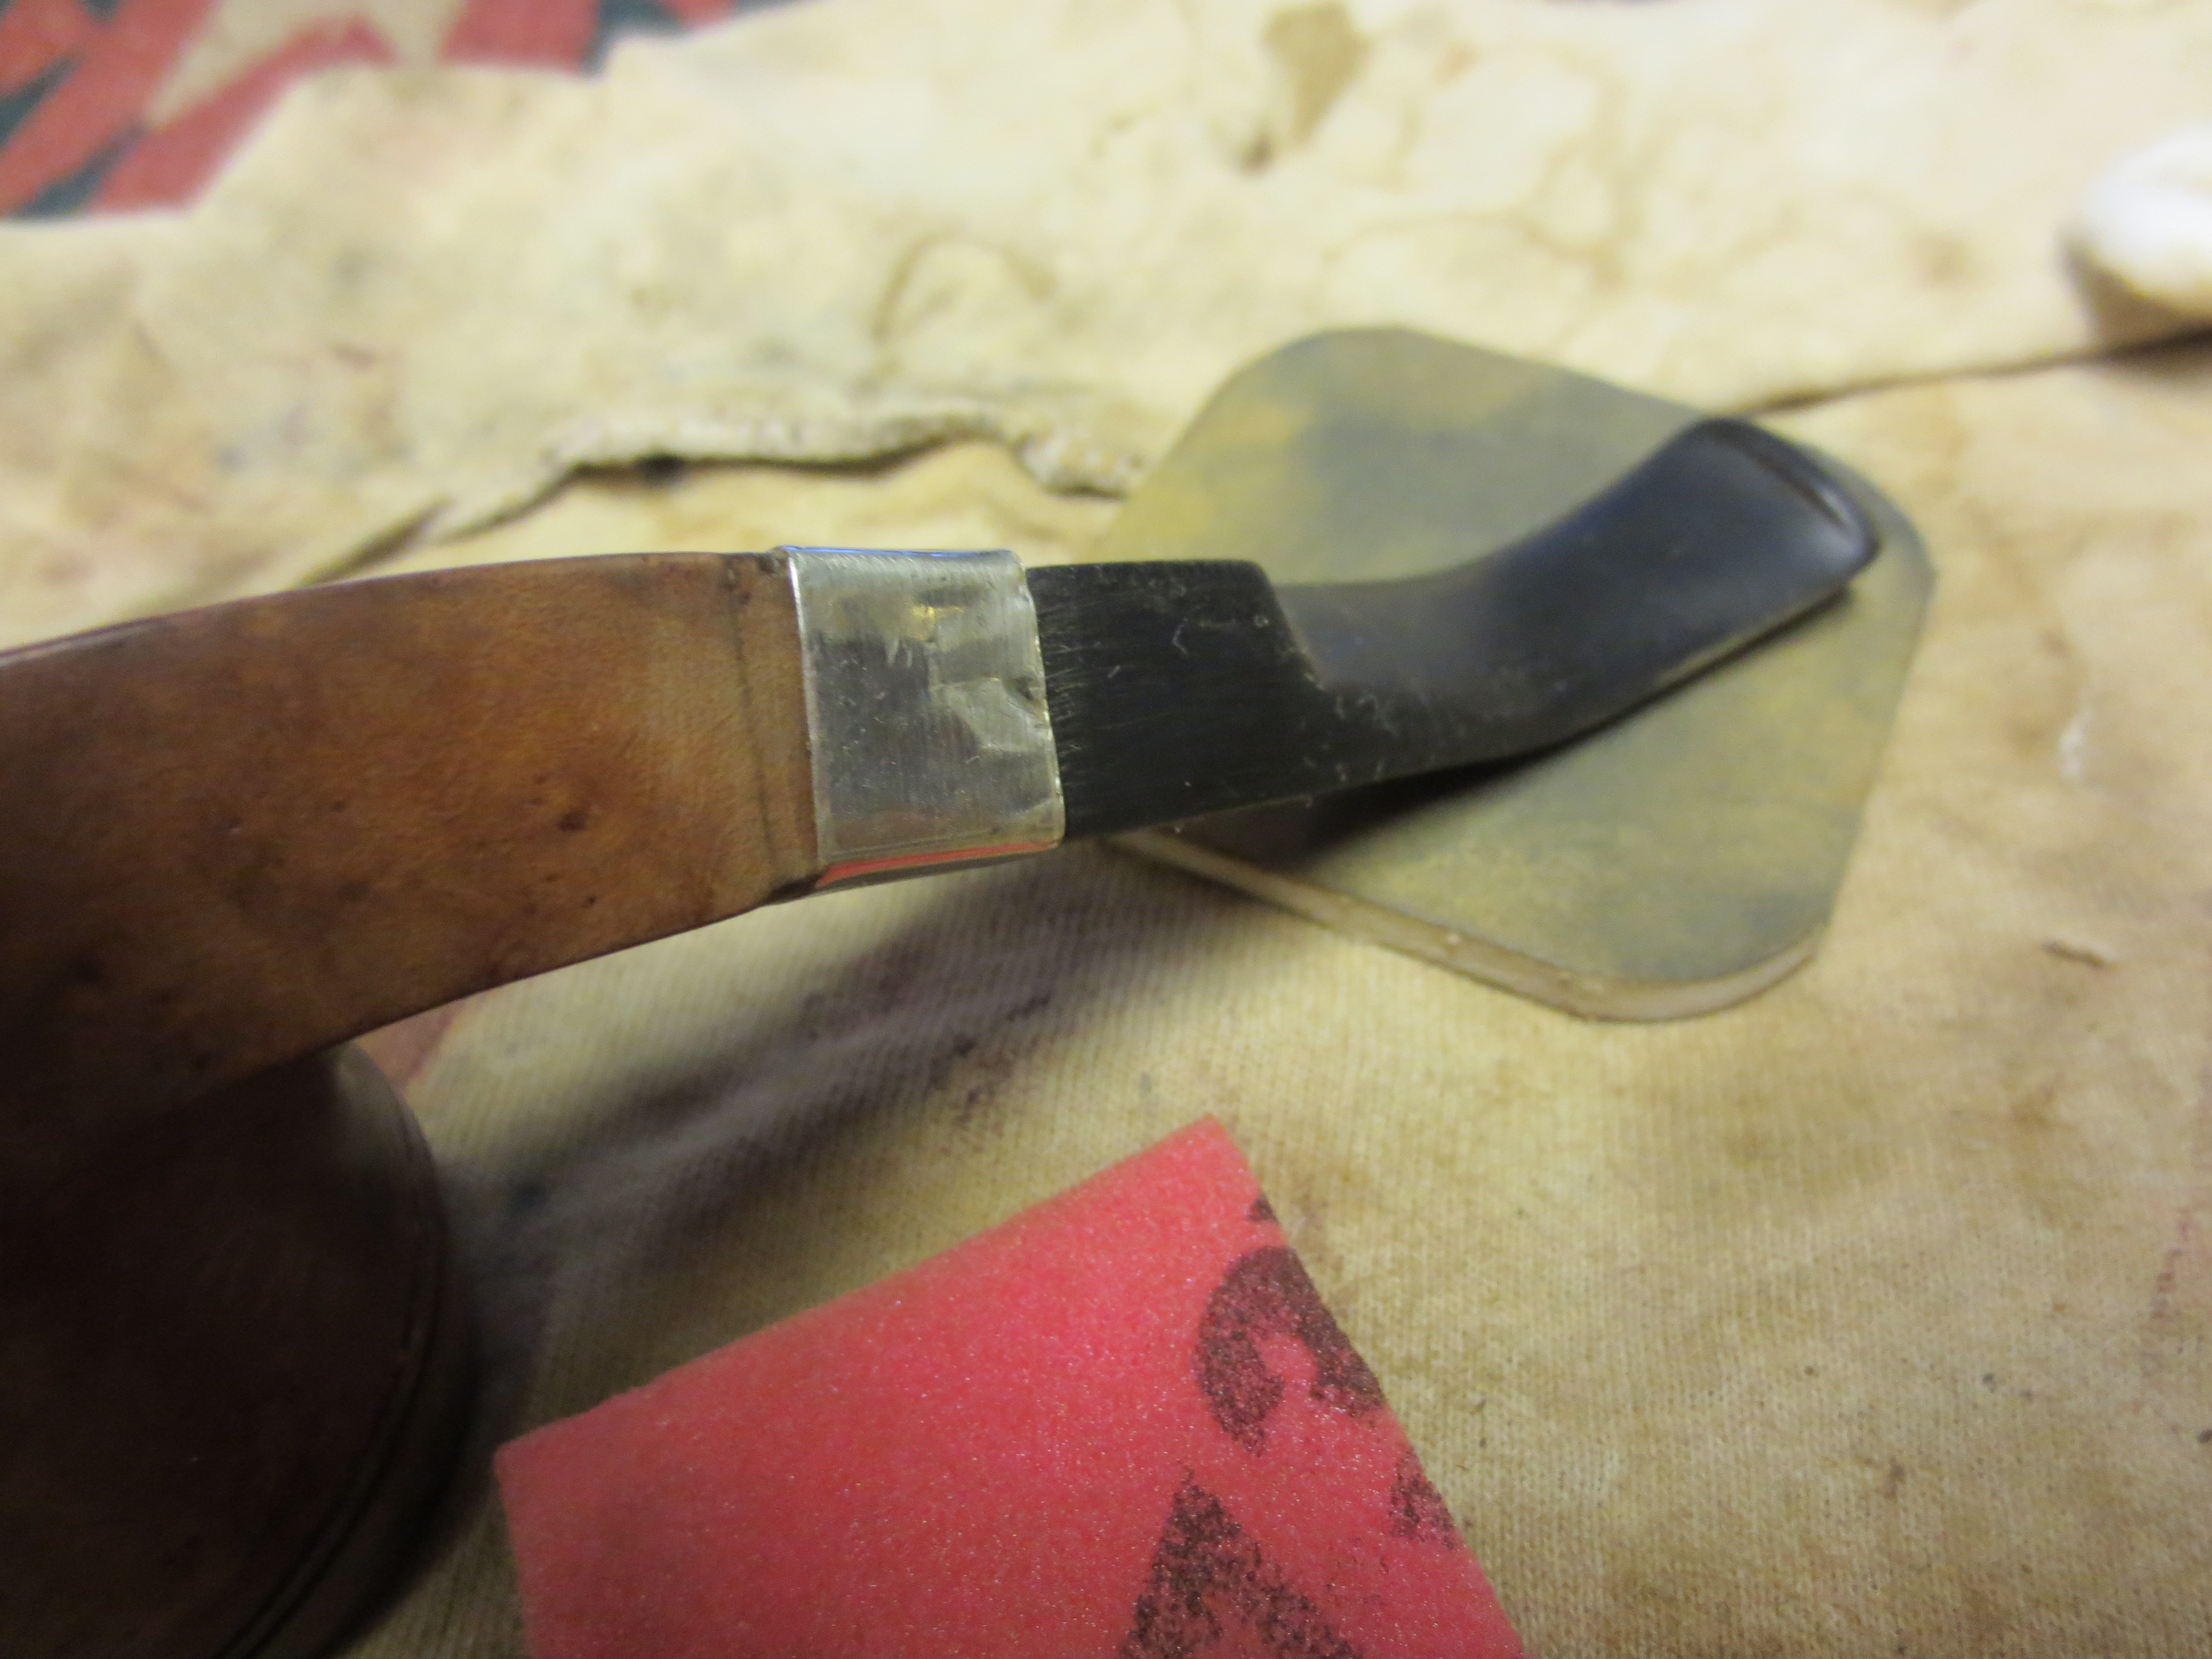
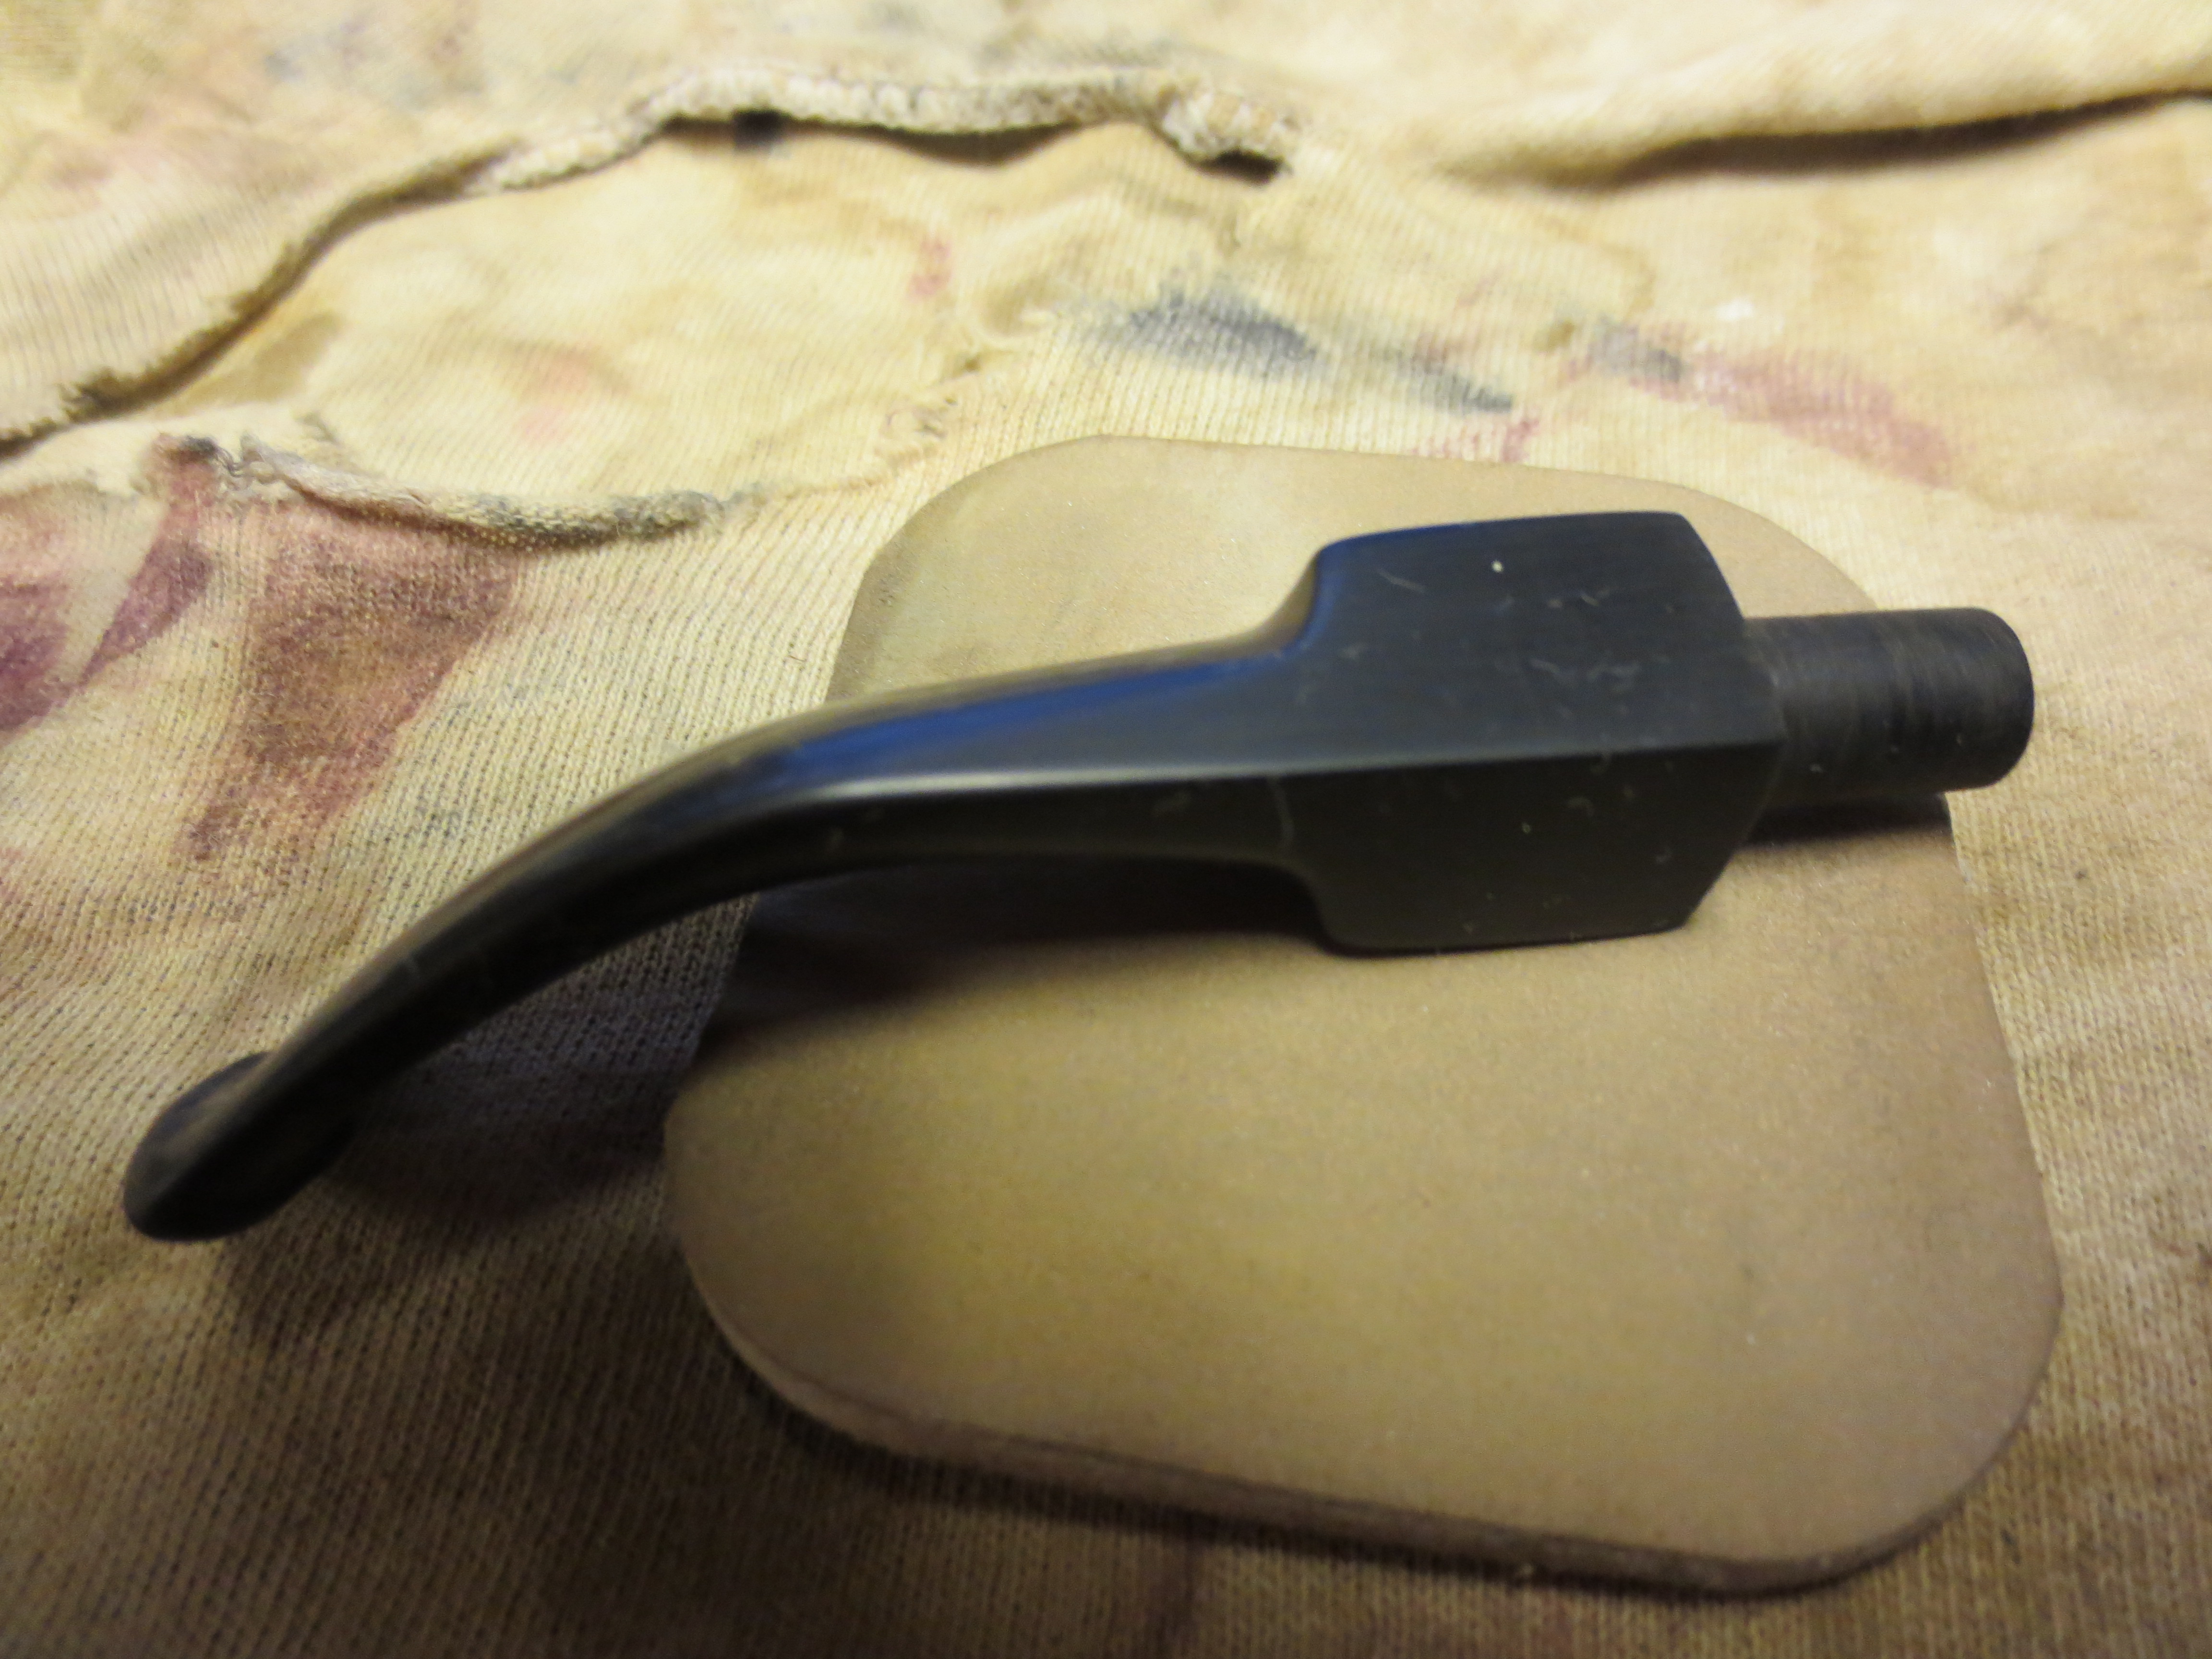
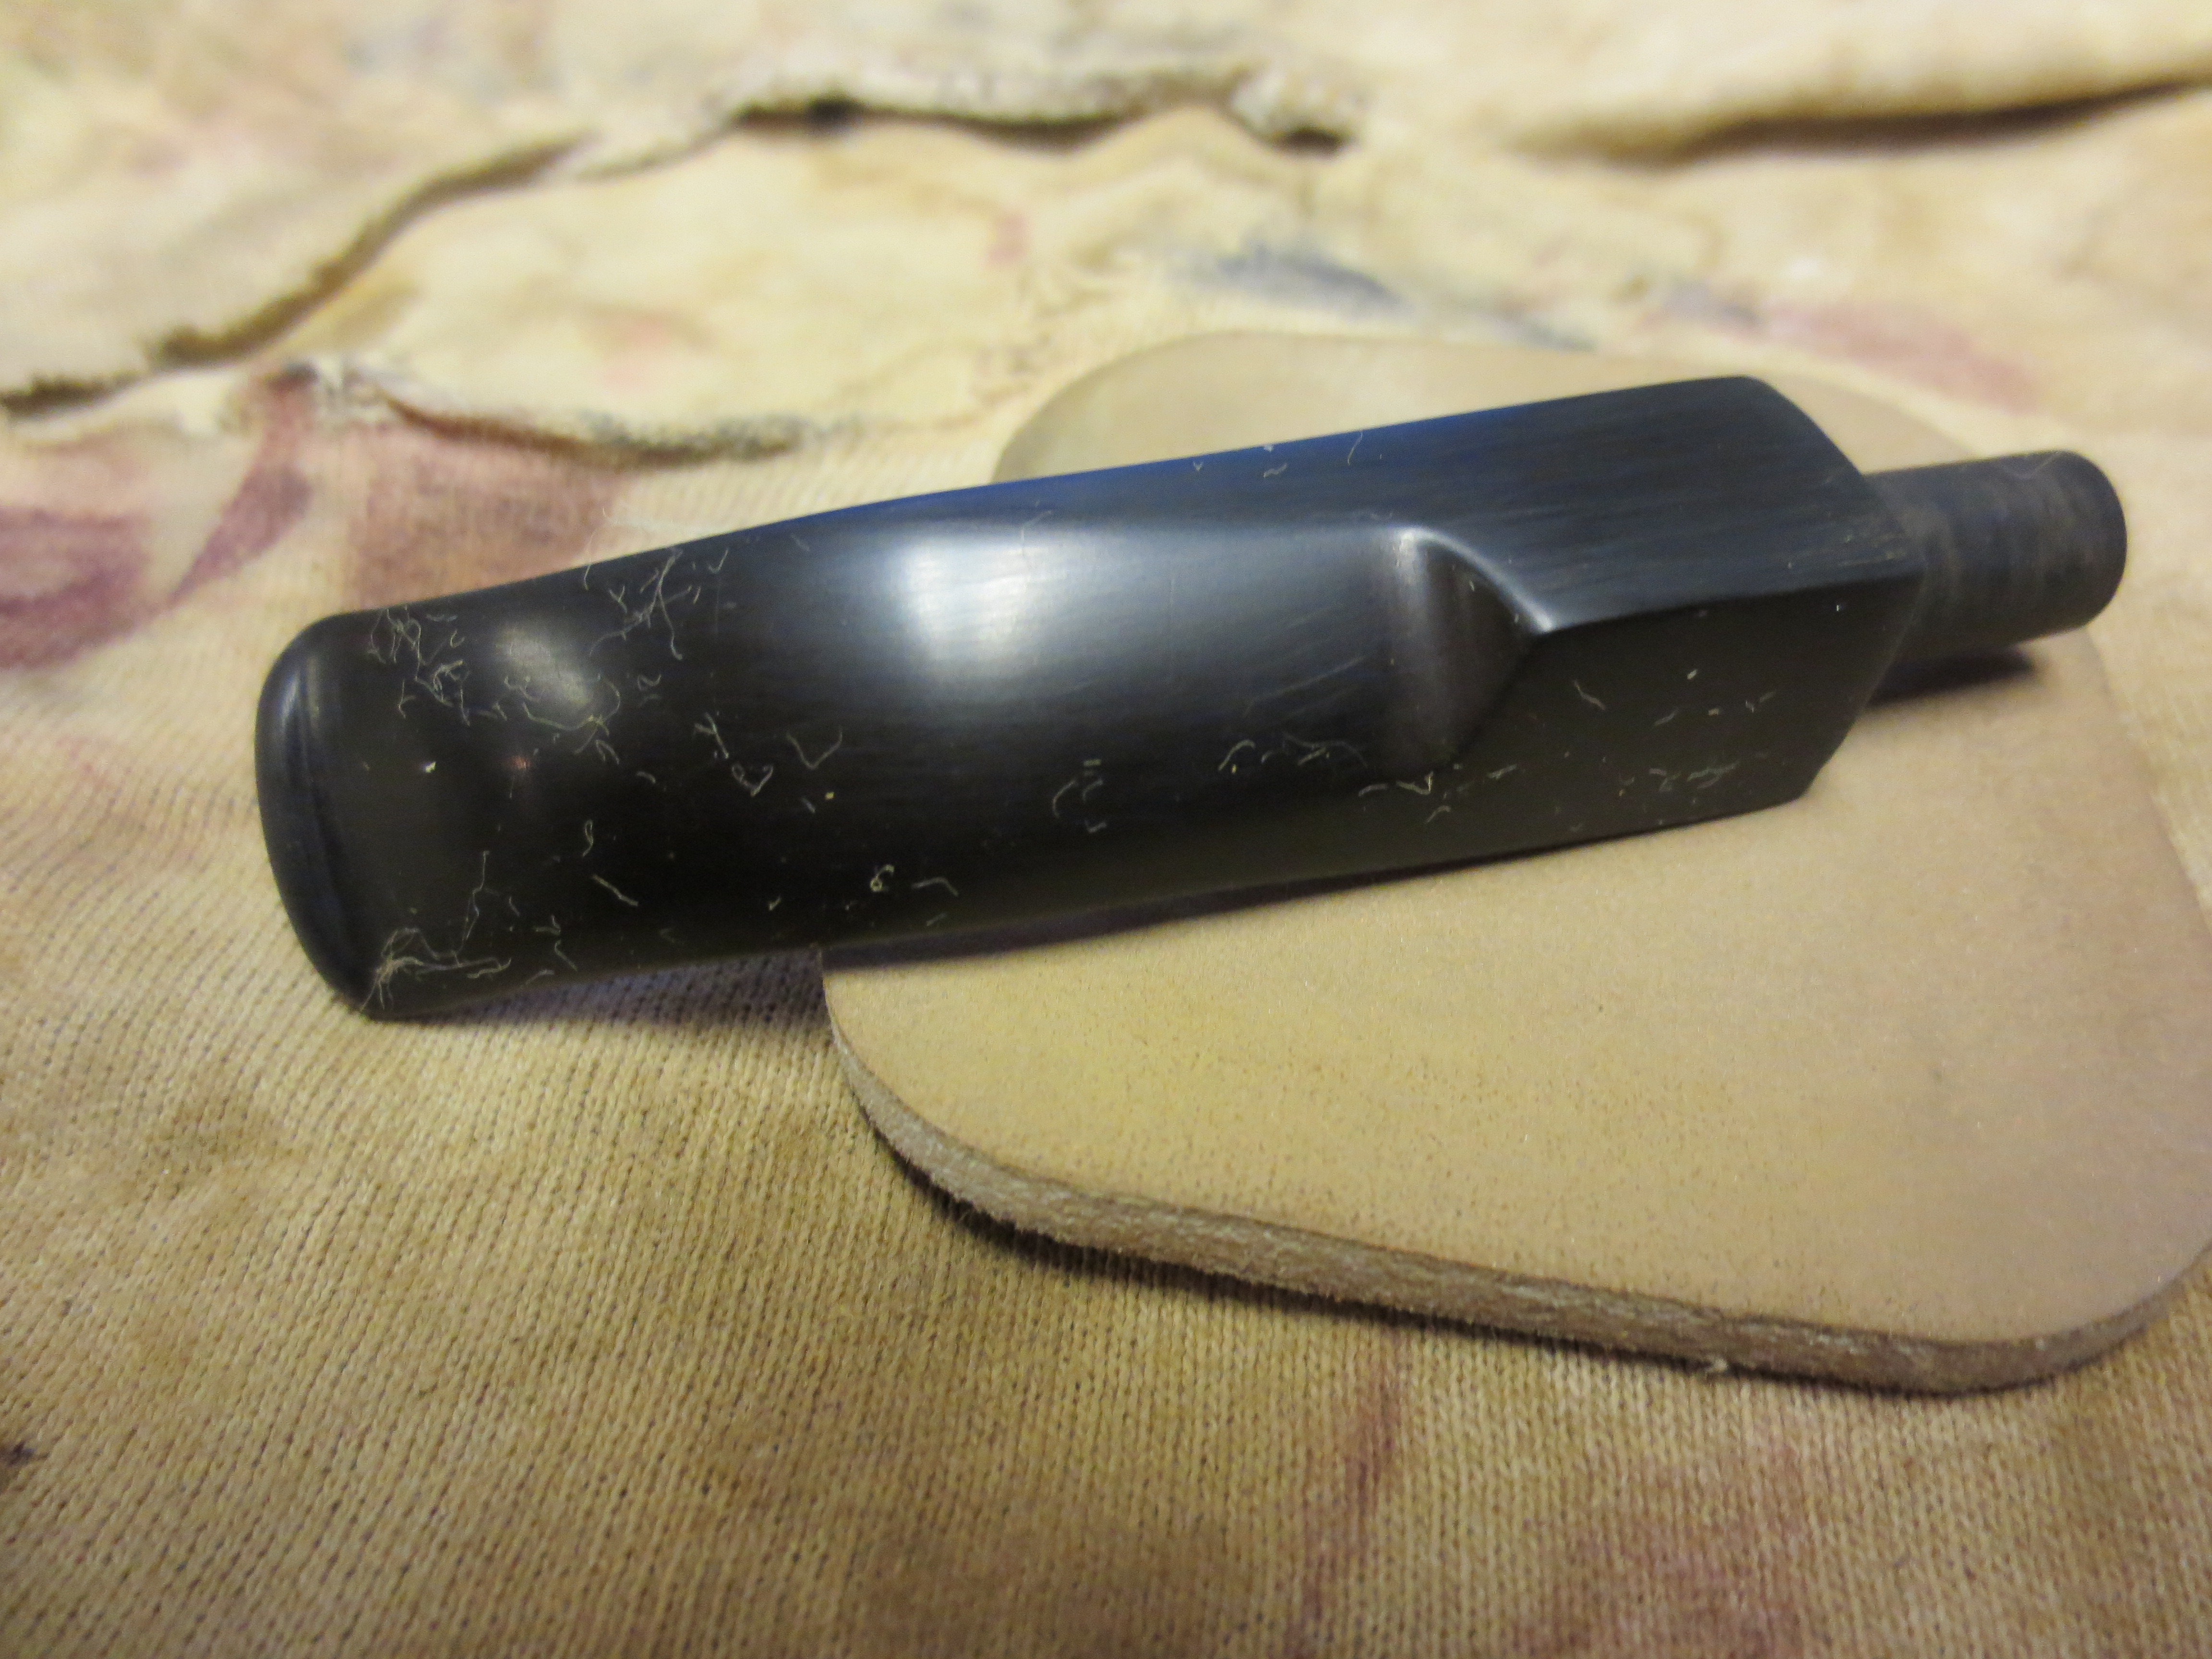
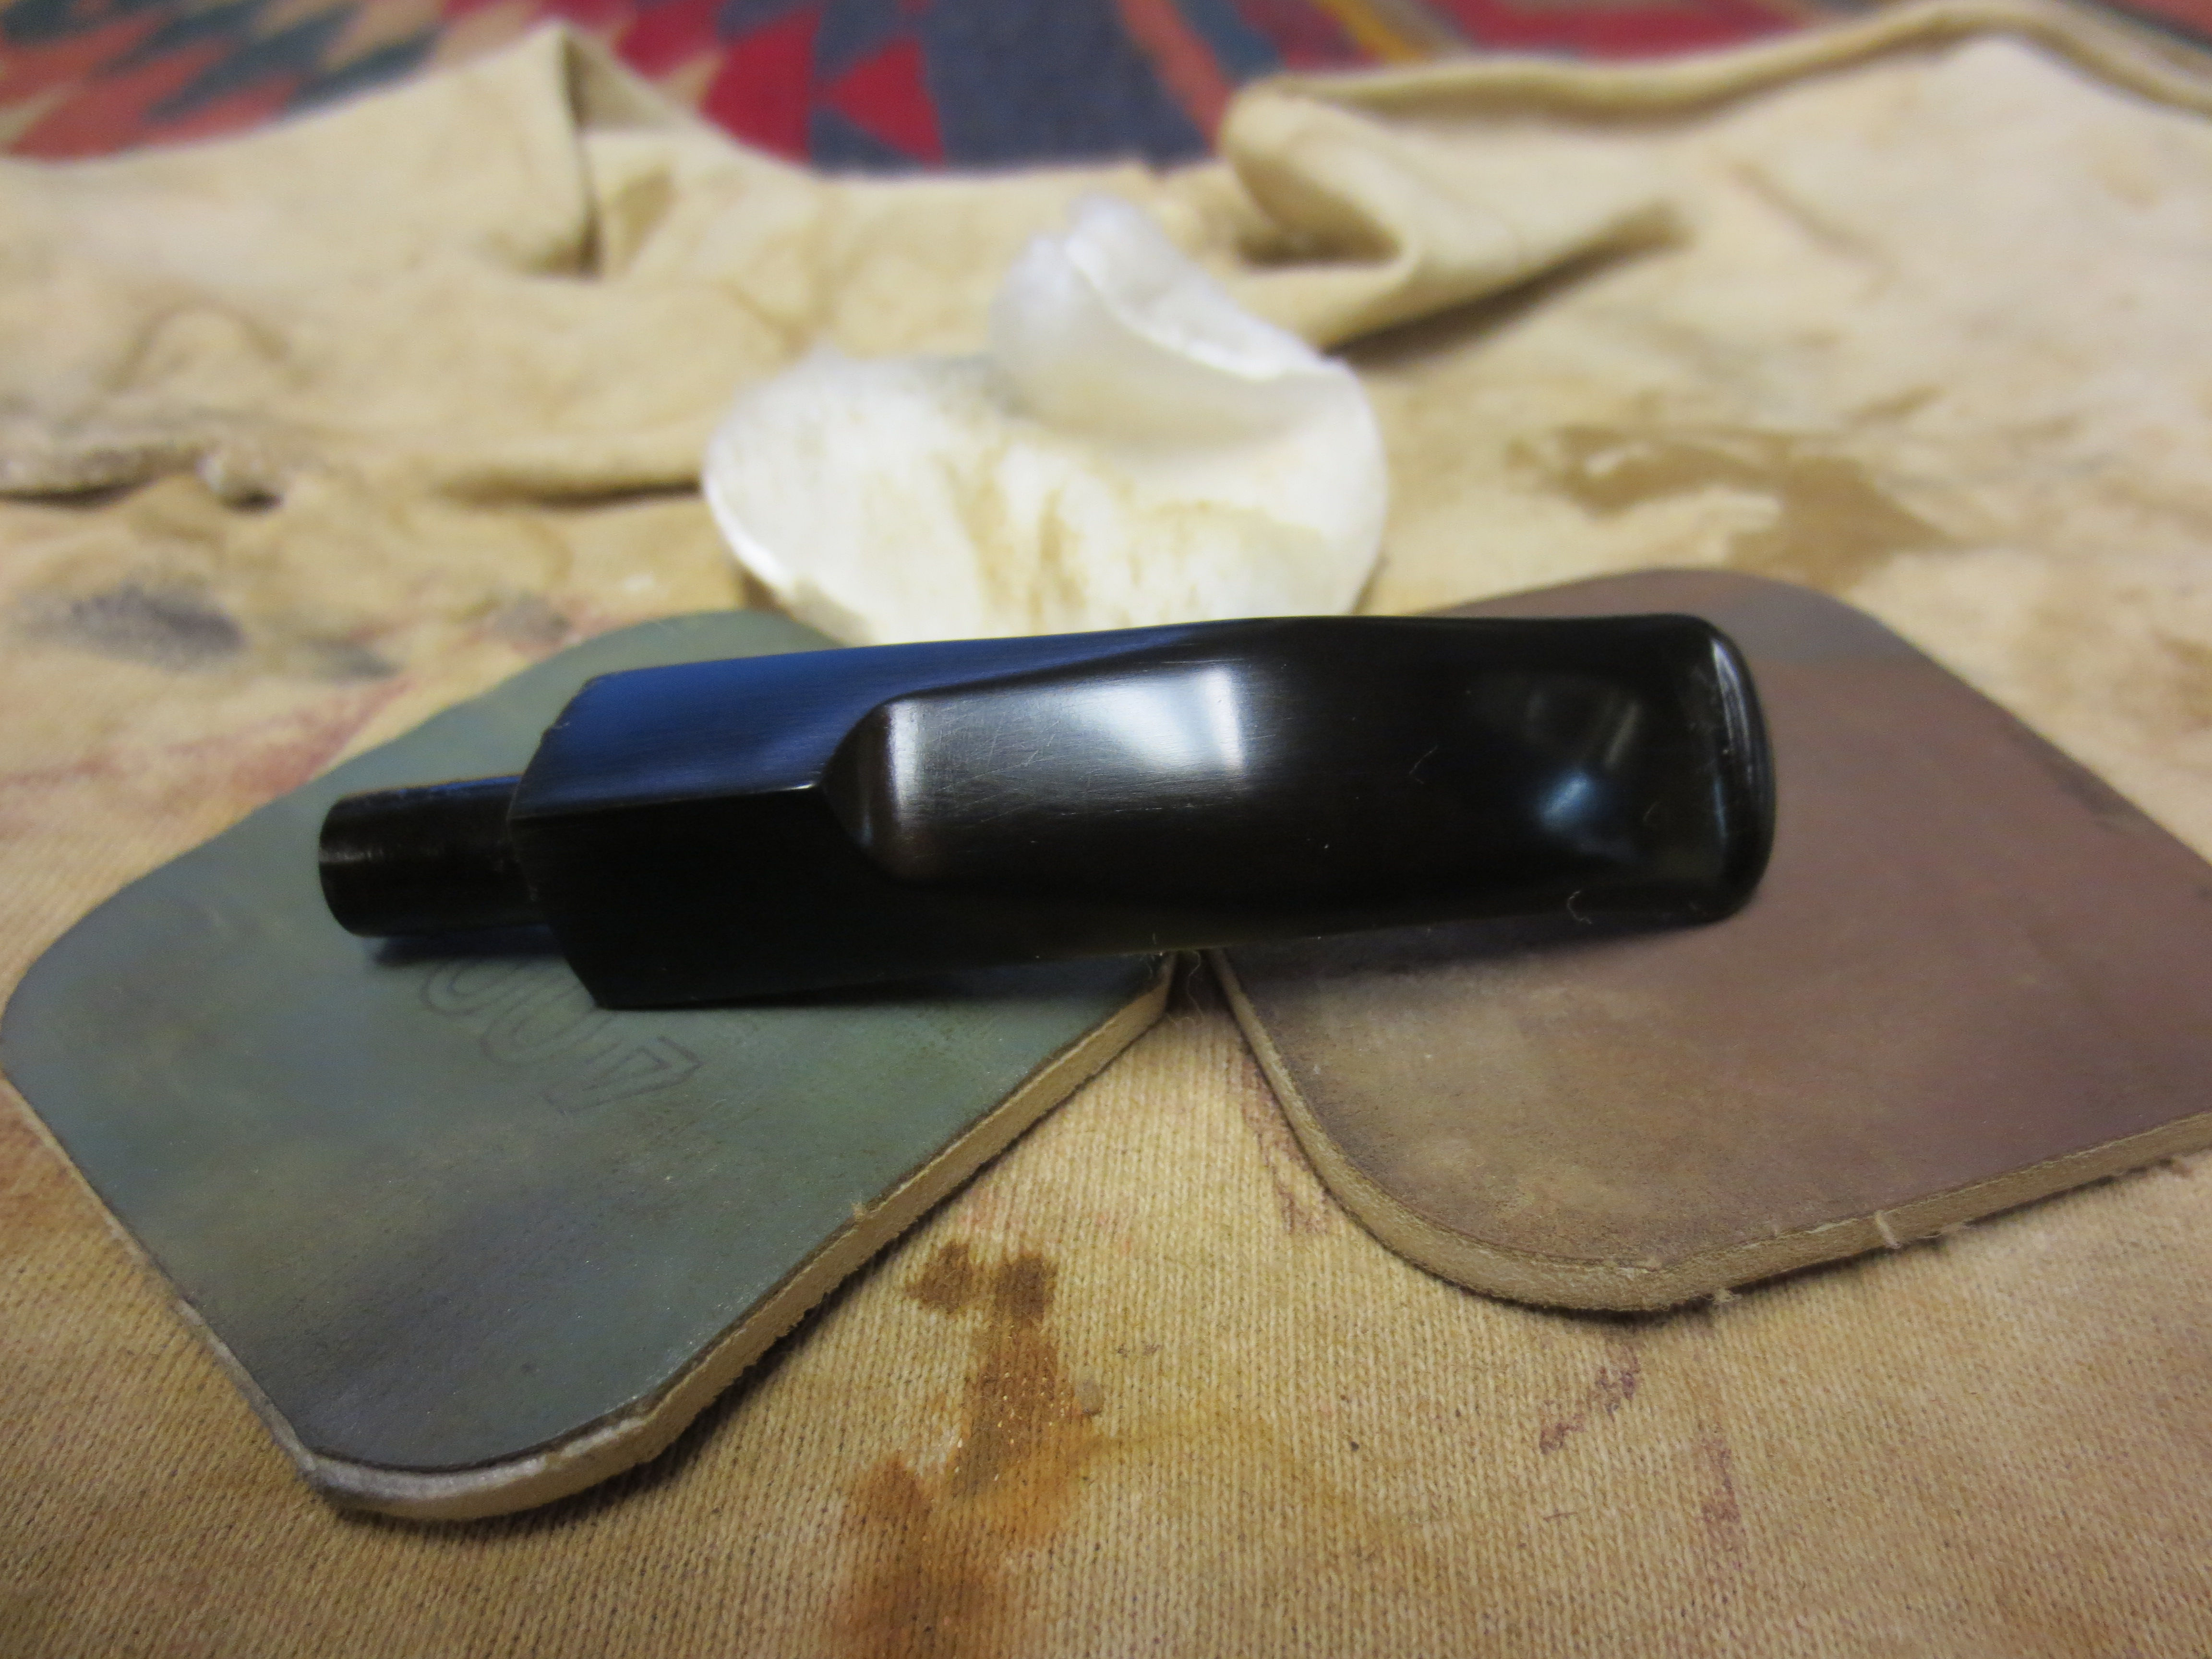
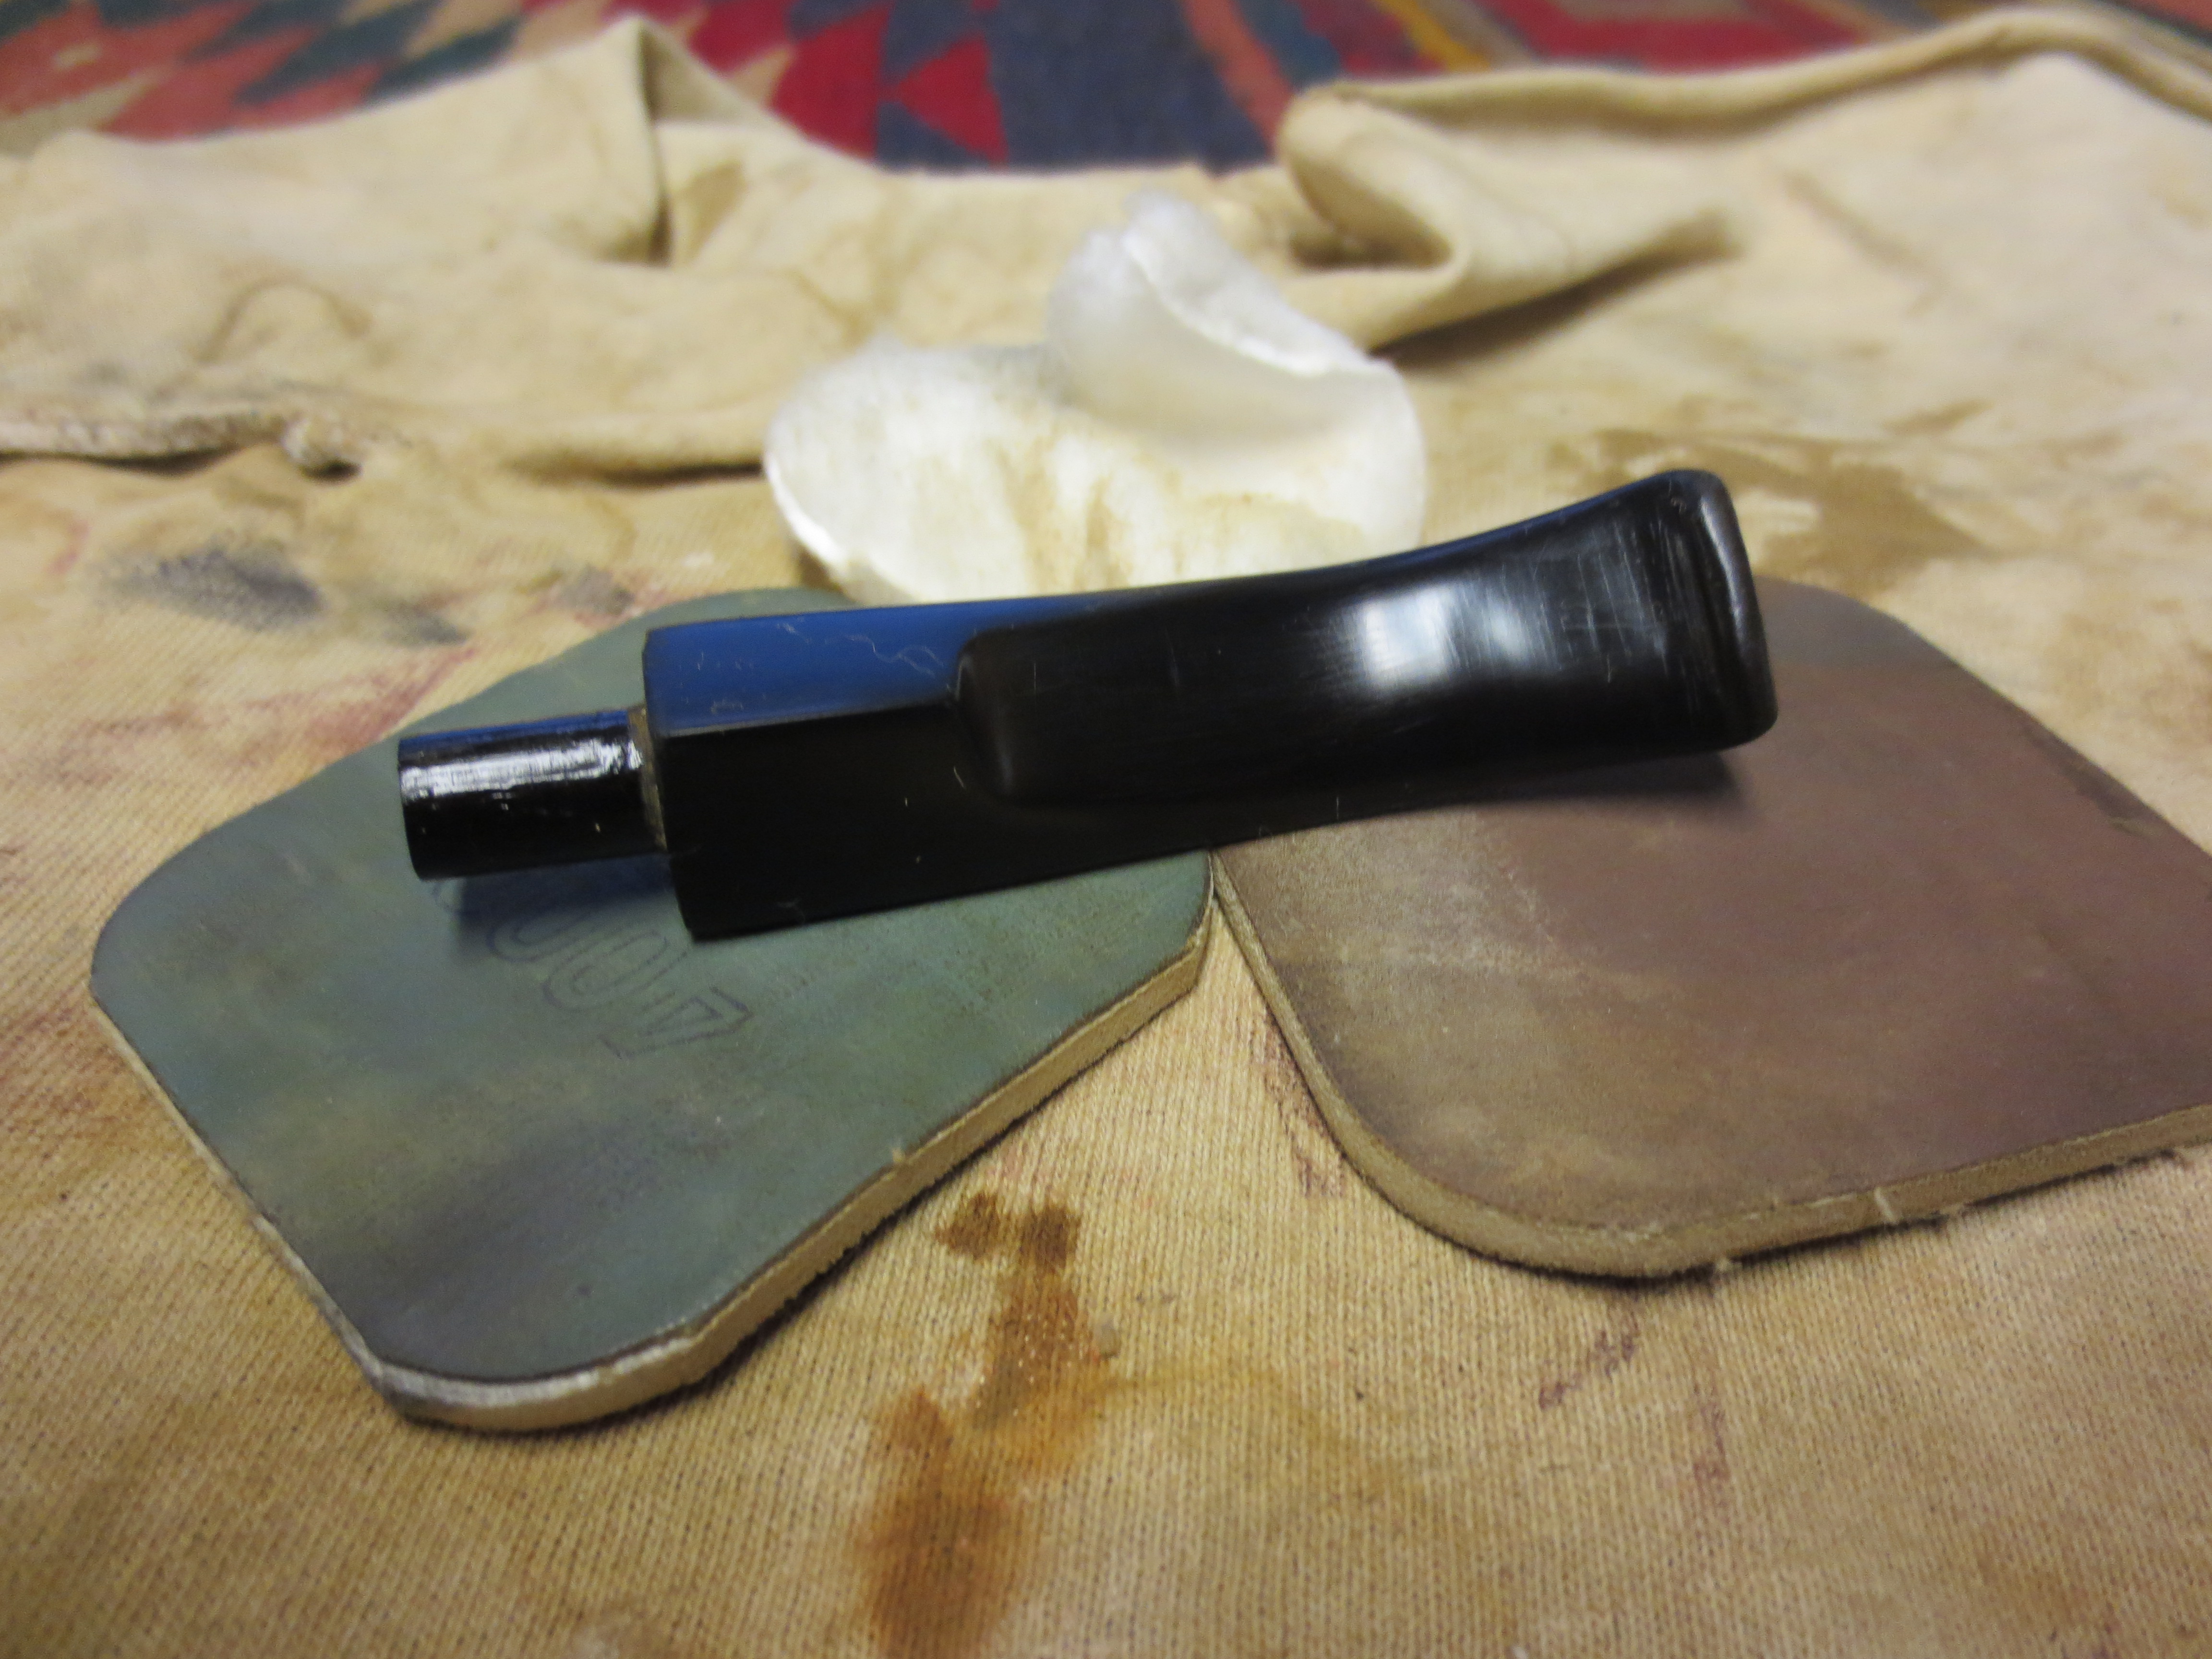
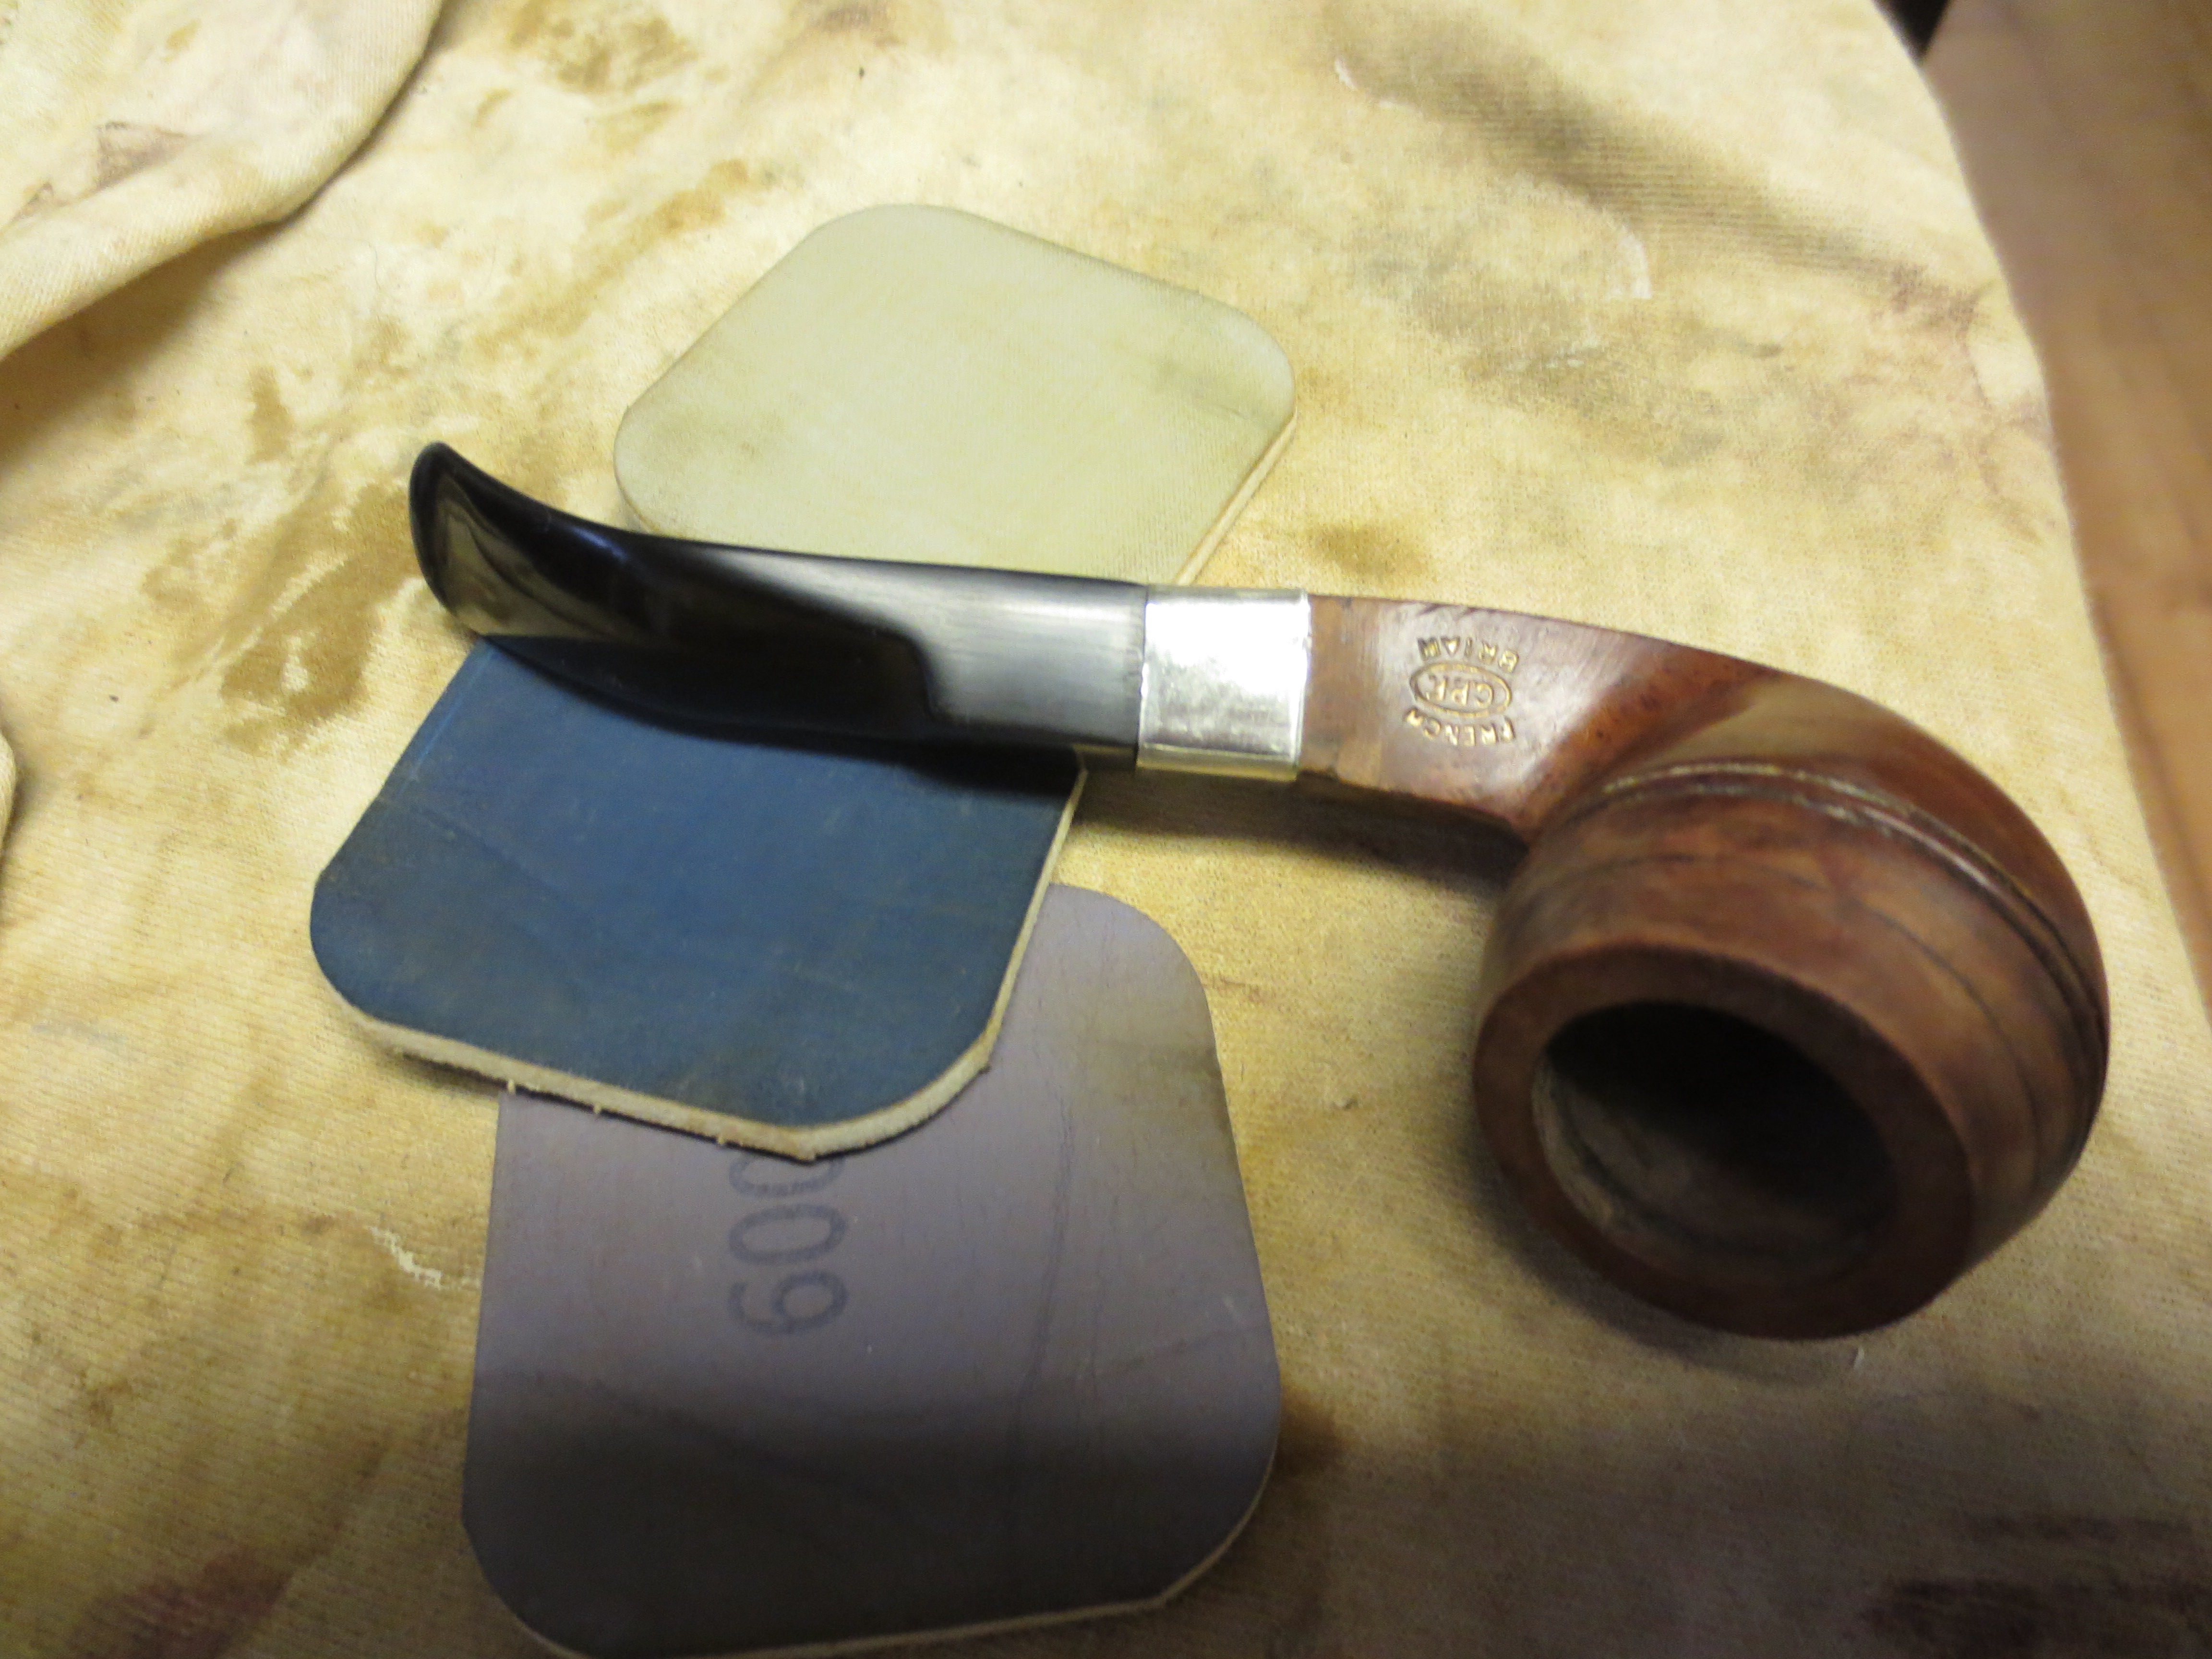
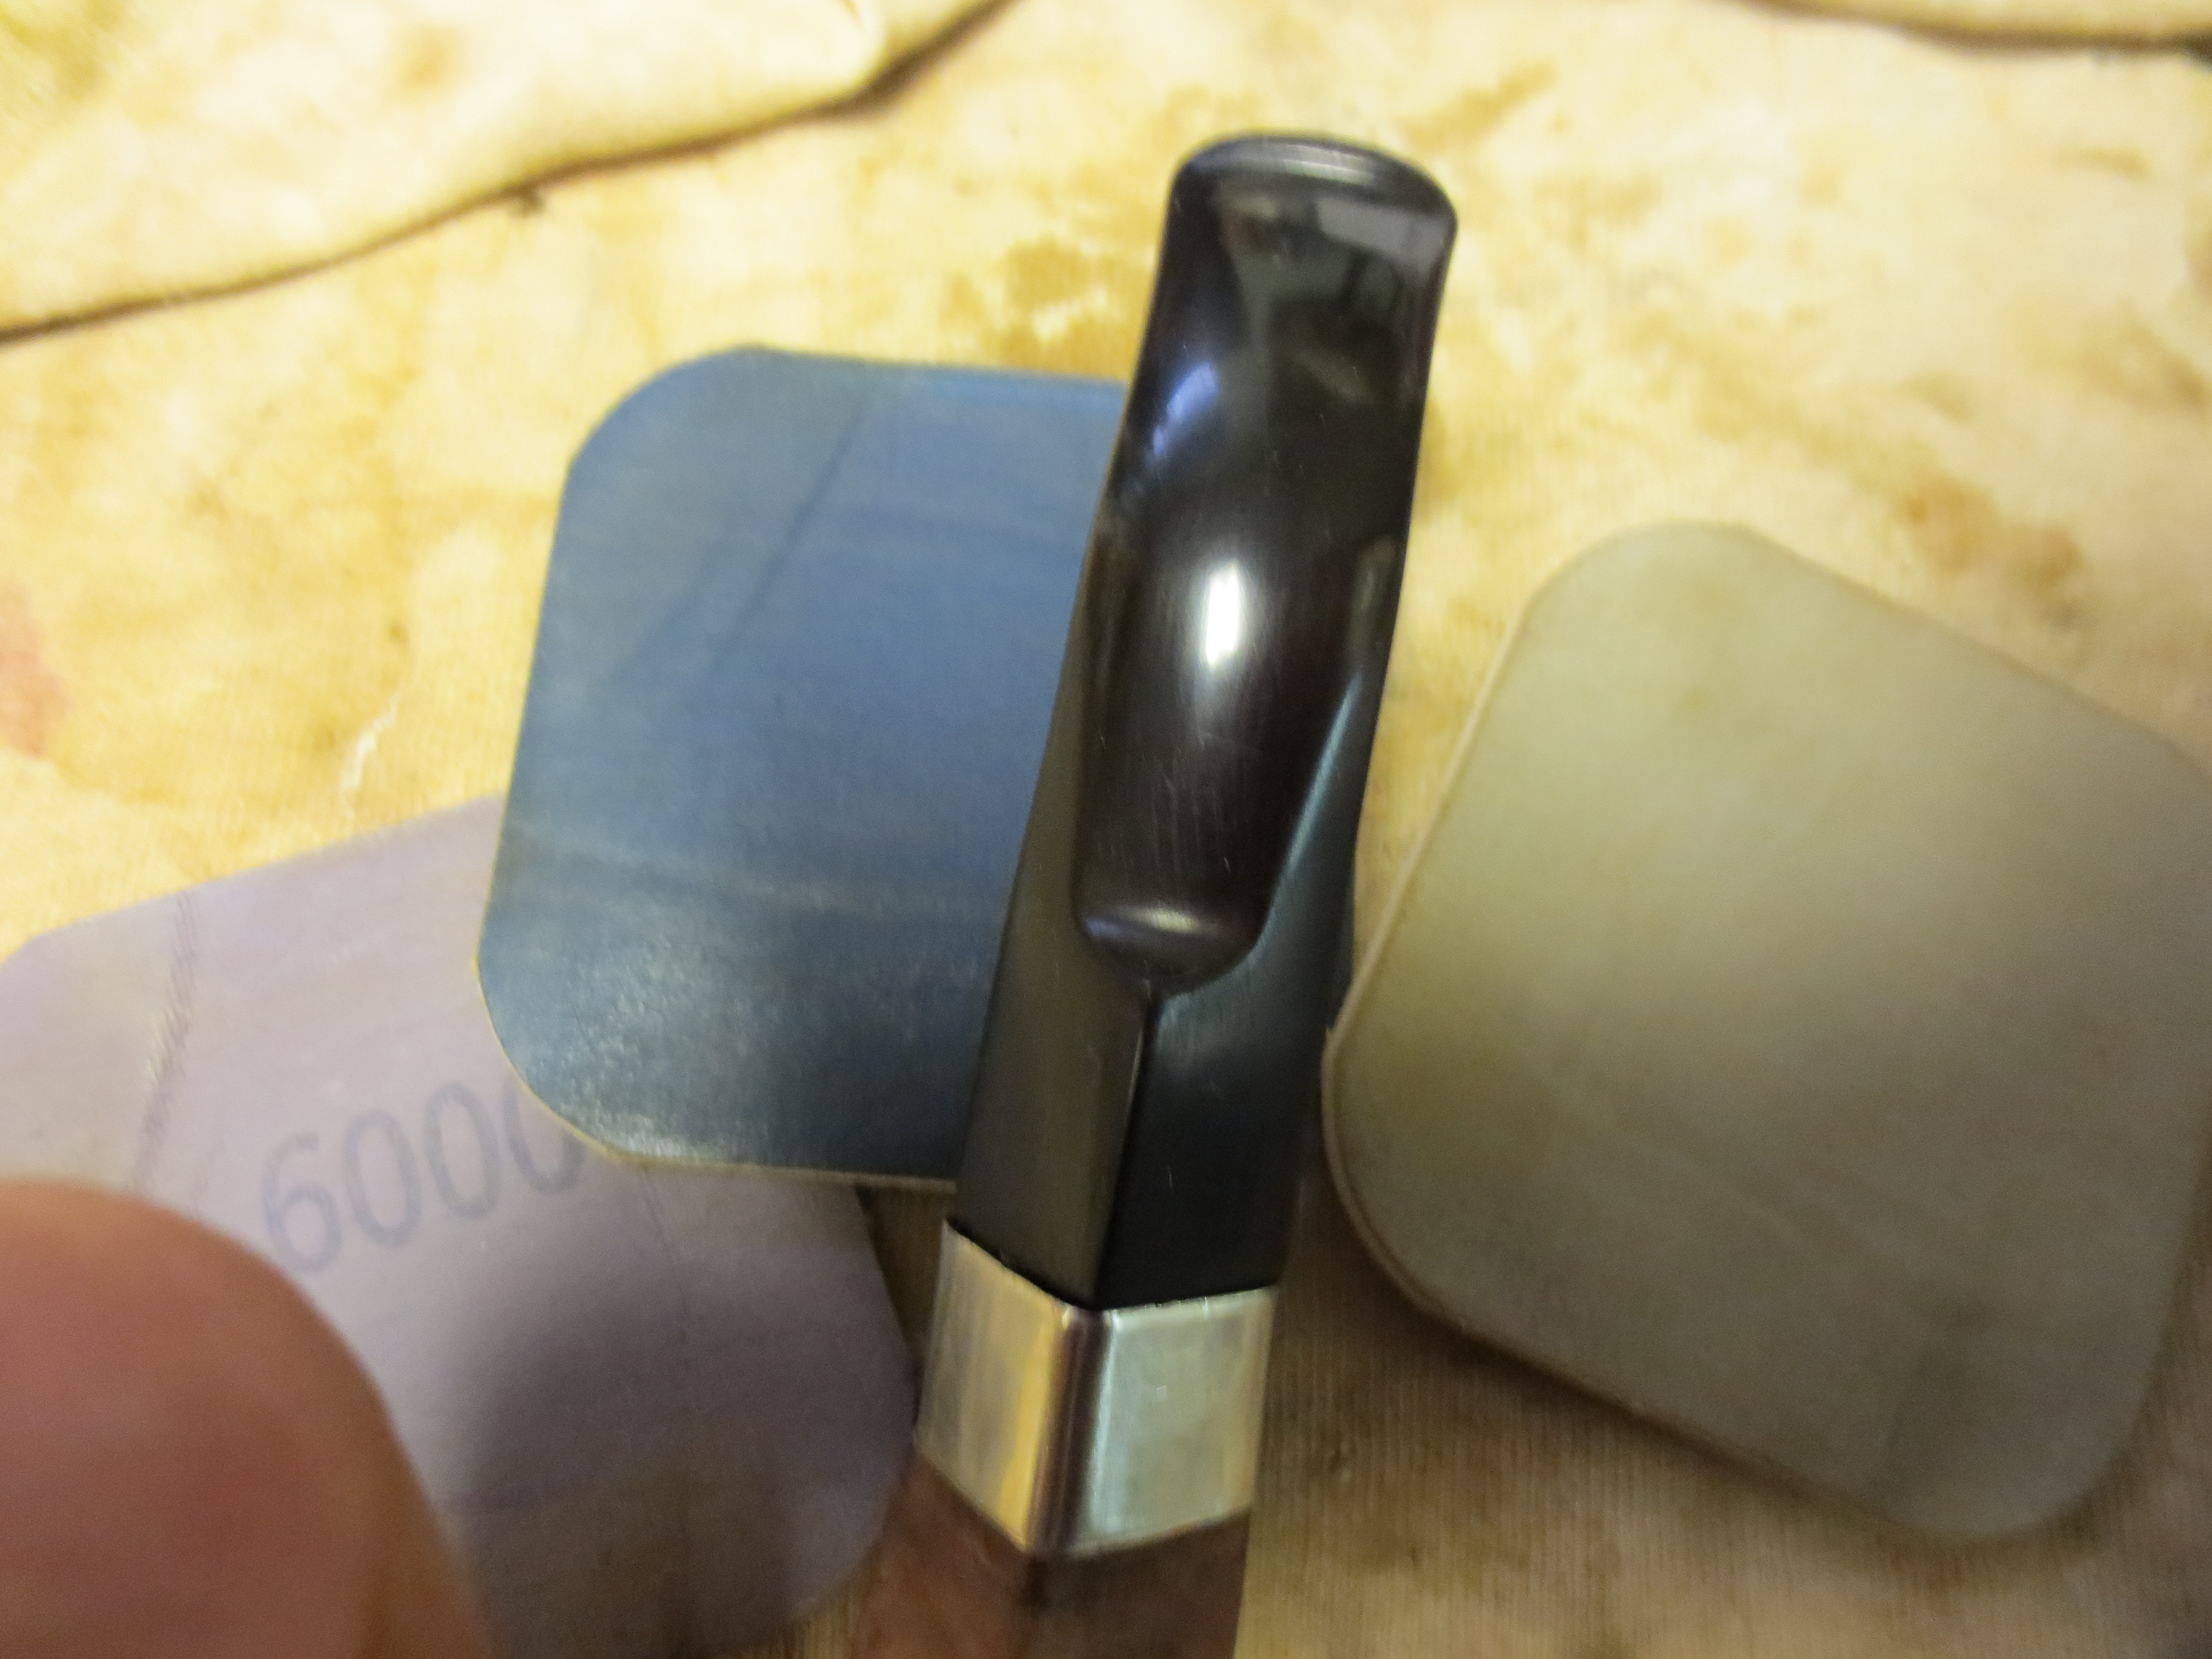
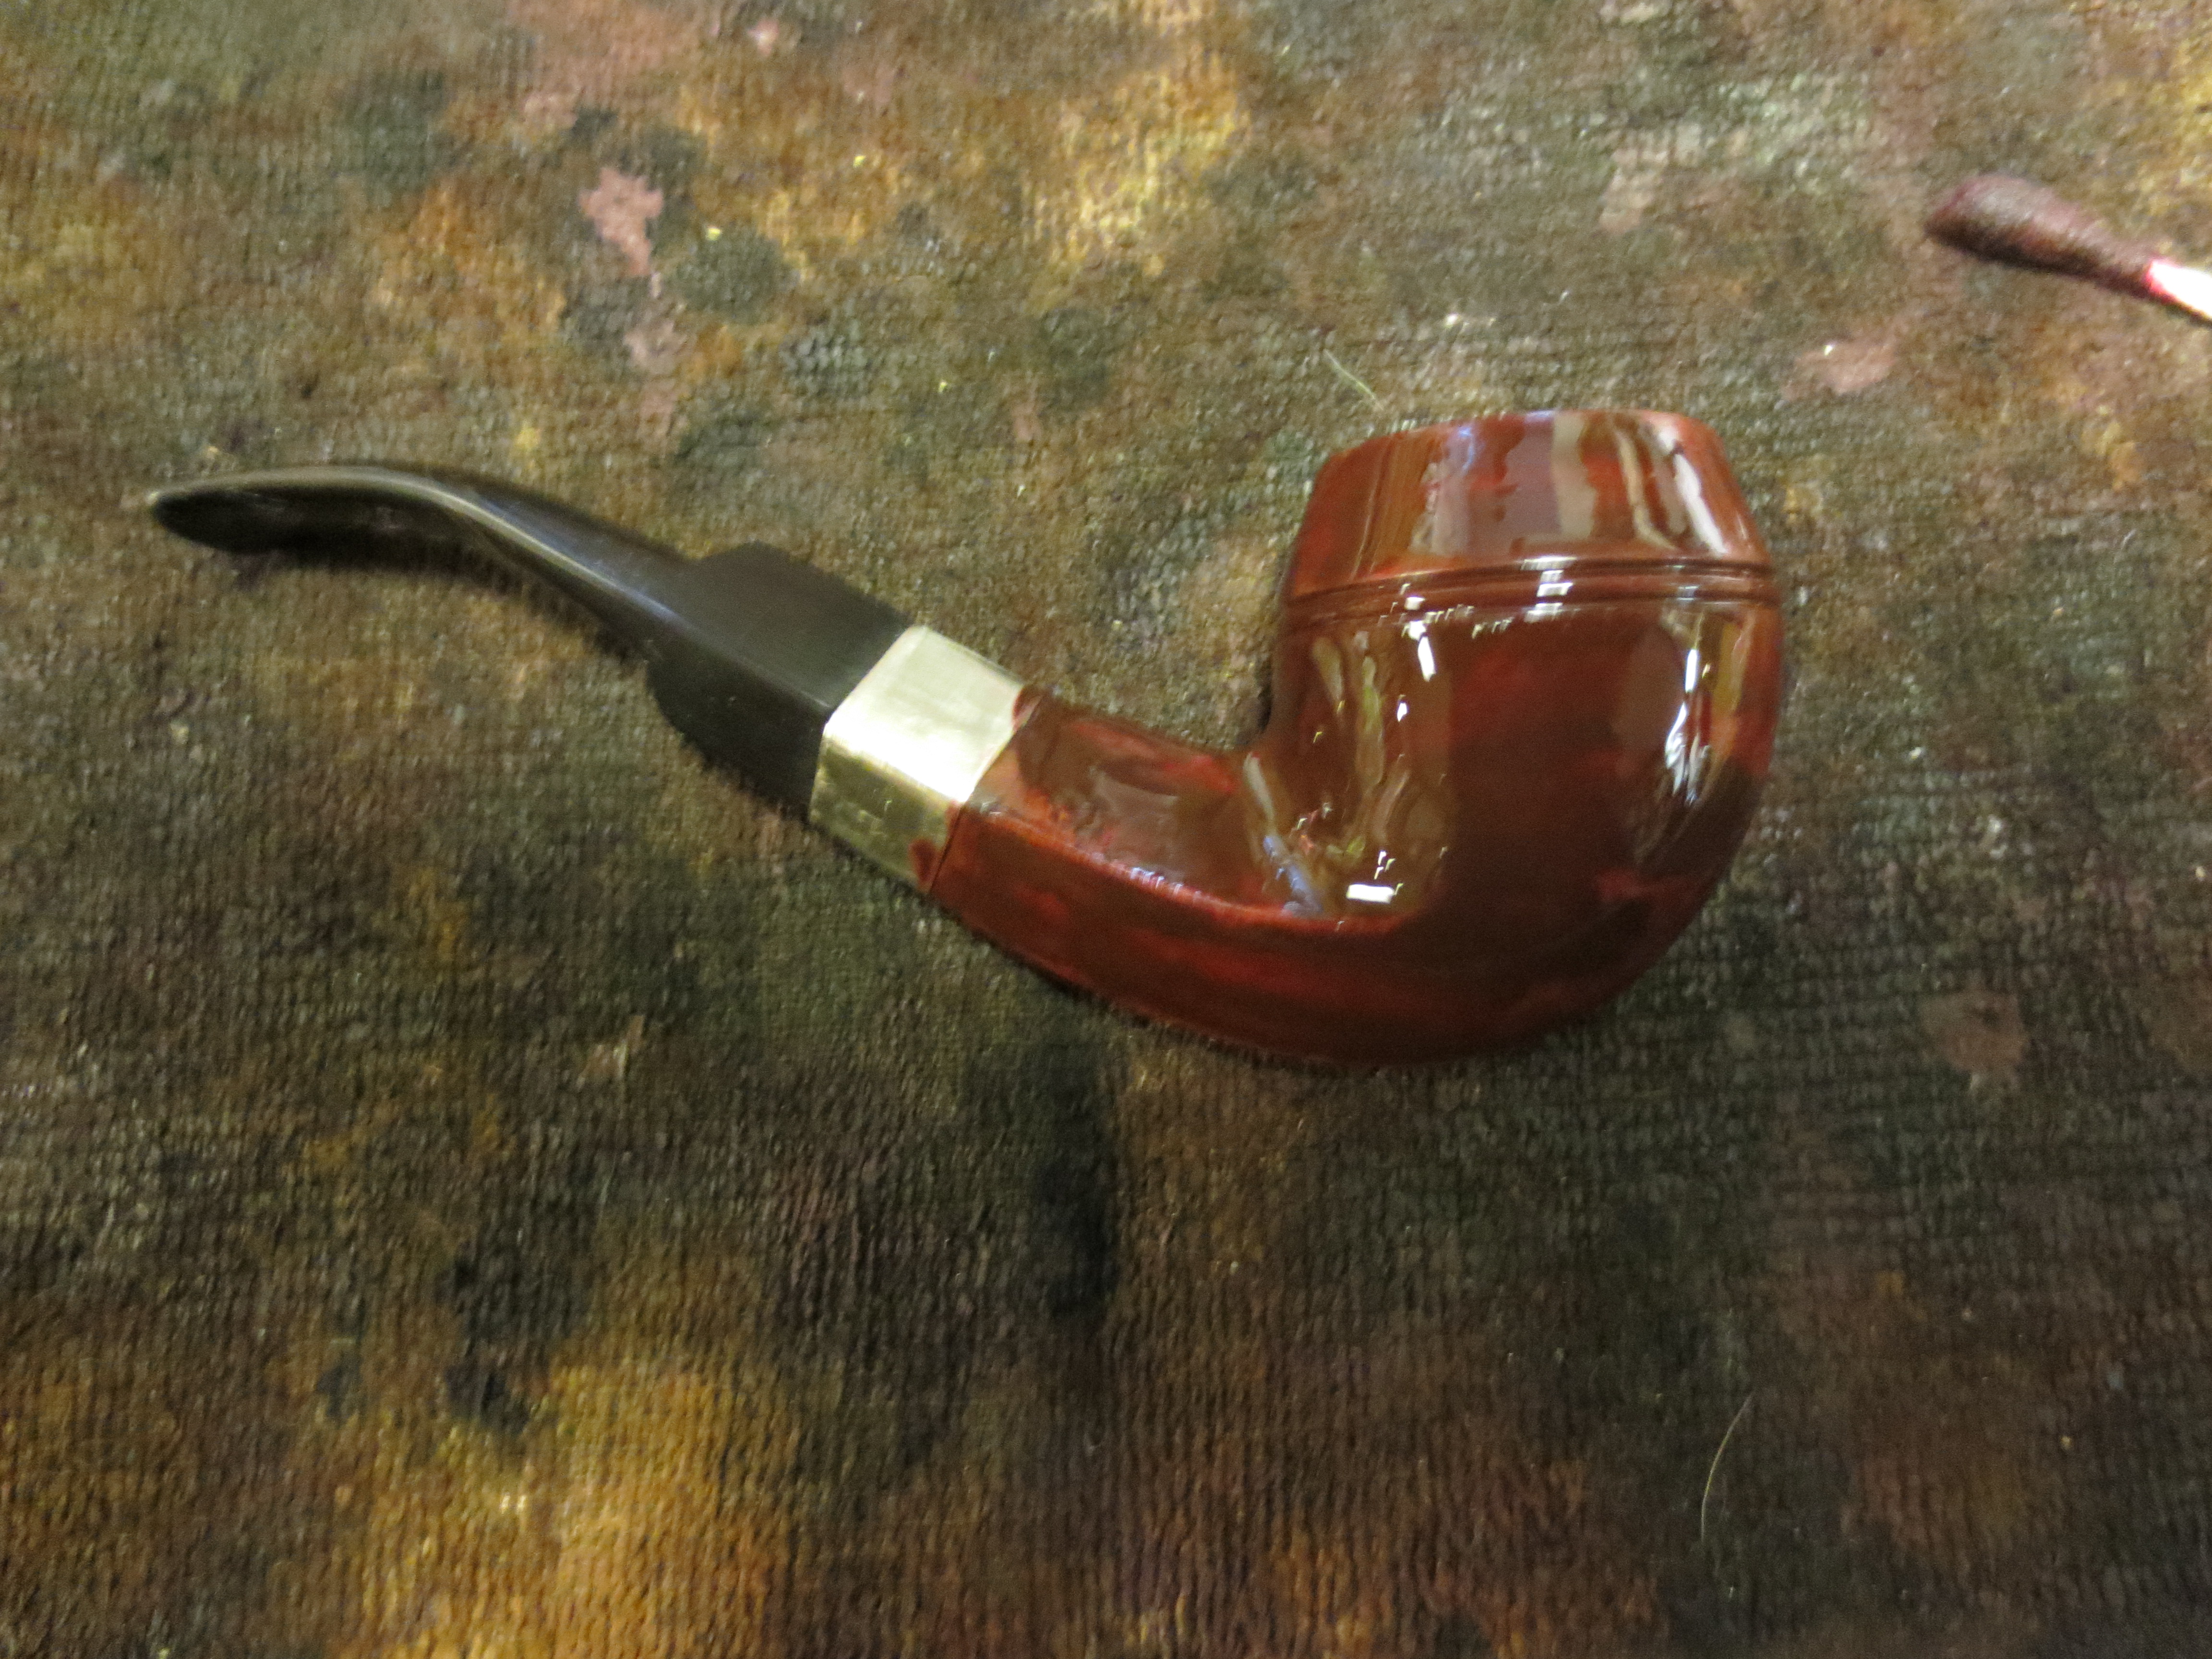
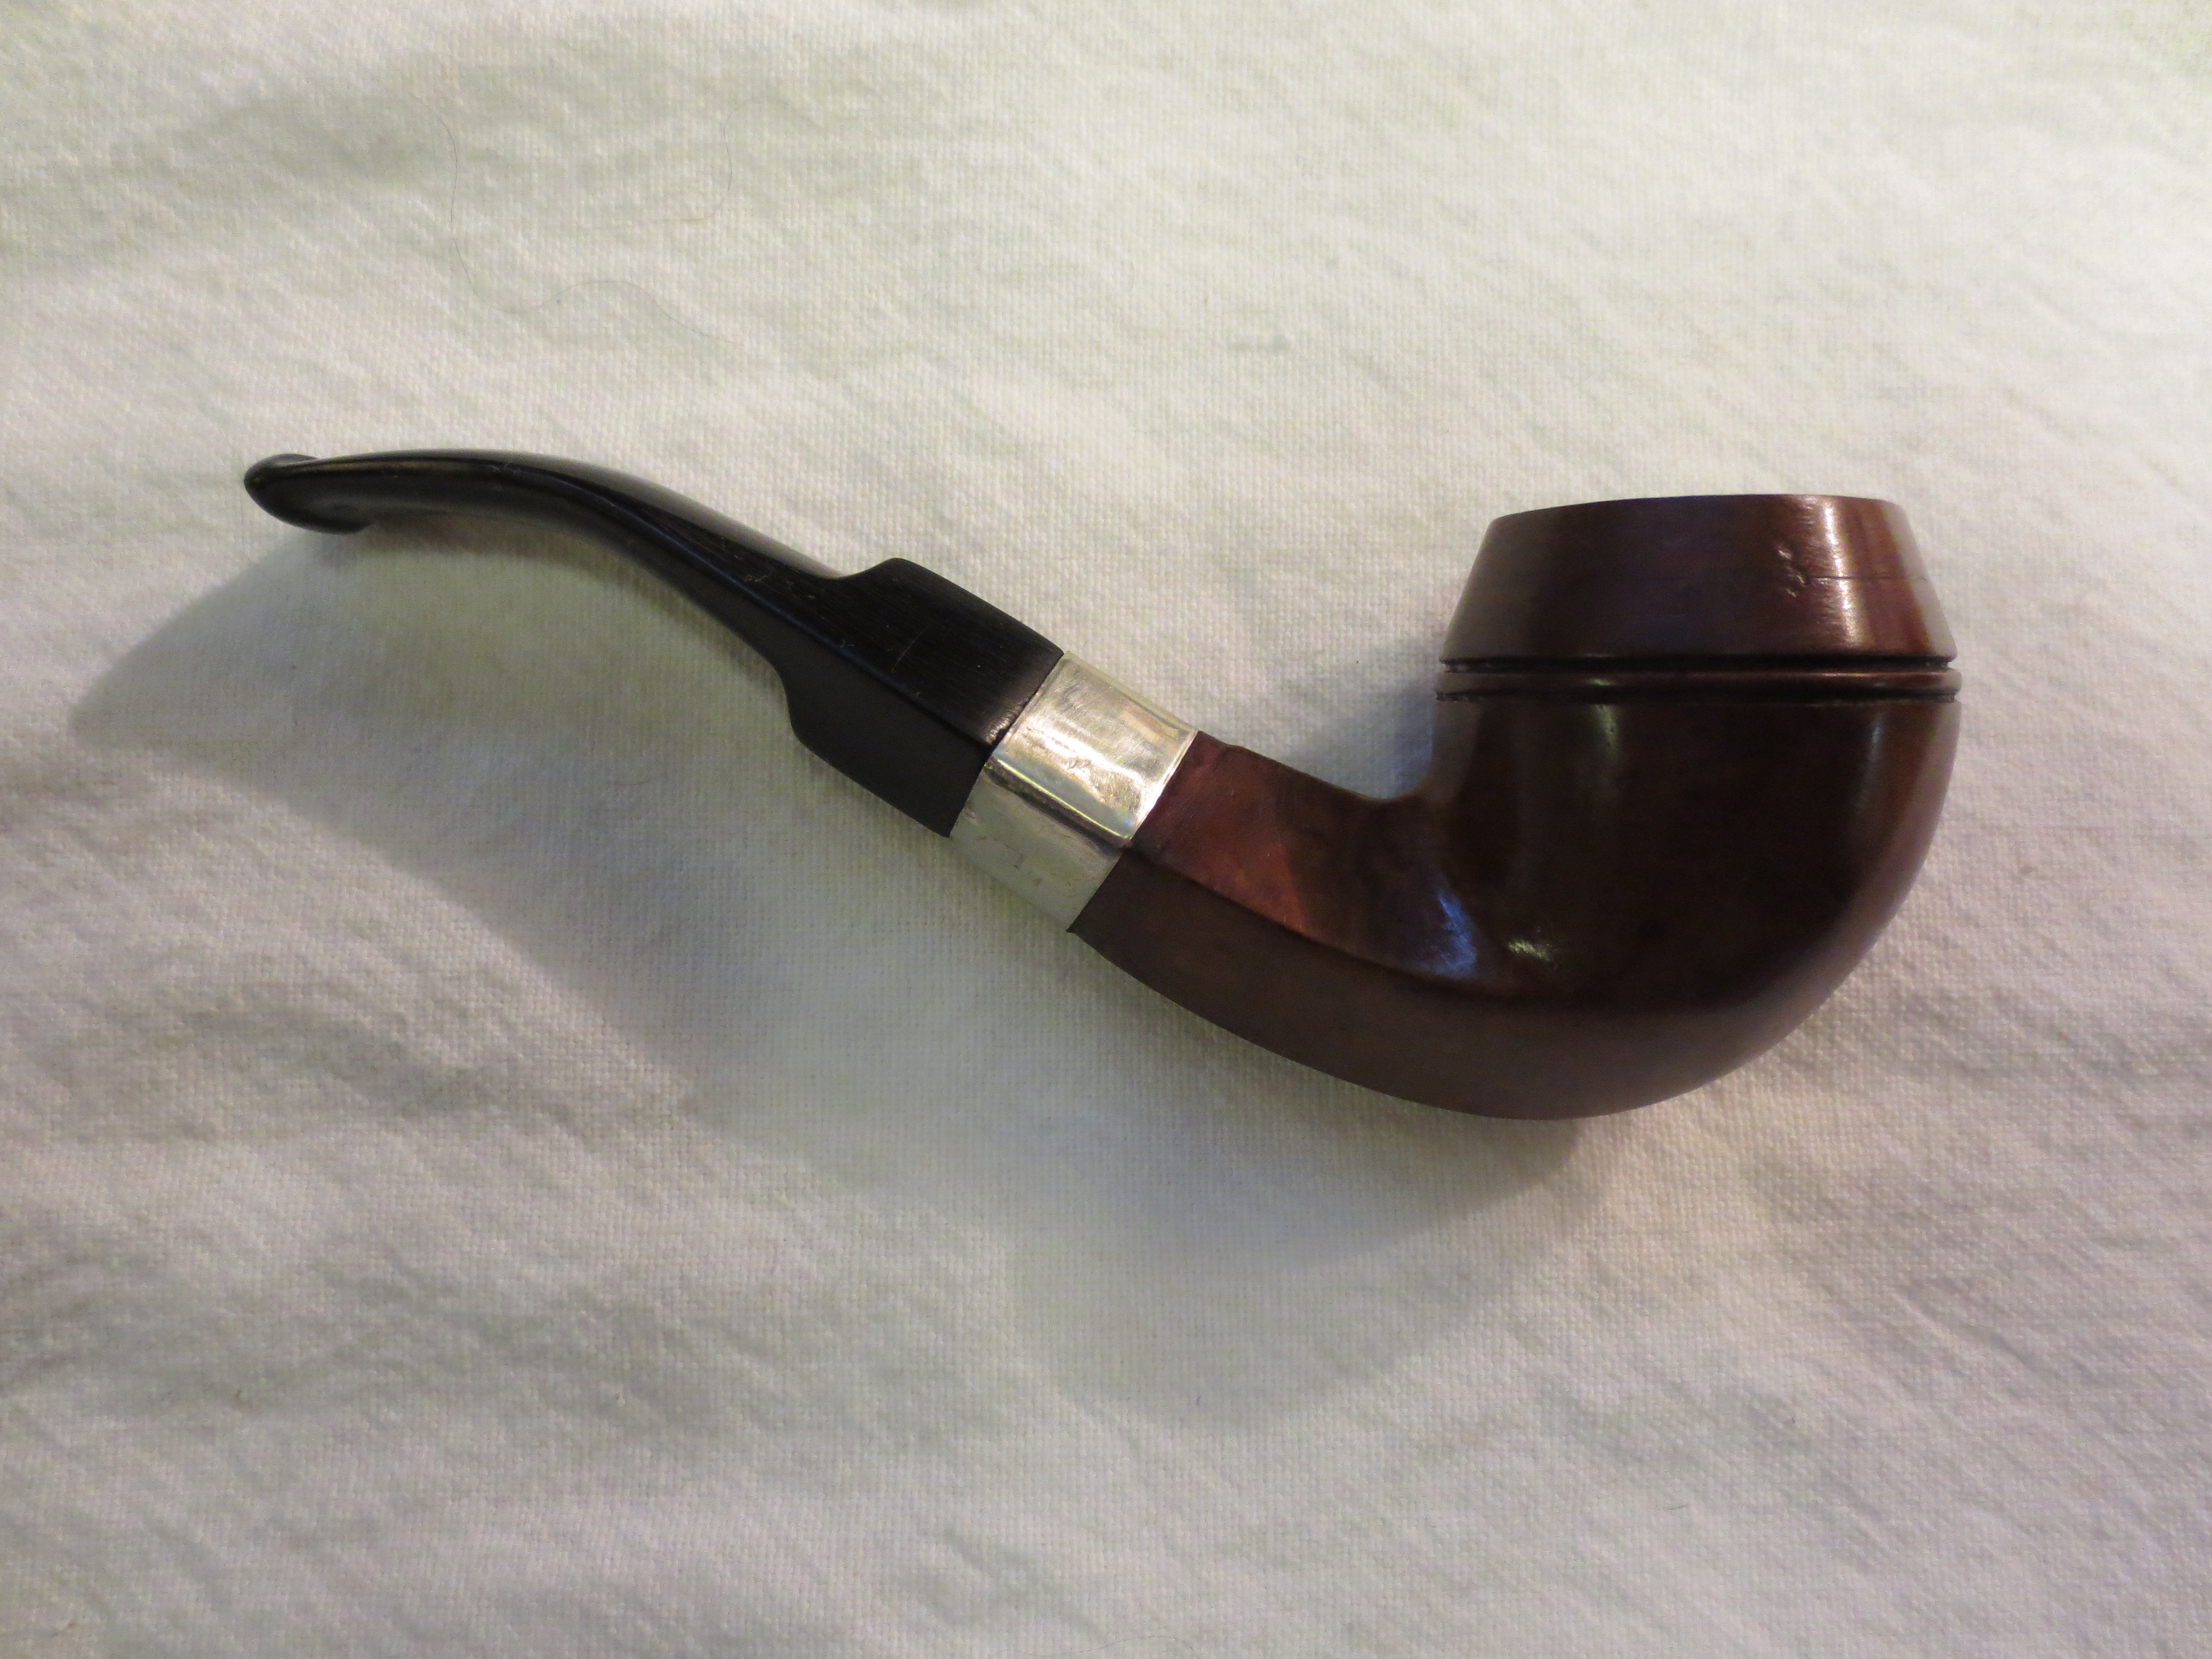
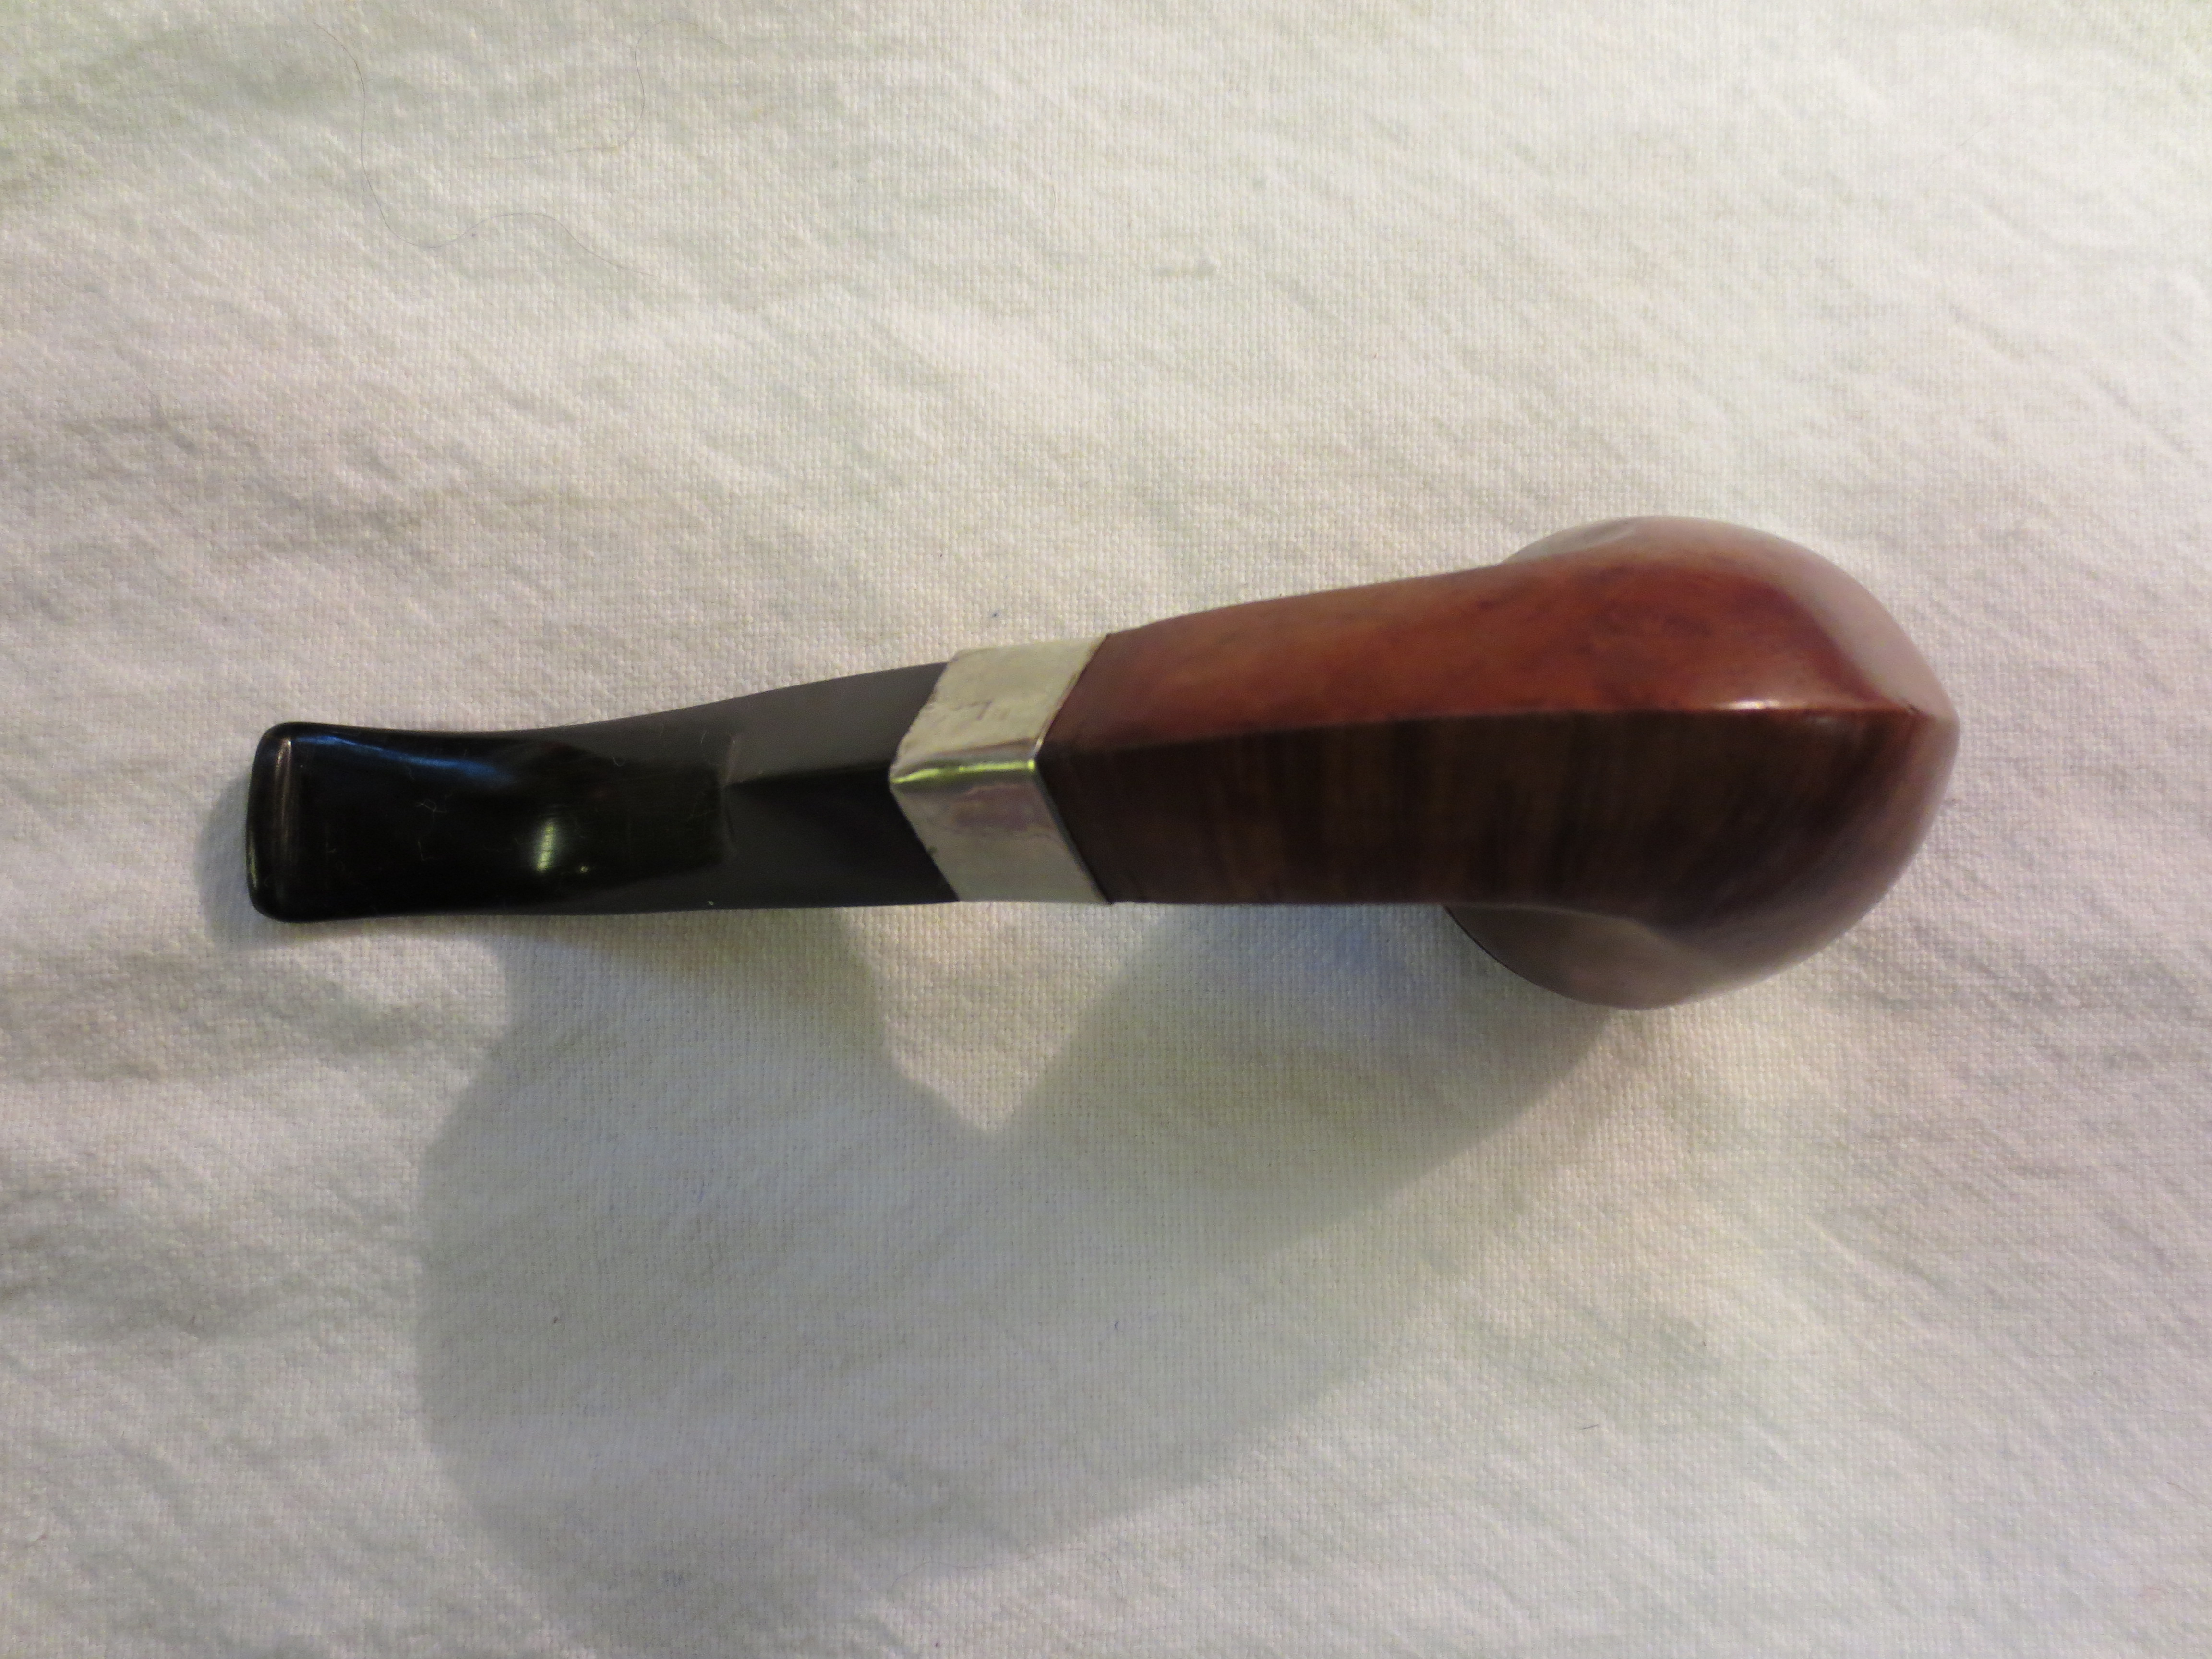
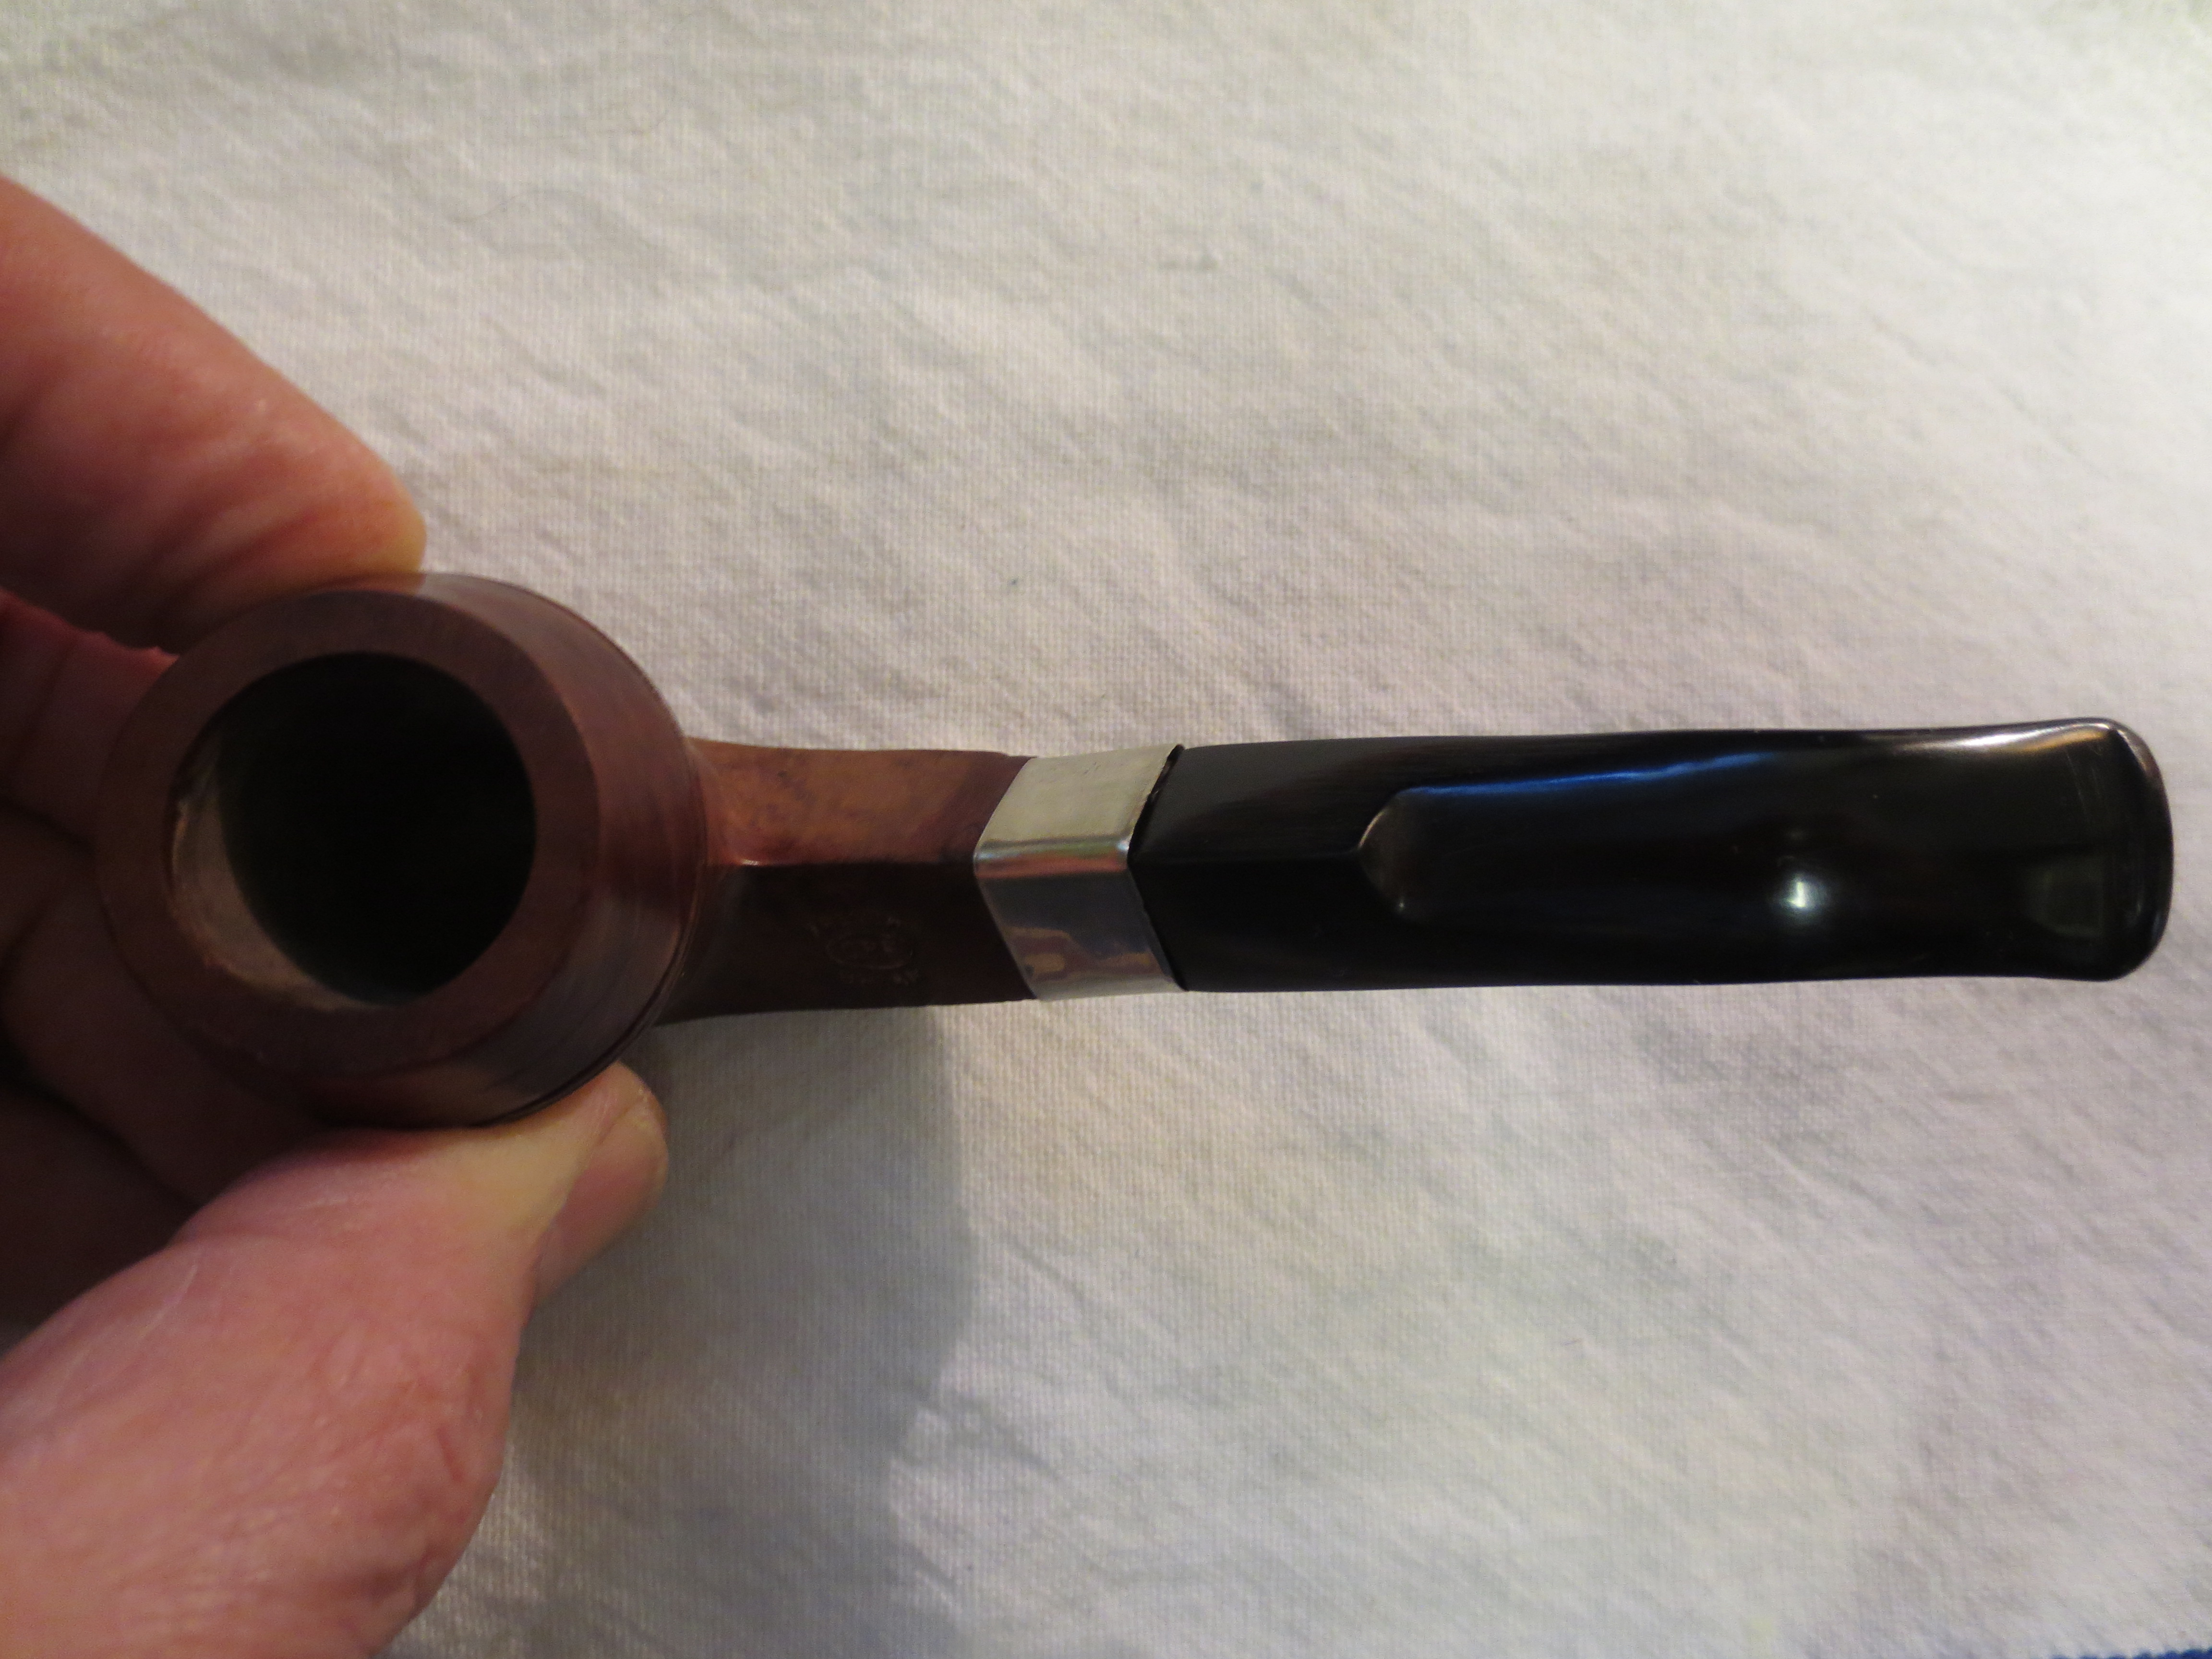
Throughout this article I have inserted photos of some of the CPF pipes that I have refurbished as examples. All of them showed the marks of having originally had rim caps and shank caps. Some of the older ones that I have seen have had beautiful filigree decorations in these areas.

Figure 1 CPF Bulldog - restored by Steve Laug

Figure 1 CPF Bulldog – restored by Steve Laug


Armed with the information that Robert sent I decided to do some more digging into the brand. I found information on the CPF brand that verified his findings on the meaning of initials. CPF stands for Colossus Pipe Factory. There is not much known about the Colossus Pipe Factory. I learned that by the mid 1890’s CPF was owned by Kaufman Brothers & Bondy (KB&B). They operated the factory at 129 Grand Street, in New York City, New York. I had a faint memory of some connection between CPF and Kaufmann Brothers & Bondy. But was unsure where I had heard or read that. In the process of reading information I came across this post by Bill Feuerbach on the Kaywoodie Forum: “About 10 years ago I picked up two original invoices from KB&B. One is dated February 5, 1884 and the other December 9, 1898. Both have the address as 129-131 Grand Street, which is in Soho, adjacent to the Bowery in New York City. The 1898 invoice has in the upper left hand corner the initials CPF and Trademark. So by 1898 KB&B was making it known to the trade that they owned the CPF trademark. The 1884 invoice does not have CPF on it. Therefore I think we can assume KB&B acquired or started the CPF line sometime between 1884 and 1898.” (2)
Figure 2 CPF Bent Billiard - restored by Steve Laug

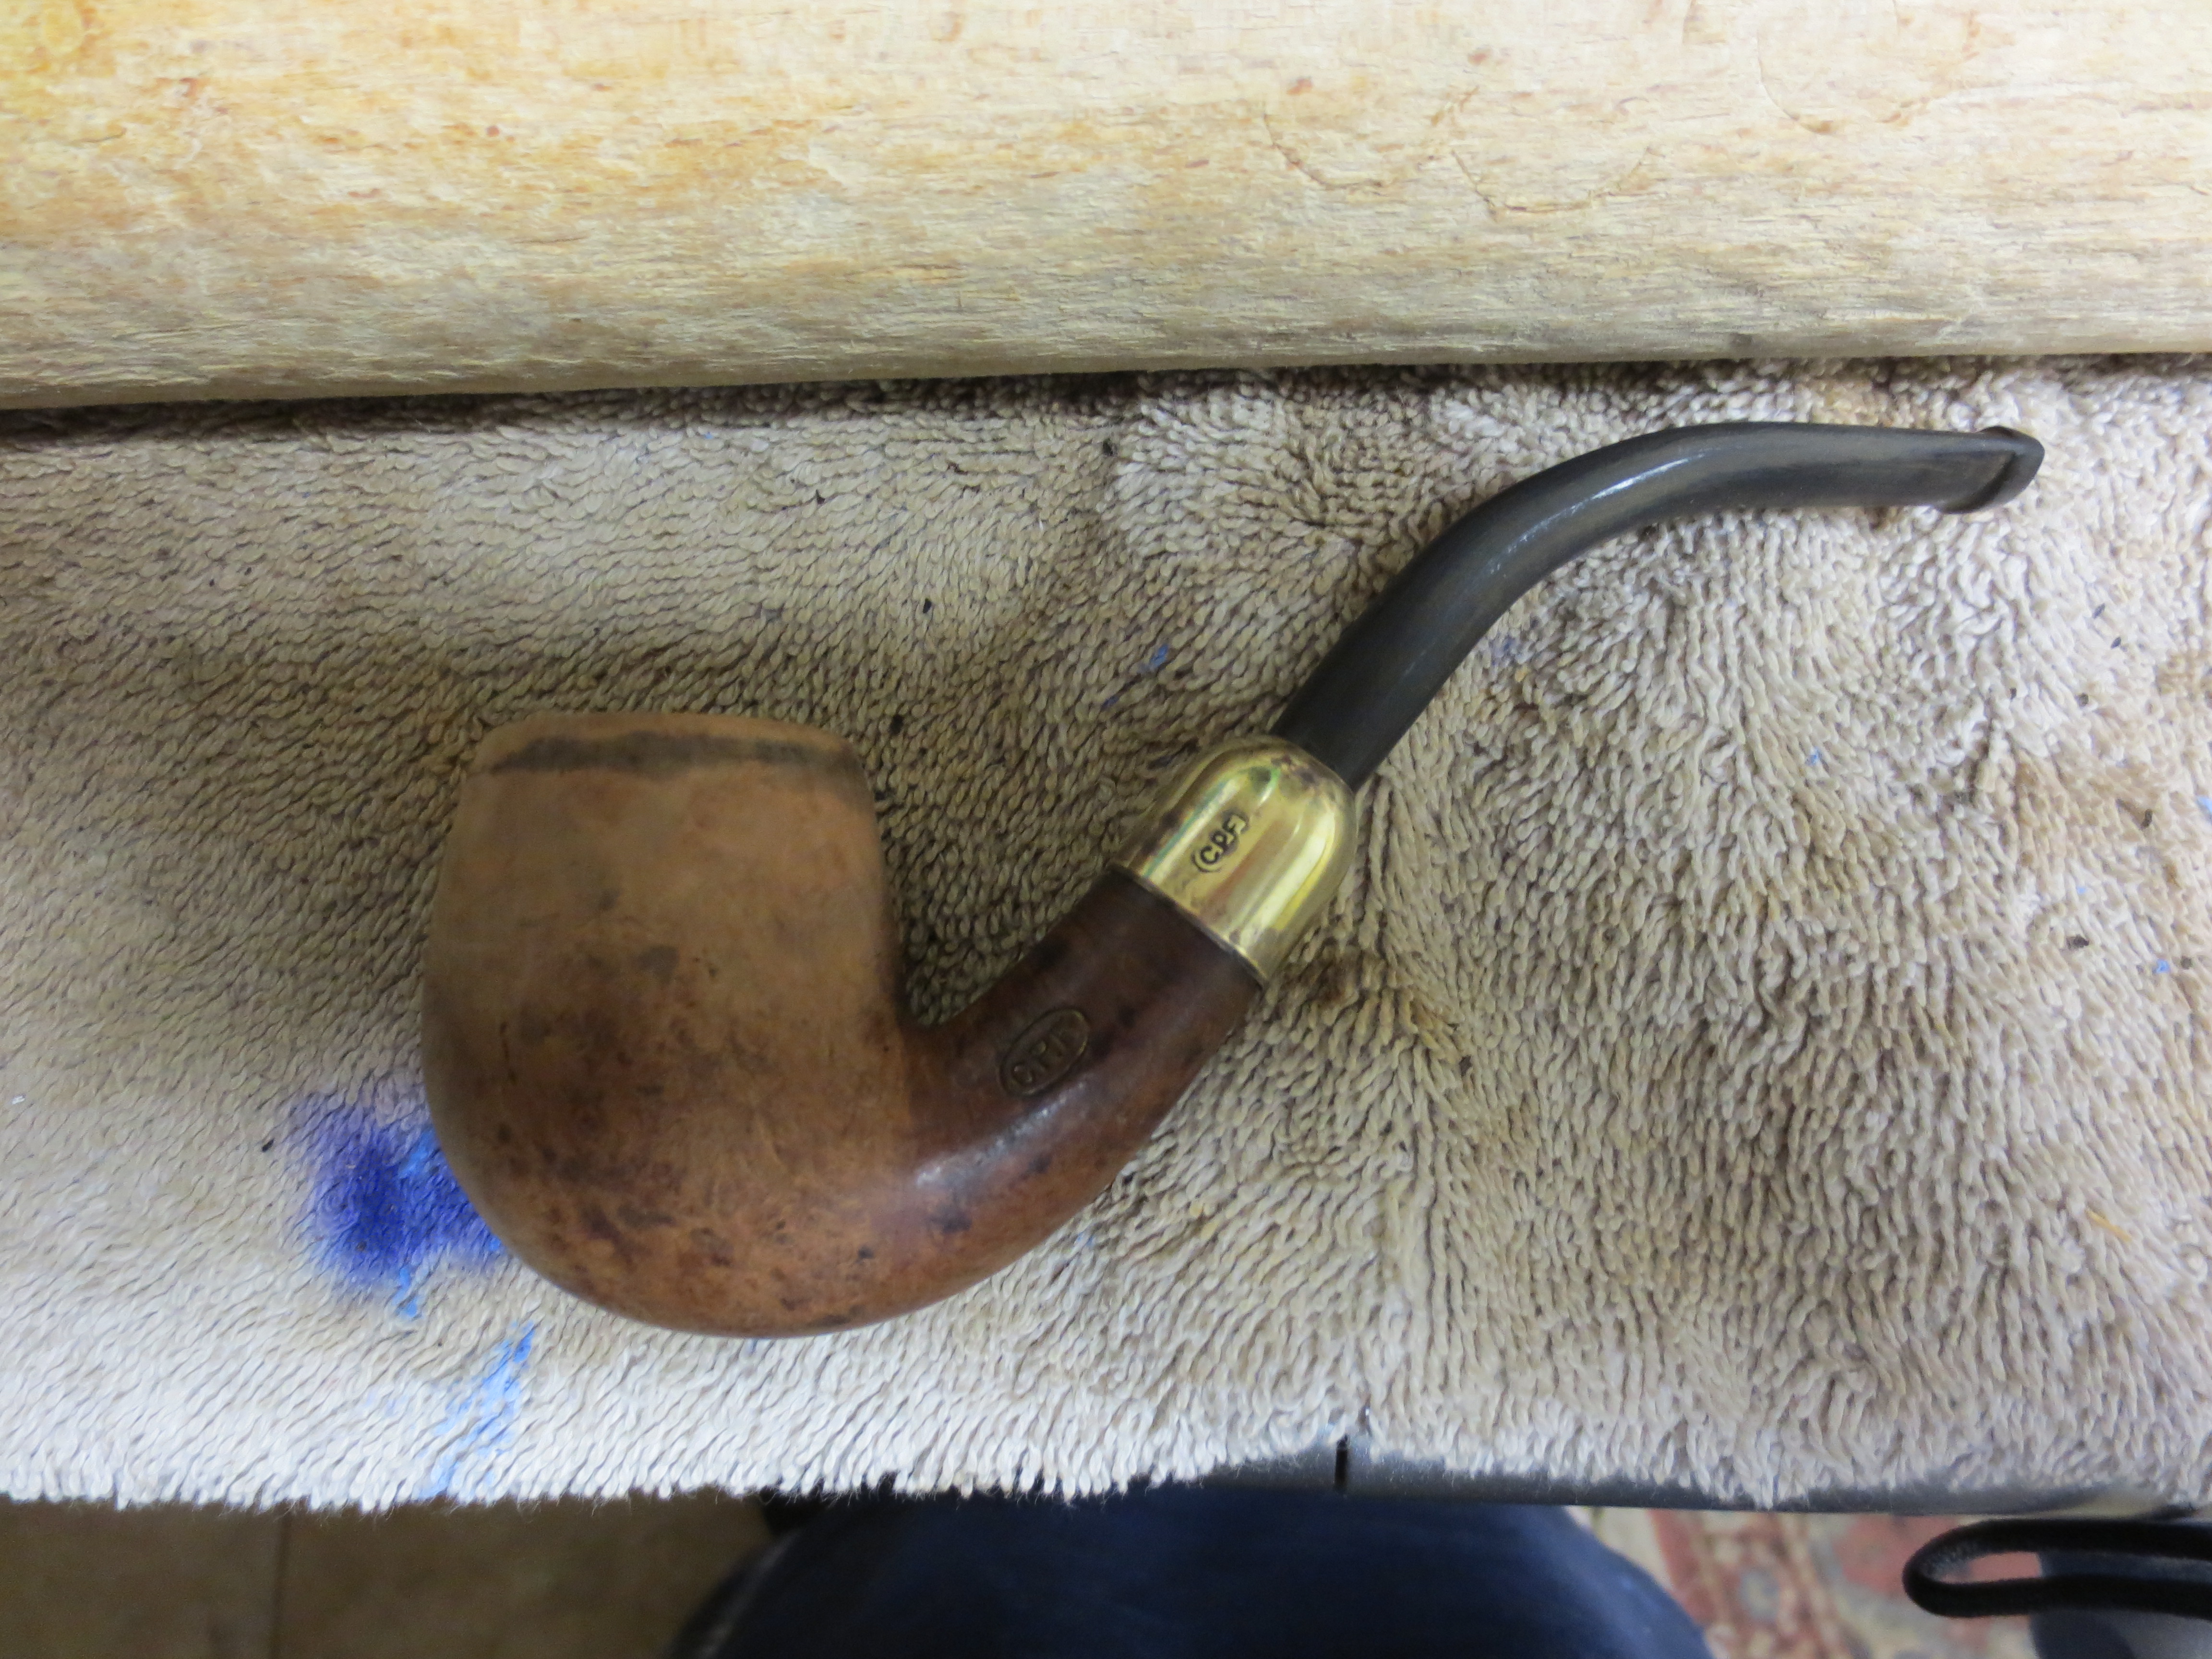
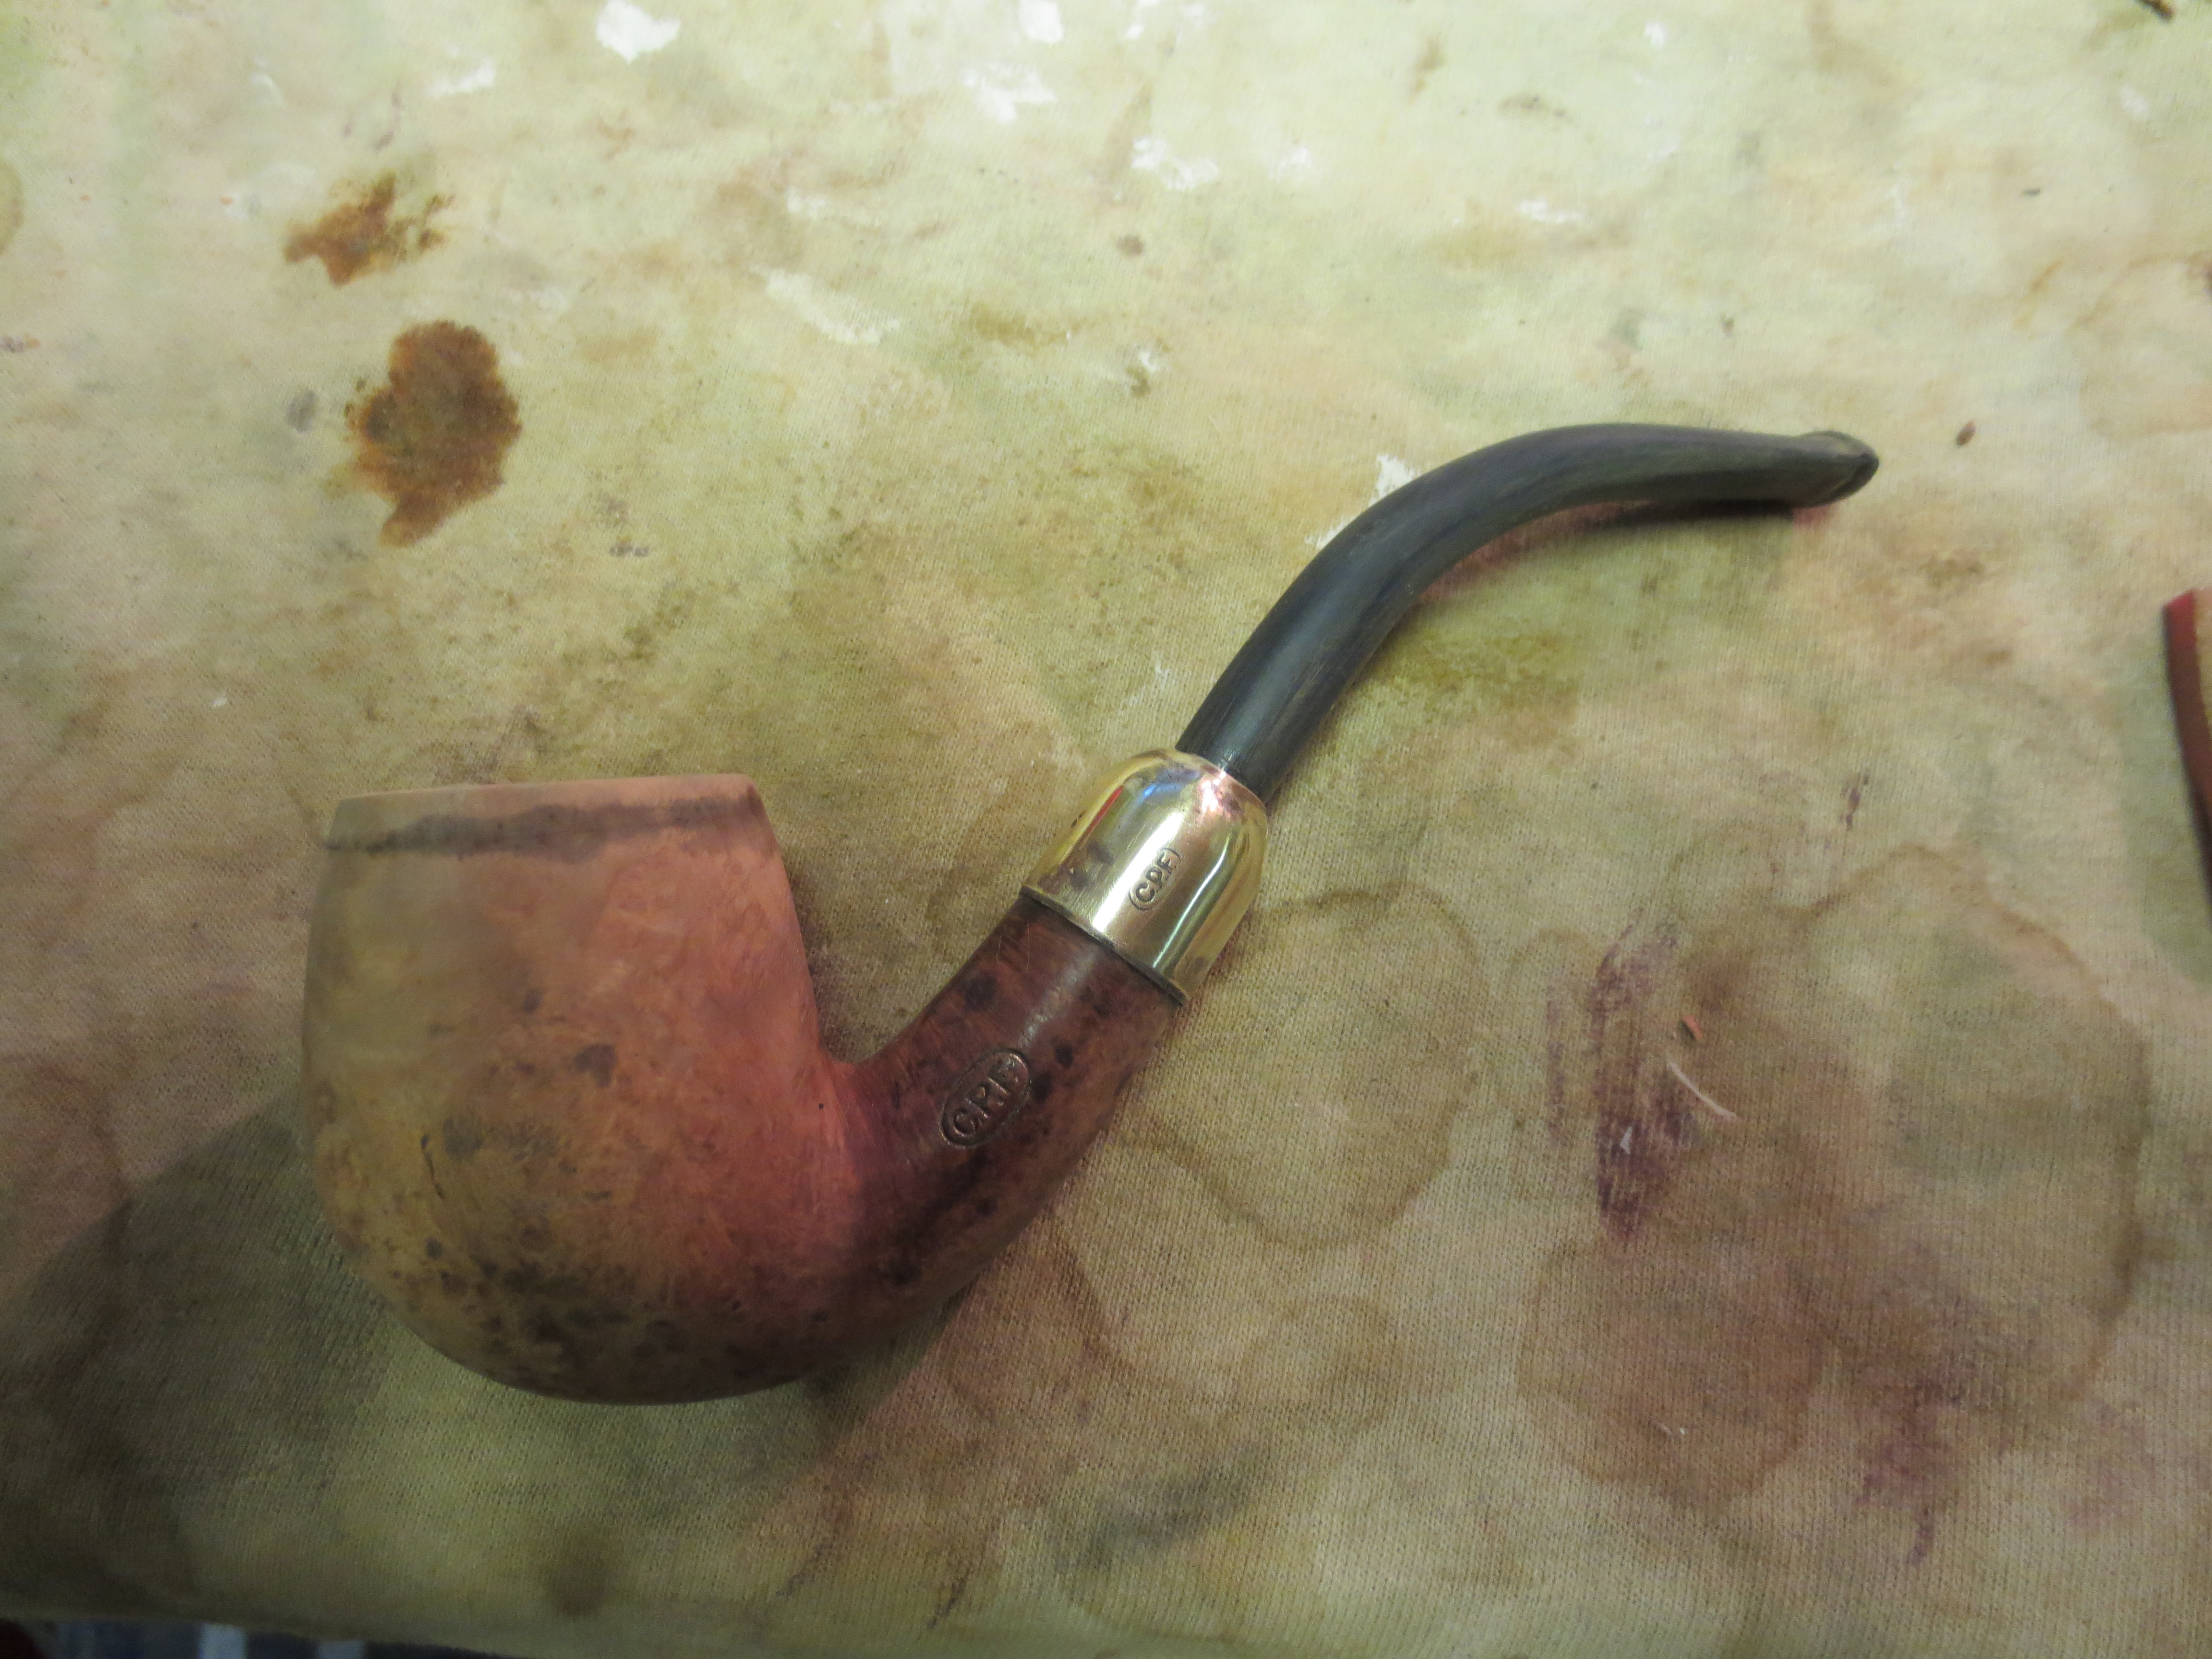
Figure 2 CPF Bent Billiard – restored by Steve Laug


Robert Boughton also provided a link to a scan of a page from a trade magazine called “The Jeweler’s Circular”, dated August 23, 1899.(3) http://pipedia.org/index.php?title=C…s_Pipe_Factory In scanning through it I found that at the bottom of the center row of the clip a question sent in by a reader as follows, “Please inform as who manufactures briar pipes with the trademark, CPF?” The answer that was given in the article was, “These letters stand for Colossus Pipe Factory, the business being conducted by Kaufmann Bros. & Bondy, 129 Grand Street, New York.” I did a bit more digging as I wanted to find out the source of the Pipedia clipping. I found that the original source of this information was also Bill Feuerbach. He wrote the following on the Kaywoodie Free forum, “Now as for what CPF means. About 5 or 6 years ago Gary Schrier, pipe book author/publisher and pipe collector from Seattle sent me a copy of page 30 from the Jewelers’ Circular dated August 23, 1899. I assume this was a publication for the jewelry trade. On this particular page they have questions for the editor. One question is “Editor of the Jewelers’ Circular: Please inform us who manufactures briar pipes with the trade-mark rude cut: C.P.F. Thank you in advance for your trouble and kindness”. The answer was “Those letters stand for Colossus Pipe Factory, the business being conducted by Kaufmann Bros. & Bondy, 129 Grand St., New York.”

The address in the scanned document referred to above is the same address as the one on the invoices that Bill referred to in the quoted post in the previous paragraph. This industry/trade magazine, published at the time the CPF brand was being made, reports that the C in the CPF brand means Colossus rather than Consolidated or Chesterfield. To me that answers the question quite definitively.(4)

Figure 3 CPF Billiard - restored by Steve Laug

Figure 3 CPF Billiard – restored by Steve Laug


Even with that clear information from Bill, in both the invoices and the article in the trade jounal there still is some disagreement among pipemen as to the meaning of the letters in the brand. In my research I came across a few divergent opinions on the brand and I thought it important to cite them. The following information comes from Samuel Goldberger of Finepipes Estate pipe website as referenced below. On the page on his site dedicated to CPF pipes Sam wrote, “I have not found any clear history of CPF, but I have developed some ideas about them, based upon my study of early American made pipes. By the turn of the last century, a number of small pipe making factories had collected in and around New York City, including the William Demuth Company (WDC) and Kaufman Brothers and Bondi (KB&B), later to become Kaywoodie. From the design and quality of execution of these pipes, I believe the factories must have been staffed by European immigrants, probably Jewish, who had been trained in the older traditions of pipe making in France, Germany and Austria. The pipes they produced were in a similar style. They were expertly cut from very old, air-cured Algerian briar in classical shapes or from the finest grade of Turkish meerschaum; they sometimes rather small; they often had amber or Bakelite mouthpieces, gold or silver fittings. It’s my suspicion that pipes from these small makers were at one time sold or marketed under the name “Consolidated Pipe Factory.” Alternatively, CPF may have been the name of the distributor.” (5) Personally, not to disparage Sam’s ideas, I find the information provided by Bill Feuerbach in the paragraphs above to be conclusive that CPF stands for the Colossus Pipe Factory.

Further, in my research I found that others commented on the fact that they had seen pipes with both the CPF logo and KB&B logo on them that date to pre-1900. I too have seen, refurbished and sold some that bore both stampings/logos. This has led me to wonder if the dual stamping may have been a way to let pipe smokers of the time know that the companies were affiliated. From my reading and research it seems to me that CPF brand was discontinued sometime in the 1910-1920 range. Again, turning to Bill Feuerbach I found that he notes the following, which pins down the time frame of the discontinuation of the brand more specifically, “I have a CPF Chesterfield in our office display that has a nametag from way before my time that says 1900 CPF Chesterfield. It looks like most other Chesterfields you’ve seen, including the military type push stem, except this stem is horn and not vulcanite. As far as I have gathered the CPF brand was phased out sometime around 1915.” (6) Interestingly, he noted that the Chesterfield name and style was later introduced in the KB&B, Kaywoodie and Yello-Bole lines. He says that the 1924 KB&B catalog shows KB&B Chesterfields.

I also came across the following photo that comes from Bill Feuerbach which shows the dual stamping of the logo on this display placard for CPF pipes. Note the familiar KB&B logo and cloverleaf at the bottom of the placard. (7)

Figure 4 From the collection of Bill Feuerbach

Figure 4 From the collection of Bill Feuerbach


From my research I believe that we can definitively assert that the CPF logo stands for Colossus Pipe Factory. The brand was purchased by KB & B sometime between 1884 and 1898 and that it continued until 1915. That time frame gives help in dating some of the older CPF pipes you or I might find. It can be said that prior to the dual stamping it is fairly certain that the pipe is pre-1884 to 1898. After the dual stamping it can be placed post 1898 until the closure of the brand line in 1915. CPF made beautiful pipes. I believe Sam Goldberger was correct in his assertion of the potential carvers that made the pipes being of European training and the classic shapes and well aged briar. That coincides with all the CPF pipes that I have come across.
_____________________________________________________________
End notes
(1) http://pipephil.eu/logos/en/logo-c1.htmlbelow
(2) http://kaywoodie.myfreeforum.org/archive/cpf__o_t__t_161.html
(3) http://pipedia.org/index.php?title=C…s_Pipe_Factory
(4) http://kaywoodie.myfreeforum.org/archive/cpf__o_t__t_161.html
(5) http://www.finepipes.com/pipes/american/consolidated-pipe-factory-cpf
(6) http://kaywoodie.myfreeforum.org/archive/cpf__o_t__t_161.html
(7) http://kaywoodie.myfreeforum.org/viewtopic.php?t=161&start=0

Restored CPF Bent Billiard – A Reclamation Project


This is the second CPF pipe bowl that was in the lot from EBay. It is a billiard and it was in very rough shape at first glance. It is an old timer. The rim cover and the band were badly oxidized to the point of being crusty with oxidation and a greenish hue. They were also rough to the touch which led me to believe that they were pitted underneath all of the oxidation. It came stemless but I found a stem of the proper age in my can of stems. The finish was rough but there were no deep dings or dents. There was a deep, almost black darkening around the bowl just under the rim cap. The darkening was such that made me think that the oxidation had oozed into the briar and would be interesting to remove from the finish. The same was true of the area around the shank cap. The rim cap originally had a hinged lid on it but that was gone. The shank cap was also loose and when I touched it, it came off. The briar underneath was thick with a reddish coloured glue but was also free of cracks or fissures. It was intact. After the initial examination I came to see that underneath the grime there was a pretty nice piece of briar. The first series of three photos shows the state of the pipe when I took it to my work bench to begin working late yesterday afternoon.

ImageImageImage

I decided to work on the oxidation on the shank cap and the rim cap. I wanted to see if either one was redeemable. I used a jeweler’s tarnish remover called Hagerty to work on the finish of both. I applied it with a cotton swab and scrubbed it with that until it was dry. Then I wiped it off with a cotton pad. In doing this I saw that the rim cap and the shank cap were both brass. The rim cap had two tears or cracks in it around the hinge that showed up once it was clean. The next two photos show the tarnish remover on the rim and shank caps.

ImageImage

After the initial cleaning of the two I decided to remove the cracked rim cap. This was not as easy as it appears in the photos as it was nailed to the rim and also was pretty tightly bonded with the tars and oils of the tobacco. I used a pair of needle nose pliers and a flat blade screw driver to lift the edge of the cap. I began at the hinge and lifted it from there. It came off with a bit of work and broke at the two nails that held it to the rim mid bowl on each side. The back half of the cap came off in one piece. I was able to lift the front edge carefully using the flat blade of the screw driver to pry the edge and work my way to the front. The nail on the right side came out with the cap while the one on the left side was stuck. I used the flat blade of the screwdriver to lift it from the surface of the rim without scarring the rim and pulled it out with the pliers. Underneath the rim surface was actually smooth and had a slight caking of oils that would come off easily. The two nail holes would need to be filled. The one on the right side of the bowl had been put in at an angle and would take a little more work to repair. The first picture below shows the torn rim cap on the work table next to the pipe bowl. The holes and the state of the rim are also clearly visible. The second picture shows the darkening that seeped down the edges of the bowl from underneath the rim cap.

ImageImage

I used briar dust and superglue to fill the two nail holes. It took several applications to get a smooth and even surface. I packed some briar dust into the nail hole with my dental pick and my finger. I wanted the briar dust to fill the holes so I tamped them down with the dental pick. Then I dripped in the superglue to bind the briar dust to the surrounding area. The first photo below shows the top of the rim after briar dust superglue patch has been done.

Image

After patching the nail holes I worked on the stain line around the bowl. I removed the finish from the bowl with a cotton pad soaked with acetone. I continued to wipe it down until the finish was gone. After that I sanded it with a medium grit sanding sponge. The next six photos show the sanding process with the sponge. I also sanded the end cap with the sponge being careful around the CPF stamping that I had found under the oxidation.

ImageImageImageImageImageImage

The dark lines were better after the sanding but still very present. I was able to remove the indentation in the briar from the metal cap to a large degree but the black was stubborn. I decided to soak the bowl in an alcohol bath to see what would come out. I took the shank cap off to work on it while I left the bowl in the bath for about an hour. I was able to remove much of the oxidation on the shank cap. I scrubbed it with the tarnish remover and then sanded it with the micromesh sanding pads using 1500-2400 grit pads.

Image

Once I remove it from the bath I dried it off and the lines were lighter than before. I sanded the bowl some more with the sanding sponge and glued the shank cap on with white glue. I wait to glue it on until I am done with the alcohol and acetone as I found out the hard way the glue is dissolved and has to be redone. After that I reinserted the stem and set up my heat gun to bend the stem to the correct angles. The next four photos show the bending of the stem from its beginning to the final look after bending.

ImageImageImageImage

I took it back to the work table and did some more sanding on the bowl especially working on the surface around the top sides near the rim. The black line was stubborn. I wiped it down with white vinegar to see if it would lift any of the stain as I remembered reading about that in an old book on furniture repair on how to remove dark rings from the wood. I also wet a cotton pad with bleach and wiped down the area as well. The result of all that work is evident in the two photos below. It was not going to come out so I sanded it with 1800-3600 grit micromesh sanding pads and then wiped it down with an alcohol dampened cotton pad to remove the surface dust and prepared to stain it. The two photos below show the bowl ready to stain. (Incidentally note the shine on the shank cap. It cleaned up amazingly well.)

ImageImage

I applied an oxblood thick aniline stain for the first coat. I flamed it and reapplied it and flamed it a second time (the first two photos below show the staining of the bowl with the oxblood stain). I then buffed it off to see what I had to work with. The black lines still showed so I restained the bowl around the top edge to see if I could darken that area and mask the black (photos three and four show this process).

ImageImageImageImage

I buffed it a second time to see where I was at with the staining. You can see from the next two photos the effect of that restaining around the top of the bowl. It did indeed darken the edge but the line was still visible and I did not like the look of the dark edge. So I buffed it yet again to see if I could smooth out that look a bit more.

ImageImage

I was not happy with the finished look after buffing. The darkening around the edge still showed both in the top edge of the bowl and around the end cap. I decided to restain the bowl with a dark brown aniline stain. So I applied the stain, flamed it and restained and flamed it a second time. The next two photos show the pipe after the stain had been flamed and had dried.

ImageImage

I buffed it to see how the second stain had covered the darkening around the top edge and near the shank cap. I was pleased by the overall look now. It was still there for sure but it certainly was less visible and blended in well with the finish. The next four photos show the pipe after restaining and buffing.

ImageImageImageImage

I set the bowl aside and worked on the stem. I sanded it with micromesh sanding pads 1500 – 12,000 grit to polish the stem. I put the stem back in the bowl and then took the pipe to the buffer and gave the entire pipe a buff with White Diamond and then gave both the stem and bowl multiple coats of carnauba. The finished pipe is picture below. It came out very well and the black line around the top edge seems to be less visible. The pipe is restored to a bit of its former glory!

ImageImageImageImage

CPF French Briar Bulldog Restemmed and Refurbished


This morning I decided to start working on one of the pipes that came in the lot of bowls I picked up off of EBay. I chose one of the CPF Bulldogs. It looks to be an old timer. It also looked like it had quite a different look in times past as there were signs of a band on the shank and something around the rim as well. It could well have been the gold/brass filigree that is often seen on these old timers but there is no way of telling for sure. The bowl rim was clean as if once the decoration was removed the briar underneath was raw stain. The bowl itself was also absolutely clean on the inside – taken back to bare briar. Around the inside of the rim there were several small nail holes that looked like they held the rim cap in place. These holes were also on the outside as well though they had all been patched. The shank was cracked and repaired. The repair looks to be old and may well have been under the band that had disappeared. The mortise was originally threaded but that had been drilled almost smooth. I had a stem in my box of stem that would fit with a little work. It was the right size and the angles on the diamond matched those on the stem – a rare feat to be sure. I would not have to do much sanding to bring it fit well. The finish was clean but there were lines on the bowl and the shank from the cap and band. The stamping was clear – CPF in an oval with French above and Briar below. It had a gold paint that had been applied to the stamping and it was very clean. The series of three photos below show the condition of the pipe and the new stem when I began this morning.

ImageImageImage

I asked Robert Boughton about the CPF brand stamp as he is currently refurbishing an old CPF Meerschaum and had done work on the brand. He sent me the following information:
“Chuck (Richards) assigned to me the challenge of finding out what CPF stood for and anything else I could learn… I found conclusive evidence that despite several other names associated with CPF, it indeed stands for Colossus Pipe Factory…Below are the links I sent to Chuck at the time and a few more. But again, it’s nothing Chuck didn’t already know. He also knew it would be good experience for me and that I would enjoy the task! Indeed, I was proud of my findings!”

http://pipedia.org/index.php?title=C…s_Pipe_Factory Bottom of center row of newspaper clip
http://www.google.com/search?q=colos…w=1600&bih=658
http://pipephil.eu/logos/en/logo-c1.html See CPF — includes briars
http://pipesmokersforum.com/communit…ing-one.10858/
http://www.worthpoint.com/worthopedi…pipe-287735110
http://www.smokingpipes.com/pipes/es…oduct_id=74274

With that information in hand, thanks to Robert, I went to work on this older American bulldog to bring it back to life. I had an old nickel band that fit pretty well to the shank. It was shorter than the original band but it covered the repair in the shank. I heated it and pressure fit it to the shank. It was a bit dented and would need to be straightened once it was in place. I then worked on the stem to get it fit the shank and band connection. I used medium grit emery paper to remove some of the vulcanite to get the sides and angles of the stem to match the shank. This had to be done carefully so as not to change the angles. Each side had to have the same amount of material removed to keep the diamond angles even. The next series of four photos show the stem after it has been shaped and sanded to match the shank and the band.

ImageImageImageImage

I cleaned out the inside of the stem as it was very dirty. I had sanded down most of the oxidation and the calcification on the stem earlier but needed to work on that some more. I also used a dental pick to clean out the slot as it was packed tightly on both sides of a small centre hole what was left. I finished sanding with medium grit emery cloth and move on to 320 grit sandpaper to begin to work on the scratches in the stem. The next three photos show the stem after sanding with the emery paper (photo 1) and then the 320 grit sandpaper (photo 2-3).

ImageImageImage

At this point in the process I decided to bend the stem to get the flow of the pipe correct. In retrospect I could have waited until I had polished the stem to do the bend. But I was curious to see the look of the bent stem on the pipe bowl so I set up my heat gun and carried the stem to the gun. I have been using a hardwood rolling pin that my wife discarded as the curves to bend the stem over. I find that using this keeps the bend straight and also gives me the degree of curve I wanted. I adjust the curve by where I put the stem on the pin to bend it. I use low heat on my heat gun and move the stem quickly over the heat about 3 inches above the tip. It does not take long to heat it to the point it is ready to bend and then I lay it over the pin and bend it. I hold it in place until it cools enough to set the bend. The next series of three photos show my set up for bending the stem.

ImageImageImage

I then decided to work on the bowl of the pipe. I wiped it down with acetone on a cotton pad being careful to avoid the gold stamping in the shank. I also sanded the line around the rim and the shank with 320 grit sandpaper and then with 1500-2400 grit micromesh sanding pads to try to minimize the line around both points. I used a flat tip screw driver blade as a smooth surface to hammer out the dents and rough spots on the band. I also laid the shank flat on a board and used the screw driver tip to smooth the inside edge of the band and square up the corners of the diamond. The next series of six photos show that process. I finished by inserting the stem and continuing to smooth out the band.

ImageImageImageImageImageImage

I wiped the bowl down with another acetone wetted cotton pad to remove the sanding dust from the bowl and the rings around the bowl. I used a dental pick and retraced the rings to clean them out as well of previous wax and dirt that catches in those spots. The photo below shows the pipe bowl ready to restain.

Image

Before staining I worked on the stem some more to smooth out the remaining scratches and bring it to a shine. I used micromesh sanding pads from 1500-12,000 grit to bring the stem to a glossy finish. The next twelve photos show the progress shine developing after each successive grit of micromesh sanding pad was used.

ImageImageImageImageImageImageImageImageImageImageImageImage

Once the stem was done I was ready to stain the pipe. I used an oxblood aniline stain to restain the pipe. I applied it with a cotton swab, flamed it, restained and flamed it a second time. The next two photos show the bowl with the oxblood stain applied just before I flamed it. Once I had flamed it I took it to the buffer and buffed it with White Diamond.

ImageImage

After I buffed it with White Diamond I gave it repeated buffing with carnauba wax to protect the stem and the bowl. The next four photos show the finished pipe.

ImageImageImageImage