Blog by Steve Laug
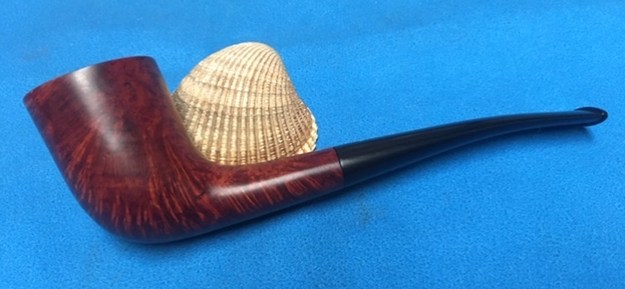
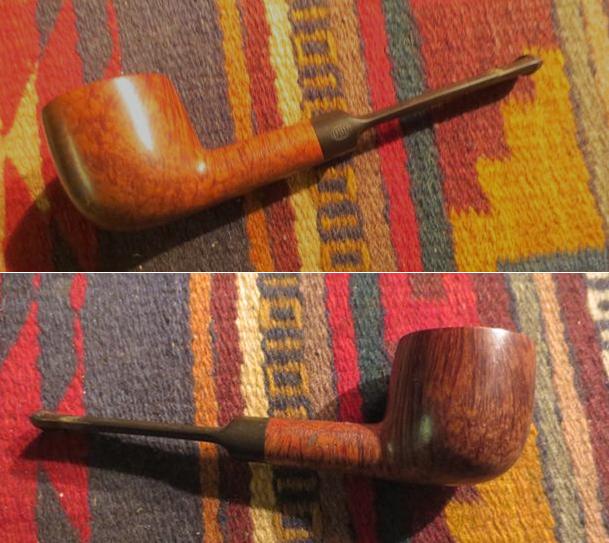
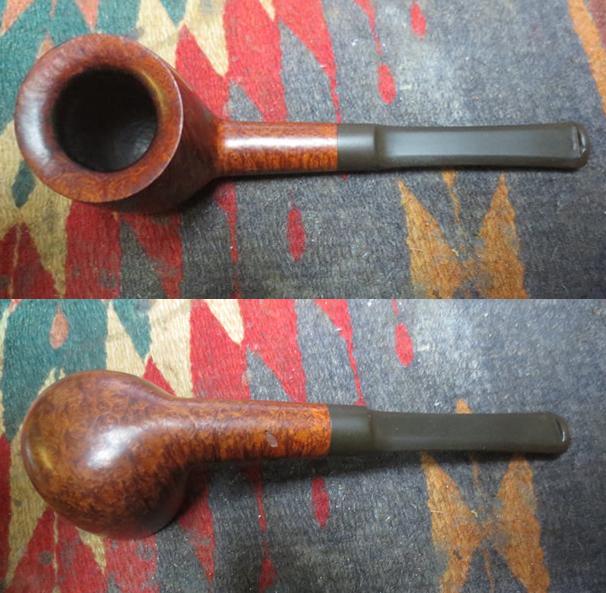
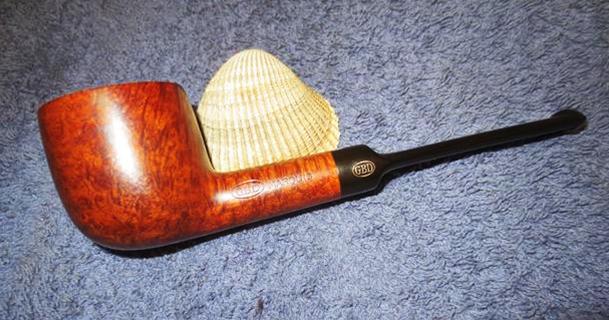
One thing about having so many boxes of pipes to work on surrounding my work table is that I can always find one that grabs my attention to work on now! I had passed over this one a few times in the past weeks but this morning I decided it would join the days queue. It is a great looking Zulu shape pipe made by GBD. It is a newer, post Cadogan GBD I believe as it does not have the brass roundel on the stem but just a stamped GBD oval. It was a really dirty and well-loved pipe when we received it. The bowl had a thick cake and the lava overflow on the rim made it impossible to see in the inner edge of the bowl. It had some nice grain on the bowl sides under the grime and the finish appeared to be in good condition. A lot would be revealed once Jeff had worked his magic on it. The stem was oxidized and had tooth chatter and marks on both sides ahead of the button. The button surface appeared to be unharmed. Jeff took photos of the pipe before he started his cleanup work.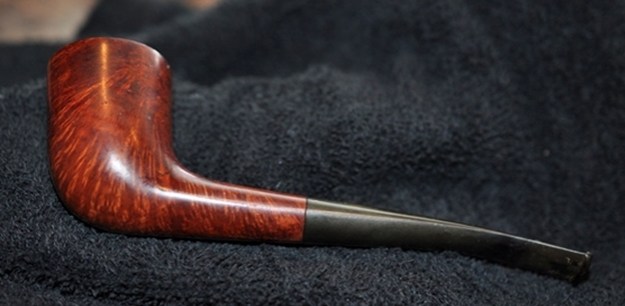
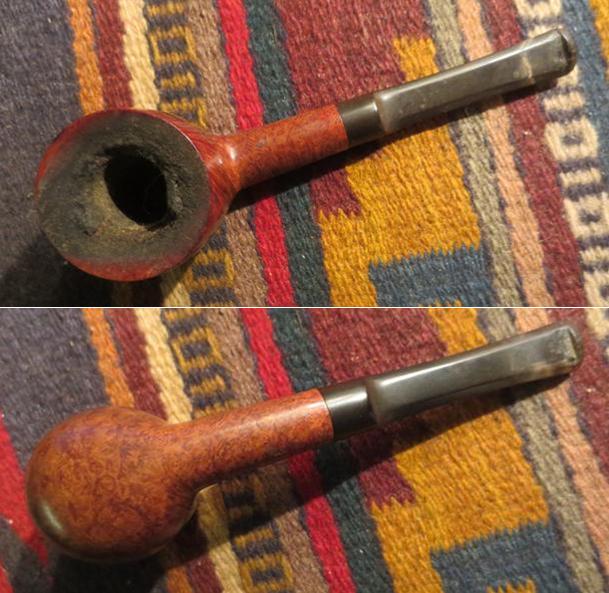
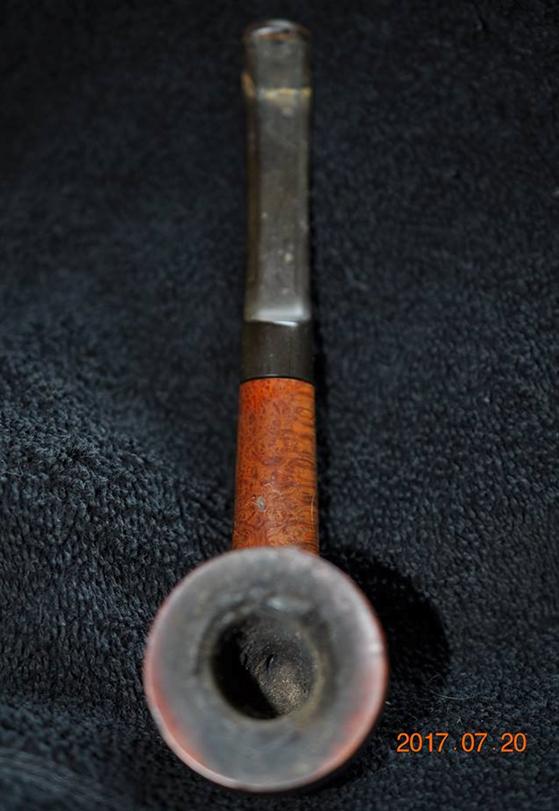
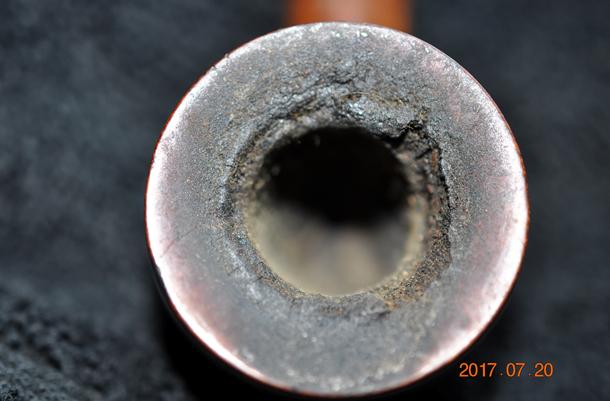
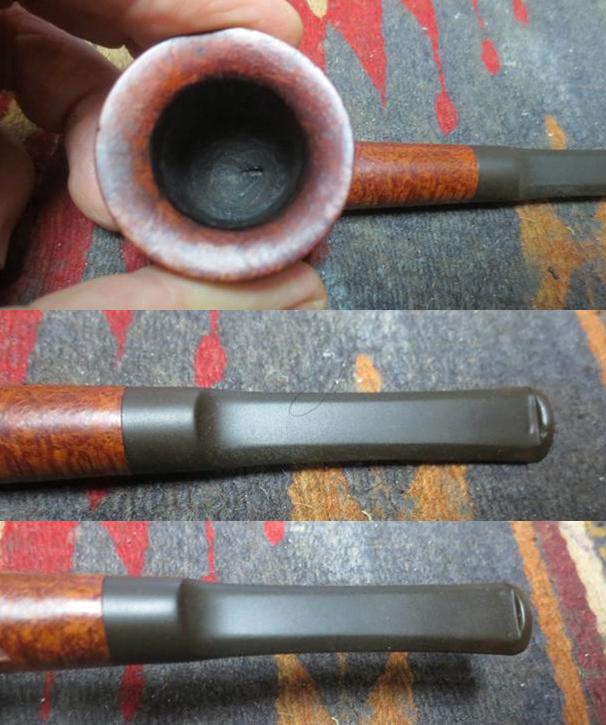
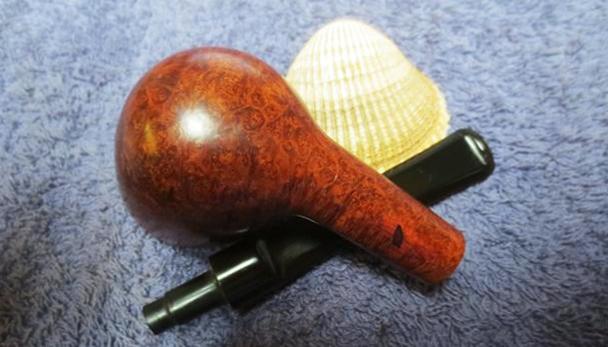
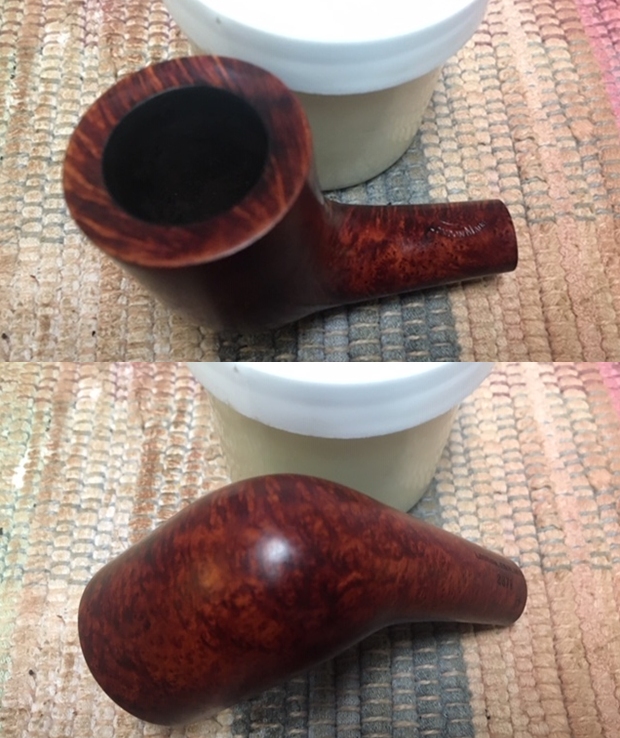
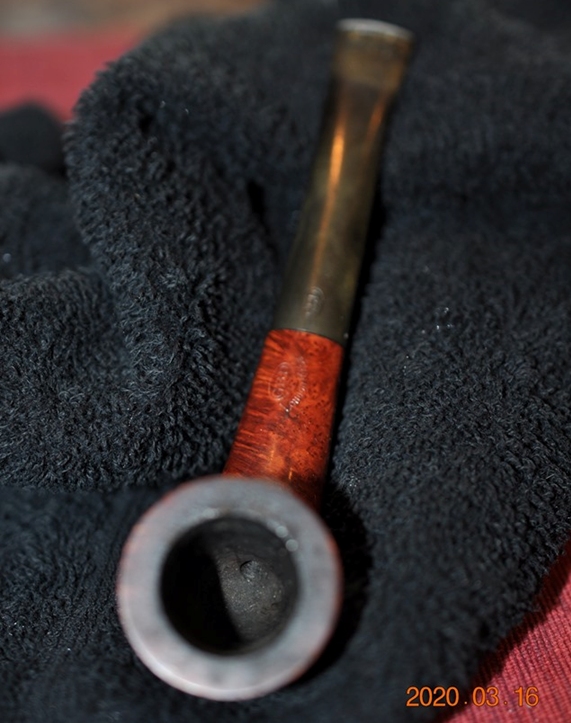 Jeff tried to capture the condition of the bowl and rim top with the next series of photos. You can see the work that is ahead of us there. It was obviously a well-loved and oft enjoyed pipe!
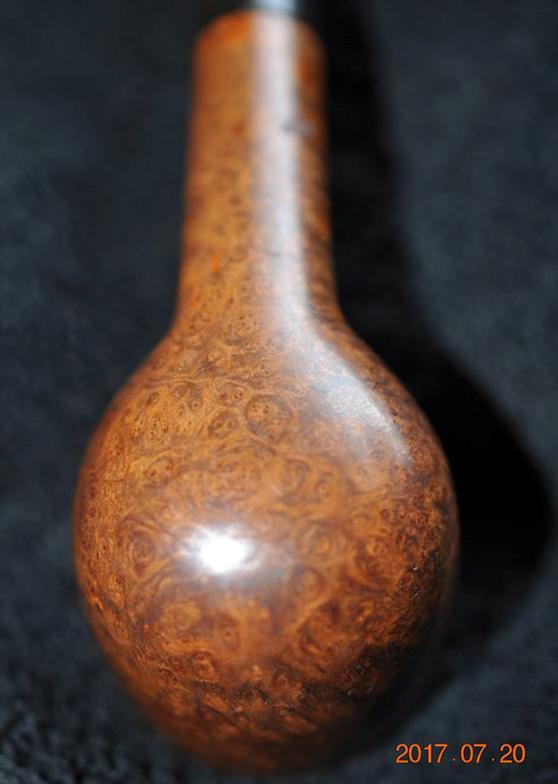
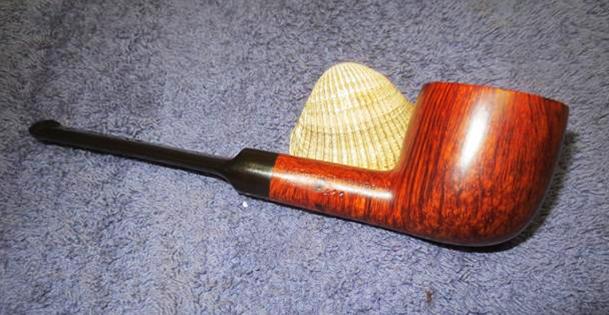
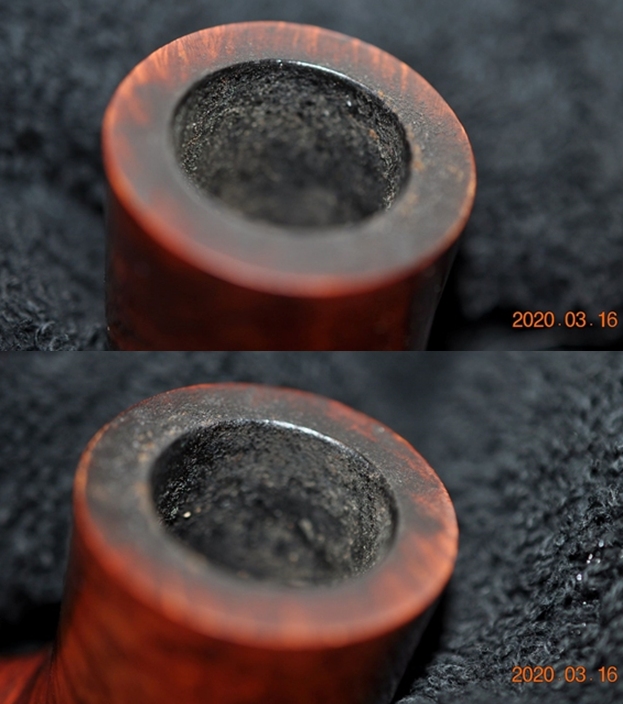 The grain around the bowl is quite stunning. Jeff took some great photos showing what is underneath the grime and debris of time and use.
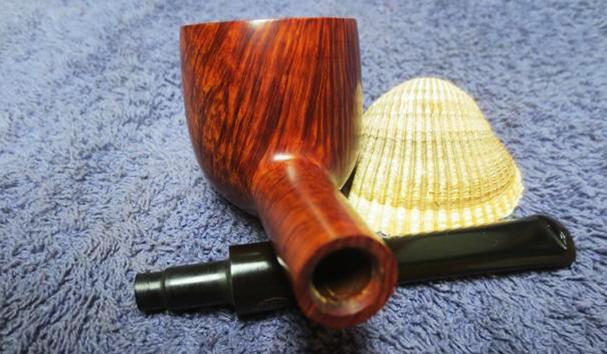
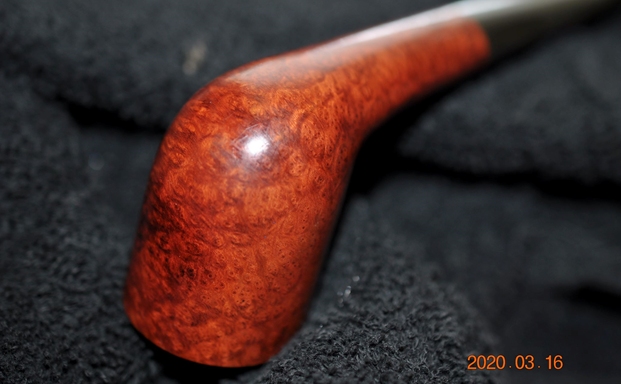
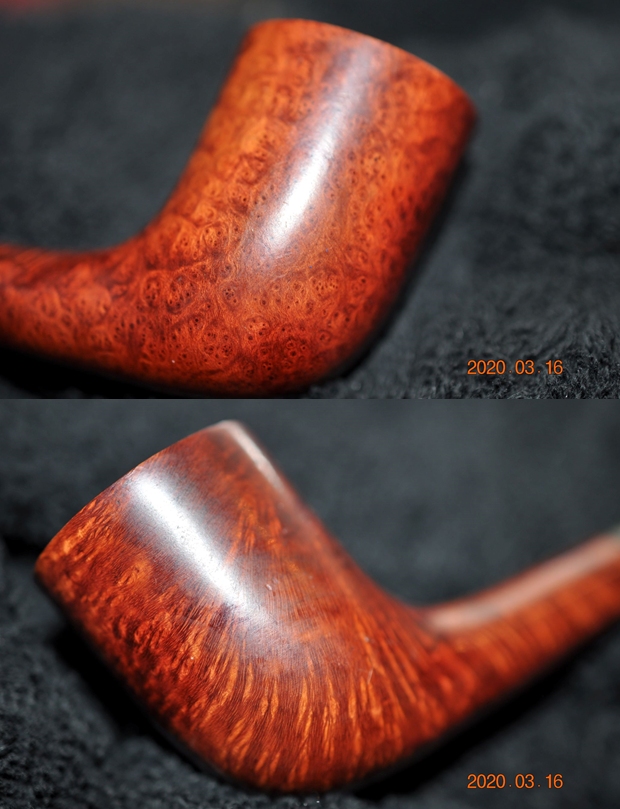
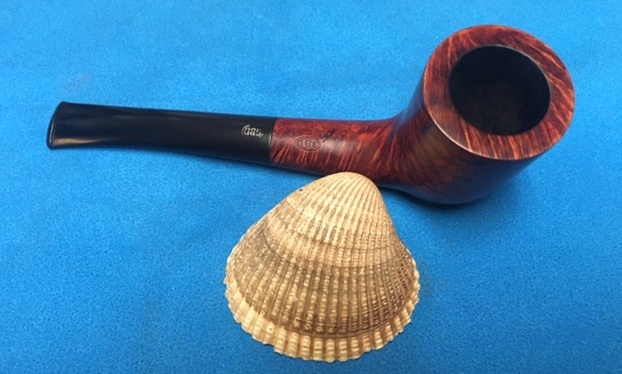
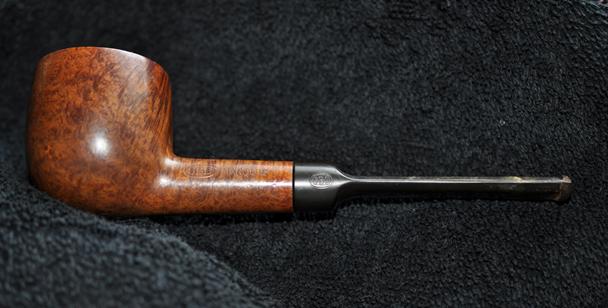
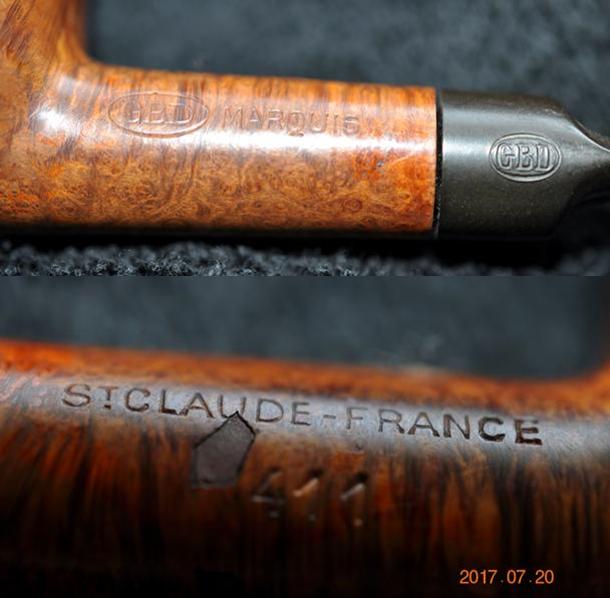
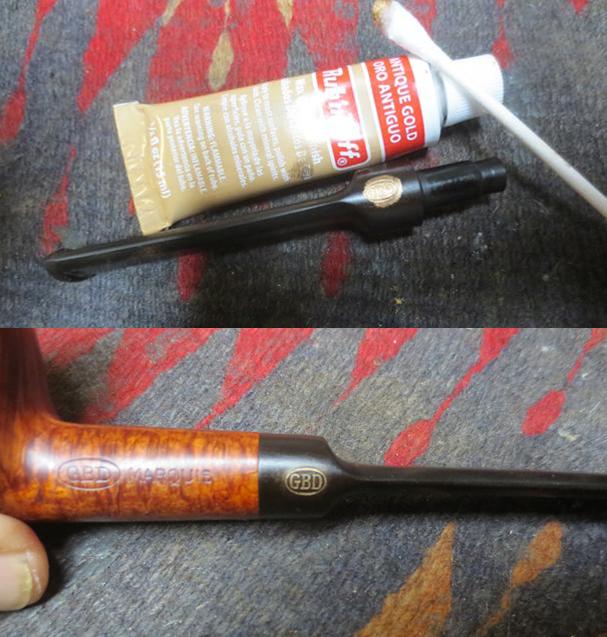
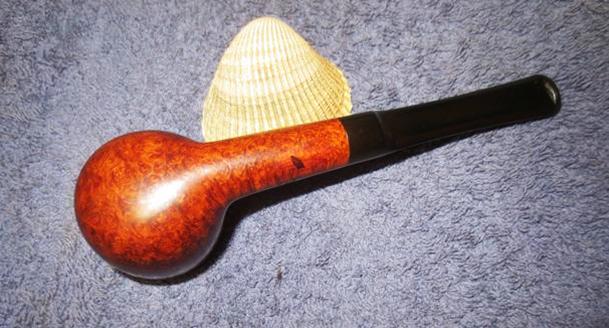
 He captured the stamping on both sides of the shank and the top of the tapered stem. They are clear and readable. The topside has the GBD Oval logo over London Made. On the underside of the shank it reads London England over the shape number 2871 and a P next to the shank/stem junction. The last photo below shows the GBD oval stamped on the top of the oval tapered stem.
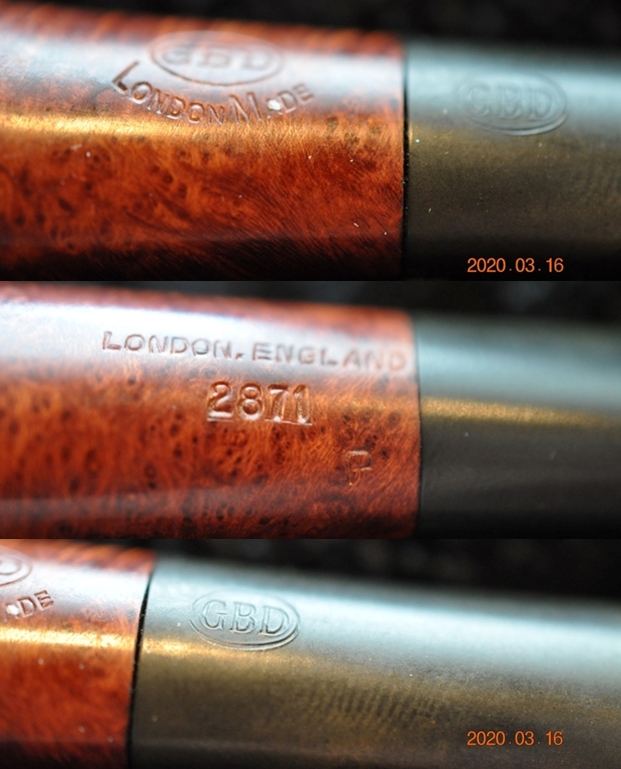 The photos of the stem show the oxidation on the stem surface as well as the tooth marks and chatter on both sides ahead of the button.
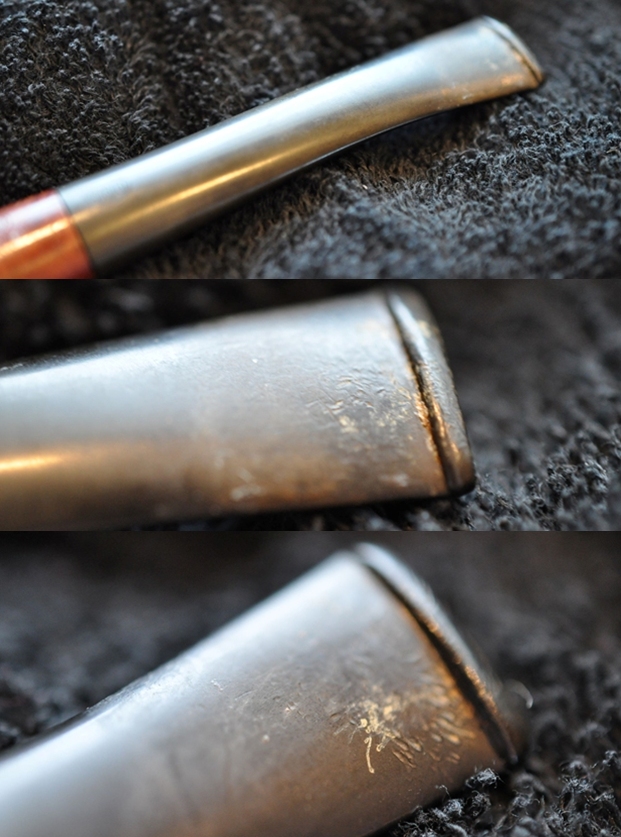 I have worked on quite a few GBD London Made pipes over the years so I turned to the rebornpipes and did a quick search to see what I had in terms of a bit of background and some dating information on the line. I found a blog on a 9664 shaped London Made that gave me the background information I was looking for (https://rebornpipes.com/2019/08/10/cleaning-up-a-gbd-london-made-9664/). I quote:
I turned to Pipedia’s article on GBD to see if I could find any information on the London Made. The article gives a lot in terms of the history of the brand and a list of various lines of GBD pipes (https://pipedia.org/wiki/GBD_Model_Information). I quote the section where I found the reference to the London Made.
London Made — Factory unknown: Some might not be marked with GBD logo and some with additional “house” stampings. Introduced in 1978(?) plain wax finished branded pipes” available in at least six stains. – catalog (1981)
With that information in hand I knew what I was dealing with in terms of the stamping and the age of this pipe. I knew from the information from the section quoted that the London Made originally came out in 1978 in a variety of colours. Now I had an idea of the age of the pipe and it was time to work on the pipe.
Jeff cleaned the pipe with his usual penchant for thoroughness that I really appreciate. This one was a real mess and I did not know what to expect when I unwrapped it from his box. He reamed it with a PipNet pipe reamer and cleaned up the reaming with a Savinelli Fitsall Pipe Knife. He scrubbed out the internals with alcohol, pipe cleaners and cotton swabs until the pipe was clean. He scrubbed the exterior of the bowl with Murphy’s Oil Soap and a tooth brush to remove the grime and grit on the briar and the lava on the rim top. The finish looks very good with good looking grain around the bowl and shank. Jeff soaked the stem in Before & After Deoxidizer to remove the oxidation on the rubber. When the pipe arrived here in Vancouver for the second stop of its restoration tour it looked very good. I took photos before I started my part of the work.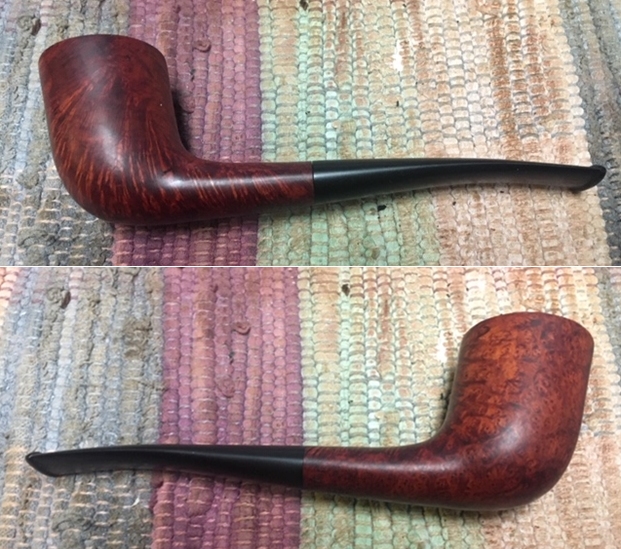
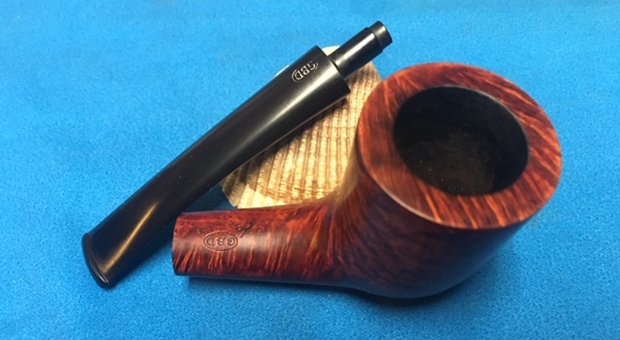
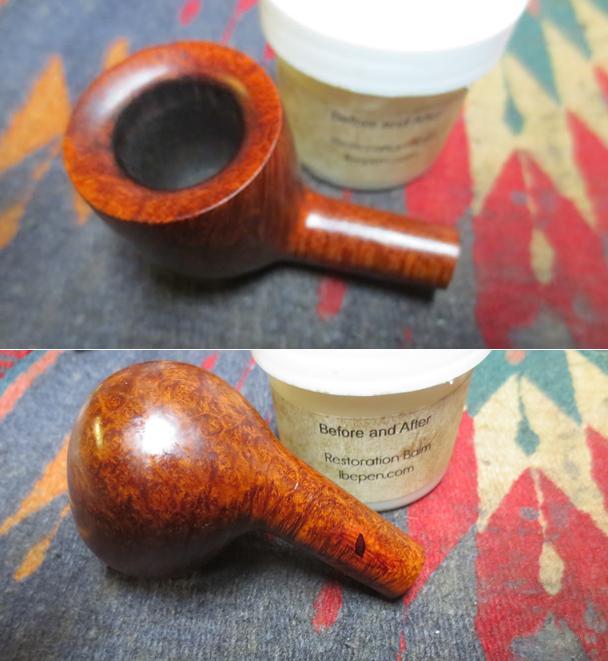
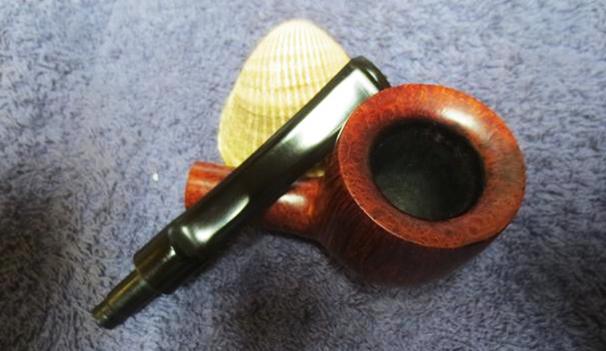
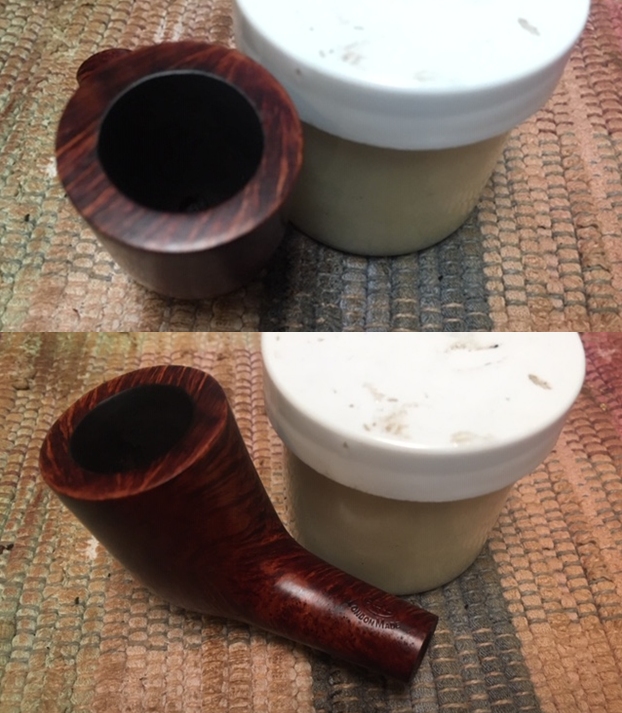
 I took some photos of the rim top and stem. The inner edge shows some damage on the back right side and a bit on the left side. The close up photos of the stem shows that is it very clean.
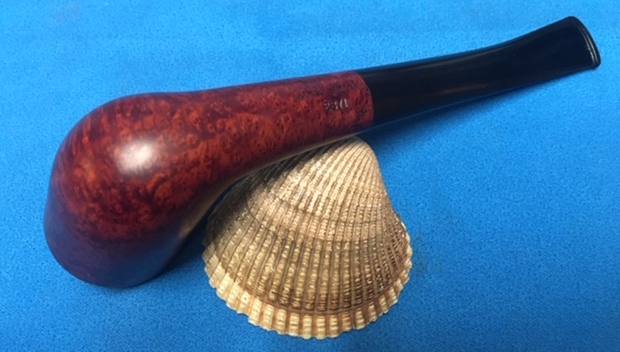
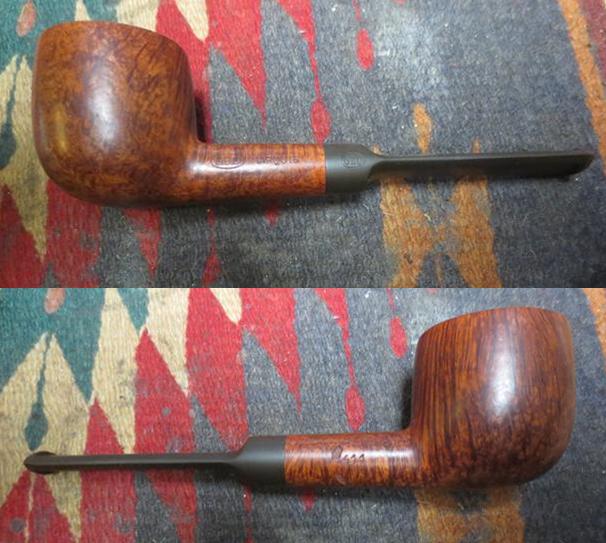
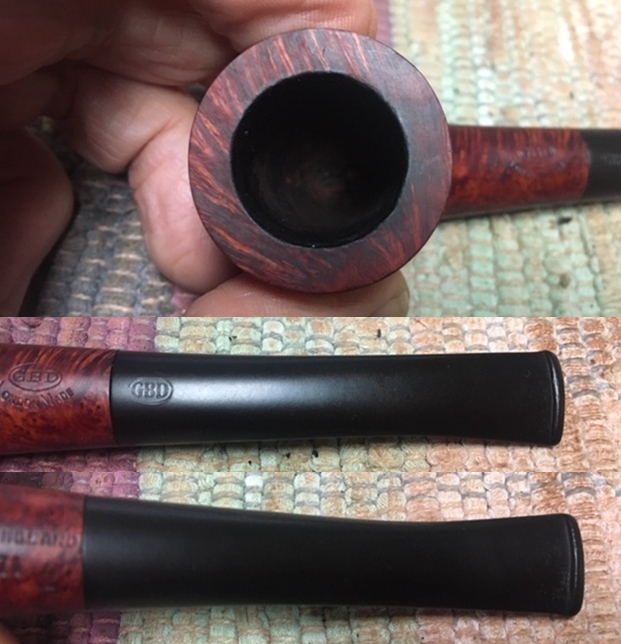 I took the stem off the shank and took a picture of the pipe. It really is a nice looking pipe with great lines.
 I started my restoration work on the pipe by addressing the damage to the inner edges of the rim. I used a folded piece of 220 grit sandpaper to smooth out the inner edge and bring the bowl back to round. It did not take too much work.
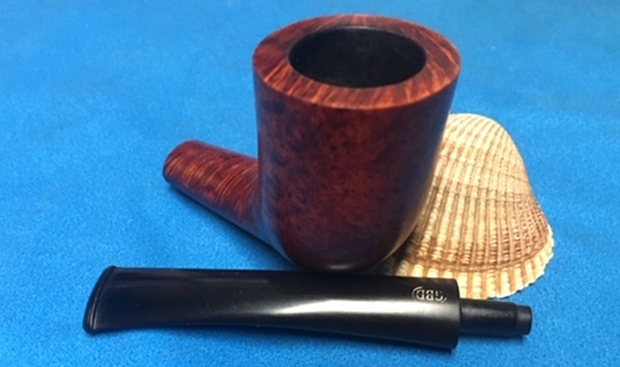
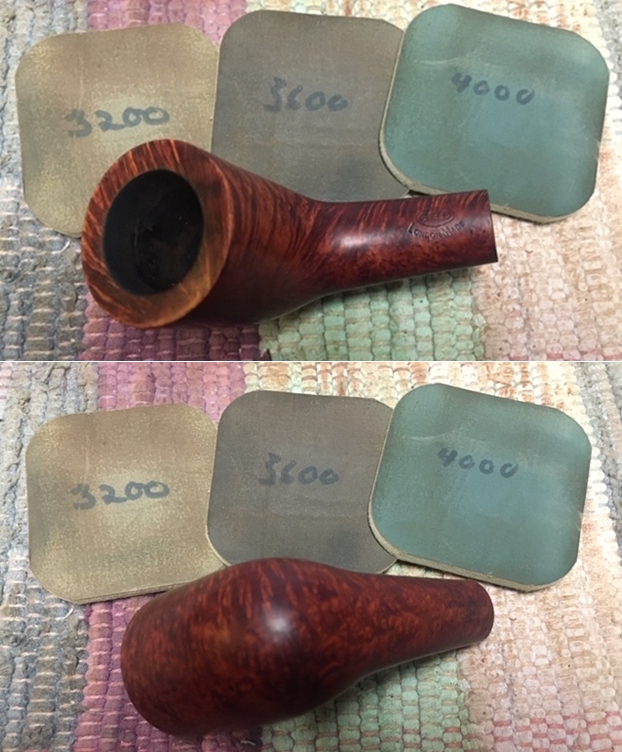
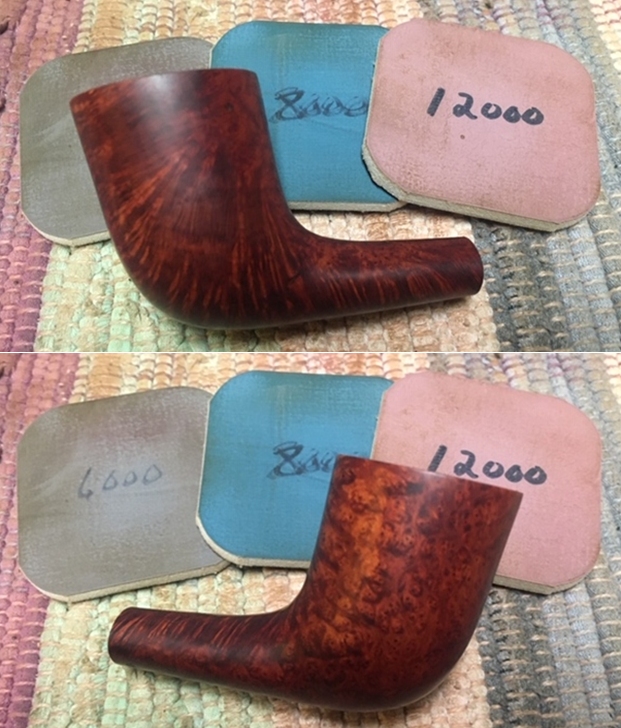
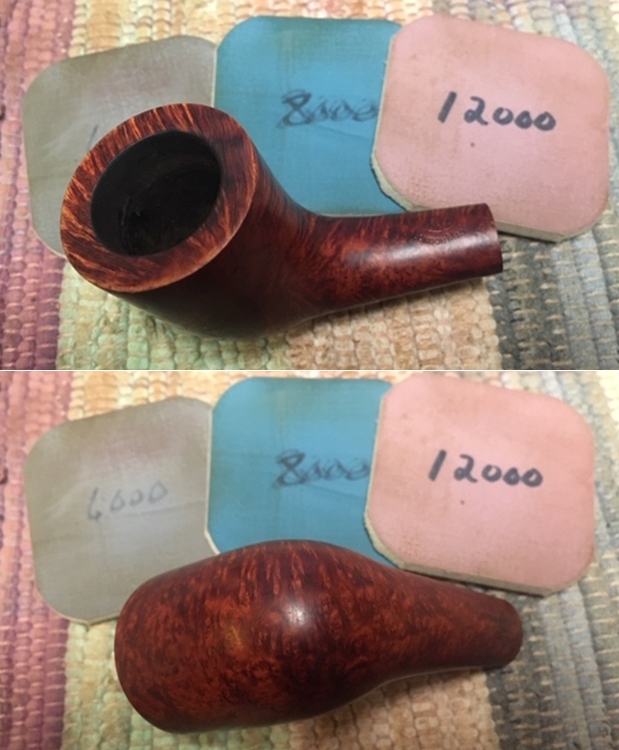
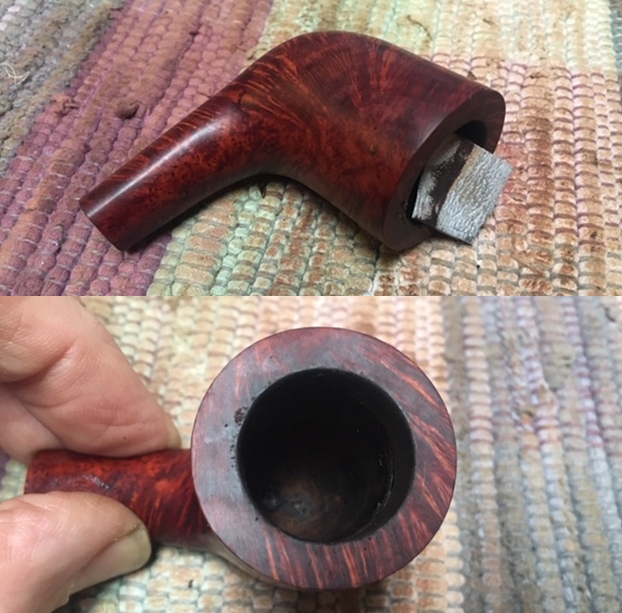 I polished the briar with micromesh sanding pads – dry sanding with 1500-12000 grit pads. I wiped the bowl down after each pad with a damp cloth. The grain really began to stand out and the finish took on a shine by the last sanding pad. The photos tell the story!
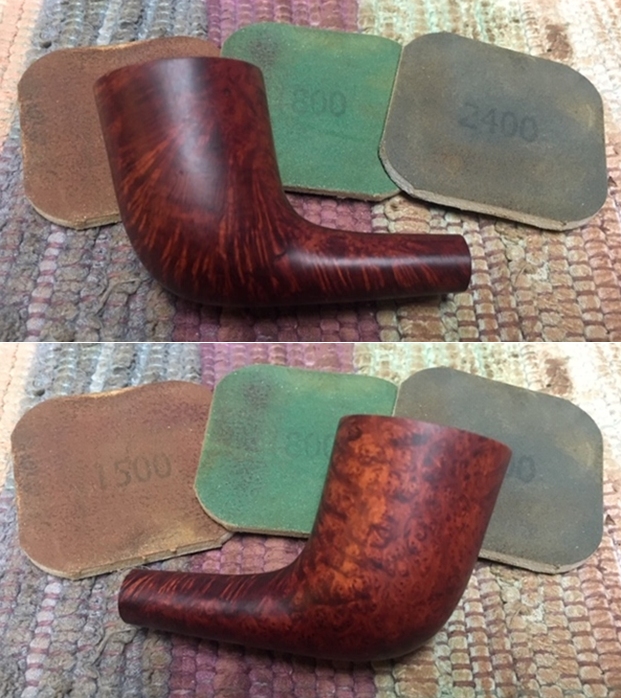
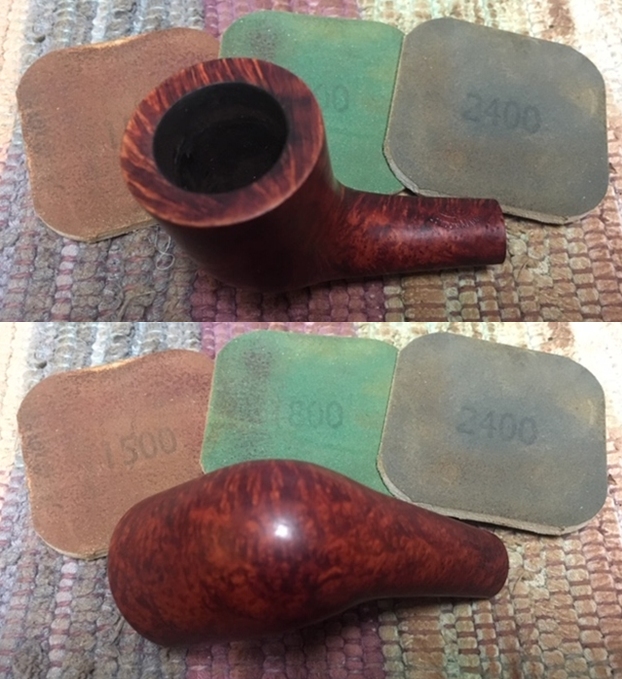
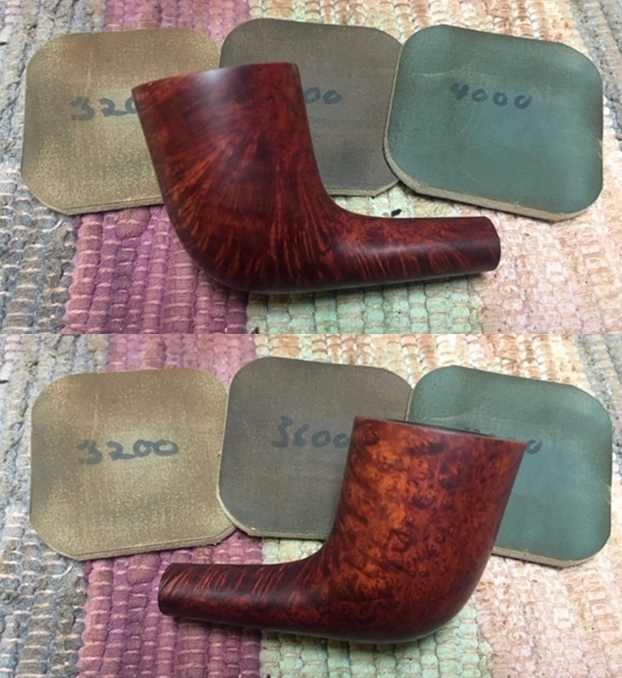
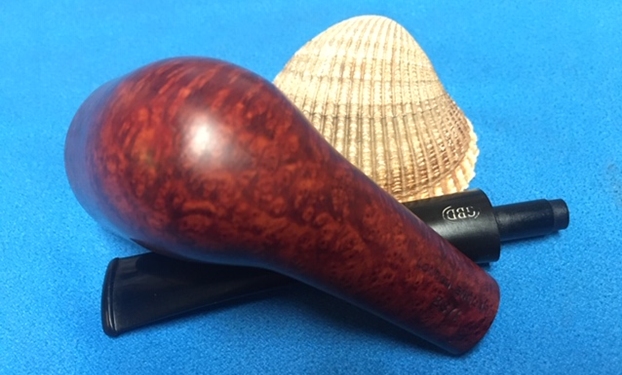
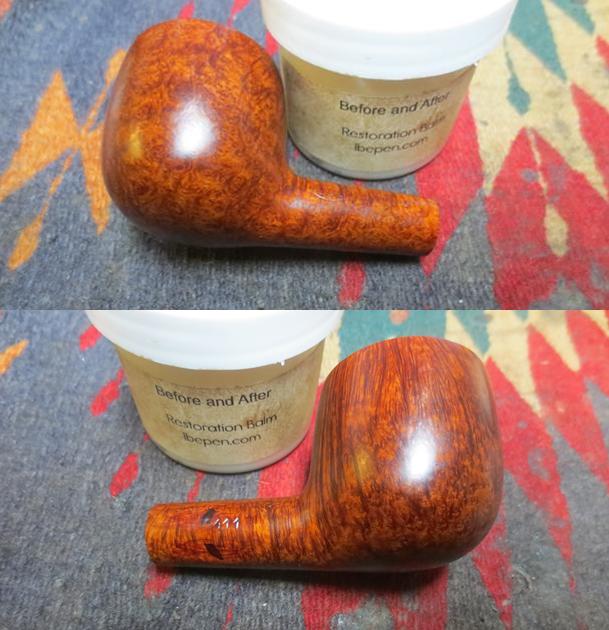
 I worked some Before & After Restoration Balm into the surface of the briar with my fingertips. The product works to clean, enliven and protect the briar. I let the balm sit for about ten minutes and then buffed with a cotton cloth to raise the shine. The photos show the bowl at this point in the restoration process.
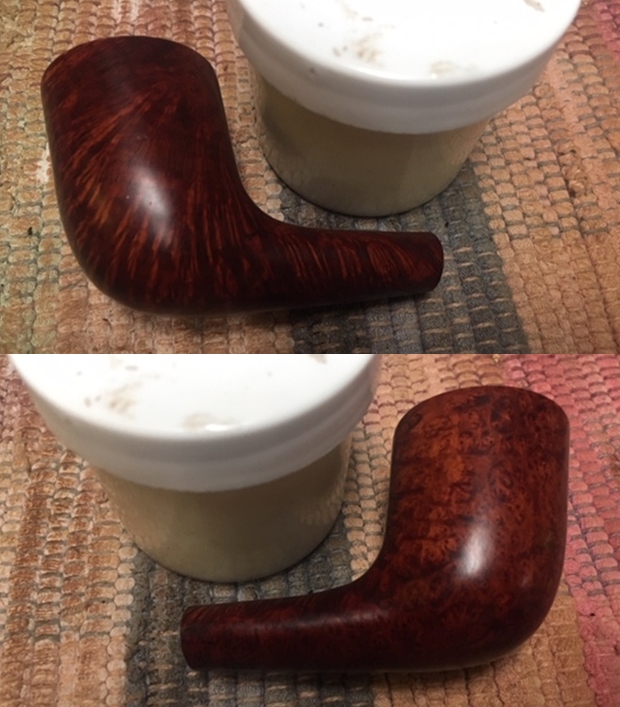
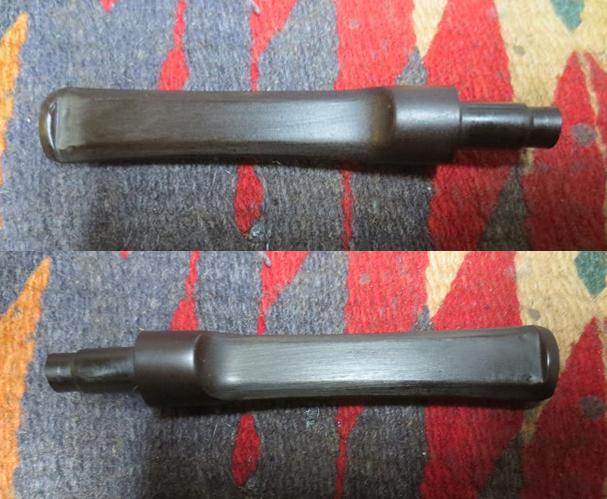
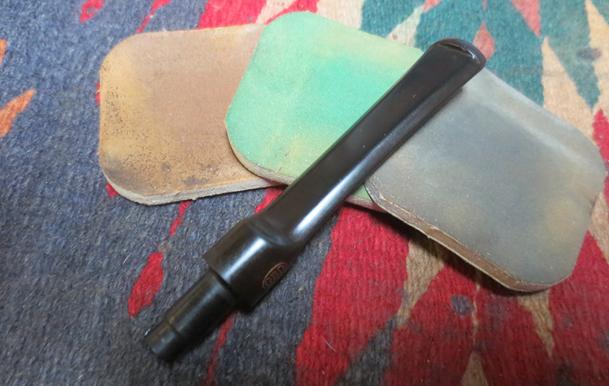
 I laid the bowl aside and turned to deal with the stem. I sanded the tooth marks and chatter on the stem with a folded piece of 220 grit sandpaper to blend them into the surface of the stem and started polishing with 400 grit wet dry sandpaper.
 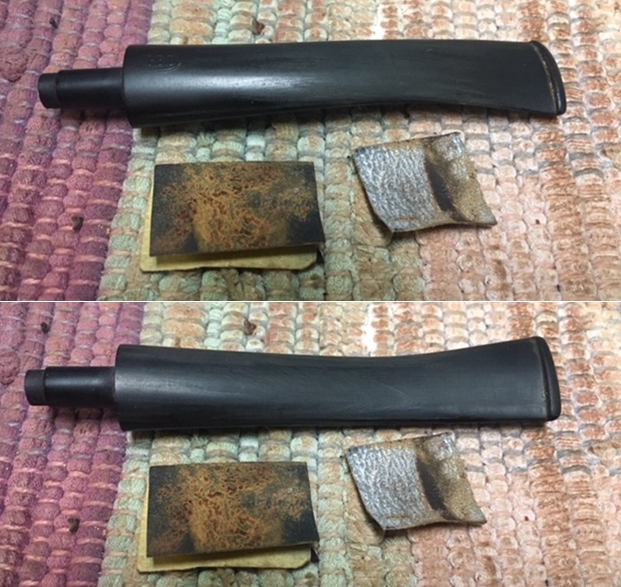 I polished the stem with some Denicare Mouthpiece polish – a red gritty paste that feels a lot like the texture of red Tripoli. It works well to polish out some of the scratches. I find that it does a great job preparing the stem for polishing with micromesh sanding pads.
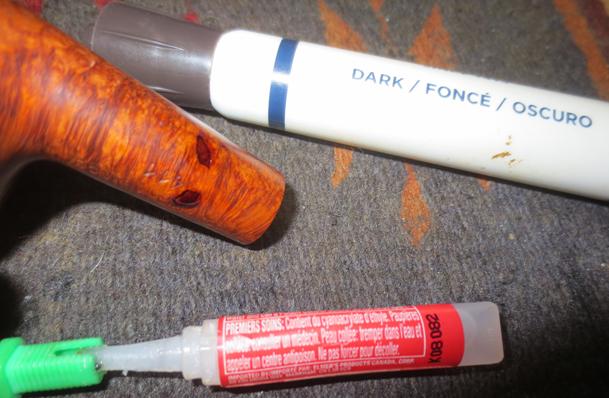
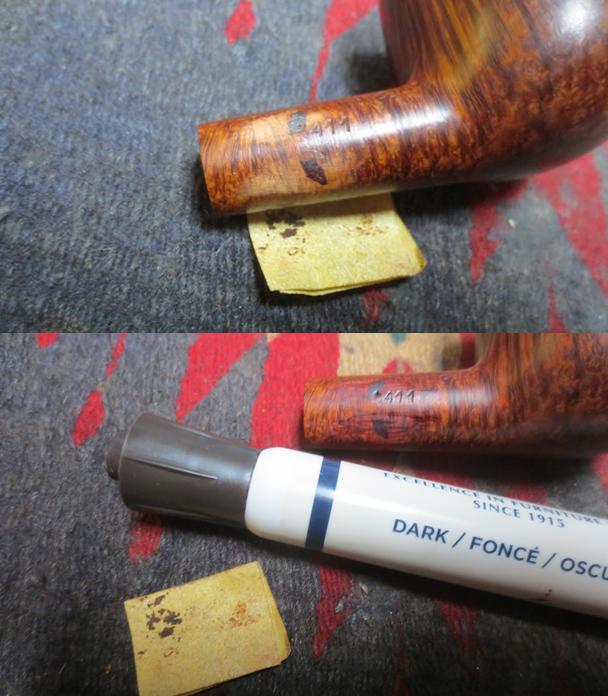
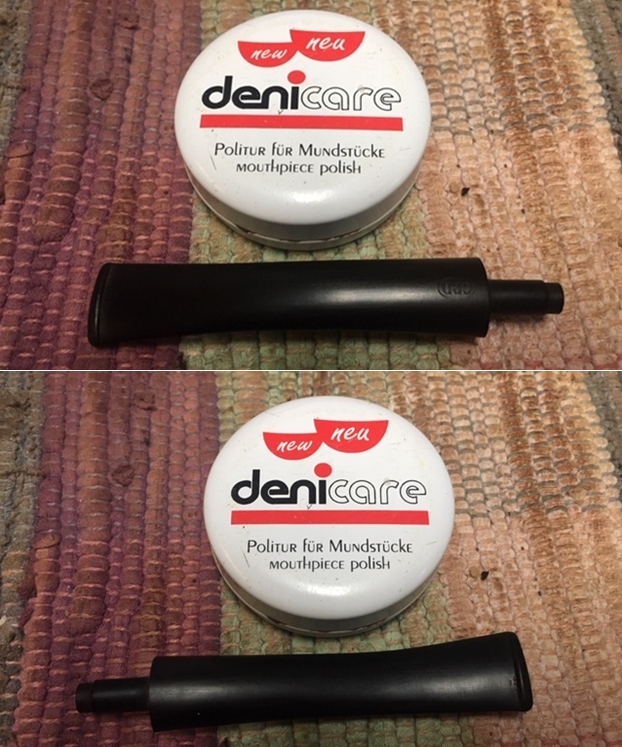 From the information I could find online the stamping on the stem was white. I have successfully used Paper Mate Liquid Paper to restore/replace the white fill in the stamp. I apply it with the dauber included and scrape off the excess with a tooth pick and finger nail. In this case some of the oval stamping was faint but the GBD was sufficient to look better.
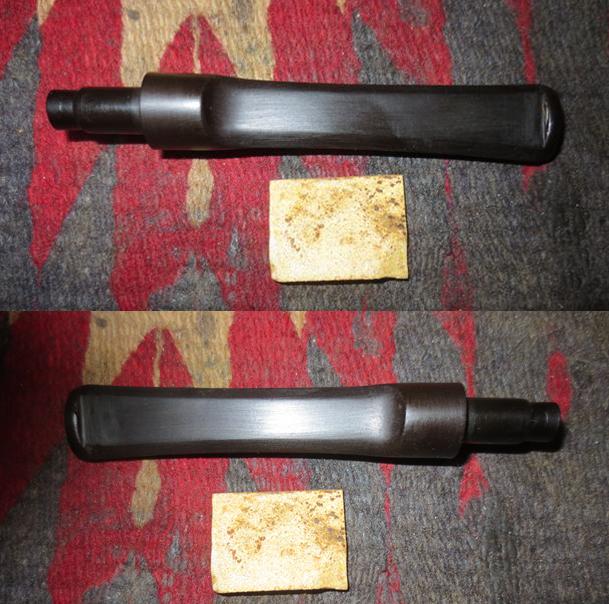
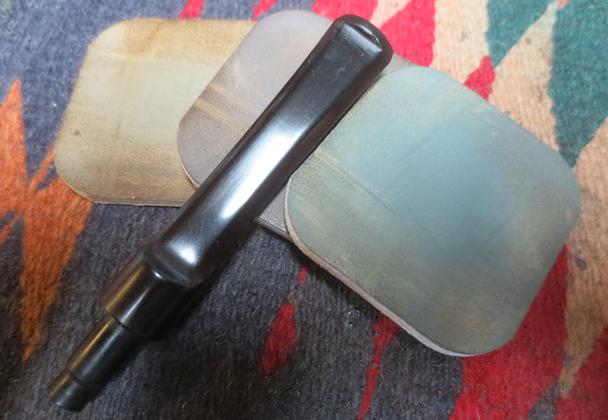
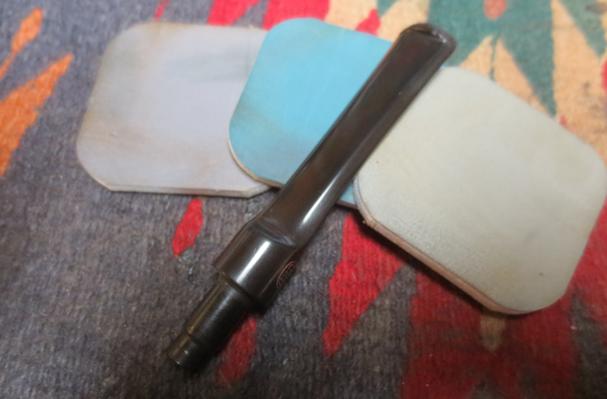
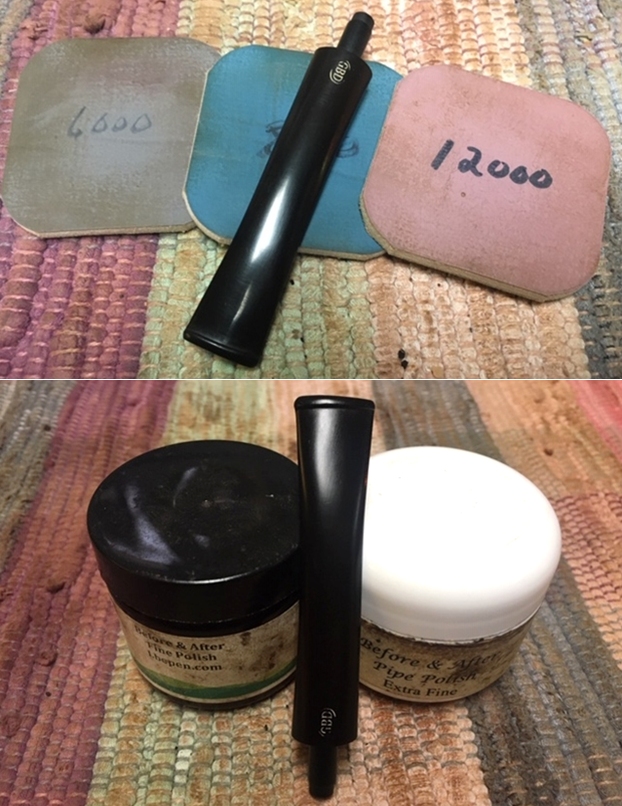
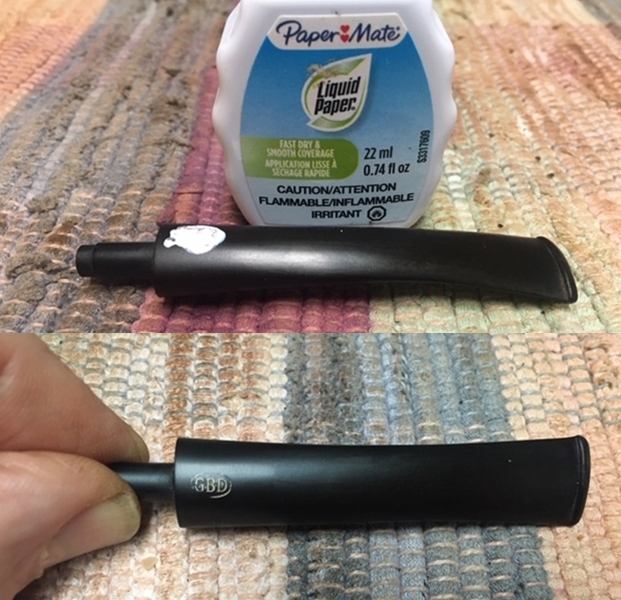 I polished the stem with micromesh sanding pads – dry sanding with 1500-12000 grit sanding pads. I wiped it down after each sanding pad with a cloth containing some Obsidian Oil. I finished polishing it with Before & After Pipe Stem Polish – both Fine and Extra Fine and buffed it off with a cotton cloth.
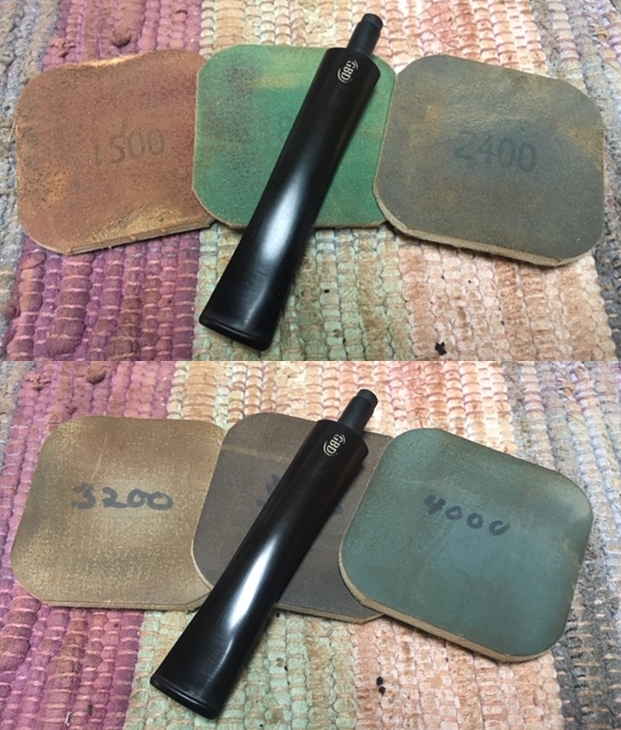
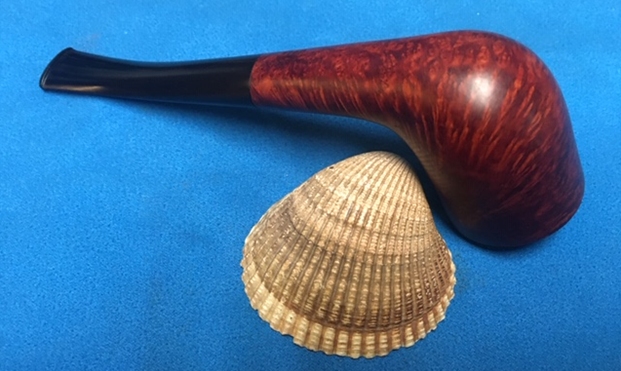
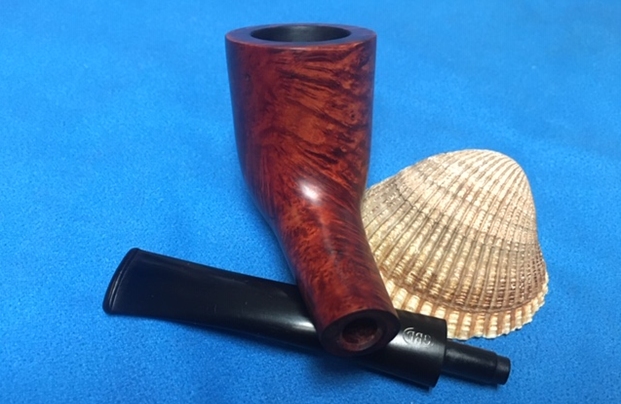
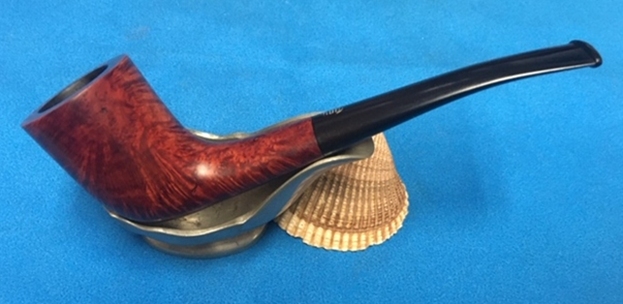
 This was a pipe I was looking forward to seeing what it looked like when I put it back together. The change in condition and appearance of the pipe was remarkable. With the grime and debris gone from the finish and the bowl it was a beauty and the grain just pops at this point. I put the stem back on the bowl and buffed the pipe with Blue Diamond on the buffing wheel. I carefully avoided the stamping on the shank and stem during the process. I gave the bowl and the stem multiple coats of carnauba wax on the buffing wheel and followed that by buffing it with a clean buffing pad on the buffer. I hand buffed the pipe with a microfiber cloth to deepen the shine. The finished pipe is quite beautiful and is a lovely Zulu shaped pipe. The finish on the bowl combines various stains to give it depth. It is very well done. Give the finished pipe a look in the photos below. I can only tell you that it is much prettier in person than the photos capture. The dimensions of the pipe are Length: 5 ½ inches, Height: 1 ¾ inches, Outside diameter of the bowl: 1 ¼ inches, Chamber diameter: ¾ of an inch. I really like the way that GBD makes the Zulu shape. They have made their Zulu very recognizable. This is a great looking pipe in great condition. Thanks for walking through the restoration with me as I worked over another beautiful pipe. I will be adding it to the rebornpipes store soon. If you want to add it to your collection send me an email or a message! Thanks for your time.