Blog by Steve Laug
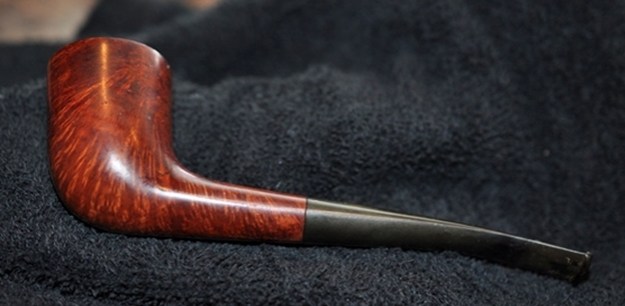
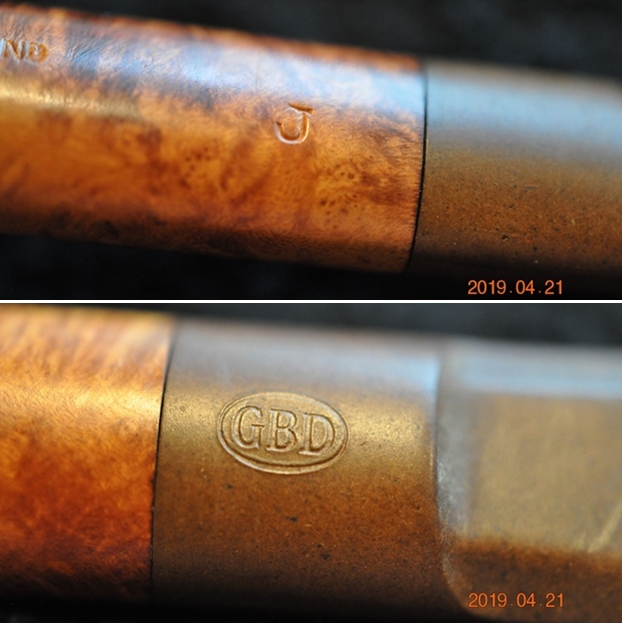
The next pipe on the work table came to me from one of our estate purchases. We picked up a second GBD 256 Lumberman early in 2019. I wrote about the previous one in an earlier blog (https://rebornpipes.com/2020/08/05/this-is-one-i-have-not-seen-before-a-gbd-london-made-lumberman-256-with-an-unusual-stamp-on-the-shank/). I had been stamped Ed’d Golden Era on the underside of the shank. The stamping on this one is more regular than that. It is stamped on the top side and reads GBD in an oval with London Made arched around the underside of the oval. On the underside it is stamped London England [over] shape number 256. Next to the stem/shank junction it is stamped with the number J. The finish had a lot of grime ground into the smooth finish on the bowl and some darkening around the sides of the bowl. The grain however could not be hidden on this gem. The bowl was moderately caked and had an overflow of light lava on the top of the rim. The rim edges looked pretty good. The stem was calcified, oxidized and had tooth chatter and marks on the top and underside and on the surface of the button. There was a faint GBD stamp on the topside of the saddle stem. The pipe had promise but it was very dirty. Jeff took photos of the pipe before he started his cleanup work. 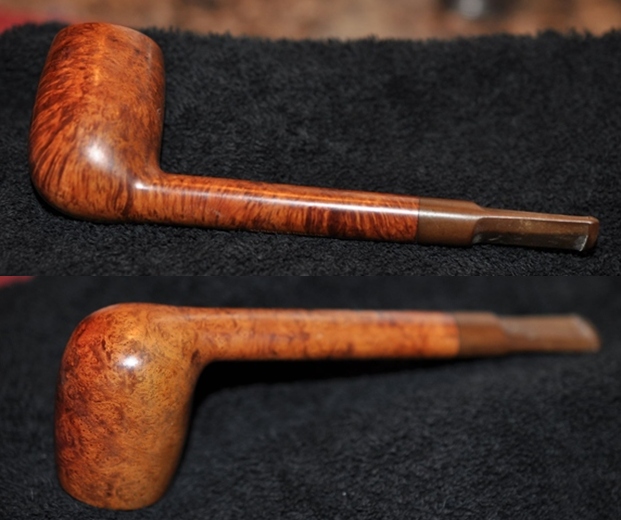
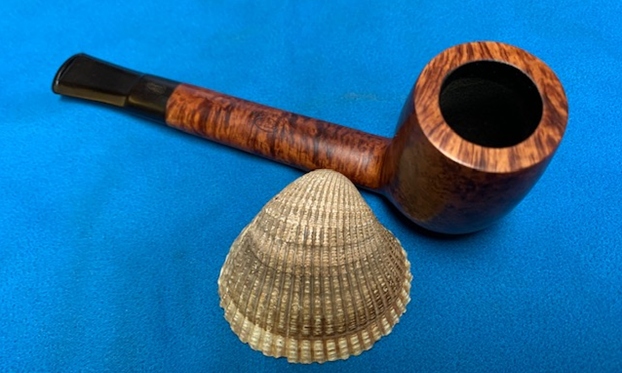
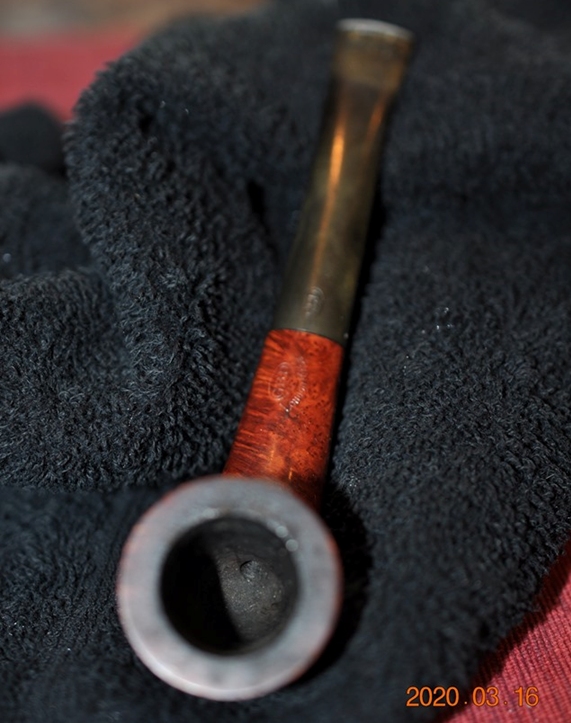
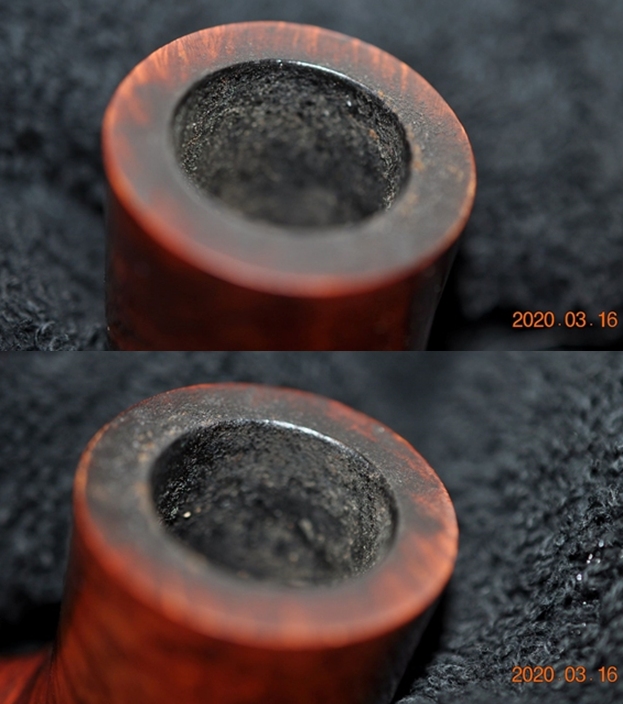
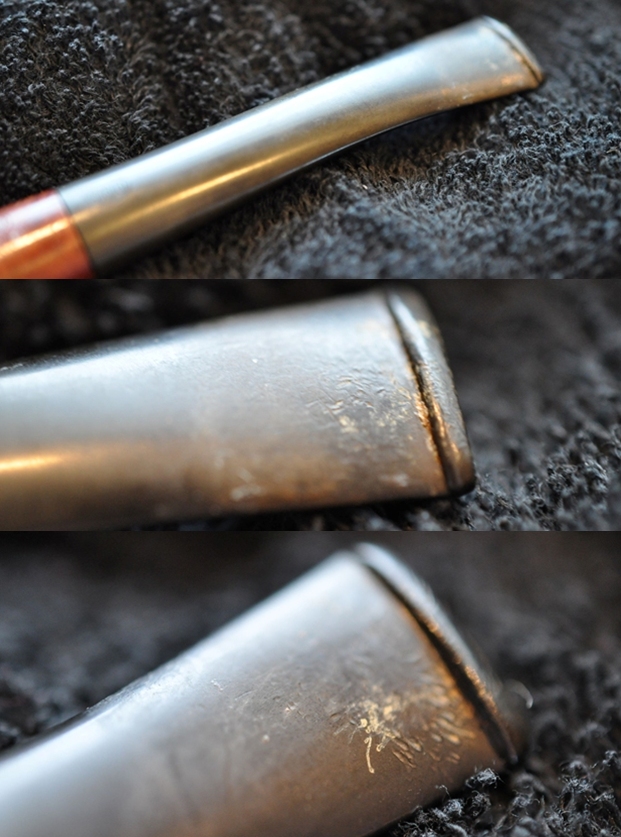
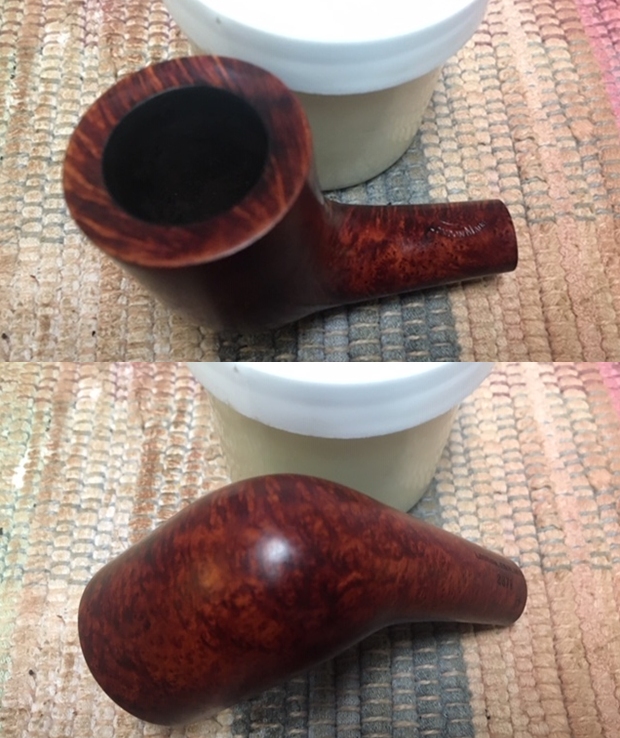
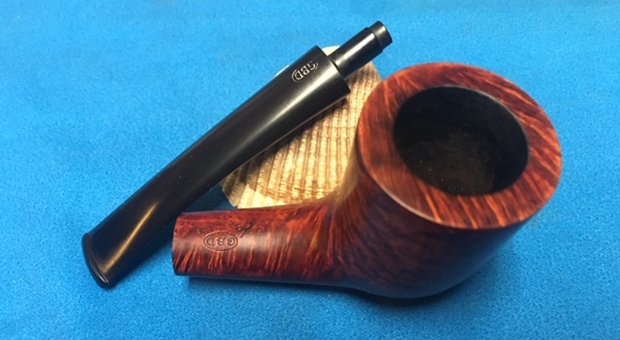
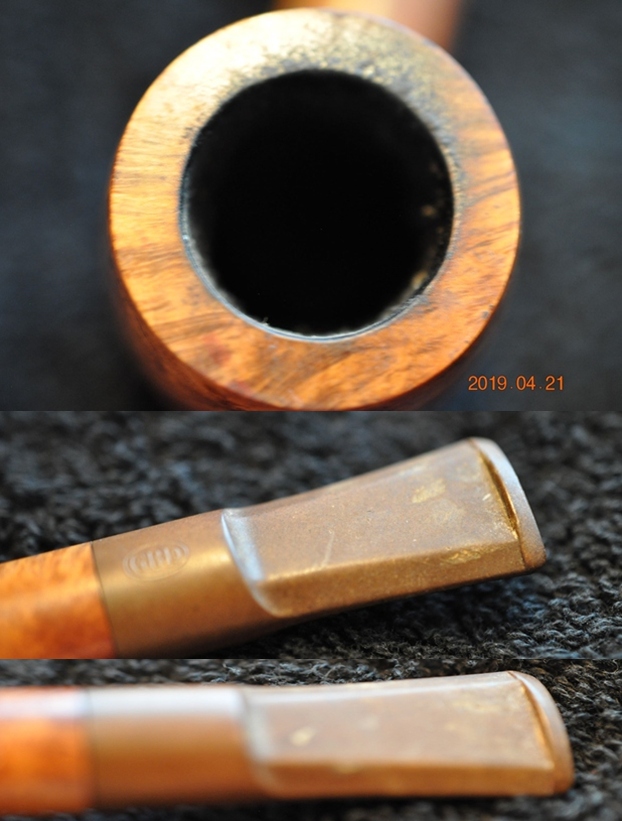
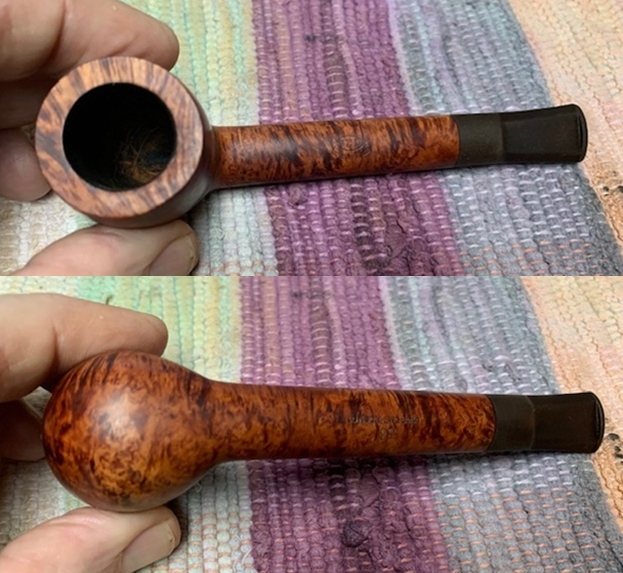
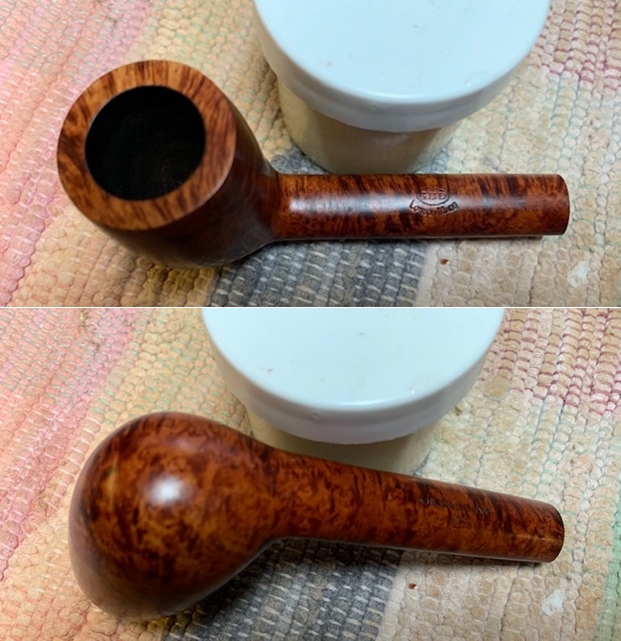
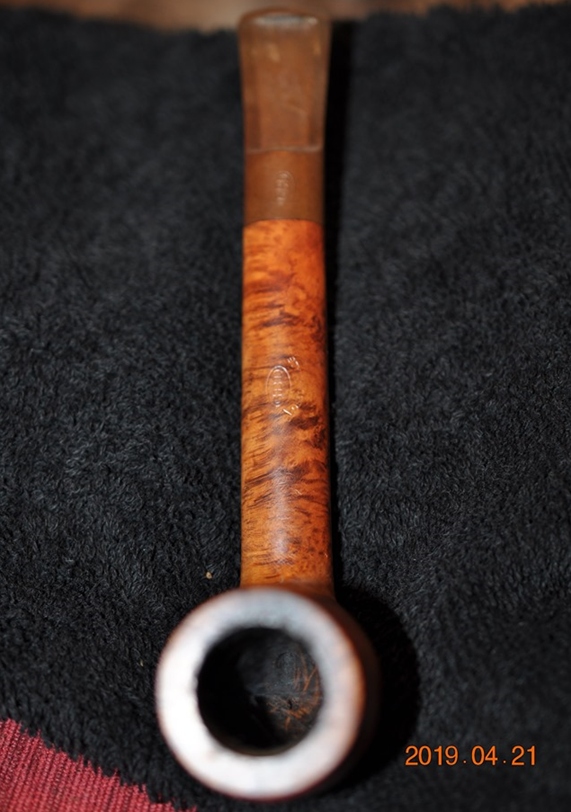 He took photos of the rim top and bowl to give a clear picture of the thickness of the cake and the overflow of lava on the rim top. It appears that there is also some damage to the front inner edge of the bowl in the next two photos. He also took photos of the top and underside of the stem to show the oxidation, calcification, chatter and tooth marks.
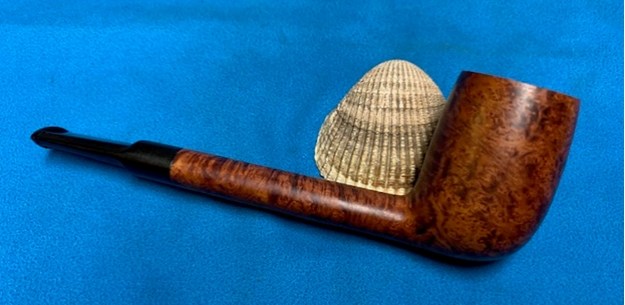
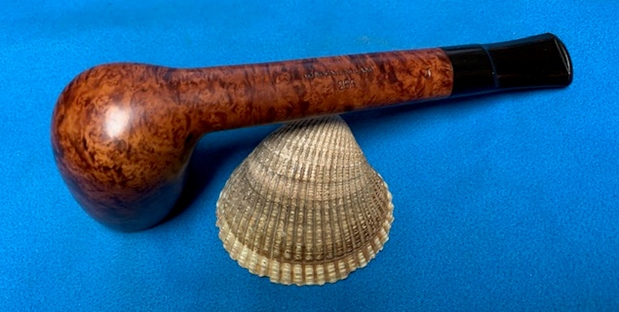
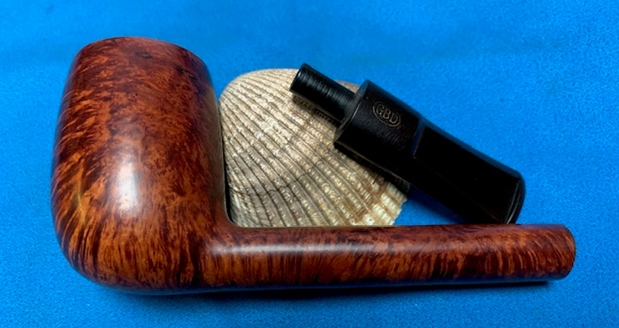
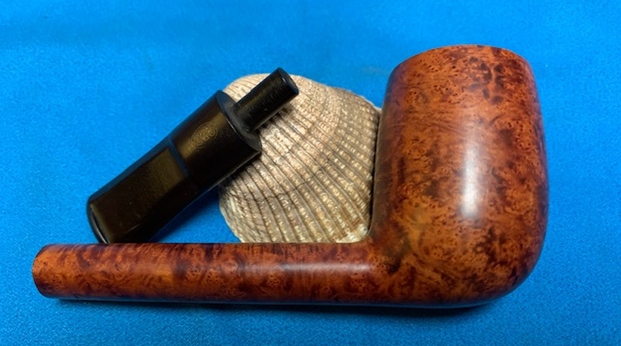
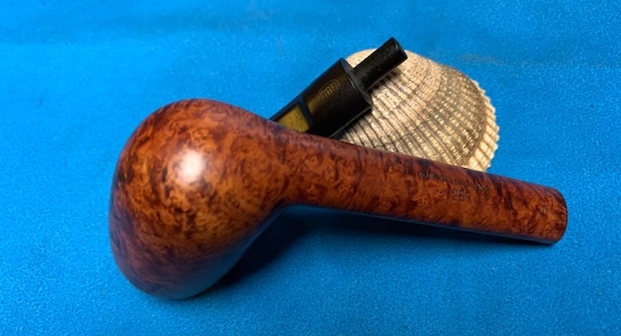
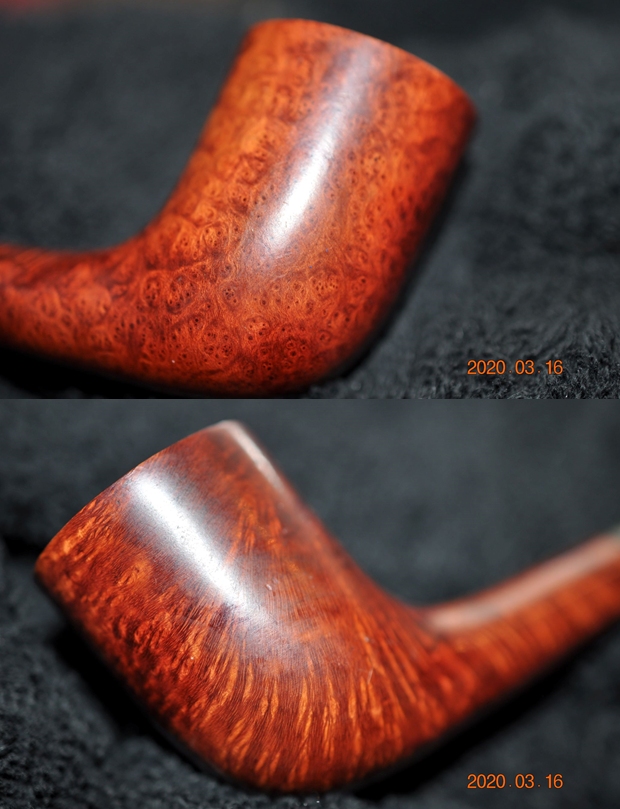
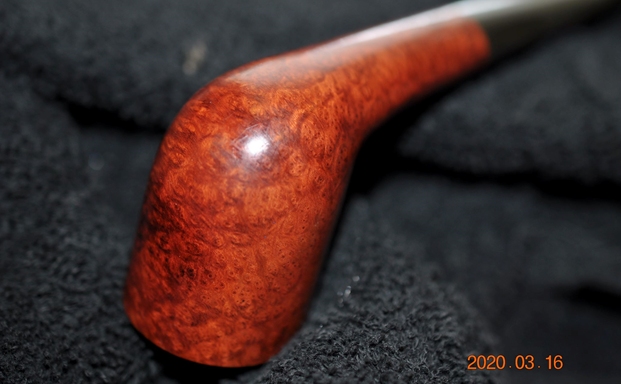
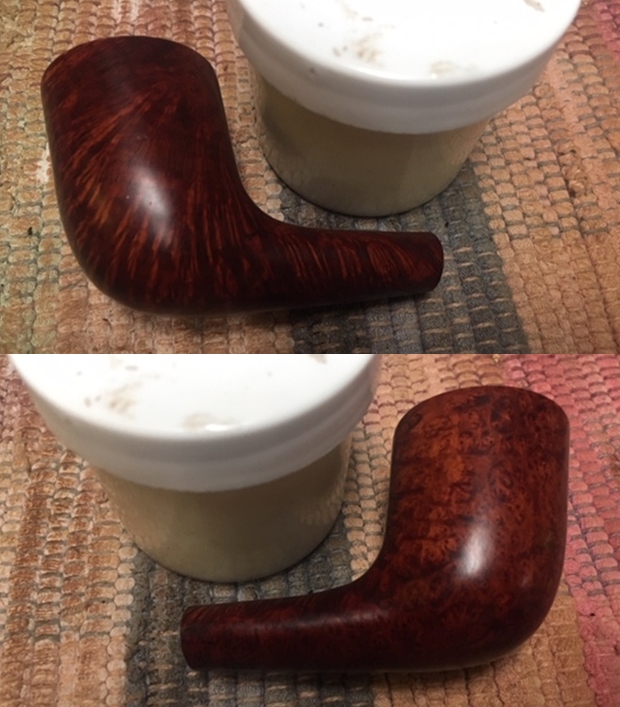
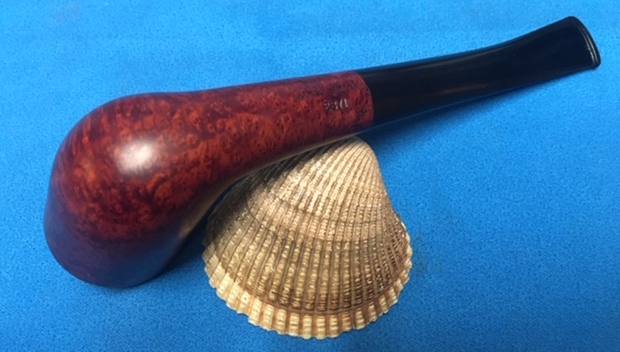
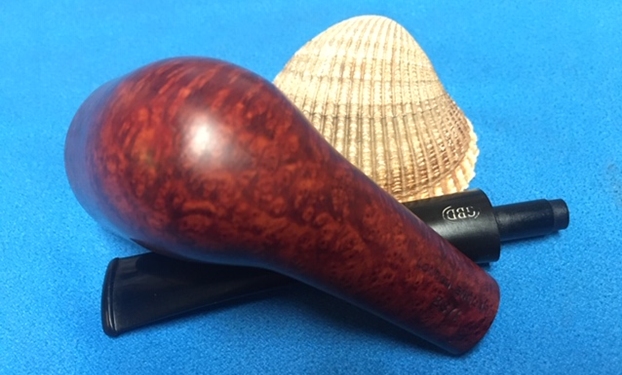
 Jeff took photos of the sides and heel of the bowl to give a picture of what the briar around the pipe looked like. There is some stunning grain under the grime.
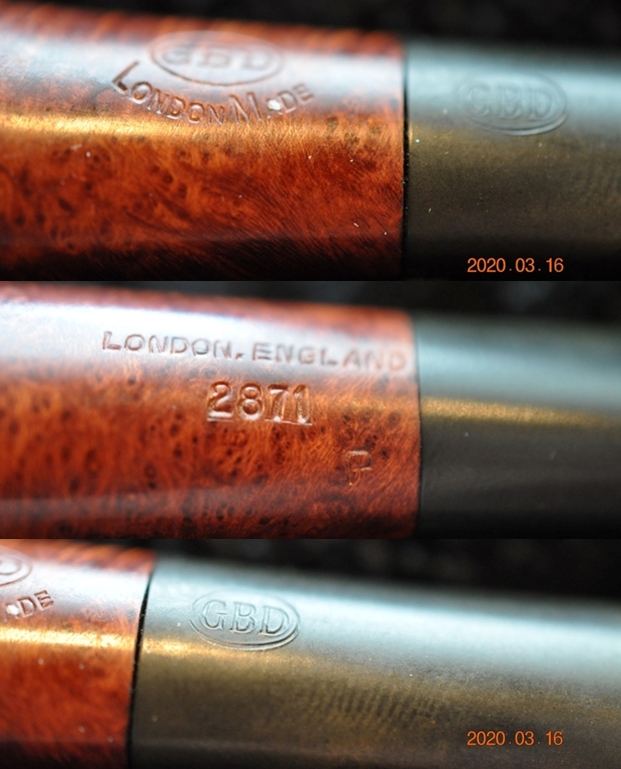
 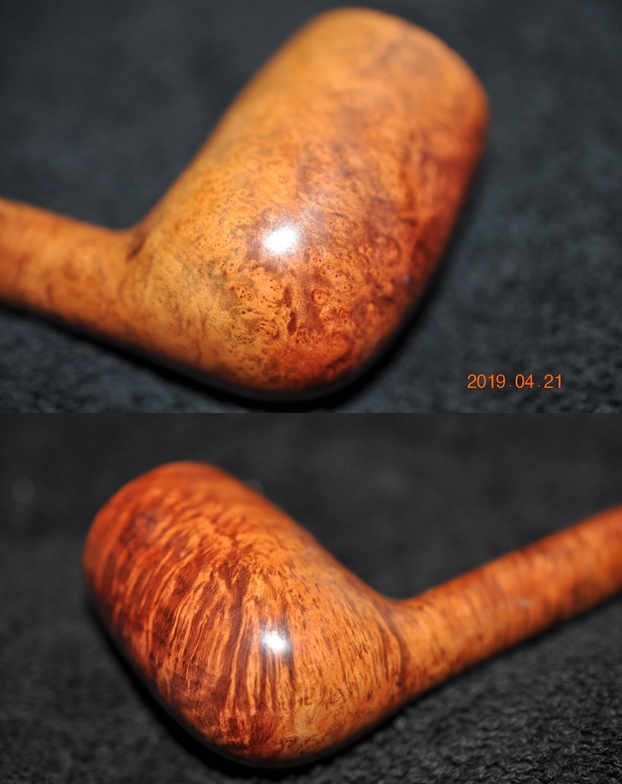 He took photos of the stamping on both sides of the shank. They are numerous and are faint but read as noted above. He also included a photo of the stamping on the top of the saddle stem.
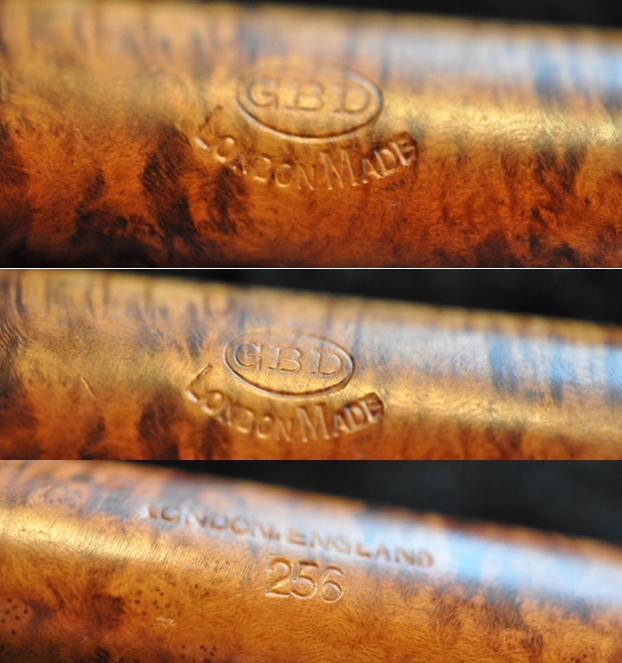
 I turned to Pipedia and followed a link to the GBD Model Information article to see if there was some help there (https://pipedia.org/wiki/GBD_Model_Information). I wanted some information on the London Made line. I include what I found below.
London Made — Factory unknown: Some might not be marked with GBD logo and some with additional “house” stampings. Introduced in 1978(?) plain wax finished branded pipes” available in at least six stains. -catalog (1981).
That article gave me some helpful information. I knew that the pipe line was often marked with additional “house” stampings. This one did not have any! I also knew that the 256 shape number tied back to a Canadian. Since Lumberman pipes were in essence Canadians with a saddle stem I was in the right ballpark. Still I had no idea what the J stamp referred to. Now to work on the pipe.
Since Jeff follows the same pattern of work in his cleanup we do not include photos but rather just a simple summary. Jeff reamed the bowl with a PipNet pipe reamer and followed up with a Savinelli Fitsall pipe knife to remove the cake. He scrubbed out the mortise and the airway in the shank and the stem with alcohol, cotton swabs and pipe cleaners. He scrubbed the exterior of the bowl, rim, shank and stem with a tooth brush and Murphy’s Oil Soap to remove the oils and tars on the rim and the grime on the finish of the bowl. He rinsed it under running water. He dried it off with a soft cloth. He was able to remove the lava build up on the rim top and you could see the damages to the top and edges of the rim. I think this pipe may well been before we worked with Mark Hoover’s Before & After Deoxidizer so he cleaned the internals and externals. The stem was clean but oxidized. I took photos of what the pipe looked like when I brought to my worktable.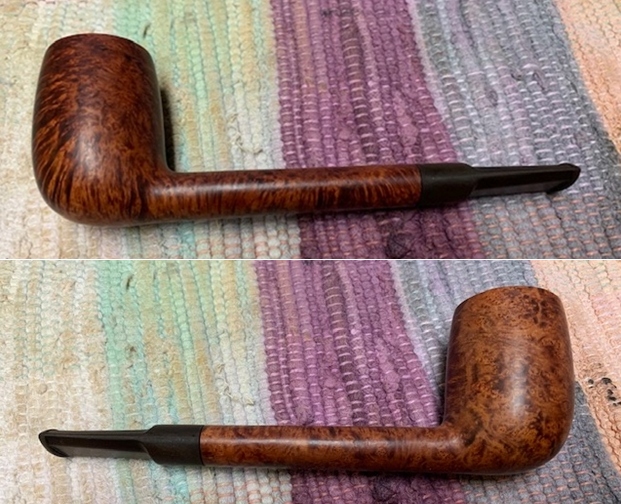
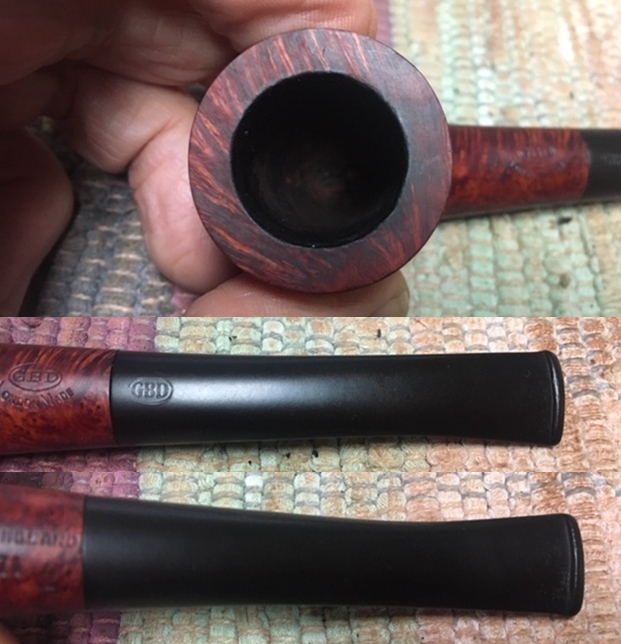
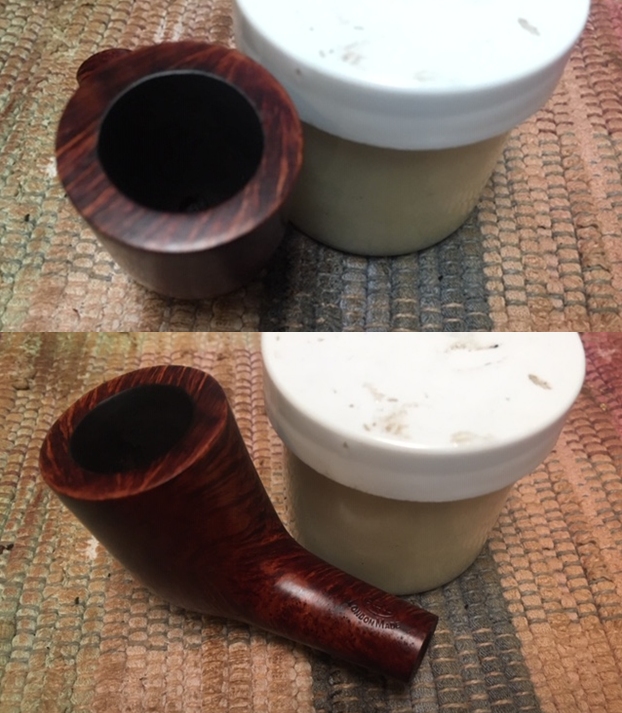
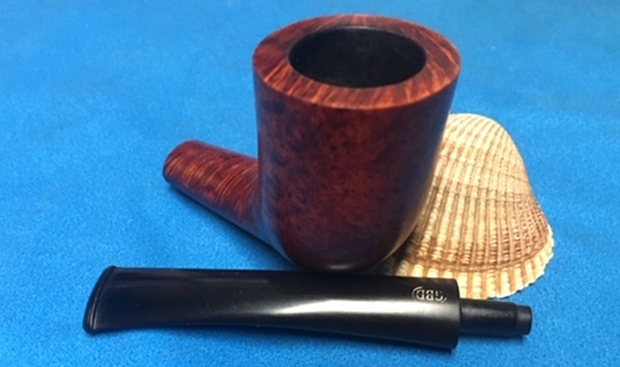
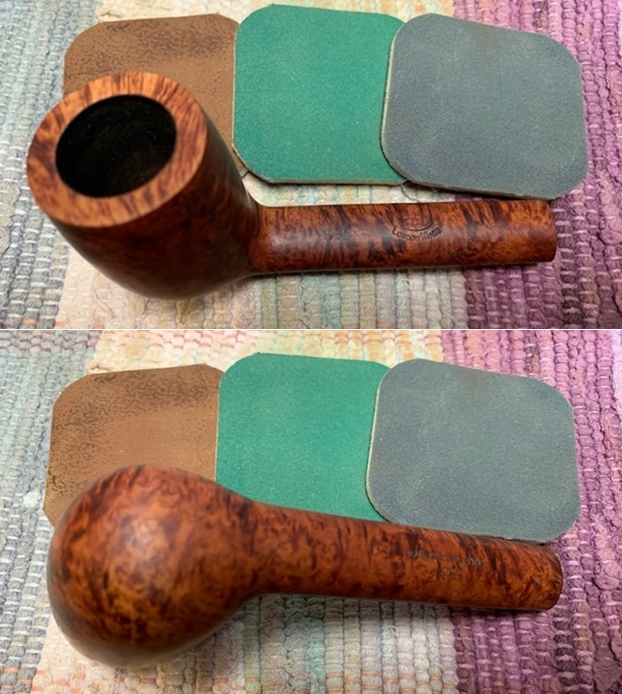
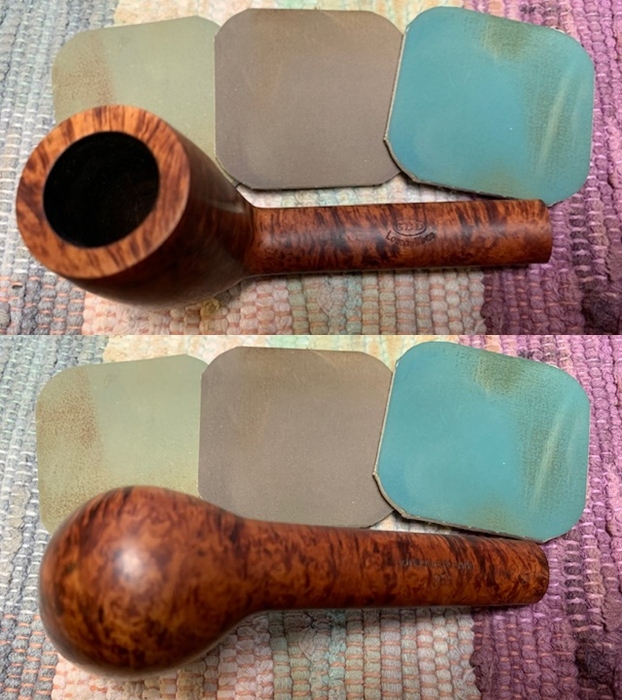
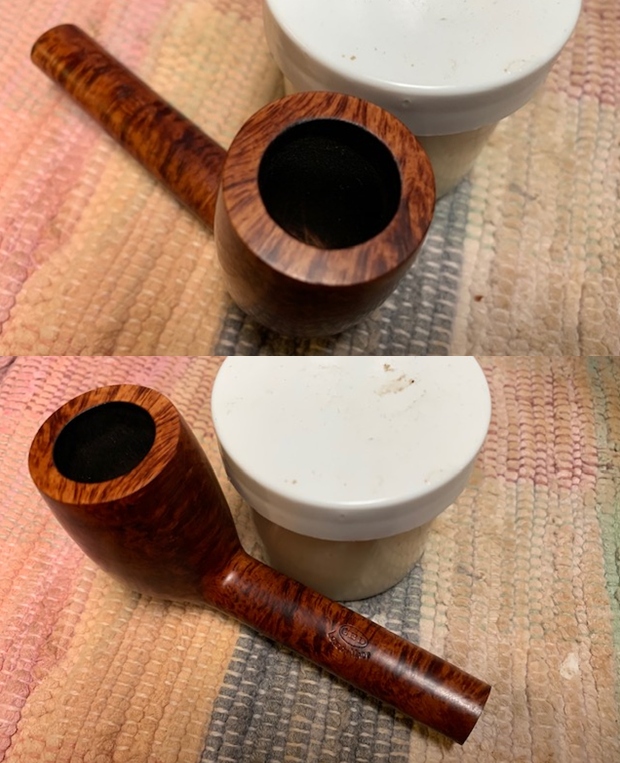
 The rim top cleaned up really well with the lava coat removed. The inner edge of the rim showed some damage and burning on the front and back edges. There was also some damage on the rim top at the front.. The stem surface looked very good with some light oxidation remaining and a few tooth marks and chatter on both sides near the button and on the button surface itself.
 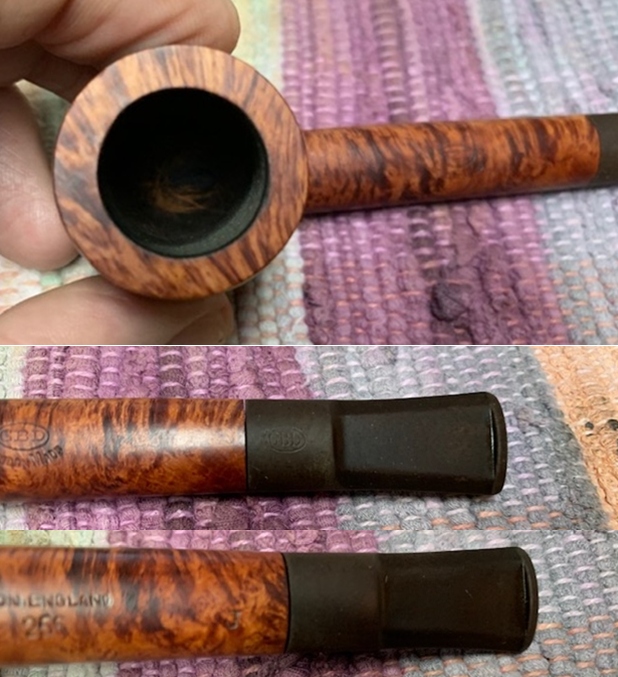 I took photos of the stamping on the top and underside of the shank. It read as noted above.
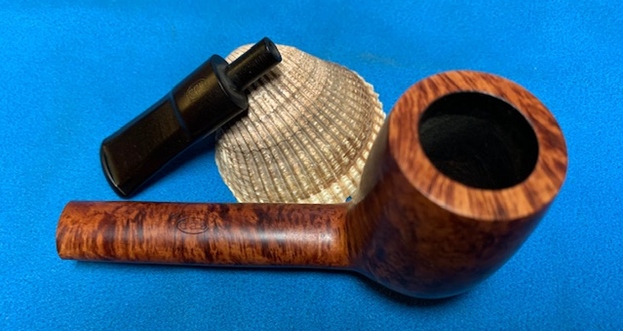
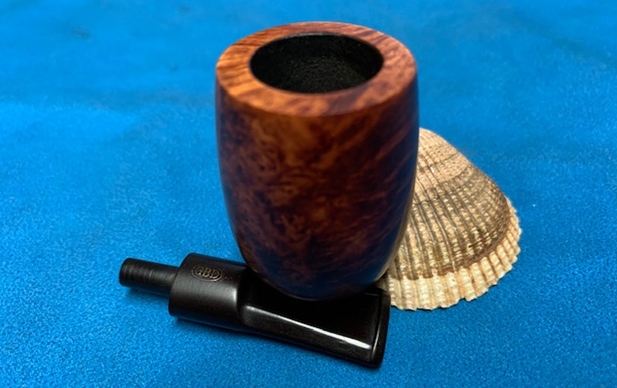
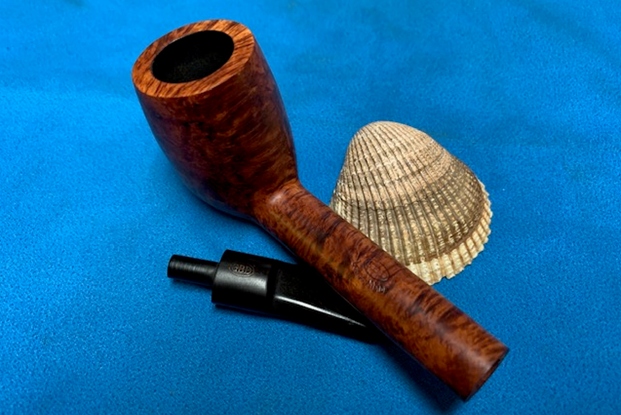
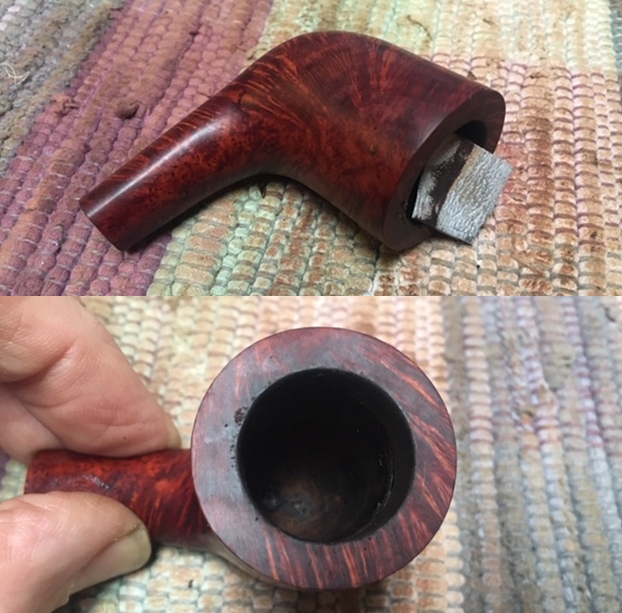
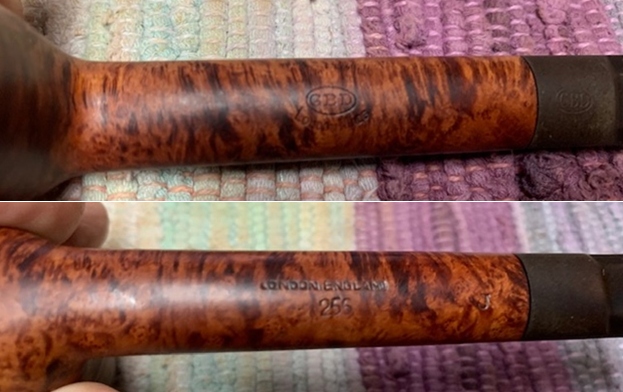 I removed the stem and took a photo of the pipe to give a sense of the whole. It is a well shaped Canadian.
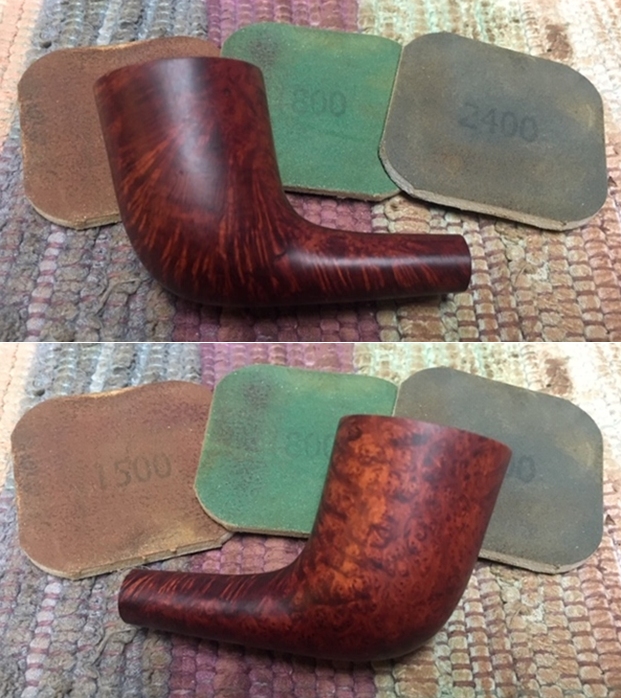
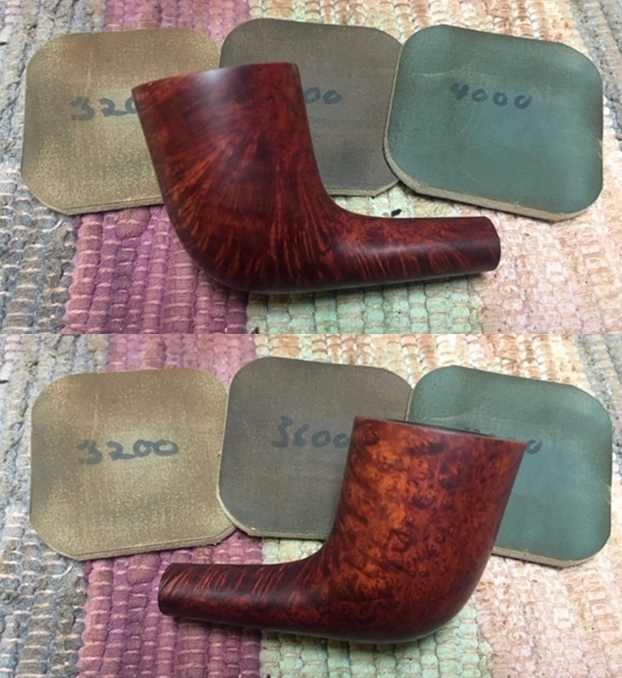
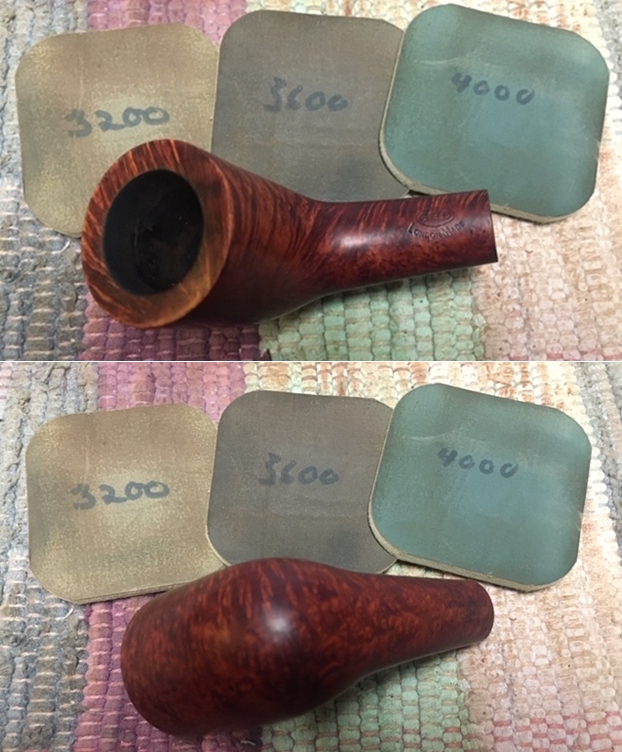
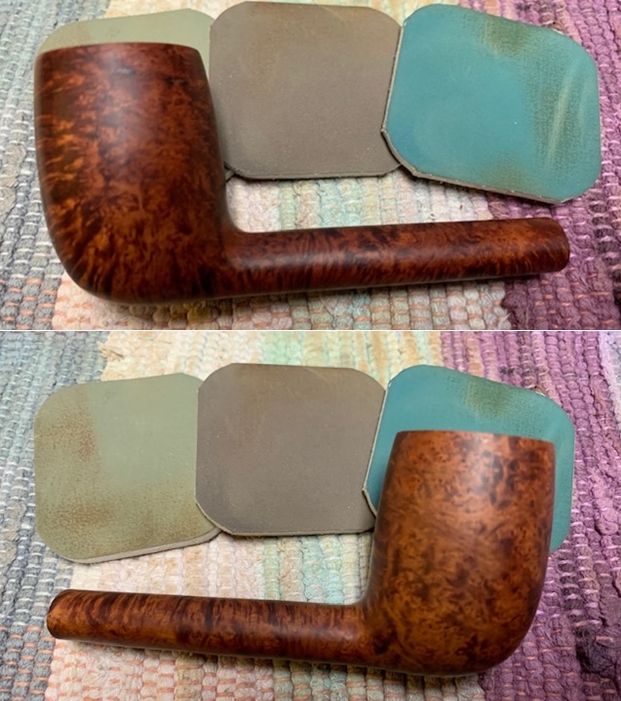
 Now it was time to do my work on the pipe. I polished the bowl and the rim top, sides and shank with micromesh sanding pads – wet sanding with 1500-12000 grit pads and wiping it down after each pad with a damp cloth. I carefully avoided the stamping on the top and underside of the shank so as not to damage the already faint stamping.
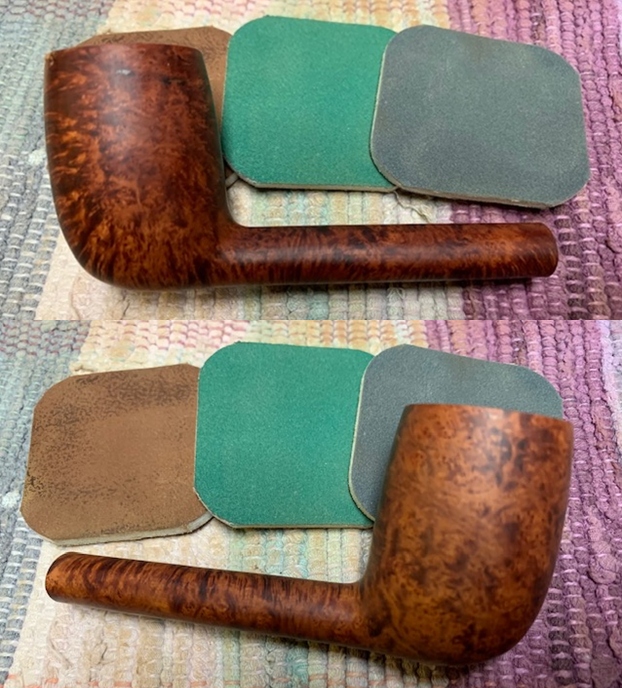
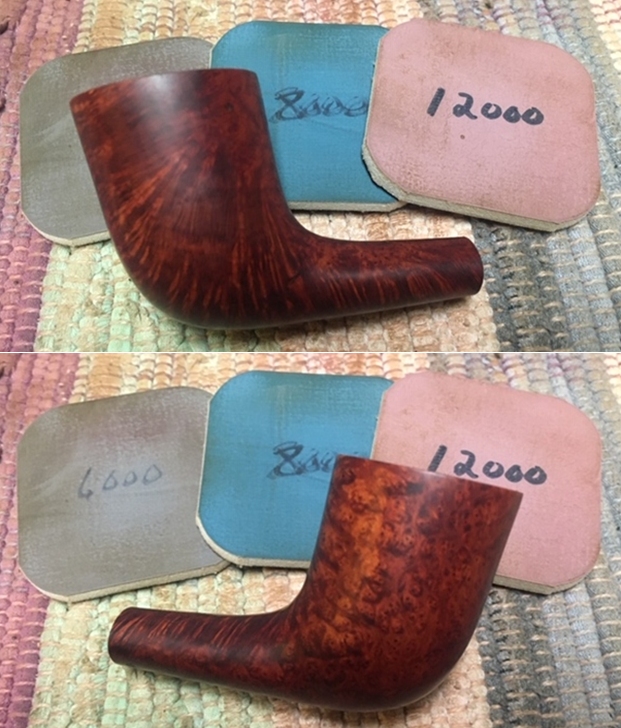
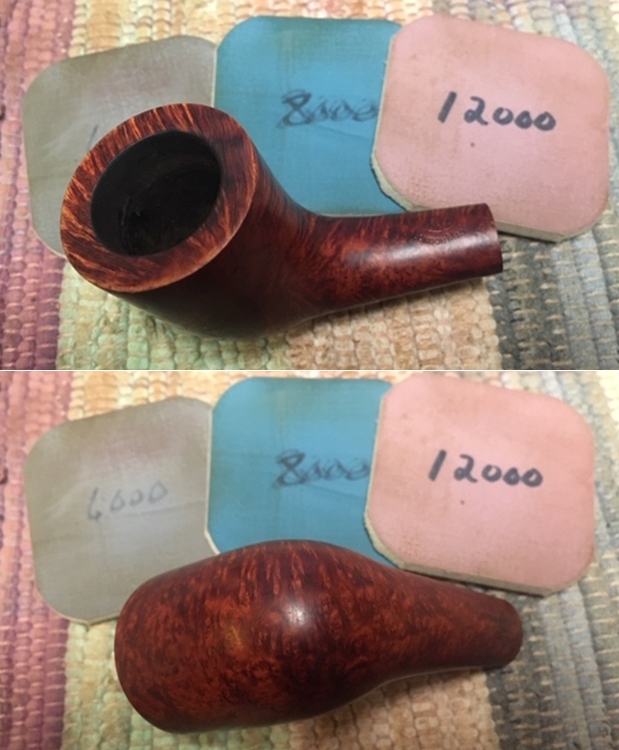
 I rubbed the bowl and shank down with Before & After Restoration Balm. I worked it into the surface of the bowl sides and shank with my fingertips to clean, enliven and protect the briar. I let the balm sit for a little while and then buffed with a cotton cloth to raise the shine.
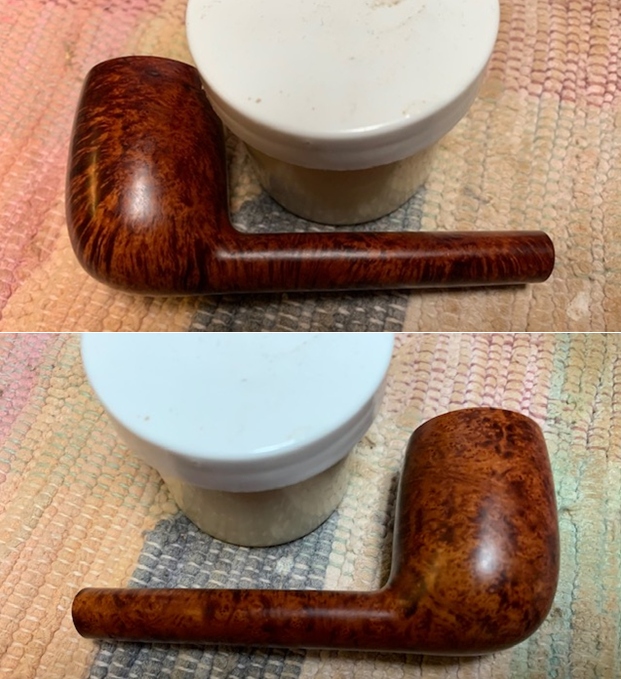
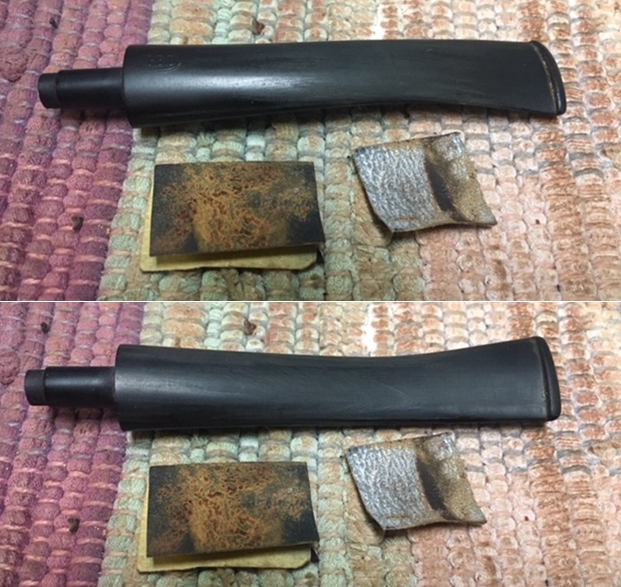
 While I was working on the bowl the stem was soaking in a new product I received from Briarville Pipe Repair – Pipe Stem Oxidation Remover. It is a liquid of about the same consistency as apple juice. The stem sat in the mixture for 2 ½ -3 hours.
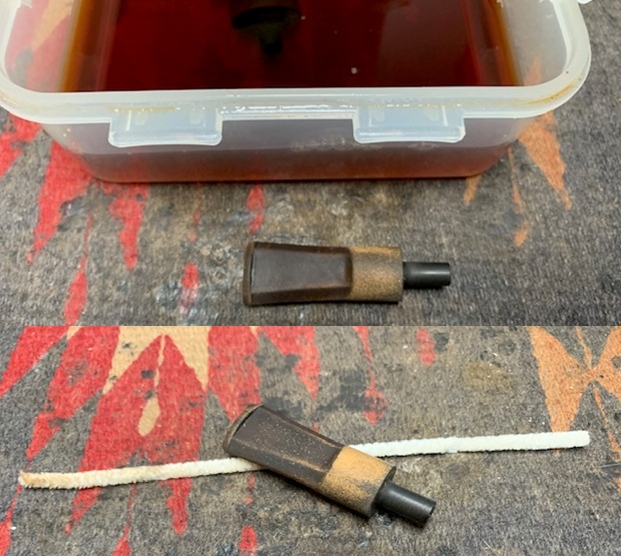
 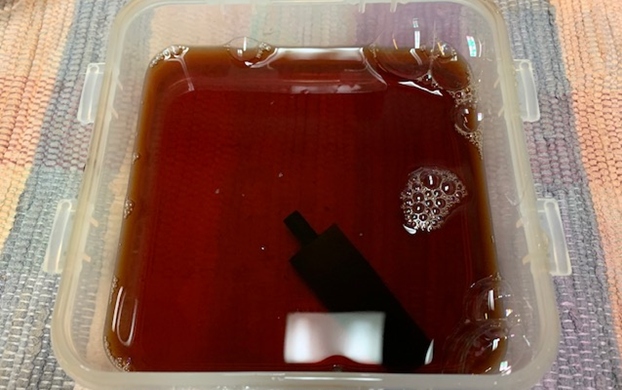 I removed the stem from the bath, scrubbed lightly with a tooth brush and dried if off with a paper towel. There was some oxidation on the top of the saddle and on the edges of the stem remaining. The bath was dark with the removed oxidation of the previous 9 stems. I cleaned out the inside of the stem with alcohol and pipe cleaners.
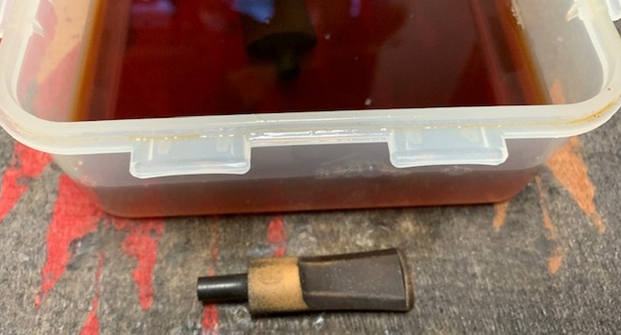
 The nice thing about this new product is that it significantly softens the oxidation that is left behind making it easier to remove. I scrubbed the stem surface of the stem with Soft Scrub All Purpose cleanser to remove the remaining oxidation.
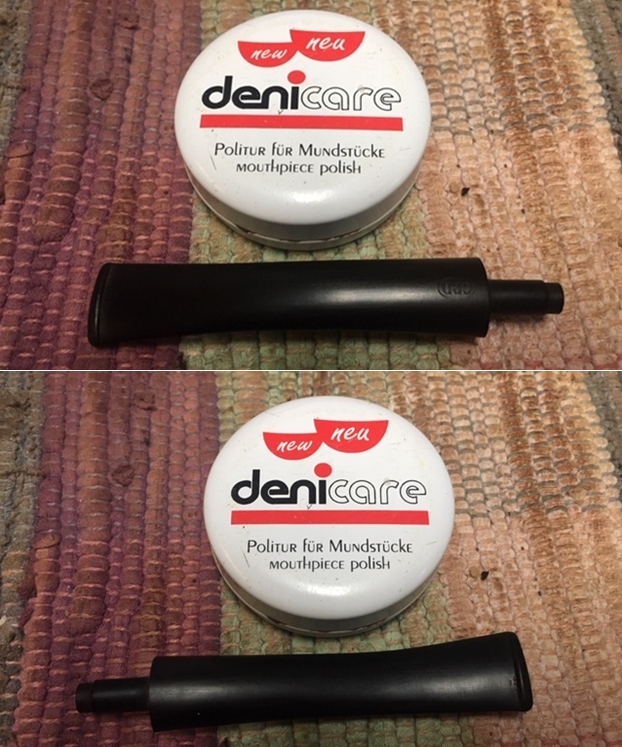
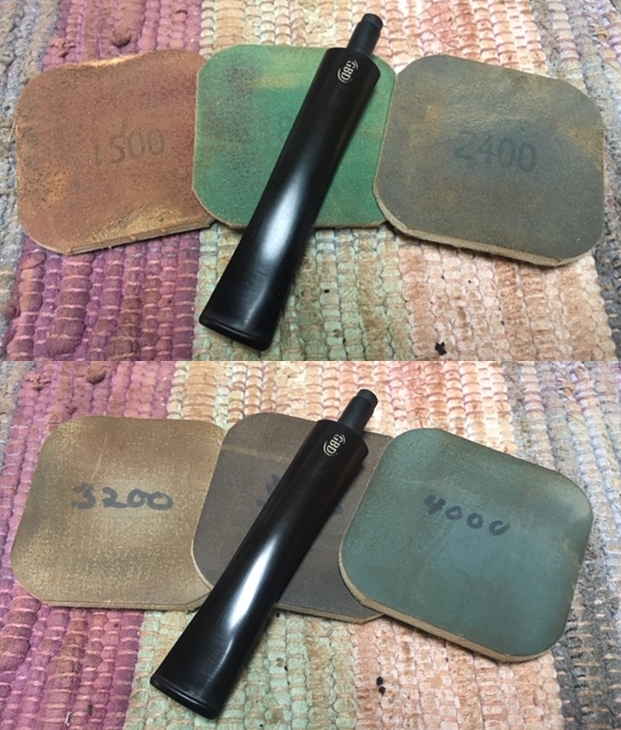
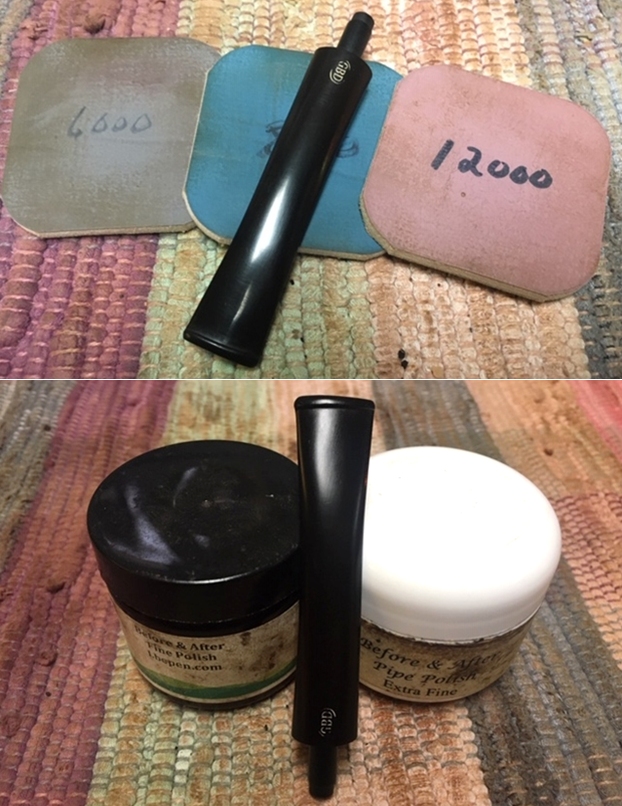
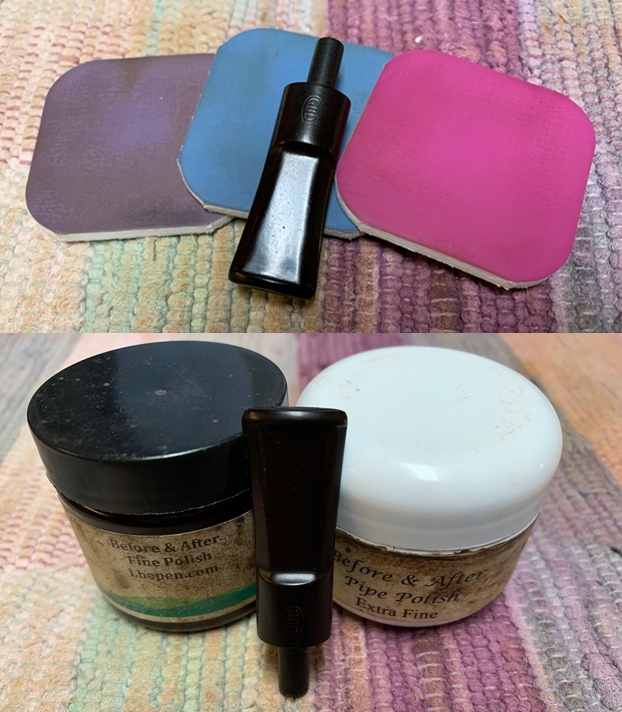
 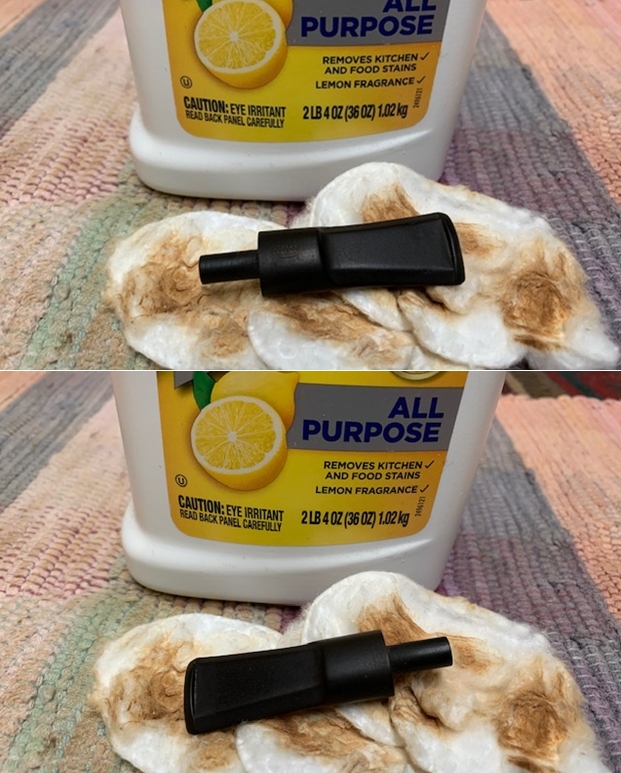 I polished the vulcanite stem with micromesh sanding pads – 1500-12000 grit pads. I wiped it down with a damp cloth after each sanding pad. I used Before & After Pipe Polish – both Fine and Extra Fine to further polish the stem.
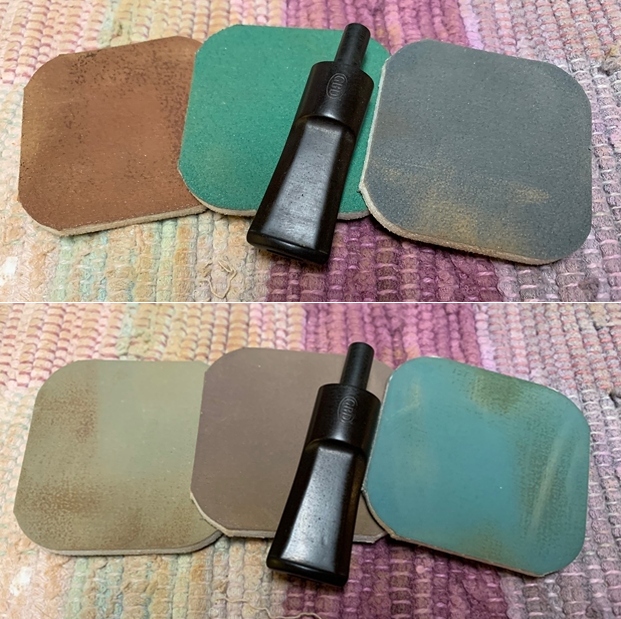
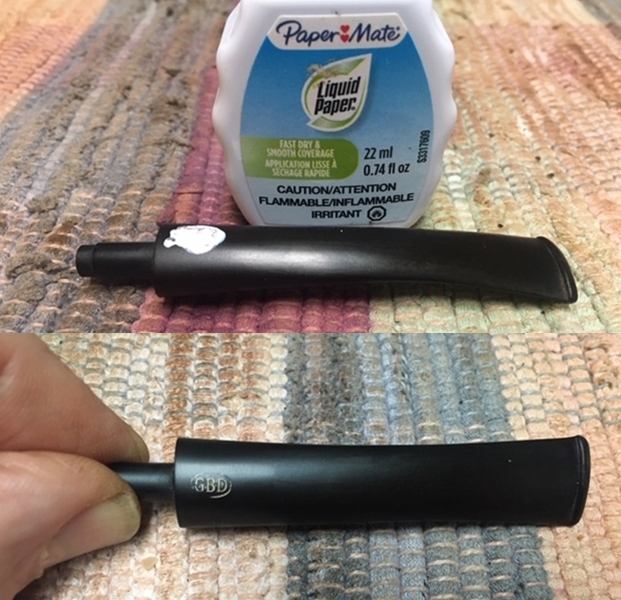
 I touched up the remnants of the GBD oval stamped logo on the stem top with Rub’N Buff Antique Gold. I rubbed the product on the top of the stem and pressed it in the stamping with a tooth pick.
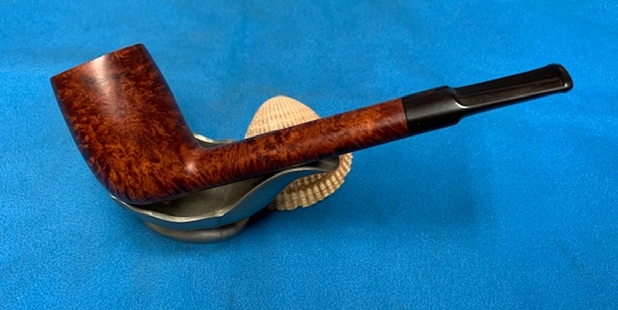
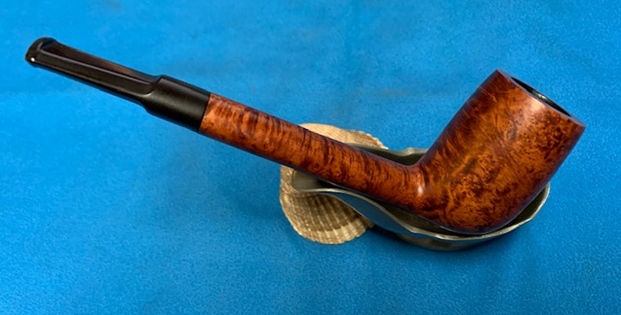
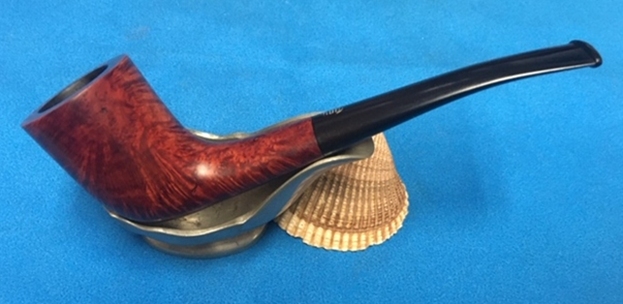
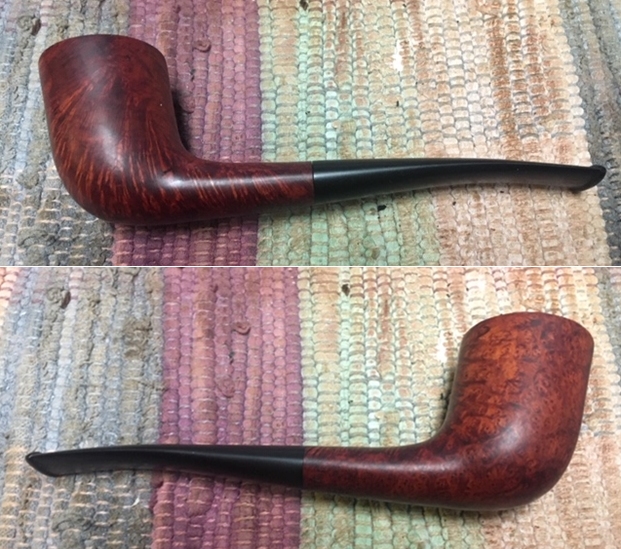
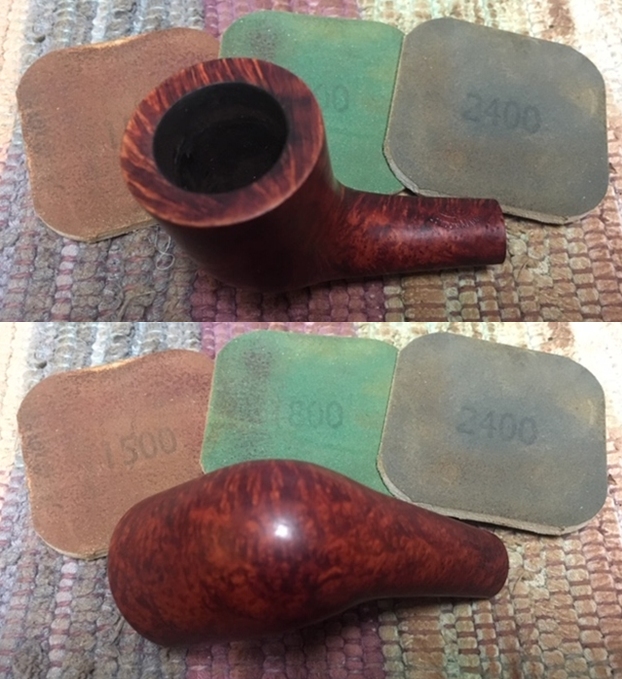
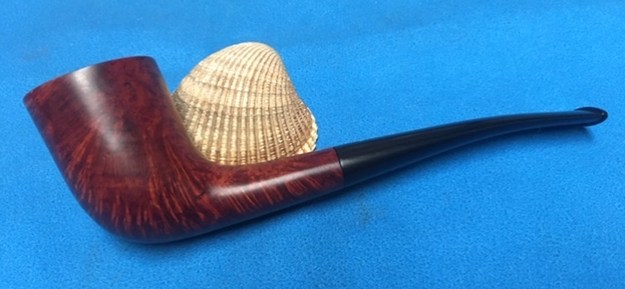
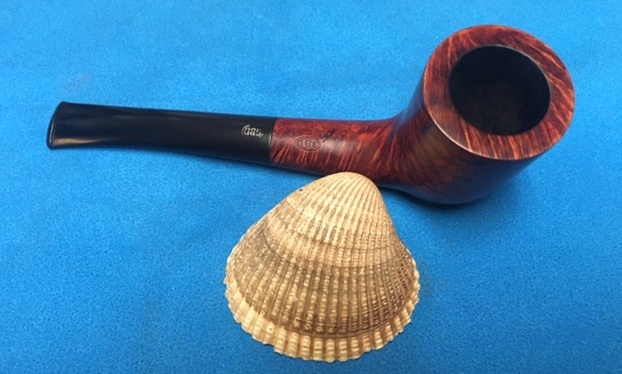
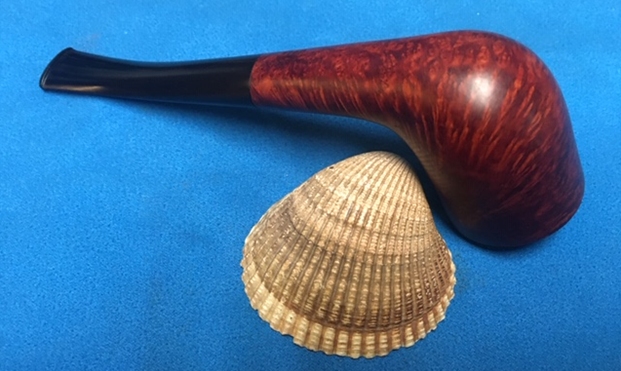
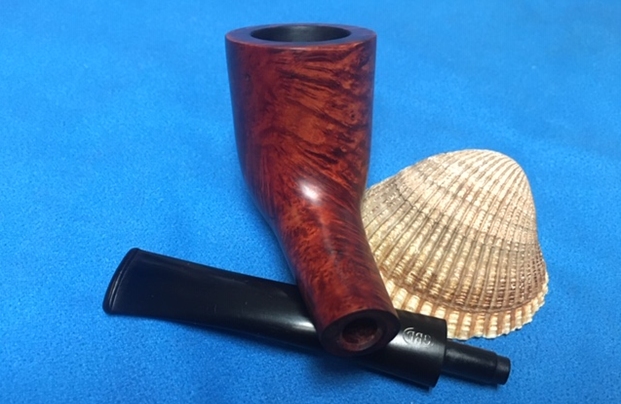
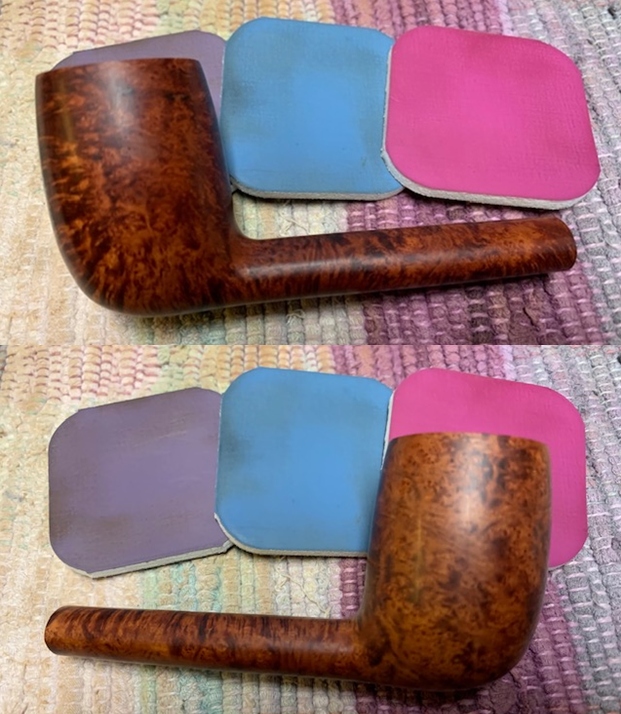
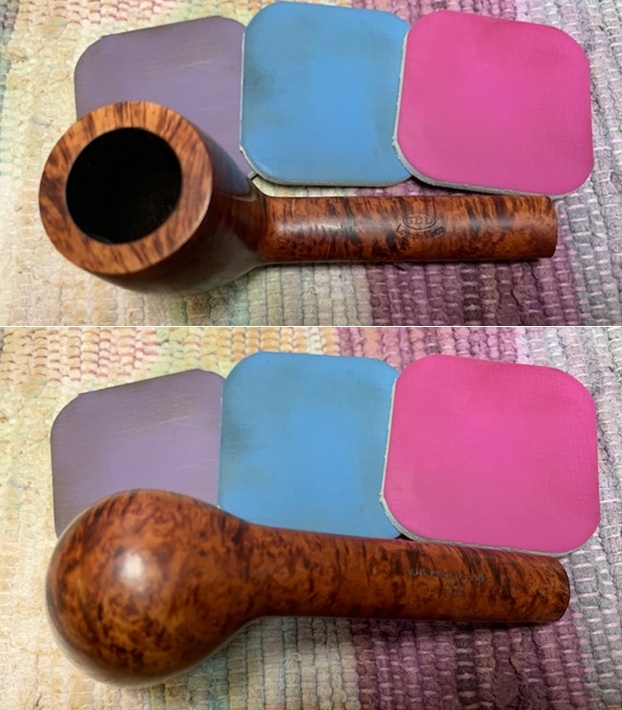
  This gorgeously grained GBD London Made 256 Lumberman with a vulcanite saddle stem is a great looking pipe now that it has been restored. The rich browns of the contrasting stains came alive with the polishing and waxing. I put the stem back on the bowl and carefully buffed the pipe with Blue Diamond on the buffing wheel using a light touch on the briar. I gave the bowl and the stem multiple coats of carnauba wax on the buffing wheel and followed that by buffing the entire pipe with a clean buffing pad. I hand buffed the pipe with a microfiber cloth to deepen the shine. The finished GBD Lumberman is a beauty and fits nicely in the hand and looks very good. Give the finished pipe a look in the photos below. The dimensions of the pipe are Length: 5 ¾ inches, Height: 2 inches, Outside diameter of the bowl: 1 ¼ inches, Chamber diameter: ¾ of an inch. If you are interested in adding this pipe to your collection send me a message or an email. Thanks for reading this blog and my reflections on the pipe while I worked on it. There are many more to come!