Tag Archives: Bowls – refinishing

Restoring and Restemming a Peterson’s Kapmeer 999S


Blog by Steve Laug

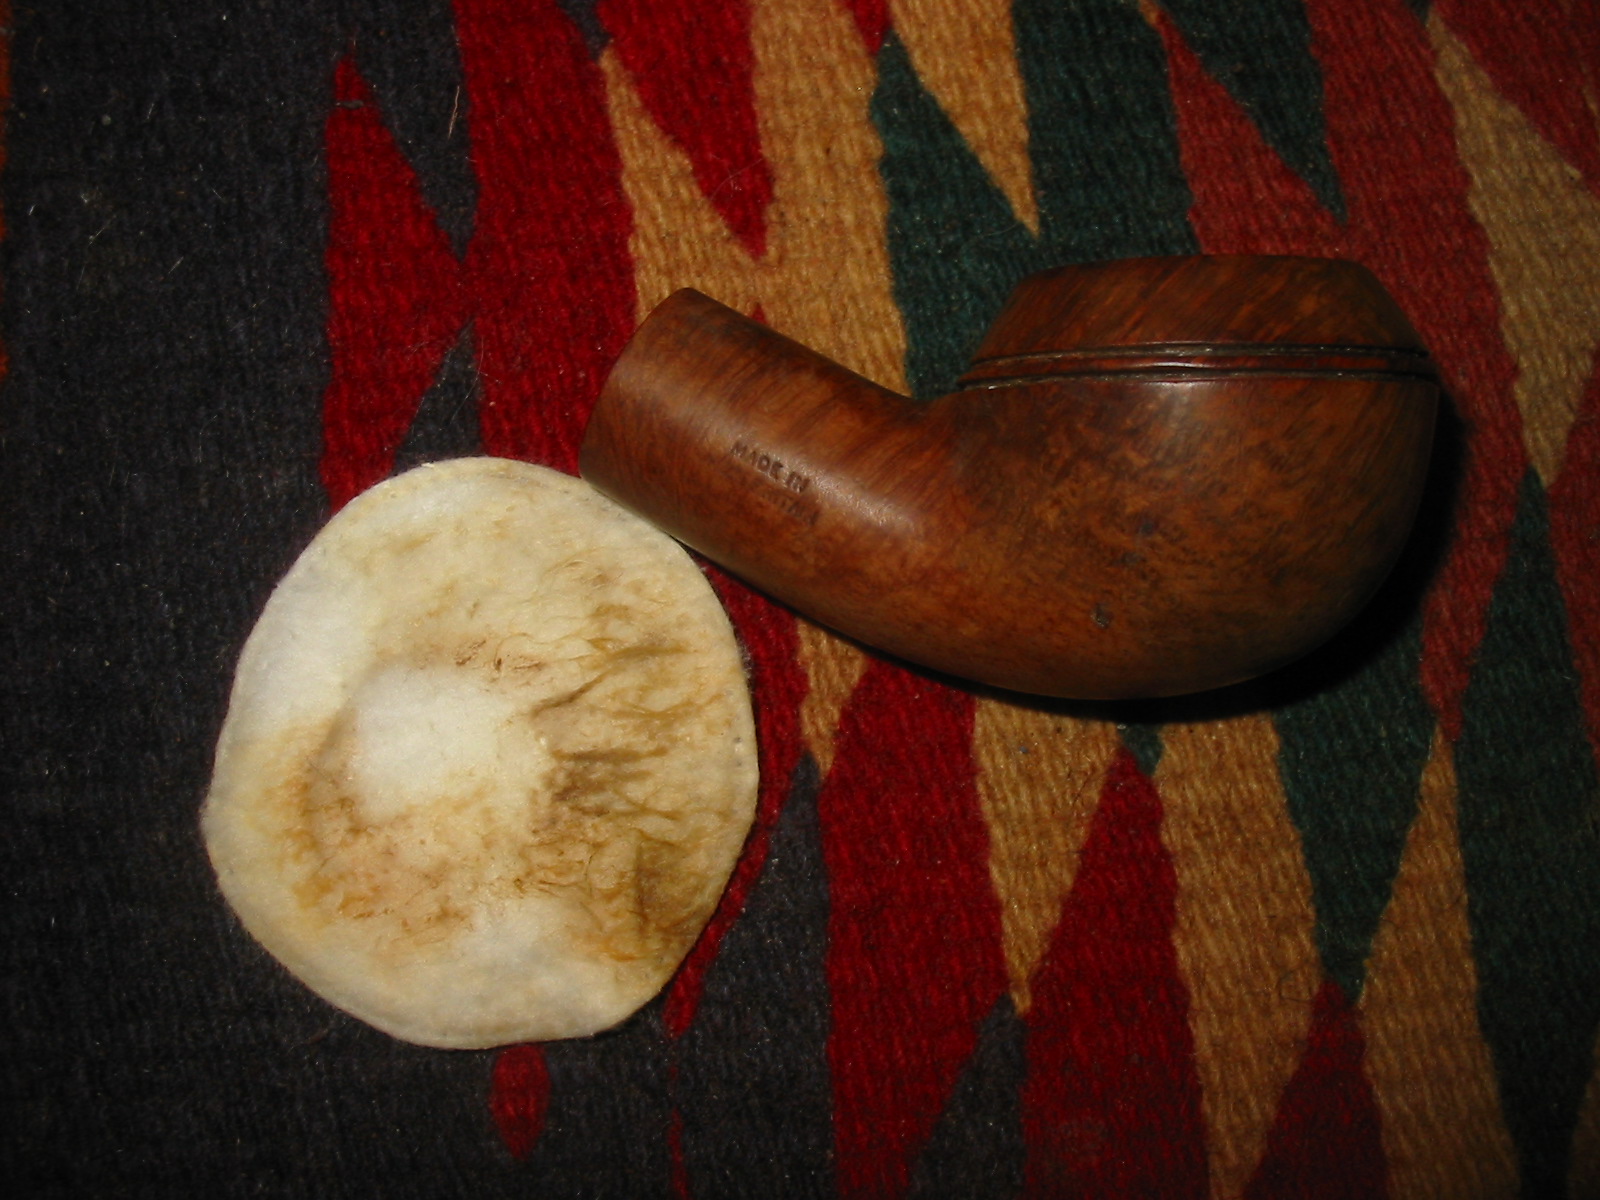
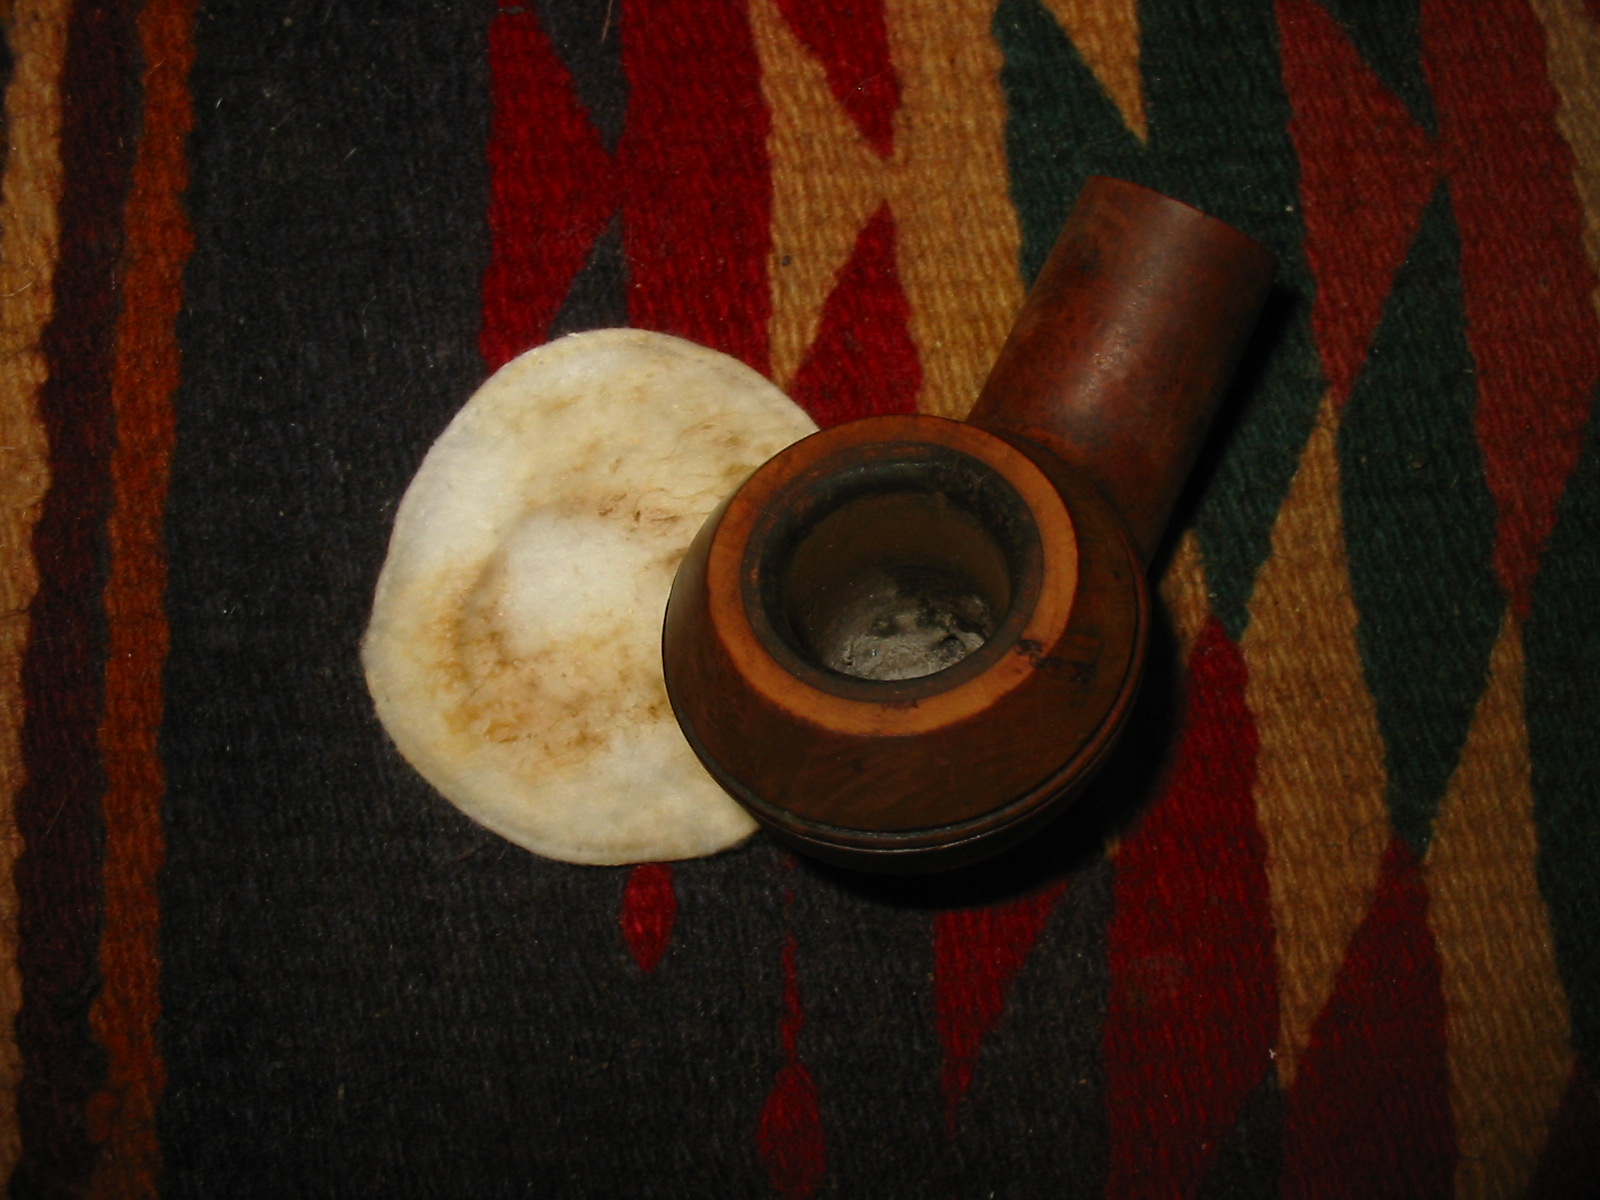
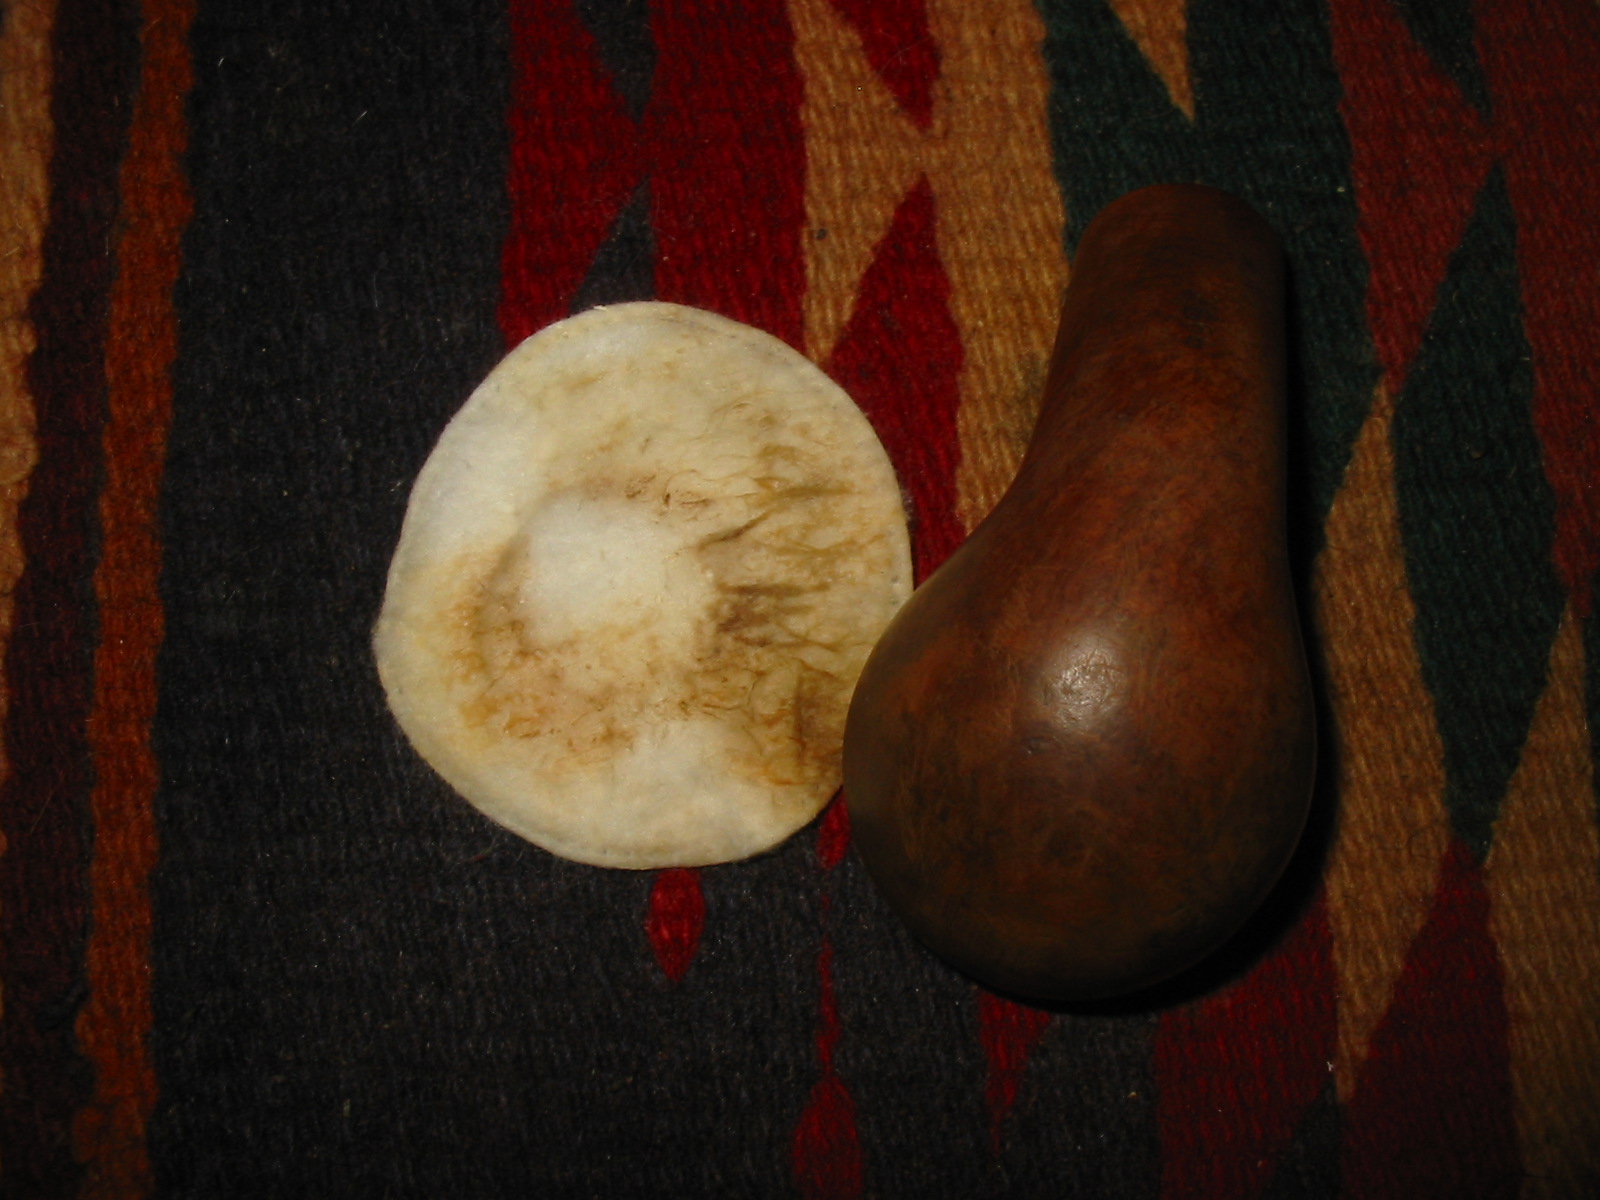
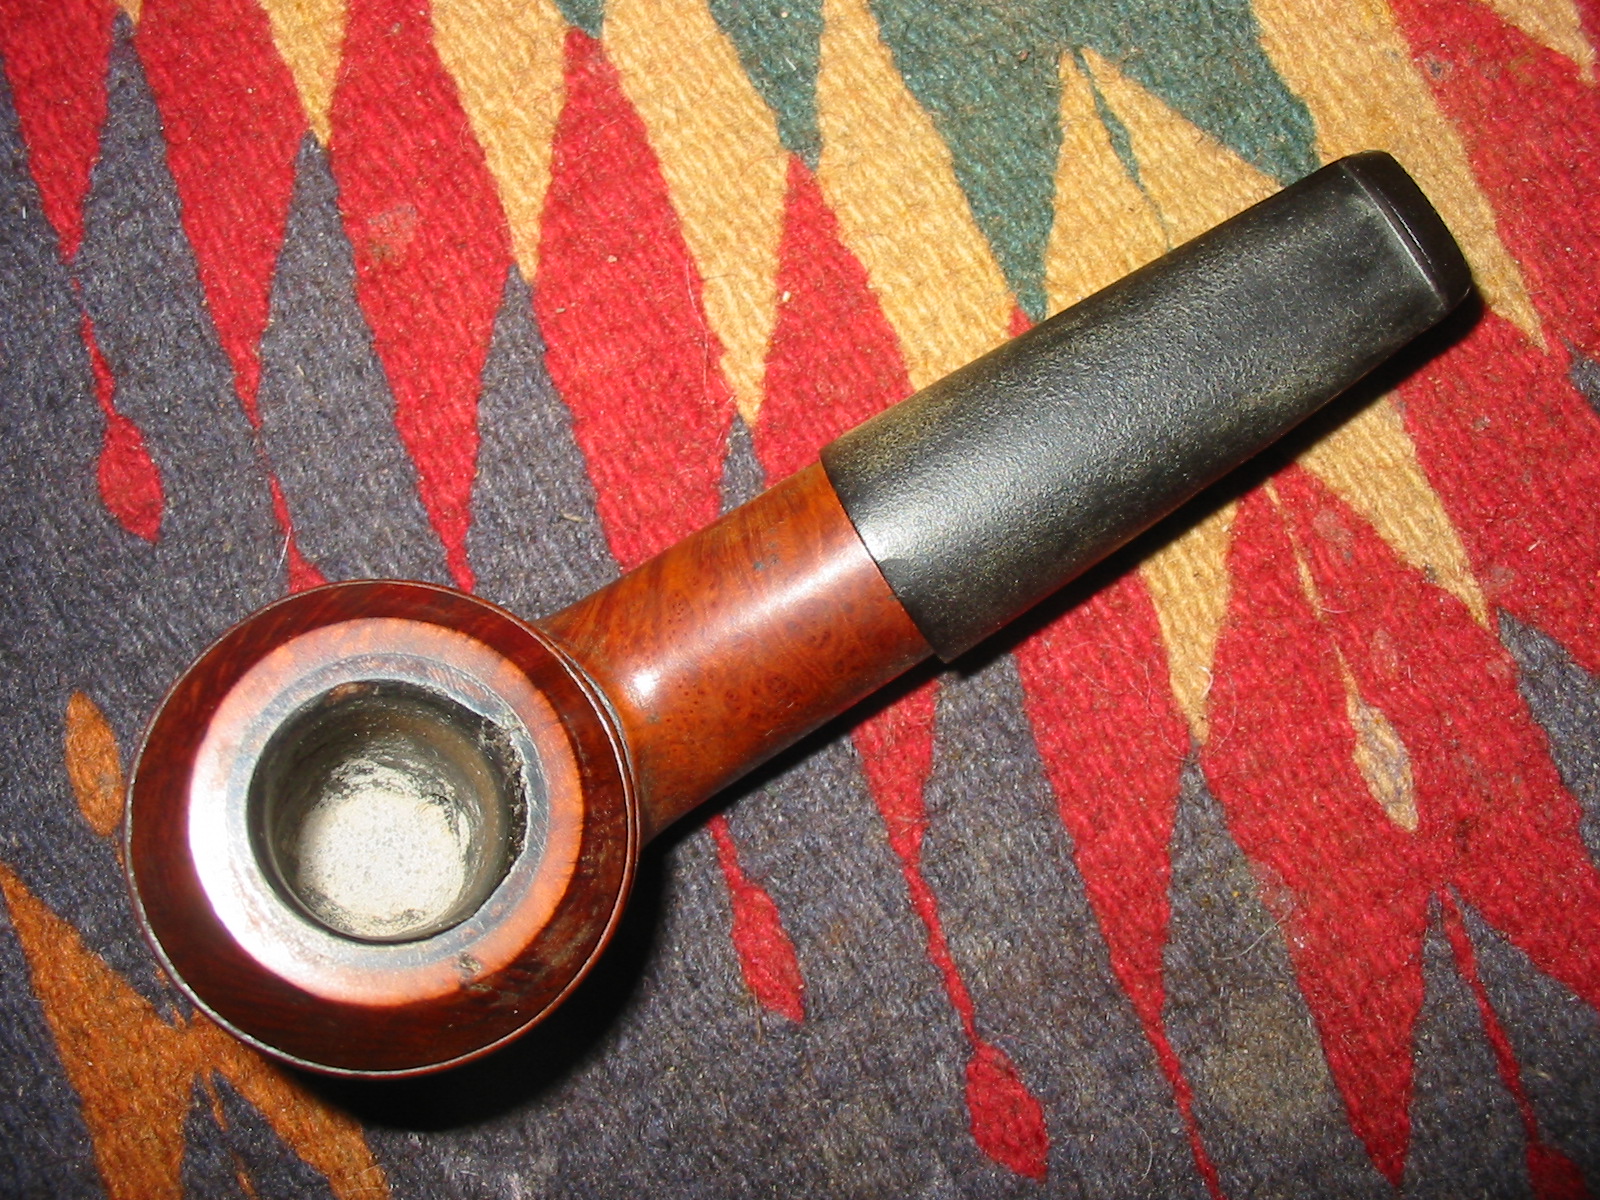
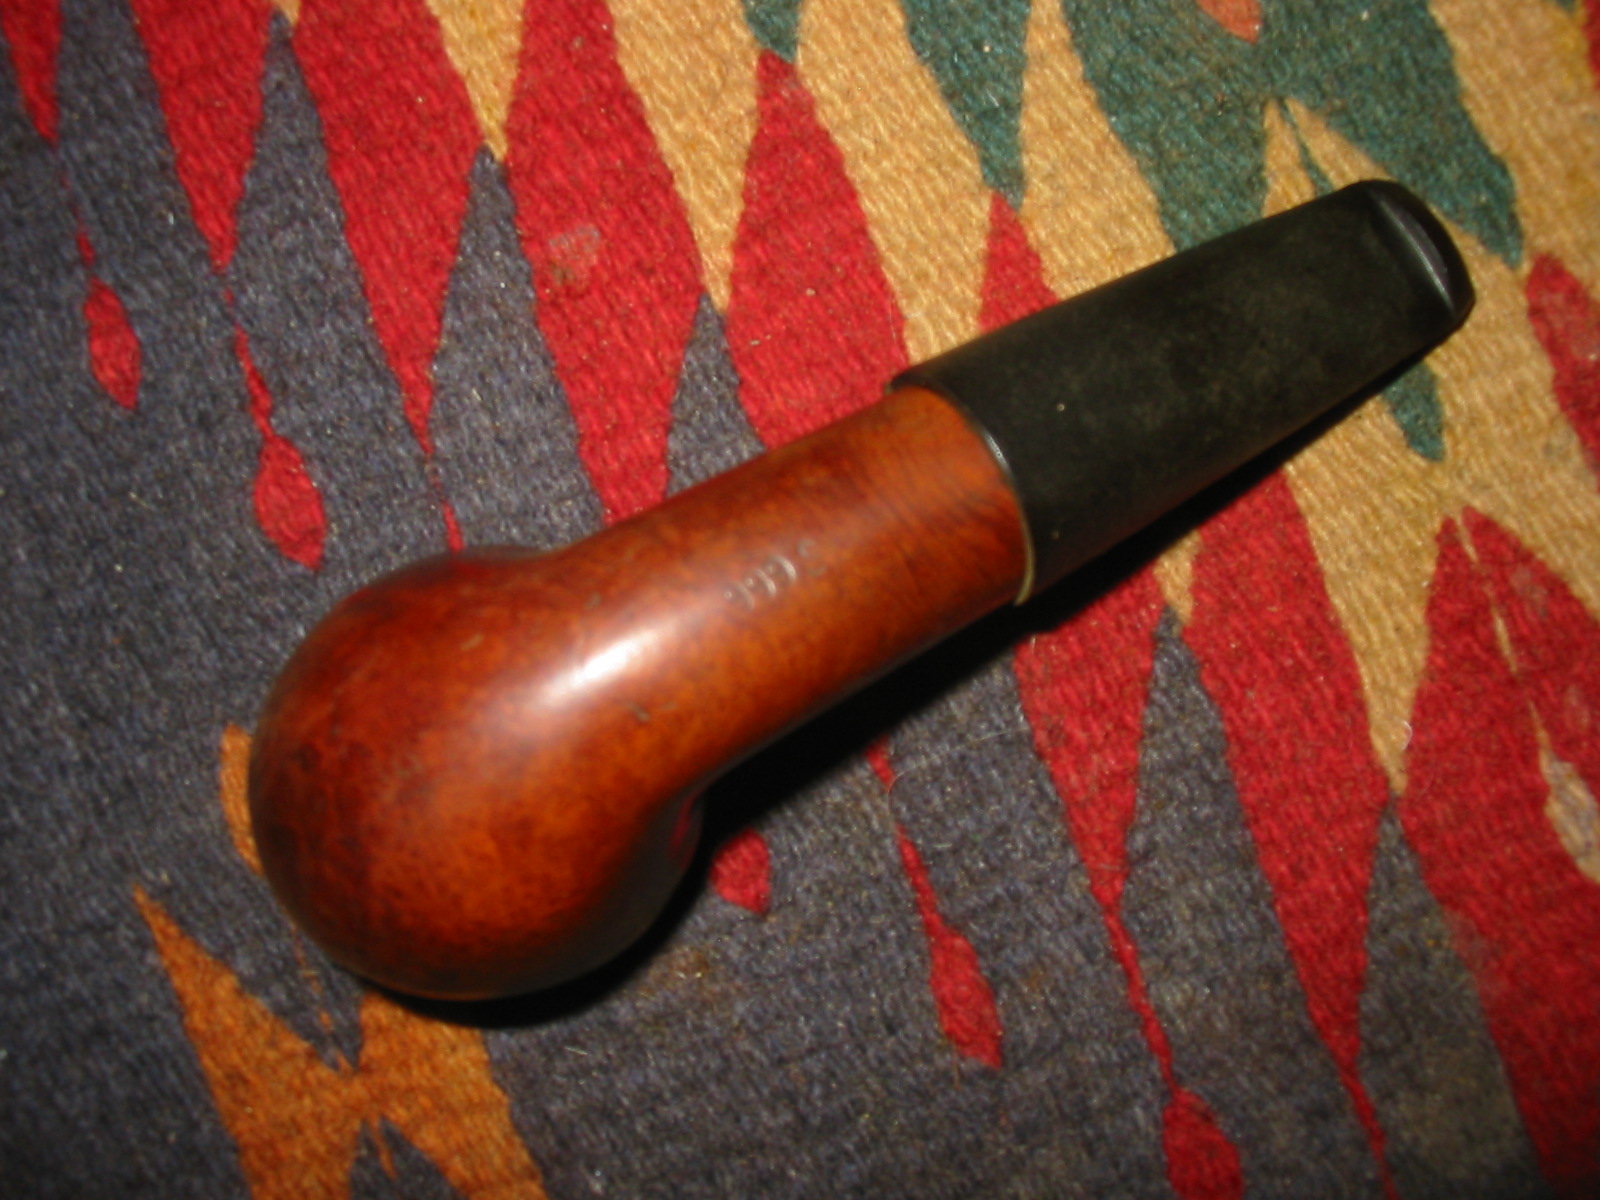
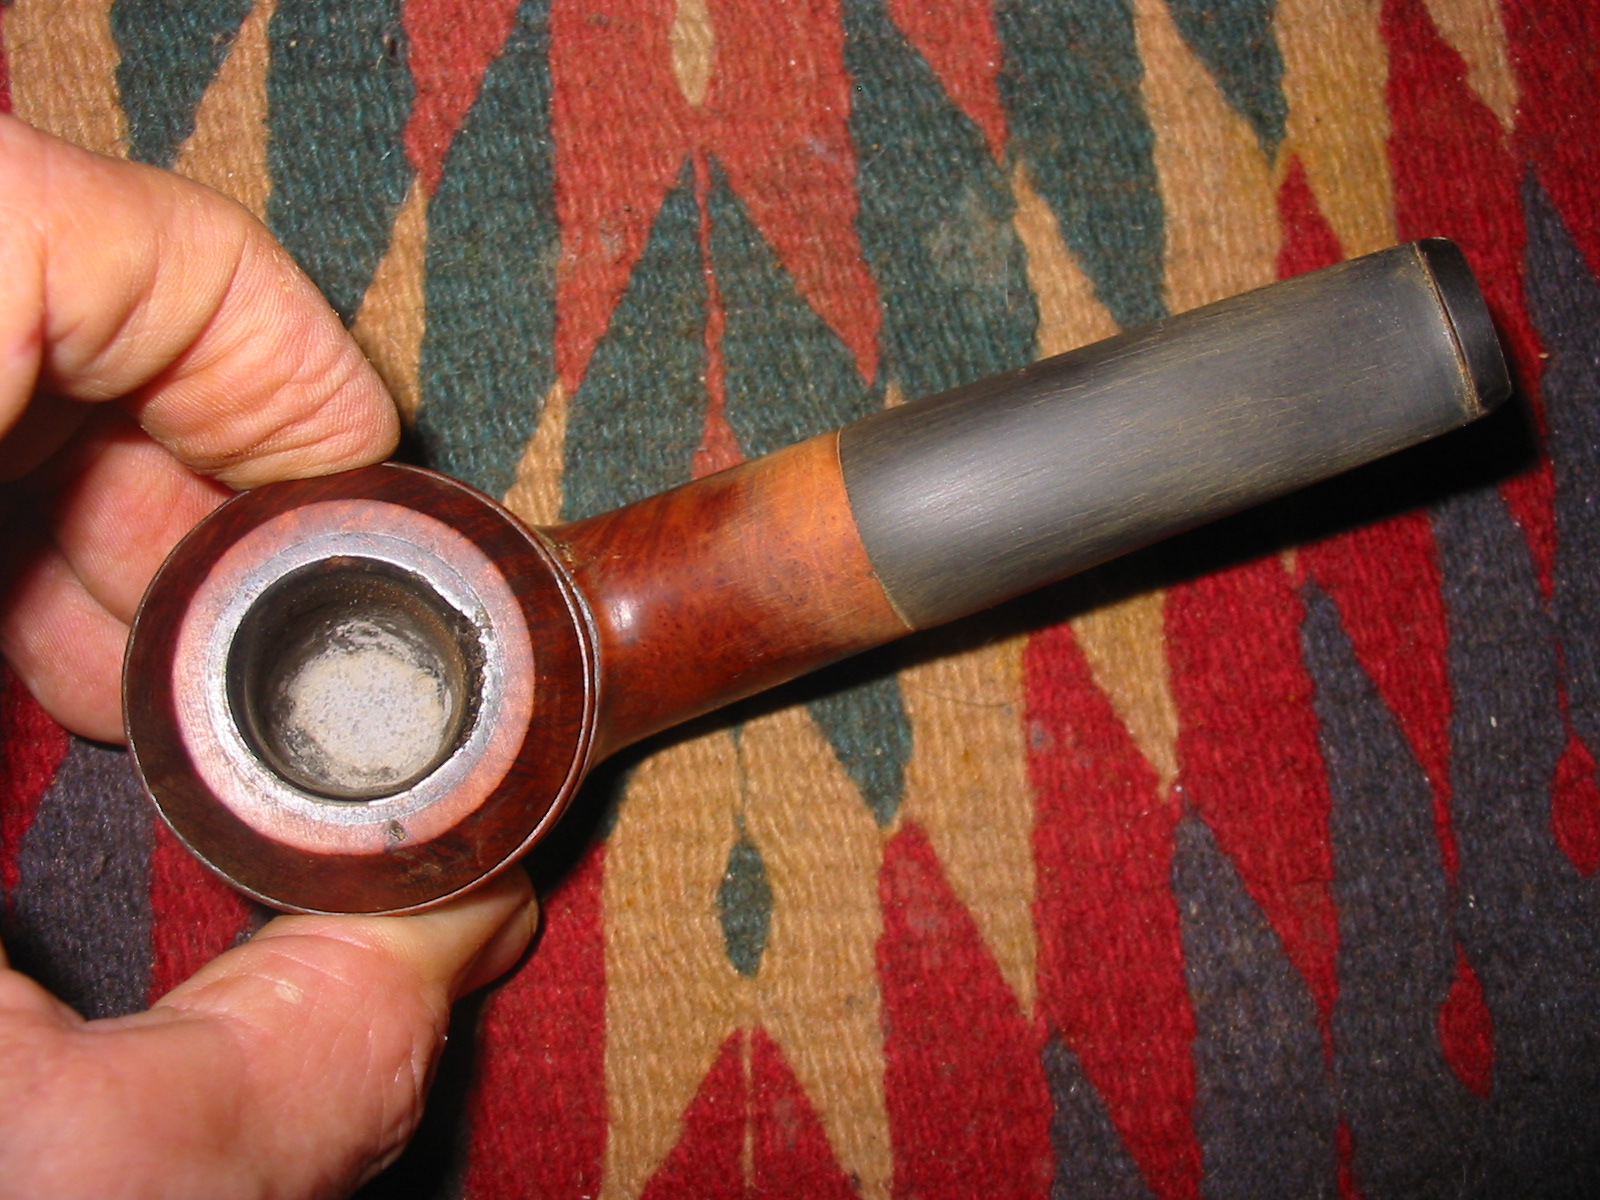
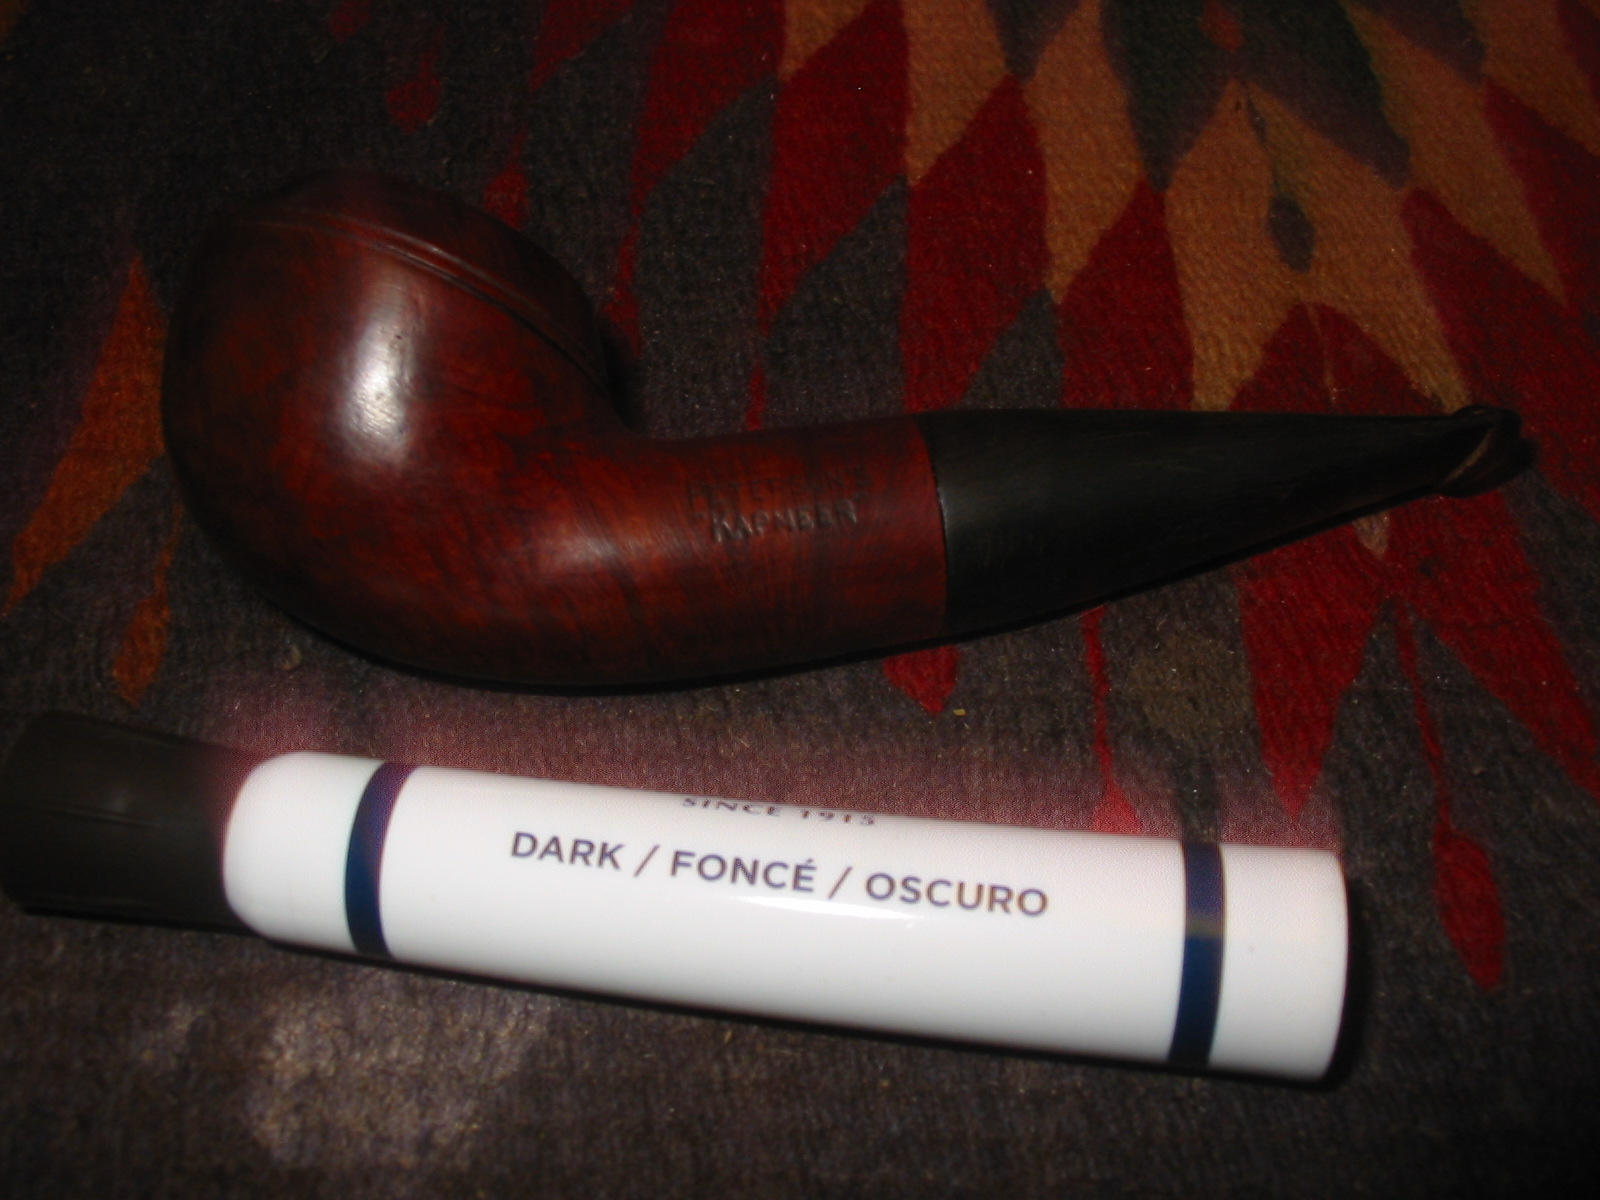
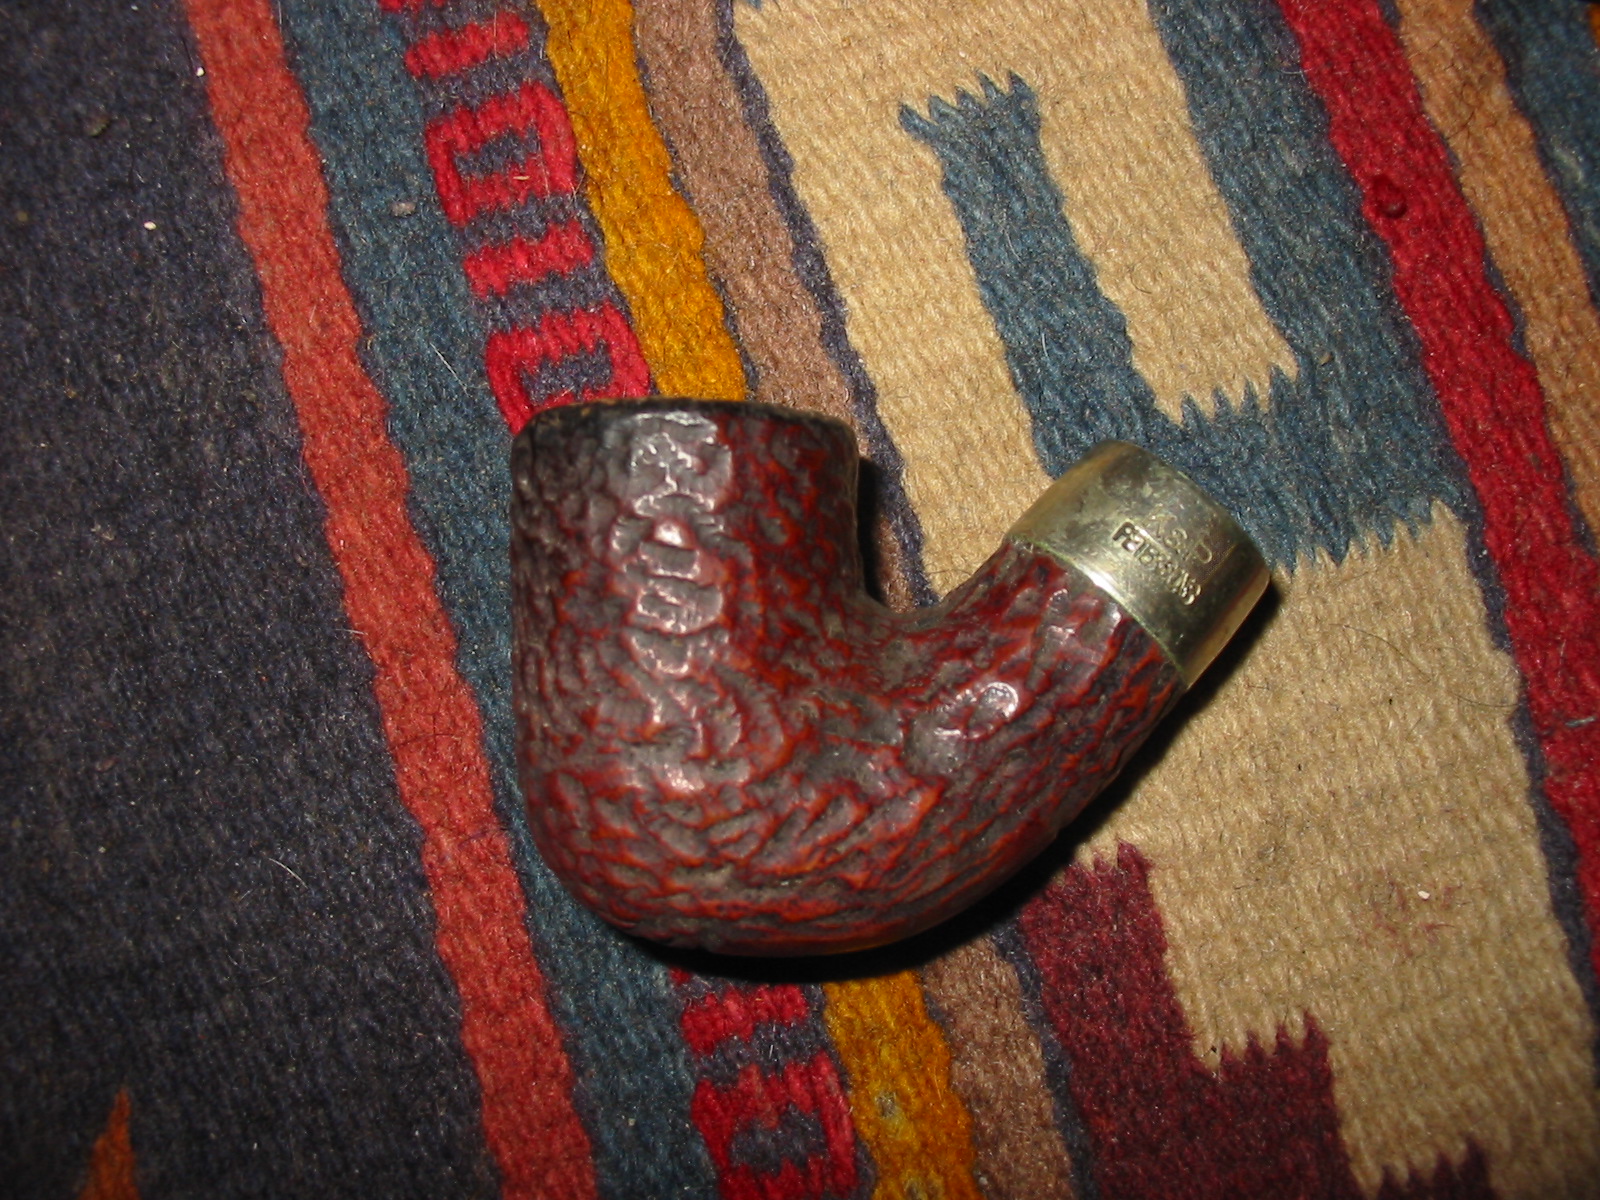
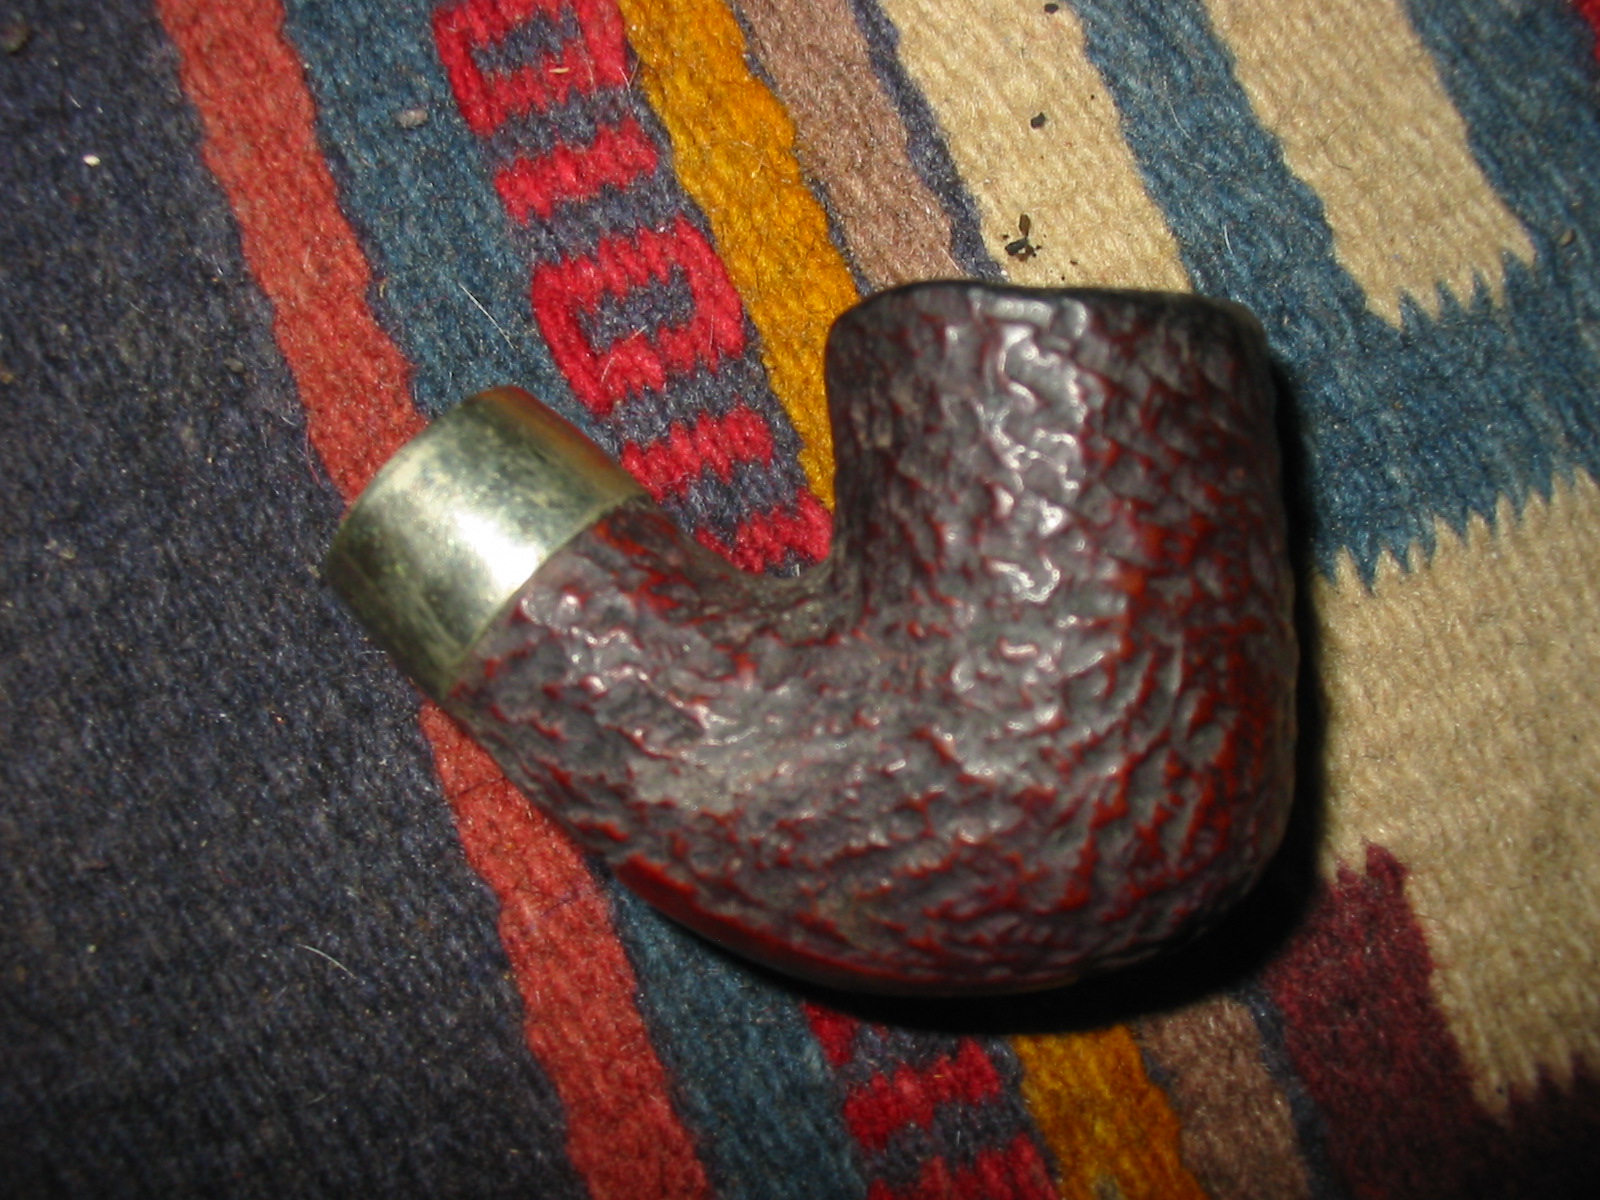
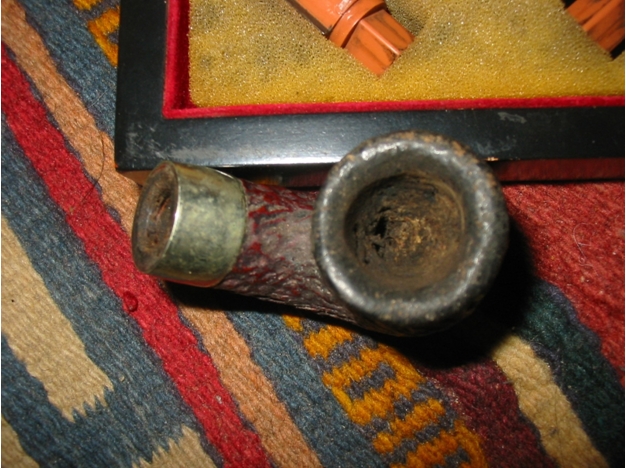
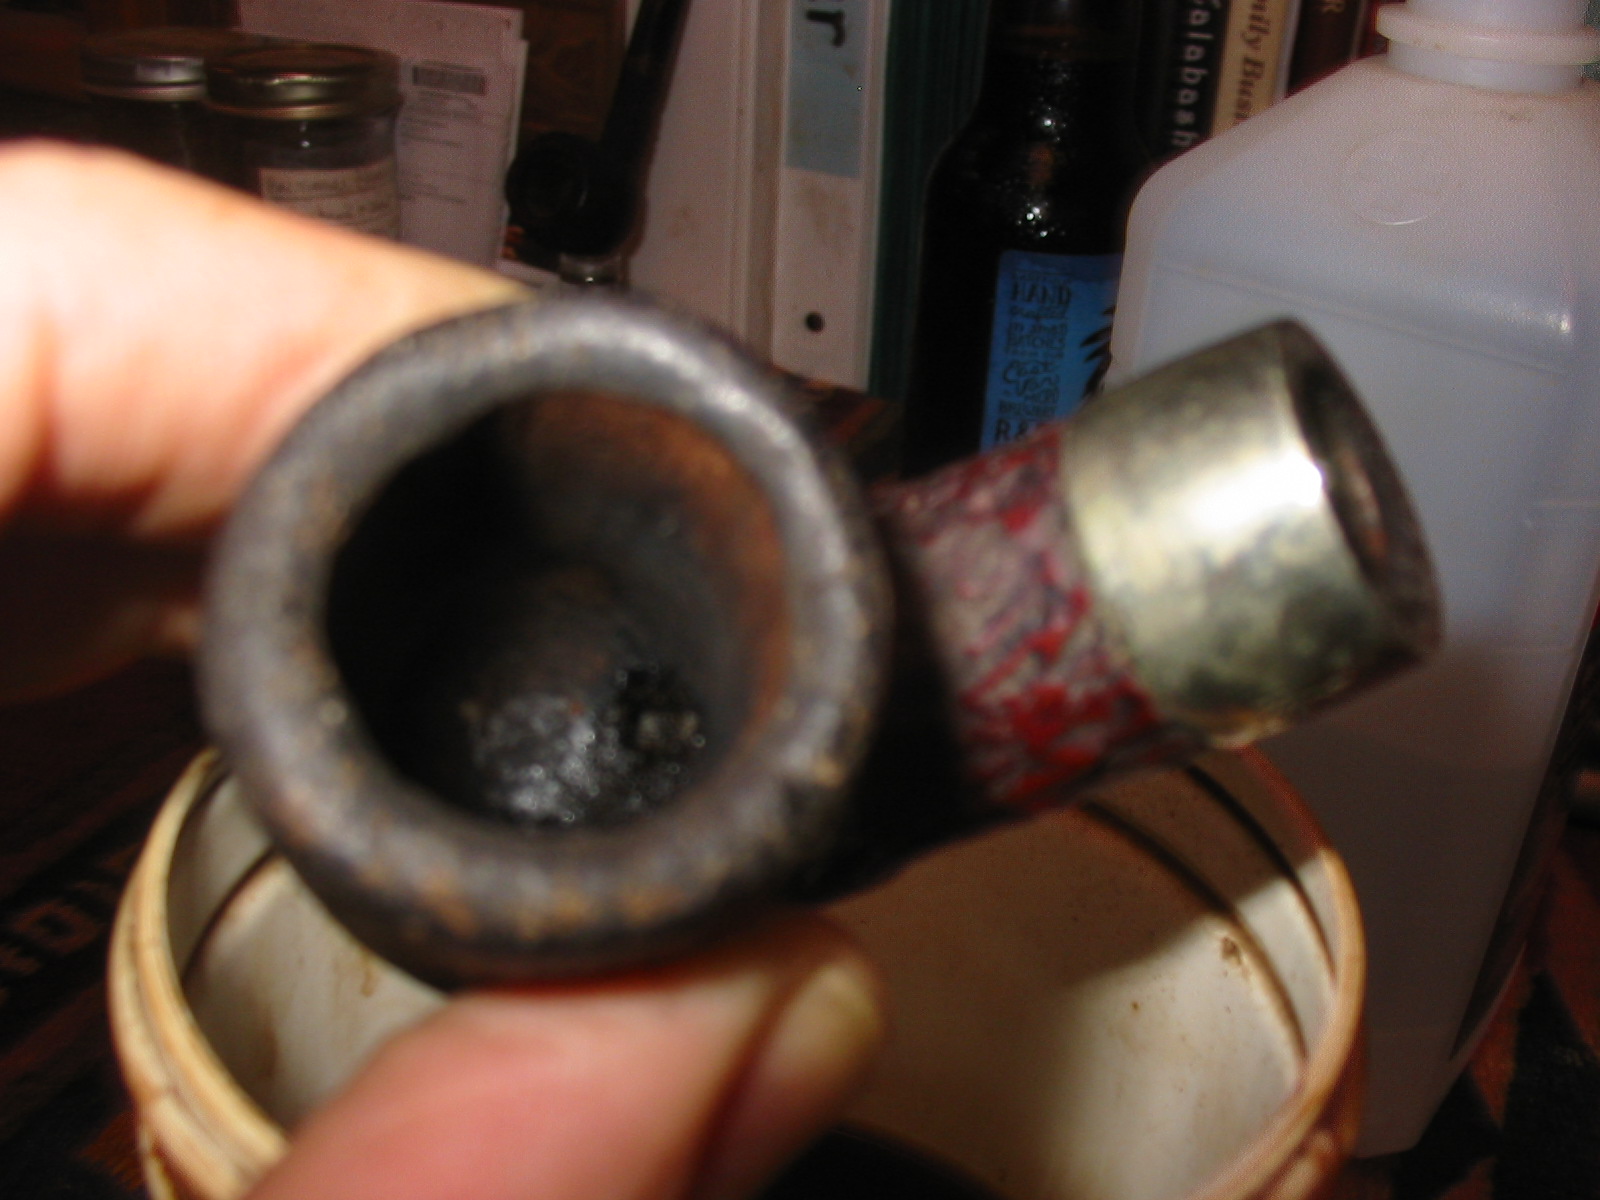
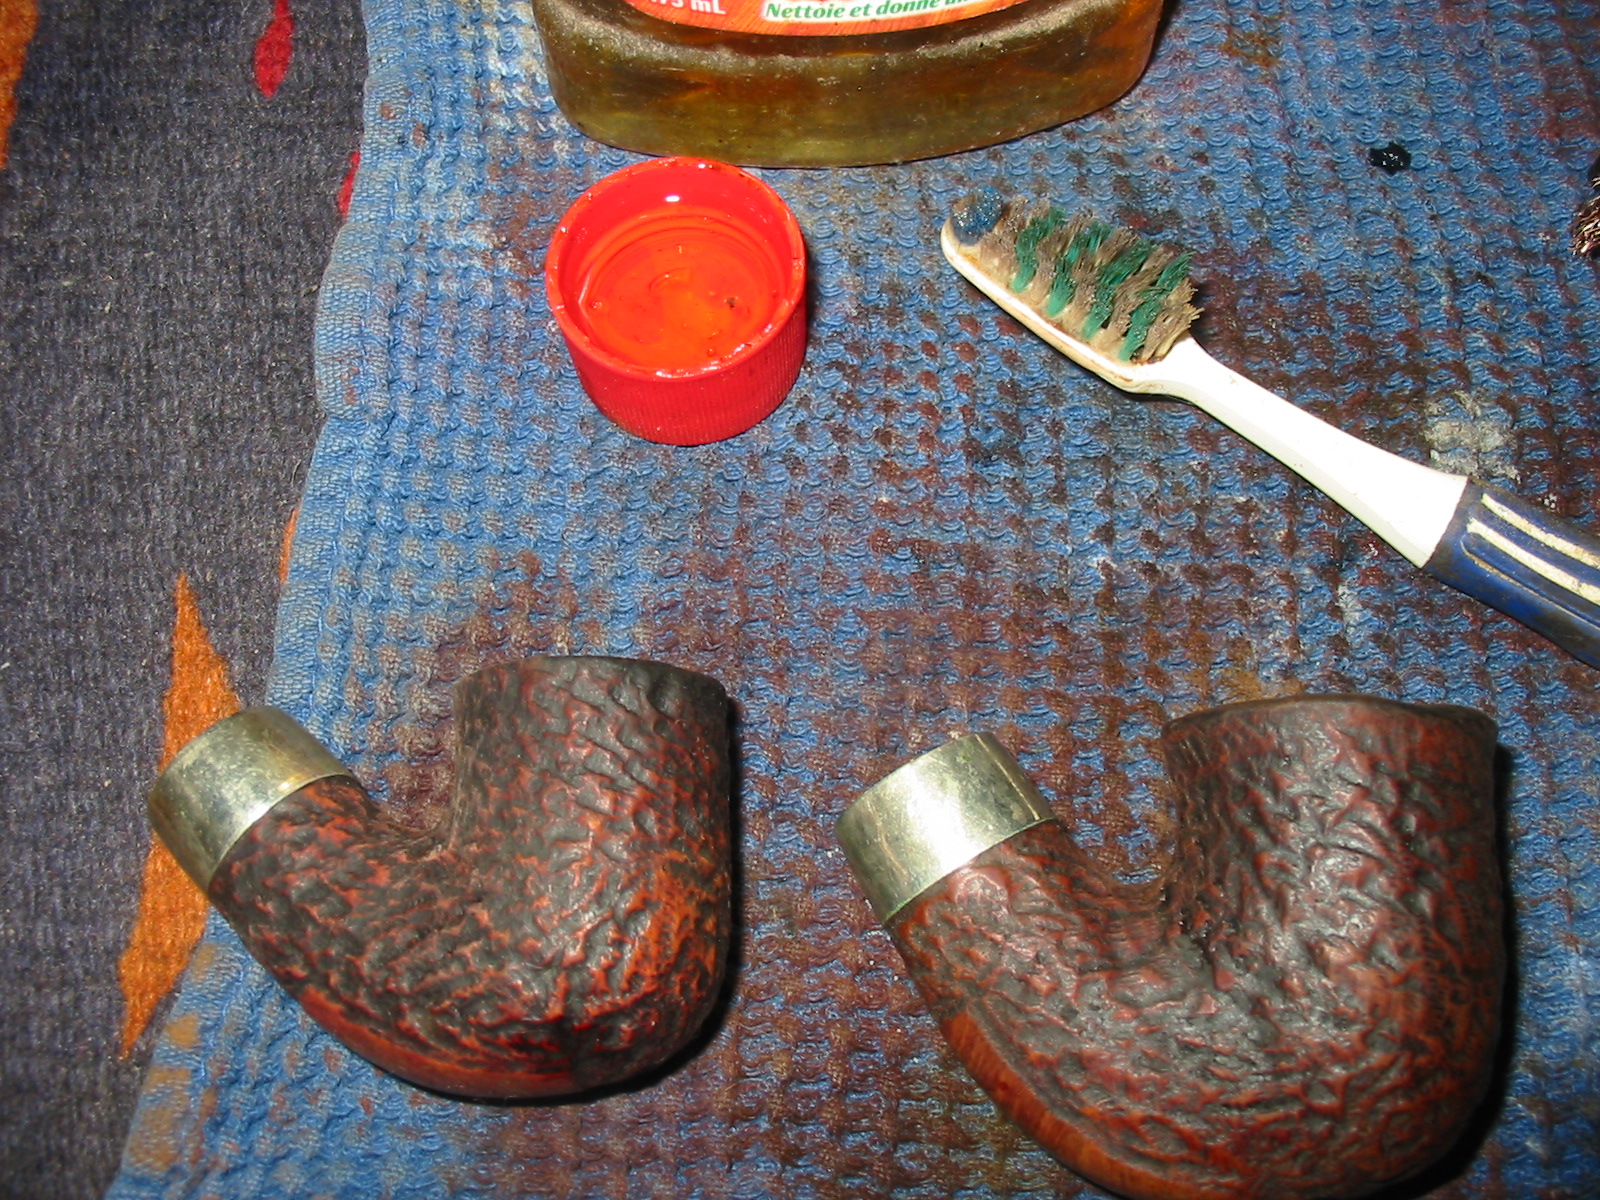
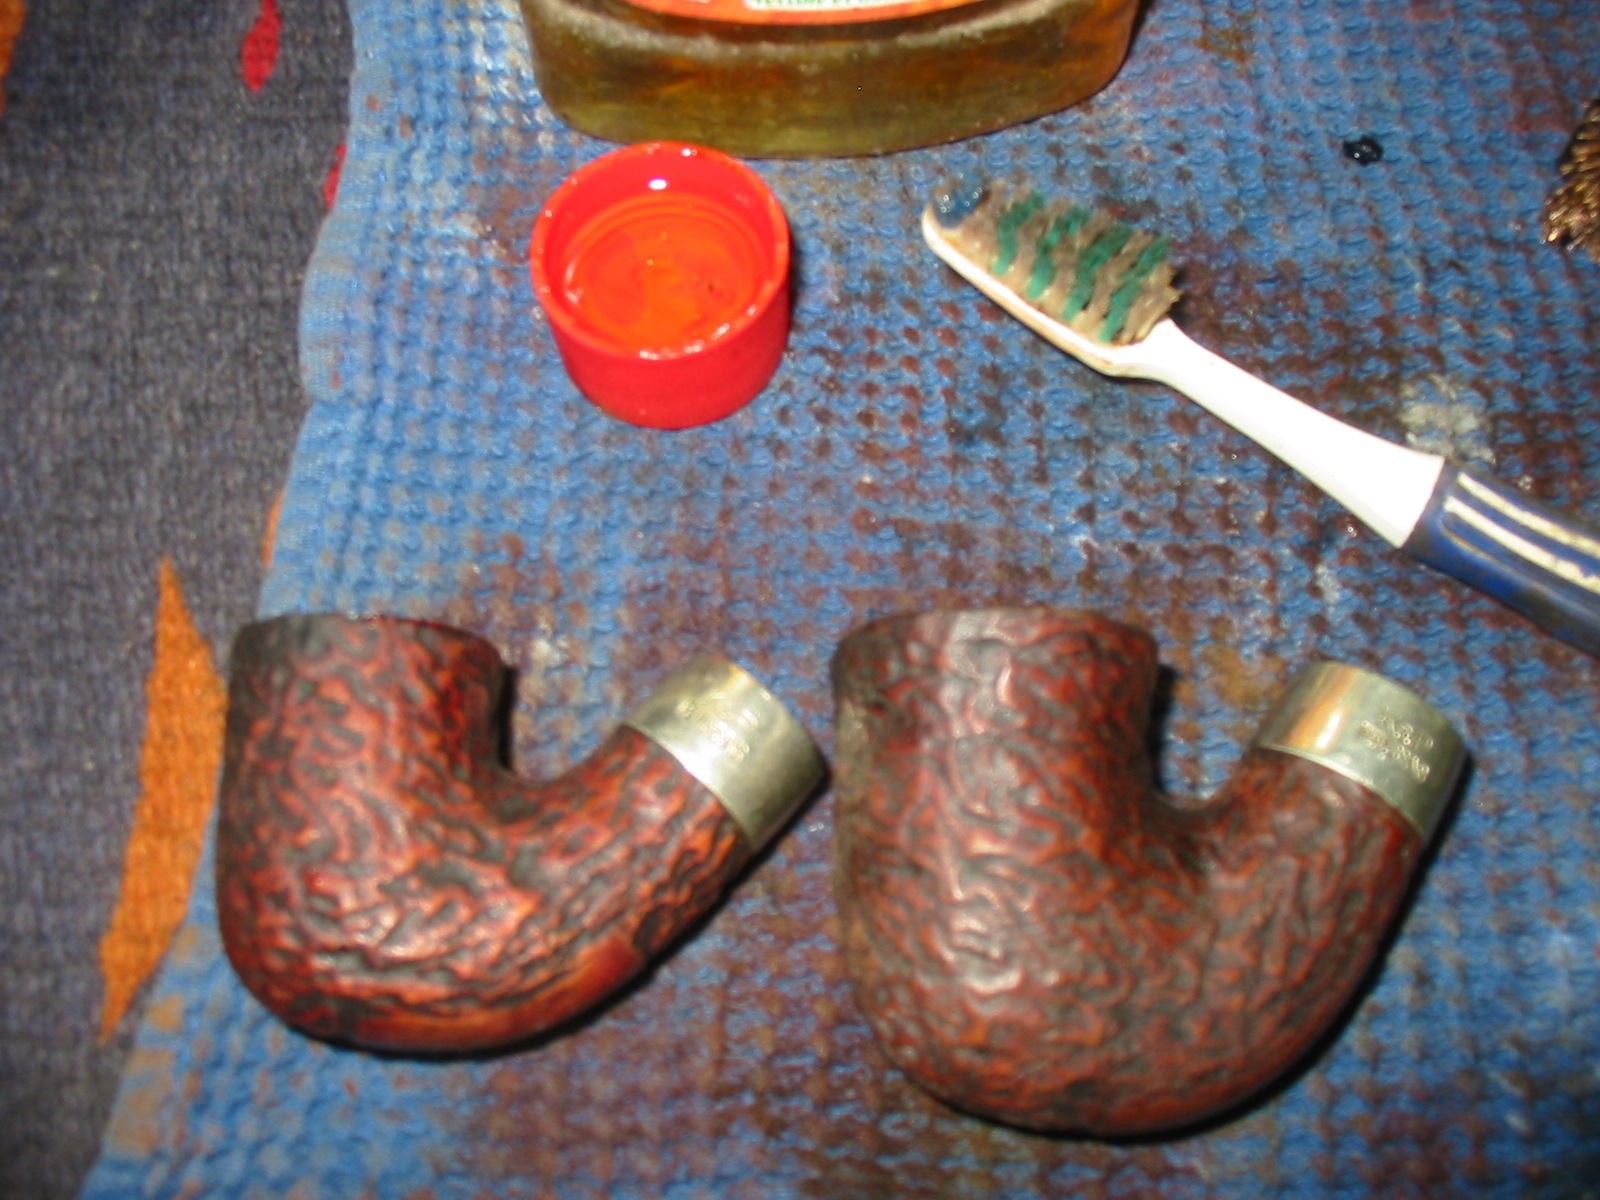
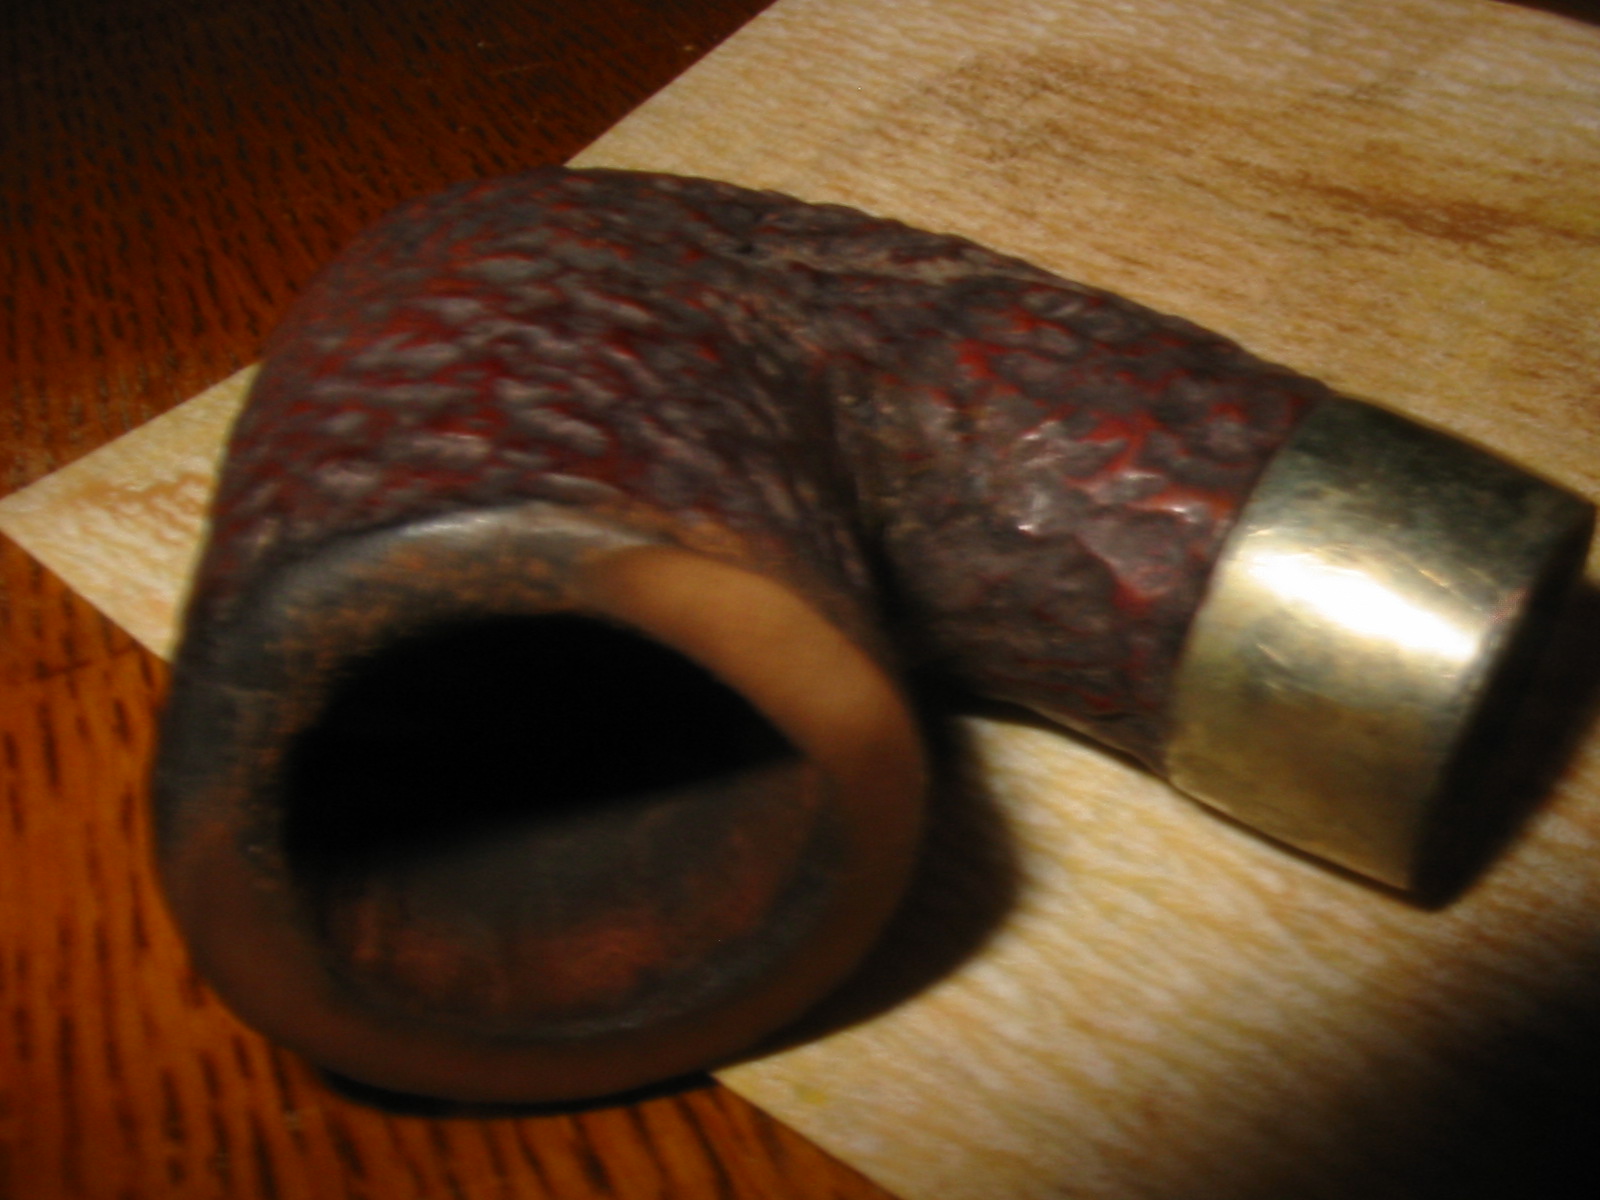
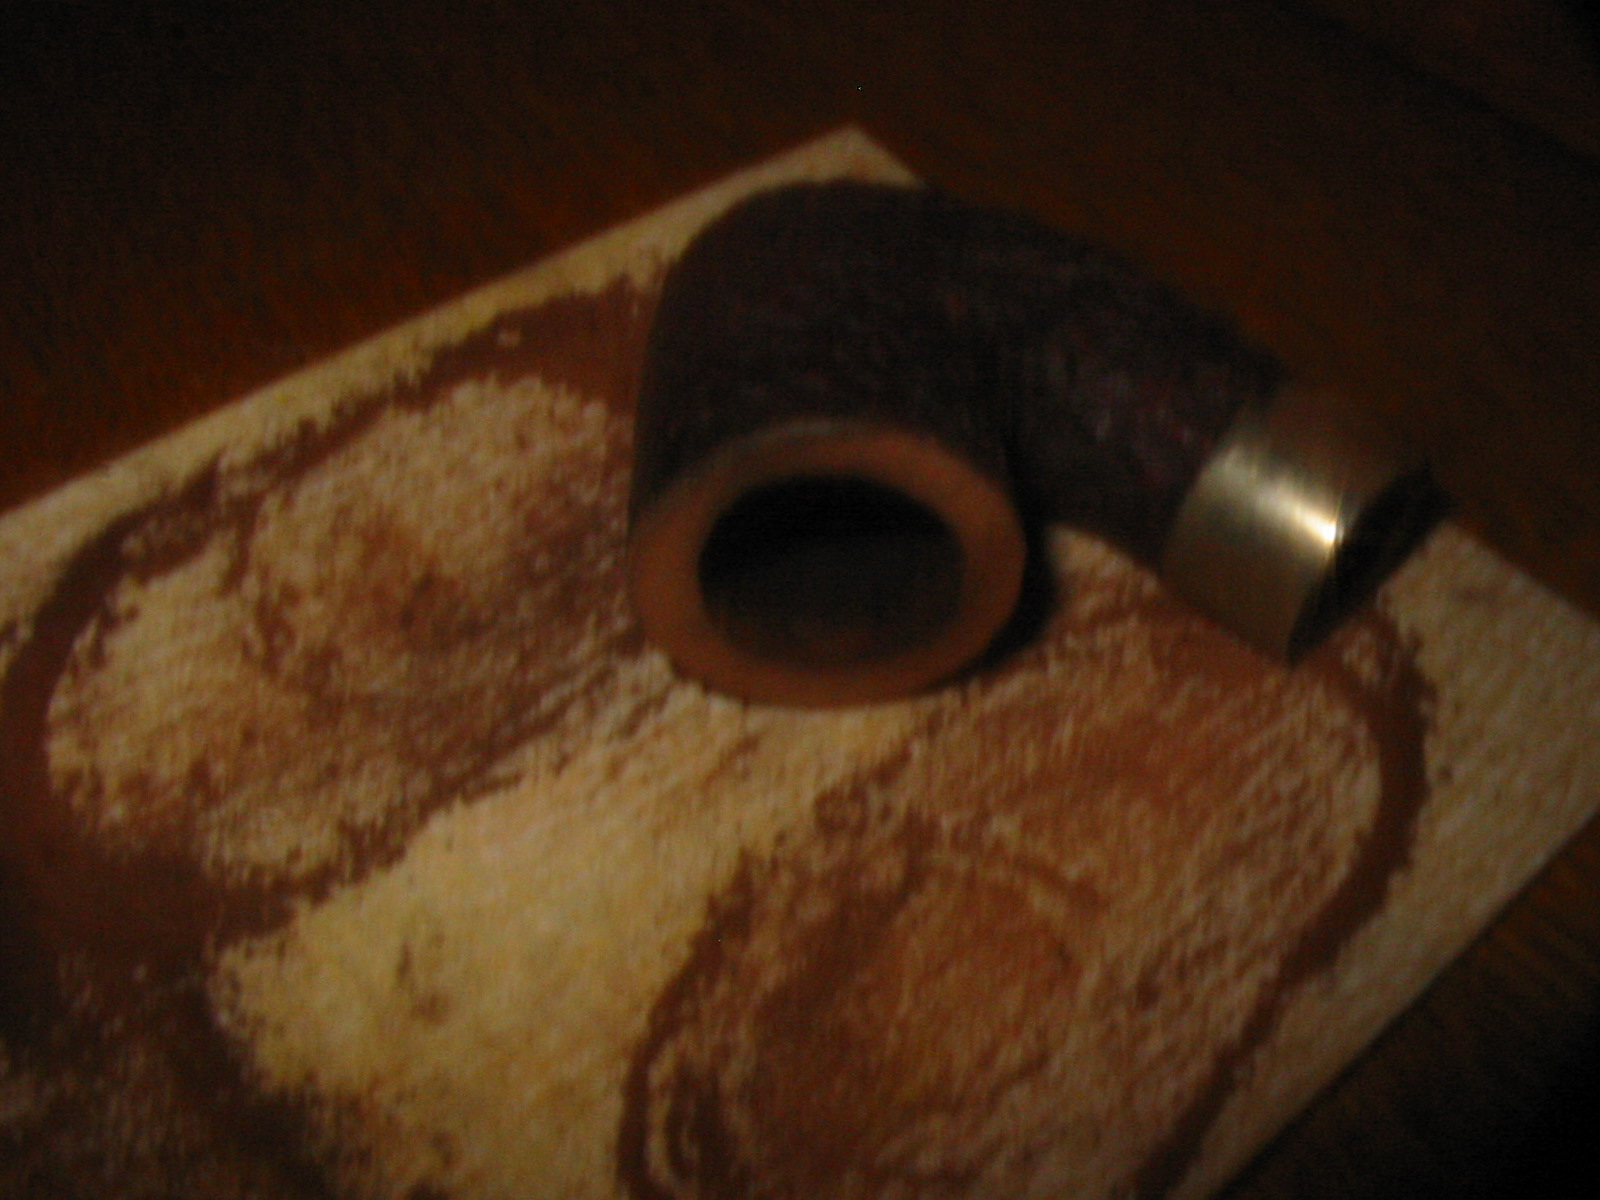
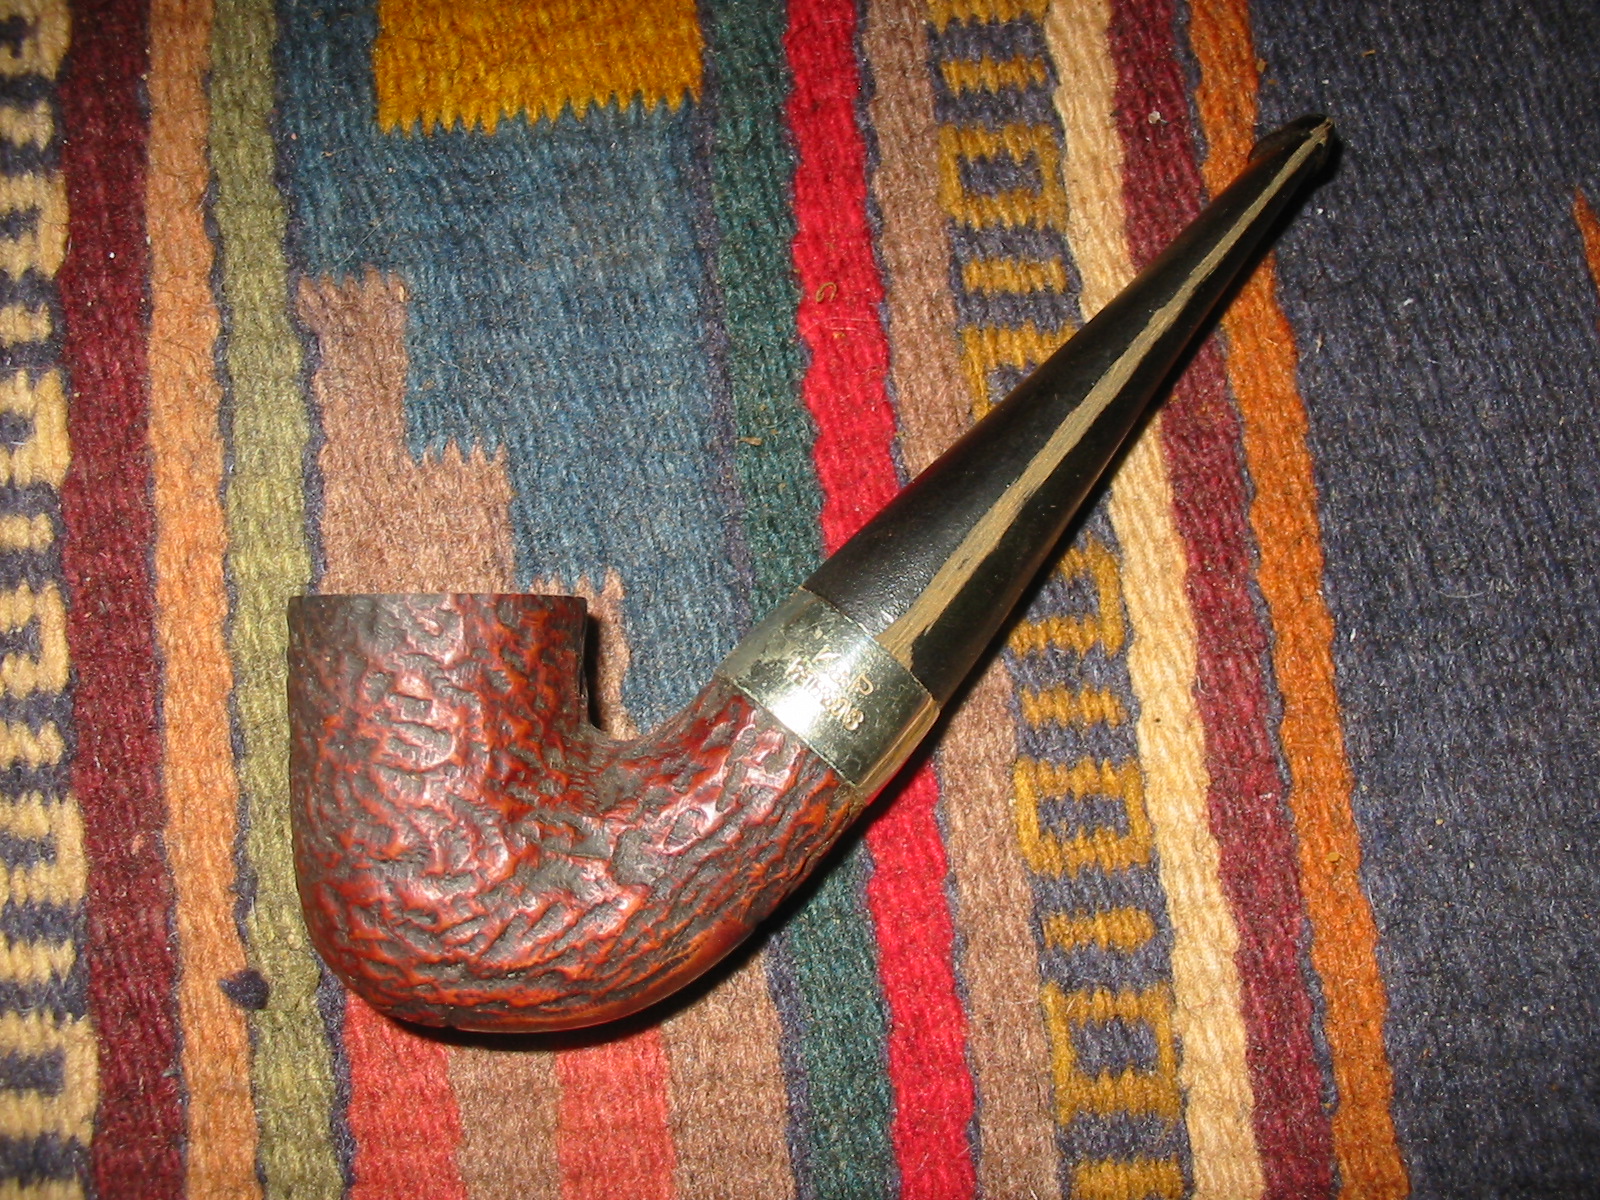
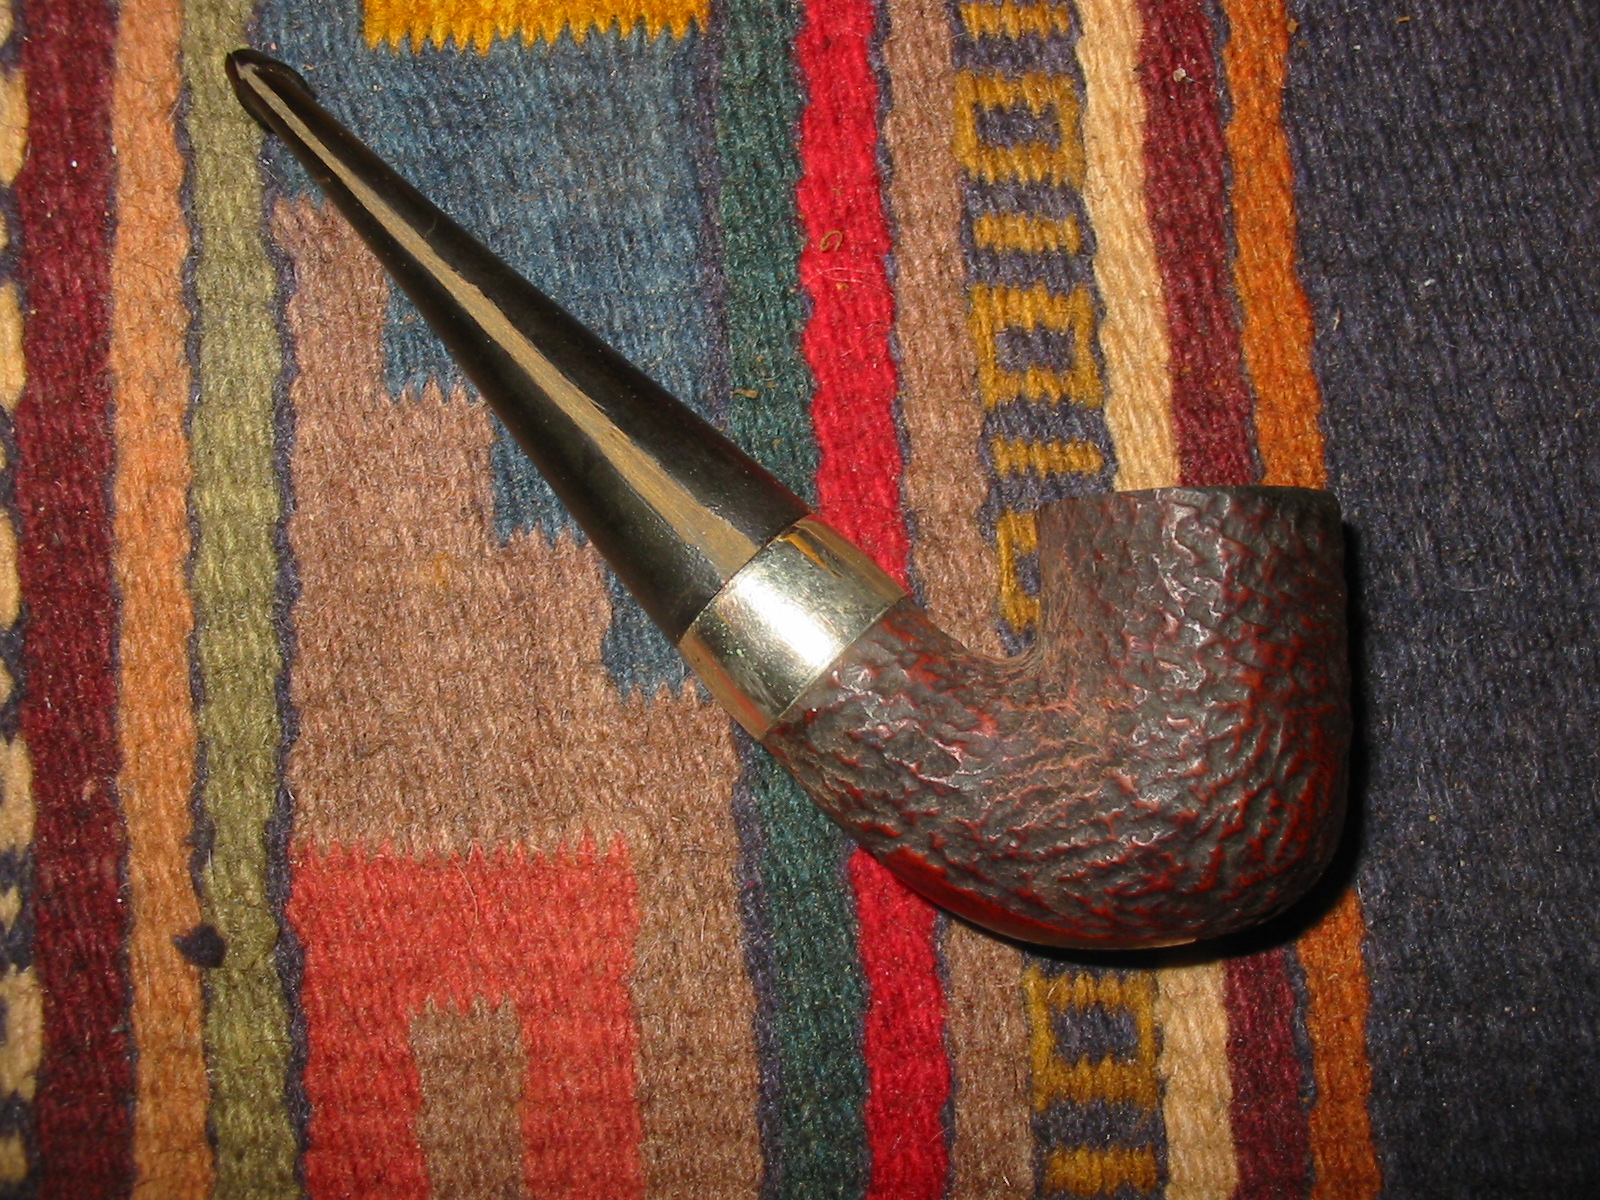
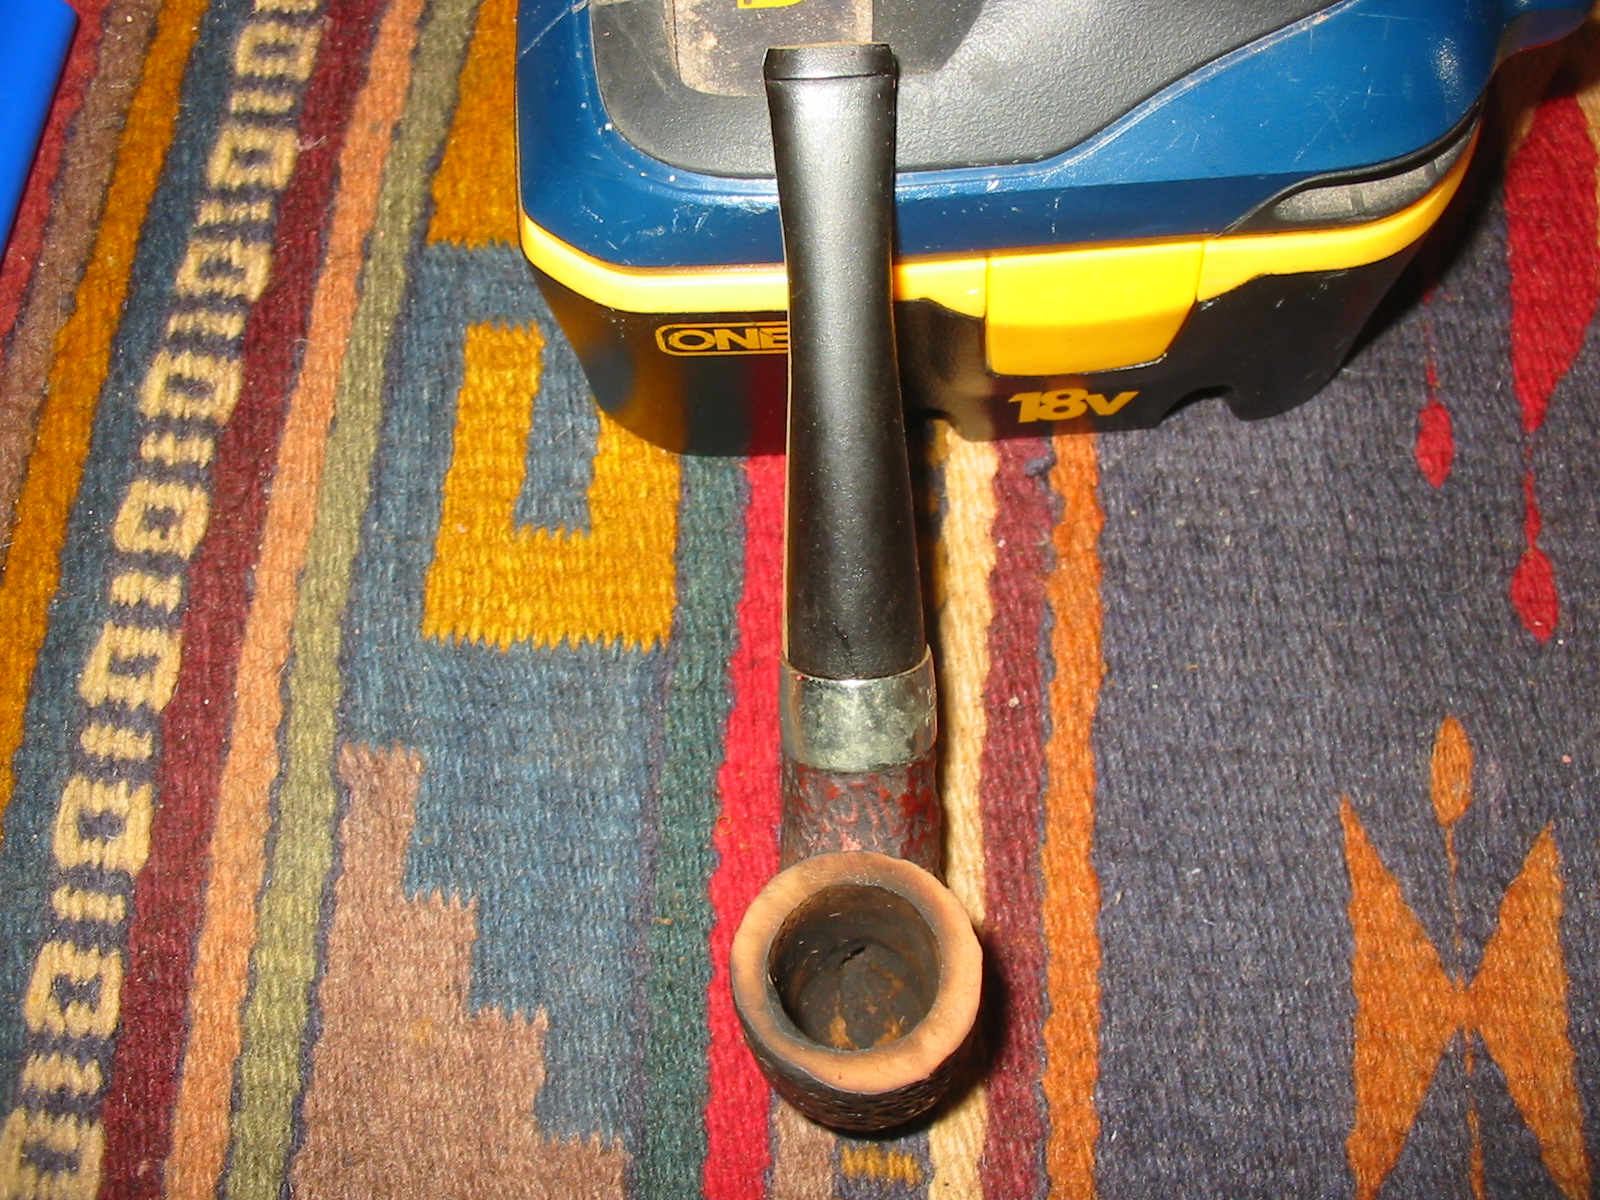
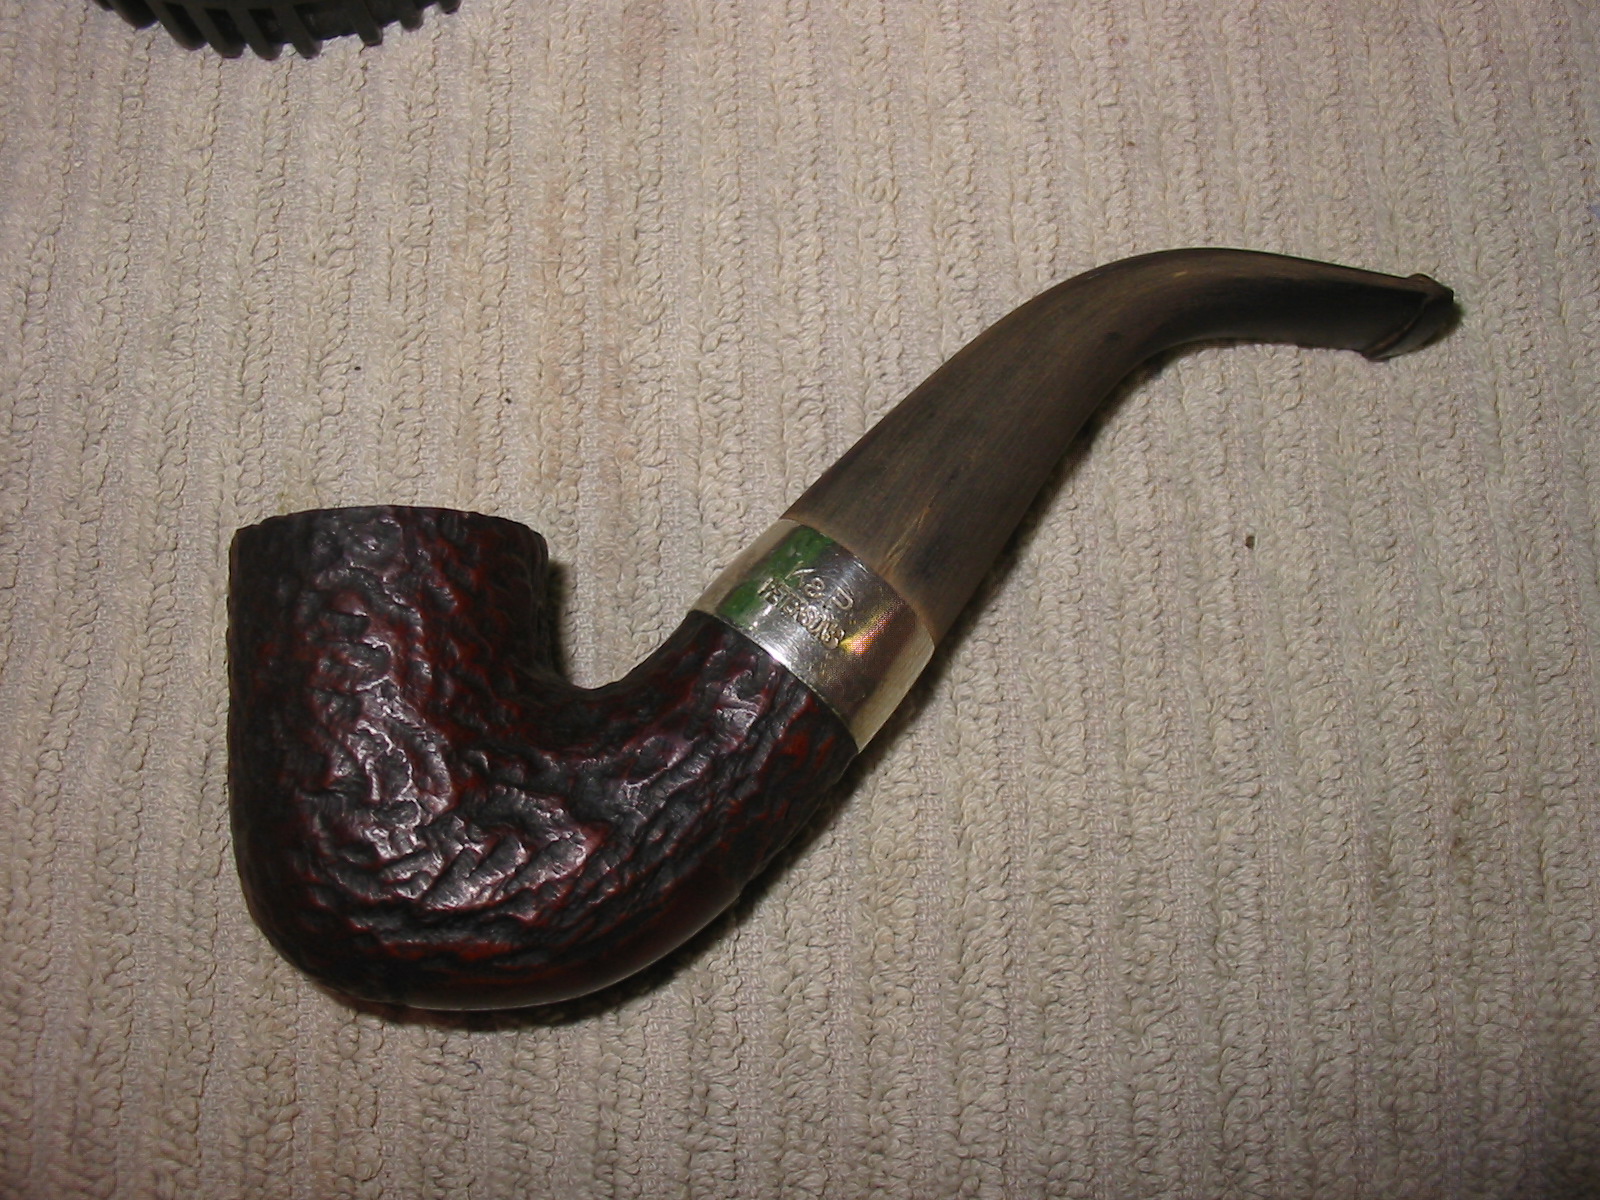
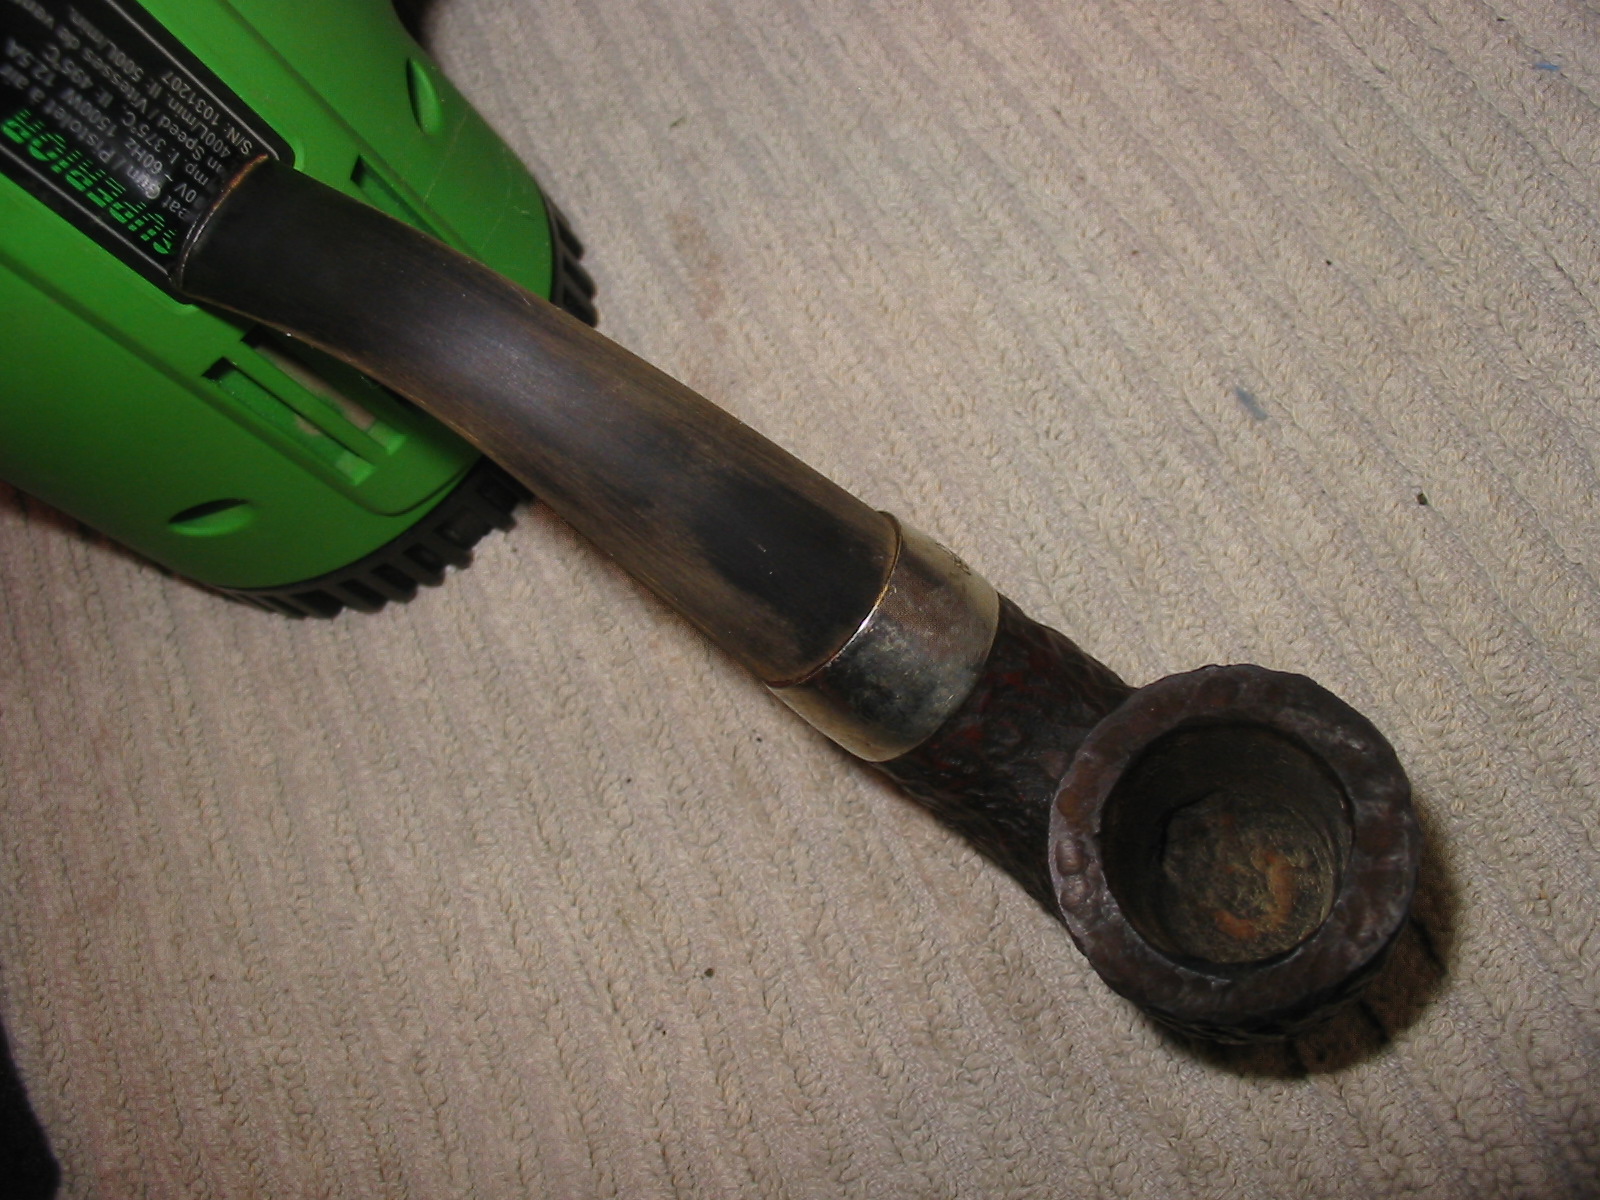
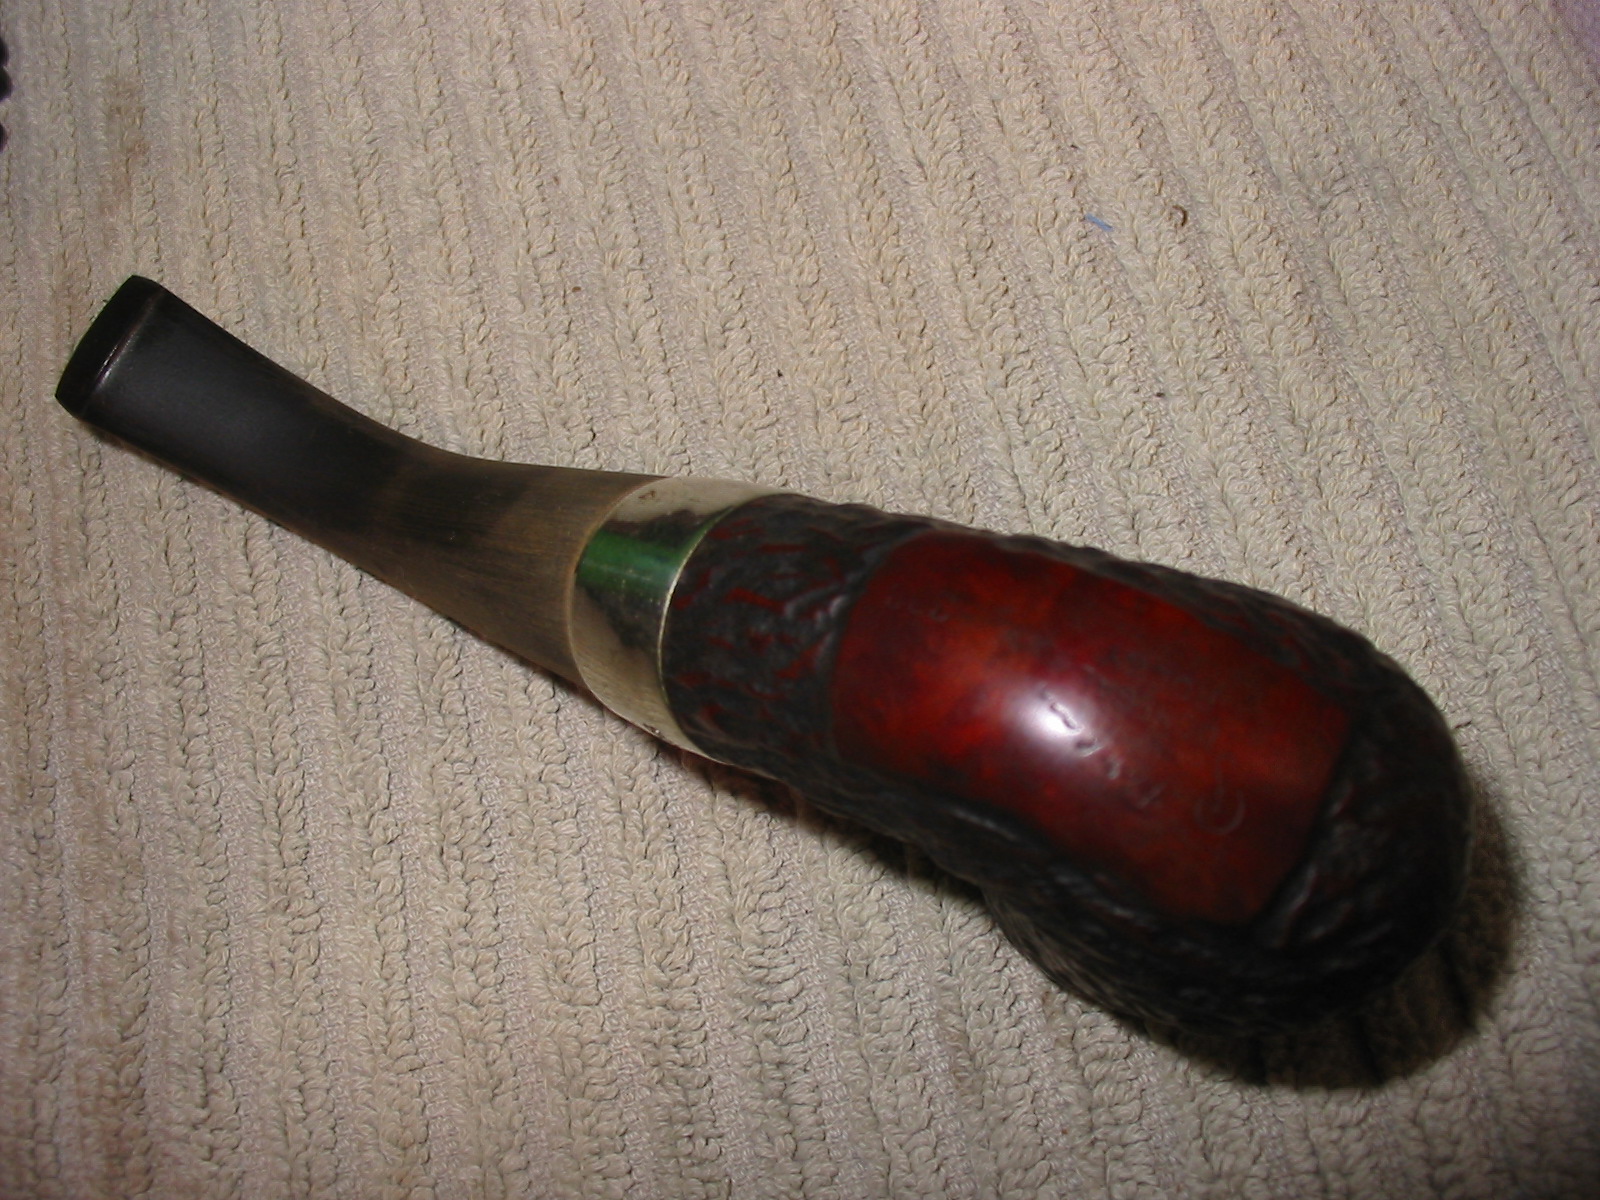
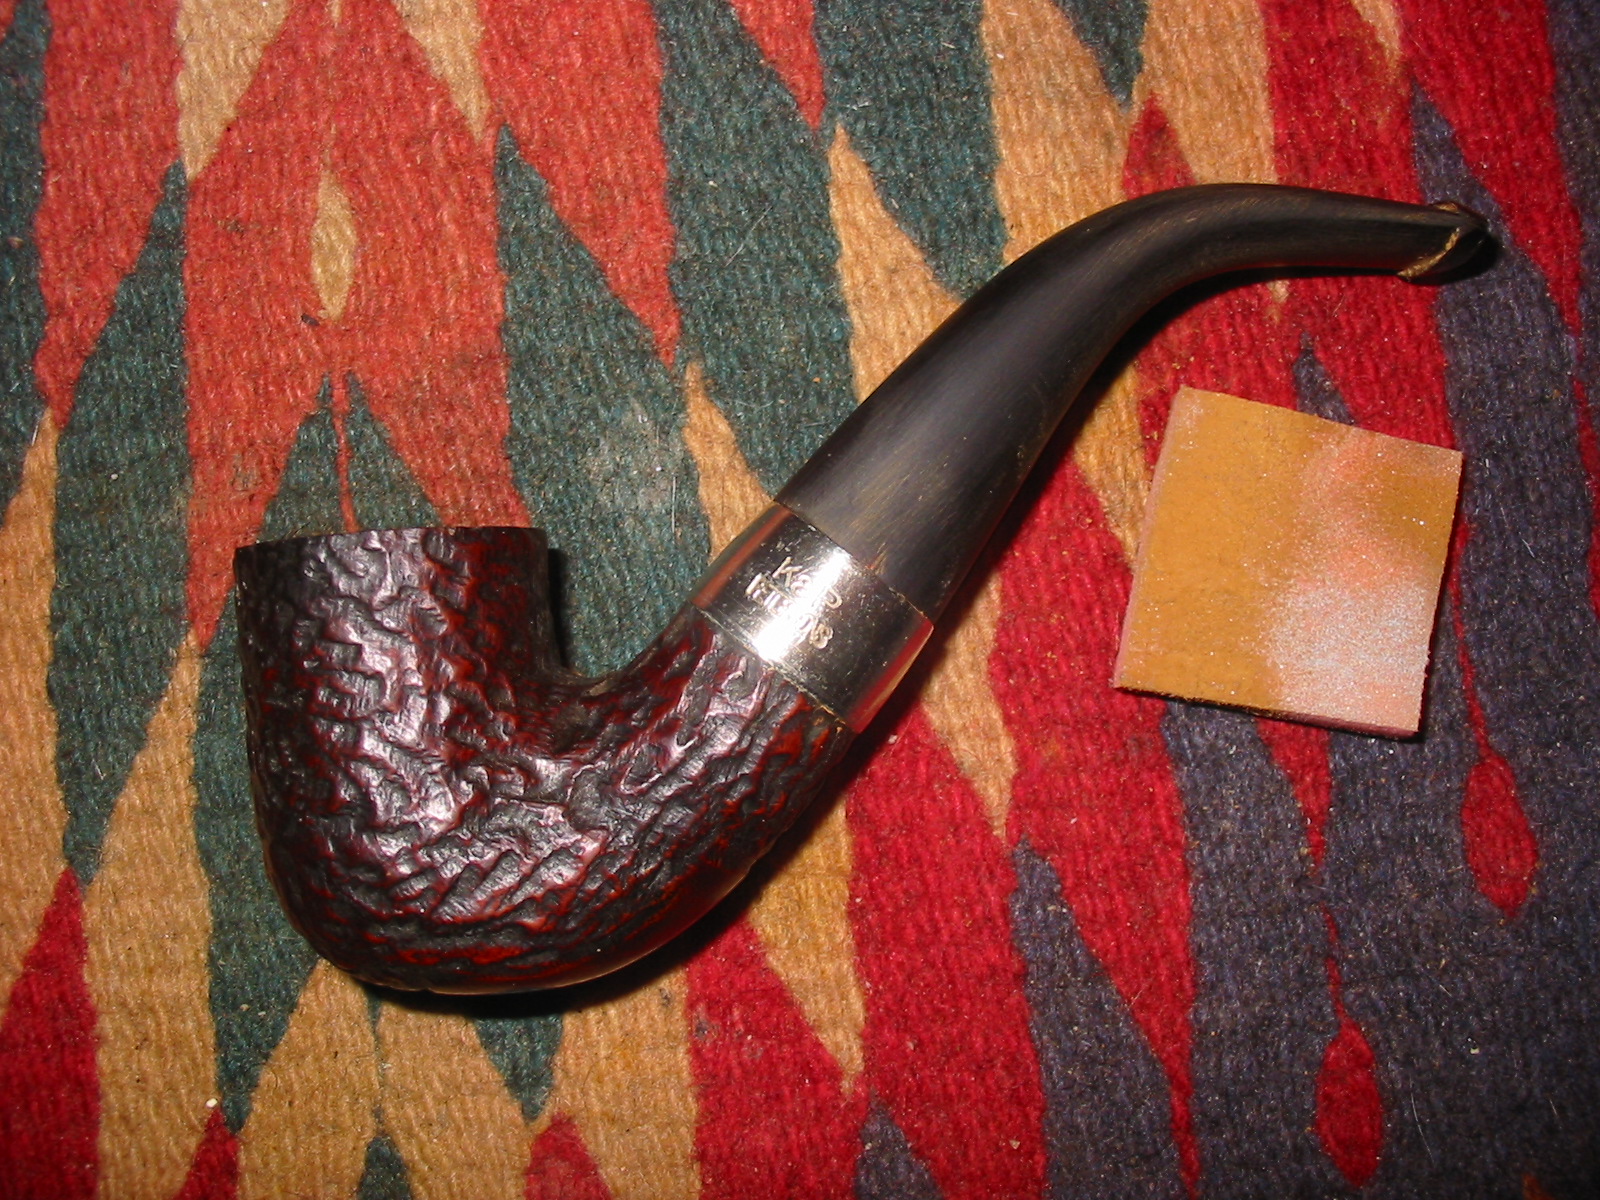
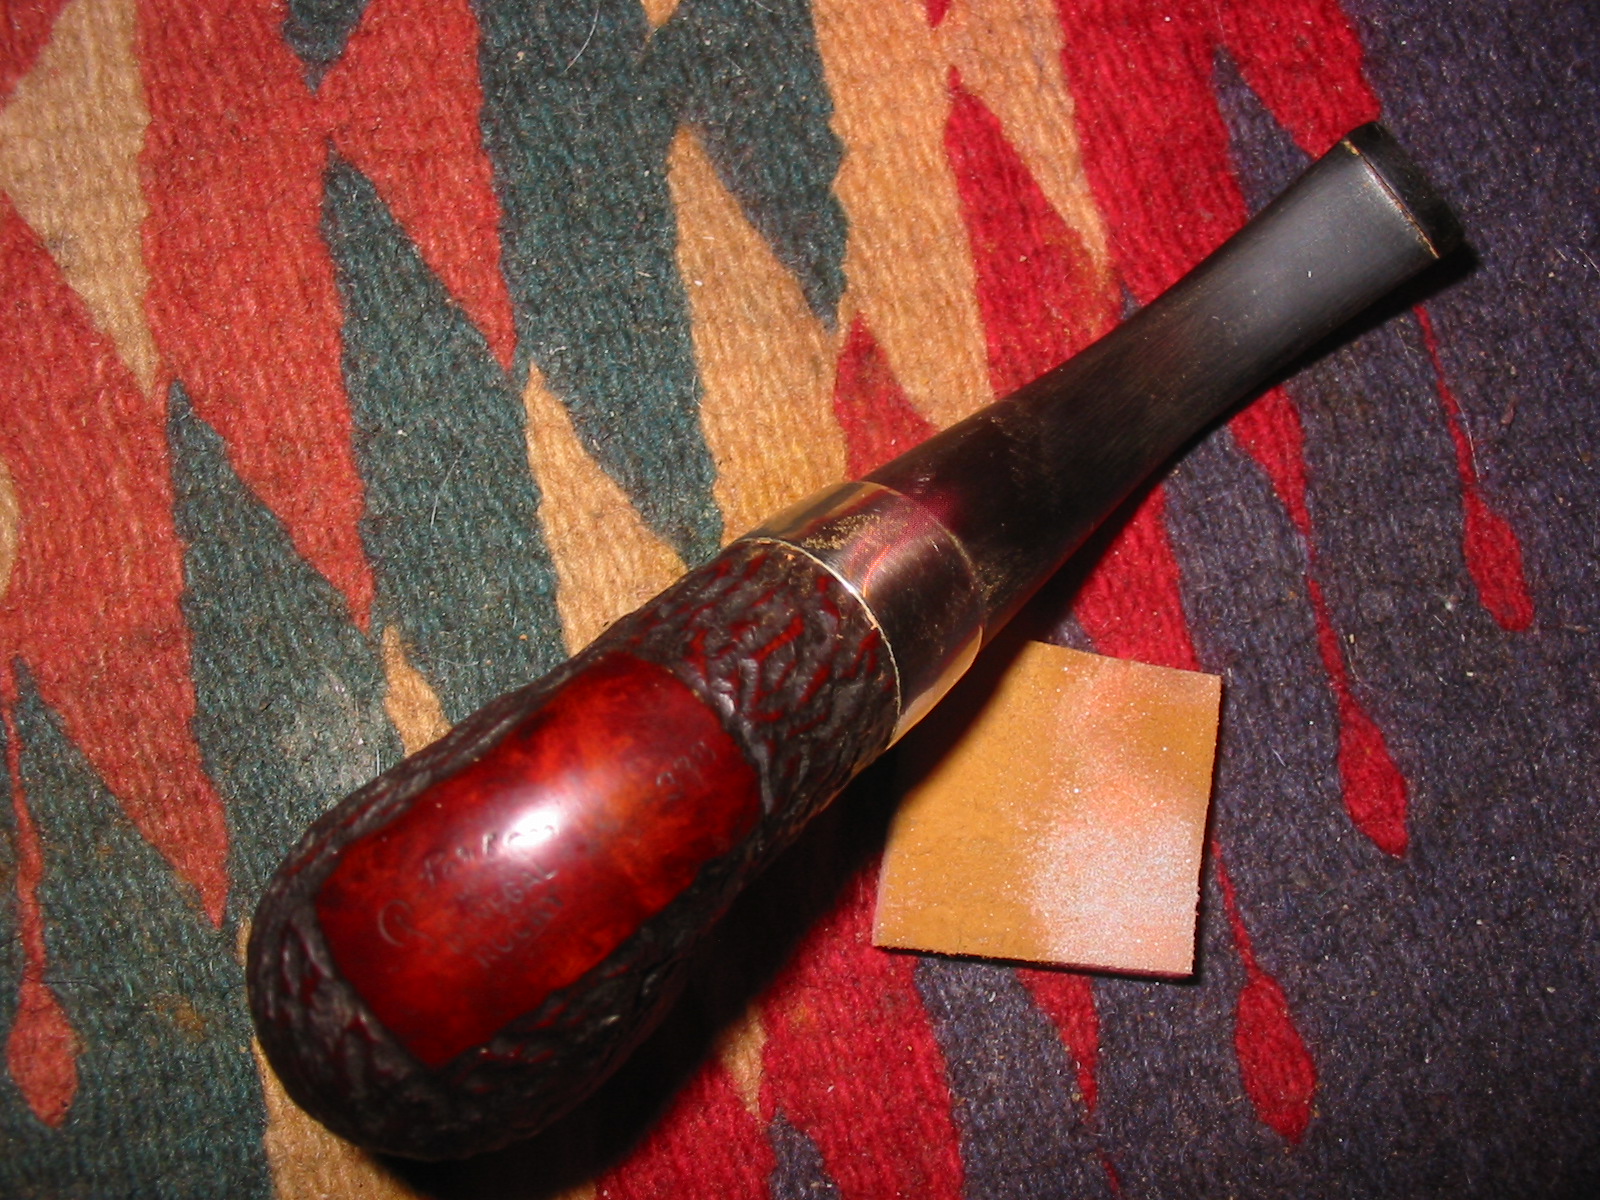
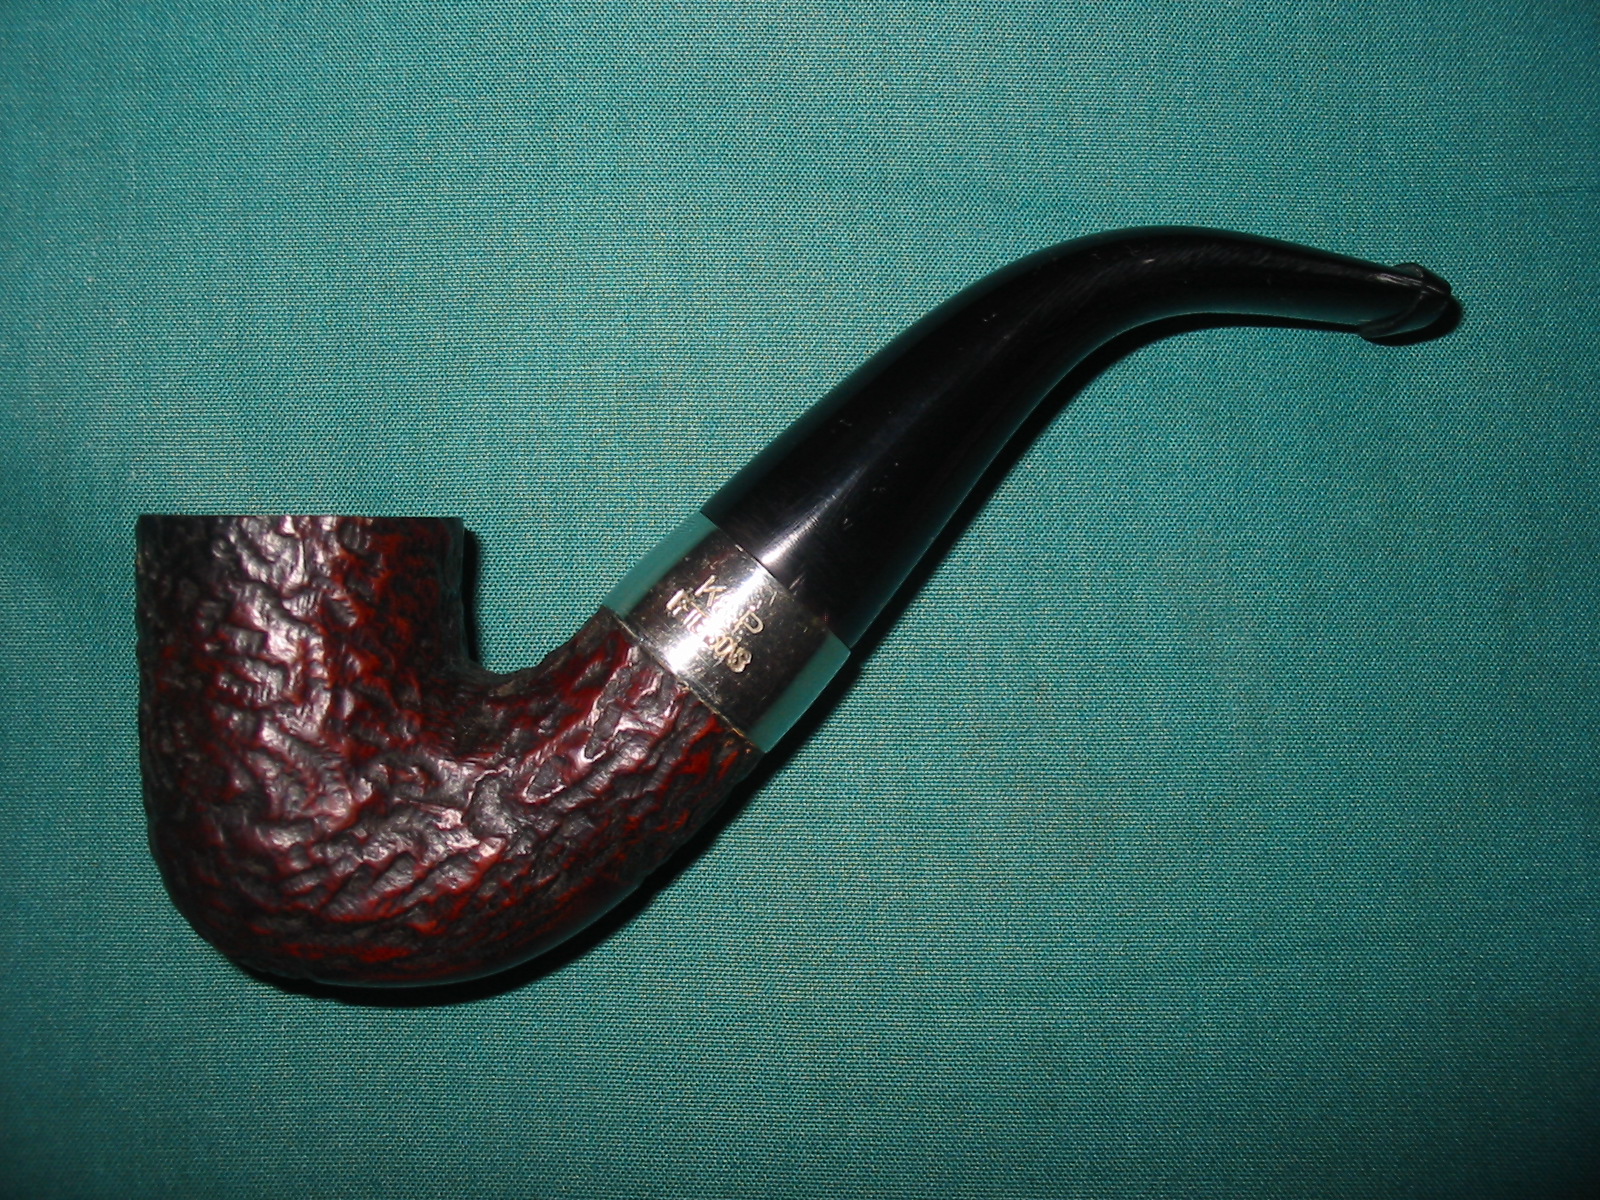
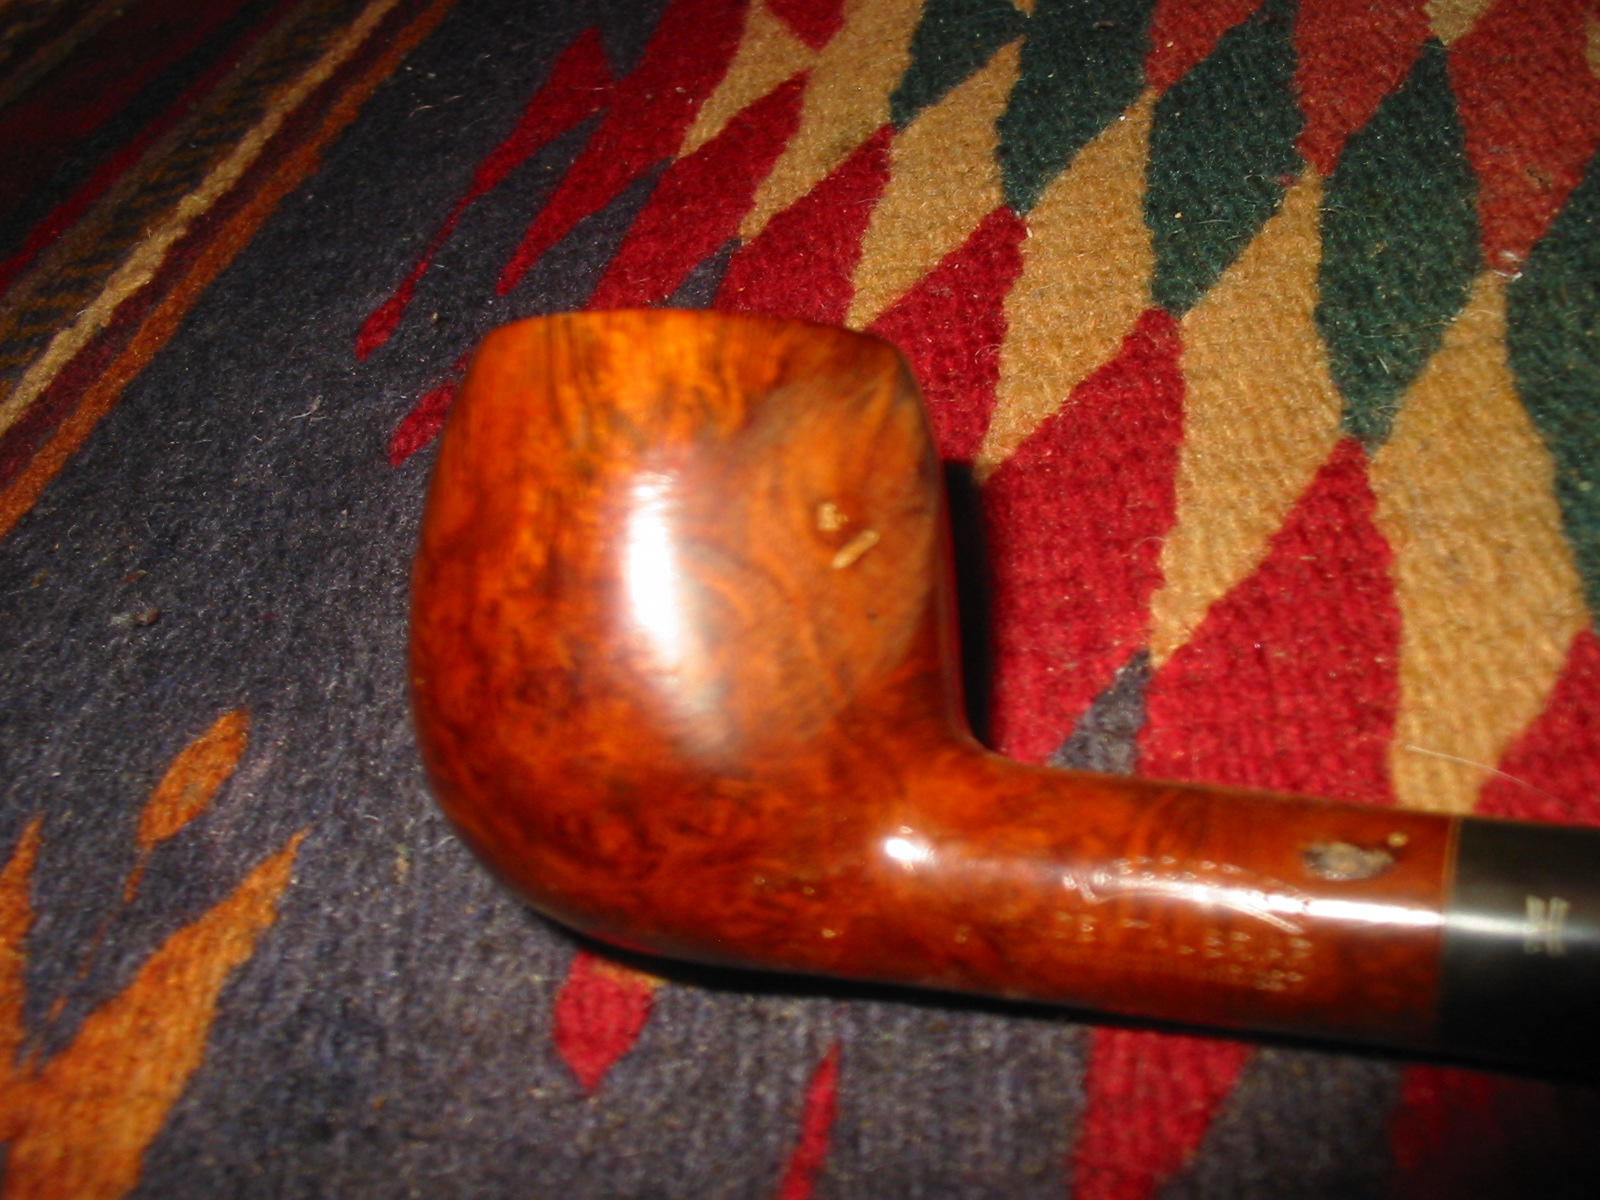
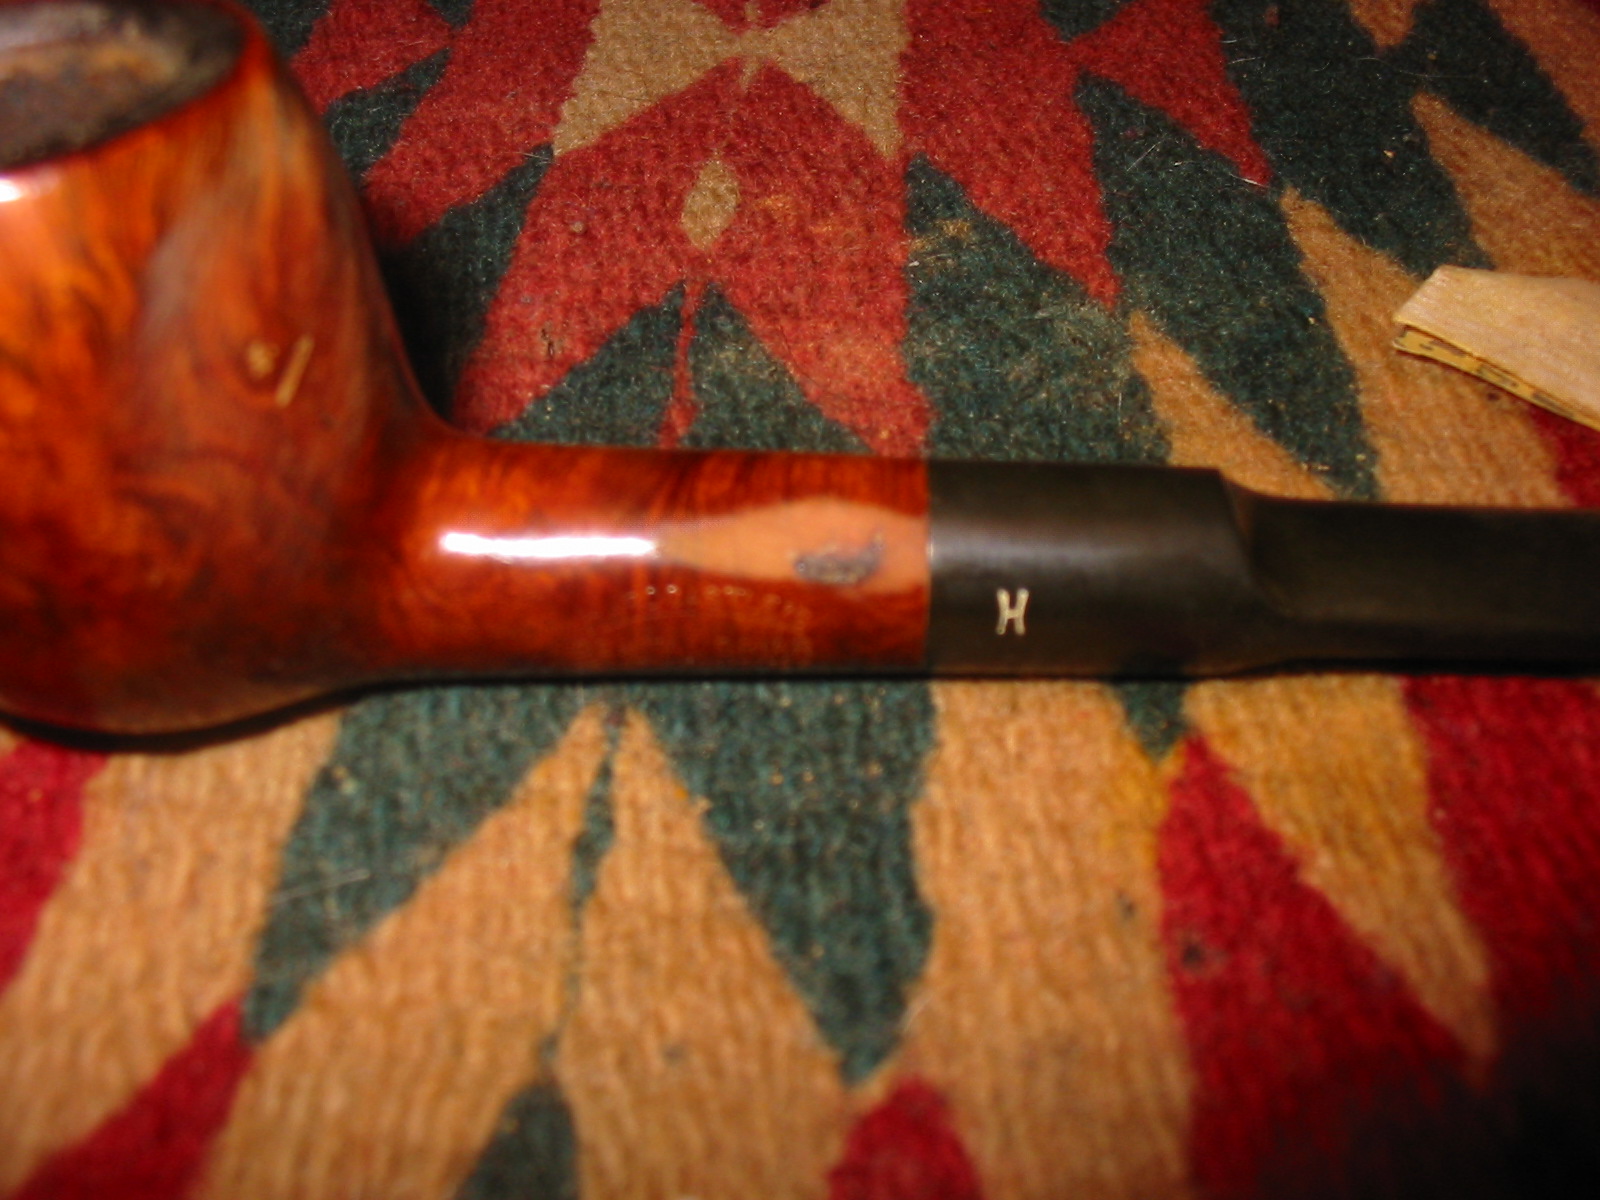
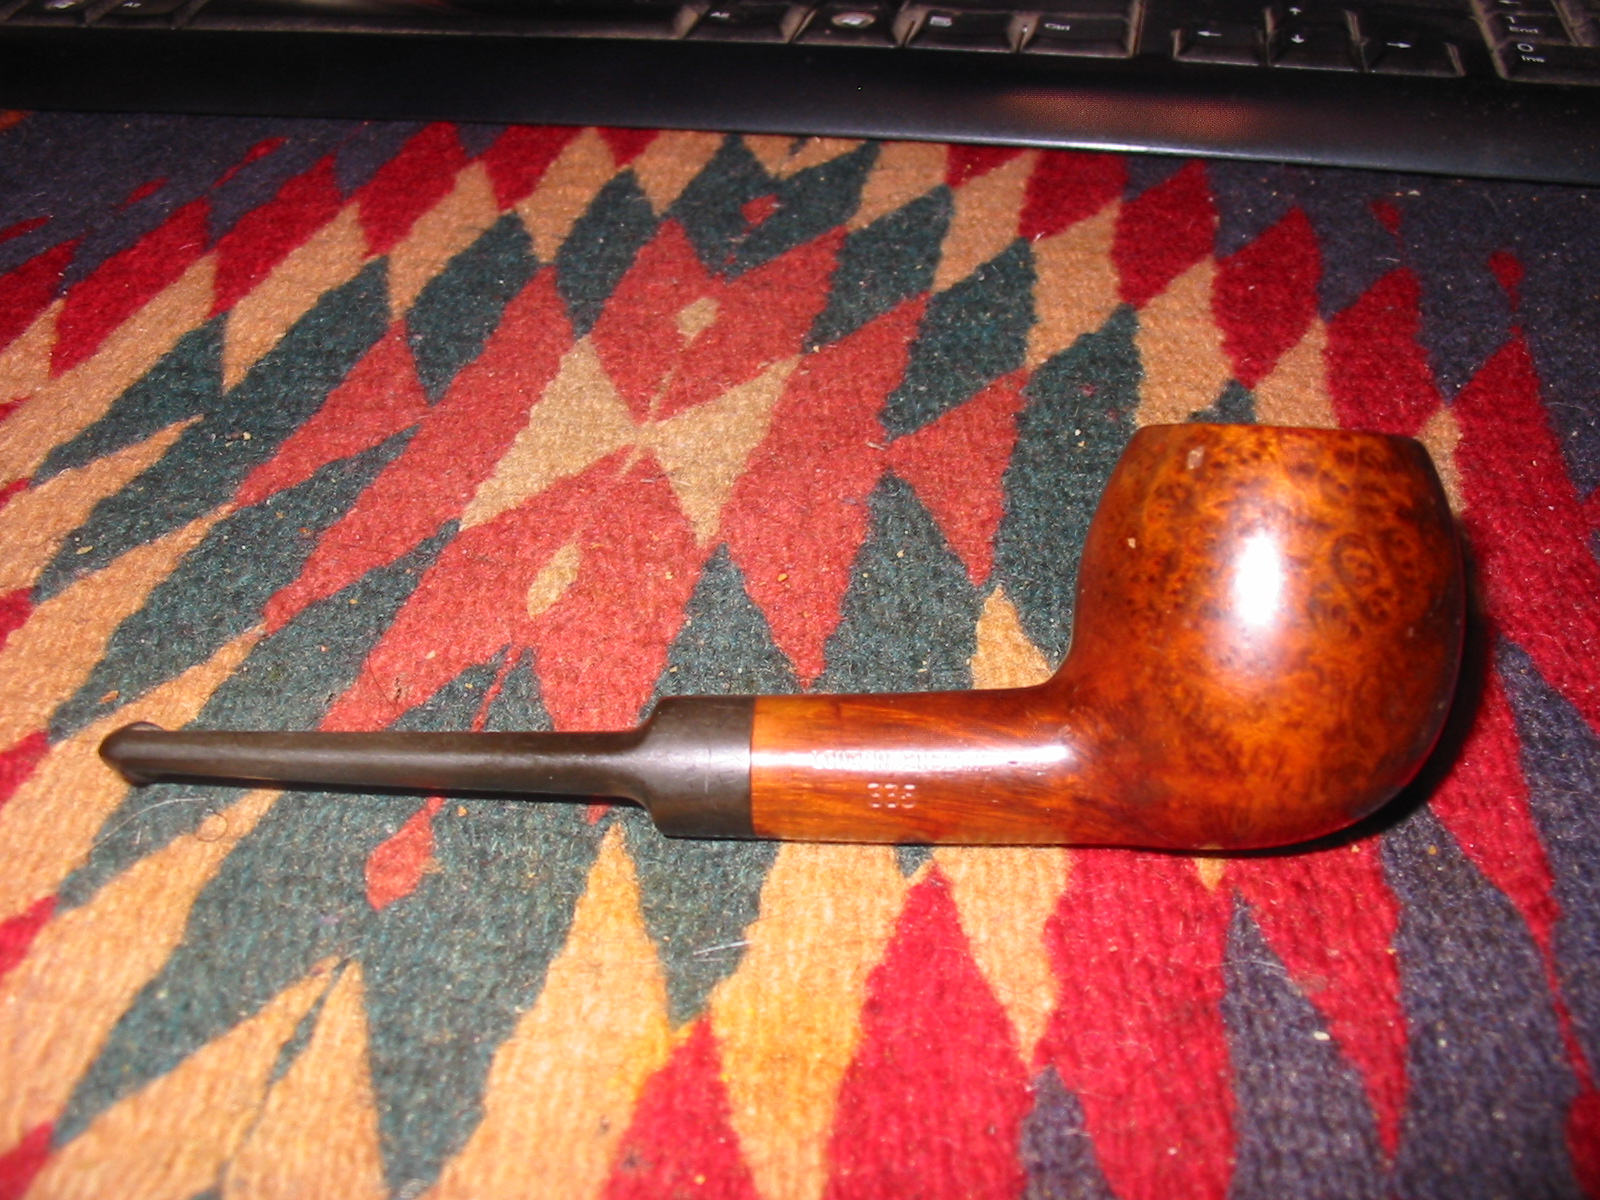
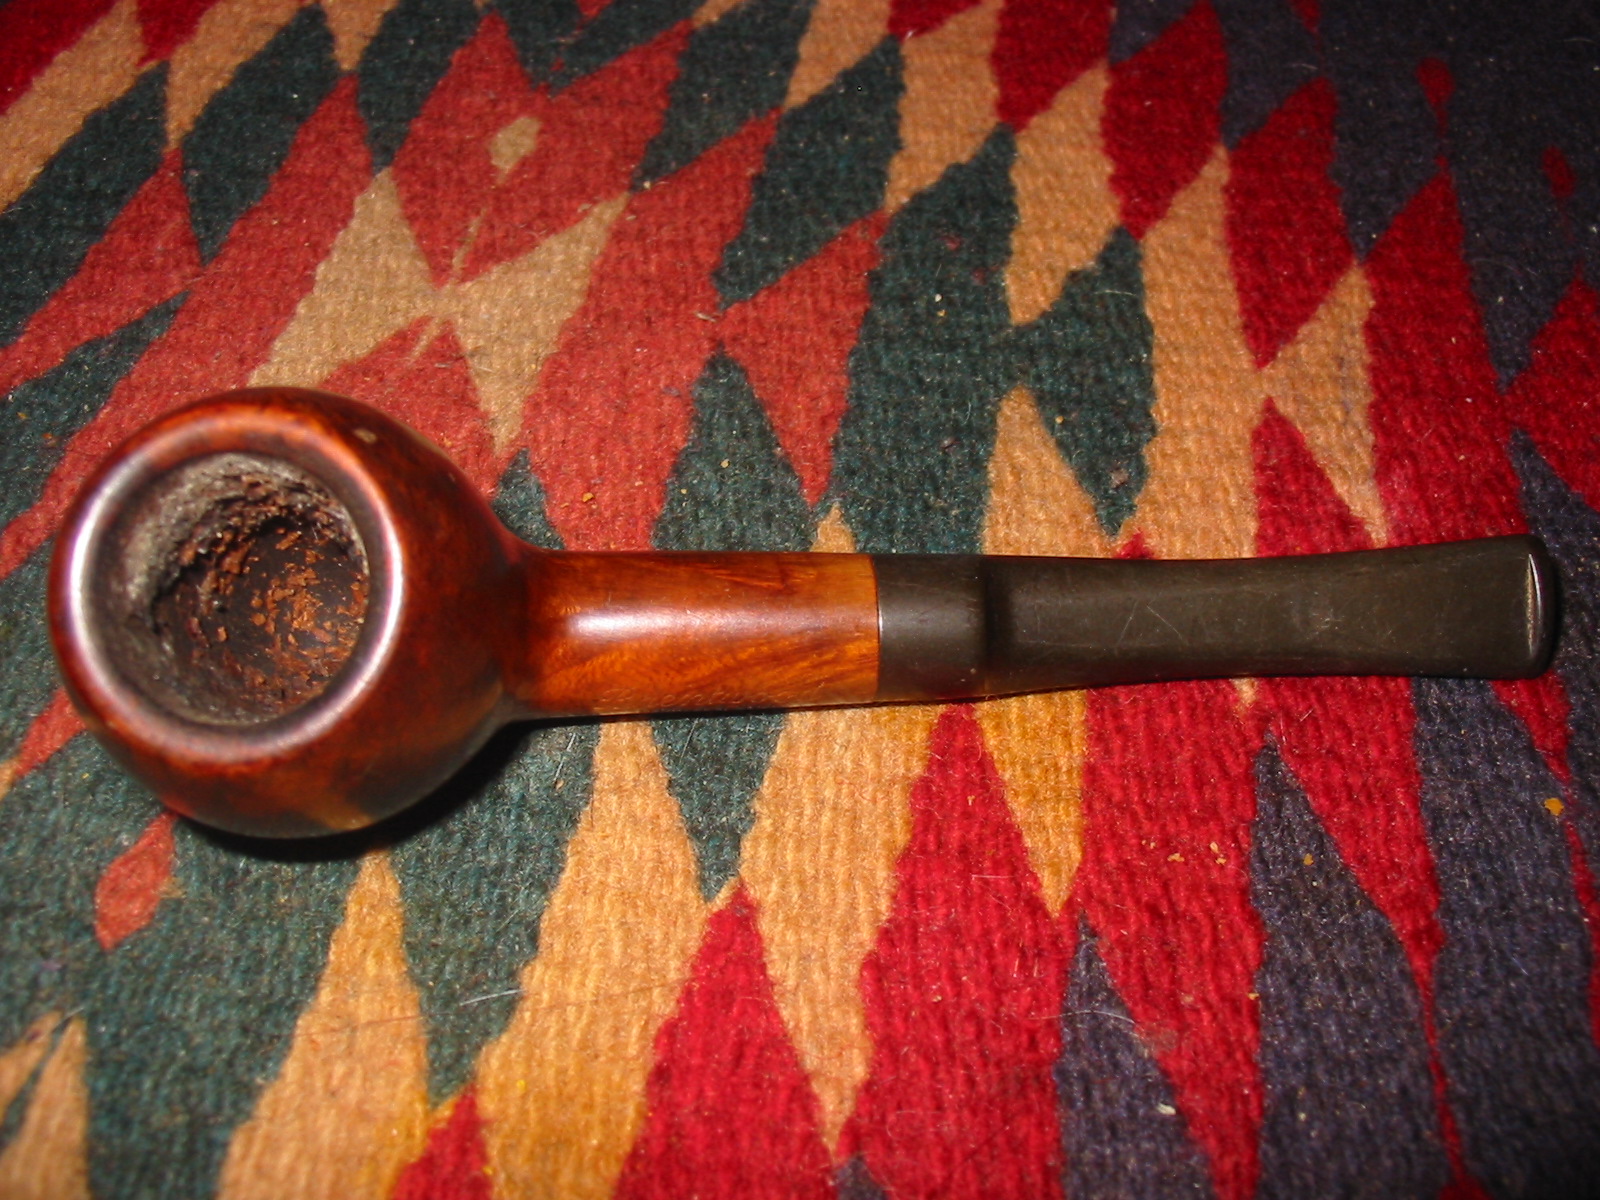
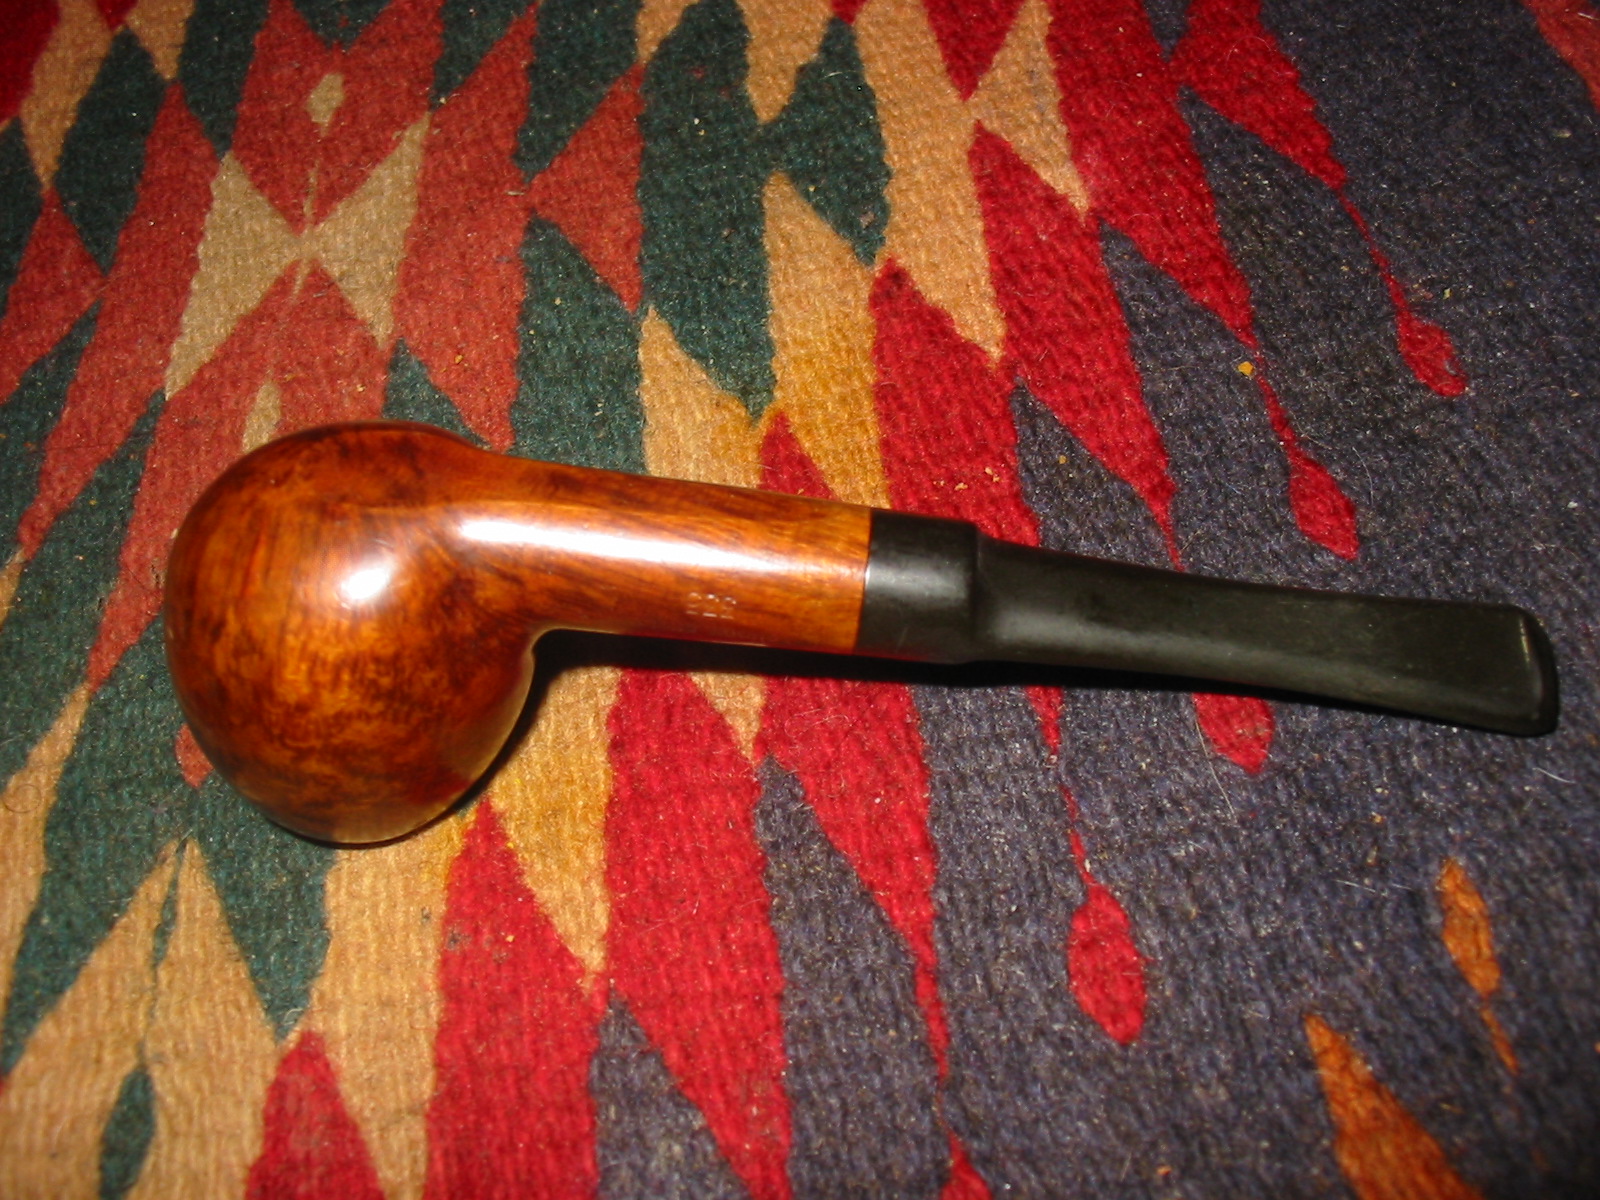
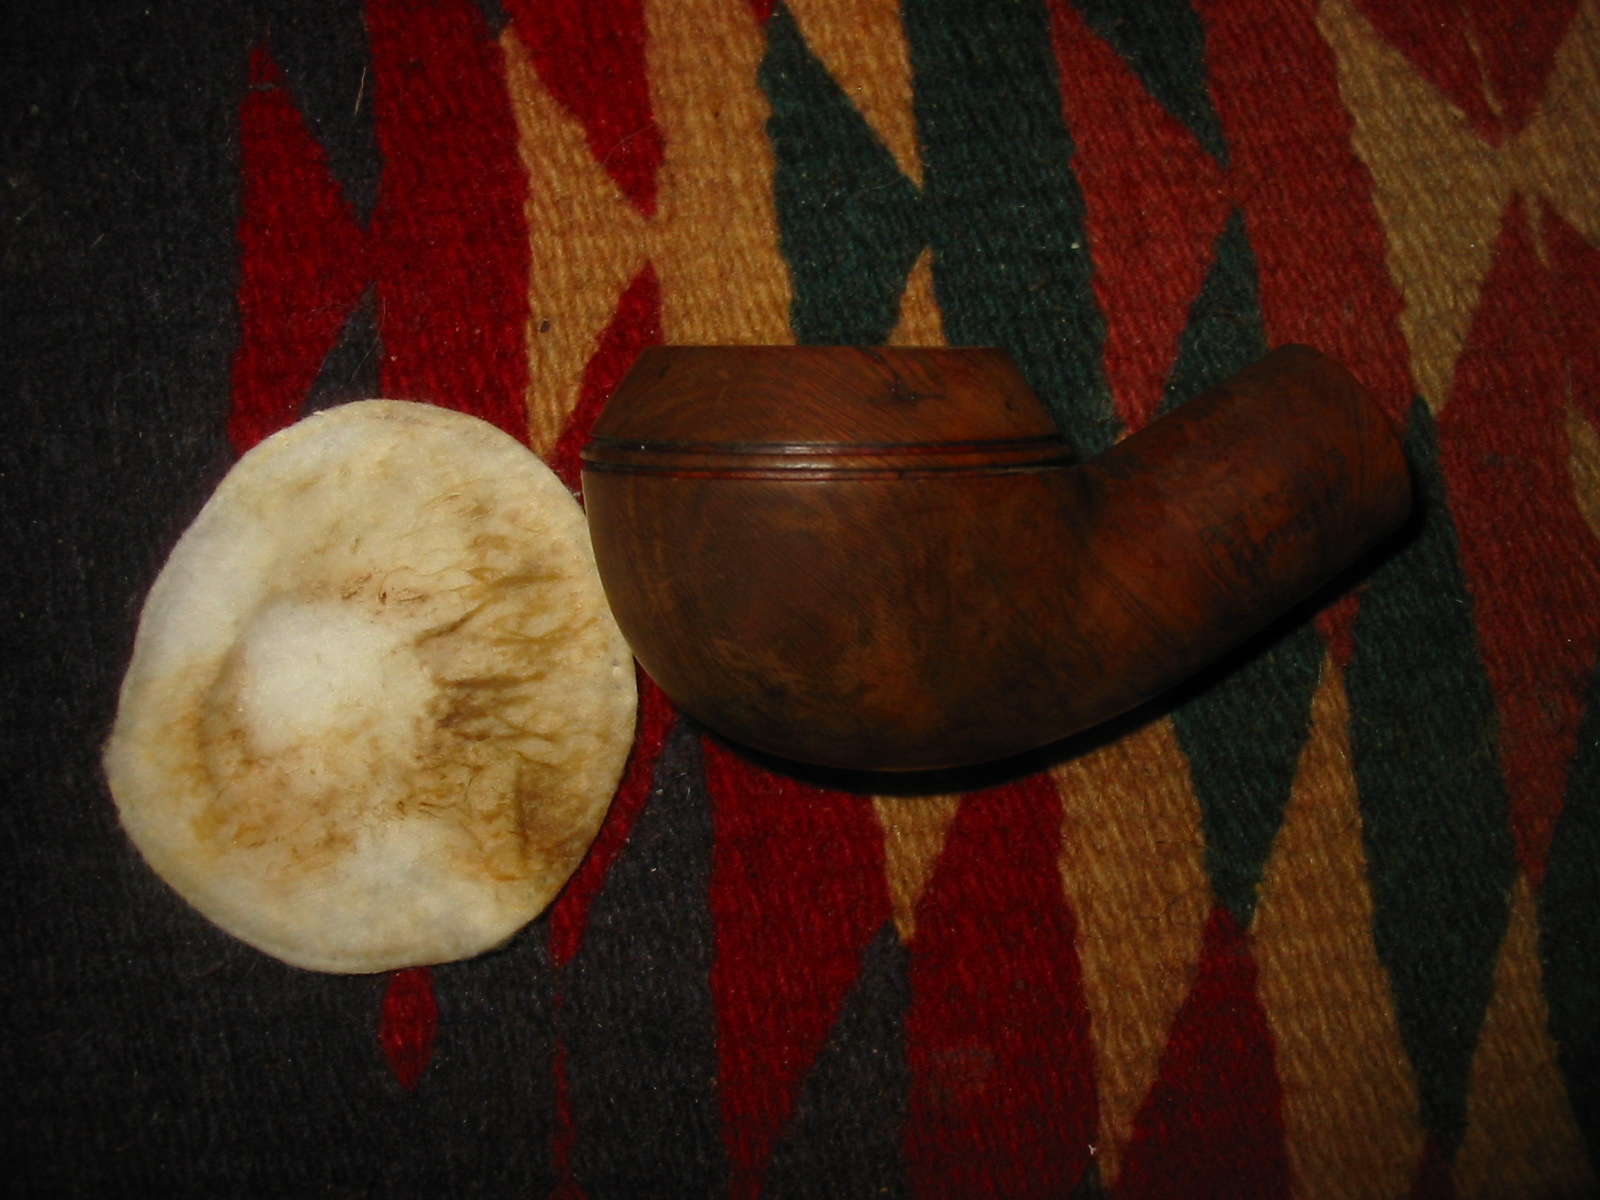
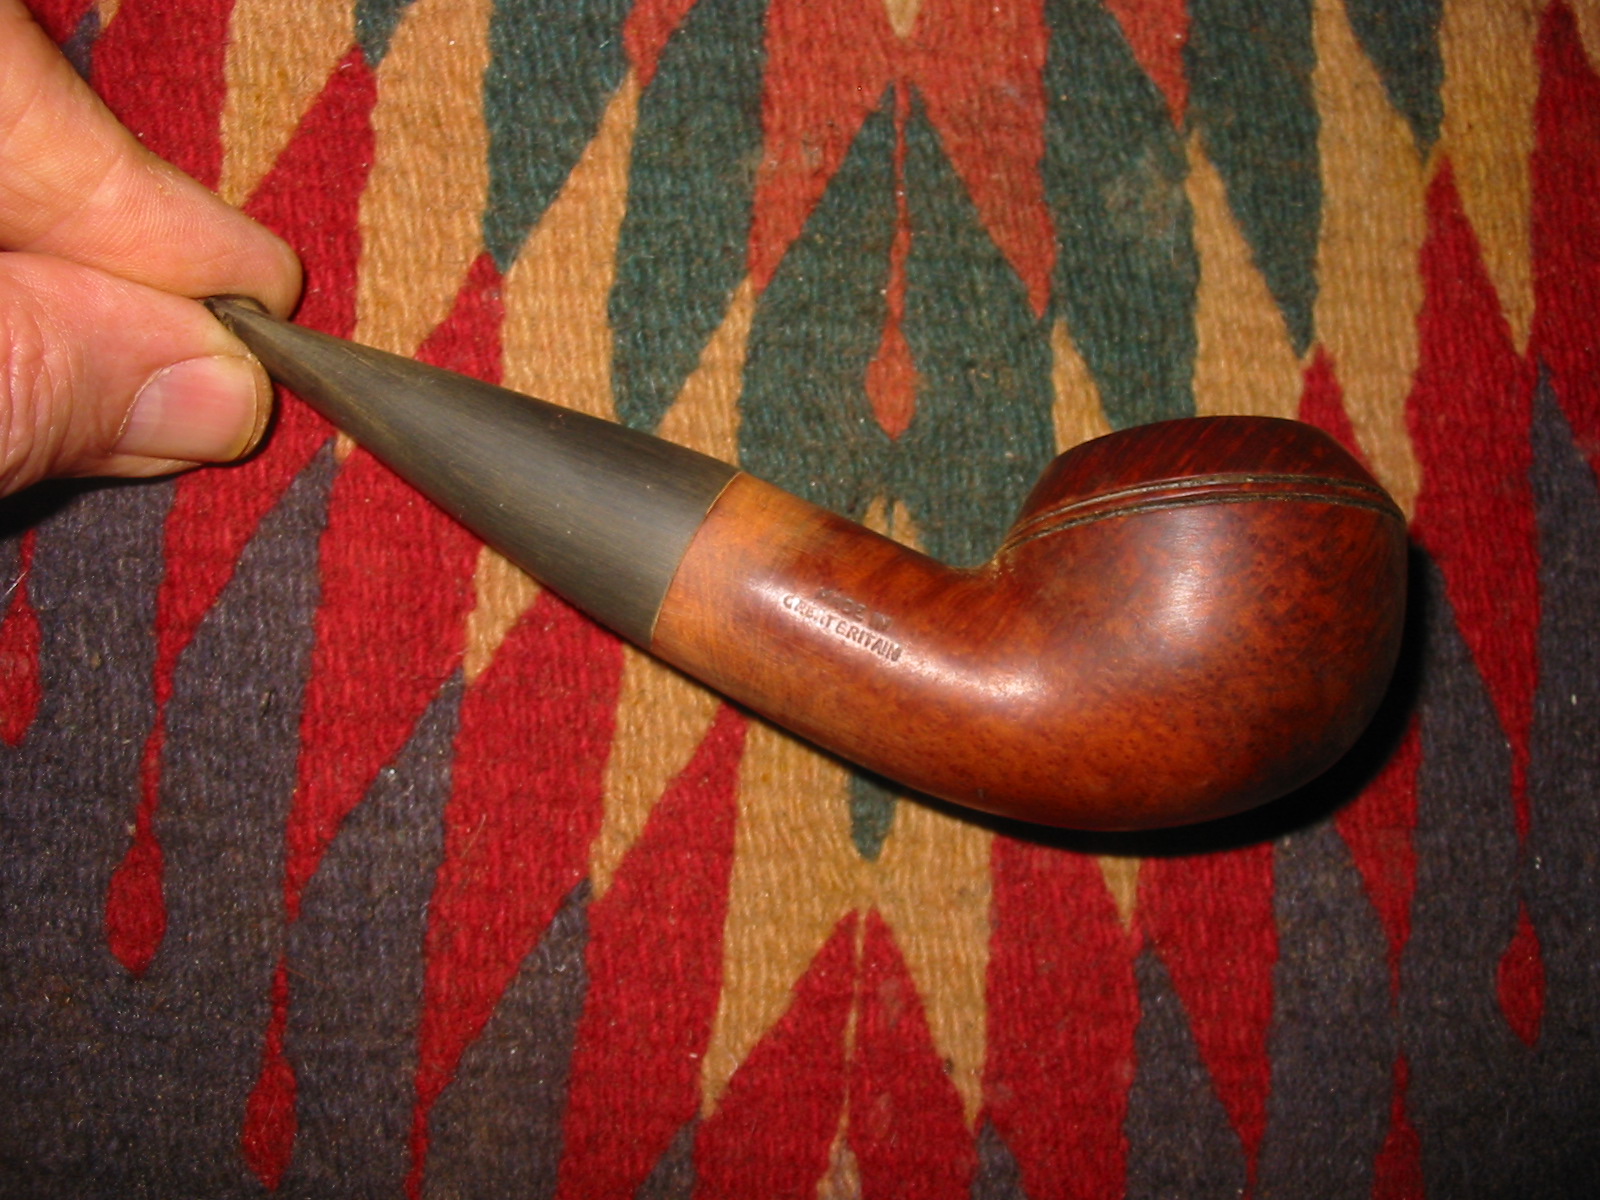
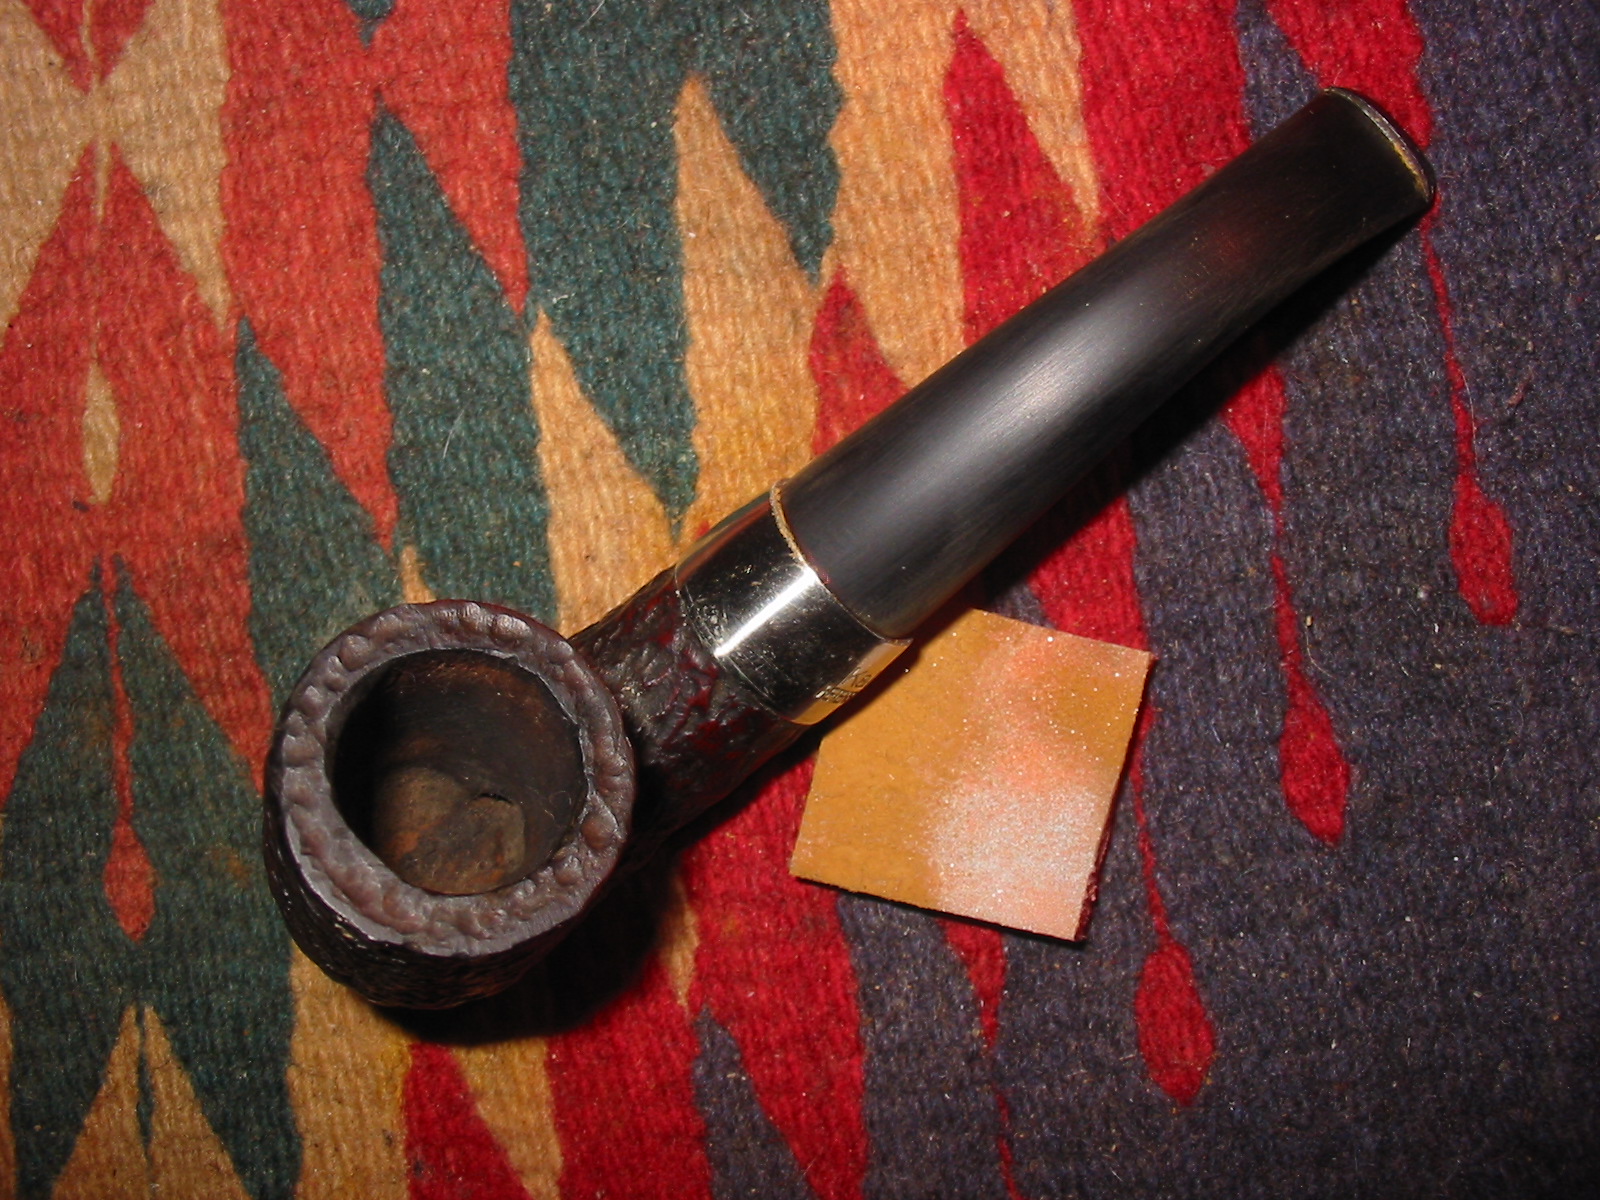
I just finished working on the second of the three pipes that I picked up on Ebay in the lot of three Petersons. It is the third bowl in the photos below. It is stamped Peterson’s over KAPMEER on the left side of the shank, 999S on the underside of the shank and Made in Great Britain on the right side of the shank. It is actually the reason I bid on this lot of pipe bowls. I love the older 999 shape with the thick shank. I like the way it feels in hand and the look of it. As you can see it was in rough shape. There was no stem for it. The finish was rough and worn, the bowl had a thick uneven cake in it and the top of the rim was thick with a cake build up. From what little I knew the KAPMEER was a meerlined pipe. There was something unique about its design but that escaped me at the moment.

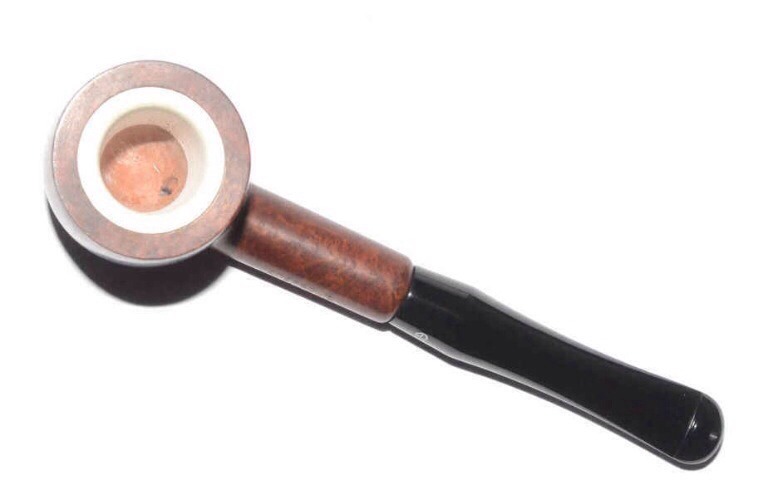
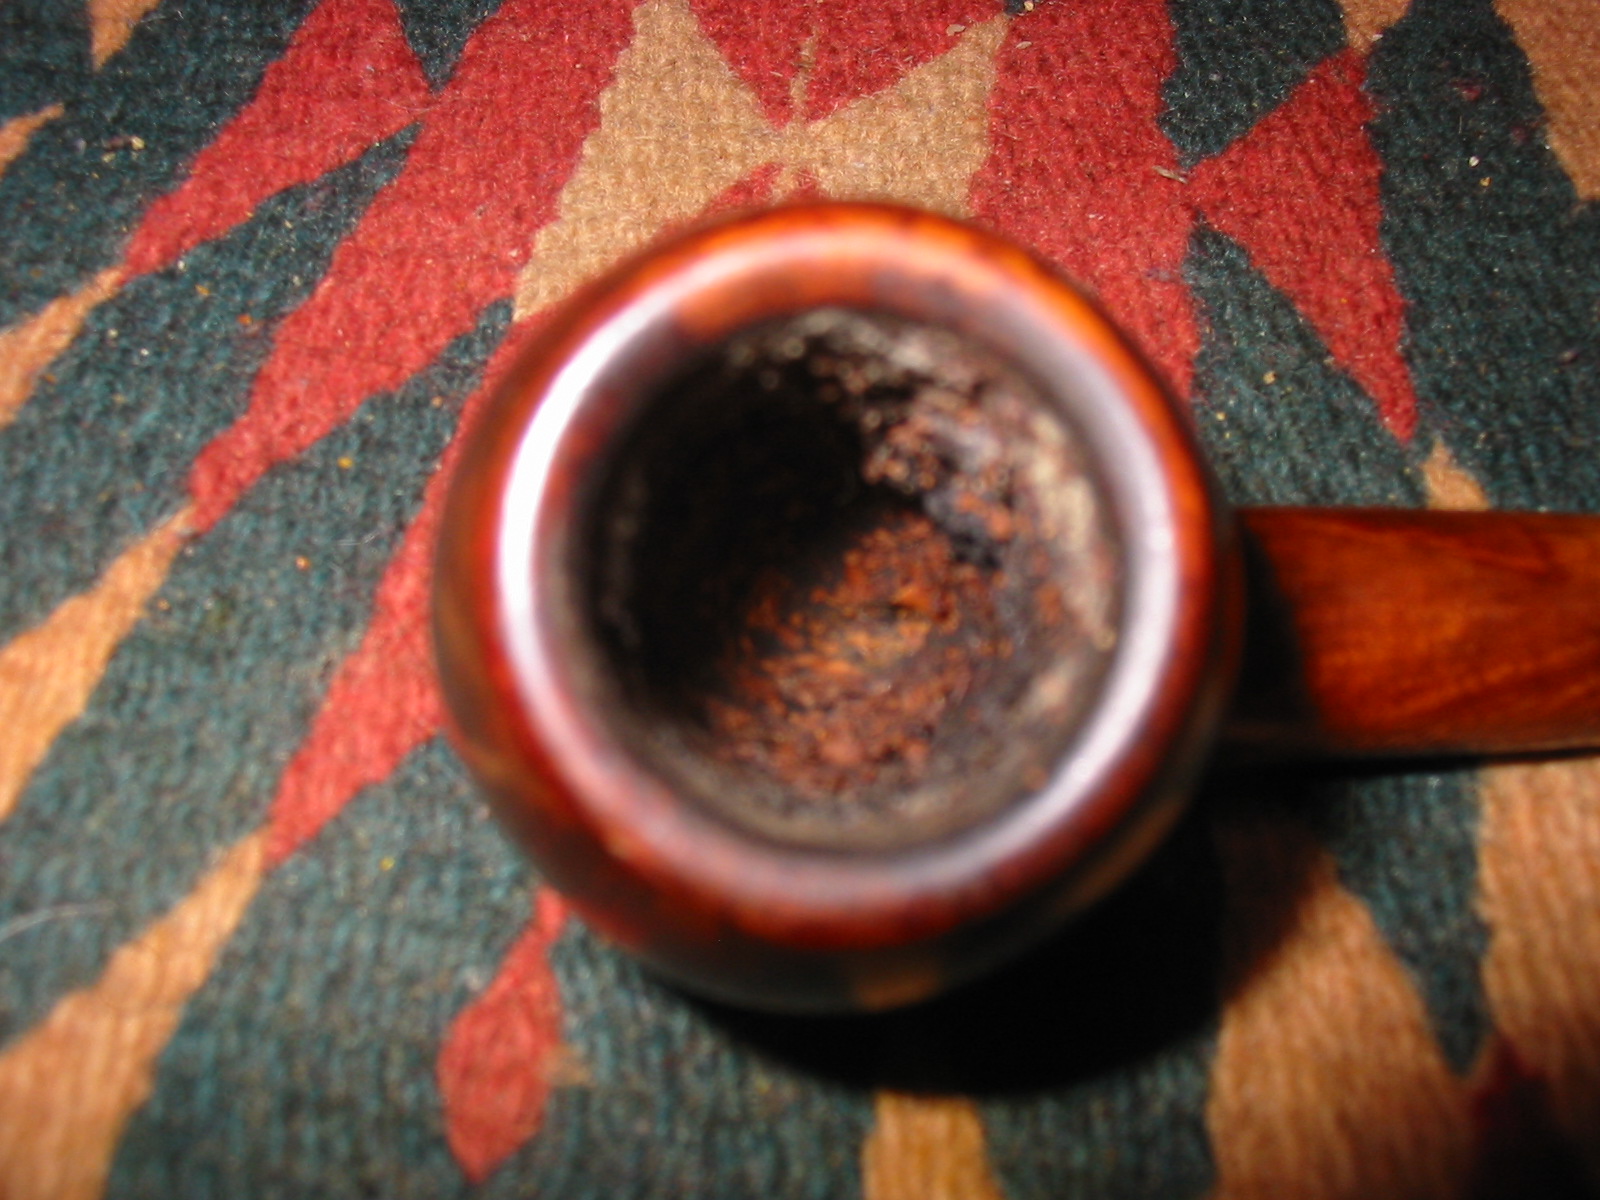
While I waited for it to arrive I did a bit of digging into the KAPMEER line. The first thing I found was a quote that said, “The line was introduced for those who preferred to smoke their tobacco in a meerschaum bowl, but still have the looks and advantages of a briar pipe”. That was not altogether helpful to me. It is much the same advertizing info that is included in most of the sales material for meerlined pipes. What was the difference between those pipes and the KAPMEER? The meerschaum lining ended just before the draw hole, so you do not have the problem of deterioration in the bottom of the meerschaum insert in the tobacco chamber. It was believed that this would reduce the possibility of a burn out on the sides of the bowl. I found the two photos below online that clearly show the design of the KAPMEER bowl. The first photo shows the bottom edge of the insert just above the draught hole. The bowl bottom is briar. The second photo shows the contrast between the meerschaum lining and the briar on the bottom of the bowl. In looking at these photos I think I understand the idea of combining the best of meerschaum and briar pipes. The theory would be that the meerschaum lining would deliver a meerschaum style cool smoke and the briar bottom would give the durability and strength of briar.
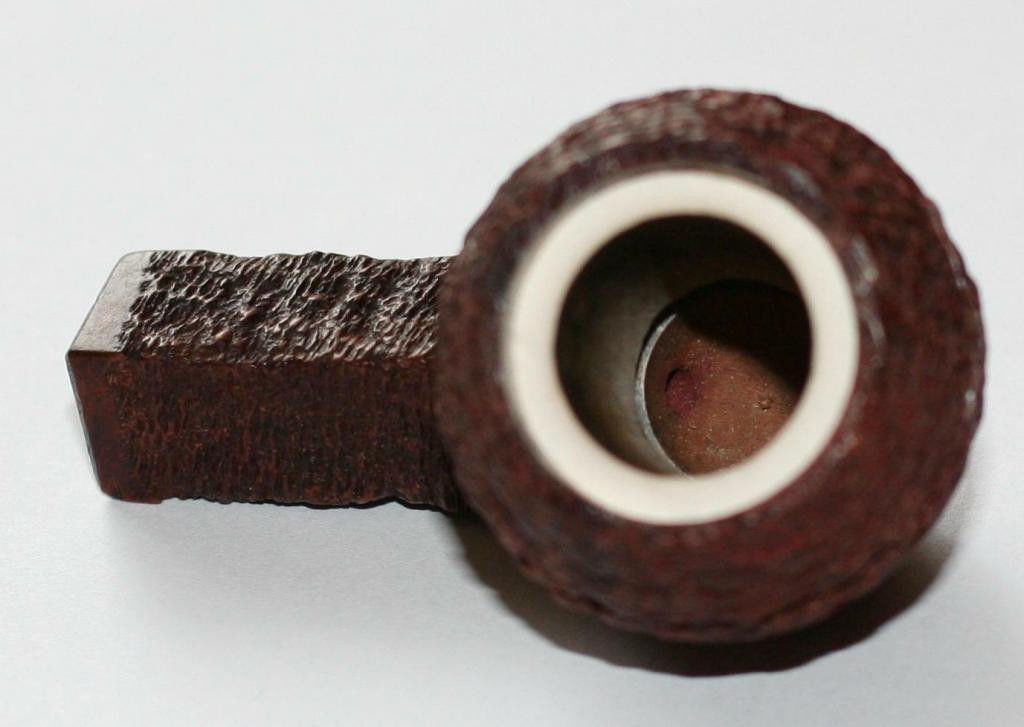
Kapmeer bowl top view

tumblr_mw3ugfrLNV1t13exzo2_1280
or early 1970s. The pipe in the second photo is a later design. The early pipes had a regular stem/shank junction rather than the faux military stem. The one that I had came from a period in time where the stem was most likely a tapered stem with an aligned fit. The pipes were made in Great Britain on the Isle of Man. I found out that though Peterson had maintained a factory in London since 1899, the ‘Made in England’ stamp was discontinued with the closing down of the London-based factory (1969/70). That puts my bowl pre-1970 in terms of date. The thick shank on the 999 bowl dates it earlier than that period.

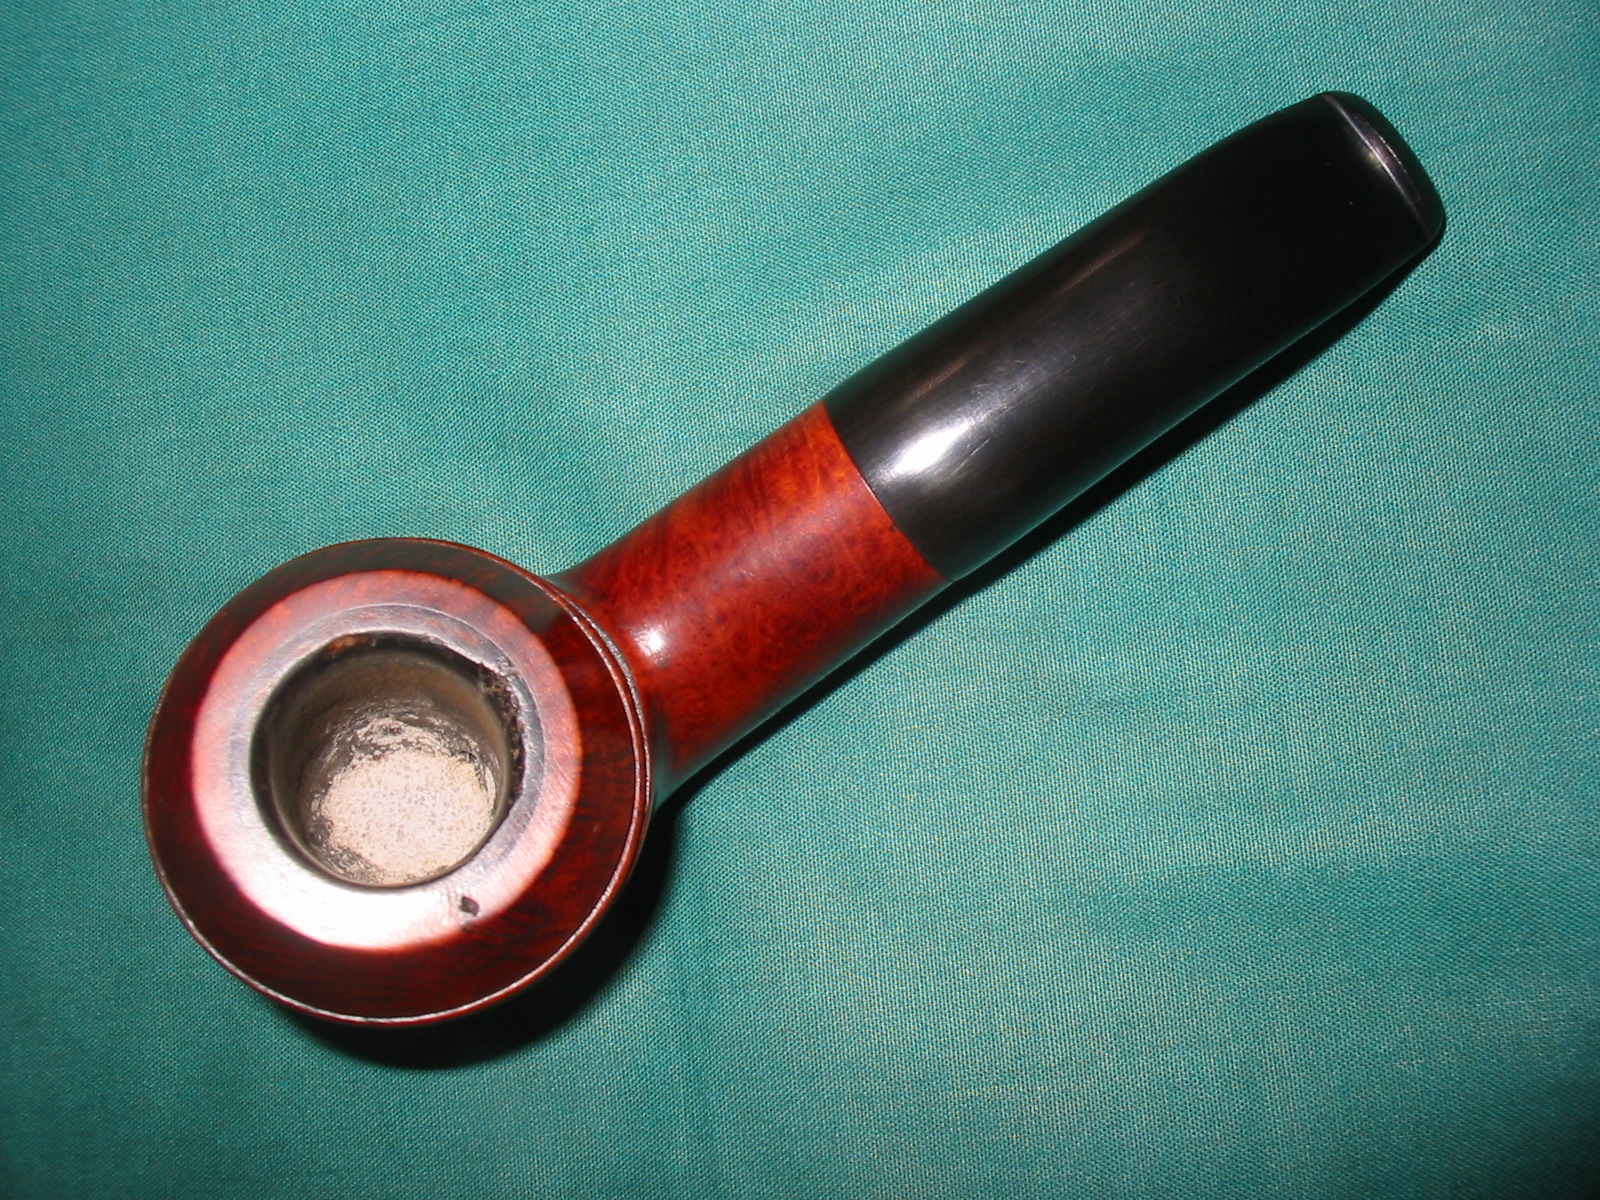
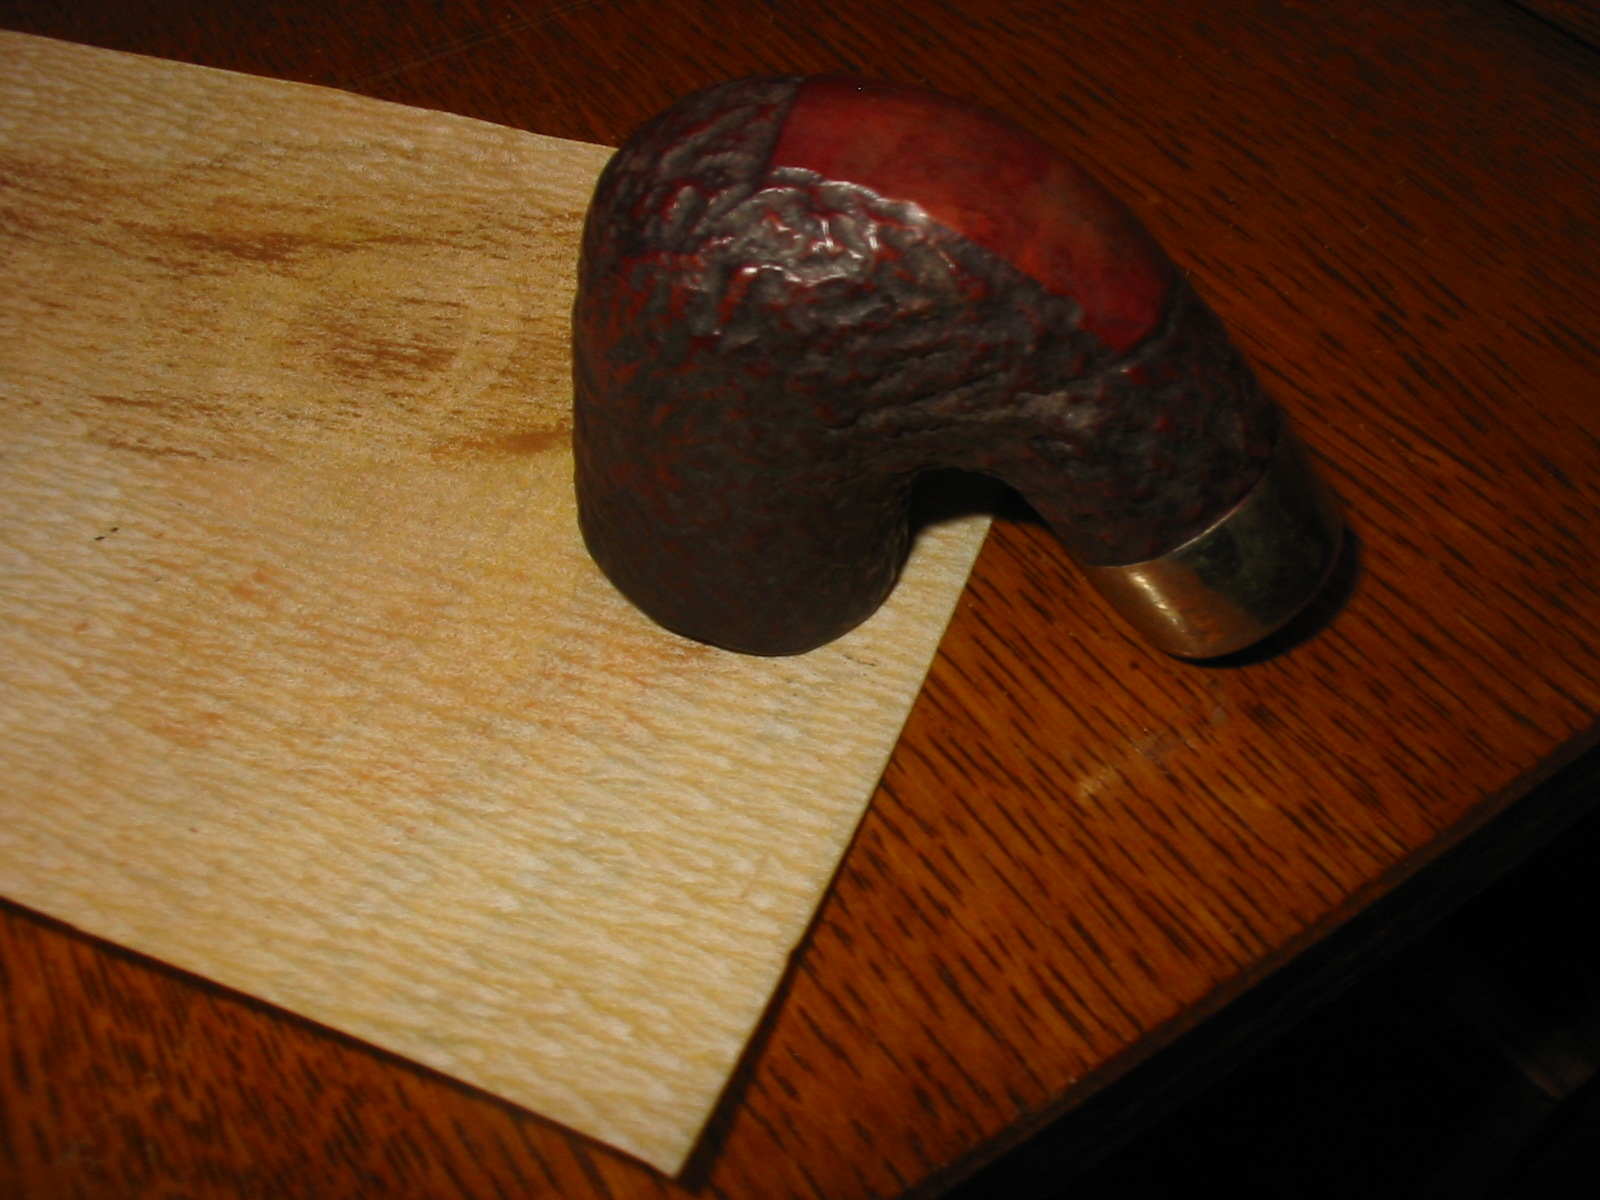
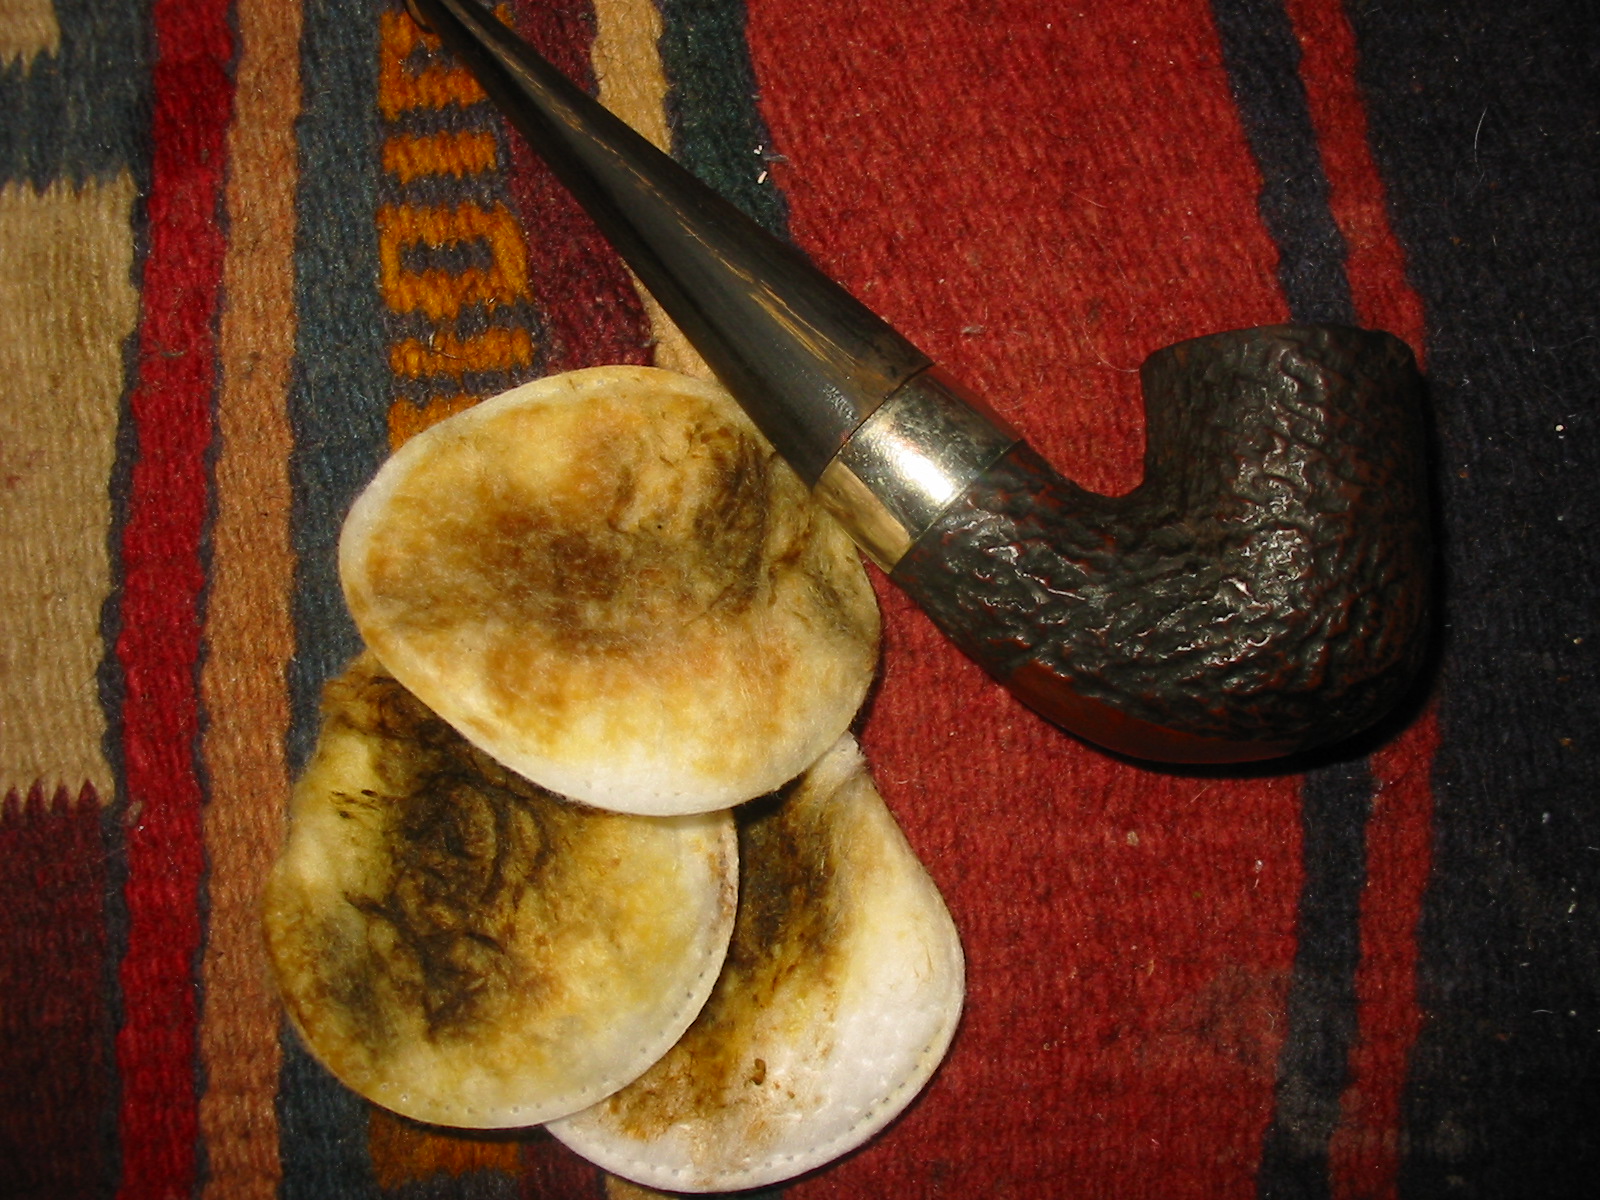
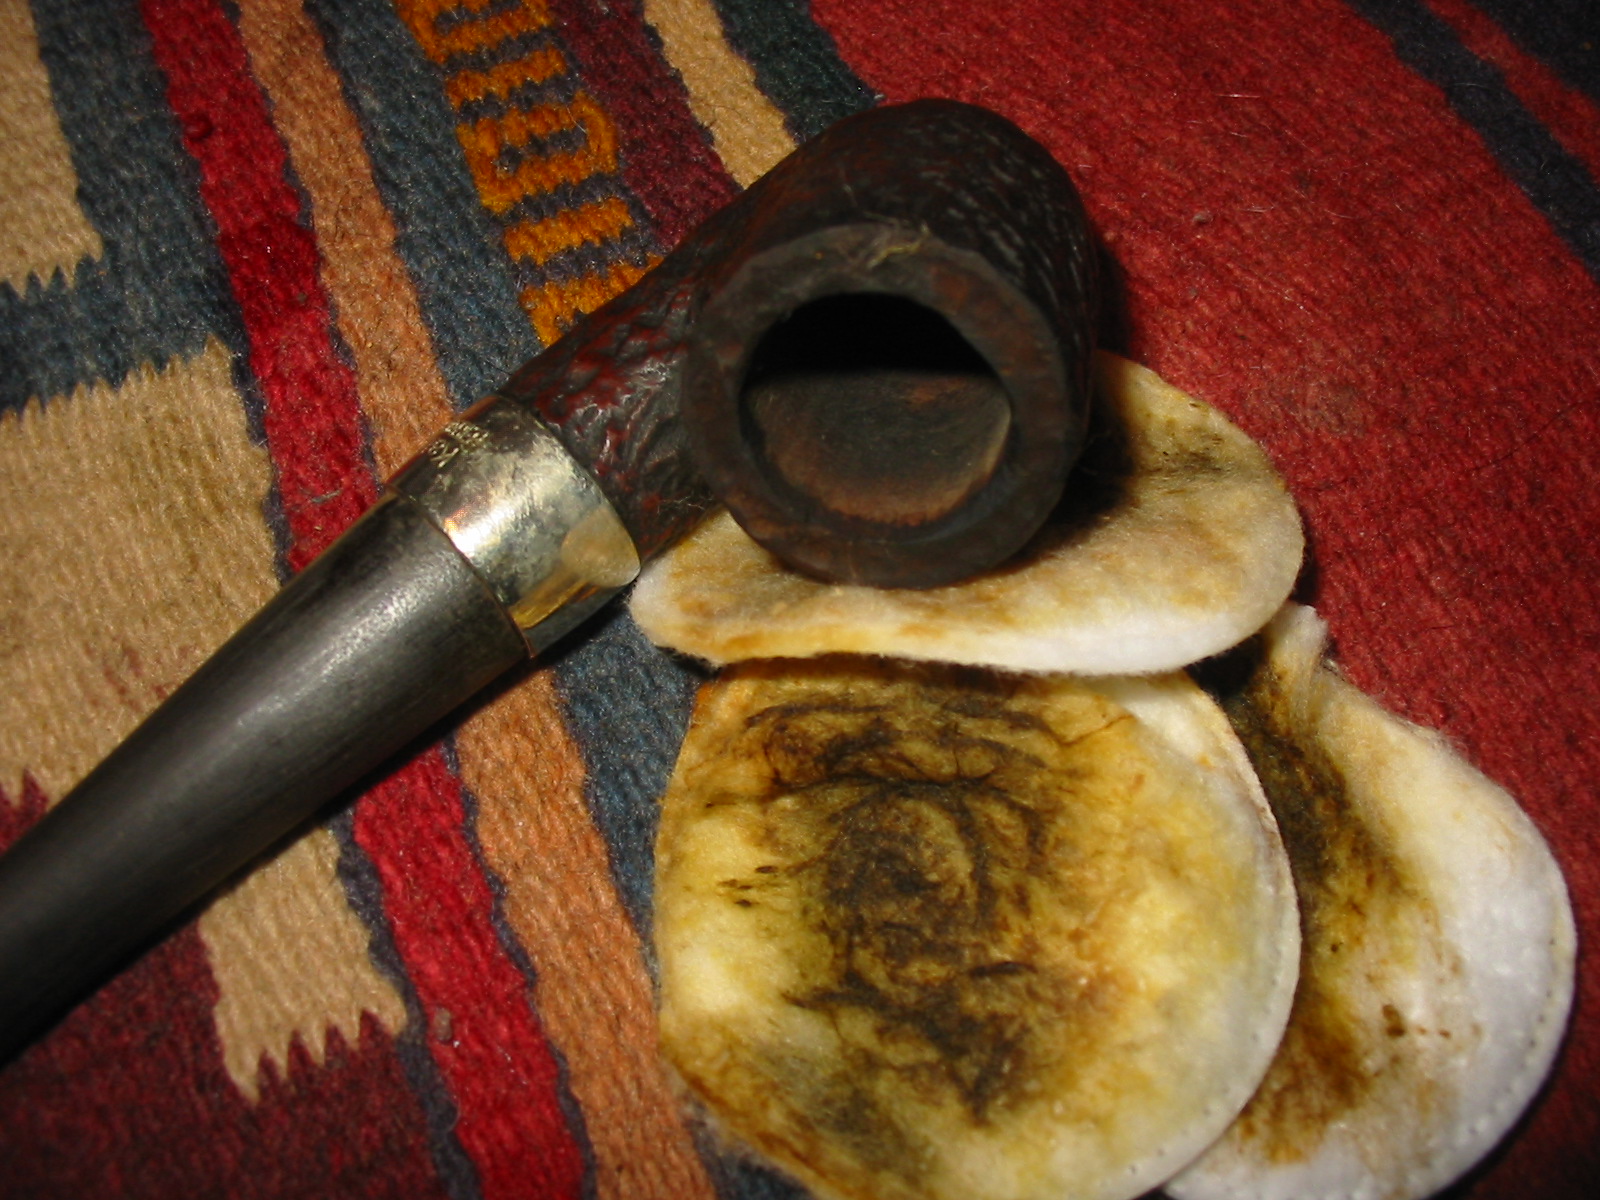
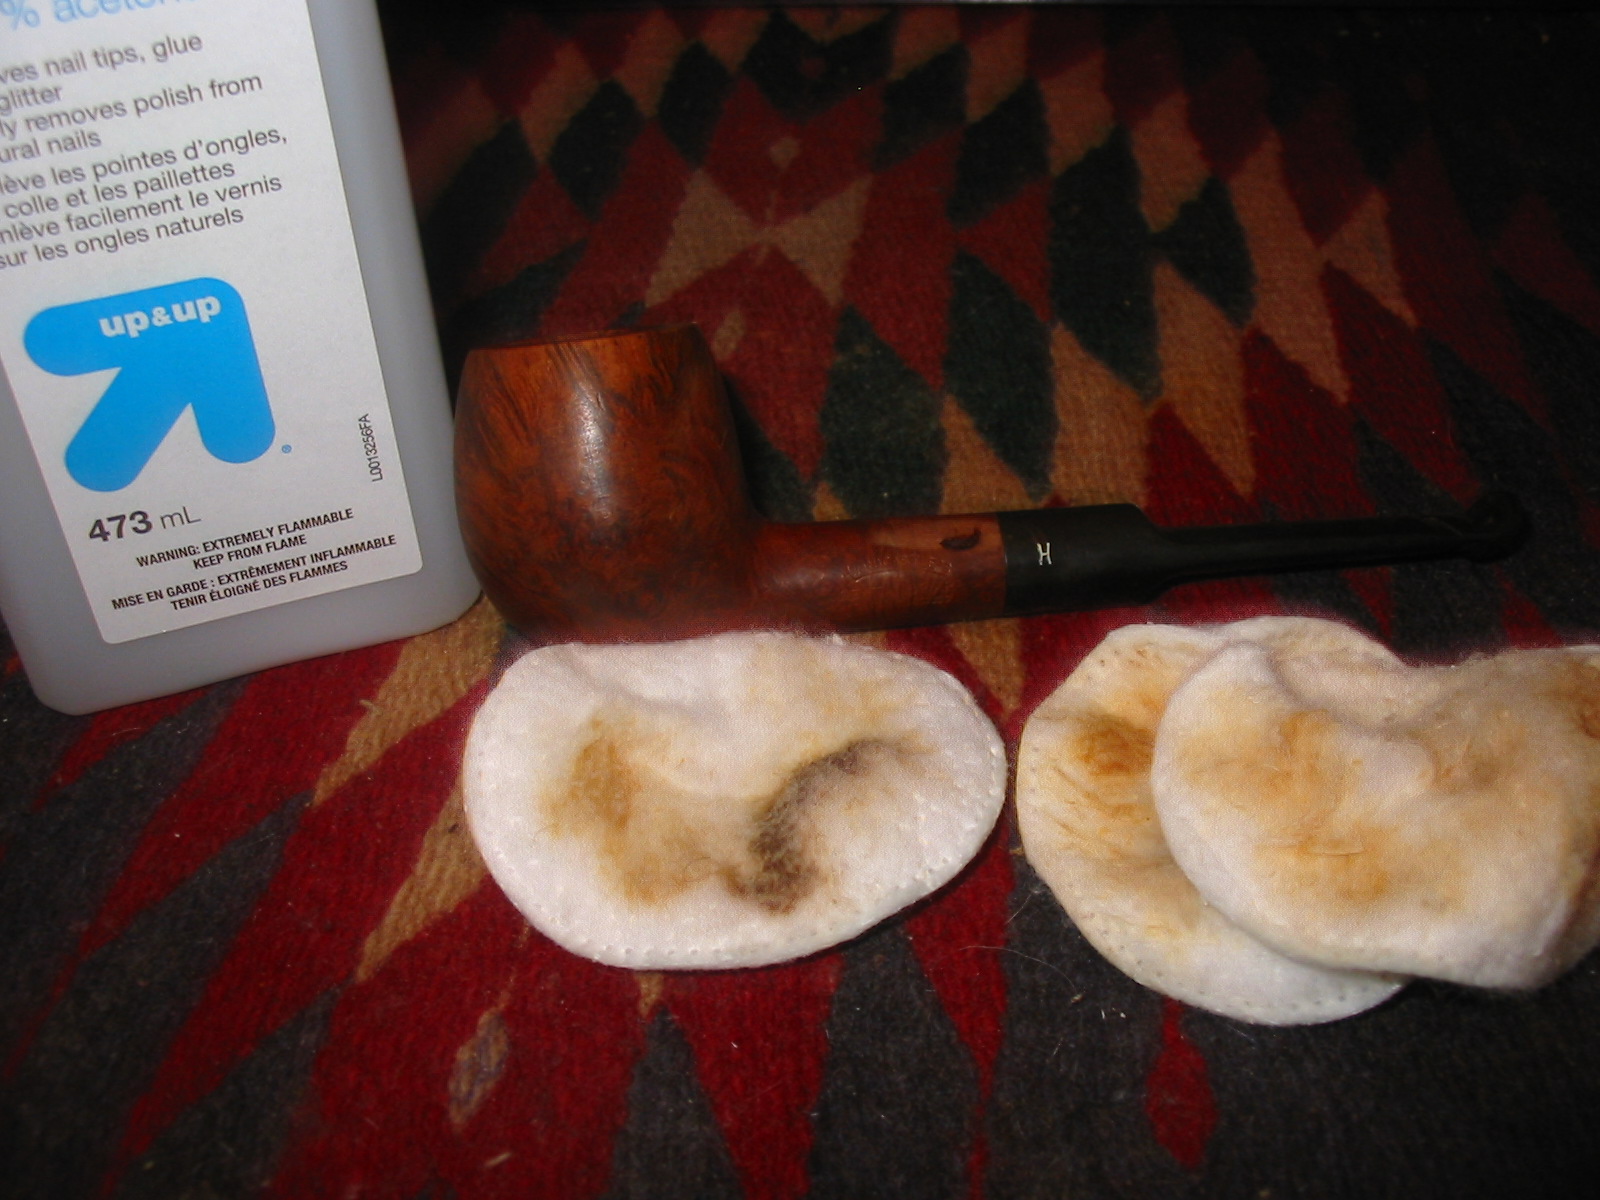
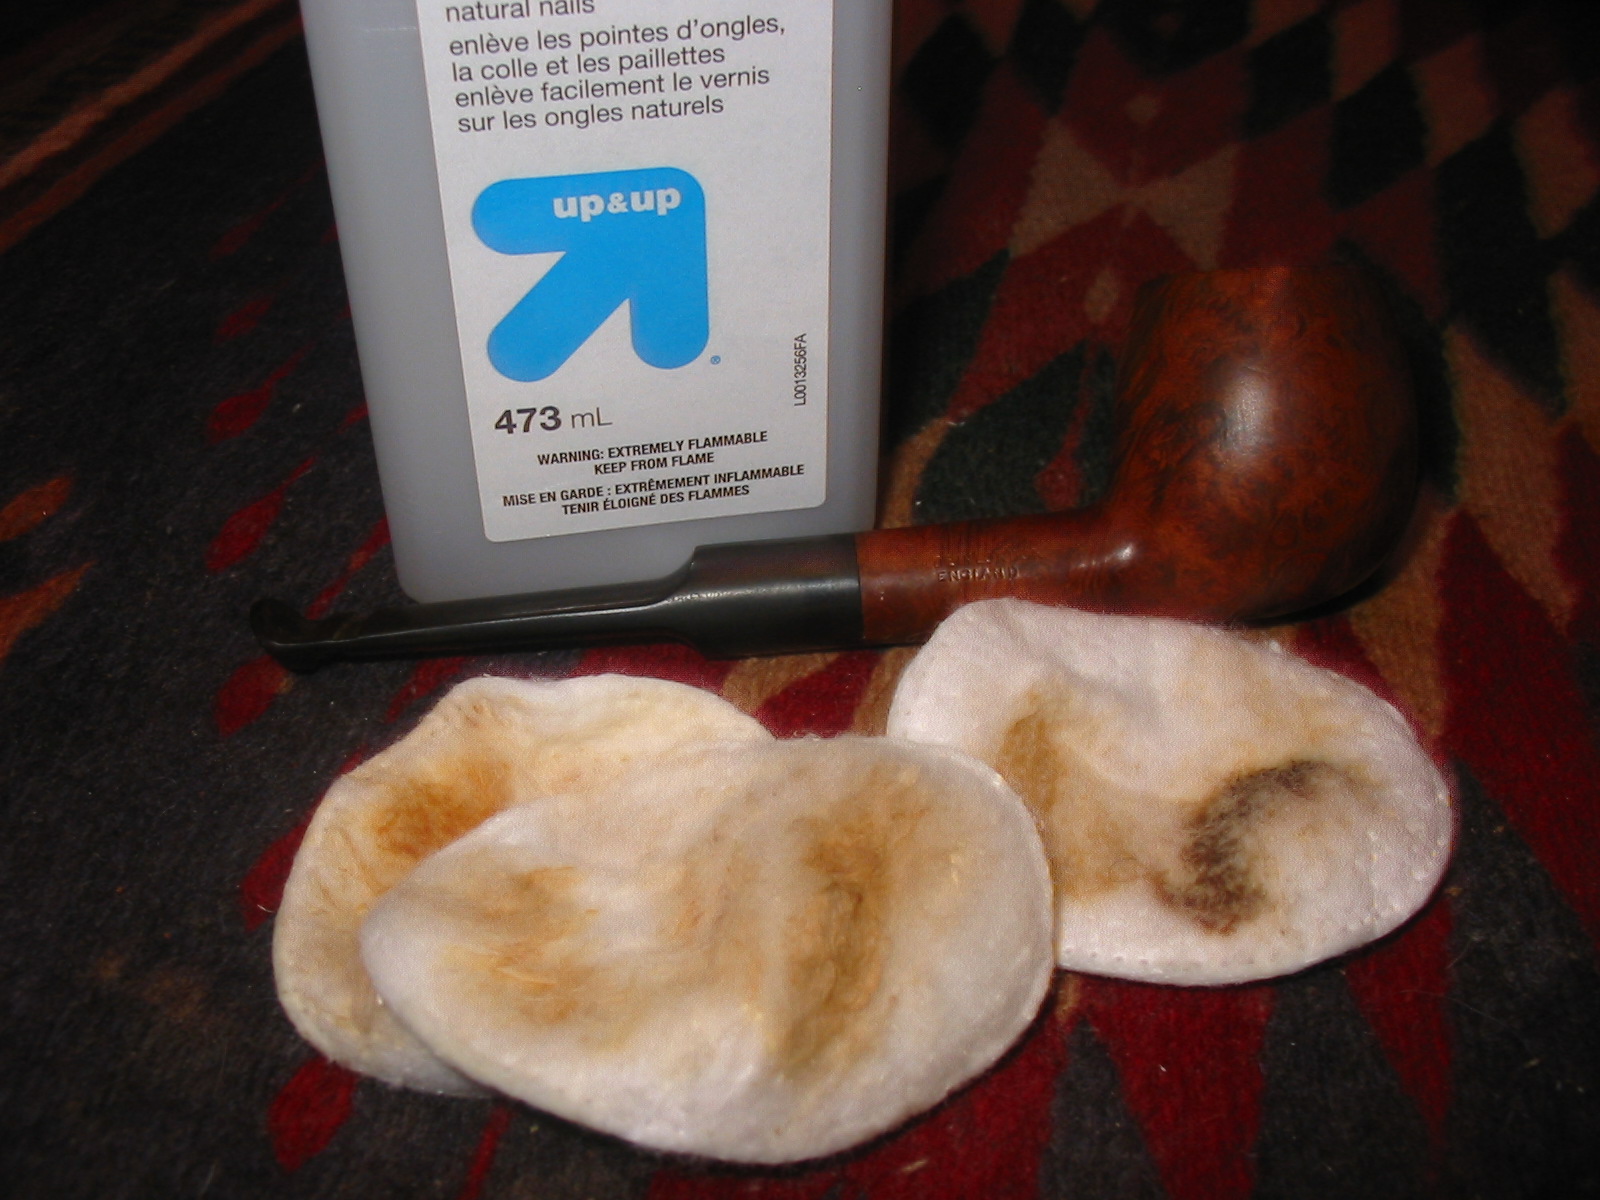
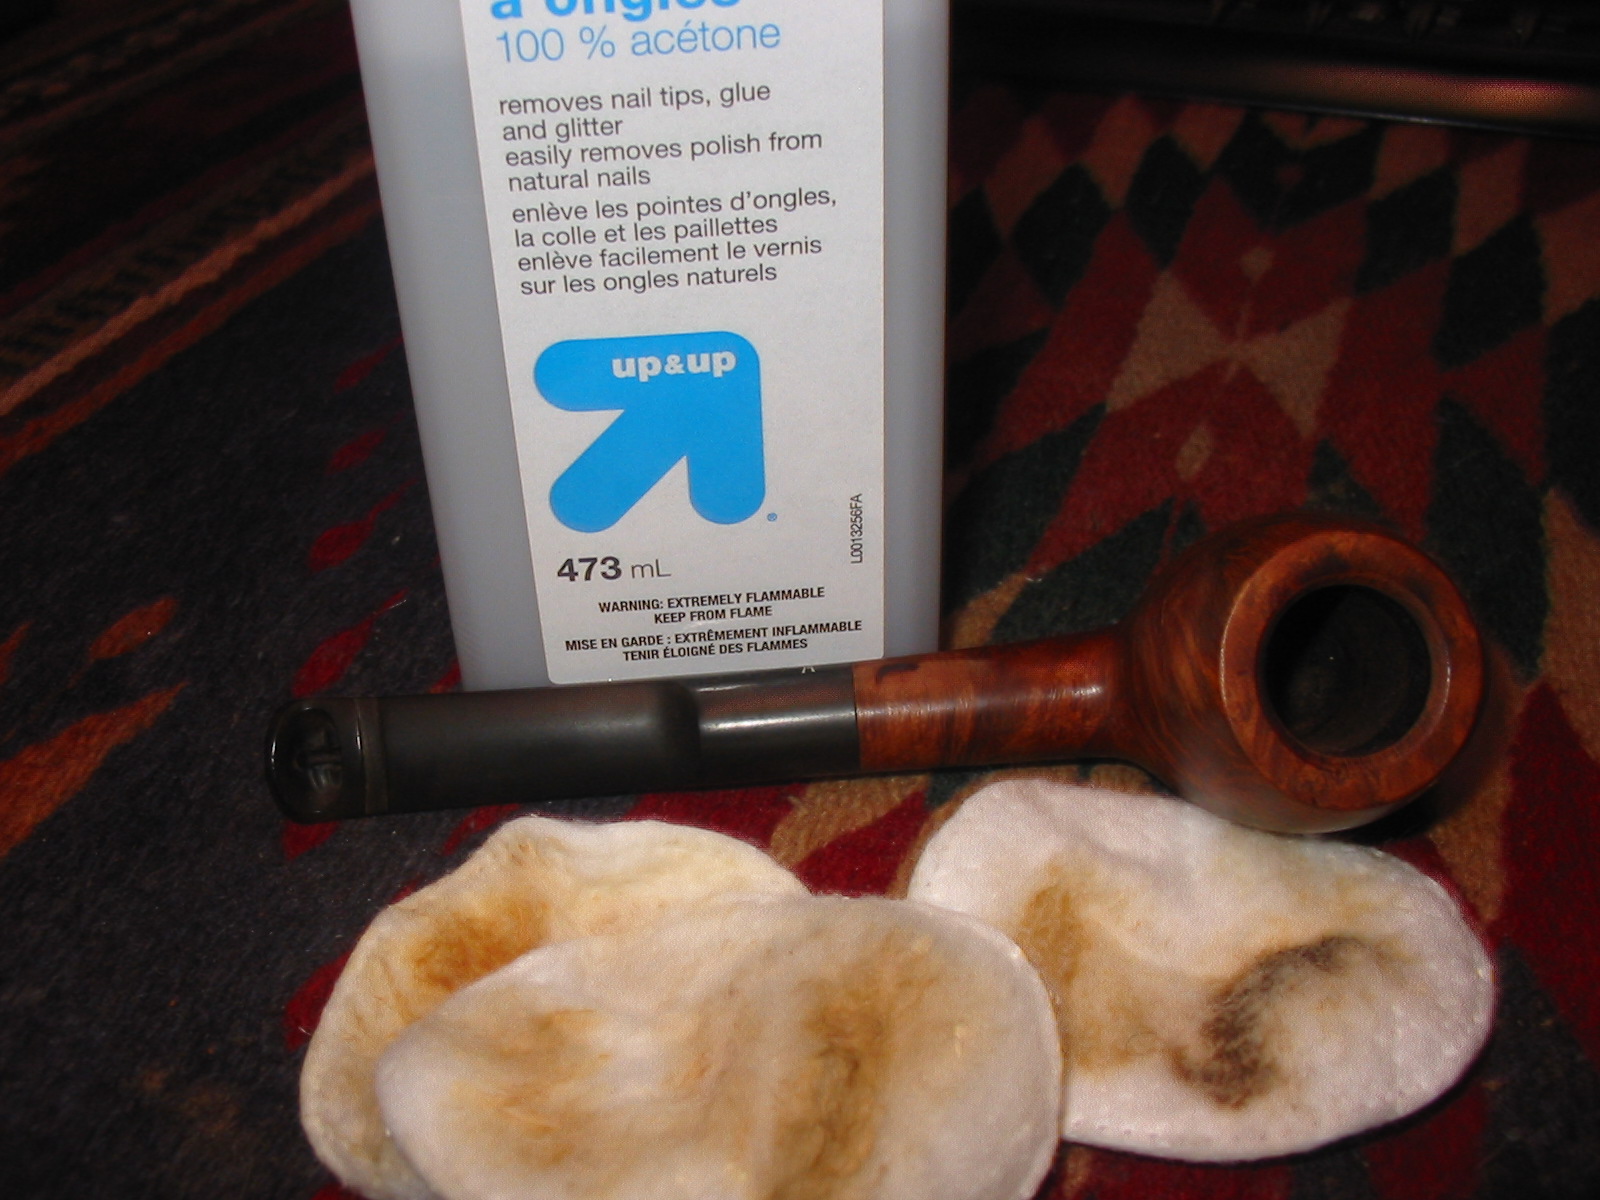
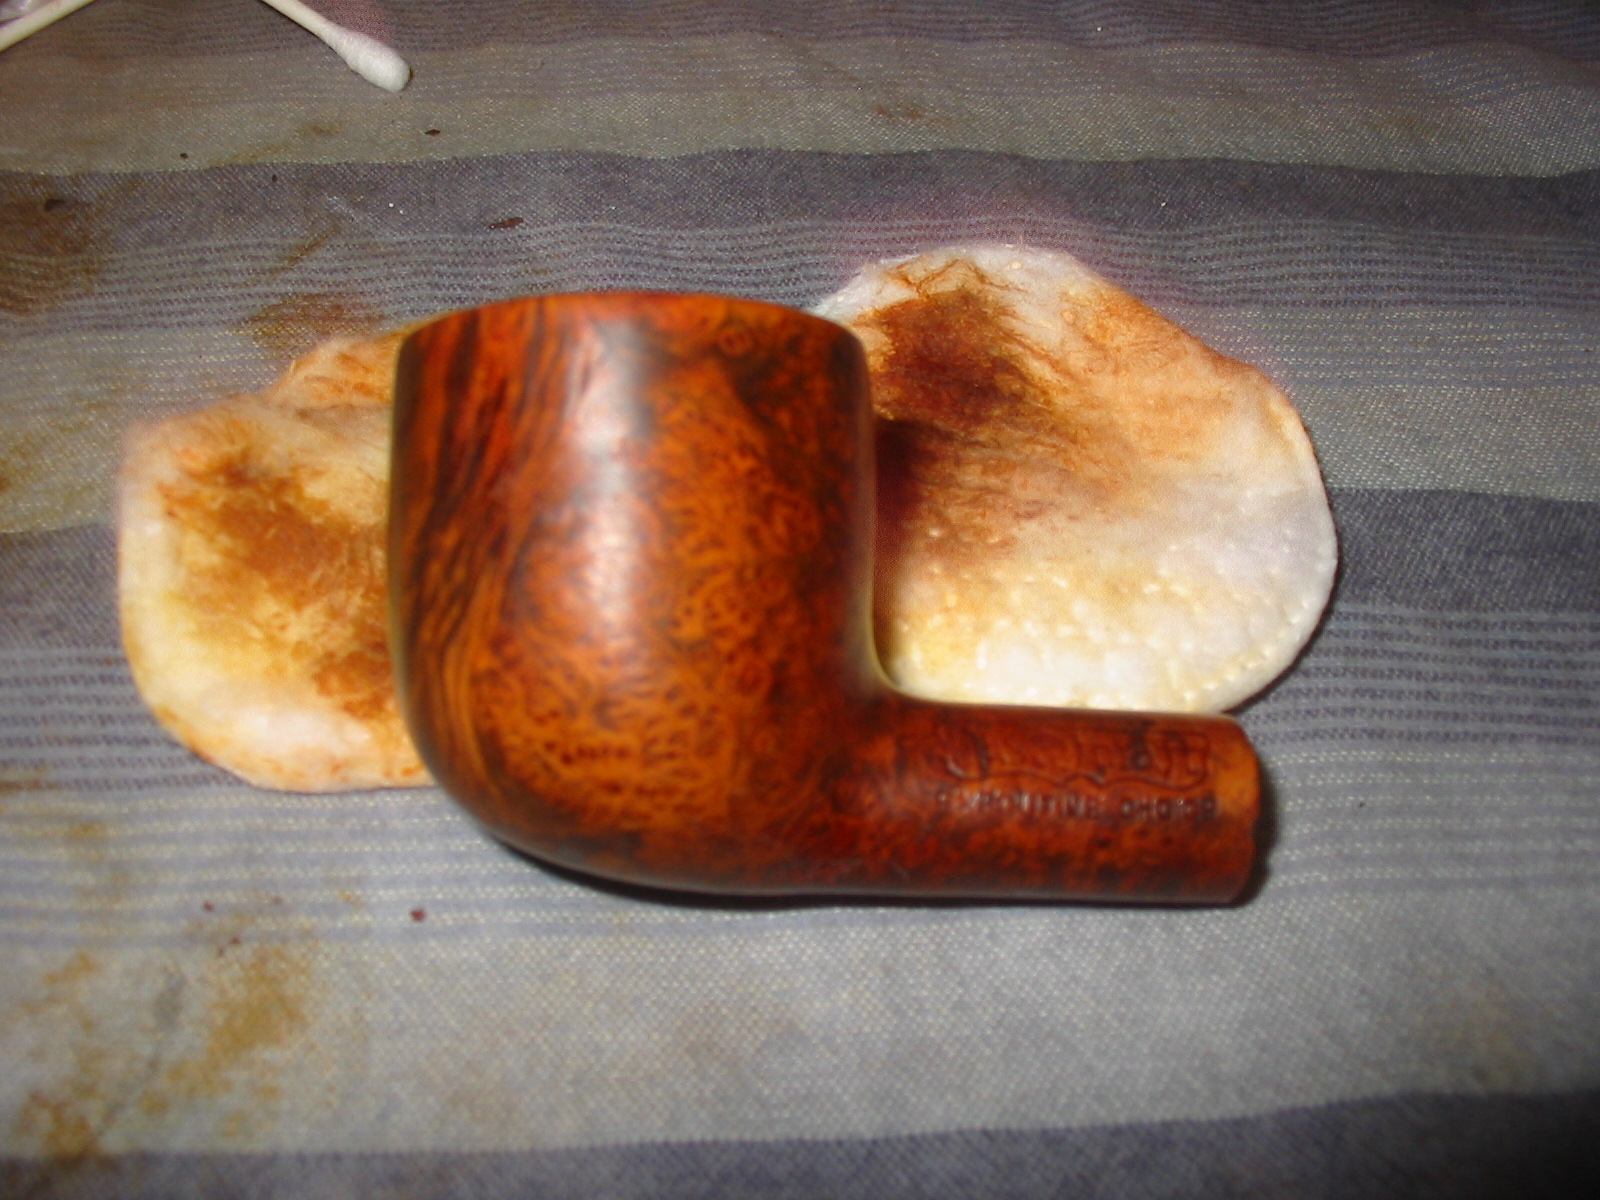
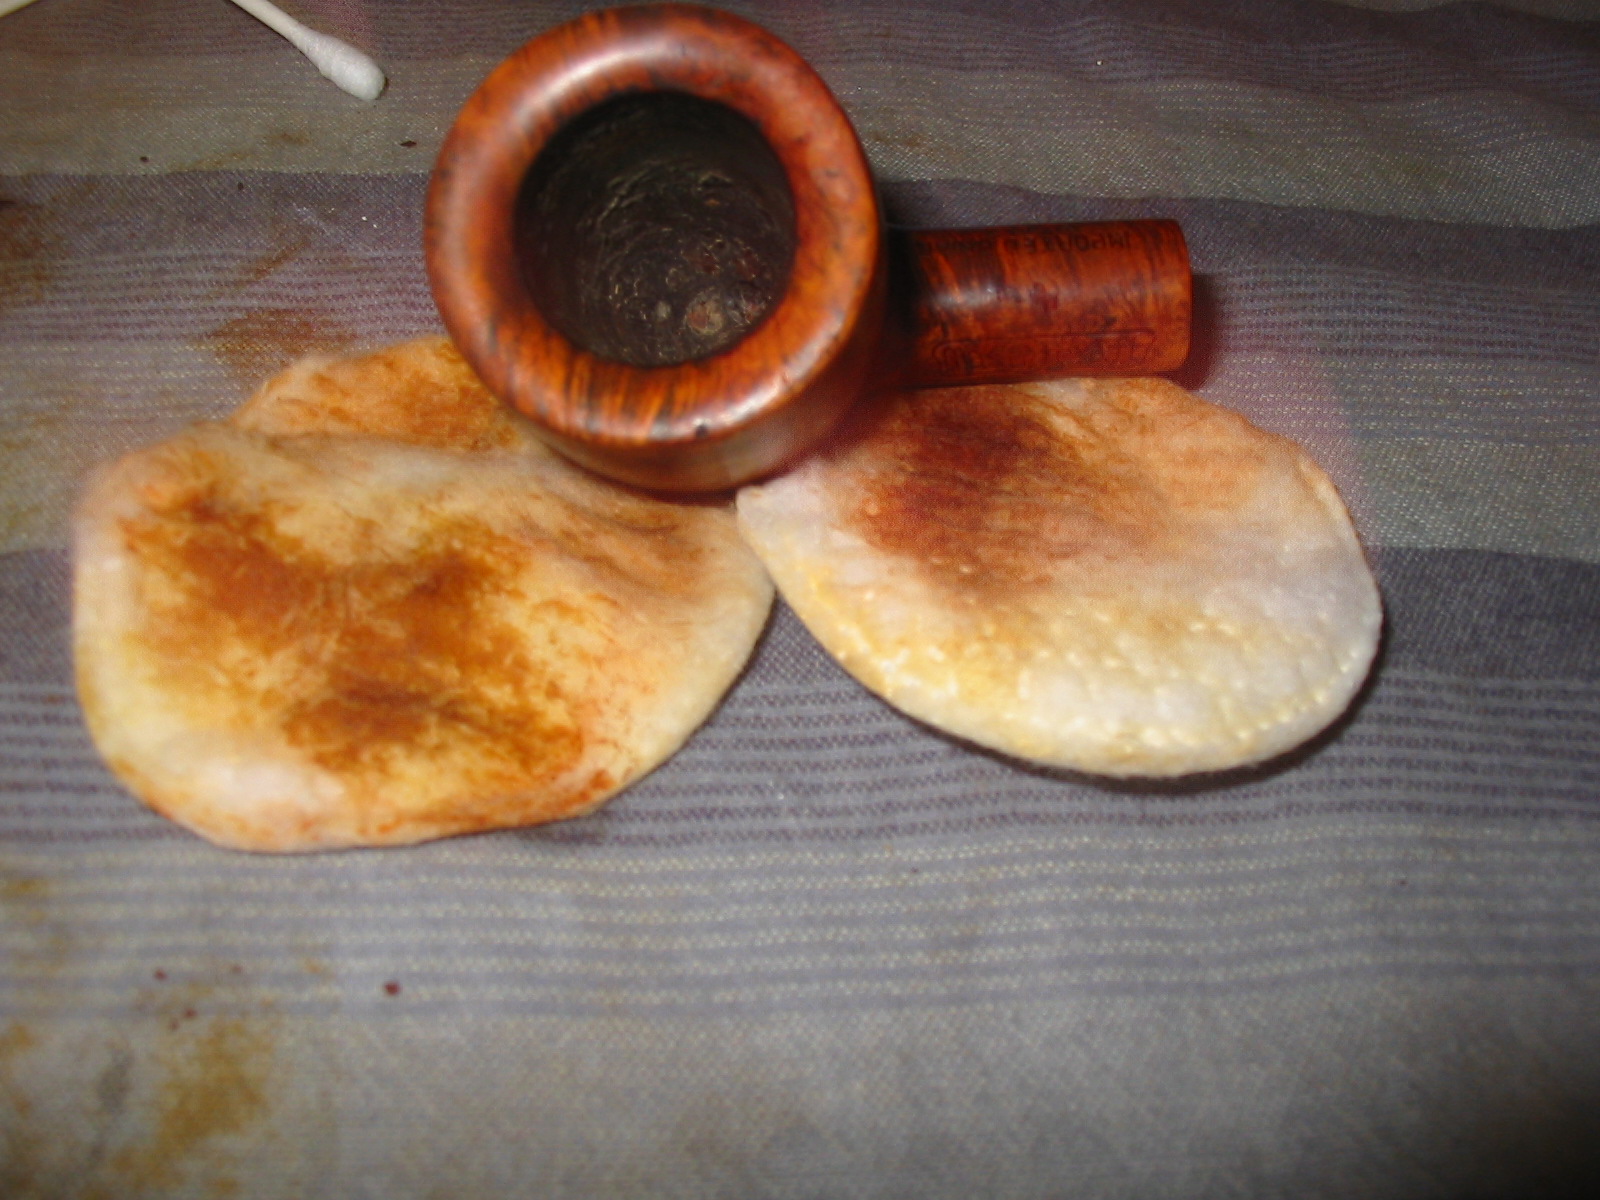
I gently reamed the bowl, being careful to not damage the meer lining. I wanted to take the cake back as far as possible with the reamer and would do the rest with sandpaper. I sanded the meer lining with 220 grit sandpaper until the entire cake was gone and the meer was once again smooth. It was darkened and would not be white again do to use. I gently topped the bowl with a topping board to remove the cake and smooth out the rim damage before working on the rest of the bowl. I wiped the bowl down with acetone on cotton pads, carefully avoiding the meerschaum lining on the top of the rim. The acetone removed the grime and the spotty stain on the bowl and would form the base for restaining the bowl later.

The bottom of the bowl had been over reamed and the briar damaged with deep gouges on the bottom. The bottom was still thick so there were no worries about burn out. I mixed a batch of pipe mud from cigar ash and water and applied it to the bottom of the bowl to bring the bottom up to the airway entrance. I tamped it in place with a pipe nail. I put some mud on the side walls below the end of the meerschaum lining. I set it aside to cure.
IMG_7169

IMG_7170

IMG_7171

IMG_7172
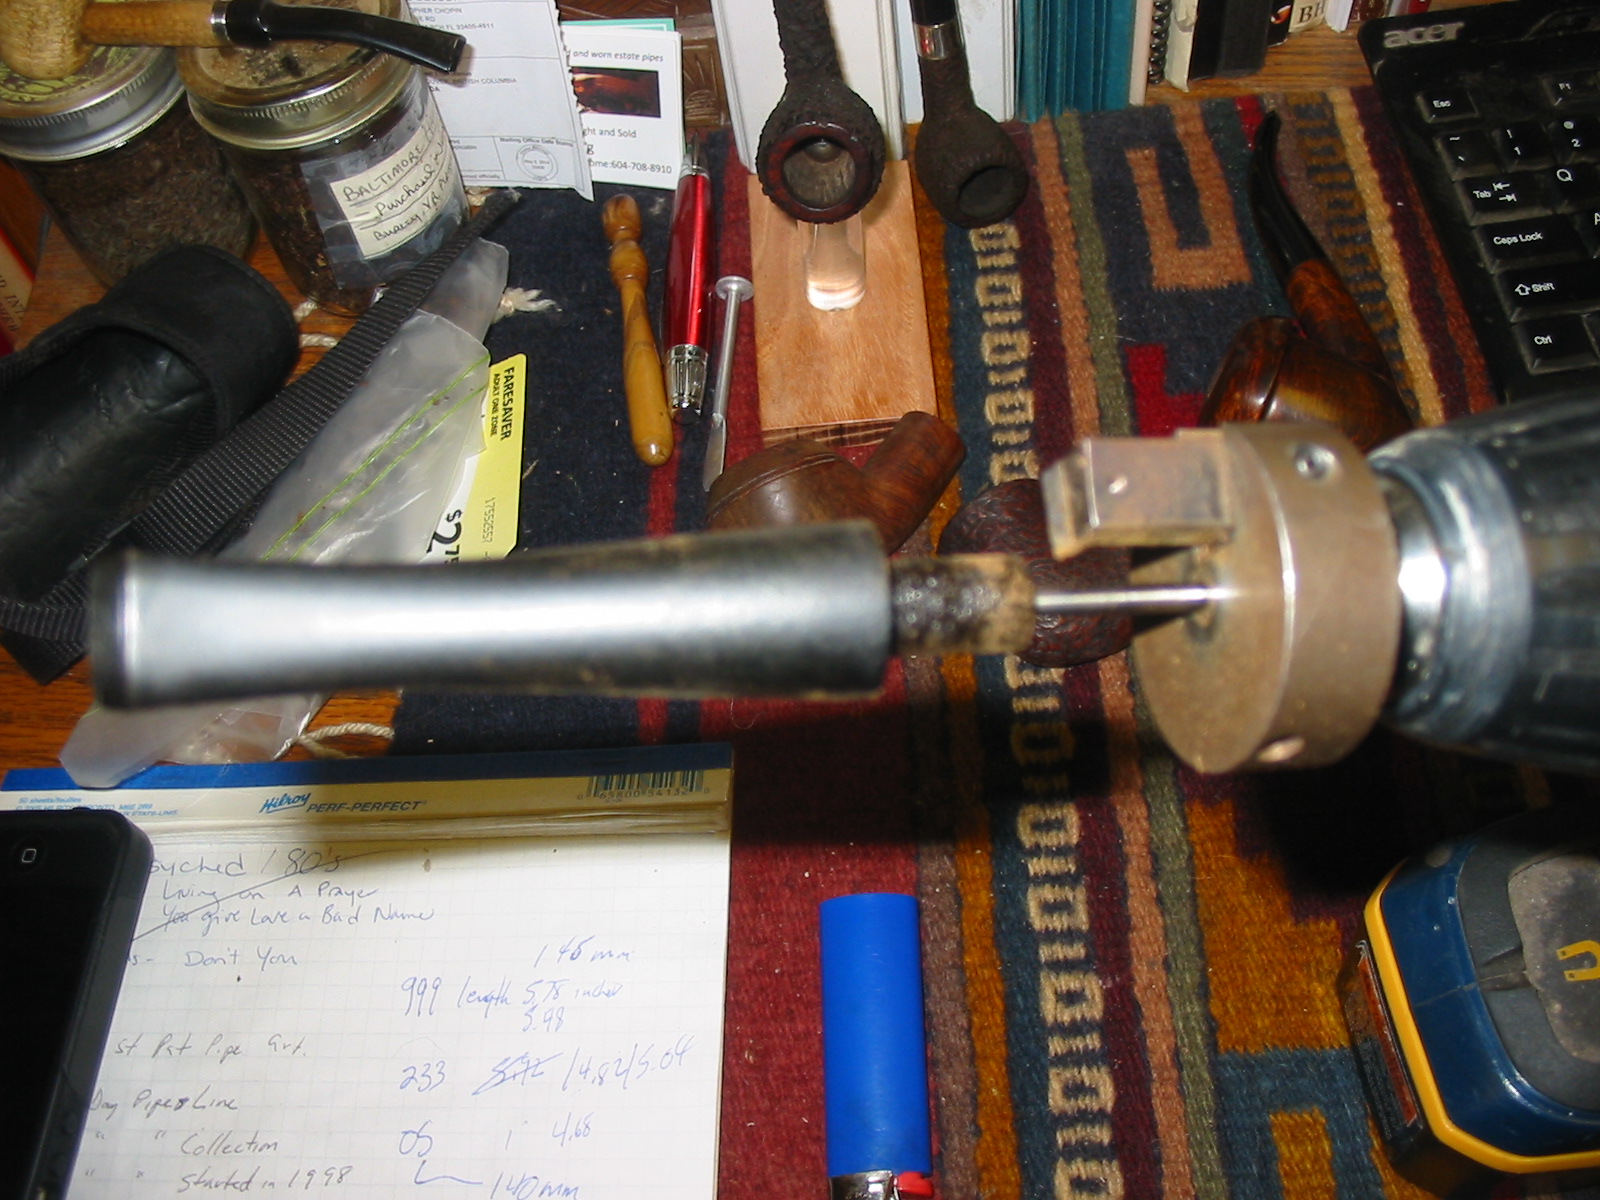
Once the mud had cured I wiped out the inside of the bowl with a damp cotton pad to clean any of the mud that had gotten on the meer lining. I wiped down the outside of the bowl with acetone and cotton pads a final time. I had a stem set aside from my can of stems that would fit the shank once the tenon was turned and the diameter of the stem reduced. I turned the tenon with a PIMO Tenon Turning Tool slowly until it fit the shank. I sanded the tenon with a sanding drum on a Dremel to finish the fit. I sanded the casting marks on both sides of the stem and on the end of the button with the Dremel as well. When all was finished the fit against the shank was snug and clean.

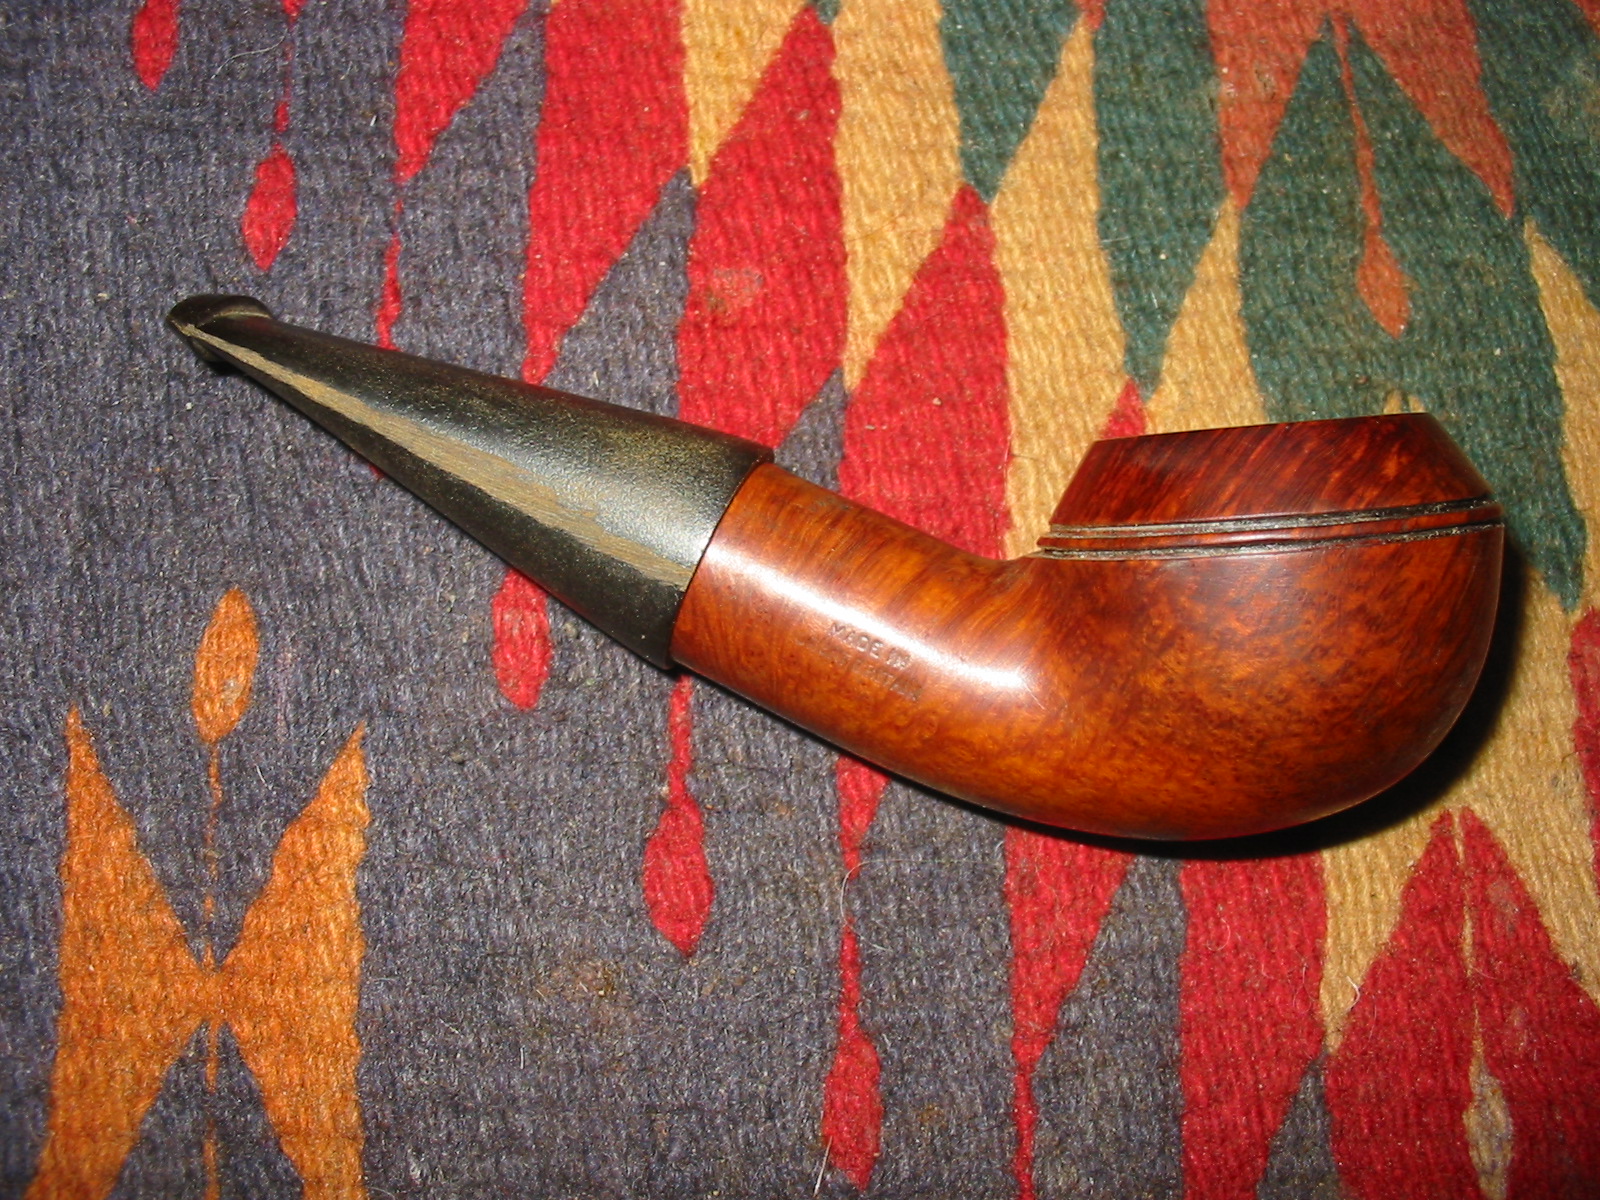
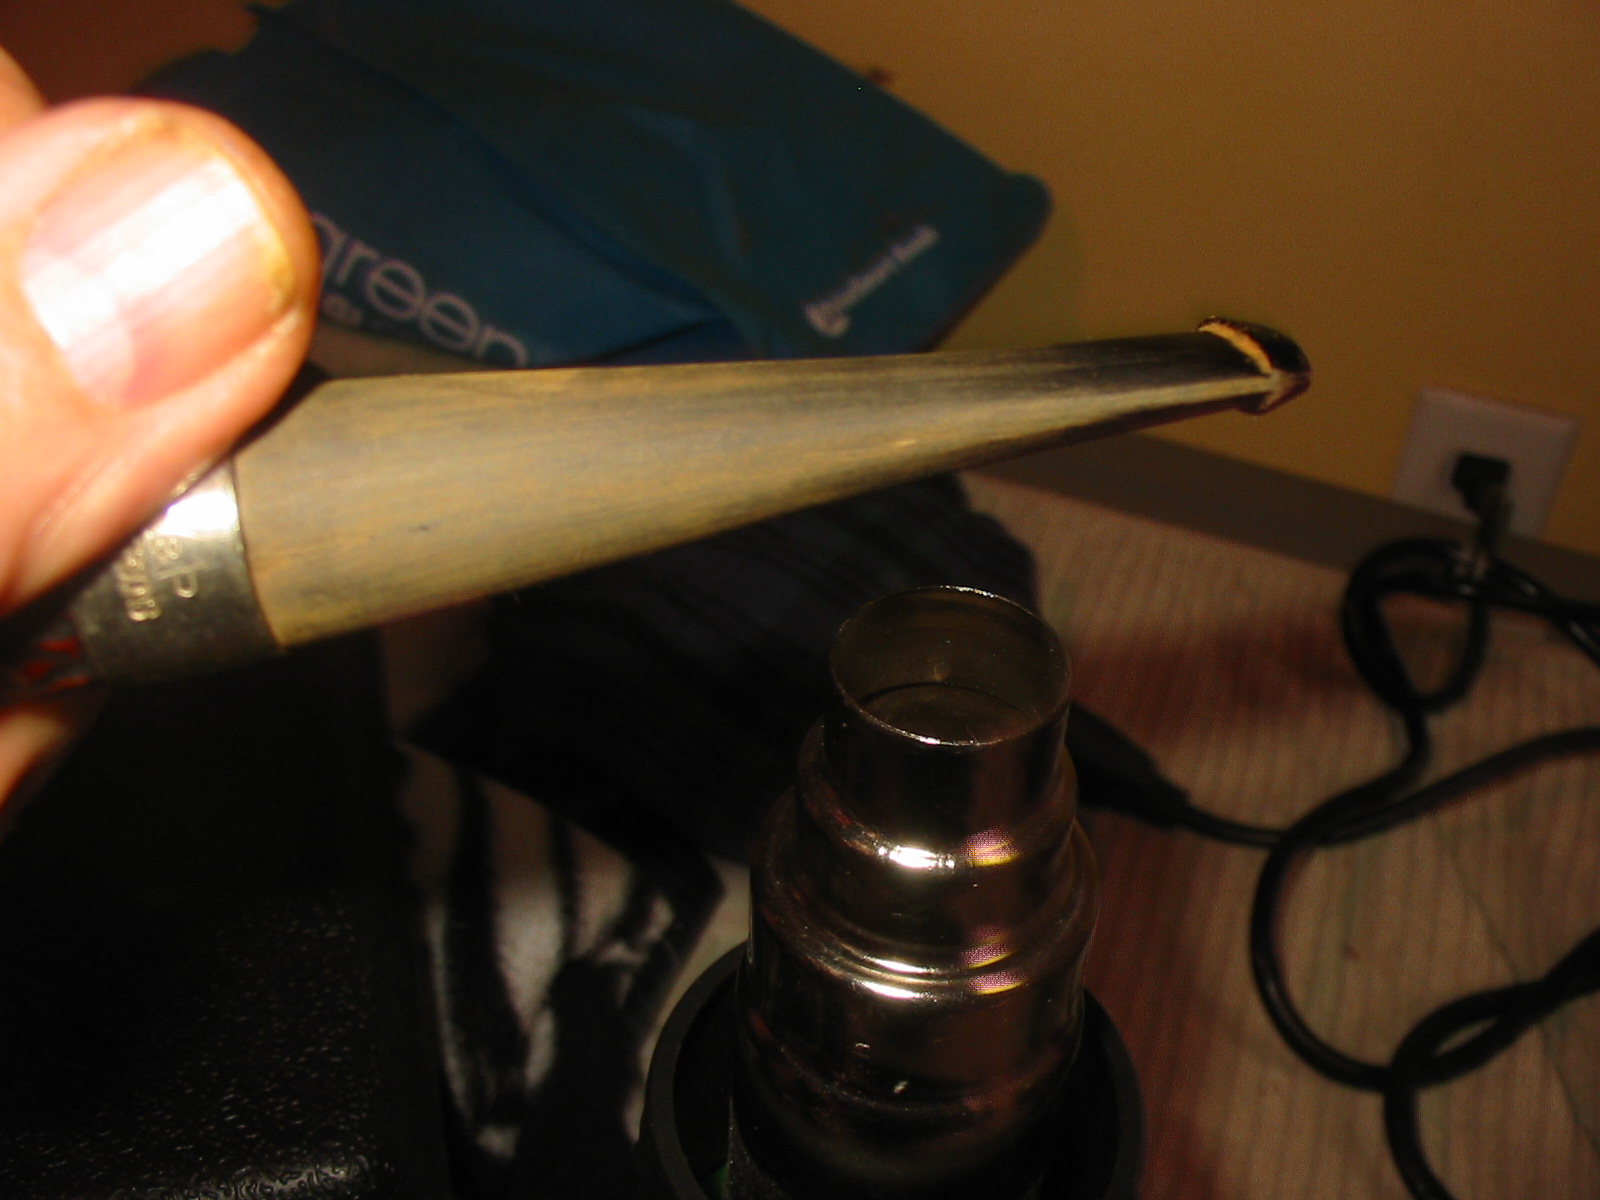
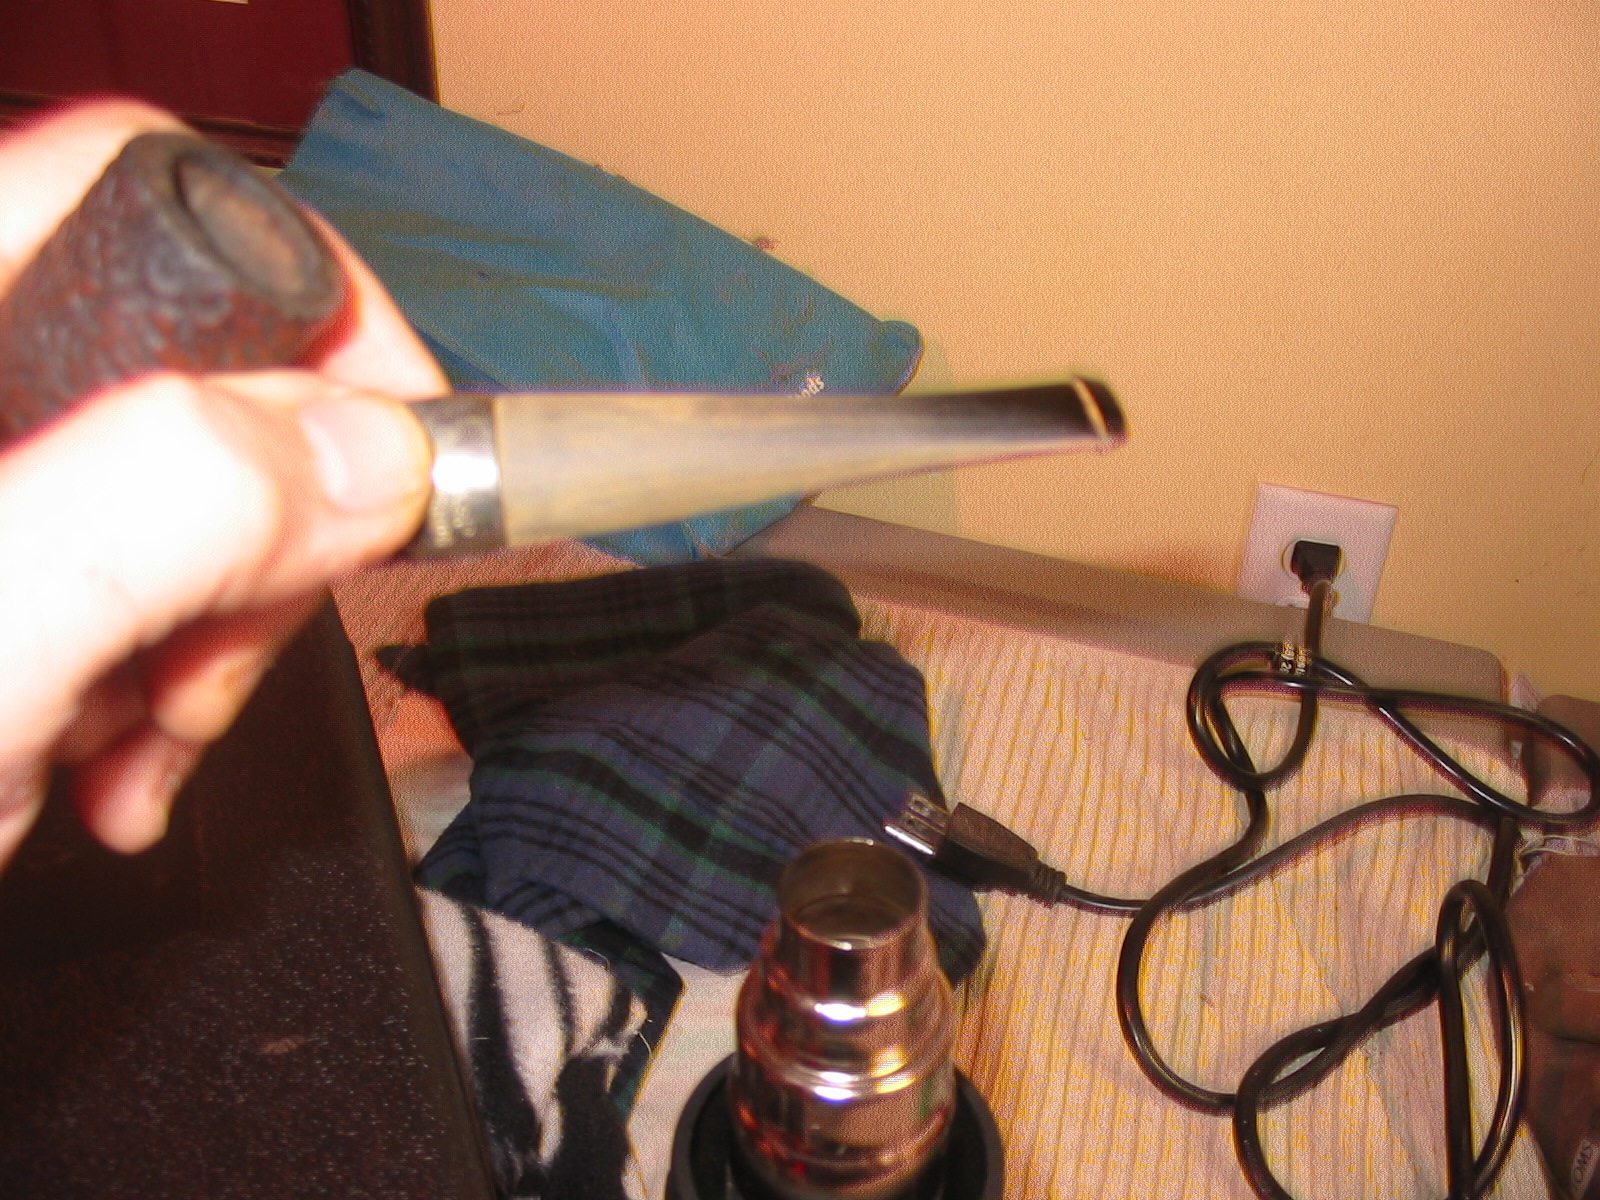
IMG_7243 IMG_7244 IMG_7245 IMG_7246As can be seen from the photos above the diameter of the stem was bigger than that of the shank. I used the sanding drum on the Dremel to take it down as close as possible to the shank diameter without damaging the shank. Once I had it close I did the rest of the work with 150 grit sandpaper and followed that with 220 grit sandpaper. When the transition between the two was smooth to touch I used a medium and a fine grit sanding sponge to remove the scratch marks from the stem. Since I was planning on restaining the pipe I sanded the shank gently to make sure that the transition would be smooth and the flow correct. I have found that this is the only way to keep the stem and shank matching without and shift in height on either material.
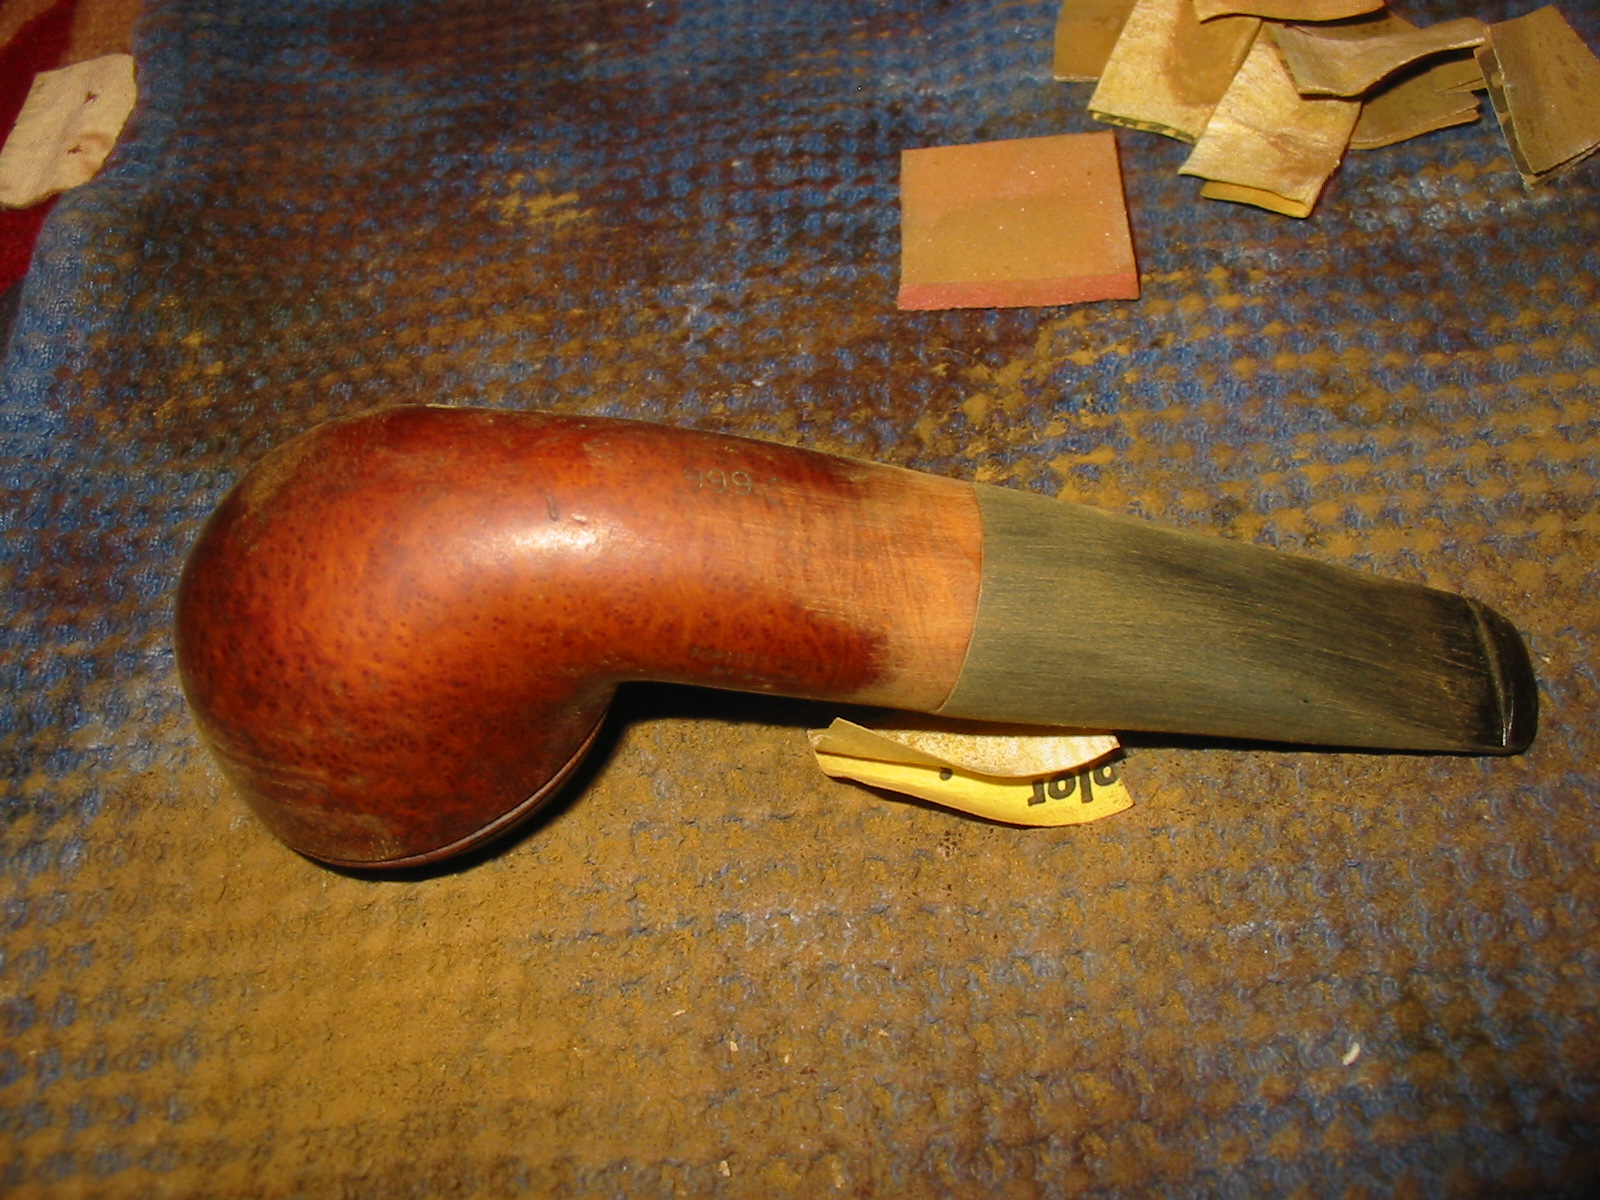
IMG_7247IMG_7248IMG_7249IMG_7250I wiped off the sanding dust with a damp cloth and gave the stem a wipe down as well. The photos below show the look of the stem and shank union at this point in the process. I also gave the rim a light sanding with the sanding sponges as well. There is one small sandpit in the top left side of the rim. I decided to leave it rather than fill it.
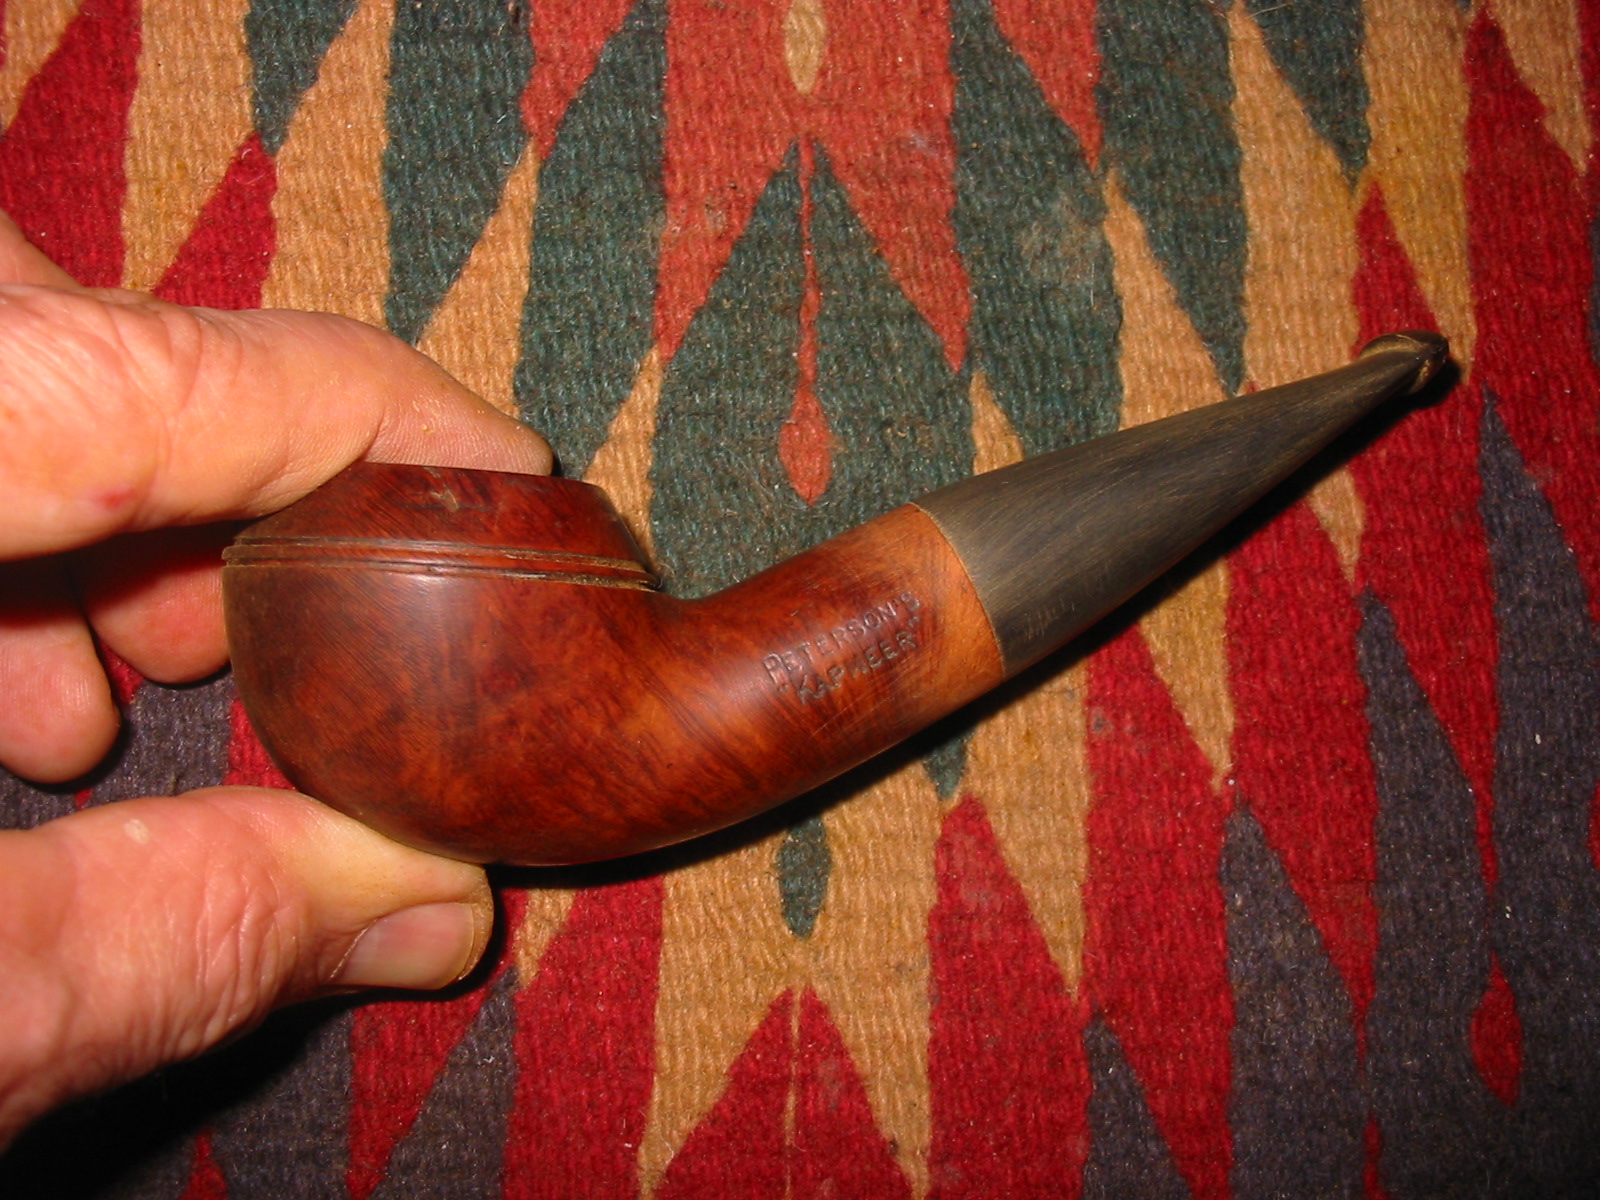
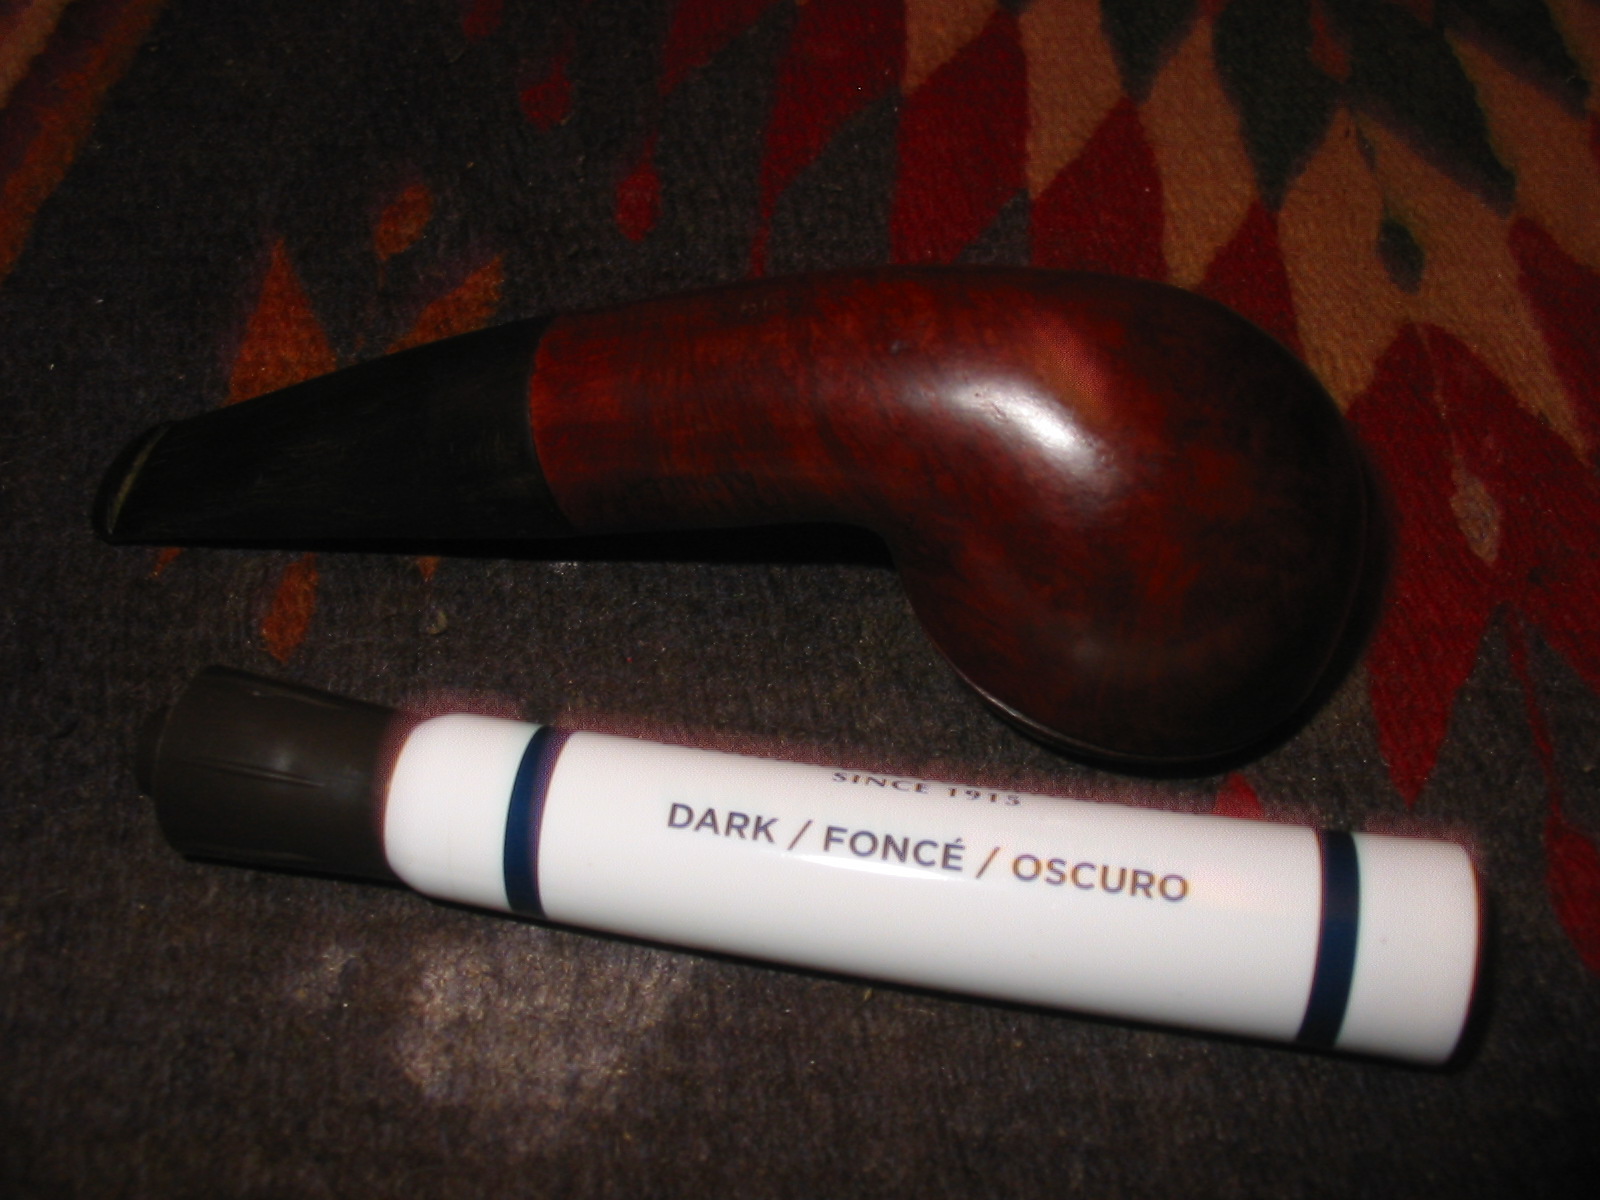
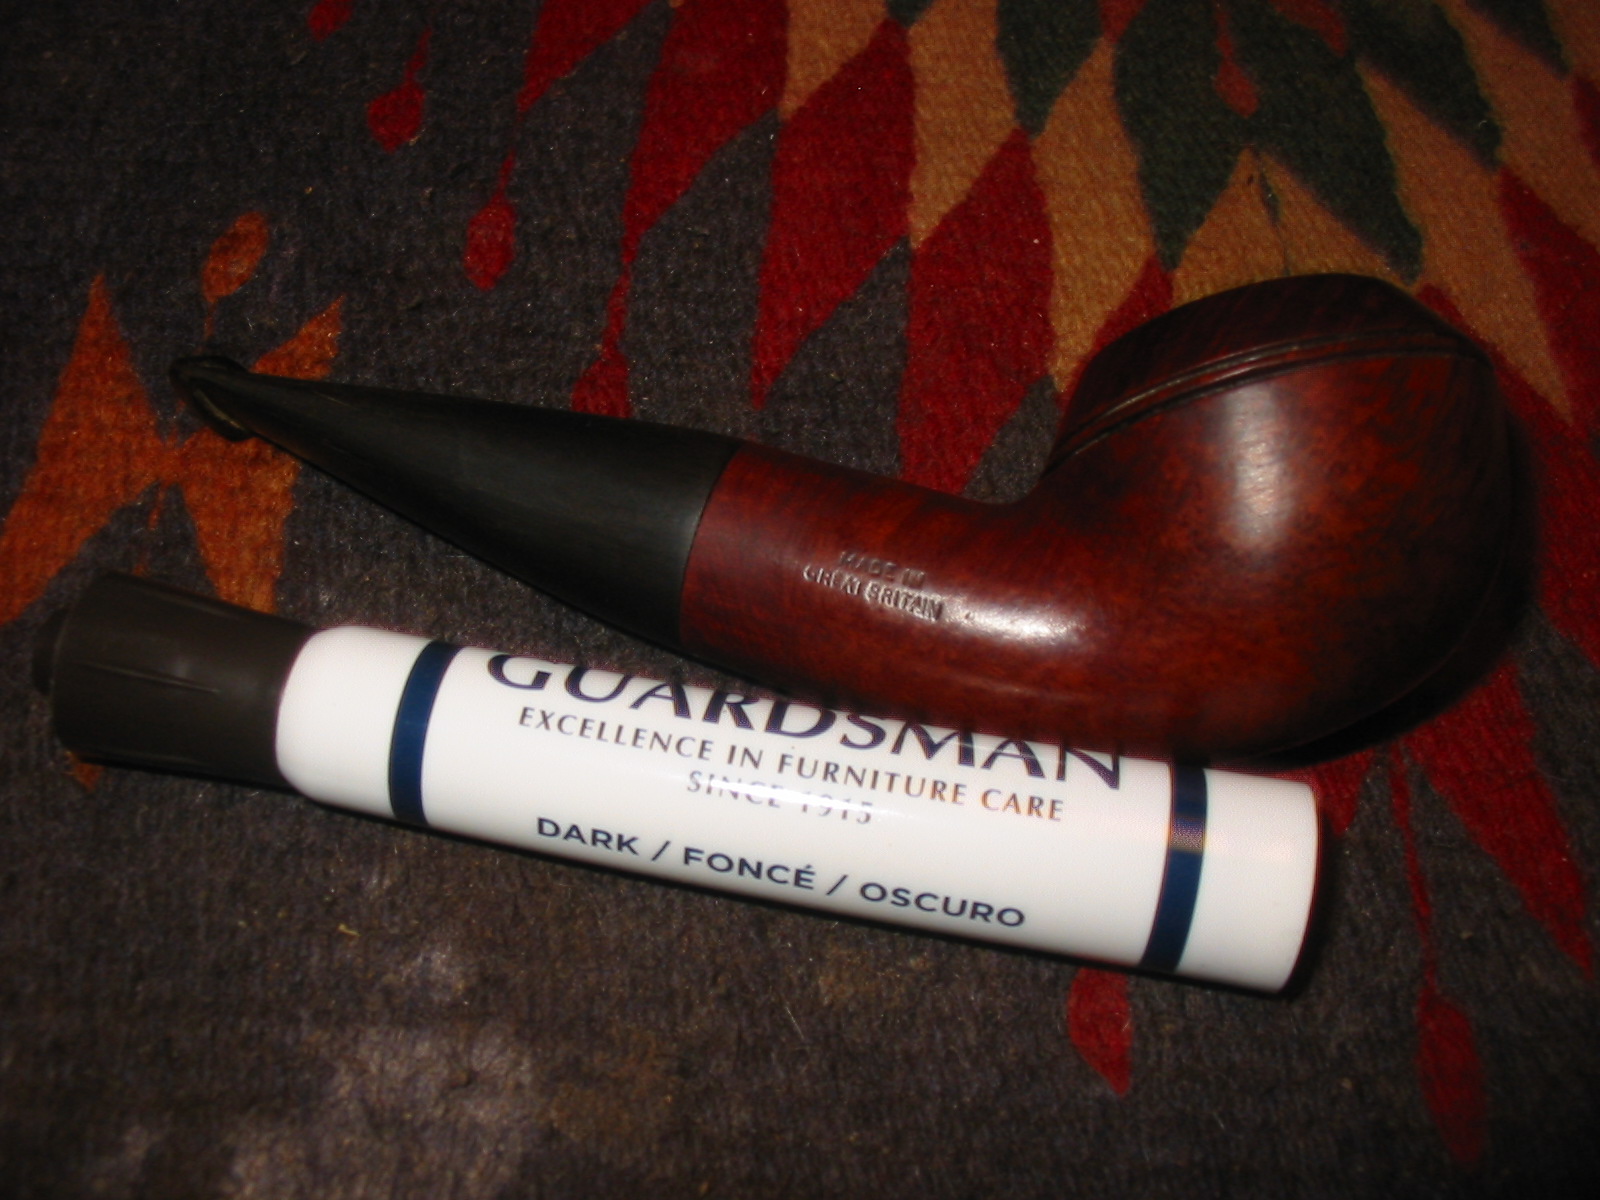
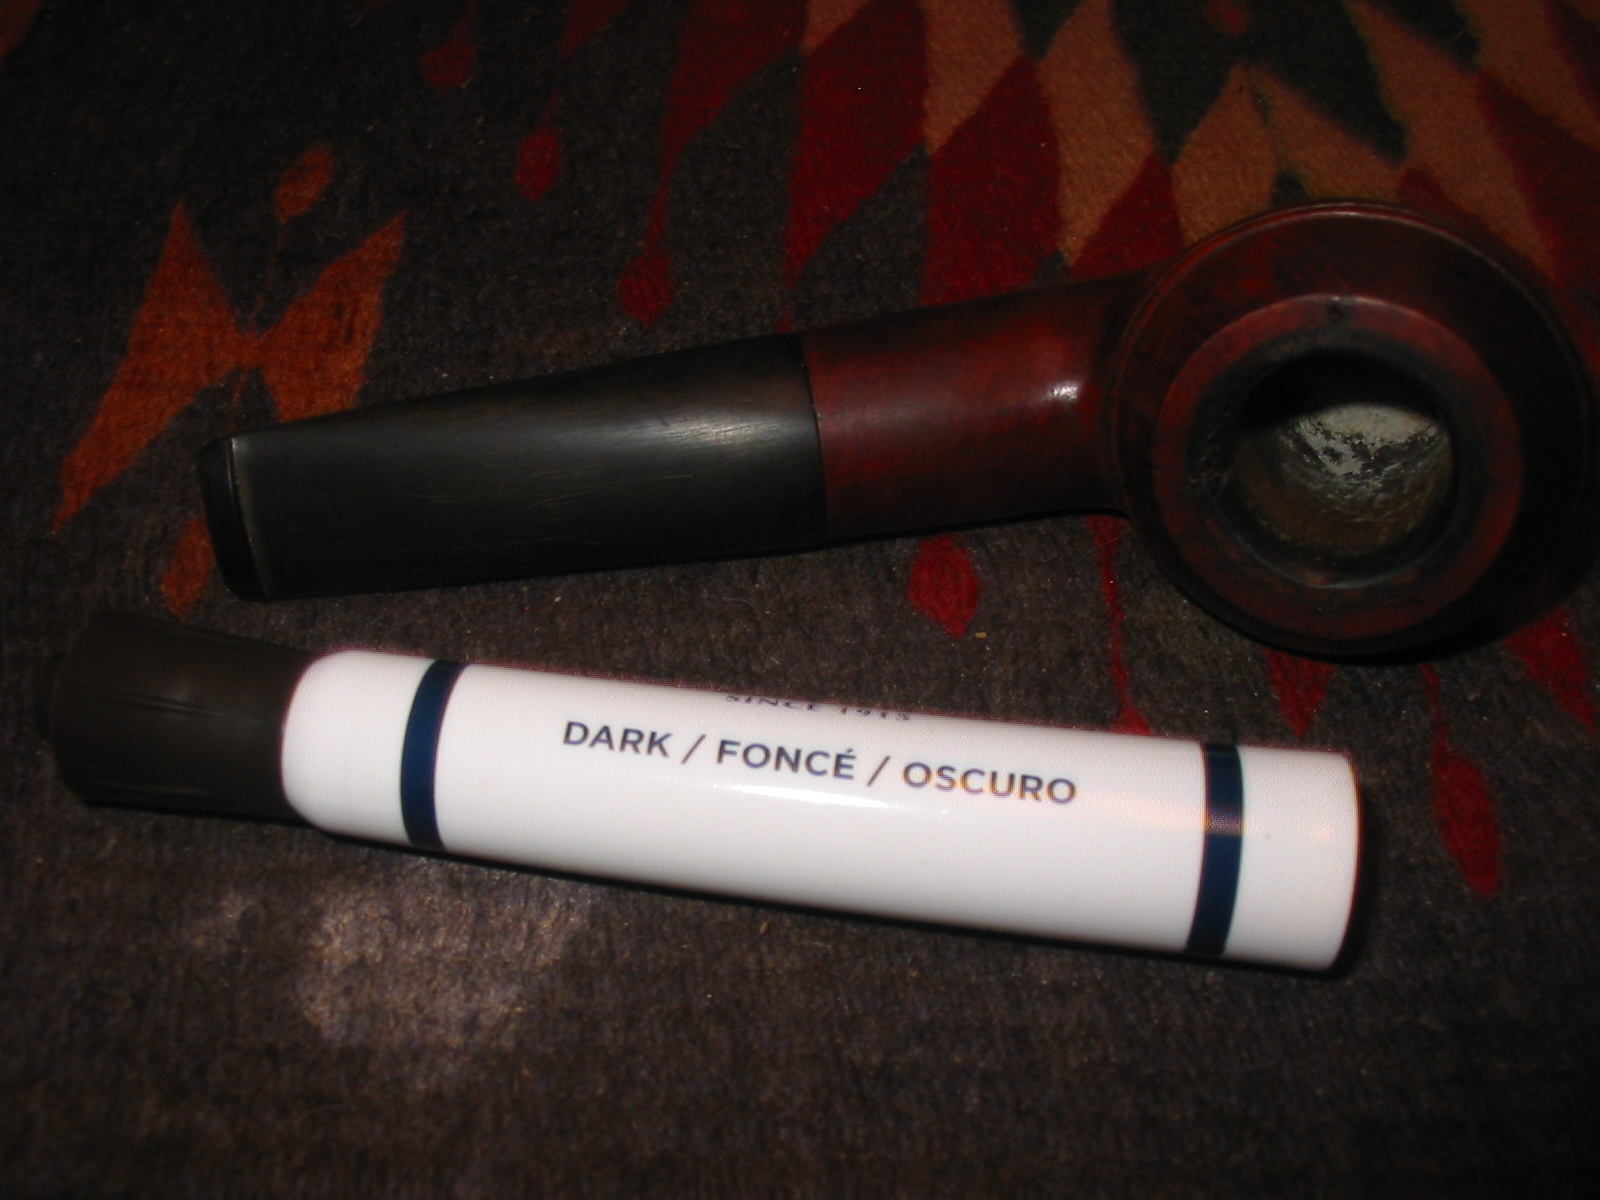
IMG_7253 IMG_7256IMG_7254IMG_7255I sanded the shank with 1500-2400 grit micromesh sanding pads to remove scratches in the finish and wiped the bowl down with alcohol on a cotton pad. Greg sent me a set of staining pens to work with so I decided to try them out on this pipe. I tried the light and medium pens and found that they did not match the stain on the pipe so I settled for the dark pen. I drew on the unstained surface of the shank and then blended it into the rest of the bowl. I also did the same on the rim, blending it downward into the sides of the bowl. The pen was very easy to control and keep off the meer lining on the inner edge of the rim.
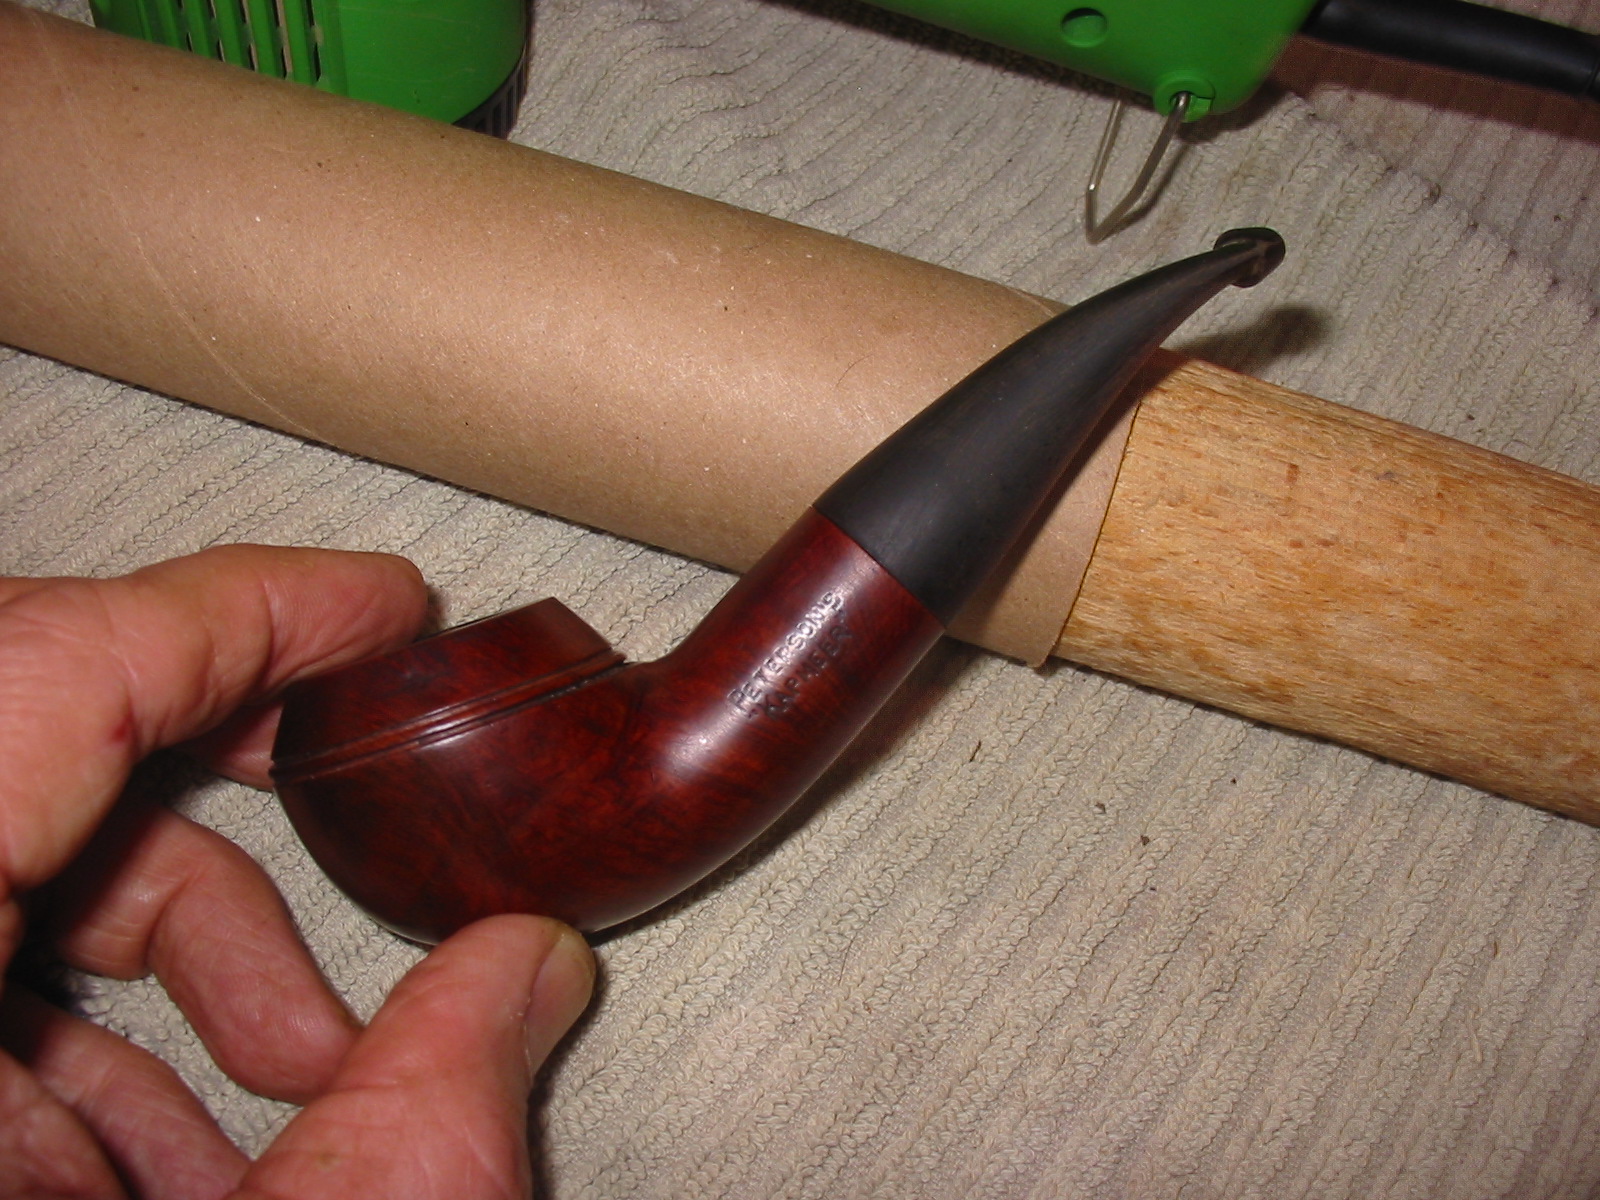
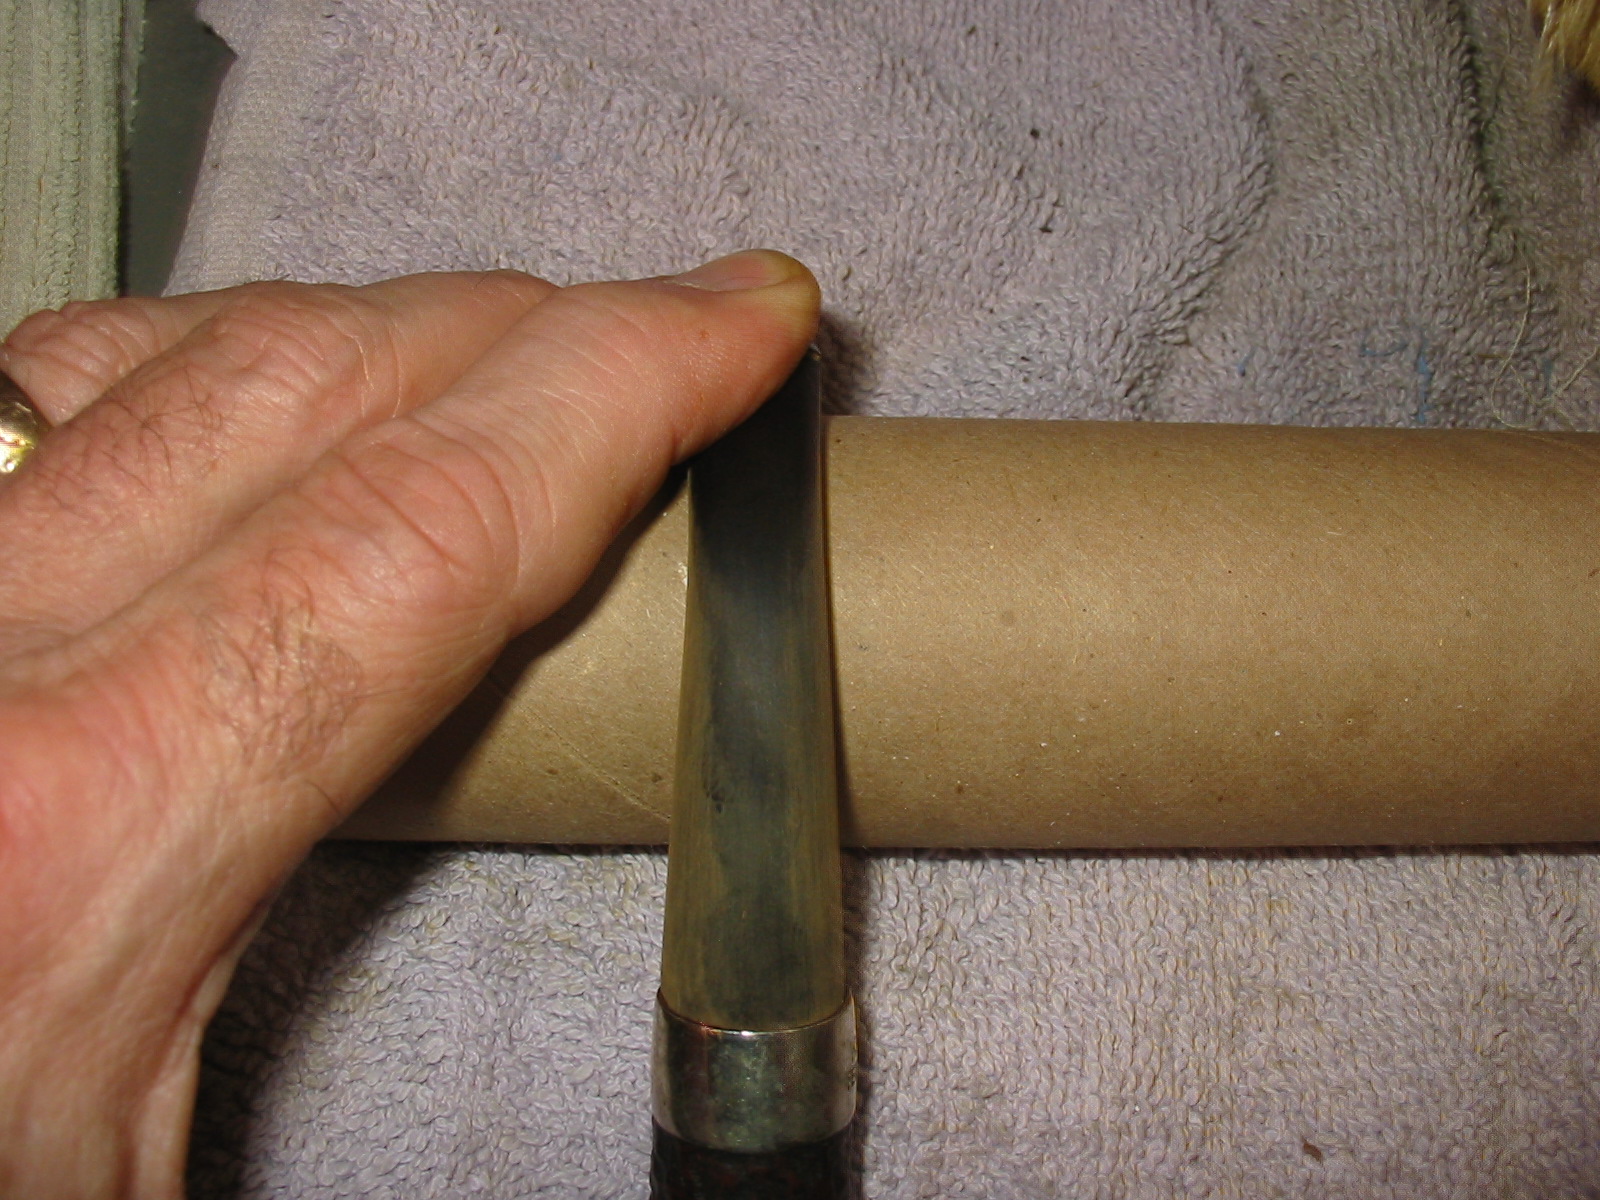
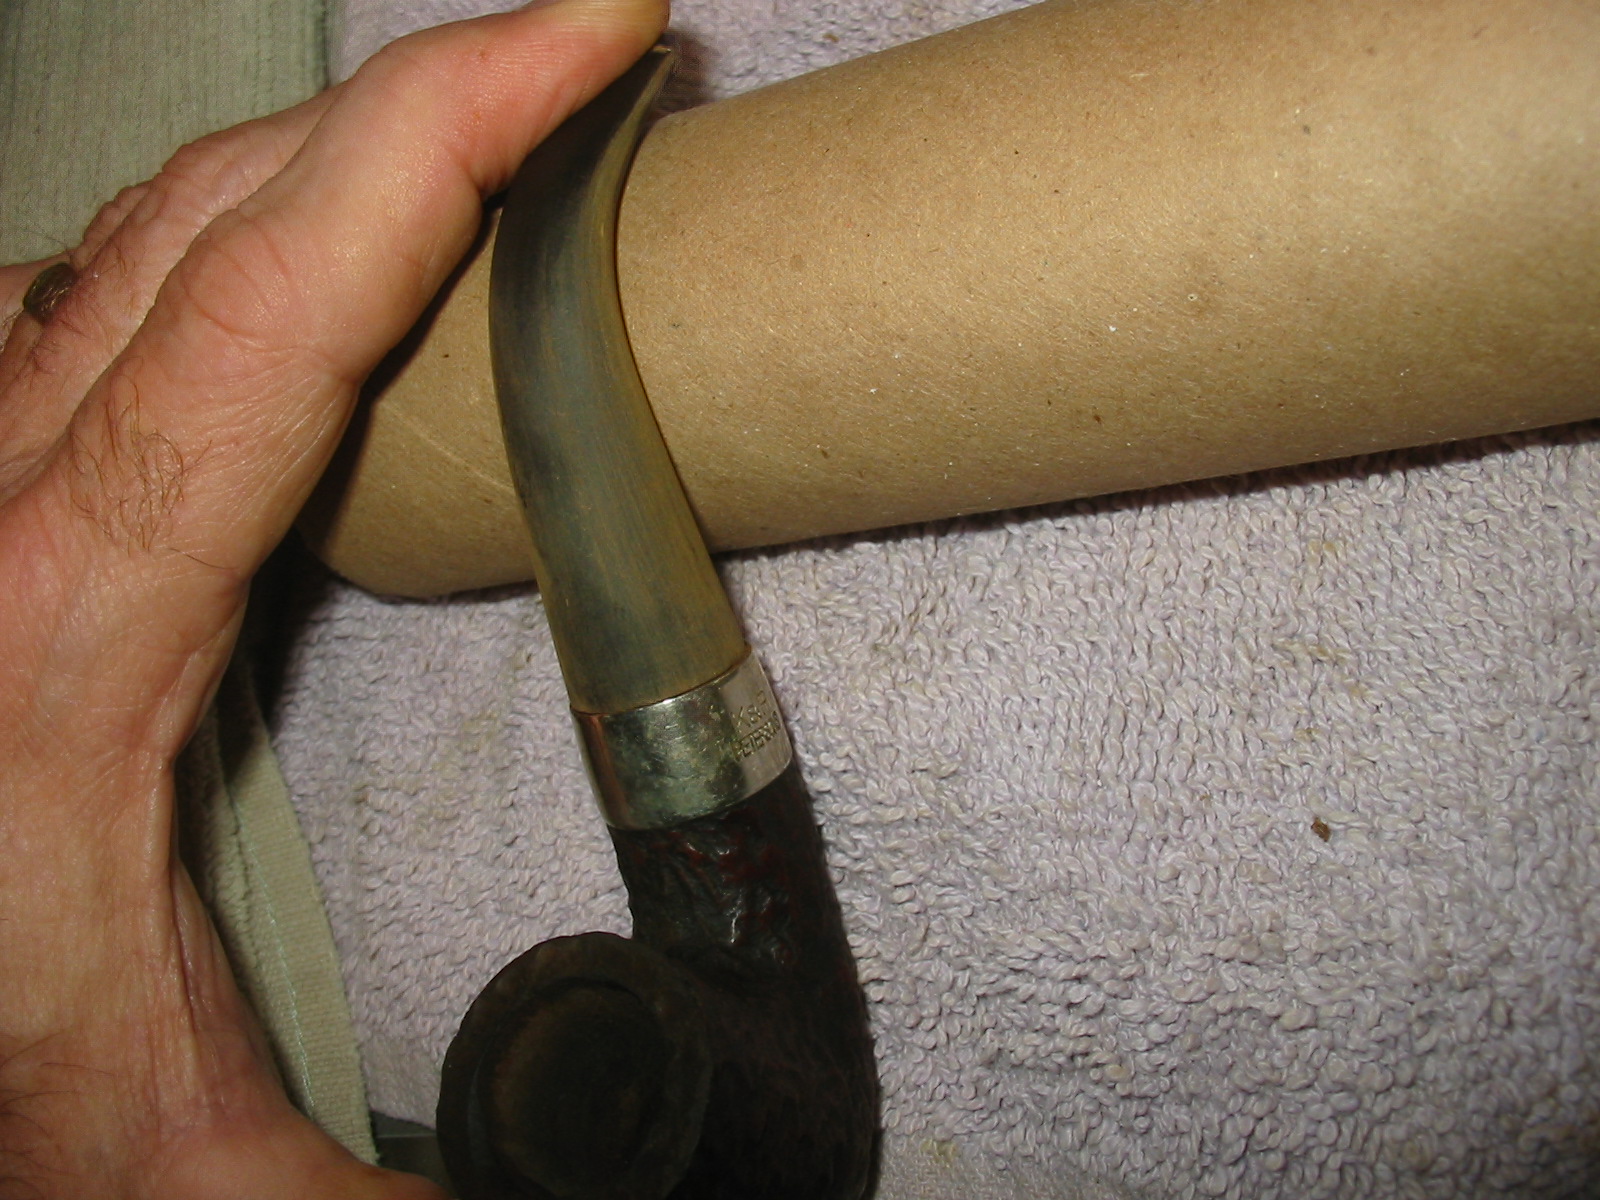
IMG_7262 IMG_7263 IMG_7264 IMG_7265When the stain had dried I buffed the bowl with White Diamond and then gave it a coating of carnauba wax to seal it and give it a shine. I had done enough of the early sanding on the stem by that point to set up a heat gun to heat and bend the stem. I held it over the heat until the stem was soft and then bent it over a rolling pin that I use for bending stems. I have a thick cardboard tube that I slide on the rolling pin to provide a softer surface than the old rolling pin when I am bending the heated vulcanite.
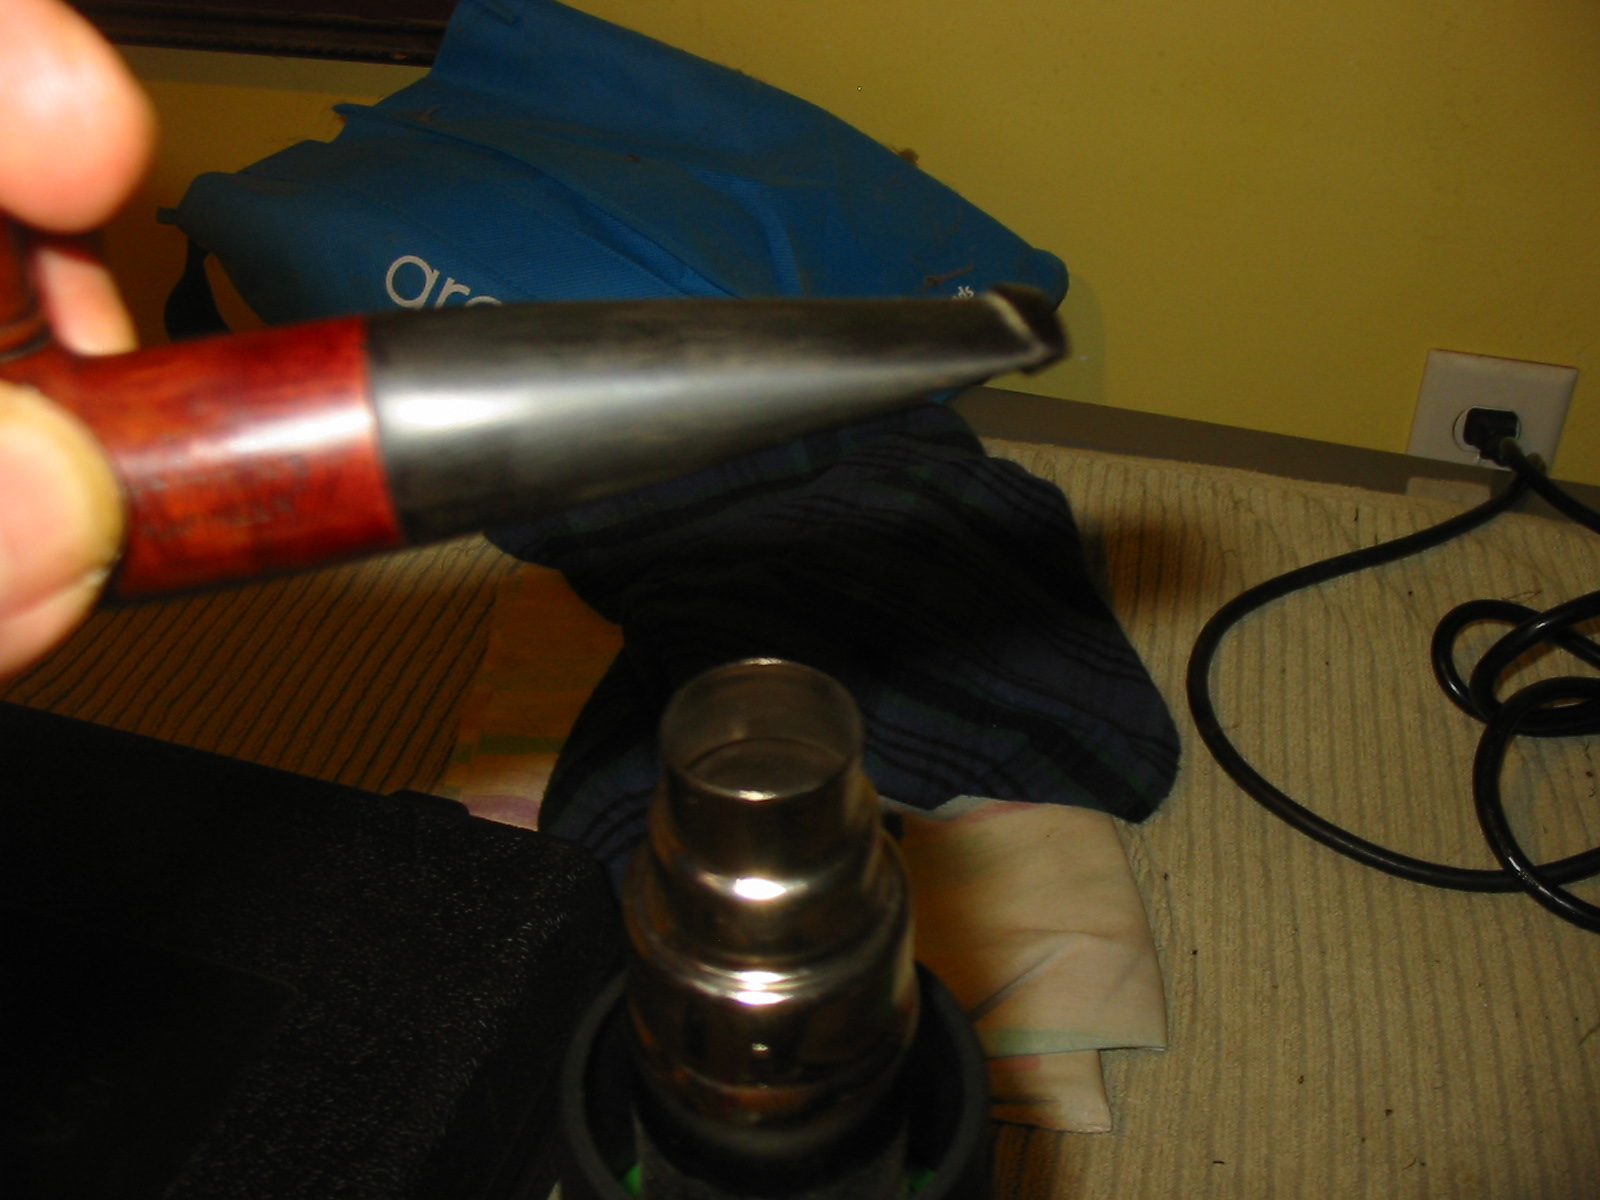
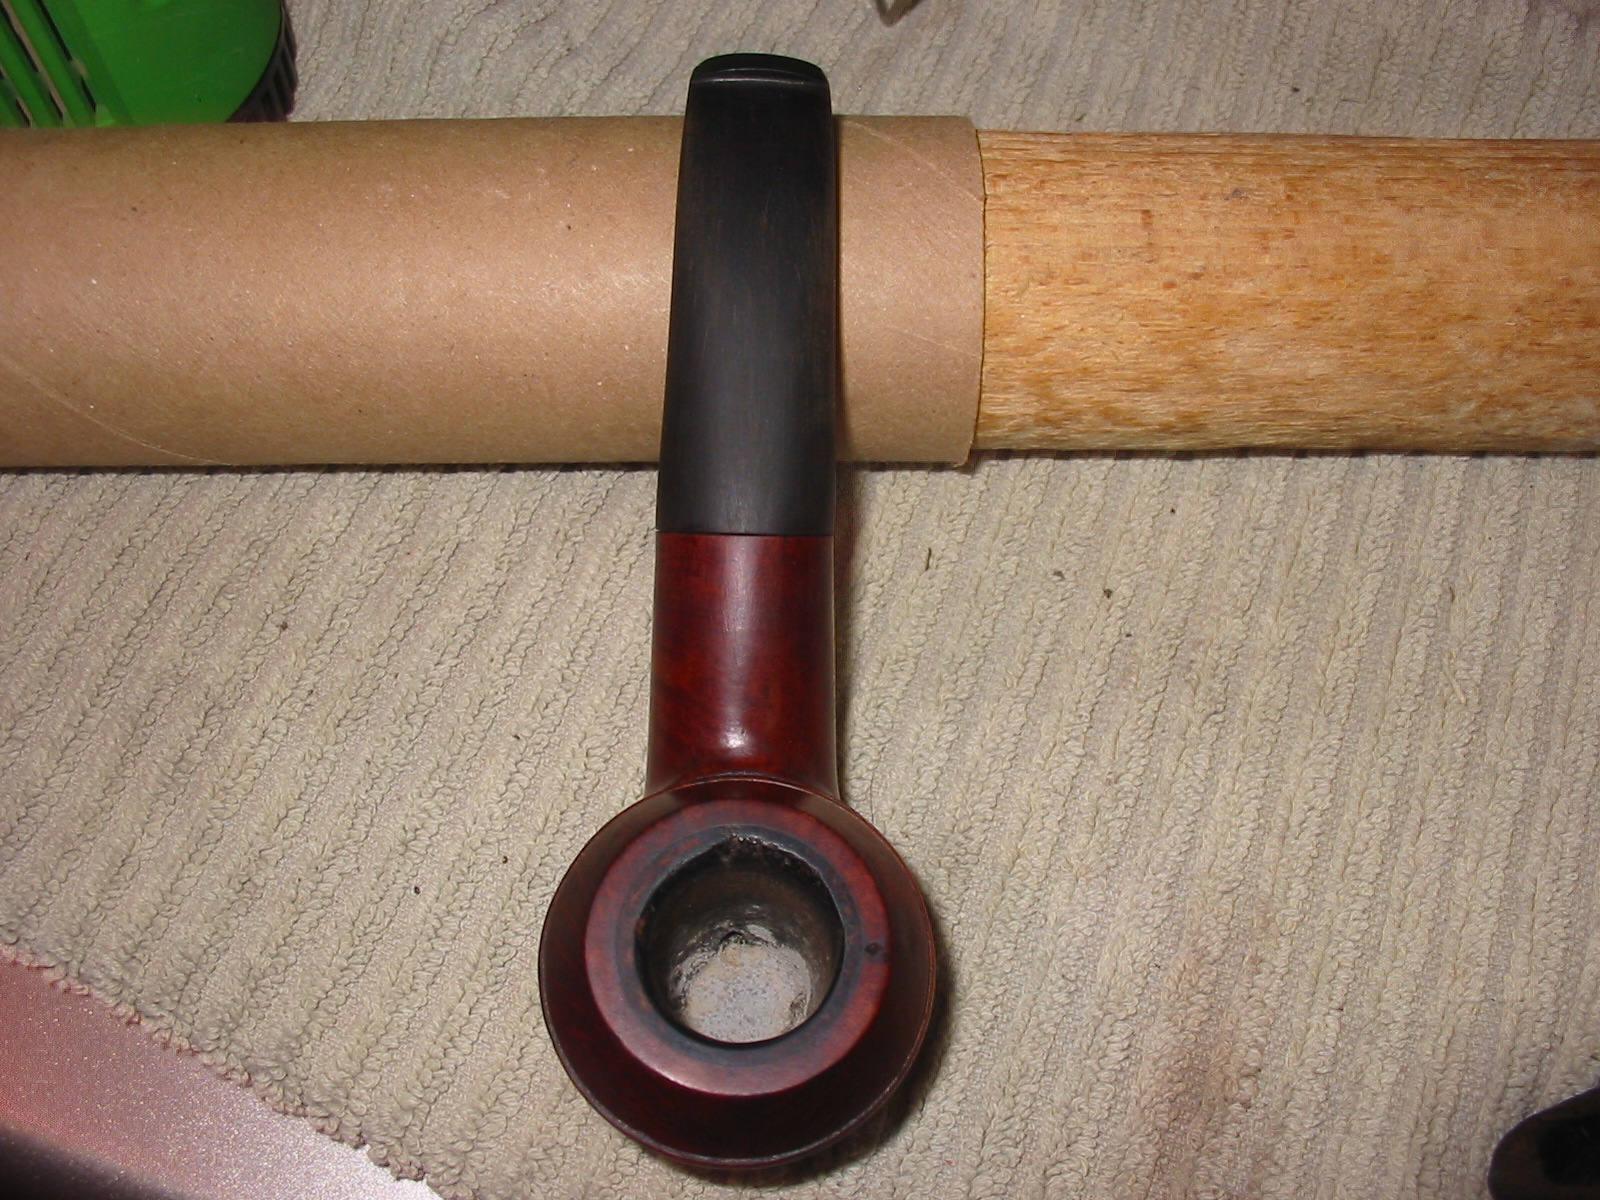
IMG_7268 IMG_7272 IMG_7273The photo above shows the first attempt at the bend in the stem. It was not bent enough to my liking so I reheated it and bent it again. Once the bend was correct I set it in cool water.

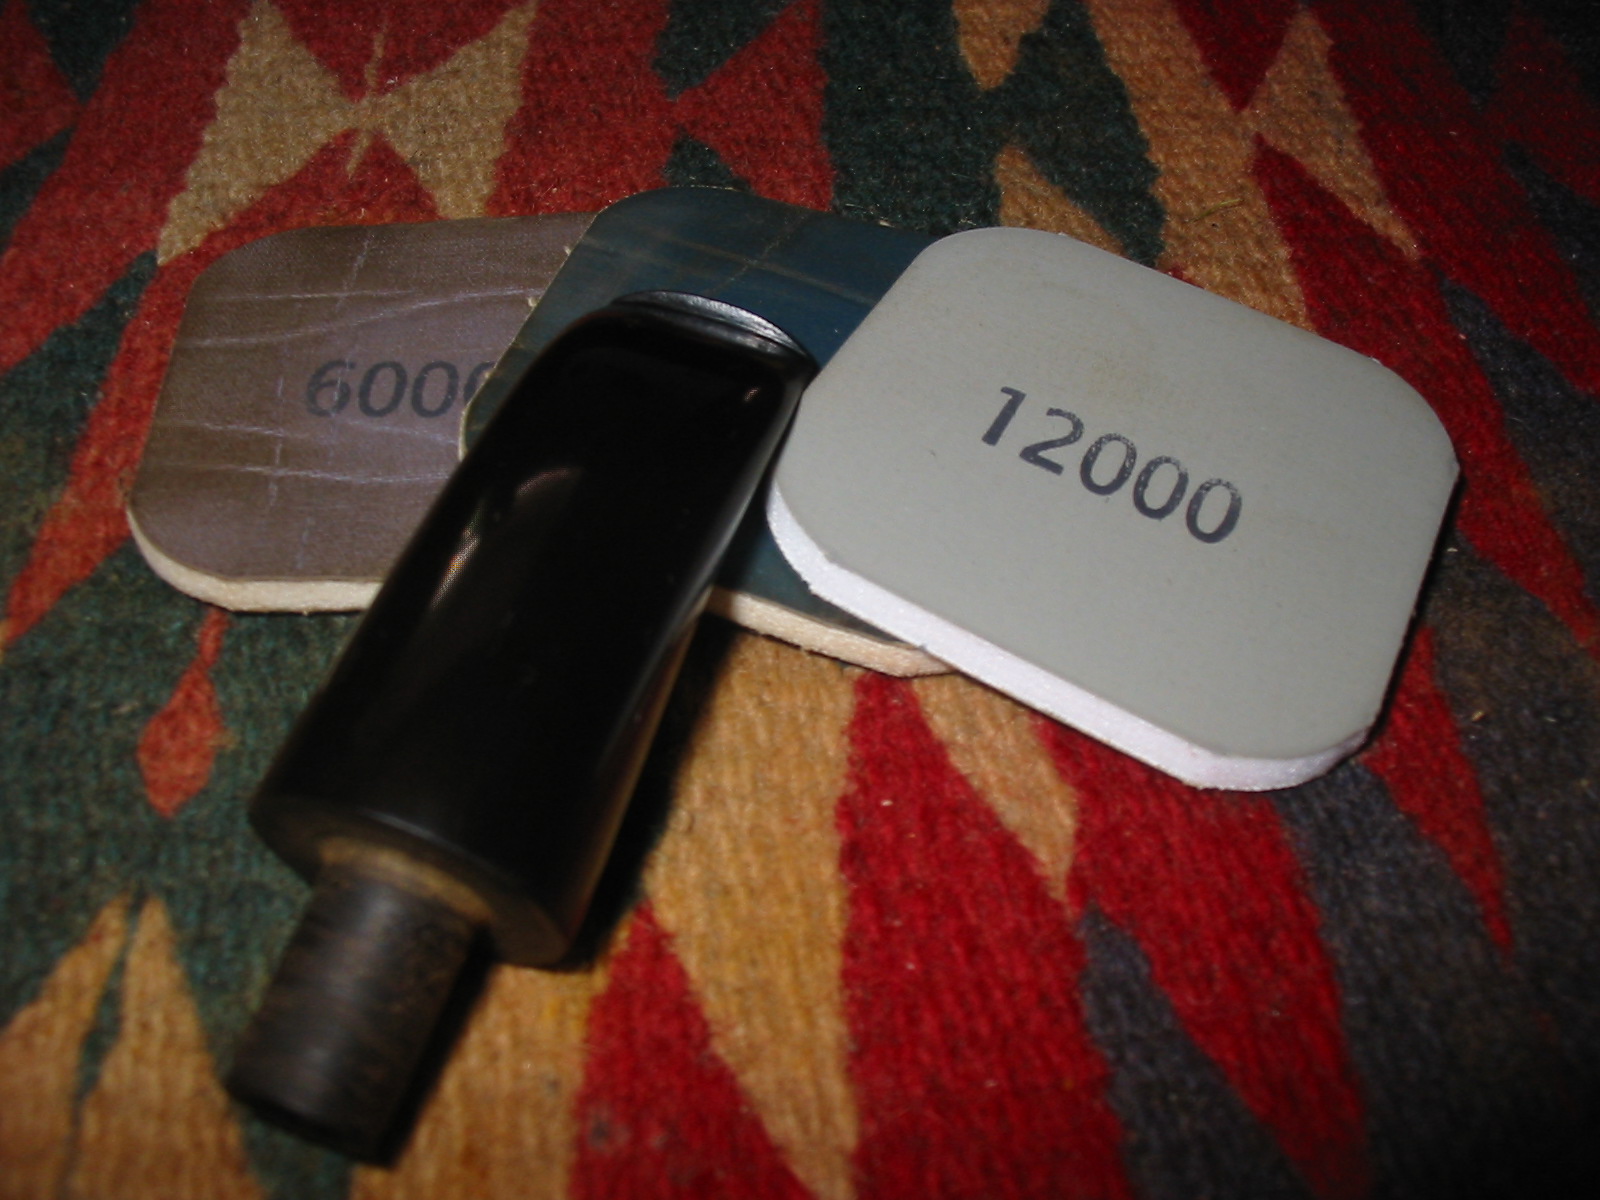
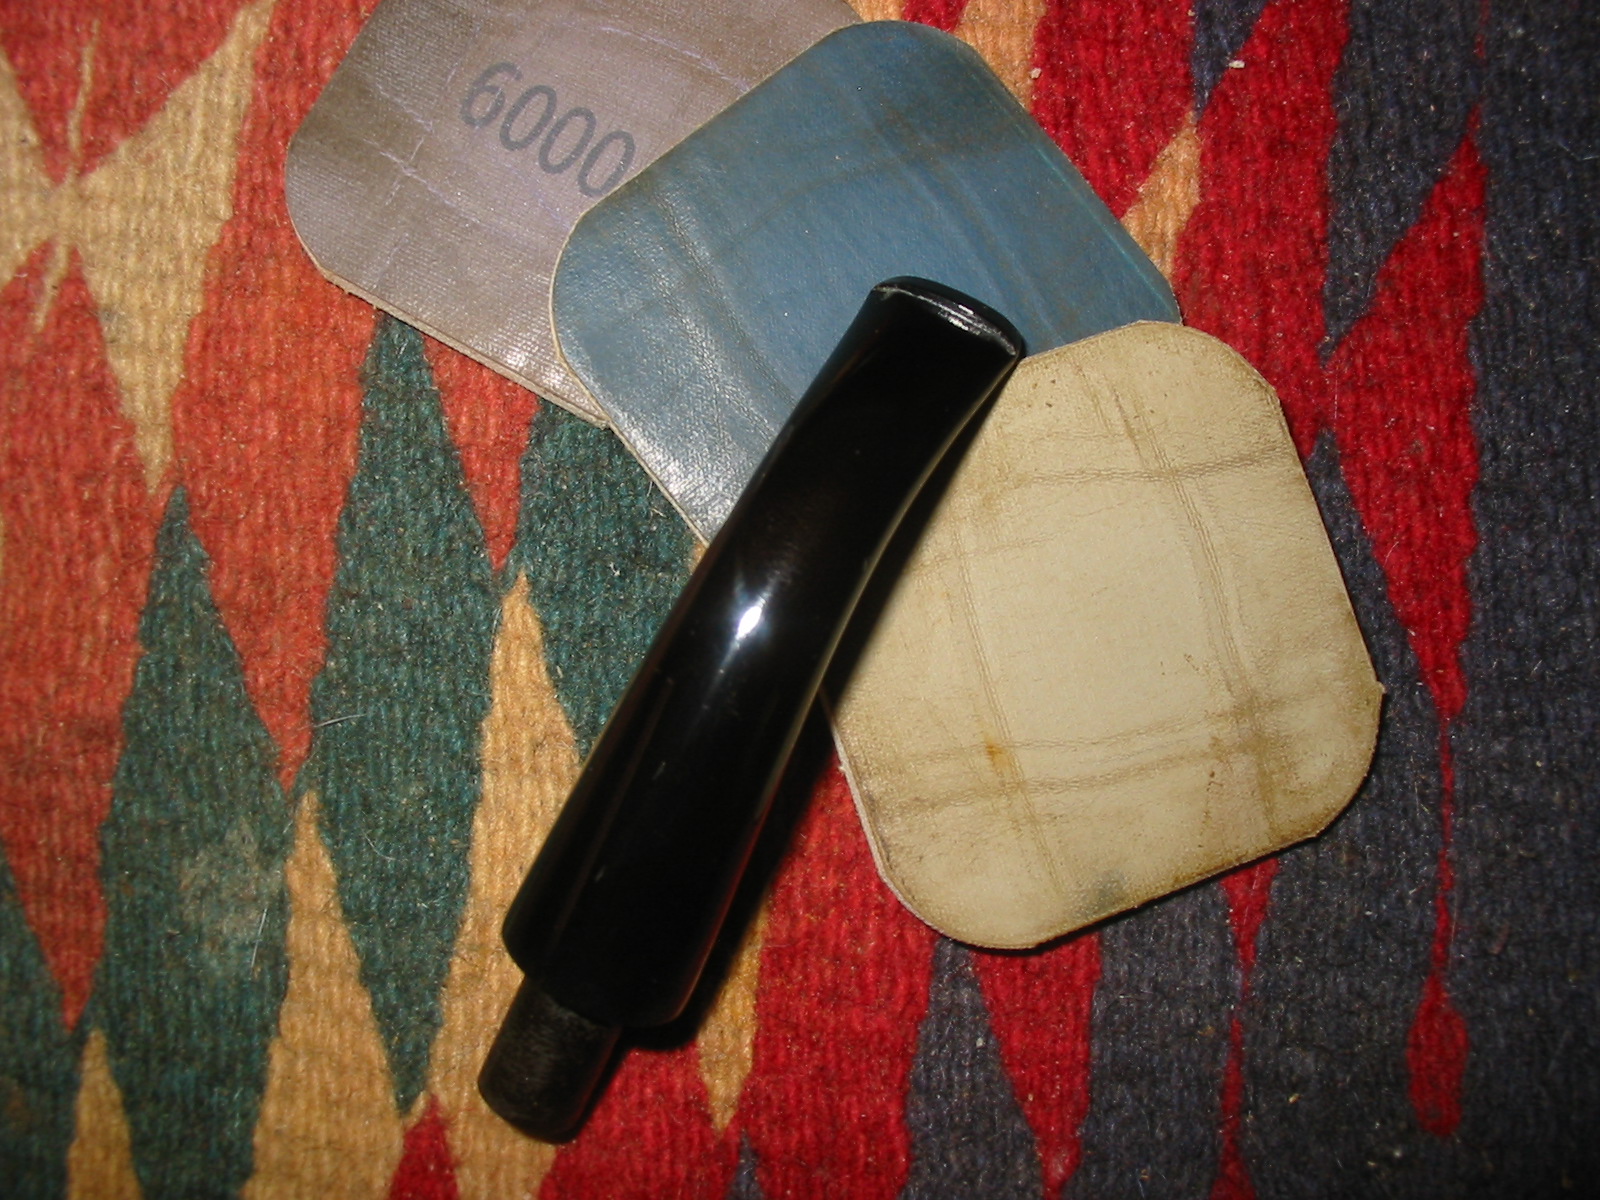
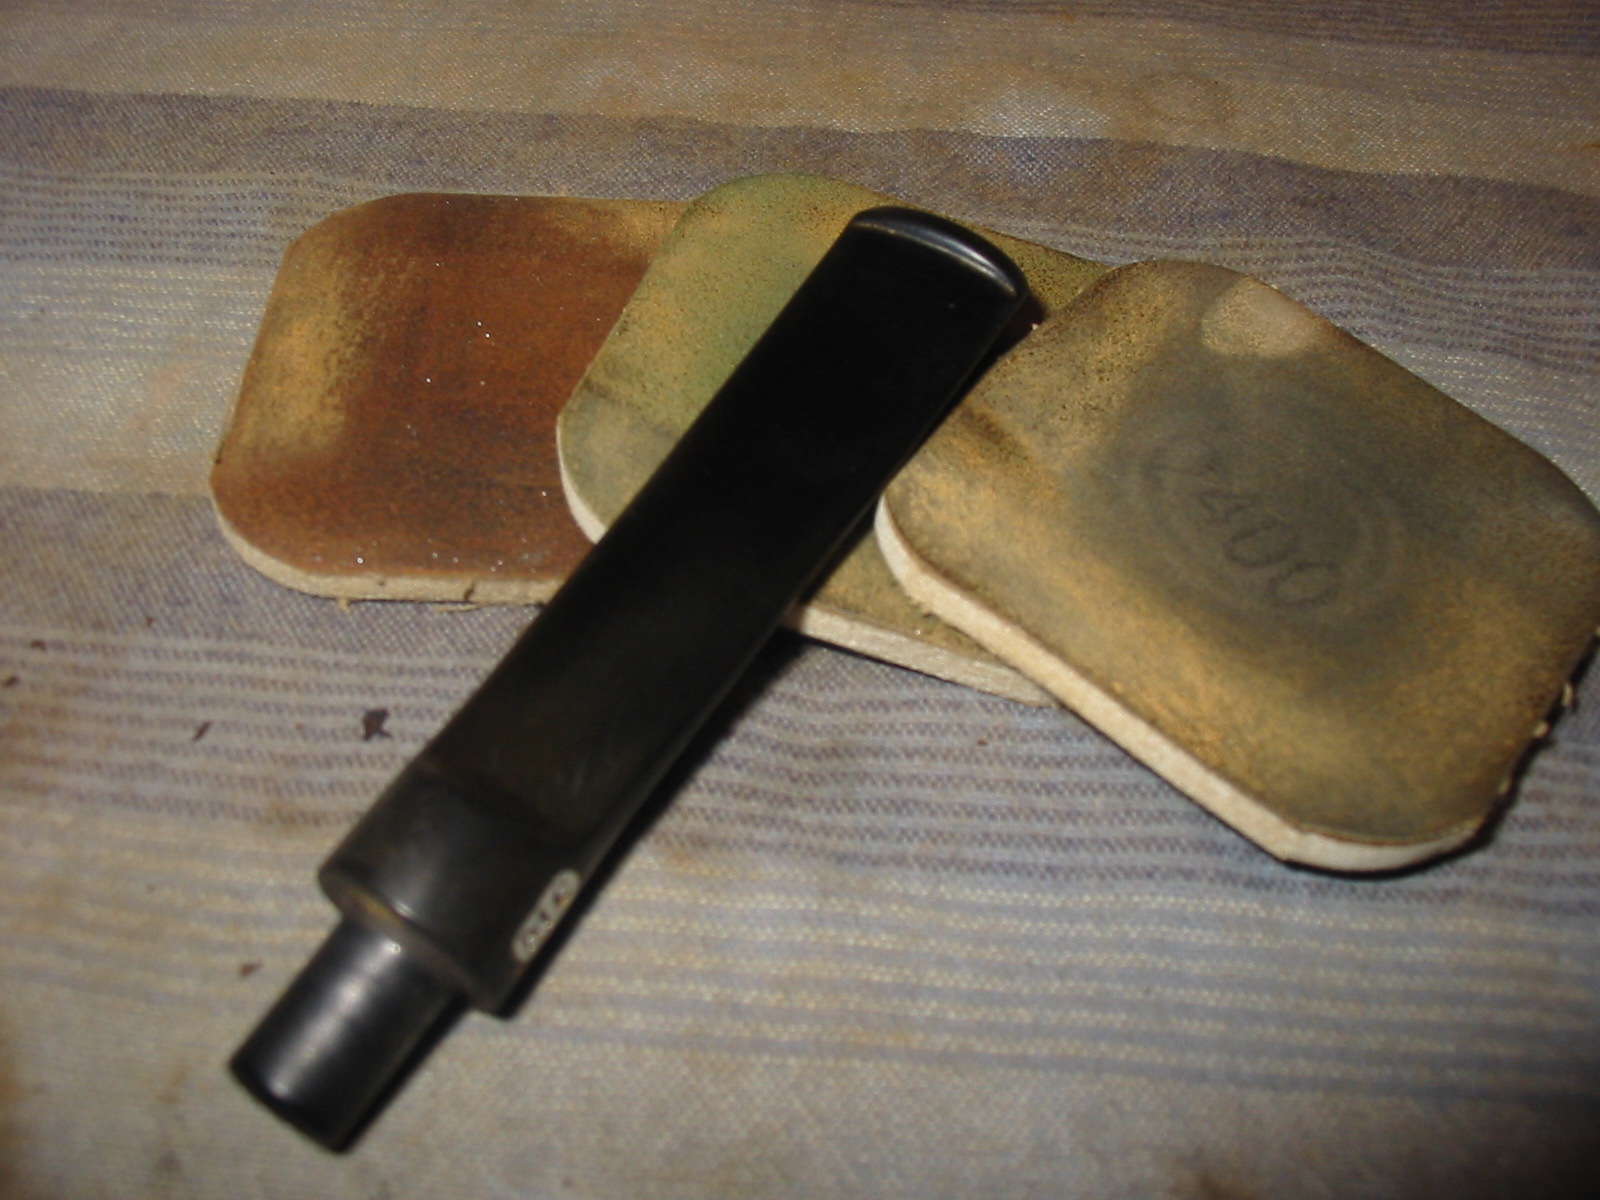
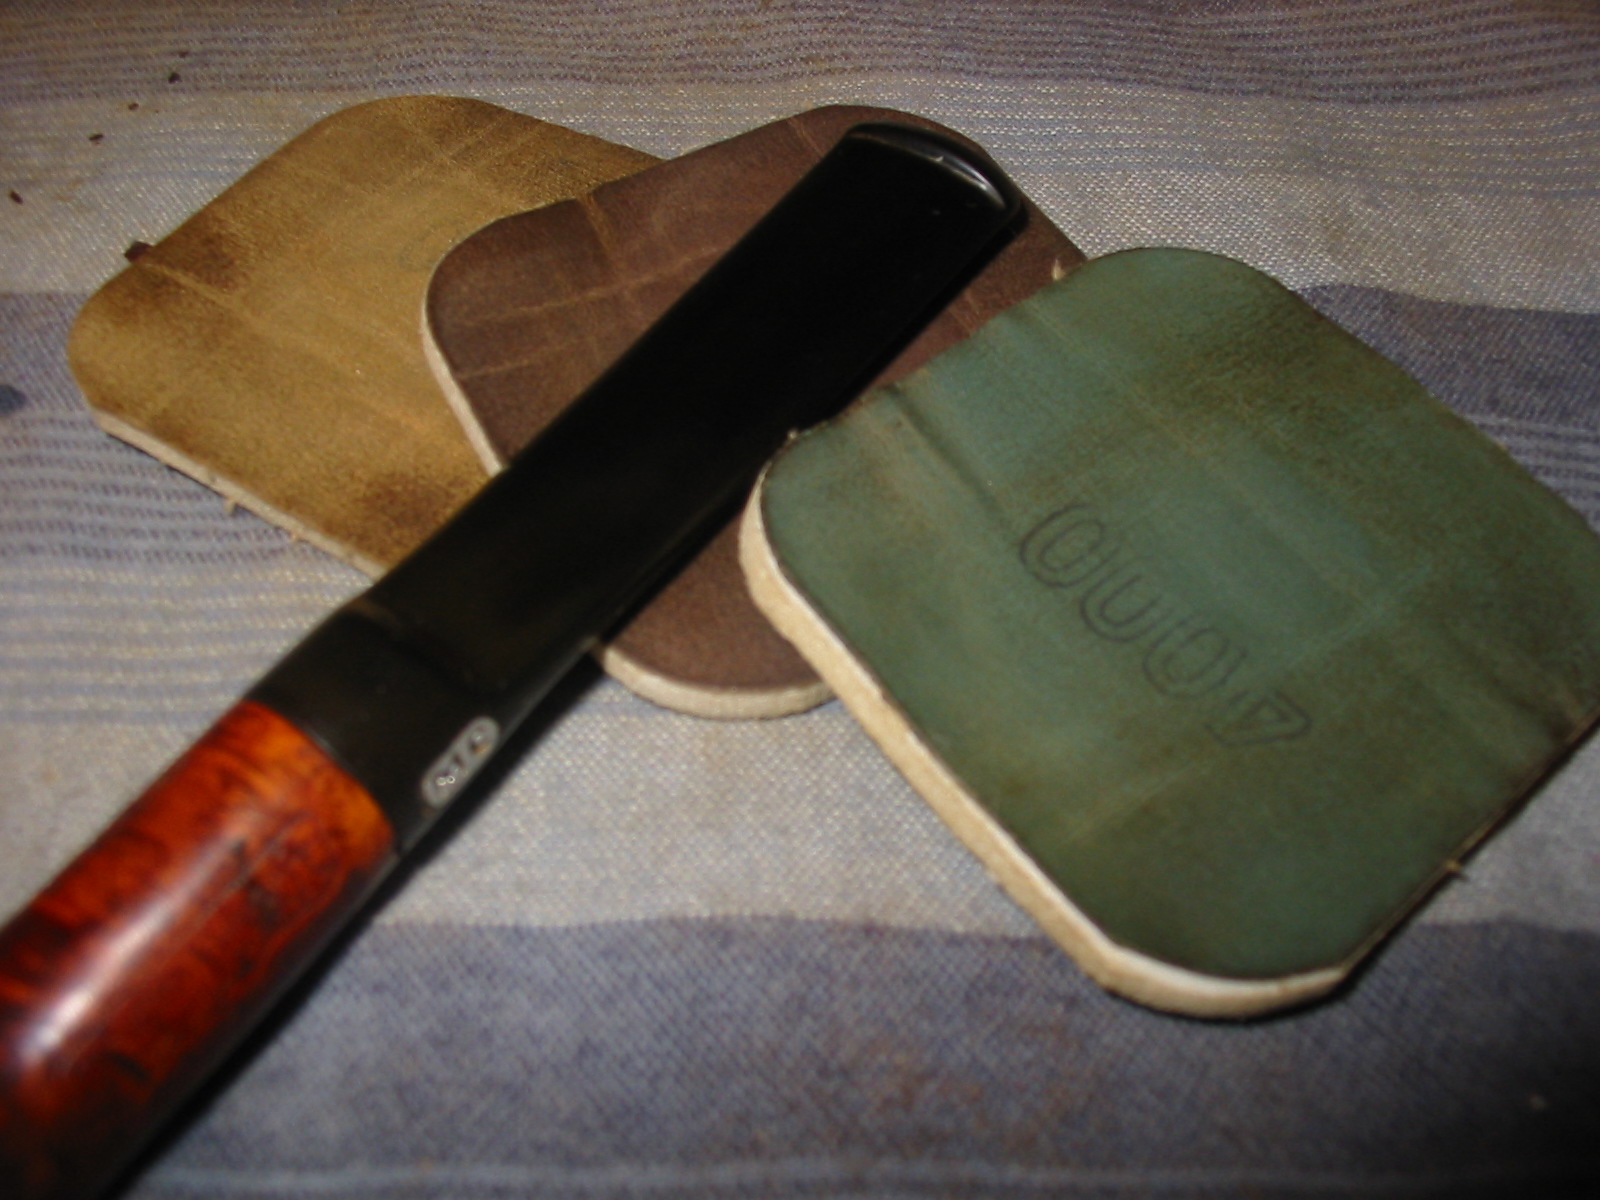
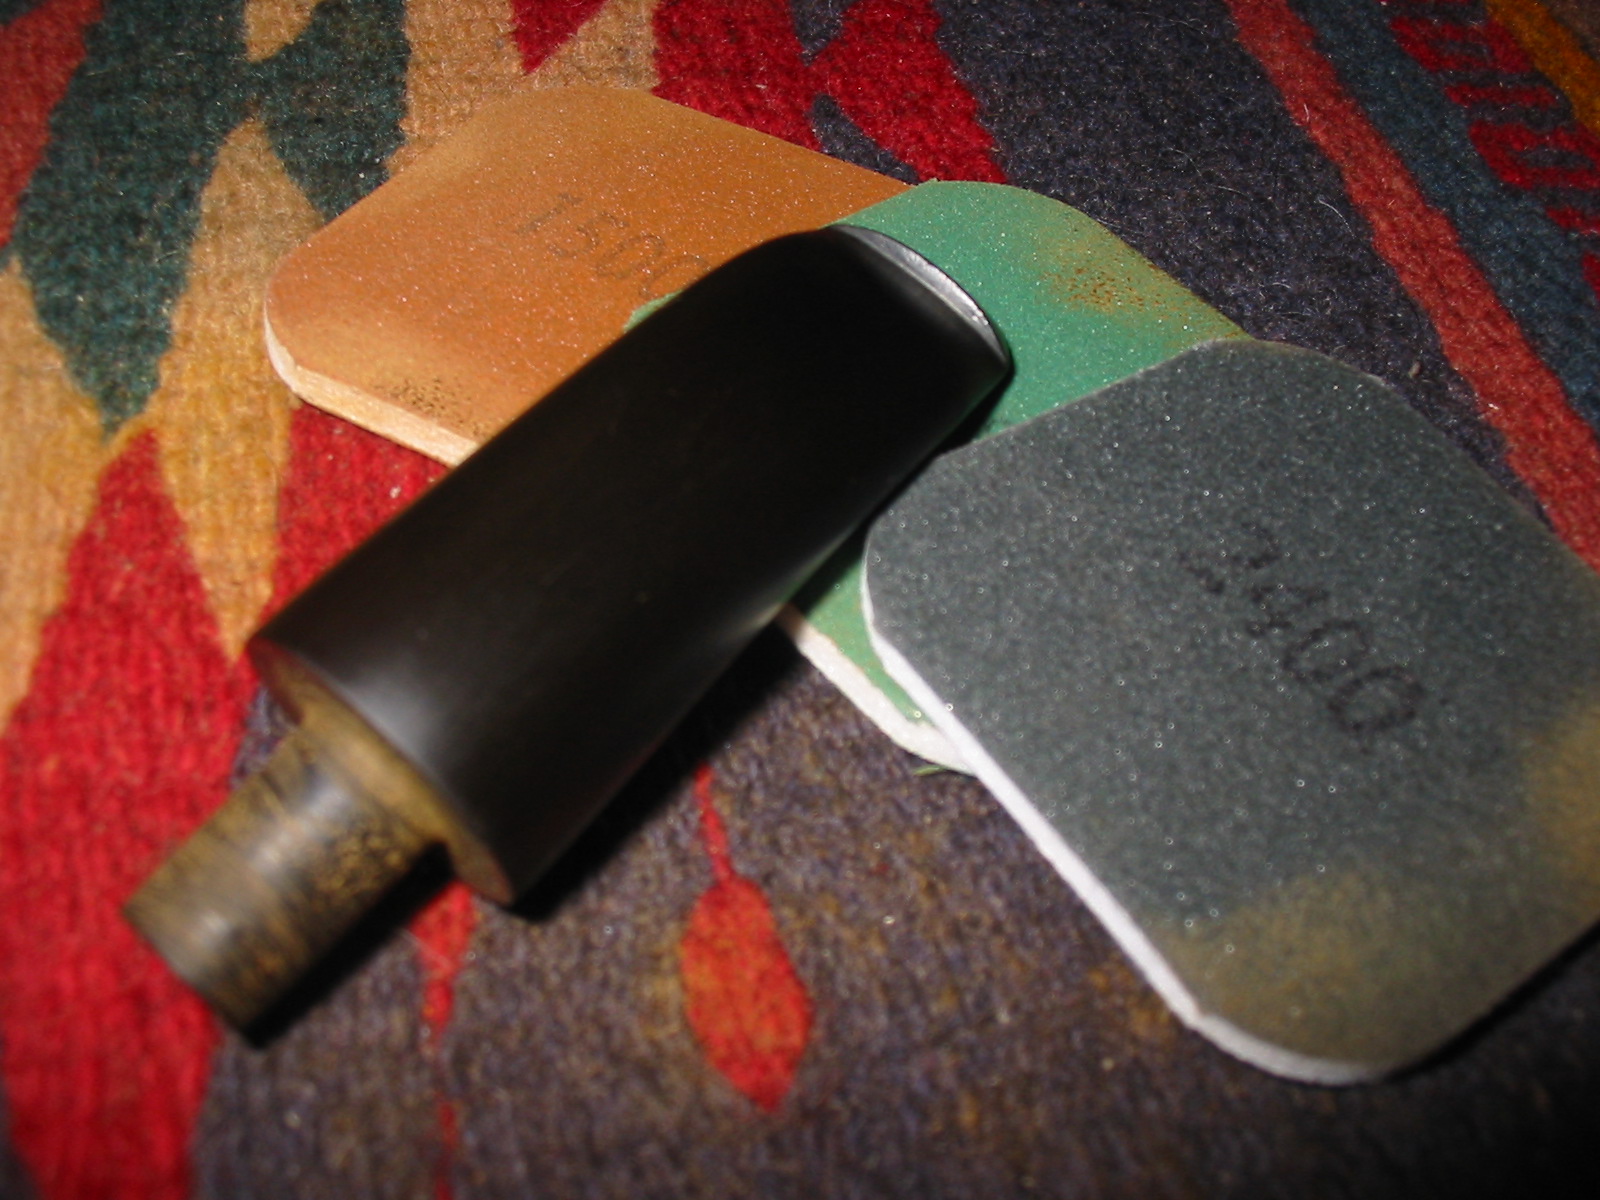
IMG_7276I took the pipe back to the worktable to sand the stem. I wet sanded with 1500-2400 grit micromesh sanding pads and dry sanded with 3200-12,000 grit pads. I rubbed the stem down between each of the three grits with Obsidian Oil and let it soak in before moving on to the next series of three grits.
IMG_7278 IMG_7279 IMG_7280I rubbed it down a final time with the Obsidian Oil and then buffed the pipe and stem with White Diamond on the wheel. I gave the pipe multiple coats of carnauba wax and between each coat buffed it with a soft flannel buff. The finished pipe is shown in the photos below. All that is left is to load a bowl of some aged Louisiana Red and enjoy a bowl.
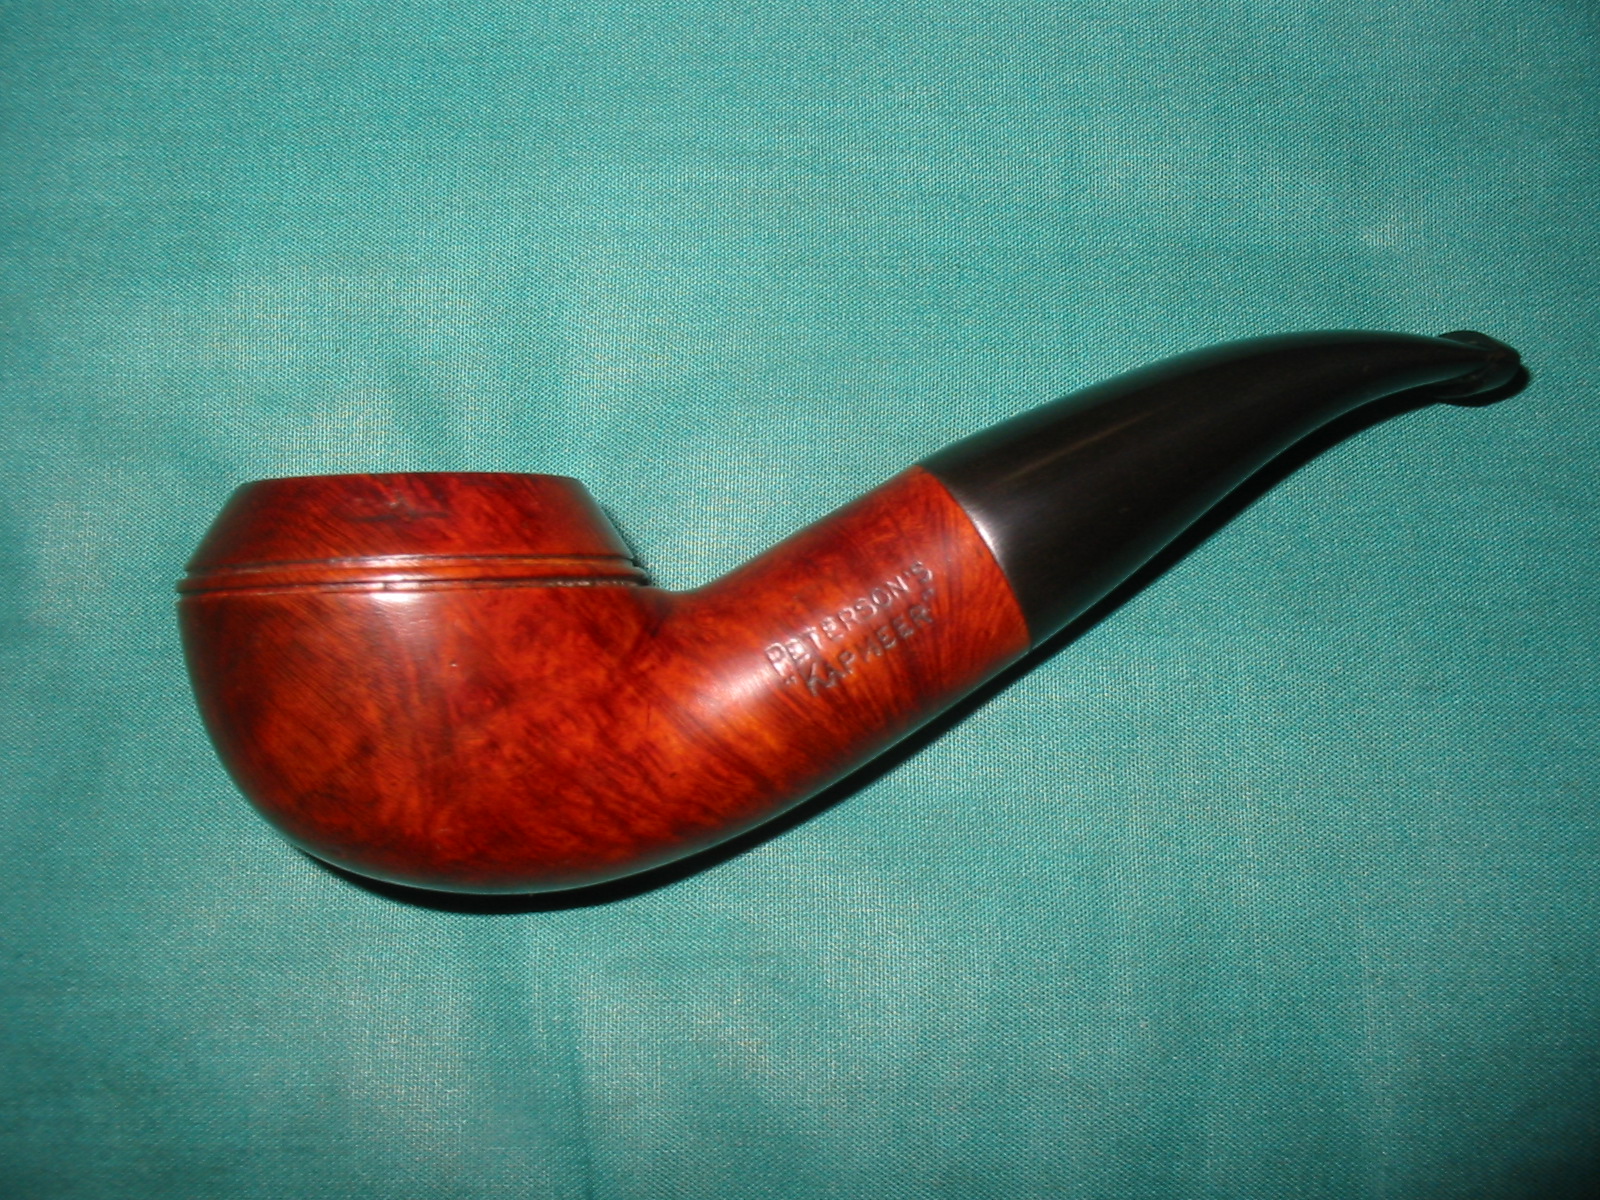
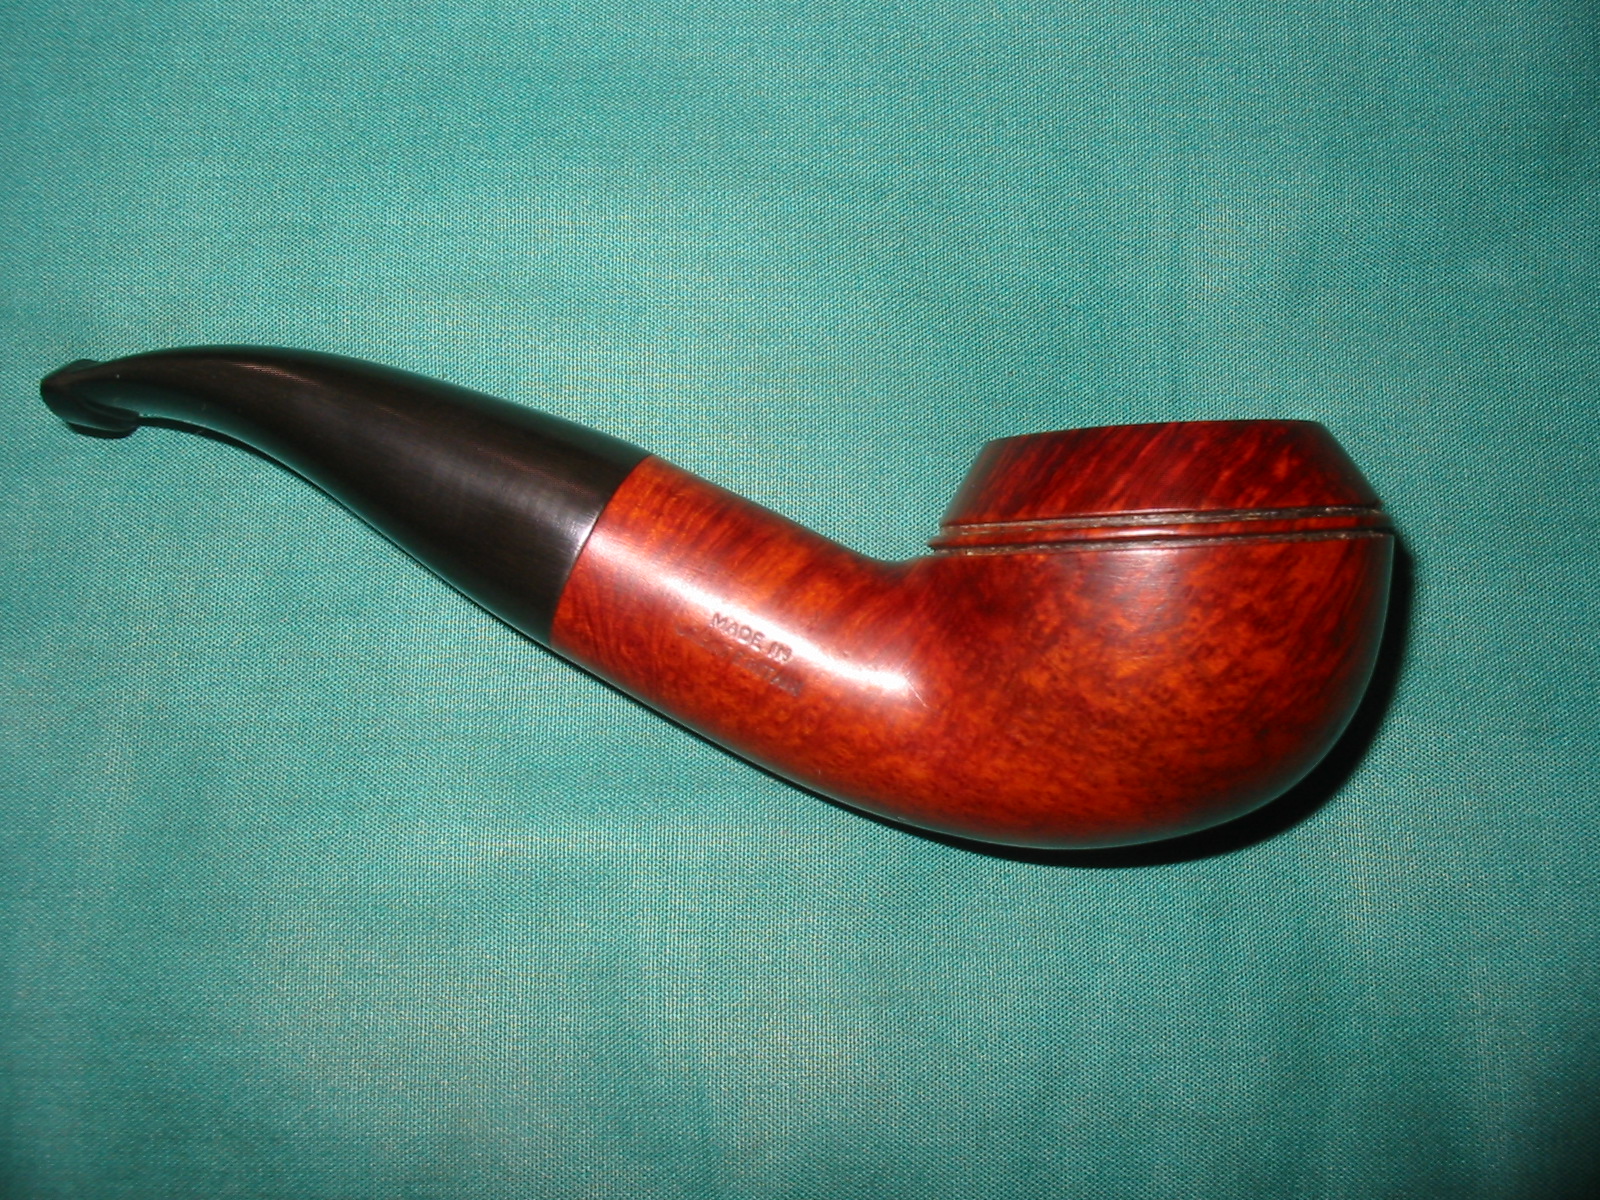
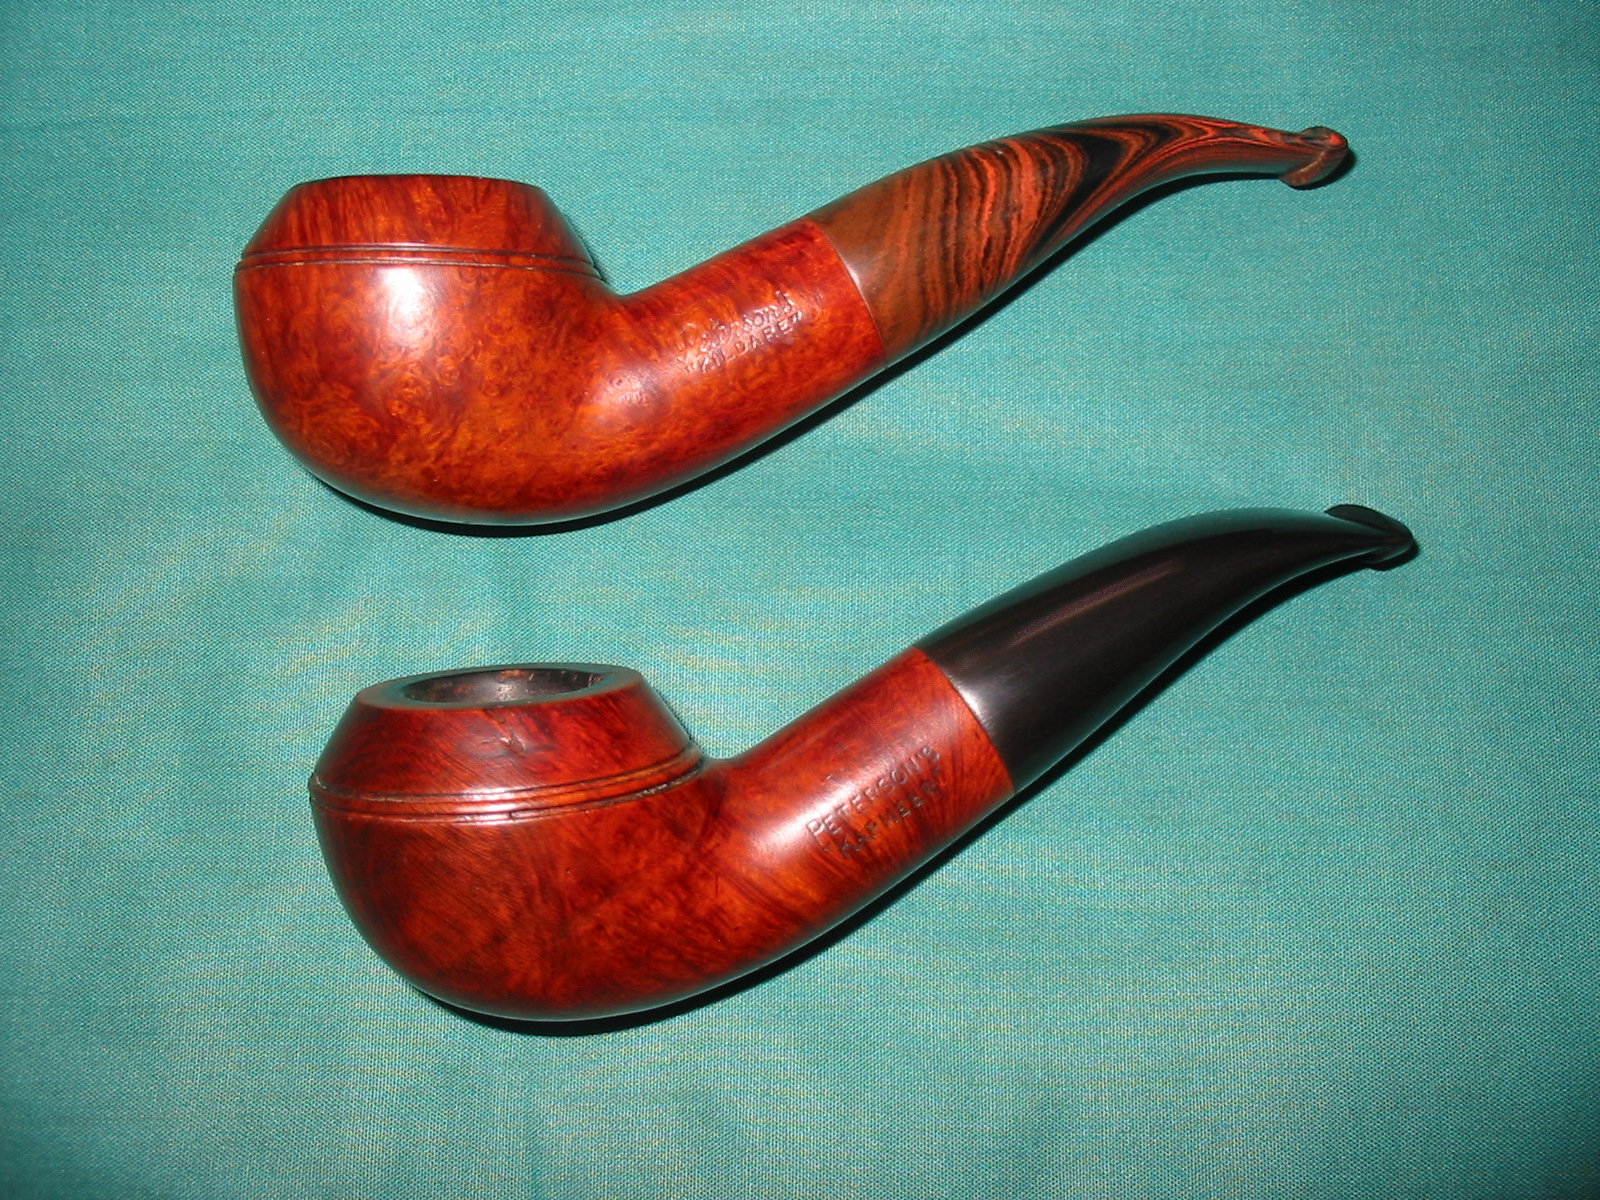
IMG_7281 IMG_7284 IMG_7285 IMG_7289For comparison sake, I have included a photo of the newly reworked KAPMEER with the earlier KILDARE that I restemmed from a piece of Cumberland rodstock that I purchased from Todd Bannard of Briar, Sweat and Tears Pipes http://www.briarsweatandtears.com/ . Todd cut the length and did the drilling and shaping on that piece before sending it to me to finish. As you can see both have the thicker old style shanks that are no longer used on Peterson 999 pipes. This pipe is the third one that I have from that earlier time period. It is the shape of the 999s that I favour.
IMG_7291

Resuscitating a Peterson Donegal Rocky 338 Bent Billiard


A few weeks ago one of the EBay sellers that I have bought several pipes from over the years had three Peterson bowls, sans stems listed for sale. They were in rough shape but I decided I wanted to give refurbishing them all a try. Besides one of them was a 999S and I love the 999 shape. That alone would have pushed me to make a bid on this lot. I ended up buying the threesome for more than I usually pay for pipe bowls but I figured it was worth the effort. This is the photo of the threesome from the sale listing.

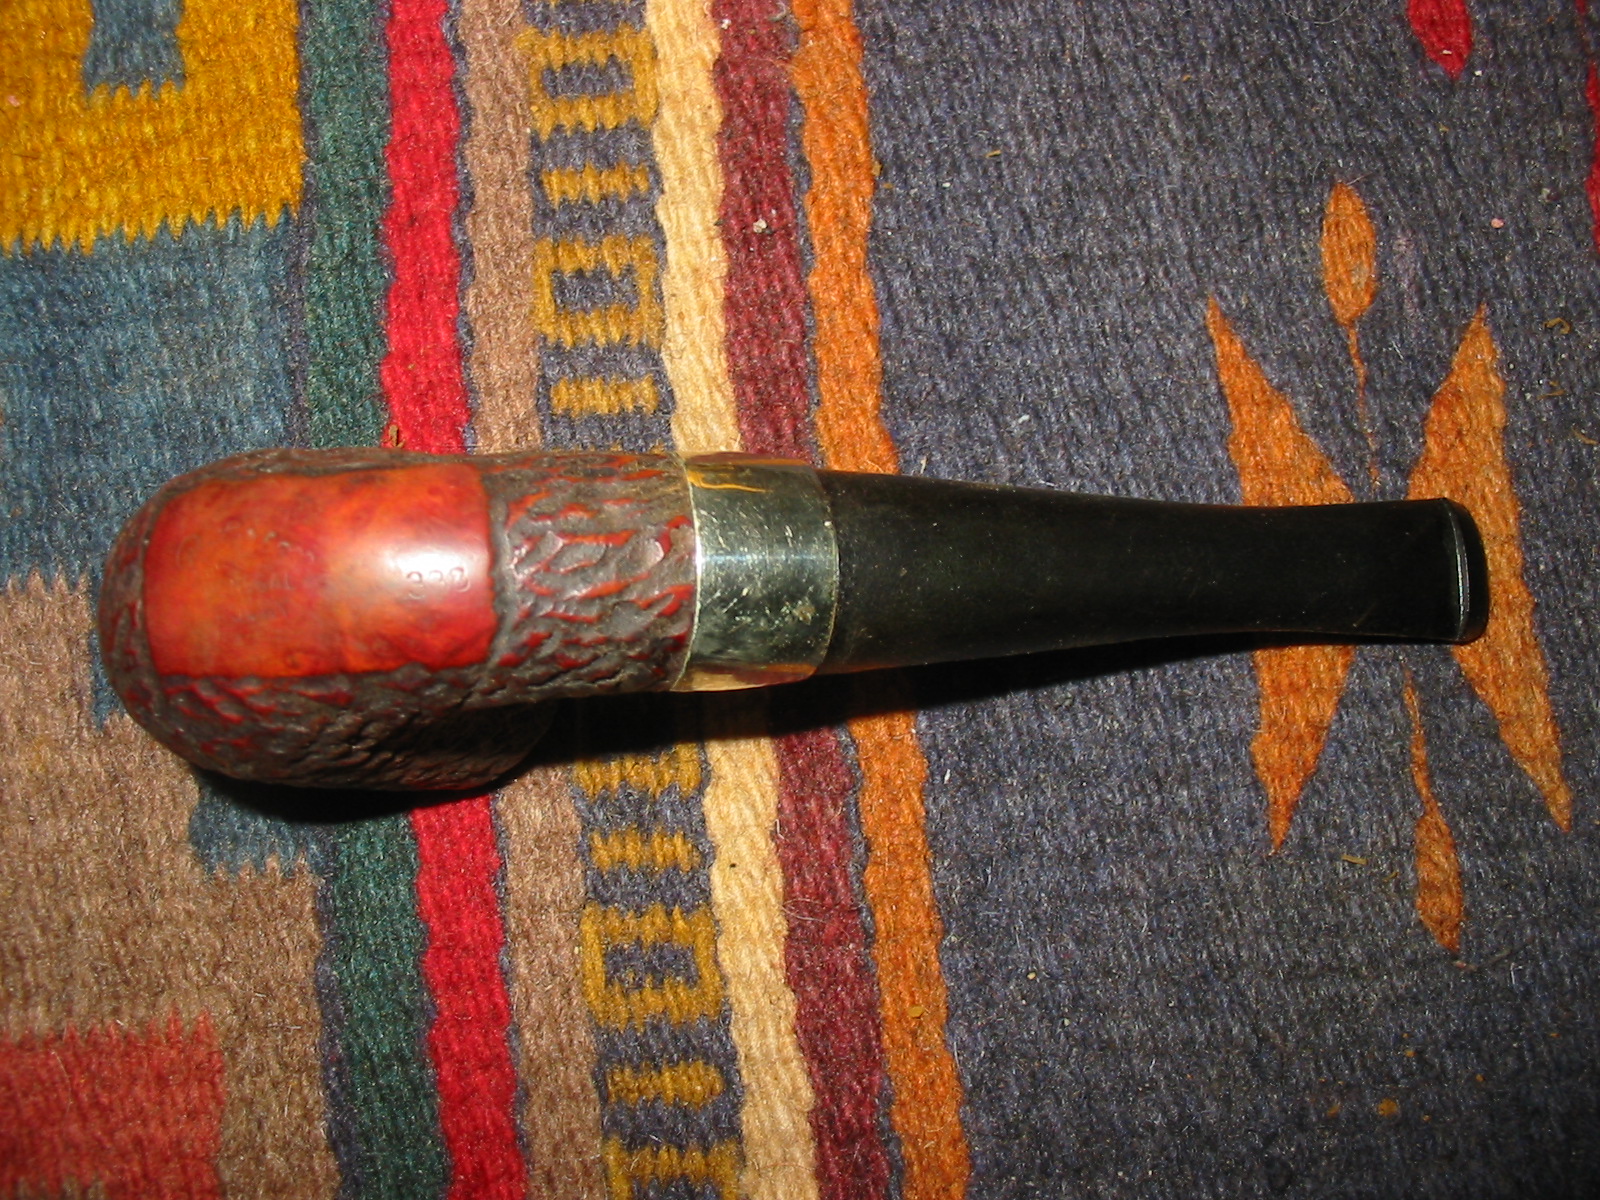
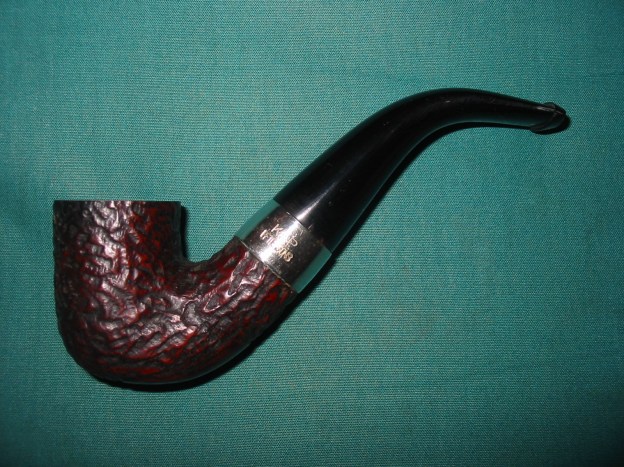
The first of the three Peterson bowls is on the worktable at the moment. The finish was very rough on the pipe. It had built up grime in all of the grooves of the rustication. The inside of the bowl was caked almost to the top of the rim. The shank was one of the foulest things I think I have seen before. It was caked with oily tars from just inside the edge of the mortise to the bottom of the mortise. The rim was badly damaged with the front edge burned down lower than the rest. The rim was ragged looking and uneven all the way around. It looked to be solid though underneath the damage. The stamping on the underside of the shank said Petersons Donegal Rocky with the shape number 338. All the stamping is quite faint but still readable with a lens.
IMG_7098

IMG_7099
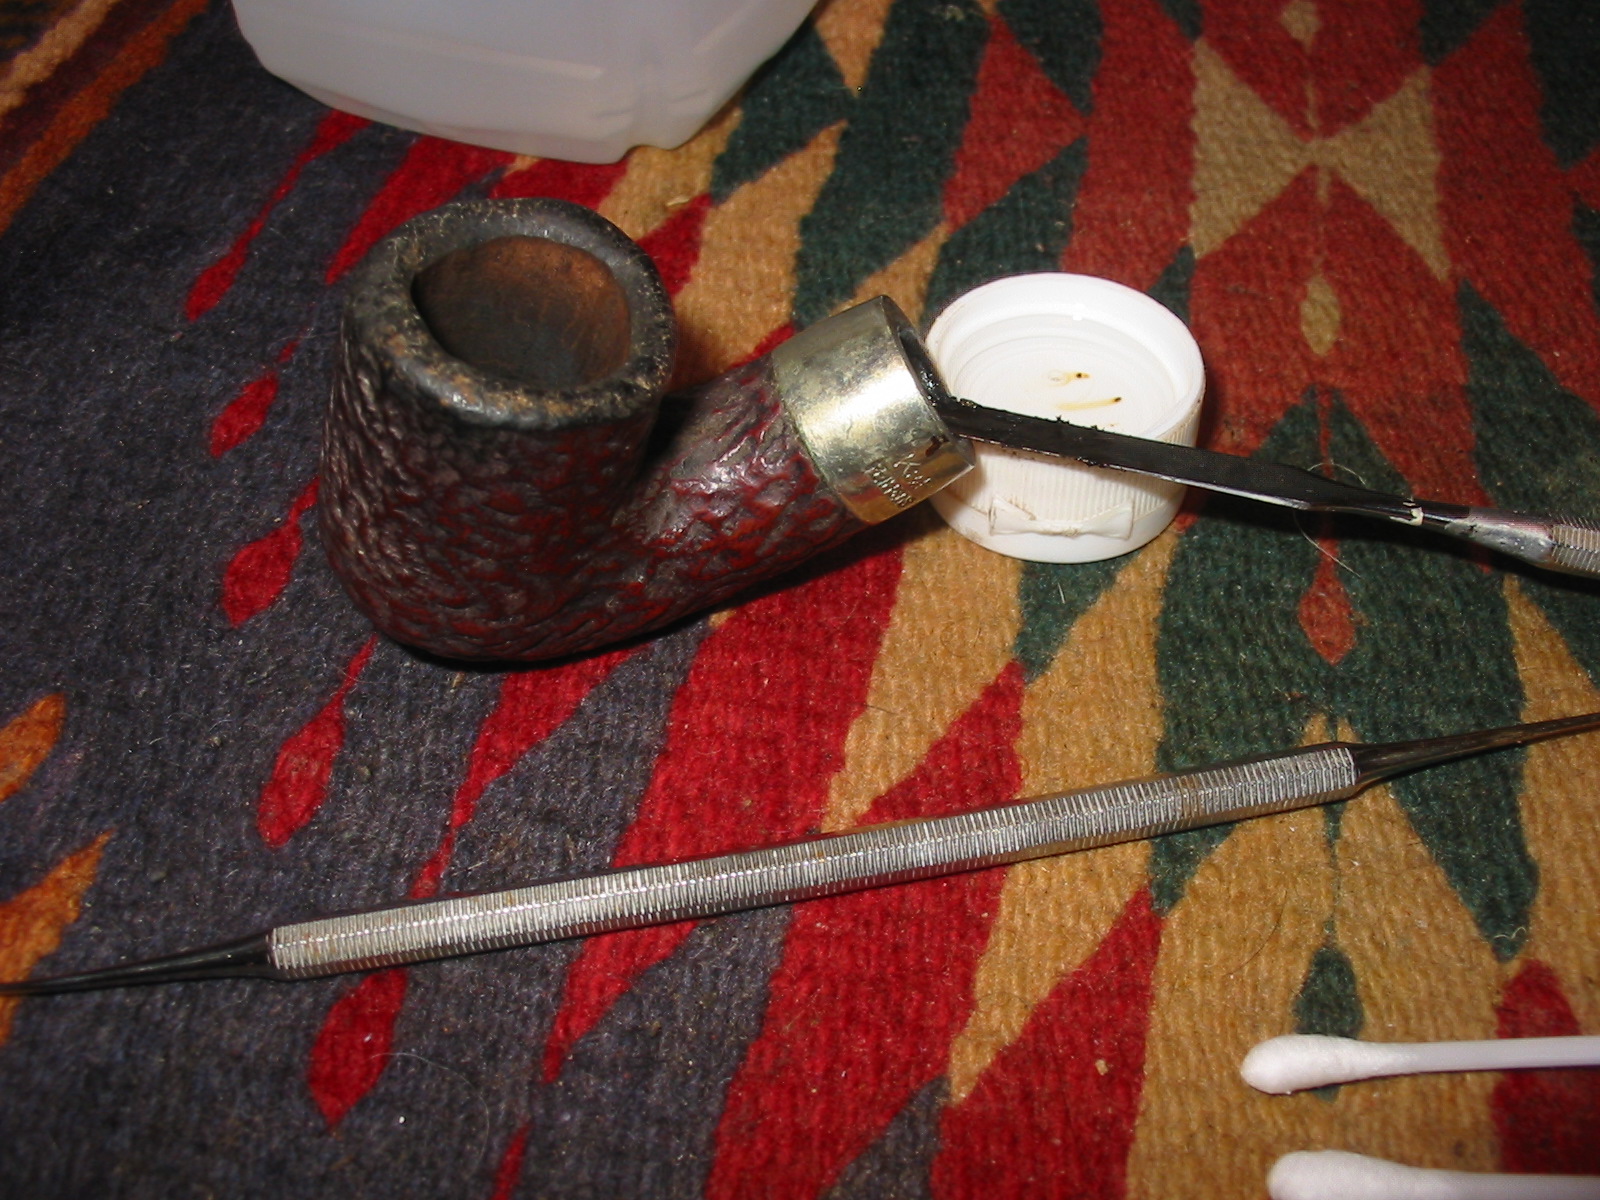
I cleaned and reamed the bowl. It is funny how short and easy that sounds but in this case that was not true. The cake in the bowl was like concrete and had totally closed off the bottom half of the bowl. The remaining top half had a slight slice to the airway but that effort was useless as the shank was completely clogged and no air could go through. I reamed as much of the bowl as I could with a PipNet reamer, not even getting as low as the airway. This stuff was very hard. I cleaned the shank with alcohol and cotton swabs. I tried to push a pipe cleaner through the clogged airway in the shank and was unable to get it to through. I decided to throw the bowl in an alcohol bath to soak for several hours to loosen things up.
IMG_7100

IMG_7111
When I took it out of the bath the alcohol soak had done its work. I was able to ream the rest of the way to the bottom of the bowl and completely remove the cake. I was able to push a wire through the airway and then cleaned out the airway and shank with cotton swabs and some assorted dental tools (thanks Joyal).
IMG_7112

IMG_7108
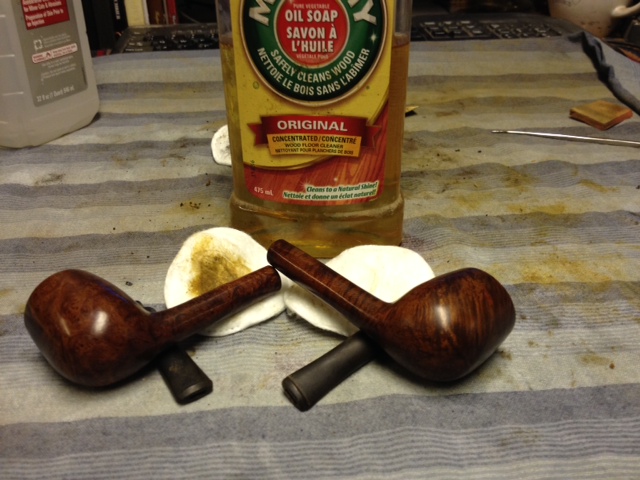
I scrubbed the rusticated finish of the bowl with Murphy’s Oil Soap and a tooth brush. I used a soft brass bristle brush to work on the rim and clean up the loose build up. Once I had scrubbed it I rinsed it with warm water. I dried it off and still had to do some more scrubbing. I cleaned the inside of the bowl and shank with the dental tools and cotton swabs and alcohol.
IMG_7125

IMG_7127
The rim was so badly damaged and uneven with the burned area that I topped it using the topping board and 220 grit sandpaper until it was flat.
IMG_7121

IMG_7123

IMG_7124
I went through my stem can and found a three inch long stem that was approximately the same shape and length as the original stem. I turned the tenon with the PIMO Tenon Turning tool and removed the castings on the sides and the end of the stem. I further shaped it with the Dremel and sanding drum.
IMG_7128

IMG_7129

IMG_7131

IMG_7132

IMG_7133
I wanted the top of the bowl to have the same rustication that it originally had before all the rim damage. It had a pattern that was similar to the rustication on the bowl itself. I looked on line to find photos of the rim of a Donegal Rocky that would be a pattern for me to copy. I put a dental bur that Joyal has given me on a Dremel tool and set the speed to a slow speed and used it to rusticate the rim to match the pattern in the photo of the bowl.
IMG_7134
I wiped the bowl down with a cotton pad and alcohol to clean off the dust from the rustication and then stained the whole bowl with a dark brown aniline stain. In the photos below the rim is obviously much lighter in colour than the rest of the bowl so it took five coats of stain before it matched the bowl. I applied the stain and flamed it with a lighter to set the stain repeatedly until the coverage was correct.
IMG_7135

IMG_7136
The brown was very dark and the original contrast look on the Donegal Rocky was not evident. I wiped the bowl down with acetone on cotton pads to lighten it and bring back some contrast to the rusticated finish. In the photos below the properly darkened rim is visible.
IMG_7137

IMG_7138

IMG_7139
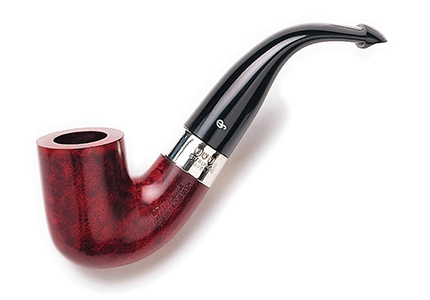
I lightly buffed the bowl and rim with White Diamond and then applied some Halcyon II wax on both and then buffed with a soft flannel buff. I knew that I would have to wax it again once I had finished but I always put a coat of wax on the bowl to protect the finish when I give it a more thorough clean. I sanded the stem with 220 grit sandpaper to smooth out the casting marks and the Dremel marks. Once I had the initial sanding finished I decided to bend the stem. I heated it over a heat gun until it was pliable and bent it over and old rolling pin. I used a photo of 338 I found on the net as a template for the bend in the stem. I made the photo life sized and laid the pipe against the computer screen to match the bend. Once I had the bend correct the rest of the stem work could begin.
IMG_7140

IMG_7141

IMG_7142

IMG_7143

0003284_sterling-silver-338_430

IMG_7144

IMG_7145

IMG_7146

IMG_7147
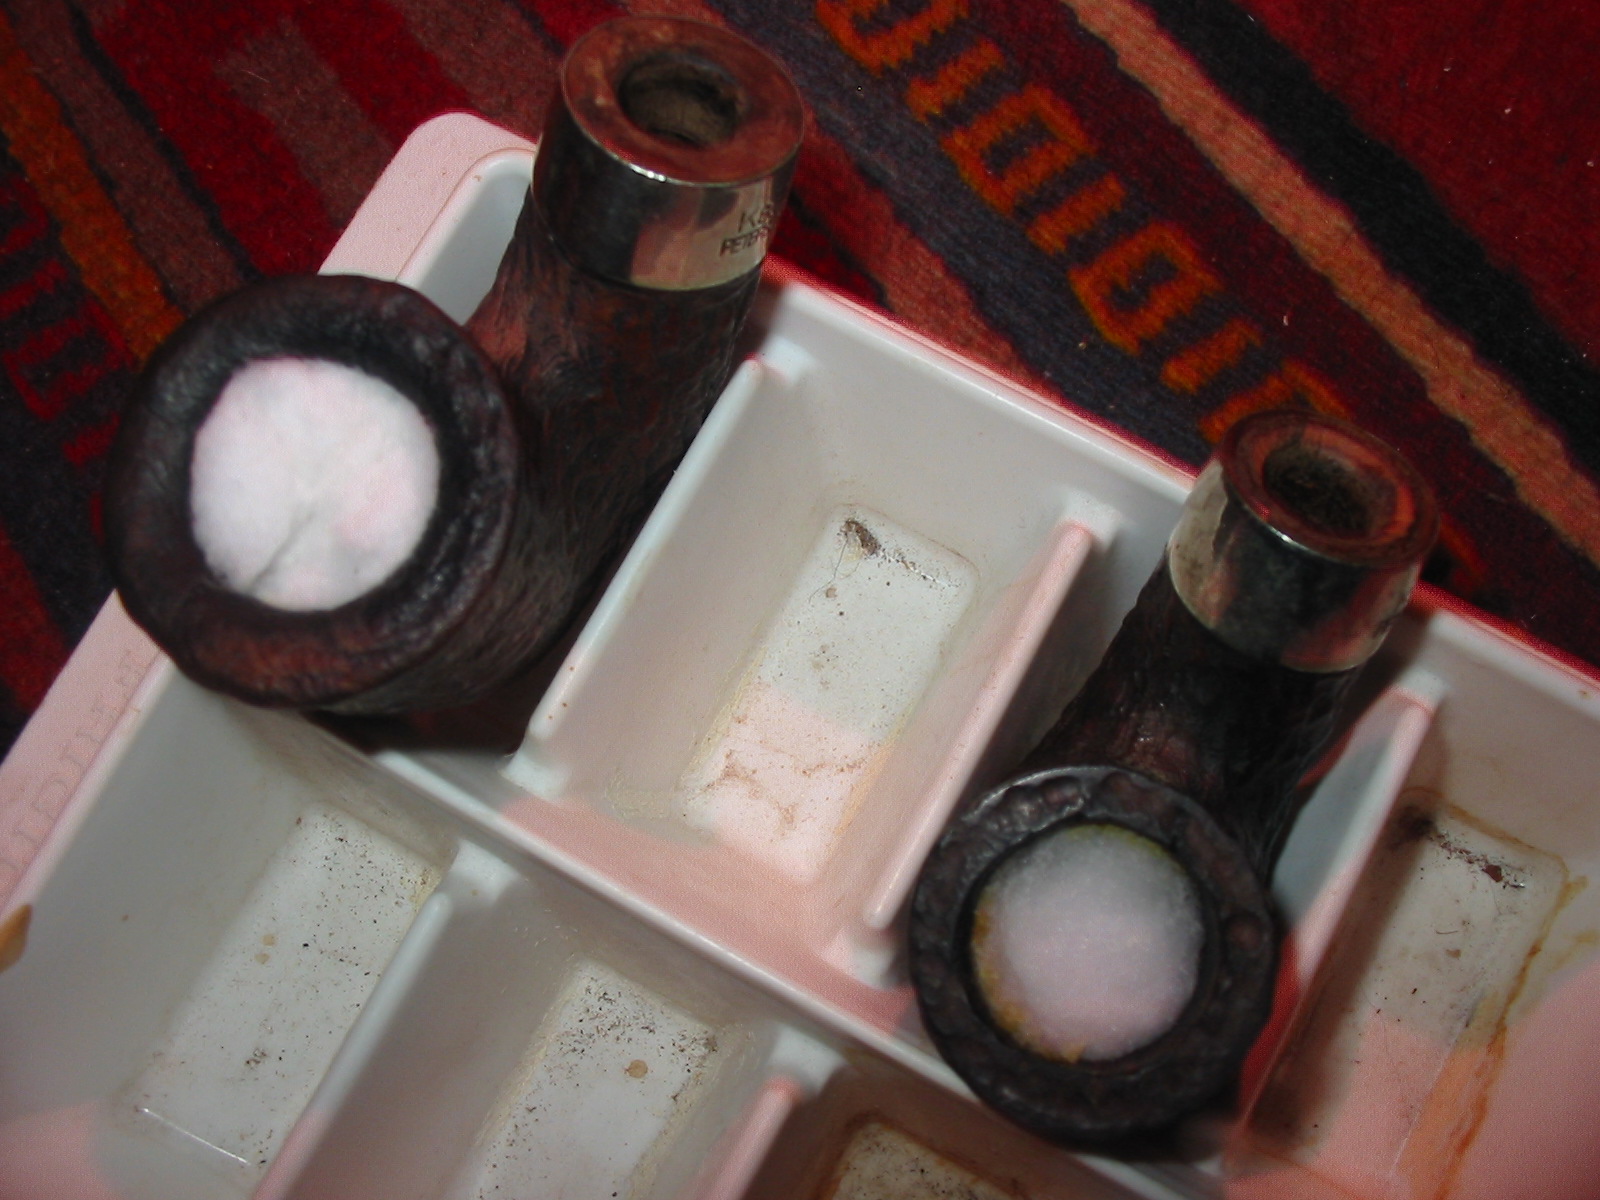
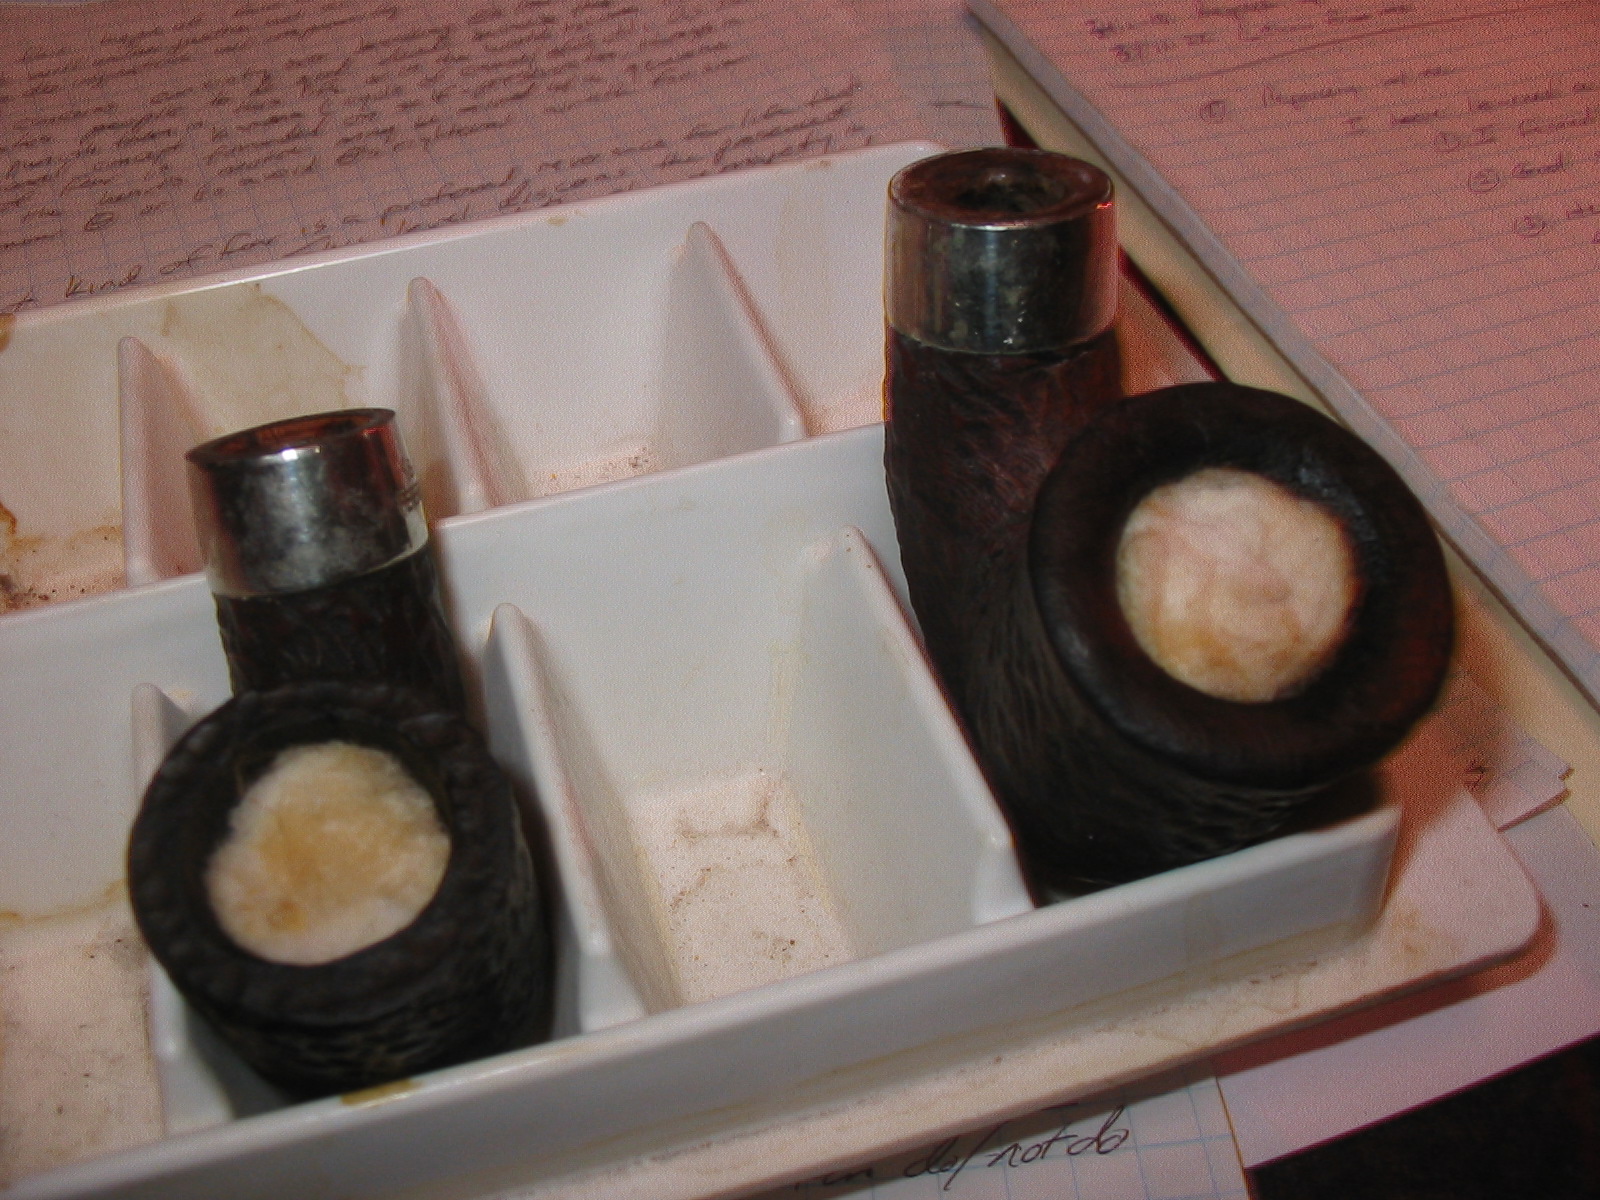
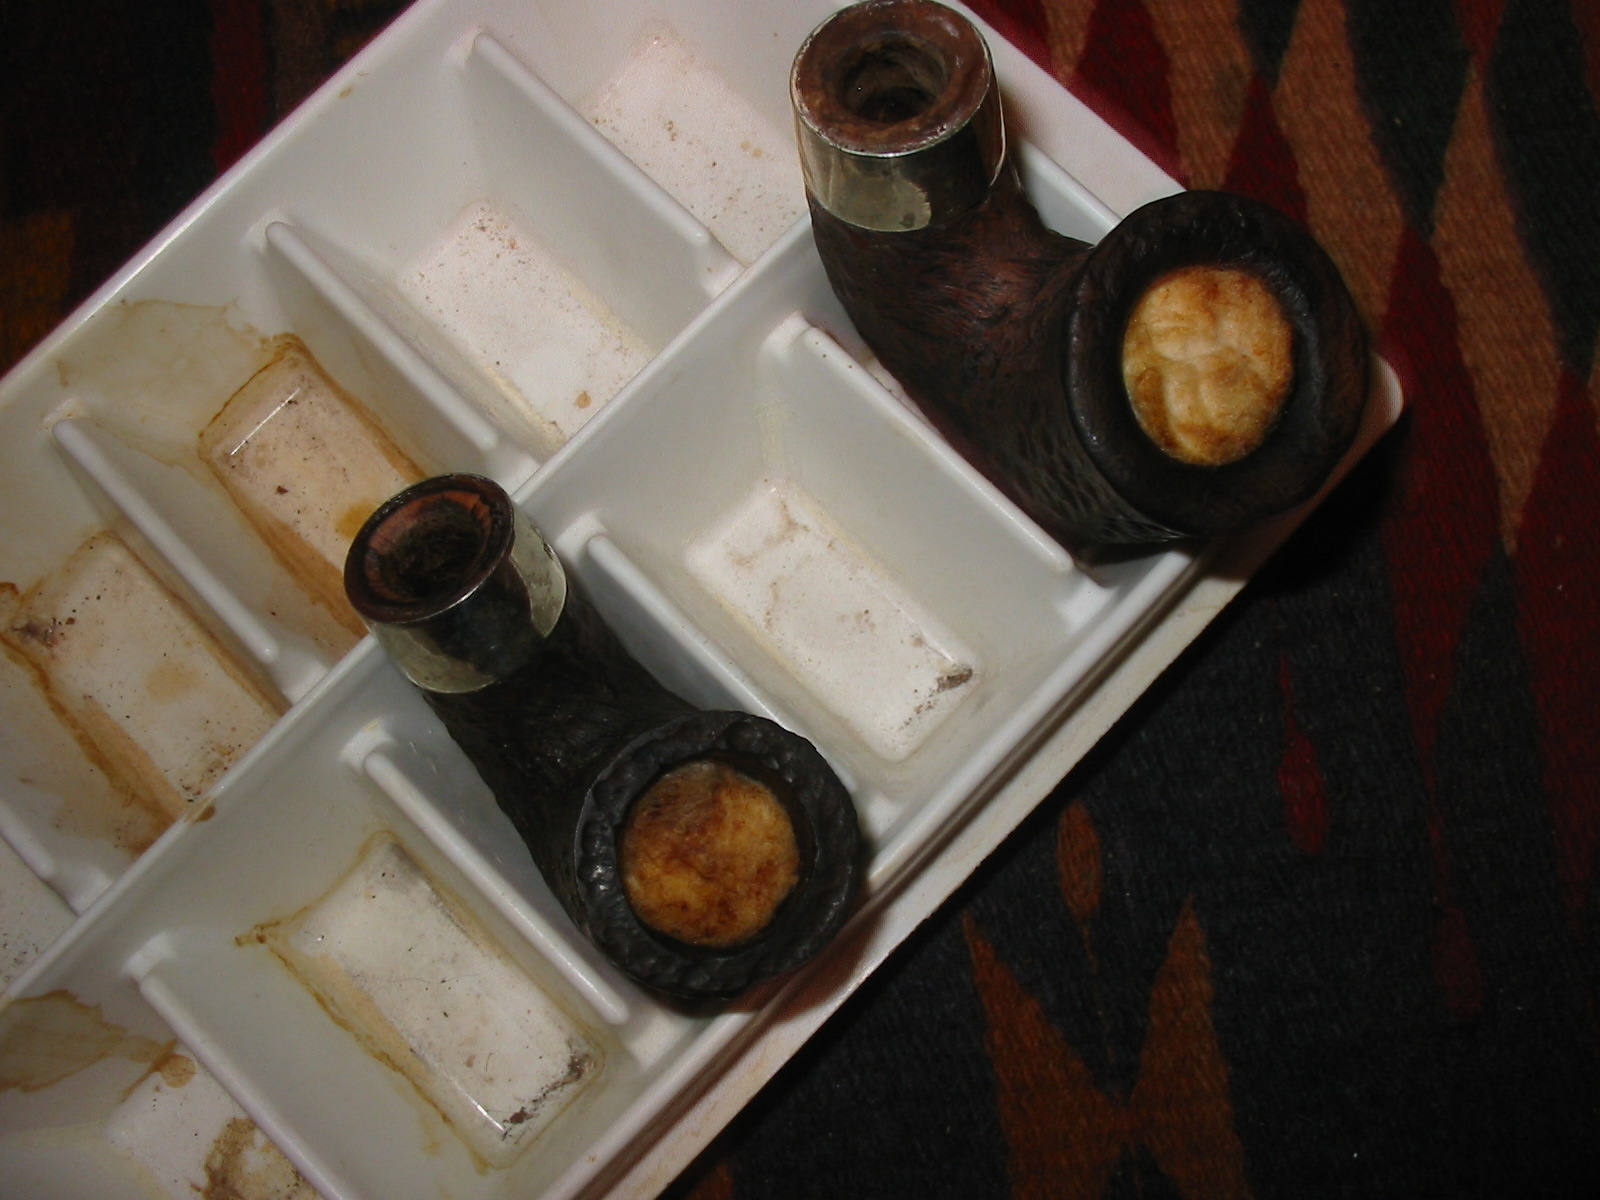
I removed the stem from the bowl, stuffed cotton bolls in the bowl of the pipe and used an ear syringe to fill the bowl with isopropyl alcohol. I set the bowl in an old ice cube tray that keeps the bowl upright. I set the tray aside to let the alcohol sweeten the pipe and draw out the oils in the bowl and shank.
IMG_7149
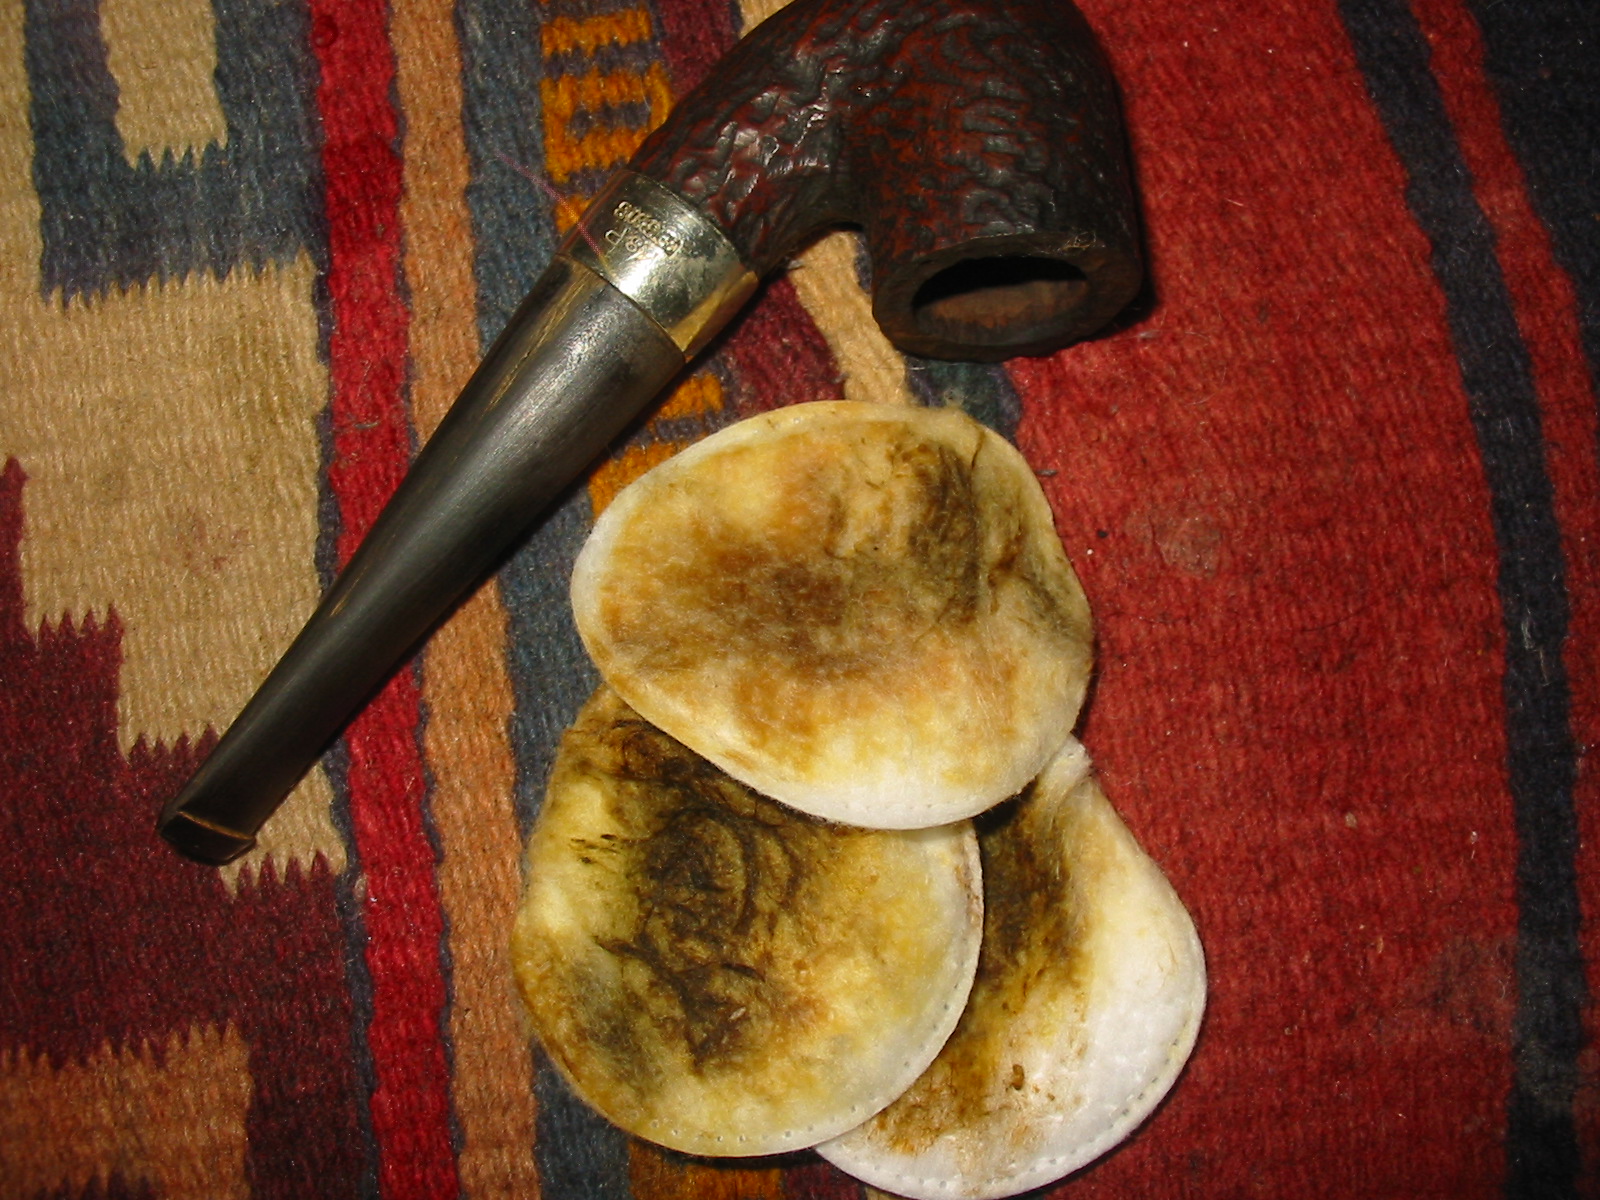
Four hours later the alcohol had begun to pull out the tars and oils into the cotton.
IMG_7152
Twelve hours from the starting time, the cotton was a dark brown and most of the alcohol had evaporated. I pulled the cotton out of the bowls and wiped them dry with a cotton swab soaked in clean alcohol and they came out clean other than a little bit of the detritus that had collected in the bottom of the bowl. I swabbed out the shank and airway as well with pipe cleaners and cotton swabs dipped in alcohol and the shank was clean. The pipe smelled sweet and ready to smoke.
IMG_7153
I turned my attention to the stem and sanded it with a medium and a fine grit sanding sponge. It removed the majority of scratches from the surface of the stem left behind by the 220 grit sandpaper (I believe these sponges are equivalent to 400 and 600 grit wet dry sandpaper).
IMG_7154

IMG_7155
The rustication that I did on the top of the bowl rim is very clear in the next photo.
IMG_7156

IMG_7157
I sanded the stem with micromesh sanding pads – wet sanding with 1500-2400 grit pads and dry sanding with 3200-12,000 grit pads. Between each set of three grits I wiped the stem down with Obsidian Oil and let it soak into the vulcanite.
IMG_7160

IMG_7161

IMG_7162
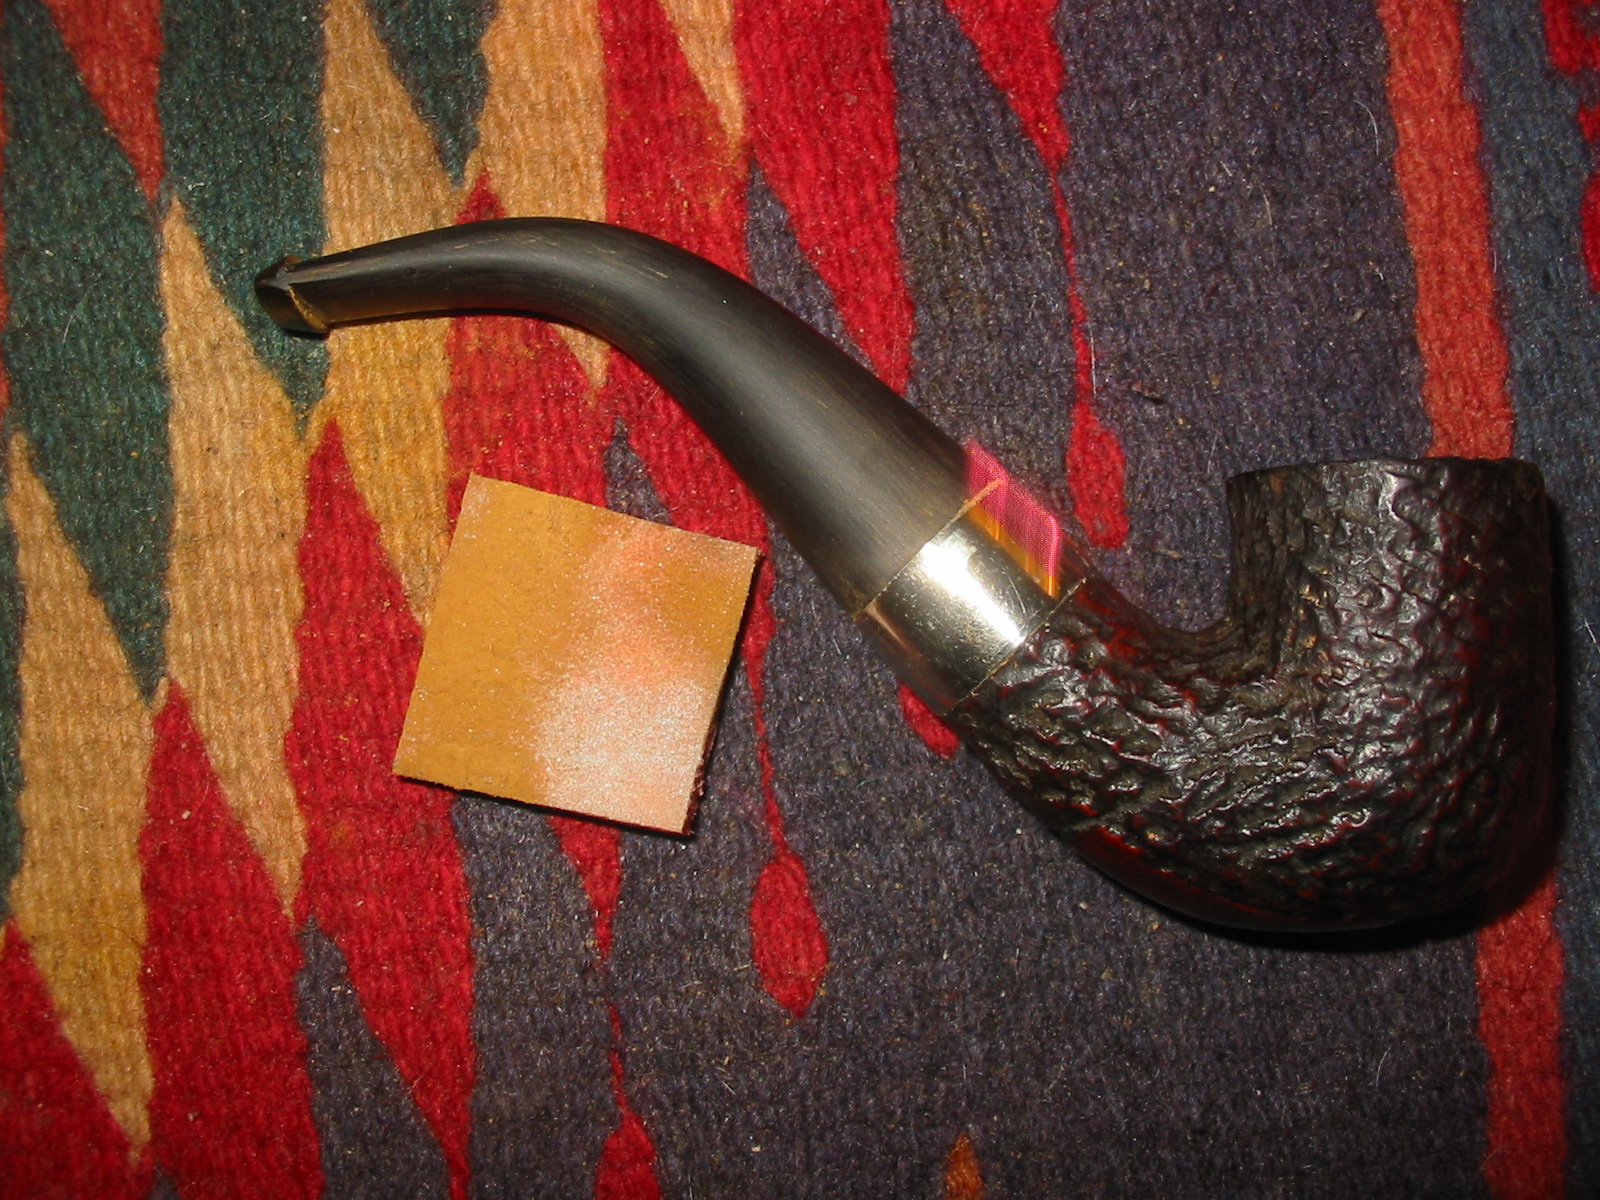
When I had finished sanding with the 12,000 grit pad I rubbed it down with a final coat of Obsidian Oil and when it had dried buffed the stem with White Diamond and a Blue Plastic buffing compound. I then gave the stem multiple coats of carnauba wax, buffing with a soft flannel buff between coats. I waxed the bowl with Halcyon II wax and hand buffed it with a soft bristle shoe brush and a cotton buffing cloth. I used the 6000, 8000 and 12,000 grit micromesh pads to polish the nickel band and then gave it a buff with a silver polishing cloth. This old Peterson 338, that must have been an incredible smoke to have been smoked as hard as it was, is now ready to enter the next era of its life and provide the same kind of service to me. I look forward to smoking it later in the week once I am sure the alcohol in the bowl and shank has all evaporated. I have to tell you, I am looking forward to having a bowl in this old timer.
IMG_7163

IMG_7164

IMG_7165

IMG_7167

IMG_7166

Reviving an Unknown Pipe – Bill Tonge


It is a pleasure to post this second blog piece by Bill Tonge. In this particular refurb what makes it of interest to me is that it was a pipe that I sent him. I figured it might be a good project for him to play around with. It had solid bones and a new stem that I had fit to the shank. There were definitely some issues with the pipe but I figured Bill would come up with something creative. And he certainly did. This reworking of a pipe epitomizes what I quoted Bill as saying in his first post. I am quoting it again here as it is very apropos to his old pipe: “As a person that is economically challenged, I enjoy fixing up the ugly ducklings. I take pride in taking that $5.00 pipe that no one else wants and converting it to something that fits beautifully in a pipe collection.” Here is Bill’s article on reviving or reimagining an old pipe. I think that he has indeed taken an ugly duckling and created something to be proud of. Thanks so much Bill, for sharing your work with us yet again.

I received this pipe in the mail from Steve. He thought it was an interesting project. He had turned a new stem as well as cleaned the bowl and shank.

This pipe had quite a rough texture on the outside, some very deep crevices, as well as what turned out to be a crack about a quarter of the way down the bowl.
20140630_134359

20140630_134405

20140630_134345

20140630_134412

20140630_134425
So I decided to sand this pipe down as smooth as it would go and then fill the crevices. After sanding it I filled the crevices with a Gorilla Glue & wood dust mixture. After it set up I sanded down the creviced area and applied the rustication. I then proceeded to sand the whole pipe down in stages starting at 100 grit and finishing with 1000 grit. Then I put the micro mesh pads to it and finished up with a wax and buff again only using a Dremel to apply the wax.
DSCF0614

DSCF0616

DSCF0619

DSCF0617

bill6
I have to say that I like the way this pipe turned out and that the other small blemishes add character to this pipe. I also like the grain on the bottom of the pipe. For anyone that is interested I do not own any dyes but rather use either a Sharpie marker or food colouring to colour my rusticated areas.

Thanks to Steve for the interesting pipe.

Reworking a Medico Apple – A Save this Pipe Project of My Own!


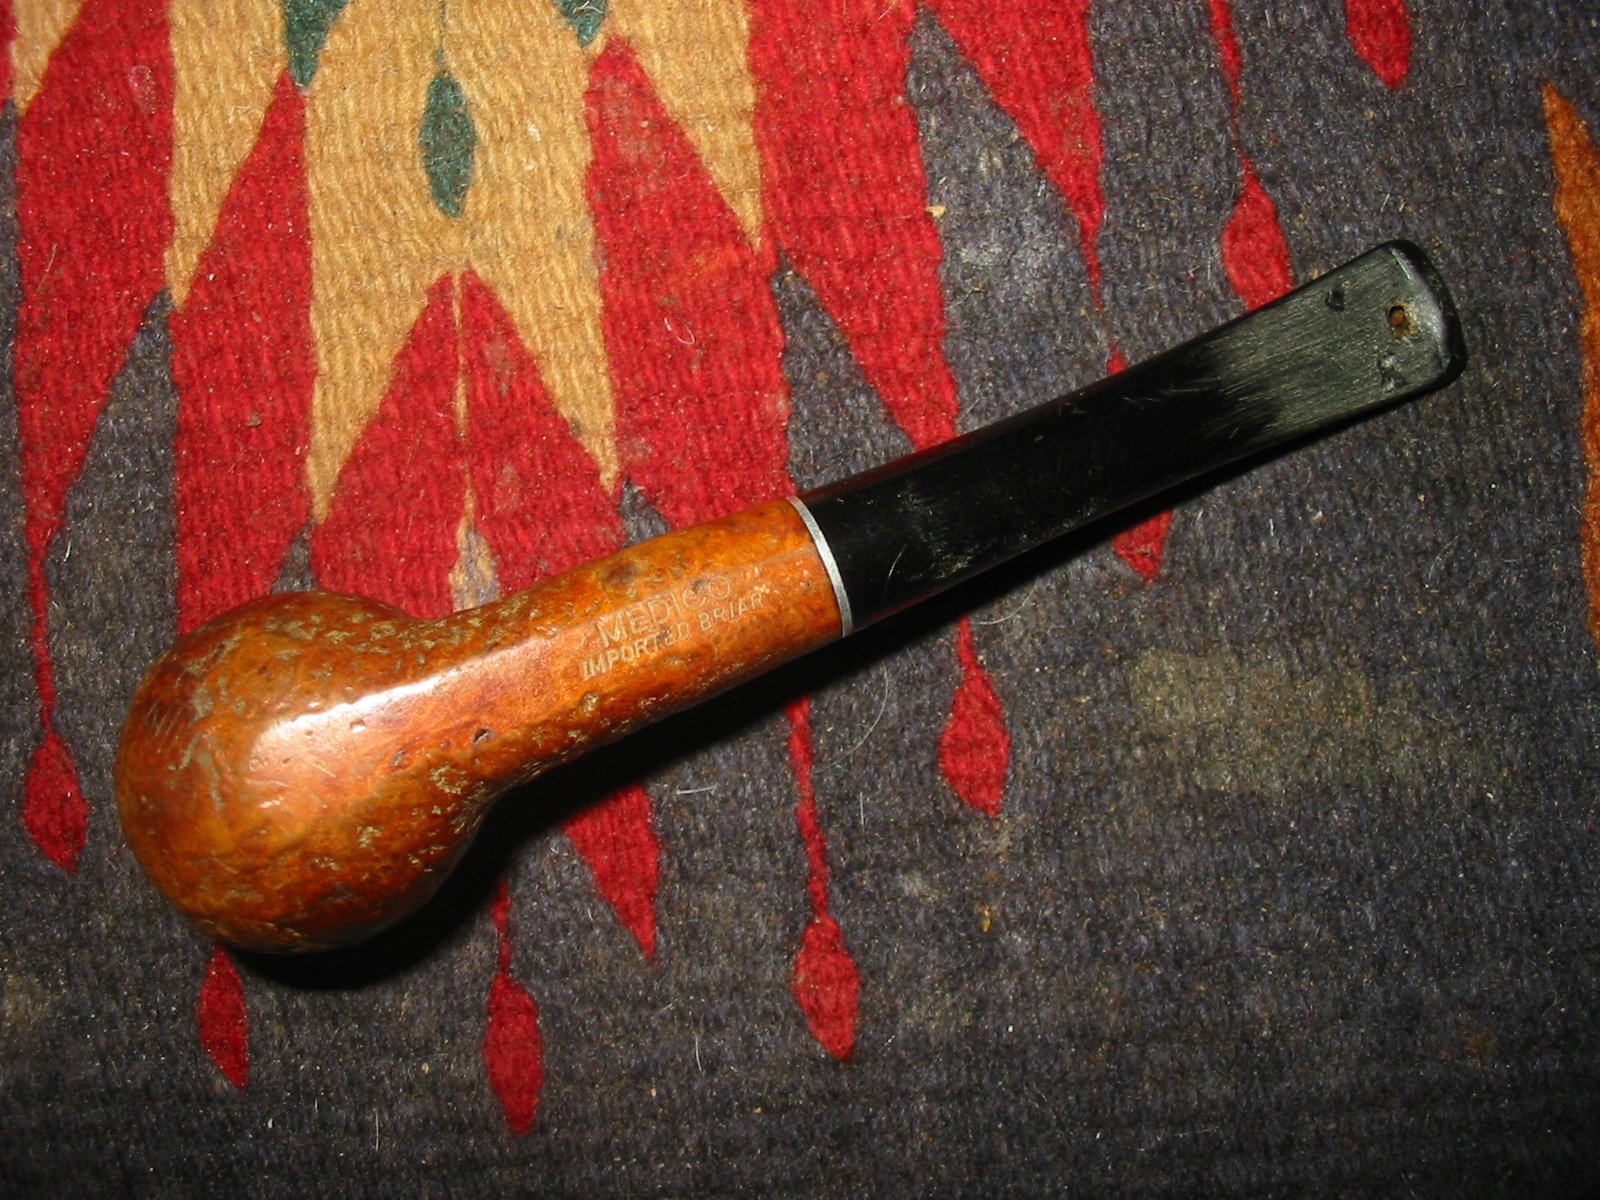
The last pipe in my box of pipes to refurbish was a Medico Apple that was stamped Medico over Imported Briar on the underside of the shank. It was a well-worn sandblast bowl that had dark stain marks on the front and back of the bowl. It appeared to be a dark blue India ink type of staining. The grooves in the blast were worn down almost smooth and what was left was dirty with light brown grime that raised the surface of the grooves smooth. The top of the bowl was damaged and worn from being struck against a surface to empty the bowl. The inside of the bowl was badly caked and crumbling when I received and I cleaned and dumped out the carbon and shreds of tobacco before throwing it in the box. The stem had been bitten through on both the top and the bottom sides next to the button. The nylon stem was in rough shape with many deep tooth dents around the holes. At one point I had taken the stem out thinking I would work on it and sanded down the tooth chatter and some of the lighter marks. I had heated the stem to raise them and gotten quite a few of them out-of-the-way. The holes in the stem left me questioning whether I even wanted to work on this poor worn pipe.
IMG_6980

IMG_6981

IMG_6982

IMG_6983
After reading Greg’s post about saving a pipe – the Medico VFQ I was moved to go and have a look at the last pipe in the box. I have four days off starting today and it is a rainy cool day in Vancouver. It is a perfect day for working on pipes so I took the pipe to the worktable. I knew all of the flaws that awaited me but the bones of the pipe, the briar was still sound. The damage truly was cosmetic. The stem was another question. But I figured it was worth the effort. I cleaned the surface of the nylon stem and wiped it down with alcohol. I folded a piece of cardboard and coated it with Vaseline before sticking it in the airway to provide a backing for the black super glue patches that I was going to use for the holes.
IMG_6984

IMG_6985
The super glue had become quite viscous which actually worked for me. It was not the thin liquid it had been when I purchase it several years ago. I shook it well and then applied it to the holes on the stem. I always do the patching in layers. I start quite wide around the edges of the hole and work toward the centre to close off the hole. I decided to work on both sides of the repair at the same time so I put the glue in both holes. I set the stem aside for the repair to cure before adding more layers of glue.
IMG_6986

IMG_6987
I scrubbed the bowl with Murphy’s Oil Soap to remove the grime. I used a tooth brush to get into the remaining grooves in the briar. I used the soap undiluted as I find it is less liquid and works better on rounded surfaces as a gel. I wiped off the soap with cotton pads, rinsed the bowl with warm water and dried it off. The next four photos show the bowl after this cleaning. The sandblast was basically worn away and I needed to make a decision on what to do with the finish on this bowl.
IMG_6988

IMG_6989

IMG_6990

IMG_6991
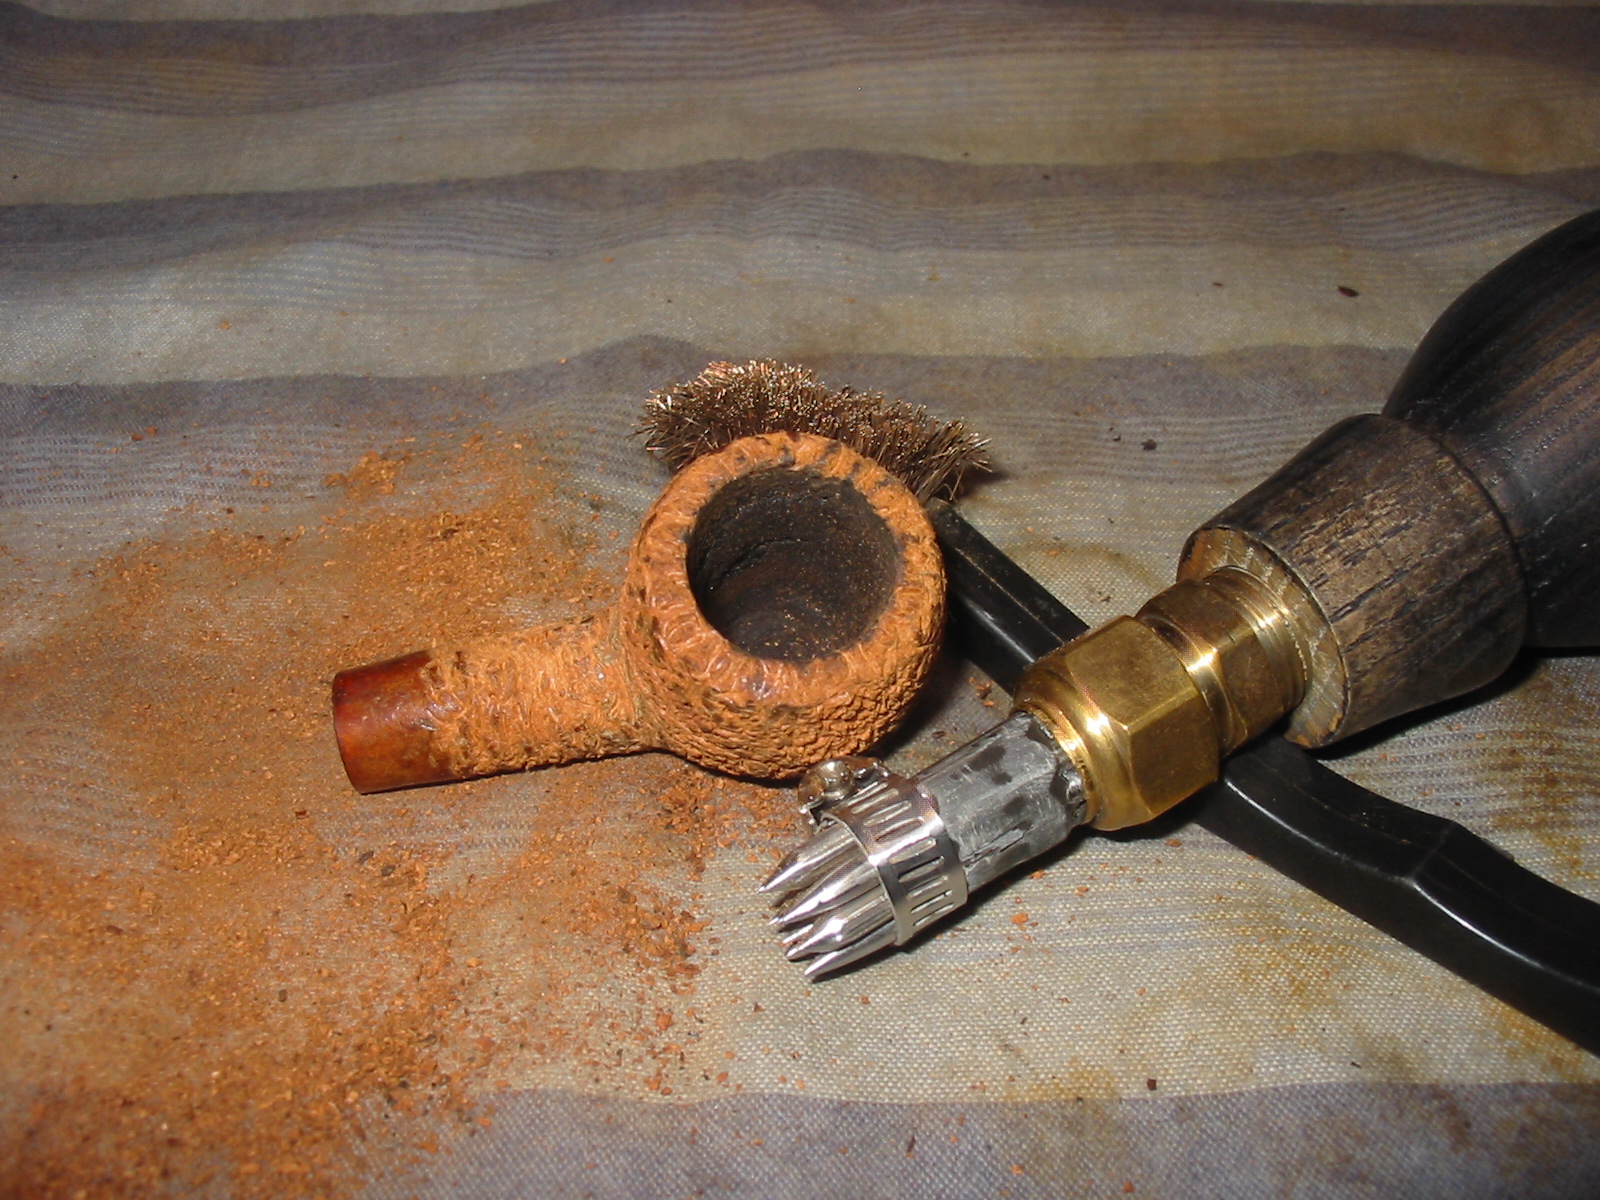
The worn finish and the ink stains on the front and back of the bowl made the decision pretty easy for me. To clean and restain the pipe would still leave it worn and the ink stains visible. I decided I would rusticate the bowl with the rusticator I had received from Chris. I wanted the finish to look slightly different from the previous pipe that I rusticated so I had some ideas on what to do once I had rusticated the finish.
IMG_6992

IMG_6993

IMG_6994

IMG_6995

IMG_6996

IMG_6997
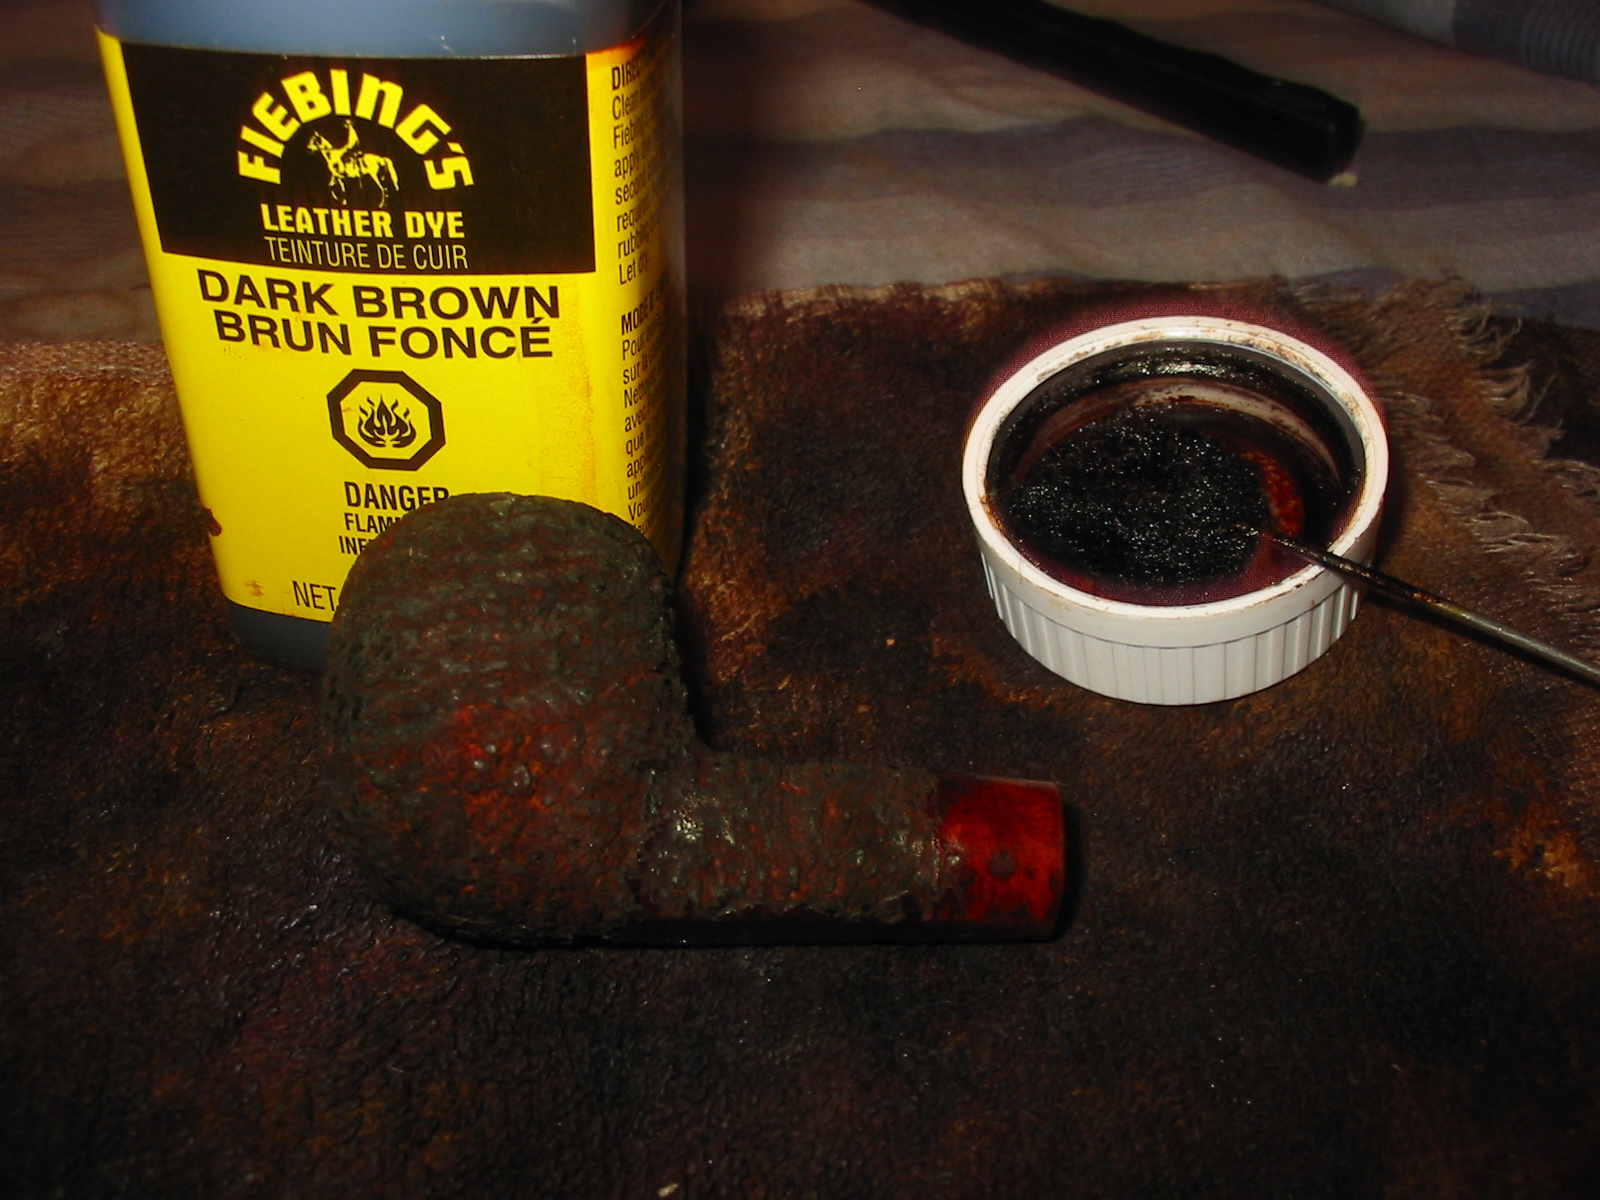
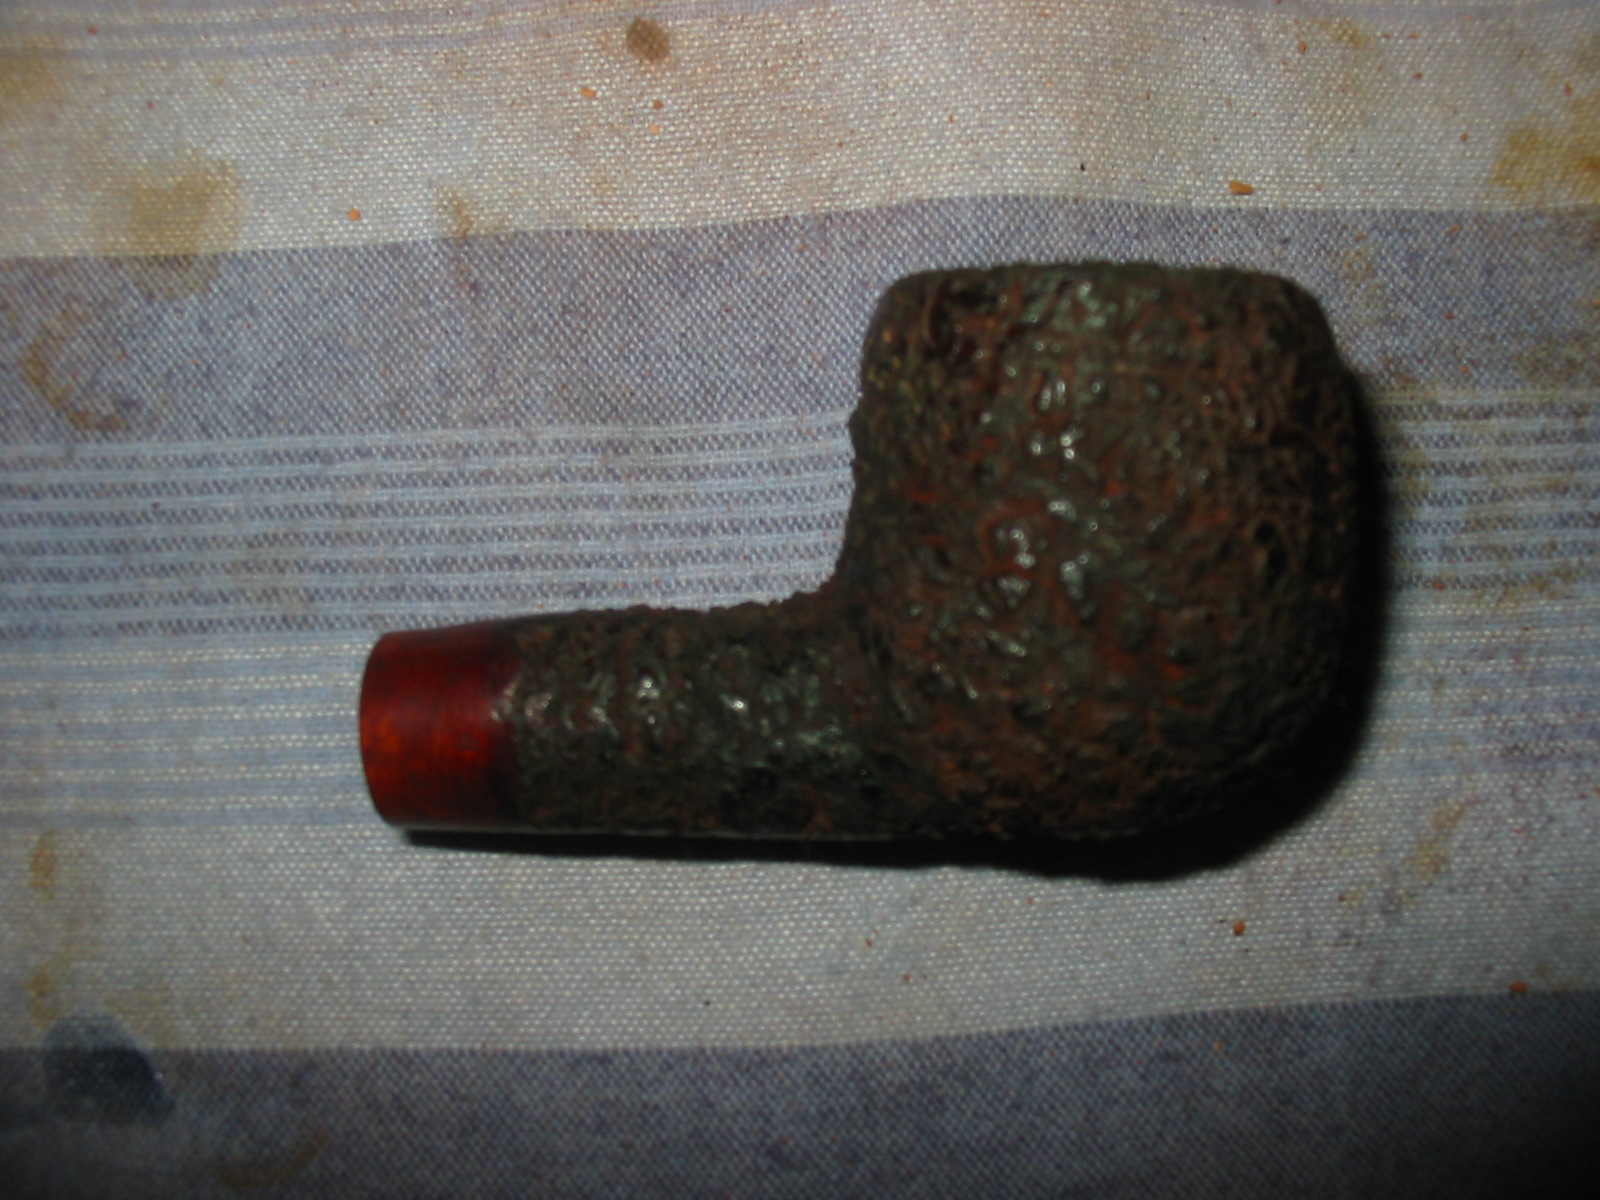
Once the bowl was rusticated I scrubbed the rough surface with a brass tire brush to knock of the edges. I carefully rusticated the rim and used the tool to round the edges on the outer rim to hide some of the obvious damage that had been present before. Once finished I stained it with a dark brown aniline stain. I had left the underside of the shank smooth and a portion of the shank next to the stem shank junction. I stained the bowl, flamed it, stained it and flamed it again until the coverage of the stain was even all over the briar.
IMG_6998

IMG_6999

IMG_7000

IMG_7001
I buffed the bowl with red Tripoli to further smooth out the high spots on the rustication and give a little contrast to the stain. I used the brass brush a second time on the surface. It still was not quite what I was aiming for but I laid it aside for a while to look at it and think about the options. It was while I was doing that I thought I would see if I had a new stem that would work. It gave me a second option to try should the repair or patches not work well.
IMG_7002

IMG_7003

IMG_7004
I did not have a round taper or saddle stem in my can of stems that was the right diameter for the shank but I did have quite a few square stems that could be modified to fit the shank diameter. I found one that had the tenon already turned for a previous pipe I was working on and put it on the pipe to have a look. I could see some potential in the stem and the look of the wide blade saddle stem. It would certainly be worth a try. If it turned out well and the patch on the other stem worked then I would have several options to work with. The tenon on the square stem was too long but that could easily be adjusted for a tight fit against the shank. I did the adjustment with a Dremel and sanding drum.
IMG_7006

IMG_7007
With the stem in place against the shank I could see the very evident taper of the shank on the topside and the underside. It was significantly narrower than the rest of the shank. I wondered if the smooth briar at the shank/stem junction was not from a previous refitting of a stem. I looked over the stem I was patching and saw that it actually bore the F stamping on the top rather than the M stamp that I had expected. I had not paid attention to that before but combined with the shape of the shank I was relatively certain that the stem was a replacement and the damage to the shank was caused by a sanding the shank to more readily match the smaller diameter of the replacement stem. That made the stem choice easy – I would refit a new stem to the shank. I would use a nickel band to level the shank out and make the taper of the shank more even. This would also make fitting the new stem quite easy. I set up a heat gun, heated the nickel band and pressed it into place on the shank. The silver actually looked good against the rustication of the bowl.
IMG_7008

IMG_7009

IMG_7010

IMG_7011

IMG_7012
I used the Dremel and large sanding drum to take off the square edges of the new stem. I worked on it until it was round. I started by taking off all the corners and creating an octagon first and then continuing to round out the stem until it was the same shape as the shank. The bottom of the shank on the pipe was flattened so the pipe would sit upright on its own so I left the bottom side of the stem slightly flattened as well. I sanded the stem with 220 grit sandpaper and medium and fine grit sanding sponges to get the fit against the bowl and band perfect. I also sanded the rustication on the bowl to soften the high spots and flatten them out. I wiped the bowl down with alcohol after I had sanded. The next series of four photos show the sanded bowl and stem. The rustication is getting closer to the look that I was after when I started.
IMG_7013

IMG_7014

IMG_7015

IMG_7016
I continued to sand the stem with the fine grit sanding sponge and also the bowl. I once more wiped the bowl down with a soft cloth and alcohol to remove the dust. Each step in the process is flattening out the rustication slightly more and bringing a shine to the newly rounded stem.
IMG_7017

IMG_7018

IMG_7019

IMG_7020
I sanded the stem with micromesh sanding pads – wet sanding with 1500-2400 grit pads and dry sanding with 3200-12,000 grit pads.
IMG_7021

IMG_7022

IMG_7023
I rubbed the stem down with Obsidian Oil and when it had dried I buffed the bowl and the stem with White Diamond. I sanded the bowl with 1500-2400 grit micromesh sanding pads to further flatten he high points of the rustication and then buffed the bowl a final time with White Diamond. I gave the stem multiple coats of carnauba wax. I buffed with a soft flannel buff between the coats of wax. I wiped the bowl down lightly with a coat of olive oil. The finished pipe is shown below. It has come a long way from the worn and tired looking old Medico with the bite throughs in the stem. The rustication came out the way I wanted it to with the high spots showing a lighter brown and the valleys in the rustication holding the dark brown stain. It is finished and ready for an inaugural smoke – if not by me at least by someone who will take it home to their rack.

Oh, and for those who wondered about the “original” stem that I was patching earlier in this post, I am continuing to work on the repairs. Both sides have had two layers of super glue and the holes are sealed. There are still more layers to go as the glue shrinks as it cures. It will be used on some other pipe in the future I am sure but for now once the patch is finished it will go back to the stem can to be used on another pipe.
IMG_7024

IMG_7025

IMG_7026

IMG_7027

Refurbishing a Bewlay Briarcut Canadian – Bill Tonge


It is a pleasure to post this blog piece by Bill Tonge. He is the friend who sent me the Hardcastle’s Dental Briar I posted about earlier. I met Bill on Pipe Smokers Unlimited and have appreciated the photos and write ups of pipes he has refurbished or rusticated. I also follow him on Twitter so I saw this pipe in a Tweet he did earlier today. I really like Bewlay pipes and love the fact that they are made by such pipe companies as Orlik and Barling as well as others. This particular pipe caught my eye when I saw it in its raw state and in Bill’s finished photos. Bill does excellent work on the pipes he refurbishes and I always learn something from his efforts. I think you will appreciate the minimal tools he uses to get the results he does. I asked Bill about why he enjoys refurbishing and he responded with the following. I think it summarizes why many of us begin the process of refurbishing. Here are Bill’s own words: “As a person that is economically challenged, I enjoy fixing up the ugly ducklings. I take pride in taking that $5.00 pipe that no one else wants and converting it to something that fits beautifully in a pipe collection.” Without further introduction here is Bill’s first article on the blog. Thanks so much Bill, for sharing your work with us.

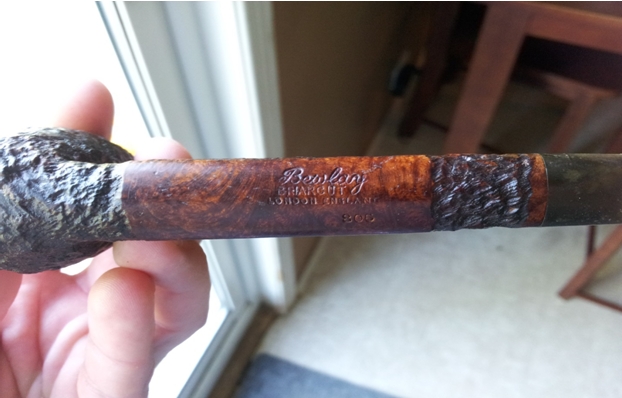
I recently received a care package from some very good friends. Inside was a ton of tobacco and three pipes: a Bewlay and 2 Trypis. As you will see from the first set of pics the Bewlay was a project pipe.
Bill1

Bill2

Bill3

Bill4
I only use a Dremel, wire brush attachment, fibre brush attachment, sanding attachment, some wool balls, micro mesh, magic eraser and carnauba wax. I do enjoy the time I spend bringing pipes back to life. I have only been doing this since January but I want to show you don’t need oodles of tools to clean up a pipe.
Bill5
I used the wire brush attachment in the Dremel to highlight the high spots on the pipe and the sanding attachment to clean the inside of the bowl. I then sand the smooth spots on the pipe with the micromesh. Then I take the wool ball, load it up with carnauba wax not worrying about leaving a caked on looking wax build-up, and apply it to the whole pipe. I then take the fibre brush attachment in the Dremel and use it to remove the excess wax, as it leaves an extremely nice buff and shine. I use a rag to finish off the smooth spots and give it a final wipe.

I use the Oxi Clean and Magic Eraser to clean the stem and then go at it with the micro mesh pads. If stems are worse I will use 400-1000 grit wet paper before the pads. Then I apply a coat of wax to the stem with the wool ball and buff with a rag.

This is the finished pipe. I like my pipes on the lighter coloured side so I am very happy with the way it turned out.
Bill6

Bill7

Bill8

Bill9
Thank you to Steve for allowing me to post on his blog. I enjoy reading it and seeing the history of all the pipes you work on. My next project is a pipe that was gifted to me by Steve.

A Unique Piece of Pipe History Almost Lost – A Hardcastle’s Dental Briar Reg. Design No. 857327


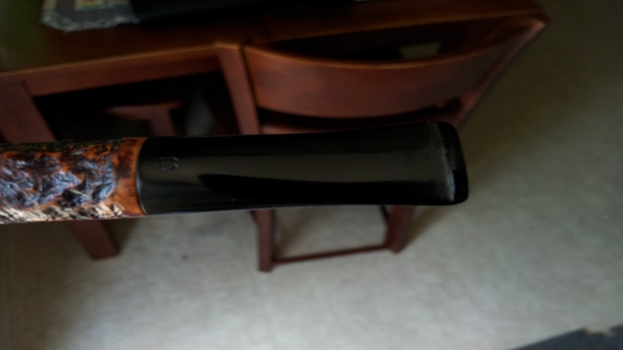
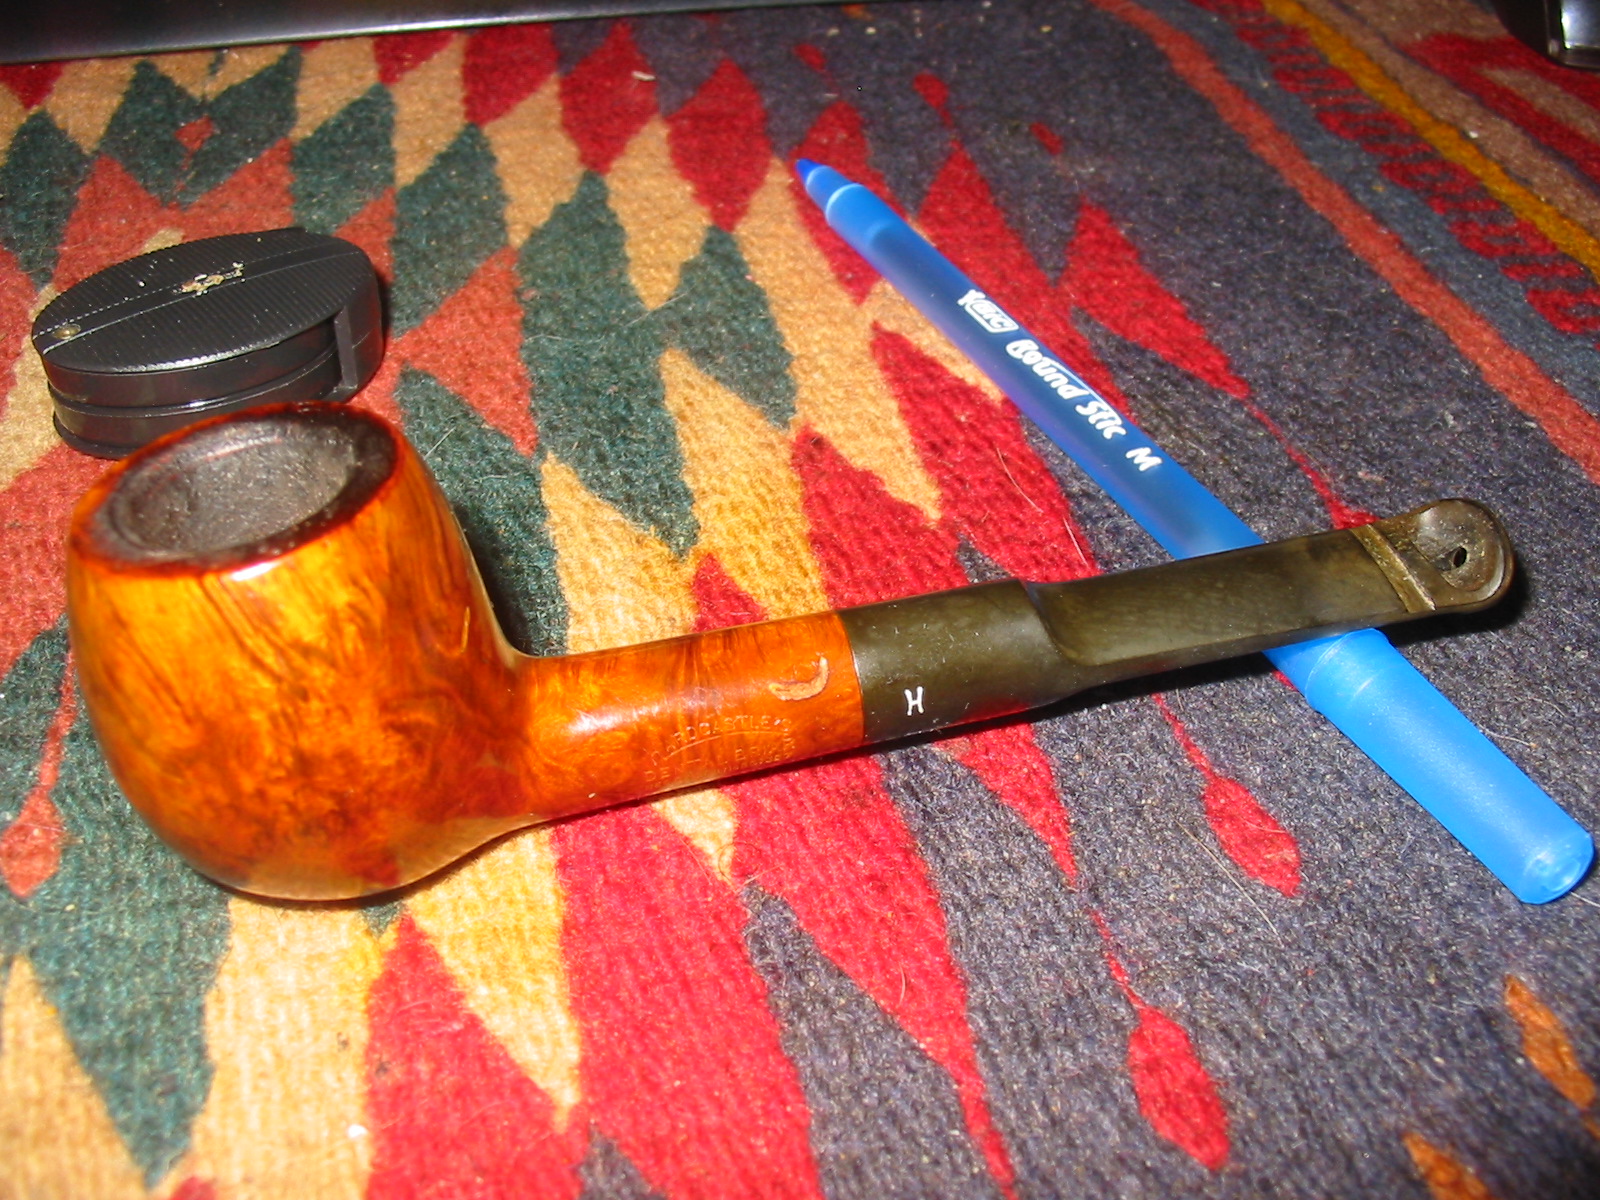
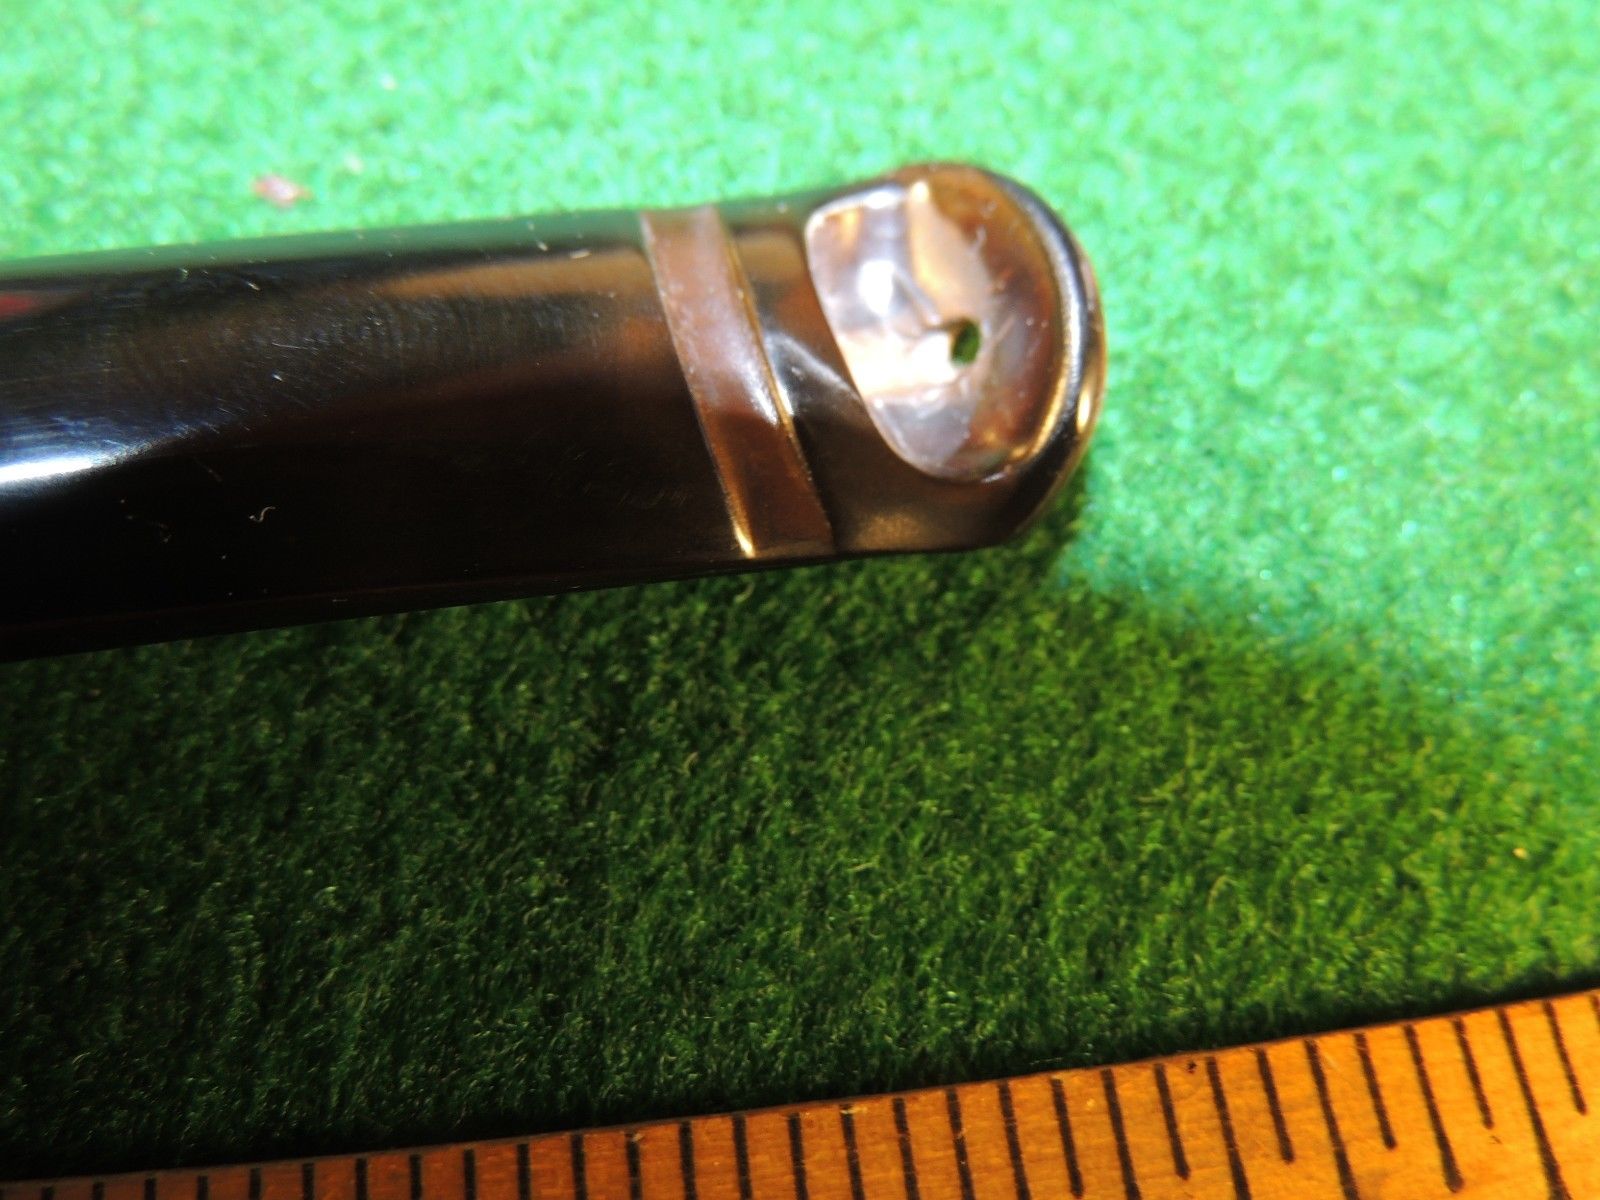
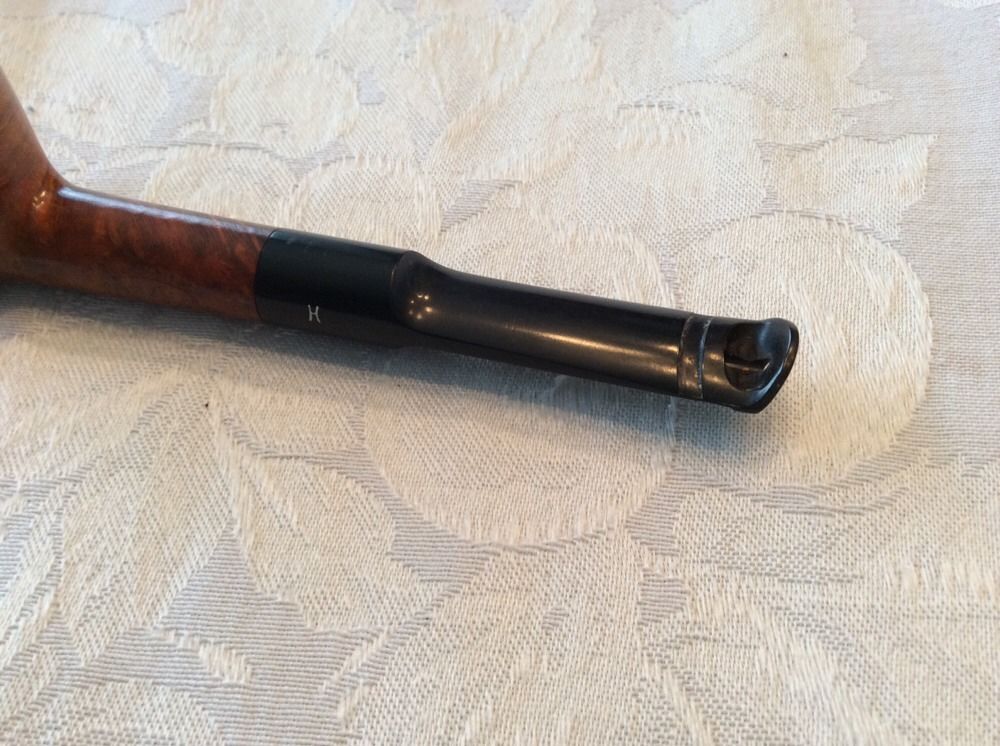
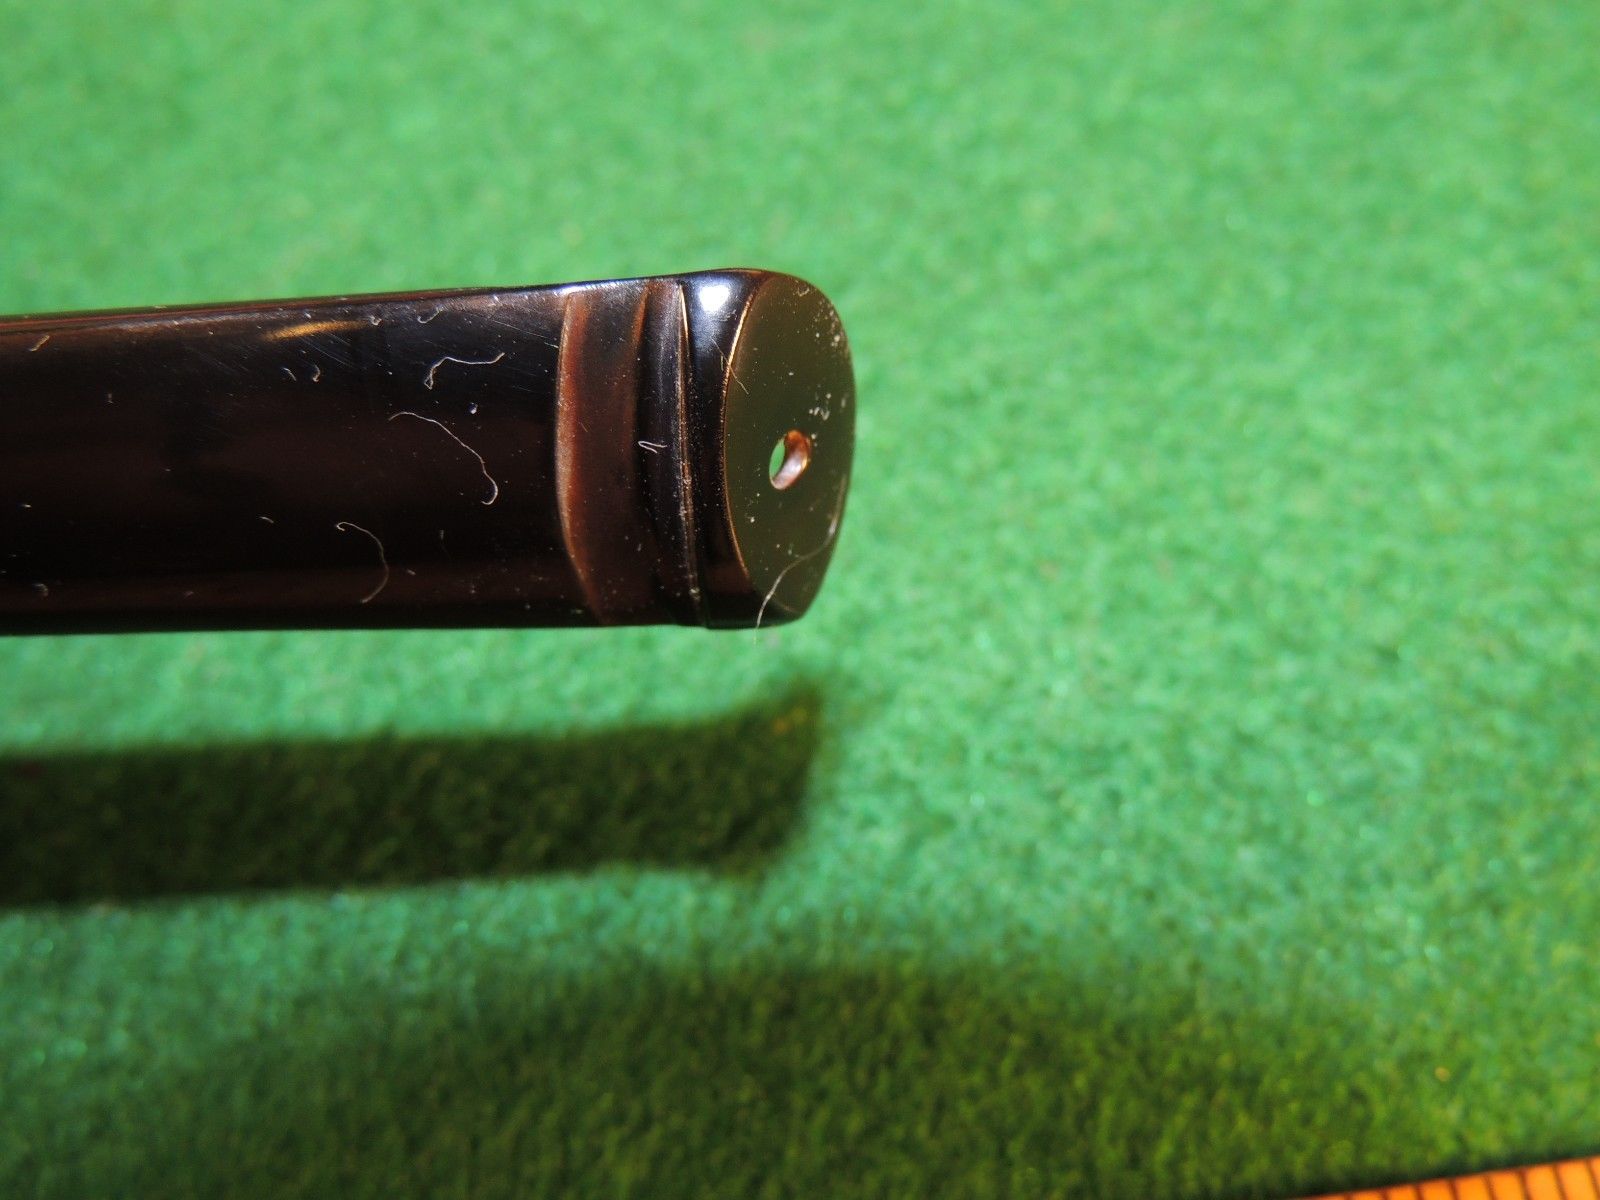
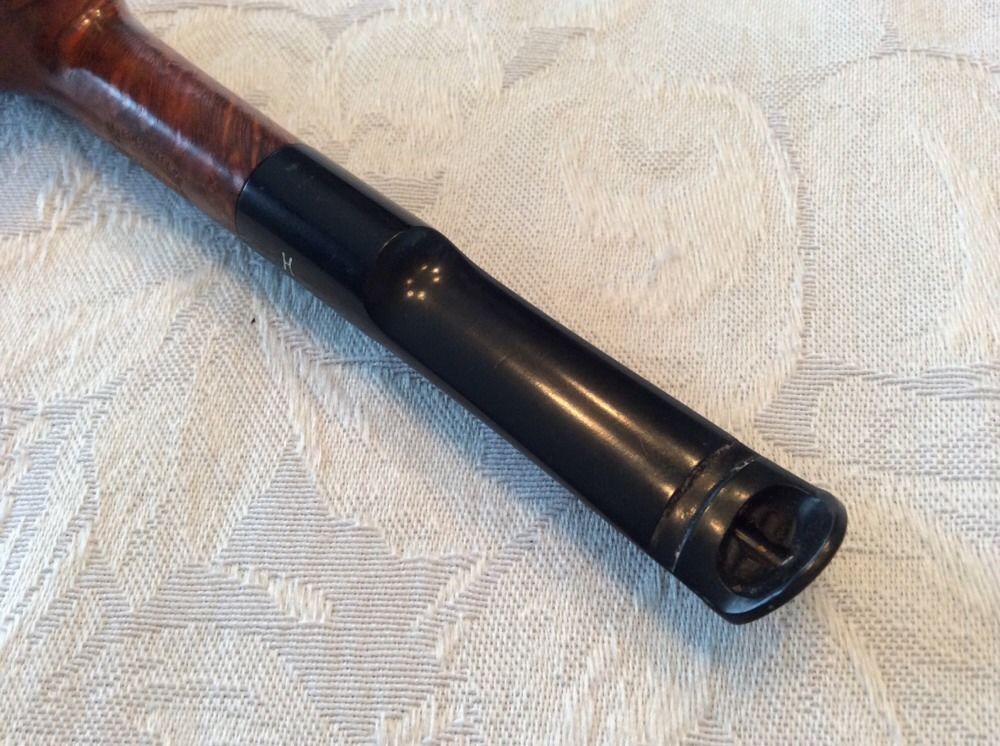
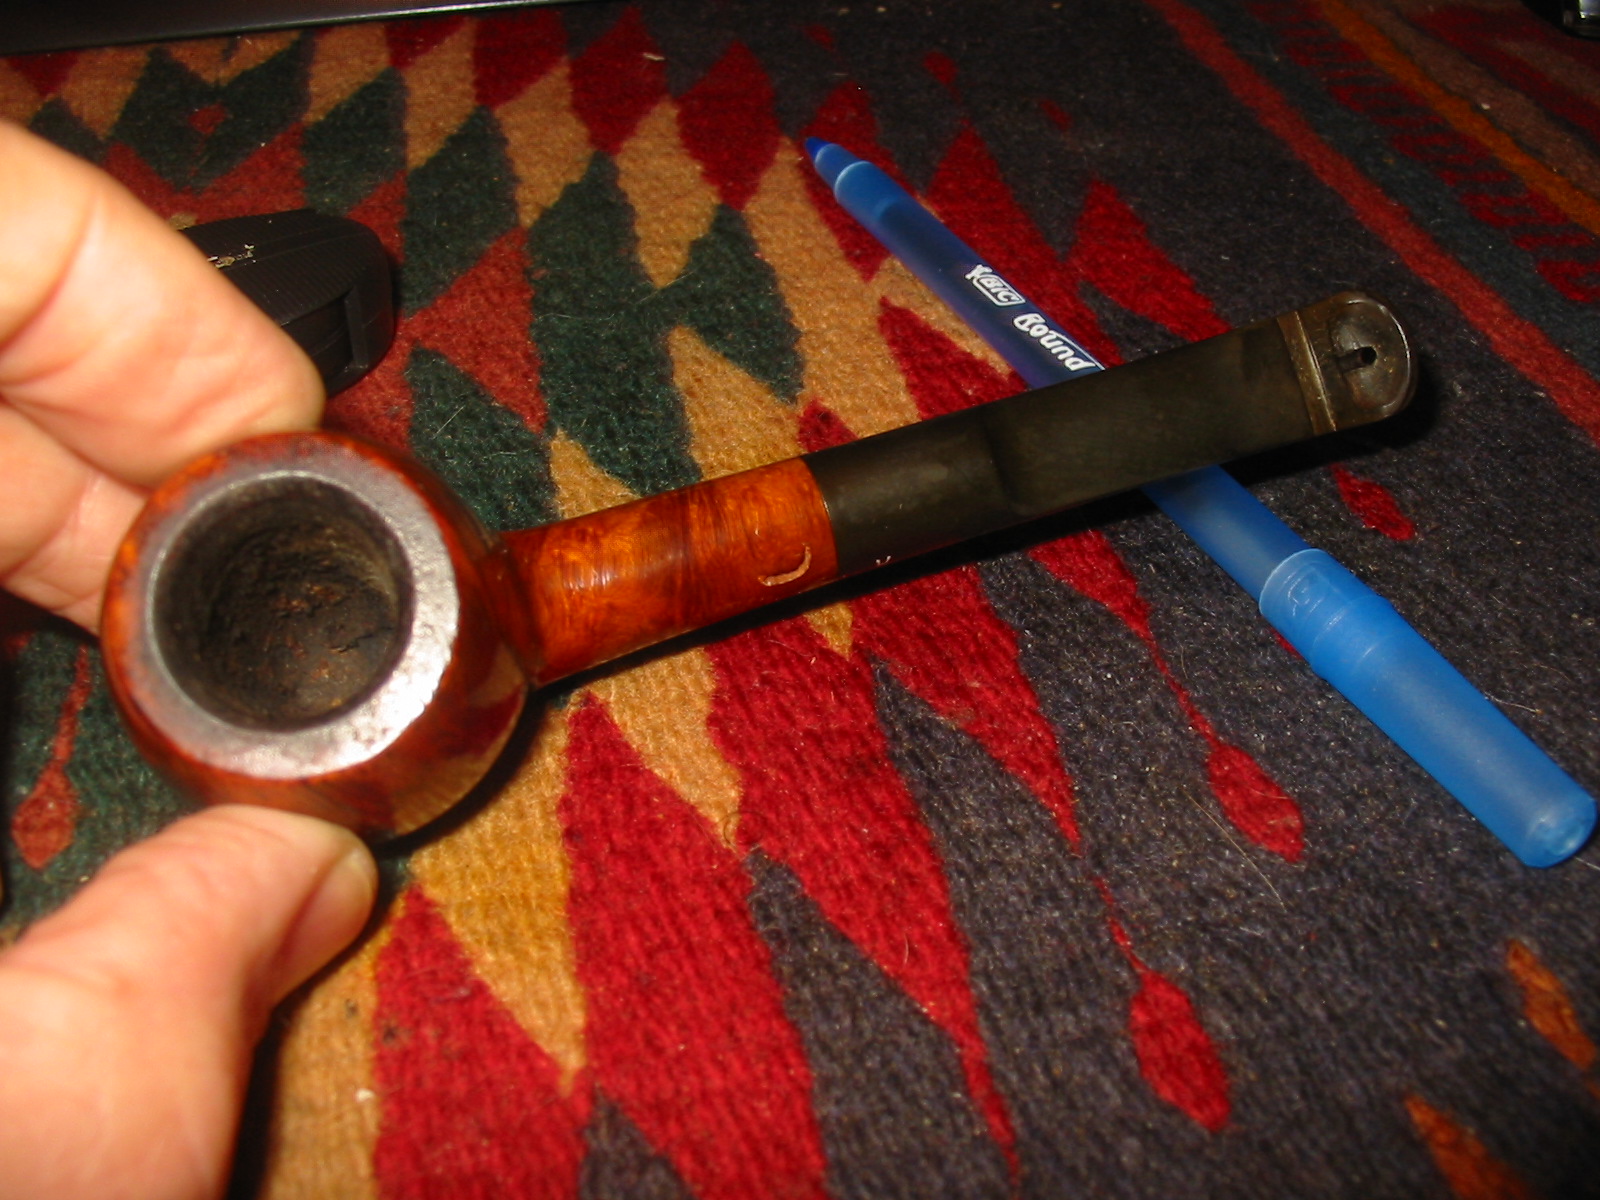
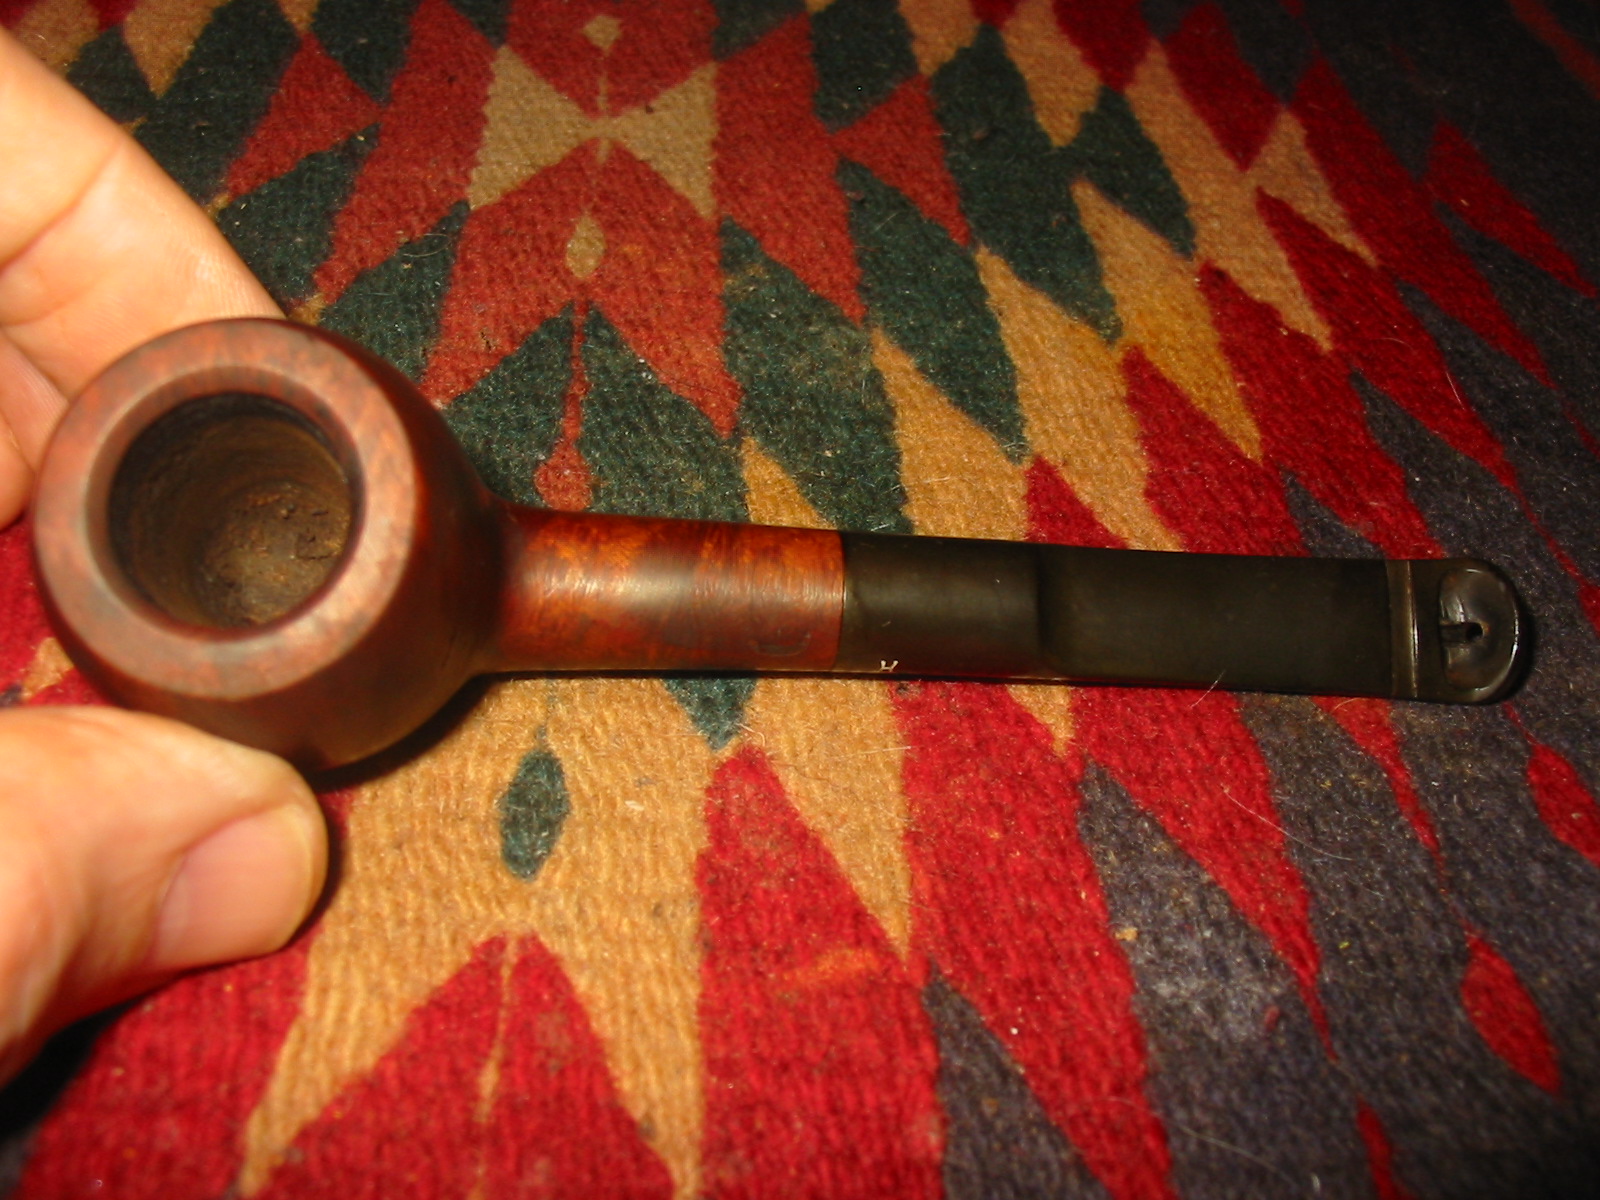
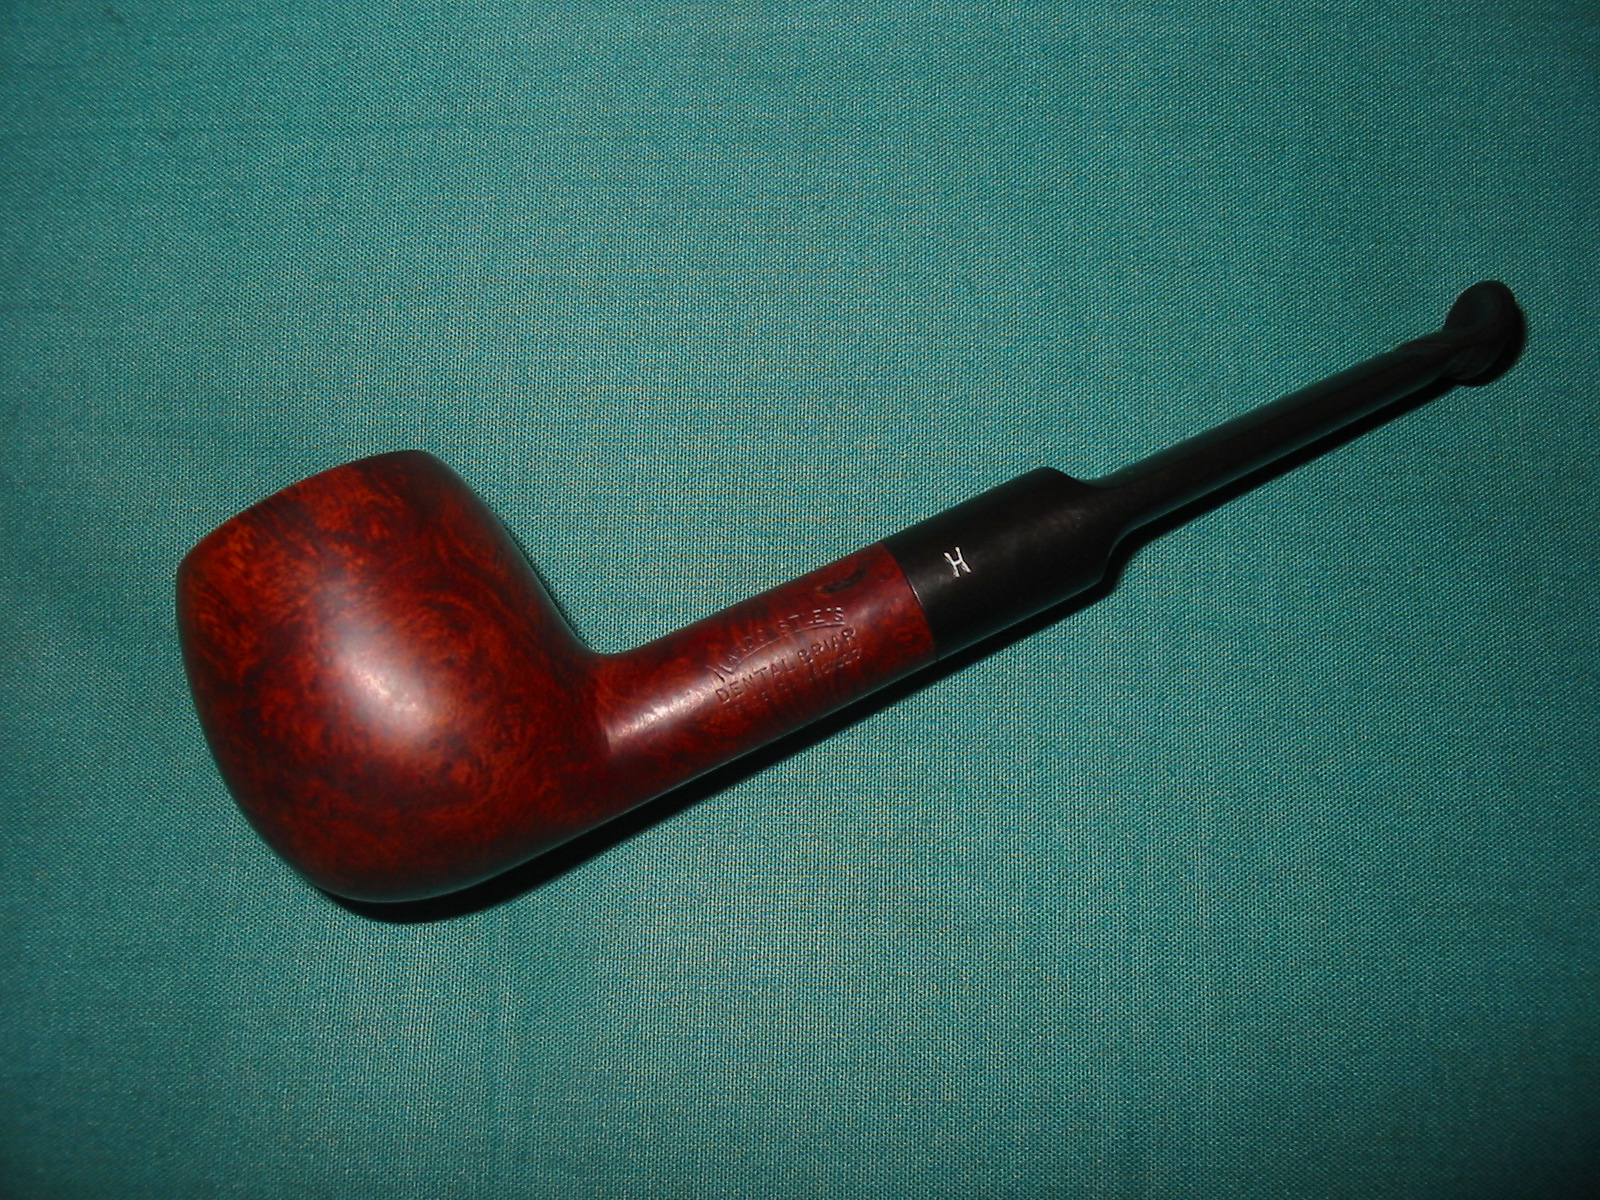
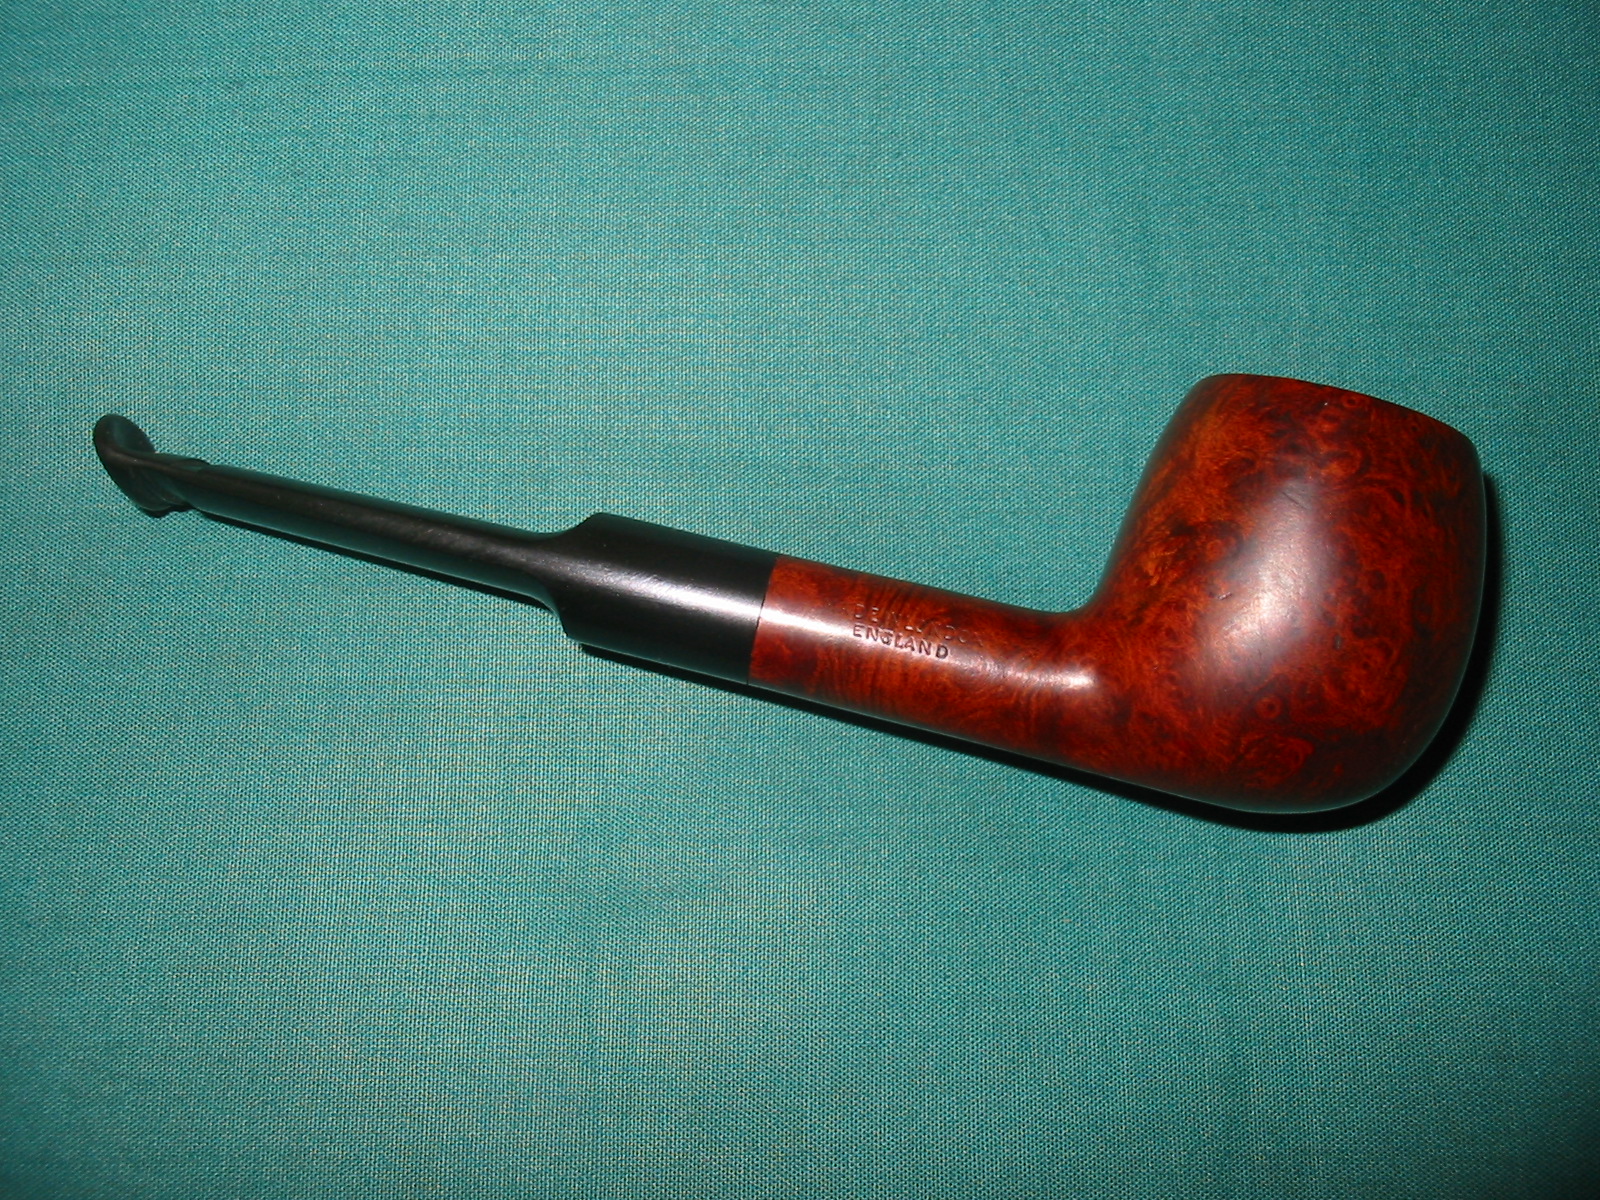
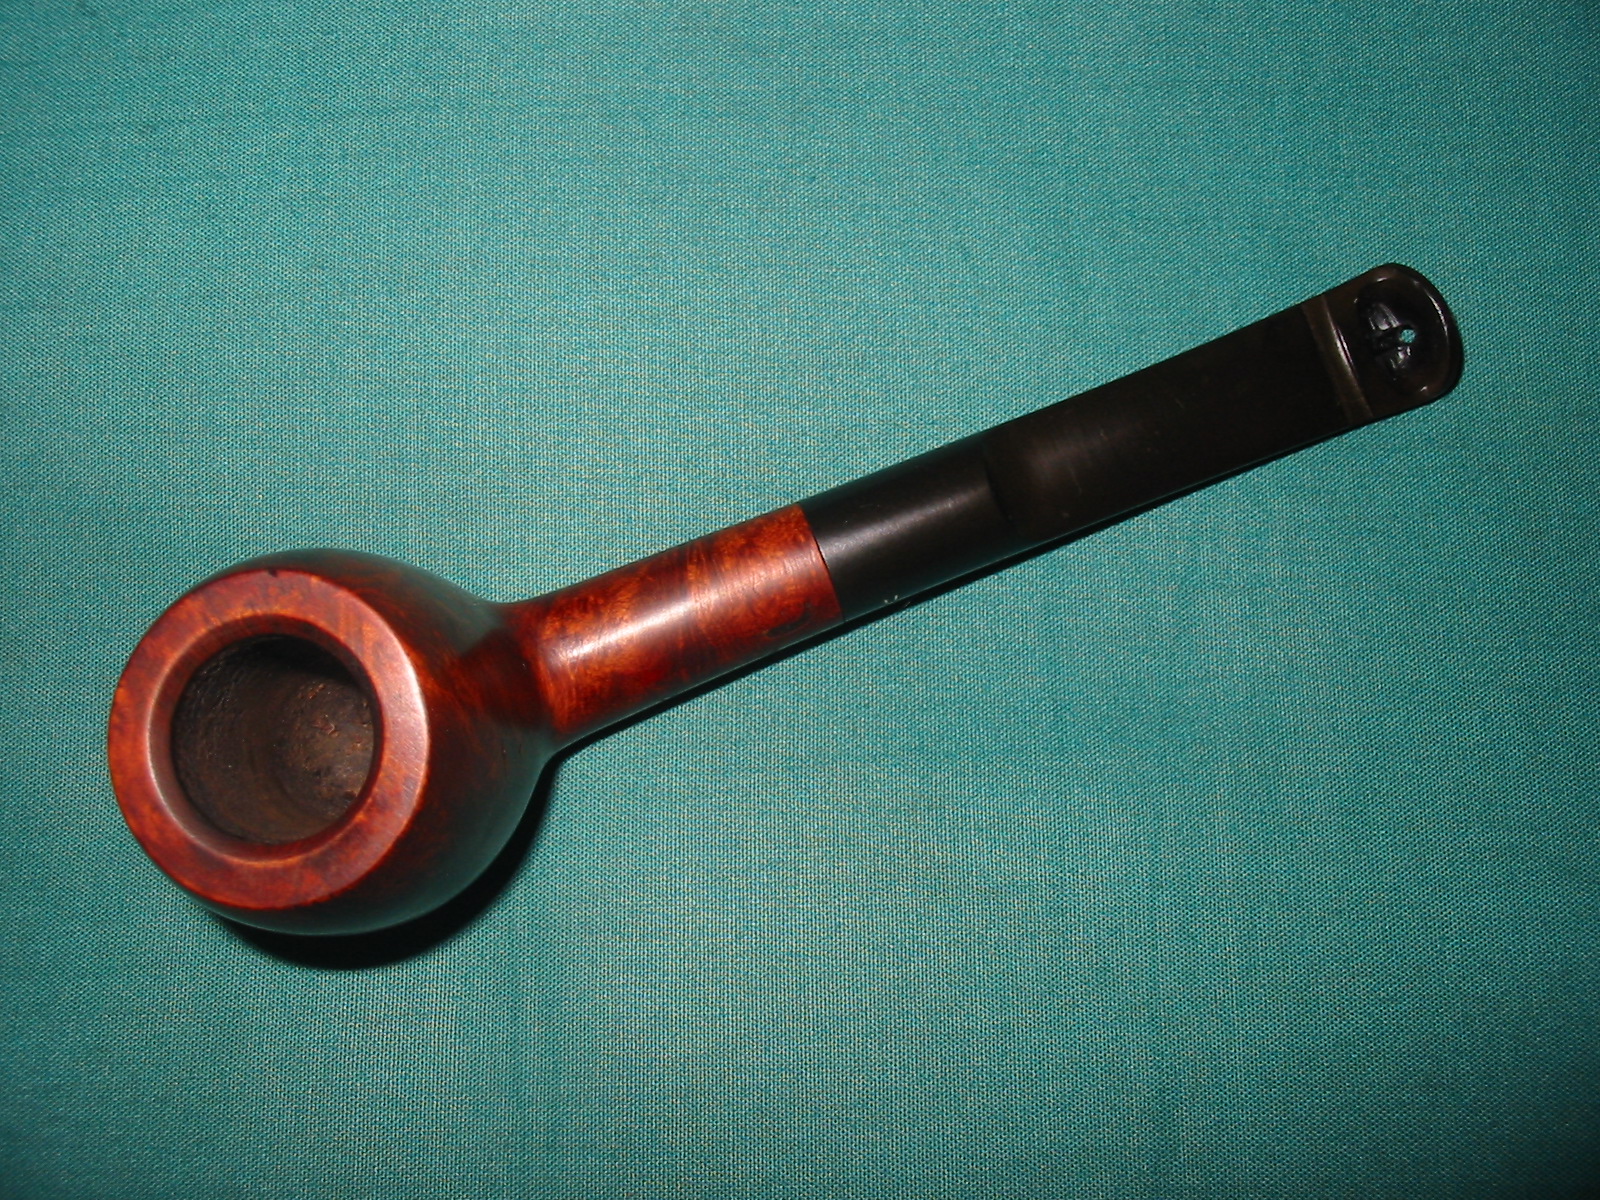
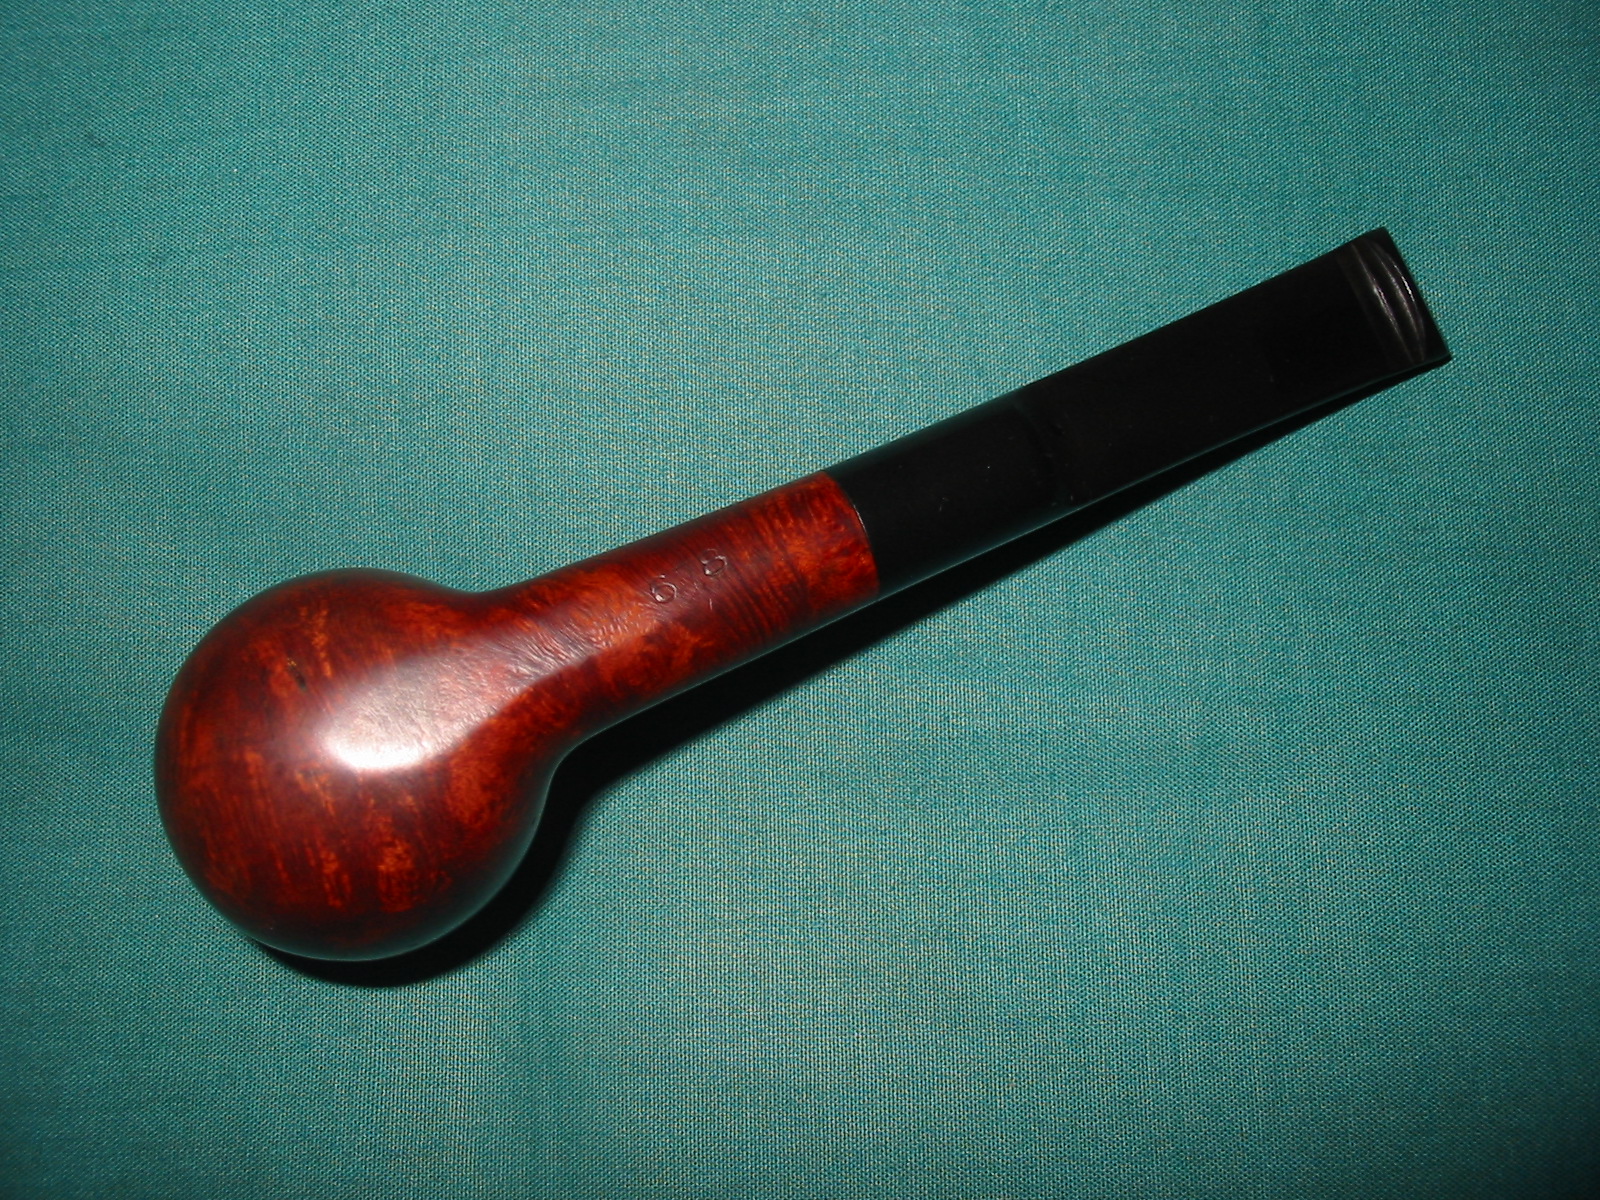
I was gifted a little Hardcastle Apple by a friend on Pipe Smokers Unlimited and a reader of the blog, Bill Tonge. It had the most unusual stem that I think I have ever seen on a pipe. In some ways it looked like a classic dental bit like those seen on other pipes. It had the higher curved upper edge of the button that worked to hang behind an upper plate and the grooves on the under and upper side of the stem for the plate to hook into. But that was all it had in common. The end of the stem, viewed from the button end had a single orific opening rather than a slot. It was a flat upright wall of vulcanite with a single hole in the middle. On the flat surface of the stem just ahead of the button was a large open area where it looked as if a piece of the vulcanite had broken or been removed. The airway was exposed. The gap between the dental end and the open end of the airway was a good ¼ inch. Both Bill and I were convinced it was a candidate for a stem replacement, cutback and reshaped button or as a guinea pig for me to practice on using Jacek’s stem splicing procedure.
IMG_6943
I can’t tell you how many times I took it out of the repair box to have a look. I would turn it over in my hands and think about the three ways to repair what appeared to be damage. I even sketched out a splice on paper at work on my lunch hour. Then last evening I was looking it over thinking the time had come for the work. As I looked it over I noticed that everything was just too evenly cut. The grooves on the top and bottom did not line up. The top one made allowances for the open area. The open area was also very clean and regular. There were no jagged edges on the area. It was clearly cut that way on purpose. So before I started doing anything with the stem I decided to do a bit of digging.I have included some photos of the stem taken from two different Ebay sales of a Dental Briar Pipe. The first two are a top view of the stem and the last two are of the underside. These show the design of the stem and what I commented on above. The pipe on my table has exactly the same stem and stamping at the ones pictured below.
Hardcastles Dental 1

Hardcastles Dental 3

Hardcastles Dental 2

Hardcastles Dental 4
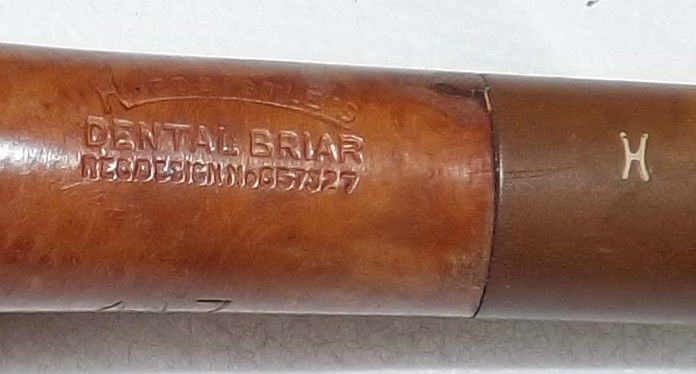
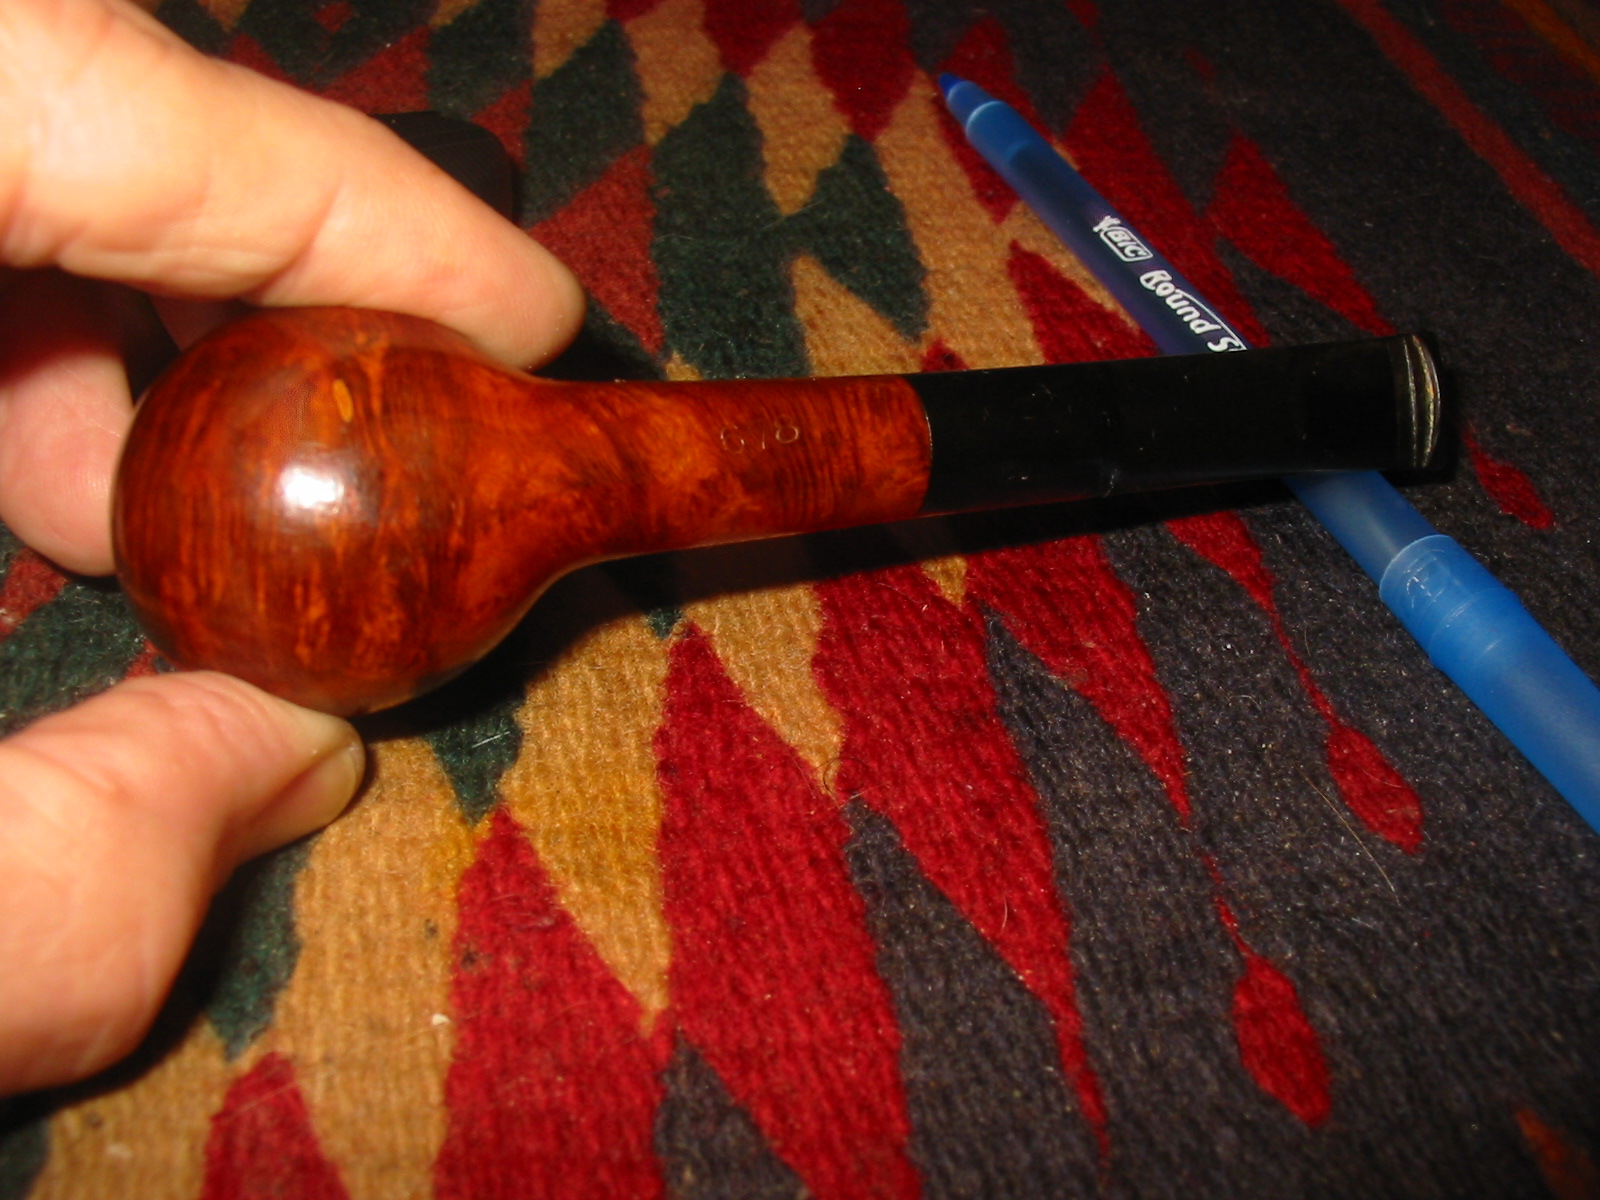
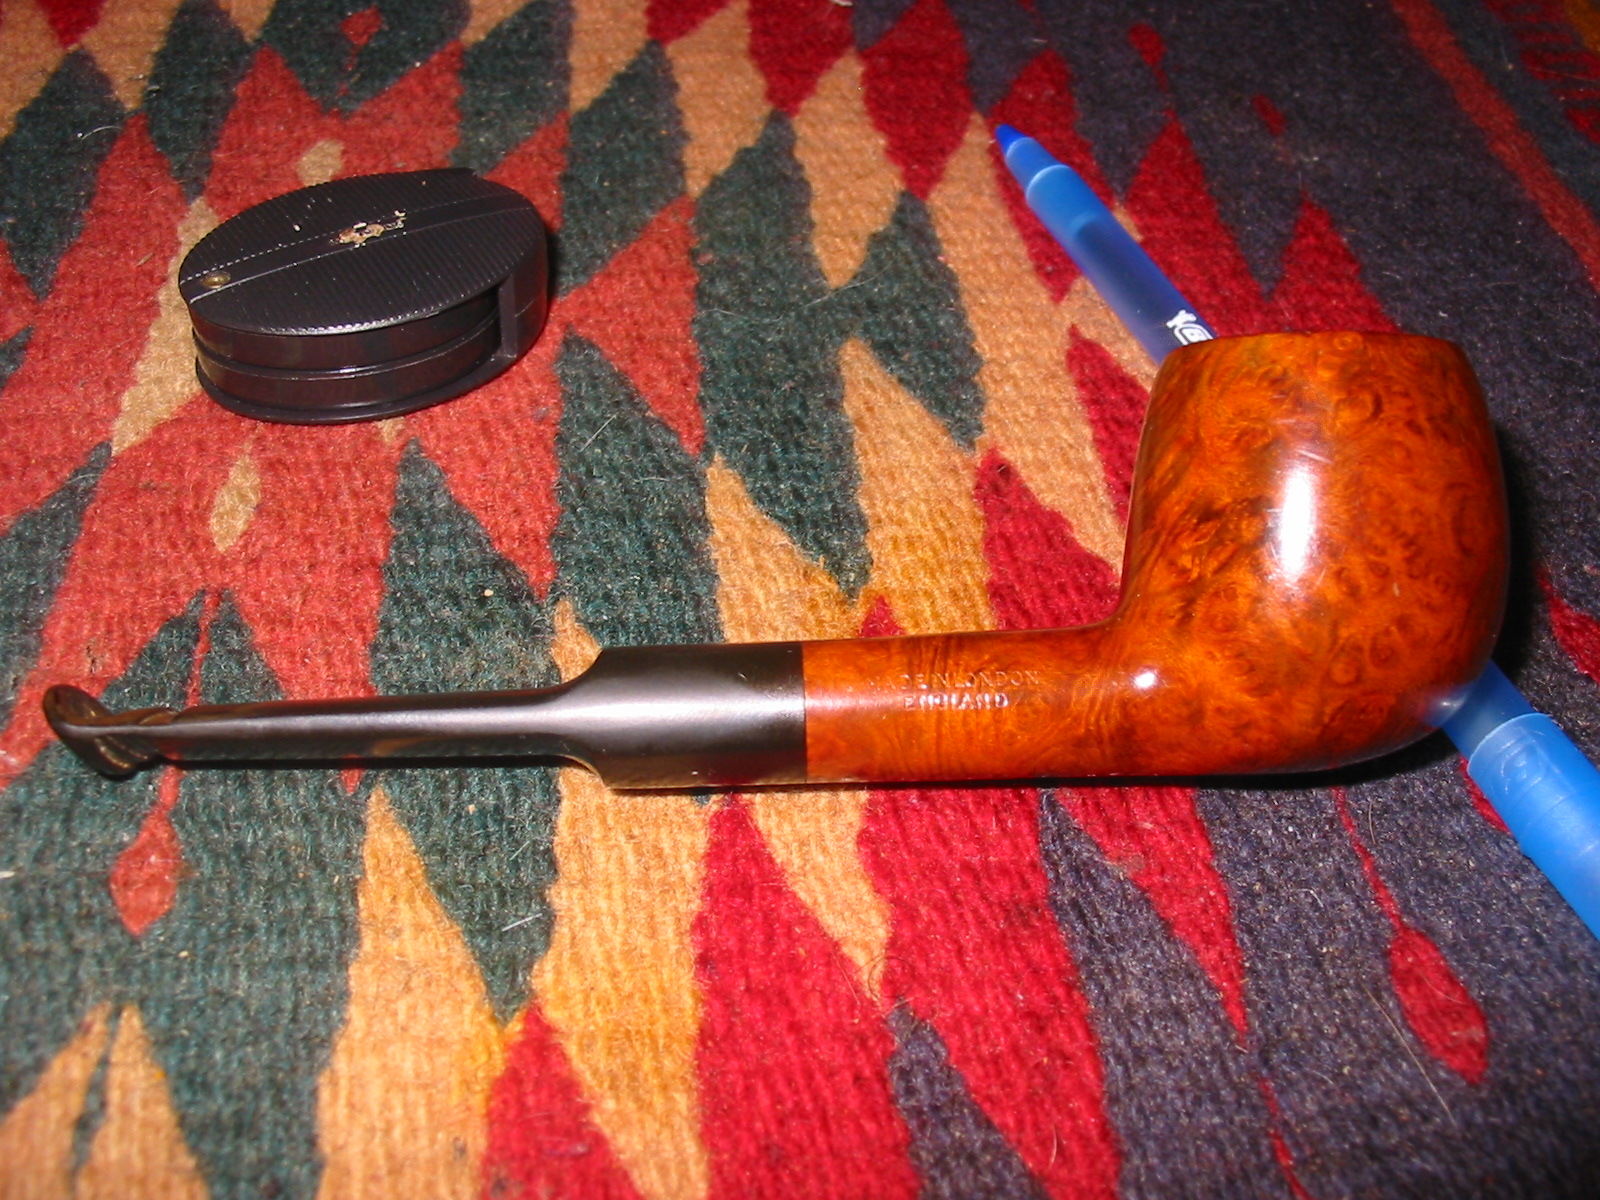
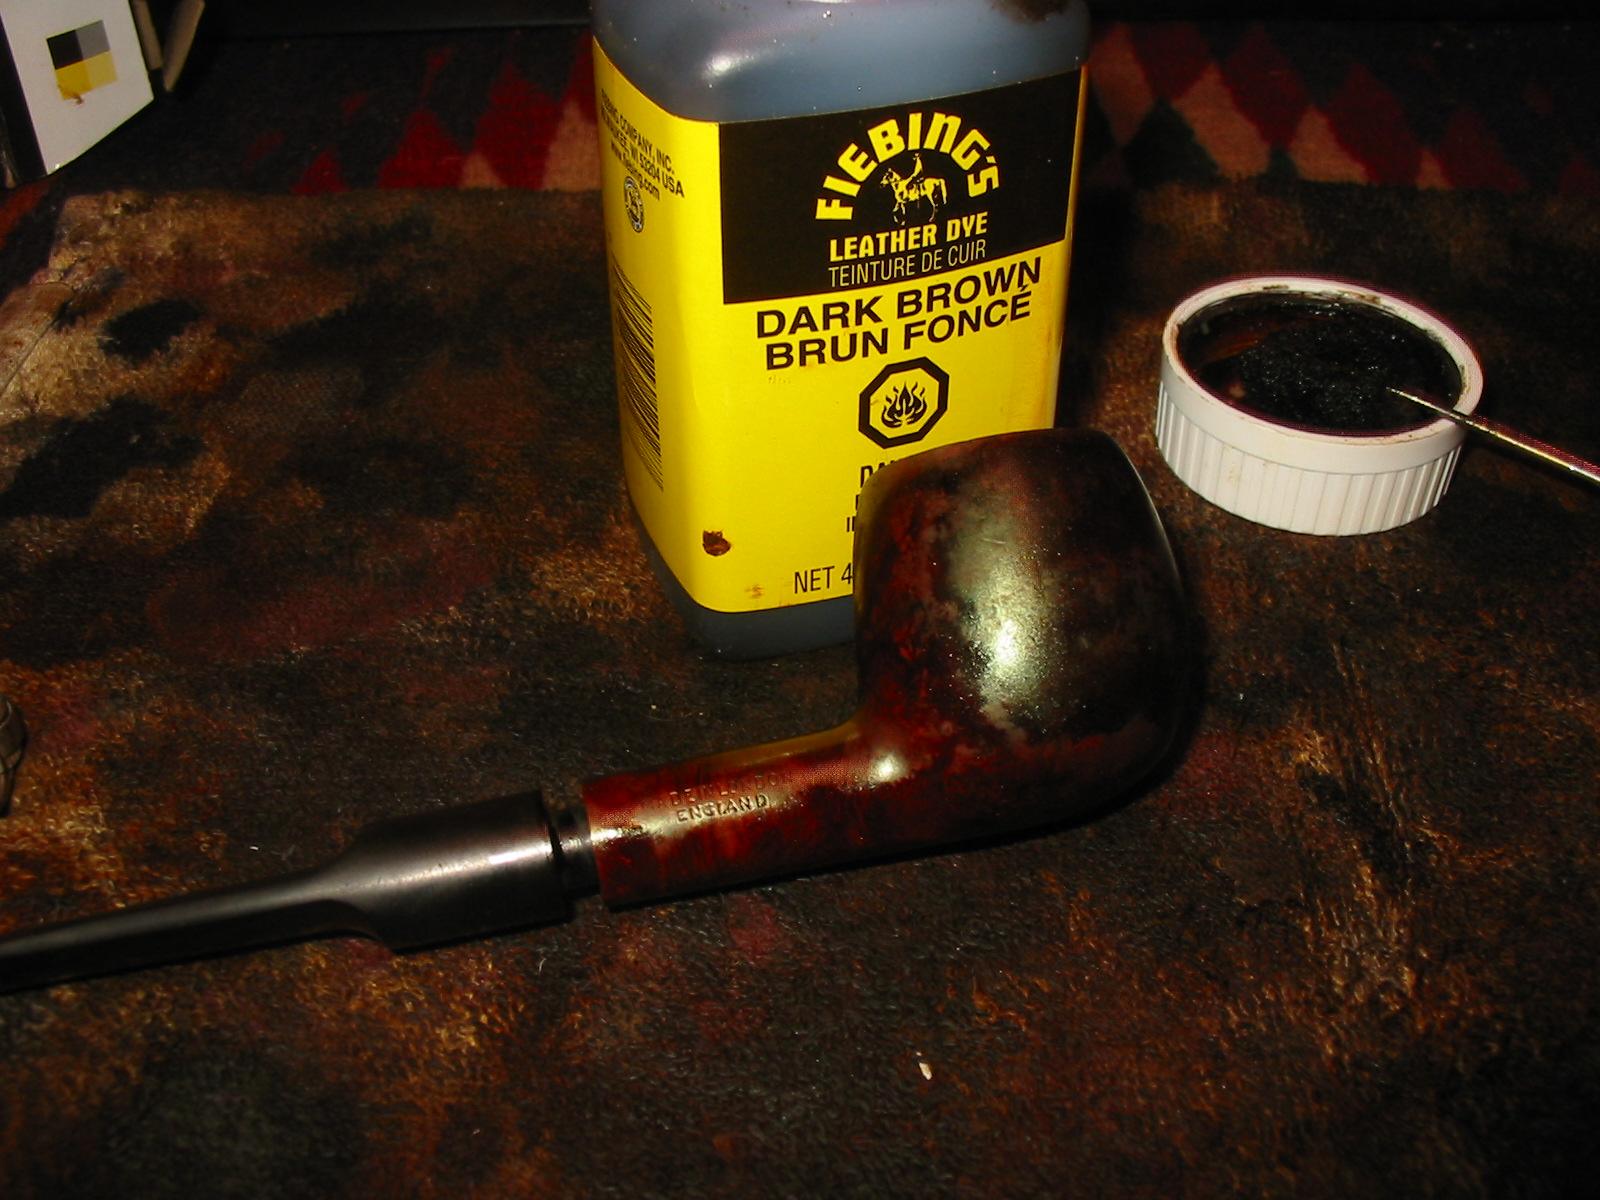
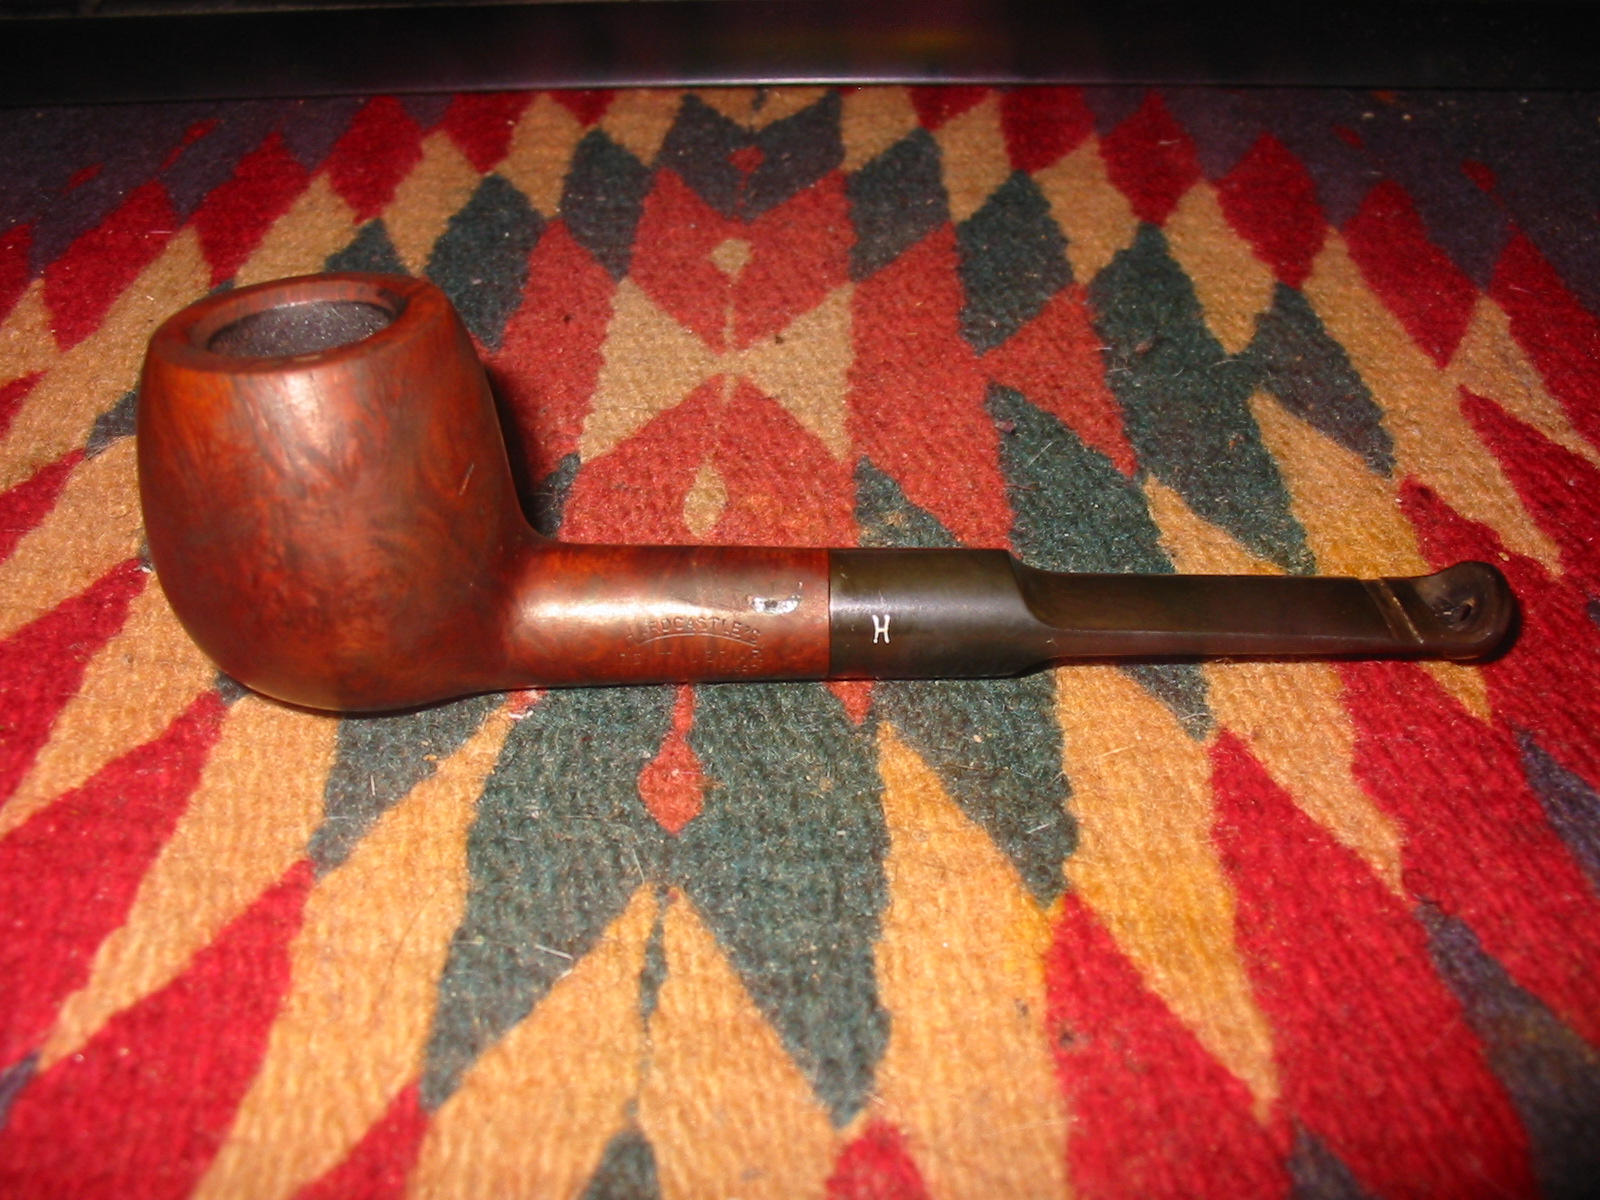
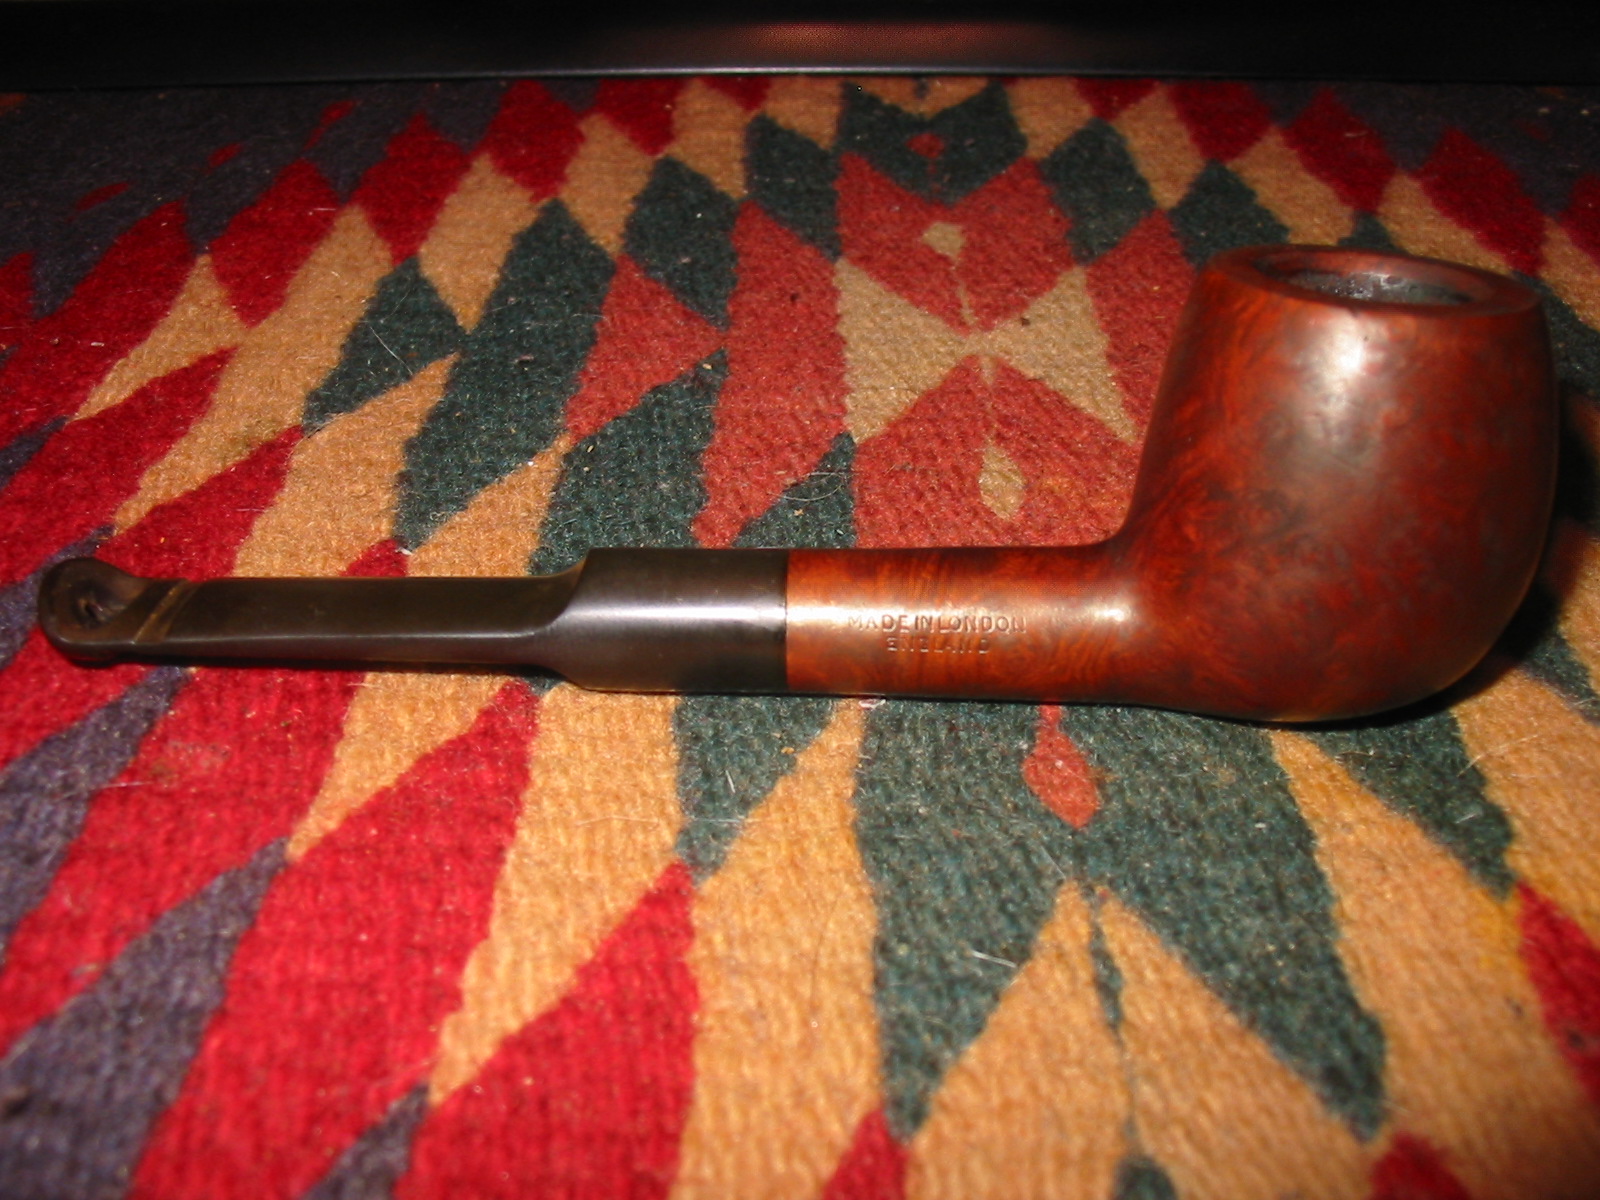
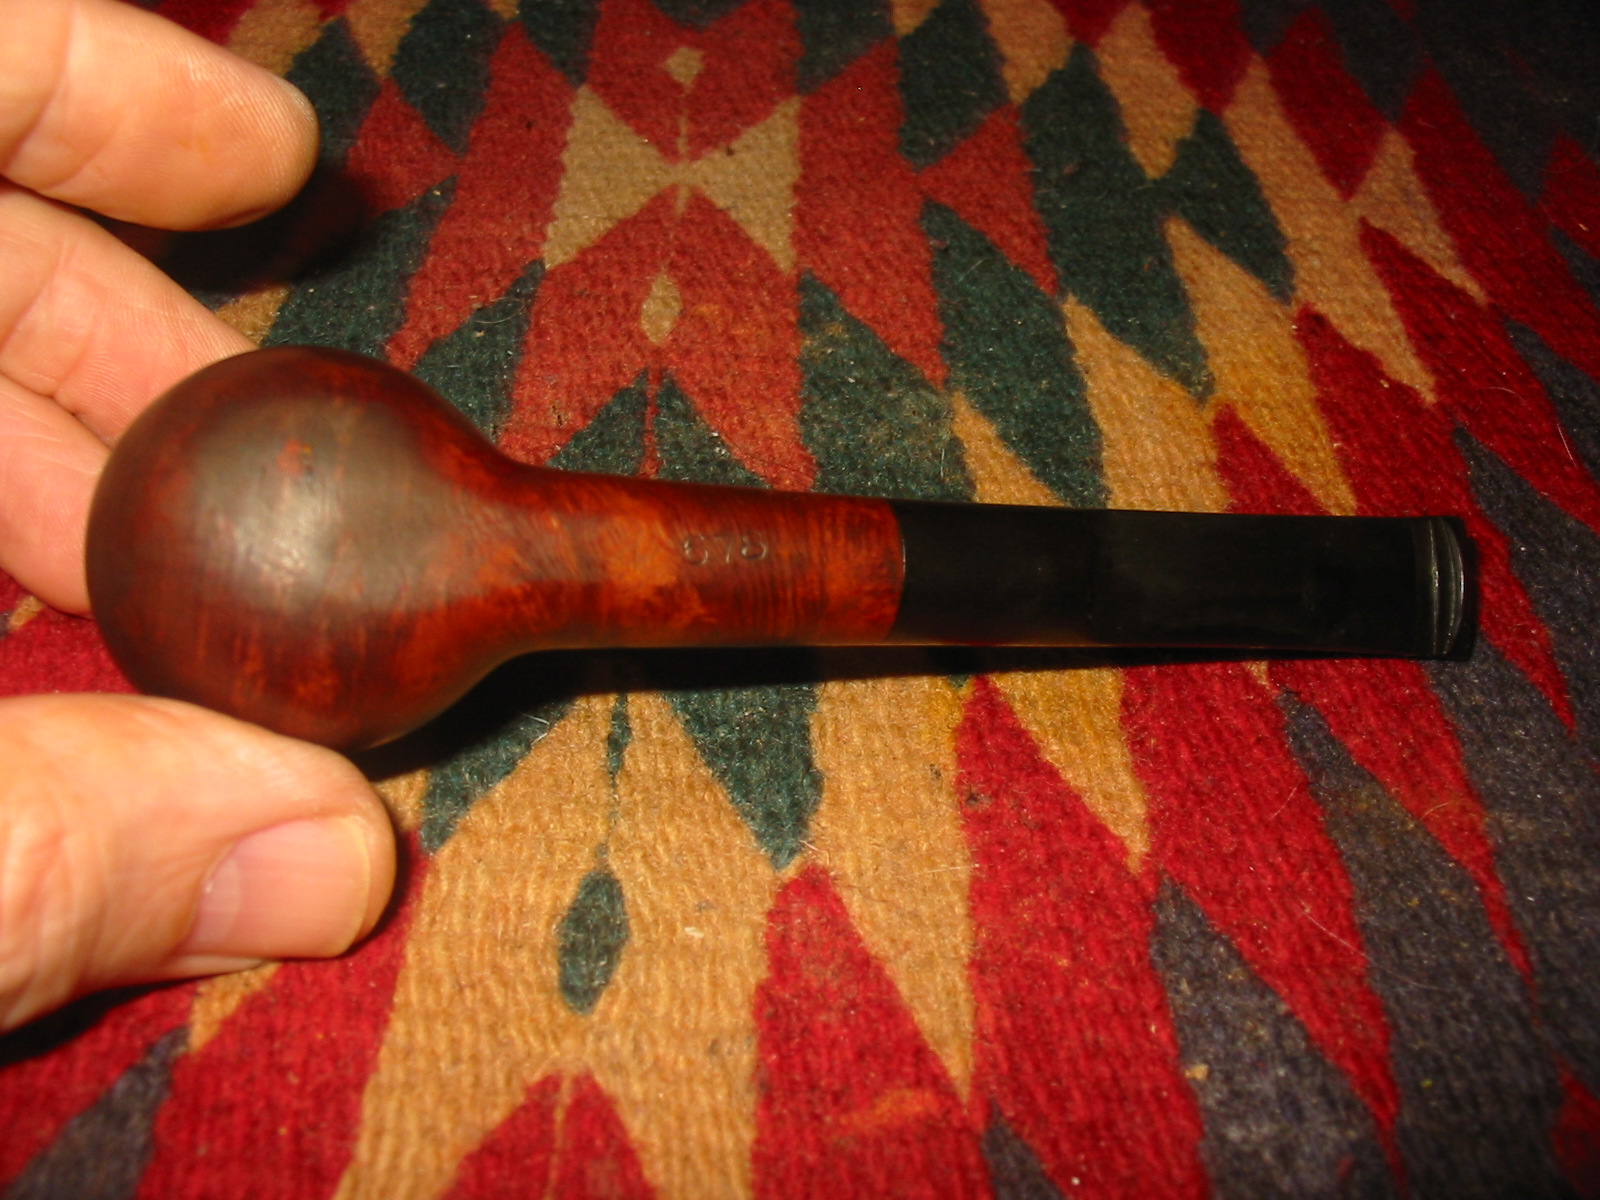
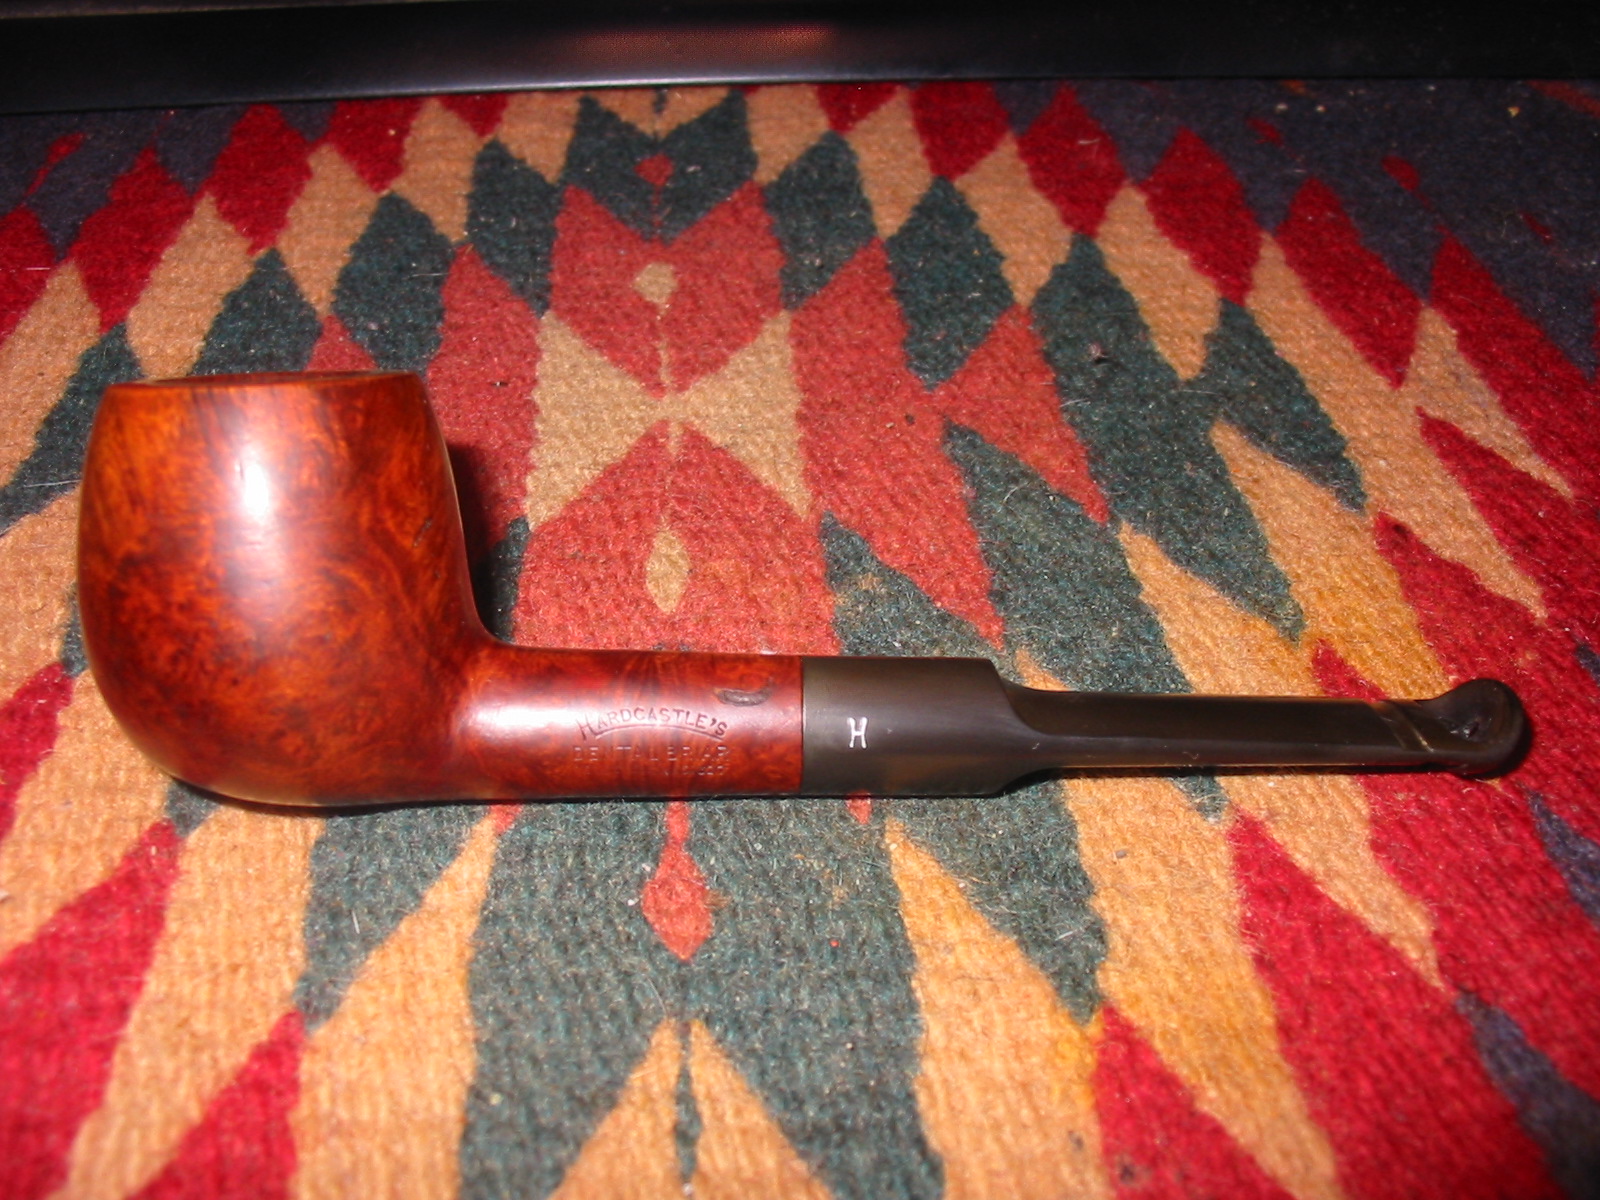
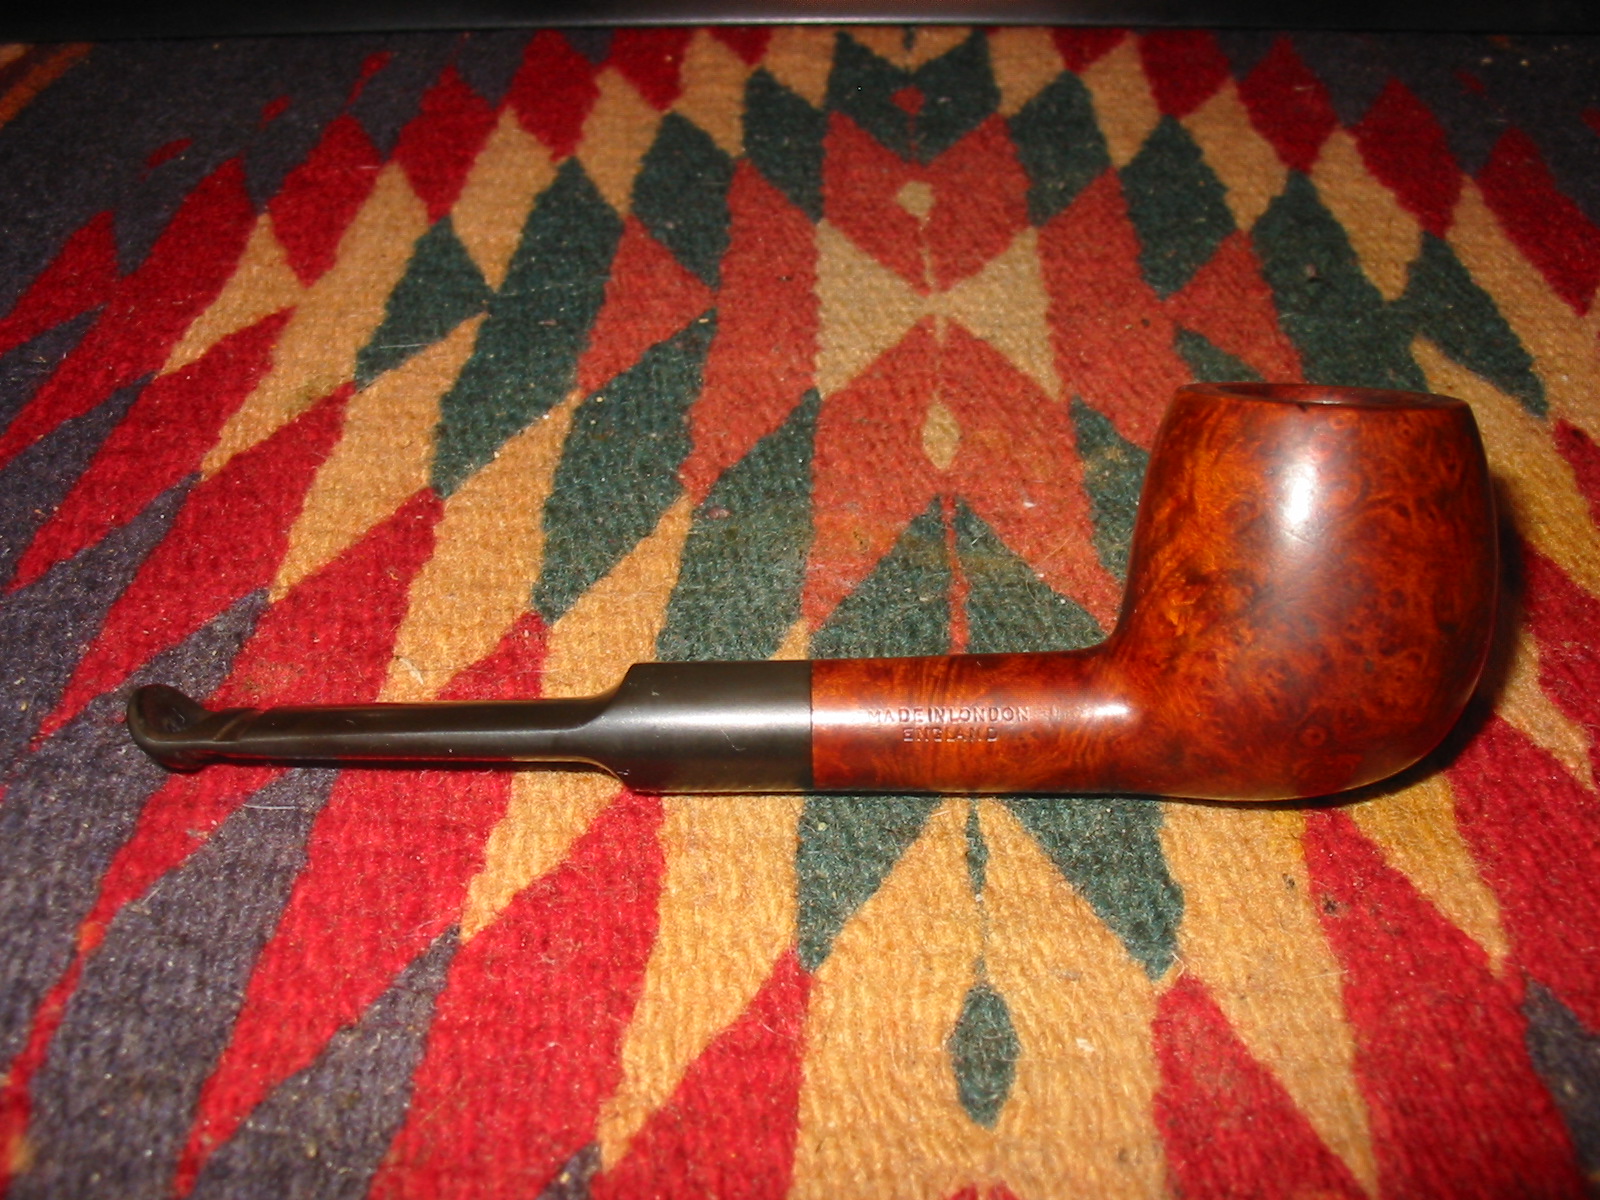
I looked it over and here is what I found. The pipe was stamped on the left side of the stem HARDCASTLE’S over DENTAL BRIAR over Reg. Design No.857327. On the right side it was stamped MADE IN LONDON ENGLAND. On the underside of the shank it is marked with the number 678, a shape number. Stamped on the vulcanite saddle stem is the Hardcastle’s H. The Reg. Design No. was a clue for me to start my hunt. (See the photo below of a pipe that is stamped identically to the one I have.)
Hardcastles Dental 5
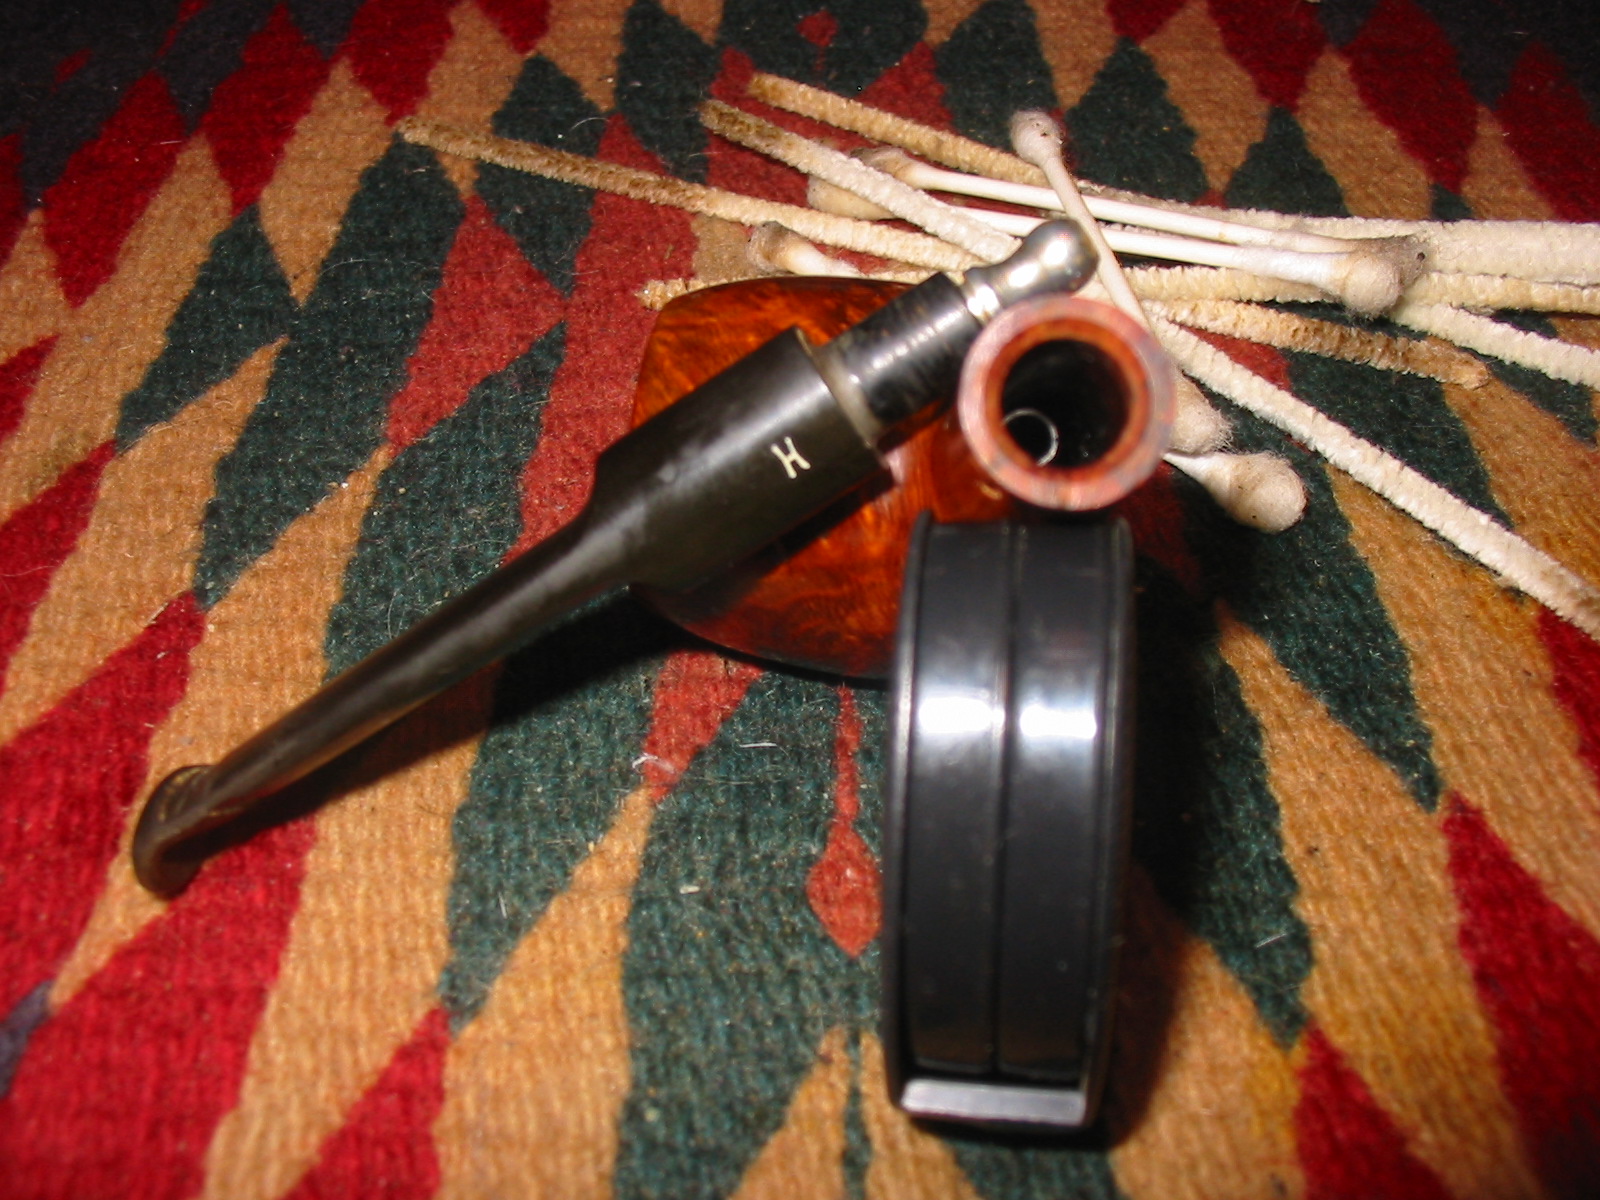
I Googled for information on how to find out about a Registered Design Number. I figured that it would be like finding out patent information. One of the first links came up was to the National Archives. http://www.nationalarchives.gov.uk/records/research-guides/reg-design-trademark.htm I read through the various pages and put in the design number. I found that the designs having number beginning with 857,000 numbers come from 1949. This number was 857,327 so it was pretty clear to me that the design was registered in 1949. At least I had found that the pipe was a made during the time the Hardcastle family owned the brand. At first I thought the design was solely for the stem but when I removed the stem I found that it was far more than that. It included an inserted metal tube deep in the shank that rested against the airway in the bowl. It extended into the shank where it was met by a metal stinger like apparatus in the tenon. This apparatus was set in the tenon. It was a ball on the end of a short tube – the difference being that it was hollow. The end of the ball that rested against the tube in the shank was open thus connecting the airway in the bowl to the airway in the stem through a metal tube that gave a cool material to wick out the moisture in the smoke before it was delivered to the wide open end of the dental bit.
IMG_6947

IMG_6948
From there I went to the link for the British Intellectual Property Office. Now the problems arose for me. I could not find the Registered Design Number on that site. Nothing came back listed with that number on any British patent or registration sites. I was hoping to find at least a diagram of the pipe stem and internals as well as a patent/registration application. But there were none to be found on the sites. I wrote an email to the BIPO in hopes that they respond with some information. They wrote back saying that the design was too old and not in their records. They suggested the National Archives. I searched there again and could not access the files on this number. A dead end? Potentially but I would see if I could go at it from a different route.

I searched and read some of the history of the brand. One of the sites I turned to was Pipedia because I have found that they generally have good concise summaries of a particular brand or the lines in a brand. I found some helpful information on the different time periods of Hardcastle’s production. http://pipedia.org/index.php?title=hardcastle. I quote in part below:

“Hardcastle was founded in 1908 by Edmund Hardcastle and built itself a good reputation among the numerous British mid-graders. In 1935 Dunhill started to build a factory next door to Hardcastle in Forest Road, Walthamstow, London E17. The family owned Hardcastle Pipes Limited sold 49% of its equity to Dunhill in 1936.

Along with closing down its pipe factory in Notting Hill in 1946 Dunhill bought the remaining shares turning Hardcastle into a 100% Dunhill subsidiary. As members of the Hardcastle family continued as executives in the company’s management Hardcastle retained a certain independence.

This ended in 1967. Dunhill merged Hardcastle with Parker (100% Dunhill as well). The new Parker Hardcastle Limited also absorbed the former Masta Patent Pipe Company. Hardcastle’s Forest Road plant was immediately given up and the production of Hardcastle pipes was shifted to Parker’s nearby St. Andrews Road factory – now consequently called Parker-Hardcastle factory.

In fact this put a definite end to Hardcastle as an independent pipe brand and no one other than Edwin Hardcastle, the last of the family executives, spoke frankly and loudly of Hardcastle pipes being degenerated to an inferior Dunhill second. Today Hardcastle pipes use funneled down bowls that are not deemed suitable to bear the Dunhill or even the Parker name as well as obtaining briar from other sources.”

Now that I had a bit of a timeline for the brand it was time to see if I could find information on the various models & grades of Hardcastle pipes before the takeover by Dunhill – a time known as the Family Period. On the Pipedia site they listed that during that time the following models/lines were produced. Straight Grain, Supergrain, Leweard, Nut Bruyere, De Luxe, Royal Windsor Sandhewn, Royal Crown, The Crown, Phito Dental, Old Bruyere, Jack O’London, Dental Briar, Phito, Dental, Dryconomy, Drawel, Phithu, Telebirar, Camden, Lightweight, The Table, Dovetail, Dental, Crescent Extra, Lonsdale, Welard De Luxe . I have marked the Dental Briar in bold in the list above to make it stand out in the list. It was produced during this time. It appears that the Hardcastle was taken over by Dunhill in 1946. At that time, family still retained some control but the brand changed. In 1967 the brand was merged with Parker and became Parker/Hardcastle. With this merger Hardcastle as a distinct brand disappeared and the pipe became a line of seconds for Dunhill.

That information at least gives something of a timeline for my pipe. I know that it was made between the year that Registered Design Number gave of 1949 and the merger date of 1967. That is as close a date as I can ascertain at this time.

It seemed that I had found all I would find out about this pipe for the moment. It was time to work on the pipe itself and do the cleanup and restoration. I took the pipe to my worktable and quickly looked it over to see what I needed to address in this refurb. The bowl had an uneven cake in it – heavy in the middle and light at the top and the bottom of the bowl. The briar had several fills that had fallen out or somehow been dislodged along the way – one on the shank visible in the photo below next to the stem, one on the back side of the bowl and one on the bottom of the bowl. The rim was undamaged and quite clean other than a slight build up of tars and oils. The next series of three photos give a good picture of the state of the pipe when I began the work on it.
IMG_6944

IMG_6945

IMG_6946
I removed the stem and cleaned out the shank and stem with pipe cleaners, cotton swabs and isopropyl alcohol. I scrubbed until they came out clean and unblemished. Then I reamed the bowl and wiped down the inside of the bowl with cotton swabs and alcohol and ran several more pipe cleaners through the shank to remove any carbon dust.
IMG_6949
I cleaned out the damaged fills in the briar on the shank, back of the bowl and the bottom of the bowl with a dental pick. I wiped the bowl down with alcohol to clean off the dust and give the glue a clean surface to stick. I then packed briar dust into the crevices and dripped super glue onto the briar dust. I quickly put more briar dust on top of the glue before it dried. I have found that sandwiching the glue between briar dust enables the stain to have a better chance of taking on the patch.
IMG_6950

IMG_6951
I sanded the patches with 220 grit sandpaper, medium and fine grit sanding sponges and then with 1500-2400 grit micromesh sanding pads to smooth out the patches and blend them into the surface of the bowl.
IMG_6952

IMG_6953

IMG_6955
When I had finished sanding the bowl I wiped it down with acetone to break down the finish and remove the waxes on the bowl to prepare it for restaining. When I do this kind of patches on a bowl I restain the entirety of the bowl rather than trying to match the stain in the spots to the whole.
IMG_6956

IMG_6957

IMG_6958
I stained the bowl with a dark brown aniline stain. I heated the briar, applied the stain, flamed it and repeated the process to get a good solid, even coverage on the briar.
IMG_6959
When it dried I wiped it down with a cotton pad and alcohol to lighten the stain and make the grain more visible.
IMG_6960
At this point in the process I buffed the bowl and stem with red Tripoli and then White Diamond to even out the stain and make it flow better on the bowl. The briar dust and superglue patches blended in quite well on the bottom and back side of the bowl. The one on the shank was visible but at least it was smooth and dark. With some work on the finish I would be able to get it blend better.
IMG_6961

IMG_6962

IMG_6964

IMG_6965
I sanded the bowl with 1500-2400 grit micromesh pads to smooth out the finish and to lighten the stain on the bowl. I was aiming to bring it back as close as possible to the original finish which had red highlights. When I had finished sanding the bowl I gave it a second buff with White Diamond to see where I stood. At this point the work on the bowl was finished and I was pleased with the results. The grain showed clearly and the stain gave a pleasant contrast of dark and light. The patches looked much better and though visible blended in far better with the stain and the grain patterns. The rim and the inner bevel looked excellent.

Now it was time to address the stem. I scrubbed it down with Brebbia Pipe and Mouthpiece Polish. It has a fine grit in the paste and when it is rubbed into the stem works quite well to remove the surface oxidation and buildup. I worked it into the grooves and the dip on the end of the stem with a soft bristle tooth brush. I let it dry for a short time and then rubbed it down with cotton pads. The photos below show the stem after this initial polishing with the Brebbia Polish.
IMG_6966

IMG_6967

IMG_6968

IMG_6969
I scrubbed the stem with Meguiar’s Scratch X2.0 and when it dry buffed it off with a cotton pad. I repeated this process several times, scrubbing the grooves and dip on the end of the stem with the same tooth brush. I rubbed the stem down with Obsidian Oil and when dry took it the buffer for another buff with White Diamond. I gave it several coats of carnauba wax, buffing it with a soft flannel buff between coats. I found it very hard to remove some of the oxidation from the channels/grooves on the top and bottom of the stem. Under the flash it is clear that there is still some oxidation at that point. I rubbed it down with another coat of Obsidian Oil being careful to get deep into the edges of the grooves and the dip on the top of the stem.
IMG_6978

IMG_6979
The finished pipe is shown in the last series of photos below. I am happy with how this old timer turned out. I am so glad I did my research before cutting off the stem and recutting a new button or splicing in a new button. I would have ruined a unique piece of pipe history and lost the opportunity to learn yet another piece of the history of our fascinating hobby. Now instead it is a restored piece that shows the creativity of those seeking to create a more comfortable pipe. Now I have to load a bowl and give it a try.
IMG_6974

IMG_6975

IMG_6976

IMG_6977

A Kaywoodie Super Grain 33C New Holland Pipe Restored – by Astrid Campbell


Blog by Astrid Campbell

I first talked with Morty from Ontario on Pipe Smokers Unlimited online forums (PSU). We spoke via email and private messages on the forum. She introduced herself as Astrid. For this her second post on rebornpipes she uses her real name. Astrid has the refurbishing bug for sure and continues to post pictures of her work on the PSU Pipe Restoration Forum. The amazing thing to me is that she does all of her work by hand. She does not have buffers and buffing equipment. She continues to find amazing old pipes and shares of a love of some of the same pipe shapes as I do. Many times I am afflicted with serious pipe envy when she shows the pipes she is working on. She seems indefatigable in her effort to clean and restore the old estate pipes she finds. I have enjoyed seeing her work and have asked her once more to write-up some of her work and post it on rebornpipes for others to enjoy. Thanks Astrid for being willing to do this for us. I have to tell you this is one of those pipes that cause me pipe envy! I love the lines of this old pipe and the grain. Astrid did a great job on restoring it. Without further introduction I give you Astrid’s own words regarding this refurb.

I just got my Kaywoodie Super Grain 33C pipe today, and this one needs major TLC. I have not seen a Kaywoodie like this one before. I will start cleaning this pipe up on the weekend and will follow up with the after pictures.
astrid4

Astrid5

astrid6
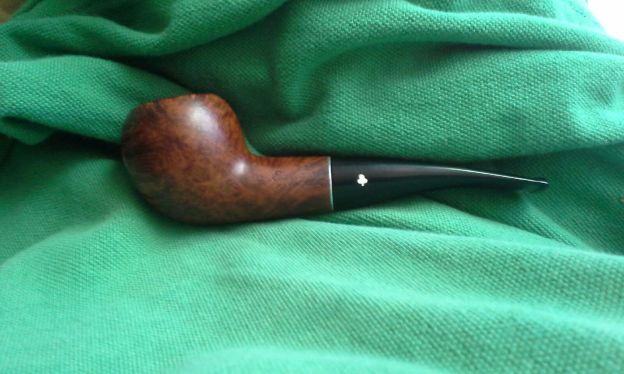
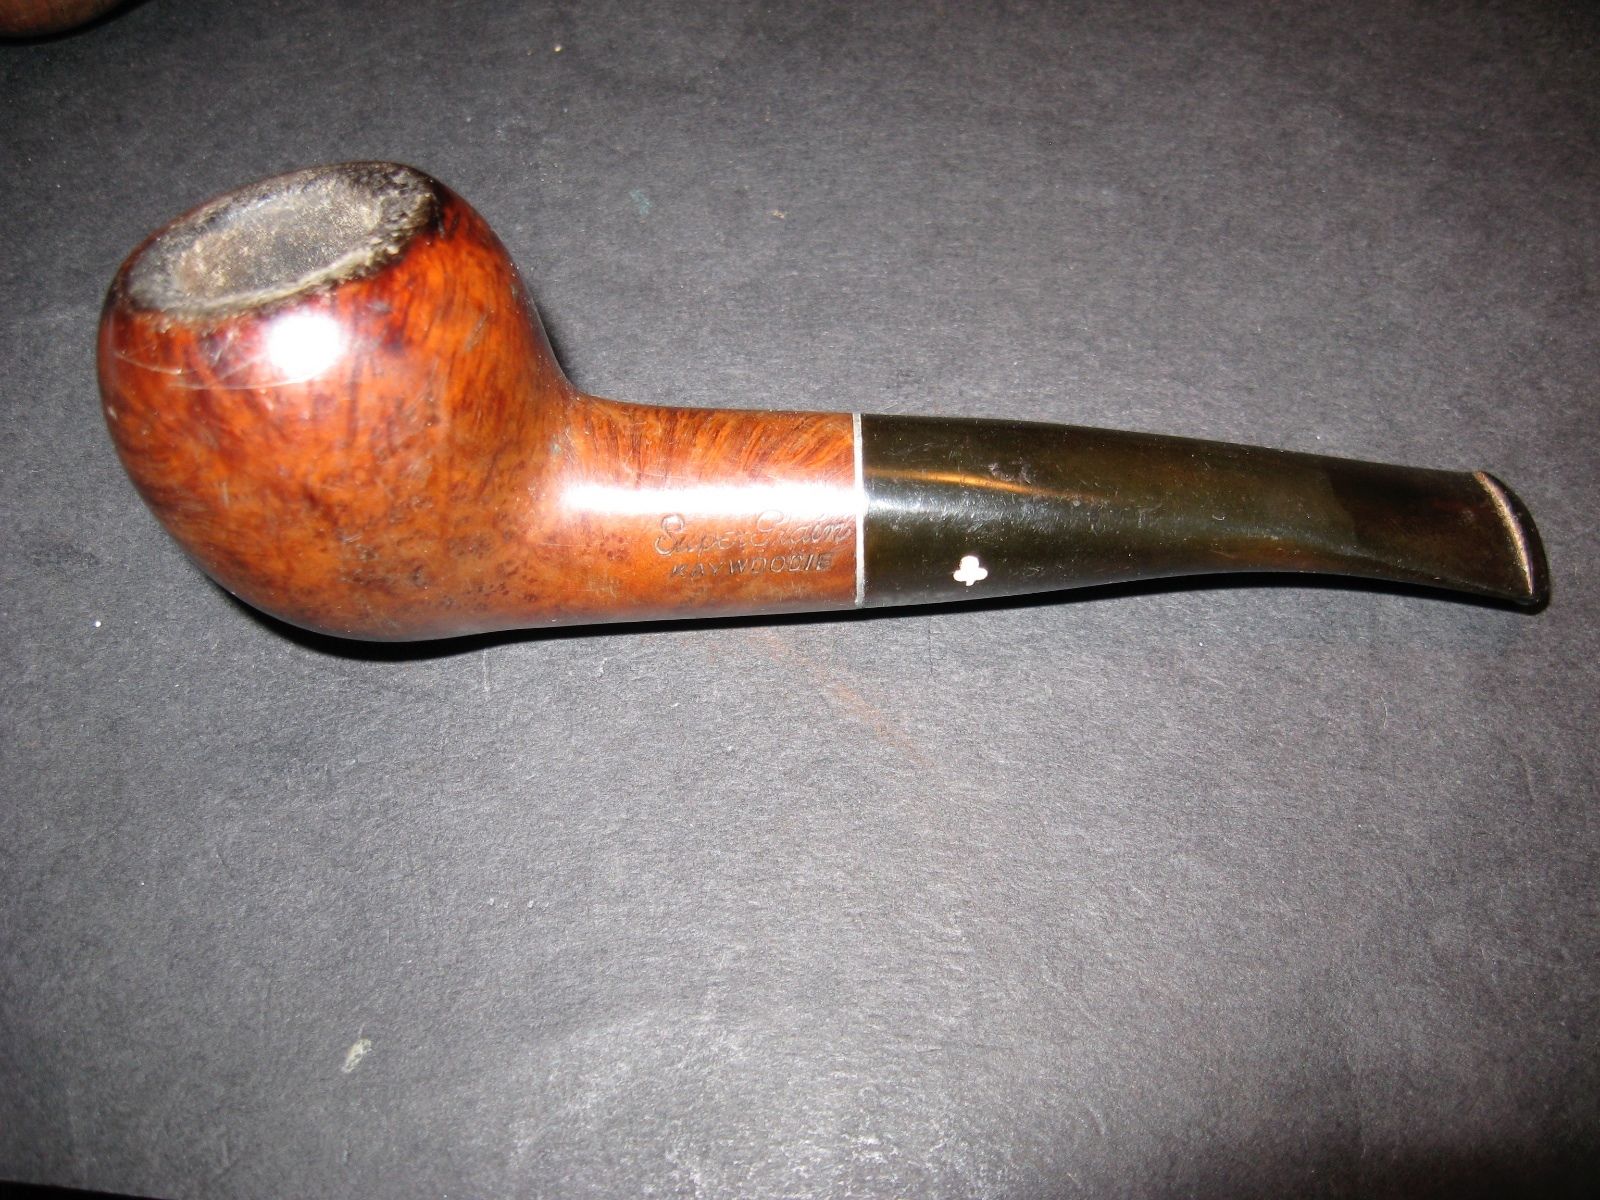
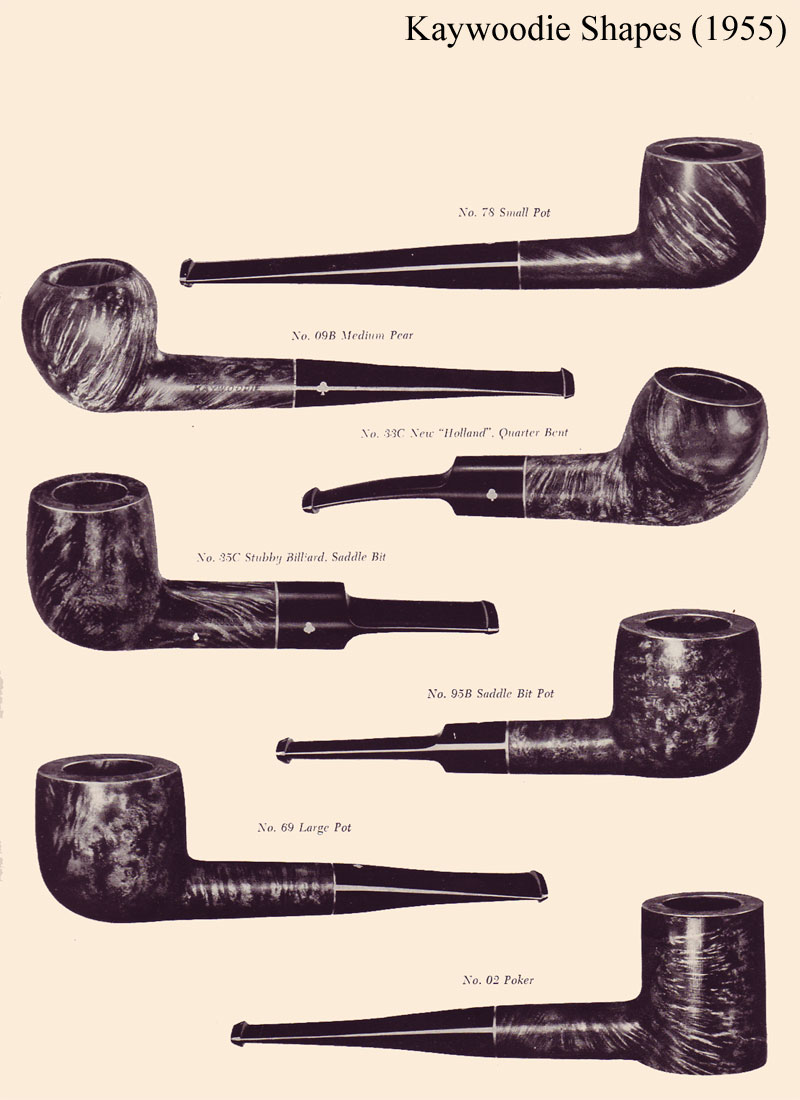
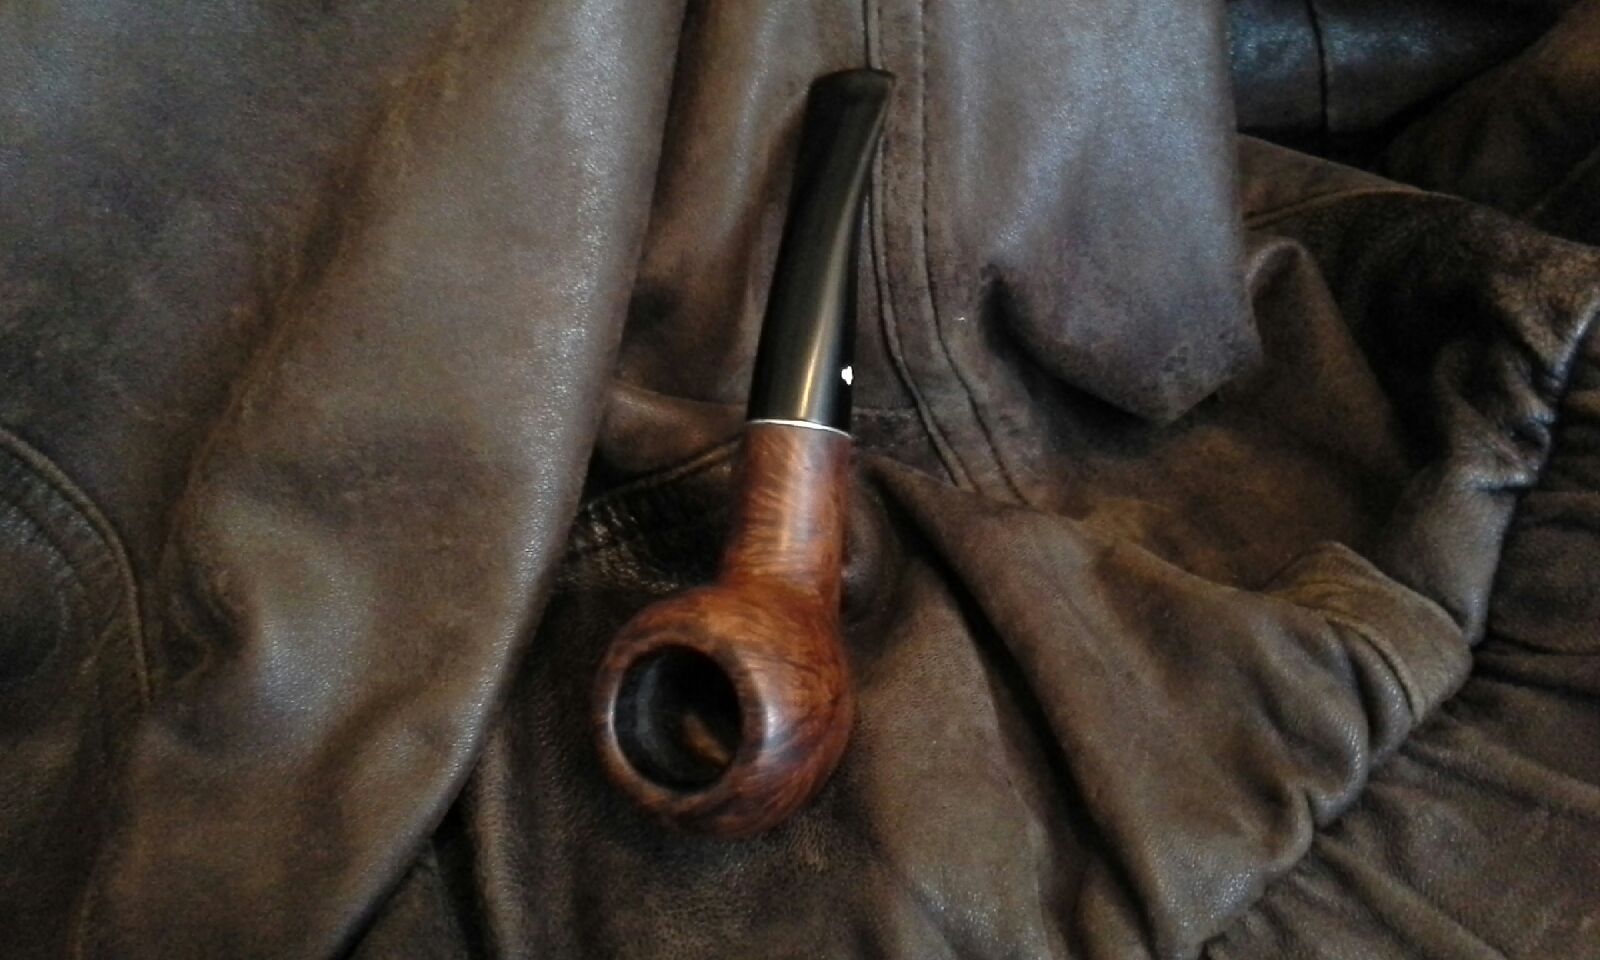
This is an interesting pipe shape by Kaywoodie that I have not seen before, and I am pleased with the results. I found this pipe on a 1955 Kaywoodie shape chart, thanks to pipepages.com. The only difference being this has a chunky stem and the one on the shape chart page had a saddle stem.
Astrid1
This pipe was extremely dirty inside the bowl and the stem, with thick rim char and took quite a bit of work to get clean. I started by reaming the bowl, I did not take it back to the walls; I wanted to leave a bit of cake inside. Next I used a pocket knife blade to remove the thick char from the rim, which removed most of it.

This was followed by using 100 grit and 220 grit sandpaper very lightly, so I could keep the shape intact, I did not want to top this bowl. Then I used a Magic Eraser to remove more of the remnants of the dark char stain on the briar. I finished with 1500 micro mesh to polish the top of the rim and smooth it out.

The shank was clogged with black gunk and needed to be opened up to be able to clean it. This required many pipe cleaners first so I could get the bottle brush in to scrub it clean (thanks (Mark Domingues) Dog Talker for this idea). I then did an alcohol and kosher salt treatment that I left overnight. After I had the bowl to this point, I turned my attention to the stem that was in equally filthy condition.

The stem was extremely dirty and clogged with black gunk. This required many pipe cleaners and a bottle brush to remove most of the gunk before I let it soak overnight in Oxy Clean. Next morning I removed the stem from its overnight soak and proceeded to scrub the inside with a bottle brush and finally pipe cleaners soaked in alcohol.

The outside of the stem had a thick grey layer of oxidation on it. I used a Magic Eraser to start removing the oxidation. This was followed by wet sanding with 1200, 2400, 3600 micro mesh. Meguiar’s Scratch X2.0 was applied, let to dry and then wiped off. I then dry sanded with 6000, 8000, 12000 micro mesh. This polished the stem to a nice high gloss shine.

Now I could get back to the bowl. I removed the dark brown salt and wiped out the bowl with damp shop towels. The shank was cleaned out again. The outside of the bowl was wiped down with damp shop towels removing years of dirt and grime. Then I used 1500 micro mesh to smooth and polish the bowl. I applied a bit of Olive Oil that I rubbed in thoroughly, let it dry and wiped the excess off. I polished the pipe with Paragon Wax and buffed it by hand using a cotton cloth.
astrid2

astrid3

Kaywoodie Super Grain 33C Pipe Cleaned Side View

Refurbishing a Brentwood Supreme 335 Apple – (GBD 2nd)


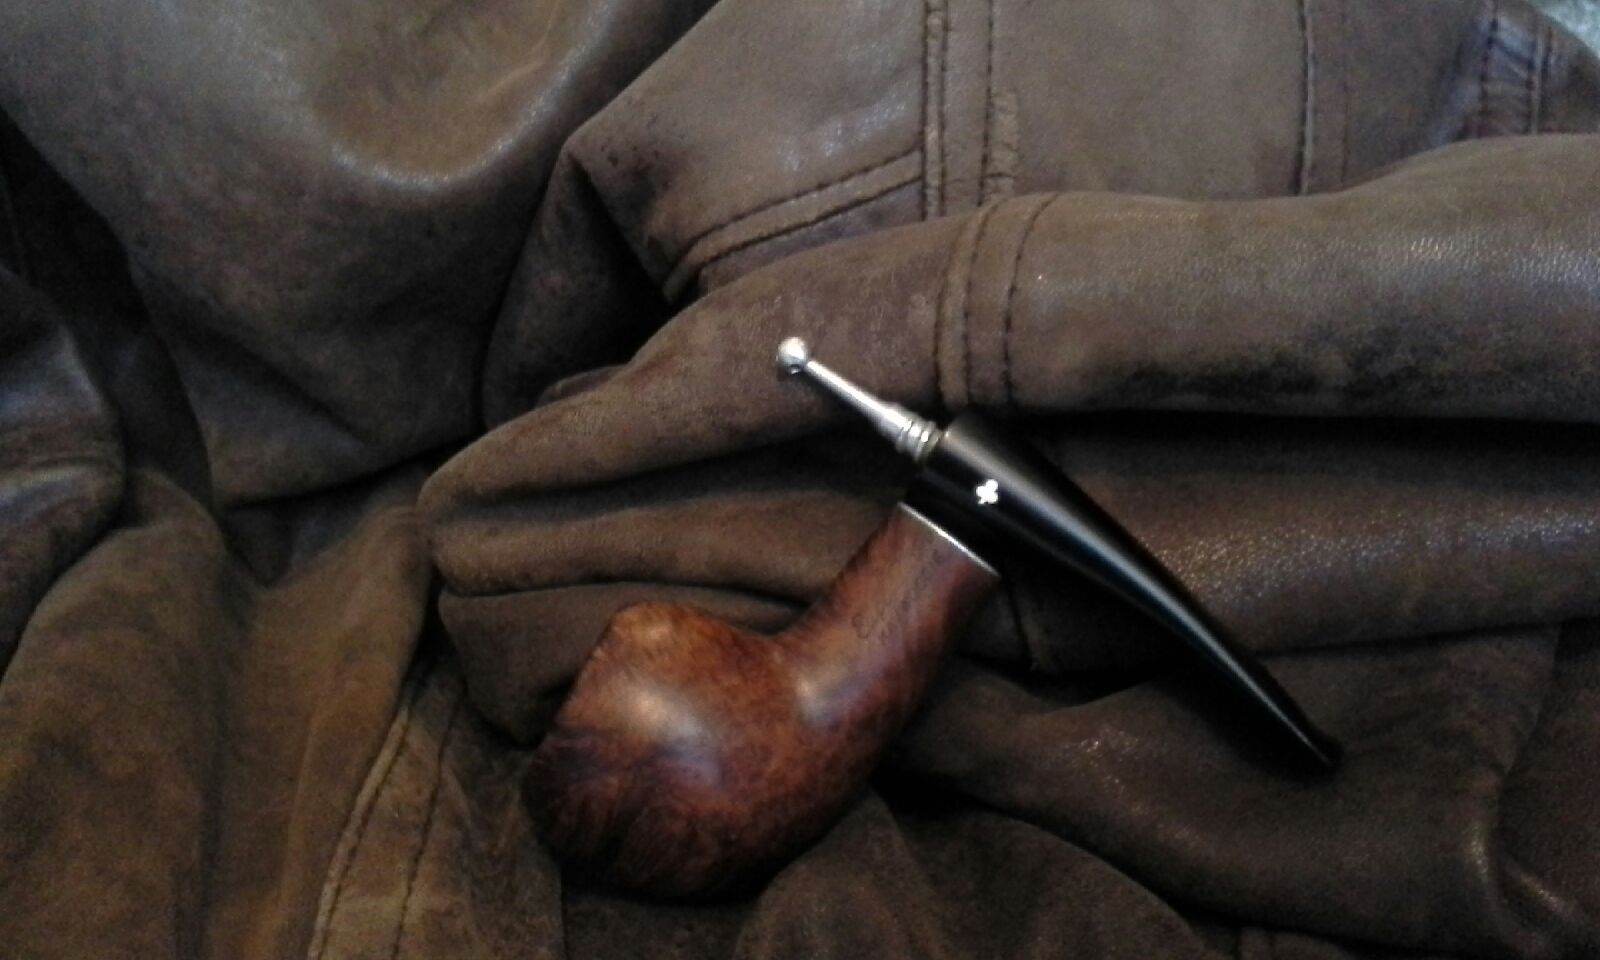
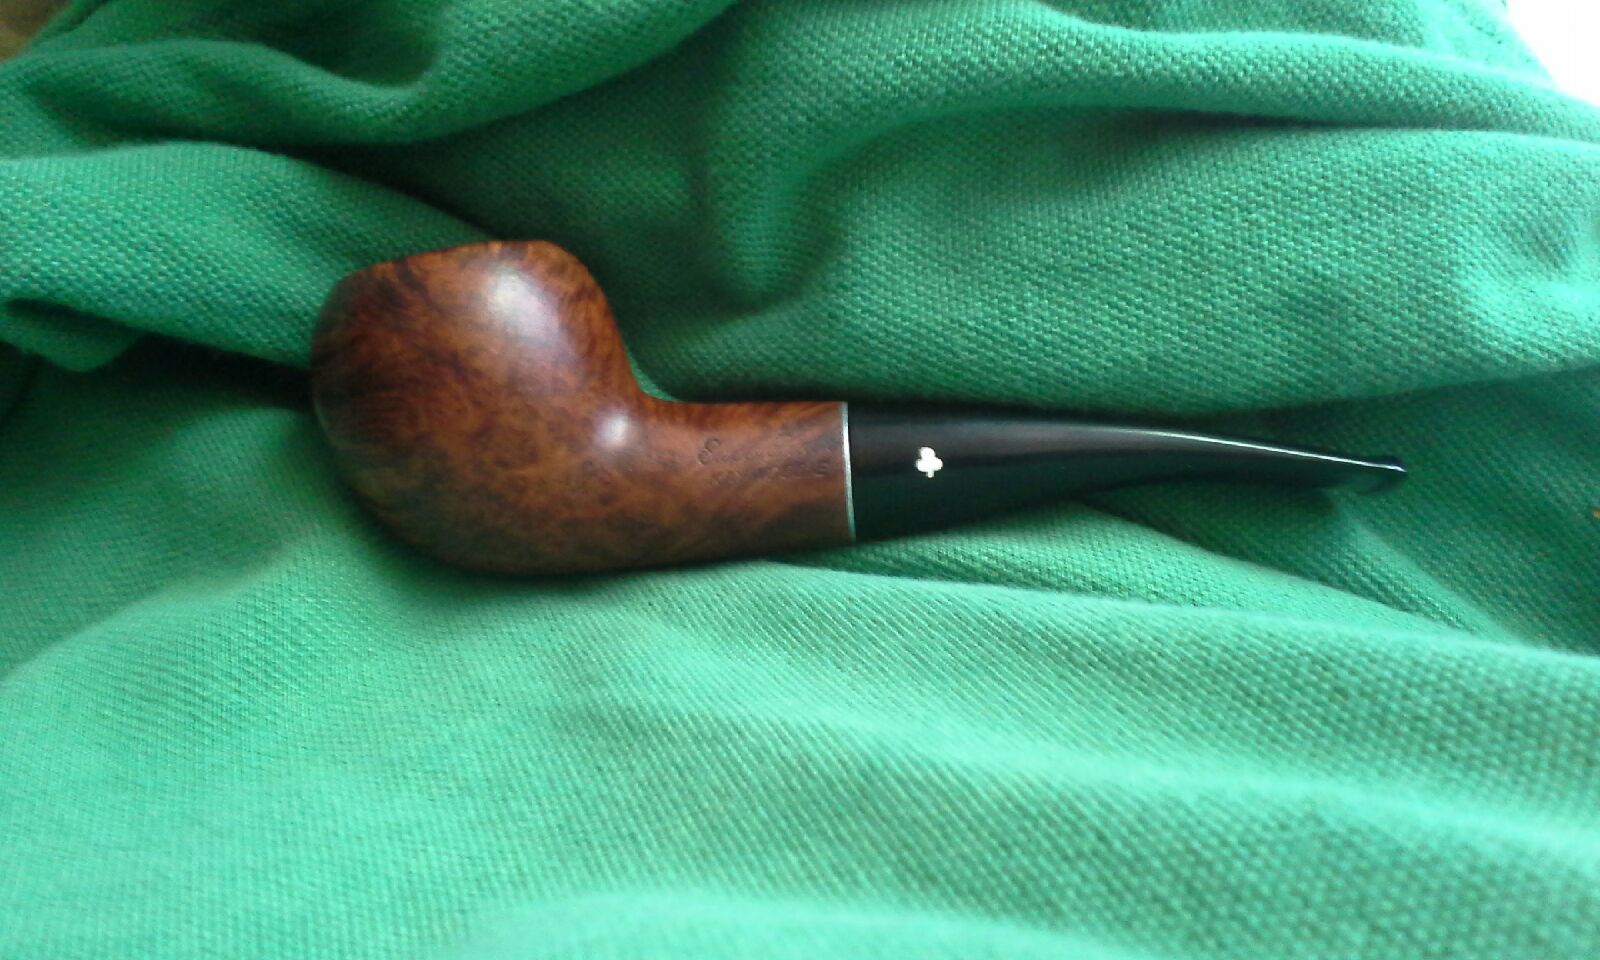
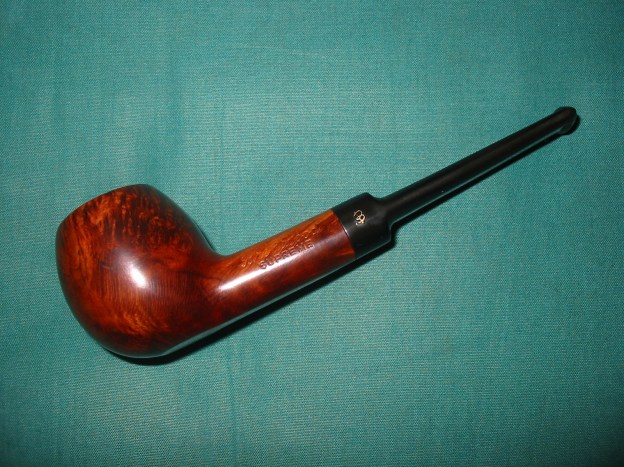
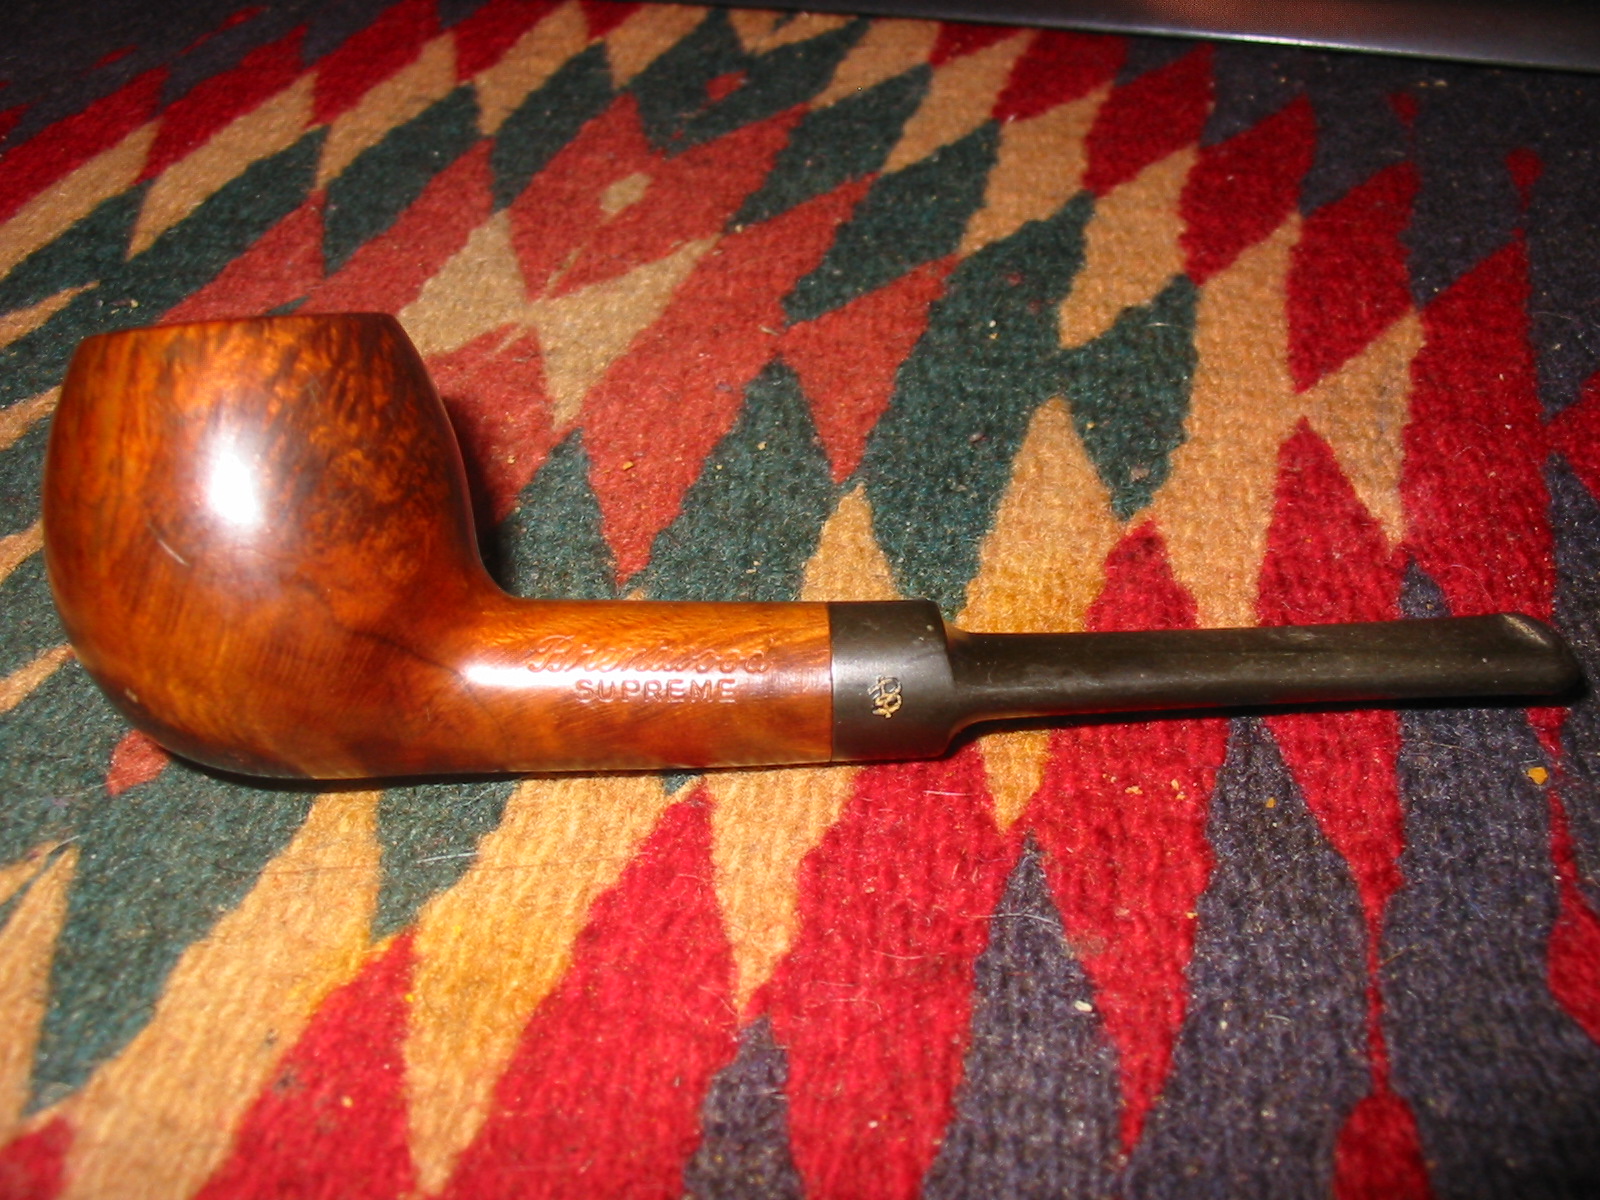
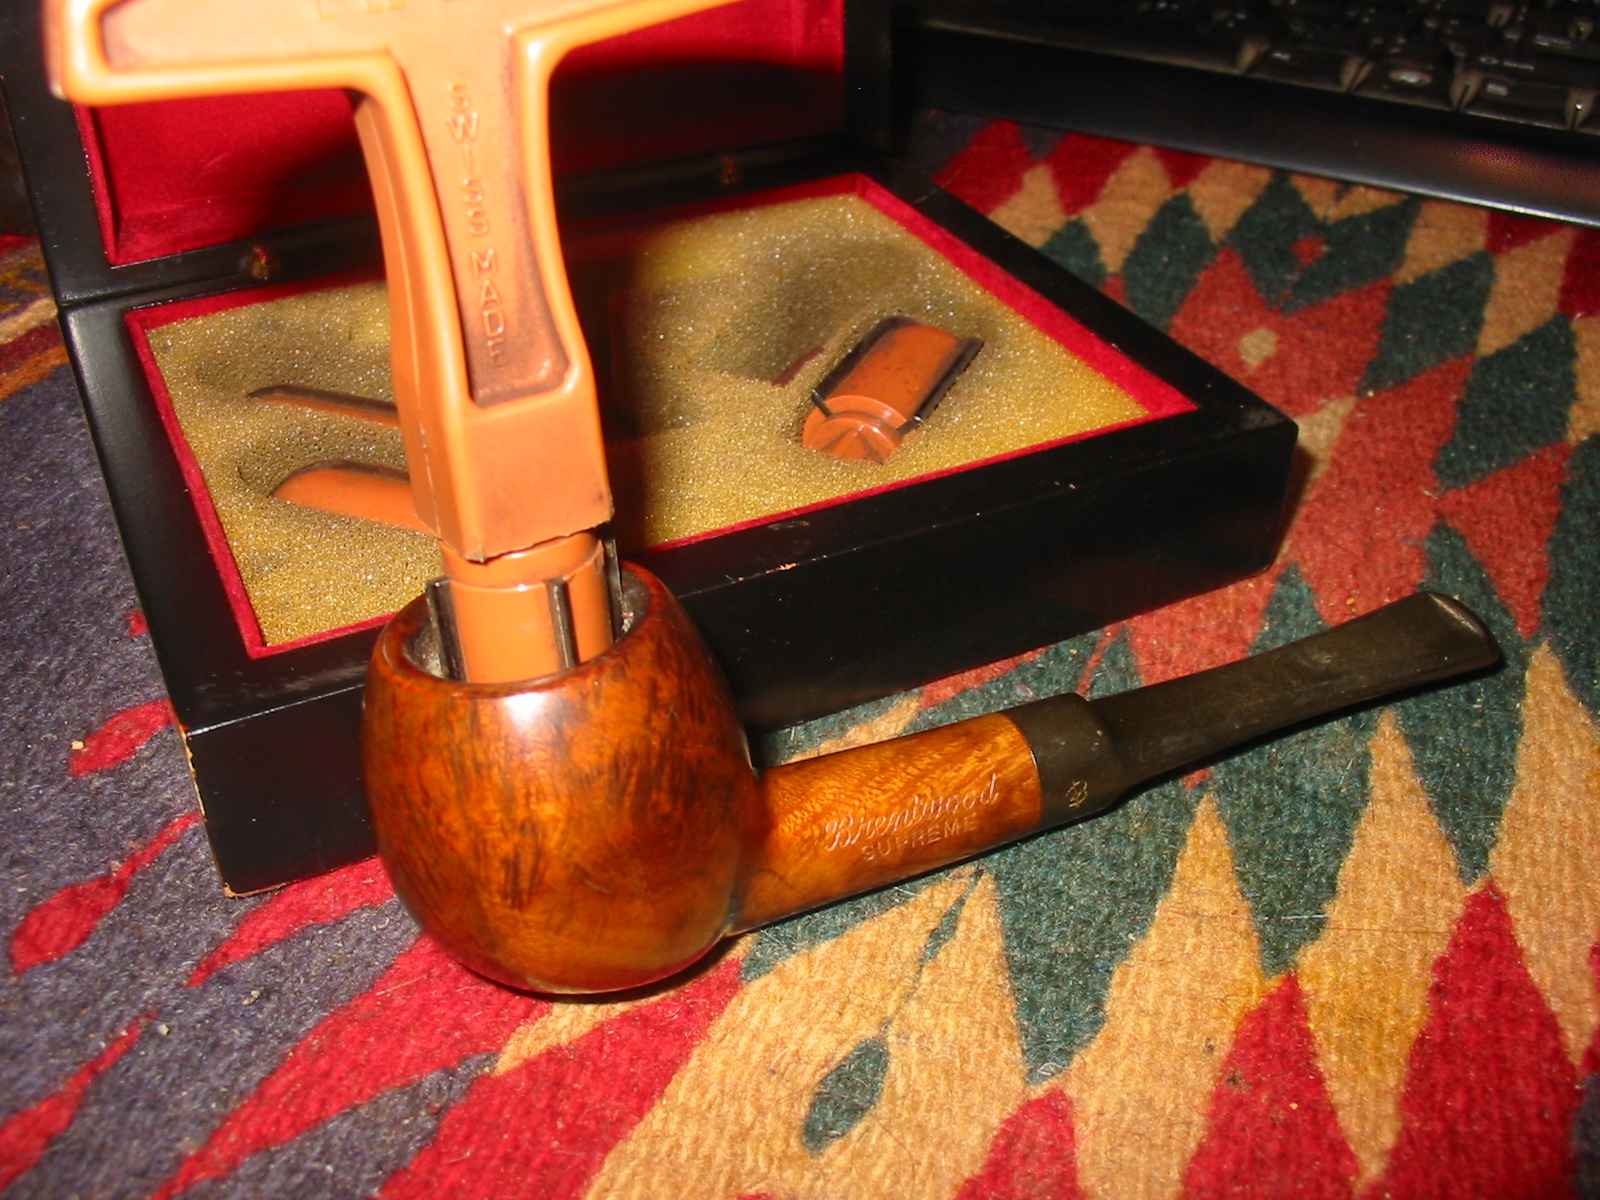
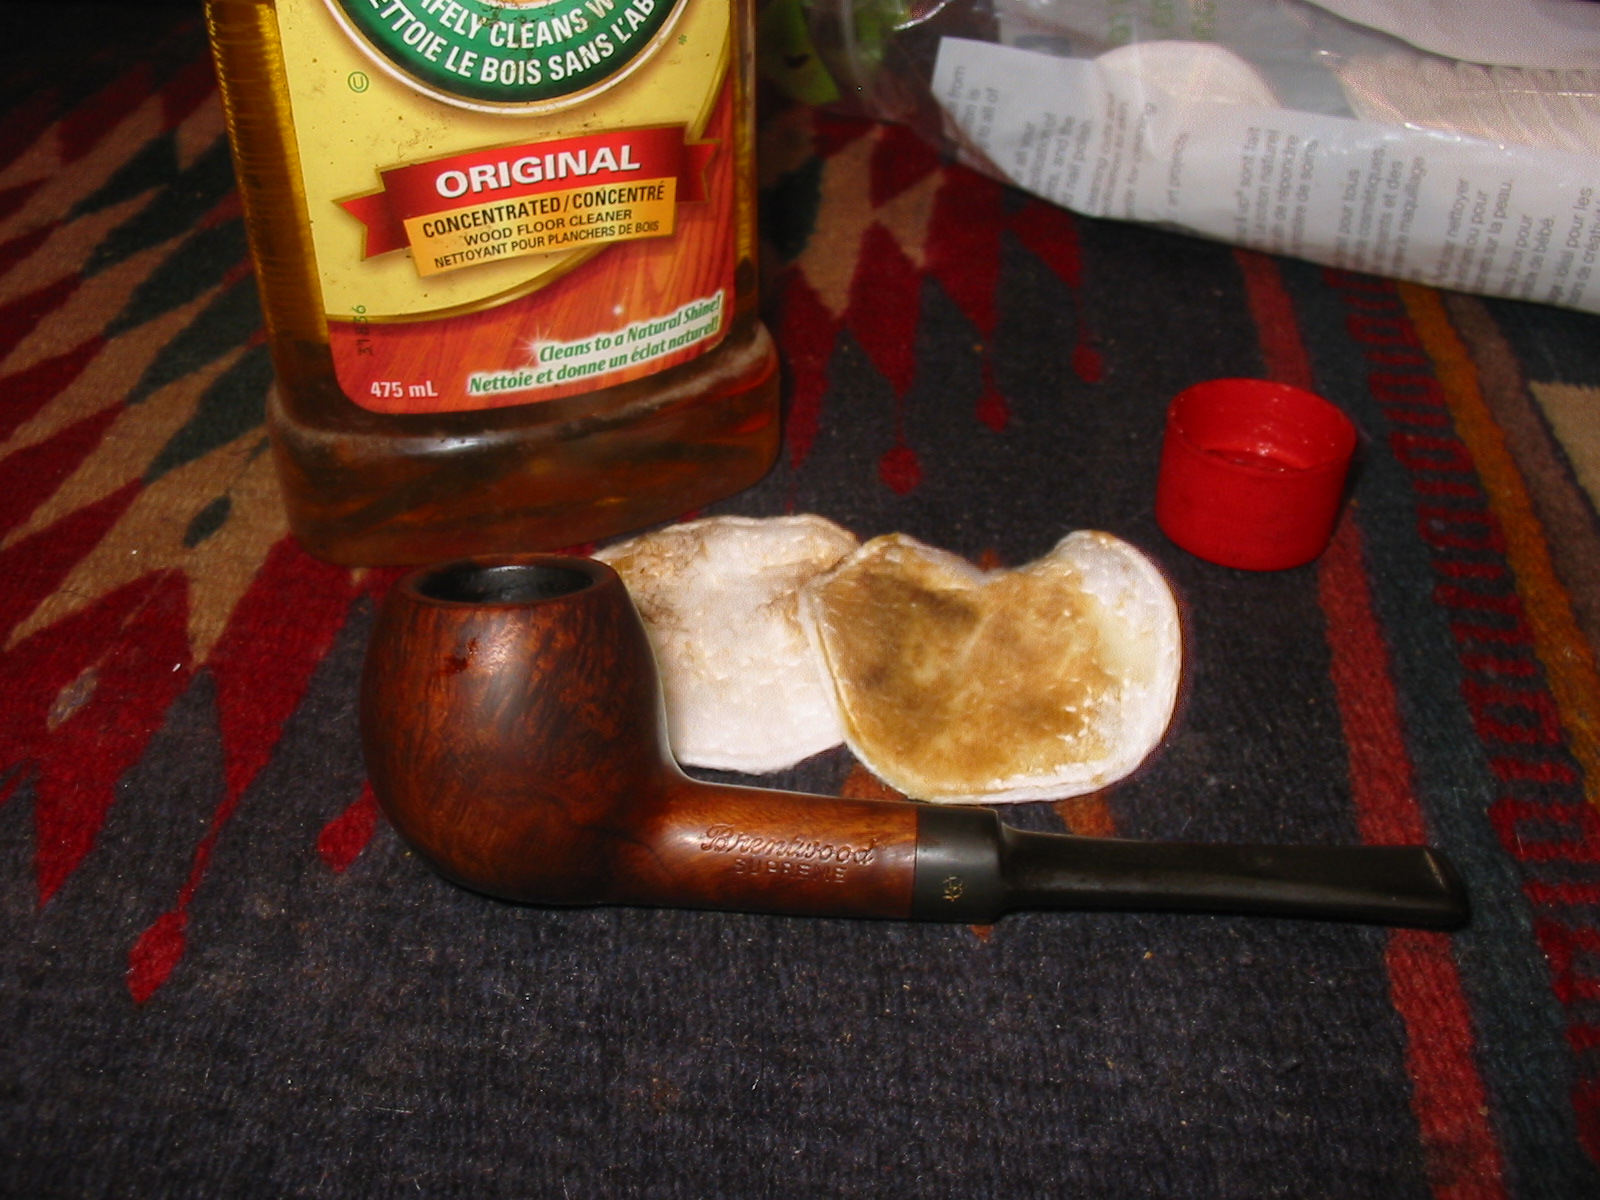
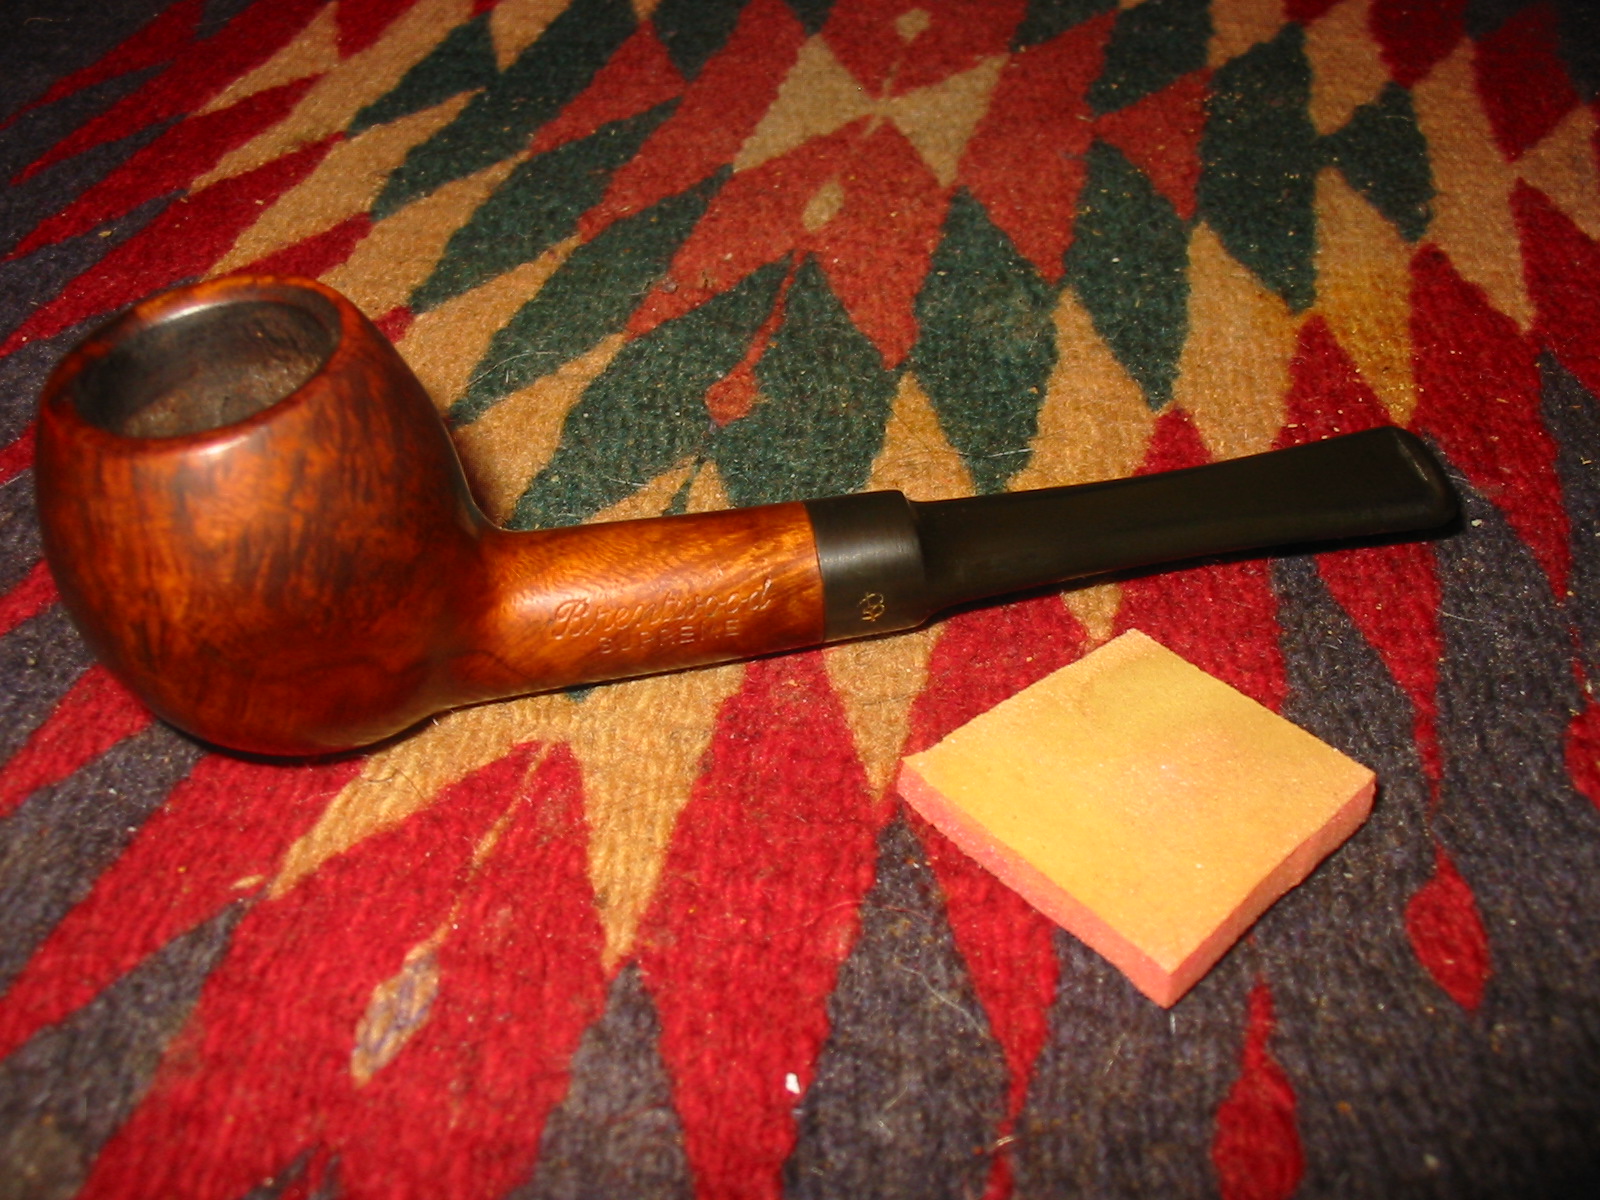
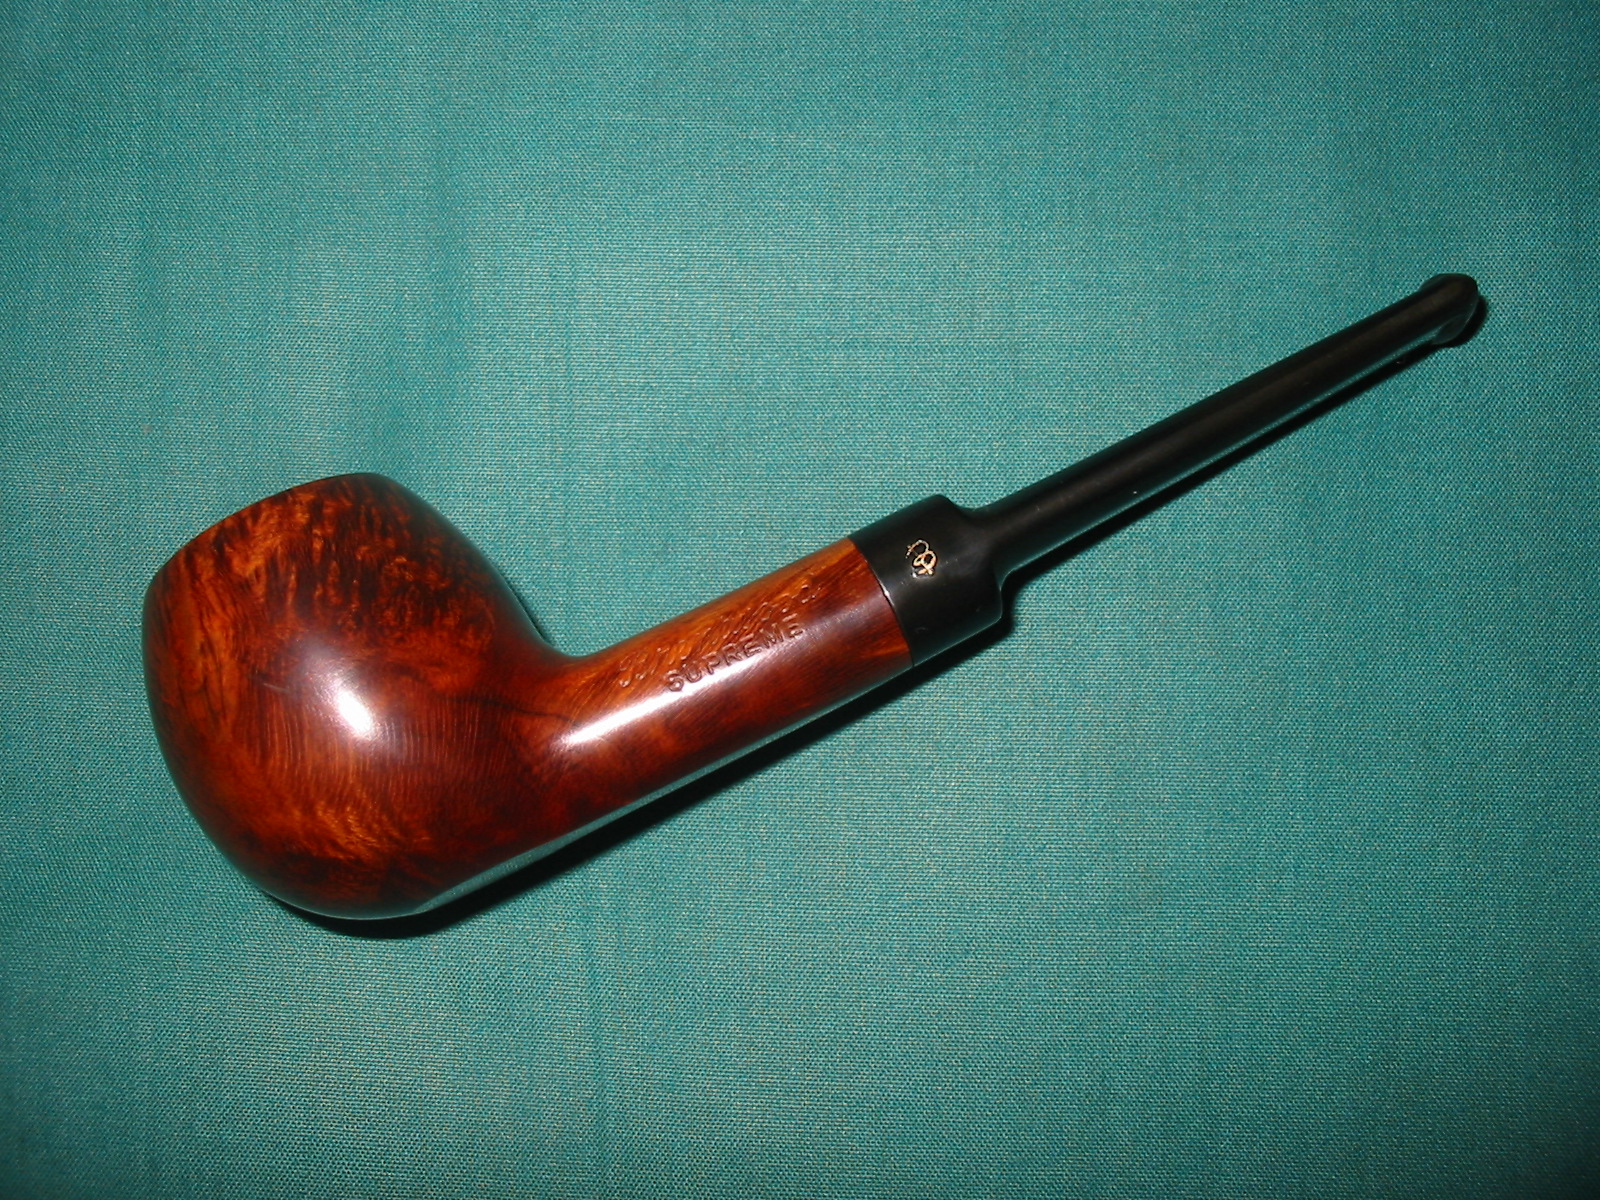
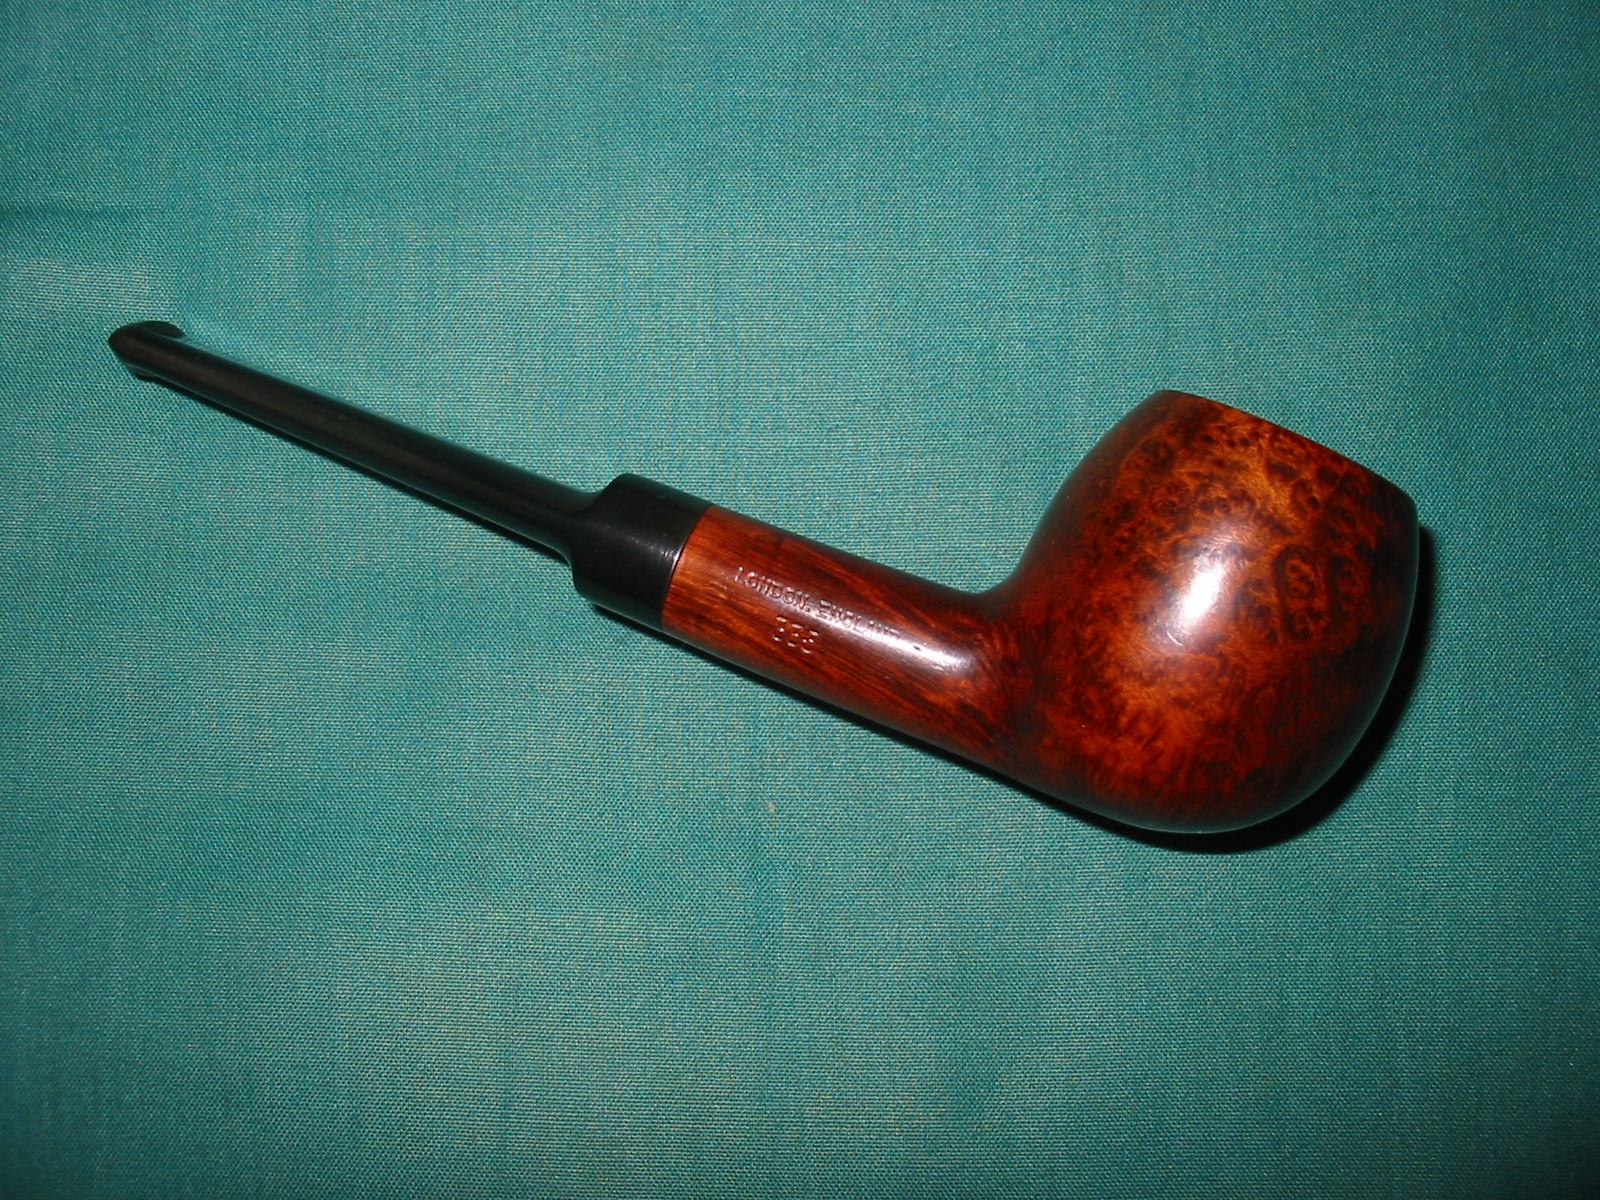
The last of the lot of six pipes I picked up in Washington was an apple shaped pipe. It was stamped Brentwood in script over SUPREME on the left side of the shank and London over England over 335 on the right side of the shank. The stem had a cursive letter ‘B’ on the left side. The finish was in good condition with a few small dings and dents in the briar. It had a thick coat of grime and grease on the briar. The rim was clean with no dents. It had a build up tars but was quite clean underneath. The stem was oxidized but there were no bite marks or dents. The stamping of the ‘B’ on the stem was in great condition and appears to have a gold colour stamped into the vulcanite. The overall look of the pipe looked familiar to me. I was not sure of the maker of the pipe but there was something about it that I remembered. Because of the sense that I had seen it before I decided to take it home, clean it up and see if I could dig up any information on the brand. I paid the $10 that the antique dealer had put on the pipe.
IMG_6925

IMG_6926
I examined the pipe and catalogued in my head what needed to be done to clean it up. I always do that to get some idea of what lies ahead for me. The bowl inside had an uneven cake on it. There were remnants of tobacco in the bowl. When I removed the stem the inside of the shank/mortise was clean and had some of the reddish brown stain inside from the bowl. There was no tar or build up in the shank. The inside of the stem had some tars and buildup that came out with the pipe cleaners and alcohol. I am not sure how that is possible that the shank was clean with the buildup and tobacco remnants in the bowl and the tars in the stem but that is the way it was. I may never know what the pipe went through.
IMG_6923

IMG_6927
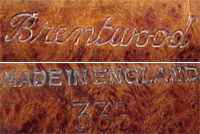
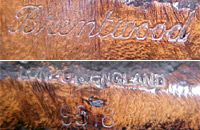
I compared the pipe to an older GBD apple that I have here at home. It had the same shape number stamp on it. Both were stamped 335. Both were apple shaped pipes. Both were stamped on the right side of the shank – LONDON, ENGLAND. The parallels made me go to the internet to see if I could find any information on the brand. I looked at Pipephil’s stamping and logo website (http://www.pipephil.eu/logos/en/logo-b7.html) and found the Brentwood stamping. The second pipe shown in the photo on the site had the same shape number as the one I had found. I have included the photo below as well as three other photos of the stamping on the briar and on the stem. The stamping shown in the second photo is the same on the left side of the pipe – the cursive Brentwood stamping. It is missing the Supreme stamping. The stamping on the other side of the shank – ‘MADE IN ENGLAND’ is different from mine but both the shape number and the position of that stamping is the same. The stamping on the pipe in the third photo shows the same stamping as the pipe I have – ‘LONDON, ENGLAND. The fourth photo shows the cursive ‘B’ on the side of the stem as the pipe I found.
brentwood2ybrentwood2bbrentwood1bbrentwood1a

Underneath the photo of the stamping on the Pipephil site read as follows: “Brentwood seems to be a GBD second for following reasons:
– 335 is a GBD shape number for an apple shape like the pipe above.
– 9518 (first pipe (not shown)) is a four digit shape number as used by GBD (ie: 9534, 9553, 9557, 9567…)”

The pipe I have that is a GBD with the same shape number and overall look, the same style saddle bit, the LONDON, ENGLAND stamping confirm the fact that the Brentwood pipe that I found is indeed a GDB second.

Armed with that information I went to work on the pipe to clean it up and refurbish it. The apple shape is one of my favourites so this was going to be a pipe that I would enjoy. I worked on the inside of the bowl and shank. The first photo below shows the condition of the bowl interior before reaming. The second photo shows the reaming process with a PipNet reamer. Once I reamed the bowl I scrubbed out the stain in the shank and the leftovers in the bowl with pipe cleaners, cotton swabs and isopropyl alcohol.
IMG_6924

IMG_6928
I scrubbed the exterior of the bowl and shank with Murphy’s Oil Soap on cotton pads. I wiped off the soap and residue and hand dried the bowl. The soap removed the grime and grease that was thick on the bowl. I always scrub with undiluted soap as I have found that it leaves the finish more intact than using the soap mixed with water.
IMG_6929

IMG_6930
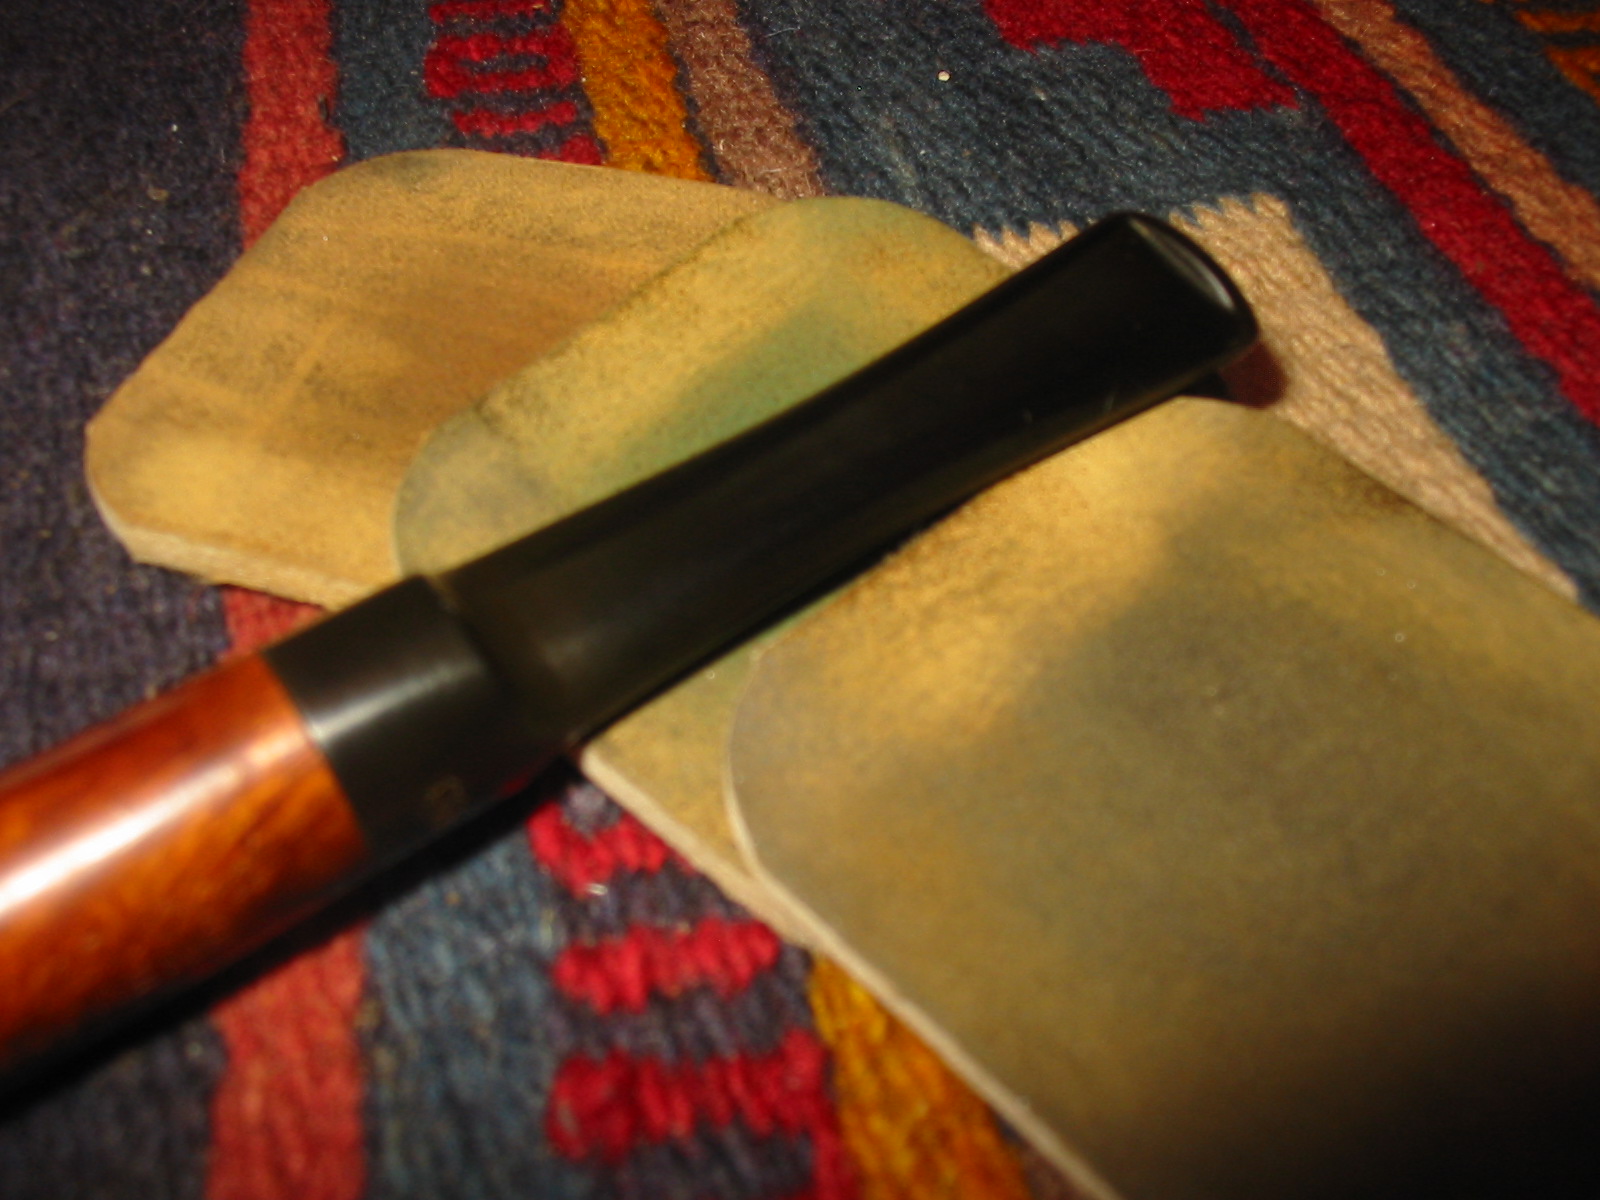
I sanded the stem with 220 grit sandpaper and medium and fine grit sanding sponges to remove some the buildup and slight oxidation on the stem. I then sanded the stem with micromesh sanding pads. I wet sanded with 1500-2400 grit pads and dry sanded with 3200-12000 grit pads. I rubbed the stem down with Obsidian Oil and when it had dried I buffed the stem with White Diamond.
IMG_6931

IMG_6933

IMG_6934

IMG_6935
I buffed the stem and bowl with White Diamond and then gave it multiple coats of carnauba wax and buffed it with a soft flannel buffing pad. The finished pipe is shown below. The interesting grain is highlighted by the stain and the finish of the pipe. All that is left to do is to choose a tobacco to smoke in it for its inaugural smoke.
IMG_6936

IMG_6937

IMG_6938

IMG_6939

Learned a bit of American Pipe History – Mastercraft Executive Choice Pot Restored


Blog by Steve Laug

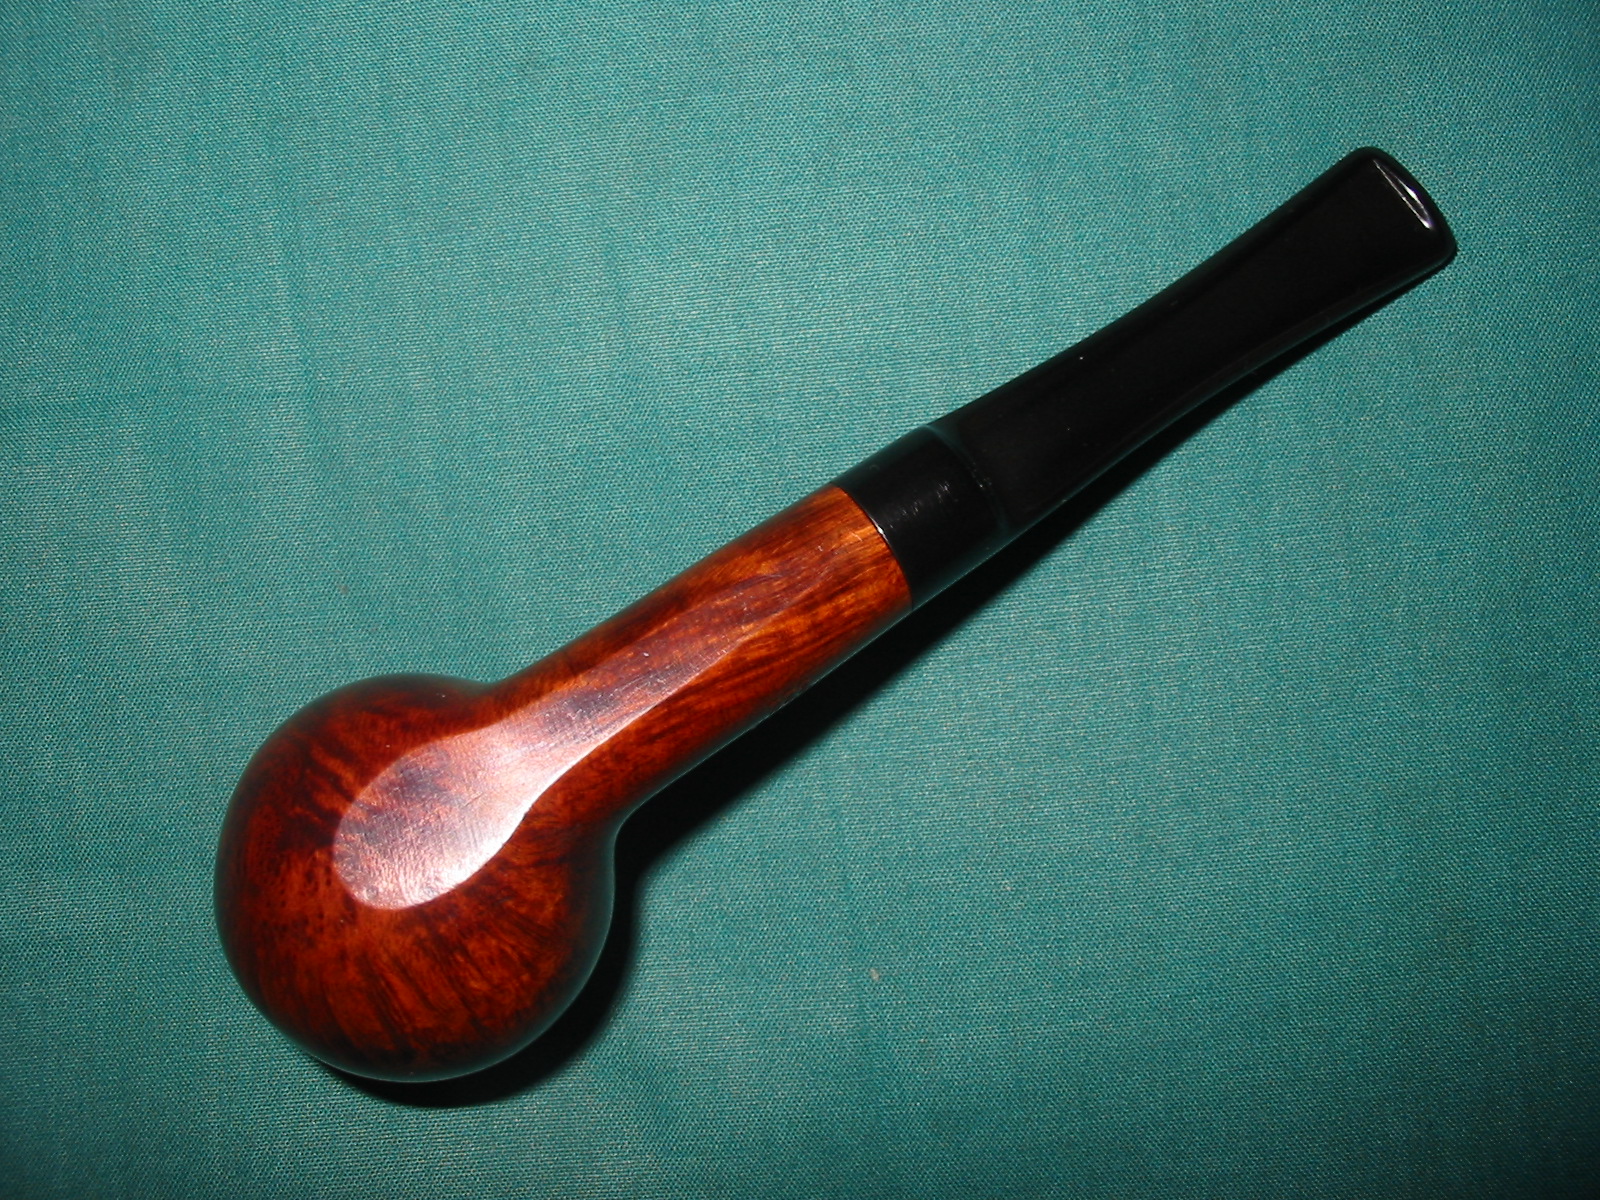
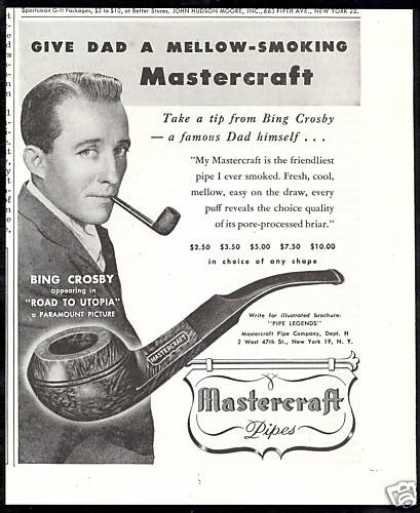
Another pipe I picked up along with the two pairs I have written about lately is a nice little Mastercraft Pot. I am generally not taken by the pot shaped bowl but this one has a nice bevel to the rim that shows off the grain on the rim. It has some nice grain on the sides, back and front. It is stamped on the left side of the shank Mastercraft in a shield. mastercraft4bUnderneath it is stamped Executive Choice. On the right side it is stamped Imported Briar over Italy. The stem bears the MC silver oval inserted in the side of the stem on the left side.mastercraft1aThe bowl was heavily caked and the beveled rim was covered with tars and buildup. The finish was in good shape. There were no deep scratches or dents. There were several fills but they were dark and did not stand out. The bowl was shiny but worn in some places. The stem was not too badly oxidized but it was dirty and seemed to have has a rubber bit guard on it at sometime in its life as it had left a line behind on the stem. There were no tooth marks or chatter on the stem.IMG_6900IMG_6901IMG_6902IMG_6903I have cleaned up quite a few Mastercraft pipes over the years but did not really know anything about their history. I assumed that they were American made. I had heard somewhere that Bing Crosby owned stock in the company and smoked their pipes but I was not even sure of that. So I went to work digging into the background on the internet. The first thing I found was this old advertisement for the pipes with the old crooner himself.
6mh04k9nm8qo8q I continued through the Google list for Mastercraft and one of the next listing was in Pipedia. http://pipedia.org/wiki/Mastercraft

In the article the author wrote the following: “Bing Crosby smoked Mastercraft pipes and can be seen in their magazine ads from the fifties. That isn’t a lot of info so I went looking and found a thread with posting by “Ted” — the former Exec VP of Grabow/Mastercraft http://drgrabows.myfreeforum.org/viewtopic.php?t=155&start=0

It doesn’t appear it was ever a manufacturer and bought pipes from multiple factories — mostly French and English. It survived briefly the post war recovery and then was acquired by Grabow.

The following is quoted from the thread: First a confession. From 1974 till 1984 I had several positions with Mastercraft including Executive Vice President. I also worked for Grabow from 66 till 74 and from 84 till I retired in 91. In 91, with retirement, I was President and COO for the corporation that was called “Sparta Industries”. I have seen both sides of the “fence”, and even though I never left the “employ” of Grabow, my loyalties for 10 years were with M/C.

United States Tobacco(UST)(Skoal and Copenhagen) bought Grabow in 69′ from the Lavietes family. In 74′ they bought M/C from Bernard Hochstein and moved it into the EXACT facility Grabow occupied. I was named “operations manager” and we were in the basement of a 4 story building in Sparta, NC.

M/C was STRICTLY an importer of pipes and pipe related merchandise. In 74′ when M/C moved from NYC to NC the inventory of finished goods was stored in a facility in Winston Salem, NC. Lentz Moving and Storage. Stacked 10 feet high the inventory covered 180,000 square feet….FINISHED. In my time at Grabow I had never seen that much finished stock, and the shapes, manufacturers, finishes. Heaven for a pipe smoker…..Damn right. You would have had to slap me really hard to get the grin off my face.
I’ll just list a few Manufacturers/names of the inventory. England ….Parker/Hardcastle(Dunhill) …Orlick…France…Jeantet…Jima…Cherrywoods…Italy…GIGI pipe…Radica…Rossi…Federico Rovera…Emilio Rovera…Santambrogio.Brebbia..Meerschaums from Austria…. Strambach… Lighters from Japan…Pouches and accessories from Hong Kong…and the Israeli pipes from Mr. Hochstein’s sons. Trust me…this is only a small sample of the things M/C had, and bought into inventory.
Now the connection. Since M/C and Grabow shared a building, and I was an employee of Grabow we compared notes. Grabow copied a BUNCH of M/C items fully with my help and some skills I had developed.
First was Omega…A copy of a well pipe made by Federico Rovera (FERO.com)….Freehand by the Alpha/Shalom factory…Meerschaum Lined from M. Gasparini, and later GIGI PIPE. These were originally imported by M/C for Grabow and stamped Grabow, but also stamped ITALY. Later models…better finish were made in the USA. Bucko…copied from M. Gasparini… (Gasparini, to my knowledge is the only maker of leather covered pipes in the world). If you buy a leather covered pipe it was, most assuredly covered by M/G. And you thought the wood in the Grabow COLOR was bad…..oughta unwrap one of these scrappers. There is a lot more. Questions will be answered following the presentation.

Now the other way. Grabow to Mastercraft. M/C never really had a source of continuing supply. The foreign manufacturers would make a line for a while and then quit. Never do it again, no matter how well it sold, no matter the demands we put on em’. Grabow gave M/C a source of stability and a nice profit for both companies. A lot of these you will not have heard of, but maybe….Seville, for M/C all smooth, for Grabow all rustic Hillcrest…. Freehand, For M/C Andersen and (a few Mastersen), for Grabow, Freehand with a DRB tampon. New finishes… New shapes, New bits…..Mastercraft showed Grabow how to use LUCITE for stems… Royalton…Again, these are just examples.

Ted also said: Several years before UST bought Mastercraft, M/C had acquired Marxman Pipes. A wonderful kind man, Bob Marx was still working as a salesman in NYC, and I was fortunate to make a few sales calls with him. You all remember Charles Atlas? Bob Marx was about 76 and had just been awarded the (I think) Atlas Award for being the finest specimen of manhood over 70 years old in NYC, or maybe the state.

M/C had some inventory of Marxman stuff, but not a lot. I know very little about Marxman. Did they make, import, or both?

M/C was included in all the major Christmas catalogues…Sears… Spiegel… Penney… Ward… Aldens. This was from about 70′ till 80′. We usually would have a 2 pc. Massa (pressed) Meerschaum sets from Robert Strambach, A water pipe from Brebbia, a huge Well pipe (saw one on e-bay a few days ago), and various odds and ends to fill about 6 – 8 spaces.

Let me also say one more thing about the 180,000 sq. ft. That wasn’t all pipes. It included display cases for our sets, which were made in England, and took up lots of space. Regular boxes, bags, and display material were a part, and pouches and accessories took up quite a bit.

In about 78′ UST put together a “premium products” sales force. They sold, mostly to pipe shops, products that UST owned. Tobacco from a plant in Richmond, Don Tomas cigars from Honduras, House of Windsor cigars from Red Lion PA., and M/C pipes. I think the force was 11 or 12 men and this was the heyday for M/C. What we had what EVERYONE in the pipe business wanted.

After the sales force was disbanded, M/C struggled some. This is about the time that Grabow and M/C realized what an asset we were to each other. Sales stayed pretty good for a while because of the relationships Judy Weinberger (NYC sales office and VP Mastercraft) and I had developed with the pipe shop owners.

Most of the Mastercraft pipes I have seen/bought at the bid place have an Algerian Briar stamping which makes them an attractive buy in this era. They are very reasonable and everyone has been well made with a nice draw and fine centering.”

I continued to look through various links on the web and followed this link to Pipesmokers Forum. http://pipesmokersforum.com/community/threads/mastercraft-pipes.3773/
This post from the same Ted as above appeared there. In it he confirmed some of the same information as he did in the extended post on Pipedia. He wrote: “To most pipe smokers Mastercraft Pipes are small cheap pipes, signified by the oval aluminum “MC” on the shank. Absolutely nothing special.

But Mastercraft was much more. As an importer of finished pipes M/C worked with many of the world’s foremost pipe makers and had in inventory finished product from the likes of… England, Hardcastle and Orlik. France, Ropp, Jeantet, Jean LaCroix. Italy, Lorenzo, Gasparini, Federico Rovera, Emilio Rovera, GIGI Pipe, Brebbia, Santambrogio, Fratelli Rossi. Israel, Shalom and Alpha. Plus all the tools, pouches and lighters from Hong Kong and Japan. The list of suppliers is enormous, but these are the ones I can remember after 30 years, and very few of these great pipes were ever stamped Mastercraft (some from Rossi).

Please don’t discount the importance of Mastercraft in this wonderful hobby we enjoy. Mastercraft, like Grabow, made many of our fathers pipe smokers. We all carry on the tradition…Thanks…Ted”

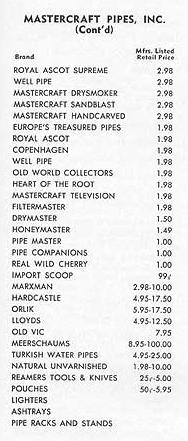
I also found some older RTDA Almanac pages on Chris’ Pipe Pages site. http://pipepages.com/index.html The first of these shows the address of the Mastercraft Pipe Company in New York before the move and purchase that Ted mentions above. It is a listing of different brands sold by the pipe company. I clipped this image from the 1949 RTDA Almanac. It is an early catalogue listing since the brand was created in 1941.
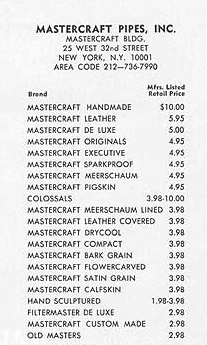
mc The next two photos were clipped from the 1969 RTDA Almanac. I included these as they show a list of various MC pipe lines. Note the inclusion in this list of the Executive line. It is the fifth pipe in the list below and sold for $4.95. I am assuming that the Executive Choice could be a subset of this line. The one I have is Italian made and imported to the US. The time frame fits the pipe that I refurbished so it may well be a 1969 pipe. The Italian pipes were made for Mastercraft by such Italian pipe makers as: Lorenzo, Gasparini, Federico Rovera, Emilio Rovera, GIGI Pipe, Brebbia, Santambrogio, Fratelli Rossi.

mc2 mc3
Now that I had found out some of the history of the Mastercraft brand I was intrigued. I went to work on the pipe with a new interest. I find that often a bit of history of the brand fuels my clean up and restoration work. The photo below shows the cake and the tars buildup on the rim. The rim itself was beveled inward and appeared to be unharmed under the tars. The grain was quite nice on the bevel.

IMG_6904I reamed the bowl with a PipNet reamer. For this bowl I used three of the reaming heads to take the cake back to bare briar so that I can build up a hard and even cake.
IMG_6905
I scrubbed the tar on the rim with Murphy’s Oil Soap to soften and remove it. It took a lot of scrubbing to break through the tar and hard carbon buildup. I put the oil soap on cotton pads and worked them against the bevel of the rim. After much scrubbing the rim was finally clean. The photo below shows the finished rim. I scrubbed down the rest of the bowl to remove the grime on the surface.
IMG_6906
I cleaned out the shank and the bowl with pipe cleaners, cotton swabs and isopropyl alcohol. I scrubbed out the stem at the same time. Once the pipe was clean inside and out I found that the finish was covered with a thick varnish coat in a rather surprising way.
IMG_6907
I decided to do a bit of touching up the rim edges and bevel with a dark brown aniline stain. It went on spotty and when I flamed and hand buffed it things did not feel or look right with the rim. I wasn’t sure what the issue was, the bowl had been quite shiny when I started but with the oil soap it had dulled slightly.
IMG_6908
I found that the finish was covered with a thick varnish coat. I did not figure that out until I did a touch up stain on the rim and took it to the buffer to polish the rim. I gave the entire bowl a buff with red Tripoli. As I buffed it the finish began to bubble and peel. I have to tell you this was very frustrating and irritating at the same time. The photo below shows the bubbling of the finish on the back side of the bowl. It appears almost white in the photo.
IMG_6909
I took the pipe back to the work table to remove the varnish coat. I wiped the bowl down with acetone on cotton pads to remove the finish. Thankfully it was a varnish and not a urethane based finish. It came off quite easily with a little scrubbing of the bowl, rim and shank. The next series of four photos show the bowl after the finish was removed. I decided I liked the colour of the bowl at this point so I did not restain it once it was clean. The rim and the bowl matched so it became unnecessary.
IMG_6910

IMG_6911

IMG_6912

IMG_6913
I sanded the stem with 220 grit sandpaper, medium and fine grit sanding sponges to remove the buildup on the stem. I then went on to sand it with micromesh sanding pads. I wet sanded it with the 1500-2400 grit pads and dry sanded with the 3200-12,000 grit pads.
IMG_6914

IMG_6915

IMG_6916
I rubbed the stem down with Obsidian Oil and when it had dried I took it to the buffer and buffed the bowl and stem with White Diamond. I was careful in the buffing on the shank as I did not want to damage the stamping. When the bowl and stem shone I gave them multiple coats of carnauba wax. I gave it a final buff with a soft flannel buffing pad. The finished pipe is shown in the photos below. The first photo is a close of the beveled rim. I find that feature of this pipe to be one of its most beautiful features. The final series of four photos show various views of the finished pipe. It turned out to be a beautiful pipe with interesting grain and once the varnish was removed a more natural finish. The pipe is now ready to enter the next phase of its journey in time and be smoked by me until I pass it on to whoever comes next in its life.
IMG_6921

IMG_6917

IMG_6918

IMG_6919

IMG_6920

Restoring a Second set of Twins – English Made Tinder Box Liverpools


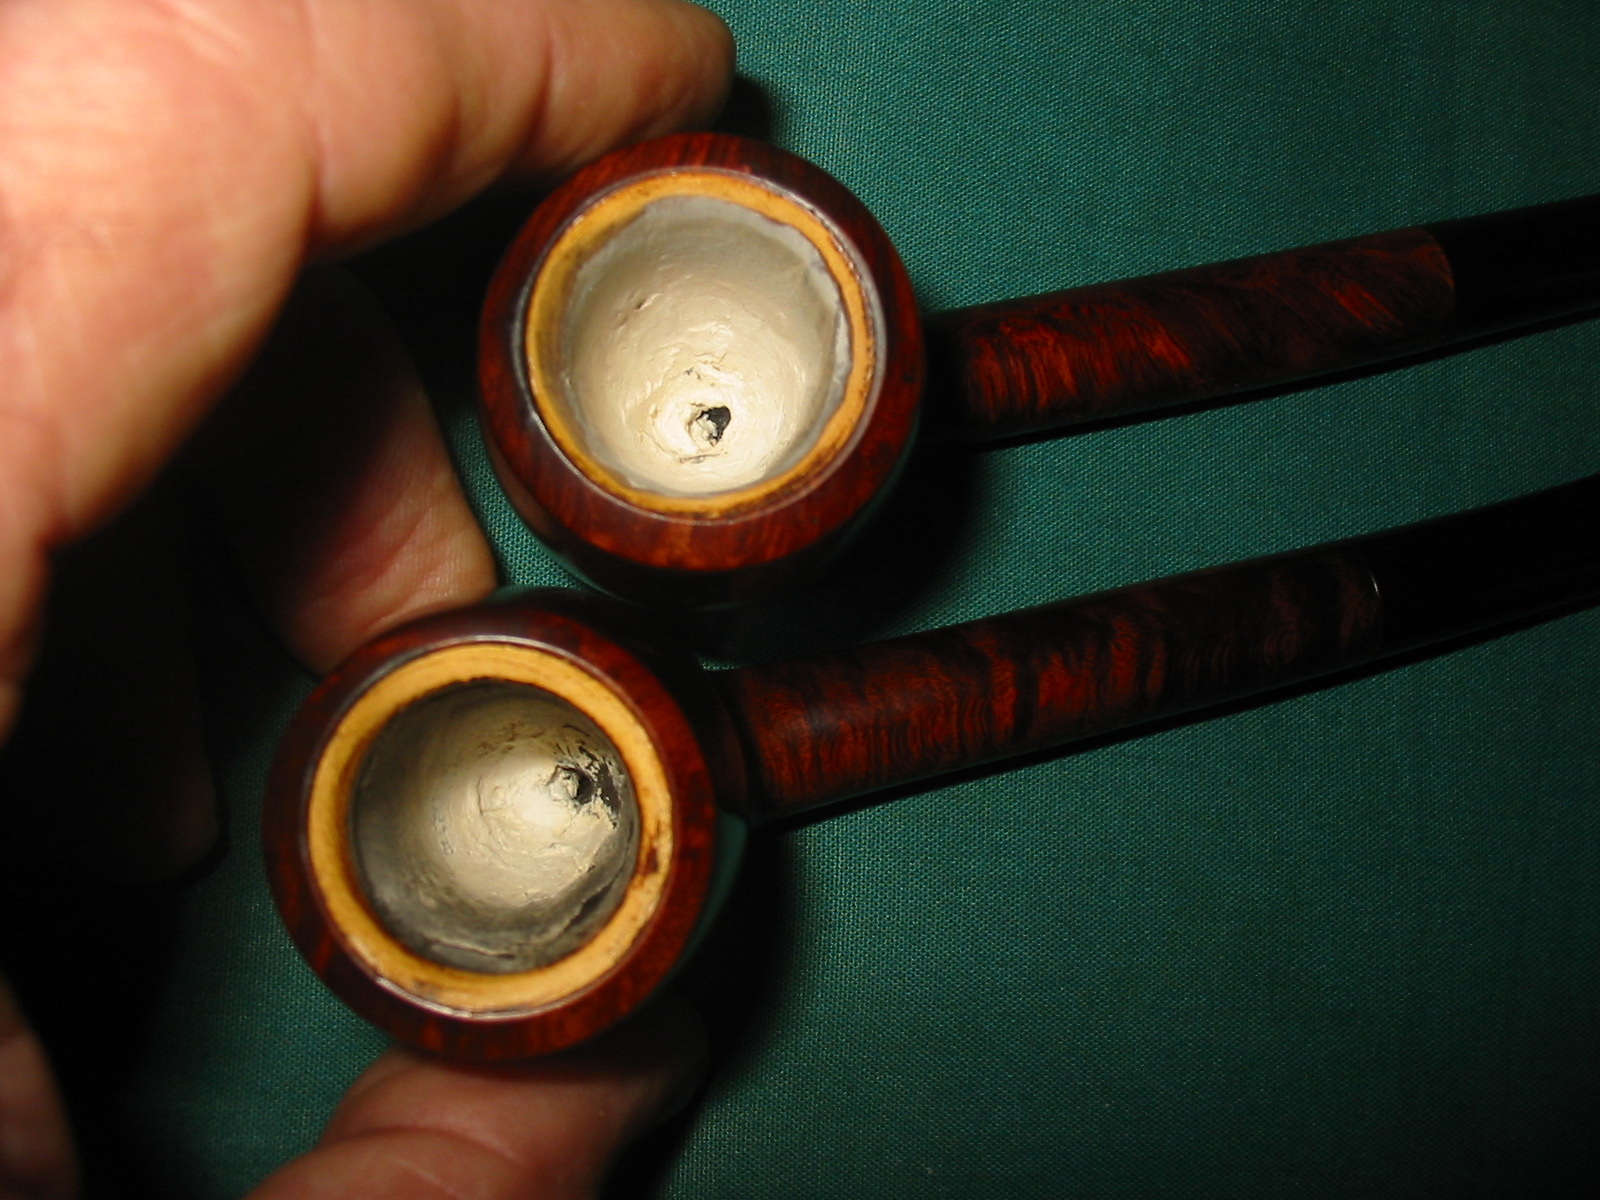
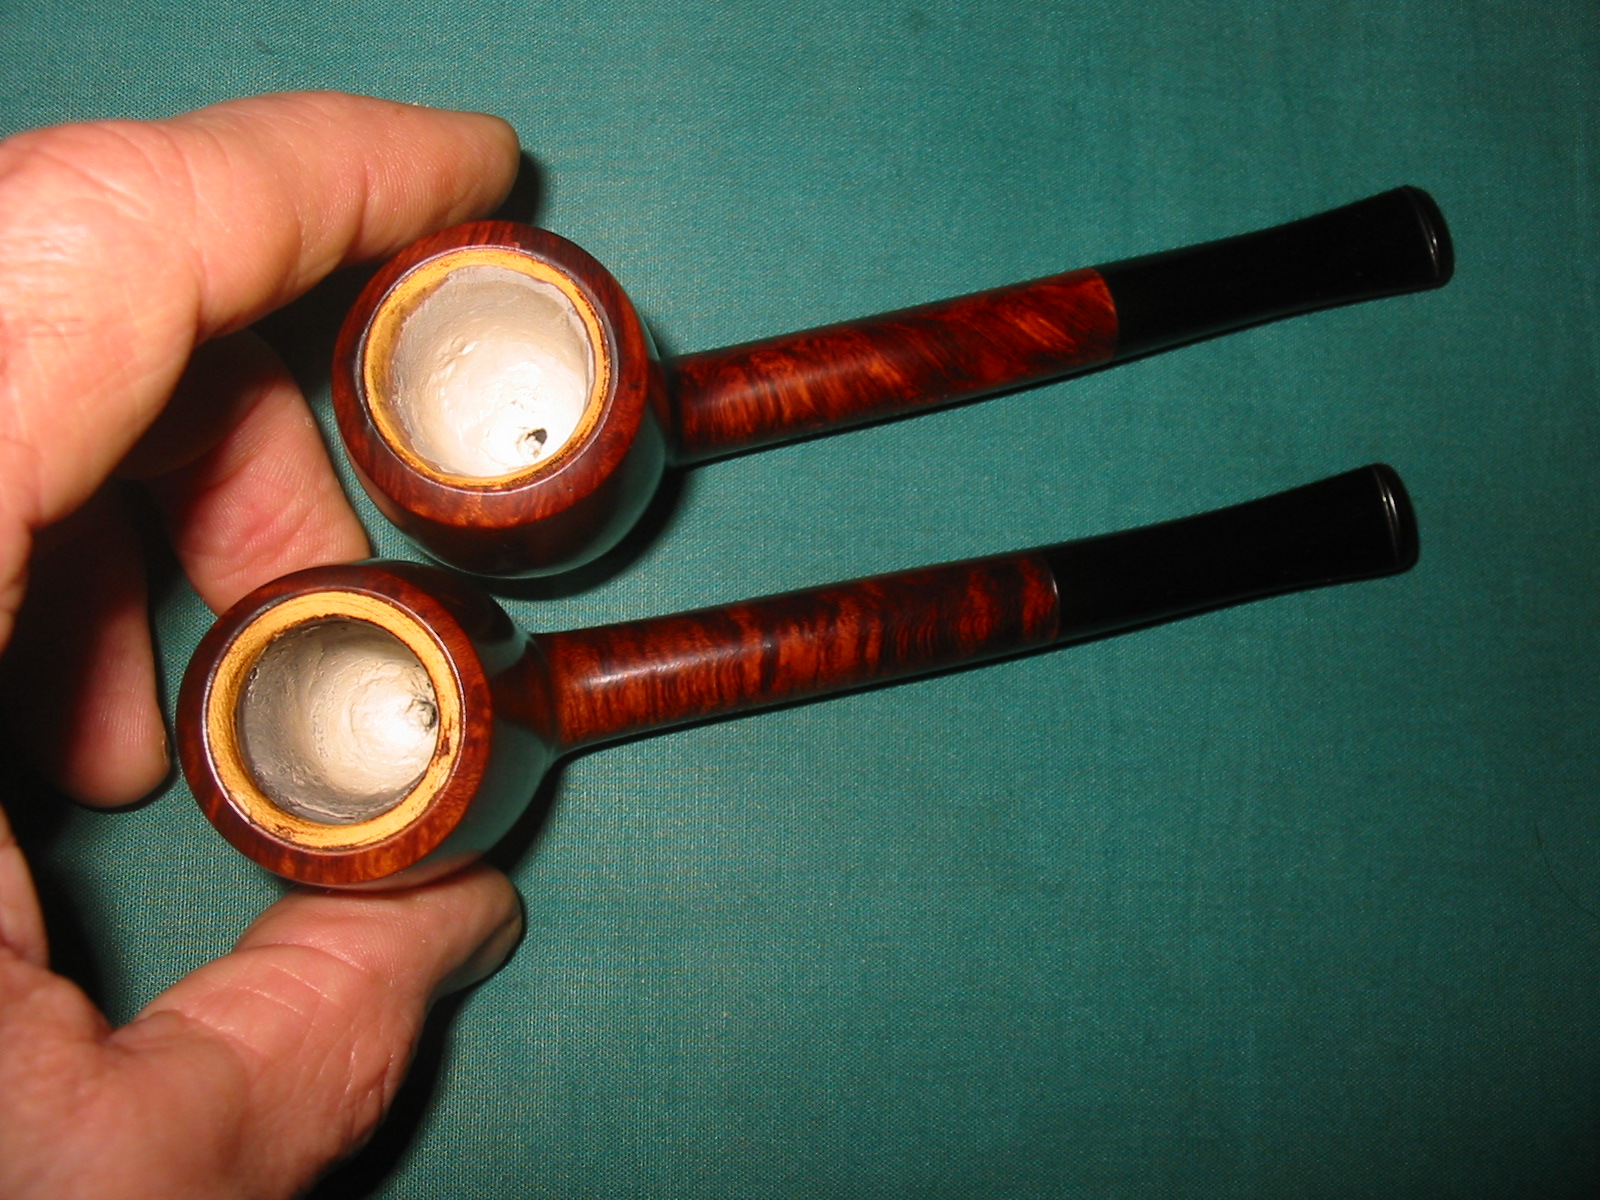
In a recent pipe hunt I picked up this second set of twin pipes. They came from the same collection as the pair of Royal Coachman bent billiards. These are stamped The Tinder Box over Meerschaum Lined on the left side of the shank and Imported Briar on the right side of the shank. I stated in the title that they are English-made and I came to that conclusion by the shape, size, staining and overall look of the pipe. Though I cannot definitively prove that, they are very similar to an older Orlik pipe of the same shape that I repaired and restored. The staining and finish were in very good shape. There were relatively few dents and dings in the bowl and shank though both were very grimy and greasy. The rims were clean other than the slight tar build up on the meer portion. The briar outer rim was in great shape with no nicks of dents. The stems were oxidized and had calcium build up all over the surface. There were also sticky places on the stem that looked like the residue from a sales label. Since they did not have a label when I bought them I am thinking this maybe the original labels on the pipe stems. Inside the bowl was slightly caked and had tobacco residue stuck to the walls. The inside of the shank and stem were very dirty with tarry buildup. The slot on both mouthpieces had narrowed with the tars.
meer1meer2meer3meer5The meerschaum lining on the two was in great shape except for the bottom of the bowl. The lining on the bowl of the top pipe above and below shows the break through on the lining. It was worn all the way through to the briar. The size of the hole was about the size and shape of a pencil. The lining on the bottom pipe was not as worn but was significantly below the airway and showed damage. It was very thin if my measurements were correct. Both of these bowls would need to be addressed in a restoration.
meer4I cleaned out the inside of the bowl and the shank to prepare for patching the bottom of each bowl. I used cotton swabs, isopropyl alcohol and pipe cleaners to remove the tars and grime from the inside of both. I also used a fine sanding sponge to remove the tars from the top of the rim and the meer lining. All of this was done to prepare for the repairs I was planning for the inside of the bowl.
meer6I scrubbed the outside of the bowl and shank with Murphy’s Oil Soap on cotton pads to remove the grime and sticky substances on them both. I also rubbed down the stem with the oil soap.
meer7I mixed a small batch of Plaster of Paris in a plastic bowl that I use for mixing and cleaning pipes. I generally pour in the dry powder and then use an ear syringe to add water slowly to the mix to get the right consistency for a patch. I learned the hard way to do this. I used to pour in the powder and then pour in water. I had to keep adding back and forth to get the mix right and always ended up with excess material. This way I can actually mix it in very minute batches, and add water as needed to keep it workable.
meer9I inserted a pipe cleaner into the airway and into the bottom of the bowl to keep the airway from clogging with the mixture. I then pressed the mixture into the bottom of each bowl with the spoon end of a pipe nail and a dental pick. The trick is to push into the bottom and use the dental pick to push it into the holes. Once it is tightly packed by the pick I use the spoon to smooth it out on the walls of the bowl and the flat head to press the bottom of the bowl. In this case the bowl was somewhat conical so I used the spoon the entire time.
meer10I cleaned up the bowl and smoothed out the surface of the repair with my finger. I wet the end of it with water and then rubbed it against the walls and bottom. I do this to knock down the ridges left behind by the spoon. I cannot get it absolutely smooth but it is smooth enough that after a few smokes it matches the surface of the meer lining. In the photo below the top pipe shows that it took the largest amount of patching. It was the bowl that was worn through at the bottom. The crack at the airway is actually not a crack but a pipe cleaner end pushed into the bowl. The bottom bowl took far less of the mixture to patch. I set them aside to cure overnight. The last photo of the bowls shown below shows the bowls after the plaster had cured. They were hard and slightly rough to the touch. I wet my finger again and rubbed down the ridges on the sides and bottom of the bowl until the surface was smoother. I sanded the patch with 220 grit sandpaper and with a medium and fine grit sanding sponge. I wiped down the inside of the bowl with a wet cotton swab to remove the dust from the sanding.
meer12IMG_6899I sanded the stems with 220 grit sandpaper and then a medium and a fine grit sanding sponge. I buffed the stems with red Tripoli and then took them back to the work table. I sanded them both with my usual micromesh sanding pads. I wet sanded with 1500-2400 grit pads and then dry sanded with 3200-12,000 grit pads. I had to stop several times and go back to the sandpaper and sponges to get the deep oxidation. I repeated the sanding with the micromesh pads. I wiped the stems down with Obsidian Oil. When it had dried I buffed the stems and bowls with White Diamond and then gave the pipes a buff with carnauba wax. I finished by buffing with a soft flannel buffing pad to polish. The photos below show the finished pipe. I will let them cure for a few days longer before loading them and giving them a first smoke. I have found that as the plaster heats when smoking it becomes harder and even more cured. It makes a durable and lasting repair.
IMG_6895IMG_6896IMG_6897IMG_6898