by Steve Laug
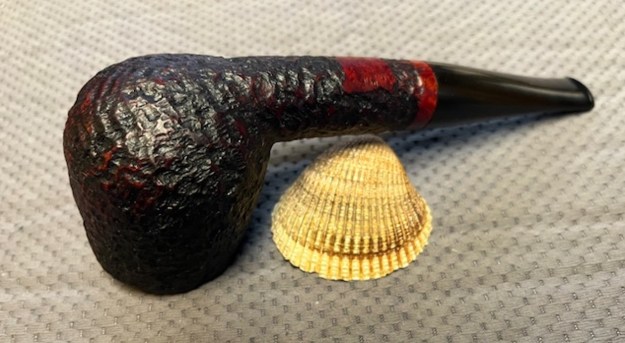
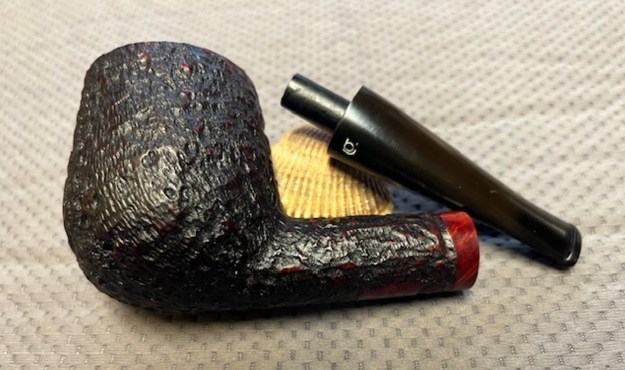
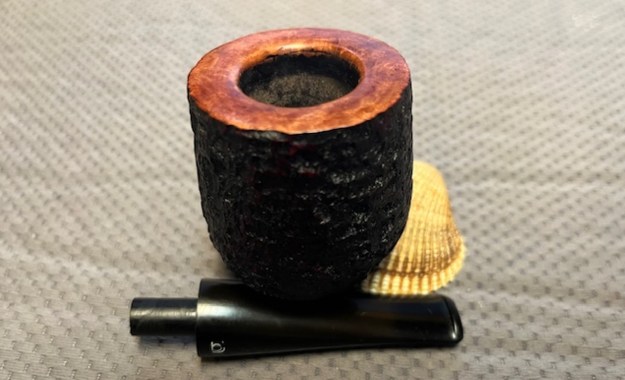
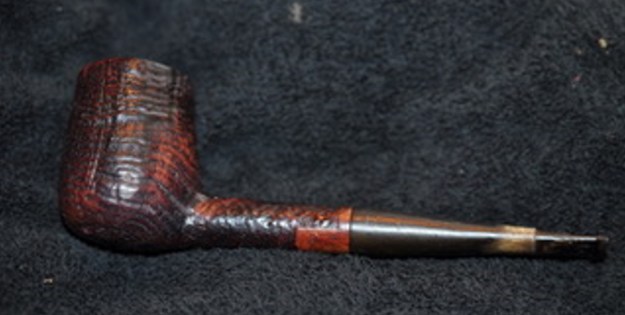
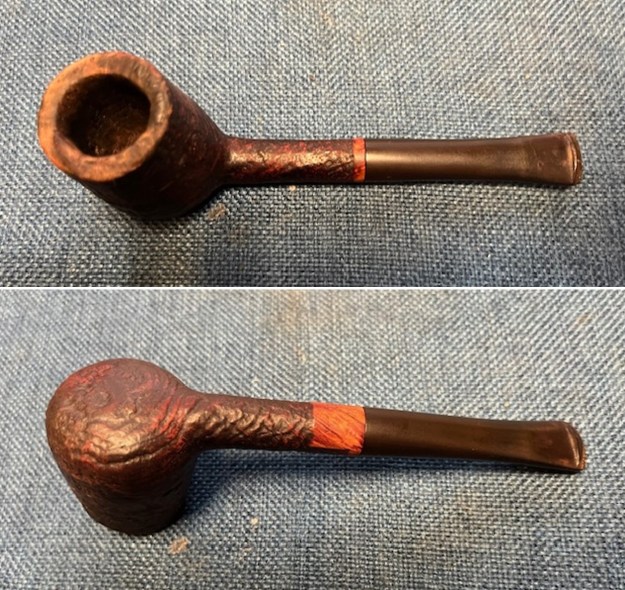
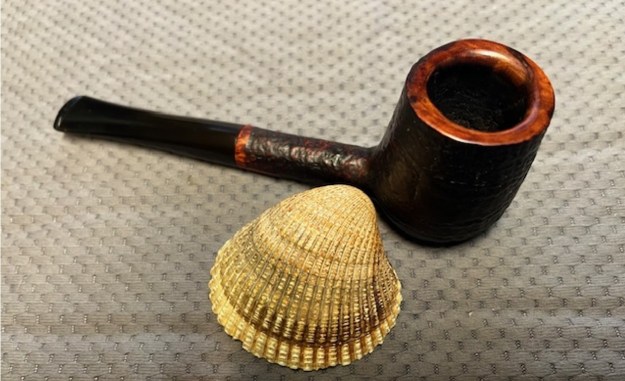
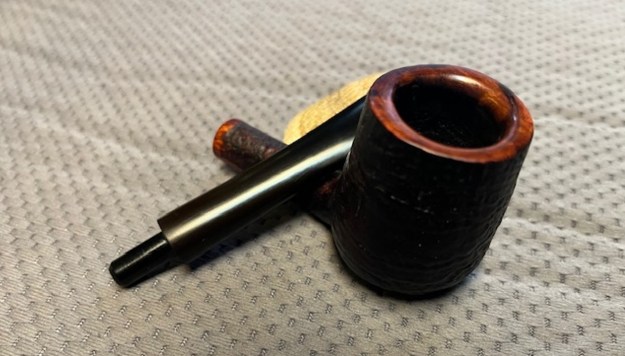
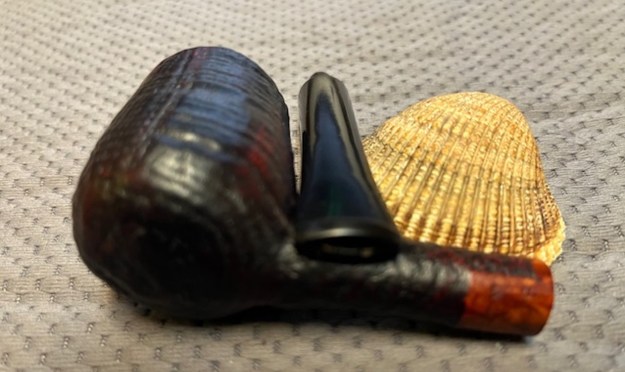
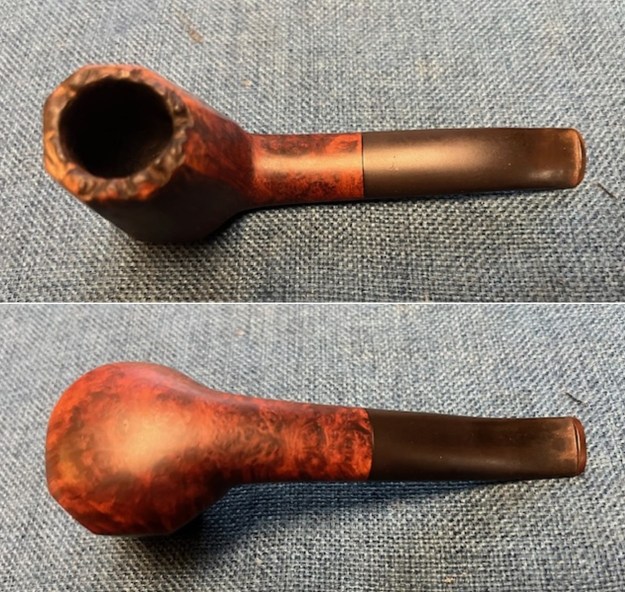
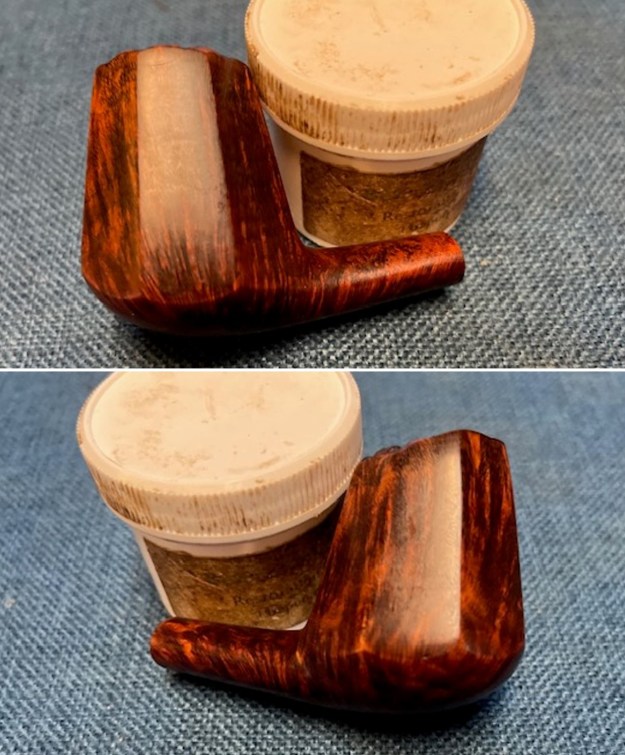
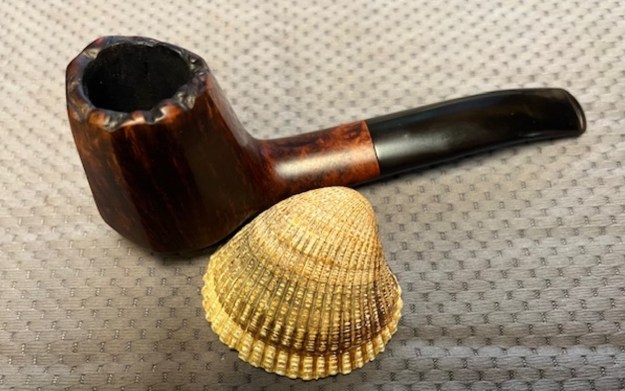
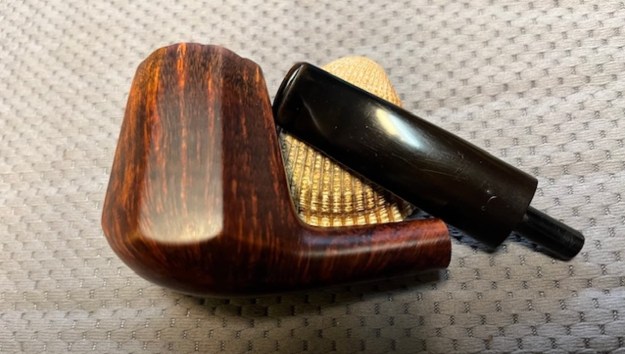
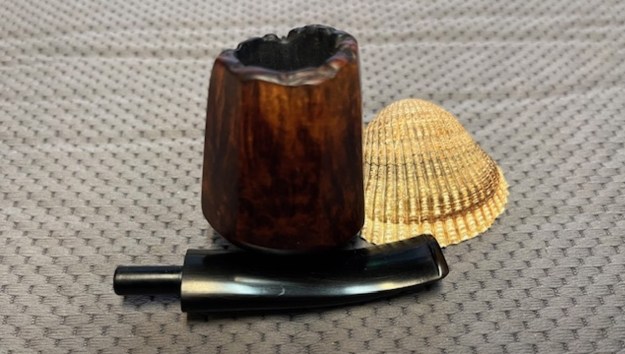
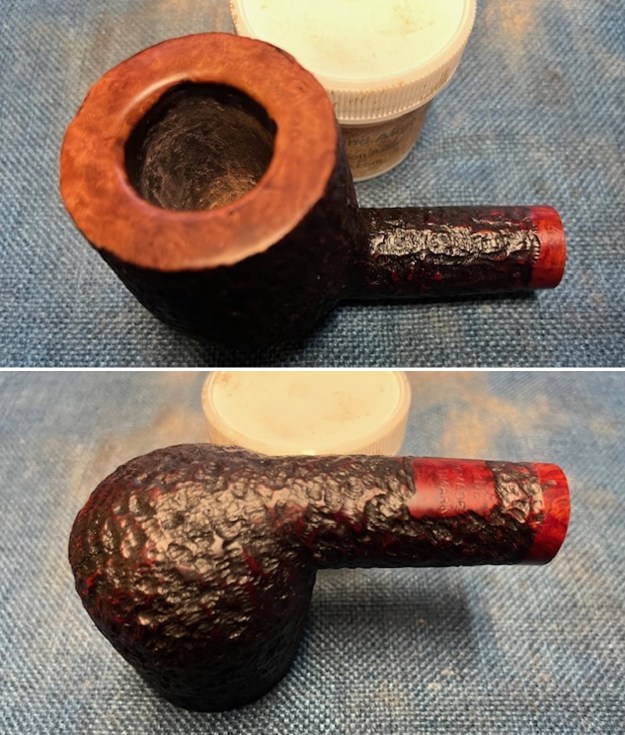
This large rusticated bowl, smooth rimtop briar pipe was purchased from an eBay seller on 08/27/2-24 from Memphis, Tennesse, USA. It is stamped on the underside of the shank and clearly reads Bjarne [over] Handmade [over] In Denmark. The bowl had a thick cake on the walls and a heavy overflow of lava onto the rim top and edges. The smooth rim top and inner edges also had burn damage leaving the bowl out of round. It obviously had been lit repeatedly with a torch lighter and the damage told the story. The rusticated finish is very tactile but dirty with debris and oils. The previous pipeman had cut a piece of wine cork to make a cork spacer on the stem. It still had the makers marks on the cork. His drilling to fit the tenon was off and not centred. It was not the same thickness from the outside to the center drilling. With it in place the tenon was quite short. The vulcanite taper stem has a bj stamped on the left side of the taper. The stem was lightly oxidized, calcified and had light tooth marks and chatter on both sides ahead of the button. I really like the rustication on the bowl and shank even through the grime in the finish. Jeff took photos of the pipe before he started cleaning it up. Have a look.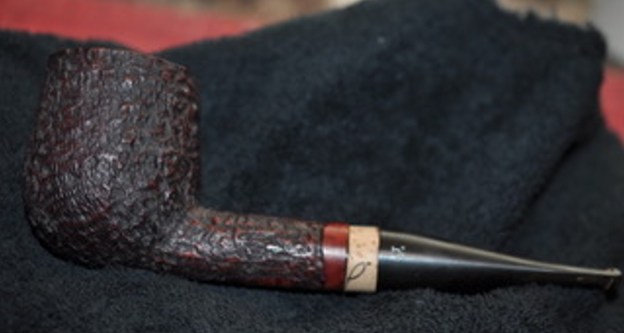
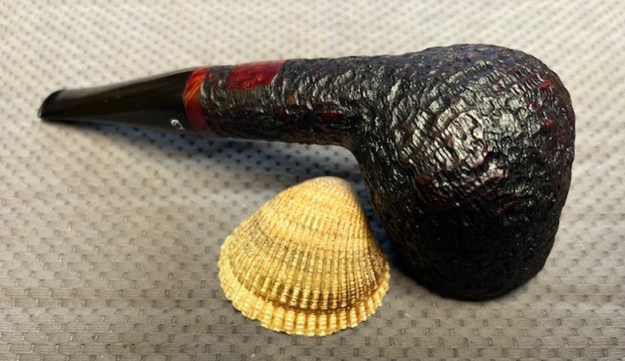
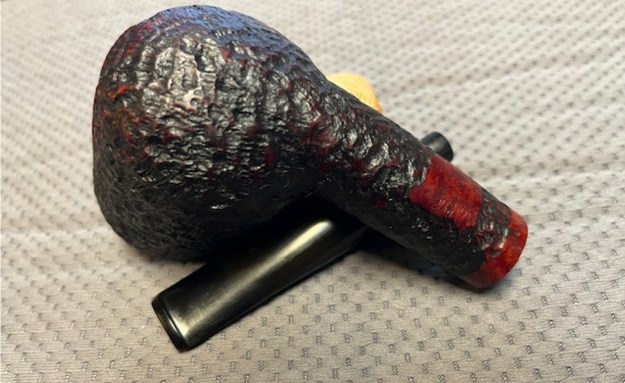
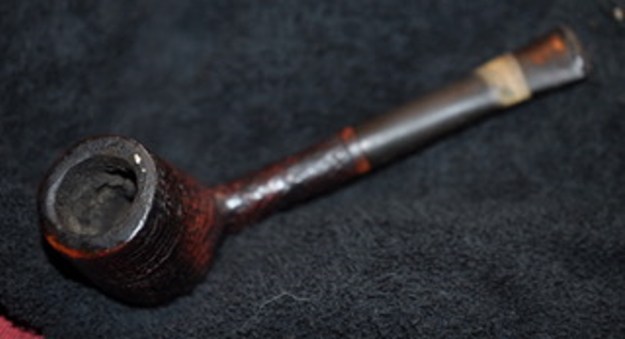
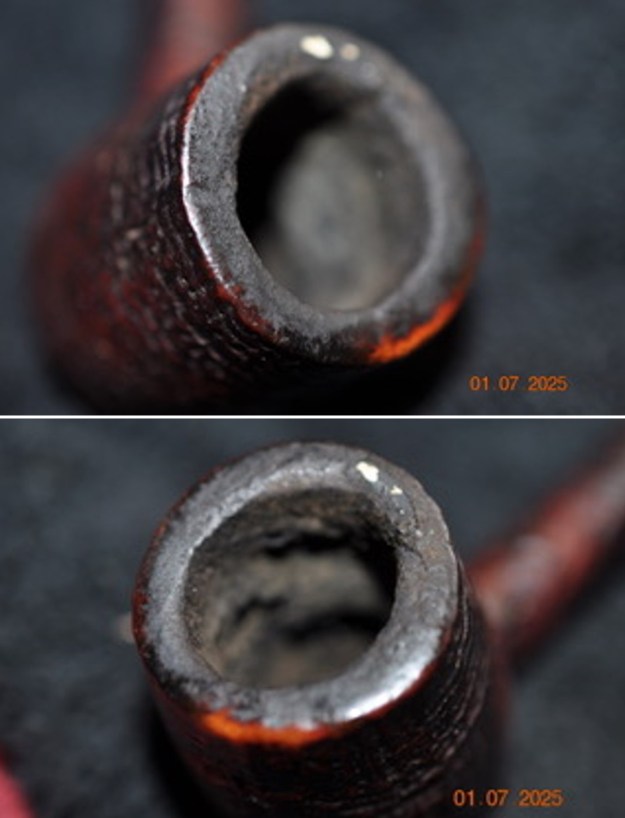
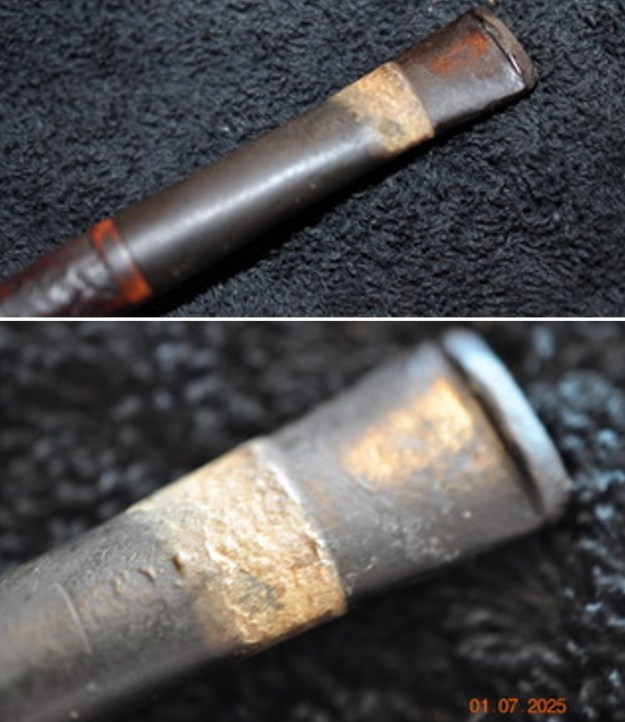
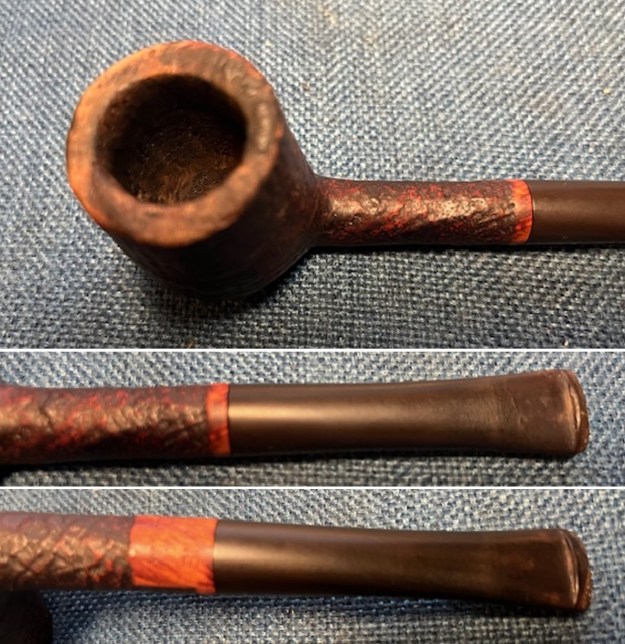
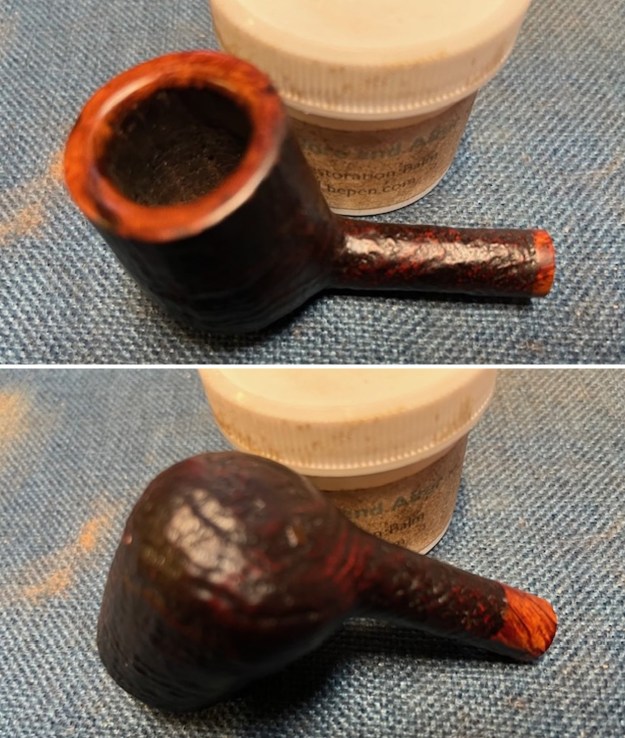
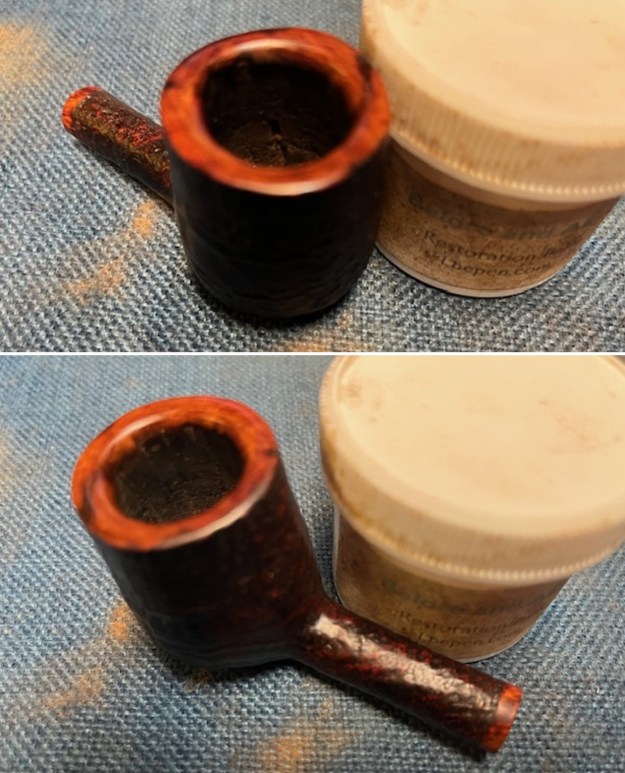
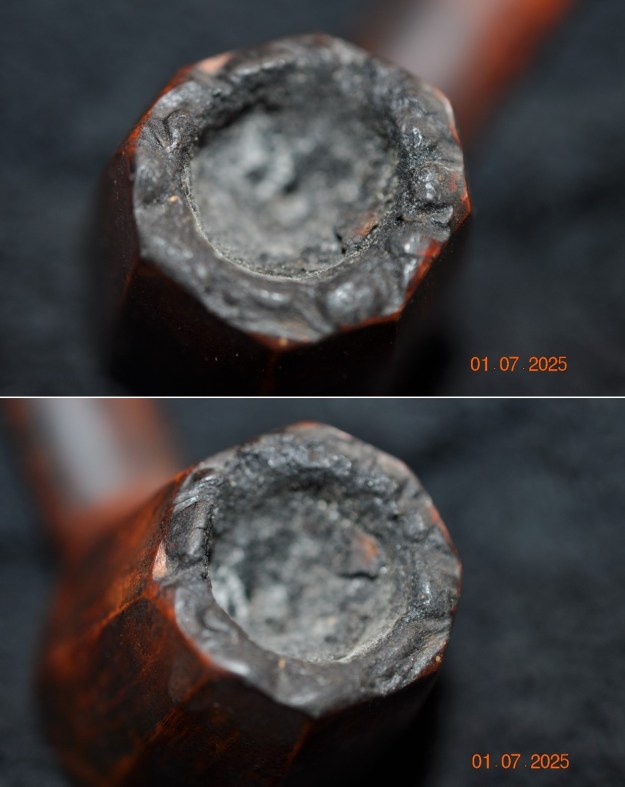
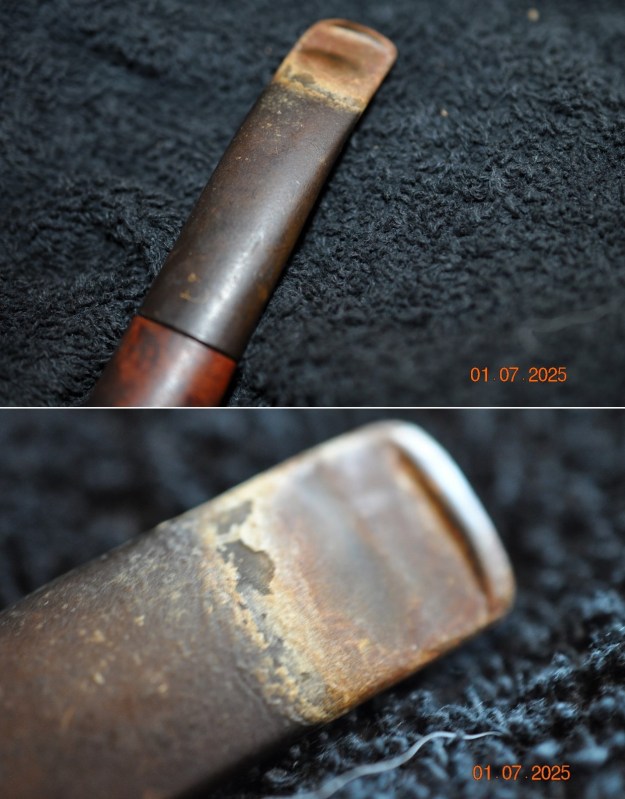
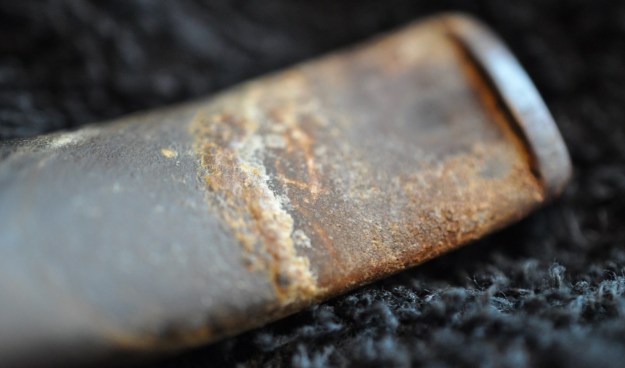
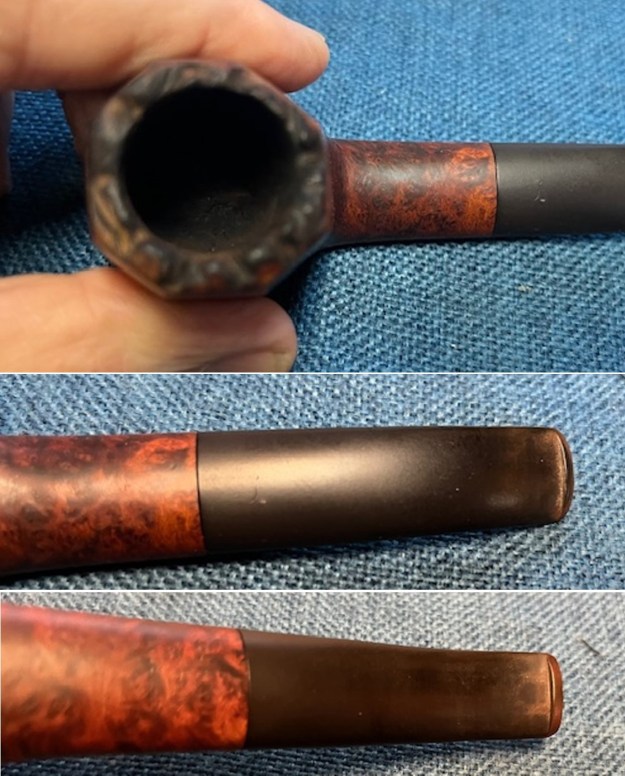
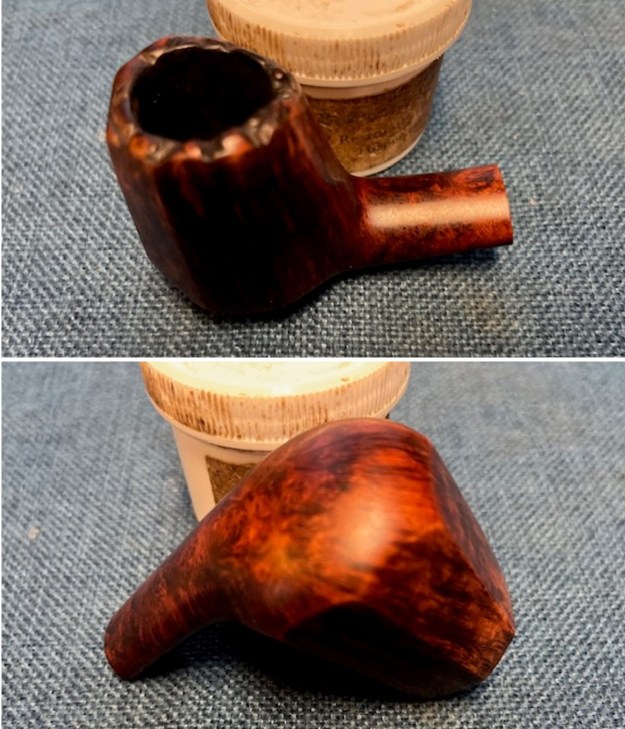
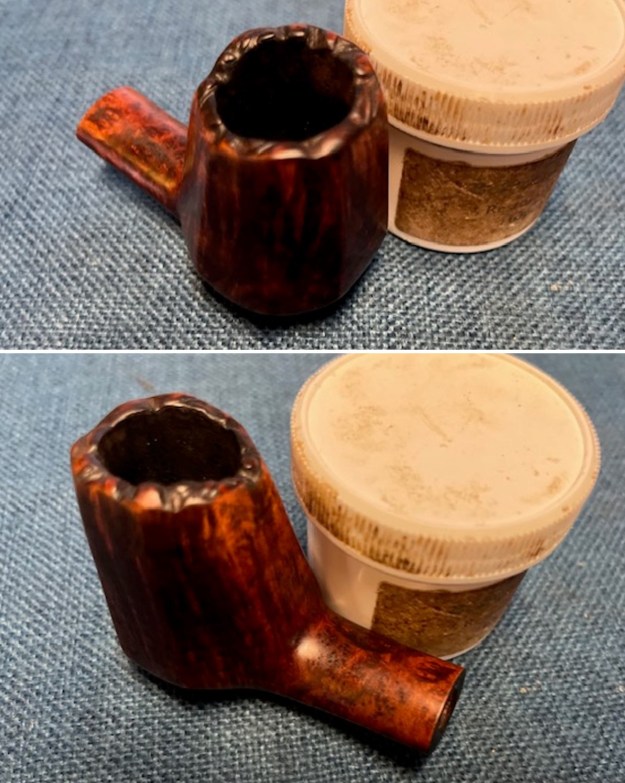
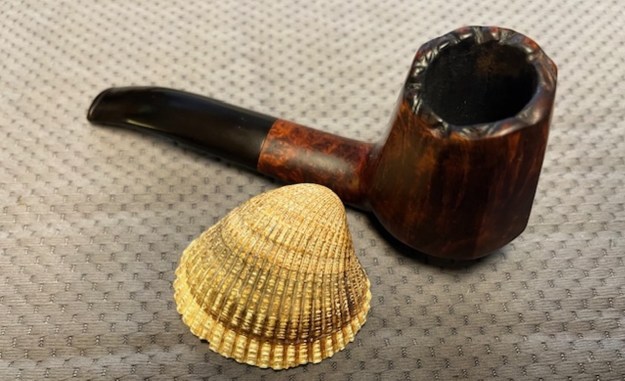
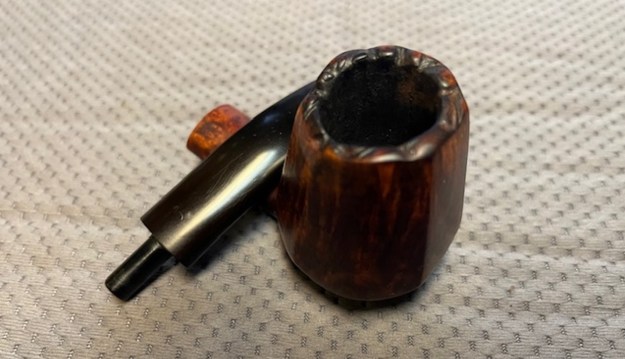
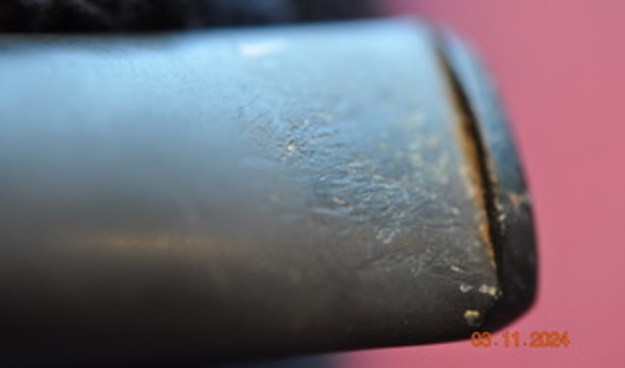
 Jeff took close up photos of the bowl and rim top to show the condition of the bowl and the rim top. You can also see the lava on the rim top, inner edge and the cake in the bowl. The burn damage on the top is very visible and has left the bowl is out of round. He also took close up photos of the stem to show its condition as mentioned above. He also took photos of the tooth marks and chatter on both sides of the stem.
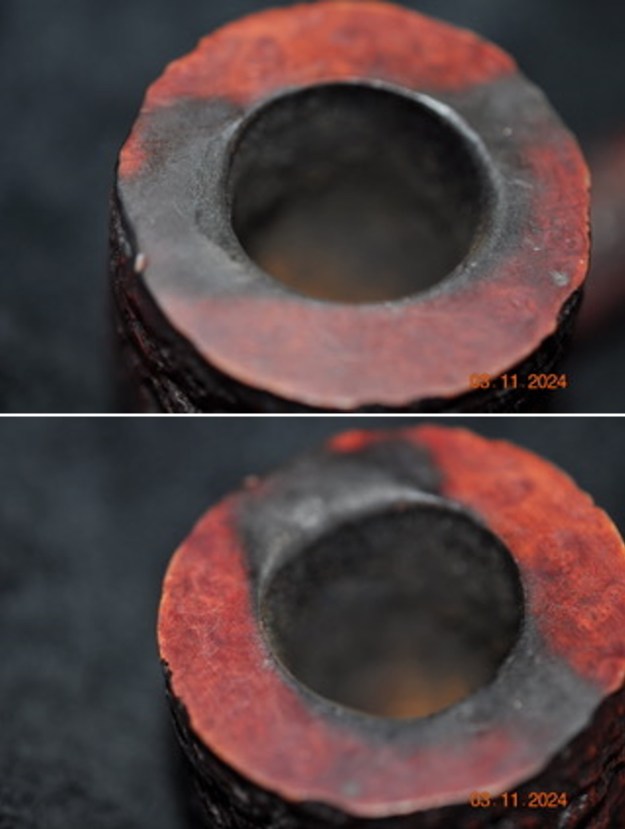
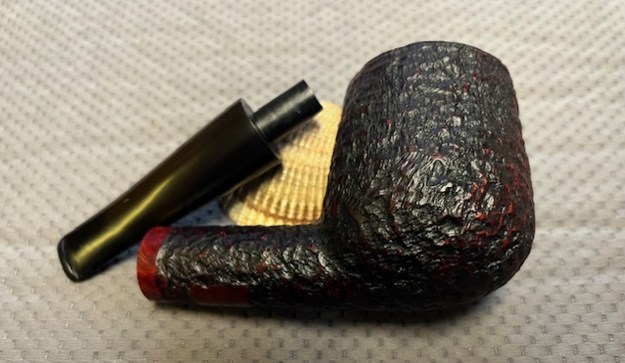
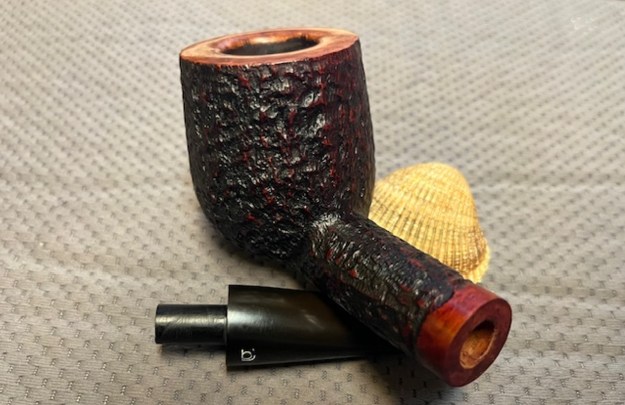
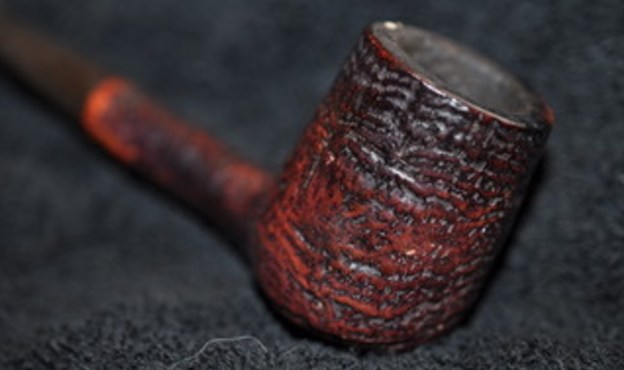
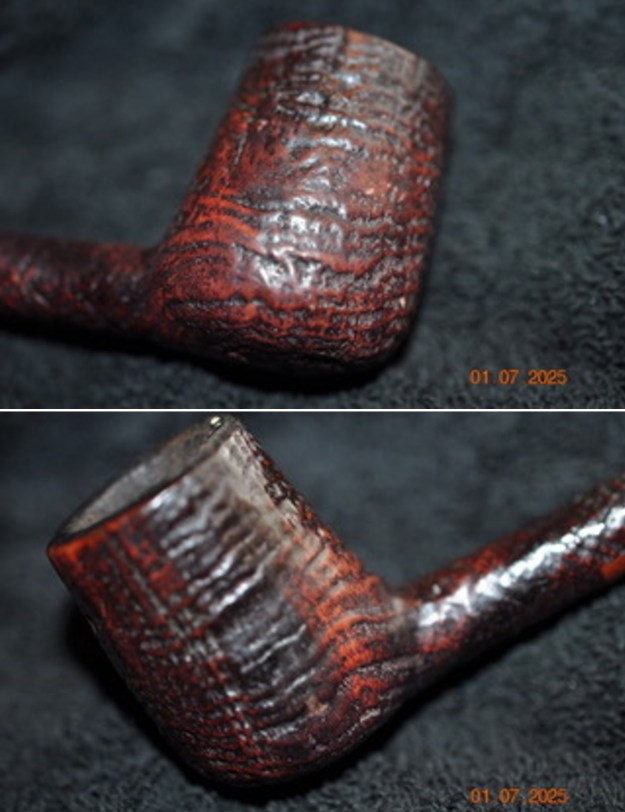
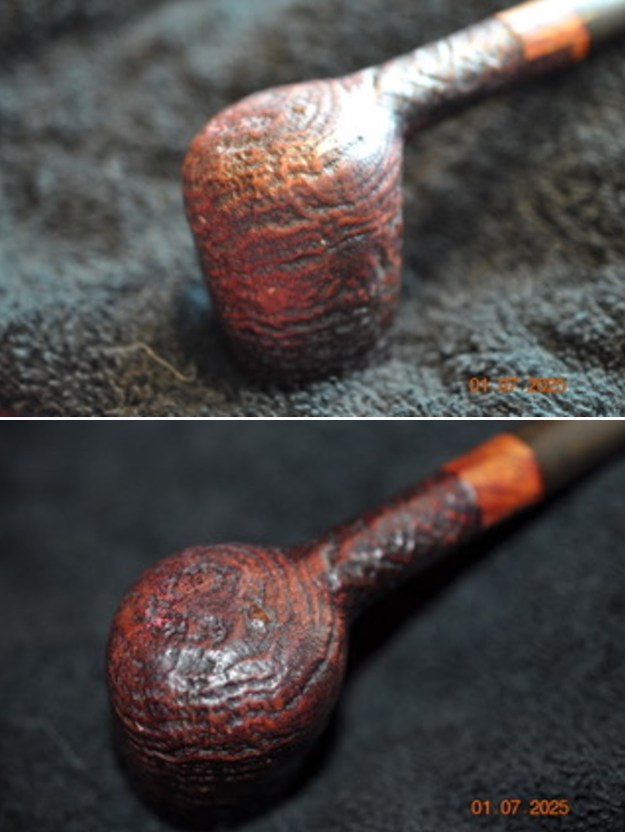
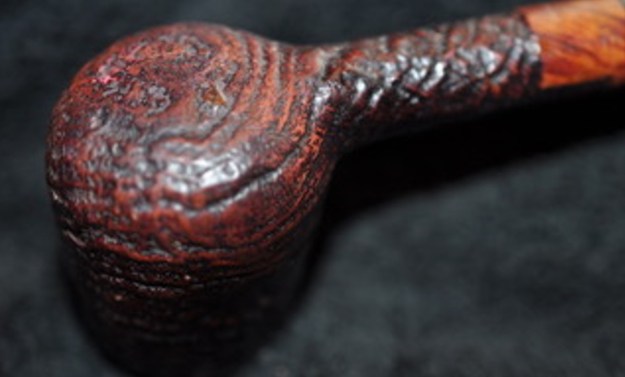
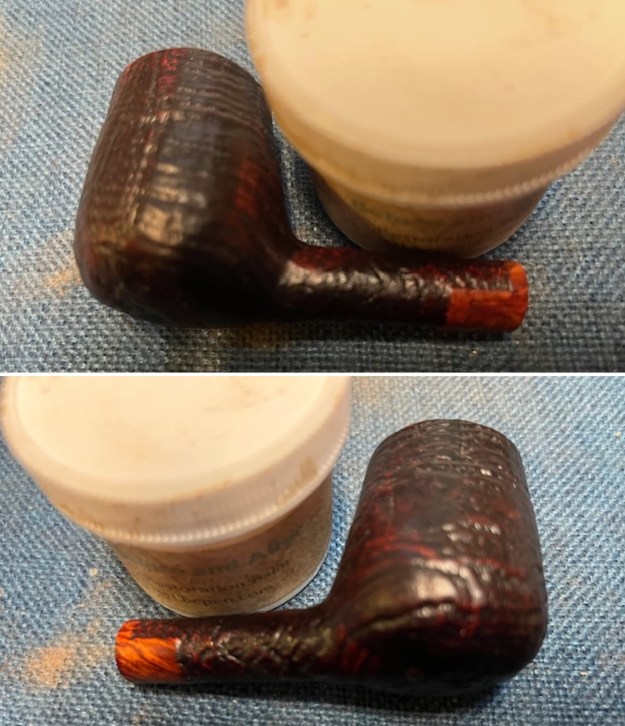
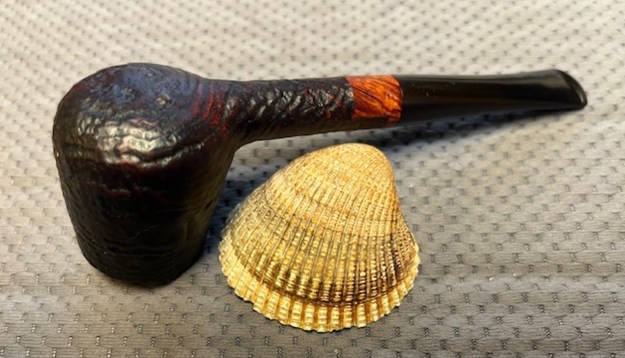
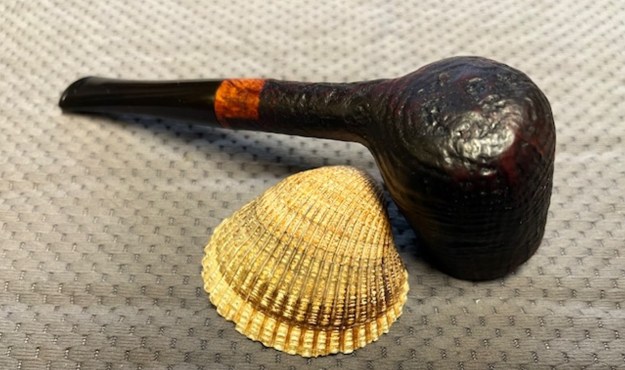
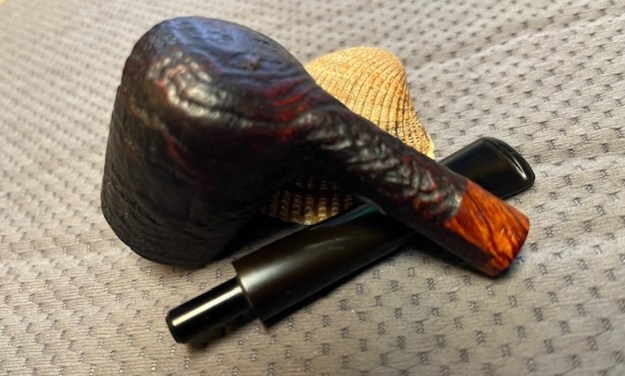
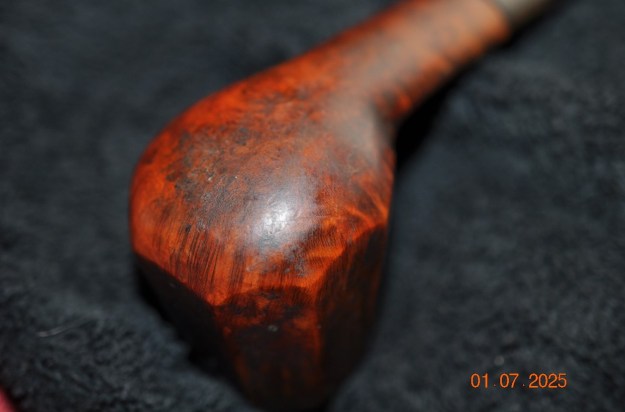
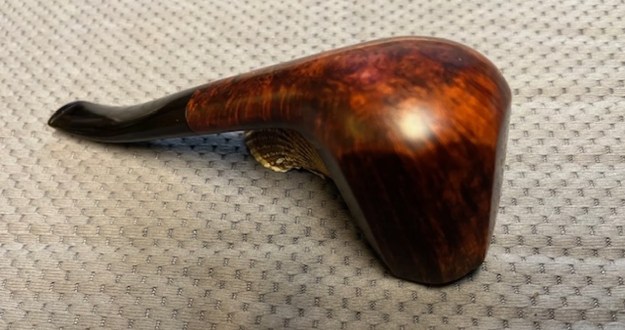
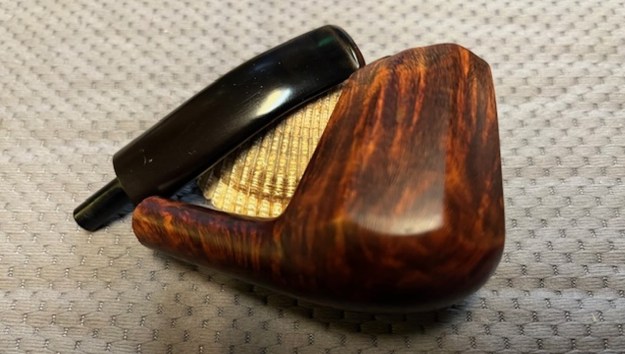
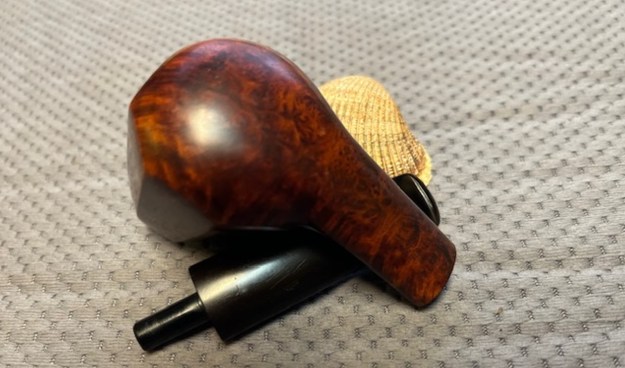
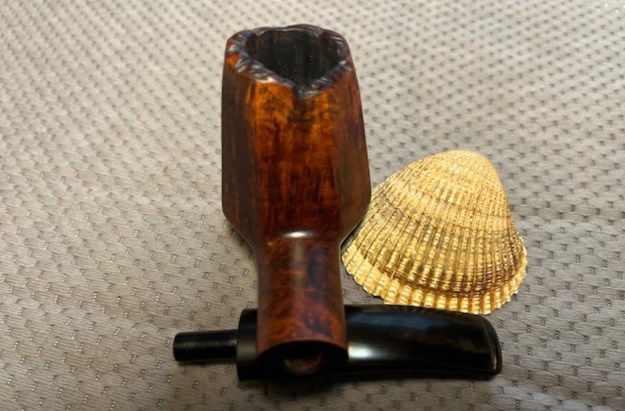
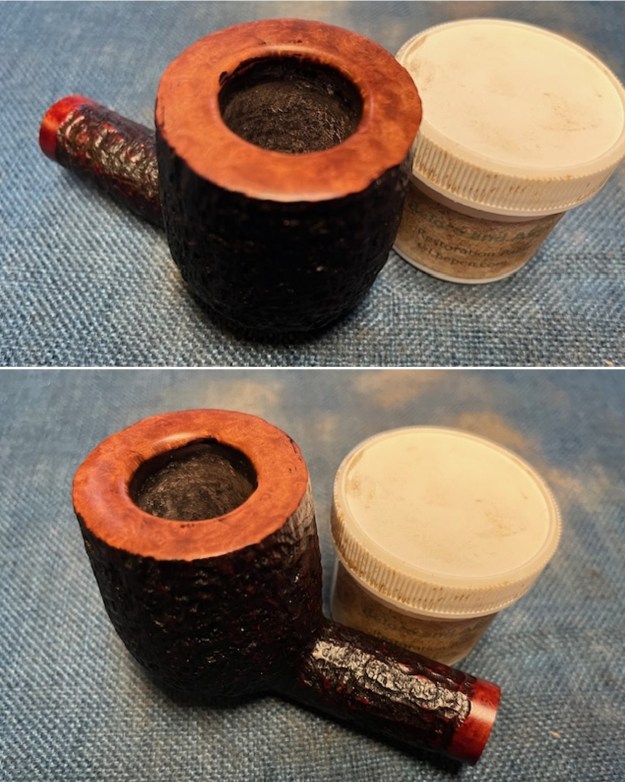
 He took photos of the bowl sides and heel to show the details of the rustication around the bowl. The rustication is deep and has interesting characteristics that show up in the photos around the bowl and shank.
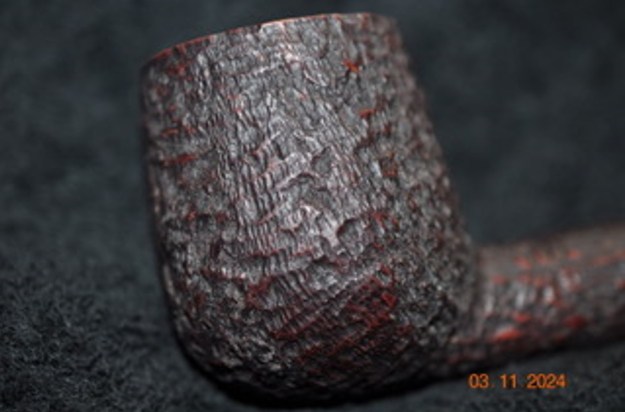
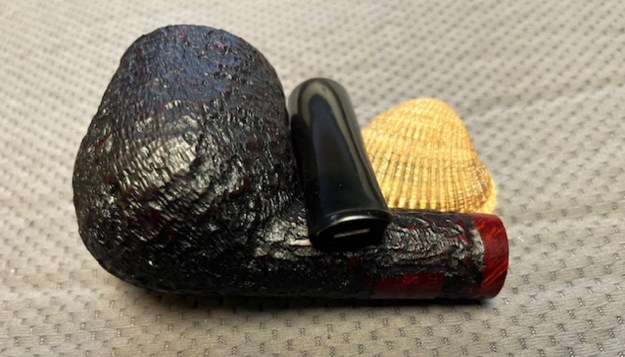
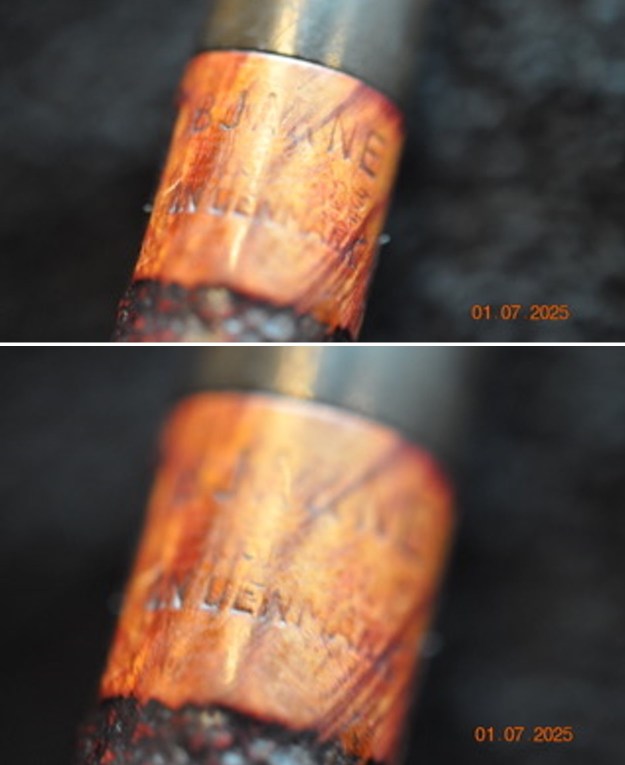
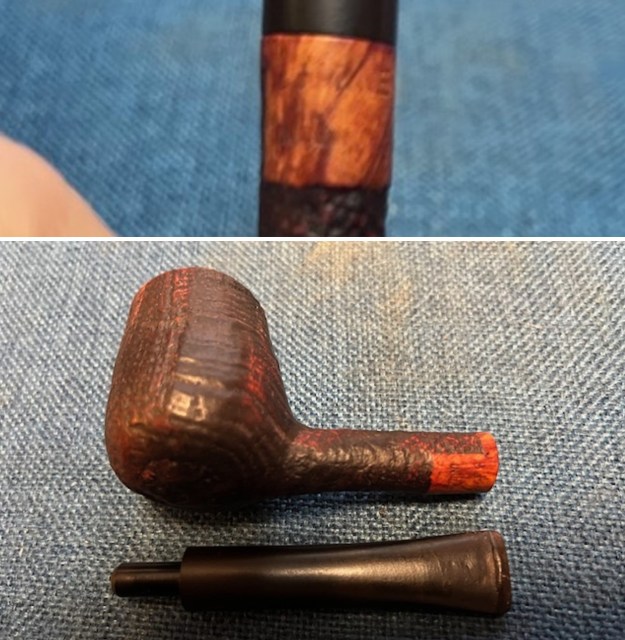
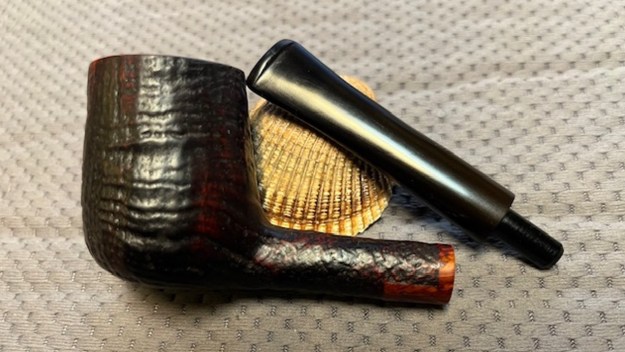
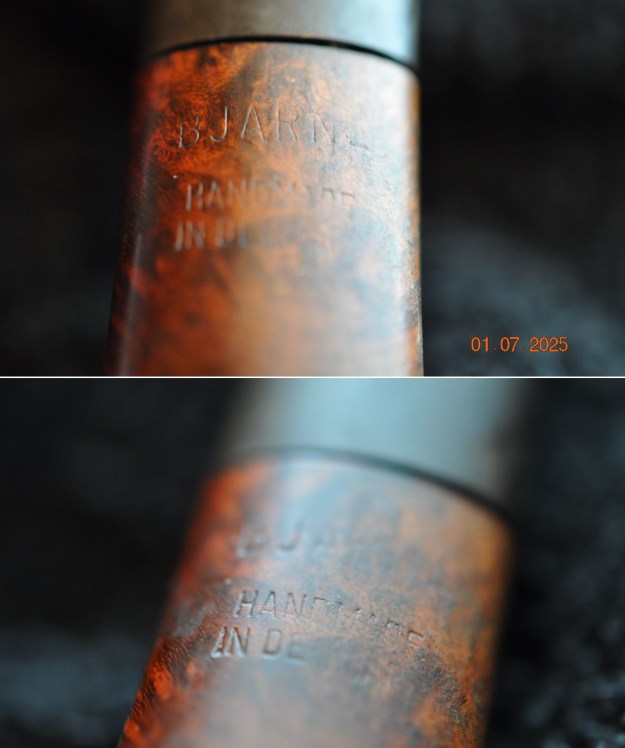
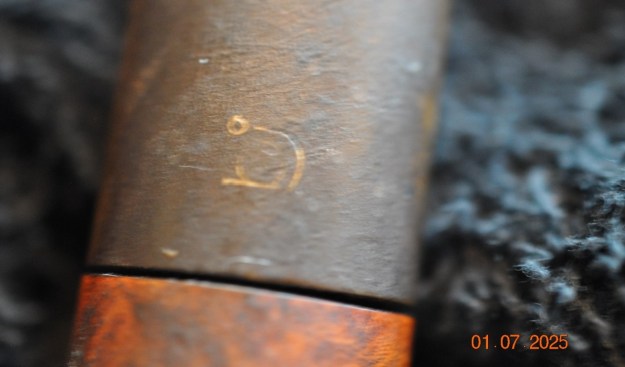
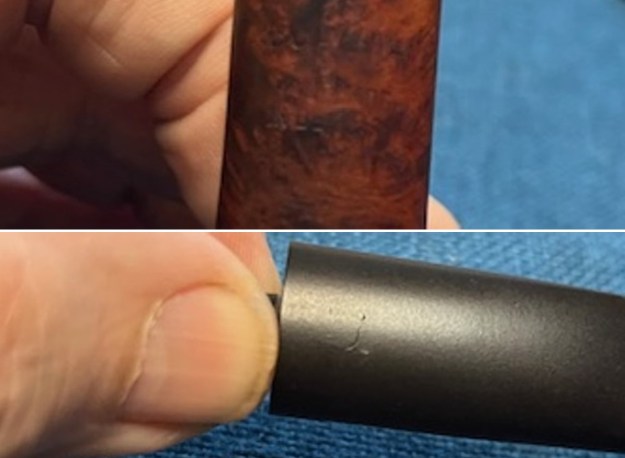
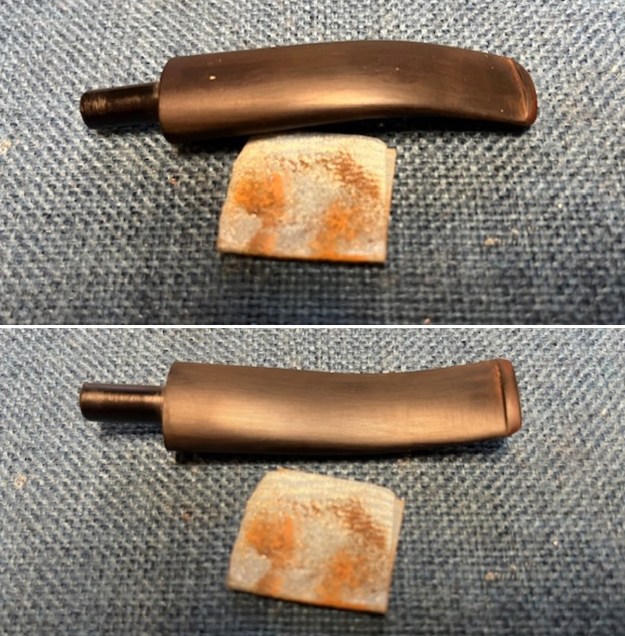
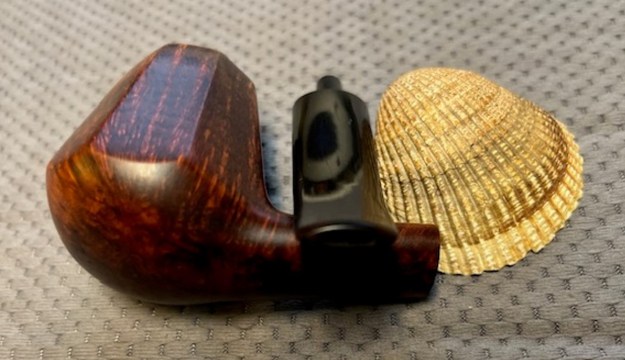
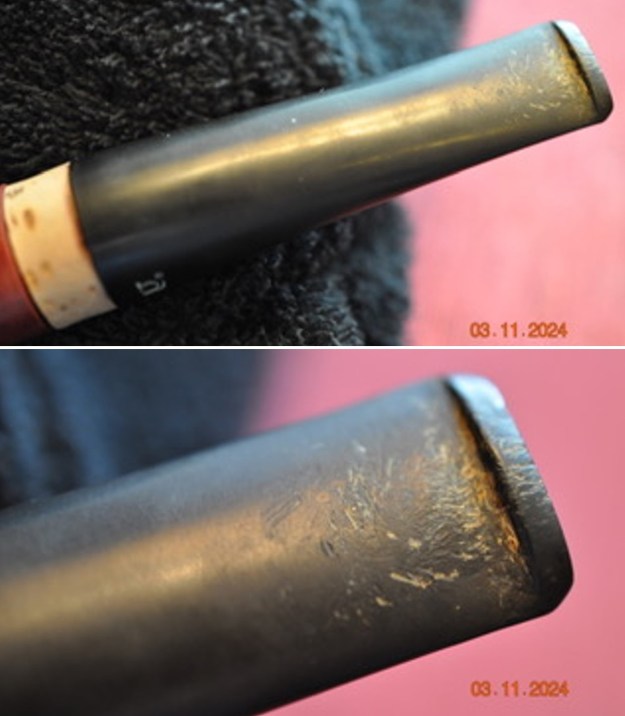
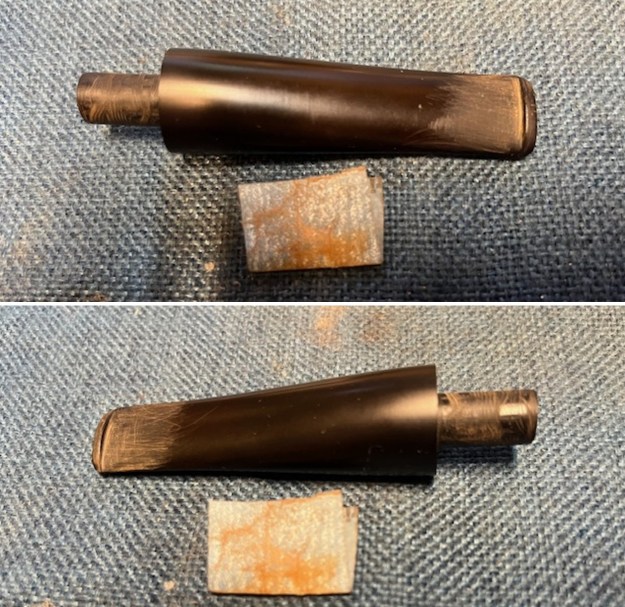
 He took a photo of the stamping on the underside of the shank. It is clear and readable as noted above. There is a bj logo on the left side of the stem that looks deeper enough to touch up. You can also see the wine cork and some of the writing on it in the second photo. It is also poorly cut.
 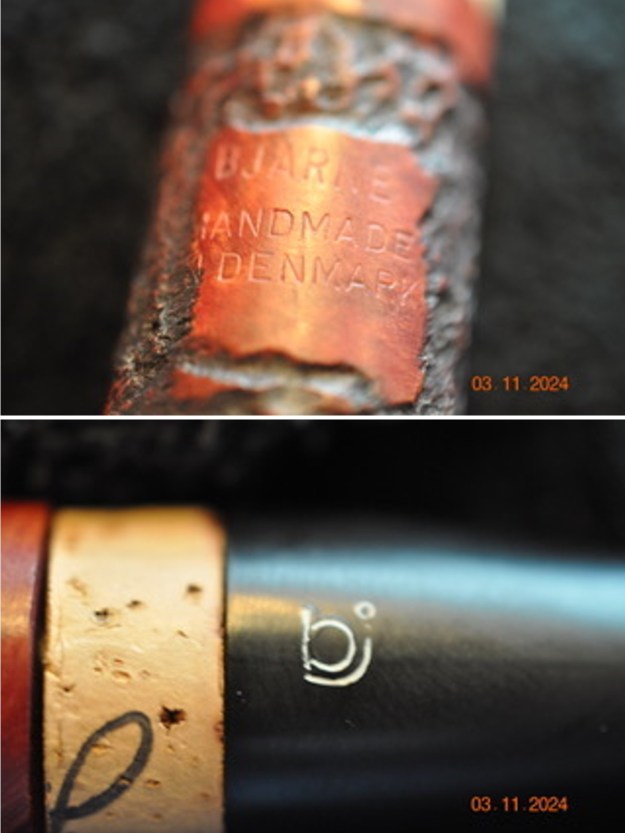 The next two photos show the look of the cork spacer on the stem. It is an obvious home made addition and one that I plan on removing.
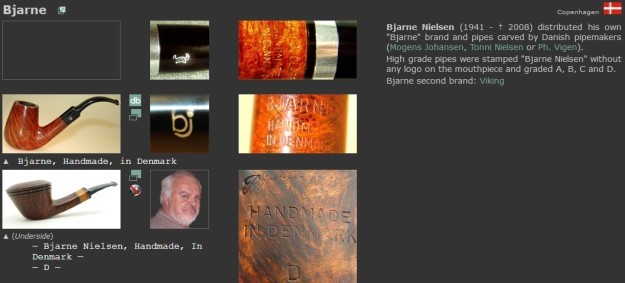
 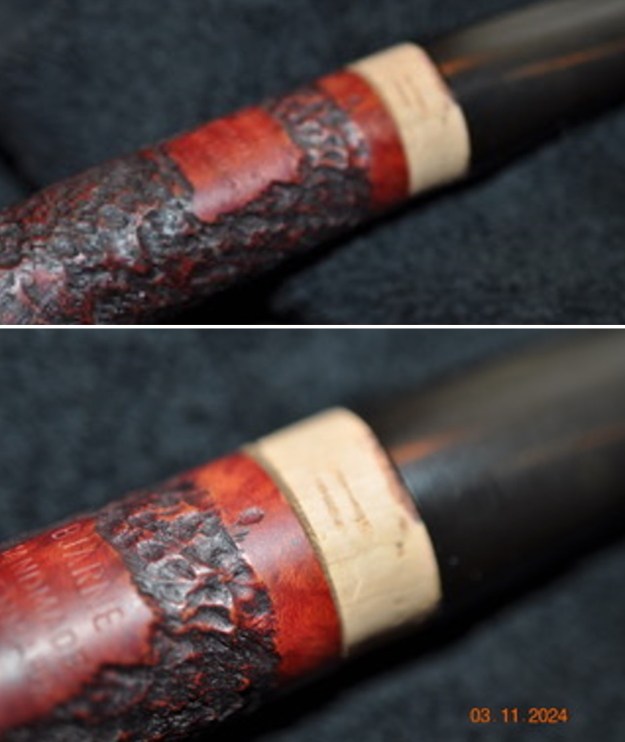 I have had many Bjarne pipes cross my work table over the years but all had been stamped only Bjarne or Bjarne Handmade. None of them had his full name stamped on it and none had a letter stamp which I assumed indicated the grade of the pipe. I did some research on Pipedia.com and found some helpful information on both the stamping of my pipe and the history of Bjarne Nielsen himself. I am including the link to the full article on Pipedia and also some pertinent sections of the article that I have edited for quick reference. https://pipedia.org/wiki/Bjarne
From the early 1990s Bjarne had seven pipemakers employed and the pipes were sold in no fewer than 32 countries. For more than six months each year, Bjarne traveled around the world to promote his pipes by meeting with dealers and customers. But sadly, it all ended in February 2008 when Bjarne, then 66 years old suffered a fatal heart attack. An unexpected blow first of all to his family, but also to the pipemakers who had been working for him, and to all lovers of his pipes from around the world. And as no one was willing to take over, the Bjarne pipe died together with its creator.
Among the pipemakers that worked for Bjarne were Johs (for the lower priced high volume pieces), and makers like Ph. Vigen, Ole Bandholm and Tonni Nielsen for high grade pieces. The cheaper line was stamped “Bjarne” while the highest grades were stamped “Bjarne Nielsen” (never with the pipemakers’ name) and graded, from highest to lowest, by the letters: AX, A, B, C, D, E, F, G, H, I, and J.
Now I knew that the pipe I had was made before 2008 and was one of his cheaper line stamped Bjarne.
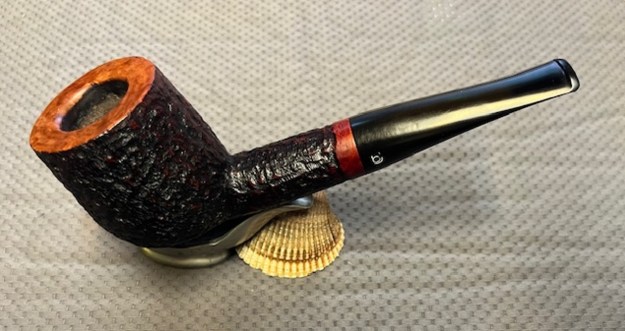
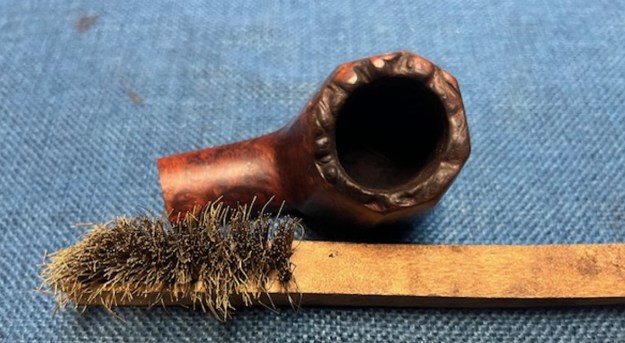
Armed with the information above, I turned my attention to the pipe itself. Jeff had cleaned the pipe with his usual penchant for thoroughness that I really appreciate. He reamed it with a PipNet pipe reamer and cleaned up the reaming with a Savinelli Fitsall Pipe Knife. He scrubbed out the internals with alcohol, pipe cleaners, shank brushes and cotton swabs until the pipe was clean. He scrubbed the exterior of the bowl with Murphy’s Oil Soap and a tooth brush to remove the grime and grit on the briar and the lava on the rim top. The finish looks very good with good looking grain around the bowl and shank. Jeff soaked the stem in Before & After Deoxidizer to remove the oxidation on the rubber. When the pipe arrived here in Vancouver for the second stop of its restoration tour it looked very good. I took photos before I started my part of the work.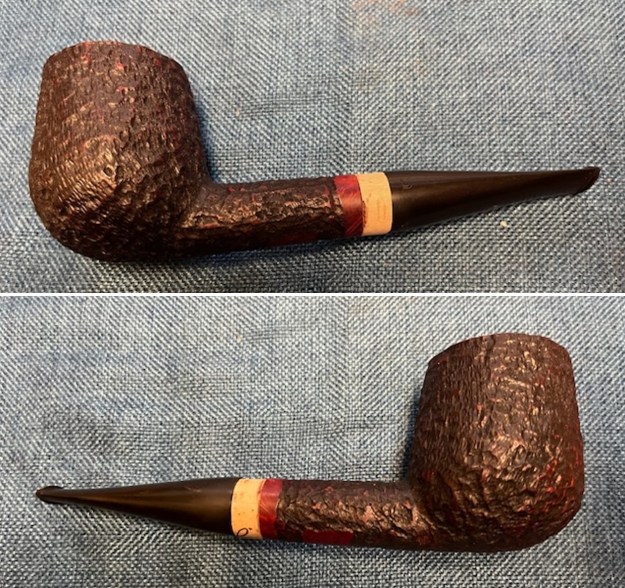
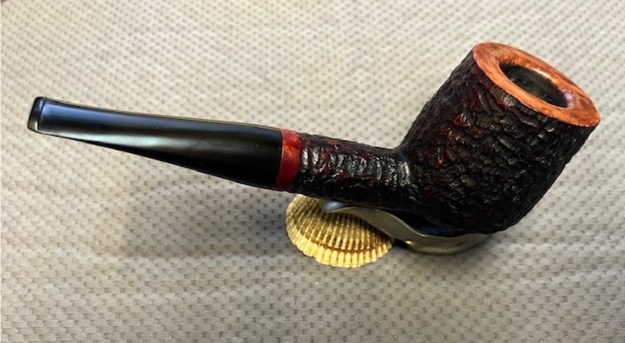
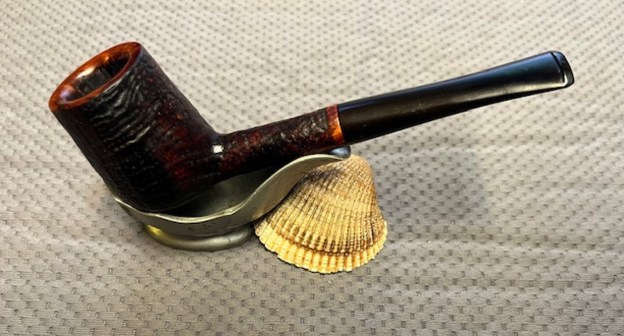
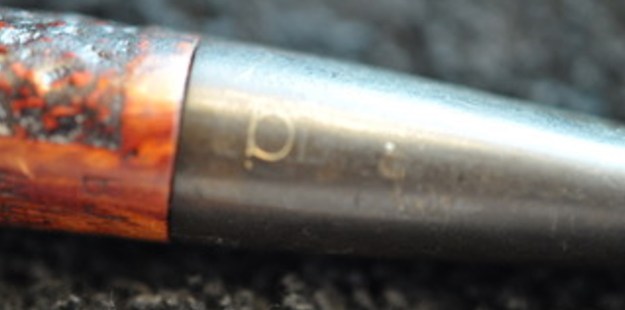
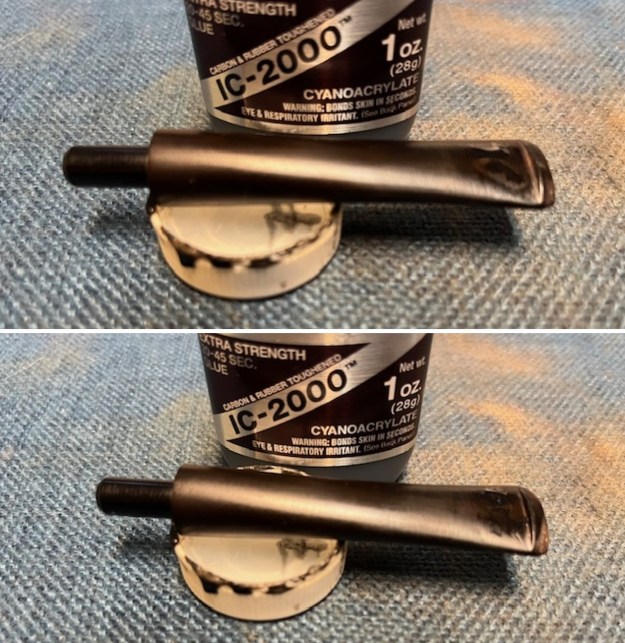
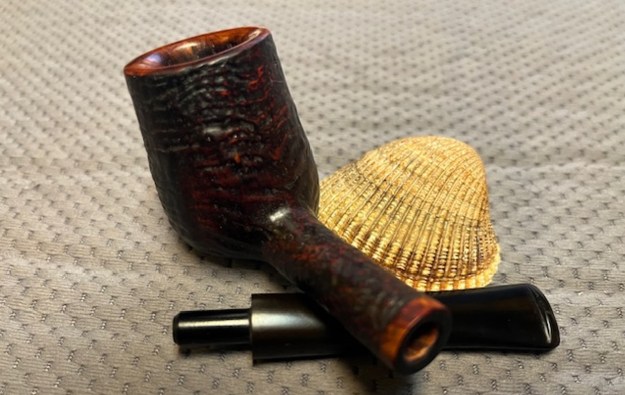
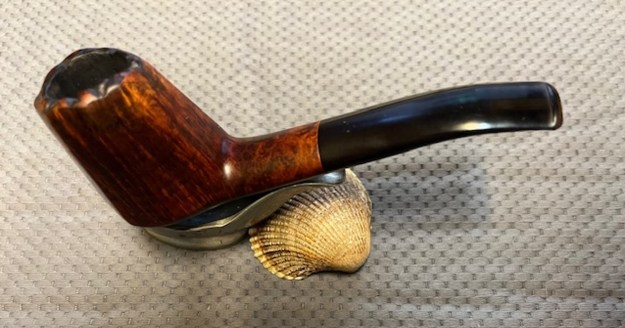
 While I appreciated and understood the idea behind the cork spacer it bothered me. I looked at the tenon and could see that the length was the same as the depth of the mortise in the shank. I also noticed that there was hard glue on the stem that formed a ridge that held the cork in place. I used a flat file and a folded piece of 220 grit sandpaper to get rid of the glue and smooth out the surface of the tenon. It still needed to be polished but I wanted to see if it would fit. I turned it into the mortise and took photos of the look of the pipe without the cork. It was back to what it must have looked like when it left the factory. I like it and would proceed sans cork space.
  Have a look at the pipe without the cork spacer. What do you think?
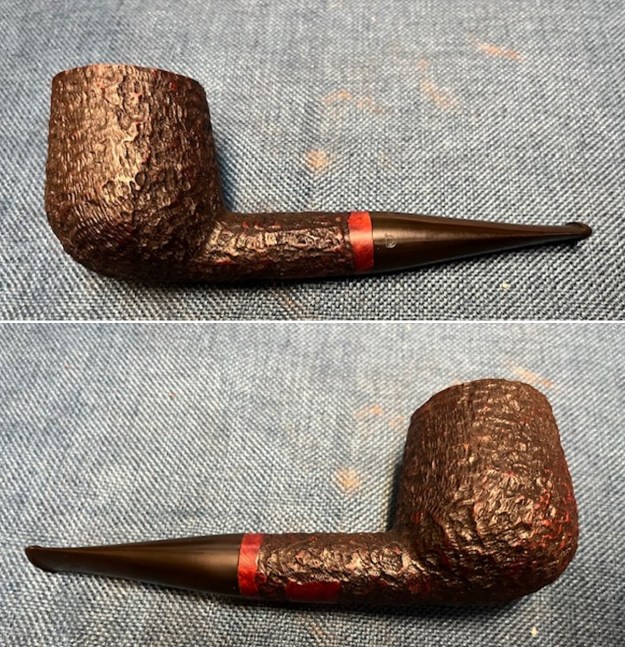
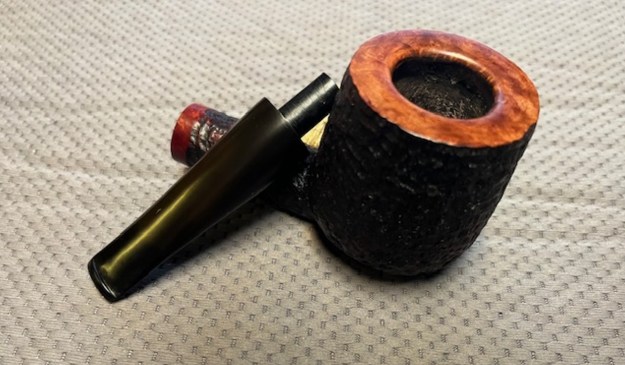
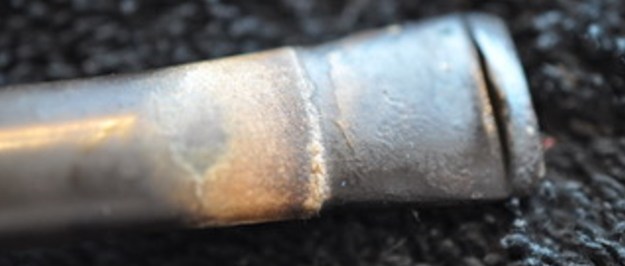
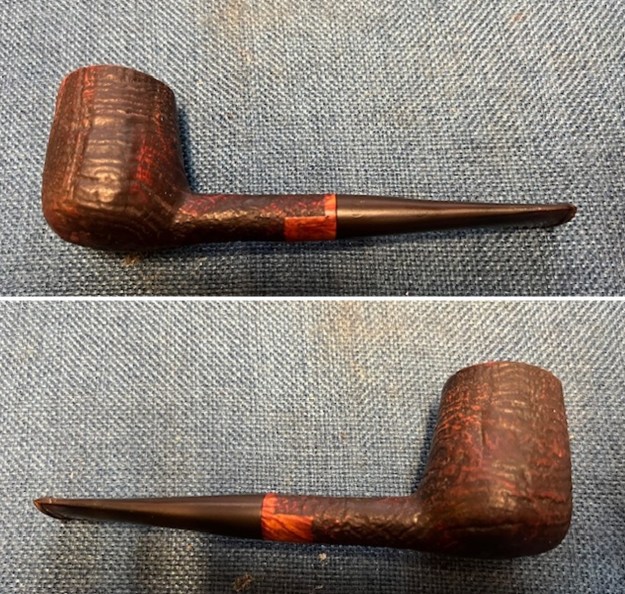
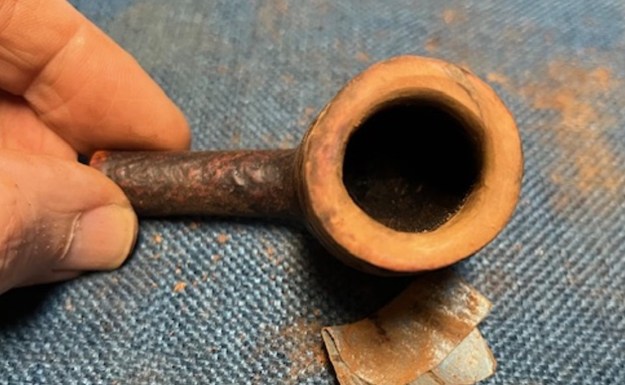
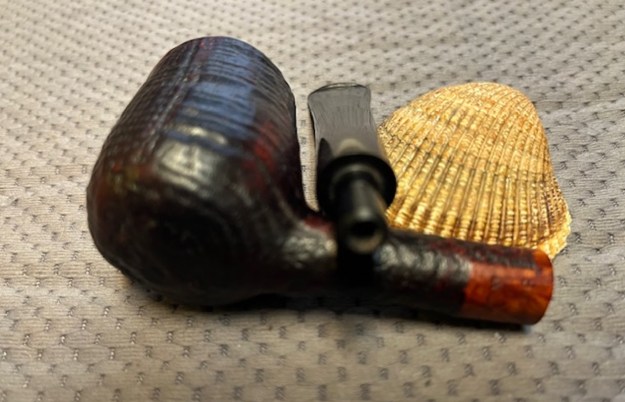
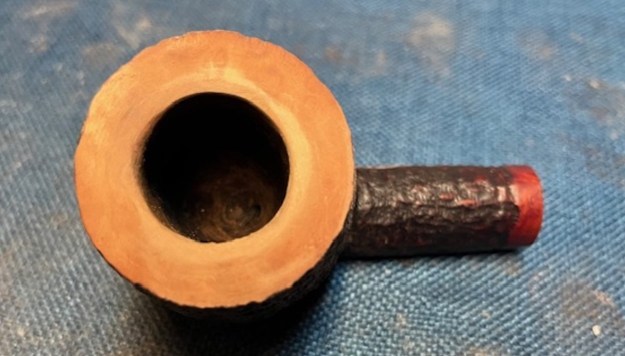
 I took close up photos of the bowl, rim top and stem to show how clean the pipe was. The bowl was clean and the rim top and the inner edge had significant burn damage and was slightly out of round. The stem was clean and showed light tooth marks and chatter.
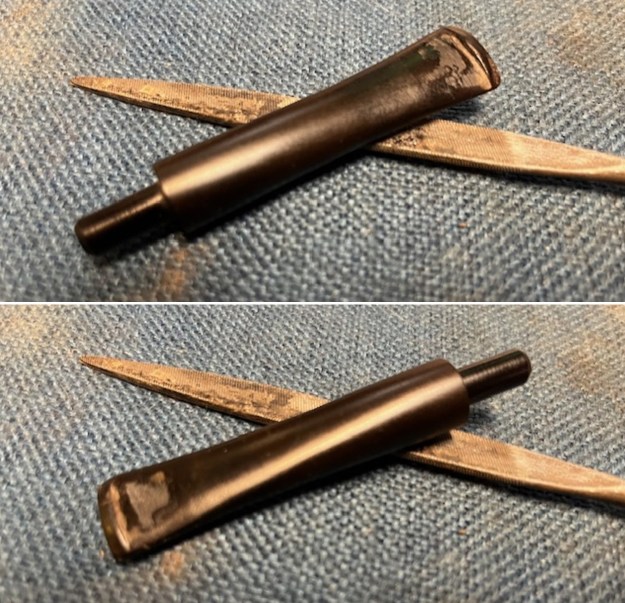
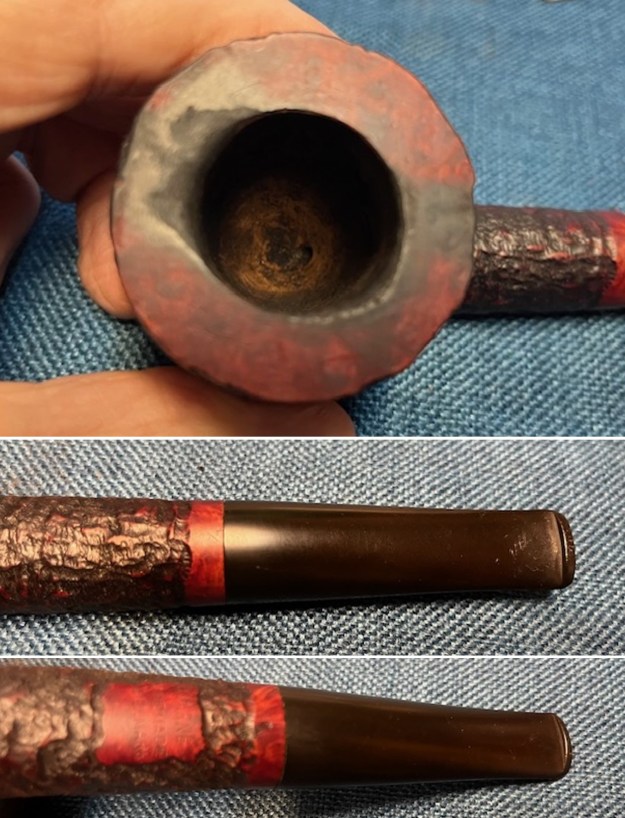 I took a photo of the stamping on the underside of the shank. It is readable and read as noted above. I also removed the stem from the shank and took photos of the pipe to show the look of the parts.
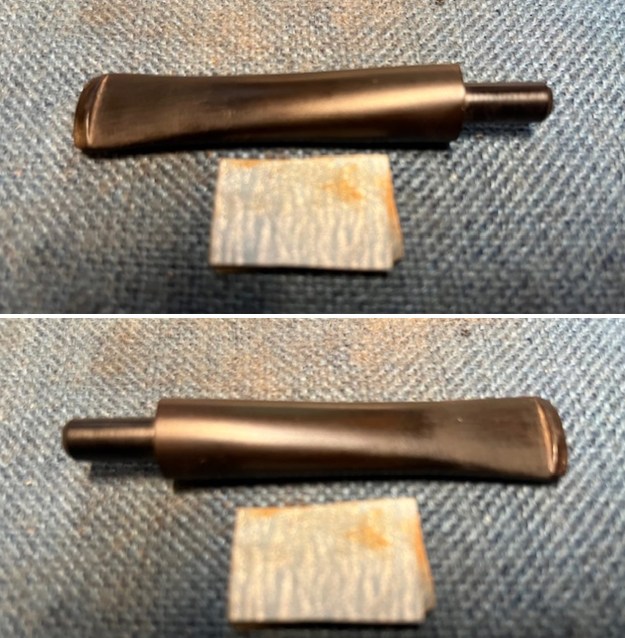
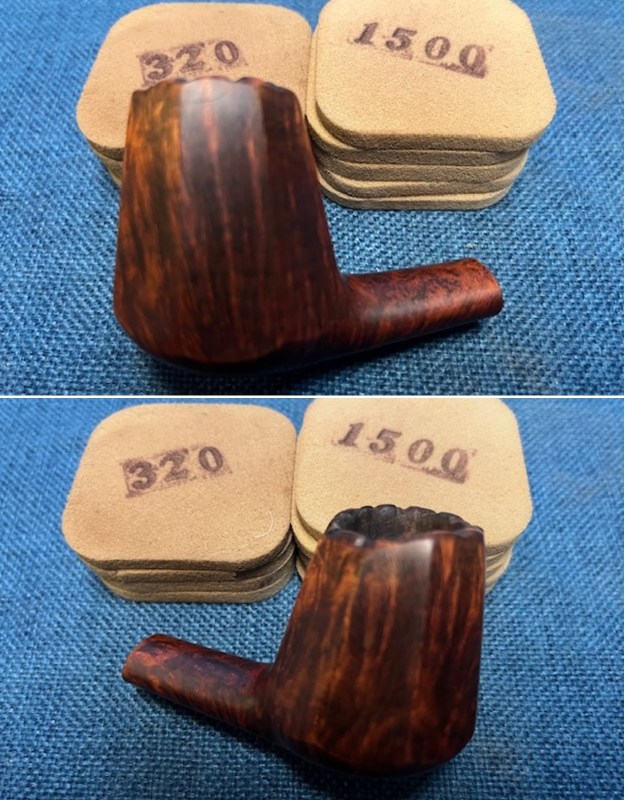
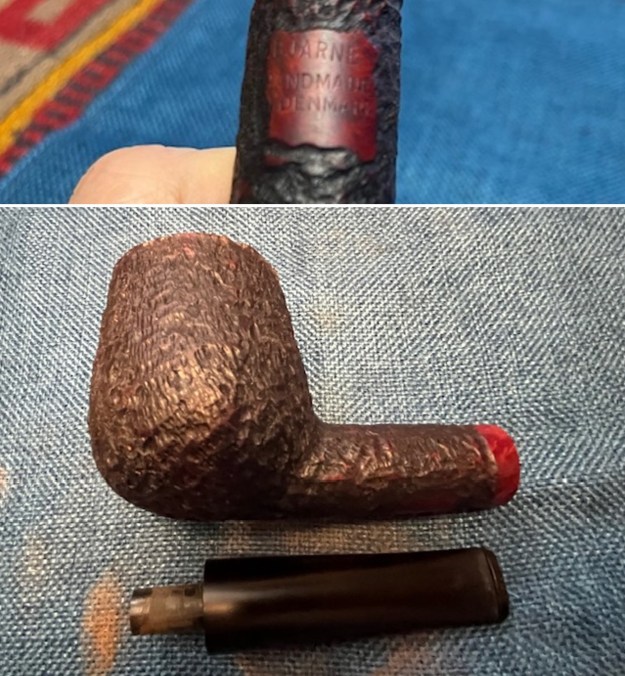 The rim top and inner edge of the bowl was in rough condition. I flattened out the damaged rim top by lightly topping it on a topping board with a new piece of 220 grit sandpaper. Once it was flat again I used a wooded sphere and half sphere to work over the inner edge of the bowl and give it a slight bevel to try and bring the bowl back to round. (NOTE: the second photo is staged as I had already put a coat of stain on the polished rim top before realizing I forgot this photo.) The third photo shows the rim top and edges after the sanding process. The burn marks are gone and it looks well.
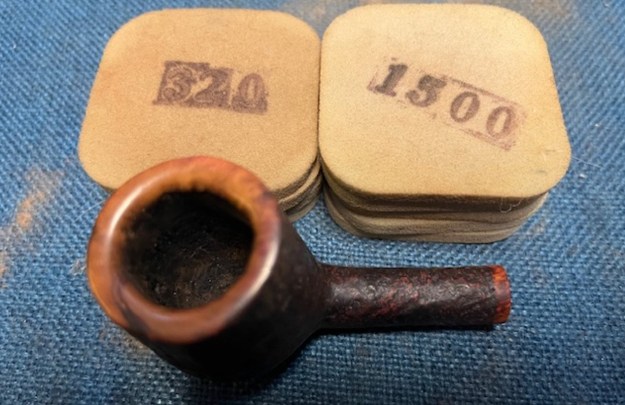
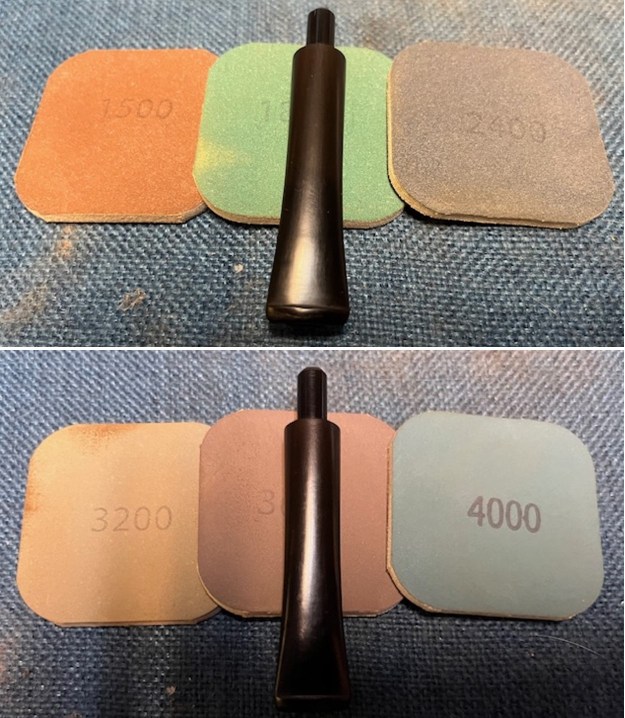
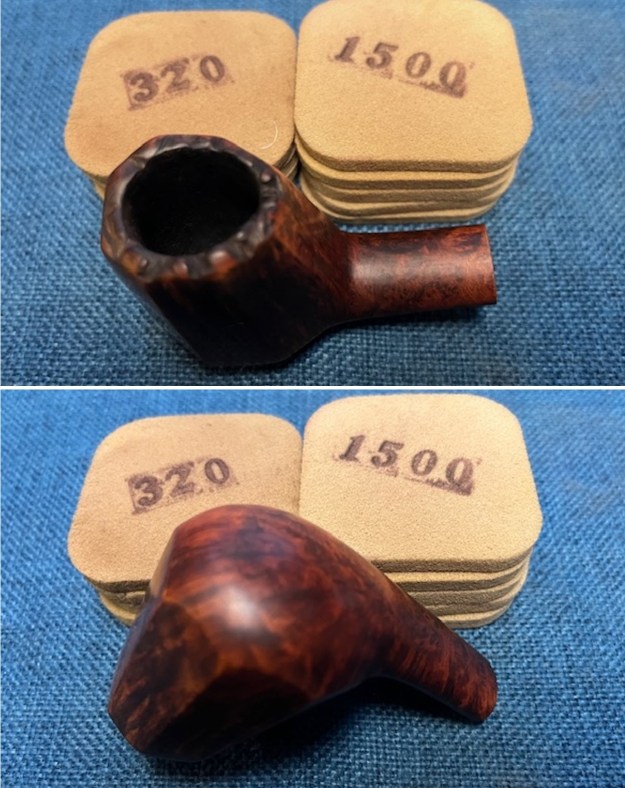
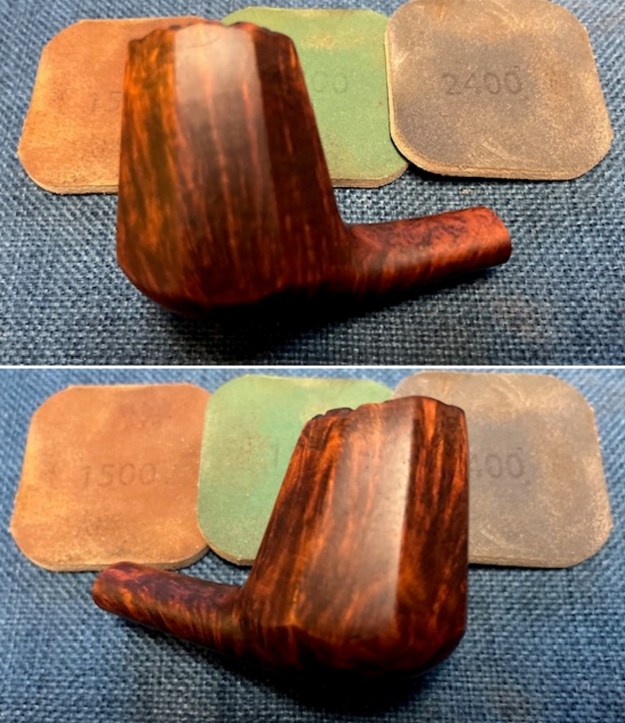
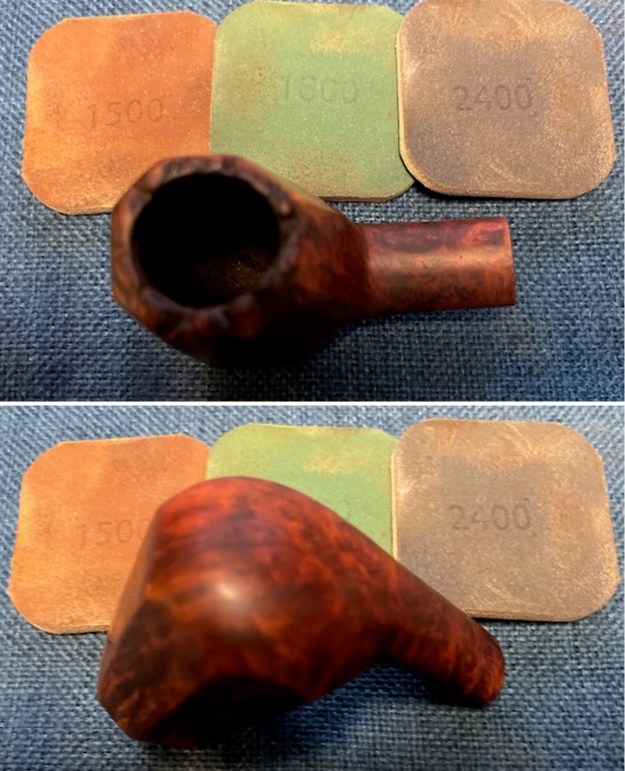
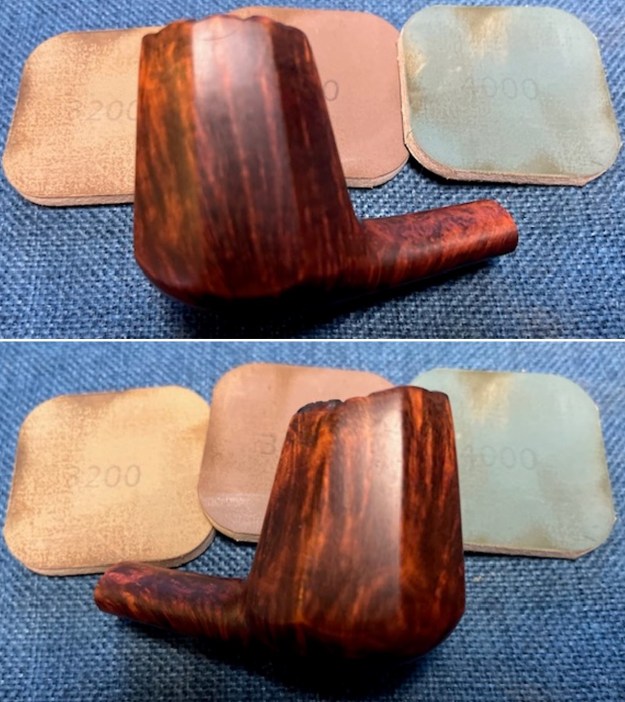
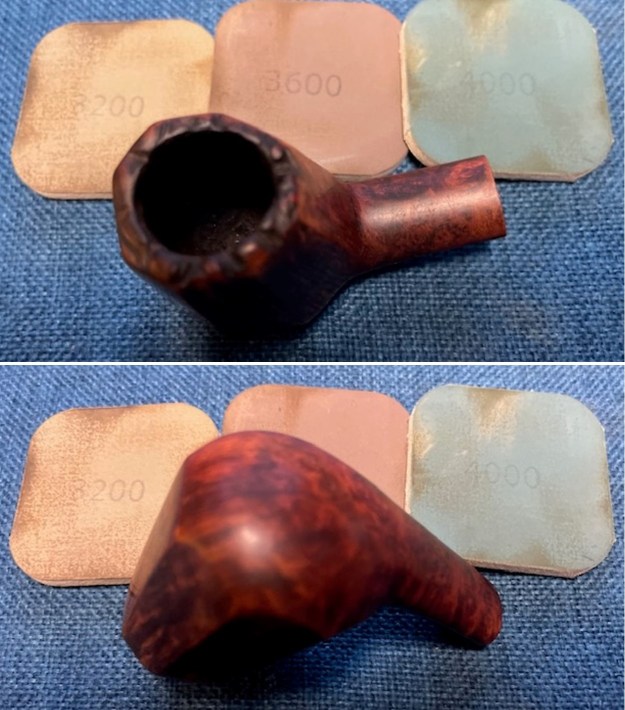
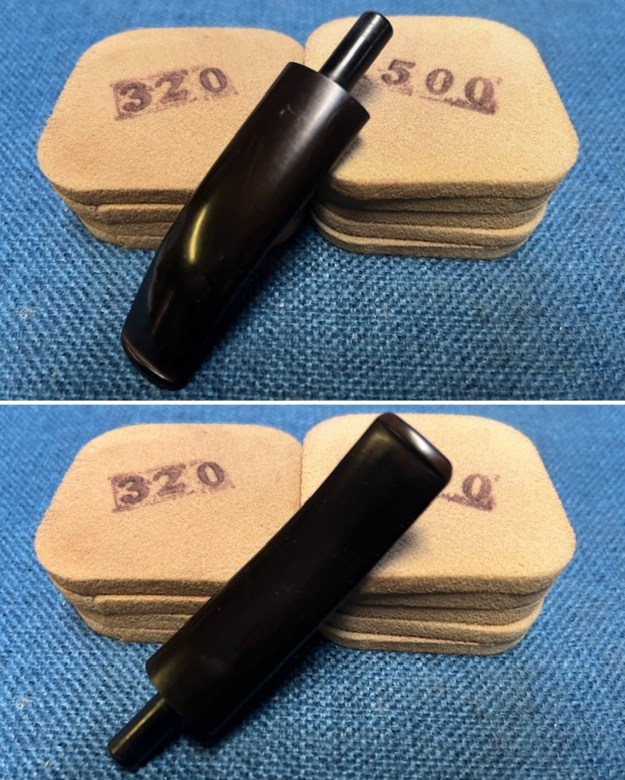
 I sanded the rim top with 320-3500 grit sanding pads. I wiped the top down with a damp cloth after each sanding pad and by the end the rim top had a shine and definitely looked better.
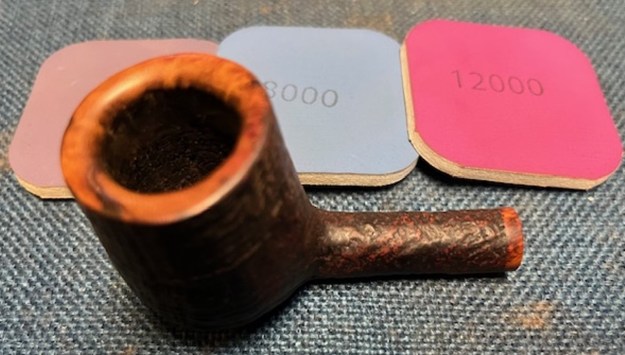
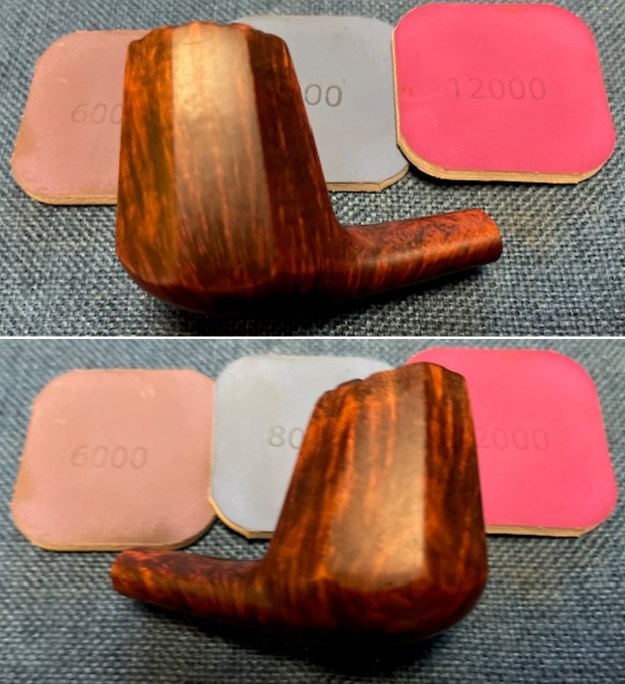
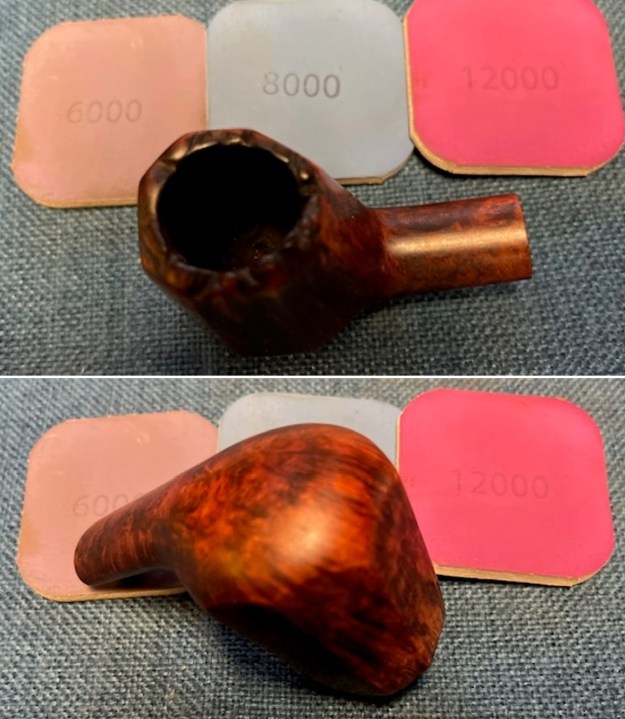
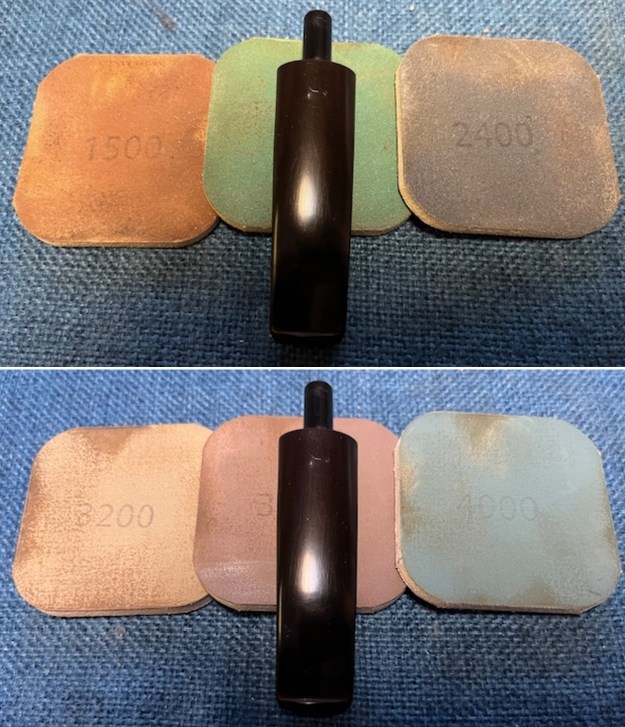
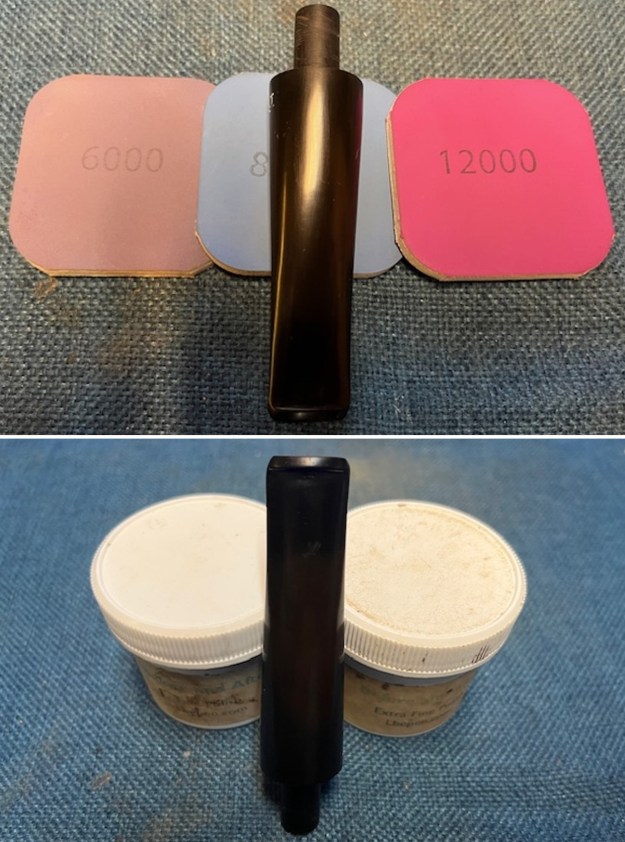
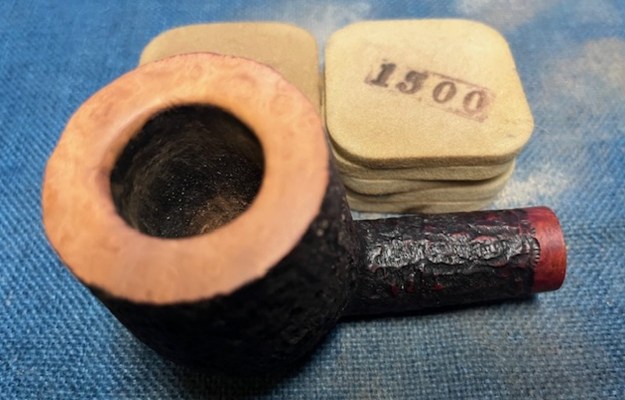 I polished the rim top with micromesh sanding pads – dry sanding with 1500-12000 grit sanding pads. I wiped it down after each pad with the cloth. The bowl continued to develop a deeper shine.
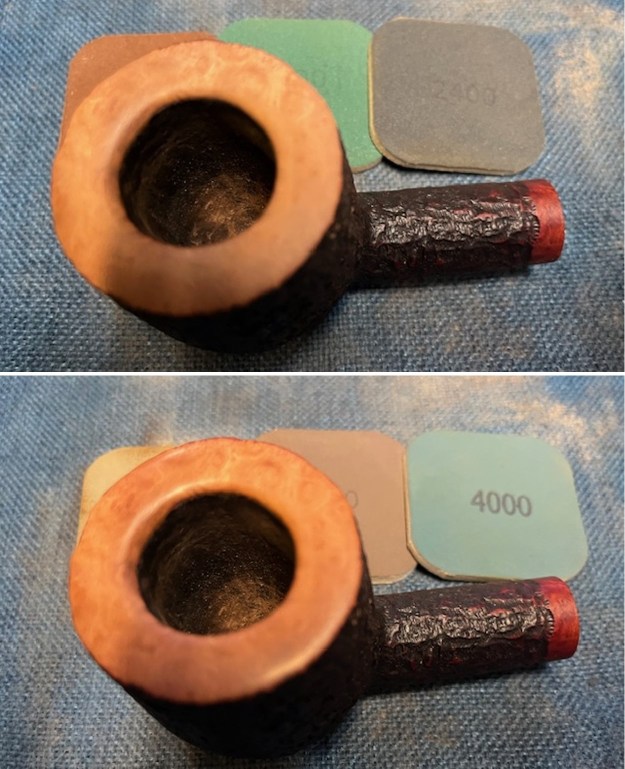
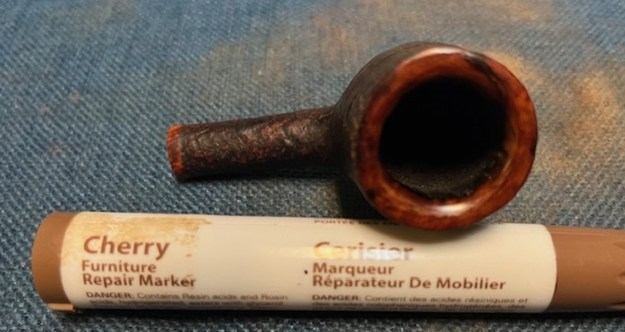
 I restained the rim top with a Cherry and Mahogany stain pen to match the shank end and panel on the underside of the shank. It would matched well once waxed and buffed.
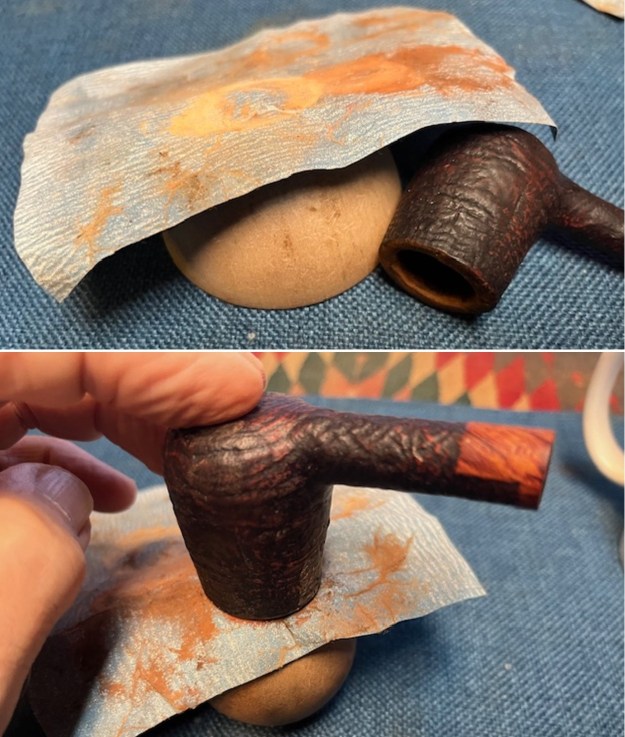
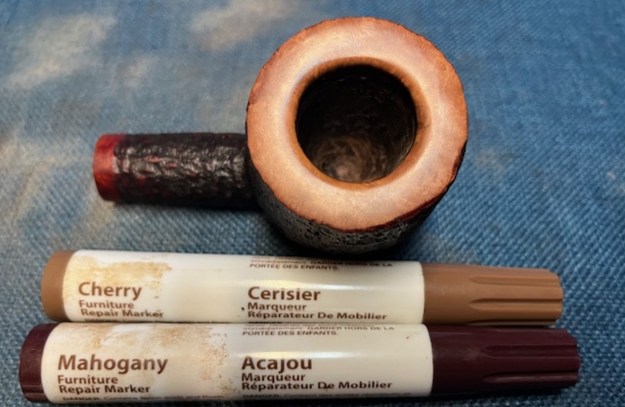 I worked some Before & After Restoration Balm into the briar with my finger tips and a shoe brush to get into the nooks and crannies. I let it sit on the bowl for 10 minutes and then buffed it off with a paper towel and soft cloth. The product is a great addition to the restoration work. It enlivens, enriches and protects the briar while giving it a deep glow. It is a product I use on every pipe I restore.
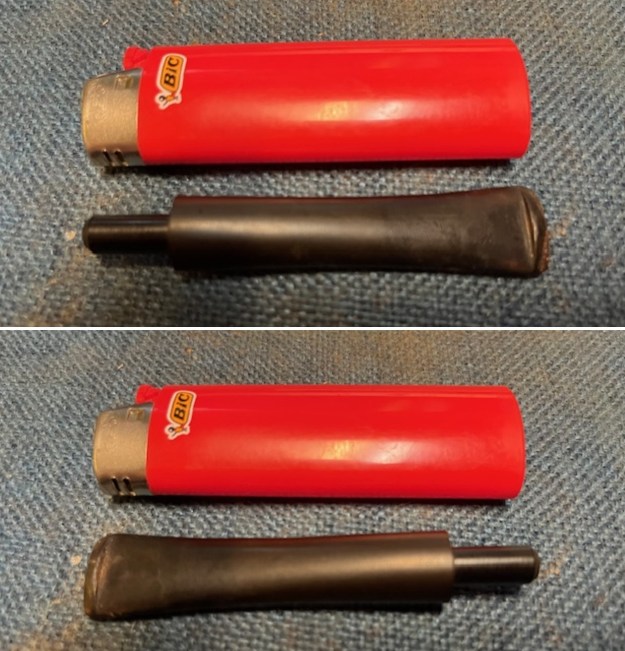
 I set the bowl aside and turned my attention to the stem. I “painted” the surface of the stem with the flame of a lighter to lift the tooth marks and had success. I sanded the light marks that remained with 220 grit sandpaper. It looked better. Polishing would finish the work.
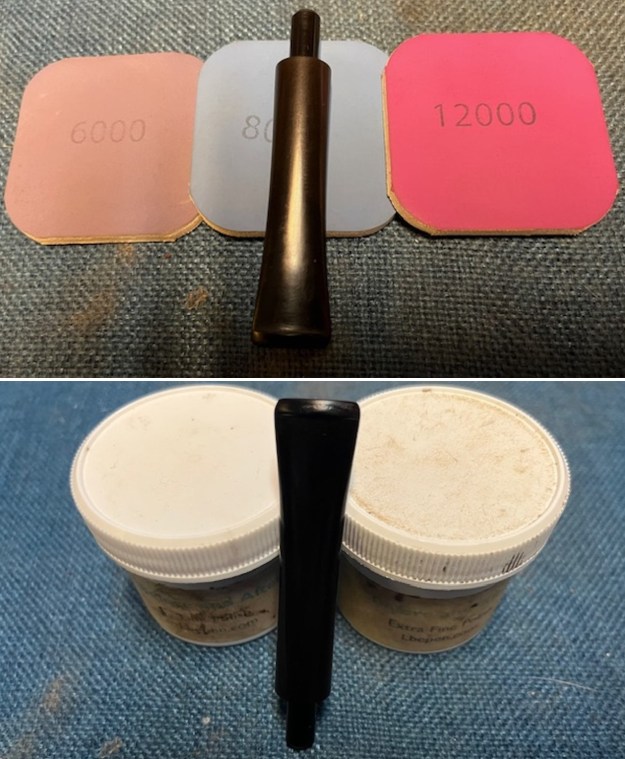
 I continued the sanding process with 320-3500 grit sanding pads. After each pad I wiped the stem down with some Obsidian Oil to clearly show me the scratches and areas that still needed work. It was really looking good.
 I touched up the bj logo on the left side of the taper stem with white acrylic nail polish. Once it cured I scraped off the excess and used a 1500 grit micromesh pad to clean it up further.
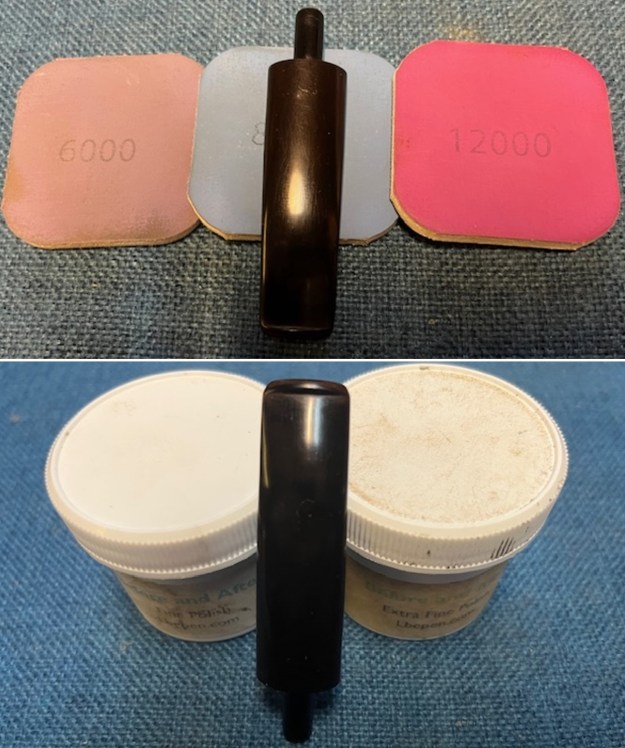
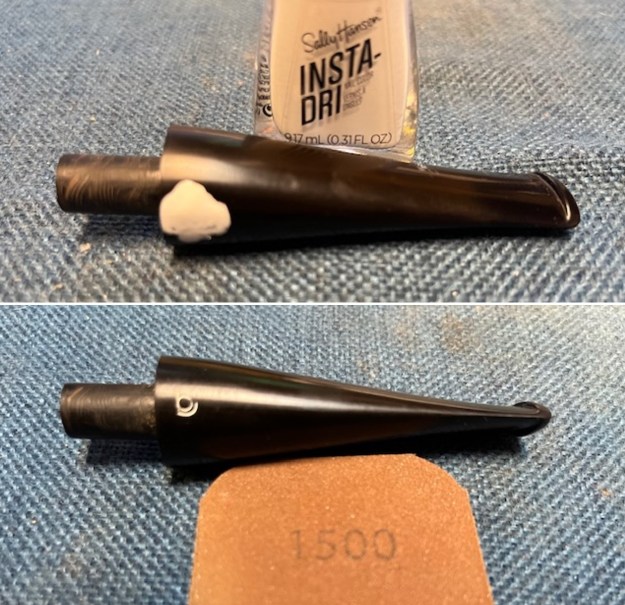 I polished the stem with micromesh sanding pads – dry sanding with 1500-12000 grit pads. Once again, I wiped it down between each pad with Obsidian Oil. I further polished it with Before and After Stem Polish – both Fine and Extra Fine. I gave it a final coat of Obsidian Oil. It looked very good.
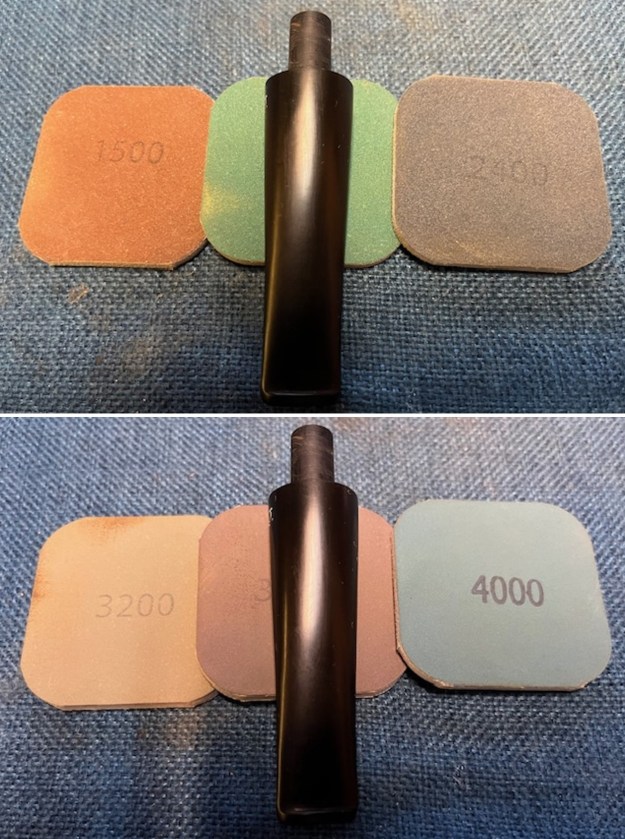
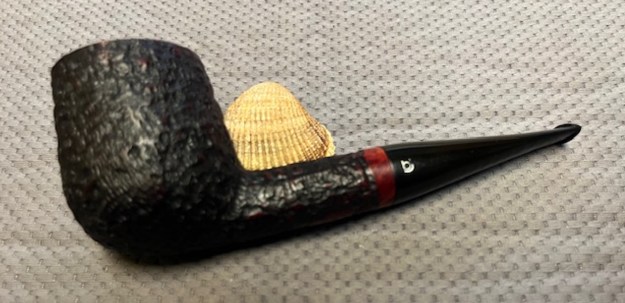
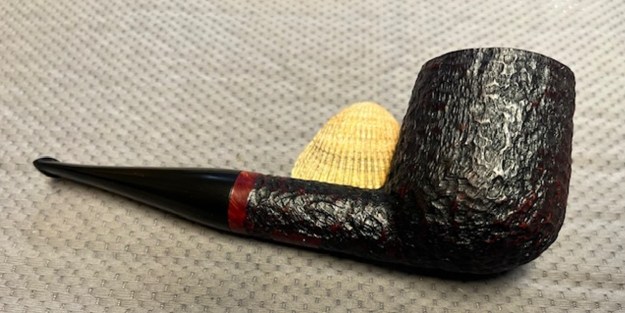
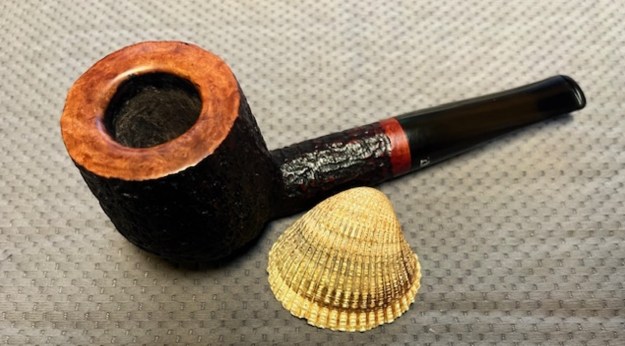
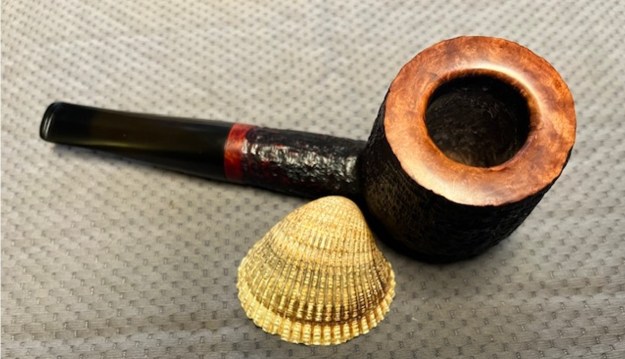
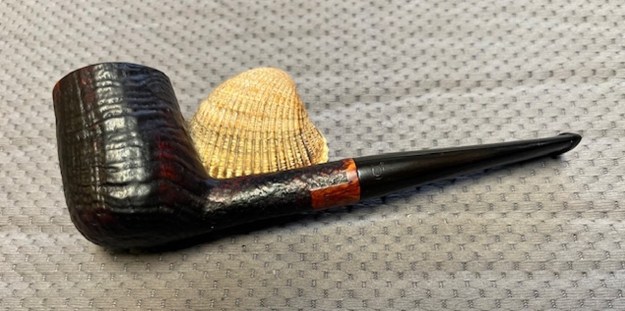
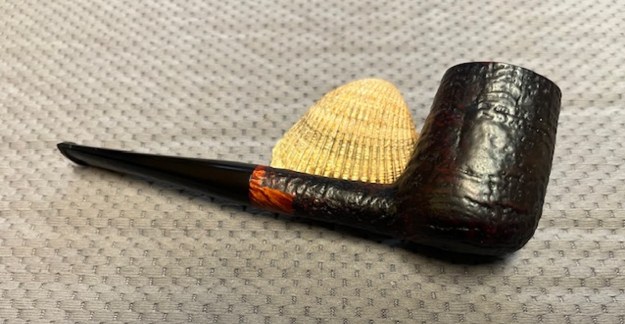
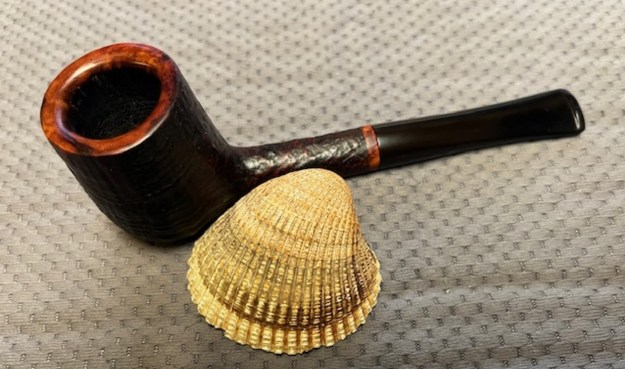
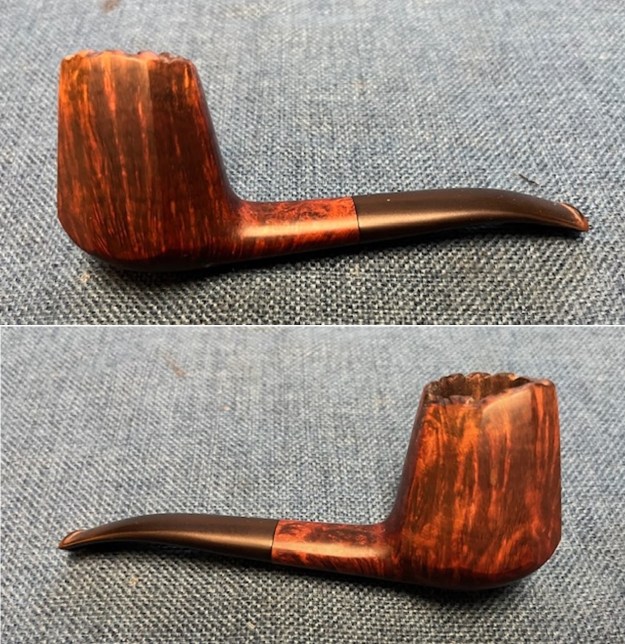
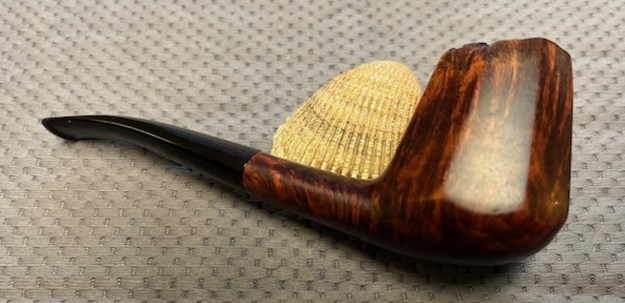
 I am really happy with the way that rim top and edge reworking turned out on this Bjarne Hand Made Large Rusticated Billiard turned out. It really is a beautiful looking pipe with a unique shape and combining a sandblast bowl with a smooth rim and shank end. The vulcanite taper stem is really nice. The briar really came alive with the buffing. The rich brown and black stains of the finish gave the pipe a sense of depth with the polishing and waxing. I carefully buffed the pipe with Blue Diamond on the buffing wheel using a light touch on the briar. I gave the bowl and the stem multiple coats of carnauba wax on the buffing wheel. I buffed the pipe with a clean buffing pad to raise the shine. I hand buffed the pipe with a microfiber cloth to deepen the shine. The finished Bjarne Rusticated War Club Billiard really is a beauty and feels great in the hand and looks very good. Give the finished pipe a look in the photos below. The dimensions of the pipe are Length: 7 inches, Height: 2 ½ inches, Outside diameter of the bowl: 2 inches, Chamber diameter: 1 inch. The weight of the pipe is 102 grams/3.63 ounces. The pipe will be going on the rebornpipes store in the Danish Pipe Makers Section if you would like to add it to your collection. Thanks for reading this blog and my reflections on the pipe while I worked on it. It was a fun one to work on!