Tag Archives: Bill Tonge Articles

I Found the Black Box – Bill Tonge


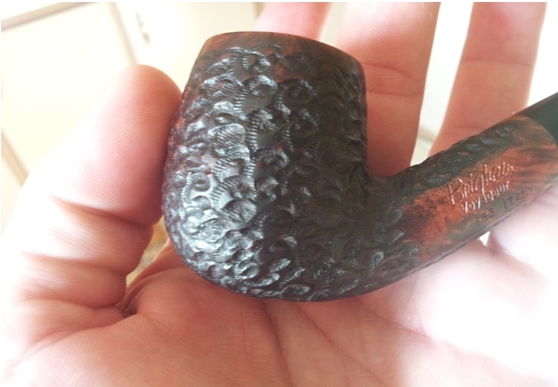
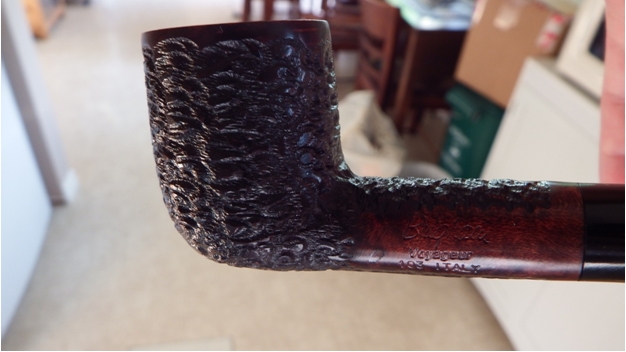
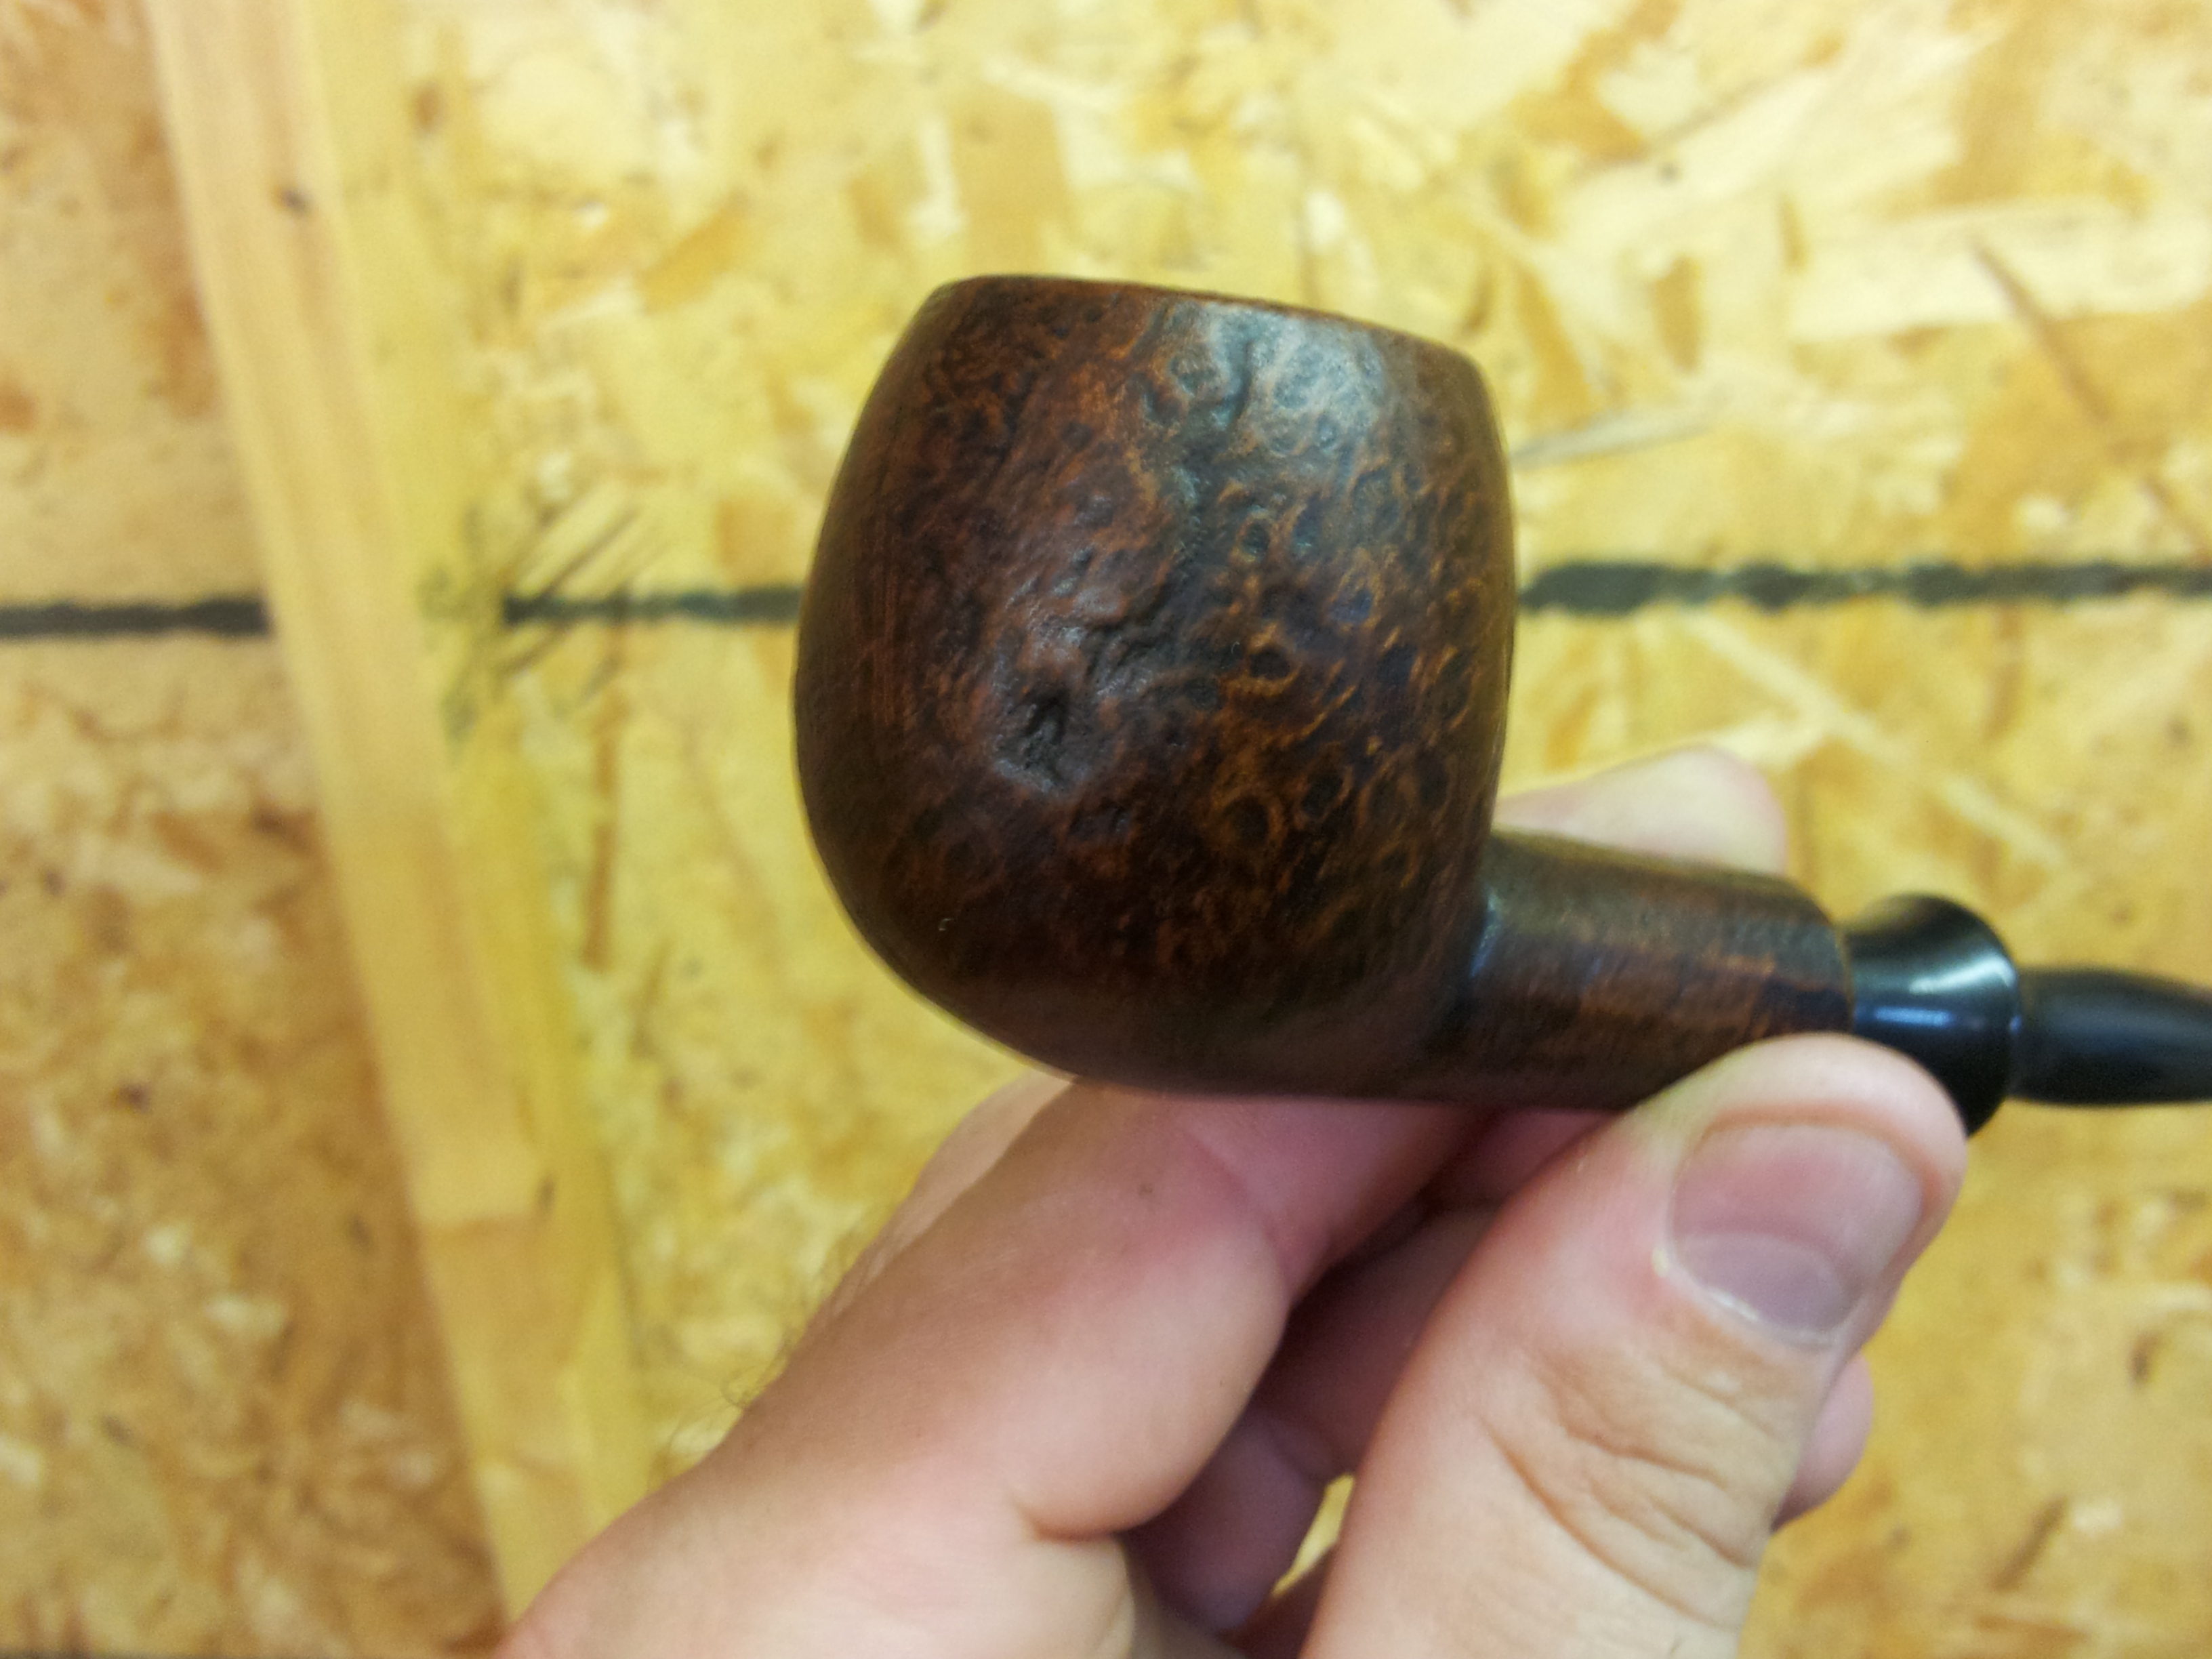
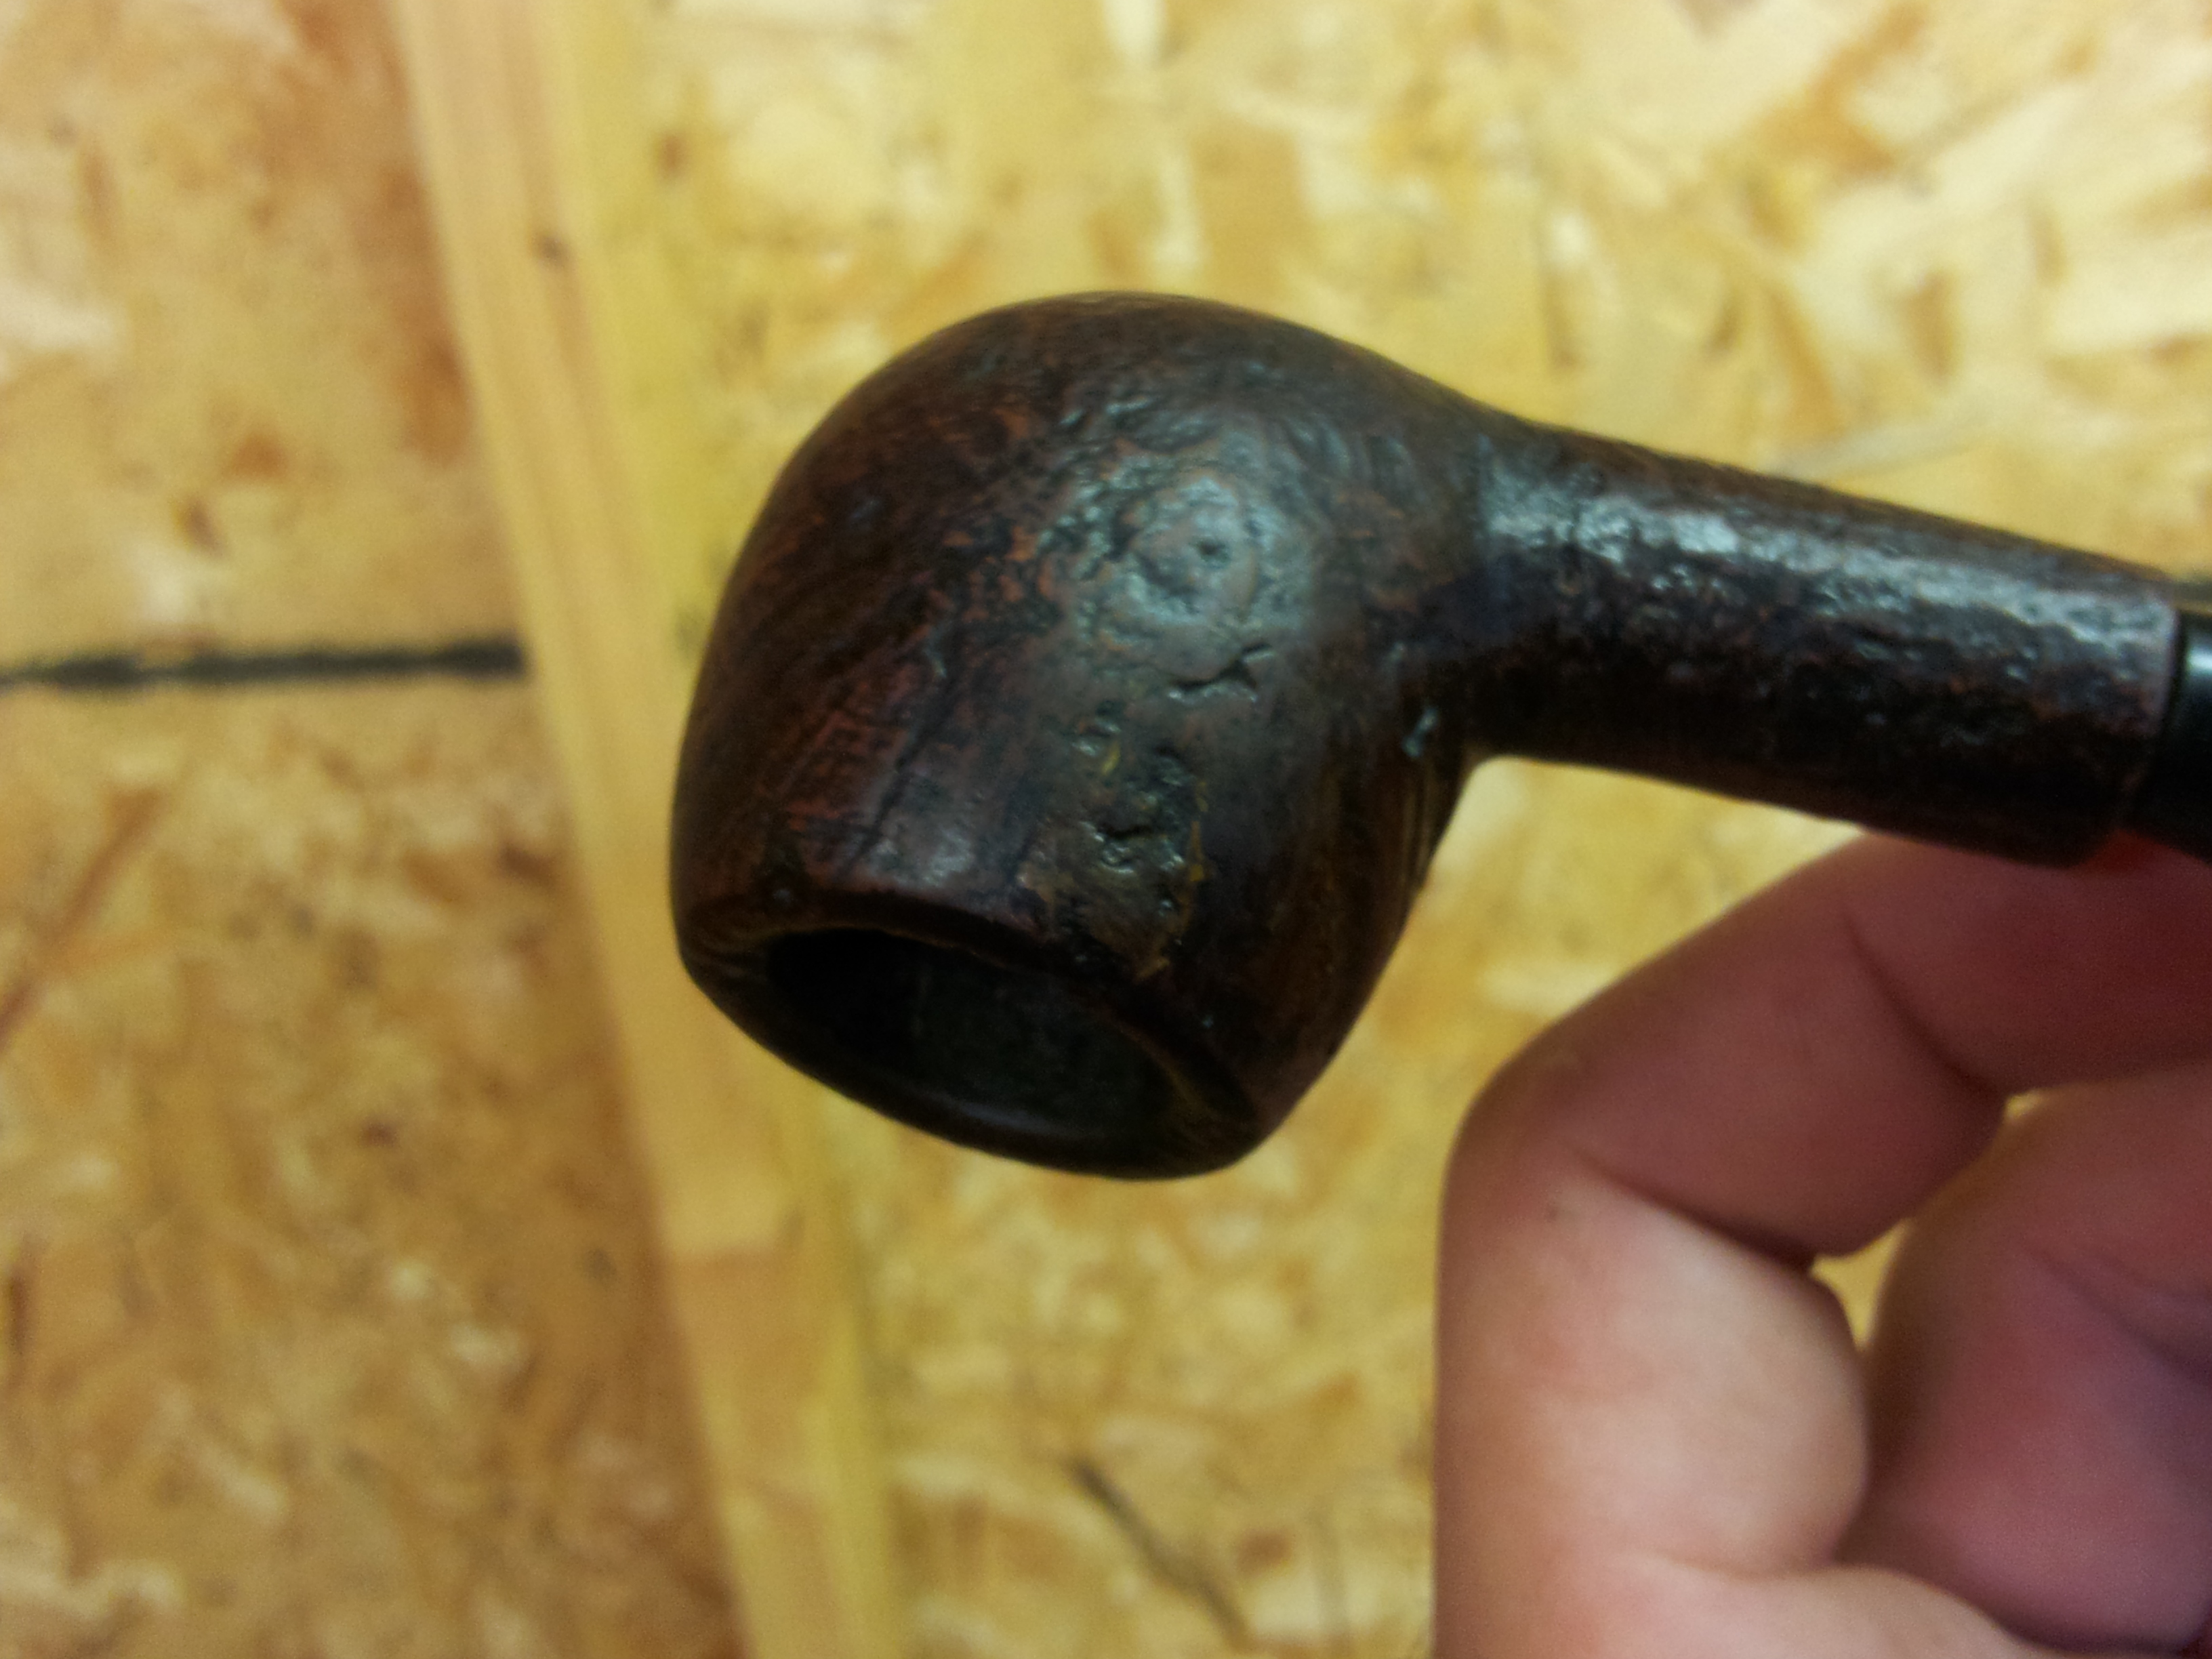
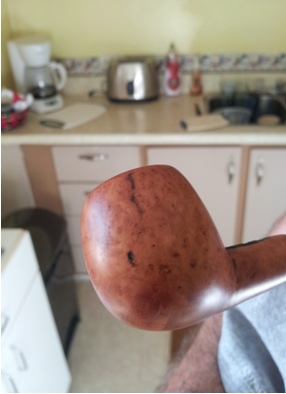
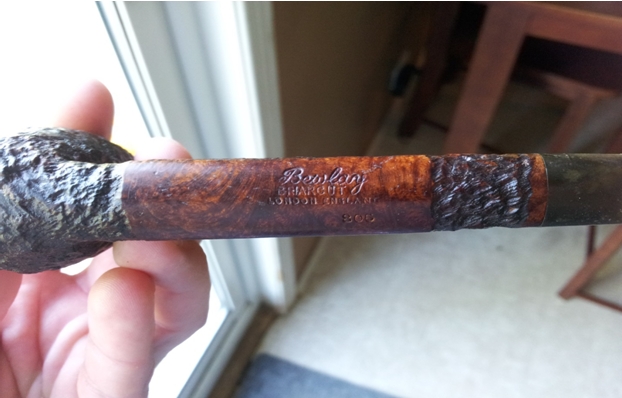
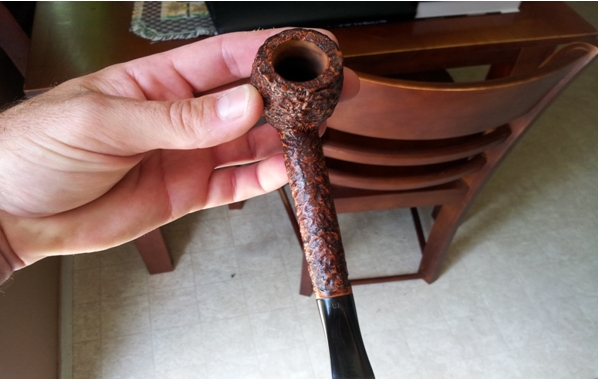
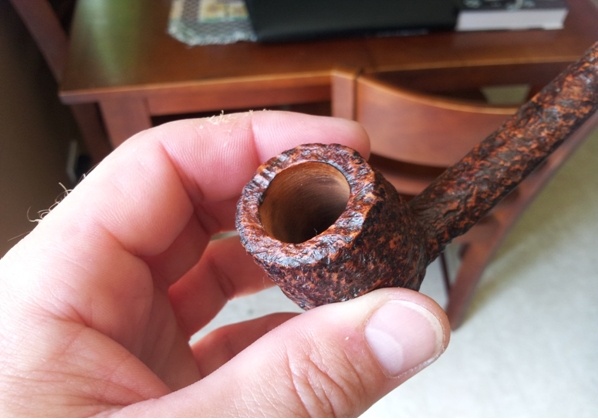
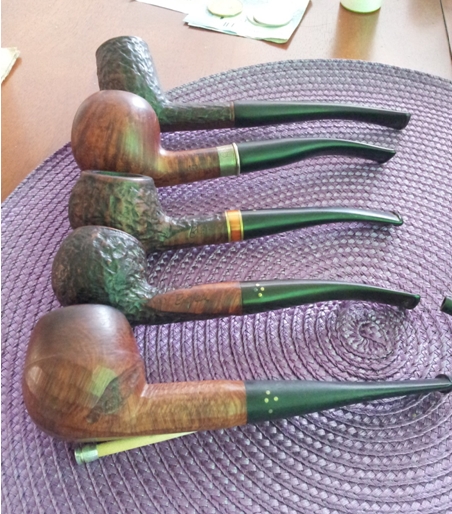
I recently was gifted a box of Brigham pipes from someone on eBay who bought one of my pipes. The one in this particular write up is the fourth one down which is a 429 Author shape.
Bill1 
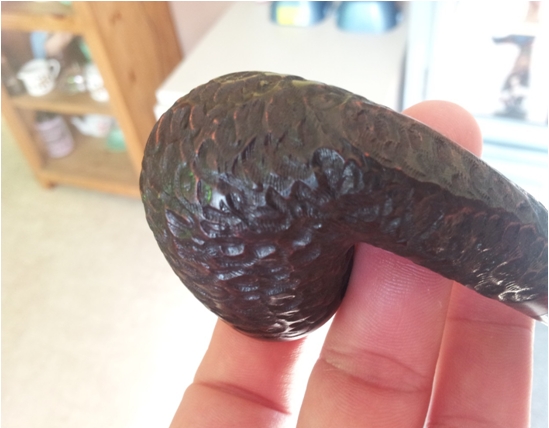
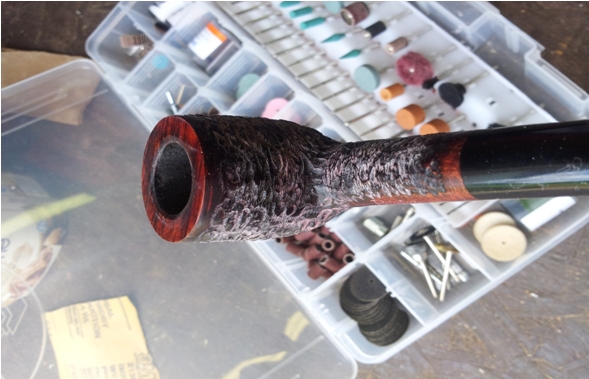
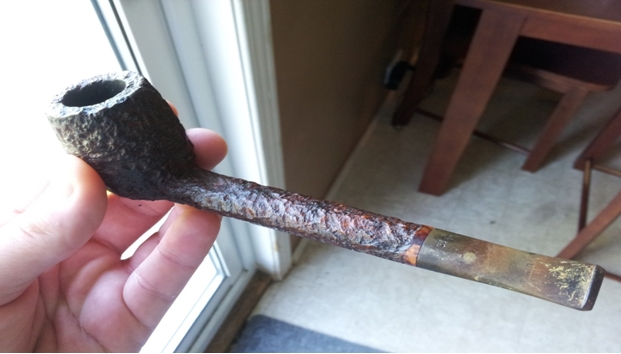
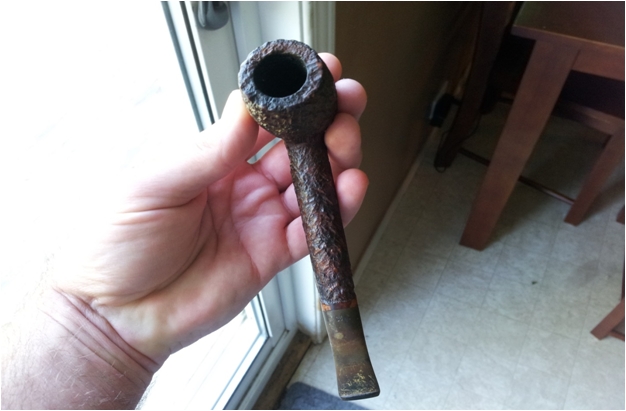
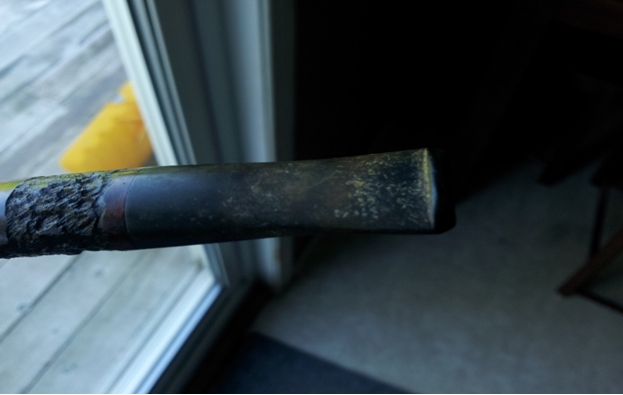
I pulled the pipe apart and did my usual cleaning which entails the bowl, shank and lightly sanding it for some contrast. Then I went at the stem. I did my Oxi-Clean and Magic Eraser to the stem and then used the micro mesh pads. When I finished I noticed that the stem was still brownish in spots. Bill2 Bill3 
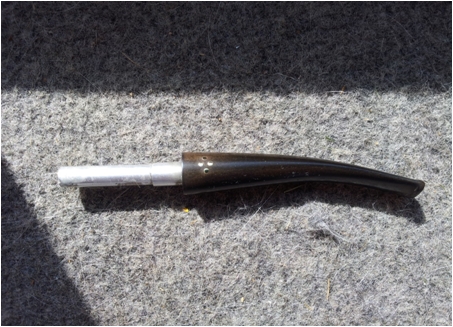
So I went out to the shop and dug out my Black Box from when I had my black car. Bill4 
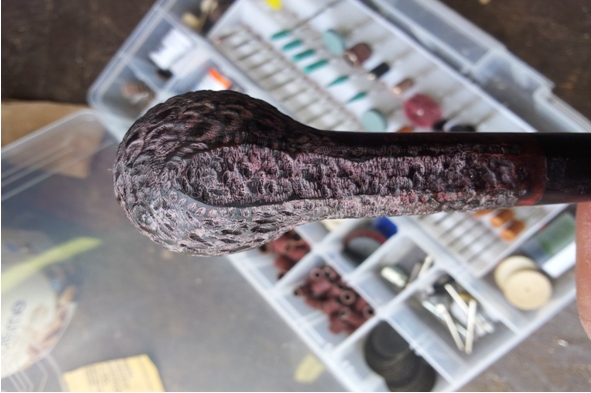
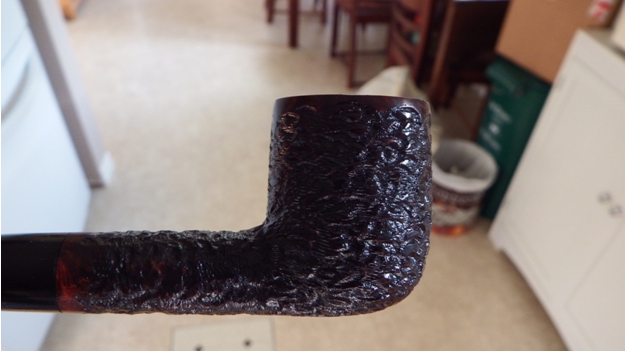
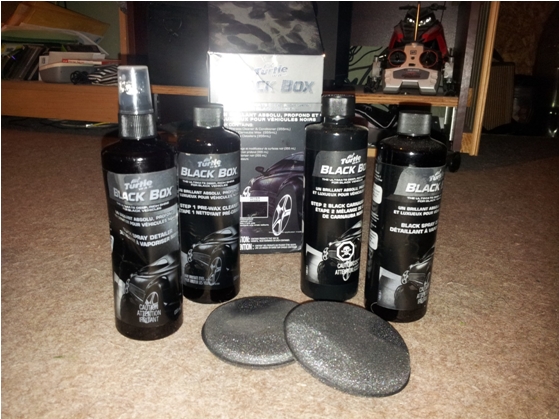
I used it exactly the same way you use it on your car following every step. The first step involves the scratch remover and the second step is the black carnauba wax. I just dabbed it all over the stem and let it sit until it turned to a gray haze. The next set of pics shows the stem covered in the black wax. Bill5 Bill6 Bill7 
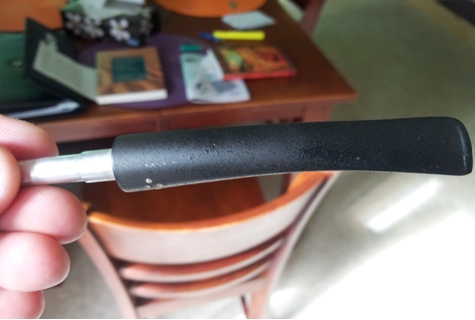
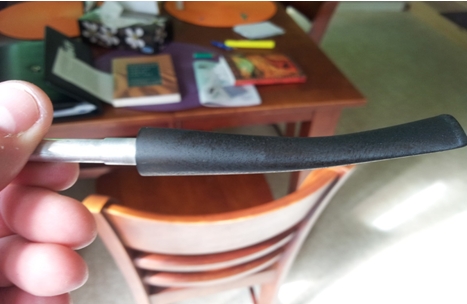
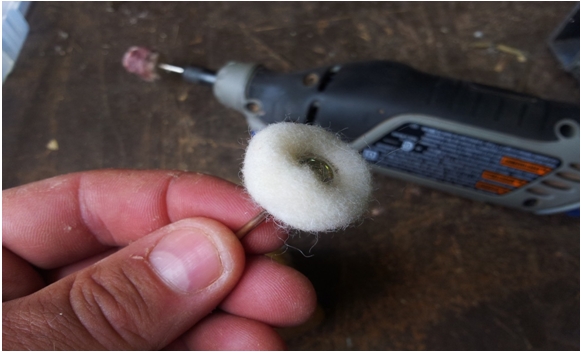
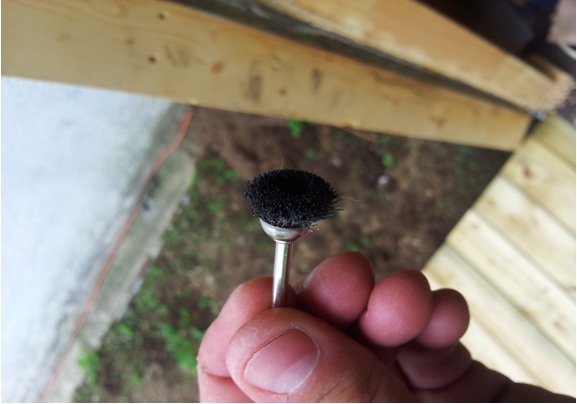
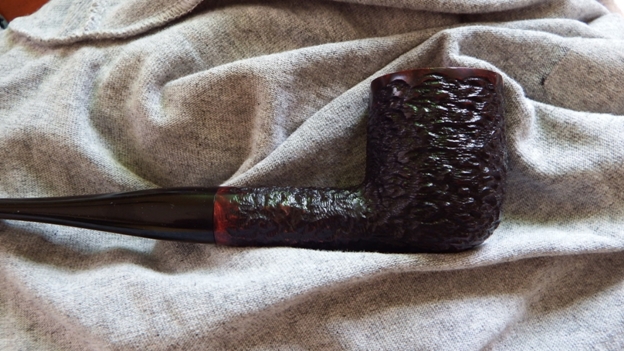
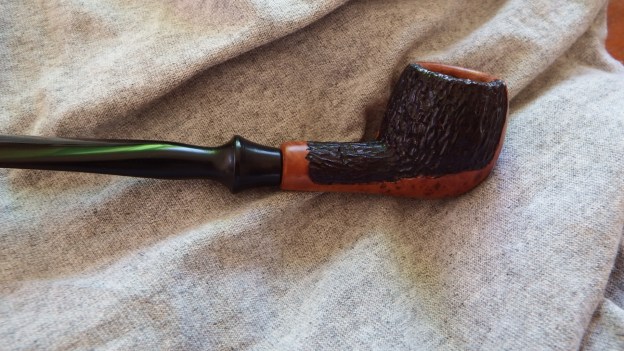
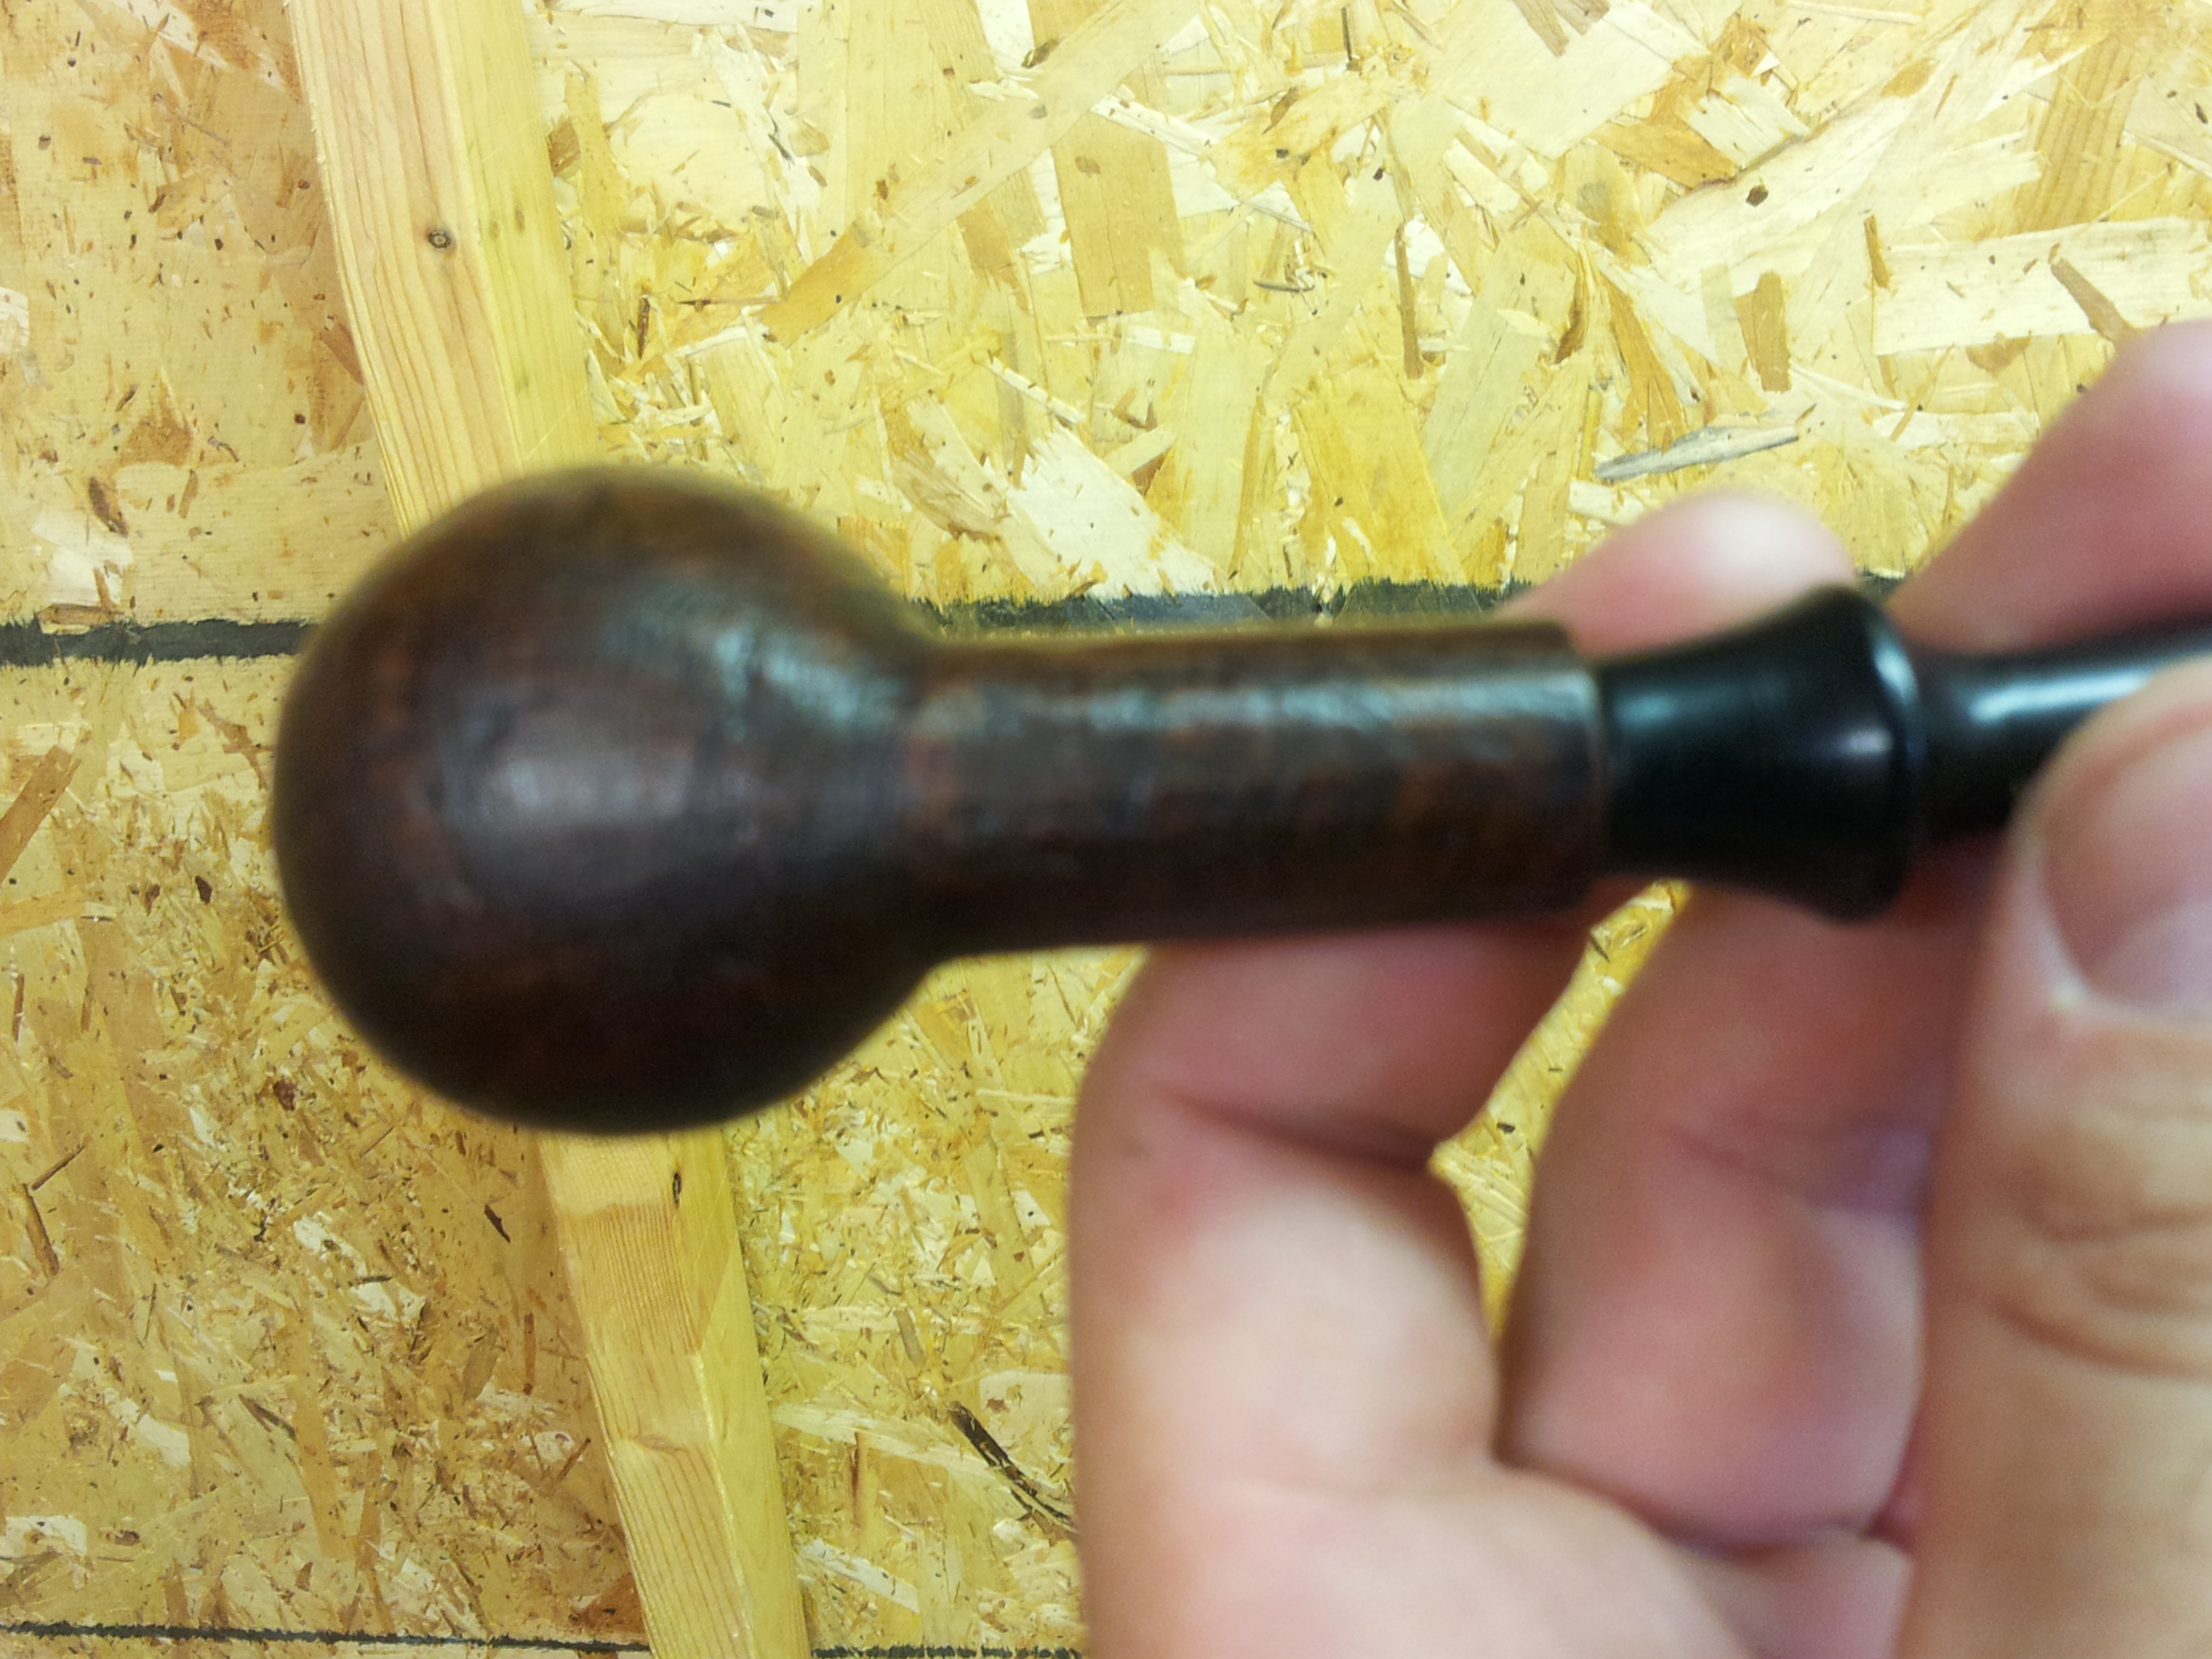
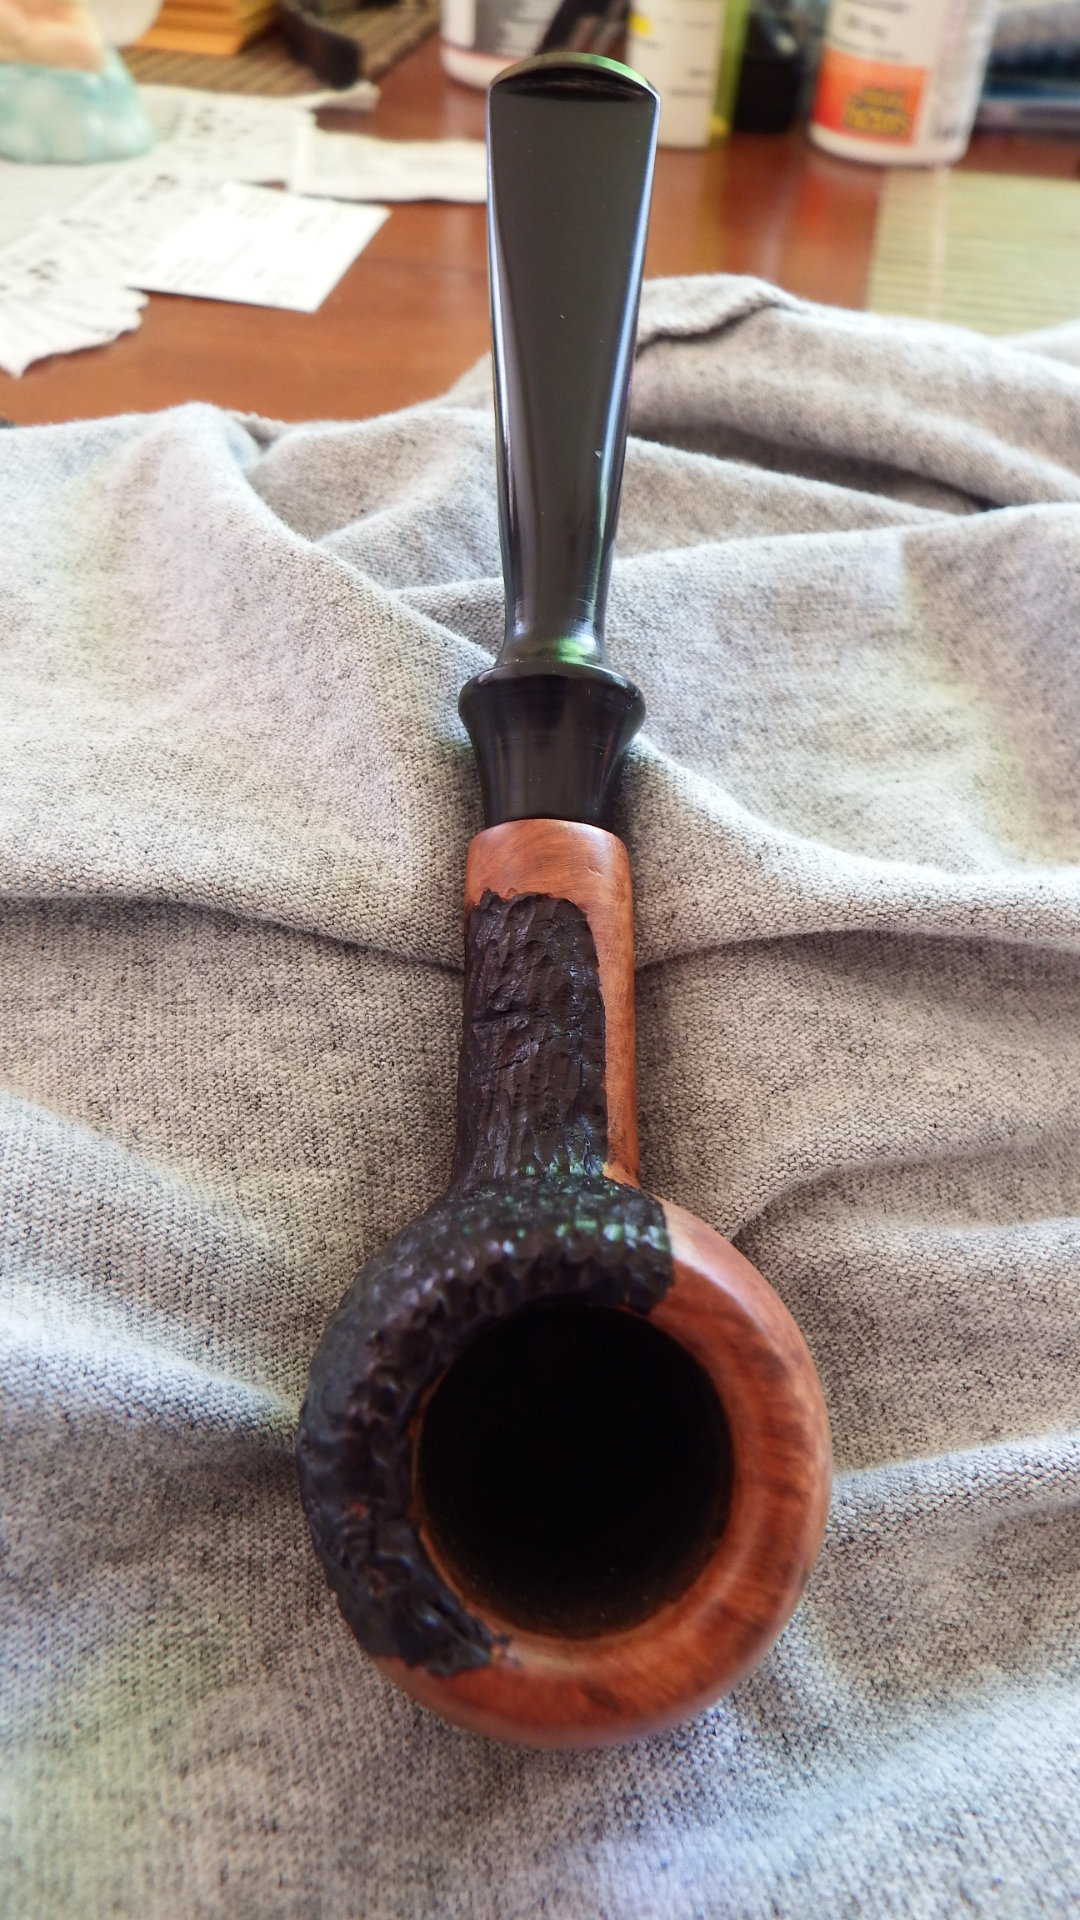
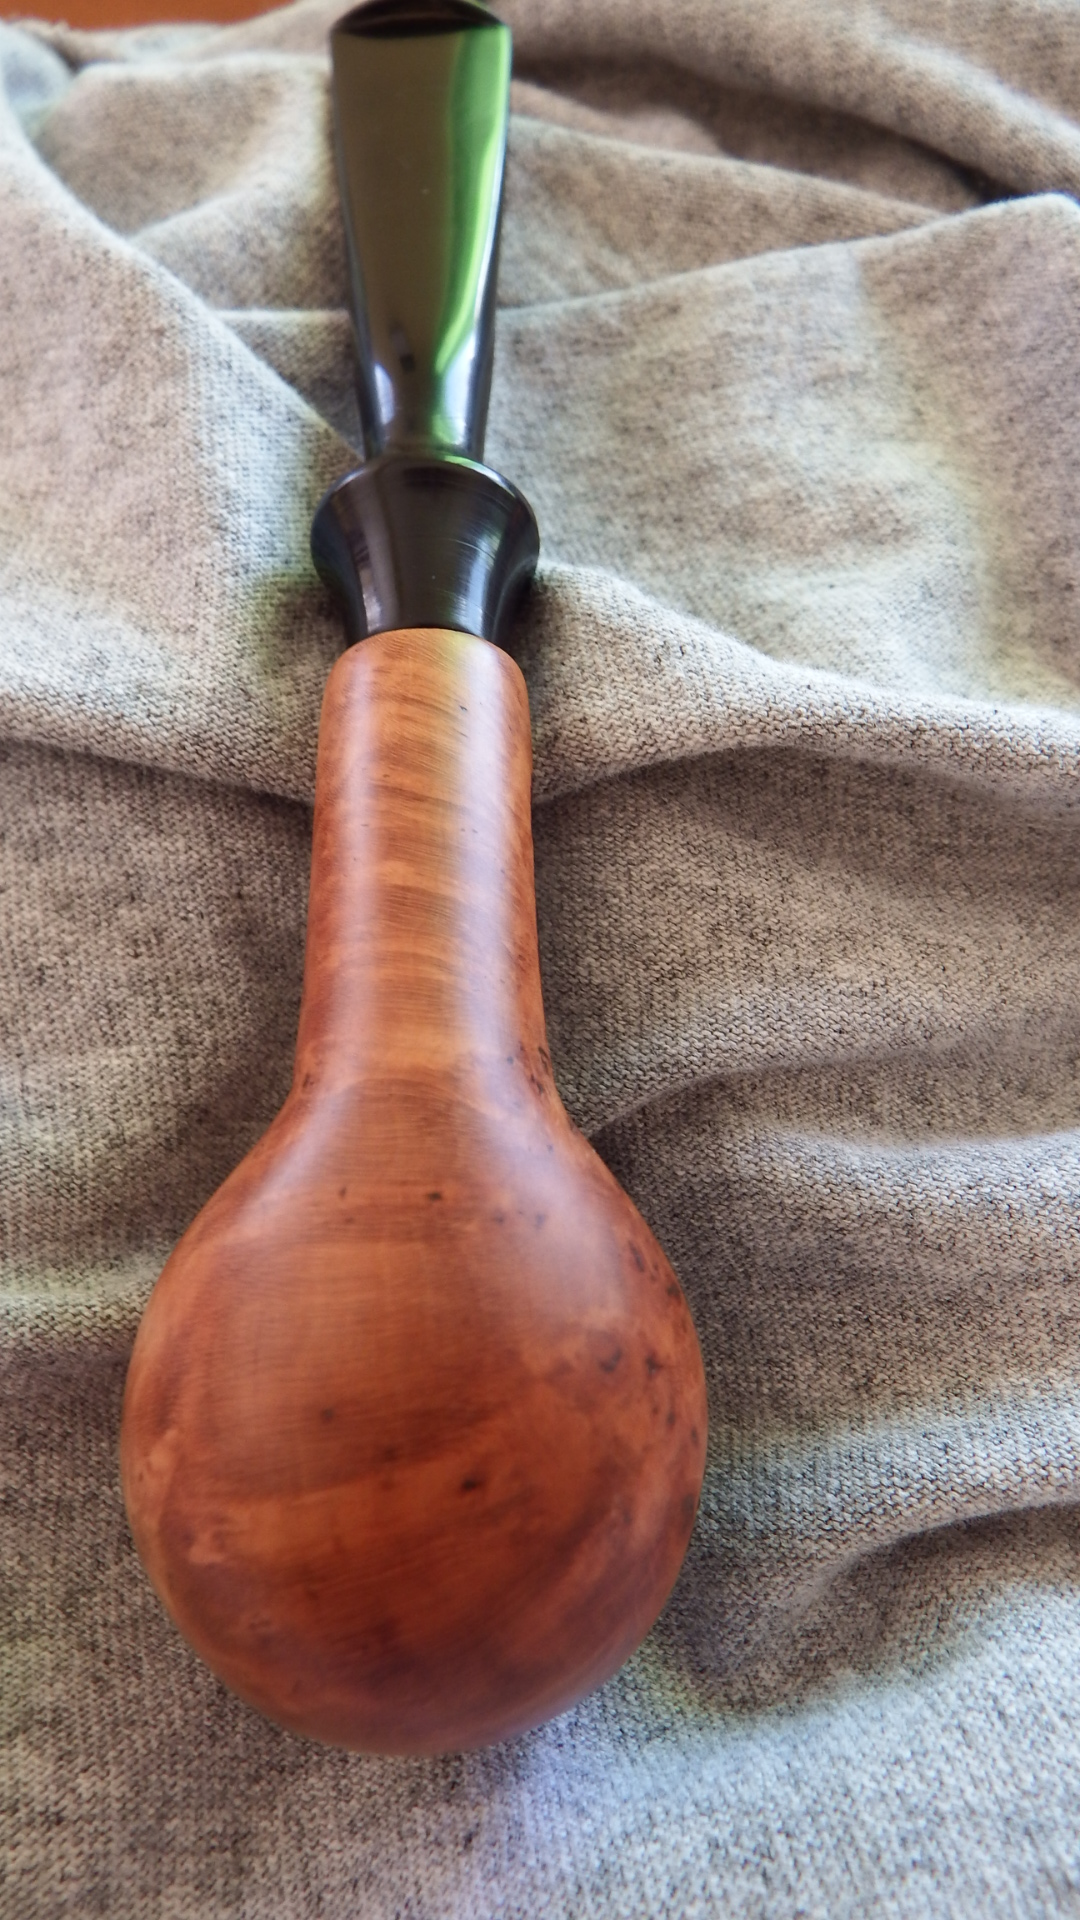
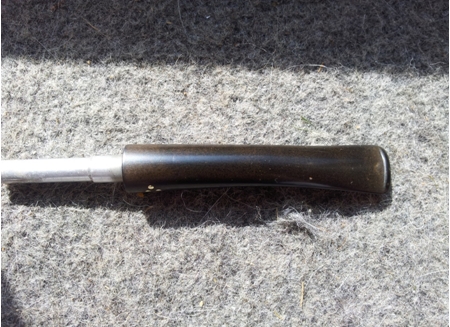
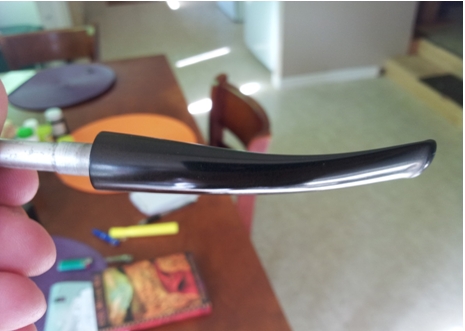
The final step is to buff it up. As you can see from the pics it covers the brown pretty well. Bill8 Bill9 
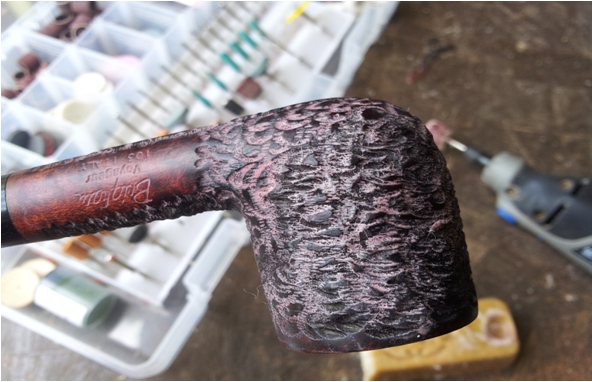
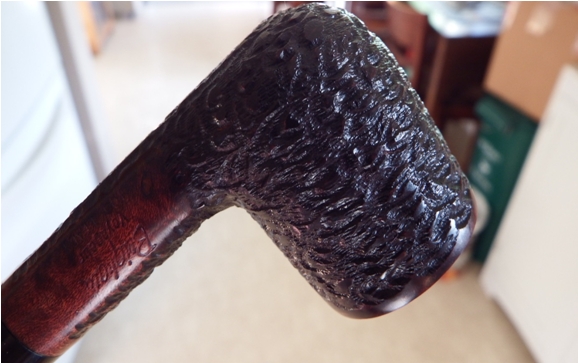
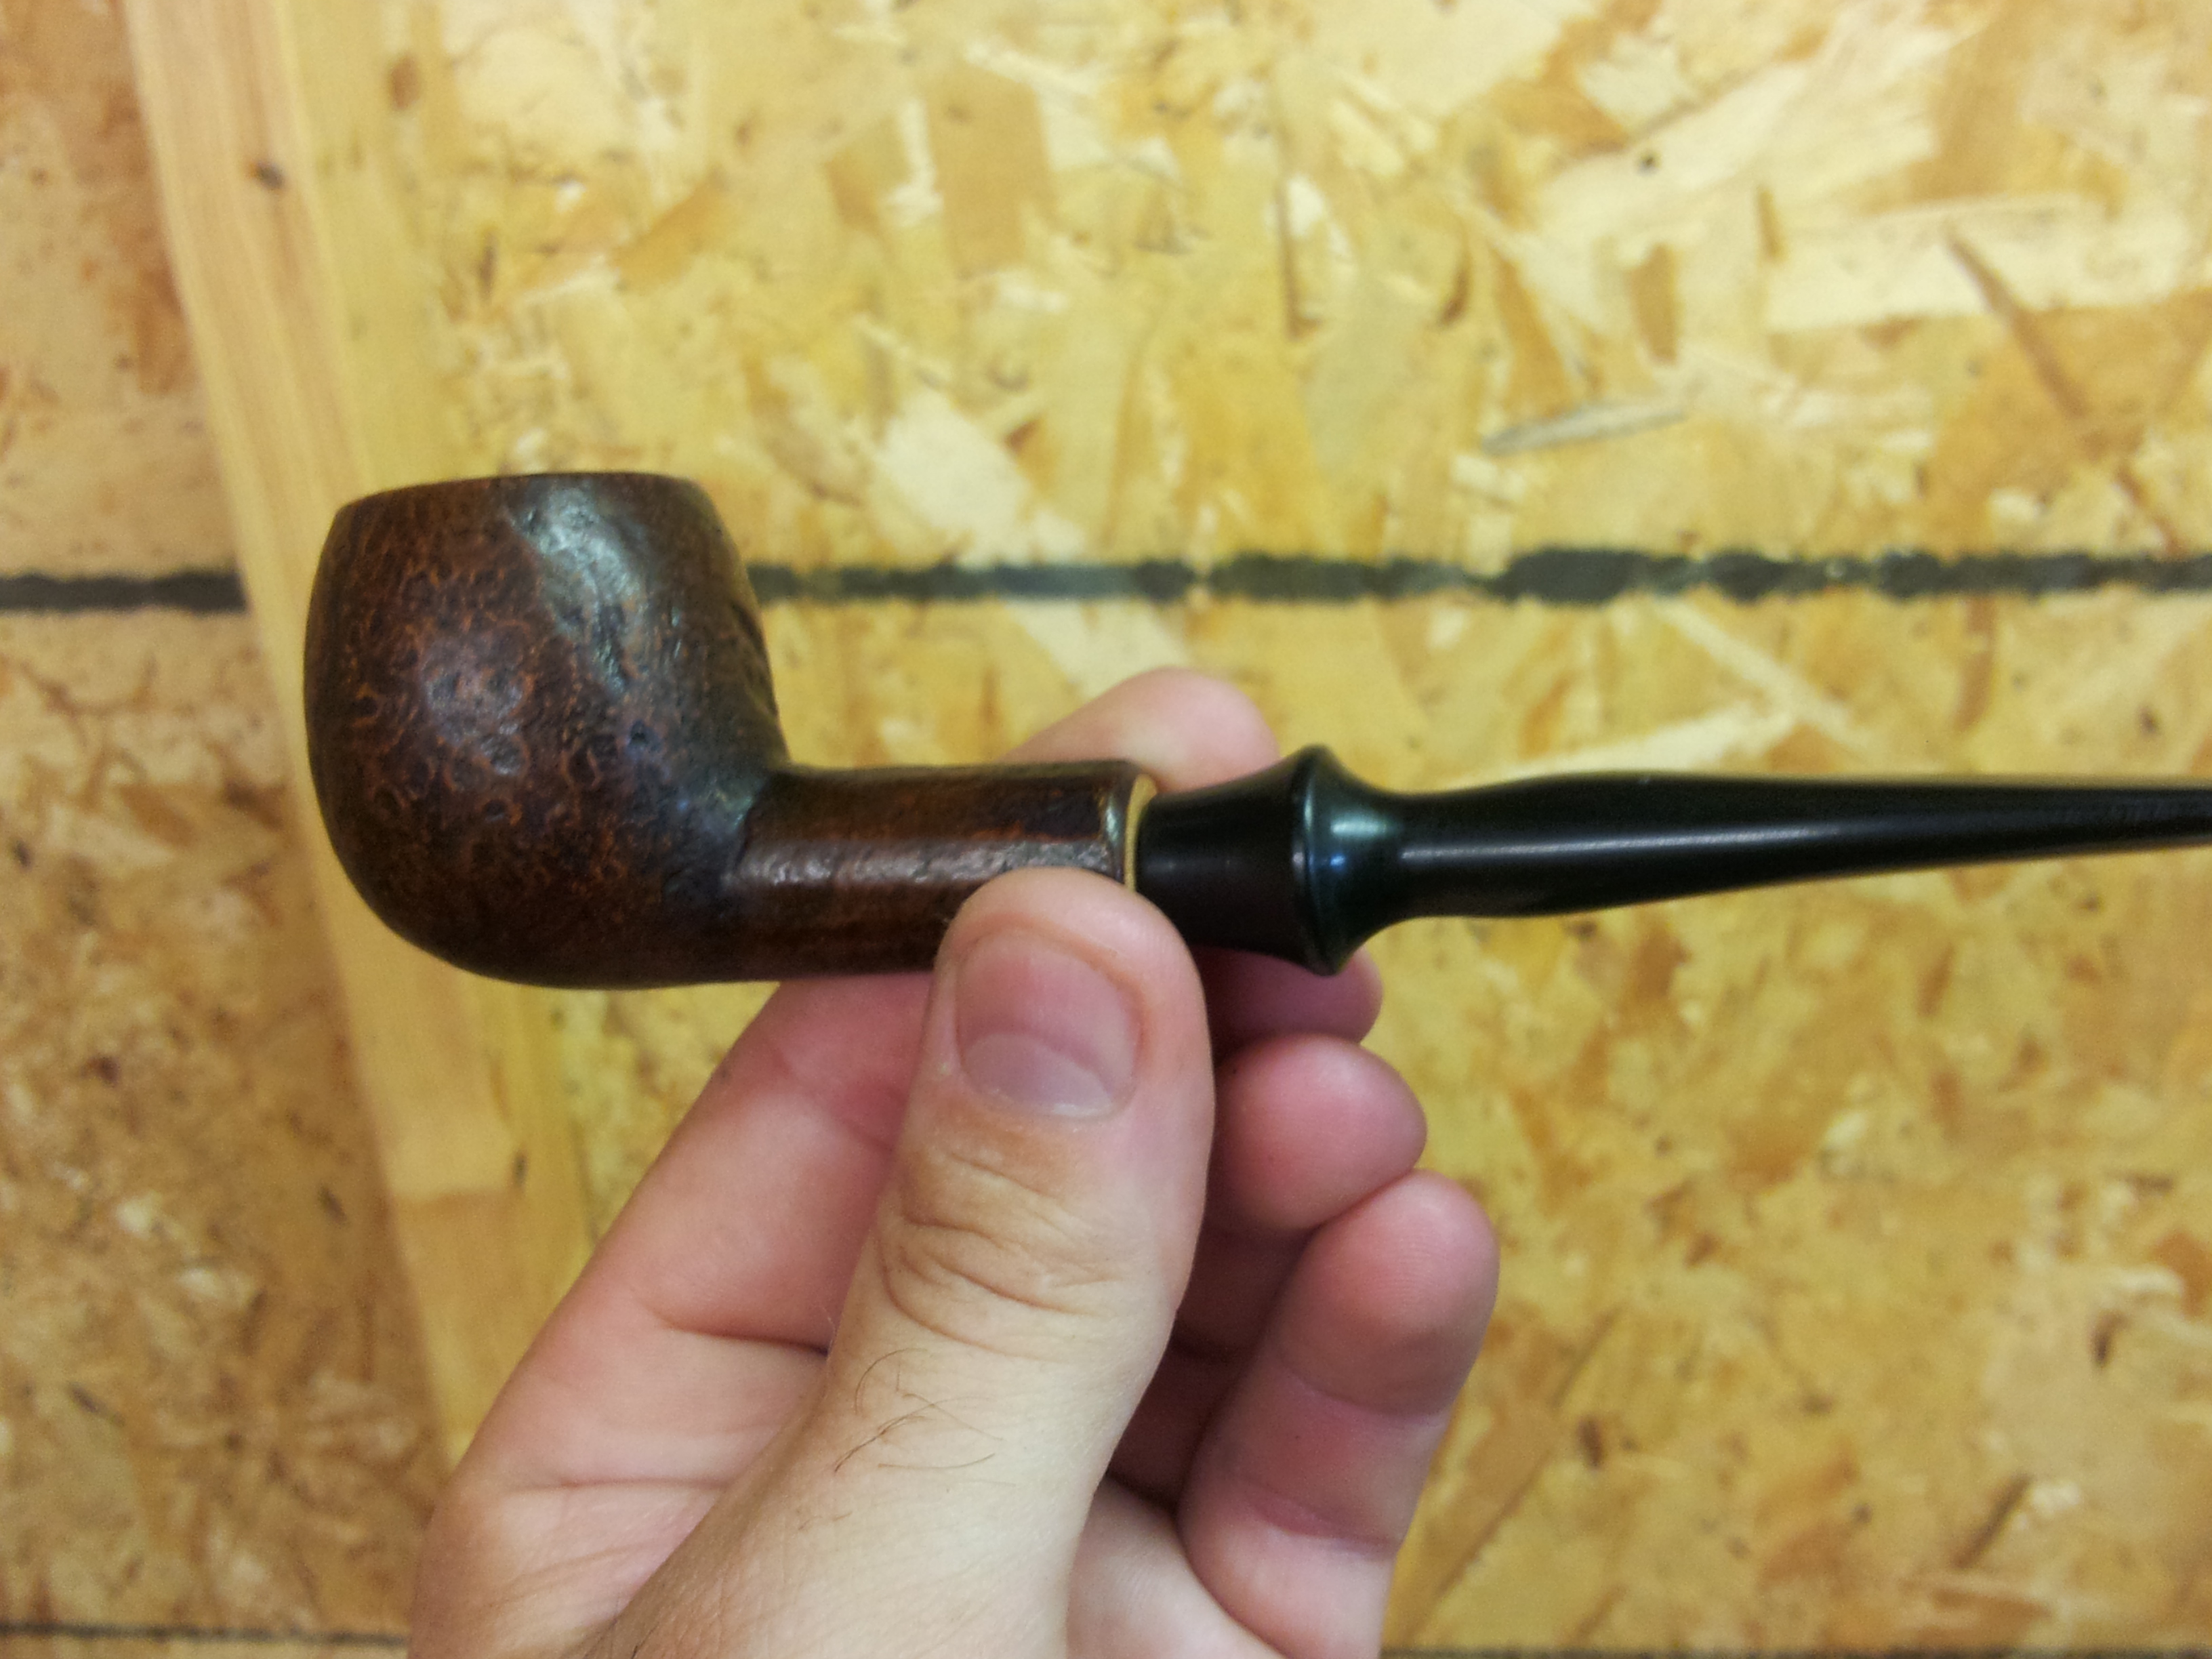
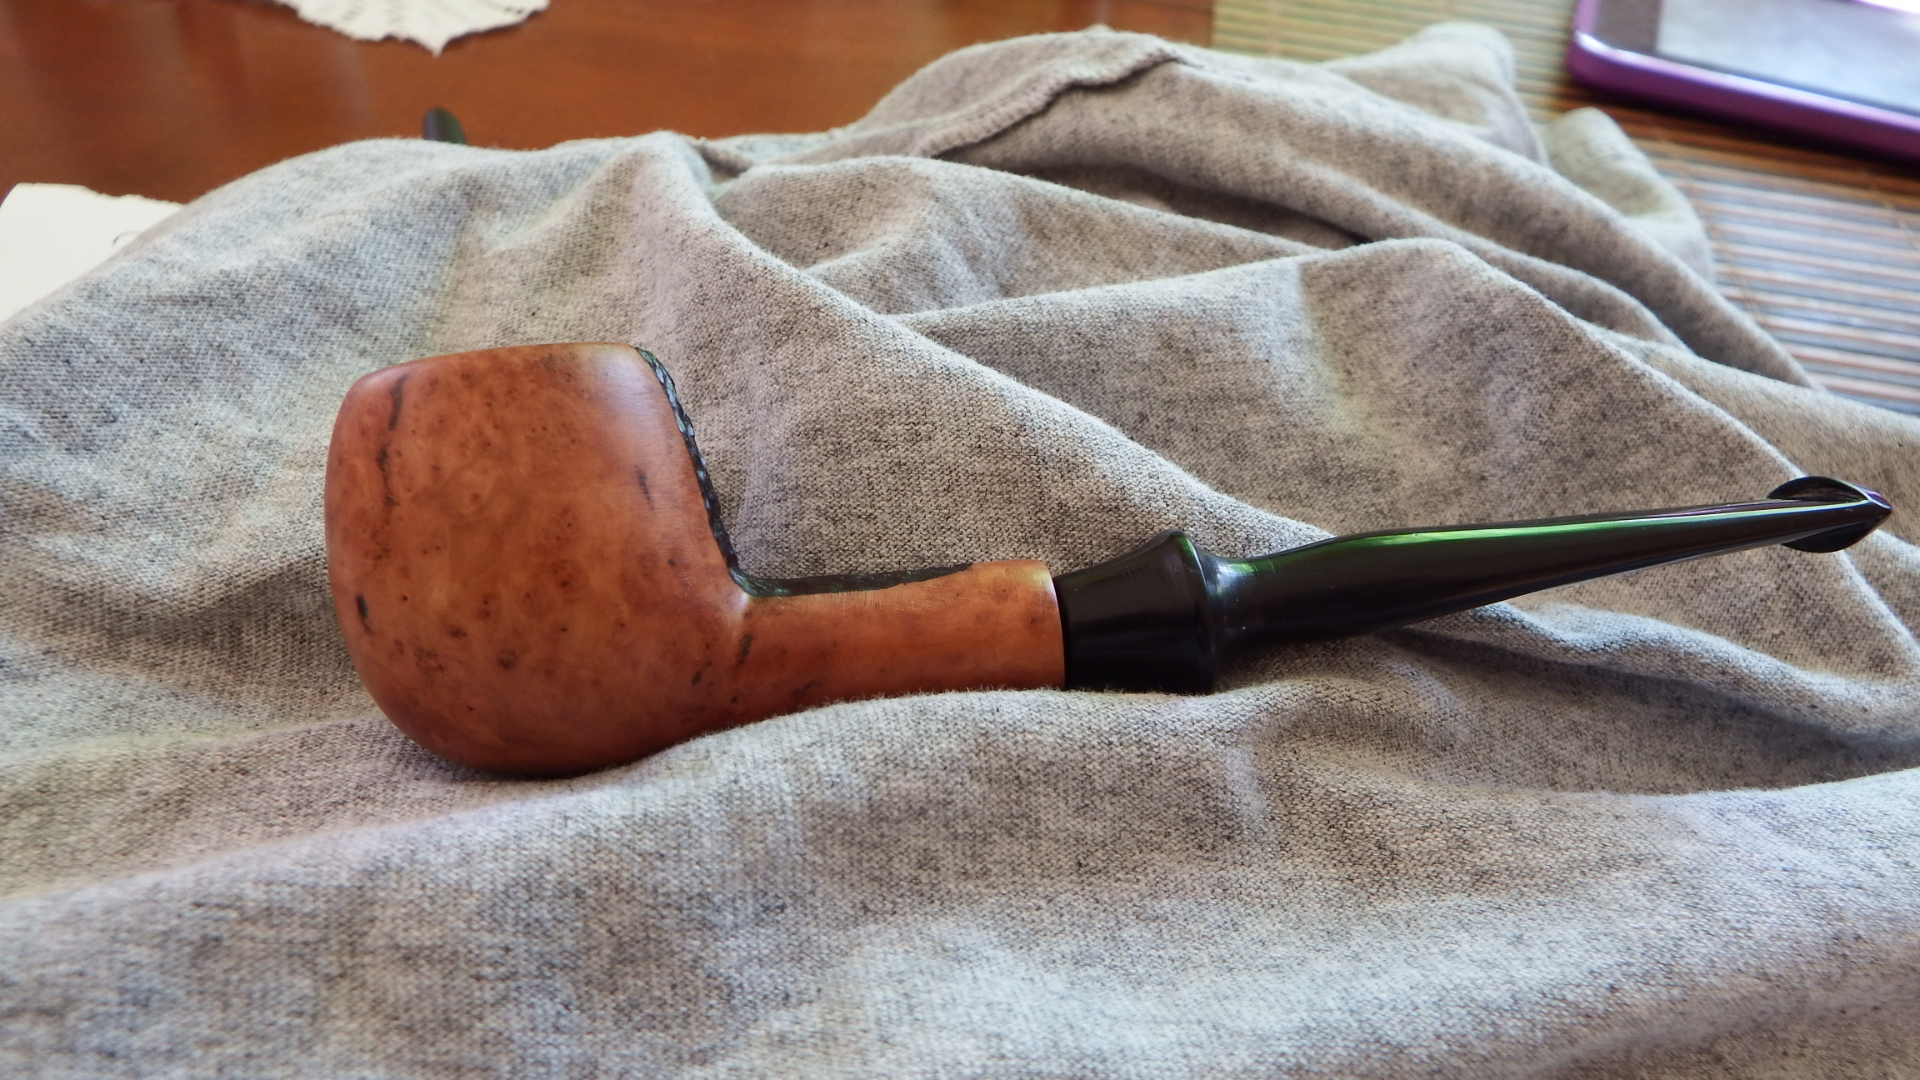
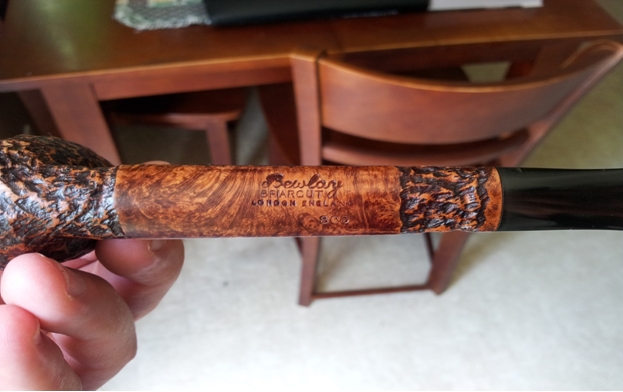
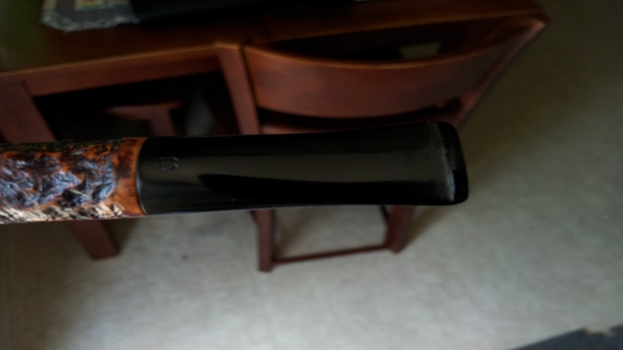
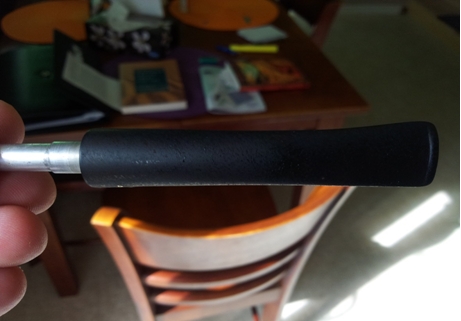
And of course a pic of the final pipe cleaned, waxed and back together. Another happy Brigham. Bill10

Waxing a Pipe Using Only a Dremel – Bill Tonge


Those who have read Bill’s previous two articles you have seen what he accomplishes with his refurbs. He does beautiful work. This third article that he has written is one that he wrote to me about. I was excited to read what he wrote as it challenges the common thinking of buffing with a Dremel. Thanks Bill for the interesting piece. Well done.

I thought I would ask Steve if I could do a little write up about waxing a pipe using only a Dremel, wool ball, fibre brush and Carnauba wax. I know there has been many a discussion about waxing this way and people say that you absolutely do not wax with a Dremel.

I want to show that with a little time, lots of patience and a steady hand, waxing any pipe especially a rusticated pipe is possible with a Dremel. This method may not be for everyone and please don’t try this for the first time on a good pipe. The first time I did this I melted an indent in a pipe stem. Practice, steadiness and constantly moving are the key. Do not worry about a build-up of wax because the step with the fibre brush will take care of that. Pictures are hard to show sometimes but hopefully you can see the difference from before to end. I am using a Brigham 103 Italy that I bought from Greg Wolford a little while back.
Billl1

Billl2

Bill3
I take the wool ball and run it into the carnauba wax until the ball is layered. I then run it across the rusticated and smooth parts reapplying wax to the ball as needed.
Bill4

Bill5

Bill6

Bill7

Bill8
Don’t be worried by the reddish colour on my pipe. Some of the Brigham’s pipes are known to bleed their colour.

The next step is to take the fibre brush attachment and use it to remove the excess wax, hair from the wool ball and leave a nice shine. Afterwards you can hand polish with a clean rag and if necessary re-buff with the fibre brush after it has been cleaned. I use hot water &Oxi-Clean for soaking the fibre brush to clean it.
Bill9

Bill10

Bill11

Bill12

Bill13
I use the Dremel set to the lowest speed. The wool balls are fairly cheap to buy. I bought a 15 pack on eBay from China for around $6.00 with free shipping.

I know there will still be people that say you can’t do it, but I say you can..…just have patience.

Reviving an Unknown Pipe – Bill Tonge


It is a pleasure to post this second blog piece by Bill Tonge. In this particular refurb what makes it of interest to me is that it was a pipe that I sent him. I figured it might be a good project for him to play around with. It had solid bones and a new stem that I had fit to the shank. There were definitely some issues with the pipe but I figured Bill would come up with something creative. And he certainly did. This reworking of a pipe epitomizes what I quoted Bill as saying in his first post. I am quoting it again here as it is very apropos to his old pipe: “As a person that is economically challenged, I enjoy fixing up the ugly ducklings. I take pride in taking that $5.00 pipe that no one else wants and converting it to something that fits beautifully in a pipe collection.” Here is Bill’s article on reviving or reimagining an old pipe. I think that he has indeed taken an ugly duckling and created something to be proud of. Thanks so much Bill, for sharing your work with us yet again.

I received this pipe in the mail from Steve. He thought it was an interesting project. He had turned a new stem as well as cleaned the bowl and shank.

This pipe had quite a rough texture on the outside, some very deep crevices, as well as what turned out to be a crack about a quarter of the way down the bowl.
20140630_134359

20140630_134405

20140630_134345

20140630_134412

20140630_134425
So I decided to sand this pipe down as smooth as it would go and then fill the crevices. After sanding it I filled the crevices with a Gorilla Glue & wood dust mixture. After it set up I sanded down the creviced area and applied the rustication. I then proceeded to sand the whole pipe down in stages starting at 100 grit and finishing with 1000 grit. Then I put the micro mesh pads to it and finished up with a wax and buff again only using a Dremel to apply the wax.
DSCF0614

DSCF0616

DSCF0619

DSCF0617

bill6
I have to say that I like the way this pipe turned out and that the other small blemishes add character to this pipe. I also like the grain on the bottom of the pipe. For anyone that is interested I do not own any dyes but rather use either a Sharpie marker or food colouring to colour my rusticated areas.

Thanks to Steve for the interesting pipe.

Refurbishing a Bewlay Briarcut Canadian – Bill Tonge


It is a pleasure to post this blog piece by Bill Tonge. He is the friend who sent me the Hardcastle’s Dental Briar I posted about earlier. I met Bill on Pipe Smokers Unlimited and have appreciated the photos and write ups of pipes he has refurbished or rusticated. I also follow him on Twitter so I saw this pipe in a Tweet he did earlier today. I really like Bewlay pipes and love the fact that they are made by such pipe companies as Orlik and Barling as well as others. This particular pipe caught my eye when I saw it in its raw state and in Bill’s finished photos. Bill does excellent work on the pipes he refurbishes and I always learn something from his efforts. I think you will appreciate the minimal tools he uses to get the results he does. I asked Bill about why he enjoys refurbishing and he responded with the following. I think it summarizes why many of us begin the process of refurbishing. Here are Bill’s own words: “As a person that is economically challenged, I enjoy fixing up the ugly ducklings. I take pride in taking that $5.00 pipe that no one else wants and converting it to something that fits beautifully in a pipe collection.” Without further introduction here is Bill’s first article on the blog. Thanks so much Bill, for sharing your work with us.

I recently received a care package from some very good friends. Inside was a ton of tobacco and three pipes: a Bewlay and 2 Trypis. As you will see from the first set of pics the Bewlay was a project pipe.
Bill1

Bill2

Bill3

Bill4
I only use a Dremel, wire brush attachment, fibre brush attachment, sanding attachment, some wool balls, micro mesh, magic eraser and carnauba wax. I do enjoy the time I spend bringing pipes back to life. I have only been doing this since January but I want to show you don’t need oodles of tools to clean up a pipe.
Bill5
I used the wire brush attachment in the Dremel to highlight the high spots on the pipe and the sanding attachment to clean the inside of the bowl. I then sand the smooth spots on the pipe with the micromesh. Then I take the wool ball, load it up with carnauba wax not worrying about leaving a caked on looking wax build-up, and apply it to the whole pipe. I then take the fibre brush attachment in the Dremel and use it to remove the excess wax, as it leaves an extremely nice buff and shine. I use a rag to finish off the smooth spots and give it a final wipe.

I use the Oxi Clean and Magic Eraser to clean the stem and then go at it with the micro mesh pads. If stems are worse I will use 400-1000 grit wet paper before the pads. Then I apply a coat of wax to the stem with the wool ball and buff with a rag.

This is the finished pipe. I like my pipes on the lighter coloured side so I am very happy with the way it turned out.
Bill6

Bill7

Bill8

Bill9
Thank you to Steve for allowing me to post on his blog. I enjoy reading it and seeing the history of all the pipes you work on. My next project is a pipe that was gifted to me by Steve.