Blog by Steve Laug
I received an email on the blog from Tim in Eastern Canada about a pipe he had that he was working on. He wanted some advice regarding how to proceed with the restoration. He had dropped it on his floor and a chip of briar had come out and disappeared. He was uncertain how to proceed next. Here is his first email:
I have an estate BBB 504 Canadian nearly identical to the one currently in your store. It unfortunately has a chipped shank directly where the stem meets it. I was attempting to restore it to a smokeable condition when it slipped out of my hands onto the linoleum. I was so disappointed. I don’t know what to do with it now. Next to a Brigham two dot 214, it’s the best estate pipe I’ve found. Any advice or help would be appreciated.
Thanks,
Tim
I wrote him back and asked him for some photos of the damage so that I could assess how to address the issues on it. Here is my email to Tim.
Hi Tim Send me a photo please and let me have a look at it. Steve
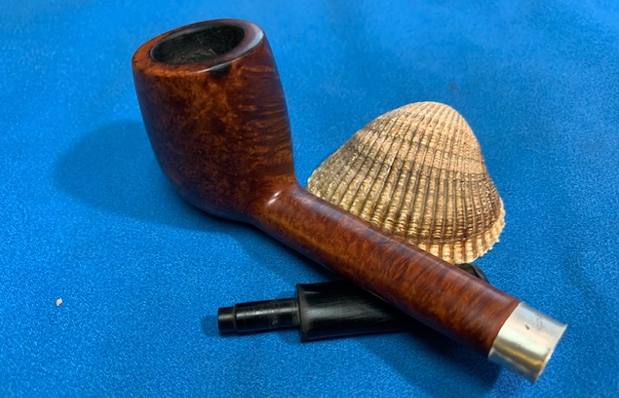
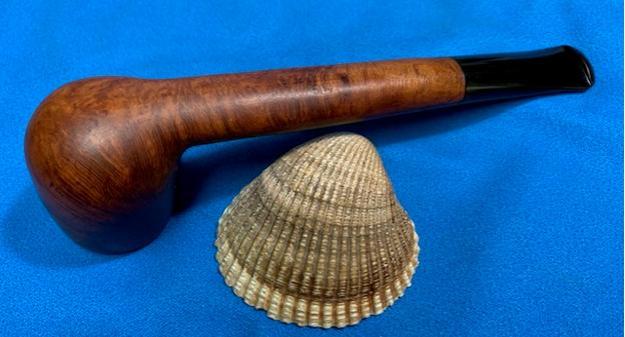
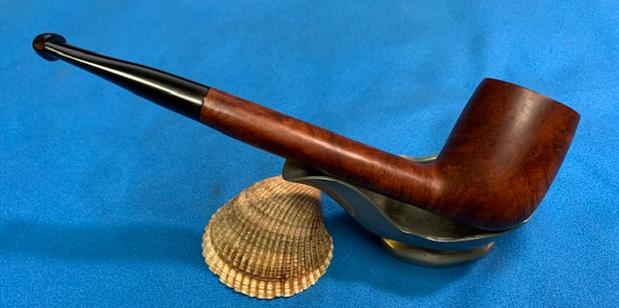
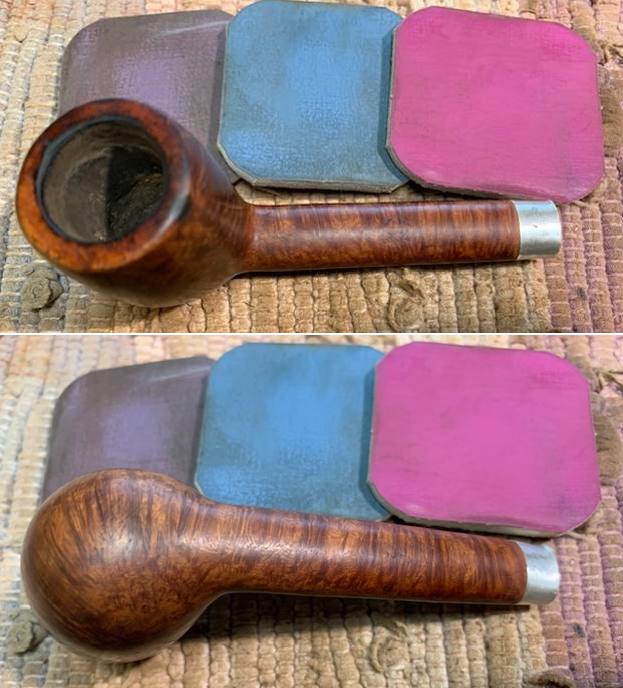
He sent some to me to show me that damages and give me a sense of what had happened. He mentioned that his photos were not the best and did not show the grain very well. Here are the photos that Tim sent to me. Have a look at the damages.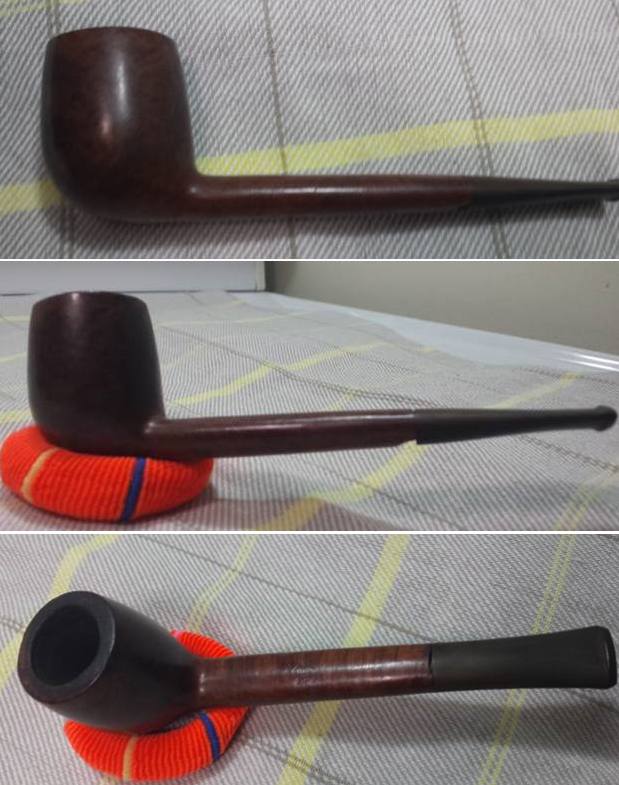
 After looking it over and reflecting on all the issues, I gave him some options on how to address the issues. The shank was chipped on the top and the underside. The underside was far work with a large chunk of briar missing and a cracking extending up the shank about ½ inch. I suggested that he rebuild the chipped areas with briar dust and super glue. He then could add a band to strengthen the repair and protect it from further cracking. I wrote him back with those options and he responded with the following email.
Hi Steve,
Thanks for the tips. I haven’t got the chipped piece of briar, unfortunately. I was never able to locate it. Also much of this work is beyond my woodworking skill. Maybe some enterprising restorer on a forum wants a challenge and I can trade hum for some leaf. Who knows? Thanks,
Tim
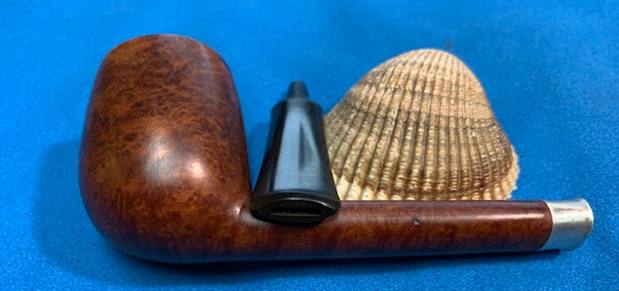
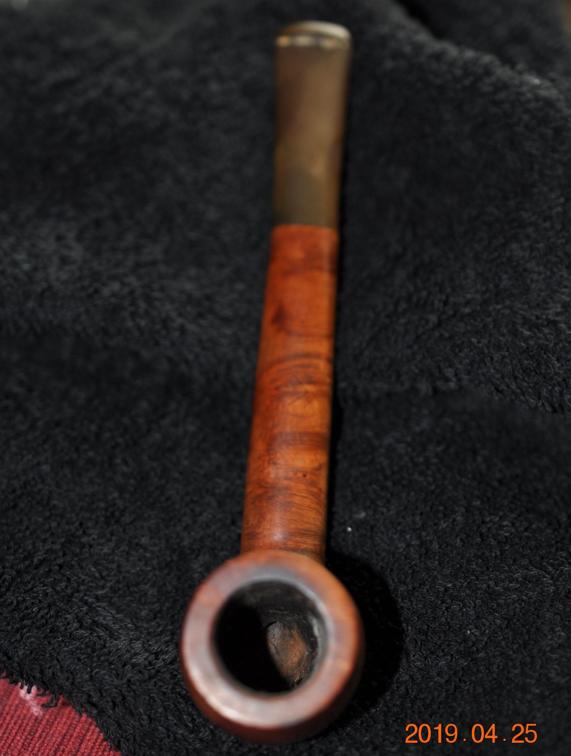
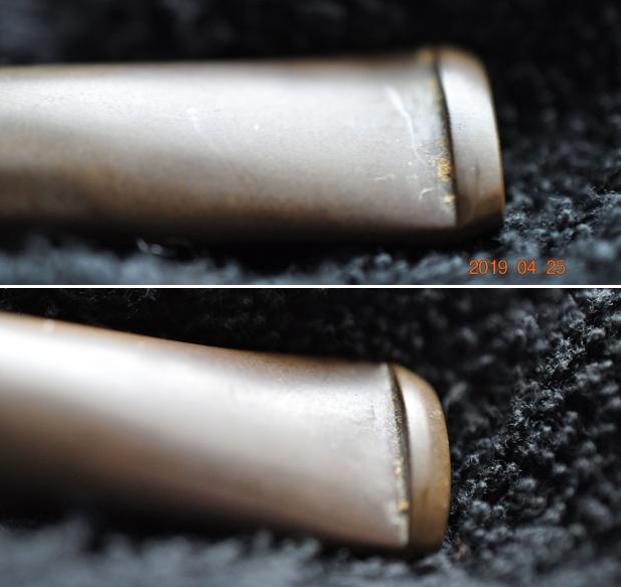
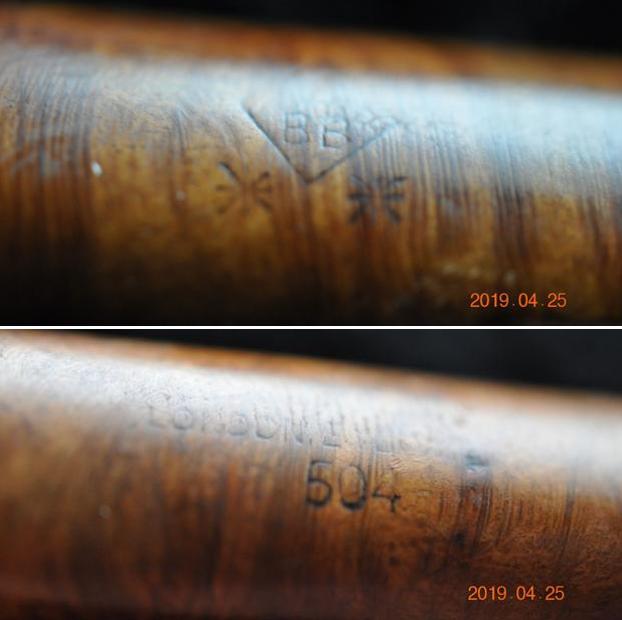
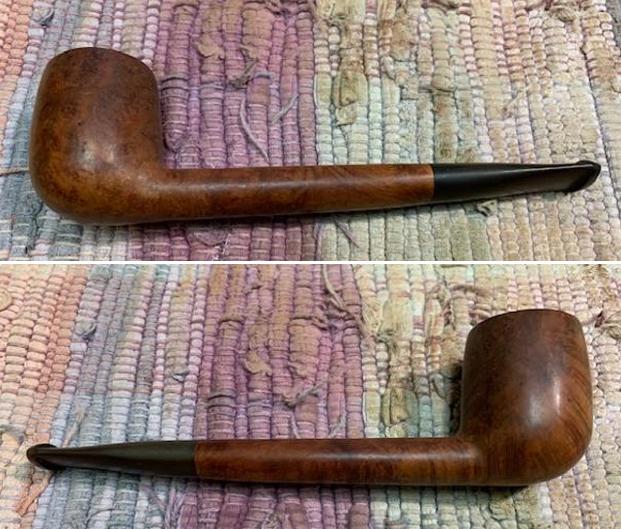
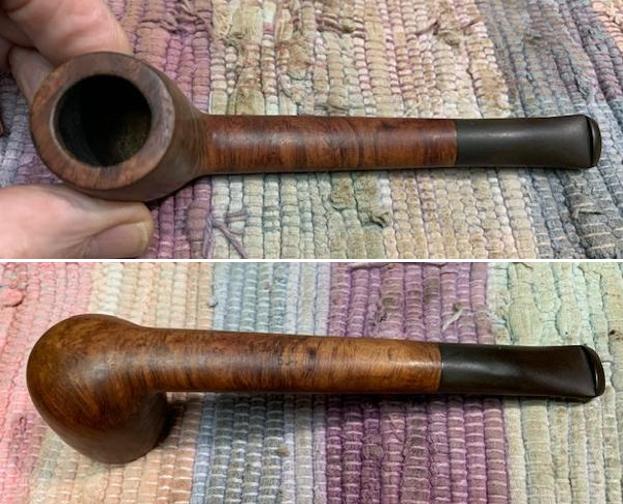
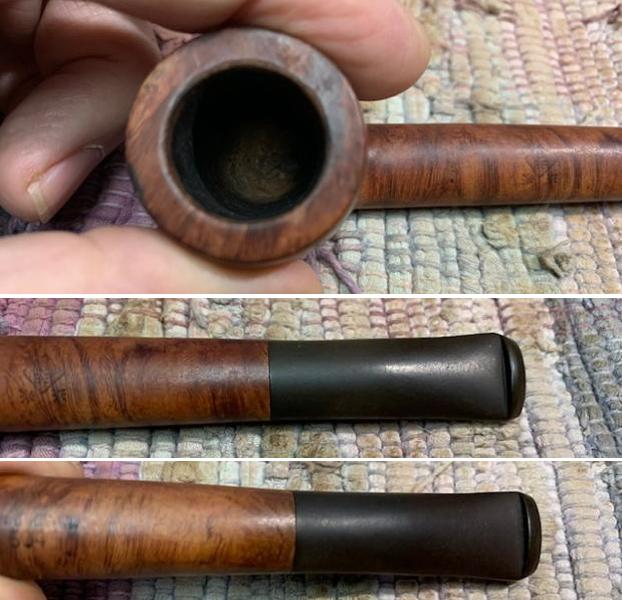
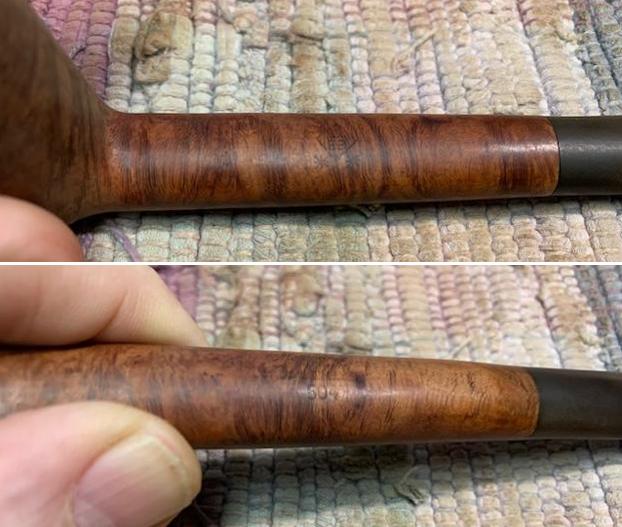
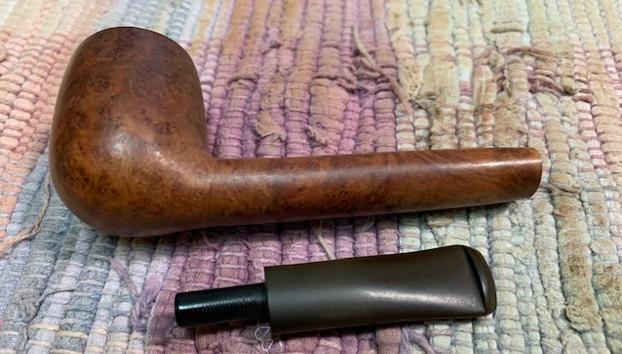
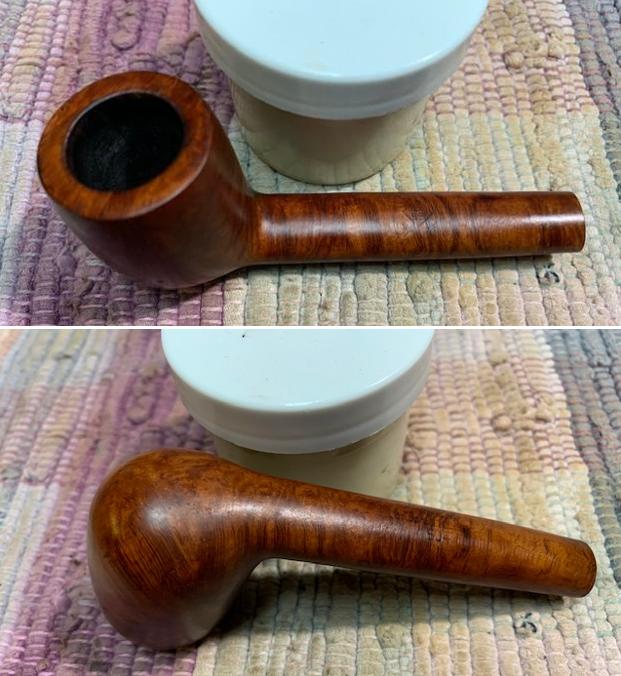
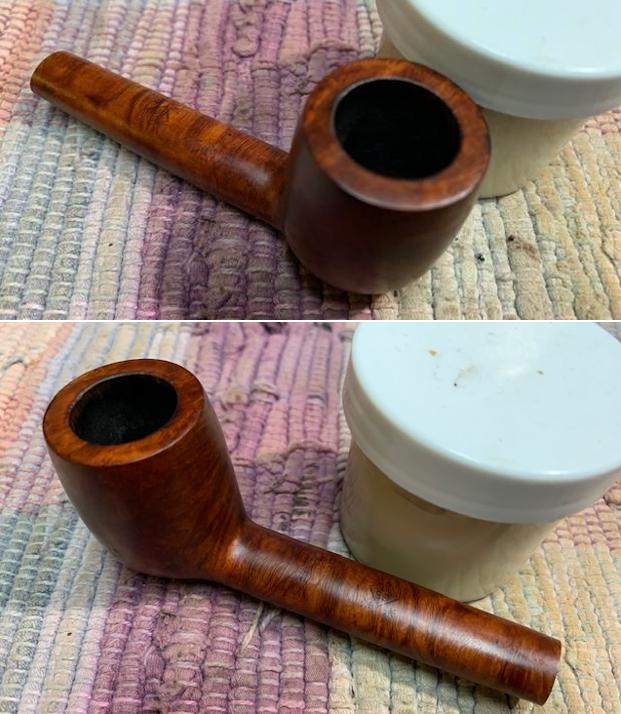
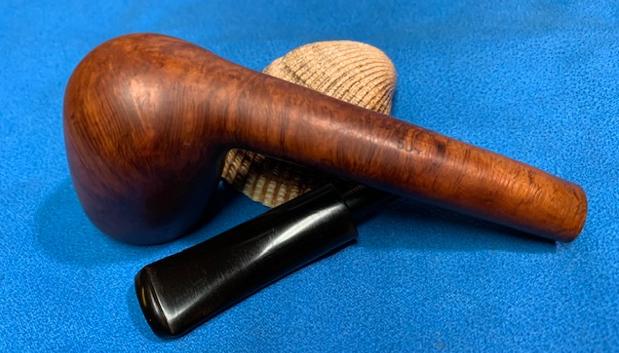
I responded to Tim and told him to send it my way and I would do the repair for him. This week I received it and today I was able to start working on it. It is indeed a BBB Canadian that is stamped on the top of the shank and reads BBB in a diamond logo [over] **. On the underside of the shank it is stamped Made In England [over] 504. Tim had started his reaming on the pipe but had not progressed to the exterior of the bowl or rim. There was still a lava coat on the rim top and the bowl was slightly out of round. The pipe smelled clean but I would need to clean it further before and after I did the repairs. The chip on the underside of the shank was quite large and included a crack that ran ½ up the shank. The chip on the top side was smaller and more of a dent. The stem was slightly oxidized and there were light tooth marks and chatter on both sides near the button. 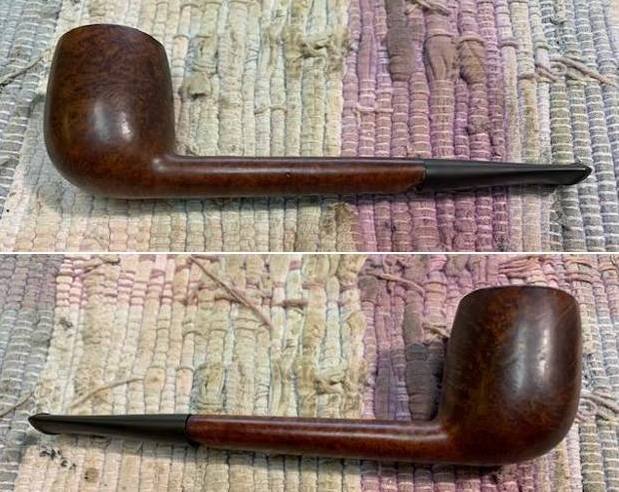
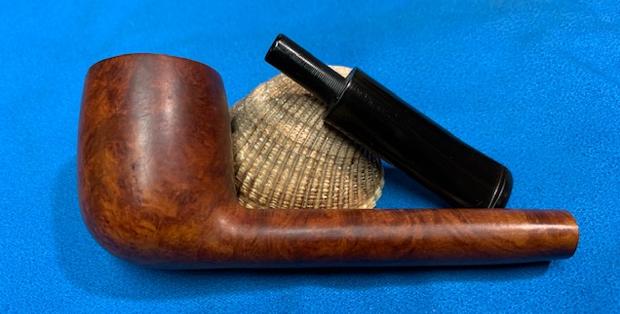
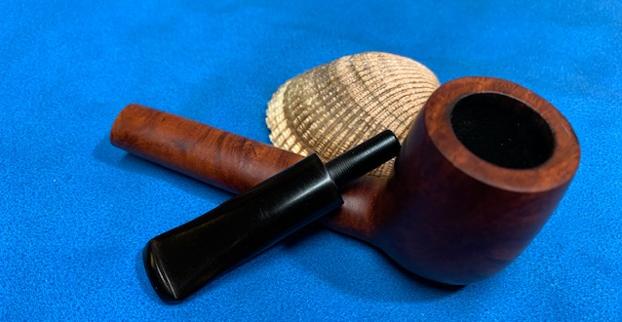
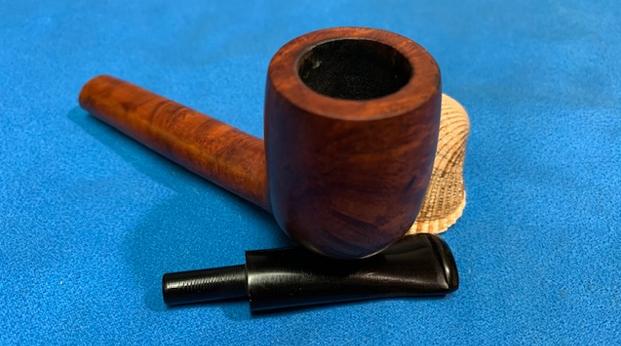
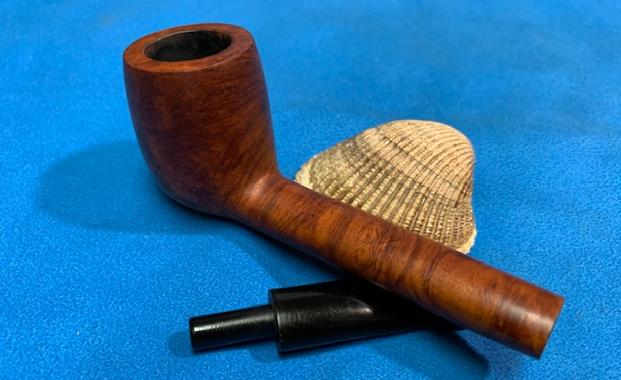
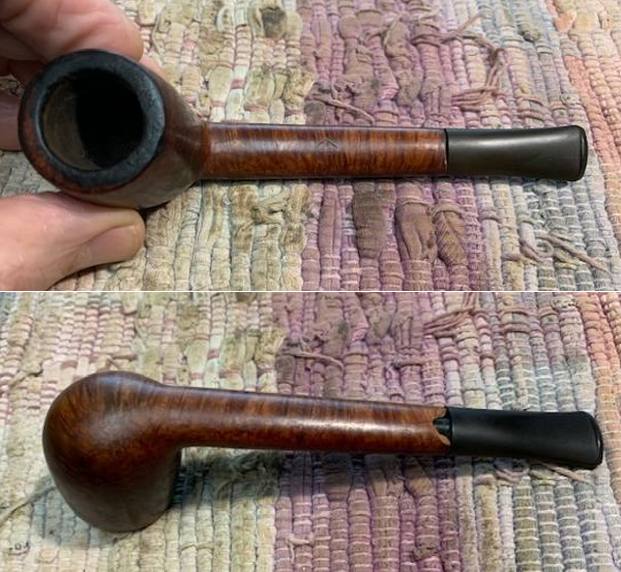 I took a photo of the rim top to show the lava coat on the top and the slightly out of round bowl. The cake had been taken back by Tim. It looked good internally. I took photos of the stem and shank surface that show the chips and damage to the shank end. You can also see tooth chatter and marks on the stem surface ahead of the button.
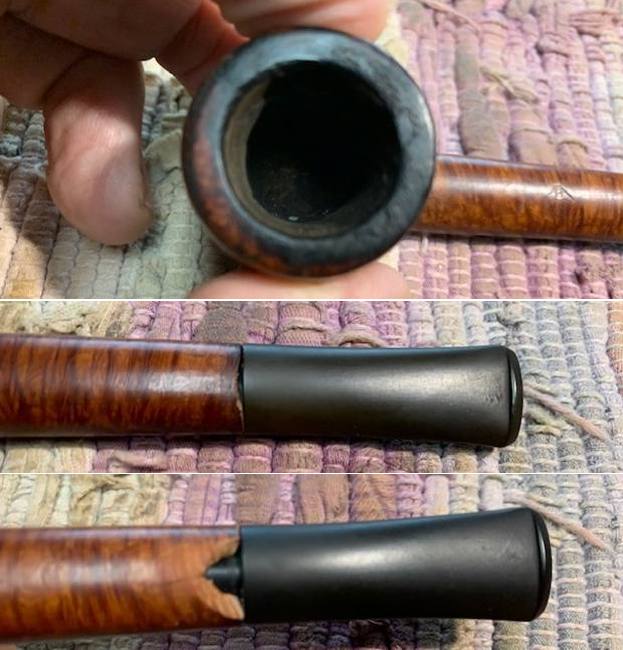 I took photos of the stamping on the top and underside of the shank. It was faint but readable as noted above.
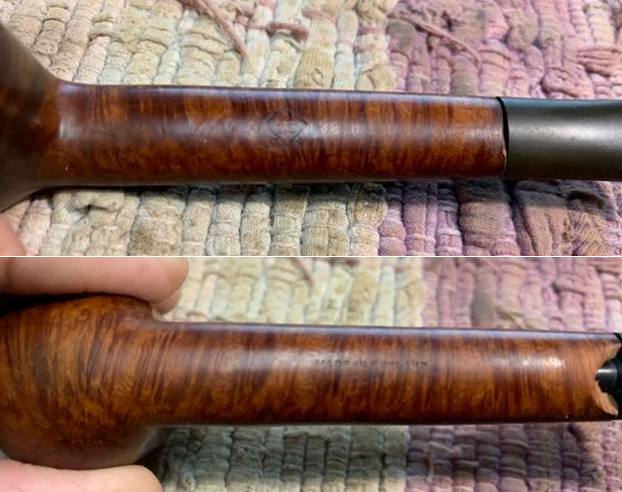 I lightly flattened the face of the shank with 220 grit sandpaper on a topping board. I did not remove much briar just a little bit to flatten it out.
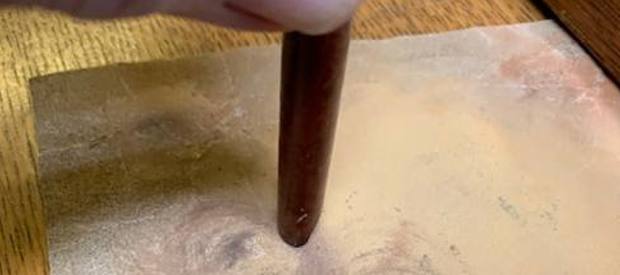 With that done I cleaned out the shank area with cotton swabs and isopropyl alcohol to remove the oils so that the repair would stick. I layered in clear super glue and briar dust with a dental spatula to build up the large chunk of briar that was missing on the underside of the shank. I used a small pen knife with a sharp blade to scrape out the inside of the shank. I would need to used a round file to open up the airway to receive the tenon once again but the repair was solid.
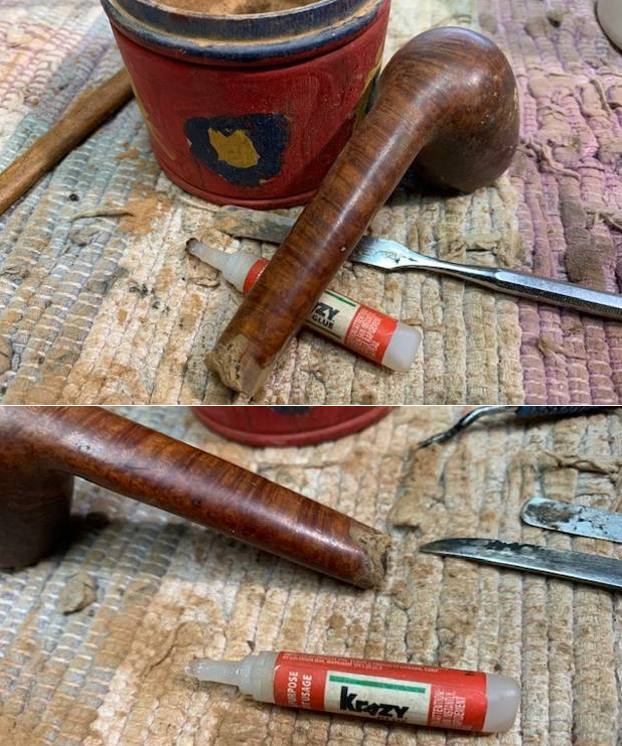
 I smoothed out the repair on the underside of the shank with 220 grit sandpaper to bring it to the same level as the rest of the shank. I also cleaned up the shank end with the sandpaper at the same time. It was solid and it certainly looked better.
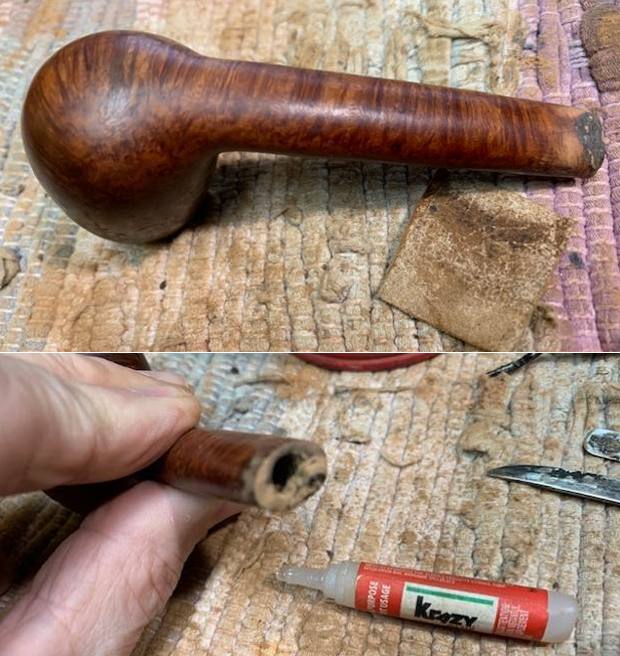 I flattened the bottom and top of the shank with files to prepare it for banding.
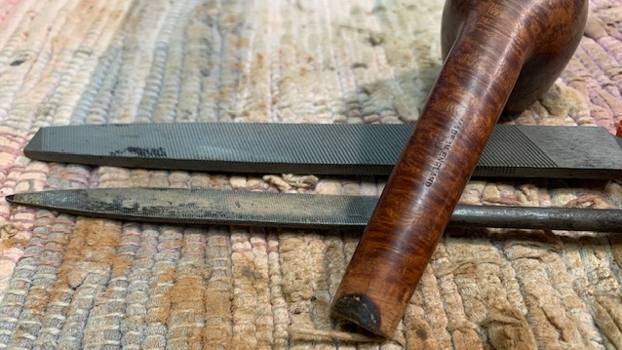 I checked the Sterling Silver band for the fit and once I was happy with the fit I heated it with a lighter flame and pressed it onto the shank.
  With the band fitted in place I used small needle files to smooth out the inside of the shank. I worked with the files to bring it back into round.
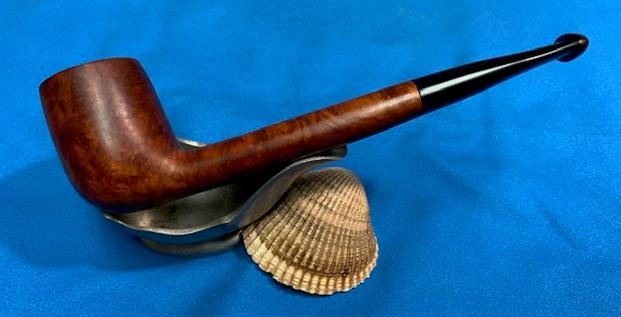
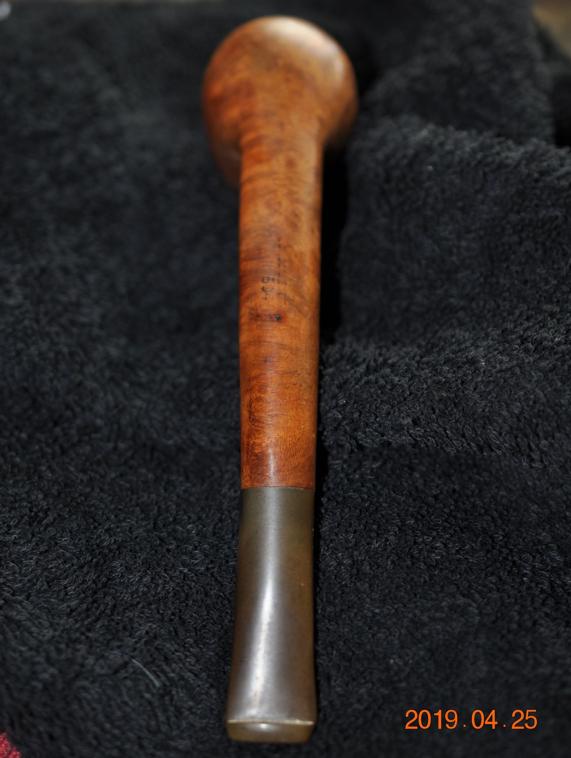
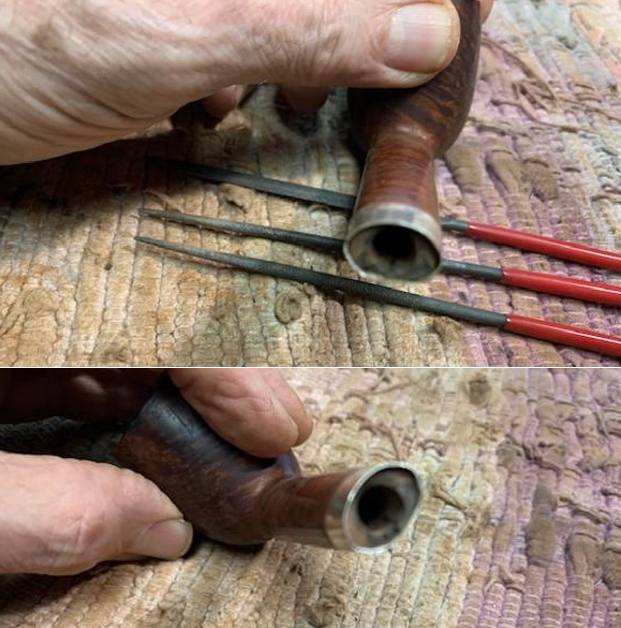 I took photos of the bowl an shank with the band fitted in place. It looked very good at this point. The shank looked good both internally and externally.
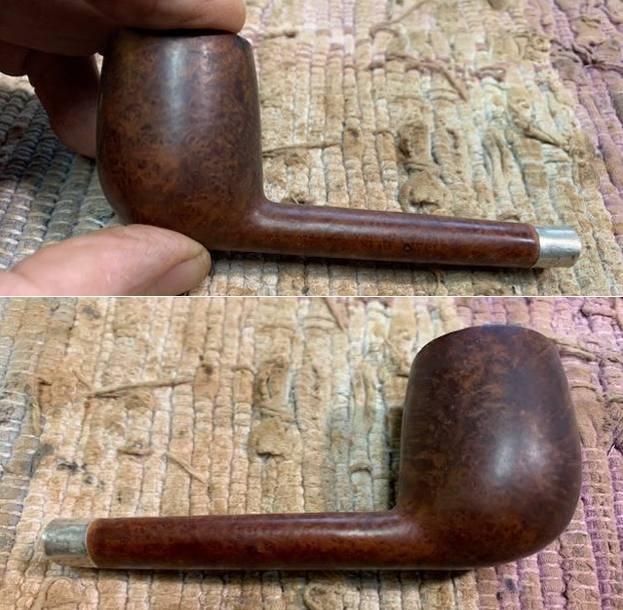
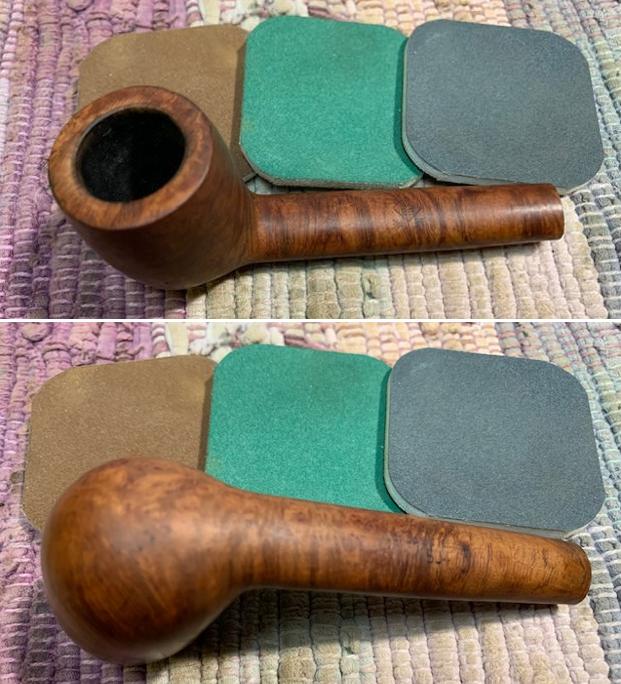
 With the band and shank repair finished I turned my attention to the rim top lava build up. I scraped it off with a sharp blade to remove the heavy build up. I topped the bowl with 220 grit sandpaper on a topping board and then worked over the inside of the rim edge with a folded piece of 220 grit sandpaper. I also worked on the outer edge of the bowl to smooth out the damage.
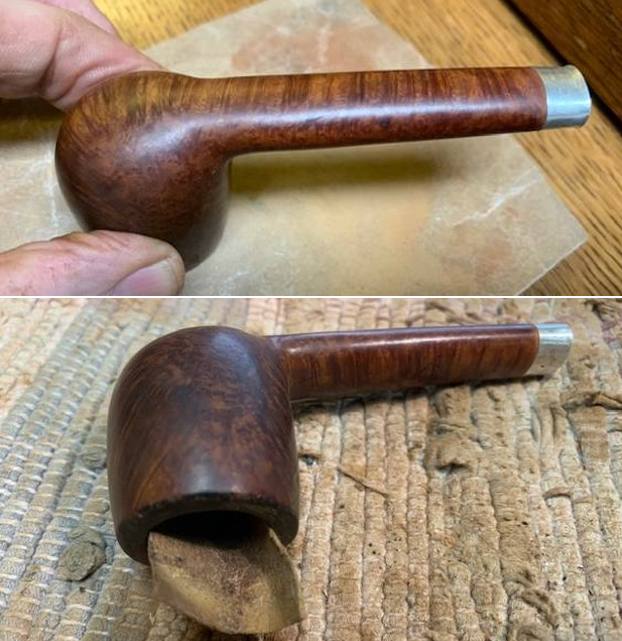
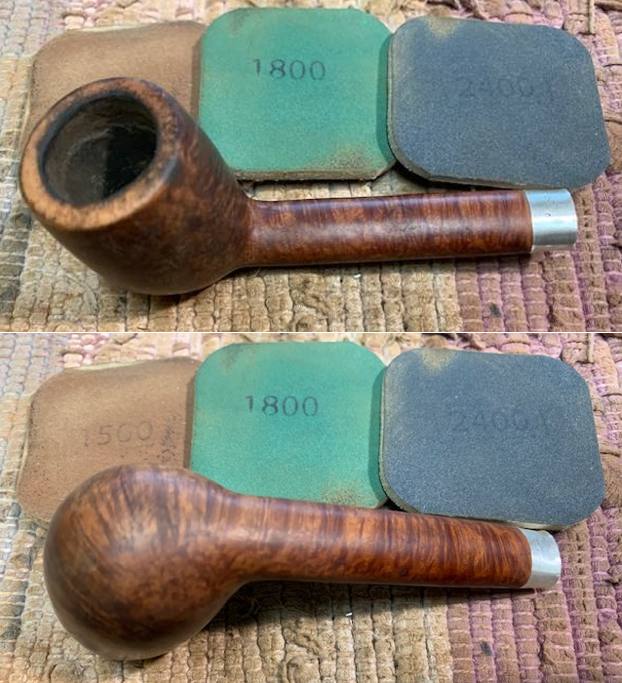
 I polished the briar bowl and shank with micromesh sanding pads. I dry sanded it with 1500-12000 grit pads and wiped it down with a damp cloth after each pad.
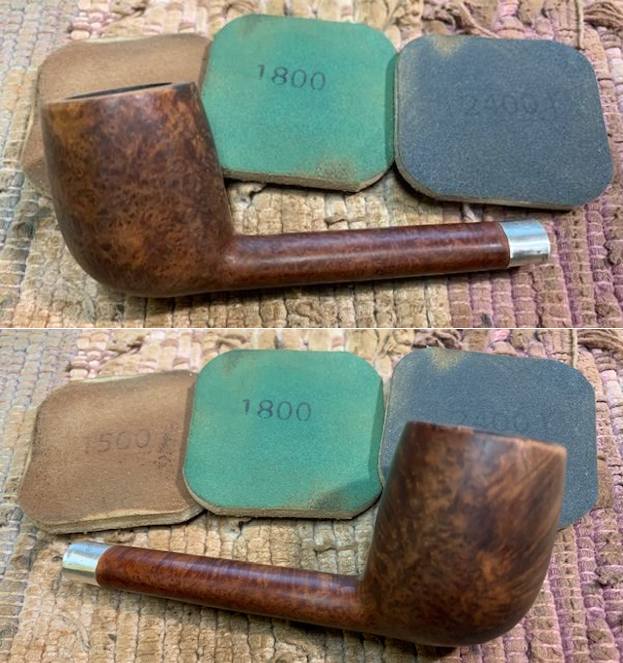

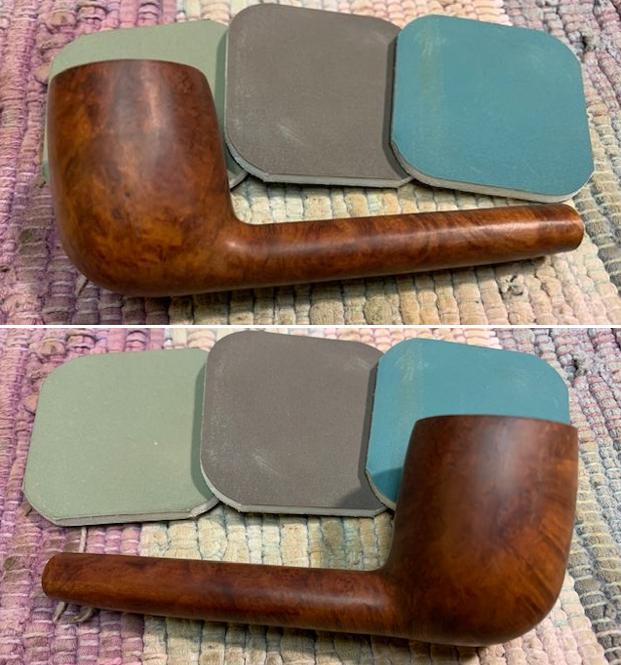
 I paused the polishing and stained the rim top with an Oak Stain Pen to match the rest of the briar. It blended in really well.
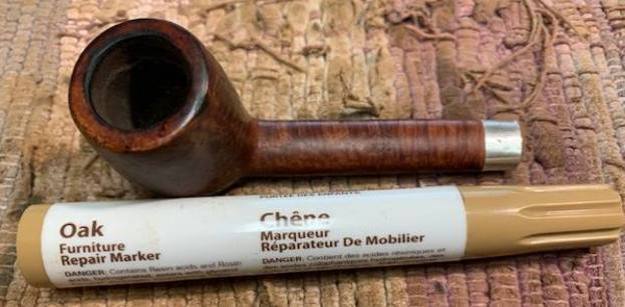 I went back to polishing the briar with the last three grits of micromesh – 4000, 6000 and 12000 grit pads.
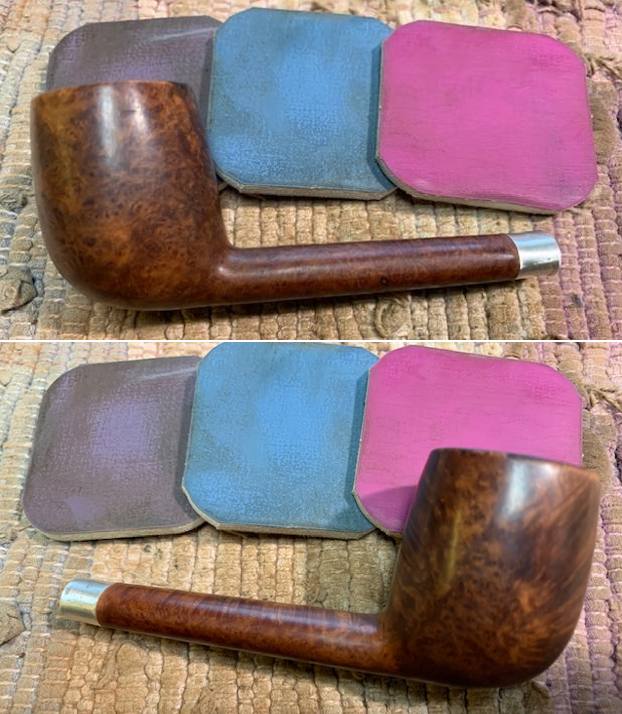
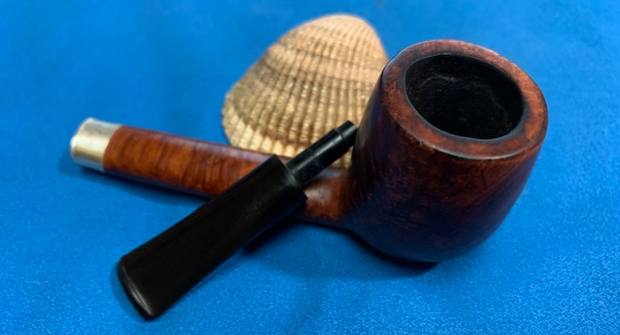
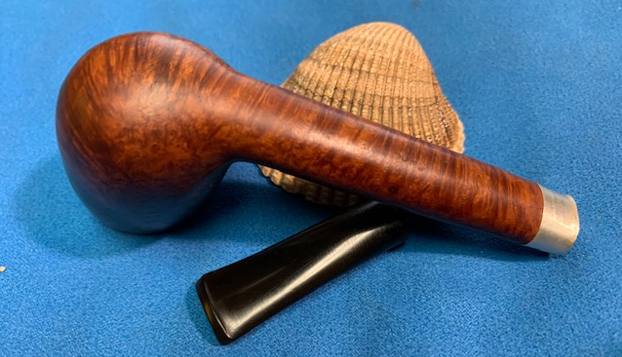
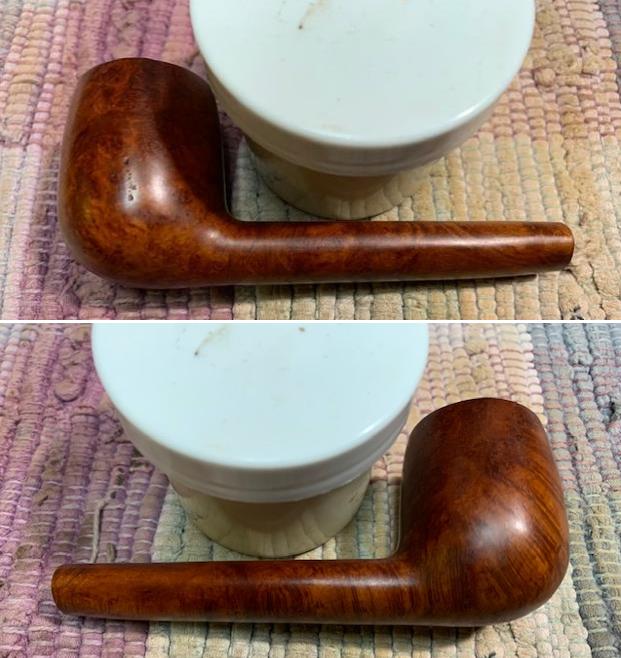
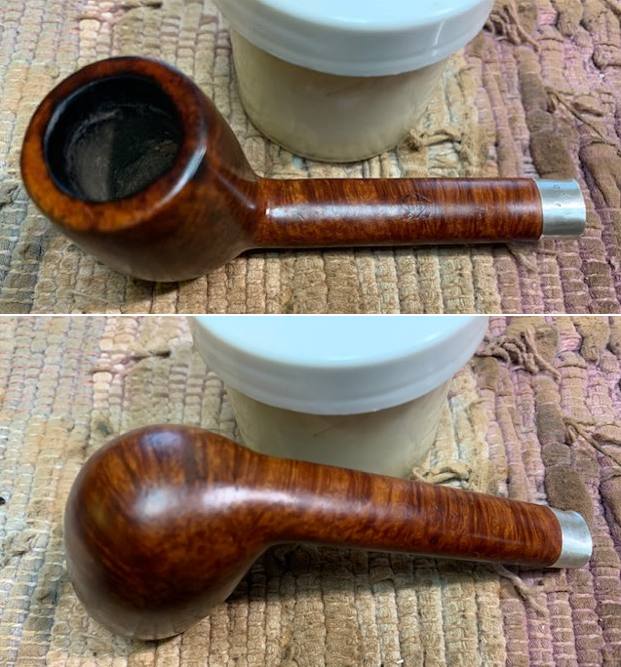
 I worked some Before & After Restoration Balm into the surface of the briar with my fingertips to clean, enliven and protect the briar. I let the balm sit for 15 minutes and then buffed with a cotton cloth to raise the shine. The photos show the bowl at this point in the restoration process.
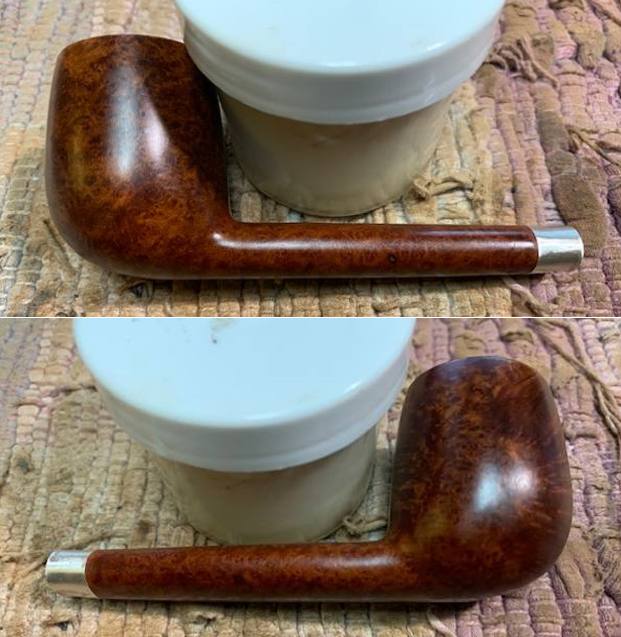
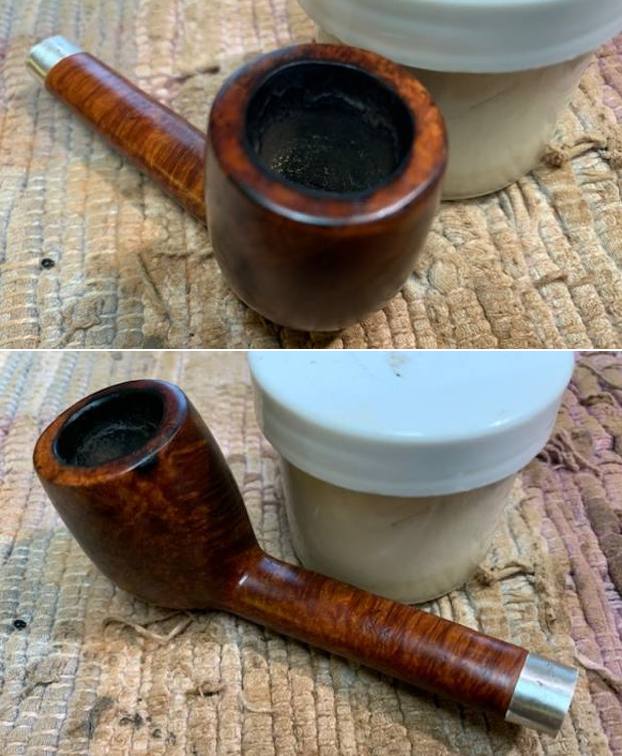 I stopped and cleaned out the dust and debris from my repair that was in the shank. I used alcohol and pipe cleaners to clean out the debris and a folded pipe cleaner to swab out the bowl.
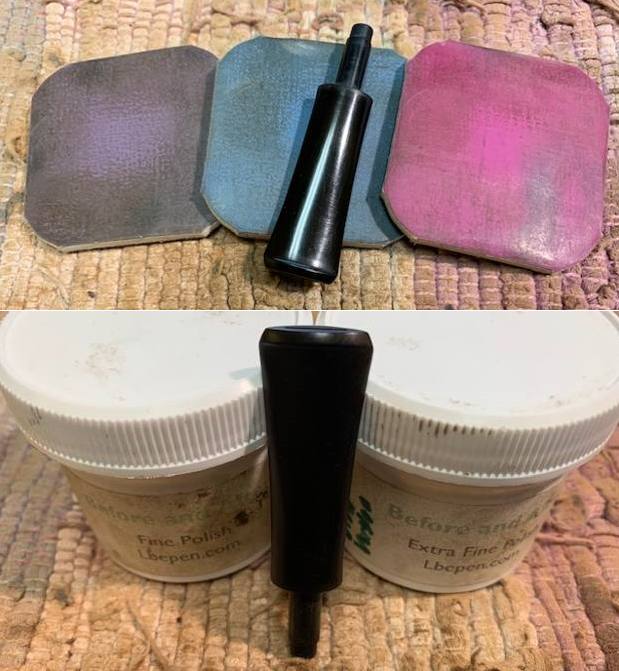
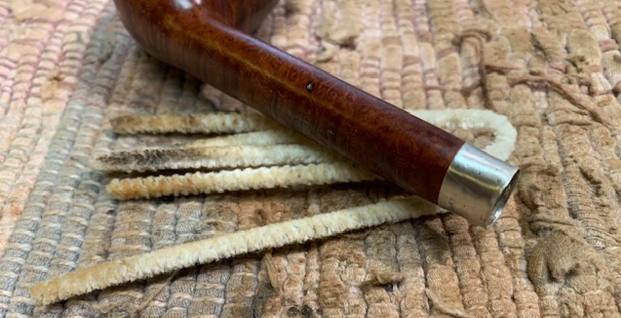 I polished out the light tooth marks on the stem with micromesh sanding pads – wet sanding with 1500-12000 grit sanding pads. I wiped it down after each sanding pad with Obsidian Oil. I polished it with Before & After Pipe Stem Polish – both Fine and Extra Fine.
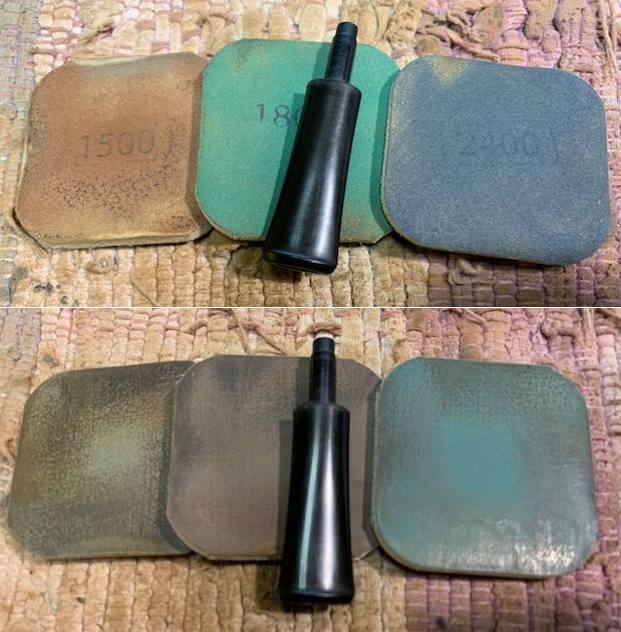
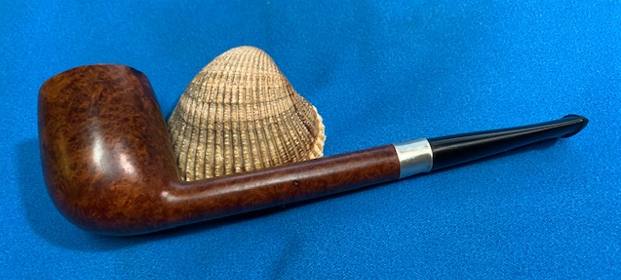
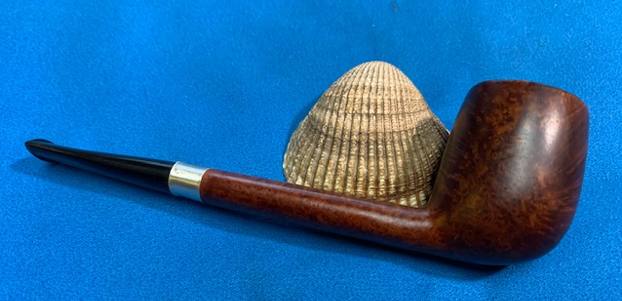
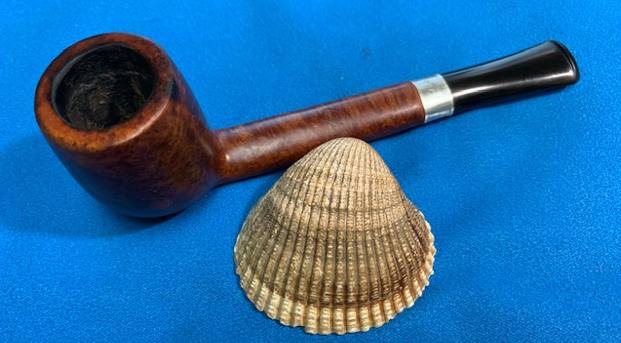
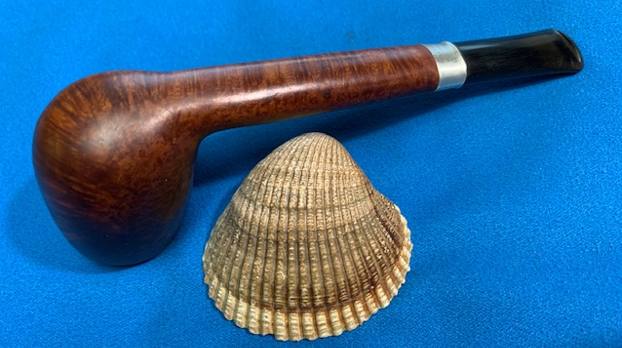
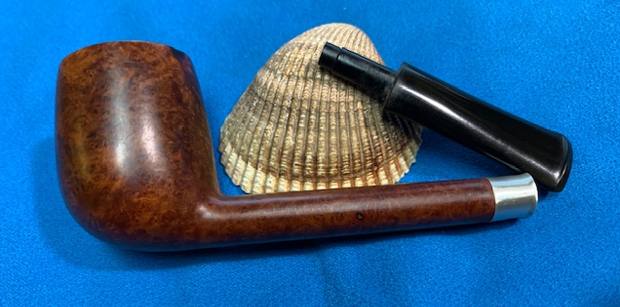
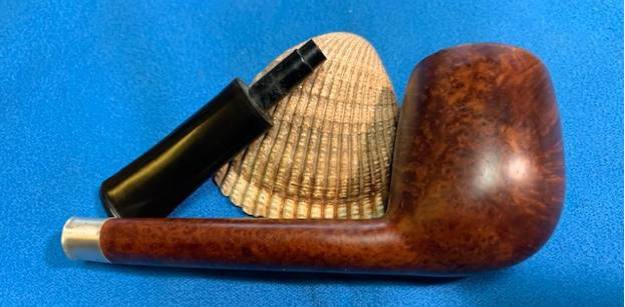
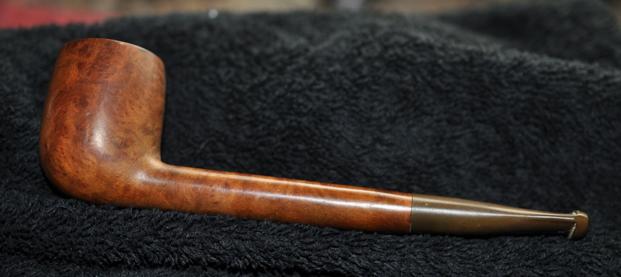
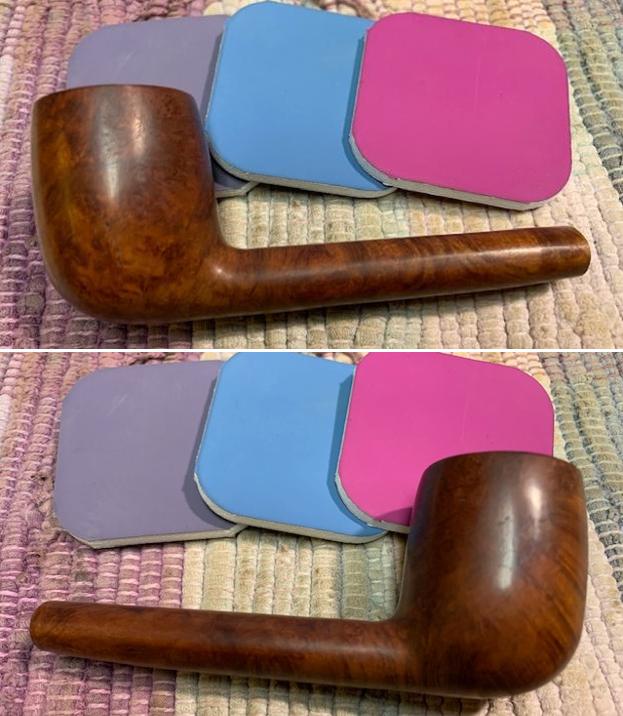
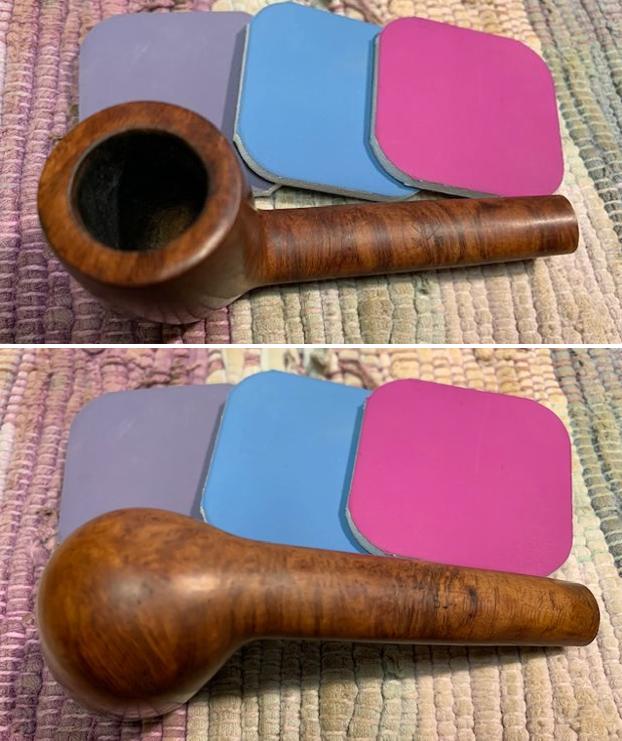
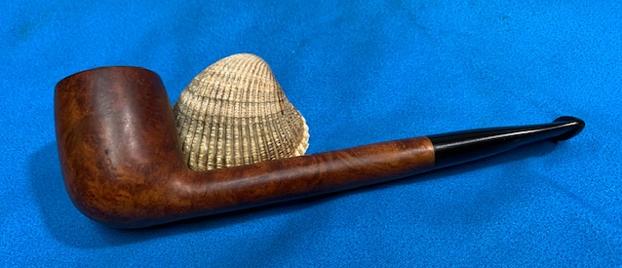
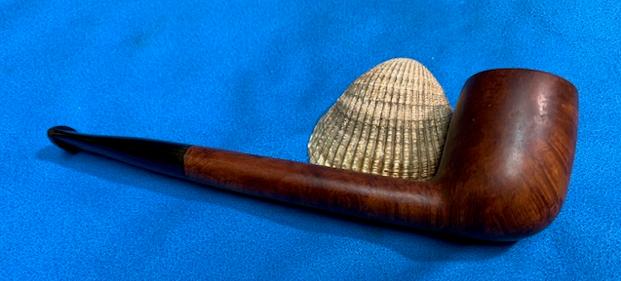
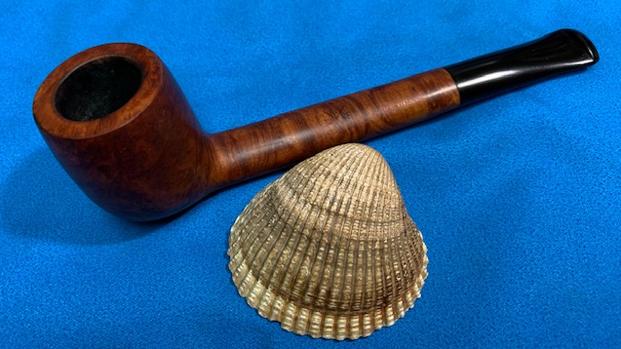
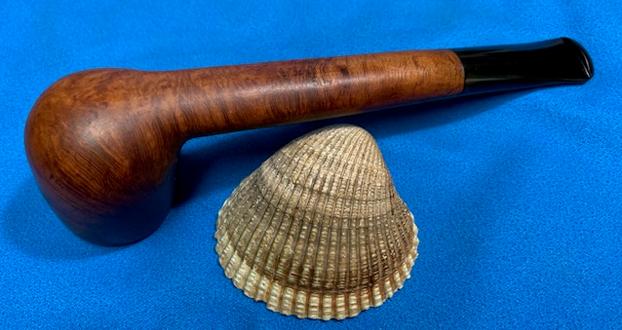
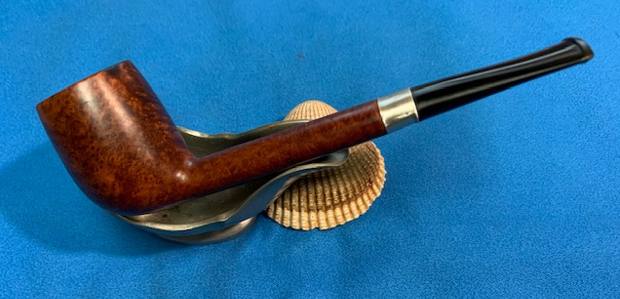
 I am excited to finish this repair on a BBB 2 Star 504 Canadian. I put the pipe back together and buffed it with Blue Diamond on the buffing wheel. I gave the bowl and the stem multiple coats of carnauba wax. I buffed the pipe with a clean buffing pad to raise the shine. I also hand buffed it with a microfibre cloth to deepen the shine. It is fun to see what the polished bowl looks like with the grain popping all around it. Added to that the polished black vulcanite saddle stem was beautiful. This shapely Classic English Made BBB 2 Start Canadian is nice looking and the pipe feels great in my hand. It is light and well balanced. Have a look at it with the photos below. The dimensions are Length: 5 ½ inches, Height: 1 ¾ inches, Outside diameter of the bowl: 1 1/8 inch, Chamber diameter: ¾ of an inch. The weight of the pipe is 29 grams/1.02 ounces. It is a beautiful pipe and one that I soon send back to Tim in Eastern Canada. I am hoping he enjoys the new look of his pipe. Thanks for walking through the restoration with me as I worked over this pipe. Thanks to each of you who are reading this blog.