Blog by Steve Laug
On Tuesday this week I received the following email from a fellow here in Vancouver regarding repairing a couple of pipes for him. He wrote as follows:
Hi Steve… You were recommended to me by our good friends at City Cigar (Vancouver). I have 2 pipes I’d love to have rescued – if possible! Please let me know if you could be of service. I’ve attached a few photos.
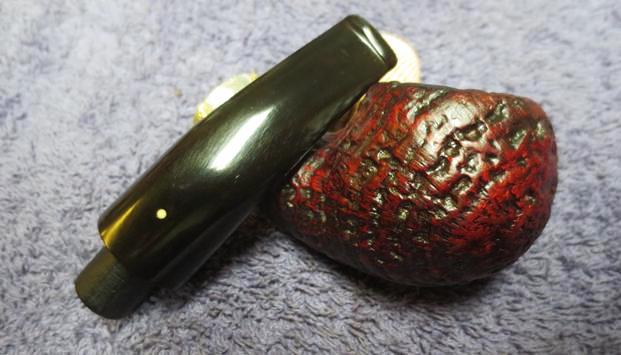
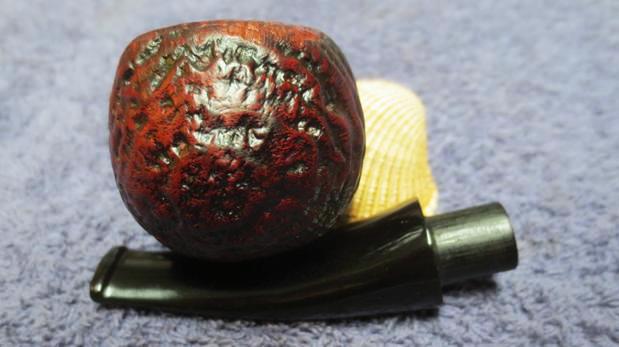
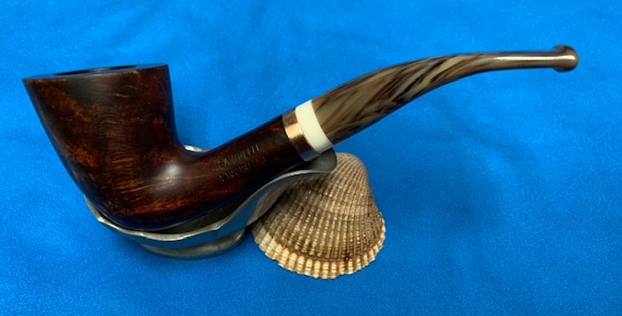
One is a Peterson 2018 Pipe of the Year, Smooth Fishtail. Pipe is great – except there is an unsolvable (for myself) blockage in the stem. I think the filter is damaged.
The other is an unfortunate Savinelli; the actual wood is broken, right at the connection between pipe body and stem.
Let me know your thoughts! I’d love to regain these to a workable state if possible; they are lovely pipes.
Thanks kindly and best regards, Zak
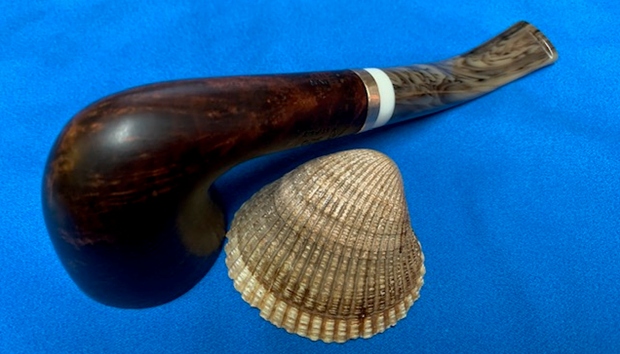
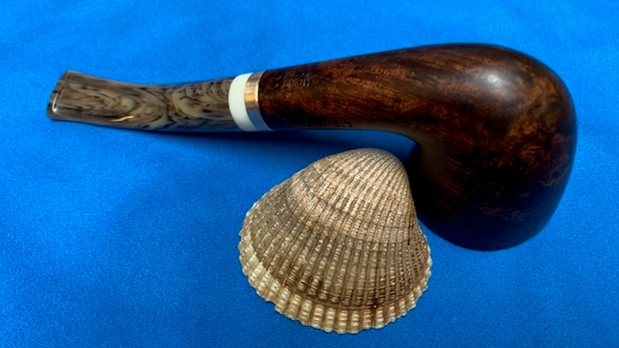
He included pictures of both pipe for me. I decided to tackle the Savinelli first. Here are the photos that Zak included with his email.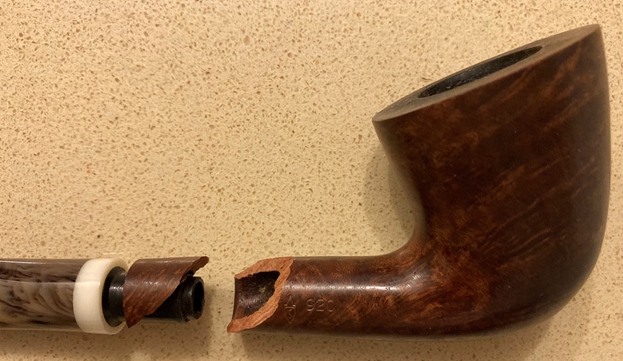
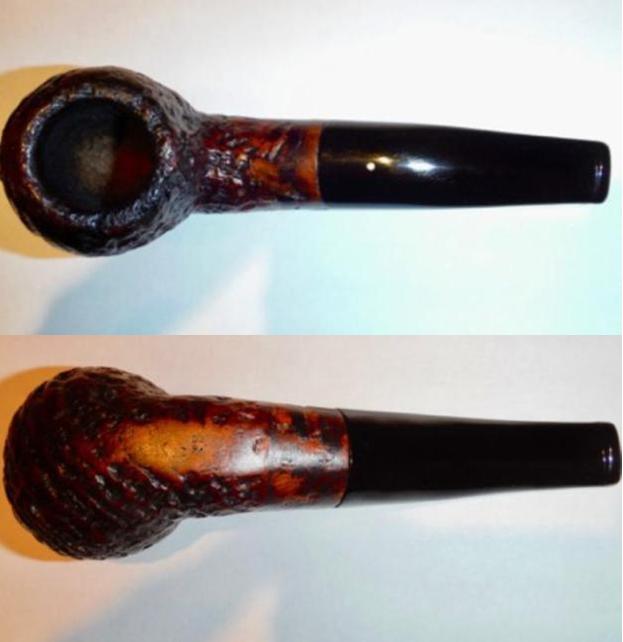
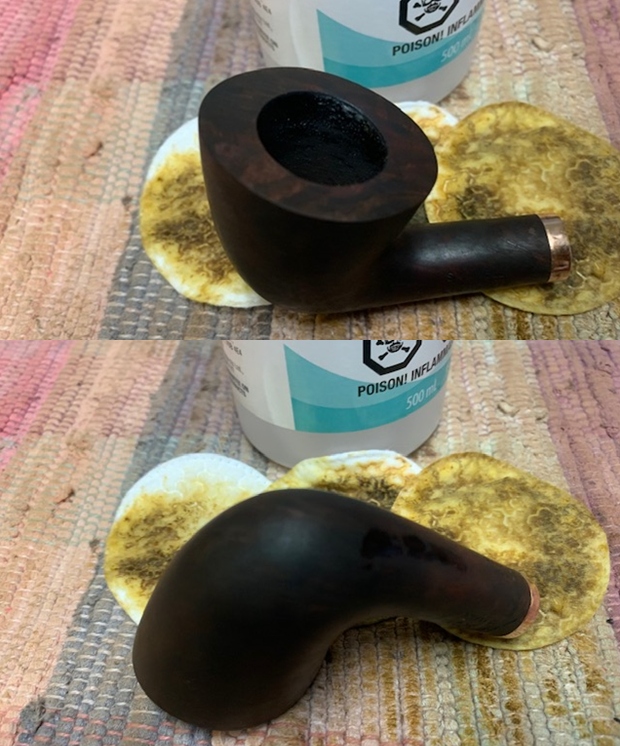
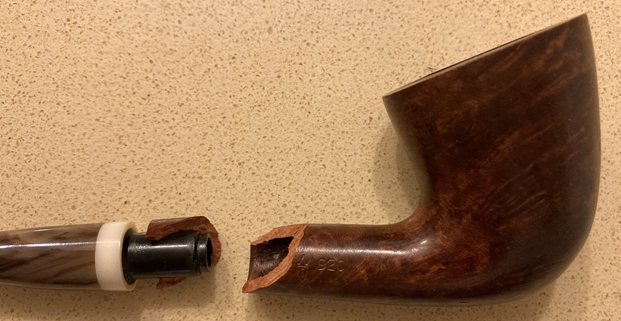 As you can see the shank is snapped with a clean break about ½ inch up the shank. Zak fortunately had the pieces of the broken pipe and delivered them to me. The break had not damaged the stamping on the pipe. It read on the left side Savinelli [over] Liquirizia. On the right side it had the Savinelli Shield S logo followed by the shape number 920KS [over] Italy. On the underside of the shank it is stamped Hand Made. The pipe had a beautiful acrylic stem with a white band on the end. The tenon was Delrin and had been drilled out for a Savinelli 6mm filter or a Balsa filter. The bowl had a moderate cake and some lava on the rim top. The stem and shank had tar and oils. I cleaned out the shank and the areas of the break and glued the broken piece back in place on the shank using clear CA (super glue). The photos below show the glued shank piece.
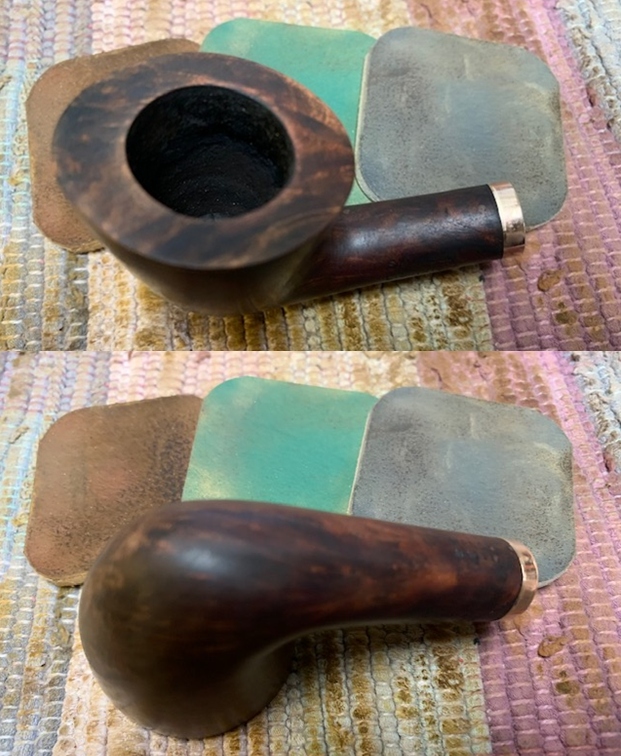
 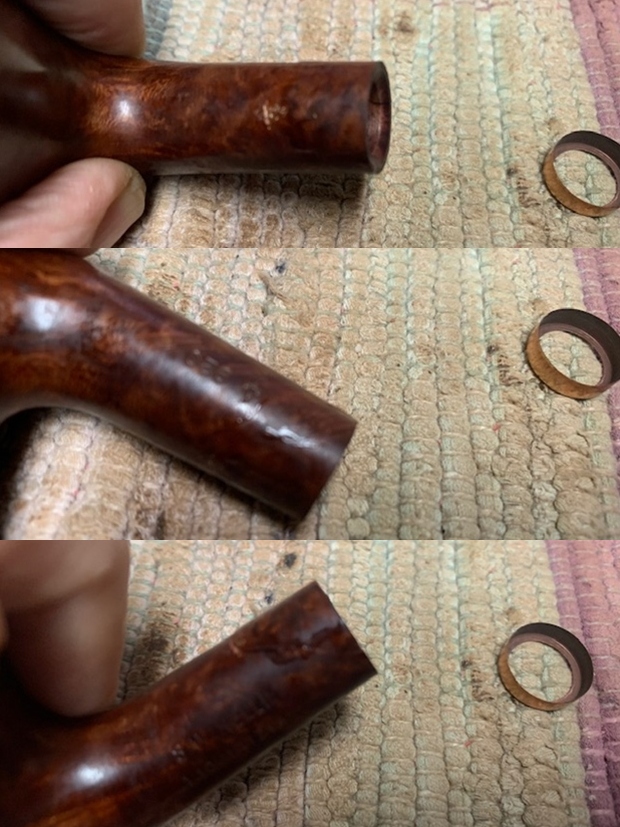 When I repair this kind of break in a shank gluing and clamping it is not sufficient to hold. As the stem is put back in place the break will happen again due to the pressure from the tenon on the walls. I have learned that a simple band will bind it together and add strength. I have some brass bands that I picked up online that are quite thin but have and end cap that works really well to bind it all together and strengthen the joint. I went through the bag of bands I have and found the one that fit the best.
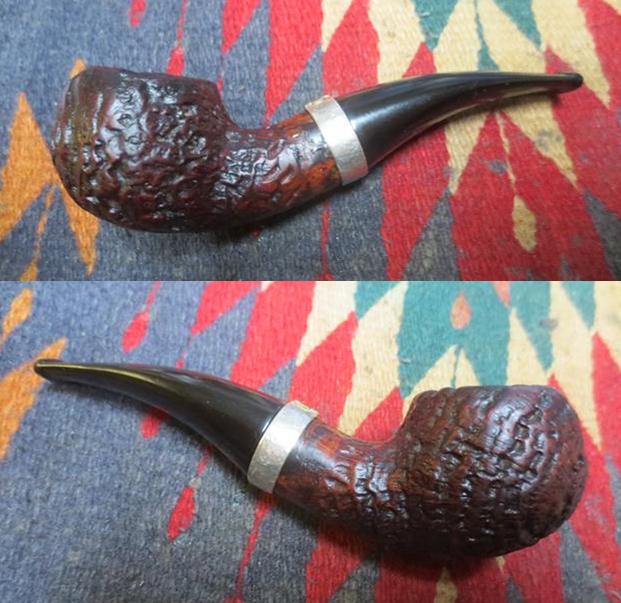
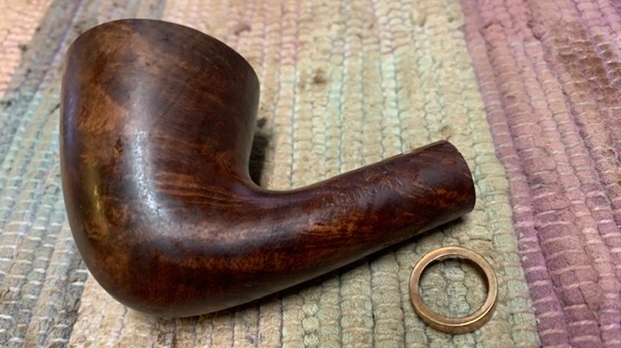 I sanded the repaired area smooth with 220 grit sandpaper to blend the repair into the surface of the briar. Once the repair was smooth heated the band with a lighter and pressed it onto the shank end against my topping board to press it in place. The band added stability to the repair.
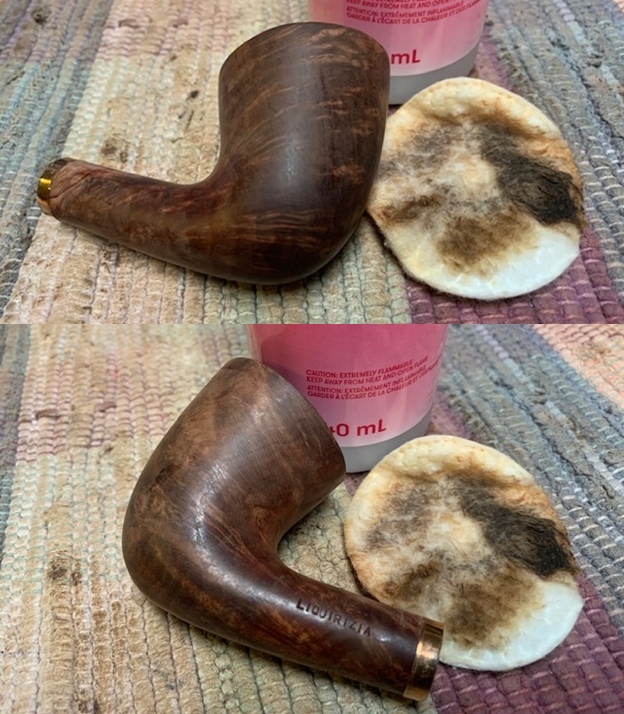
 I filled in a few spots with clear CA glue and resanded them with 220 grit sandpaper. Once the repairs cured I wiped the bowl down with acetone to remove the spotty varnish coat that was on the rest of the bowl.
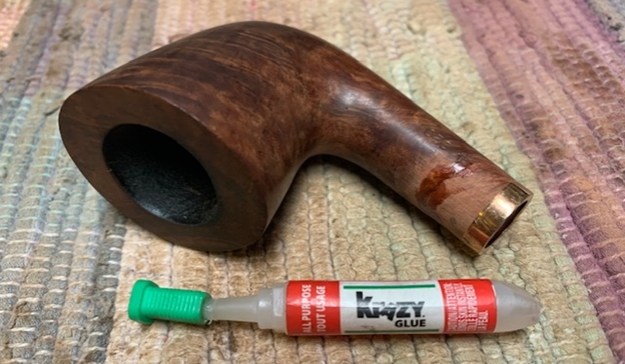
 I touched up the repaired areas with a Cherry stain pen to blend it in and prepare it for a further stain coat a little later.
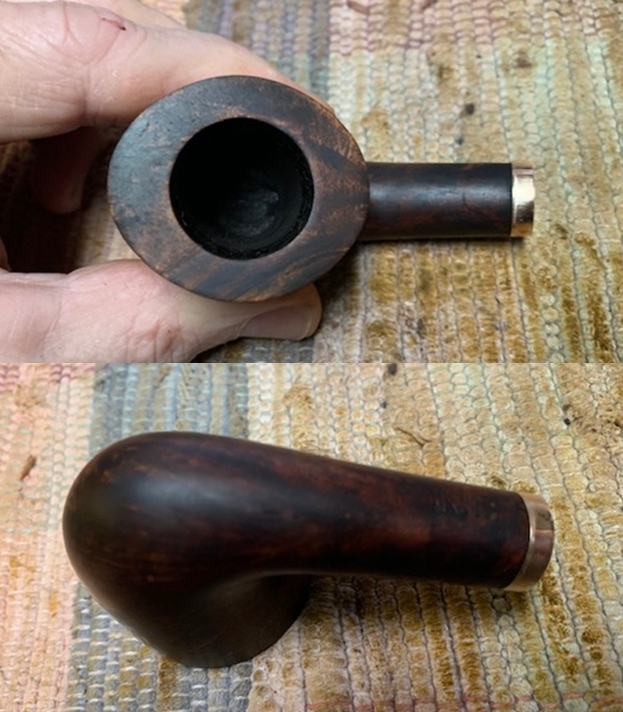
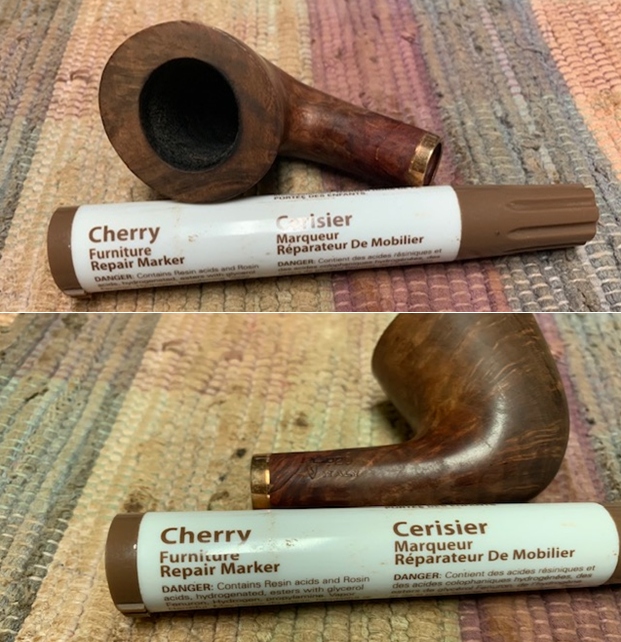 I reamed out the uneven cake in the bowl with a PipNet reamer and cut it back to bare briar so I could inspect the interior walls. I cleaned up the remnants of the cake with a Savinelli Fitsall Pipe Knife. The walls of the bowl looked very good with no heat damage or fissures.
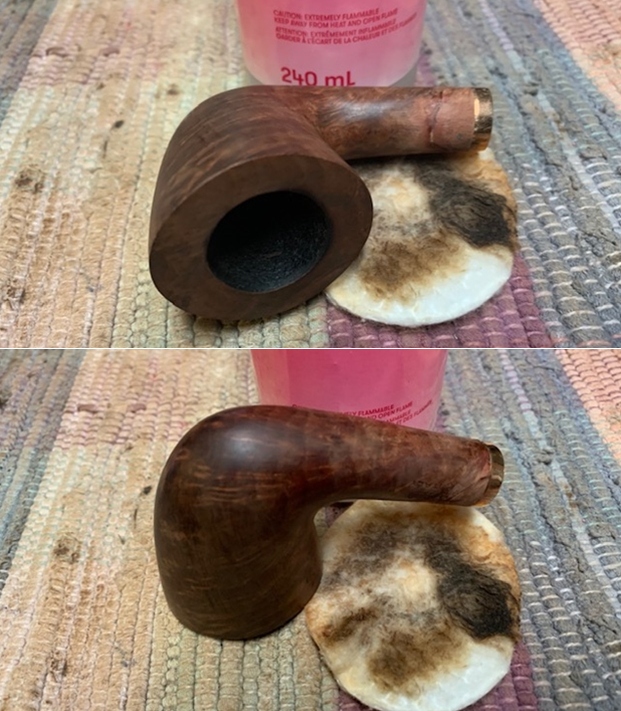
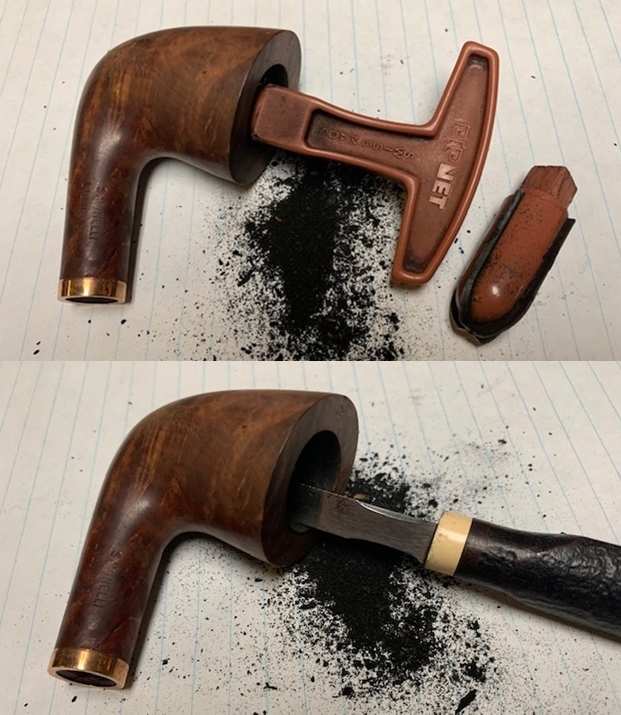 I put a cork in the bowl and stained it with a dark brown stain. I flamed the stain to set in the briar and then repeated the process until I was happy with the coverage on the bowl. It did a great job blending the repaired area into the briar.
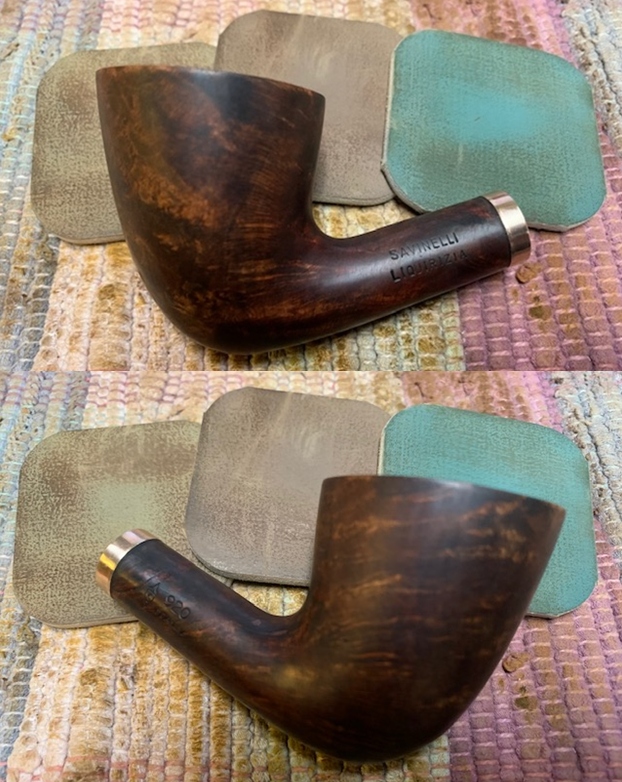
 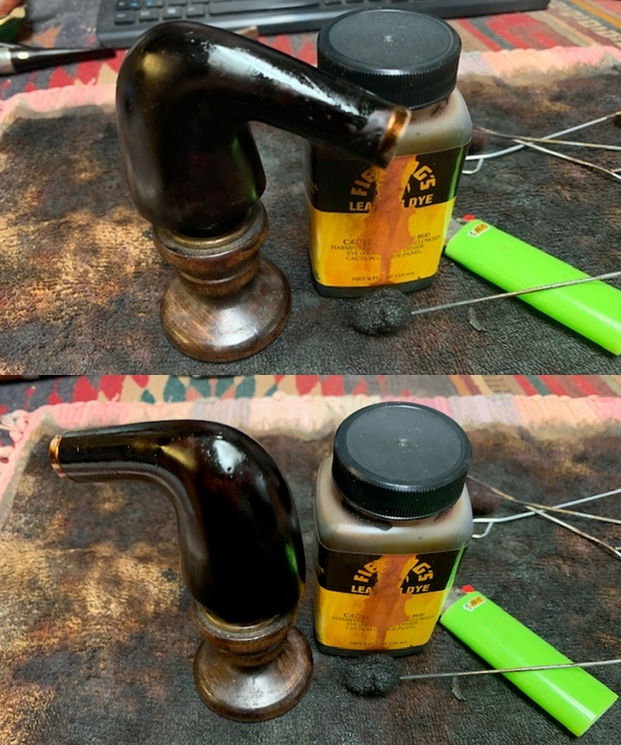 I set the bowl aside so the stain coat would cure overnight. Here is what it looked like in the morning when I brought it to the table.
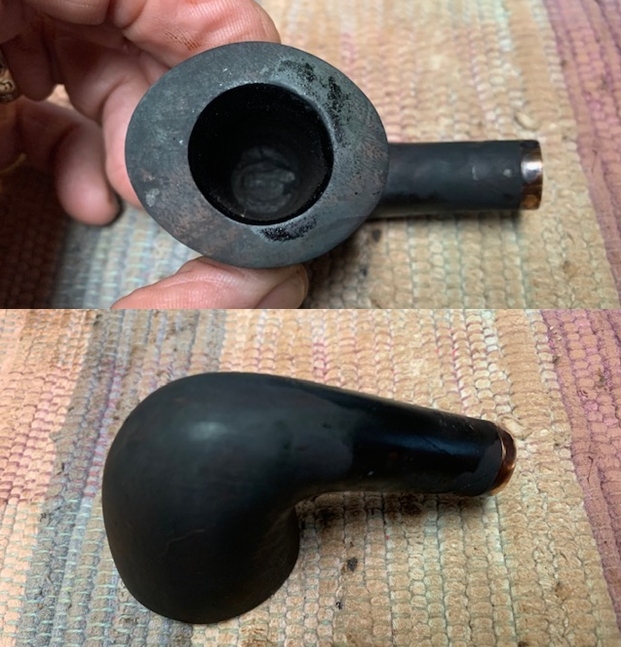 I wiped the bowl down with isopropyl alcohol to make the finish more transparent. I began to see the grain stand out.
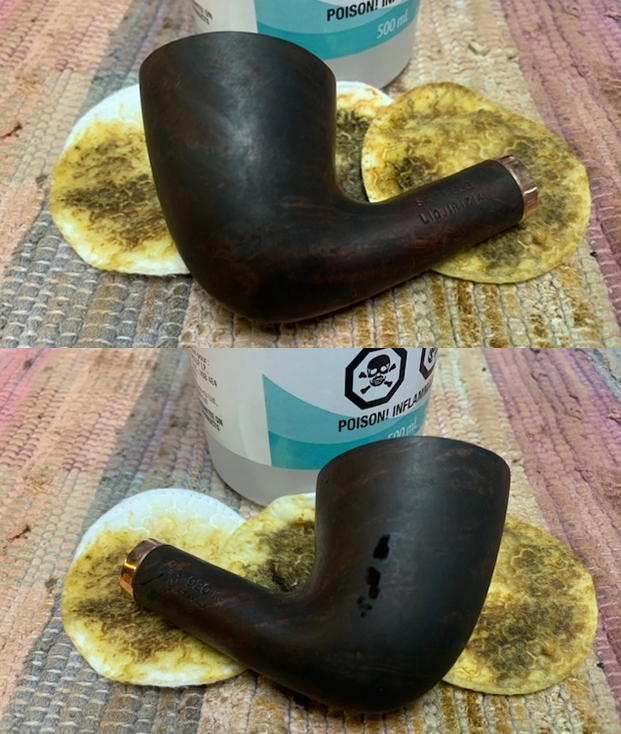
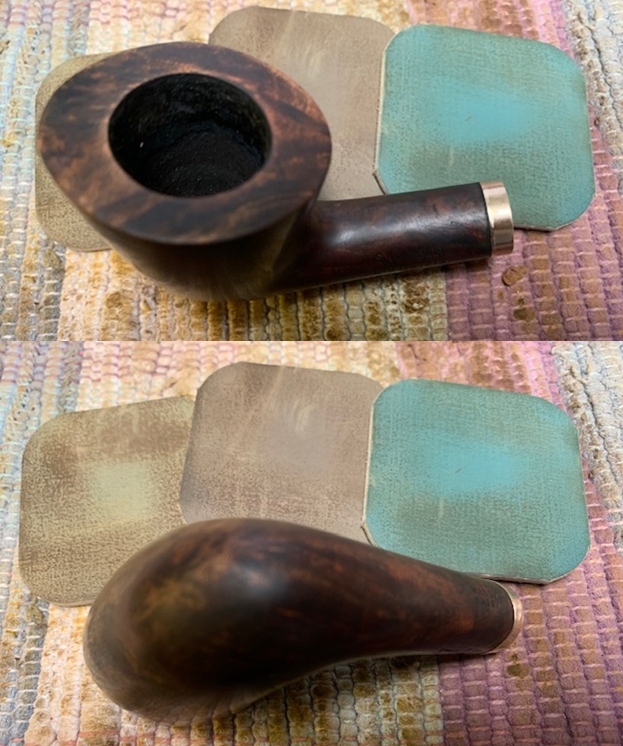
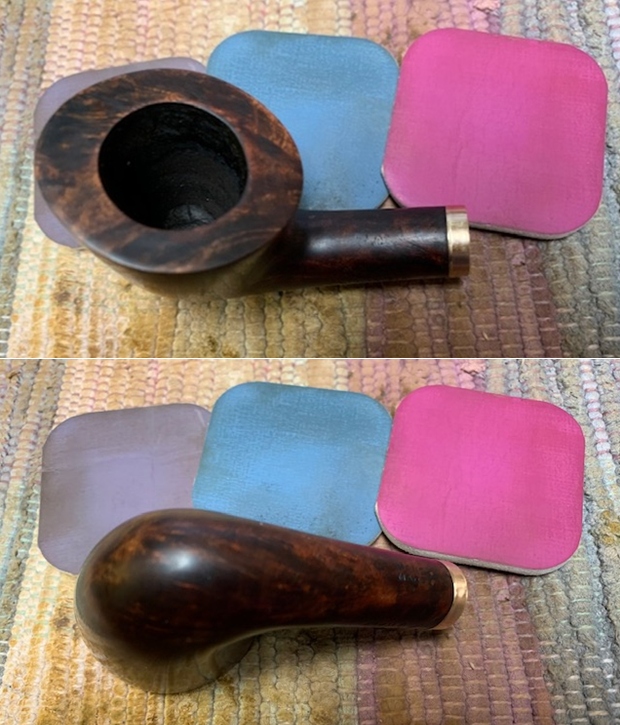
 I continued to wipe it down until I had the variation in colour I was looking for. The grain really stood out now and the brass band was a great contrast.
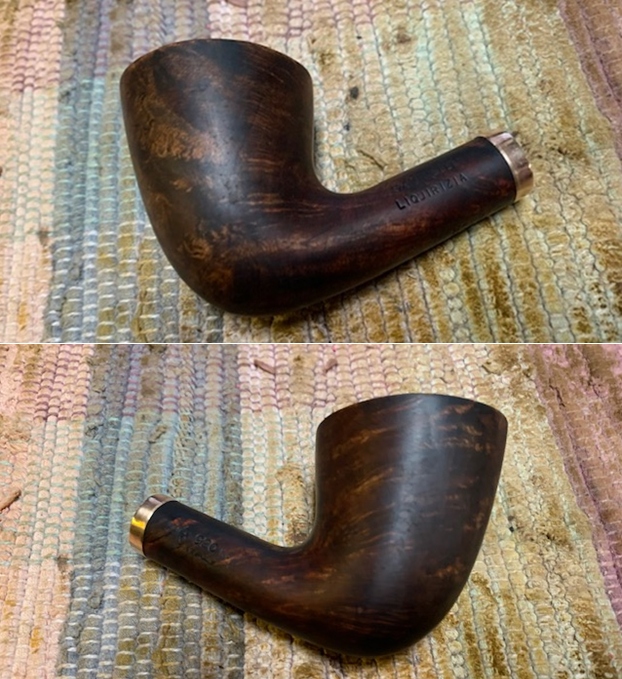
 I polished the briar with micromesh sanding pads – wet sanding with 1500-12000 grit pads and wiping the bowl down between each pad with a damp cloth. The contrasting colours really came alive.
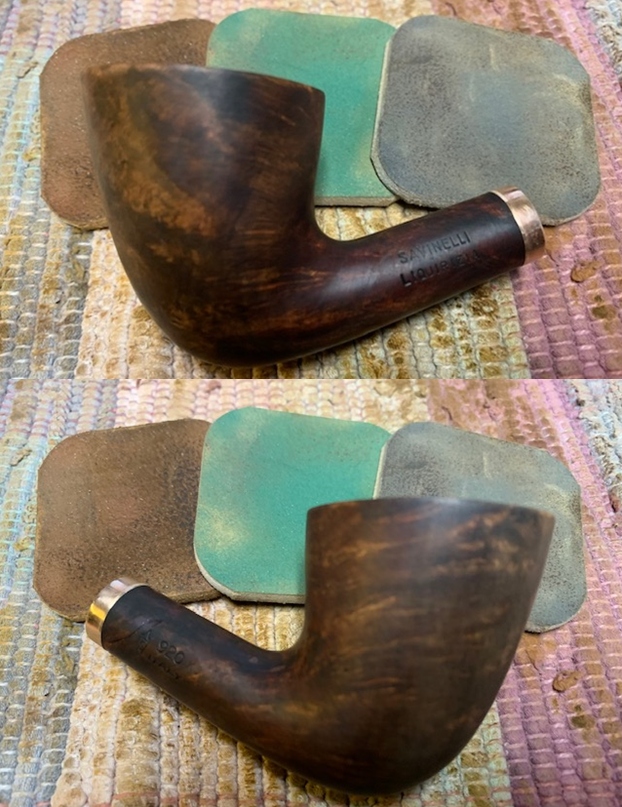
 I rubbed the bowl and shank down with Before & After Restoration Balm. I worked it into the surface of the bowl sides and shank with my fingertips to clean, enliven and protect the briar. I let the balm sit for a little while and then buffed with a cotton cloth to raise the shine. The Balm did its magic and the grain stood out.
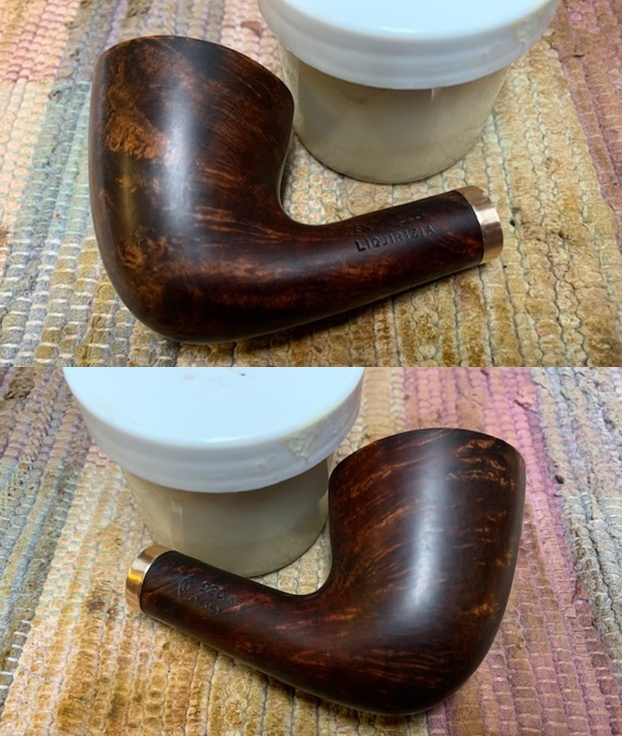
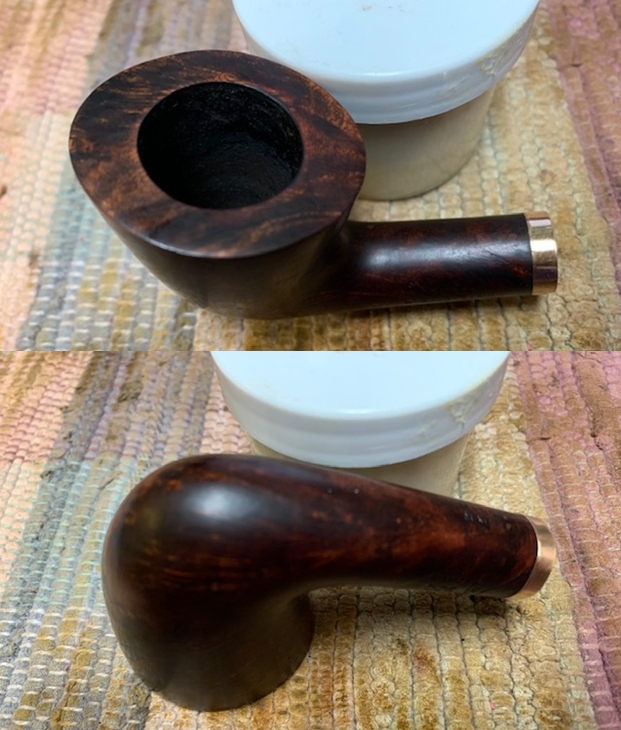
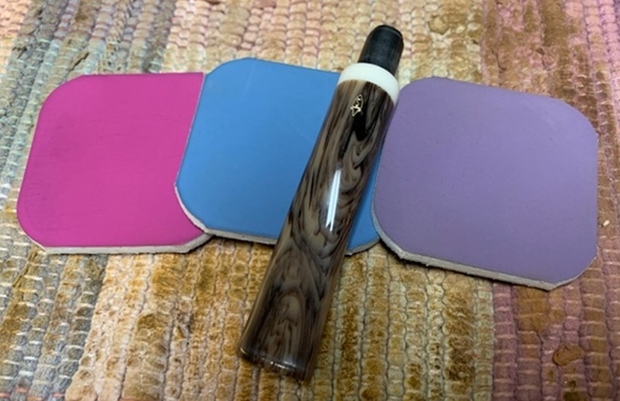
 I polished the acrylic stem with micromesh sanding pads – 1500-12000 grit pads. I wiped it down with a damp cloth after each sanding pad. The photo below shows the polished stem.
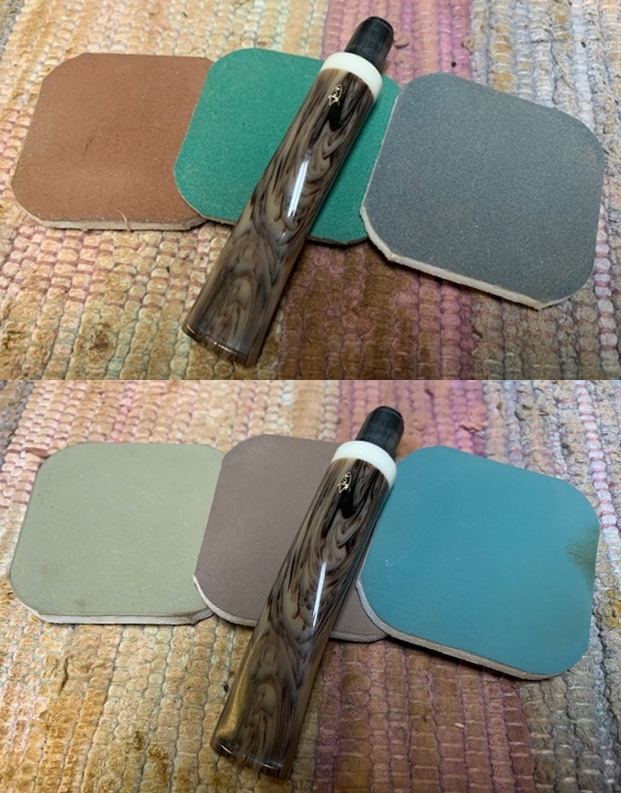
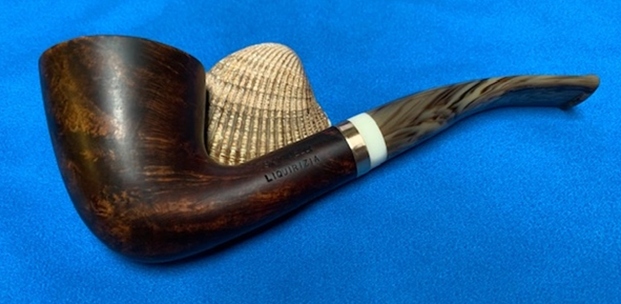
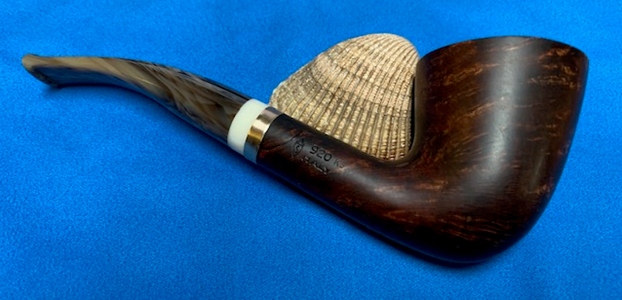
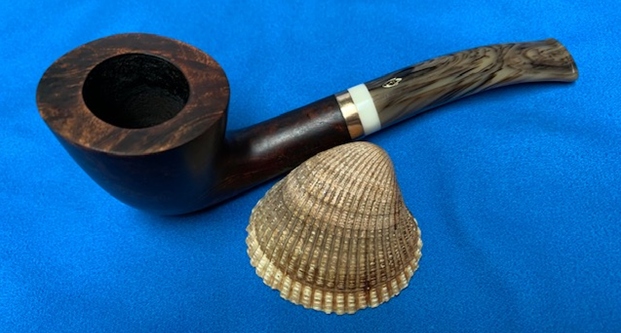
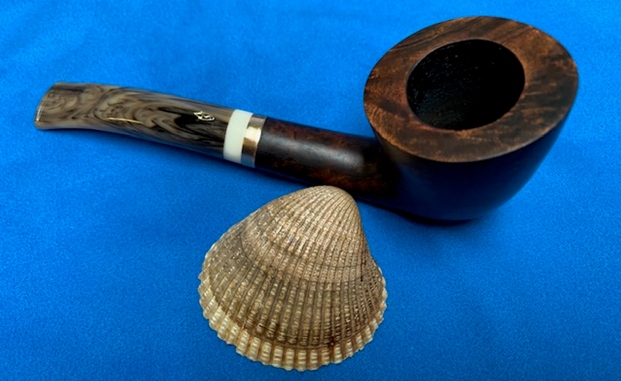
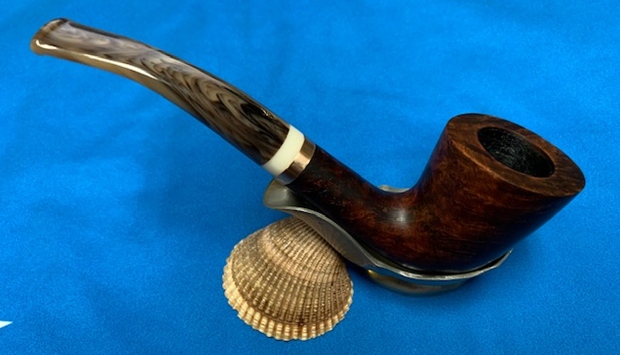
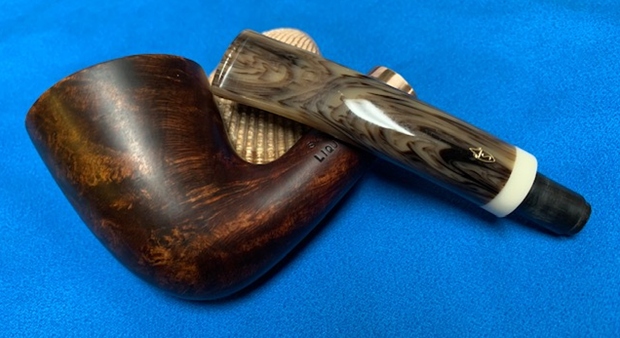
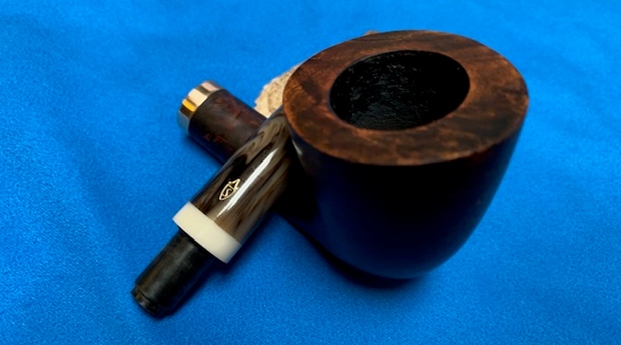
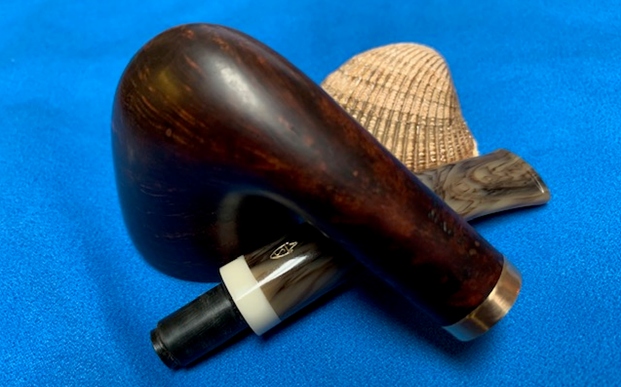
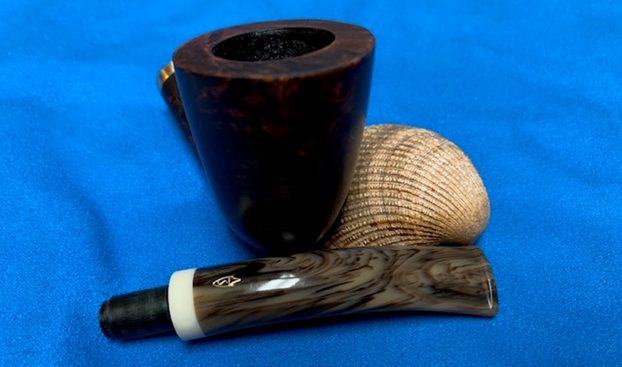
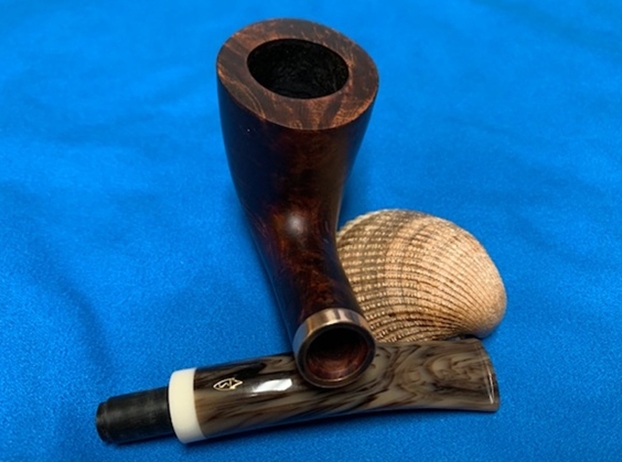
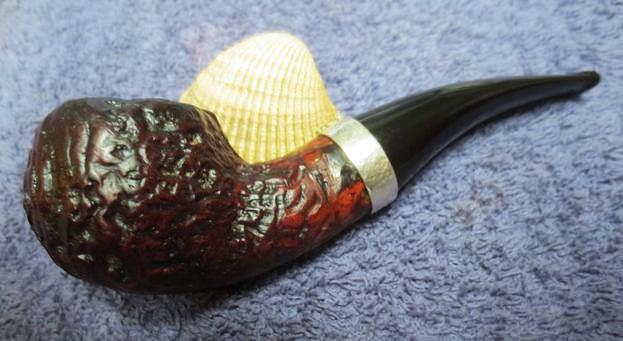
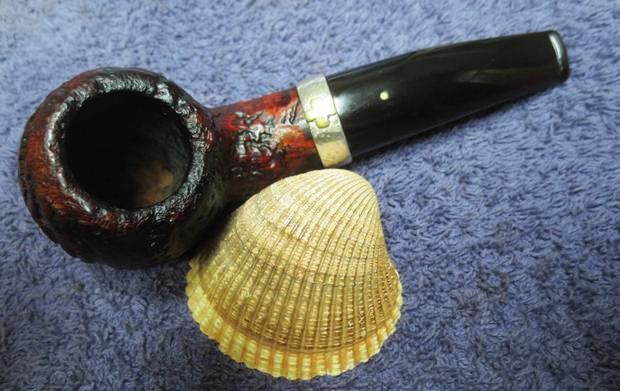
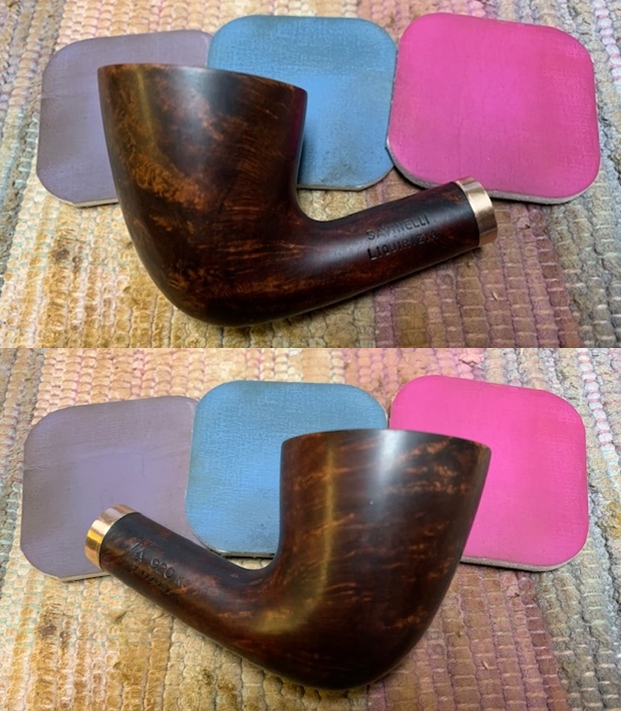
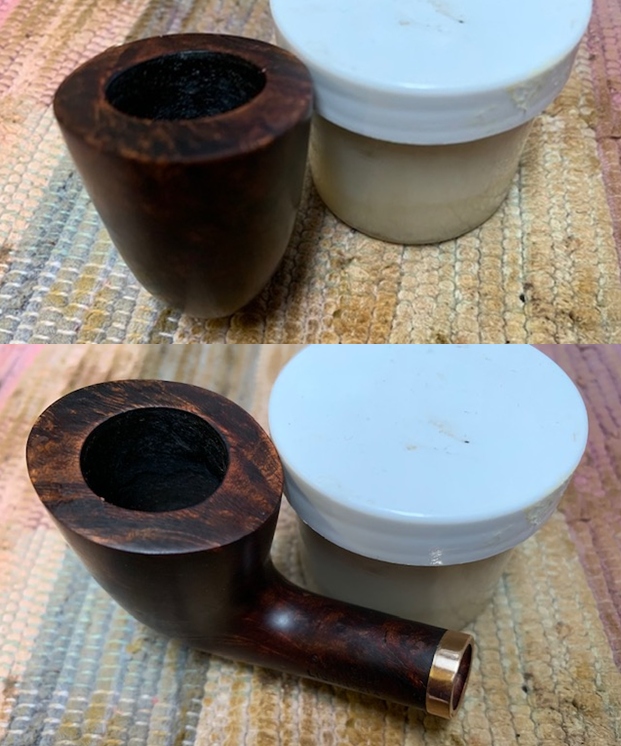
 This nicely grained Savinelli Liquirizia 920KS Bent Dublin with a thin brass repair band and a swirled acrylic stem is a great looking pipe. The briar around the bowl is clean and really came alive. The rich brown stains gave the grain a sense of depth with the polishing and waxing. The grain really popped. The brass band binds the cracked shank repair and gives it a bit of bling. I put the acrylic stem back on the bowl and carefully buffed the pipe with Blue Diamond on the buffing wheel using a light touch on the briar. I gave the bowl and the stem multiple coats of carnauba wax on the buffing wheel. I buffed the pipe with a clean buffing pad to raise the shine. I hand buffed the pipe with a microfiber cloth to deepen the shine. The finished Savinelli Liquirizia Bent Dublin is a beauty and feels great in the hand and looks very good. Give the finished pipe a look in the photos below. The dimensions of the pipe are Length: 5 ½ inches, Height: 2 inches, Outside diameter of the bowl: 1 ½ inch, Chamber diameter: ¾ of an inch. The weight of the pipe is 44grams/1.55oz. The pipe will be going back to Zak as soon as finish the second one. He will soon, so he can enjoy it again. Thanks for reading this blog and my reflections on the pipe while I worked on it.