By Kenneth Lieblich
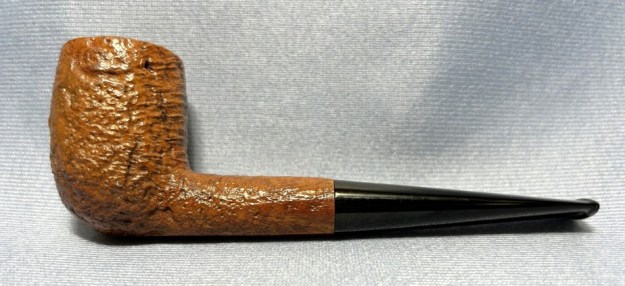
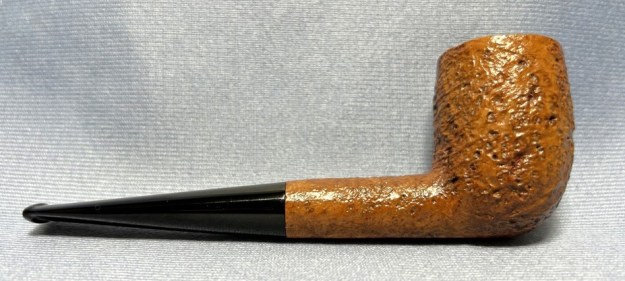
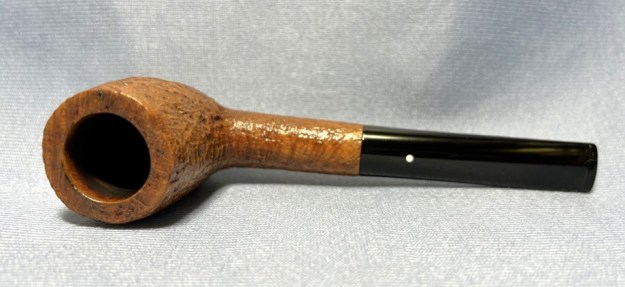
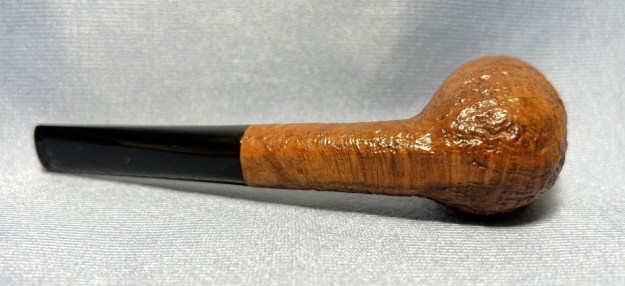
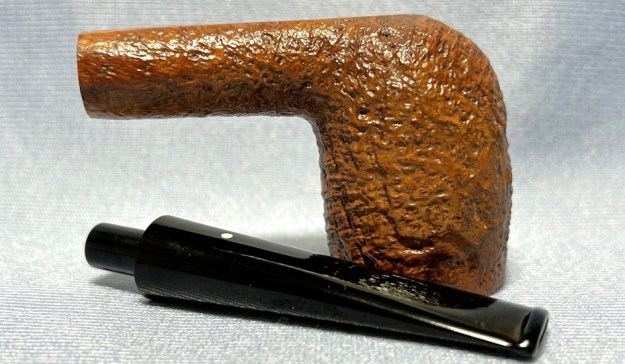
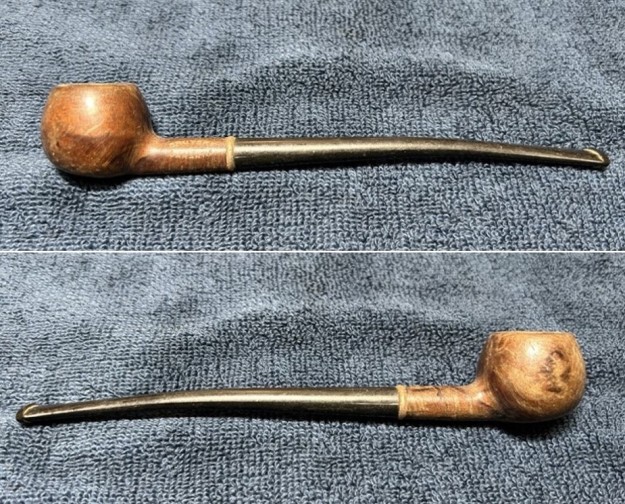
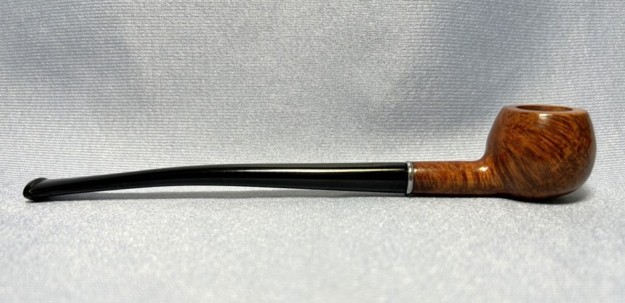
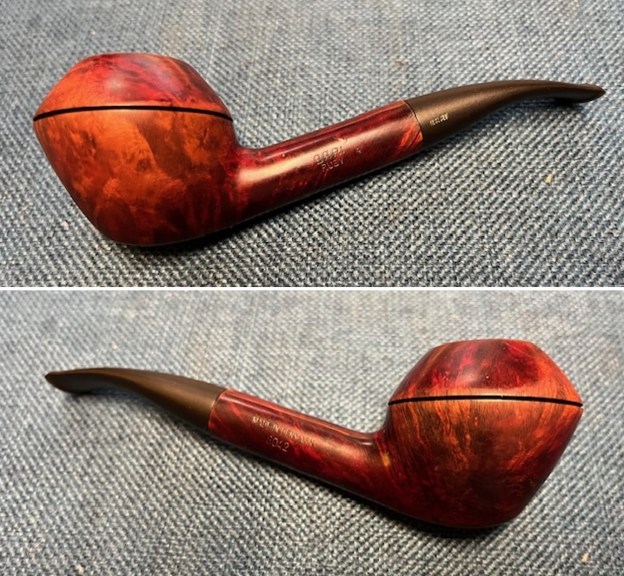
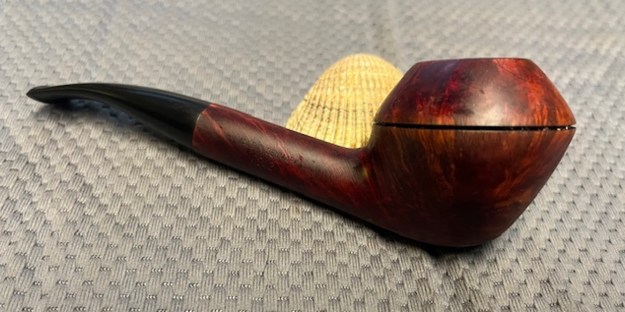
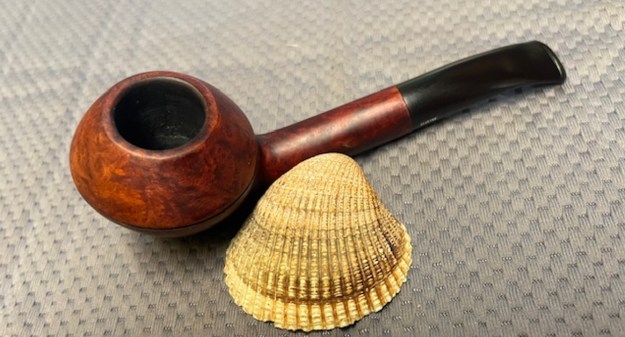
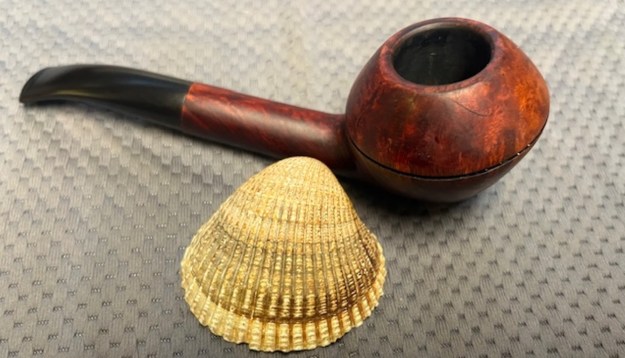
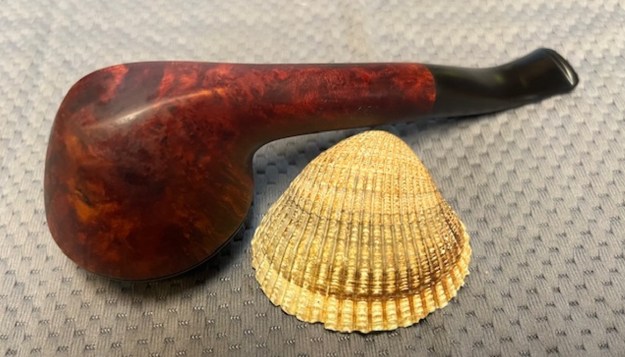
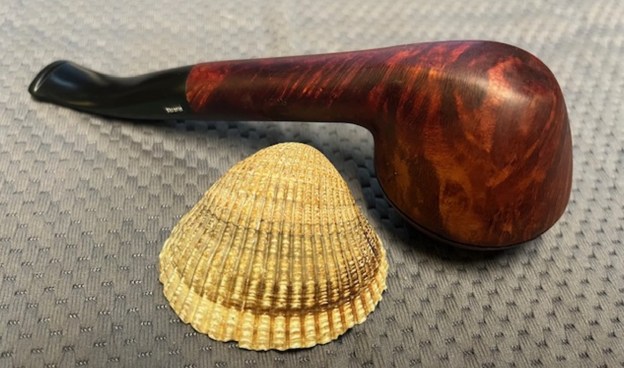
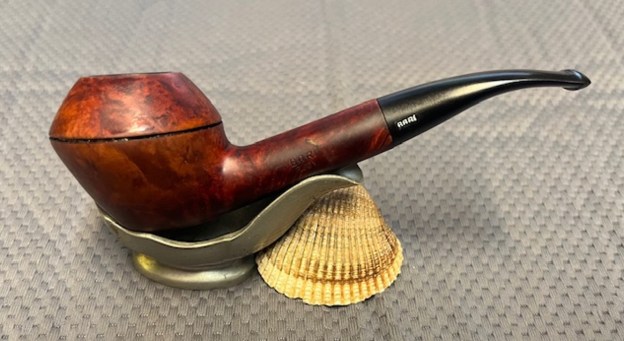
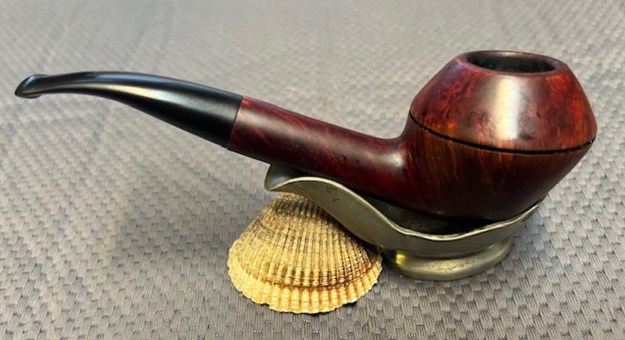
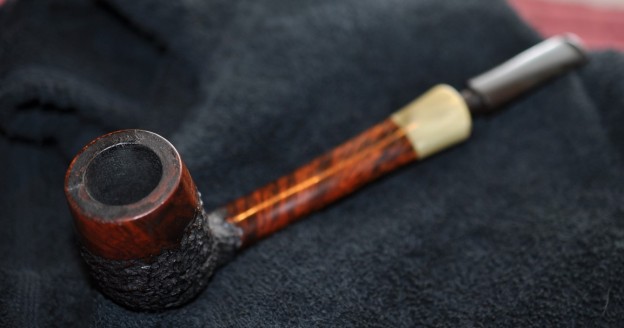
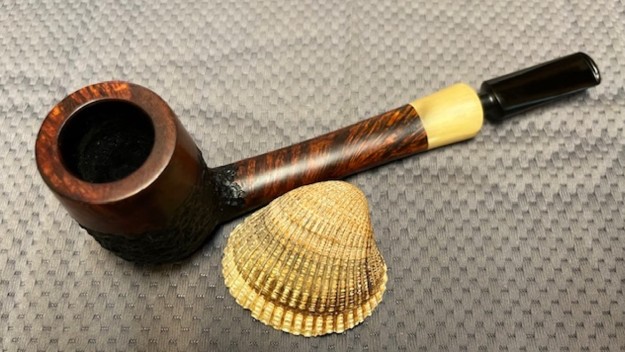
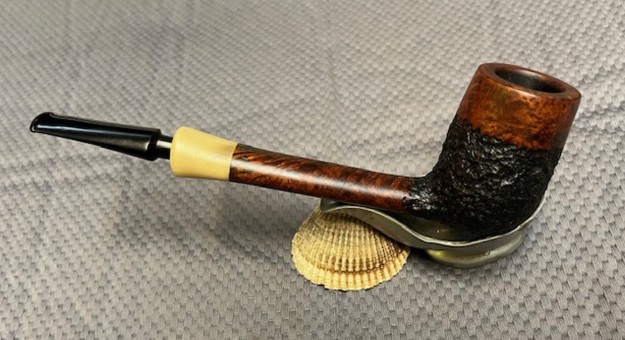
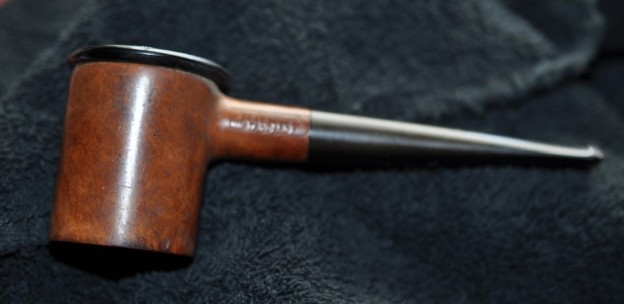
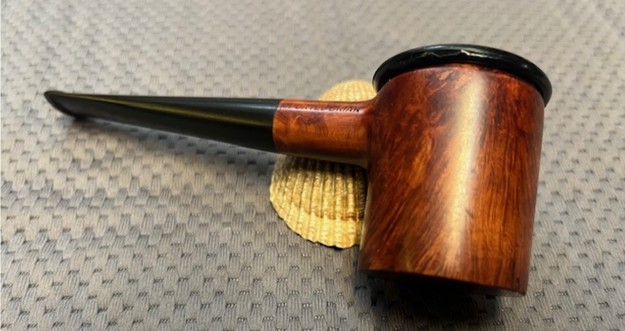
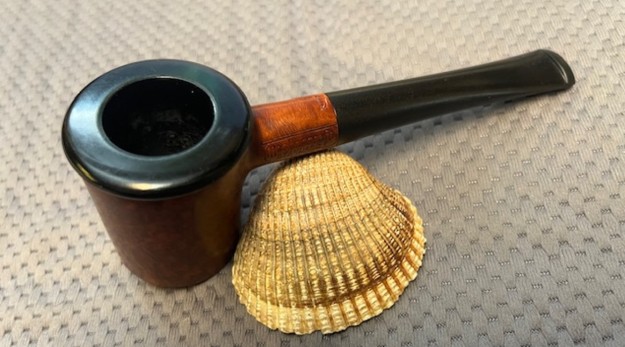
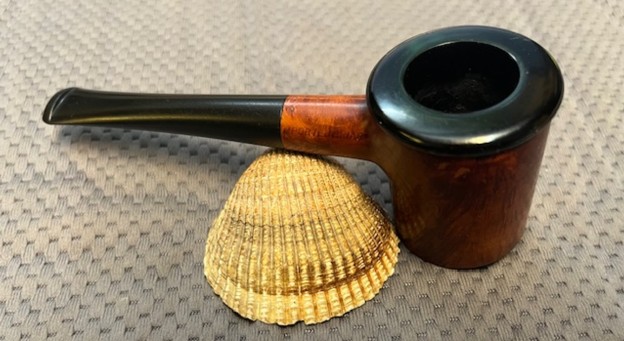
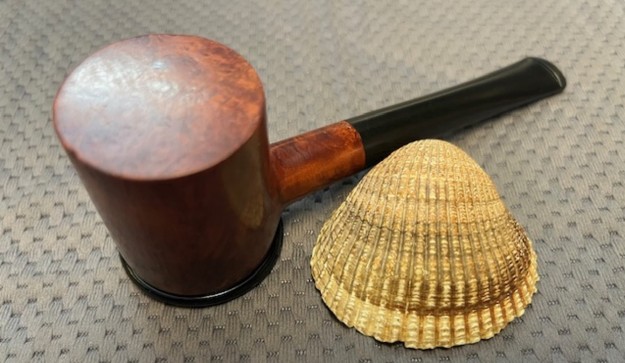
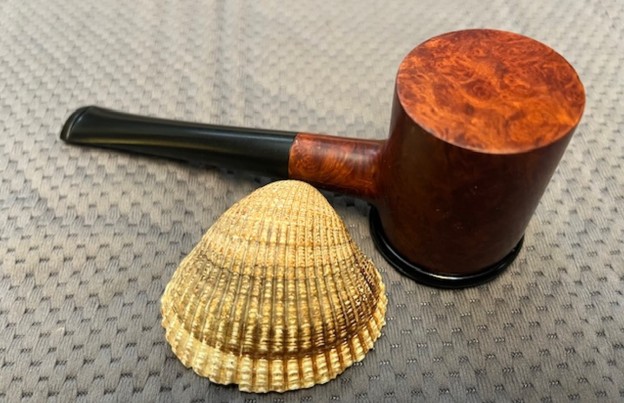
Dunhill is a name that inspires awe and warms the cockles of the hearts of many pipe smokers worldwide. Today, I am pleased to show the restoration of a wonderful tanshell briar. I acquired it in an auction last year. Other than that, I don’t know much of its provenance. Its colour and cragginess are very handsome, and I have no doubt that it was a much-loved pipe. I instinctively have a certain reverence for Dunhill pipes, and I am especially keen to restore this one so that the next pipe smoker can enjoy it.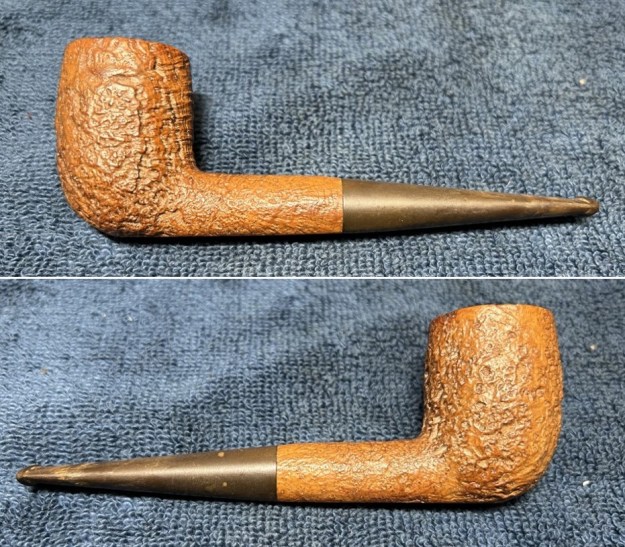
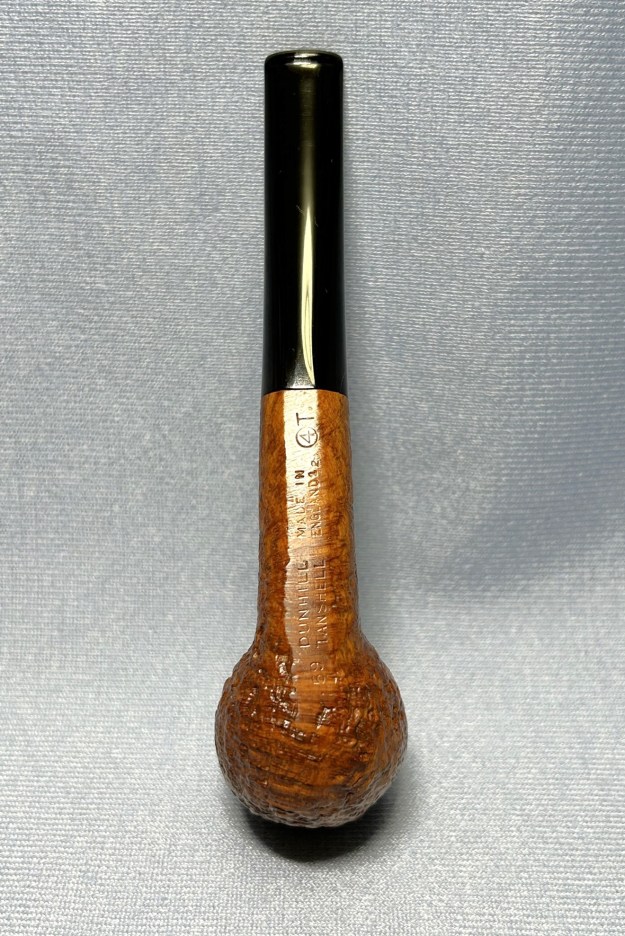
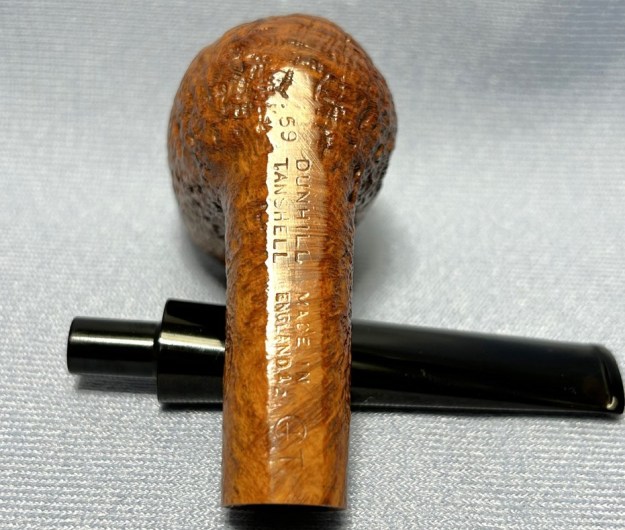
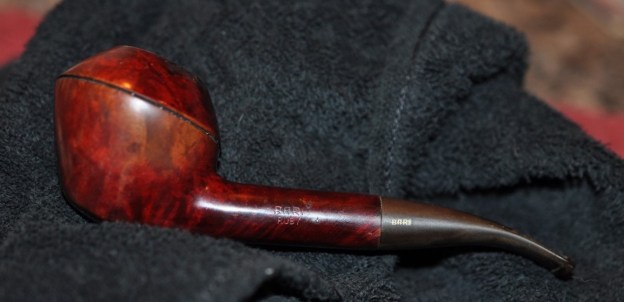
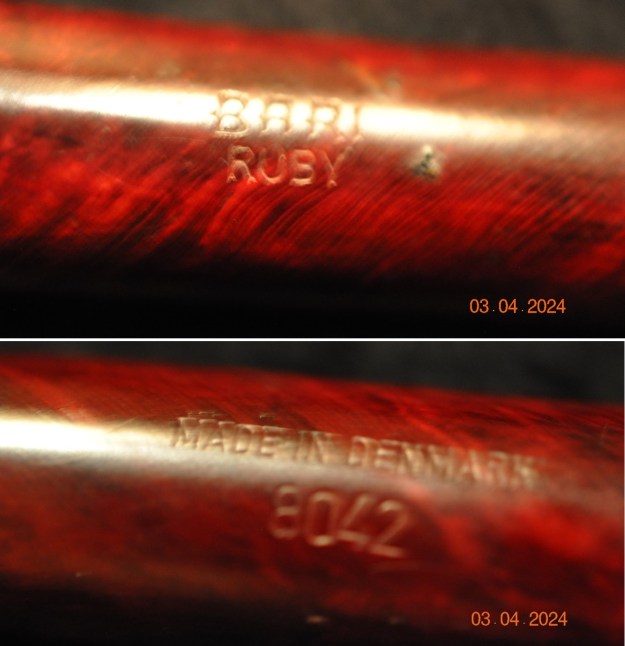
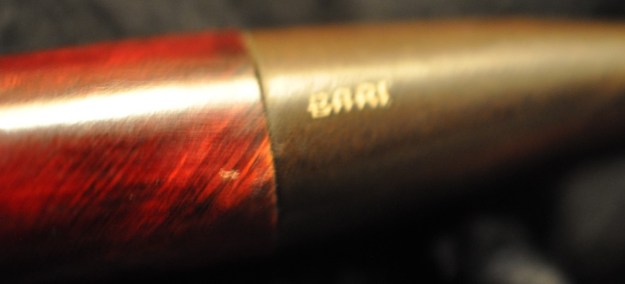
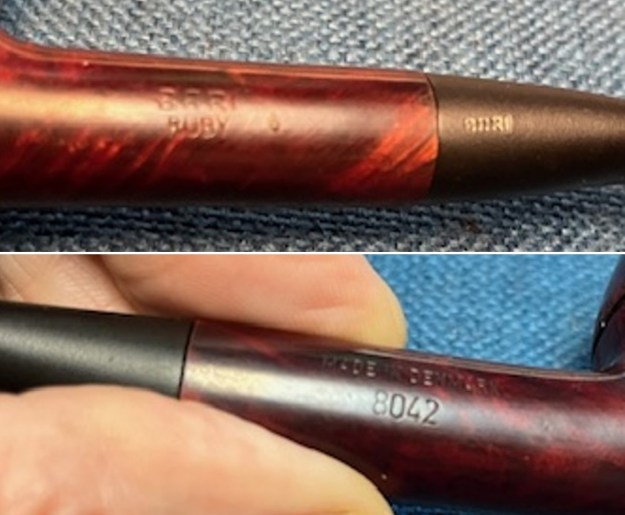
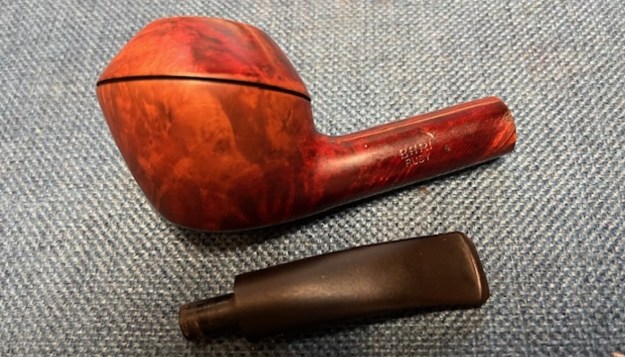
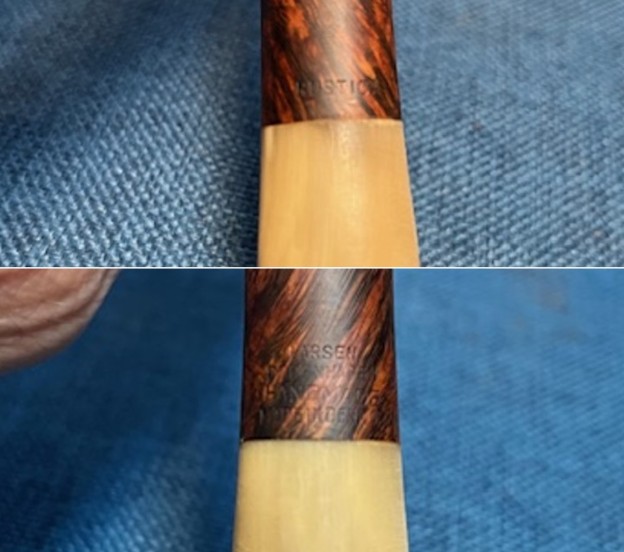
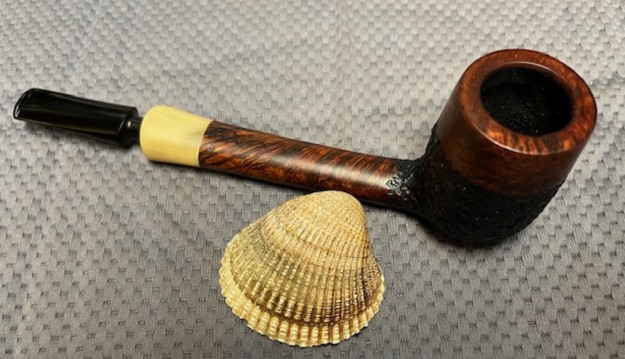
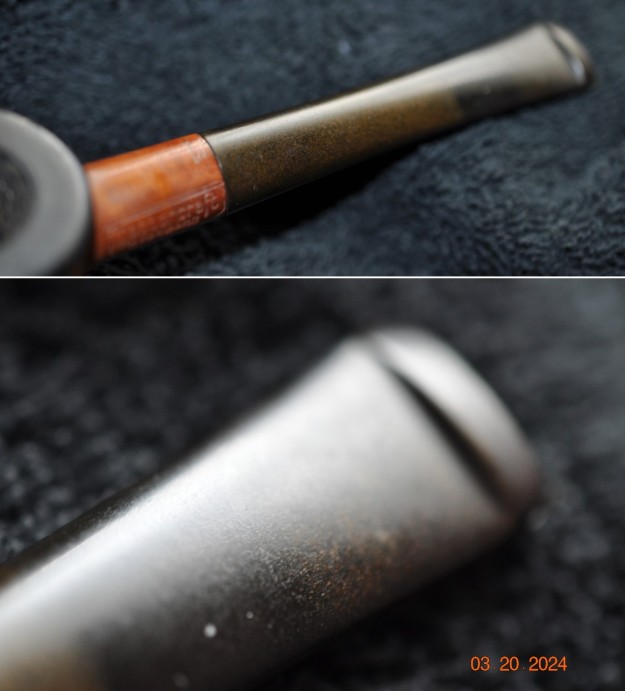
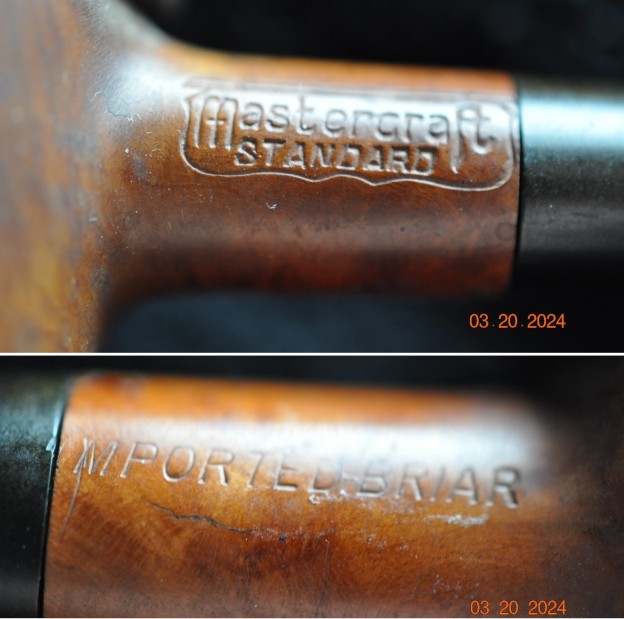
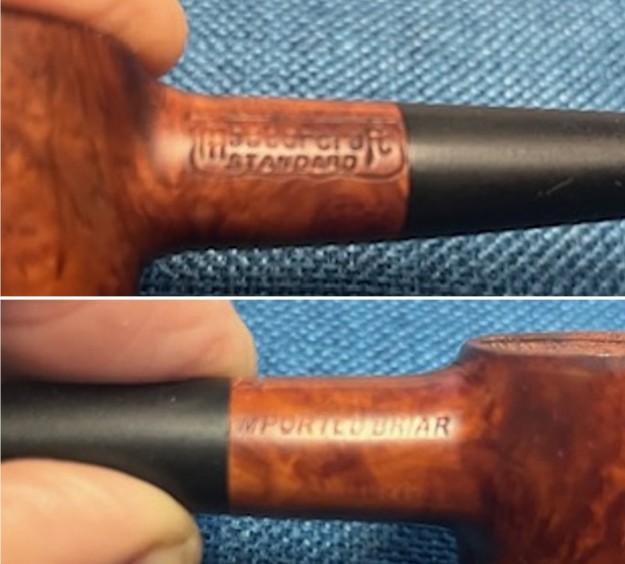
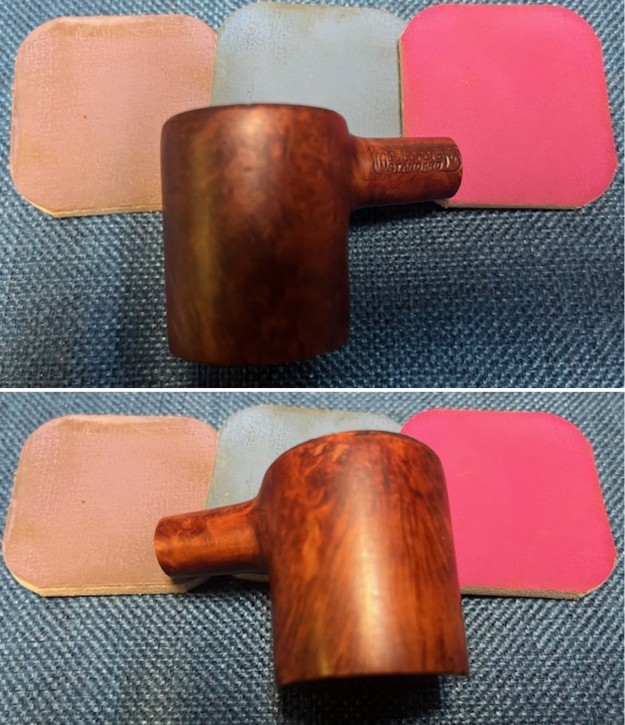
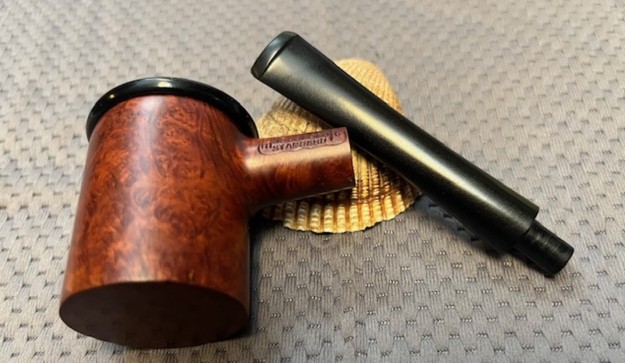
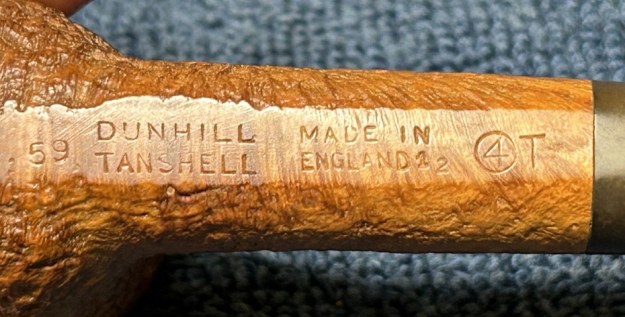
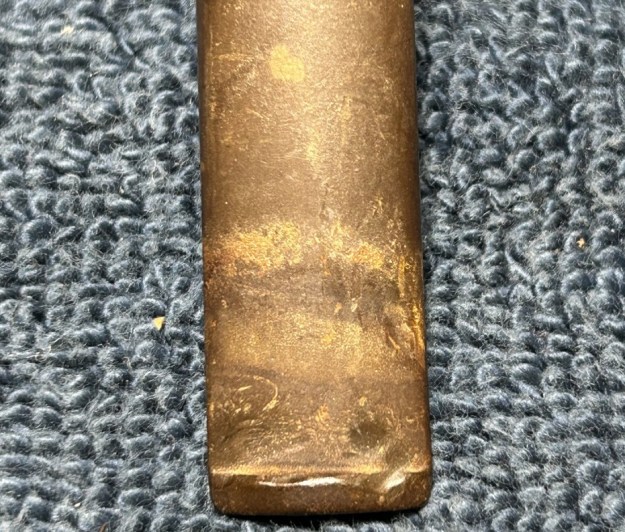
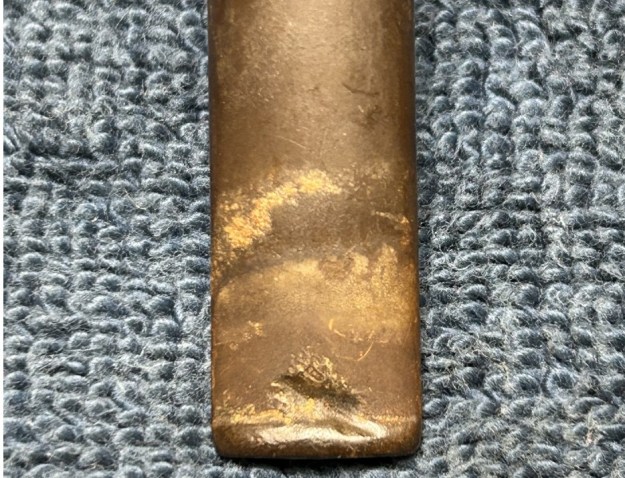
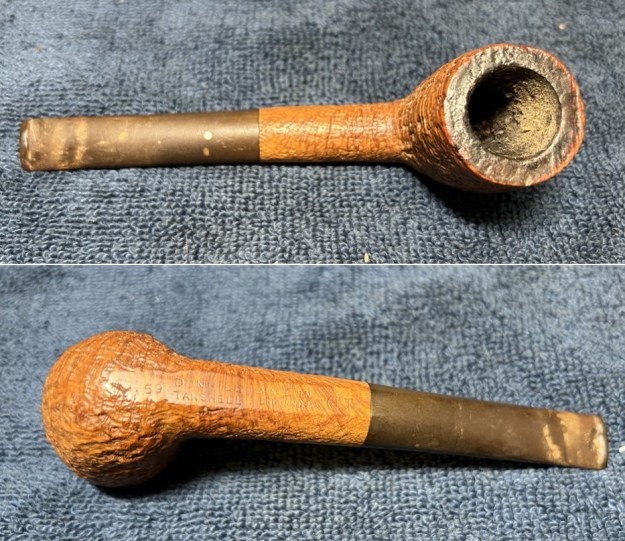 As I mentioned, this is a Dunhill Tanshell and the markings confirm this. It is a beautiful, classic billiard shape. Pleasingly, those markings are very clear and well-cut on the bottom of the shank. On the left-hand side is the model number, 59. Immediately to the right of this is Dunhill [over] Tanshell. Then, to the right of that, is Made in [over] England12. To the right of that is an encircled 4, followed by a T. Finally, the stem, of course, has the iconic white spot of Alfred Dunhill’s company. Here is a photo of Alfred, followed by the markings.
 Let’s have a closer look at what all of these markings mean. The model number 59 is one of the classic Dunhill shapes – that number first appeared all the way back in 1928. The page on Pipedia about Dunhill shapes says this:
The original skus/model numbers from the 1920’s until the early 1970’s stood for very specific shapes and bowls. For example, the codes 31, 34, 59, 111, 113, 117, 196, LB, LBS… were all different types of Billiard shaped pipes and there were about 50(!), such codes for the Billiard shape alone.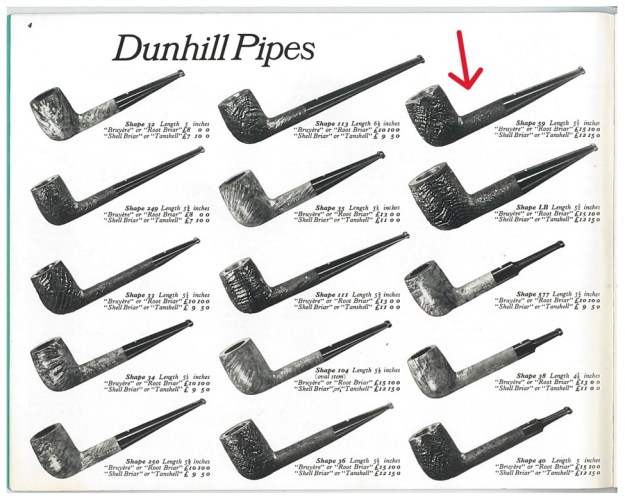 Let’s have a closer look at what all of these markings mean. The model number 59 is one of the classic Dunhill shapes – that number first appeared all the way back in 1928. The page on Pipedia about Dunhill shapes says this:
The original skus/model numbers from the 1920’s until the early 1970’s stood for very specific shapes and bowls. For example, the codes 31, 34, 59, 111, 113, 117, 196, LB, LBS… were all different types of Billiard shaped pipes and there were about 50(!), such codes for the Billiard shape alone.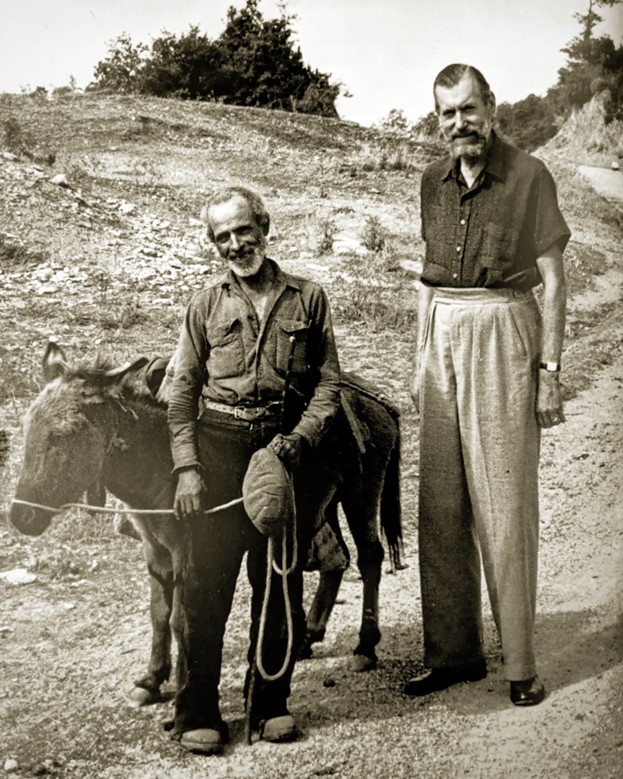 Furthermore, John Loring’s fine book, The Dunhill Briar Pipe: The Patent Years and After, says this about the Tanshell:
The TanShell was Dunhill’s fourth finish and its first major post-war line addition. Introduced in 1951/1952 the TanShell was a naturally stained sandblasted pipe made exclusively from Sardinian briar through the 1960s. The TanShell apparently was not simply a light stained Shell but rather was also the product of “certain processes [unrevealed] not previously employed.” Initially, it appears that the pipe was to be named the Root Shell and a stamp to that effect was ordered and received by Dunhill in May 1951. Ultimately, however, the name TanShell was settled upon but the stamp for the TanShell name was not received by Dunhill until the beginning of December. Thus while the Tanshell was in production in 1951 it appears that most if not all TanShells made in that year did not enter into retail distribution until 1952 and were given a 1952 date code.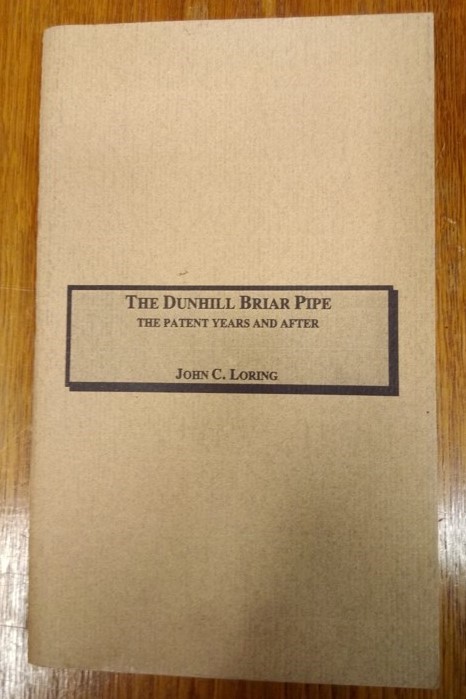 The markings Made in [over] England12 give us an indication of when this pipe was manufactured. The number is the date suffix and provides us the information we need to figure out the date. I already knew the answer, but allow me to walk you through the process. I went to Pipephil’s Dunhill Dating Key (which you can find here) and I have reproduced (below) the two charts they use to date Dunhills. In the first image below, we are asked if our pipe has a date suffix. It does, so we follow the arrow and the chart asks if our pipe has a patent number. It does not, so we proceed. Then we are asked if our pipe reads Dunhill [over] London – again, it does not. As a result, we know that our pipe dates from after 1954.
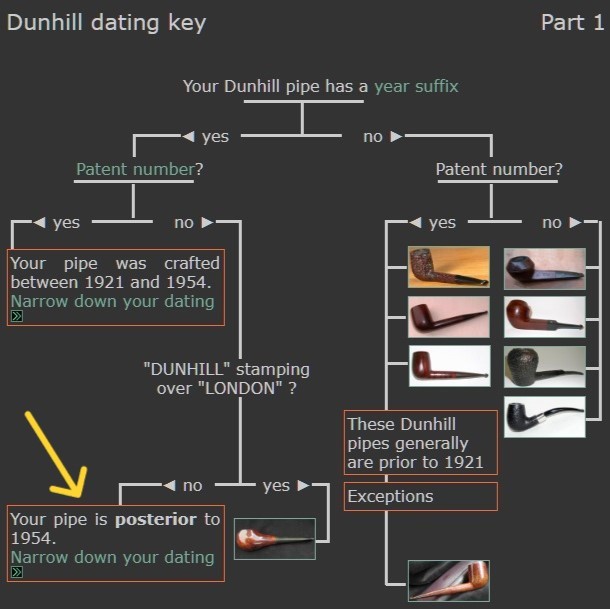 On to the second chart – and it is much more straightforward. The chart asks for the digits in our date suffix. In our case, it is 1 and an offset 2, so we know that the date of our pipe is the result of simple addition: 1960 + 1 = 1961 and the 2 identifies the date of sale for the Dunhill guarantee. Now we know that the year of manufacture is 1961! (thanks for the help Al). Is this your birth year? If so, have I got a pipe for you!
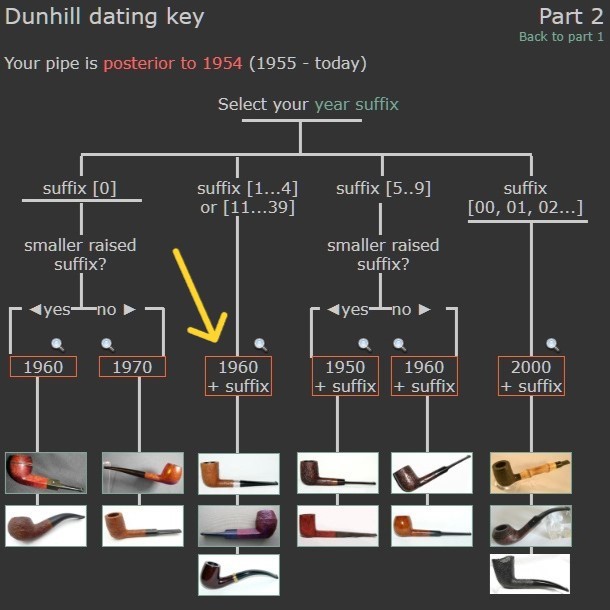 Next, the encircled 4 and the capital T. This tells us about the size and finish of the pipe. Pipedia says:
The encircled group number indicates the size of the bowl (1, for example, is the smaller bowl). It is usually followed by a letter corresponding to the pipe finish. This number/letter code has been introduced about 1950 and was discontinued about 1976 replaced by a 4 or 5 digits code. They were reintroduced in March 2012, but only for commemorative versions.
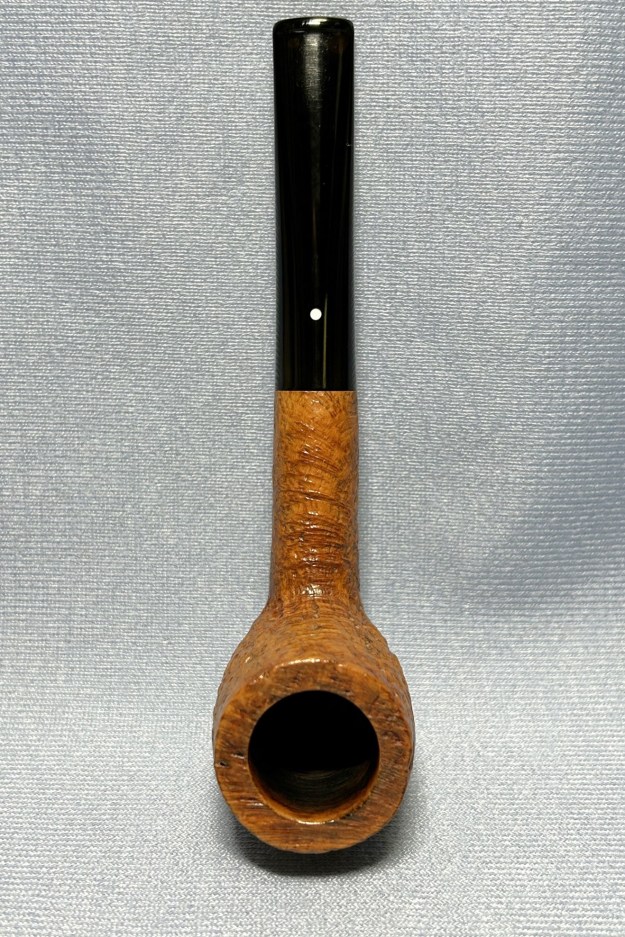
In this case, the 4 indicates a medium/large size bowl and the T naturally refers to Tanshell. Finally, the white spot. Have you ever wondered about it? Well, very briefly, here is the origin of the famous white spot (from Pipedia):
In 1912, the famous white spot was introduced for very practical concerns. With straight pipes, customers had trouble knowing which way to insert the handmade vulcanite mouthpieces. So Alfred Dunhill ordered white spots to be placed on the upper side of the stem. This very practical solution would become a definitive trademark of Dunhill pipes. The “white spot” soon became known as a symbol of quality.
Now let’s get on with restoring this beautiful pipe!
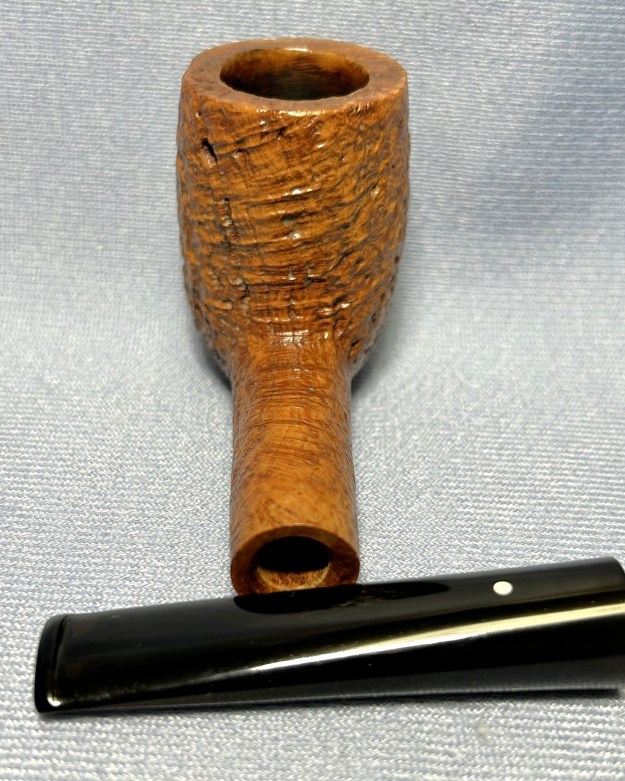
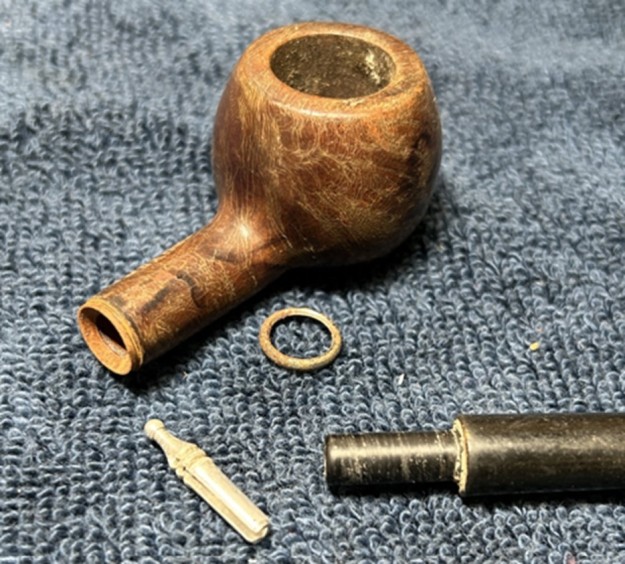
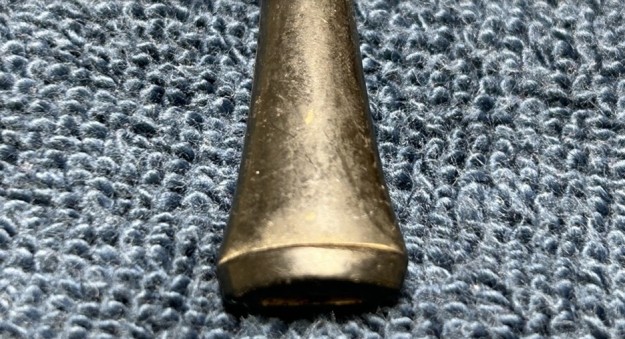
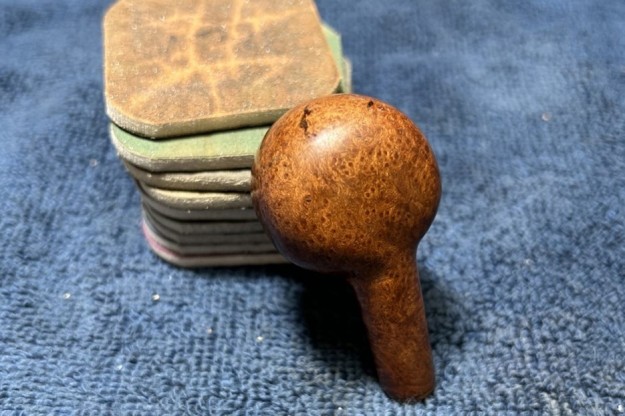
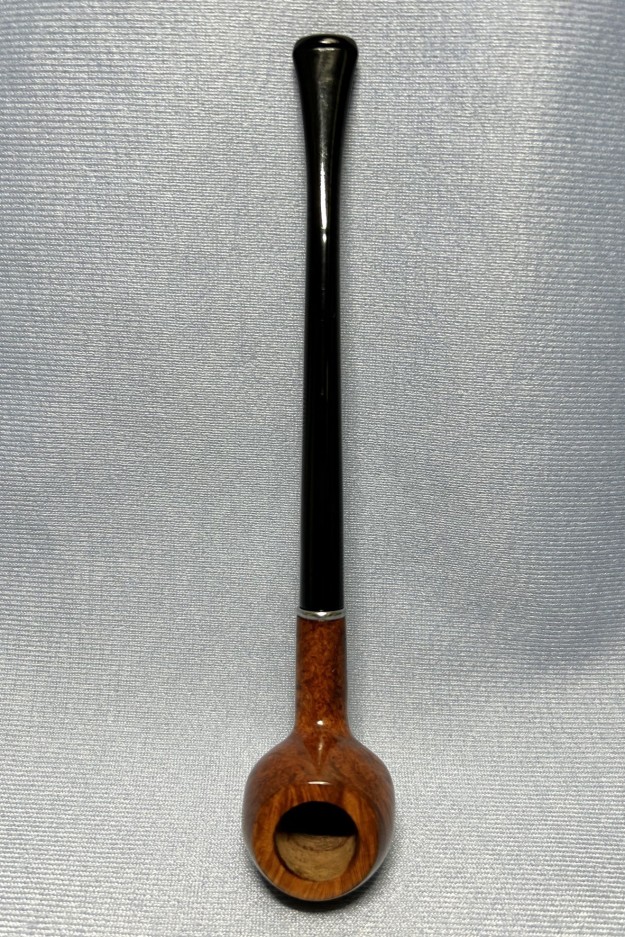
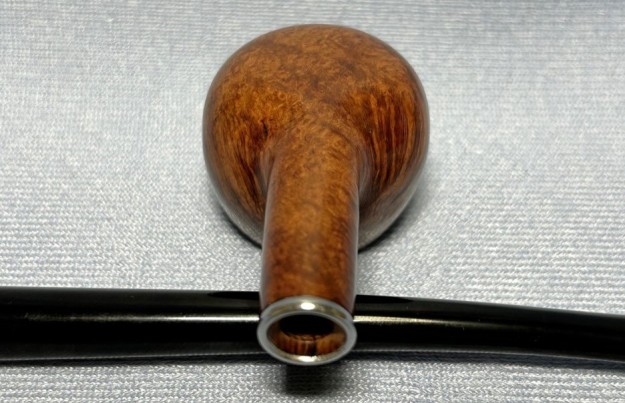
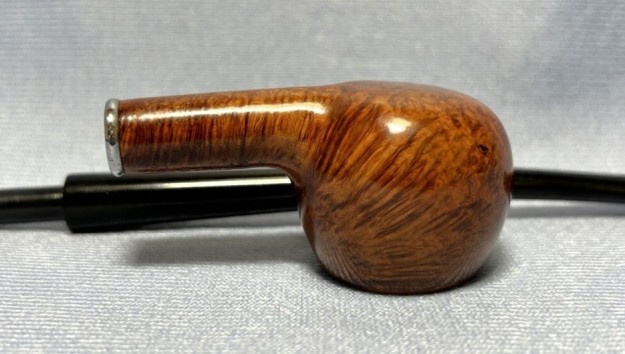
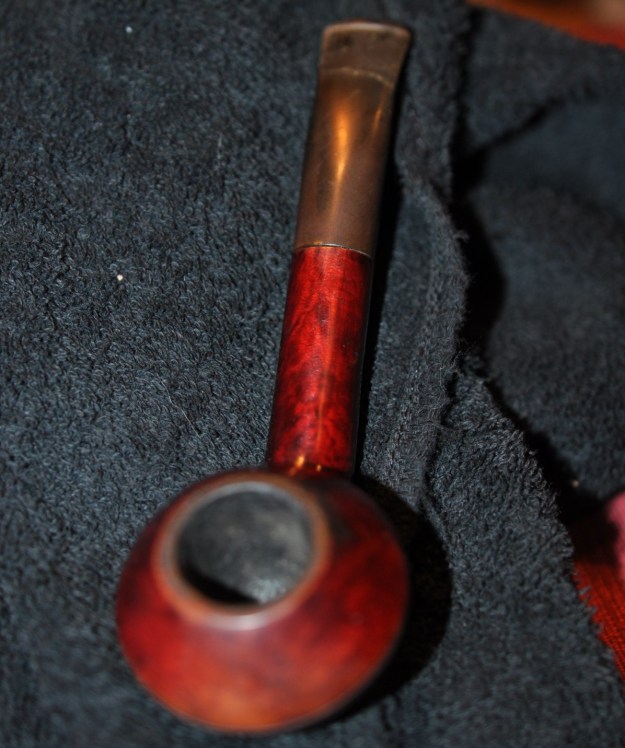
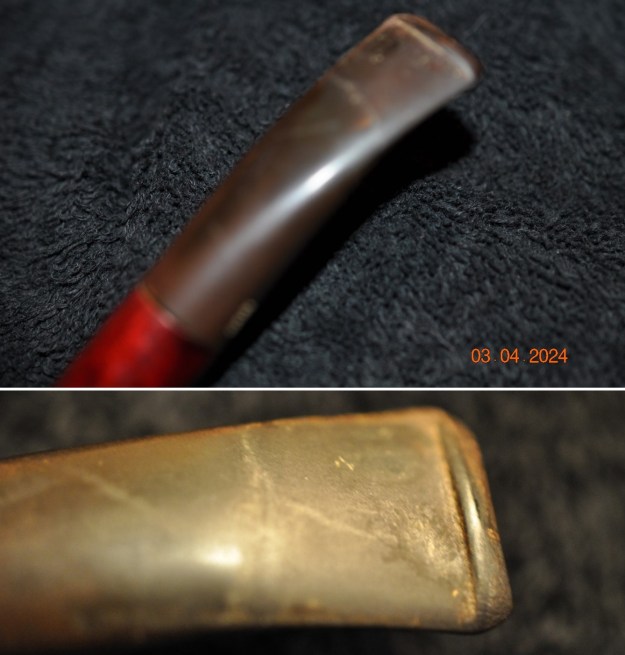
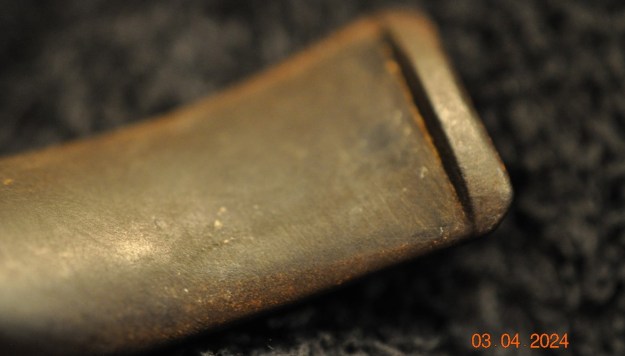
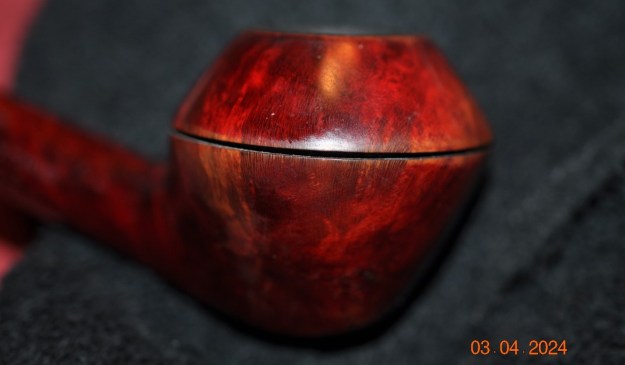
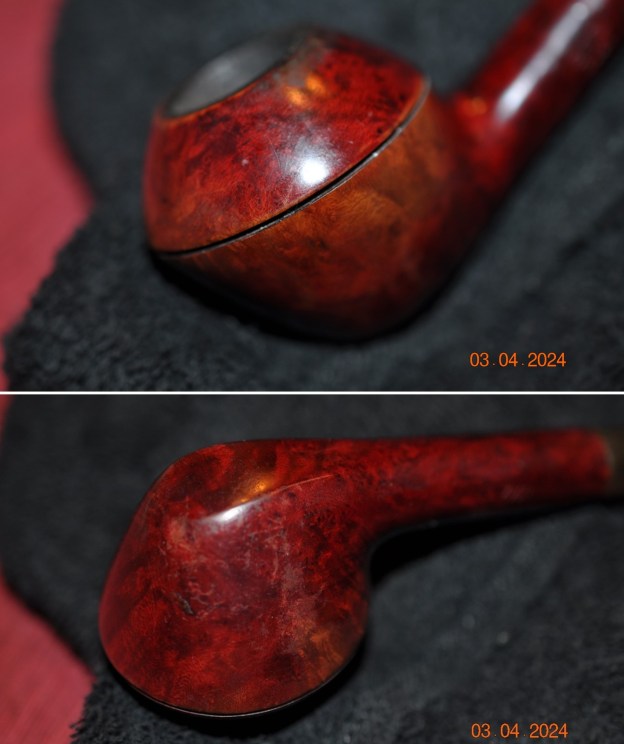
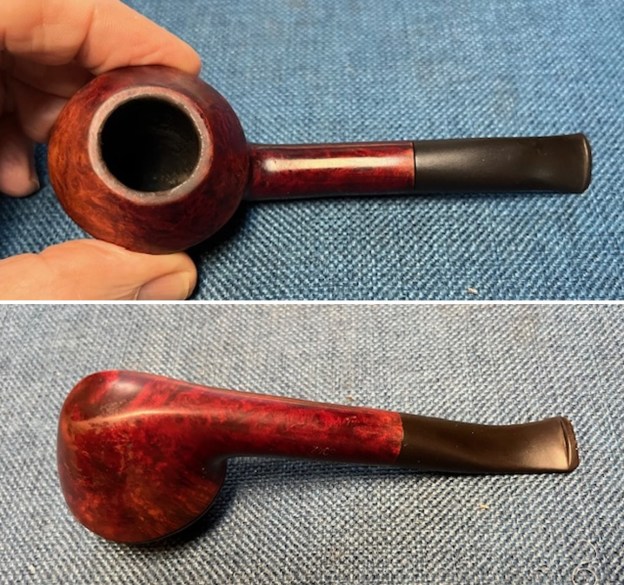
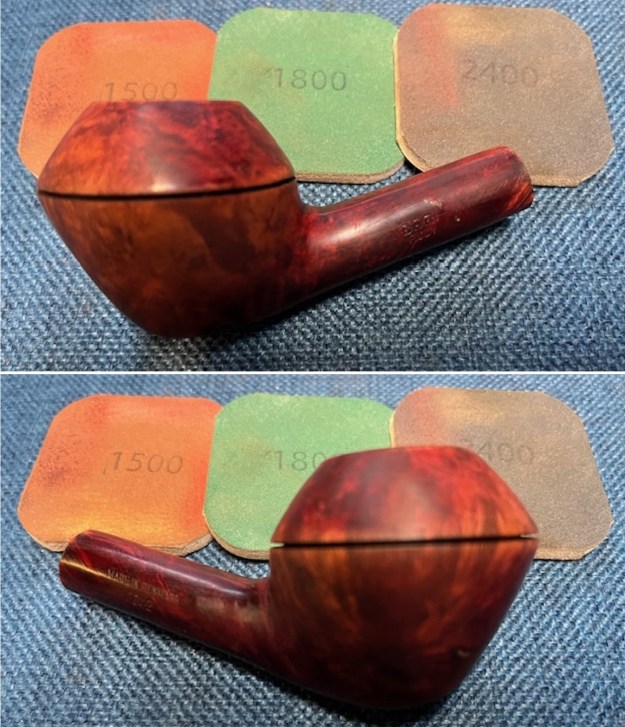
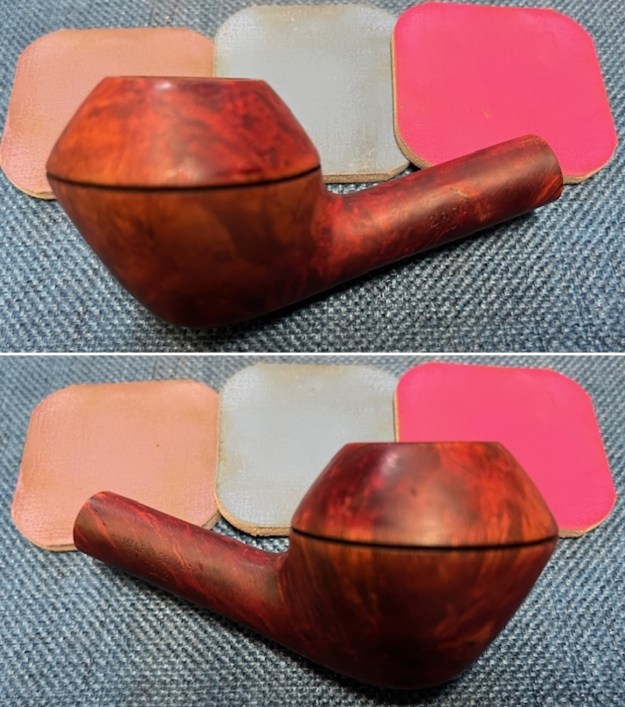
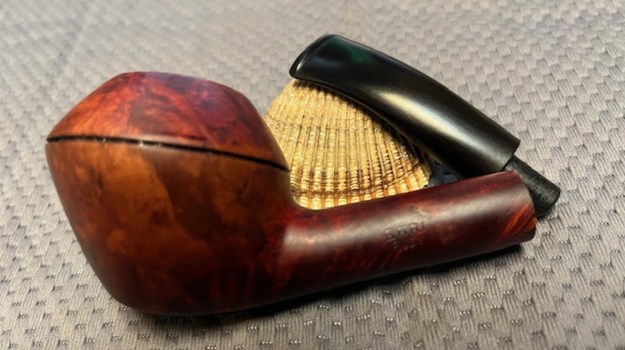
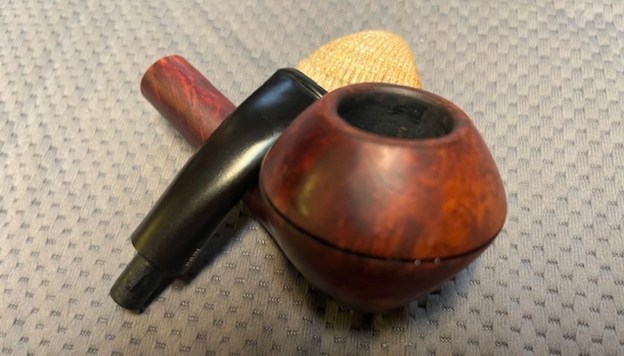
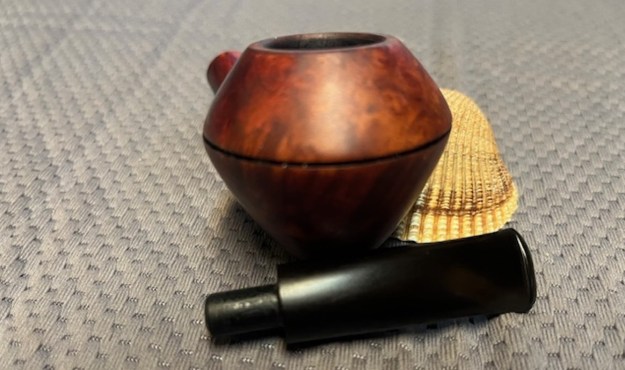
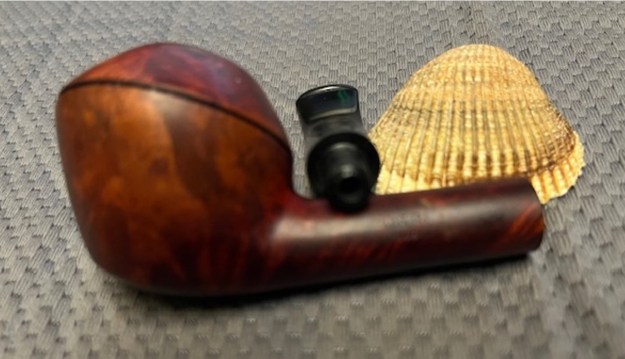
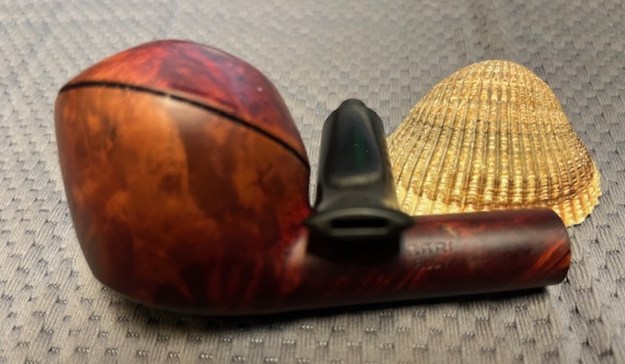
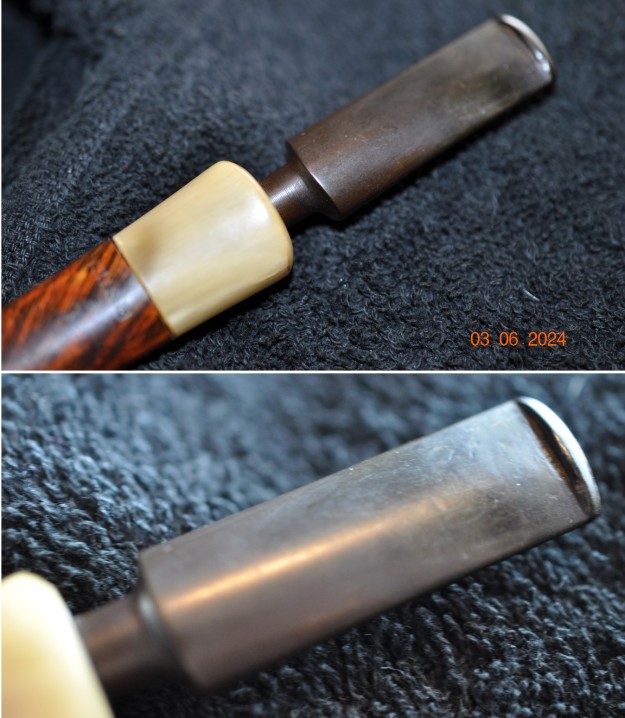
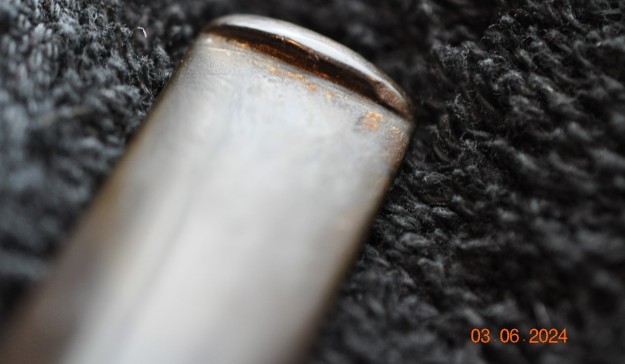
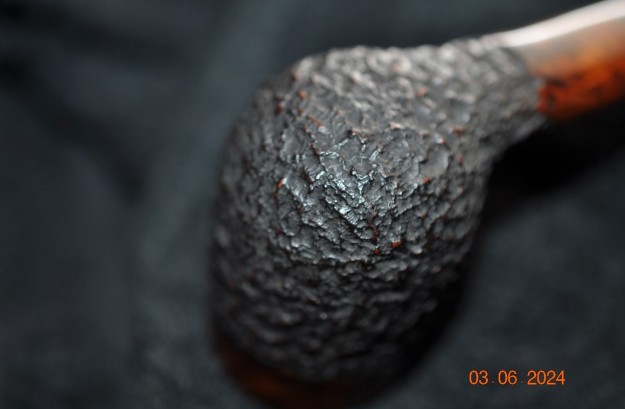
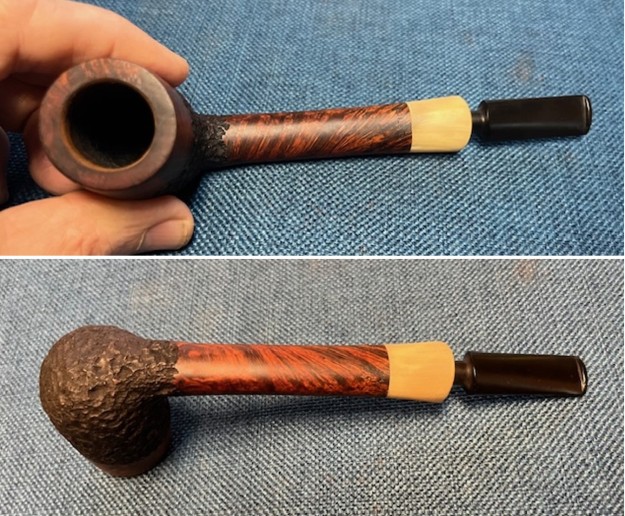
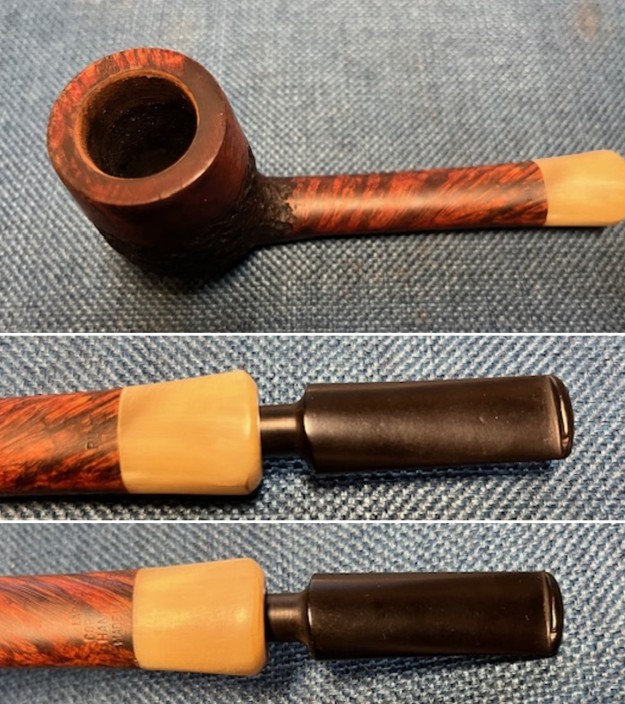
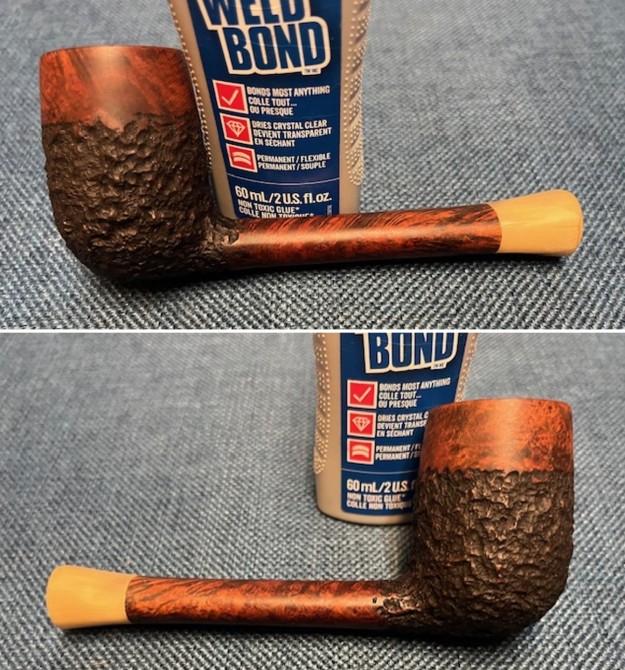
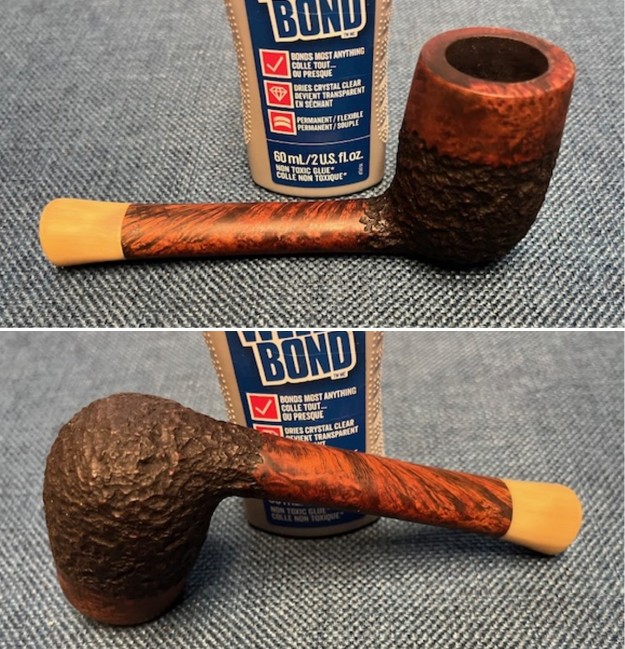
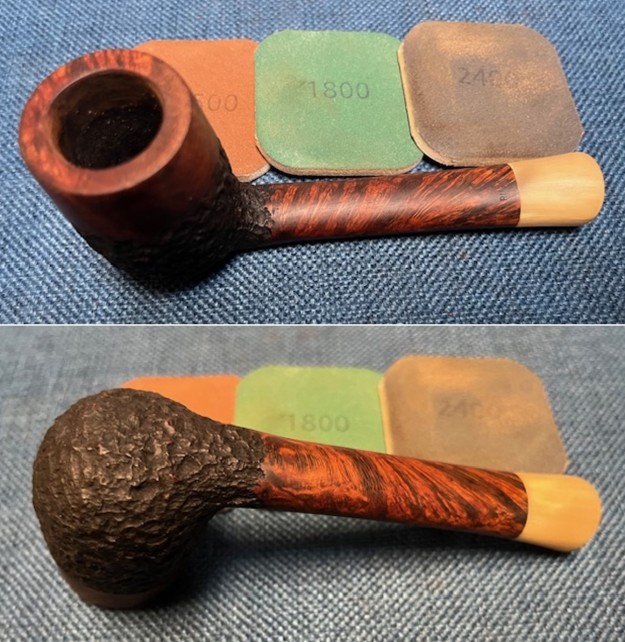
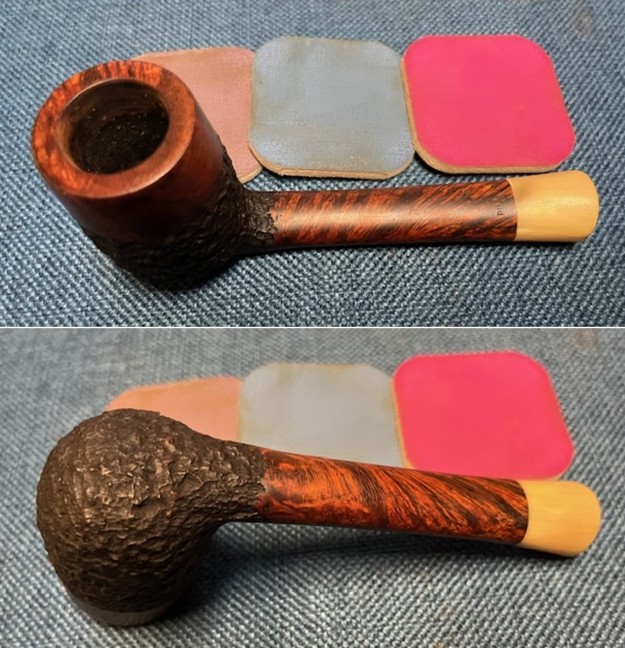
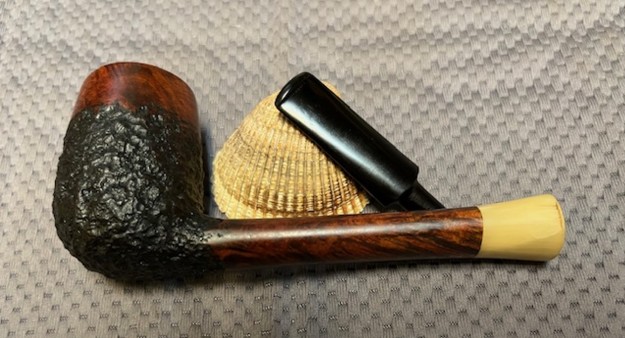
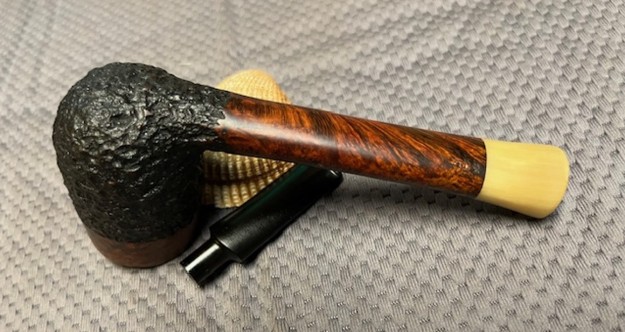
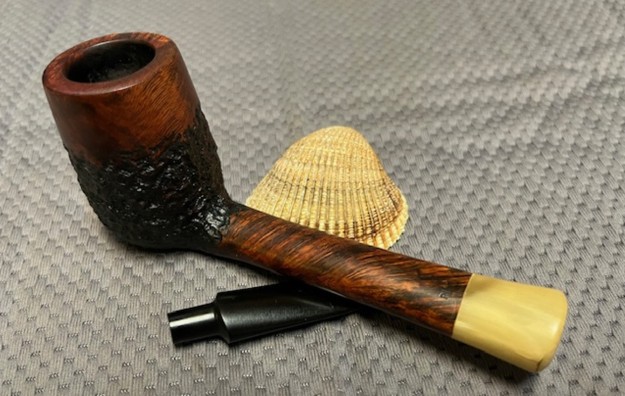
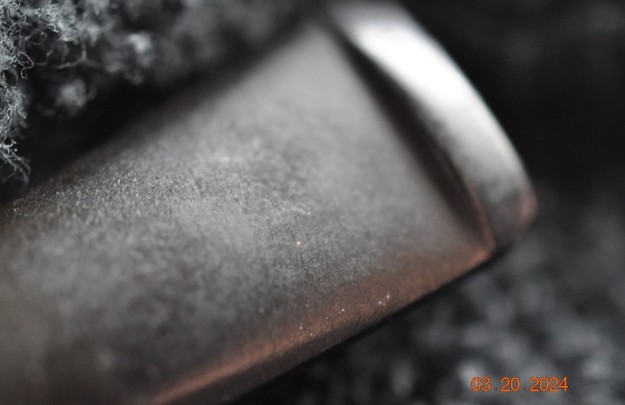
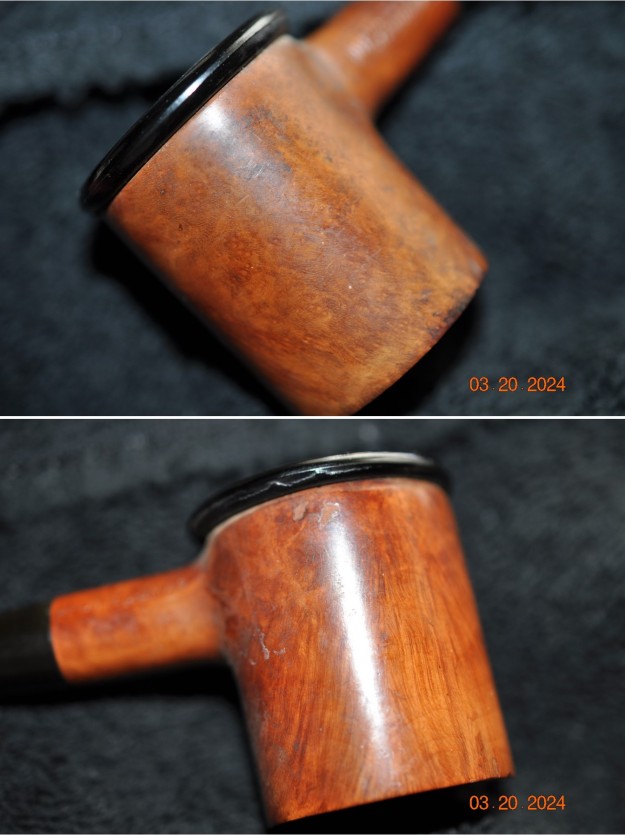
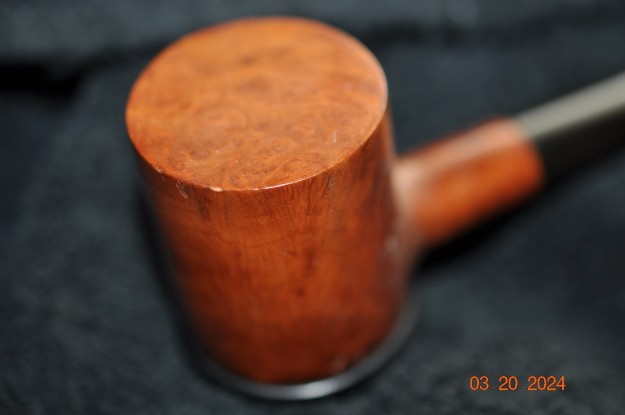
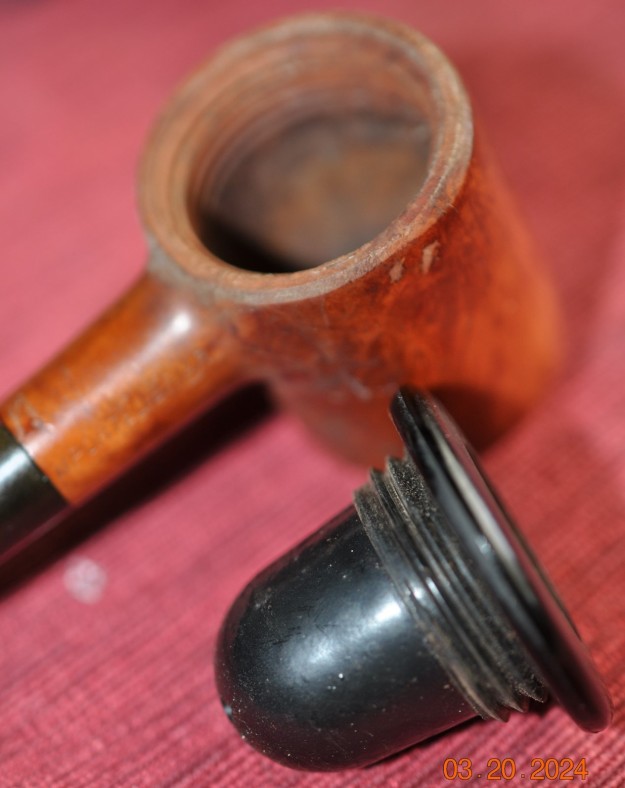
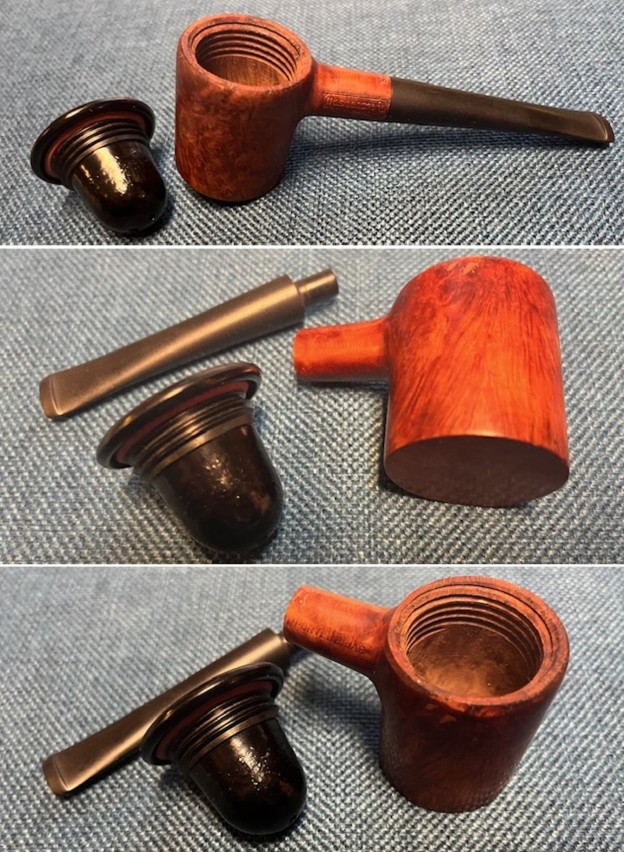
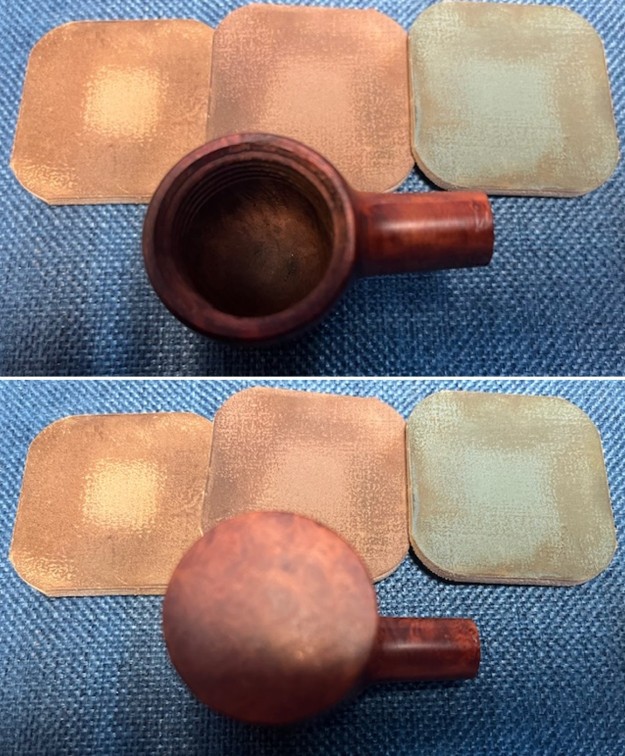
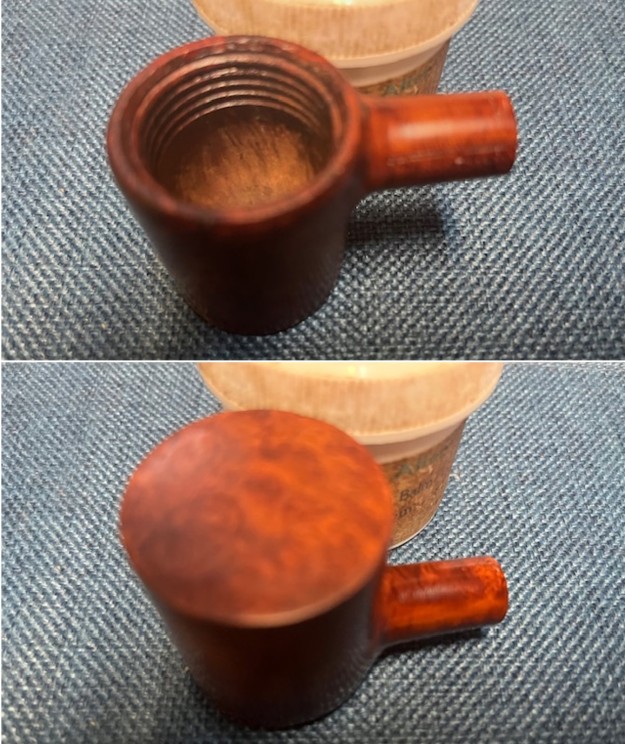
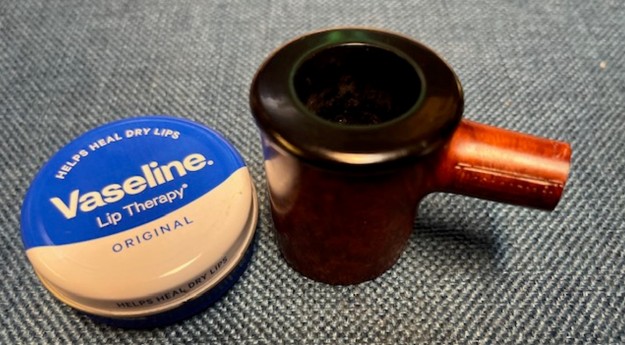
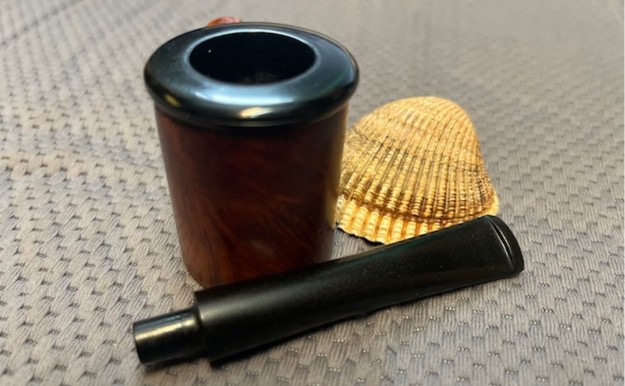
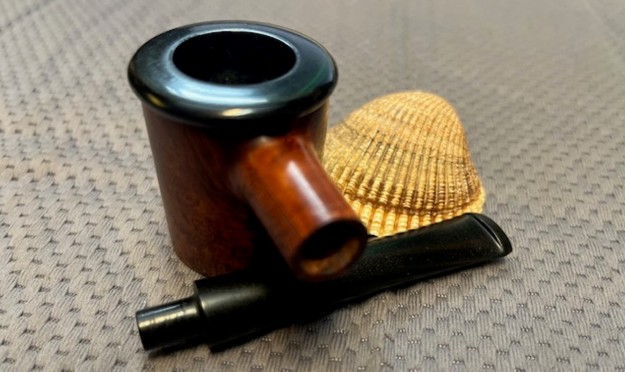
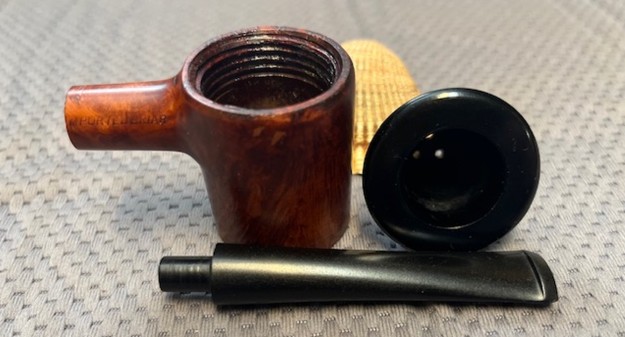
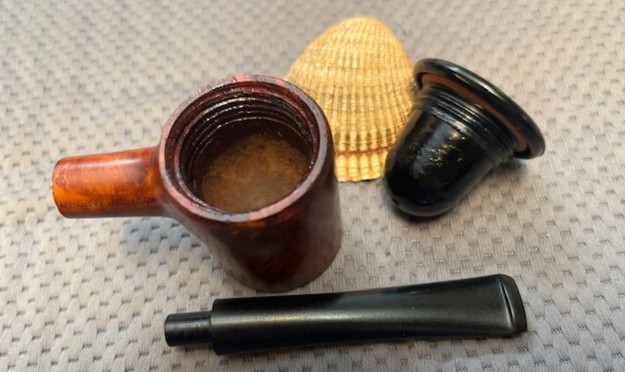
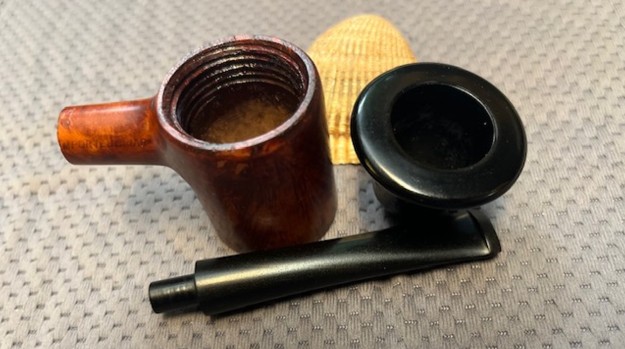
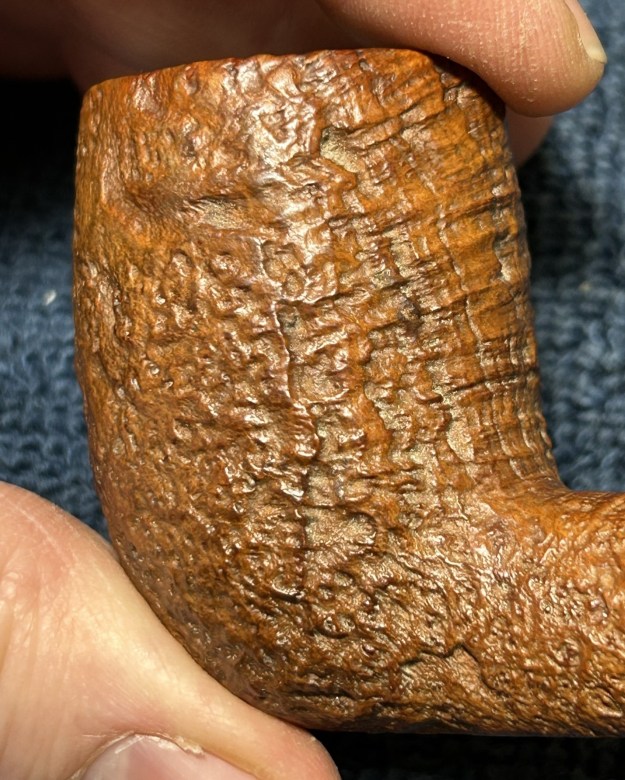
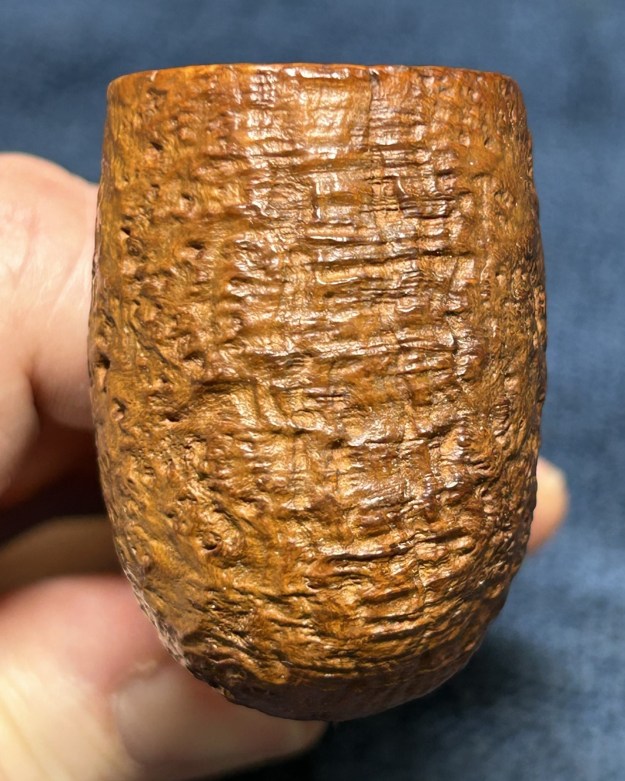
This pipe was in generally good condition – nothing outstanding and no significant damage. As you can see, the stem had the usual wear-and-tear – some scratches, tooth dents, etc. There was some calcification, but not much oxidation. Meanwhile, the stummel was in lovely condition, but a bit dirty. The shank was dark and the bowl had lots of cake and lava. The sandblast looked rich and beautiful.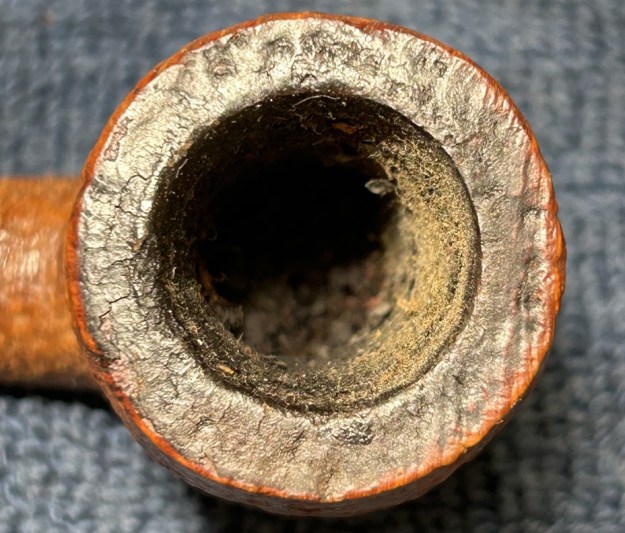
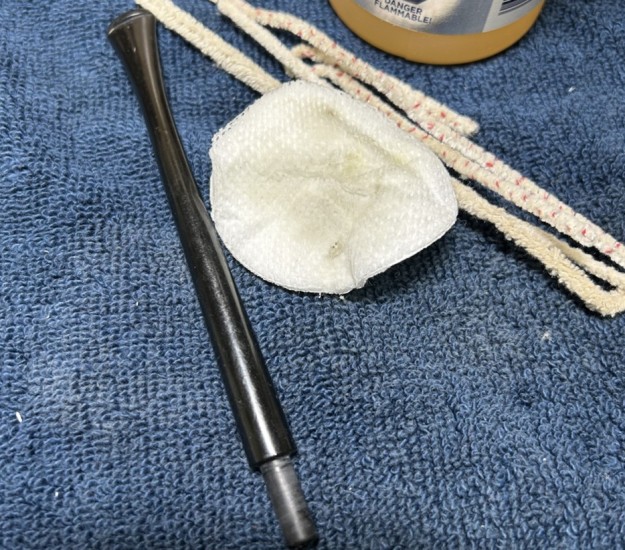
 I began by making an attempt at lifting some of those tooth marks. I “painted” the stem with the flame of a lighter – this can sometimes raise the vulcanite back into place. There was definitely progress, but I would need to repair the more significant dents.
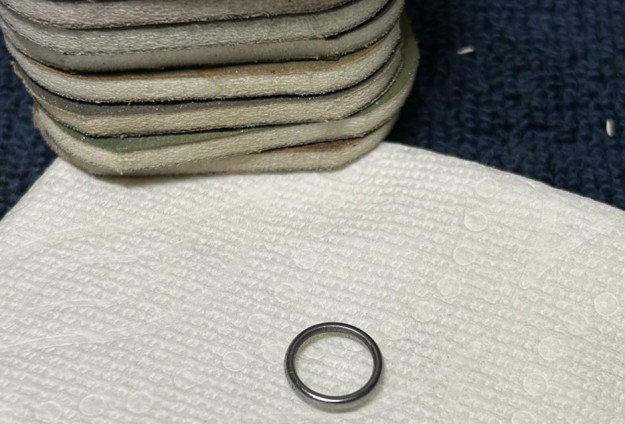
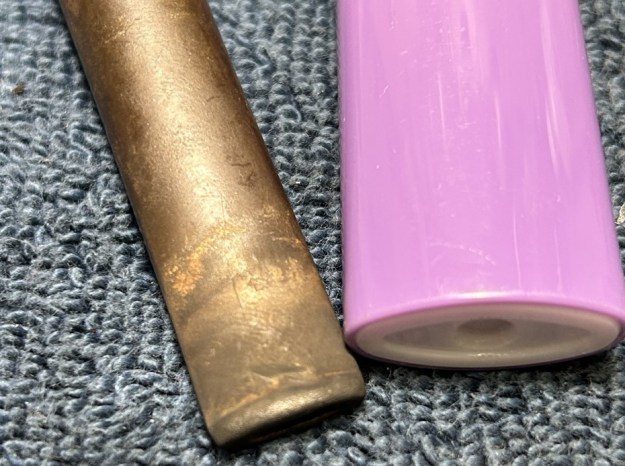 I wiped the stem with oil soap on some cotton pads. There was calcification there and I needed to remove it. Meanwhile, the stem was pretty dirty inside. I cleaned out the inside with various pipe cleaners and 99% isopropyl alcohol. There was quite a pile afterwards.
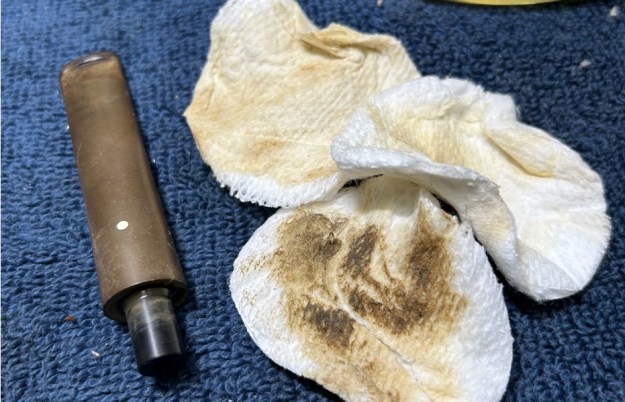
 I then wiped down the stem with cleanser to remove some surface oxidation. Once this process was done, the stem went for an overnight soak in the oxidation remover. As the name suggests, this liquid removes oxidation, but, more than anything, it helps draw oxidation to the surface of the vulcanite. This allows me to clean the oxidation off in a couple of ways: both by applying a mild abrasive cleaner to the surface, then by sanding the stem.
 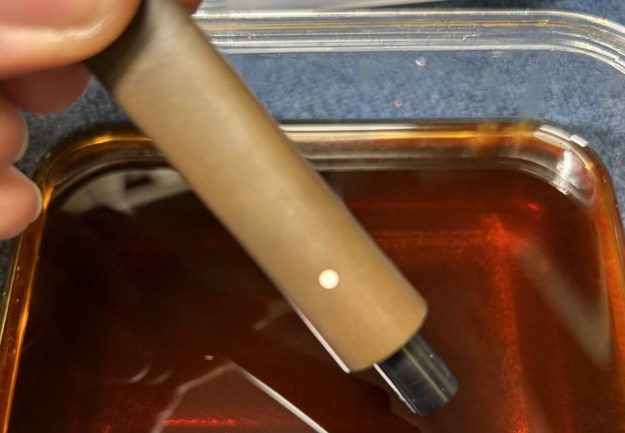 The following day, I cleaned all of the de-oxidizing mess off with alcohol, pipe cleaners, et cetera. The oxidation had migrated to the surface and would be fairly straightforward to remove. I scrubbed with the cleanser again on some cotton pads to remove the leftover oxidation.
 Next step was to address the remaining tooth marks. I filled those dents with some black cyanoacrylate adhesive that is infused with carbon and rubber. This makes a better repair than regular CA glue, as it more closely mimics the original material. When the adhesive was cured, I used my needle files to remove the excess and bring it down to the level of the vulcanite.
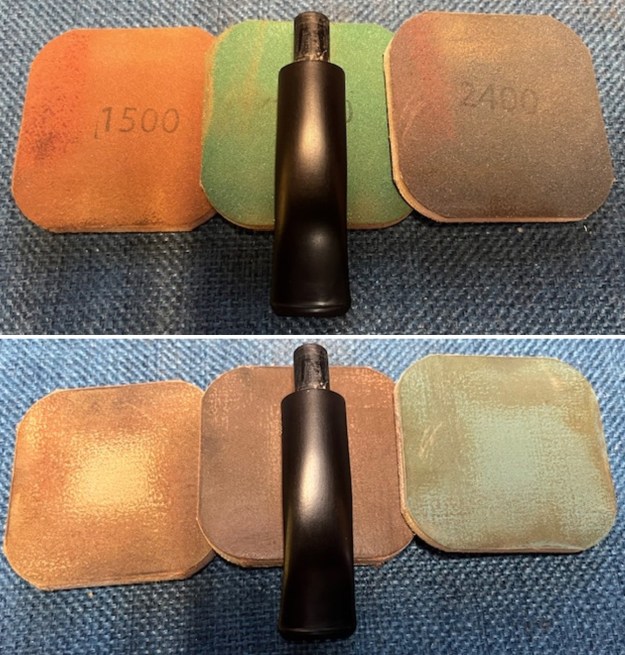
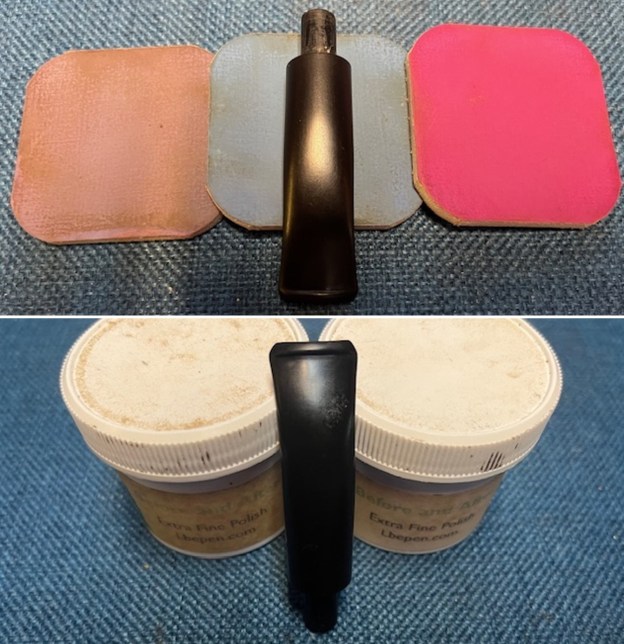
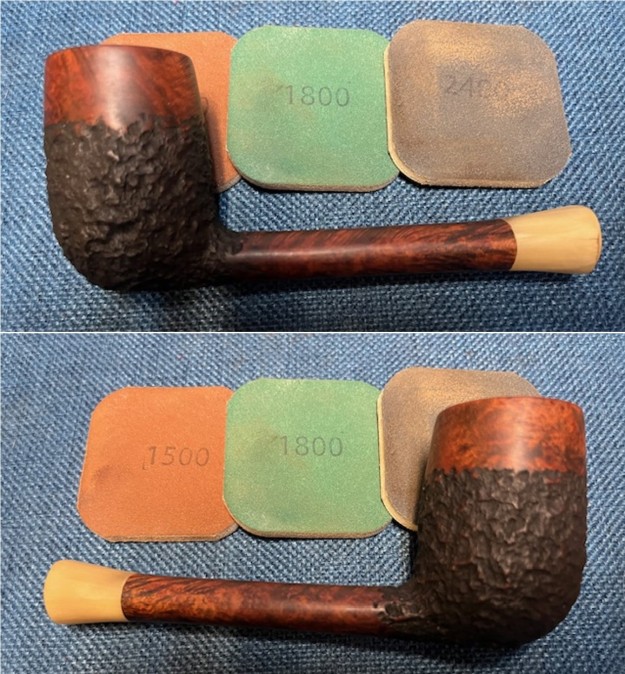
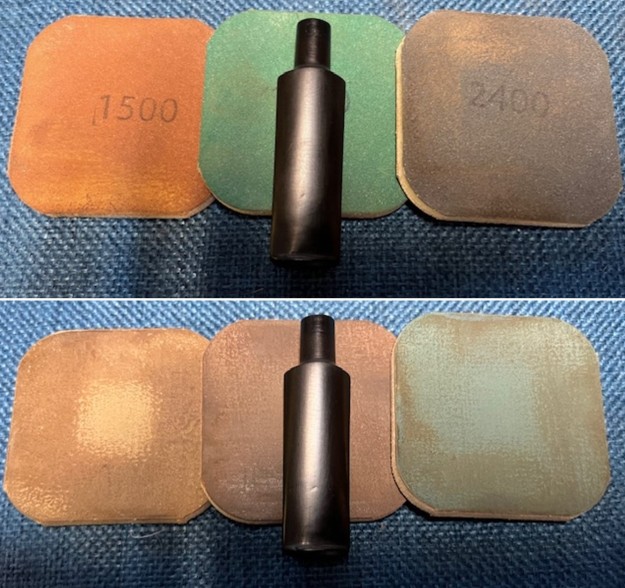
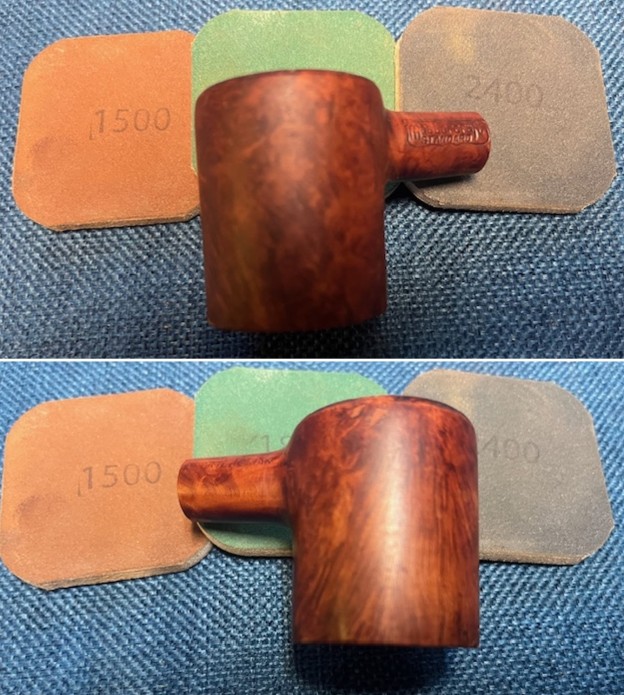
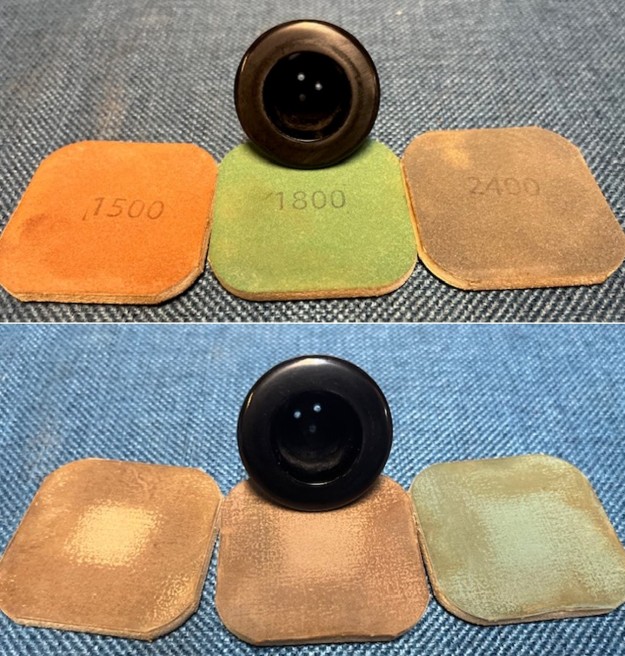
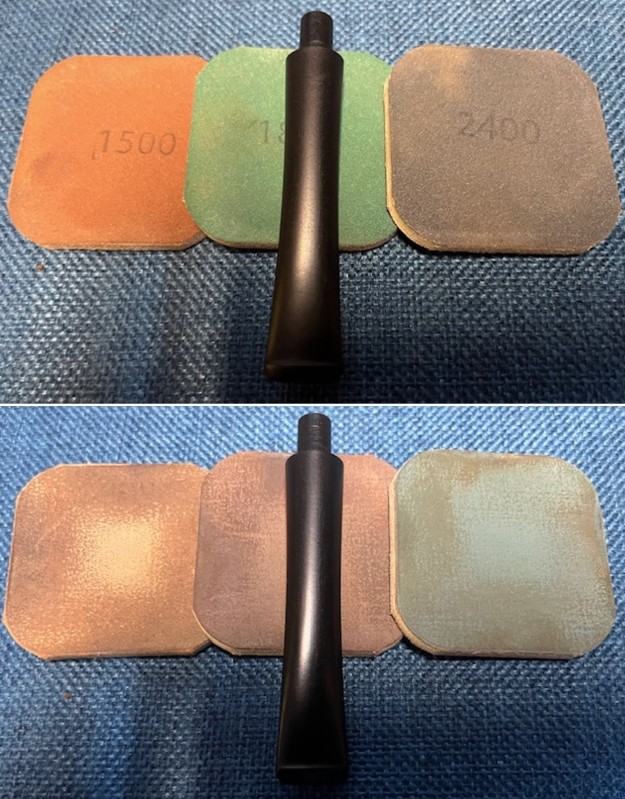
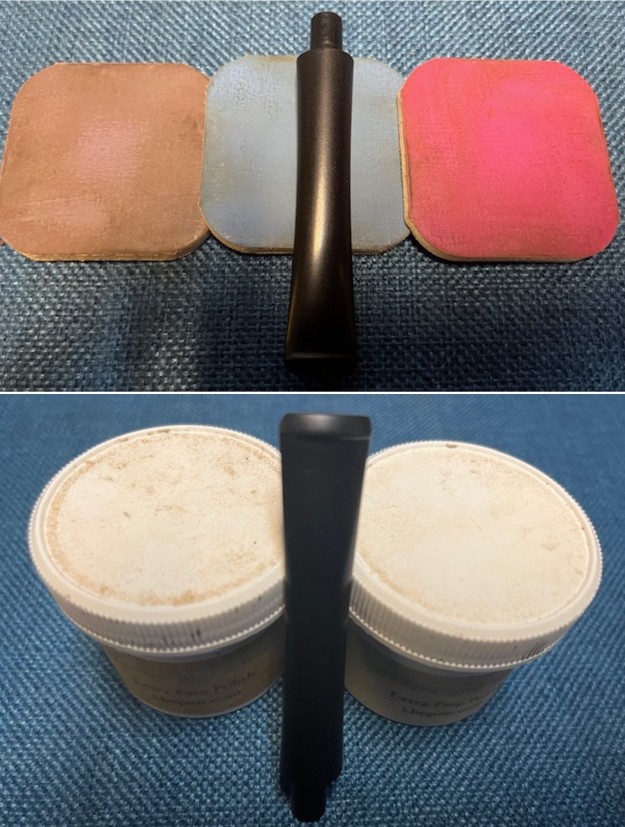
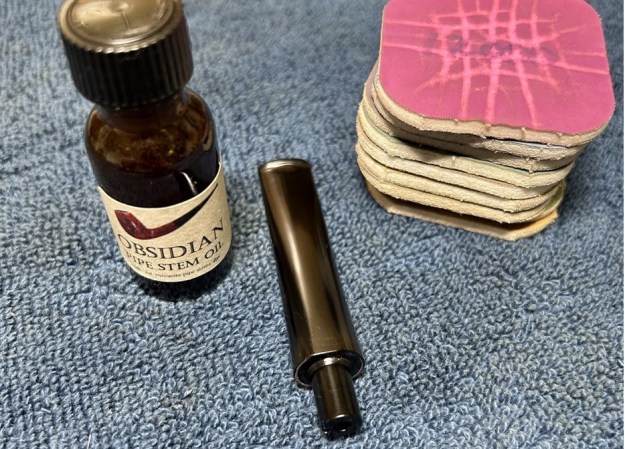
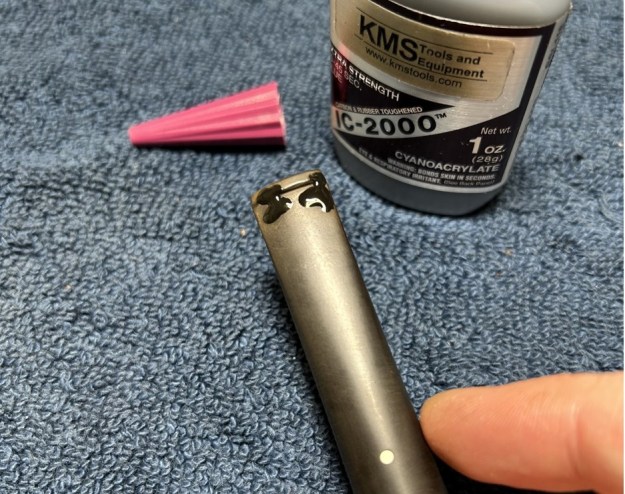 Then I used a set of nine Micromesh pads (1,500 through 12,000 grit) which gradually erased the ravages of time and brought out the stem’s lovely black lustre. For the last five pads, I also lightly coated the stem with Obsidian Pipe Stem Oil in between each scrubbing. At last, I set the finished stem aside.
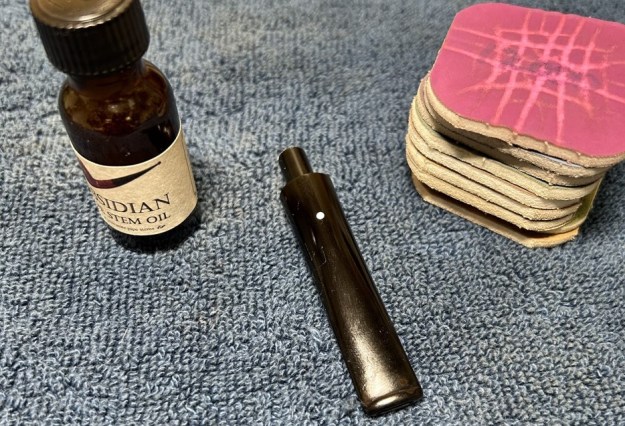
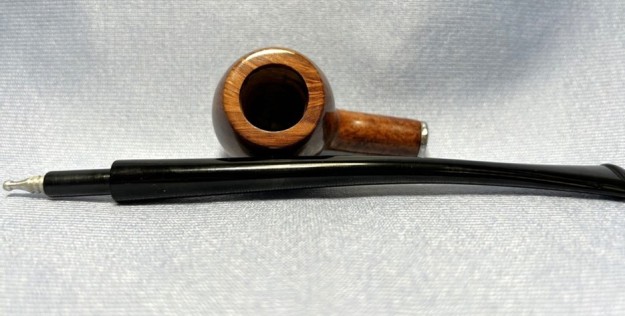
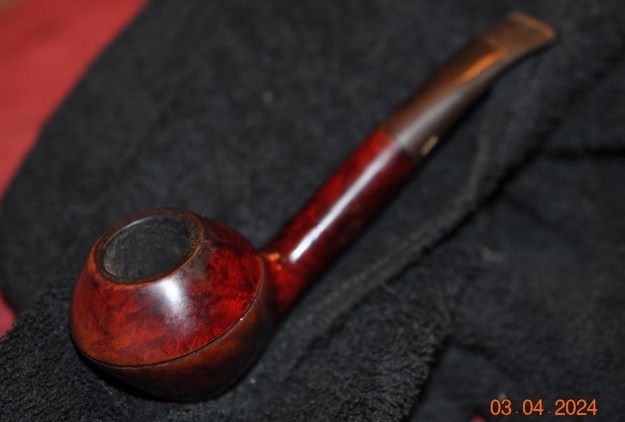
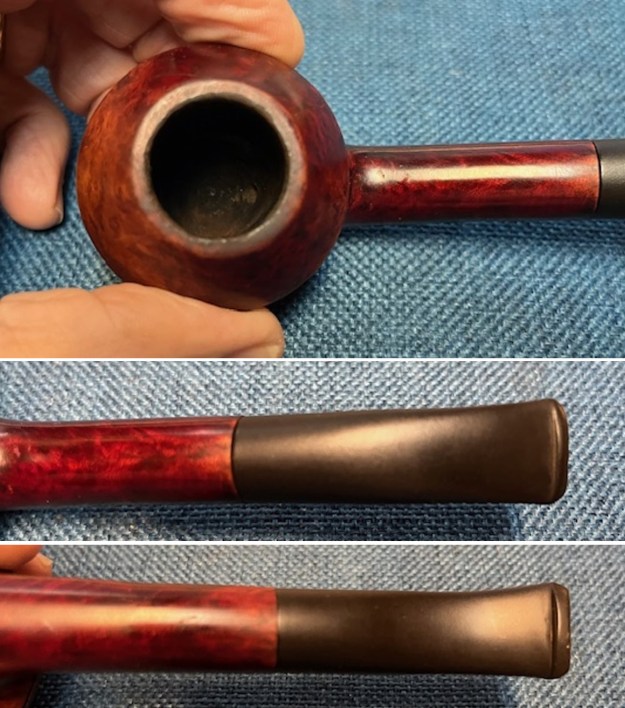
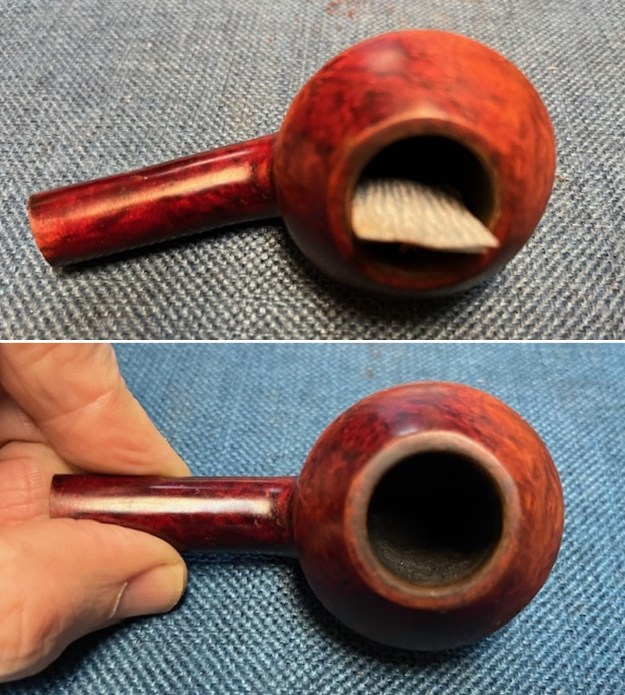
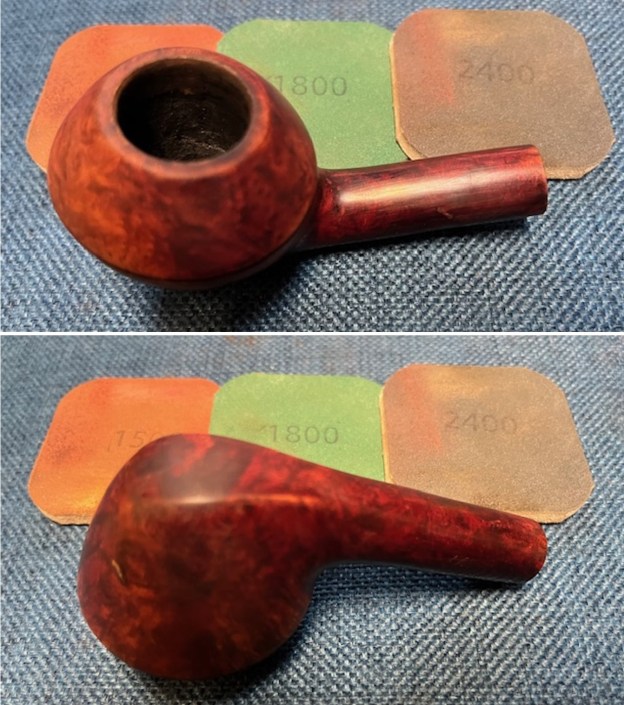
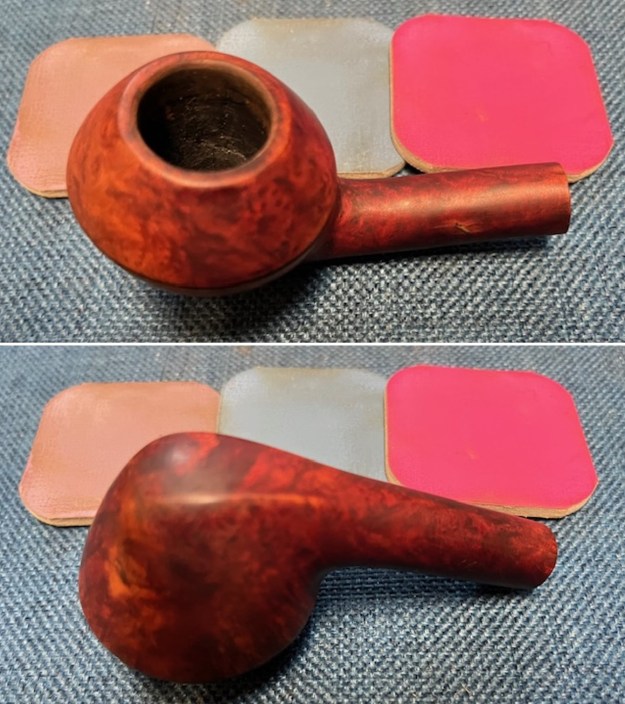
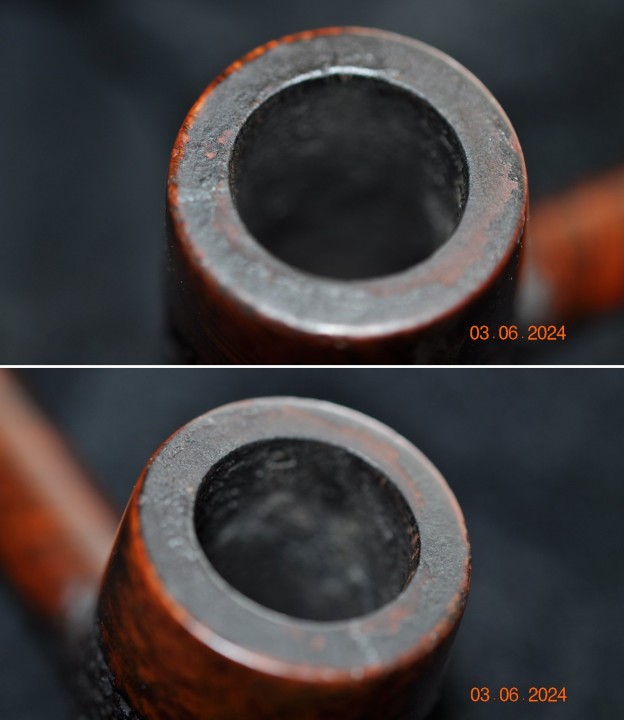
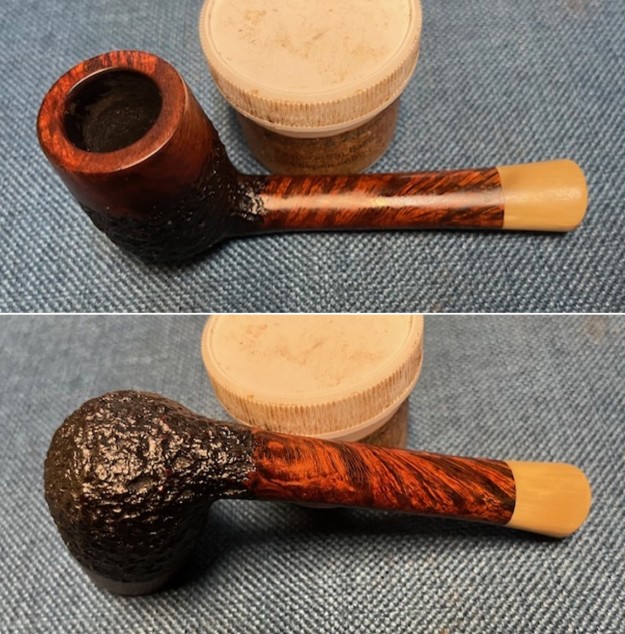
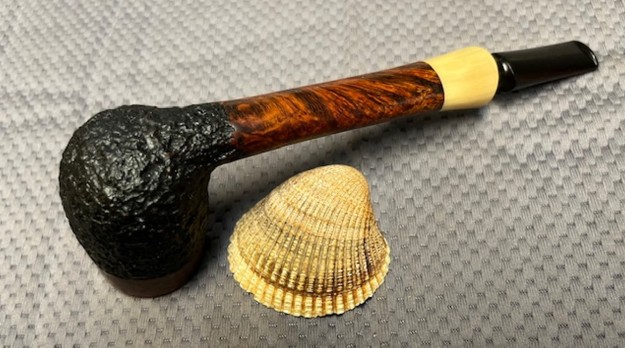
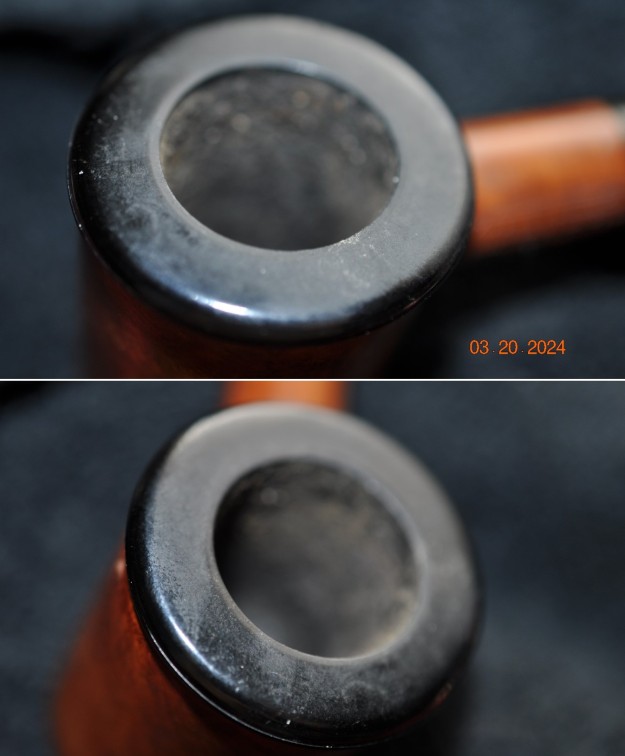
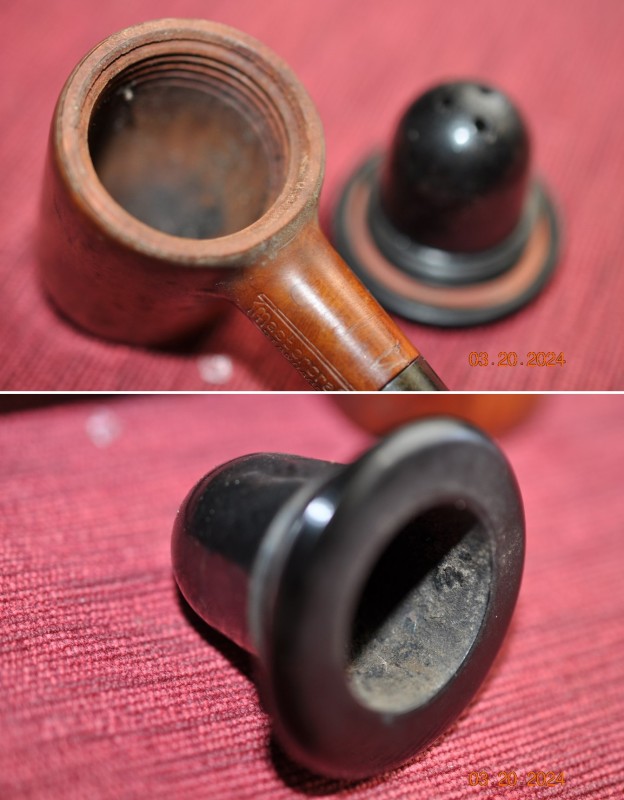
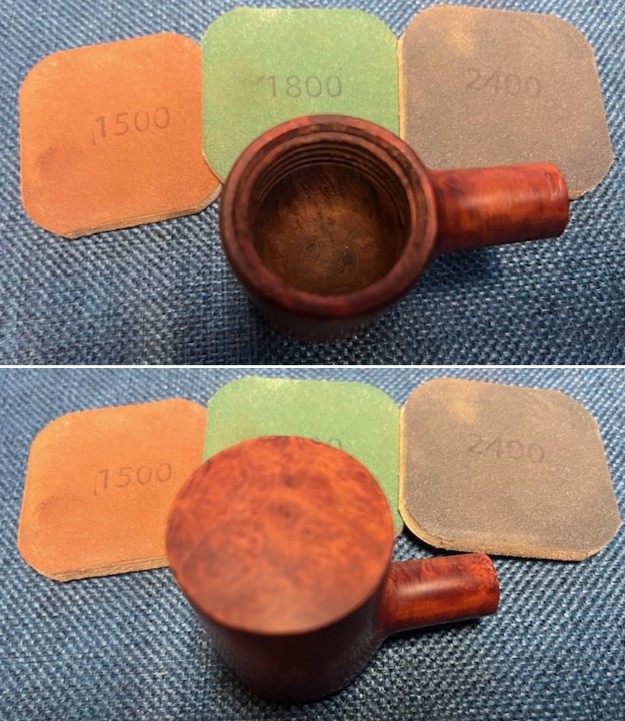
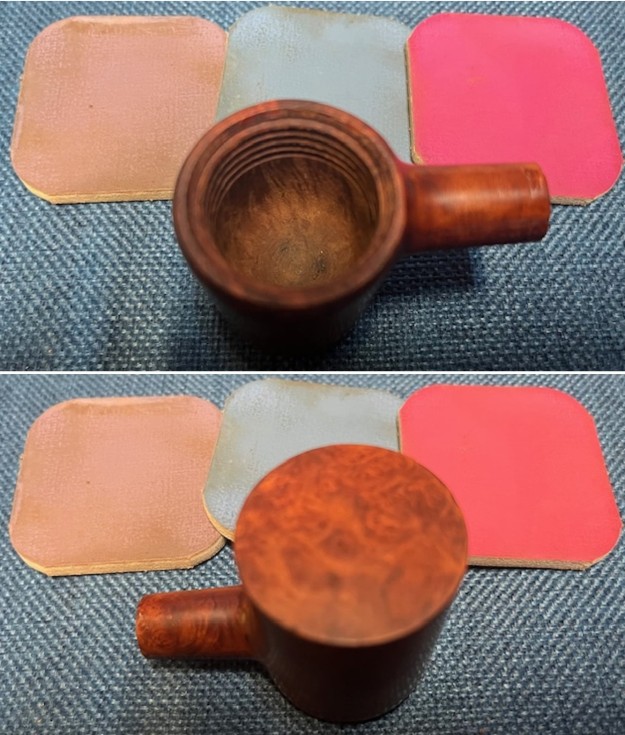
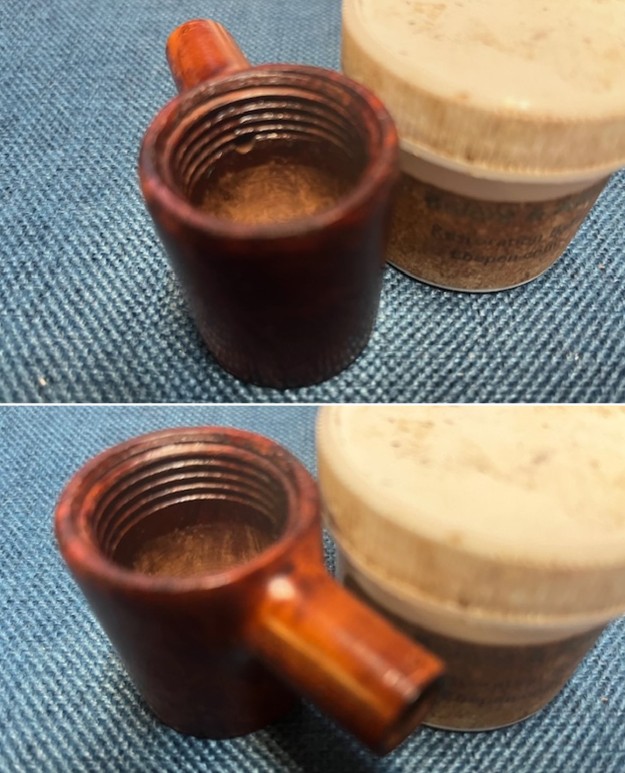
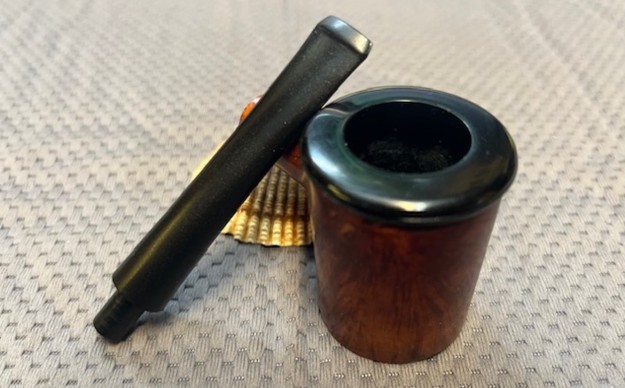
 Off to work on the stummel! The outside looked very well cared-for. No notable damage and the blast maintained its great appeal. Alas, the rim had plenty of lava, but first things first. The bowl needed a thorough reaming, so I used the KleenReem to scrape off the built-up cake and I followed that with 220-grit sandpaper taped to a dowel to eliminate as much as possible. Generally, I prefer to sand the chamber down to bare briar. When restoring, it is important to ensure that there is no damage to the briar in the bowl, under the cake. I was pleased to see that the walls were sound.
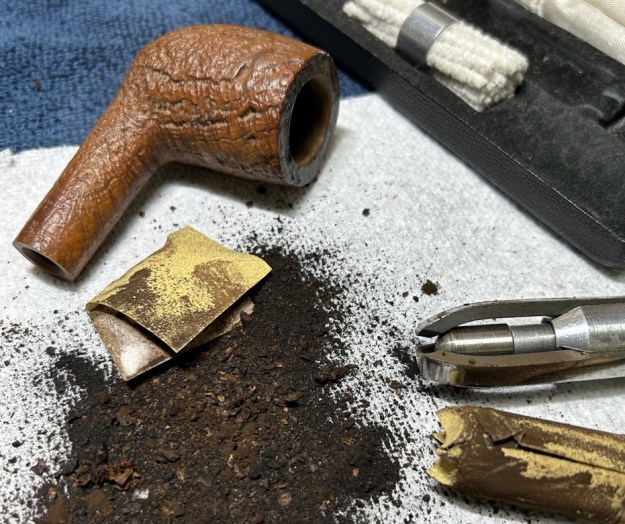 Next up, I needed to clean the shank and bowl thoroughly. I proceeded to use Q-tips, pipe cleaners, and 99% isopropyl alcohol. Holy moly – this was a dirtier pipe than I had initially anticipated. There was quite a pile of Q-tips and pipe cleaners left behind.
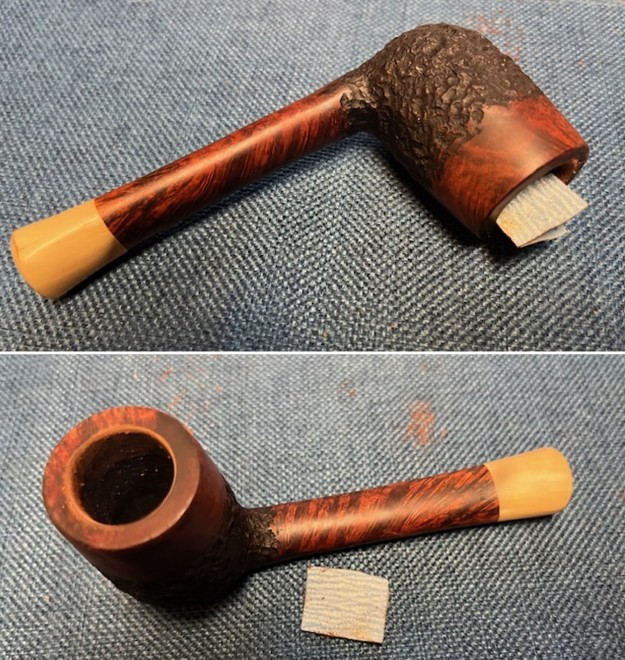
 Then, to further clean the inside of the pipe, I opted to “de-ghost” the pipe. I put some cotton balls in the bowl and in the shank, and then saturated them with 99% isopropyl alcohol. I let that sit overnight to exorcize any evil spirits (i.e. bad smells and oils) from the old pipe.
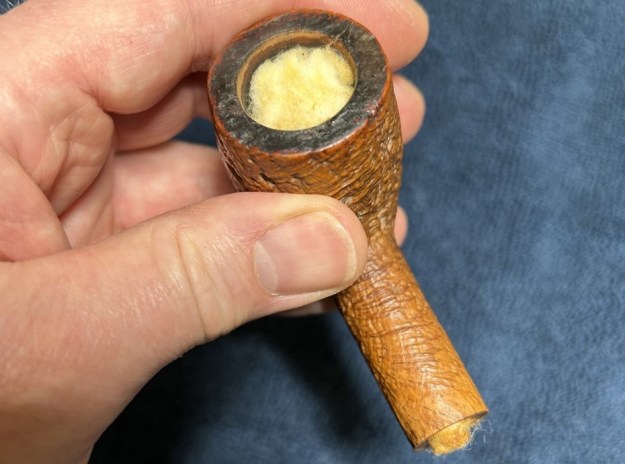 Time to deal with that rim. I gently scraped as much debris as I could with a piece of machine metal. However, given the craggy blast, that only worked so well. I moved on to cotton rounds and some oil soap to clean the outside of the stummel and a toothbrush with oil soap for the lava on the rim of the pipe. This worked a treat. I followed that up by cleaning the insides with some Castile soap and tube brushes.
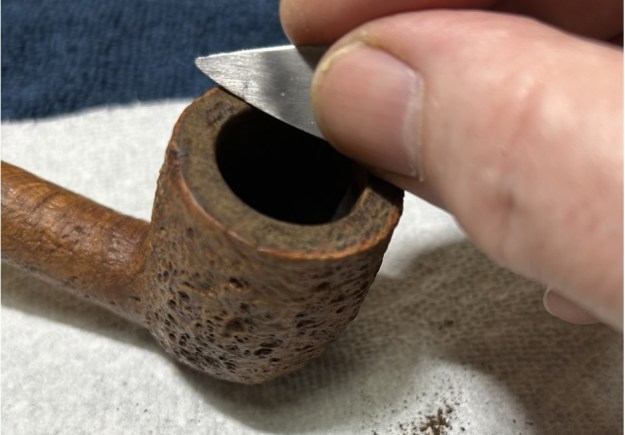
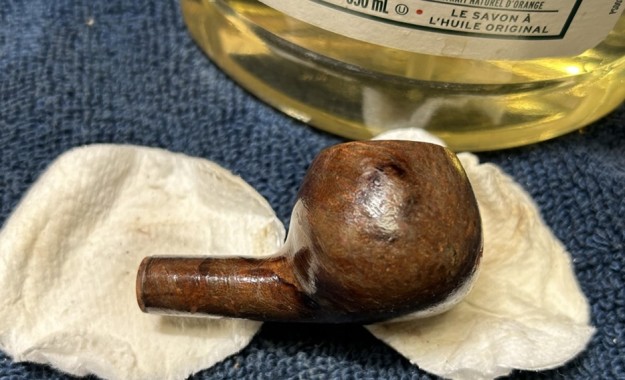
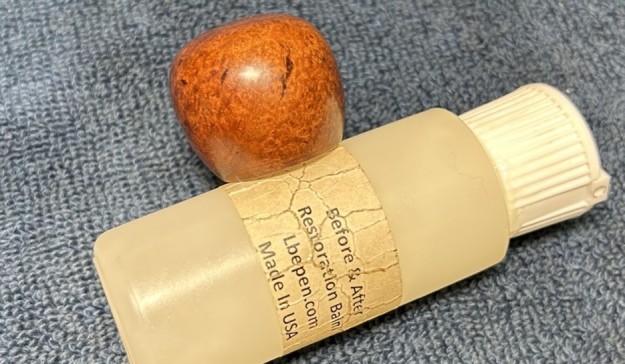
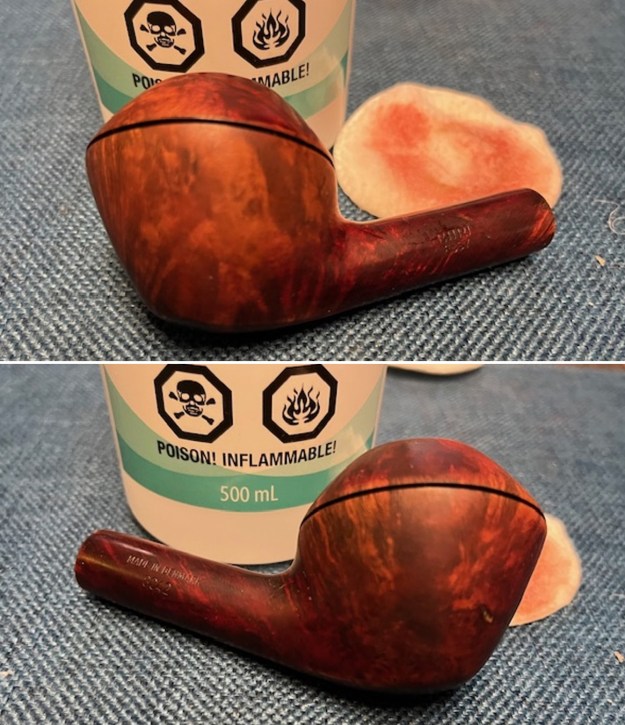
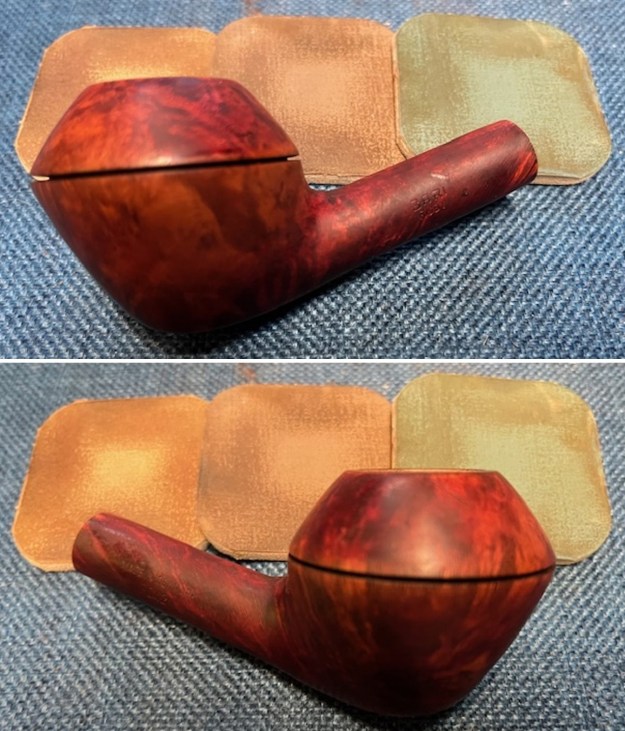
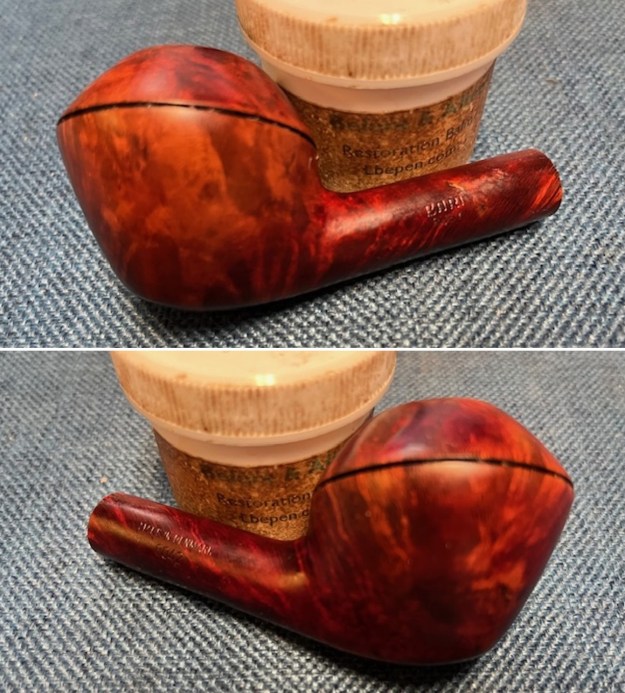
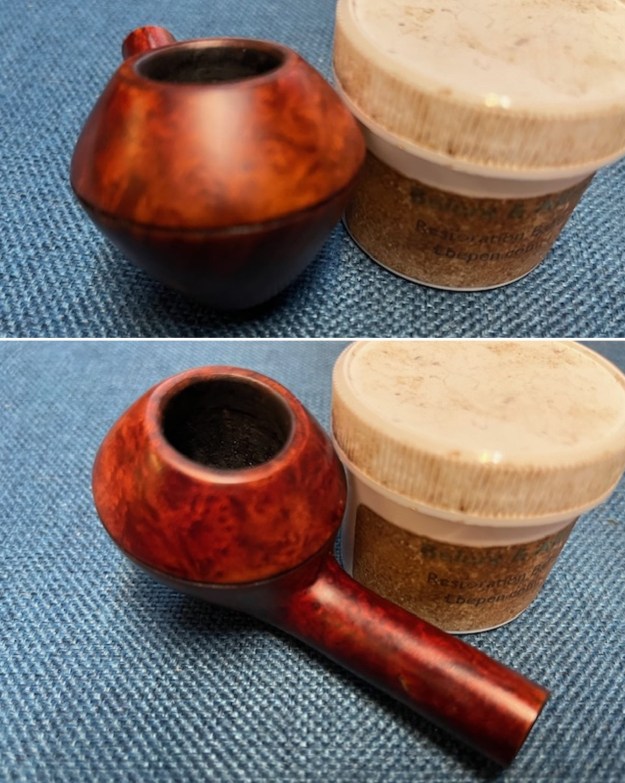
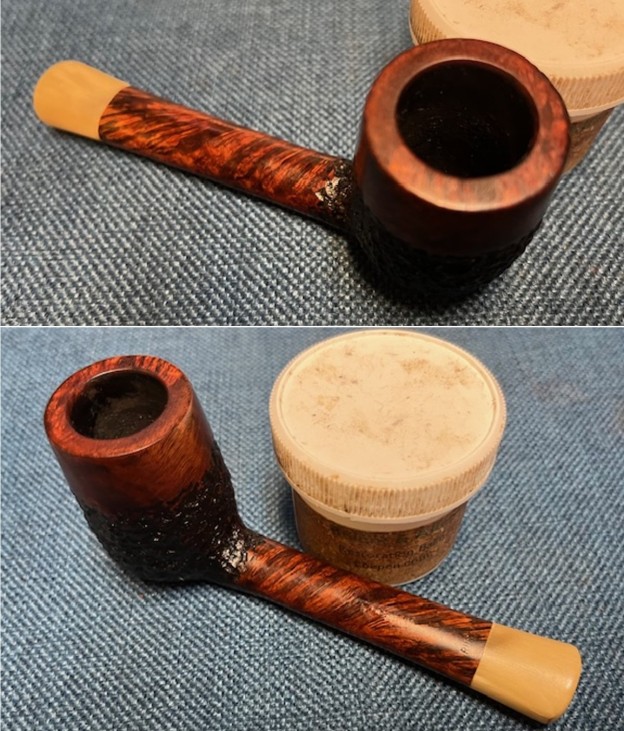
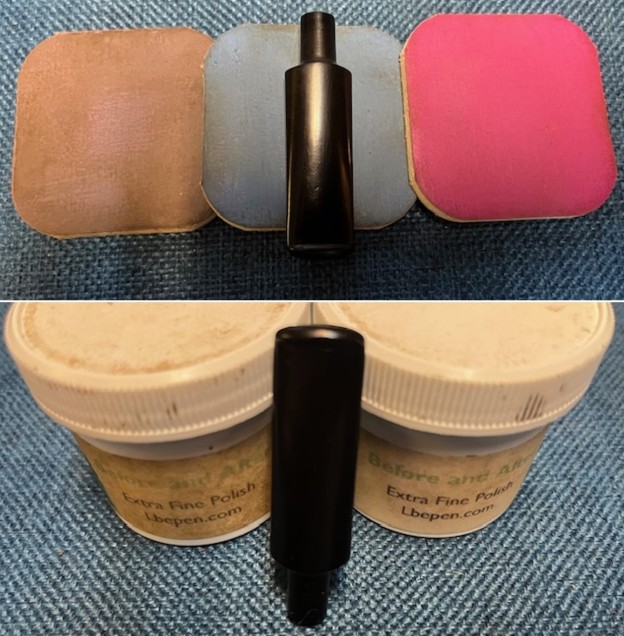
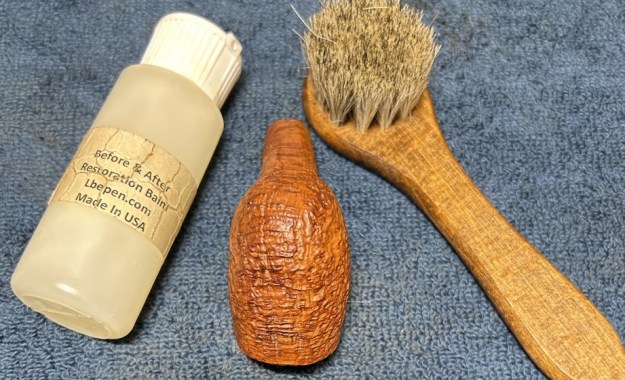
 At this point, I rubbed some Before & After Restoration Balm into the briar and left it to sit for 15 minutes or so. I brushed it with a horsehair brush and buffed it with a microfibre cloth. The balm does wonderful things to the wood, and I really like the sheen on the sandblast.
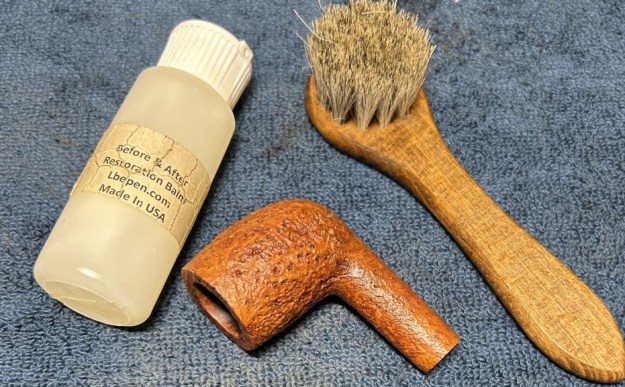


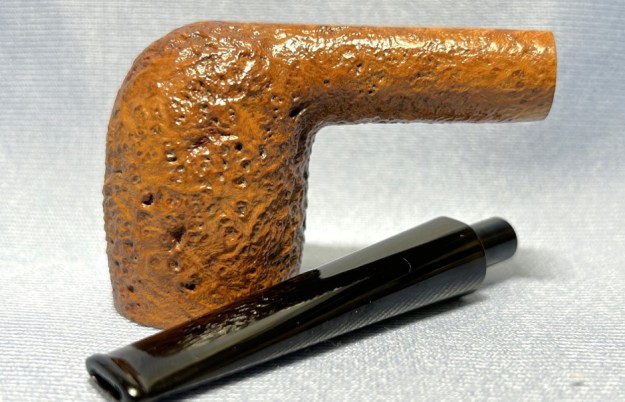
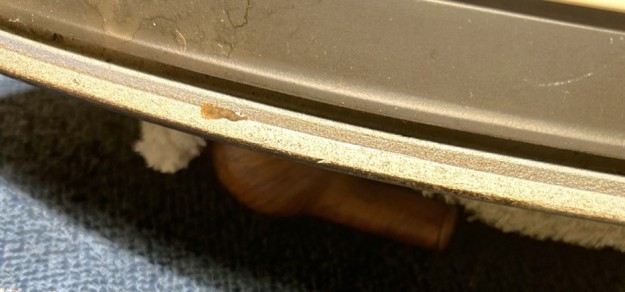
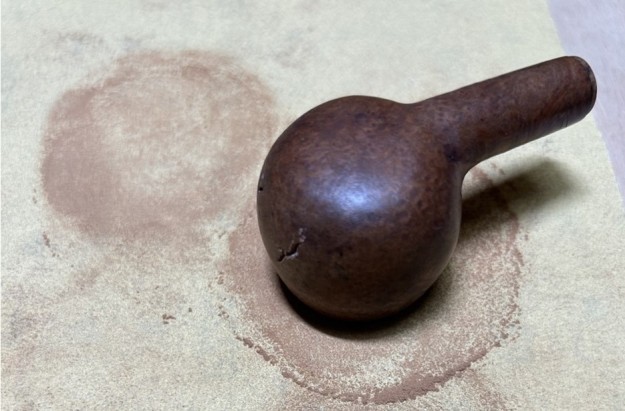
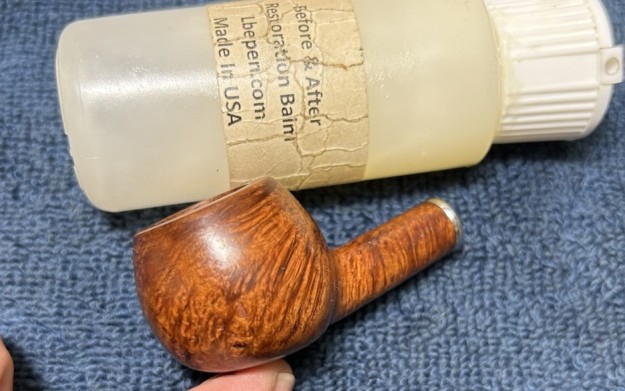
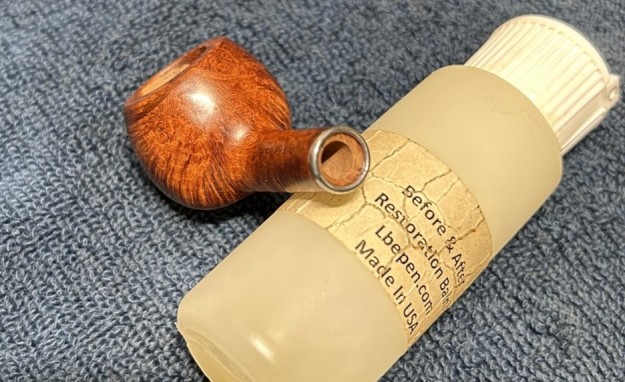
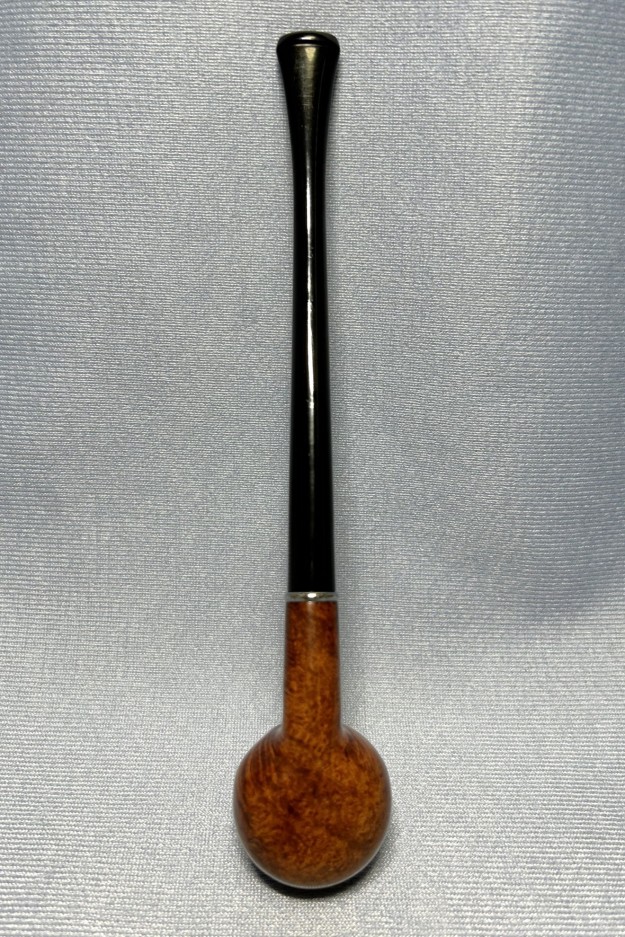
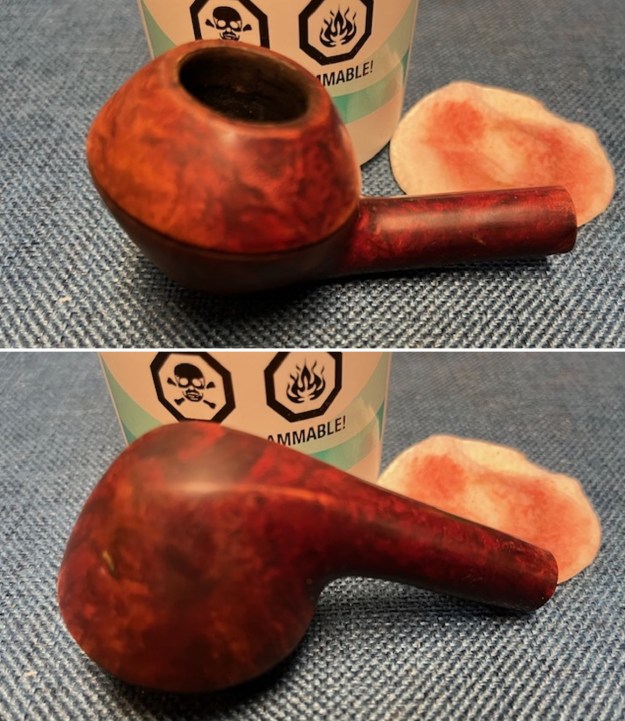
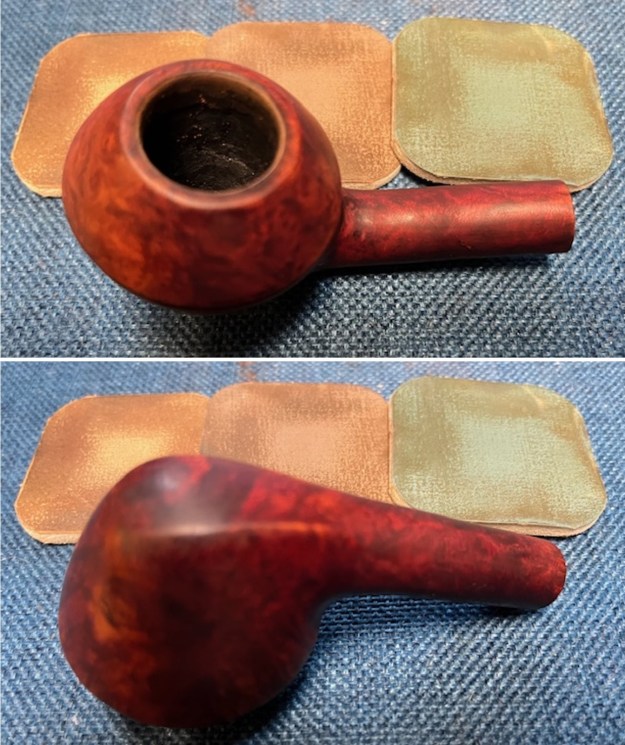
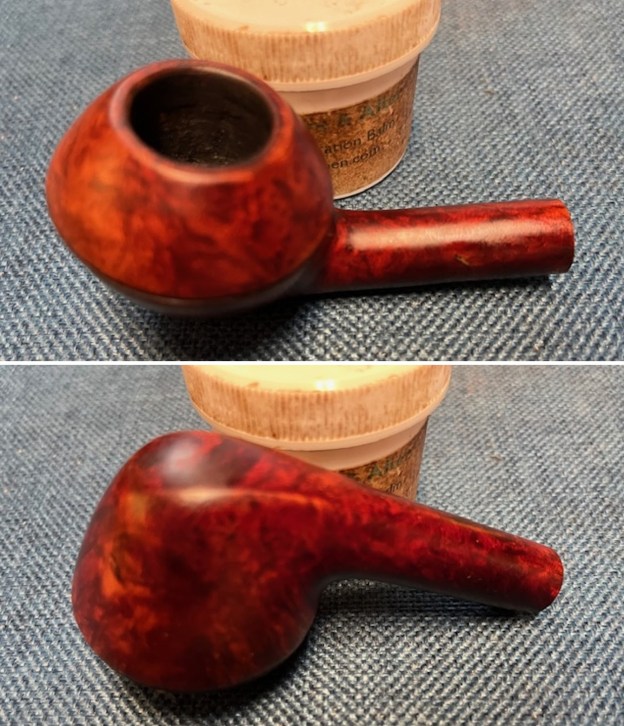
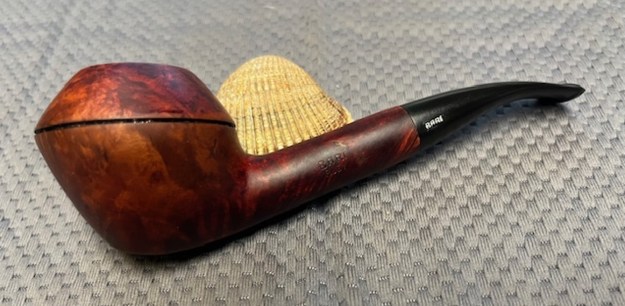
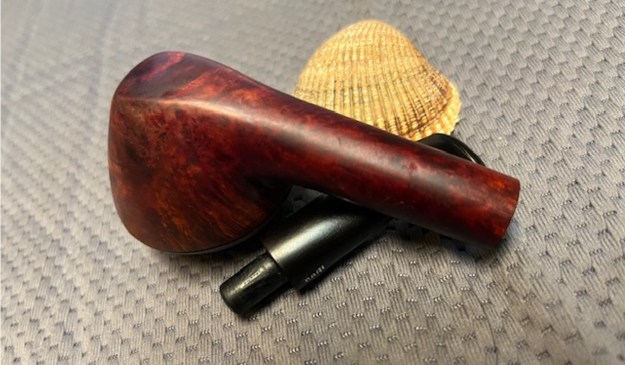
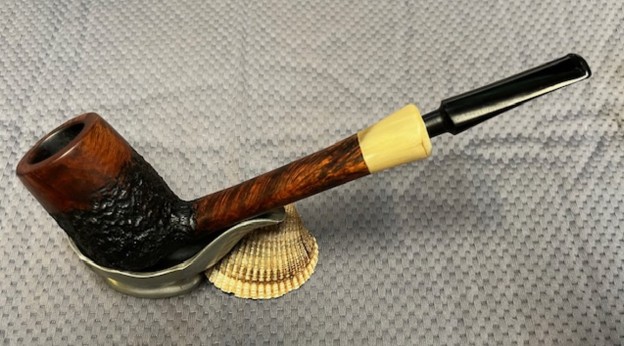
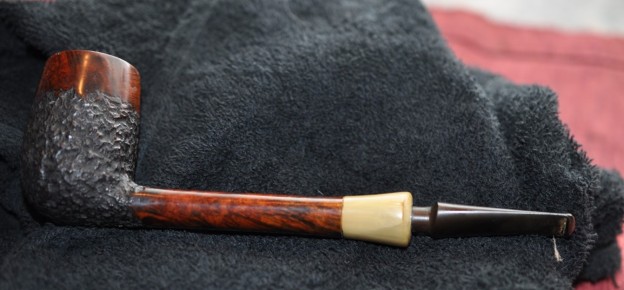
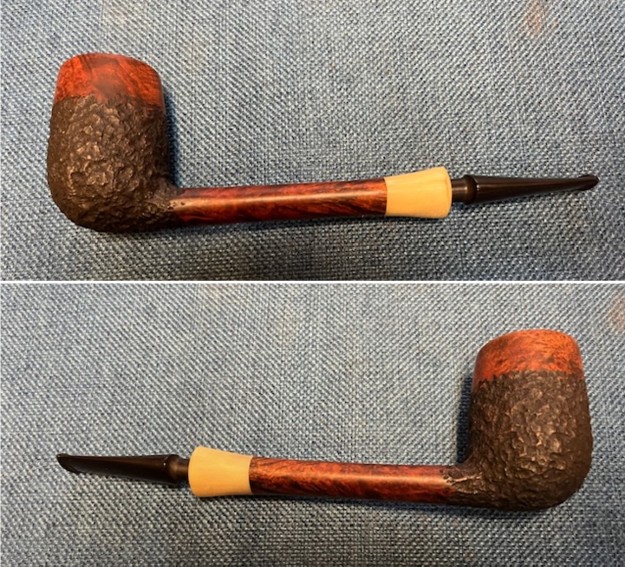
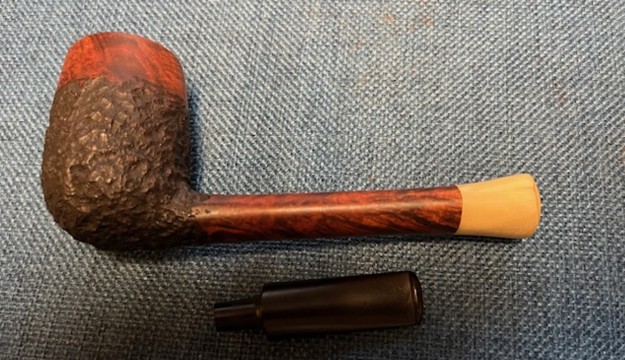
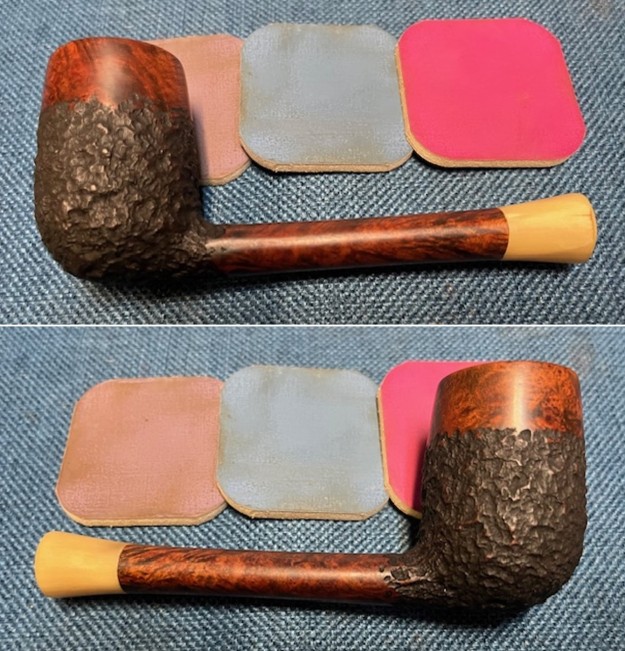
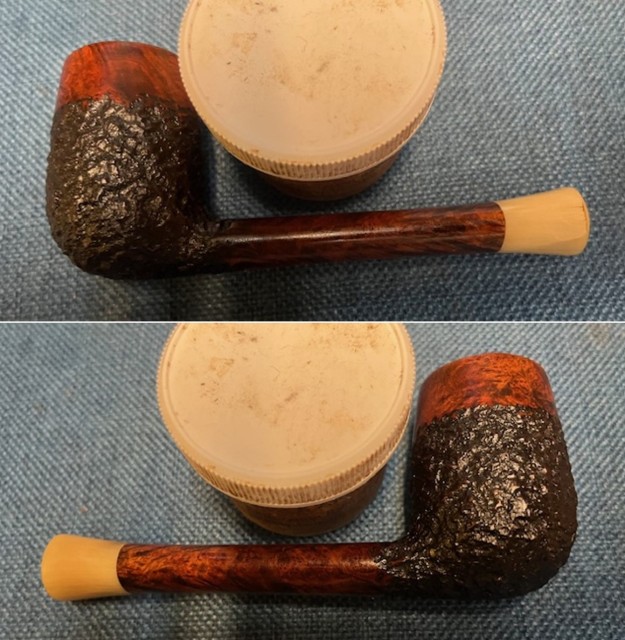
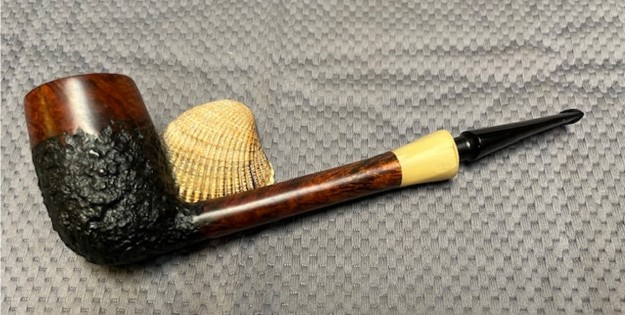
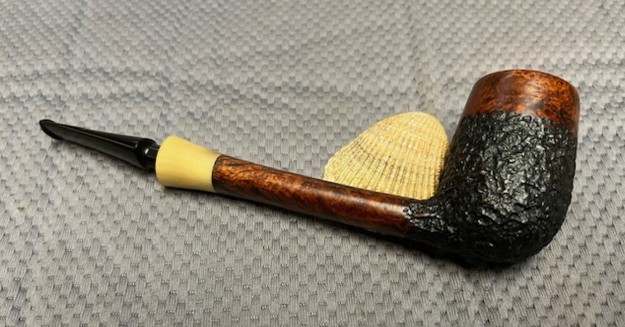
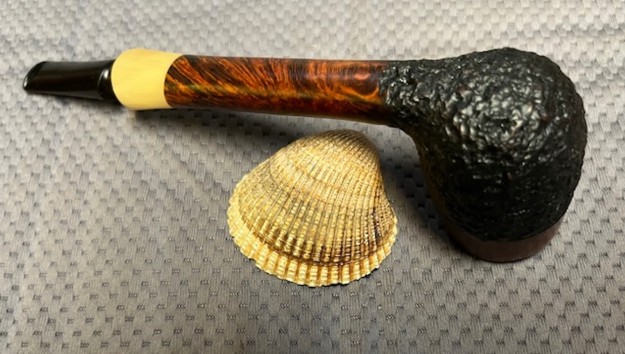
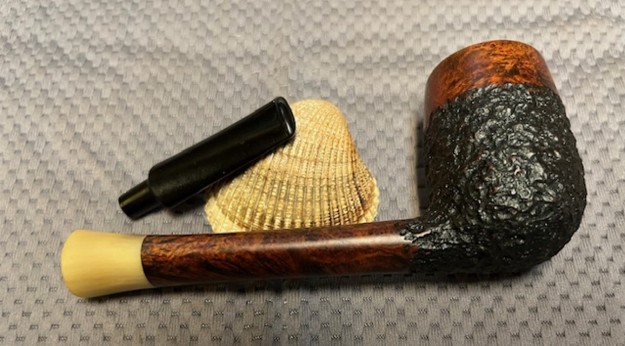
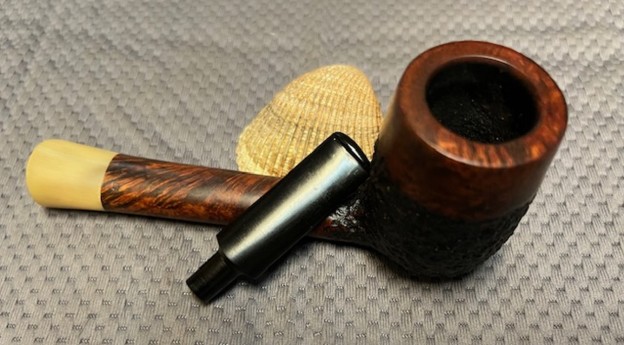
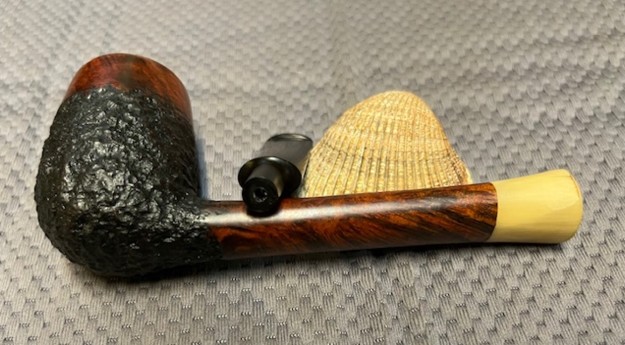
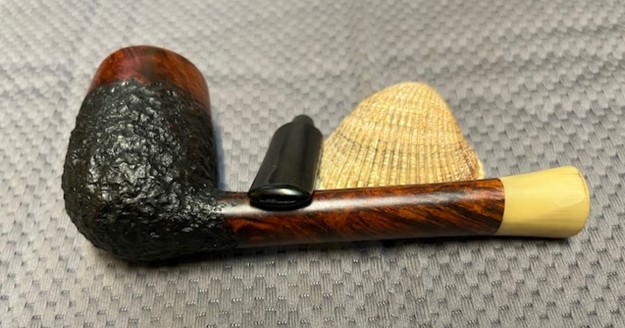
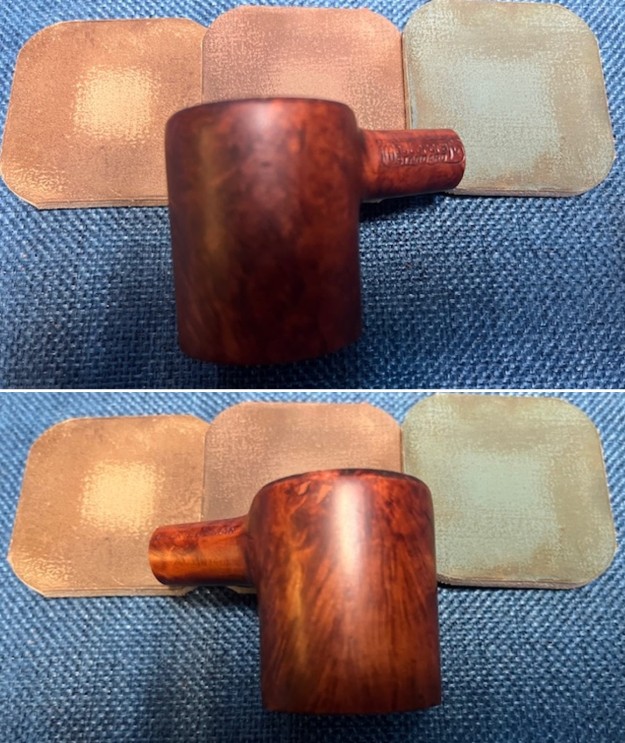
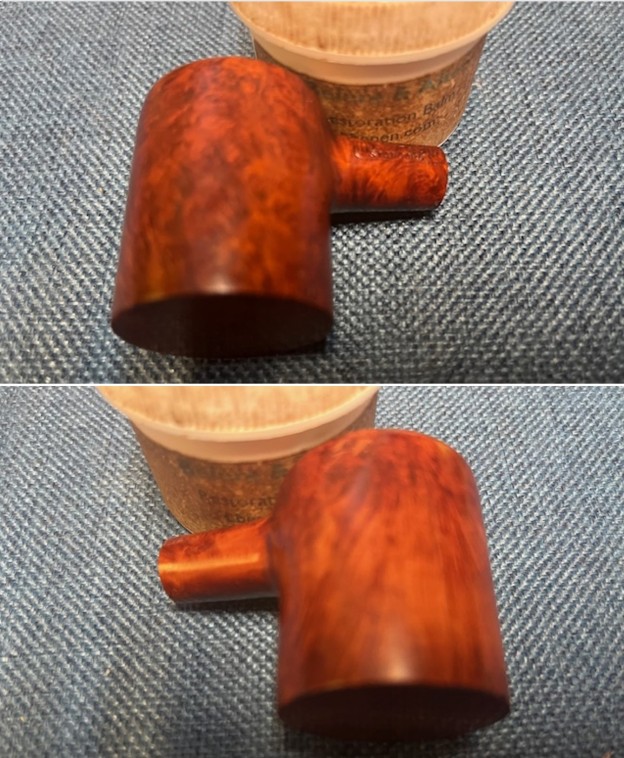
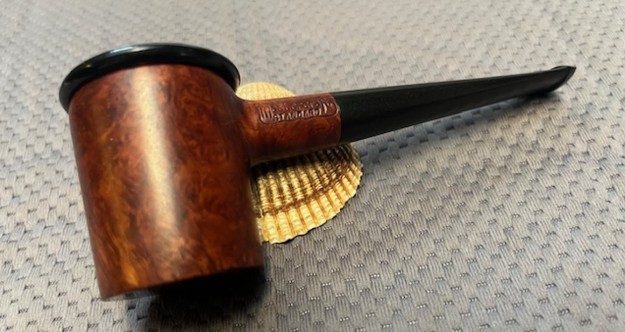
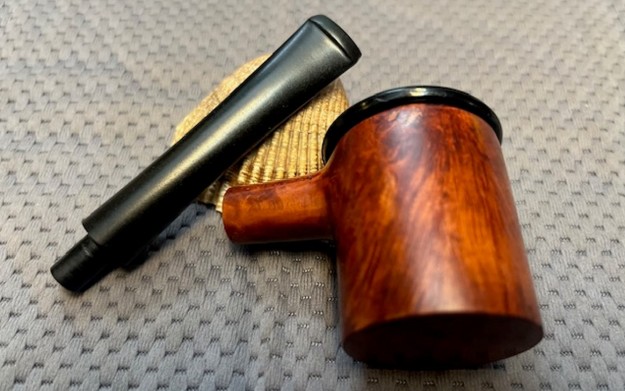
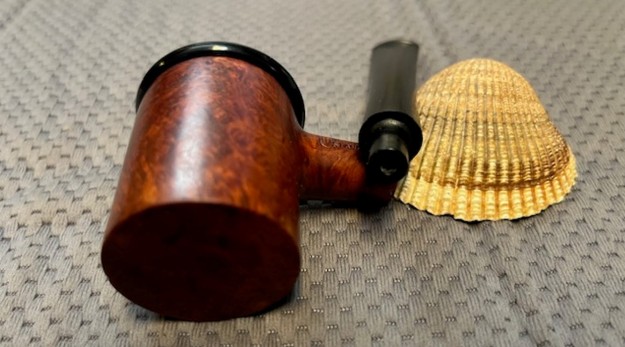
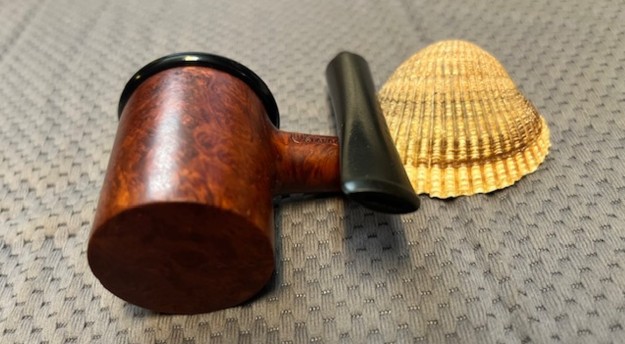
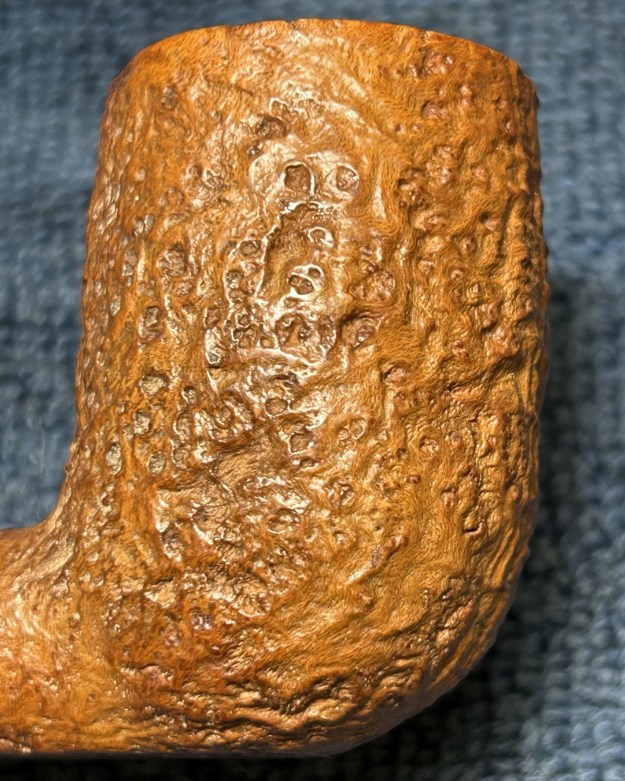
 Then it was off for a trip to the bench polisher. A few coats of conservator’s wax (from Lee Valley) were just what this pipe needed. Boy – that wax really makes this pipe pop! The lovely shine made the wood look absolutely beautiful. The sandblast looks fantastic and is ready to be enjoyed again by the next owner.
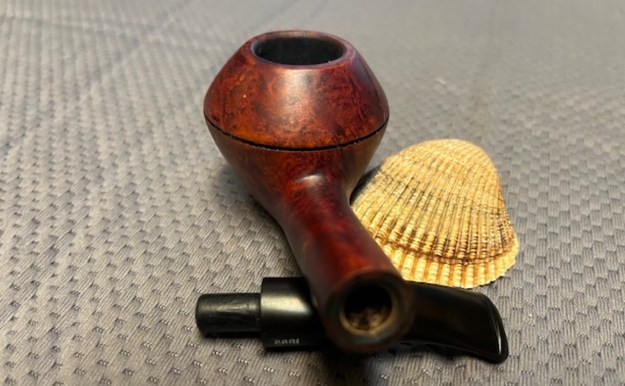
I thoroughly enjoyed bringing this Dunhill Tanshell 59 Billiard back to life and I am pleased to announce that this pipe is for sale! If you are interested in acquiring it for your collection, please have a look in the “British” pipe section of the store here on Steve’s website. You can also email me directly at kenneth@knightsofthepipe.com. The approximate dimensions of the Dunhill are as follows: length 5⅜ in. (137 mm); height 1⅞ in. (46 mm); bowl diameter 1¼ in. (33 mm); chamber diameter ⅔ in. (18 mm). The weight of the pipe is 1¼ oz. (36 g). I hope you enjoyed reading the story of this restoration as much as I enjoyed restoring it. If you are interested in more of my work, please follow me here on Steve’s website or send me an email. Thank you very much for reading and, as always, I welcome and encourage your comments.