Author Archives: rebornpipes

My First Spare Parts Pipe and a Rustication Experiment


I am reblogging this one because Charles writes about something I am doing all the time – recreating a pipe from the parts from others. Well done Charles.

Charles Lemon's avatar

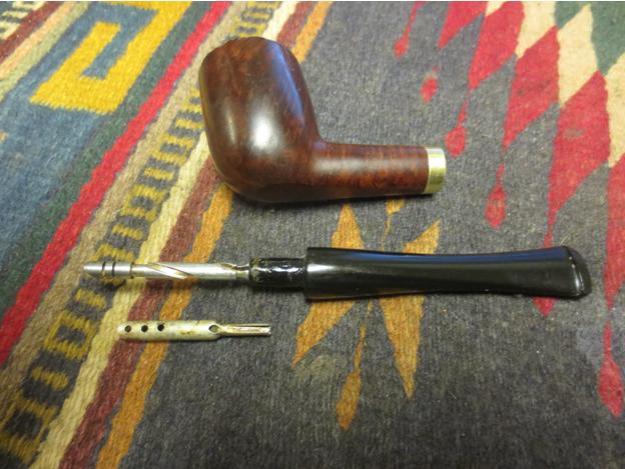
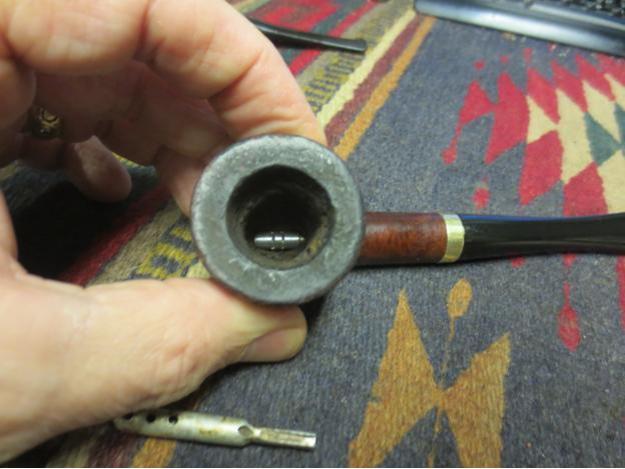
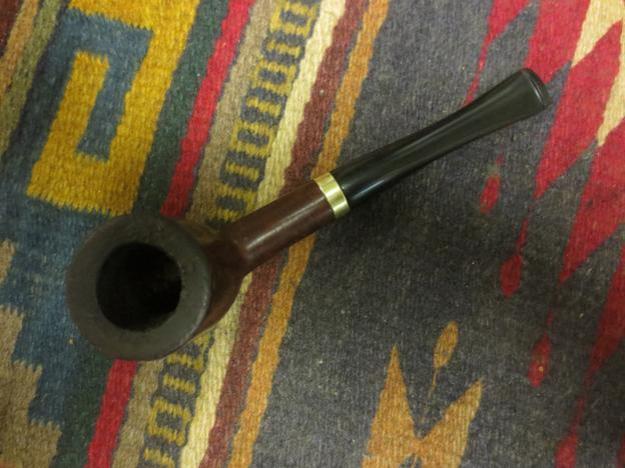
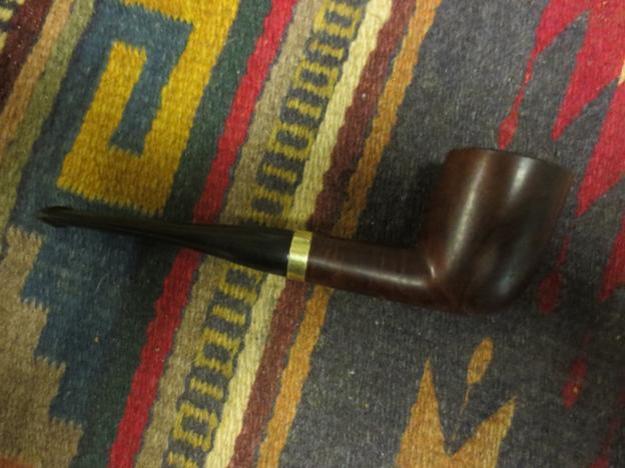
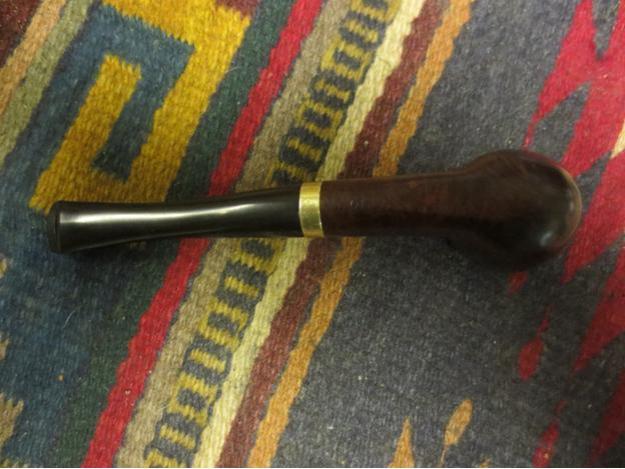
My estate pipe collecting must have hit critical mass this past month. Most of what I get in an average estate lot are complete pipes; of these, about 90% or more are able to be restored to close to factory condition. The other 5-10%, however, are too far gone and I end up salvaging what I can. This is why I have a box of stems and a box of bowls. I figured eventually I’d find stems to fit the bowls or vice versa, and last week I found the parts to assemble my first pipe from these spare parts.

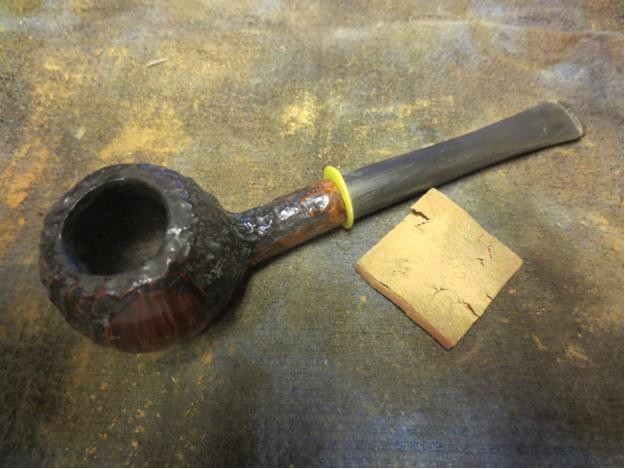
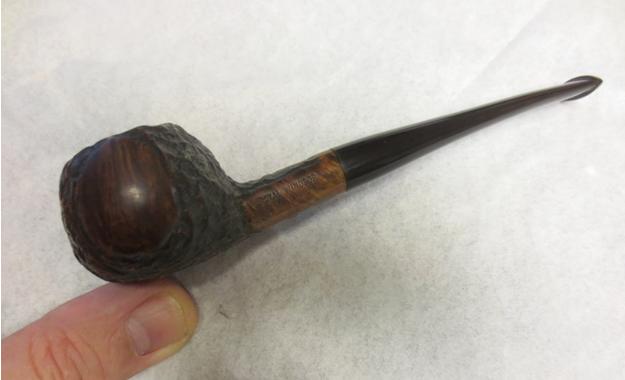
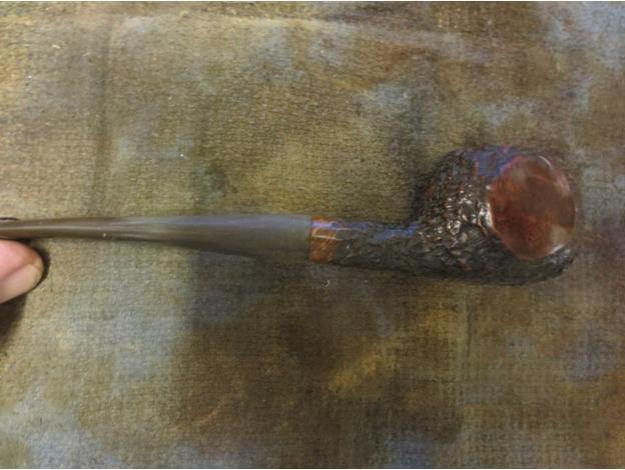
The bowl was in relatively good shape, but with some obvious fills that would need some work to disguise. It was stamped “LVG” over “Select” on the left shank, and, barely visible, a round “Made in England” stamp on the top right shank. The stem I chose to fit to…

View original post 976 more words

Cleaning up and reworking the stem on a CAO Meerschaum Lace Calabash


Blog by Steve Laug

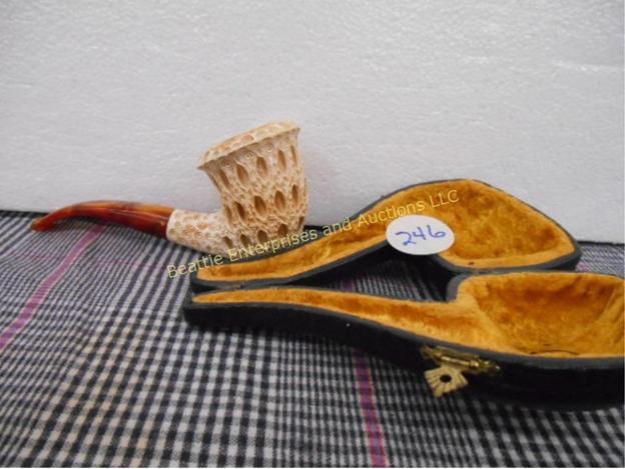
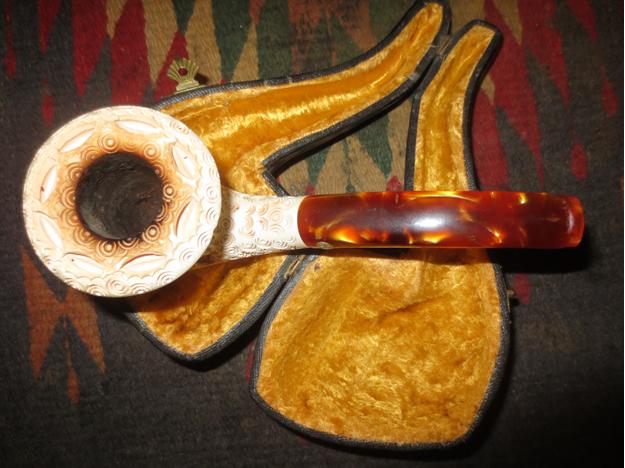
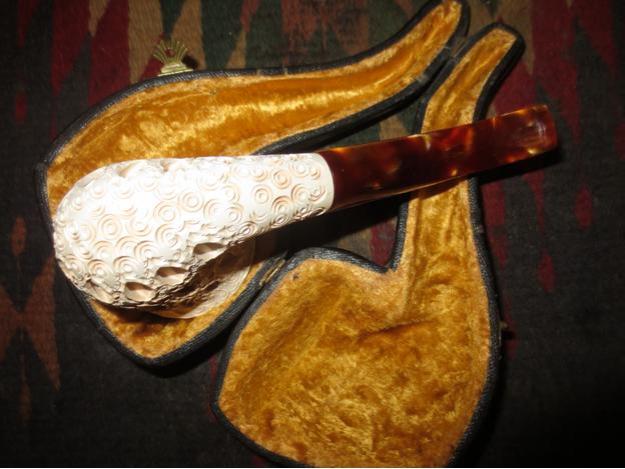
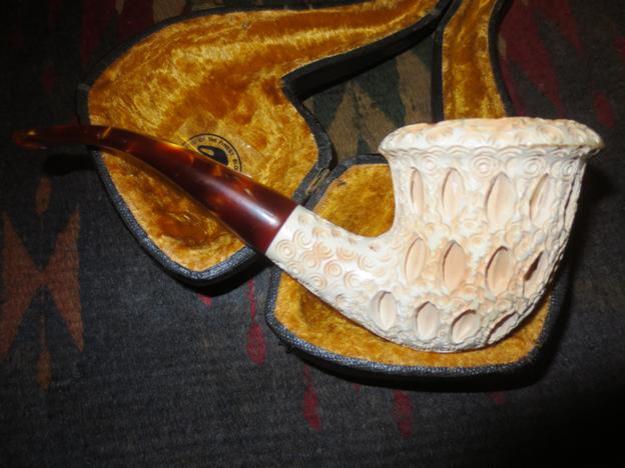
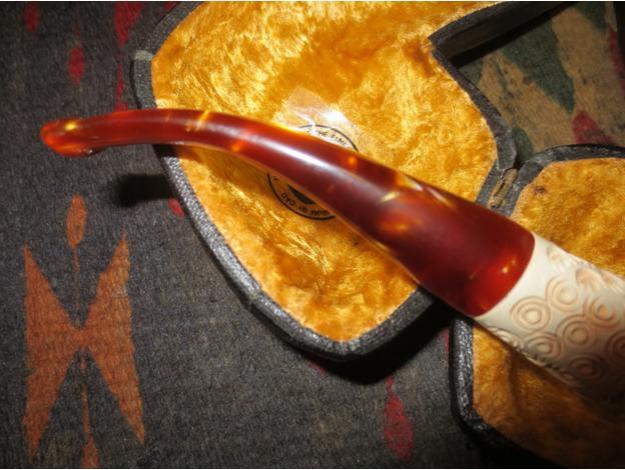
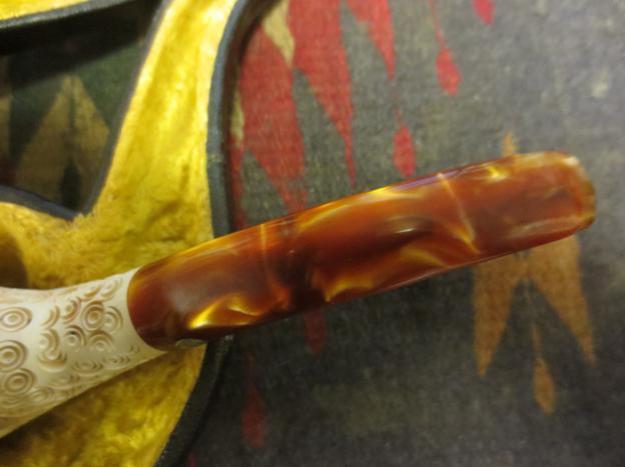
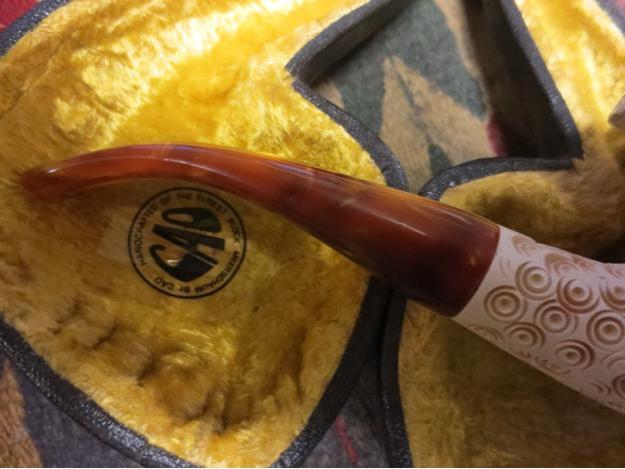
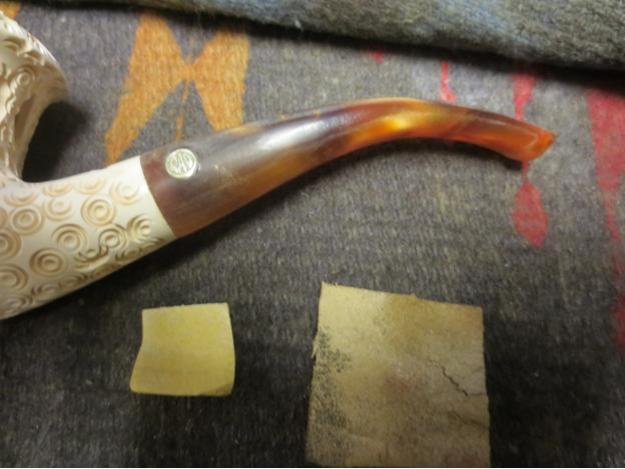
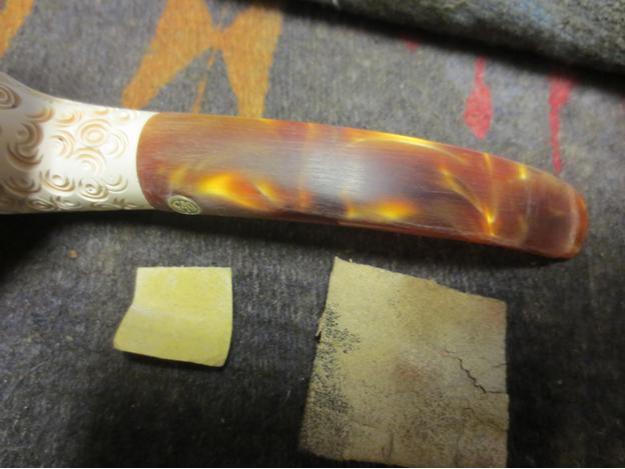
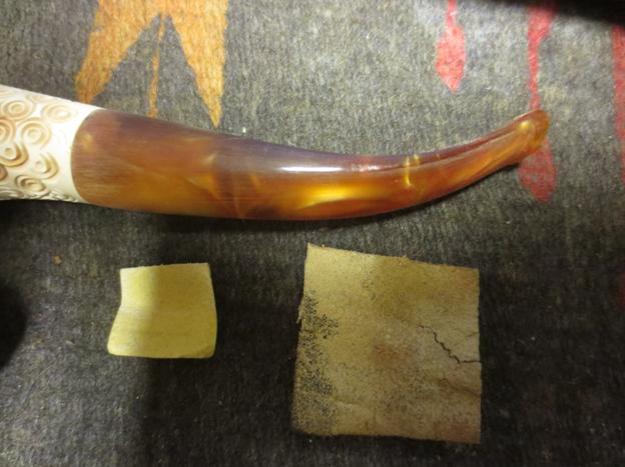
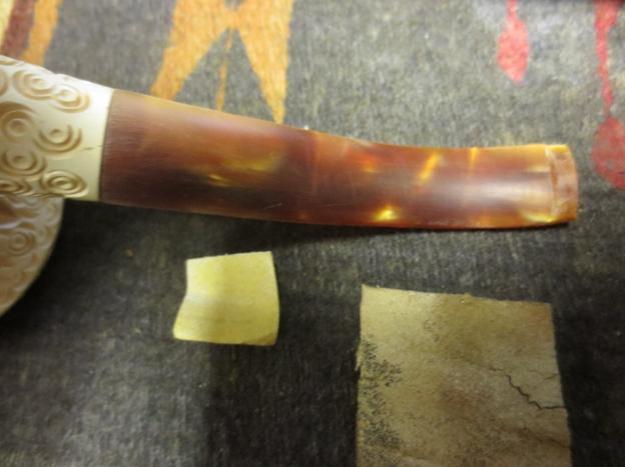
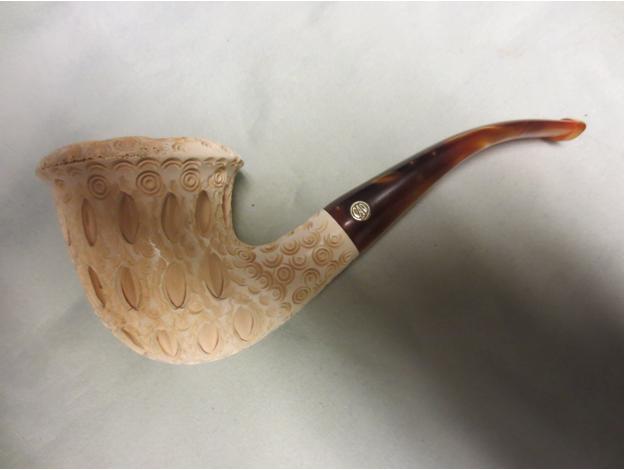
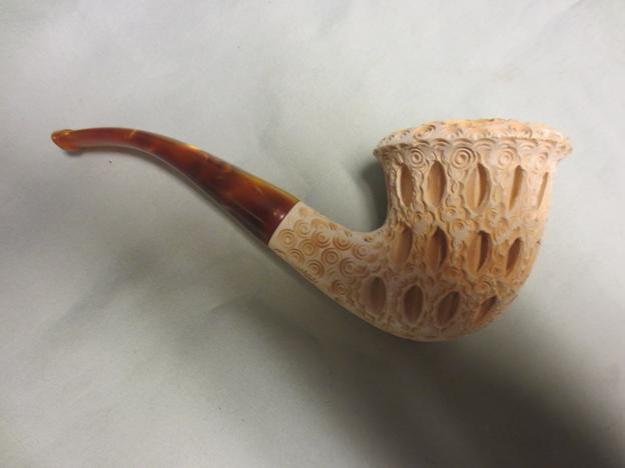
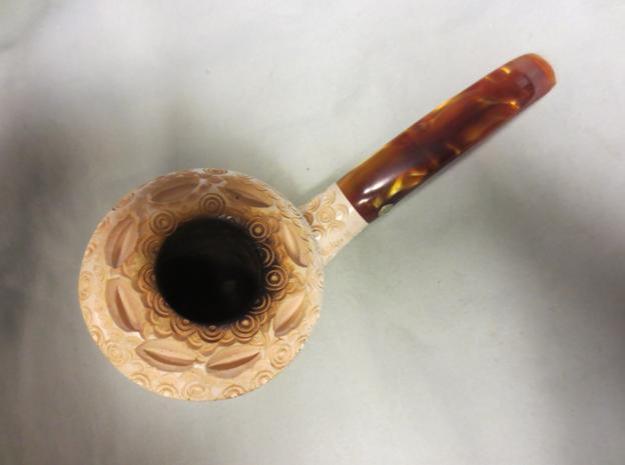
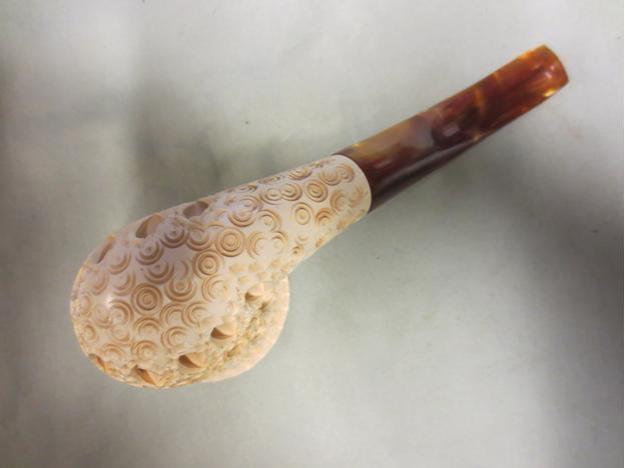
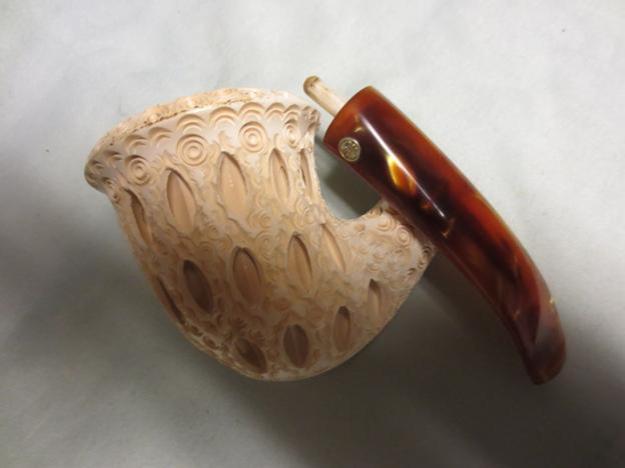
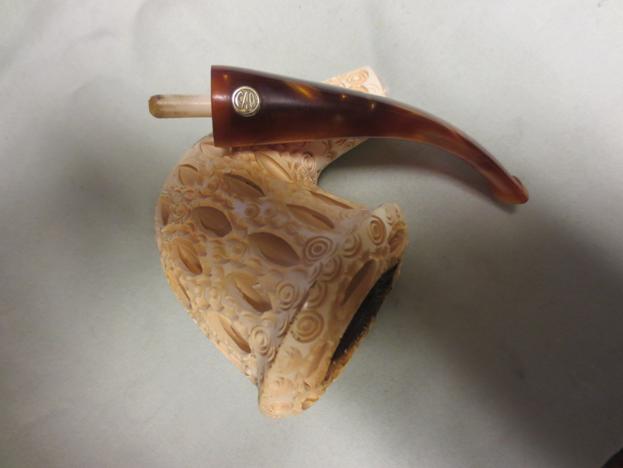
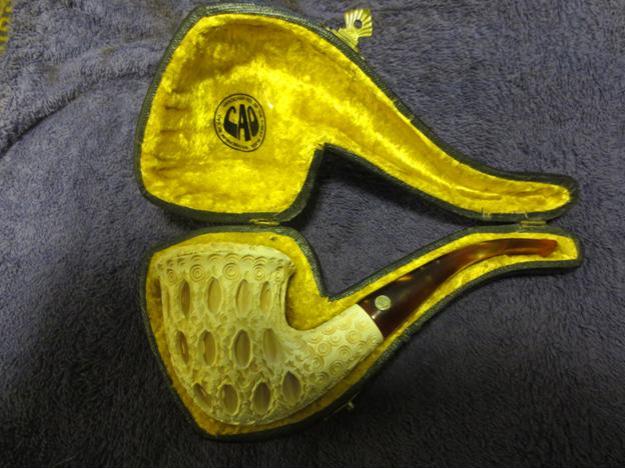
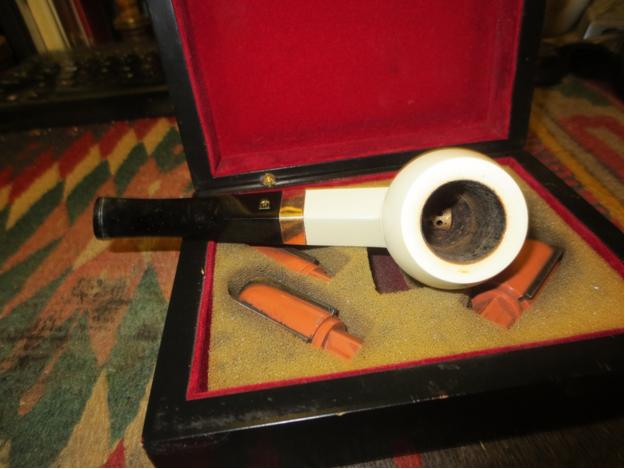
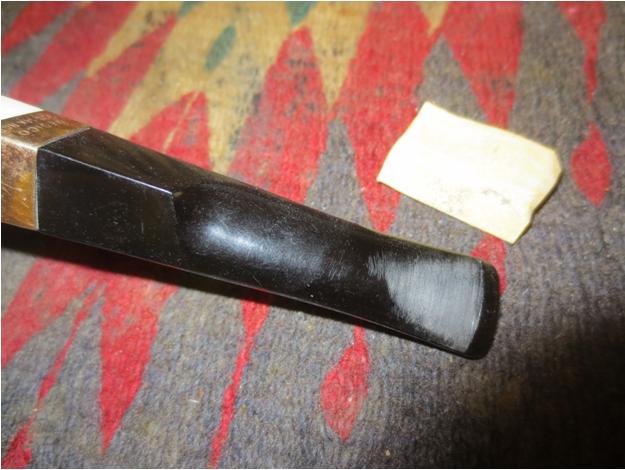
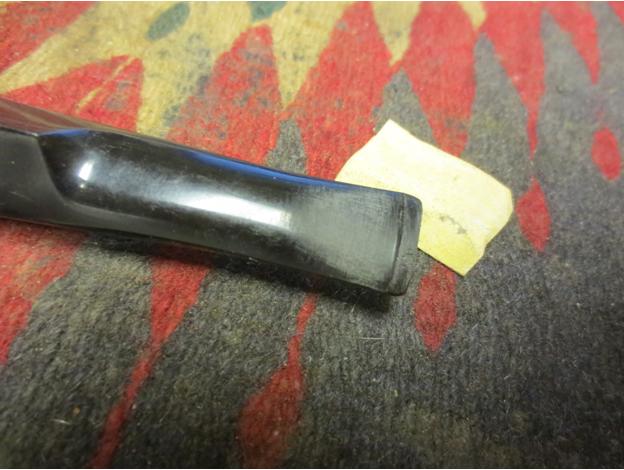
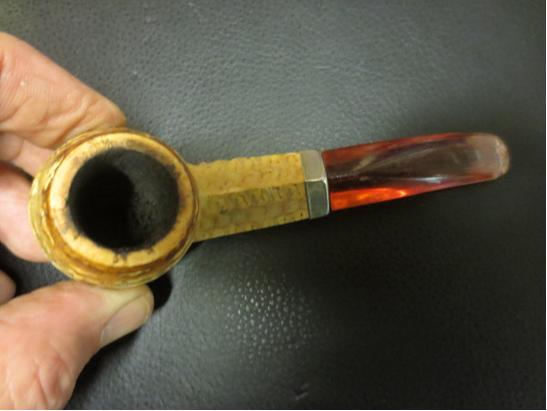
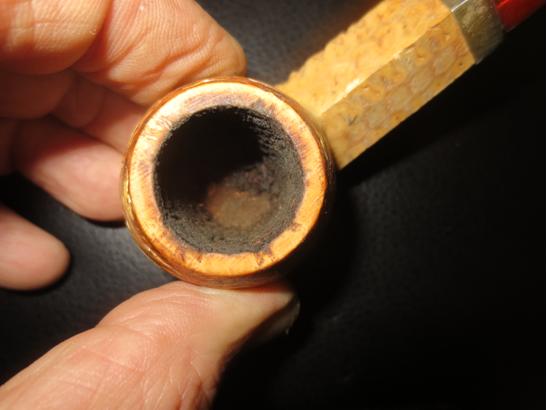
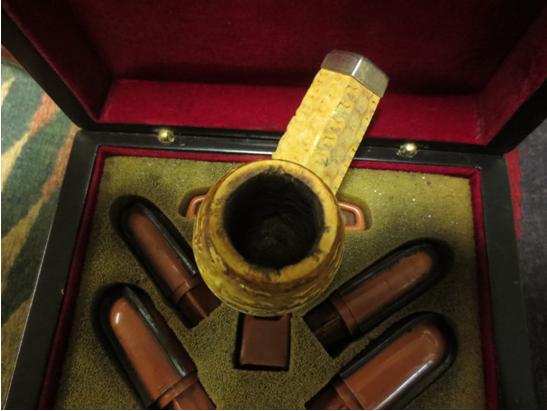
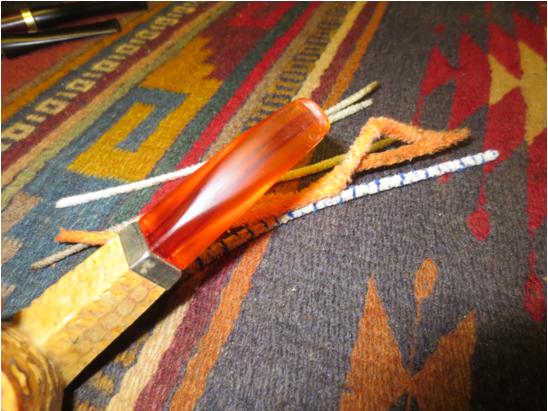
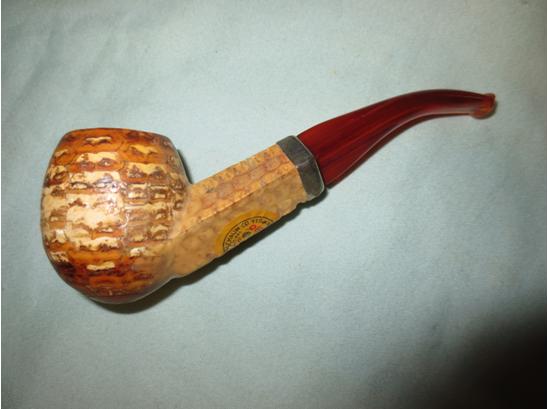
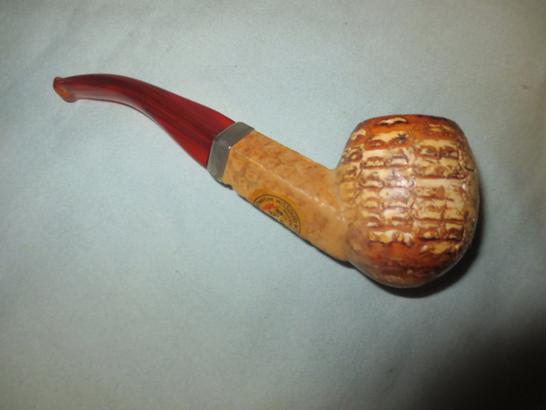
One of the pipes that my brother in Idaho found was this lace carved Meerschaum Calabash that he bought for me from an auction house near his home. The pipe came in a well made case that was lined with yellow gold velvet. It bore a decal that read CAO in the centre of the circle and around the edges it read Handcrafted of the Finest Block Meeerschaum by CAO. The exterior of the case is covered in black leather with a brass hinge at the top and latch on the bottom edge. The case itself is in good shape with some scuffs on the top and bottom surfaces of the sides. The photo below is the one taken from the advertisement for the auction.CAO3 The pipe is a very well carved meerschaum. The lattice or lace work is very well done. The rim of the bowl had some darkening and tars that would need to be cleaned off. There was a light build up of cake in the bowl. The meer itself was beginning to colour and show some depth of golden brown on the sides of the bowl and the shank. The stem was Lucite but was poorly fit to the shank. It was larger in diameter than the shank and still had sanding and file marks on the stem. The CAO emblem had been pressed into the side of the stem and the Lucite had bubbled around the circular logo. The button was not well cut in the stem and the slot in the end was rough and still had sanding marks and file marks in it as well.CAO4

CAO5

CAO6

CAO7 I took some close up photos of the stem to show some of the scratching and dullness of the stem material, the poorly cut button and the bulging of the stem material around the shank. The shoulders of the stem were rounded rather than flat and the transition to the shank was not smooth to the touch.CAO8

CAO9

CAO10

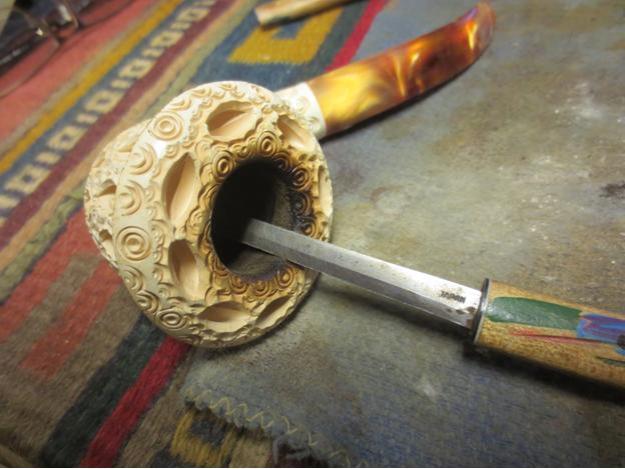
CAO11 I removed the stem from the shank and sanded it with 220 grit sandpaper to smooth out the rounded shoulders and reduce the diameter of the stem to match the shank. I sanded carefully to keep from rounding the shoulders even more. My goal was to smooth that out and flatten the transition area. I also sanded around the CAO logo to remove the wrinkles or bubbling of the stem under the inset emblem. I also sanded the inside of the slot and the Y shaped flow into the airway in the stem. I sanded the entire stem to remove some of the scratches and to even out the flow of the stem. I also worked on thinning down the edges of the stem and giving it sharper edge.CAO12 I used a blade shaped needle file with a flat face and edge to square up the button angles on the stem surface.CAO13

CAO14 I carefully reamed the cake from the bowl with a pen knife taking it back to the smooth surface of the meerschaum bowl.CAO15 I continued to shape and refit the stem to the shank with the 220 grit sandpaper and a medium and fine grit sanding sponge.CAO16

CAO17

CAO18

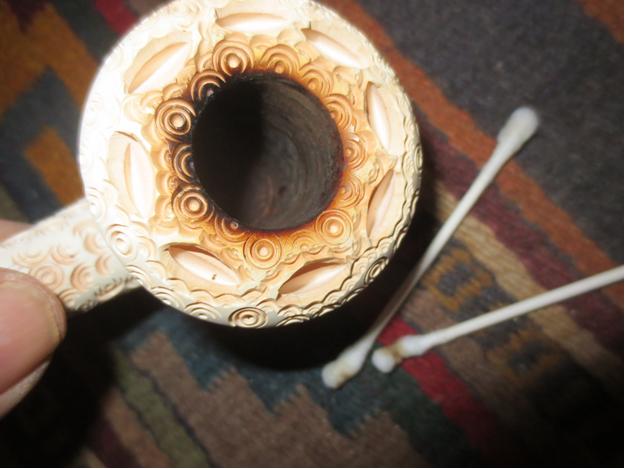
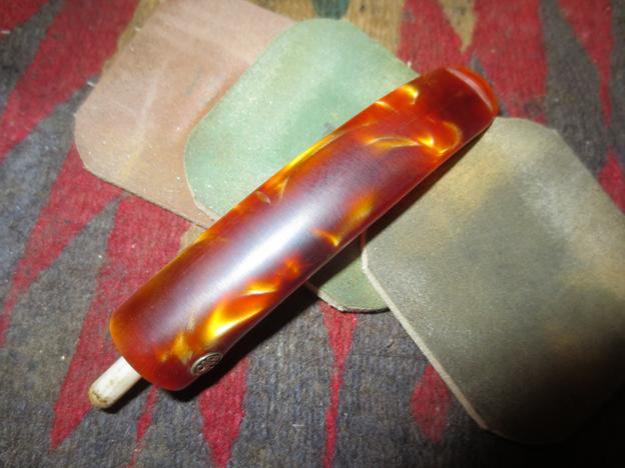
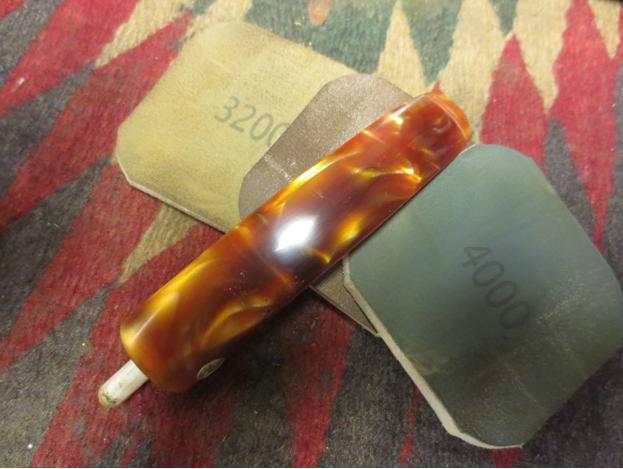
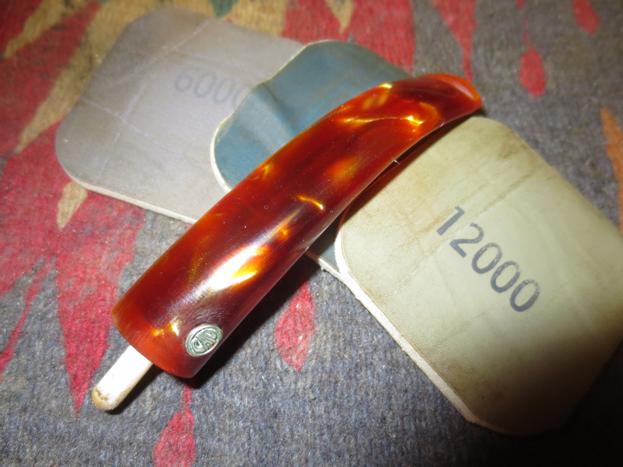
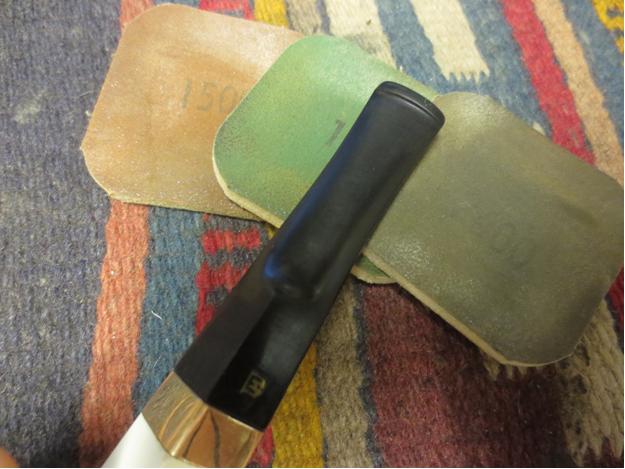
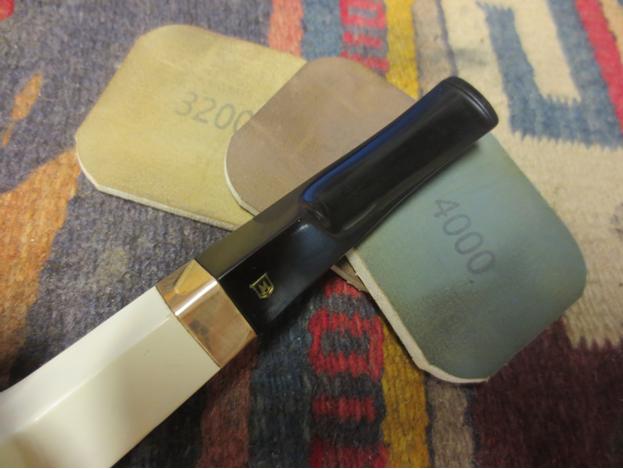
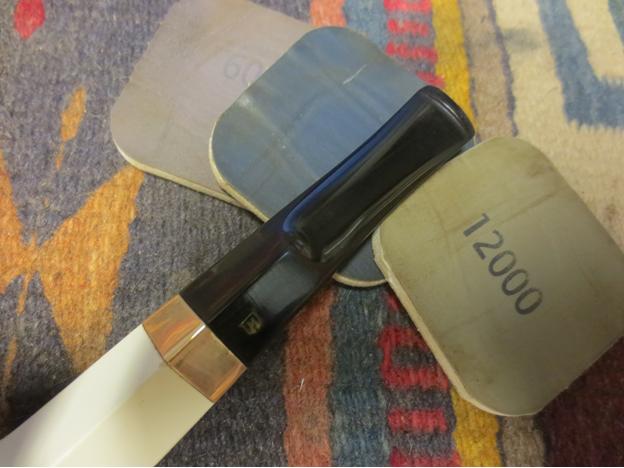
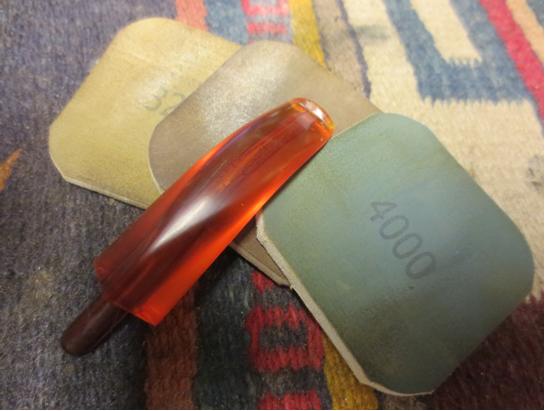
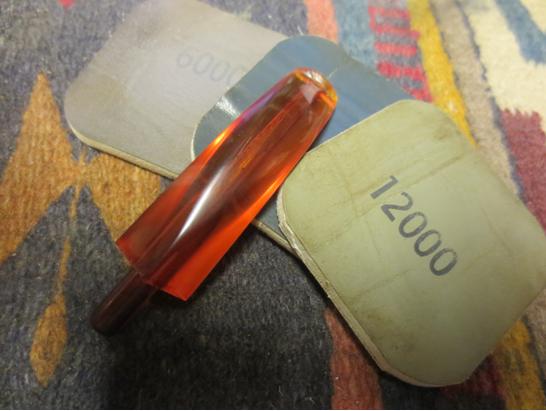
CAO19 I cleaned off the tars on the rim with a cotton swab and saliva until all of them were gone. I removed them to reveal a darkening amber colour around the inside of the rim cap.CAO20 I wet sanded the stem with 1500-2400 grit micromesh sanding pads and wiped it down with oil to give it a bit of bite before continuing to dry sand with 3200-4000 grit pads. I finished by sanding with 6000-12000 grit pads.CAO21

CAO22

CAO23 I lightly buffed the stem with Blue Diamond on the wheel to polish it before giving it several coats of carnauba wax. I hand buffed it with a microfibre cloth and hand buffed the bowl with the same cloth. The CAO emblem is very clear and the wrinkled surface around the emblem is smooth. The rounded shoulders of the stem have been smoothed out and flattened. The cleaned up button edges gave the end of the stem a very sharp look. The slot was smoothed out and broadened. The finished pipe is shown below.CAO24

CAO25

CAO26

CAO27

CAO28

CAO29

CAO30 The final photo is of the pipe in its case. It is picking up the yellow colour of the velvet lining of the case. The photos above show the current colour of the pipe more accurately.CAO31

Refitting an existing stem on a Royal Windsor Prince


Blog by Steve Laug

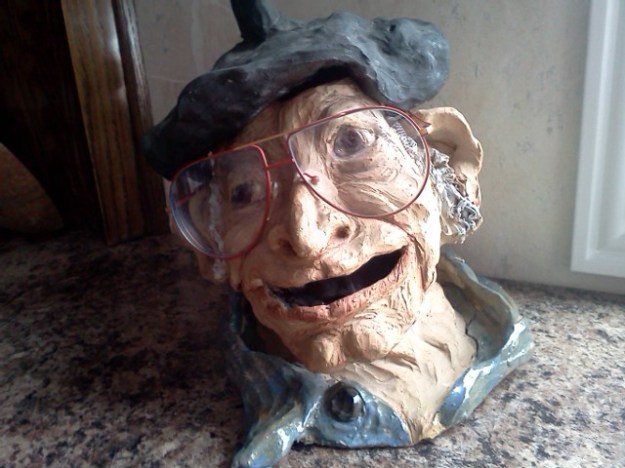
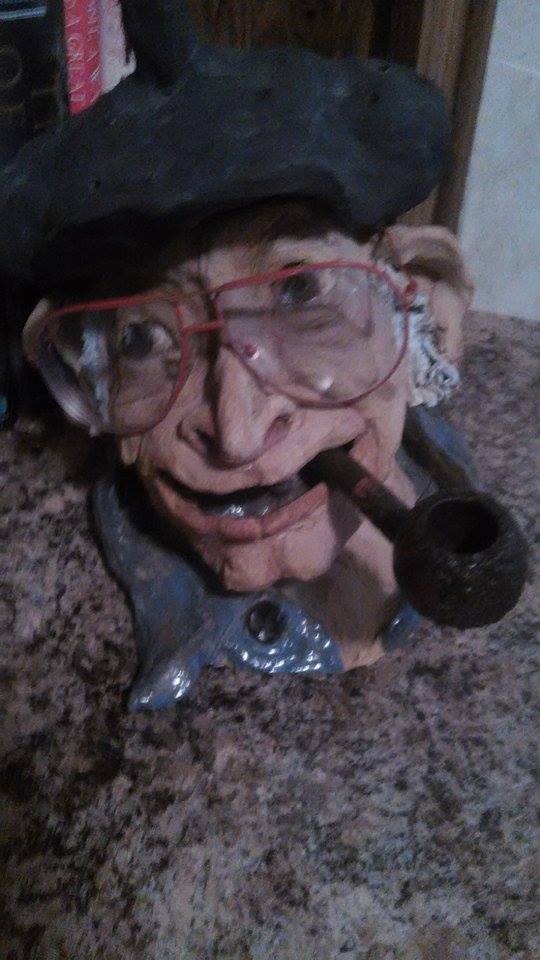
When I was in Idaho my brother showed me the pipes he had picked up in auctions and from antique shops. He had found three meerschaum pipes and two briars. One of the briar pipes that he picked up in an auction was a Royal Windsor Imported Briar Prince. It was included as part of a sculpture that he bought that he really liked. It was an old man with a cap, glasses and a pipe. The old boy in the sculpture looks lost without his pipe in the photo below. It is finished now and it will go out in the mail tomorrow so he should have it back very soon.Statue1
My daughter took the following photo of the sculpture with the pipe. In her photo the table top looks like a sweater.
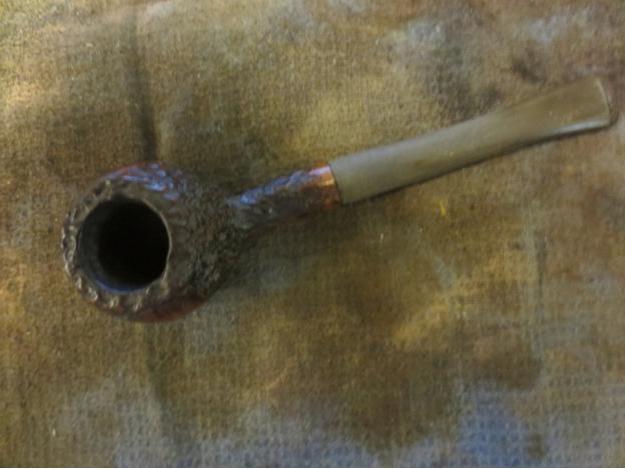
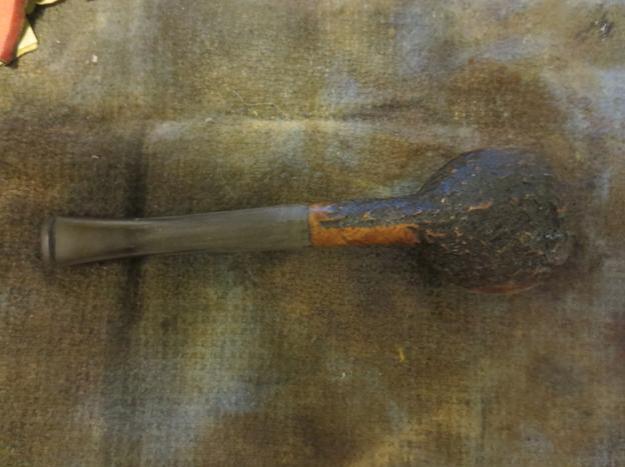
12204991_10156170659610654_1169179242_nThe pipe itself is a clean and quite beautiful little pipe with a rusticated finish and some smooth parts similar to the Stanwell Vario line. In looking at it when I was visiting it was obvious the pipe had been restemmed at some point along the way and the stem shank union was poorly executed. There was a bulge to the stem at that point and it also was not round. The right side and bottom of the stem diameter were wider than the shank of the pipe. The taper of the stem on the underside did not work with the flow of the shank. He wanted to keep it for the sculpture but the fit of the stem bugged me enough that I offered to bring it home and reshape the stem for a better fit. It was also badly oxidized so that would also need to be cleaned up. The bowl itself was quite clean and virtually unsmoked. The first photos below were taken after I had started cleaning up the stem. I began reworking the stem without taking photos and caught myself before I had gone too far.cap1

cap2

cap3

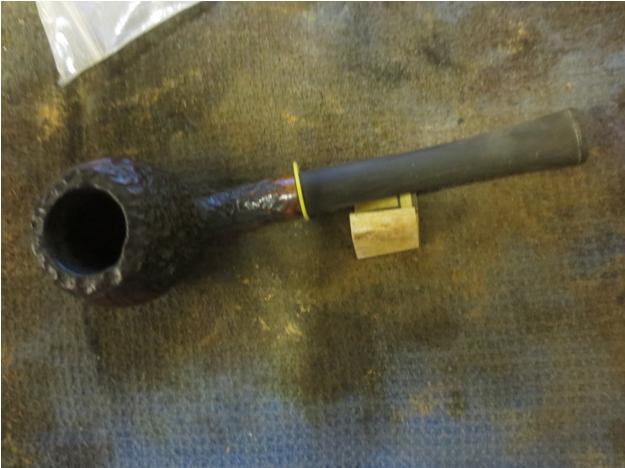
cap4 I put a plastic washer on the tenon to protect the shoulders of the stem from rounding while I worked on the shape of the stem. I sanded it with 220 grit sandpaper to shape and fit the stem to the shank. To me the taper on the underside of the stem did not flow into the shank correctly. I sanded it and removed a lot of material and changed the taper to flow better. I checked the fit often by removing the washer and looking at the stem in place.cap5

cap6 I refined the shape some more and then sanded the entire stem to remove the surface oxidation. I finished this part of the process by sanding the stem with a medium and a fine grit sanding sponge to remove the scratches left behind by the 220 grit paper.cap7 With the shape and fit greatly improved (at least to my eye ;)) I wet sanded the stem with 1500-2400 grit micromesh sanding pads. I rubbed the stem down with Obsidian Oil and then dry sanded with 3200-4000 grit pads. Another coat of Oil was rubbed into the stem and then I sanded it with the final 6000-12000 grit pads. I gave it a final coat of Obsidian Oil and let it dry.cap8

cap9

cap10 I buffed the pipe with White Diamond and then Blue Diamond on the wheel. I gave the bowl and stem multiple coats of carnauba wax to protect and shine. I buffed it with a clean flannel buff and then with a microfibre cloth by hand. The finished pipe is shown in the photos below.cap11

cap12

cap13

cap14

cap15

cap16

Peterson Irish Harp B.5


I really love the looks of this one. Well done on the refurbish. It is one beautiful pipe.

pipesrevival's avatarPipesRevival

20150904_110911_zpsotamwek9-1

The pipes my wife picked up with the exception of the Savinelli, were in great shape. The Peterson’s- two were lightly smoked and one un-smoked. The Harp B.5 is the next to my desktop.

(The pipe as received)

PhotoGrid_1445654191596PhotoGrid_1445654133375PhotoGrid_1445653989042PhotoGrid_1445906195492

2007 Peterson Irish Harp B.5

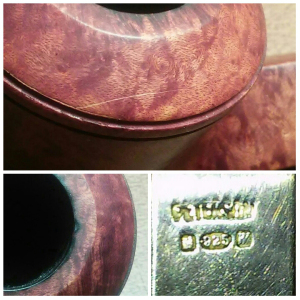
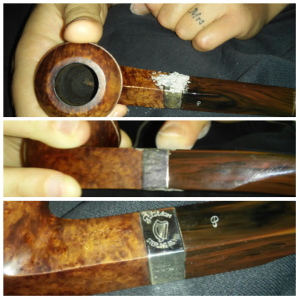
From what I could find via web/collector sites I believe this Pete is from 2007. ( please correct me if this info is wrong) With the addition of three more Peterson’s it has brought my collection to seven. The B.5 is one of many I’ve had my eye on, the smooth bulldog shape and fishtail stem made this comfortable not only in hand but also clenched in jaw.  Lightly smoked and in decent condition just a few problem areas. A couple of tooth impressions, a scratch on the bowl and a burn on the rim that was deeper then first thought. 

PhotoGrid_1445908287603

When I first received the pipe the silver band was…

View original post 722 more words

A Surprising Antique Mall Find – A Medico 14K Gold Band Meerschaum Bulldog


Blog by Steve Laug

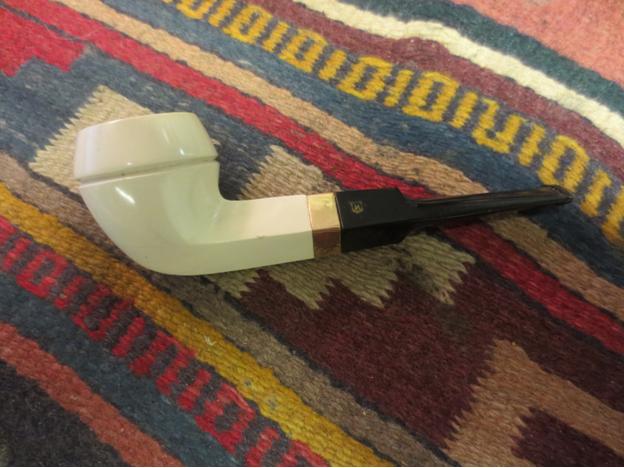
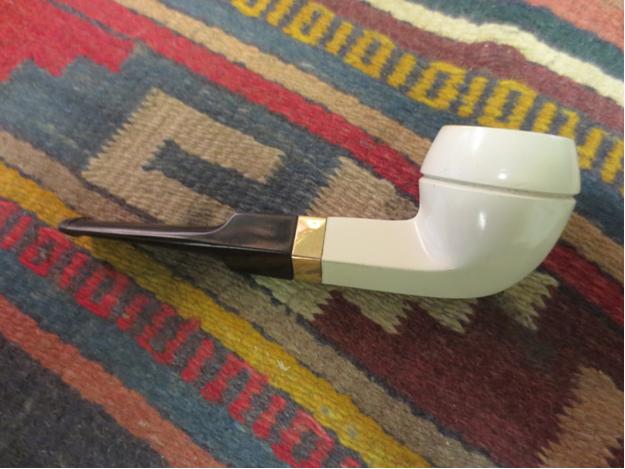
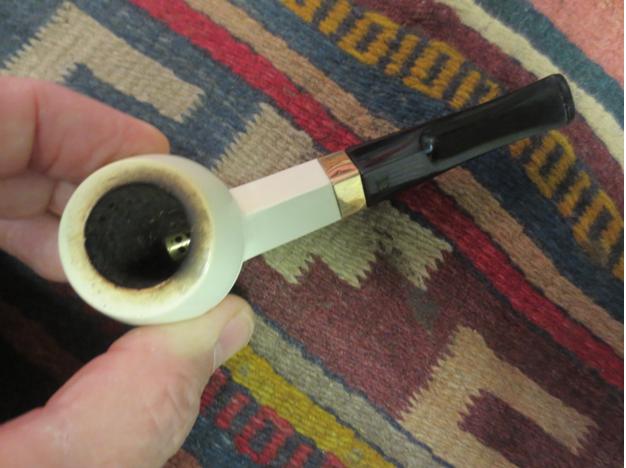
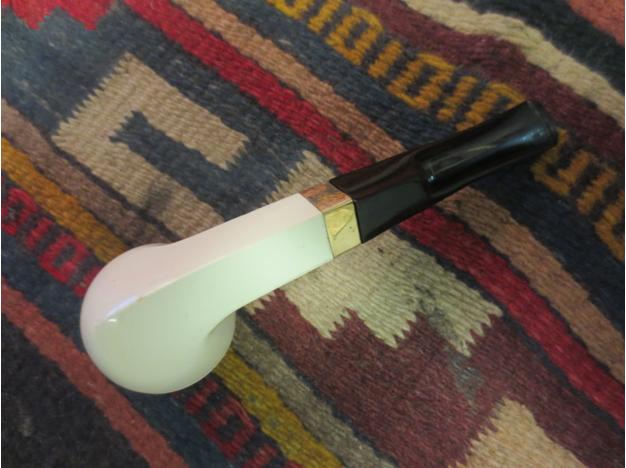
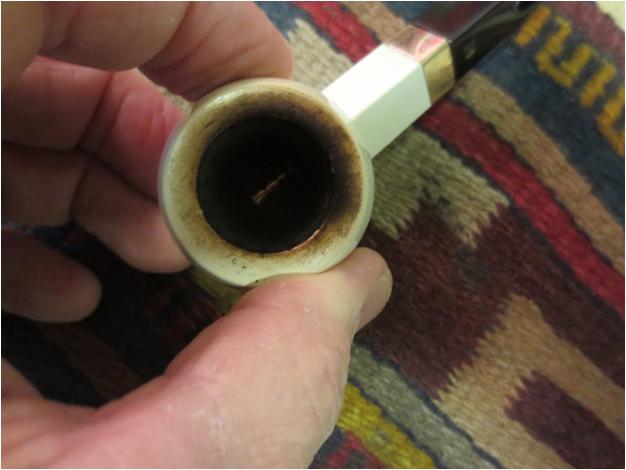
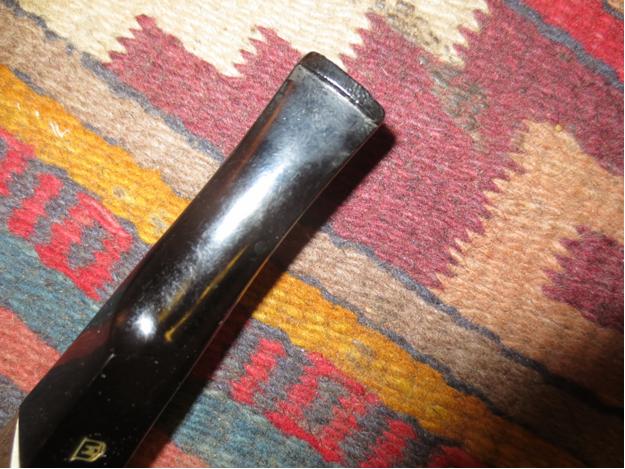
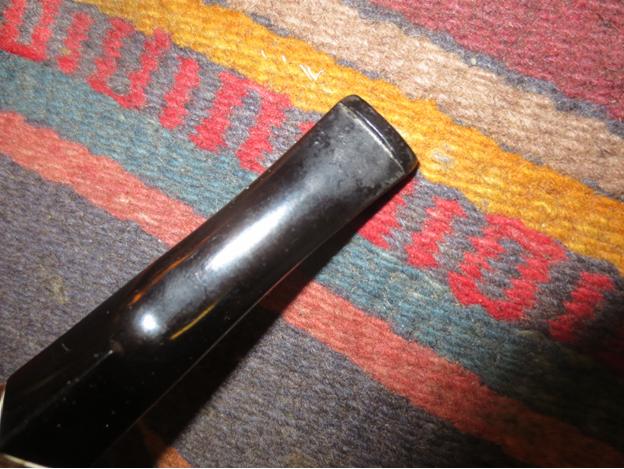
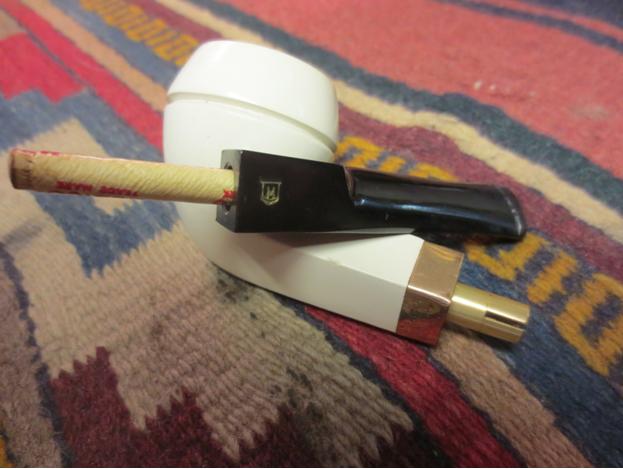
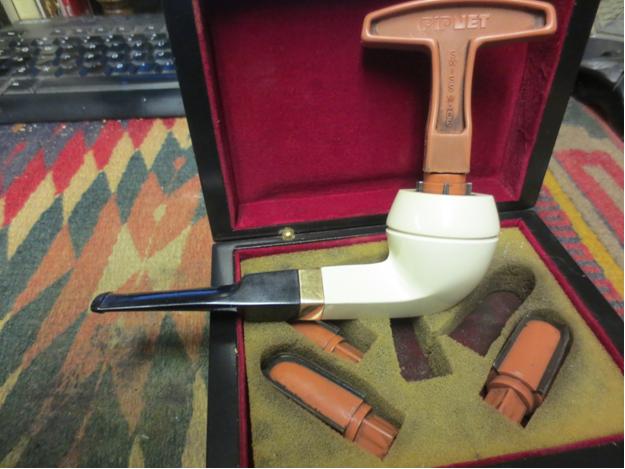
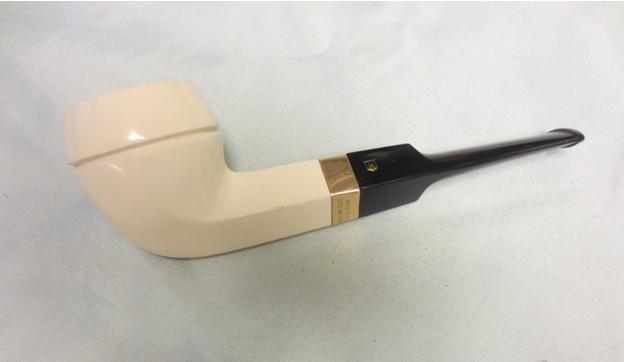
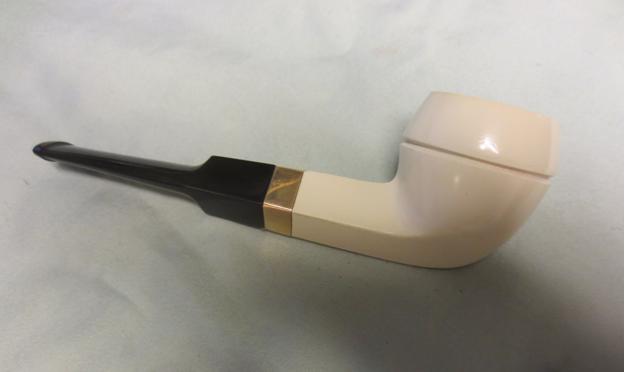
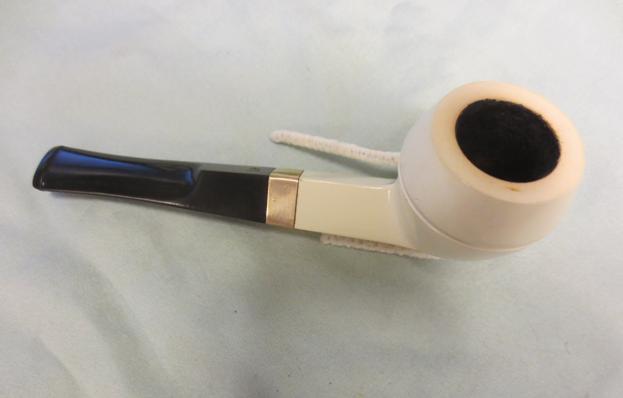
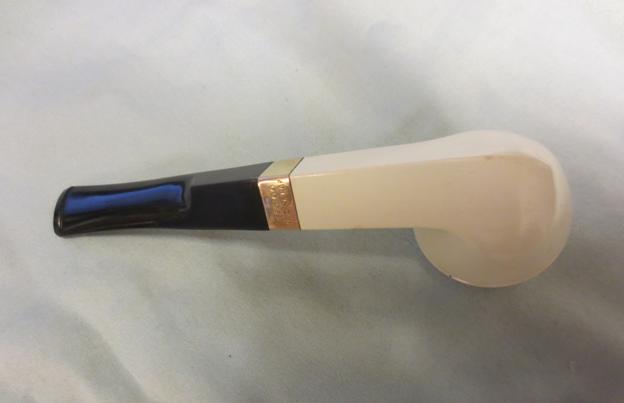
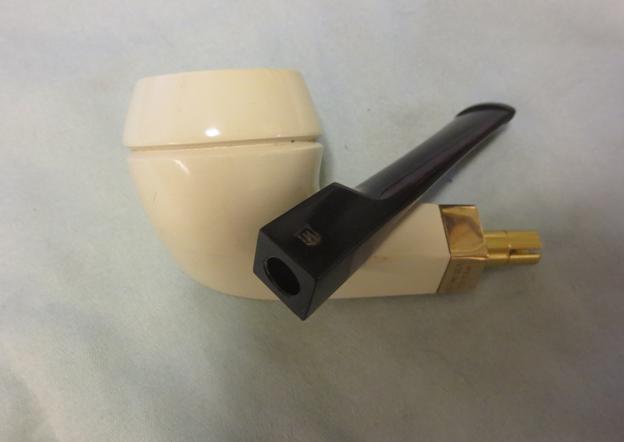
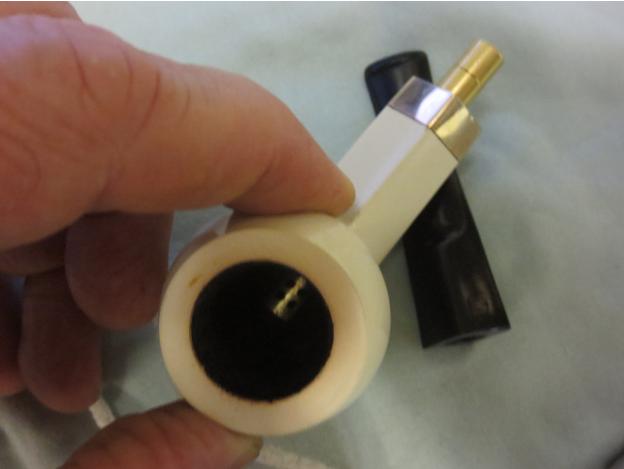
On my recent Idaho trip my brother and I went on a pipe hunt through quite a few antique malls. One of them in particular yielded some great finds. The first of these I worked on was the bent diamond shank cob pipe that I wrote about earlier. The next one I worked on was a small Medico Meerschaum Straight Bulldog. I honestly had no idea that Medico made meerschaum pipes so it was a surprise to me. It was in pretty decent shape with a little buildup on the rim and a light cake in the bowl. The meer was clean except for a few small nicks in the sharp edges of the diamond shaped shank and some small scratches on the top surface of the rim. The single ring around the bowl below the cap is in perfect shape with no nicks or dings. It had dust and some grit in the bottom of the ring but otherwise the edges were sharp. The stem has a reverse tenon set up with the tenon permanently inserted in the shank and a permanently inset stinger/filter apparatus that sits in the bottom of the bowl like a grate in a fireplace. The 14K gold band had light scratches and is stamped MEDICO over 1/30 14K RGP. There are no other marking on the pipe or shank. The stem is in decent shape with light tooth chatter on the top and underside near the button and is stamped with an M in a shield. From my research the Medico Meerschaum pipes were carved in Austria by Strambach. This one is stellar.Bulldog1

Bulldog2

Bulldog3

Bulldog4 The next three photos show close up views of the rim and the top and bottom sides of the stem. The top of the rim was dirty and had a slight buildup of tars on the back side and some scratches on the rim top. The stinger apparatus in the bottom of the bowl was darkened and caked as well. The bowl had a light cake buildup that would need to be reamed. The stem had tooth chatter on the top and underside.Bulldog5

Bulldog6

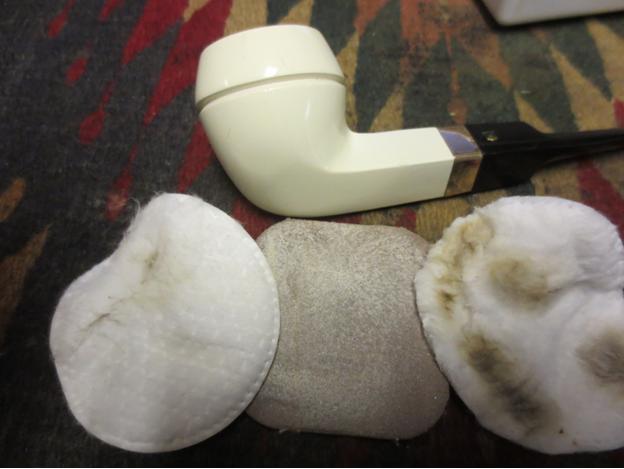
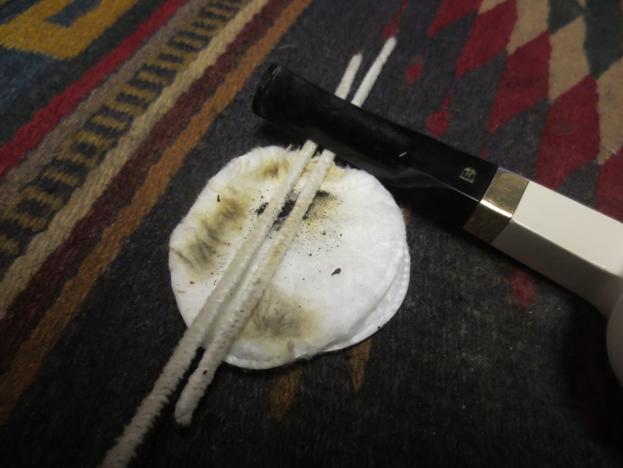
Bulldog7 The next photo shows the stem removed from the shank and the Medico paper filter that was in the shank. It also shows the reverse tenon that is inserted in the shank.Bulldog8 I scrubbed the rim with a cotton pad and saliva to clean off the tars on the surface. I also sanded it with a micromesh sanding pad. I also sanded the sharp edges of the diamond shank to smooth out the nicks and scratches.Bulldog9

Bulldog10 I reamed the bowl with a PipNet pipe reamer to remove the cake from the bowl. I used a cotton swab to clean off the stinger extension in the bottom of the bowl.Bulldog11

Bulldog12 I cleaned out the airway in the stem with pipe cleaners, cotton swabs and alcohol.Bulldog13 I worked on the stem to remove the tooth chatter on the surface of the top and bottom near the button. I sanded it with 220 grit sandpaper to remove the chatter and then sanded it with a medium and a fine grit sanding sponge. I moved on to use micromesh sanding pads – wet sanding it with 1500-2400 grit pads and then rubbing it down with Obsidian Oil. I dry sanded with 3200-4000 grit pads and rubbed it down again. I finished sanding it with 6000-12000 grit pads and gave it a final coat of Obsidian Oil. I let it dry before taking it to the buffer.Bulldog14

Bulldog15

Bulldog16

Bulldog17

Bulldog18 I buffed the stem and bowl lightly with Blue Diamond Plastic polish on the wheel. A light touch is essential when buffing these nylon stems. It is very easy to melt them and make a mess. The finished pipe is shown in the photos below. It is a beautiful pipe.Bulldog19

Bulldog20

Bulldog21

Bulldog22

Bulldog23

Bulldog24

Cleaning Up a Yello-Bole Hand Made, With a Bit of Learning Curve Thrown In


Good work on a cool looking old pipe. Those nylon stems are a pain. I am working on one now that is a bear!

Charles Lemon's avatar

Several recent posts on RebornPipes and PipesRevival about CustomBilt pipes reminded me that I had a very similar pipe in my refurb box waiting for my attention. I found the pipe, but when I looked at the stampings, I discovered that it was not a CustomBilt at all; rather, it was stamped “Yello-Bole” over ‘“hand made”’ over “Imported Briar”. The stem was also stamped with “HM”. If the stampings weren’t enough to establish the pipe’s provenance, patches of the original yellow bowl lining were clearly visible in the tobacco chamber.

The pipe was in decent, if dirty, condition when it arrived. The stem had a fair amount of chatter in the bite area, but no oxidation. For those of you who have been following my blog for a bit now, you’ll recognize the lack of oxidation as a fair indicator of a nylon or nylon composite stem. Test an inconspicuous part…

View original post 912 more words

Removing a Broken Metal Tenon from a LHS Sterncrest 14K


Blog by Steve Laug

Not too long ago I received an email from Dave Gossett regarding another LHS Sterncrest that he had picked up. He asked if I had any hints on how to remove a broken metal mortise and broken off stinger from the shank of a pipe. He sent a picture of the issue and I wrote back regarding drilling the broken mortise insert out of the shank.broken1 He also posted on the Dr. Grabow Collectors Forum looking for help. “Does anyone have any ideas how to get this out of the shank without damaging the pipe (further)? I received this in an estate lot. Looks like somebody gave it hell already. I tried putting a screw in to remove it, but it has been gouged so badly that it won’t budge. I left it as is to keep from further damaging the shank. It has the stinger inside as well. I would have tried to file it or hot exacto knife the vulcanite but with the stinger, I don’t think this will work either. The mortise has been chewed up but I think if I can remove the debris, using a replacement stem with an extra-long tenon should make a good seal past the damaged area.”
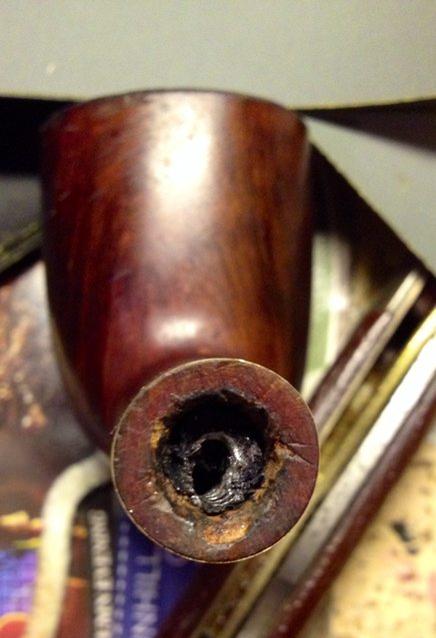
I wrote my suggestions along with those of others on the forum and looked forward to hearing from Dave and seeing some more of his craftsmanship on this old timer. A month or so passed without any follow-up post or emails regarding the pipe. I found myself wondering what he had done with the pipe and if he had been able to use the method I wrote about on the forum and in the email. Being a bit impatient and I suppose nosey as well, I wrote Dave to see if he had had any luck clearing the shank of the pipe. He wrote back:

“On another note, I bought a Sterncrest 14k with the tenon and stinger broke off in the shank. Do you do repair work for hire? I tried putting a screw in the broken tenon to remove it, but it won’t budge. The eBay genius I bought it from gouged the hell out of the mortise trying to remove it. I’d like to have it removed and get a stem replacement fitted for it. I’ll order the replacement stem and send both together if you’re interested.”

I wrote him back and said I would gladly remove the broken tenon and ruined mortise apparatus for him. I offered to do it for nothing as I like the challenge. I also have more than enough stems here that would probably work with the pipe so I suggested he just mail it to me and let me have a shot at clearing things up.

I was away this past week and when I returned there was a box waiting for me. I opened it and removed several pipe bowls and stem that he sent as gifts. I unwrapped the bowl that needed attention and had a look at it. I was pretty sure that the method I suggested would work very well and remove the ruined mortise. I was hoping that once I had removed that I would be able to push the broken tenon out of the bowl and shank.Broken2
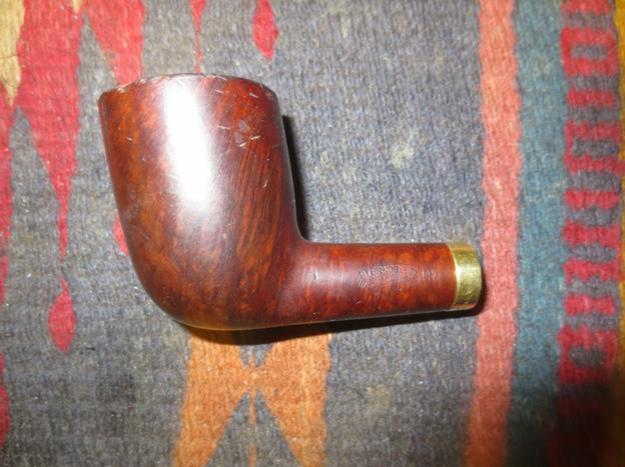
Broken3

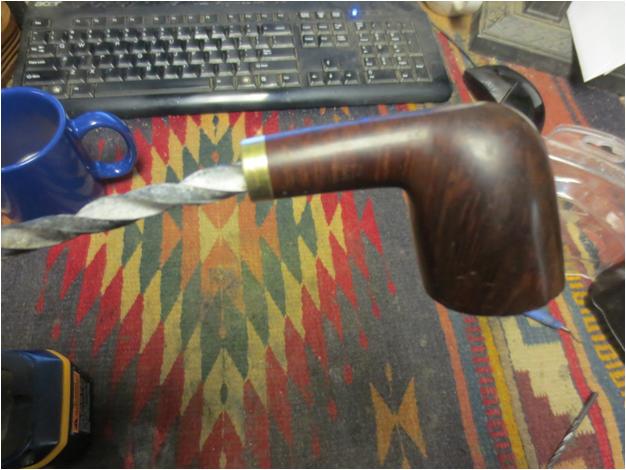
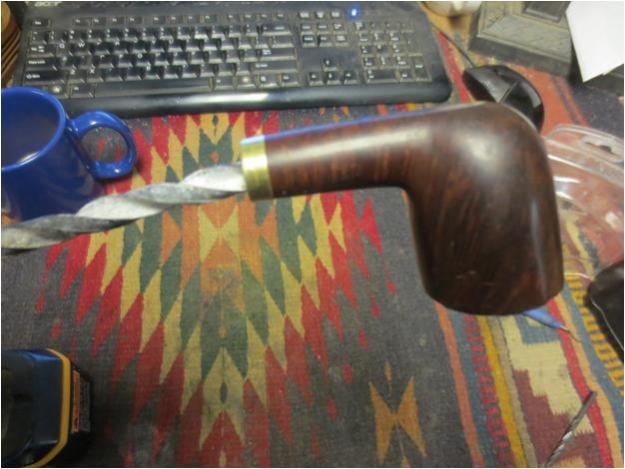
Broken4 I set up my cordless drill and put a drill bit the same size as the mortise in the shank of the pipe. I tightened it in place in the chuck and then hand twisted the bowl onto the drill bit. I never use a power tool to do this as it can create more problems that it cures. Because of the extensive damage to the shank and to the aluminum fitting I chose a bit the same size as the mortise rather than starting with a smaller one. My idea was to twist the bowl onto the bit until I had removed the mortise apparatus and opened up the shank so that the tenon piece could be removed.

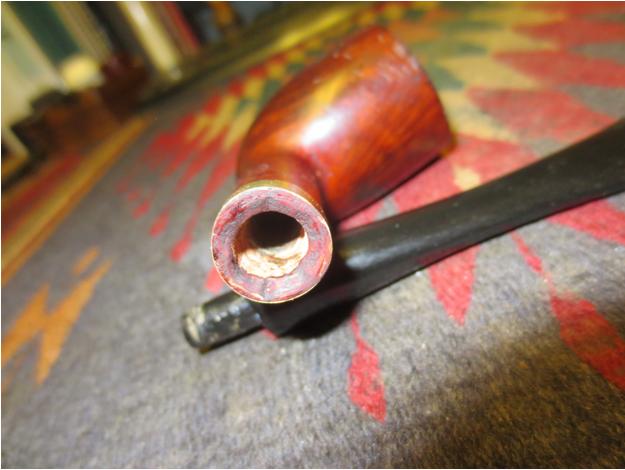
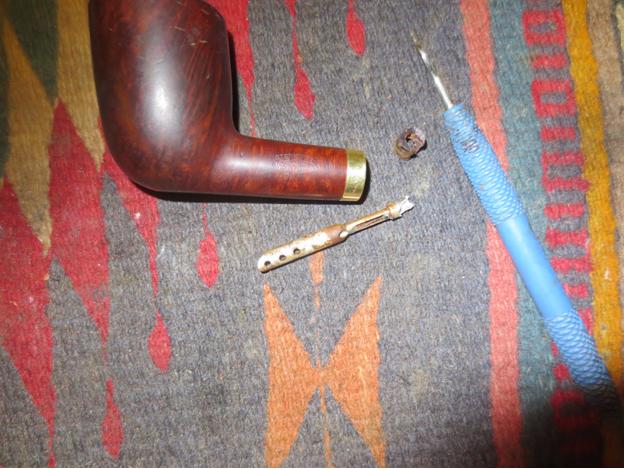
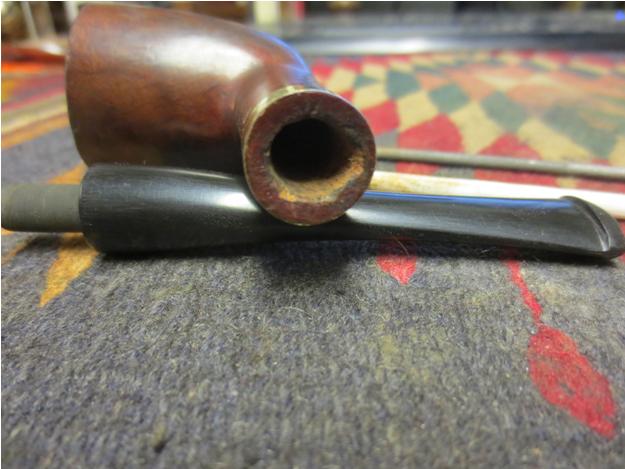
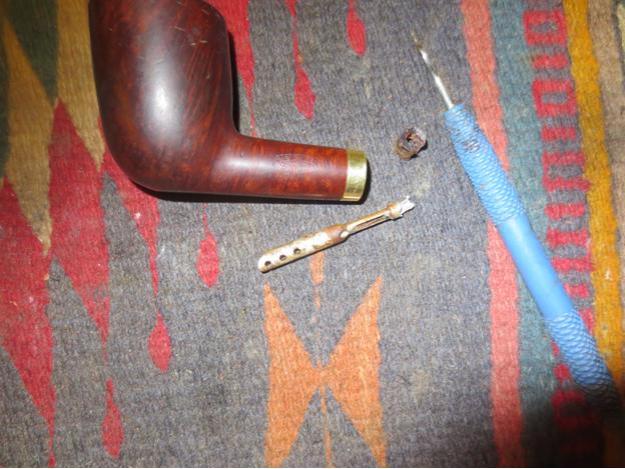
It did not take too long to carefully twist the bowl onto the shank enough that the broken part was removed. A side benefit was that in doing this I also smoothed out the inside of the shank and removed many of the gouges in the side walls of the mortise. I would need to use a needle file to further smooth out the spots in the shank where the marks were deeper than the drill bit could remedy.Broken5 When I had finished removing the mortise insert I used a dental pick to push the broken tenon piece out of the shank. The tenon/stinger extended into the bottom of the bowl so I put the end of the pick in one of the holes in the top of the stinger and pushed the apparatus back into the shank. It was not stuck so it moved easily into the shank and with a light tap of the end of the shank fell out on the work table.Broken6 With the airway cleared of impediment I used a small round needle file and a sanding stick to clean up the inside of the shank and to prepare it for a new push stem that I would fit to the shank. I removed a lot of the damage to the shank with the files though some of it was too deep into the briar to completely remove.Broken7 I gave the inner edge of the shank end a slight bevel with a sharp knife. It was not perfect as the hack job on the shank end was very rough. I was able to smooth it up quite a bit. The first picture below shows the shank end before the bevel. The second one shows the slight bevel. I am sure that Dave will clean it up even more in his refurb.Broken8
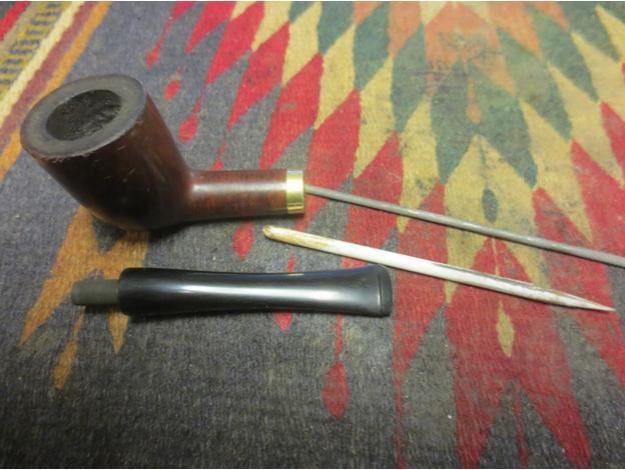
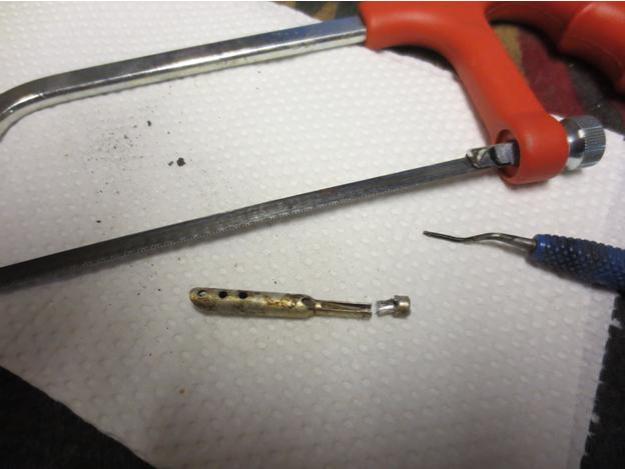
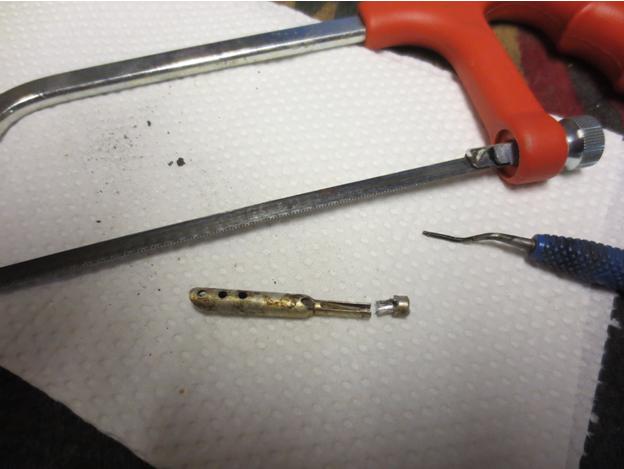
Broken9 For fun I salvaged the broken tenon and cut off the broken part with a hack saw. It will need a small tube extension to extend it fully into the bowl but it is going back to Dave so he can decide if he wants to use it.Broken10
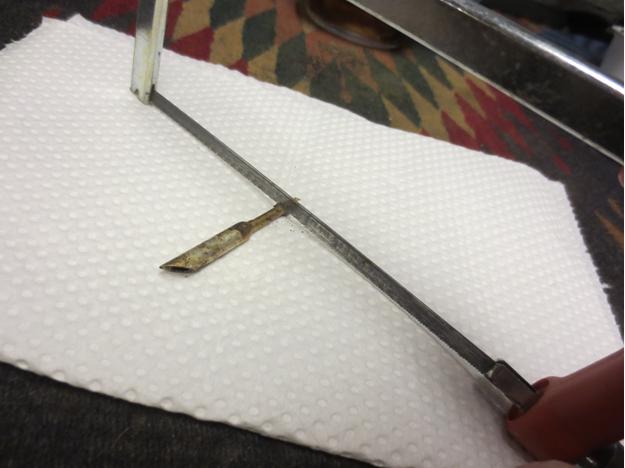
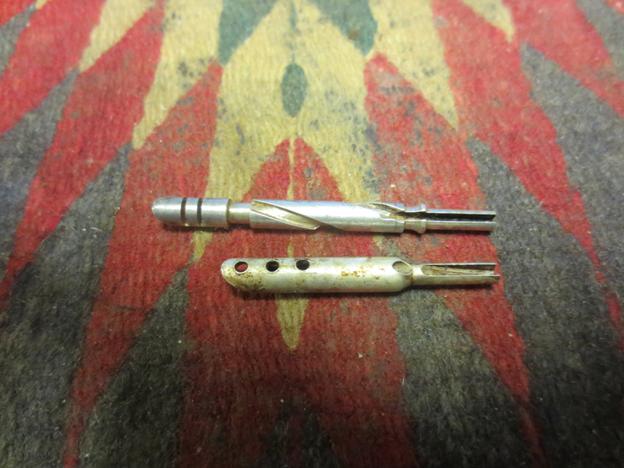
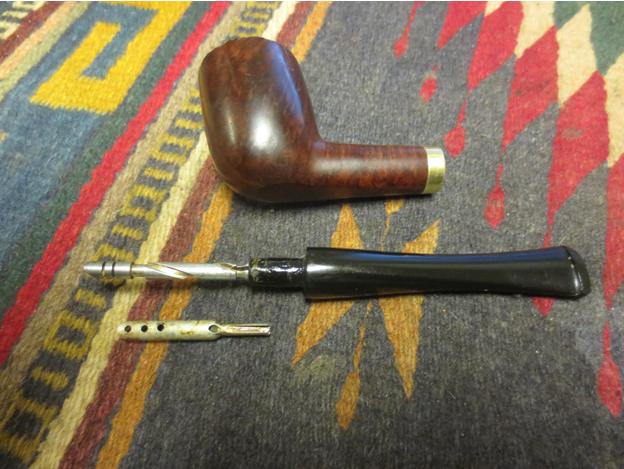
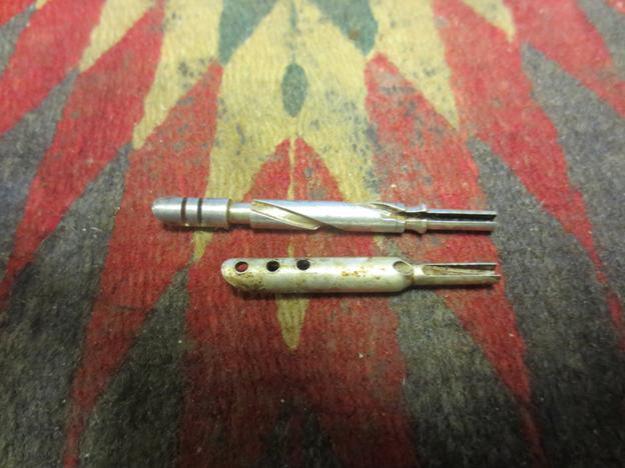
Broken11 The stinger was just over a half inch too short and I did not have a tube to extend it. I did have another stinger apparatus that was the right length. It fit perfectly in the tenon and extended the right distance into the shank. I am pretty sure it is another iteration of the LHS system but it is slightly different. I inserted it in the tenon and took the next photo. I put the stem in the shank and took a photo of the stinger end in the bowl.Broken12
Broken13

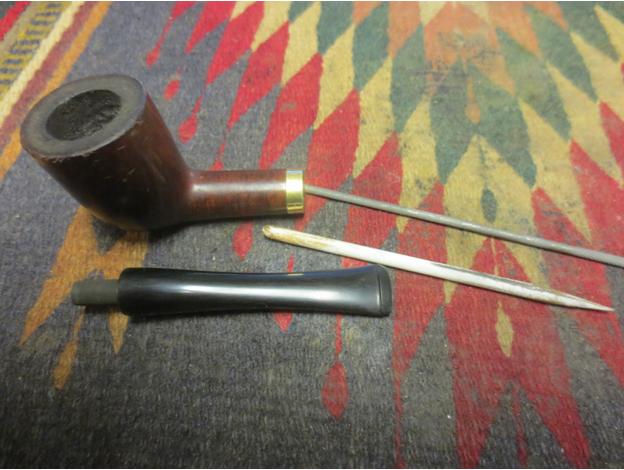
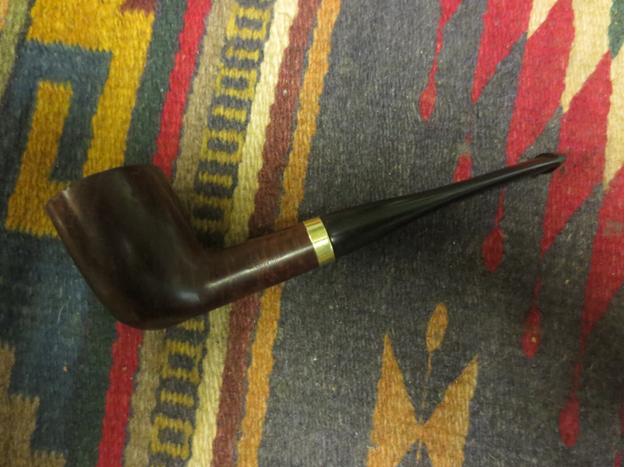
Broken14 I will send both stingers to Dave when I return the pipe. I did not ream or clean the bowl as Dave wanted to do the restoration work himself. I had a hard time not falling prey to the temptation to ream the bowl or clean up the pipe but somehow I succeeded. I kept myself to the task at hand. I went through my stem can and found a stem that would work well with the shank diameter. It has some scratches and will need a bit of fine tuning make the fit perfect but it is a good starting place.Broken15
Broken16

Broken17

Broken18

Bringing new life to an old corn cob


Blog by Steve Laug

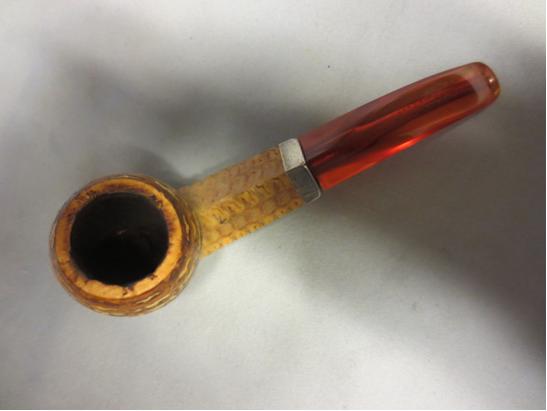
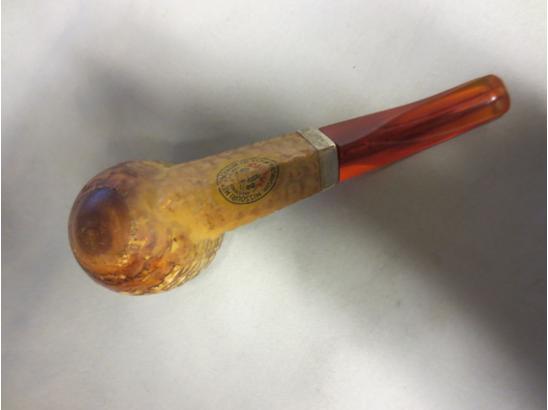
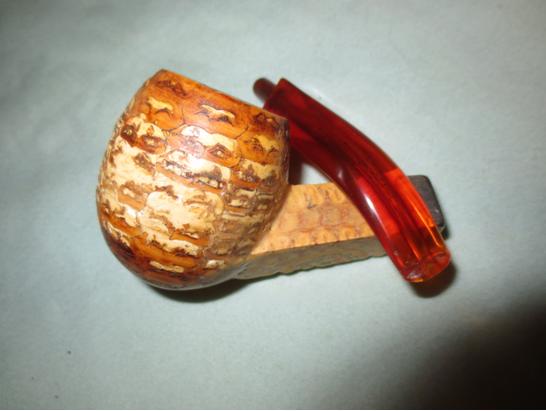
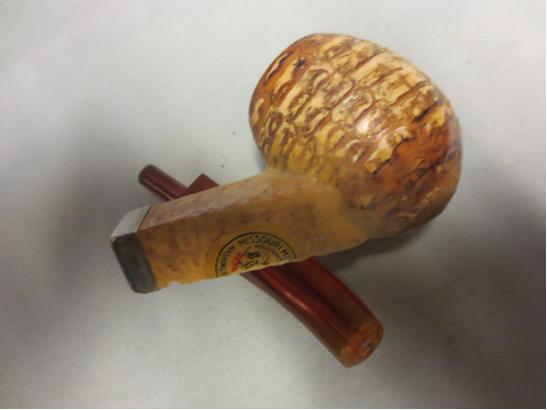
When I was in Idaho for the funeral of my mother in law my brother and I took the day after the funeral and went on a pipe hunt. He has been attending auctions and going to antique shops on his travels and he picked up some nice pipes that he passed on to me. I will be working on them for a few months. He also had visited several of the antique malls in Idaho Falls where we were. On that day we visited three of them. In one of them there were a few pipes that caught my fancy one of them was an old corn cob bent with a diamond shank. It was in rough shape in that the glue that usually seals the shank into the bowl was gone and it was pretty loose. The bowl was well smoked and had a cake that I would need to clean up. The rim was also blackened. The bowl has a hardwood plug in the bottom which adds to the durability of the pipe. One unique feature of this pipe was that the shank was made of cob. It had some dings and nicks on it. The bottom of the diamond shank bore the Missouri Meerschaum label. There was a brass band that protected the end of the shank. The stem was Redmanol or Bakelite – a nice rich red coloured plastic that had some tooth chatter but no deep tooth marks or cracks. The orifice button on the stem and the material it was made of made me pretty certain that this was an old timer – possibly from the 30s.

Typical of what happens when I find old pipes like this I can’t wait until I get home to start working on them. In this case I figured I wanted to stabilize the shank in the bowl so that it would not get damaged when I carried it home in my luggage. I bought some Elmer’s Wood Glue and used it to fill in the gap around the entrance of the shank to the bowl. I used it to also repair some of the nicks on the sides of the bowl and the shank. I gave it multiple coats to build it up so that shank bowl union was smooth and the dings and marks were also smooth. Of course being in a rush to work on it I forgot to take pictures of the pipe before or during the early stages of the repair. When I left for Vancouver the bowl and the shank transition were smooth and the nicks and dings were also smooth on the surface of the bowl. I need to sand them and feather them into the surface and take off some of the glue shine.Cob1

Cob2

Cob3 I lightly sanded the rim to remove the blackening and clean up that surface. I reamed the pipe with a PipNet reamer and took the cake back to a very thin coat. The bowl is still round so that will not take further work to fix it.Cob4
Cob5

Cob6

Cob7 I cleaned out the bowl and shank with cotton swabs, pipe cleaners and alcohol until they were clean. Due to the shank being cob I was careful how much alcohol I ran through it as I did not want to soften the shank any further by making it wet. I cleaned out the inside of the stem with pipe cleaners and alcohol again being careful to not damage the Redmanol material.Cob8 I sanded the stem with 220 grit sandpaper and then with a medium grit sanding sponge to remove the too chatter on the top and bottom sides of the stem.Cob9

Cob10

Cob11

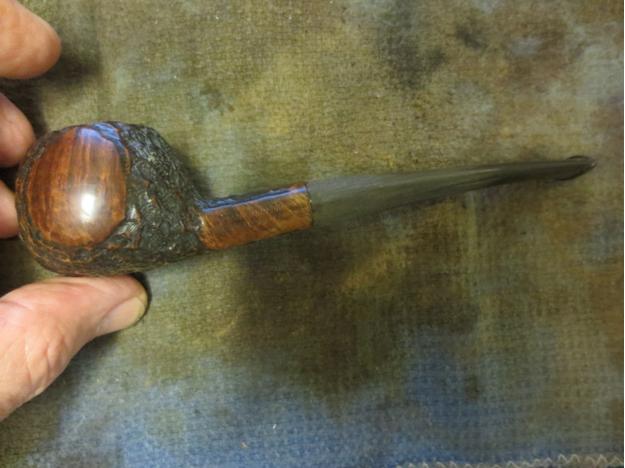
Cob12 I wet sanded the stem with 1500-2400 grit micromesh and rubbed it down with Obsidian Oil. I dry sanded it immediately with 3200-4000 grit pads so that the micromesh had some bite to it. The oil provided a surface that allowed the micromesh pads to polish the stem. I dry sanded further with 6000-12000 grit pads and then buffed it with Blue Diamond on the buffing wheel. I gave the stem several coats of carnauba wax and then buffed it with a clean flannel buff to give it a shine. I hand buffed it with a microfiber cloth to finish the polishing.Cob13
Cob14

Cob15 The finished pipe is shown in the photos below.Cob16

Cob17

Cob18

Cob19

Cob20

Cob21

Cob22

Medico’s Answer to the Falcon – The Double-Dri


This is one Medico I would like to add. I am on the lookout for things like this. Well done.
Charles Lemon's avatar

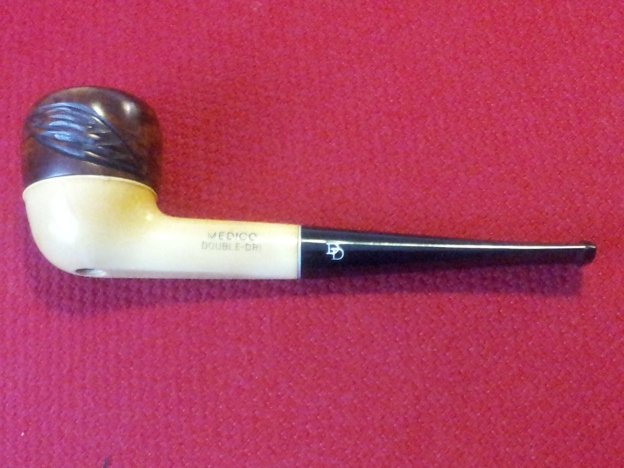
I pulled this Medico Double-Dri pipe out of my refurb box the other day. It had been rattling around in there for a while, and I decided it was time to do something about it.
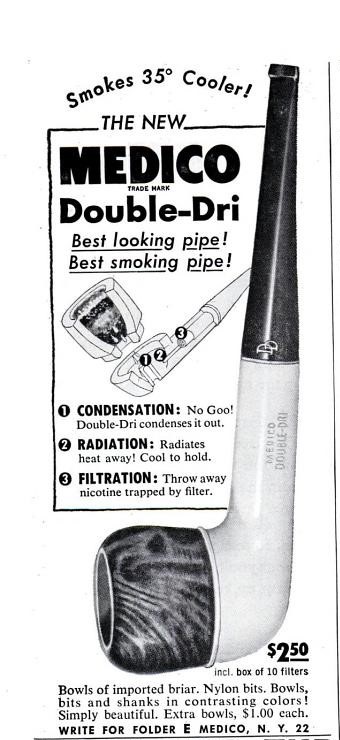
There are several well-known brands of pipes designed with removable and interchangeable bowls – the Falcon and Kirsten pipes jump to mind. The Double-Dri was Medico’s foray into the field, though where the Falcon pipe used aluminium for its shank, the Double-Dri used another 1950’s Space Age material, Nylon, for both shank and stem. Press-fit bowls were available in briar or the more expensive meerschaum. I couldn’t find much information online when I set about researching the Double-Dri pipes, though I did come across this Medico advertisement in the March 1955 edition of Popular Mechanics magazine.

Advert - March 1955 Popular Mechanics

This ad is clearly from the period before truth-in-advertising laws took effect. I wouldn’t bet the farm on the existence…

View original post 840 more words

A Quick DIY Pipe Display


Great idea Charles. I may have to adapt that to my collection… it sure is easier than the boxes and drawers I use now. Well done.

Charles Lemon's avatar

Hi everyone. Here’s a quick mid-week post to share a DIY solution to every piper’s perennial pipe storage shortage.

I made this 28-pipe storage/display rack in just a few hours. I was lucky enough to find a 24″ x 32″ piece of 5/8″ plywood in my garage, and a rummage through the fabric bin turned up a suitable remnant of black velvet fabric left over from another project. An old bath towel the Mrs had declared unfit for human use completed my scrounged materials.

I lay the velvet face down on my work table, then lay the towel on top of the velvet. The plywood was then laid on top of the towel. I trimmed excess fabric away, leaving just enough to wrap up over the edges of the plywood and about an inch more, where it was securely stapled to the back of the wood. This produced a nice…

View original post 269 more words