by Steve Laug
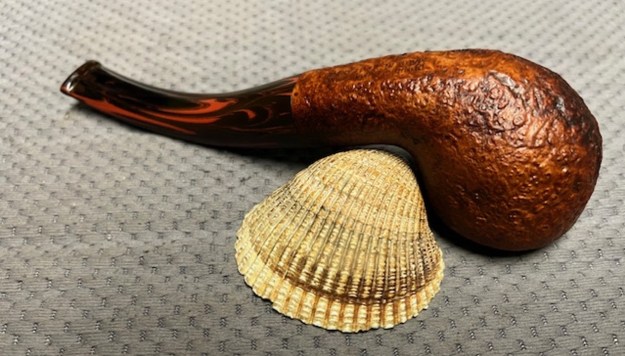
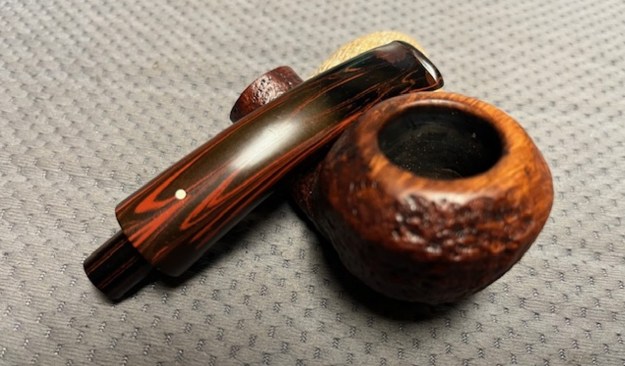
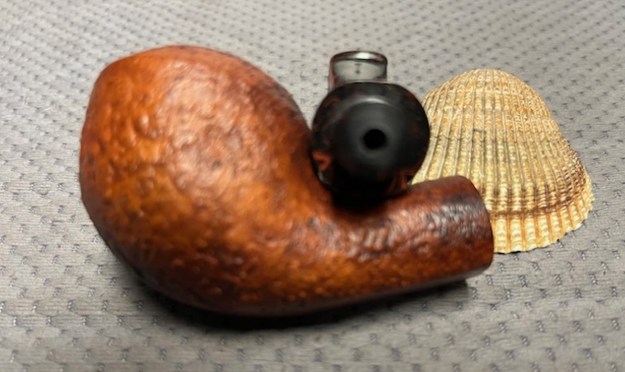
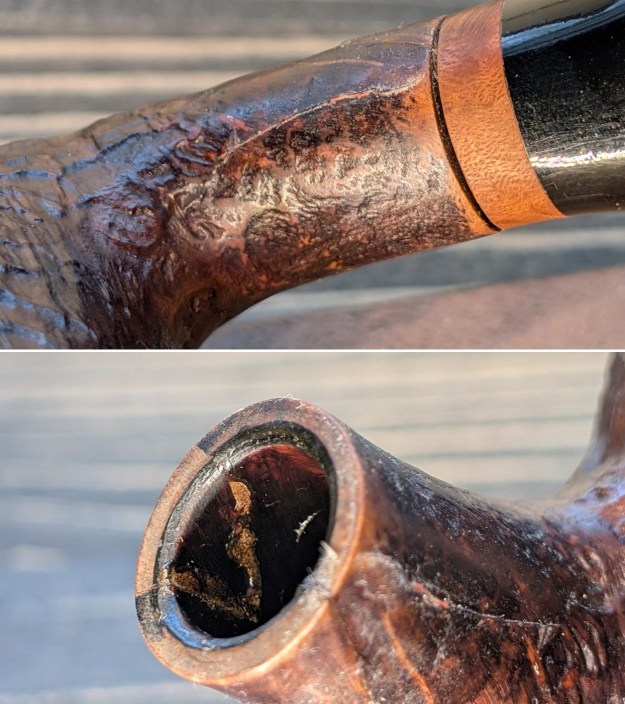
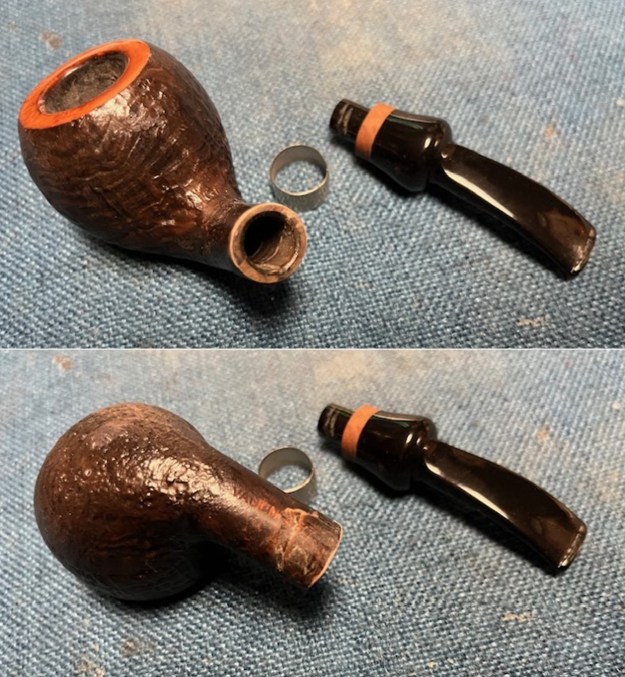
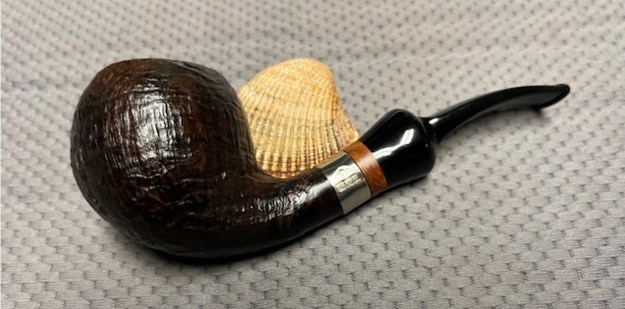
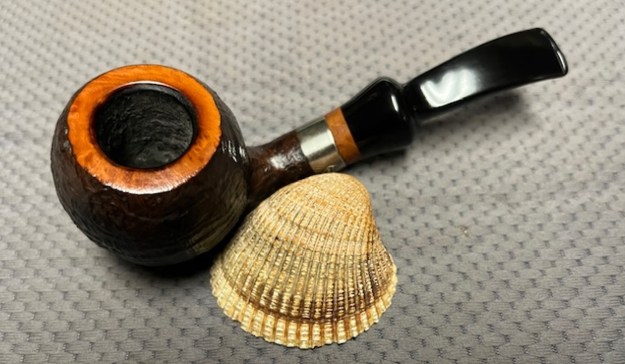
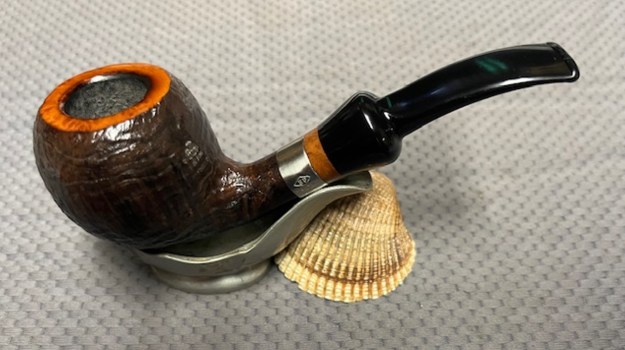
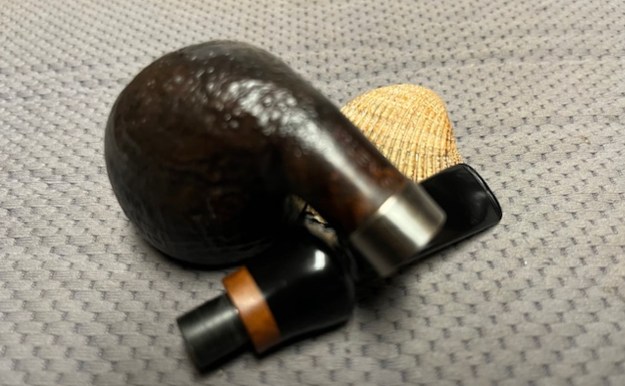
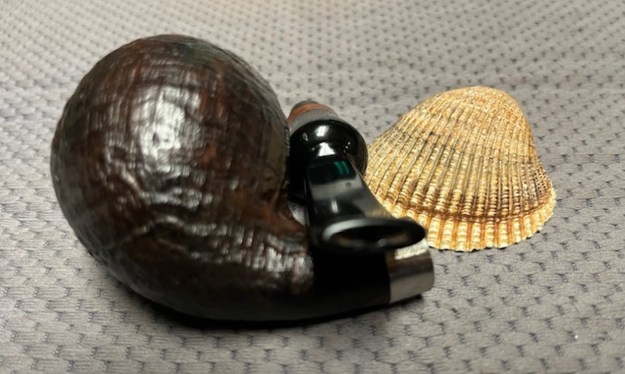
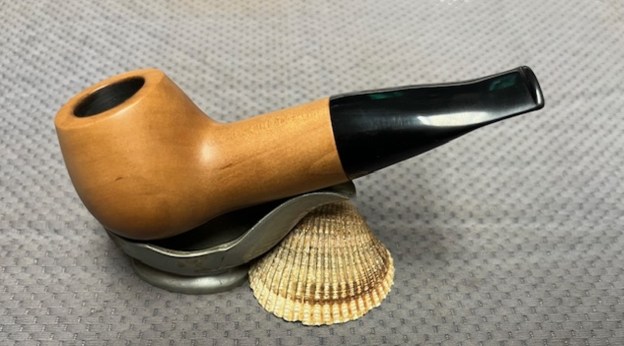
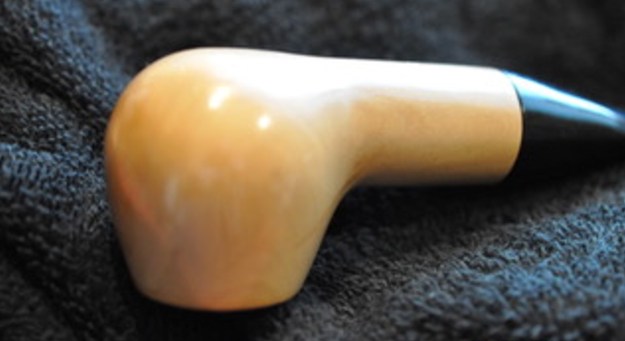
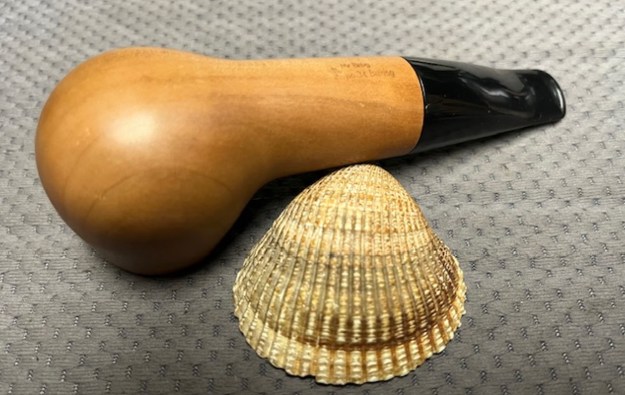
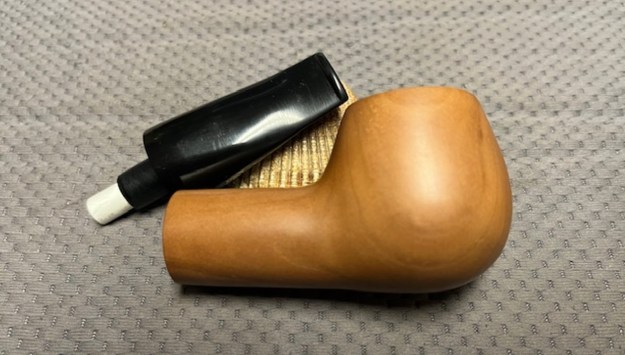
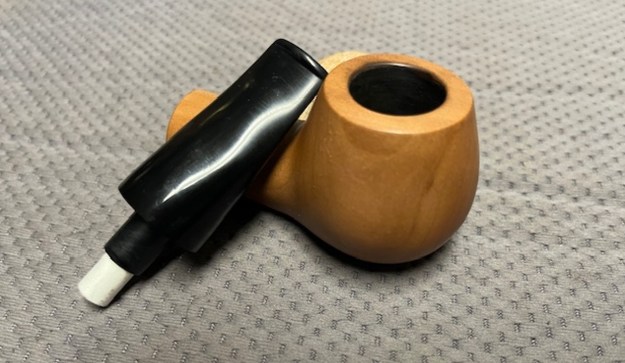
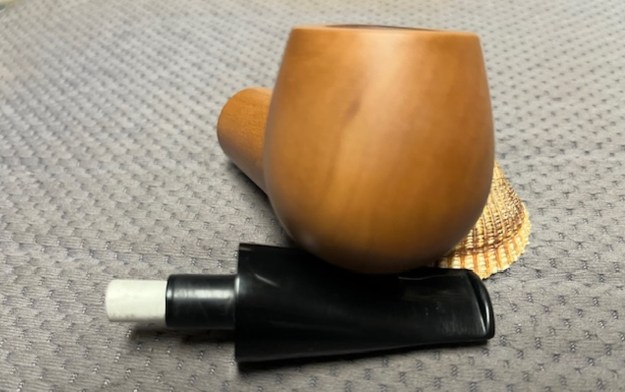
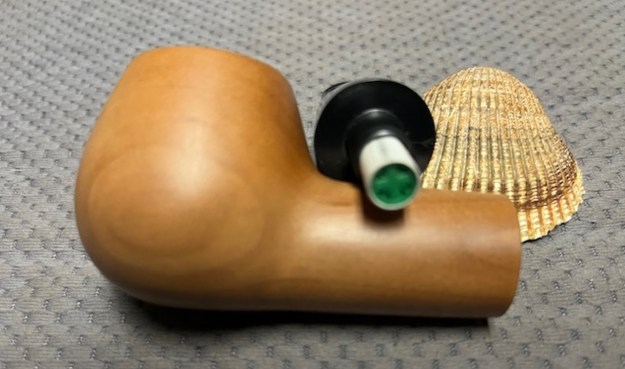
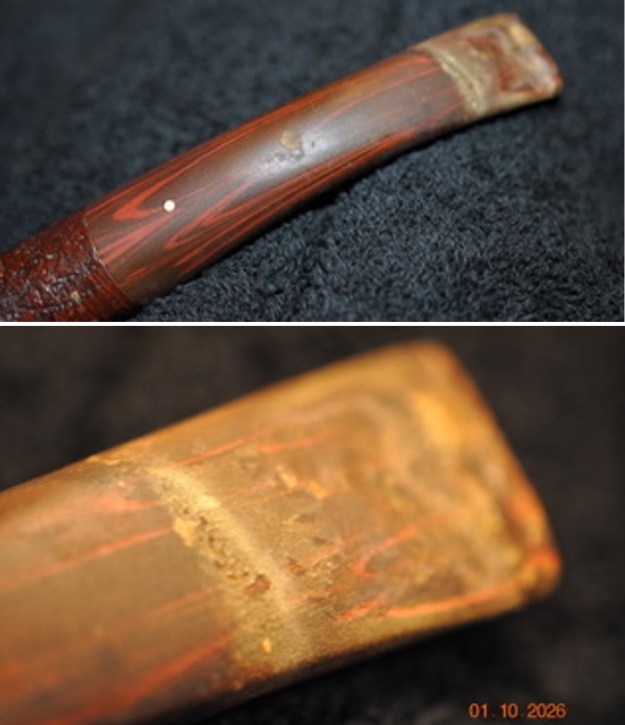
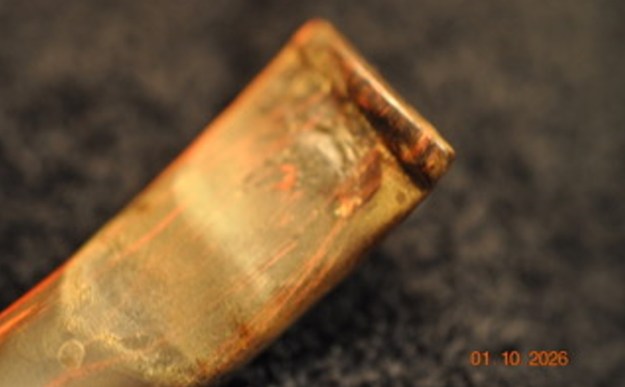
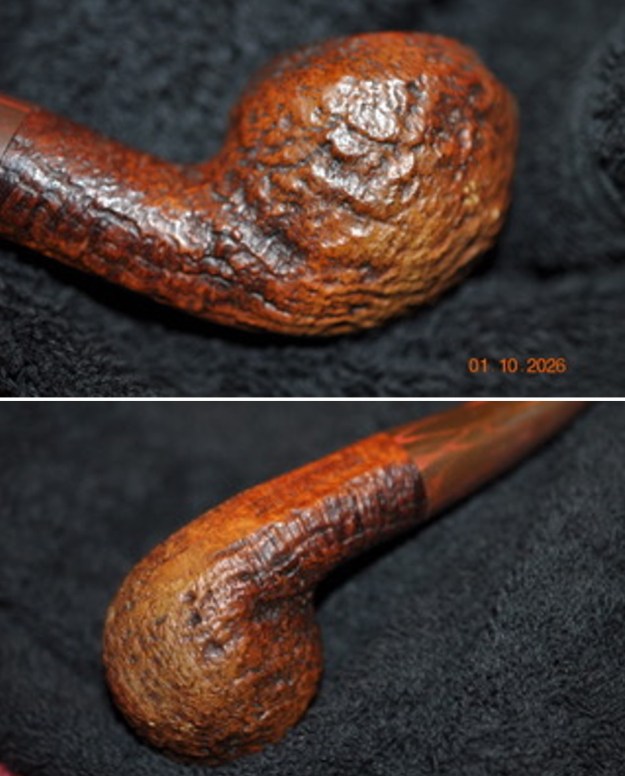
The next pipe on the table is one that we picked up in an estate we purchased from a seller in Durham, North Carolina, USA on 12/27/2025. The Sandblast finish and the Dunhill stamping caught our eye. It is stamped on the underside of the shank and reads 41083 on the heel of the bowl followed by Dunhill Cumberland [over] Made in England20. It has a classic Cumberland sandblast with a smooth rim top that is a stark contrast to Cumberland taper stem. The finish is a light sandblast and there is a lot of debris and dust in the nooks and crannies of the blast. The bowl appears to be moderately caked. The inner edge and the top show a lava overflow and darkening on the backside of the inner edge. The stem is oxidized, calcified and has deep tooth marks and chatter on the top and underside ahead of the button. Like the other pipes in this estate, the stem was chomped and spoke to the fact that it spent a lot time in the owner’s mouth. He loved this pipe and enjoyed it often. The classic white spot is on the left top side of the stem and looks to be in good condition. Jeff took some photos of the pipe to show the general condition of the pipe before he started his clean up.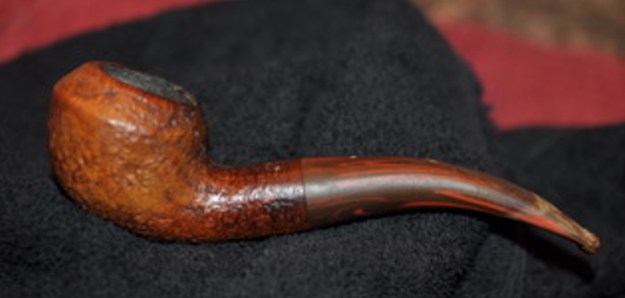
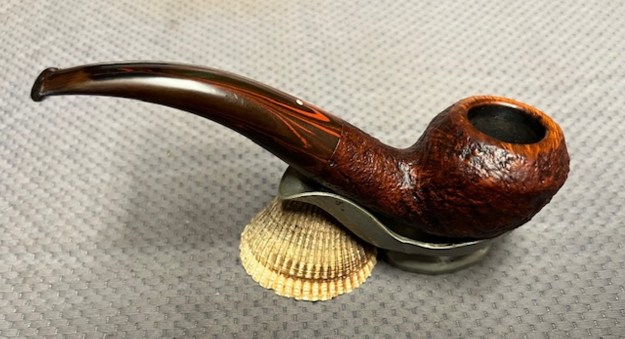
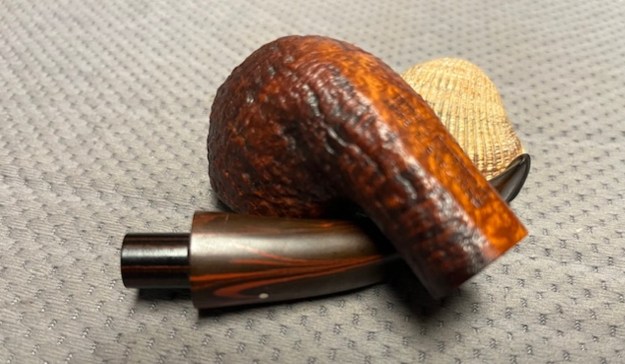
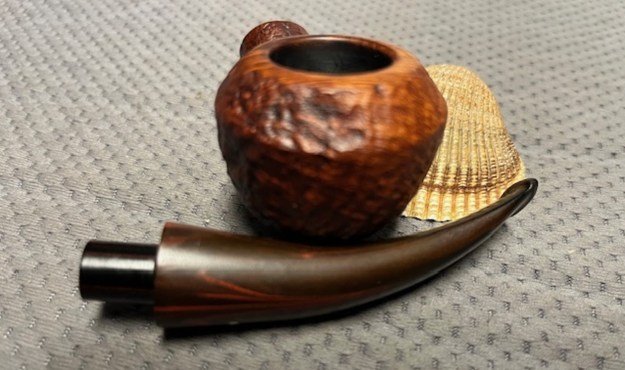
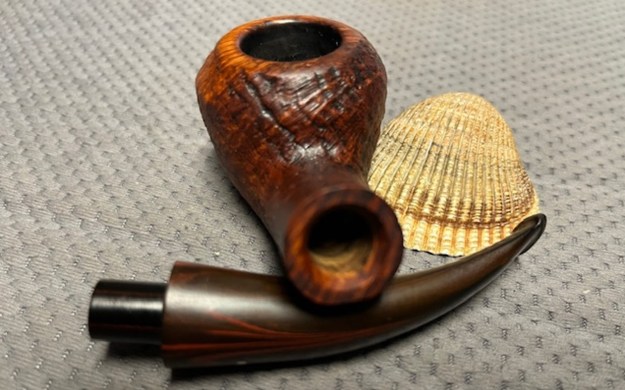
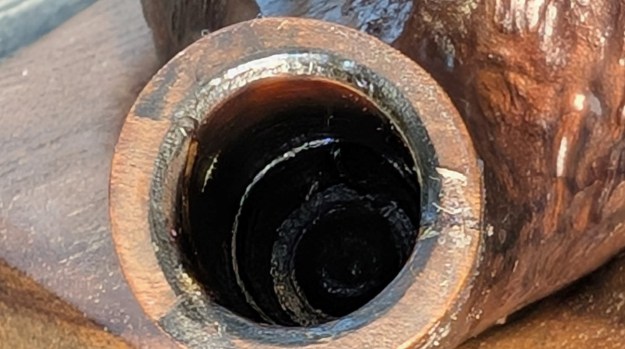
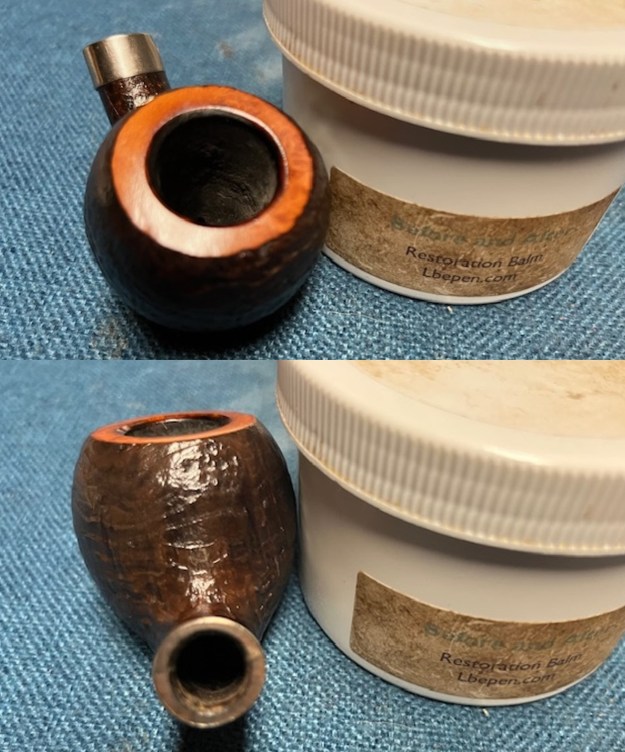
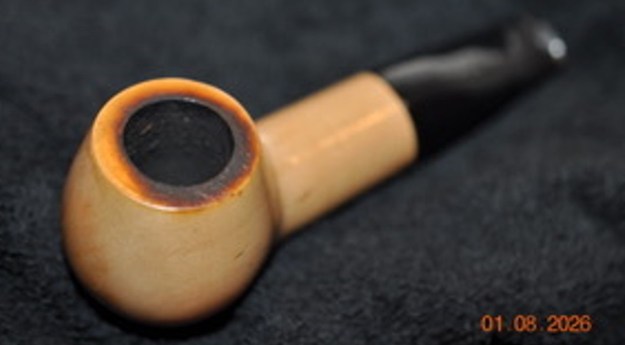
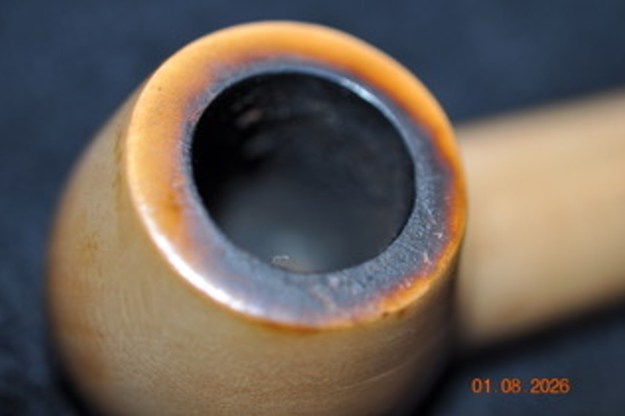
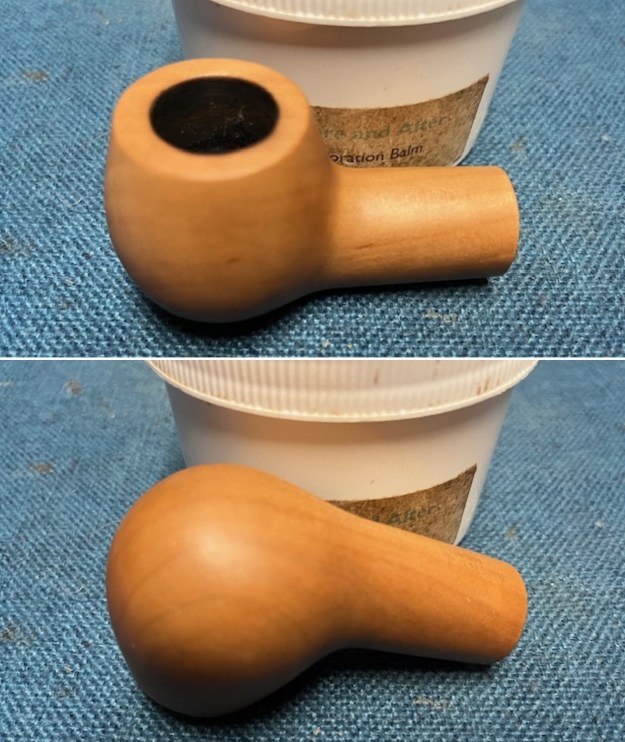
 He took some photos of the rim top and bowl from various angles to give me a clear picture of the condition of the rim top and bowl. You can see the lava on the rim top and edges as well as part of the cake in the bowl. He included photos that show the top and underside of the stem. It is as described above.
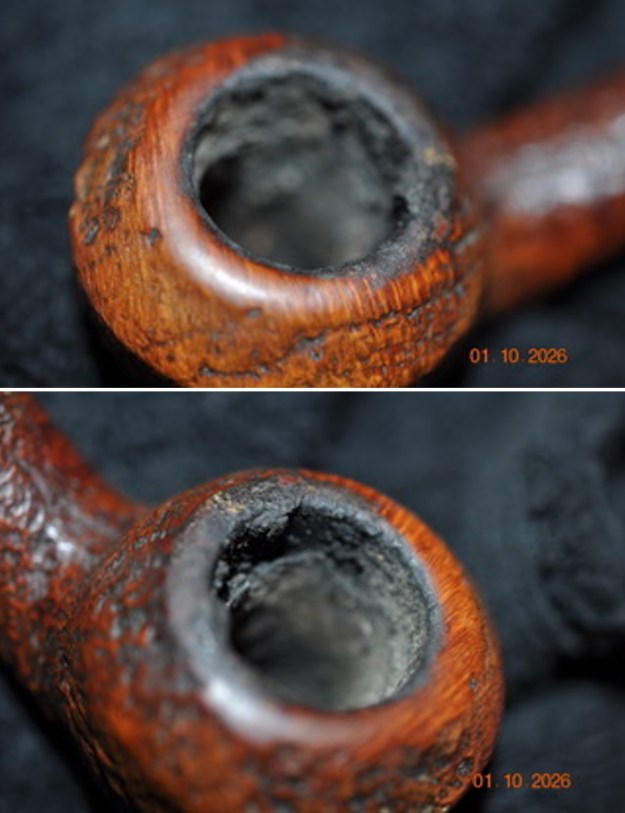
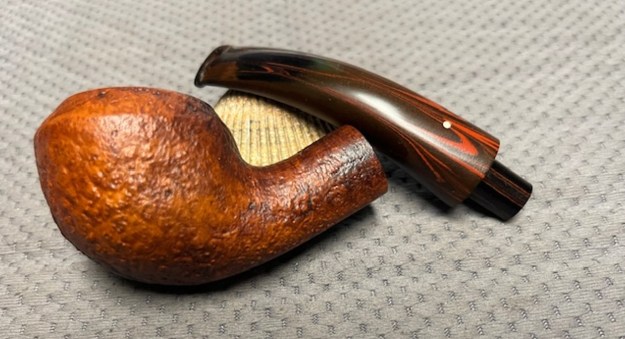
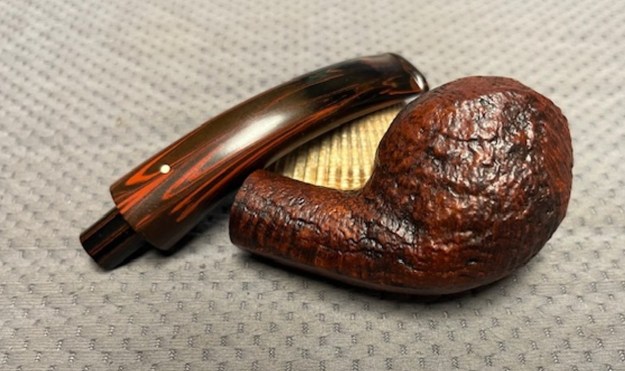
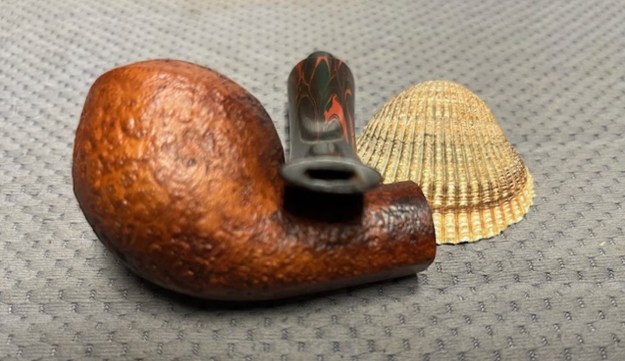
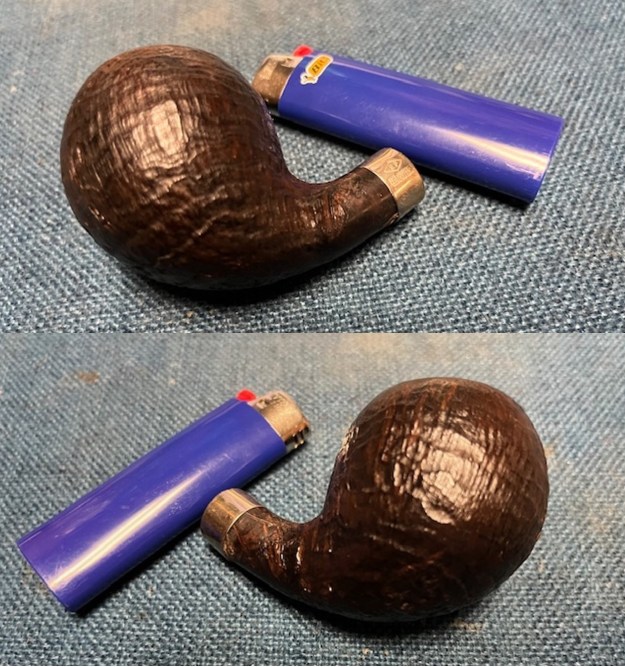
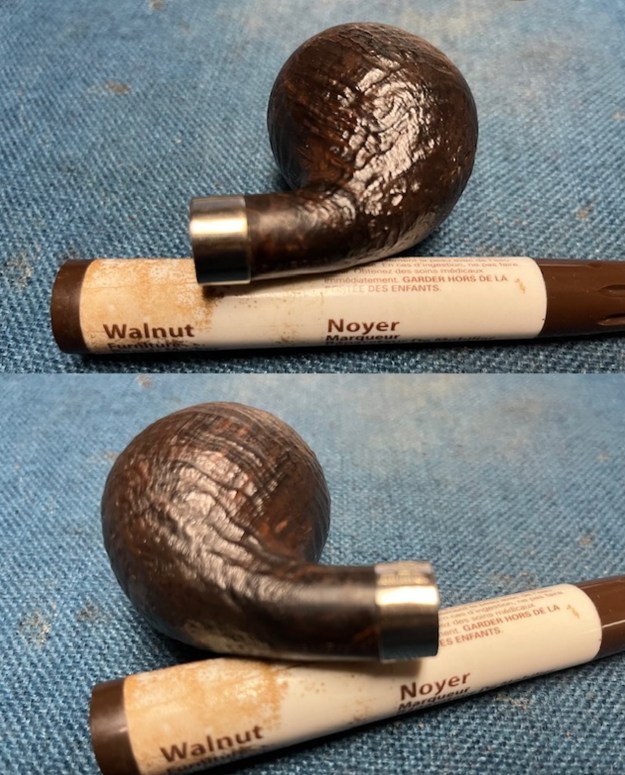
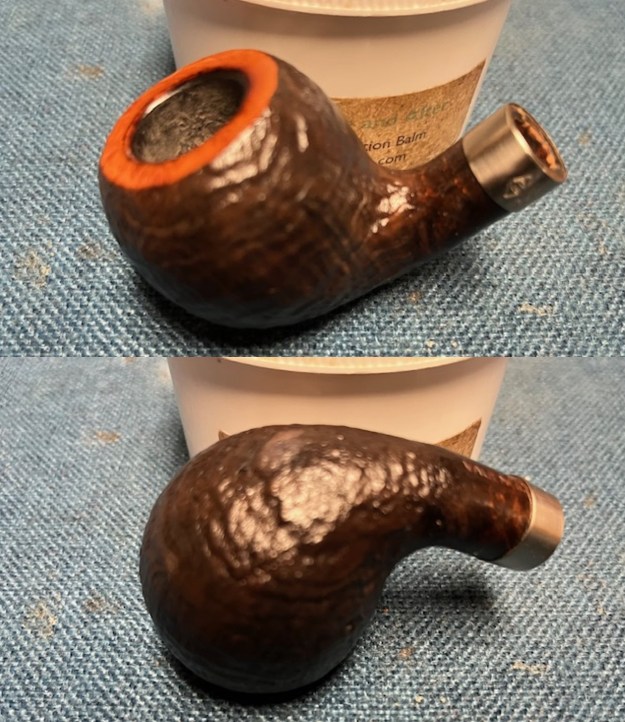
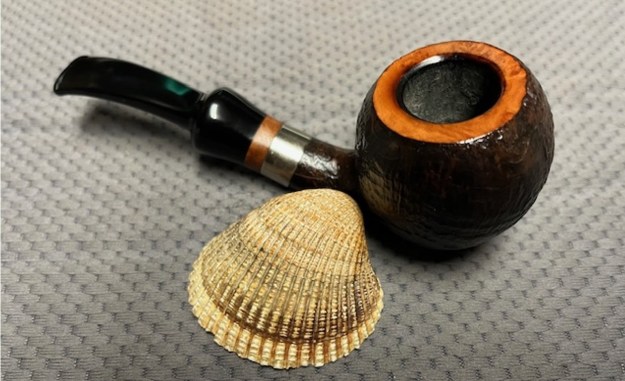
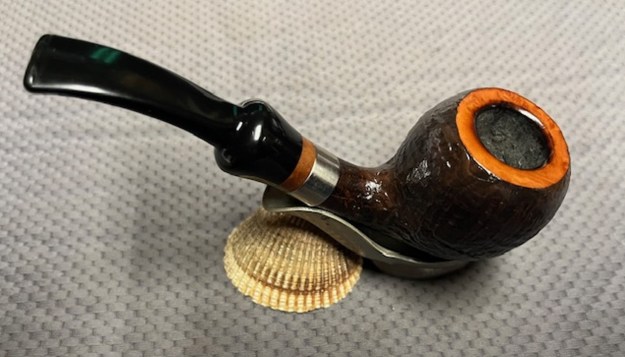
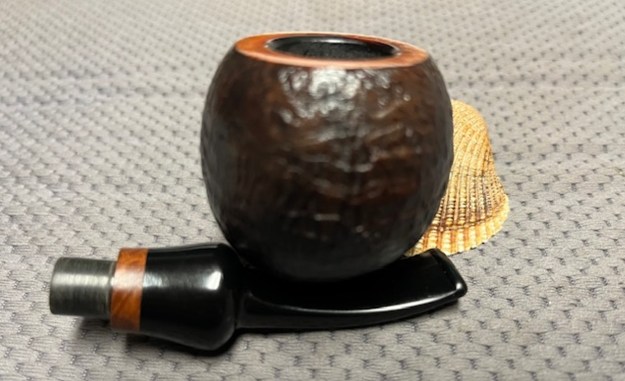
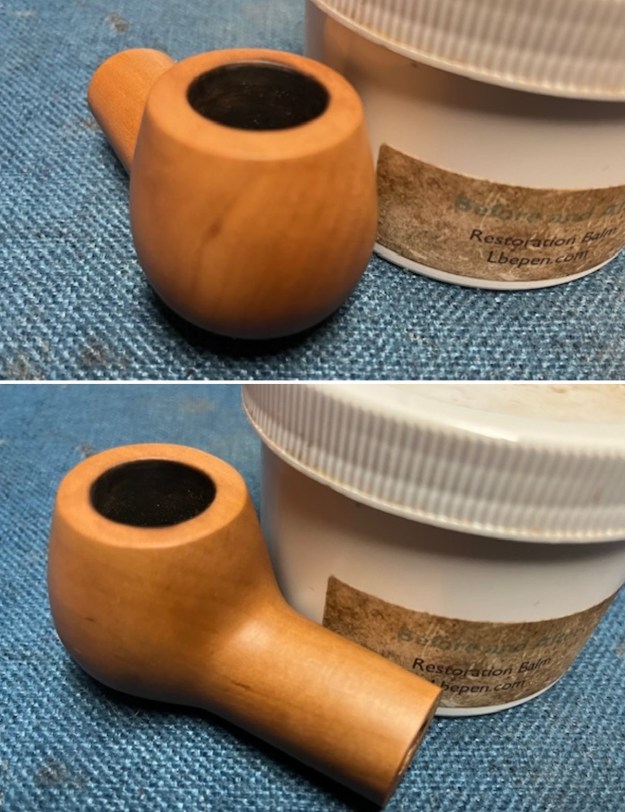
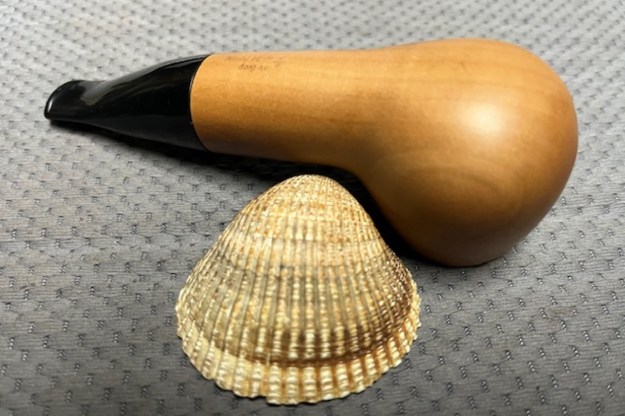
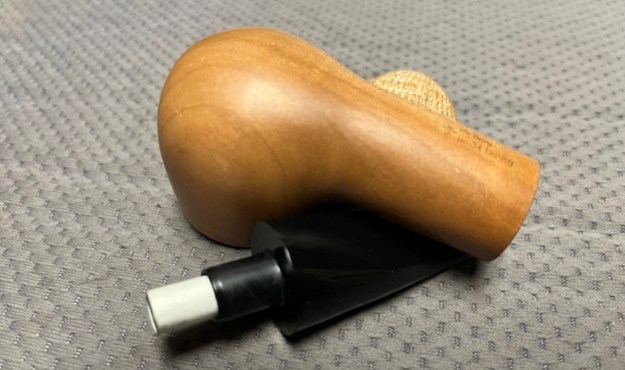
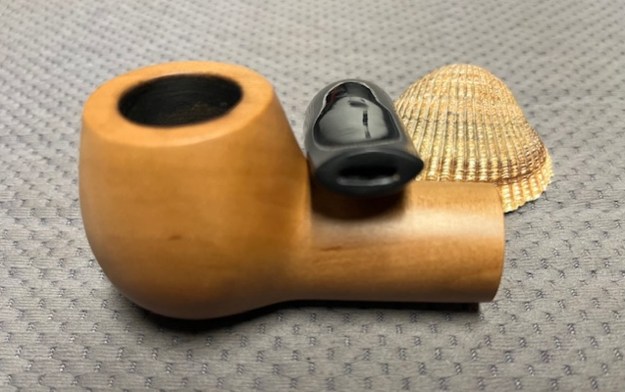
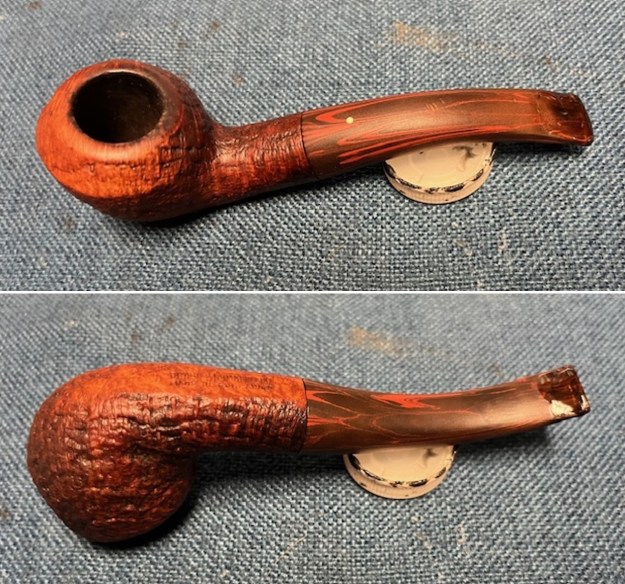
 Jeff took some photos of the sides and heel of the bowl to show the condition of the finish on the pipe. The photos showed some great grain through the sandblast around the bowl and shank. It is a great looking piece of briar.
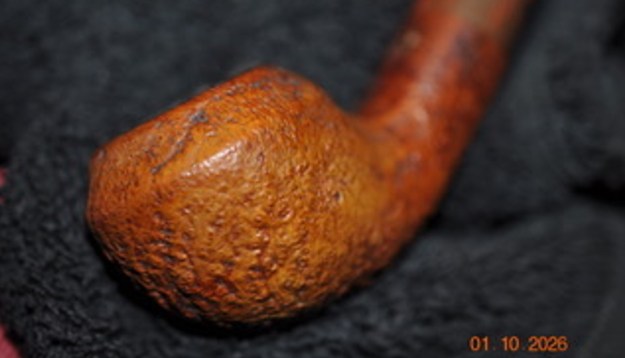
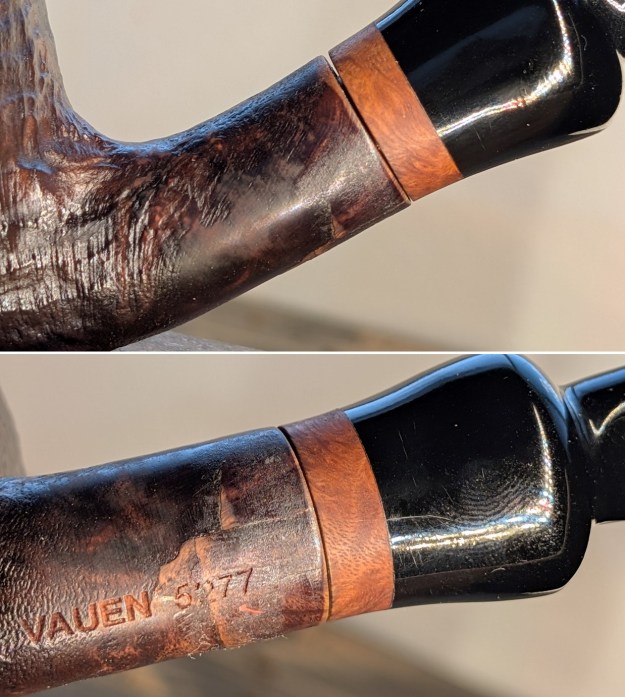
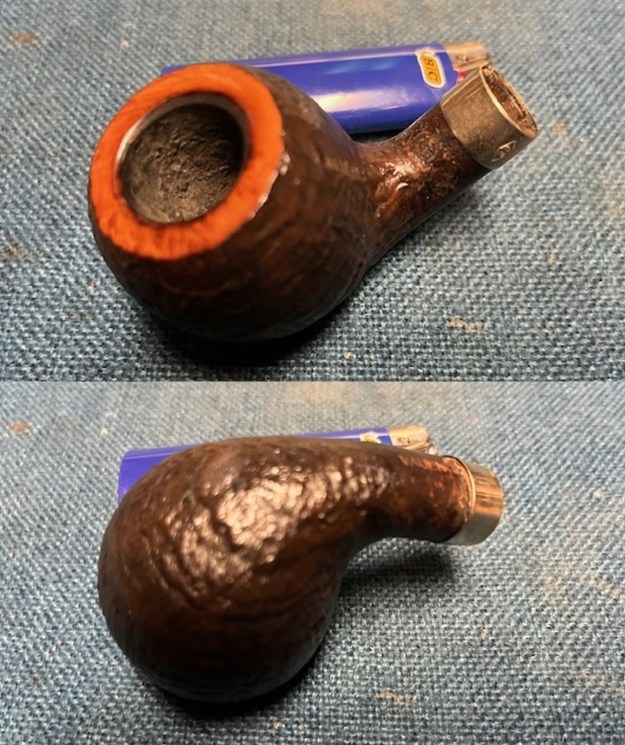
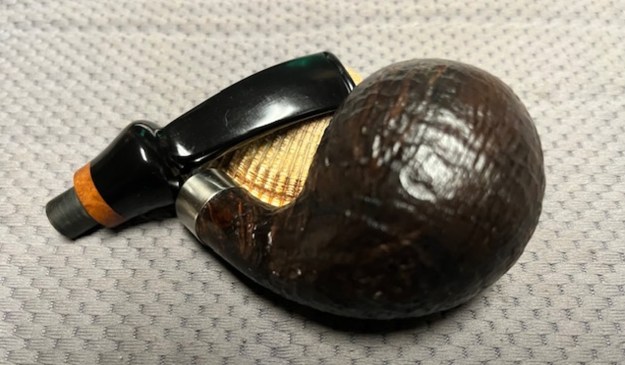
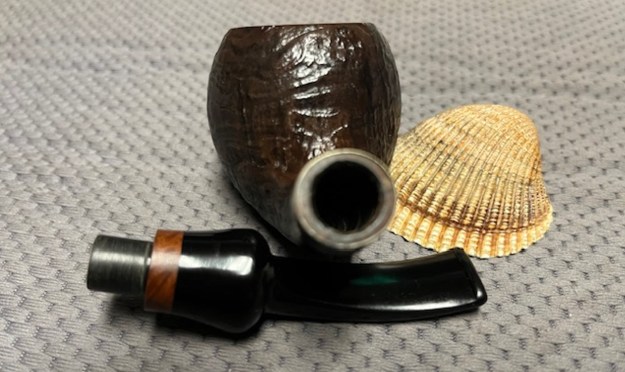
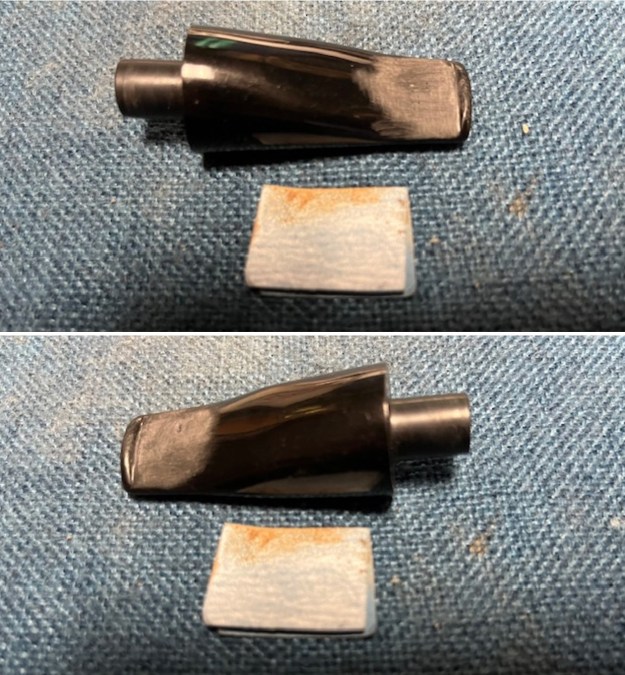
 He took some photos of the stamping on the underside of the bowl and shank. The stamping was clear and readable as noted above.
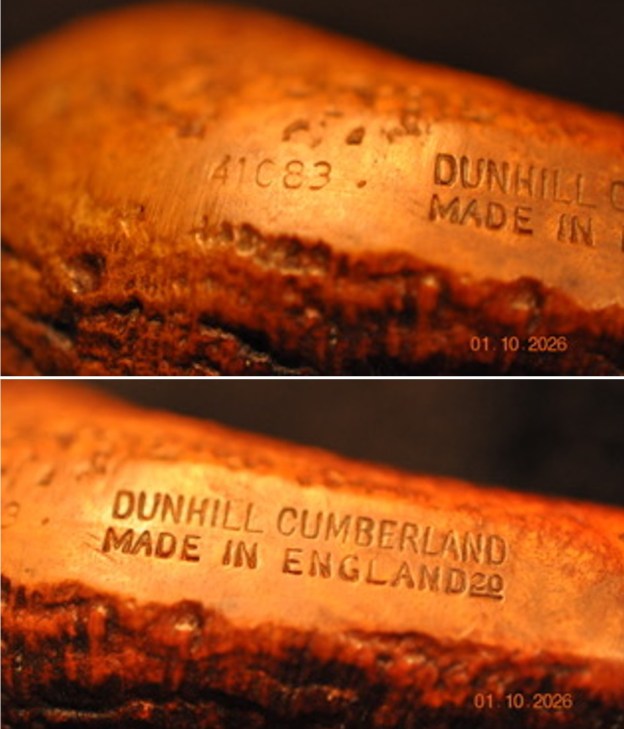 As is my regular practice, before I started my work on the pipe, I turned to Pipedia’s section on Dunhill Bruyere Pipes to get a refresh the information I know regarding the Dunhill finishes (https://pipedia.org/wiki/Dunhill#Cumberland). I quote:
Cumberland – Introduced in 1979. Cumberland is another sandblast with a brown stain and a brindle stem (the material is more commonly called ‘Cumberland’ these days, thanks to Dunhill’s influence and the success of the finish over the past quarter-century). Originally, the Cumberland always featured a smooth brown rim, but in the current production the rim is sometimes smooth, sometimes sandblasted. Occasionally, a straight grain blast is finished with a Cumberland stain and a “Shilling Grain,” similar to the “Ring Grain,” resulting in a new variation on the traditional sandblast. The Shilling series is named for the British coin: the sandblast looks like a stack of shillings. Named after the warehouse on Cumberland Road. The old pipes that inspired this finish were found there. 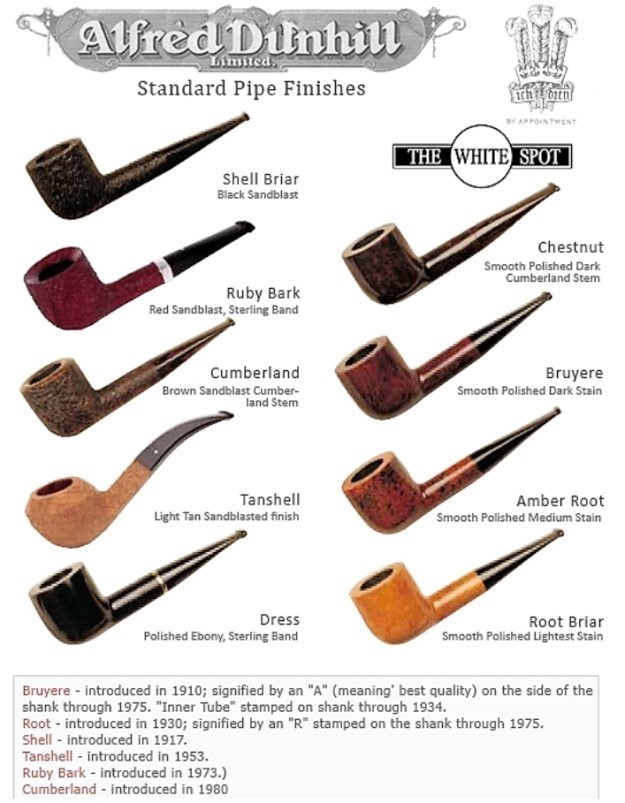 I turned to Pipephil’s dating guide to show how I arrived at the date of manufacture for this pipe (http://www.pipephil.eu/logos/en/dunhill/cledat-en1a.html). I am including the chart that is provided there for the dating a pipe. I have drawn a red box around the section. Since the pipe I am working on has a superscript suffix 20 after the D in England it points to the 1960 line on the chart below. To date it just add 1960 +20 for a date of 1980. I have drawn a red box around the pertinent section in the chart.
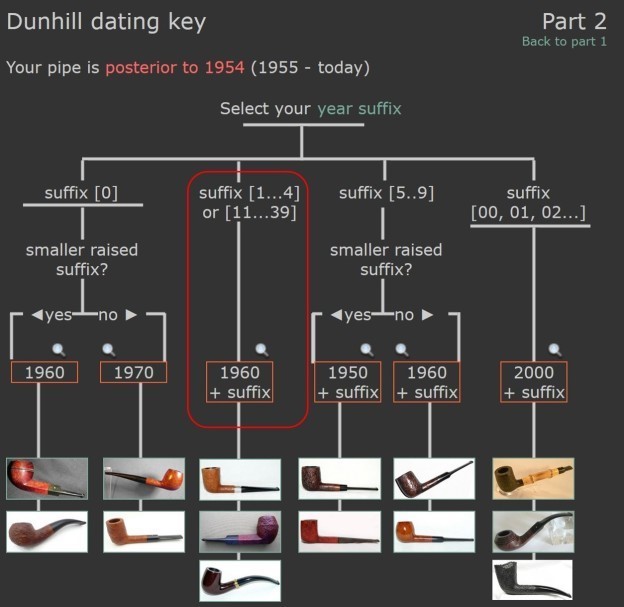 I now knew that I was working on a Cumberland that came out in 1980. The shape of the pipe is called a Ssandblast Bent Rhodesian with a 41083 Shape number on the heel of the bowl/shank.
I turned to Pipephil’s shape list (http://www.pipephil.eu/logos/en/dunhill/shapes.html). At the bottom of the list of shapes (with the 04 being a Billiard) is a key for interpreting the digits in the stamp I have included that below.
Dunhill pipes are stamped with a four digit code.
Digit 1: (from 1 to 6) denotes the size of the pipe (the group).
Digit 2: denotes the style of the mouthpiece (0,1=tapered, 2=saddle)
Digit 3 and 4: denote the generic pipe shape (in yellow in the chart on link above)
Example: 5102
(5 = size | 1 = tapered stem | 02 = Bent)
When 5 digits occur, the meaning of the 4 first remain the same
The 41083 was thus a Group 4 size, with a taper Cumberland mouthpiece, and in an 83 or Bent Bulldog (Rhodesian) shape.
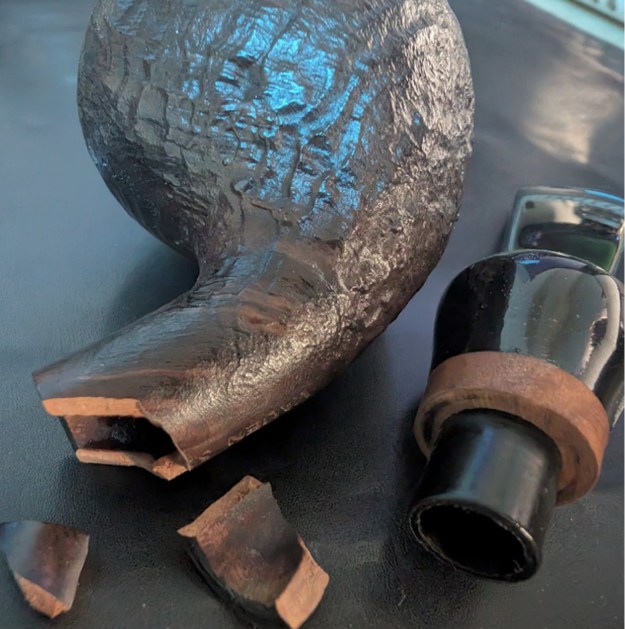
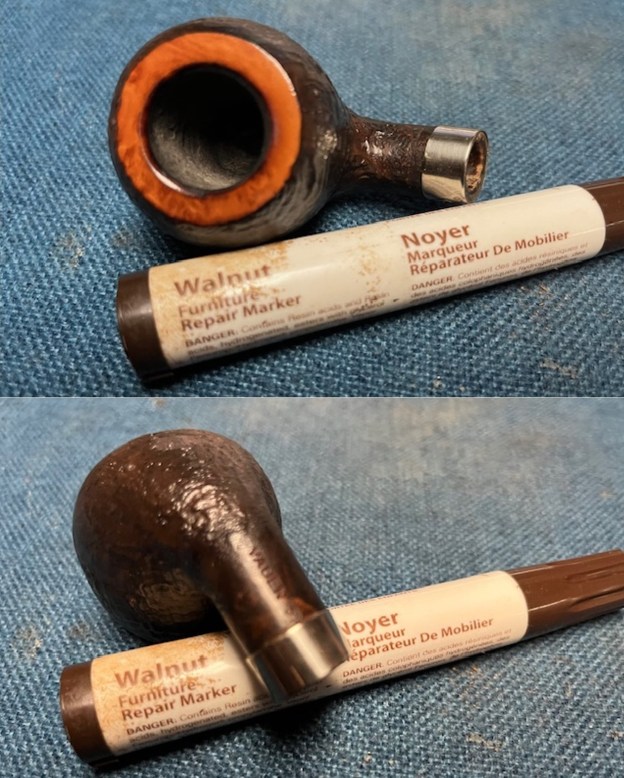
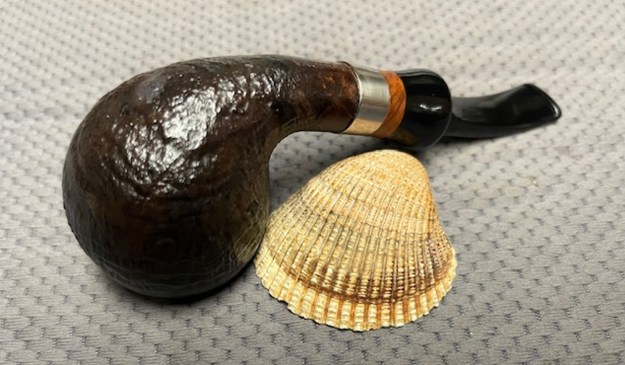
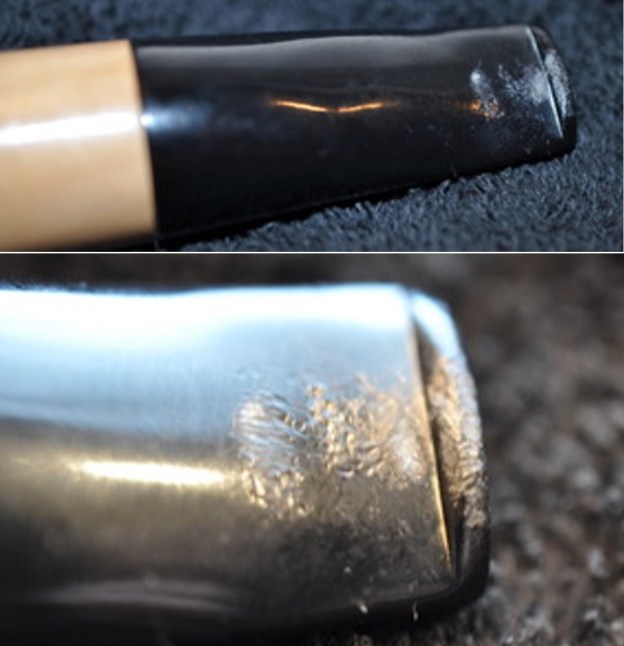
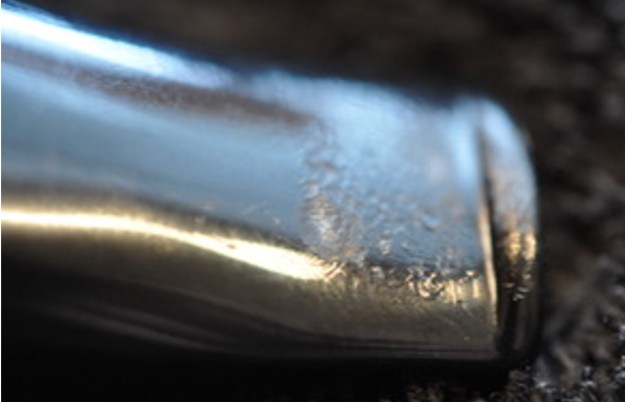
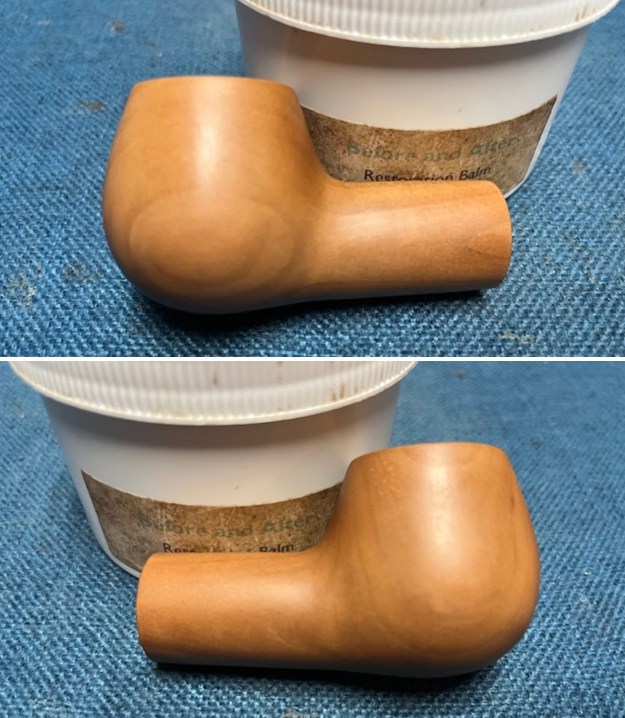
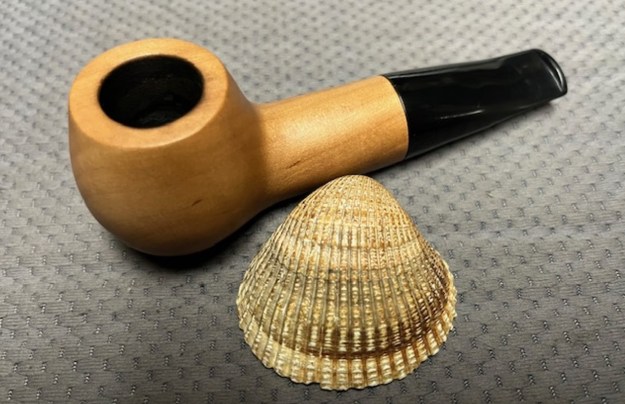
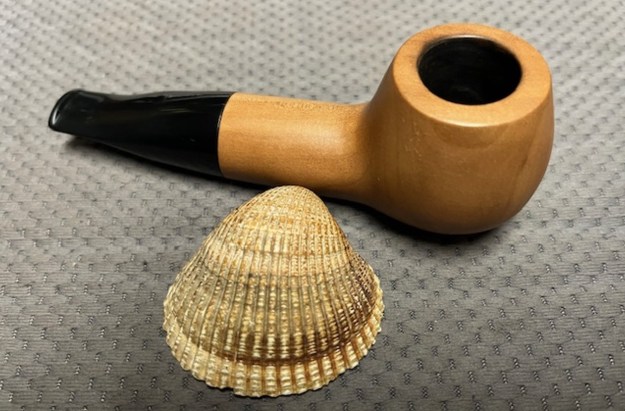
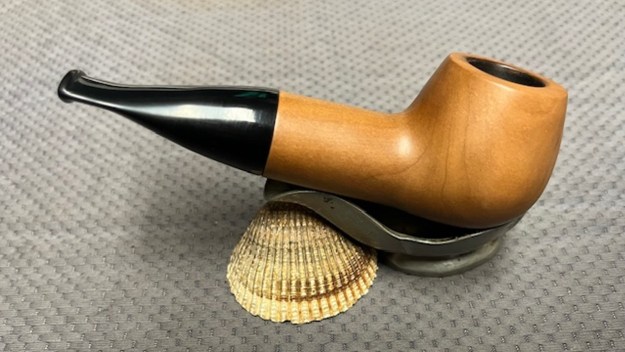
Armed with that information I turned to work on the pipe itself. Jeff had done a great job cleaning up the pipe as usual. He cleaned up the inside of the bowl with a PipNet reamer and a Savinelli Fitsall Pipe Knife. The rim top shows some damage on the top and the inner edge of the bowl. The bowl walls looked very good. He scrubbed the interior of the bowl and shank with pipe cleaners, cotton swabs and alcohol to remove the tars and oils. He scrubbed the exterior of the pipe with Murphy’s Oil Soap and a tooth brush to remove the grime from the finish. He worked on the rim top lava and darkening with the soap and tooth brush. He scrubbed the inside of the stem with alcohol and pipe cleaners. He scrubbed the exterior with Soft Scrub and then soaked it in Briarville’s Pipe Stem Deoxidizer. He washed it off with warm water to remove the deoxidizer. Now the damage to the stem was very clear. Overall, the pipe looked far better. I took photos of the pipe when I received it before I started working on it.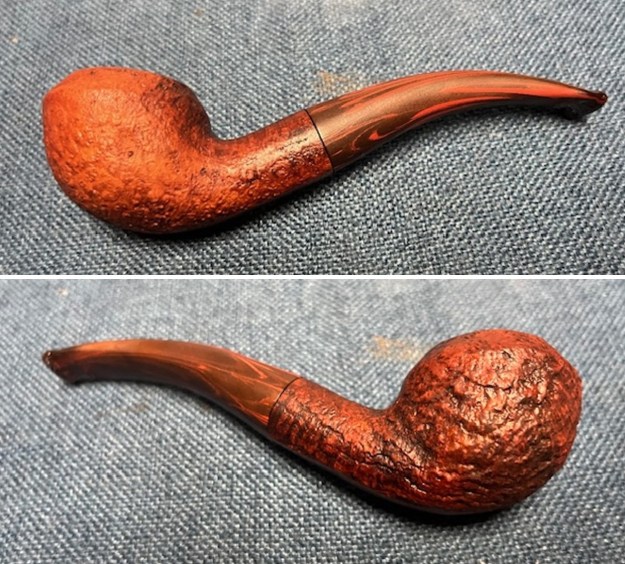
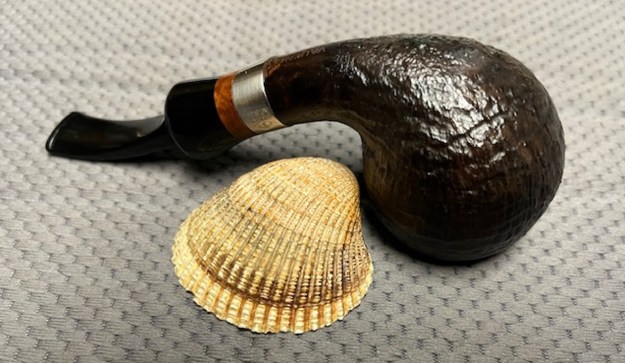
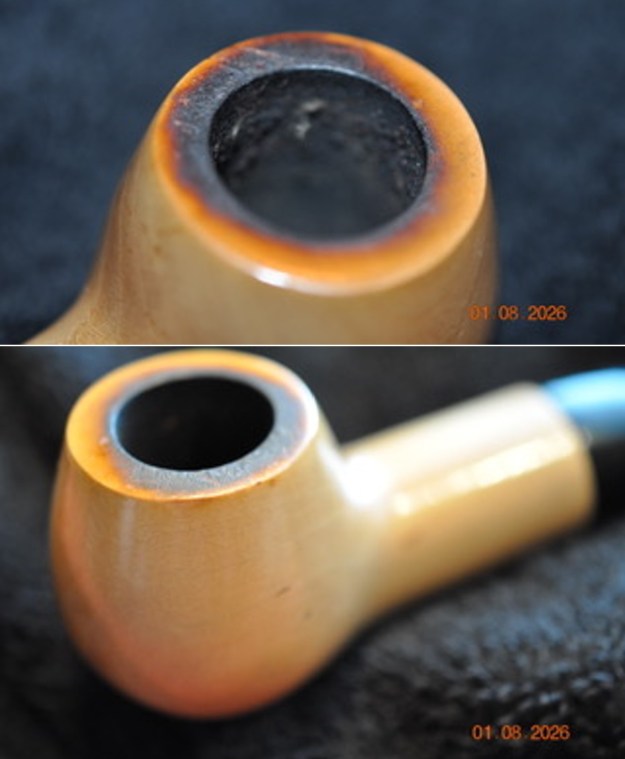
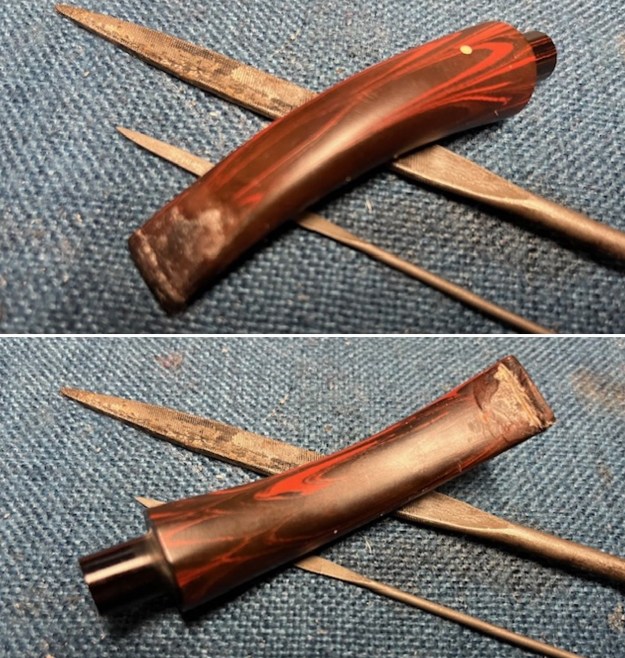
 I took close up photos of the bowl, rim top and stem to show how clean the pipe was. The bowl was clean and the damage to the rim top and the inner edge is very visible in the photo below. The stem was clean and the light tooth marks and chatter can be seen in the photos. You can also see the light oxidation.
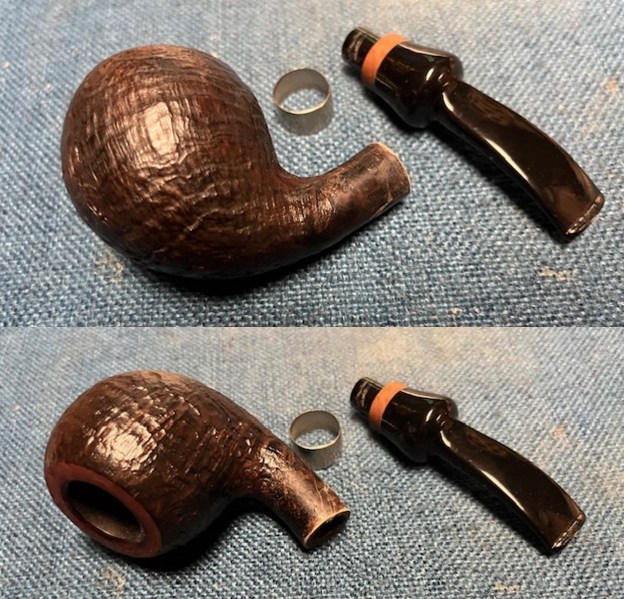
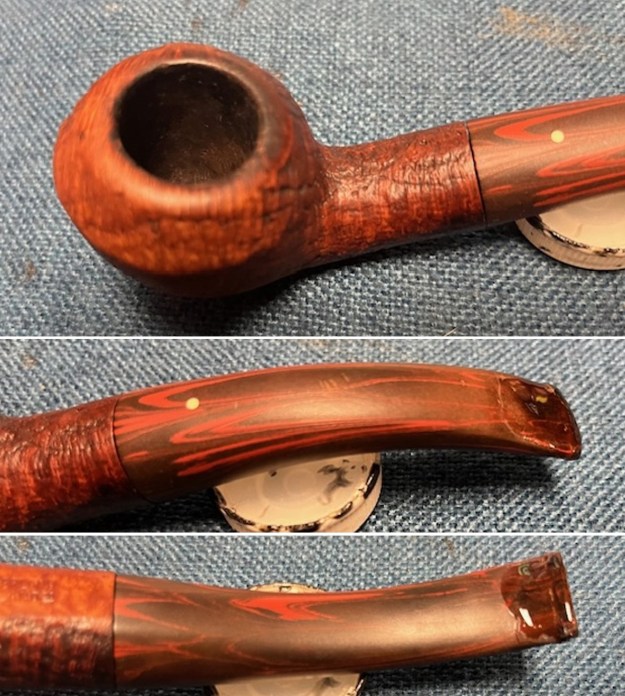 I took a photo of the stamping on the underside of the shank. It is very clear and readable and read as noted above. I also removed the stem from the shank and took photos of the pipe to show the look of the parts.
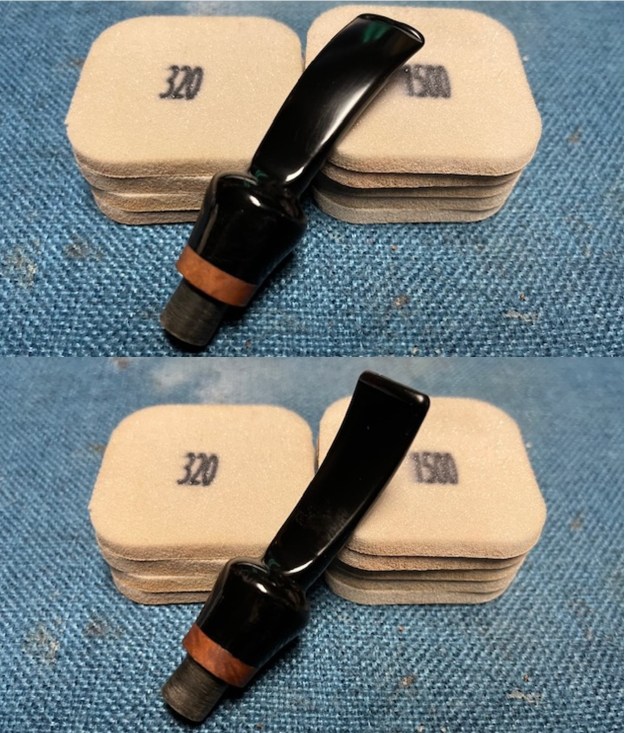
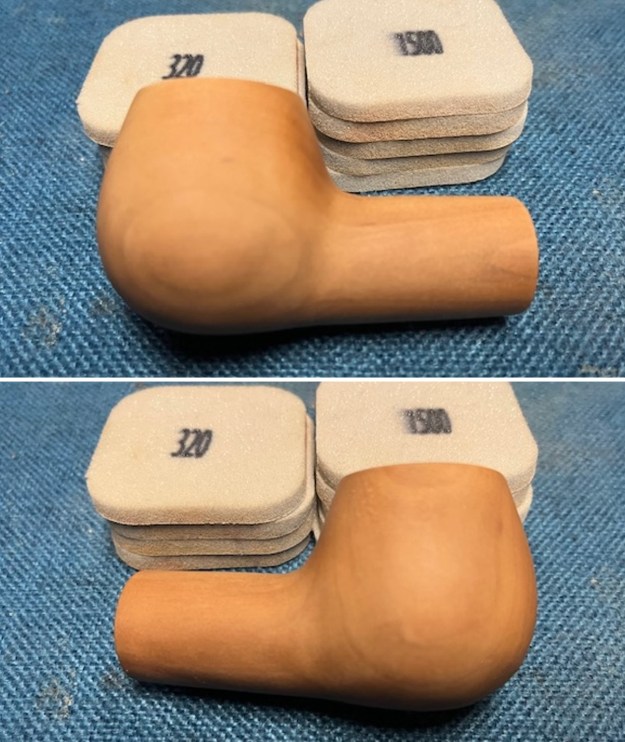
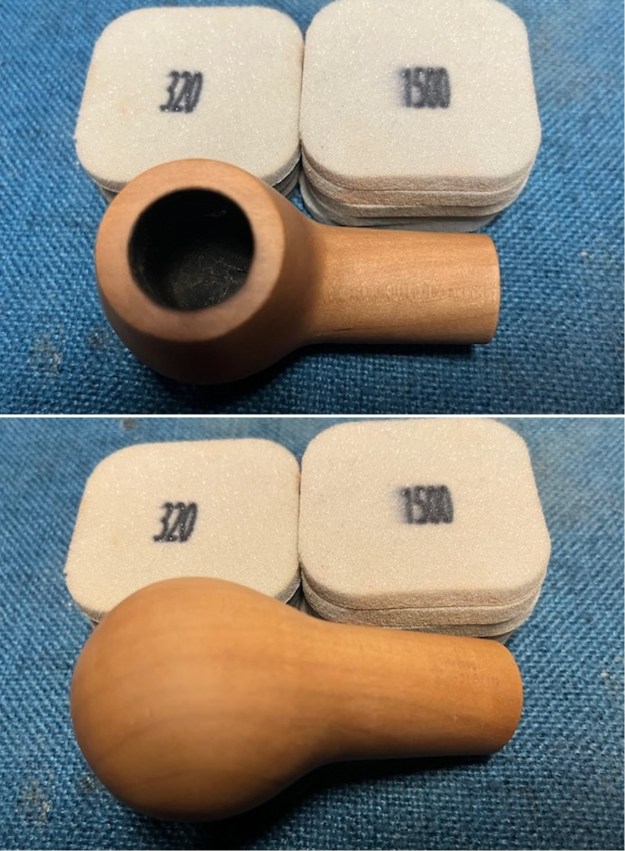
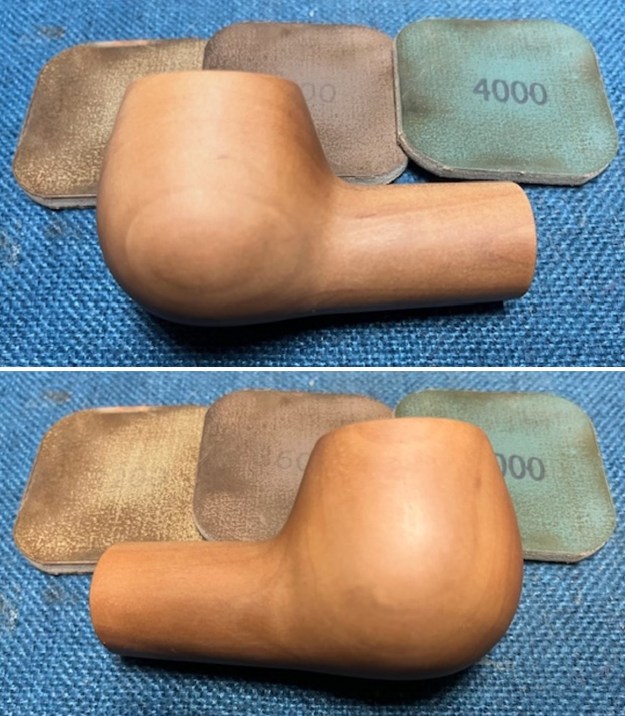
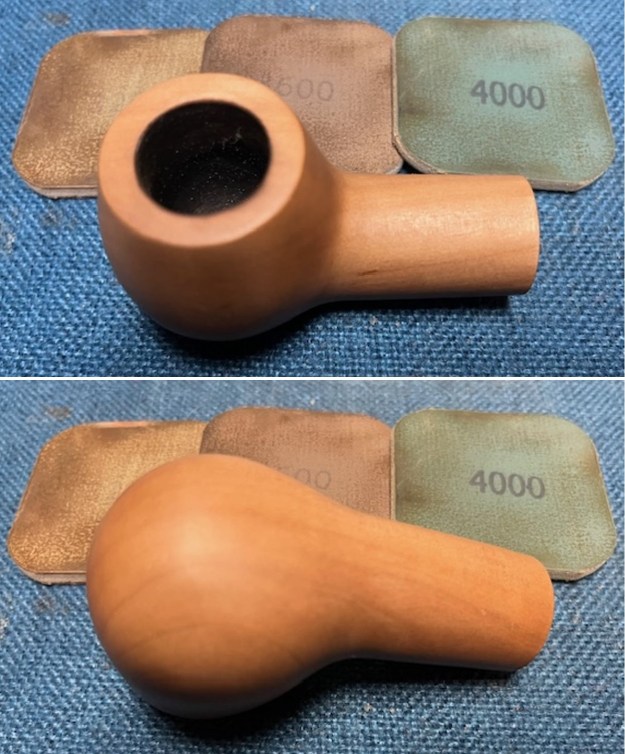
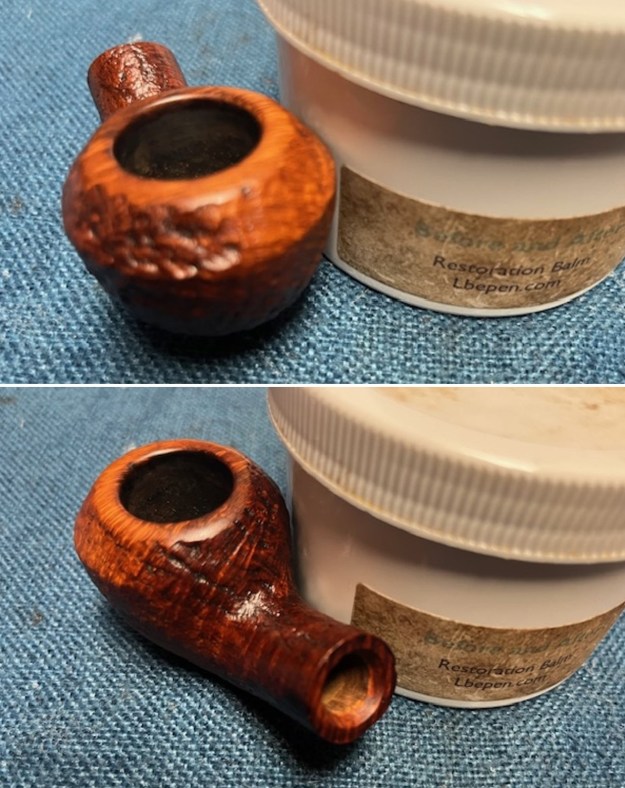
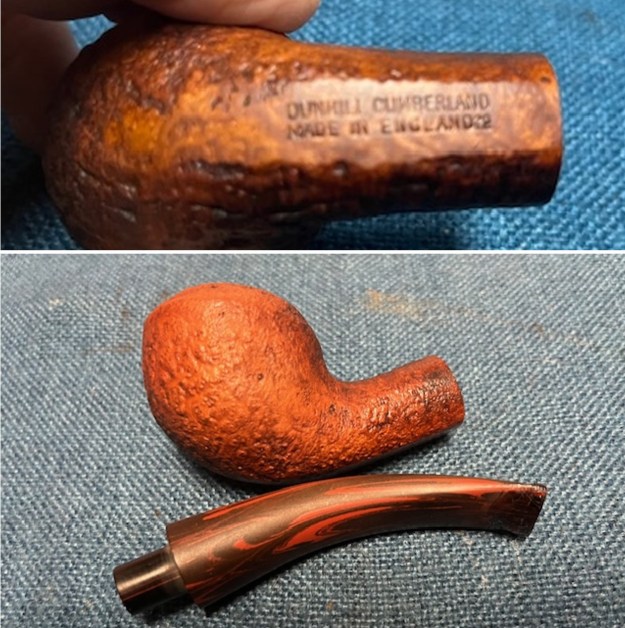 I started my work on the pipe by addressing the damage to the rim top. I used 320-3500 grit 2×2 inch sanding pads to smooth out the damage on the rim top and the inner edge. It looked much better once finished.
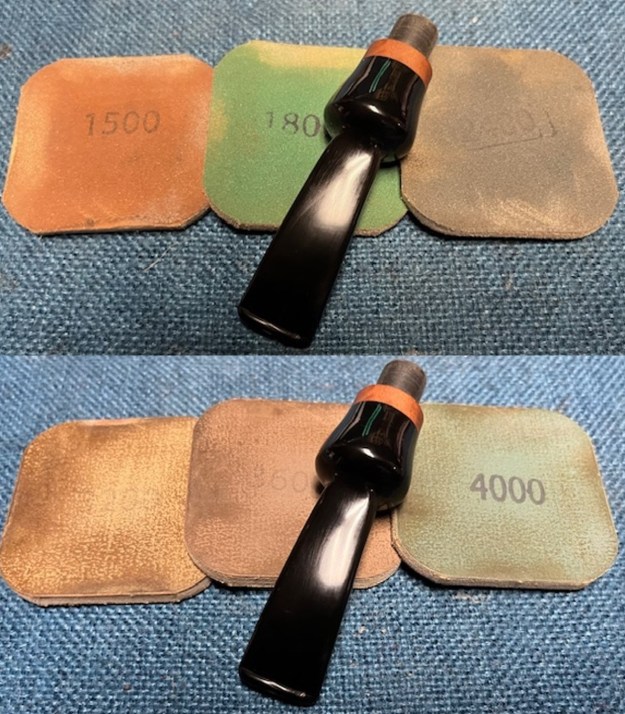
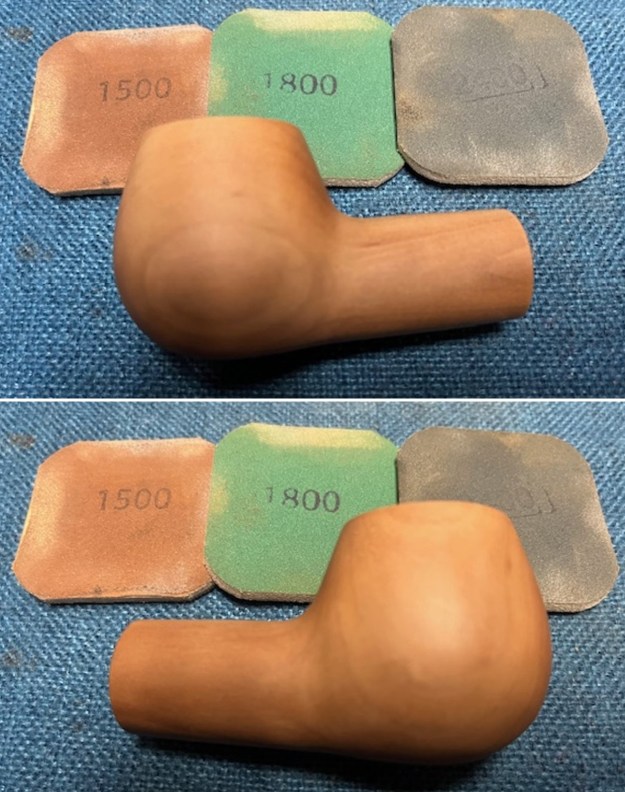
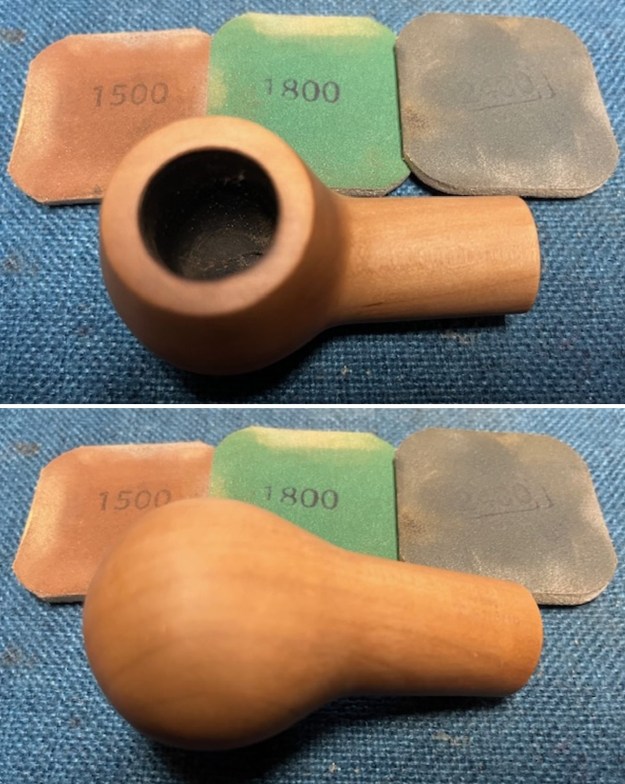
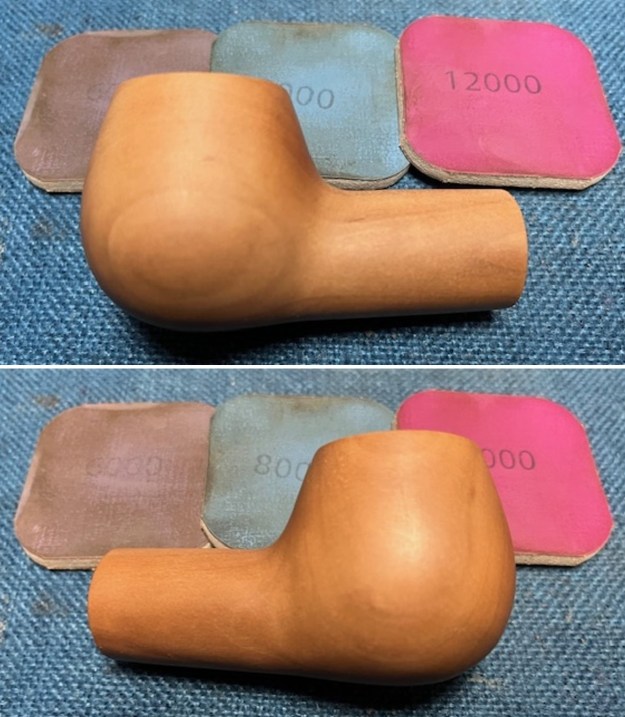
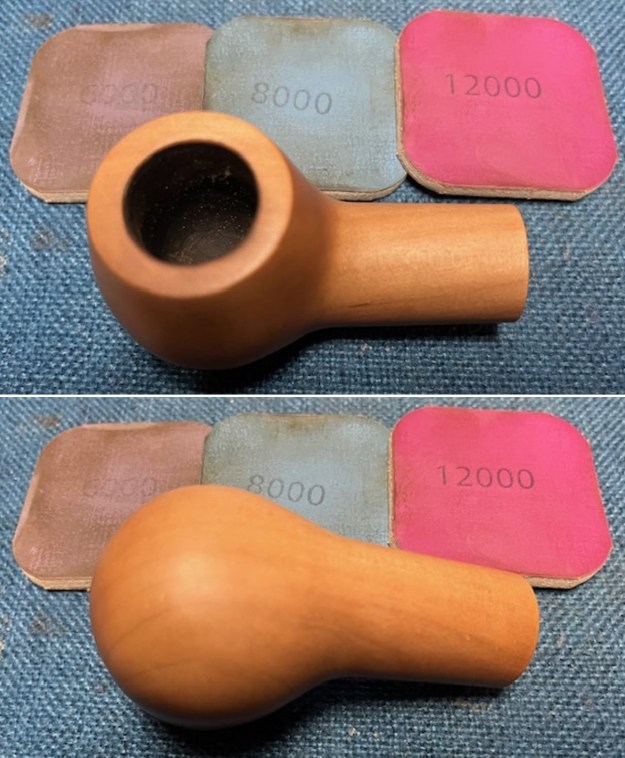
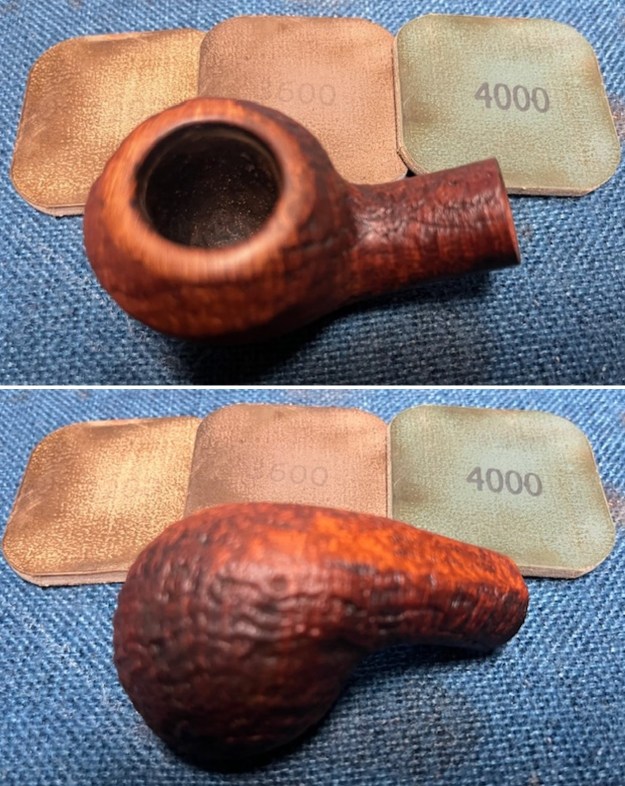
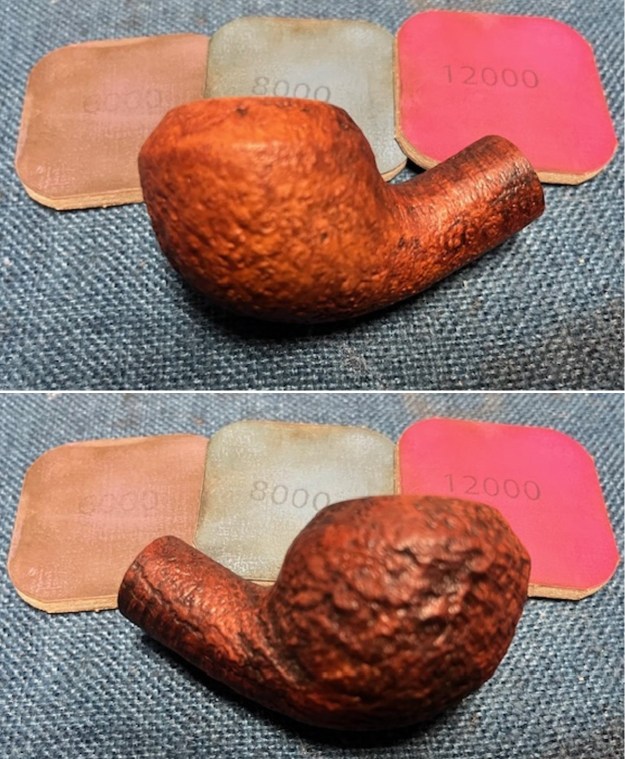
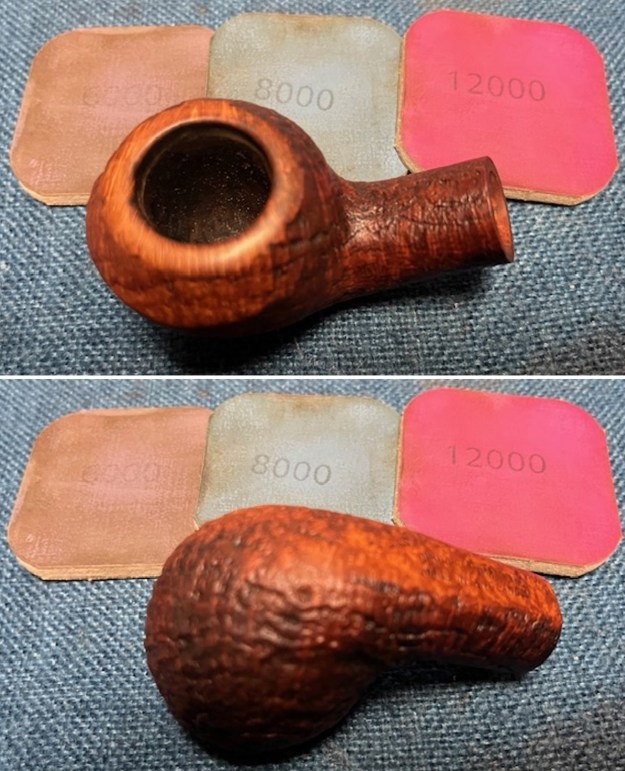
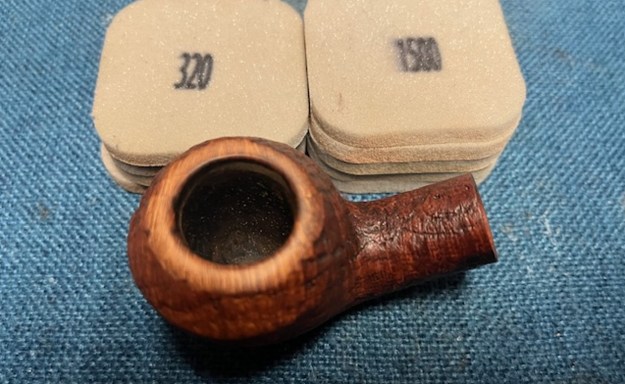 I polished the rim top with 1500-12000 grit micromesh sanding pads and wiped it down with a damp cloth to remove the sanding dust. It took on a rich shine.
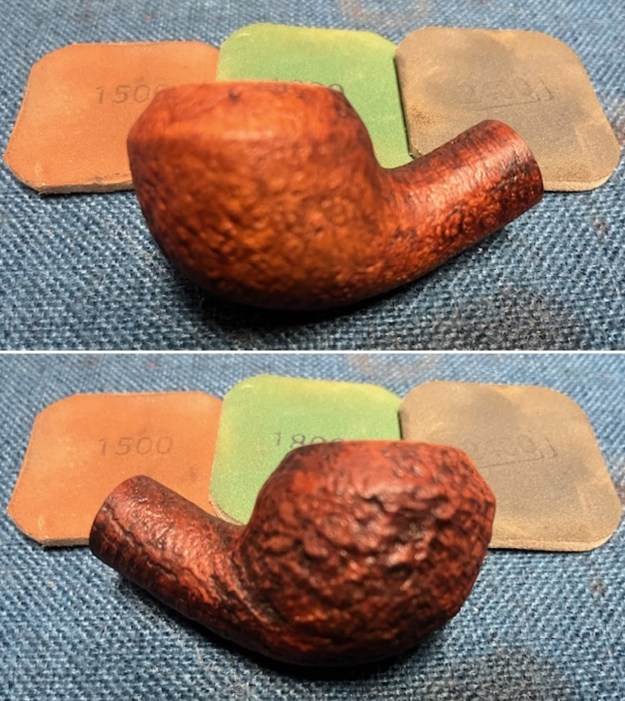
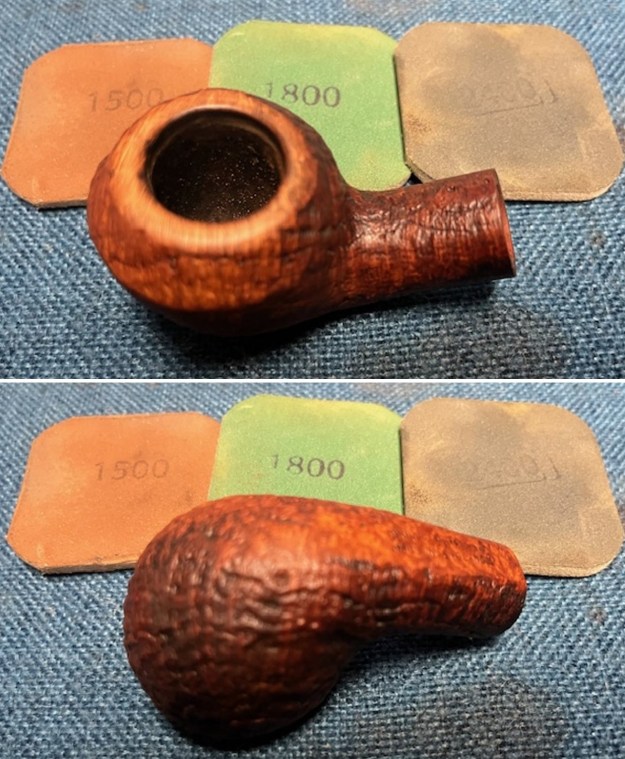
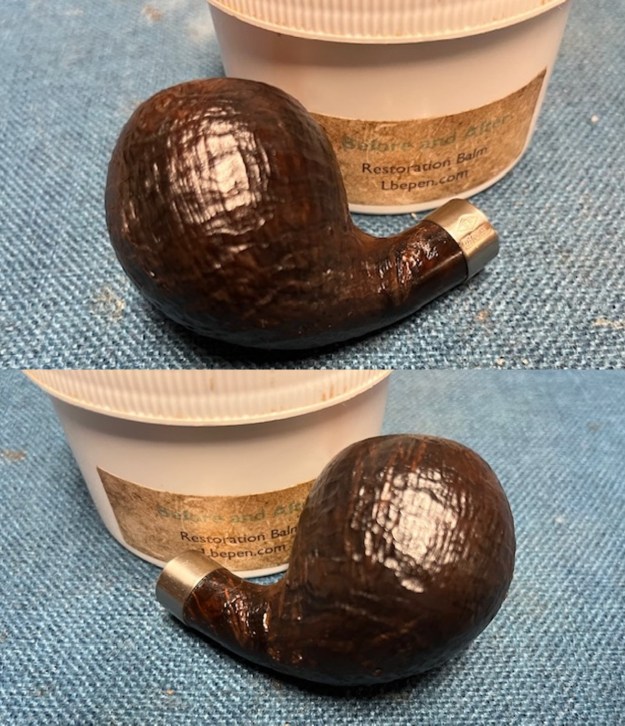
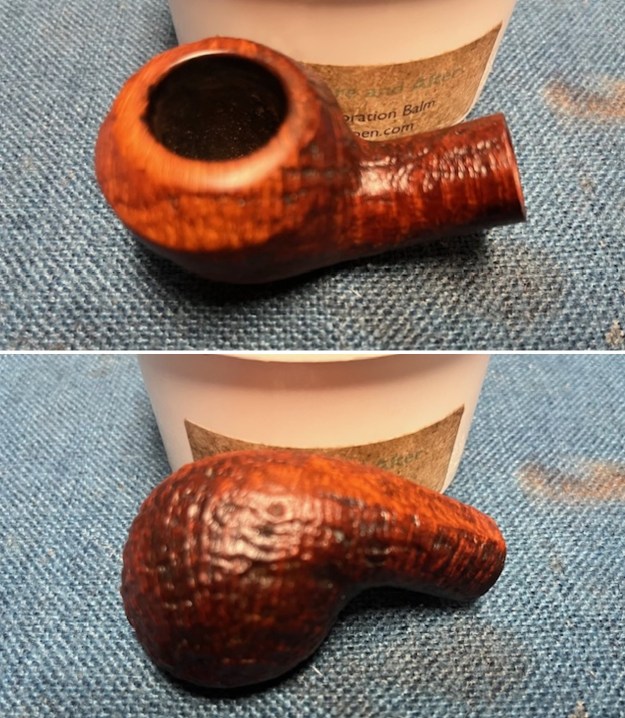
 The exterior of the bowl look better after sanding. I worked some Before & After Restoration Balm into the briar with my finger tips. I let it sit on the bowl for 10 minutes and then buffed it off with a paper towel and soft cloth. The product is a great addition to the restoration work. It enlivens, enriches and protects the briar while giving it a deep glow. It is a product I use on every pipe I restore.
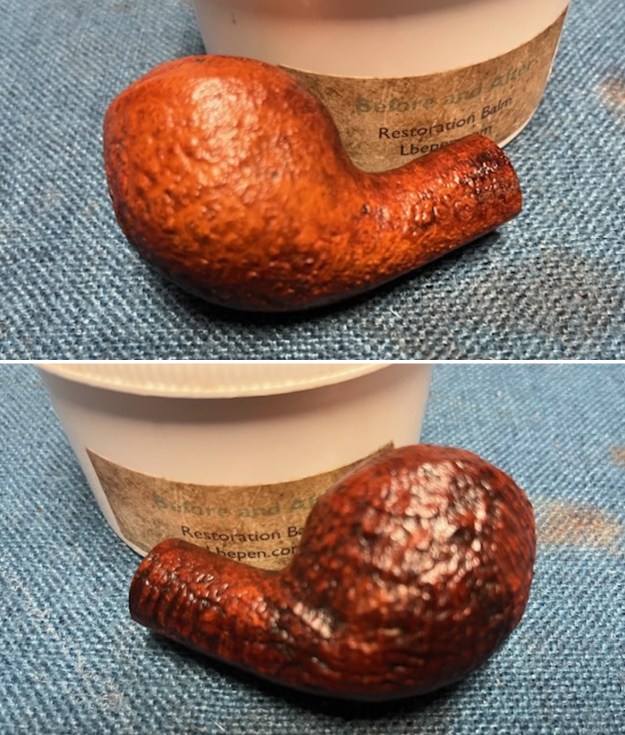
 I set the bowl aside and turned my attention to the stem. I “painted” the surface of the stem near the button with the flame of a lighter to lift the deep tooth marks. I was able to lift many of them and it looked better. I filled in the remaining marks with on the stem with clear CA glue. Once the repairs cured I flattened them and recut the button on the stem with a small flat file. I sanded the repairs with 220 grit sand paper to further blend them into the surface.
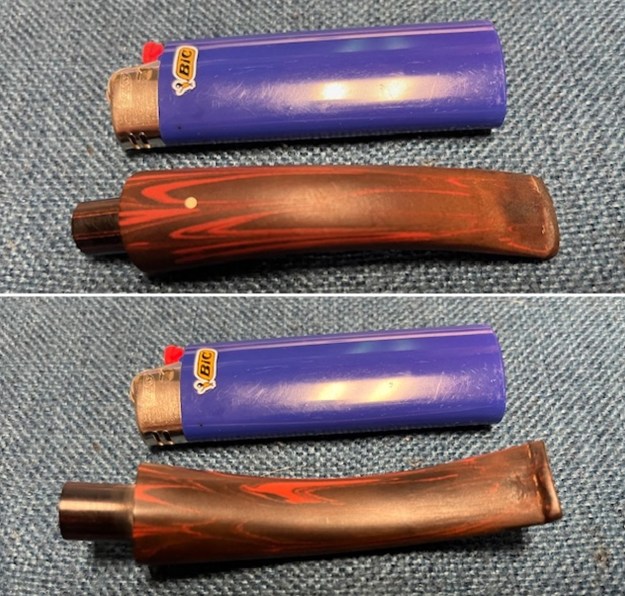
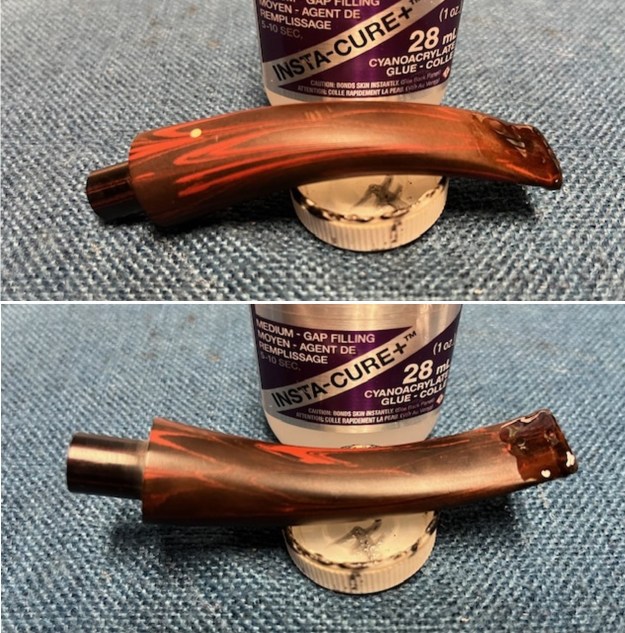
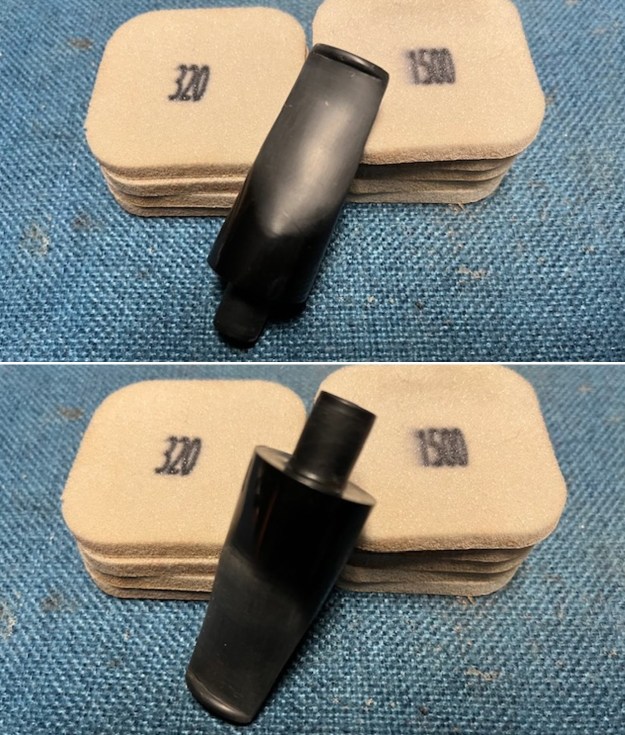
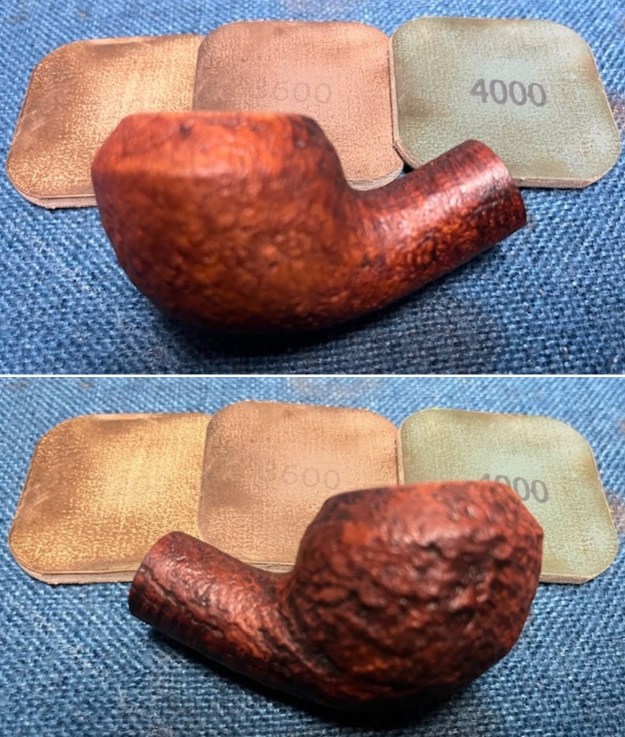
 I sanded the Cumberland stem with 320-3500 grit sanding pads. The repairs began to disappear into the surface of the Cumberland and the stem began to take on a smooth new look. Progress for sure.
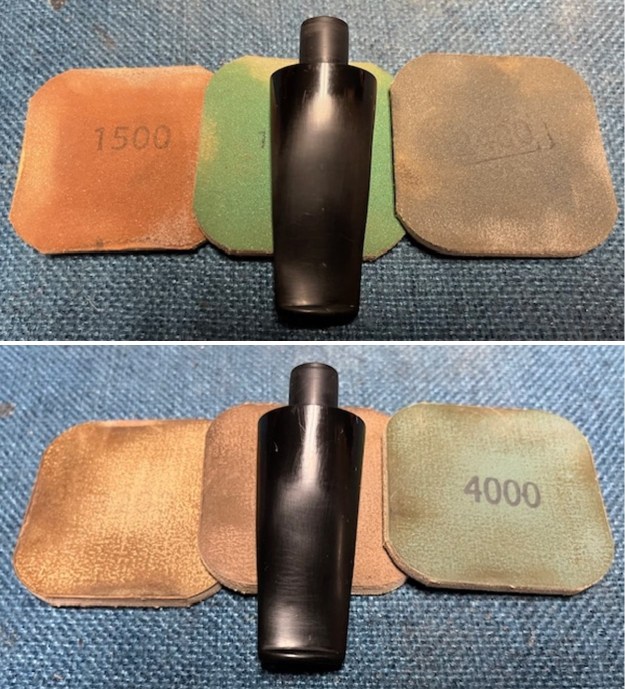
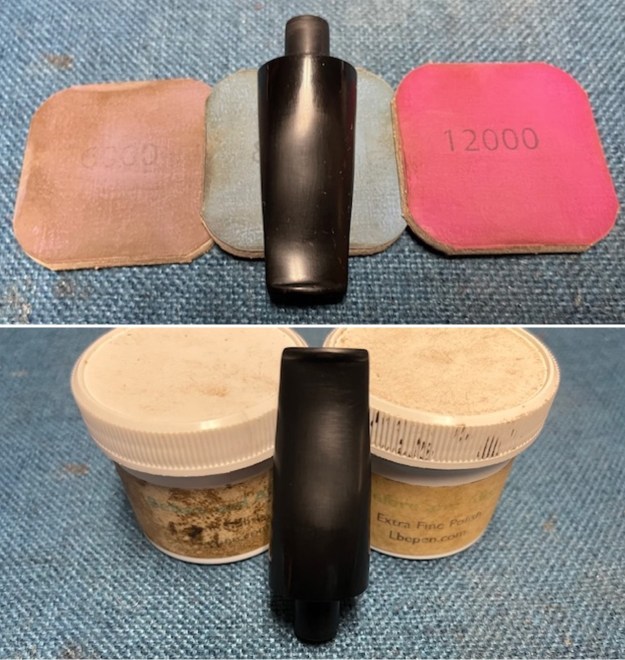
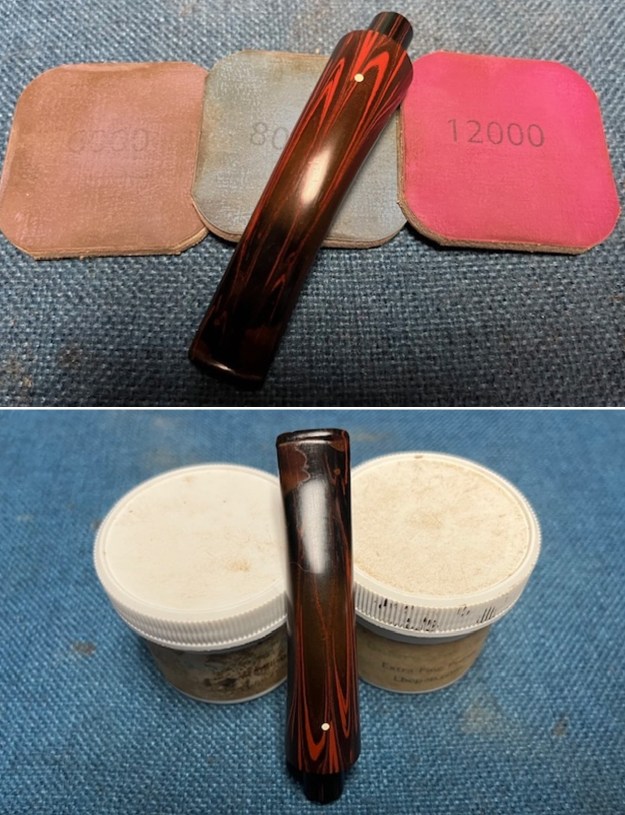
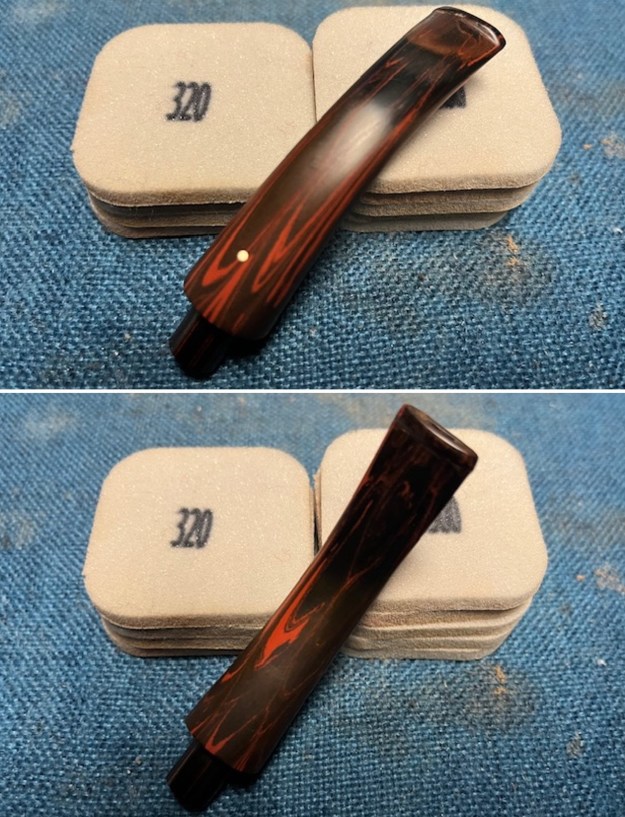 It was ready for the next step. I polished it with micromesh sanding pads – dry sanding with 1500-12000 grit pads and wiping the surface down with Obsidian Oil after each sanding pad. It is really shining. I polished it further with Before & After Stem Polish – both Fine and Extra Fine. I gave it another coat of Obsidian Oil to finish this step.
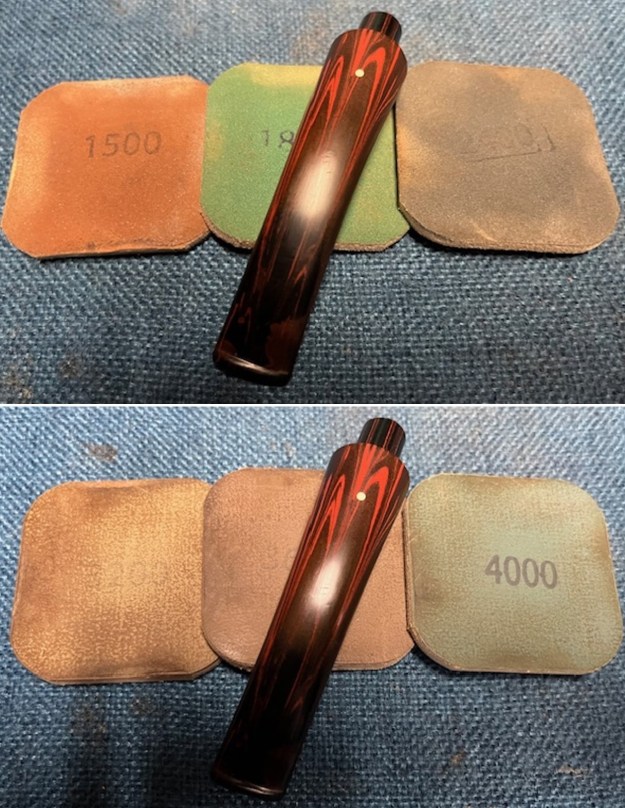
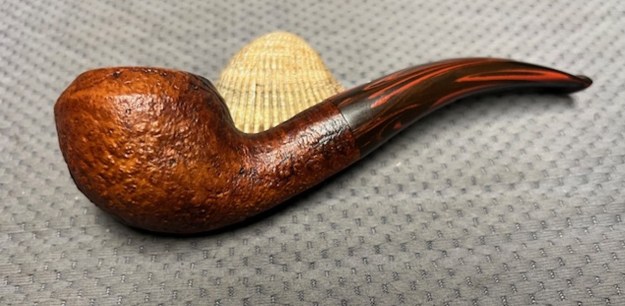
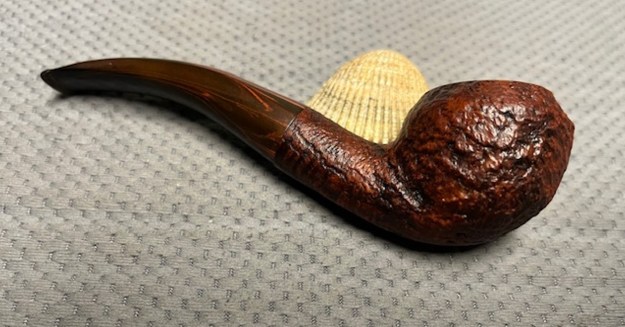
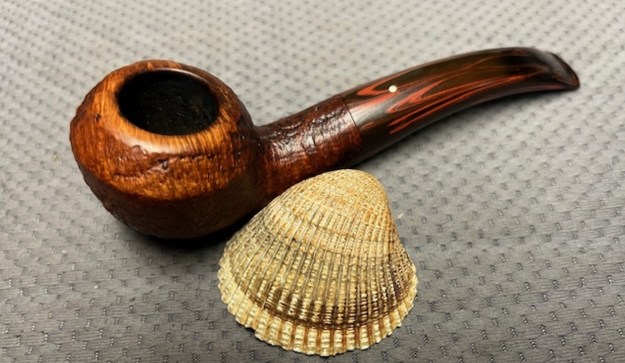
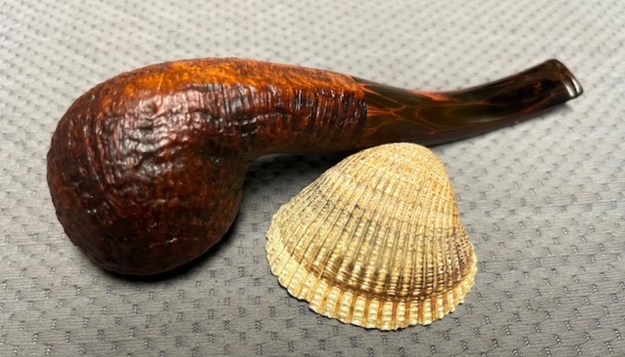
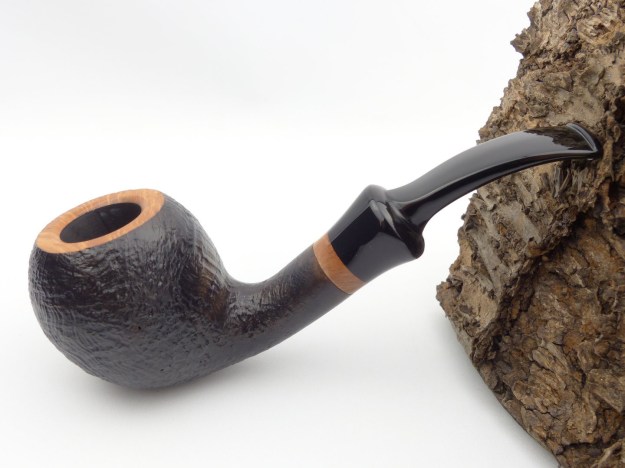
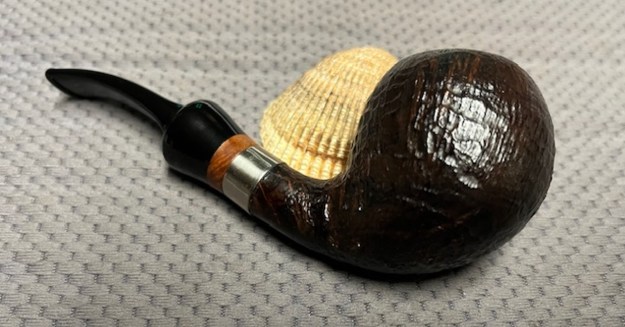
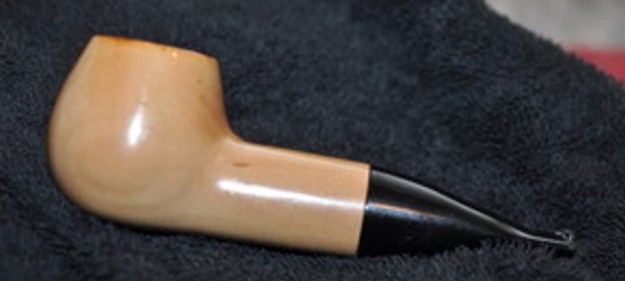
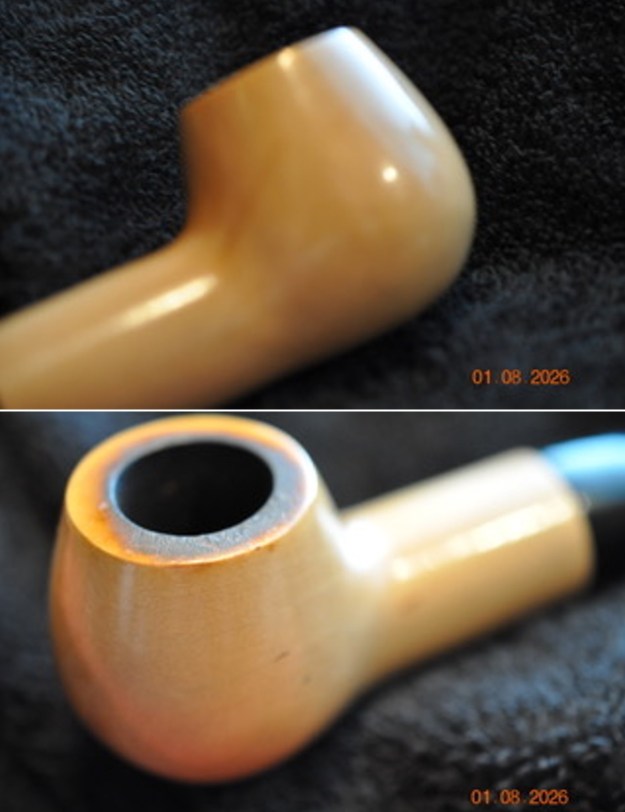
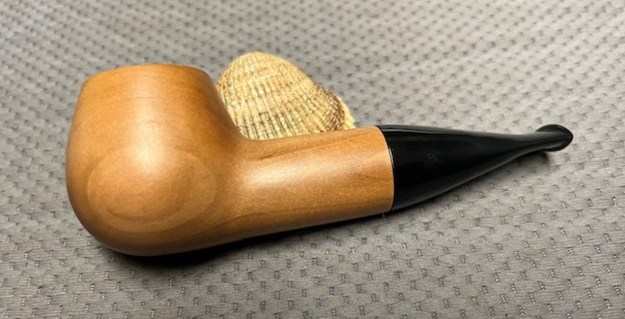
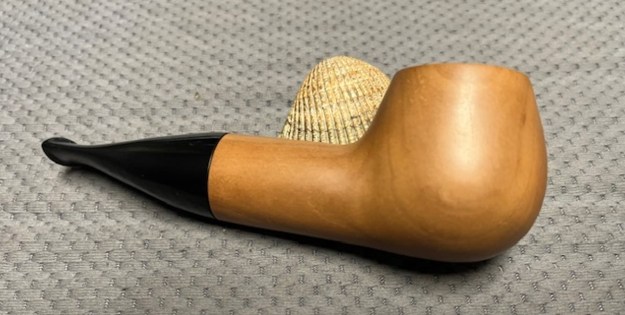
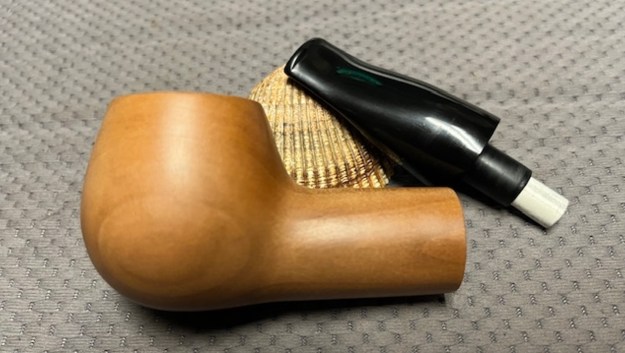
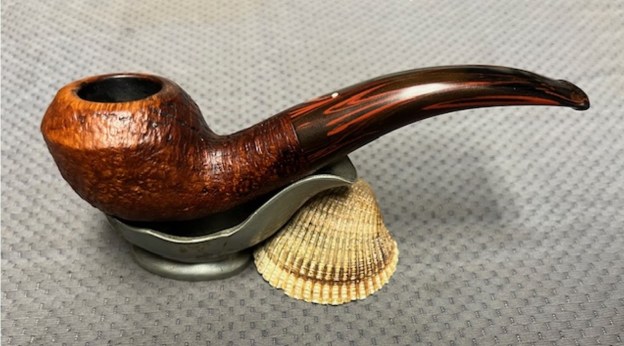
 I am excited to be on the homestretch and look forward to seeing the 1980 Dunhill Cumberland 41083 Sandblast Bent Rhodesian/Bulldog put back together, polished and waxed. I put the bowl and stem back together and lightly polished the bowl and stem with Blue Diamond to polish them. I gave the bowl and the stem multiple coats of carnauba wax. I buffed the pipe on the wheel with a clean buffing pad to raise the shine. I hand buffed it with a microfiber cloth to deepen the shine. The depths of the grain really pop with the wax and polish. The polished Cumberland stem is a beautiful contrast to the combination of stains on the bowl and shank. This Dunhill Cumberland 41083 Rhodesian was a bit of work to bring back to life. The pipe is light weight, comfortable in the hand and should feel great as it is warmed up when smoking. The finished pipe is shown in the photos below. The dimensions of the pipe are Length: 6 inches, Height: 1 ½ inches, Outside diameter of the bowl: 1 ½ inches, Chamber diameter: ¾ of an inch. The weight of the pipe is 1.55 ounces/45 grams. I will be putting this one on the rebornpipes store in the British Pipemakers Section soon. Let me know if you wish to add it to your collection.
As always, I encourage your questions and comments as you read the blog. Thanks to each of you who are reading this blog. Remember we are not pipe owners; we are pipe men and women who hold our pipes in trust until they pass on into the trust of those who follow us.