by Steve Laug
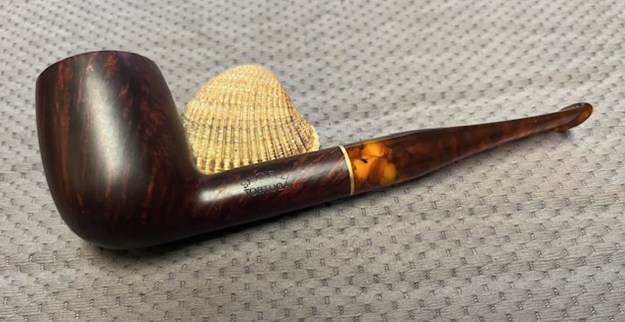
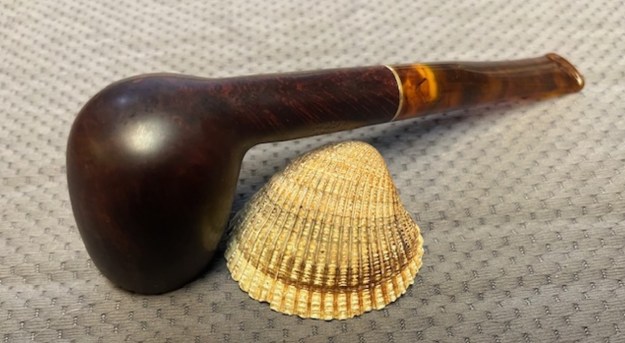
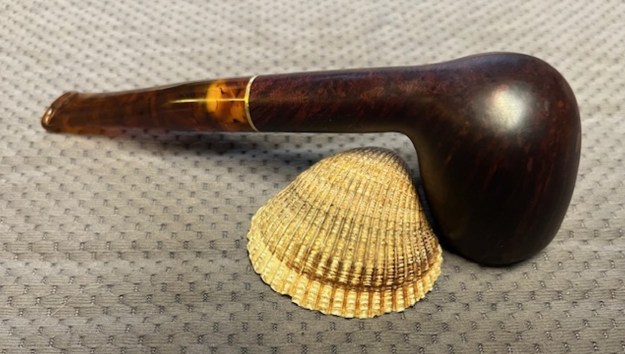
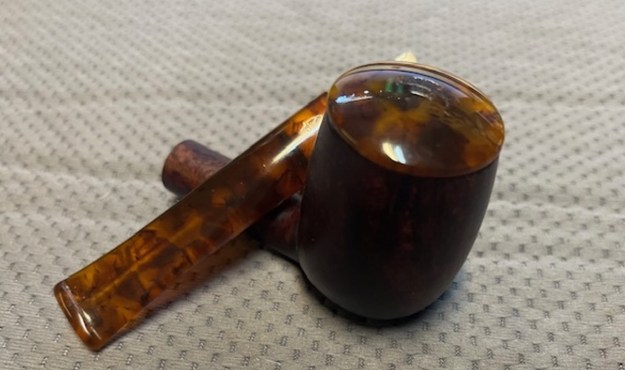
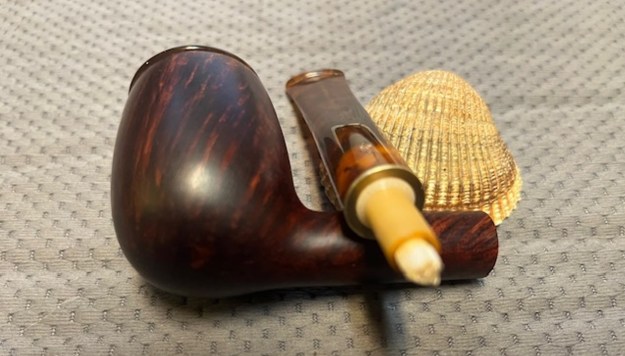
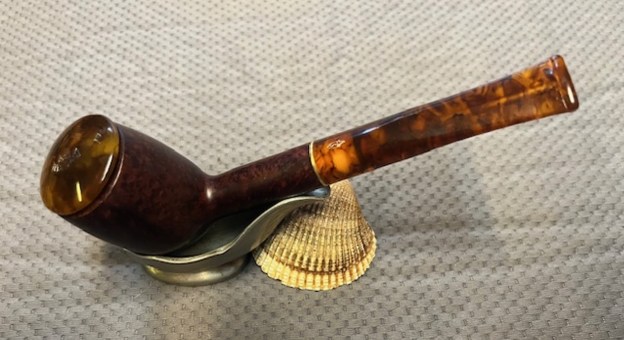
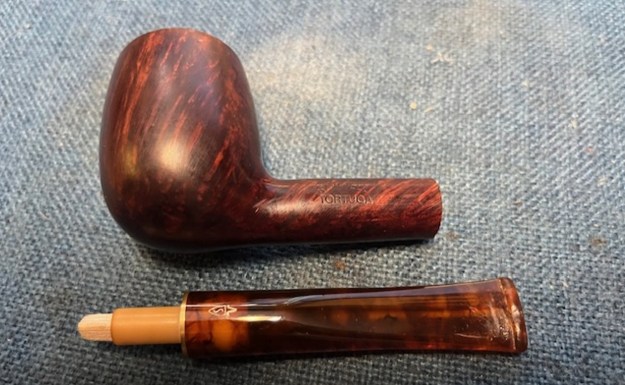
On the weekend I received a phone call from Brian, a fellow the local pipe shop referred to me. He had two Savinelli Balsa filter pipes that were clogged and had no airflow. He asked if I would clean and open them up for him. I received them in the post yesterday and opened the box that he sent them in. The second pipe was a Billiard shape. It came with a bowl cap made of the same acrylic as the stem and a Savinelli bag. It was stamped Savinelli [arched over] Tortuga on the left side of the shank and had a Savinelli S shield on the right side followed by the shape number 128 [over] Italy. The finish was dirty and sticky to touch. There was a thick cake that completely covered the airway at the bottom of the bowl. The rim top was covered by a coat of lava that was sticky. The taper stem was tortoise shell acrylic. It had tooth marks and chatter on both the top and underside ahead of the button. The white Delrin tenon was in good condition and was made to hold a Balsa filter. There was a clean specially trimmed filter in the tenon. The shank and airways in both the mortise and stem were very dirty. I blew through the stem and it was clear and open. I tried to blow through the shank and it was closed off with no airflow at all. I took photos of the pipe before I started my work.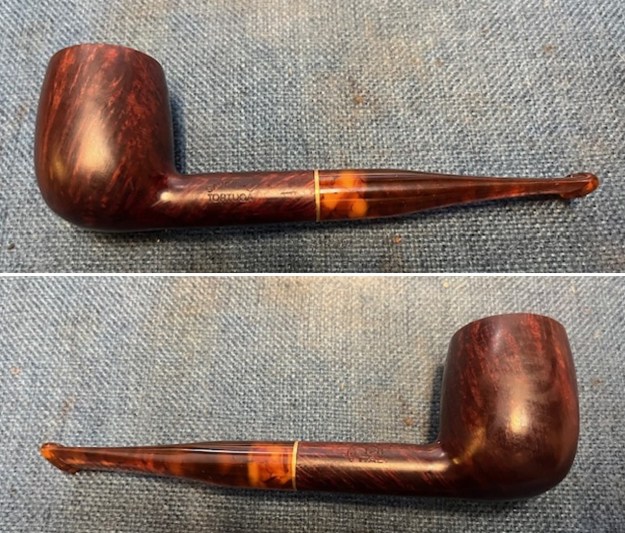
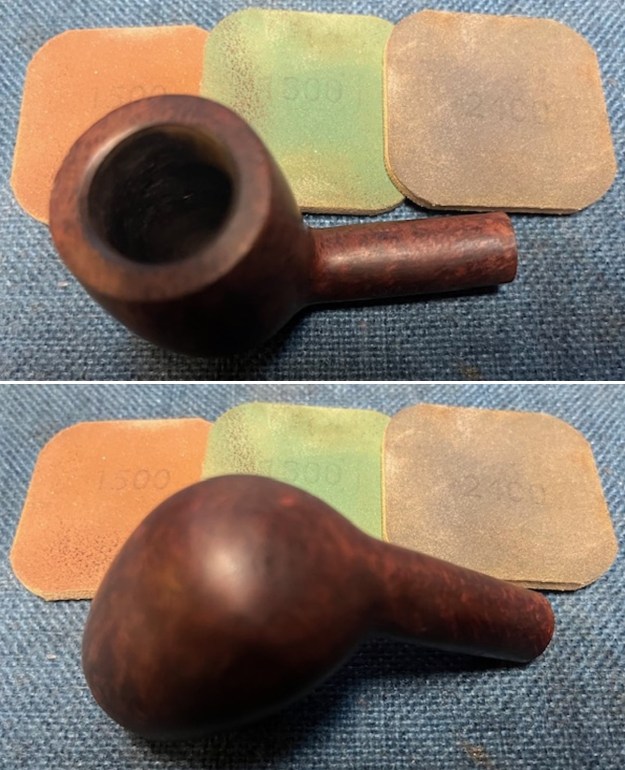
 I took photos of the rim top and the stem to show the condition. You can see the cake in the bowl and light overflow of lava on the rim top. The photos of the stem show the tooth marks and chatter on the top and the underside of the stem.
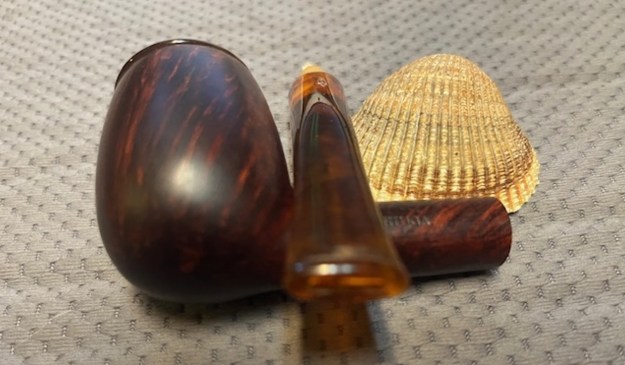
 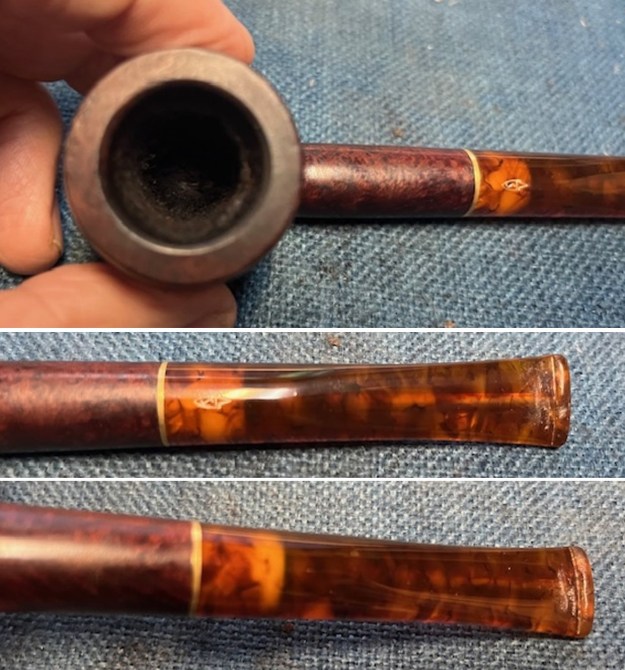 I took photos of the stamping on the sides of the shank to capture it. The left side read Savinelli arched over Tortuga and the right side read as noted above. I removed the stem and took a photo of the parts to give a sense of the look of the pipe.
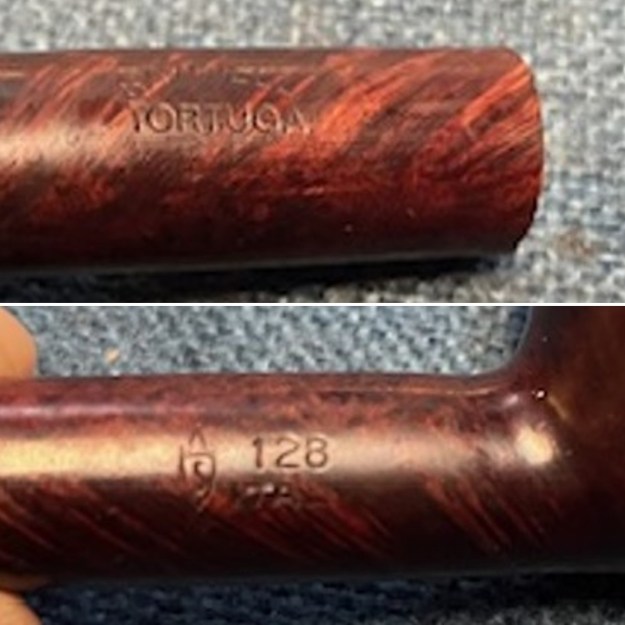
 I turned to a previous blog I had written on a restoration of a Tortuga Billiard to see what I had found out about the Tortuga line of pipes (https://rebornpipes.com/2016/09/28/i-love-the-tortoise-shell-lucite-stem-on-the-savinelli-tortuga-pipes/). Interestingly, they had a similar pipe pictured on the site with the following description.
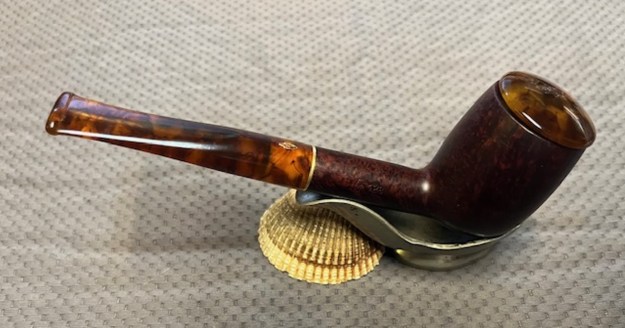
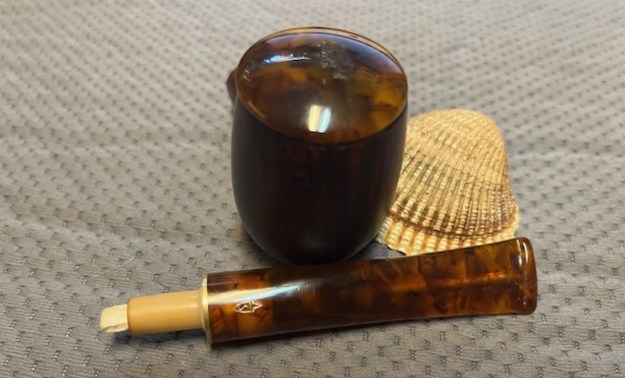
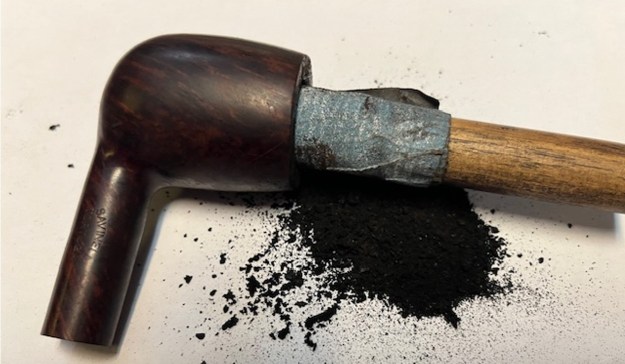
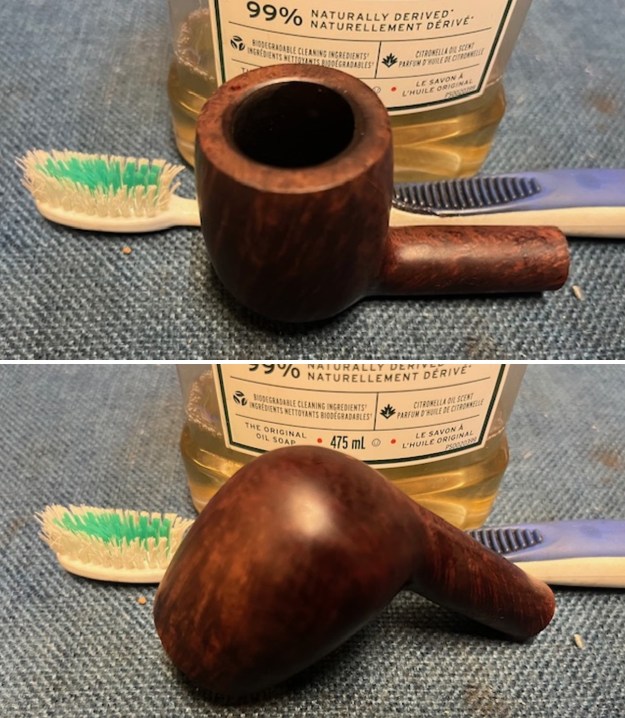
The Savinelli Tortuga line is an interesting looking line of pipes. It comes with a tortoise shell Lucite stem that has an amber look to it. The mottled browns, golds and yellows of the stem shimmer in the light when they are polished. The pipes are aptly named for the look of an animal they convey. Tortuga is the Spanish or Catalan word for Tortoise and it shows in the design of these striking pipes. Each briar of this series sported not only a tortoiseshell-patterned stem, but also a domed, shell-like cap with a foam-rubber stopper. The purpose of the stopper was to preserve an unfinished smoke which one wishes to pick up again to finish later. I found a picture on the web that showed the pipe with a lid on the bowl.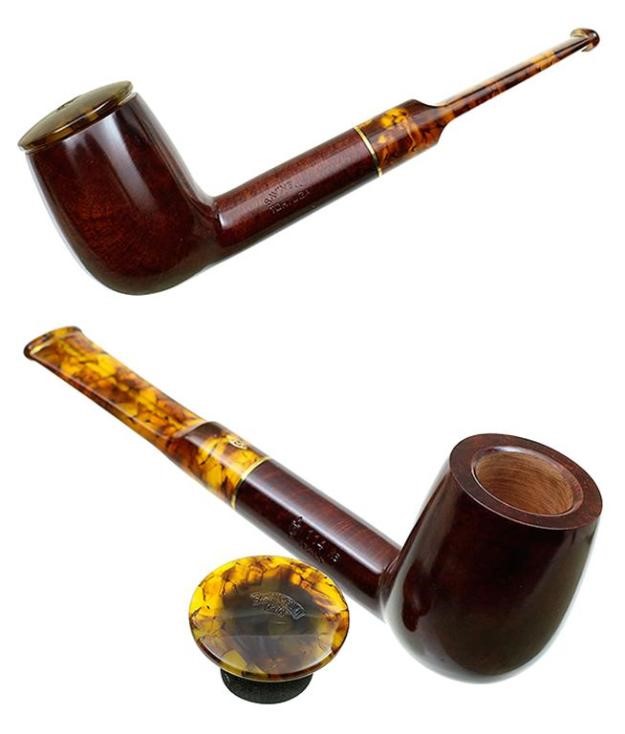 I started my work on the pipe by reaming the bowl with a PipNet reamer. I used the first cutting head and took the cake back to bare briar. I cleaned up the reaming with a Savinelli Fitsall Pipe Knife and removed all the remnants of the cake. I scraped the rim top with the flat edge of the blade at the same time and removed most of the thick lava build up. I sanded the walls of the bowl with a piece of dowel wrapped in 220 grit sandpaper. The walls look very good at his point in the process.
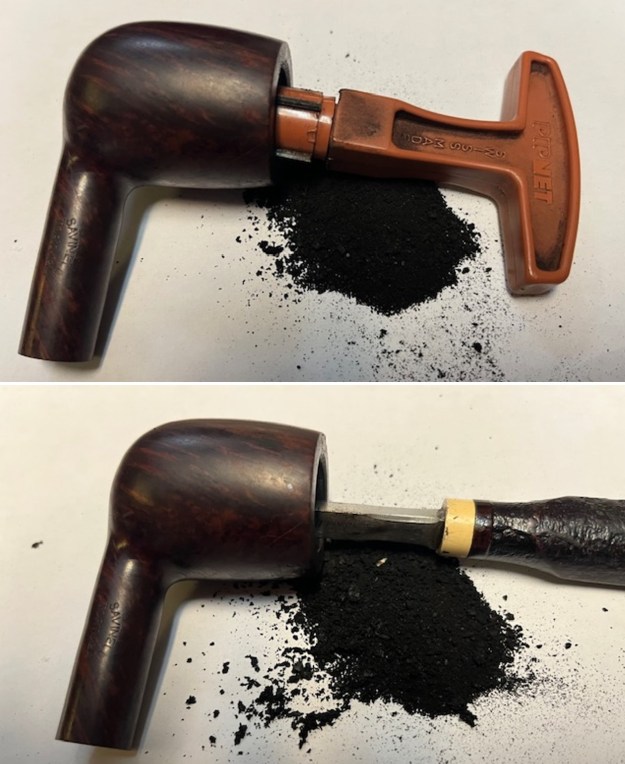
 I cleaned out the shank, the airway and the mortise as well as the airway in the stem with alcohol, cotton swabs, hard bristle and soft bristle pipe cleaners. It was a very dirty pipe which just meant that it had really been enjoyed by the previous pipe man.
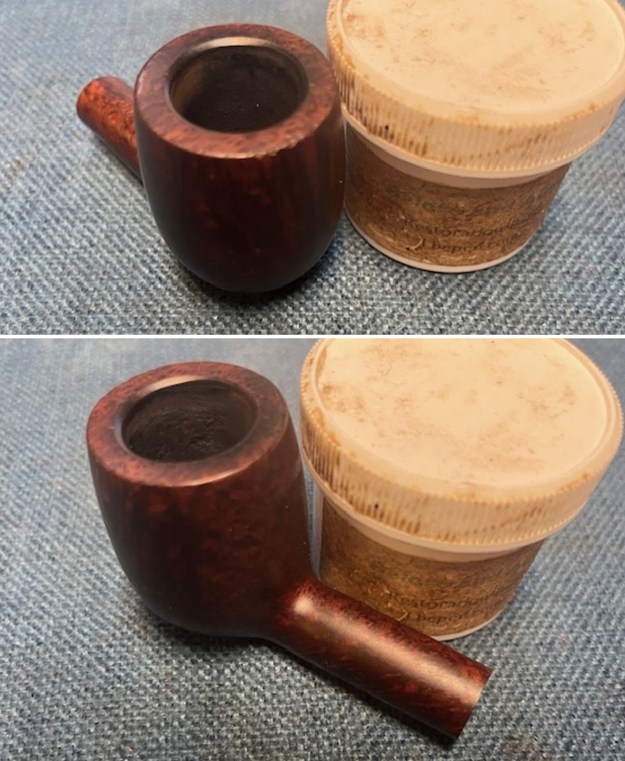
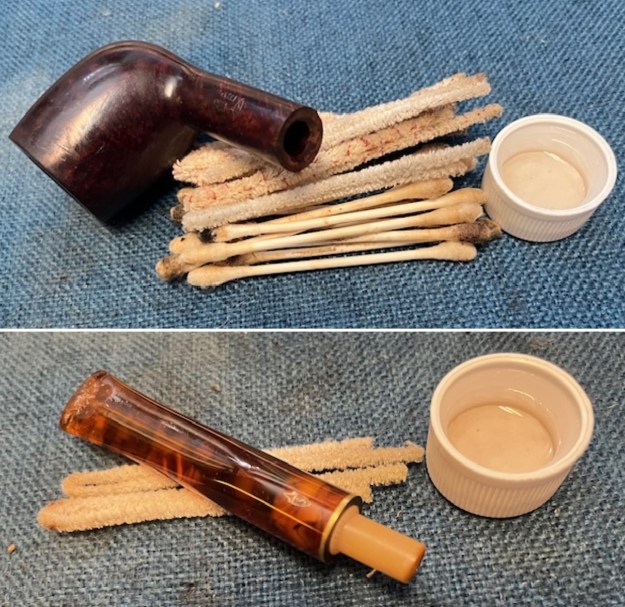 I scrubbed the exterior of the bowl and shank with a tooth brush and undiluted Murphy’s Oil Soap. I scrubbed the lava on the rim top and overflow on the outside of the bowl with the soap. I rinsed the briar with warm water to remove the grime and debris of the scrubbing. It looked significantly better after the scrubbing. Once I cleaned the bowl with the soap it looked much better.
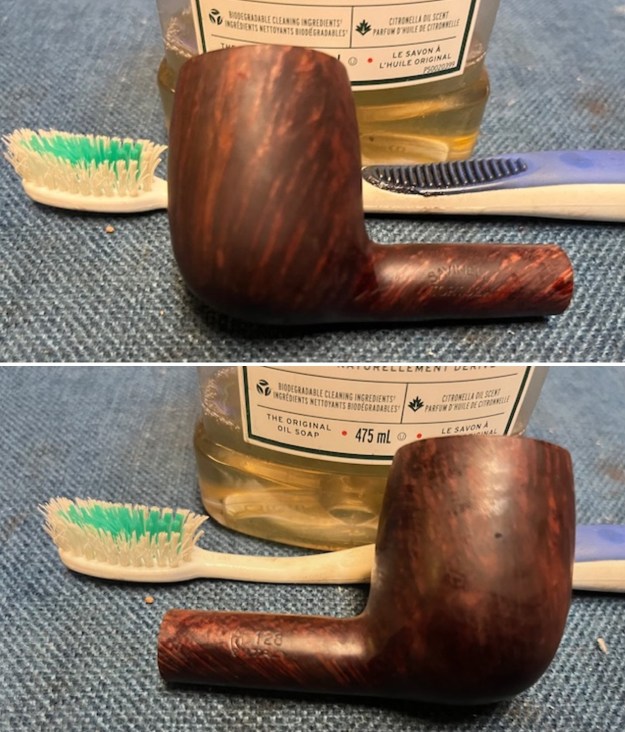
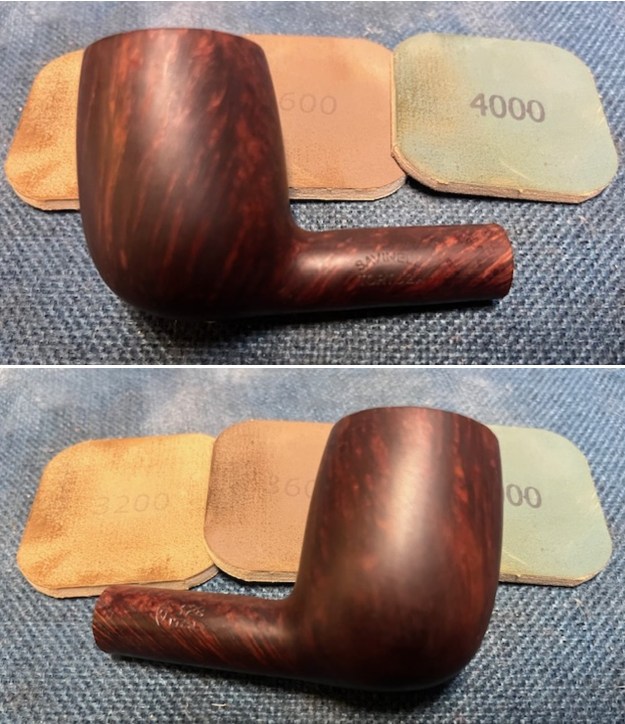
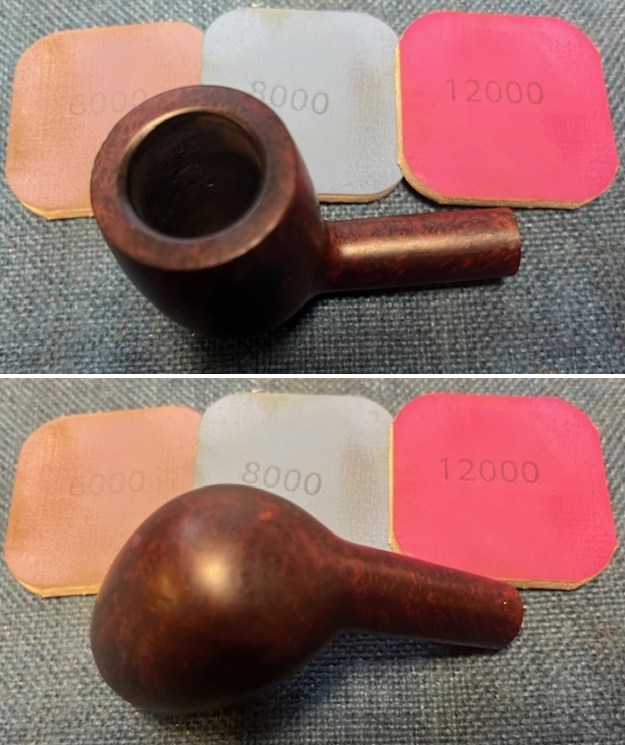
 To take the pipe to the next level, I polished the bowl and rim top with micromesh sanding pads – dry sanding it with 1200-15000 grit pads. I wiped the bowl down with a damp cloth after each sanding pad. The grain started to rise to the surface and the repairs blended even more as I polished it.
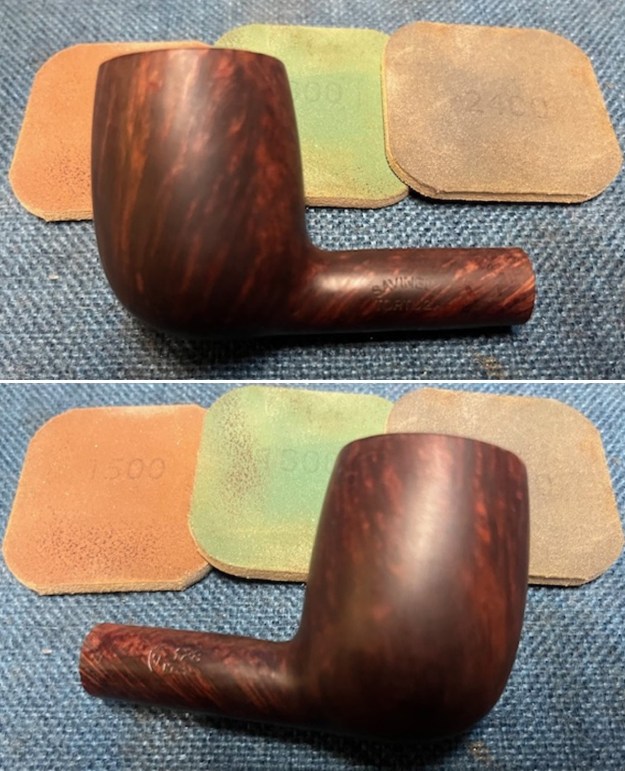
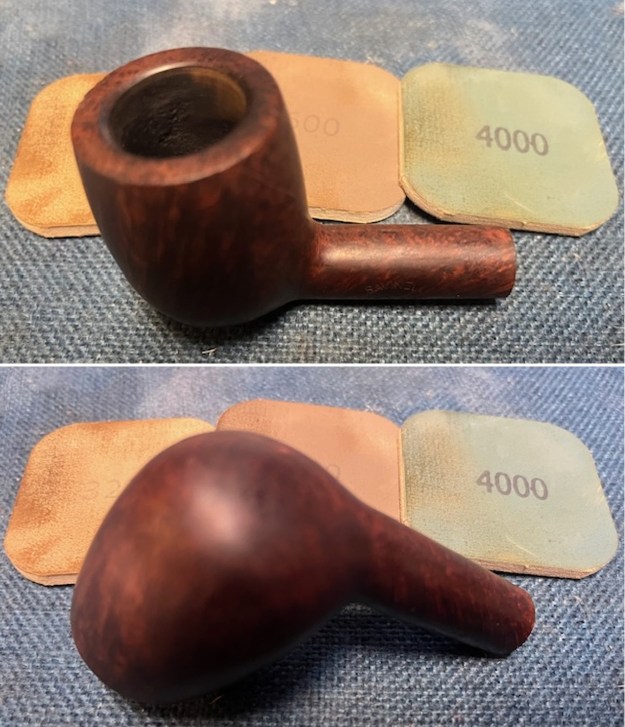
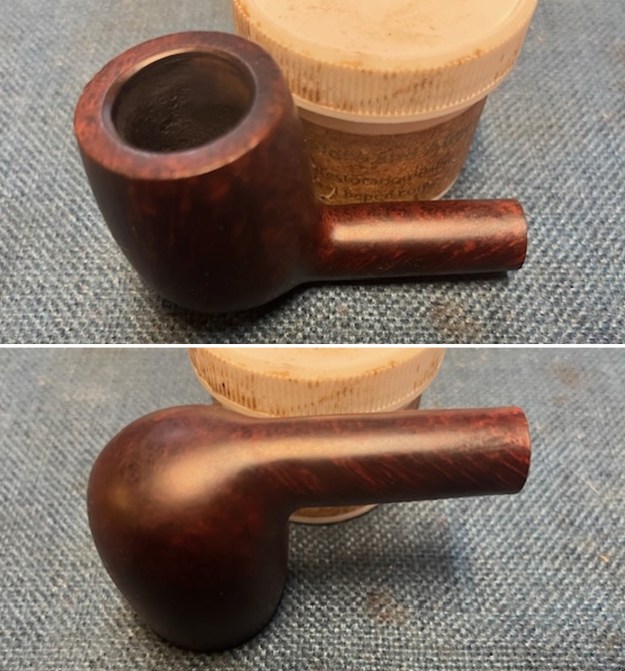
 I rubbed the bowl and shank down with Before & After Restoration Balm to deep clean the finish on the bowl and shank. The product works to clean, enliven and protect the briar. I worked it in with my fingers to get it into the briar. I let it sit for 10 minutes then I wiped it off and buffed it with a soft cloth. The briar really began to have a rich shine. I took some photos of the bowl at this point to mark the progress in the restoration. It is a beautiful bowl.
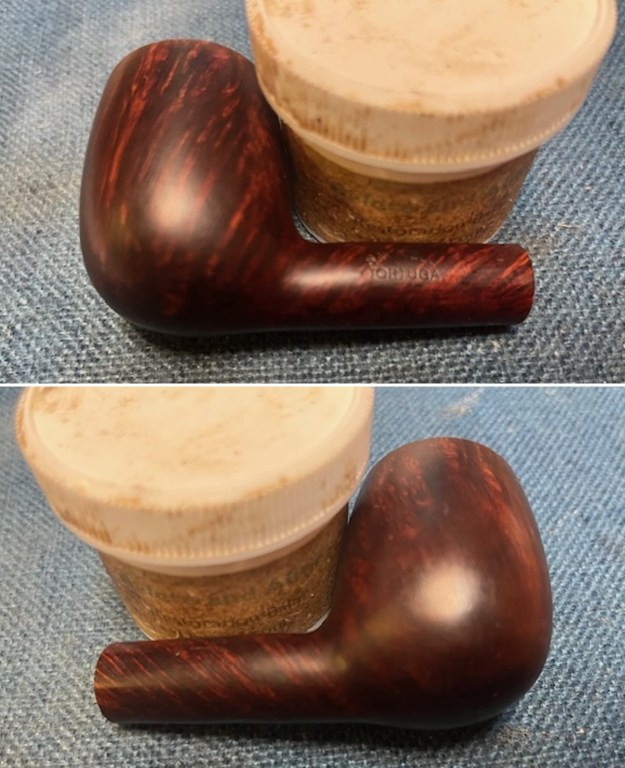
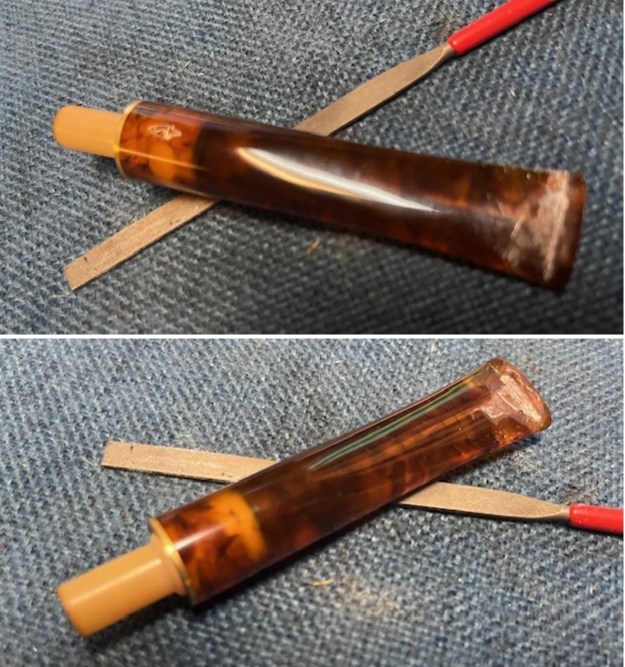
 With the the shank clear and the airway open it was time to work on the stem. It was clear, just dirty and I needed to address the tooth marks in the stem. The coloured acrylic made this challenging but not undoable. I filled in the tooth marks on both sides with clear CA glue and I set it aside to cure. Once the repairs cured I used some small files to recut the button edge, reshape the surface and flatten the repairs on the stem surface on both sides. I used 220 grit sandpaper to smooth out the edges, the button top and the surface of the stem. It was looking good.
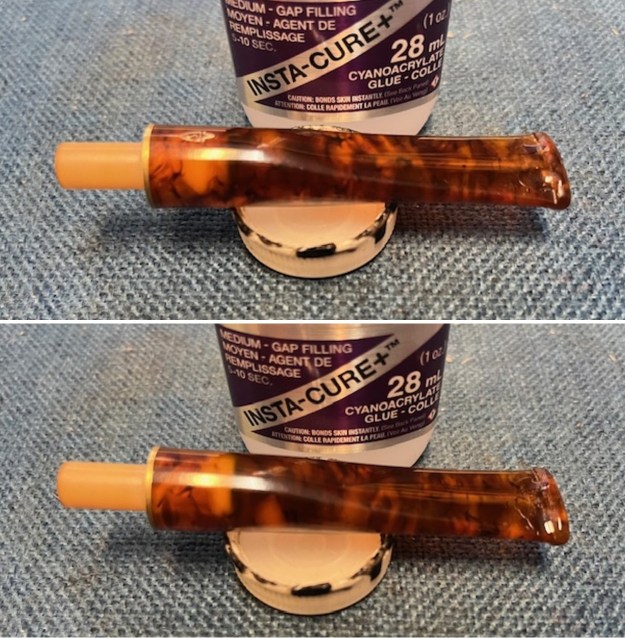
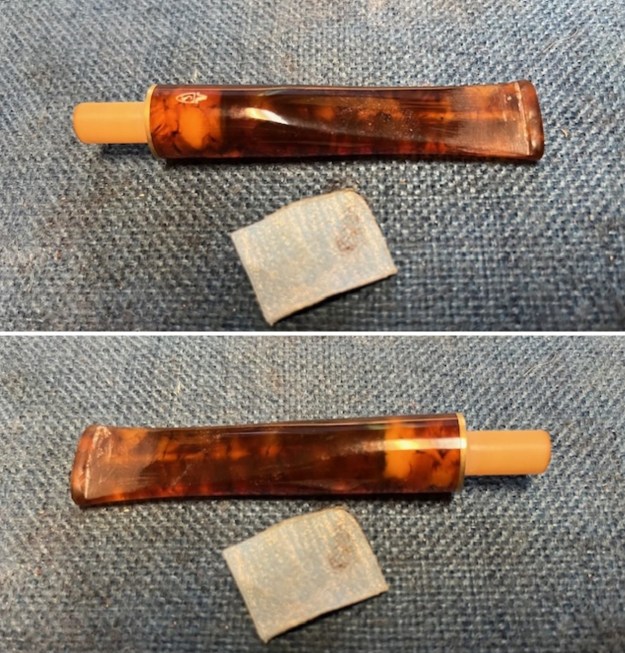 I sanded the surface of the acrylic taper stem with the 2 x 2-inch sanding pads – 320-3500 grit pads to clean up the sanding marks on the stem surface. By the final 3500 grit pad the stem started to really shine.
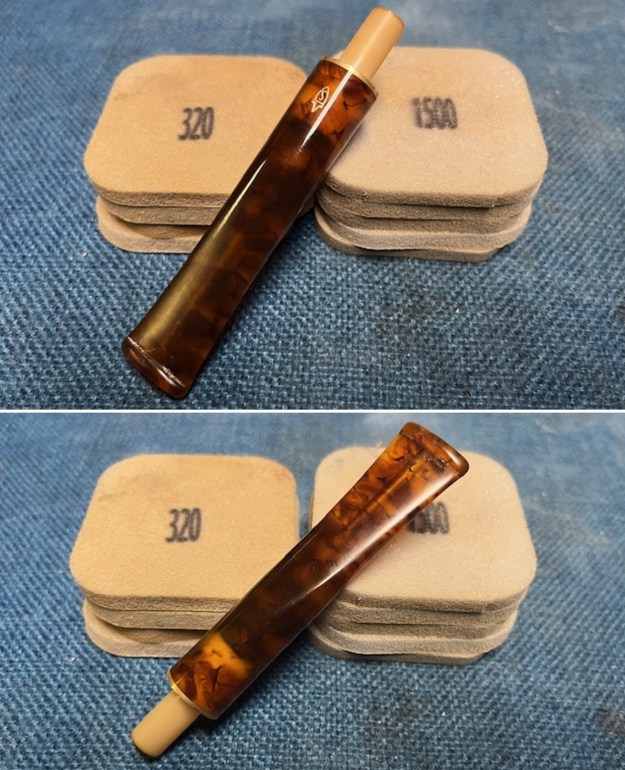 I trimmed the edge off of one of the Balsa filters with a knife and fit it in the shank. It fit well and with the edge trimmed off it did no constrict airflow.
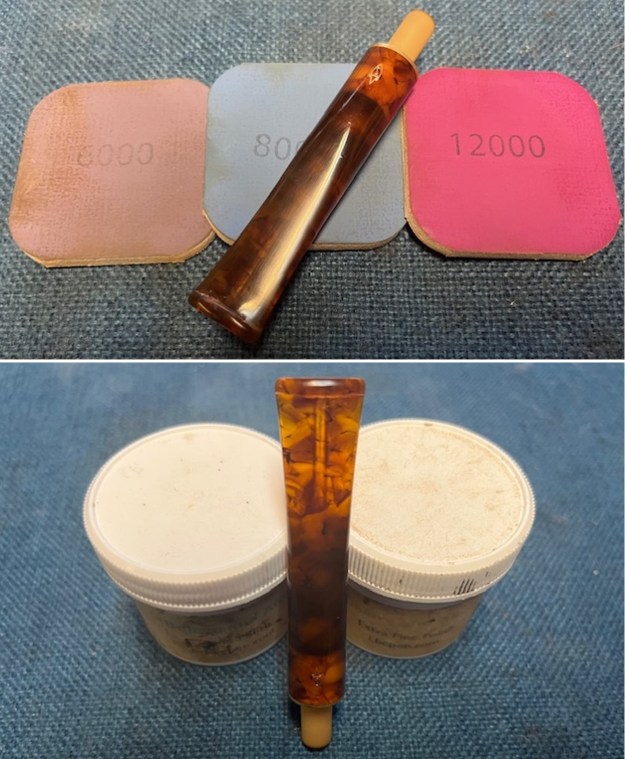
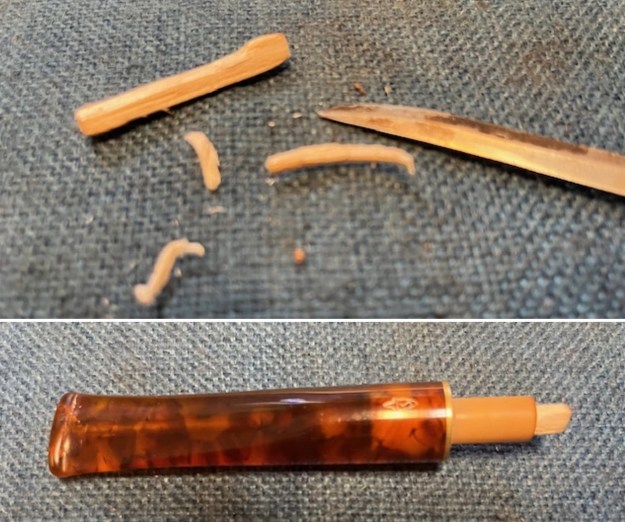 I polished the stem with micromesh sanding pads – dry sanding with 1500-12000 grit pads. I wiped the stem down after each sanding pad with Obsidian Oil. I gave the stem a final polish with Before & After Pipe Stem Polish both Fine and Extra Fine. I rubbed the stem with them and then gave them a final coat of Obsidian Oil. I set it aside to dry.
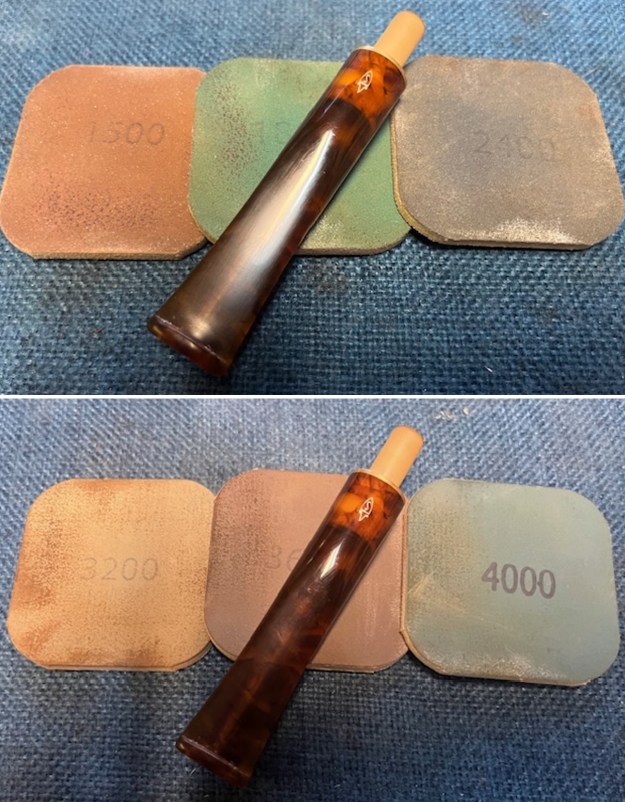
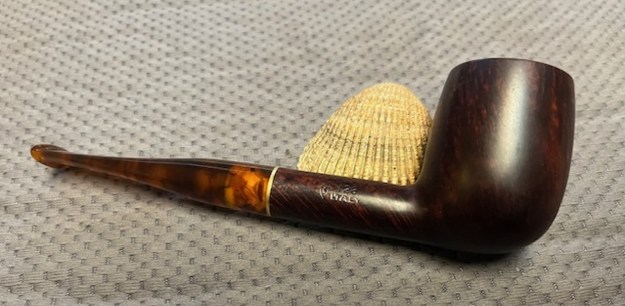
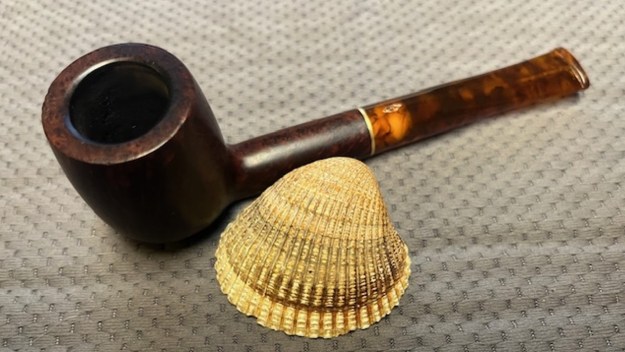
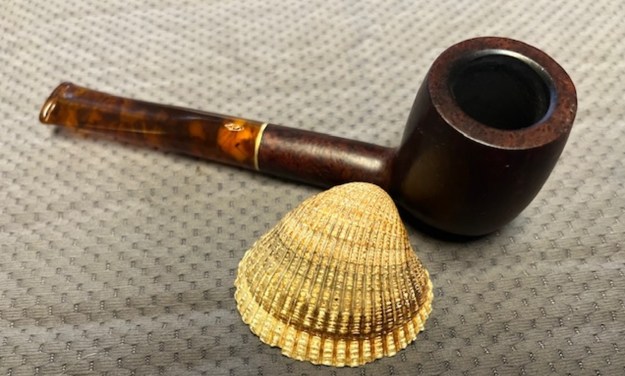
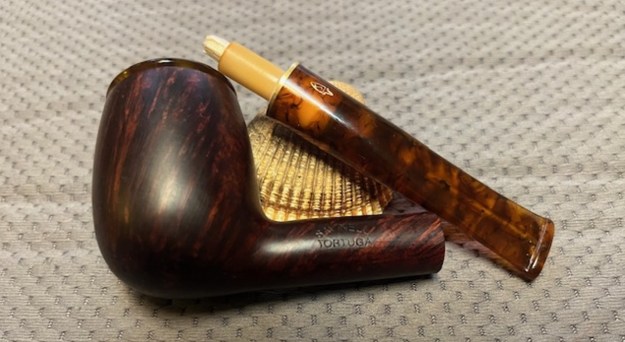
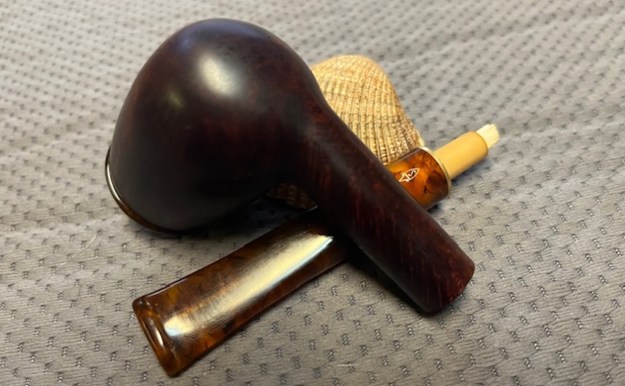
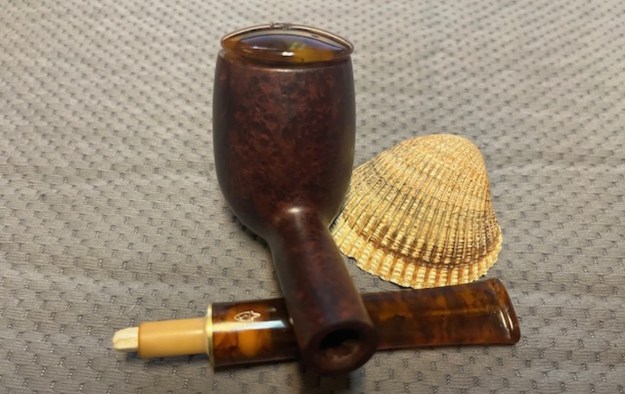
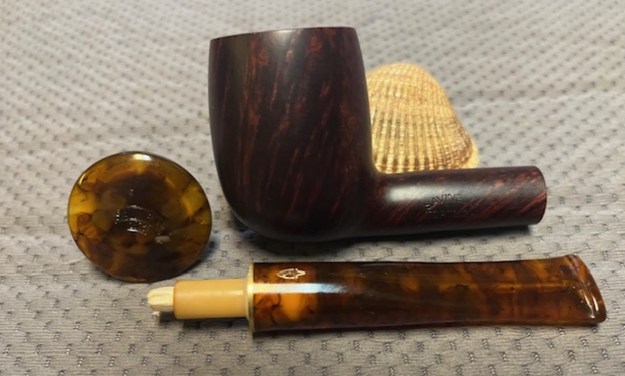
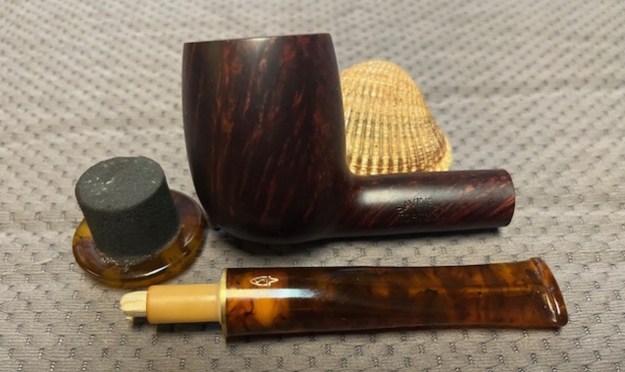
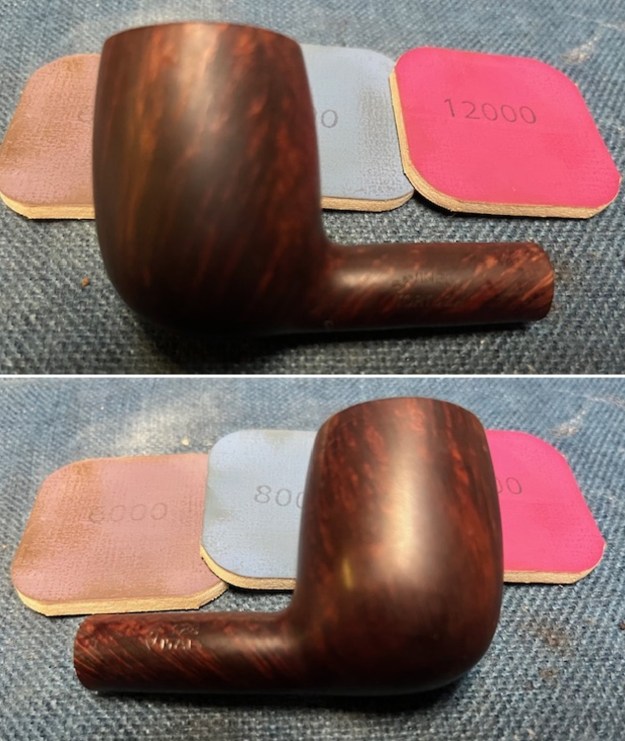
 I am excited to finish this Savinelli Tortuga 128 Billiard with an acrylic taper tortoise shell stem. I put the pipe back together and buffed it with Blue Diamond on the buffing wheel. I gave the bowl multiple coats of carnauba wax. I buffed the pipe with a clean buffing pad to raise the shine and then by hand with a microfibre cloth to deepen it. It is fun to see what the polished bowl looks like with beautiful grain on the smooth bowl and shank. The polished grain on the pipe looks great with the repaired acrylic stem. I put the acrylic matching stopper in the top of the bowl to show the final beauty. This Savinelli Tortuga 128 Billiard is great looking and the pipe feels great in my hand. It is light and well balanced. Have a look at it with the photos below. The dimensions are Length: 6 inches, Height: 1 ¾ inches, Outside diameter of the bowl: 1 ¼ inches, Chamber diameter: ¾ of an inch. The weight of the pipe is 42 grams/1.45 ounces. This second Savinelli that Brian sent is another beautiful pipe. I have sent it and the other pipe back to him. I look forward to hearing what he thinks of both of these resurrected beauties. Both should be great smoking pipes.
As always, I encourage your questions and comments as you read the blog. Thanks to each of you who are reading this blog. Remember we are not pipe owners; we are pipe men and women who hold our pipes in trust until they pass on into the trust of those who follow us.