by Kenneth Lieblich
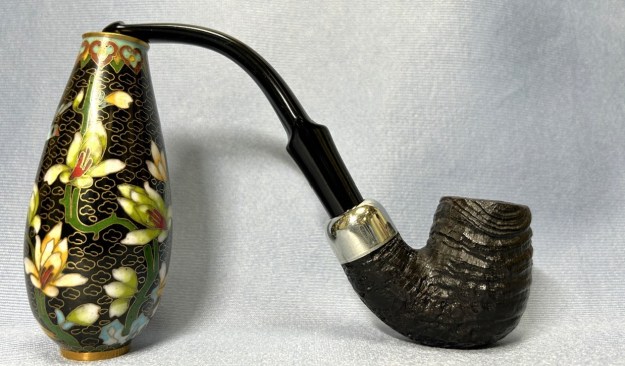
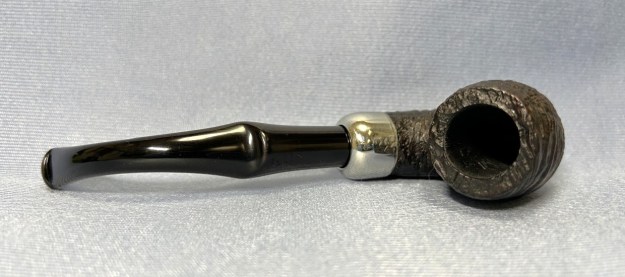
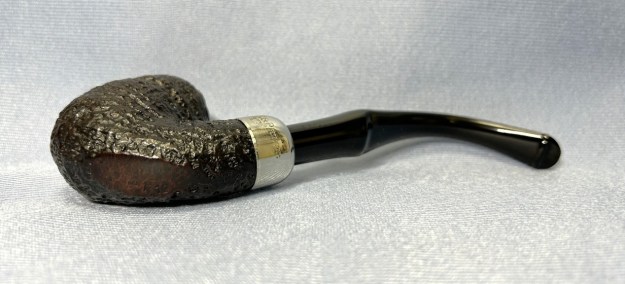
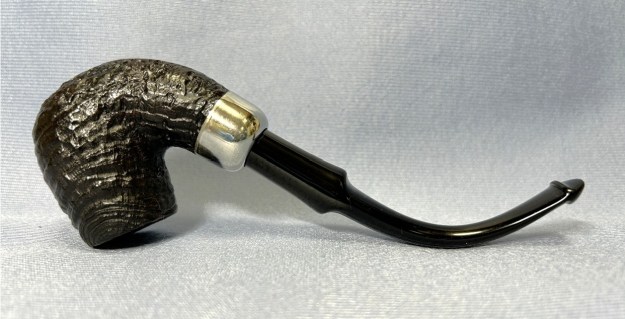
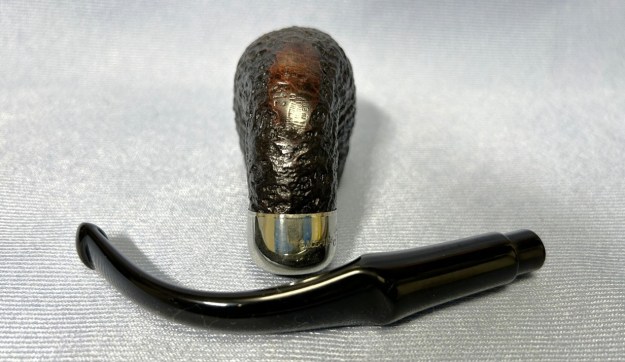
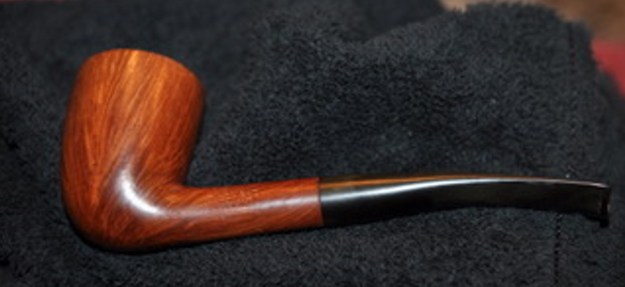
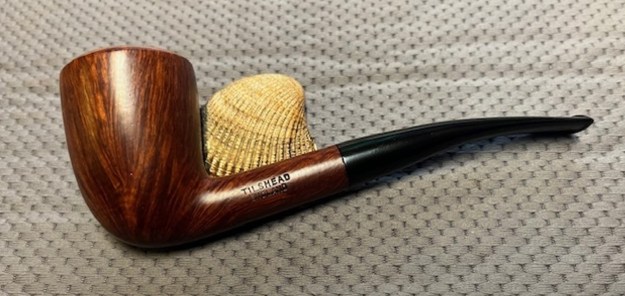
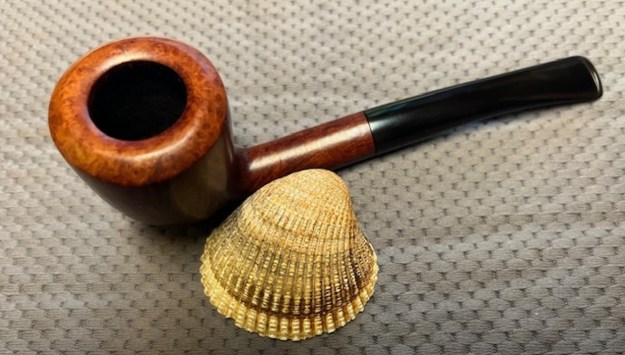
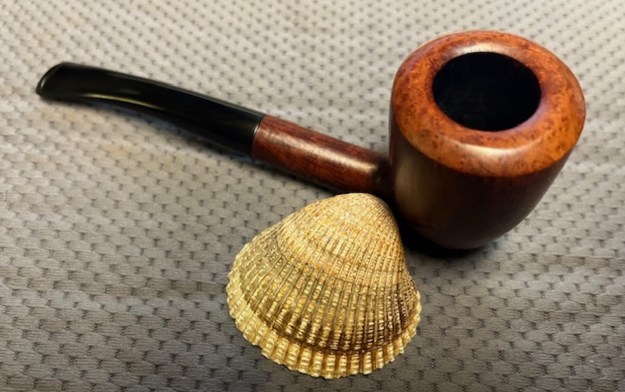
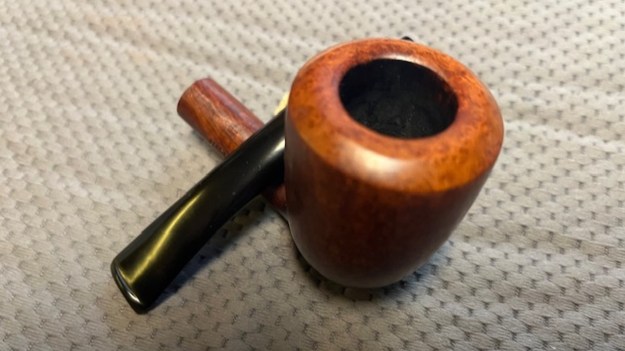
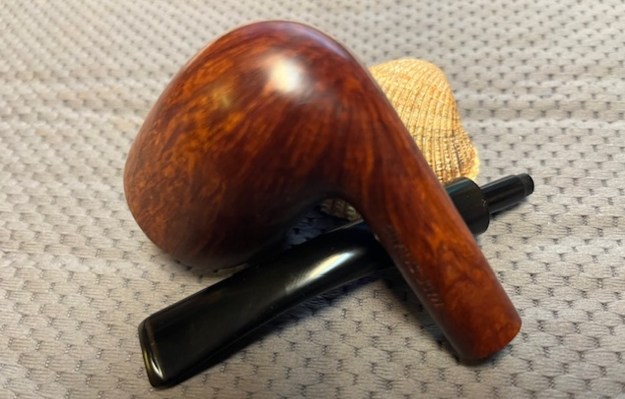
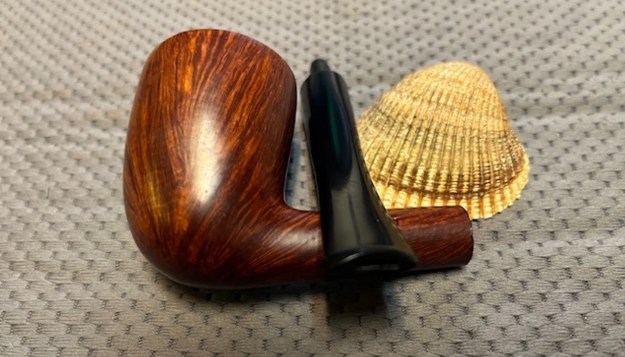
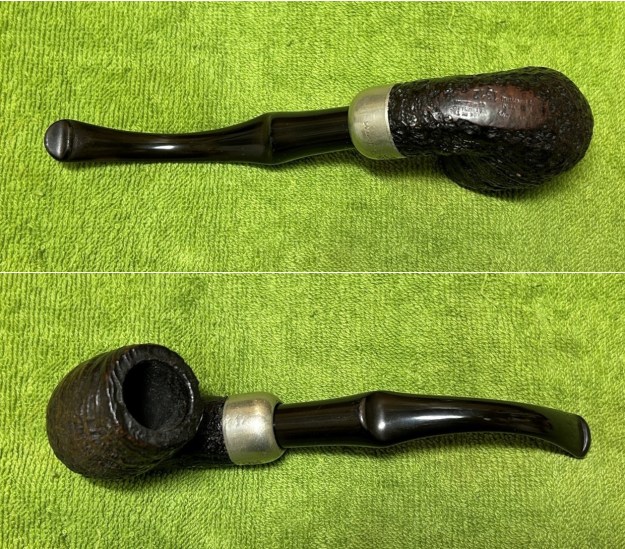
Next up is a pipe that came in a recent lot I acquired – and it’s a classic. This is a republic-era Peterson System Standard 1312 bent billiard. The sandblast on it is really craggy, attractive, and satisfying. Naturally, the stem has the classic Peterson P-lip. The 1312 is exactly the same pipe shape as the 312 – the initial ‘1’ simply indicates that it was made for the Canadian market.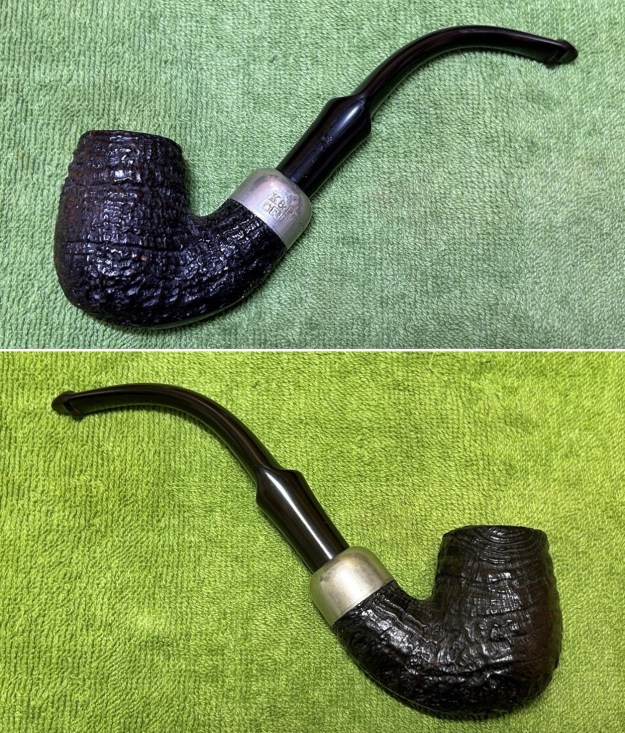
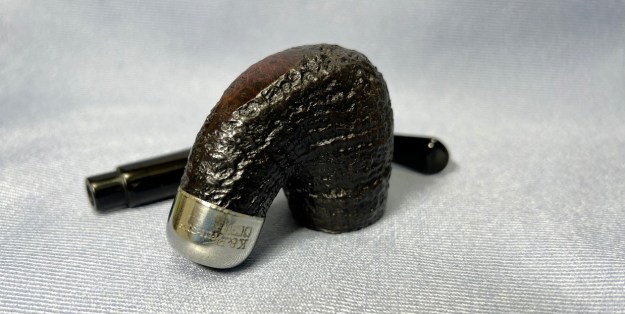
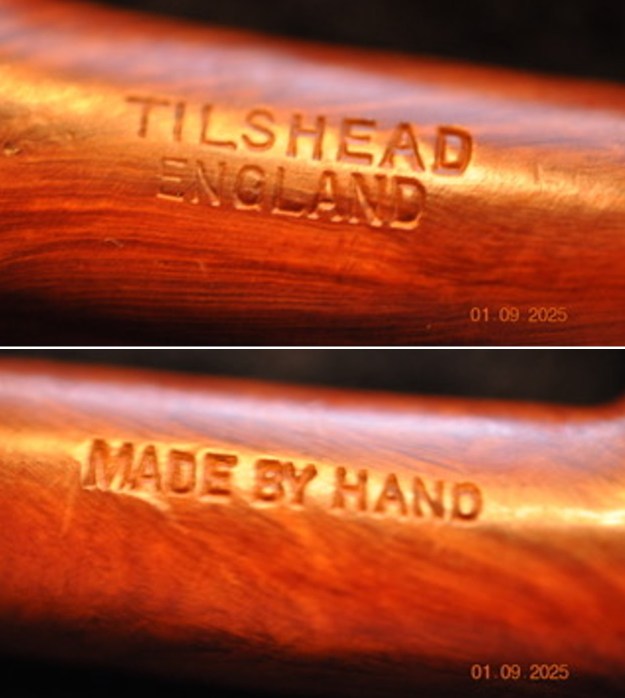
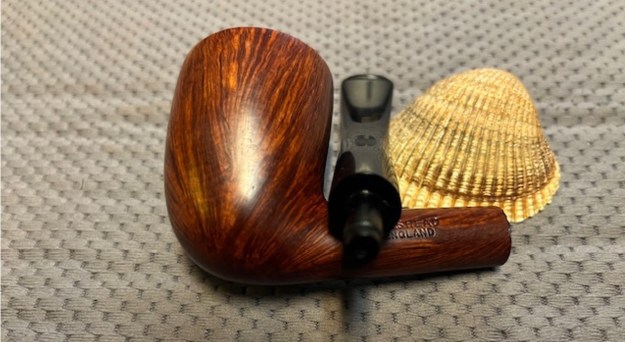
 Looking on the underside of the stummel, we can see the marks. First, we have Peterson’s [over] System [over] Standard. To the right of that we see Made in the [over] Republic [over] of Ireland. Then the shape number 1312. On the nickel ferrule, there are more marks. K&P [over] the symbols (not hallmarks) of a shamrock, a lion and a standing figure. Next to that is the name Peterson’s.
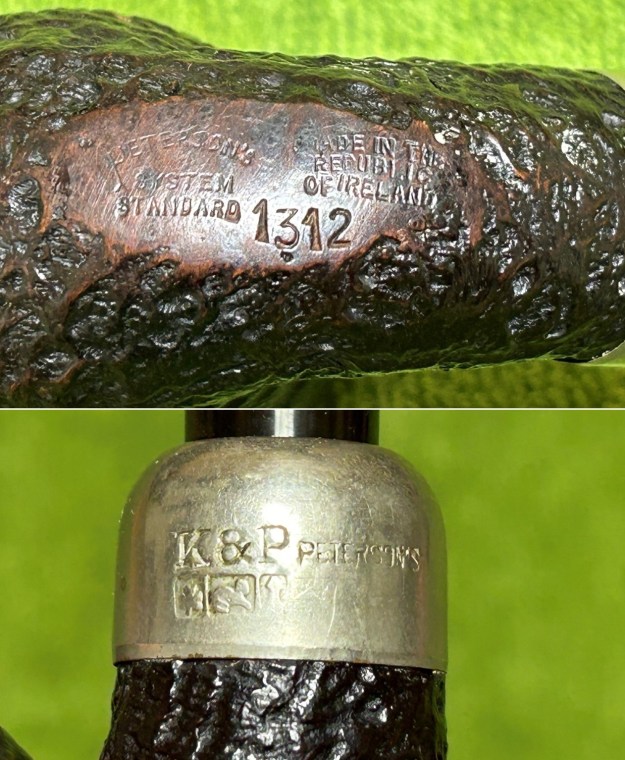 Steve and I have written about the Peterson System many times in many blogs. The Peterson System pipes are well-storied among Peterson collectors/admirers. I took the opportunity to read the article on Pipedia, specifically about the System pipes, by Jim Lilley. There is lots of good information there and I encourage you to read it: https://pipedia.org/wiki/A_closer_look_at_the_famous_Peterson_Standard_System_Pipe.
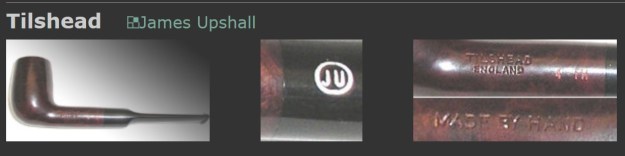
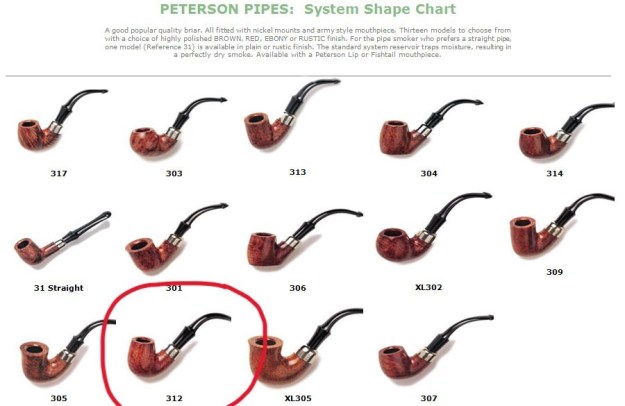 As usual, I owe a debt of gratitude to Mark Irwin of Peterson Pipe Notes. He has a very interesting article on the various System shapes and I highly recommend having a look: https://petersonpipenotes.org/146-a-guide-to-system-shapes-1896-2019-part-1-the-300-shape-group/. Here is a screenshot of the relevant bit:
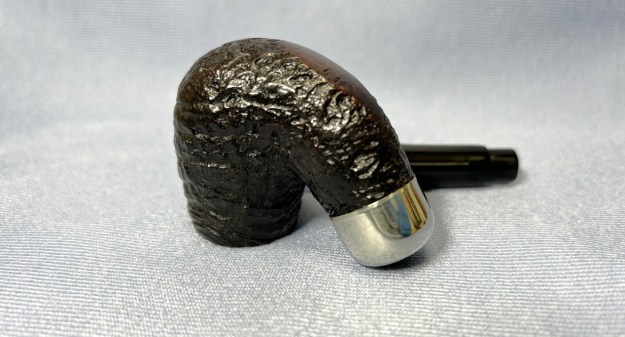
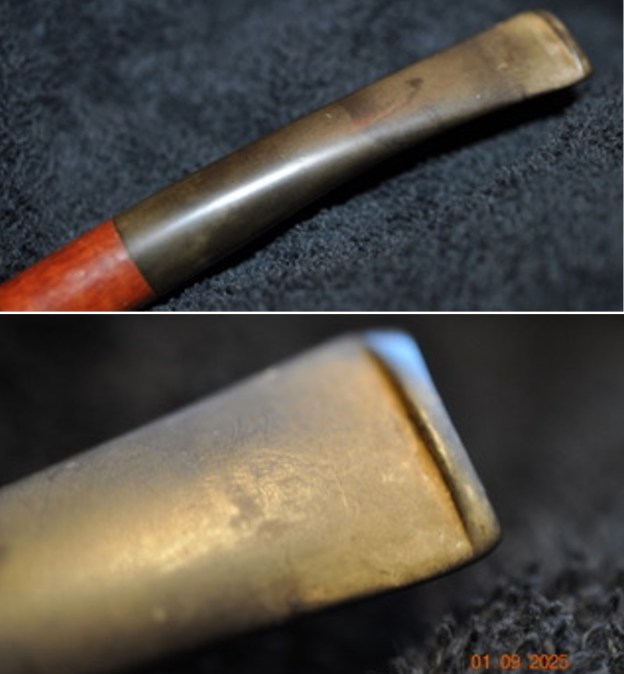
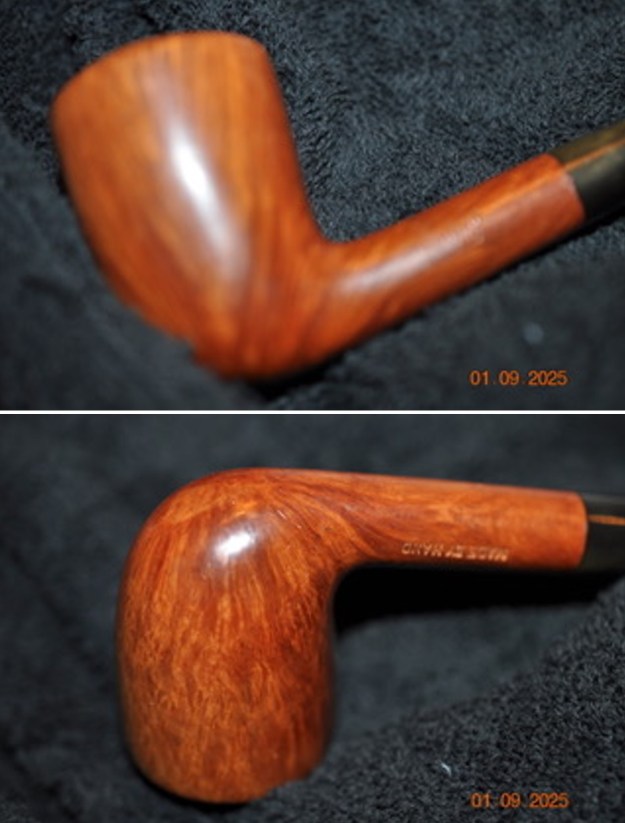
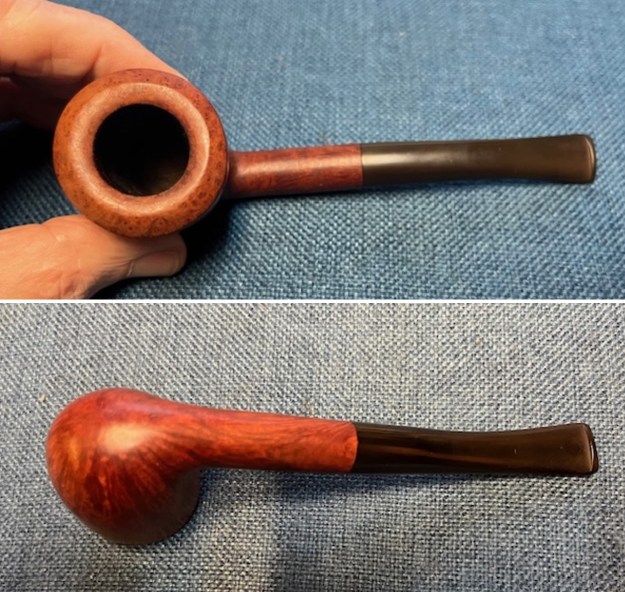
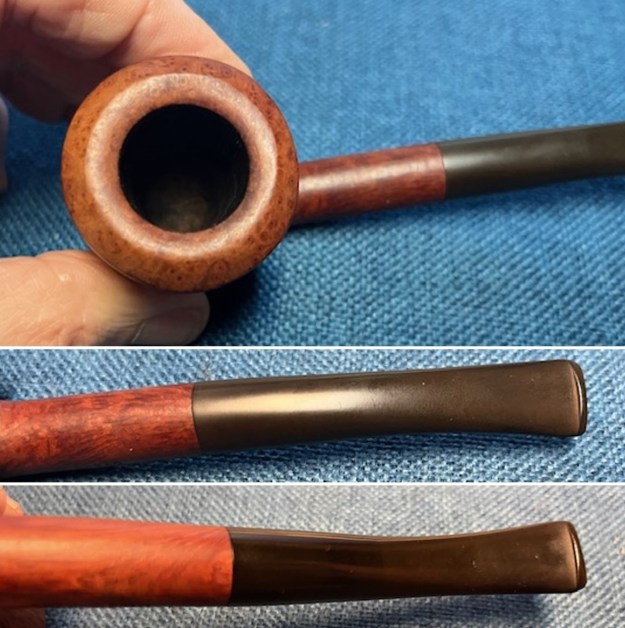
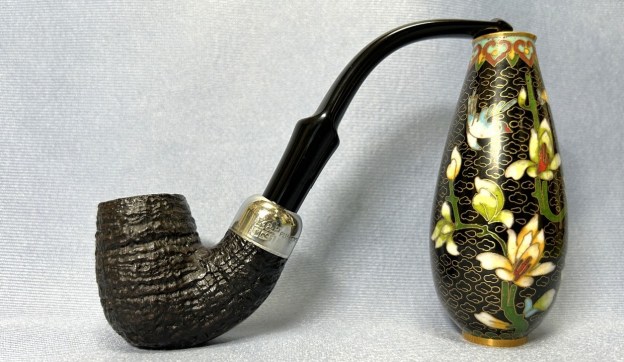
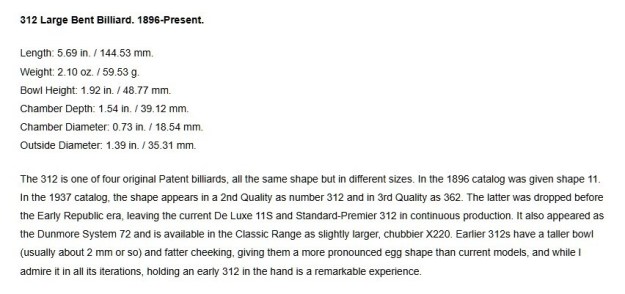 On to the pipe itself. It appears to be in very good shape, albeit a bit drab from use. There’s cake inside the bowl, but the outside looks perfectly sound. The stem has a bit of tooth chatter, but (fortunately) very little oxidation or calcification.
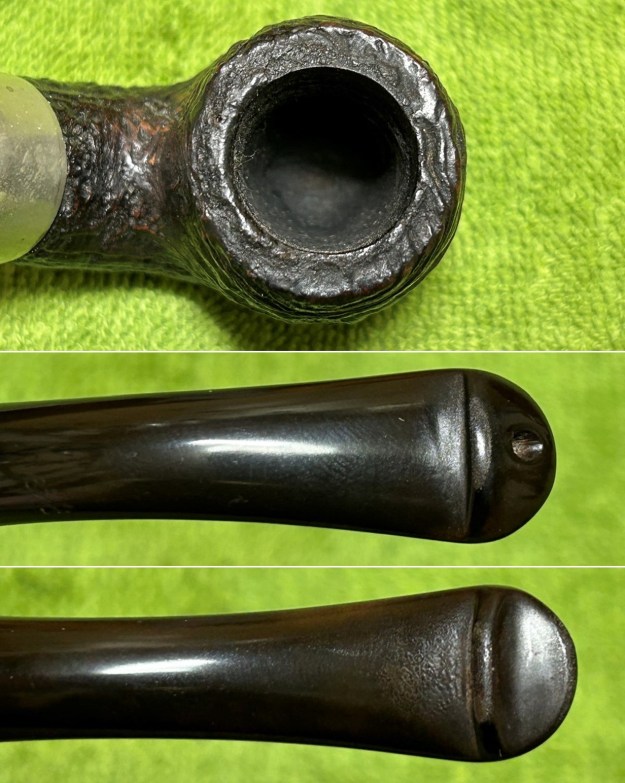 I used oil soap on a few cotton rounds and wiped down the stem to provide an initial cleaning of filth before moving on to the next steps. The primary cleaning came next. I disinfected the inside of the stem with both pipe cleaners and cotton swabs dipped in lemon-infused 99% isopropyl alcohol. I scrubbed thoroughly to make sure the interior was very clean.
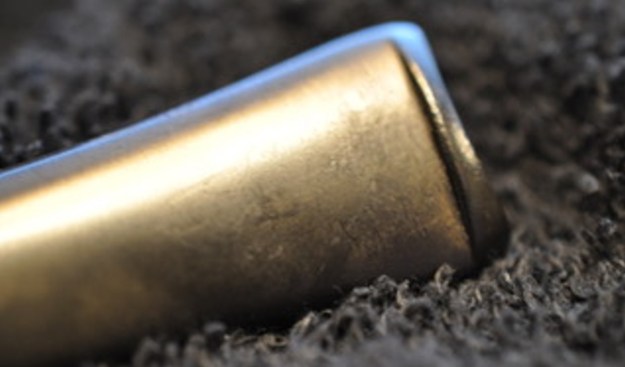
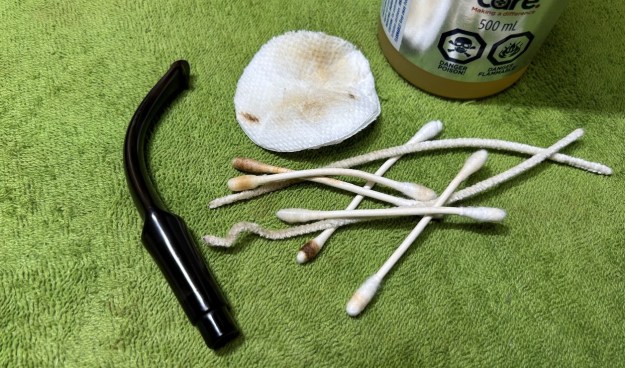 The goal of the next step is the removal (or minimization) of oxidation. Going to my sink, I used cream cleanser, cotton rounds, and a toothbrush, and scoured the stem to remove as much surface oxidation as possible. As the photos show, the result was a hideous, brownish mess – but better off the stem than on it.
 Once the stem was reasonably clean, I soaked it overnight in some Briarville Stem Oxidation Remover. This solution works to draw oxidation in the stem to the surface of the vulcanite. This is a major aid and an important step in ensuring a clean stem. The following day, I drew out the stem from its bath and scrubbed the lingering fluid with a toothbrush.
 As the stem was now clean and dry, I set about fixing the marks in the vulcanite. This was done by filling those spots with black cyanoacrylate adhesive, impregnated with carbon and rubber. I left this to cure and moved on.
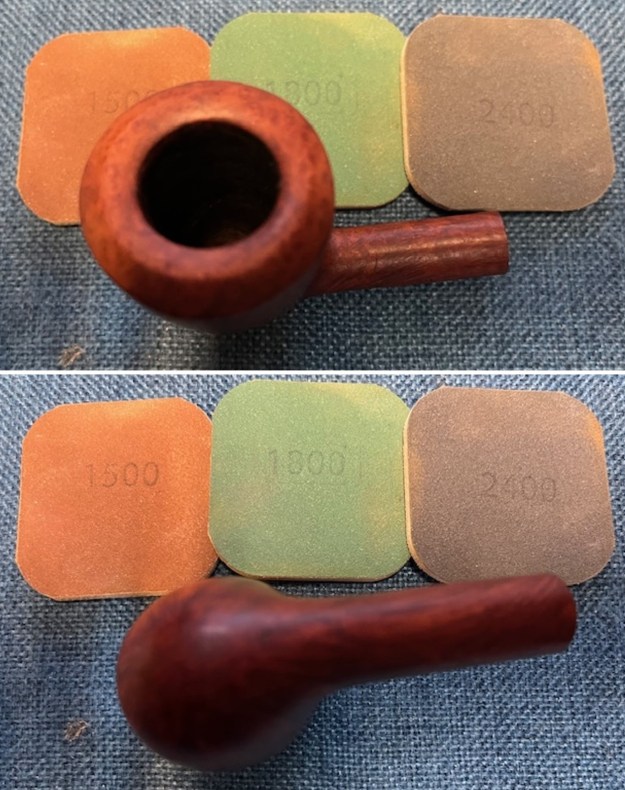
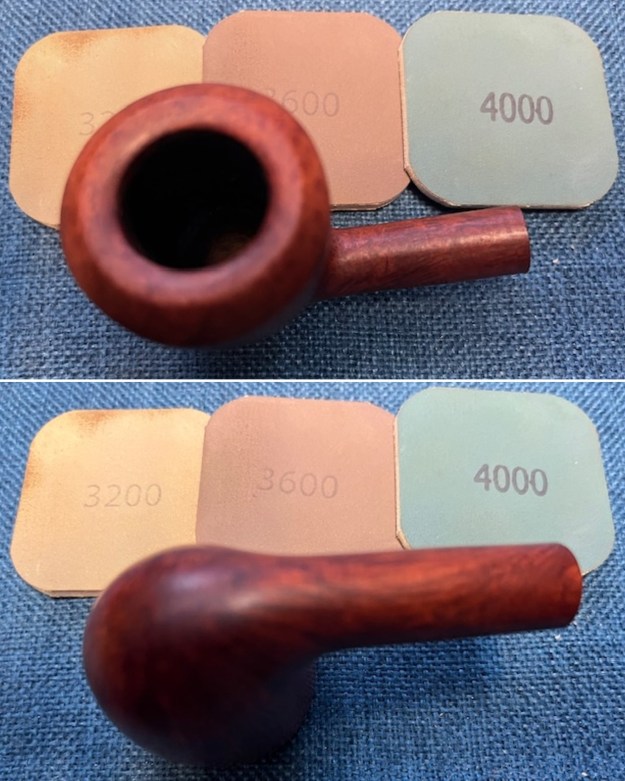
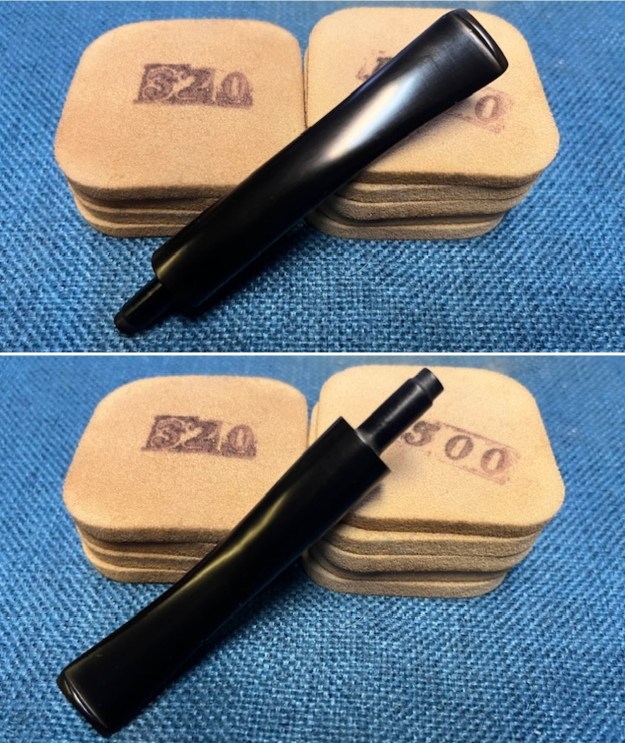
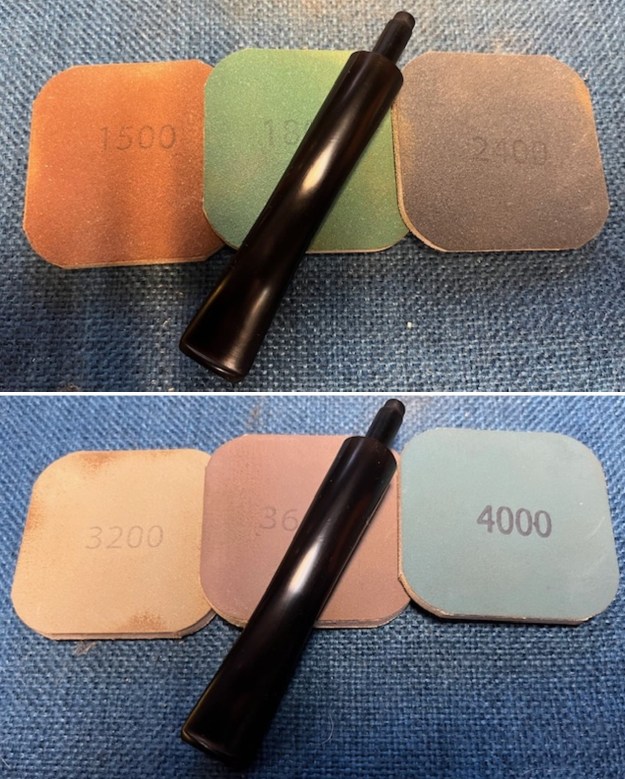
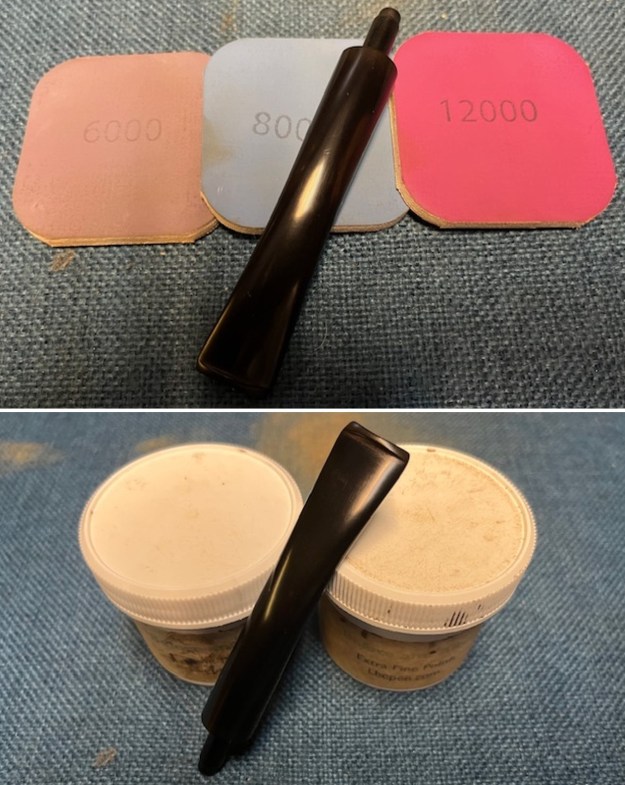
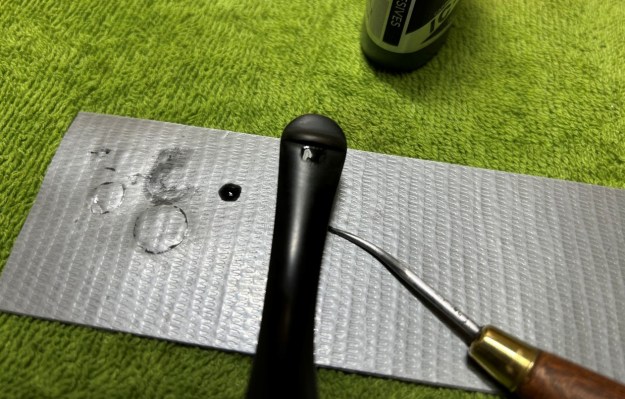 The penultimate step for the stem is sanding. I used all nine of the micromesh sanding pads (1,500 through 12,000 grit) to sand out flaws, even out the vulcanite, and provide gentle polishing of the finished surface. I also applied pipe-stem oil while using the last five micromesh pads. There was a wonderful, deep black shine to the stem when I was done.
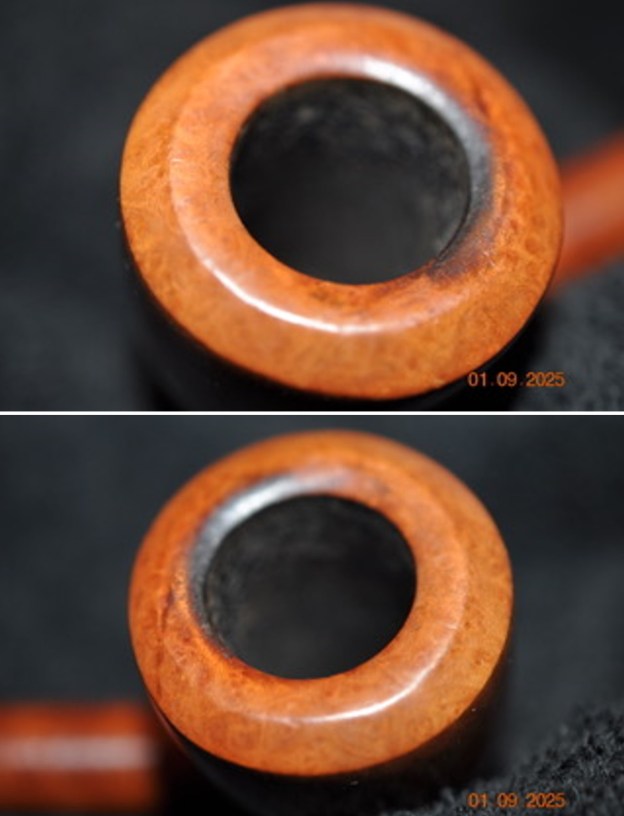
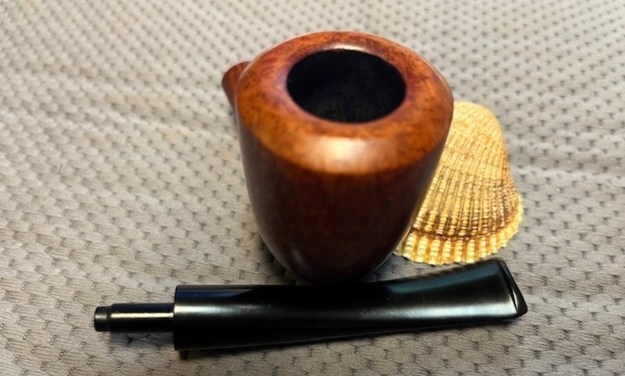
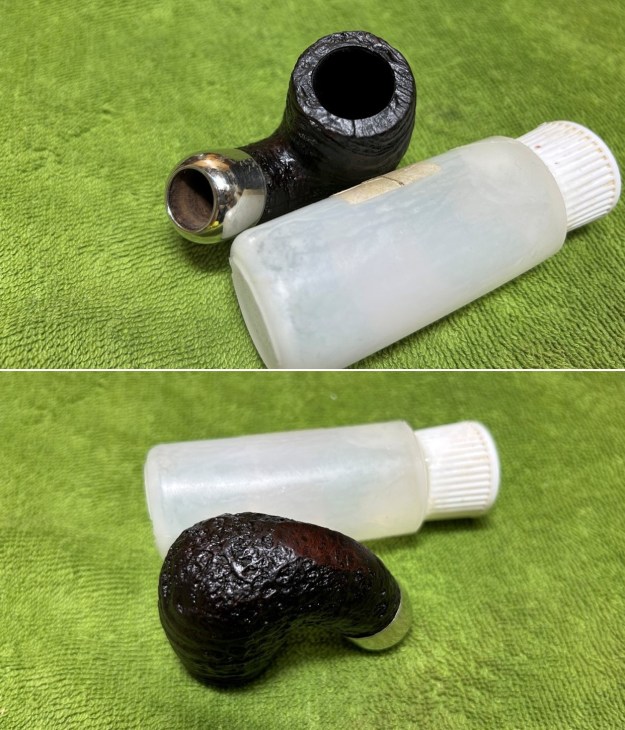
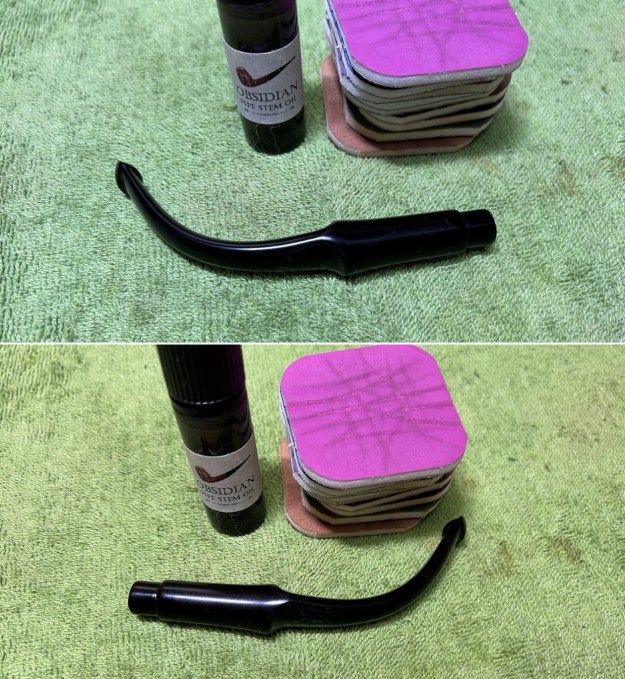 As the stem was (nearly) complete, I moved on to the stummel. The first step was to ream out the bowl – that is to say, remove all the cake inside the bowl. This accomplished a couple of things. First (and most obviously), it cleaned the bowl and provided a refurbished chamber for future smoking. Second, when the old cake was removed, I could inspect the interior walls of the bowl and determine if there was damage or not. I used a reamer and a piece of sandpaper taped to a wooden dowel. Collectively, these ensured that all the debris was removed. However, I did notice a few small craze lines on the inside. Someone must have been smoking with great gusto! No problem – I can fix that.
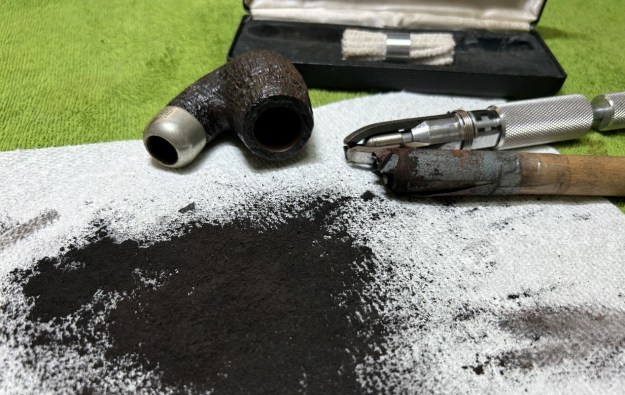 Similar to the stem, I then cleaned the stummel with both pipe cleaners and cotton swabs dipped in lemon-infused 99% isopropyl alcohol. With a pipe this dirty, it took quite a while and much cotton to get clean.
 I then decided to ‘de-ghost’ the pipe – that is to say, exorcize the remaining filth from the briar. I filled the bowl and the shank with cotton balls, then saturated them with 99% isopropyl alcohol. I let the stummel sit overnight. This caused the remaining oils, tars and smells to leach out into the cotton.
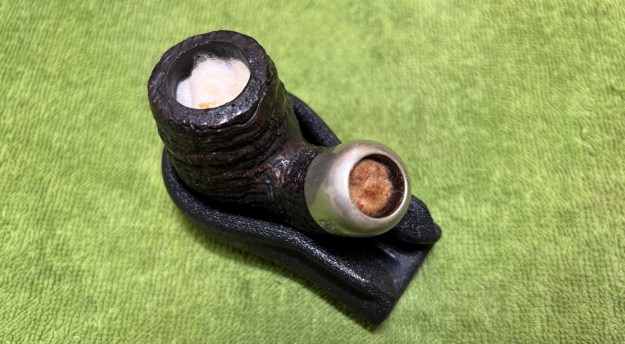 To tidy up the briar, I also wiped down the outside with some oil soap on cotton rounds and used a nylon-bristle brush in the crevices. This did a good job of cleaning any latent dirt on the surface of the briar. The last step of the cleaning process was to scour the inside of the stummel with some soap and tube brushes. This was the culmination of a lot of hard work in getting the pipe clean.
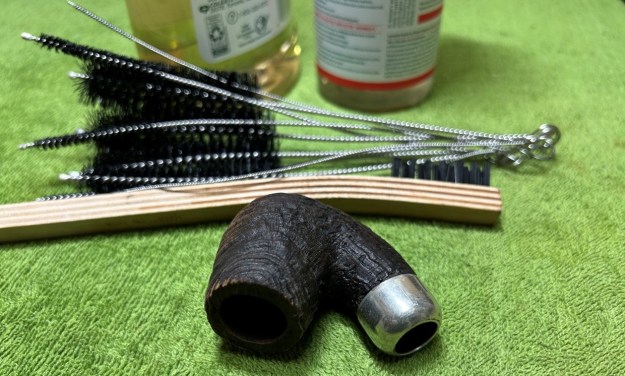 To deal with the little craze lines, I used an epoxy adhesive that is extremely hard, resistant to high temperatures, and completely inert when cured. It worked superbly. I thinly applied it to the affected area and let it cure for a full 24 hours. The next day, I roughened up the epoxy’s surface with 220-grit sandpaper for the next step. I thinly coated the inside of the bowl with a mixture of my wife’s homemade yogurt and activated charcoal. Once hardened, this provided a good, faintly rough surface for a new cake to build.
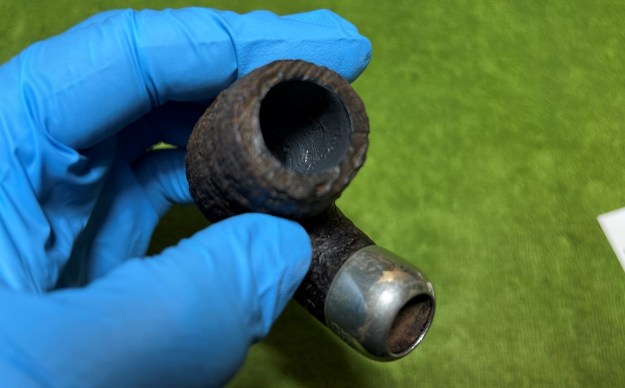 I then buffed the nickel ferrule with a couple of very gentle Micromesh pads, then then buffed it with a jewellery cloth.
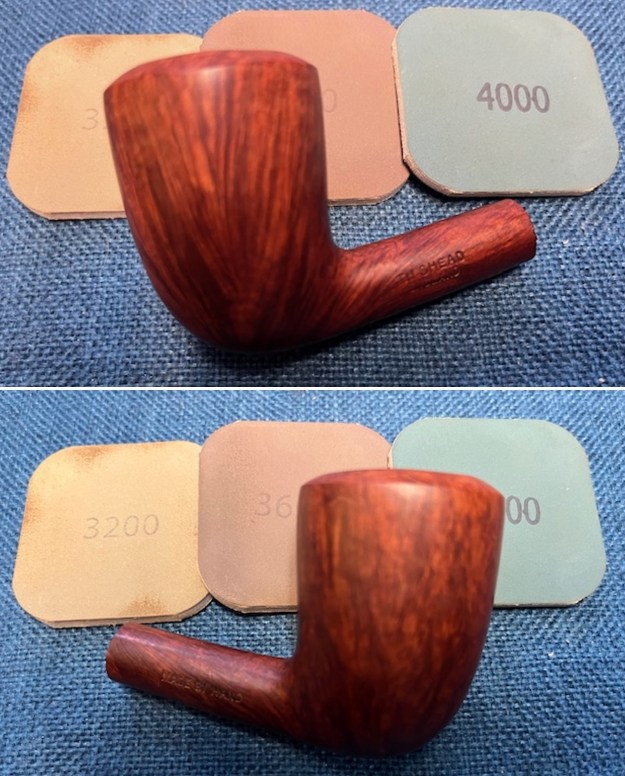
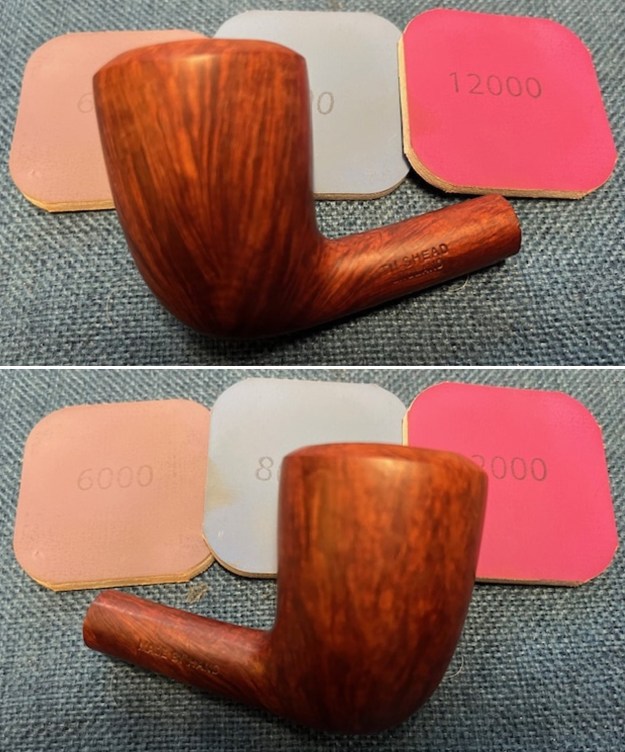
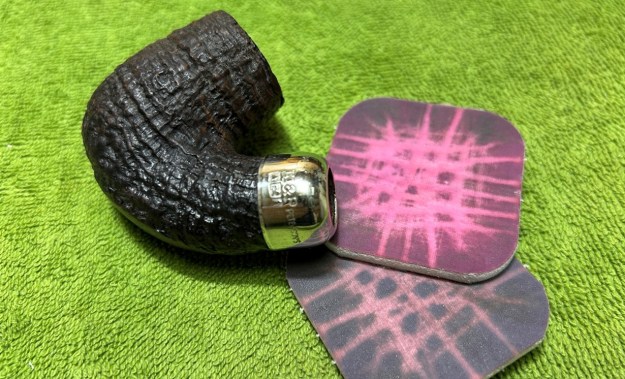 I rubbed some LBE Before & After Restoration Balm into the briar and let it sit for 30 minutes or so. The balm moisturizes the wood and gives a beautiful depth to the briar. I then buffed the stummel with a microfibre cloth.
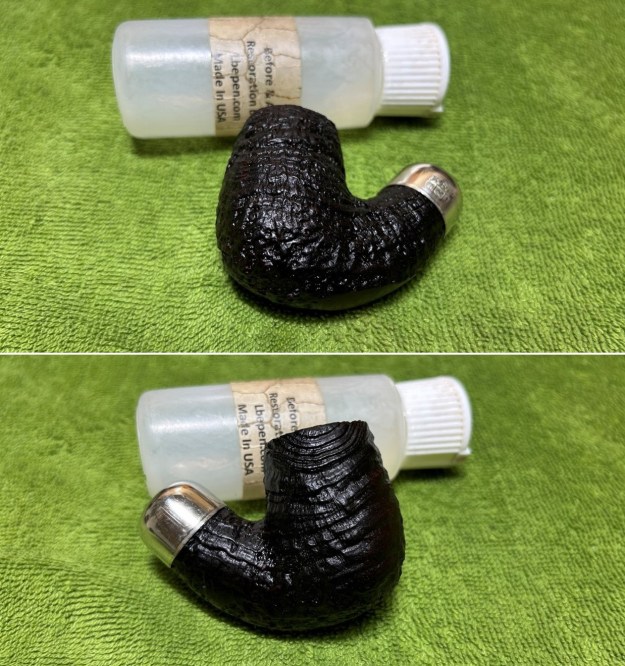
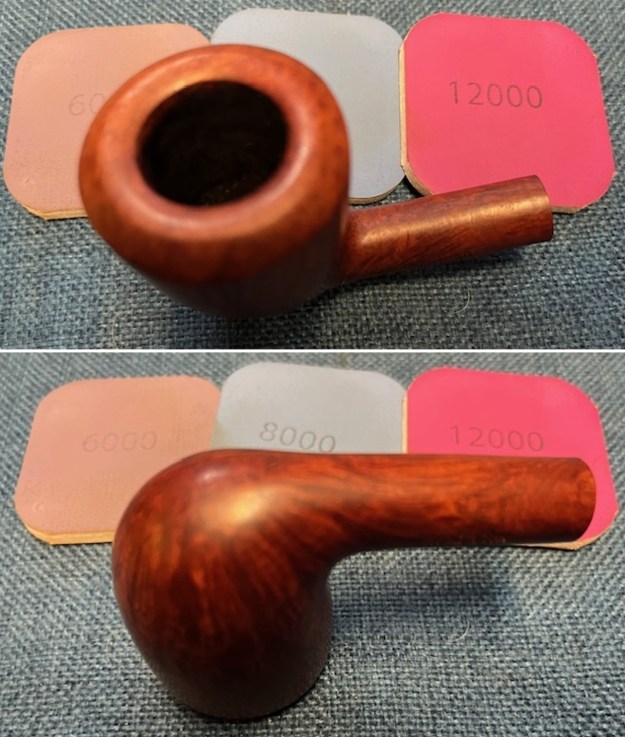
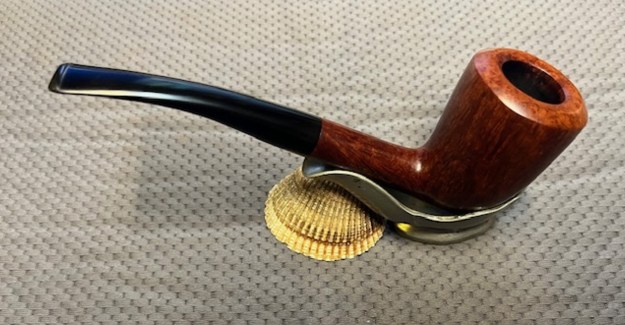
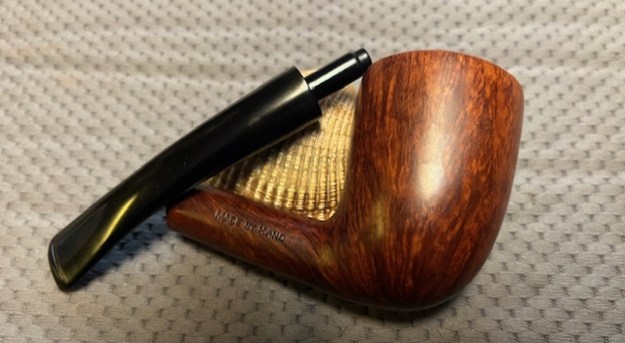
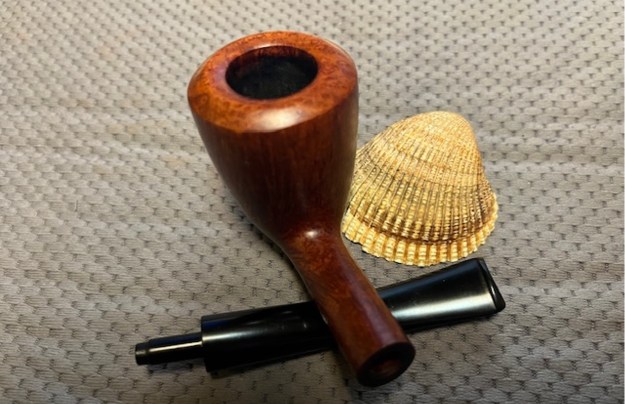
 For the final step, I took the pipe to my bench polisher and carefully buffed it – first with a blue diamond compound, then with three coats of conservator’s wax. This procedure makes the pipe look its best – the stummel sings and the stem glows.
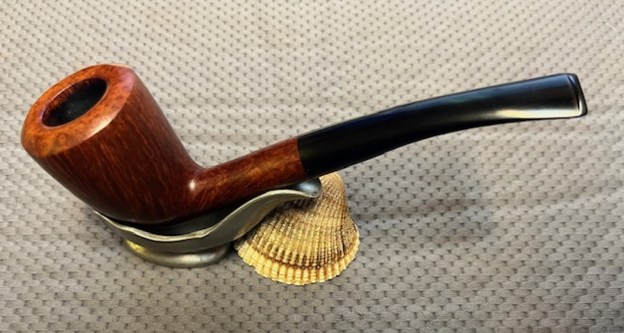
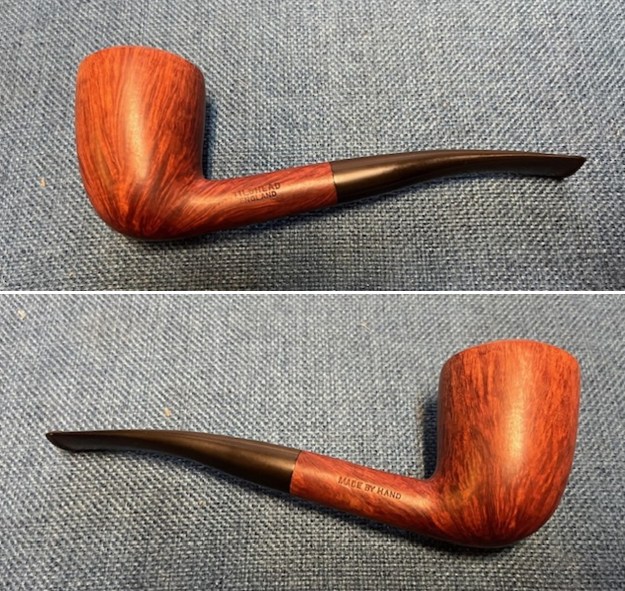
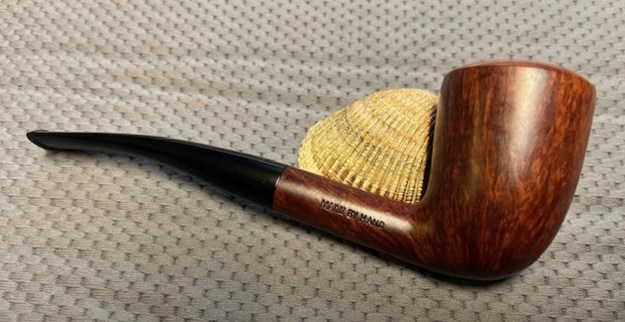
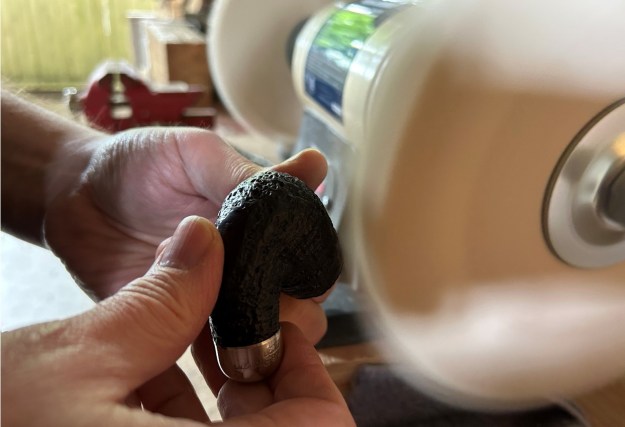 All done! This Peterson System Standard 1312 bent billiard looks fantastic again and is ready to be enjoyed by its next owner. I am pleased to announce that this pipe is for sale! If you are interested in acquiring it for your collection, please have a look in the ‘Irish’ section of the store here on Steve’s website. You can also email me directly at kenneth@knightsofthepipe.com. The approximate dimensions of the pipe are as follows: length 5⅔ in. (143 mm); height 4 in. (102 mm); bowl diameter 1⅓ in. (34 mm); chamber diameter ¾ in. (19 mm). The weight of the pipe is 1½ oz. (46 g). I hope you enjoyed reading the story of this pipe’s restoration as much as I enjoyed restoring it. If you are interested in more of my work, please follow me here on Steve’s website or send me an email. Thank you very much for reading and, as always, I welcome and encourage your comments.