by Steve Laug
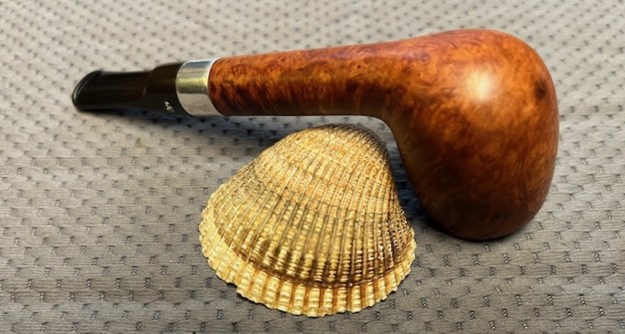
The next pipe I have chosen is smooth finished Peterson’s “Dublin” Lovat pipe that had a very dirty/grimy finish but had some good looking grain around the bowl sides and shank. It had a tarnished Sterling Silver band on the shank. It came to us from our contact in Copenhagen, Denmark on 14/11/2024. This Lovat was stamped on the left side of the shank and read Peterson’s [over] “Dublin”. It was stamped on the right side and read Made in the Republic of Ireland (three lines). The Sterling Silver Band is stamped on the top with three shields K & P over Sterling Silver. On the right side of the band it has three hallmarks – Hibernia seated arm on a harp (signifies country of manufacture), a crowned harp designating Sterling quality and finally a Date Letter mark – in this case it is an italic “I” (1994). On the left side it is stamped 1997. The pipe was in filthy condition when we brought it to the table. The finish was dirty with grime ground into the briar sides and rim. The bowl had a cake and there was some lava on the rim top and edges. The inner edge of the bowl appeared to be okay and a burn mark on the outer edge on the front. The stem was dirty and moderately oxidized. There were light tooth marks and chatter on the top and underside on and near the button. There was a white “P” stamp logo on the left side of the saddle stem. Jeff took photos of the pipe before his cleanup work. They tell the story and give a glimpse of the promise that we see in this pipe.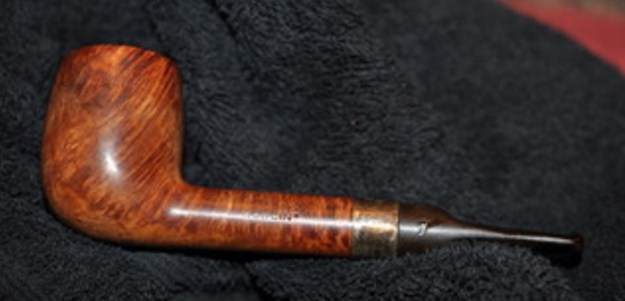
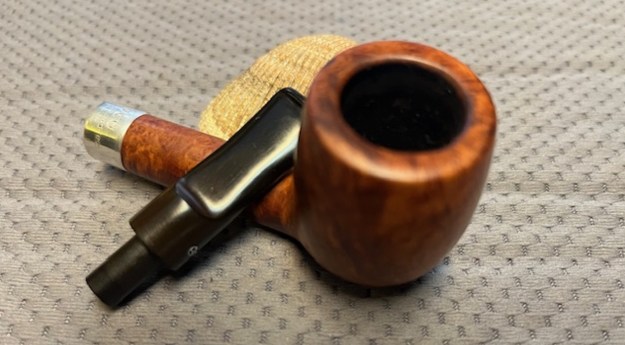
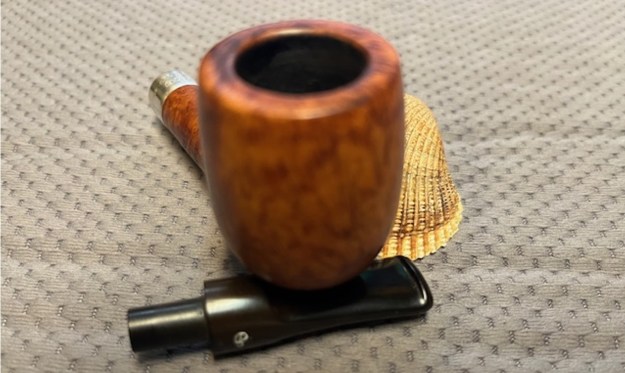
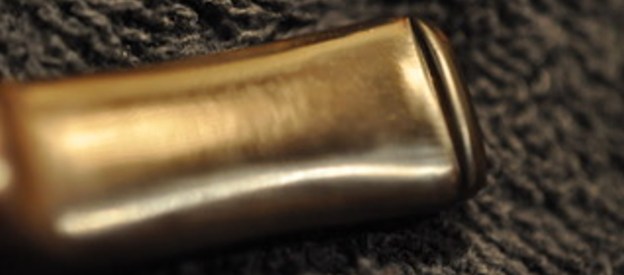
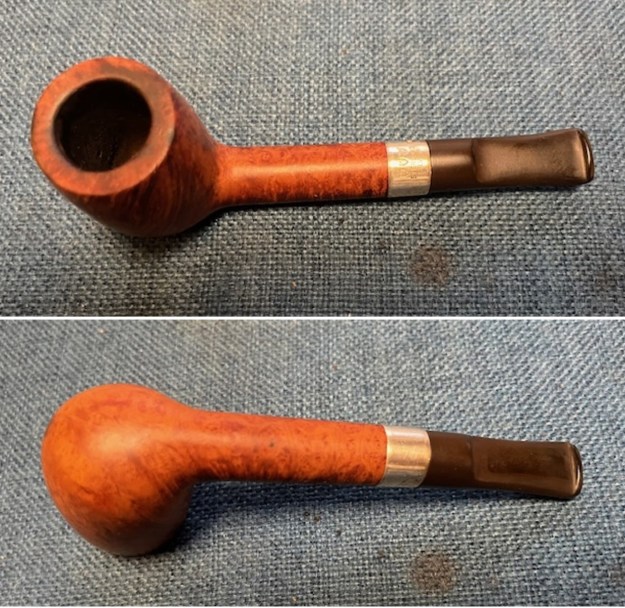
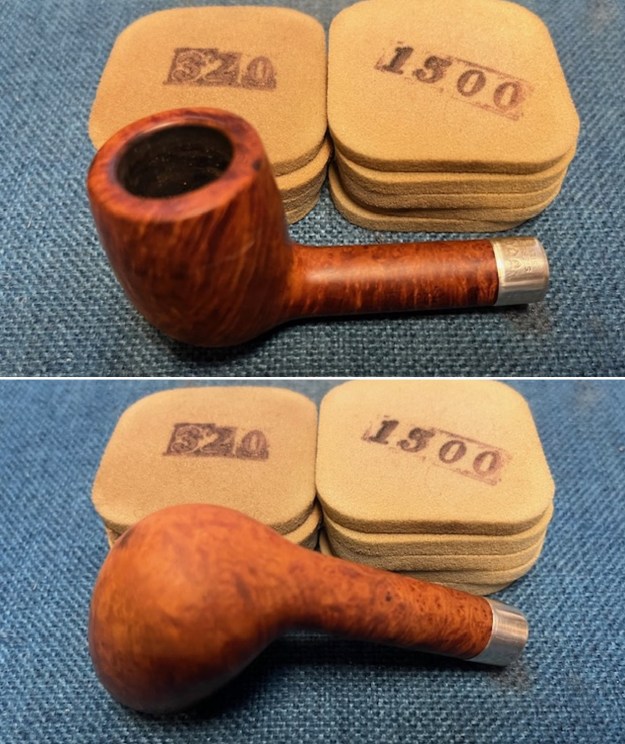
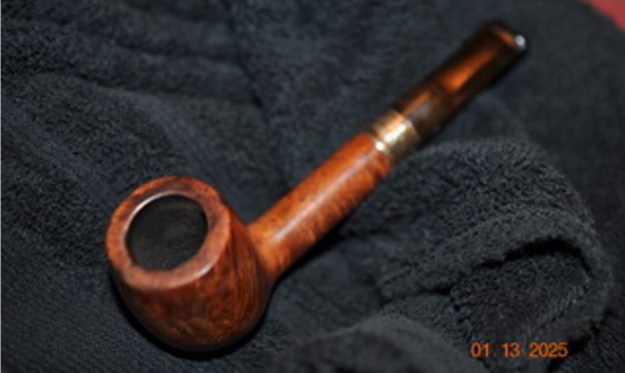 Jeff took photos of the rim top and stem to show the general condition of the pipe. The bowl and was heavily caked and the rim top had a spotty lava overflow. The inner edge of the bowl looks good and you can see a burn mark on the front outer edge of the bowl. The photos of the stem show the light tooth marks and chatter on both sides near the button.
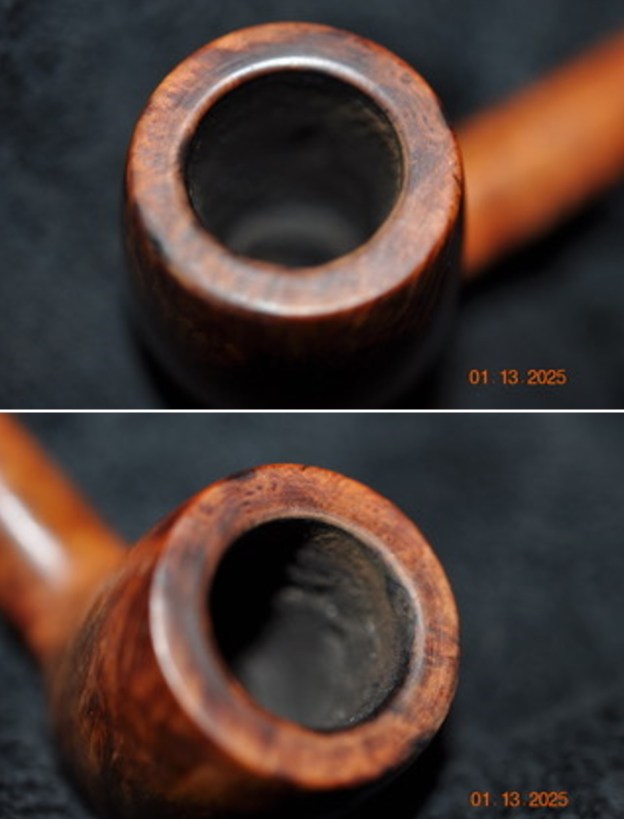
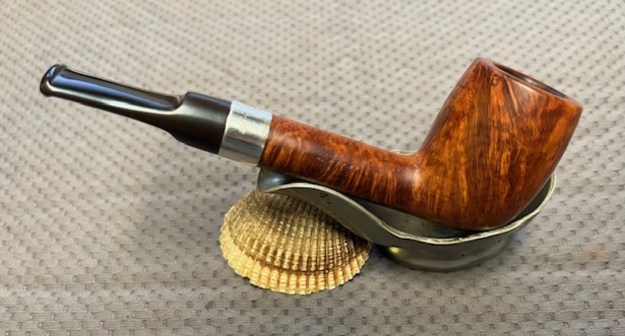
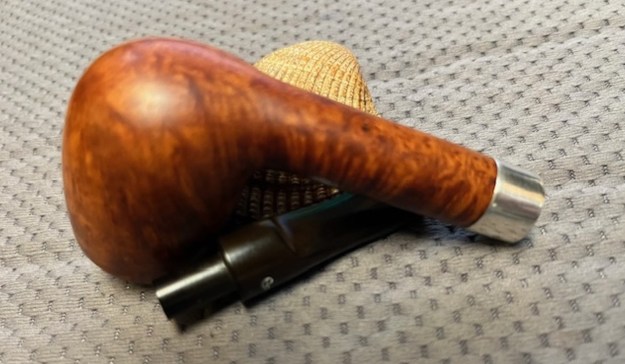
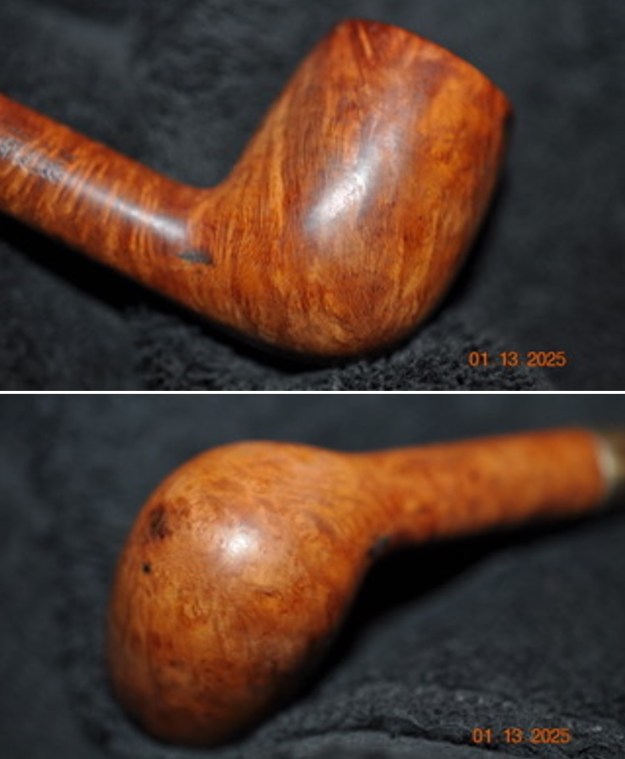
 Jeff took some photos of the bowl sides and heel to show the amazing grain that was around this bowl underneath the grime and grease coat on the surface. It is a nice looking pipe.
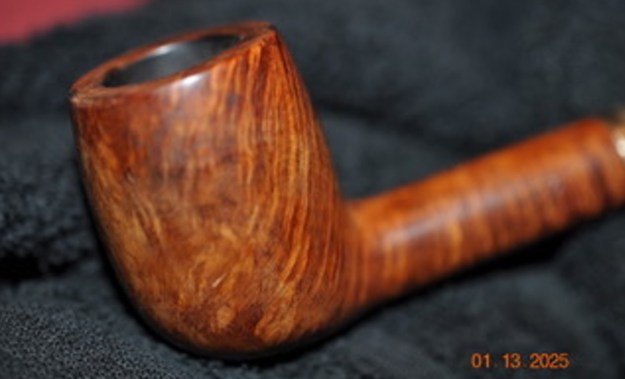
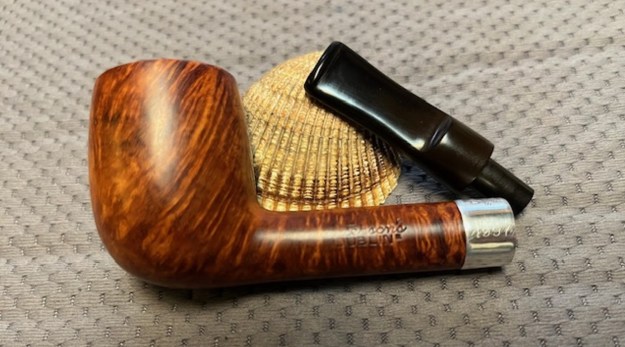
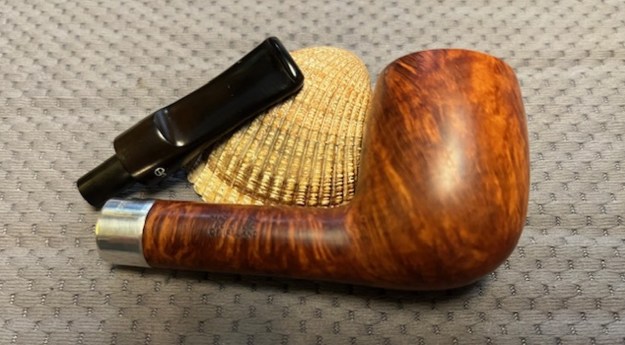
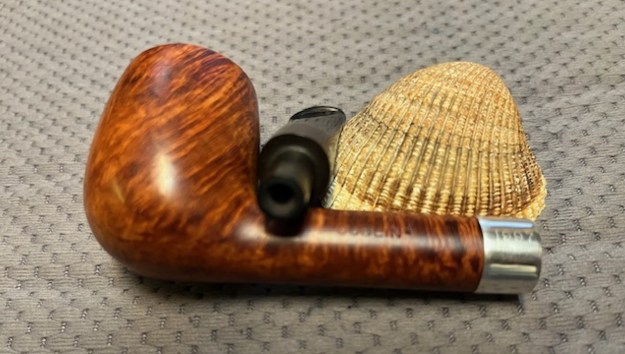
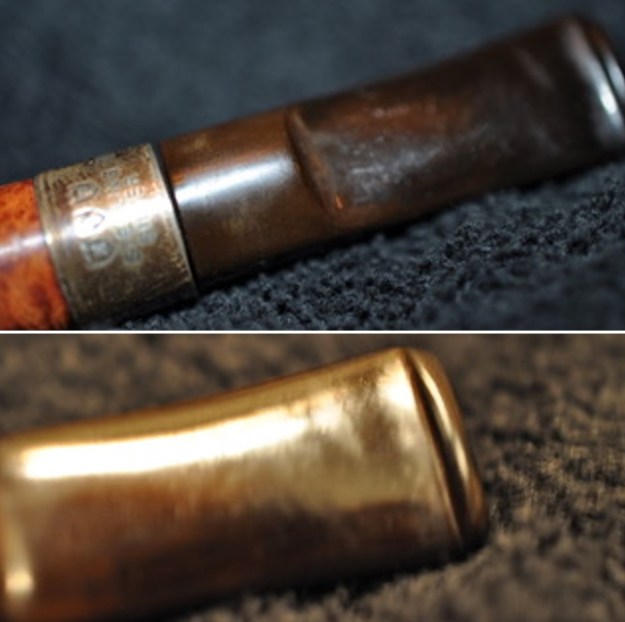
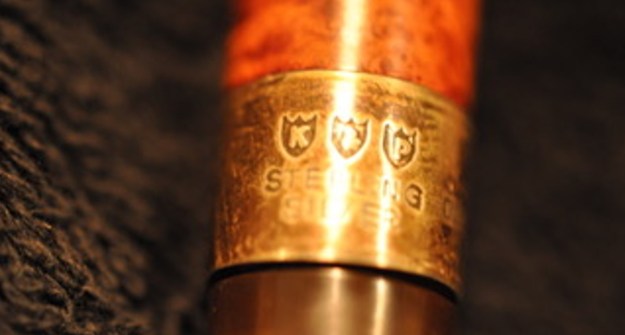
 He took photos of the sides of the shank to show the stamping. The stamping is readable in the photos below and is as noted above. He also captured some of the stamping on the Sterling Silver band on the shank.
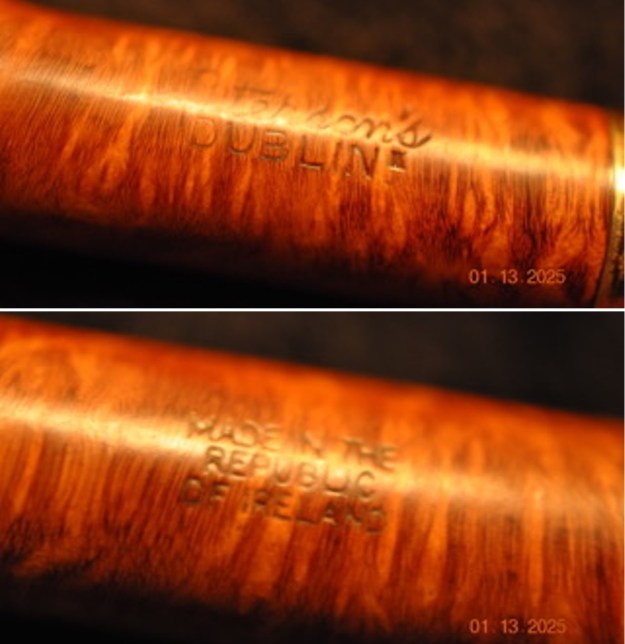
 I am including the link to the Pipedia’s article on Peterson pipes. It is a great read in terms of the history of the brand (https://pipedia.org/wiki/Peterson).
I turned to “The Peterson Pipe” by Mark Irwin and Gary Malmberg to get some background on the Peterson’s London Made England line. On page 298 it had the following information.
“Dublin” (1992-2003) An orange-brown smooth line with a brass-nickel-brass sandwich band, vulcanite fishtail mouthpiece, consisting mostly of D shapes released for the Danish market. Stamped PETERSON’S in script over “DUBLIN”. A tenth anniversary pipe for the line was produced with a sterling band stamped 2001. Market demand fell shortly thereafter and several pipes stamped “DUBLIN” were released in ’03 for the Fourth of July commemoratives for the US market.
I knew a date range for the pipe I was working on from the stamping on the silver– 1994-1997. My guess is that it was made in 94 and purchased in 97 by the pipe man or woman who held it in trust. Since the one I was working on did not have a D shape it is not provable that it was made for the Danish market. However, other than the shape number, the colour, the silver band and the fishtail stem is the same on the pipe. Now it was time to work on the pipe.
Jeff had done a great job cleaning up the pipe as usual. He reamed the pipe with a PipNet reamer and cut back the cake back to the bare briar. He cleaned up the walls with a Savinelli Fitsall Pipe Knife. He scrubbed the interior of the bowl and shank with pipe cleaners, cotton swabs, shank brushes and alcohol to remove the tars and oils. He scrubbed the exterior of the pipe with undiluted Murphy’s Oil Soap and a tooth brush to remove the grime from the finish. He worked on the rim top lava and the darkened spots with the soap and tooth brush. He scrubbed the inside of the stem with alcohol and pipe cleaners. He scrubbed the exterior with Soft Scrub and then soaked it in Briarville Pipe Stem Deoxidizer. He washed it off with warm water to remove the Deoxidizer. The pipe had some dark spots on the briar but it looked far better when it arrived.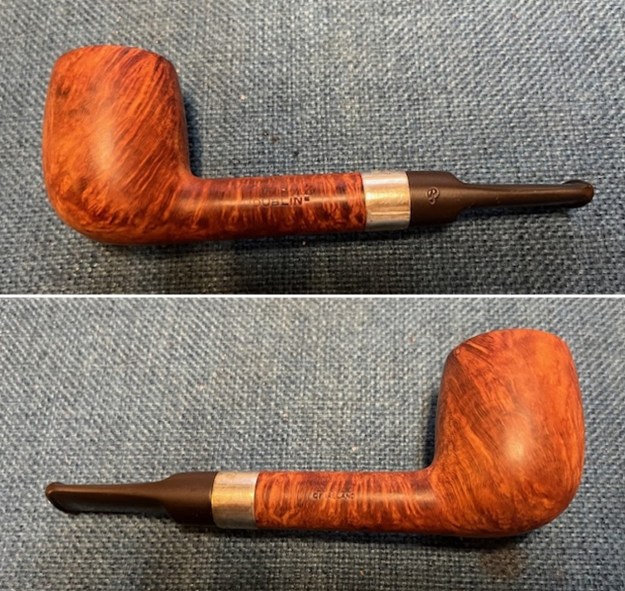
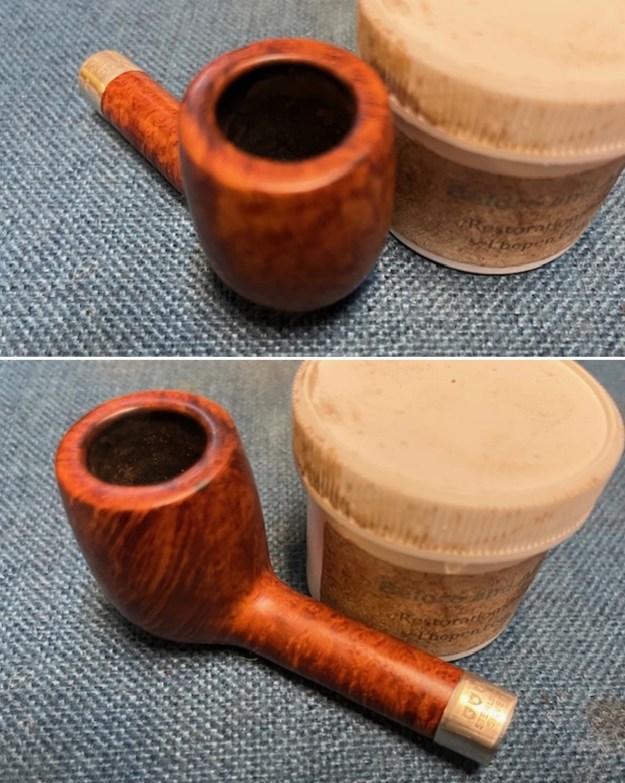
 I took some close up photos of the rim top and also of the stem surface. I wanted to show how well it had cleaned up. The rim top had some looked good but there was darkening on the rim top and inner edge and some burn spots on the front and back outer edge of the bowl. It should clean up really well. I also took close up photos of the stem to show the light tooth marks on the surface near the button.
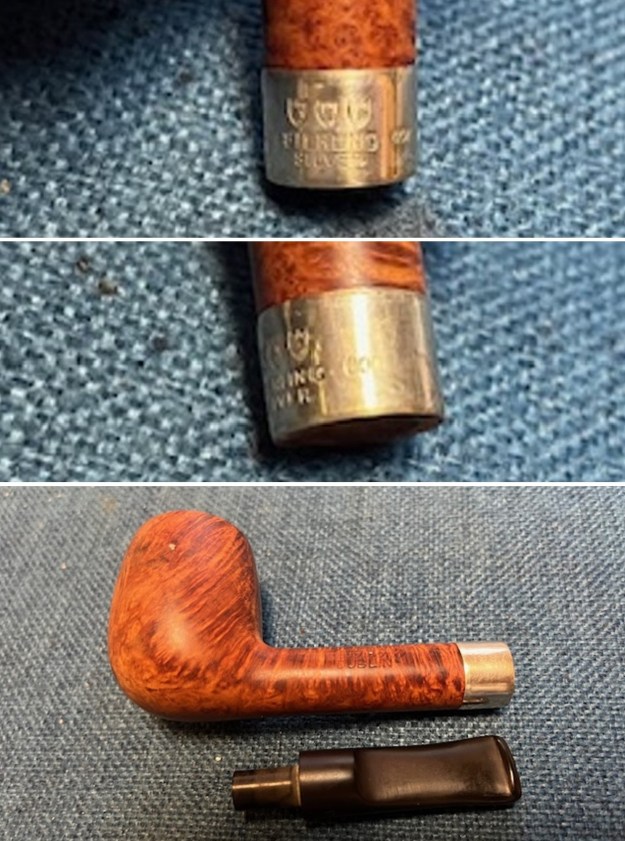
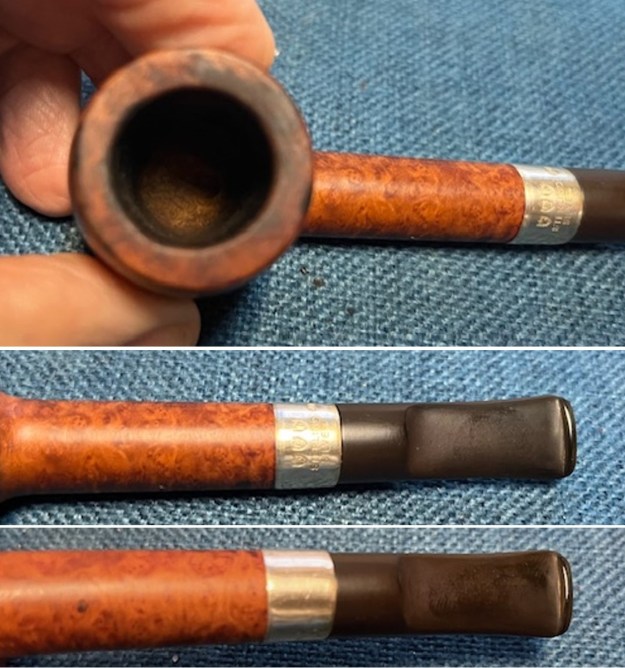 I took photos of the stamping on the sides of the shank. You can see that it is stamped as noted above. It is clear and readable. The P logo stamp on the stem side is clear but will need to be touched up. I took photos of the stamping on the silver band to try and capture what was on the band. It is readable. I removed the stem and took a photo of the pipe to have a look at the parts and overall look.
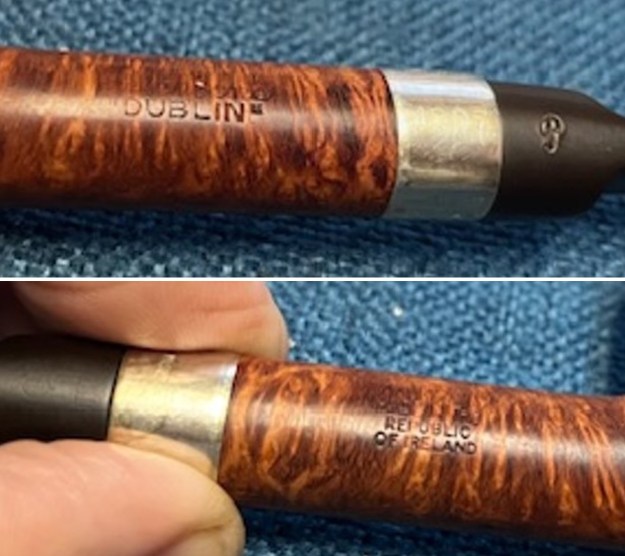
 I moved on to address the damage on the rim top and the front inner edge of the bowl. I used a folded piece of 220 grit sandpaper to smooth out the damage and bring the bowl back to round. It looked much better at this point in the process.
 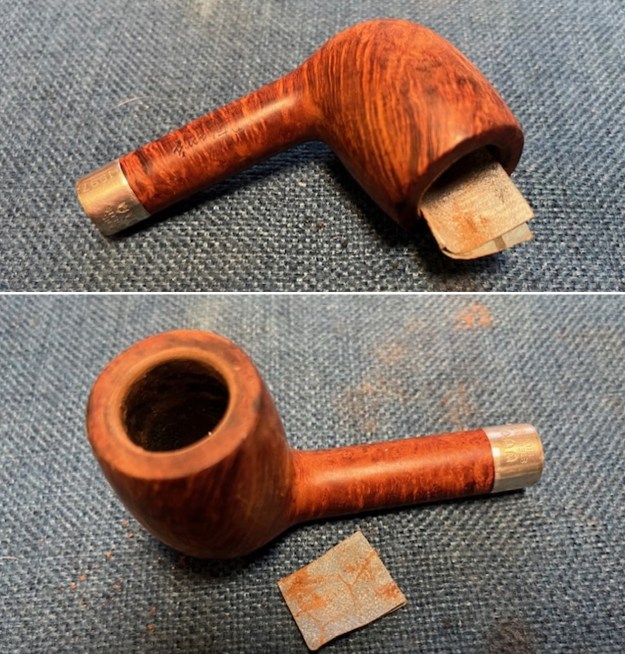 I wiped down the dark spots on the edges of the rim and the heel of the bowl with some oxalic acid on a cotton pad. While it greatly lightened the spots it did not remove them.
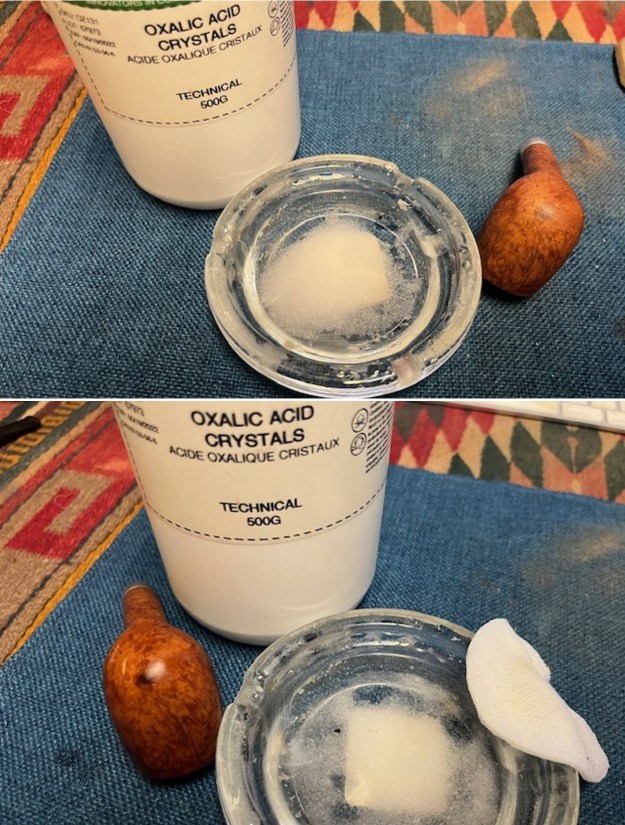 I sanded the bowl and rim with 320-3500 sanding pads to minimize the dark spots further on the rim edges and the heel of the bowl. I wiped the bowl down with a damp cloth between pads to remove the sanding dust.
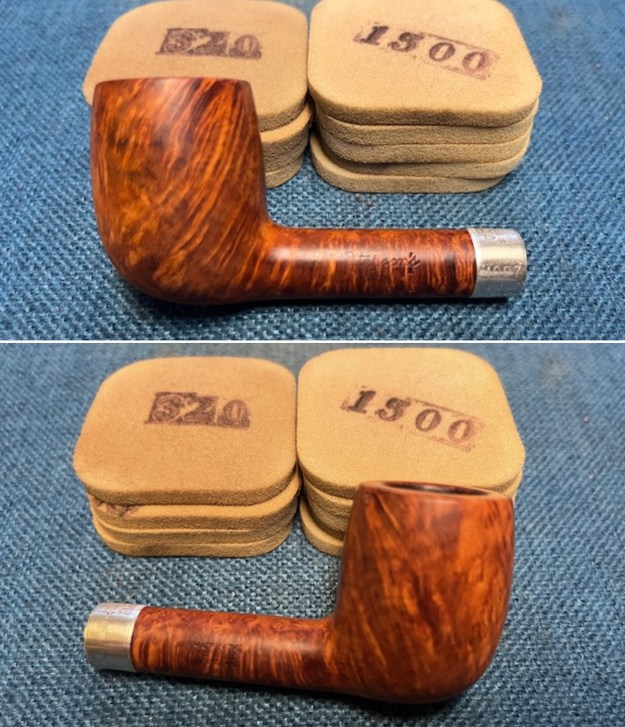
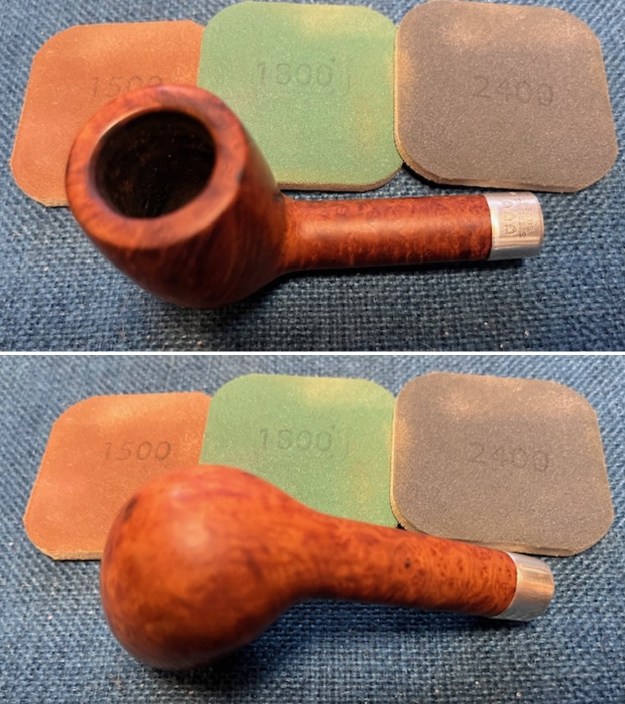
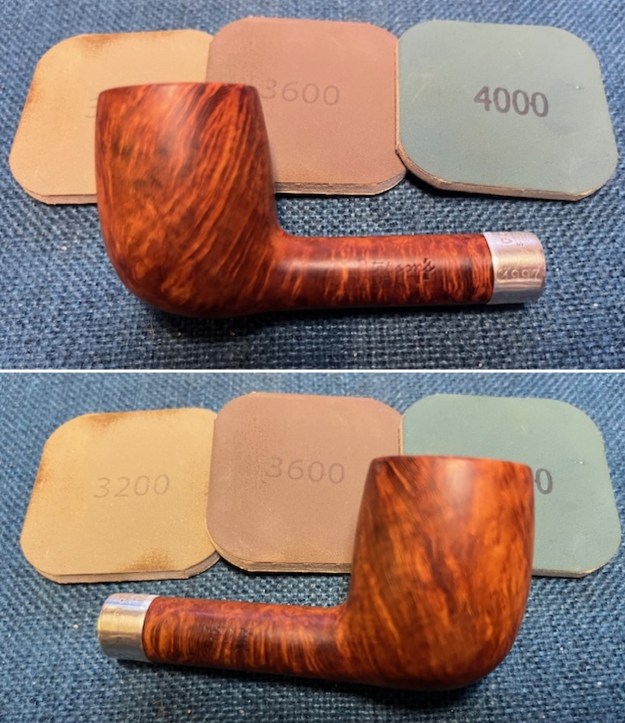
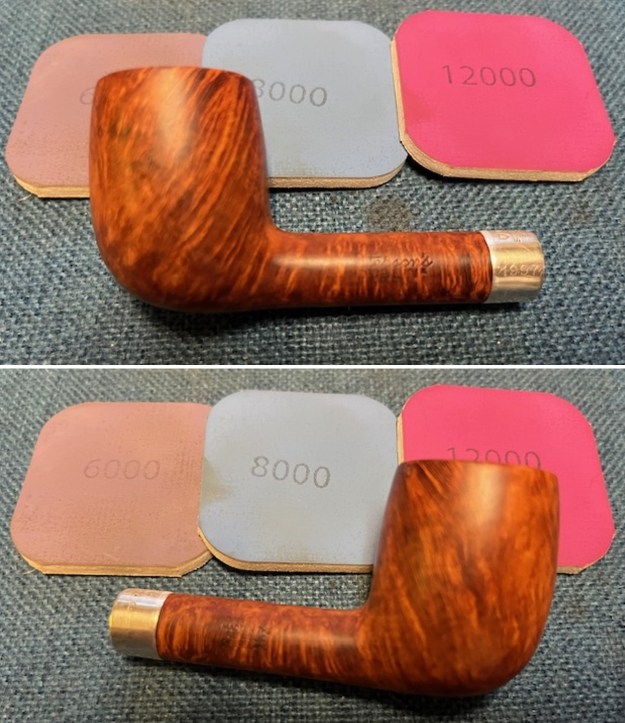
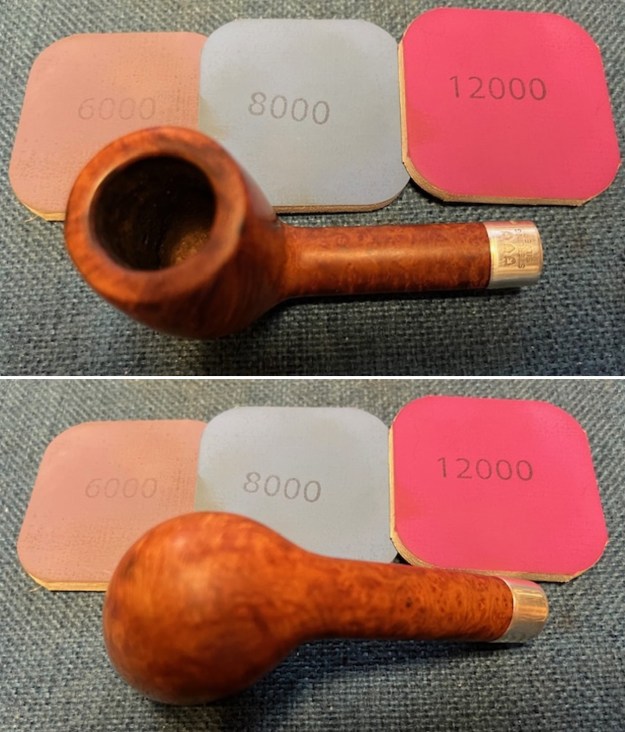
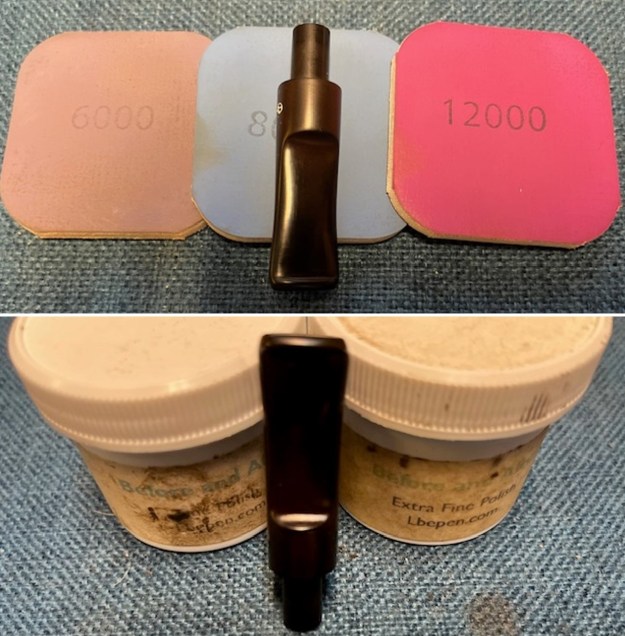
 I polished the briar with micromesh sanding pads – dry sanding with 1500-12000 grit sanding pads. I wiped the bowl down with a damp cloth after each sanding pad.
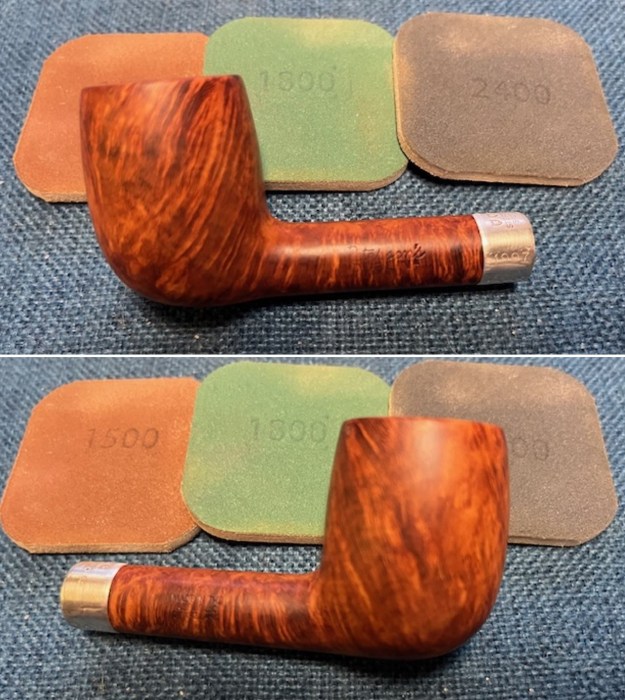

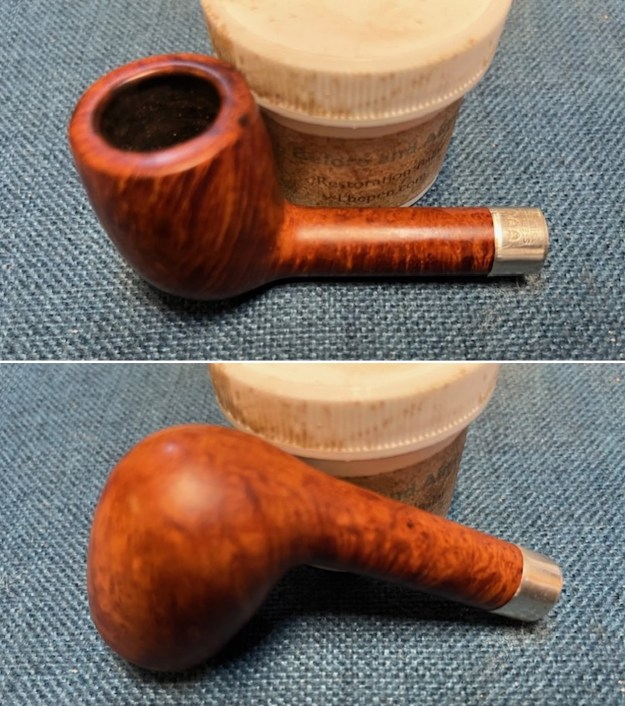
 I worked some Before & After Restoration Balm into the surface of the briar with my fingertips. It works to clean, enliven and protect the briar. I let it sit for 15 minutes then buffed it off with a soft cloth and raised the shine. The bowl looks great at this point.
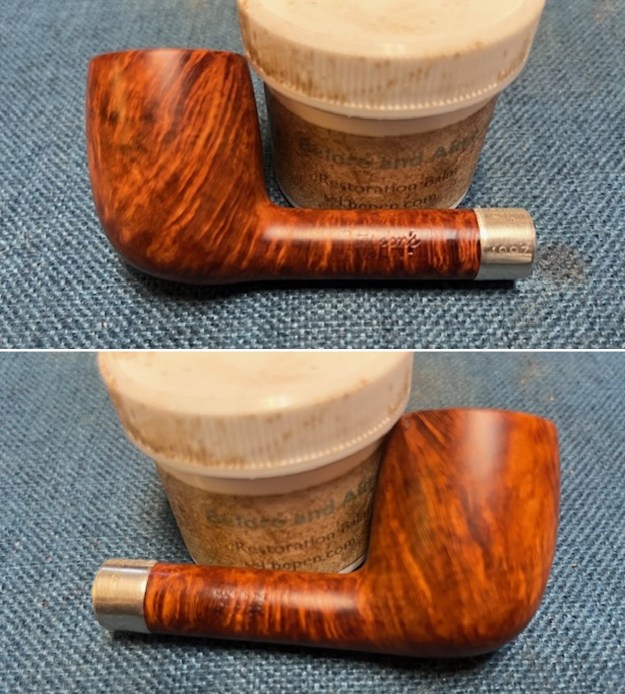
 I sanded the stem with 320-3500 grit sanding pads to continue to blend the repairs into the surface of the vulcanite. I wiped the stem down after each pad with an Obsidian Oil cloth to remove the sanding dust and preserve the vulcanite.
 I touched up the P stamp on the top of the stem with white acrylic fingernail polish. Once it dried I scraped off the excess and sanded the surface with 1500 grit micromesh pad.
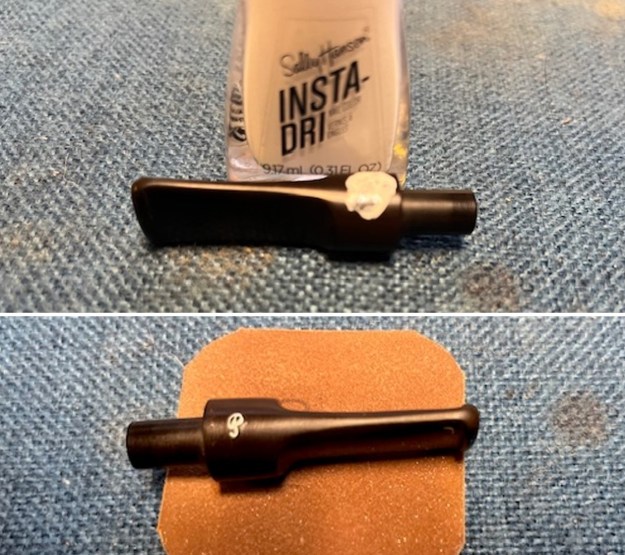 I polished the stem with micromesh sanding pads – dry sanding it with 1500-12000 grit pads. I wiped the stem down with Obsidian Oil after each pad. I polished it with Before & After Pipe Polish – both Fine and Extra Fine and gave it a final coat and set it aside to dry.
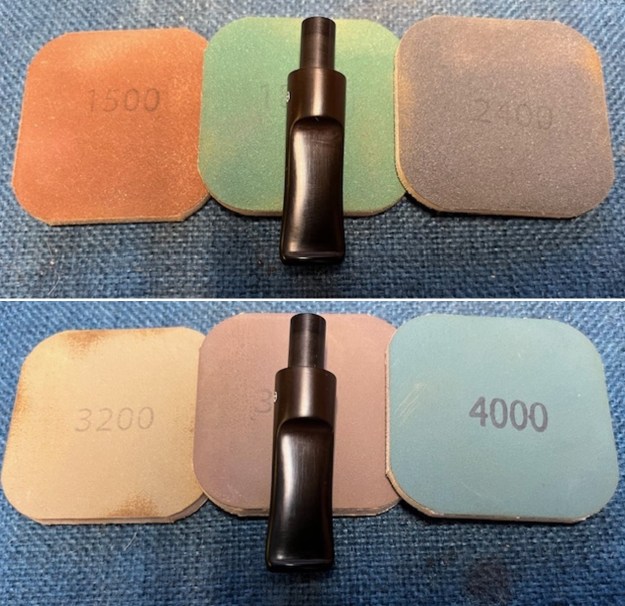
 I polished silver band with a jeweller’s cloth to remove the tarnish and protect the finish from further tarnishing. It took on a rich shine.
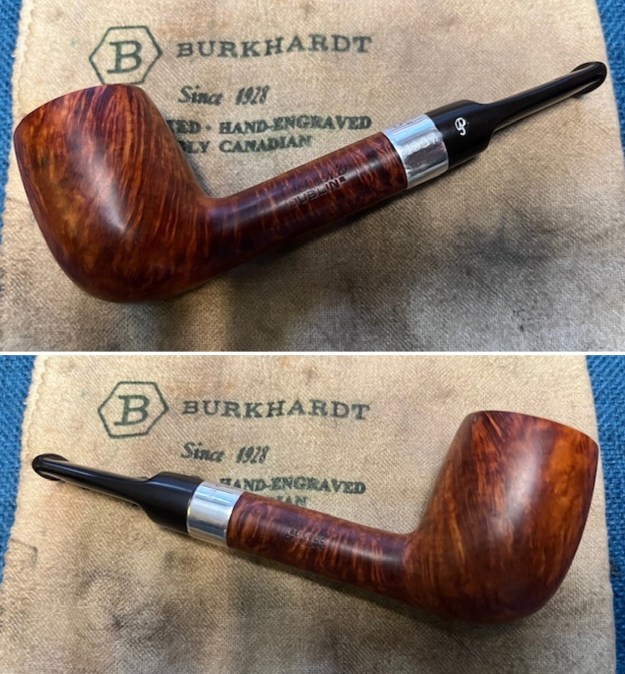
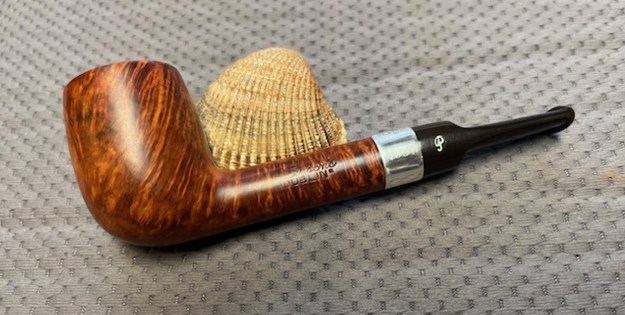
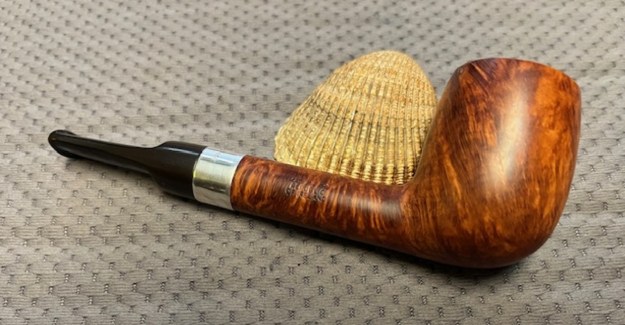
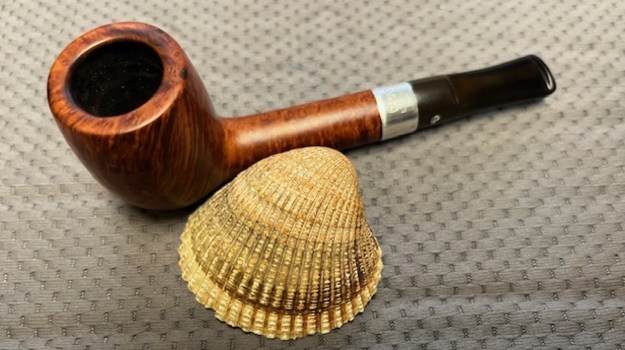
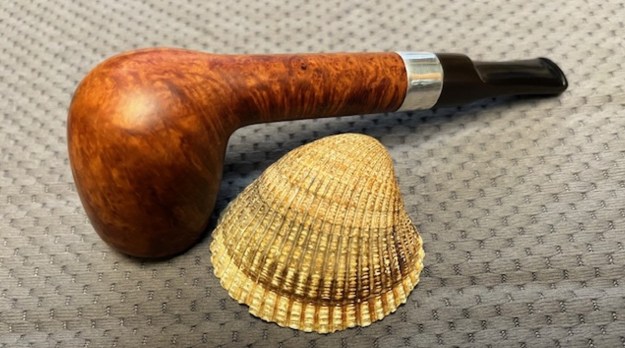
 I am excited to finish this Peterson’s “Dublin” silver banded Lovat. I put the pipe back together and buffed it with Blue Diamond on the buffing wheel. I gave the bowl and the stem multiple coats of carnauba wax. I hand buffed the pipe with a clean buffing pad to raise the shine. It is fun to see what the polished bowl looks like with beautiful mixed grain all around it. Added to that the polished black vulcanite stem combined with the bowl and sandwich brass/nickel/brass band on the shank and made a stunning pipe. This smooth Classic Peterson’s “Dublin” banded Lovat is great looking and the pipe feels great in my hand. It is light and well balanced. Have a look at it with the photos below. The dimensions are Length: 5 inches, Height: 1 ¾ inches, Outside diameter of the bowl: 1 1/8 inches, Chamber diameter: ¾ of an inch. The weight of the pipe is 32 grams/1.13 ounces. It is a beautiful pipe that I will soon be putting on the rebornpipes store in the Irish Pipe Makers Section. If you are interested in adding it to your collection send me an email or a message. Thanks for walking through the restoration with me as I worked over this pipe. Thanks to each of you who are reading this blog.
As always, I encourage your questions and comments as you read the blog. Thanks to each of you who are reading this blog. Remember we are not pipe owners; we are pipe men and women who hold our pipes in trust until they pass on into the trust of those who follow us.