by Steve Laug
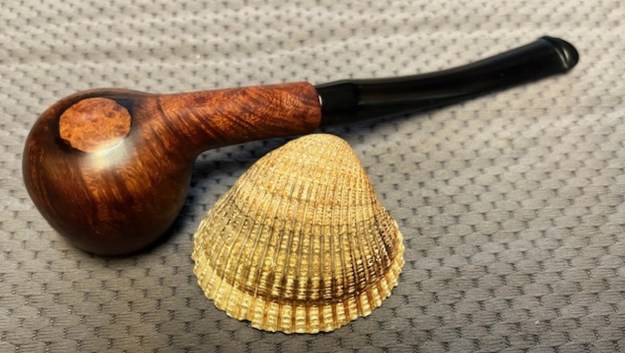
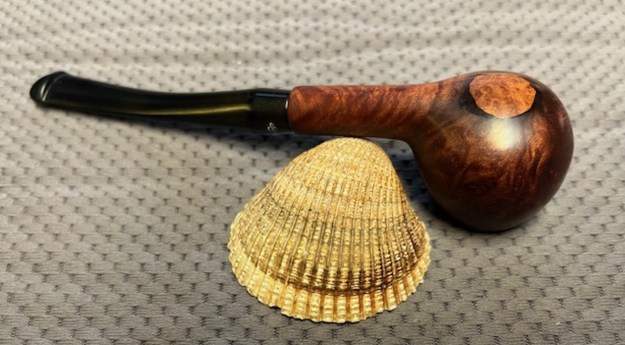
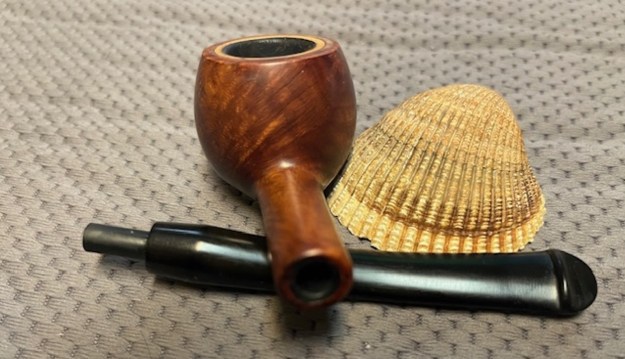
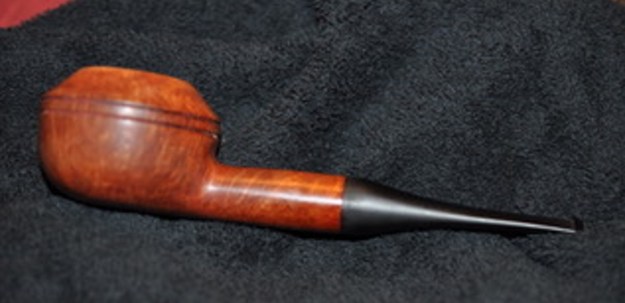
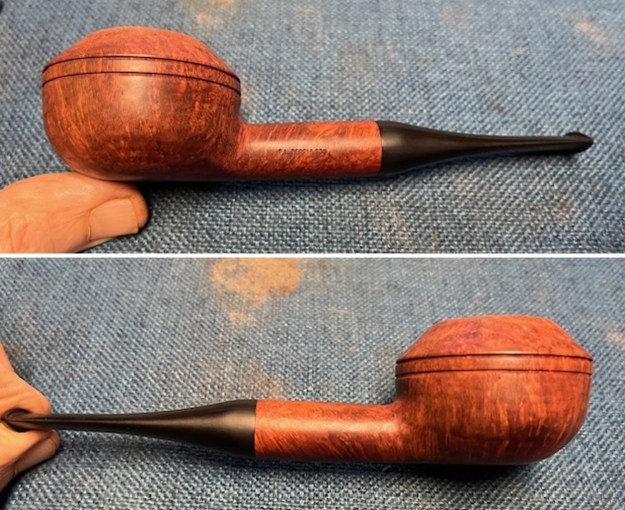
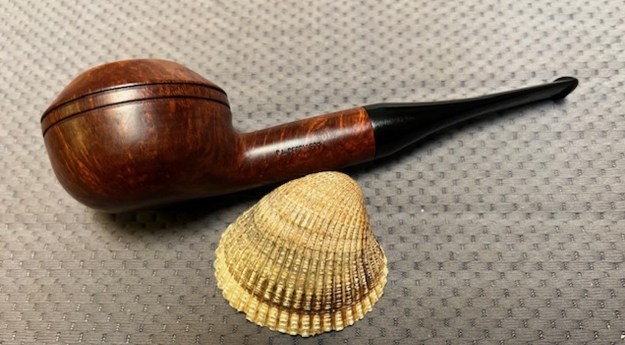
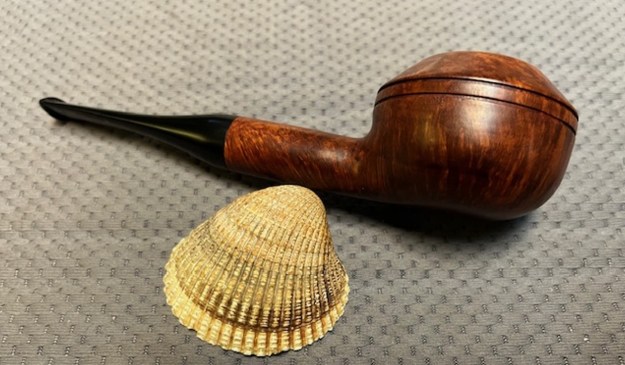
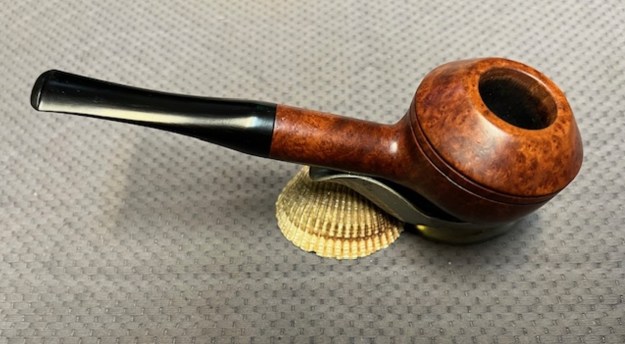
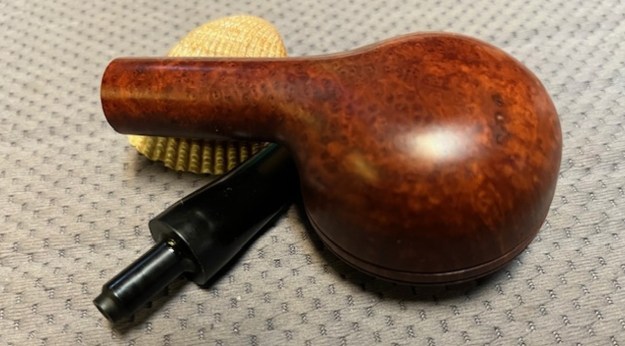
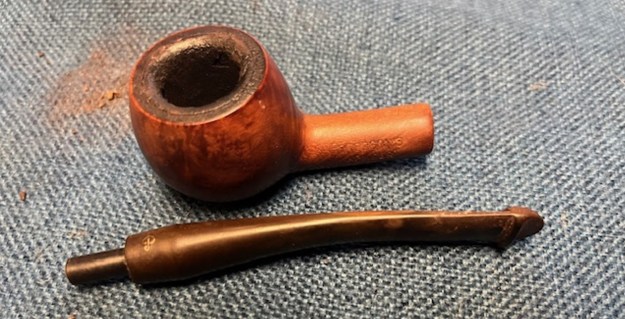
Several months ago, now I received an email from Jake about a Peterson’s Prince that he had that had a burnout in the bottom of the bowl. I asked him to send me photos of the pipe so that I could see what the issues were with the pipe. The photos showed the large hole in the bottom of the bowl. The hole is the same diameter as the inner walls of the bowl by the looks of the photo. I did not know what the brand mark on the pipe was as we never spoke about it. My guess about it was that the stem made me think of a Dunsmore or perhaps a Kapmeer pipe. We talked about it and what it would cost to restore it. Jake said he would send it up for work. Time passed and I really forgot about the pipe then on the weekend Jake wrote that he was mailing it. I told him I would keep an eye out for it and early this week the pipe arrived. Here are the photos that Jake sent me to show me the damage. 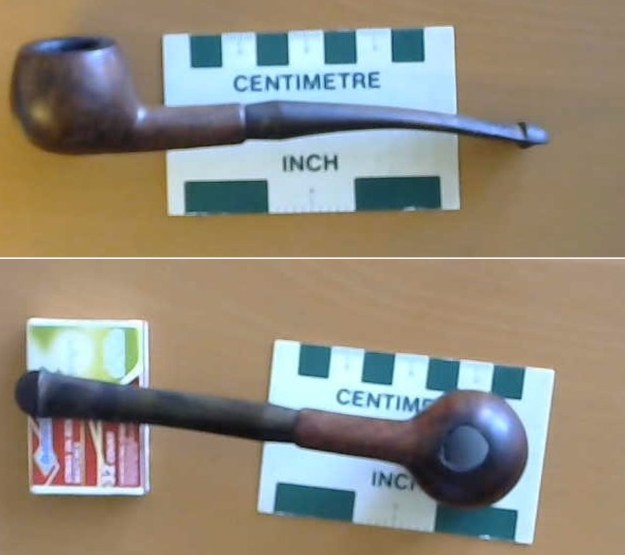 When I unpacked the box I took the pipe out and had a look at it. The hole was quite large and the edges of the hole were thin and chipping. The stem was very oxidized and had some tooth marks on the top and the underside ahead of the button.
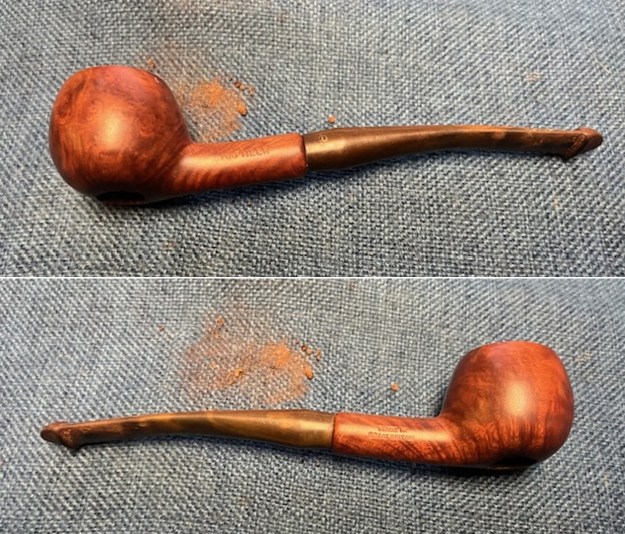
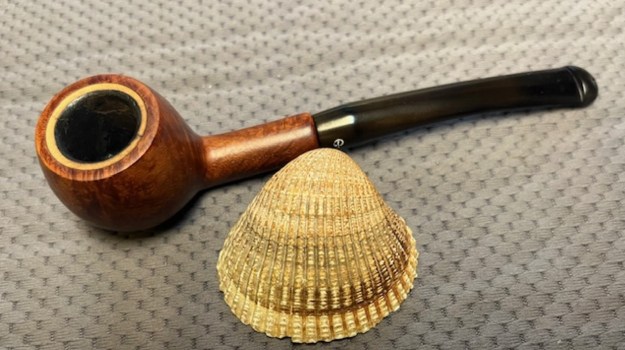
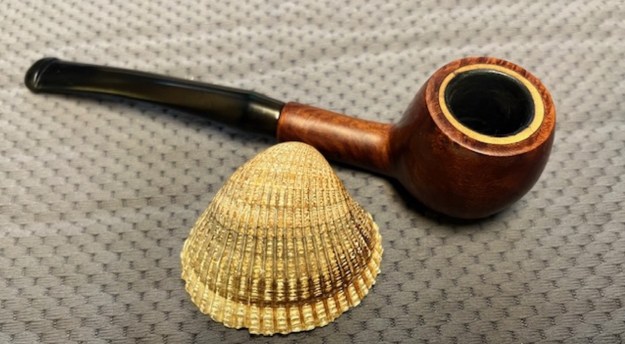
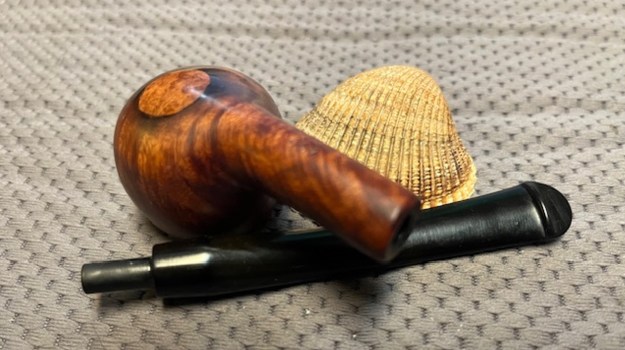
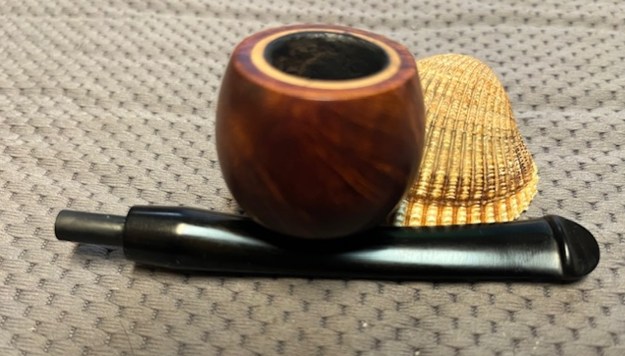
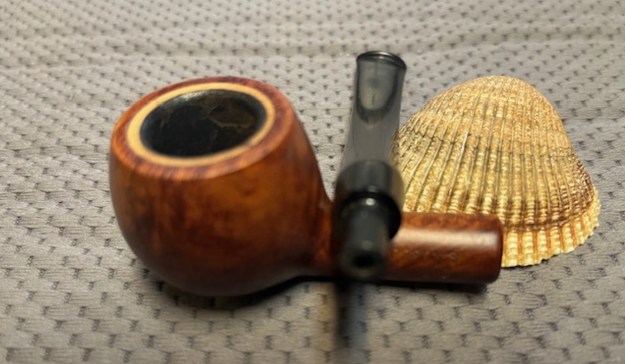
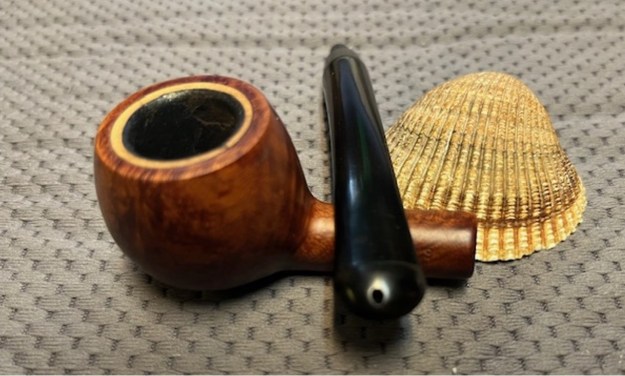
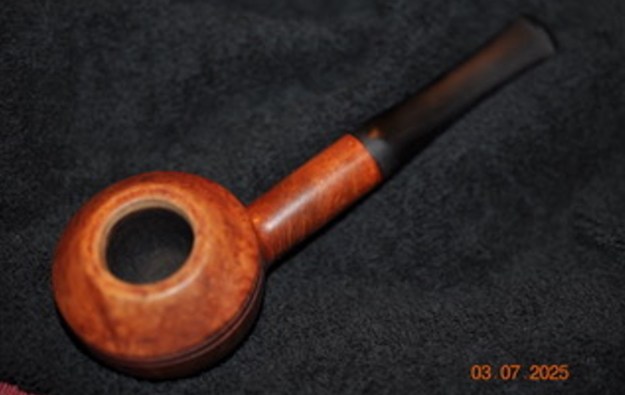
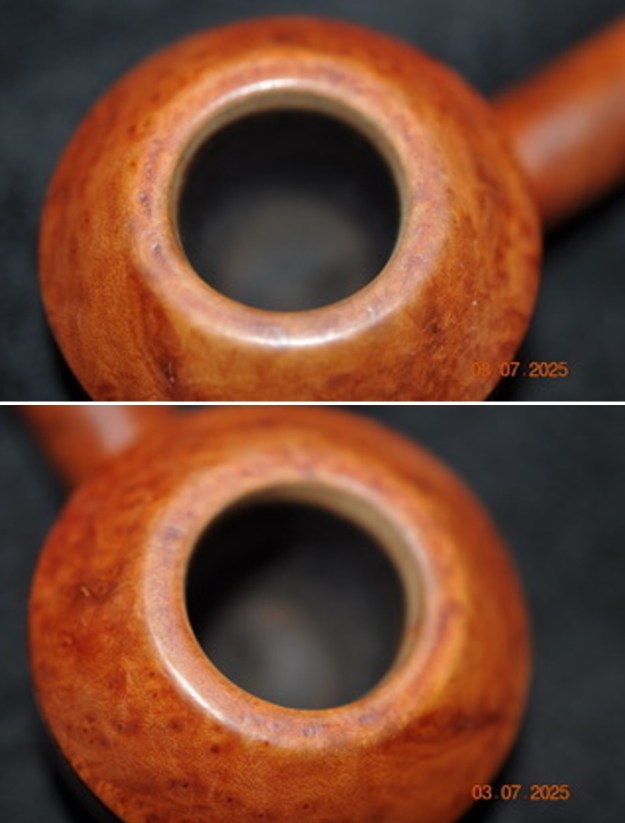
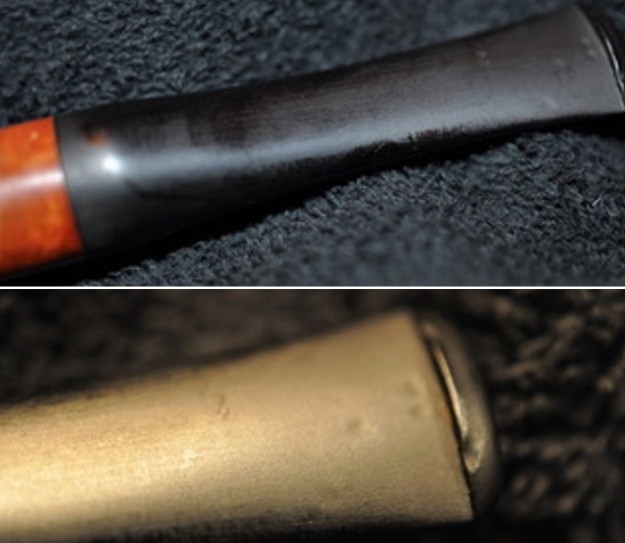
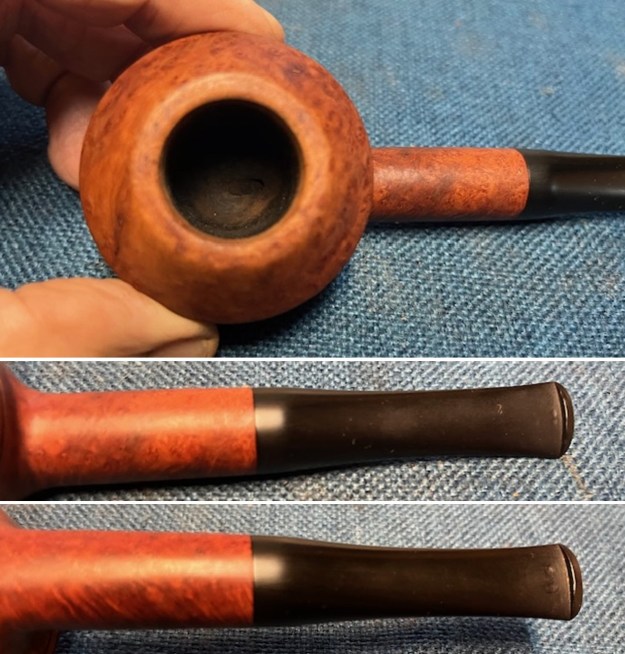
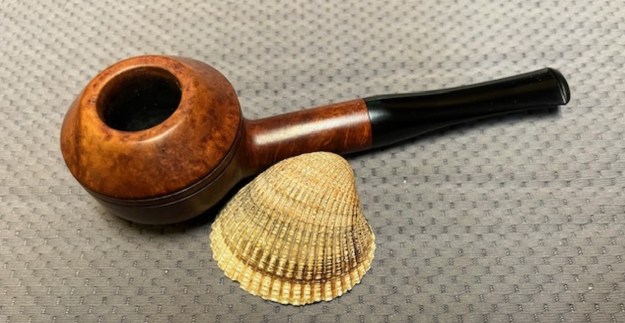
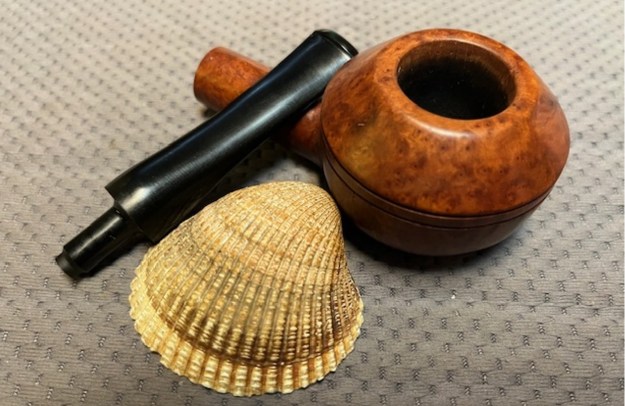
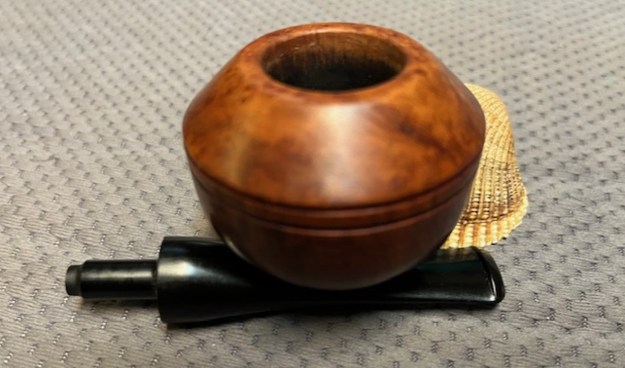
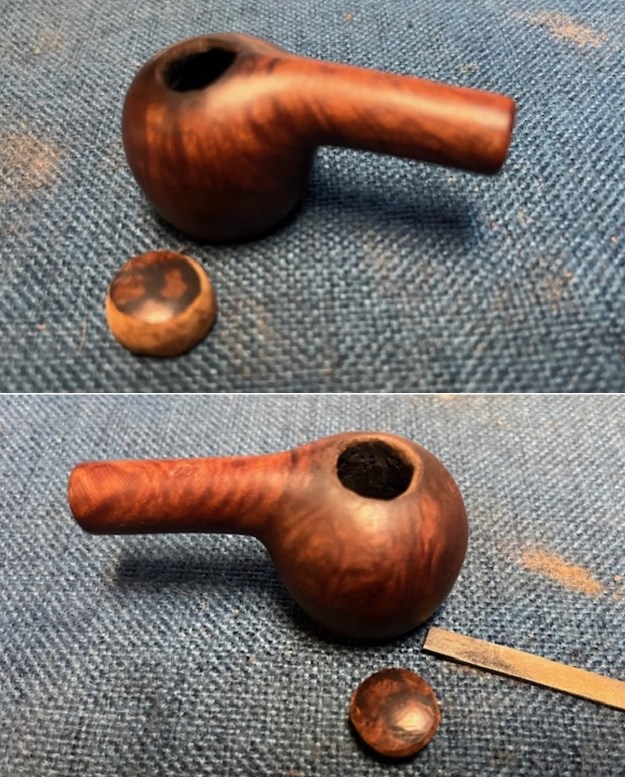
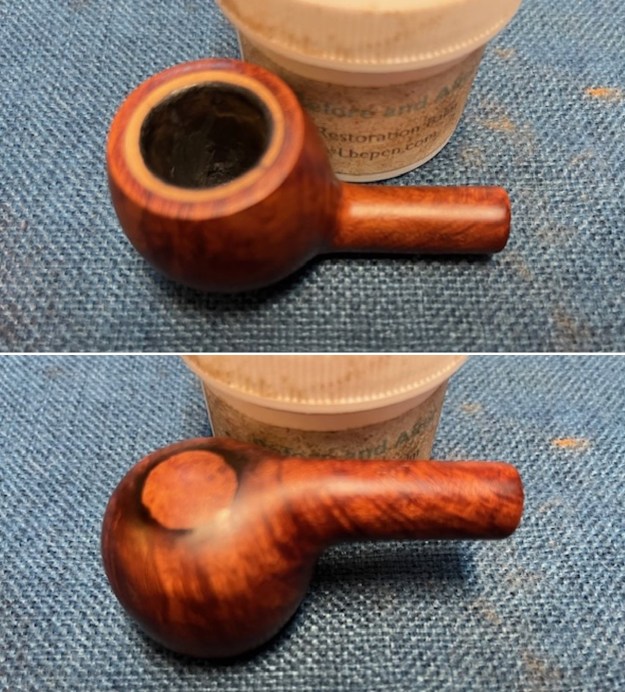
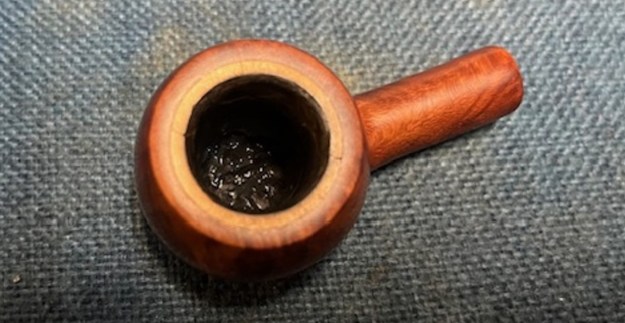
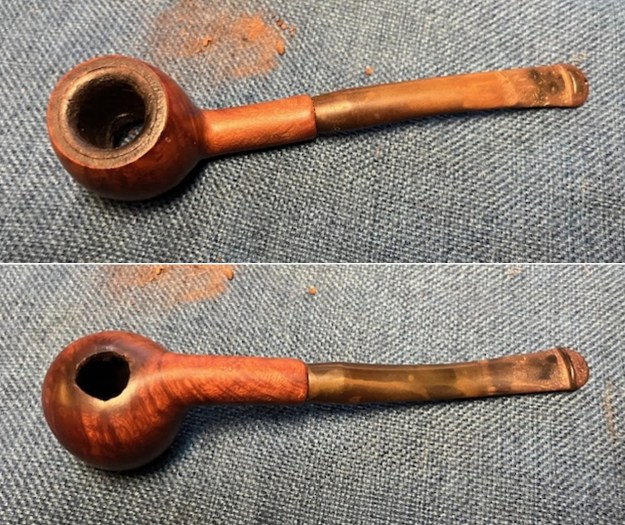 I took a photo of the bowl to show the size of what I was dealing with. The liner on the walls of the bowl were meerschaum. I believe that originally the Kapmeer had a Meerschaum tube on the walls that did not have a meerschaum bottom. I took photos of the stem to show its condition. The stem was oxidized and had tooth chatter and marks on the top and underside of the stem ahead of the button.
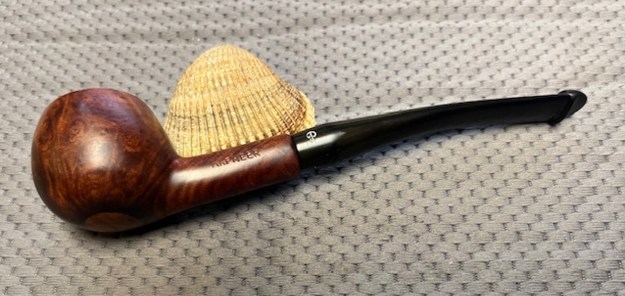
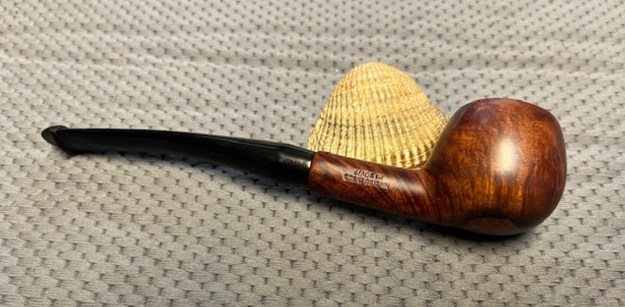
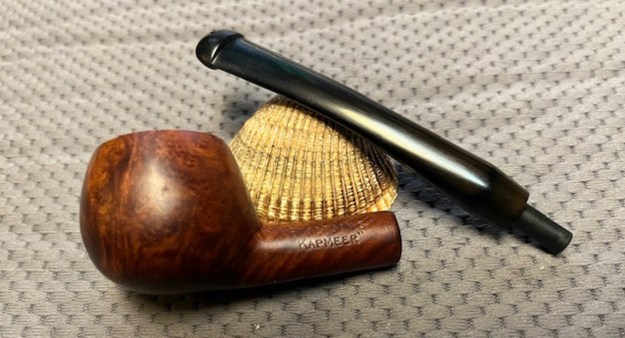
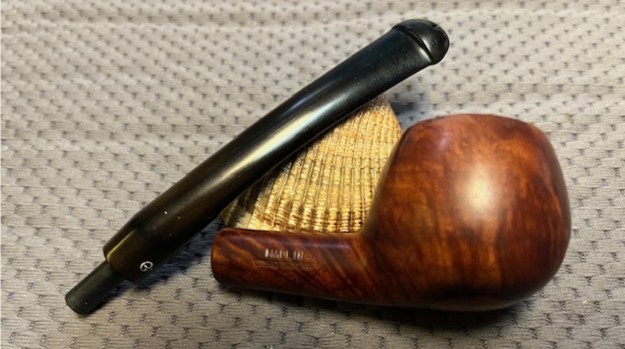
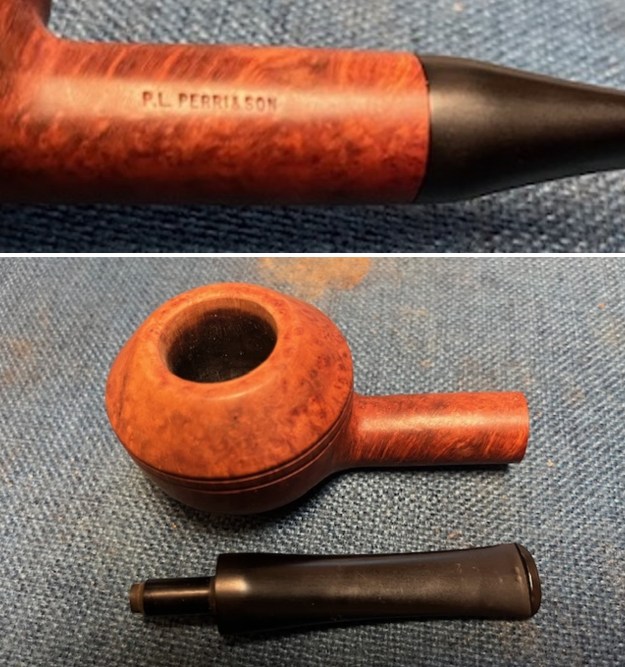
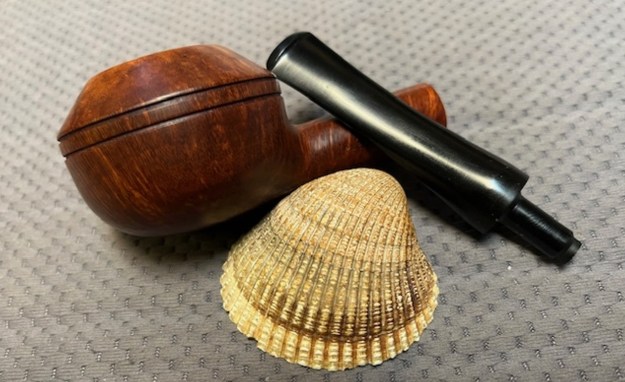
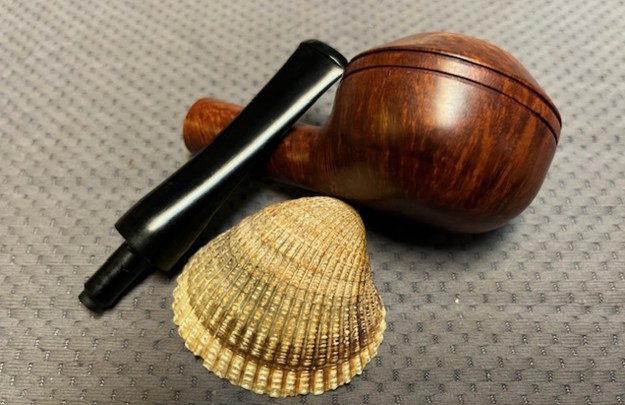
 The pipe is stamped around the sides of the shank. I took photos of the stamping and have included them below. They are clear and readable. The stamping on the left side read Peterson’s [over] KAPMEER. On the left side of the stem there was a stamped “P” that was clear and readable. The stamping on the right side read Made In [over] Great Britain. On the underside of the shank it was stamped with the shape number 407. I took the stem off the shank and took a photo of the pipe parts to give a sense of what it looked like.
 I started my repair on the burnout by cleaning up the pipe. I carefully reamed the thick cake out of the bowl with a Savinelli Fitsall Pipe Knife. I scraped the cake off the walls of the bowl. I sanded the bowl out with sandpaper wrapped around a piece of dowel to remove any residual cake and smooth out the meerschaum.
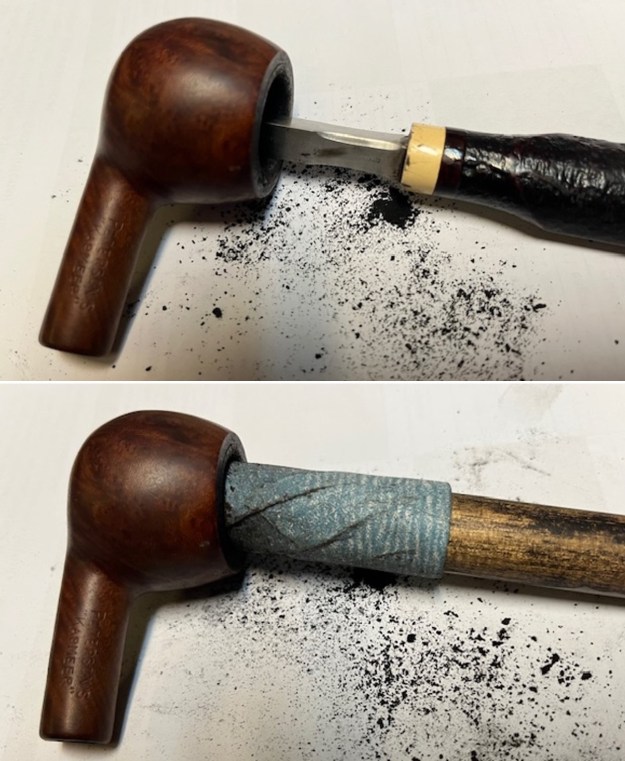 I used a pen knife to clean of the edge of the hole in the bottom of the bowl. I cut out all of the burned and thin areas on the hole. I cut a piece of briar out of the heel of a sacrificial old pipe. I cut a bit bigger than the hold as I would need to shape and fit it in the hole.
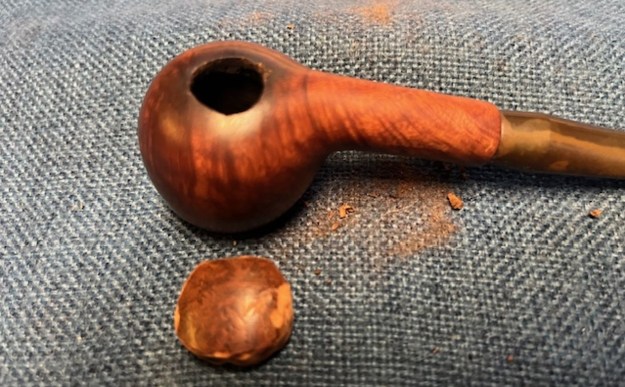 I used the shape of the inner edge of the bowl and rim to set the shape of the plug that I was going to use on the repair. I used a Dremel to reduce the edges and make the plug round. I scored the back edge with the Dremel where the airway entered the bowl. I would reduce the edges of the plug to fit in the hole from the outside.
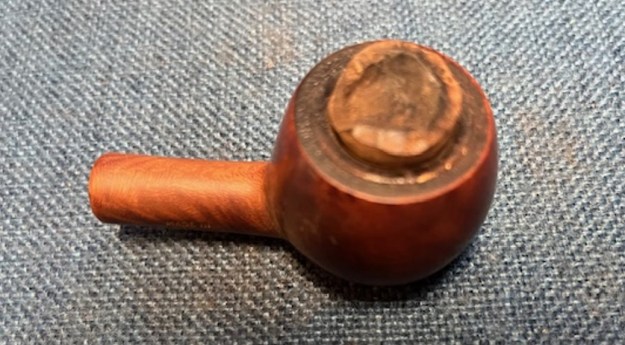
 I used a Dremel and sanding drum as well as several files to shape of the bottom of the plug to the same size as the hole in the bottom. Once it was shaped I fit it to the hold in the bottom. I glued it in place with clear CA glue. I filled in the gaps around the plug with briar dust and super glue. When the glue cured I sanded the repair smooth with a folded piece of 220 grit sandpaper.
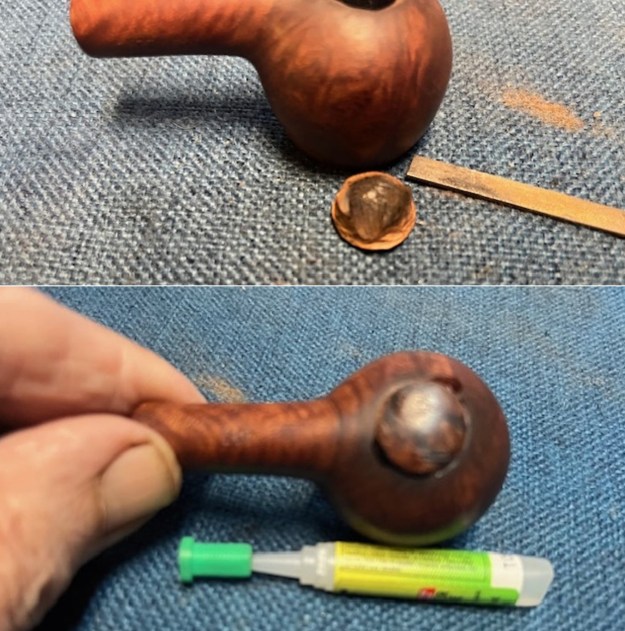
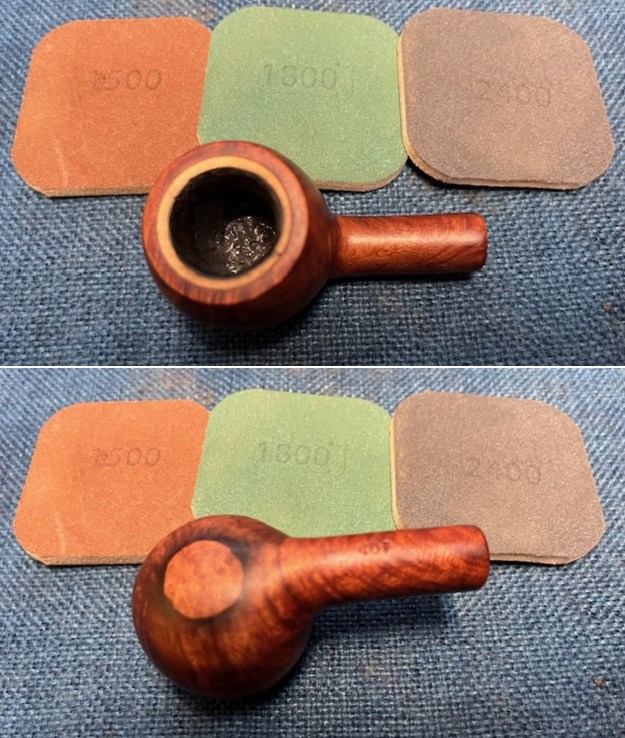
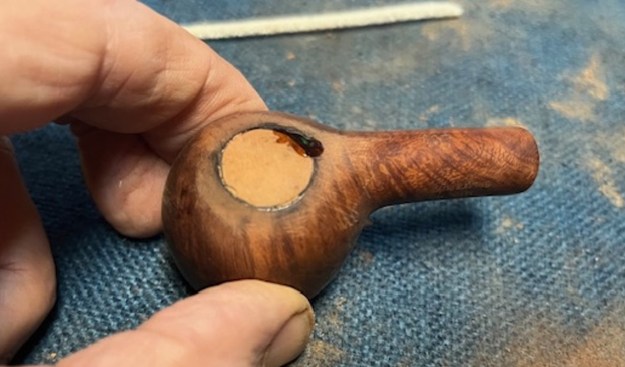 I took a photo of the inside of the bowl. It shows some of the glue from the plug around the edges.
 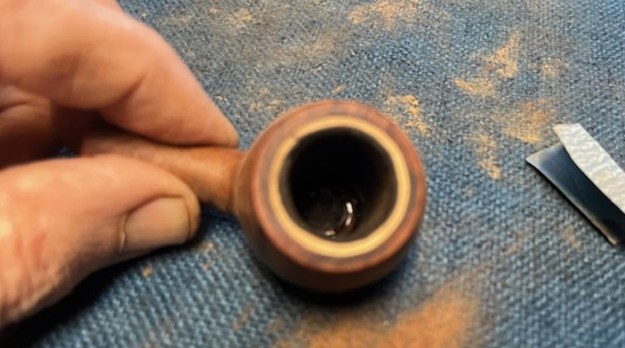 I mixed a batch of JB Weld and pressed it into the bottom of the bowl. I used a folded pipe cleaner and pipe nail to press it into the bottom. I raised the bottom of the bowl to the bottom of the entrance of the airway.
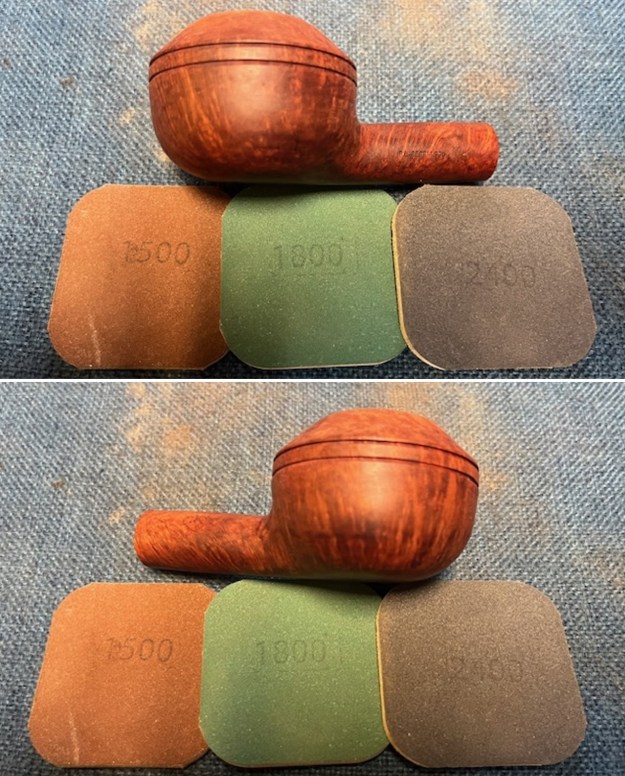
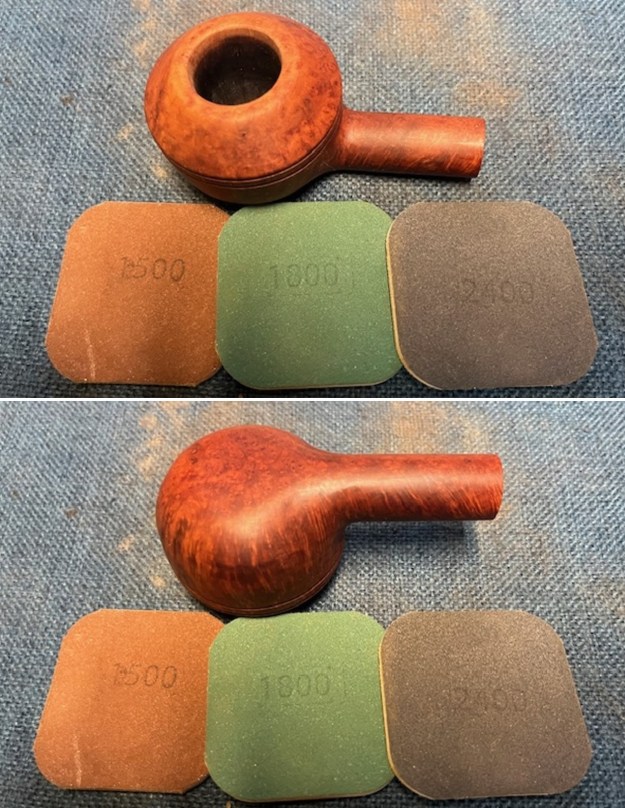
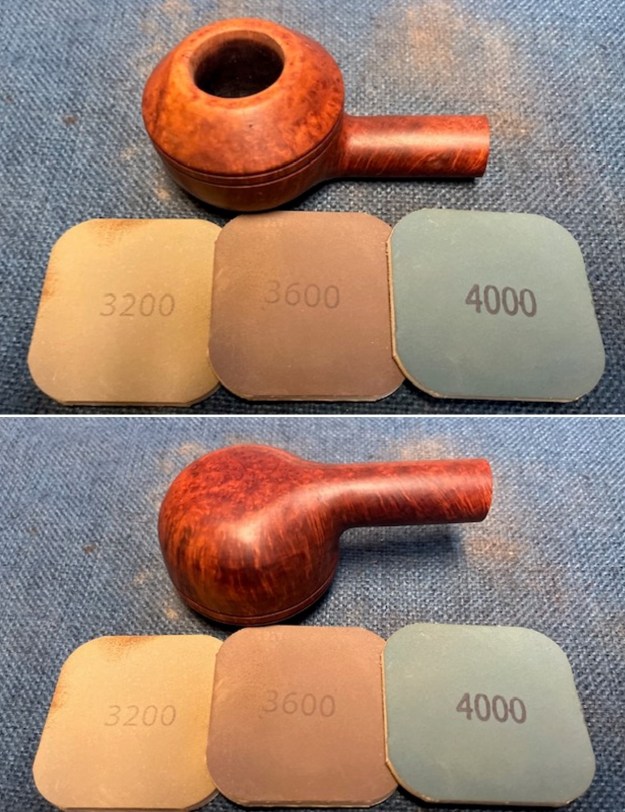
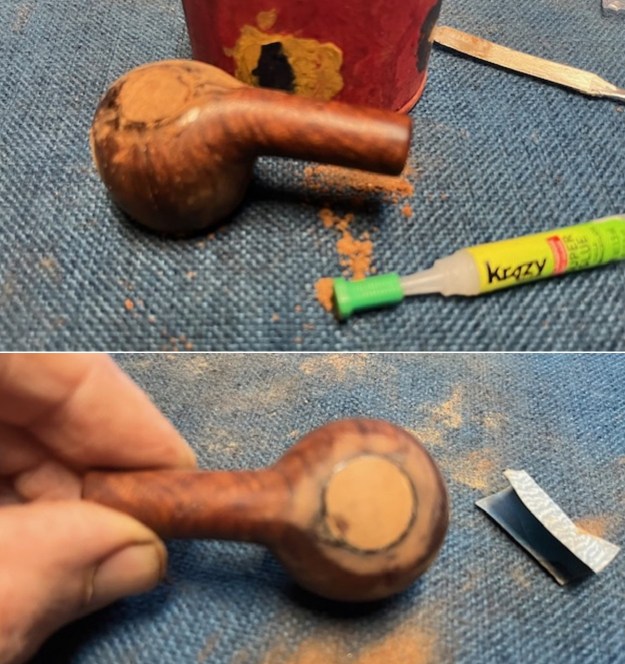
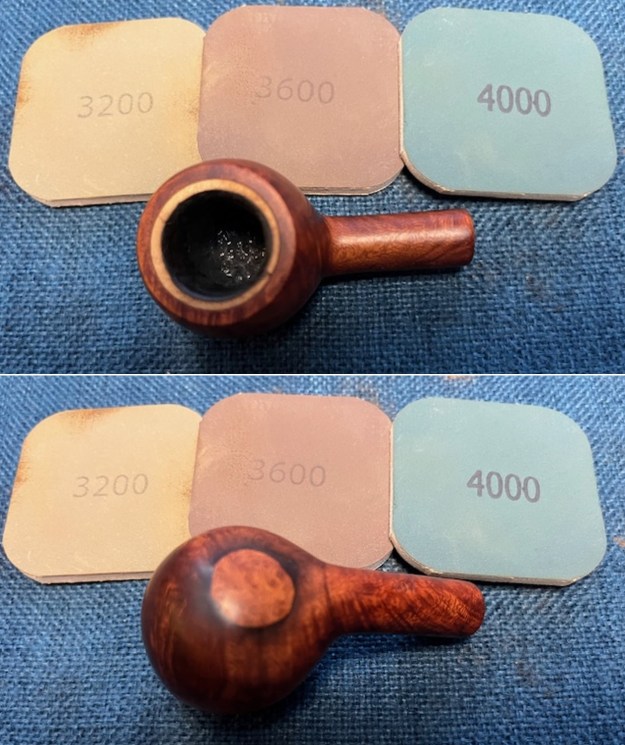
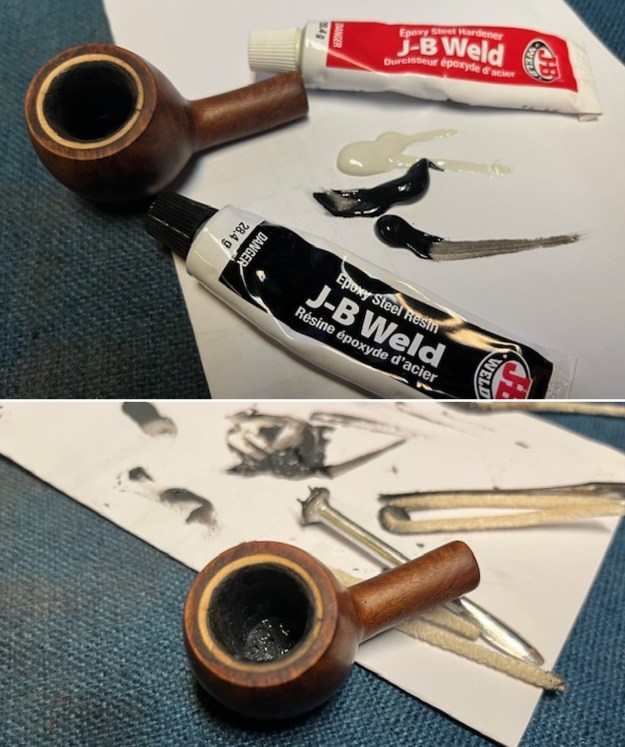 I sanded the outside of the bowl and the rim top with 320-3500 grit sanding pads. I wiped the bowl down with a damp cloth after each sanding pad. The repair blended into the surrounding briar. There was some darkening around the outer edge of the patch.
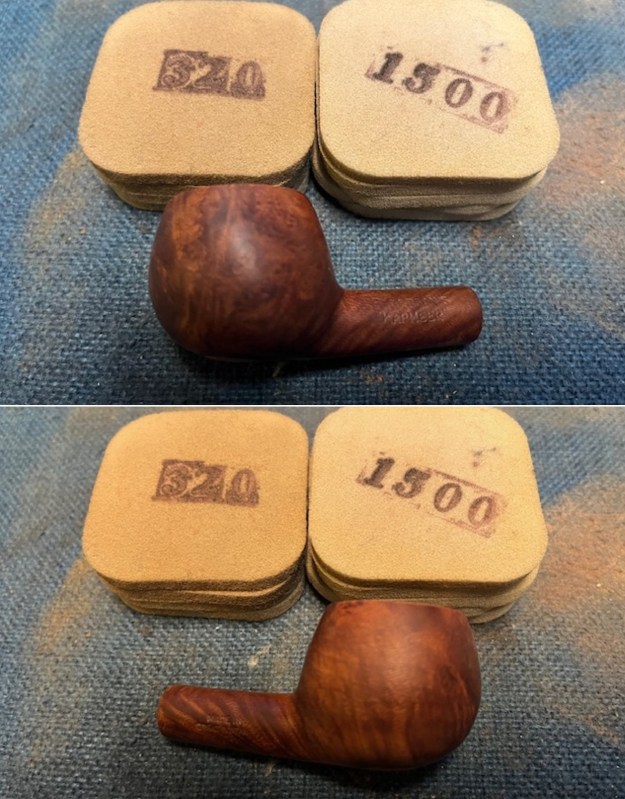
 I stained the repaired burnout with a Walnut stain pen. It is a different piece of briar but the colour is a close match.
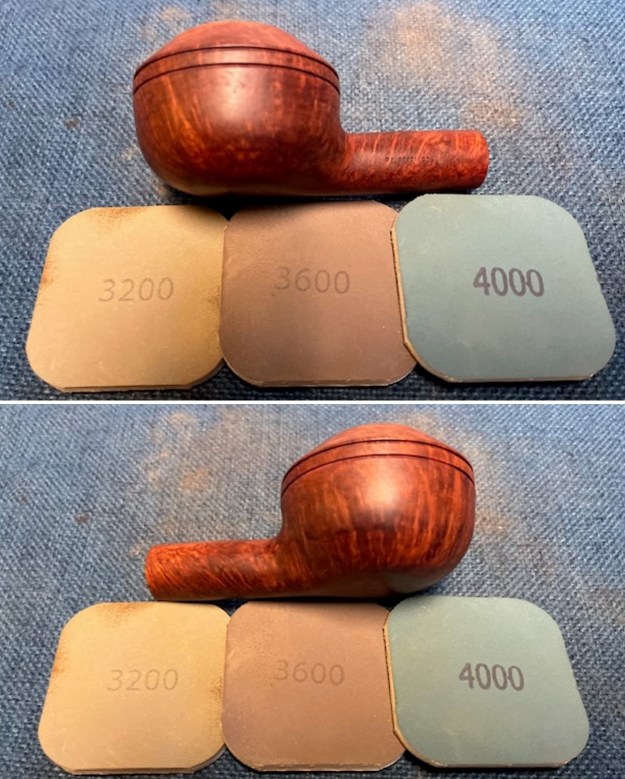
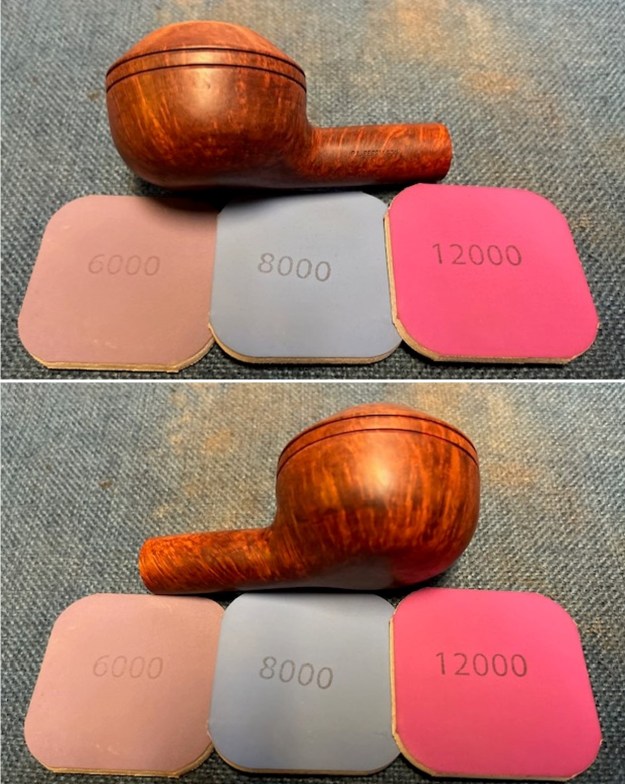
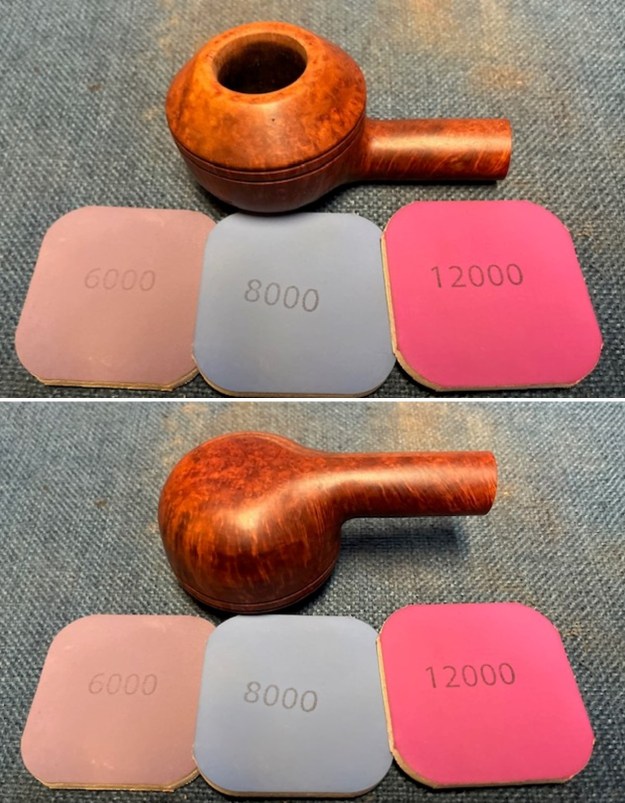
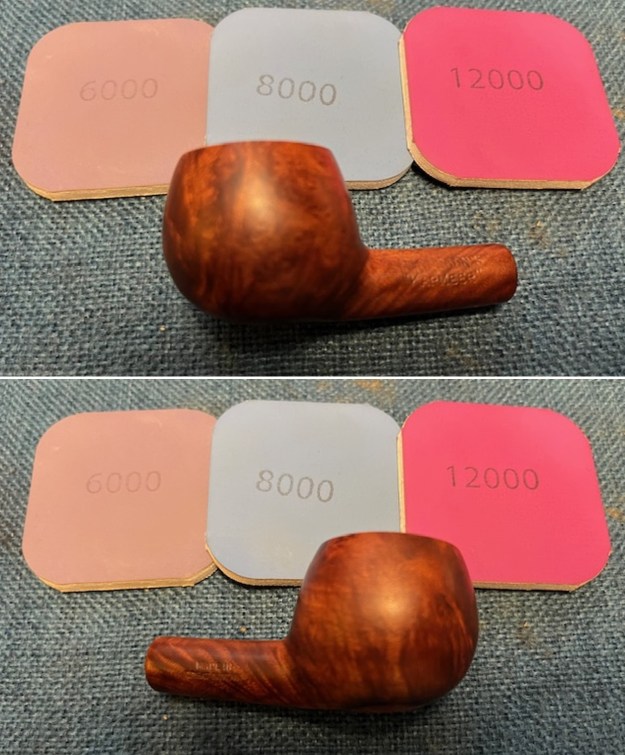
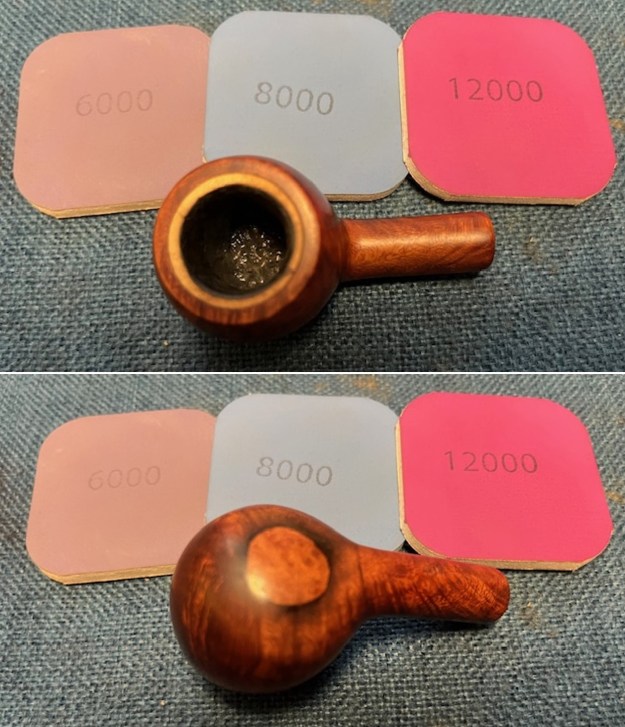
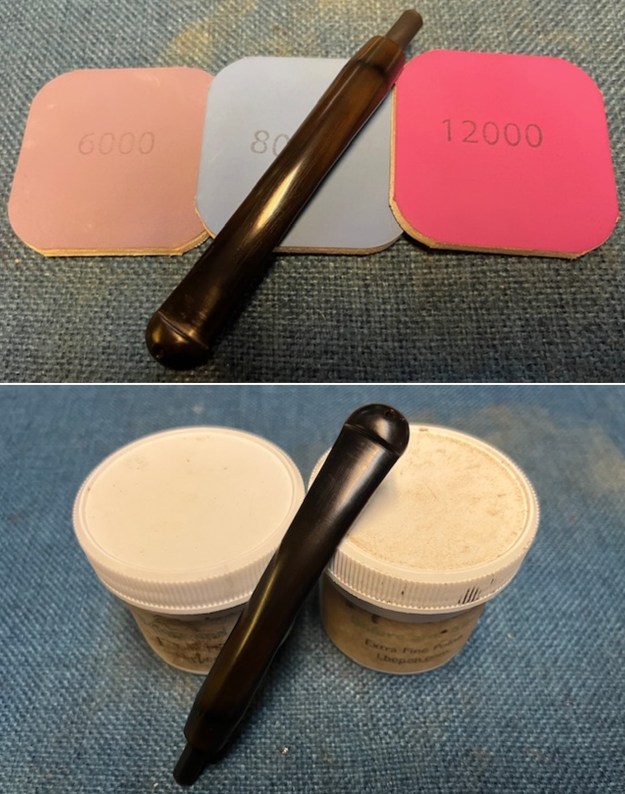
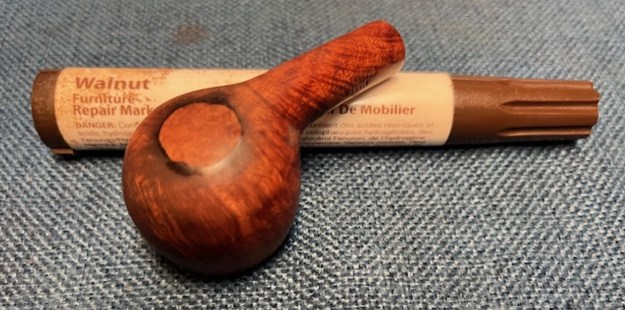 I polished the briar with 1500-12000 grit micromesh sanding pads. I dry sanded it and then wiped it down after each sanding pad to remove the sanding dust. It began to take on a shine.
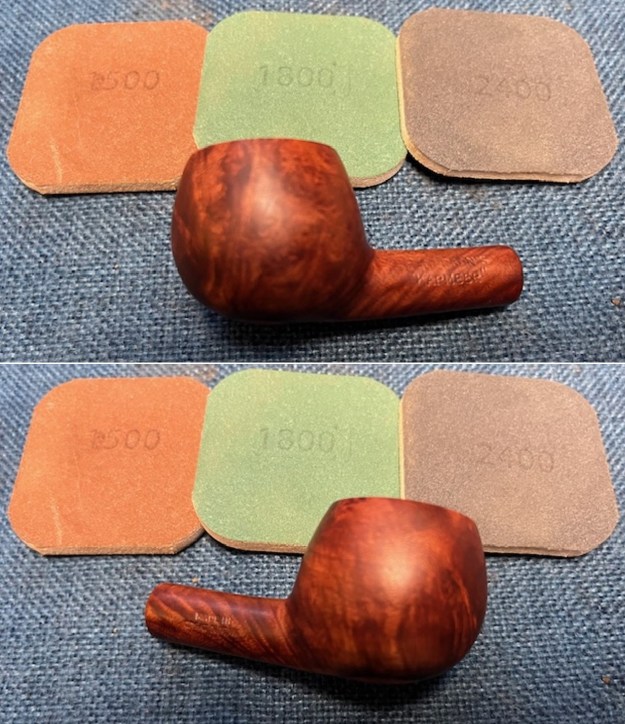
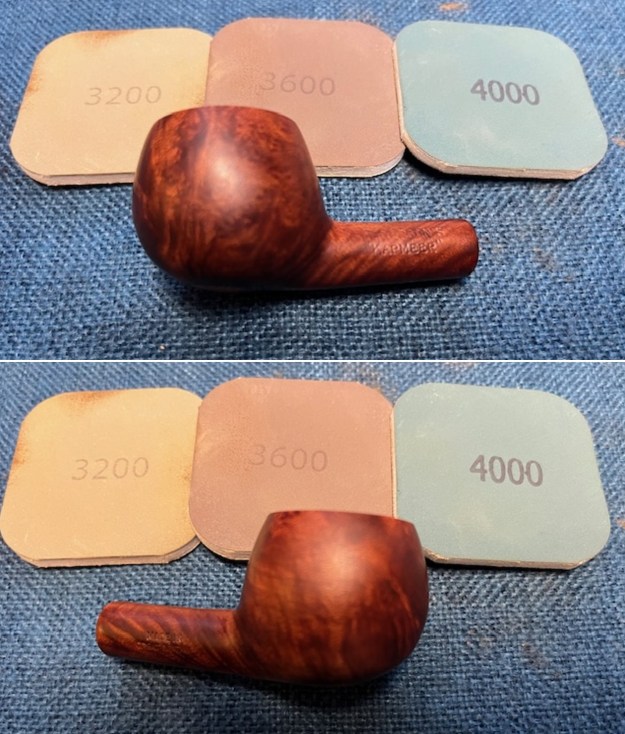
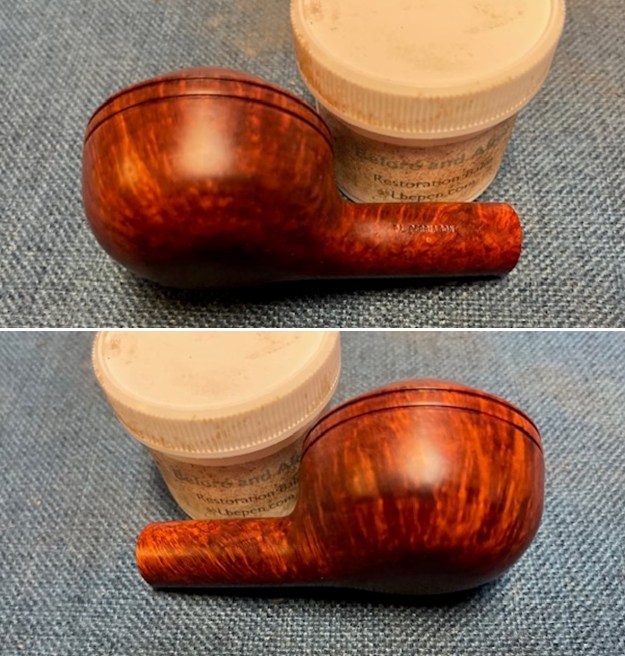
 The exterior of the bowl looks better after polishing. I worked some Before & After Restoration Balm into the briar with my finger tips. I let it sit on the bowl for 10 minutes and then buffed it off with a paper towel and soft cloth. The product is a great addition to the restoration work. It enlivens, enriches and protects the briar while giving it a deep glow. It is a product I use on every pipe I restore.
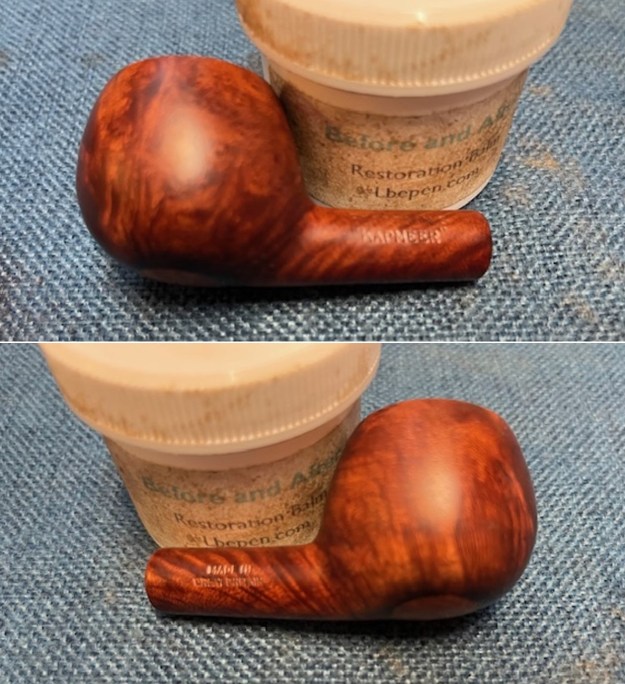
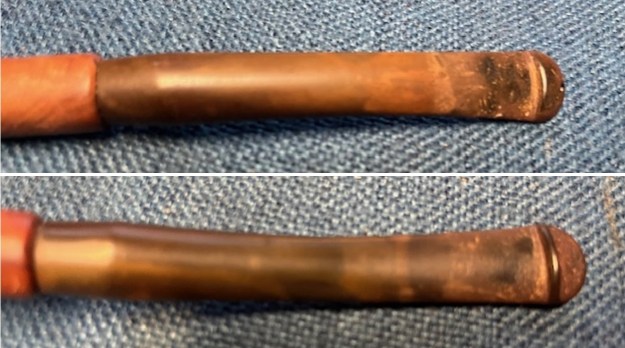
 I set the bowl aside and turned my attention to the stem. I scrubbed the stem with Soft Scrub to remove the oxidation on the surface of the stem. It took some work but I was able to remove a lot of the oxidation.
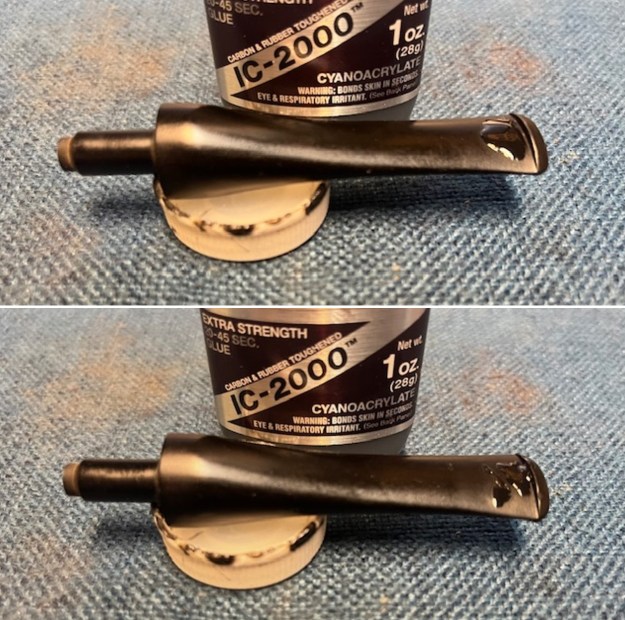
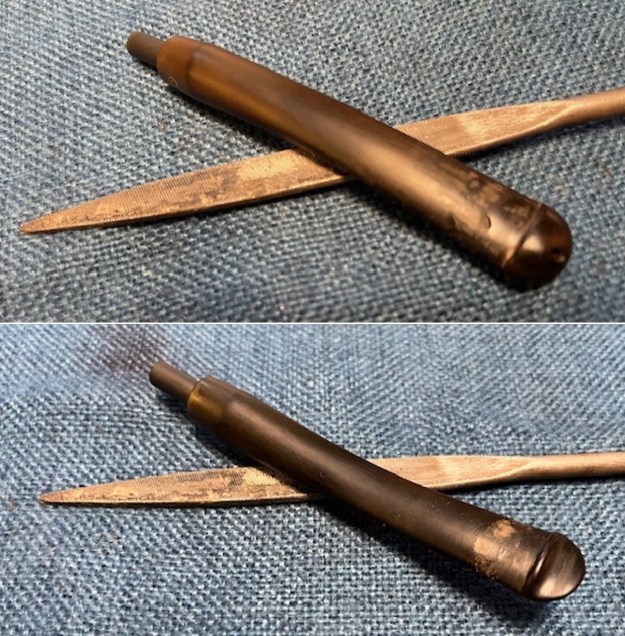
 I “painted” the surface of the stem with the flame of a lighter to lift the tooth marks. I was able to lift some of them. I filled in the few that remained with a rubberized black CA glue. Once it cured I use a small flat file to smooth out the repairs on the stem surface. I followed that up by sanding it with a folded 220 grit sandpaper.
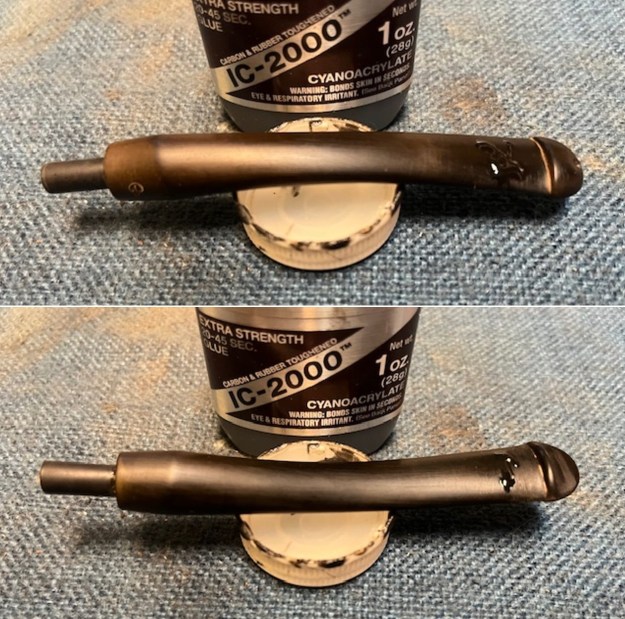
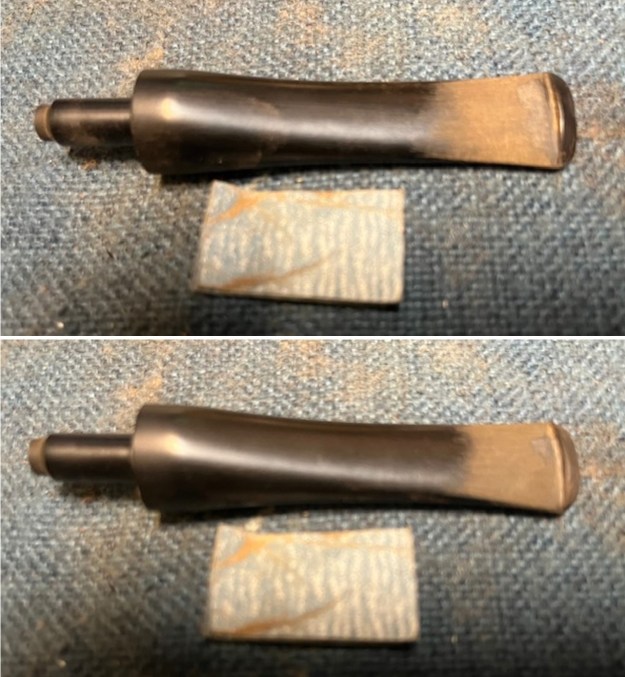
 I sanded the stem surface with 220 grit sand paper to smooth out the repairs. I forgot to take photos of this part of the process. I sanded the stem with 320-3500 grit sanding pads to remove the scratching, oxidation and further polishing the stem surface.
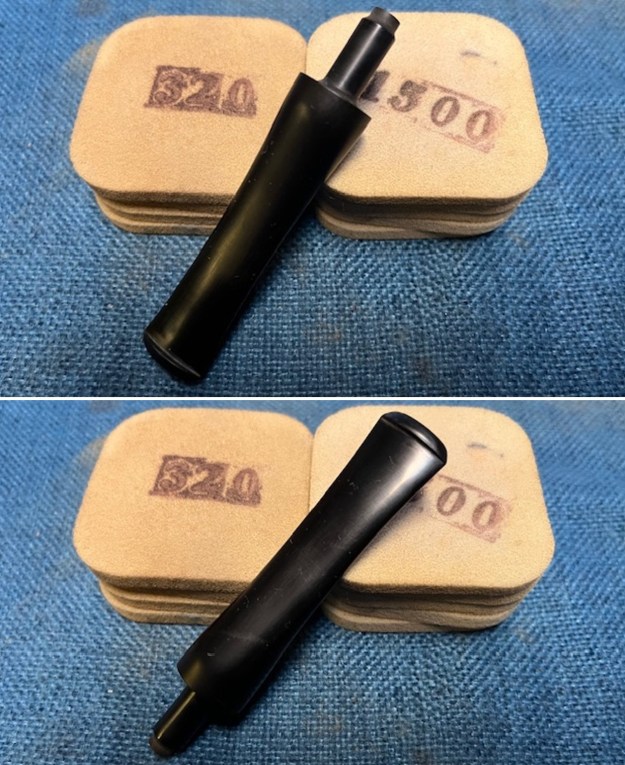
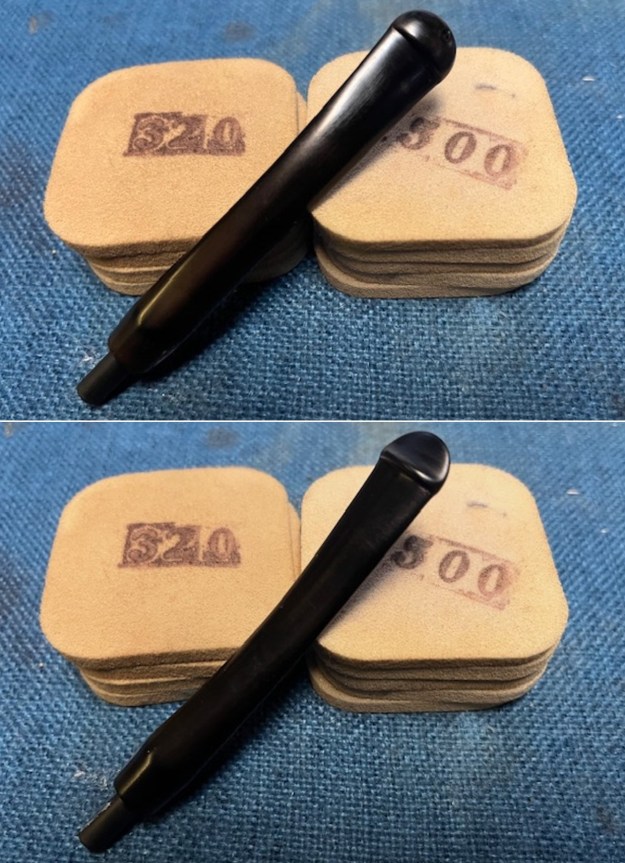 I touched up the “P” logo stamp on the left side of the stem with white acrylic fingernail polish. Once it cured I scraped of the excess and sanded the surrounding area with 1500 grit sanding pads. It looked very good.
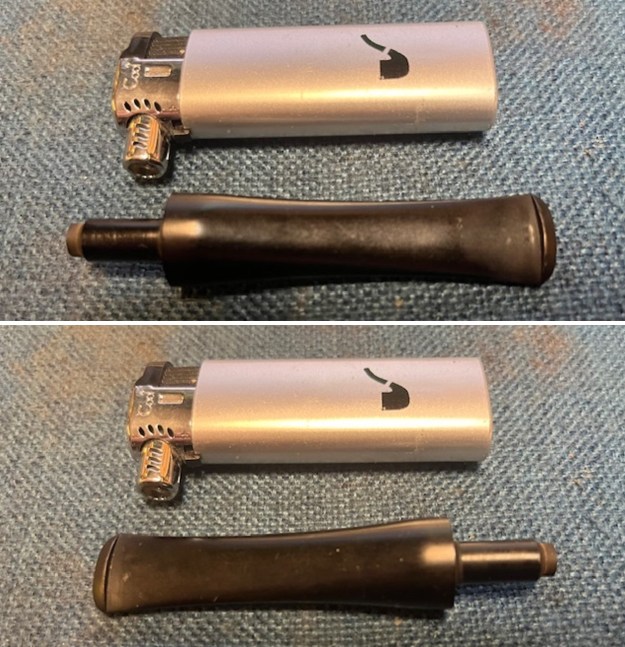
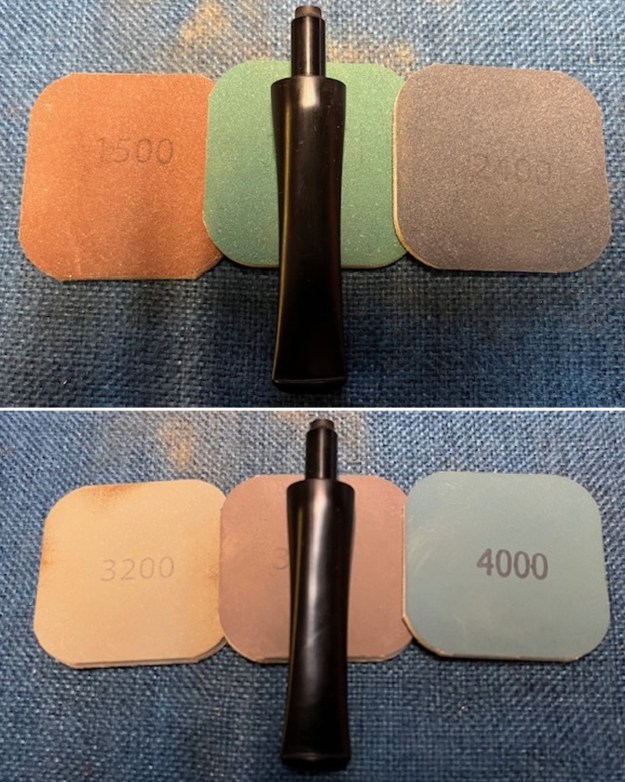
 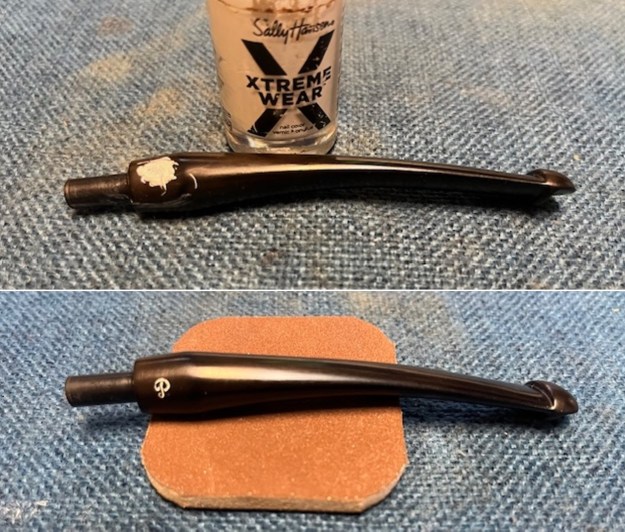 I polished the stem with micromesh sanding pads – dry sanding with 1500-12000 grits pads. I wiped the stem down with an Obsidian Oil Cloth after each pad. There still seems to be some oxidation around the stem. But it looks much better.
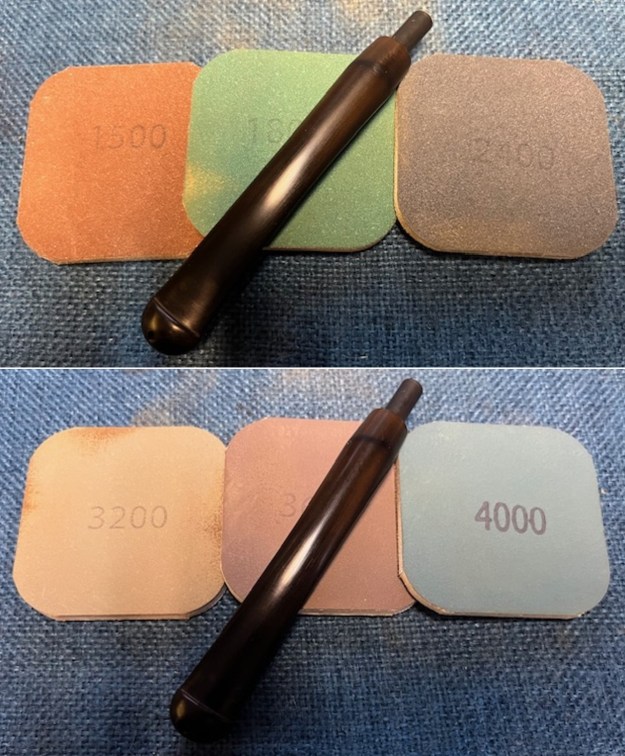
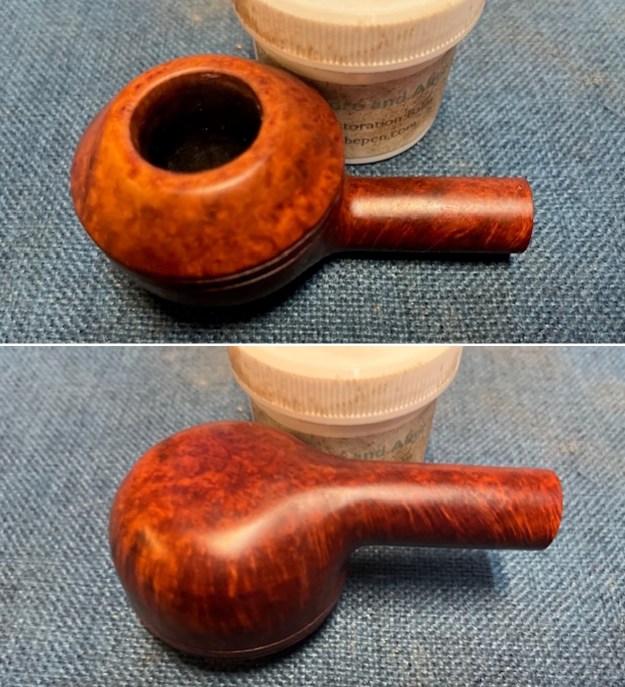
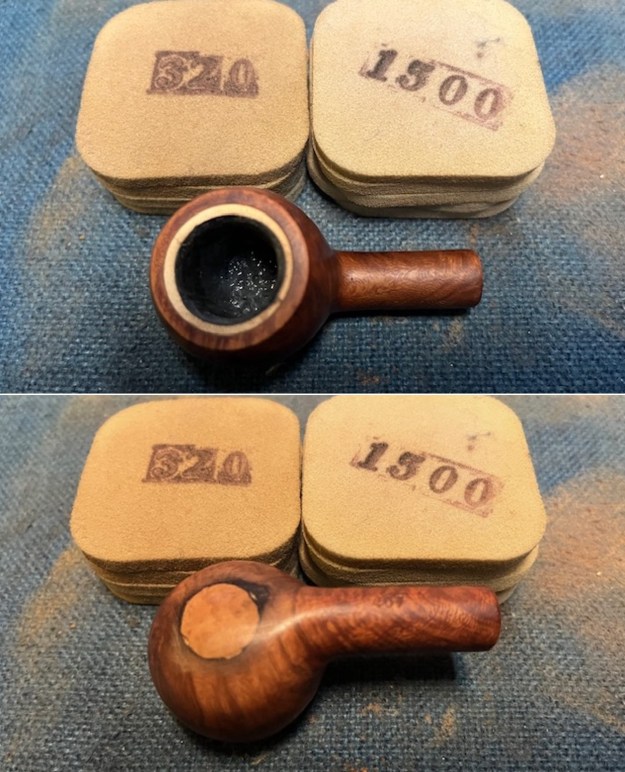
 I mixed a batch of sour cream and charcoal powder and painted the bottom of the bowl with a folded pipe cleaner. The mixture cures hard and flavourless and protects the repaired bottom of the bowl.
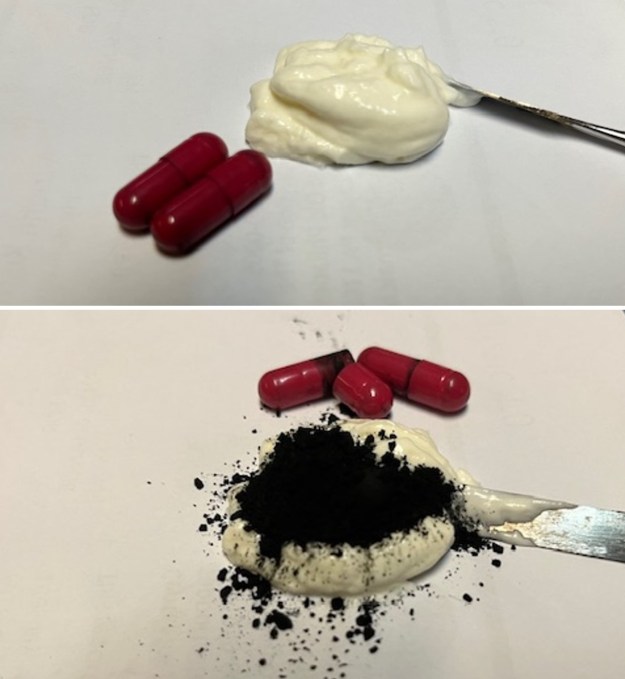
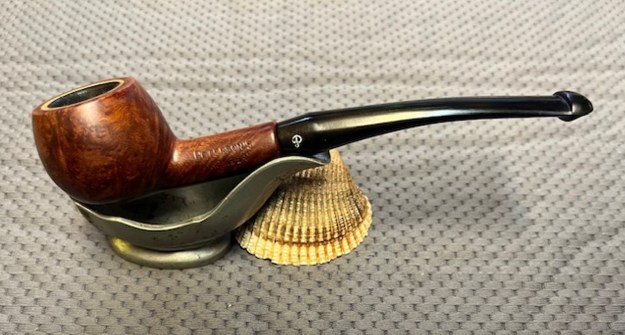
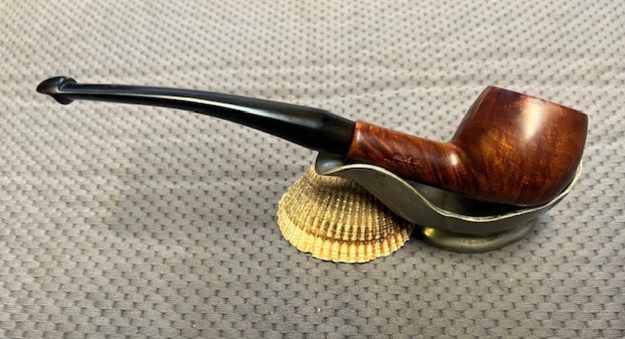
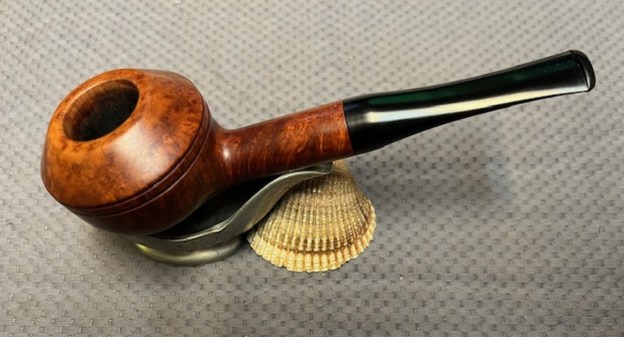
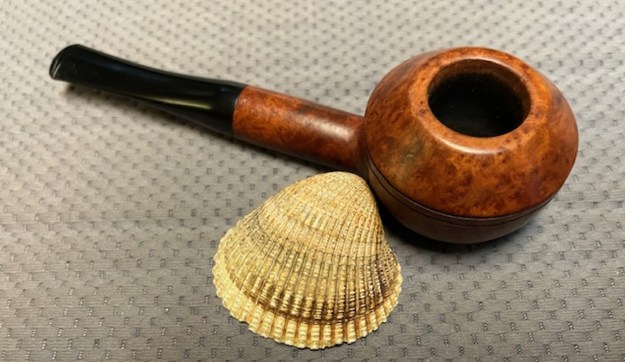
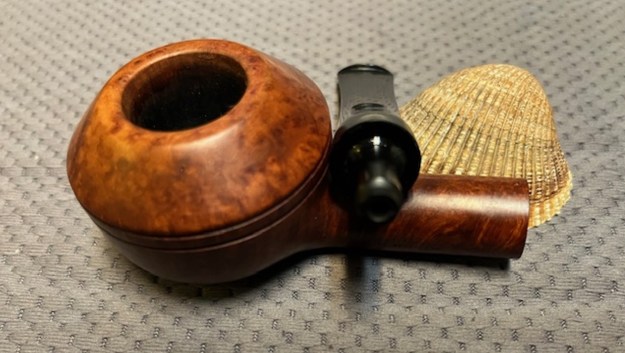
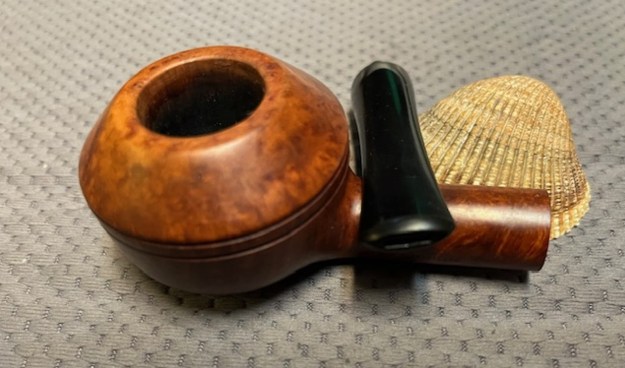
 With the burned out bowl repaired, the bowl cleaned and restored I put the polished stem back on the shank. The Peterson’s Kapmeer 407 Prince looked beautiful. Even the repaired burnout on the bottom of the bowl looked interesting with the dark ring around it on the bowl bottom. I buffed the pipe Blue Diamond on the buffing wheel and worked over the briar and the vulcanite with it. The buffer brought out a rich shine on the bowl and stem. I gave it multiple coats of Carnauba wax and then buffed it with a clean buffing pad. I had buffed the pipe with a soft cloth to deepen the shine. It is fun to see what the polished bowl looks like with beautiful mixed grain all around it. The pipe looks great with the black vulcanite stem. This smooth Peterson’s Kapmeer 407 Meerlined Prince is great looking and the pipe feels great in my hand. It is light and well balanced. Have a look at it with the photos below. The dimensions are Length: 6 inches, Height: 1 ¼ inches, Outside diameter of the bowl: 1 ¼ inches, Chamber diameter: ¾ of an inch. The weight of the pipe is 29 grams/0.99 ounces. It turned out to be a beautiful pipe. I will be sending it back to Jake soon. He is looking forward to enjoying it once again. Thanks for walking through the restoration with me as I worked over this pipe. Thanks to each of you who are reading this blog.