by Steve Laug
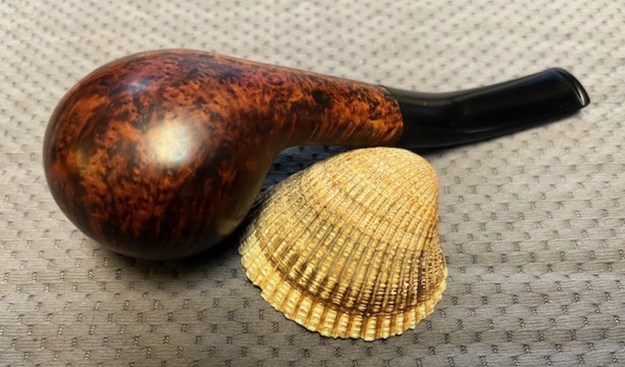
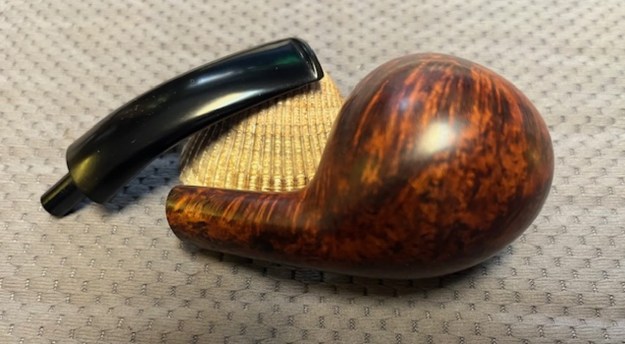
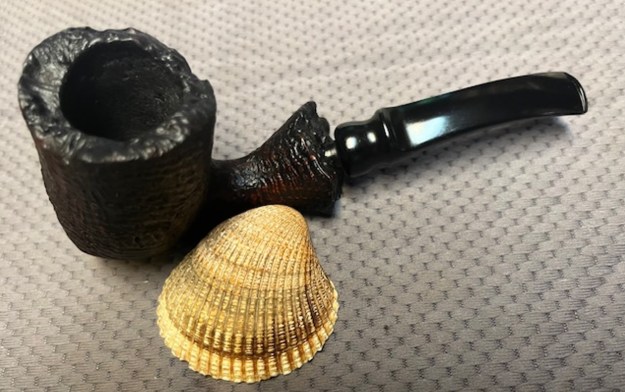
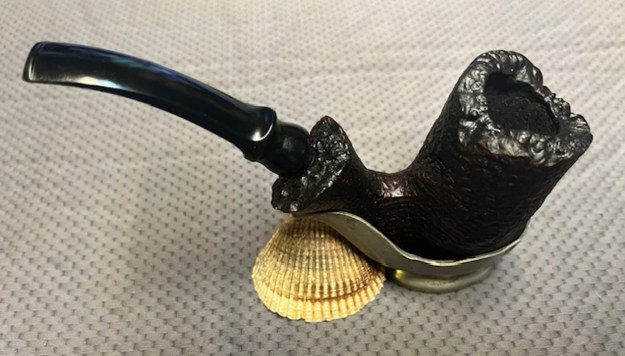
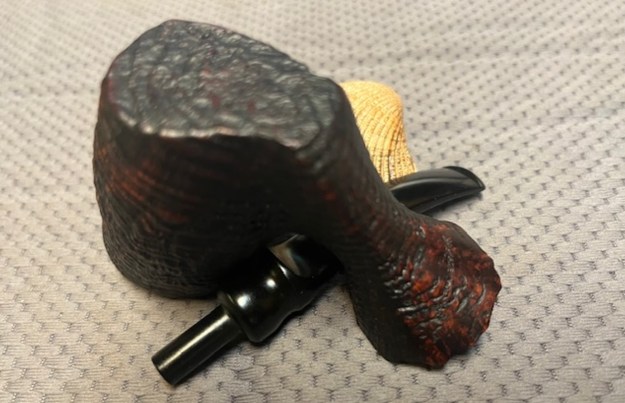
I love working on older W.O. Larsen Handmade pipes. The shapes, the finishes and the feel of the pipe in the hand always catch my attention. The way the carvers capture the grain in the shapes of these pipes. This one is kind of a Diplomat shape with a slight bend to the stem. It is a smooth finished pipe that is stamped on the underside of the shank and clearly reads 0 [over] W.O. Larsen [over] Handmade [over] Made in Denmark. We purchased this pipe on 05/22/2024 from a friend in Denmark. The pipe was in good condition in terms of the finish on the bowl – just a few nicks and scratches on the bowl sides. The bowl had a thick cake on the walls and the rim top and inner edge had some darkening and some lava overflow. Otherwise it was a beautiful pipe. There is a vulcanite taper stem was in good condition with light tooth chatter but no deep tooth marks on the surface. Jeff took photos of the pipe before he started his clean up to capture the condition of the pipe when it arrived. It is a real beauty.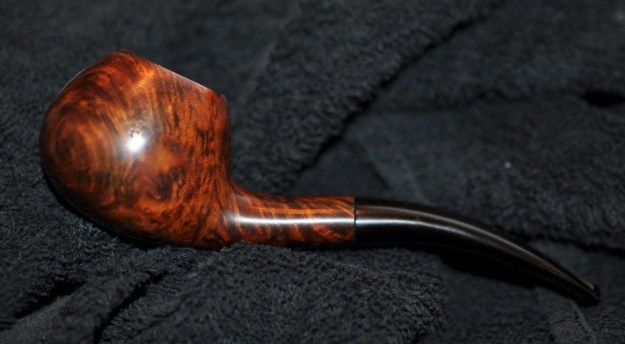
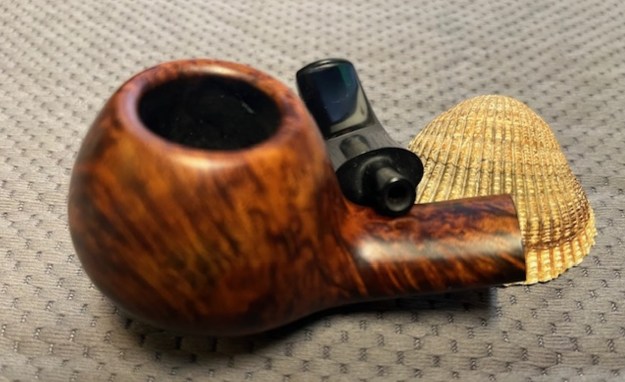
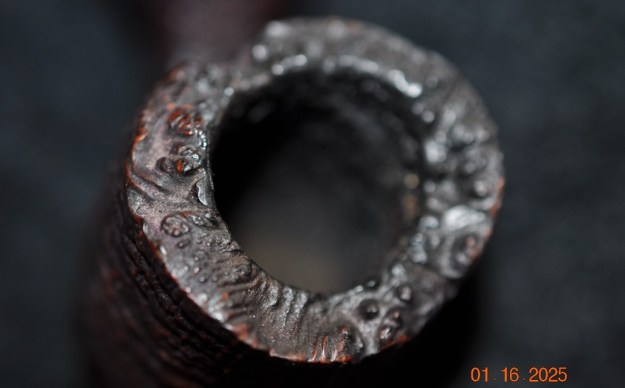
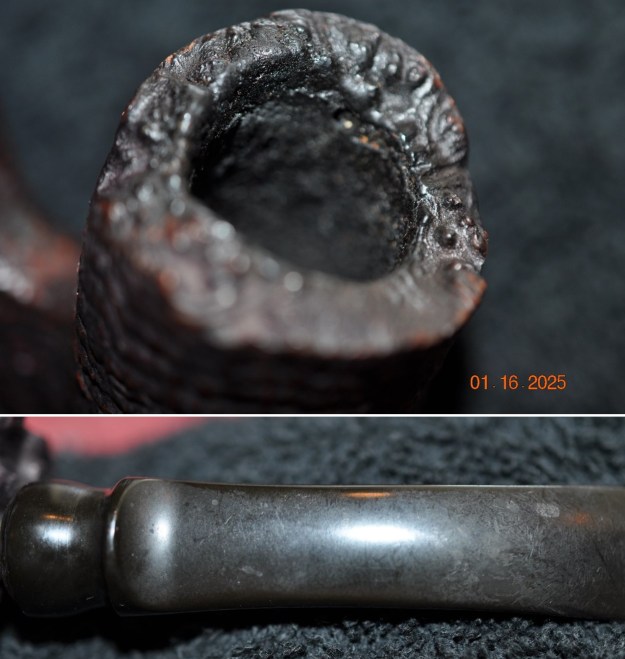
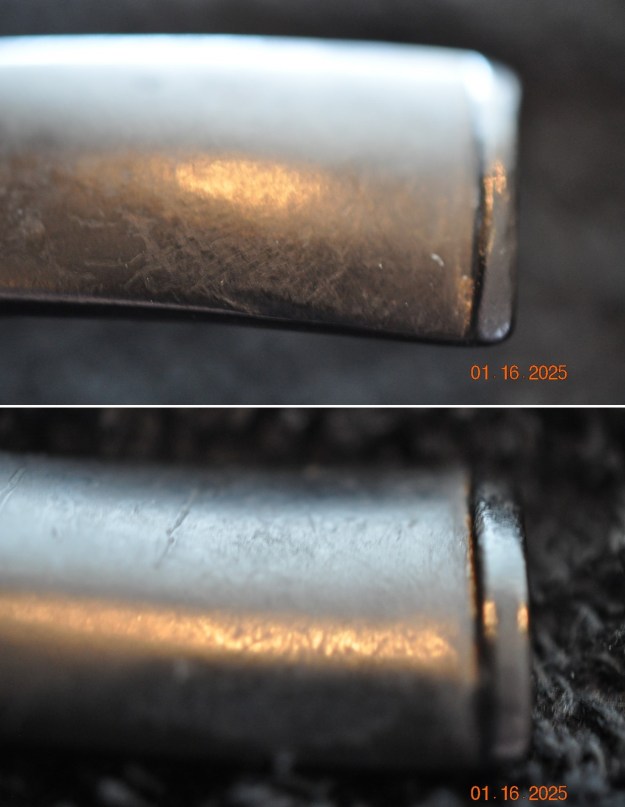
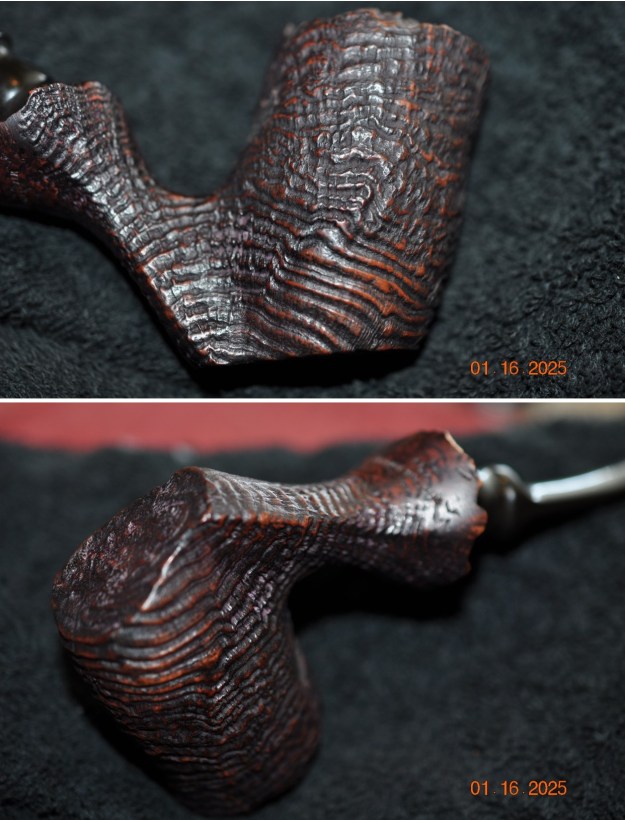
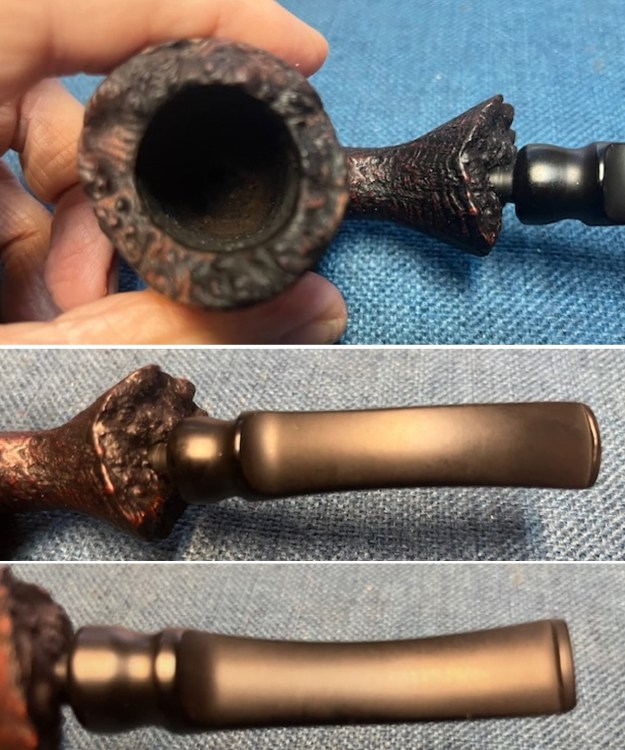
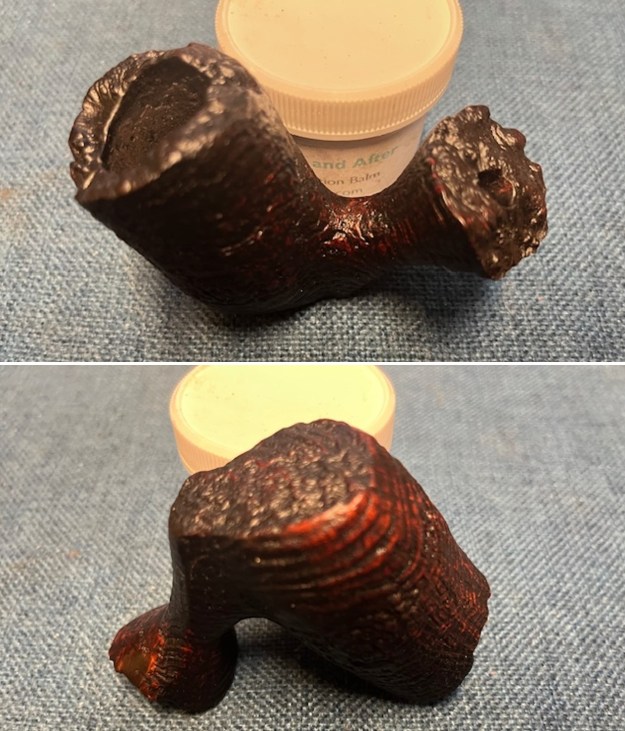
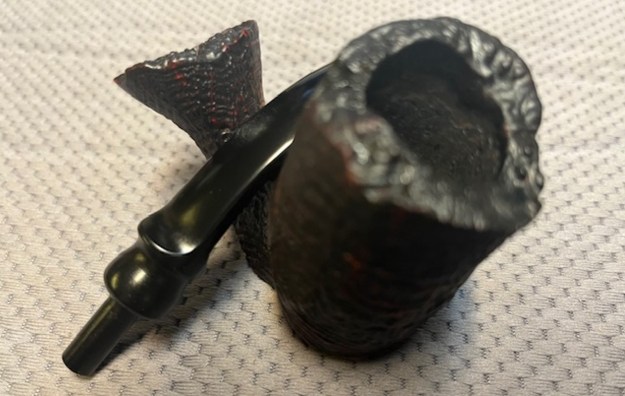
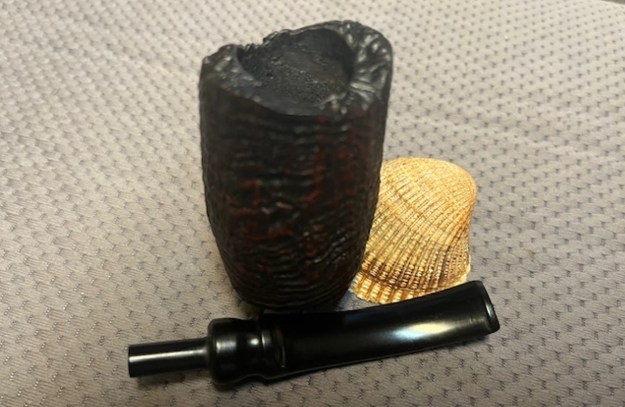
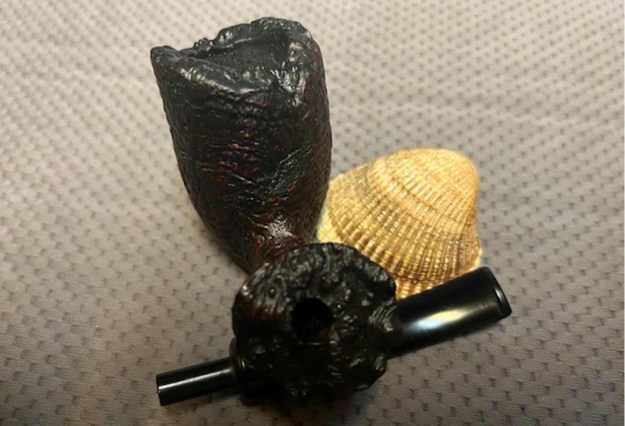
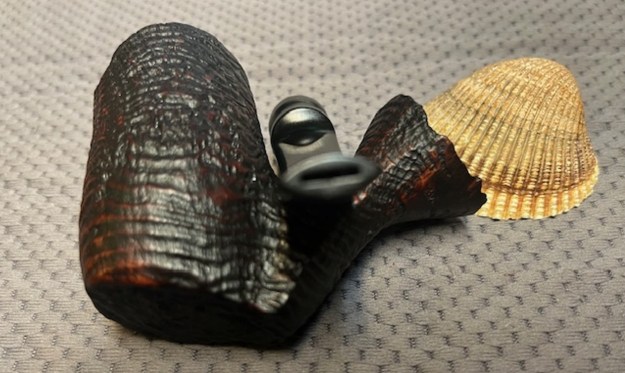
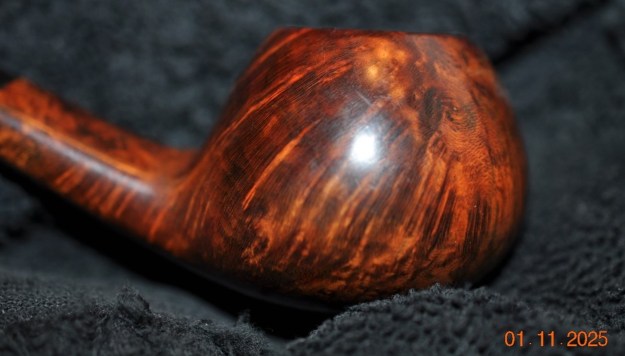
 He took photos of the bowl and rim top to show the lava on the top and inner edge of the bowl. It looks like a combination of burn damage on the front and back mid bowl. The stem was very dirty with grime and sludge build up from the button forward on both sides of the stem.
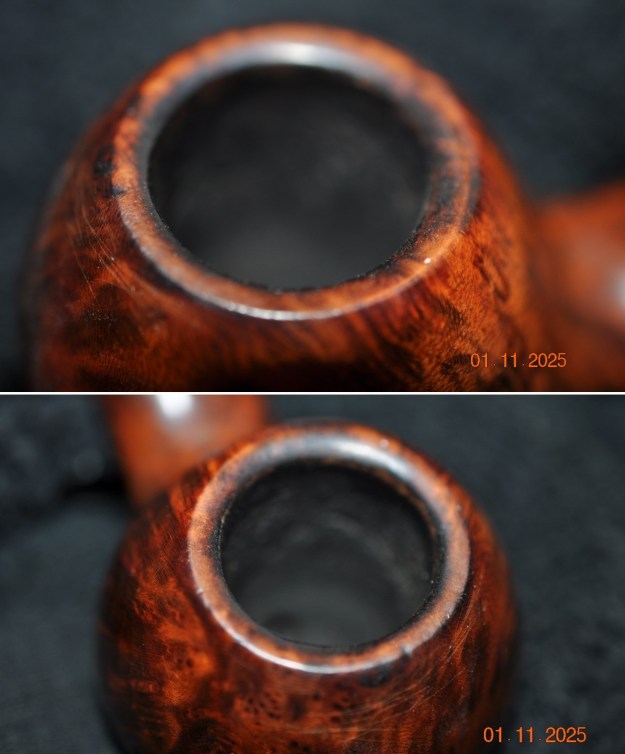
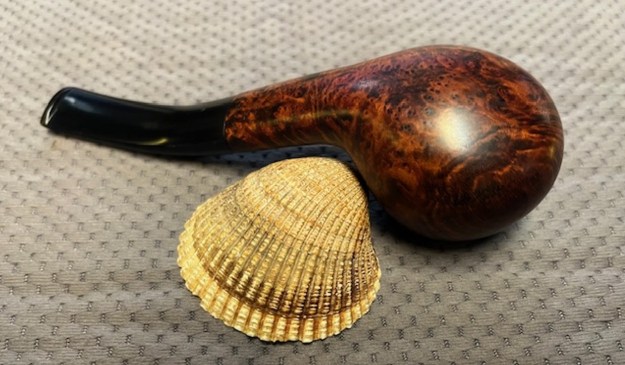
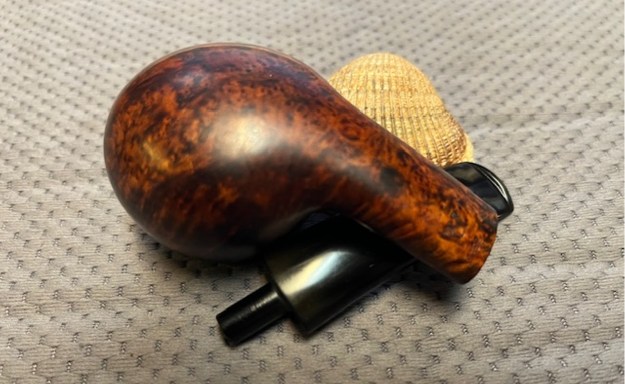
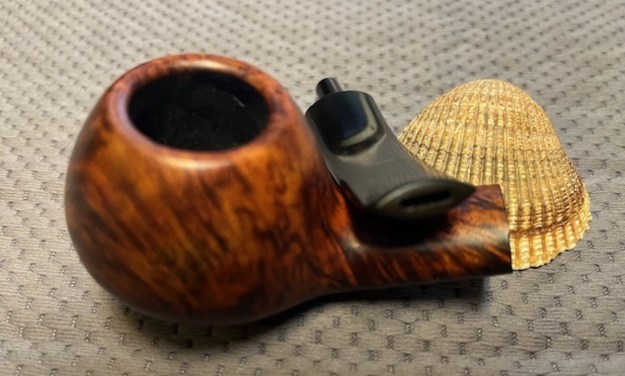
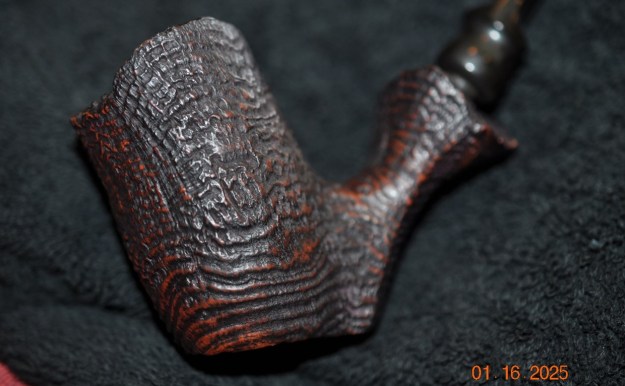
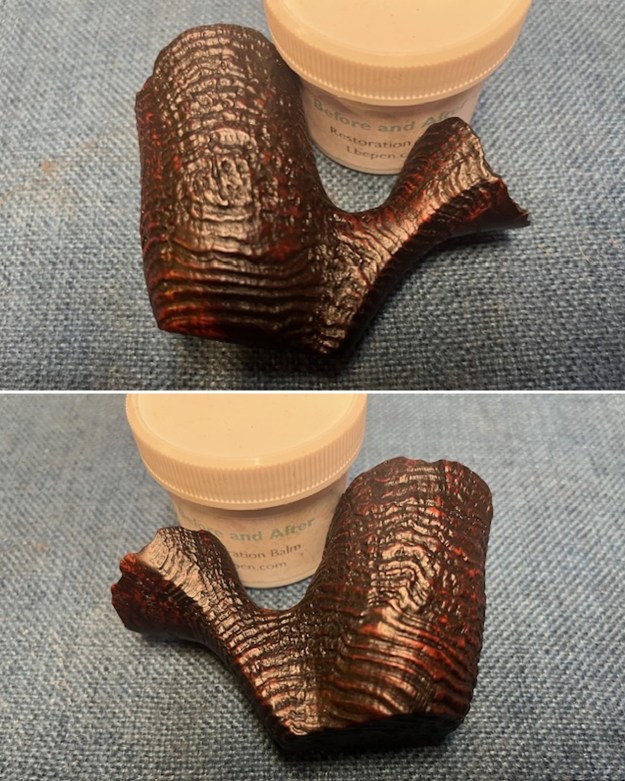
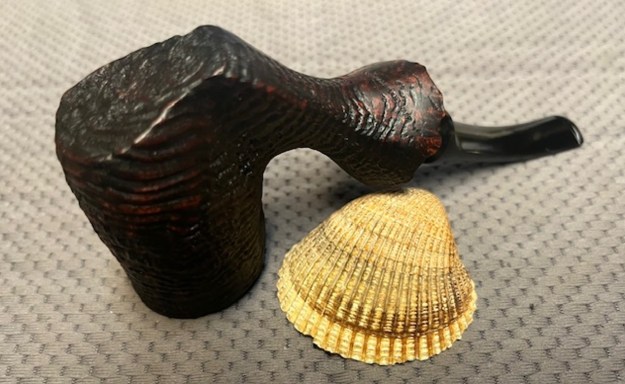
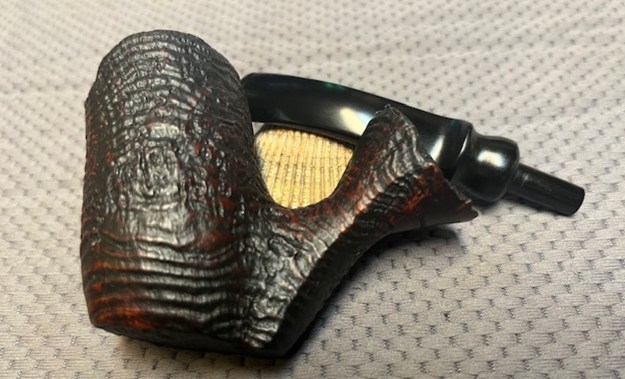
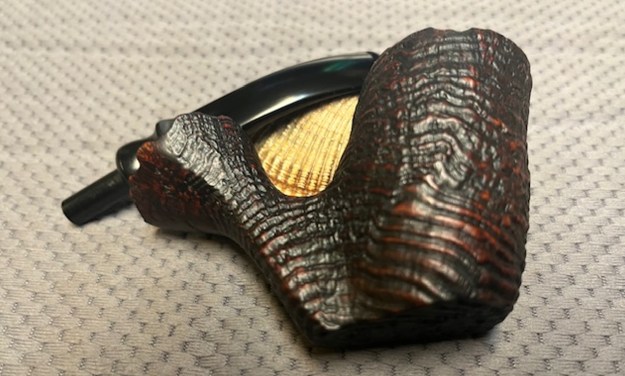
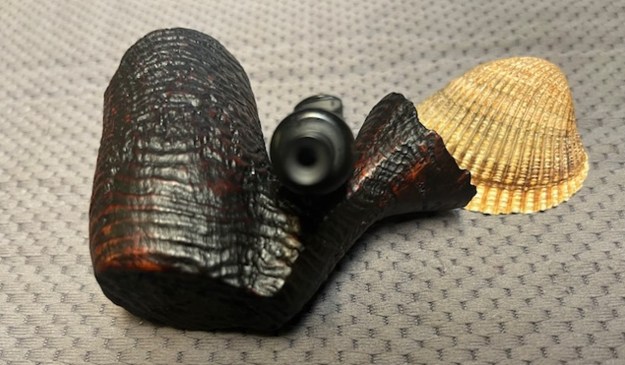
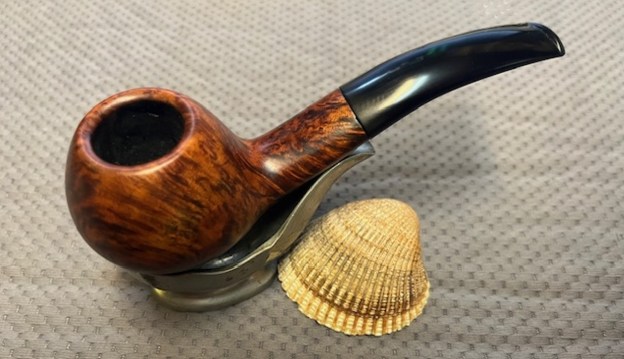
 Jeff captured the smooth finish and grain around the bowl sides and it is stunning. There is a lightly bevelled rim cap and inner edge.
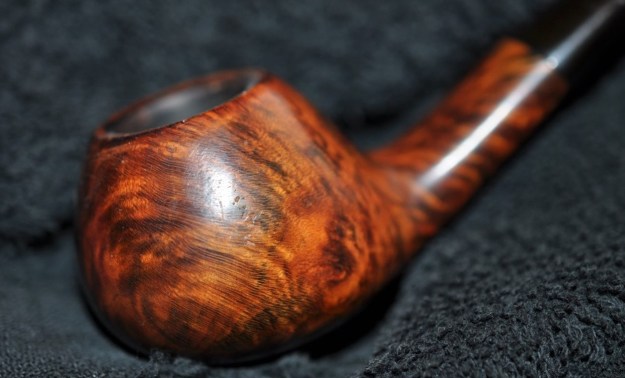
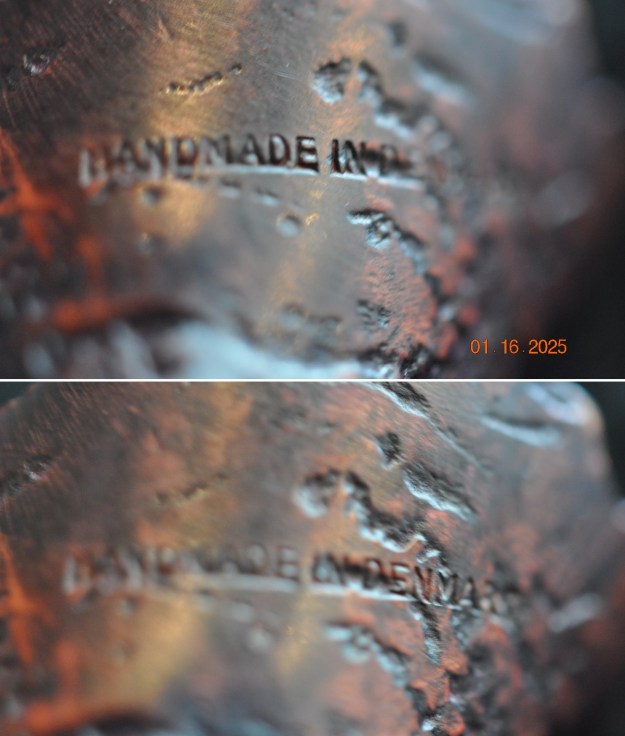
 He took photos of the stamping on the underside of the shank. It is faint in spots but it is still readable. The stamping reads as noted above.
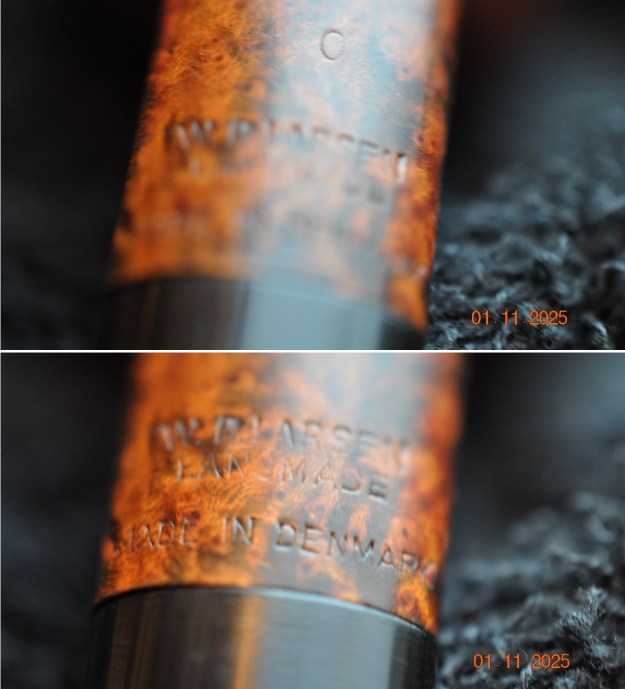 I wanted to refresh my memory about the pipes coming out of Ole Larsen’s Copenhagen tobacco shop. I knew that many famous Danish Carvers started their careers carving for the shop. I turned first to pipephil wesite to get and over view of the brand (http://www.pipephil.eu/logos/en/logo-l2.html). I did a screen capture of the section on the site showing a summary of the brand and the typical stamping. I have also included the information in the sidebar.
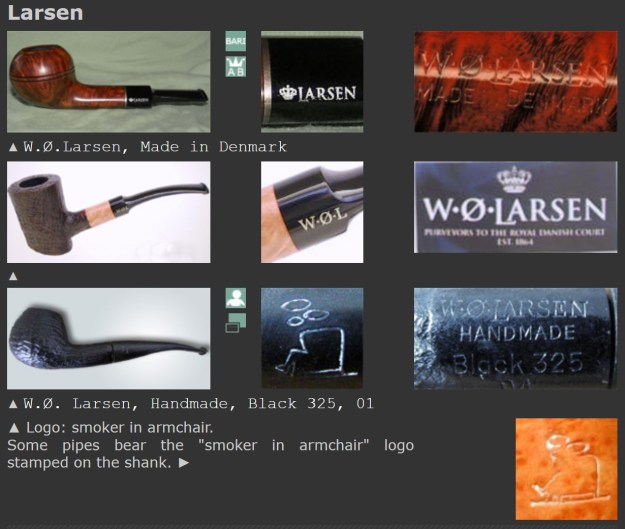 In the 1960s Ole Larsen, owner of the Copenhagen tobacco store, retails pipes carved by Sixten Ivarsson, Poul Rasmussen, Sven Knudsen or Peter Brakner. Faced with the success and urged by Sven Bang (store manager), Sven Knudsen and Former (Hans Nielsen) are successively hired to carve pipes in the basement of the shop at the beginning and in the old Larsen cigar factory afterwards. Carver like Teddy Knudsen, Tonni Nielsen, Jess Chonowitch, Peter Hedegaard work a while in this context.
When Nils, son of Ole Larsen, succeeds his father he acquires the Georg Jensen pipe factory to focus on less expensive pipes. This turns out to be an error ending with the sale of W.O. Larsen trademark to Stanwell.
The famous tobacco shop at Strøget, Amagertorv 9 closed down for good on Dec 31, 2004.
I then turned to Pipedia to do a bit more reading about the brand and the various lines making it up. Here is the link (https://pipedia.org/wiki/W.%C3%98._Larsen). The link took me to some pages on the finepipes.com website. Here is the link to the summary of the history of the brand. I quote it in full. I have marked the pertinent section with bold font to mark out the section on the SELECT series (https://www.finepipes.com/pipes/danish/w-o-larsen?sort=20a&page=2&zenid=562ff4b9d62f4f612d0f6ee60cab1224).
W.O. Larsen was one of the most famous tobacco shops in Copenhagen, with a beautiful store located on Copenhagen’s famous “Walking Street.” During the flowering of the Danish pipe in the ’60’s, they first began retailing pipes by such carvers as Sixten Ivarsson, Sven Knudsen, Poul Rasmussen, and Brakner. Urged on by his store manager Sven Bang, the owner, Ole Larsen, decided to begin making pipes in the basement of the shop. He first hired Sven Knudsen as the pipe maker, who soon passed the job to his protégé Hans “Former” Nielsen. Larsen’s fortunes rose along with the rest of the Danish pipe business, and Former was soon managing a group of carvers in the old Larsen cigar factory. Among these were Teddy Knudsen, Tonni Nielsen, Jess Chonowitch, Peter Hedegaard and others, who were responsible for the Select and Straight Grain series before they branched out on their own. After Former left to start Bentley pipes in Switzerland, his duties were taken over by Soren Refbjerg Rasmussen, while the straight grains were made by Teddy’s student Benni Jorgenson. As Ole’s health began to fail, the reins were taken over by his son Nils. Nils became convinced that the way for Larsen to prosper was by entering the low-end market, and acquired the Georg Jensen pipe factory to make an array of less expensive pipes. This turned out to be a fatal error, and Larsen was recently sold to Stanwell, who continue to produce so-called “Larsen” pipes in their huge factory. Thus, ended an important part of Danish pipe history.
Armed with that information I turned to work on the pipe itself. Jeff had done a great job cleaning up the pipe as usual. He cleaned up the inside of the bowl with a PipNet reamer and a Savinelli Fitsall Pipe Knife. The bowl walls looked very good. He scrubbed the interior of the bowl and shank with pipe cleaners, cotton swabs and alcohol to remove the tars and oils. He scrubbed the exterior of the pipe with undiluted Murphy’s Oil Soap and a tooth brush to remove the grime from the finish. He worked on the rim top lava and darkening with the soap and tooth brush. He scrubbed the inside of the stem with alcohol and pipe cleaners. He scrubbed the stem exterior with Soft Scrub and then soaked it in Briarville’s Pipe Stem Deoxidizer. He washed it off with warm water to remove the deoxidizer. The pipe looked far better. I took photos of the pipe when I received it before I started working on it.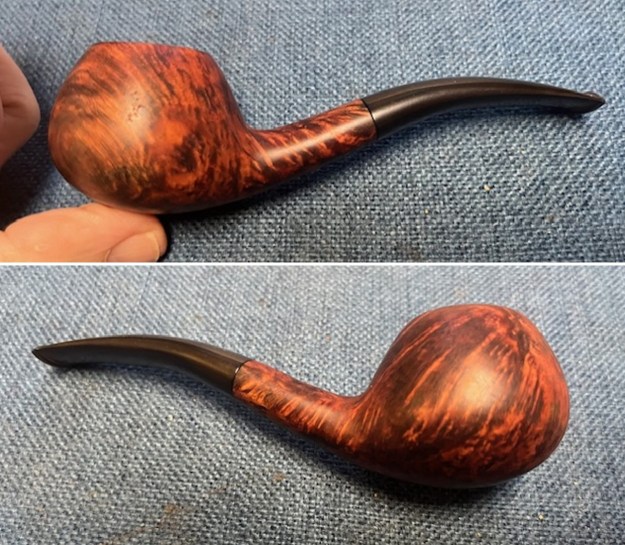
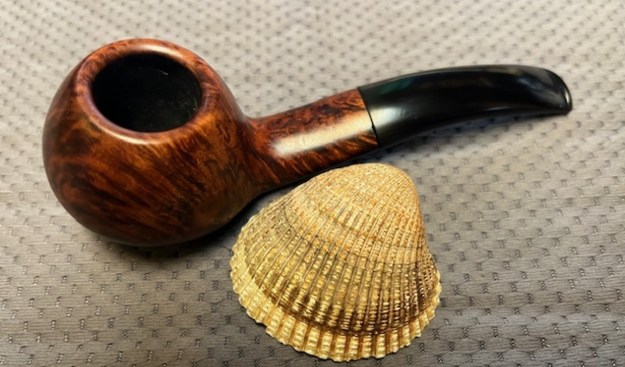
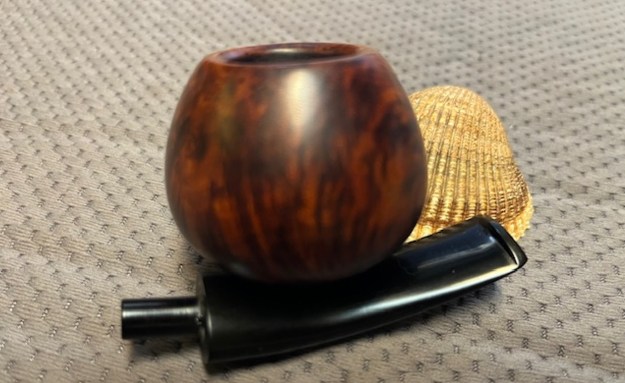
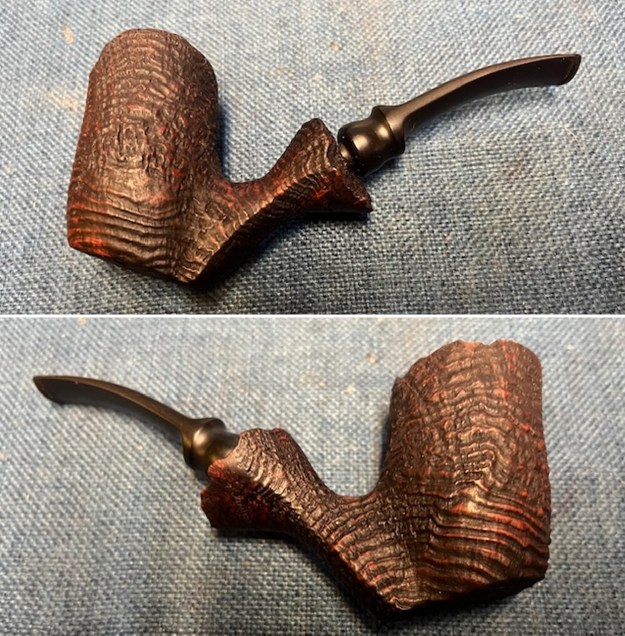
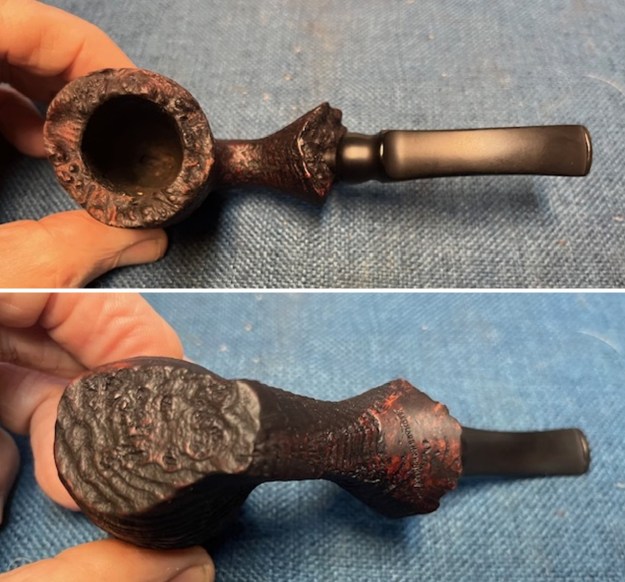
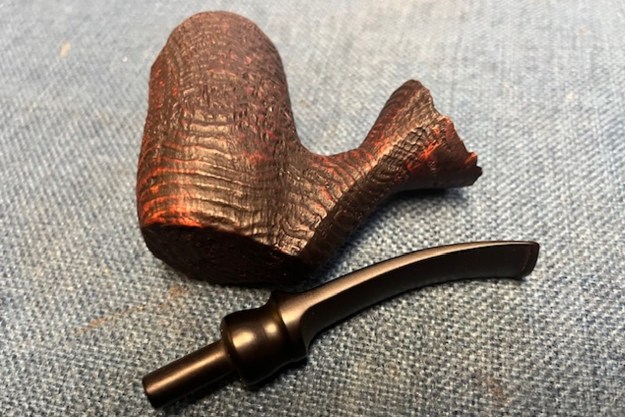
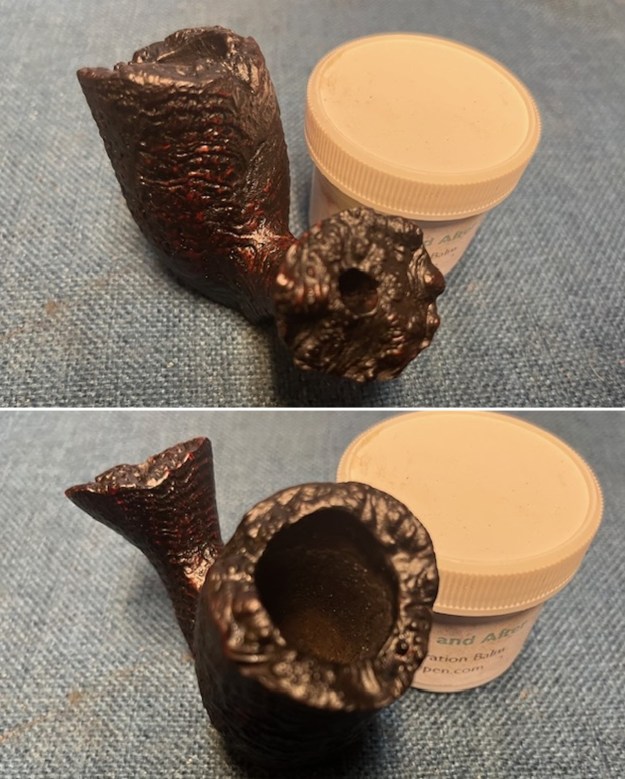
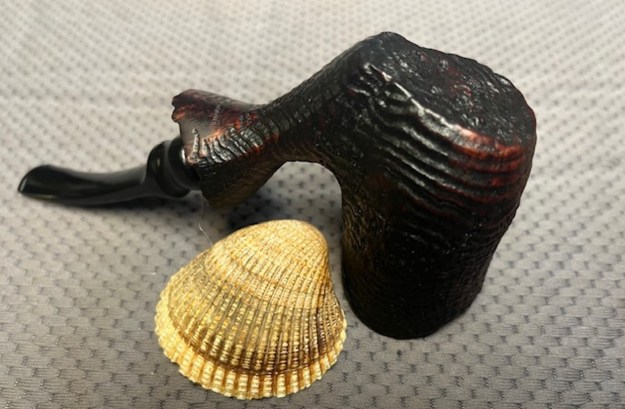
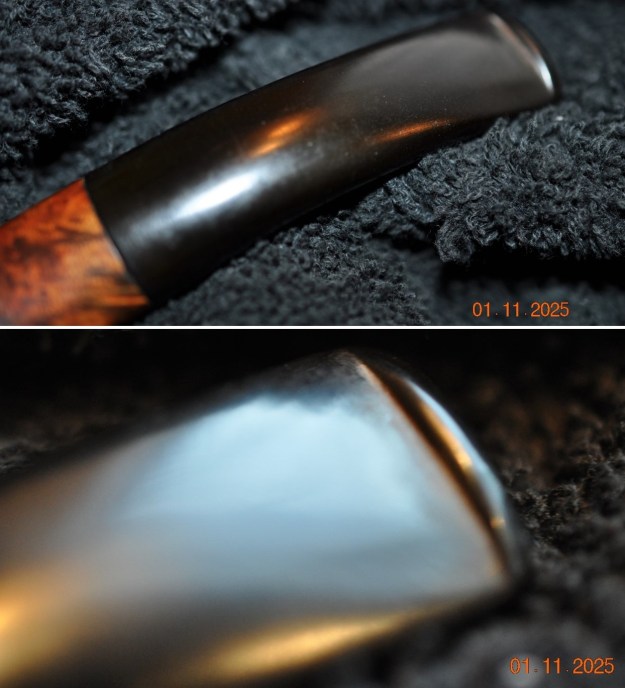
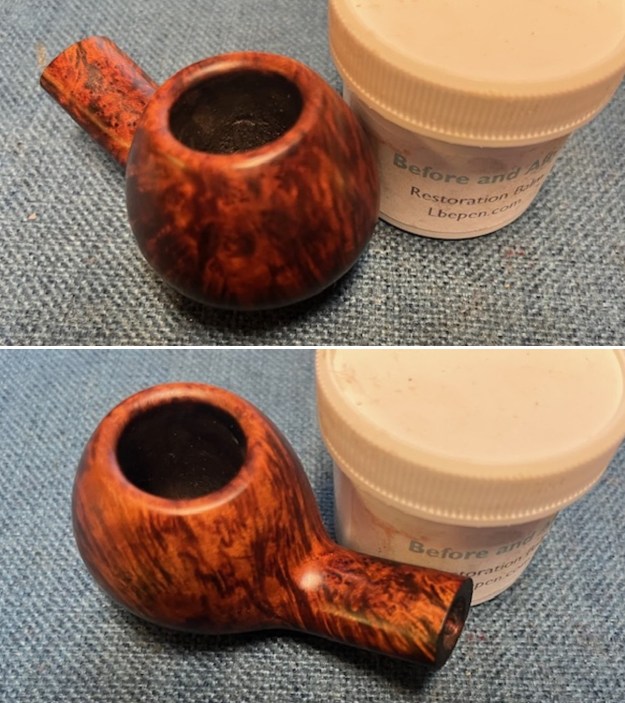
 I took photos of the bowl and rim top to show how clean it was. The top and the inner edge of the rim show the darkening that I mention above. I am very pleased that it does not appear to be deep burn damage. The stem looks clean of debris and grime. The tooth chatter more or less disappeared with the cleaning.
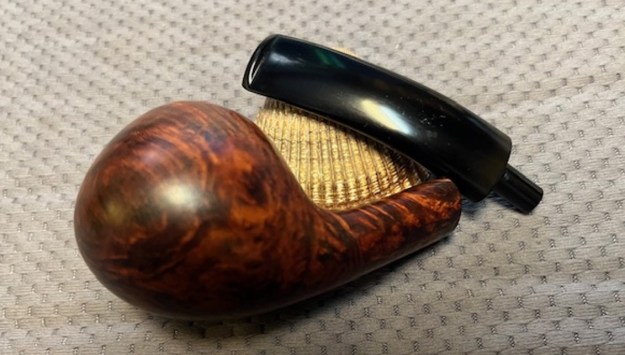
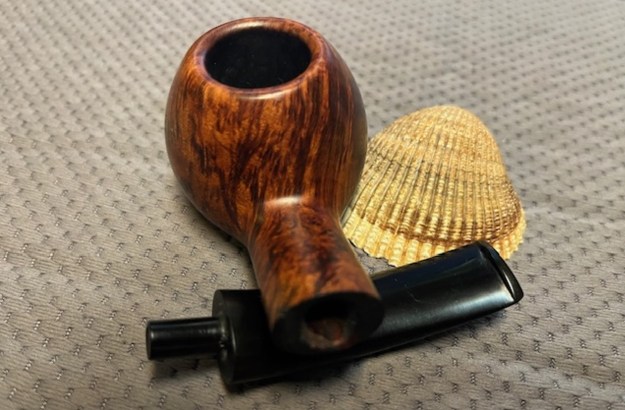
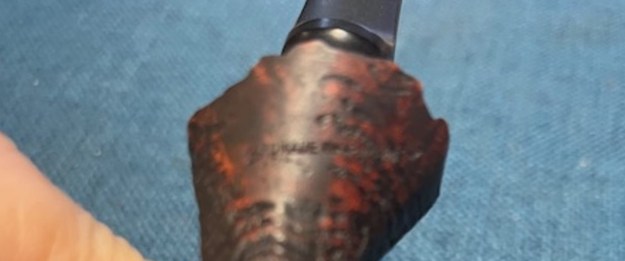
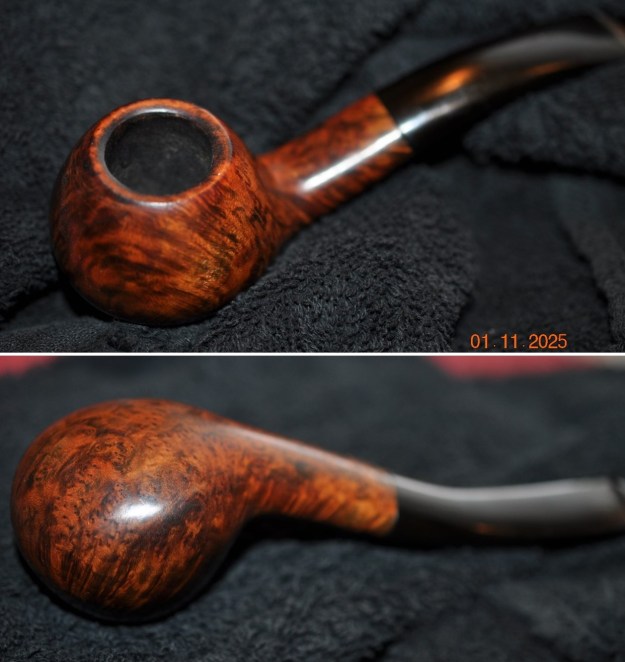
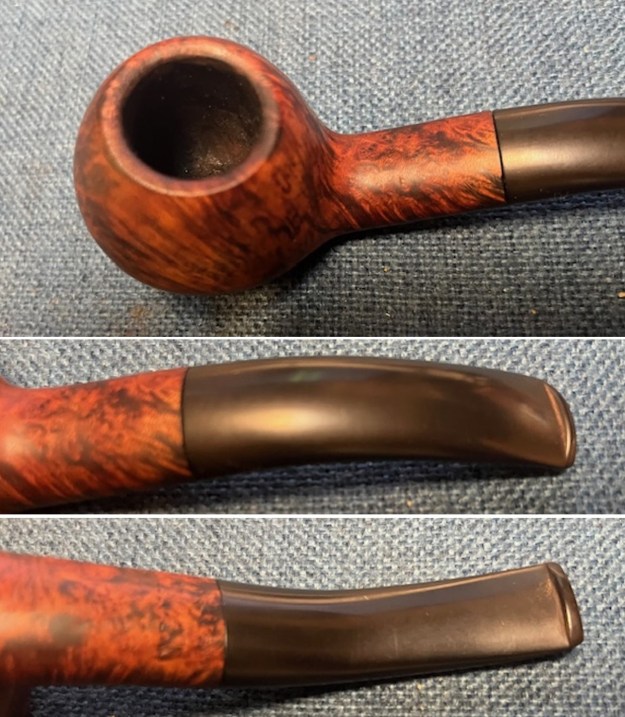 I took a photo of the stamping on the underside of the shank – it was faint in spots, but clear and read as noted above. The second photo below shows look of the bowl and stem taken apart.
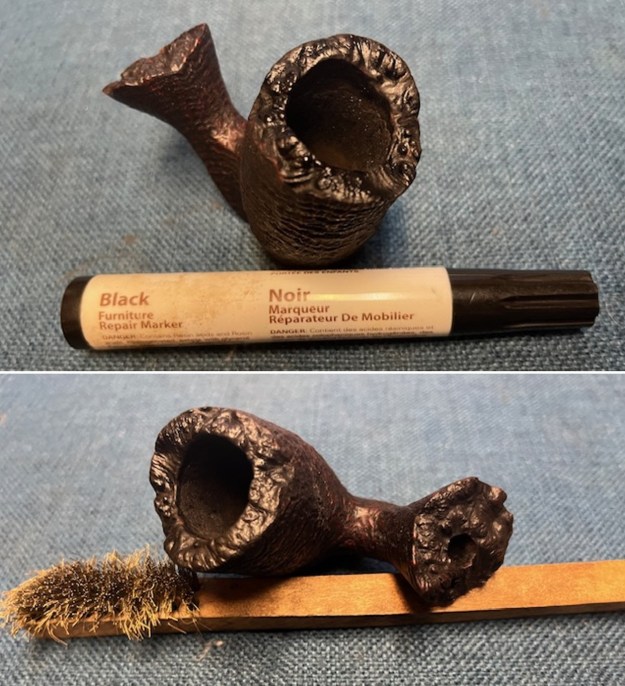
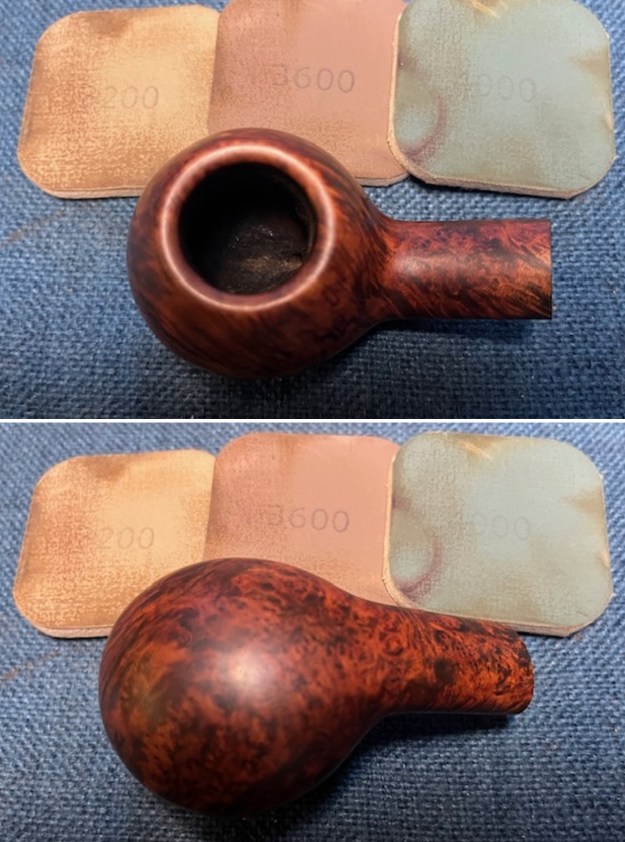
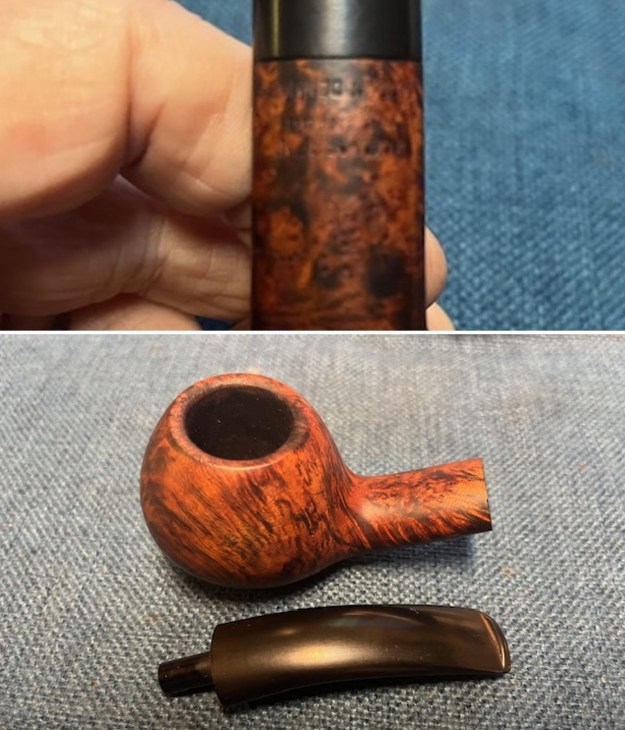 I started working on the pipe by addressing the rim edge and top darkening first. I started using a folded piece of 220 grit sandpaper to smooth out the inner edge and remove the darkening.
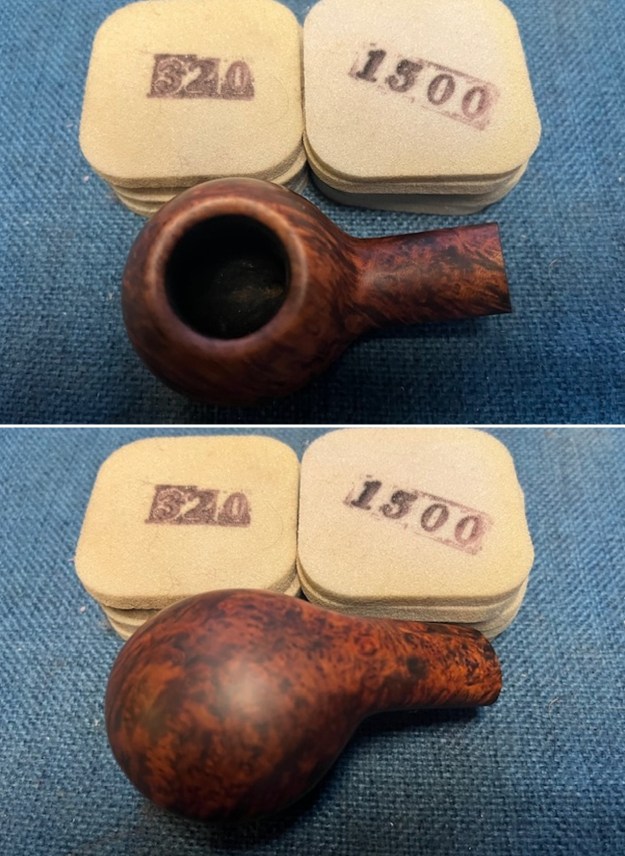
 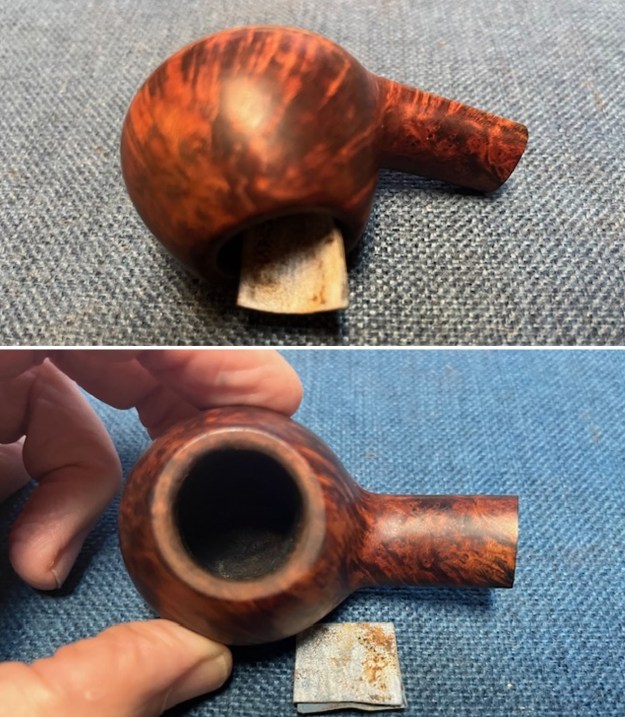 I sanded the bowl with 320-3500 grit sanding pads. I wiped the bowl down after each sanding pad to remove the debris from the sanding process.
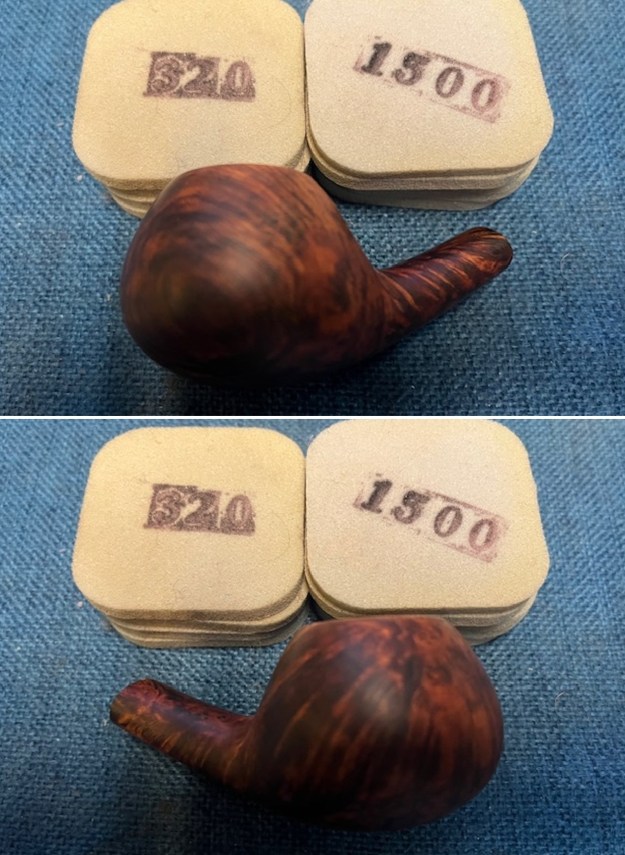
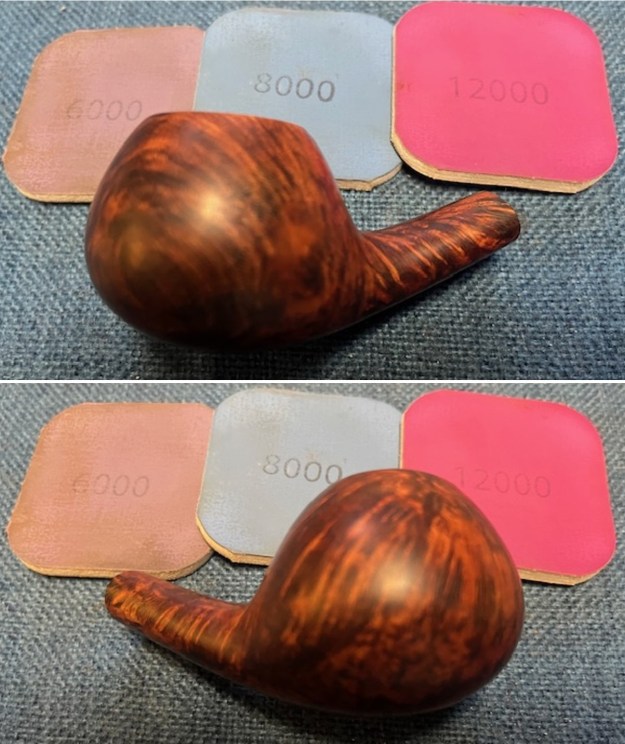
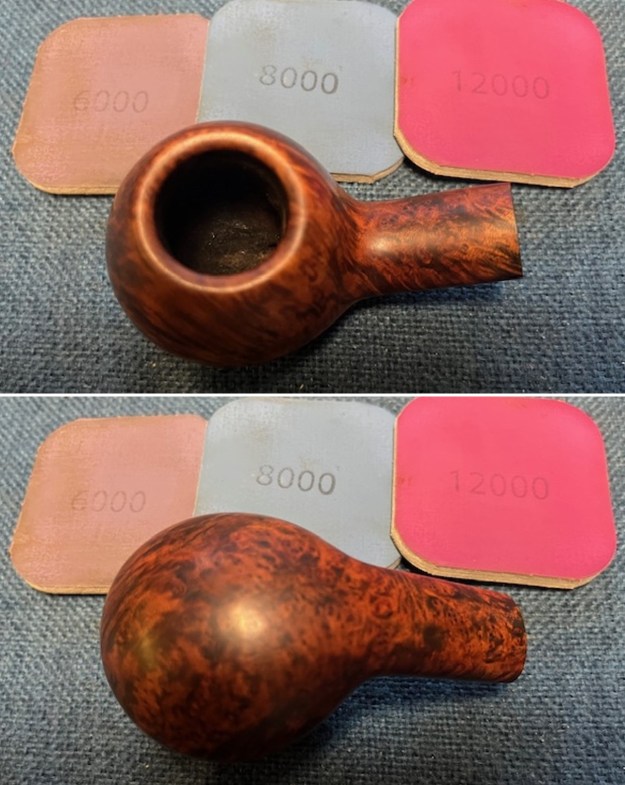
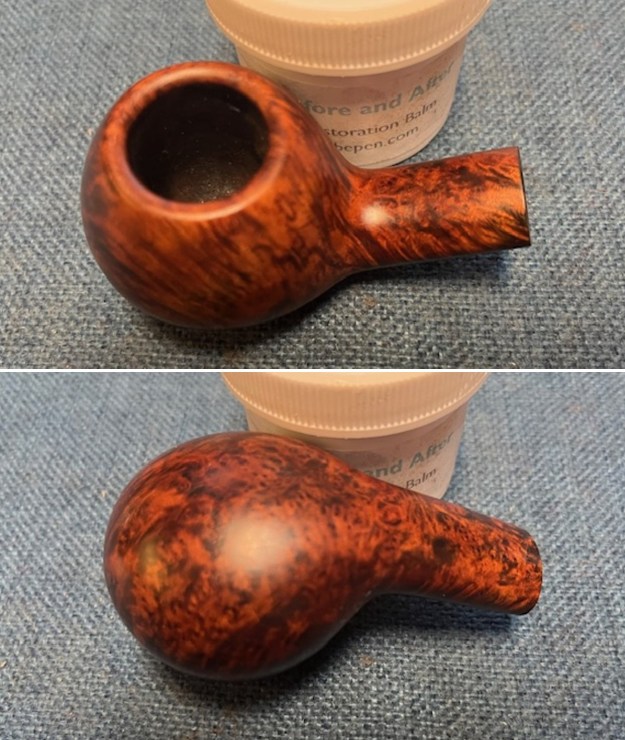
 I polished the bowl with micromesh sanding pads. I dry sanded it with 1500-12000 grit pads. I wiped it down with a damp cloth after each sanding pad. It looks very good now and the bowl is back in round.
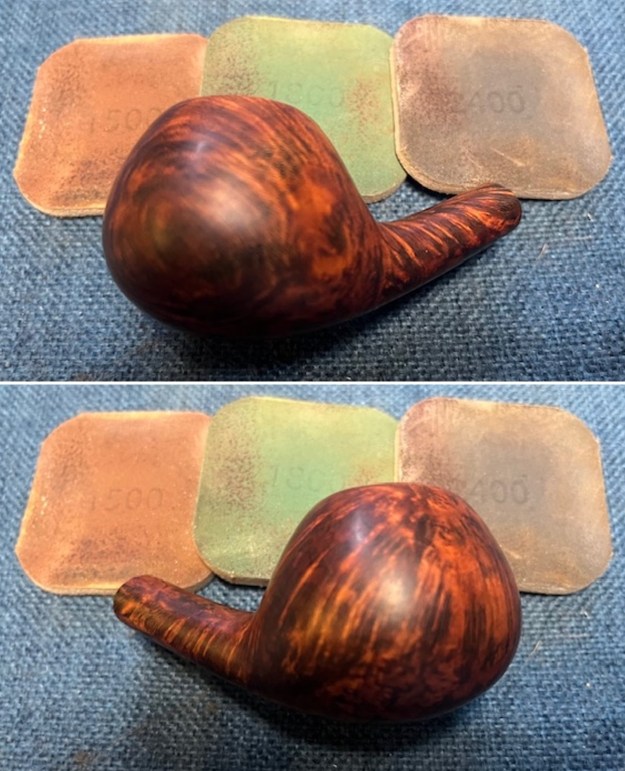
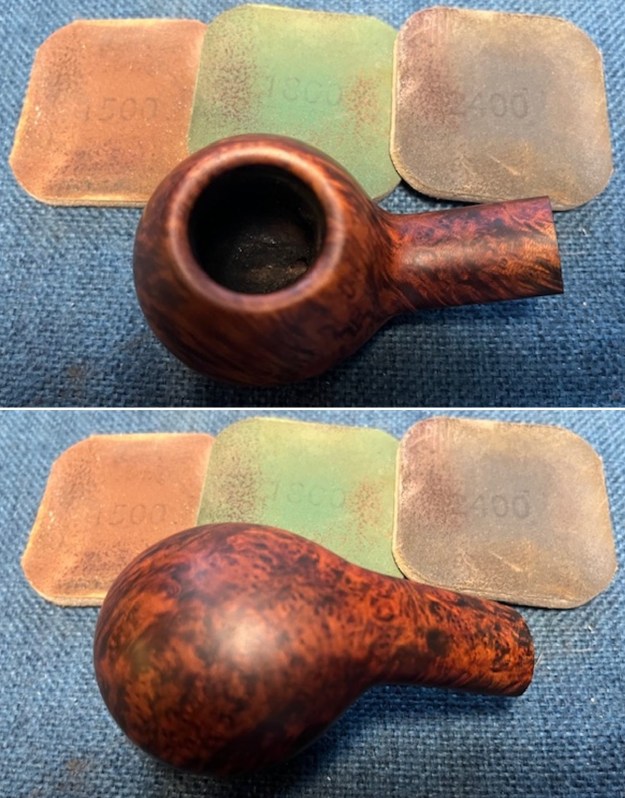
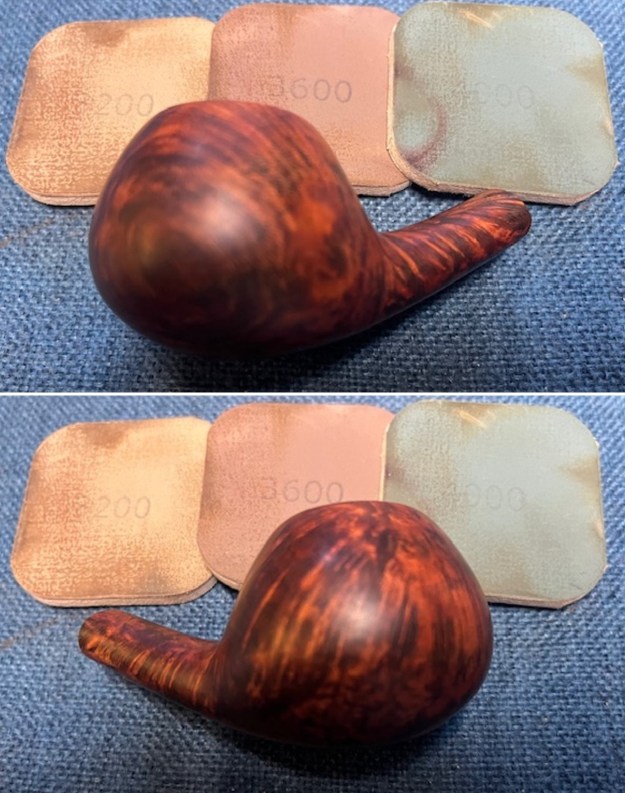
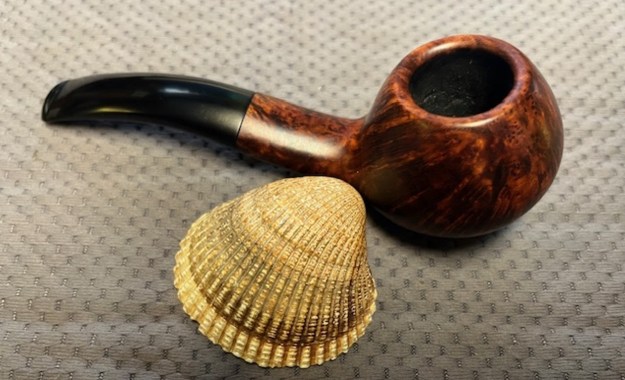
 The pipe was clean and free of debris. I rubbed the bowl down with Before & After Restoration Balm. It is a paste/balm that works to deep clean the finish, enliven and protect the briar. I worked it into the briar with my finger tips to make sure that it covered every square inch of the pipe. I set it aside for 10 minutes to let it do its work. I buffed it with a cotton cloth. The briar really began to have a deep shine. The photos I took of the bowl at this point mark the progress in the restoration.
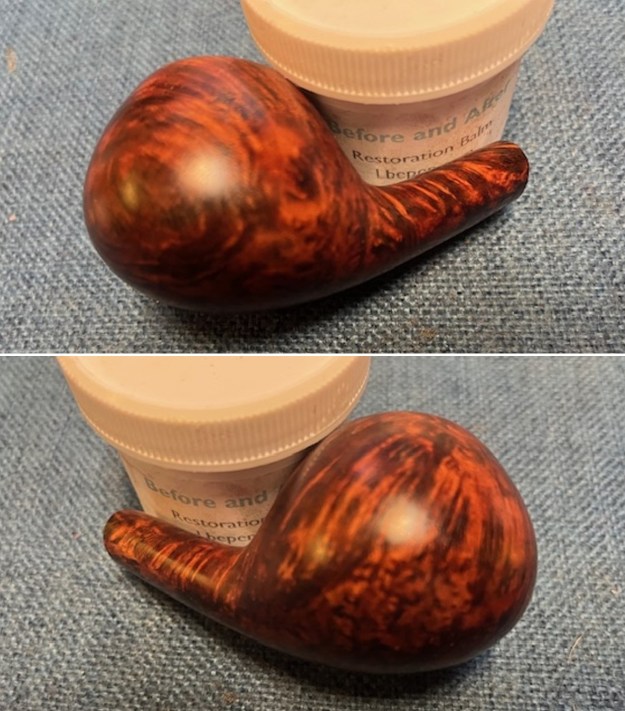
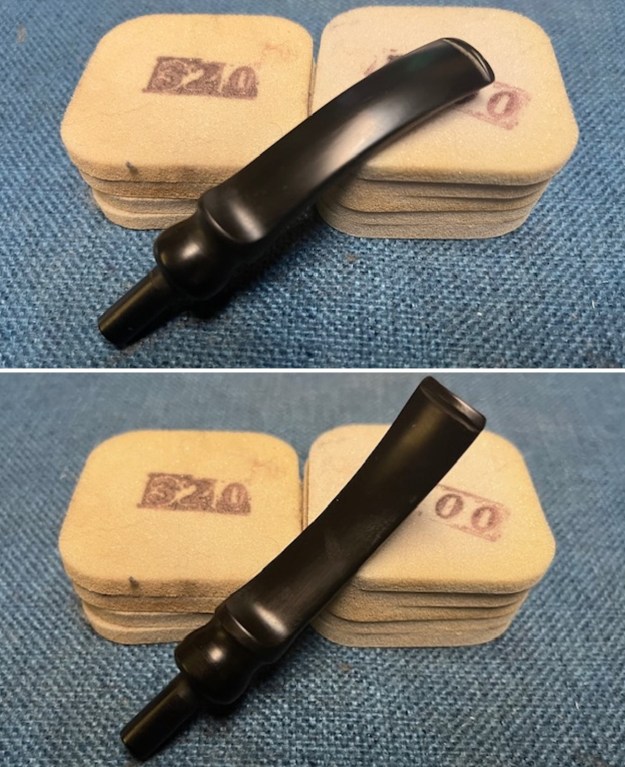
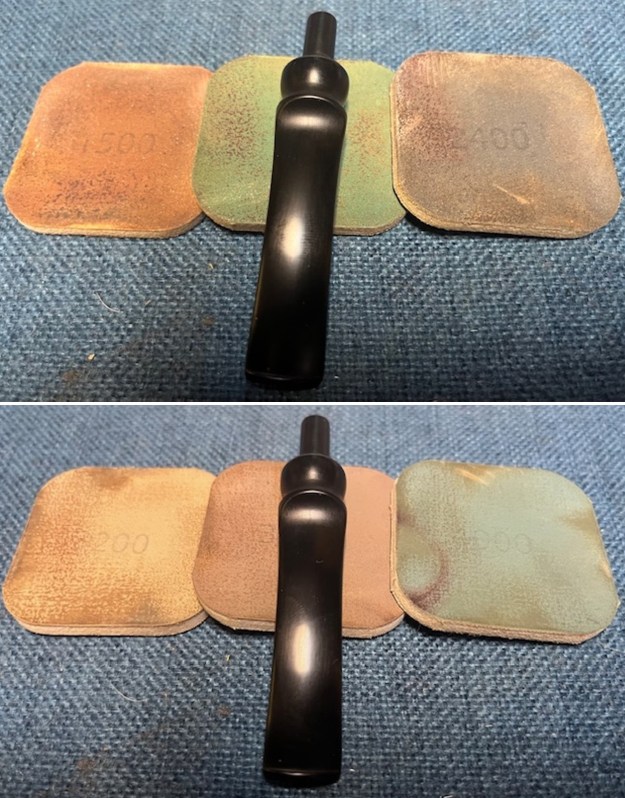
 I set the bowl aside and turned my attention to the stem. I sanded it with 320-3500 grit sandpaper to smooth out the remaining chatter on the stem surface. It also removed the remnants of oxidation on the stem surface.
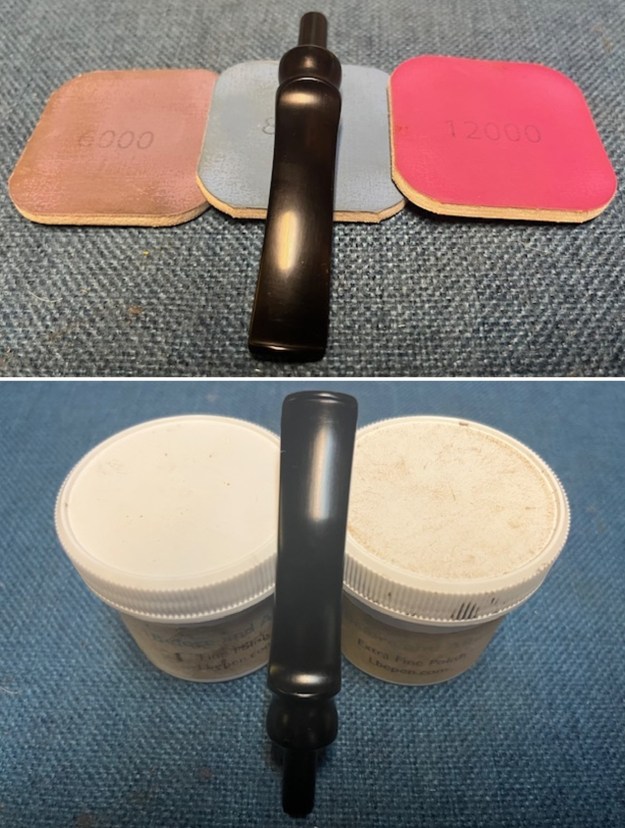
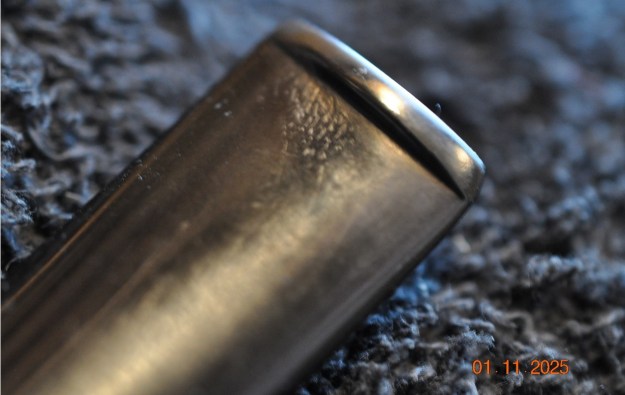
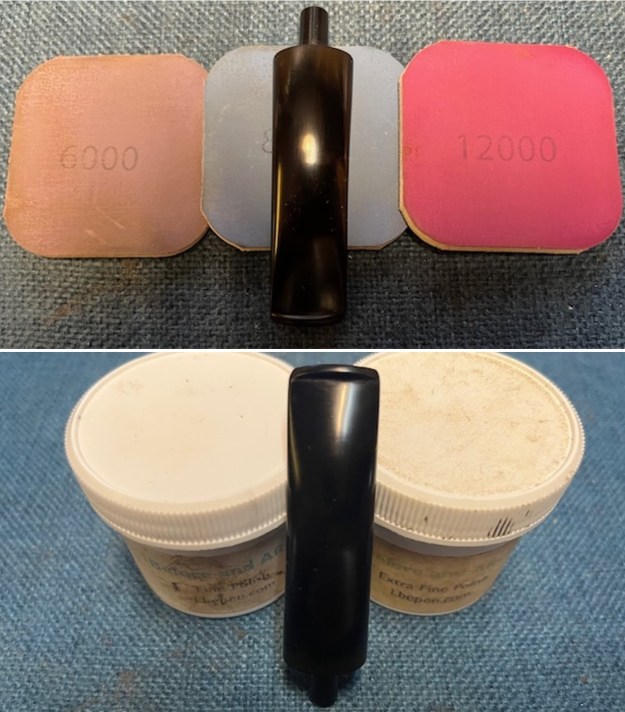
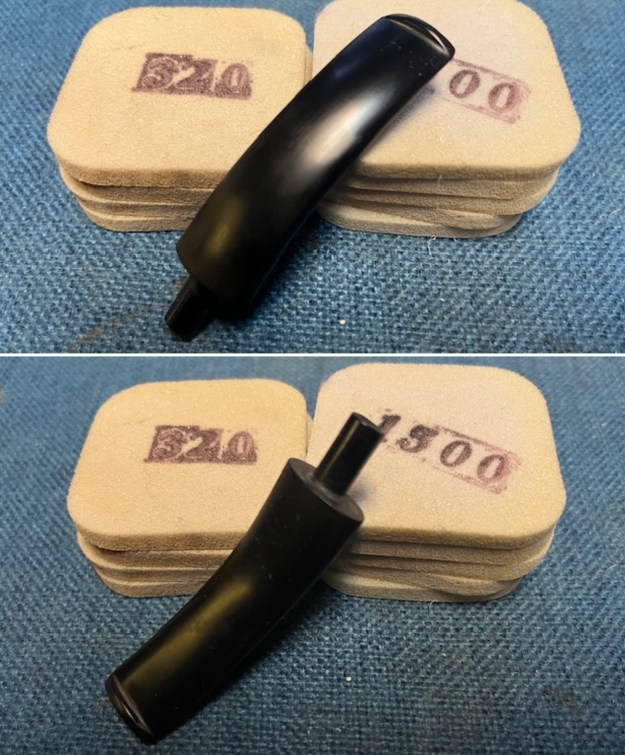 I polished the stem with micromesh sanding pads – wet sanding it with 1500-2400 grit pads and dry sanding it with 3200-12000 grit pads. I wiped the stem down with a damp cloth after each pad. I polished it with Before & After Pipe Stem Polish – Fine and Extra Fine. I wiped it down with a coat of Obsidian Oil and set it aside to dry.
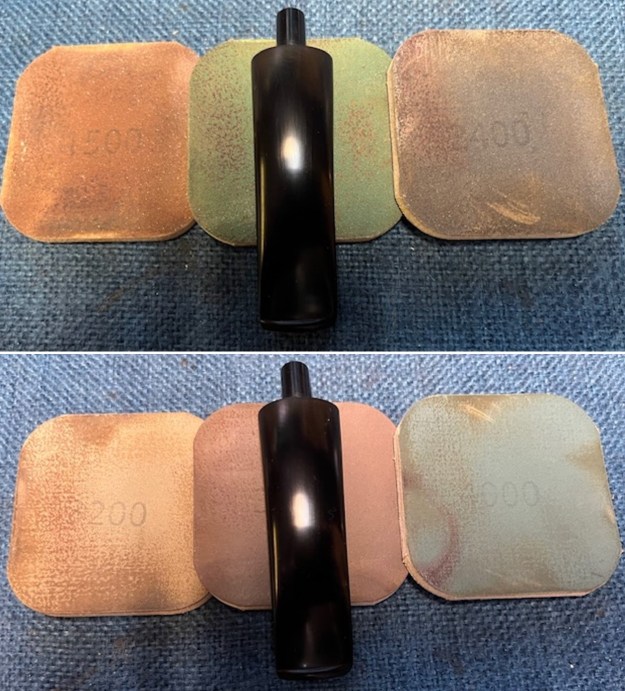
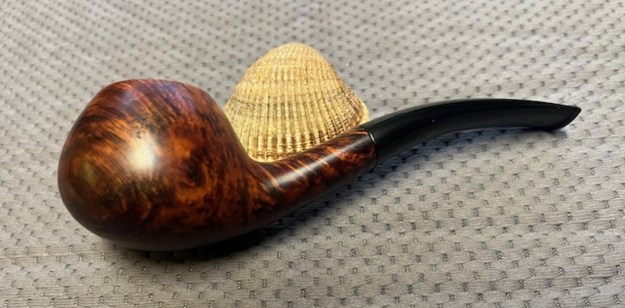
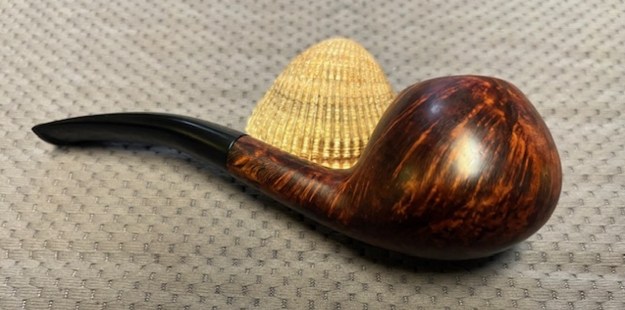
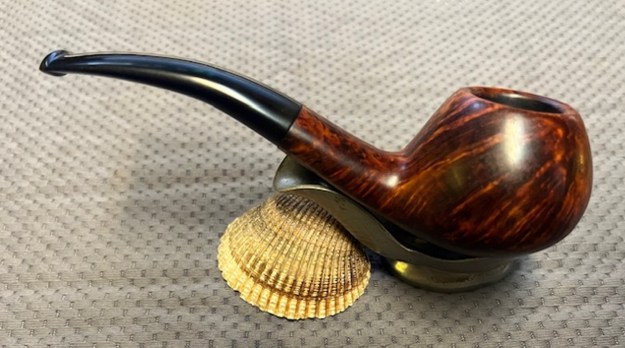
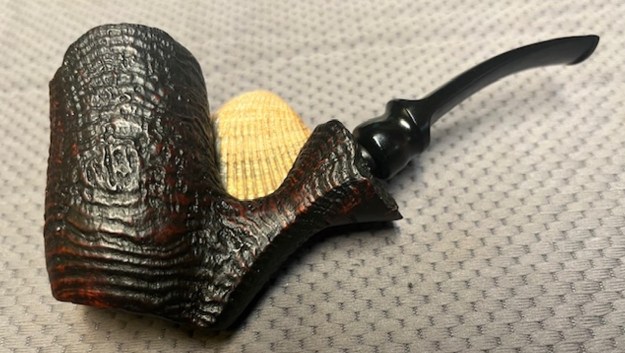
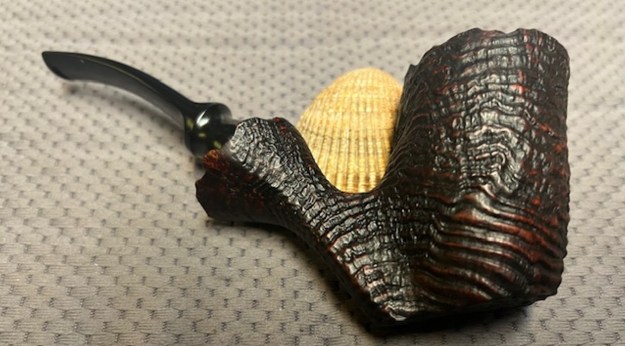
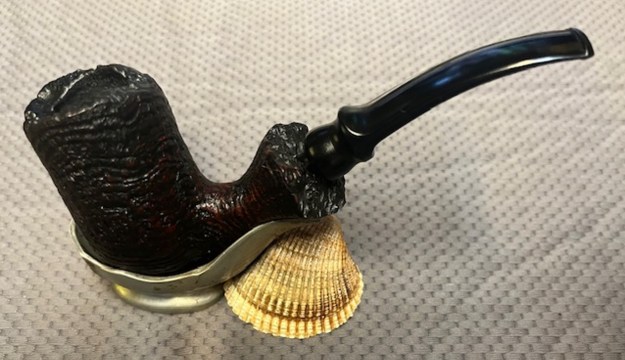
 I put the W.O. Larsen Diplomat back together and polished the stem and bowl with Blue Diamond polish on the buffing wheel. I gave the bowl and stem multiple coats of carnauba wax. I buffed the pipe with a clean buffing pad to raise the shine. I hand buffed it with a microfiber cloth to deepen the shine. The pipe polished up pretty nicely. The grain on the natural brown briar came alive with the buffing. The finish worked well with the polished black vulcanite stem. Have a look at it in the photos below. The dimensions are Length: 5 ½ inches, Height: 1 ½ inches, Outside diameter of the bowl: 1 ¼ inches, Chamber diameter: ¾ of an inch. The weight of the pipe is 1.73 ounces/49 grams. This beauty will soon be on the rebornpipes store in the Danish Pipemakers Section. It will make a beautiful addition to somebody’s pipe rack. Thanks for walking through the restoration of this Danish take on the Diplomat shape from the 60s with me as it was a fun pipe to work on.