by Kenneth Lieblich
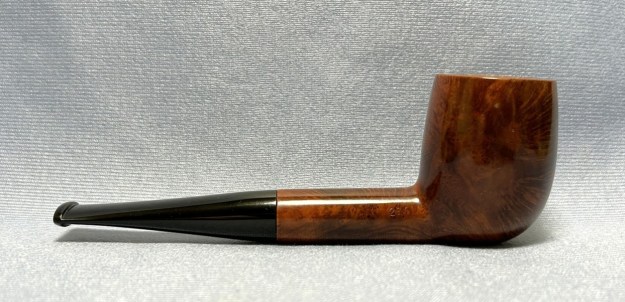
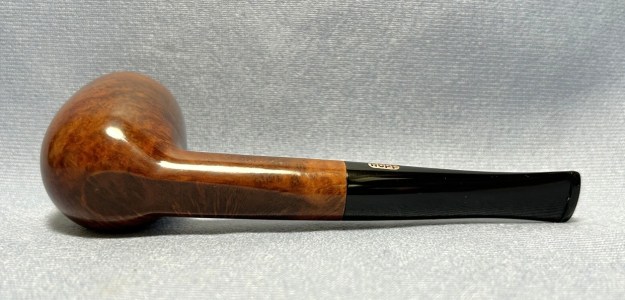
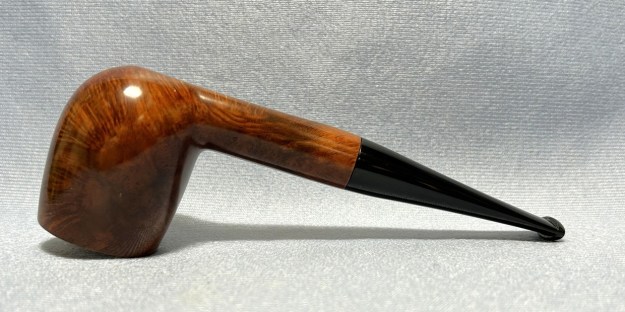
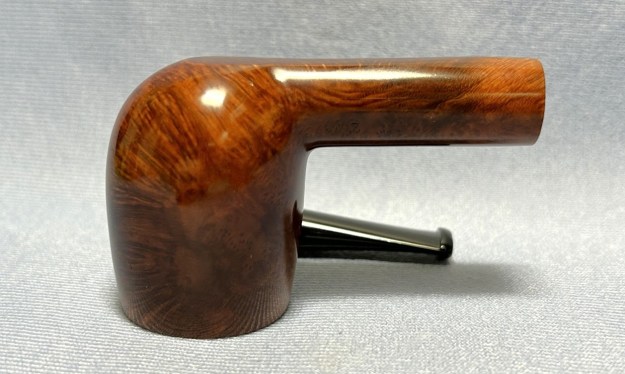
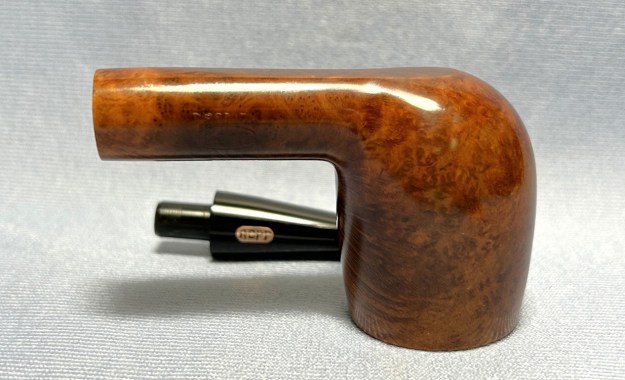
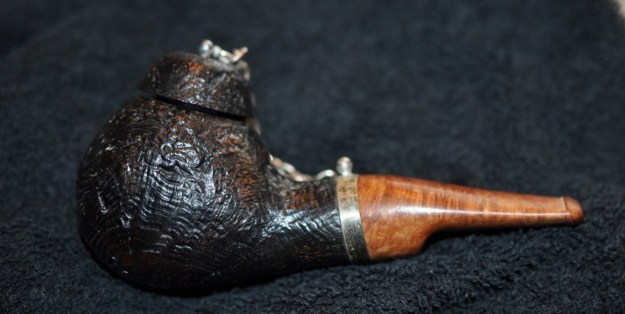
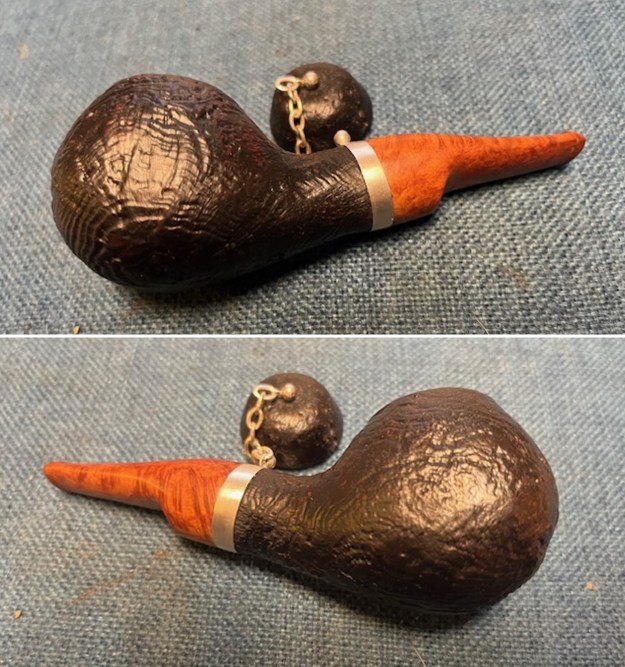
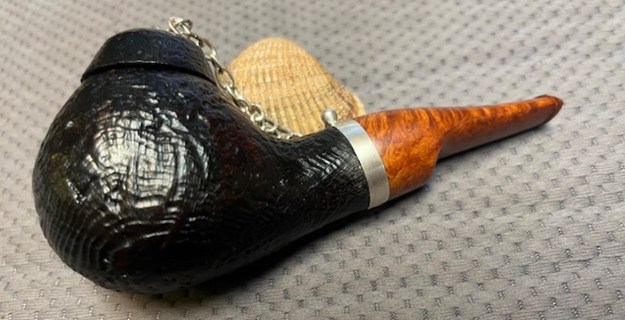
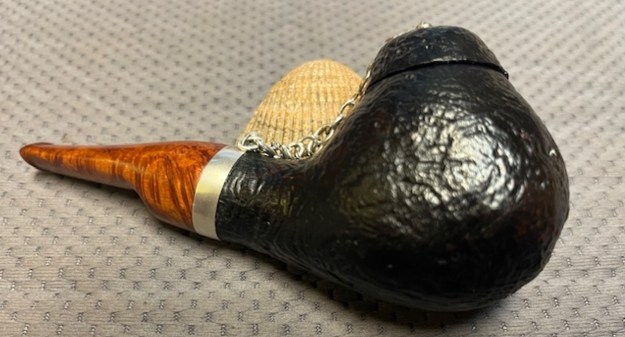
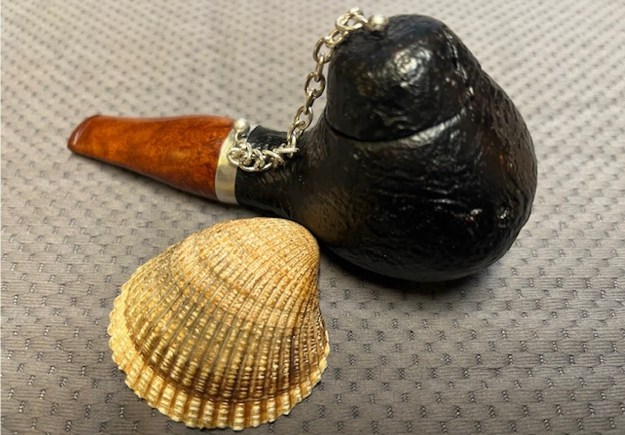
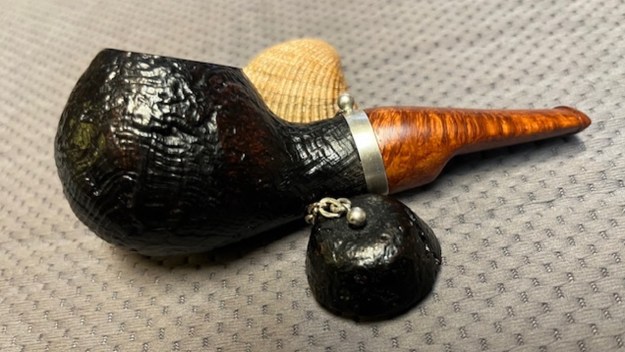
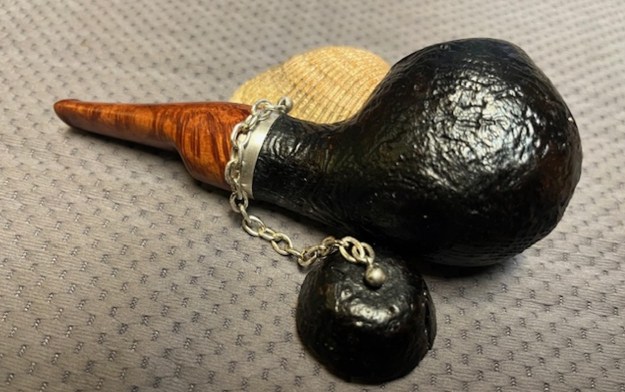
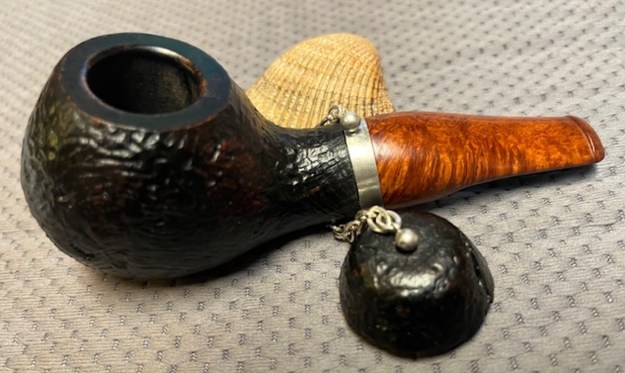
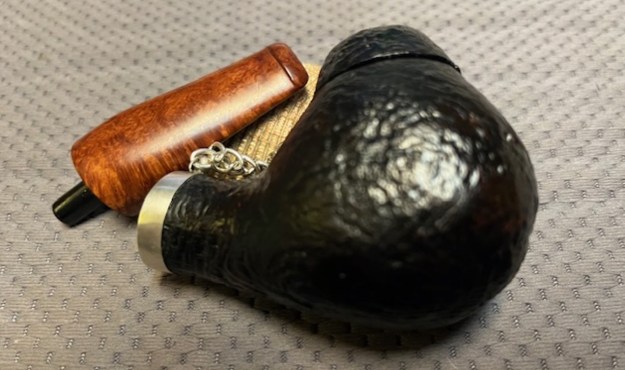
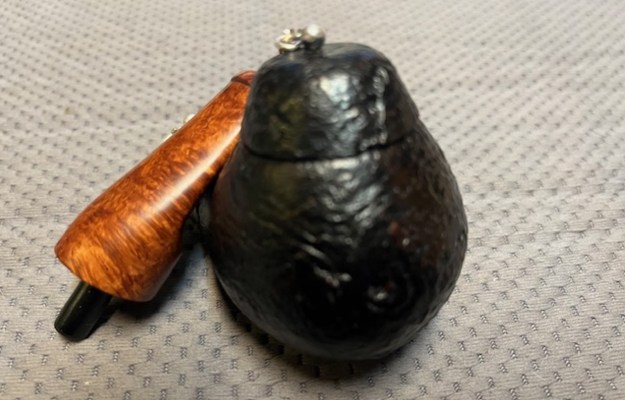
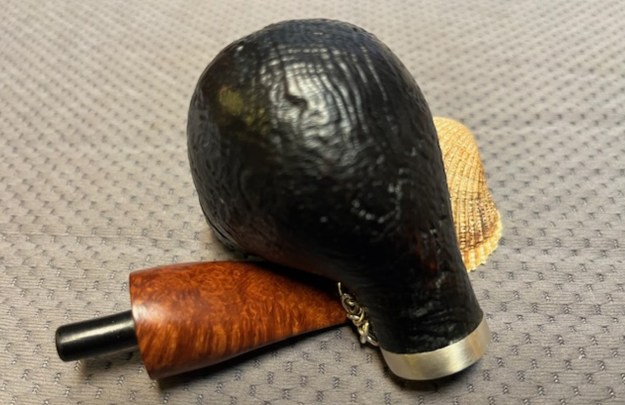
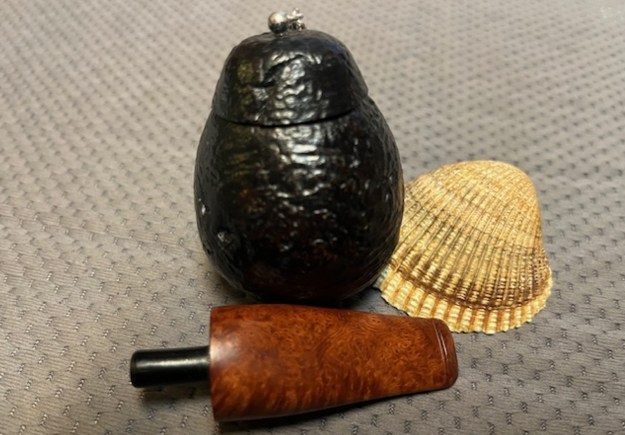
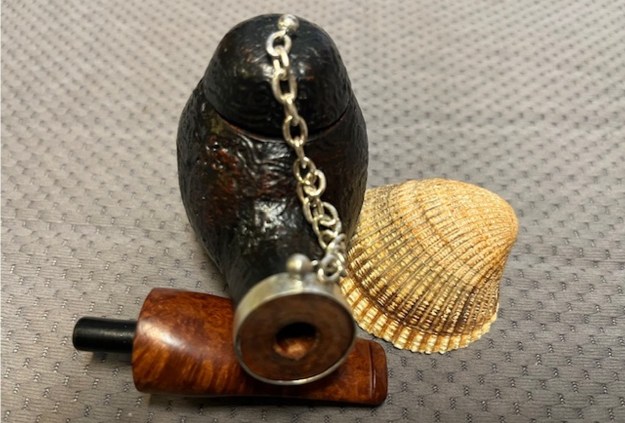
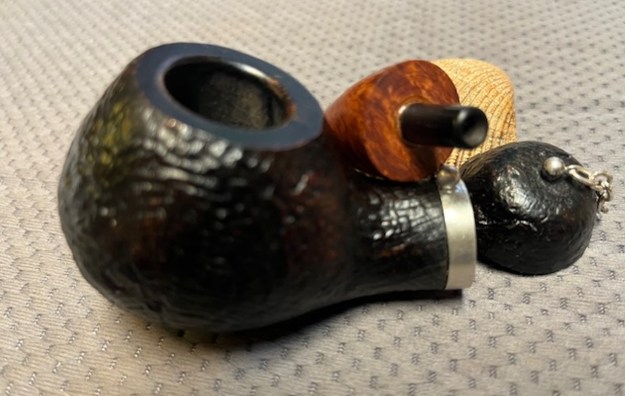
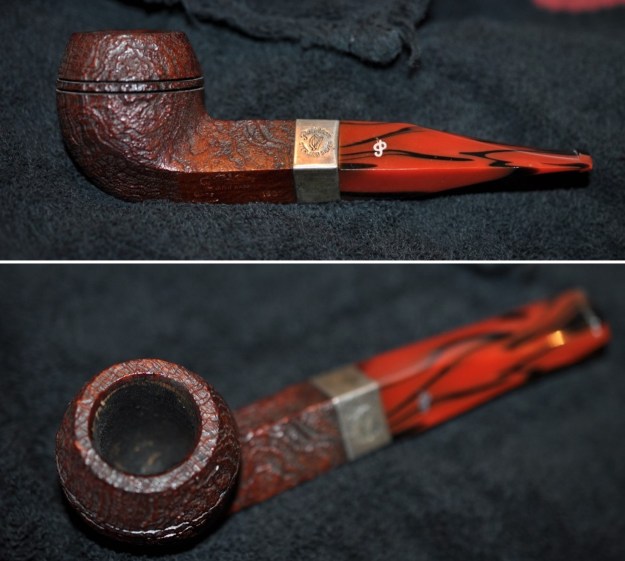
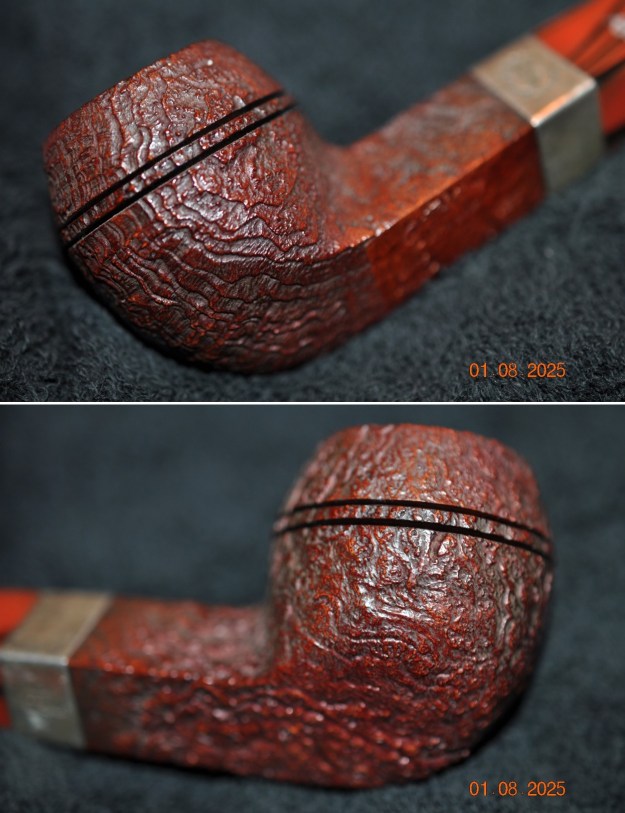
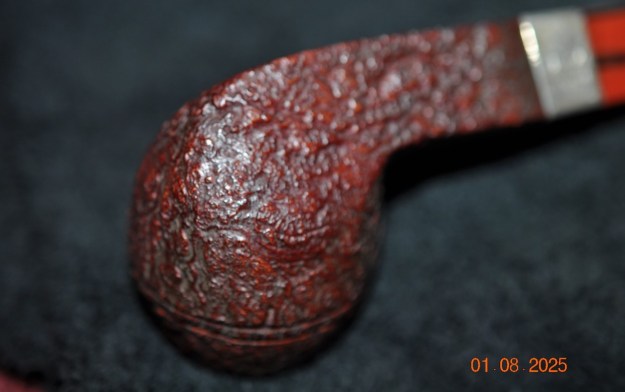
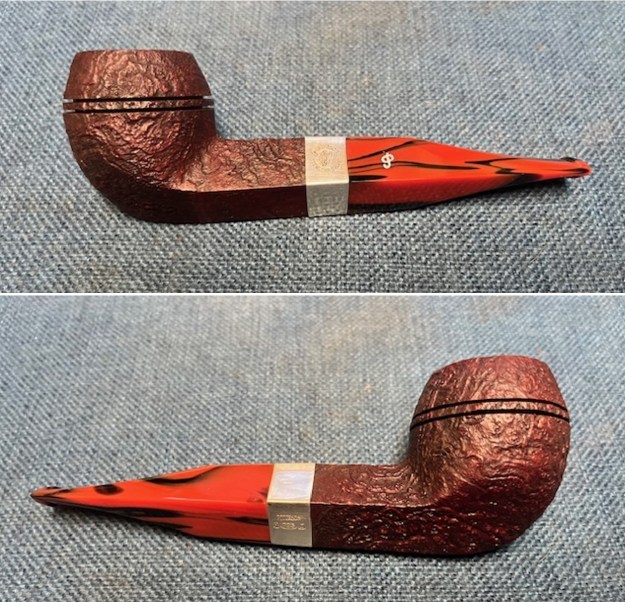
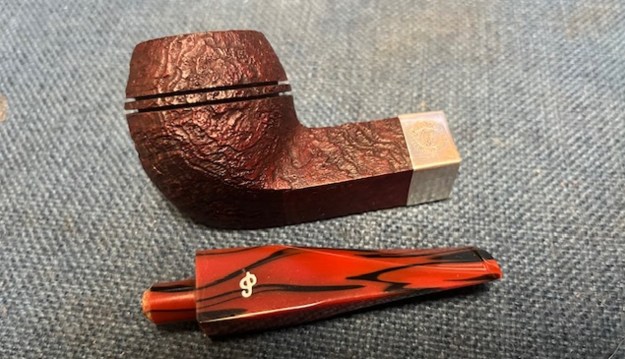
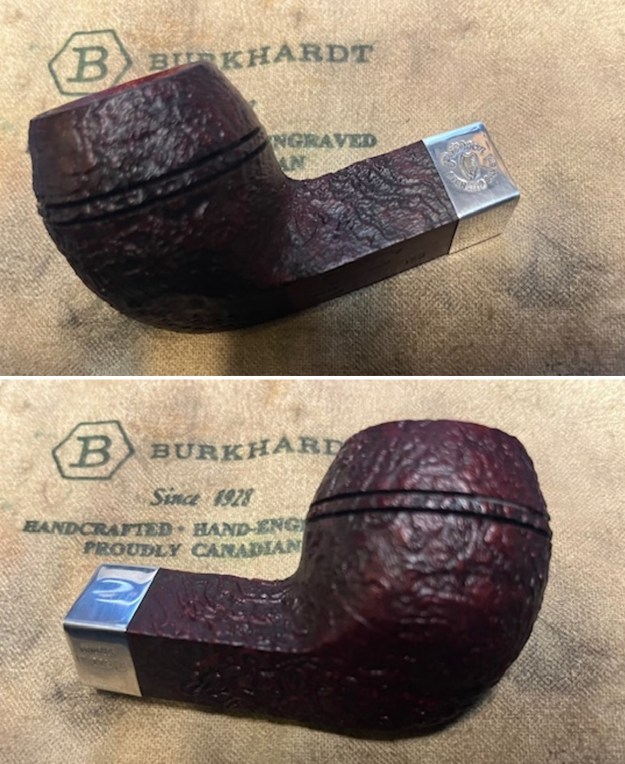
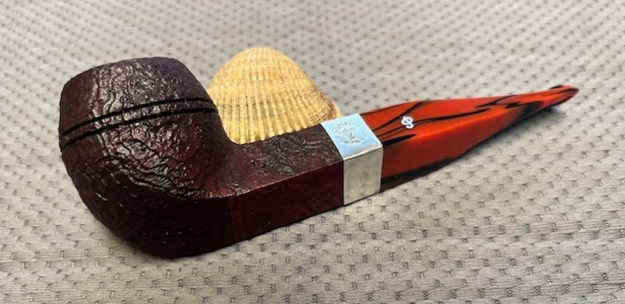
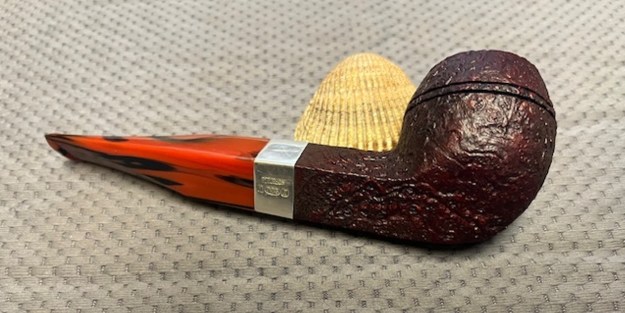
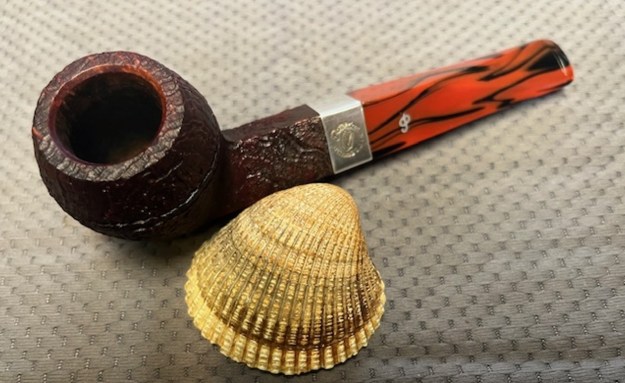
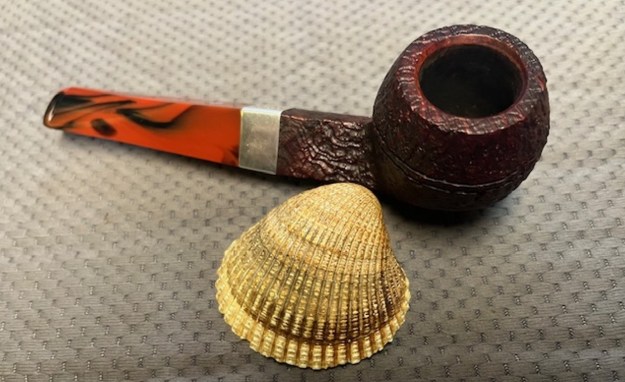
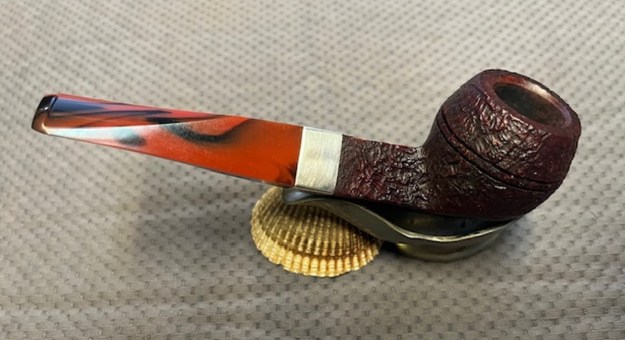
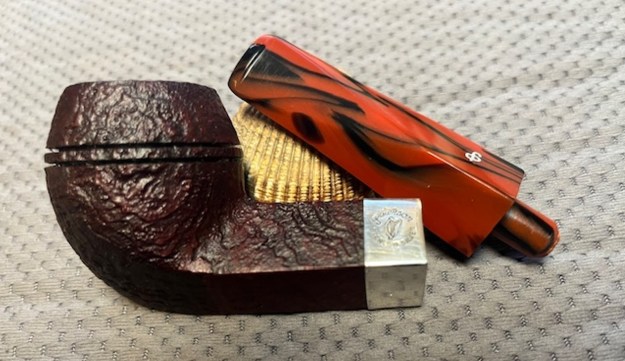
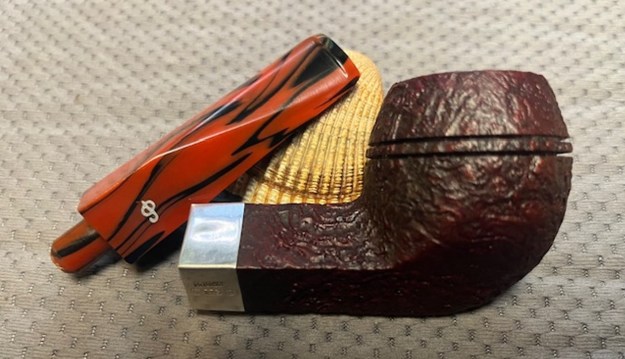
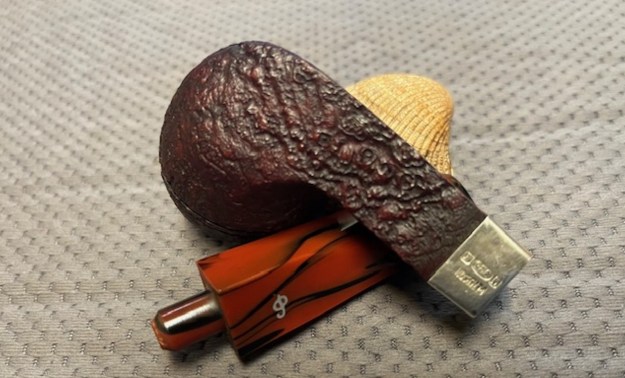
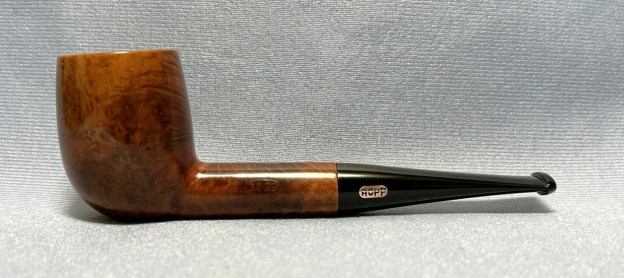
Here is another pipe I’ve restored for a local family – and I’ve been drip feeding the restoration stories over a stupidly long time. However, after that bit of self-deprecation, let’s have a look. This is a really handsome, solid Ropp Altesse 284 billiard. It’s a lovely shape and a big bowl. Gosh, when my friend selected this pipe, I thought to myself, ‘Good choice’.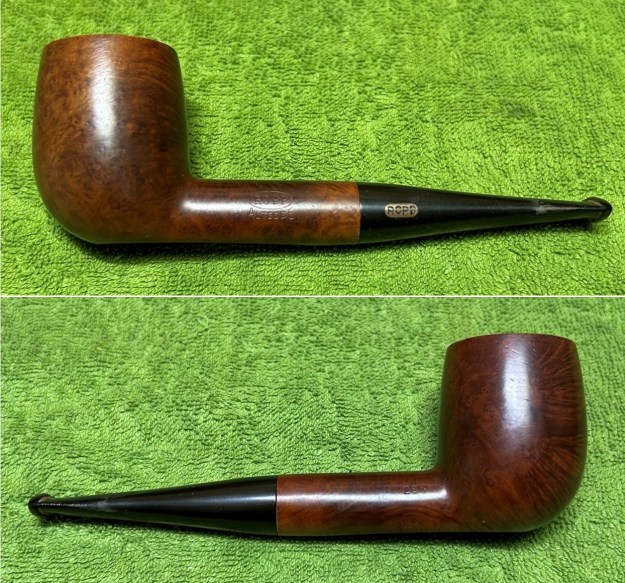
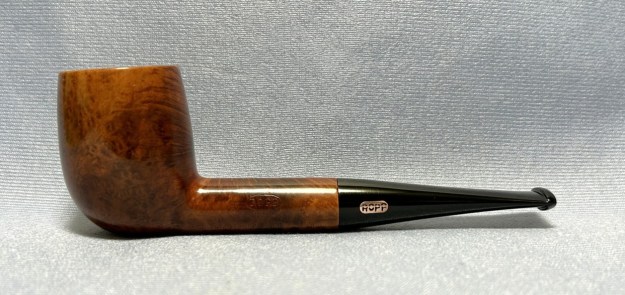
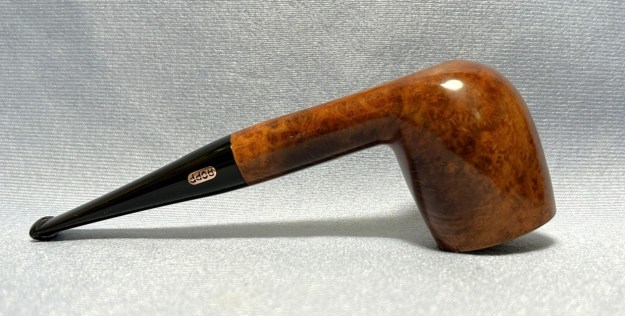
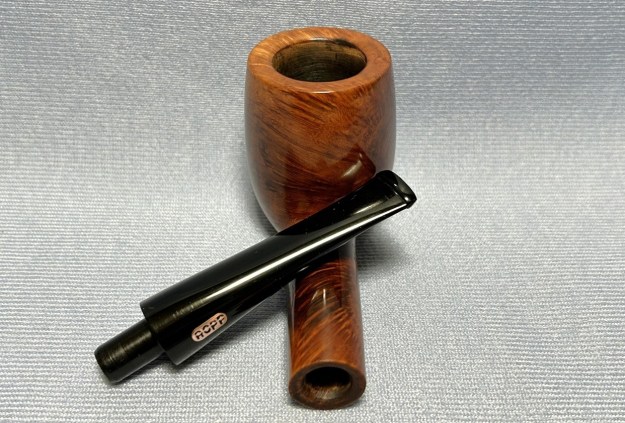
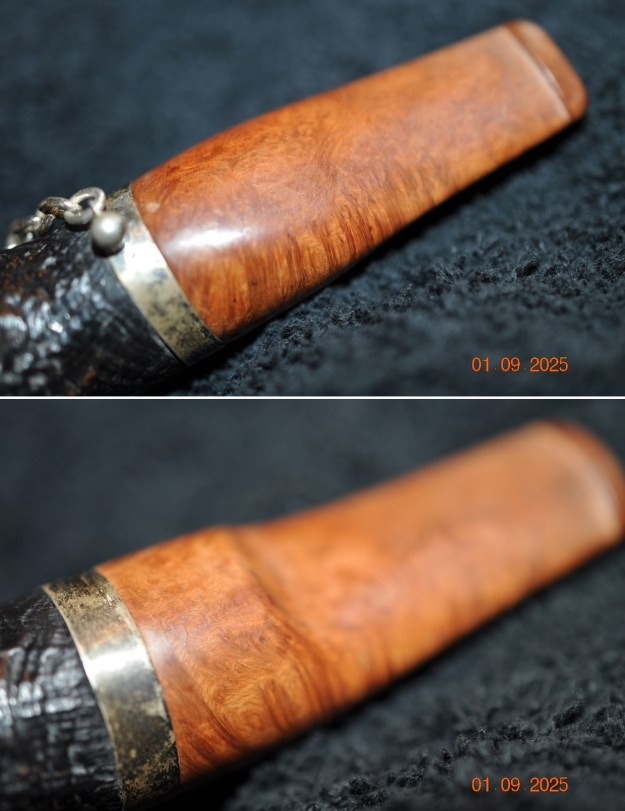
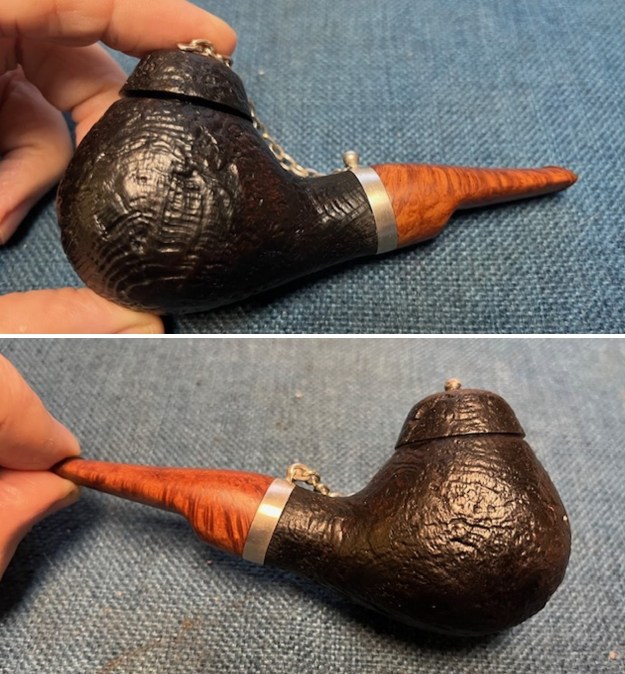
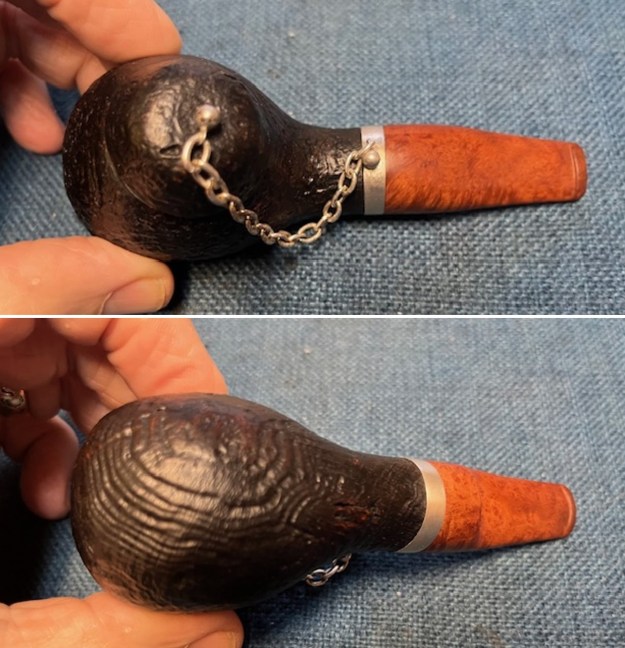
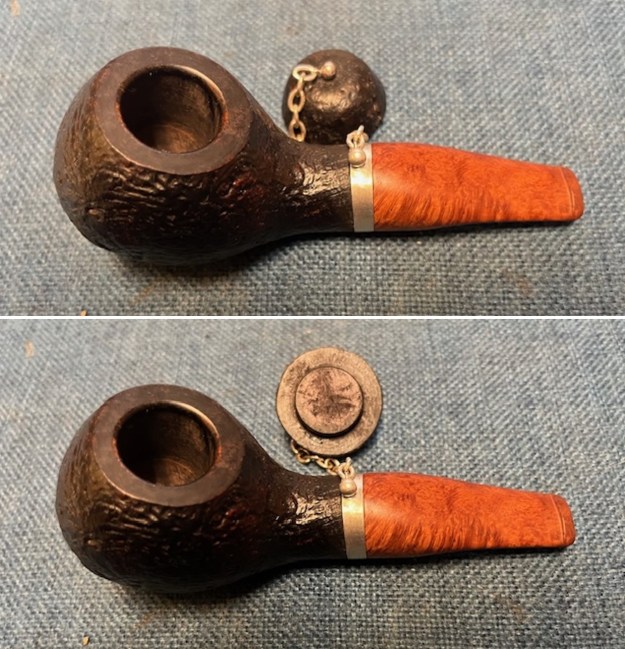
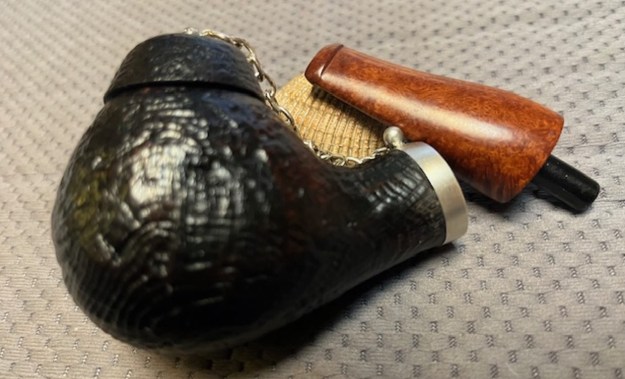
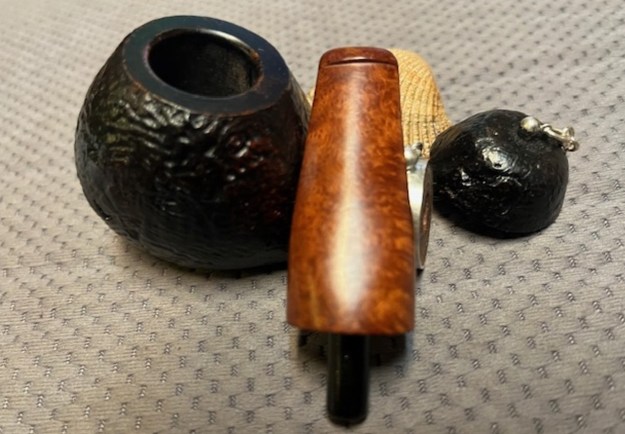
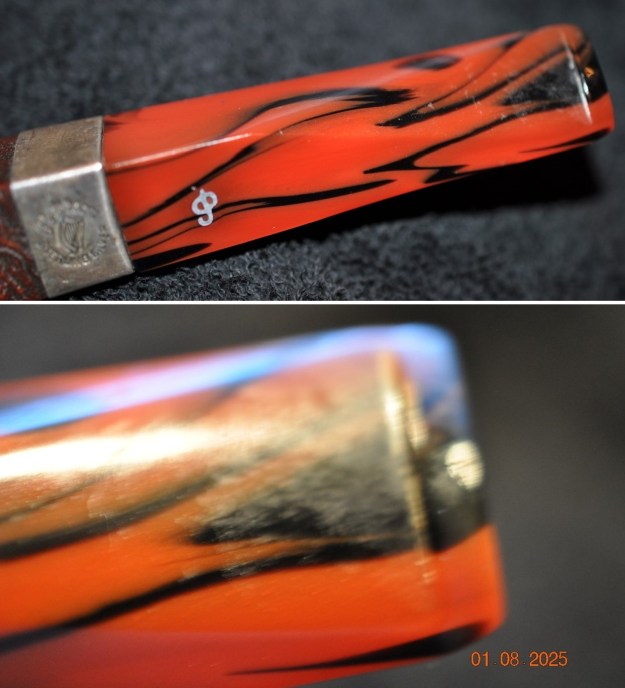
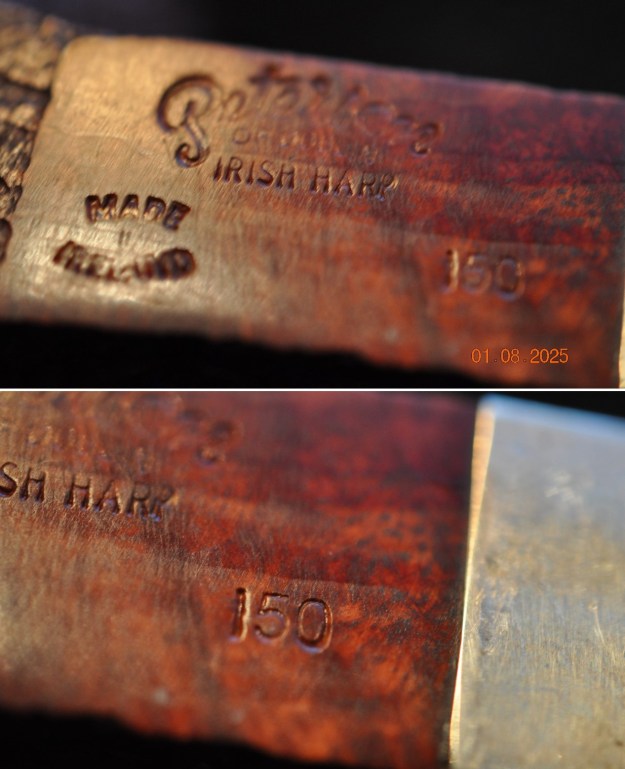
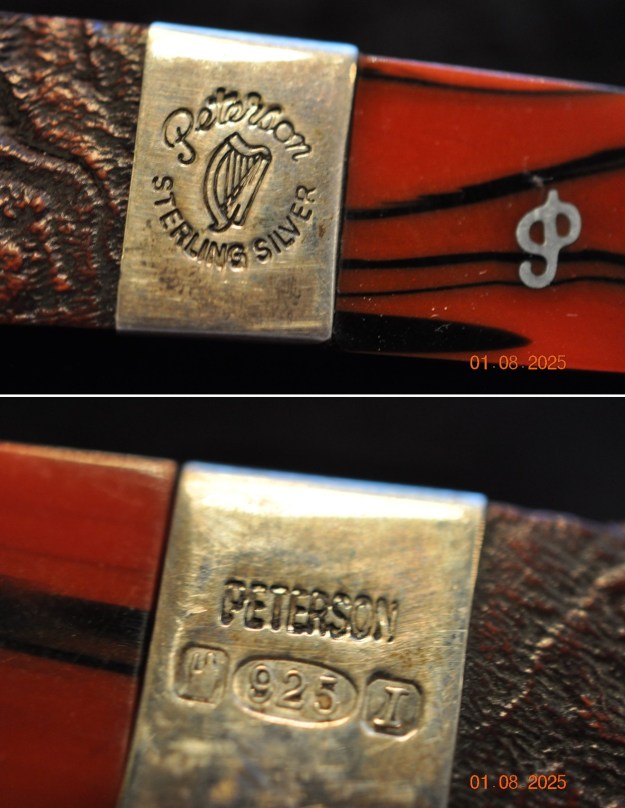
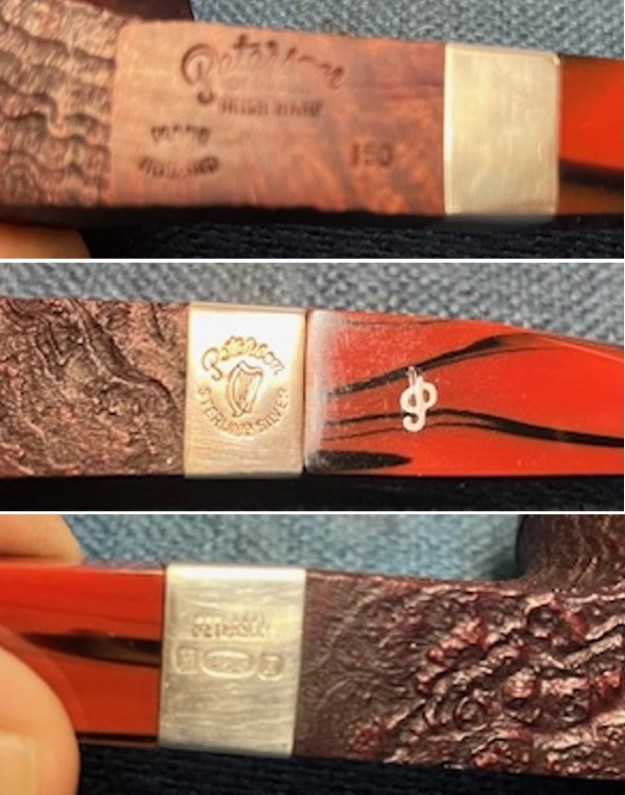
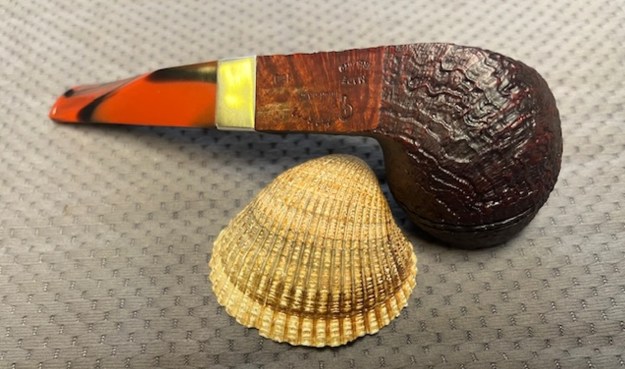
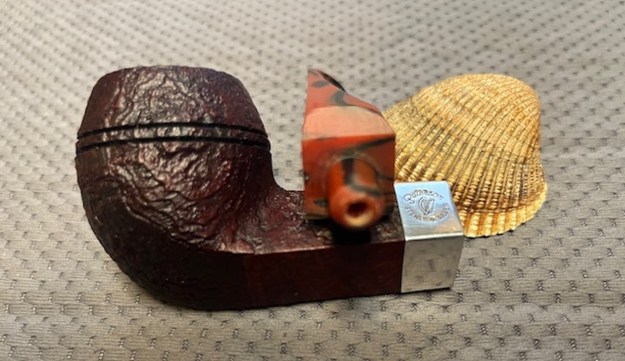
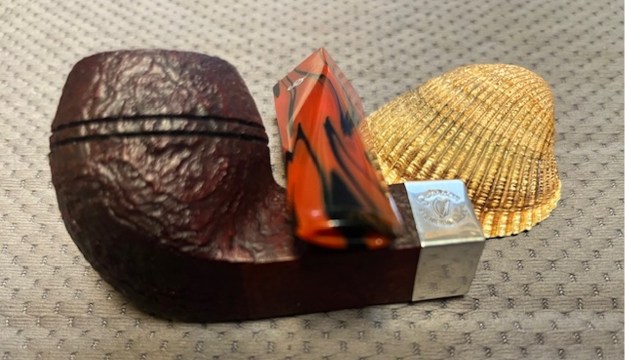
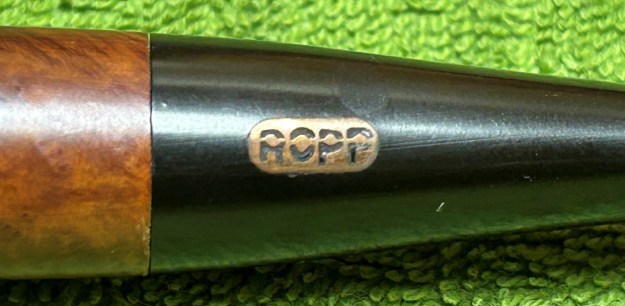
 This is an older Ropp and the markings are definitely worth examining. On the left side of the shank, we see (inside an oval) the word Ropp [over] Altesse. The French word ‘altesse’ means ‘highness’ in English. The right side of the shank reads 284, which is the shape number. Finally, the stem has the Ropp logo, which is very familiar – however, this time the logo is in brass, rather than the normal nickel. This is significant because the brass version of the logo was reserved for higher quality pipes.
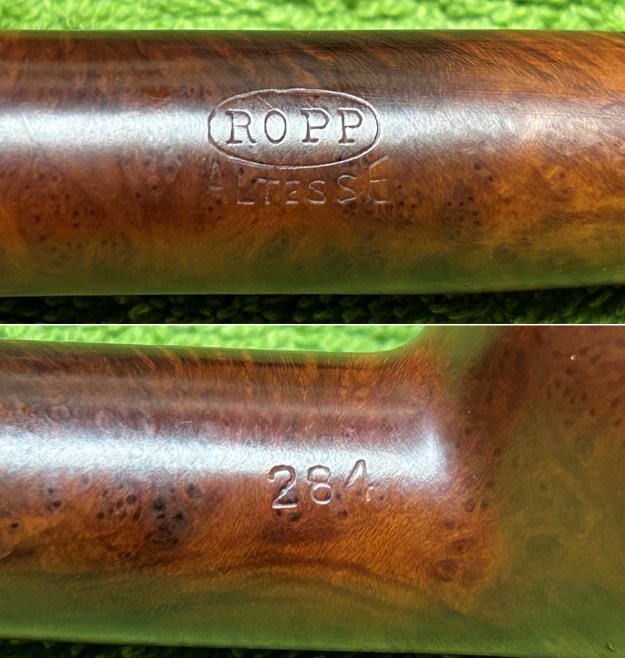
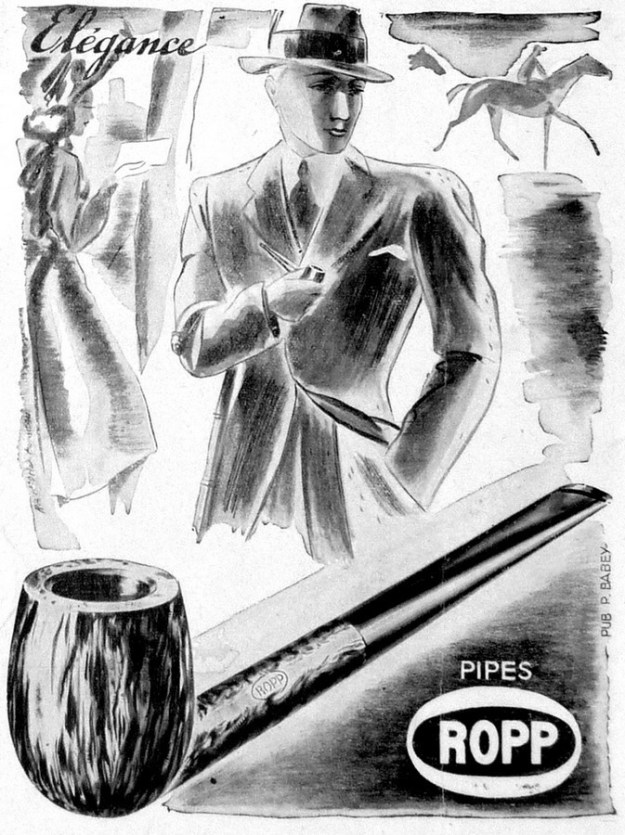
 From Pipedia, here is a very brief history of the Ropp company:
Eugène-Léon Ropp (1830–1907) acquired a patent for the cherrywood pipe in 1869. In 1870, he established a workshop to manufacture such pipes in Bussang, in the Vosges mountains. Around 1893, his business moved into the former mill of Sicard (part of the community of Baume-les-Dames in Upper Burgundy. The pipes were a big success in export as well. Shortly before 1914, Ropp designated A. Frankau & Co. (BBB) to be the exclusive distributor in the UK and its colonies. Probably in 1917, a workshop in Saint-Claude in the rue du Plan du Moulin was acquired to start the fabrication of briar pipes. In 1923, another small building in Saint-Claude, serving as a workshop for polishing, was added. Cherrywood pipes were the mainstay of Ropp until the company finally closed down in September 1991. The company was taken over by Cuty-Fort Entreprises in 1994.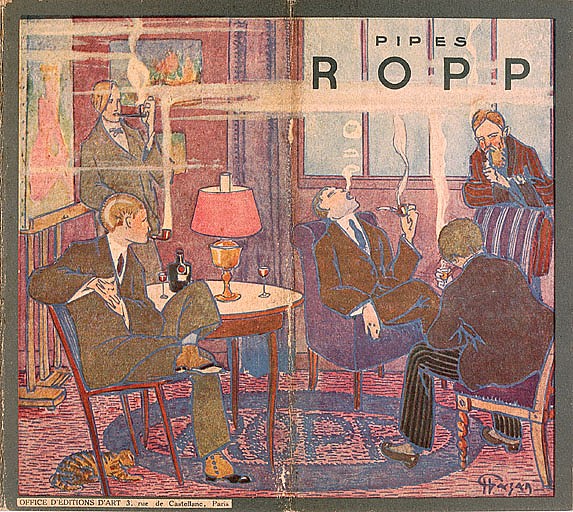
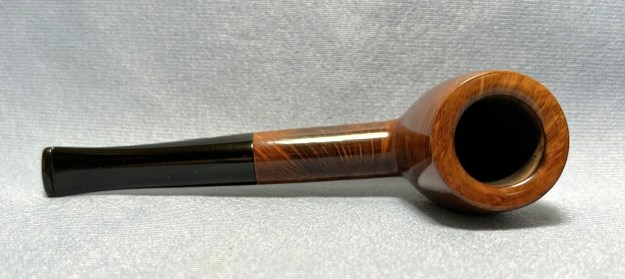
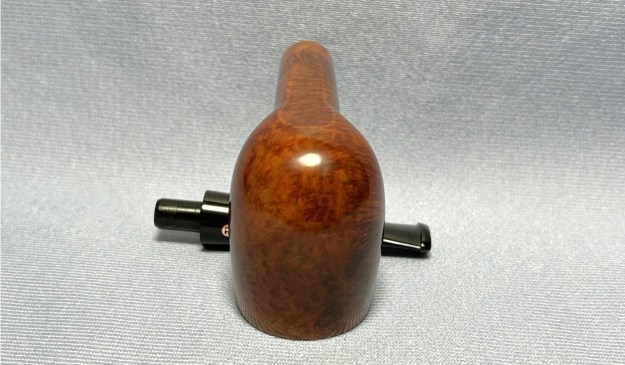
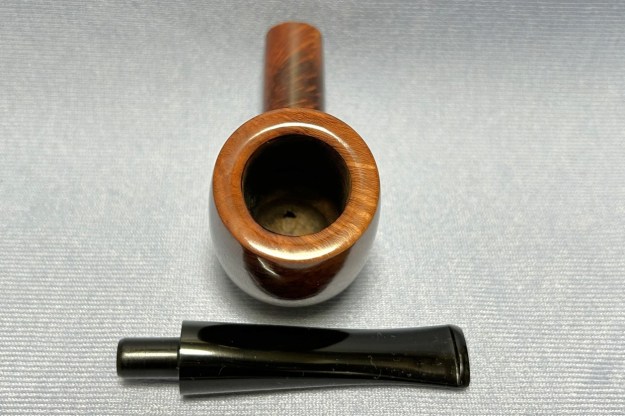
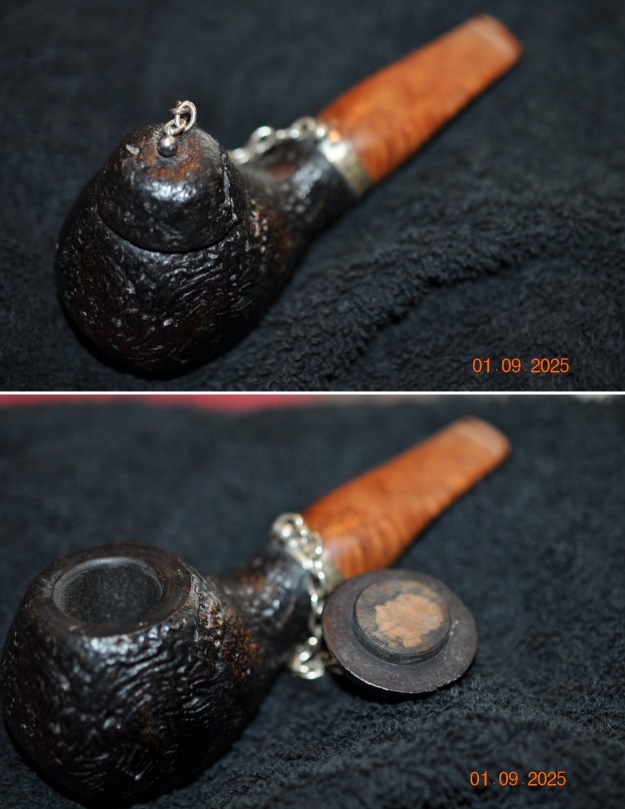
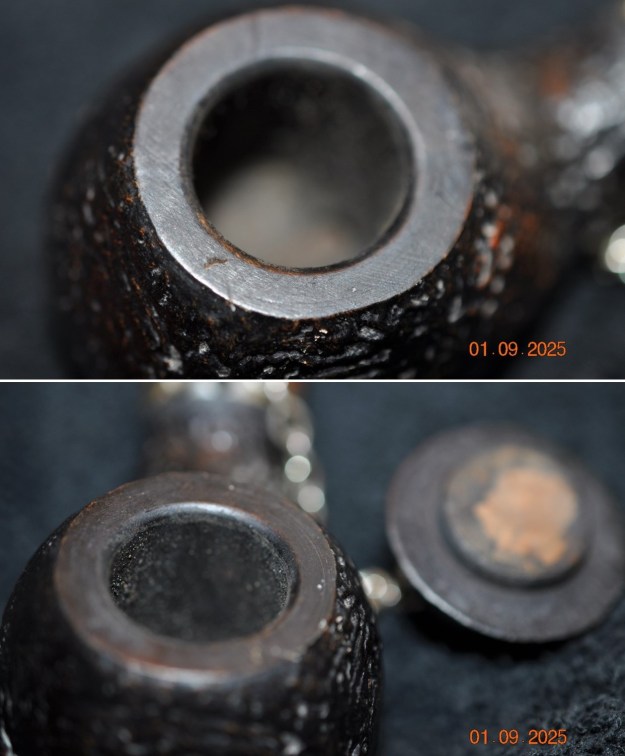
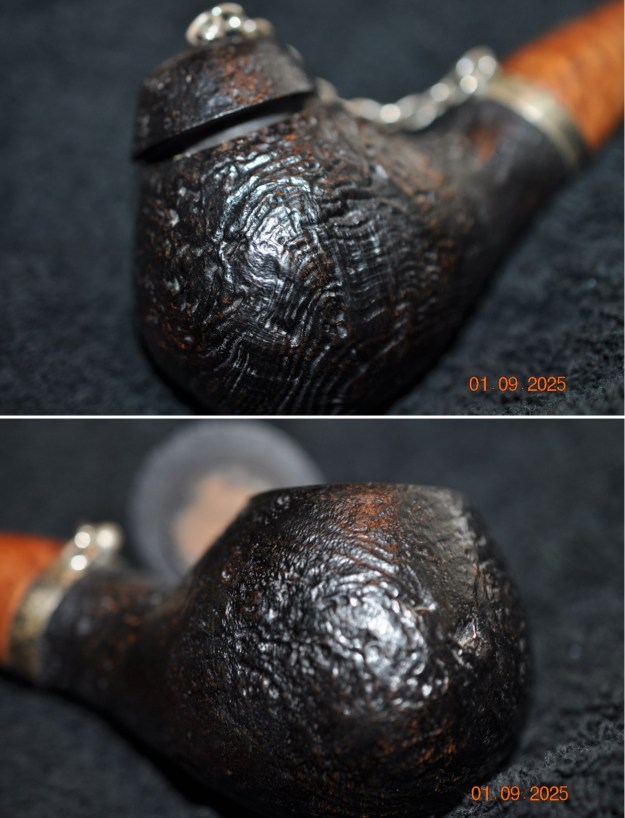
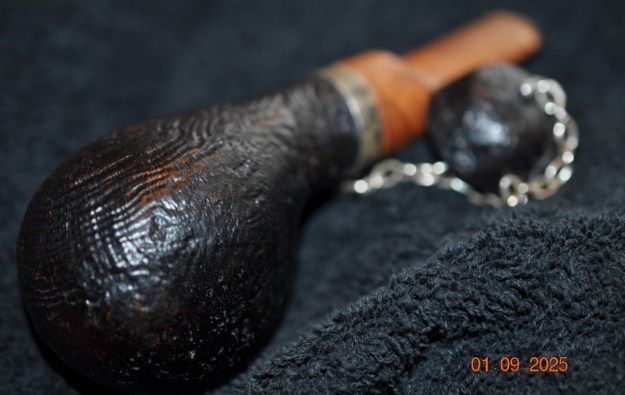
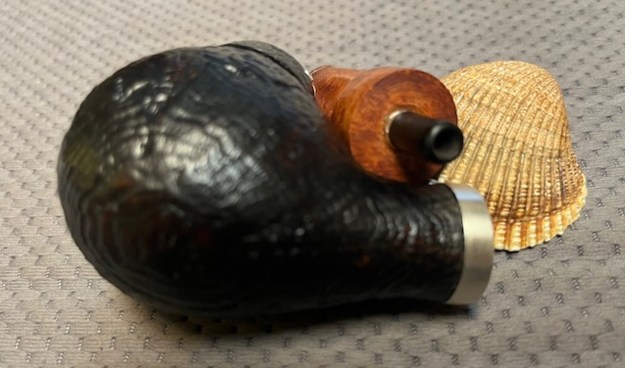
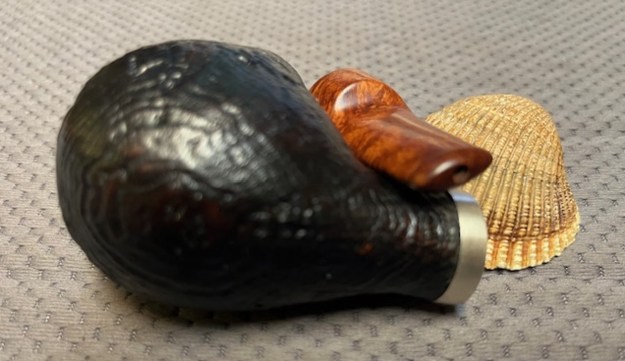
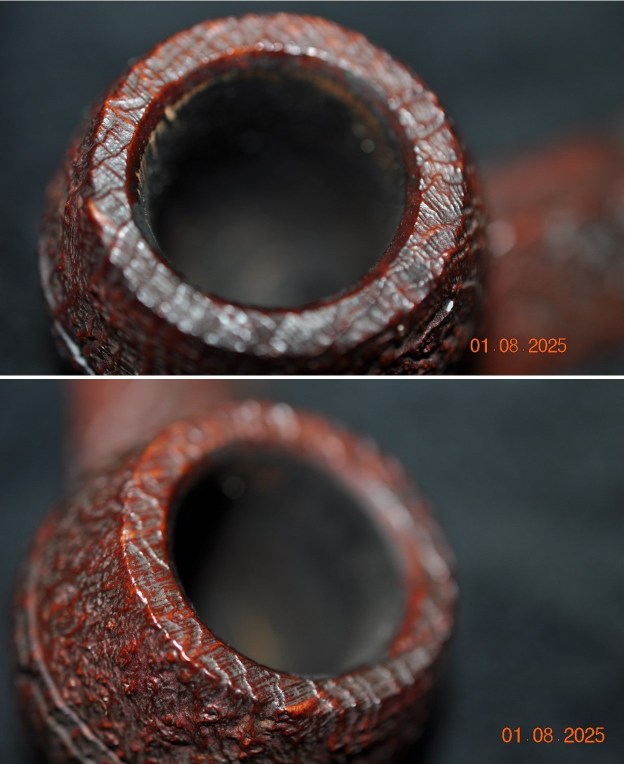
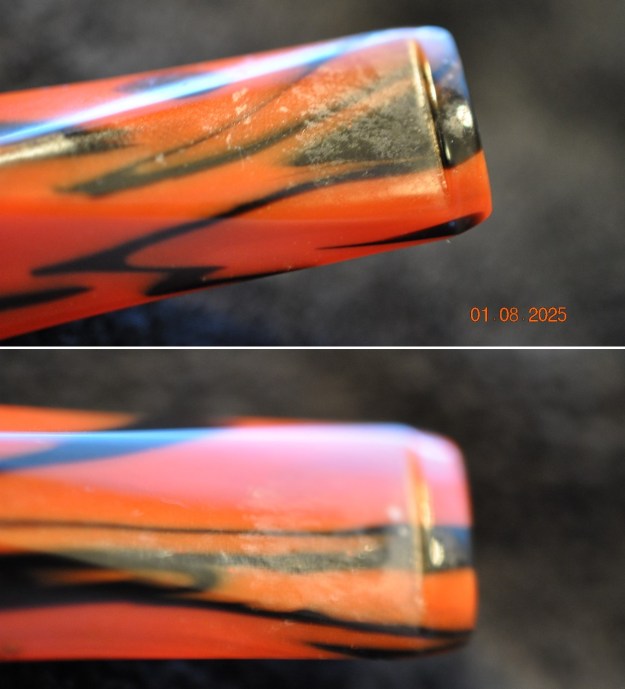
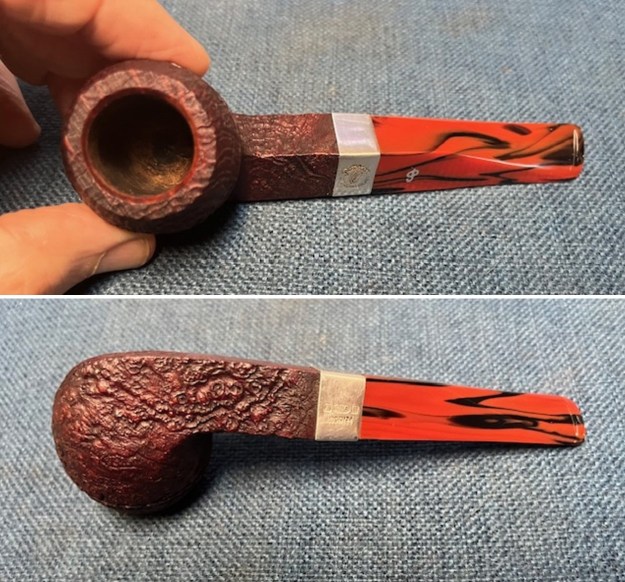
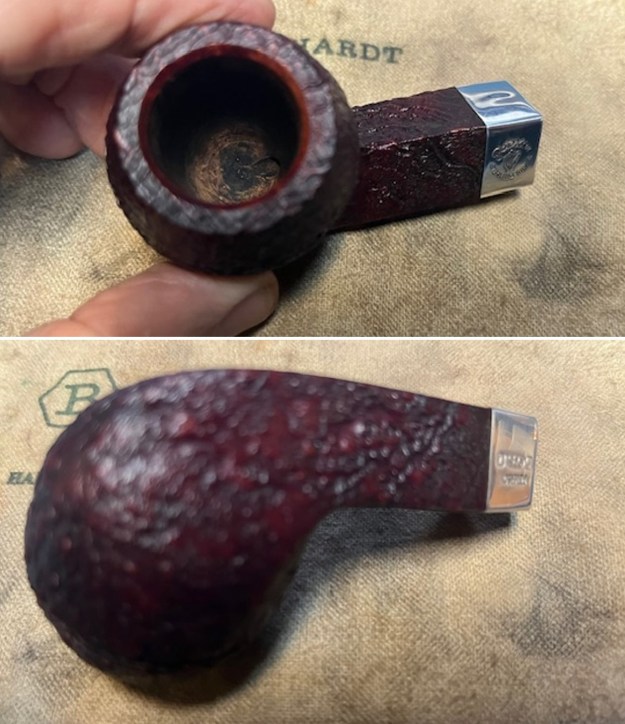
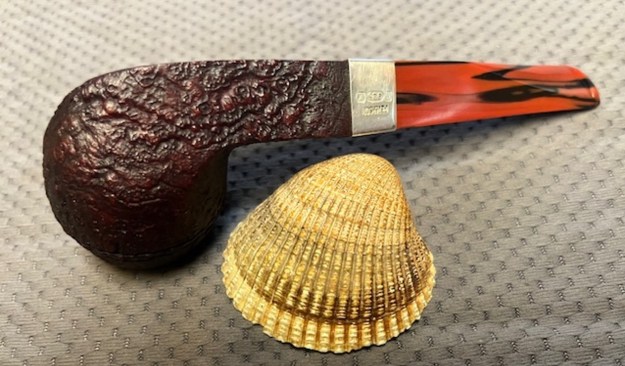
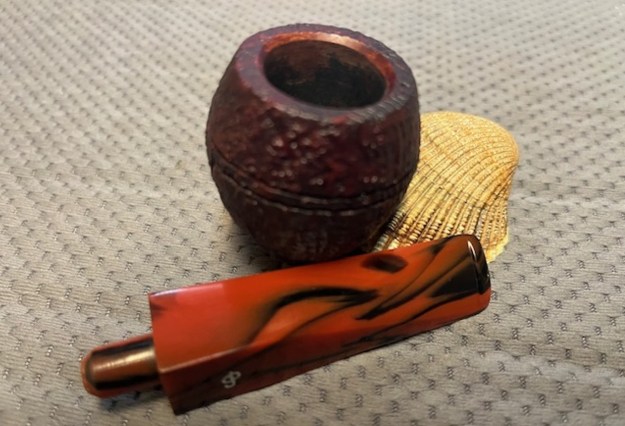
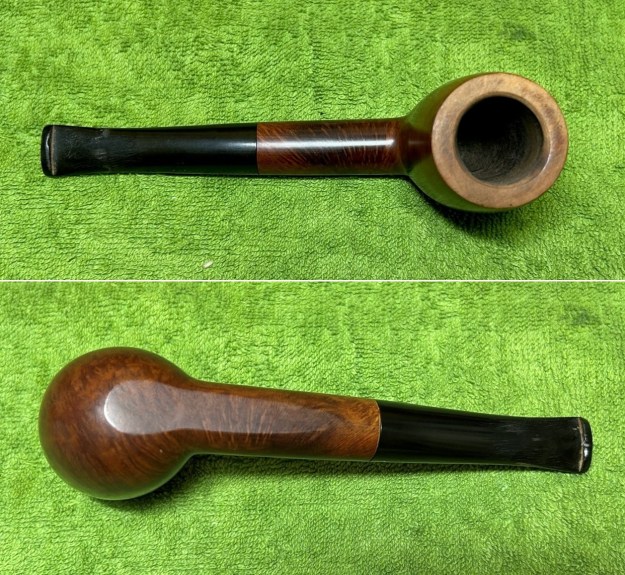
 What sort of condition is this pipe in? Quite frankly, it looks as though someone in the past has made some elementary steps to cleaning or restoring this pipe. The stem has been thoroughly chewed and someone has clearly tried to scape off something in the path – you can the see scratch marks. The stummel has lovely feel to it. Not too dirty, but the rim has – like the stem – been scraped or cleaned in some way. The photos show how different the rim looks from the rest of the pipe.
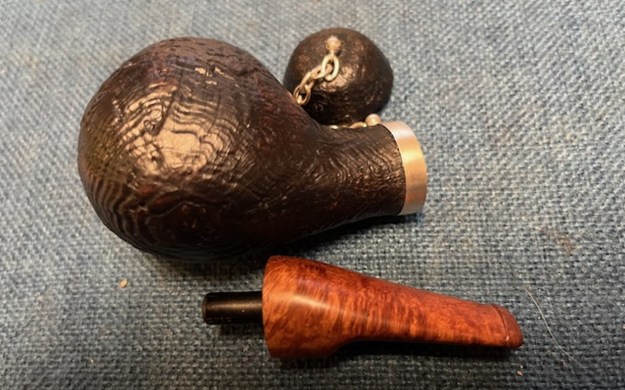
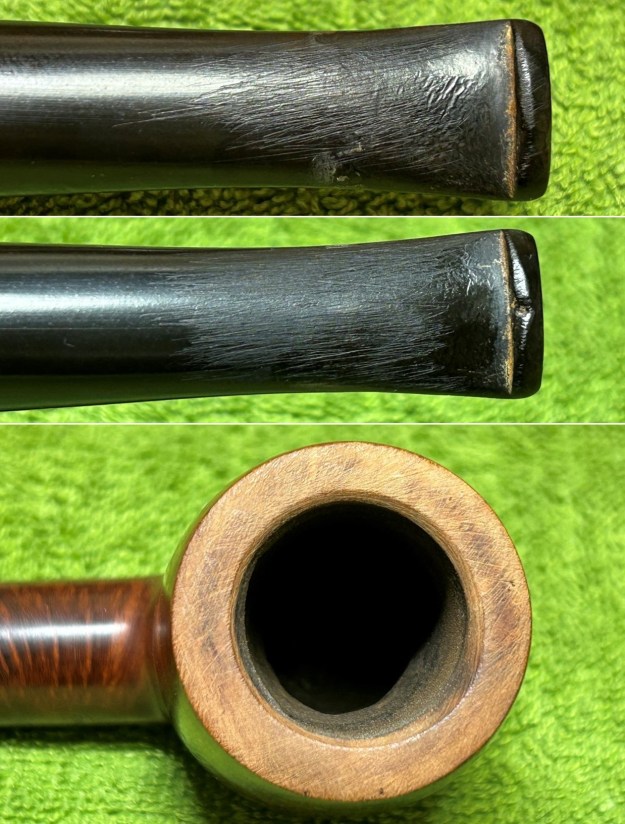 I used a disposable lighter and ‘painted’ the stem with its flame. The gentle heat of the flame can cause the dents in the vulcanite of the stem to expand back into shape. In this case, not much happened. Alas. This pipe also had an unusual metal and acrylic innertube. As the photos of this restoration show, I initially started cleaning it, but discovered that it was badly cracked – and so I elected to remove it altogether.
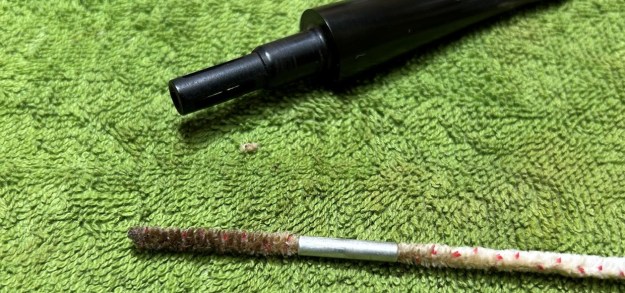 I used oil soap on a few cotton rounds and wiped the stem down to provide an initial cleaning of filth before moving on to the next steps. The primary cleaning comes next. I cleaned the inside of the stem with both pipe cleaners and cotton swabs dipped in 99% lemon-infused isopropyl alcohol. I scrubbed thoroughly to make sure the interior was clean. I used a lot of pipe cleaners and cotton swabs, as it was pretty dirty.
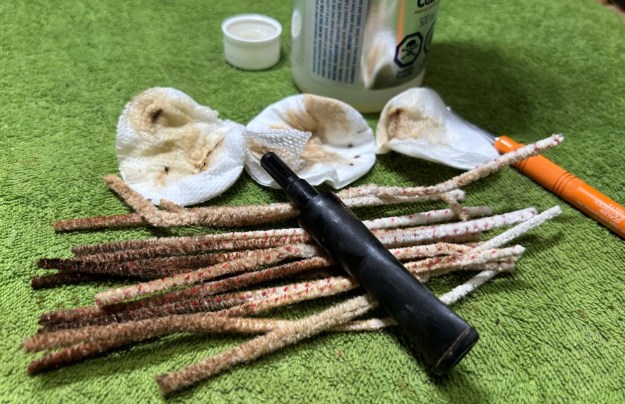 The goal of the next step is the removal (or minimization) of oxidation. Going to my sink, I used cream cleanser, cotton rounds, and a toothbrush, and scoured the stem to remove as much surface oxidation as possible. As the photos show, the result is a hideous brownish mess – but better off the stem than on it.
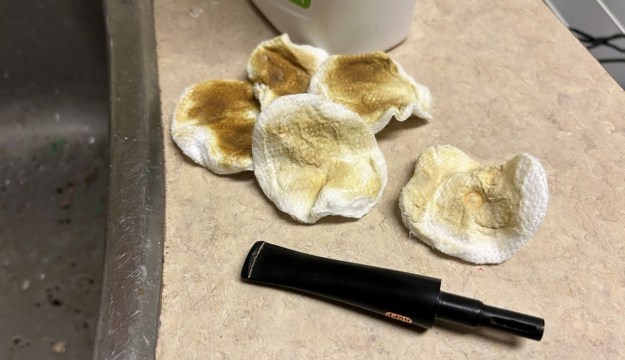 Once the stem was reasonably clean, I soaked it overnight in some Briarville Stem Oxidation Remover. This solution works to draw oxidation in the stem to the surface. This is a major aid and an important step in ensuring a clean stem. The following day, I drew the stem out from its bath and scrubbed the lingering fluid with a toothbrush.
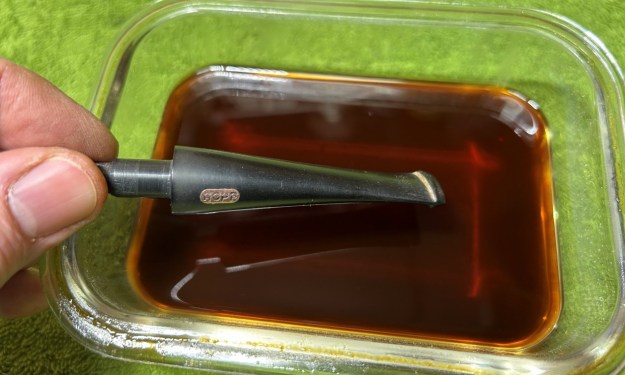 Now that the stem is clean and dry, I set about fixing the marks and dents in the vulcanite. This is done by filling those divots with black cyanoacrylate adhesive, impregnated with carbon and rubber. I left this to cure and moved on.
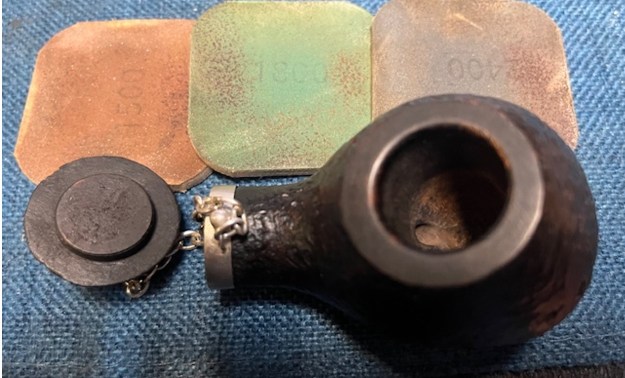
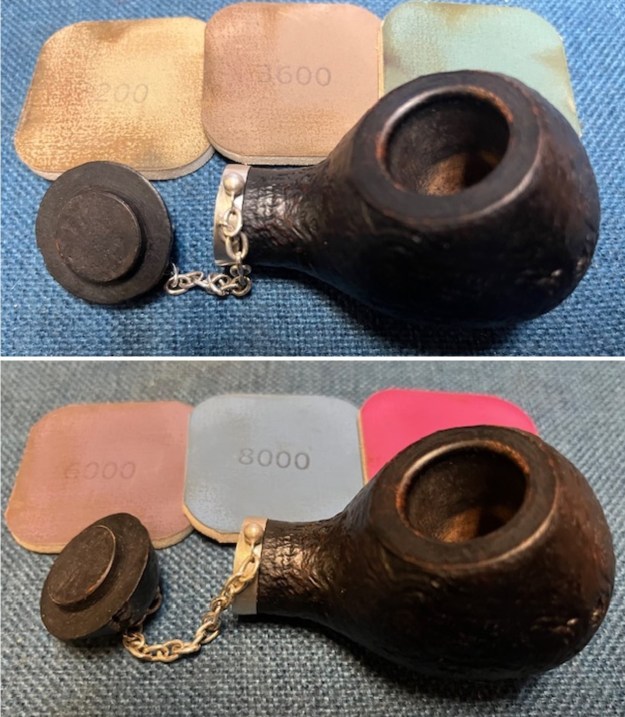
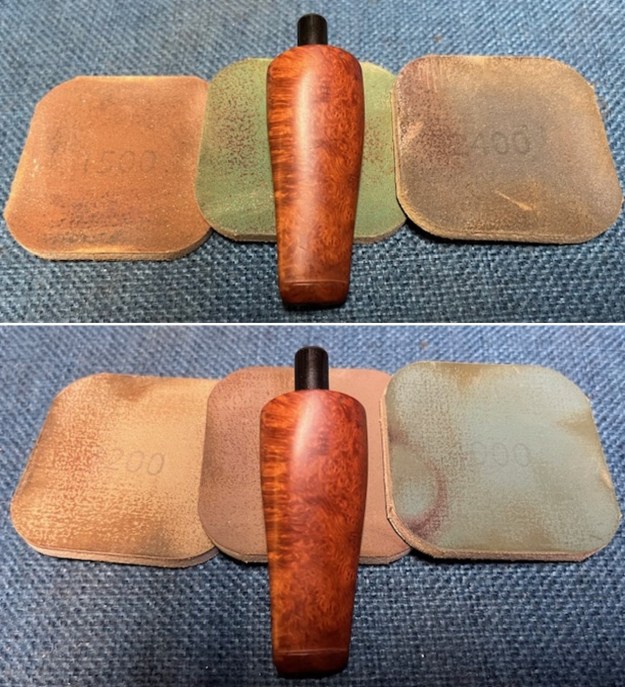
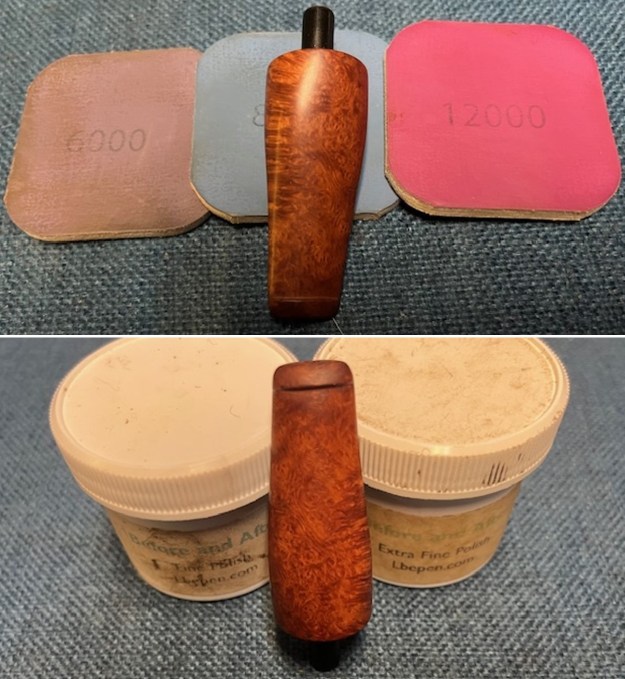
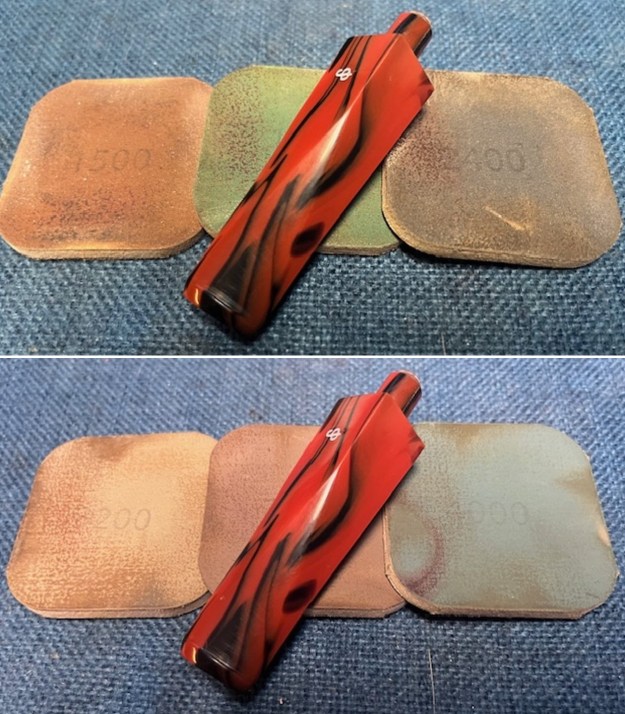
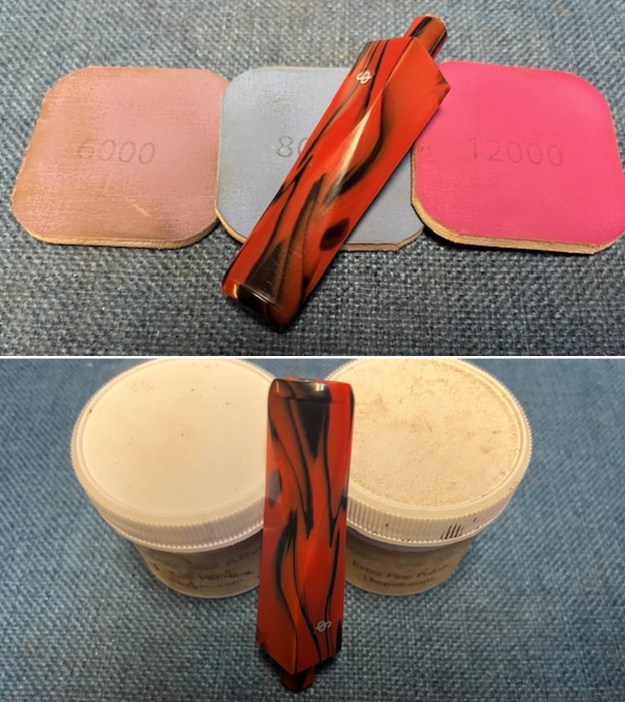
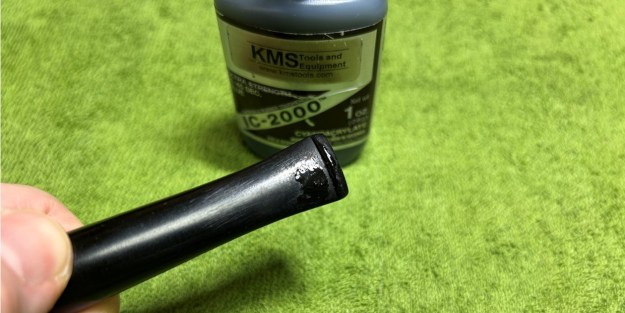 The penultimate step for the stem is sanding. First, with my set of needle files, I reduce the bulk of the cyanoacrylate repairs. I want to remove the excess adhesive as near to the surface as possible, without cutting into the vulcanite. Following that, I use all nine of the micromesh sanding pads (1,500 through 12,000 grit) to sand out flaws, even out the vulcanite, and provide gentle polishing of the finished surface. I also apply pipe-stem oil while using the last five micromesh pads. There was a wonderful, deep black shine to the stem when I was done.
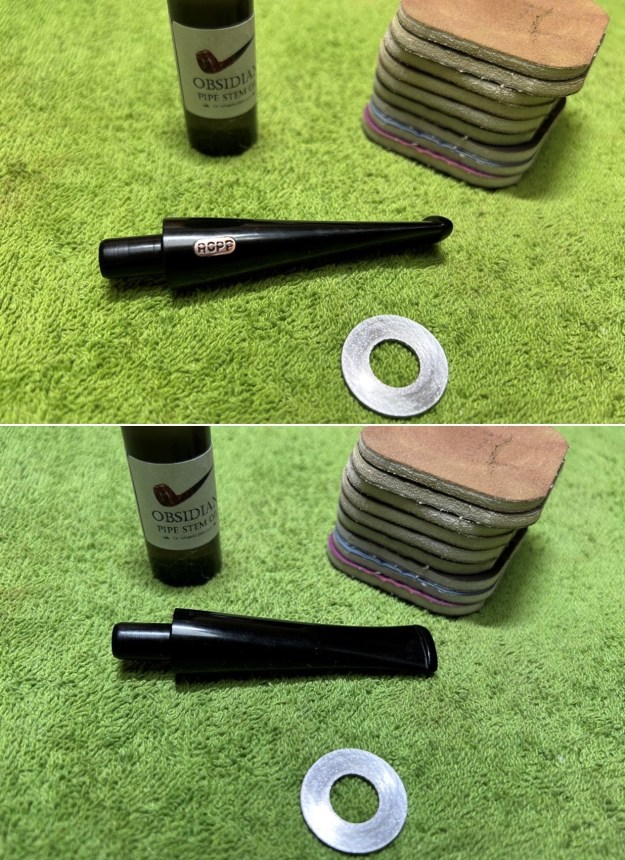 Now that the stem is (nearly) complete, I can move on to the stummel. The first step for me is to ream out the bowl – that is to say, remove all the cake inside the bowl. This accomplishes a couple of things. First (and most obviously), it cleans the bowl and provides a refurbished chamber for future smoking. Second, when the old cake is removed, I can inspect the interior walls of the bowl and determine if there is damage or not. I used a reamer, a pipe knife, and a piece of sandpaper taped to a wooden dowel. Collectively, these ensure that all the debris is removed.
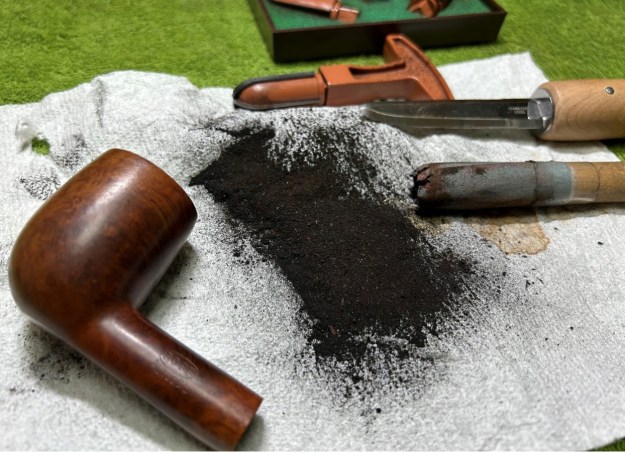 Similar to the stem, I then cleaned the stummel with both pipe cleaners and cotton swabs dipped in 99% lemon-infused isopropyl alcohol. With a pipe this dirty, it took quite a while and much cotton to get clean.
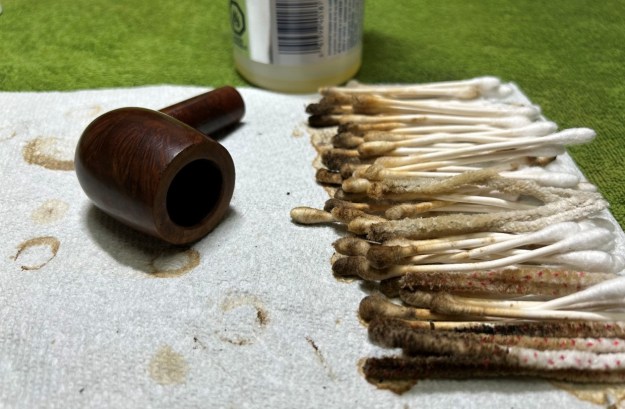 I then decided to ‘de-ghost’ the pipe – that is to say, exorcize the remaining filth from the briar. I filled the bowl and the shank with cotton balls, then saturated them with 99% isopropyl alcohol. I let the stummel sit overnight. This caused any remaining oils, tars and smells to leach out into the cotton.
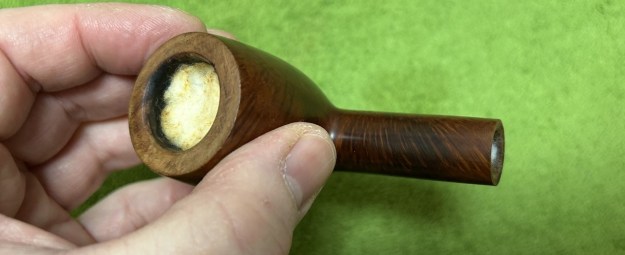 To tidy up the briar, I also wiped down the outside with some oil soap on cotton rounds (and a toothbrush). This does a good job of cleaning any latent dirt on the surface of the briar. The last step of the cleaning process is to scour the inside of the stummel with some soap and tube brushes. This is the culmination of a lot of hard work in getting the pipe clean.
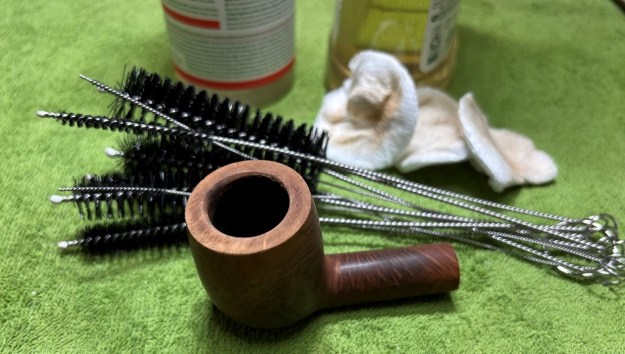 The rim is a bit more rugged than I would like. In order to lessen the nicks etc. on the rim, I ‘topped’ the pipe – that is to say, I gently and evenly sanded the rim on a piece of 220-grit sandpaper. This effectively minimizes the damage, without altering the look of the pipe.
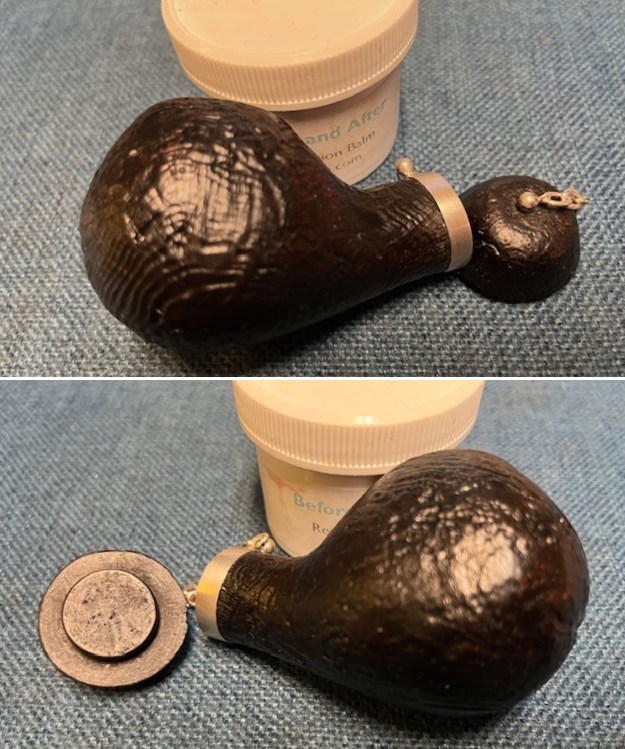
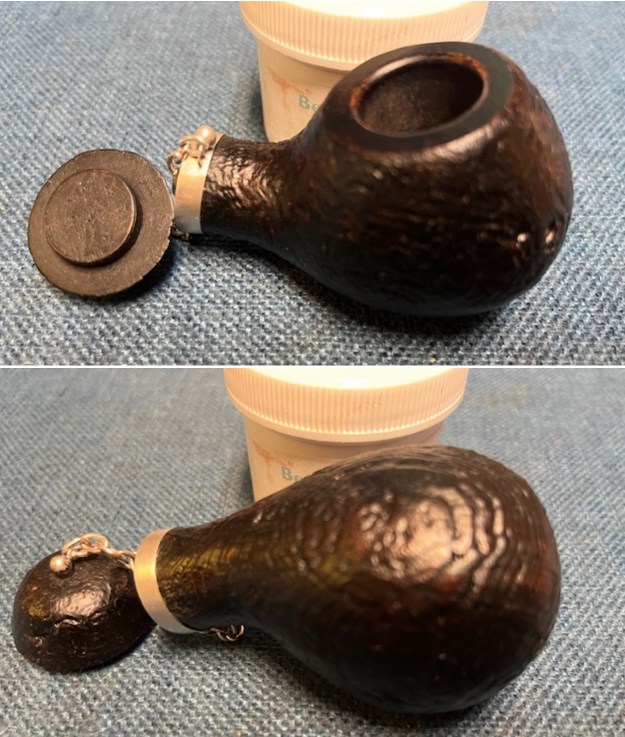
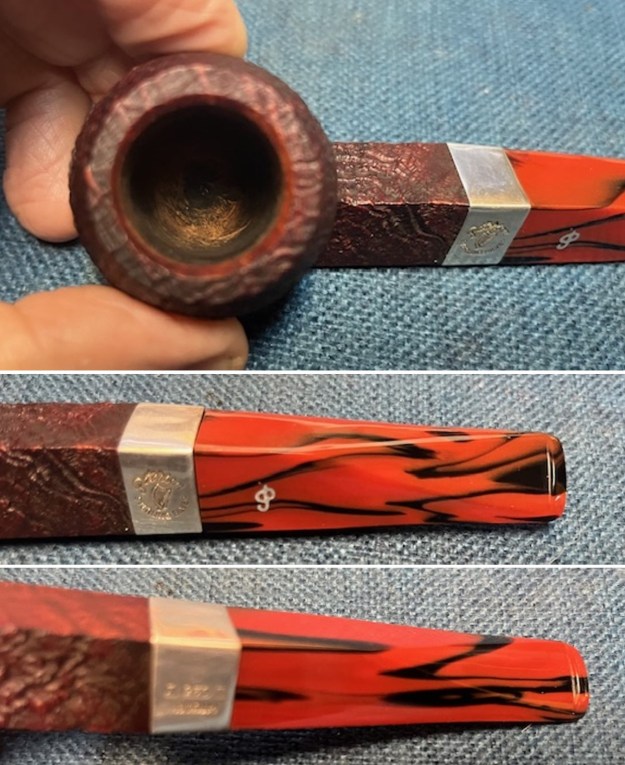
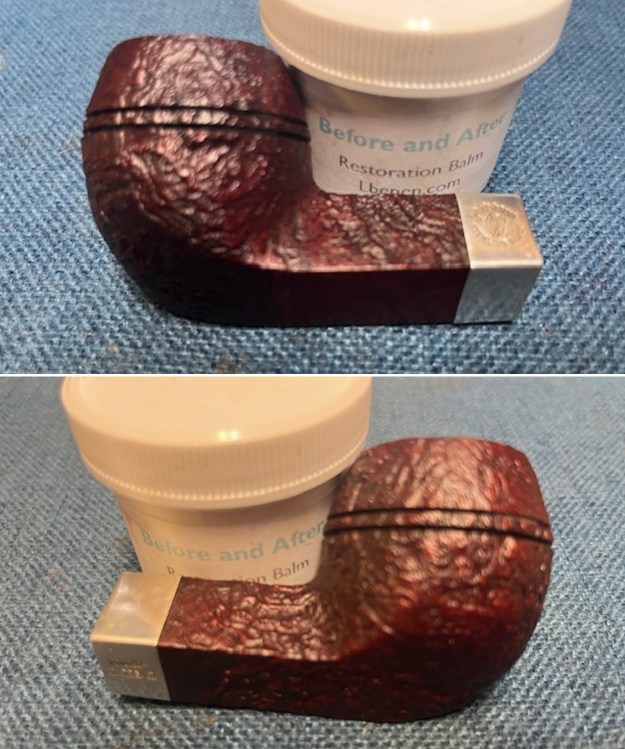
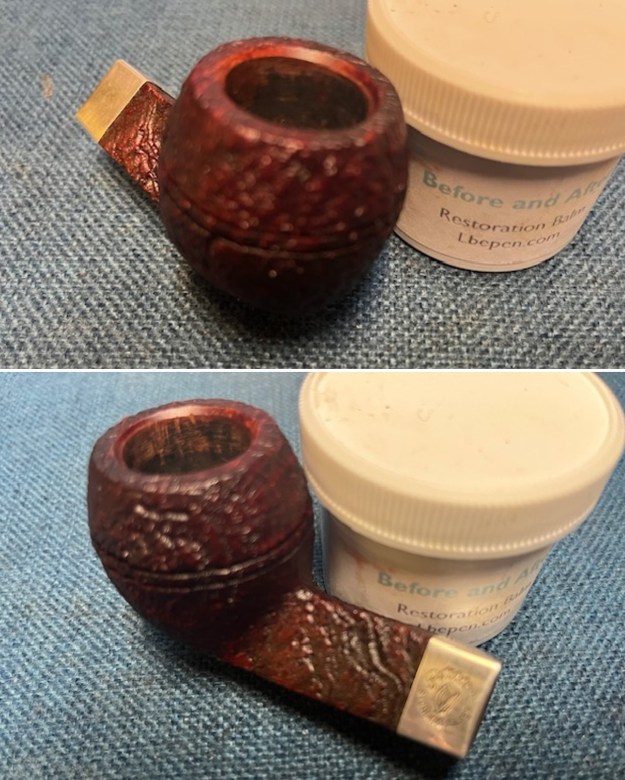
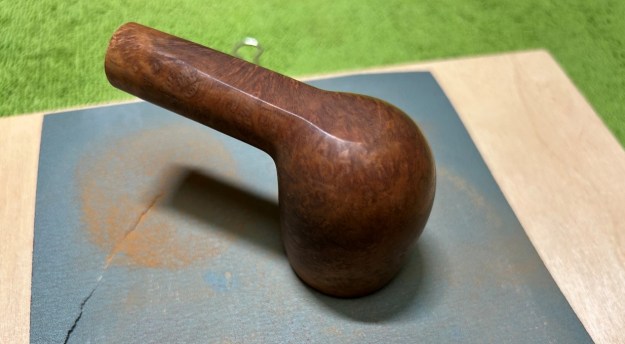 I used all nine micromesh pads (1,500 through 12,000 grit) on the outside of the stummel to finish it off. This sanding minimizes flaws in the briar and provides a beautiful smoothness to the wood. After that, the bare wood on the rim needed to be tinted in the same colour as the rest of the stummel. I used some of my furniture pens (which is simply dye in pen form) to match the colours. I rubbed some Before & After Restoration Balm into the briar and let it sit for 20 minutes or so. The balm moisturizes the wood and gives a beautiful depth to the briar. I then buffed it with a microfibre cloth.
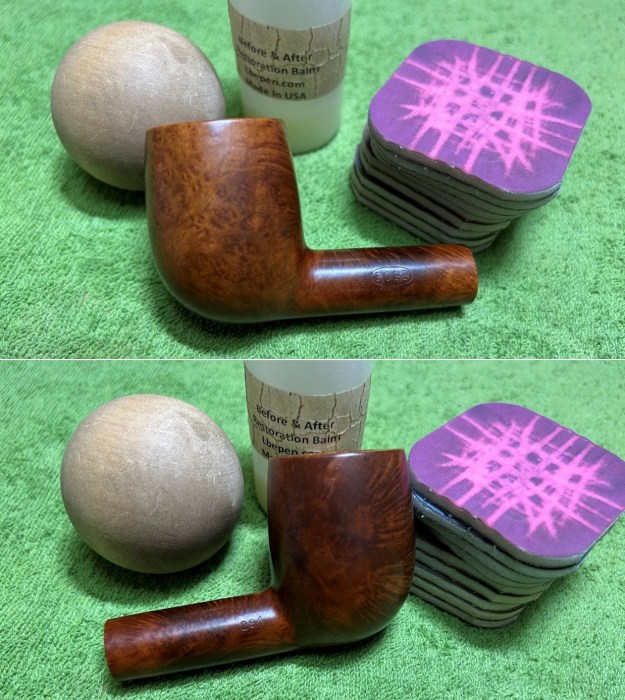
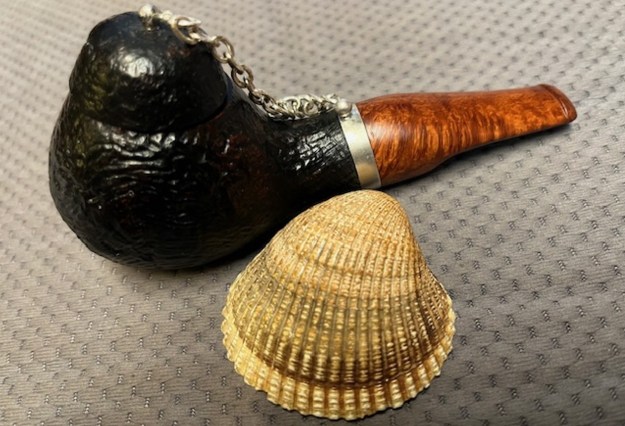
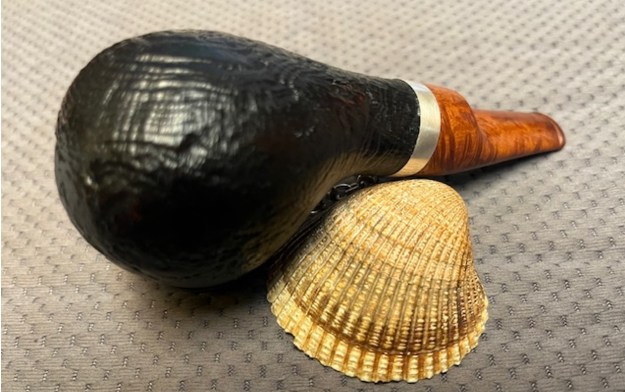
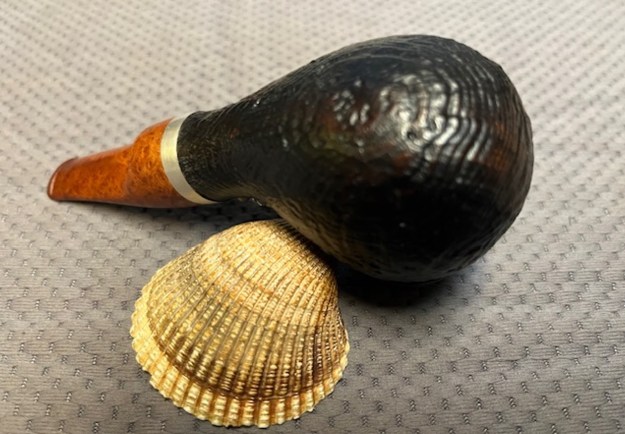
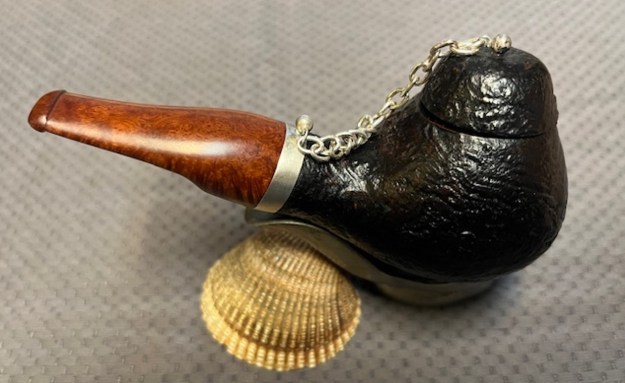
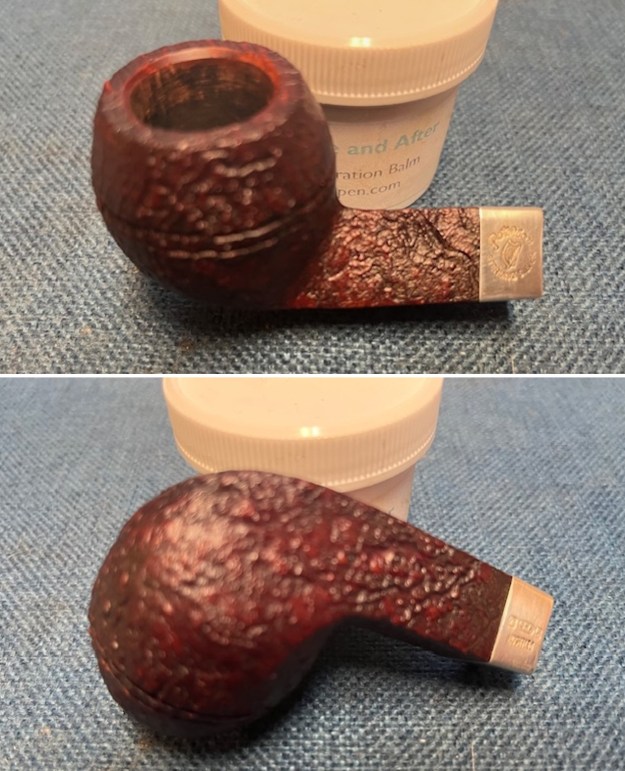
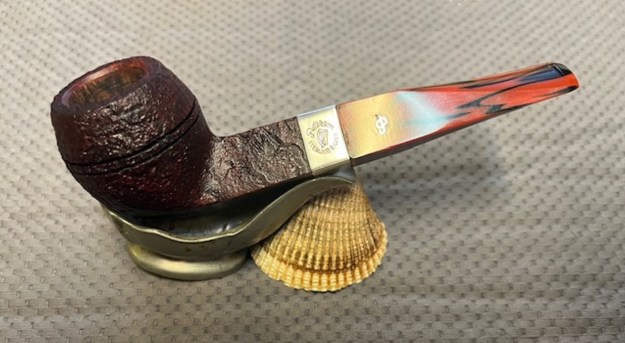
 For the final step, I took the pipe to my bench buffer and carefully polished it – first with a white diamond compound, then with three coats of carnauba wax. This procedure makes the pipe look its best – the stummel sings and the stem glows.
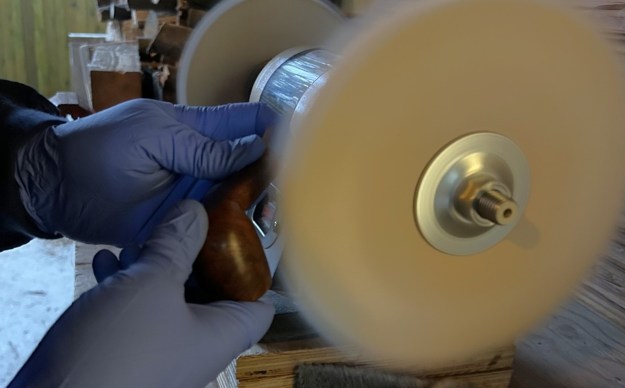 All done! This Ropp Altesse 284 billiard looks fantastic again and is ready to be enjoyed by its new owner. It was a pleasure to work on. The approximate dimensions of the pipe are as follows: length 5¾ in. (146 mm); height 1⅞ in. (48 mm); bowl diameter 1½ in. (39 mm); chamber diameter ¾ in. (19 mm). The weight of the pipe is 1¾ oz. (52 g). I hope you enjoyed reading the story of this pipe’s restoration as much as I enjoyed restoring it. If you are interested in more of my work, please follow me here on Steve’s website or send me an email at kenneth@knightsofthepipe.com. Thank you very much for reading and, as always, I welcome and encourage your comments.