by Steve Laug
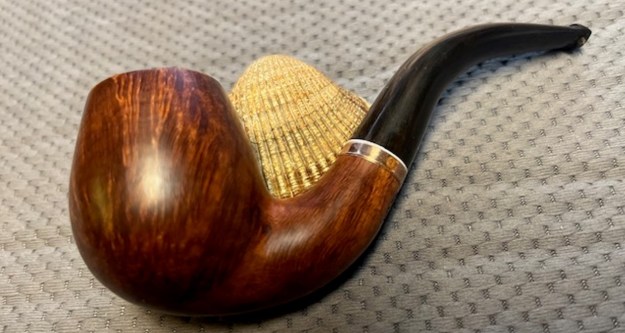
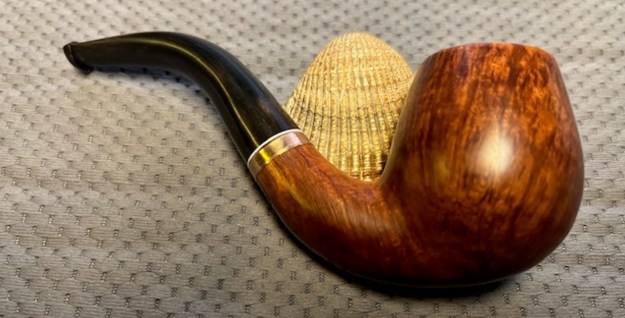
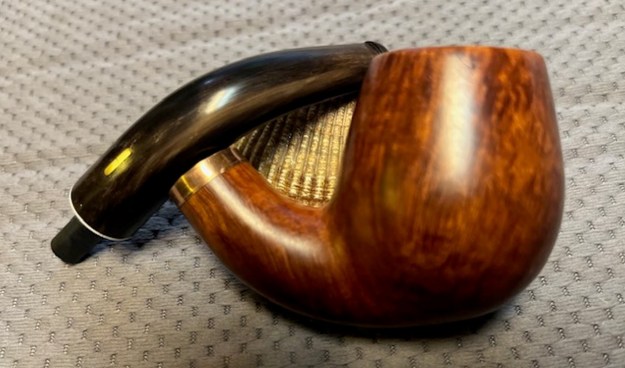
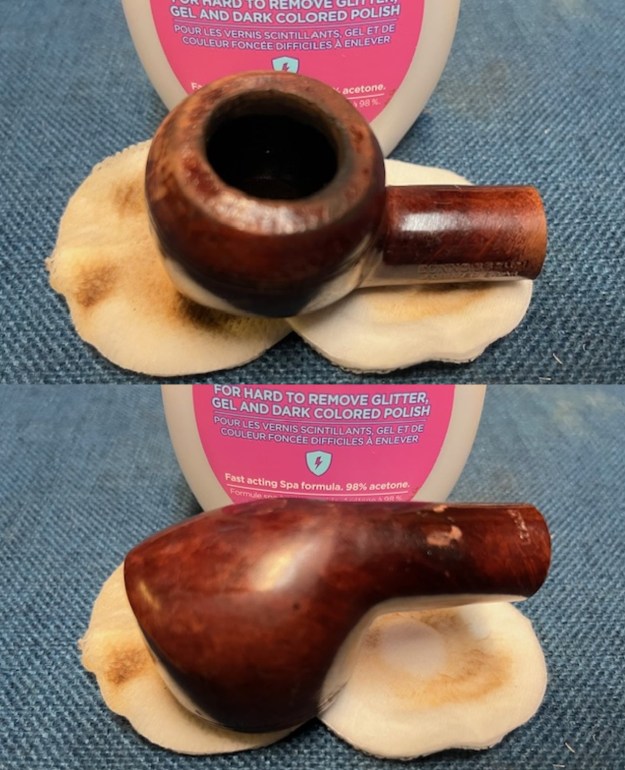
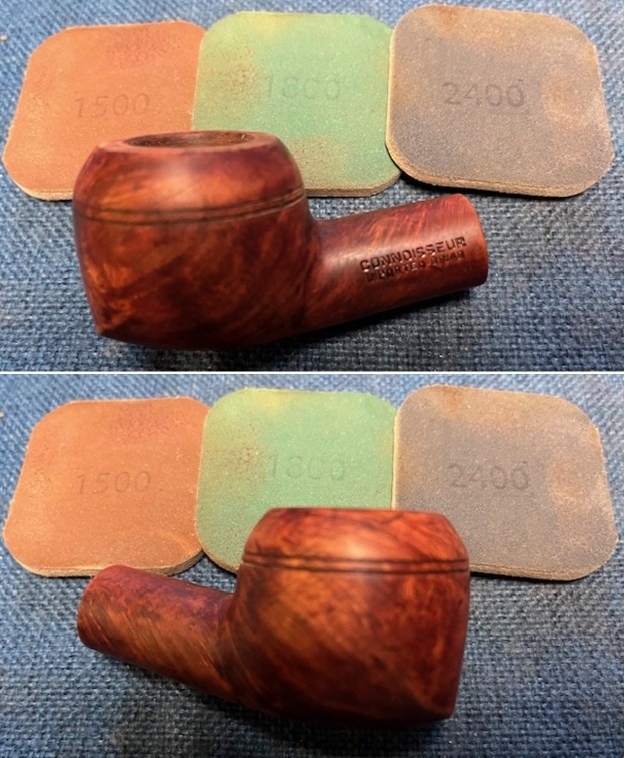
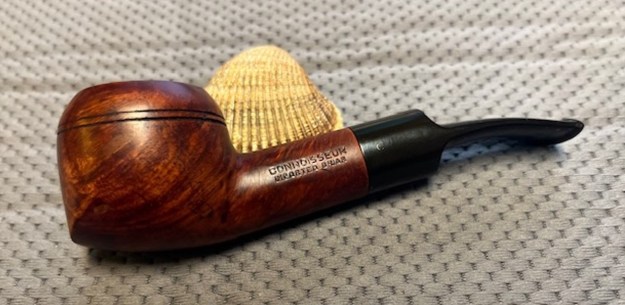
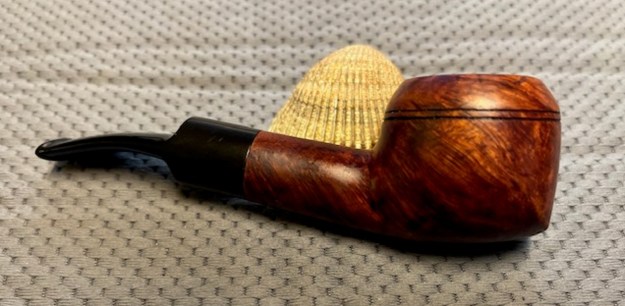
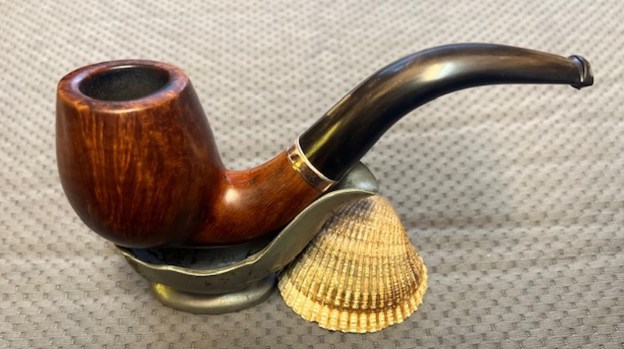
Earlier this week I received an email from Stephen regarding a few more pipe projects that he had for me to work on. He dropped them off here yesterday for me to work on. There were six pipes in the lot. Two were his that I had worked on a few years ago – a Mayfair 1005 rusticated tree stump and a Jost Supreme. Both were favourite pipes of his. One was a Amorelli Bent Billiard that he purchased on a trip to Italy. The final three were pipes that belonged to his father who would soon be visiting him in Vancouver – a Brigham full bent four dot 4244, a Savinelli Portofino Bent Pot and a Bent Rhodesian with no name stamped on the shank sides. Stephen texted me this photo of the pipes before he sent them.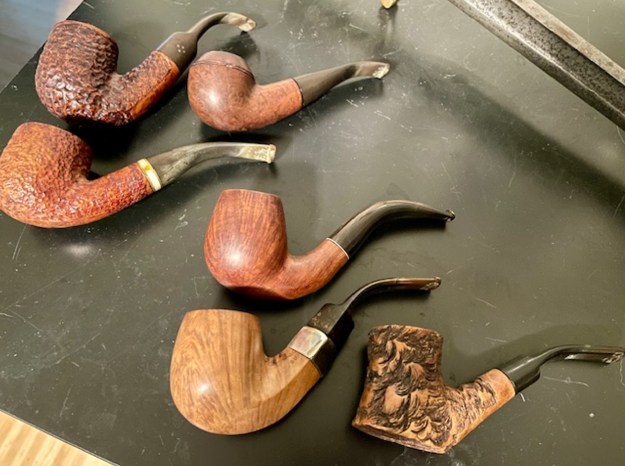 This morning I decided to work on the pipe that Stephen brought home with him from Italy. It is a unique looking Bent Egg or Billiard. It is a beautiful grained piece of briar that I can appreciate why he chose it. There is a white acrylic disc on the end of the stem that provides a separation between the bowl and the horn stem. The pipe is stamped on the underside of the and reads Amorelli ** [followed by] Hand Made [over] what looks like a clock stamp [over] Italy. The clock appears to read 7:05 or 20 minutes to 2. I have no idea what that means at this point in the process. The briar is dirty from use with a moderate cake in the bowl and an overflow of lava on the rim top. The top of the shank had developed a series of small cracks that ran from just behind the bowl junction to almost the shank end. The horn stem appeared to be older and had some tooth marks and chatter on the top and underside of the stem ahead of the button. It is beautiful striated with dark and lighter strips running the length of the stem. It is narrowly tapered backward to the button. There an inset brass (gold??) bar logo in the top of the stem. It reminds me of horn stems from the past in terms of the shape of the stem and button and the slot. I took photos of the pipe before I started my work on it. I have included them below.
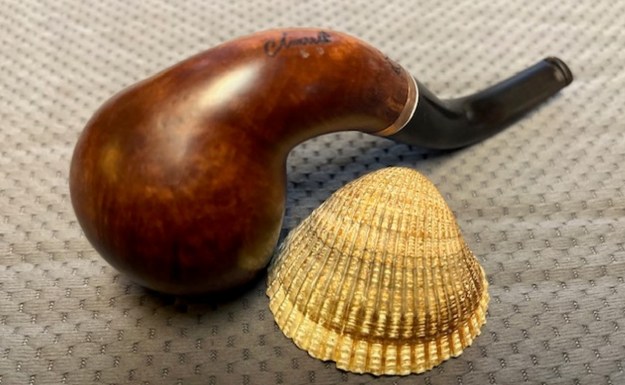
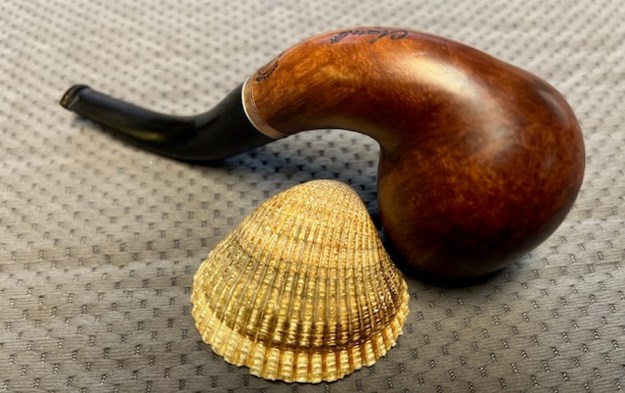
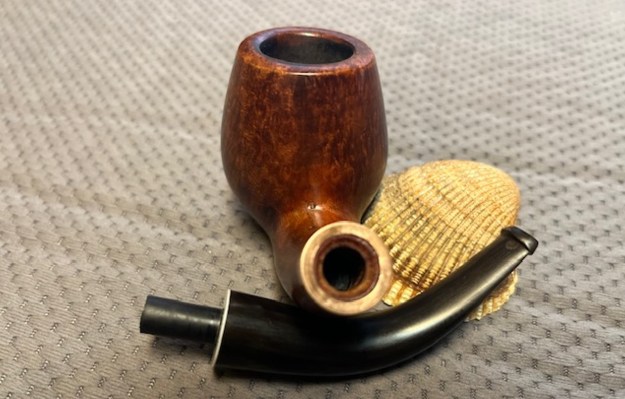
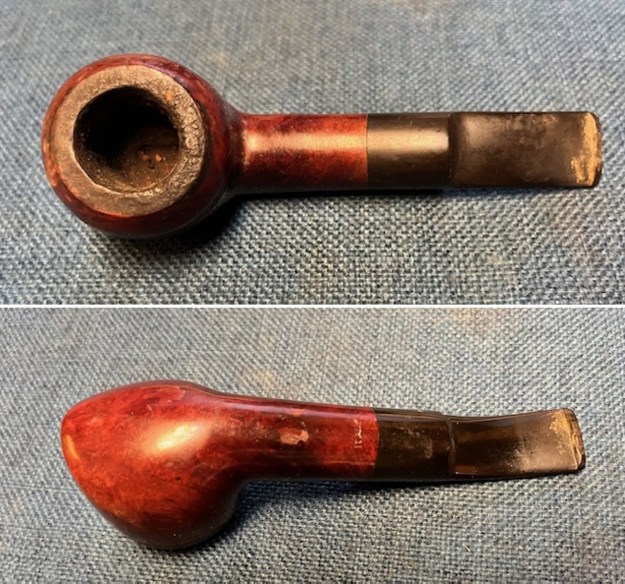
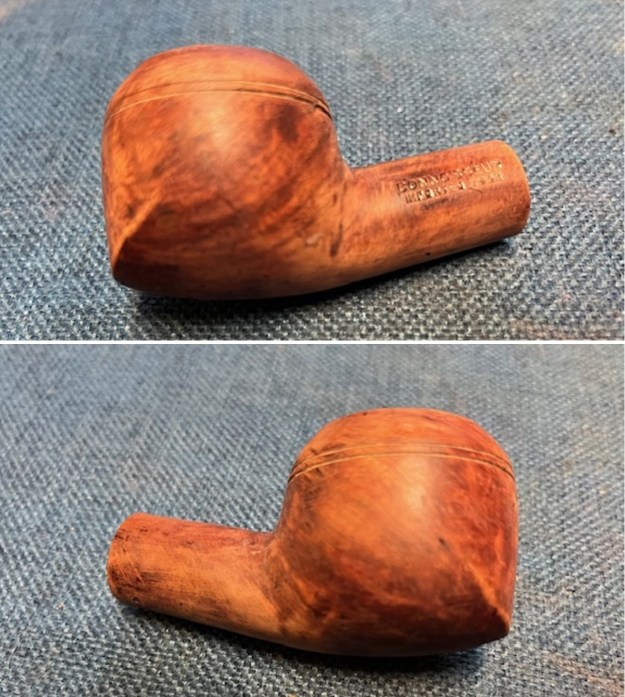
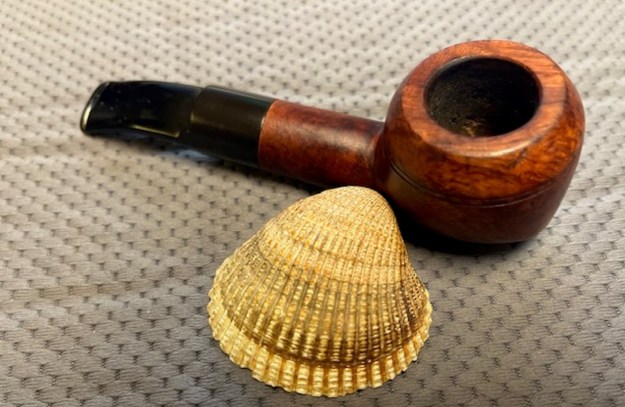
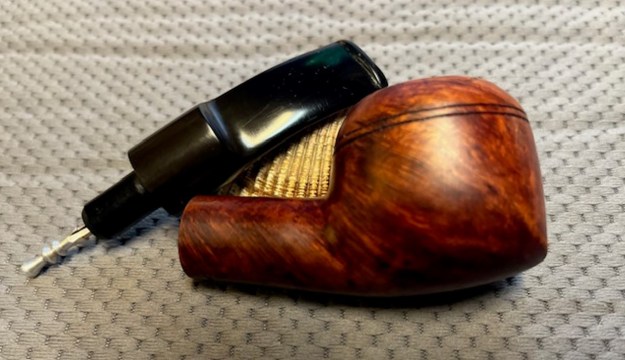
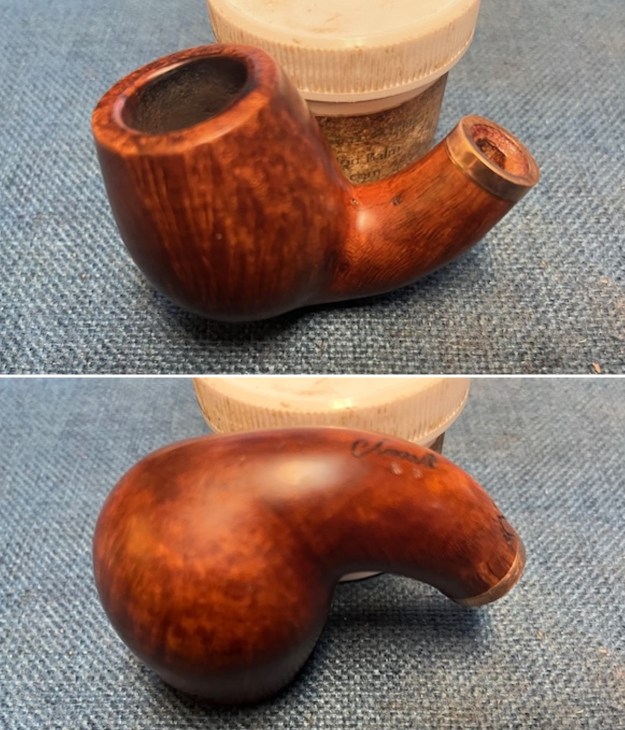
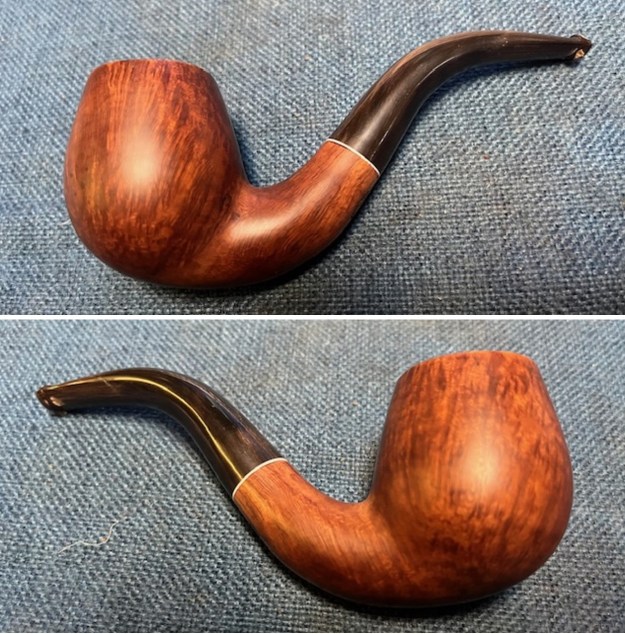
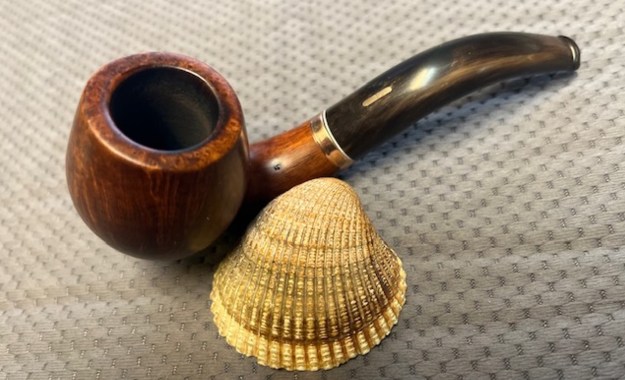
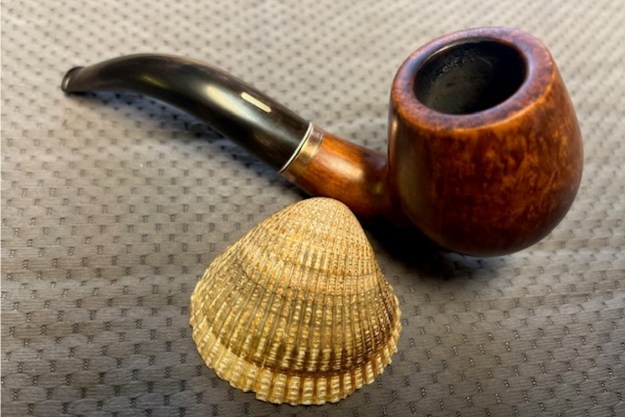
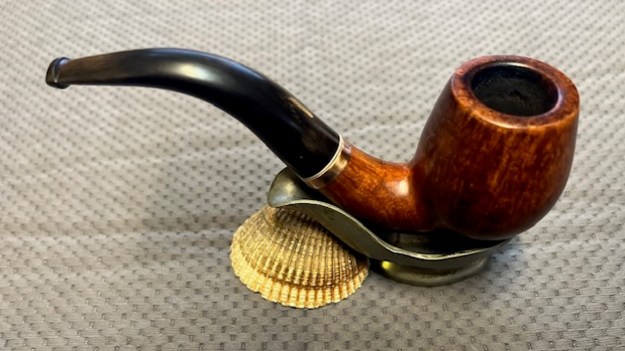
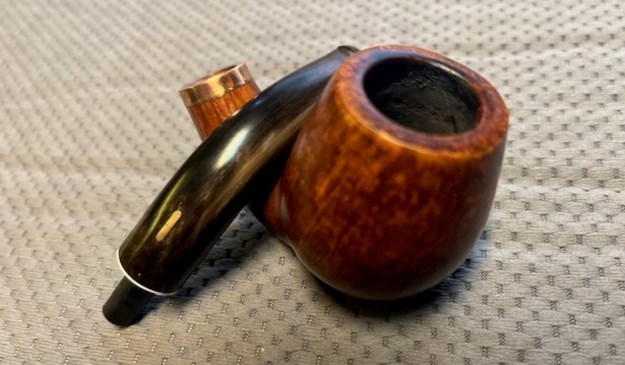
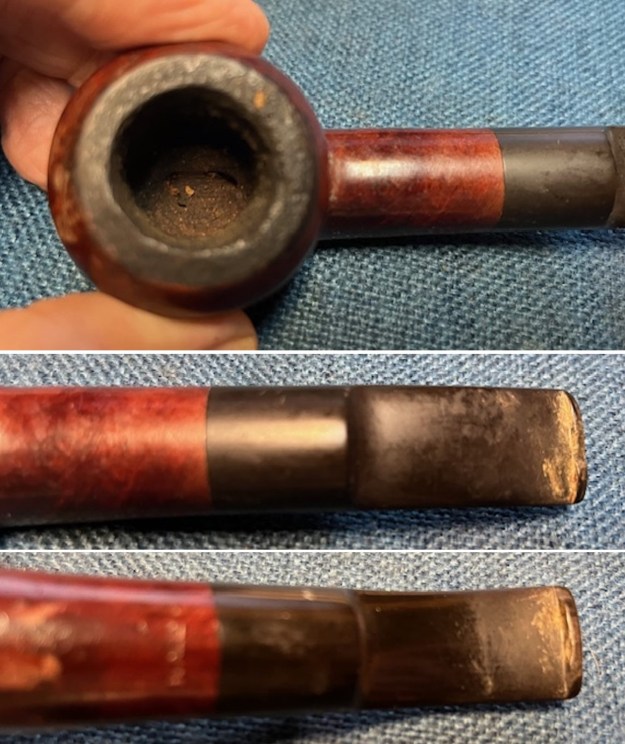
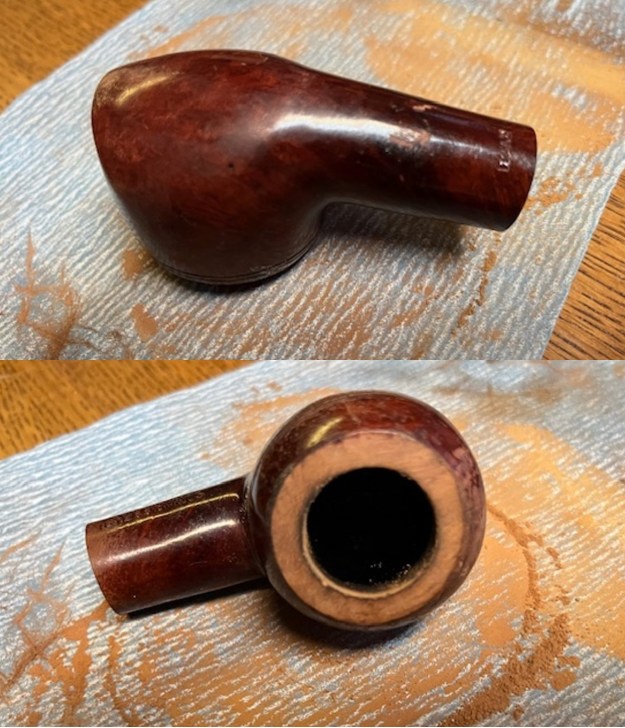
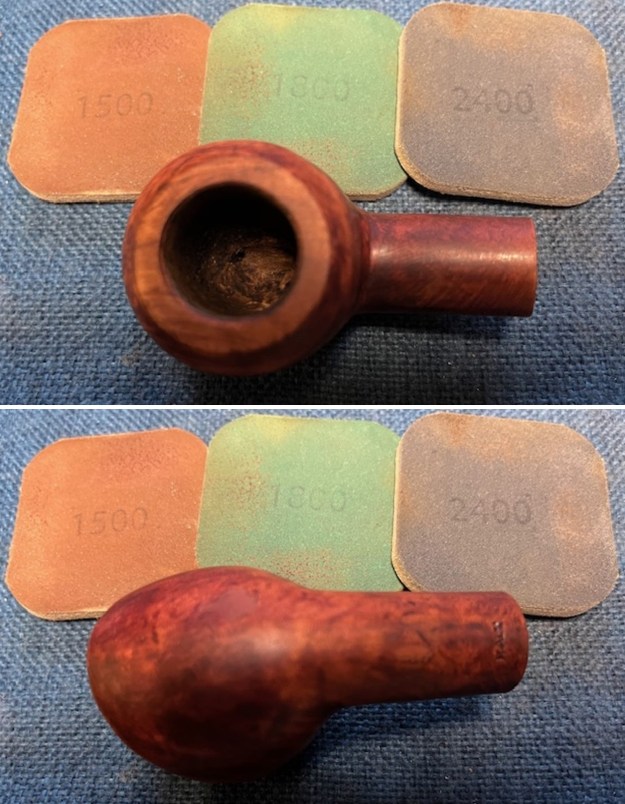
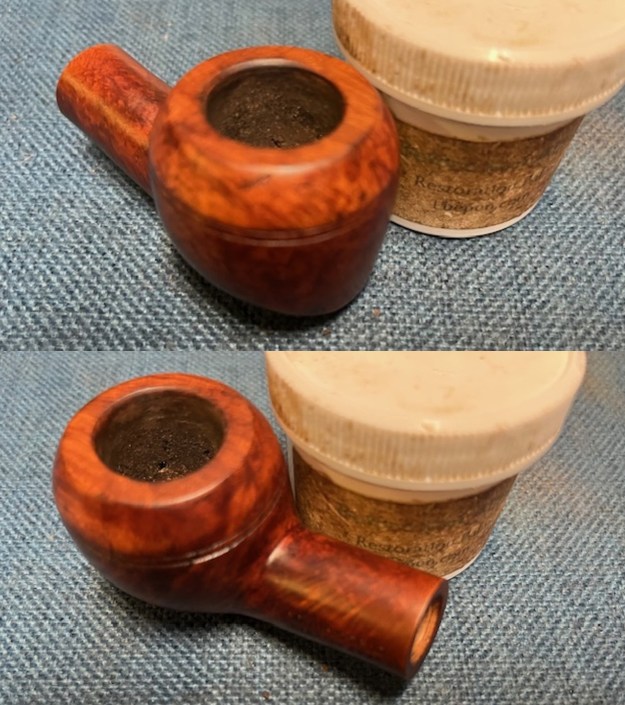
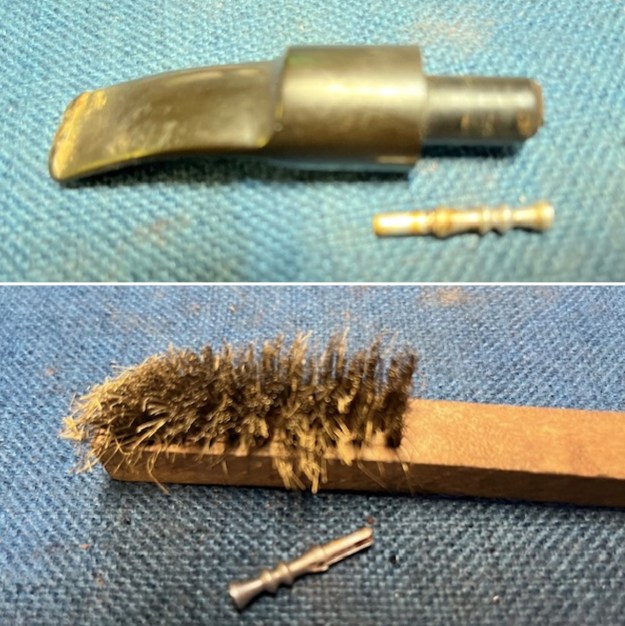
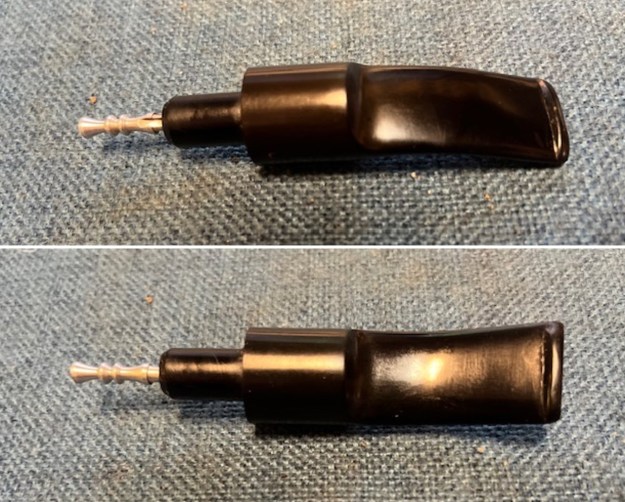
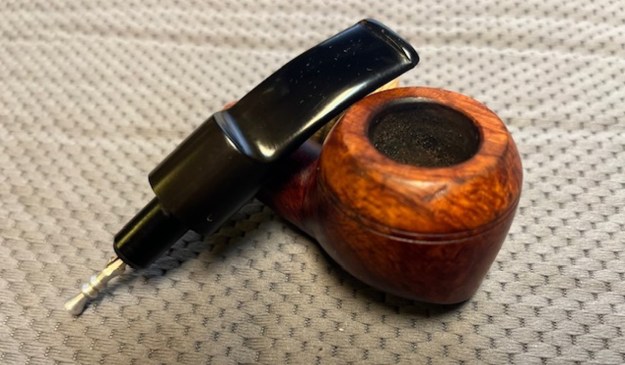
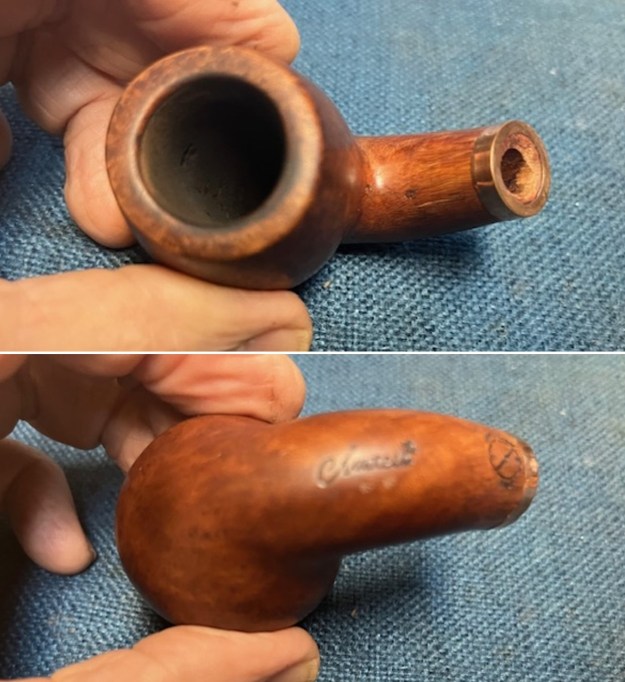
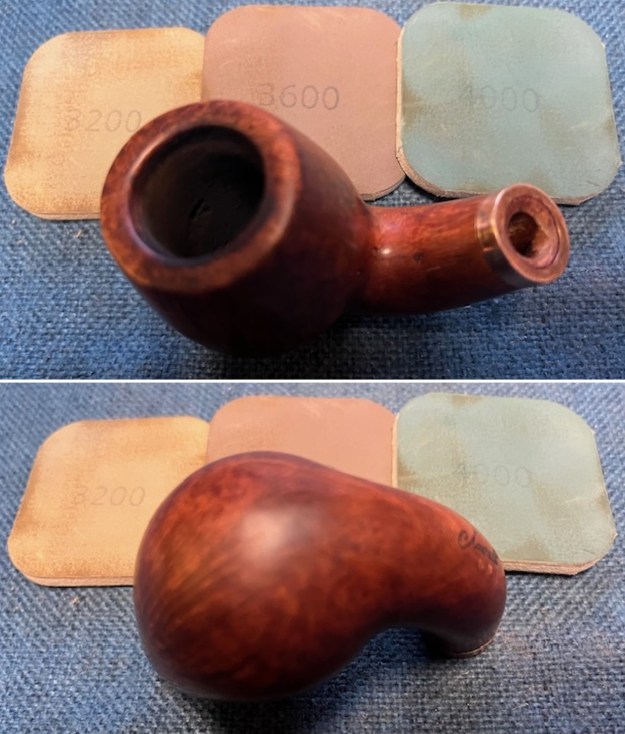
 I took a photo of the stem surfaces and the bowl and rim to give a sense of condition of the pipe. You can see the cake in bowl and the lava overflow on the edges and rim top of the bowl. The horn stem surface is very dirty and you can see the tooth marks and chatter on both sides ahead of the button.
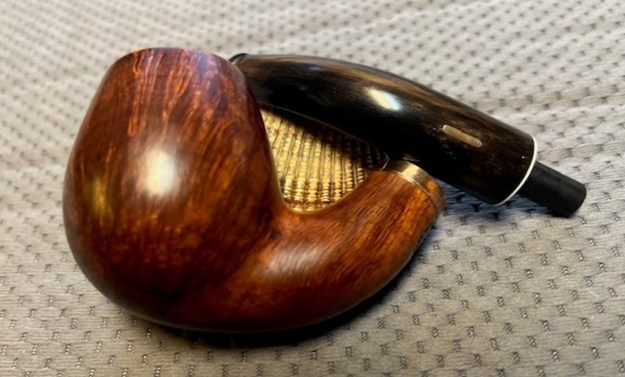
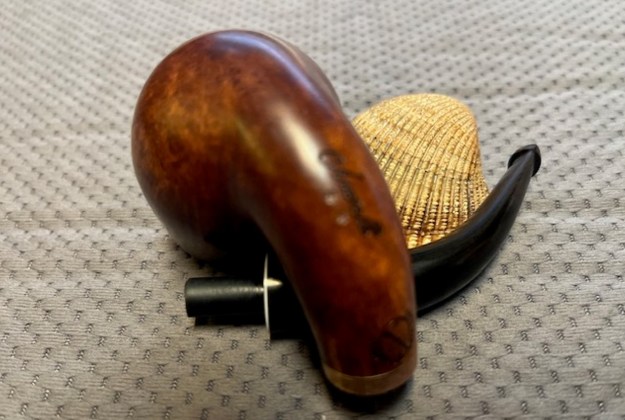
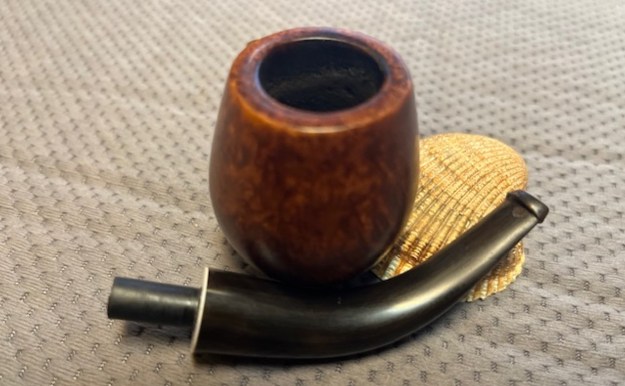
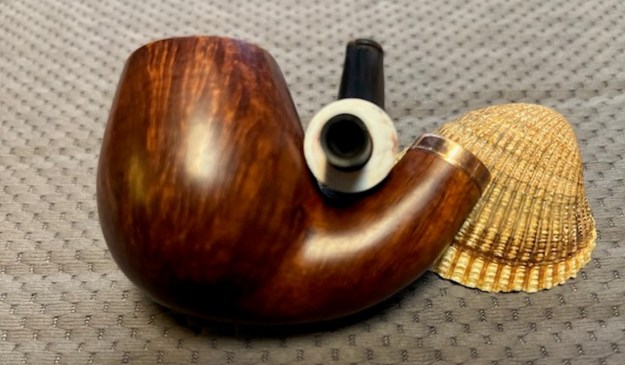
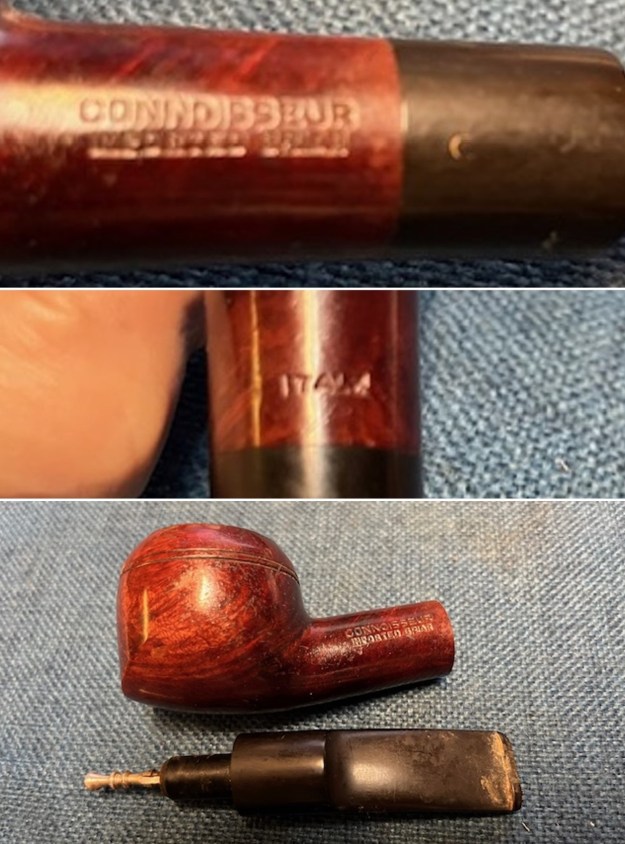
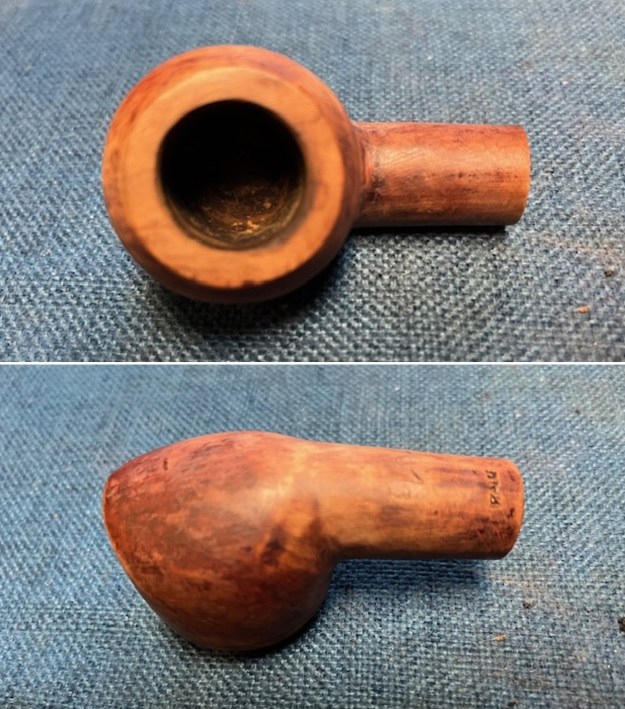
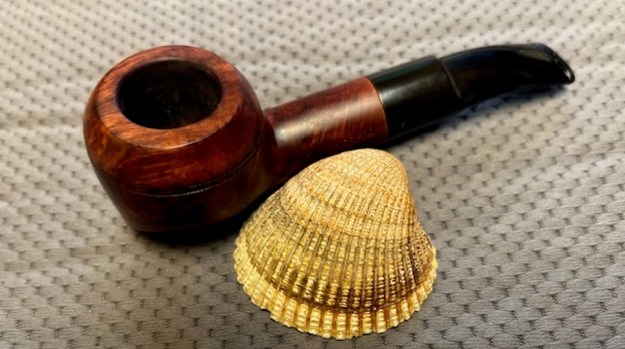
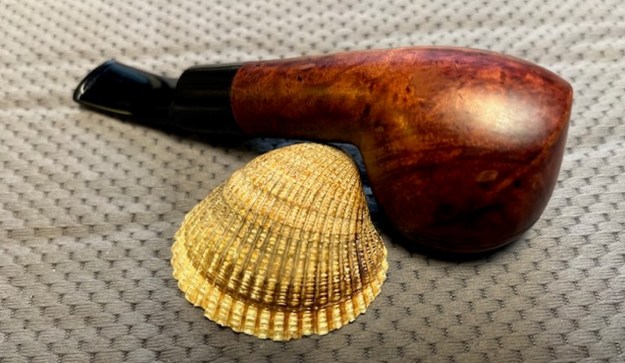
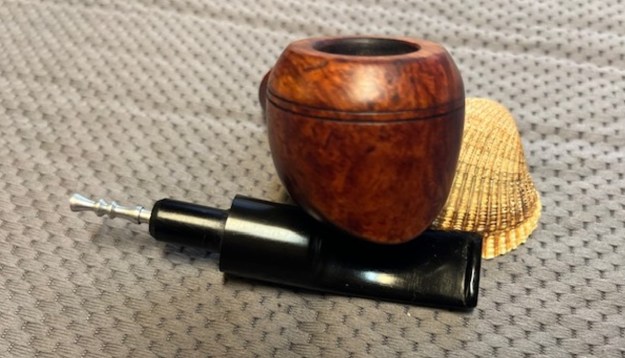
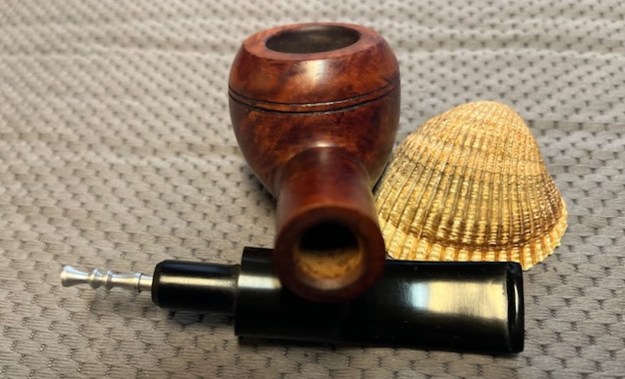
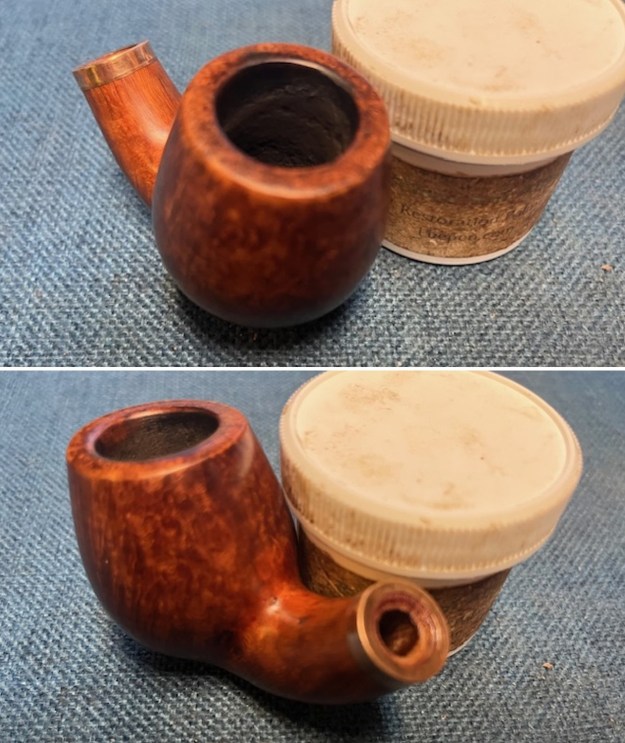
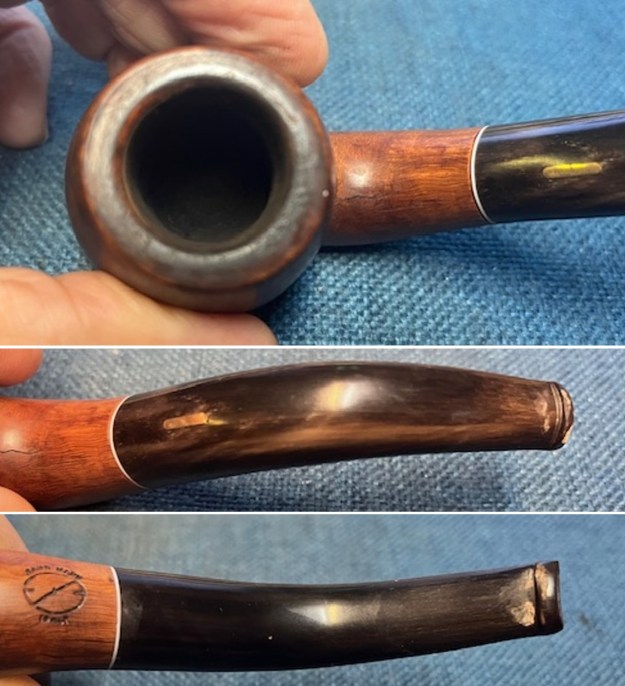 I took a photo of the stamping on the sides of the shank. It is clear and readable as noted above. I also took a photo of the bowl with the stem removed. It is a great looking pipe.
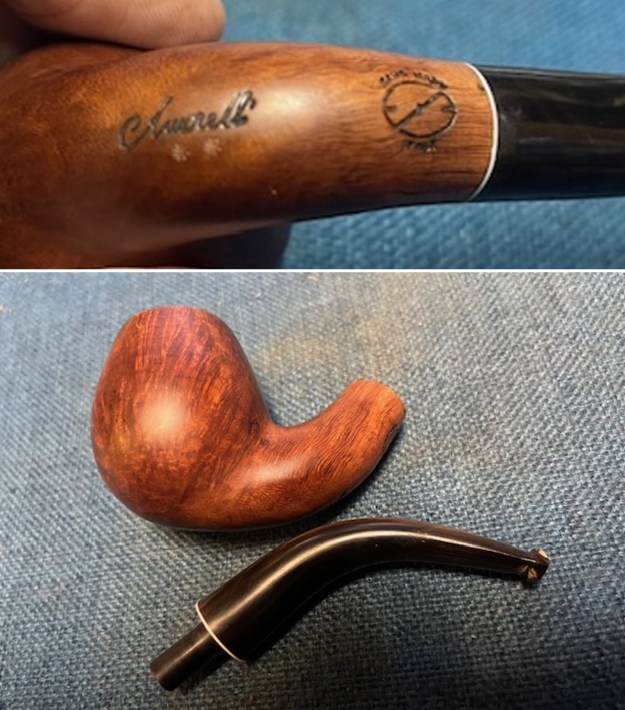 I could not find any information on the Savinelli ** Hand Carved online so I wrote an email to Savinelli to see if I could gather any information. They responded and pointed me in the right direction. The pipe is actually an Amorelli ** Hand Carved Italy pipe. I have edited the blog to reflect that new information.
I turned first to Pipephil’s site for a short introduction to the brand and was not disappointed by what a I found (http://www.pipephil.eu/logos/en/logo-a5.html). I have included the screen capture below as well as the side bar information on the grading of the pipes.
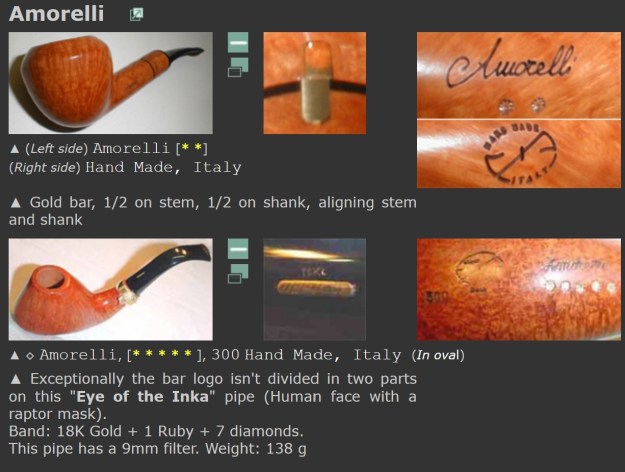 Artisan: Salvatore Amorelli
Grading (ascending): 1 to 5 stars. 5 stars pipes may be differentiated by some golden stars:
(* * * * * or * * * * *)
I turned to Pipedia to see what I could learn about the Amorelli brand (https://pipedia.org/wiki/Amorelli). There was a short article full of information. I quote from it below.
An Amorelli pipe is recognized by an unmistakable logo: an 18k Gold bar, placed in the centre of the junction of the shank and mouthpiece, and which allows a perfect positioning. Projecting and making with a scrupulous rigour, Amorelli refers to the most exigent pipe connoisseur who will be able to recognize a very high smoking quality and prize a processing of the highest level, rich in refined details. It climaxes in a delicate process of finishing, where esteemed Brazilian bee waxes are used to feed and exalt the fibre of the wood, allowing the pipe to breathe.
25 years have passed since Totò Amorelli entered the scene with his creations, inimitable still today: busbee, frac, lyra, fish-tail, nayl, unicum, interpretaions of a new point of view and to realize a pipe. The 18k Gold logo, only sicilian and selected briar, 5 years seasoned and interpreted piece by piece…
What will the near future hold? A new line of pipes for everyone: “La Siciliana”, together with Amorelli pipes, made from the best briar collected from Sicilian Mountains overlooking Taormina, cut, boiled and seasoned directly in the new workshop of Caltanissetta, everything overseen by Totò.
The pipe I was working on was an Amorelli made of Sicilian Briar! It was a 2 star grade pipe which fits the great grain on this particular pipe. Now what Stephen had told me about his visit to Sicily came together.
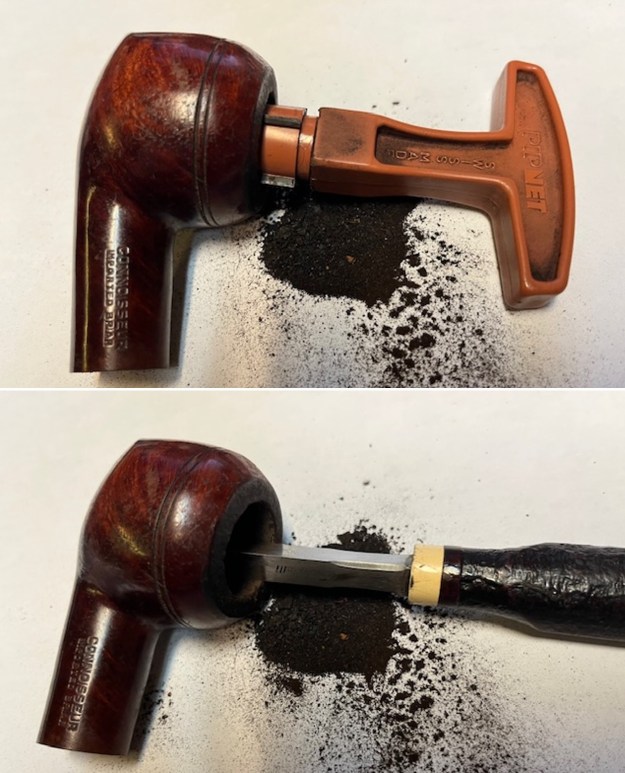
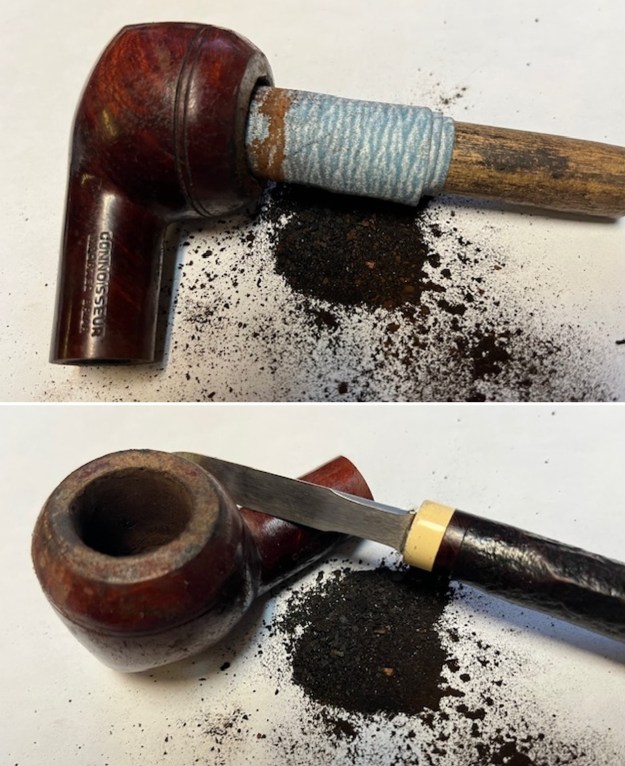
Now it was time to start working on the pipe itself. The bowl was moderately caked and I wanted to clean it up before I repaired the crack in the shank. I reamed it with a PipNet pipe reamer using the second and third cutting head to trim the cake back. I used a Savinelli Fitsall Pipe knife to clean up the remnants leaving bare briar. I sanded the bowl walls with 220 grit sandpaper wrapped around a piece of dowel. The bowl was significantly cleaner. I scraped the heavy lava coat on the rim top with the edge of the Fitsall knife. 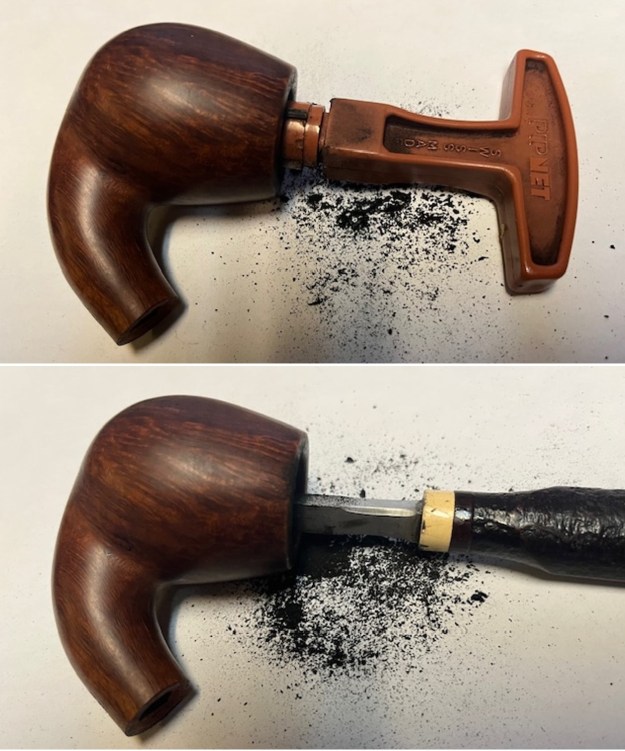
 I cleaned out the airway in the shank and mortise as well as the stem with cotton swabs, pipe cleaners and isopropyl alcohol. It was dirty but it cleaned up very well.
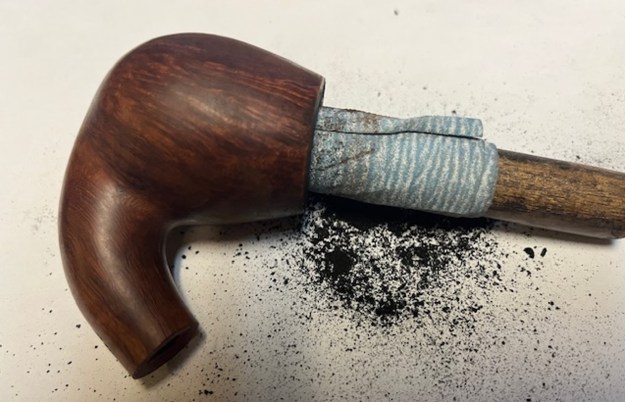
 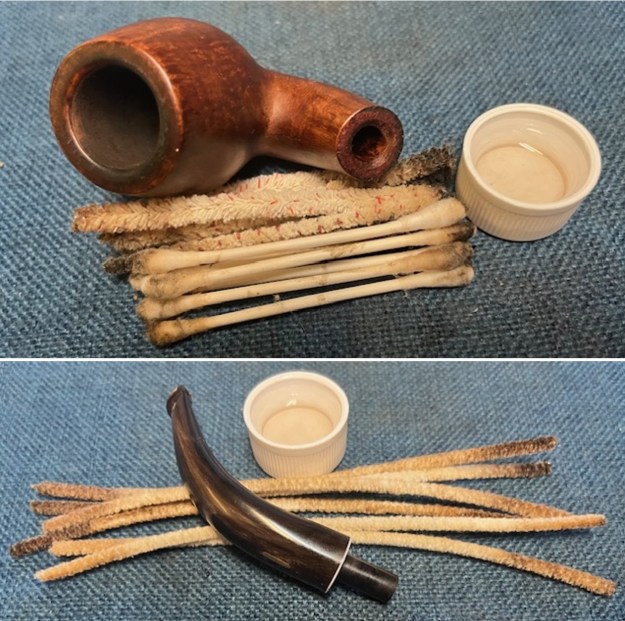 Now it was time to tackle the crack in the shank. I took a photo of it to capture the issue in the pipe before I cleaned it up. I used a Dremel and a microdrill bit to drill a pilot hole at each end of the crack in the shank. I used a tooth pick and CA glue to fill in the crack and the pilot holes in the shank. I pressed some briar dust into the glue to build them up. I flattened the repair with a small half round file and a folded piece of 220 grit sandpaper to blend them in. It is starting to look better.
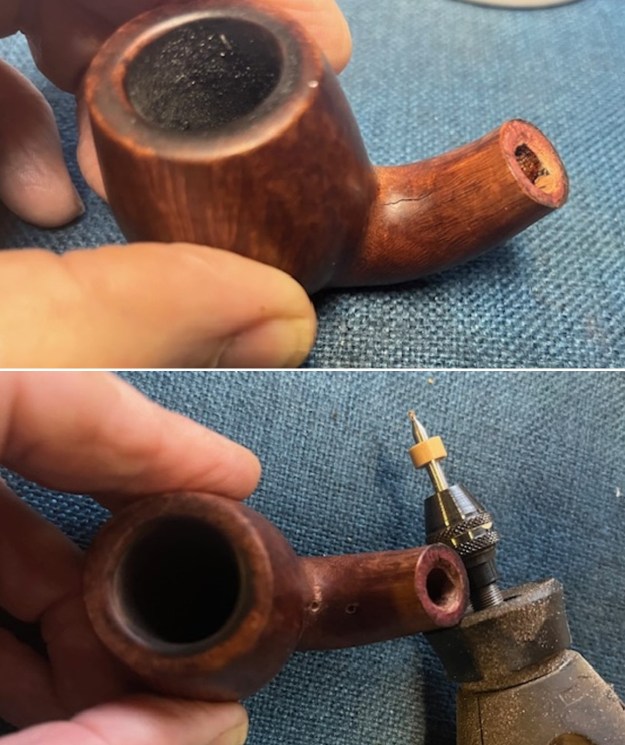
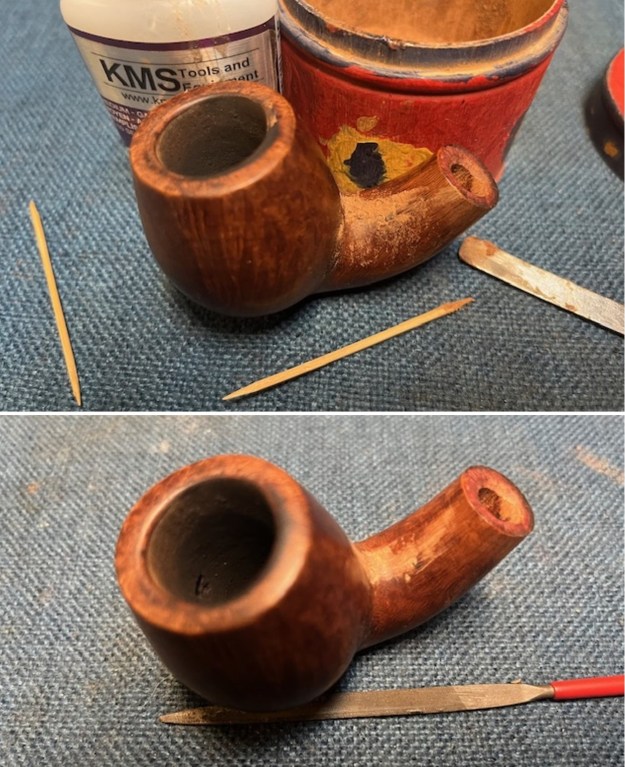
 I sanded the repair area with 320-3500 grit sanding pads to smooth out the area. I used a Maple stain pen to blend it into the surrounding briar.
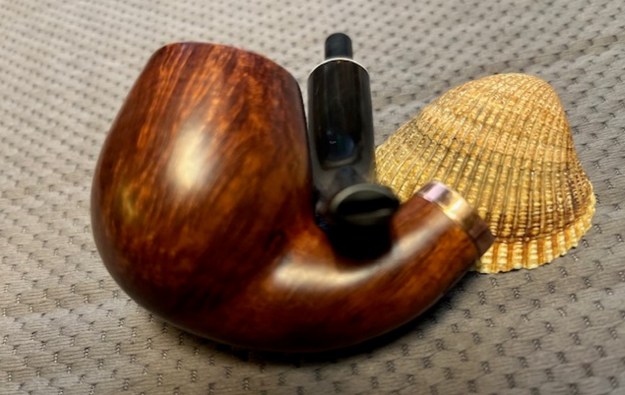
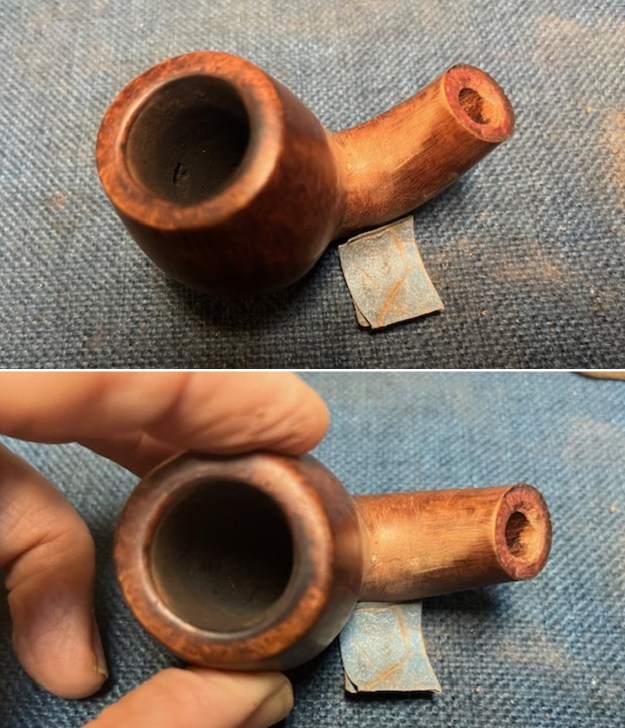
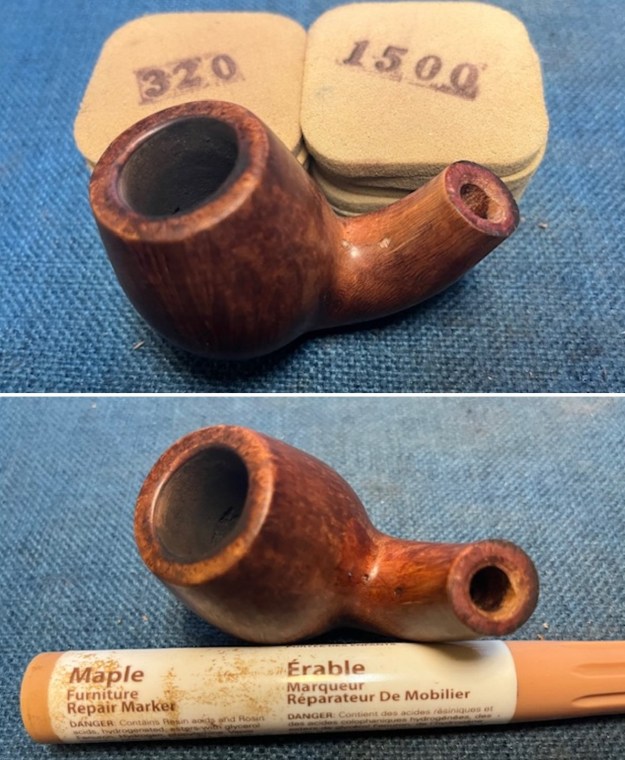 With the cracks repaired I moved on to pressure fit a thin brass band on the shank end. I used a tooth pick to spread glue around the inside of the band. Once it was ready I pressed the band onto the shank end. I wiped down the excess glue with a damp cloth. I took photos of the newly banded shank and it looked very good.
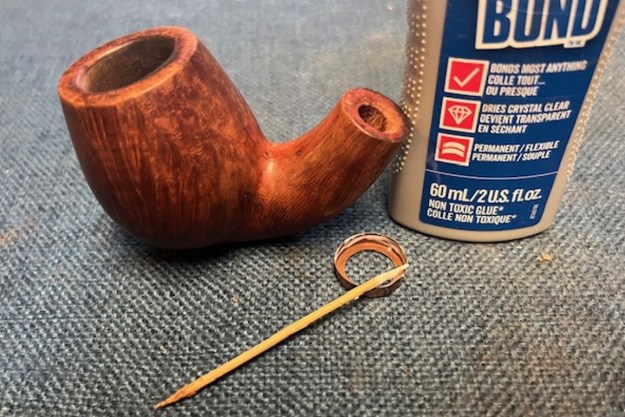
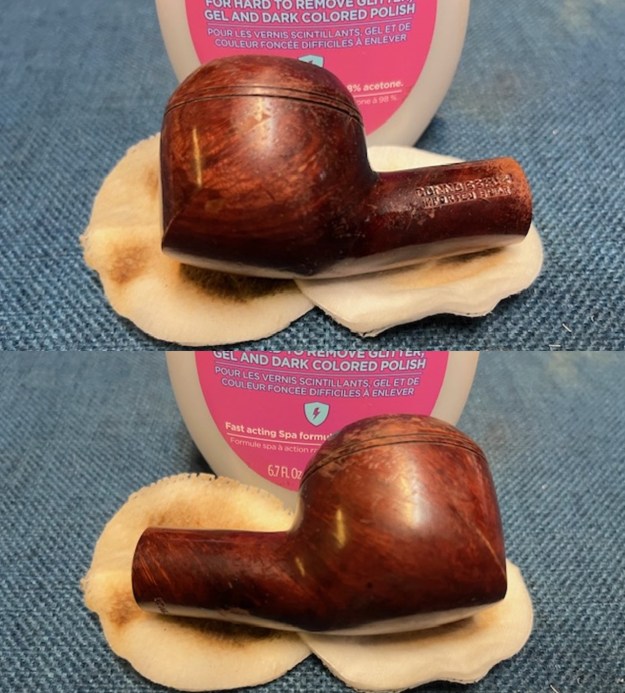
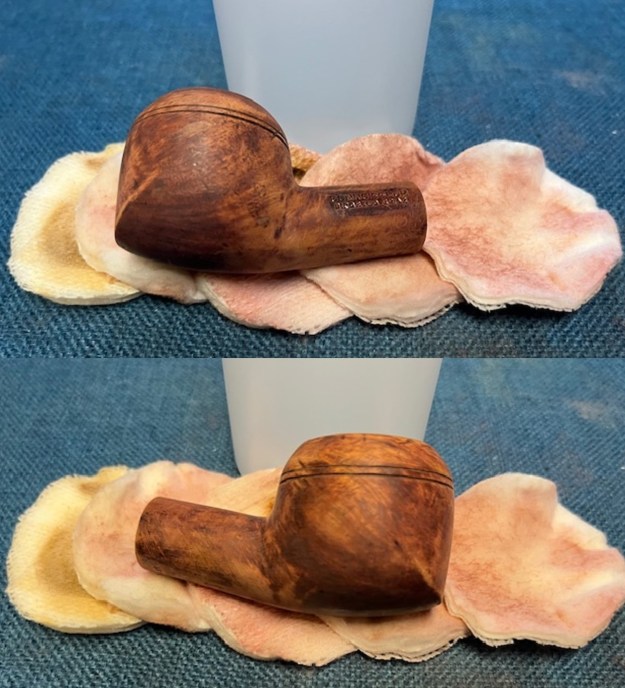
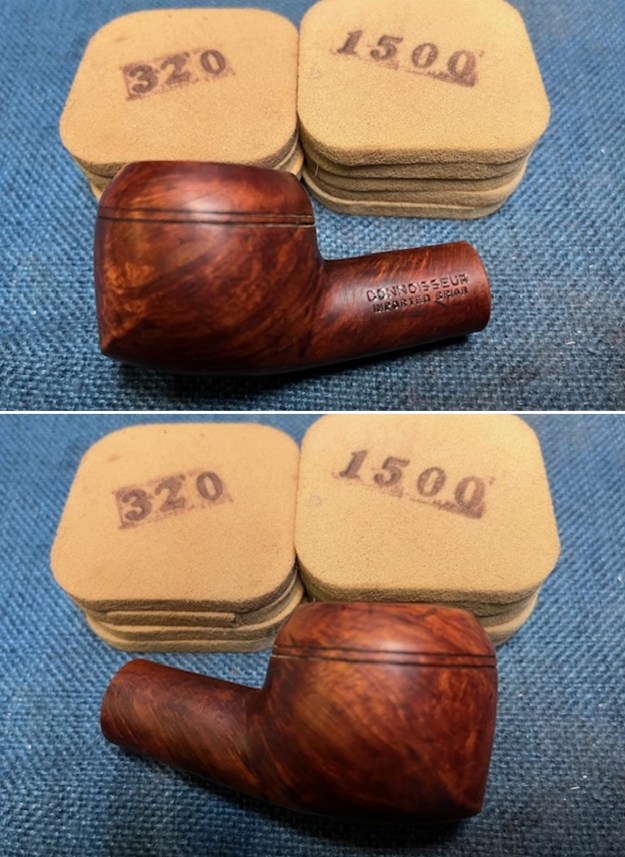
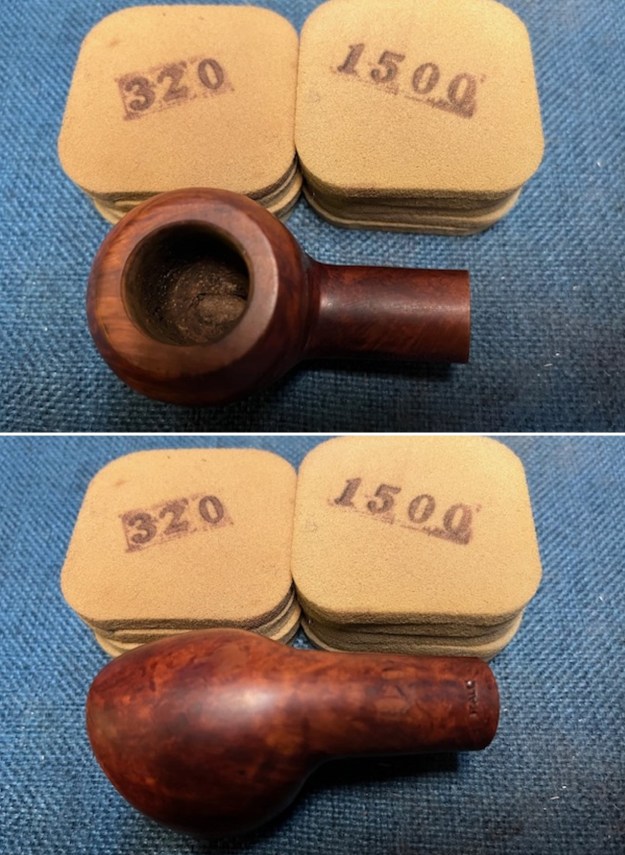
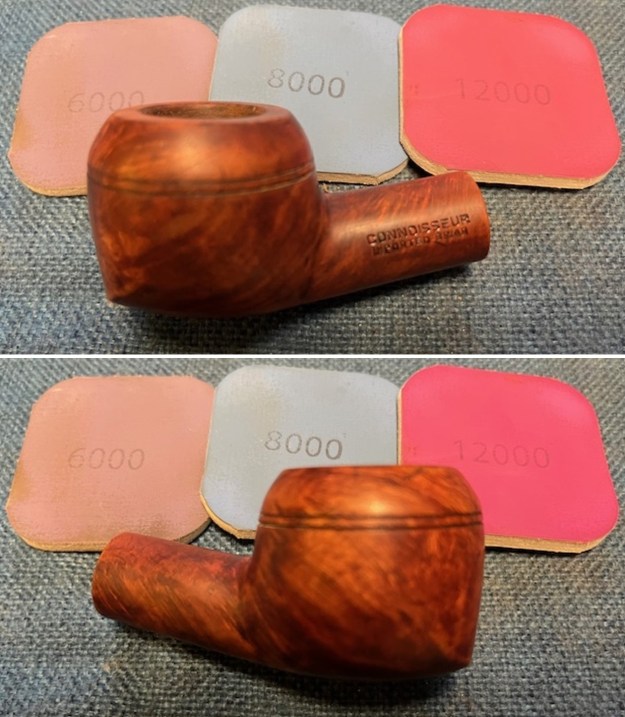
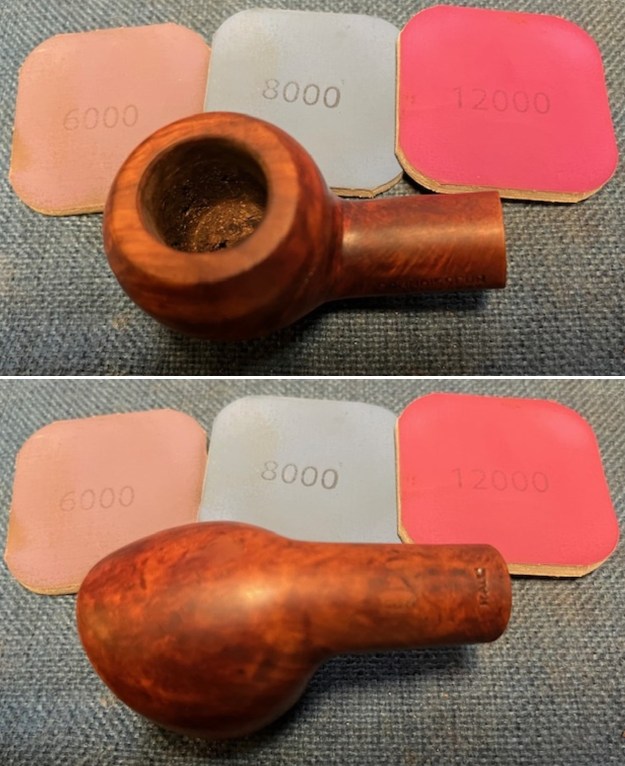
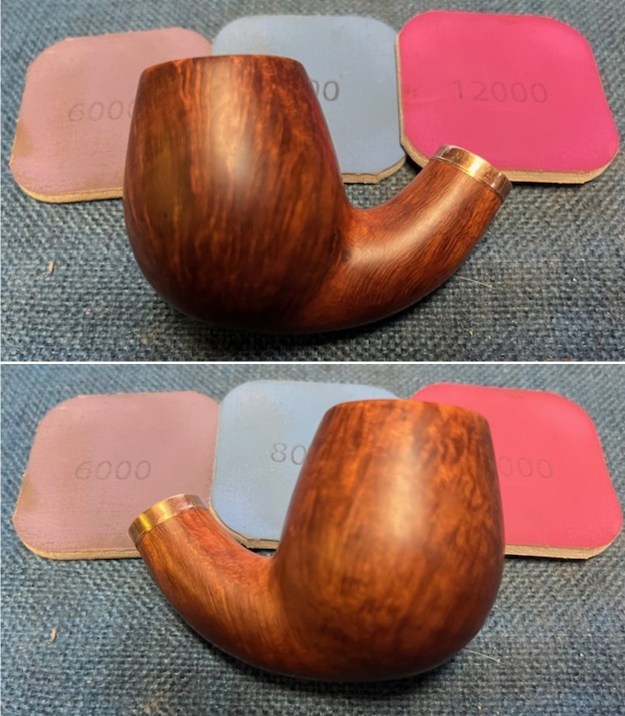
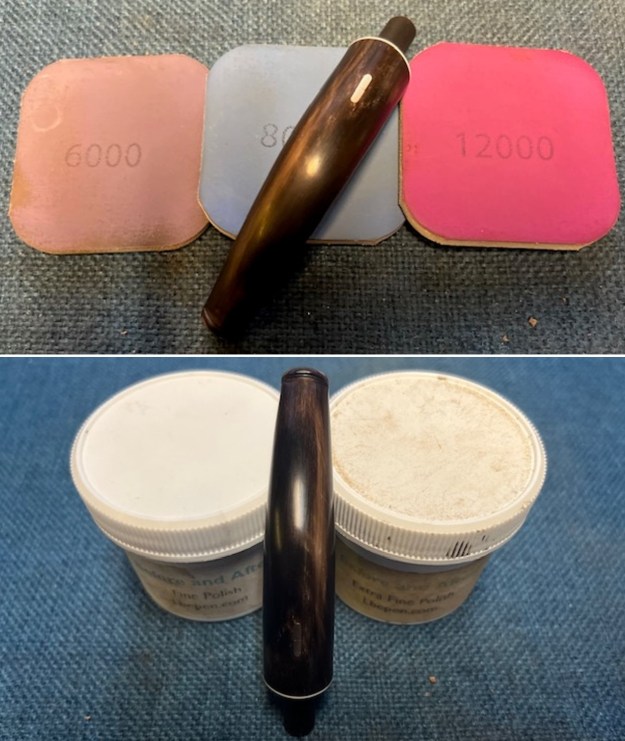
 I polished the briar with 1500-12000 grit micromesh sanding pads – dry sanding with each pad and wiping it down with a damp cloth between pads. It took on a rich shine.
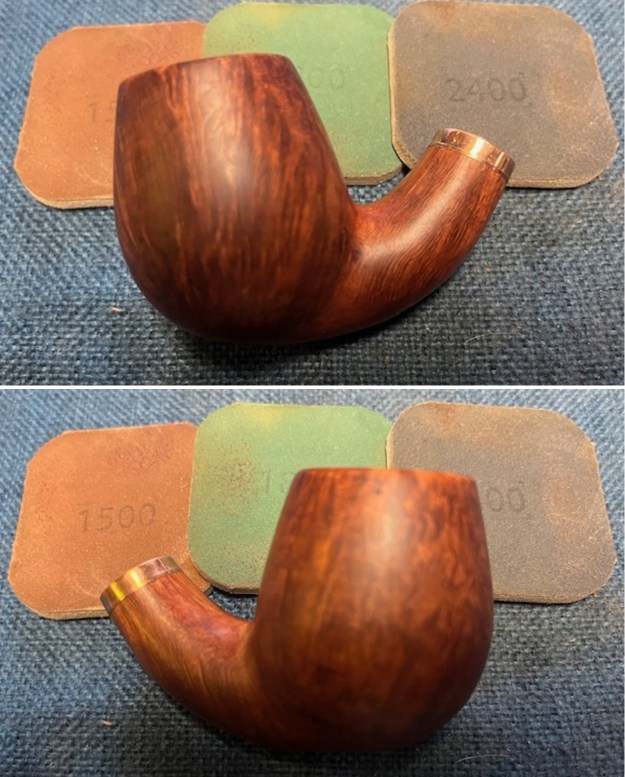

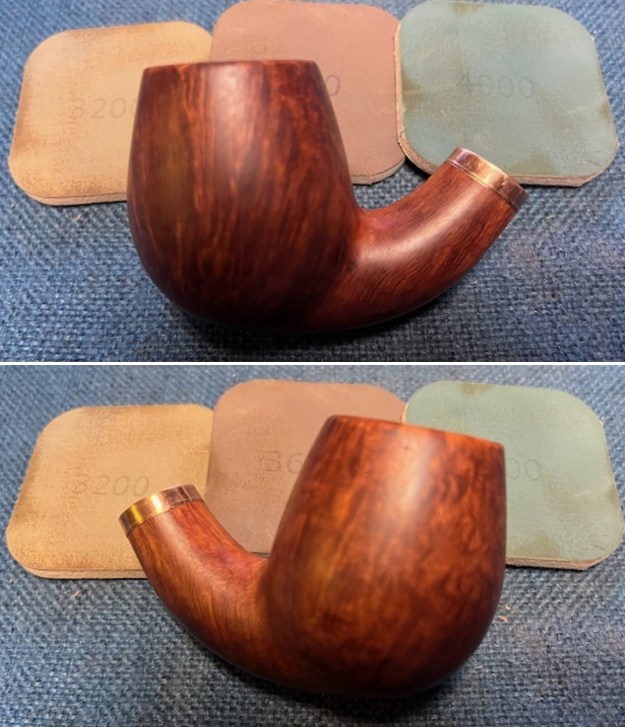
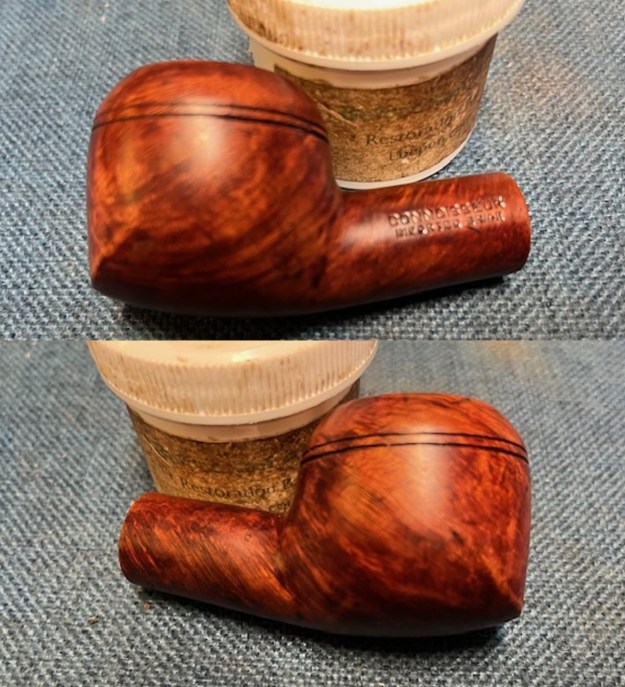
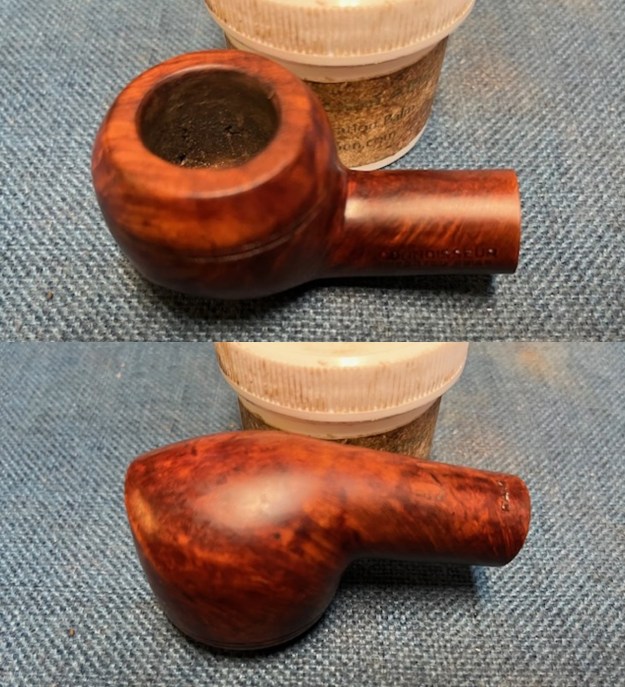
 I rubbed the bowl down with Before & After Restoration Balm. I worked it into the surface of the briar with my fingertips. It works to clean, restore and preserve the briar. I let it do its magic for 15 minutes then buffed it off with a cotton cloth. The pipe looks incredibly good at this point in the process.
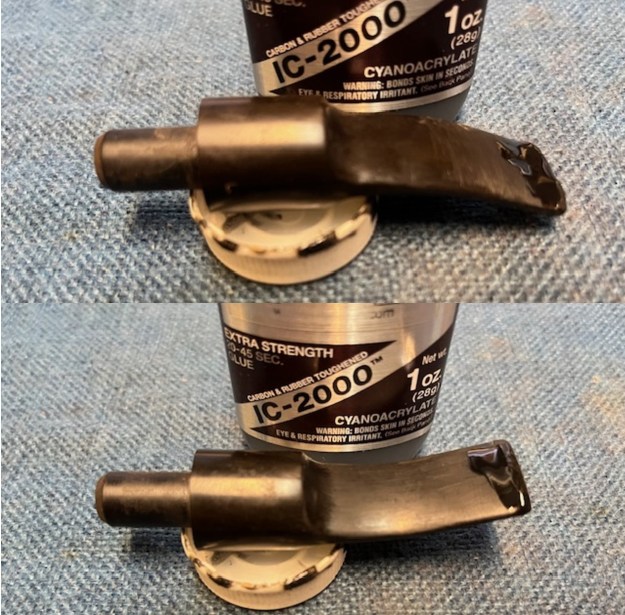
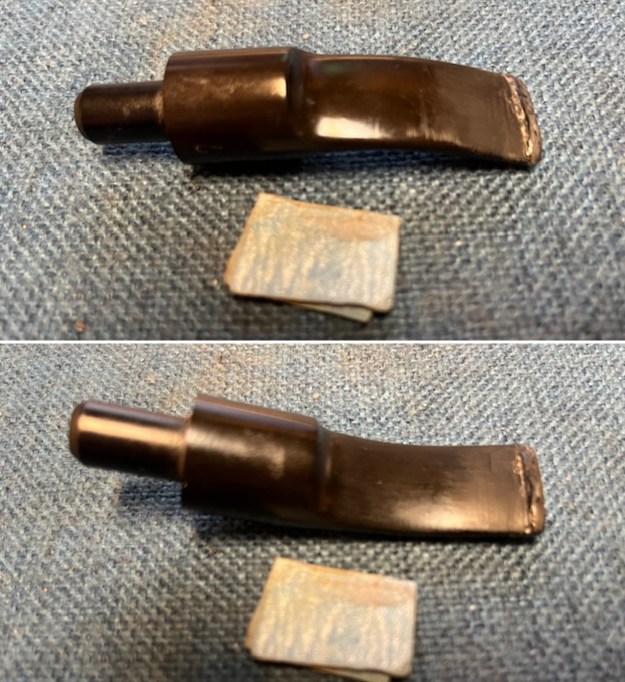
 I set the bowl aside and turned my attention to the horn stem. I sanded out the tooth marks and chatter with 220 grit sandpaper.
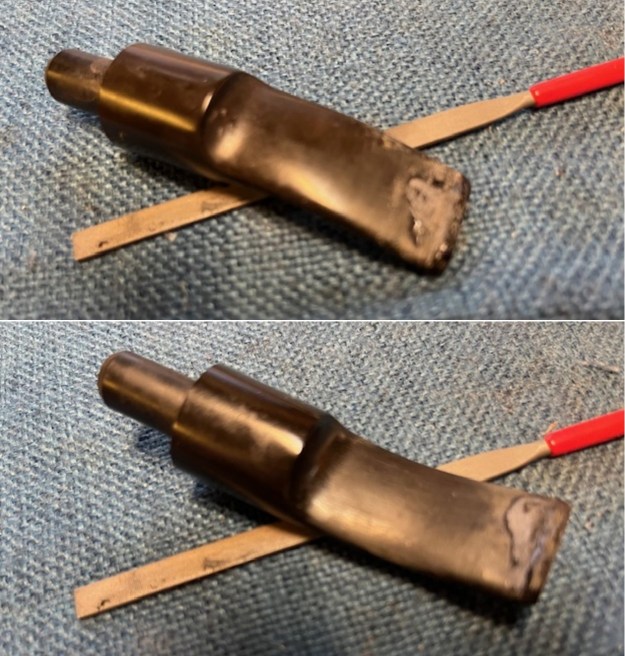
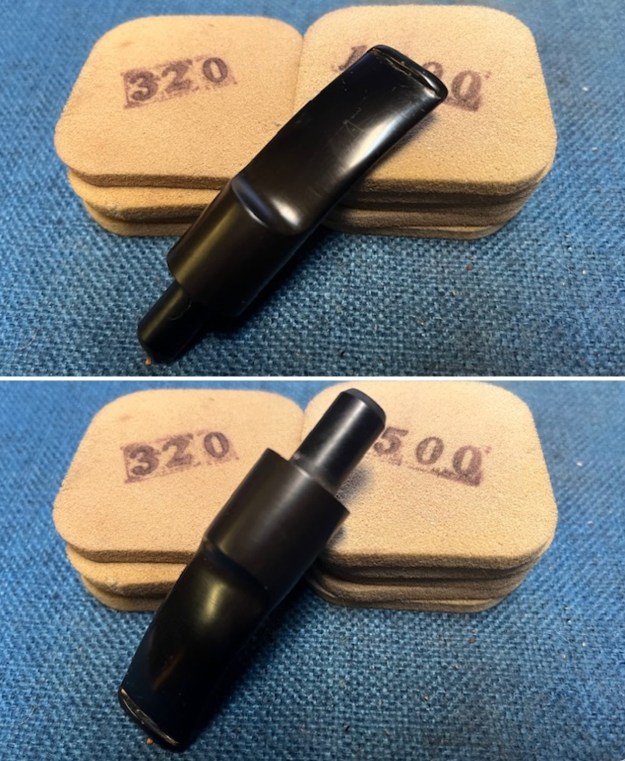
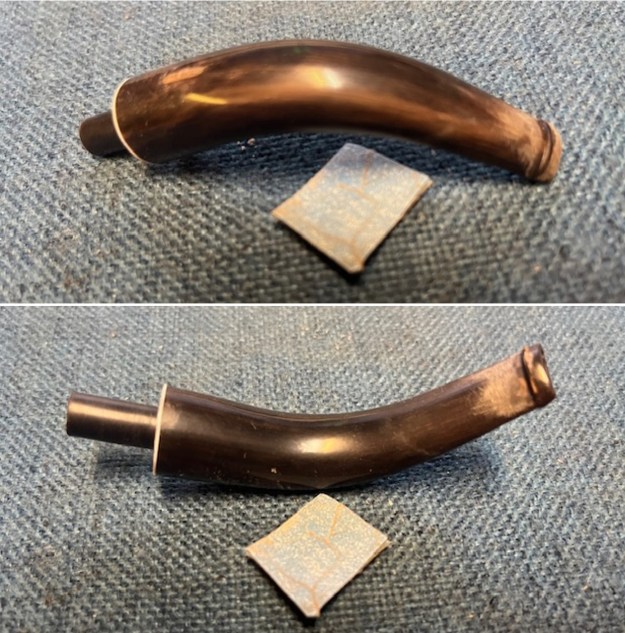 I sanded the stem with 320-3500 grit sanding pads. I wiped the stem down after each sanding pad to remove the sanding debris and dust. The stem looked very good.
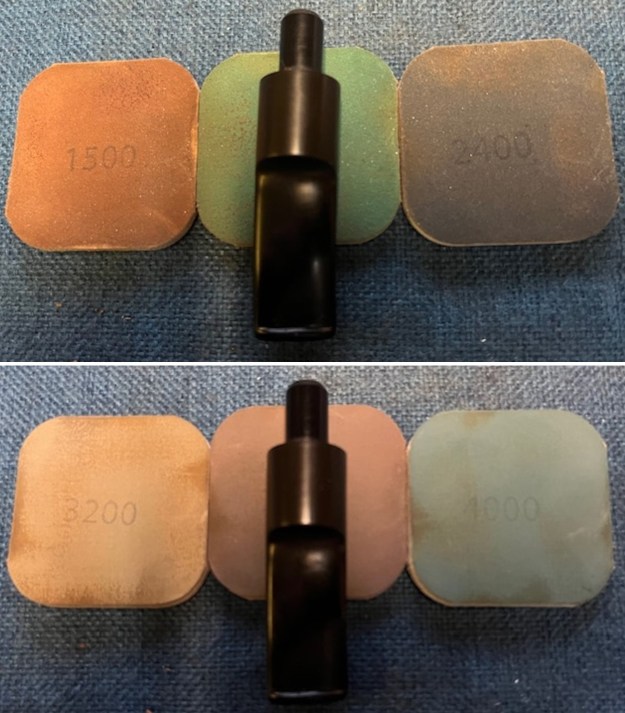
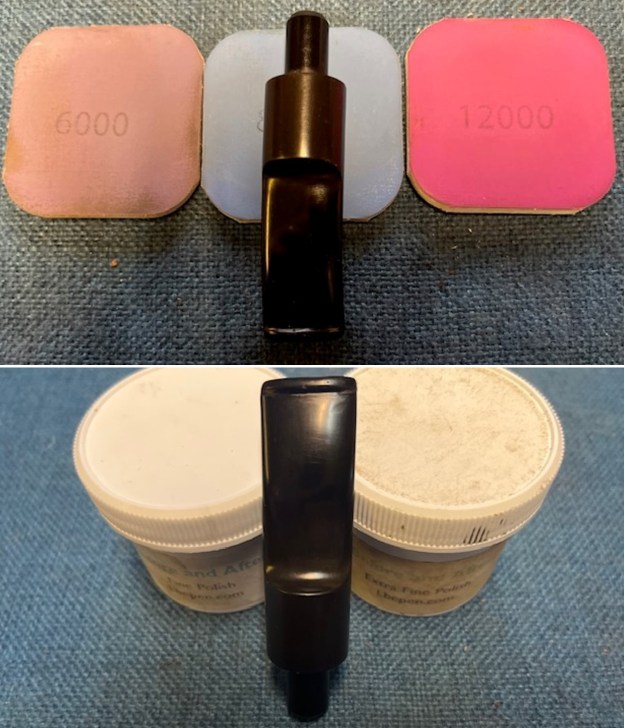
 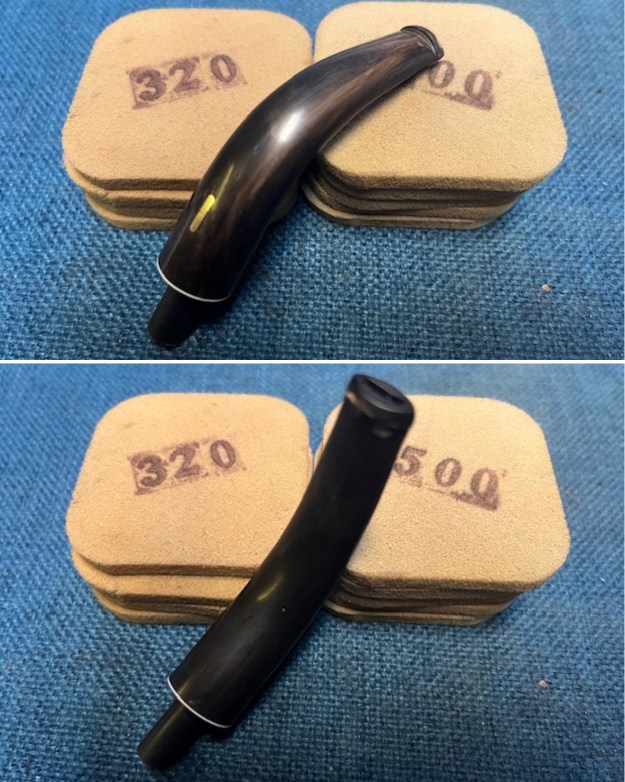 I polished the stem with micromesh sanding pads – 1500-12000 grit pads. I wiped it down with a damp cloth after each sanding pad. I finished polishing it with Before & After Pipe Stem Polish – both Fine and Extra Fine and buffed it off with a cotton cloth. I gave it a coat of Obsidian Oil to preserve and protect the stem.
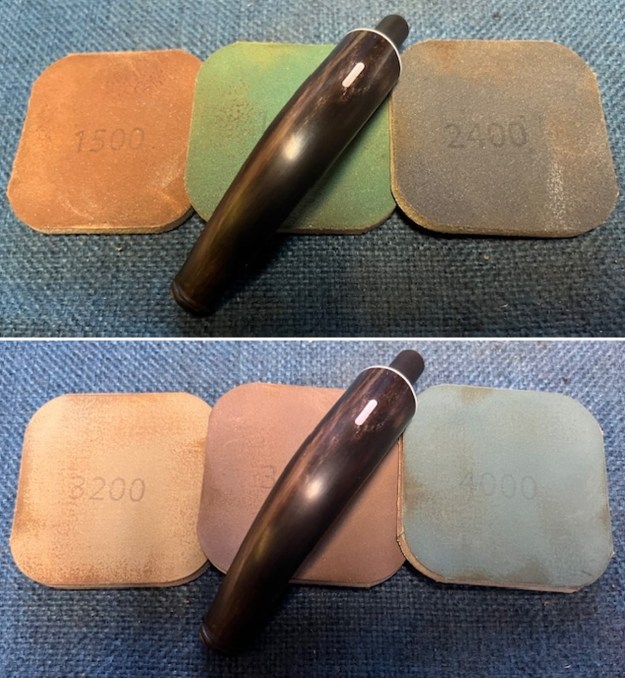
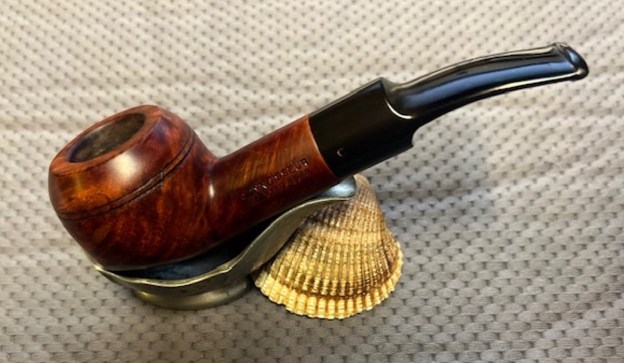
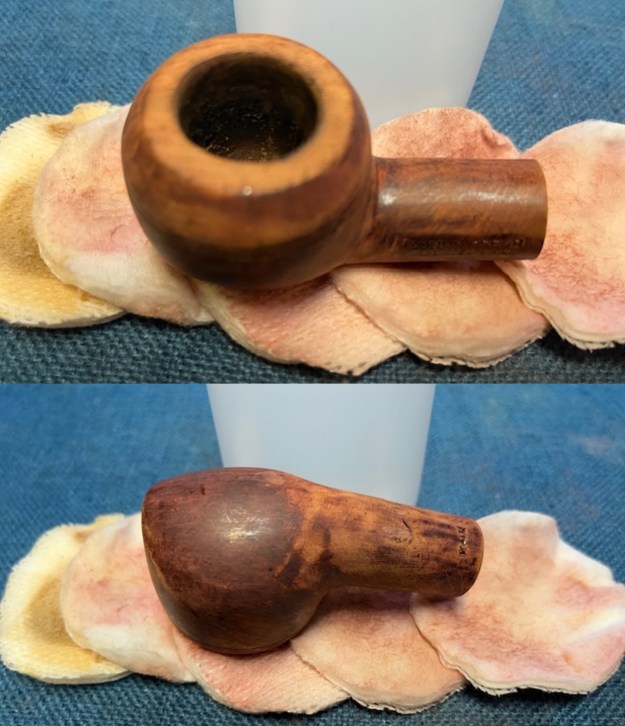
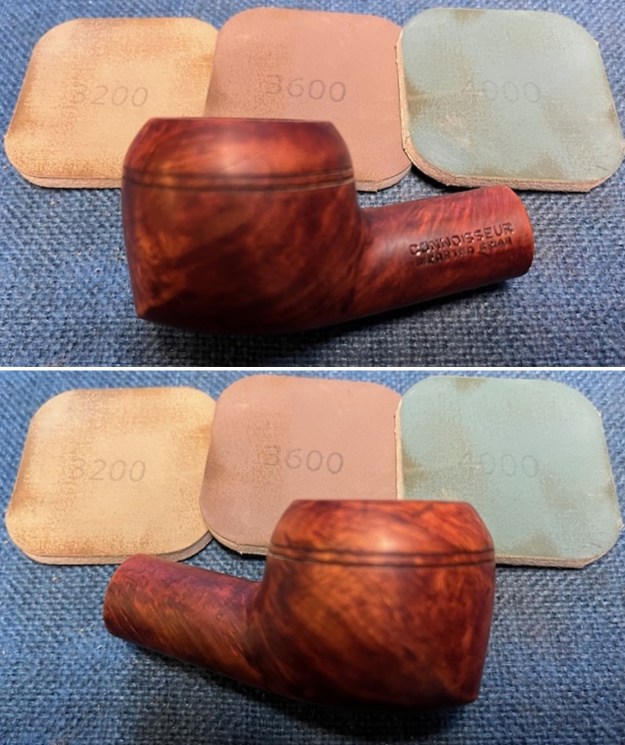
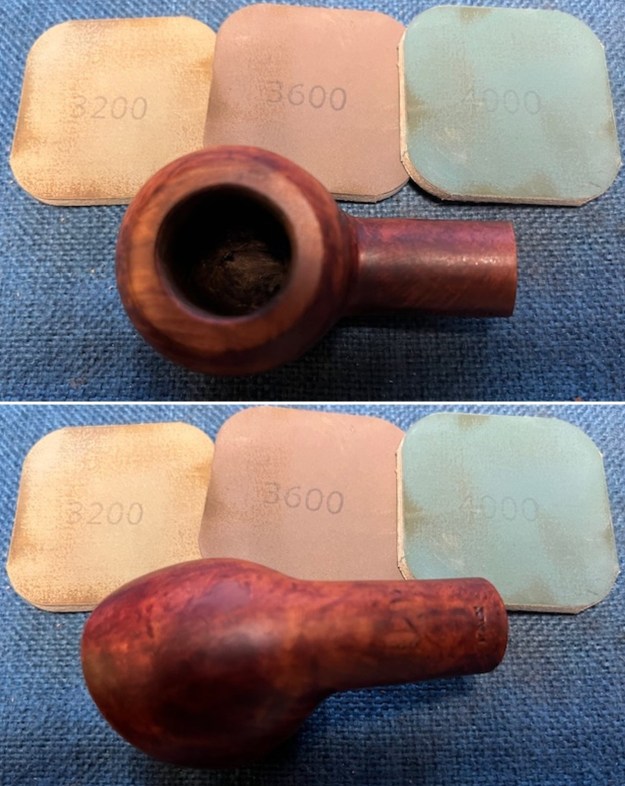
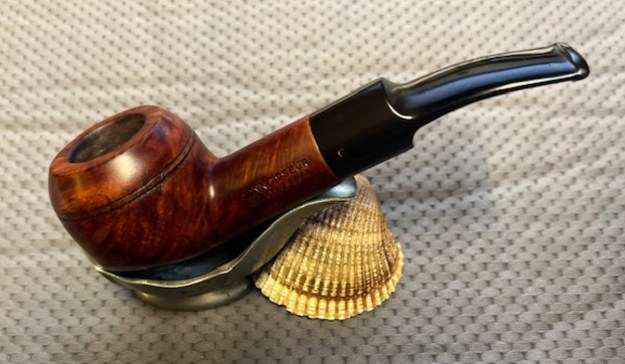
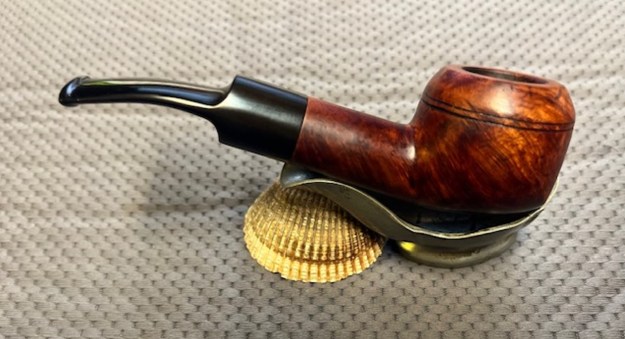
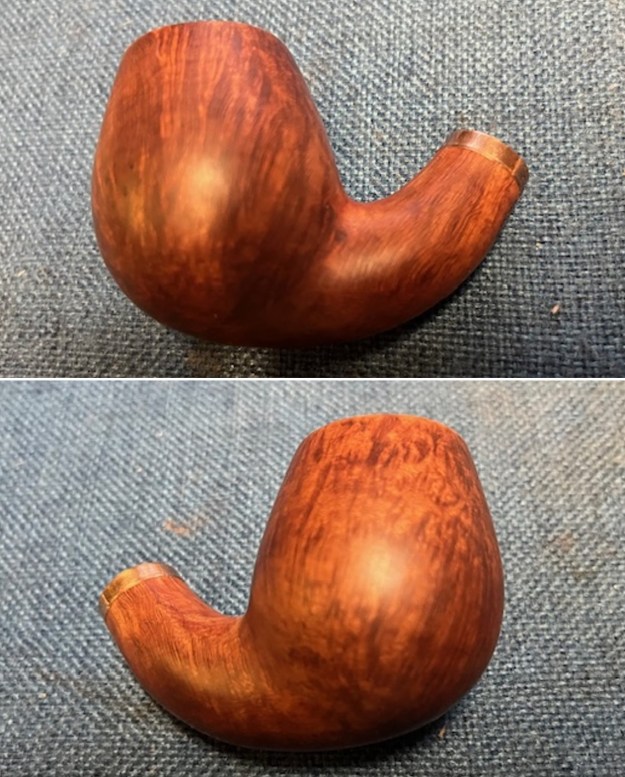
 This Amorelli ** Hand Made Italy Bent Egg is a great looking pipe now that it has been repaired and restored. The brown stains really highlight the grain and the polished finish is stunning. I put the horn stem back on the bowl and carefully buffed the pipe with Blue Diamond on the buffing wheel. I gave the bowl and the stem multiple coats of carnauba wax on the buffing wheel and followed that by buffing the entire pipe with a clean buffing pad. I hand buffed the pipe with a microfiber cloth to deepen the shine. The finished Amorelli ** Hand Made Bent Egg fits nicely in the hand and feels great. Give the finished pipe a look in the photos below. The dimensions of the pipe are Length: 5 inches, Height: 1 ¾ inches, Outside diameter of the bowl: 1 ¼ inches, Chamber diameter: ¾ of an inch. The weight of the pipe is 50 grams /1.76 ounces. I have five more of Stephen’s pipes to work on. Once I have finished I will get them back to him to enjoy with his father. Thanks for reading this blog and my reflections on the pipe while I worked on it.
As always, I encourage your questions and comments as you read the blog. Thanks to each of you who are reading this blog. Remember we are not pipe owners; we are pipe men and women who hold our pipes in trust until they pass on into the trust of those who follow us.