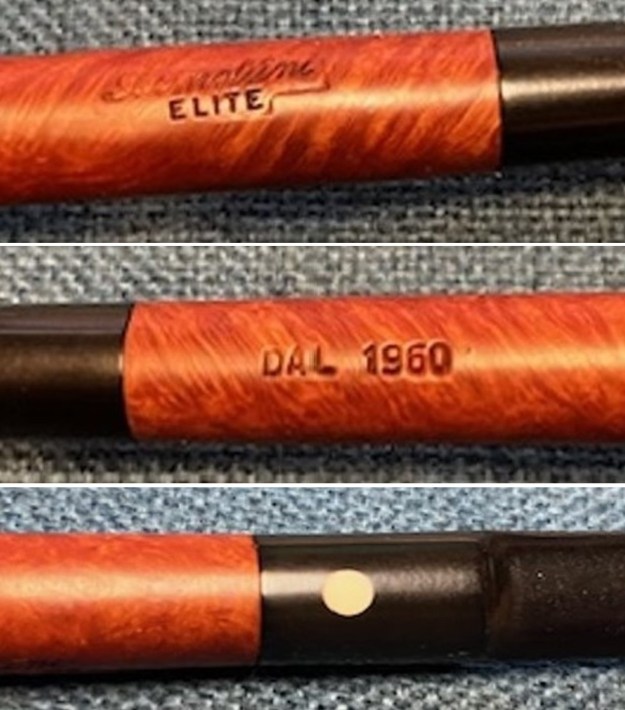
by Steve Laug
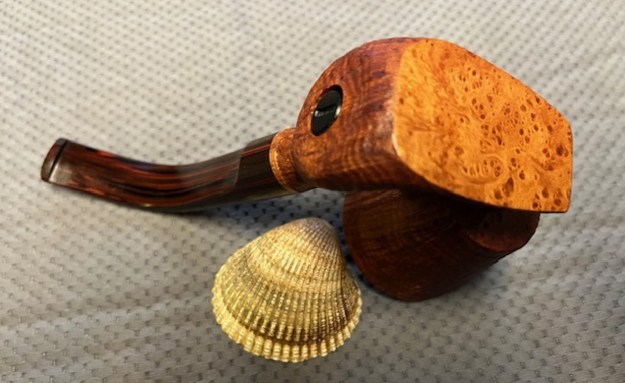
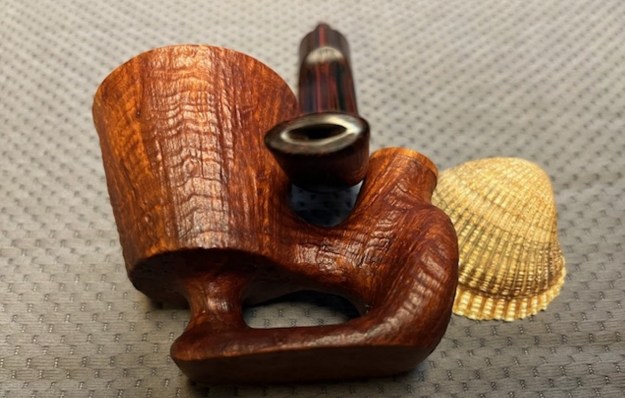
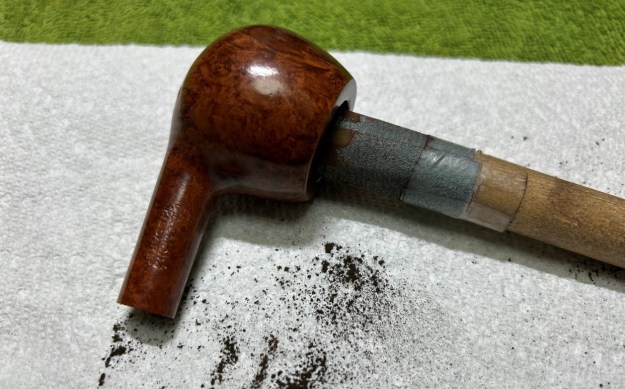
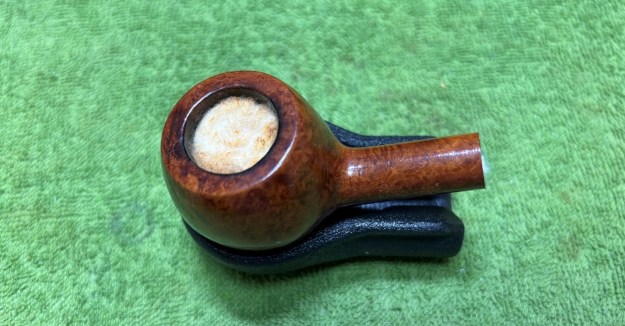
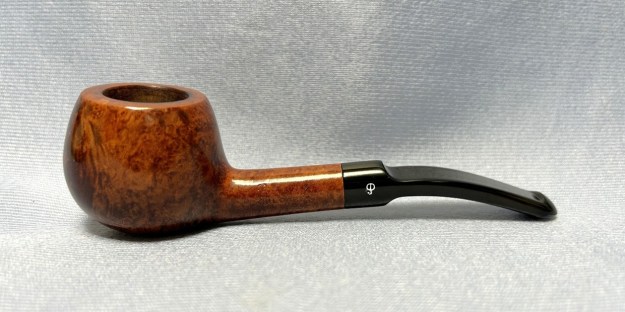
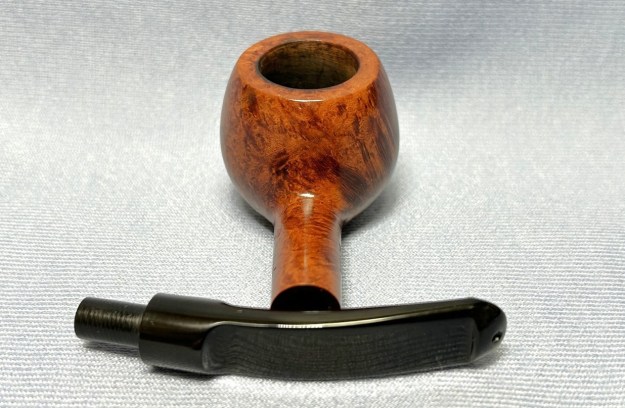
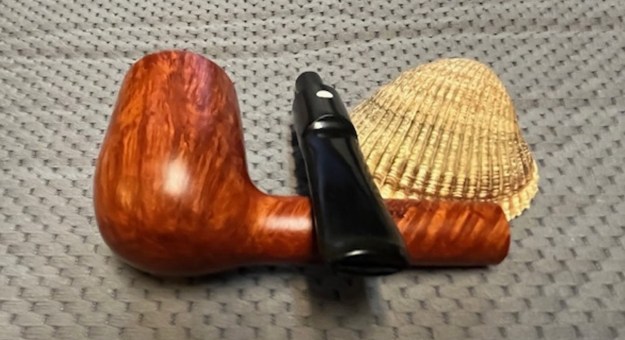
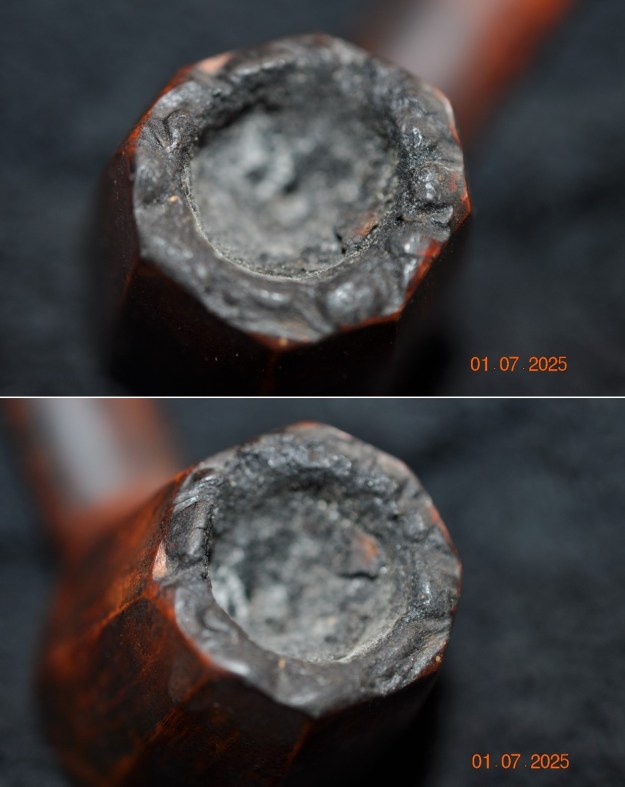
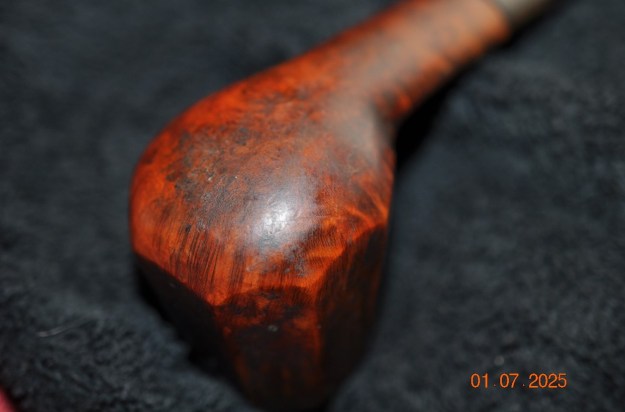
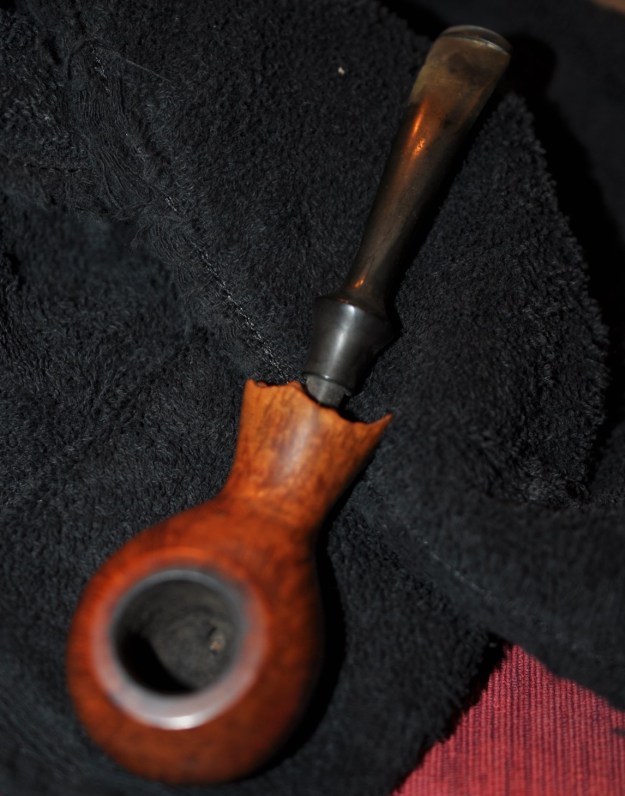
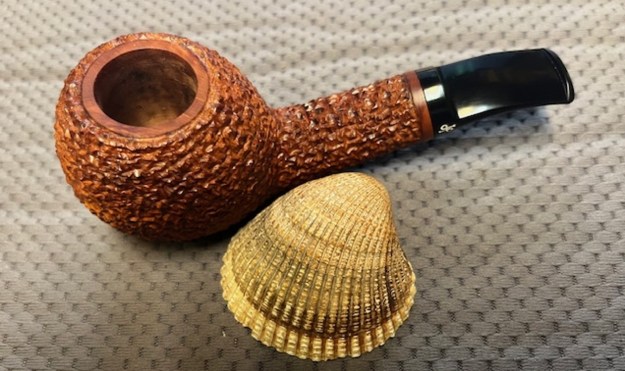
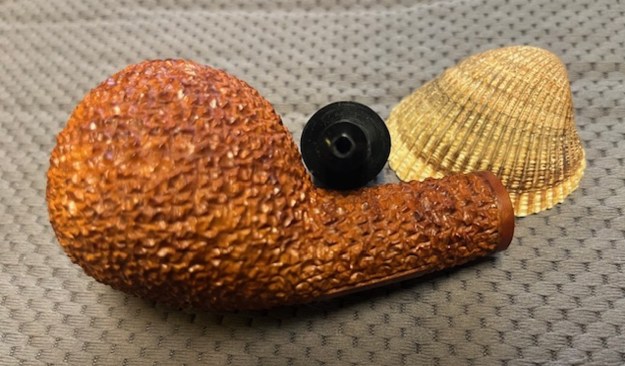
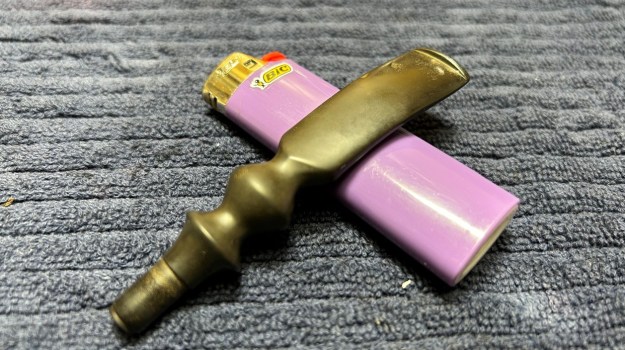
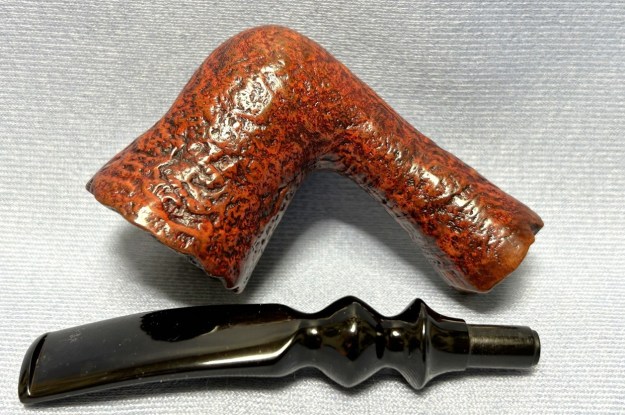
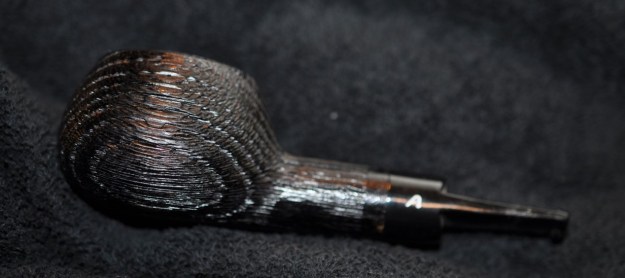
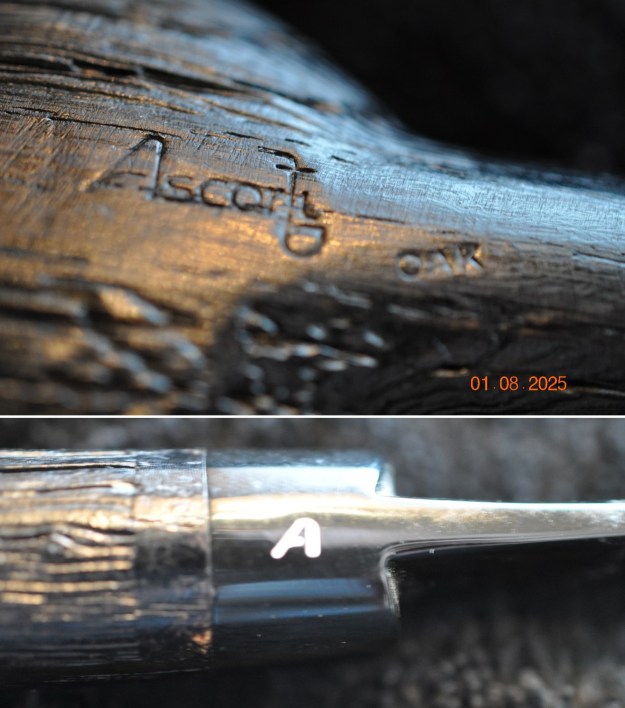
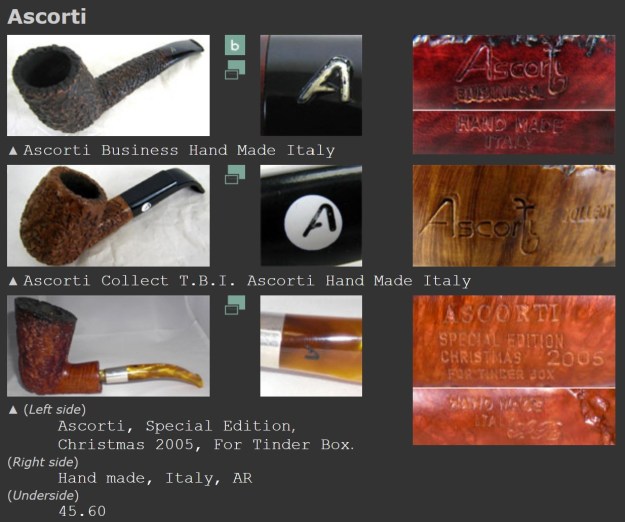
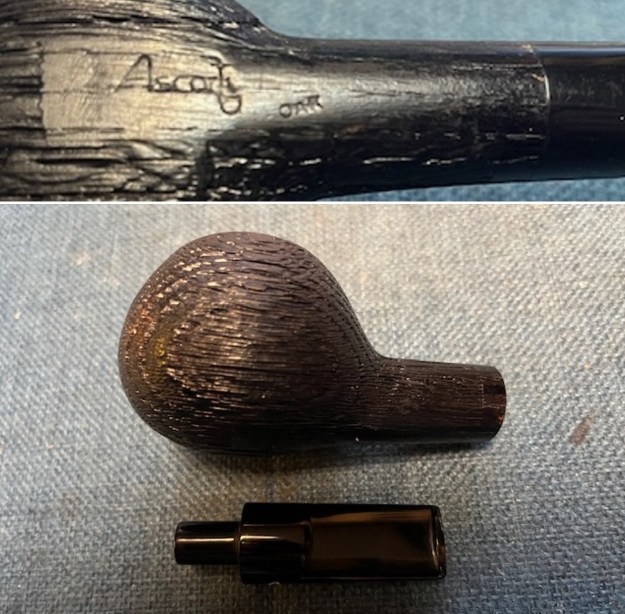
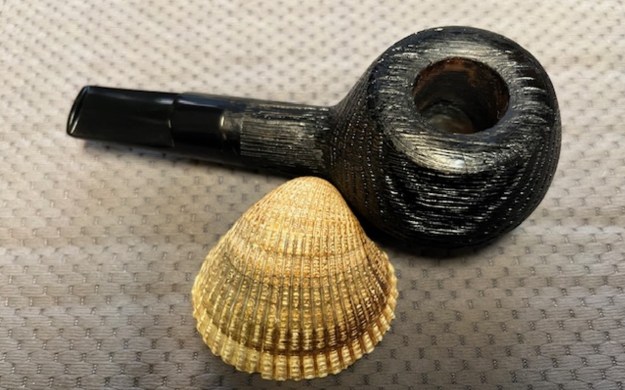
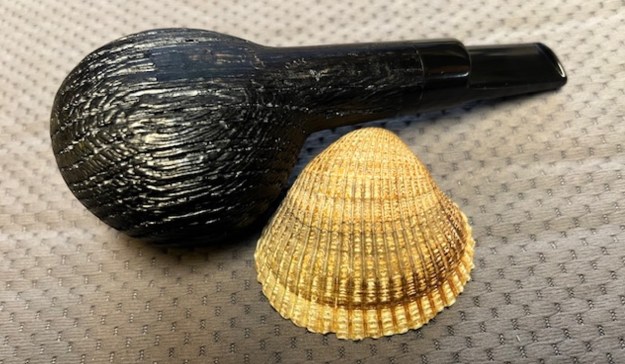
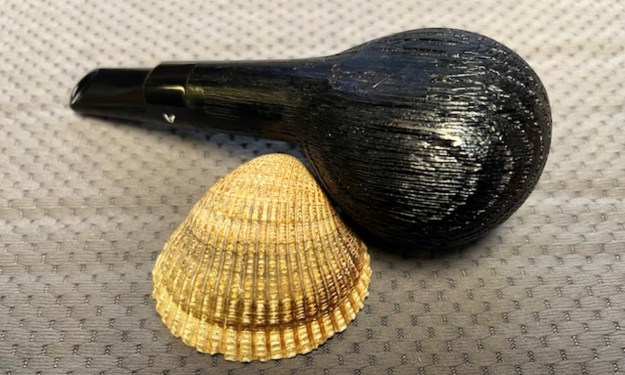
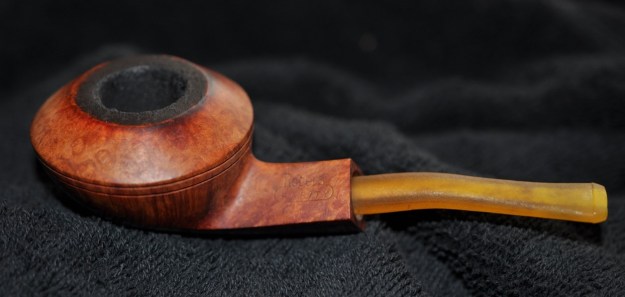
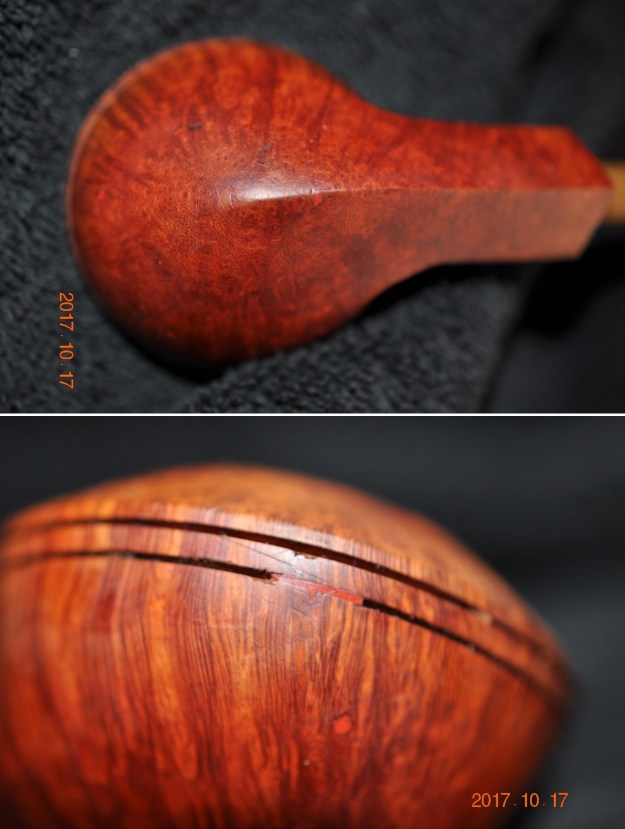
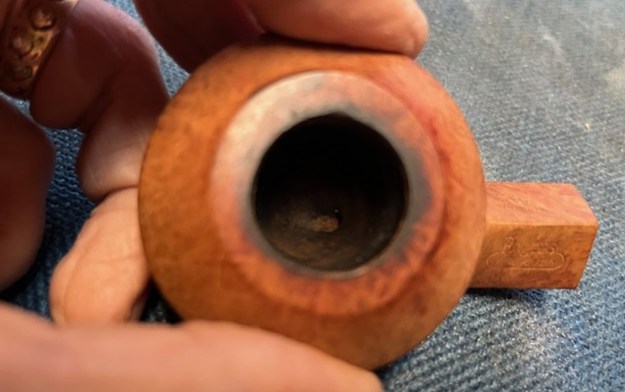
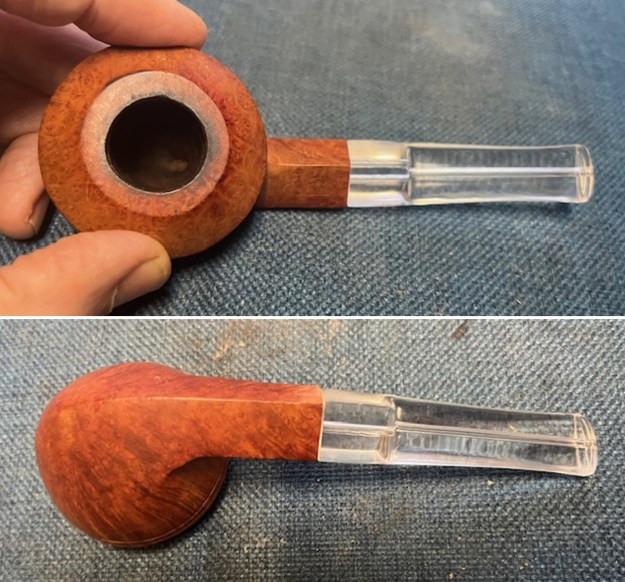
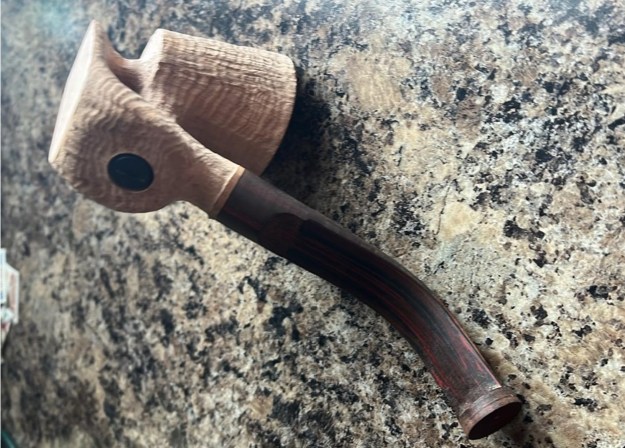
The next pipe I chose to work on was one that we purchased on 12/28/2024 from as part of an estate that belonged to a pipeman and carver, Byron Harwood from Missoula, Montana, USA. This unfinished pipe was one of Byron’s own handmade pipes. It is a lovely piece of briar that was shaped with a Dublin bowl, a pedestal and briar foot or base. The bowl and shank had been sandblasted and the rim top, a ring around the shank and the bottom of the foot are smooth and great looking grain. The sandblast really reveals ring grain around the bowl sides and shank. The end of the foot has a threaded metal plug and a rubber cap that covers where the airway was drilled into the shank and bowl. The airway in the mortise is above the airway in the shank. It is well executed and the draught is very good. The stem is unfinished Cumberland. It has a great fit to the shank, has been bent to fit the angles of the pipe. The underside of the stem is a half saddle. The button was not shaped or finished and was essentially a disk. The pipe was quite large but there was a charm to it that just called out to me to finish it! Here is what it looked like when Jeff received it.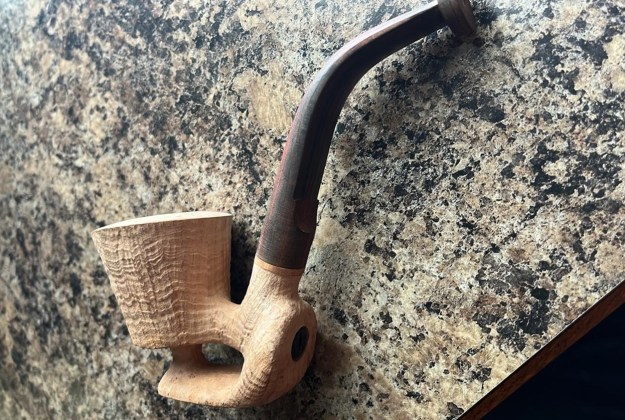
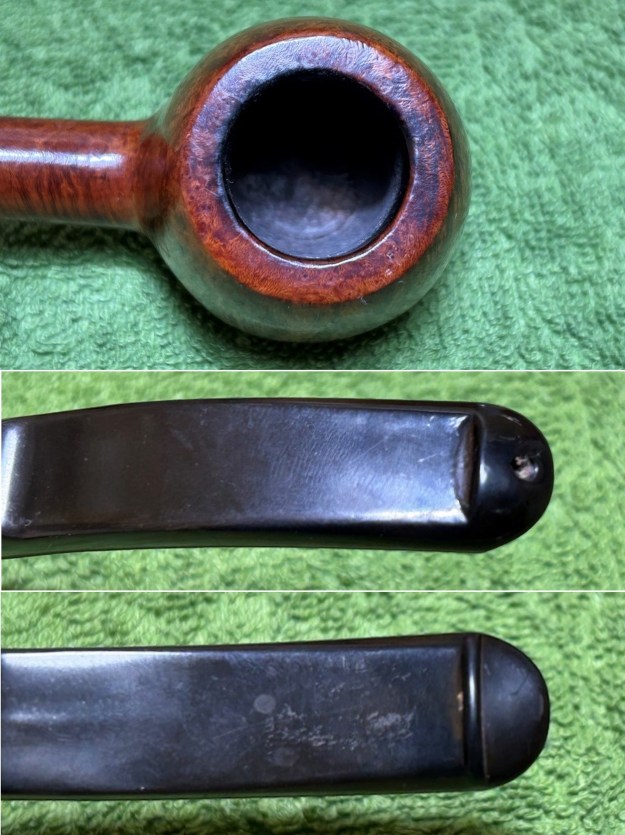
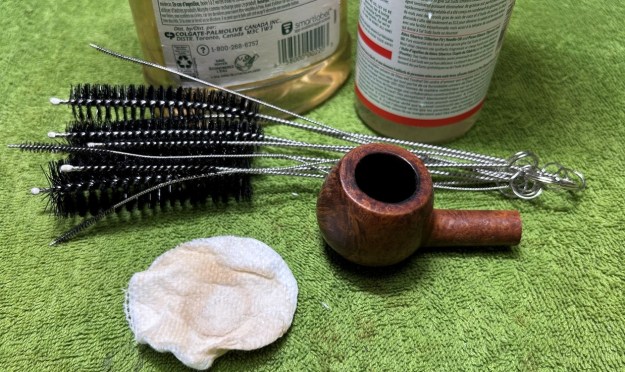
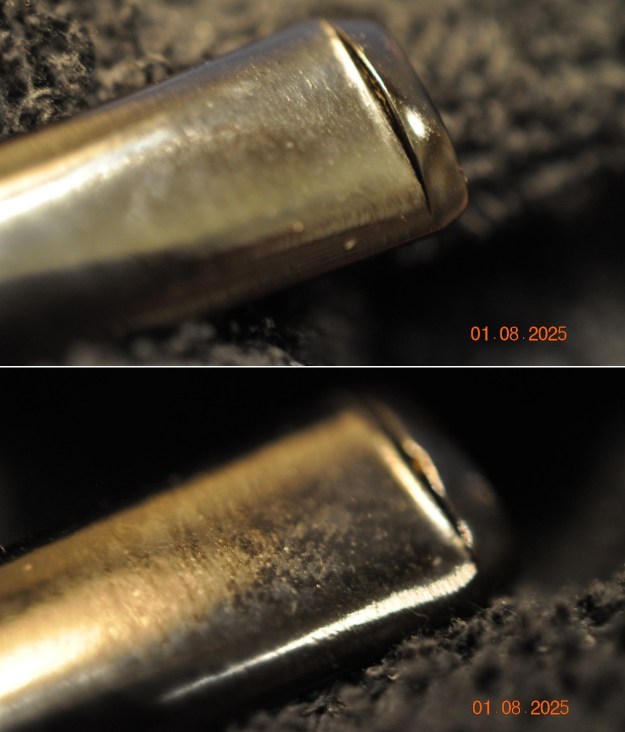
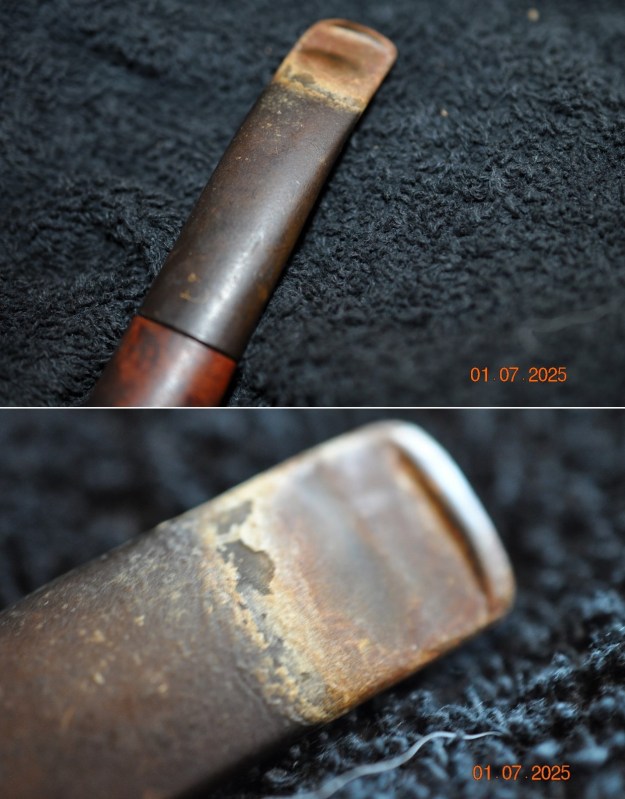
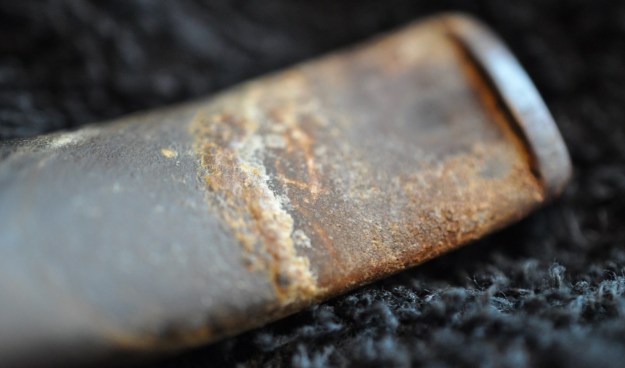
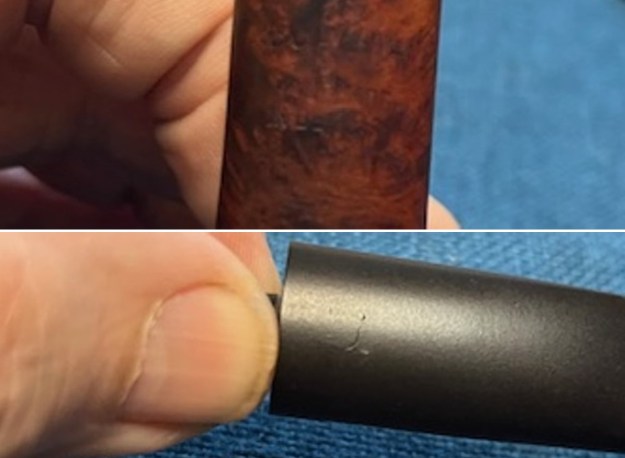
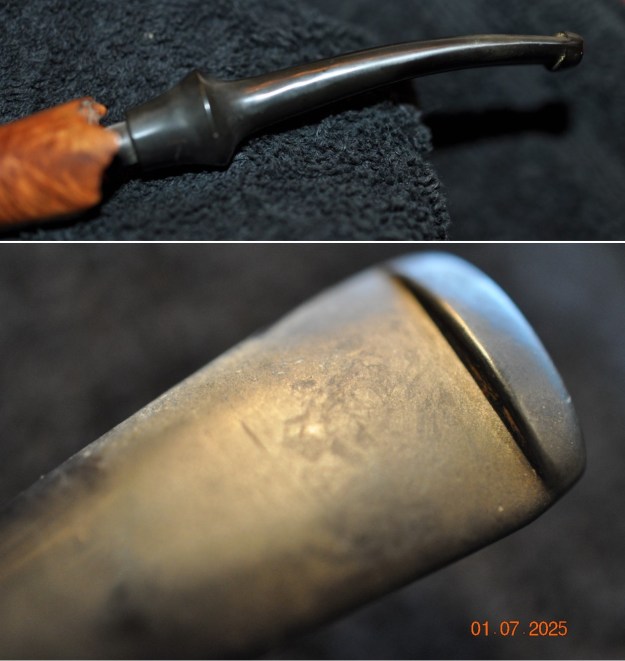
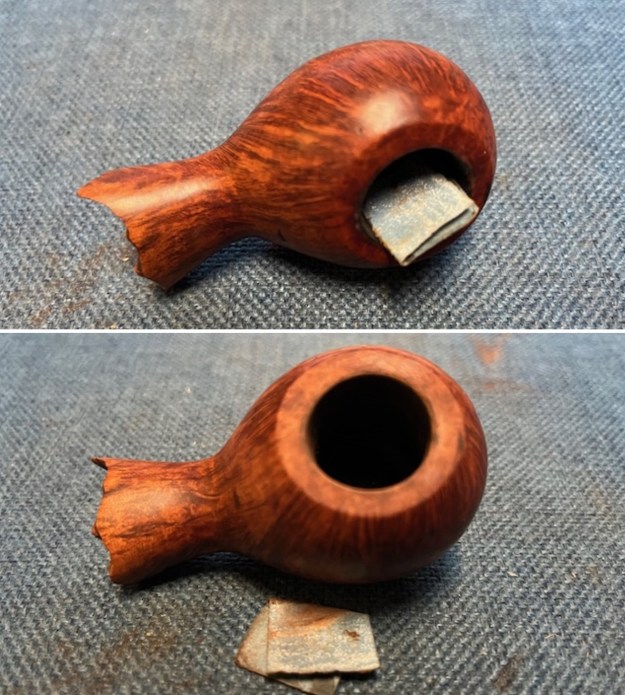
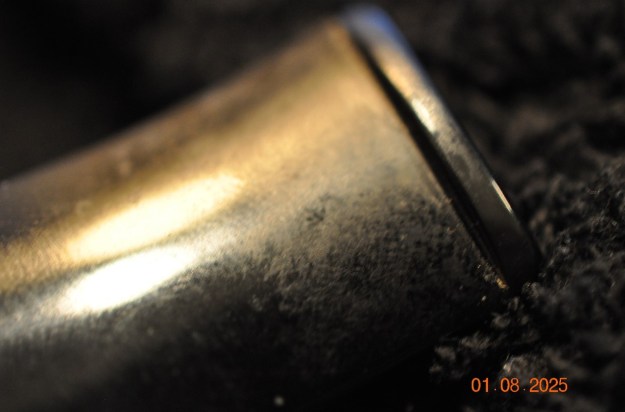
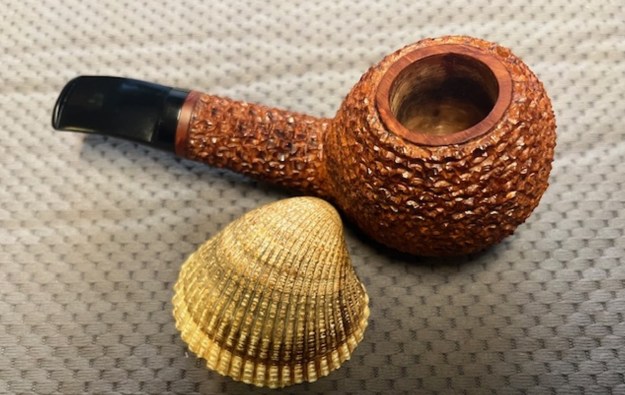
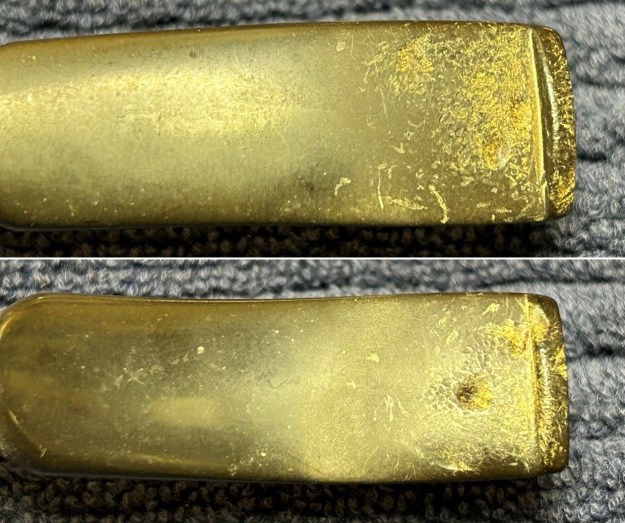
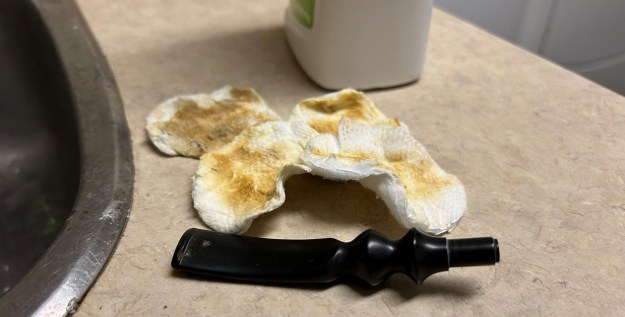
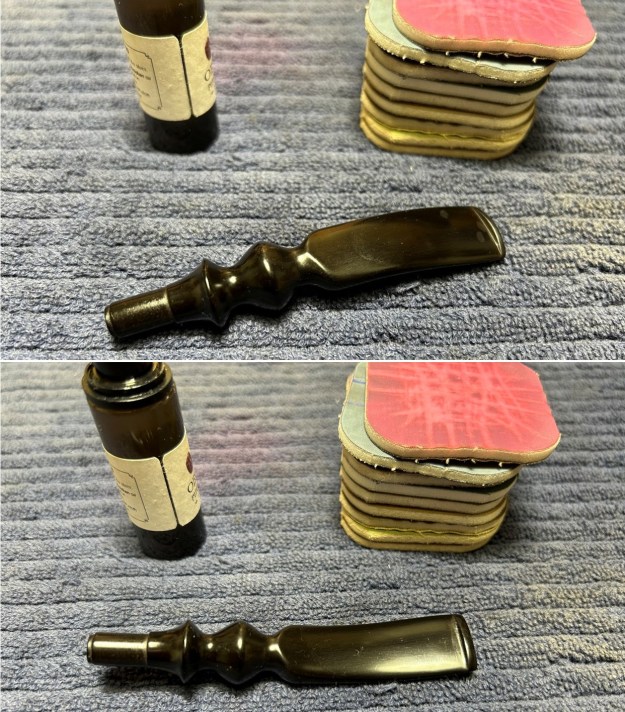
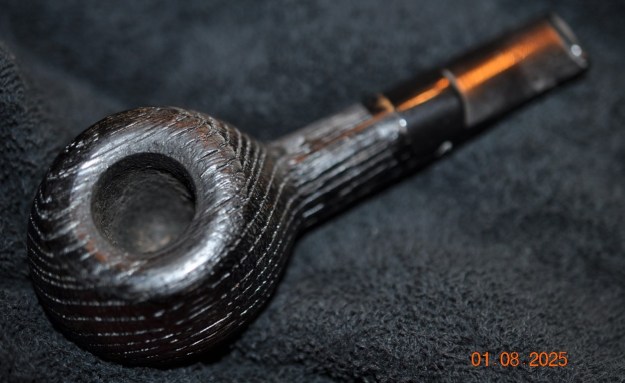
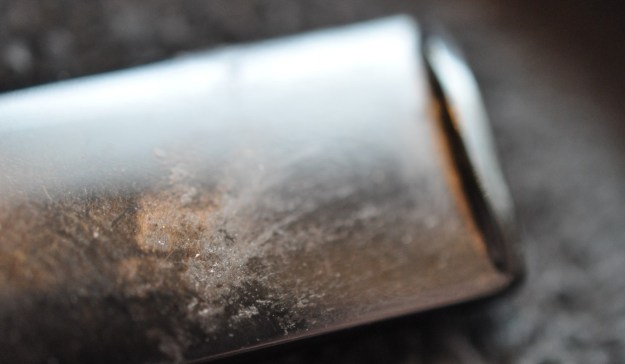
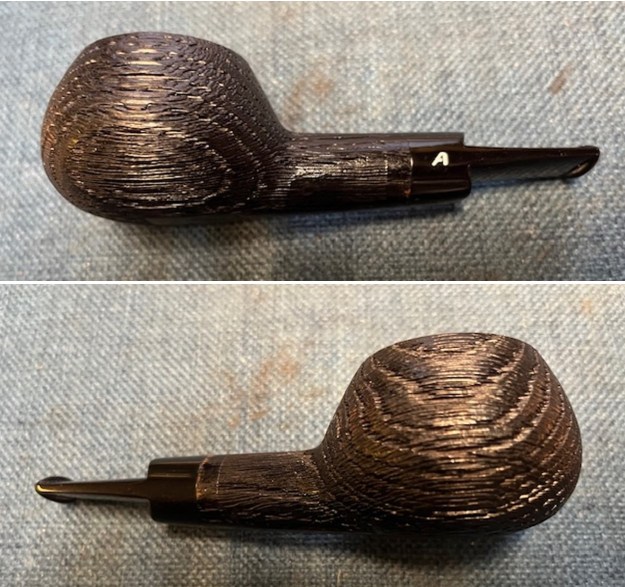
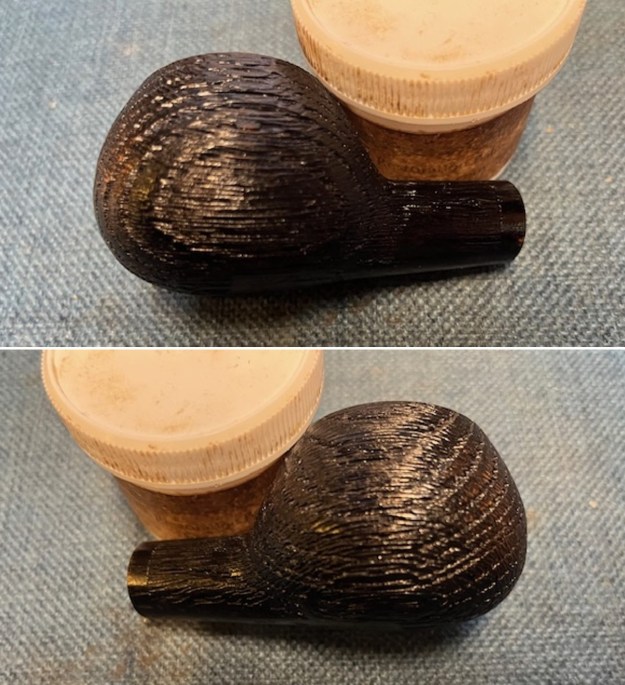
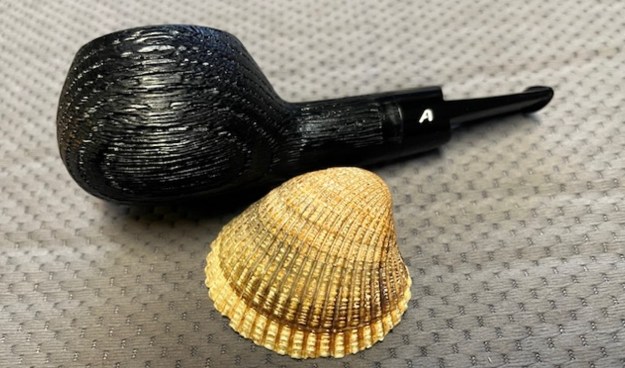
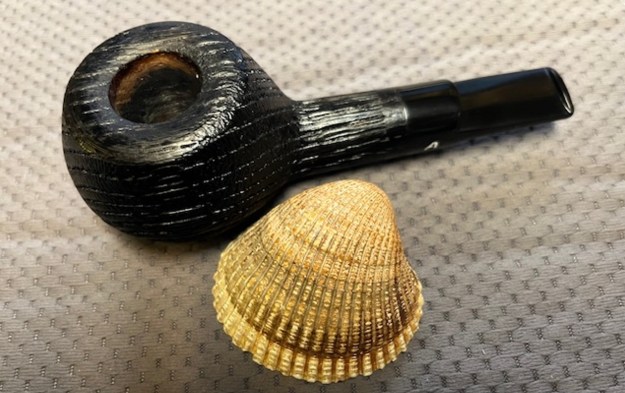
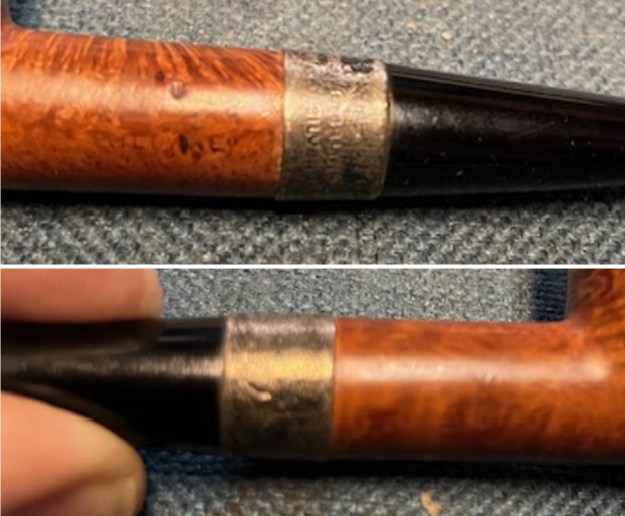
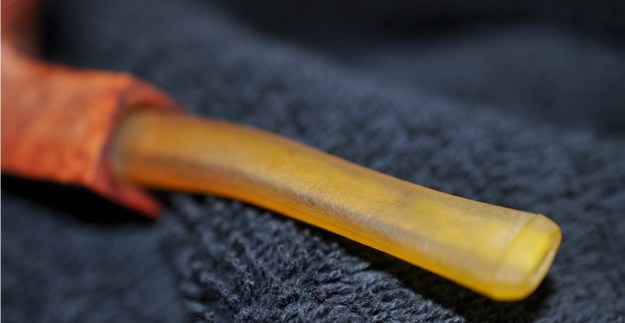
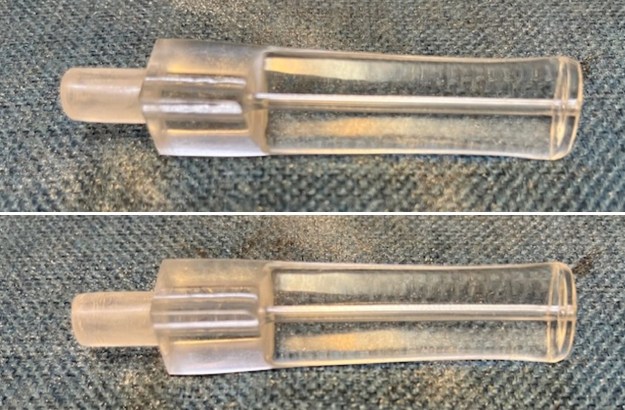
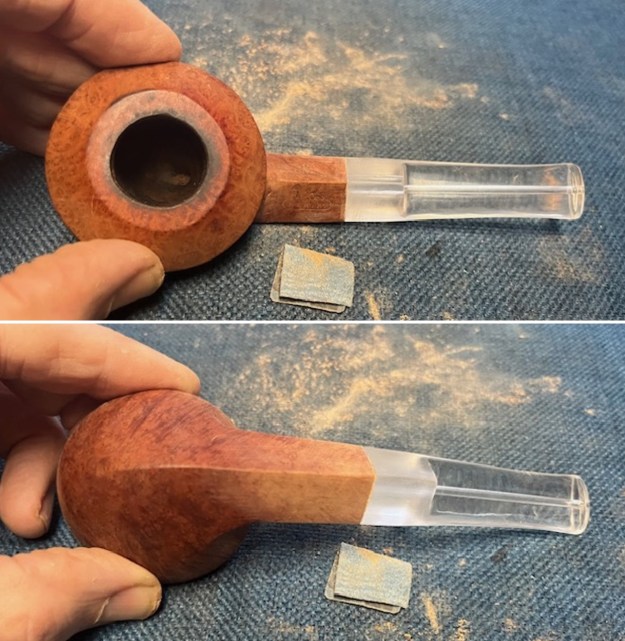
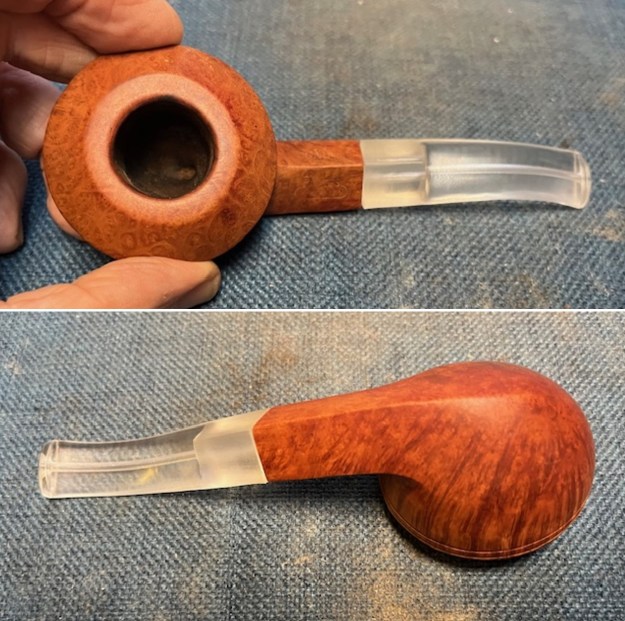
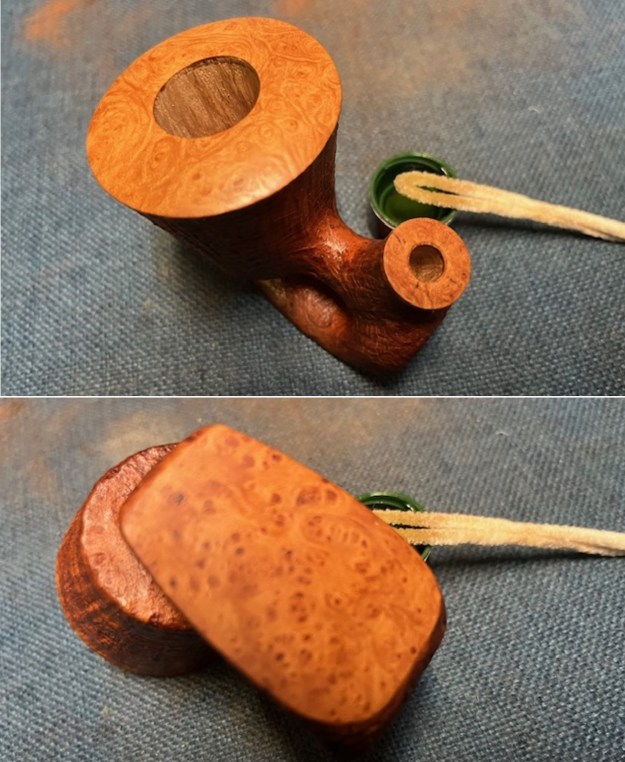
 I decided to start working on this pipe by shaping the stem and button. I took photos of the stem before I started. You can see the unfinished half saddle portion on the underside of the stem. There is a bump/ledge and also some scratches and grooves. You can also see the scratch marks around the shank end but the fit against the shank is well done. The bend is also correct. The unshaped button/disk will need a lot of shaping.
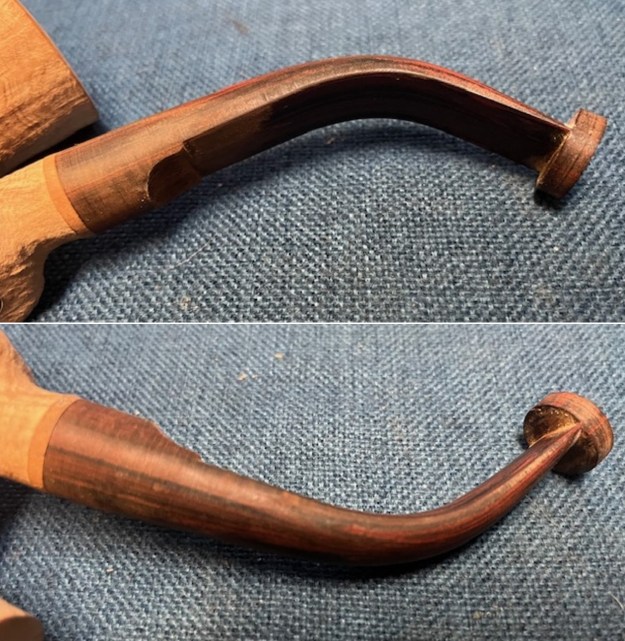
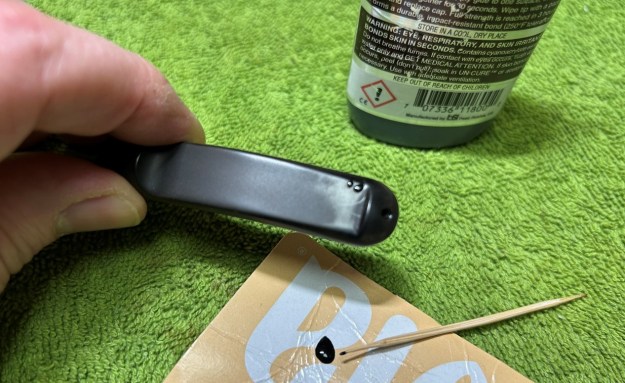
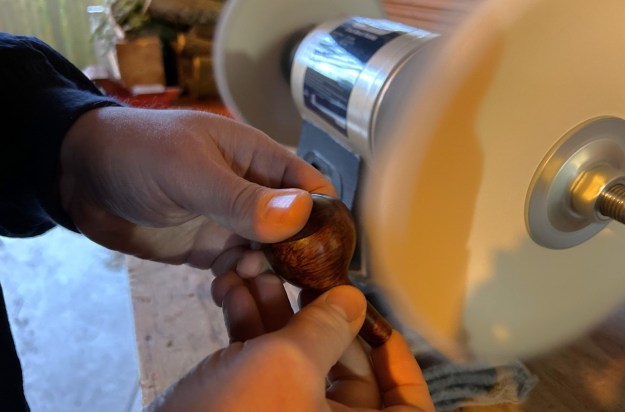
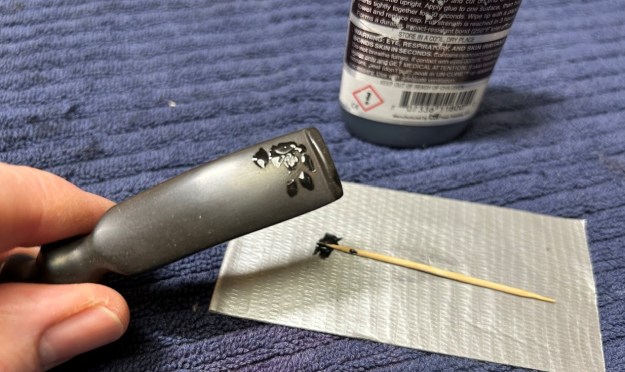
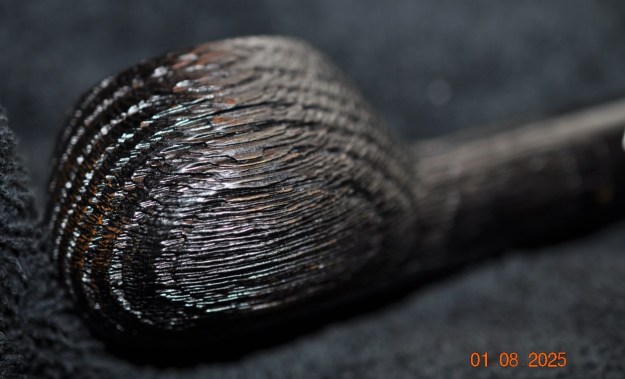
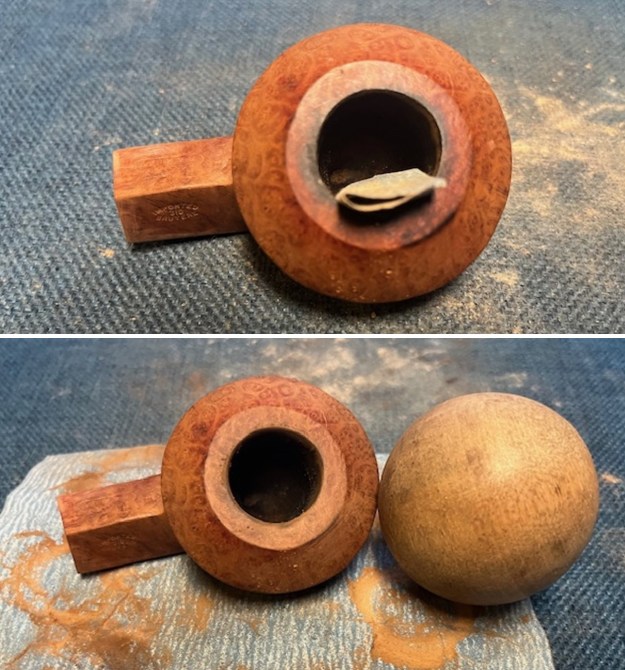
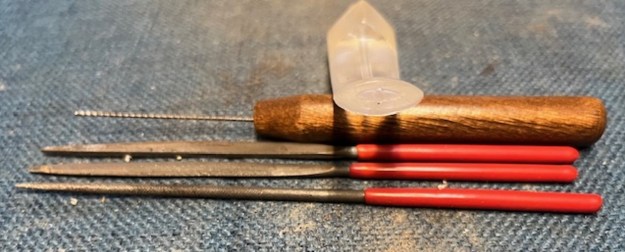
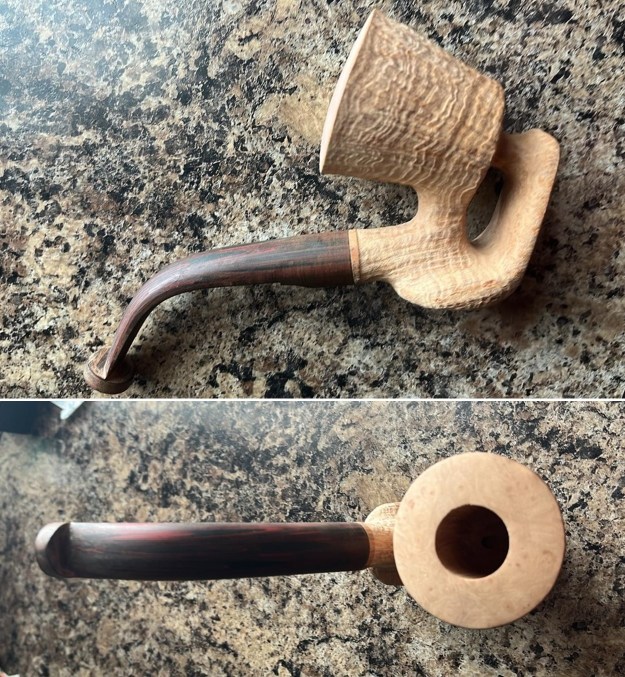
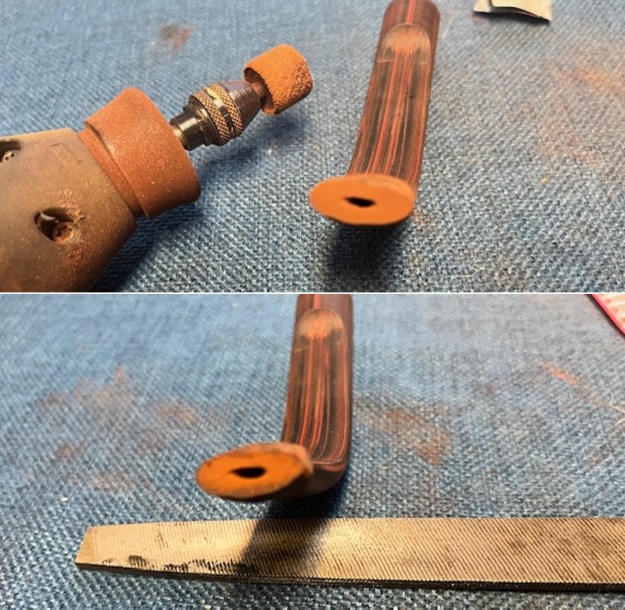
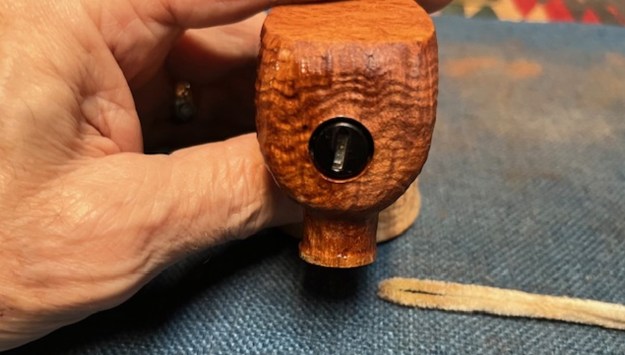
 I began my work on the stem by developing and shaping the button. I began with what is known as a slot saw to open up the sides of simple single hole in the end. Once I had extended the opening I used a variety of round and oval needle files to begin shaping the opening in the stem end.
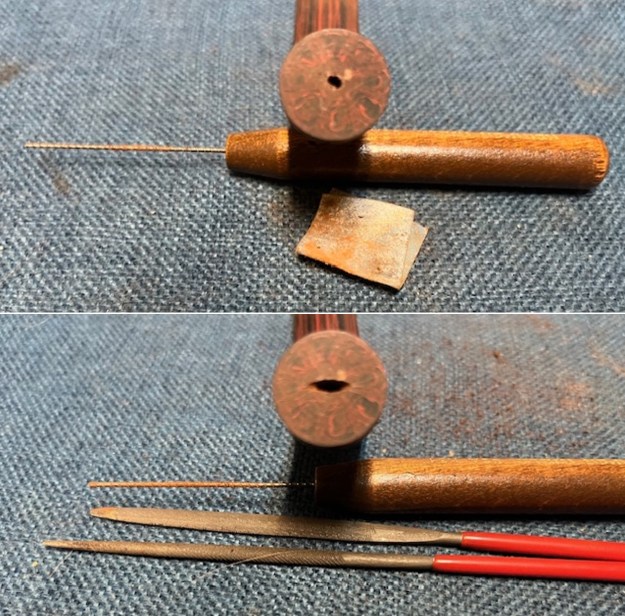 I lightly sanded the underside of the stem to smooth out the marks in the half saddle stem. I was able to remove many of them but more work would need to be done. I used a Dremel and sanding drum to shape the button edges and remove the disk like shape of it. I wanted the button edges to be more oval and closer to the surface of the stem/button junction so I continued with the sanding drum and a file to shape and reduce the surface.
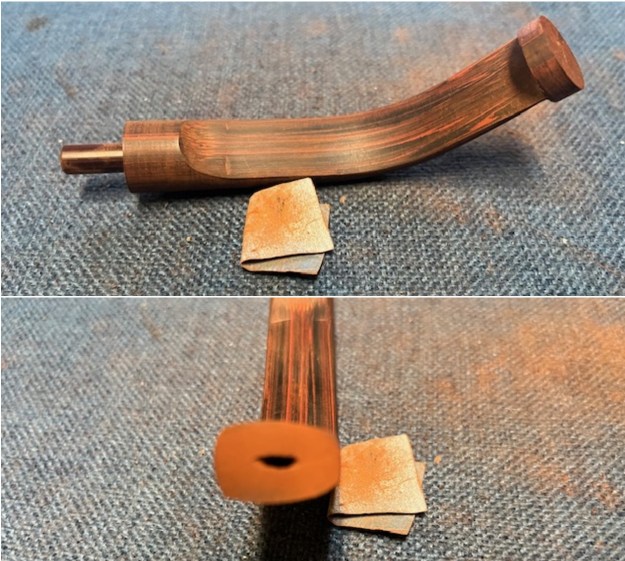
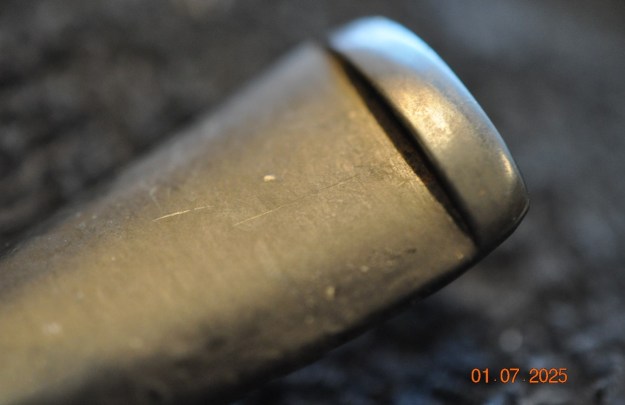
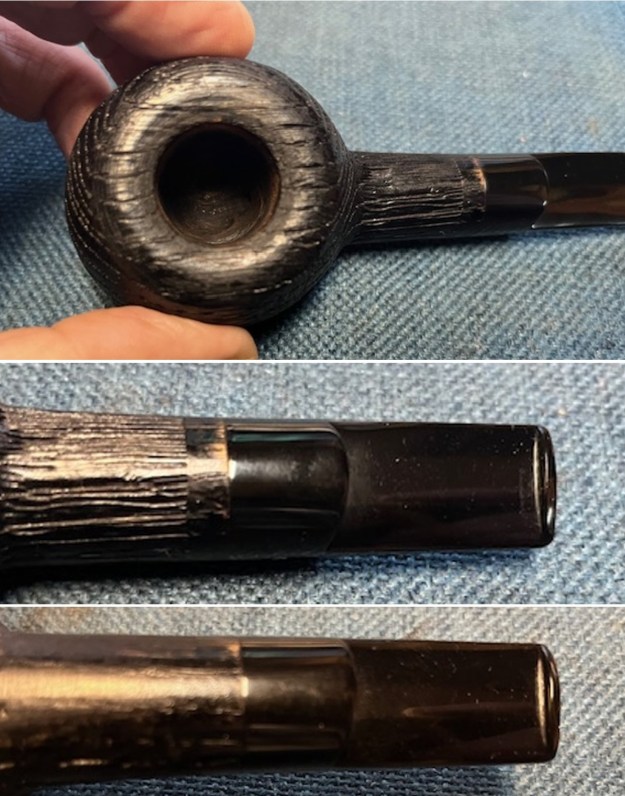
 I continued to shape both the button and the slot with small needle files and was getting closer to what I was looking for in terms of shape. I also flattened the end of the button to reduce the depth of the button edge into the stem surface. I like a thinner more comfortable button so that is what I was aiming for. I also worked on the slot to open it up and give it a more pronounced “Y” shape using a series of round and oval files. I smoothed out the slot with a folded piece of 220 grit sandpaper. It really is looking quite good at this point.
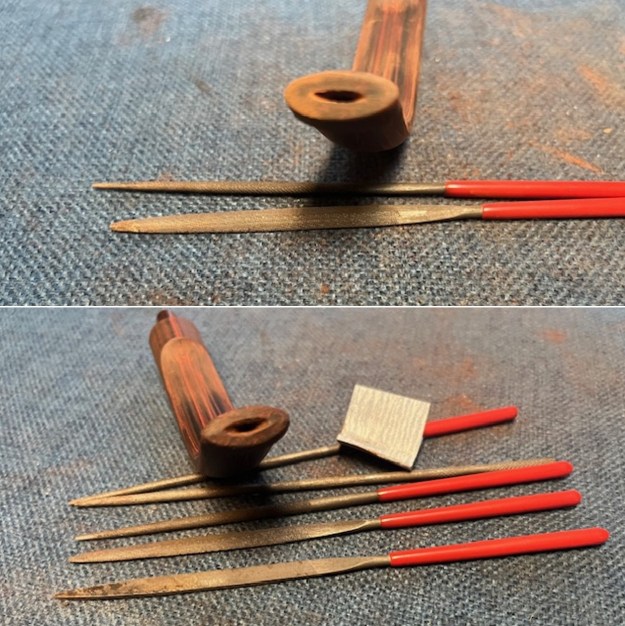
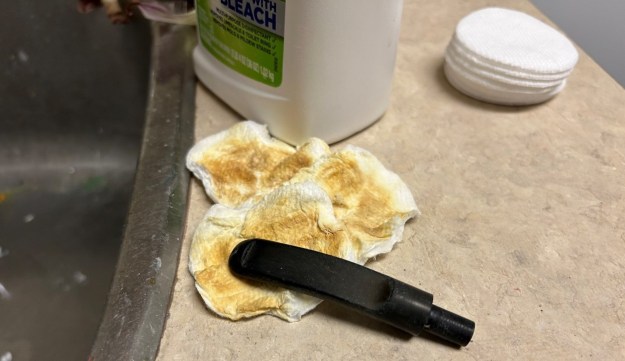
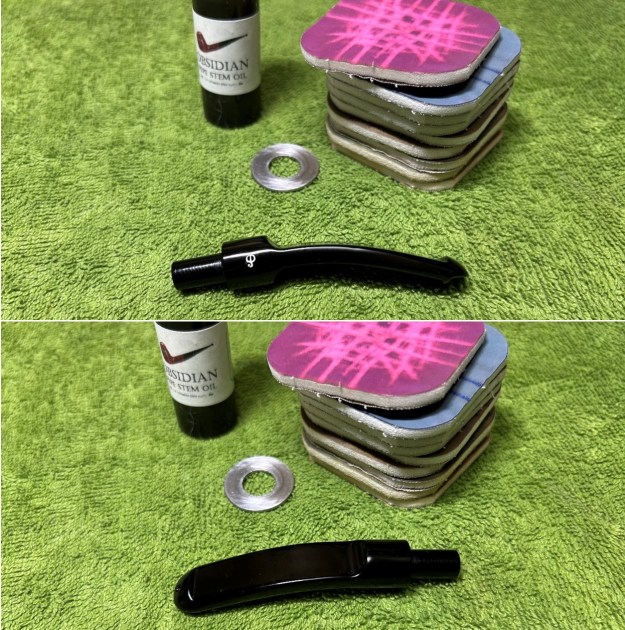
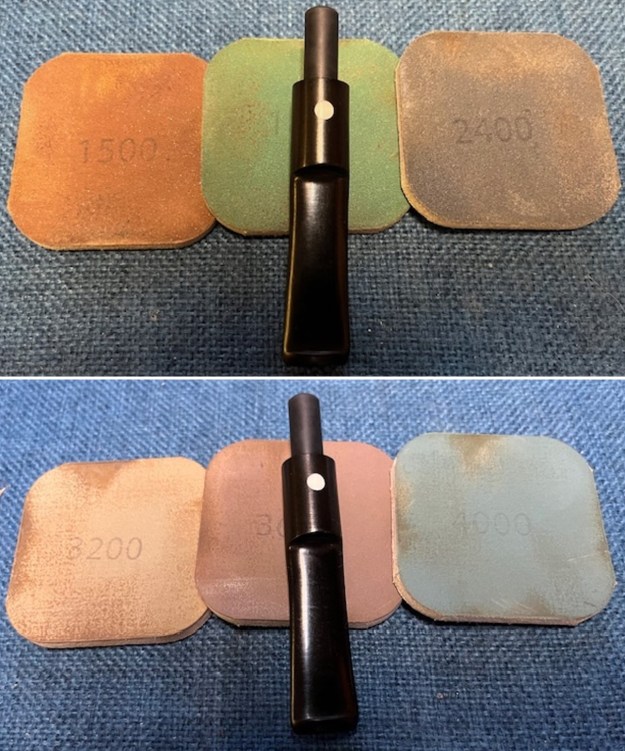
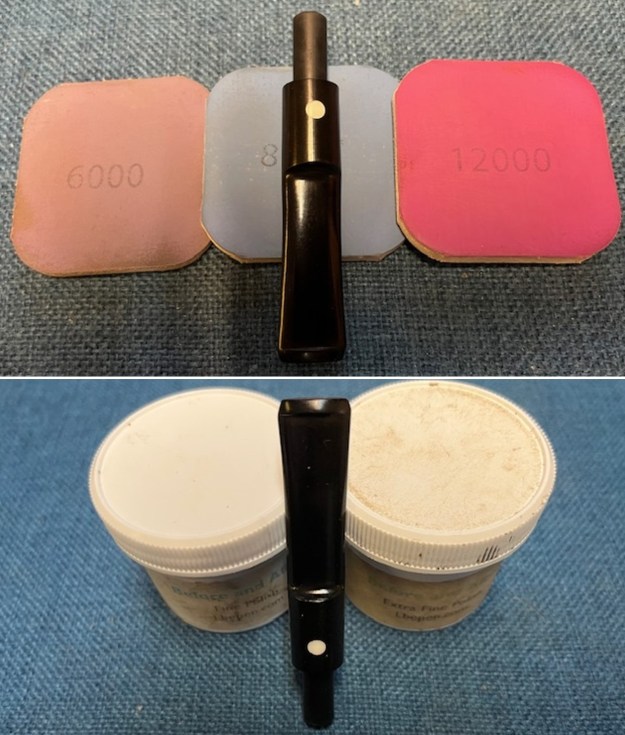
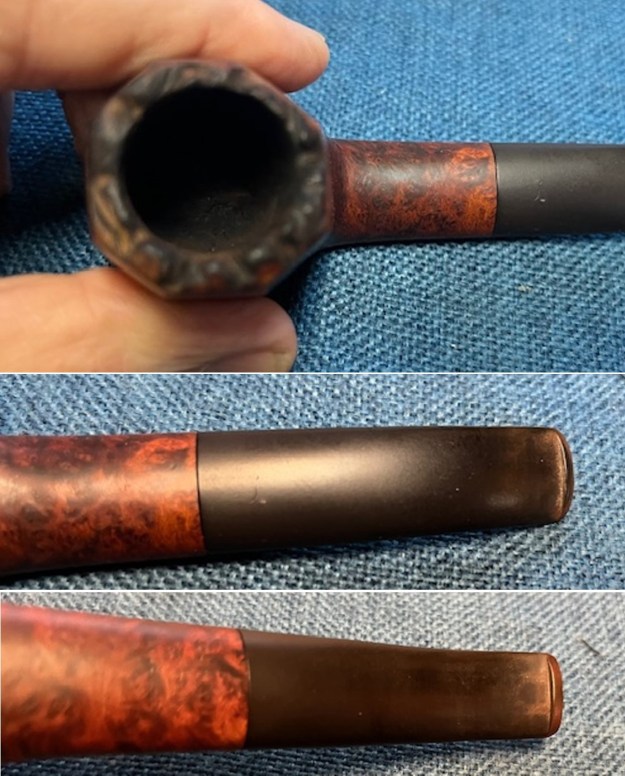
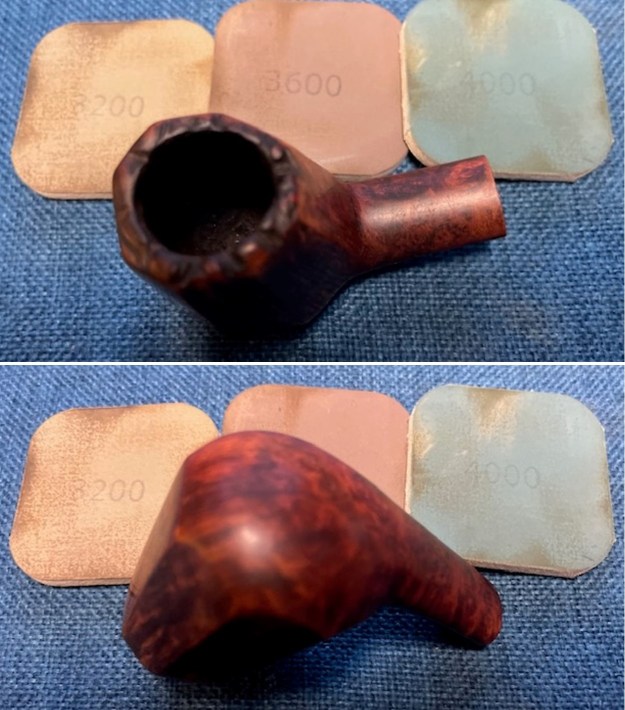
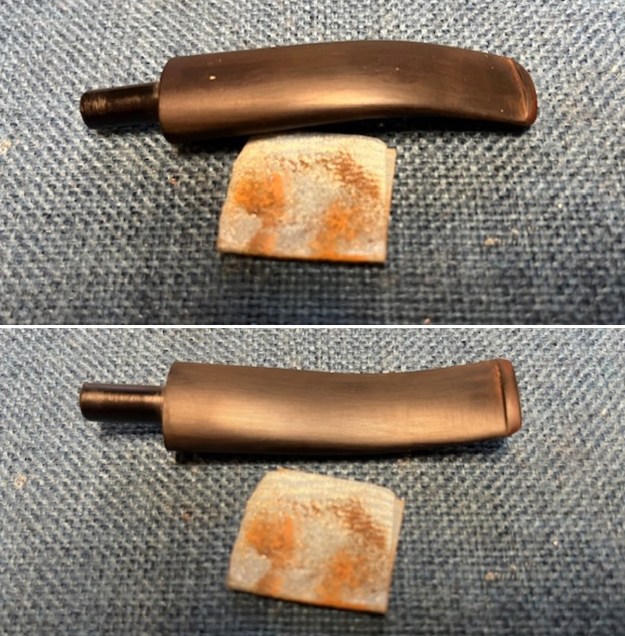
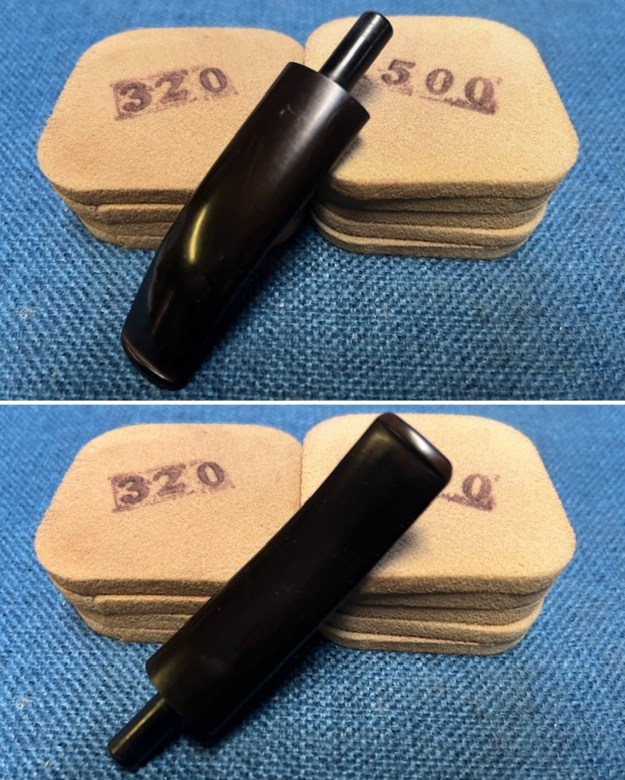
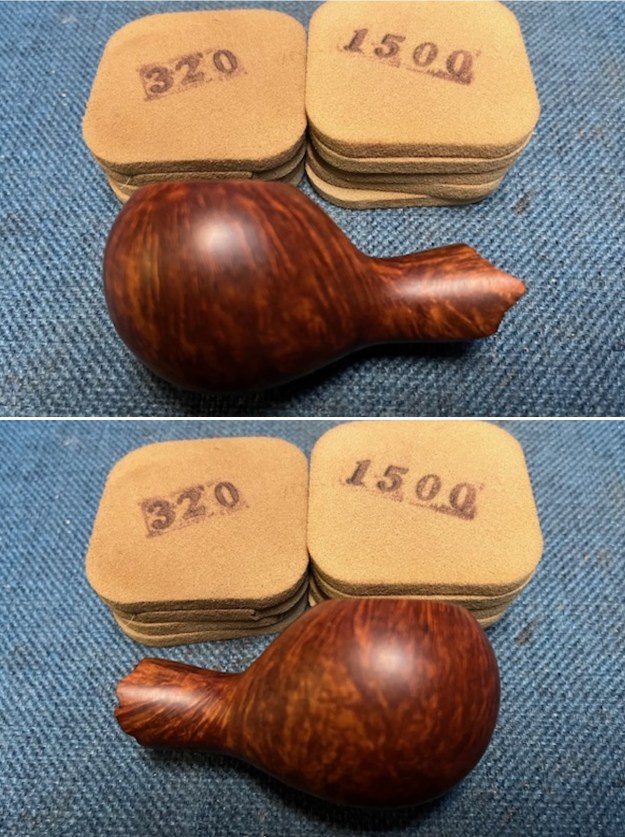
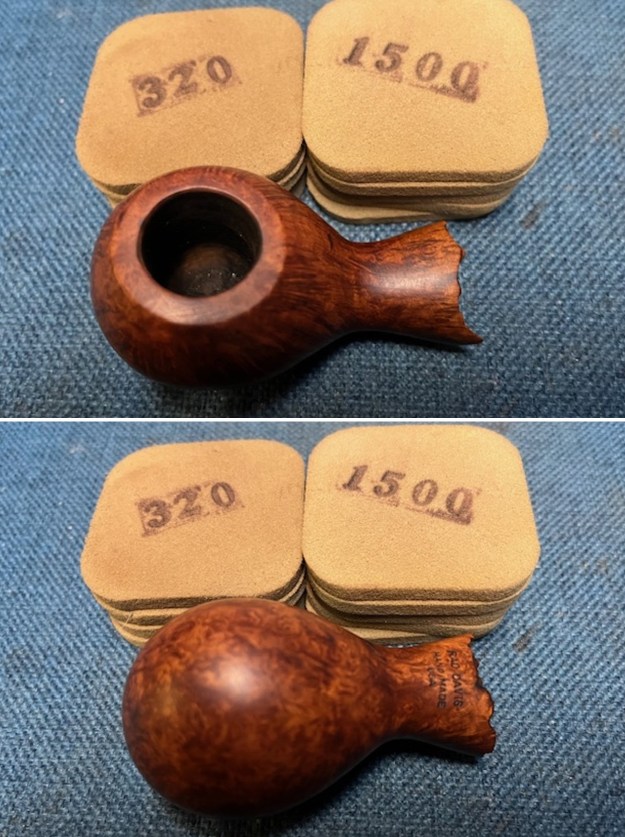
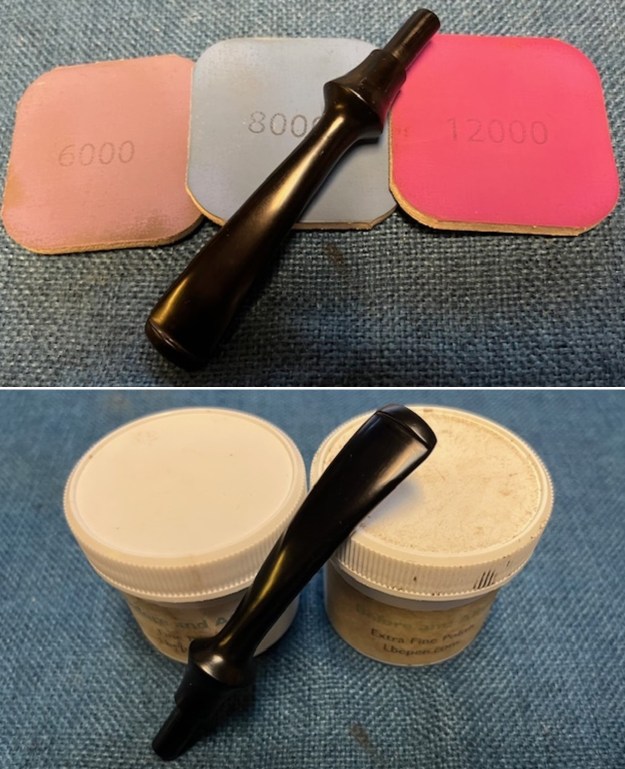
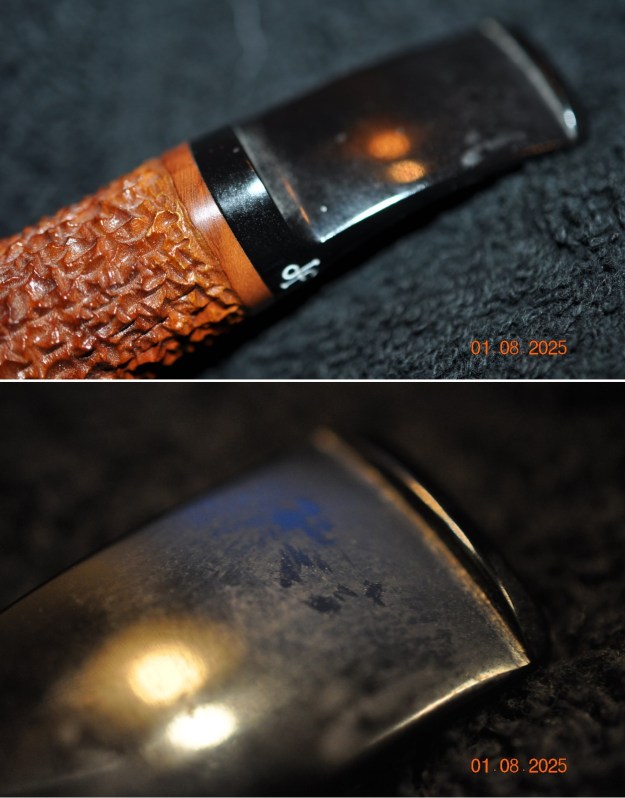
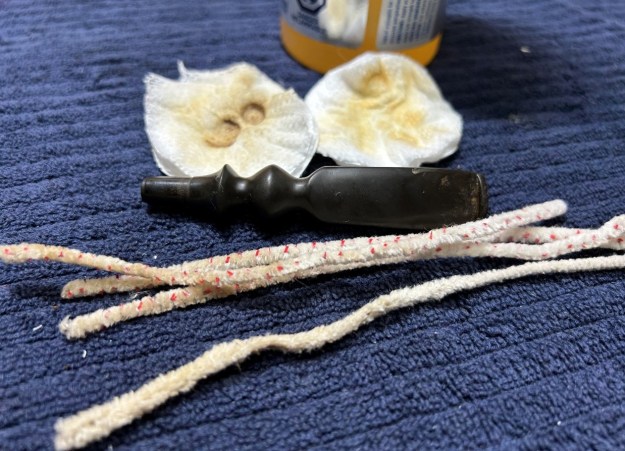
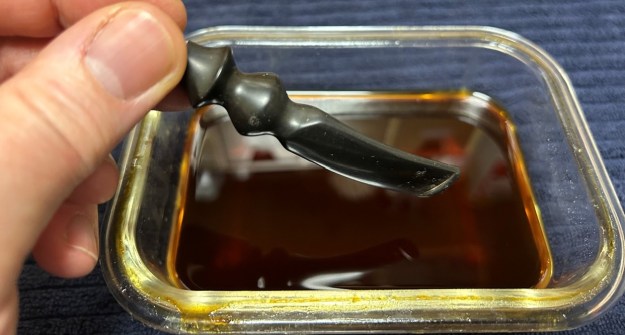
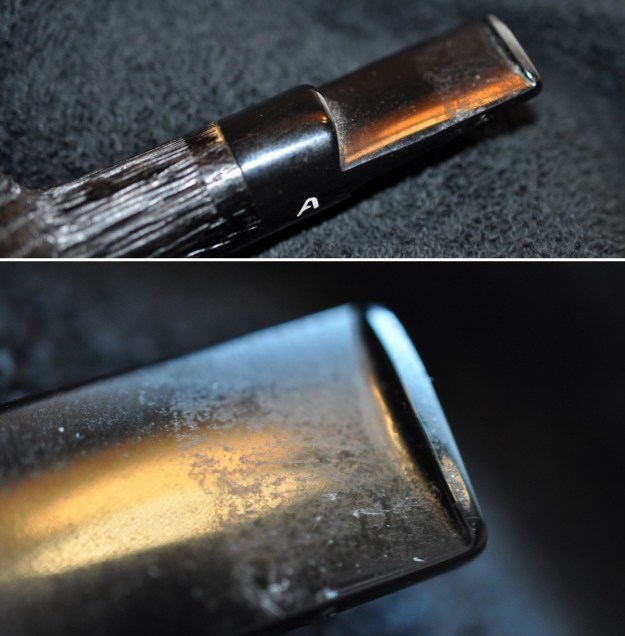
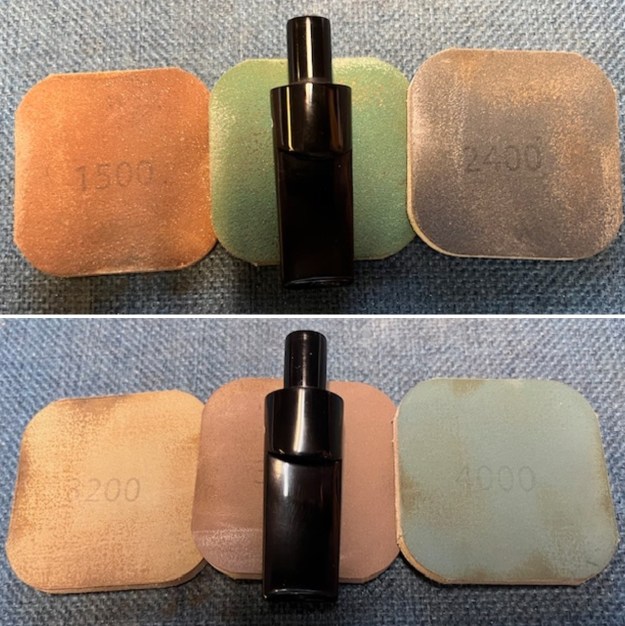
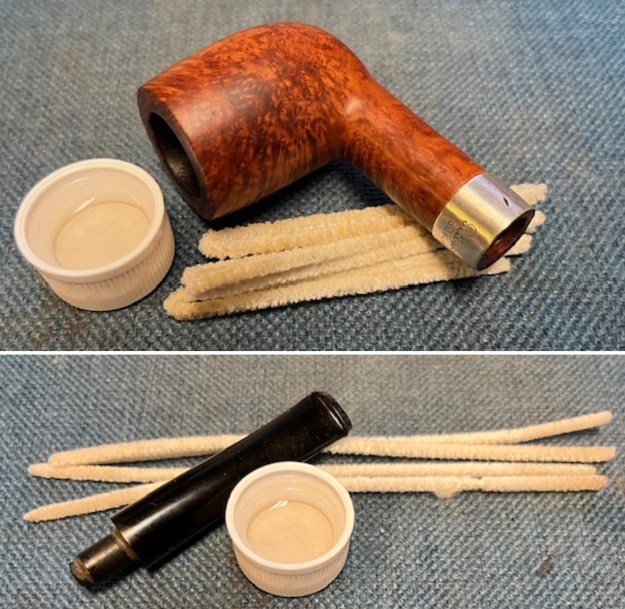
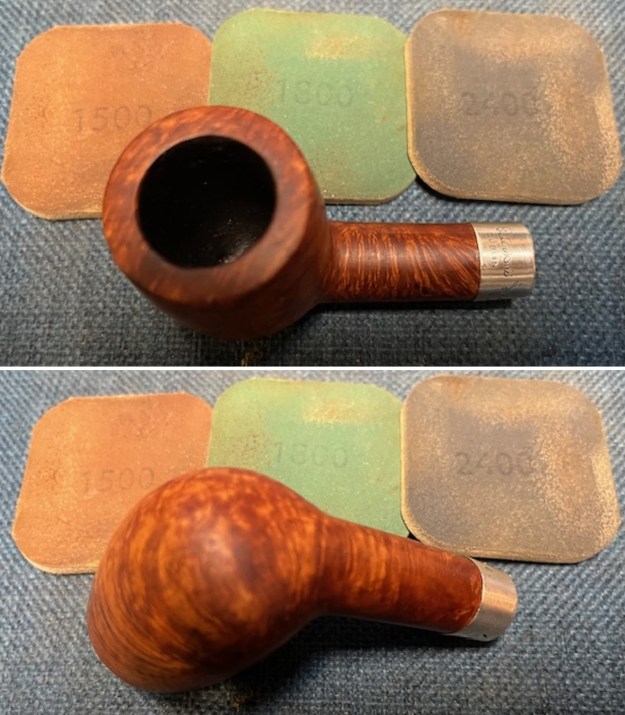
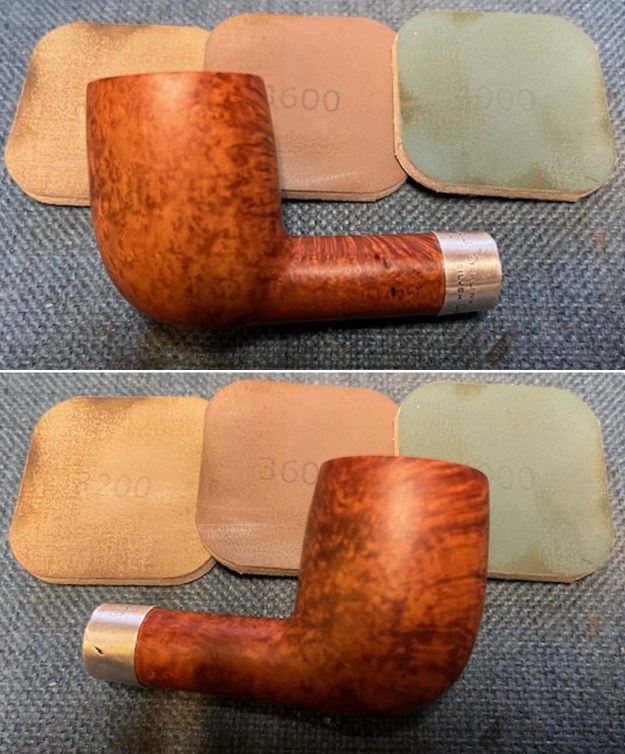
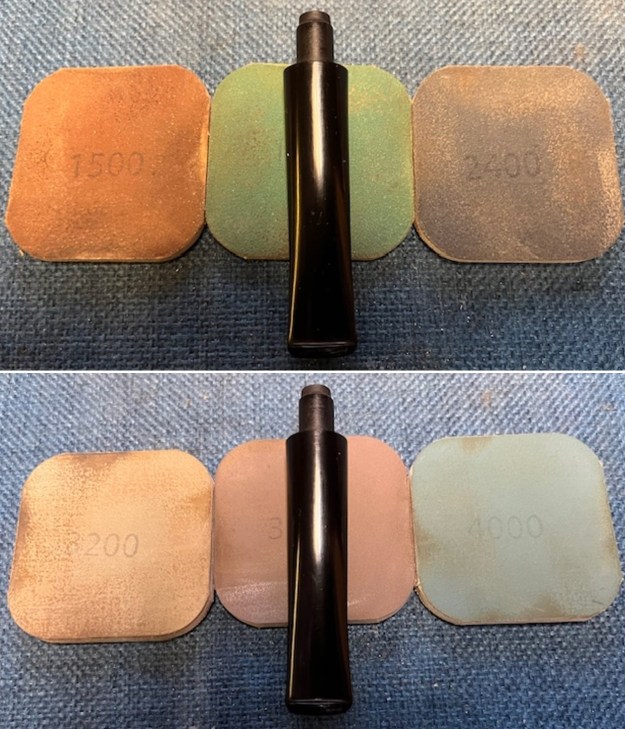
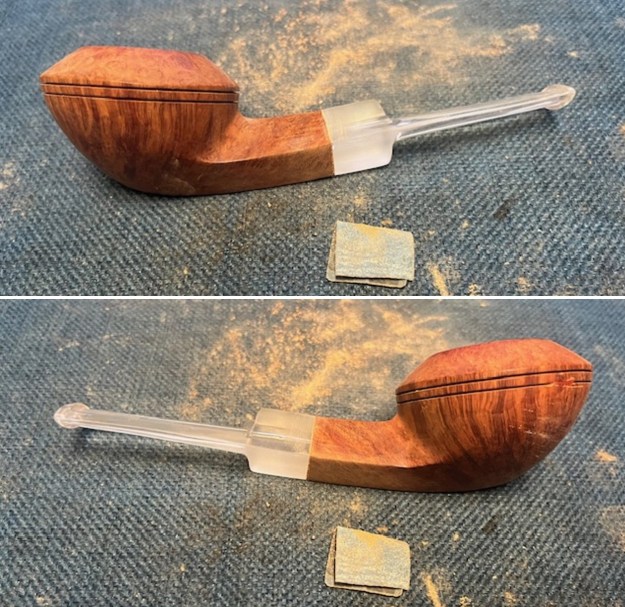
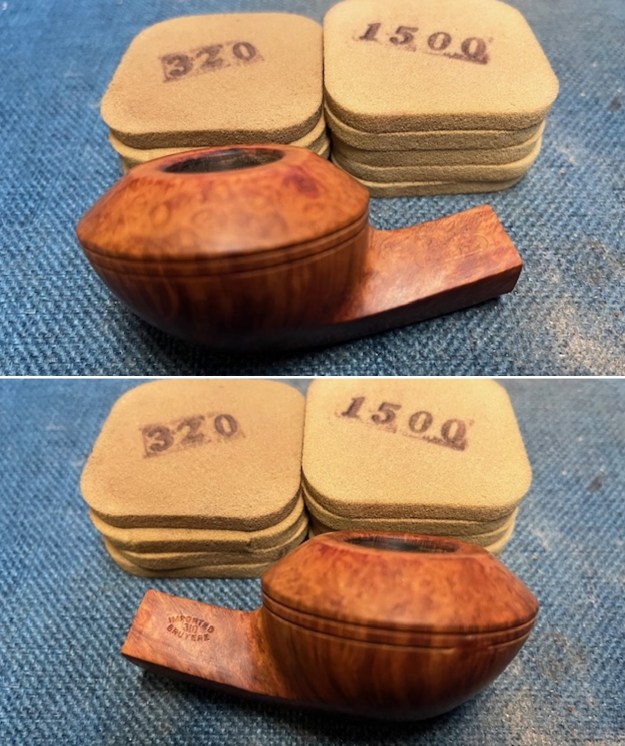
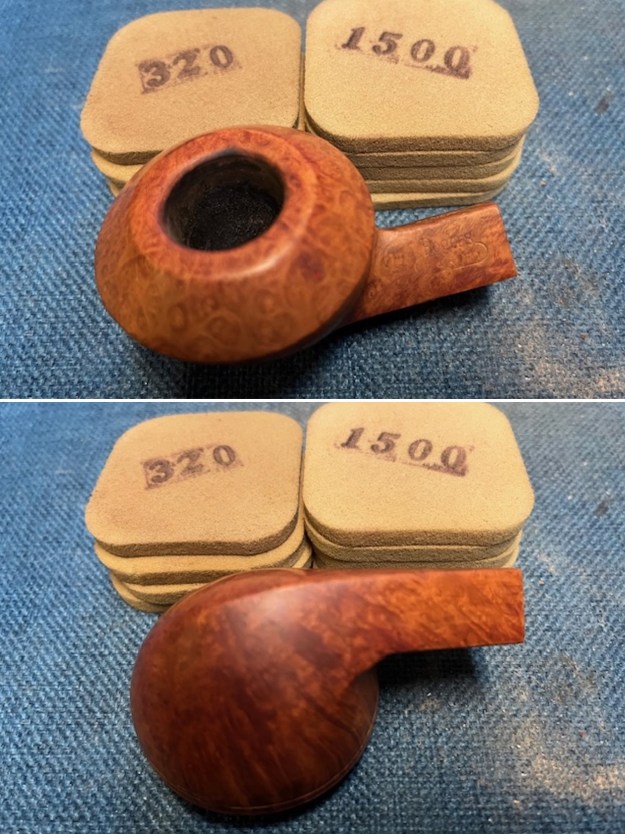
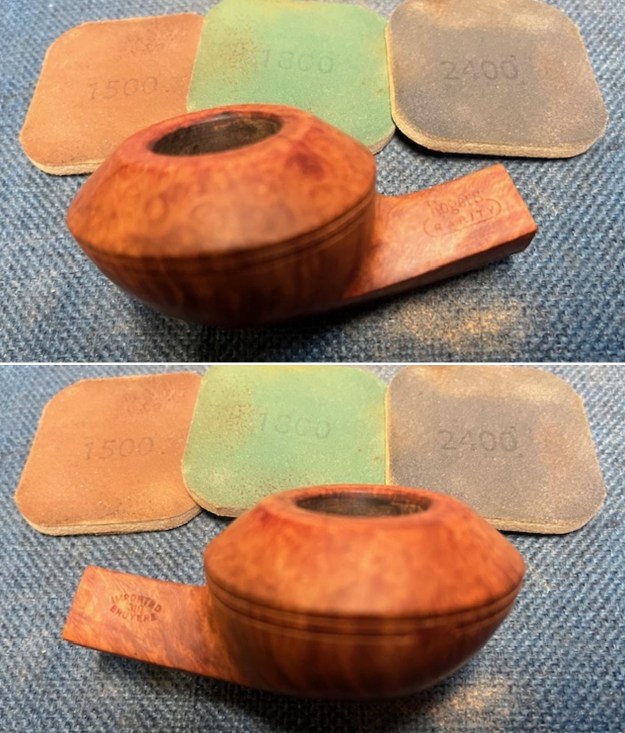
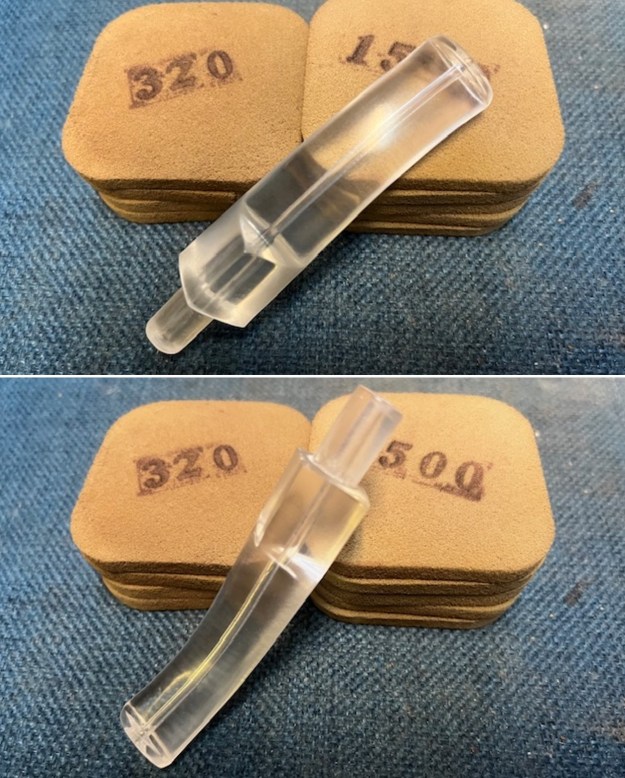
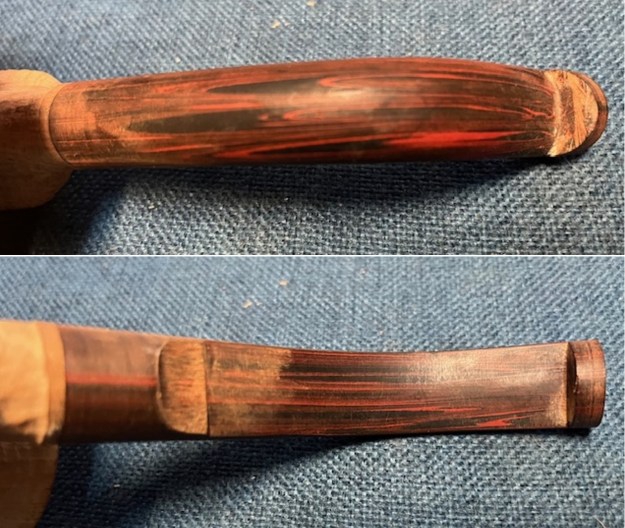
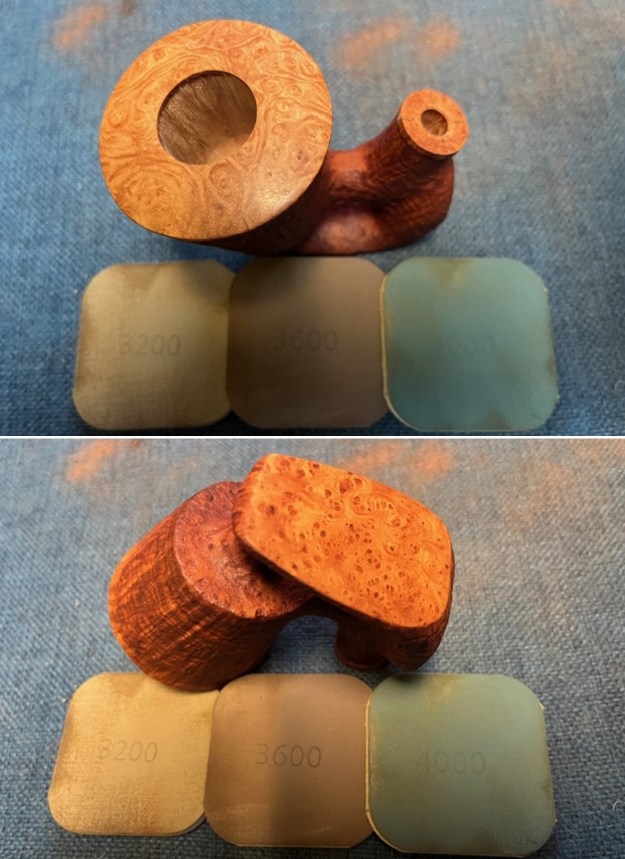
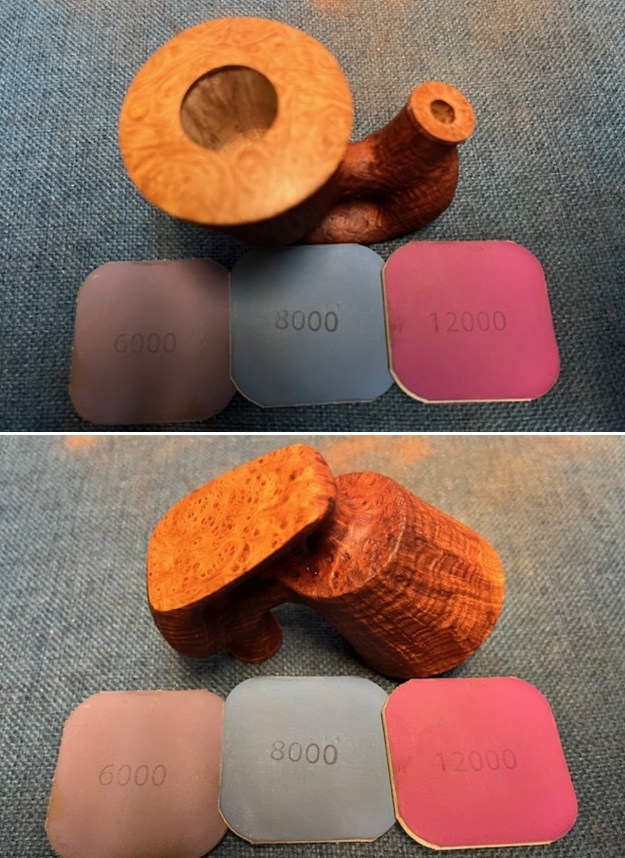
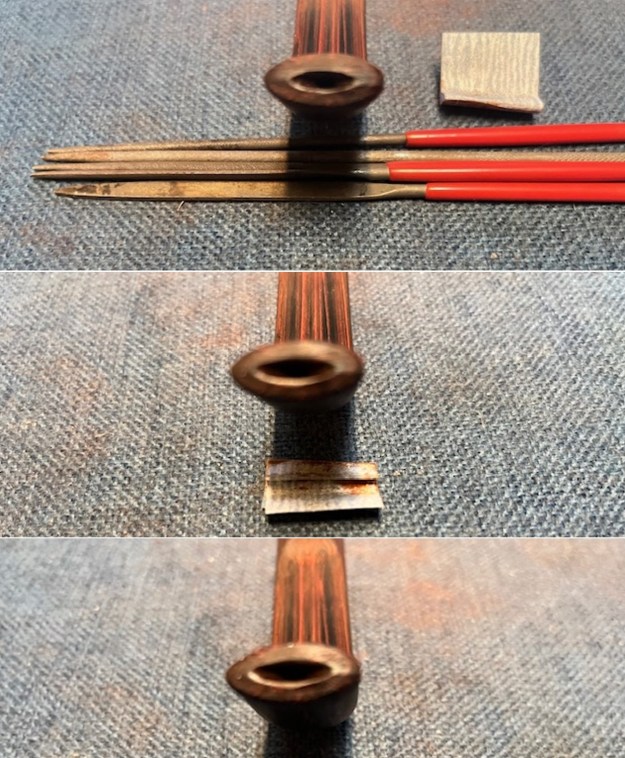 I sanded the Cumberland with 320-3200 grit sanding pads to smooth out the scratches and marks in the surface. I further shaped the button and face of the stem and the slot edges at the same time. It is really beginning to take on a rich shine and show the patterns in the Cumberland.
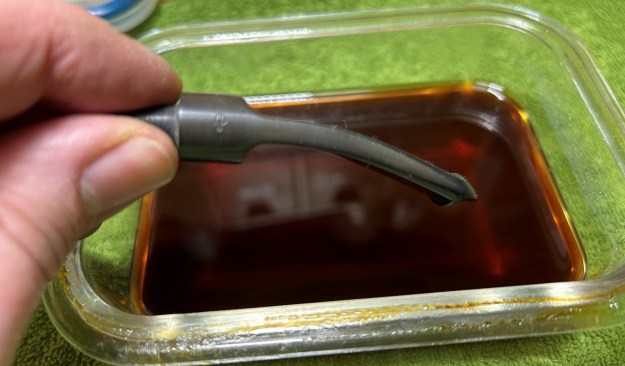
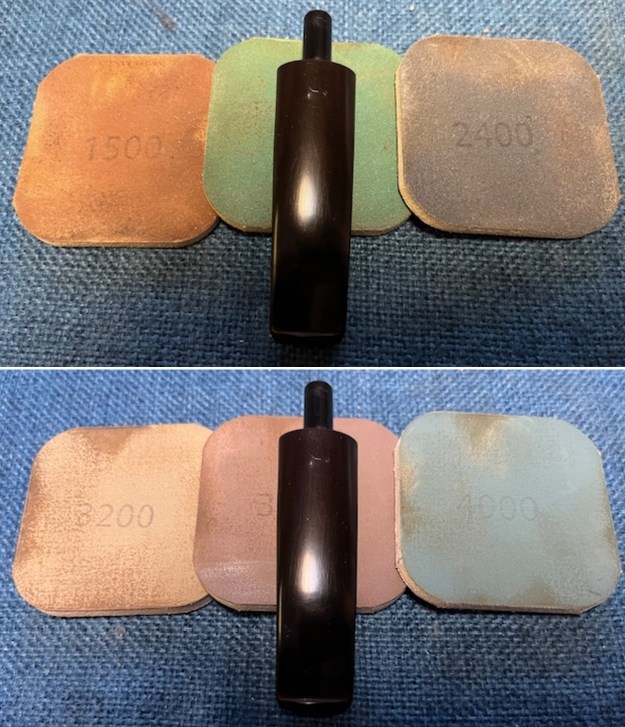
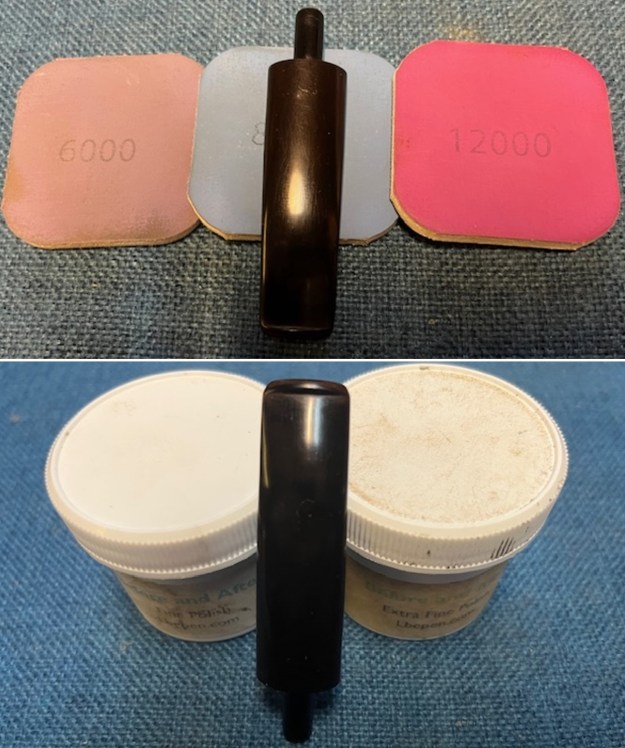
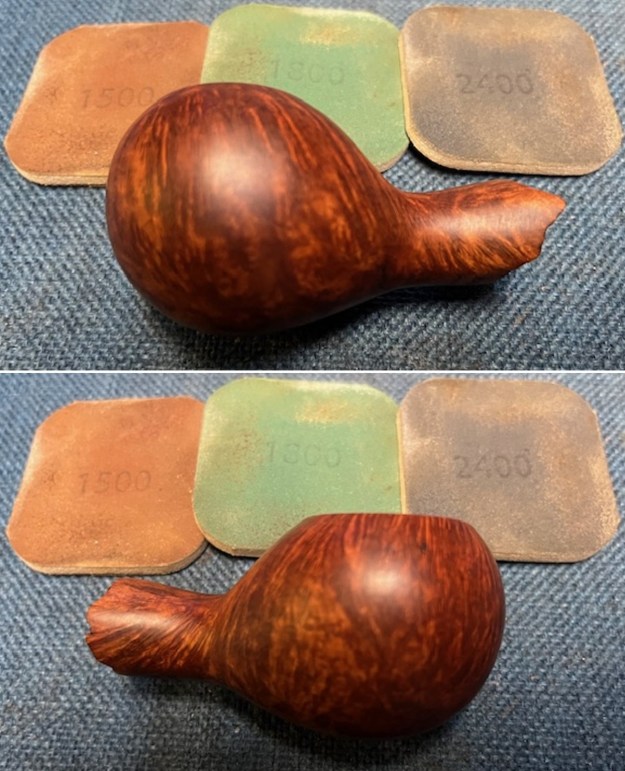
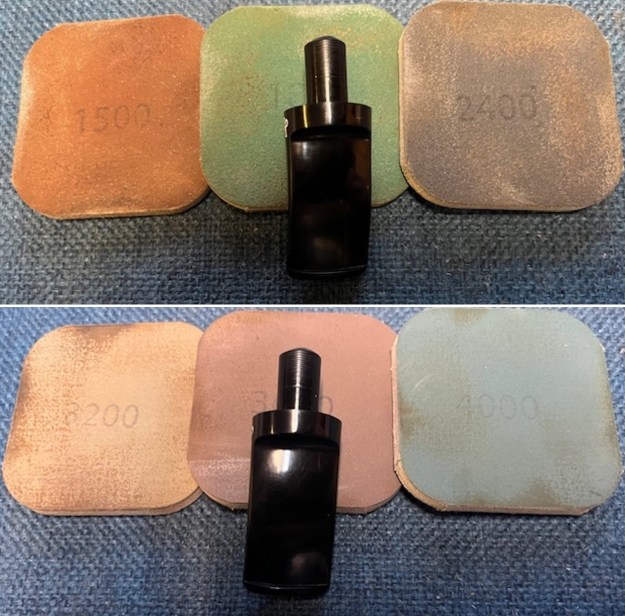
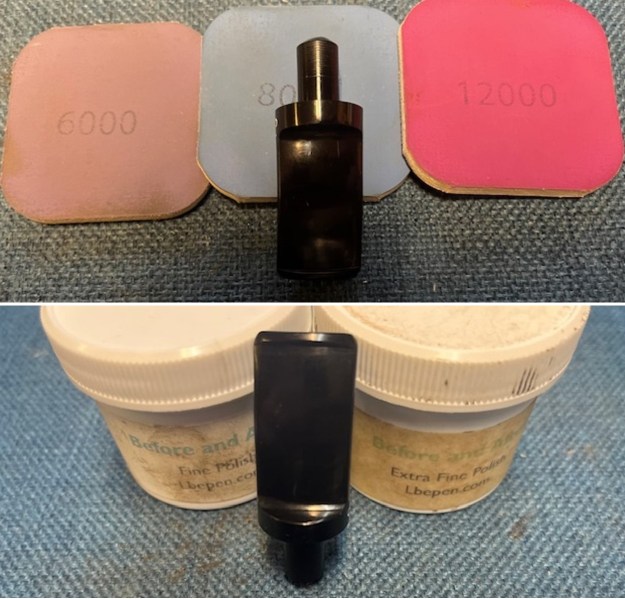
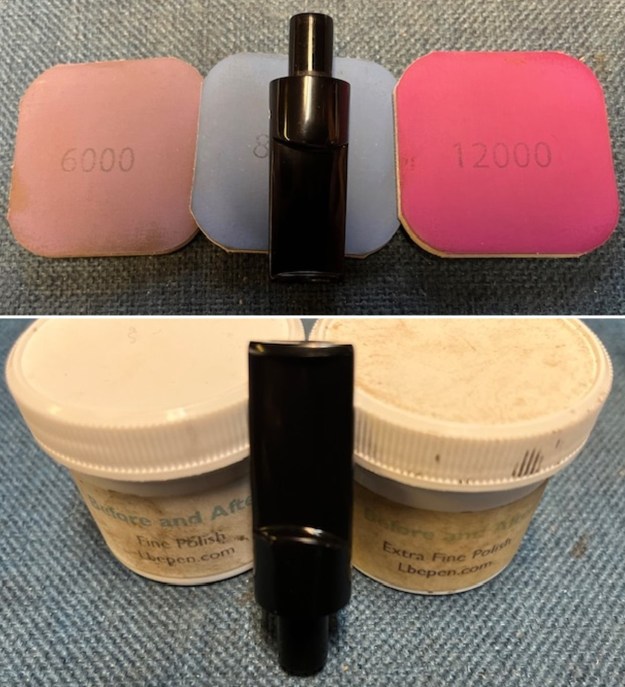
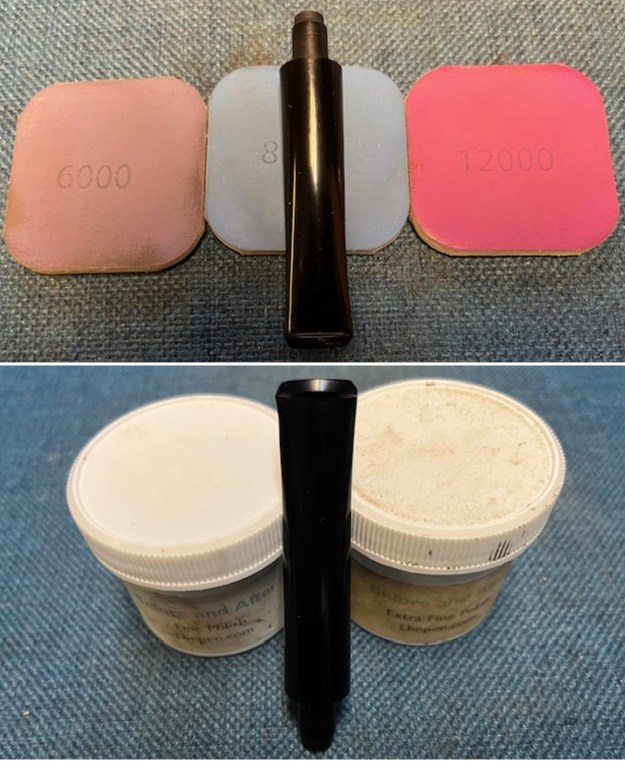
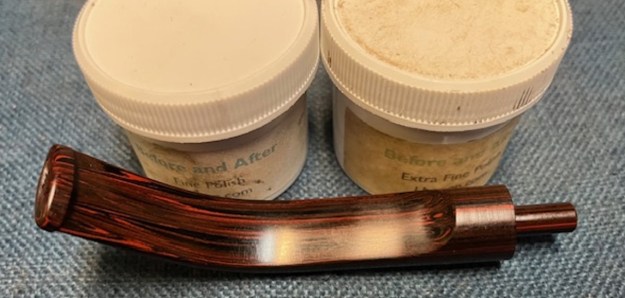
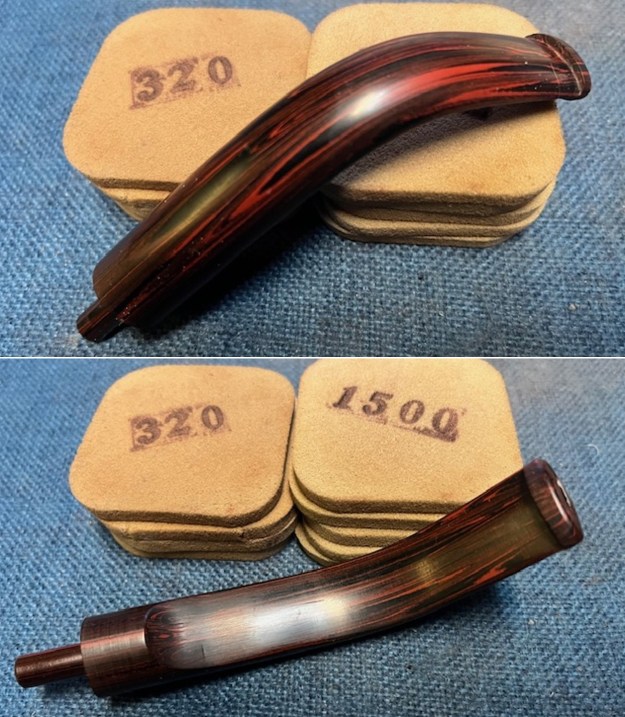 I polished the stem with micromesh sanding pads – dry sanding with 1500-12000 grit sanding pads. I wiped it down after each sanding pad with Obsidian Oil. I polished it with Before & After Pipe Stem Polish – both Fine and Extra Fine. I gave it another coat of Obsidian Oil.
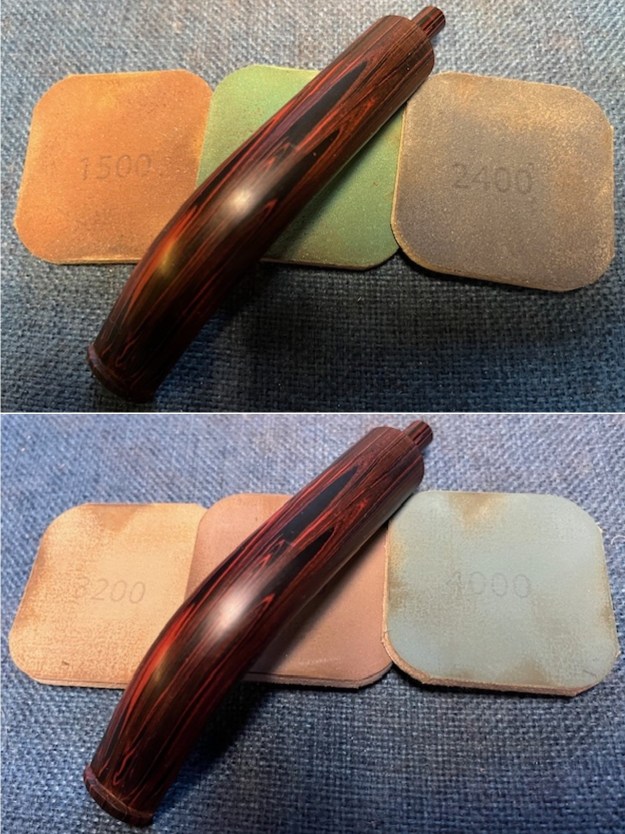
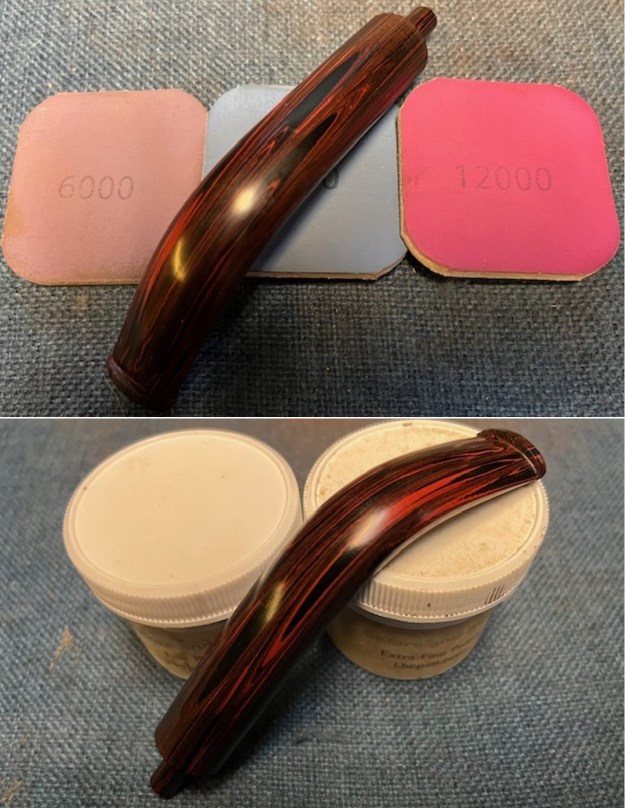
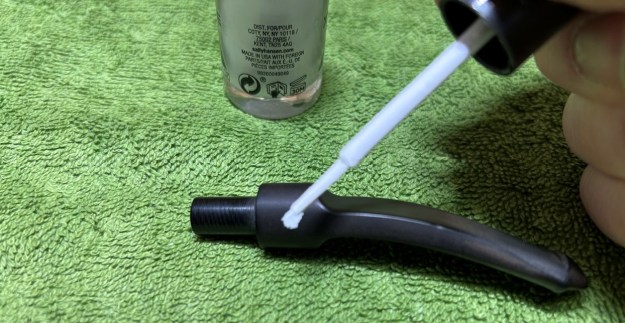
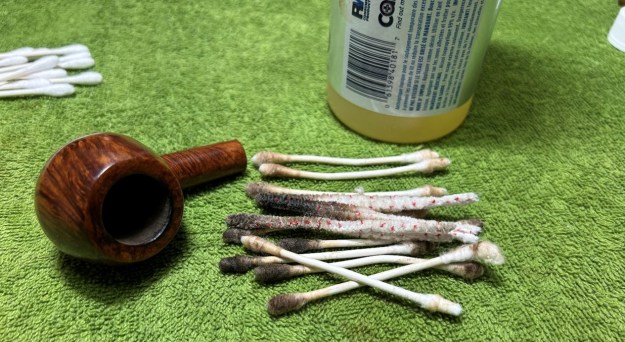
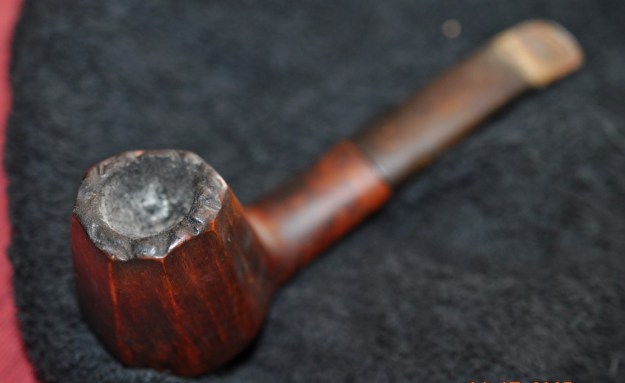
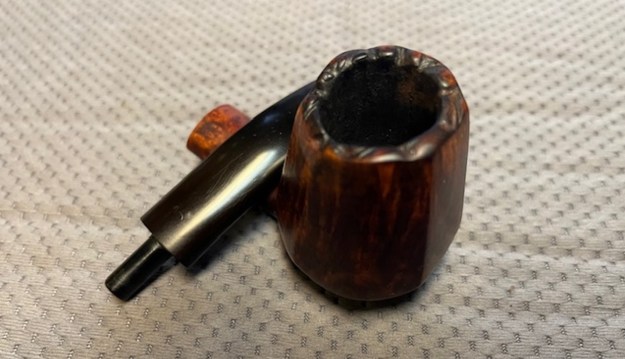
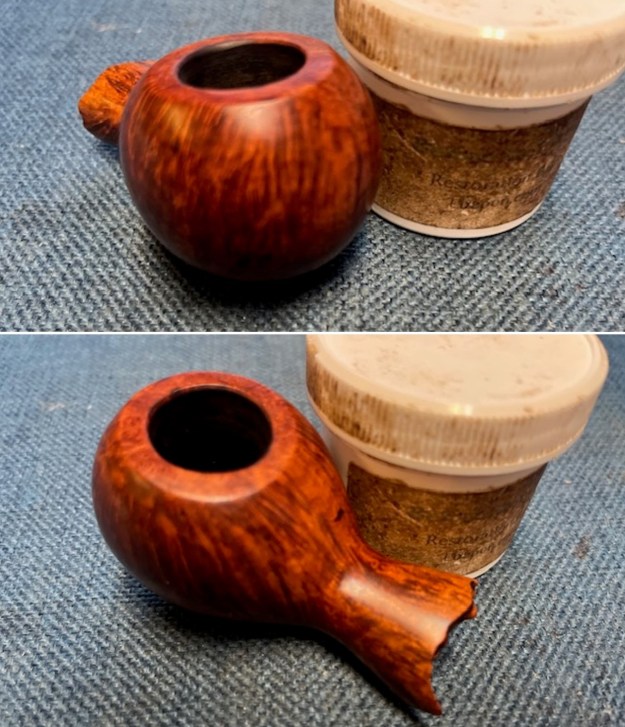
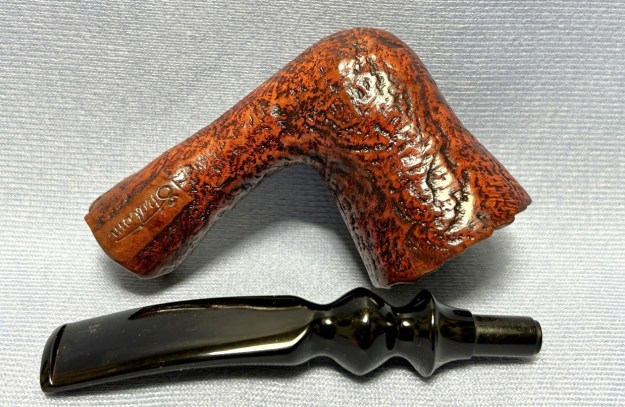
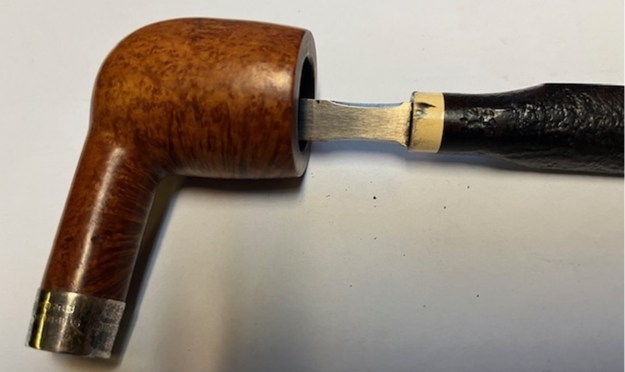
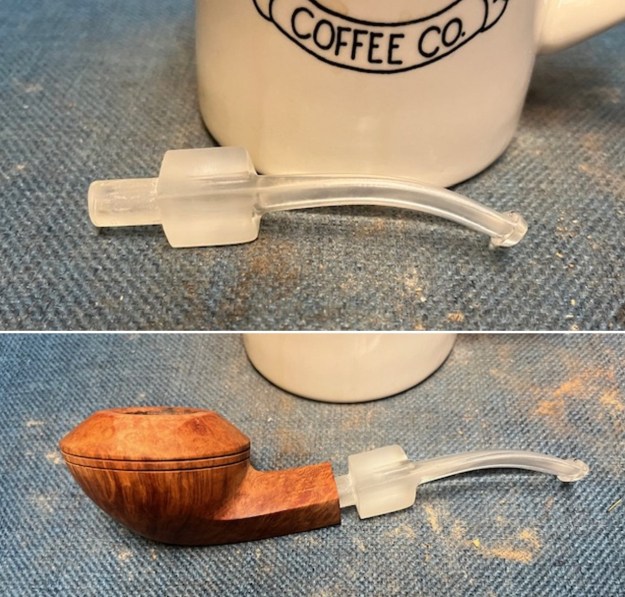
 I buffed the stem with Blue Diamond on the buffing wheel and polished it with Carnauba Wax. I buffed it with a clean buffing pad. The Cumberland took on a rich shine. It is a beauty. I set the stem aside and turned my attention to the bowl. I unscrewed the plug on the shank end to show the clean drilling from there to the bottom of the bowl. It was well drilled and very smooth. I used a pipe cleaner and olive oil to paint the oil around the shank end and then screwed the plug back into the shank and aligned it.
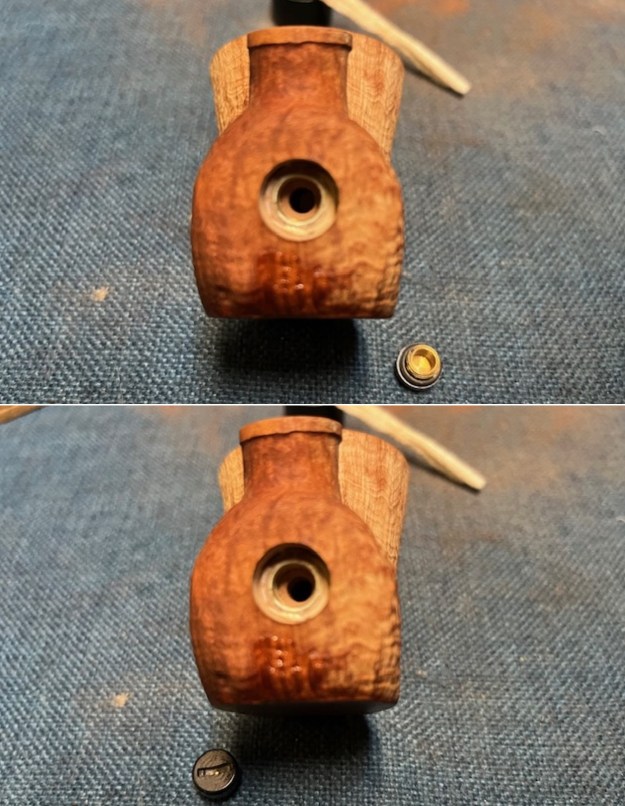
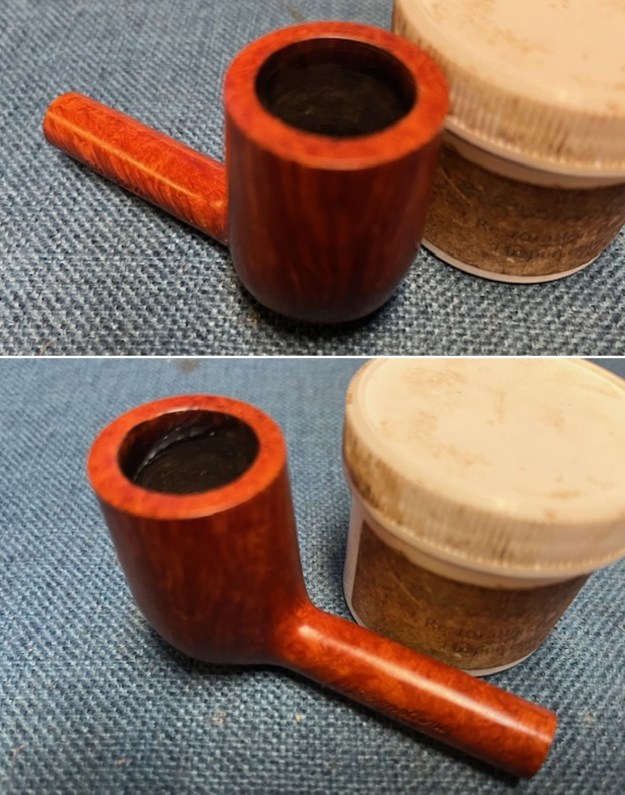
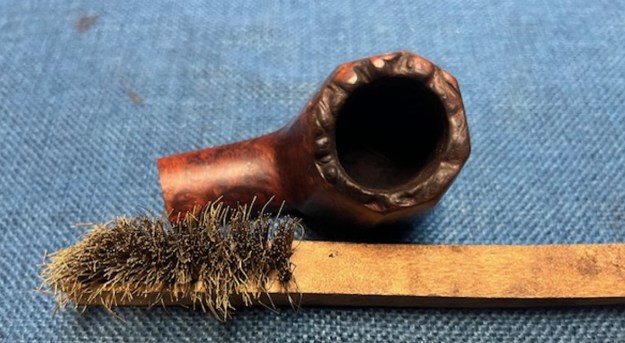
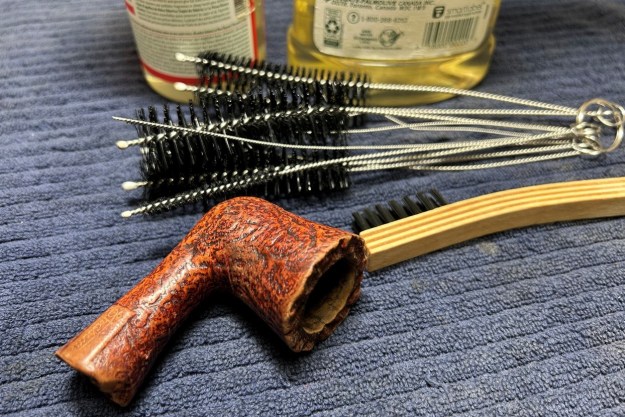
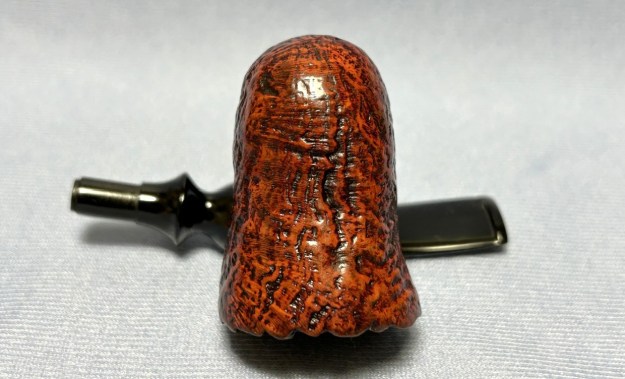
 I painted the entire bowl with the EVO (Extra Virgin Olive Oil) and a folded pipe cleaner. The sandblast and the smooth potions of the bowl began to take on a rich shine. The sand blast really showed depth and variations in colour on the finish.
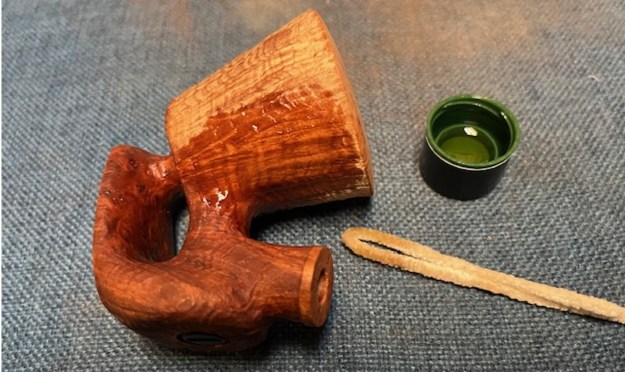
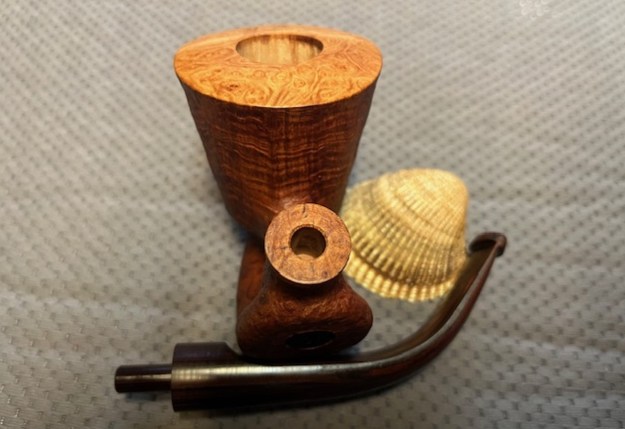
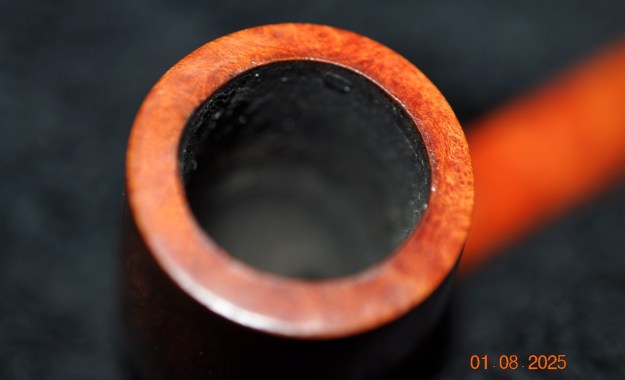
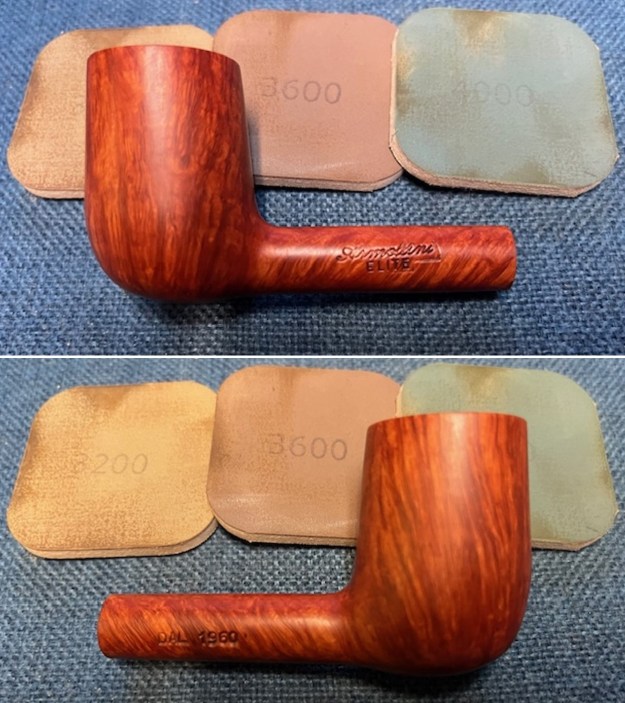
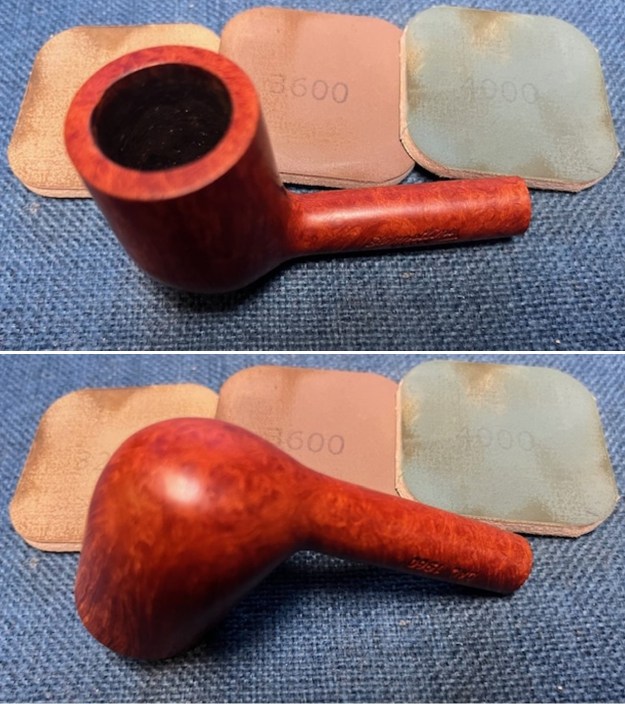
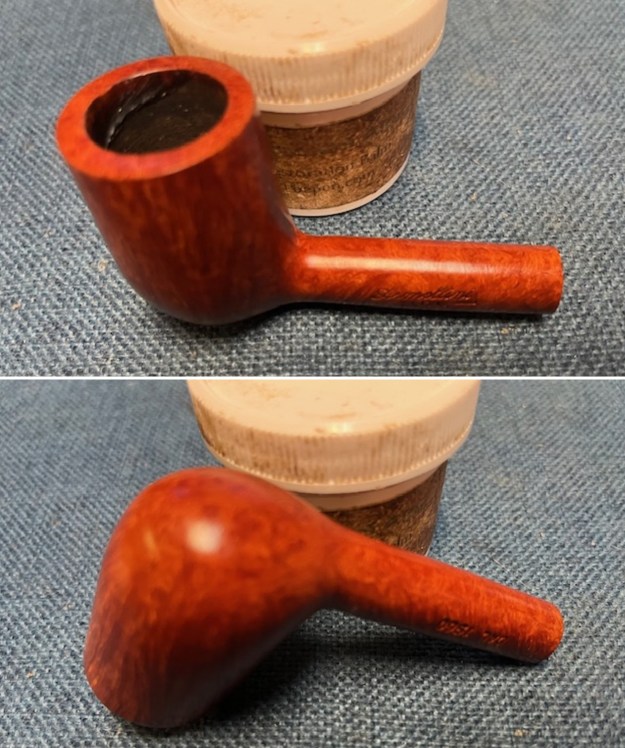
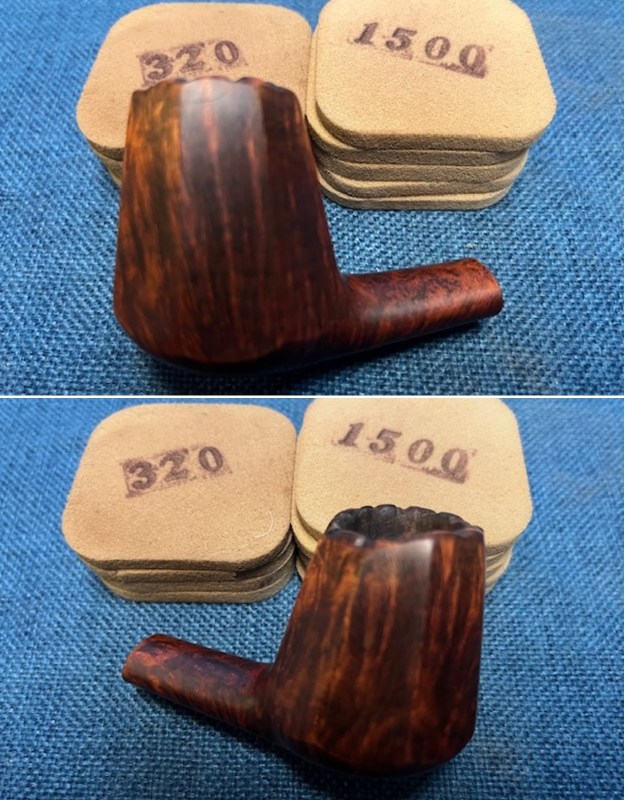
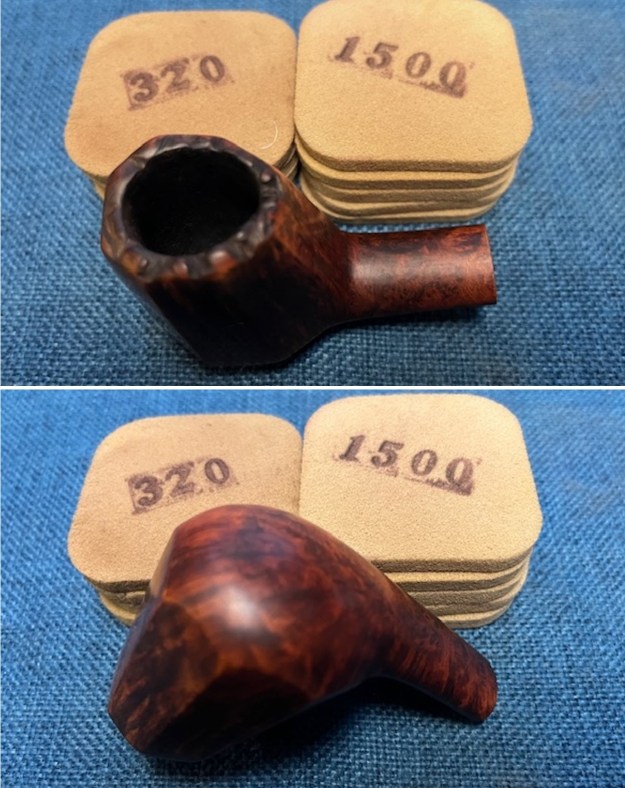
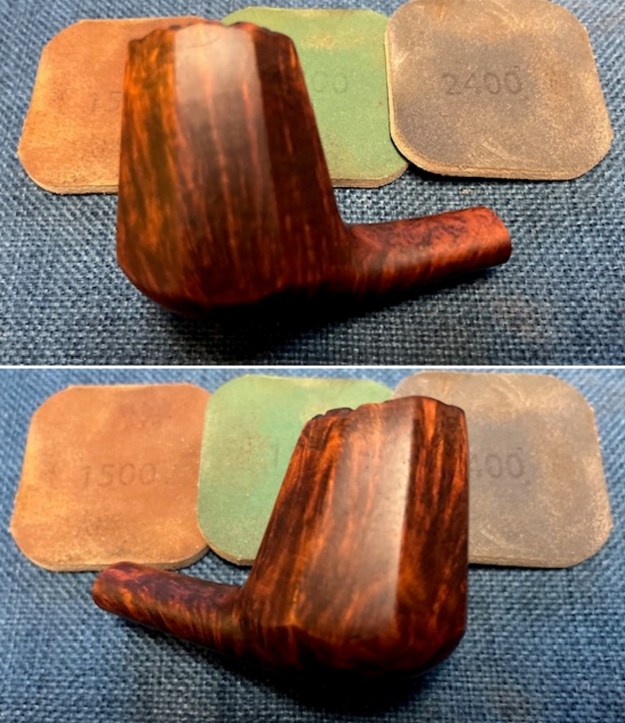
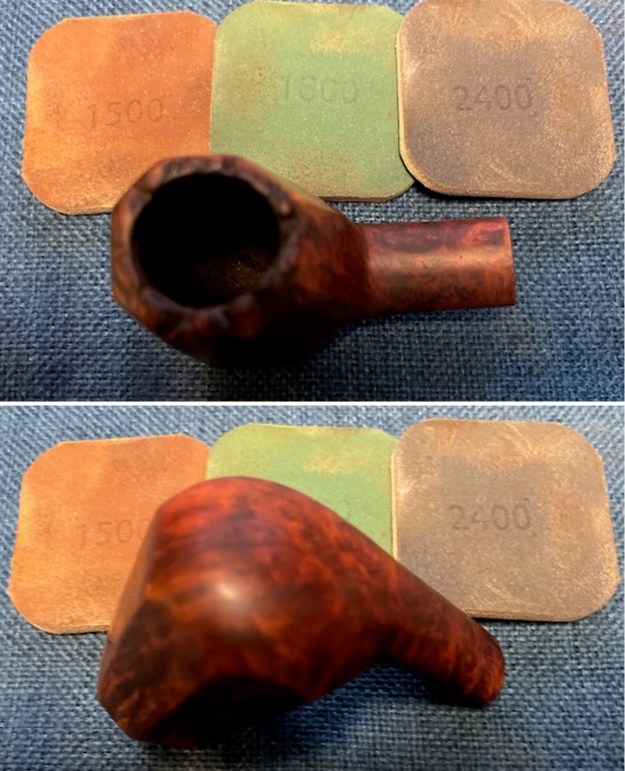
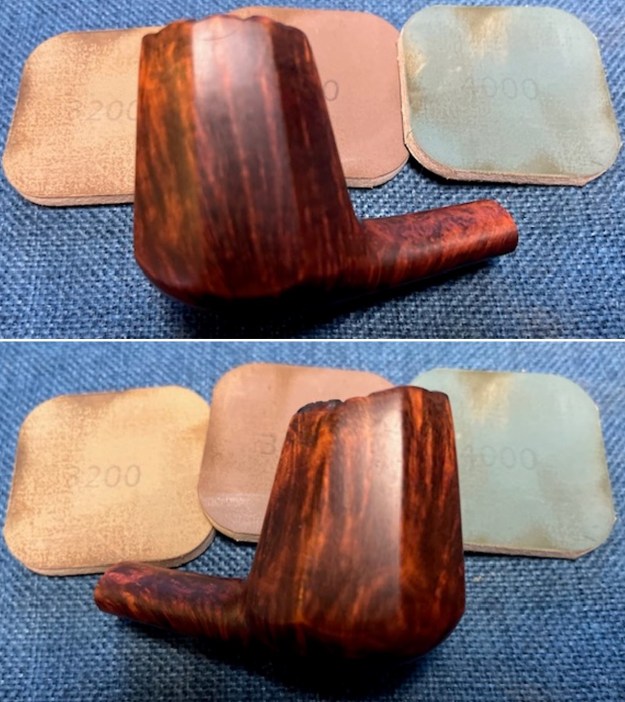
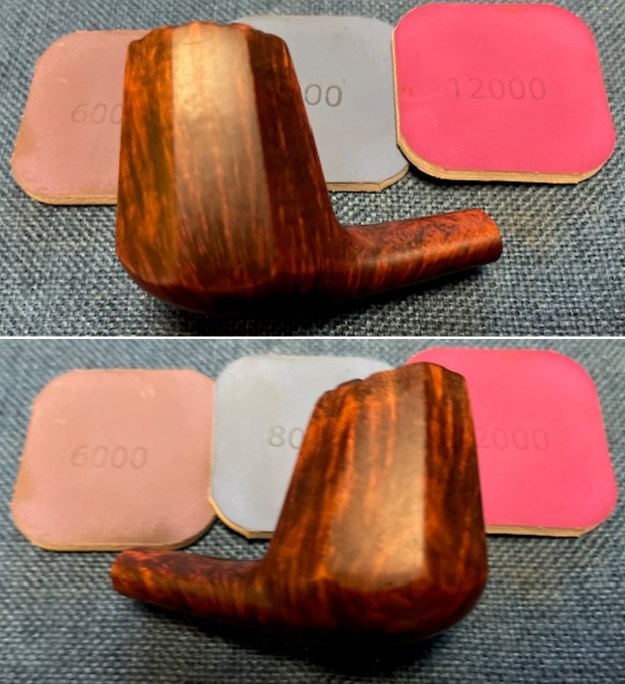
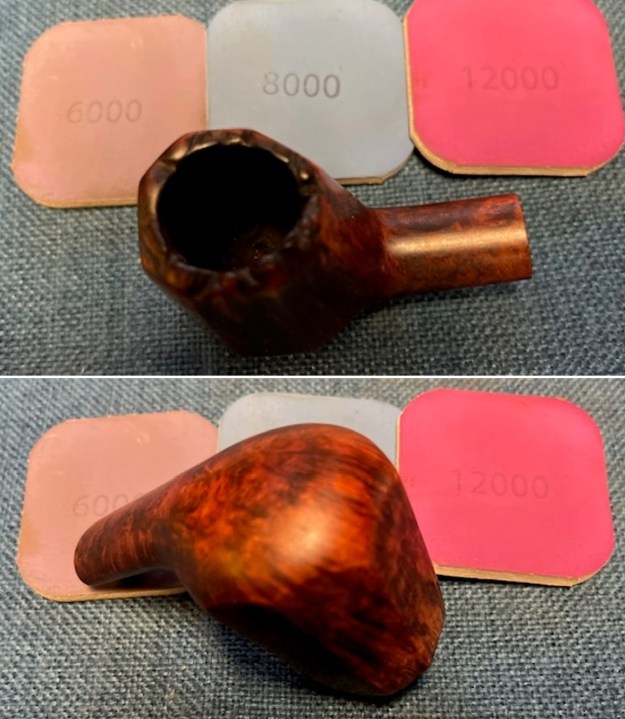
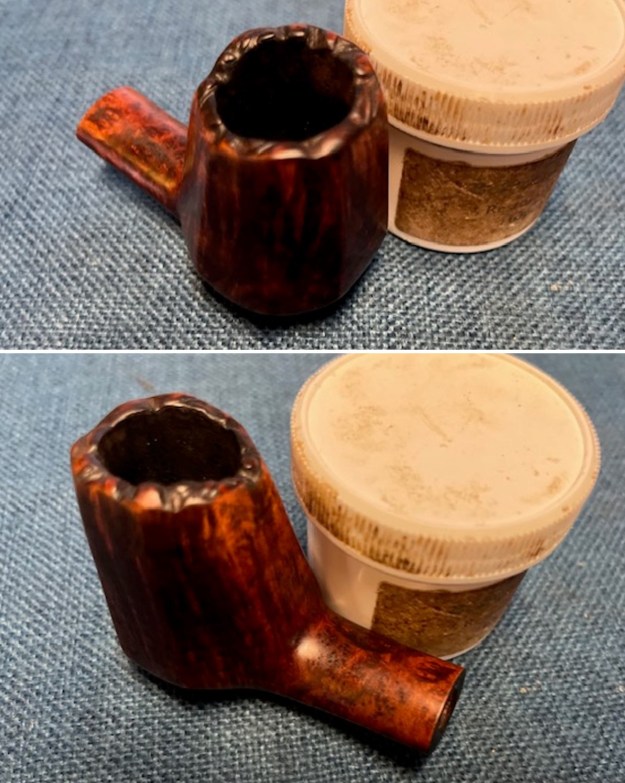
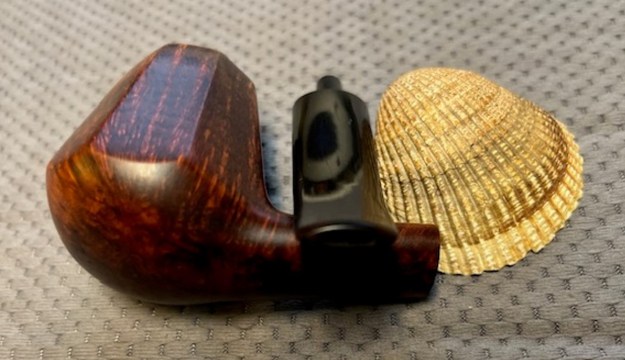
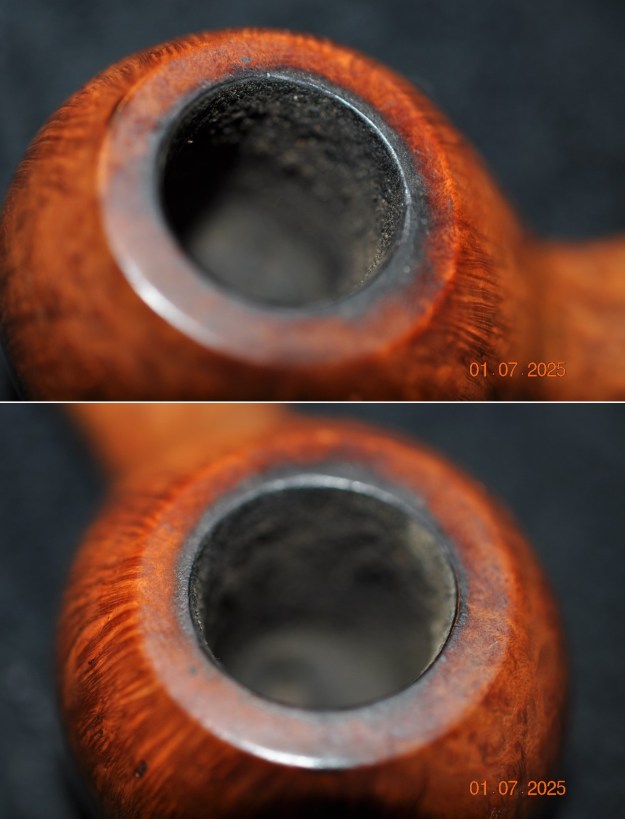
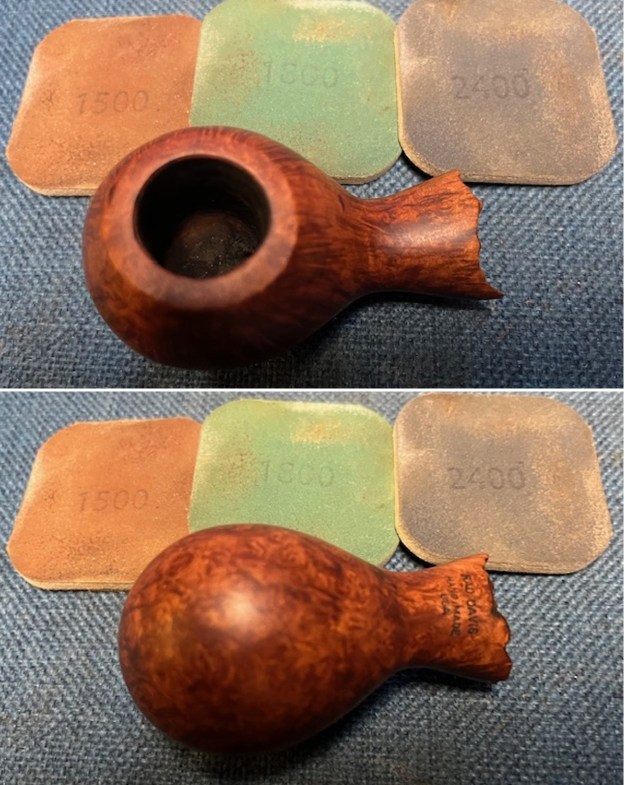
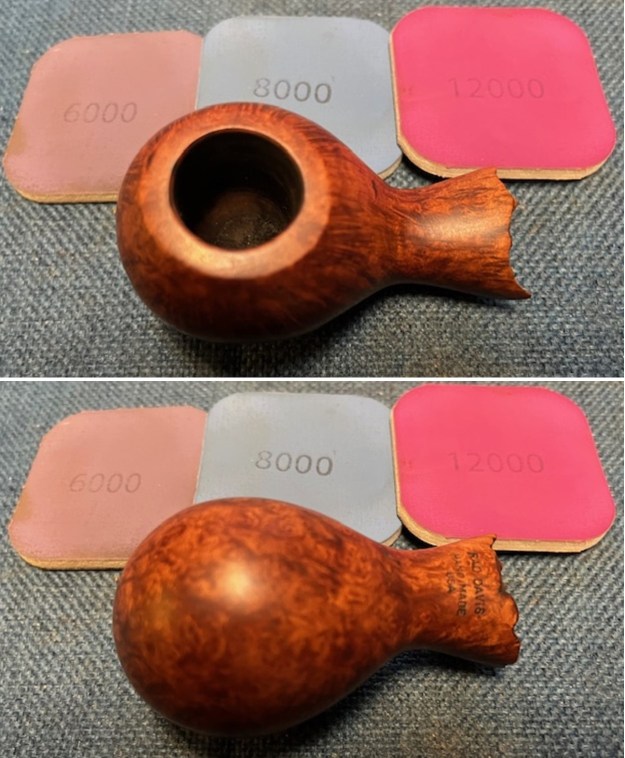
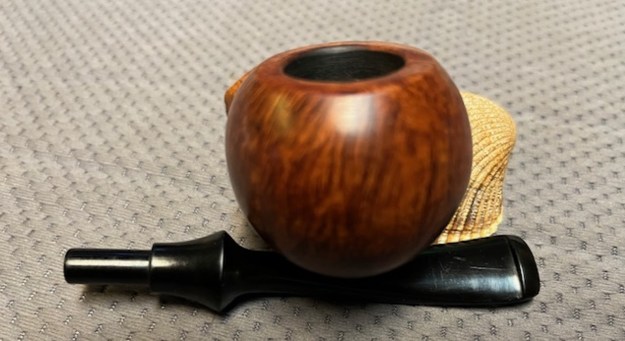
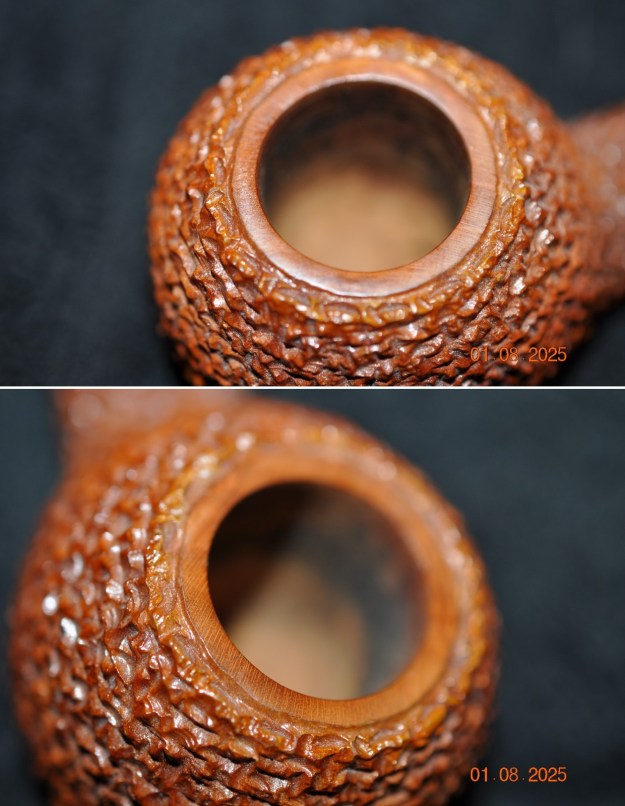
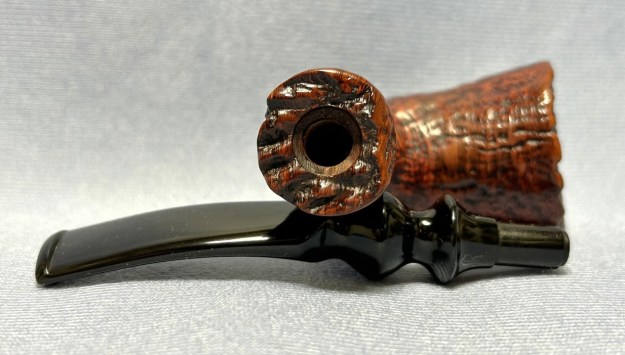
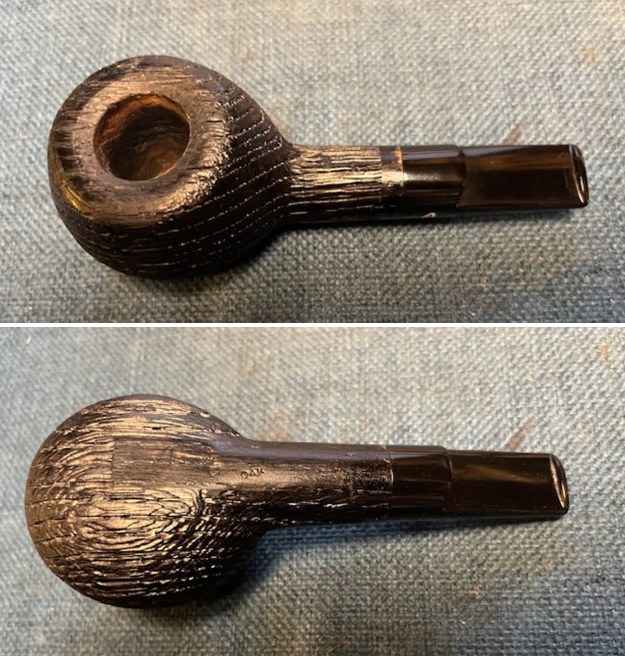
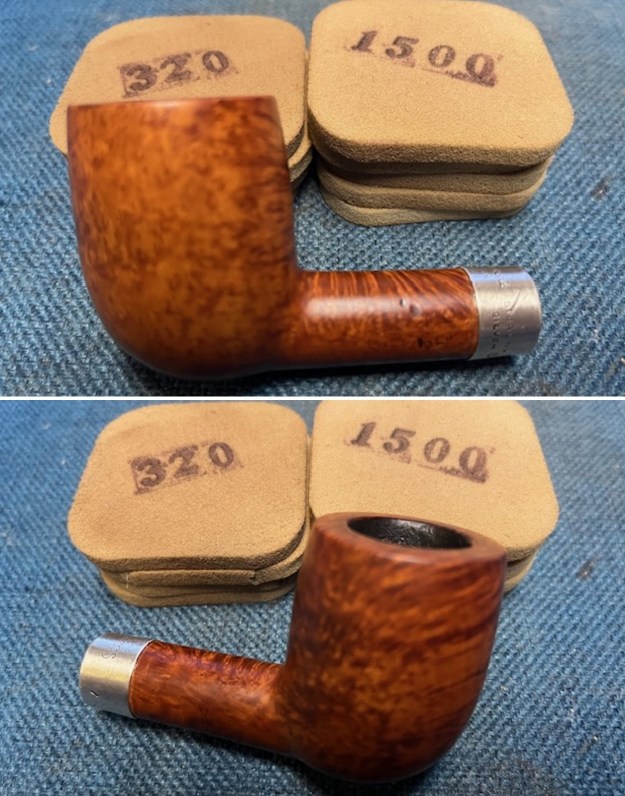
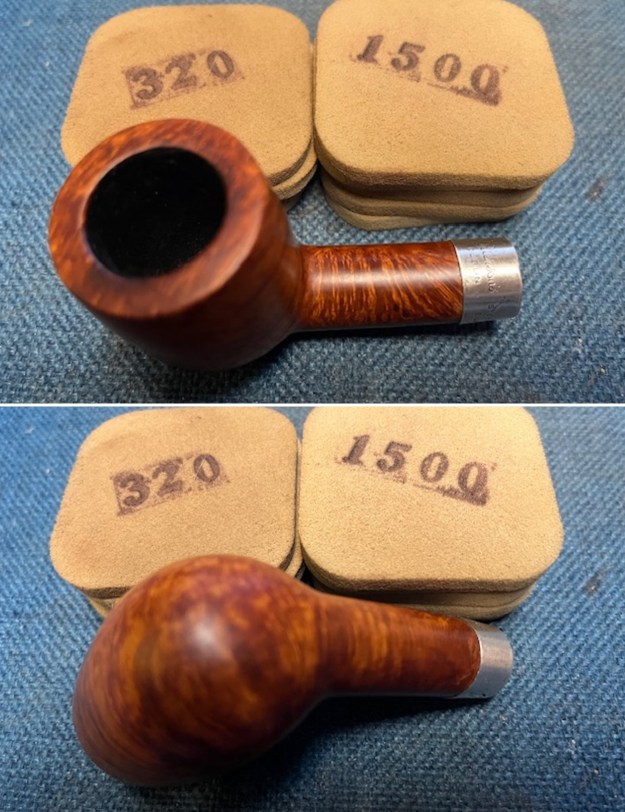
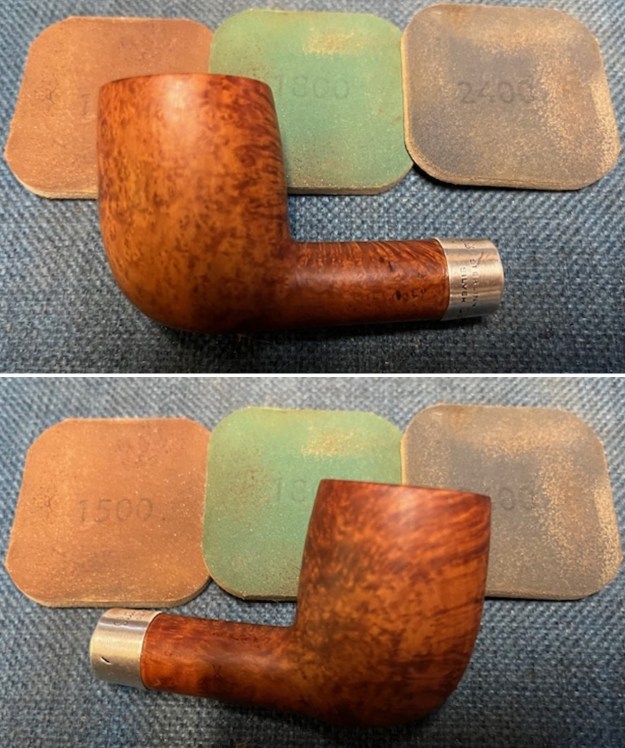
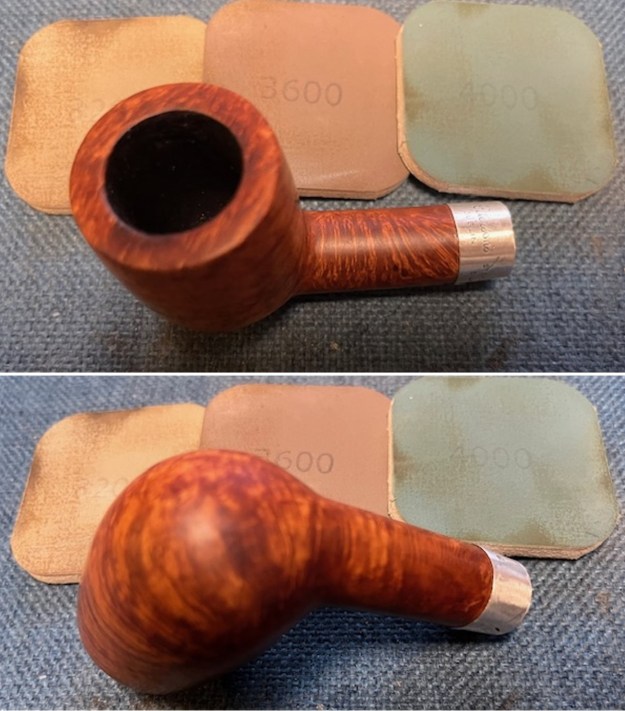
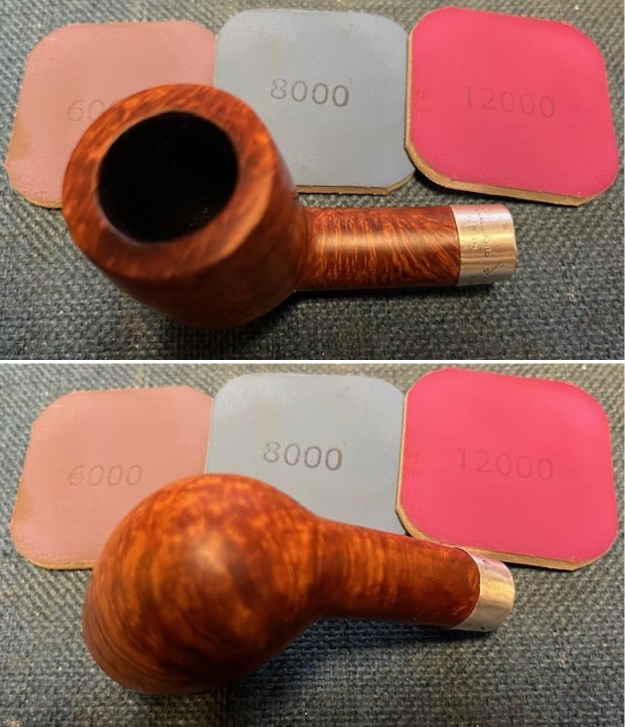
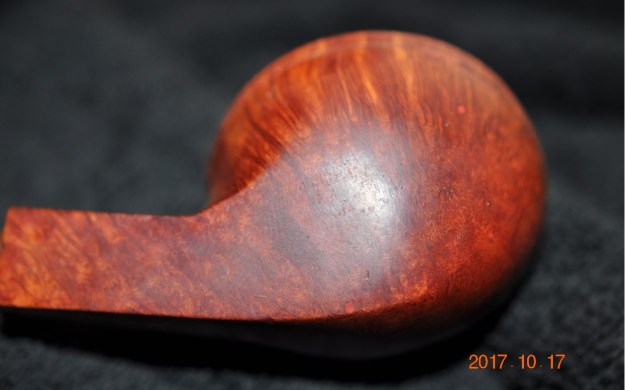
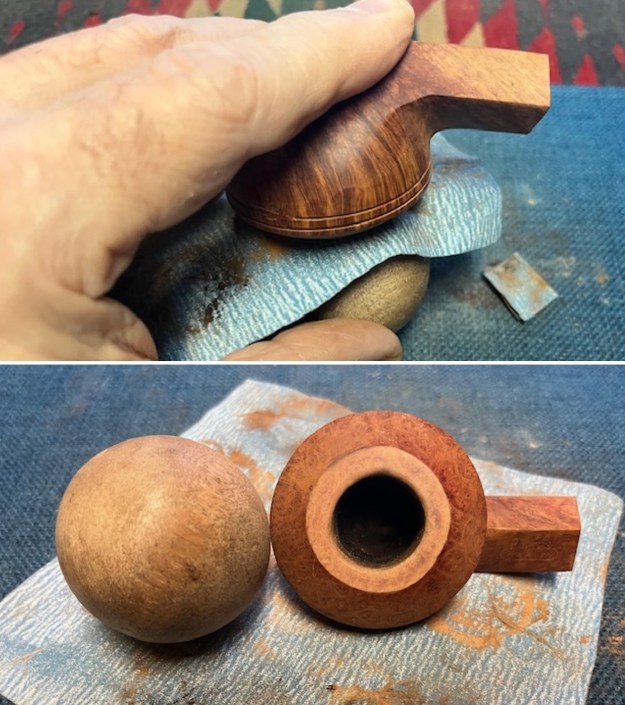
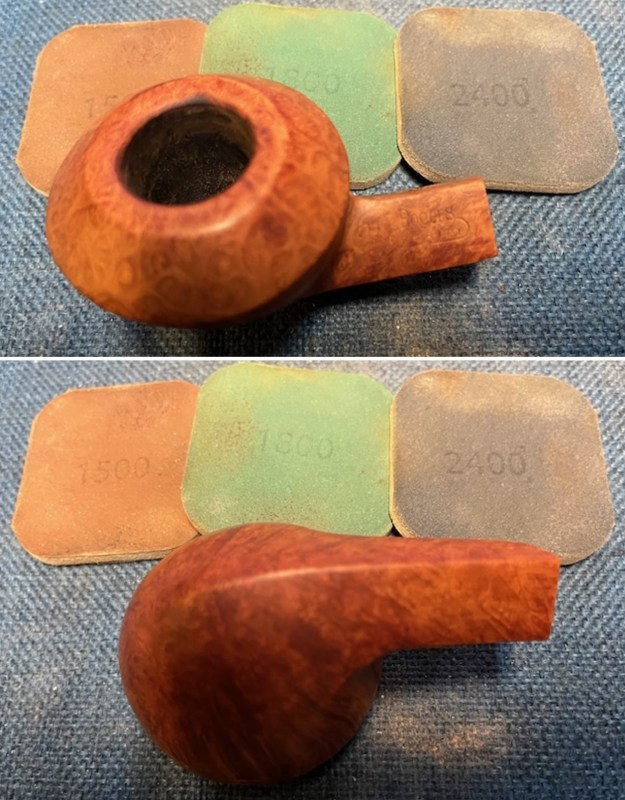
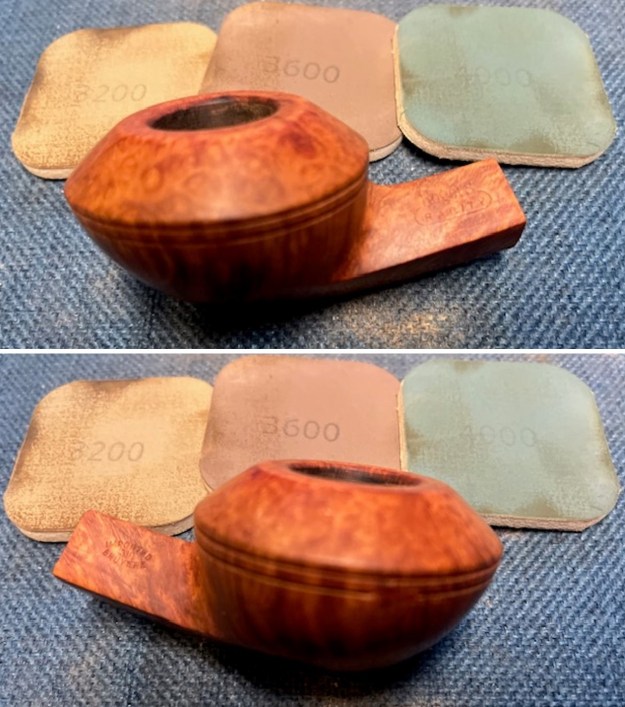
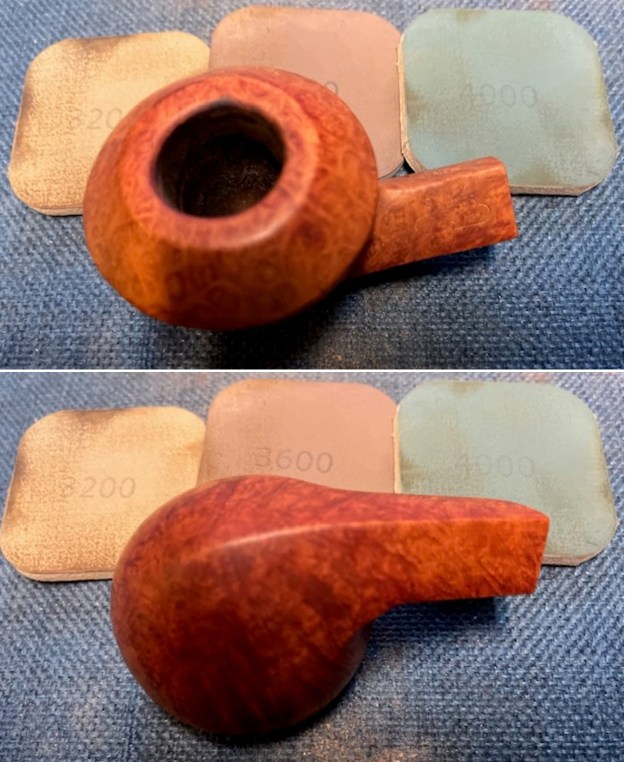
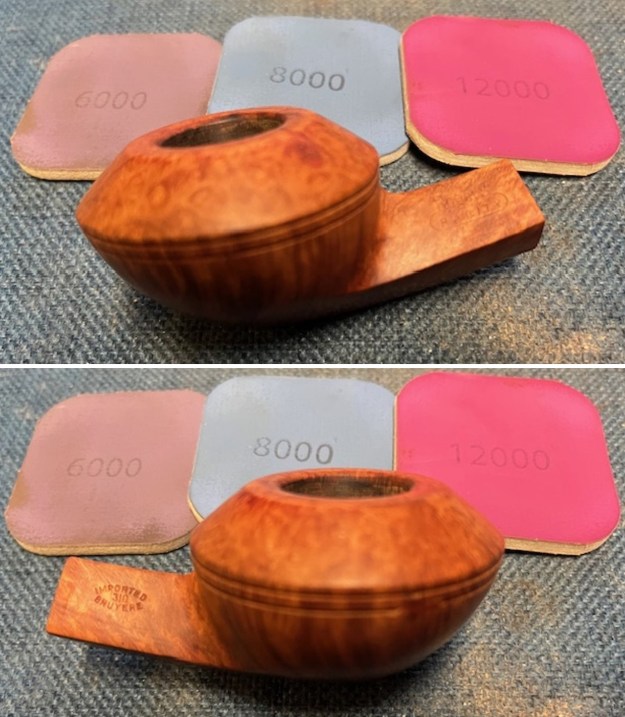
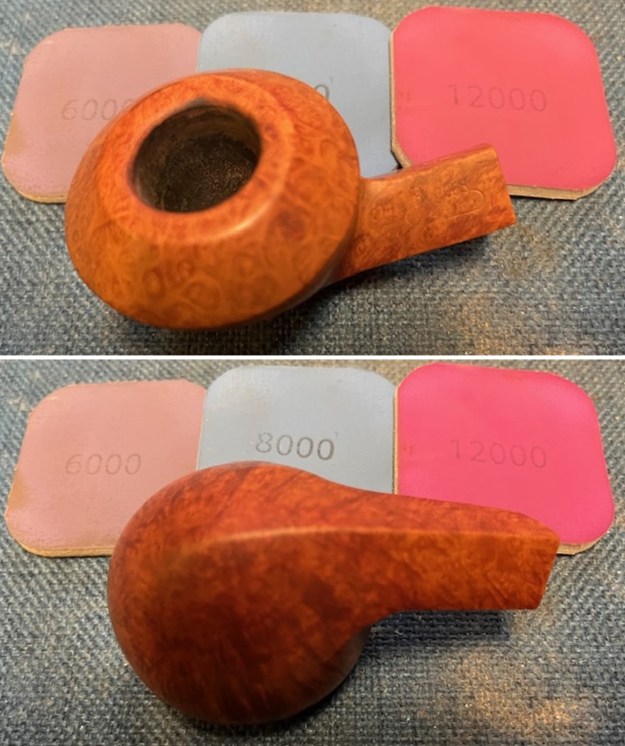
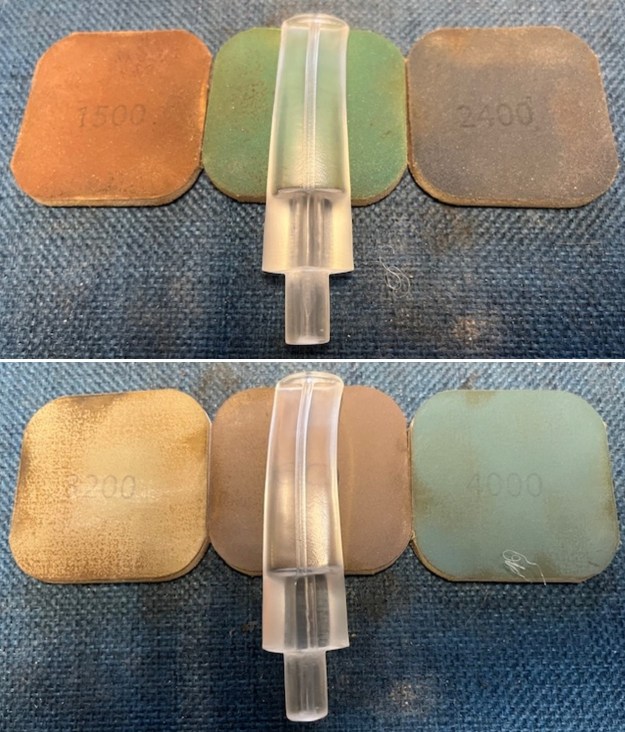
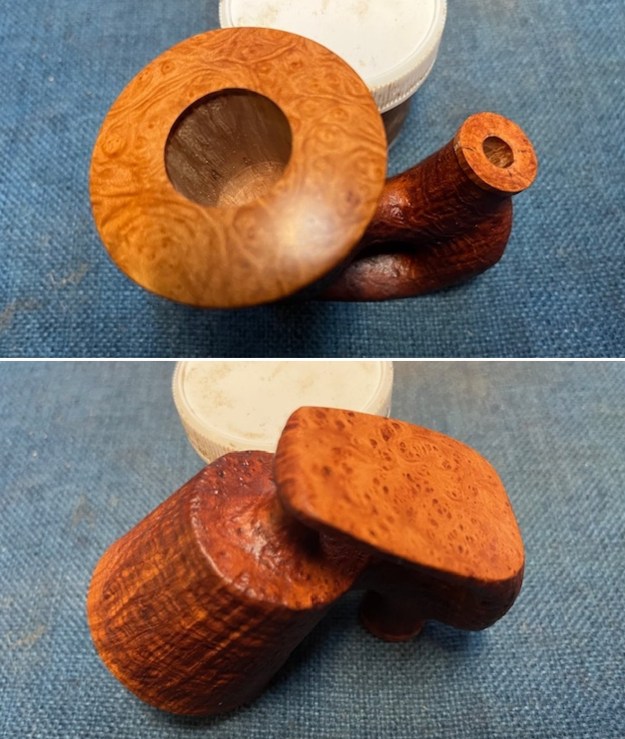
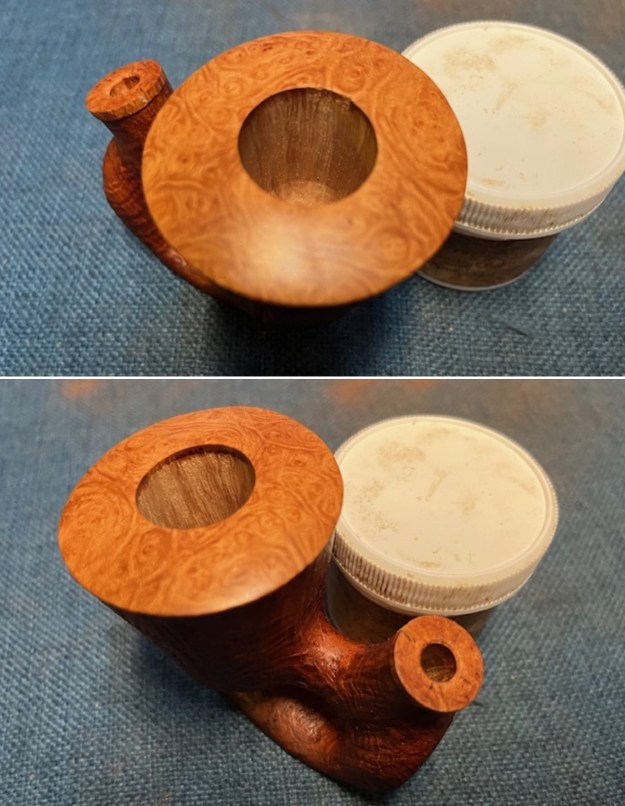
 I polished the smooth portions of the pipe on the rim top and the underside of the bowl with 320-3500 grit sanding pads. The rich birdseye really began to stand out on both portions of the briar sanded. It looked very good.
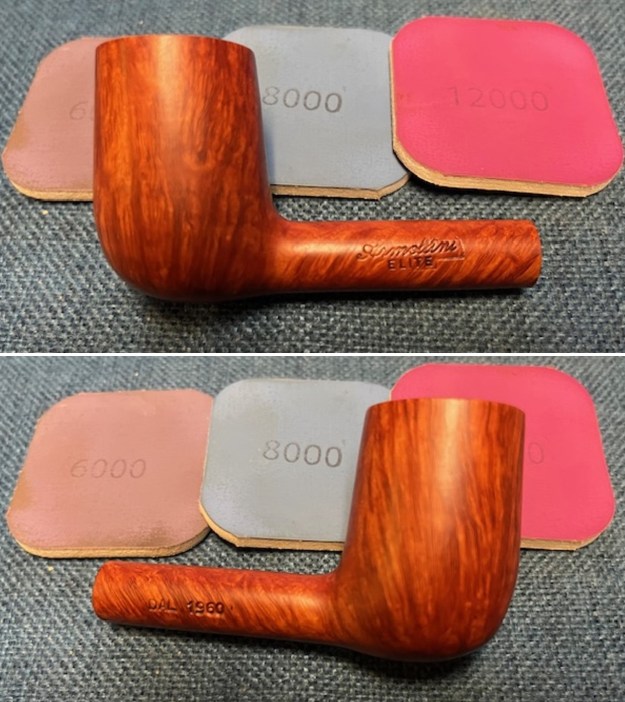
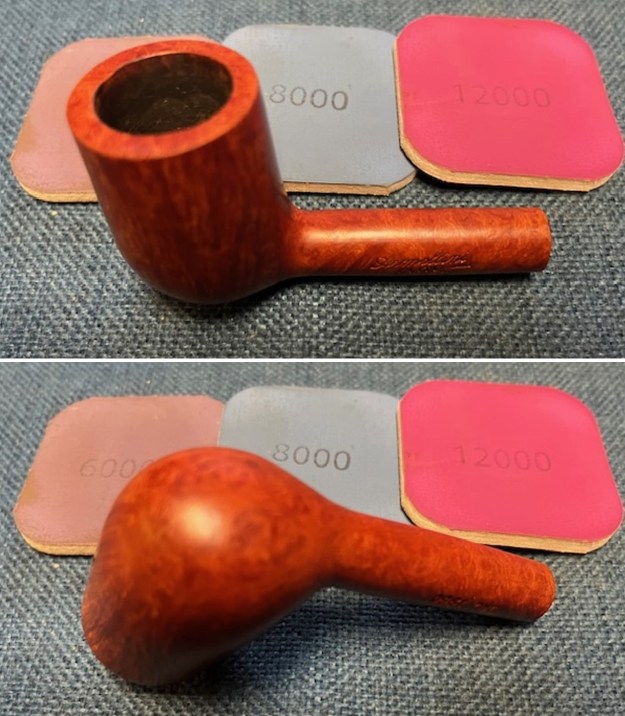
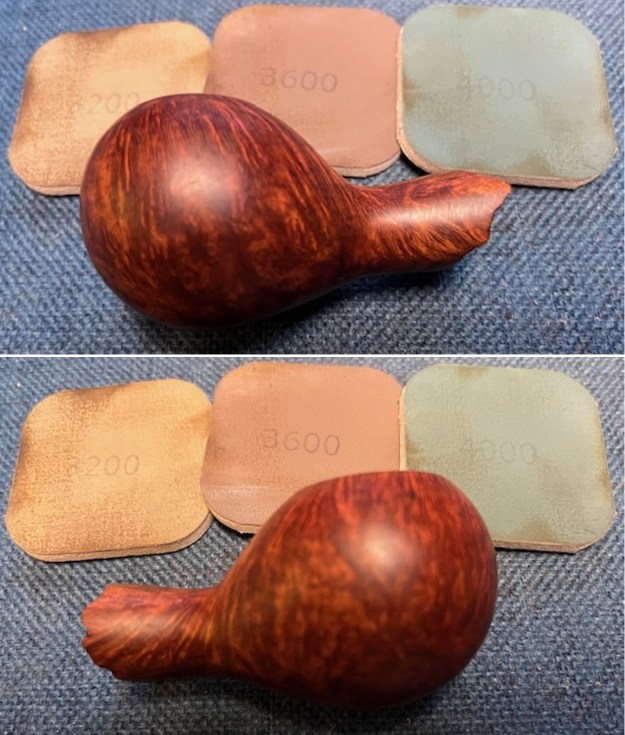
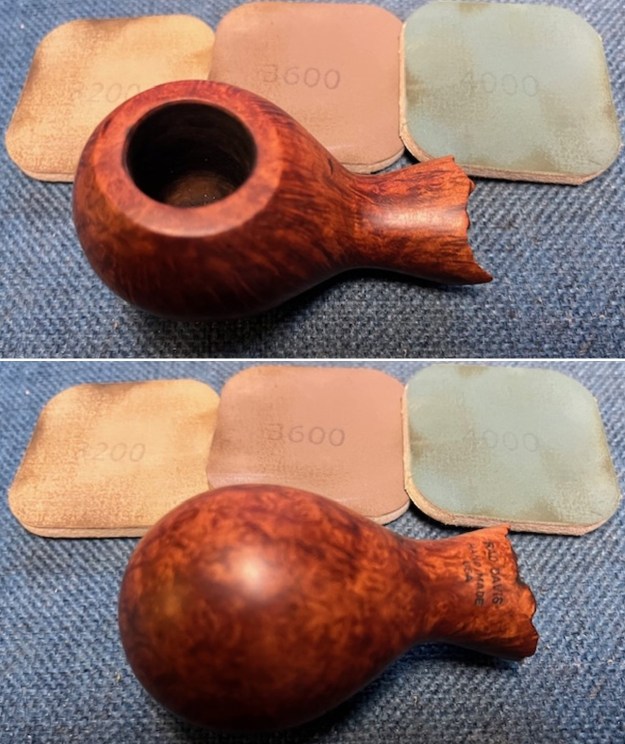
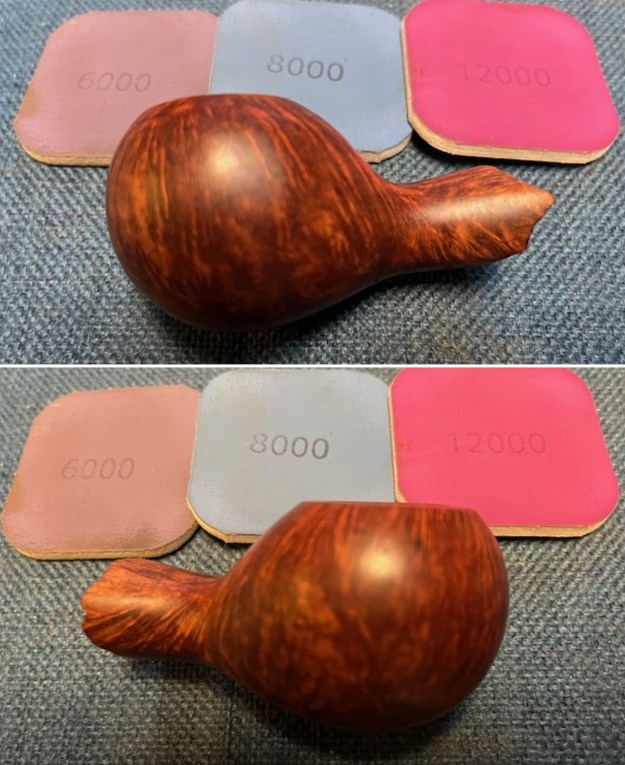
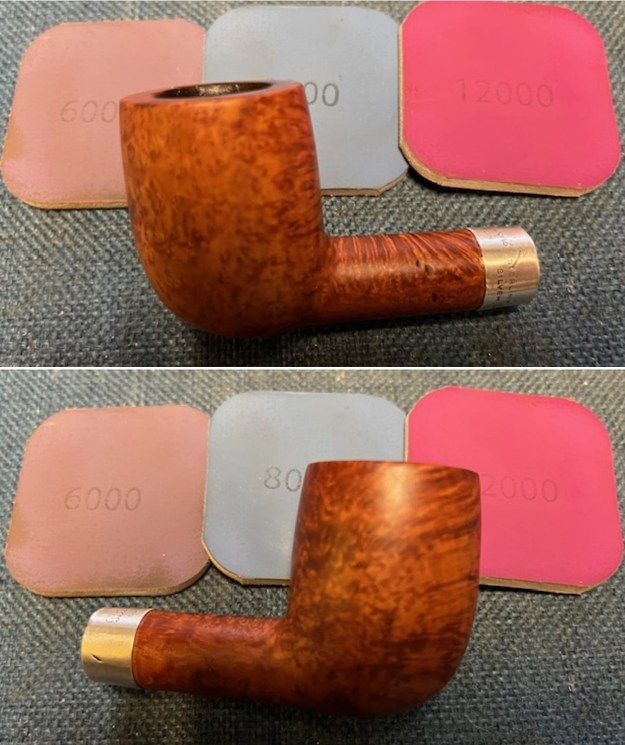
 I polished the briar with micromesh sanding pads -1500-12000 grit pads. I wiped it down with a damp cloth to remove the sanding debris and dust of the process. The smooth portions of the pipe really began to take on a shine and a rich sense of depth.
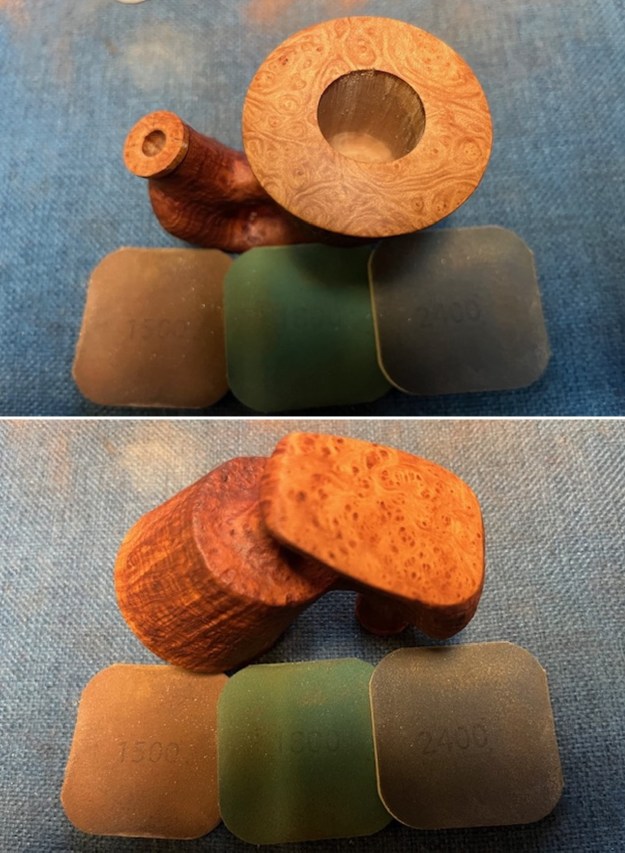
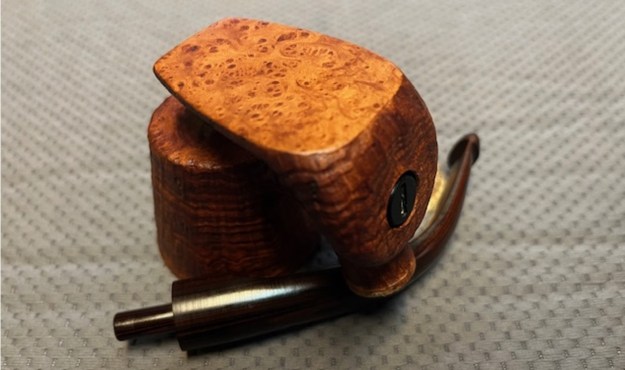
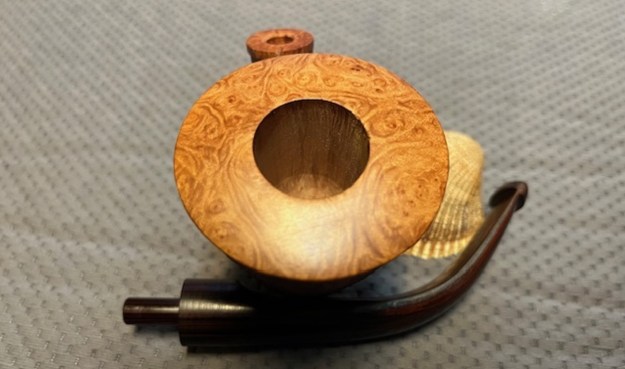
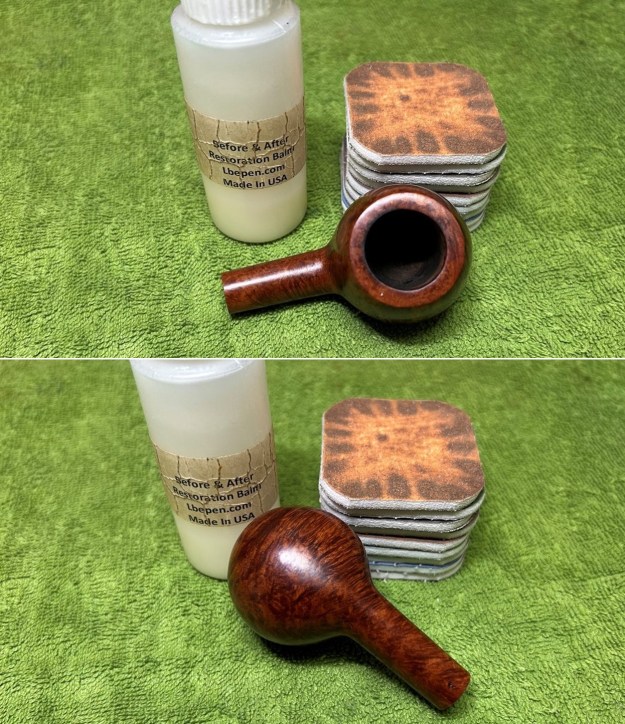
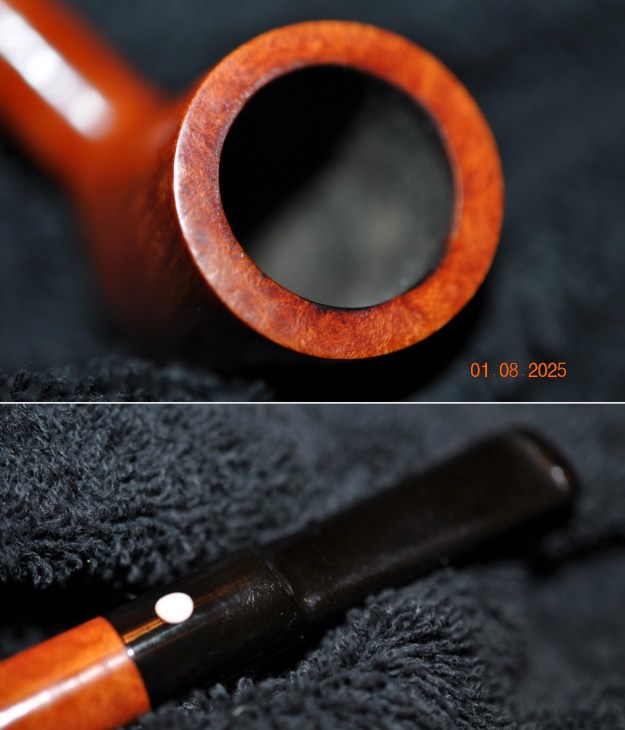
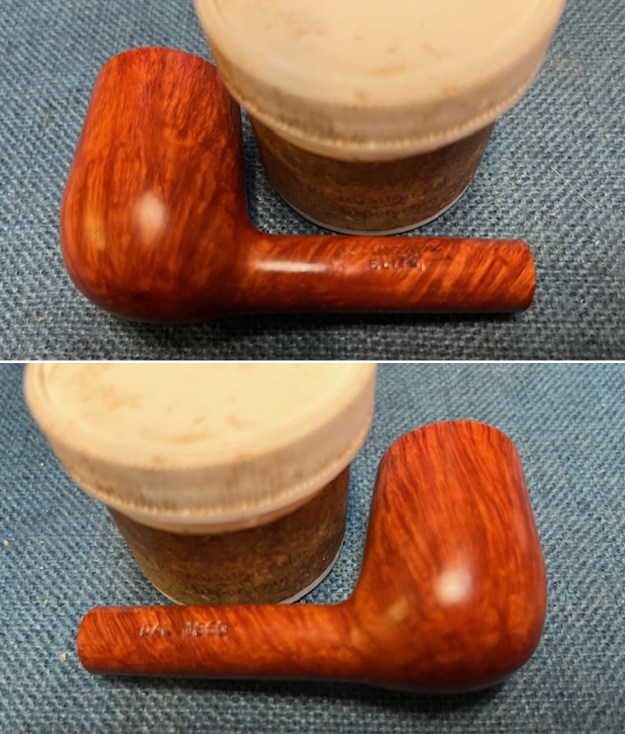
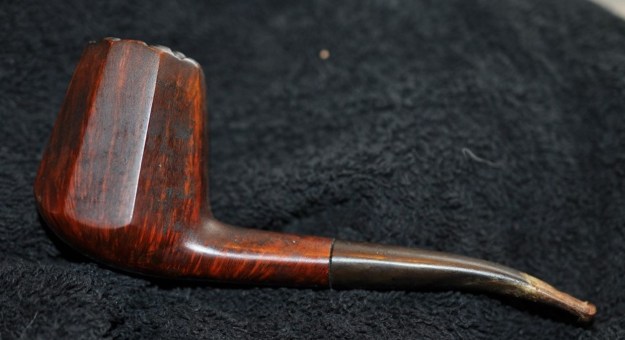
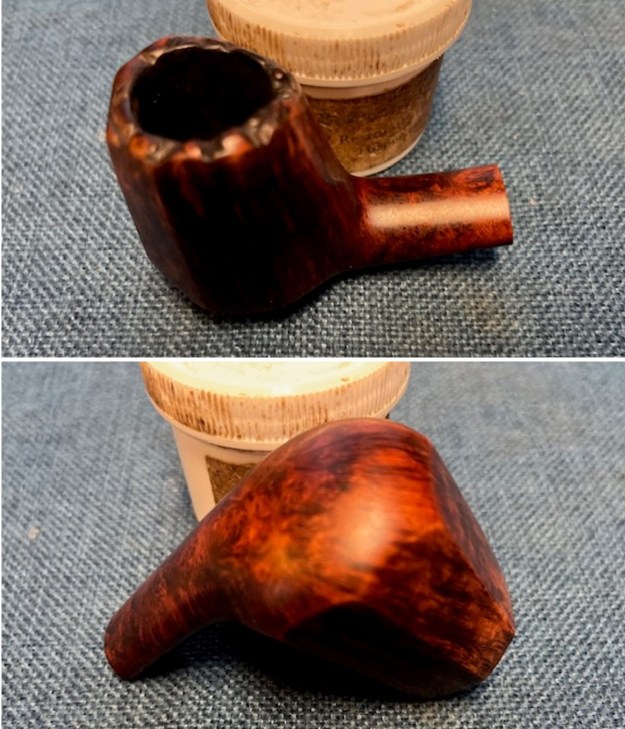
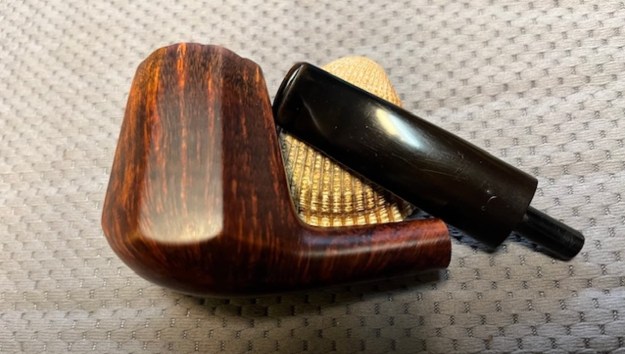
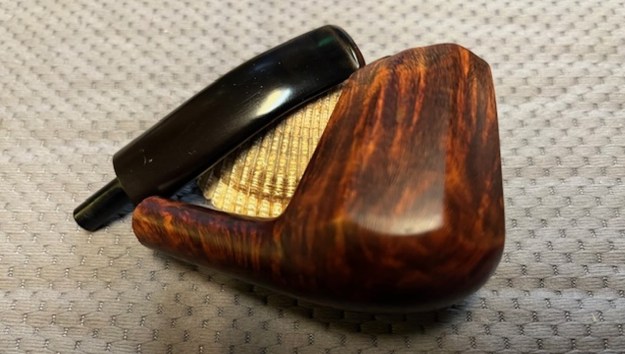
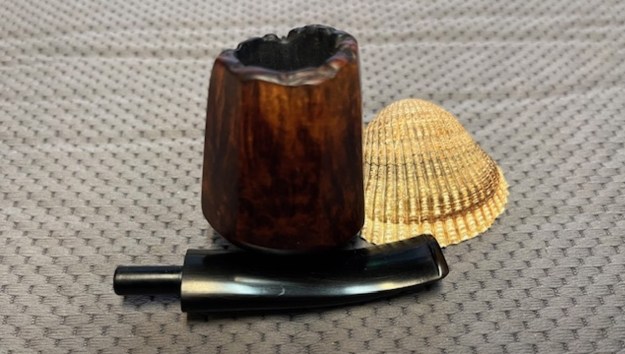
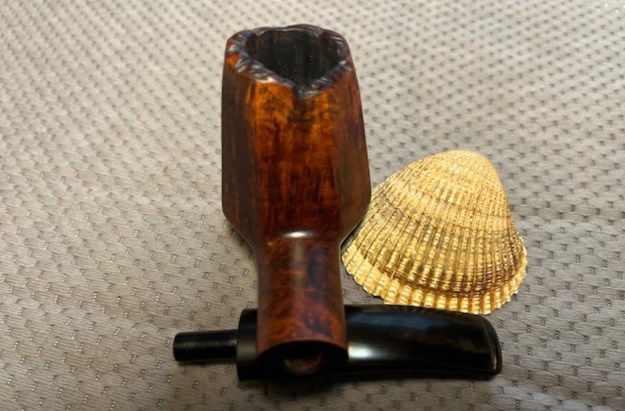
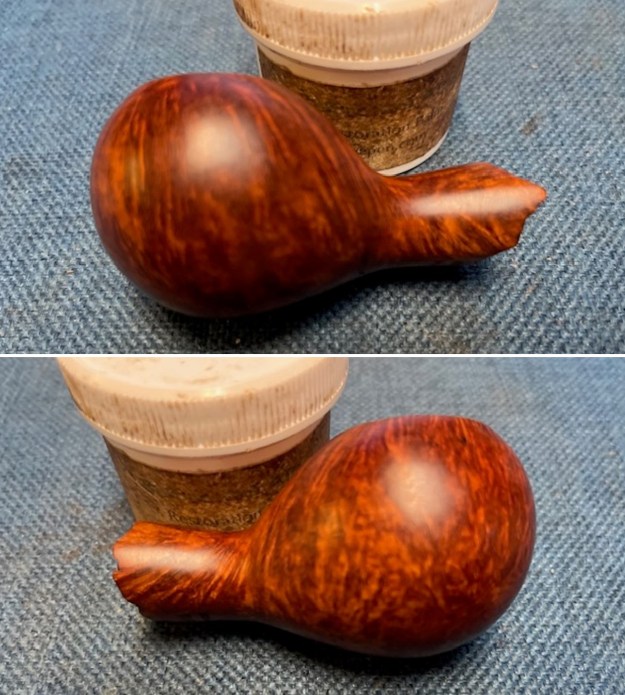
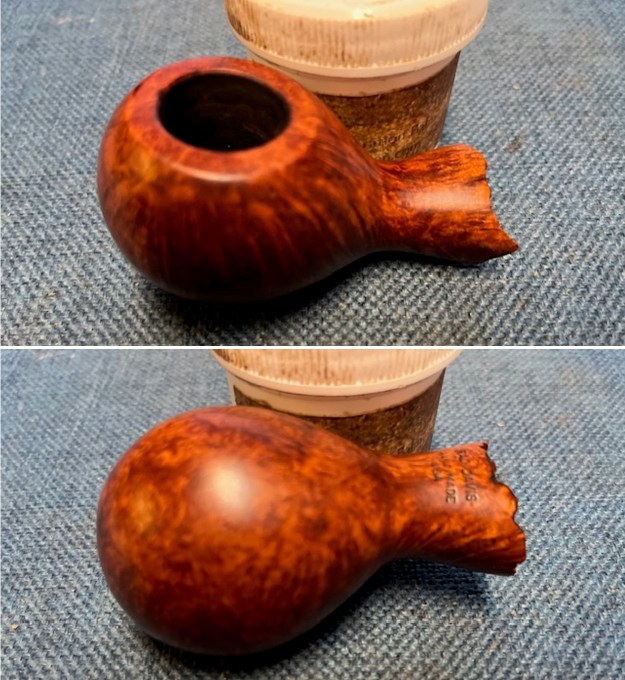
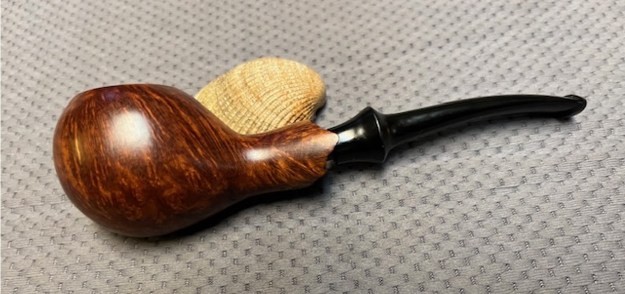
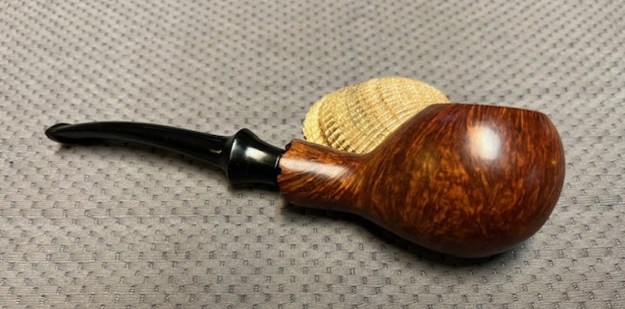
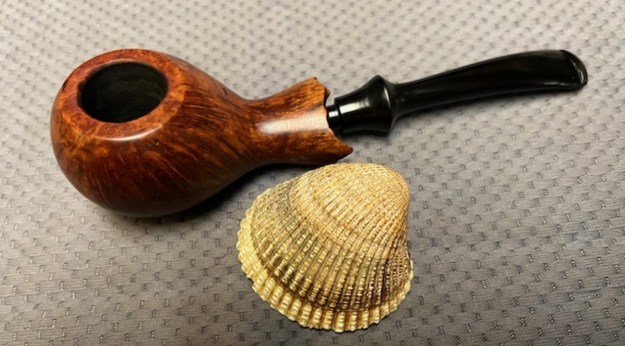
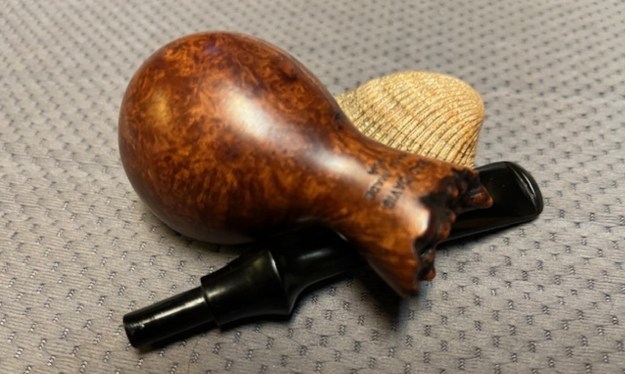
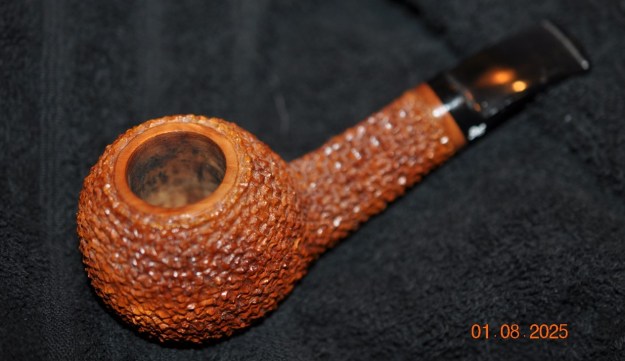
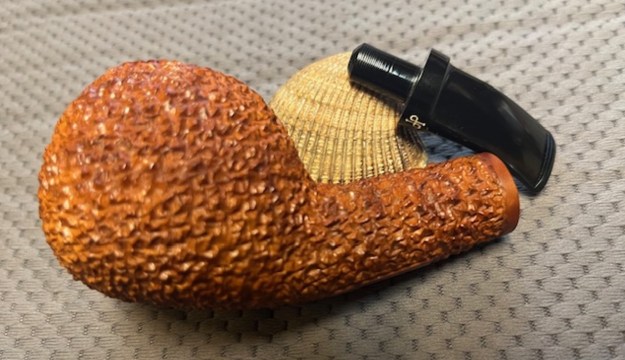
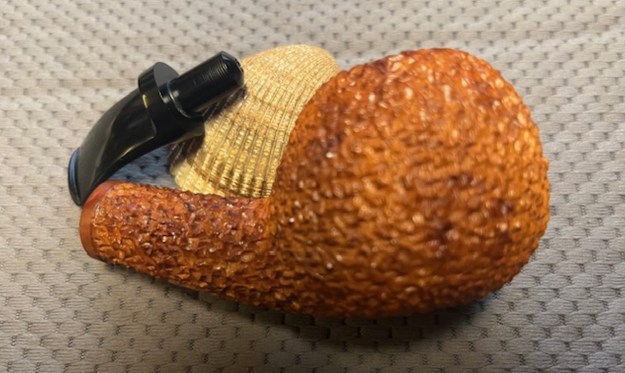
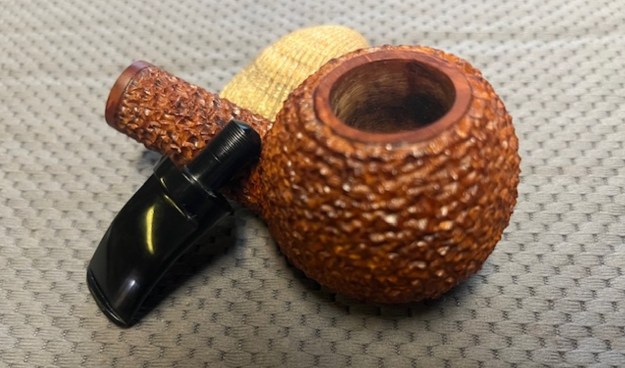
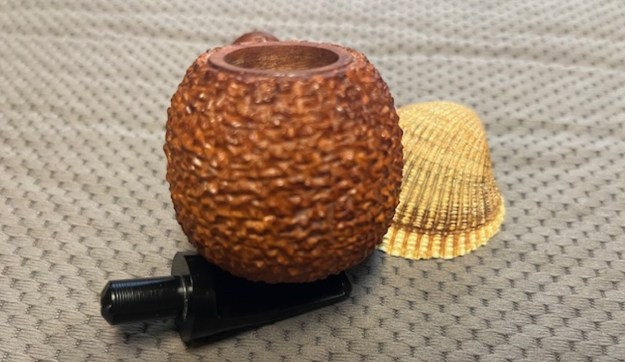
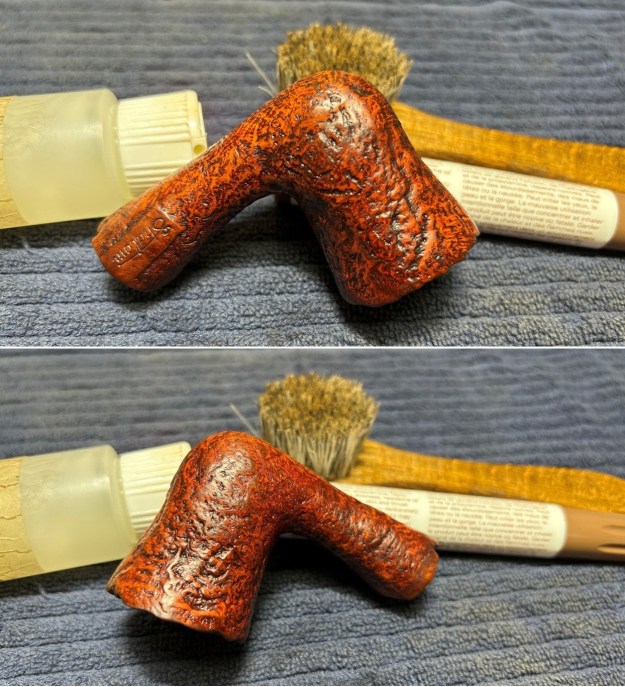
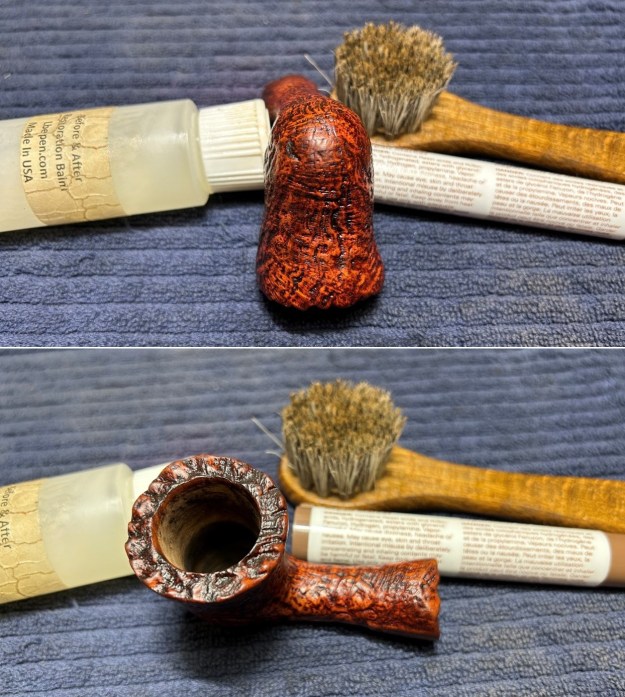
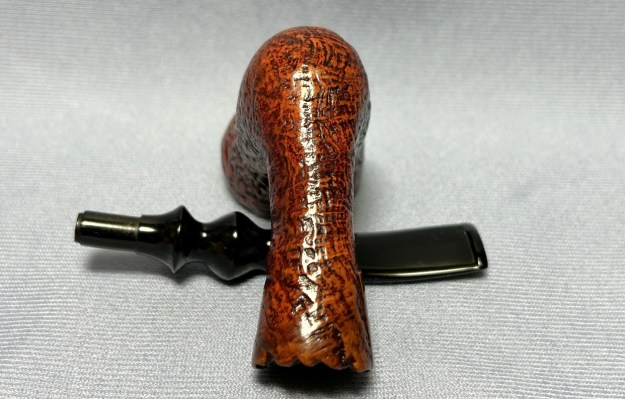
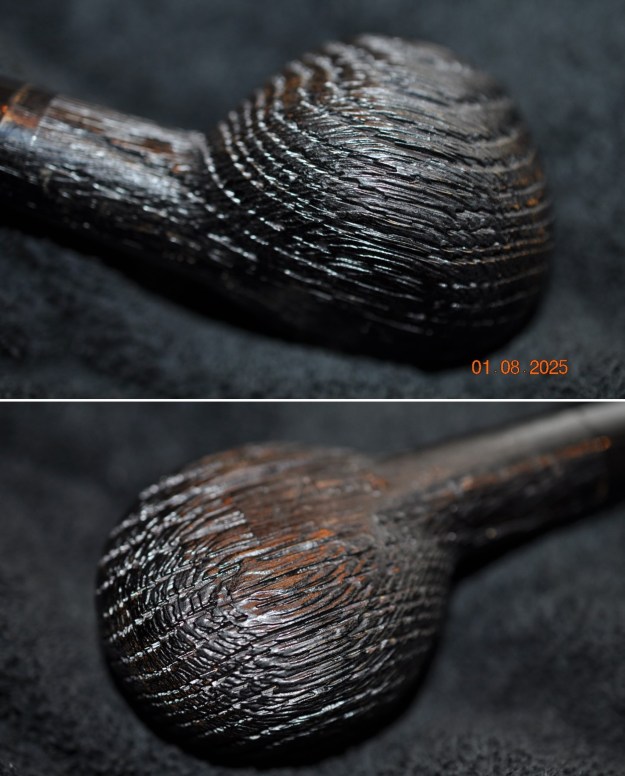
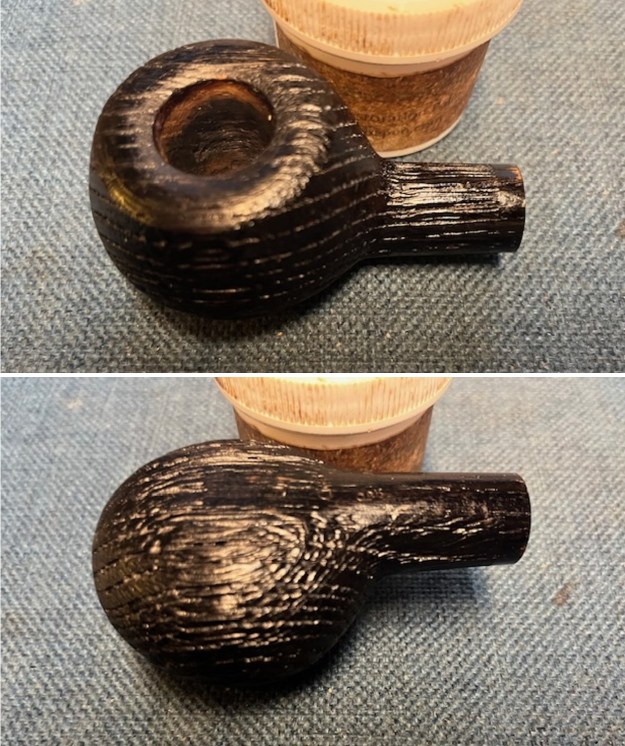
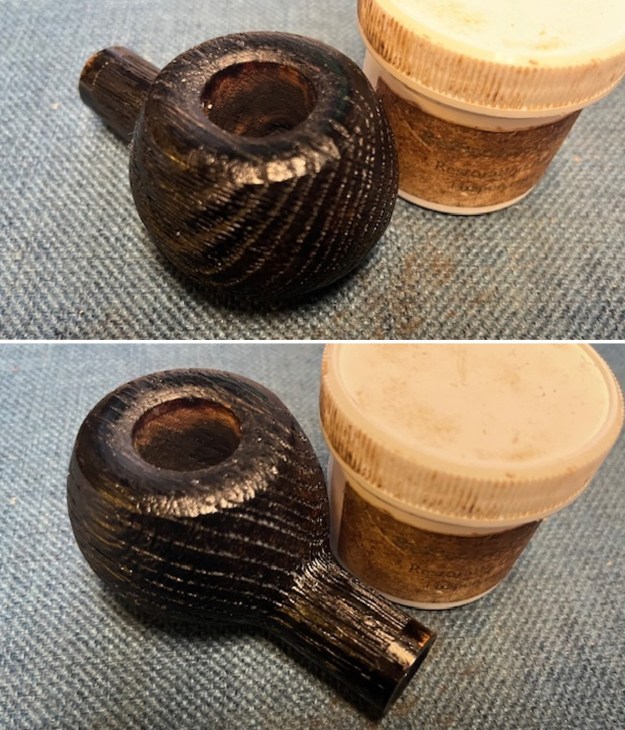
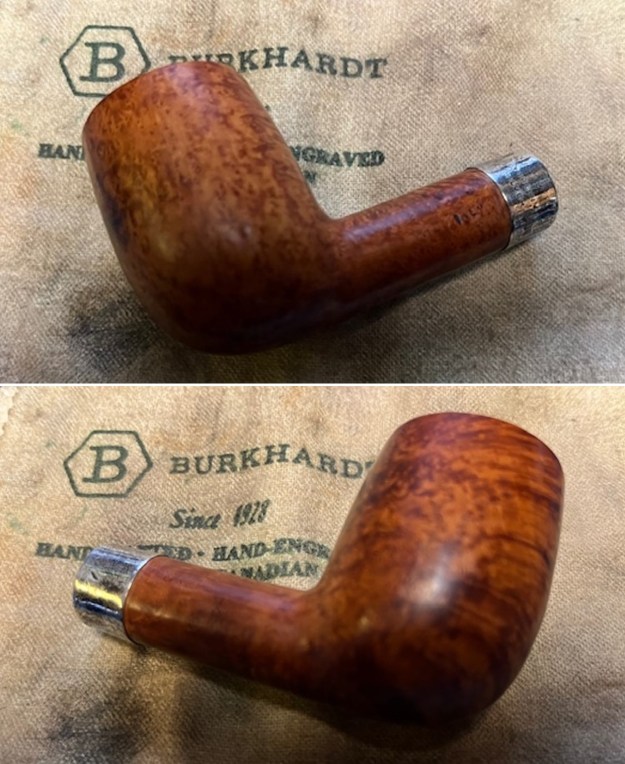
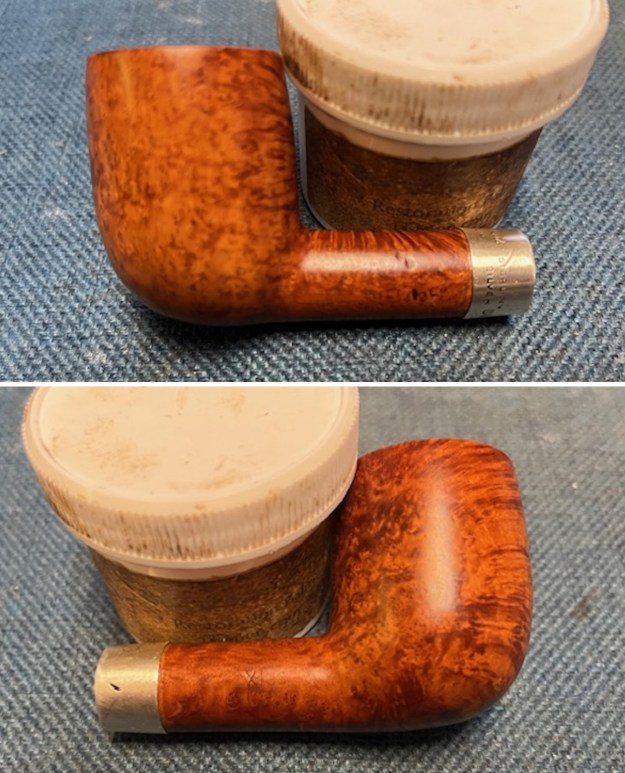
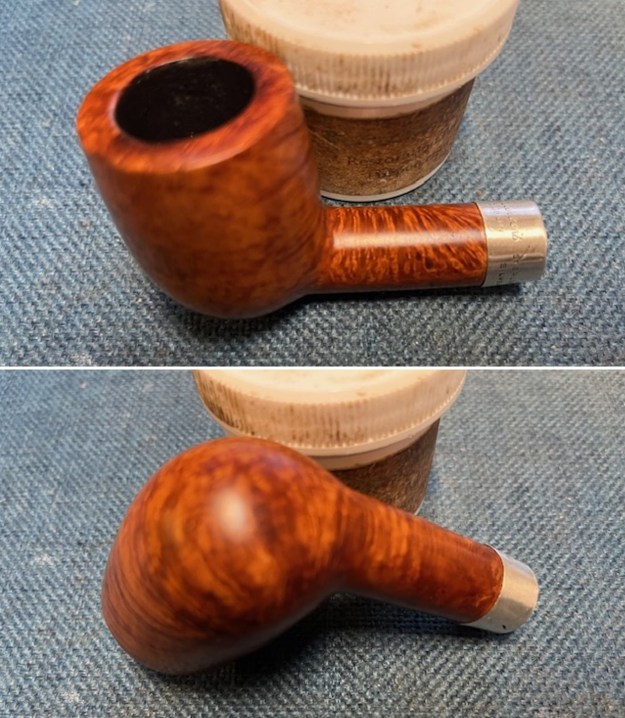
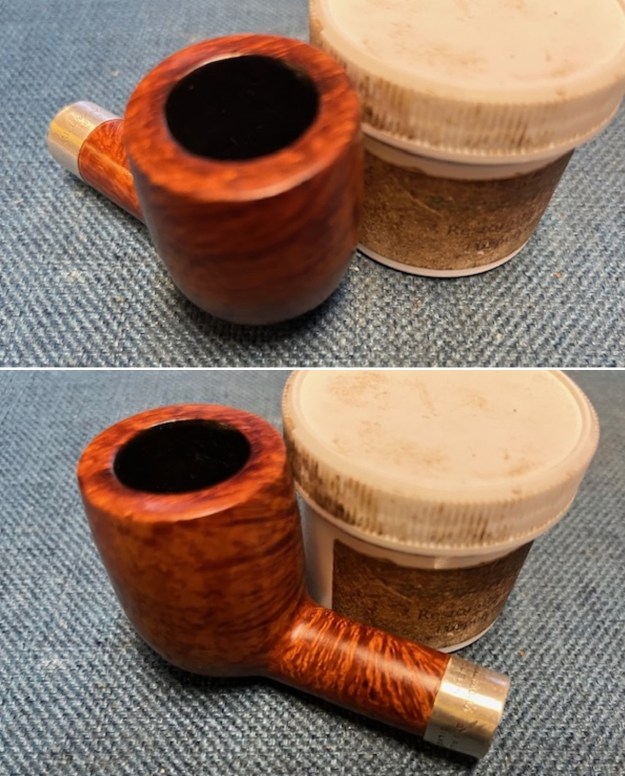
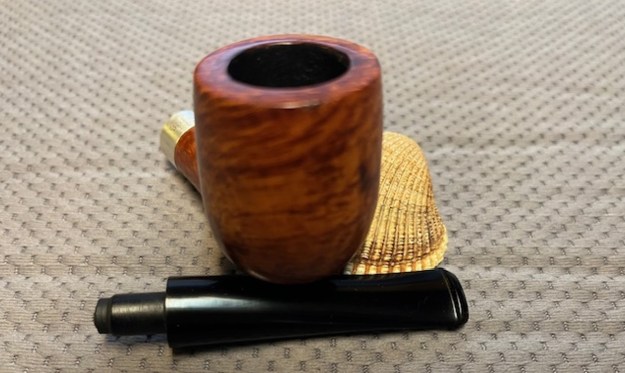
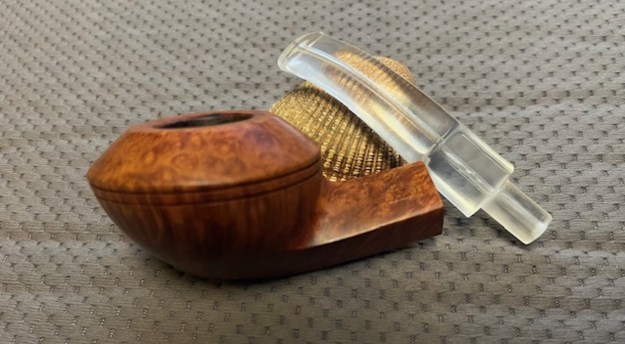
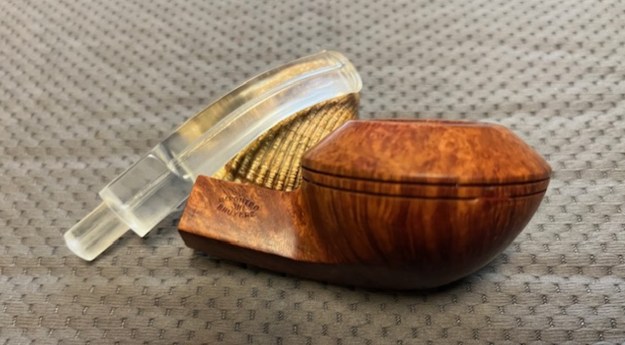
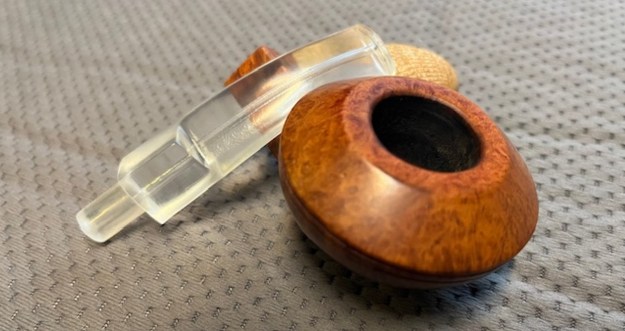
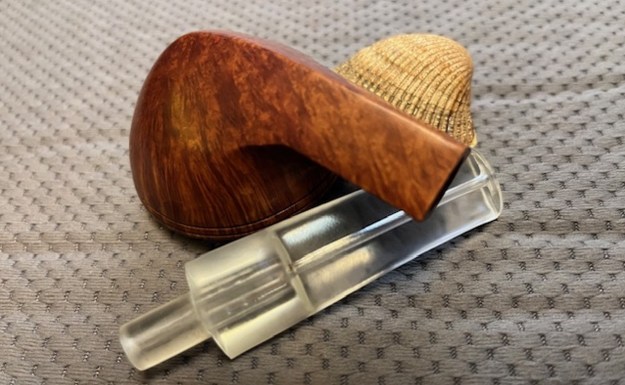
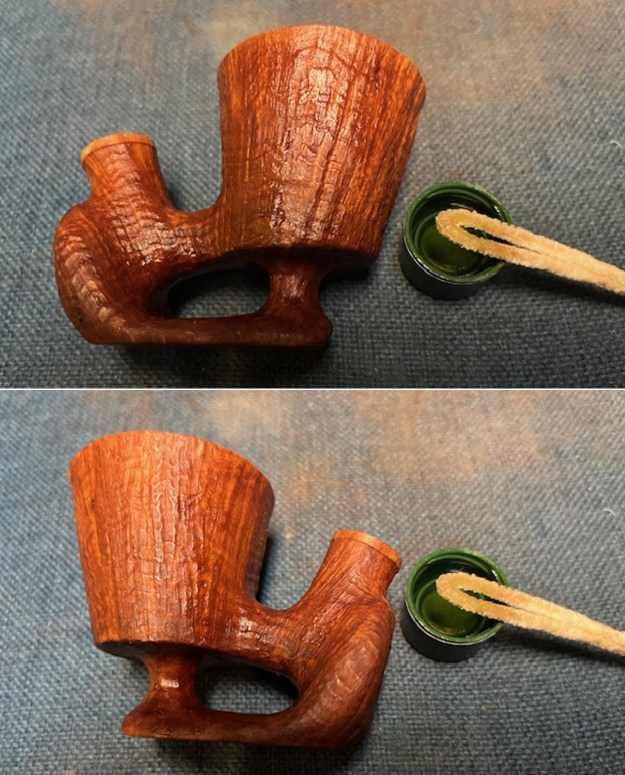
 I worked some Before & After Restoration Balm into the surface of the smooth briar of the rim top and the bottom of the foot with my fingertips to clean, enliven and protect the briar. I used a shoe brush to work the balm into the sandblast around the bowl on the rim top. I let the balm sit for 15 minutes and then buffed with a cotton cloth to raise the shine. The photos show the bowl at this point in the restoration process.
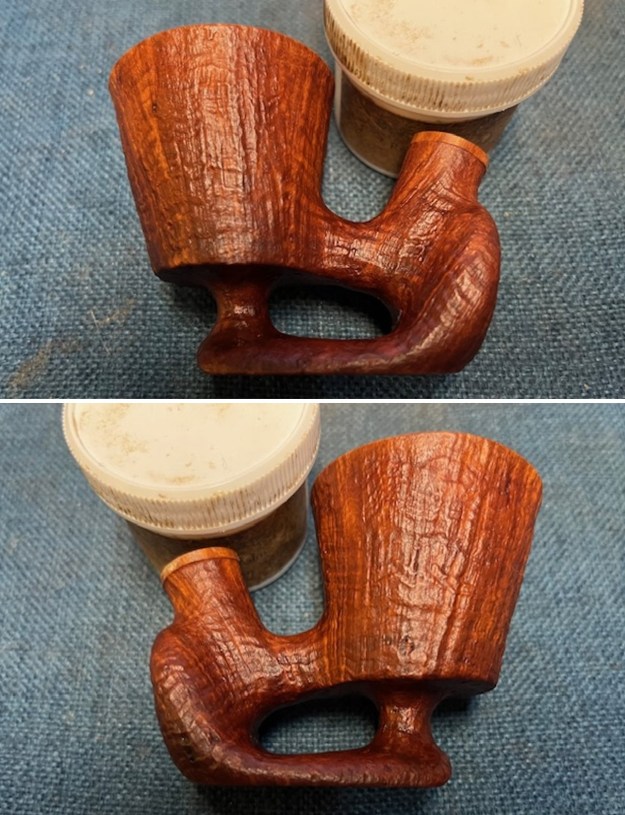
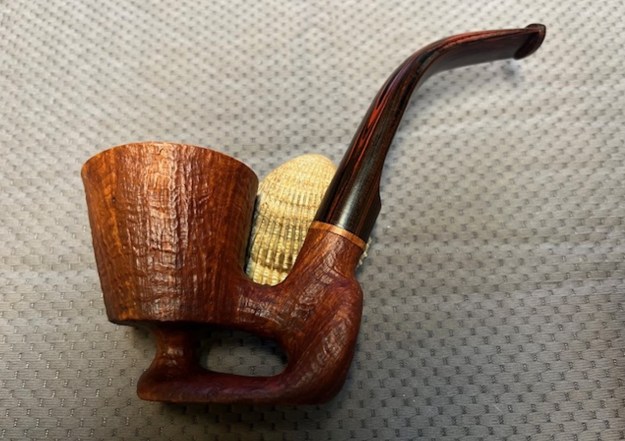
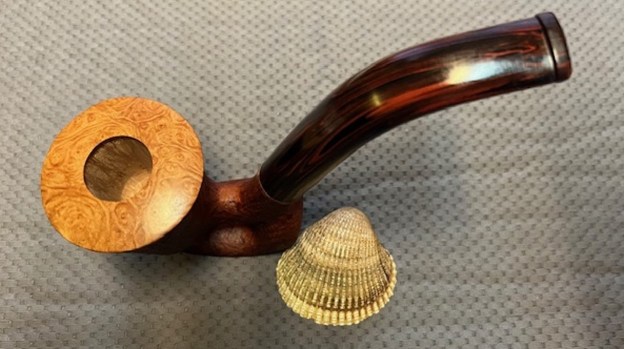
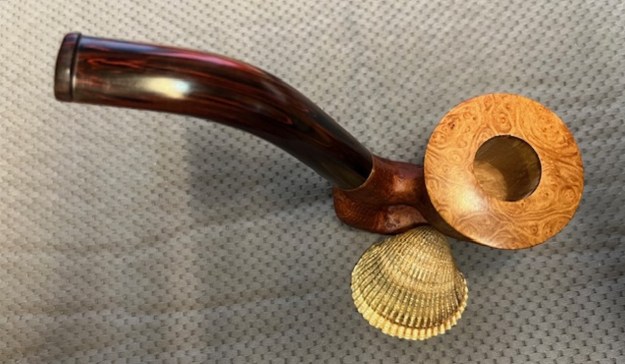
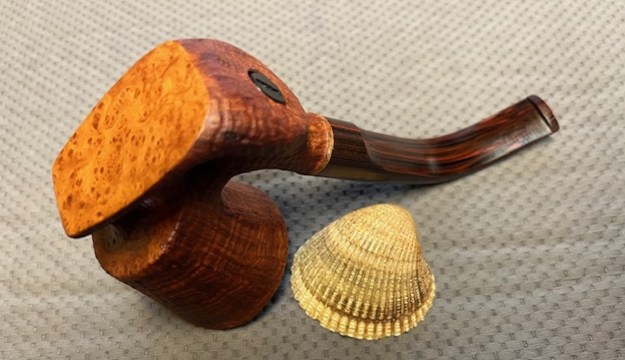
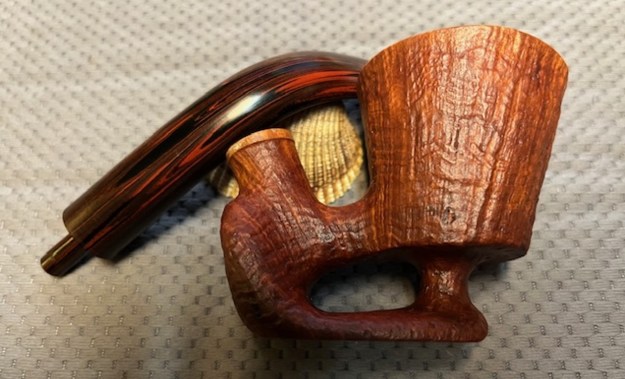
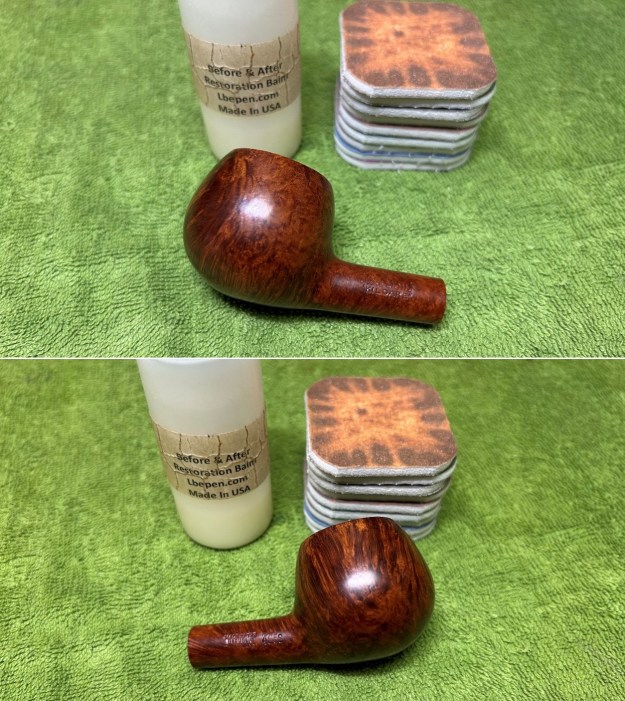
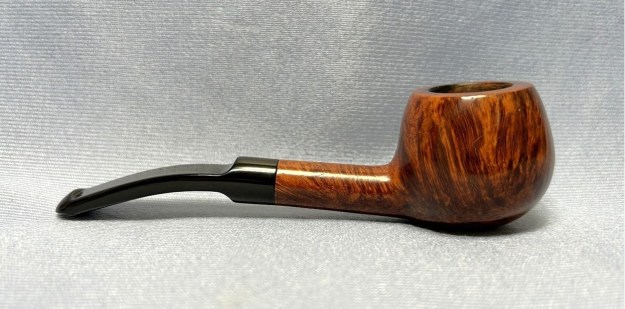
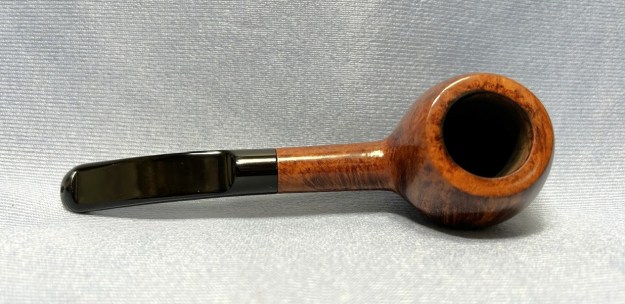
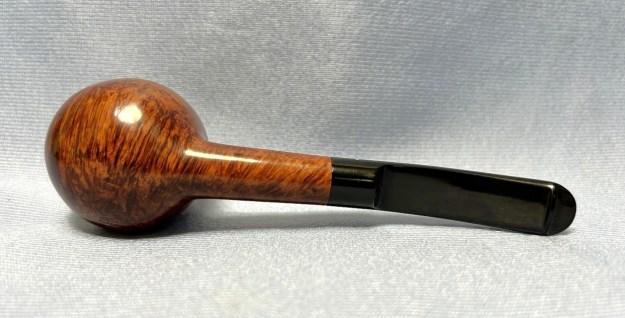
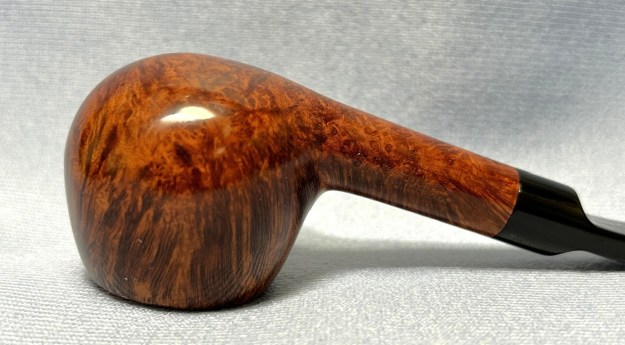
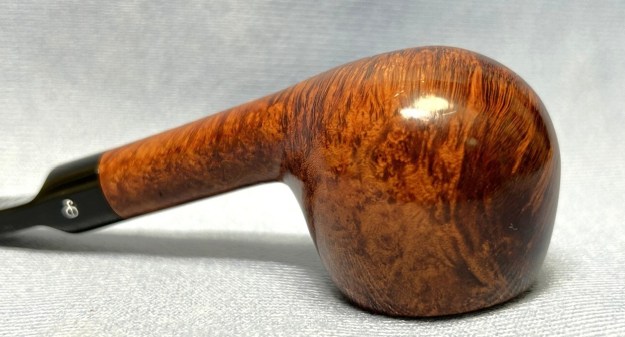
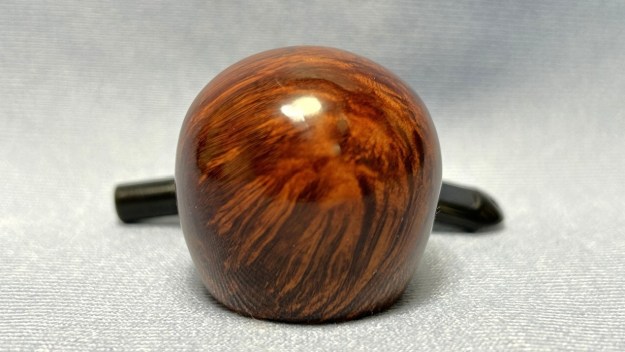
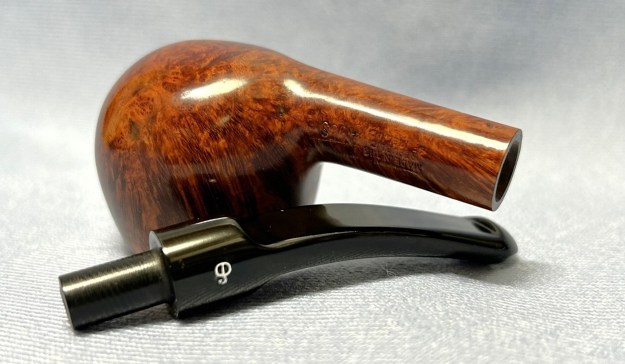
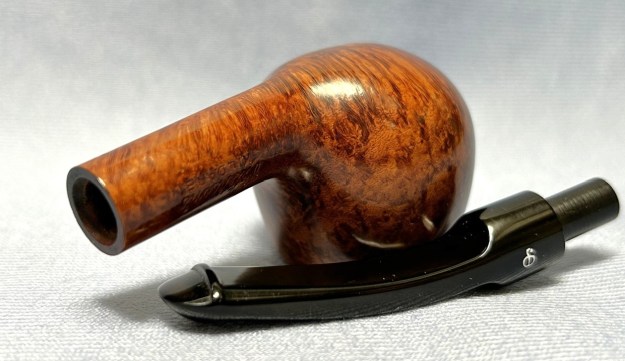
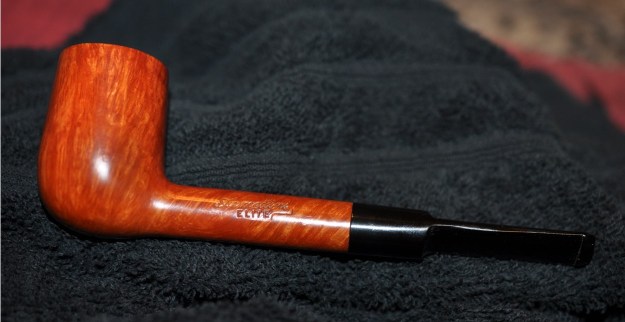
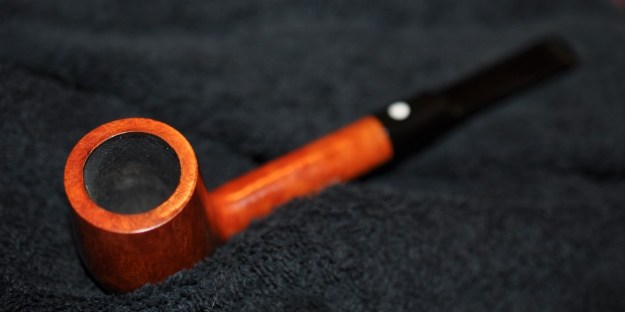
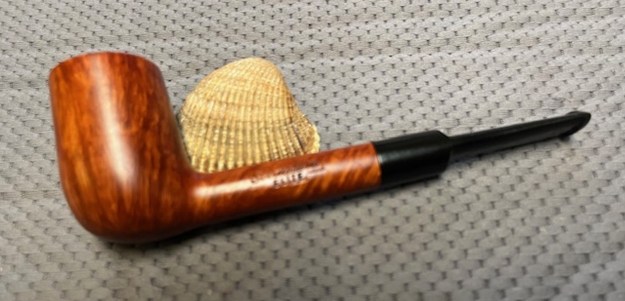
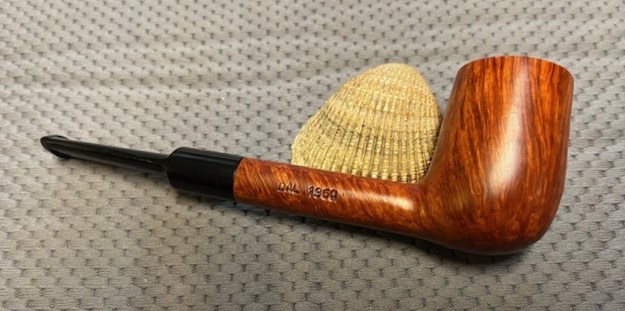
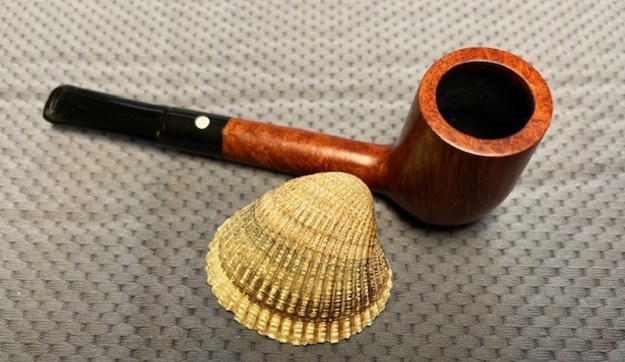
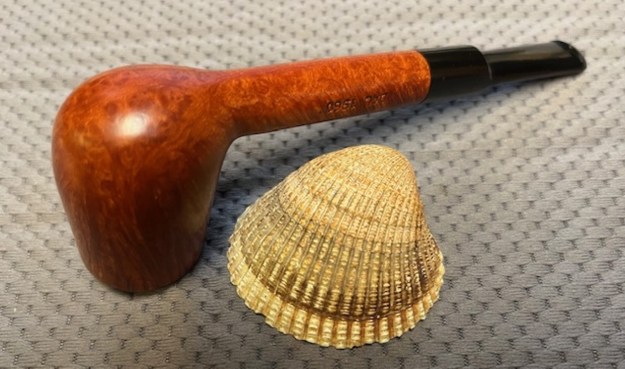
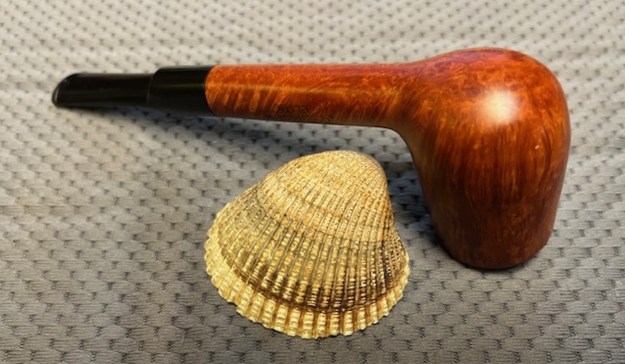
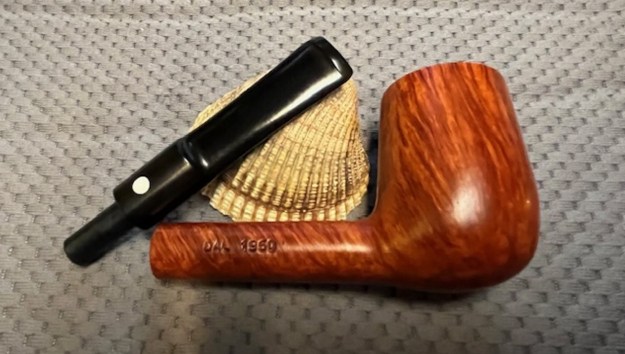
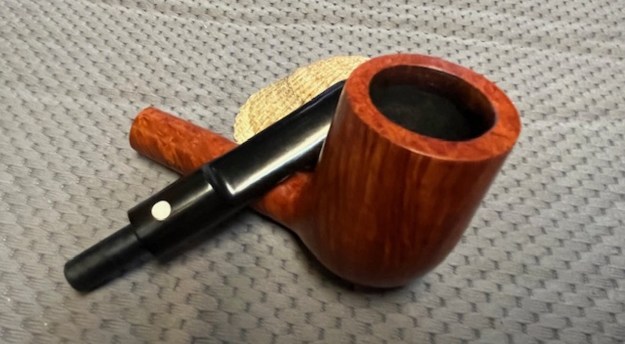
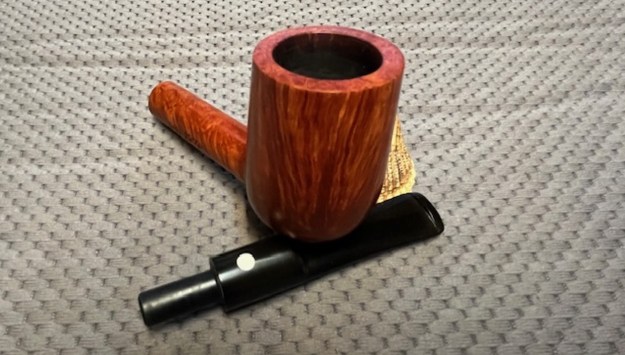
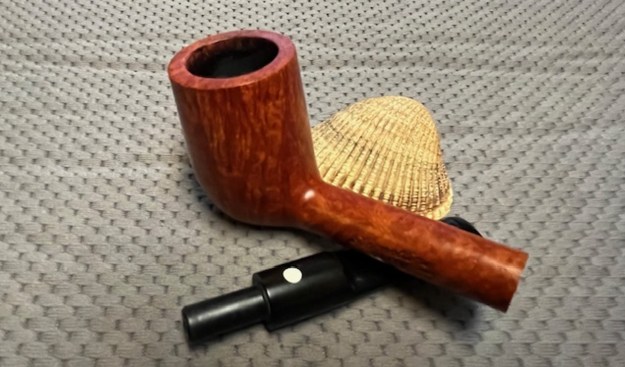
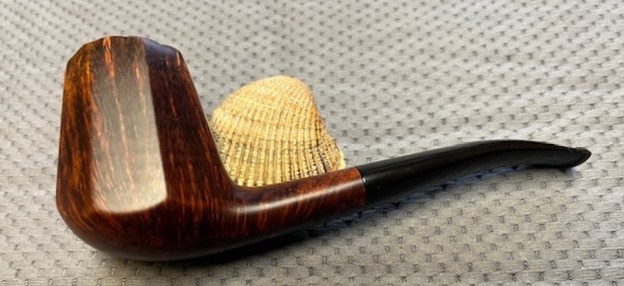
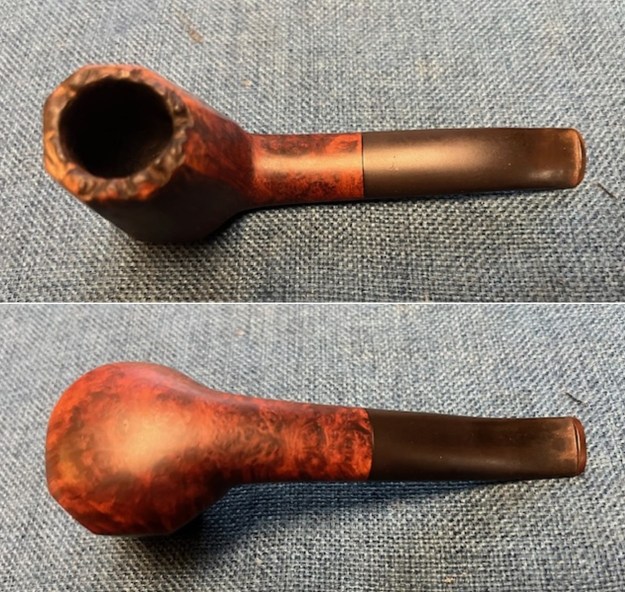
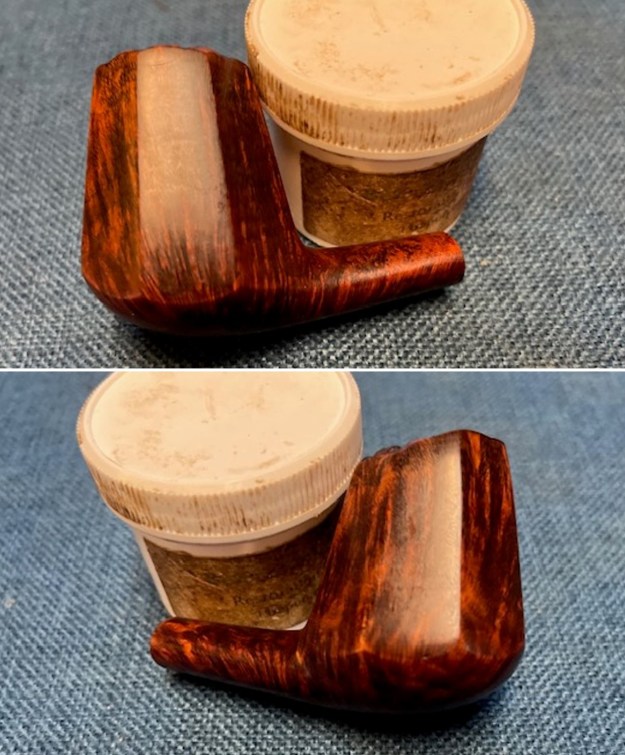
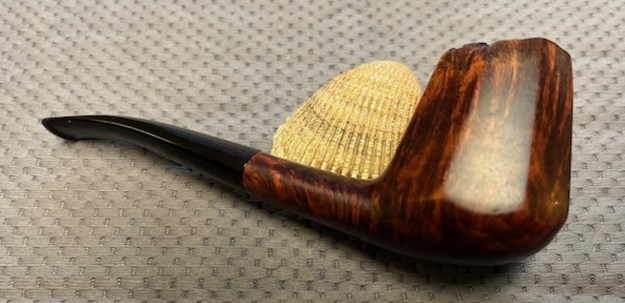
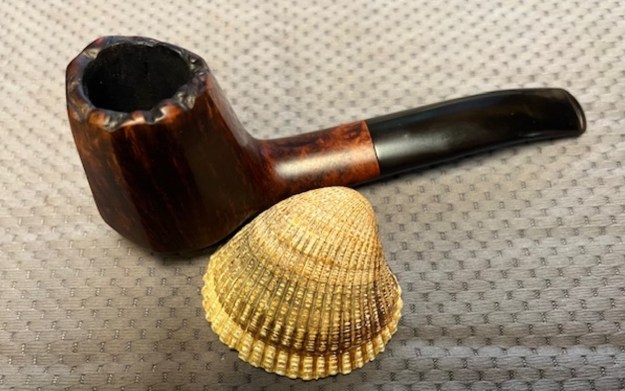
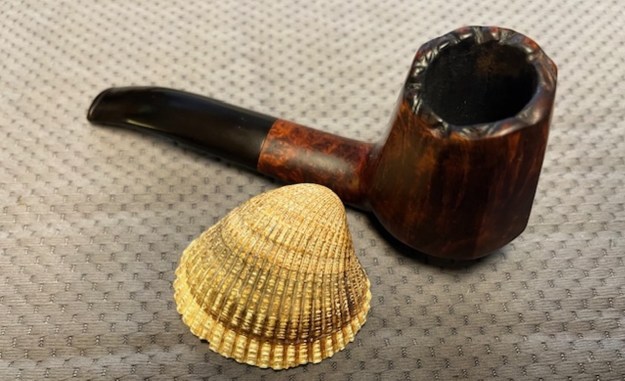
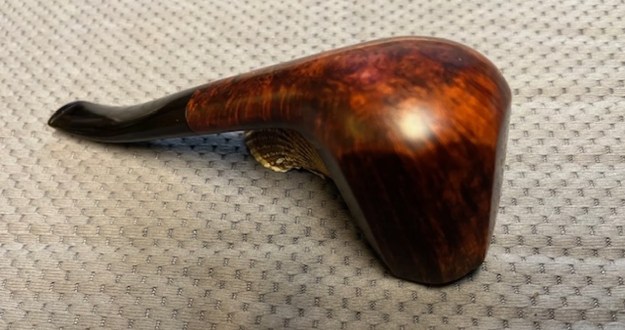
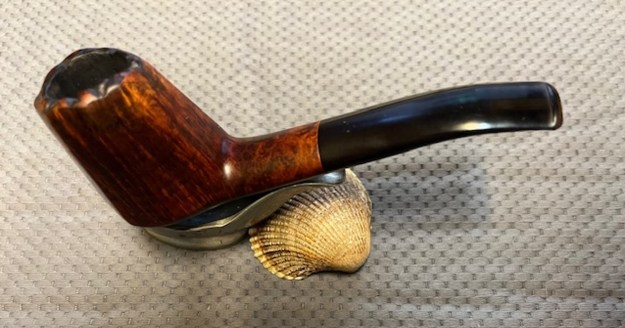
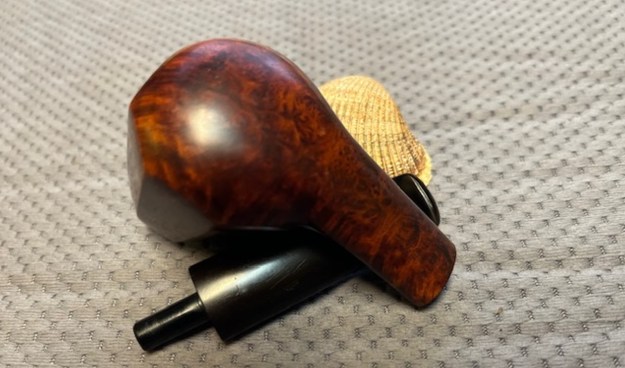
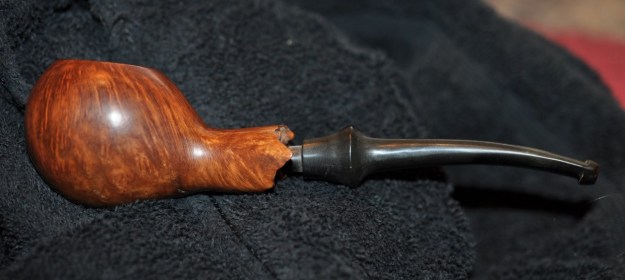
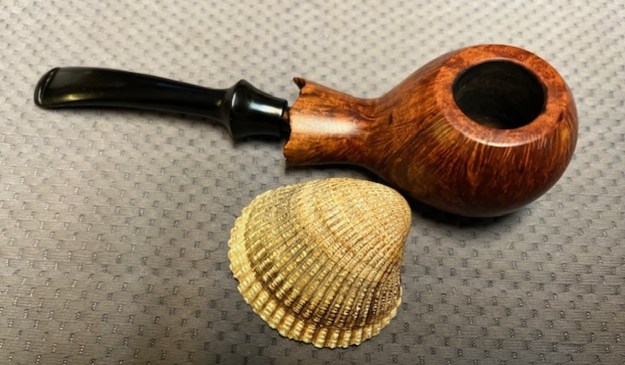
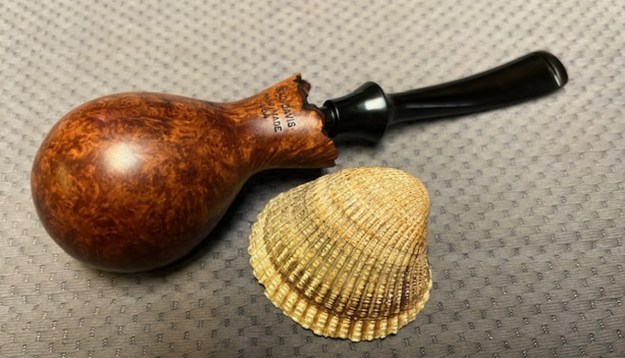
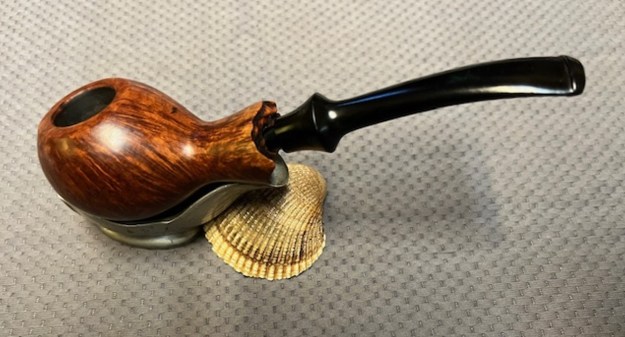
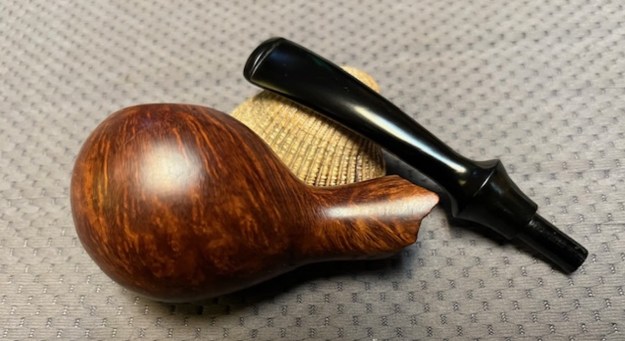
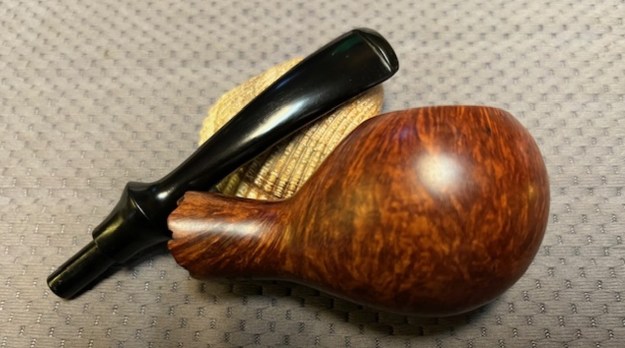
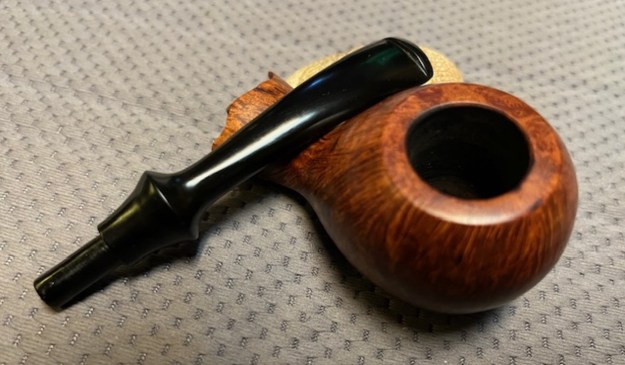
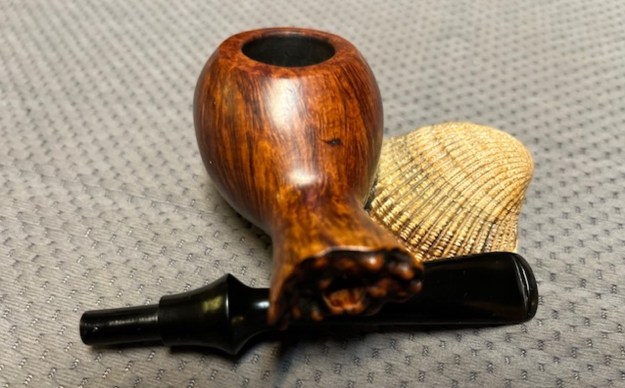
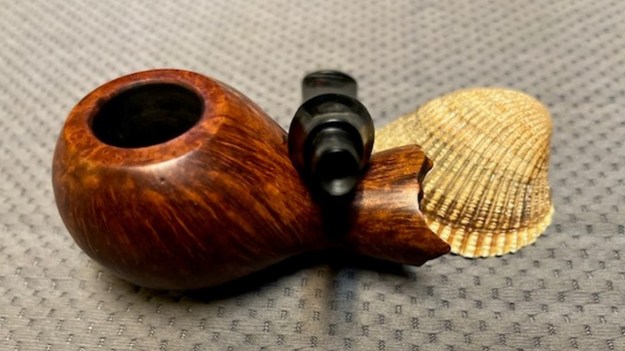
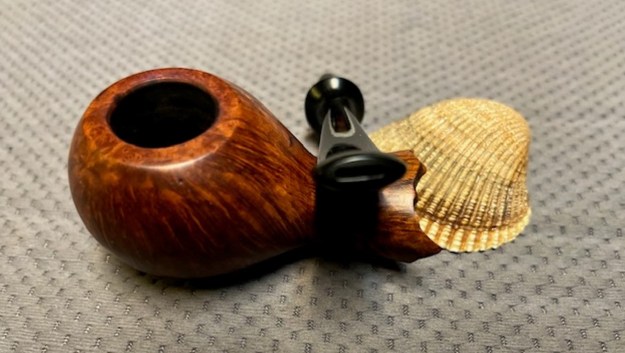
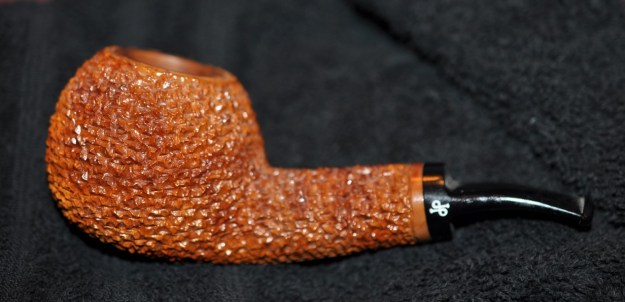
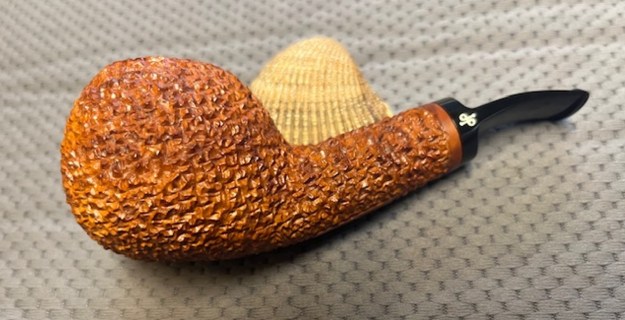
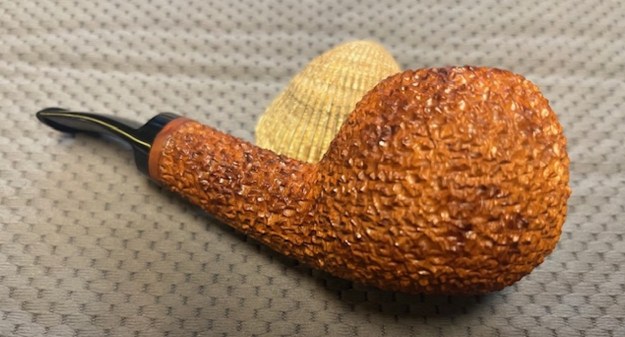
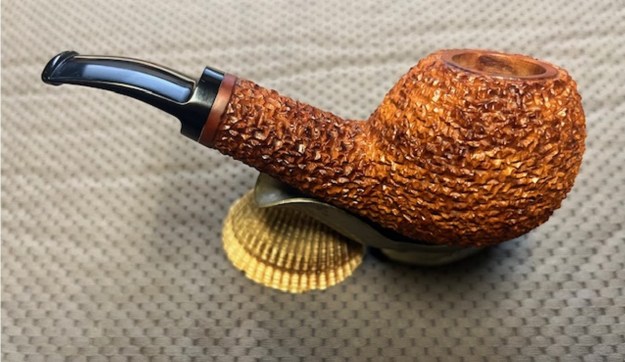
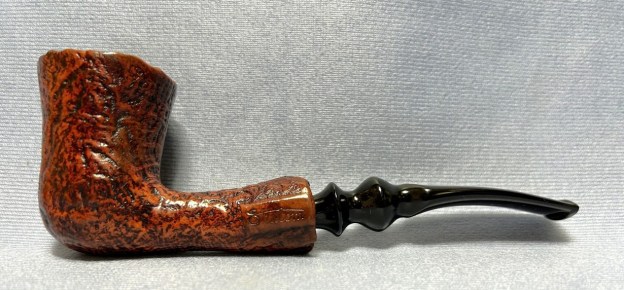
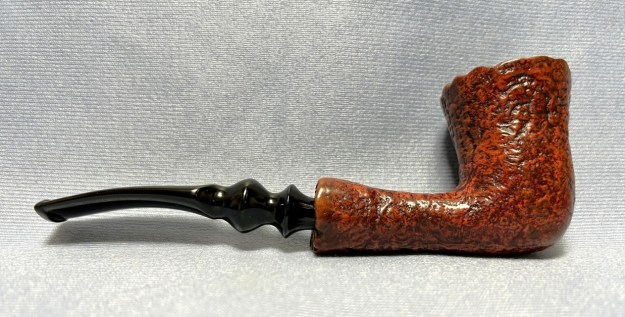
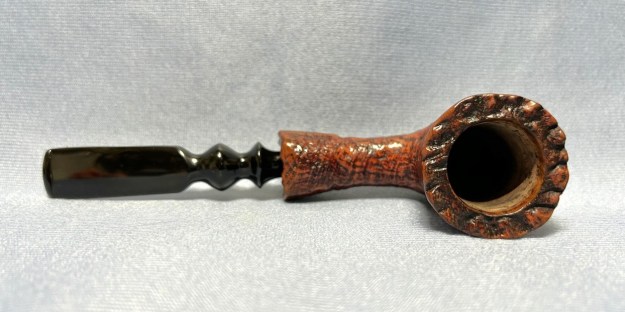
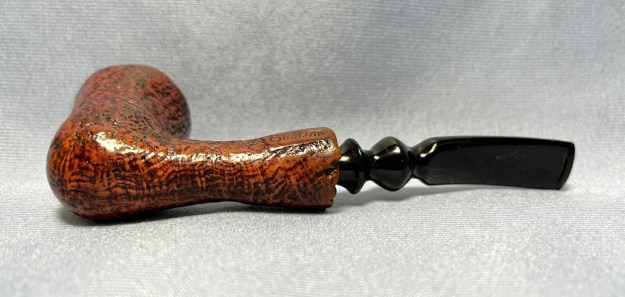
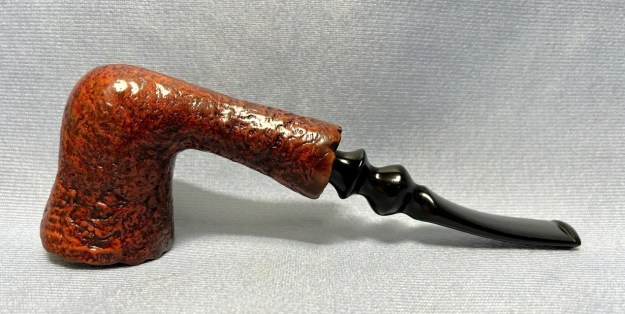
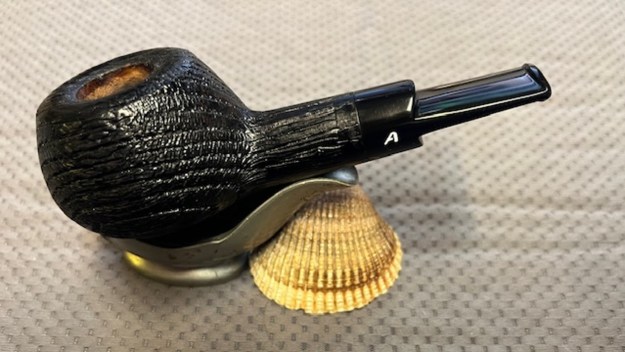
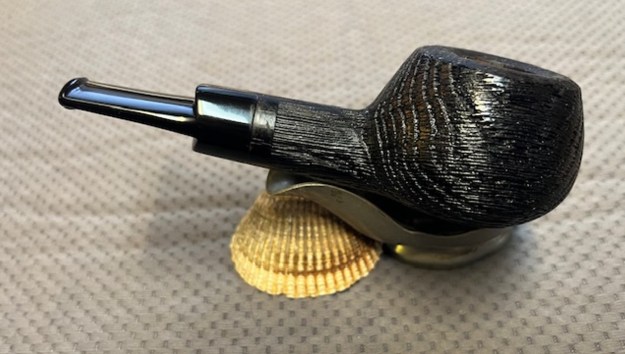
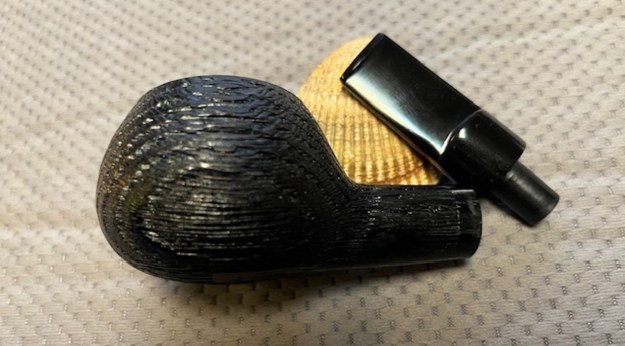
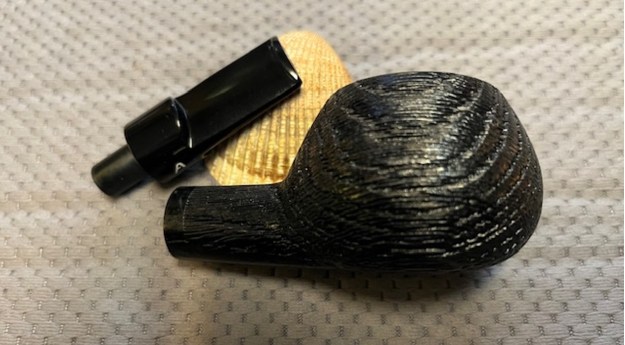
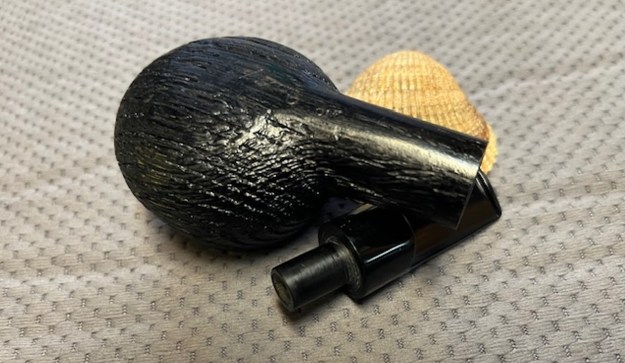
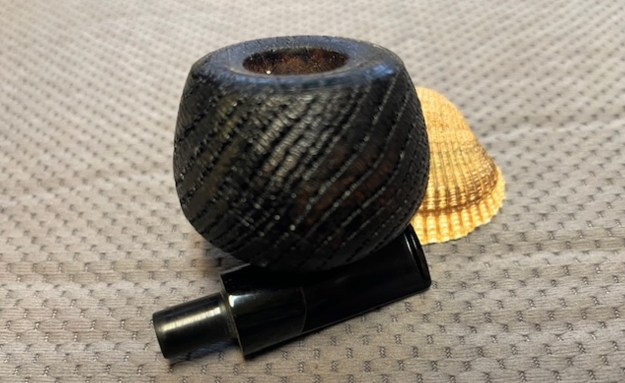
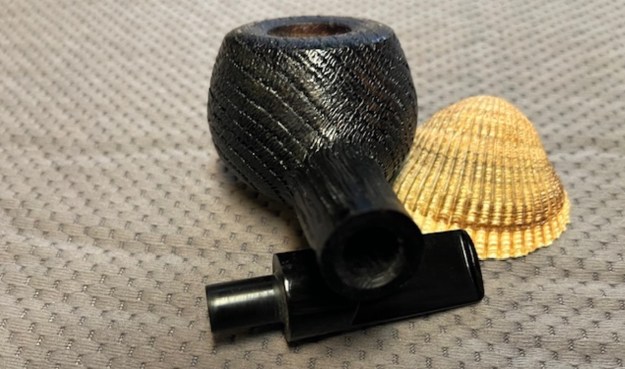
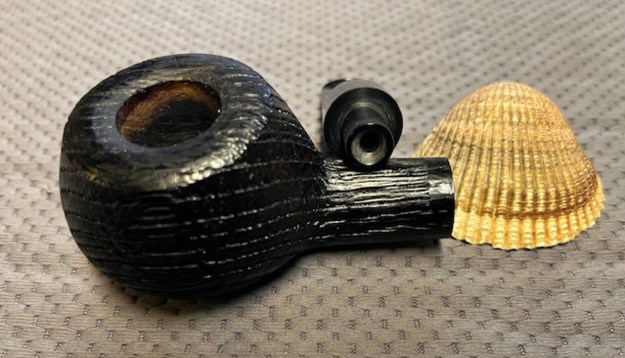
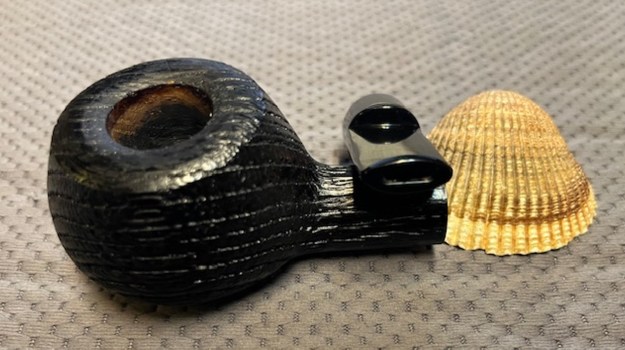
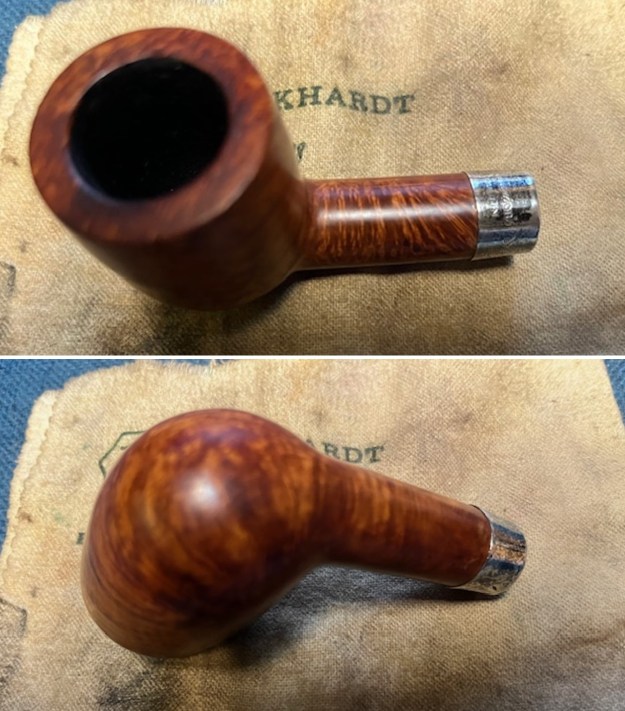
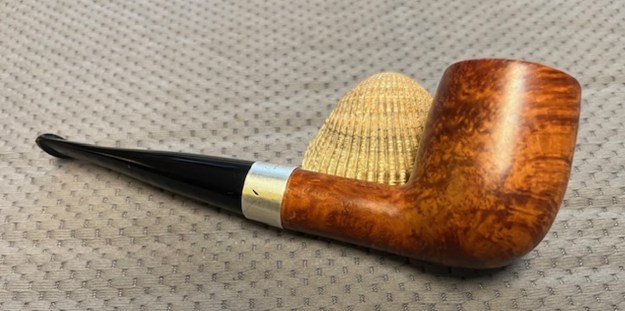
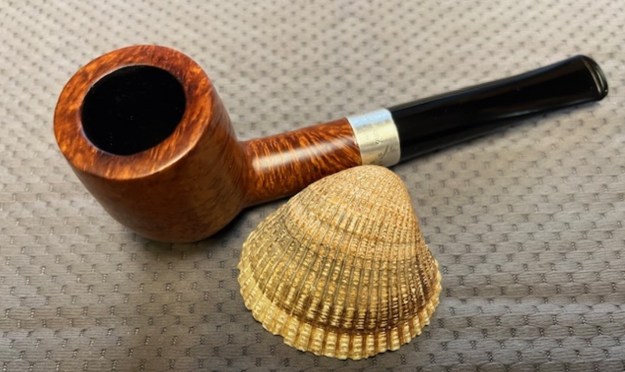
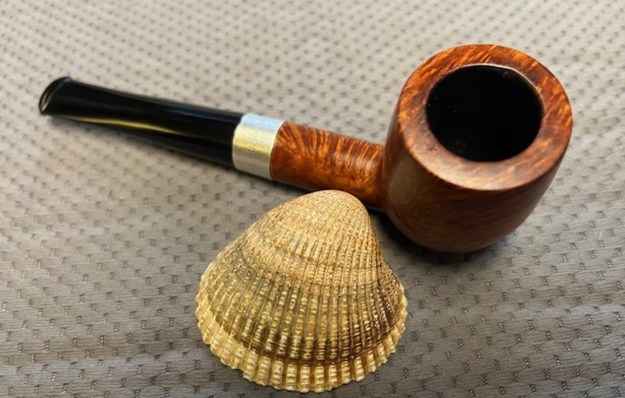
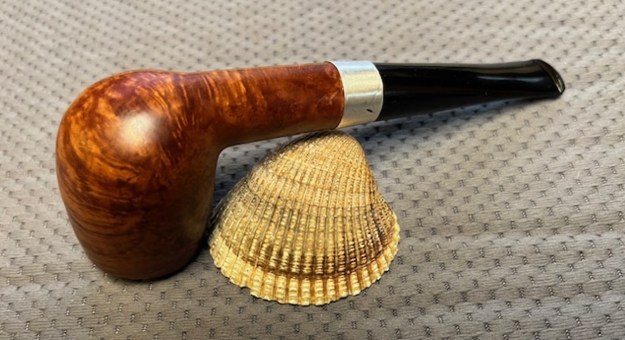
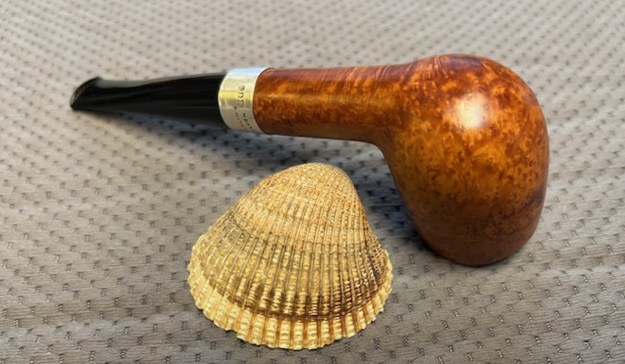
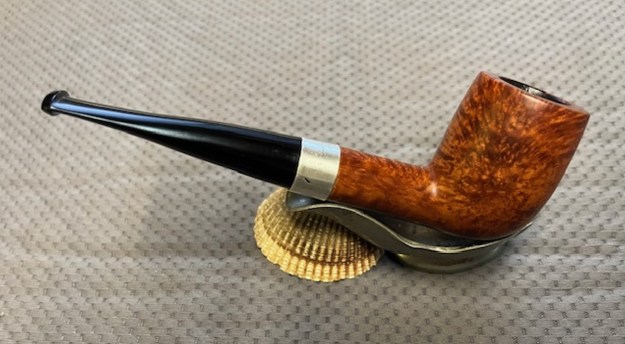
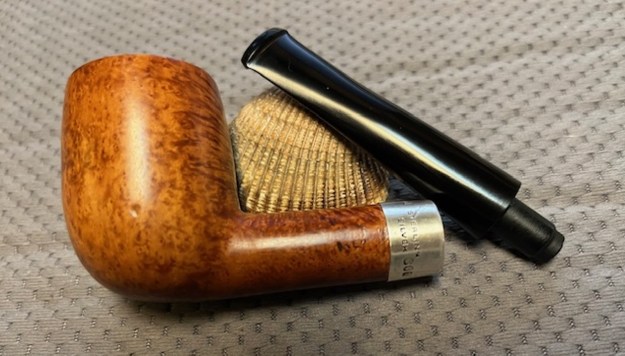
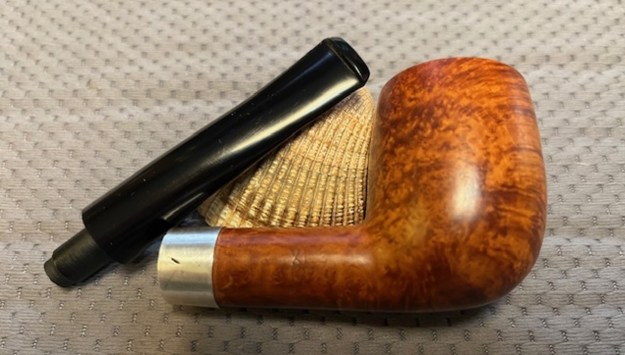
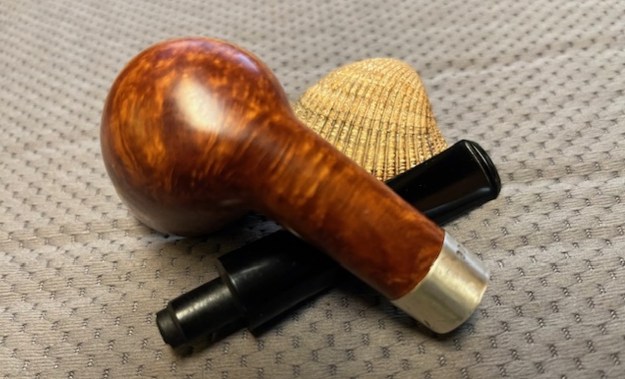
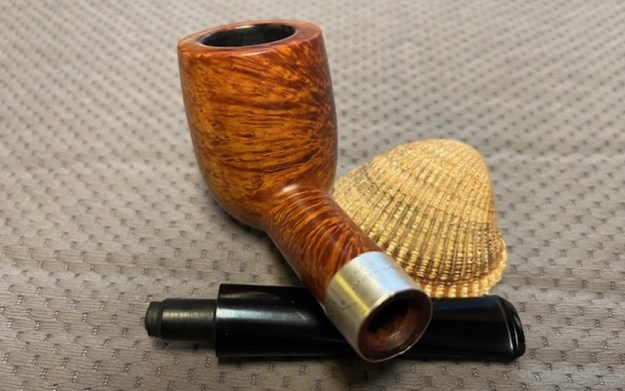
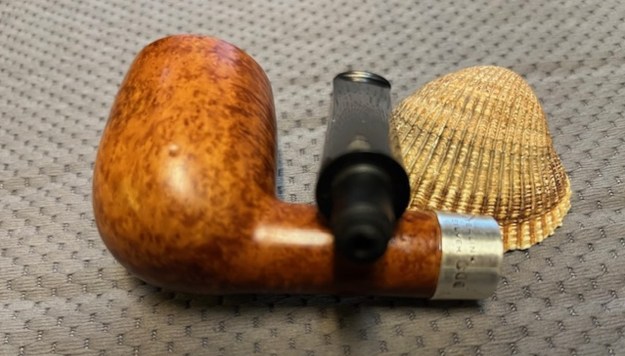
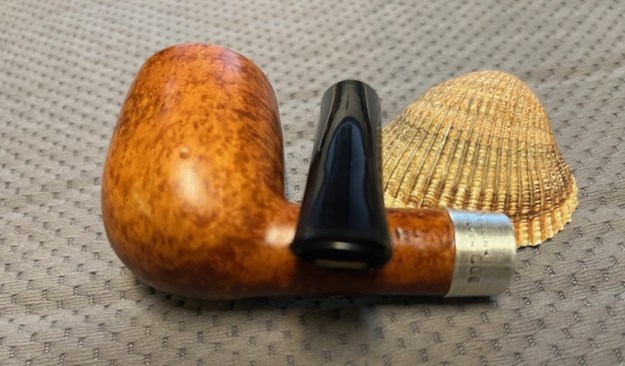
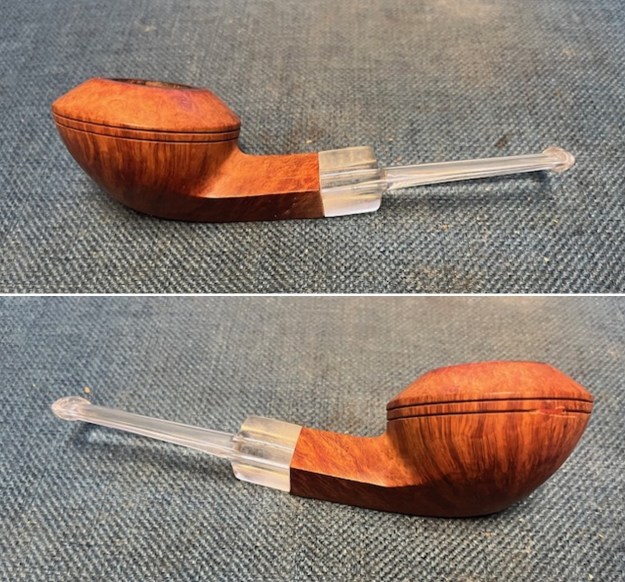
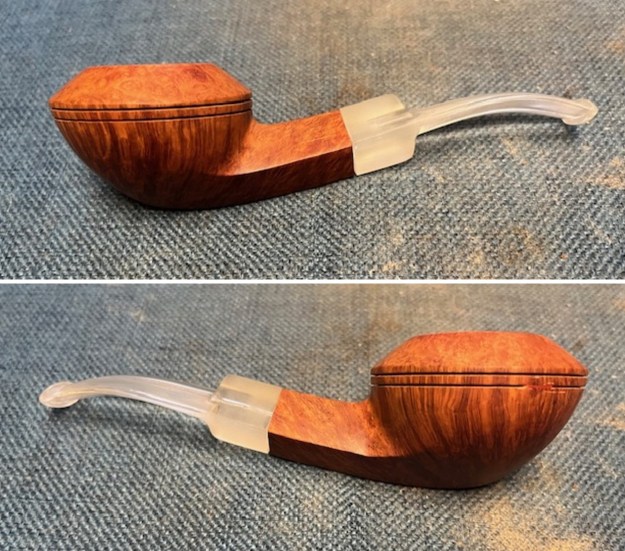
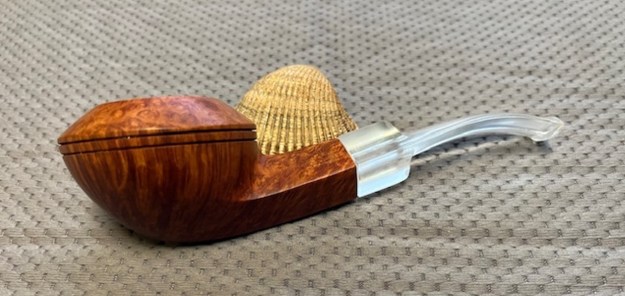
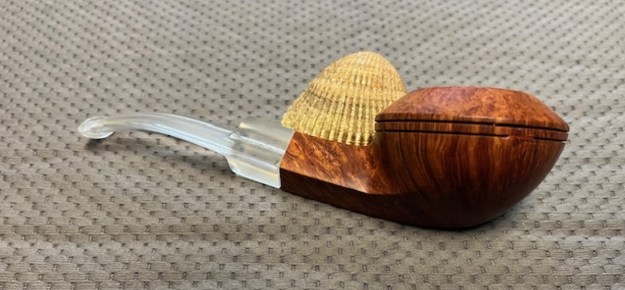
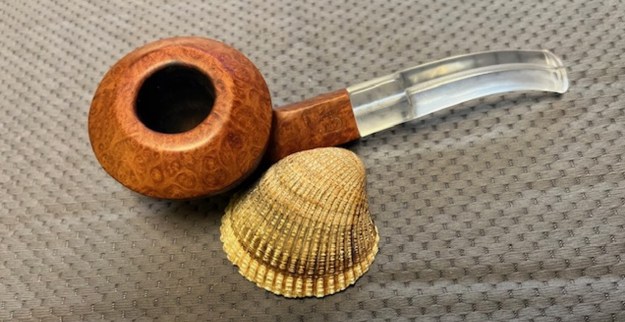
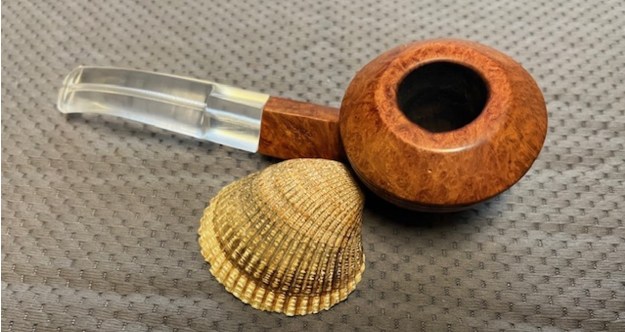
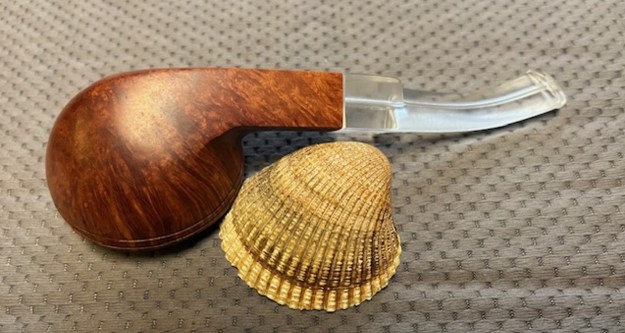
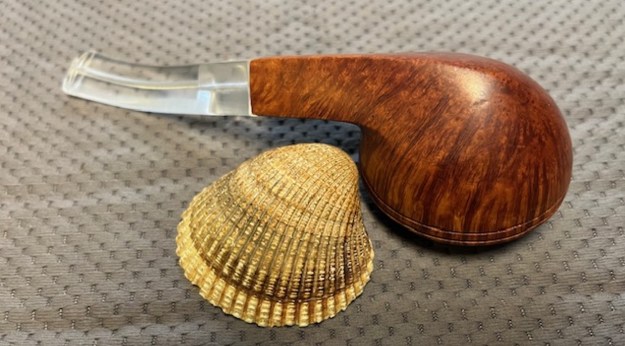
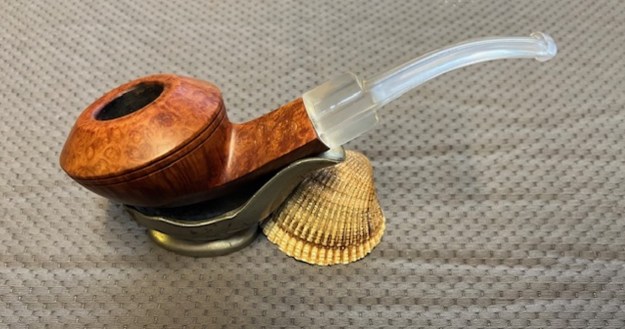
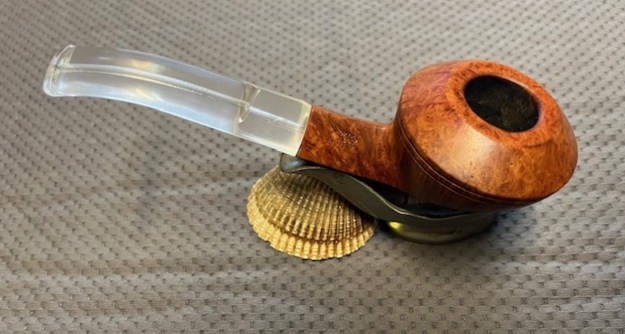
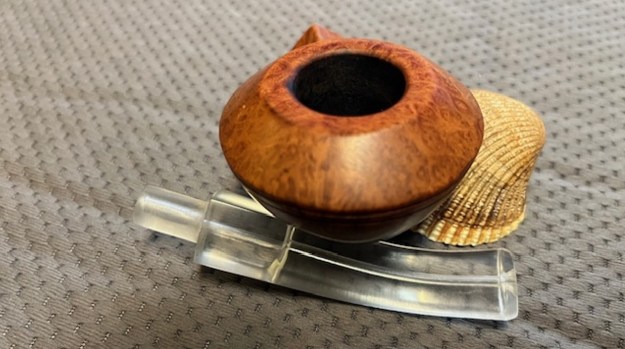
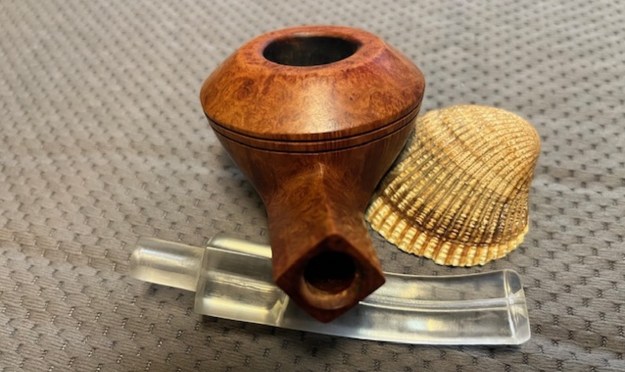
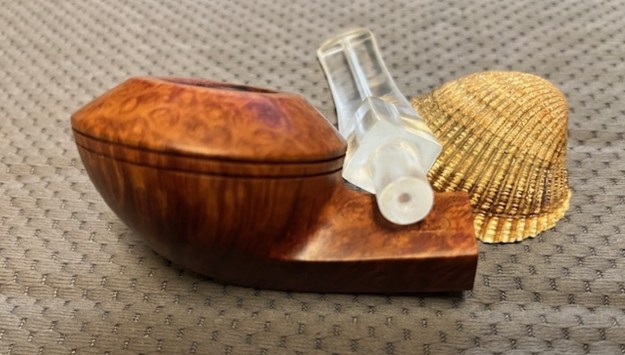
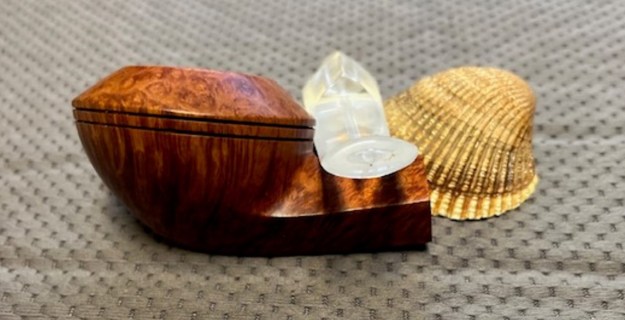
 As usual at this point in finishing process of the shaping of a new pipe I am excited to be on the homestretch. I look forward to the final look when it is put back together, polished and waxed. I put the Byron Harwood Handmade Dublin Pedestal Sitter back together. I polished the rim top and base of the bowl and stem with Blue Diamond to polish out the scratches in the briar and the vulcanite. I gave the bowl multiple coats of Conservator’s Wax and the stem multiple coats of carnauba wax. I buffed the pipe with a clean buffing pad to raise the shine. I hand buffed it with a microfiber cloth to deepen the shine. The pipe polished up pretty nicely. The grain really pops with the wax and polish. The shiny Cumberland stem is a beautiful contrast to the rich natural browns of the oiled bowl. This Byron Harwood Handmade Dublin was a great pipe to finish shaping and working on the stem. It is a large pipe but is very comfortable pipe to hold in the hand. The finished pipe is shown in the photos below. The dimensions of the pipe are Length: 6 ½ inches, Height: 2 ¾ inches, Outside diameter of the bowl: 2 ¼ inches, Chamber diameter: 7/8 of an inch. The weight of the pipe is 104 grams/3.70 ounces. This pipe will be staying with me as it is a style and look I have never seen or worked on before. I am going to enjoy breaking it in and enjoying one of Byron’s Handmade pipes. Thanks for reading this blog and my reflections on the pipe while I worked on it.