Blog by Steve Laug
A few weeks ago, I received an email from a friend, Sonny in Salmon Arm, BC. We have worked together on pipes over the past few years either ones that I have sold to him or those he has picked up on auctions or sales that I have restored. He wrote that he had some pipes that needed restoration.
I also have some of those old estates I still need to send to you for restoration. Hopefully I will be able to pack them up and get them off to you this week. Thank you again, Steve! – Sonny
He followed that up with another email regarding what he wanted done on the various pipes. I have included it below.
I would like the Vauen bent ball shape to have no band on it. It looks like it may have had a band there at one time and I’m not sure why. And if any of them needs to be stained again, I would like them to be black, especially the Peterson 309 and that ball Vauen. Let me know what you think.
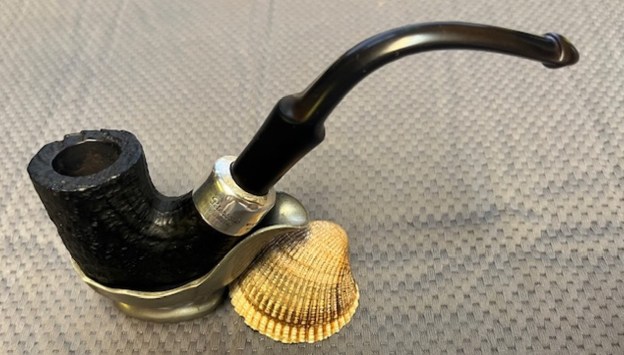
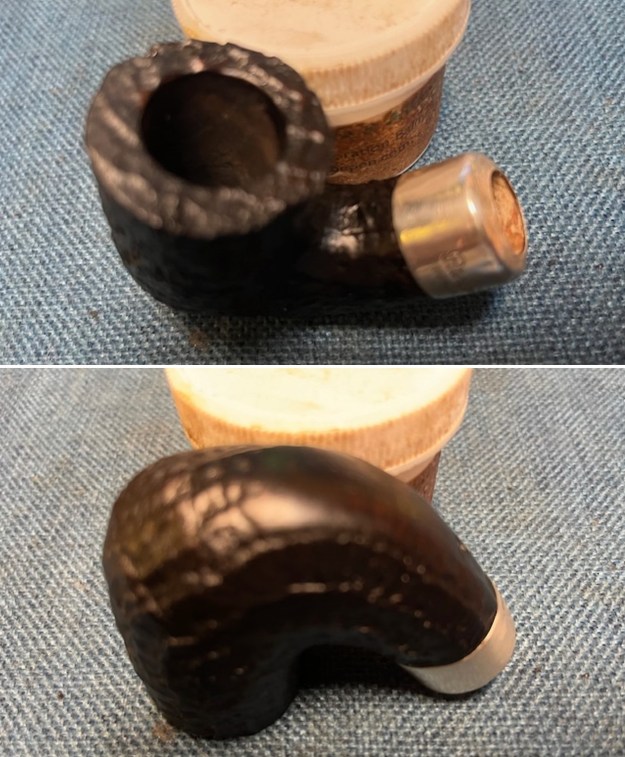
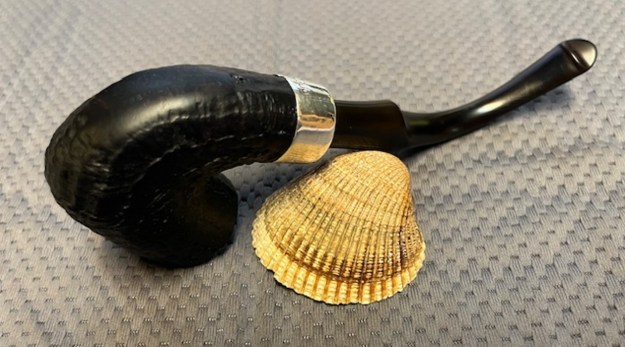
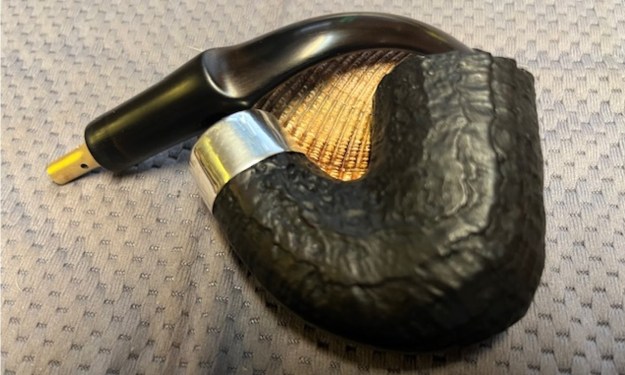
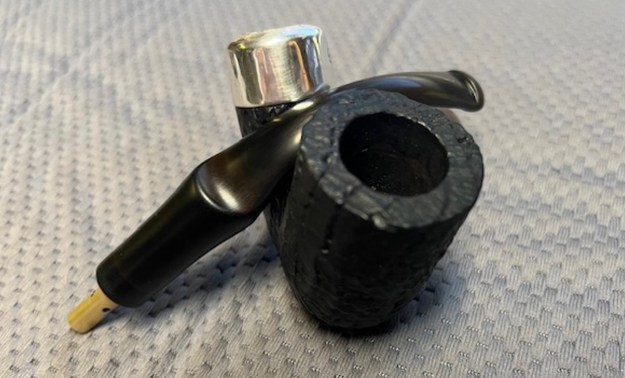
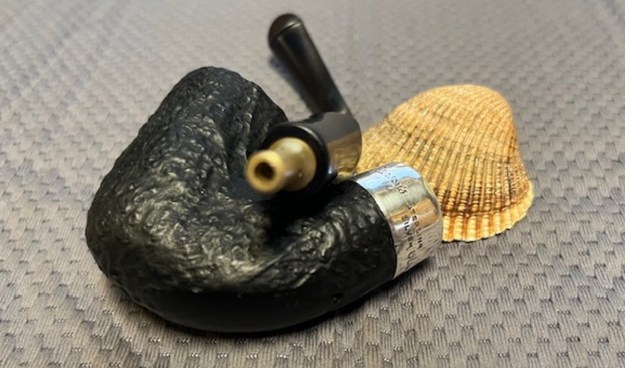
I took a photo of the box of six pipes once I unwrapped them. There were 6 interesting pipes – a Vauen Luxus Bent Ball, a Vauen Dr. Perl Billiard, a Sand Blast Vauen Dr. Perl Pot, a Parade News Briar Shop Oom Paul, a Bari Pearl Bamboo shank Ball and Peterson’s System Premier 309 Bent Billiard. All were in need of various degrees of restoration.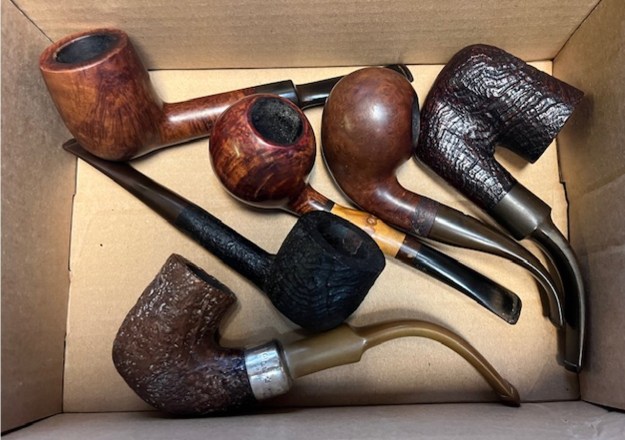 The third pipe I chose to work on was the Peterson’s System Premier. It is stamped on the underside and reads Peterson’s [arched over] System [over] Premier. To the right of that it is stamped with the shape number 309 [over] Made in the [over] Republic [over] of Ireland. The pipe was dirty and there were white spots of paint in the sandblast finish. There was a silver ferrule on the shank end. It is stamped Peterson’s [over] Dublin followed by Sterling [over] Silver. That is followed three silver hallmarks: Hibernia seated arm on a harp for the country of manufacture; the crowned Harp designating sterling quality and the date letter marks which in this case was the letter I. The bowl has a thick cake in it and some lava in the sandblast on the rim top. The stem is a system stem with a metal chimney. It was very dirty with heavy oxidation and light tooth marks and chatter on both sides ahead of the button. I took these photos before I started my work on the pipe.
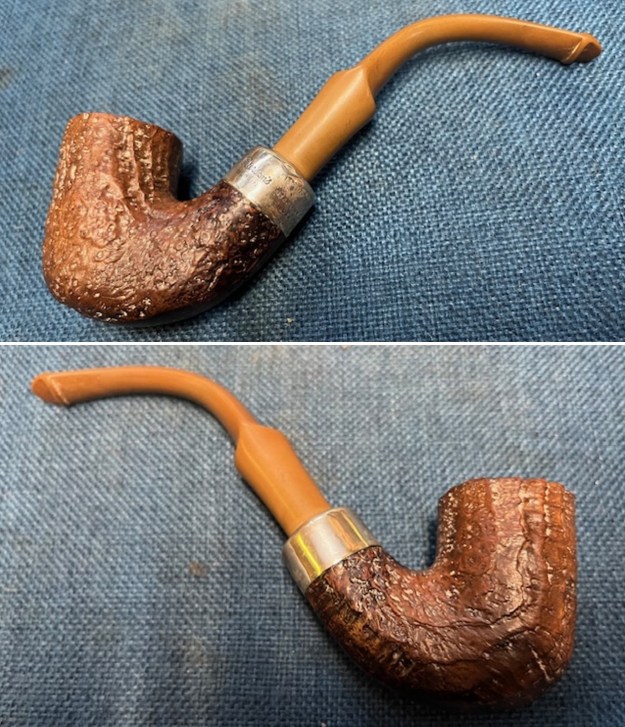
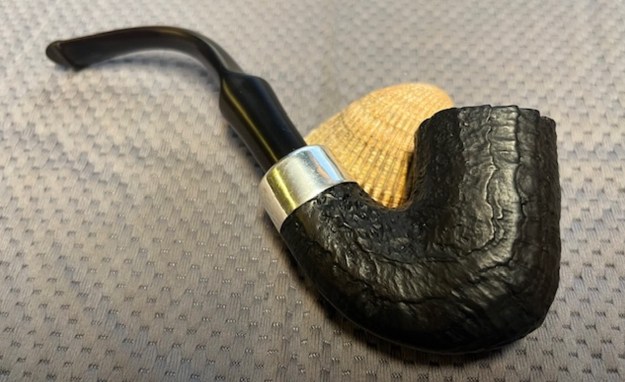
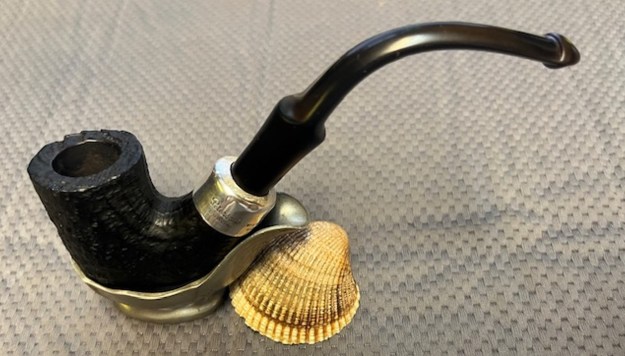
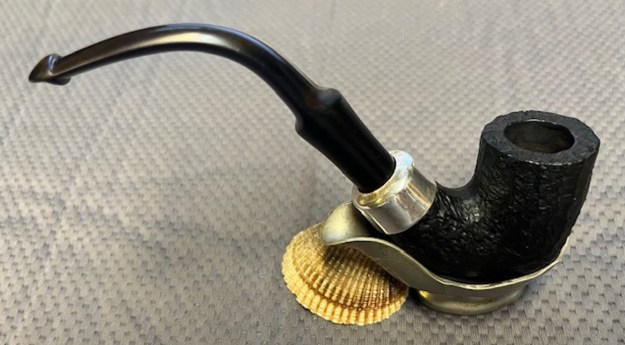
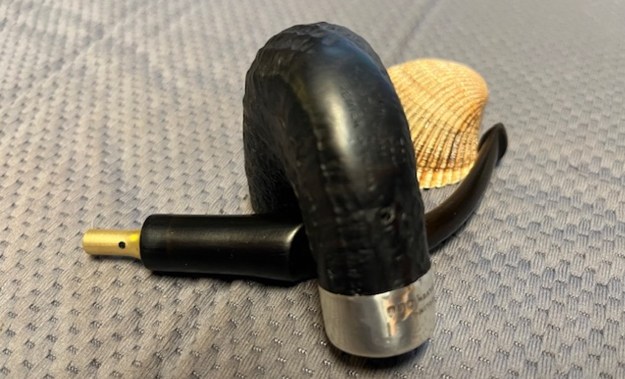
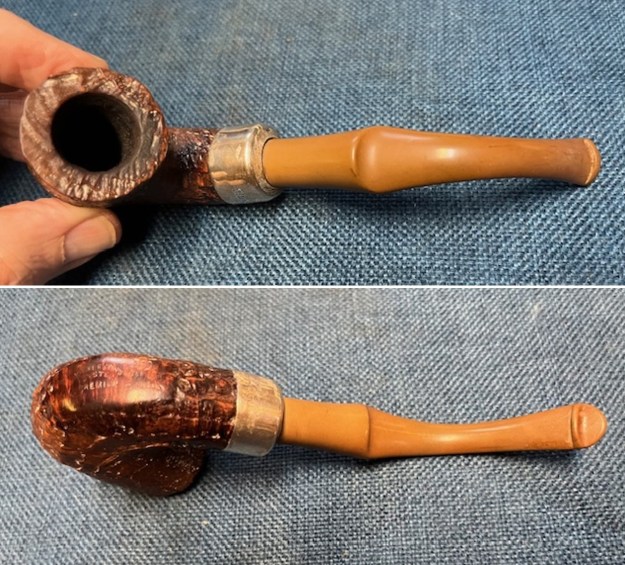 I took a photo of the rim top and bowl to show the condition of both of them. There is a moderate cake in the bowl and some lava on the thin rim top. There is also debris in the bowl. The photos of the stem show the heavy oxidation and tooth marks/chatter on both sides ahead of the button.
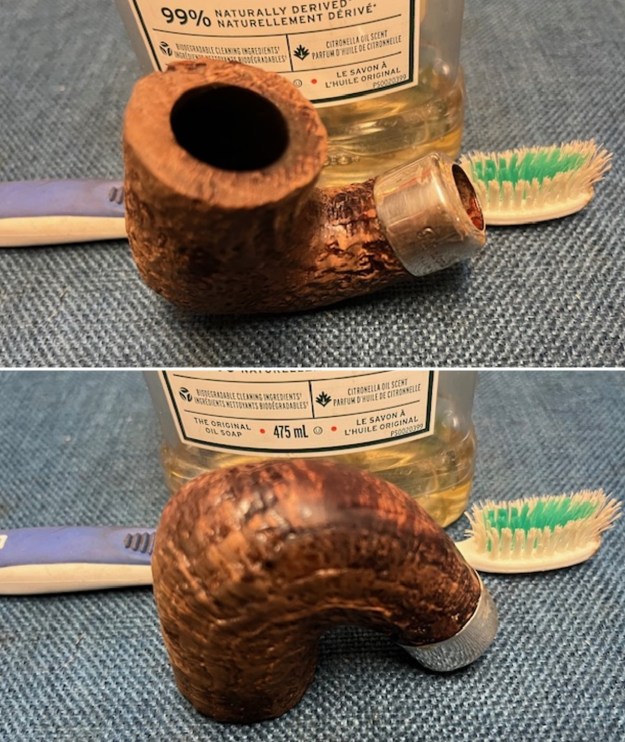
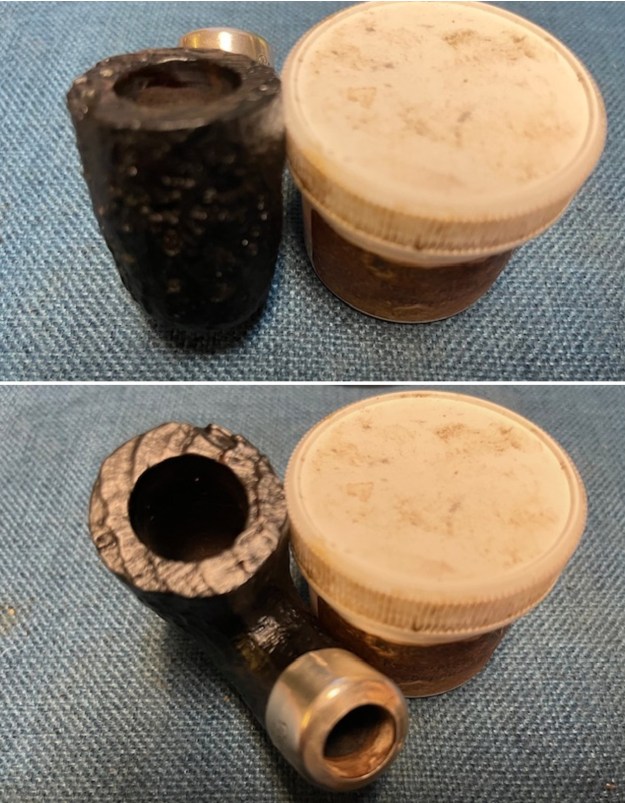
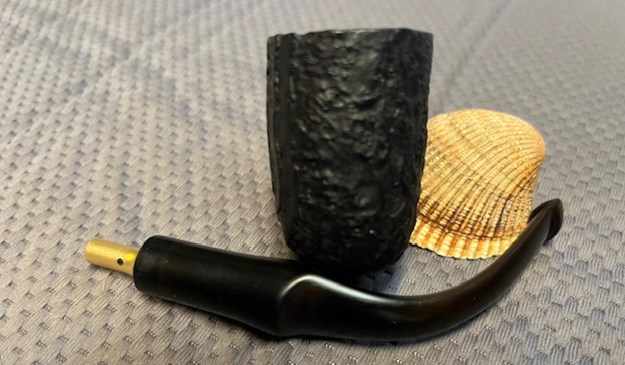
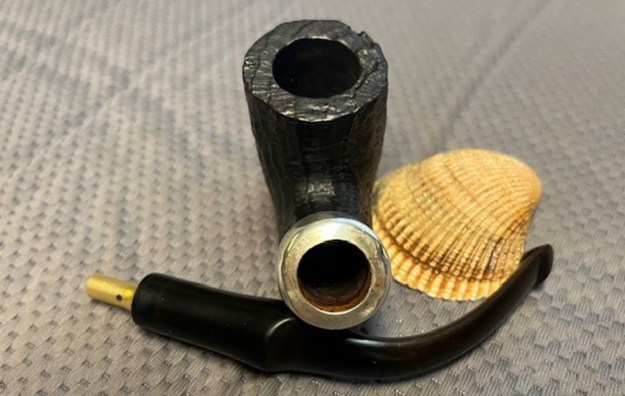
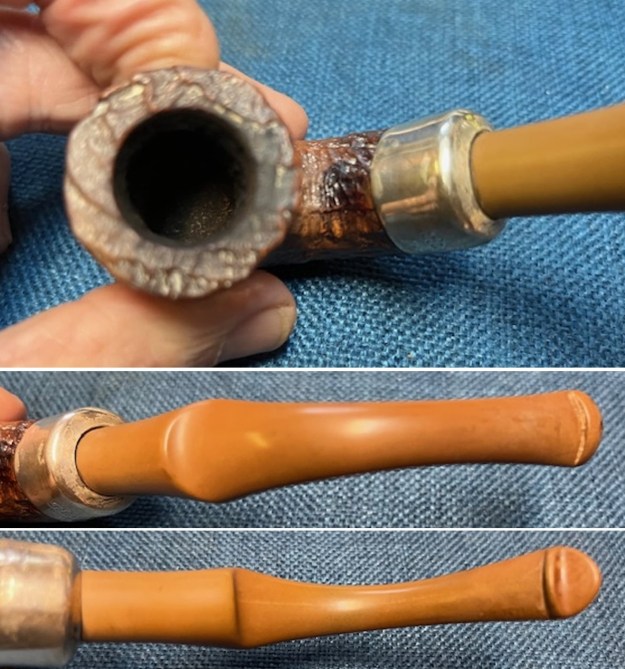 I took photos of the stamping on the underside of the shank. The stamping was clear and readable as noted above. It is much clearer in person but is hard to capture on the curve of the shank. I also tried to capture the stamping on the silver ferrule. I removed the stem from the shank and took a photo to show the proportions of the pipe. The first of those photos shows it with the chimney in place and the second shows it unscrewed.
 Before I started working on the pipe I wanted to dig into the detail on the stamping on the pipe. I knew what some of the stamping meant regarding the rough age of the pipe.
Because the pipe was stamped Made in the Republic of Ireland I knew that I was dealing with a Republic Era pipe made between 1950-1989. It was a Sandblast Peterson’s System Premier 309 Billiard with an interesting blast finish. The stain on the bowl was a mess with fading and paint in the blast. Originally it looked like the bowl had been stained with a combination of brown stains. Now it was time to tighten down the date on the pipe from the hallmarks on the Sterling Silver ferrule.
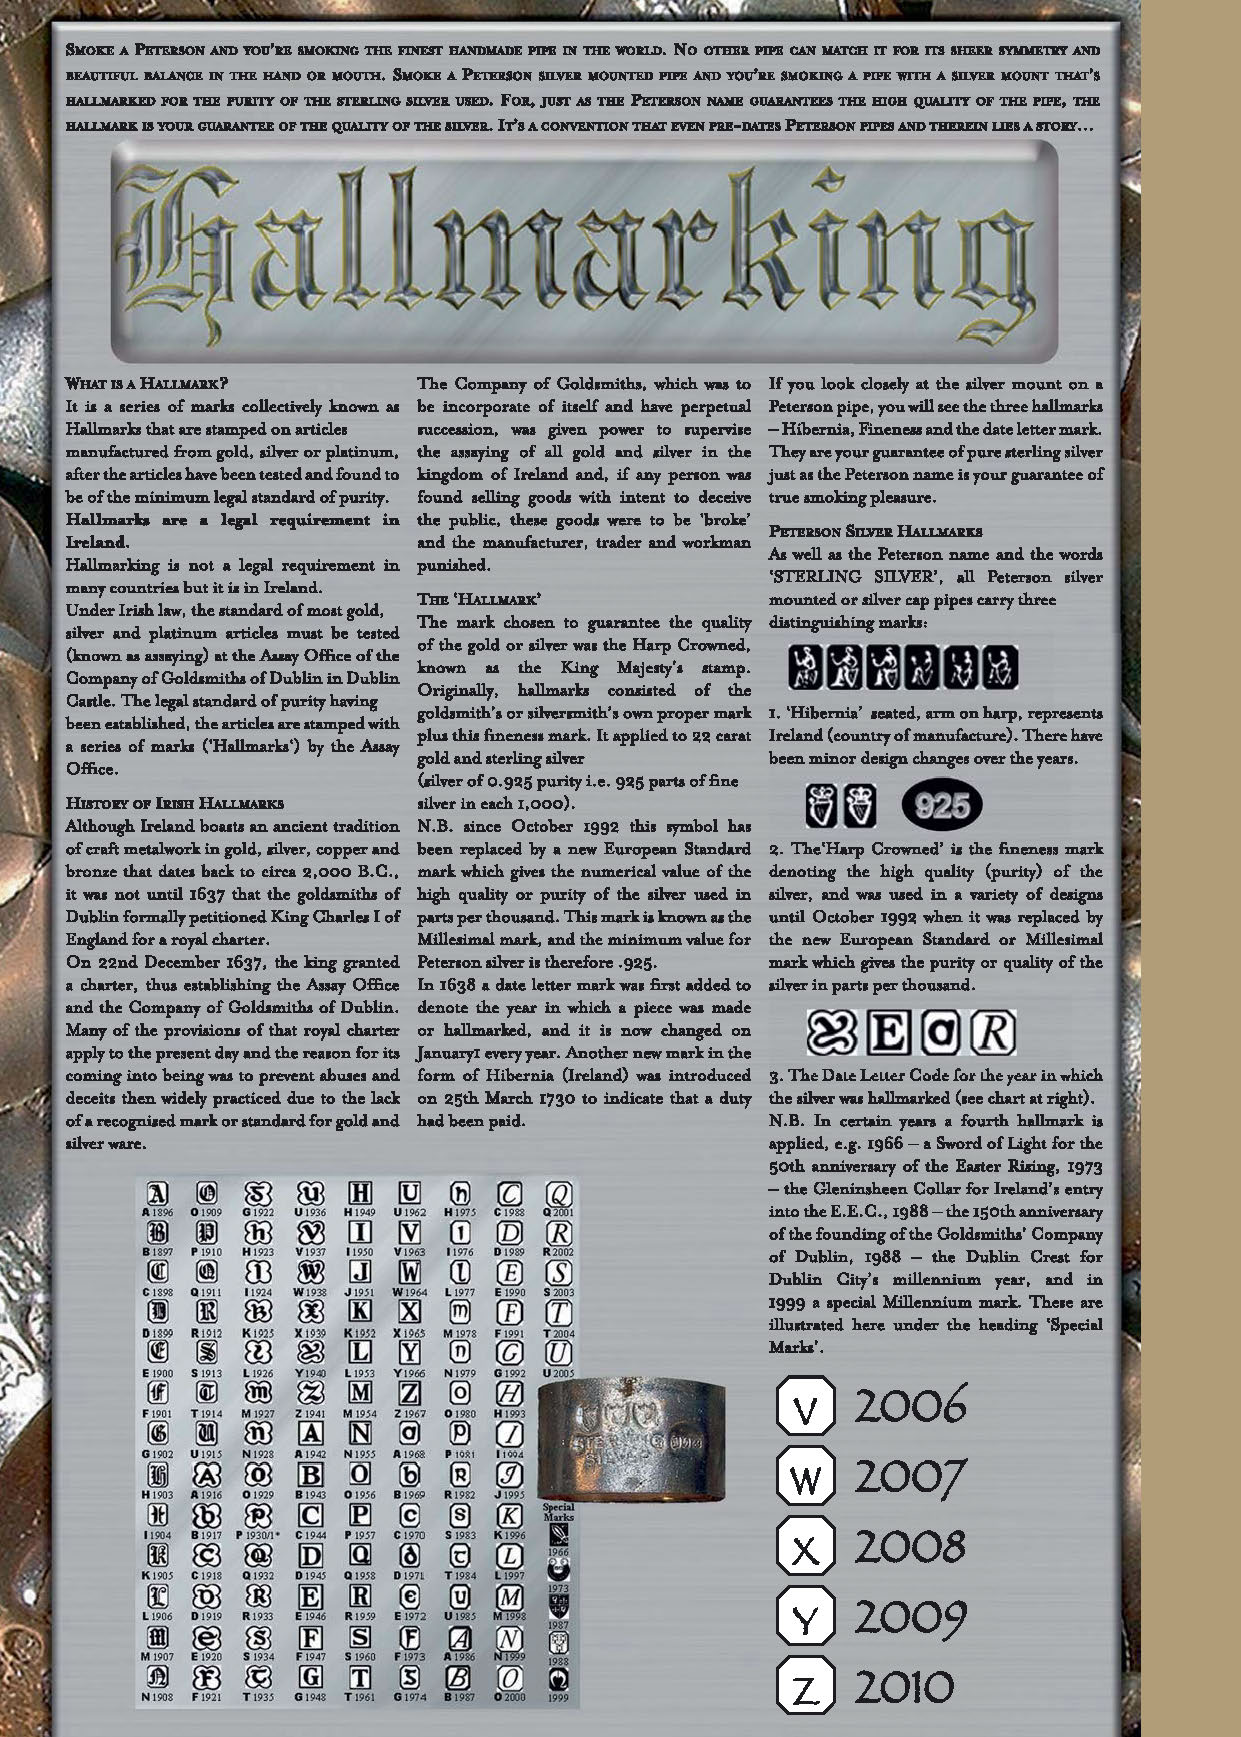
I turned to the hallmarking chart on one of the blogs on rebornpipes to lock down the date for the pipe (https://rebornpipes.com/wp-content/uploads/2015/05/peterson-cataloguecomp_page_27.jpg). The chart defines the meaning of each hallmark. The first one of the seated woman with a harp is known as the Hibernia stamp and identifies the pipe as made in Ireland. The second stamp is a crowned harp which is a fineness mark denoting the high quality of silver that was used. The third stamp is an italic lower case “i”. I have included a larger screen capture of the chart in the lower left of the photo below.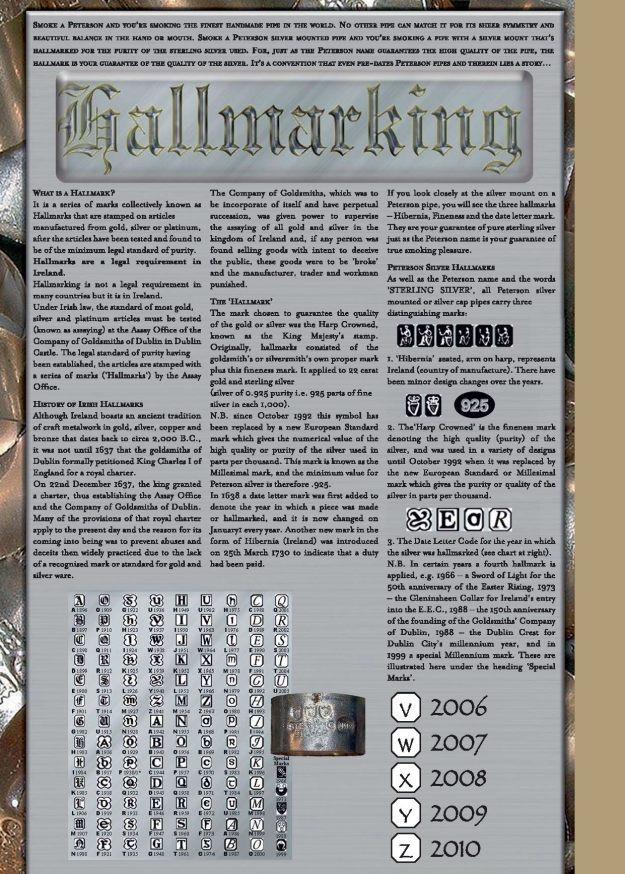 I have drawn a RED CIRCLE around the date letter below. It is a lower case “i” as seen in the circled letter below. It identifies the date of this Peterson’s pipe to 1976.
 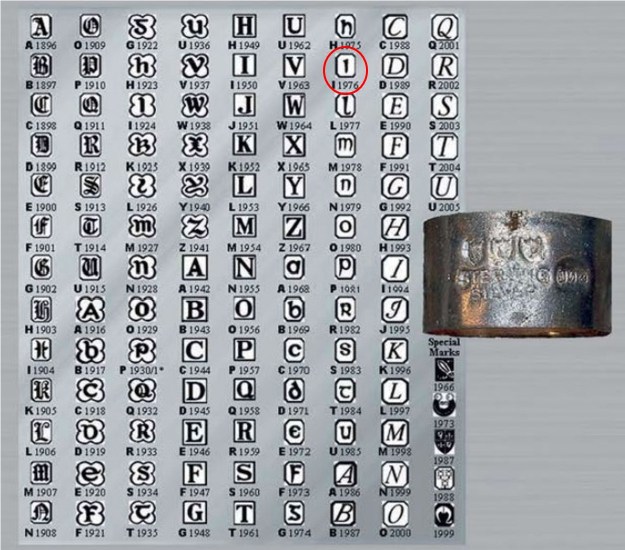 I knew that I was dealing with a Republic Era pipe made between 1950 and the present. The hallmarks date the pipe to 1976. Now it was time to work on the pipe.
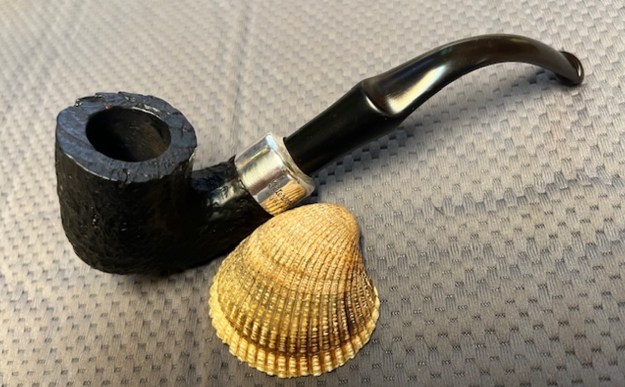
Armed with that information I turned my attention to the pipe itself. I reamed the bowl with a PipNet reamer to remove the cake. I cleaned up what remained with a Savinelli Fitsall Pipe Knife. I sanded the walls of the bowl to remove any remnants of cake with 220 grit sandpaper wrapped around a piece of dowel. Once finished the inside of the bowl was smooth.
 I scrubbed the exterior of the bowl with undiluted Murphy’s Oil Soap and a tooth brush. I also worked over the interior of the shank and bowl with brushes and soap at the same time. I rinsed the pipe off with warm running water and dried if off with a soft towel. The pipe is certainly cleaner.
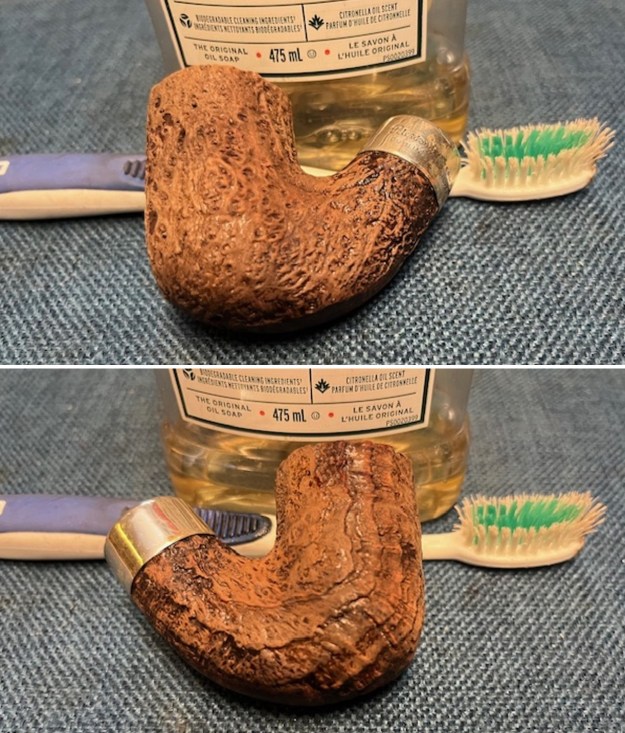
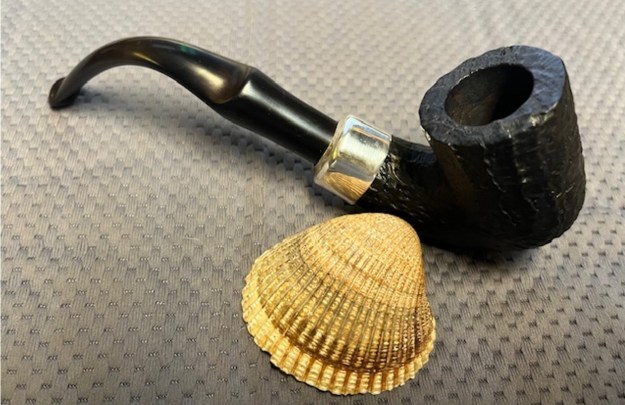
 In speaking with Sonny I knew that he wanted the bowl stained black as he preferred that colour. So, this morning early I obliged him and stained the pipe with a black aniline stain. I applied it with the wool dauber and then flamed it to set the stain. I repeated the process until the coverage was even around the bowl.
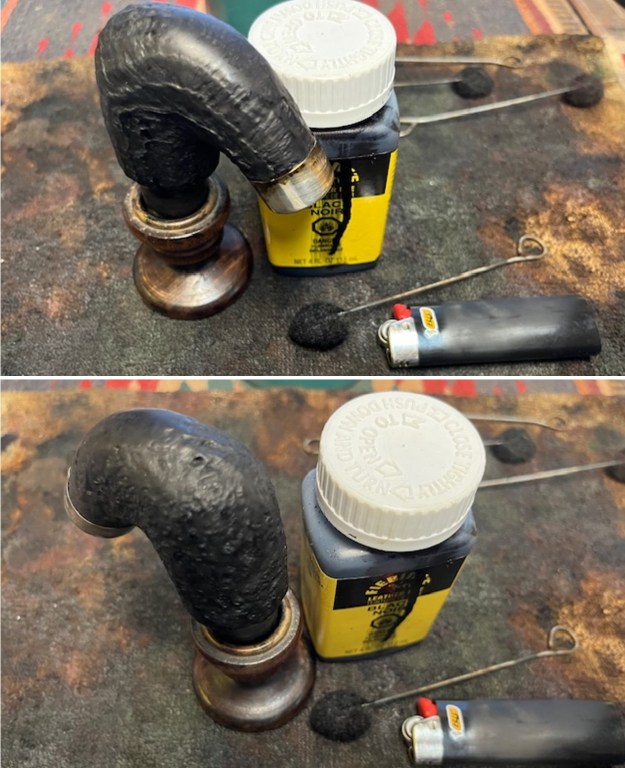 Once the stain dried I buffed it with a coarse cloth to remove any excess stain and to blend it into the surrounding surface smoothly. It looks good with the black stain. I sent photos to Sonny and he approves!
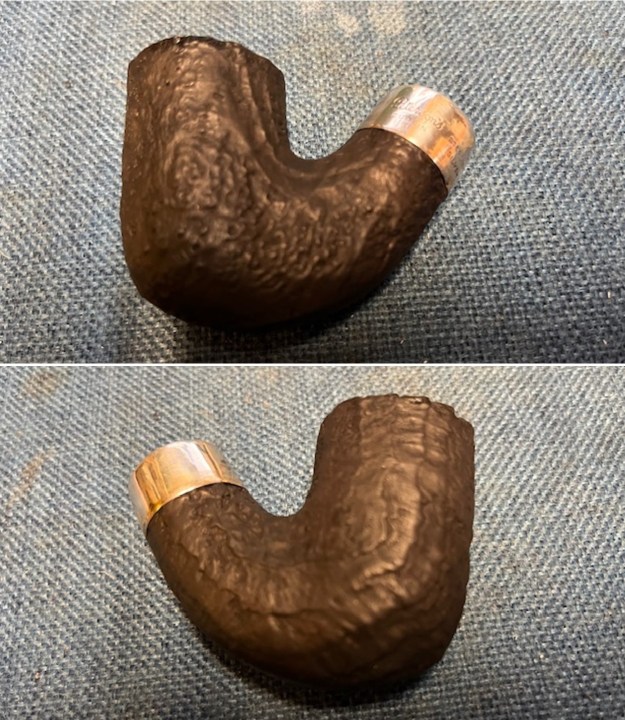
 Before I cleaned the inside of the shank and the stem I took the stem out of the Briarville’s Pipe Stem deoxidizer where it had been sitting over night and rubbed it briskly with a coarse cotton cloth to remove the oxidation on the surface and dry off the remaining deoxidizer on the stem. I am pleased with how well the product worked even after I have used this batch for over a year.
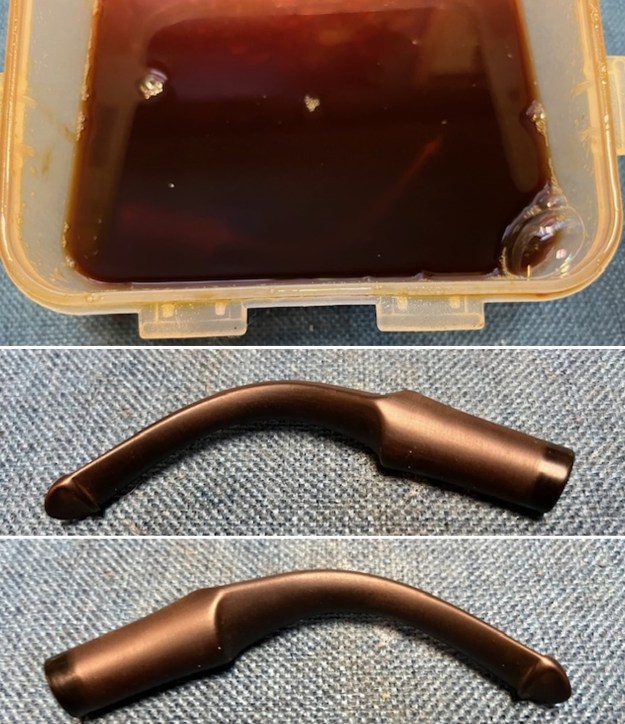
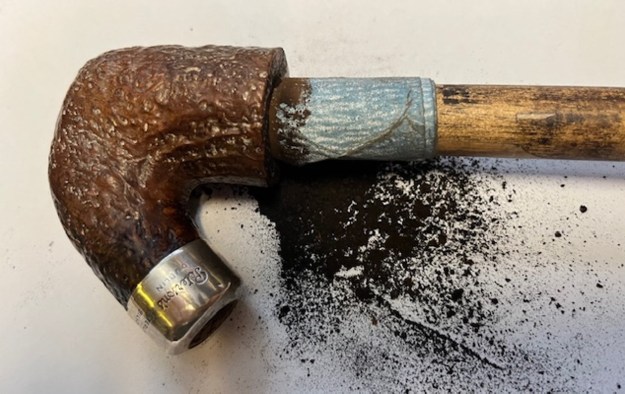
 Once the pipe was reamed, cleaned and stained and the stem was deoxidized I worked on the internals – the mortise, sump and airway in the shank and airway in the stem. I cleaned out the airway to the bowl, the mortise, sump and the airway in the stem with pipe cleaners, cotton swabs and alcohol. I also worked over the aluminum chimney that screwed into the tenon on the stem.
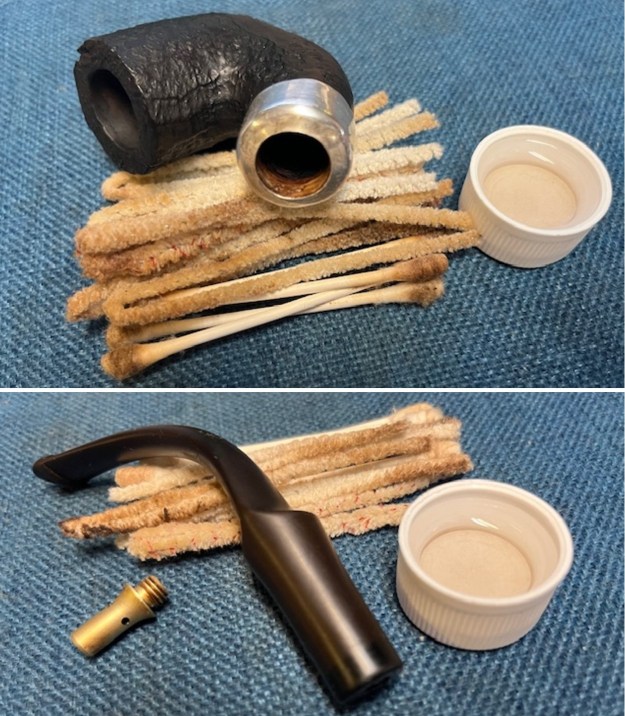 When I get the bowl to this point in the process I use Before & After Restoration Balm. It is a paste/balm that works to deep clean the finish, enliven and protect the briar. I work it into the briar and the bamboo with my finger tips to make sure that it covers every square inch of the pipe. I set it aside for 10 minutes to let it do its work. Once the time has passed I wiped it off with a soft cloth then buffed it with a cotton cloth. The briar really began to have a deep shine. The photos I took of the bowl at this point mark the progress in the restoration. You see the shine that the briar has taken on and the way rustication has depth. The black stain works on the pipe and it is a beauty.
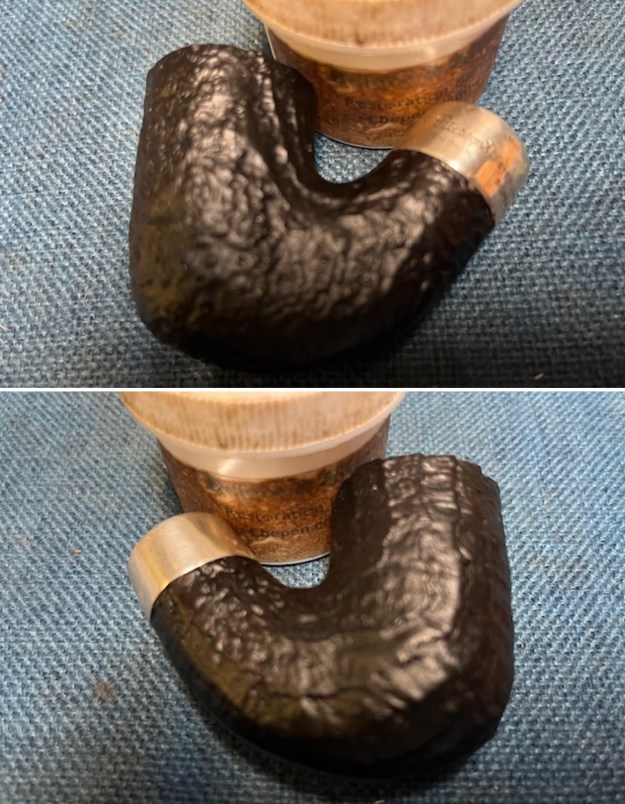
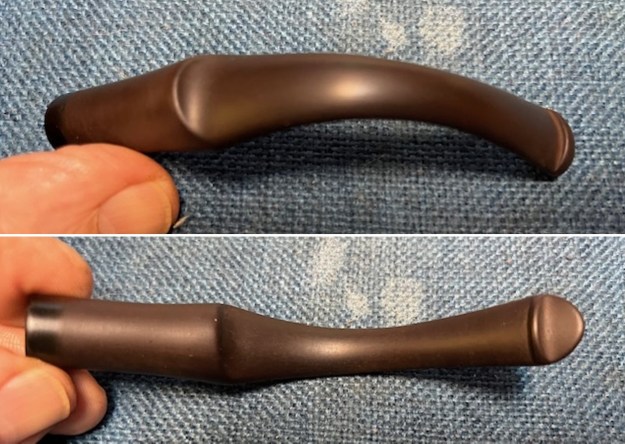
 I set the bowl aside and turned my attention to the stem. I wiped the stem down with Soft Scrub cleanser and cotton pads to further remove the remnants of oxidation in the surface of the vulcanite.
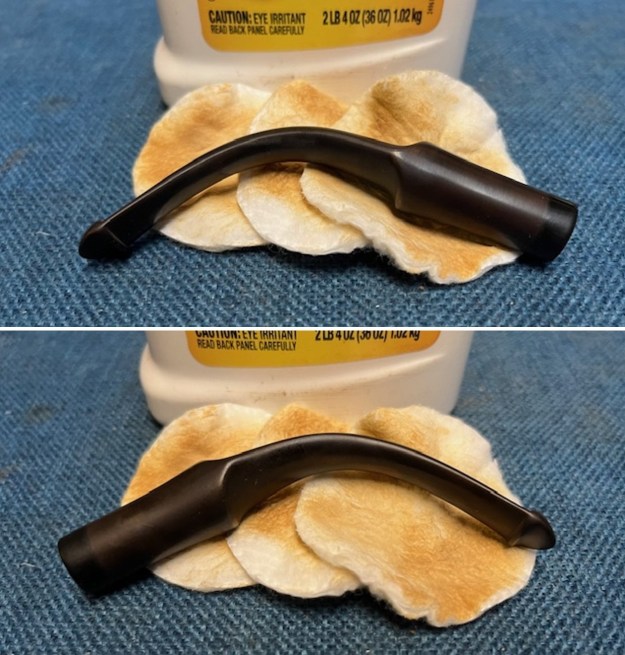 I sanded the stem with 320-3500 grit sanding pads to break up the remaining oxidation. I wiped it down after each sanding pad with an Obsidian Oil impregnated cloth. It began to look good.
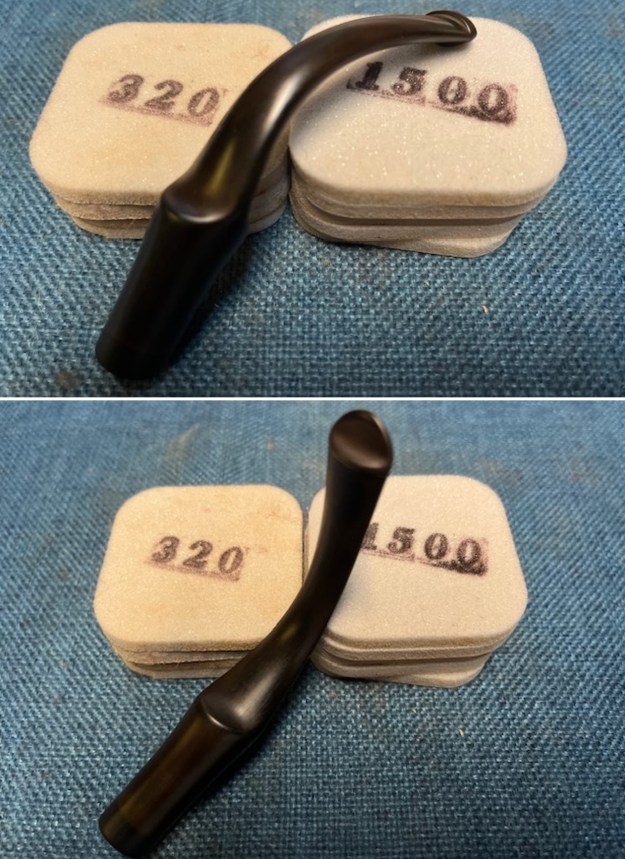 Once finished that I screwed the aluminum chimney back into the tenon on the stem. The fit and look is very good.
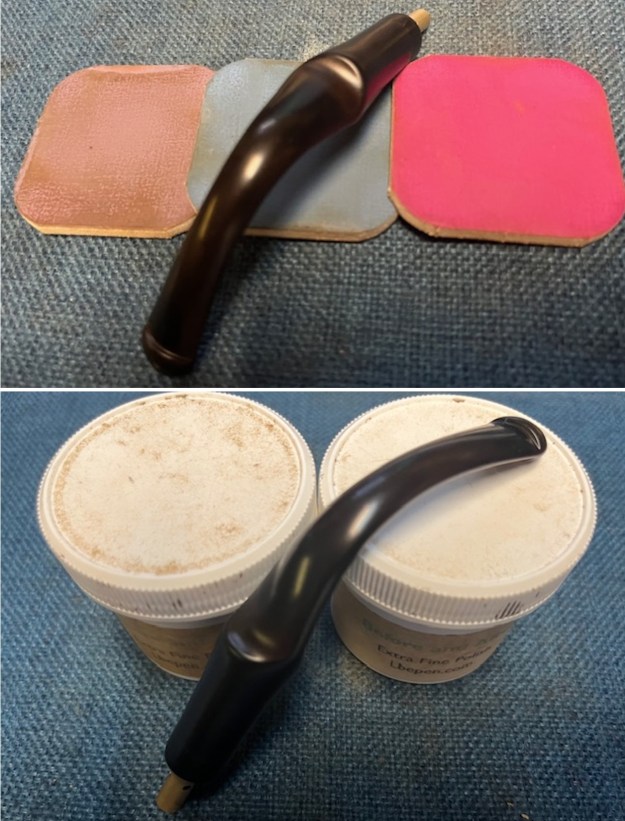
  I polished the stem with micromesh sanding pads – dry sanding with 1500-12000 grit pads. I wiped the stem down after each sanding pad with Obsidian Oil. I polished it with Before & After Pipe Stem Polish – both Fine and Extra Fine. Once I had finished the polishing I gave it final coat of Obsidian Oil and set it aside to dry.
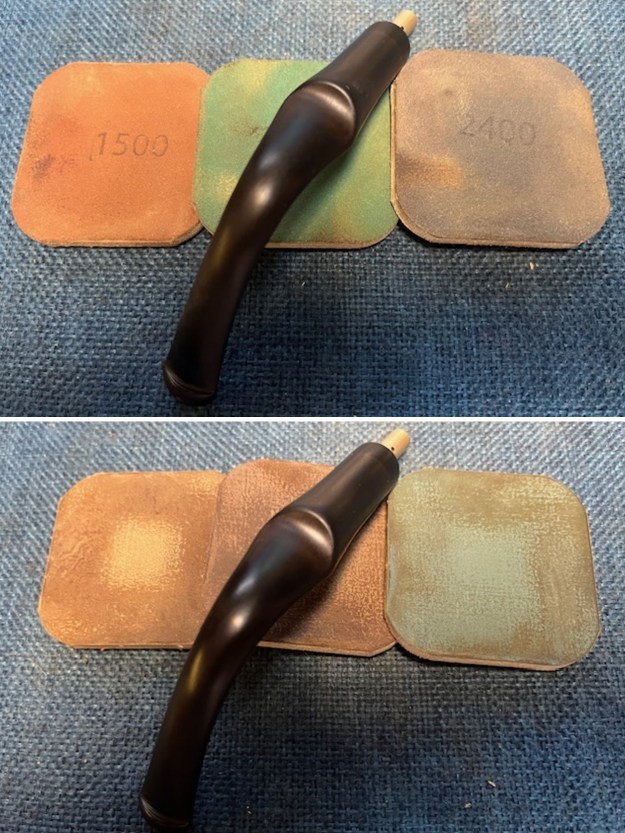
 I polished the silver ferrule with a jeweller’s cloth and the silver took on a deep shine. It is a pretty pipe with the shinning silver and the black stain on the bowl.
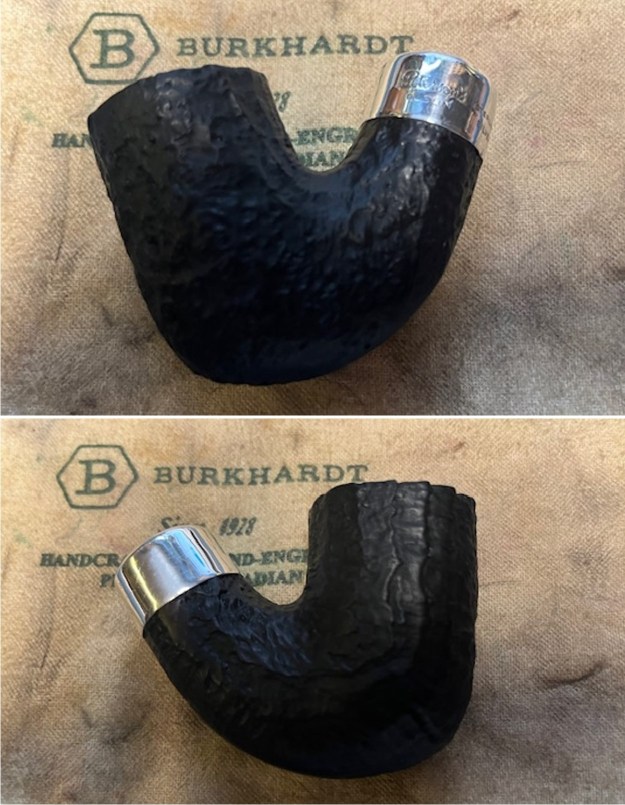
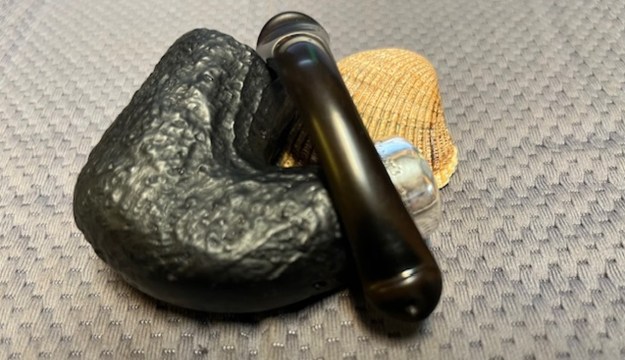
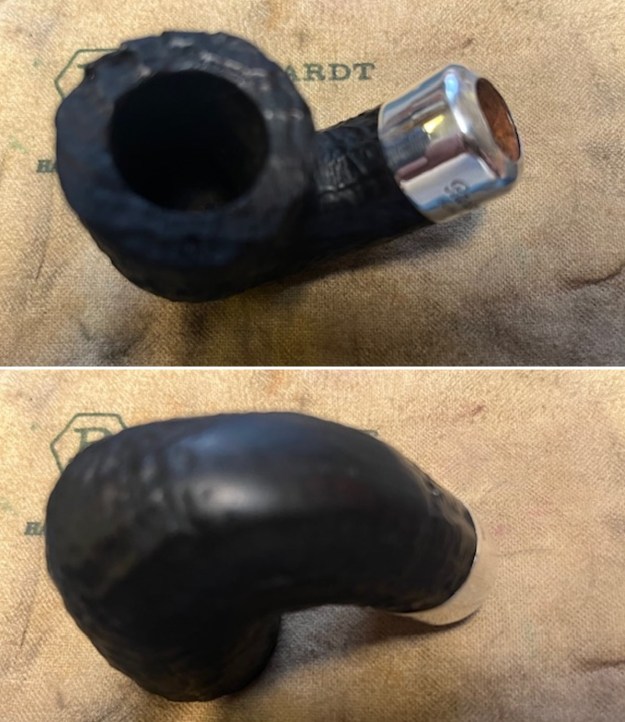 I am excited to finish restoration and reworking of this Republic Era Peterson’s System Premier 309. I put the pipe back together and buffed it lightly with Blue Diamond on the buffing wheel. I gave the bowl multiple coats of Conservator’s Wax and the stem multiple coats of carnauba wax. I hand buffed the pipe with a clean buffing pad to raise the shine. It is fun to see what the polished bowl looks like with beautiful mixed grain all around it. The polished sandblast on bowl along with the silver ferrule look great with the black vulcanite stem. This sandblast Peterson’s System Premier 309 Bent Billiard is great looking and the pipe feels great in my hand. It is light and well balanced. Have a look at it with the photos below. The dimensions are Length: 6 inches, Height: 2 inches, Outside diameter of the bowl: 1 ¼ inches, Chamber diameter: ¾ of an inch. The weight of the pipe is 49 grams/ 1.73 ounces. It is a beautiful pipe that I will be sending back to Sonny once finish the remaining three pipes of the six he sent to me for restoration. I look forward to hearing what he thinks of it. As always, I encourage your questions and comments as you read the blog. Thanks to each of you who are reading this blog. Remember we are not pipe owners; we are pipemen and women who hold our pipes in trust until they pass on into the trust of those who follow us.
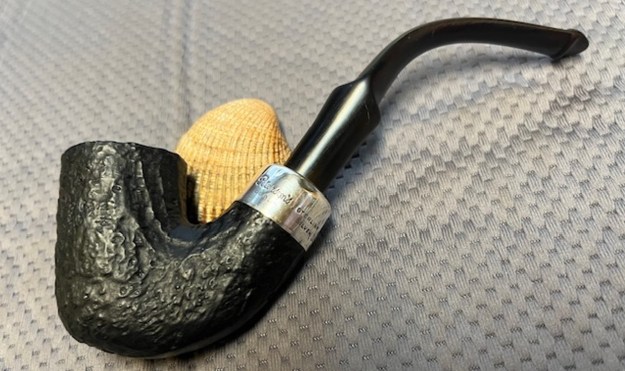


