Blog by Steve Laug
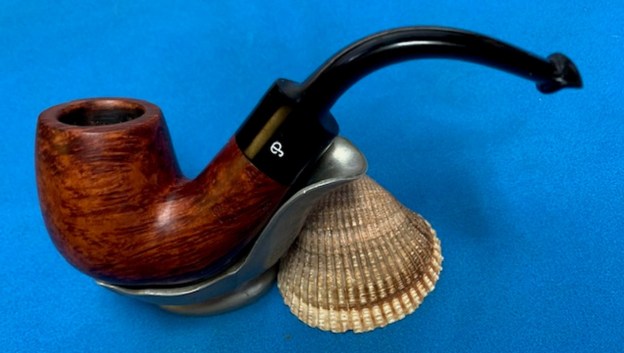
The next pipe on the table came to me from Curtis, a customer I have repaired pipes for in the past. He sent me two pipes that he wanted repaired by mail. I started with this one first. In looking at it I recalled that I had restemmed this pipe for him in December of last year. The original stem had been badly damaged and I had replaced it with the current stem and cap to give it a look similar to the original. It was a lot of work but I liked how it looks. Here is the link to that restoration (https://rebornpipes.com/2022/12/22/new-life-and-new-look-for-a-neerup-made-in-denmark-bulldog/). It was a nicely shaped sandblasted Bulldog with a black acrylic and a white acrylic spacer on the shank end. There was a snapped tenon in the shank and a vulcanite taper stem with a silver metal end cap/band. The tenon had snapped smoothly against the metal stem band. I would need to clean it up and replace the tenon. The bowl had a thick cake of a vanilla smelling aromatic and a thick overflow of lava on the inner edge and the rim top. The rim top was slightly worn and smooth under the lava. The stem had some calcification, tooth chatter and marks on the surface of the top and underside ahead of the button.
 I took some close photos of the bowl, rim top and the stem to show their condition when I started working on it. You can see the thick cake in the bowl and the thick lava coat on the rim top and inner edge. It is quite heavy and the overflow obscures the condition of the edge of the bowl and the rim top. I was able to start pulling the broken tenon and you can see it extending out of the shank.
 I started my work on this pipe by pulling the broken tenon from the shank. I used a drywall screw and threaded it into the airway in the tenon piece. When it took hold, I wiggled the tenon free from the shank. It took a bit of careful and slow work to loosen and remove it.
  I went through my box of tenons looking for one that was the proper size for the shank. Ideally it would have been a black threaded tenon but I did not have any that were the proper diameter. I did have some white Delrin tenons that were perfect and would work with the white acrylic space. The lower one in the photo would be perfect. I reduced the diameter of the threaded portion with my Dremel and a sanding drum. I used a flat file to smooth out the transition and further shape the new tenon. I used a folded piece of 180 grit sandpaper to remove the sanding marks and clean up the diameter of the tenon.
 When I finished the sanding, I polished it with 220 and 600 grit sandpaper to smooth out the surface. Once finished, it fit perfectly in the shank of the pipe. I left threads on the insert portion of the new tenon so that the glue would have something to grab onto when it was inserted in the stem.
  I removed the new tenon from the shank and turned my attentions to the stem. I drilled out the airway with a succession of larger drill bit – beginning with one slightly larger than the airway in the stem and ending with an 11/64ths drill bit.
 Once it had been opened up I pushed the tenon in the shank once more and slid the stem over the top to align it. The fit was very snug and nice. I took photos of it to show the fit at this point in the restoration process.
 I removed the stem from the pipe and the tenon from the mortise. I turned my attention to cleaning the internals and the externals of the bowl and shank. I reamed the bowl with a PipNet pipe reamer and the number three cutting head. I took the cake back to bare briar. I cleaned up the reaming with a Savinelli Fitsall pipe knife to remove what remained. I sanded the walls of the bowl with 220 grit sandpaper wrapped around a piece of dowel. Once finished the bowl walls were smooth and clean. I scraped off the lava on the rim top with the edge of a Savinelli Pipe Knife and then used a brass bristle wire brush to remove the debris.
 I scrubbed the exterior of the bowl with a tooth brush and undiluted Murphy’s Oil Soap. I used the brass bristle brush to work over the rim top with the soap to go more deeply in the sandblast surface of the rim.
 I cleaned out the airway in the shank and the stem with alcohol, cotton swabs and pipe cleaners. I worked on them until the mortise and airway in the shank and stem were clean.
 Before gluing the new tenon in place in the stem I went over the stem with a lens. I saw a crack in the stem side on the left. It must have happened when the tenon snapped in the shank. I removed the metal band/cap on the stem end and dabbed some clear CA glue in the cracked area and worked it into the crack with a tooth pick. I put some white glue in the inside of the cap and pressed it back onto the stem end. The crack was solidly repaired and the cap and band held it together.
 I touched up the rim top and edges with a Walnut and a Black stain pen to blend colour of the clean surface into the colour of the rest of the bowl and shank.
 I worked some Before & After Restoration Balm into the surface of the bowl and shank with my fingertips to clean, enliven and protect the briar. I let the balm sit for 15 minutes and then buffed with a cotton cloth to raise the shine. The photos show the bowl at this point in the restoration process.

 I set the bowl aside and turned my attention to the stem. I sanded the stem surface with a folded piece of 220 grit sandpaper. I started polishing it with 600 wet dry sandpaper.
  I polished the stem with micromesh sanding pads – wet sanding with 1500-12000 grit sanding pads. I wiped it down after each sanding pad with Obsidian Oil.
 I finished polishing the stem with Before & After Pipe Stem Polish – both Fine and Extra Fine. I wiped the stem down with a final coat of Obsidian Oil and let it sit and absorb into the vulcanite.
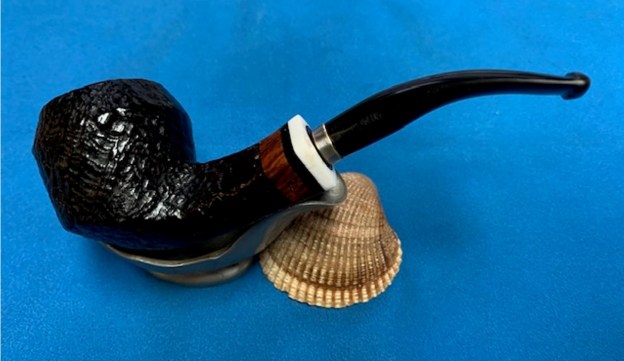
  This Neerup Made in Denmark Freehand Bulldog carved by Peder Jeppesen combines a great looking piece of sandblast briar with a multi-banded shank extension and a vulcanite stem to make a beautiful pipe. The clean up work brought back the shiny coat allowing the grain to come alive with the polishing and waxing. I put the stem back on the bowl and carefully buffed the pipe with Blue Diamond on the buffing wheel. I gave the bowl and the stem multiple coats of carnauba wax on the buffing wheel and followed that by buffing the entire pipe with a clean buffing pad. I hand buffed the pipe with a microfiber cloth to deepen the shine. The finished Neerup Made in Denmark Bulldog really is a beauty and fits nicely in the hand and looks very good. Give the finished pipe a look in the photos below. The dimensions of the pipe are Length: 5 1/2 inches, Height: 2 inches, Outside diameter of the bowl: 1 ¾ inches, Chamber diameter: ¾ of an inch. The weight of the pipe is 1.80 ounces/51 grams. Once I finish the second pipe this one will be going back to Curtis to enjoy. Thanks for reading this blog and my reflections on the pipe while I worked on it. There are many more to come!
As always, I encourage your questions and comments as you read the blog. Thanks to each of you who are reading this blog. Remember we are not pipe owners; we are pipe men and women who hold our pipes in trust until they pass on into the trust of those who follow us.